Leaderboard
-
inline6
 Subscriber
 4Points1,282Posts
 -
Patcon
Subscriber3Points11,142Posts -
emccallum
Subscriber2Points428Posts -

dutchzcarguy
Free Member2Points2,677Posts


Popular Content
Showing content with the highest reputation on 09/09/2023 in all areas
-
When i removed mine the only issued I had was that the window glass stabilizers were stuck to the molding making it difficult to remove them. I had to roll the window up and down a bit to get the roller out as a unit with the molding. I did have my door panels off allowing more "wiggle room" as the glass was still in. In Wick Humble's book for re assembly he recommends installing the stabilizer rollers first to the lip on the top of the door and then installing the trim molding last.
 2 points
 -
I know it will turn out great and you will be proud of it. That is the real reason we do it. Like a lot of other hobbies, you shouldn't do a cost analysis. I throw all my receipts in a box for the next guy to add up!2 points
-
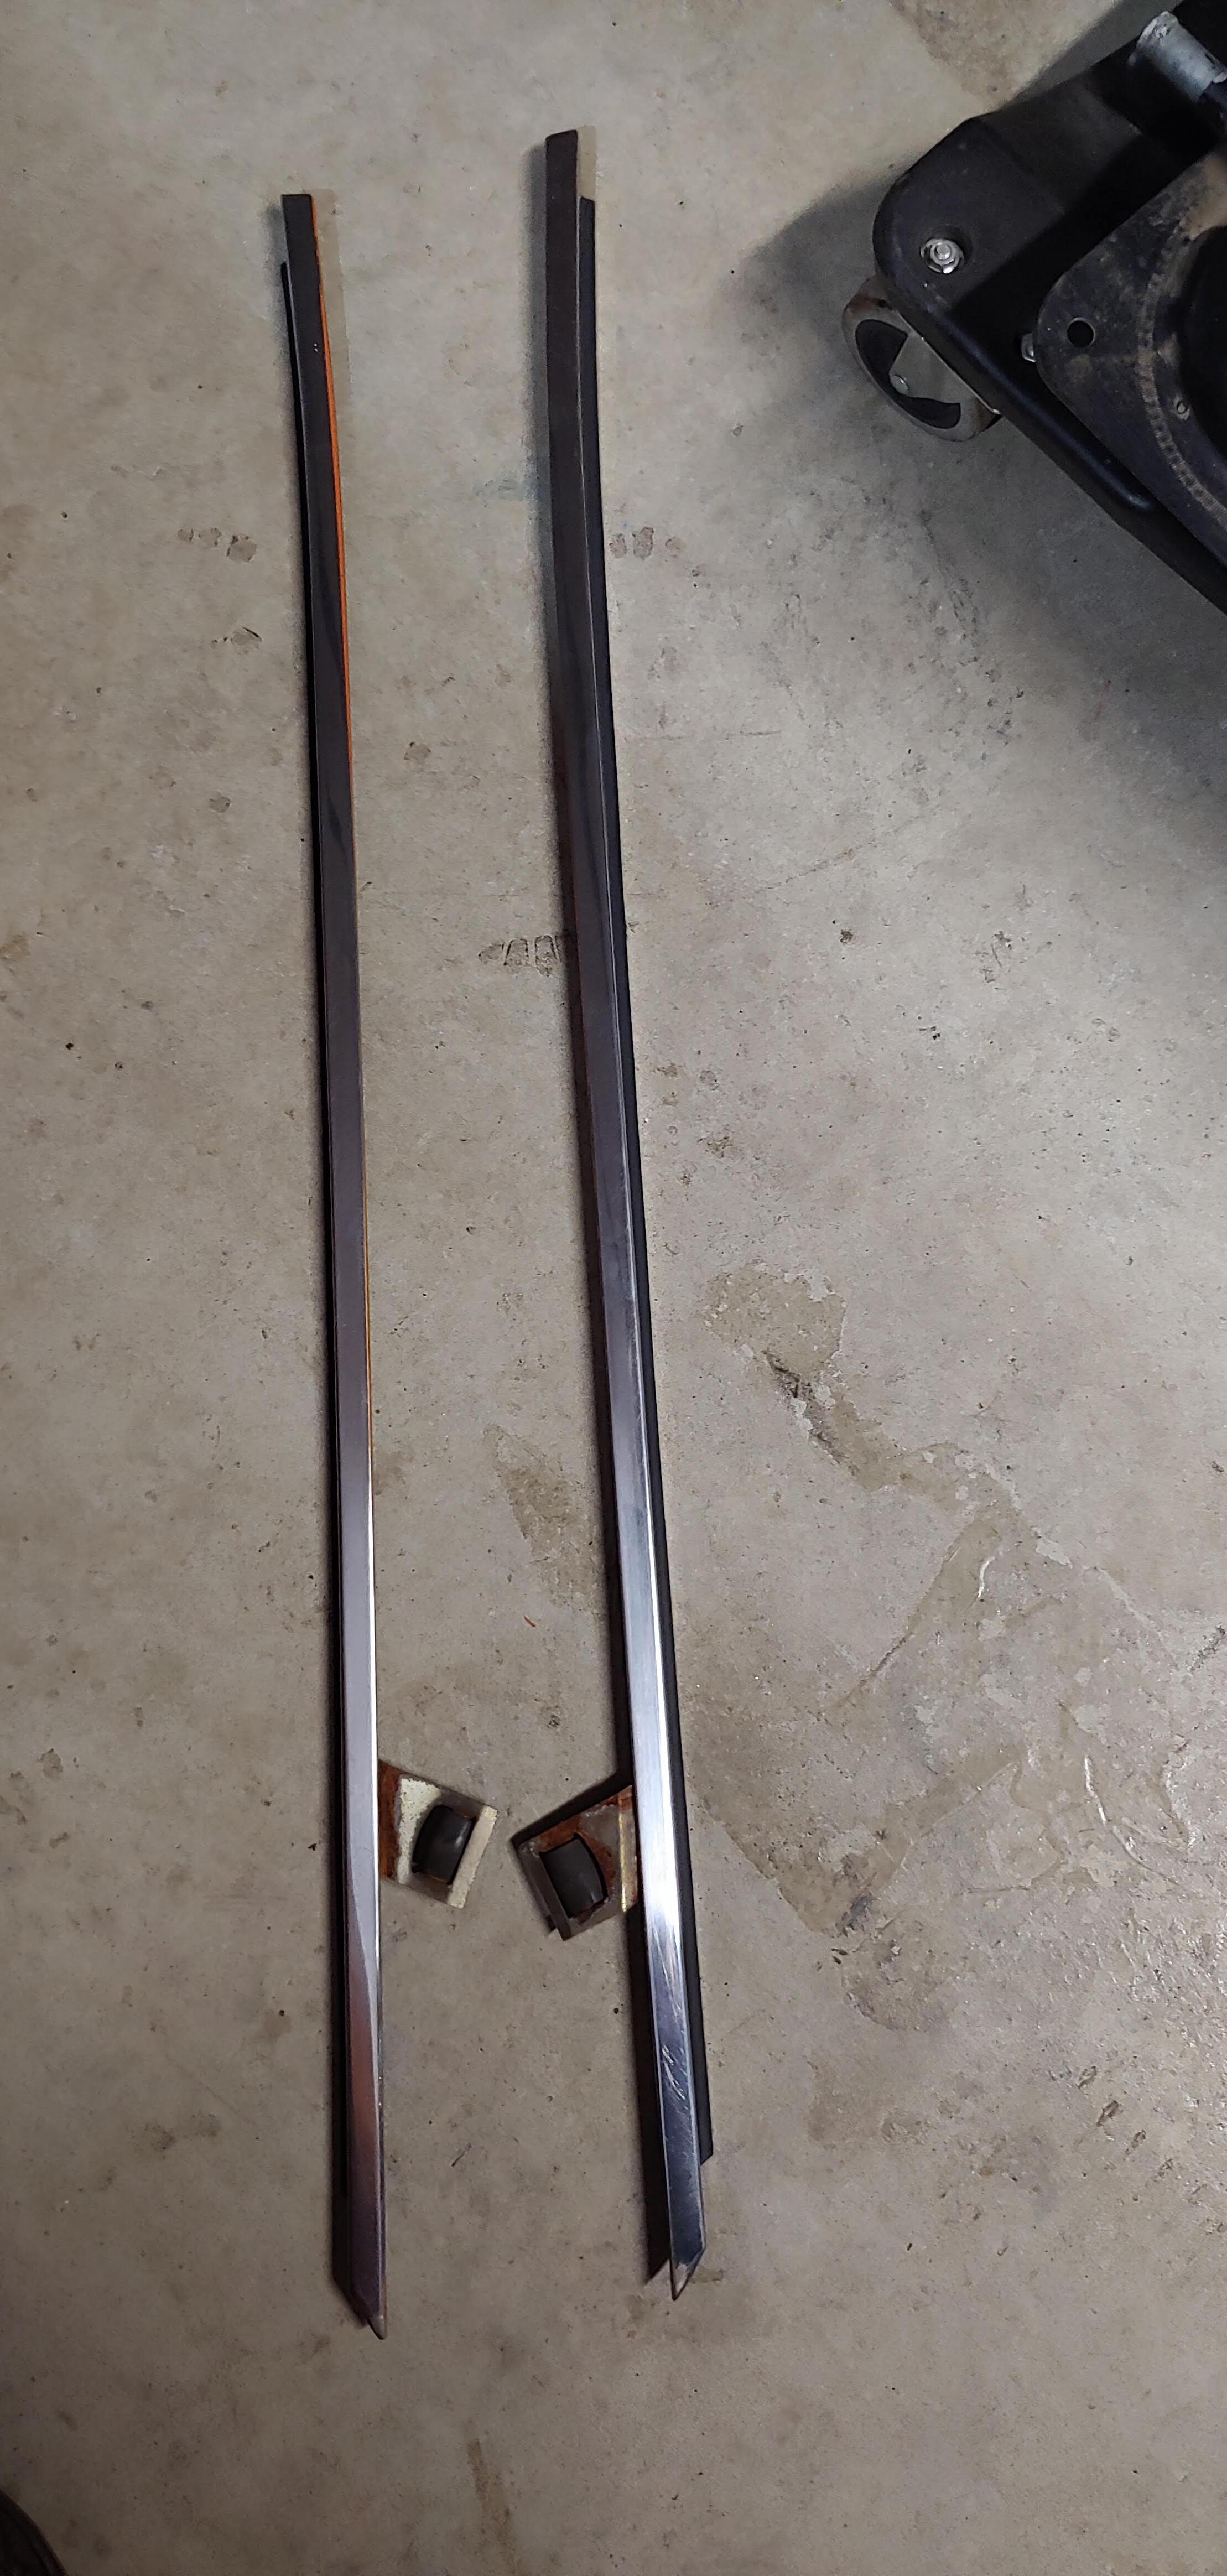
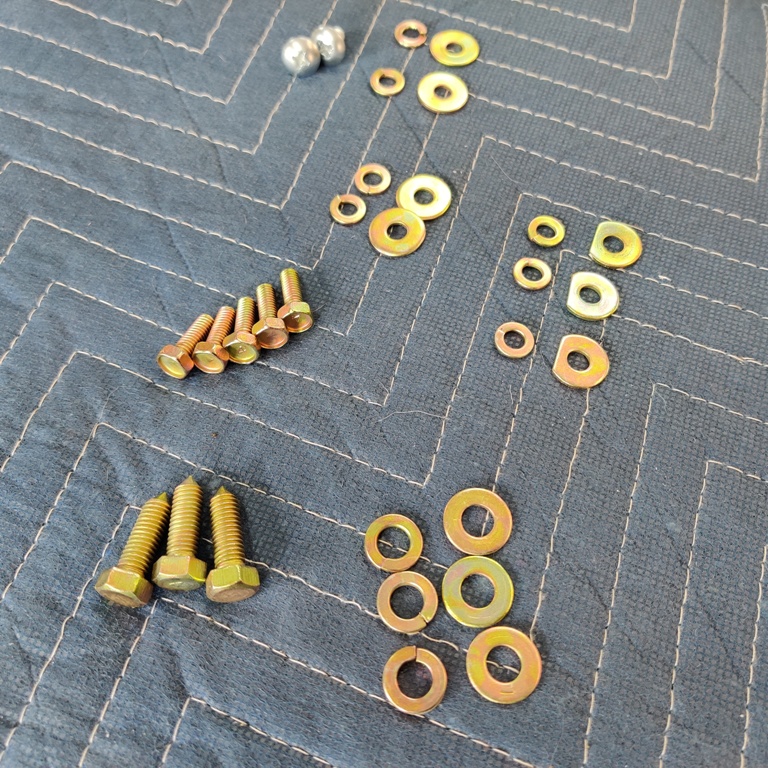
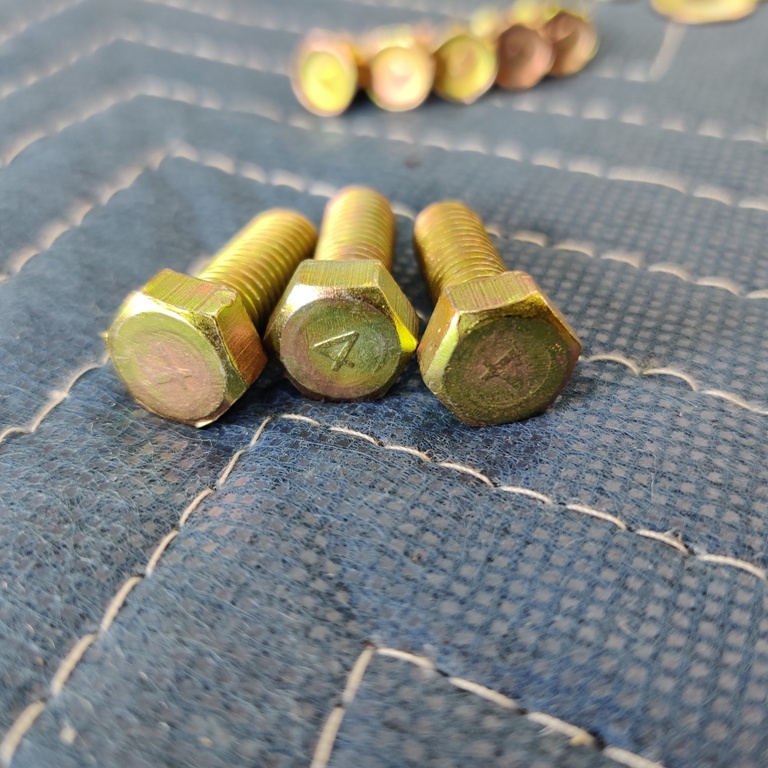
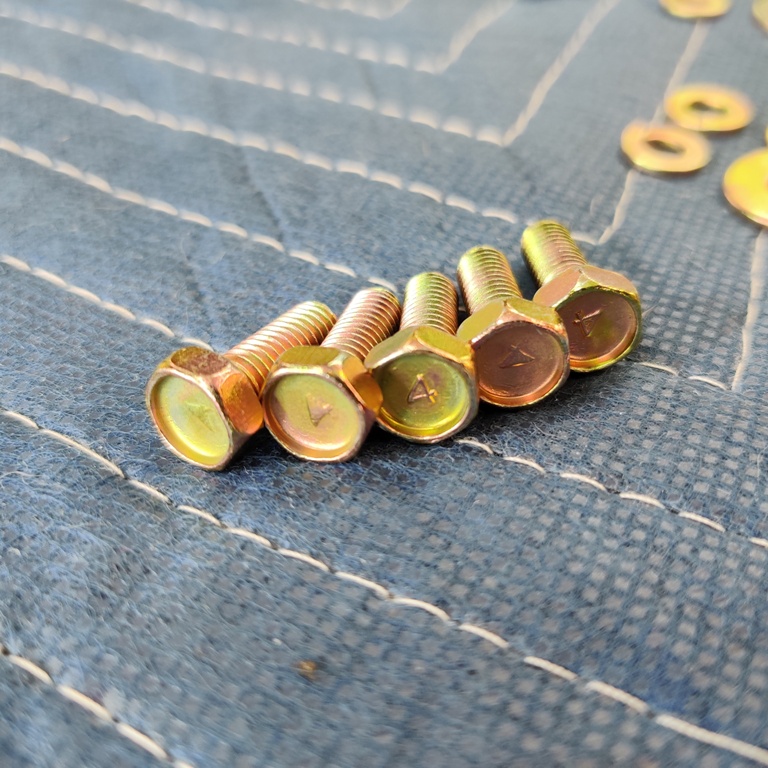
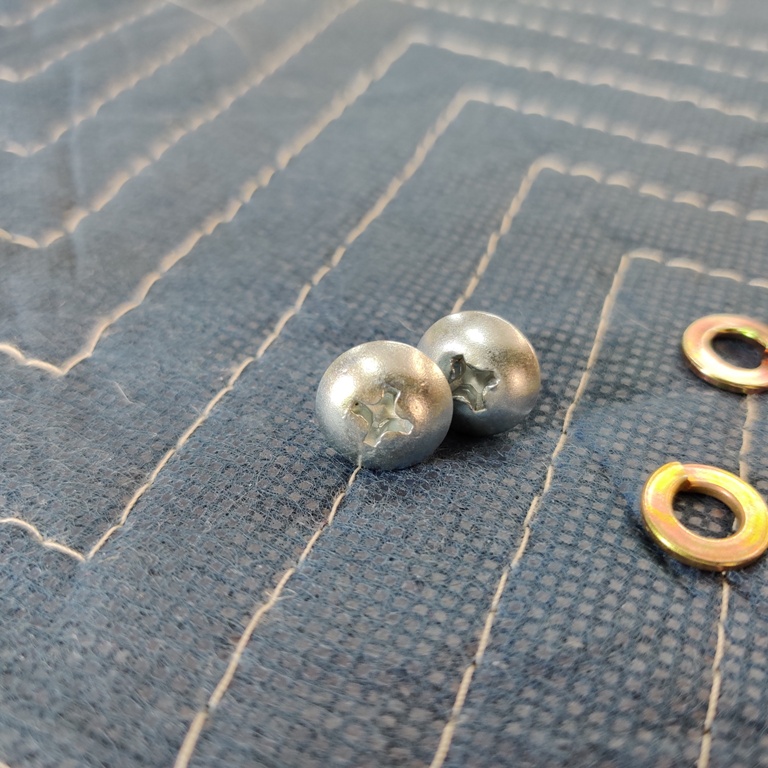
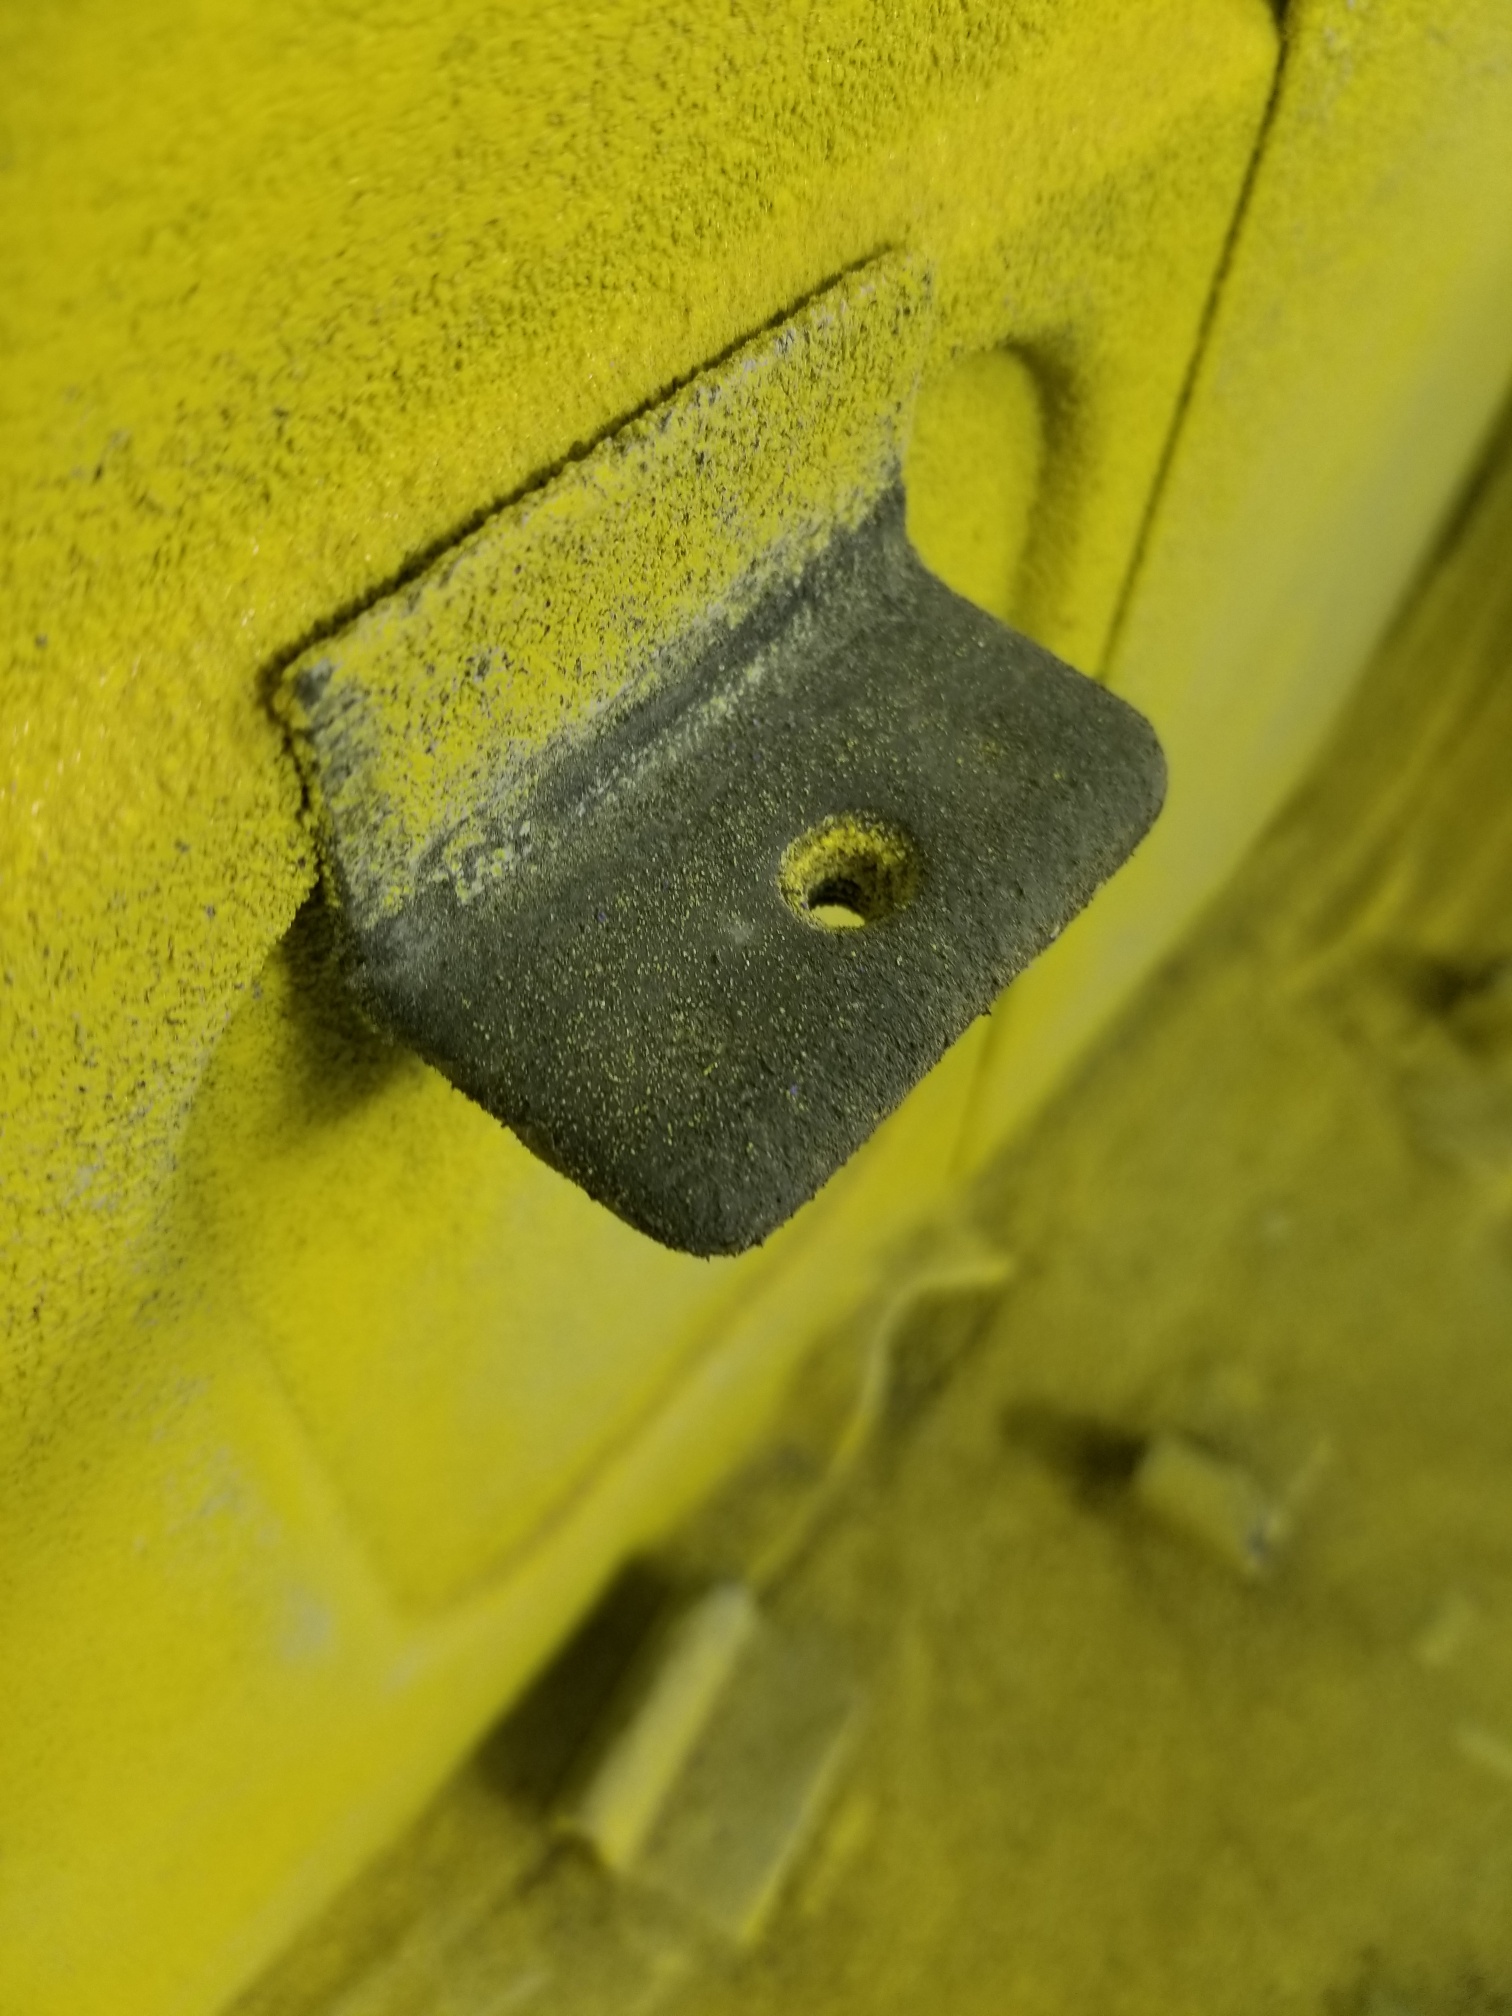
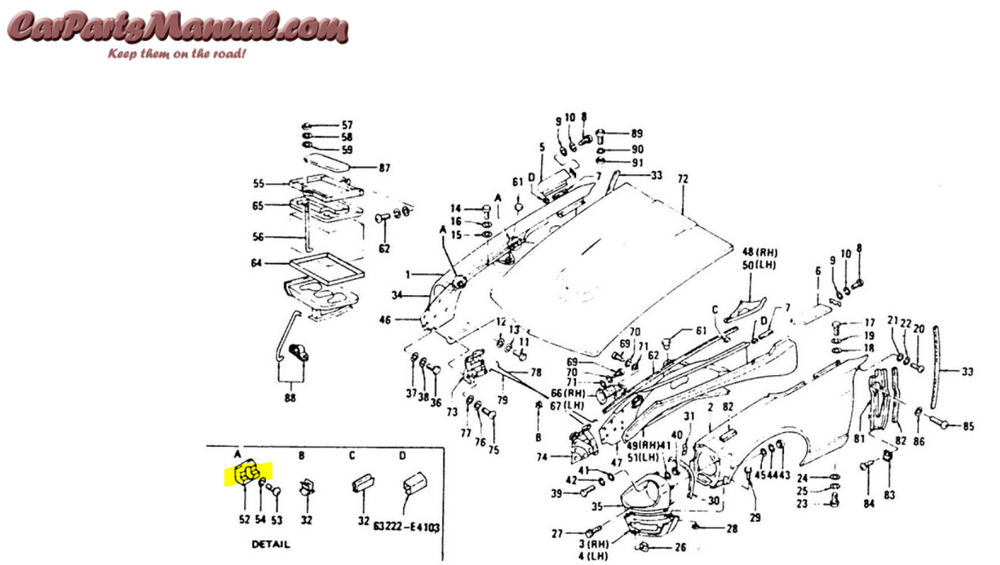
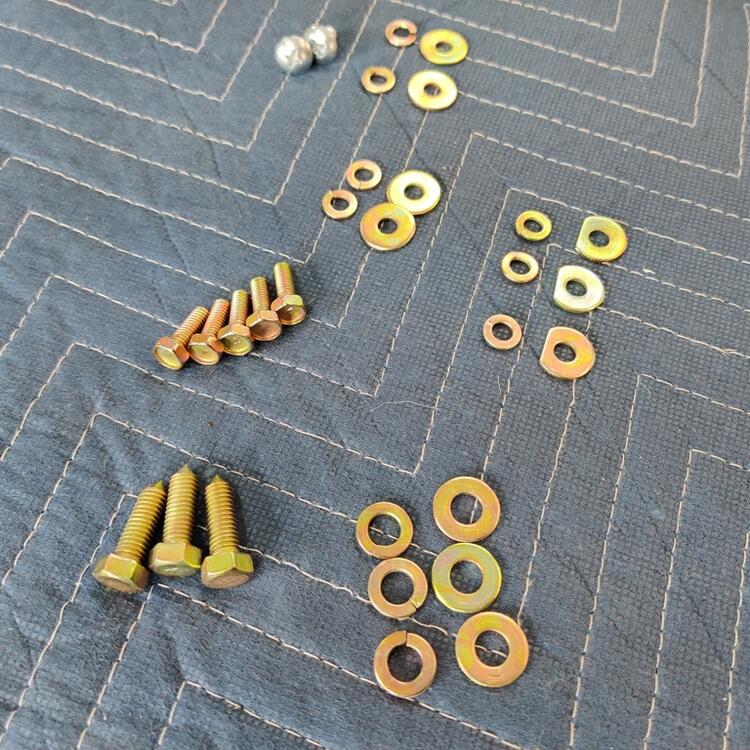
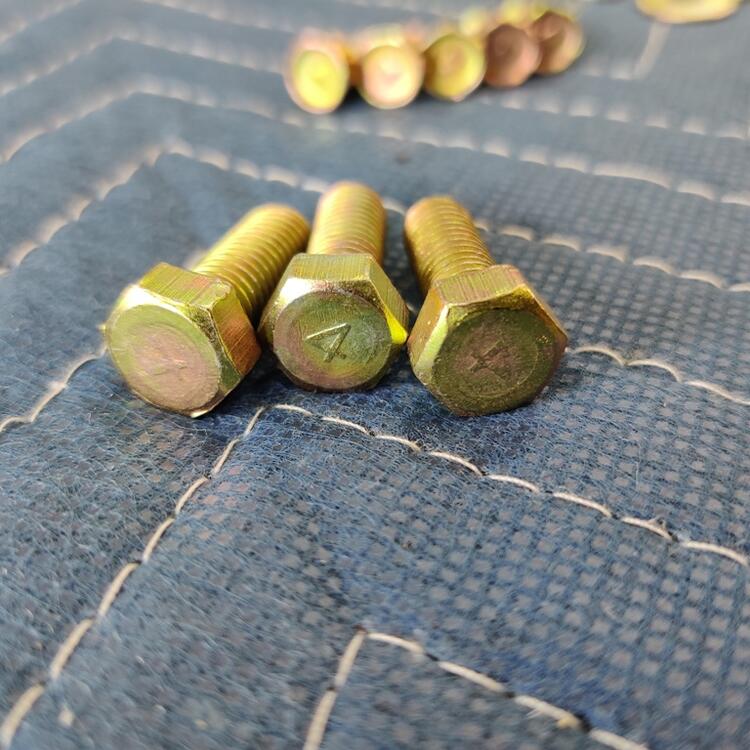
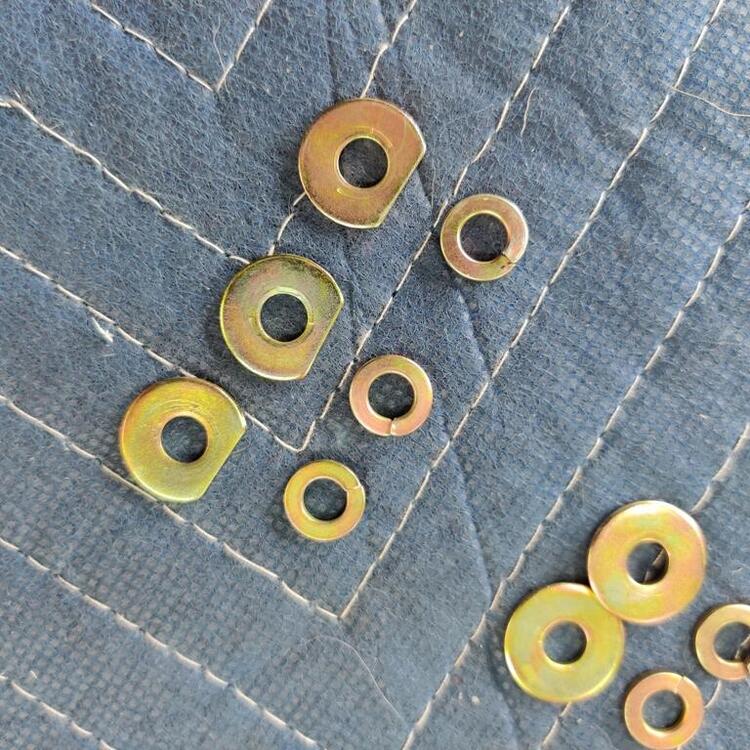
When I delivered the car chassis to the paint shop, there was evidence of past interference between the side edges of the hood and the fender bolts. Without the rubber "bumpers" in place, a light sideways load on the hood can cause this interference, allowing the head of the fender securing bolts to snag and chip the primer on the hood edge. In its as delivered state, they had to address that damage that had occurred on the hood edges. I don't blame them for wanting to keep that from happening during transit back from painting - to do this, they are leaving the hood off. When I go to pick up the car, I will bring the rubber blocks and we'll put the hood on because I won't have a safer way to bring the hood back than attached to the body of the car. Also, I took a lot of a care to put all original fasteners back into their original positions. So, I think the correct bolts and washers were used to secure the fenders in place on this car. This is the hardware I used to secure the fender to the unibody:


 2 points
 -
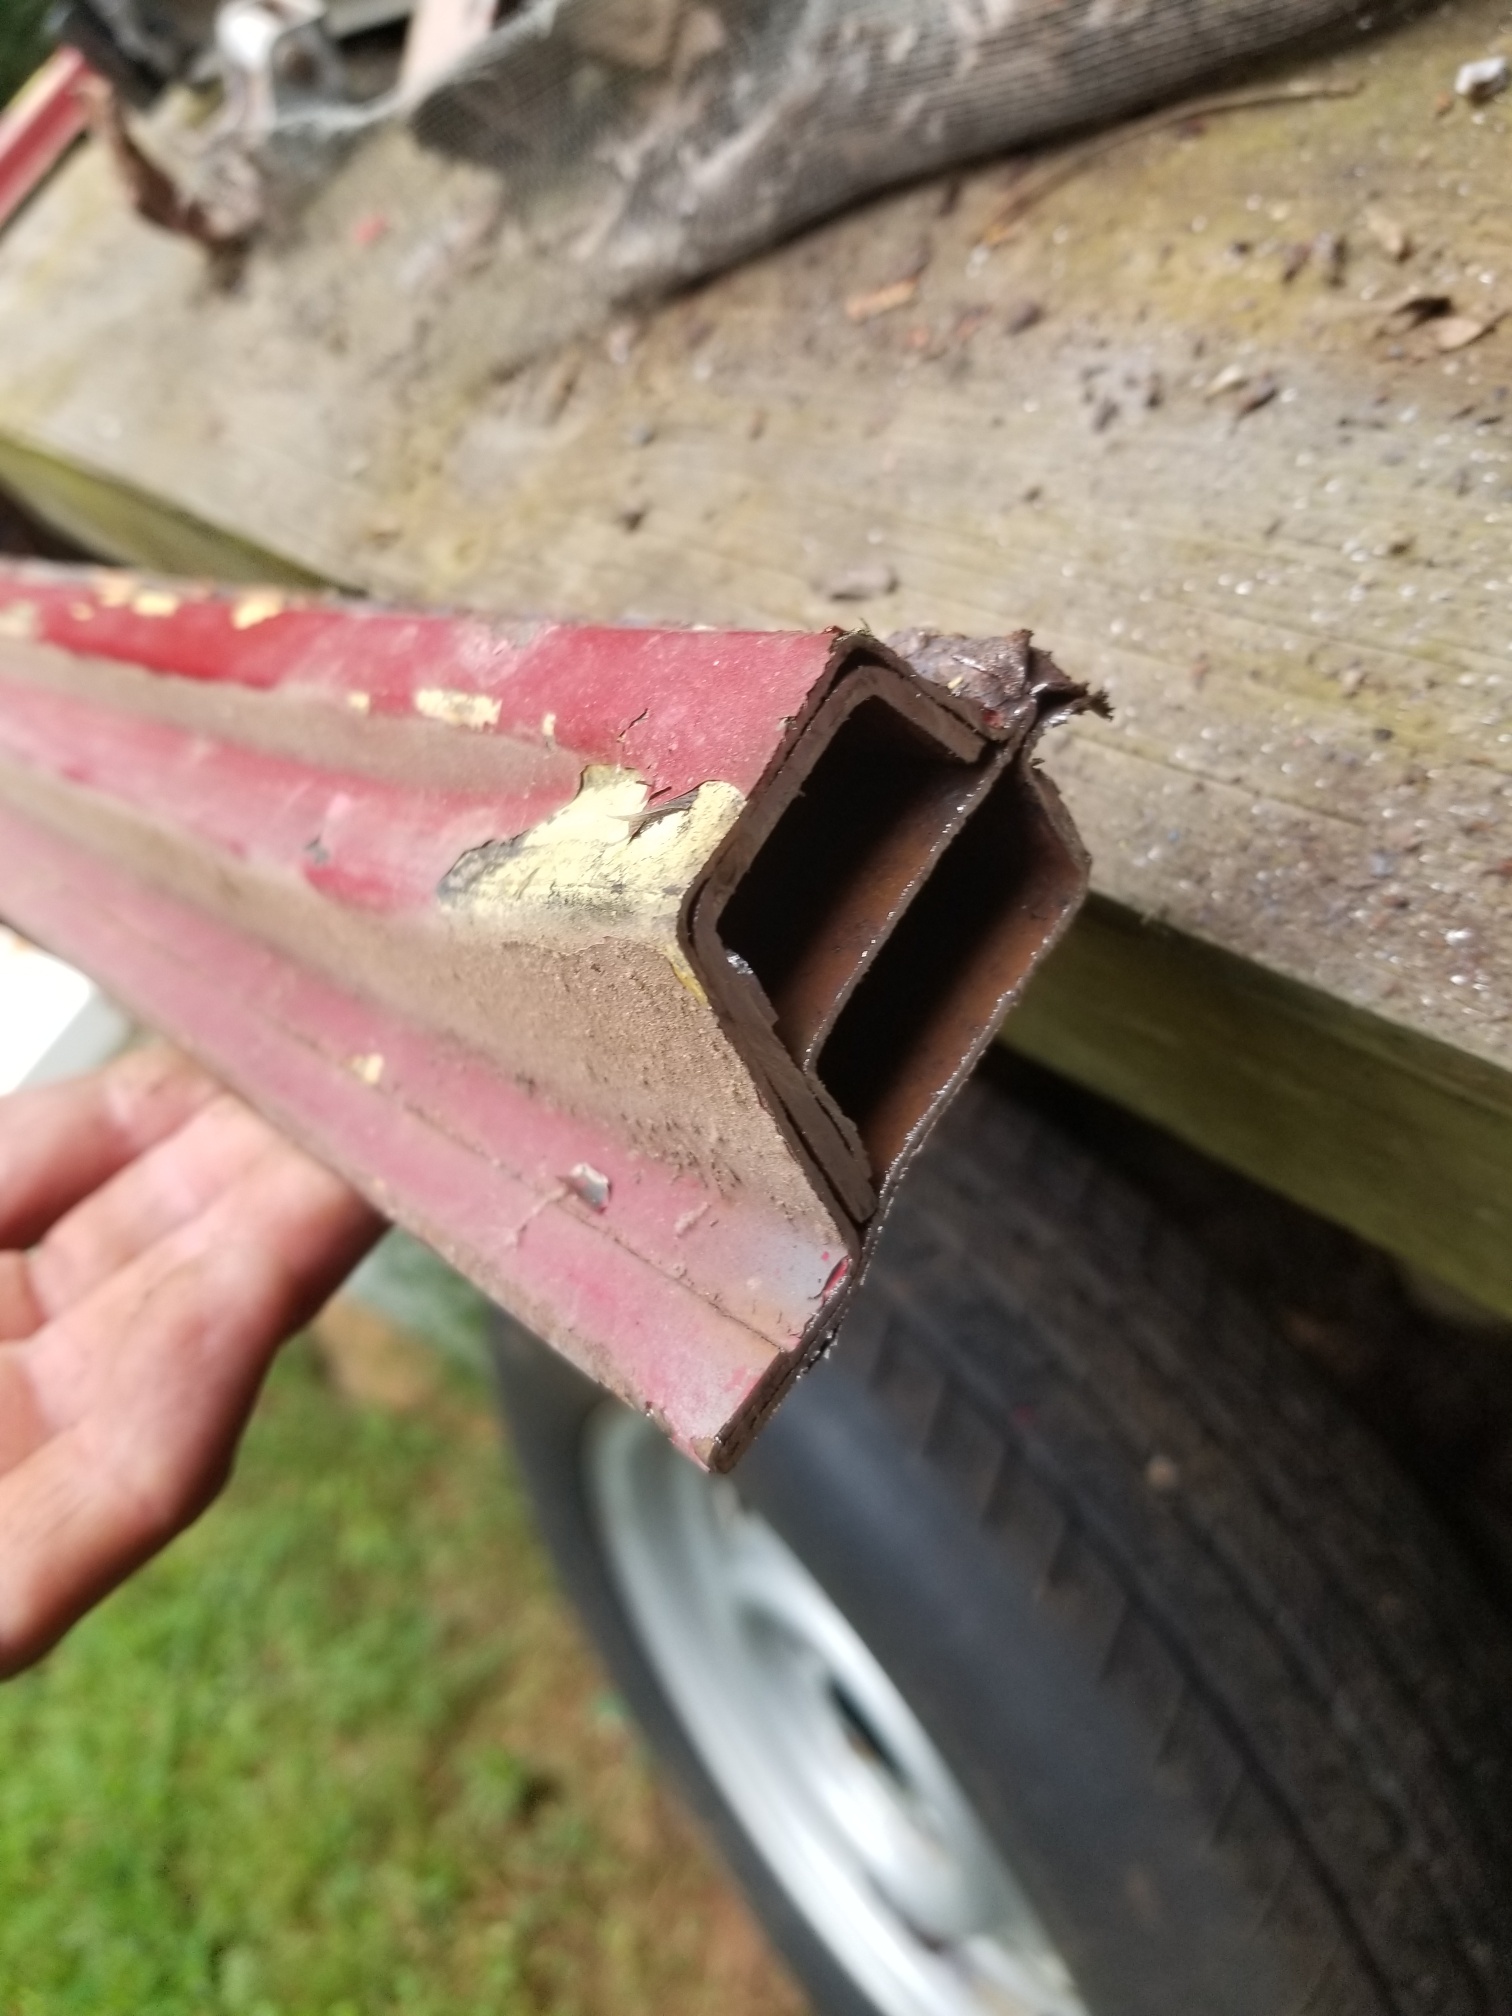
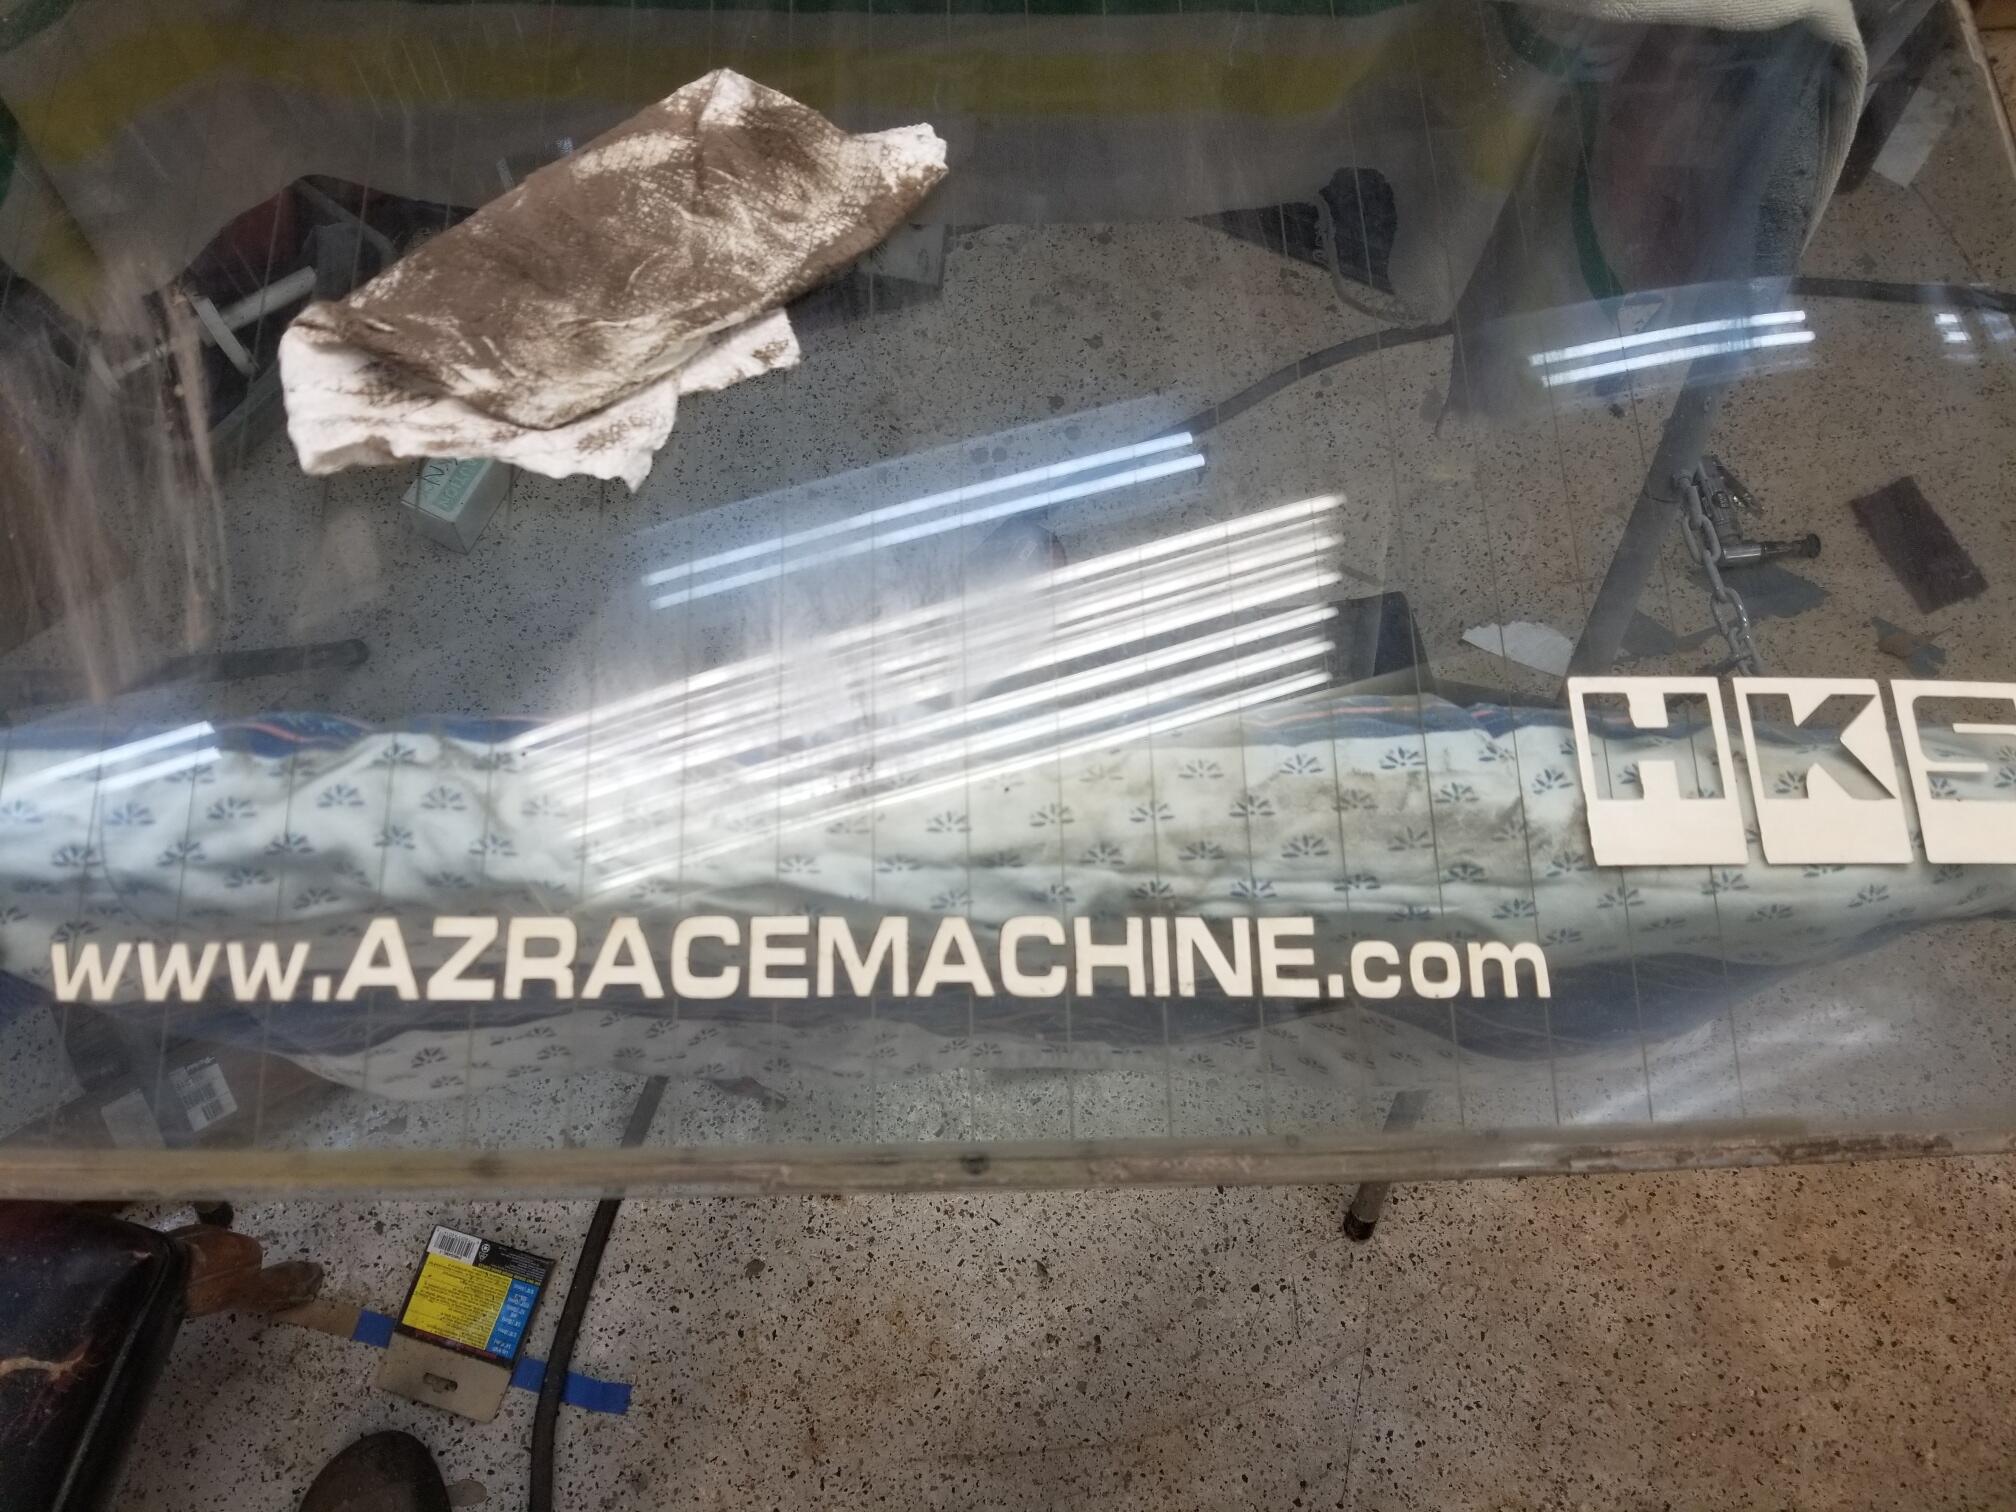
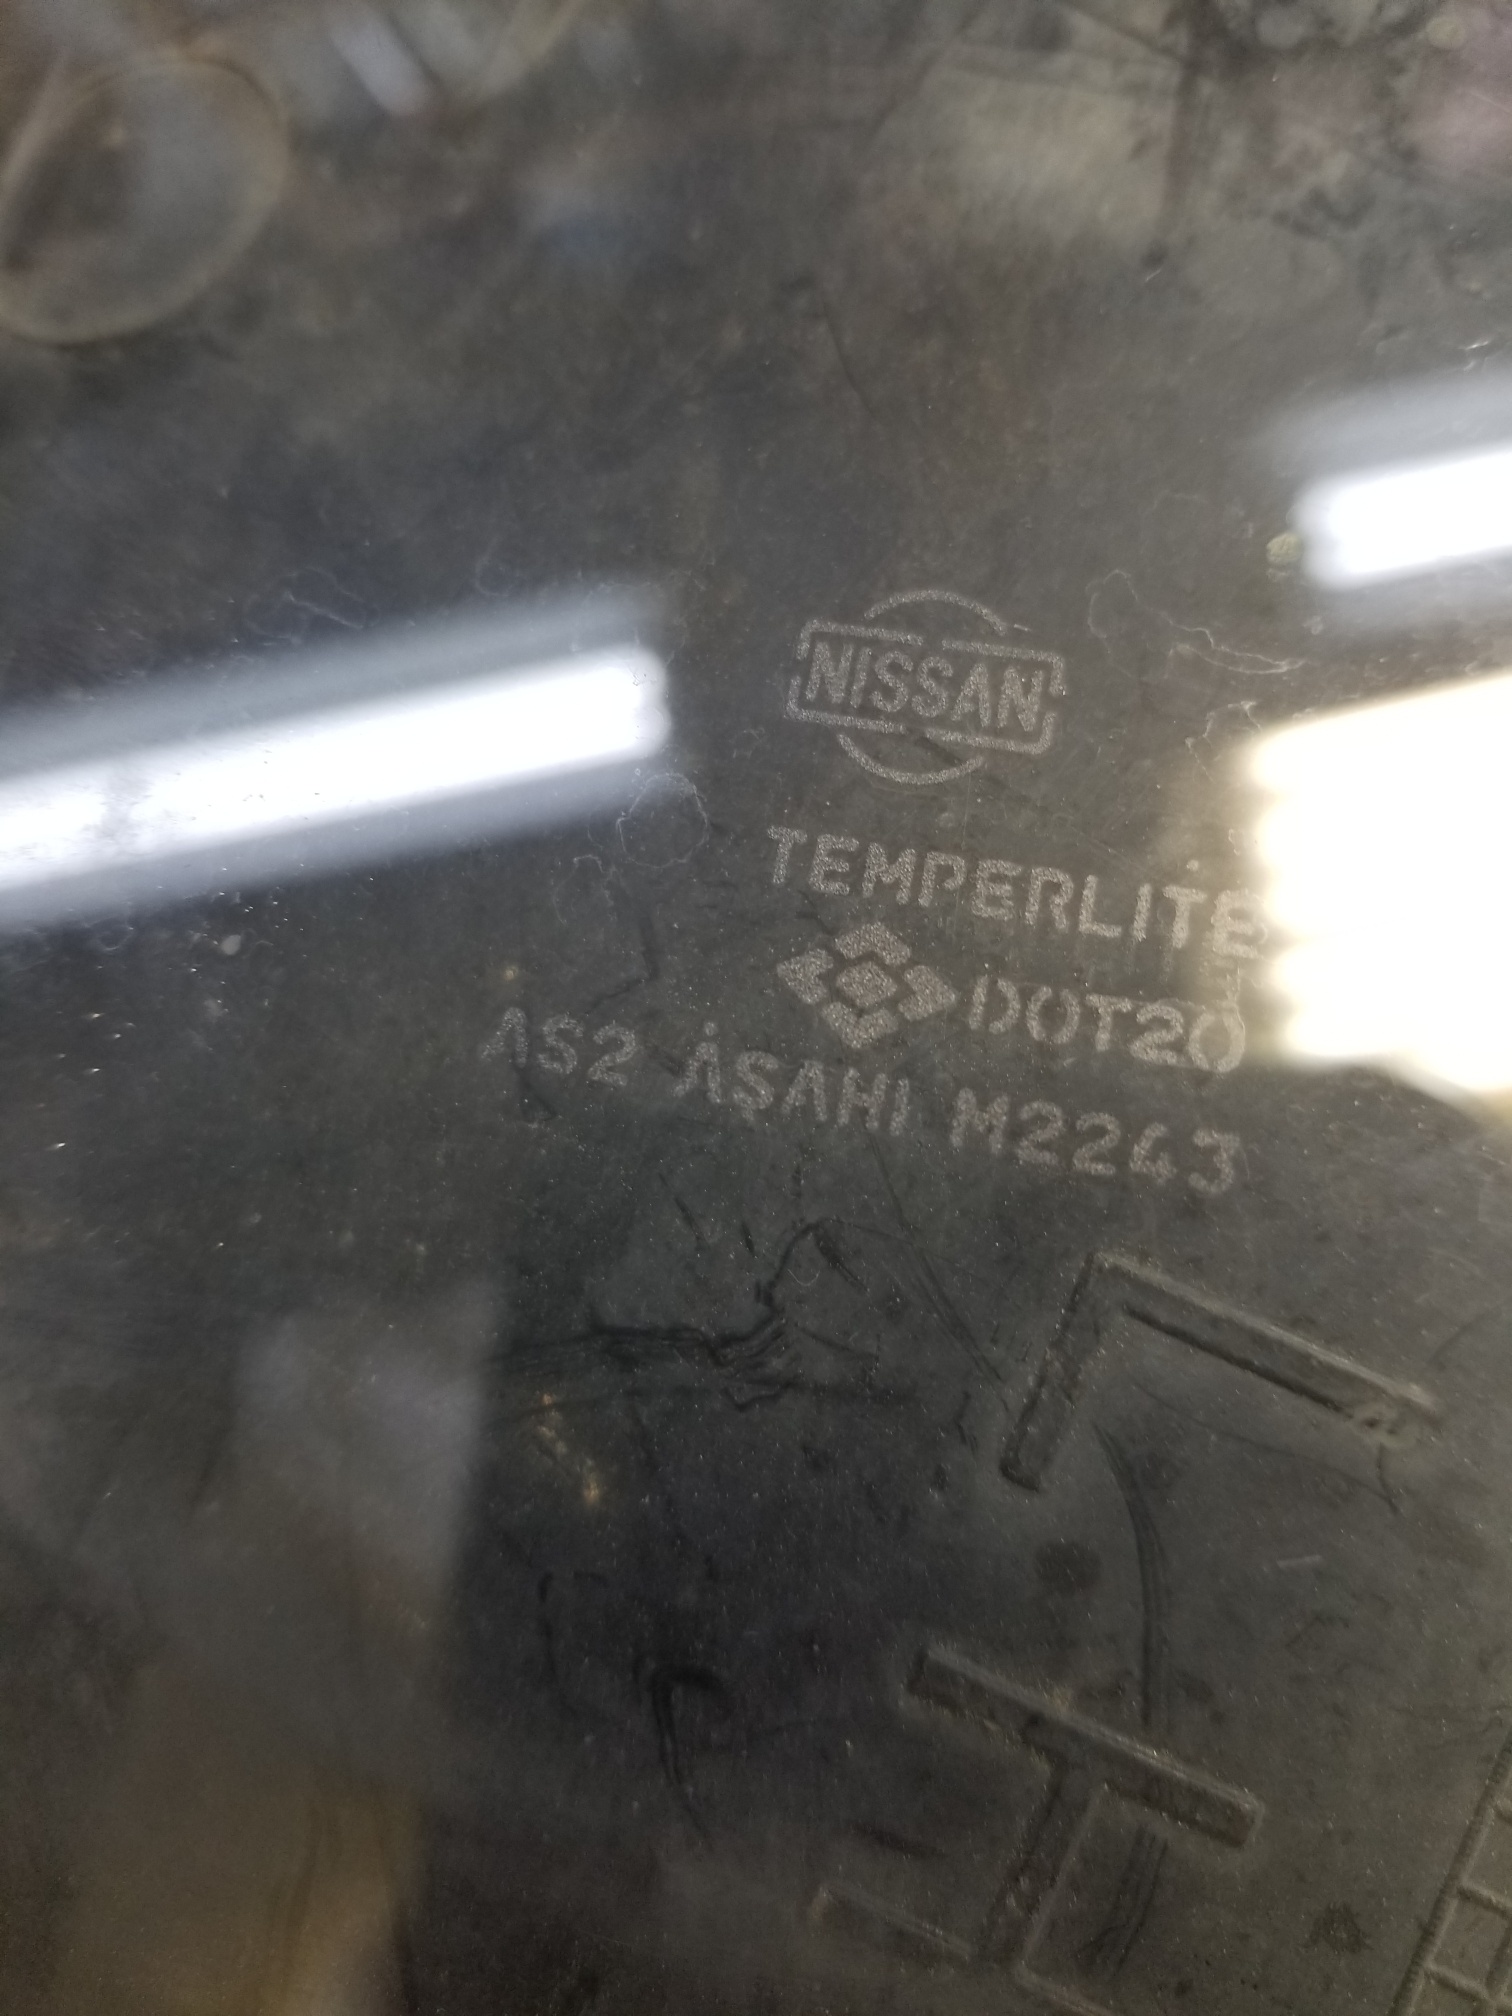
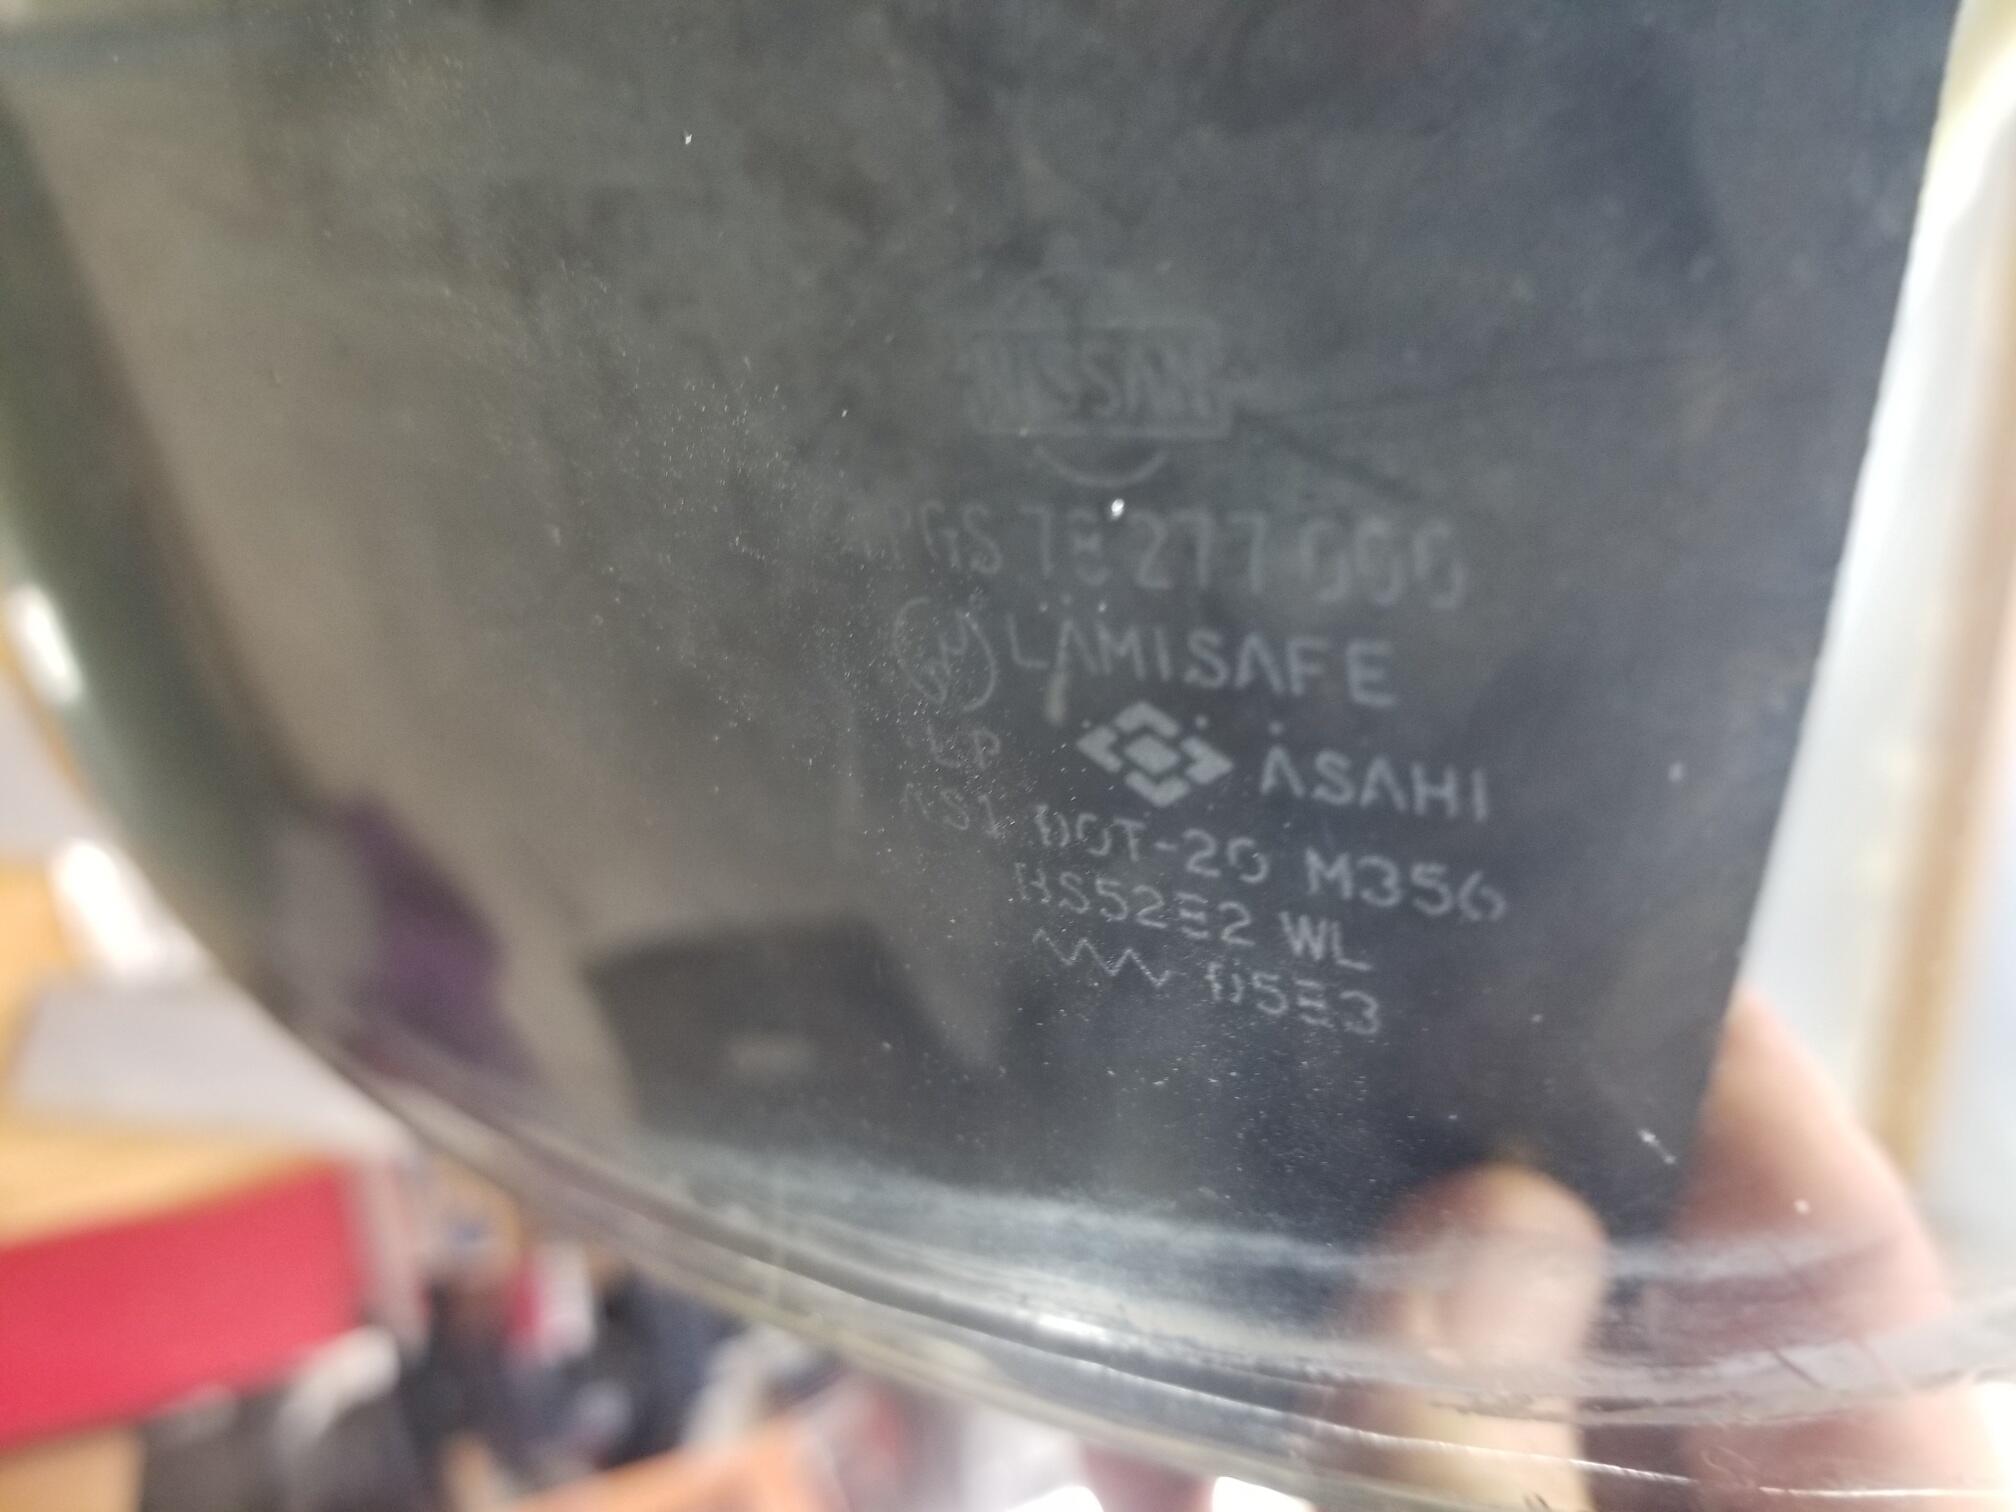
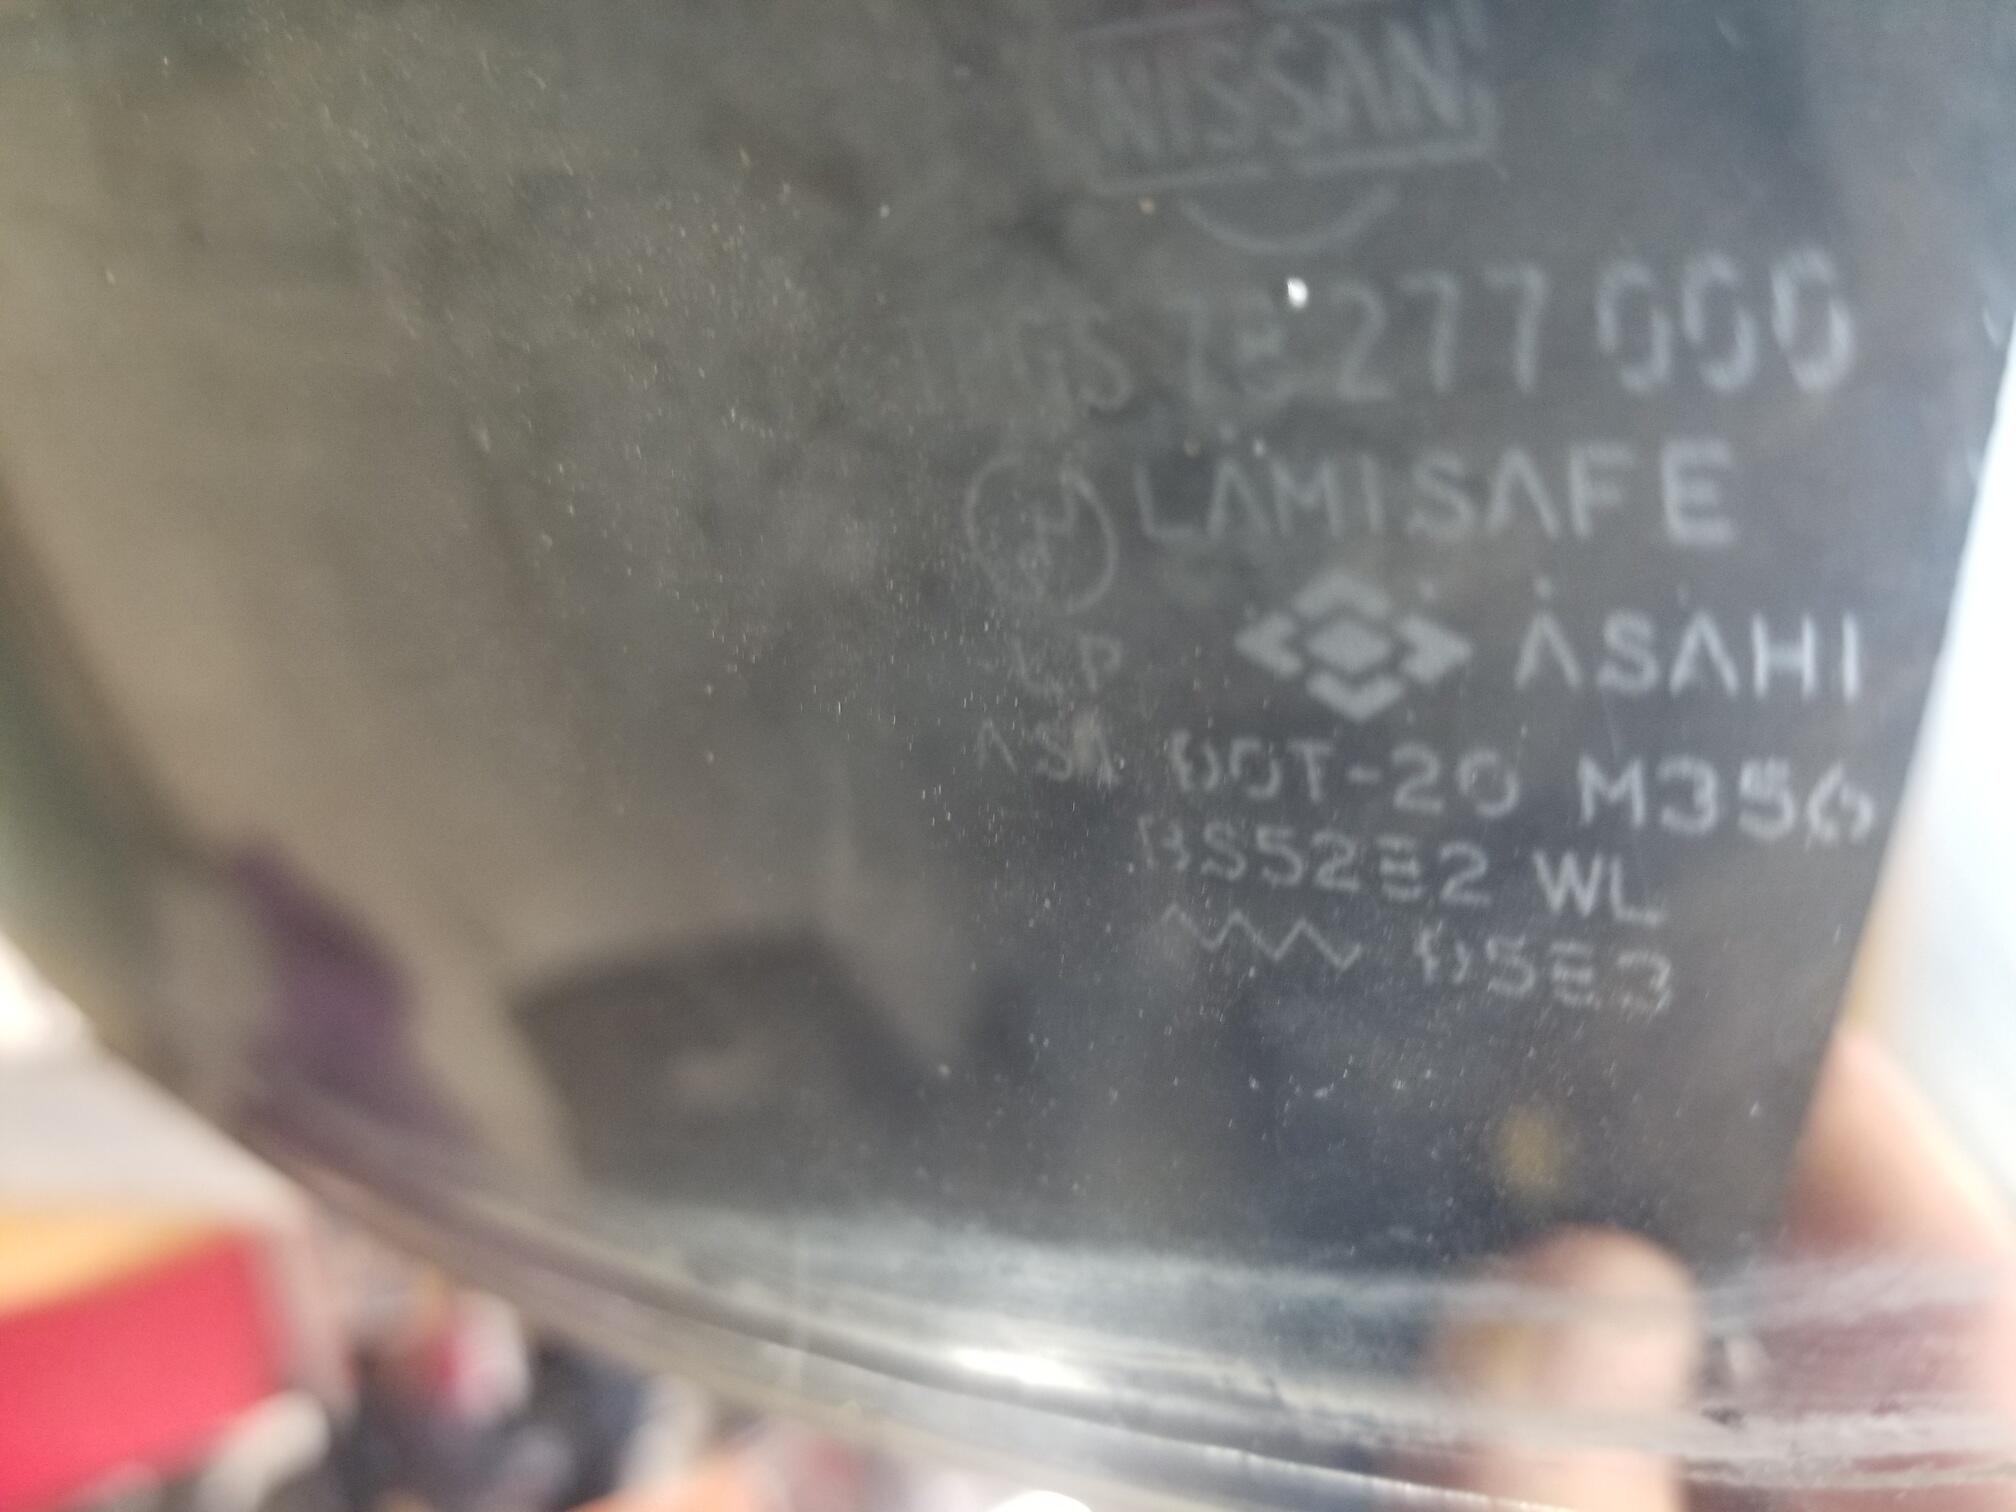
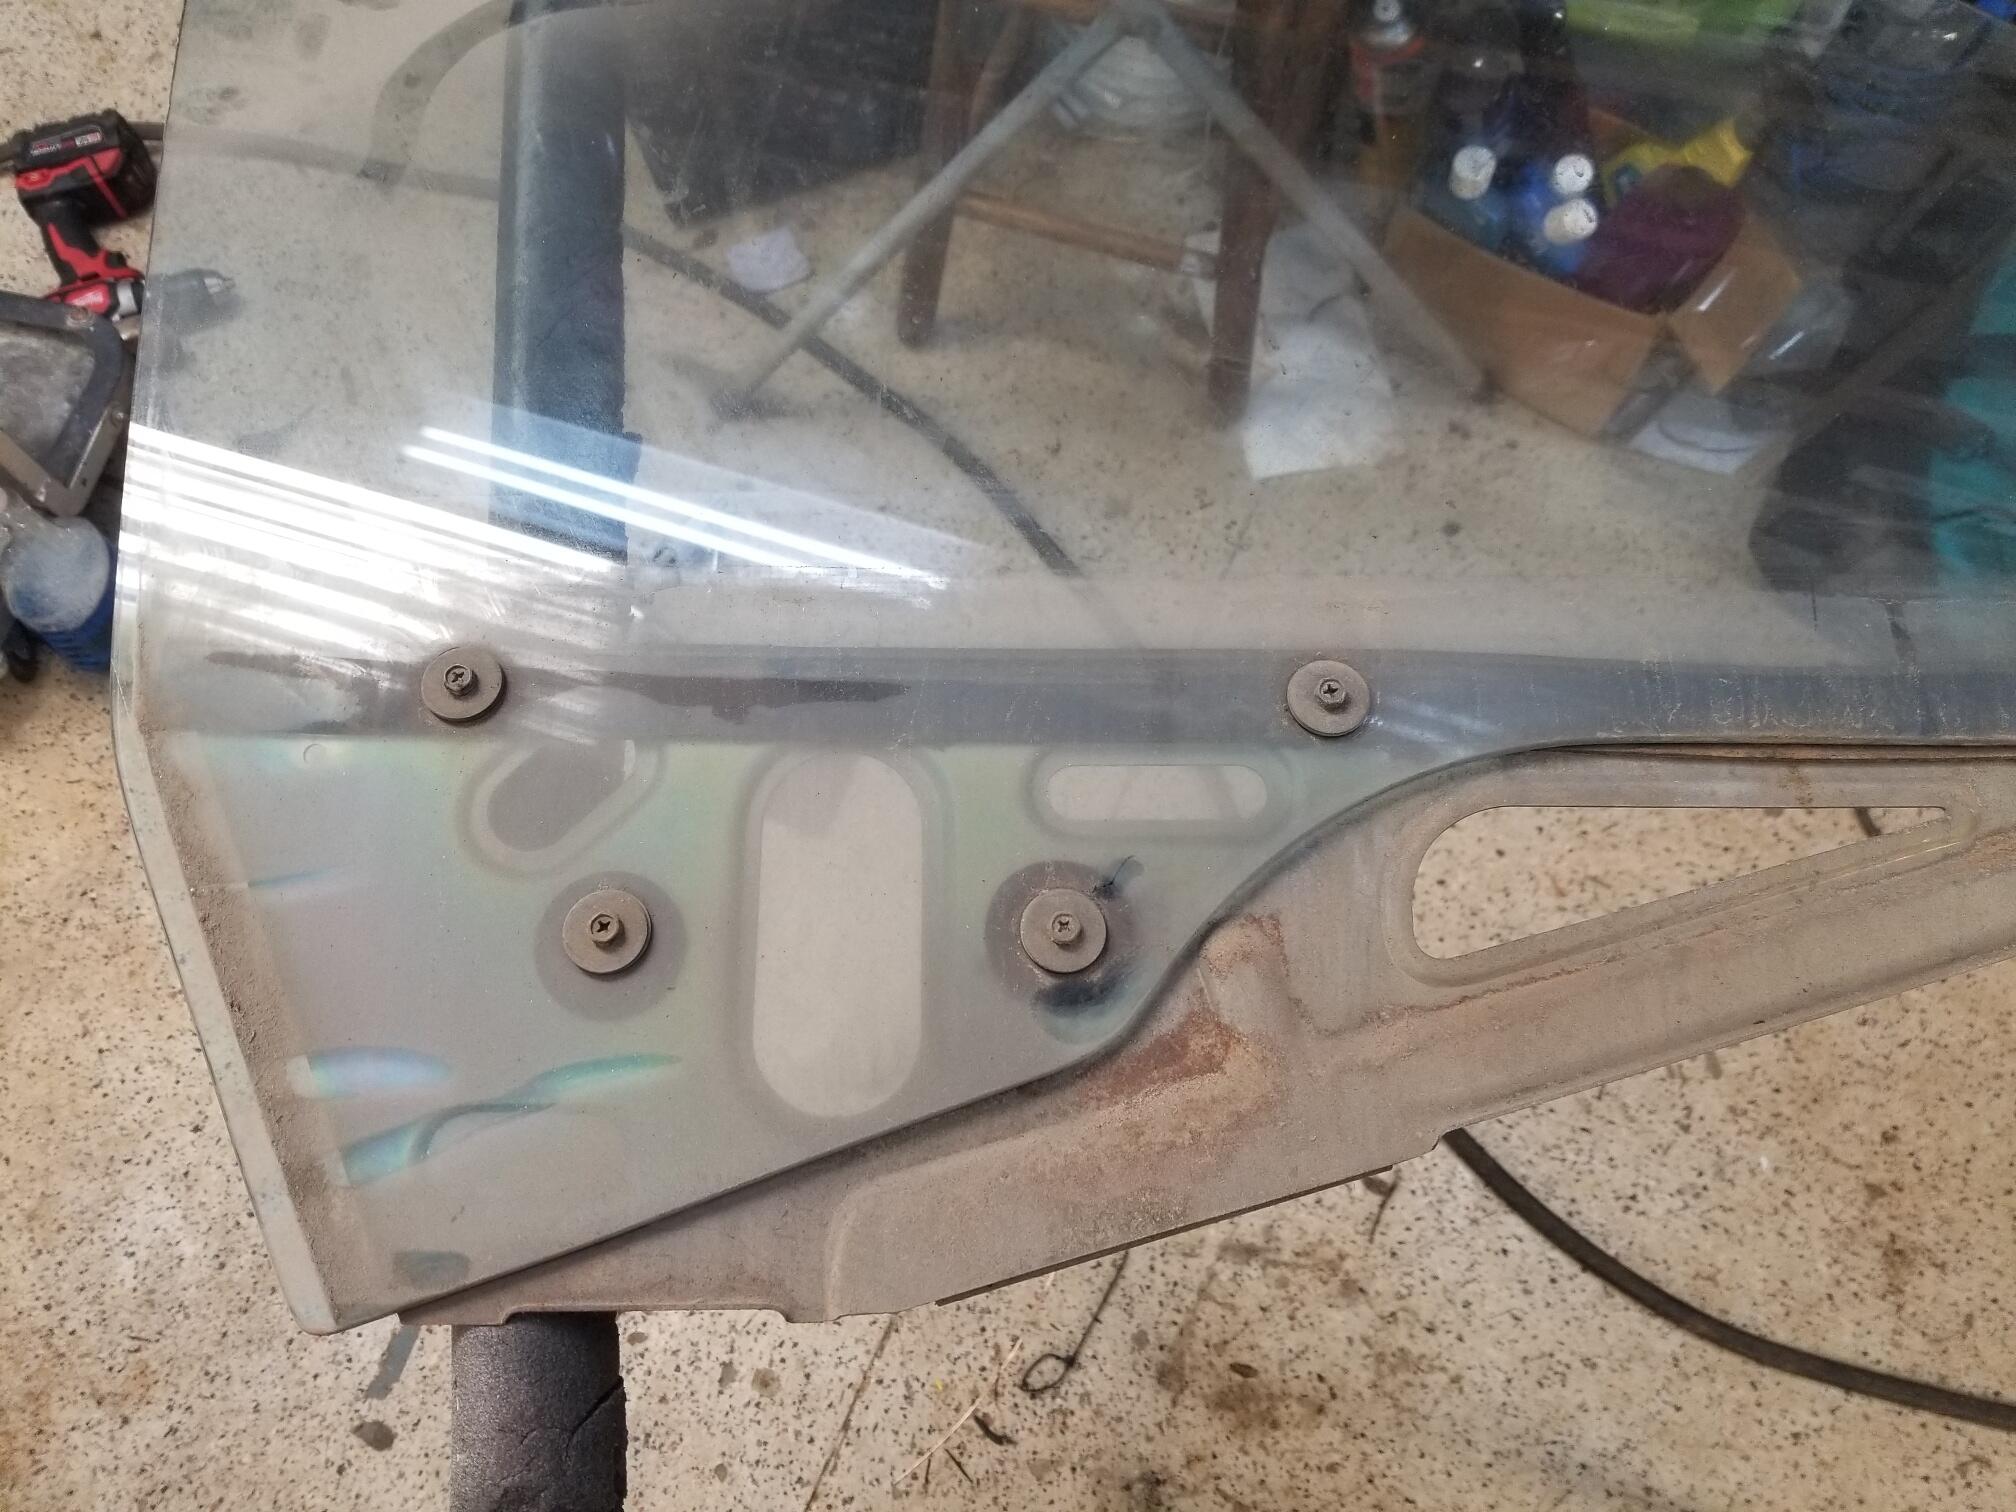
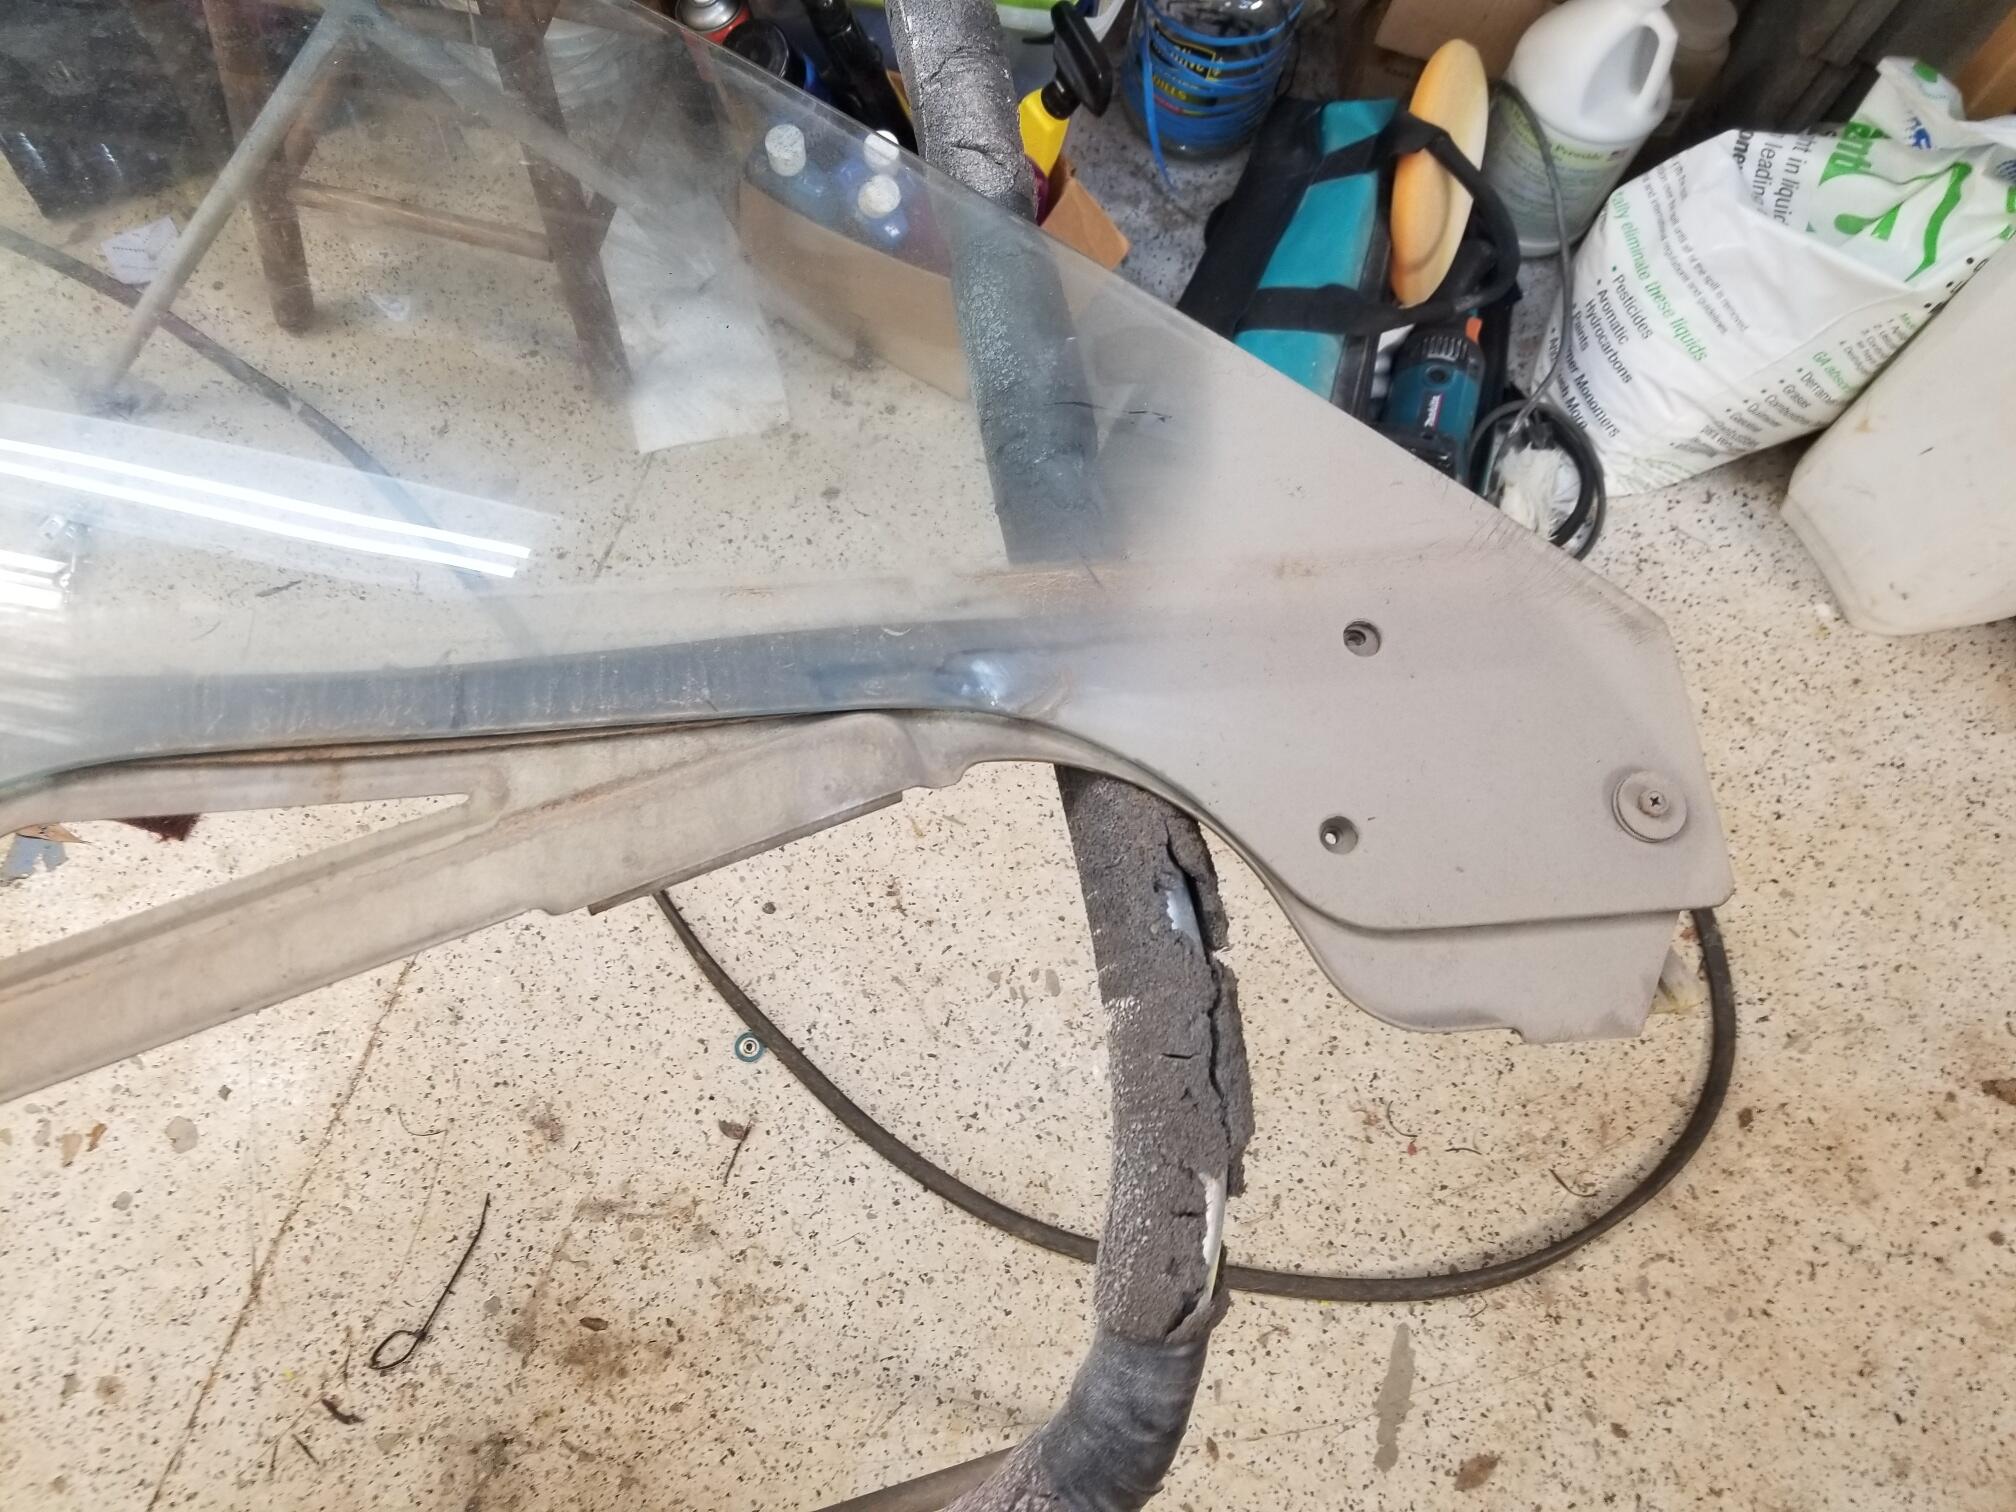
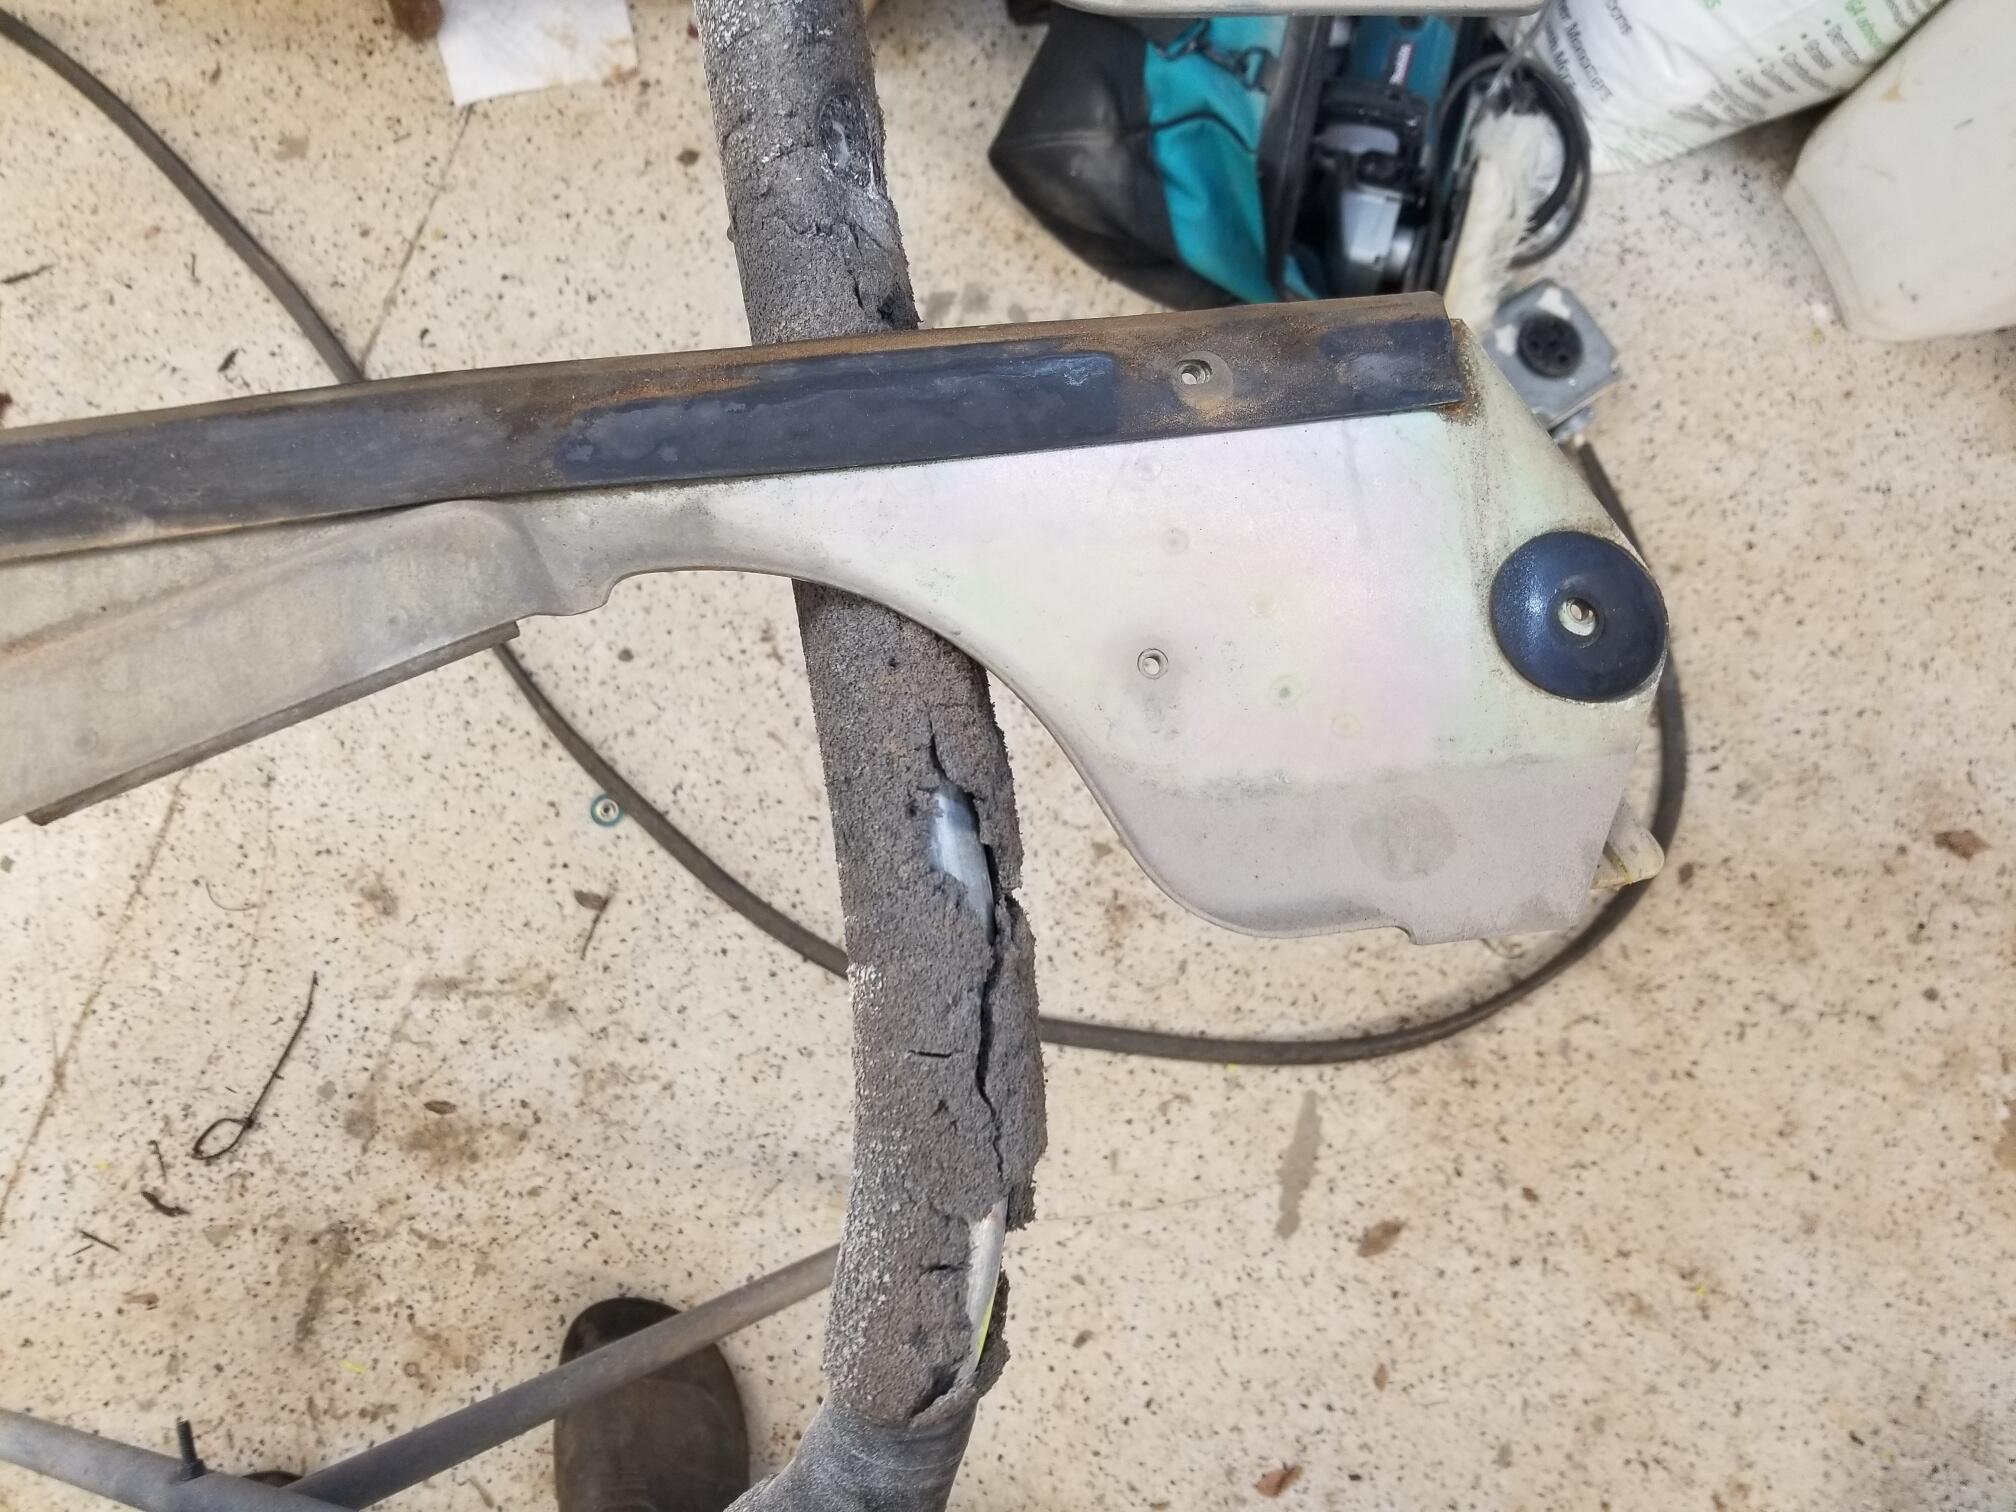
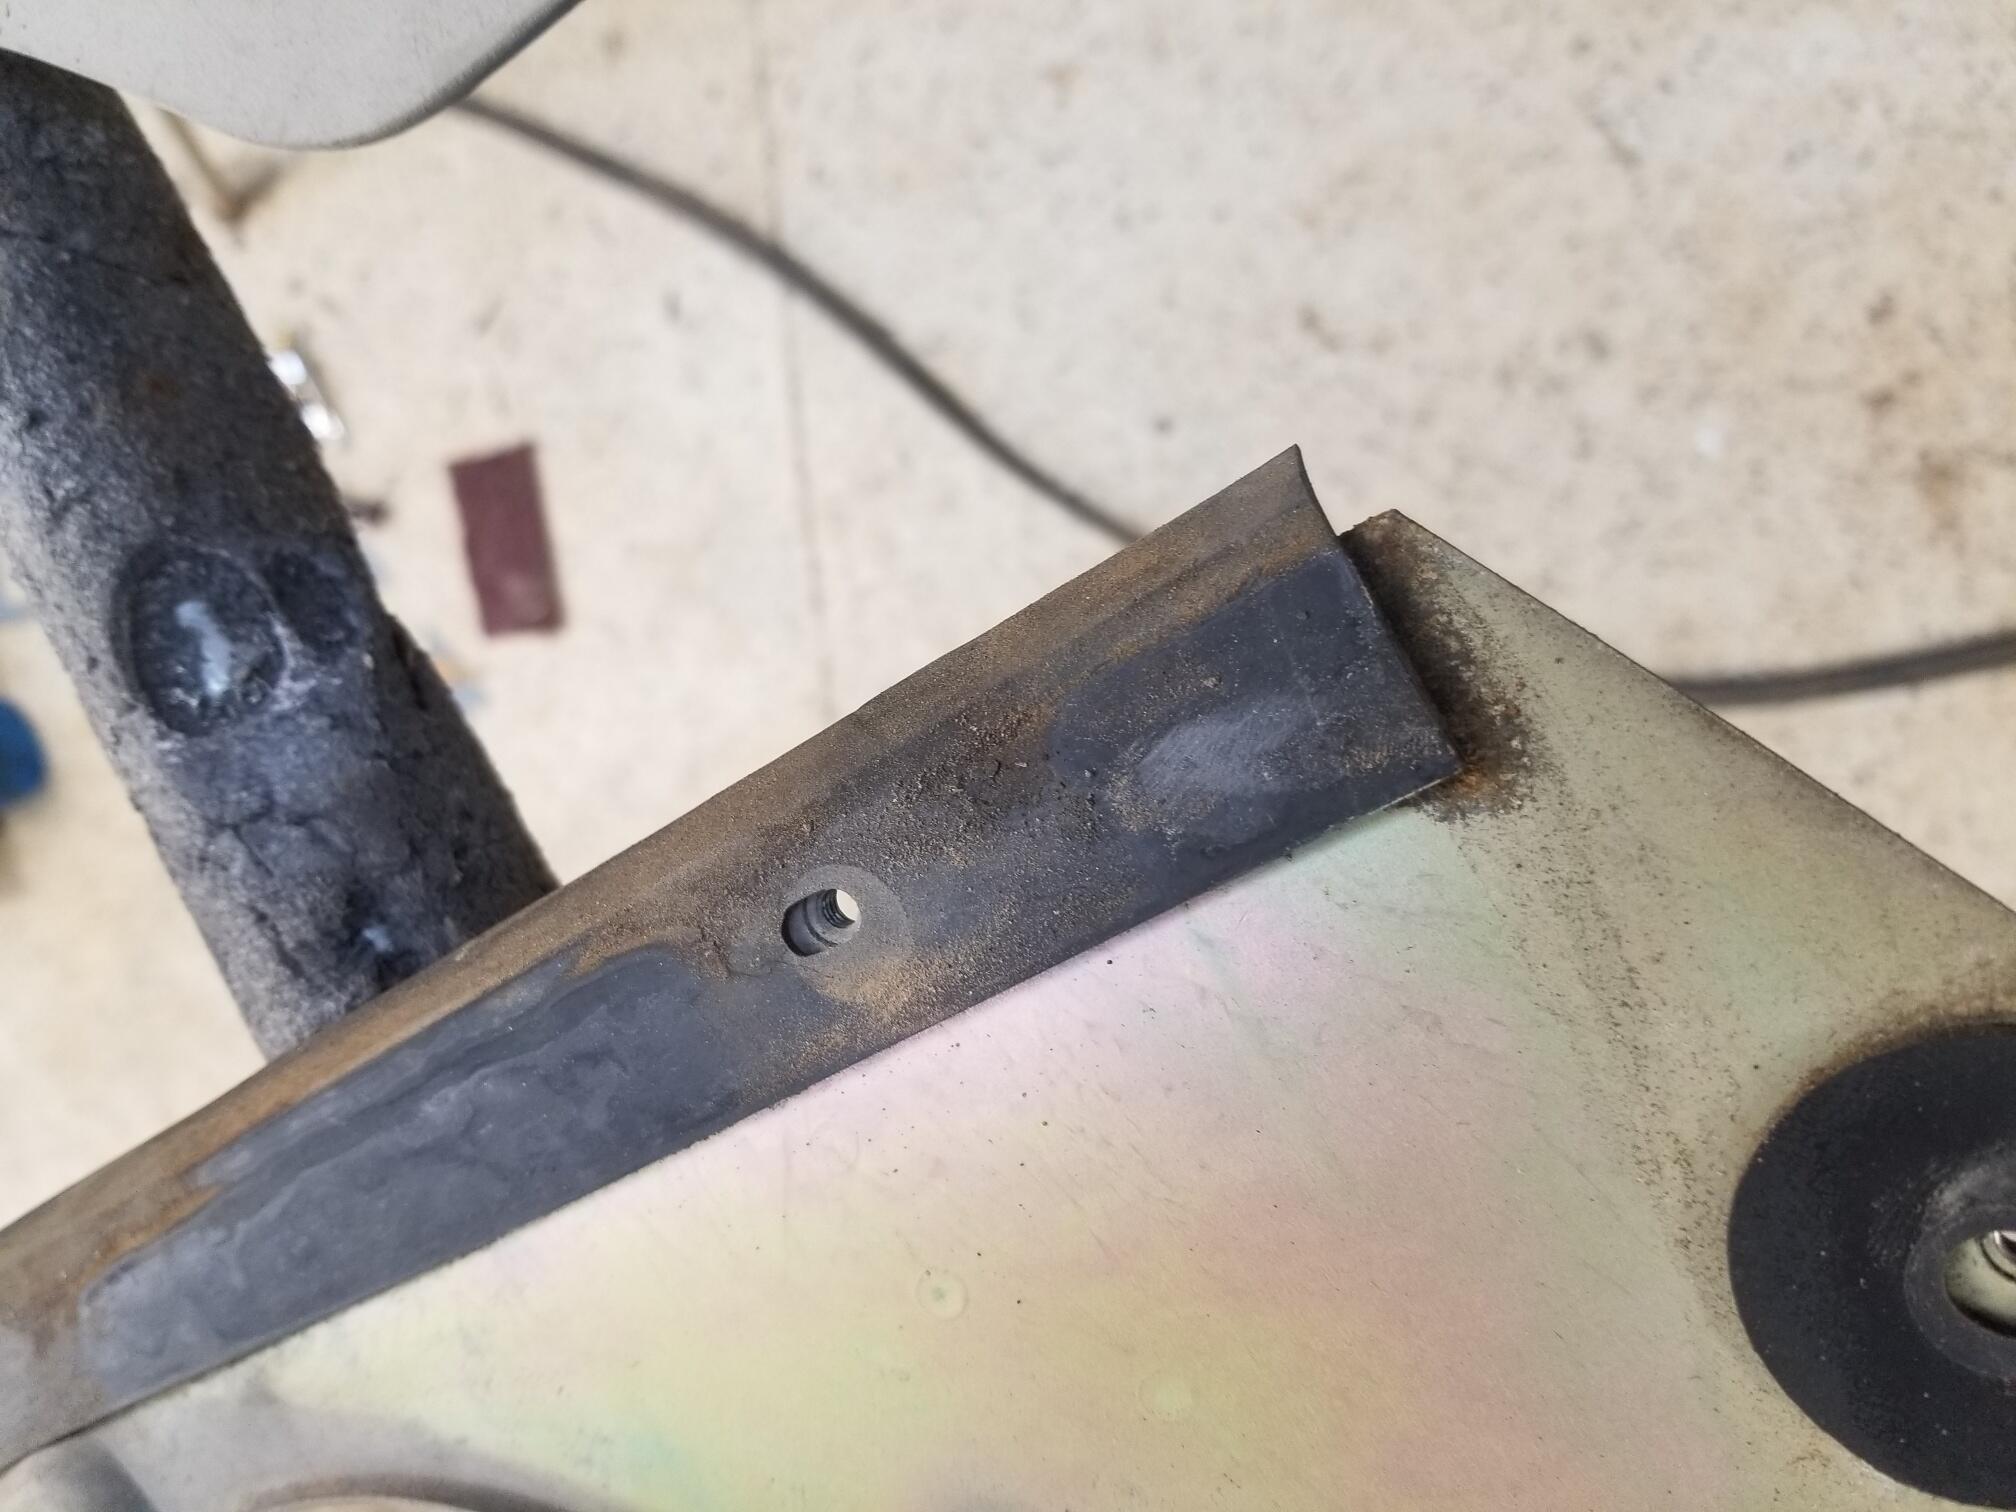
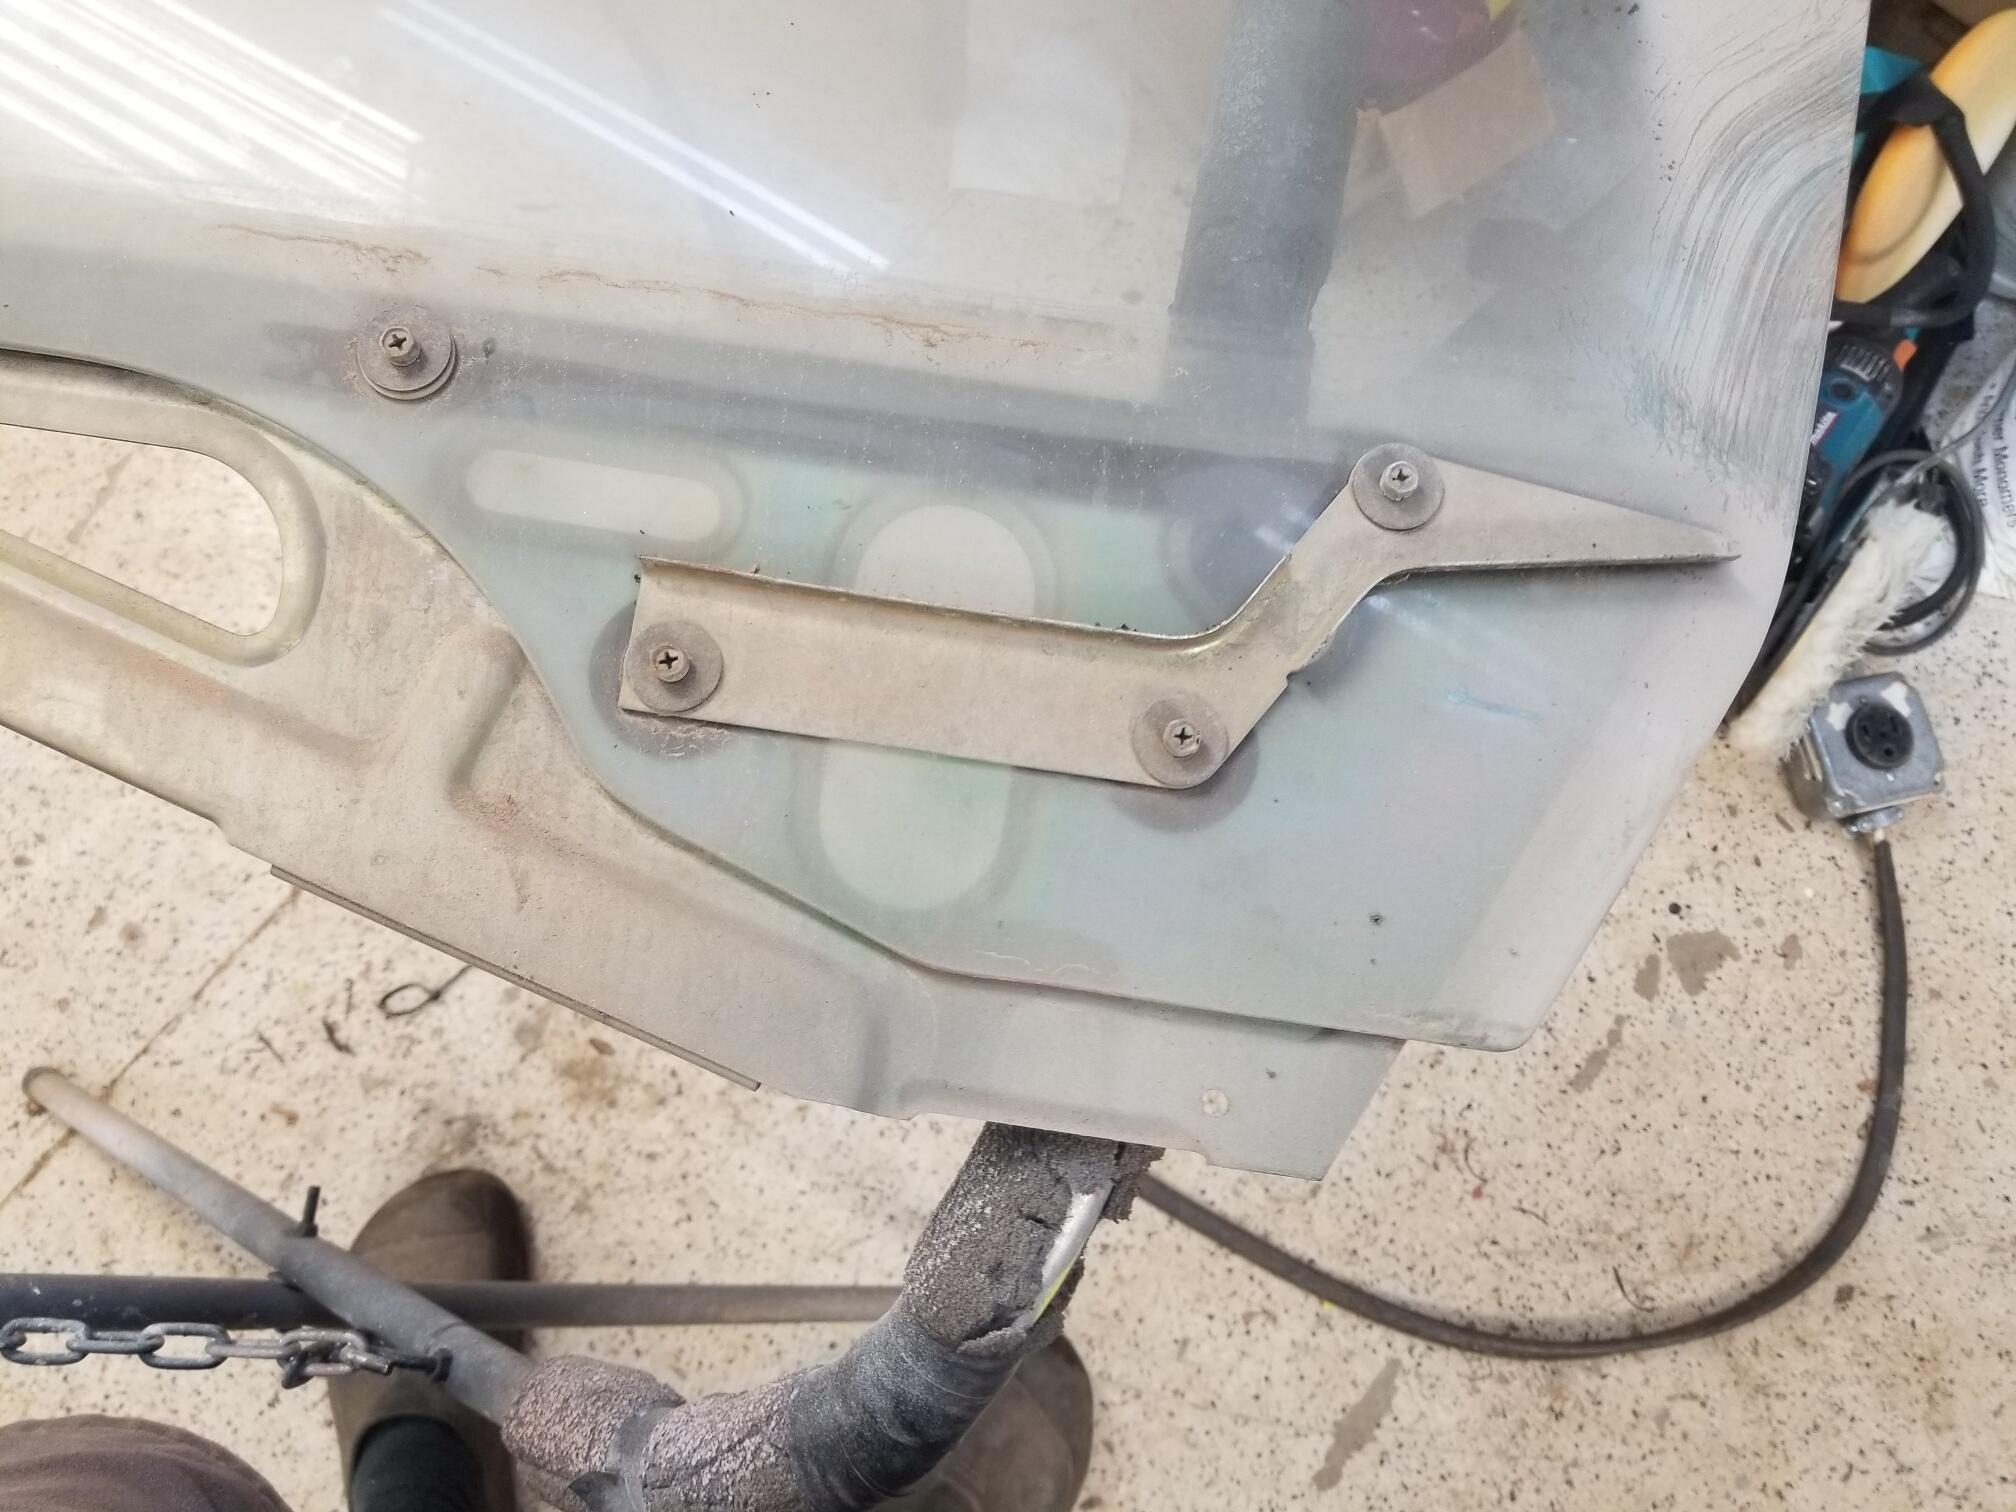
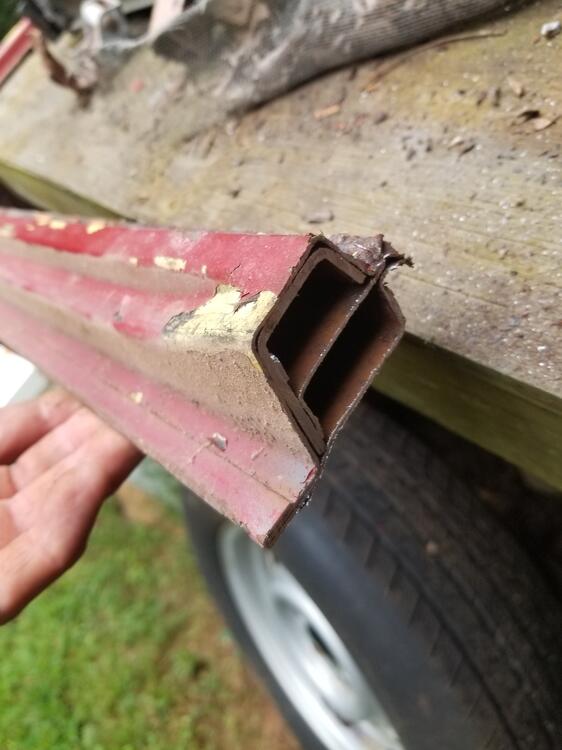
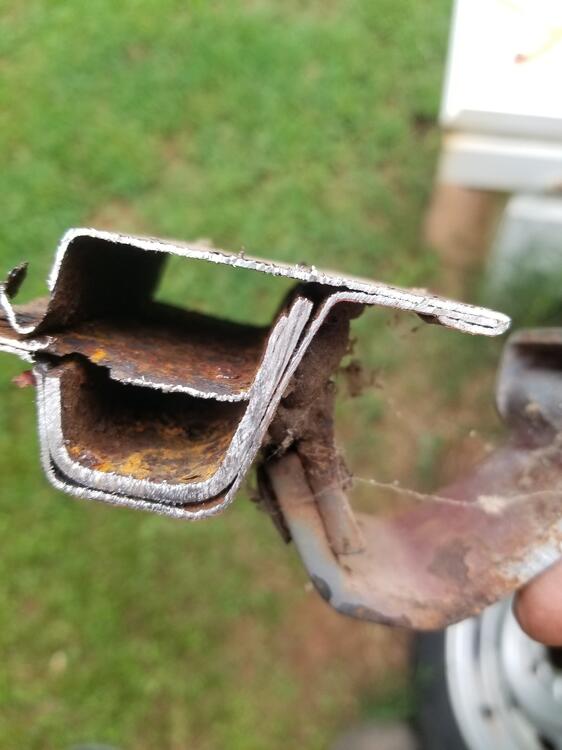
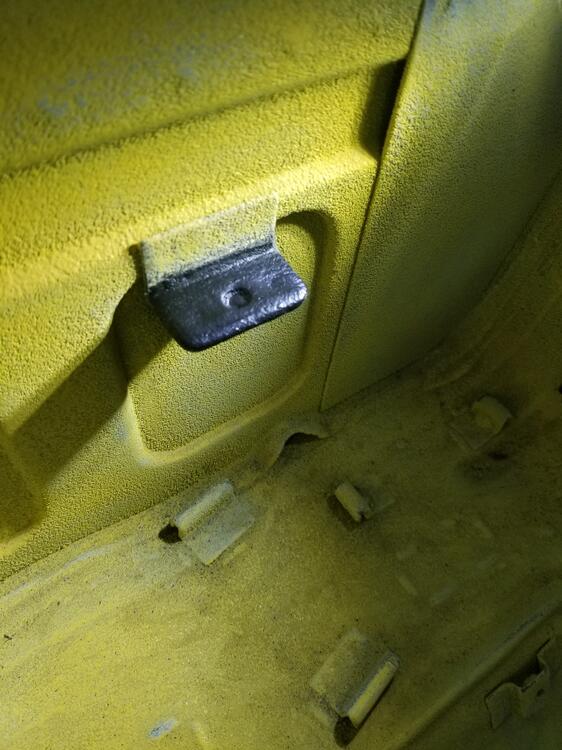
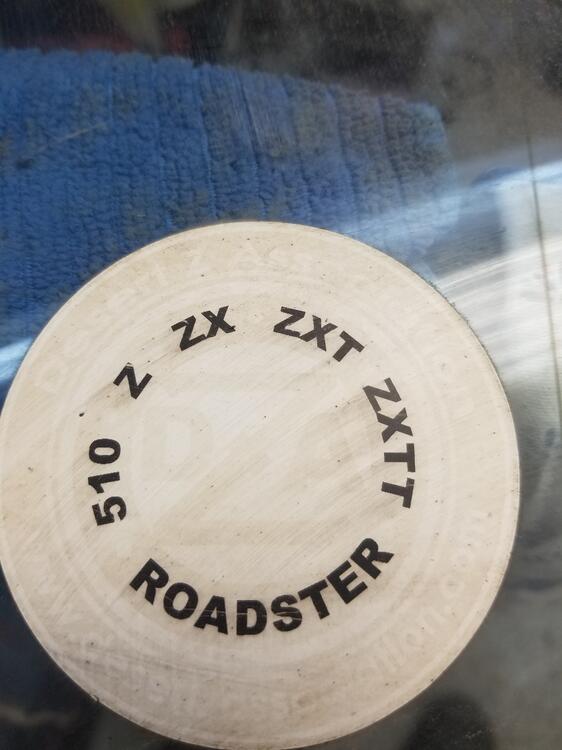
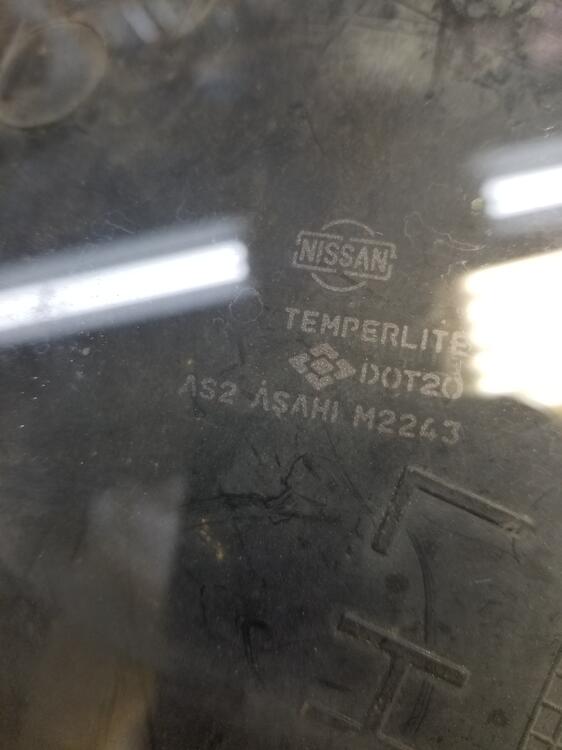
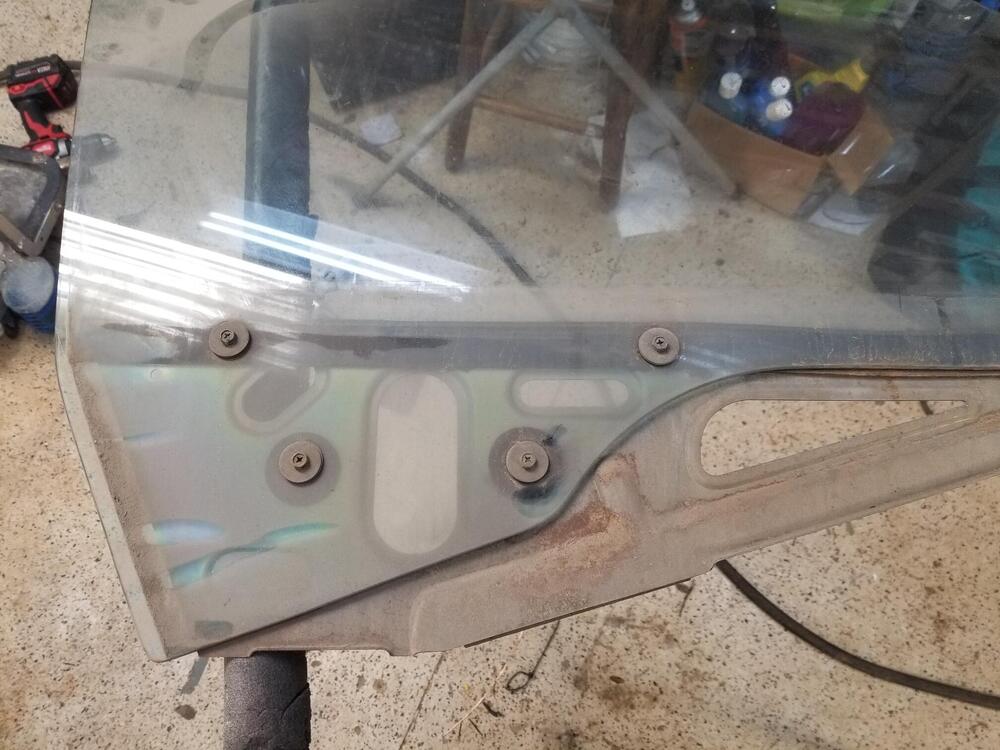
1 pointWorked on some glass today too Rear hatch decals @cgsheen1 Do you recognize these? Rear hatch etching Windshield etching. No tint strip Stripped the metal brackets off the door glass. I am going to send a load to the platers There are small white plastic washer sunder the bolts and washers to prevent over tightening to the glass I believe this is an anti theft device. The drivers door is off a later car and is much heavier than the passenger door I cut up an old rusty hatch. Here is what the layup looks like across the top of the hatch When I sound proofed the inside of the car I was careful enough and I got stuff all over the tool compartment tab rubber. So I scraped them back down and brushed some black plasti-dip on them. I also did that to the wire loom tabs along the floor boards, at the fuel tank and the tail light panel. I will get new tab covers for the ones in the engine bay


 1 point
 -
1 point
-
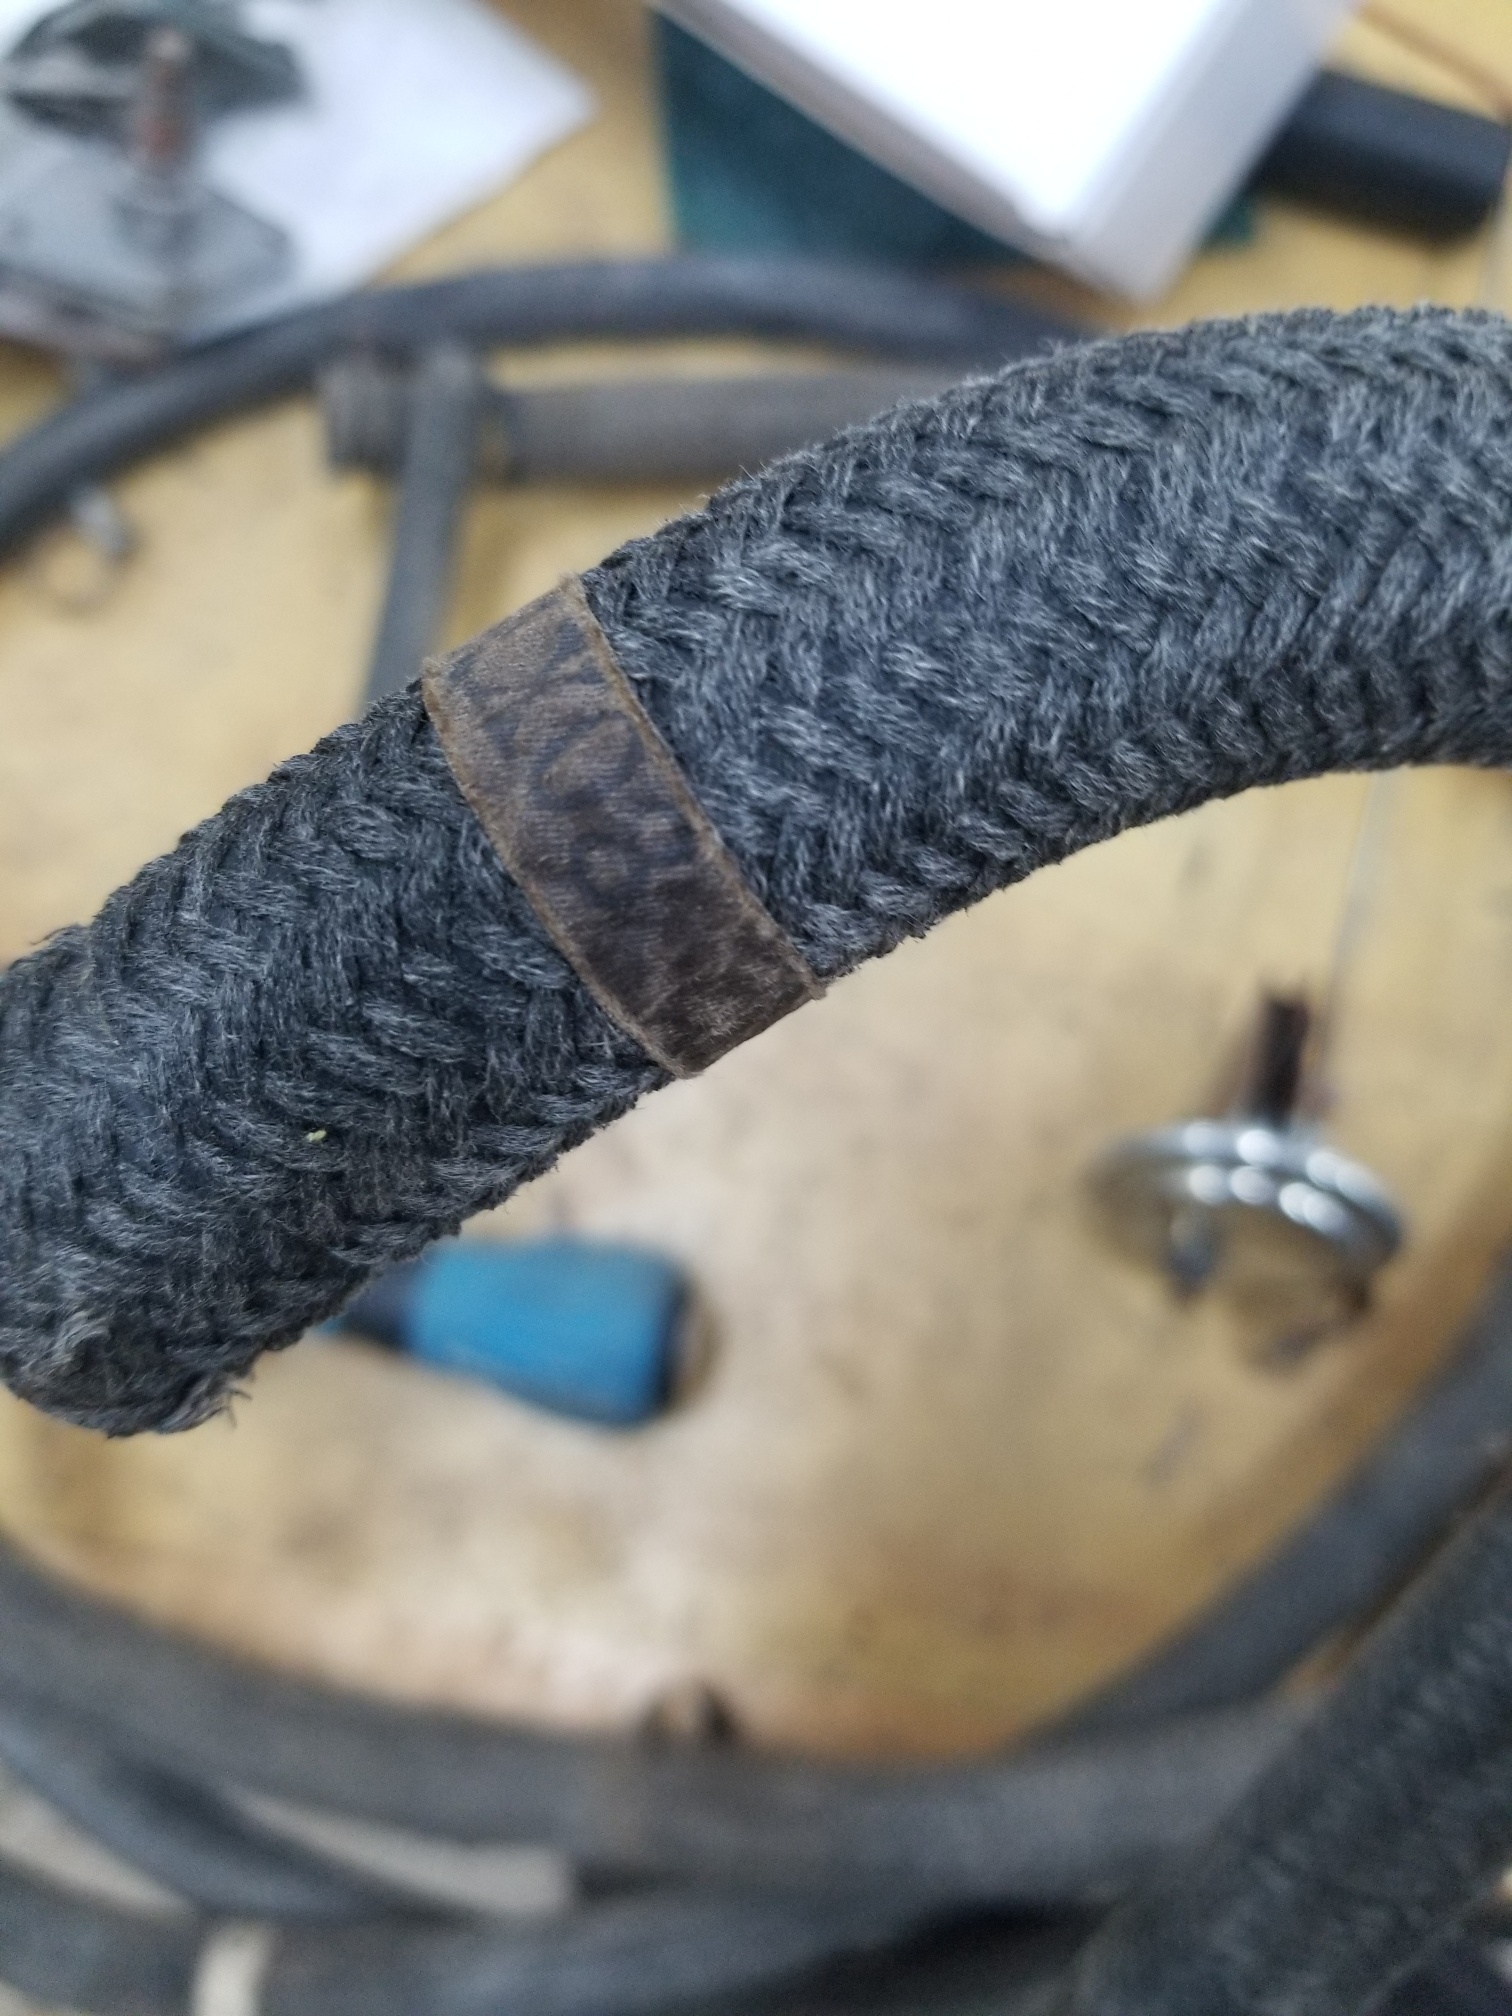
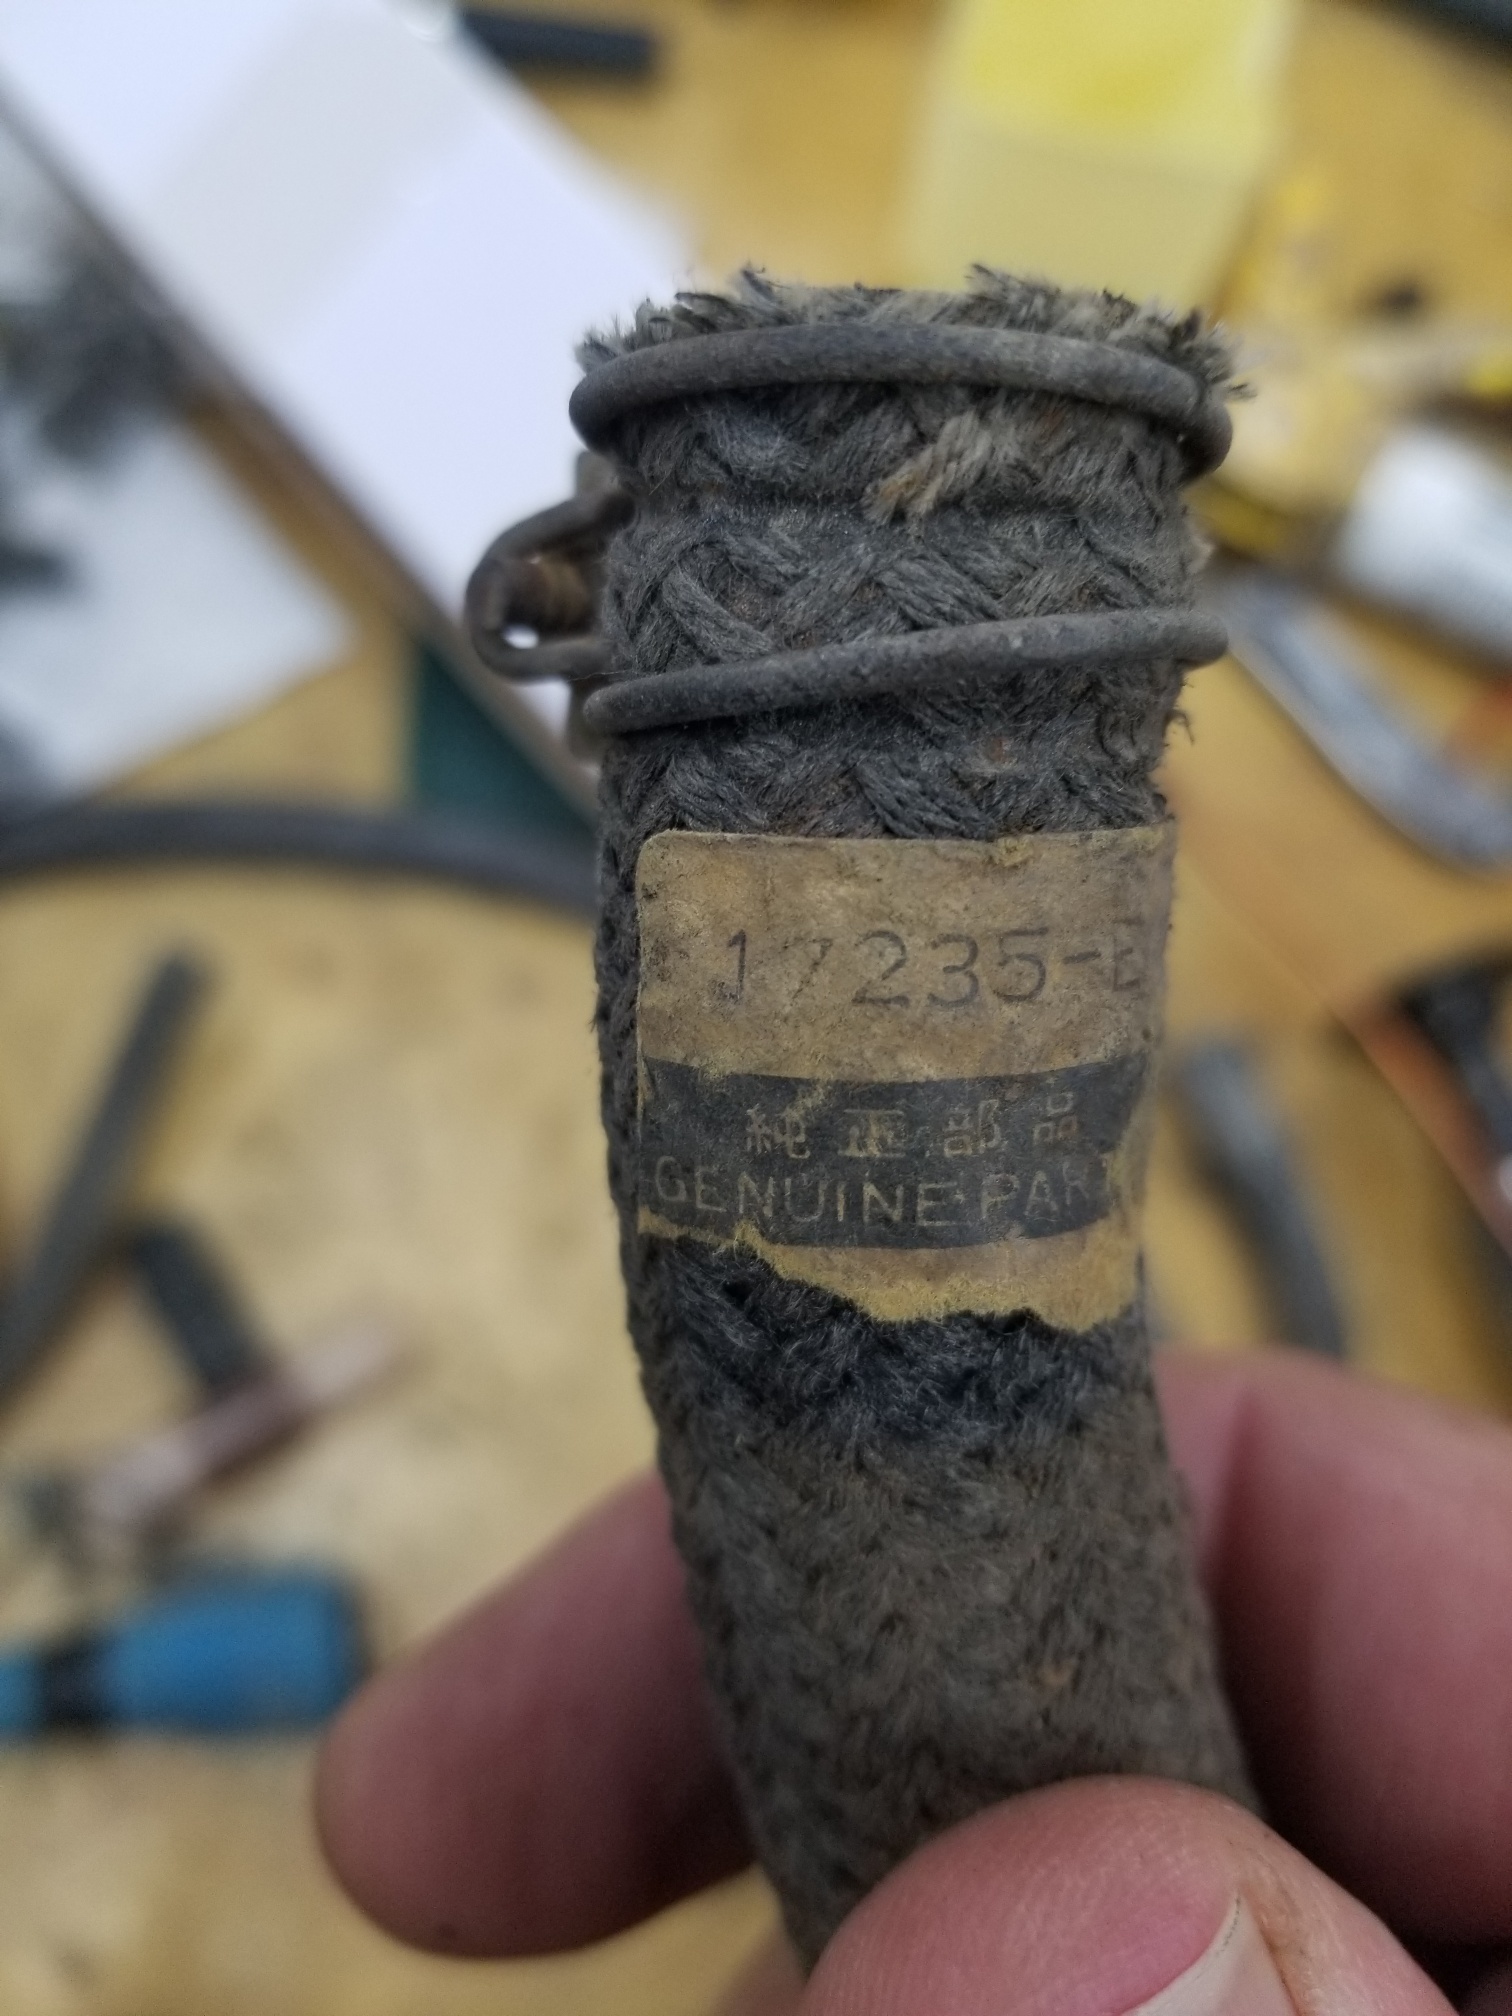
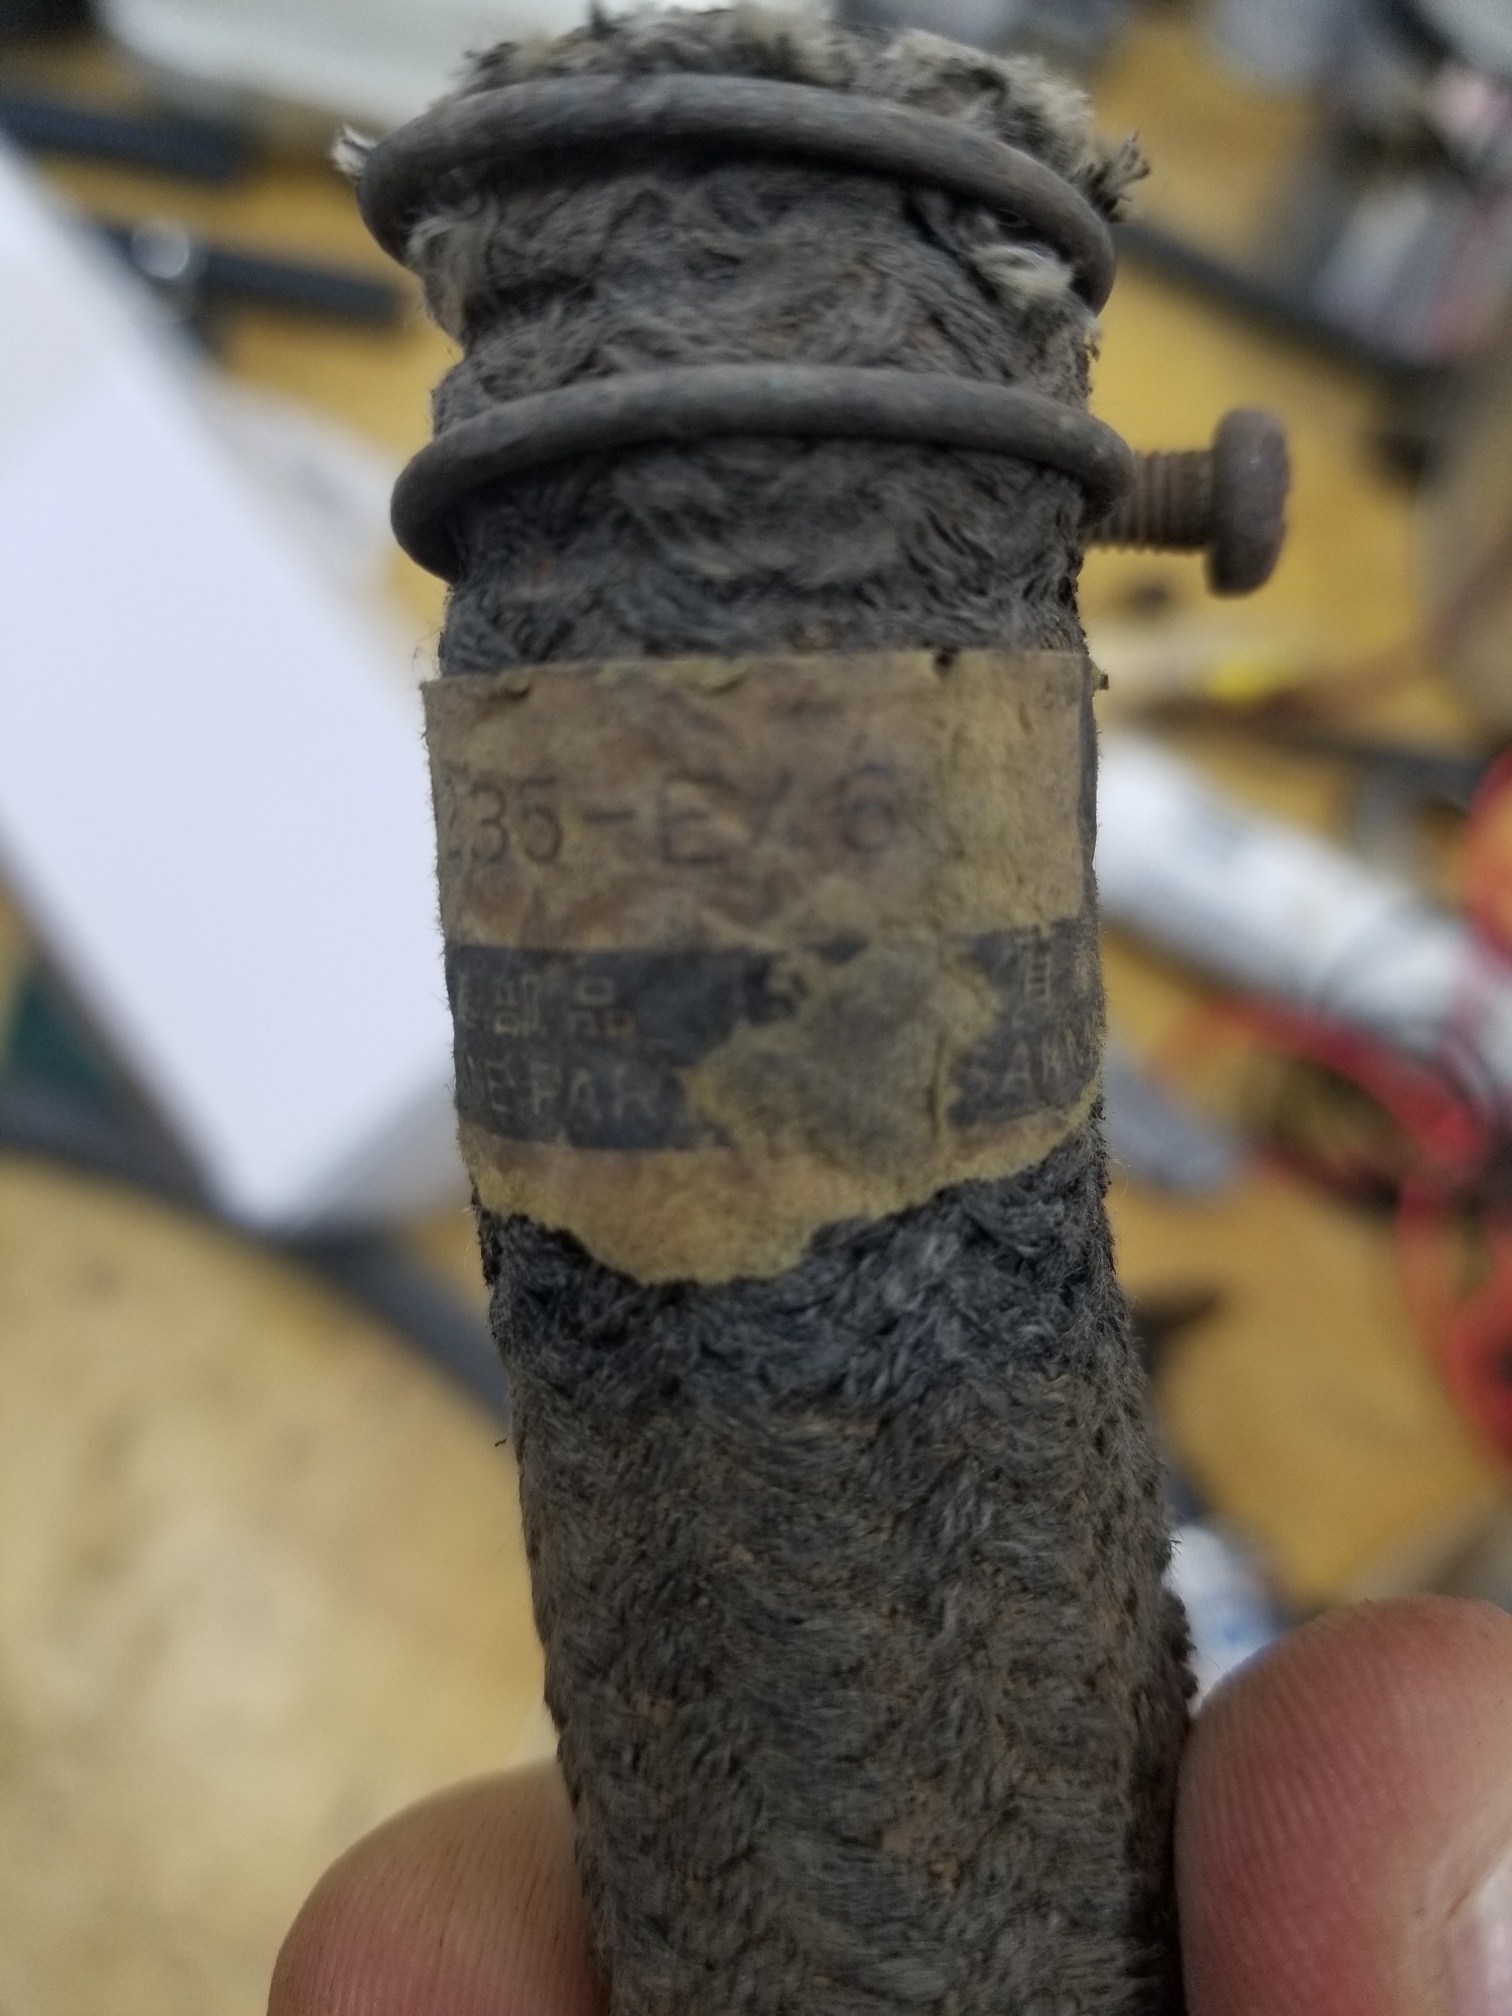
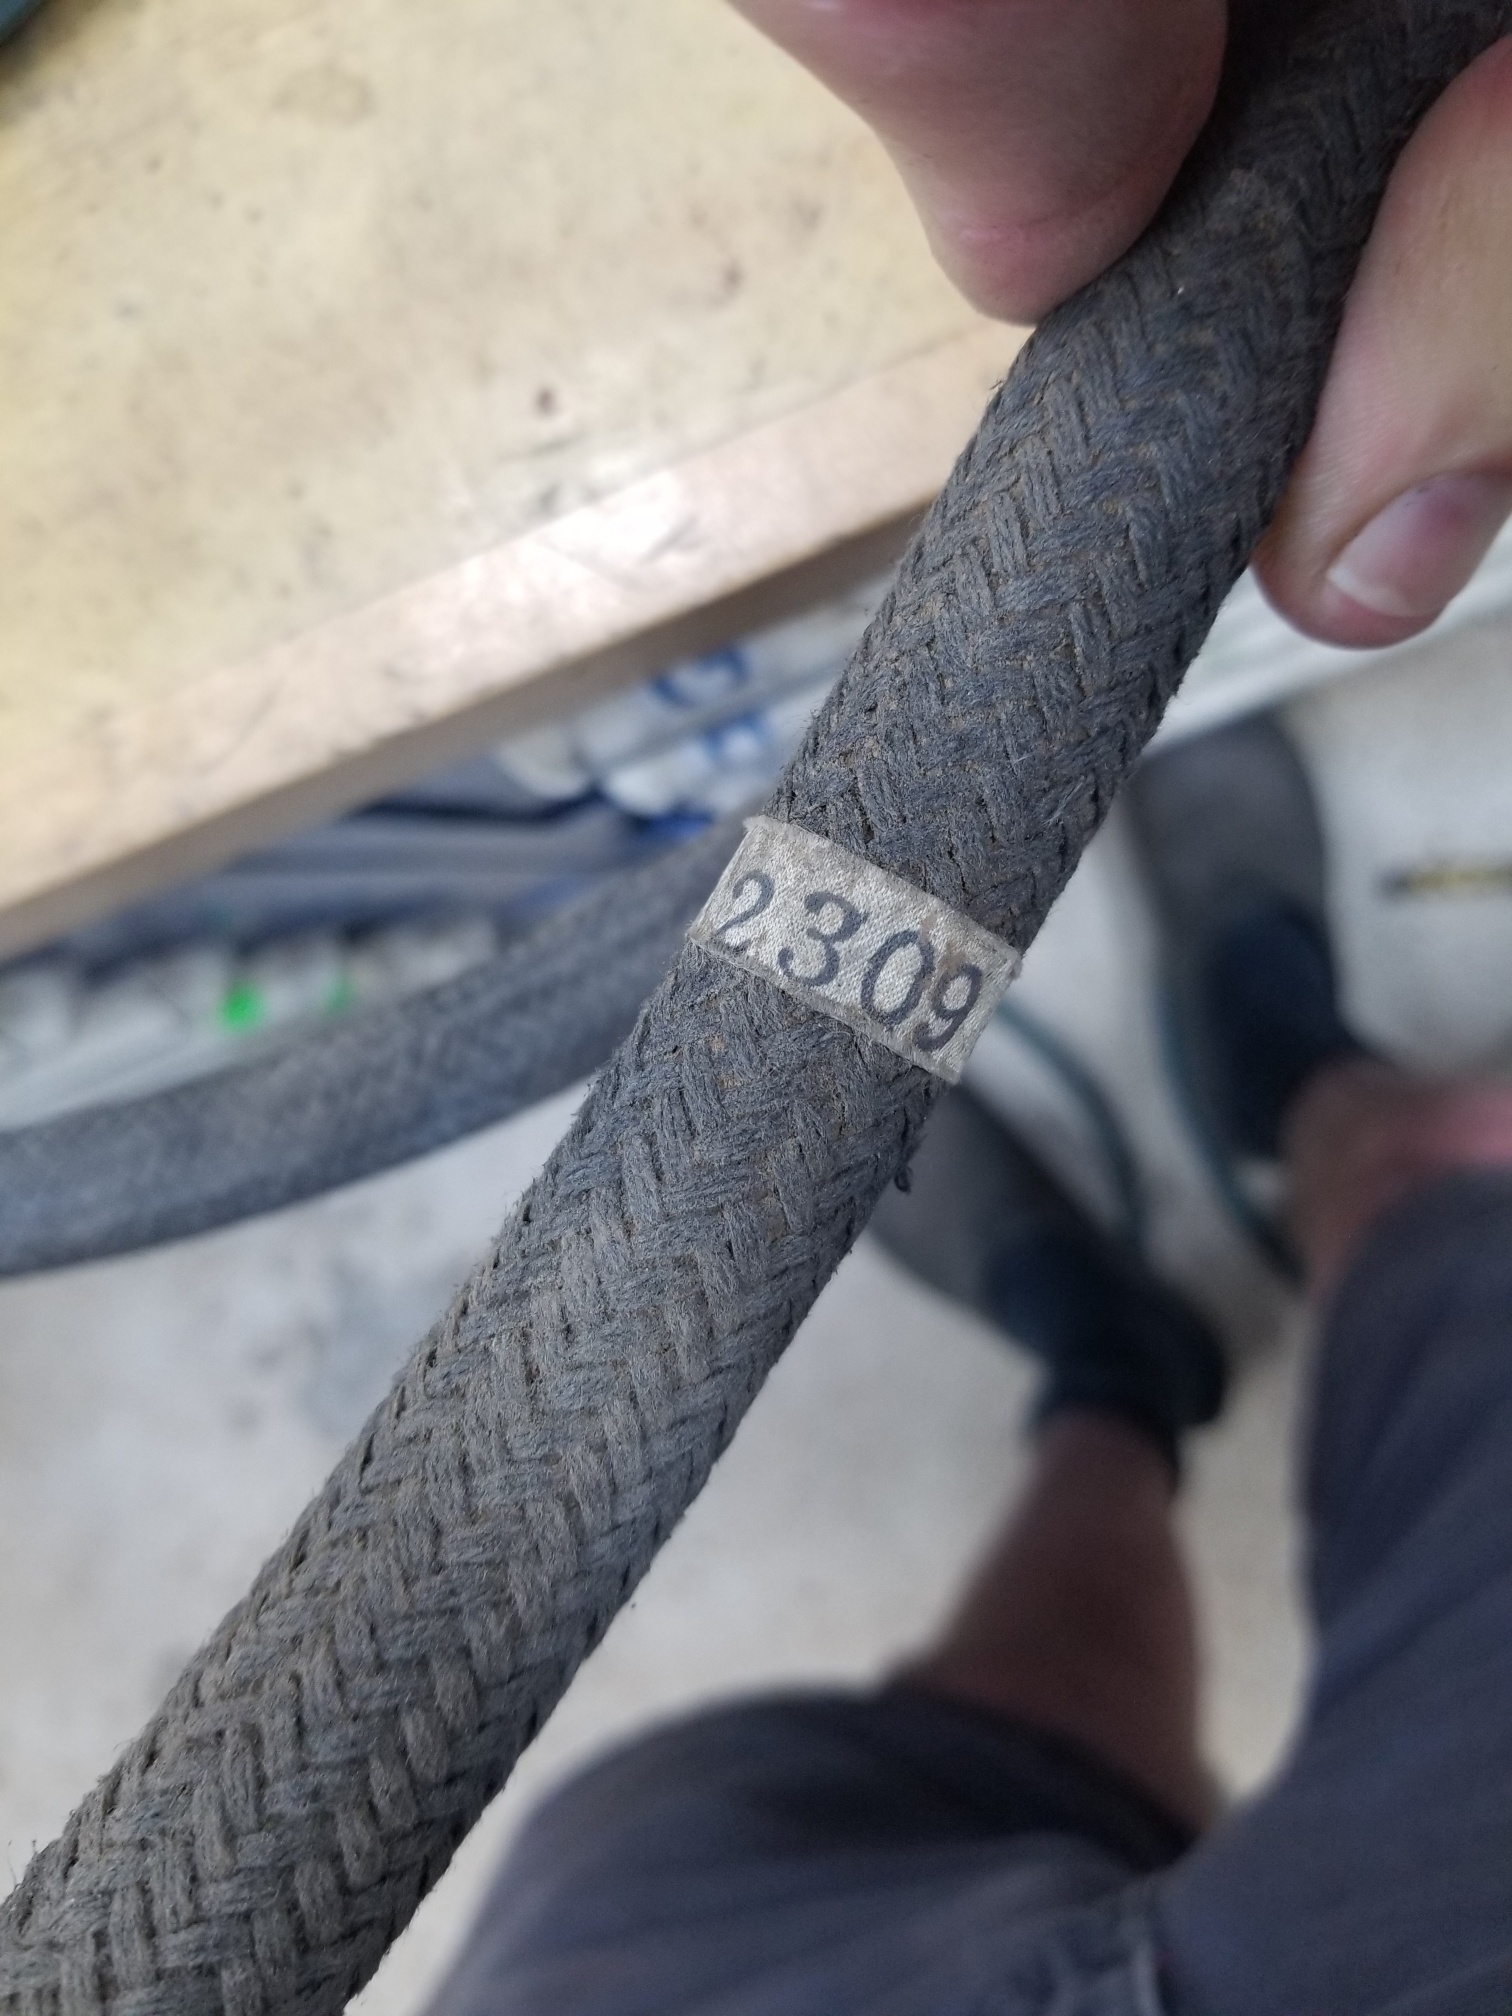
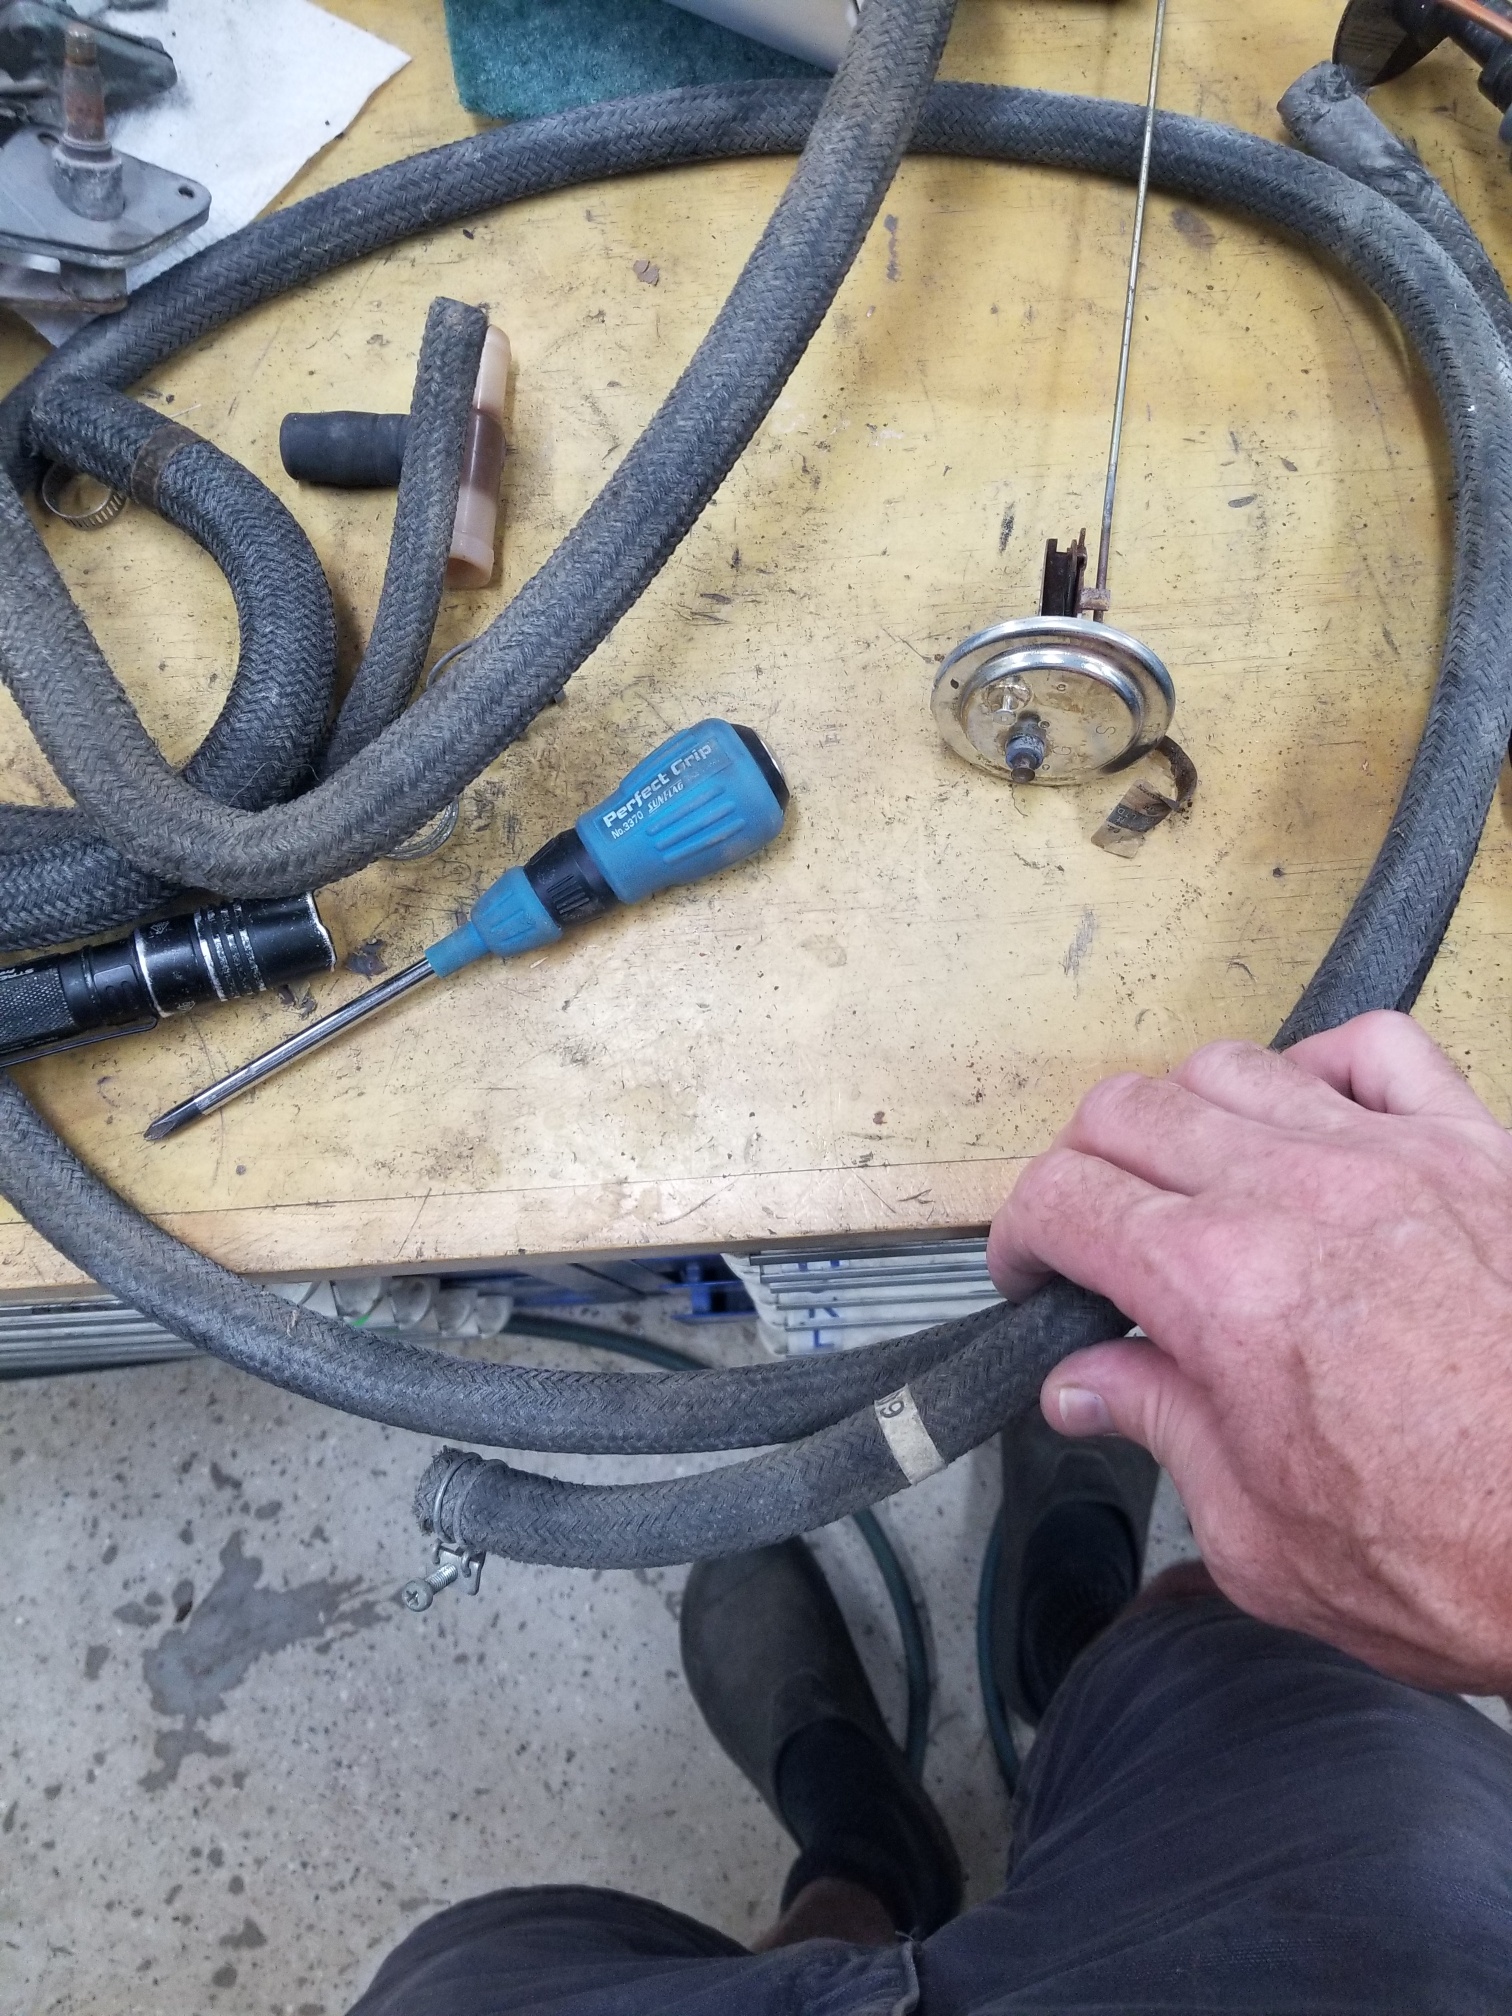
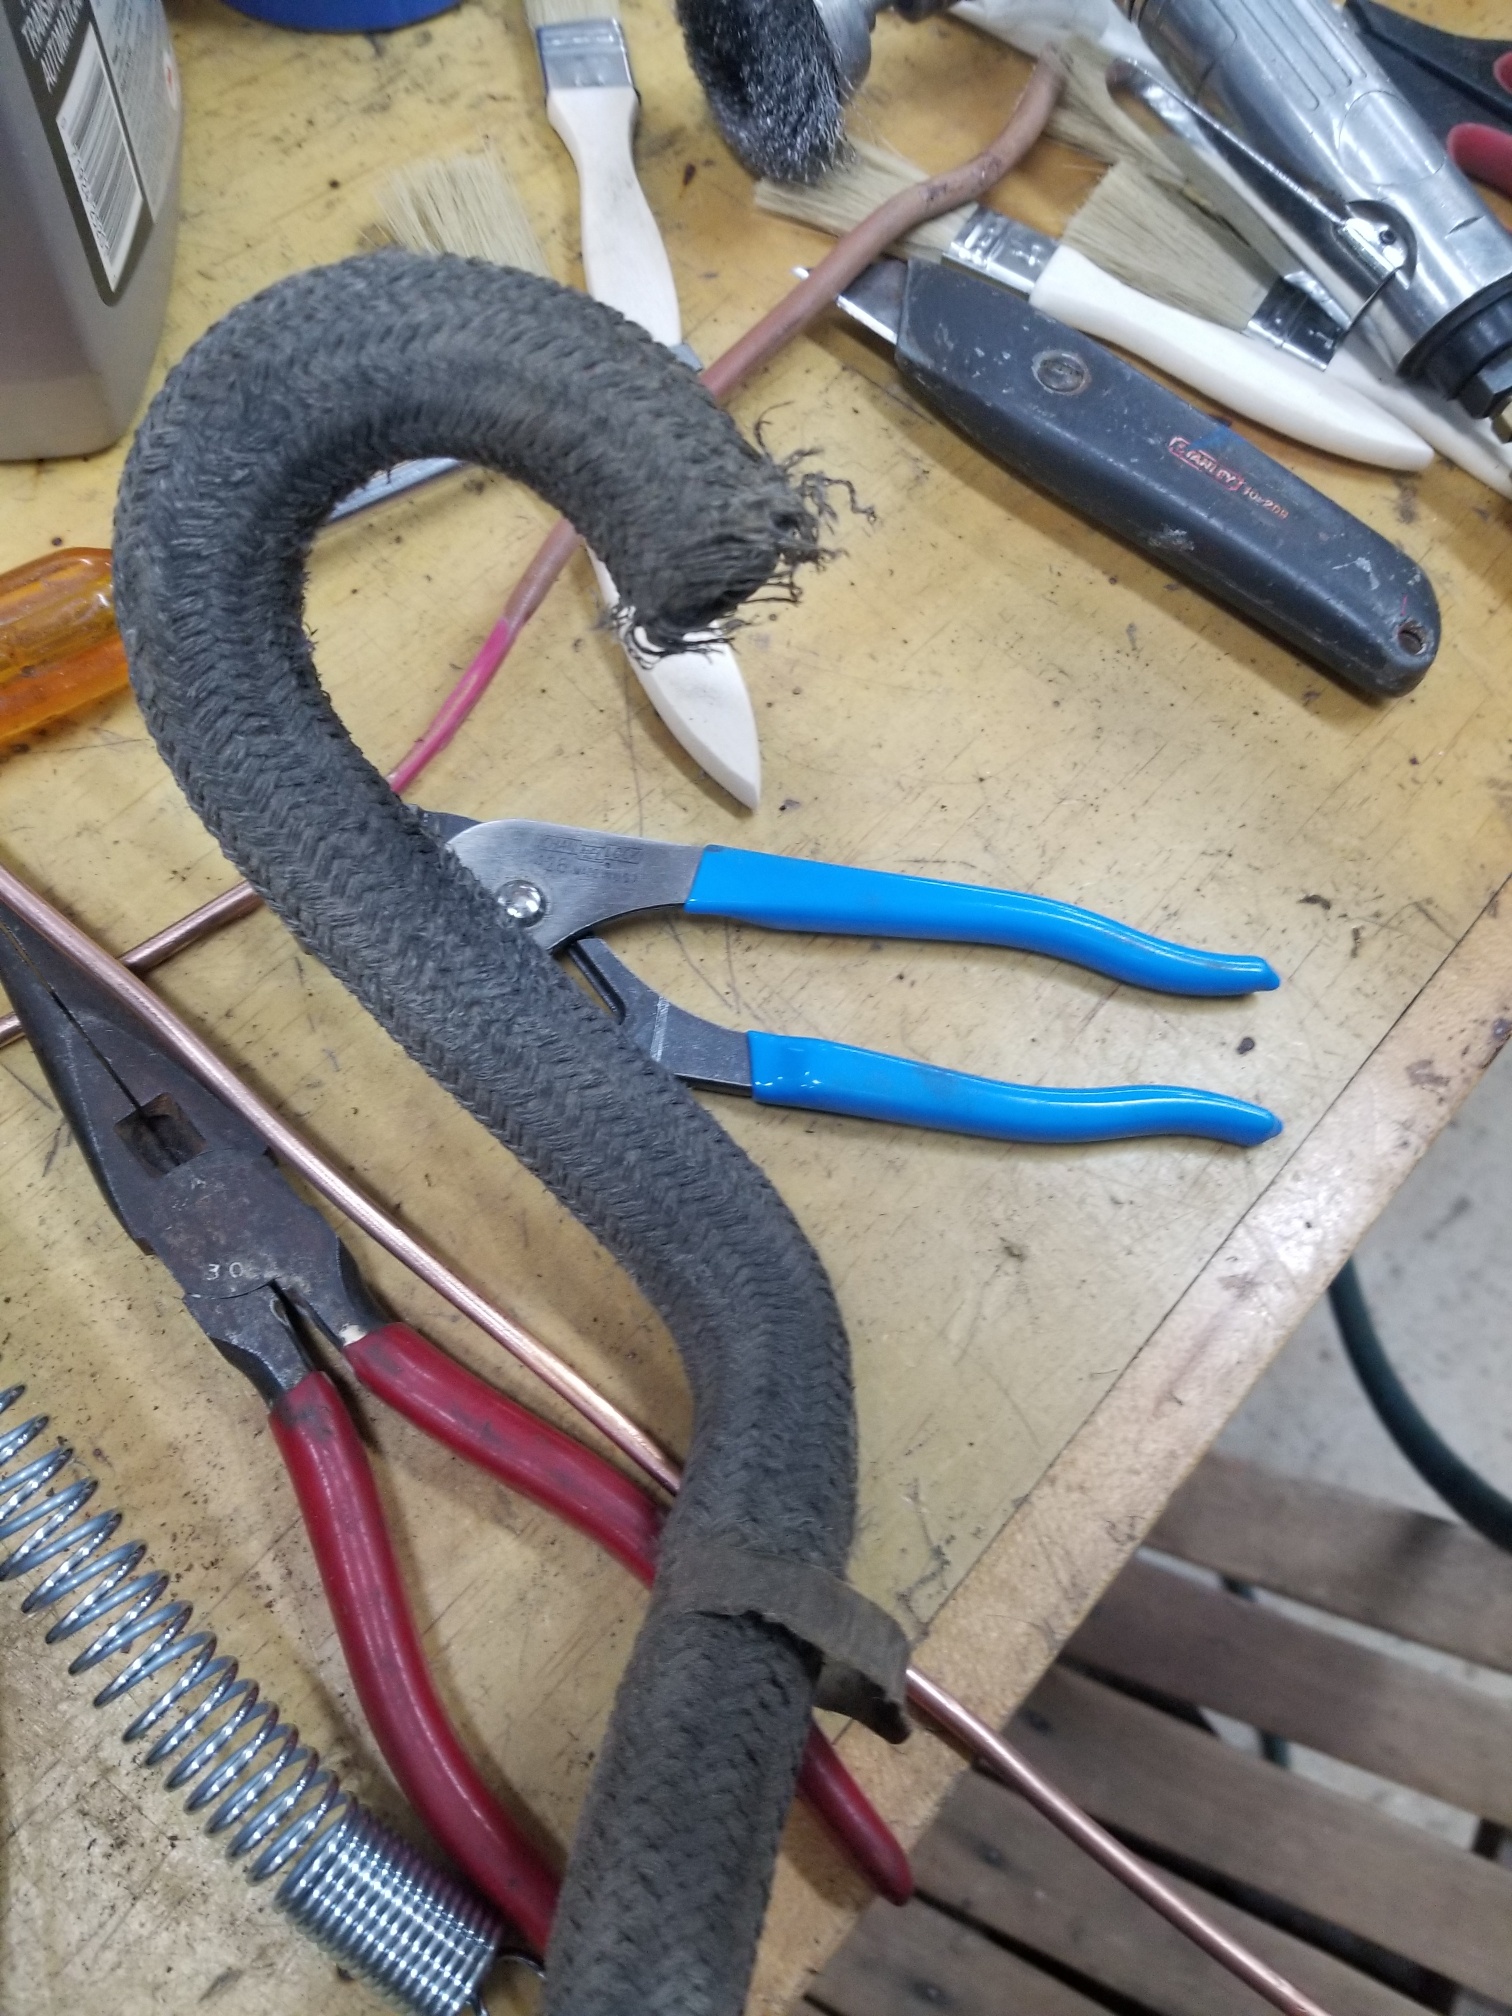
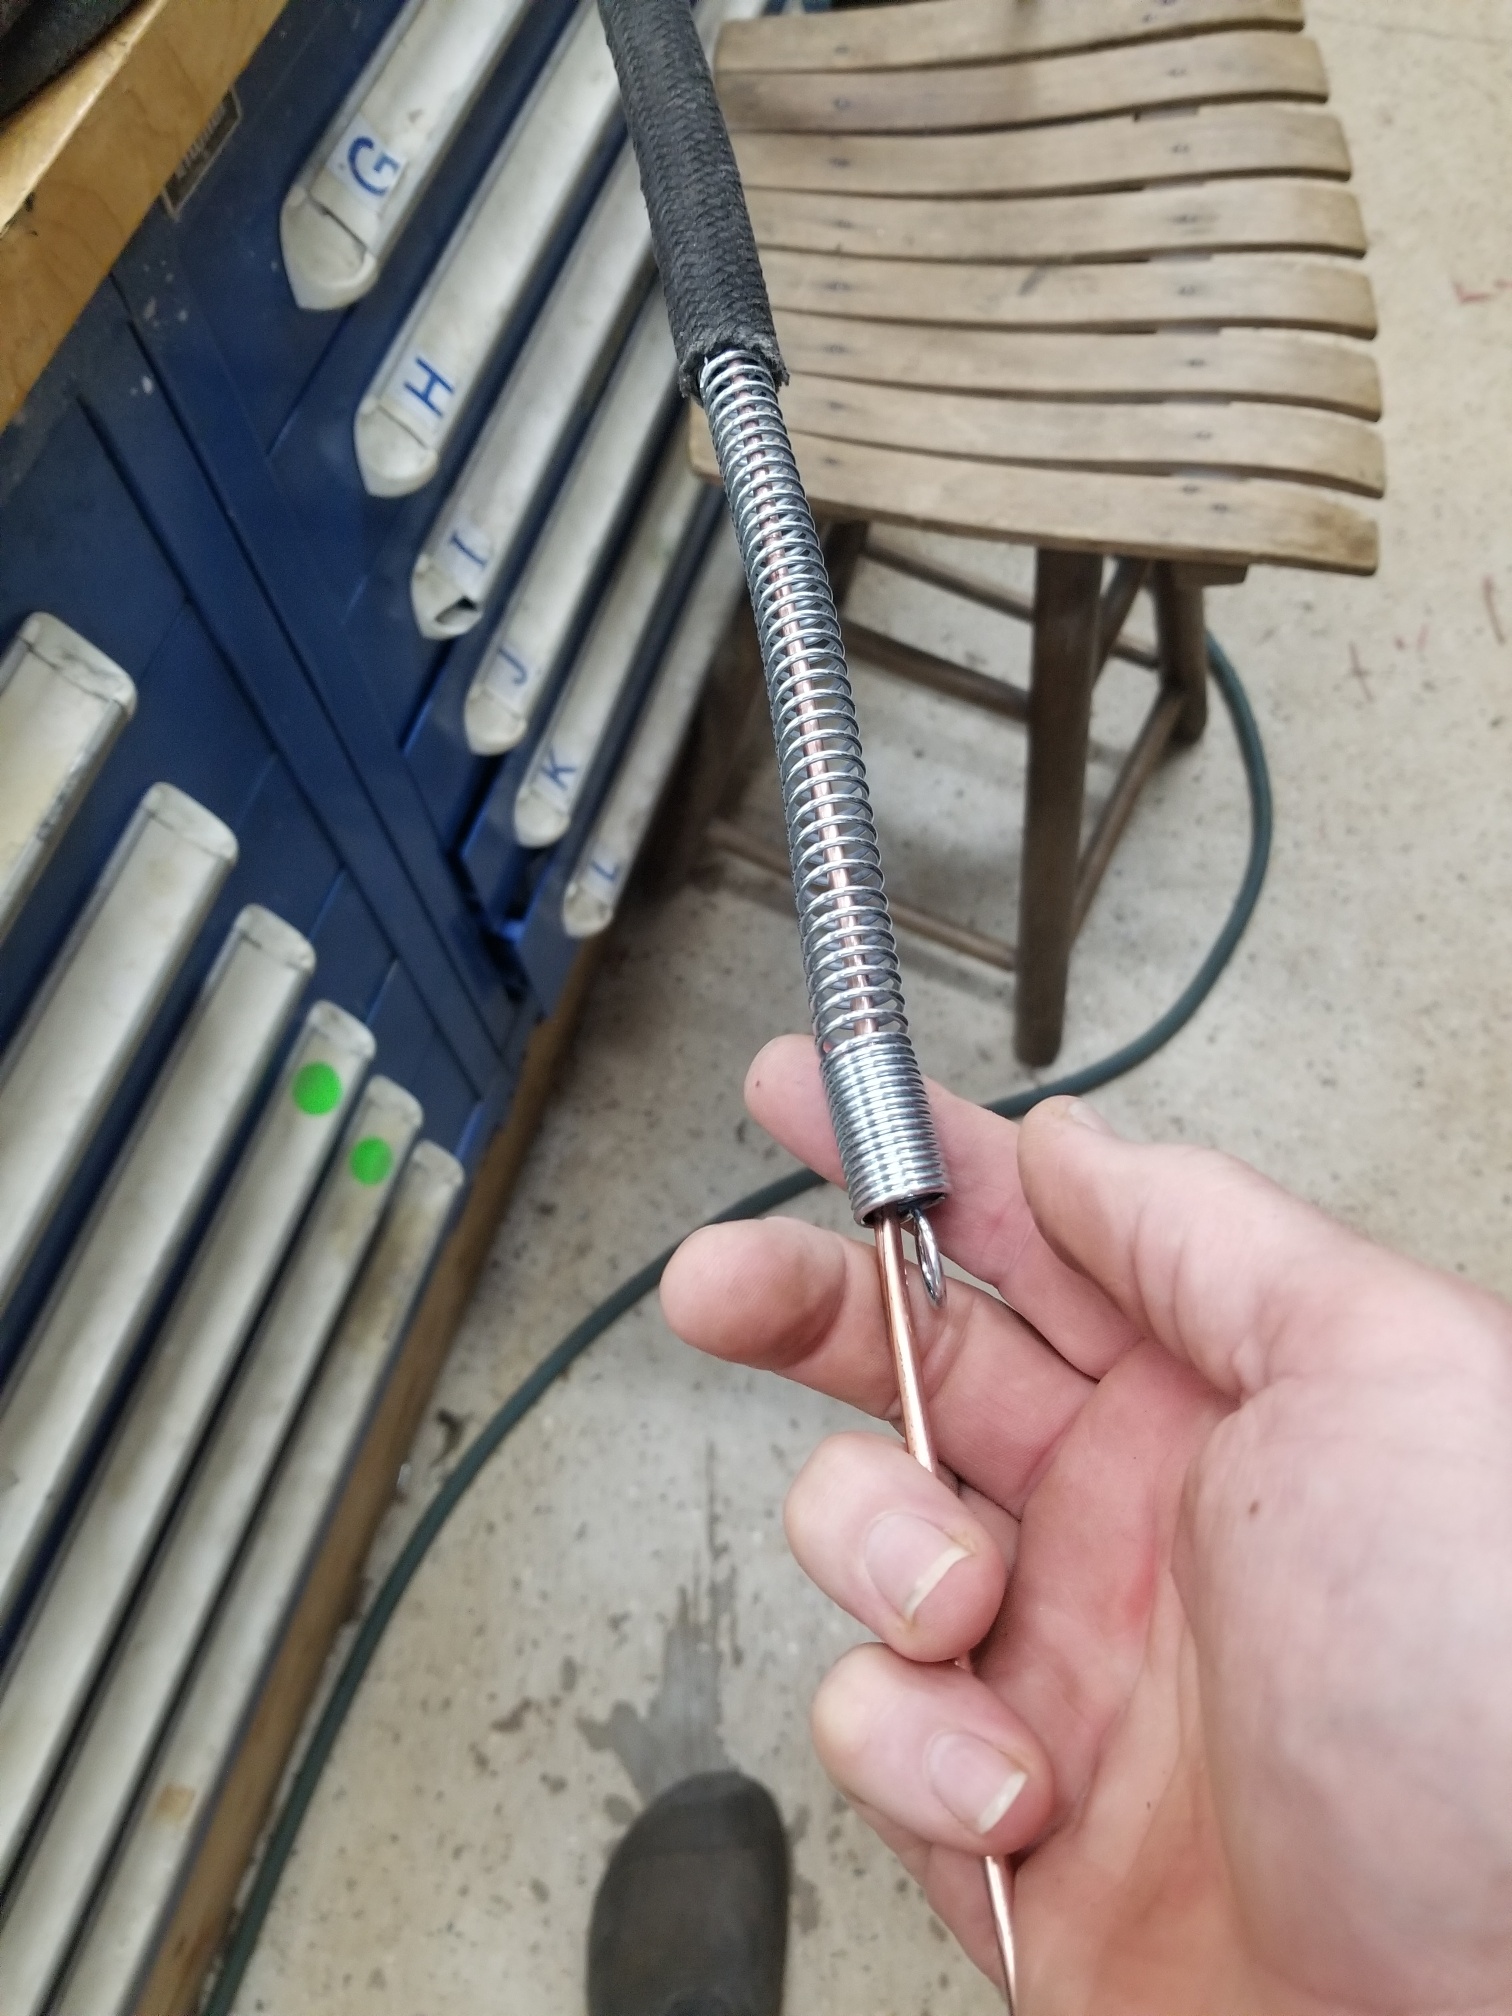
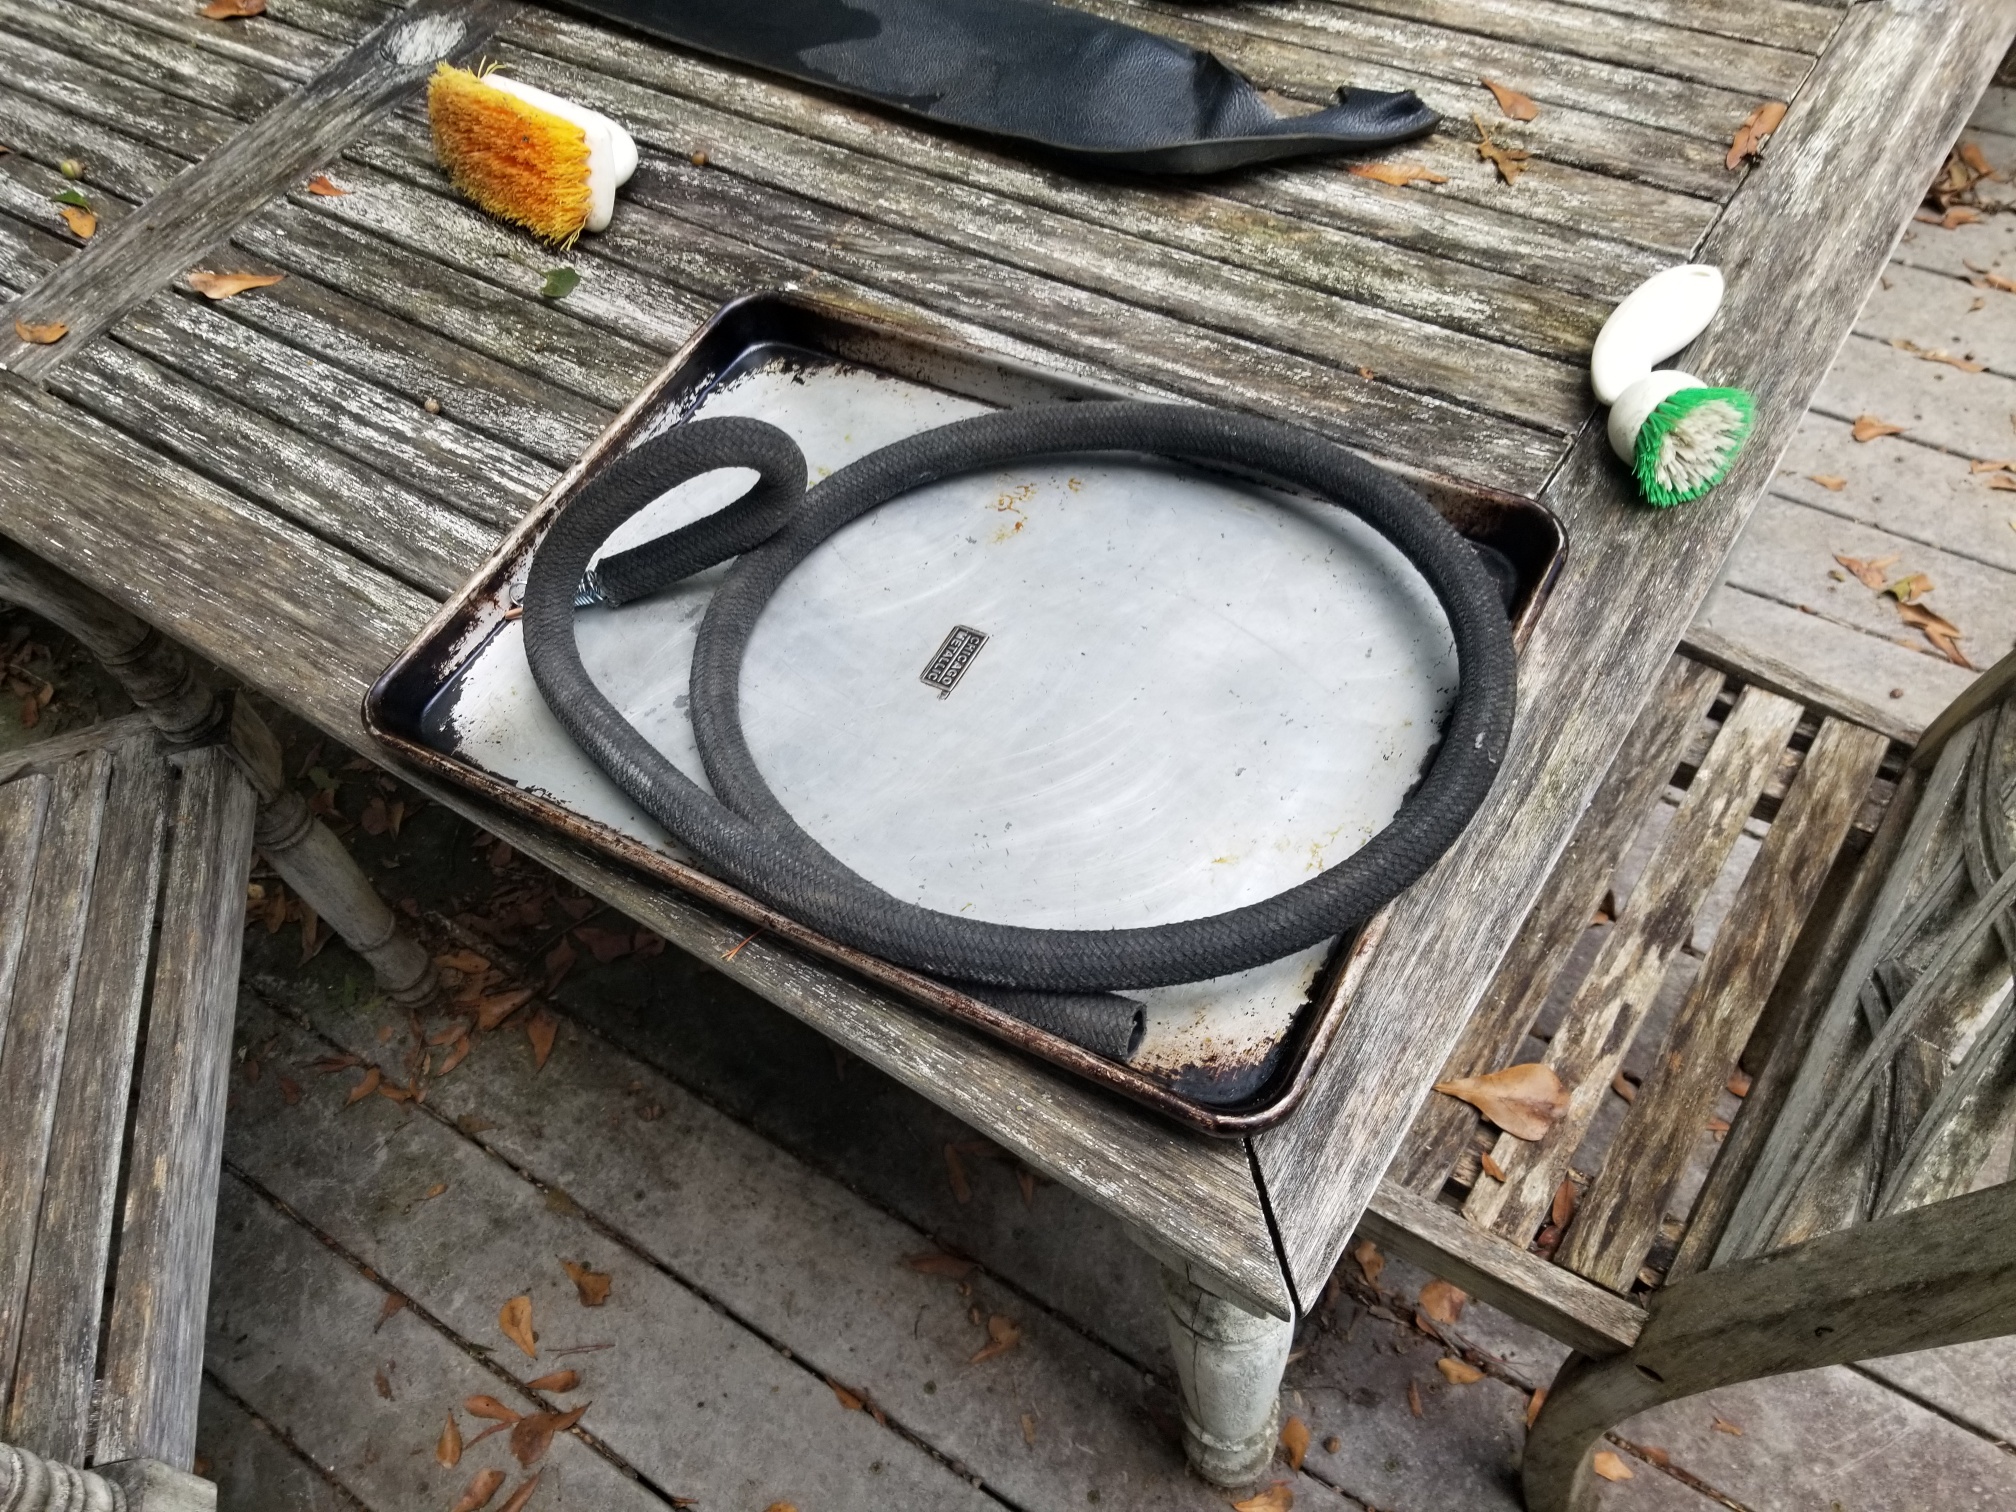
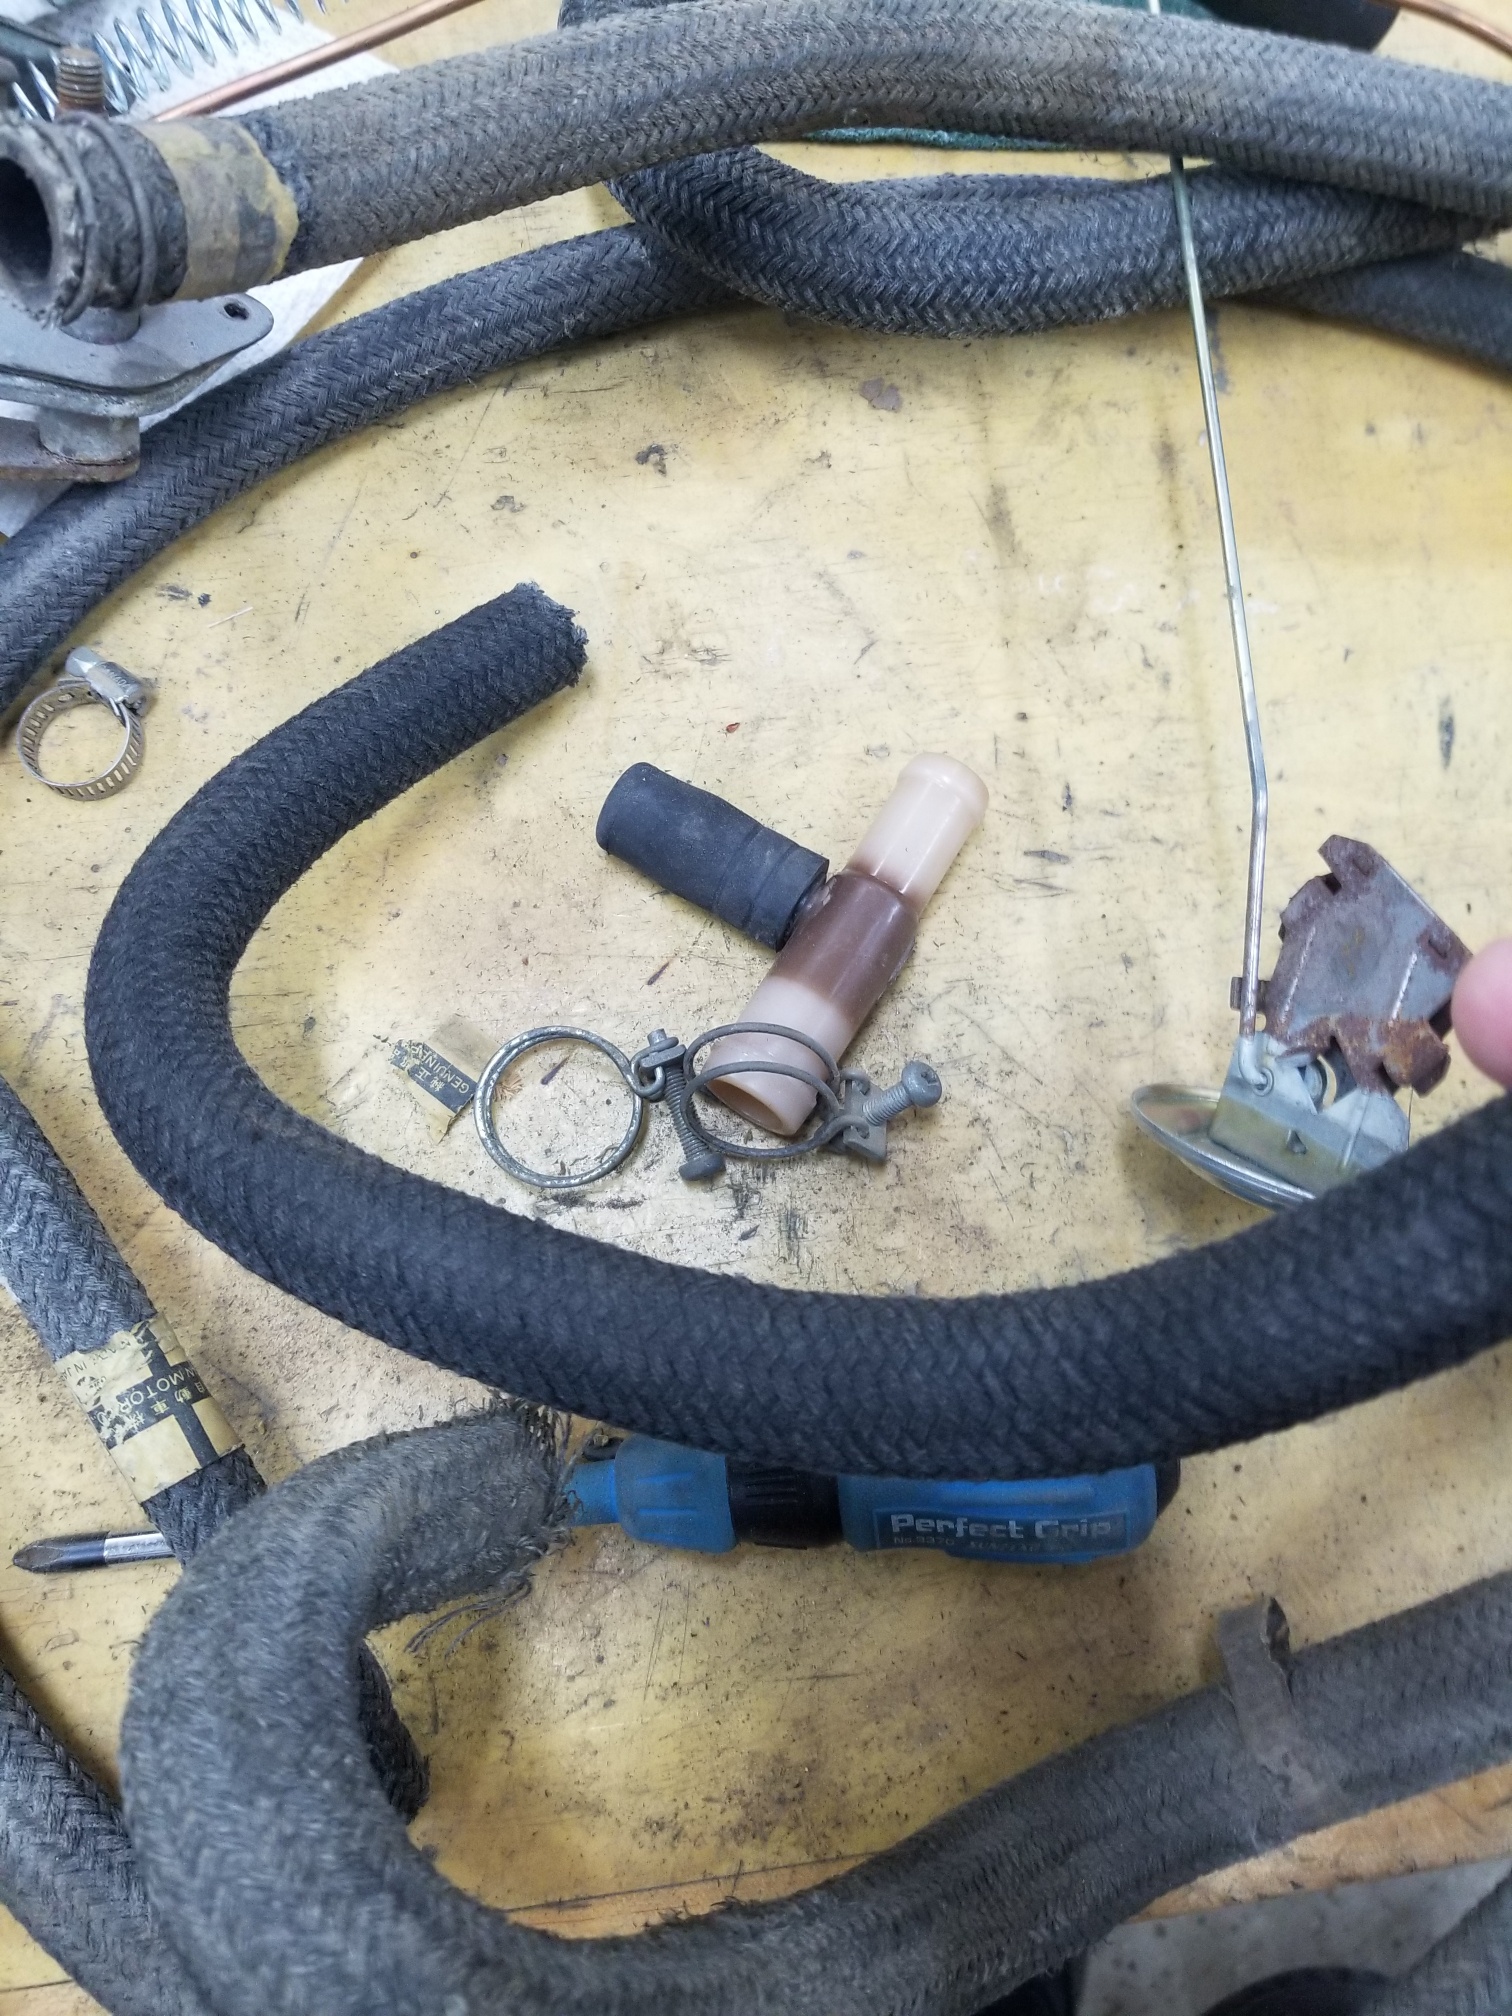
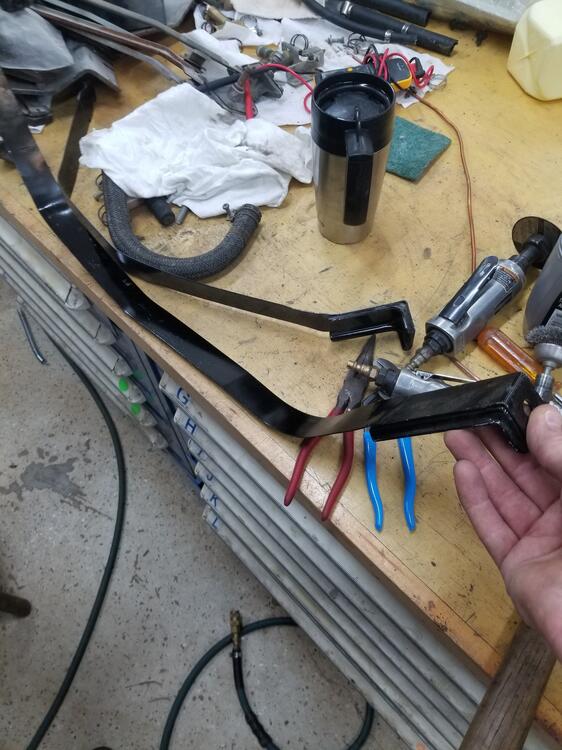
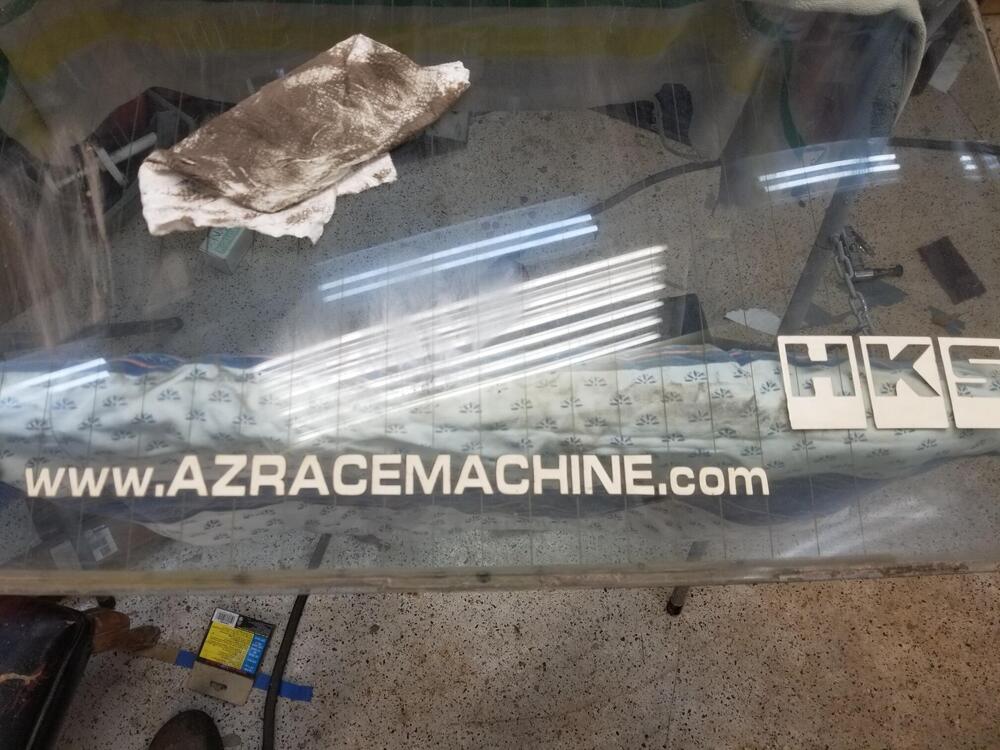
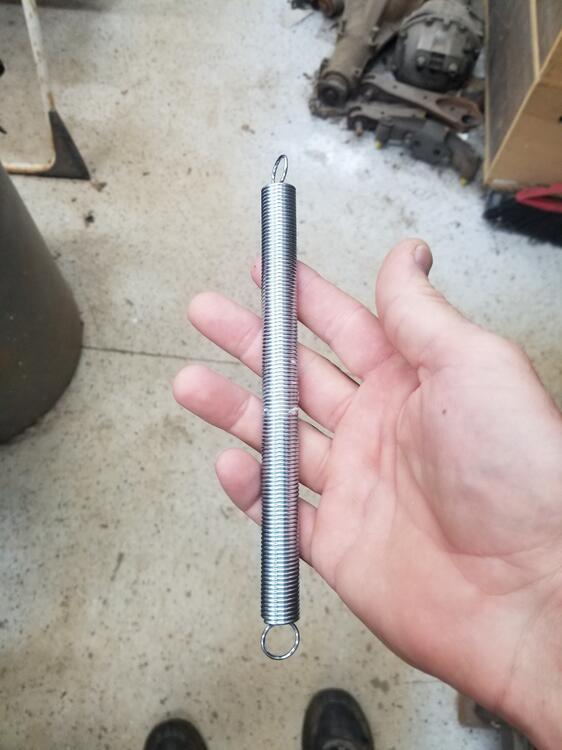
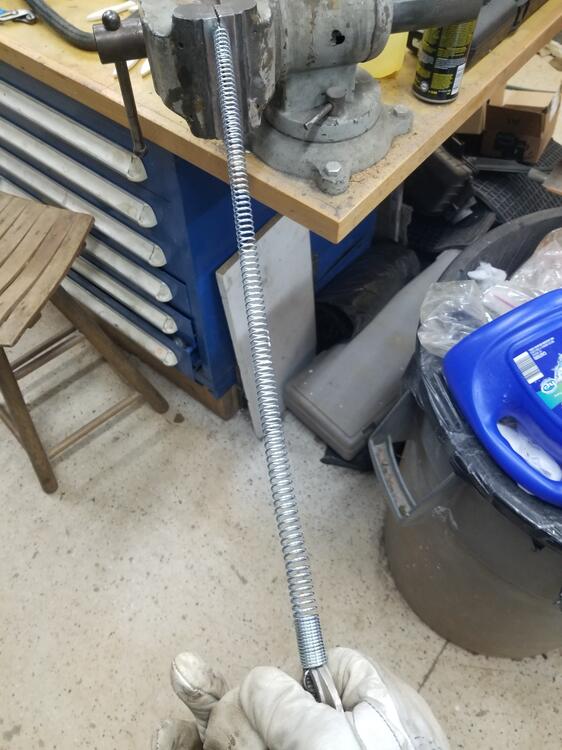
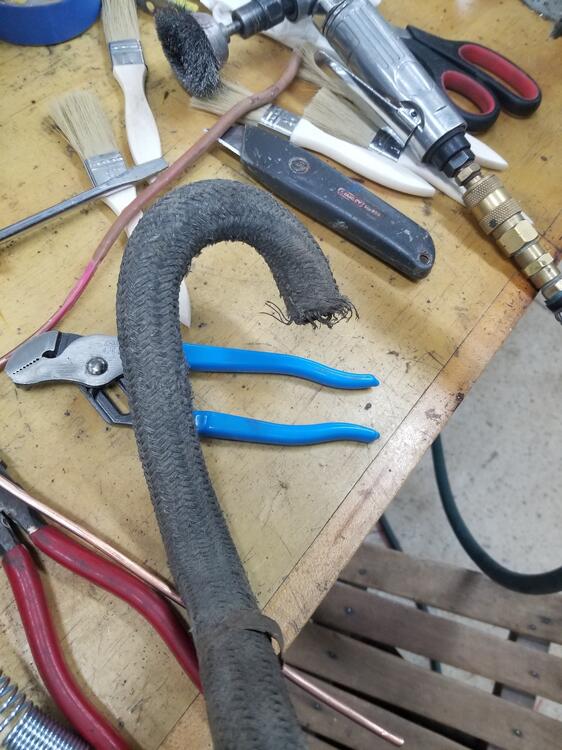
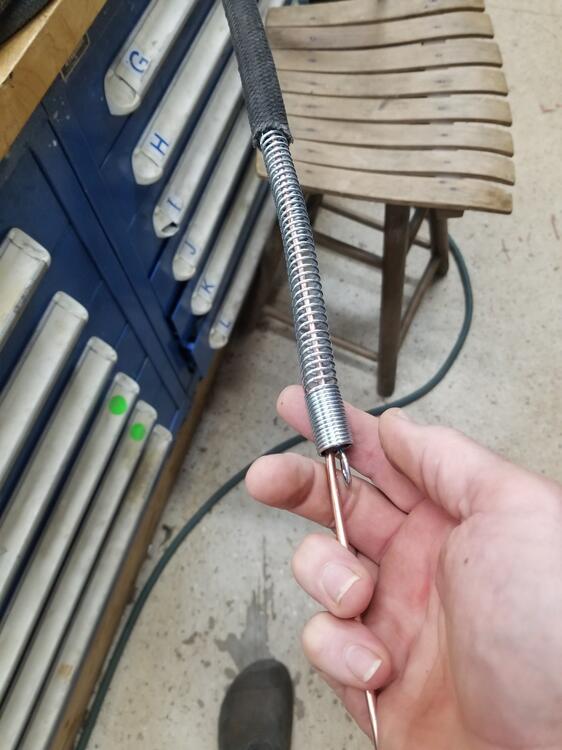
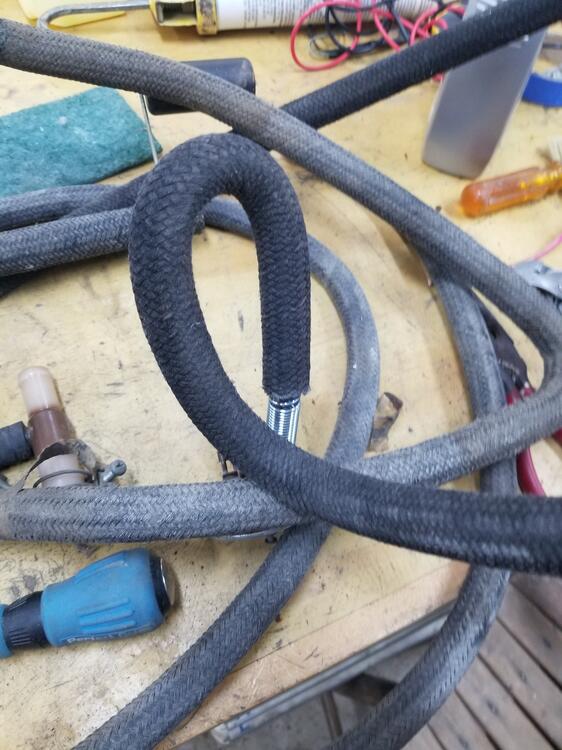
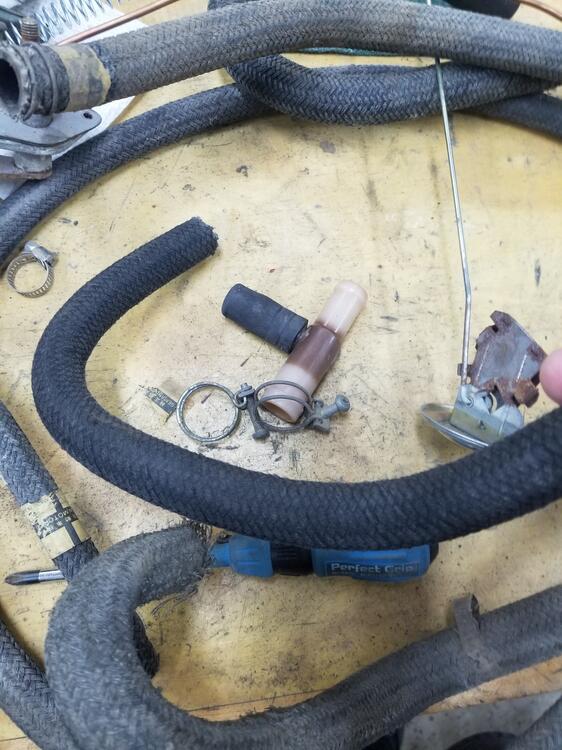
1 pointSo I have been scheming on how to mold this vent line. So I ordered a screen door spring. Although, I could have picked one up at Home depot for a little less. Then I stretched it out Here is the original hose Then I put the spring in and added a thick piece of solid copper and formed it up Baked it in the oven at 325F for about ten minutes, while my wife was away of course! It sort of held it's shape but not entirely. So, I tried again. 400F for 12 minutes. That smoked up the place pretty good!! It held it's shape better but I still ended up putting a piece of spring inside the line to prevent crushing even though I probably didn't need to. All in all, it's probably just as cheap to buy the molded hose from a vendor when you look at what it costs to buy plain hose in the first place. Then figure in an hour of your time and a spring, etc.


 1 point
 -
View Advert Pertronix Ignition Pertronix for 240-Z with Flamethrower coil. I decided to stock with points. USPS Medium Flat Rate Box included in asking price. Advertiser Tirnipgreen Date 09/09/2023 Price $200 Category Parts for Sale1 point
-
Thank you for the kind words! My goal for this restoration has been to restore the car to "new", with perhaps a twist. I like how new cars today have very straight panels and very little of paint defects from the factory. My goal for the paint was to elevate the body finish to that level. Oh! Yep, at $50 an hour - $100k. My time log (very loosely approximated by estimating hours per day worked, sometimes very accurate, and sometimes I forget to note it, and have to go back and fill it in) is sitting at 3201 right now. This doesn't include most of the assembly, which has yet to happen. It also doesn't include any of the time I spent with restoration related work while on my laptop or internet research, or parts searching, buying, etc. For every 8 hours I actually have worked on this project, I probably have one to two hours, or more, of research, search, work on spreadsheets, etc. related to this restoration.1 point
-
For a (very?) short moment i thought.. AM i wrong? but no... my calculator also said: 50 x 2000 = 100,000 $ 🙈1 point
-
Guys...guys...GUYS!!! 50 bucks times 2000 wakey wakey... how much??? yes a 100 grand not 10k.. 😮 Now you see why a car restore is never cheap when you want it perfect. I always say if i get half of what a prof. restorer/painter/technician asks i'm OK with that. (btw i think as i got much praise on my 280zx restore even from a english pro called Trev' ! (look at "trev's blog"at youtube you learn A LOT!!) i did also a good job. I think my 280zx had easely 2000 hours if i count all the work of finding the parts and getting them and.. and... and... As i said: that 240 is going to be the bisnizz.. hihi..👍 (I mean perfect car/example of a good restore!)1 point
-
Nice work. I was going to suggest a threaded rod through the center, but I wasn't sure if removing the material out of the center would weaken the shaft to the point of being a problem. If I remember my statics theory, most of the torsional stress should be close to the surface. Couple weld dots and hopefully you're OK.1 point
-
Thanks! I had to redo several parts of the bodywork, and I am (was) slow. Knowing what I know now, if I had to do it all over again I think I could shave 500 hours off. Live and learn.1 point
-
1 point
-
1 pointI used the roadster belts in both of my Z cars. Yes, the retractor mounts near the quarter window. Here's what you're looking for: https://www.wescoperformance.com/noname.html1 point
-
Success! I made all the changes we talked about, bled the system (again) and now have good pedal feel and brakes. I'm pretty sure, as you all suggested, the caliper issue was the key problem. Thanks for all your help....You Guys Rock!1 point
-
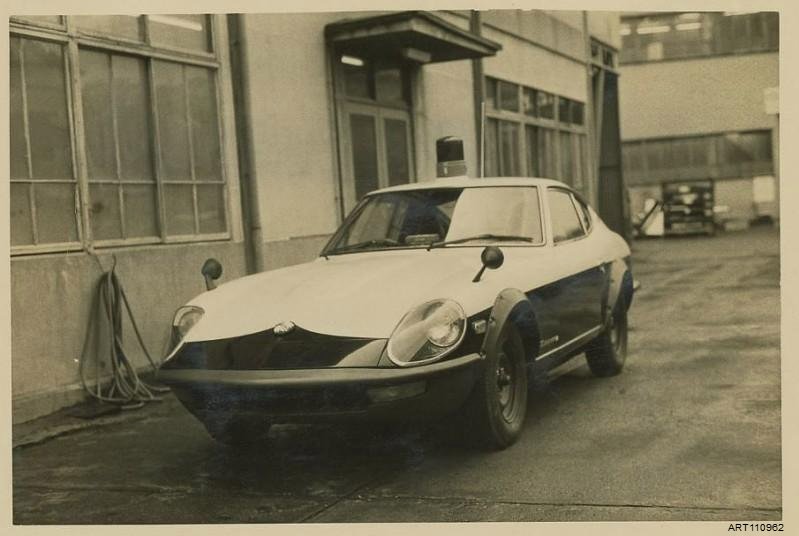
The vendor made some other comments which are worth mentioning. He said that the Grande Nose parts turned up from Japan "still in their Police livery". If he could show photos of this, it would help his story. However, the only Police-specific 'livery' paint detail on an original 5-piece Grande Nose would be the white & black paint split on the headlamp cowls. The lower cowl panel would be painted black and the bonnet extension piece would also be black. The urethane front bumper on the Kanagawa Prefectural Police highway patrol Fairlady 240ZG is in its normal factory-supplied shade of metallic charcoal grey. Further, Nissan was still supplying genuine Grande Nose components in Japan right up through the 1990s as factory replacement parts. Unlike earlier factory pieces, the later items were supplied in a black gel coat finish. This would make it harder to identify "ex-Police" parts via colouring. He mentioned that the Grande Nose parts languished in US Customs for a long time before being released, as though this was some sort of positive. I don't see how? Is he linking this to their "ex-Police" nature? Seems more likely that they were mis-described in their shipment documentation or that the receiving party didn't know how to deal with international shipment procedures and/or import duties and taxes. Kind of a bizarre detail to add to an auction description either way. He also showed the Nissan parts boxes that the headlamp covers came in, and said that they will be supplied with the car to any buyer. So what happened to the originals that that were on the "ex-Police" parts? Lastly, which particular "ex-Police" 240ZG did these parts come from? There was no mechanism for ex-Police cars to fall into private hands in Japan, and - so I'm told - Police-specific componentry would be stripped out for possible re-use before the cars were scrapped. Yes, stock parts could theoretically make it onto the used parts market, but where's the paper trail? The number of Fairlady 240ZGs used as Police cars was vanishingly small, so which one was it? Here's a photo of a Fairlady 240ZG during its transformation into a Police car at (I believe) Nissan-affiliate TONOX's Tonouchi factory. I believe that this is the same car that is now in the Nissan Heritage Collection:
 1 point
 -
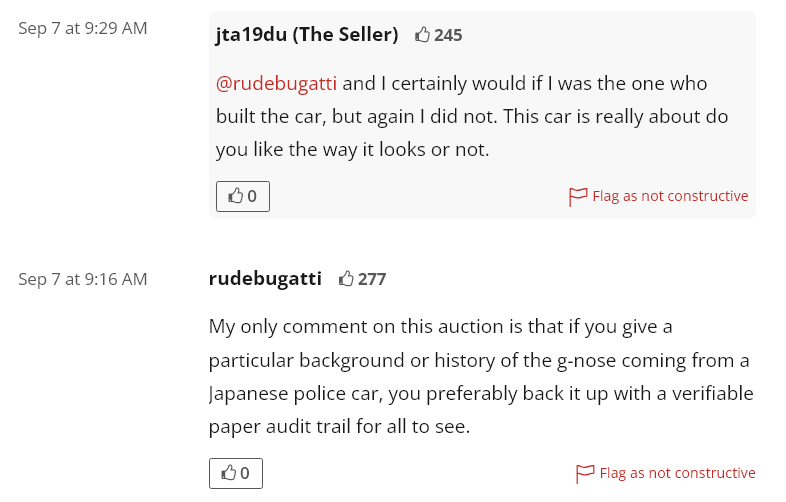
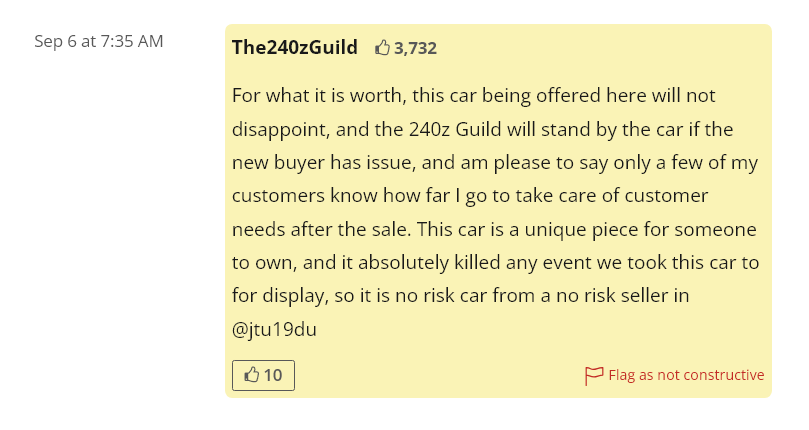
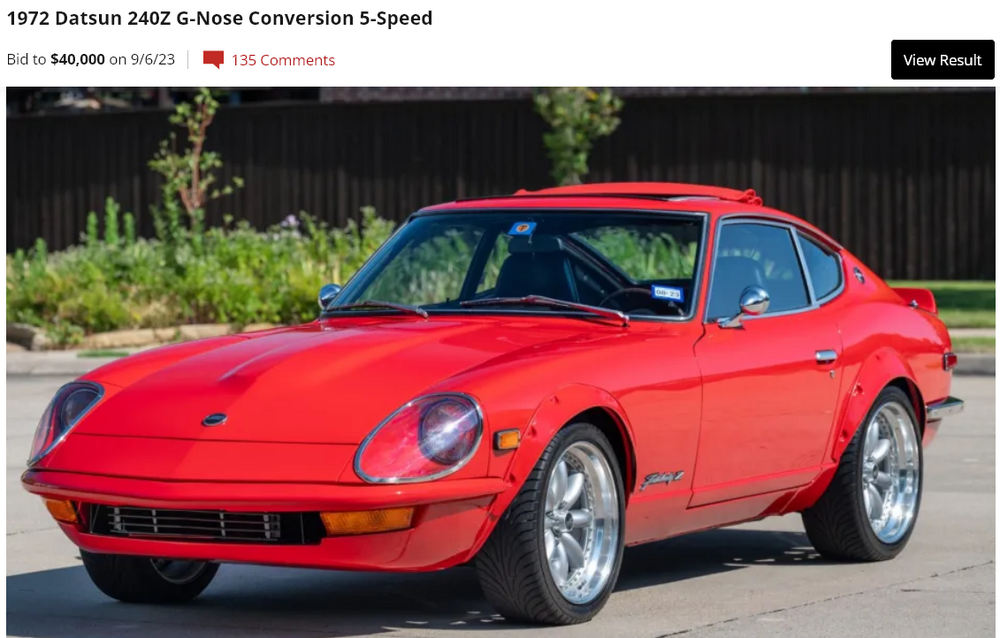
The comments continue on that red G Nose 72 even though the auction ended yesterday. Apparently it's meant to be a show car, as The Guild guy inferred earlier. I copied the image before it gets removed as "non-constructive". Kind of feel bad for picking on the guy's car but he doesn't want to let things fade. He's asking over $40,000 for it, so he can't expect no questions asked. What does $40,000 get you? What he should do at this point is put that paper trail together, documentation of it's provenance to remove the mystery, and put it back on the market in the right way. $40,000 is a risk unless you have money to burn. Drama!
 1 point
 -
What I think many North American's fail to appreciate is that the supply of good LHD cars won't last forever. Therefore automatics, less desirable colours etc.. will all rise in value eventually. We in Australia got a fraction of the cars supplied to North American shores, so in effect we are 20 years ahead of you in terms of the limited supply and pricing of parts/cars/shells etc.. the UK was probably 15 years ahead of us, thanks to their wet weather depleting the cars faster but also their limited supply in the first place. To swap an automatic car to manual is so incredibly simple in these cars it always makes me laugh when a clean rust free (as rust free as these cars can be) comes up for sale and people say to me, oh yeah, but it's an auto.. 🙂 It's far less work to convert to manual than fix a rusty manual car.1 point
-
Is a plain old 1972 240Z with a G Nose (of questionable origin), a nice paint job, and an odd "sun roof" worth $40,000? I thought the guy did really well. The 72 alone was probably worth $25,000. That's a $15,000 premium for the three additions. Hard to figure where the additional value comes from beyond that. It's a nice-looking shell on an old 72 with a 5 speed, right? I wonder what his reserve was. The Z collector world is a strange place. https://bringatrailer.com/listing/1972-datsun-240z-287/
 1 point
 -
I've sold a couple of cars on BaT and you do get to review the ad and make changes/additions.1 point
-
1 point
-
1 pointHere's an instalation tip: When you are ready to fit them back into the car, apply some lube to either the car or the outside of the seals to allow them to fit into the car body more easily. New seals are going to be a bit fat and will resist seating into the curves of the car body. It will help greatly to have a buddy on hand to press and hold the windows in place while you fit the screws.1 point