


Leaderboard
-

Zed Head
Free Member8Points19,236Posts -

SpeedRoo
Free Member4Points359Posts -
Captain Obvious
Free Member4Points10,081Posts -
Mark Maras
Free Member3Points3,719Posts


Popular Content
Showing content with the highest reputation on 04/25/2023 in all areas
-
4 pointsWell that makes me feel better, was searching everywhere thinking I had misplaced it! You guys rock. In return for your help here's something that may interest you. I'm trying to restore my May 1970 240Z with NOS parts. Needed a clutch cover and disk, preferably original Nissan parts. Well found the clutch cover and also 4 clutch disks. Bought two of the disks, part number on the box is 30100-Y6800. In the 240Z manual that cross references over to the 30100-E4300 original part. https://www.carpartsmanual.com/datsun/Z-1969-1978/power-train/clutch/1 Got them delivered today and it has Atsugi F225DC stamped on it like my original. They have 2 left in stock, at $41 each they were a bargain. https://www.ebay.com/itm/1450311423514 points
-
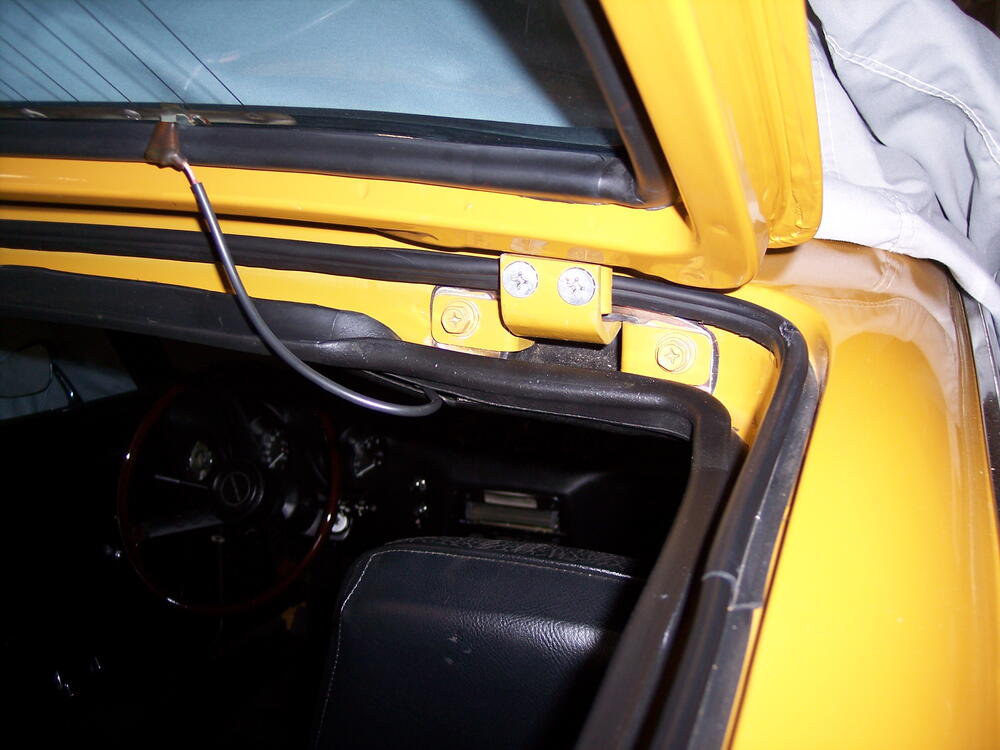
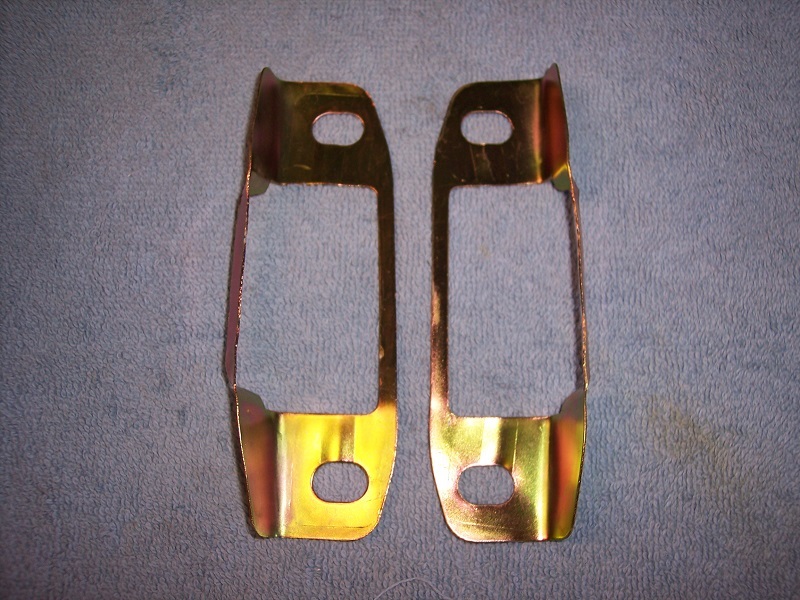
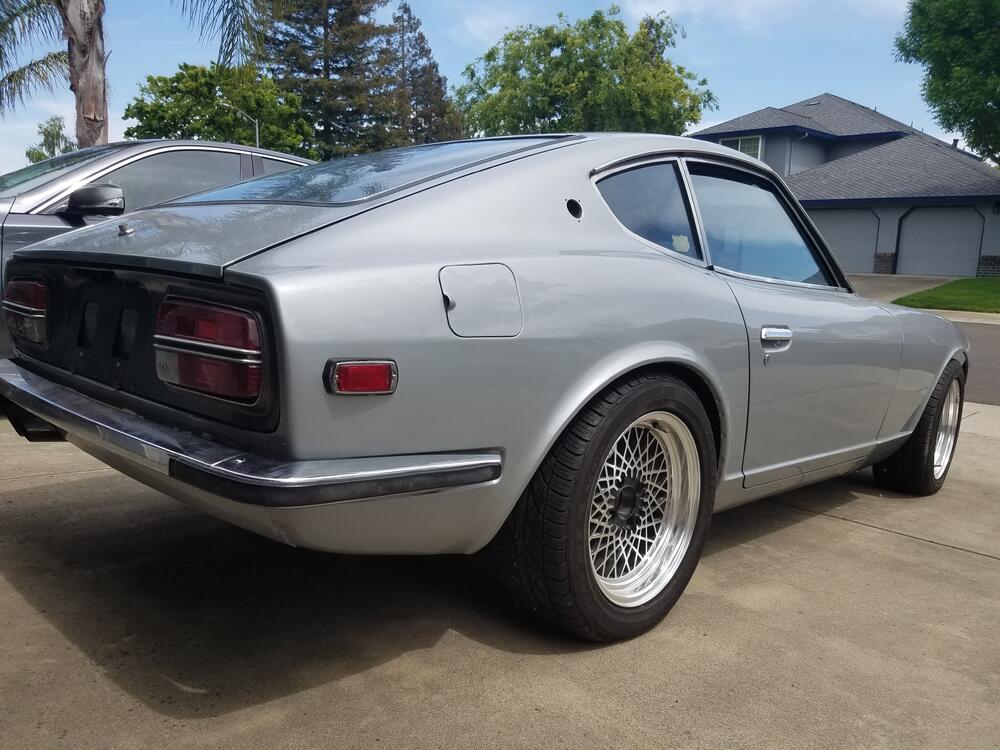
The hatch has two seals - outer and inner. The outer seal is small and installs on the pinch weld seam aound the hatch. The top portion is usually bulb shaped to fit snugly against the hatch flange so rain is channeled to the sides and down to the slam panel. Your pics show this seal is missing. In my pic I also have bulb-shaped outer seal on the sides as well as the top. The rust you show inside at the hinge are suggests your hatch hinge boots are compromised and should be replaced. These plates are an important part of the hinge boot install. They fit between the hinge and the boot and prevent the boot from being distorted when the hinge bolts are tightened. Unfortunately the plates are not available as a separate P/N. They came to Nissan as an assembly with the OE boots. As to your squeegee strip install, pop rivets work very well to secure the rubber strip to the door trim. Space them about every 4". This is far easier than working wirh wire or attempting to re-use old staples. The same approach works well with the fuzzy strip at the top of the door panel.
 3 points
 -
3 pointsToo Rich...? Remove air filter cover, take a thin, flathead screwdriver and raise the carb piston about 1/16" to 1/8"...if it starts to die, it's too lean. If the RPMs increase, it's too rich. From a lifelong Triumph owner...!3 points
-
I see 5 extra HP and 3 MPG. That is a work of art. I'd run a transparent hose with it so it can be admired.3 points
-
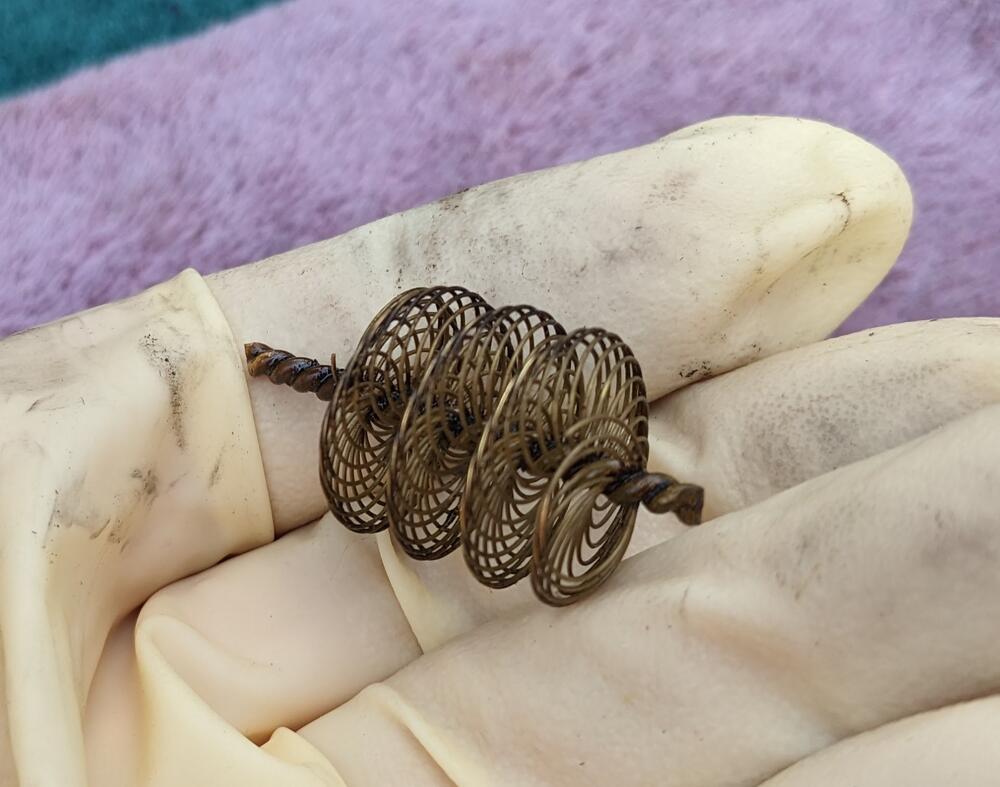
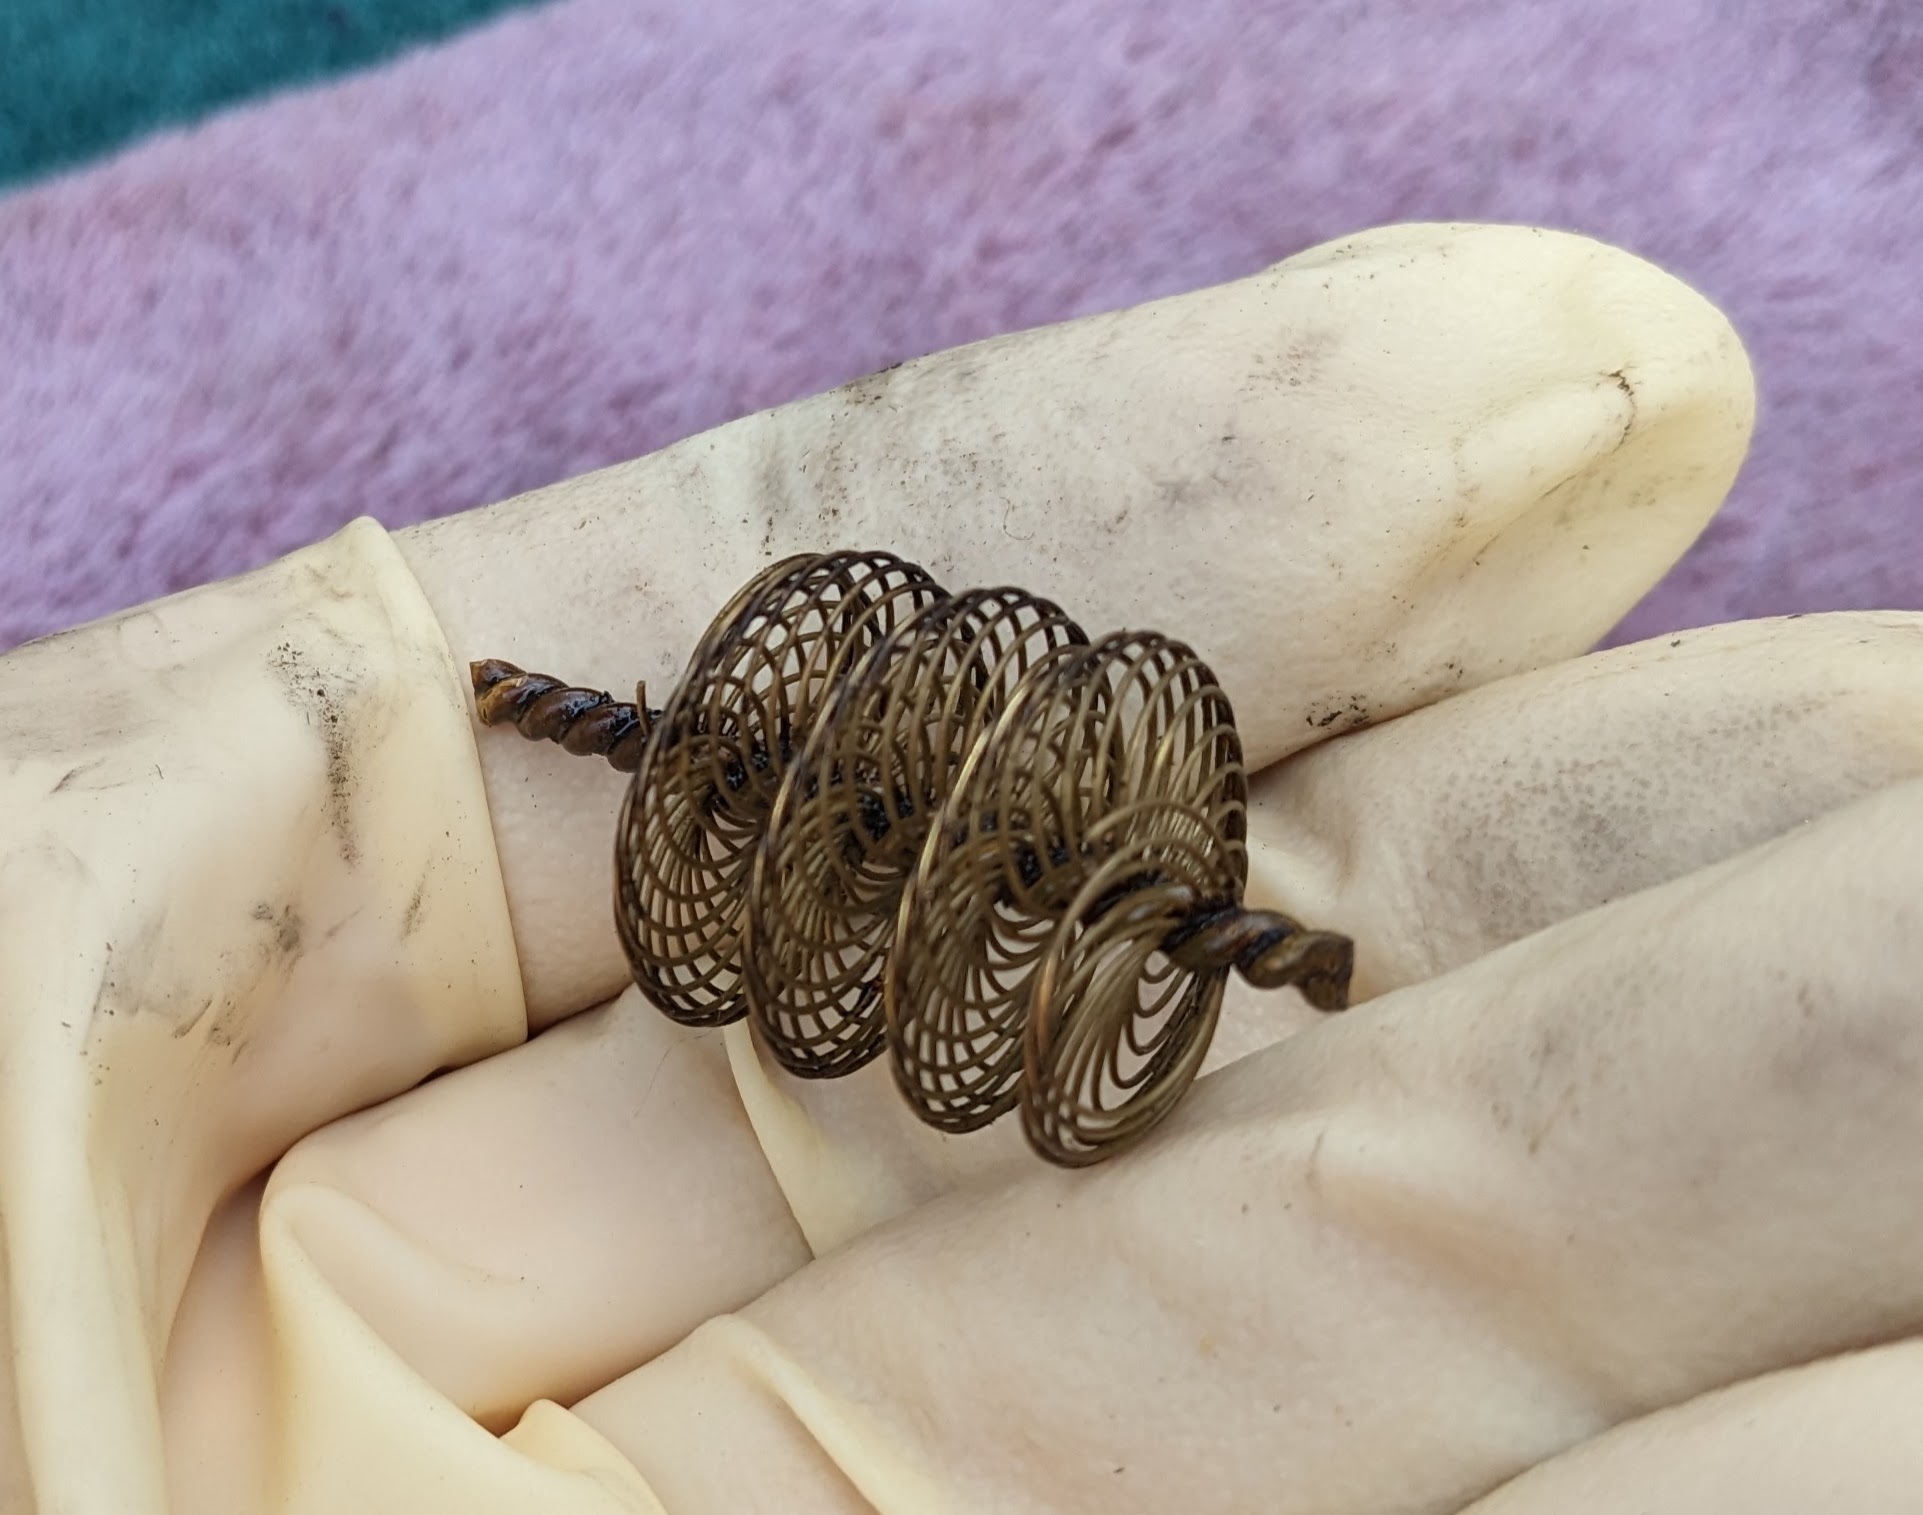
3 pointsA looong time ago we used to pull the spring from one of the centrifugal advance weights to get full advance at lower RPMs..3 points
-
2 pointsIf you read further back in the thread he has lost a quart of oil. IMO carbs are not part of the equation. These carb’s from what I understand just got back from Z Therapy.2 points
-
2 pointsI'm thinking a PO was running a velocity stack snout or was matching the hole to the back of a non-stock air cleaner or something.2 points
-
2 pointsYeah, that's got to be tricky. Watched the video. That's pretty blue. And if you've burned up one quart of oil already just idling in the garage, then it's pretty clear there's something internal wrong. From my armchair, it doesn't look like a carb issue. Curious though... If it is a ring issue, it would seem unlikely that there would be the same issue on all six cylinders. If the rebuilder knew how to do the rings correctly, he might have had one ring slip out of place on one piston or something. But all six seems unlikely unless there was a systemic mistake. I'm no ring expert, but there are different ring compositions. And don't some of those different compositions take longer to seat than others?2 points
-
2 points
-
2 pointsThere are threads out there about the one spring(ed) distributors. I think that the end decision was that some come that way.2 points
-
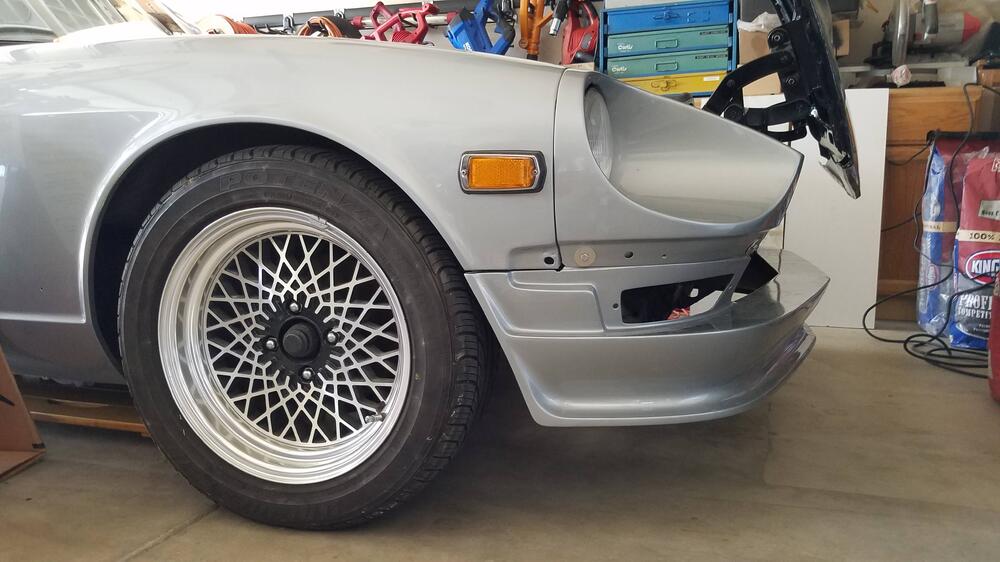
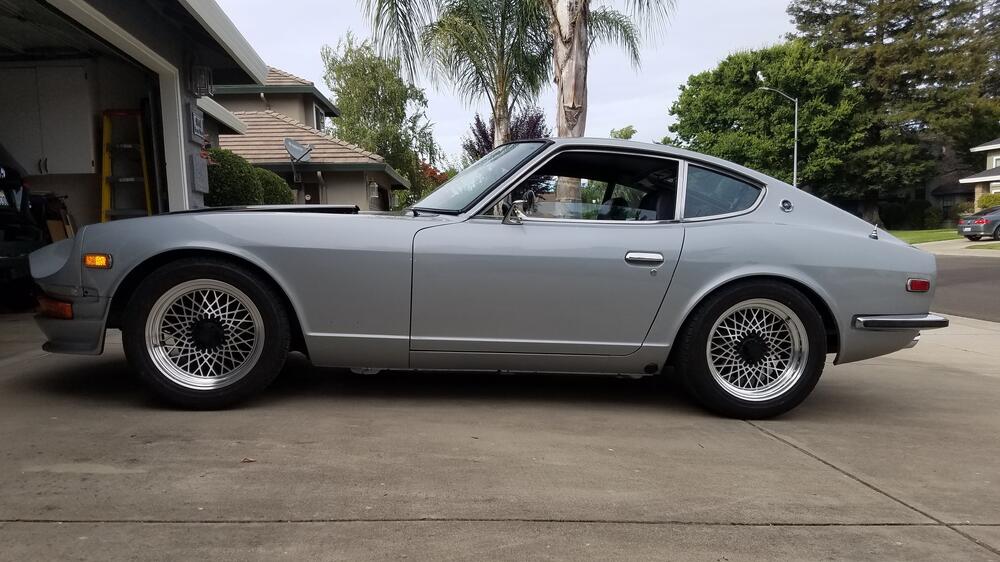
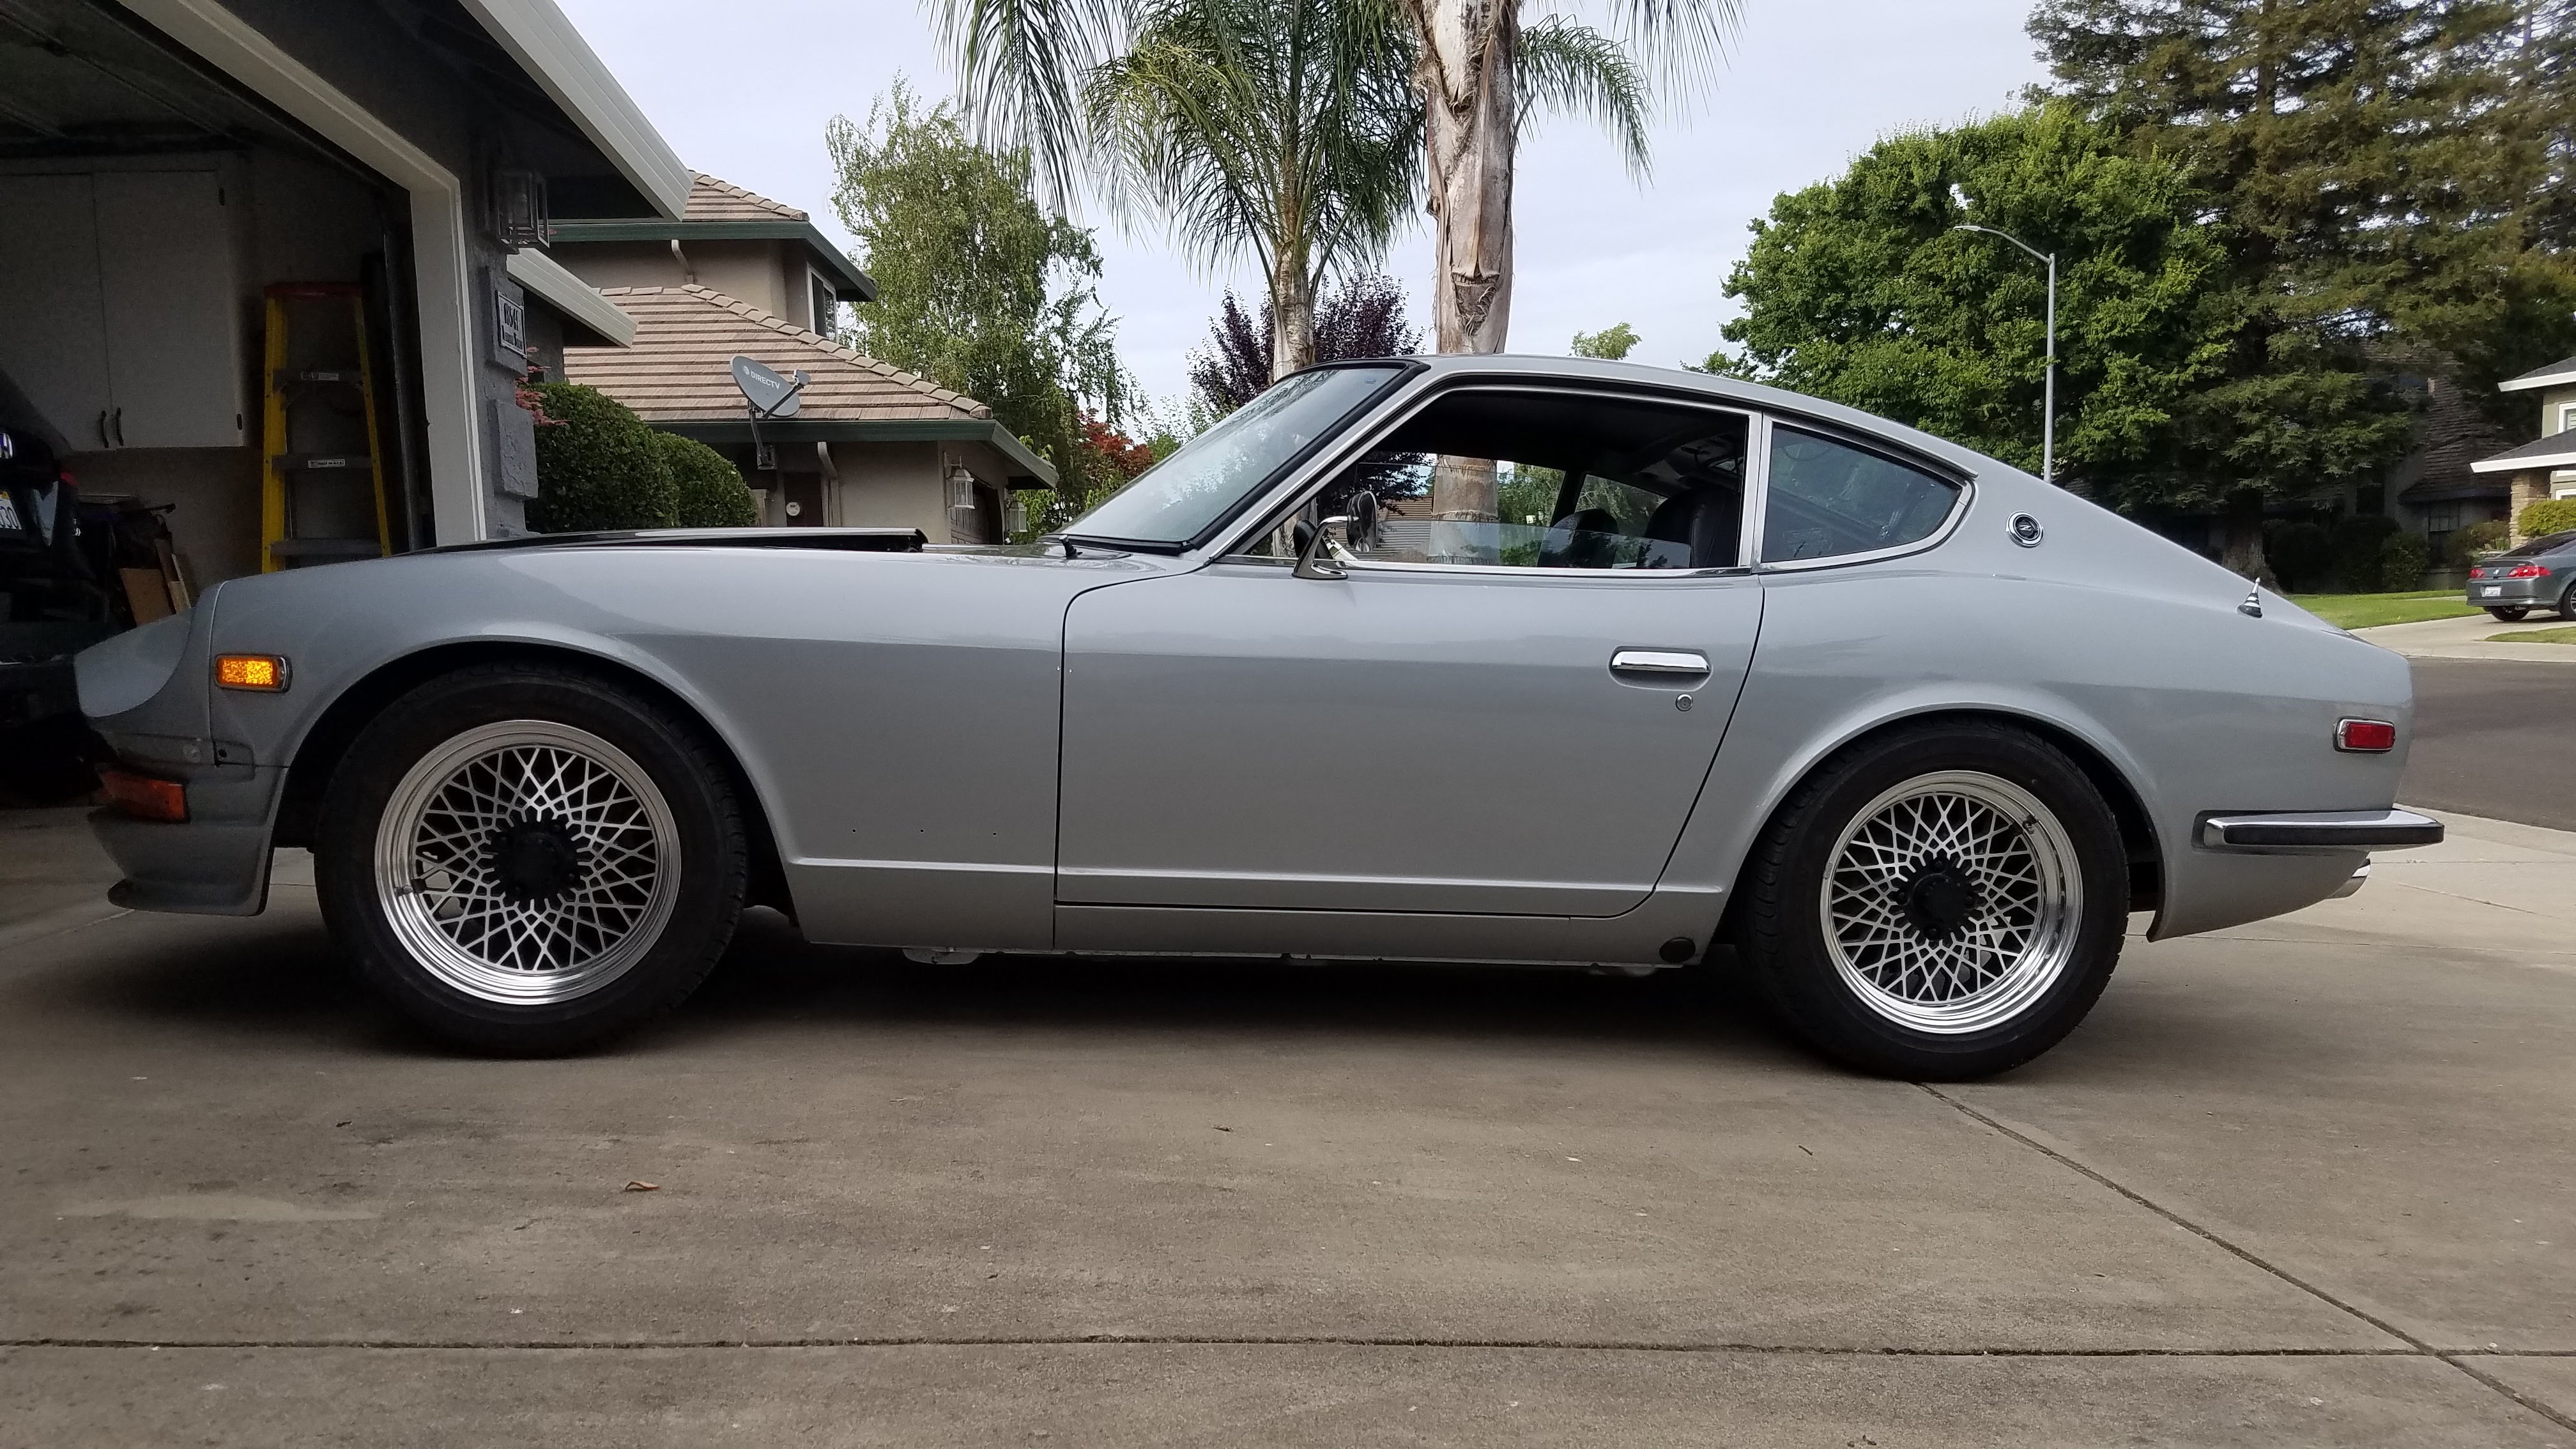
1 pointI have a 1973 240Z that have been lower with Datsun comp. coil-overs with 16X7 Riken purchased from Jim Cook Racing with tires Bridgestone 225 50R16.


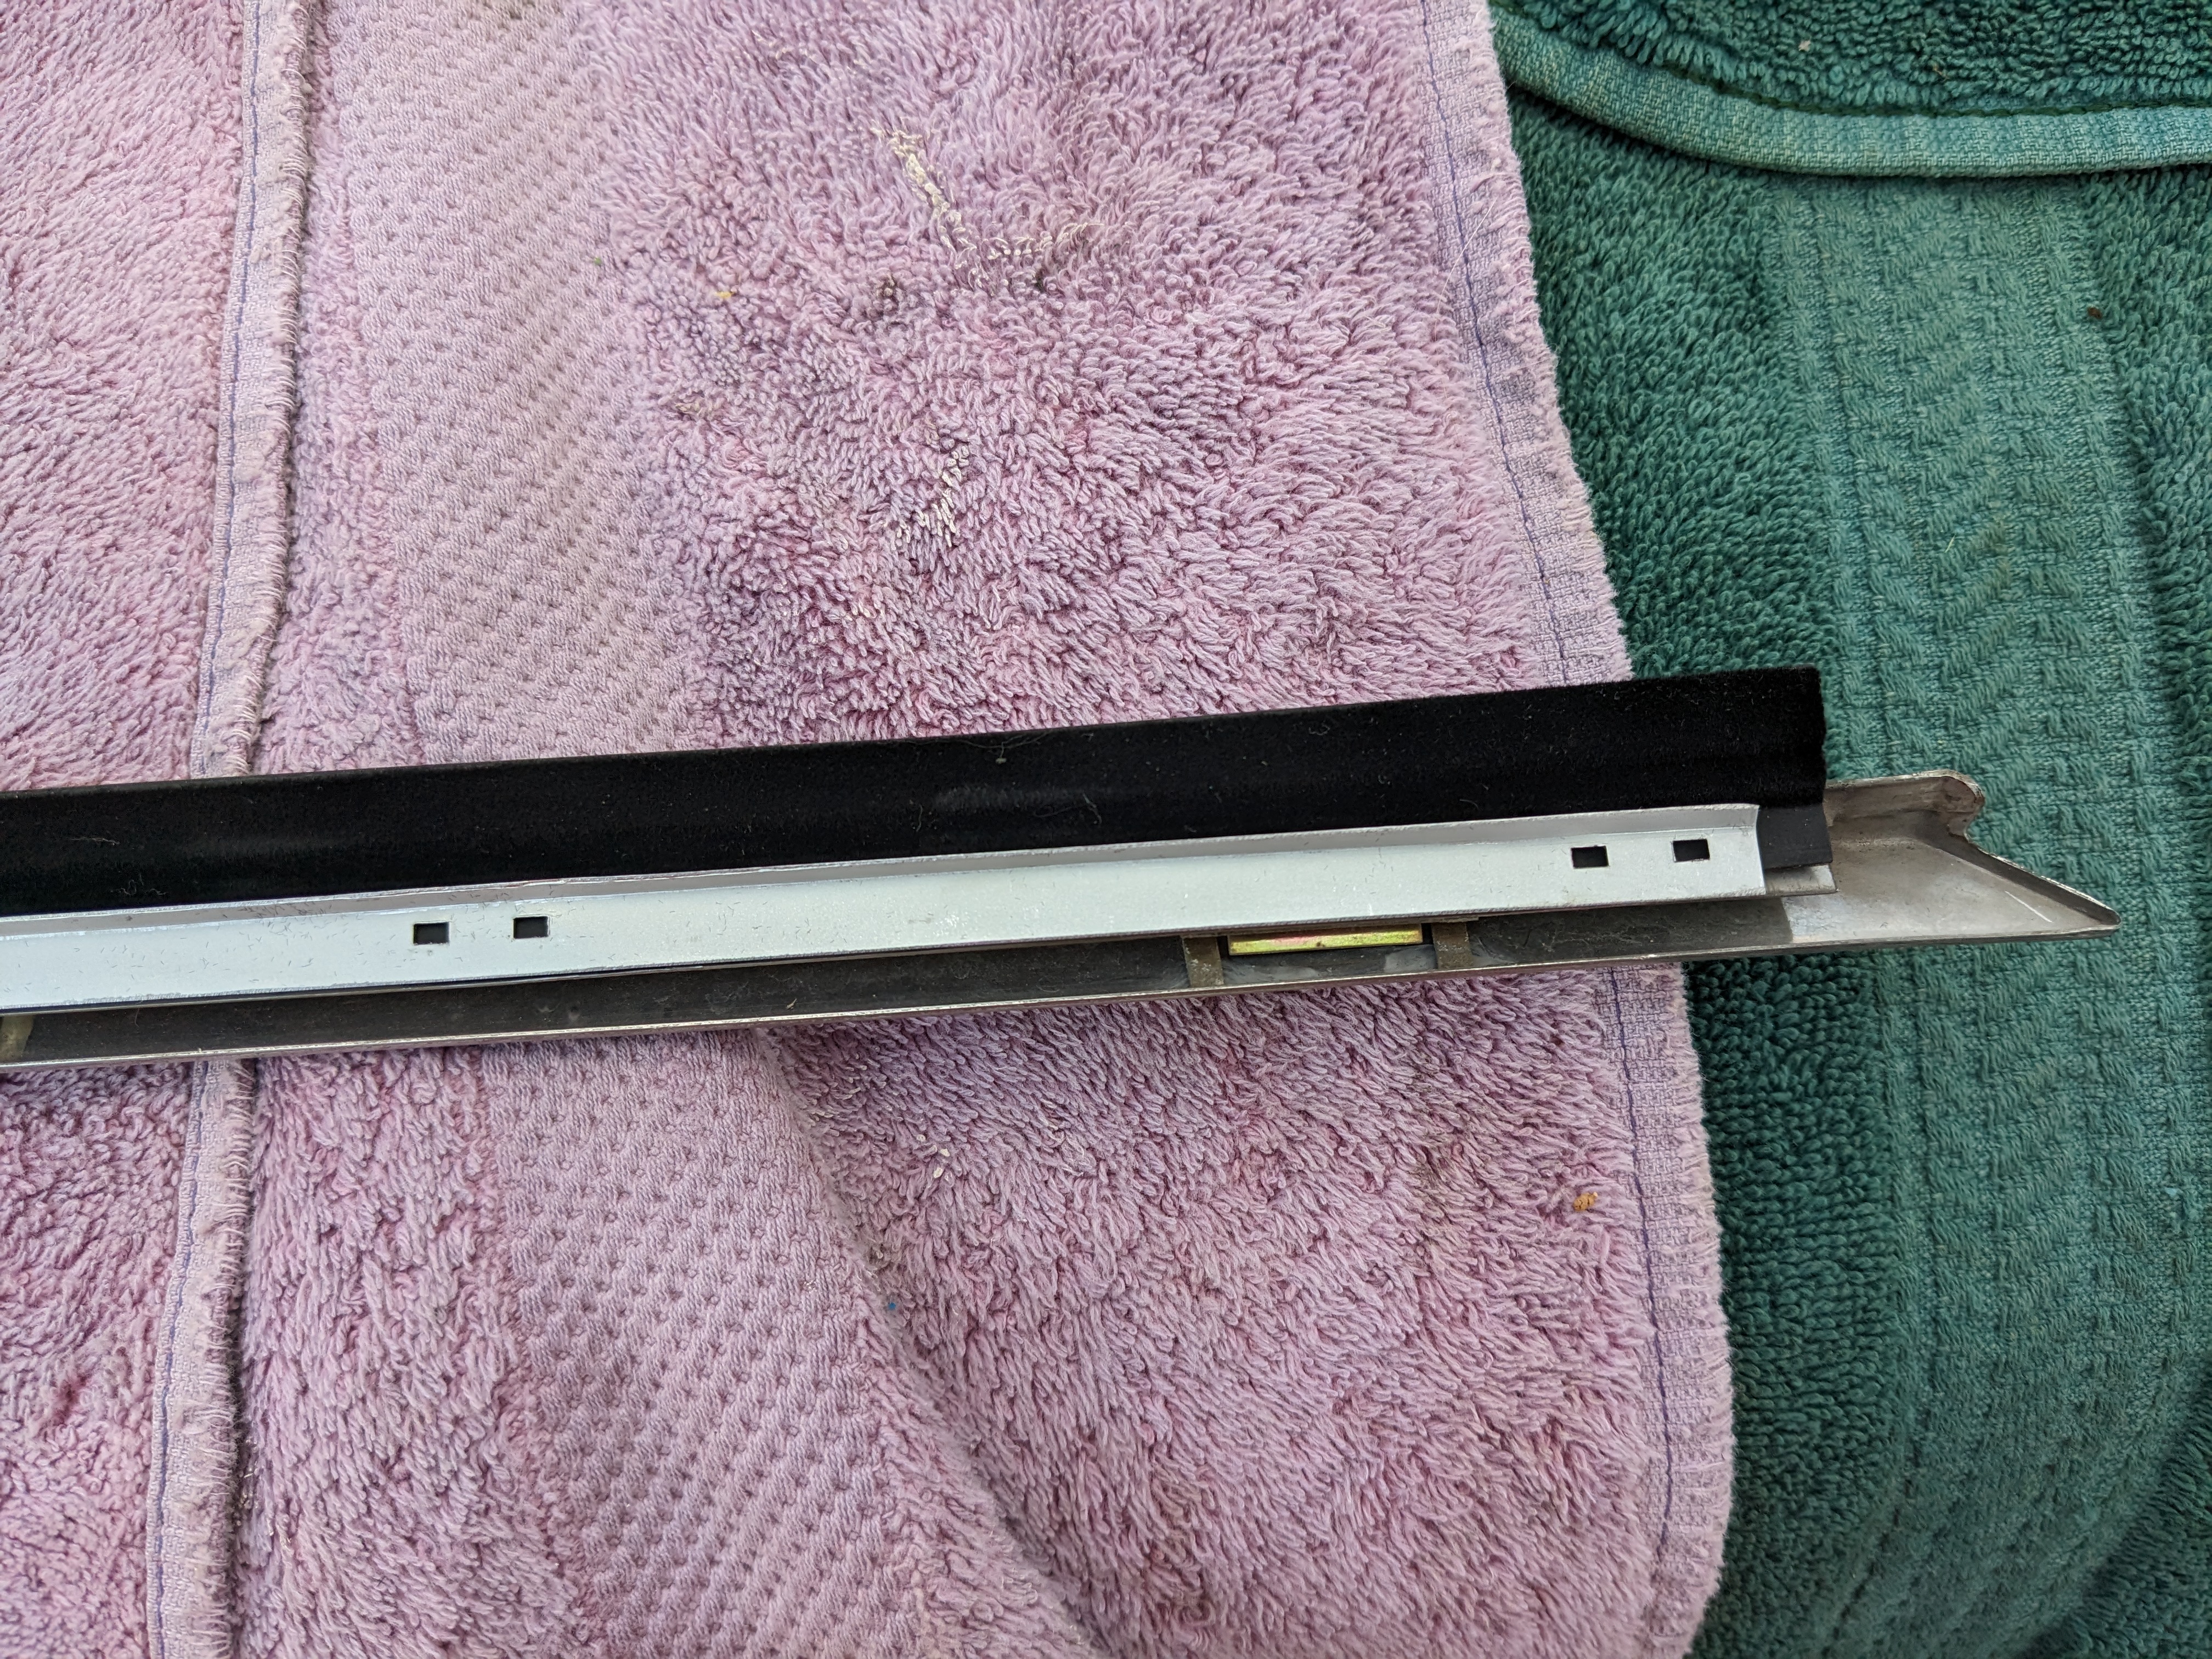
 1 pointThe scraper molding & retaining strip came from ZcarDepot. You have to remove the original strip & retaining plate from the main molding.
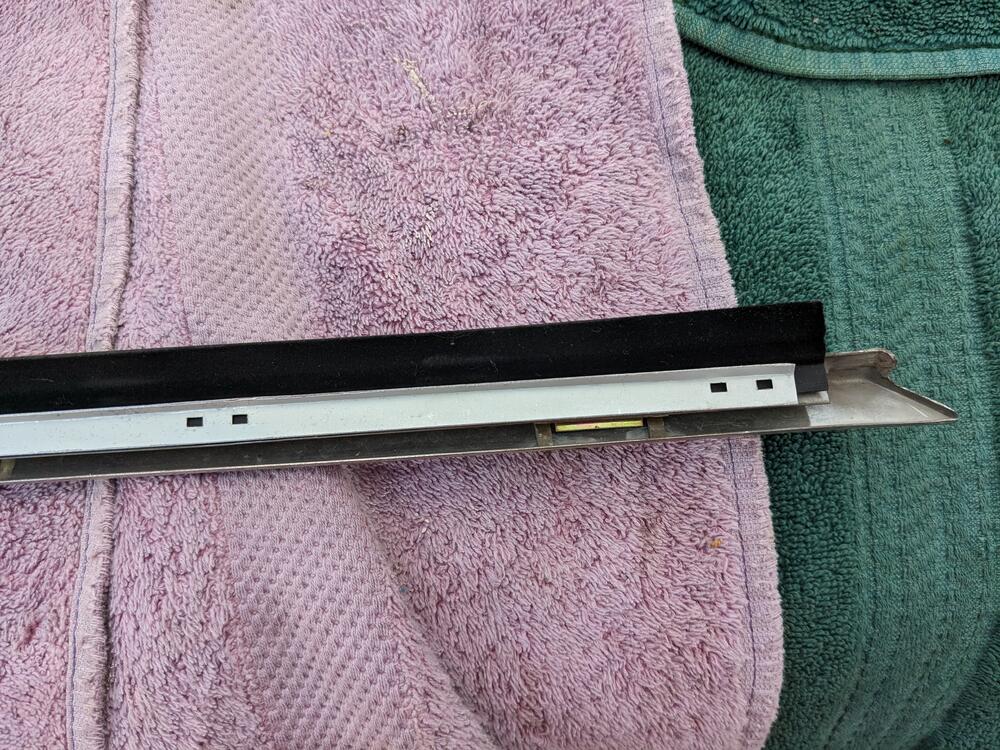 1 pointOn the window scraper, after removing the original staples I drilled the holes out with a tiny drill bit and secured the retainer with some galvanized wire from the hardware store. I had no way to duplicate the staple, just cut a short piece of wire and bend it flat.1 pointSo, the flame arrester # 4159642 from 70'-80's Fiats is well constructed & fits perfectly inside the vent hose. EDIT: brand new, under $5
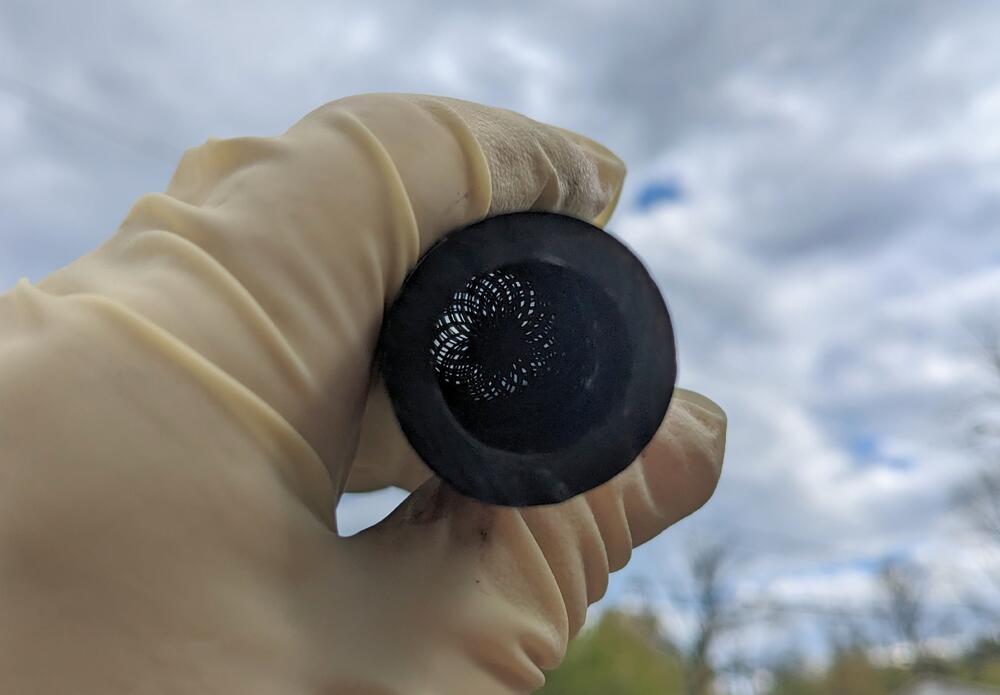
 1 point1 pointIt will be interesting to see whether a European shop applies strategies or techniques that are different from those that we're familiar with here in North America for this type of bodywork surgery. Looking forward to your posts.1 point1 pointHere is a goofy possibility - maybe you put in too much oil. Wrong dipstick/dipstick tube combination.1 pointHey Kat's. very interesting finding. I have to find out more. But it seems my documentation is a bit limited. my latest R-Drive only goes up to 1976 and all other documents which i have, you have already shown pictures up there. I wonder how you assigned the part numbers written in red here to the different Z-versions? Or is it just an Idea? It could be very possible, though Soo, on friday i got a call from my bodyshop that they want to start work ASAP, because they have already an epxensive Pre-WW Bentley scheduled for fall and want to complete mine until then. So how am i to turn them down? I prepared all my bodypanels in stock, and also made an inventory to make sure nothing gets lost. it seems that not much of the original metal will be left at the end. but honestly, i give them many items just as reference or for "in case" I packed everything into my In-law's transport bus And spent quite some time at the bodyshop to discuss some details. Out of excitement, i forgot to take pictures, so the below one is the only one you'll see today. We also discussed a few portions of the bodywork done by the previous bodyshop and saw that some of the self-made bodypanels look nice at first glance but don't align to my quality standards, so i just placed another order for the RH rocker panels and floor pans, which are now available in better quality than the stuff i got 6 years ago. and he will re-do the work. Yeah it's a bit of a pain-in-the-back but at the end i want the result to be as close to perfect as possible, so i decided that little extra-work won't hurt while they're at it anyway. If everything goes well you'll see regulare updates here soon in this space. stay tuned.1 point1 pointDid you order new Carpet? I ordered mine (75 280Z) from NewarkAuto. The quality of the carpet is very good. Properly backed as well. They have a kit listed for the '77, which is definitely not the same layout as my 75. Can't tell from the image if they cut & seam the strap openings you would require. I would call them to check .
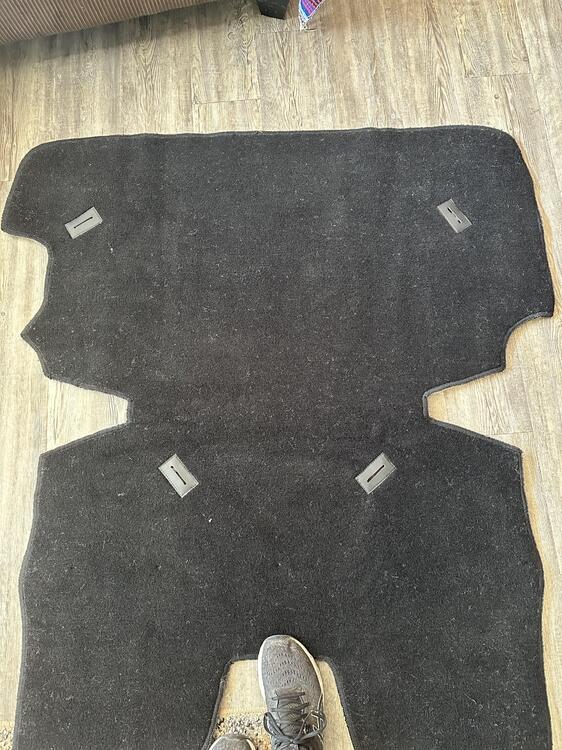
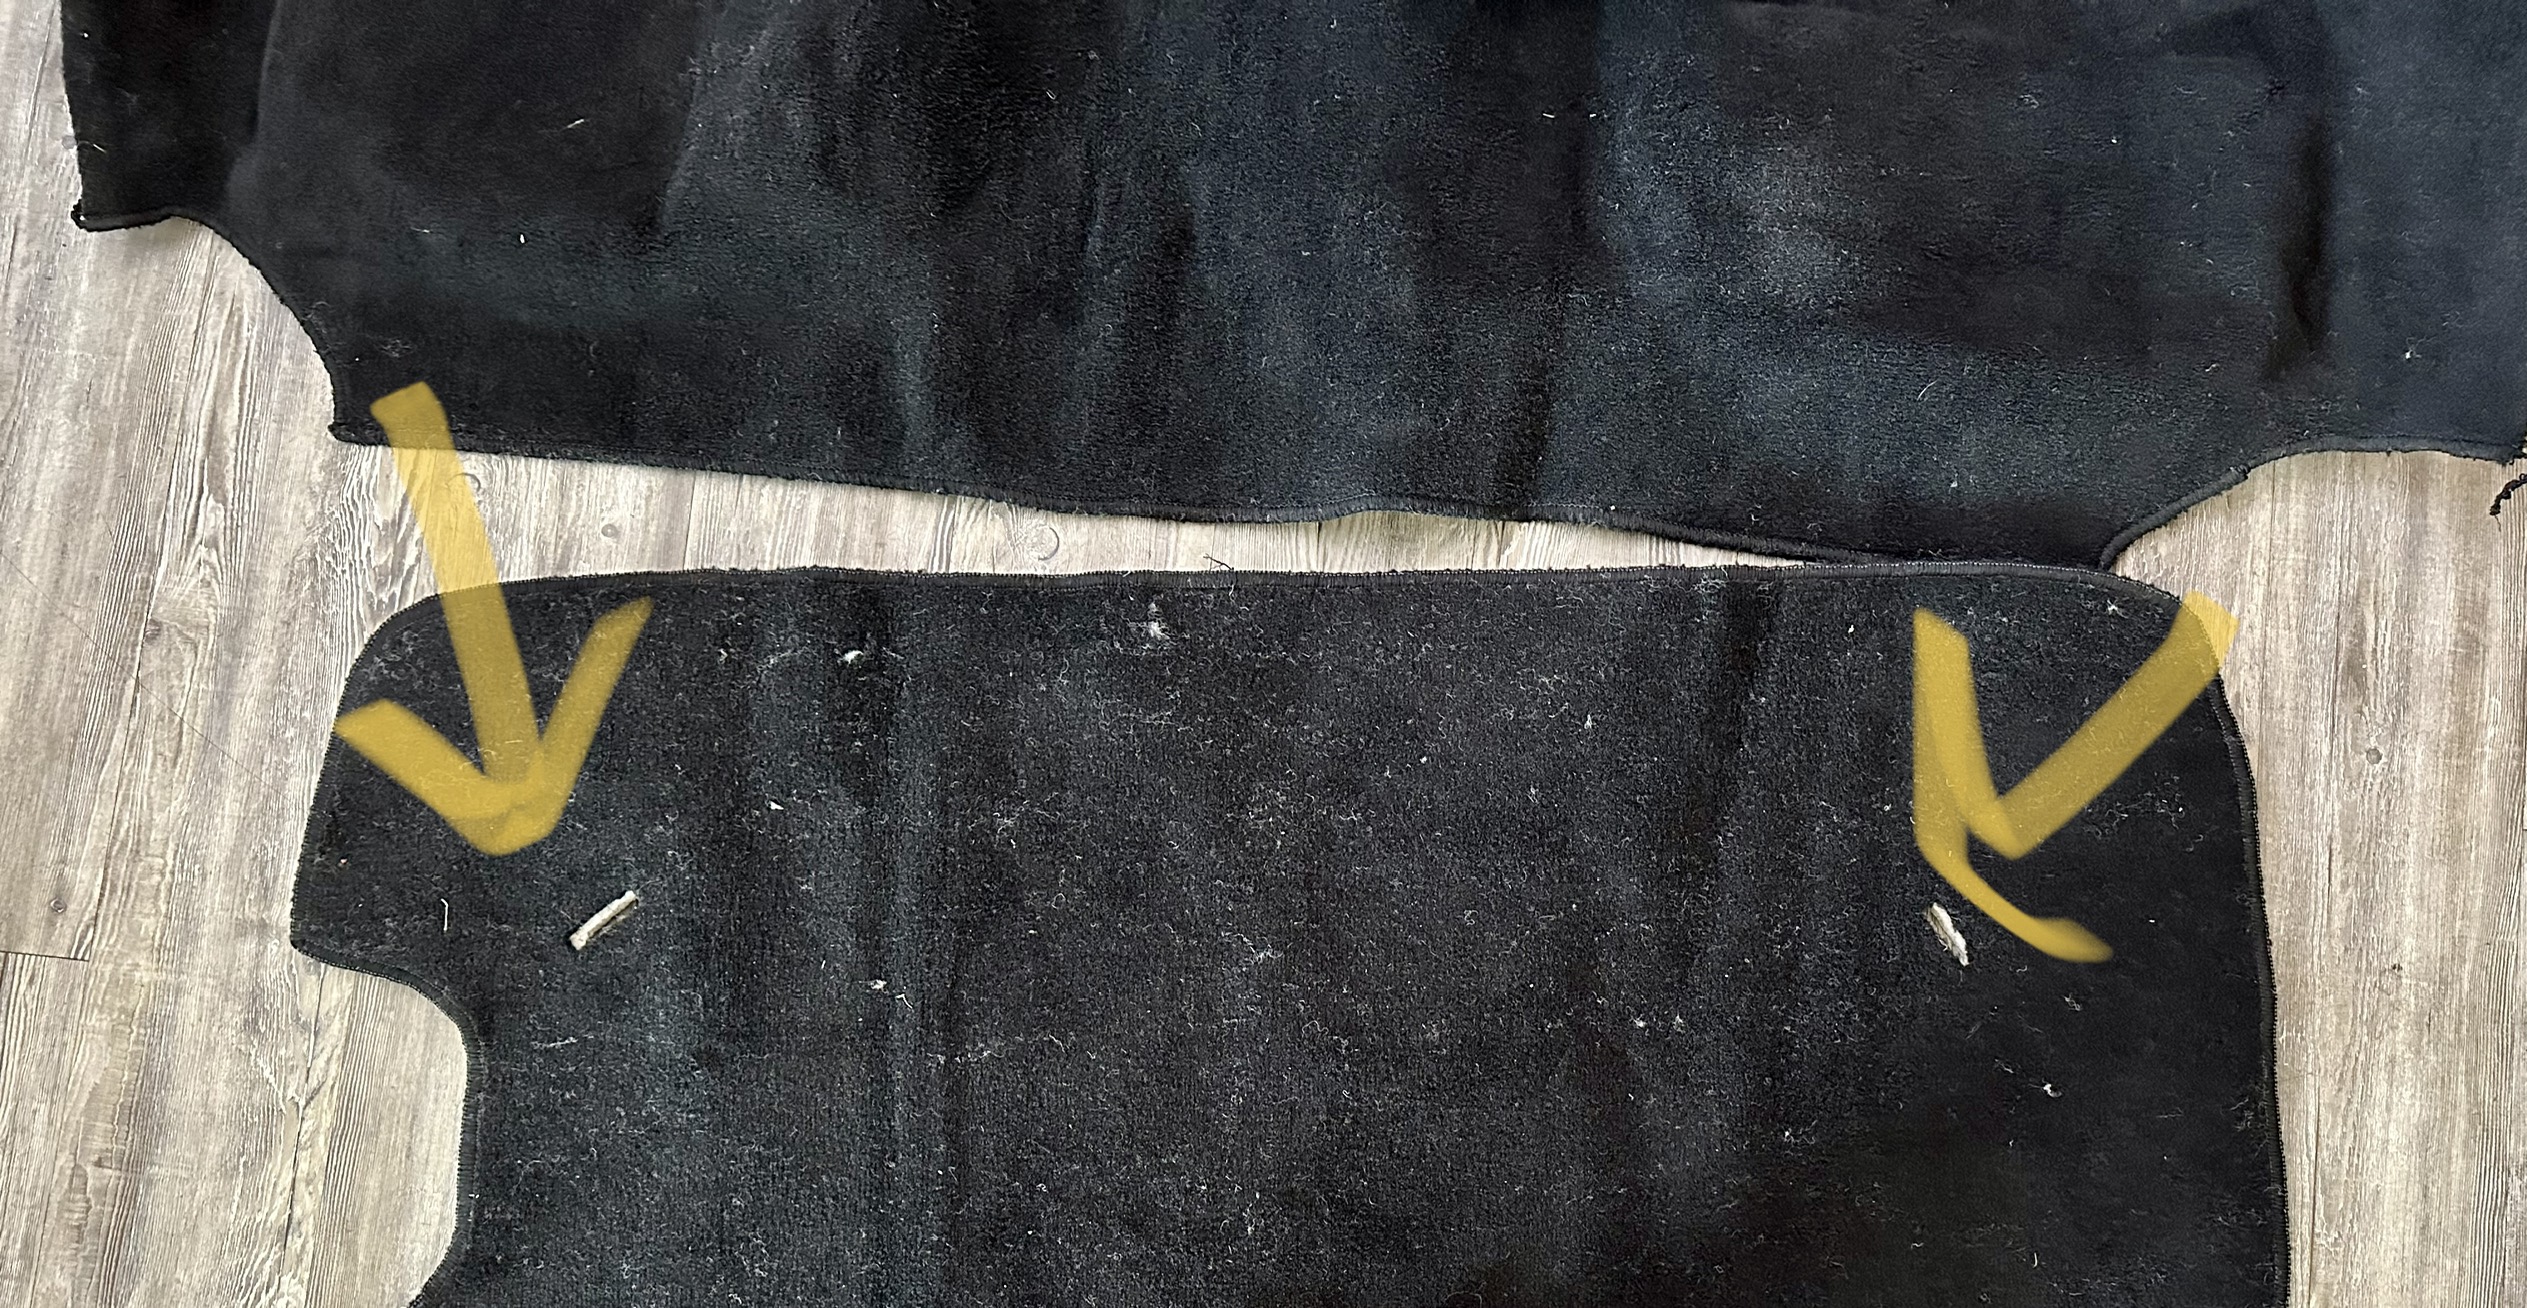
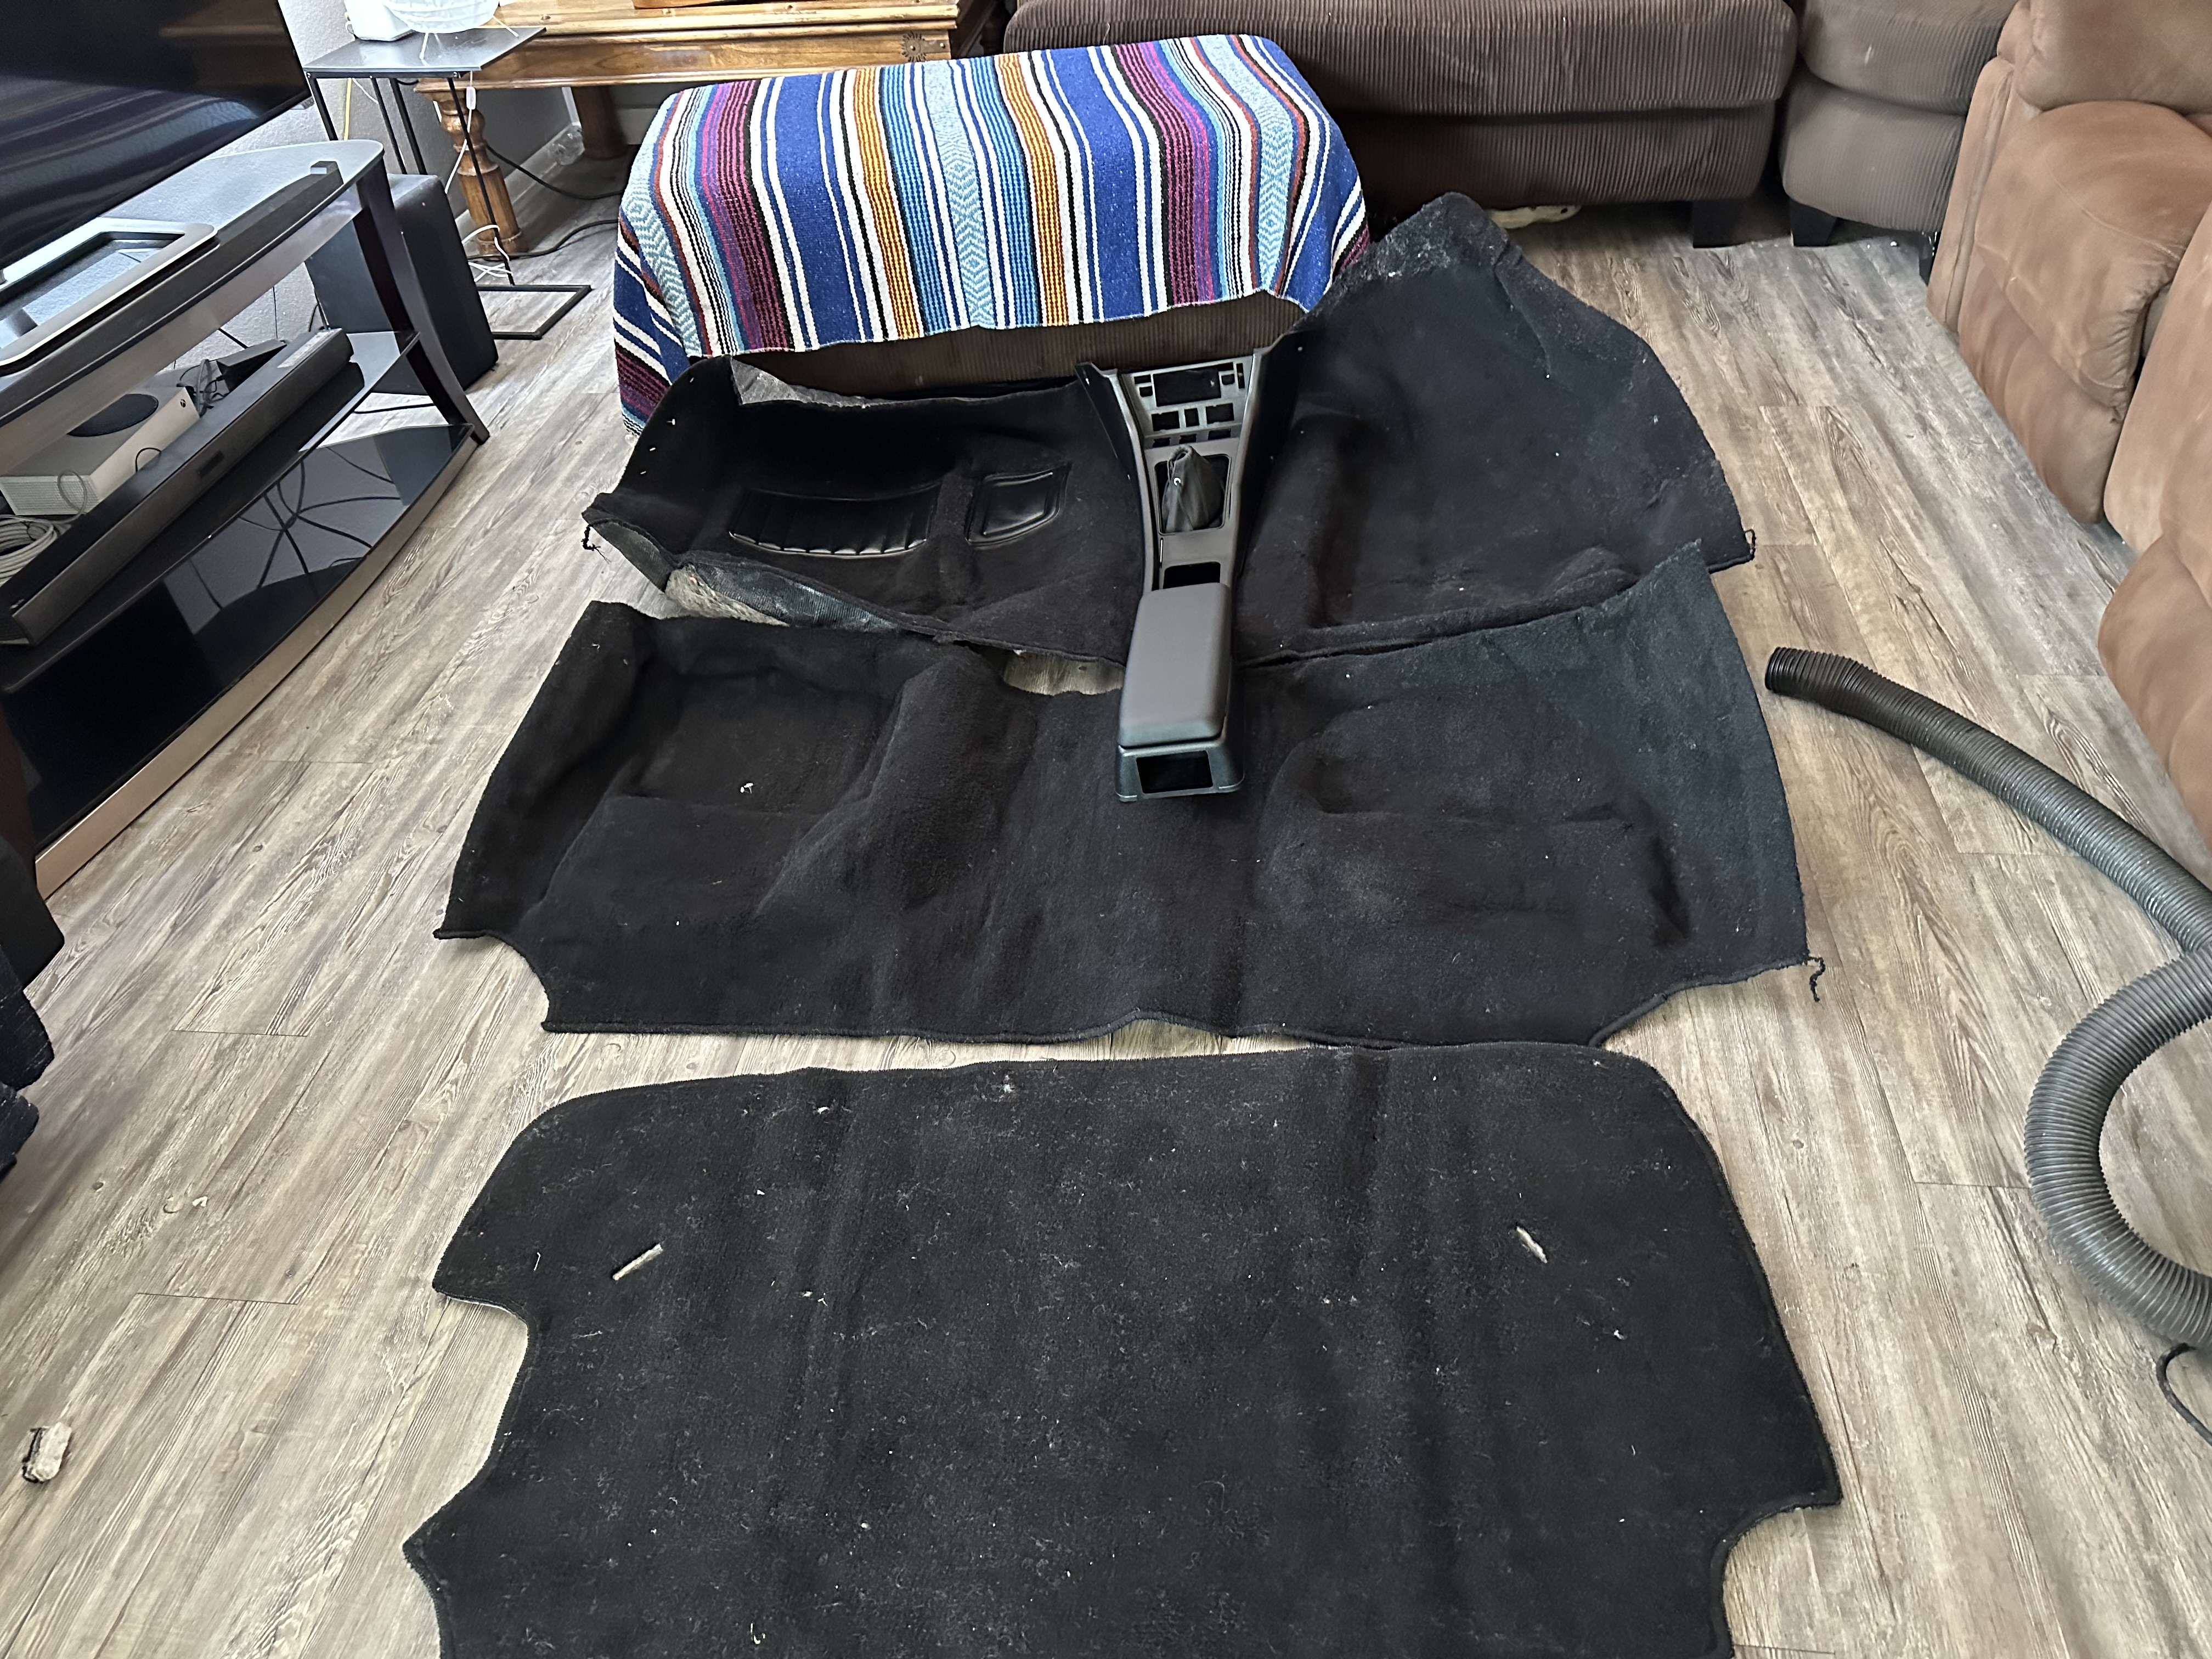
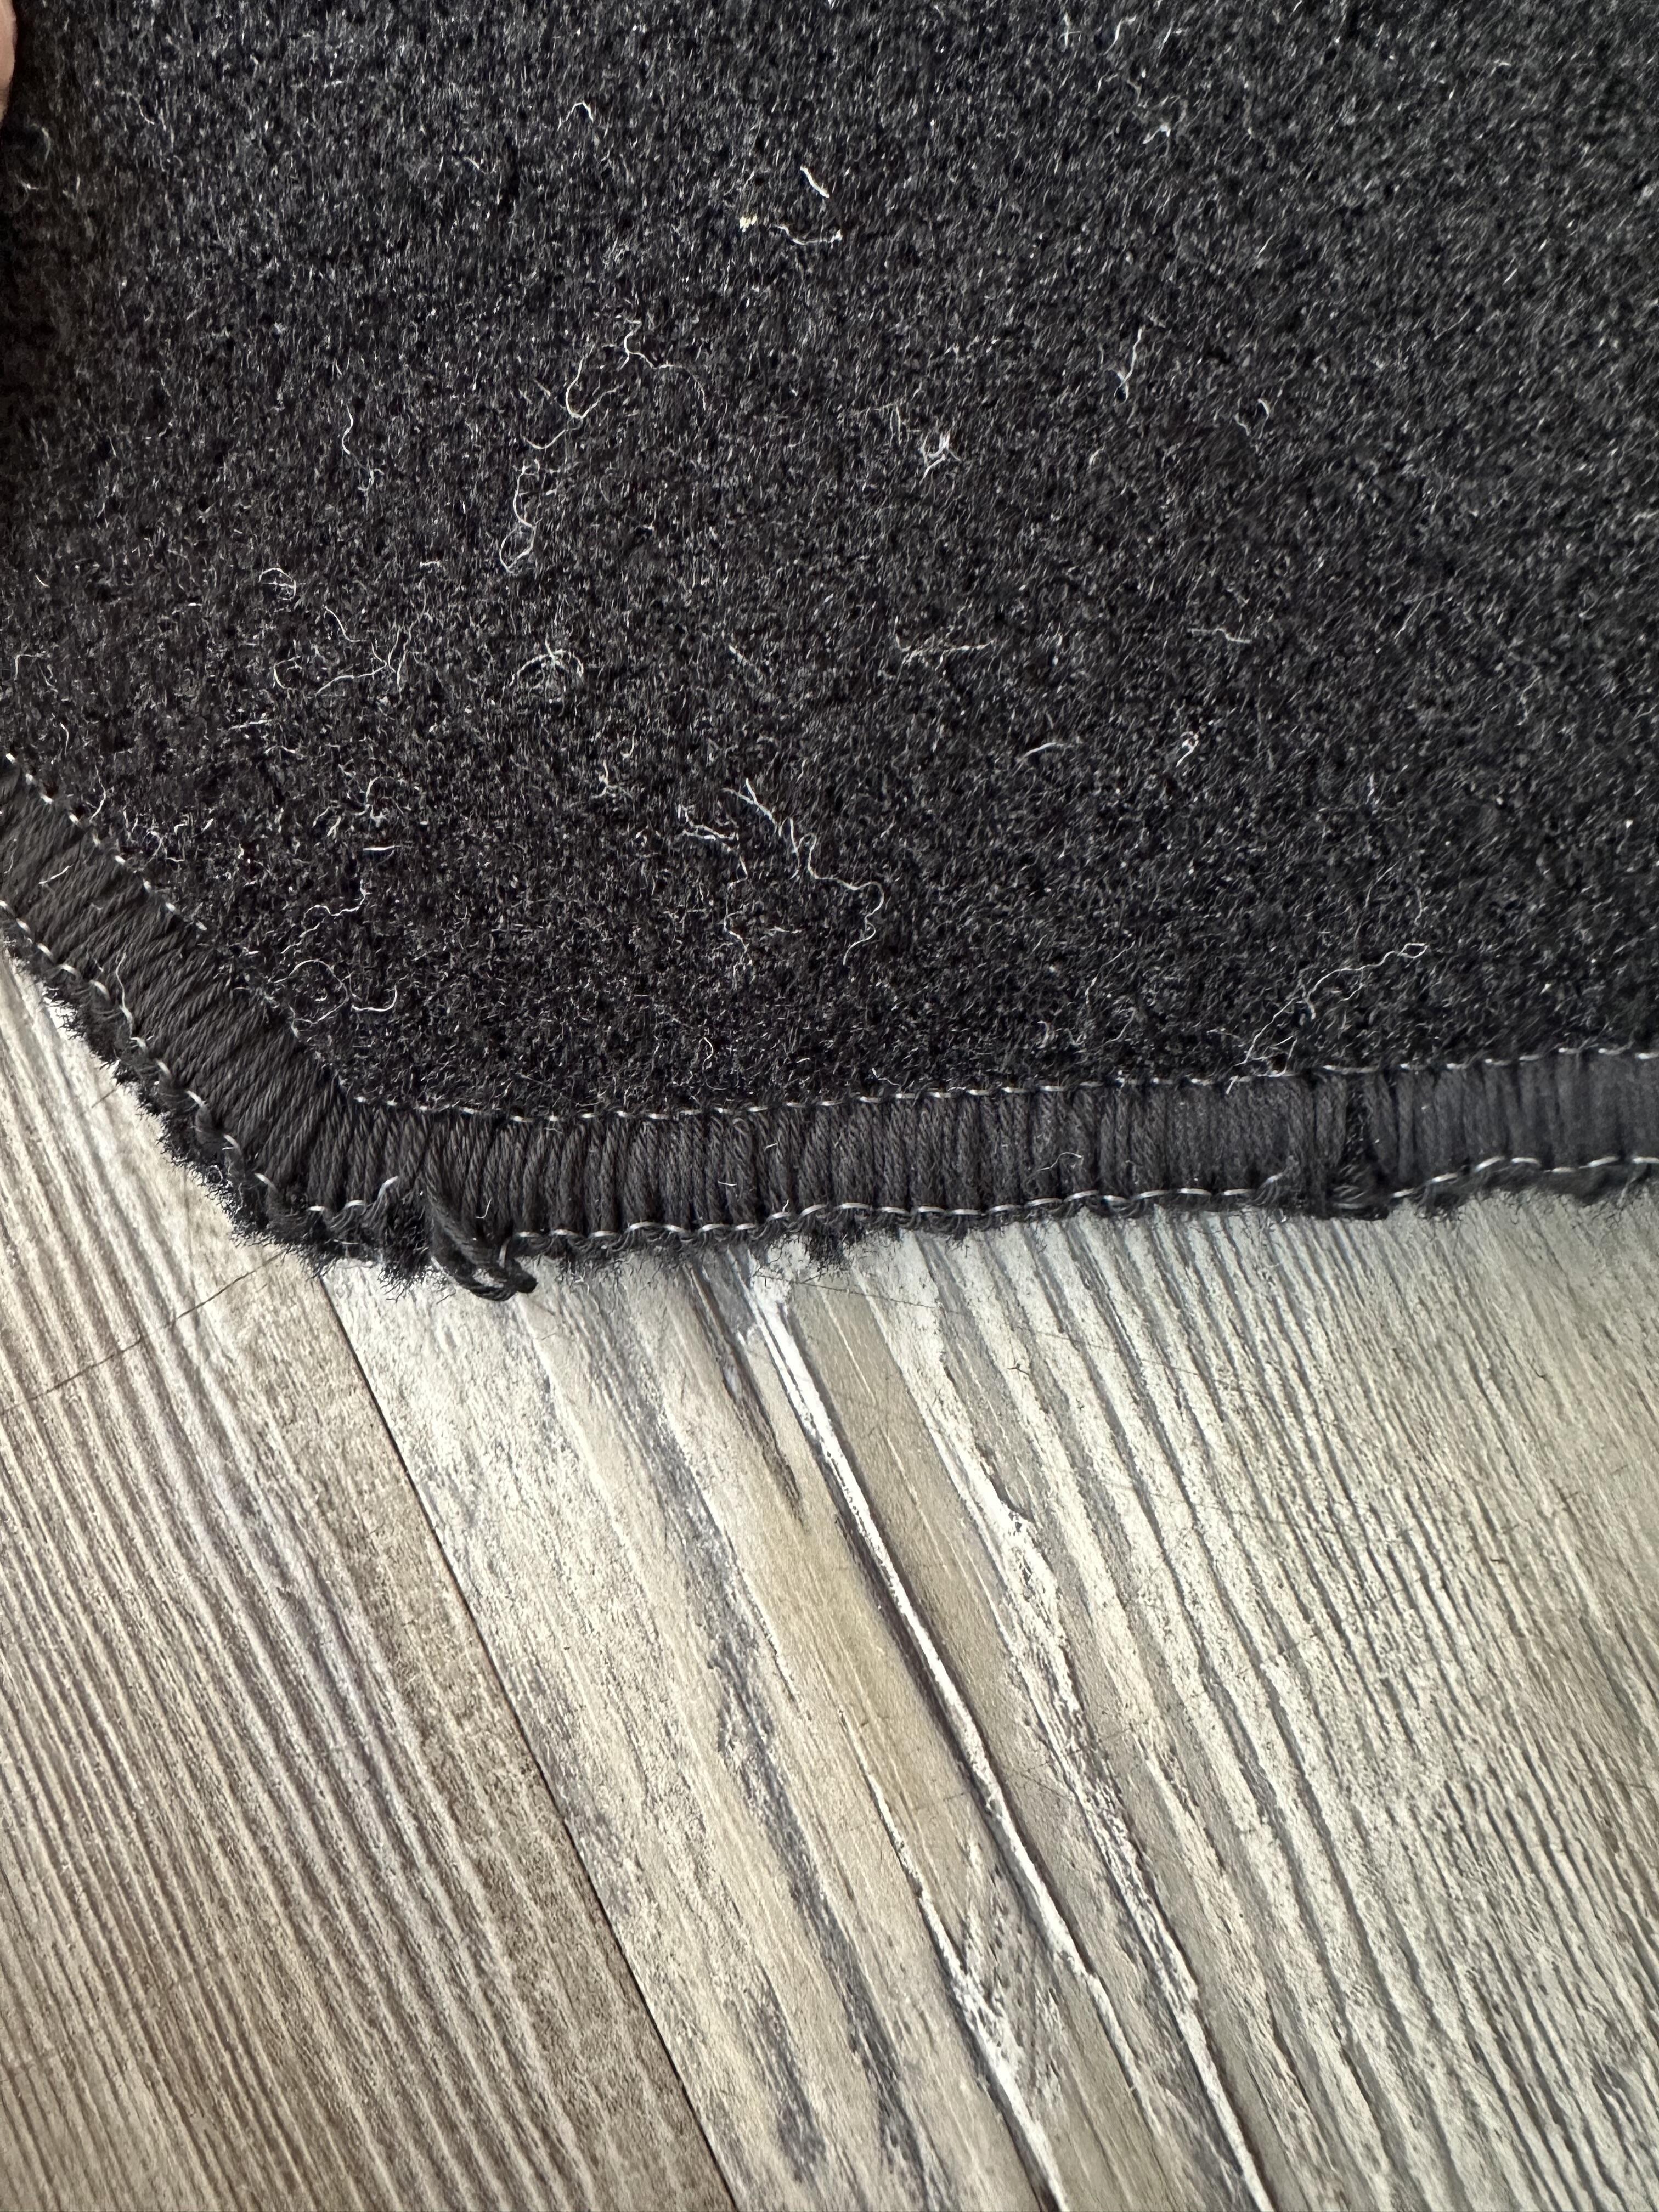
 1 point1 point0 pointsThanks, I am past that. I leaned it out until it was starving for fuel with the carb floats and mixture. Zero change in smoke. The smoke is even more impressive in person.0 points0 pointsI wish I would have gone with the Newark Auto kit honestly. I got convinced to do the molded kit from MSA and I am so far unimpressed. The big convincing factor to me was that it had the slits cut out for the cargo strap reinforcements. However, I thought it would include the vinly inserts like my original carpet, but it did not, just some sloppily cut slits. Also, the carpets showed up extremely dirty and full of fuzz. My final complaint is that even in the box the sewn edges are already falling apart. I'll provide photos of the whole kit as it arrived, and what i had an upholstery shop do to it. Here is how it arrived. Here is the edges coming apart Here are the inserts I had an upholstery shop do over the poorly made cuts.
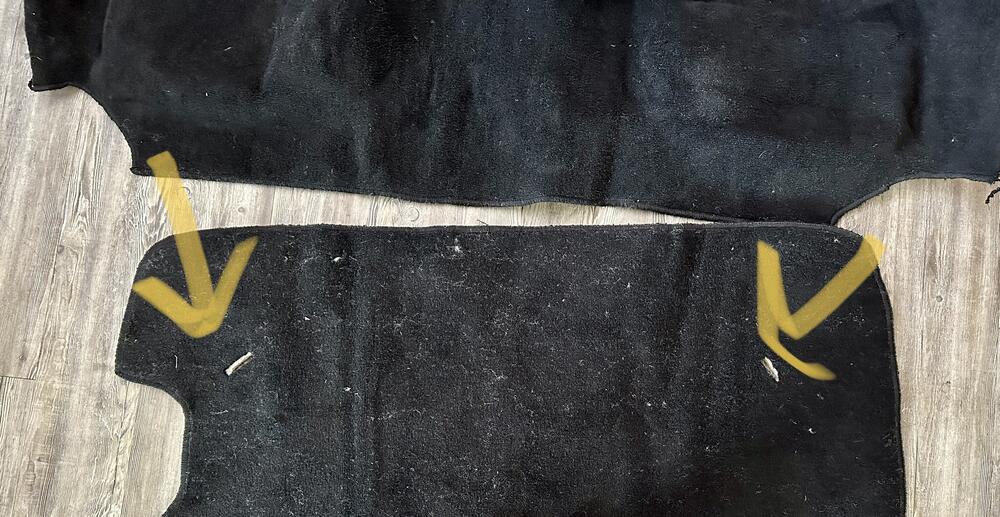


 0 points


Important Information
By using this site, you agree to our Privacy Policy and Guidelines. We have placed cookies on your device to help make this website better. You can adjust your cookie settings, otherwise we'll assume you're okay to continue.