Leaderboard
-
conedodger
Free Member3Points12,513Posts -
.JPG.cfcada9cf1c1b502df3f5f2f2ca3ff36.JPG)
SteveJ
Free Member3Points9,646Posts -
dddenniell
Free Member2Points2Posts -
Captain Obvious
Free Member2Points10,081Posts


Popular Content
Showing content with the highest reputation on 03/16/2023 in all areas
-
3 pointsI can't put my finger on it, but something about your solution appeals to me more than the one done by the IPO (idiot previous owner).3 points
-
2 pointsView Advert 1971 240Z Datsun Solid car. No structural rust, only surface and a couple patch areas. All original except brake booster and radiator. Advertiser dddenniell Date 03/16/2023 Price $12,500 Category Cars for Sale Year 1972 Model 240Z Vehicle Identification Number (VIN)2 points
-
2 points
-
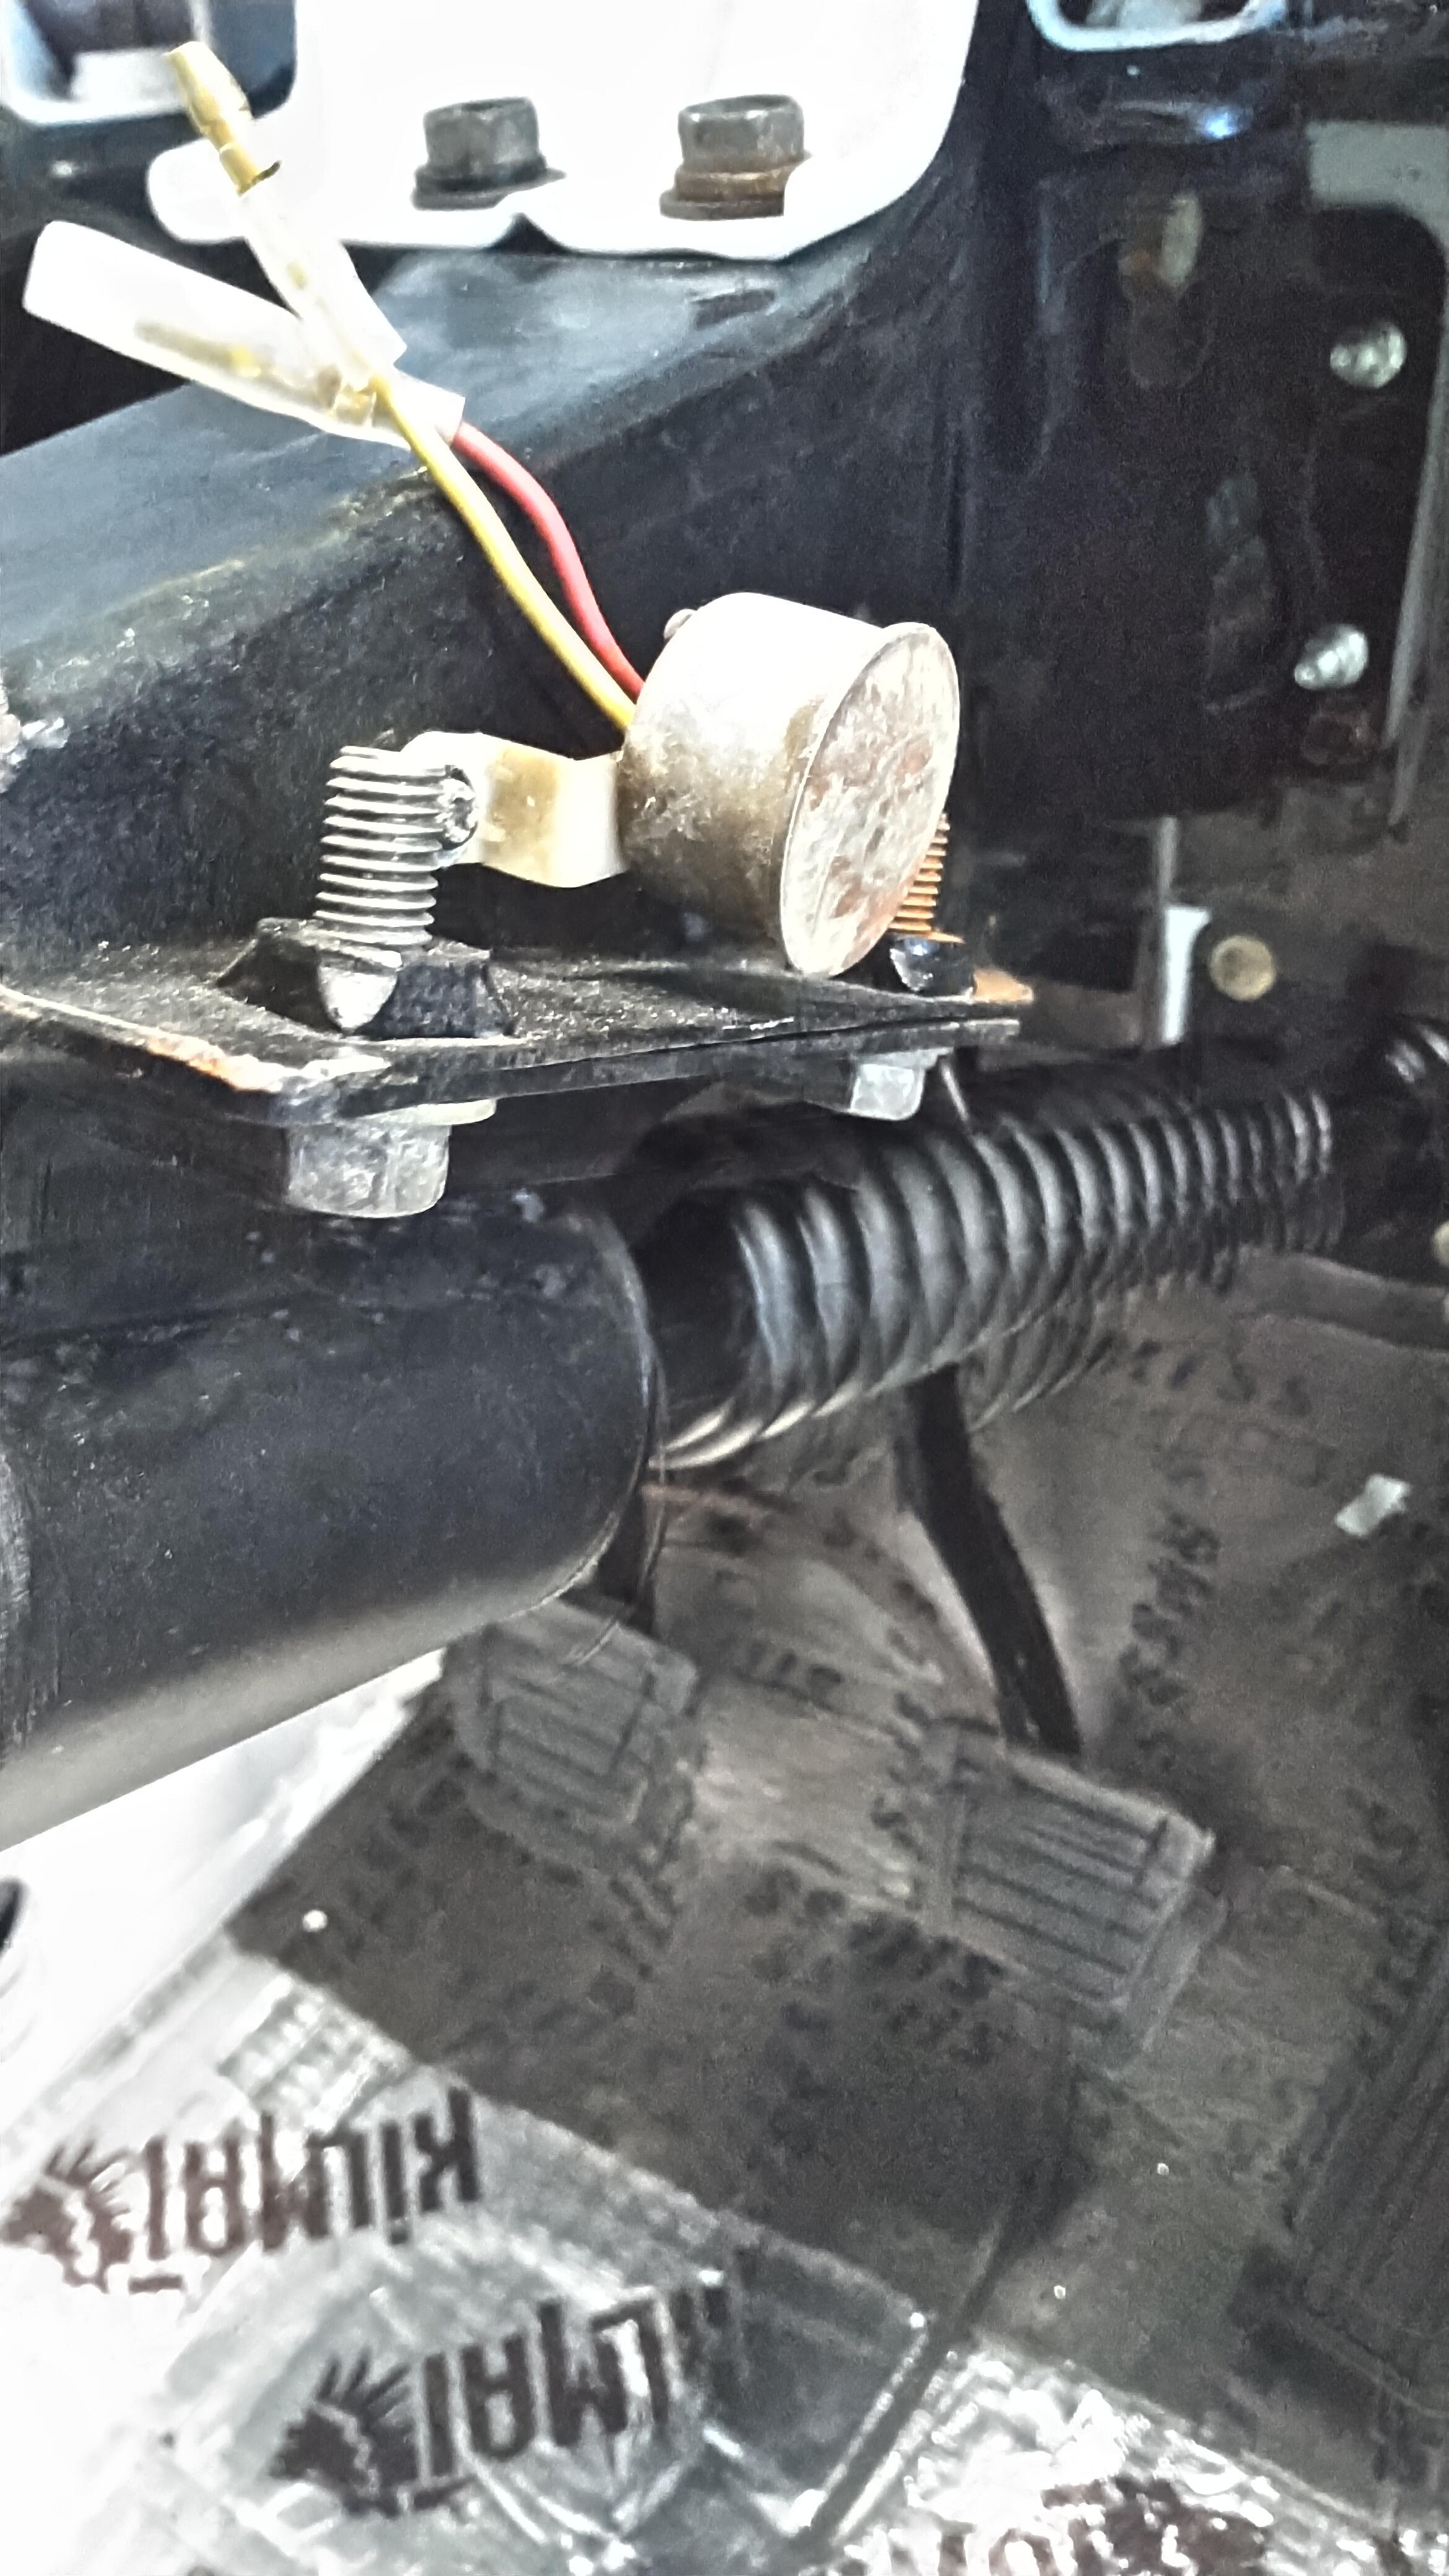
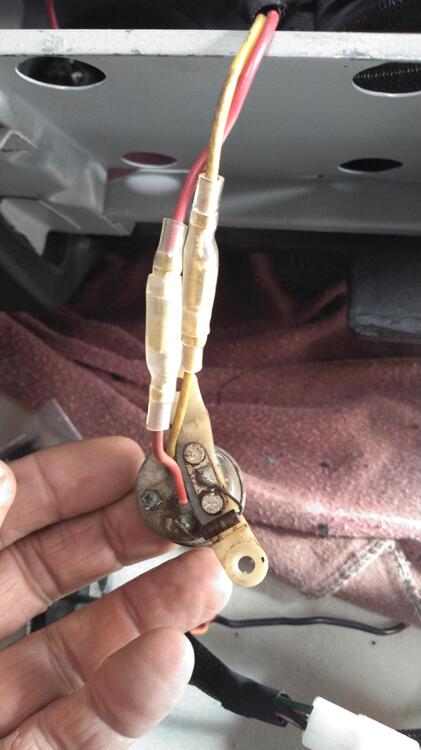
2 pointsMy car is 8/71 but I believe they used the same key warning buzzer up to early 260z. The wires to buzzer are yellow and red. Maybe these pictures will help you
 2 points
 -
1 pointjust to let the forum members know I have a 260z with the 2 lift struts for the hatch. today I did install the Stabilus brand strut part # is 3b250273 and the hatch opens up 95% on its own. after I push the button to open the hatch, I raised it maybe 3-4" and it goes all the way to the top. what a difference. I believe the force is 44lbs for each strut and it does close really easy. just an update for the forum.1 point
-
Sal has nice re-zinc'ed parts, but can be pricy. I have some raw loose linkage pieces but would need measurements to get you the right one. You would then need to clean it up to your liking.1 point
-
1 pointI agree with the Captain. Also, the linkage has to be somewhat flexible to allow for the movement (think rubber motor mounts) between the engine and the rest of the body.1 point
-
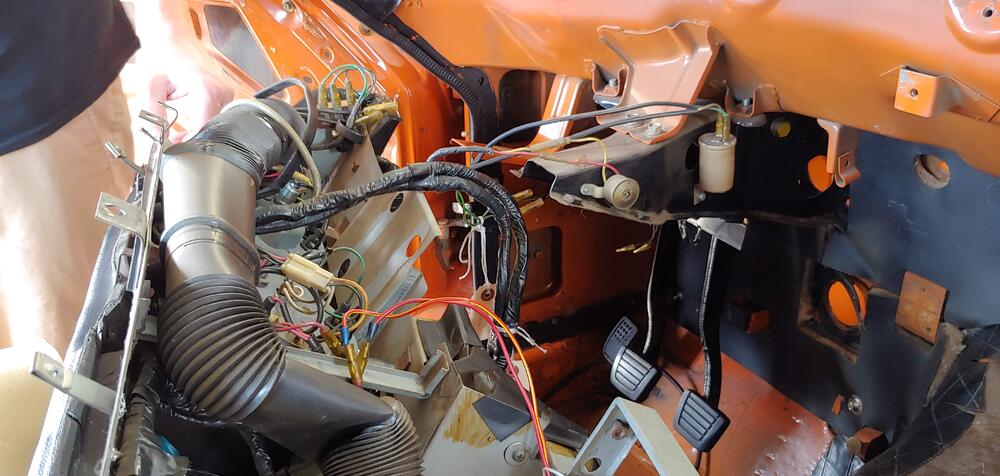
1 pointThanks. Great picture, shows where the wires came out of the harness. I have looked through my pictures and dont see those wires at all. Now that I know where they came from, I can get under the dash for the 100th time, forget the flashlight, get back out, get the flashlight, and see what I can find! Maybe the buzzer was removed and I noted they were unused, and taped them off. Thanks again guys, I appreciate the help.1 point
-
1 pointHere is a picture showing the wiring for the buzzer, taken when I pulled the dash on my '70. I remember it well as the buzzer and flasher were the only items I missed disconnecting. Almost dropped it.
 1 point
 -
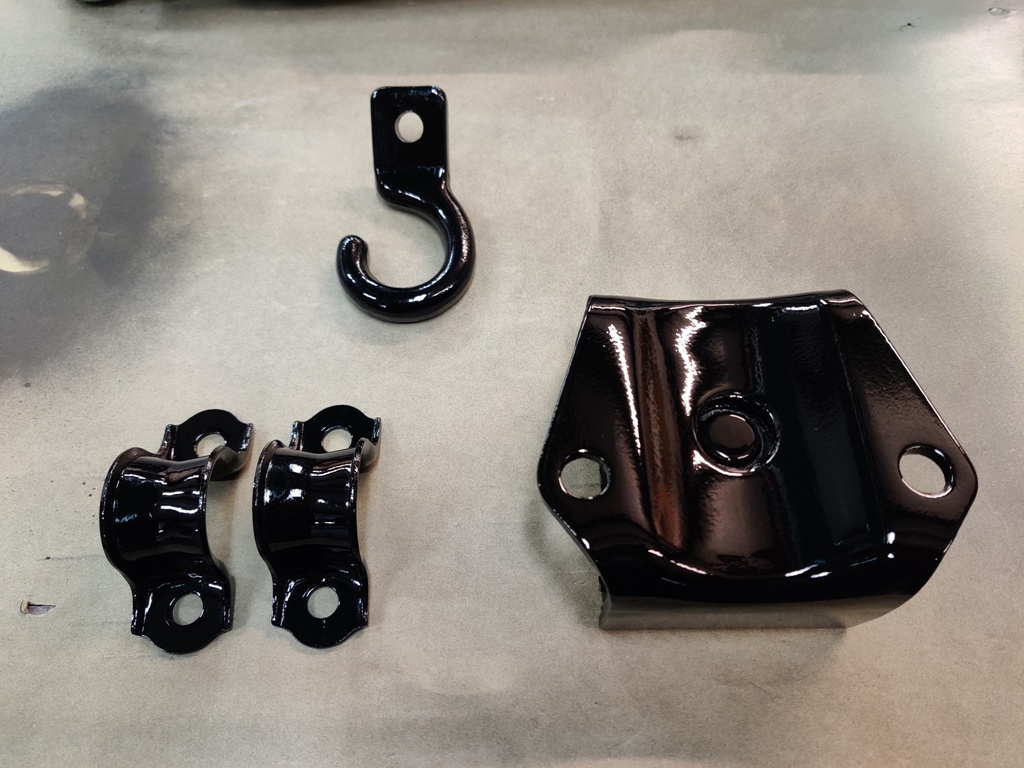
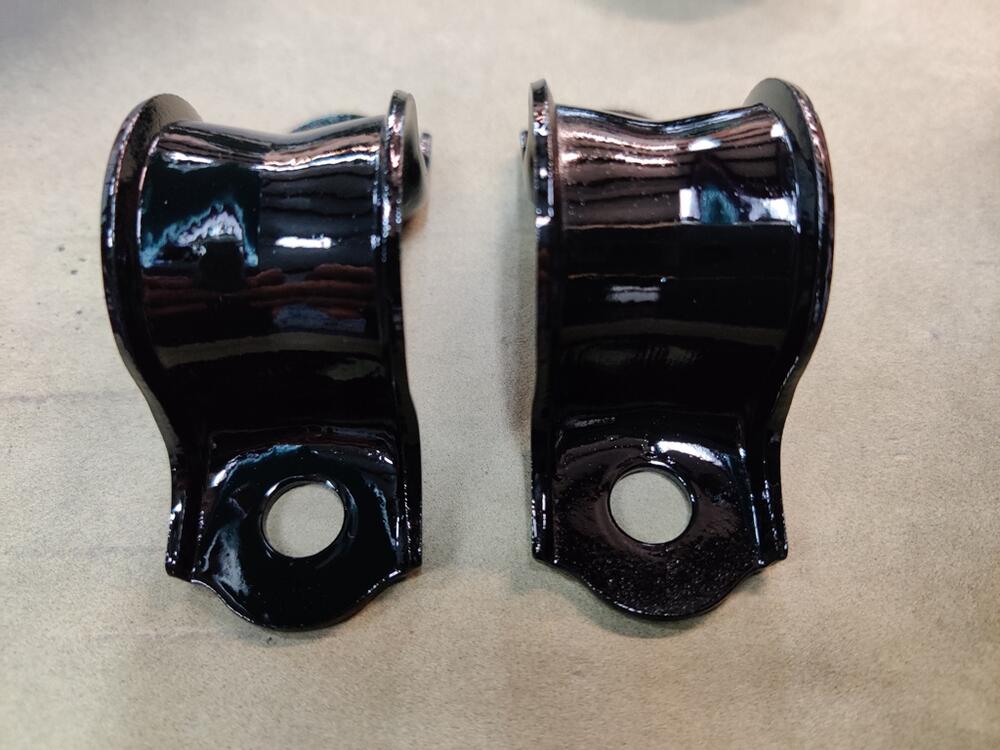
Really nice finish on the parts! I use a wire basket in my vapor blasting cabinet, works great for small nuts and bolts. If I could find a mesh shaker billiard bottle that would be the perfect tool. Just put the nozzle in the top and shake it around.1 point
-
Black diamond works good on steel but the round glass beads are best for aluminum in my opinion. Both I bought from tractor supply. I put my parts in a big plastic storage tub and that in the middle of my tarp. Bought a big strainer from walmart and reused the cleaned material. Worked good and saved me money on blast supplies.
 1 point
 -
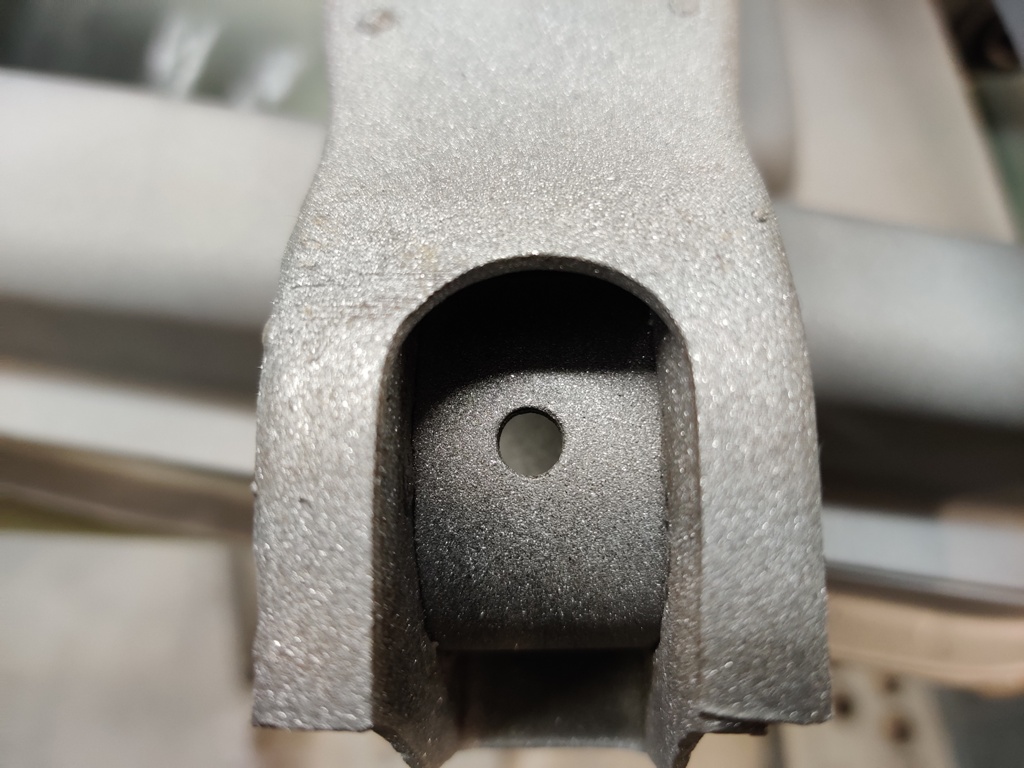
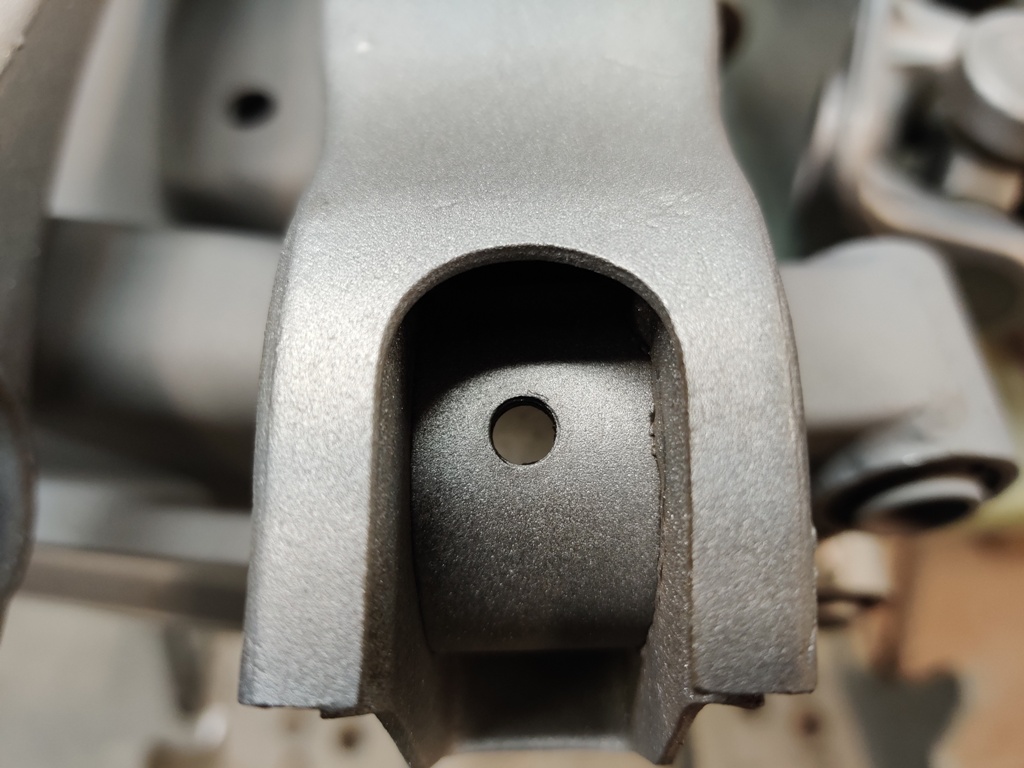
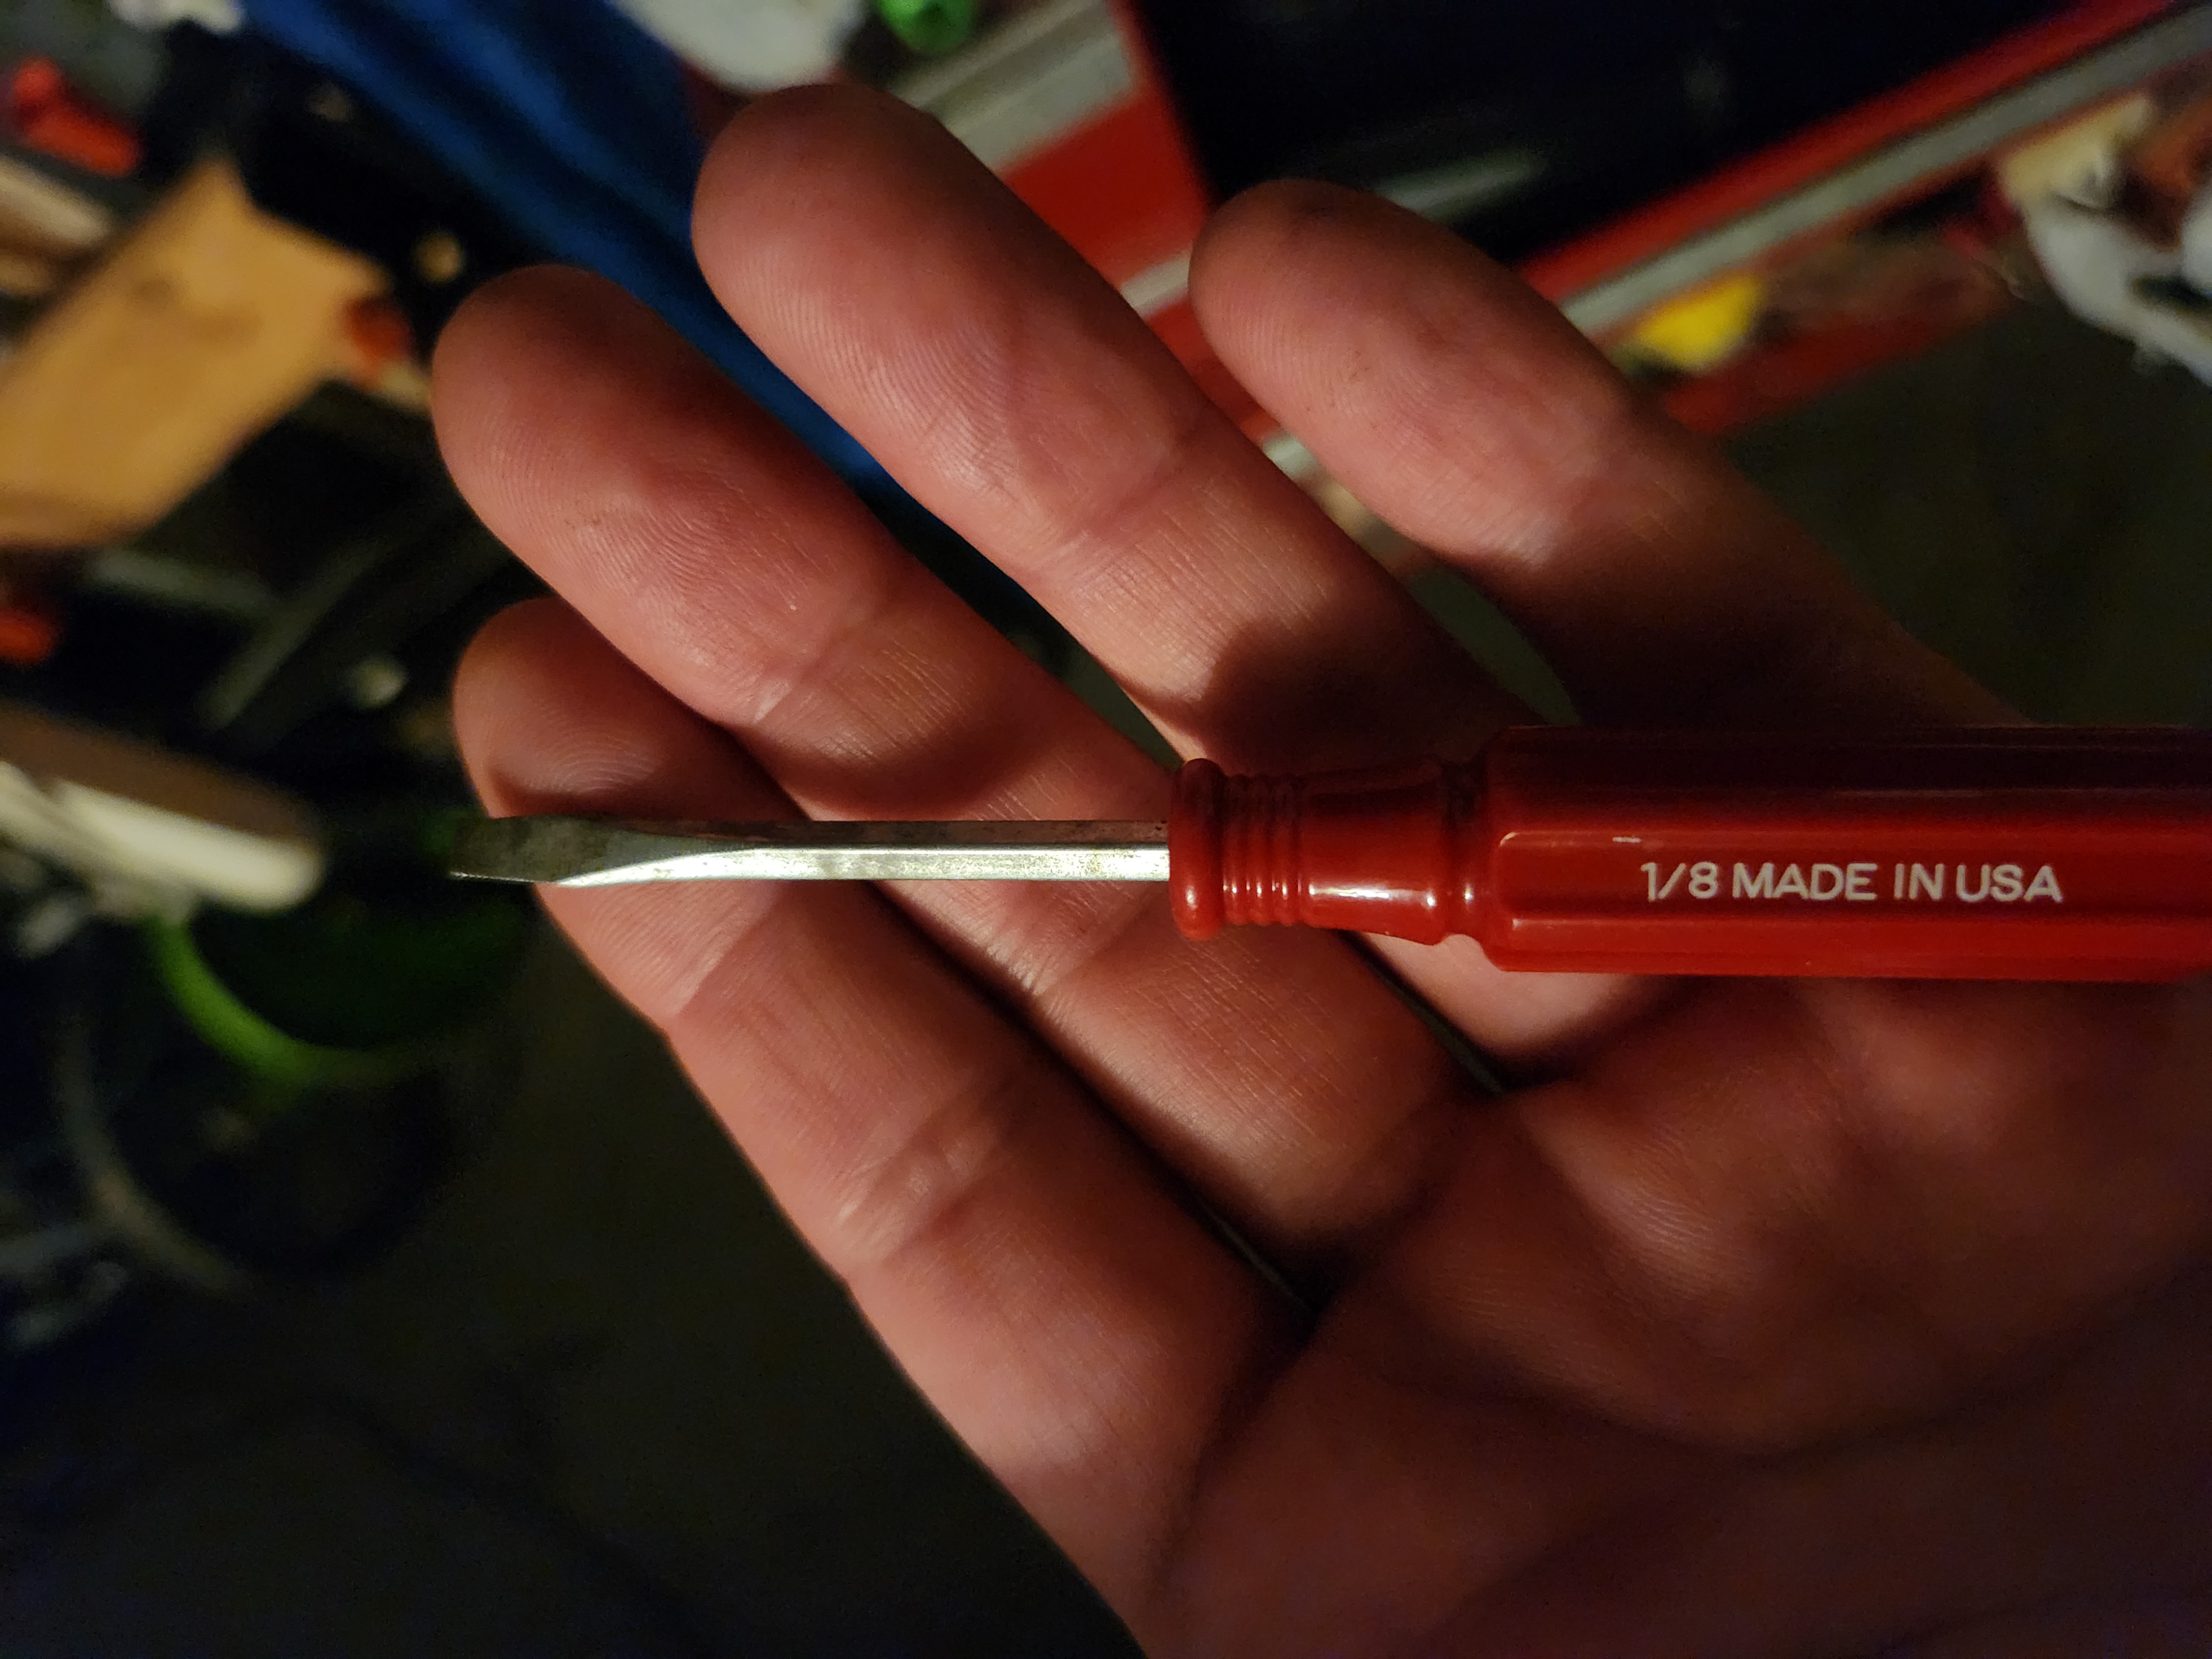
1 pointI've seen much worse. Doesn't make your heel/toe learning any easier, but that looks pretty much normal.1 point
-
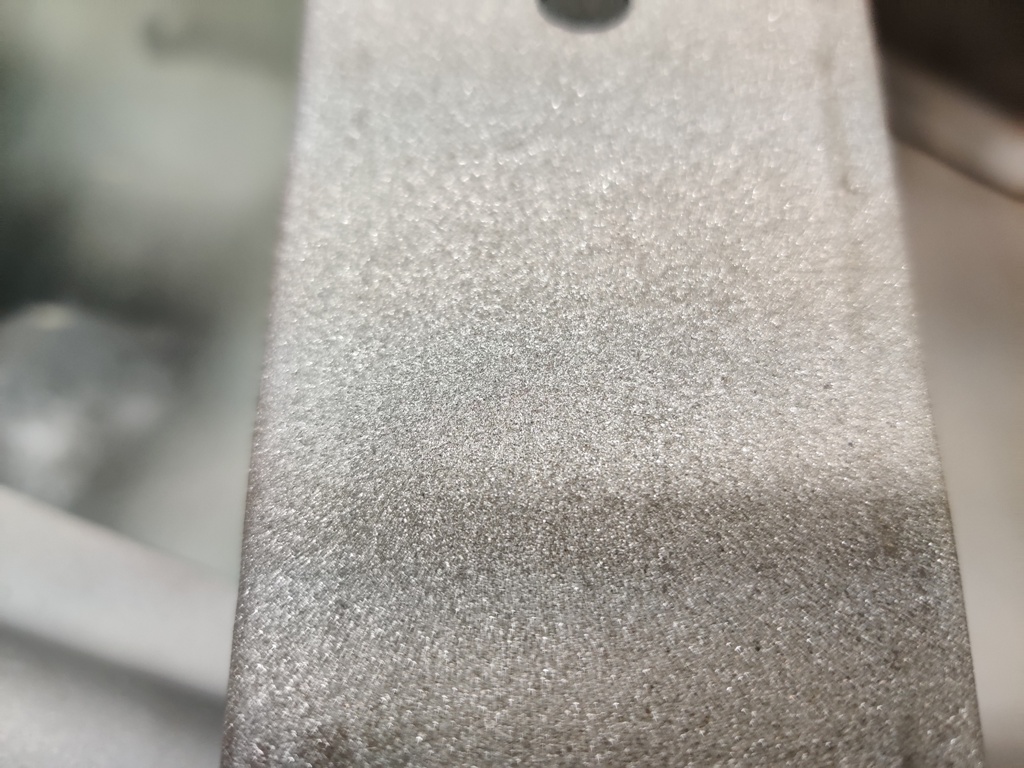
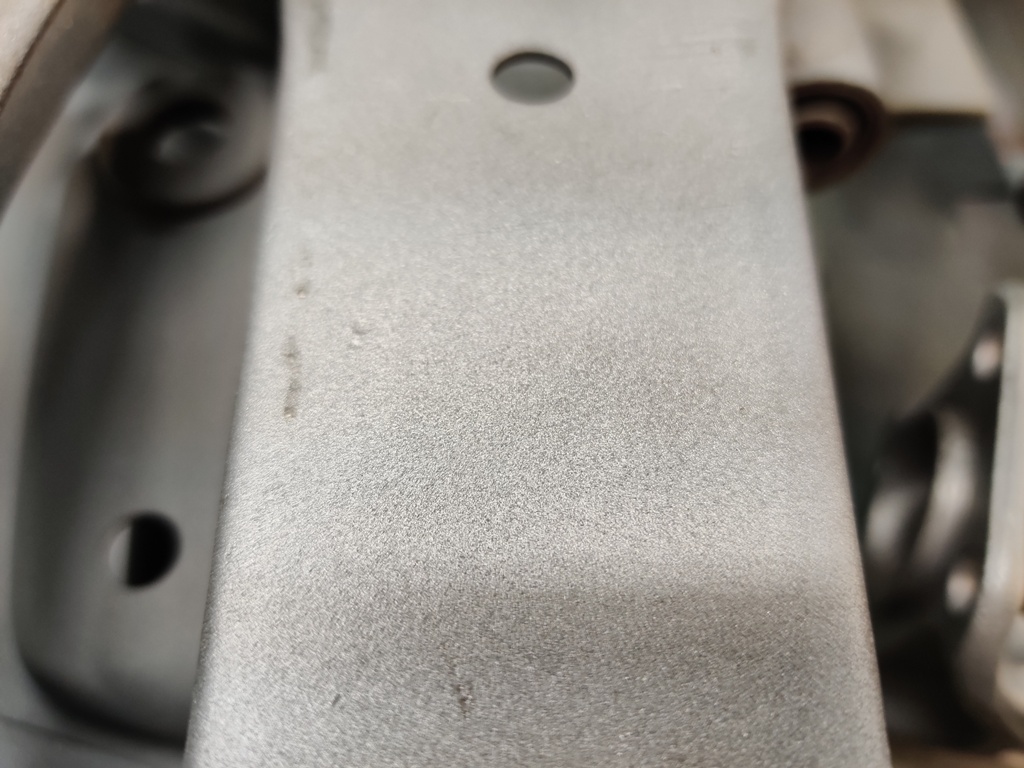
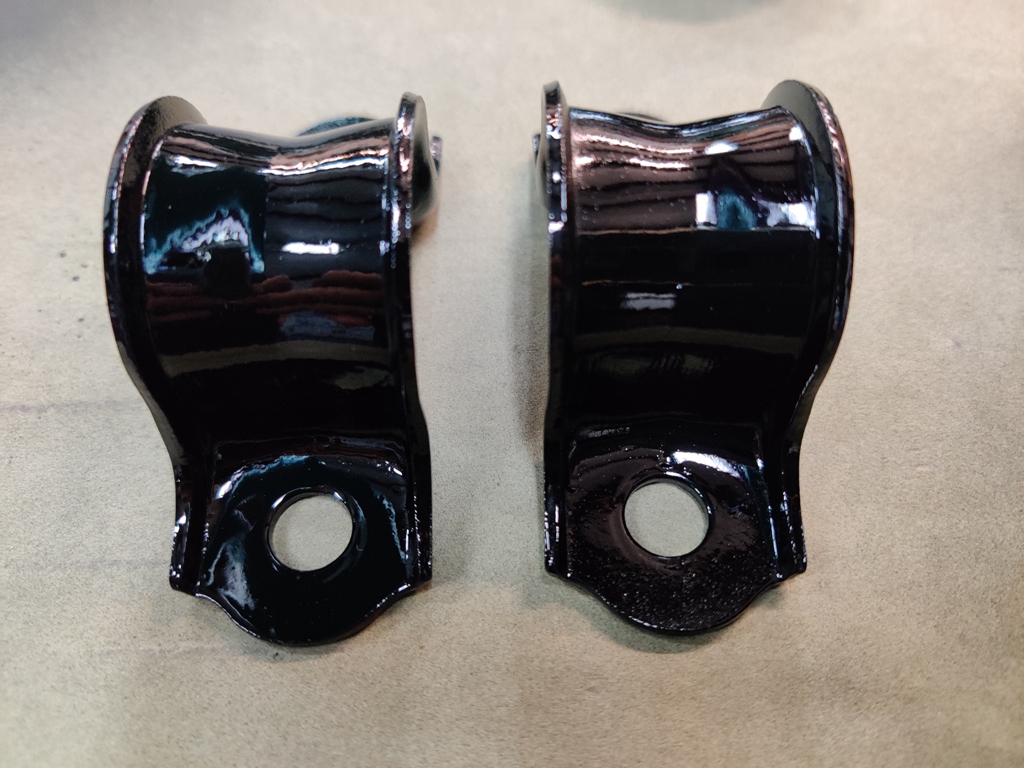
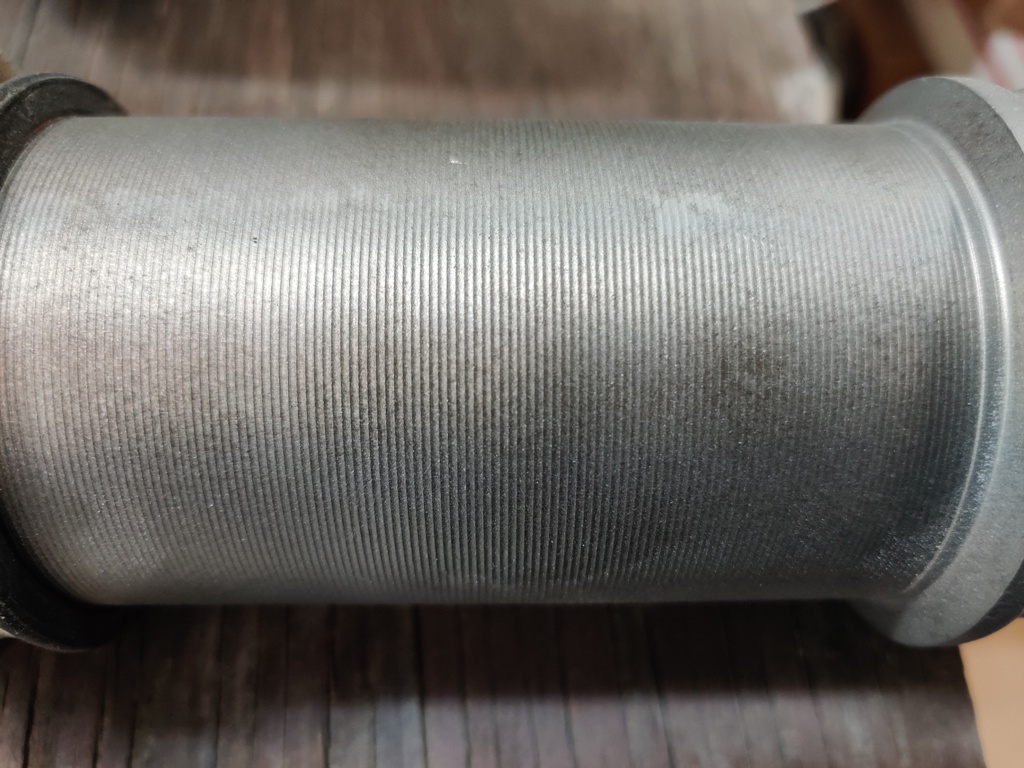
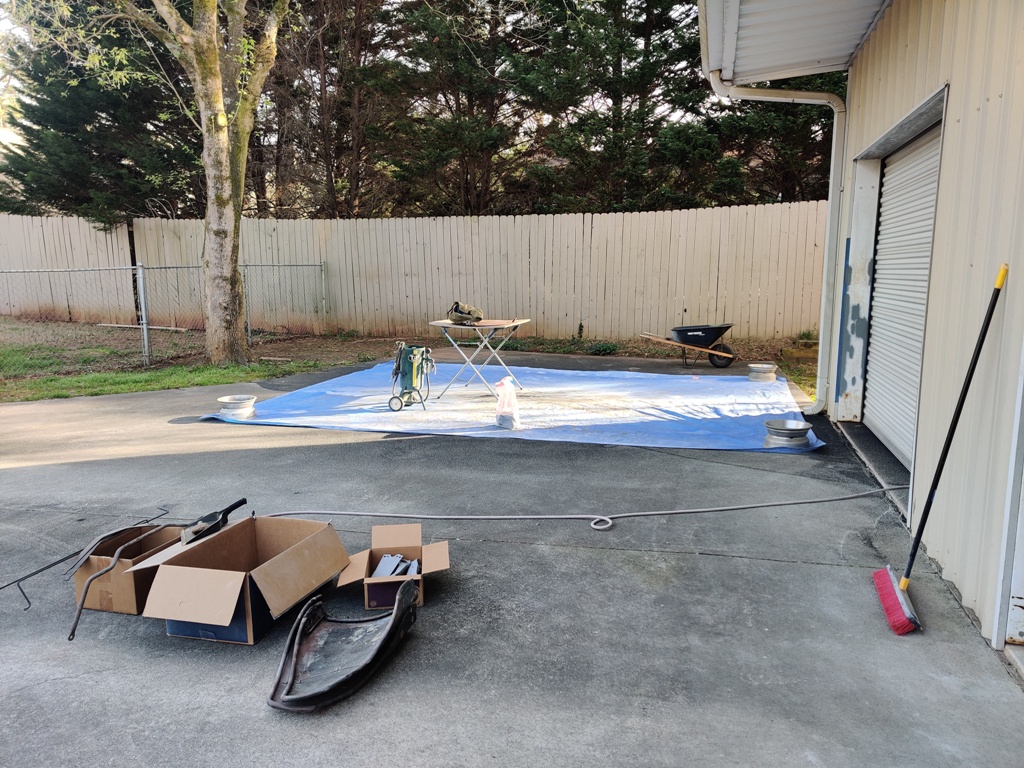
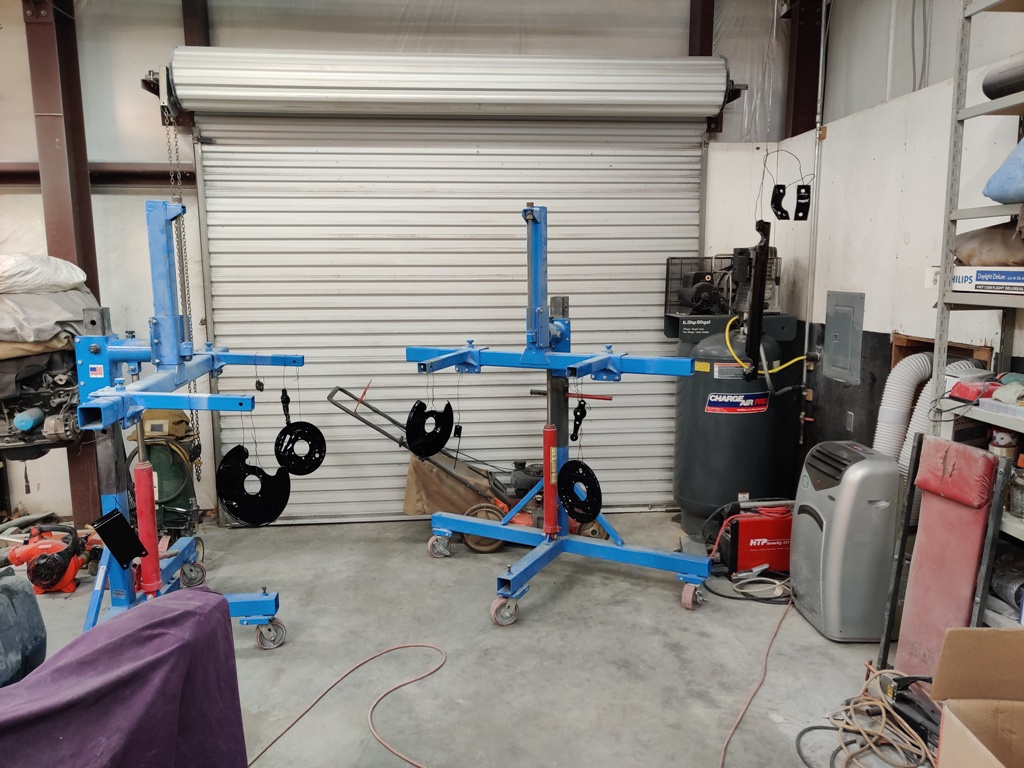
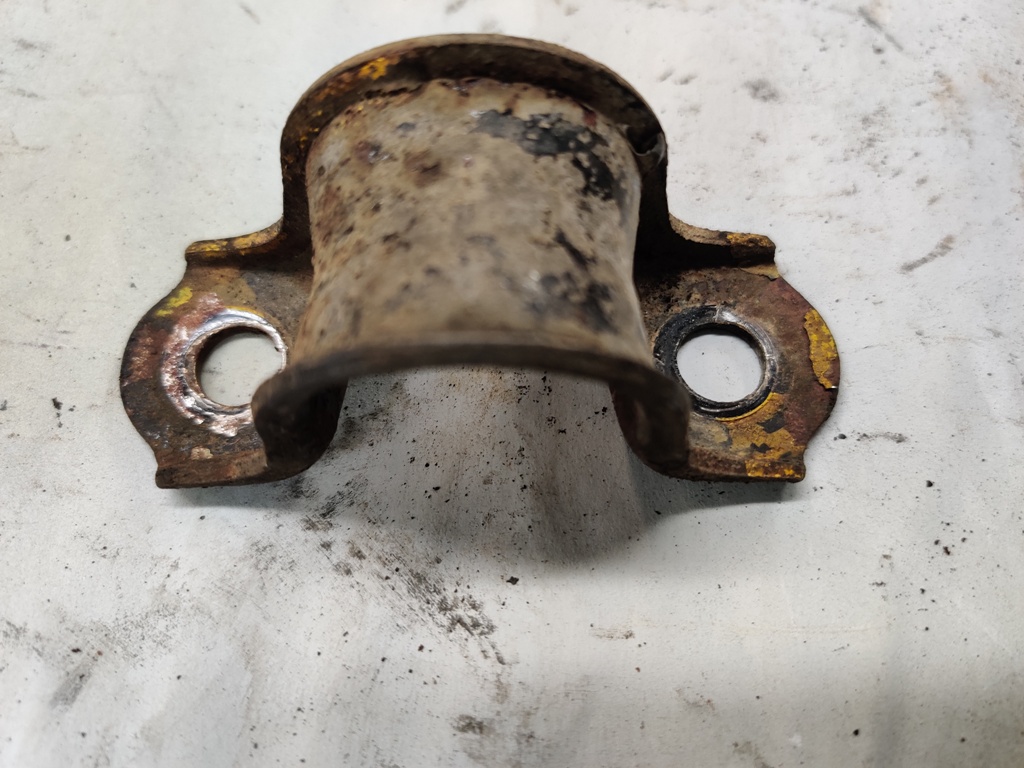
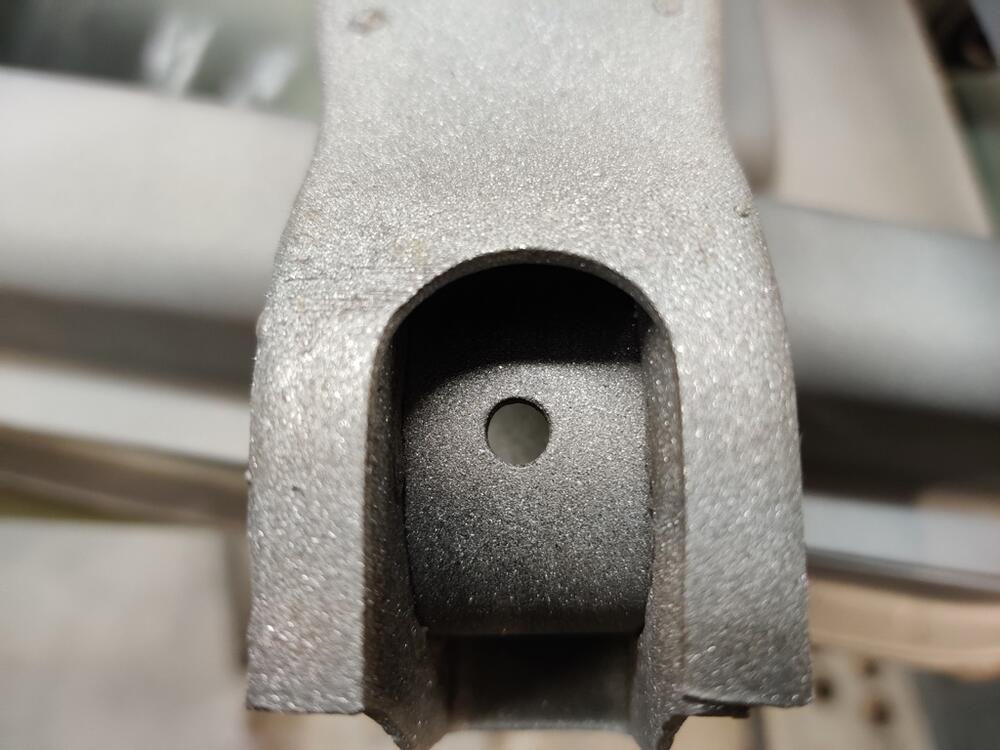
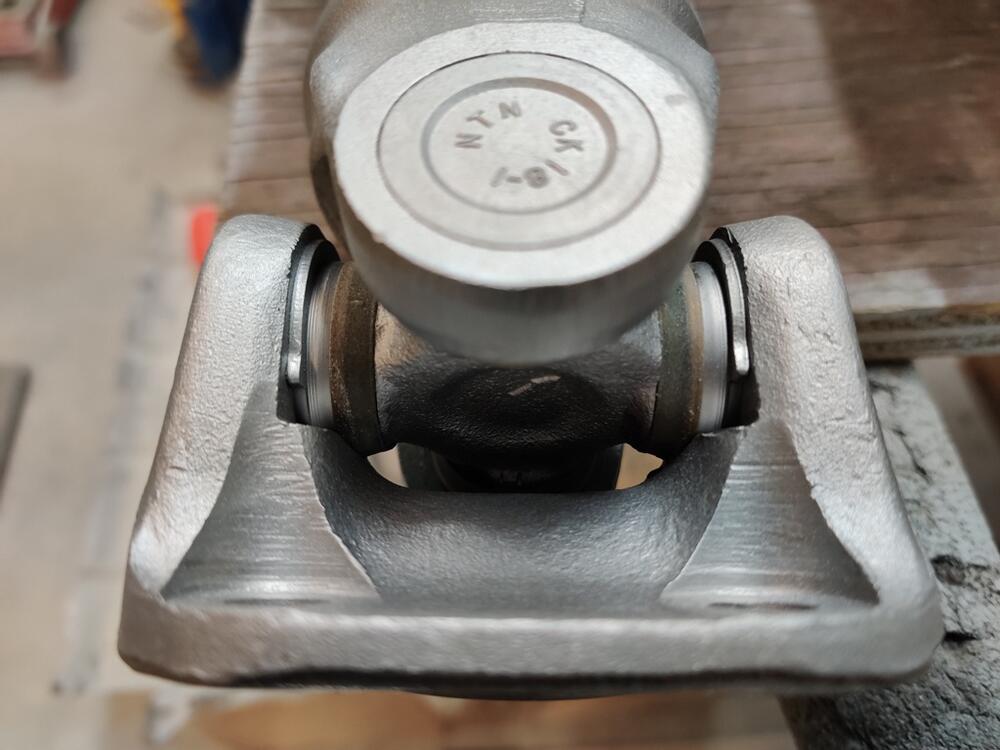
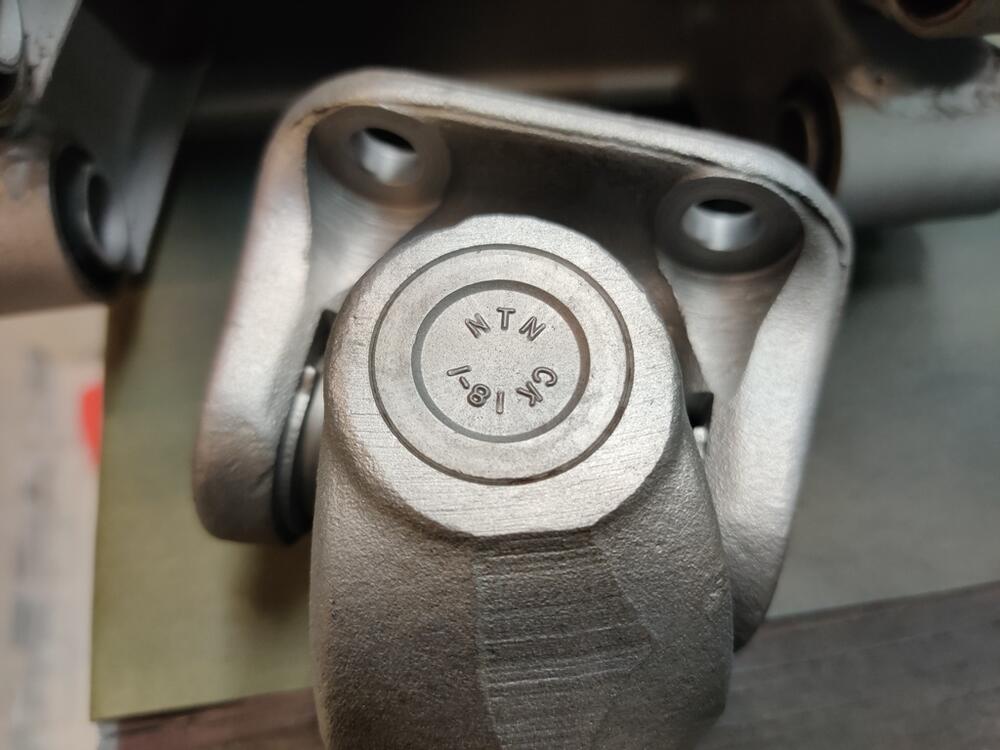
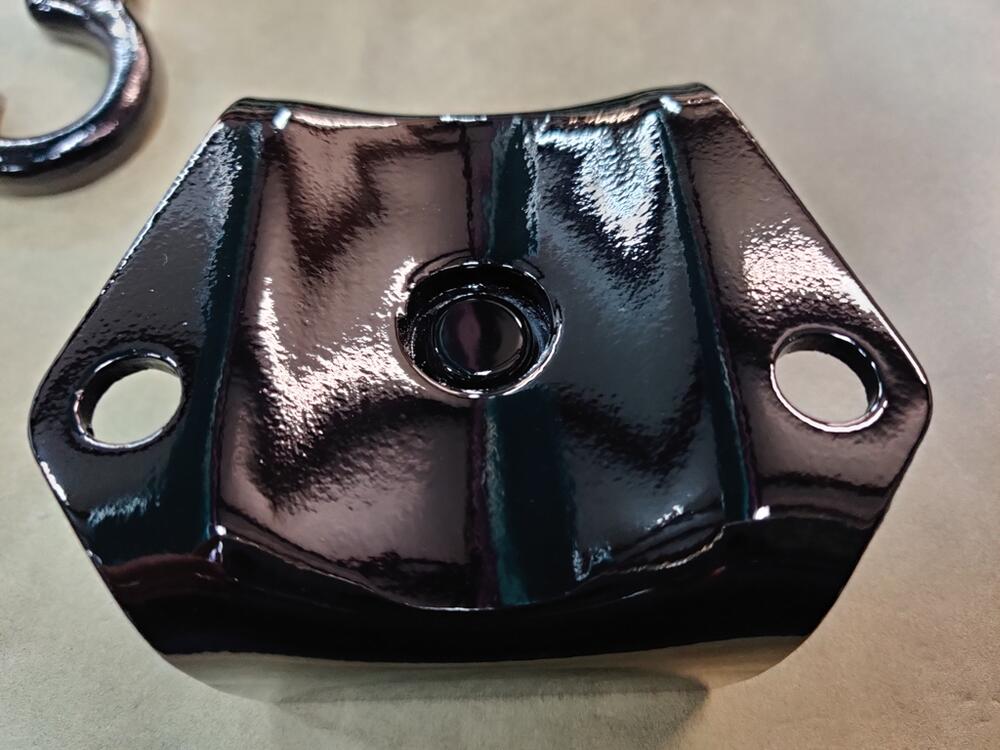
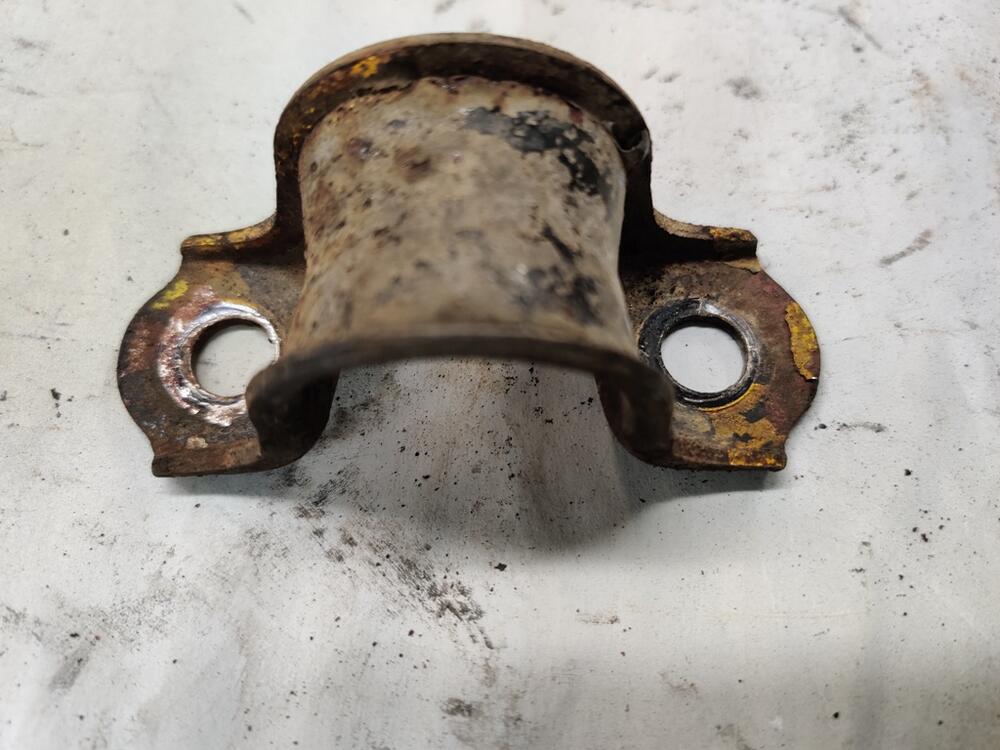
I set up for blasting parts on Saturday. It was sunny and cool, great weather for blasting. When I was using play sand, my blue tarp caught like 90% of it. Switching over and using Black Diamond (coal slag product) for the first time, I noticed two things. It is much more aggressive than play sand - Haha! And, it travels a greater distance, so my tarp wasn't catching it all. As I said previously, the plan was to blast and prime and paint all the parts from that long list at once. Right... good one. The best laid plans... I made good progress though, running through and refilling the pressure blaster 5 times over the span of about 5 hours. So, now I have switched to doing blasting on weekend days as weather permits, and priming and painting in the evenings. The black diamond leaves quite a texture on the parts: Stripping of paint and surface rust is quicker, but I didn't want to leave the texture this rough. So, I am taking each piece and running it through my glass bead cabinet to smooth out the roughness: Driveshaft u-joints appear to be original and feel like they are in great condition: So, instead of all at once, I have a few phases of "production" - some parts still to strip, some stripped bare, some epoxy primed and waiting for minor filling of scrapes and nicks, and some painted black: We'll see what the weather and this weekend allows.


 1 point
 -
1 pointMy work leads me to believe that they would not absorb fluid. That said, however... If I have a damaged one and a non-damaged one, I'ma gonna use the undamaged one.1 point
-
1 pointI believe they're closed cell foam. An easy test would be weigh it, submerge it in fuel for a day or two and reweigh it.1 point
-
1 point
-
1 pointI've wondered if that foam would absorb any fuel making them heavier? Seems like it would. @Captain Obvious after your float work do you think they could absorb any fluid?1 point
-
1 pointThanks zspert! I spoke with Bruce at Ztherapy today and he confirmed they have them and they're $50. He also said I shouldn't worry about the small divot in my float because they're made of foam, not hollow as I assumed.1 point
-
1 pointI accidentally chipped the float on my back carb while tuning😭it was a stupid mistake but I didnt know how brittle these are. Need to get a replacement. People are really price gouging for these one ebay. Anyone know where I can buy a replacement for a reasonable price. I edited the post to come clean about how this happened. Normally when I put the lids back on I insert a small flat screwdriver through the drain plug to gently push up on the float while blowing through the input port. I do this before tightening down the screws to make sure that the float doesn't get stuck open. This usually works well and prevents the float stuck problem which necessitates immediate disassembly again. Anyway, today when I reached that point in my process I had this pick in my hand and lazily tried to use it instead of the small screwdriver. The pick must have turned sliglty and snagged on the float as I was pulling it out. Also by the way, I apologize if i'm misusing this old thread with this side topic and long explanation.
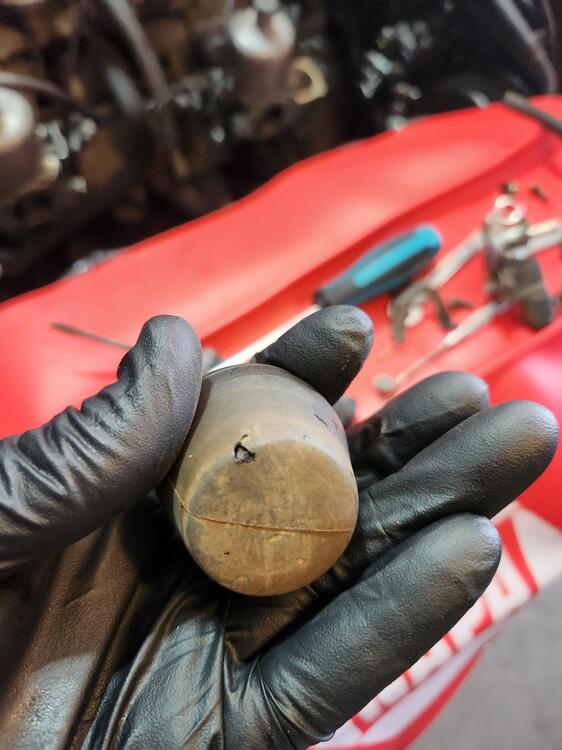
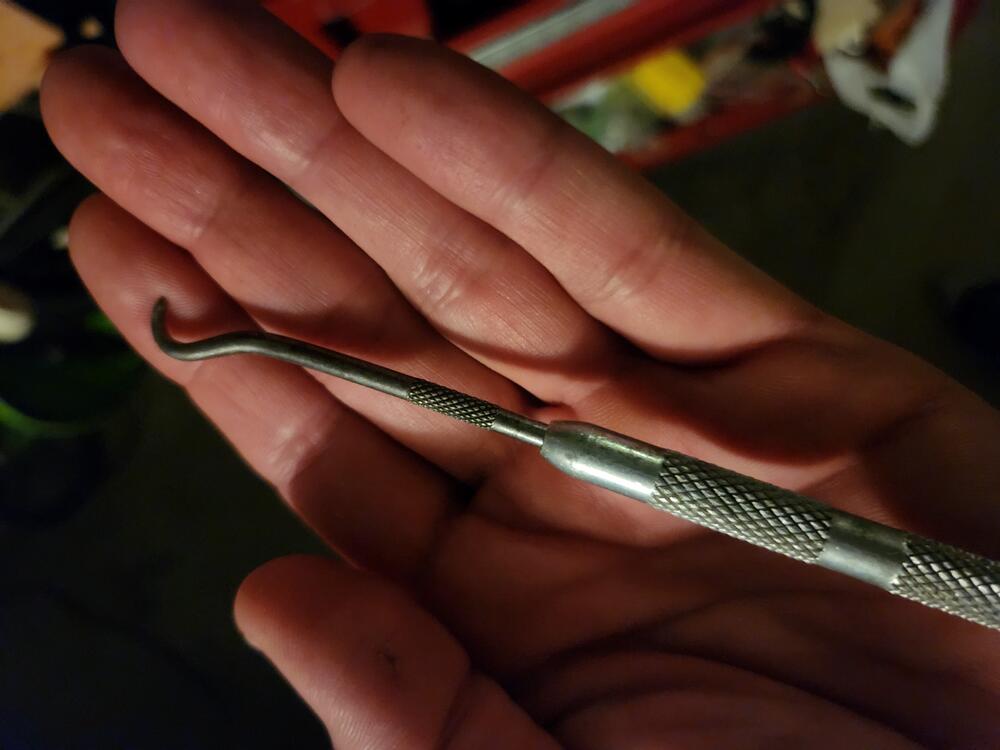
 1 point
 -
1 pointGreat pics of what you found. I suspect the oil breather pipe from your L24 would fit the new L28 and allow you to retain the flow guide valve piping. If not, you could cap the one inlet nozzle on the flow guide valve to retain the one from the fuel tank. BTW - hold on to all those little OE spring clamps and refinish them in satin black for originality.1 point