


Leaderboard
-
Reptoid Overlords
Free Member2Points805Posts -

Zed Head
Free Member2Points19,238Posts -
MH77280Z
Free Member1Points469Posts -
.JPG.cfcada9cf1c1b502df3f5f2f2ca3ff36.JPG)
SteveJ
Free Member1Points9,646Posts


Popular Content
Showing content with the highest reputation on 08/22/2022 in all areas
-
2 pointsI can second the instance where the clutch alignment tool supplied let the disc slip. I nearly beat the hell out of my engine and transmission before I figured it out haha. It was the tool that came with the Excedy kit currently installed on the car.2 points
-
It doesn't hurt to check your fuel pressure. Also, are you sure your float levels are set properly?1 point
-
1 pointAlso, something I've noticed in these types of conversations - the focus tends to be on "maximum power" which you'll only see at wide open throttle, high RPM. Most of us never use that area. I think that getting the vacuum advance dialed in will have more affect on driveablity. And, probably, the RPM at which maximum mechanical advance is "all-in" as they say, whether it's 28 or 36. Like if you compare the 72 and 73 curves above you'll see that 72 is "all-in" about 800 crankshaft RPM sooner than 73. 2000 versus 2800. They used to make machines specifically for setting distributor curves. You can spend a lot of time on it. https://www.ctci.org/sun-distributor-machine-the-ultimate-tool/1 point
-
1 pointWhen you get the tranny square to the block 1 to 2 inches opening equally all around, thread a long head bolt through two of the holes for the 4 tranny bolt holes and thread into the block. Then you know that you are aligned and it will slide right in. I believe if I remember correctly, you only have room to thread 2 in. This will guide your tranny right in……I’ve personally never had problem with the clutch alignment tool…..it’s always been a frickin PITA to man handle the engine without making sure everything is lined up squarely. This assures that it is!1 point
-
1 pointDave, did you post the specs of that engine and the modifications you've made? What turbo is that? Then I'm wondering why in hell you're using an L28E ECU to try to run a turbocharged engine. It's a good thing you have it in a situation where you're not inducing any load. It will not build boost (the boost you get will be at zero manifold pressure) while not under load. (my L28ET running 5000 RPM in NEUTRAL will not build boost) You need a proper ECU. On a stock L28ET that would mean a 1981 280ZXT ECU with dropping resistors OR 1982-83 280ZXT ECU without dropping resistors OR a tunable standalone ECU. You're giving more weight (credit) than you should to the O2 sensor. The early ECU does NOT poll the ECU constantly to regulate fuel. Most of the time the ECU completely ignores the O2 sensor and runs off the maps. The ECU tunes cruise AFR under certain limited conditions, in a certain RPM and LOAD range. Even the more sophisticated turbo ECUs of the 80's use basically the same strategy. Do you know for certain if your FPR will RAISE fuel pressure under boost? You can break pistons in an instant if you're hot and lean and mis-timed under boost. Ignition timing is another aspect that needs to be controlled properly. Your posts above throw up all kinds of red flags to me - but it's your engine... I have a stock L28ET intake manifold. It's a bit more sophisticated than one might think - even has a built-in "blow off valve" (that's not what Nissan calls it though). Most of us turbo-swap guys don't use them, opting for a custom intake manifold, the cleaner early 280Z non-EGR manifold, or the like. But, as soon as you ditch stock, you need a tunable ECU. You can add a Nistune daughter board to an L28ET ECU, use Megasquirt, or AEM, or... but you need the ability to tune the maps. Man... There are SO many things here... Turbo lag. I did my turbo swap in 2008 - running stock in early 2009. I've used 3 different ECUs and about to go to a fourth. Stock turbo, Chinese T04E (which I've run for 8 years or more). Stock J Pipe, custom charge pipe, custom charge pipe with same-side intercooler. I've run AFM, MAF, and none of the above with MS3X. I'VE NEVER HAD TURBO LAG - not because I'm a genius - because I have a properly sized turbo and reasonably well thought out charge and intake air piping. I have a turbo that starts to build boost around 2500 RPM, comes on smoothly, and really lets you know it's there when it hits 8 or 9 pounds and beyond. Turbo lag... Edit: OH, and get a WIDEBAND!!1 point
-
1 point
-
1 pointIt doesn't need to be any larger than the the bushing for 5th. The shim is very thin so it would be best if it didn't rub on the neddle bearing cage. If you can get it down below the cage, that it would be fine. It should not contact the 5th gear at all.1 point
-
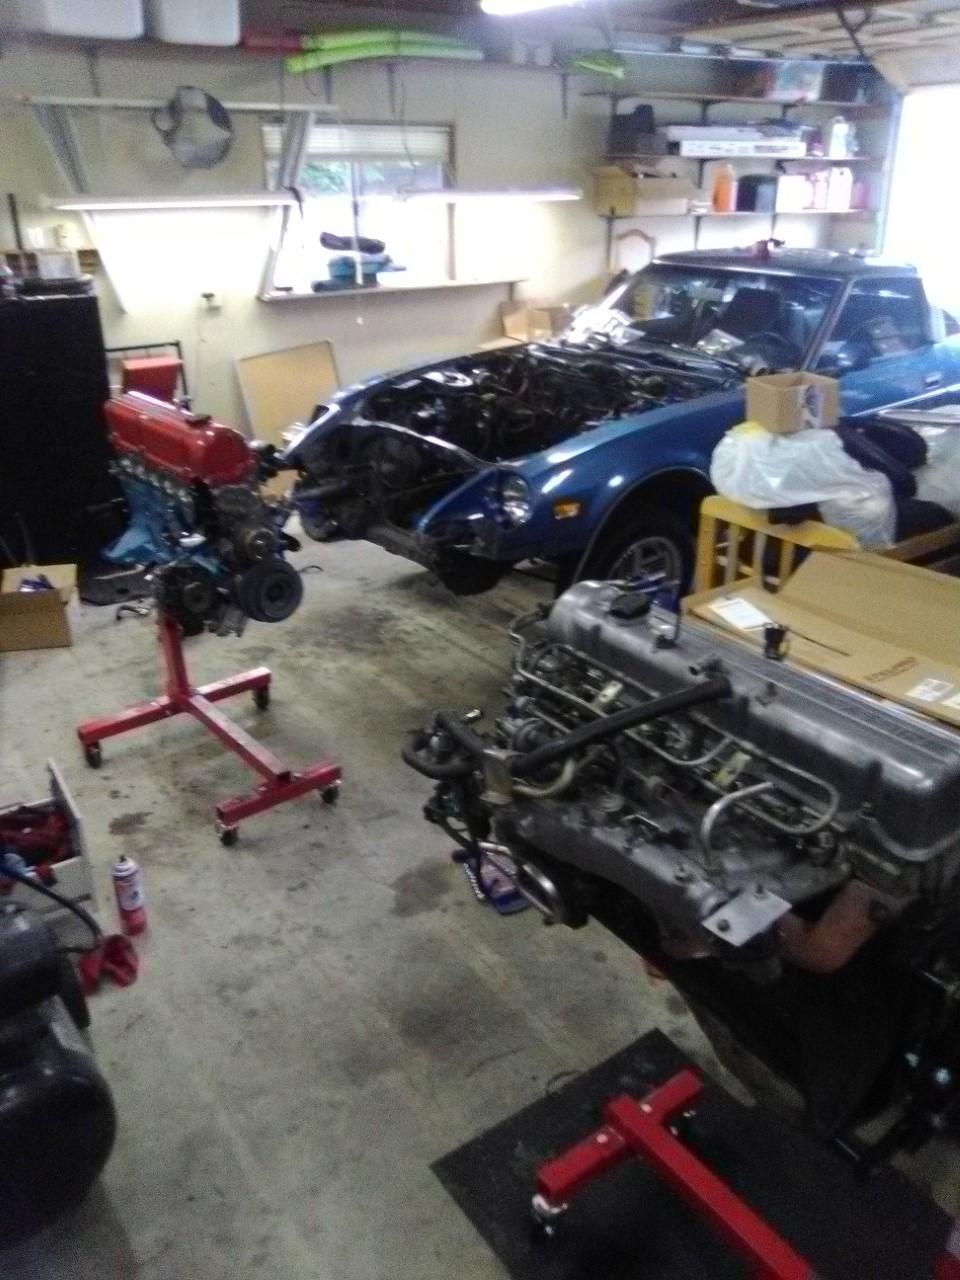
1 pointThanks guys, Feeling much better about putting rear suspension together and back on the car again. Shocks seemed like they should be so obvious but I just wasn't sure. This site and everybody that participates is really appreciated. Gonna make her roll and then yank the engine and tear into the 5 speed. I'm gonna know and have gone thru and either painted, plated or replaced every nut, bolt and screw by the time I'm done. You will hear from me again! Best to all! And I know somebody's gonna notice from the photo. The brake backing plate is on the wrong side strut housing. This was a dry fit and I've since corrected. Stub axles pressed in soon. Inner bearing races and spacer will be supported from behind when stub axle is pressed in.
 1 point
 -
1 pointTool-Boy, Koni's "Ikea-like" instruction sheet indicates that you should add oil to fill the gap between the strut tube and shock cartridge. It helps cool the shock and minimizes corrosion. If you ever want to remove the shock from the strut many years down the road you will be very happy you added the oil. I've always used ATF in my struts and they were rust free when I installed the yellow Koni's last winter. Just don't overfill them and leave a little freeboard for thermal expansion.1 point
-
1 pointI've run into this problem in the past. The clutch alignment tool I used was a bit sloppy. and allowed the clutch disc to drop down a bit before I tightened it. Trans wouldn't go in that last little bit. I loosened the pressure plate just enough to be able to move the disc into the truly centered position, tightened it down and the trans slid right in.1 point
-
I am ok, i found the 3rd nut behind the plastic wheel wells.1 point
-
1 pointIf anyone is looking for the stock expansion valve o-rings which are NLA, for the outside sealing ring use a 1-1/2”id x 1-11/16”od x 3/32”cs also known as AS568-128 HNBR. The inside ring is 1-1/2”id x 1-5/8”od x 1/16”cs also known as AS568-029 HNBR. I purchased mine at www.Theoringstore.com . It took a few tries. Hope this helps somebody.1 point
-
1 pointI left something out in the post above. It's confusing. The MAP reading is the pressure left over in the manifold after vacuum is pulled. So, to make a new table of MAP pressure readings from a vacuum reading table, you have to subtract the vacuum reading from absolute pressure. We all live under approximately 14.7 psi all the time. 760 mm Hg. 100 KPa. 123ignition's web site actually has a tutorial on it. But if you read too much of it the subject gets even more confusing. It's basically physics class stuff. https://123ignition.com/support/create-curve-tutorial/ " Regarding the vacuum curve, this is a little bit more complex. 123ignition works with absolute vacuum in stead of relative vacuum. The advantage of absolute vacuum is, it works also when you drive the car on high altitudes. In case of relative vacuum, you have to adjust the ignition manually. The values in the original Bosch graph are given in mmHg, 123ignition works with kPa. First we convert the values to kPa and crankshaft degrees instead of distributor degrees. You can type in Google: 80 mmHg to kPa 0 deg @ 11 kPa 10 deg @ 27 kPa Now we have to convert the relative values to absolute values. Atmospheric vacuum at see level is 100 kPa. So 100 kPa is our base point. Al values below 100 kPa is vacuum all values above 100 kPa is pressure. in this case we have a vacuum curve, so our result will be: 0 deg @ 100 – 11 kPa = 89 kPa 10 deg @ 100 – 27 kPa = 73 kPa"1 point
-


.thumb.jpg.4f54021f7cd56e62dbb0a919d36f2306.jpg)


Important Information
By using this site, you agree to our Privacy Policy and Guidelines. We have placed cookies on your device to help make this website better. You can adjust your cookie settings, otherwise we'll assume you're okay to continue.