Leaderboard

 Subscriber
.JPG.cfcada9cf1c1b502df3f5f2f2ca3ff36.JPG)


Popular Content
Showing content with the highest reputation on 12/21/2021 in all areas
-
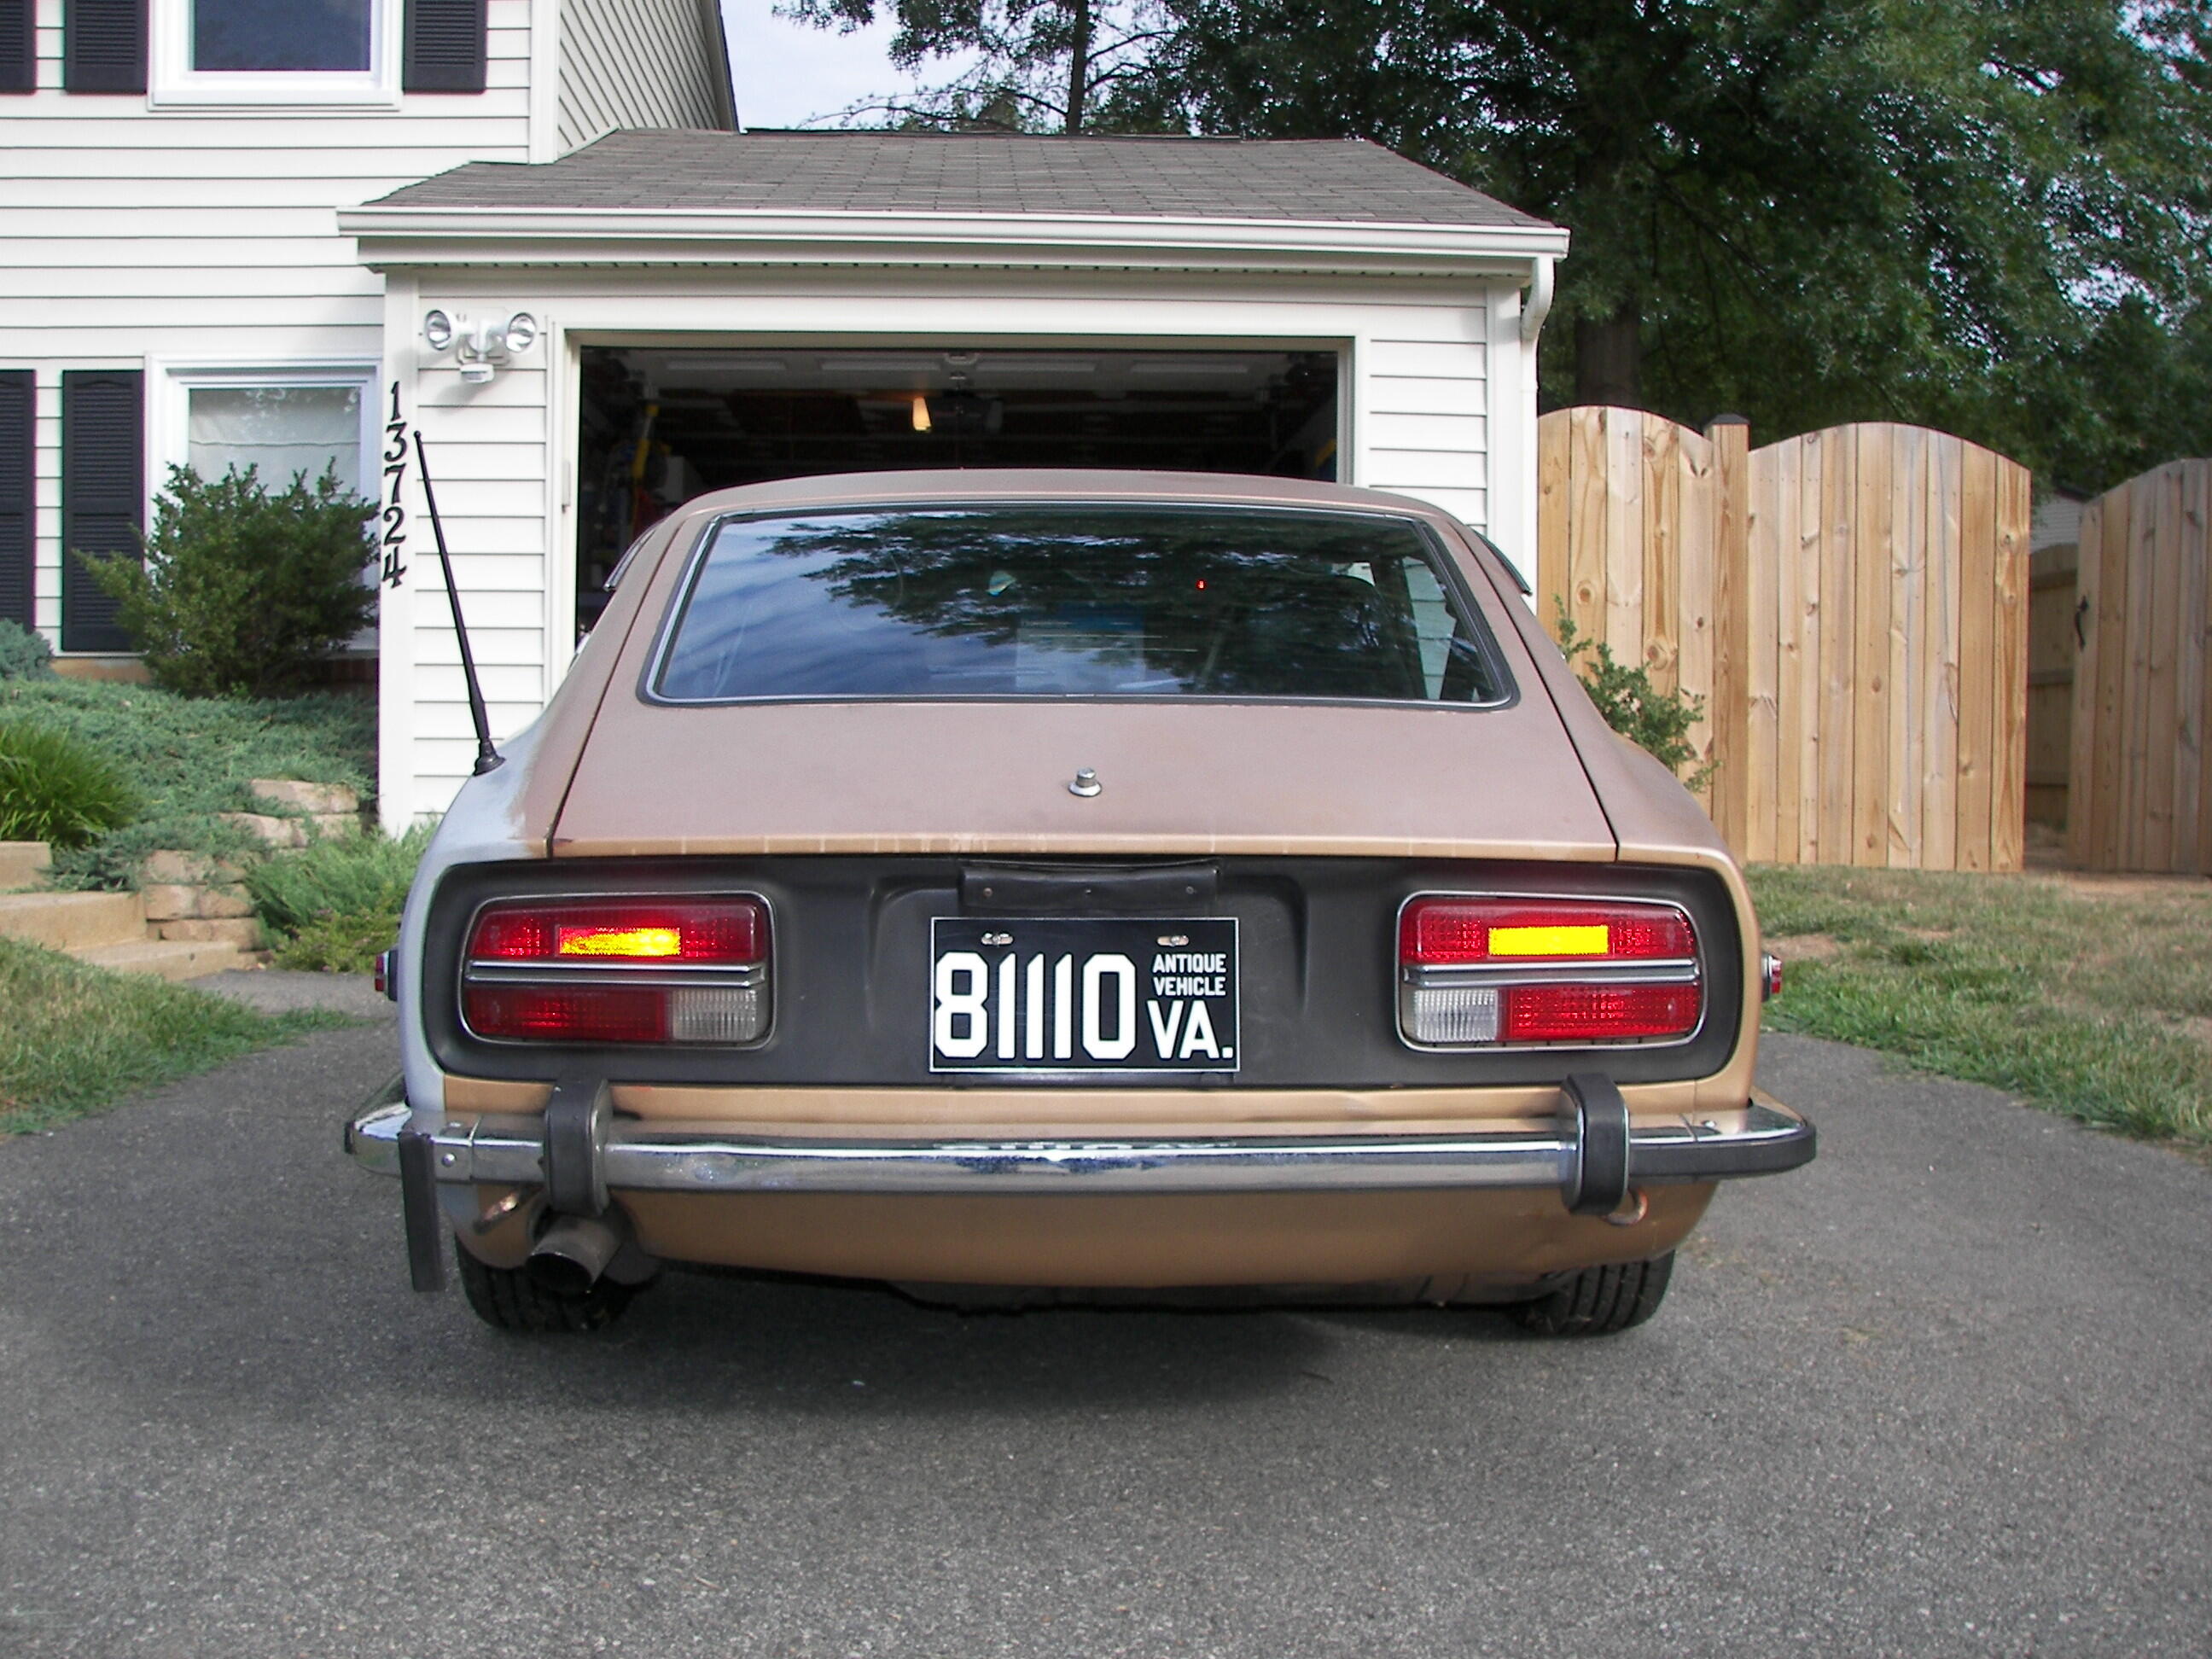
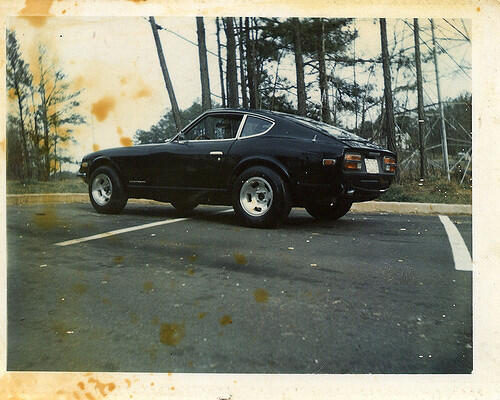
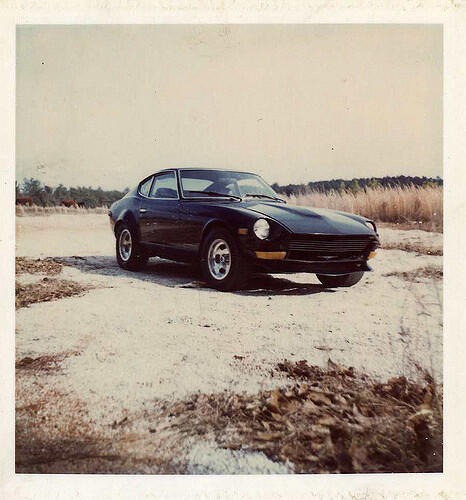
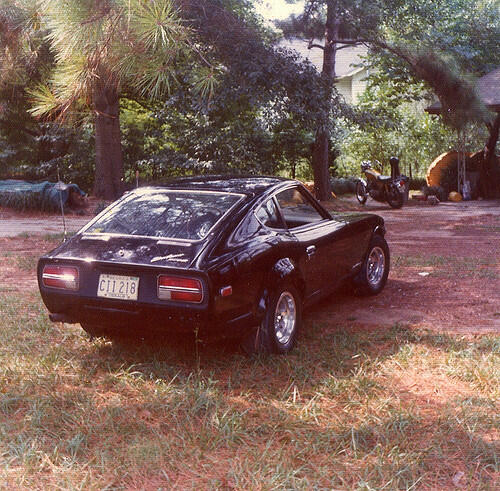
4 pointsI found an old memory card while rummaging through a desk drawer today, and it had some photos I took of the 73 before I had it shipped from Virginia down to Georgia.

 4 points
 -
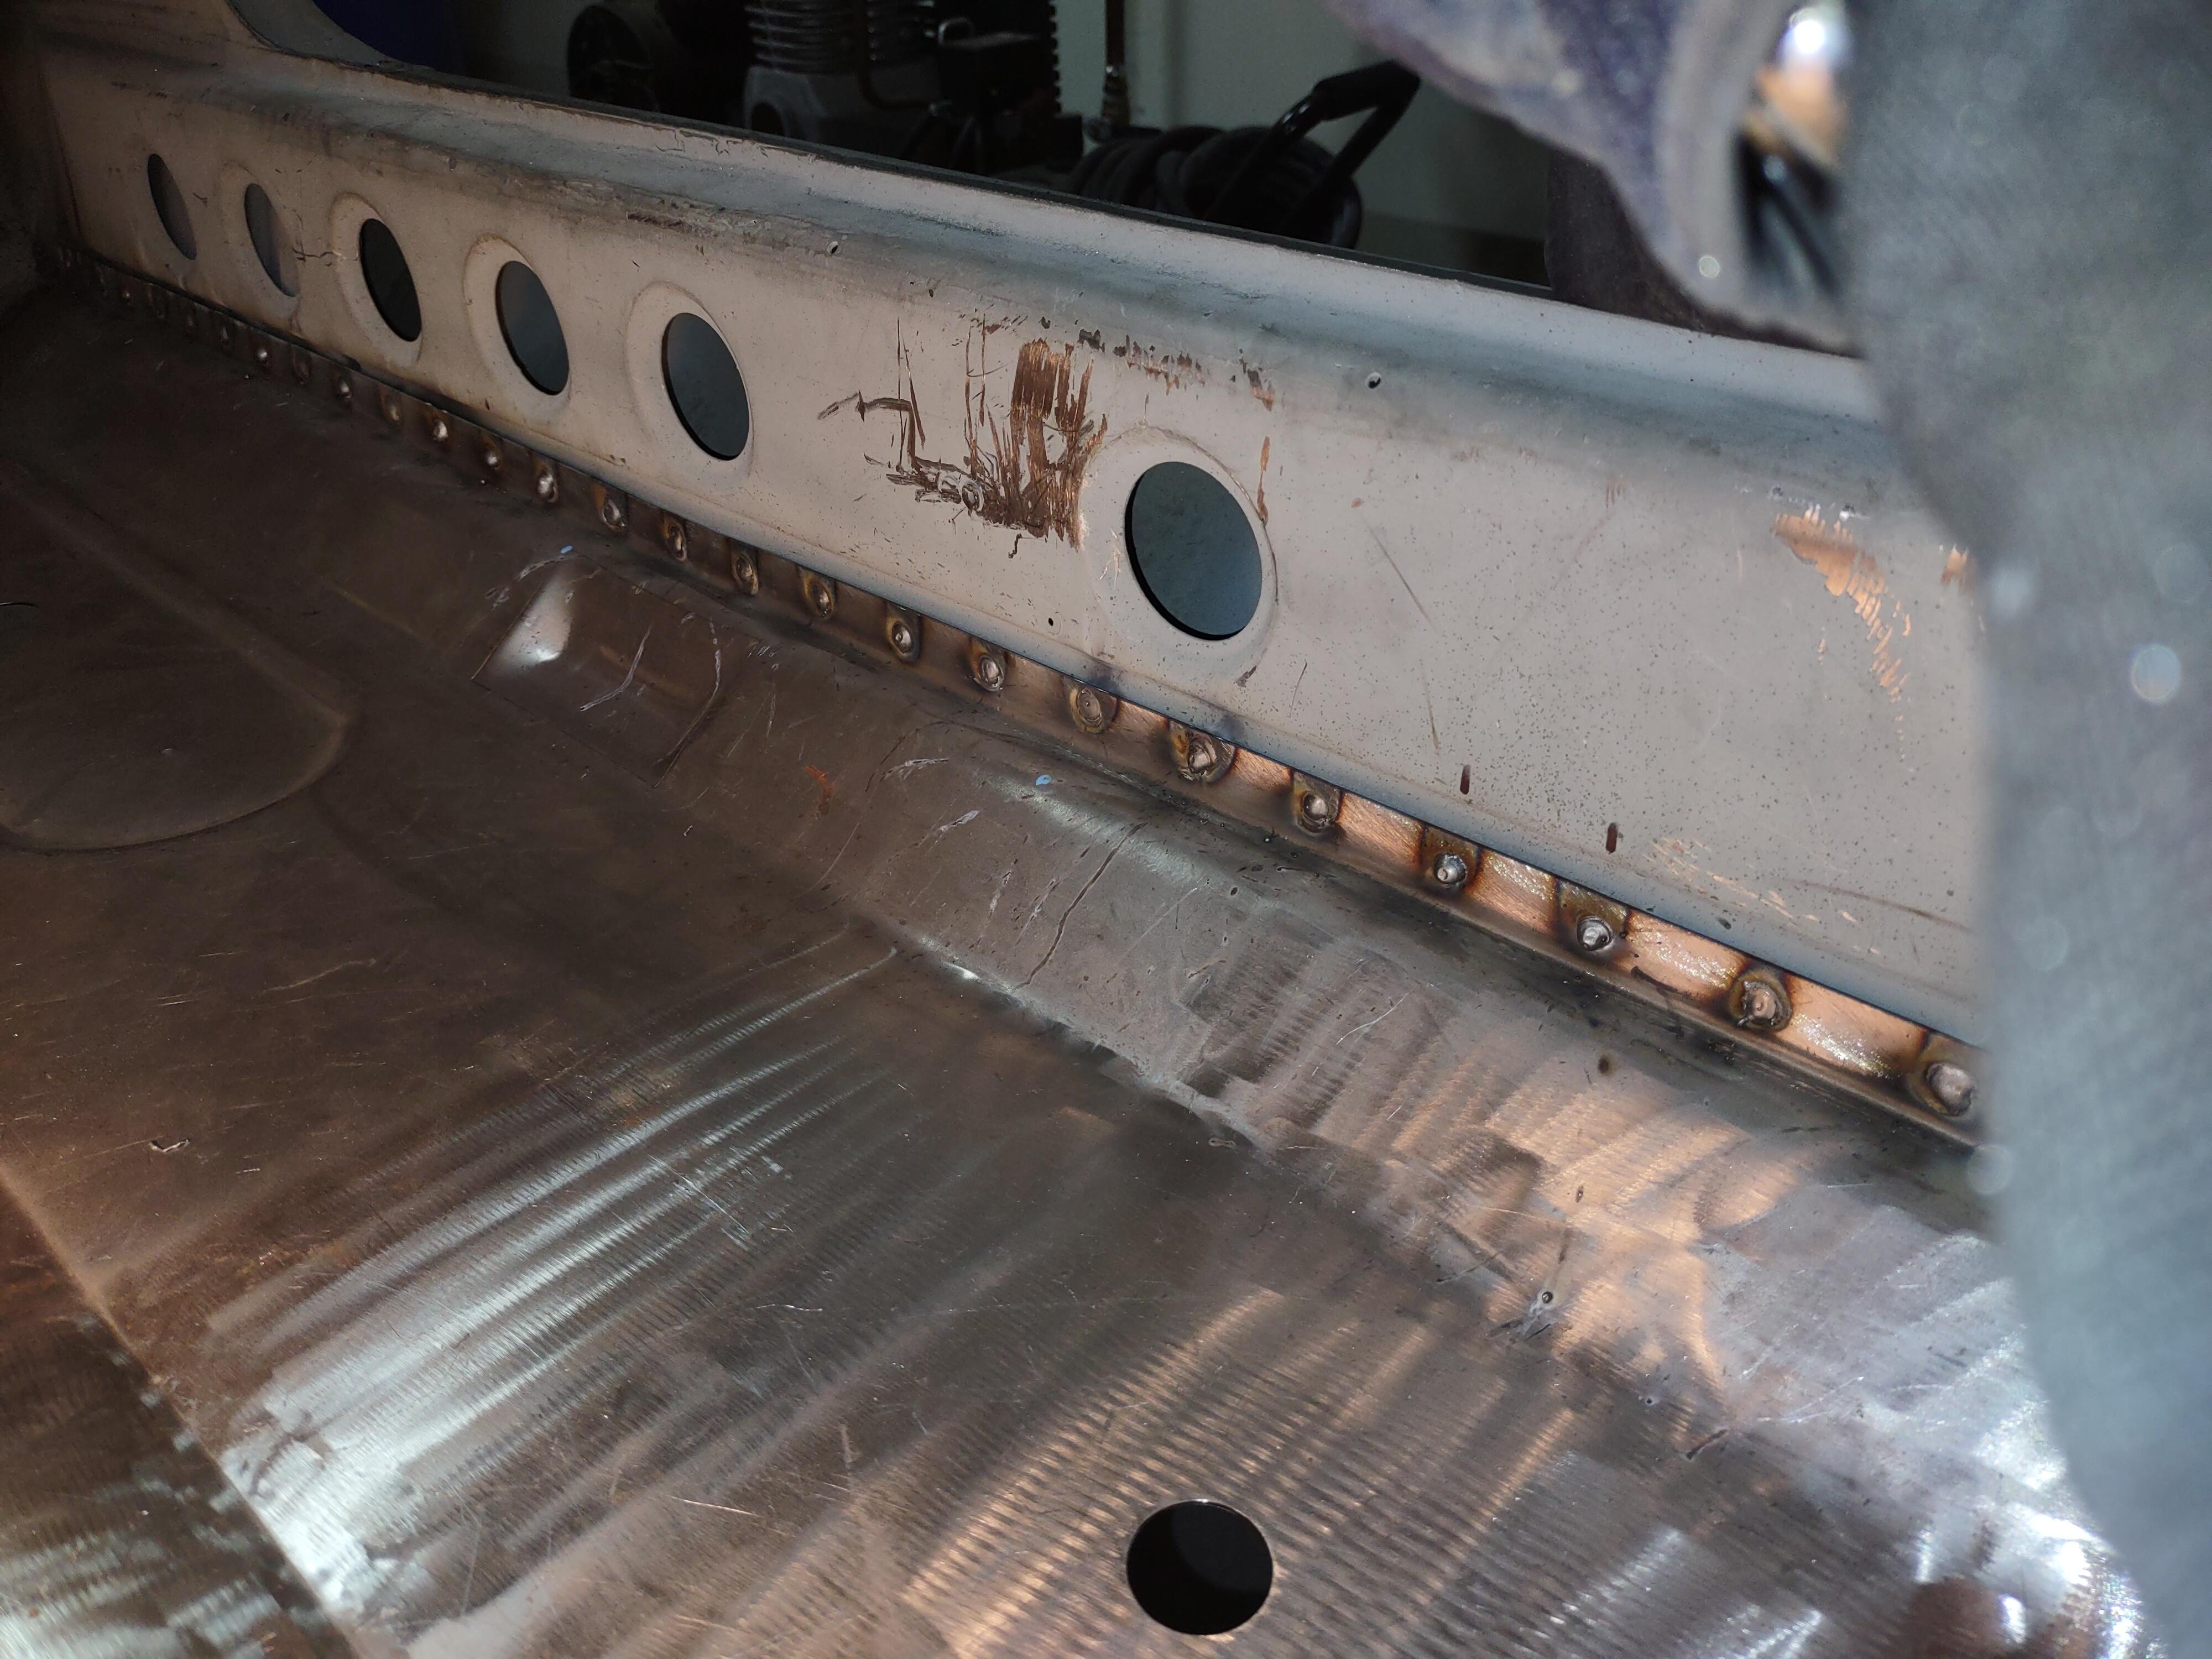
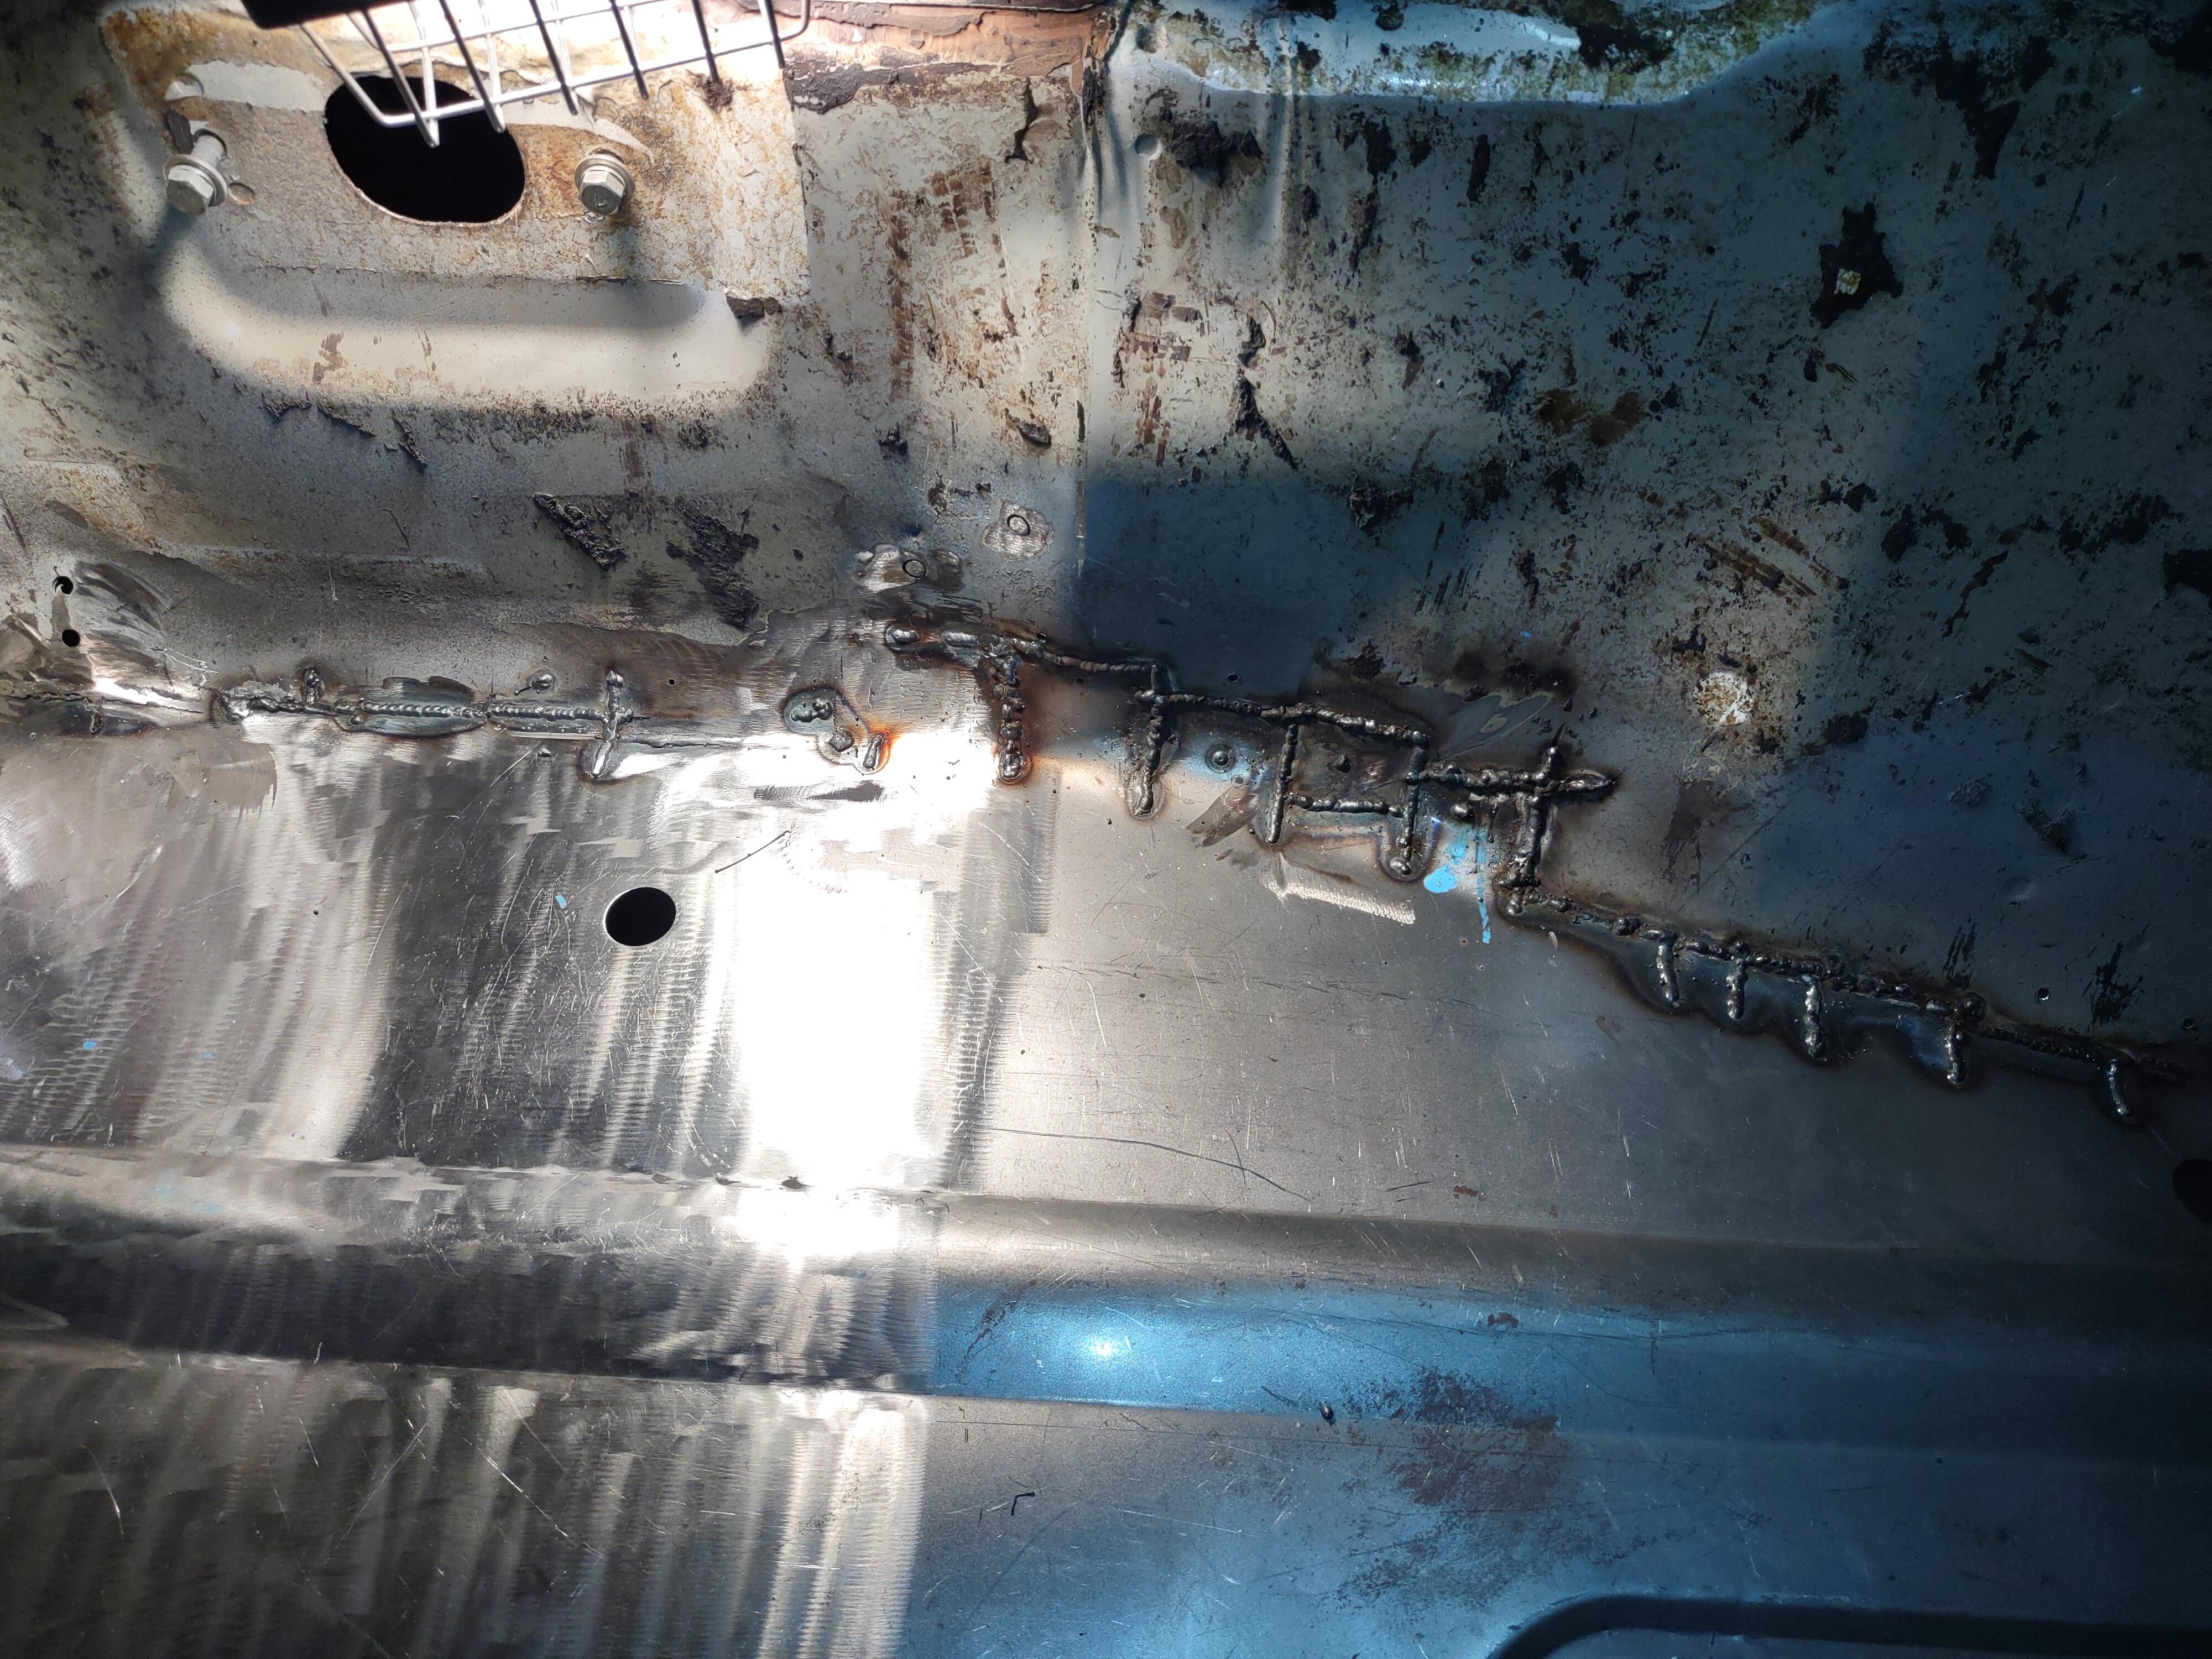
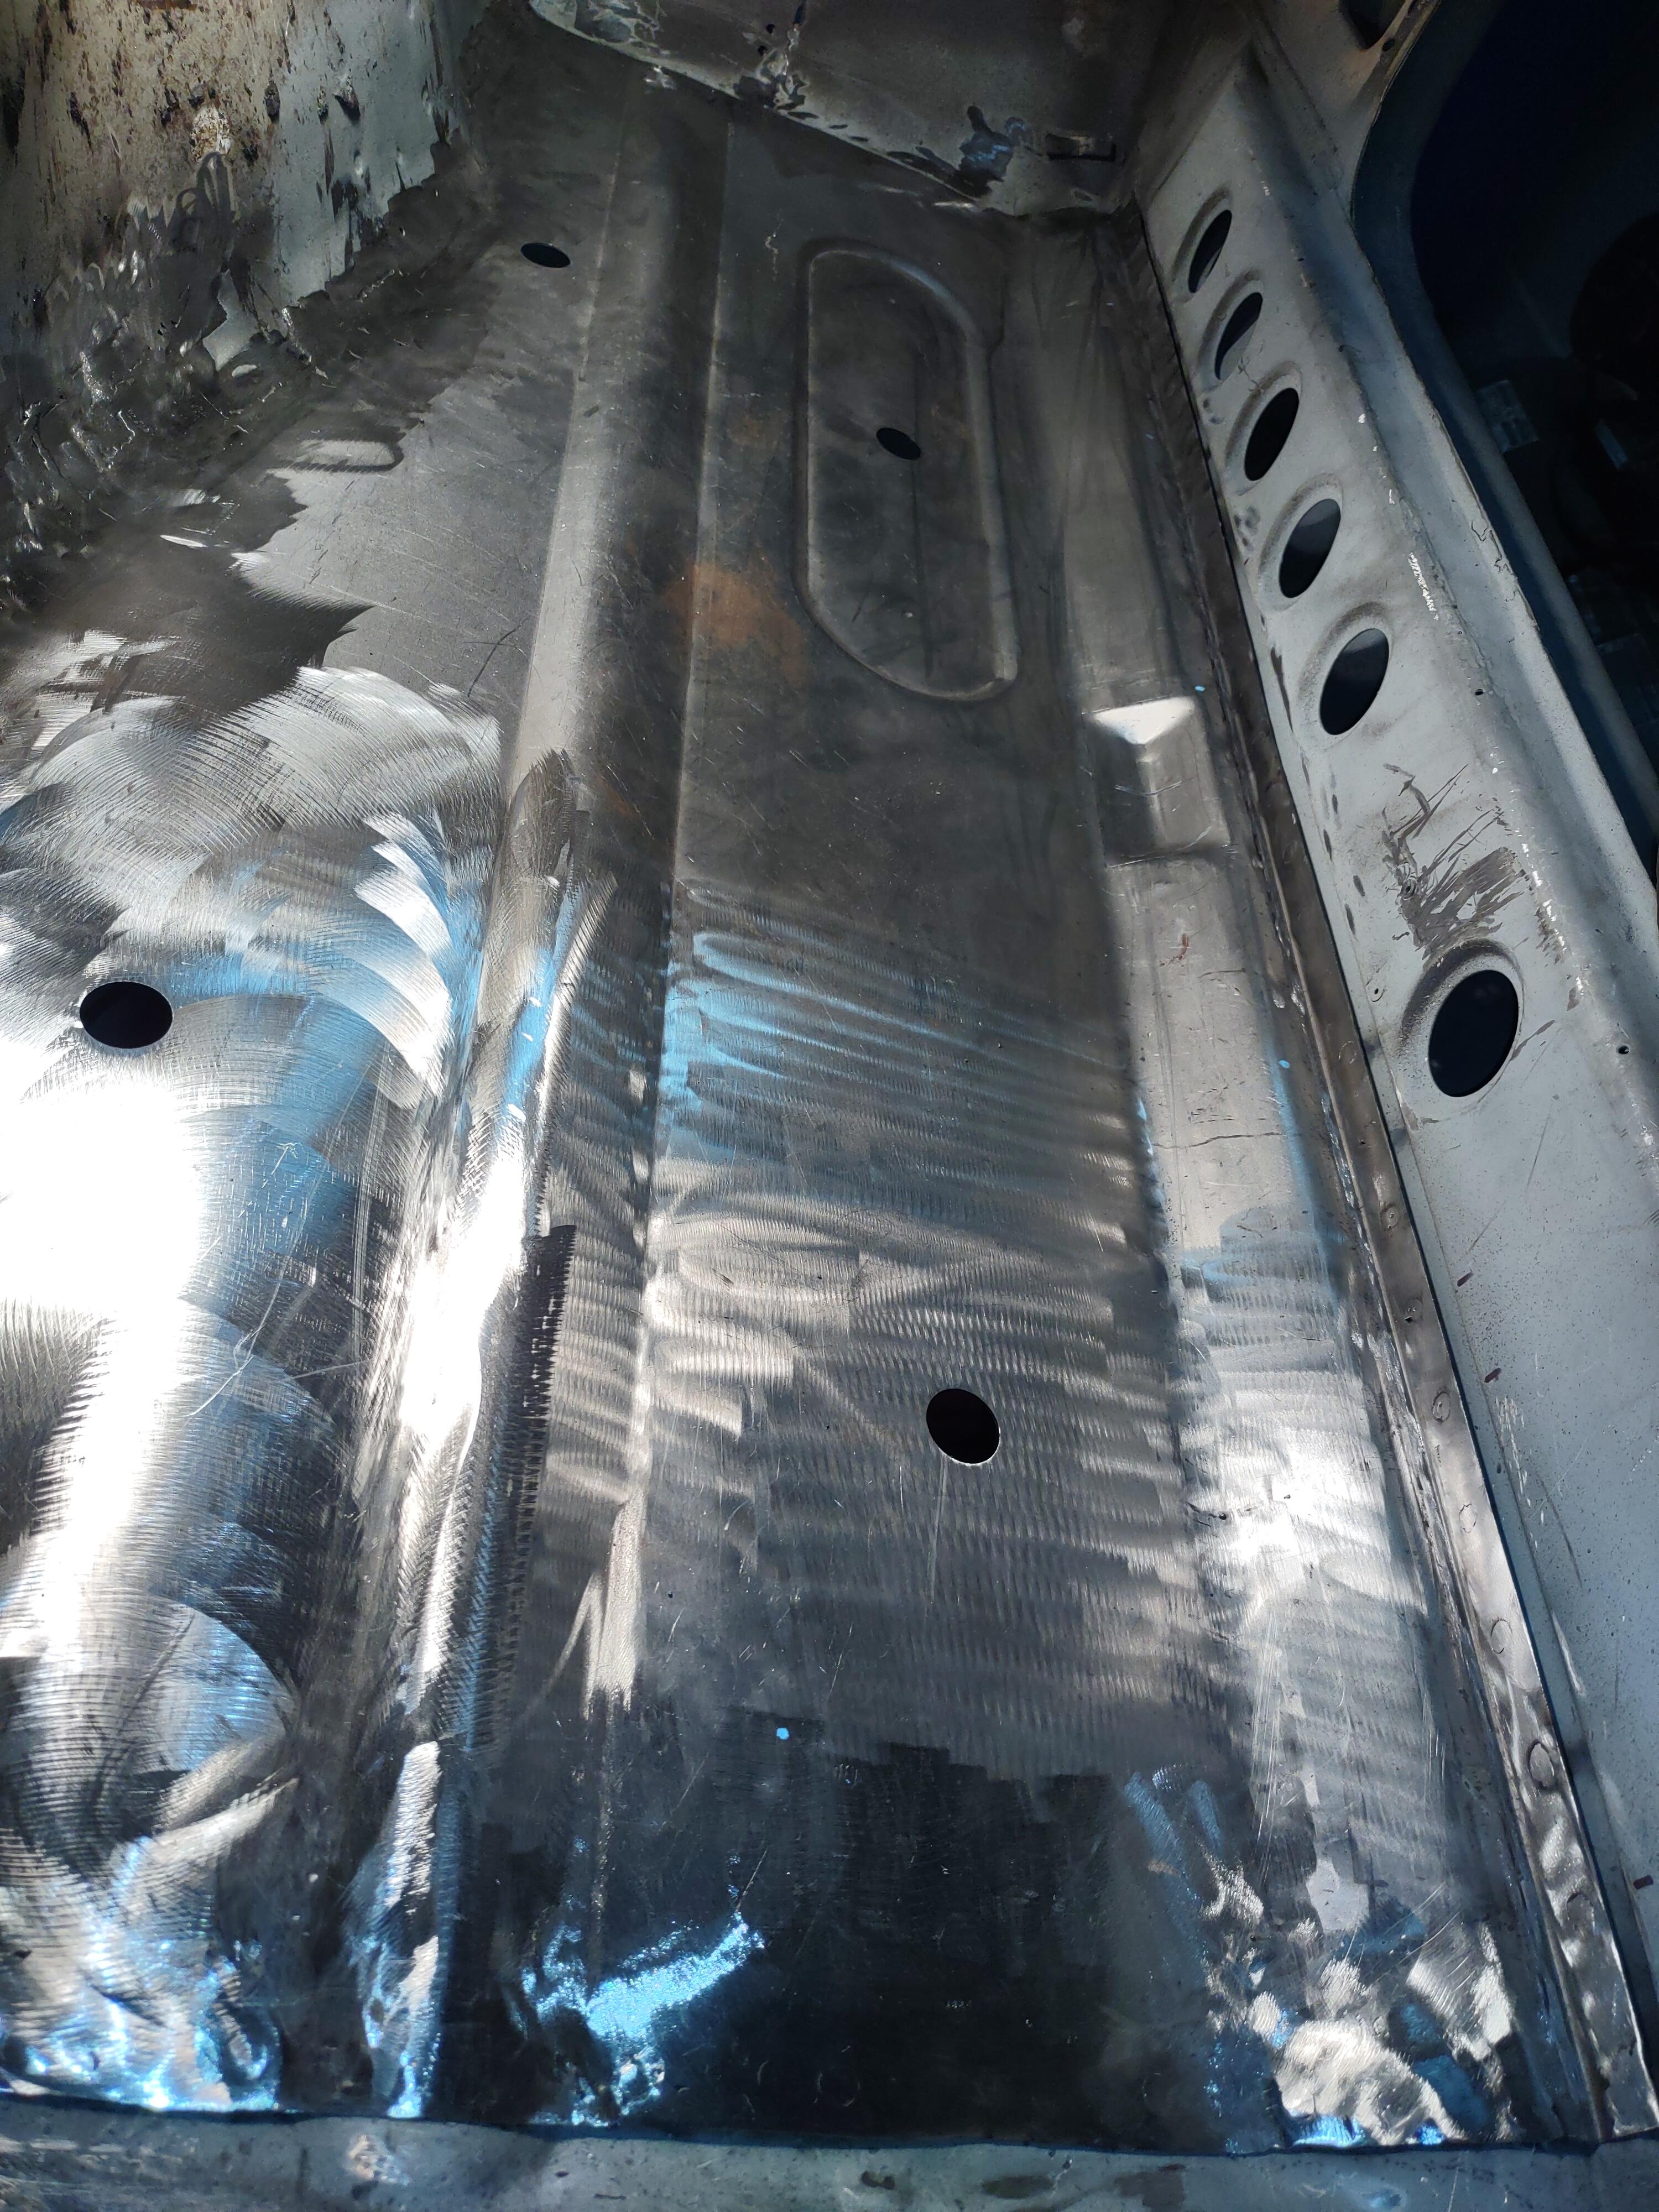
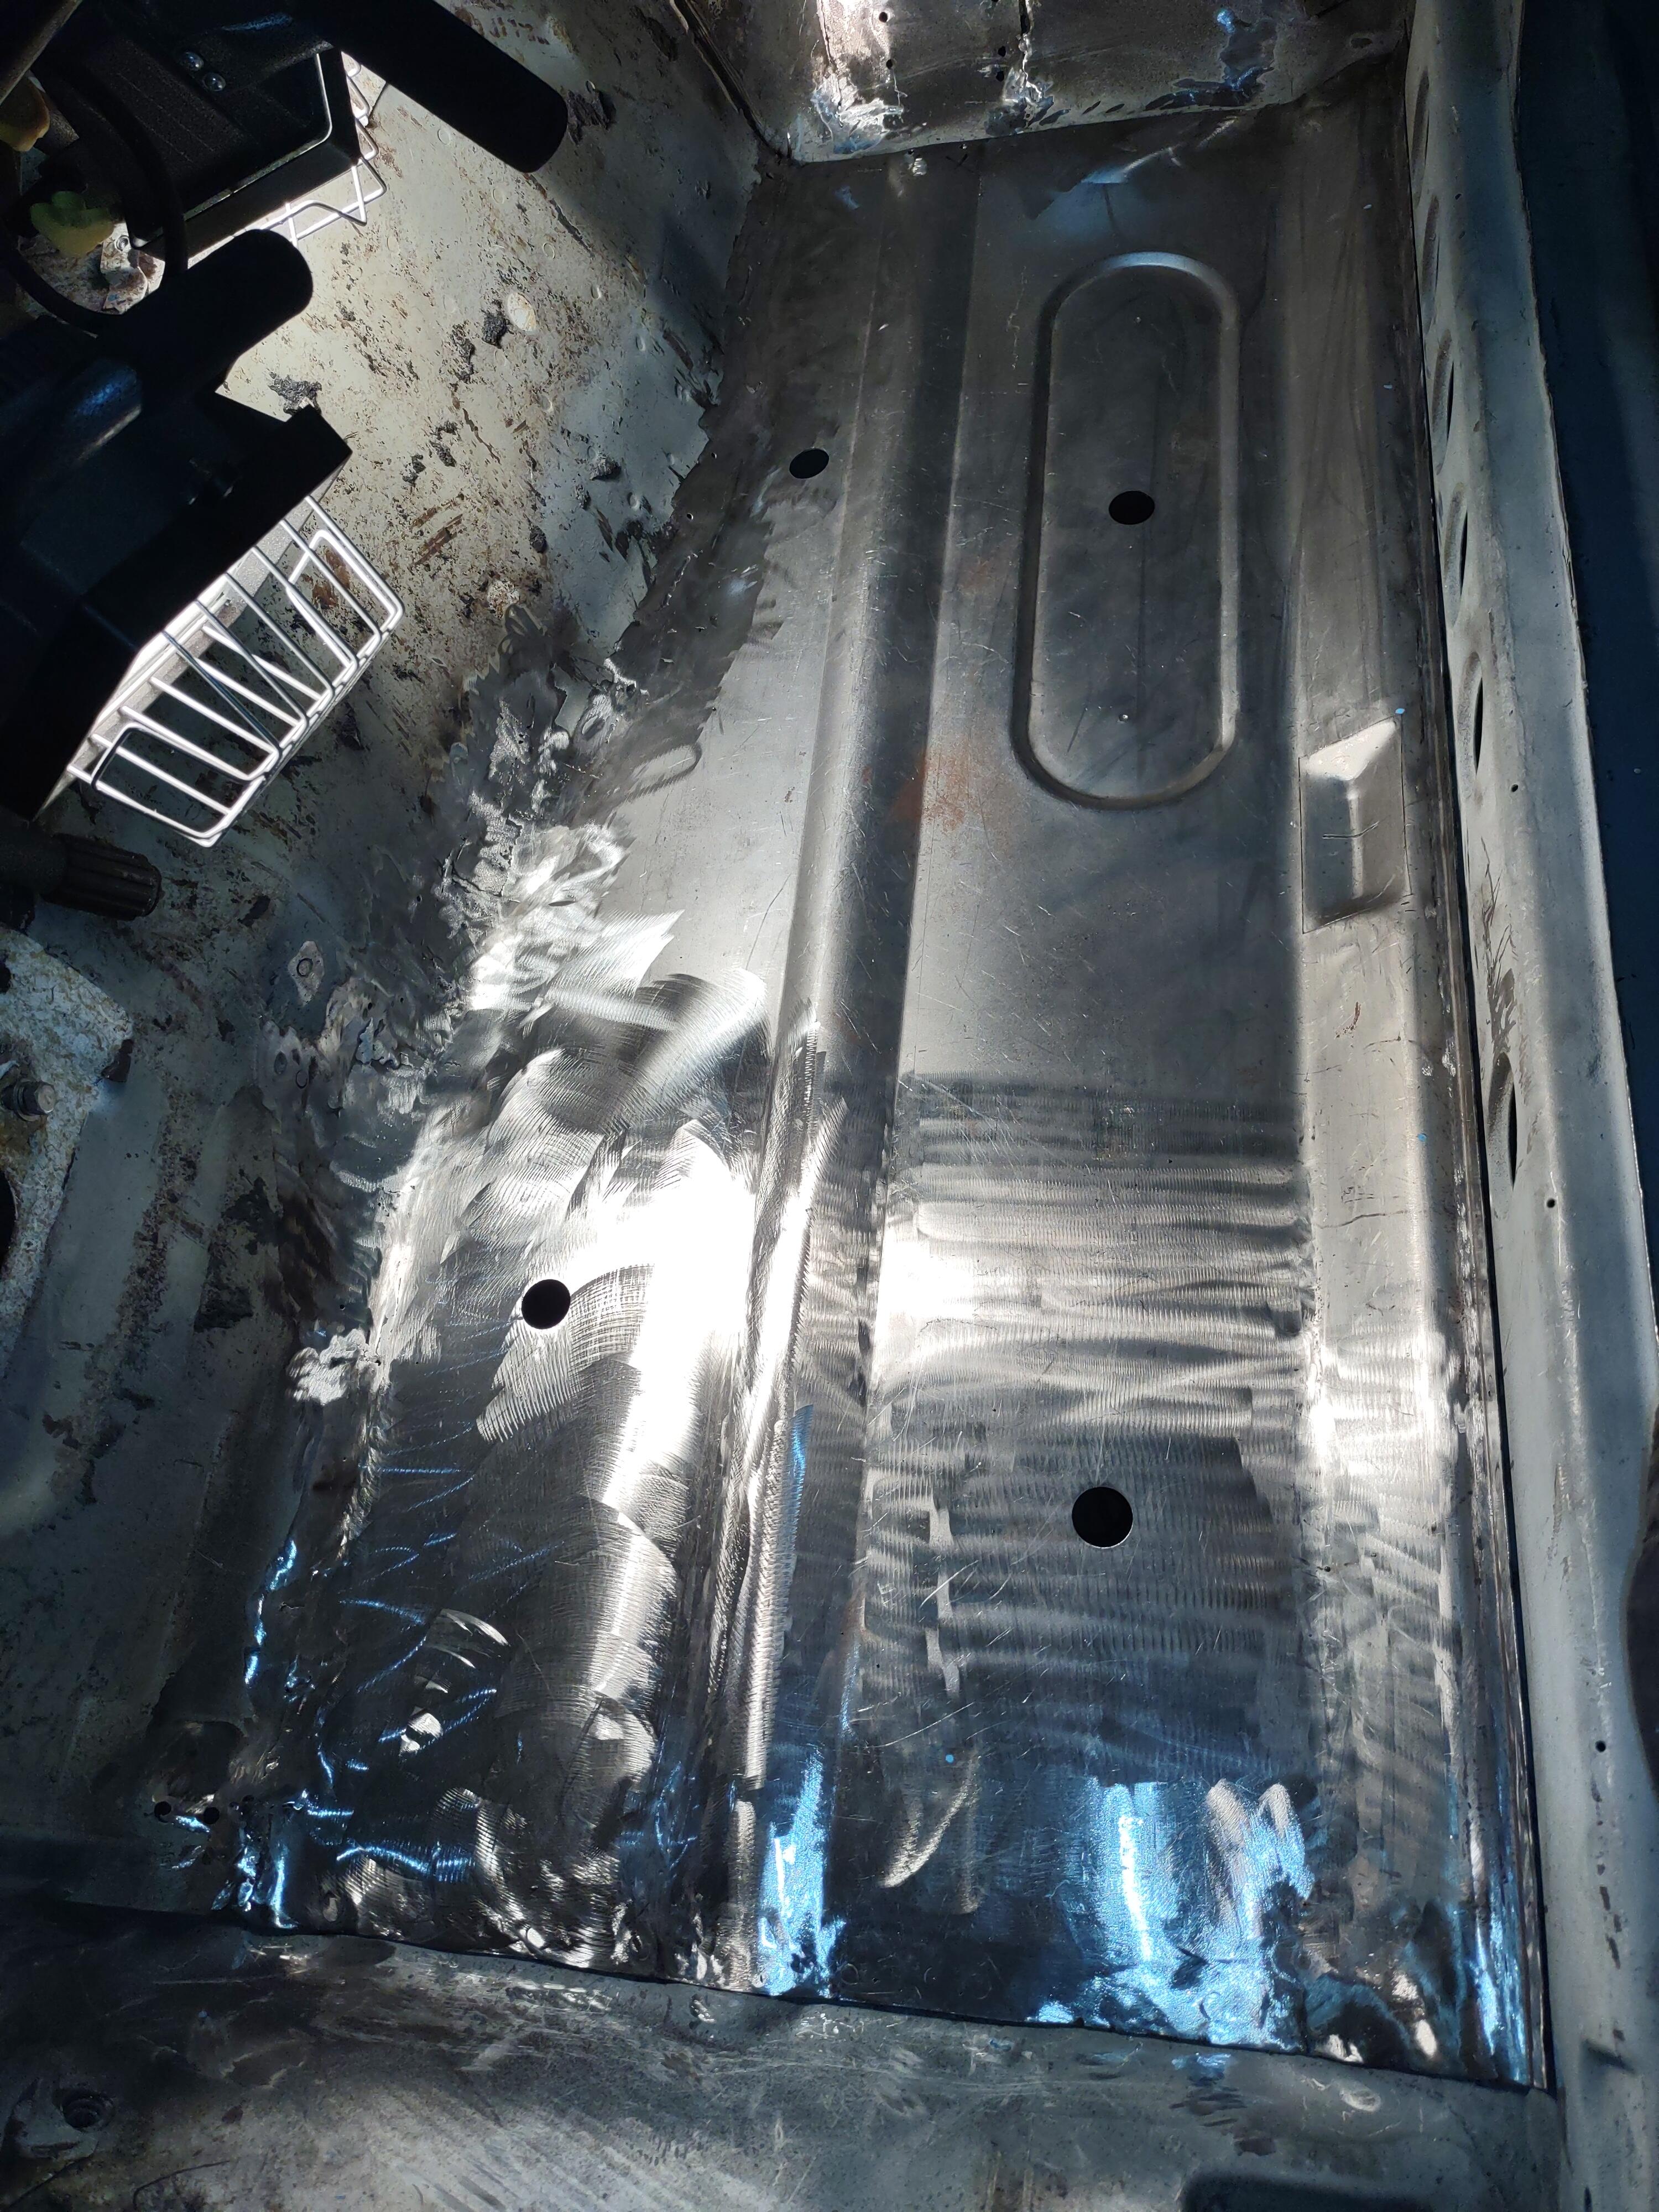
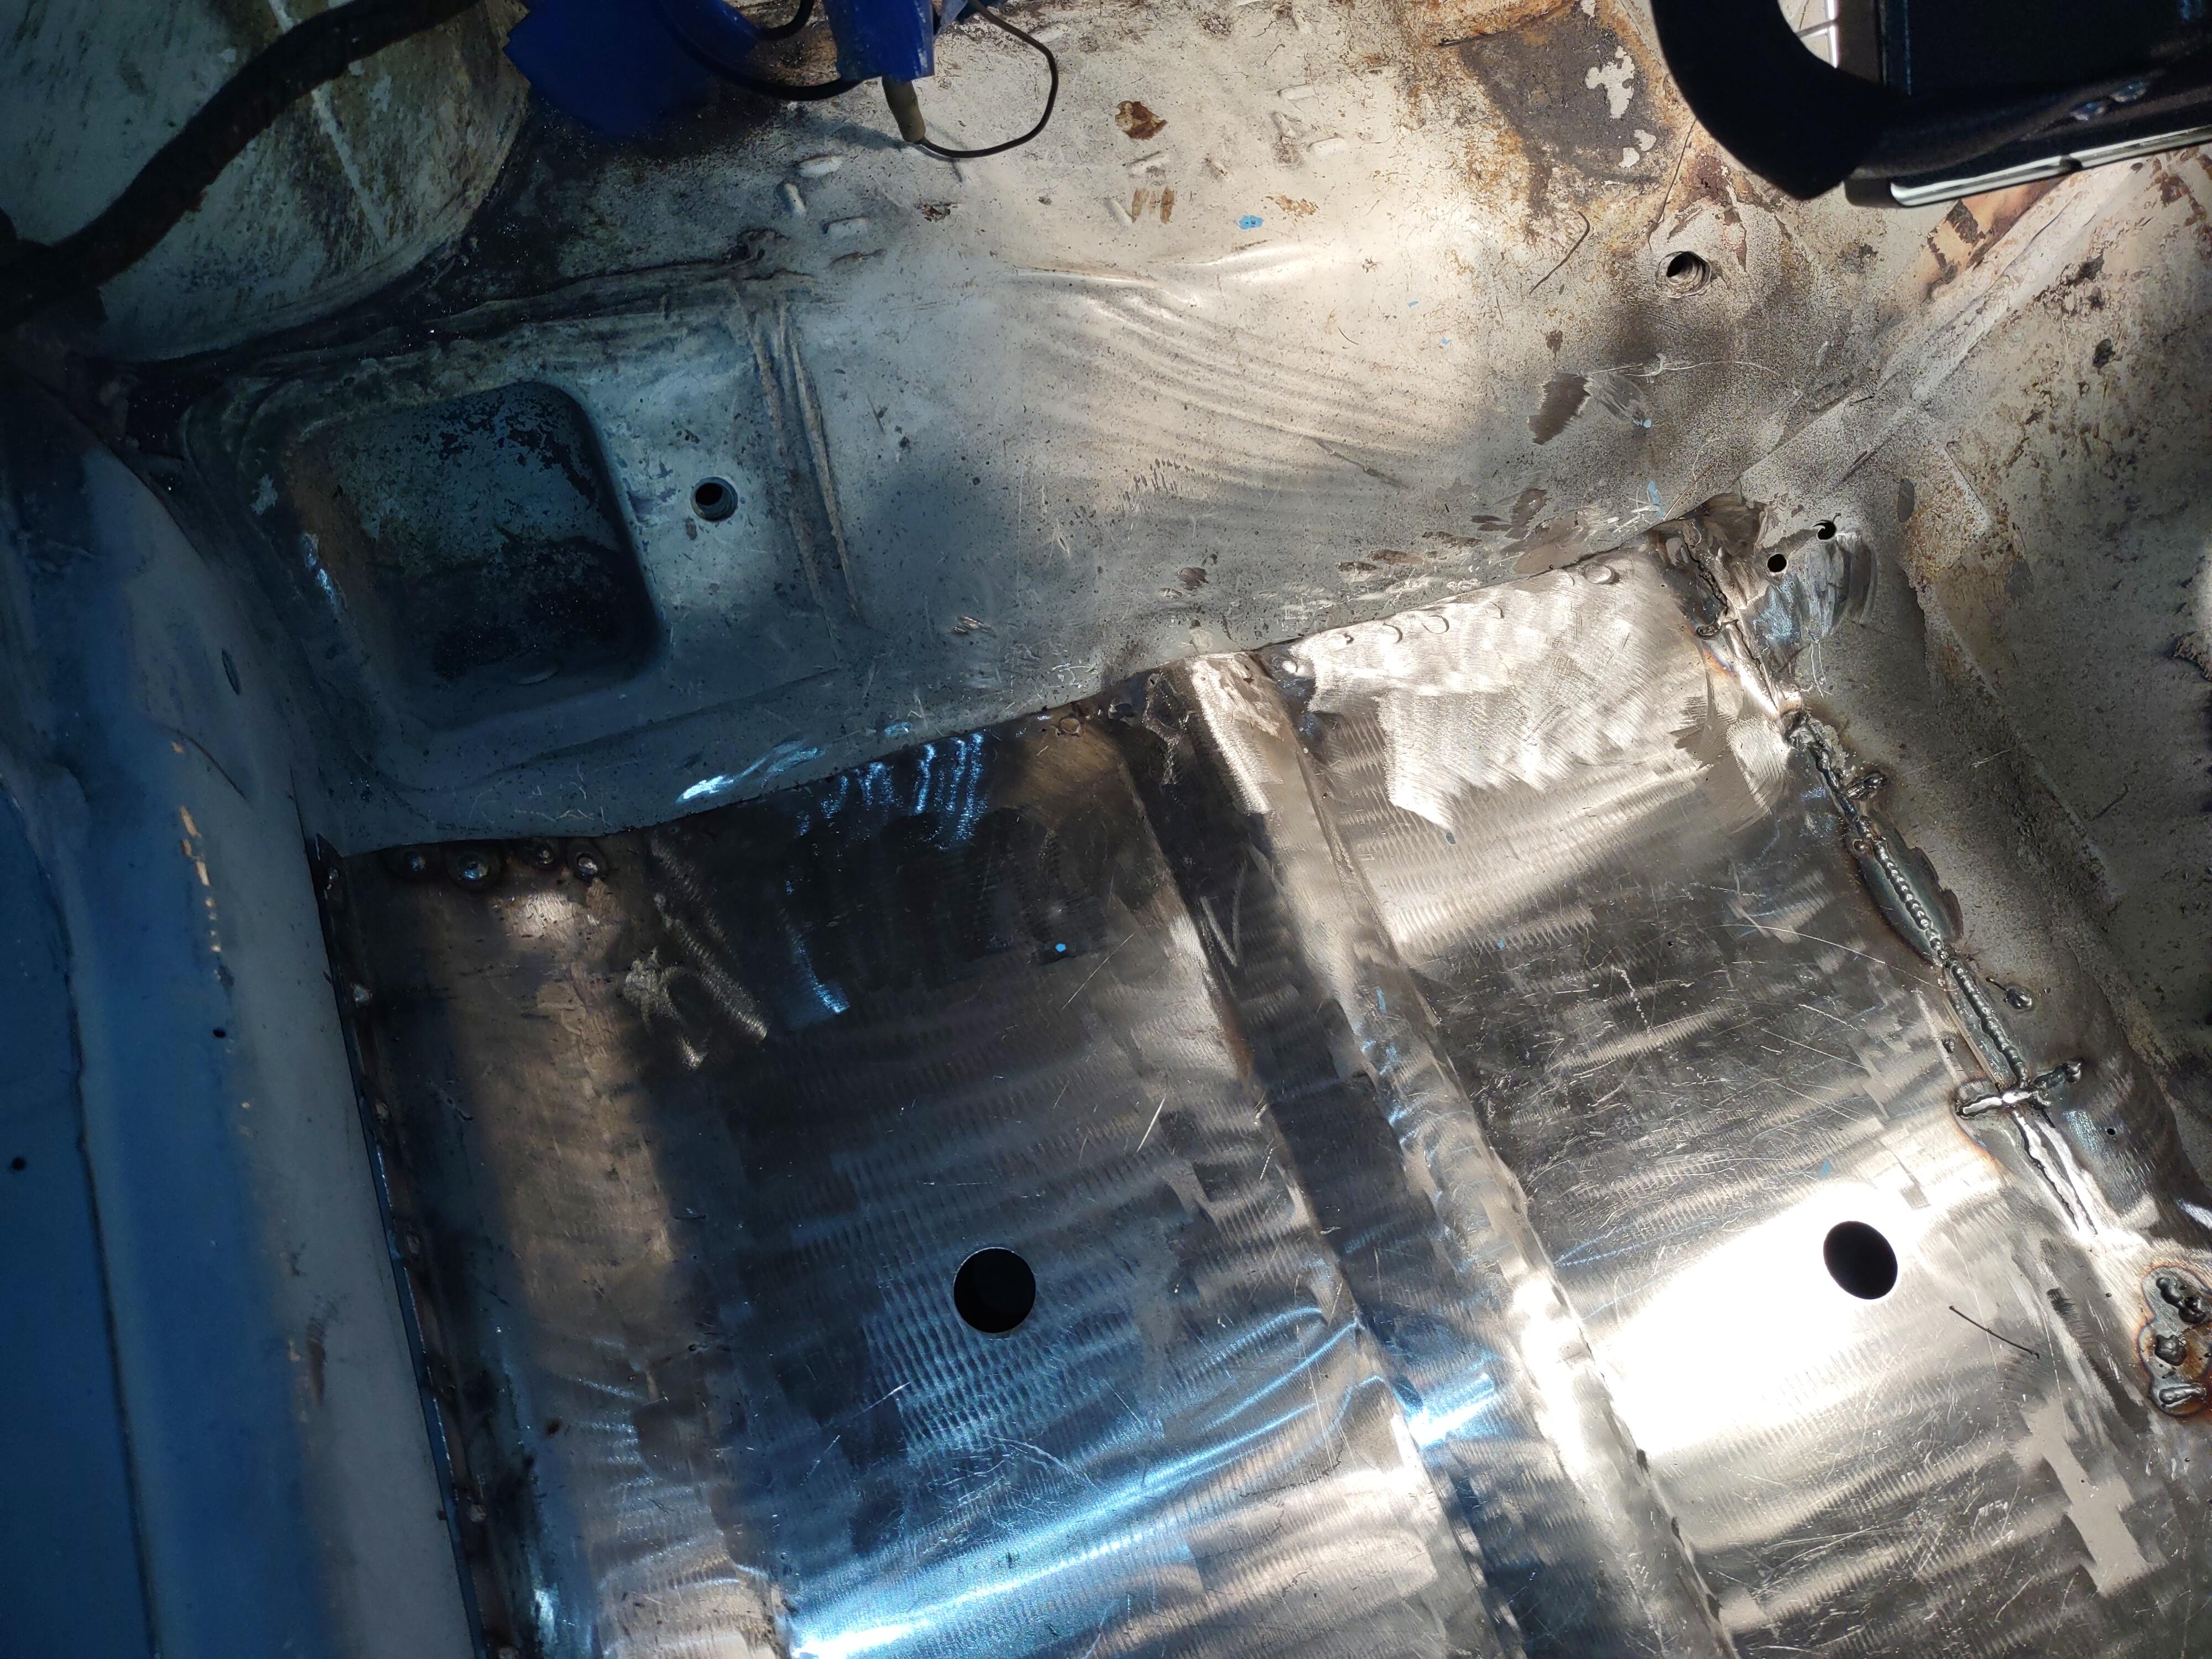
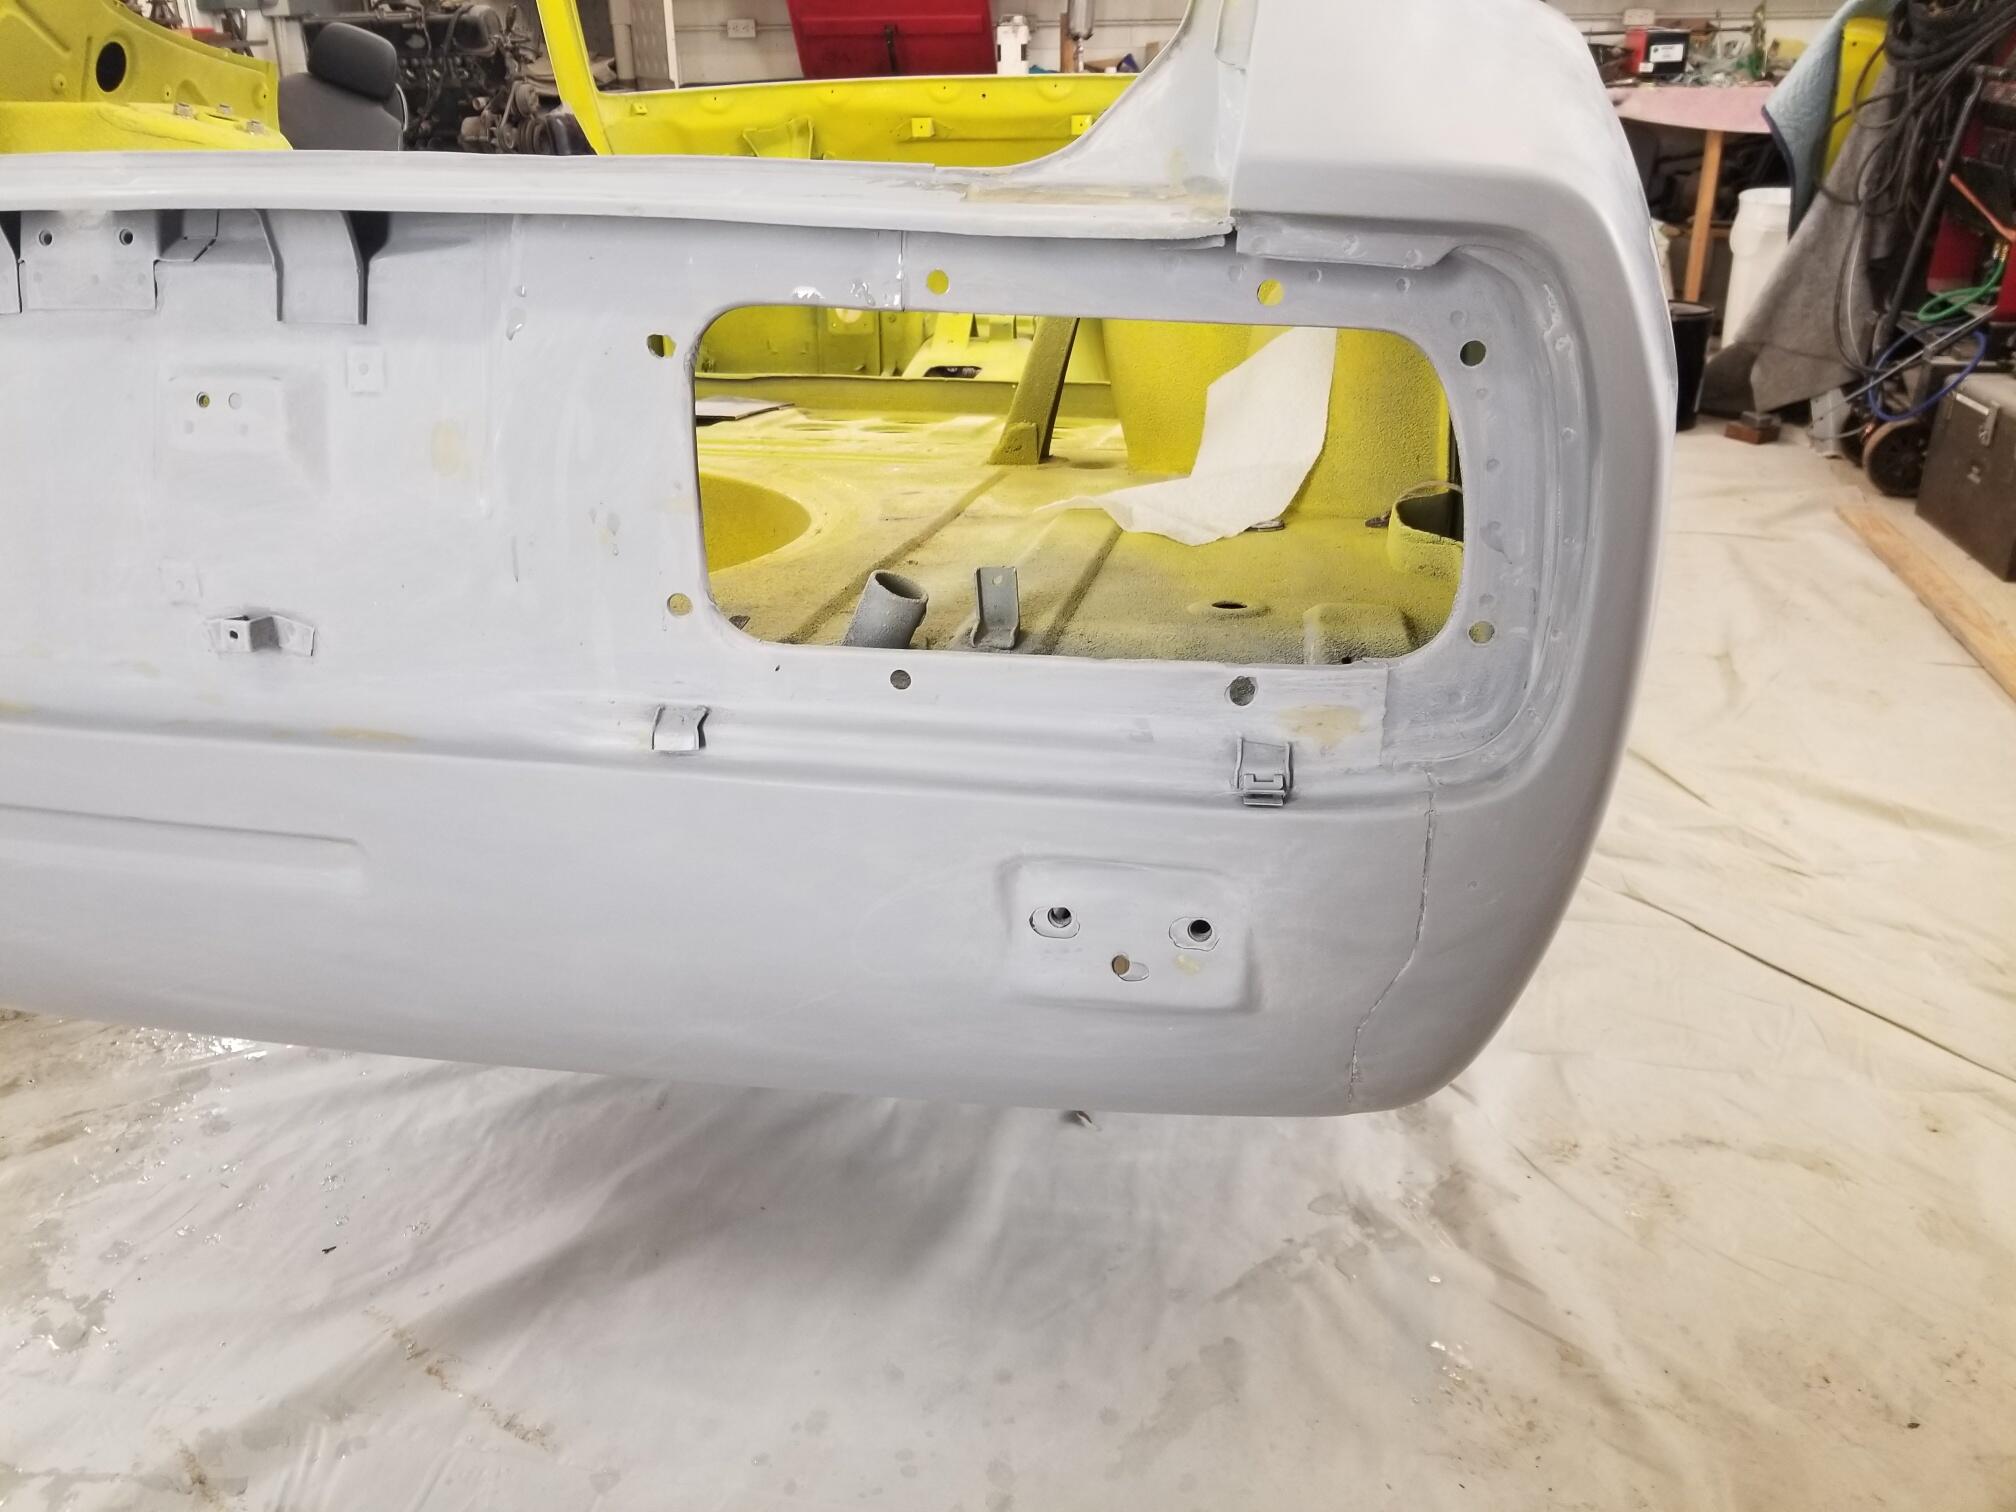
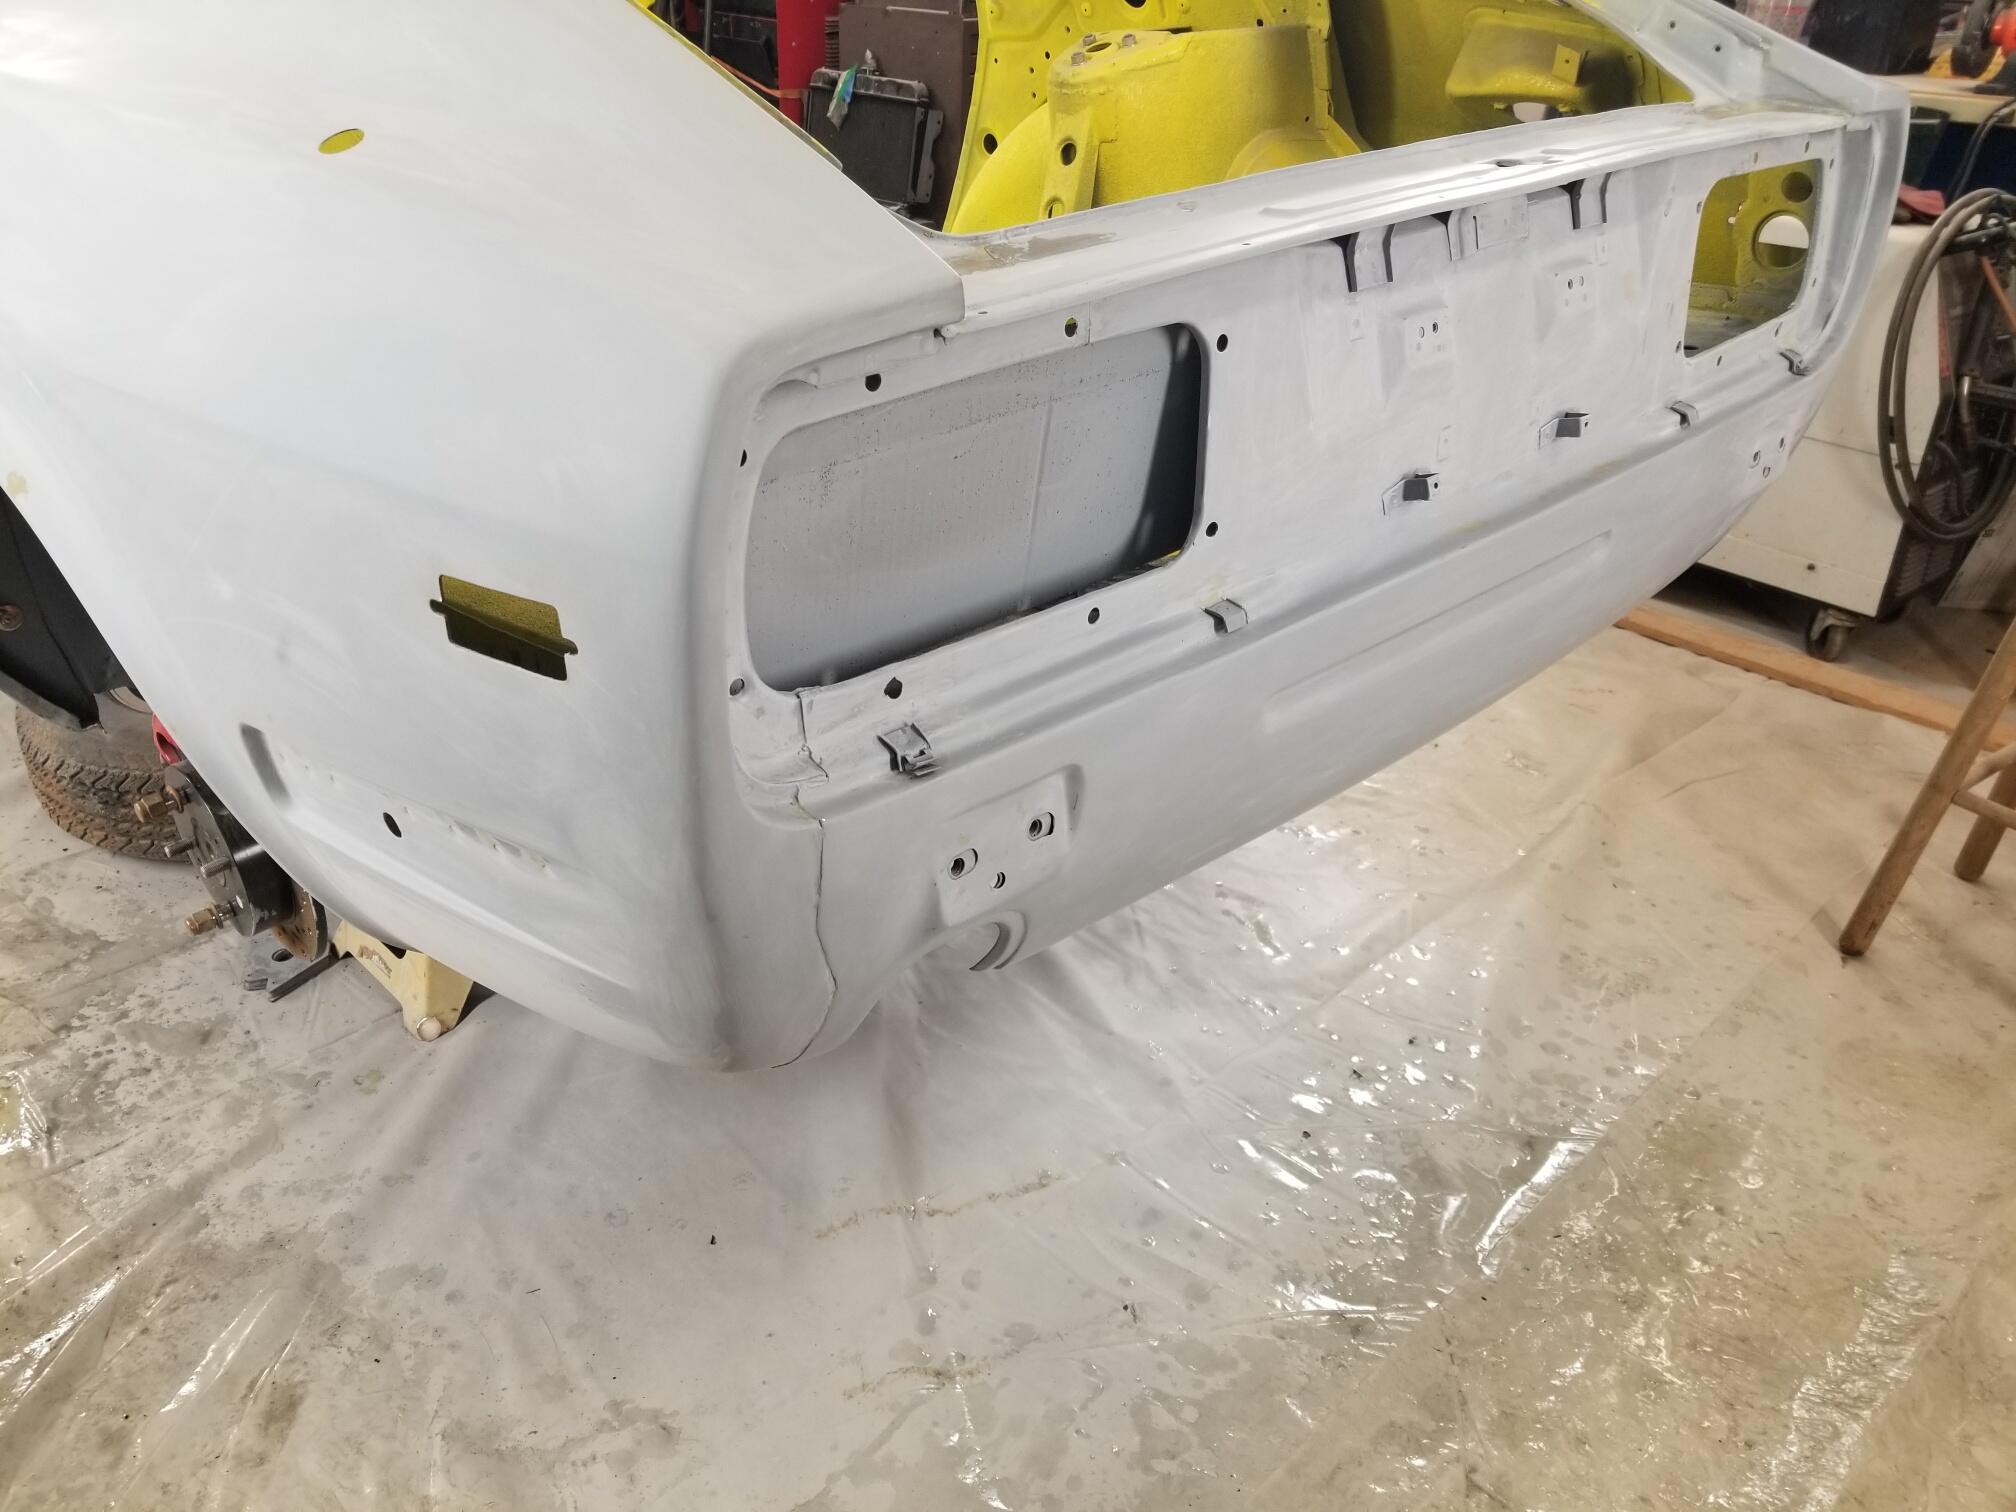
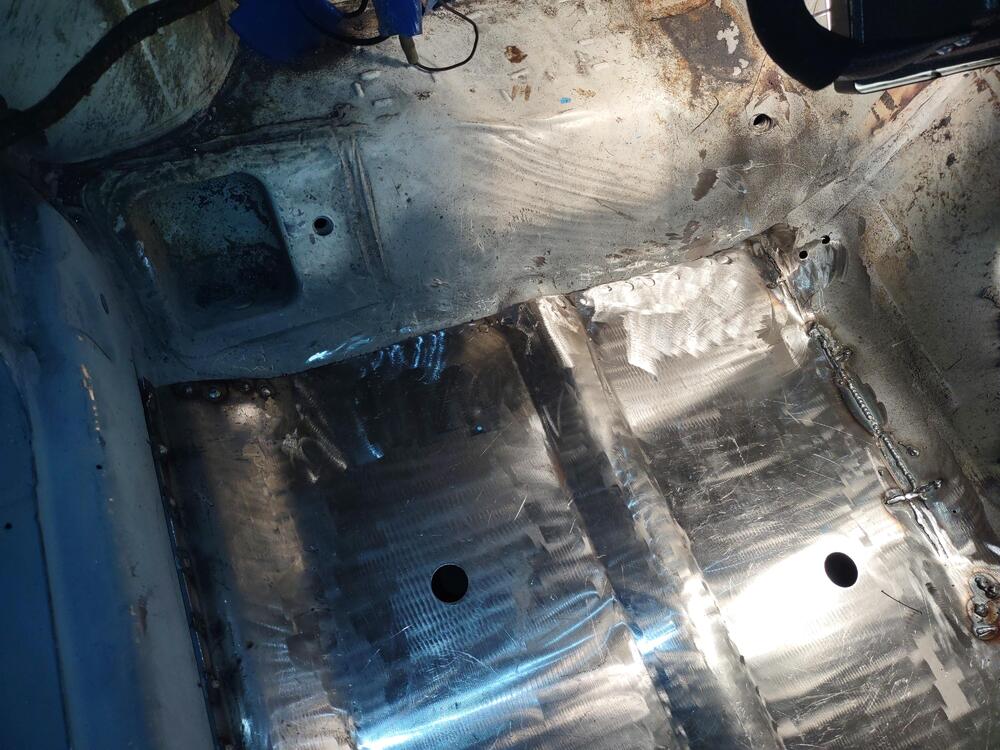
3 pointsPassenger floor pan installed, touch up areas still need to be welded up and then seat mounts.


 3 points
 -
3 points
-
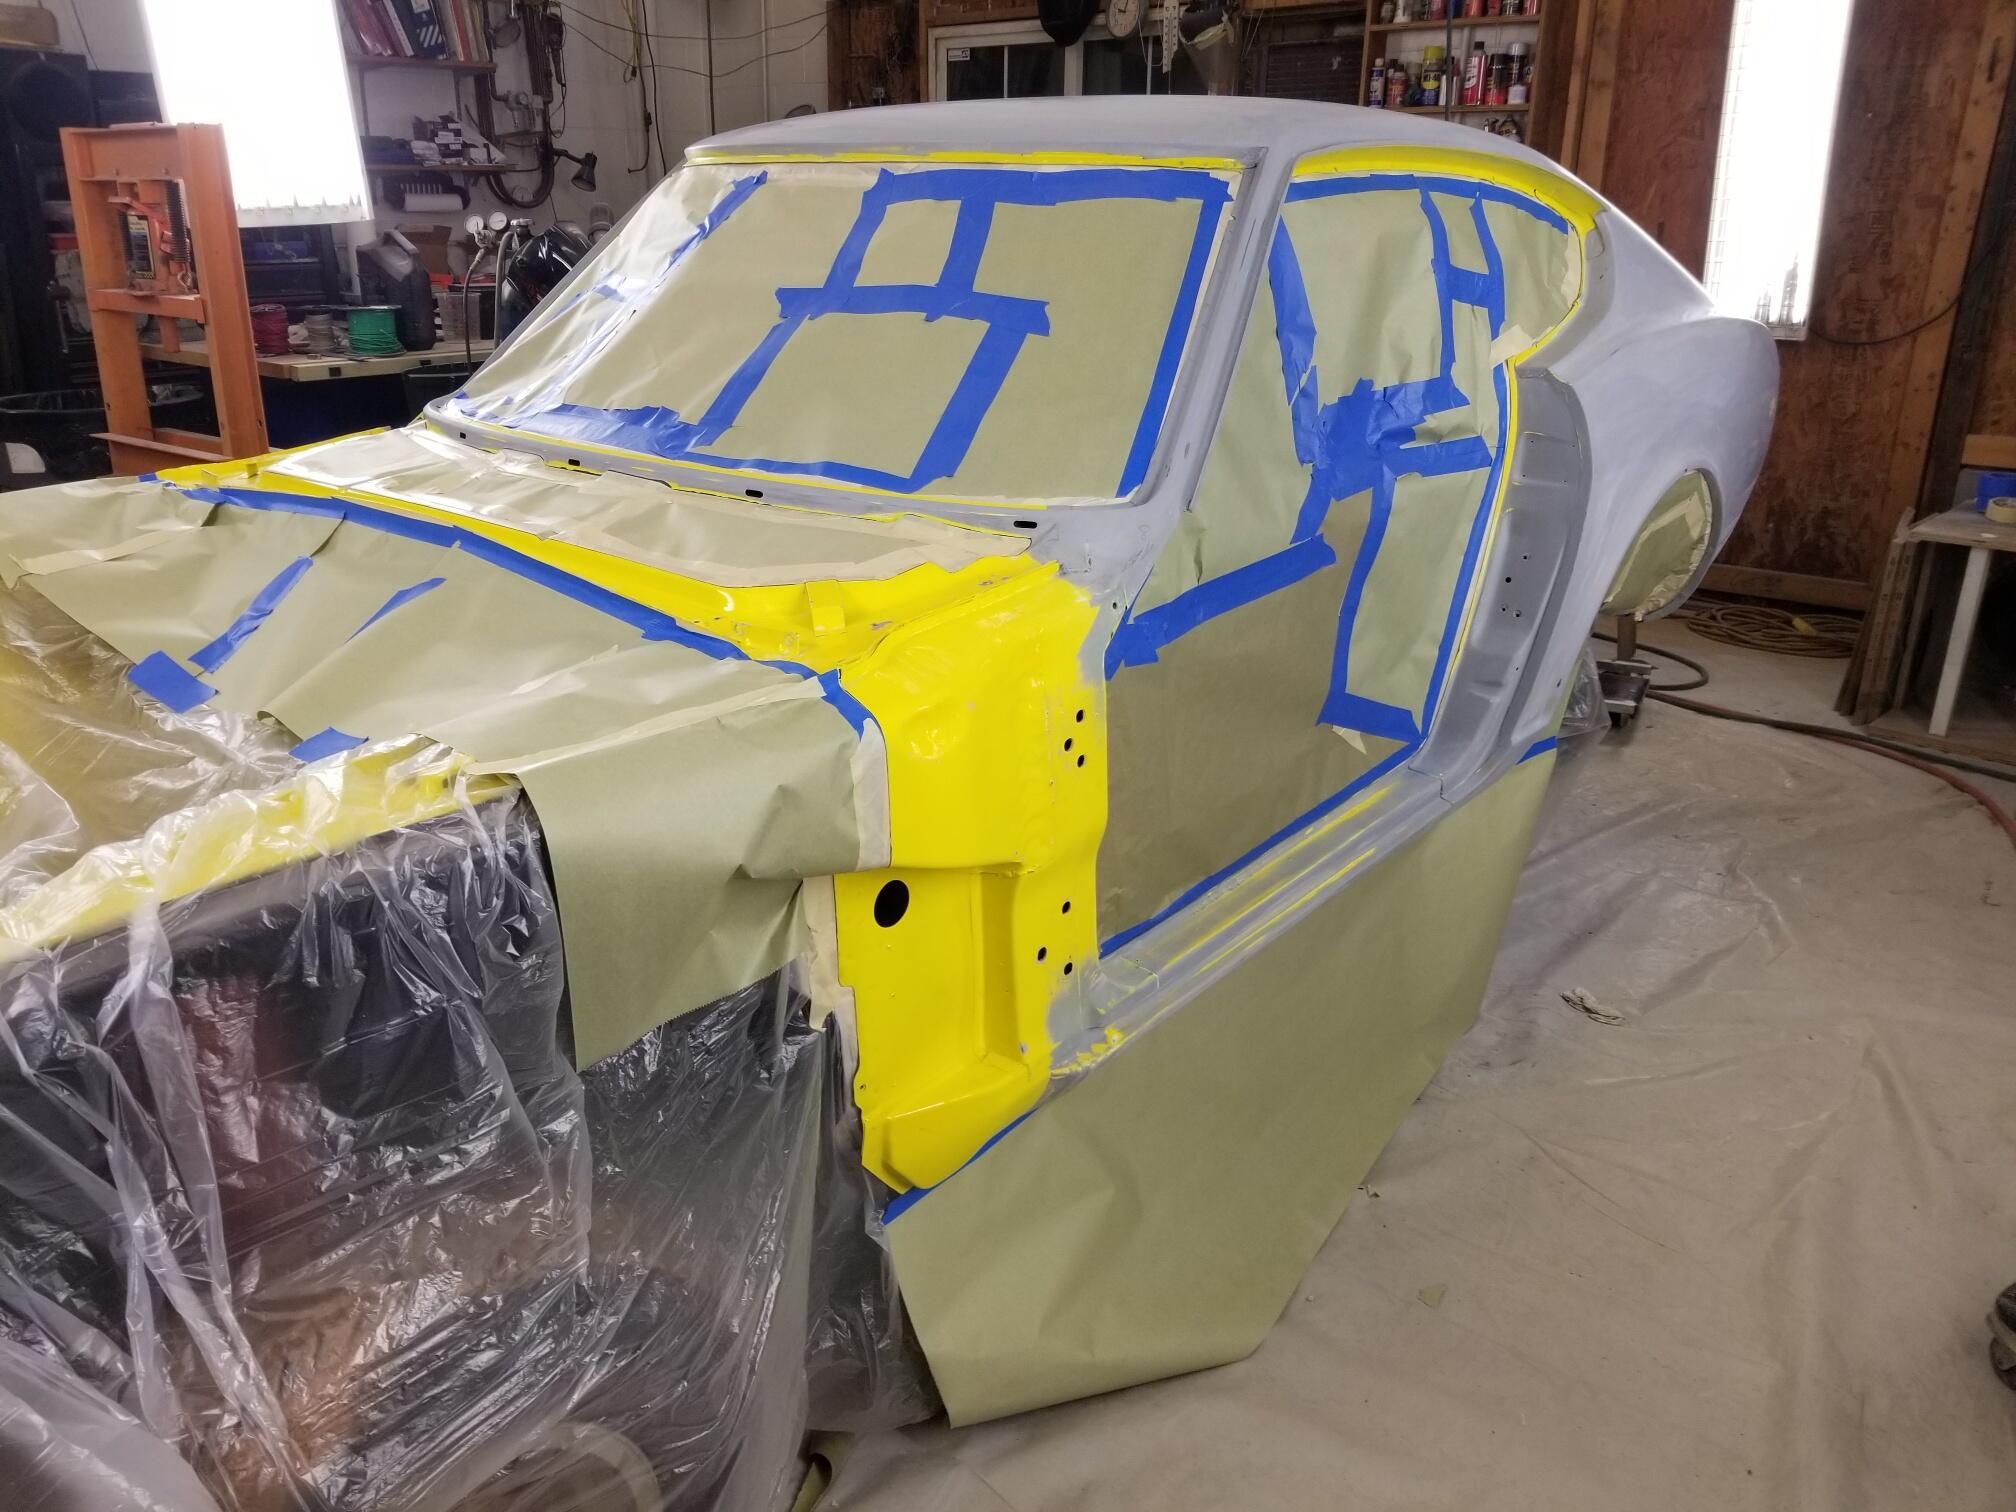
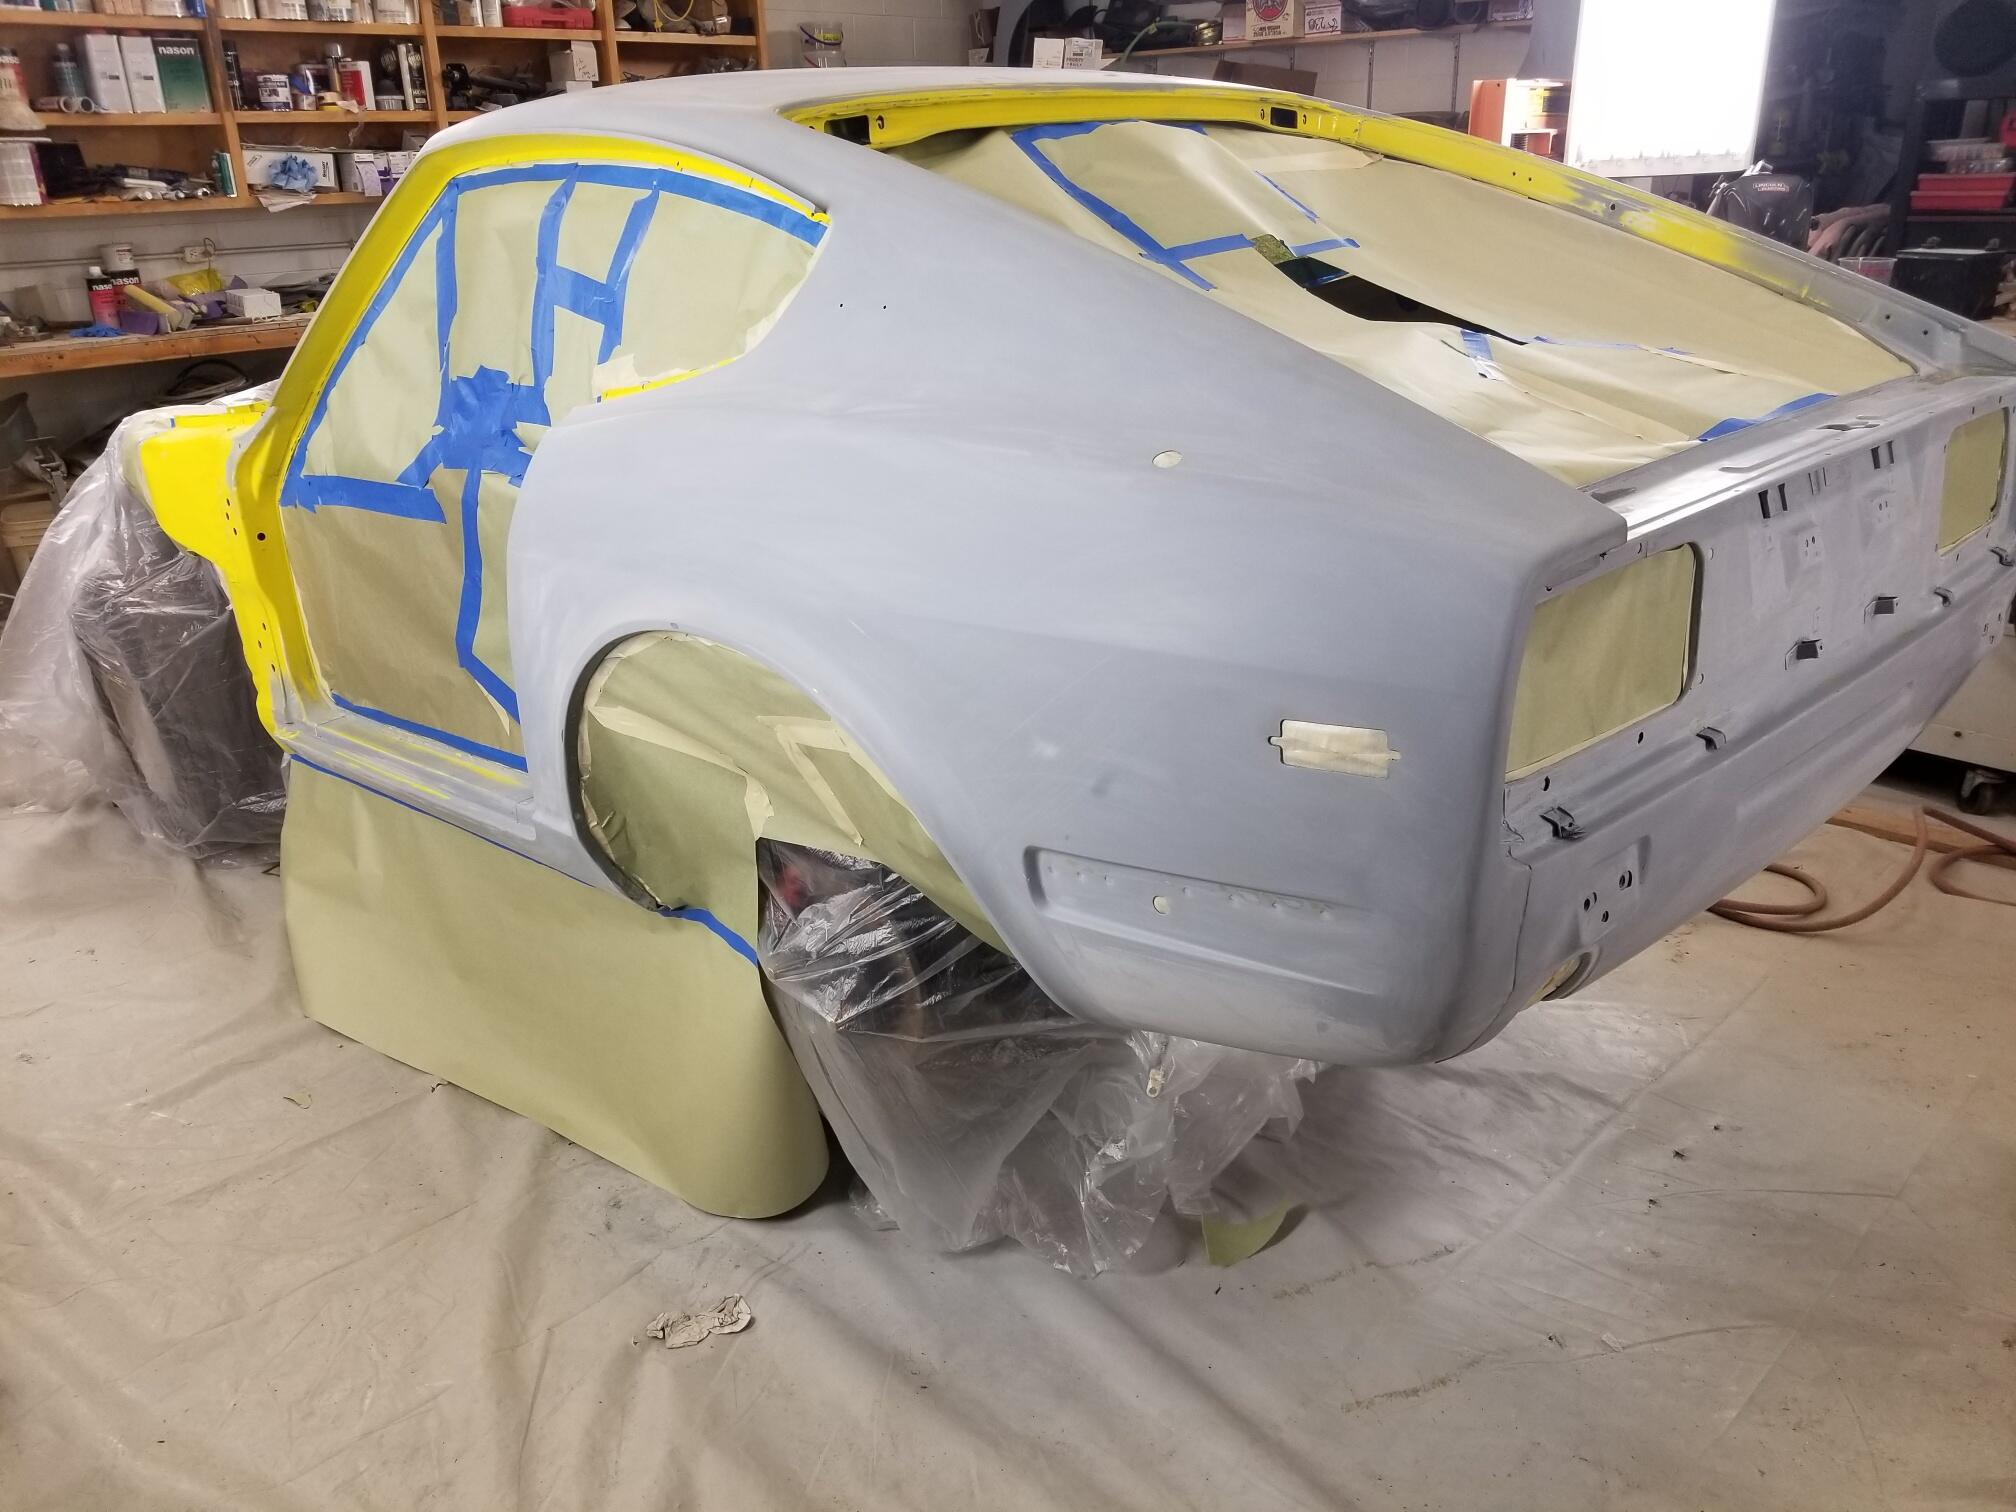
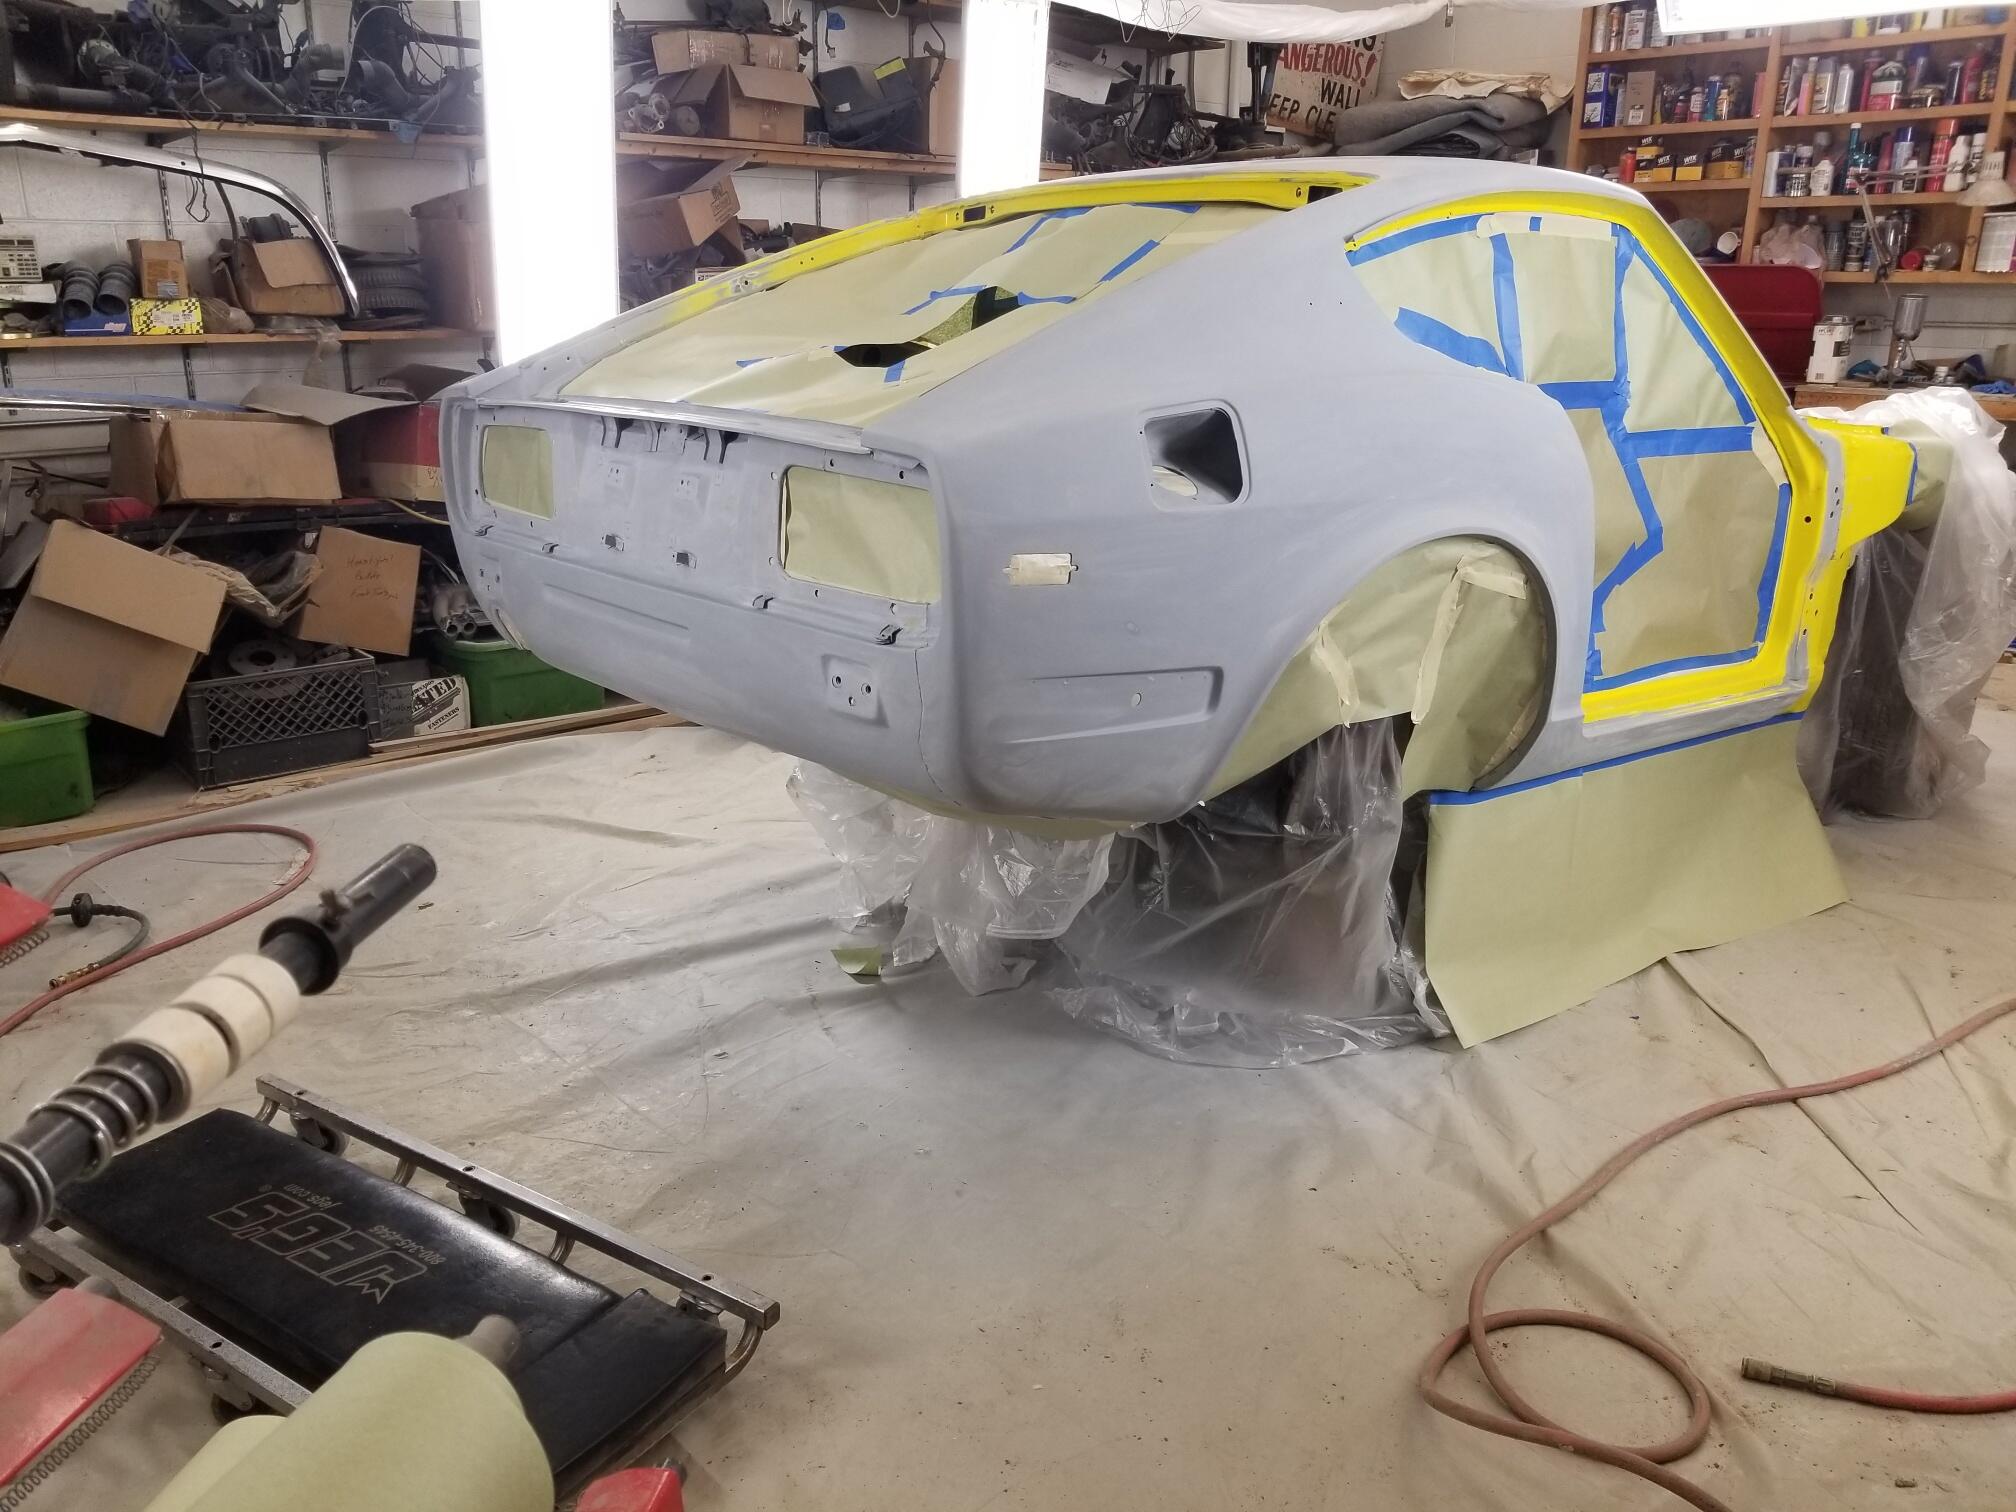
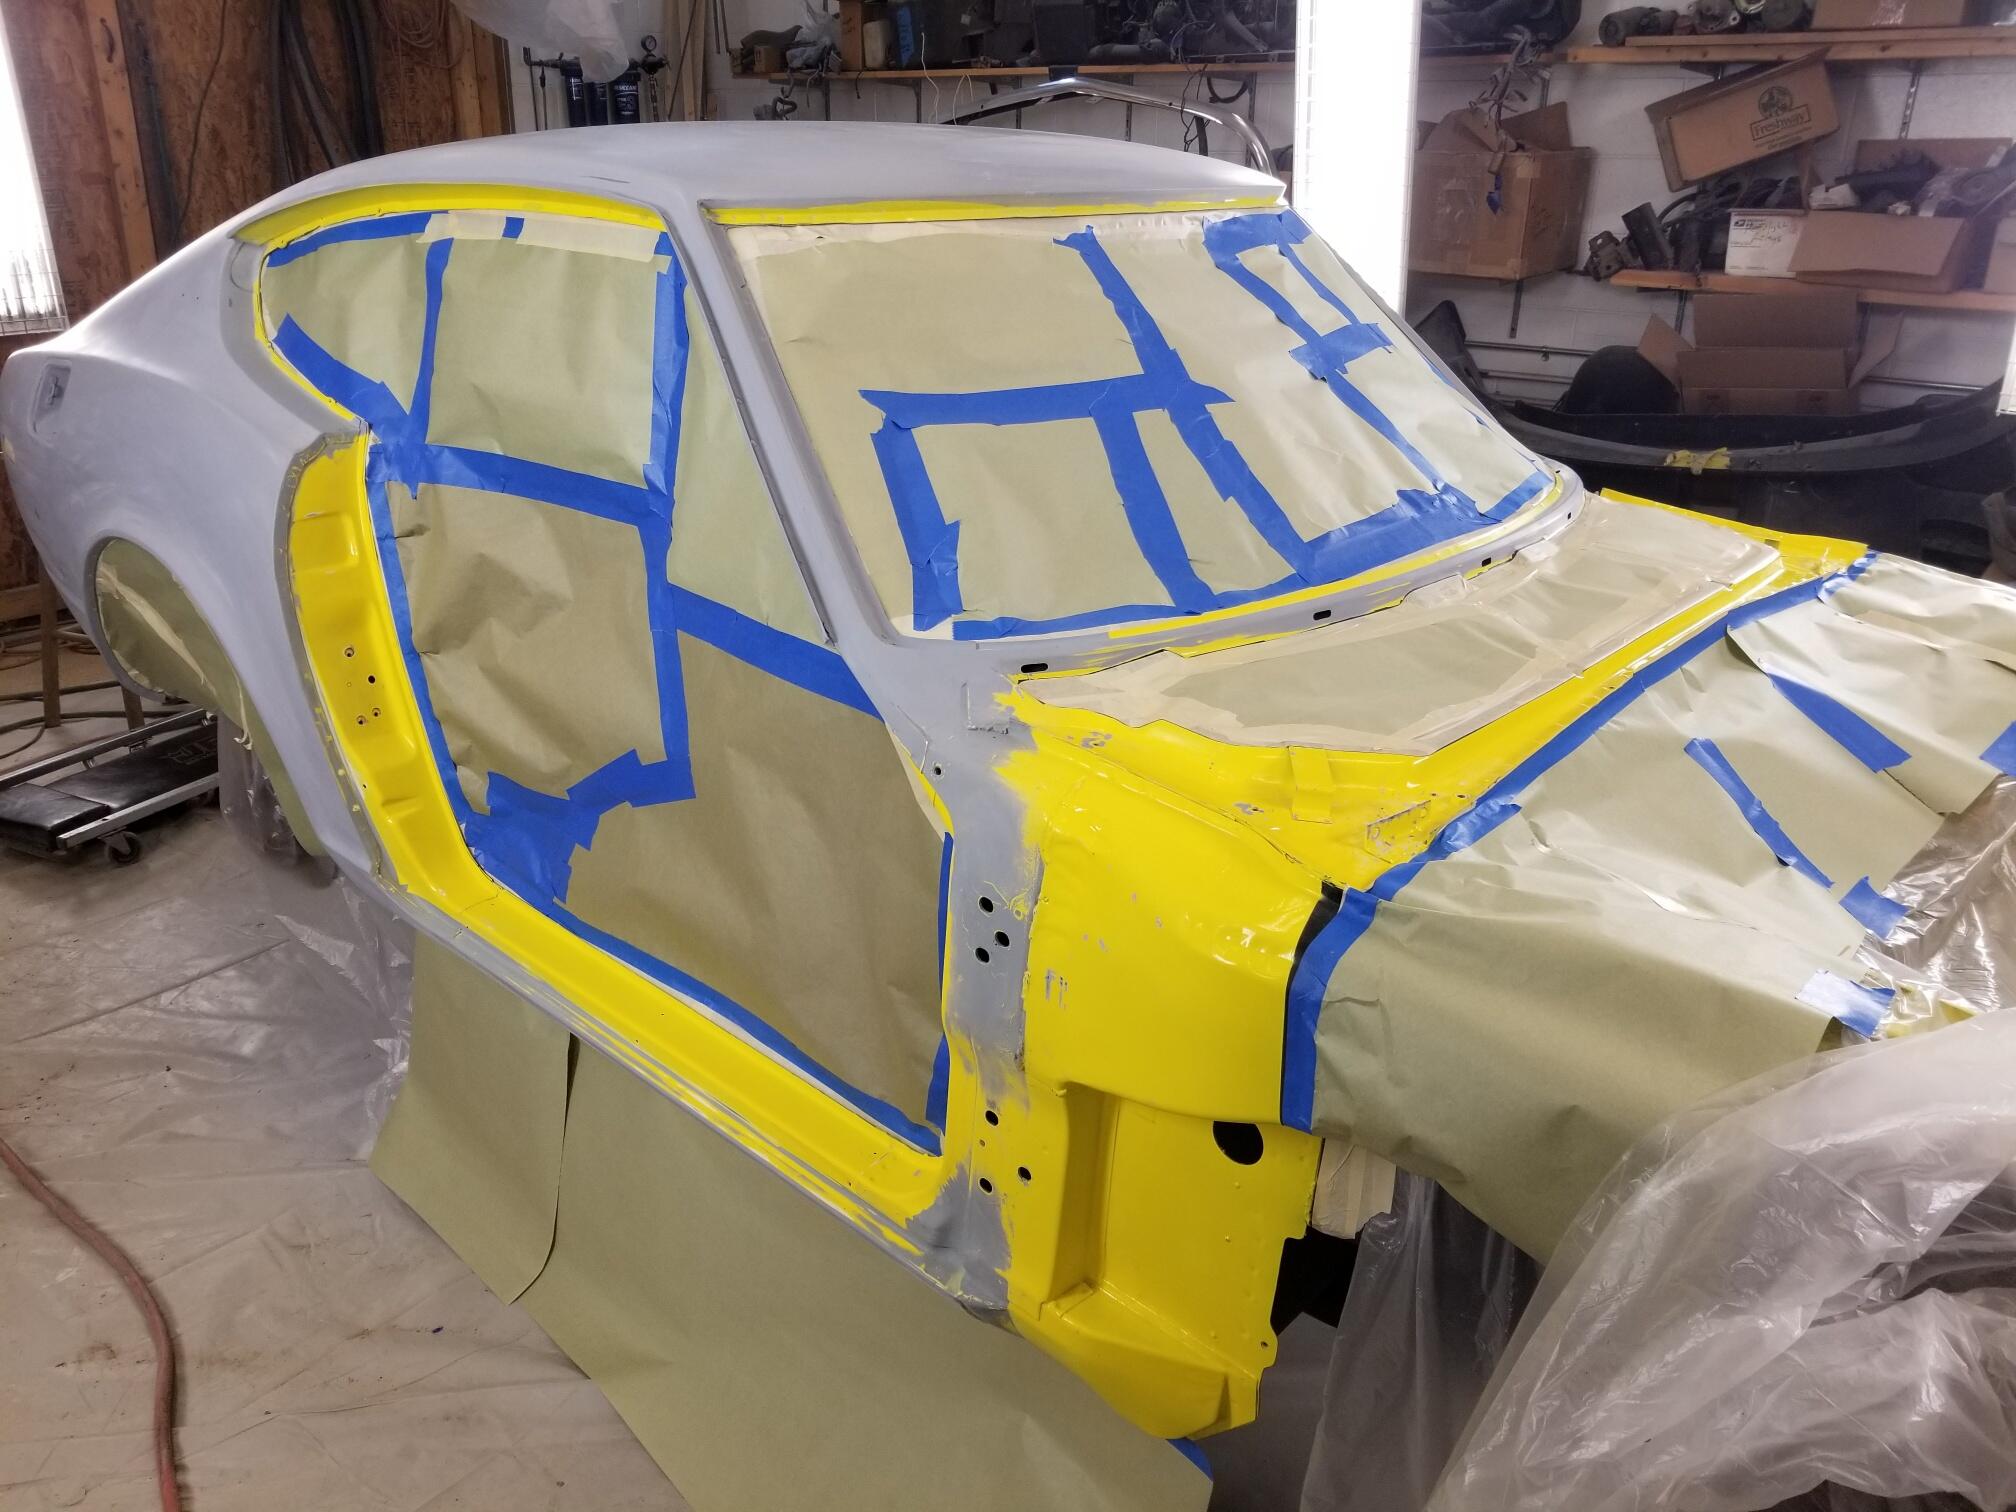
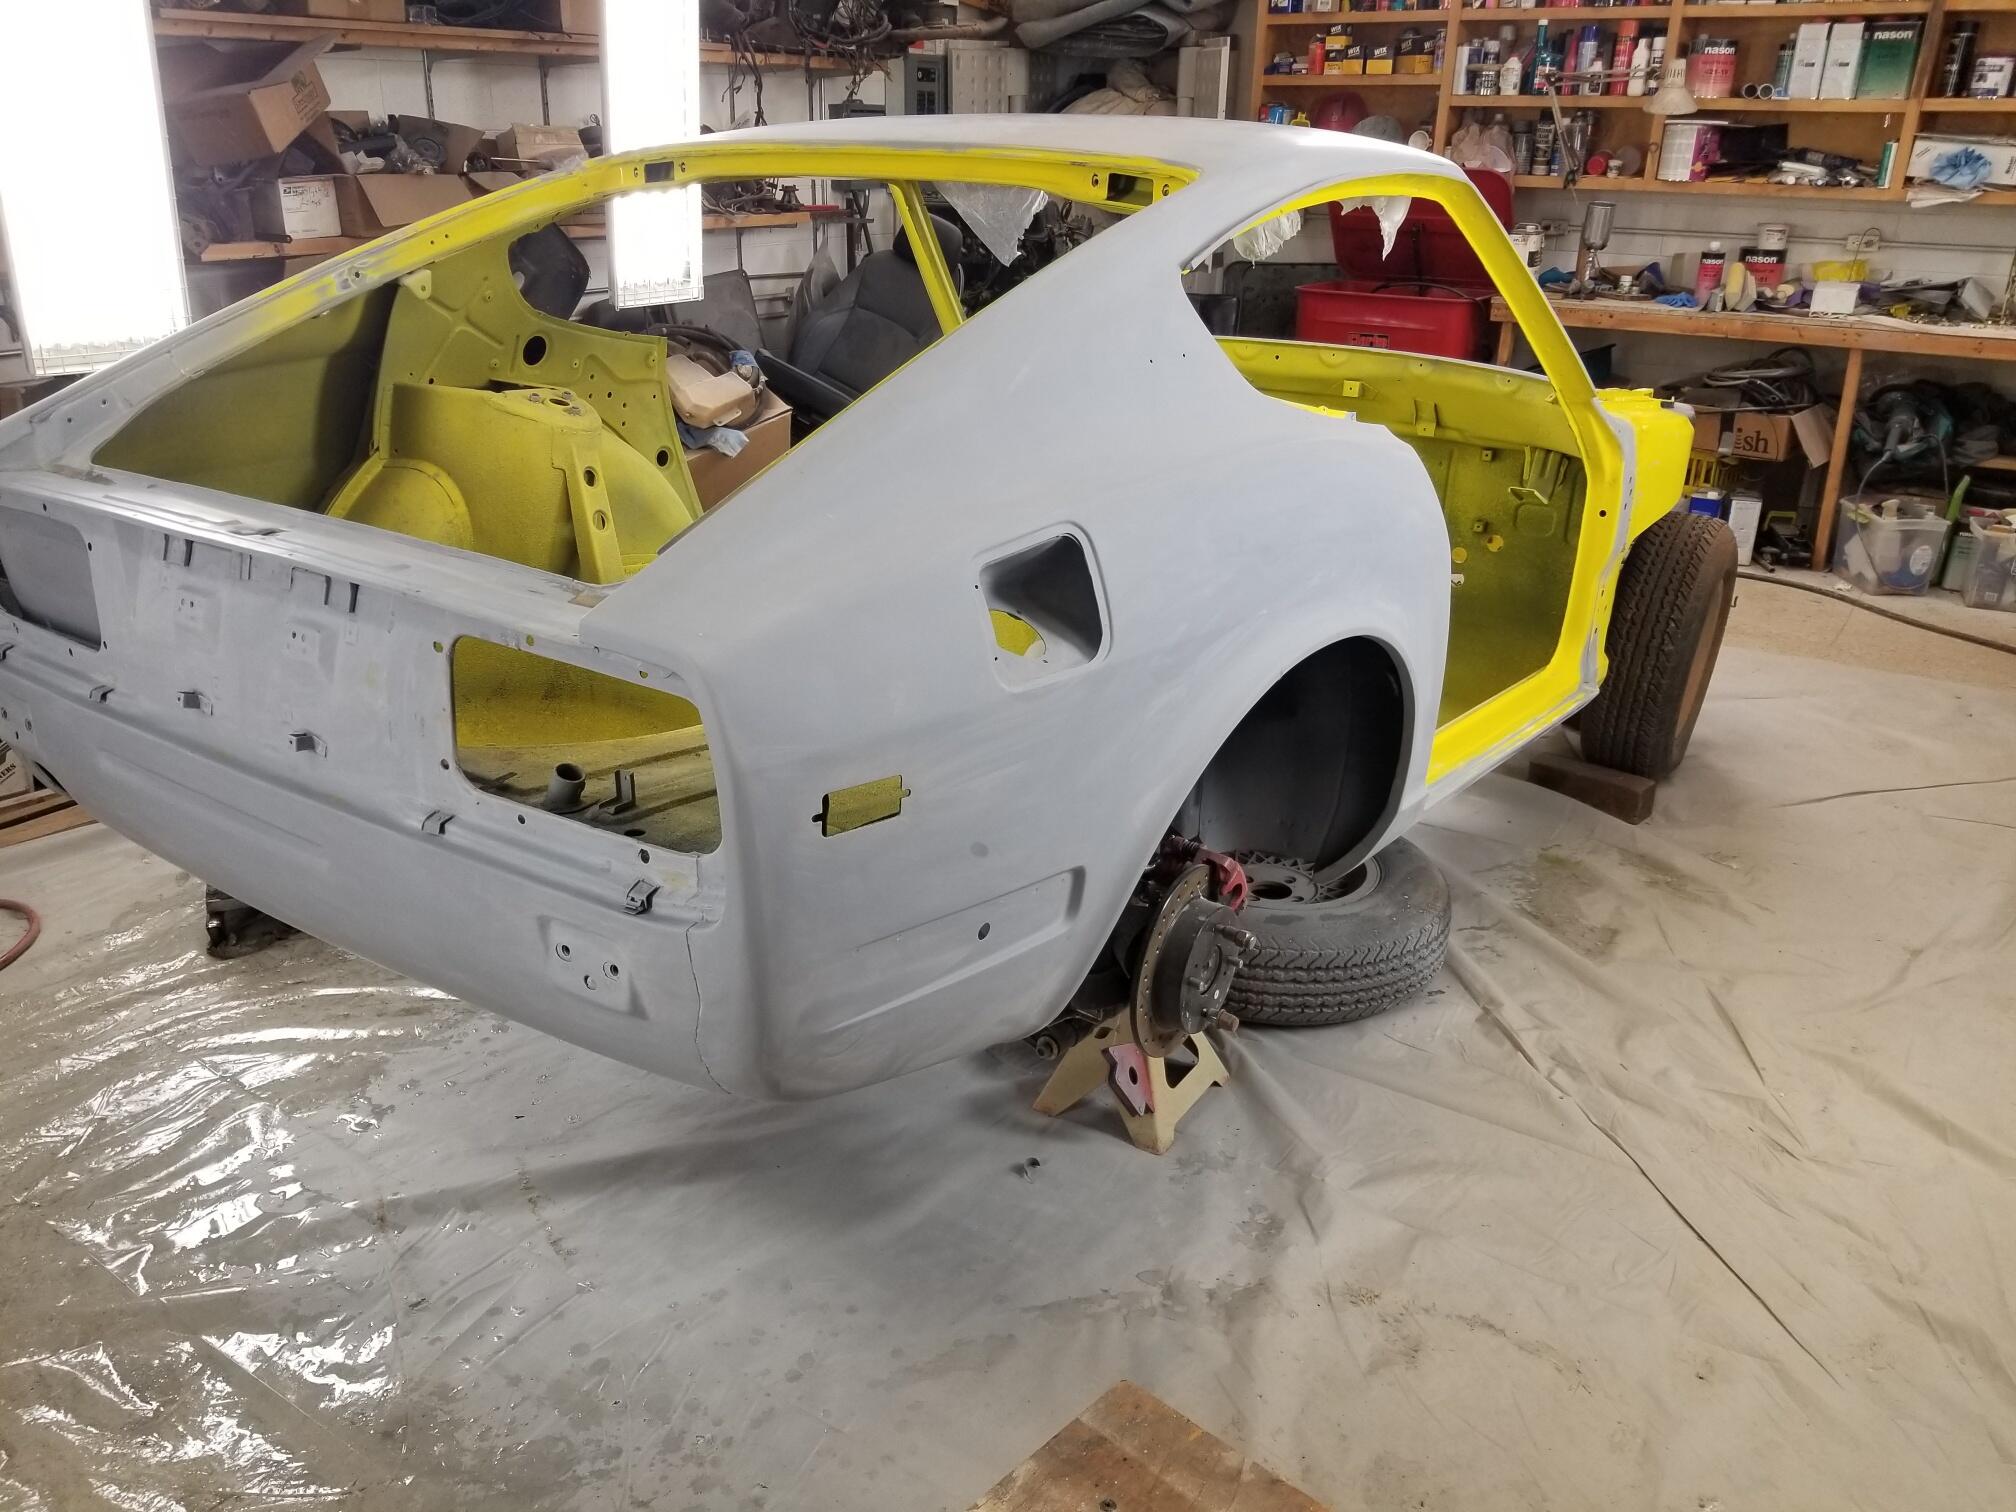
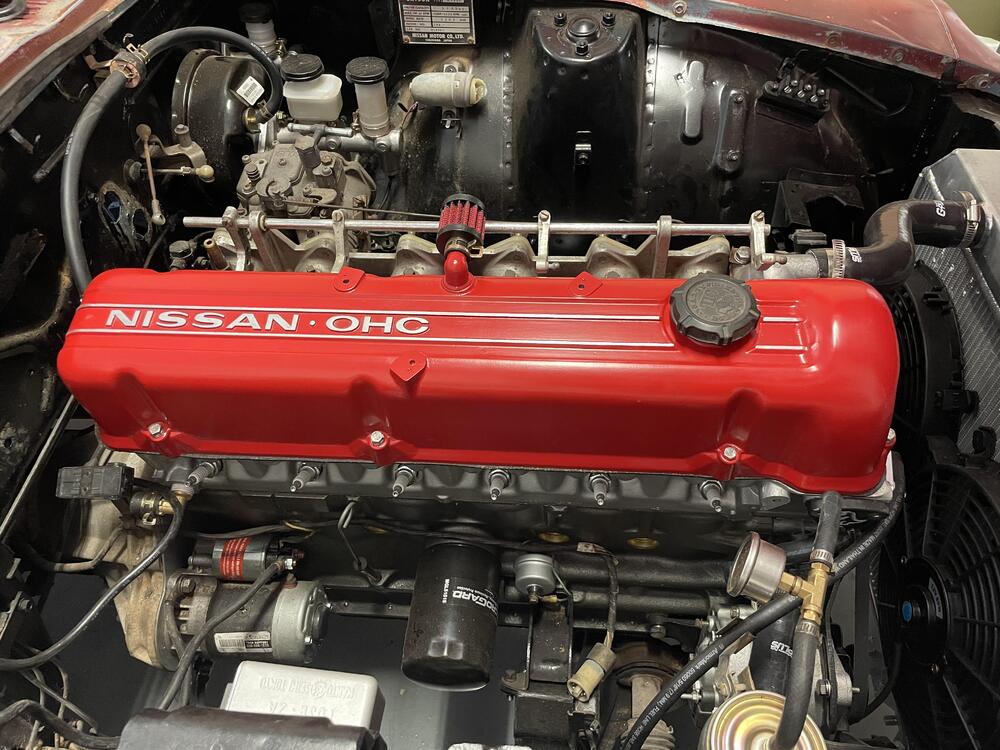
2 pointsI know I said I wasn’t going to do work on the Z because of the holidays, but maybe this counts as holiday decorticating?😅 I felt the bay needed a splash of color
 2 points
 -
2 points
-
2 pointsIf you have a spare brake part around and a flared tube end it might help you to just pull the threaded portion back and stick the tube in to the hole, just to get a feel for how they seal. The threaded portion's sole purpose is to apply pressure on the bell edges of the flared tube end, pressing it down on to the cone in the middle of the device, whether it's a brake cylinder or a caliper or the pressure differential switch. There are only two surfaces that need to be smooth, clean, and crack-free - a small ring around the inside of the flare, and a small ring where the inside of the flare contacts the cone. You can take a bright light and a magnifying glass and examine them closely and you'll get a good idea beforehand if they're going to seal or not. All it takes is grain of sand, or a metal shaving, to get trapped there and you can have a leak. Or even just a scratch or a crack. Once the fluid gets in to the void at the end of the fitting it can easily leak past the fitting end and out of the hole since the fitting end is designed for force not sealing. The fitting is just a clamping mechanism. Anyway, a bunch of words to say take a close look at the actual fluid sealing surfaces.2 points
-
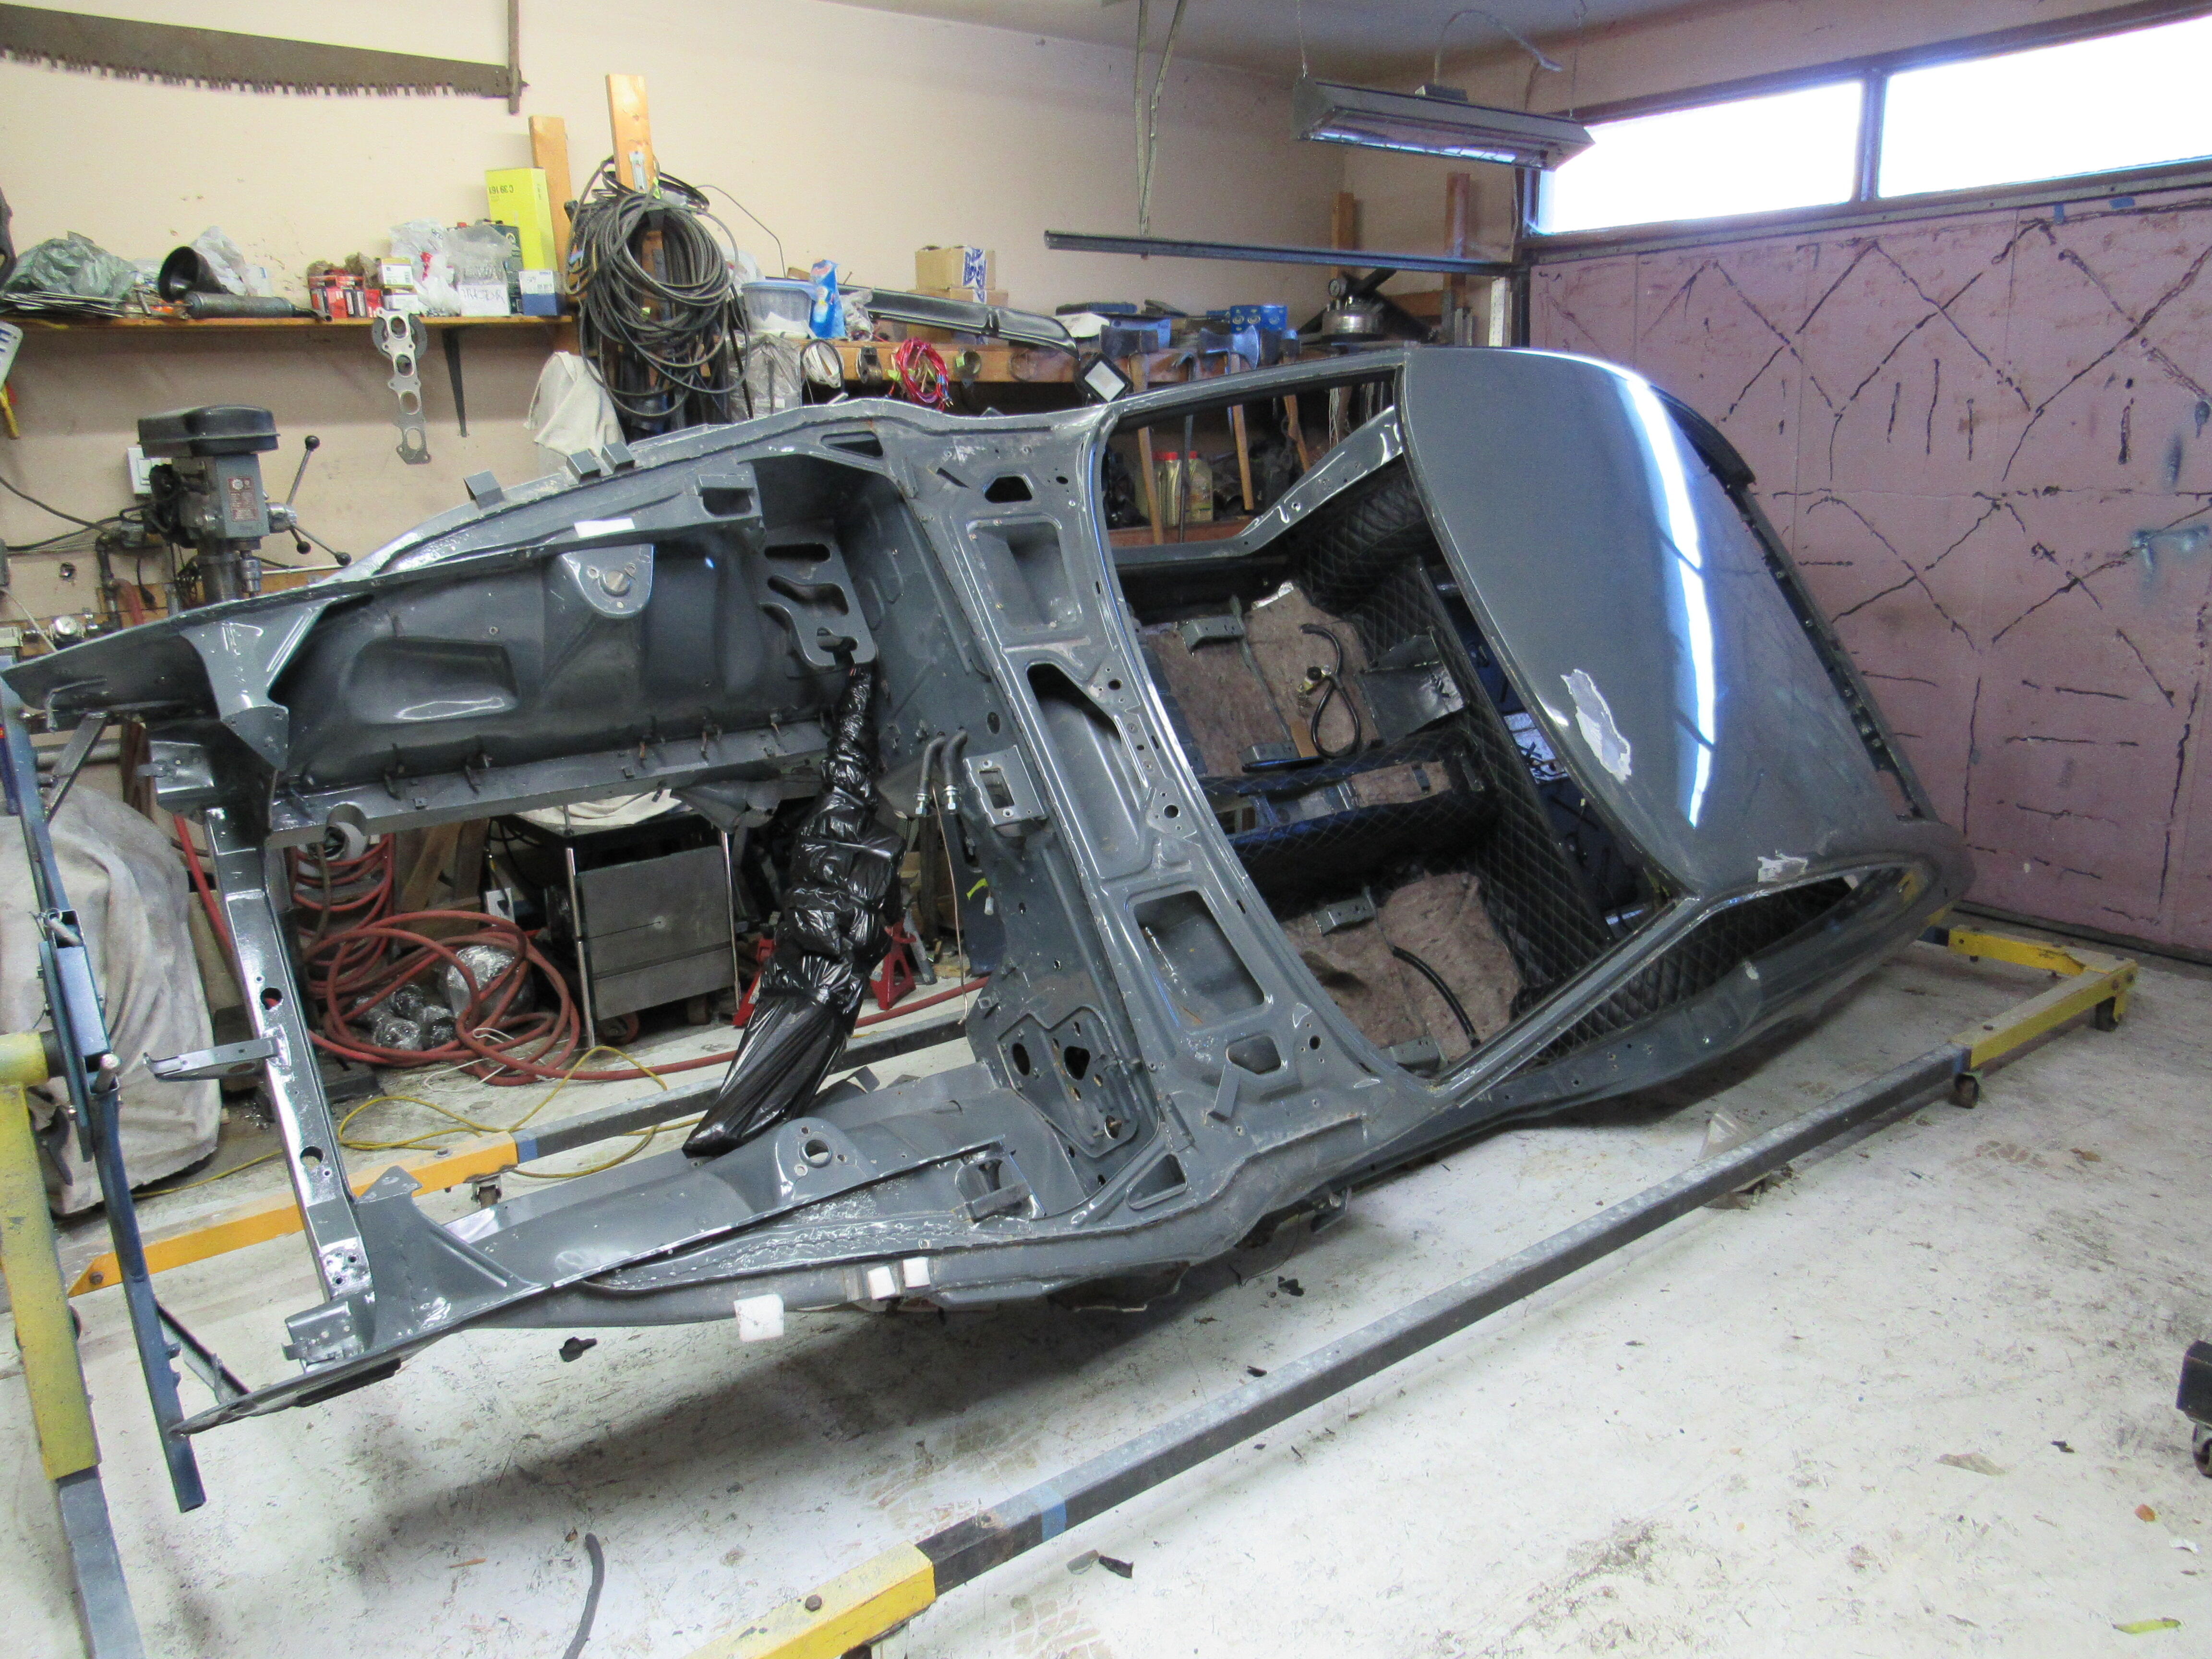
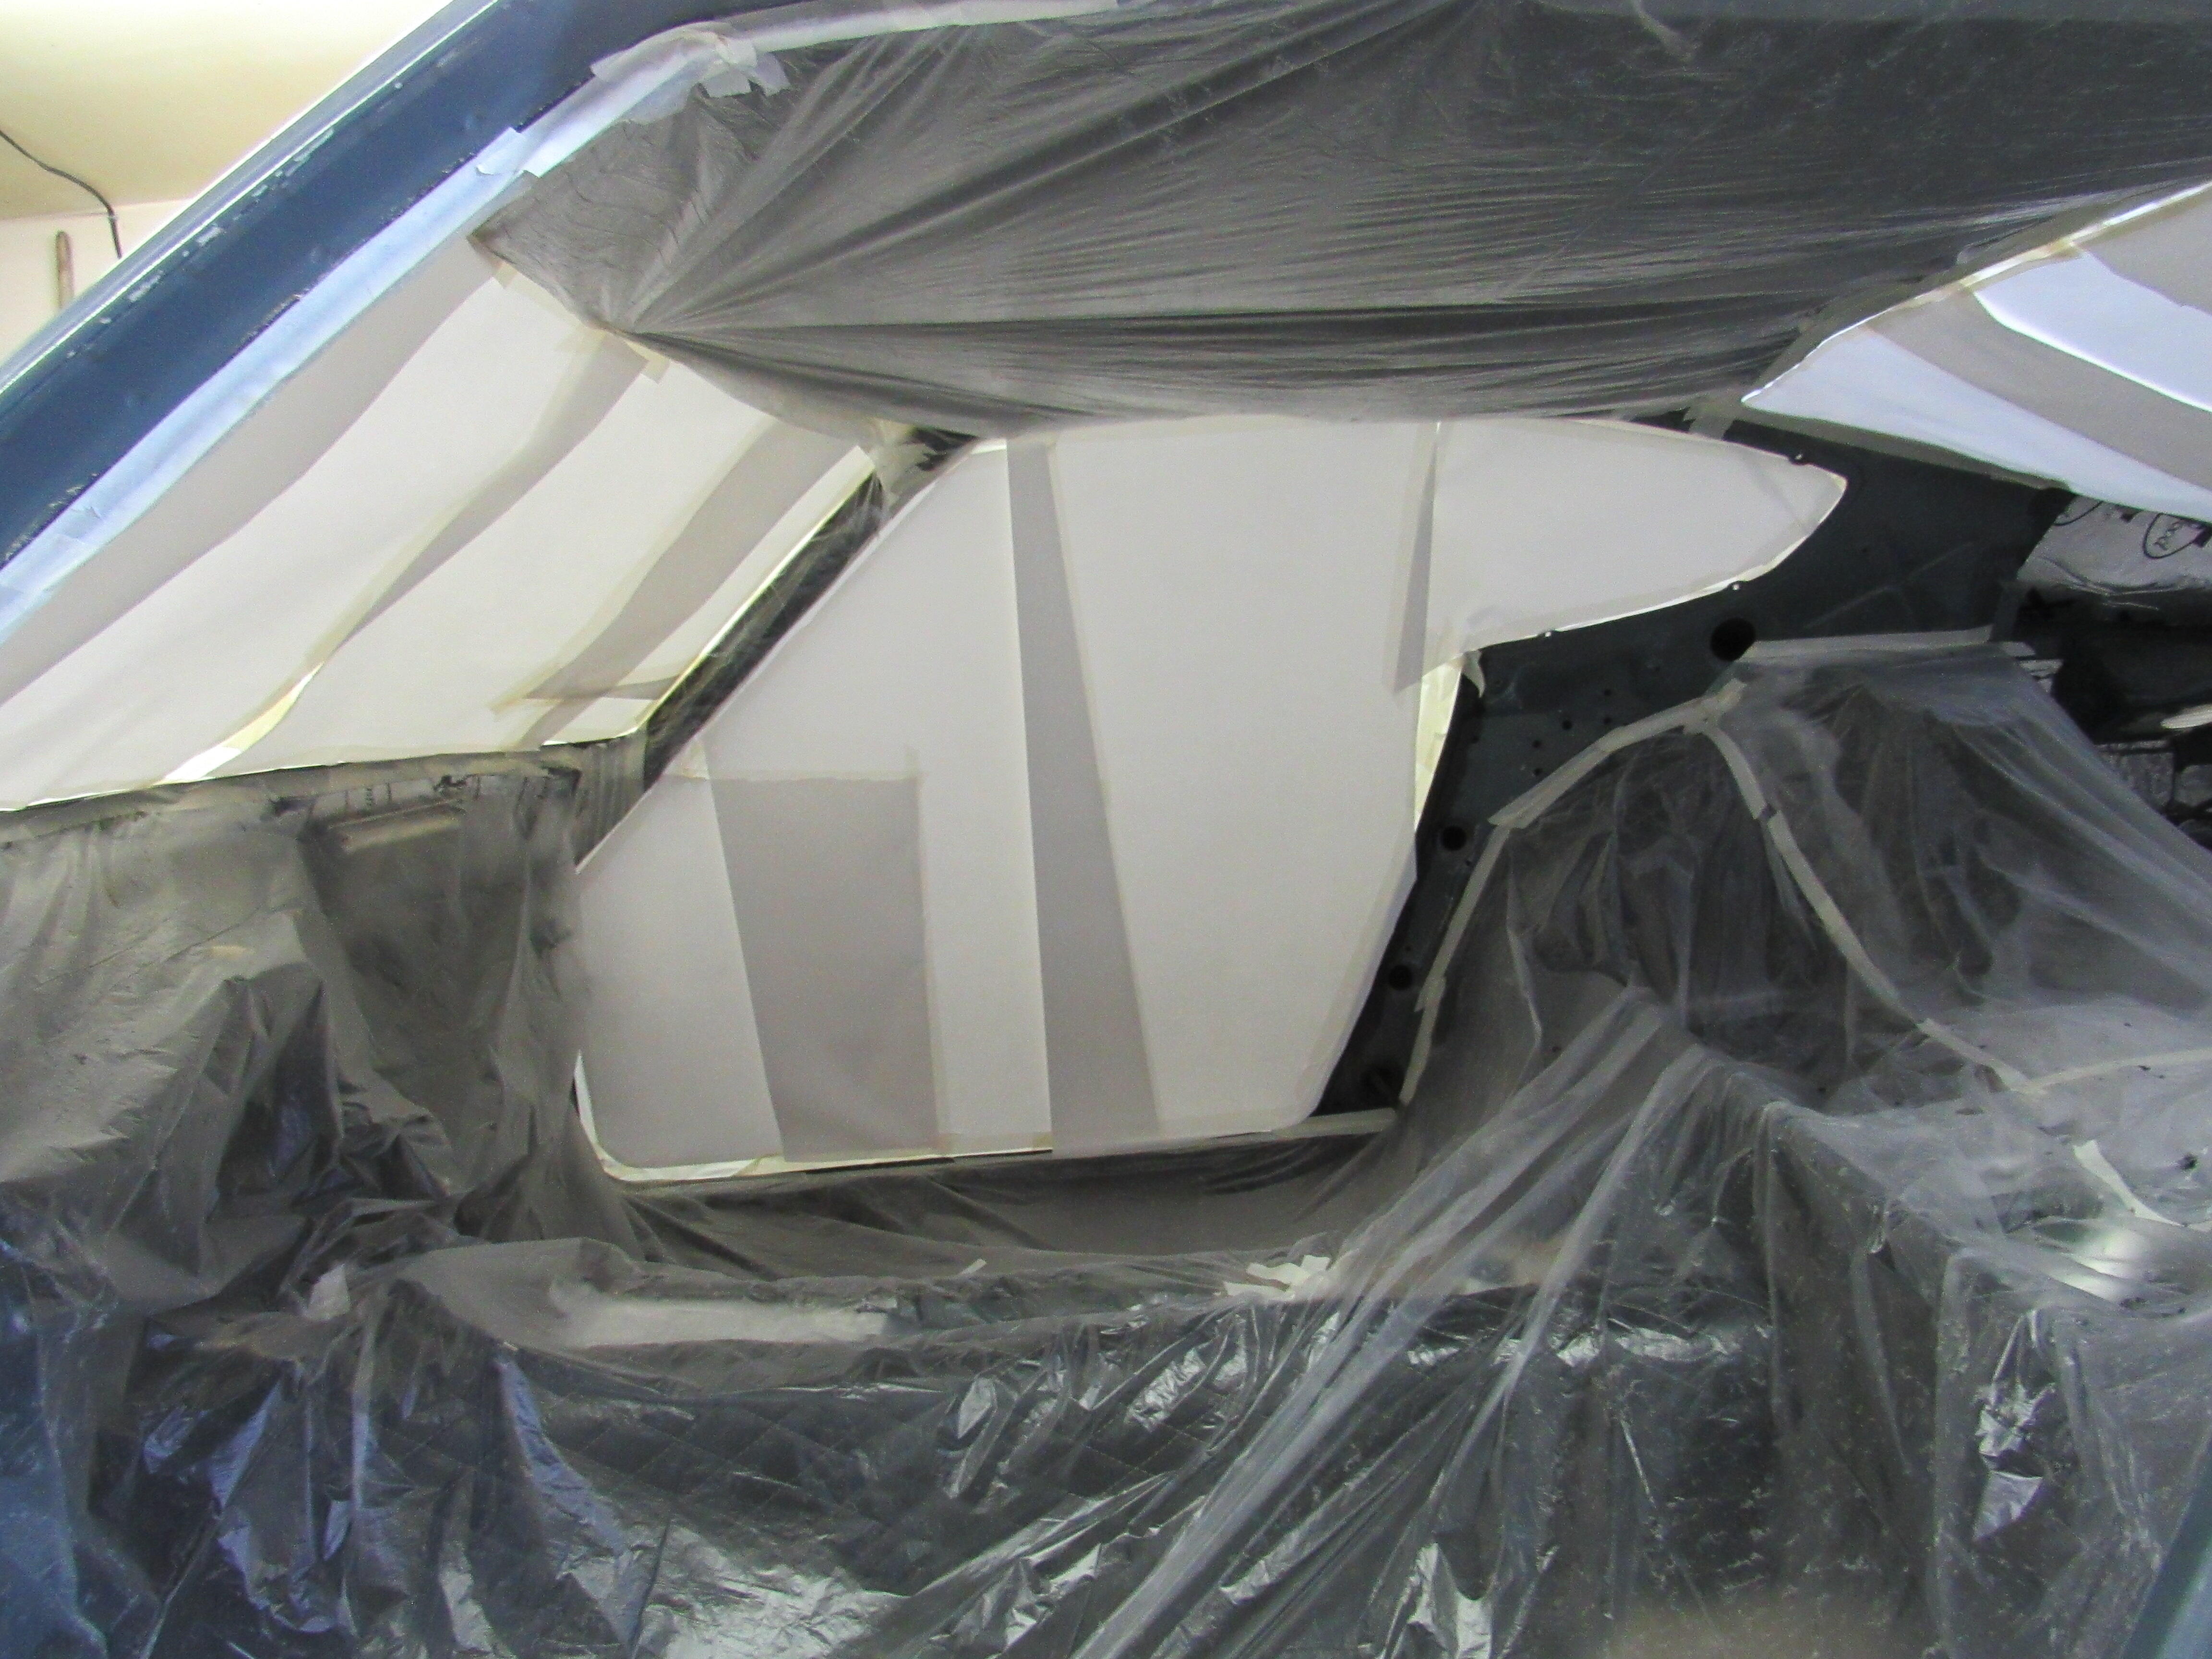
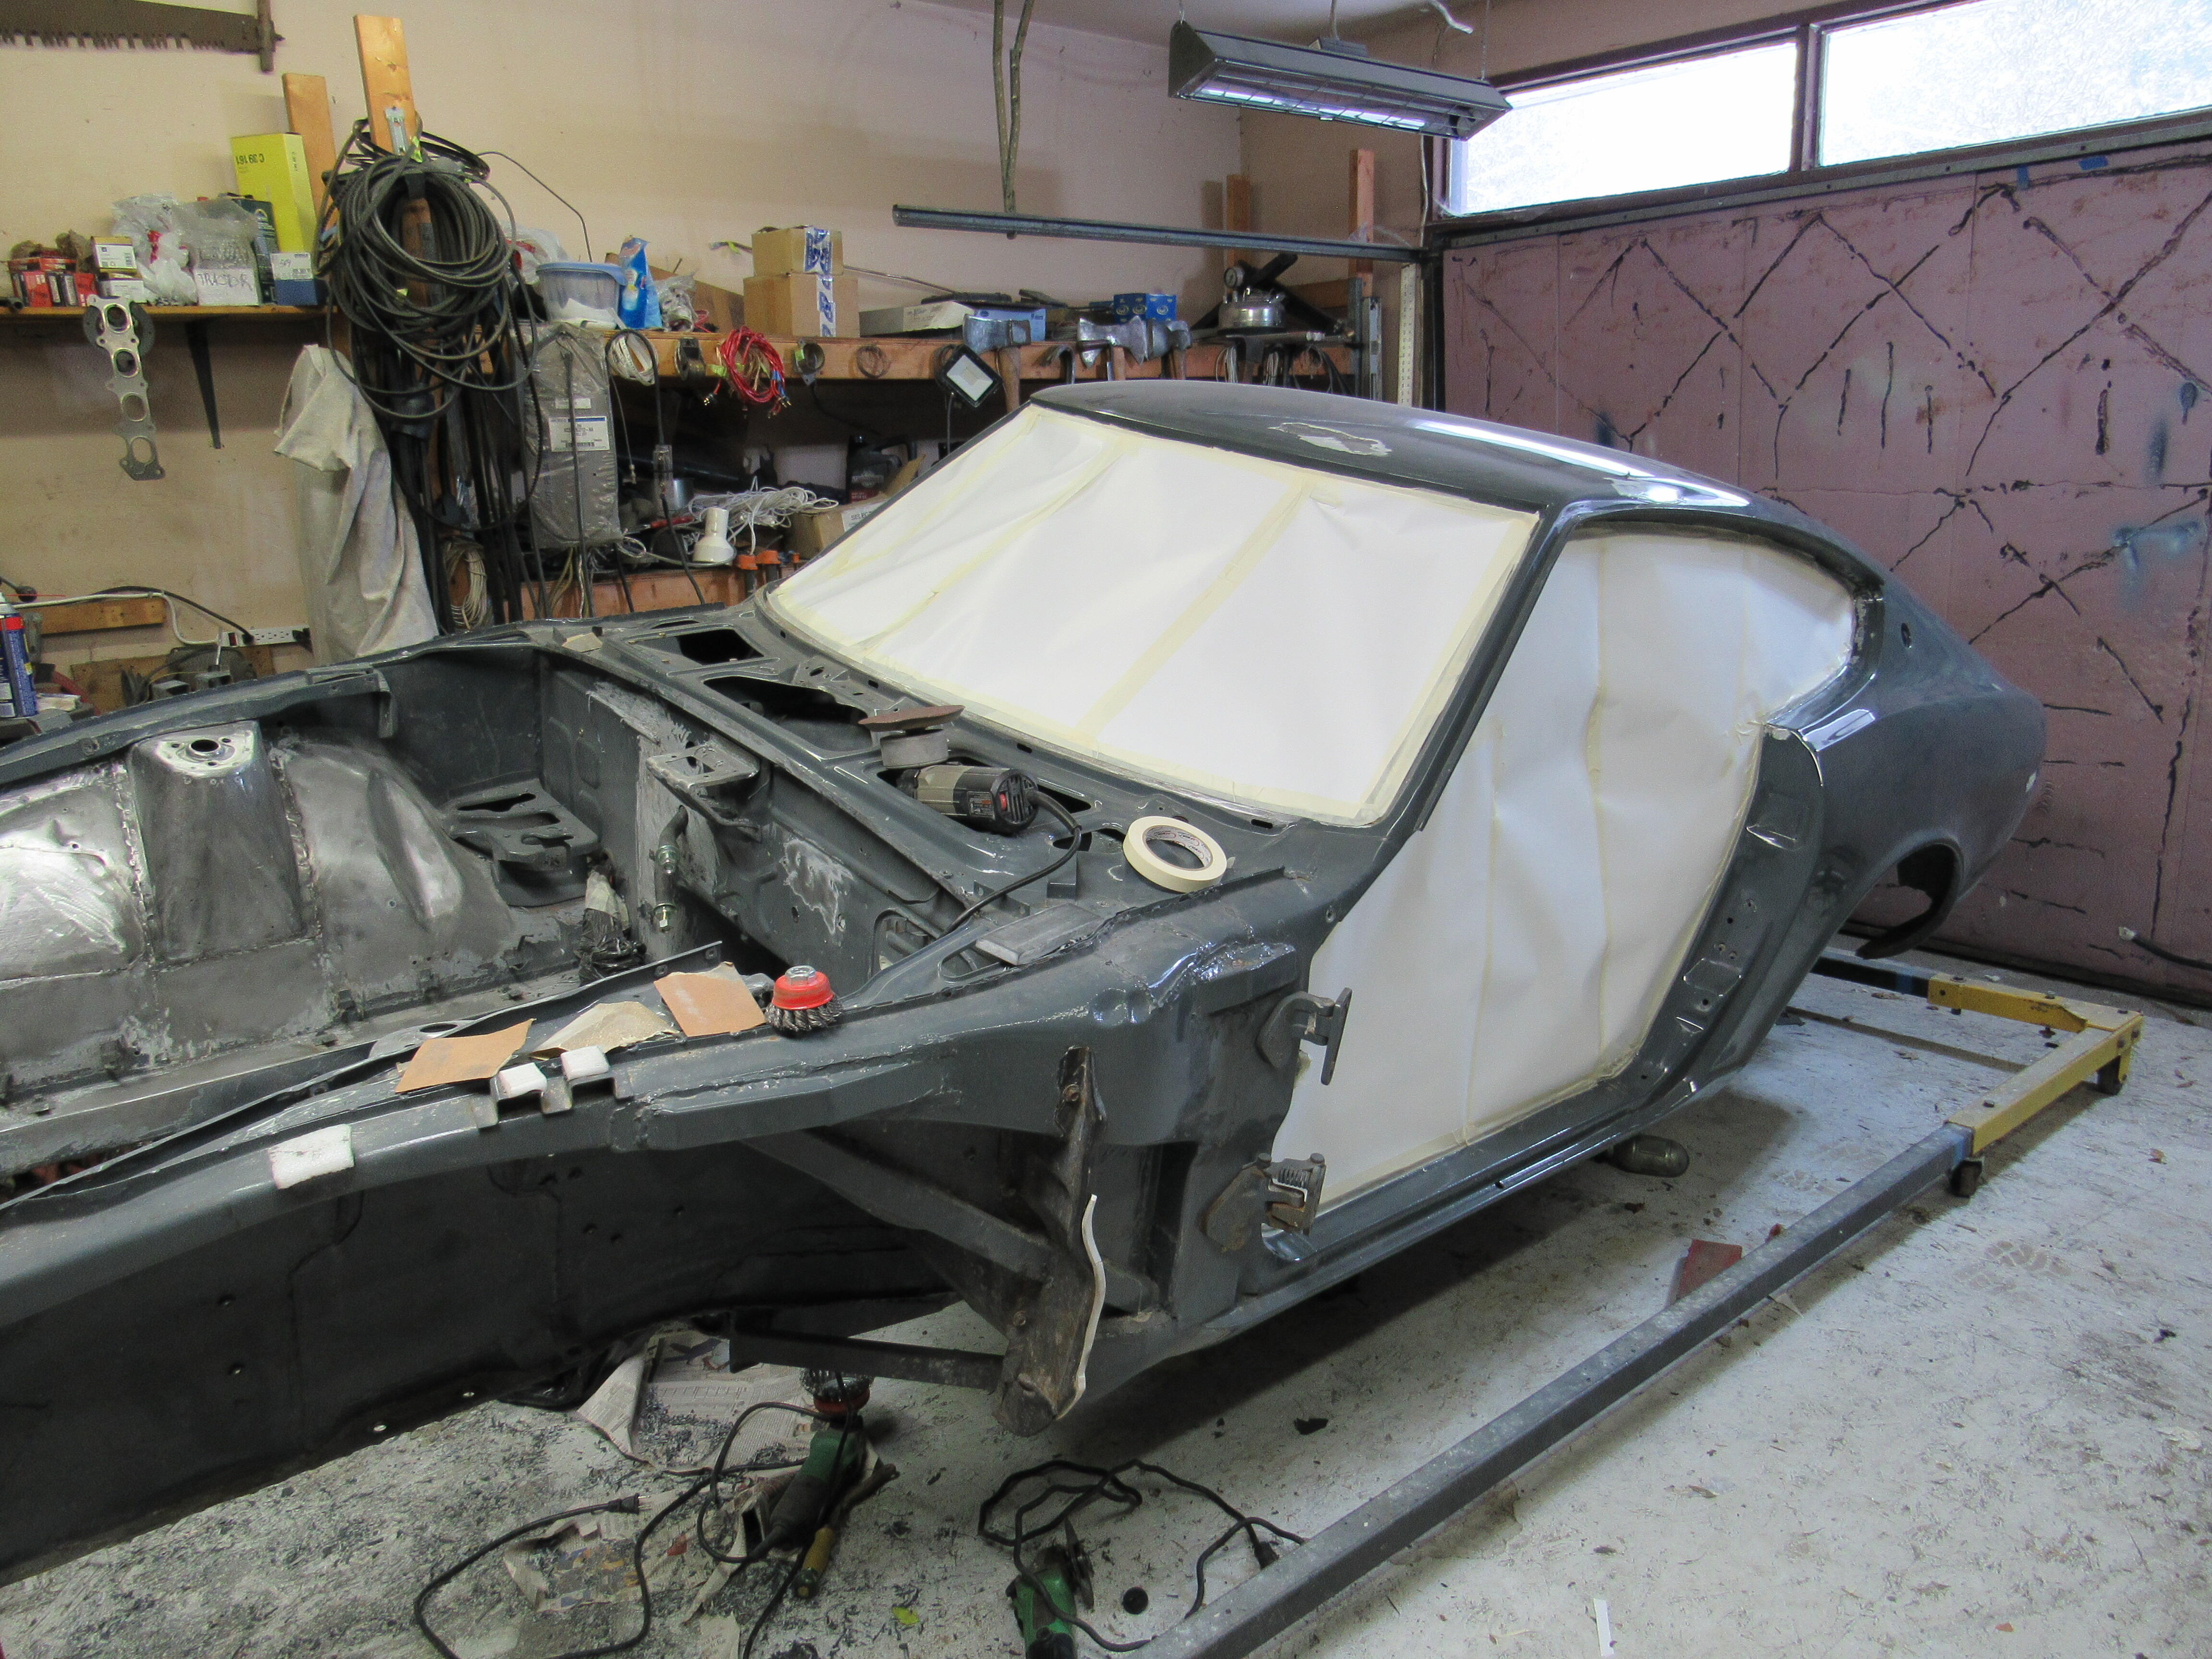
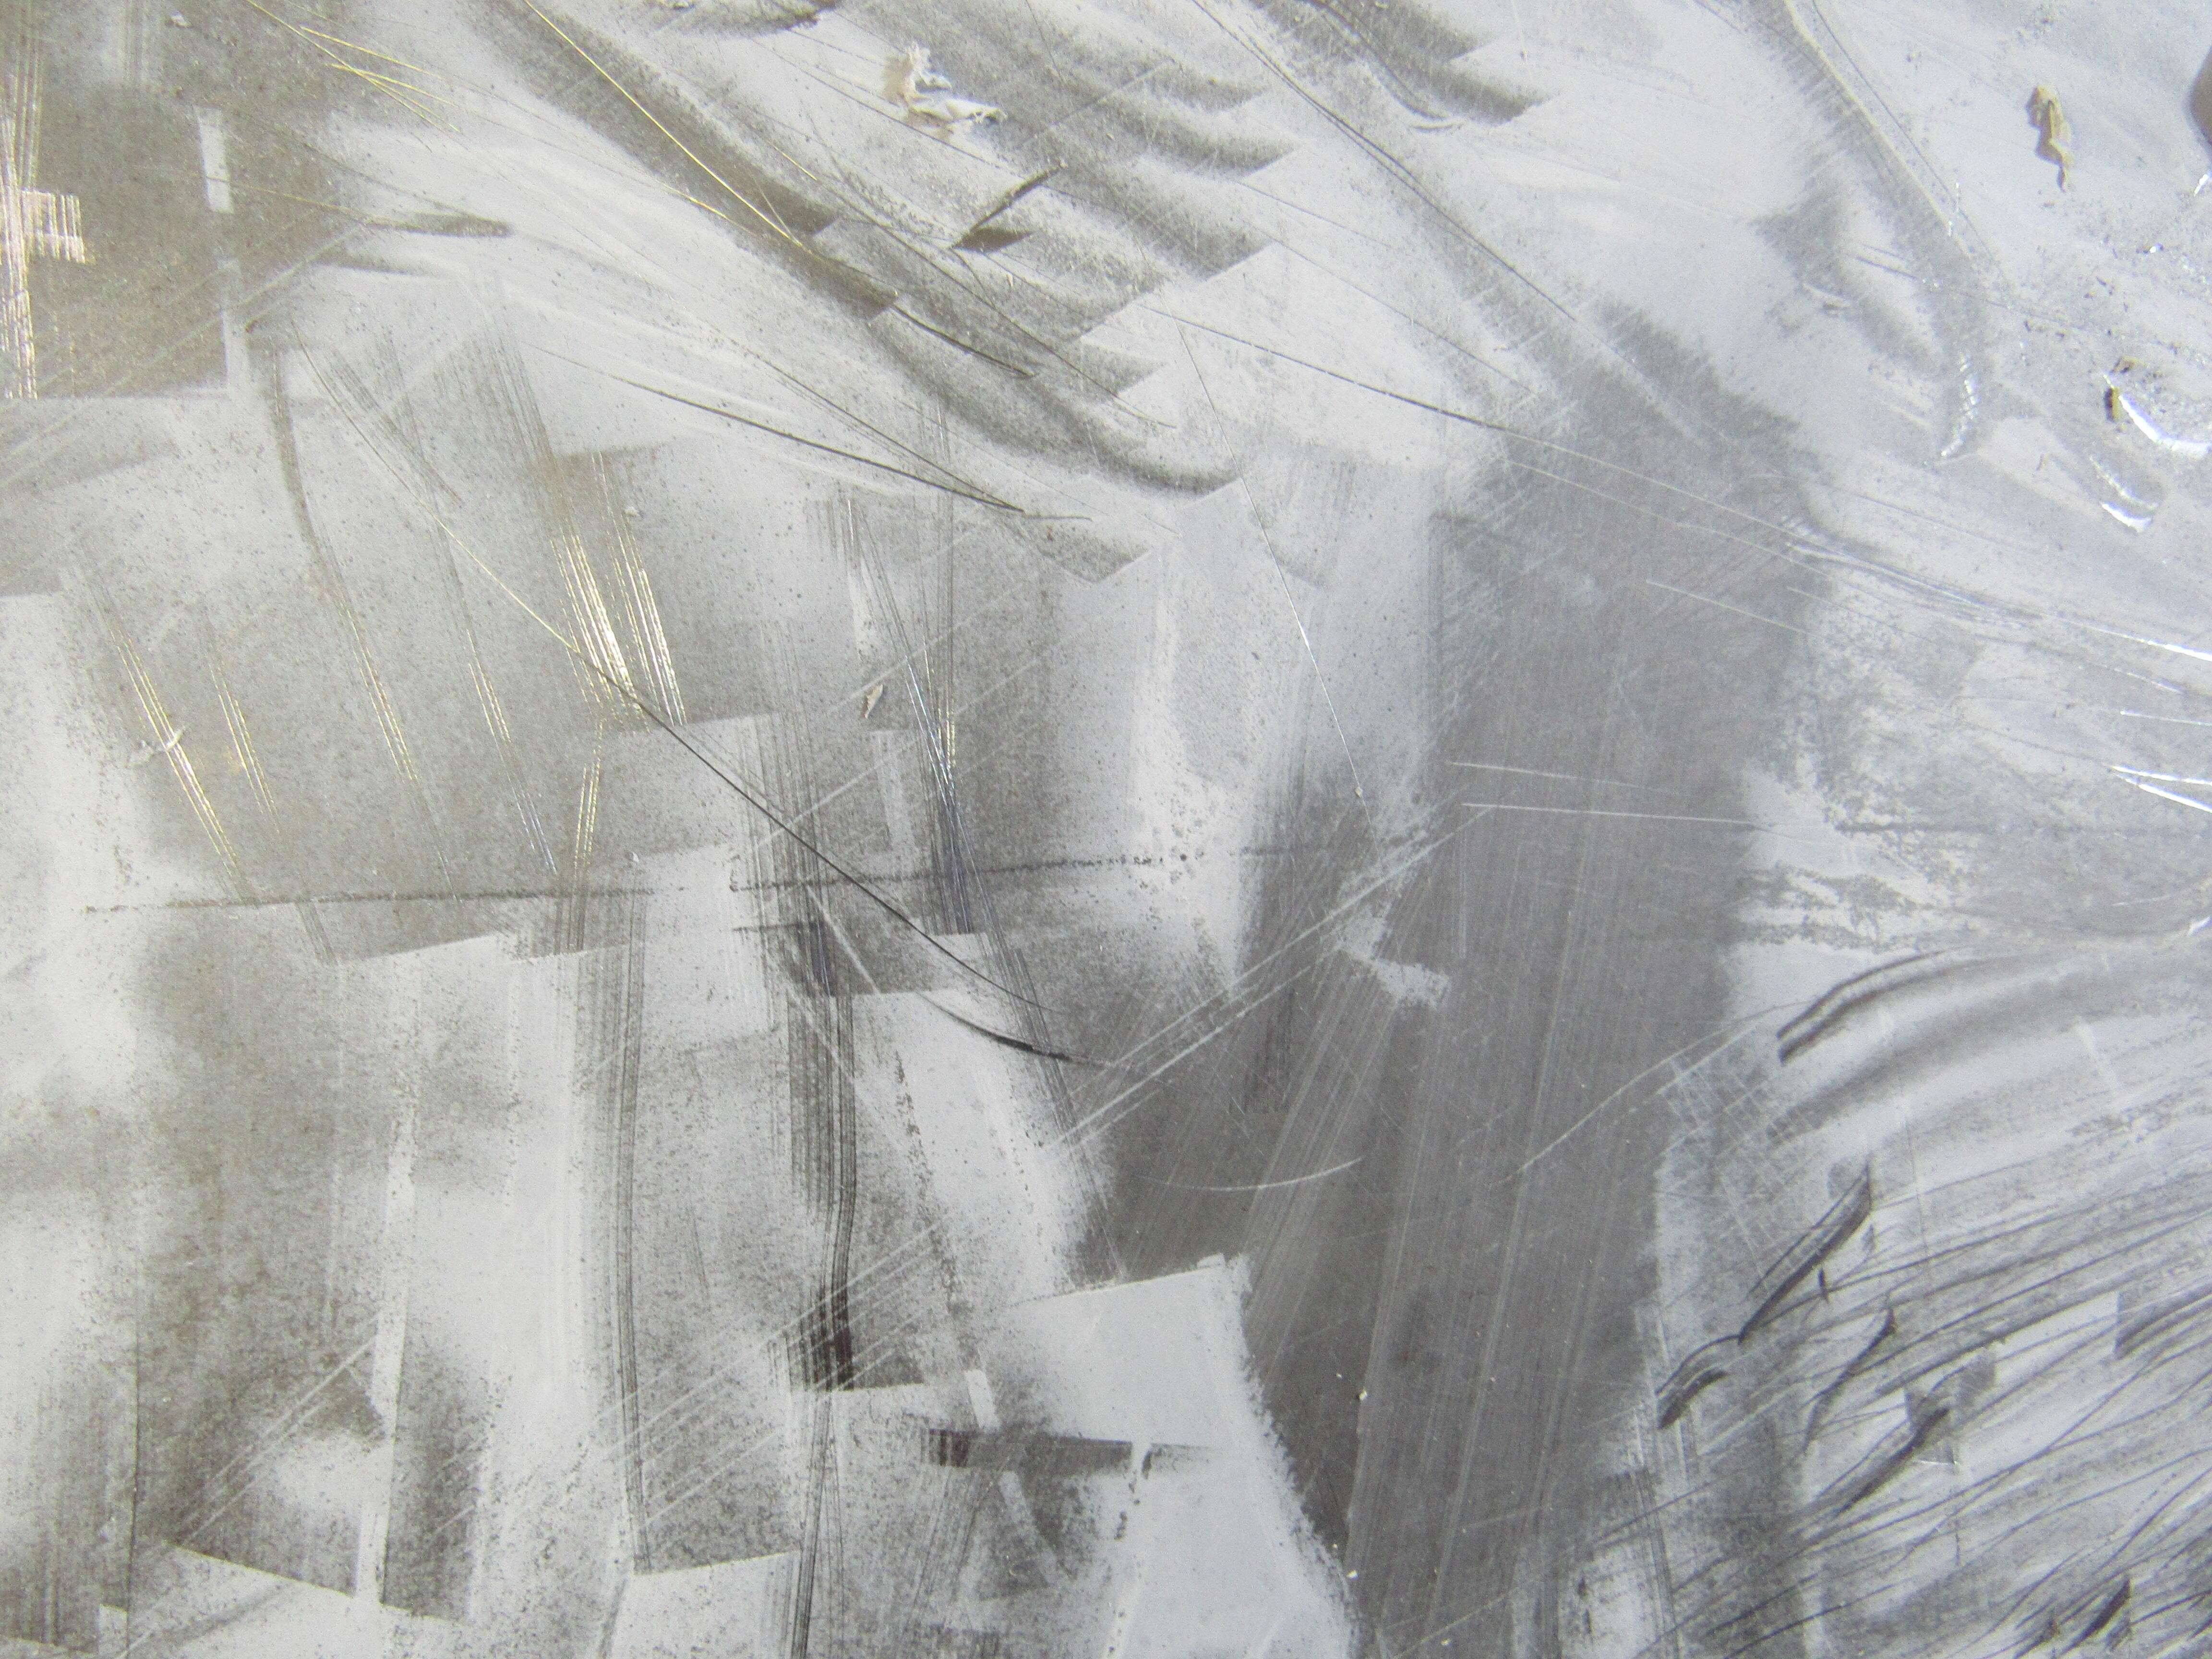
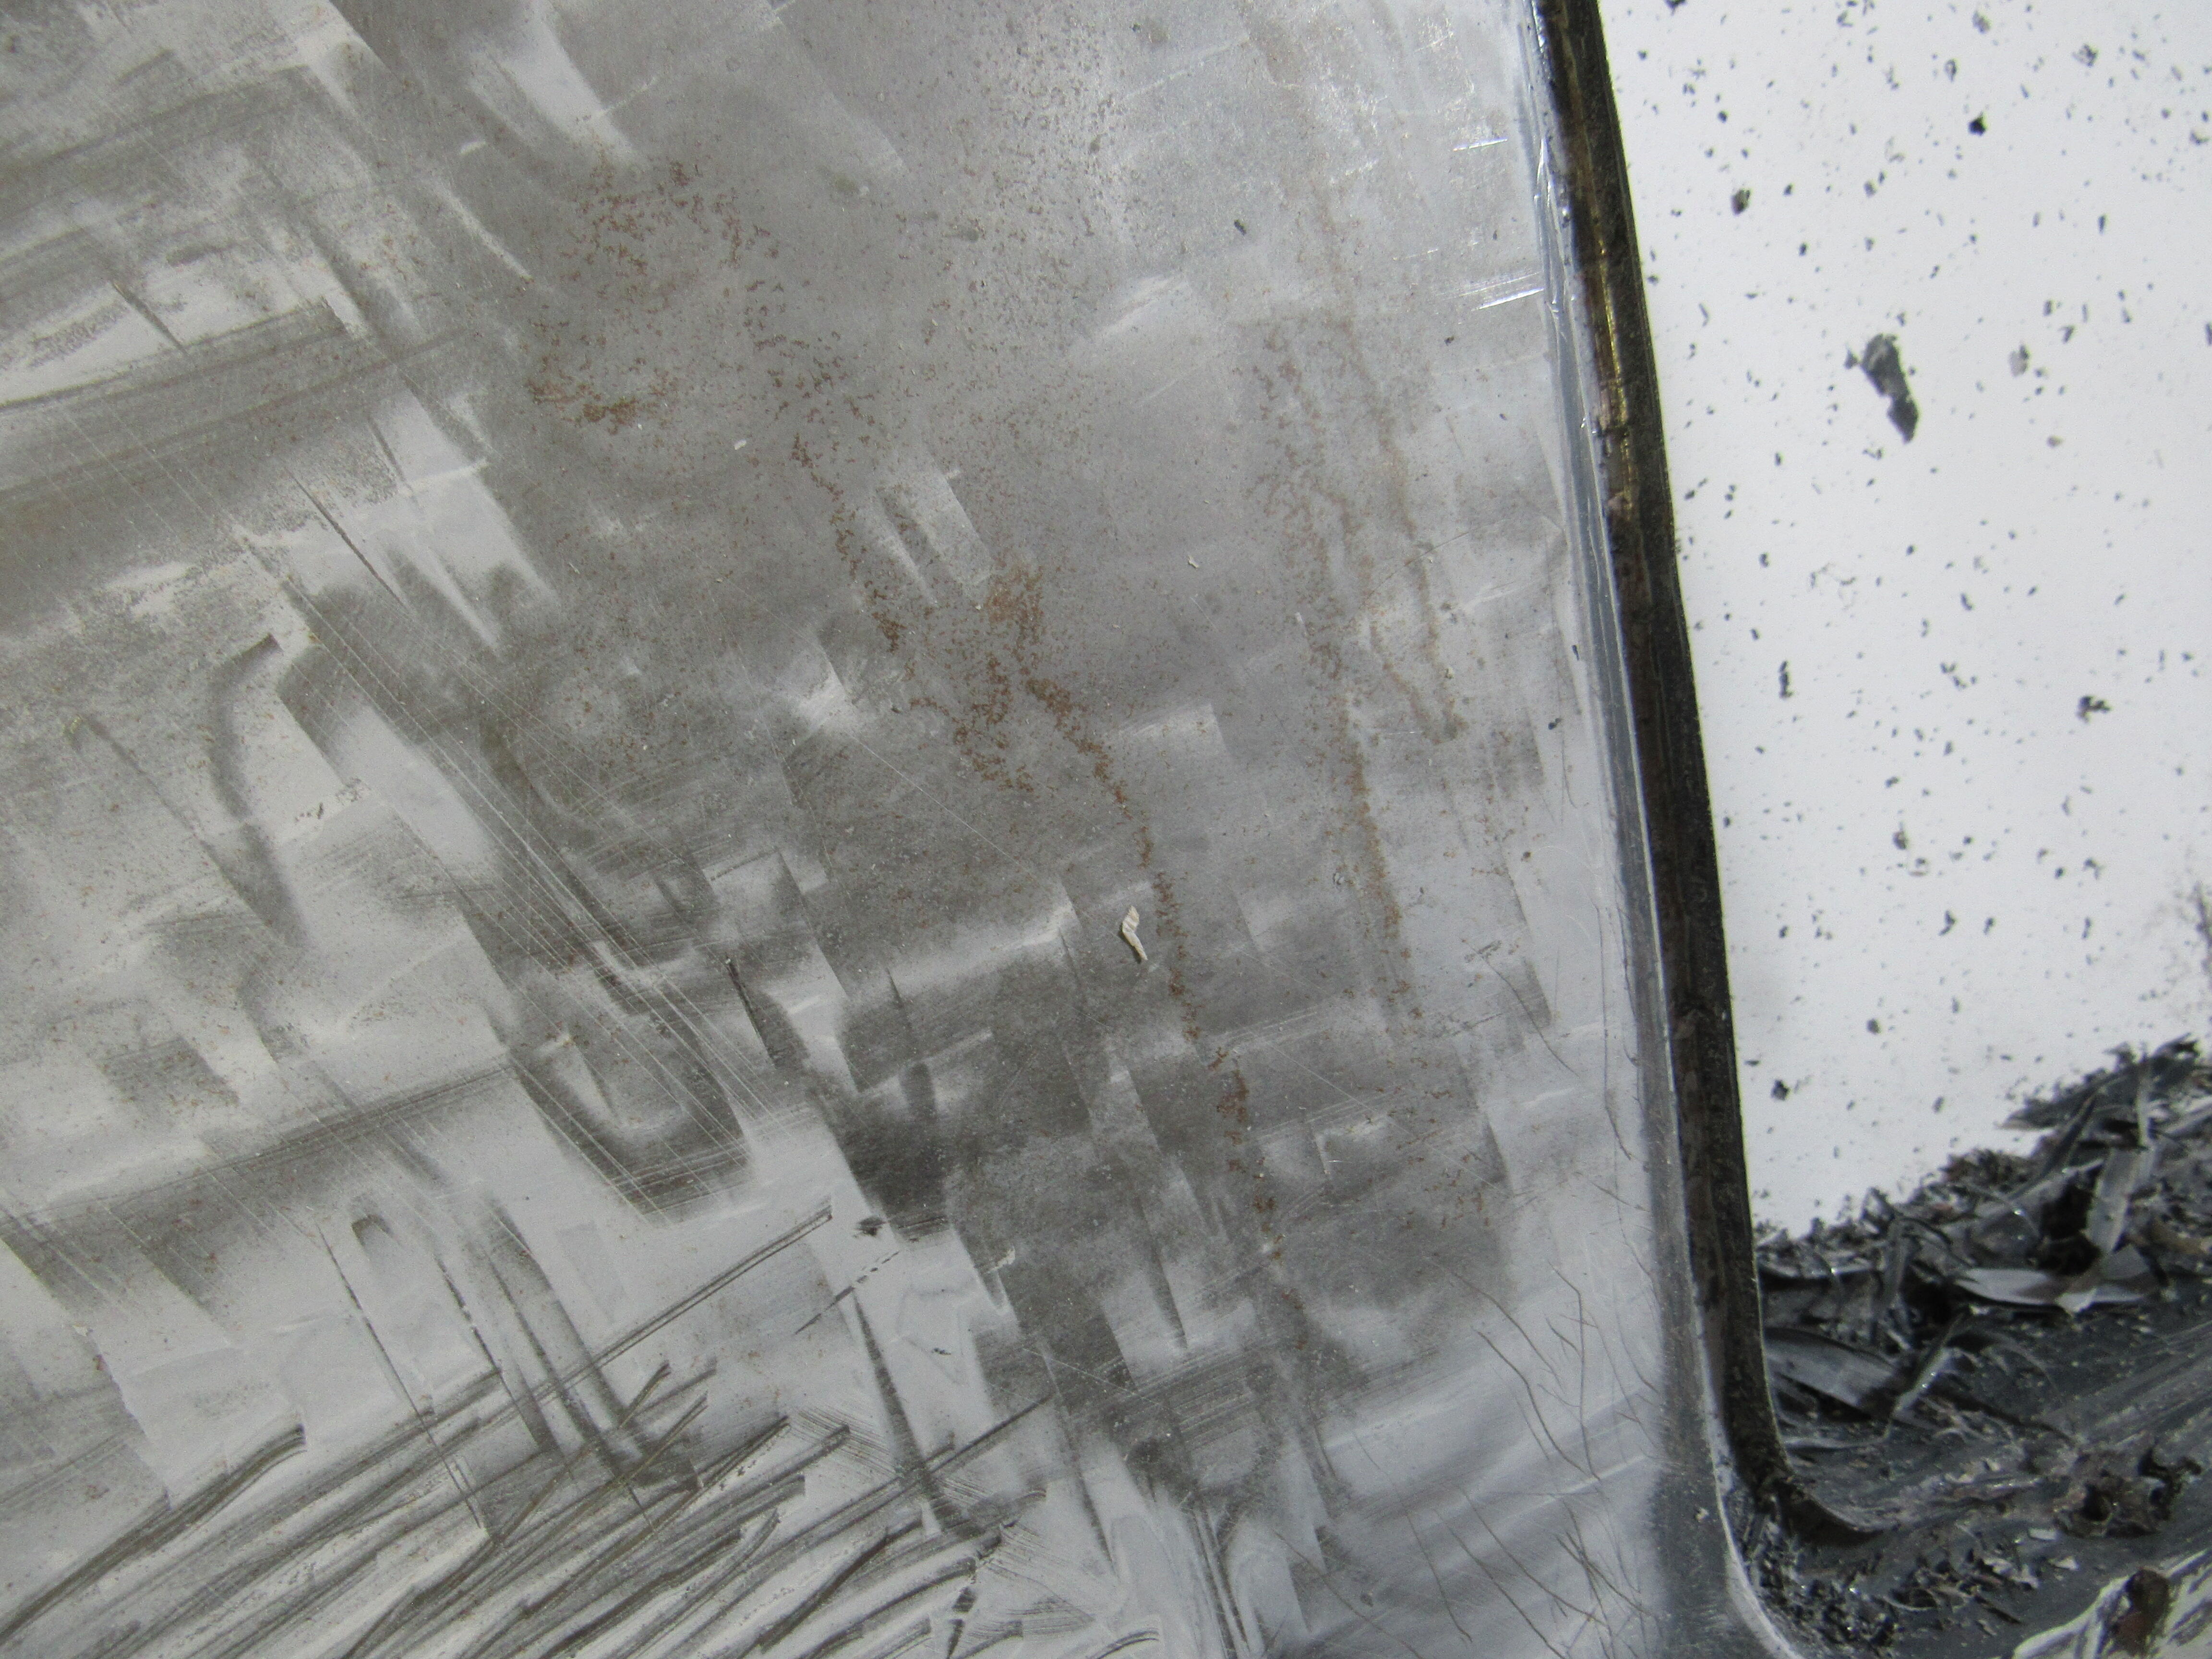
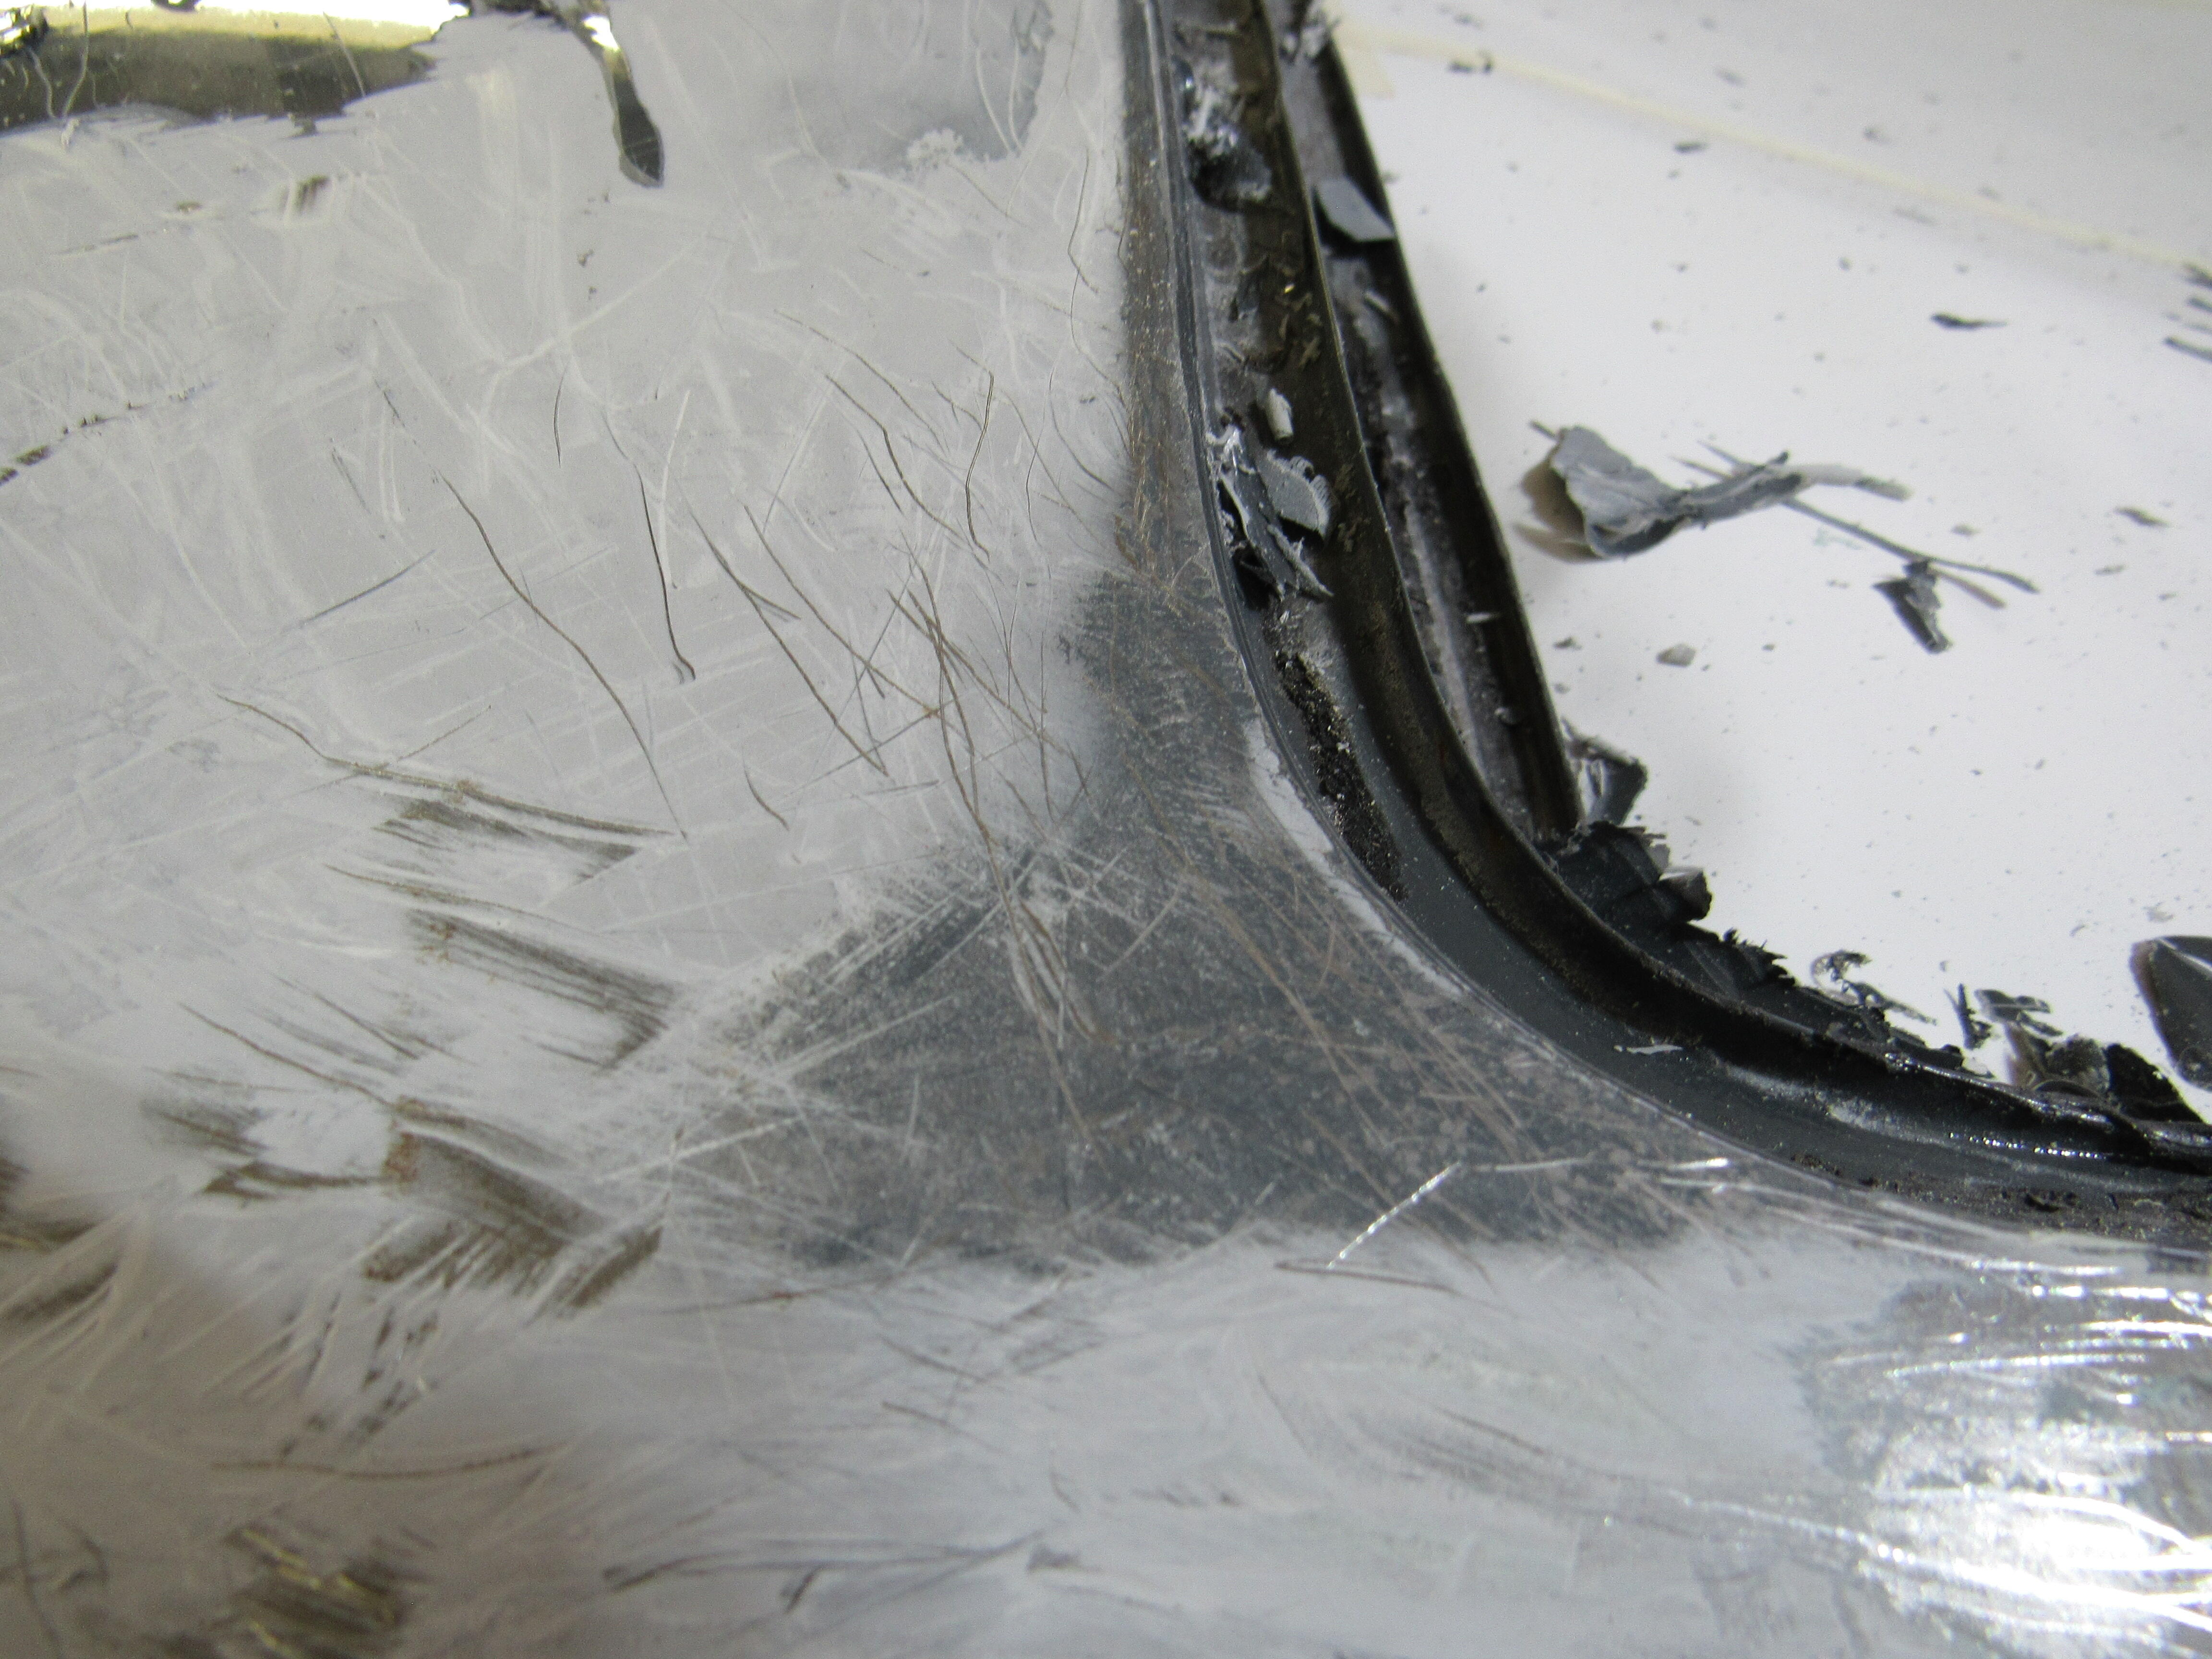
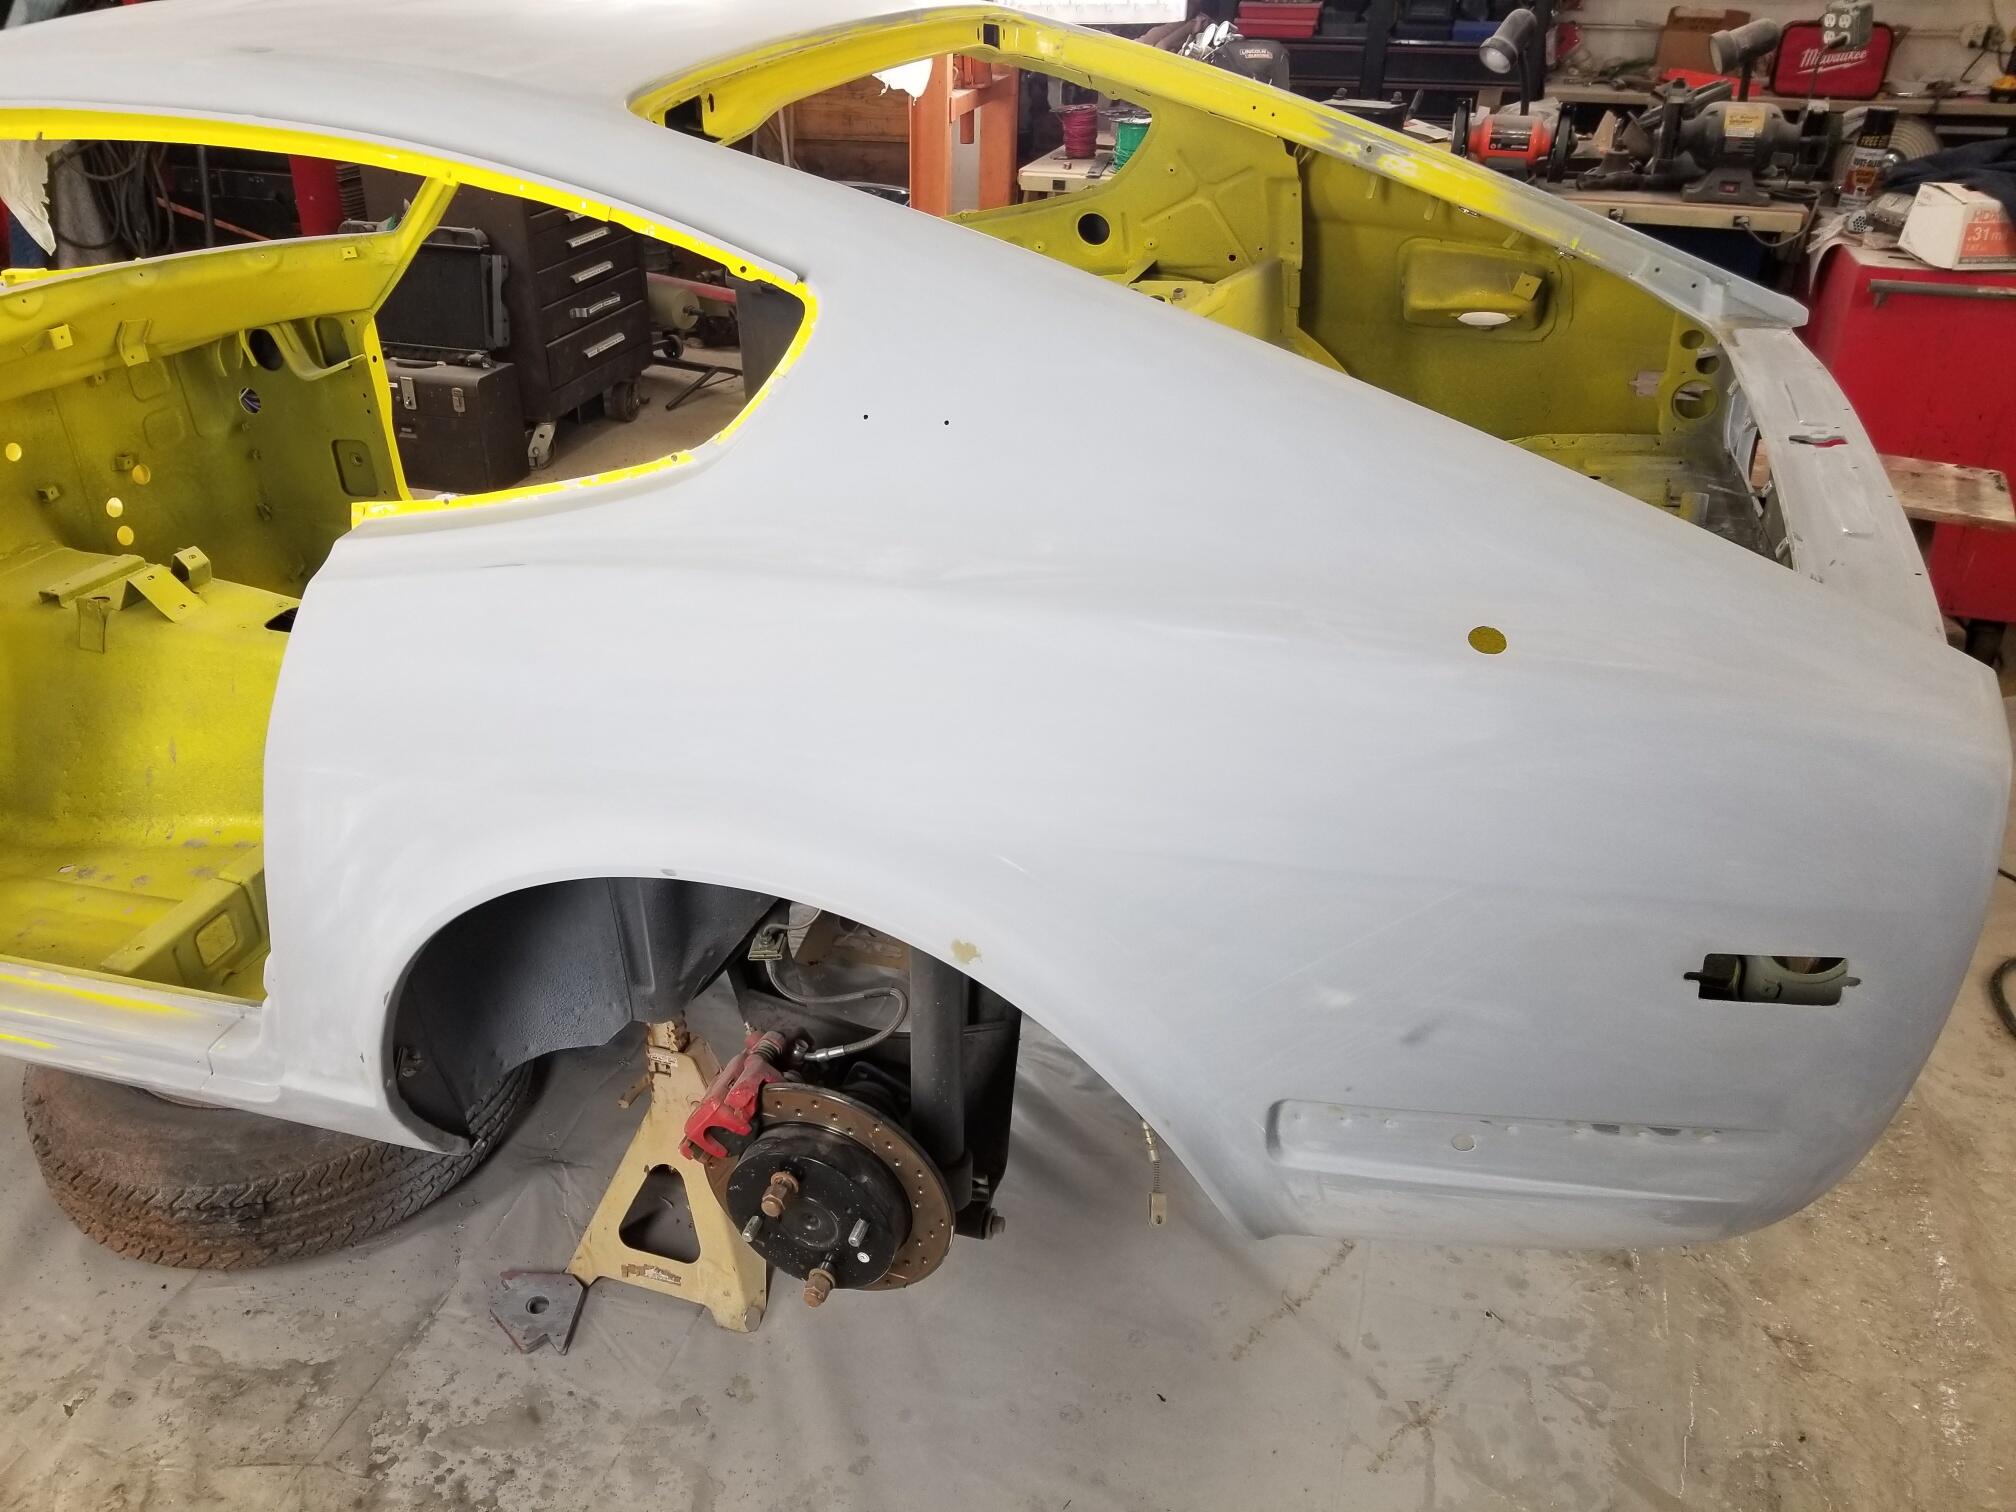
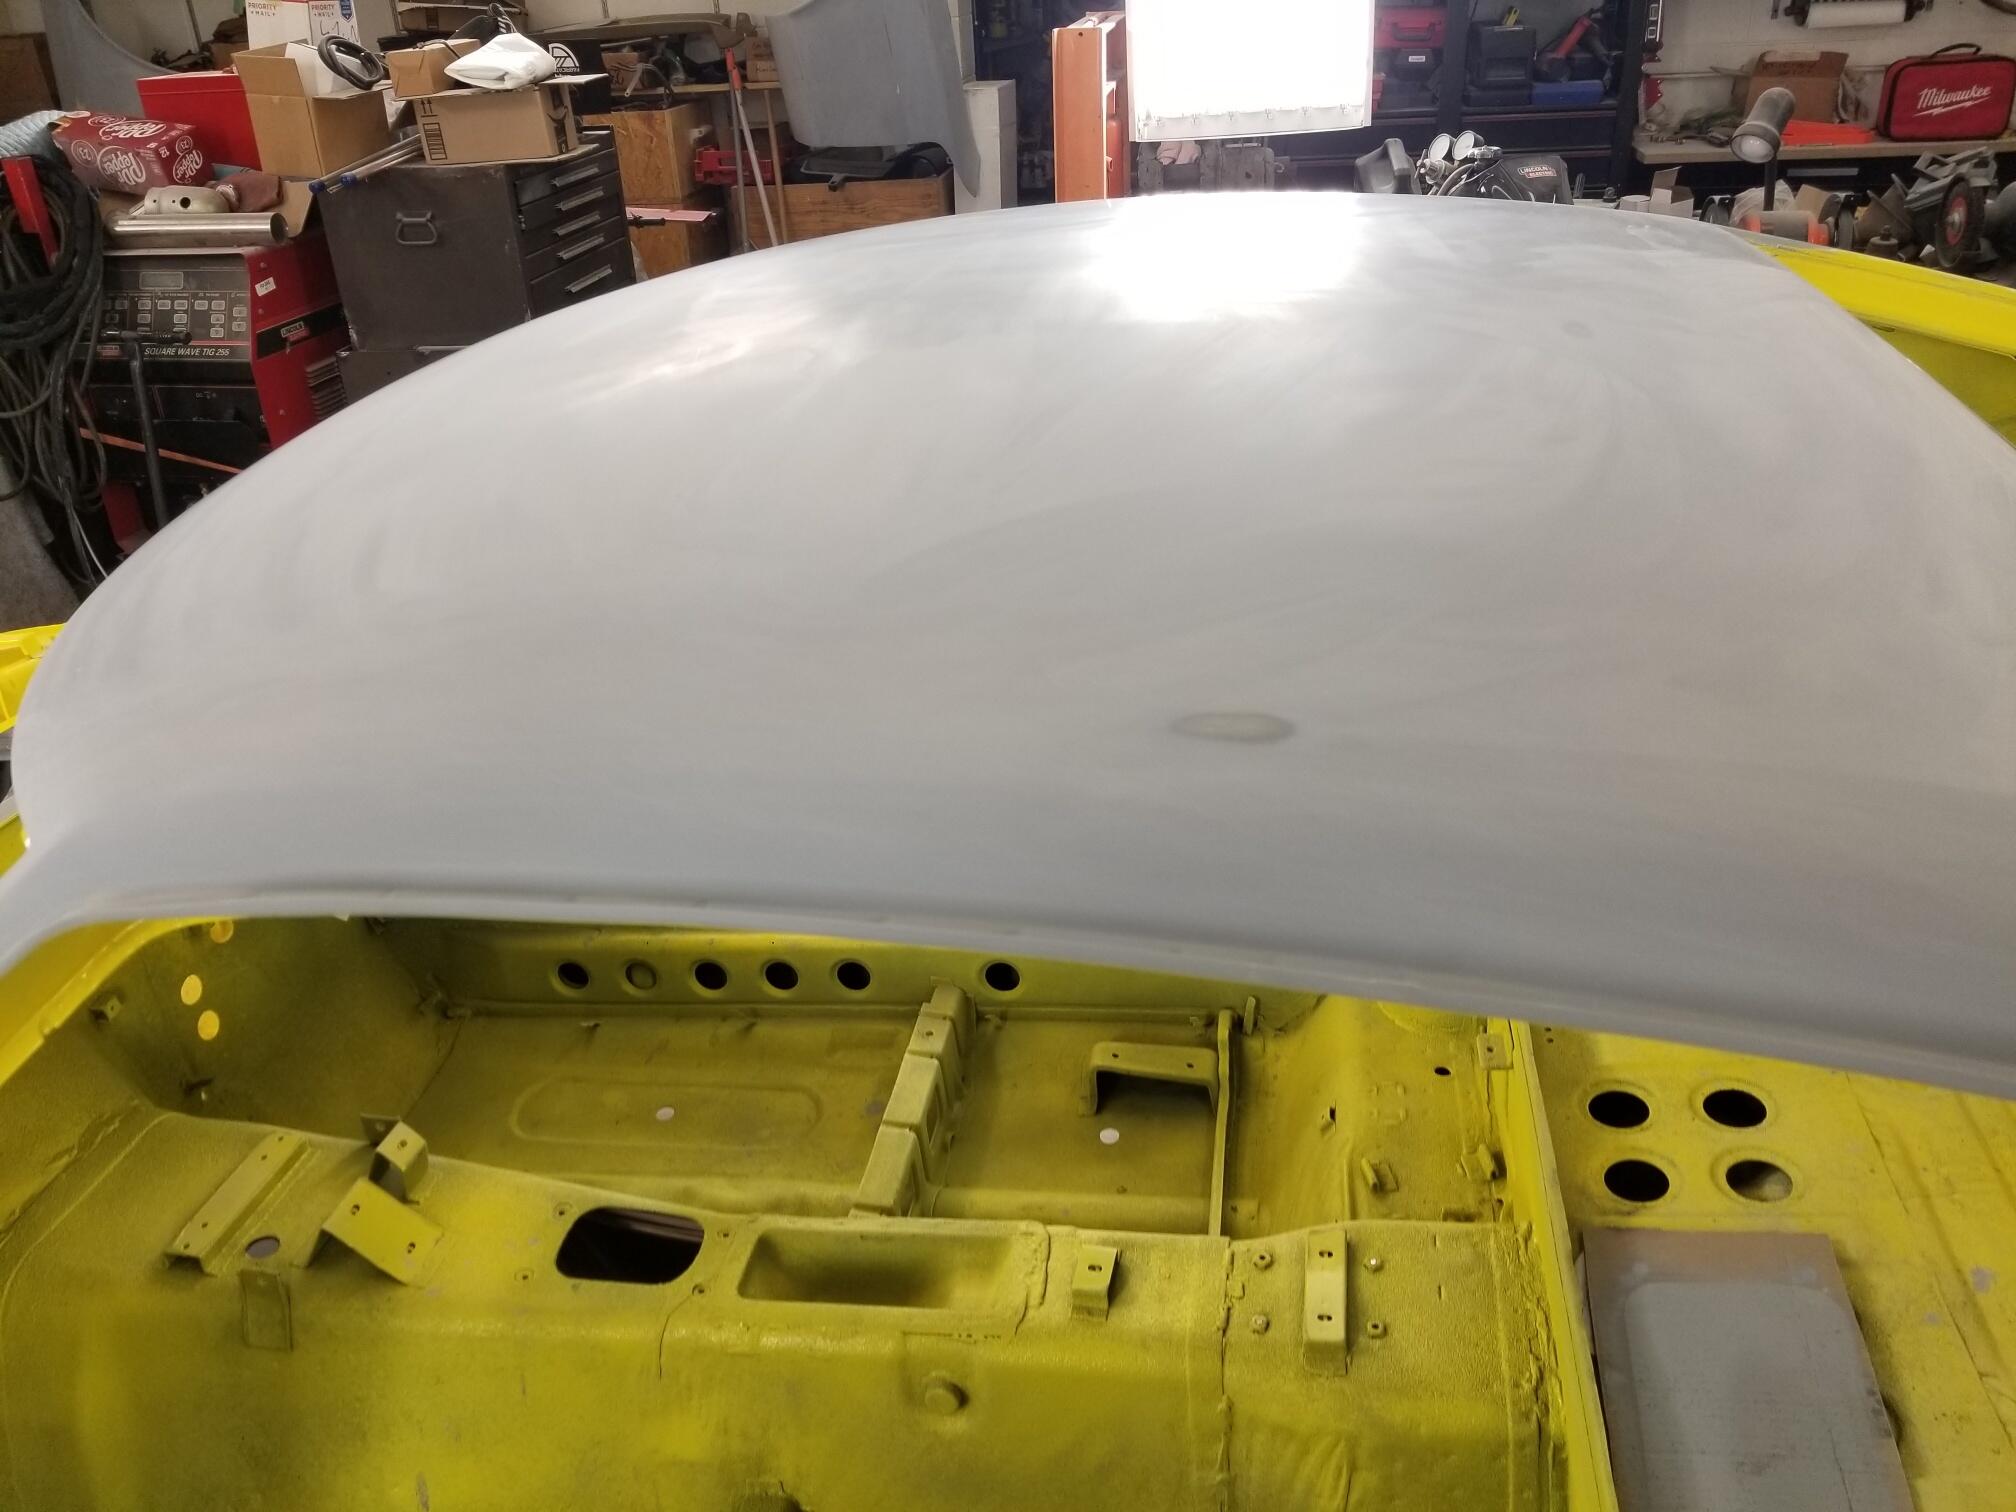
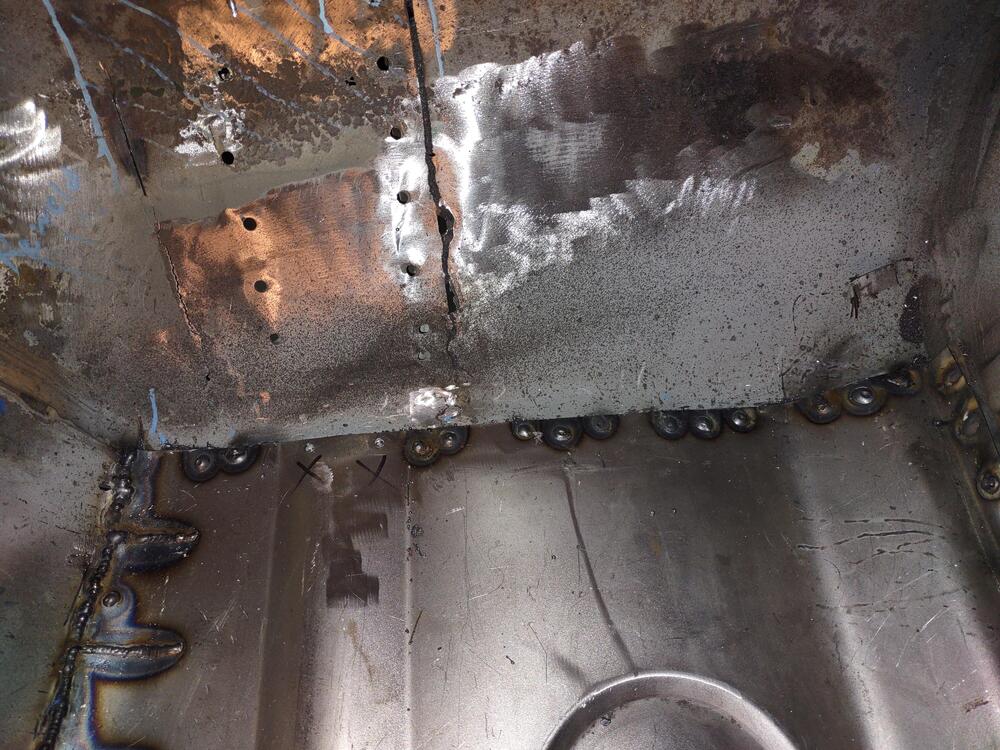
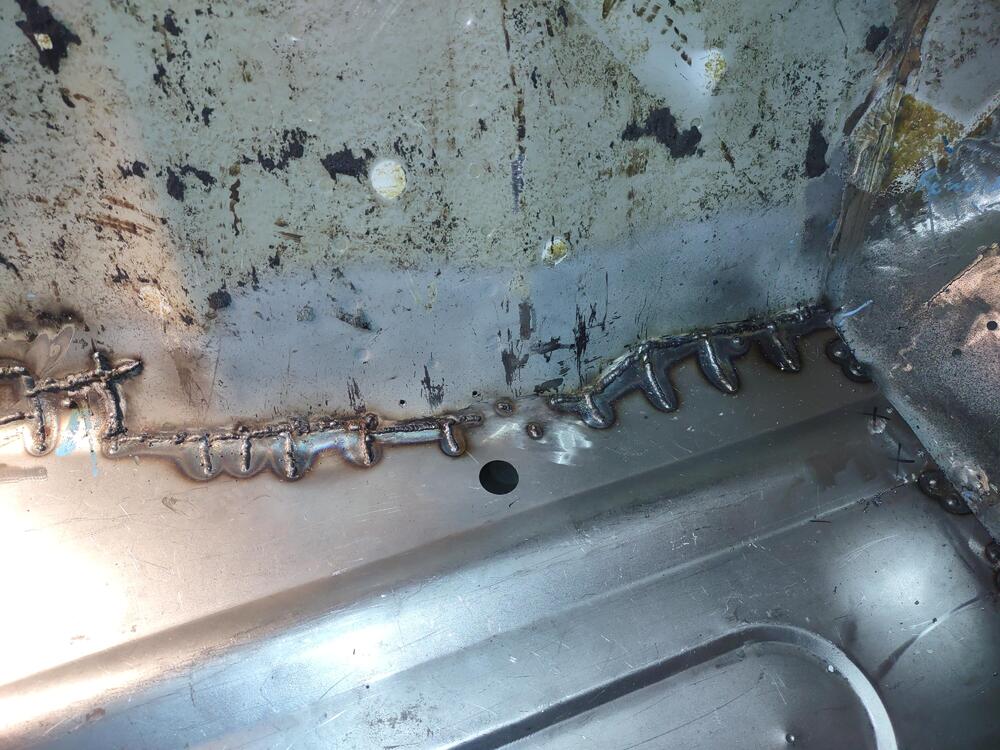
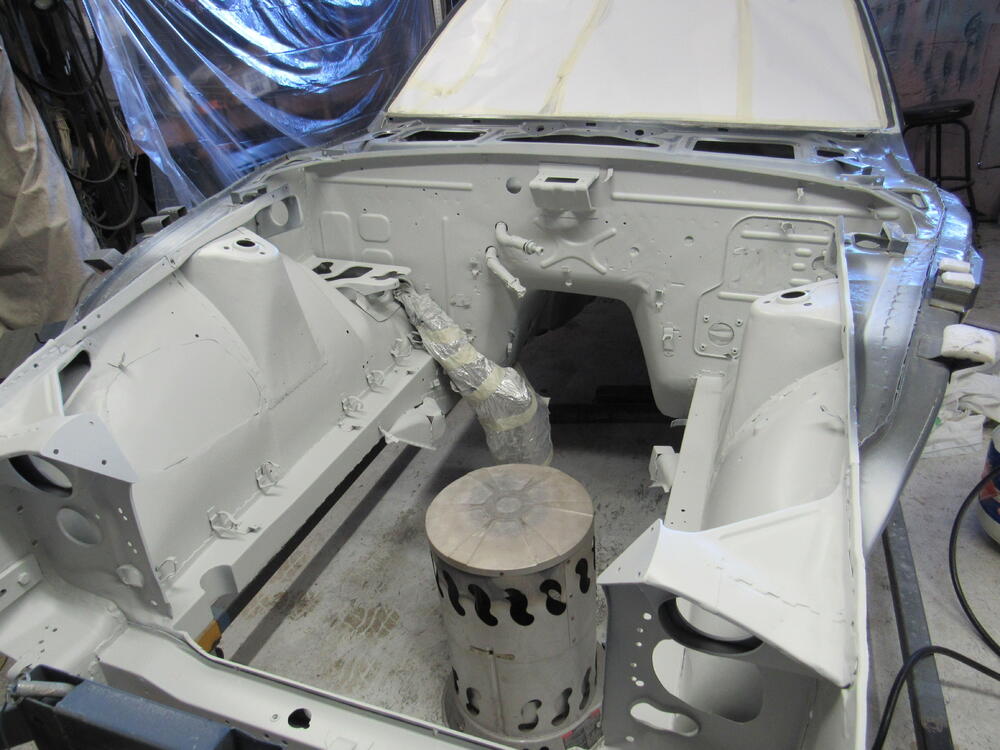
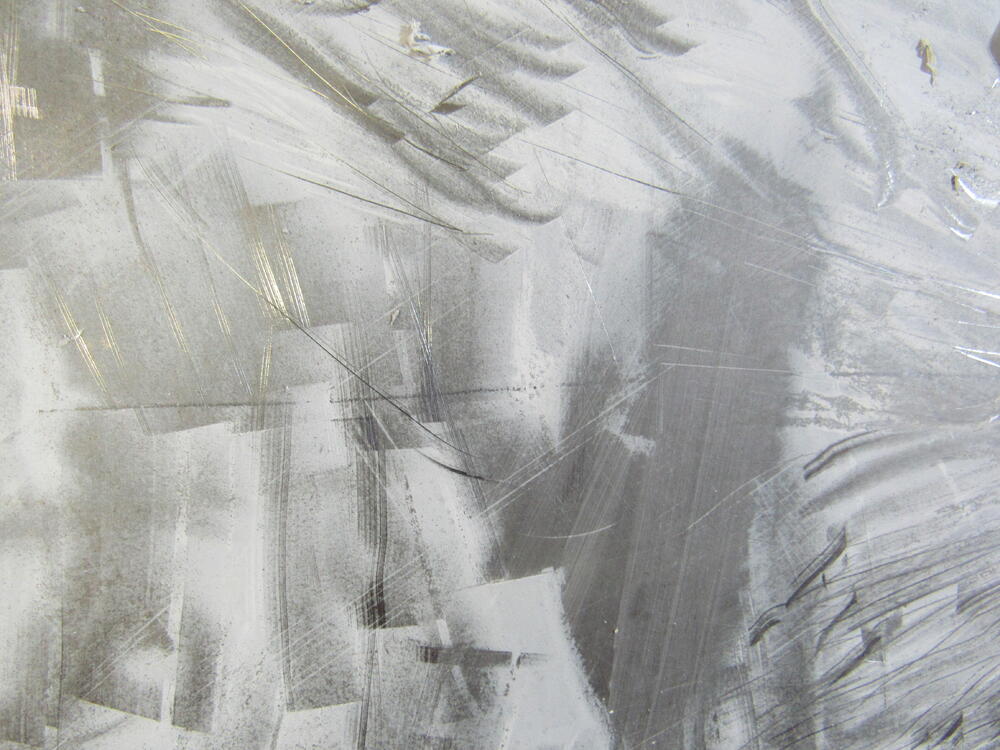
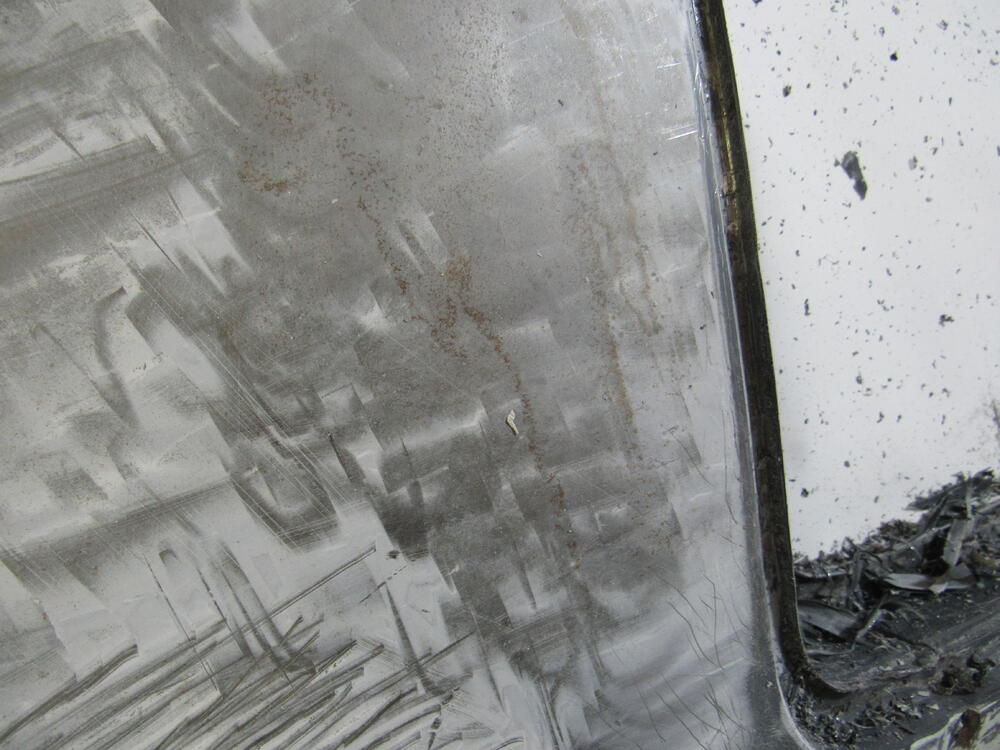
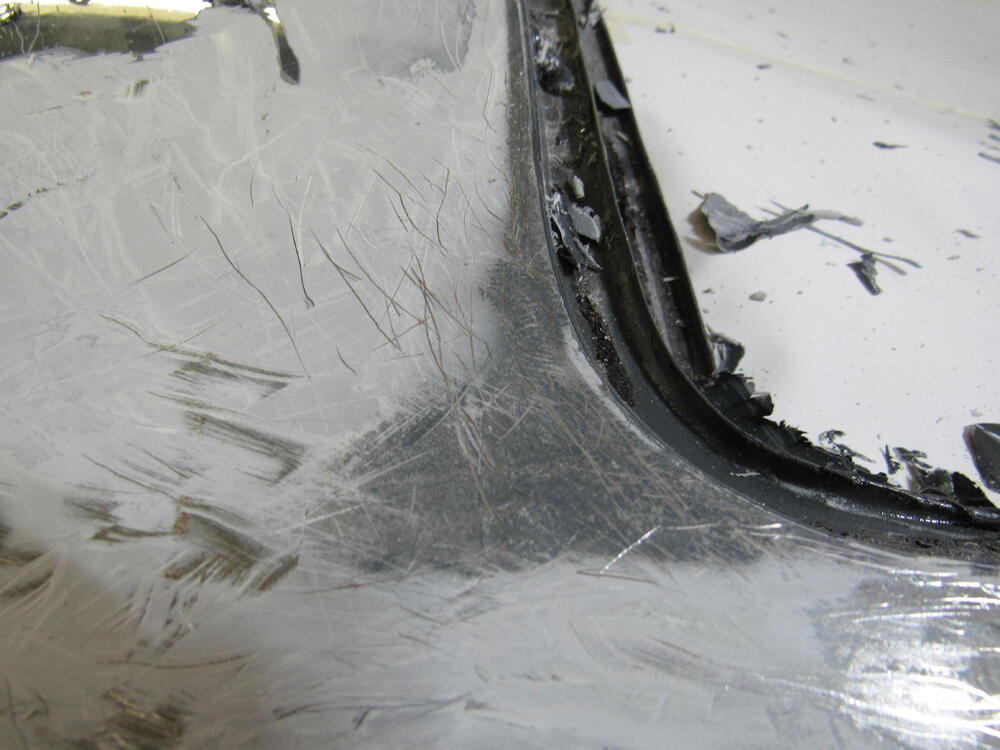
I have the car stripped and mounted on the rotisserie now, the interior mostly stripped out and have covered all the leather and roof with plastic and sealed up the openings with masking paper. I removed all the paint from the engine bay and before any oxidation could start sprayed 2 coats of epoxy primmer. So here's why the paint job failed, first off he applied filler straight on to the bare metal which I asked him not to do and he assured me he wouldn't. But he didn't sand the bare metal or even wipe it down with solvent/cleaner, you can see in the pics the pencil marks I made circling some of the flaws before I sent the car up to him. In one pic I have wiped the pencil mark off with a bit of solvent. In fact the only sanding the metal saw was when he burned through the primmer while sanding, then he sprayed basecoat colour straight on to the metal with no primmer followed by clearcoat.😲 I've never seen that one before. The only good thing about the paint job is that it is so poor that it hasn't taken long the strip it off with a heat gun and scraper, I got half the car done today. Okay, that's it I won't mention the old paint job again, moving on. The 2nd and 5th pics are the engine bay partially stripped of paint before the primer. The last pic you can see the colour coat straight on the metal with no primer under it.


 2 points
 -
Nice score, FYI those "mounting brackets" are for the front bumper.1 point
-
1 pointGlad to help. And since that helped, I can add a little more info. The early heads (up to and including 74) were drilled and tapped for the carb intake manifolds. They did not drill and tap the center hole. The later heads (75 and up), however, were drilled and tapped for BOTH the carb manifolds AND the fuel injection intake manifolds. Point is... If you're putting that triples manifold onto your original 280 head, your head will have drilled and tapped bolt holes in all three positions. For mechanical purposes, you won't NEED all three at each end, but if there's enough space between the heads of the bolts, you should put something into all the holes just to keep the critters out.1 point
-
I just double checked on my car. They're definitely held in place with something on the inside. So you can definitely remove all three bolts without the threaded plate on the backside getting lost on the inside of the quarter. But the threaded plate on the inside is somehow movable. I guess to adjust the position of the locking mechanism to align the door straight. So yeah, i can remove those bolts then 🙂1 point
-
1 pointIf I'm understanding the question correctly... You're asking about the three holes in the mounting flange of the intake manifold? All three of those holes are for mounting manifolds of different designs. The intake manifolds used on cars that came with carbs use the two smaller holes that border the larger one in the center. And the cars that came with fuel injection used the one larger hole in the center. I'm guessing that the people who made that custom intake manifold put all three holes in it so it would bolt up correctly to either an older (carbs) or newer (FI) head.1 point
-
1 point
-
1 pointJust do both at the same time. Make sure that the MC is tilted upward at the end so that the bubbles will be forced out. You can do that by leaving the bolts loose or by lifting the front of the car. The MC bleed screws are at the ends of the stroke you want the the bubbles to rise to that area so that they'll push out. Both front and rear are actuated at the same time, because they're in the same bore, so you can just run two hoses up in to the reservoirs and pump away.1 point
-
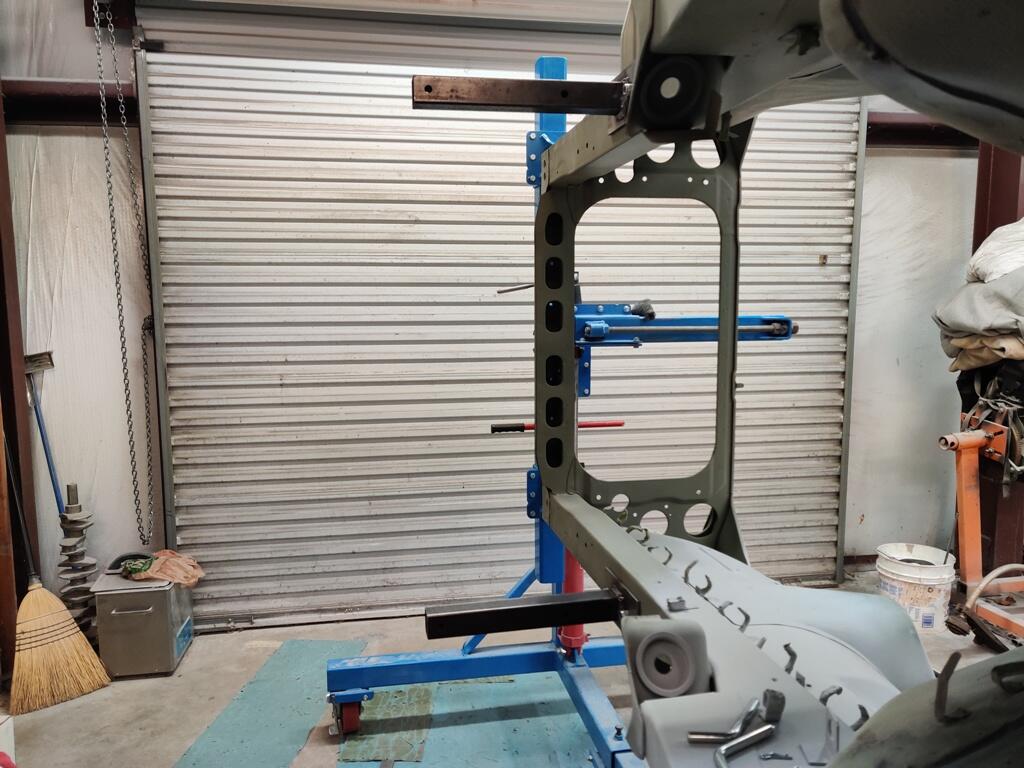
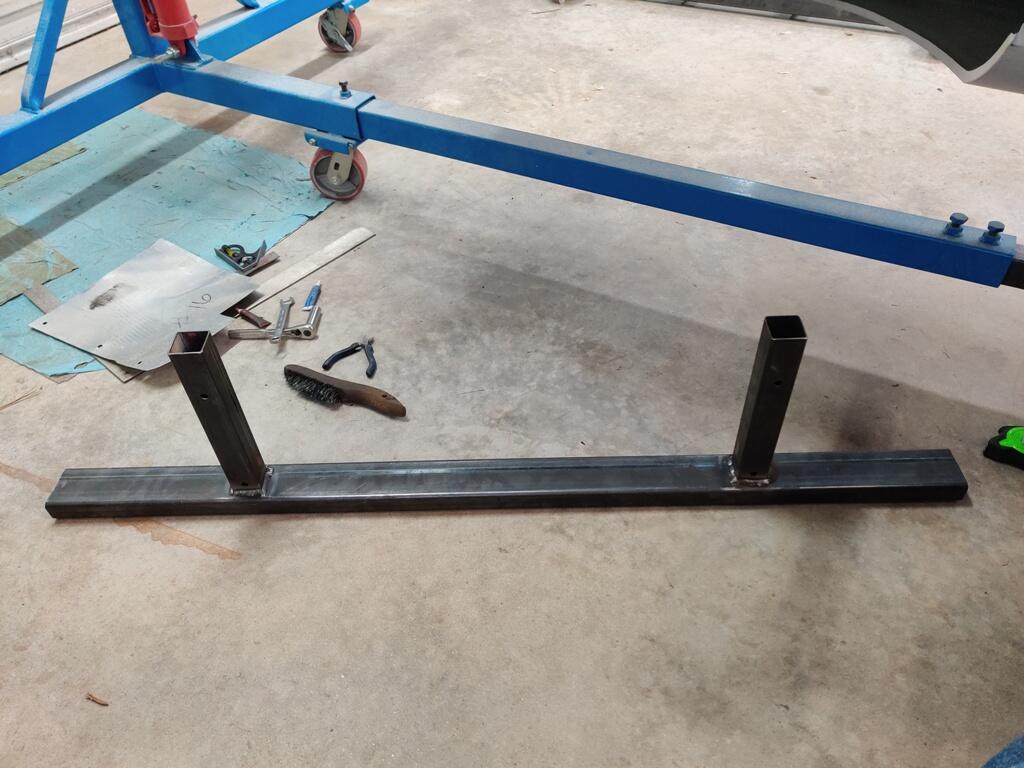
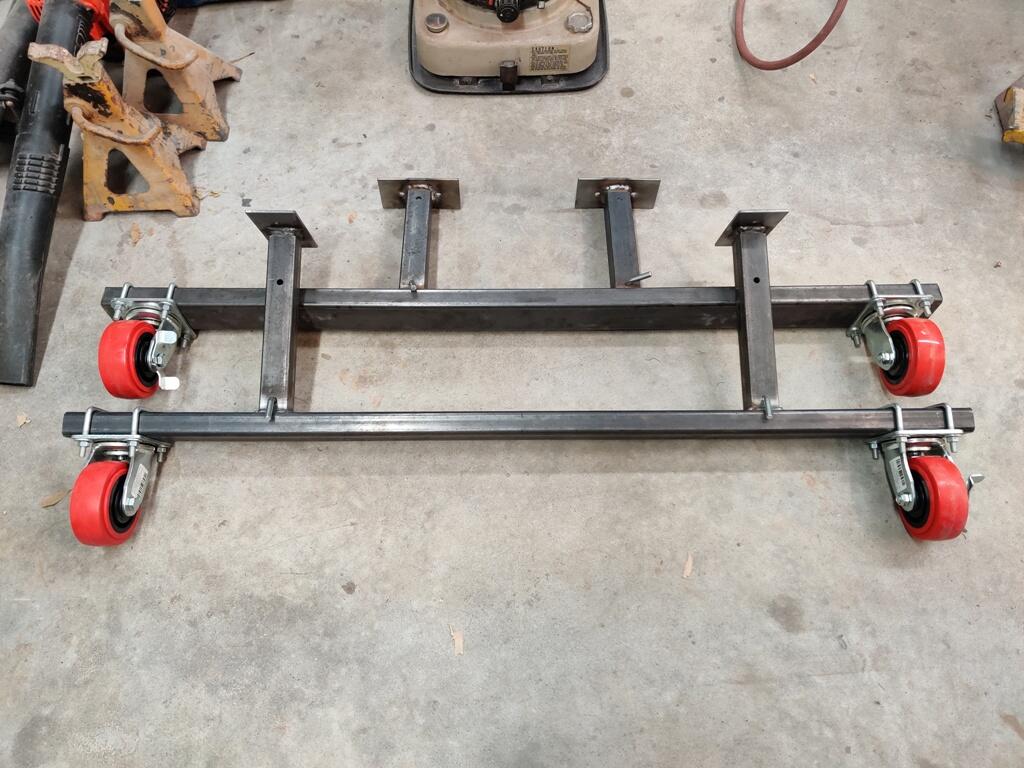
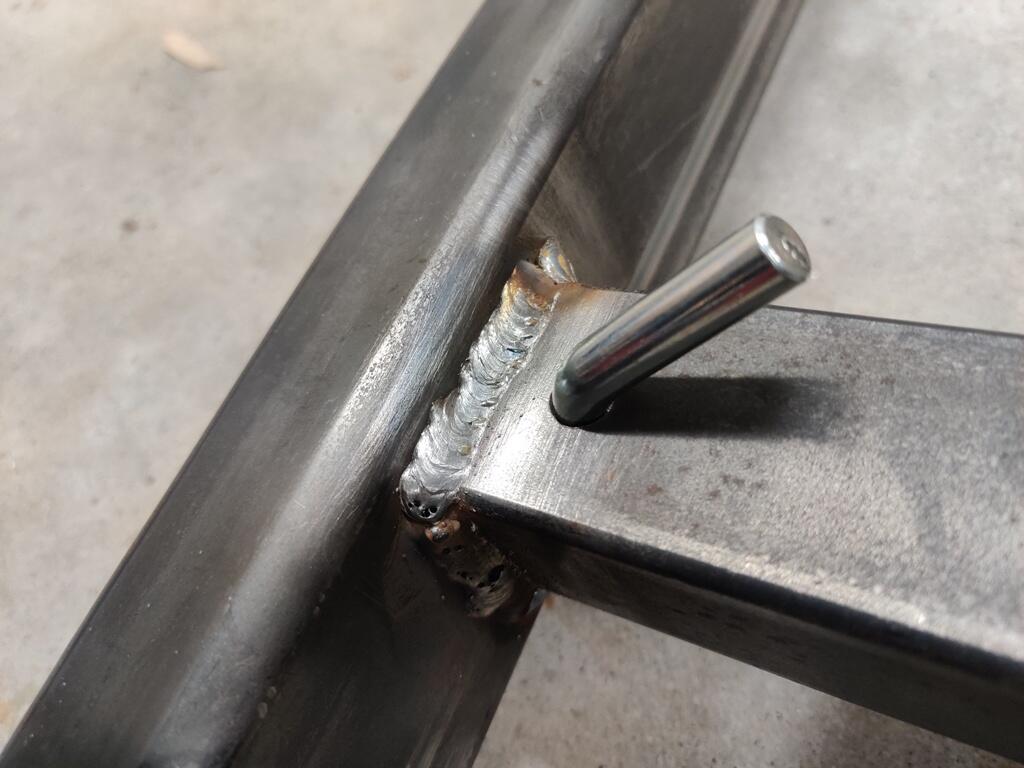
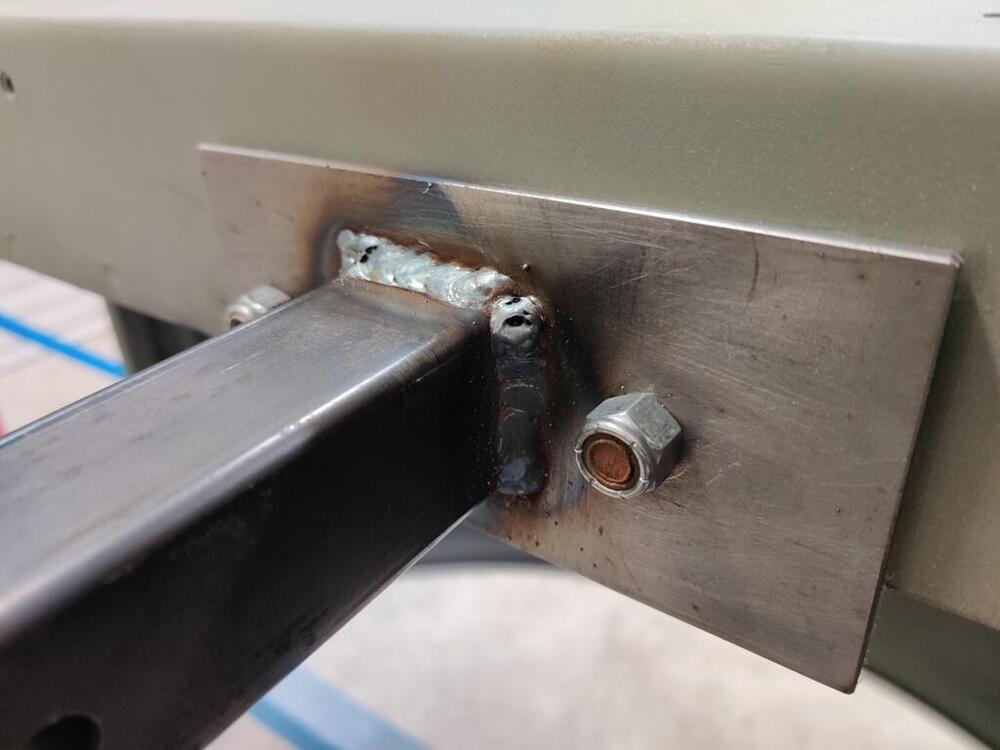
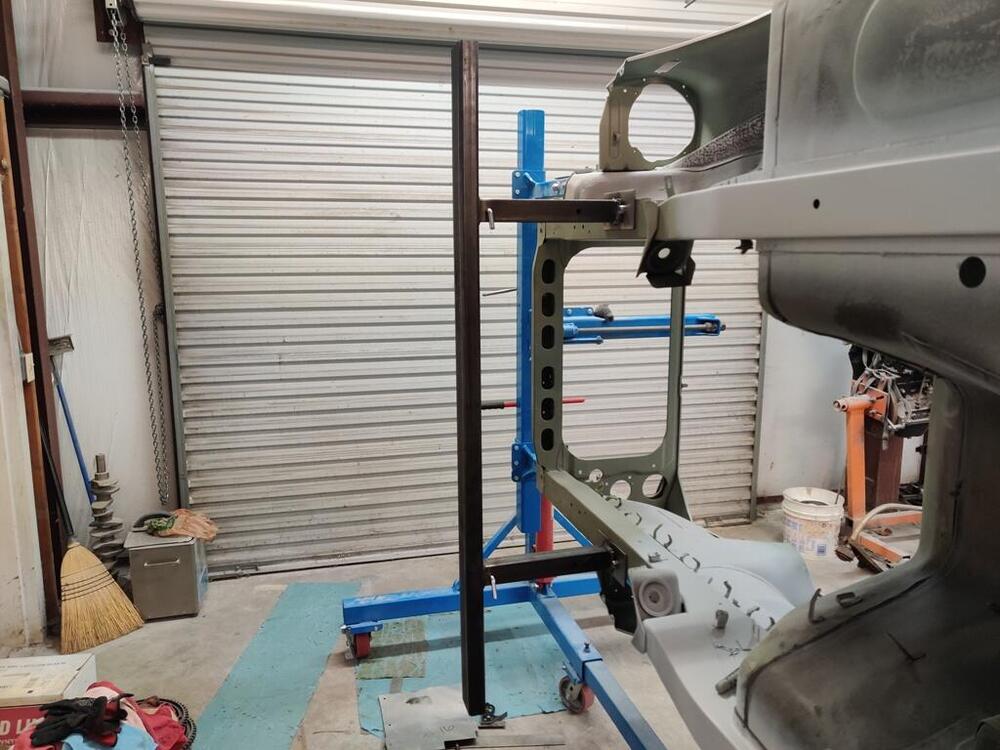
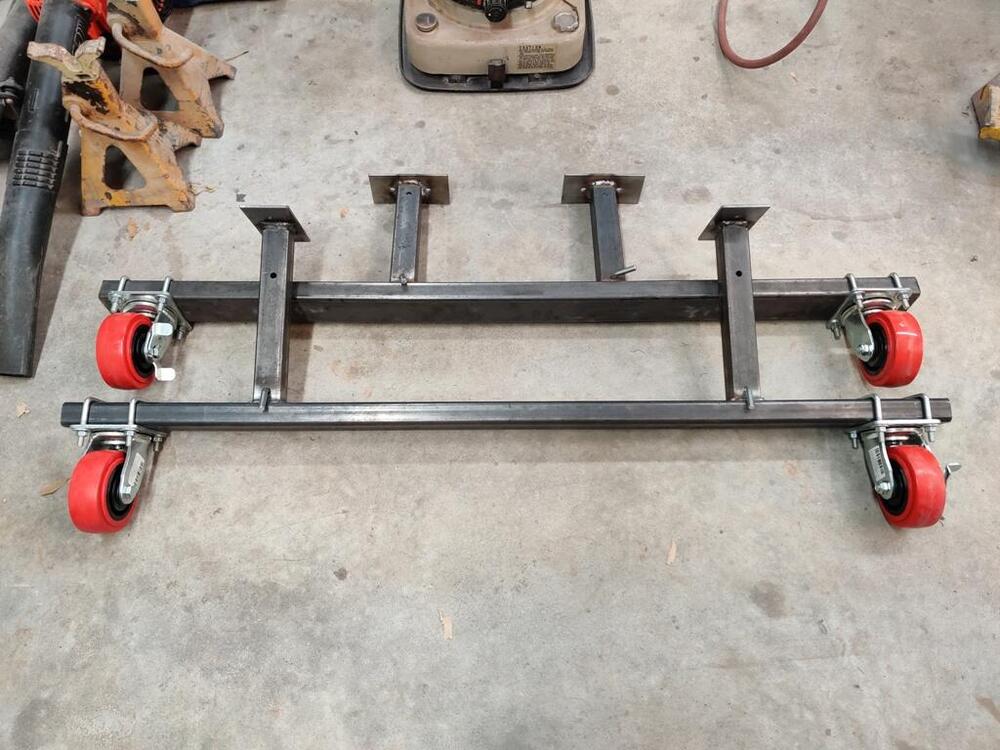
Today, I fabricated the front rolling frame assembly. The cross beam is thicker wall that the rear one - it is heavy. I didn't measure it, but the wall is about 3/16" - definitely thicker than the rear one which looks to be about 1/8" wall. When welding the square post to it, I had my little Miller Mig 90 maxed out. While welding, I would sit the end of the nozzle on top of the cross beam and wait and wait, and then kiss the edge of the square tubing and then back over the cross beam... and wait and wait, and then kiss the upright square tubing again. Easily spent 4 to 5 times as long trying to put heat into the cross beam to get penetration. The plates that mount to the car are nearly 3/16" thick. Though the welds could be prettier, I am confident they have good strength. It will be an exciting time when I get to use these as the car will be really close to being ready for paint. 😍


 1 point
 -
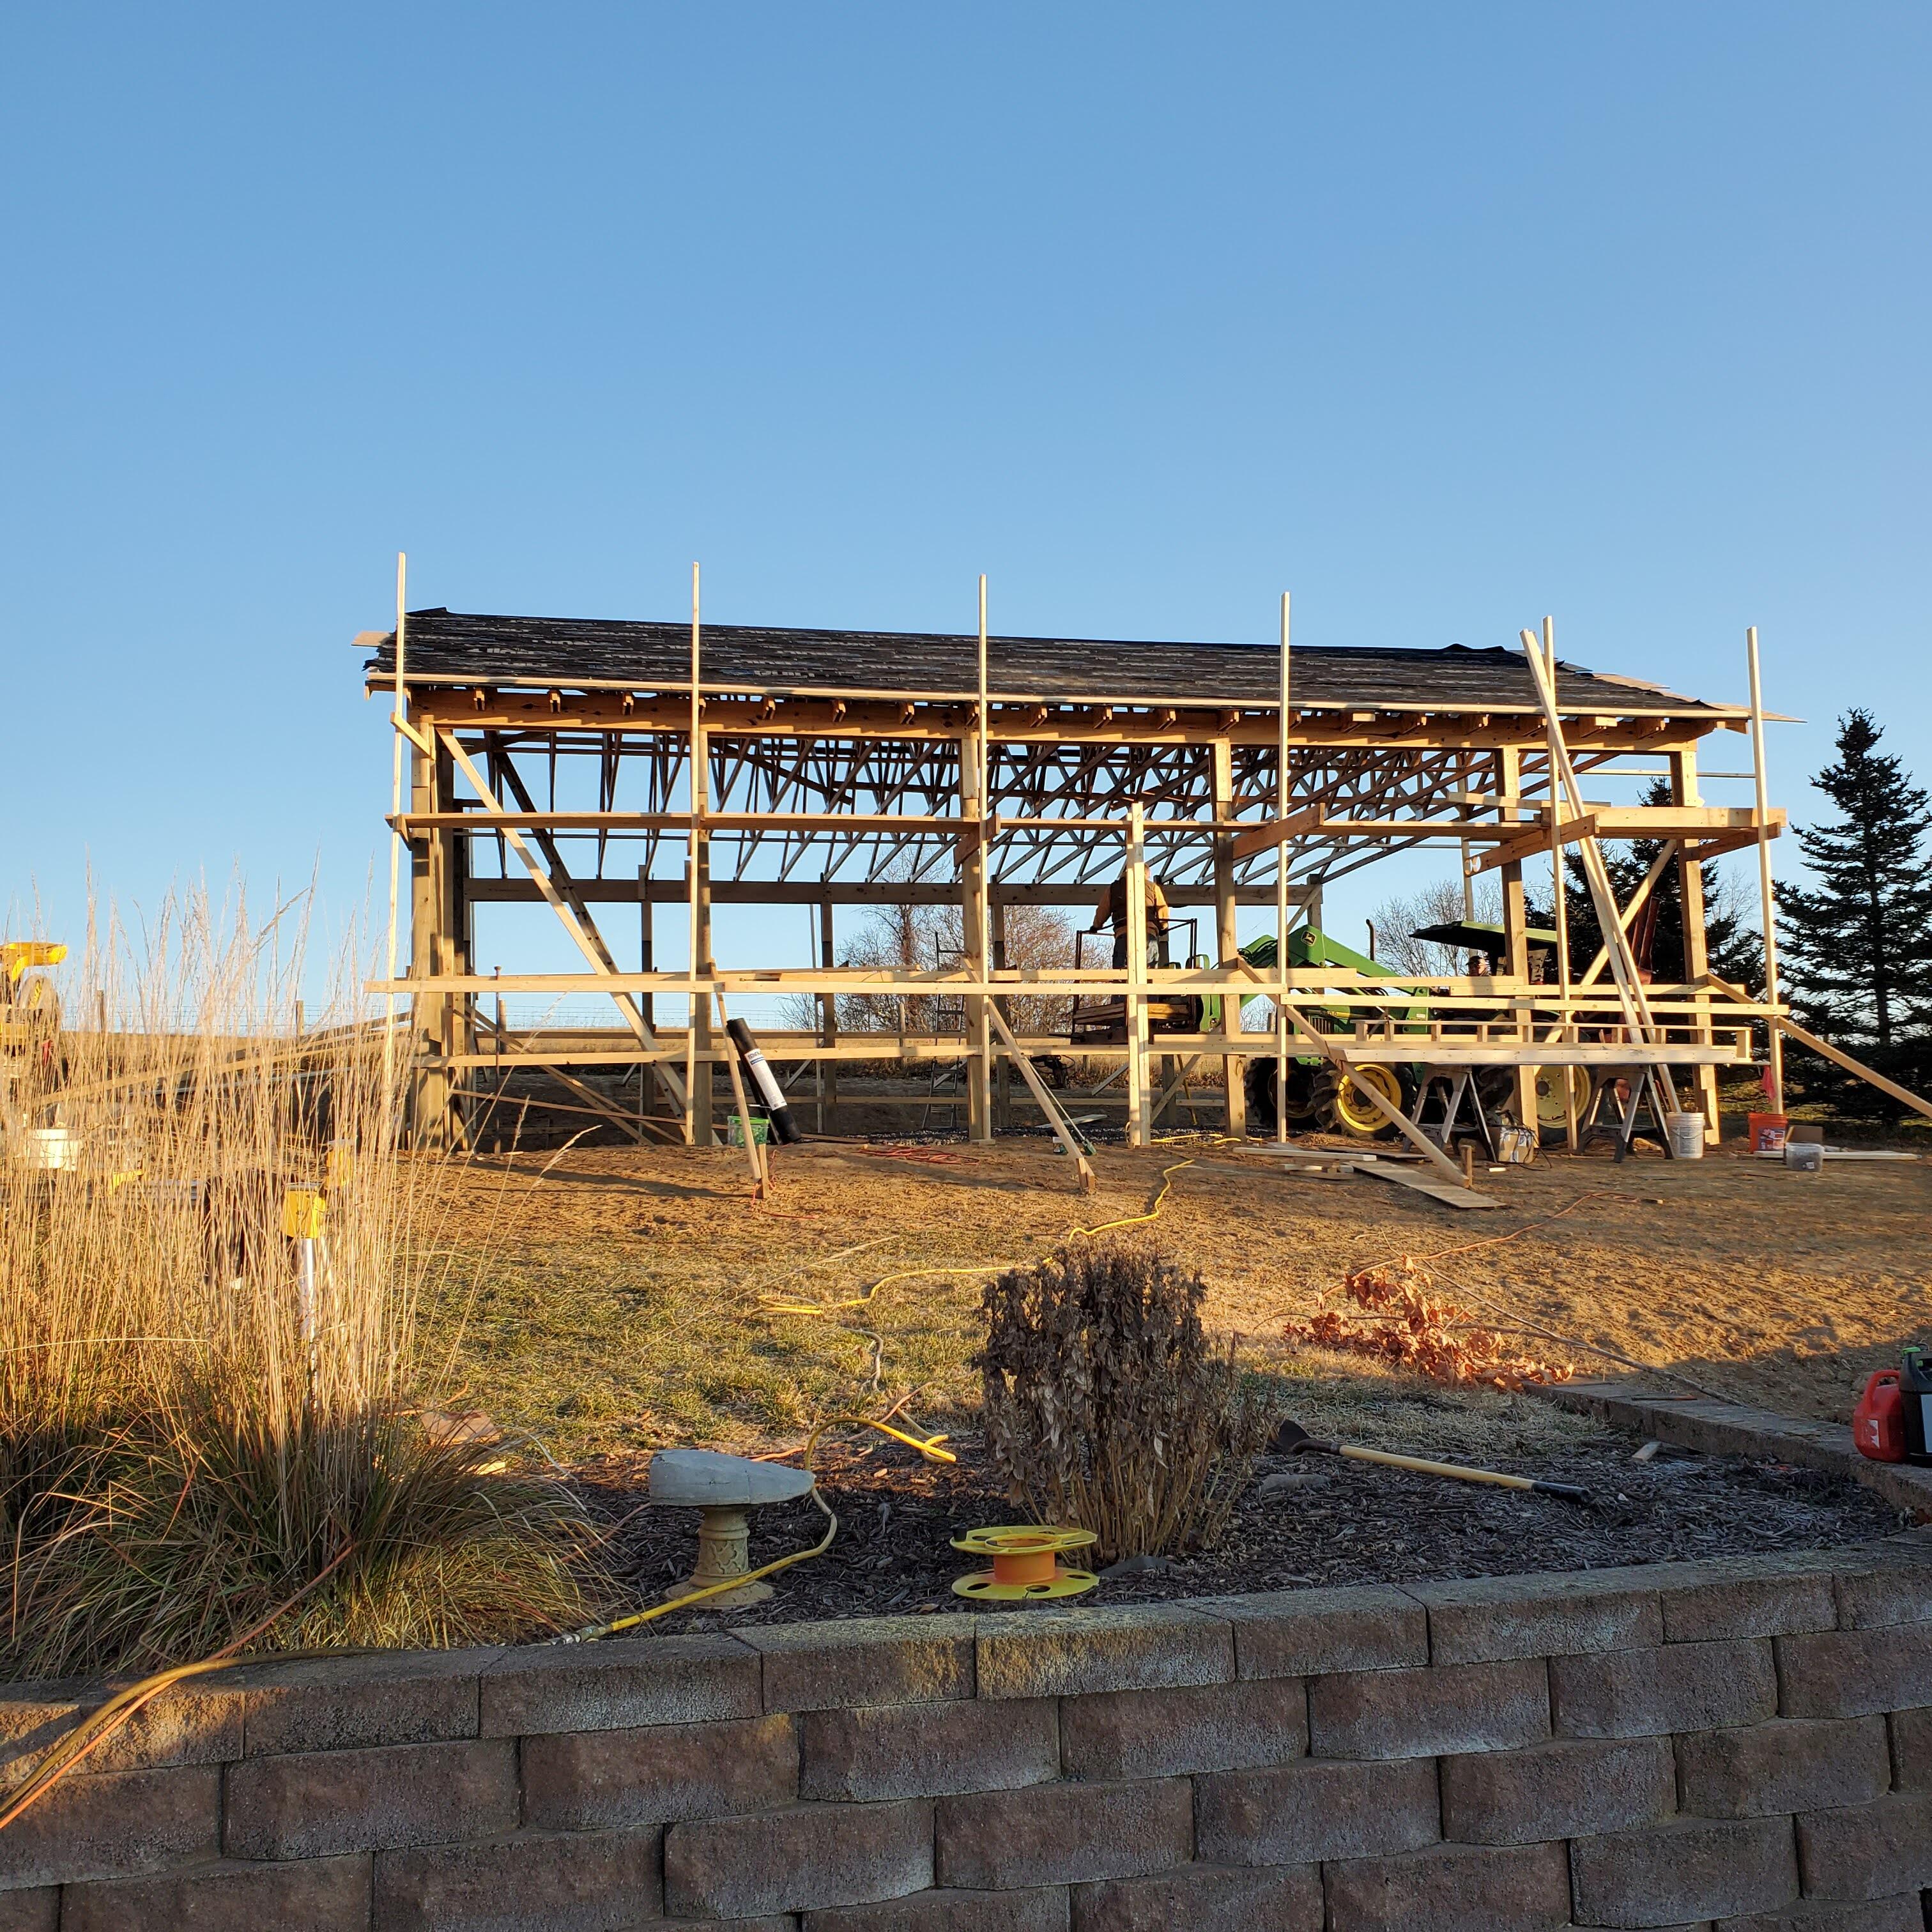
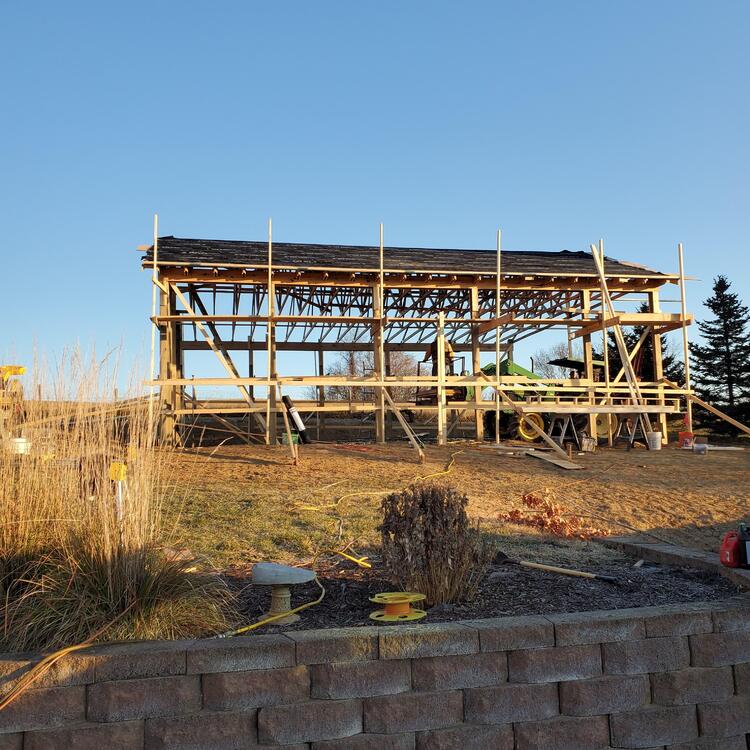
Since this is a build thread, I thought I'd share some pics of the current project that absolutely will be a part of the Z's rebirth - a new shop. I was supposed to do this last year. While I am delighted to be getting this space, the build is kicking my behind. I just don't remember this stuff being so heavy. I am building this with two friends. I built my last shop the same way. It goes slowly, but everything is correct and I don't have to worry about what's happening when I'm not present. I've seen way too many times some truly half fast workmanship. I used to work as a consultant for an attorney who would represent people who had been screwed one way or another by a contractor. I would evaluate and report. There's some scary stuff out there. Anyway, it's 32 x 40 with 12' ceilings. My wife insisted I make it compatible for use with a lift - god bless this woman! Into it I must stuff a lot of tools. I'll be lucky to get the car in with enough room to work. Right now, I have woodworking machine tools stored in a shed, car parts strewn to the four winds, metalworking machines and welders in the garage, and all of it must come together in this building. Interestingly, I have the same trouble getting materials for this build as I do for the Z! Standing seam roofing is next - materials due in two weeks. We'll see.
 1 point
 -
I did my '77 too. Made it like new I suppose. Flipping those plates is the money shot. I followed this... https://www.google.com/url?sa=t&source=web&rct=j&url=http://www.kamikazeracing.org/dl/ZTech/Rebuild_240Z_combo_switch.pdf&ved=2ahUKEwinvMeuz-H0AhX0SDABHZA6DqsQFnoECA4QAQ&usg=AOvVaw1MgWNgBd3yM5WQ0jnGnjgR1 point
-
1 pointThe Captain's job is too point out the Obvious. That's what he gets paid to do He is very good at his job!1 point