Leaderboard
-

Diseazd
Free Member4Points3,362Posts -
Captain Obvious
Free Member3Points10,081Posts -
zKars
 Subscriber
 3Points3,770Posts
 -
Patcon
Subscriber2Points11,142Posts


Popular Content
Showing content with the highest reputation on 05/30/2020 in all areas
-
4 points
-
2 pointsM8 bolts have a 12mm head (JIS bolts anyway), M10 bolts have a 14mm head. Same for the nuts that would fit M8 or M10 studs. The four TOP bolts on an EFI intake manifold are M10 bolts, the studs on all the shared thick washer locations are M8.. Only the EFI heads have these M10 intake manifold bolt holes in between the M8 holes that are used on the carb intakes.2 points
-
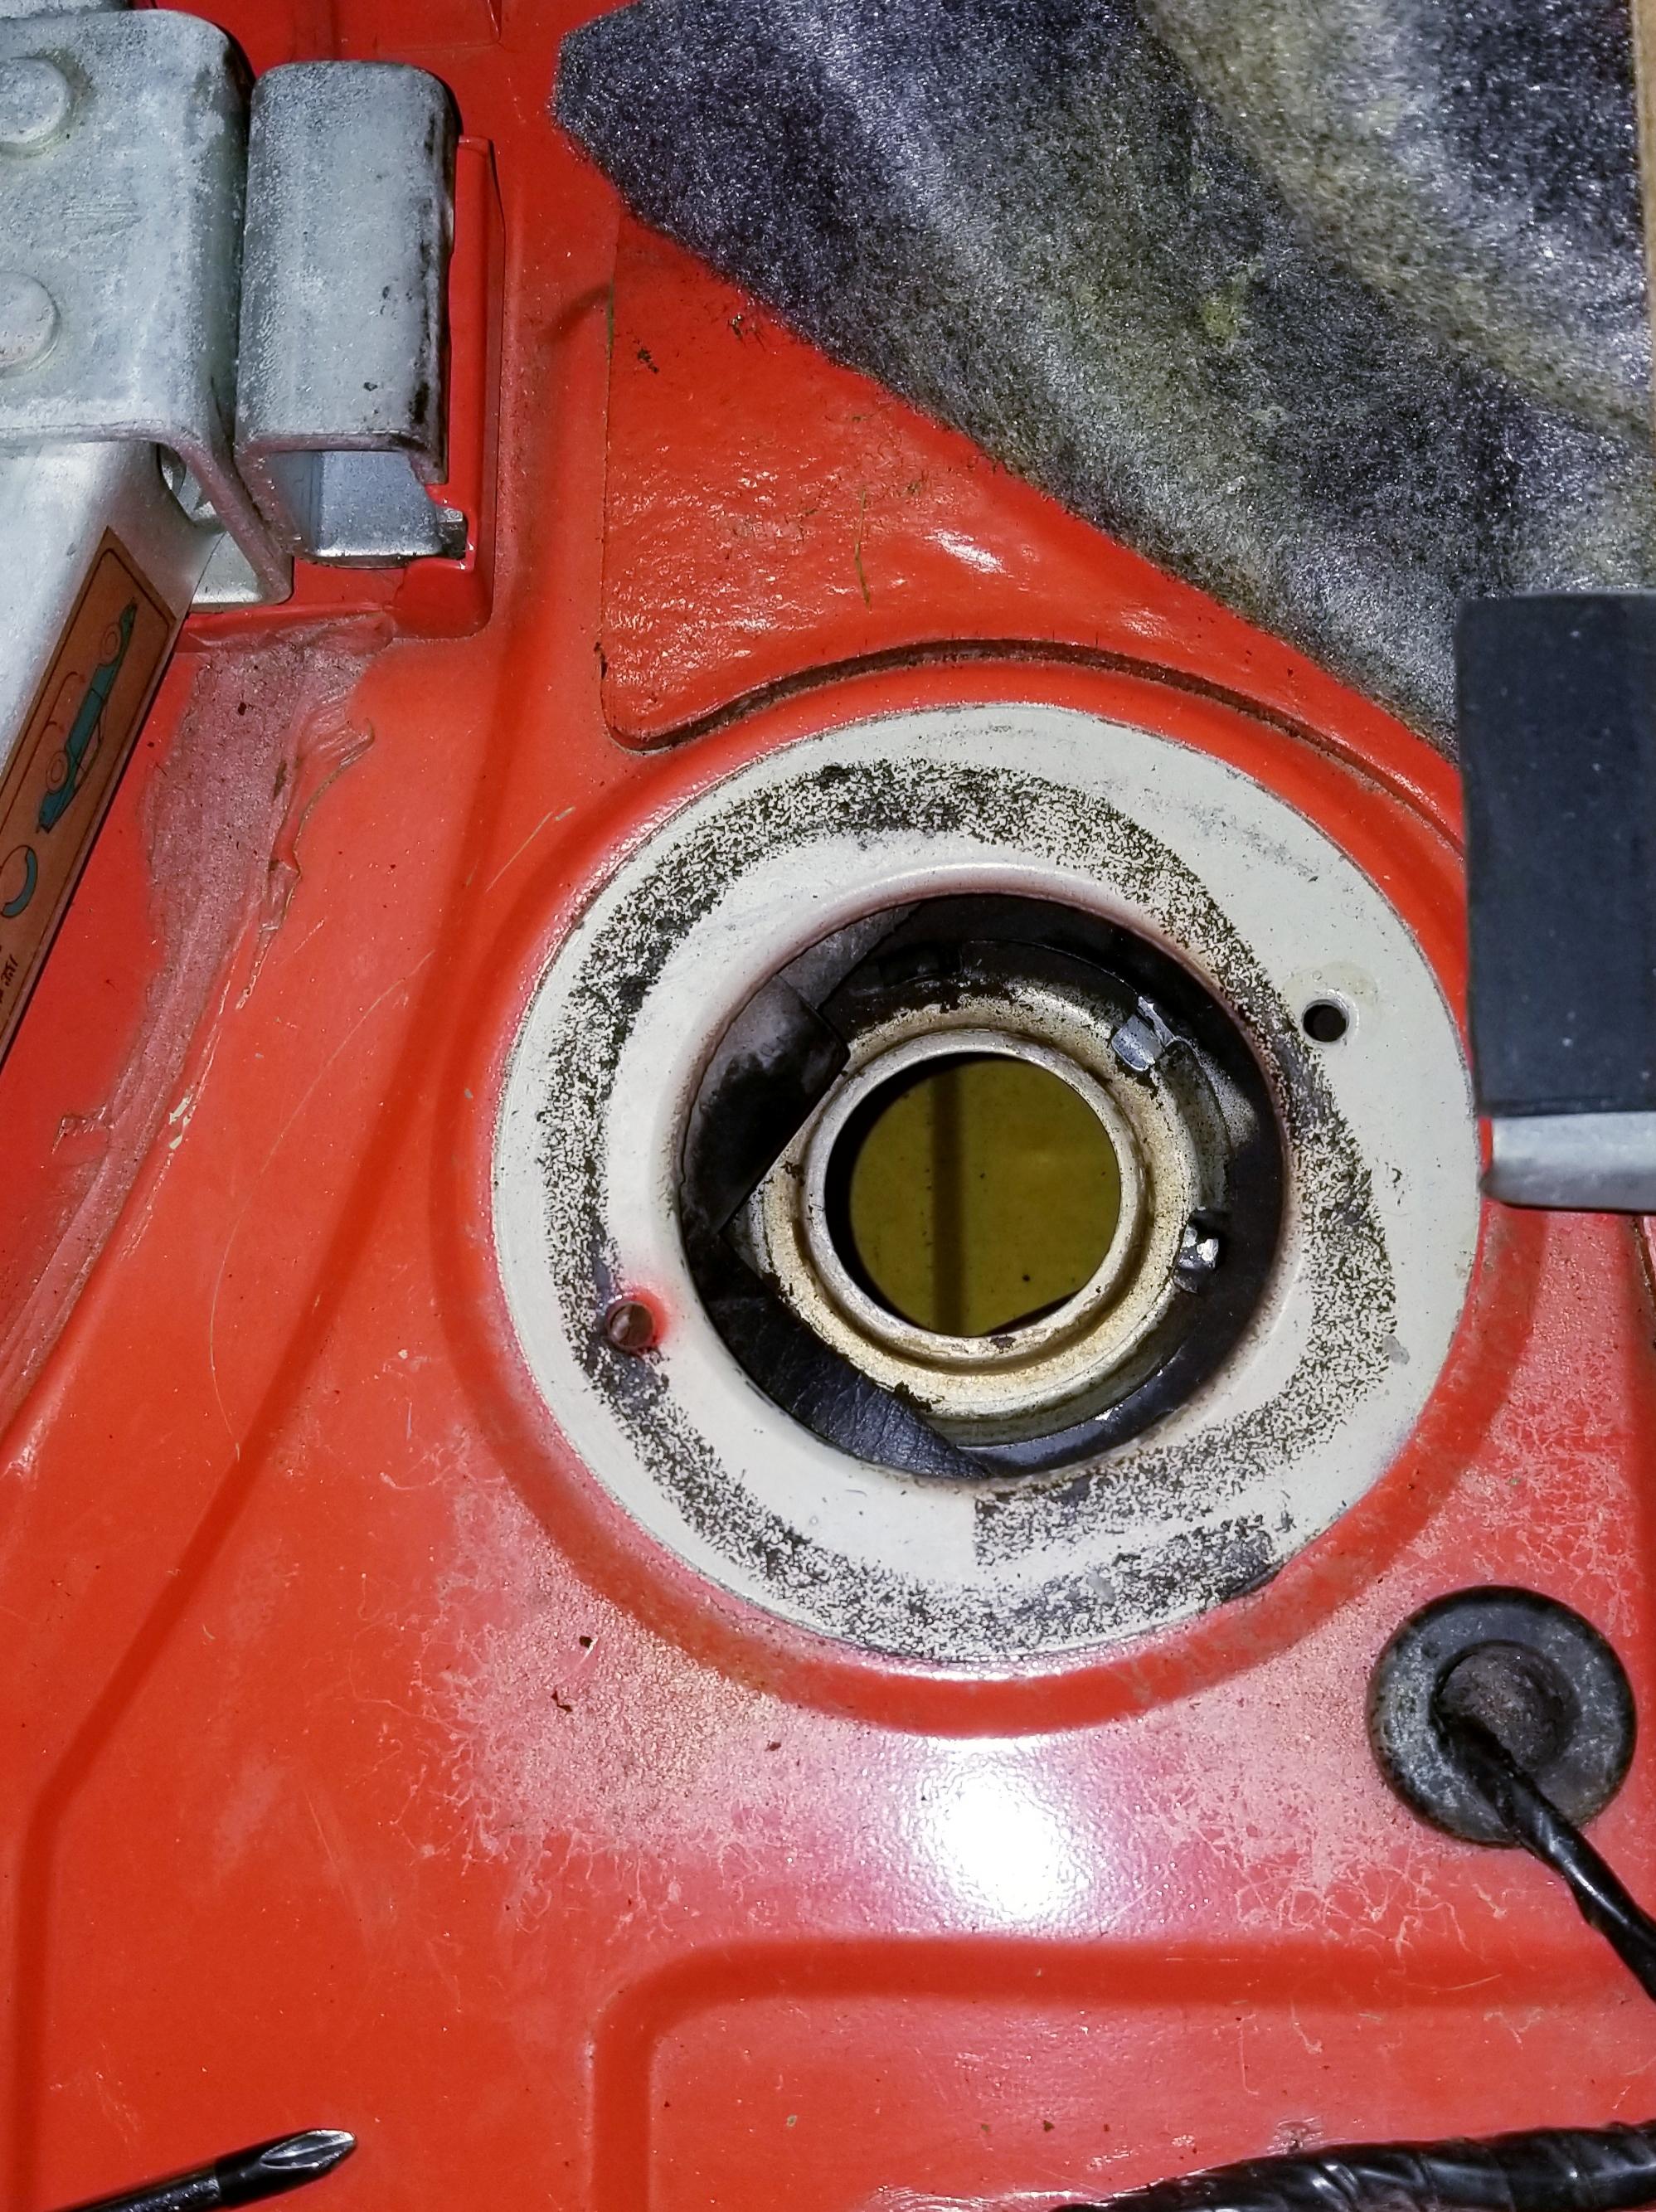
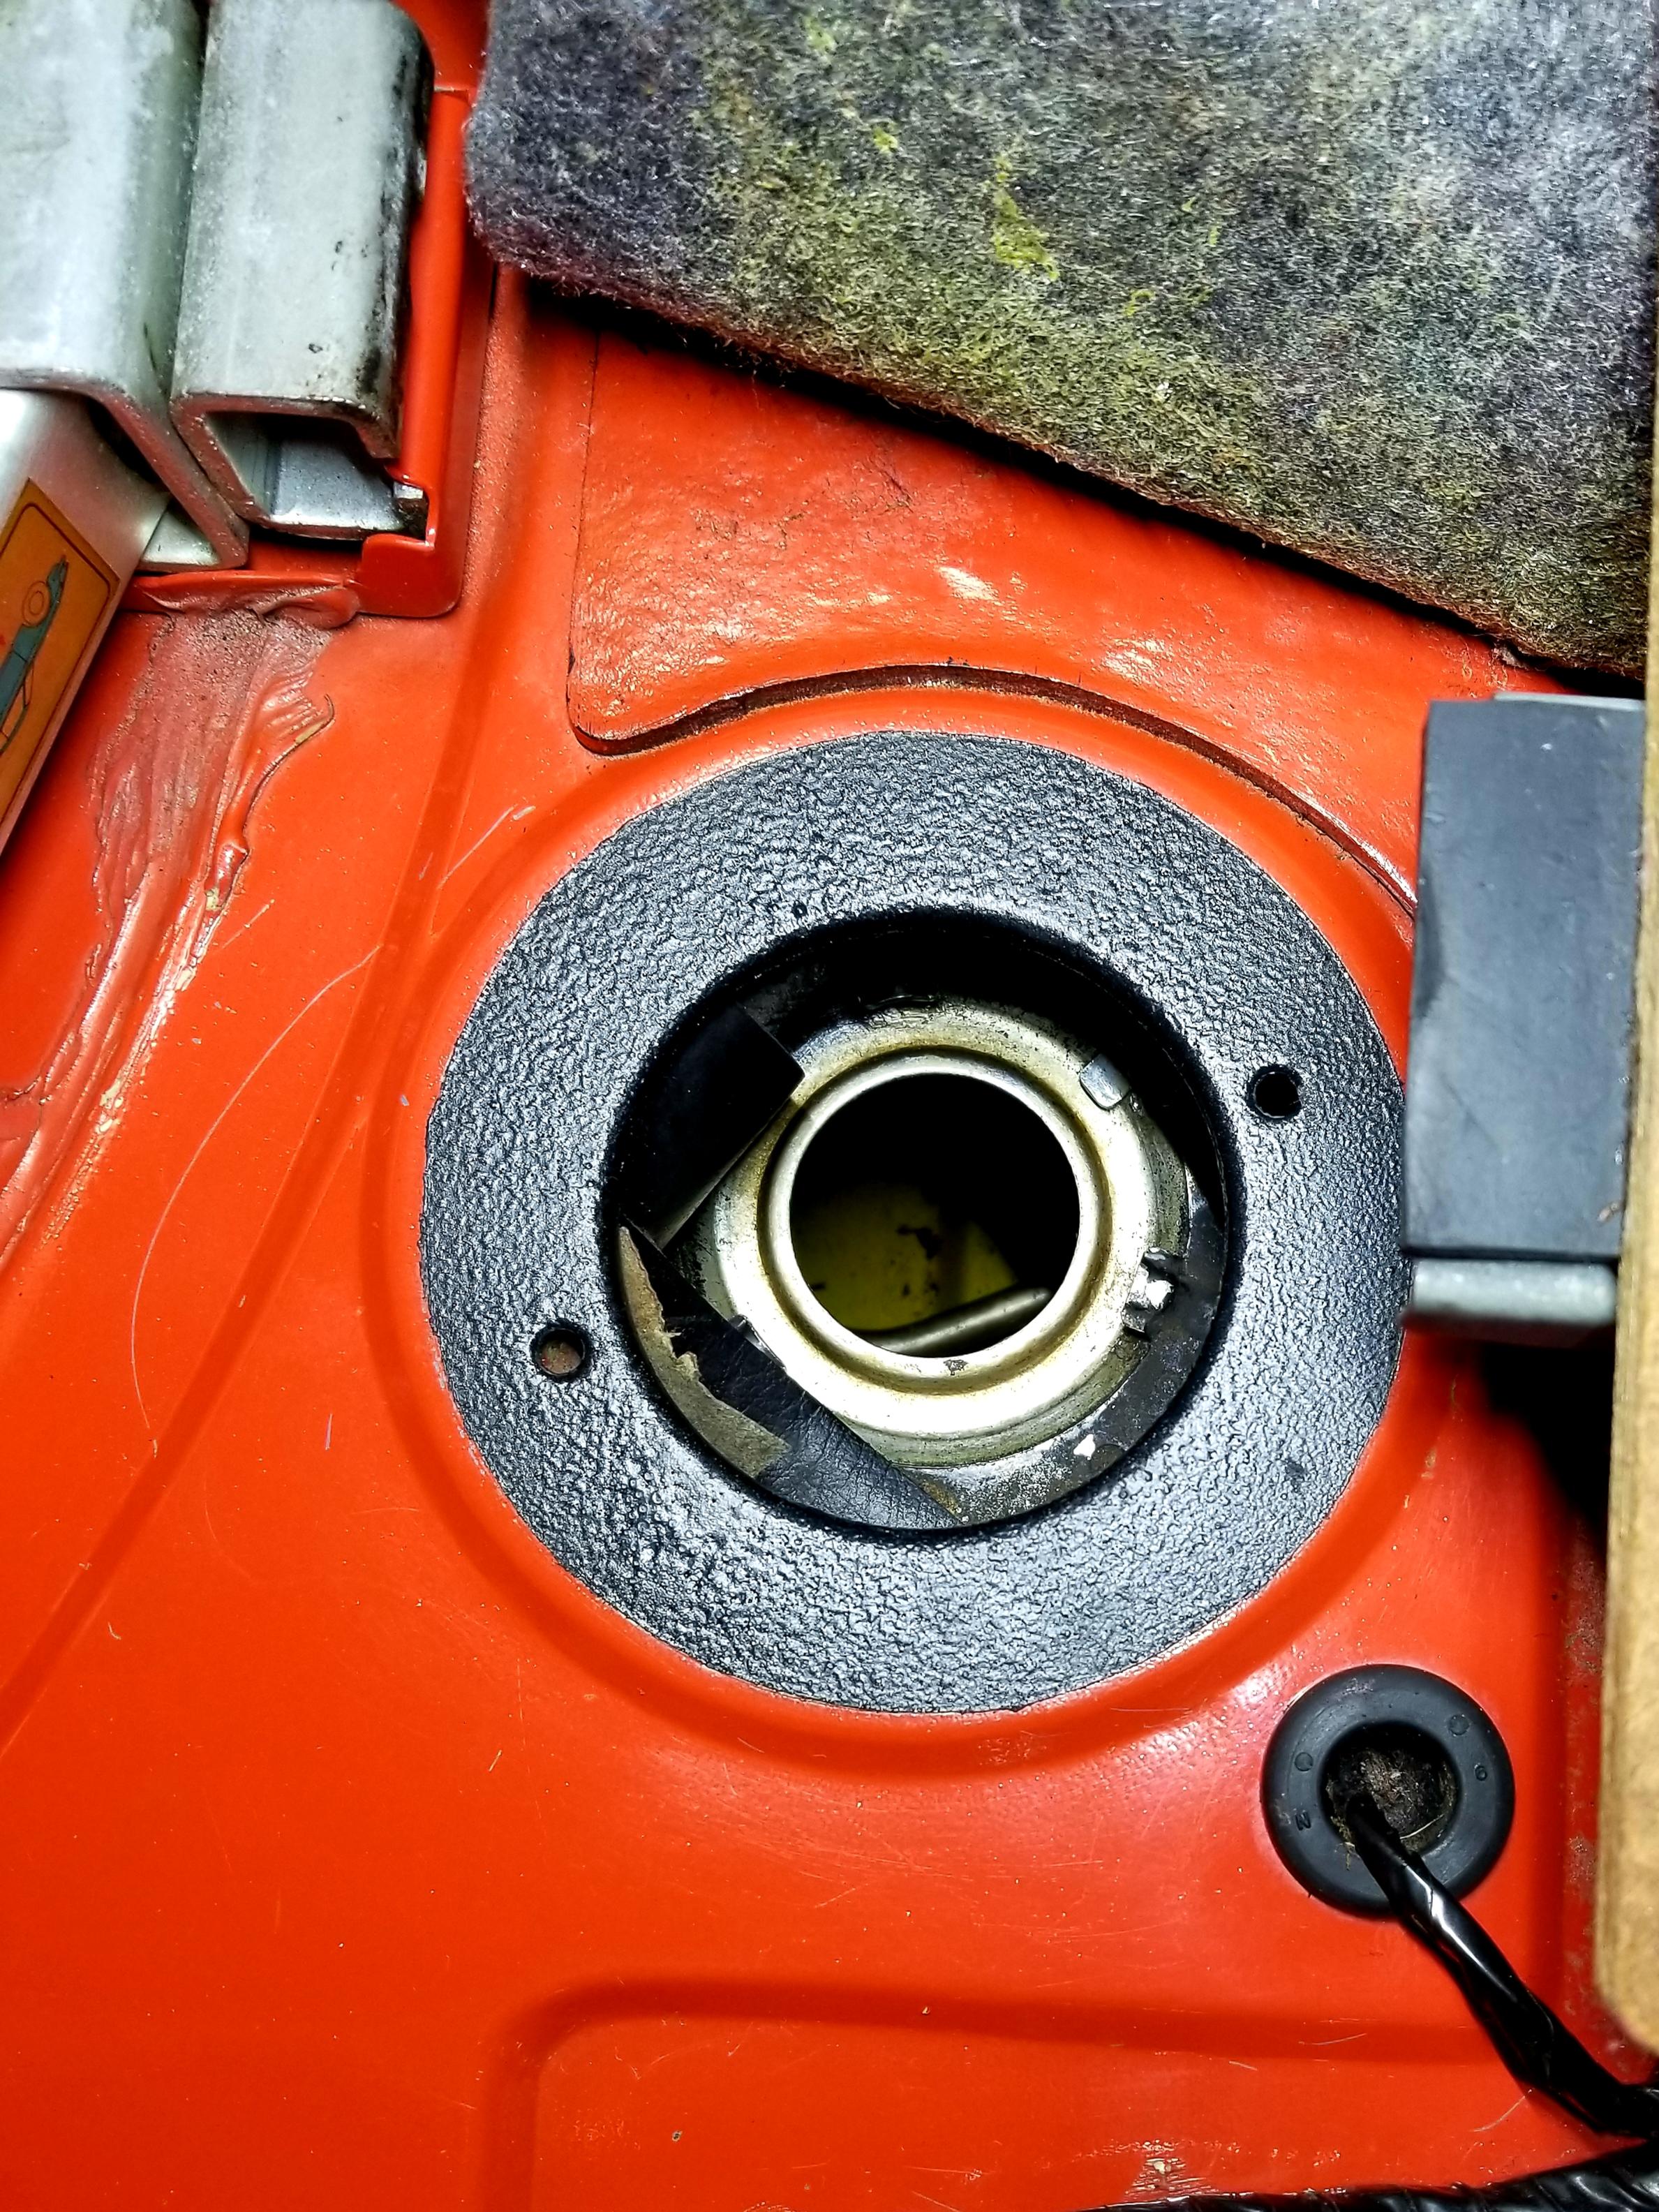
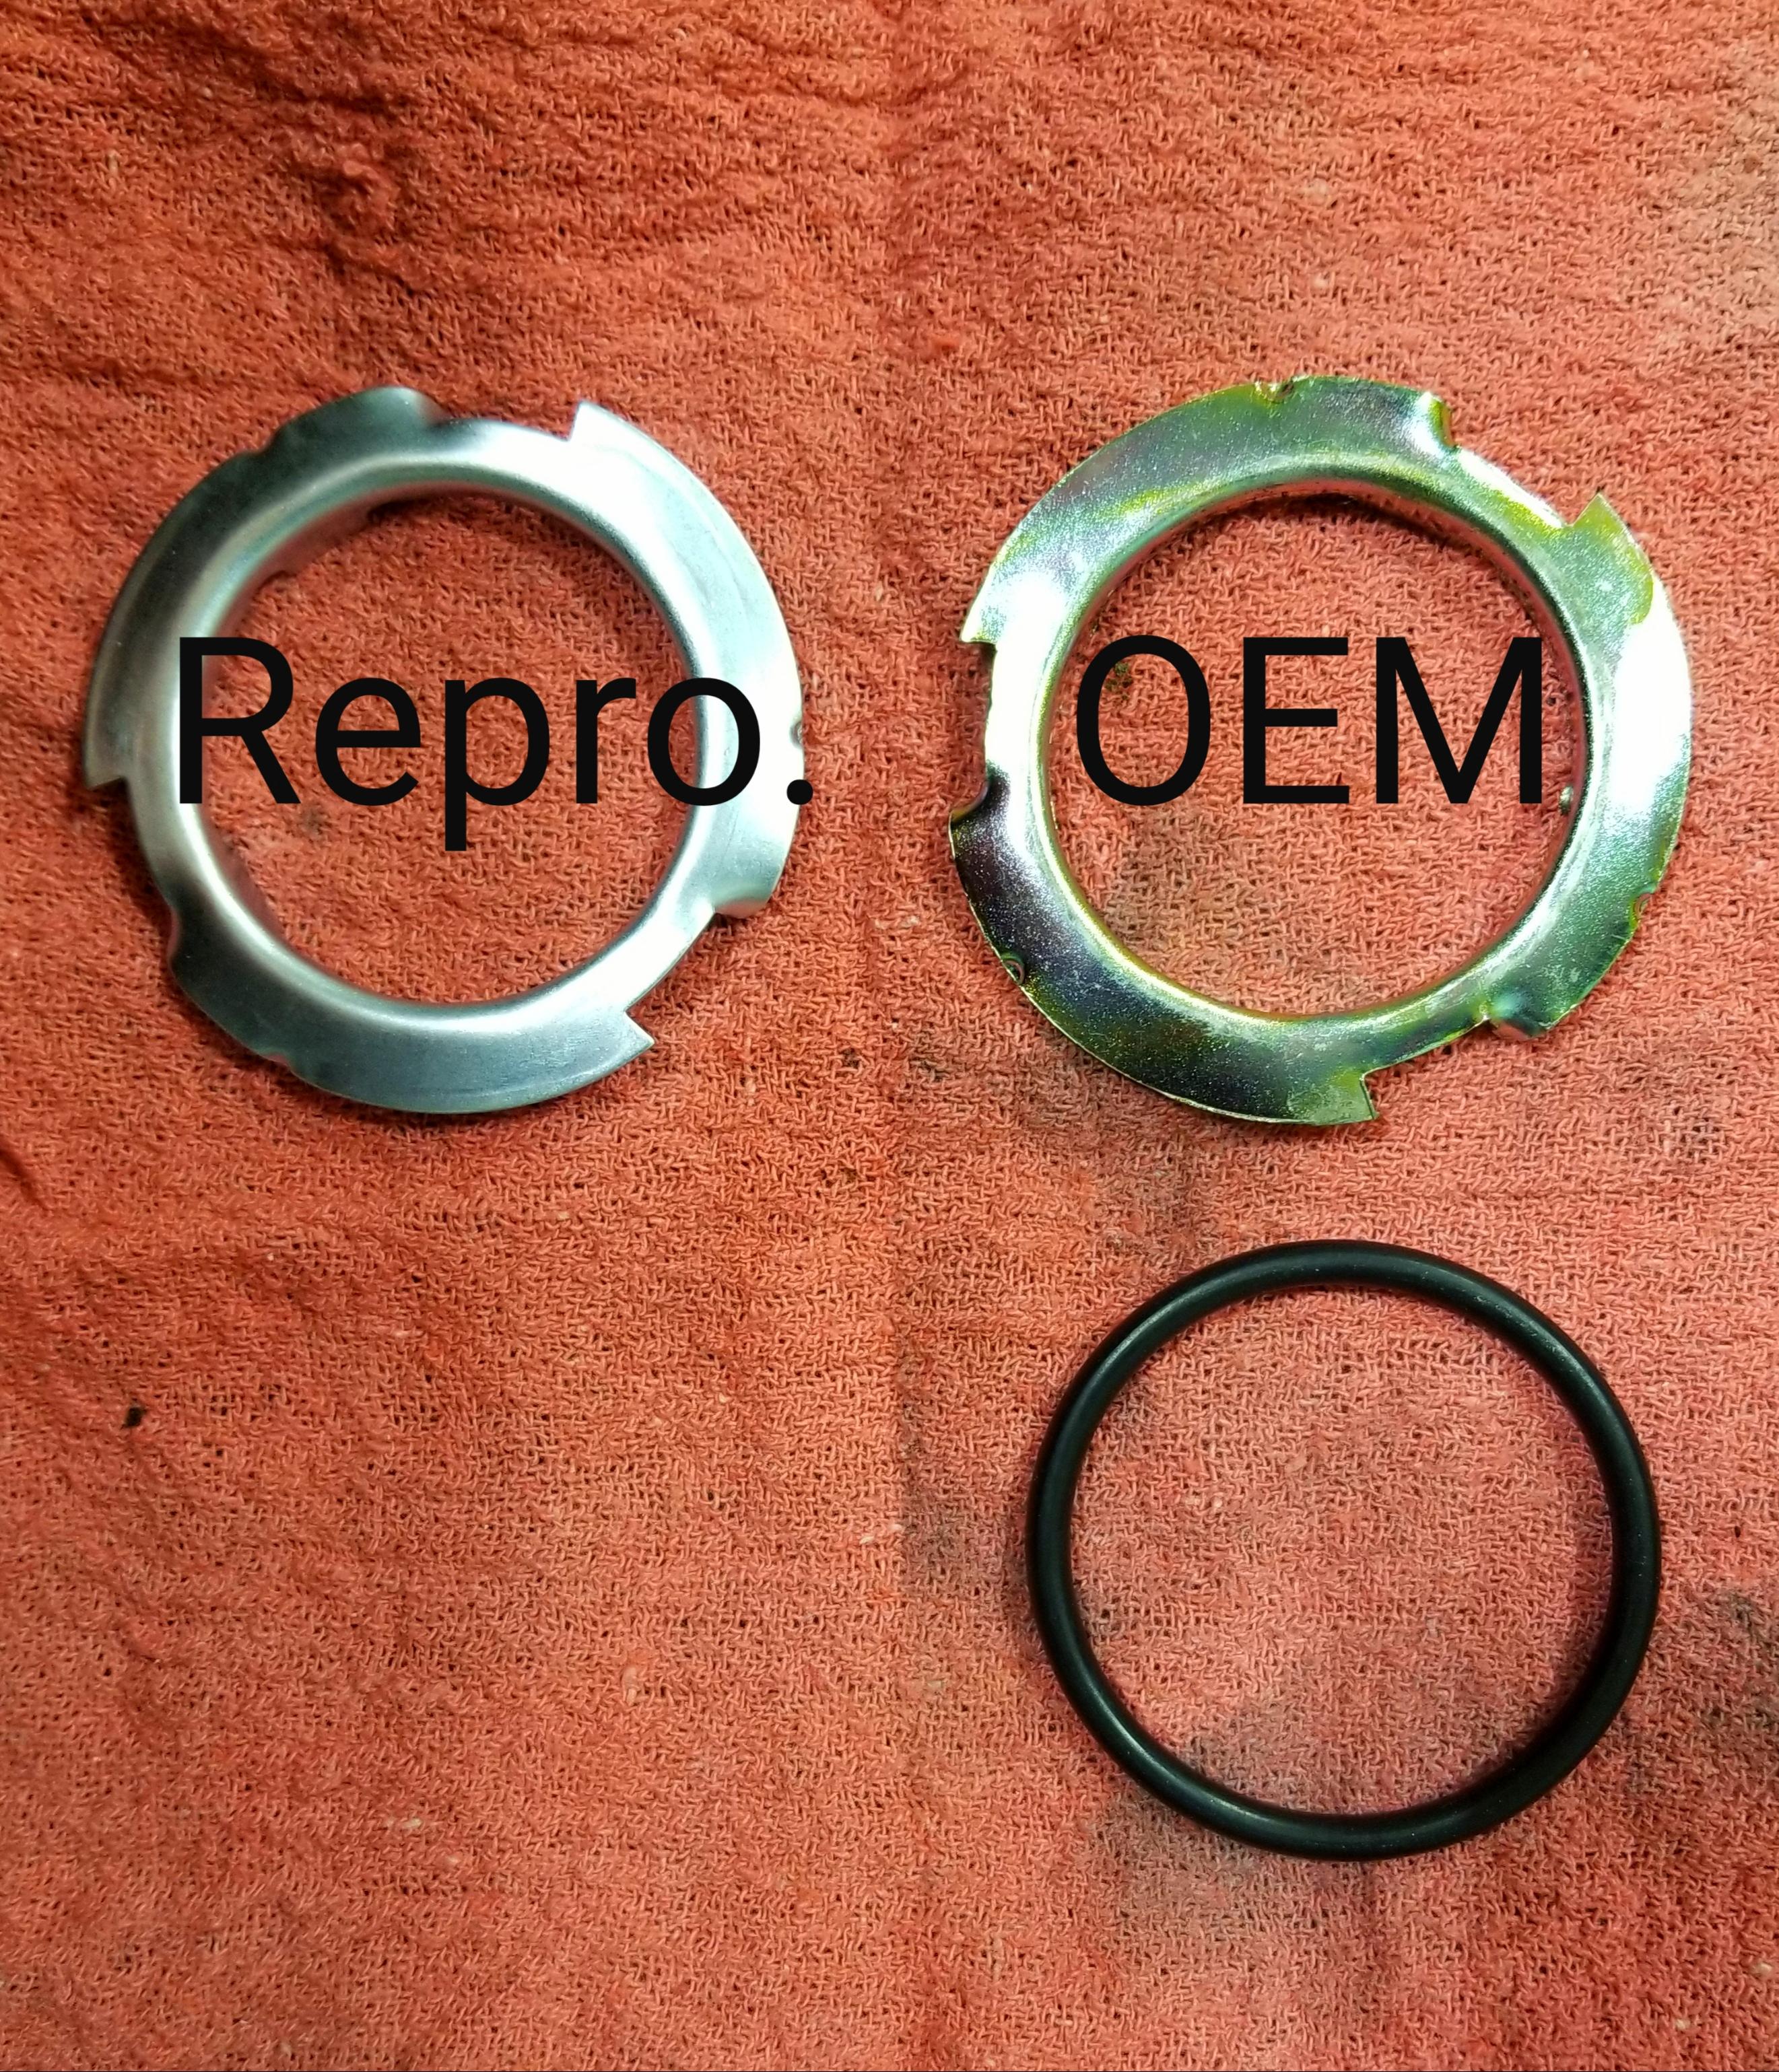
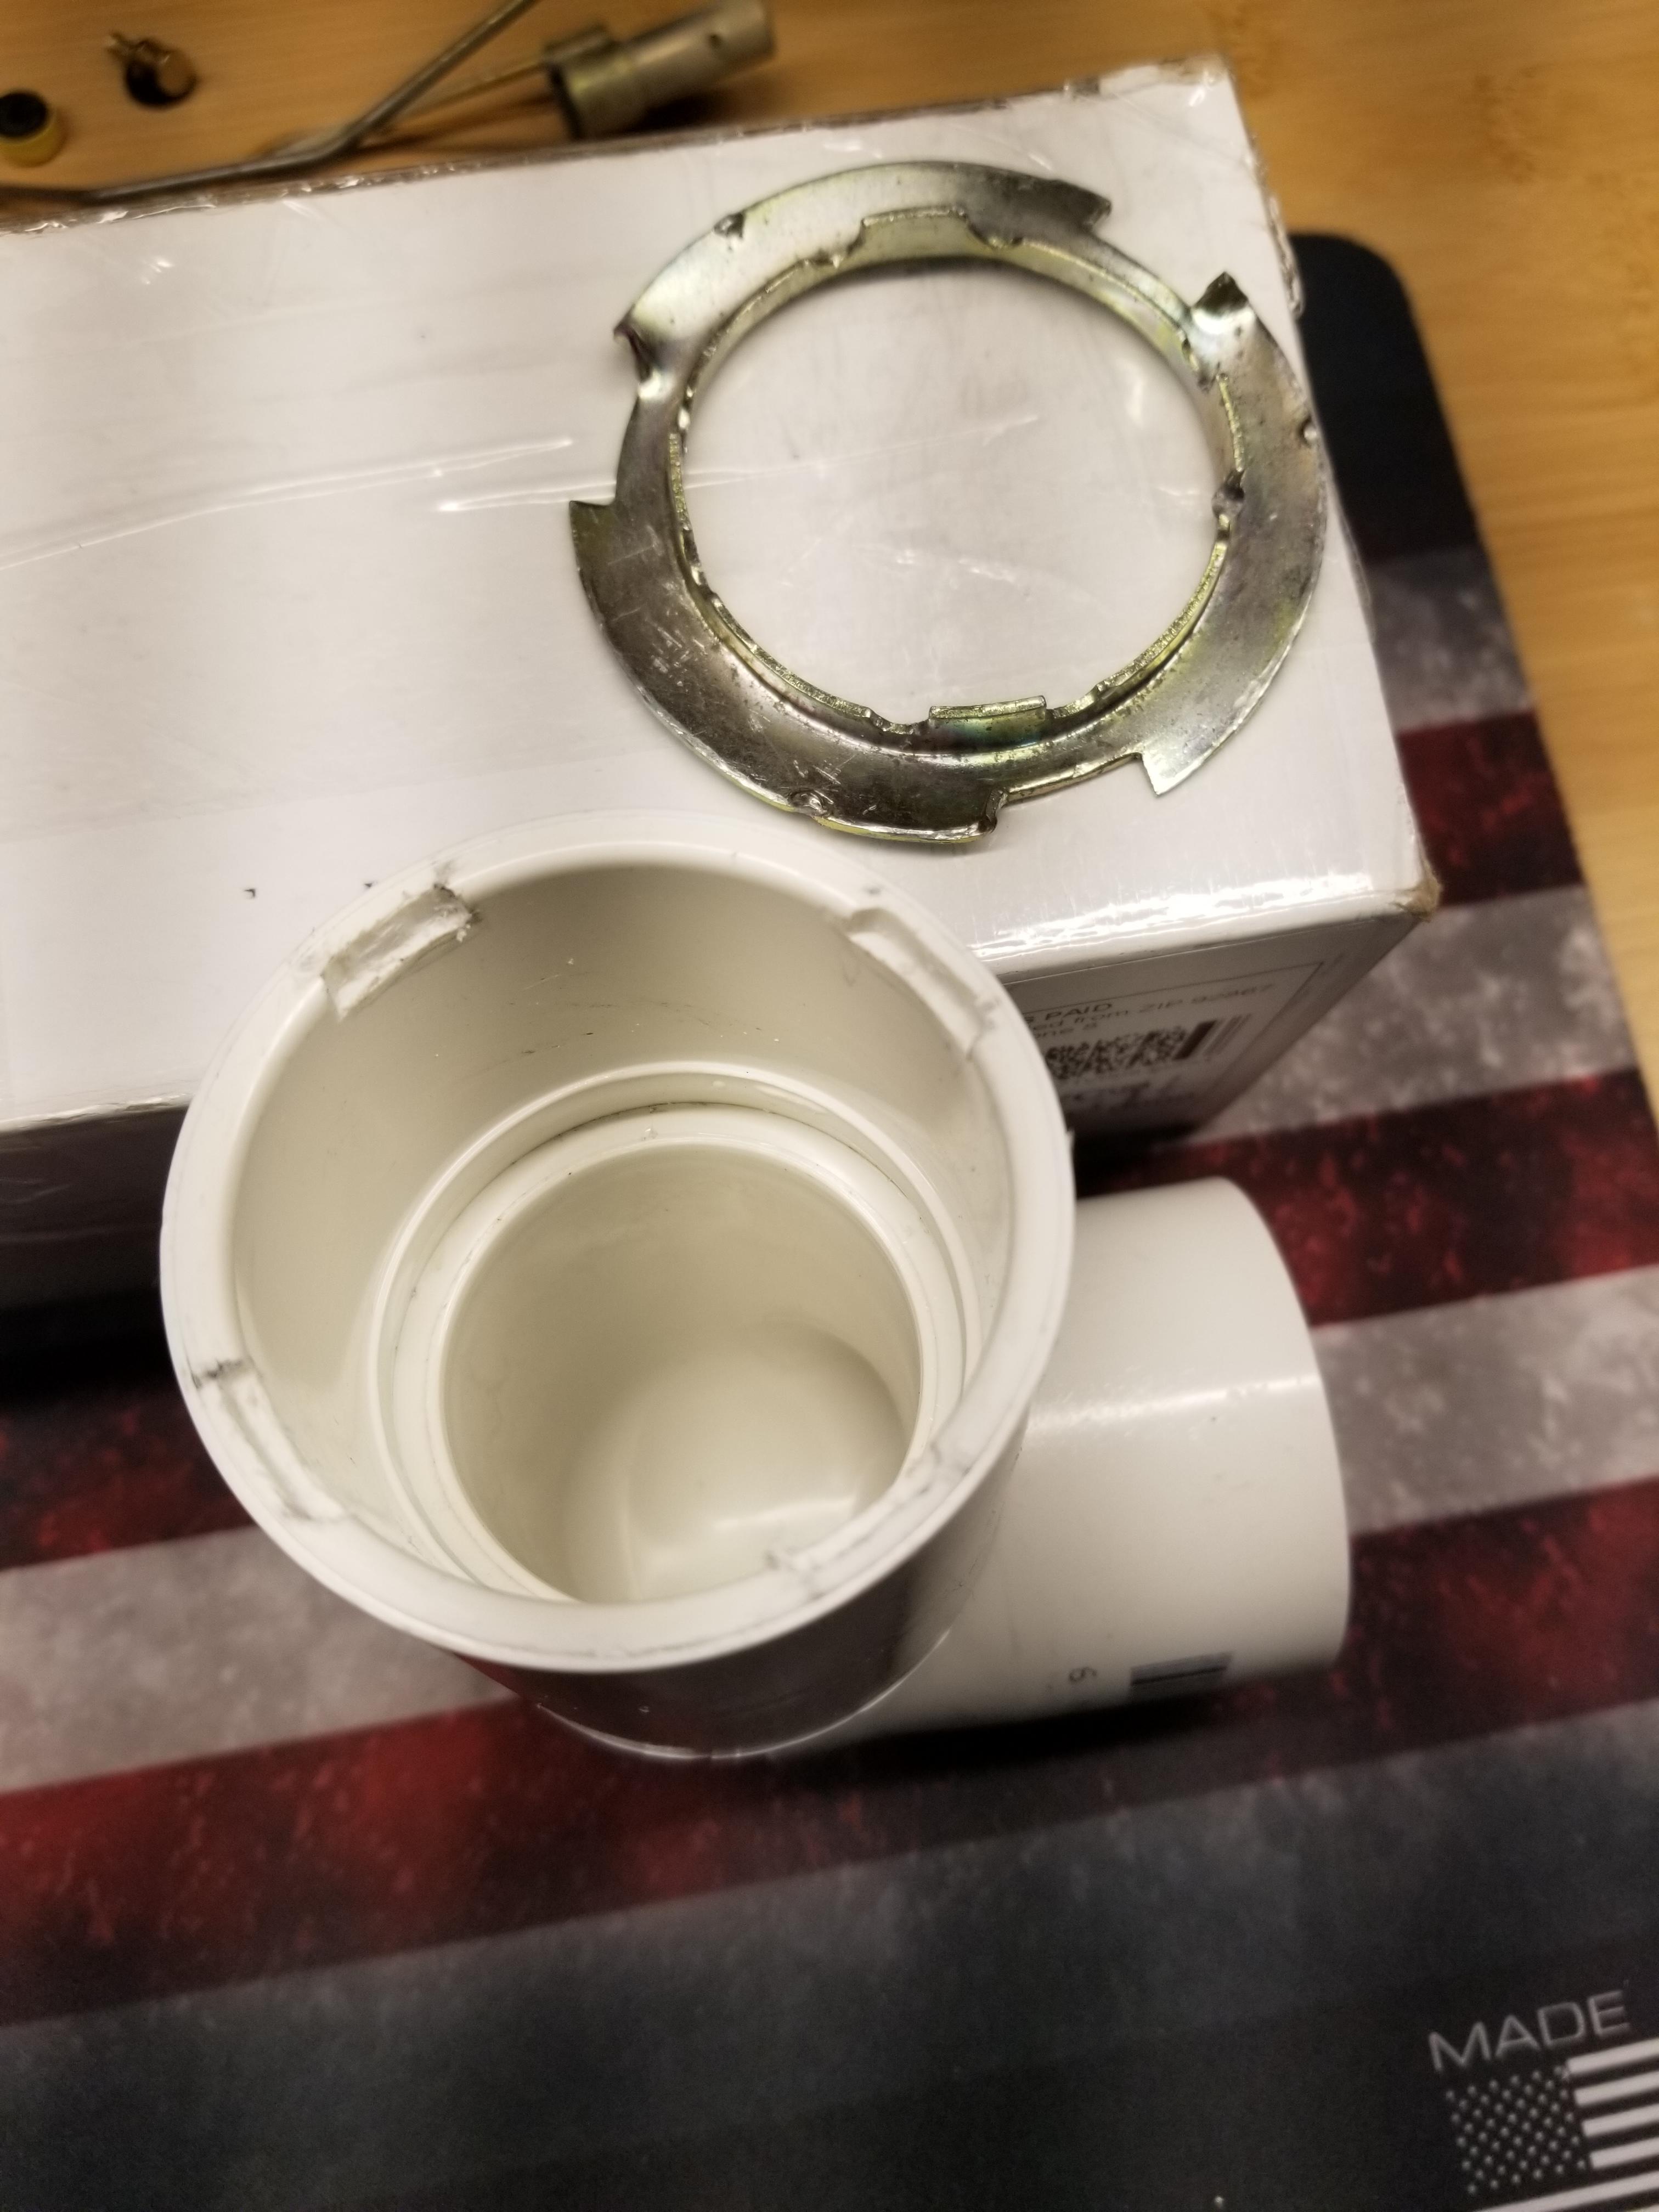
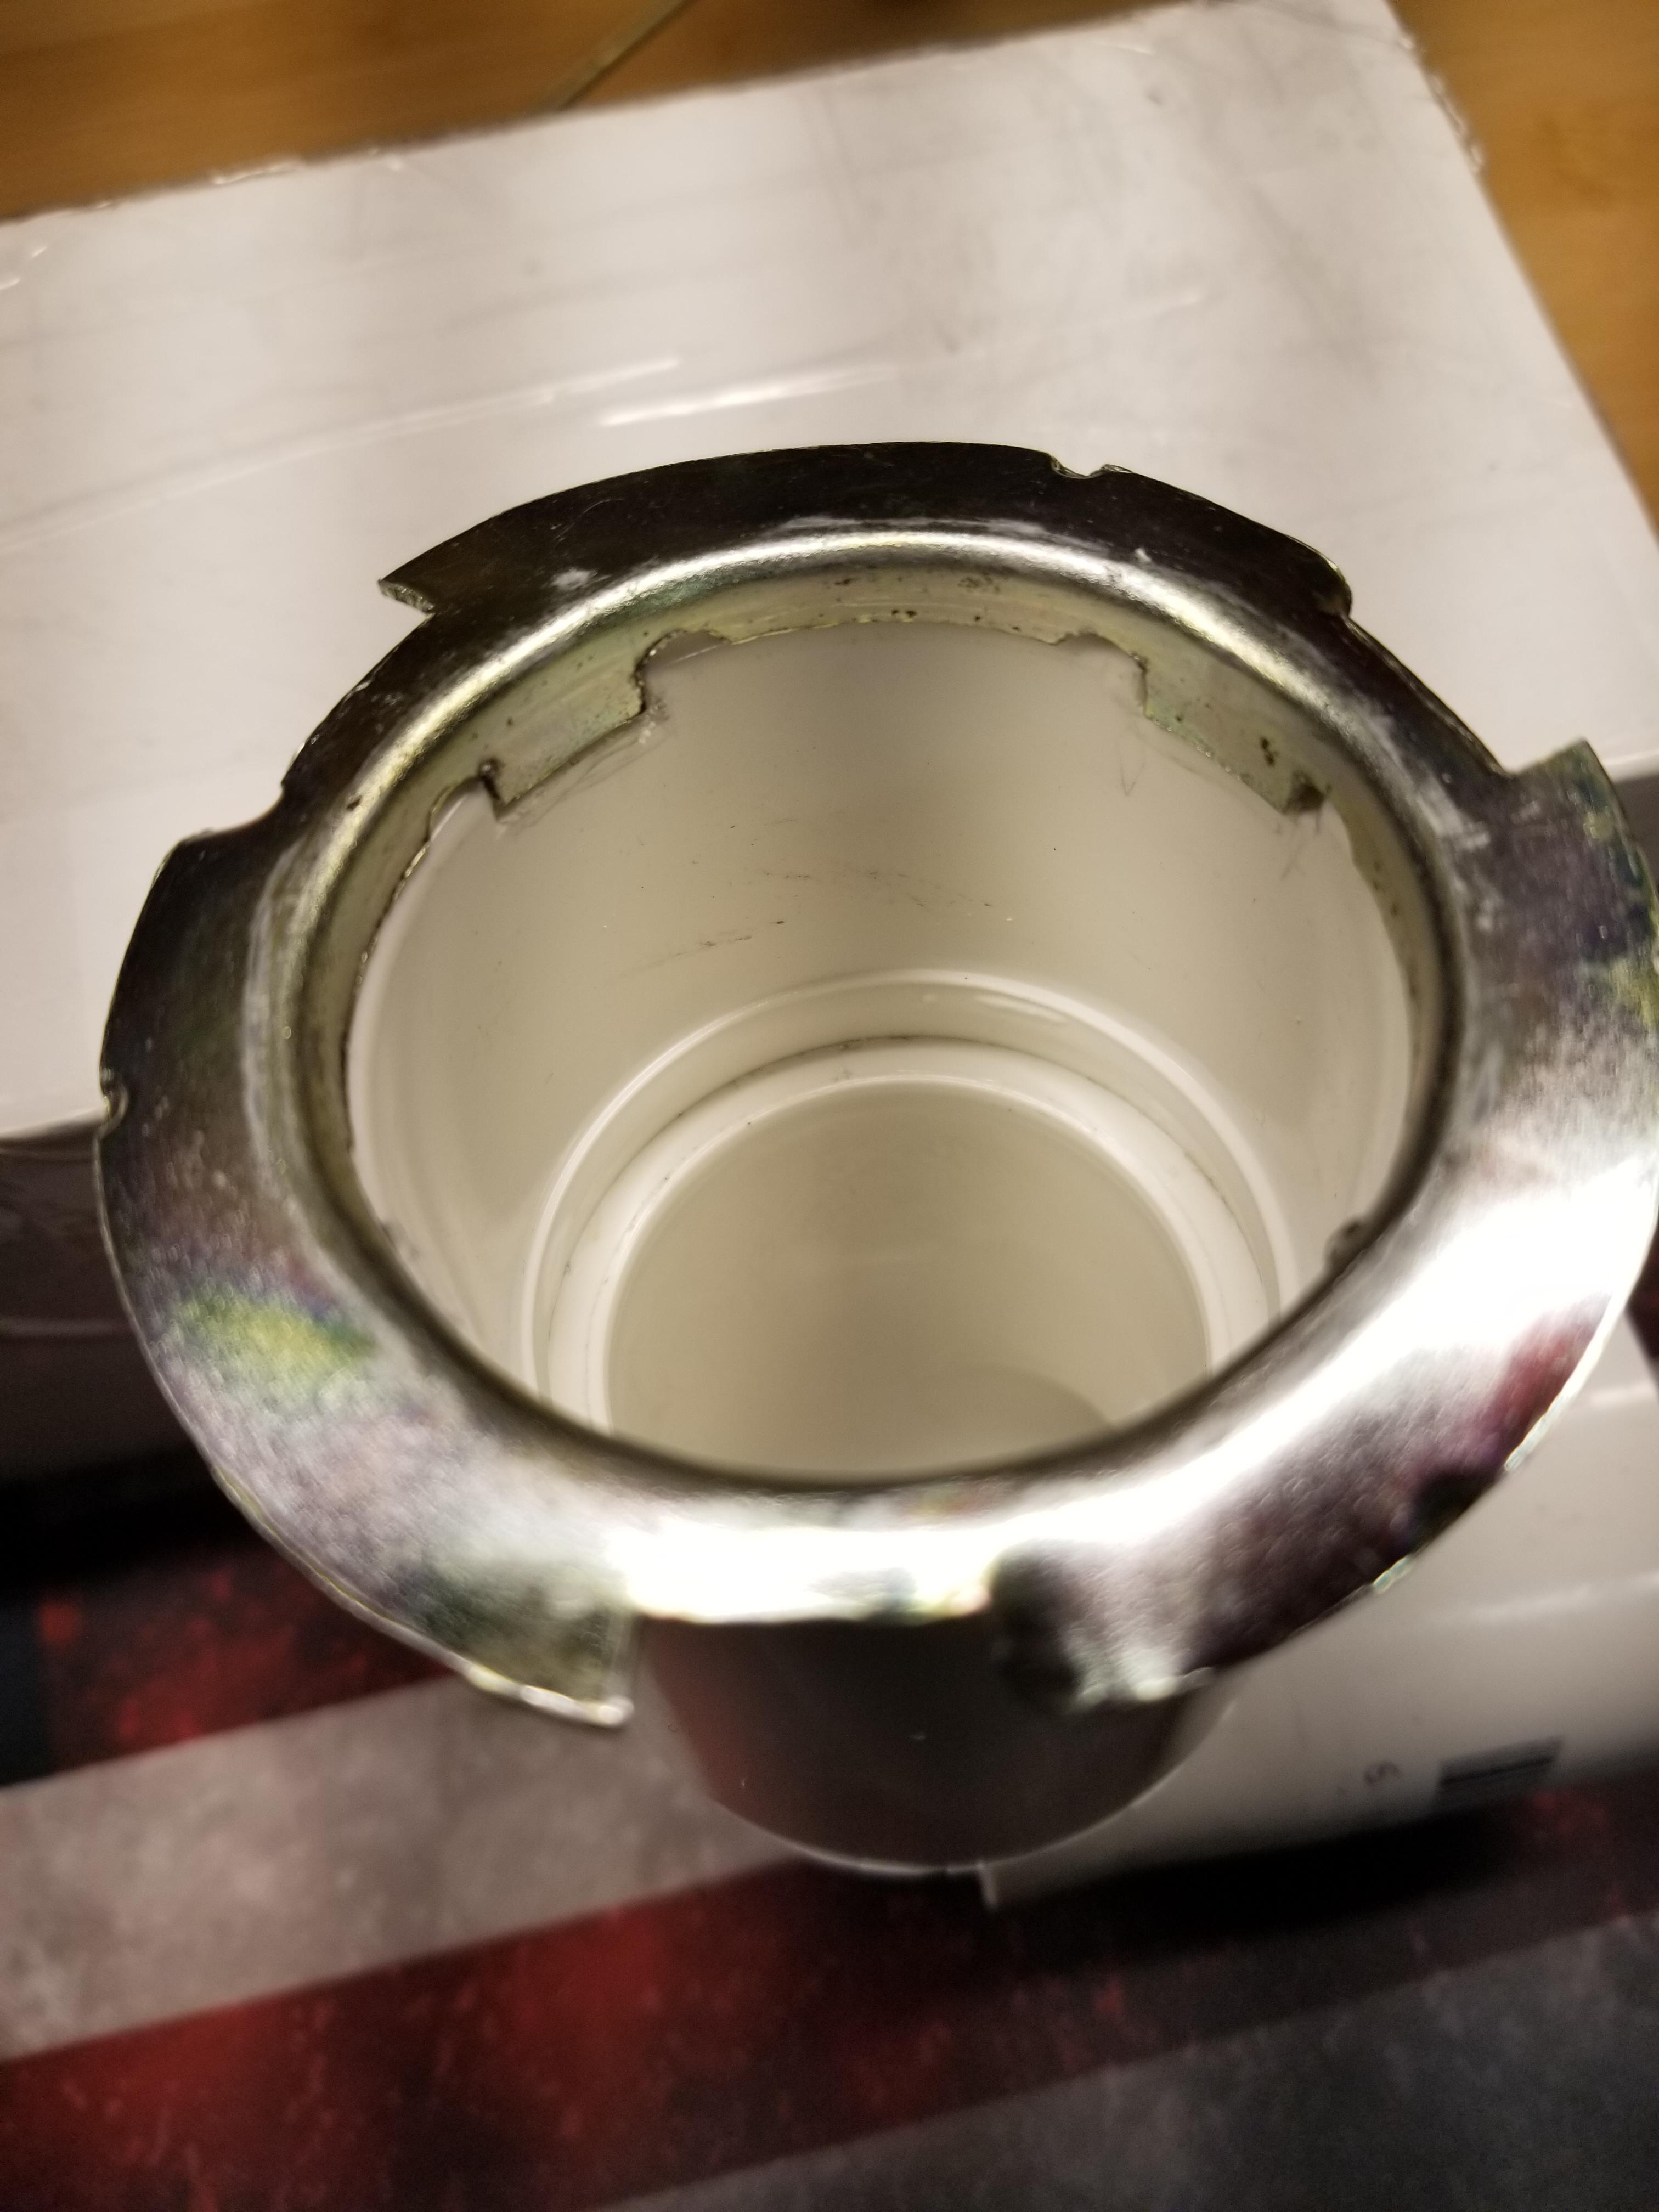
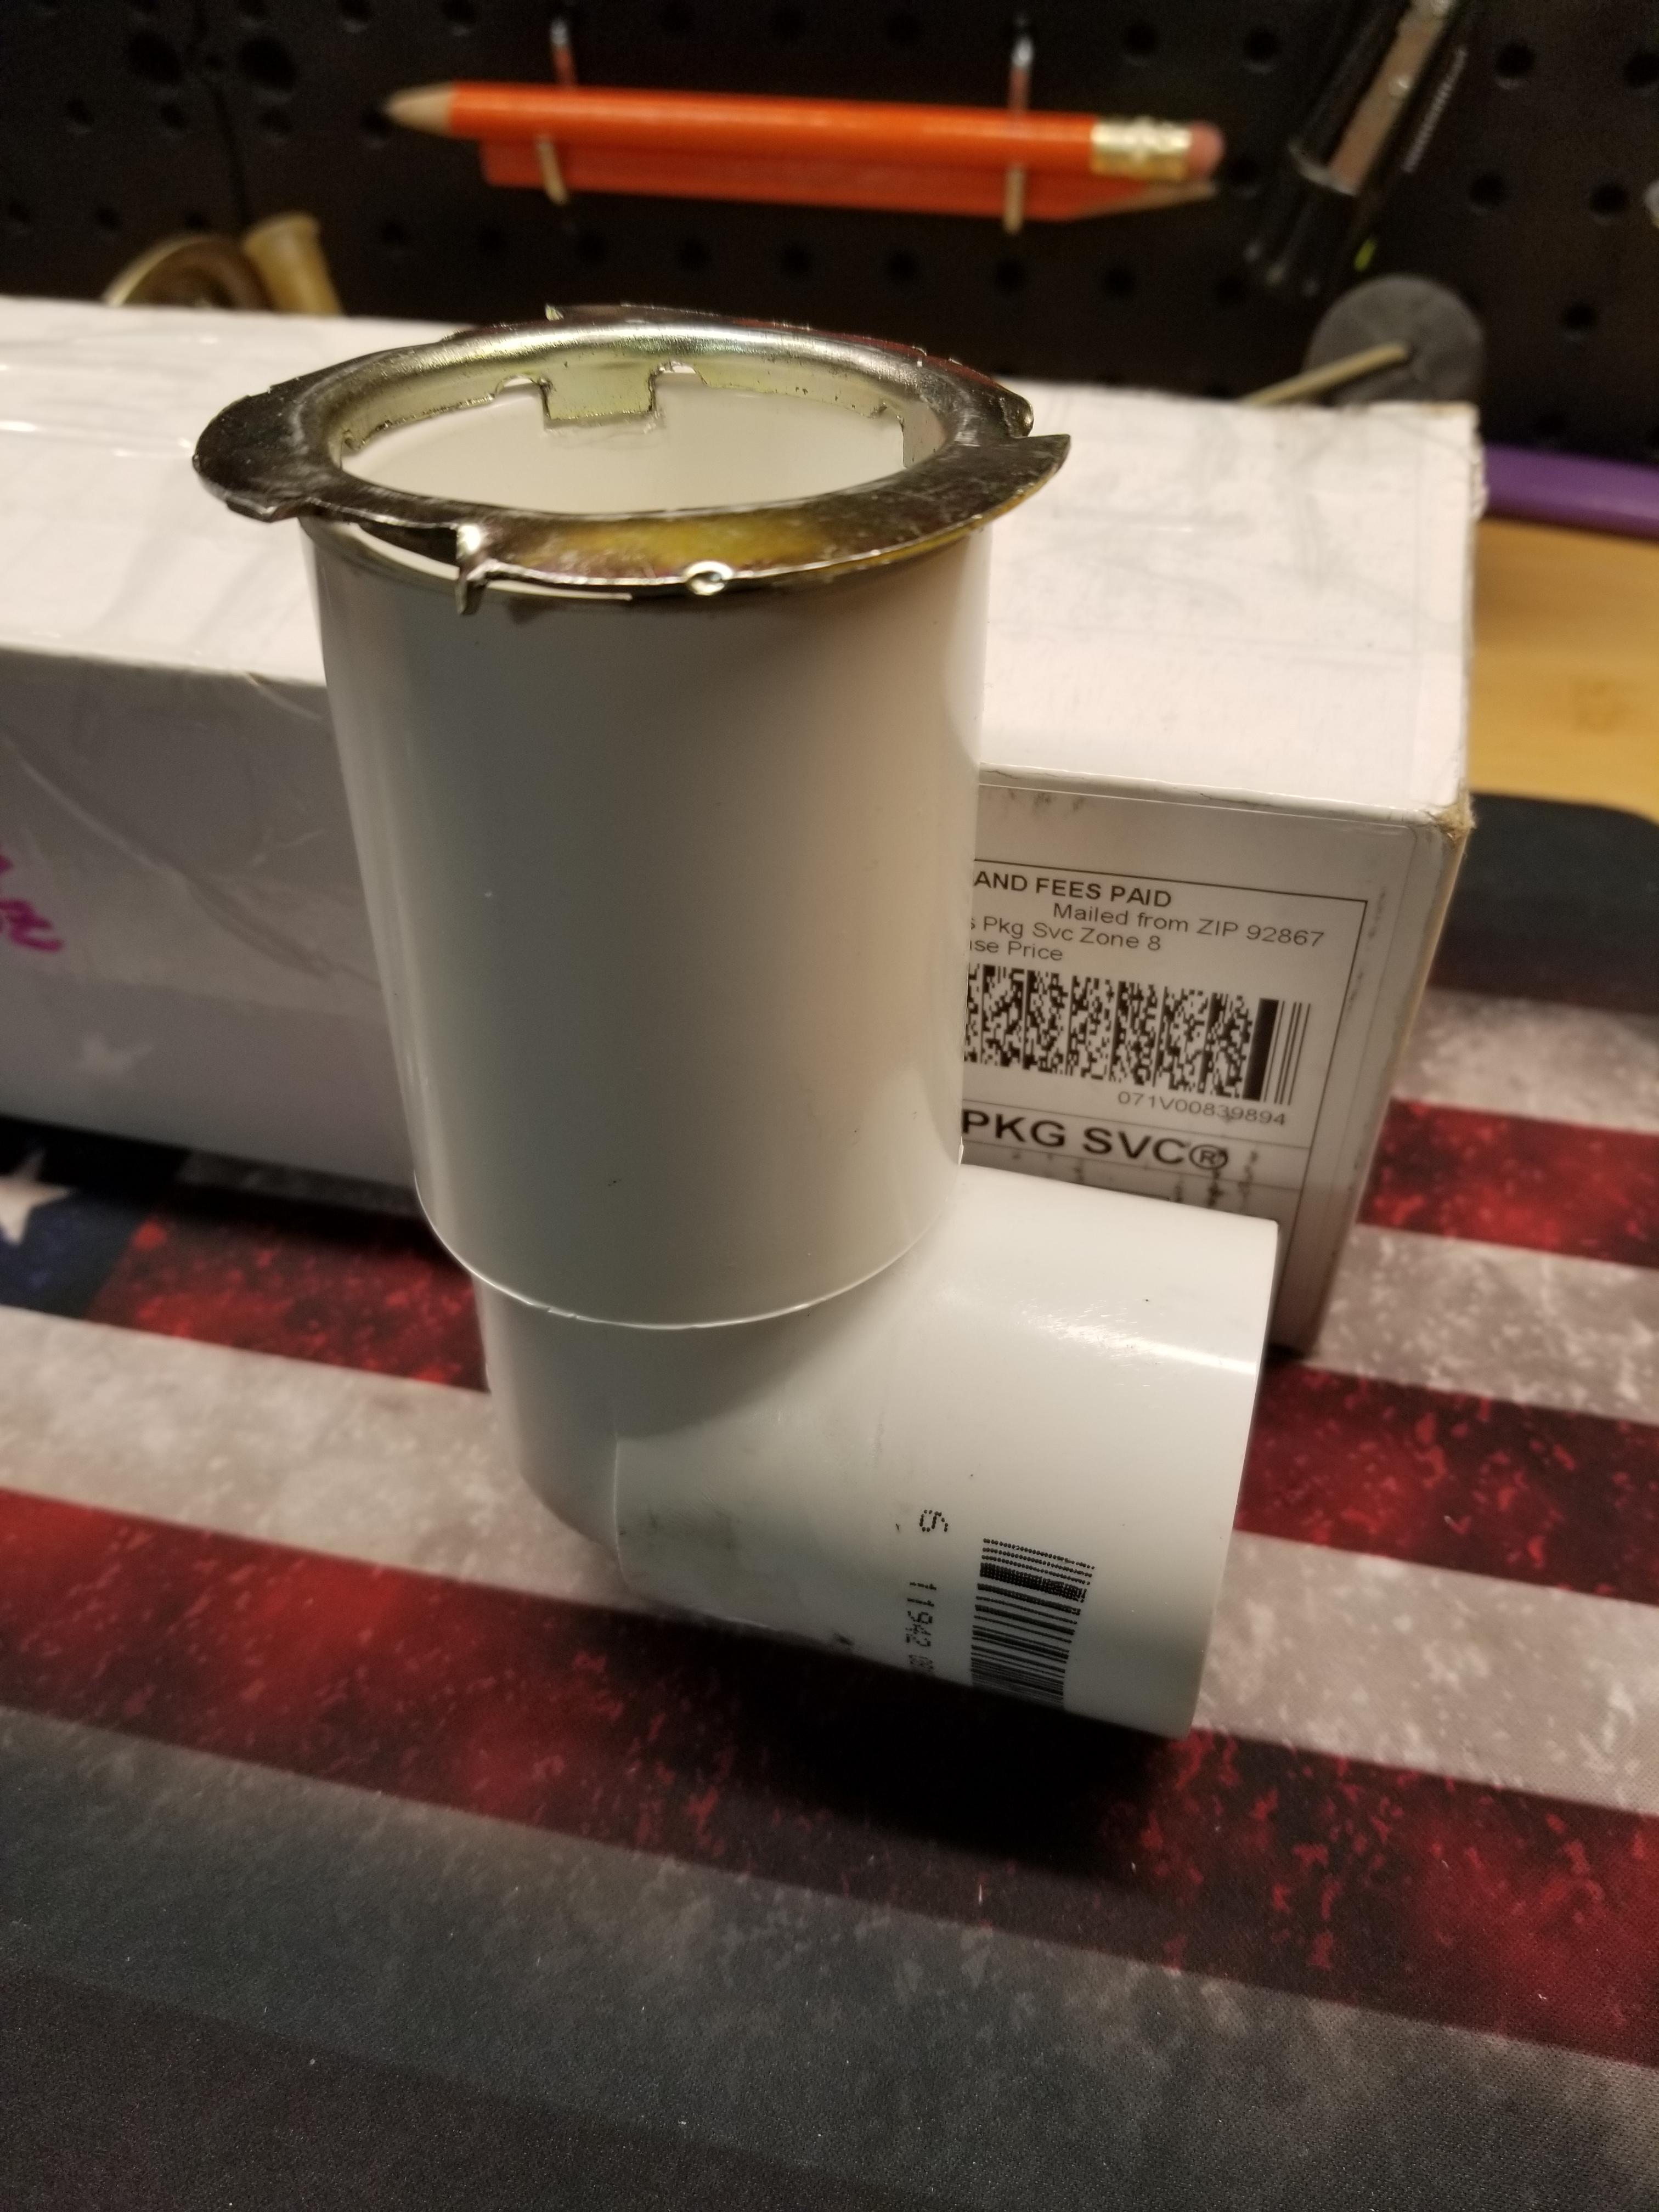
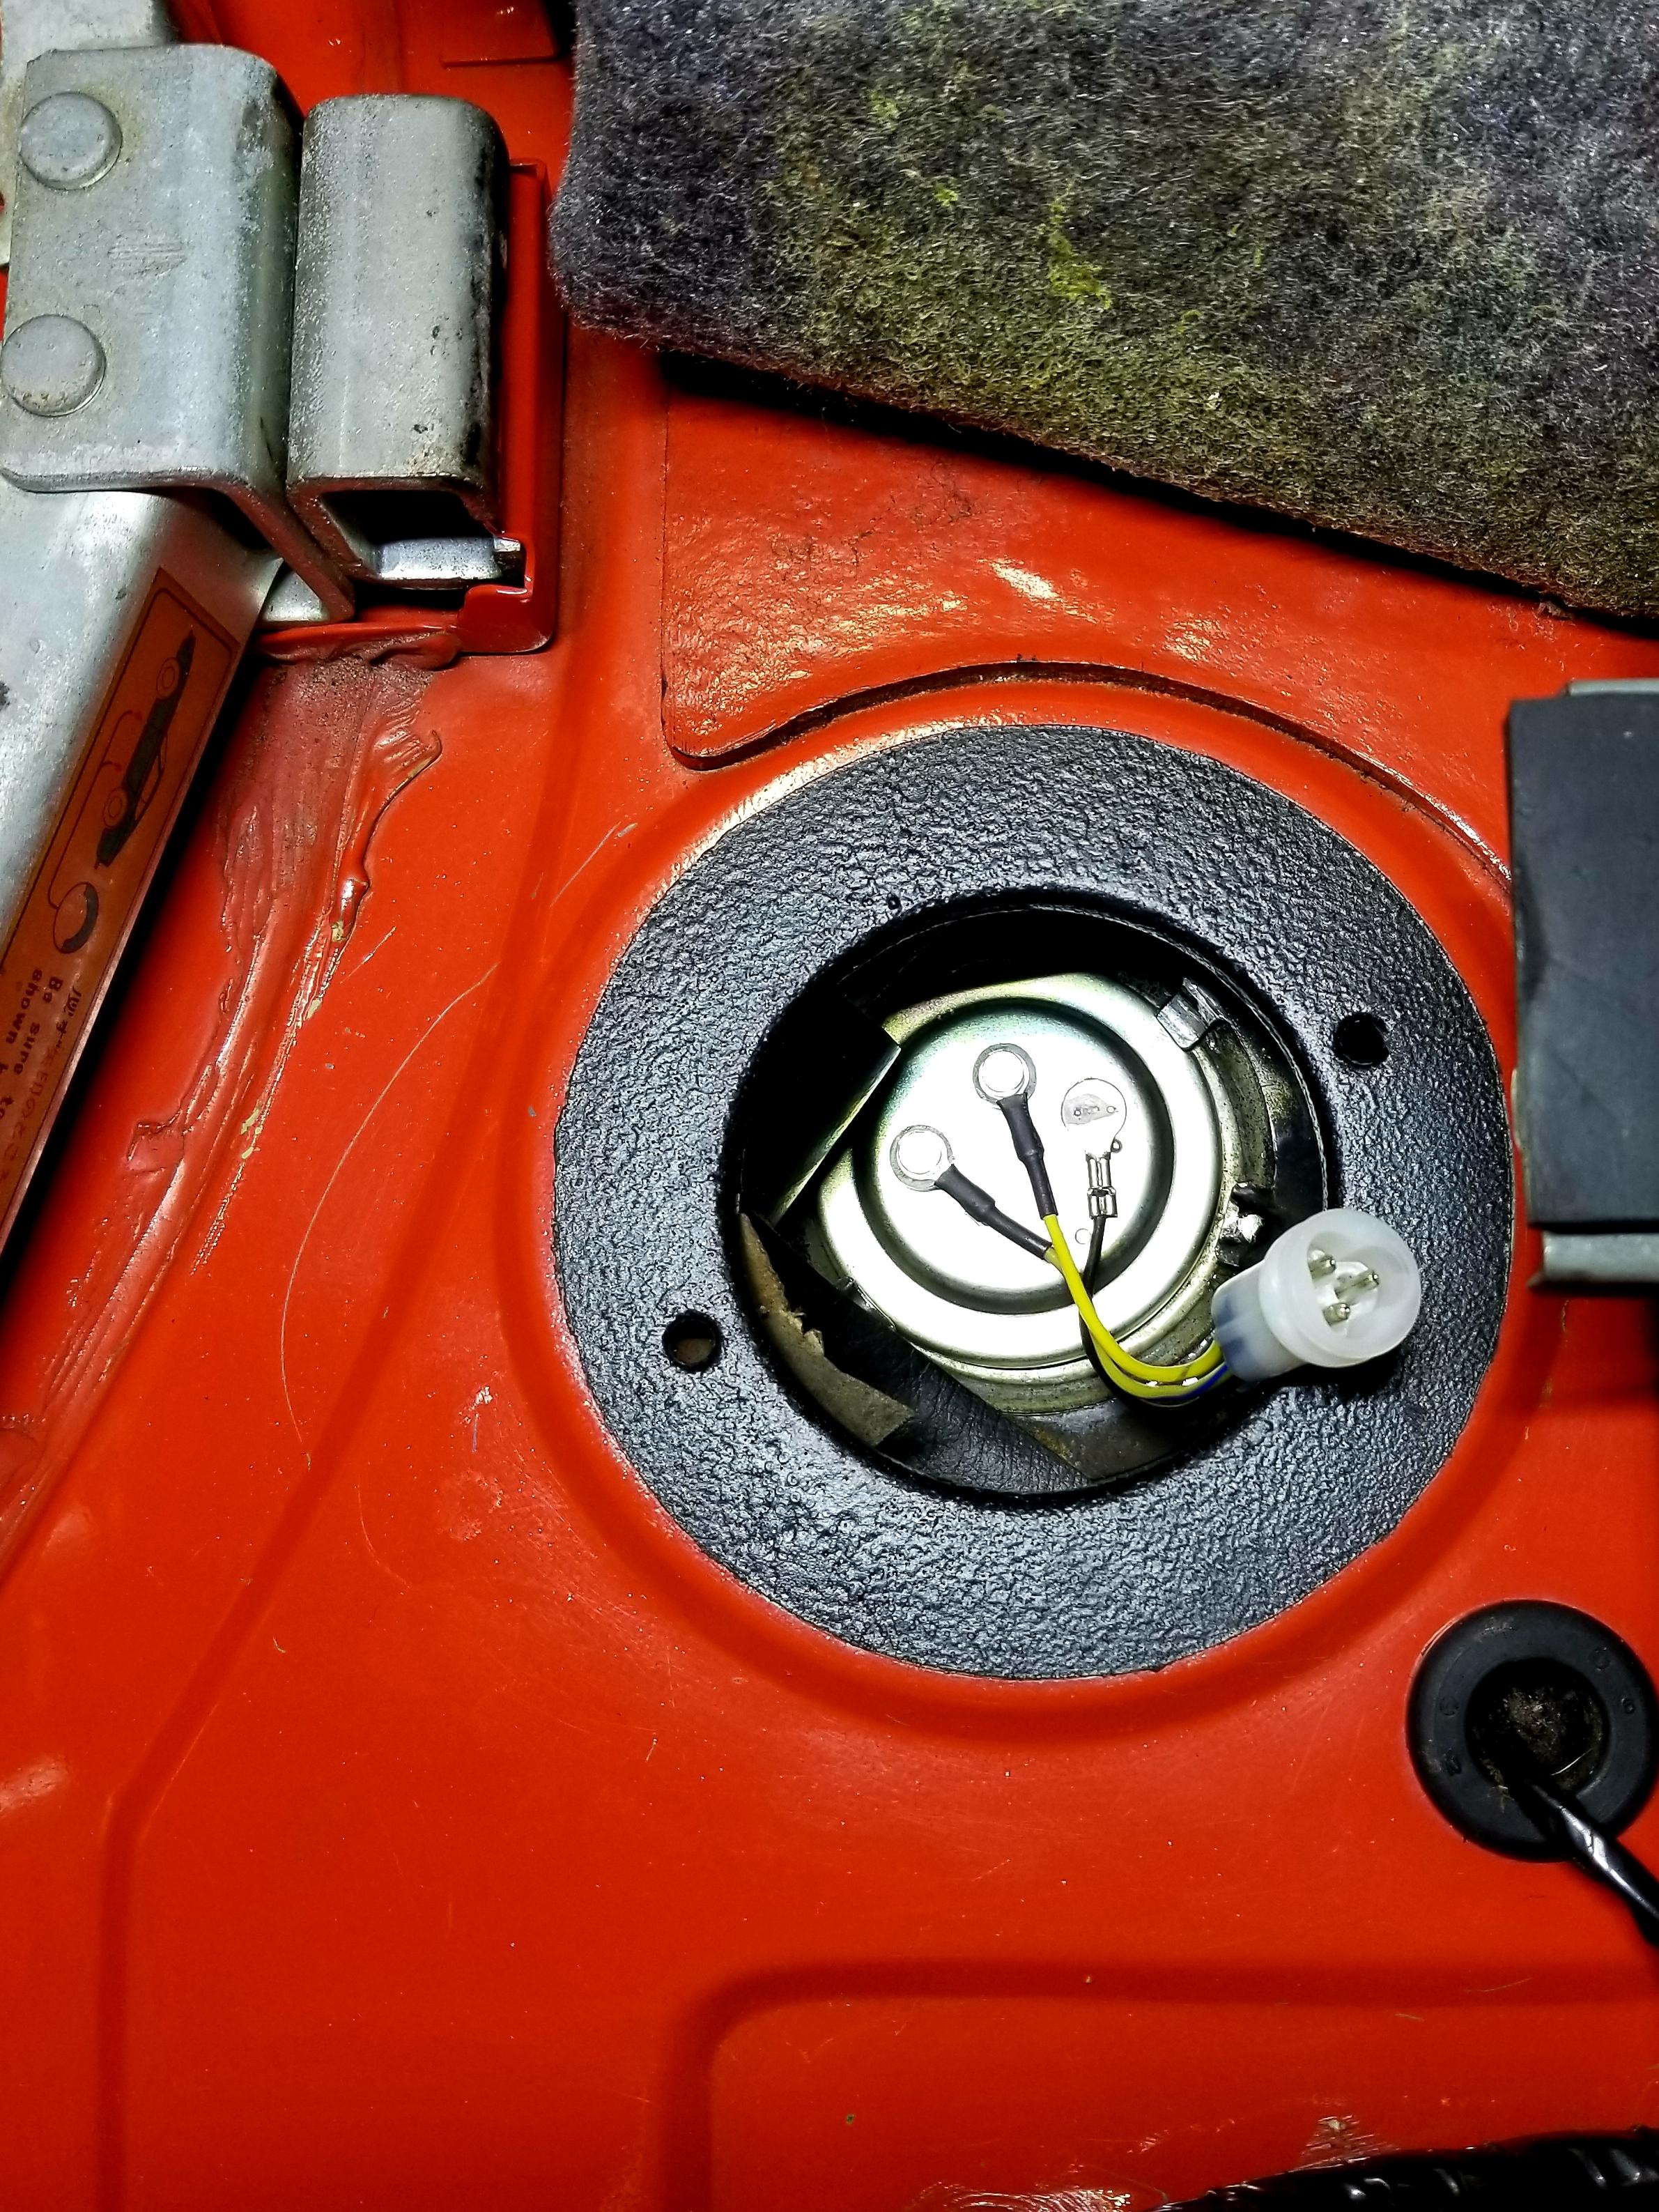
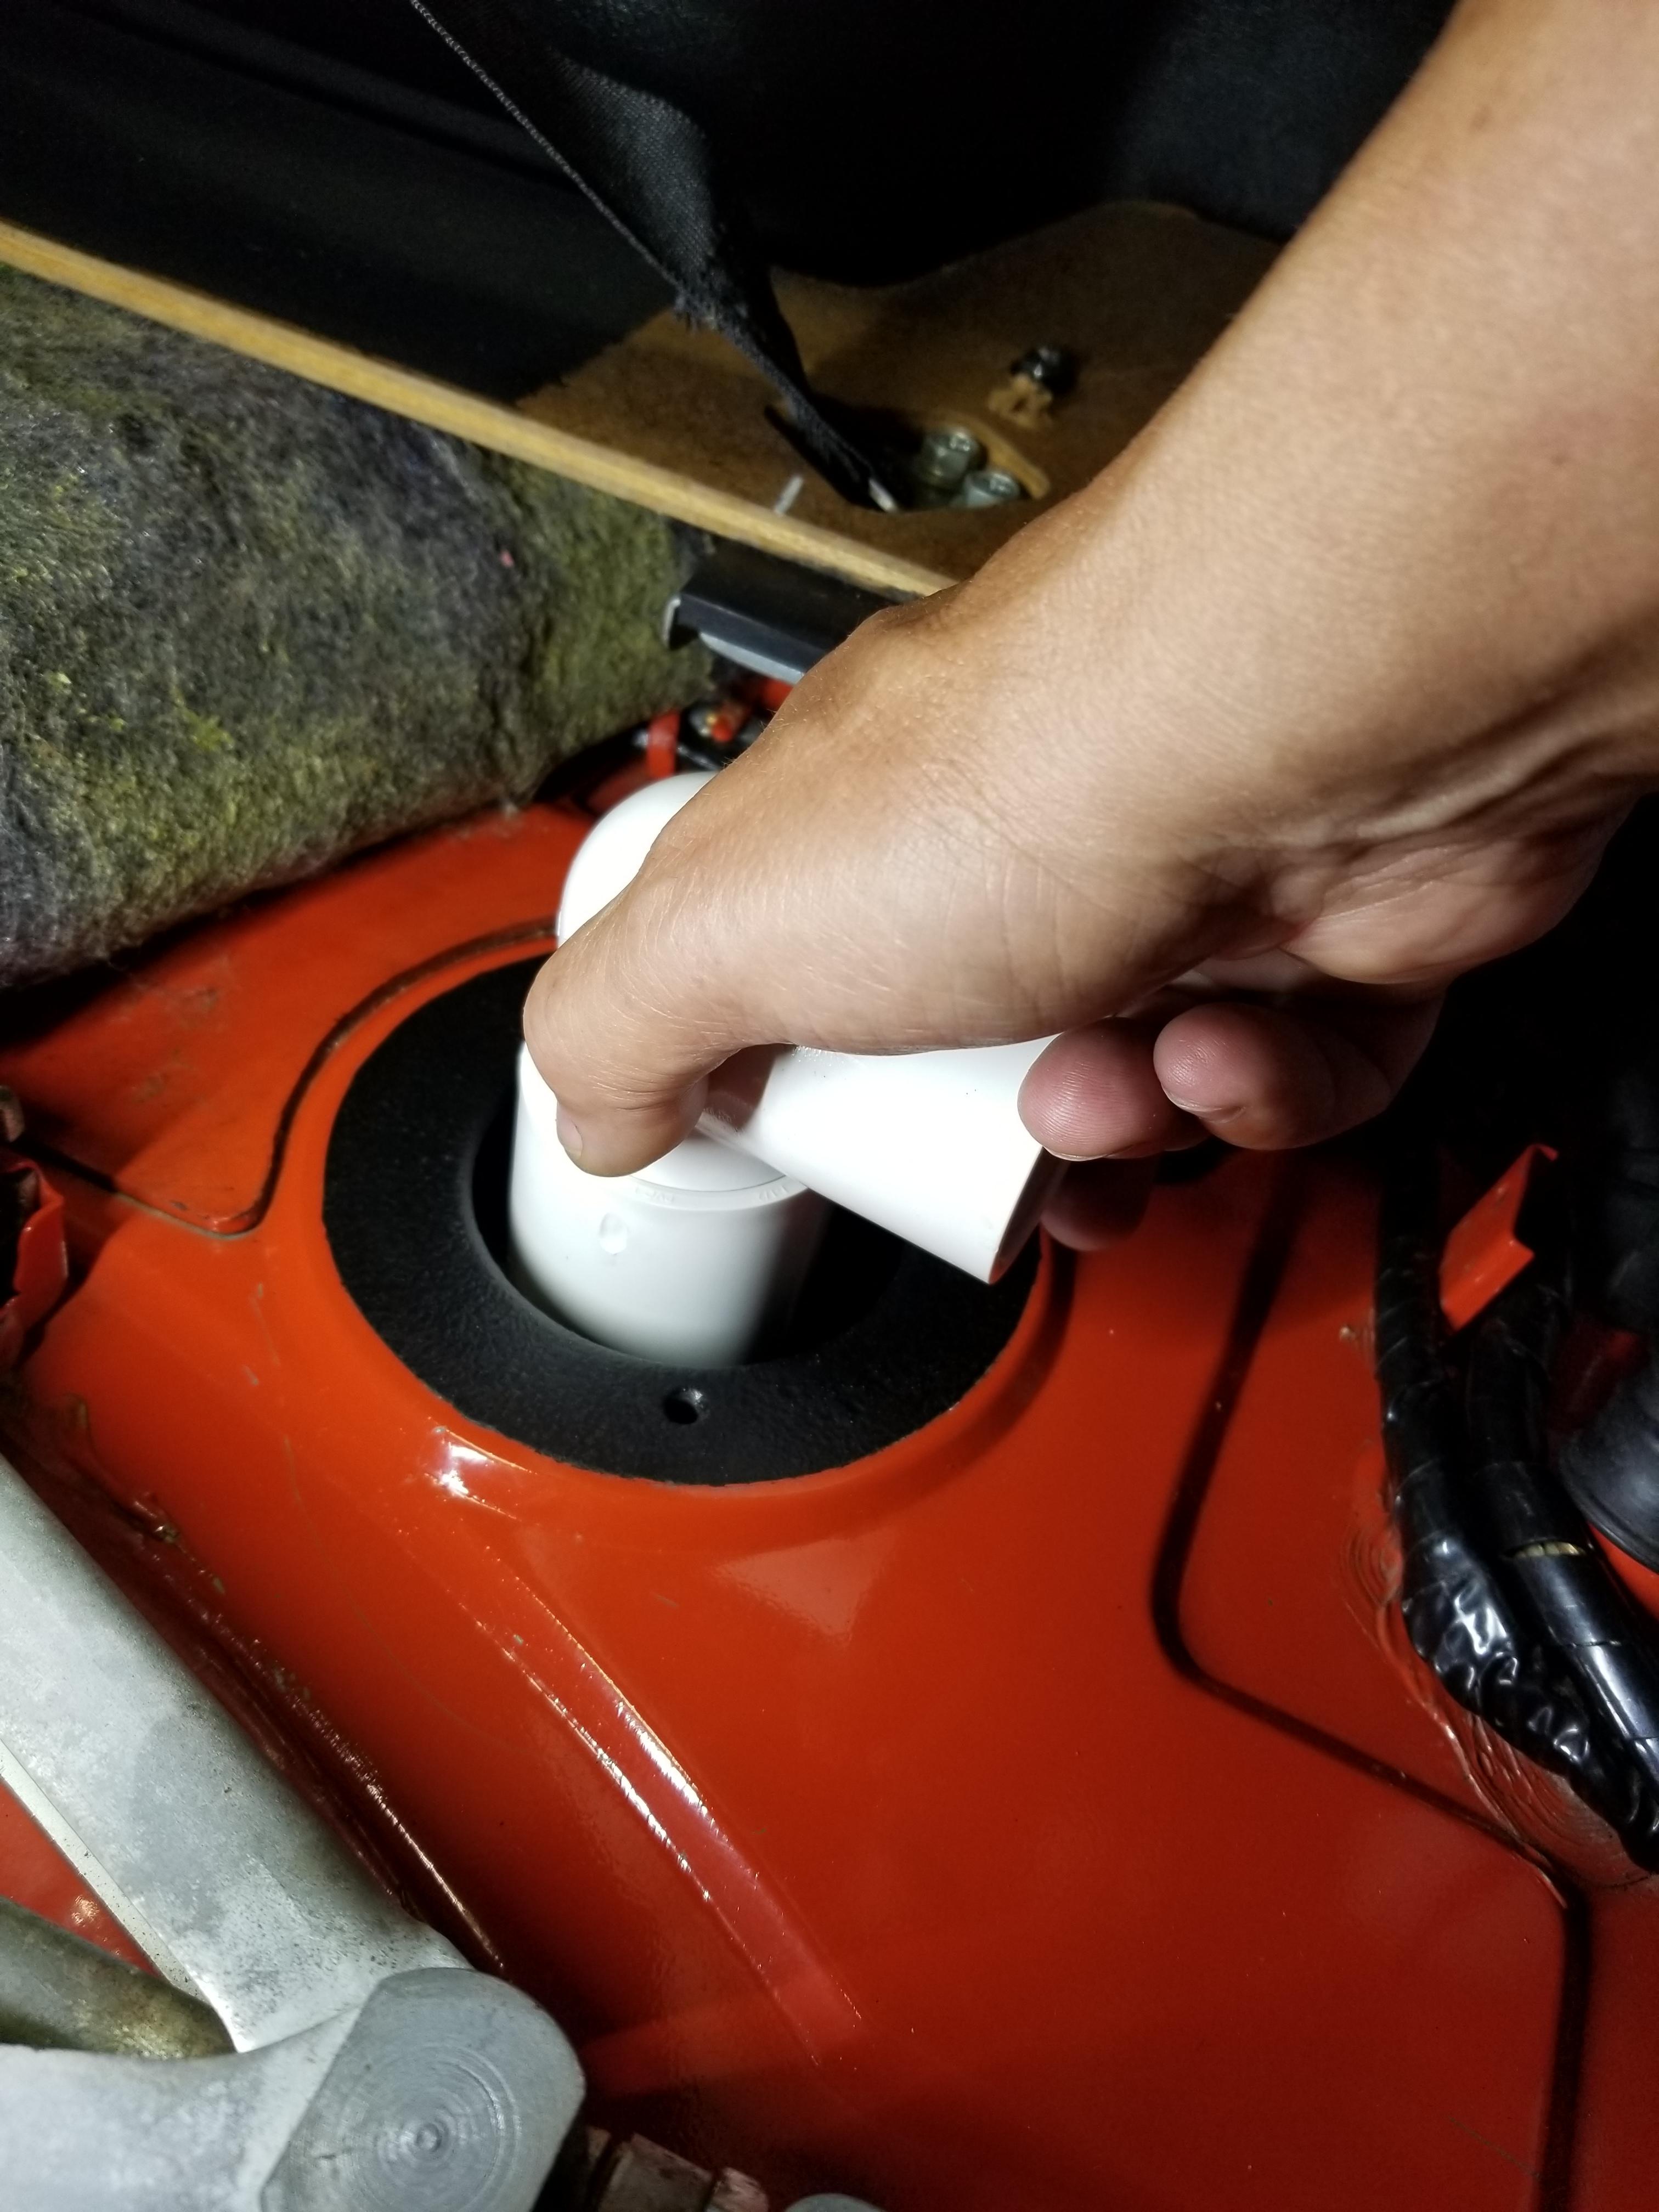
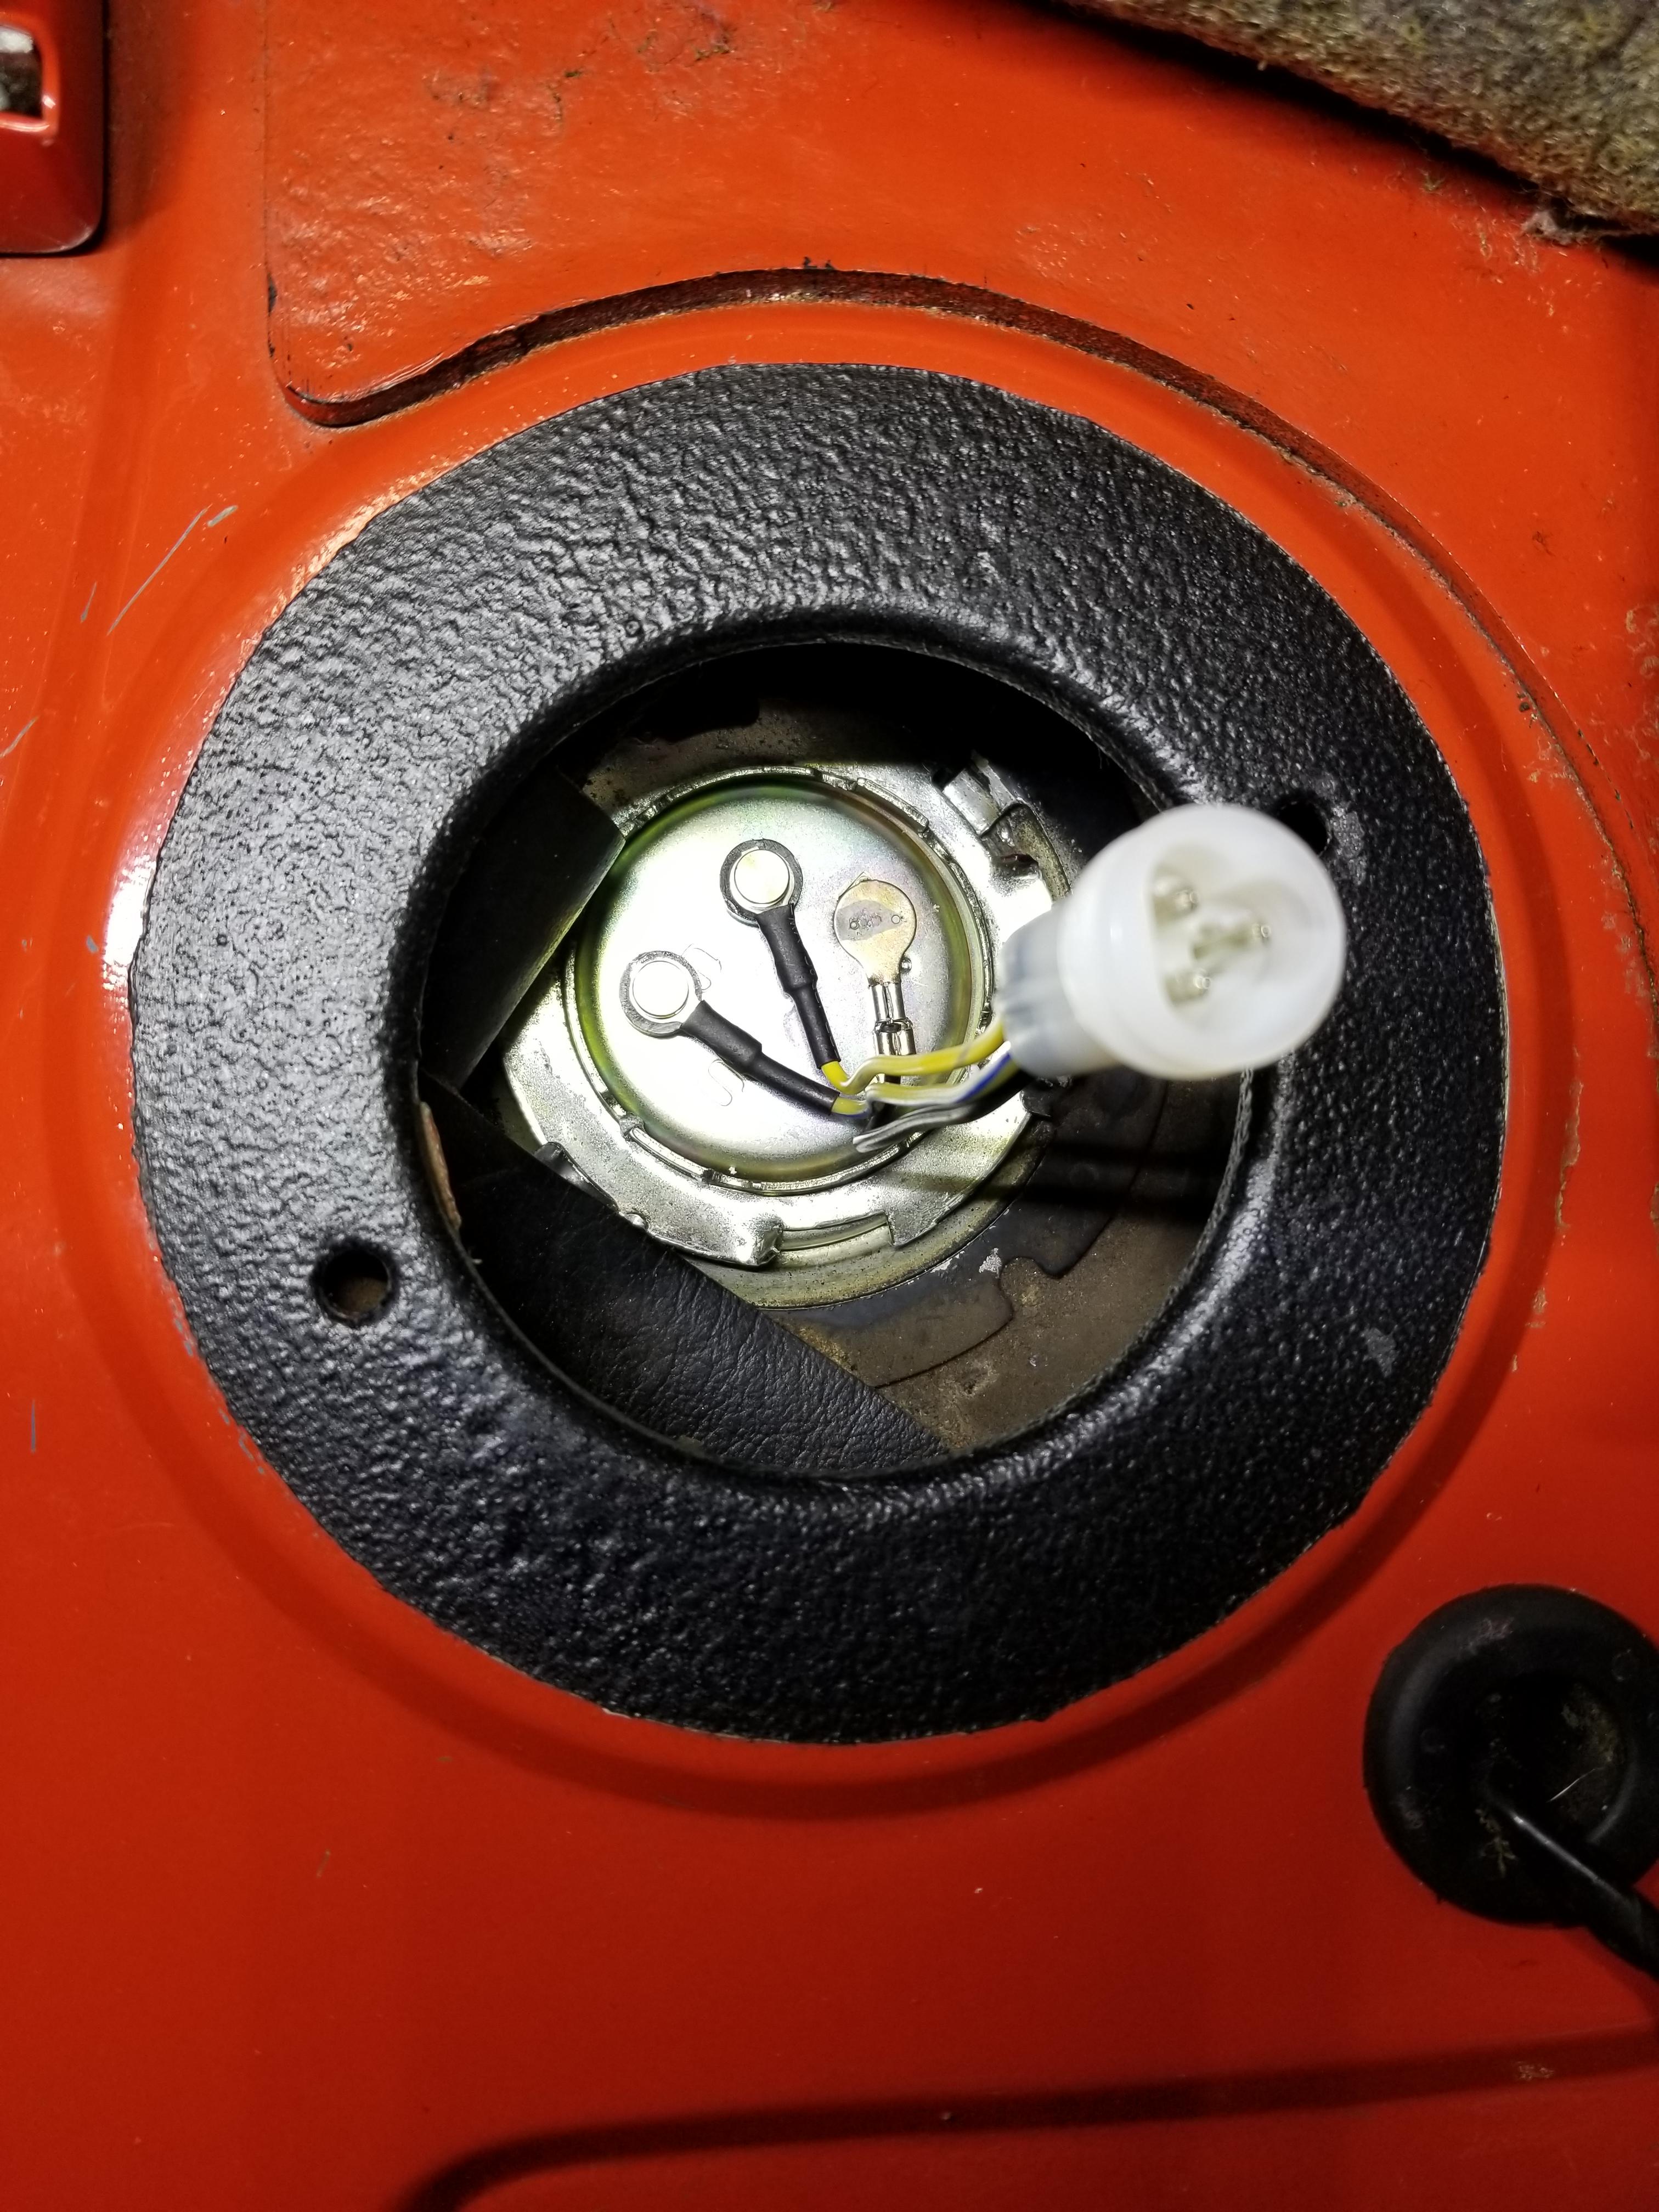
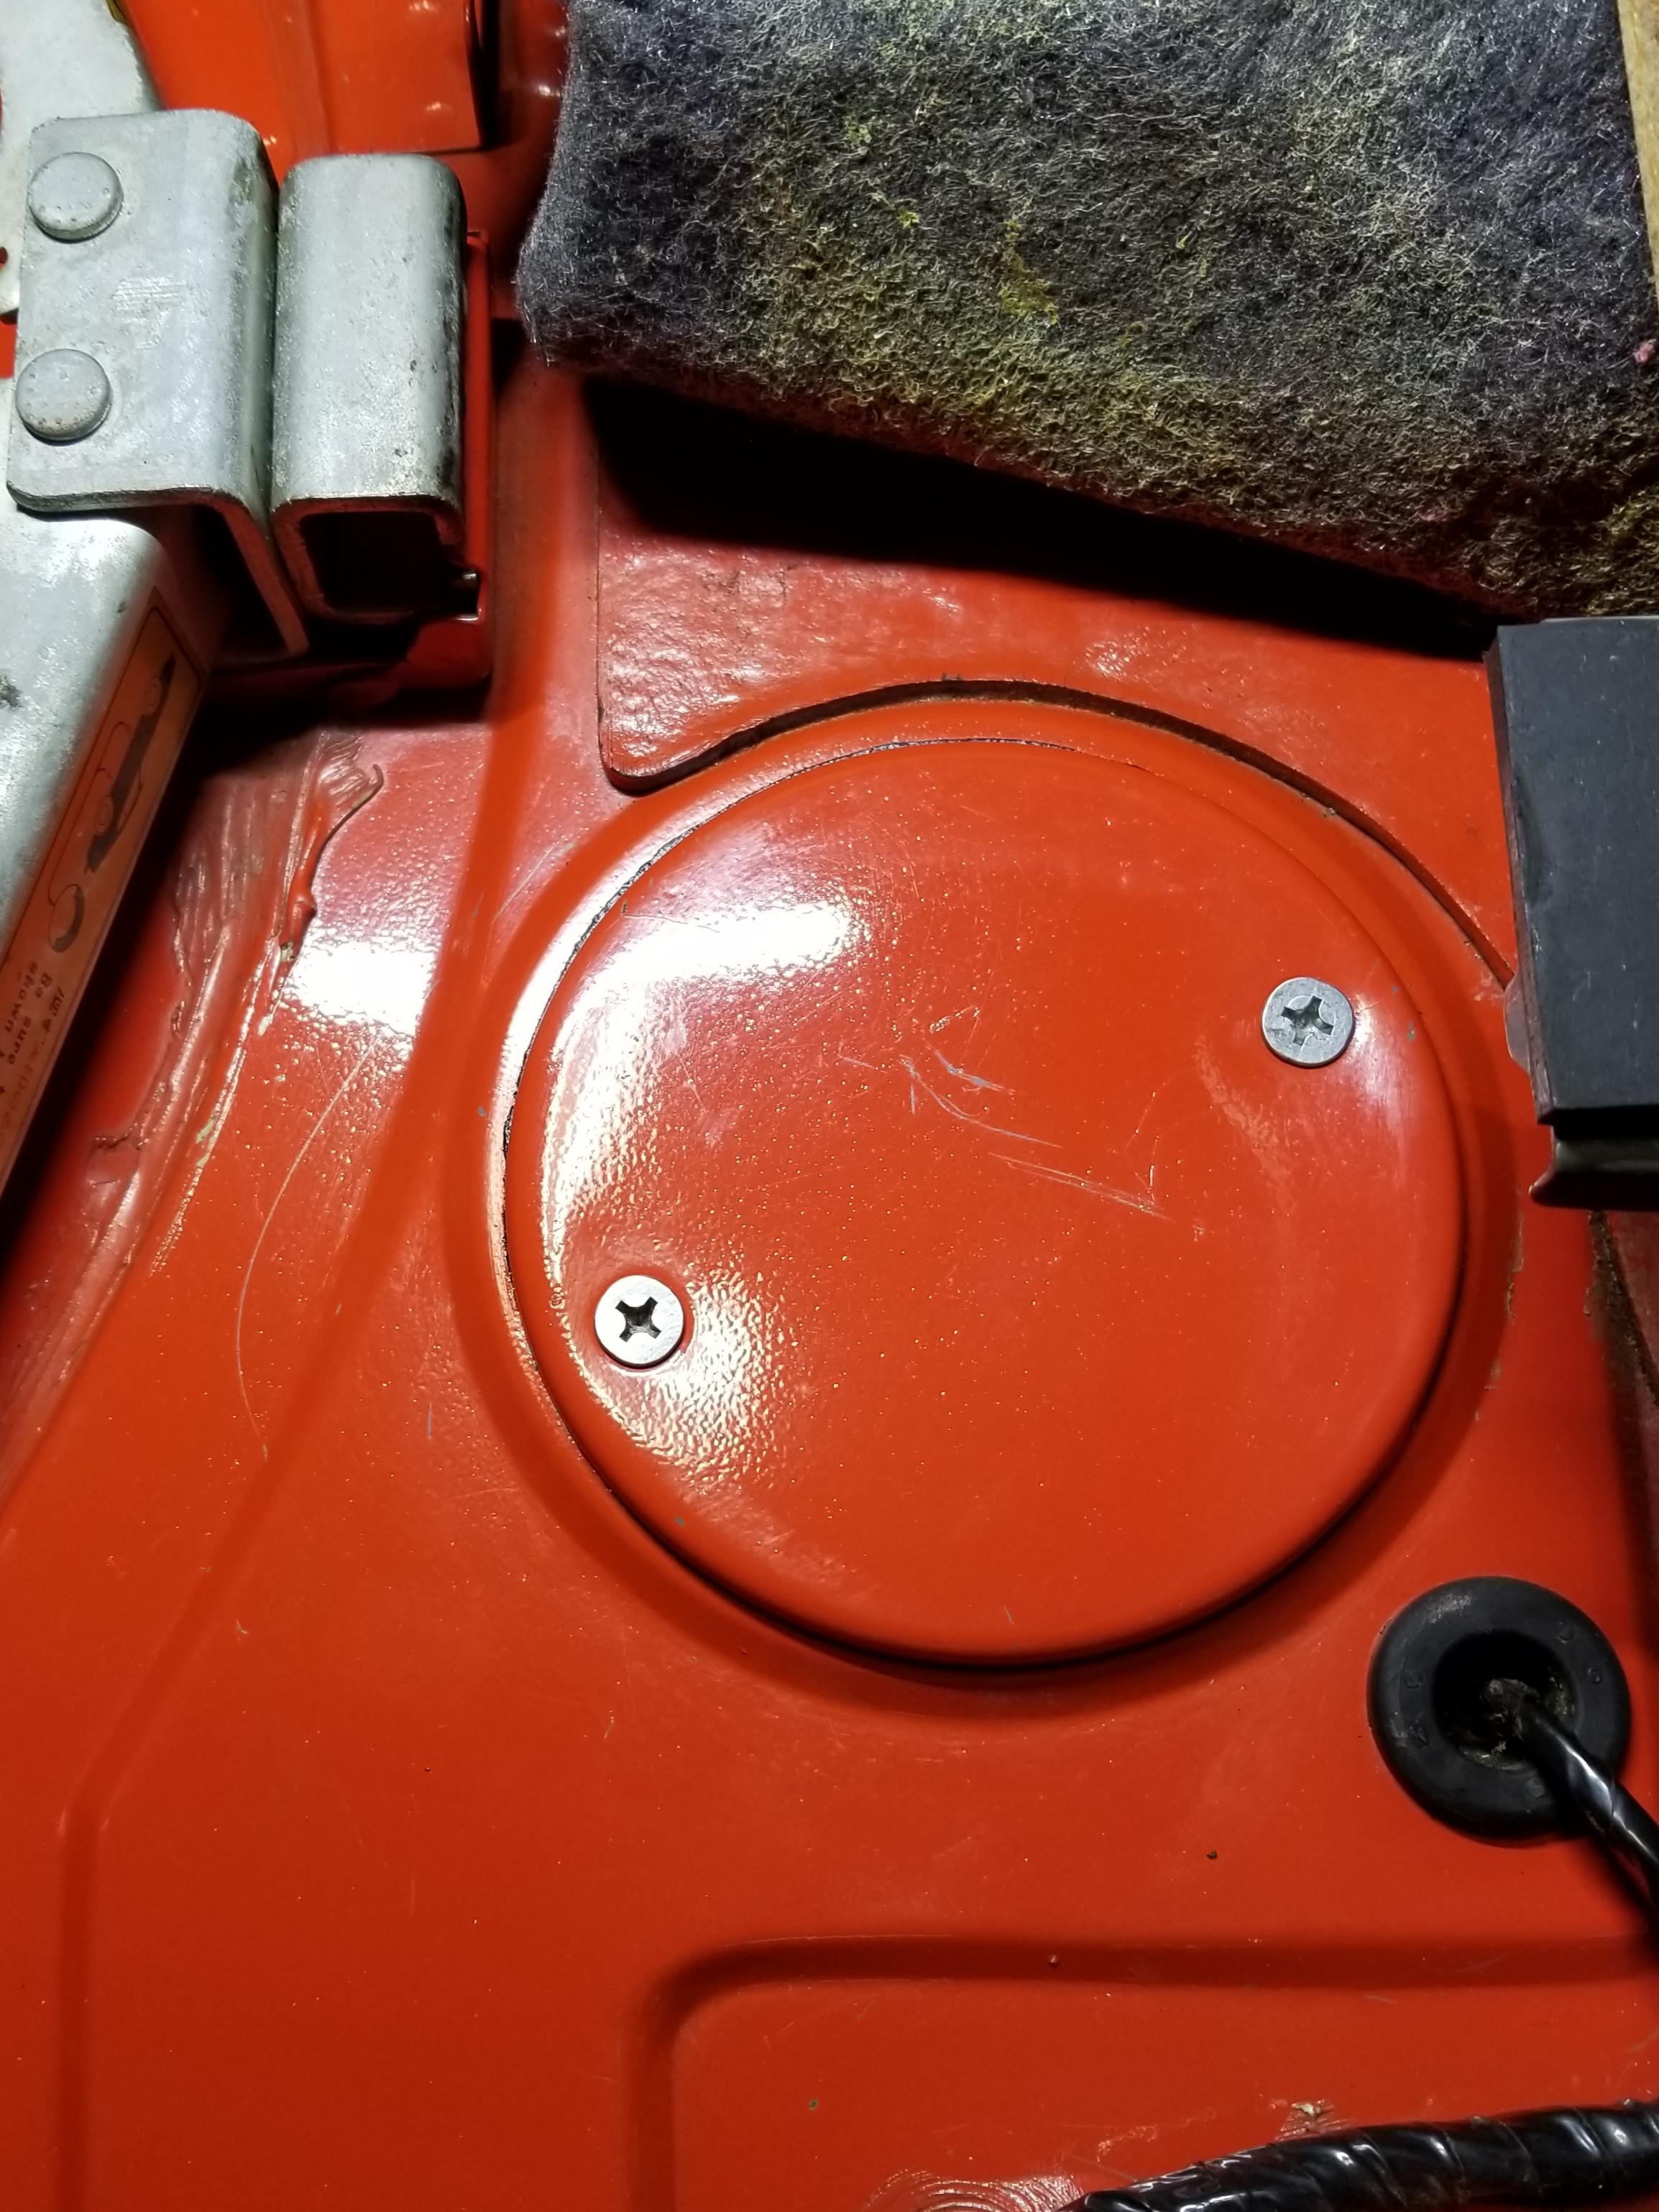
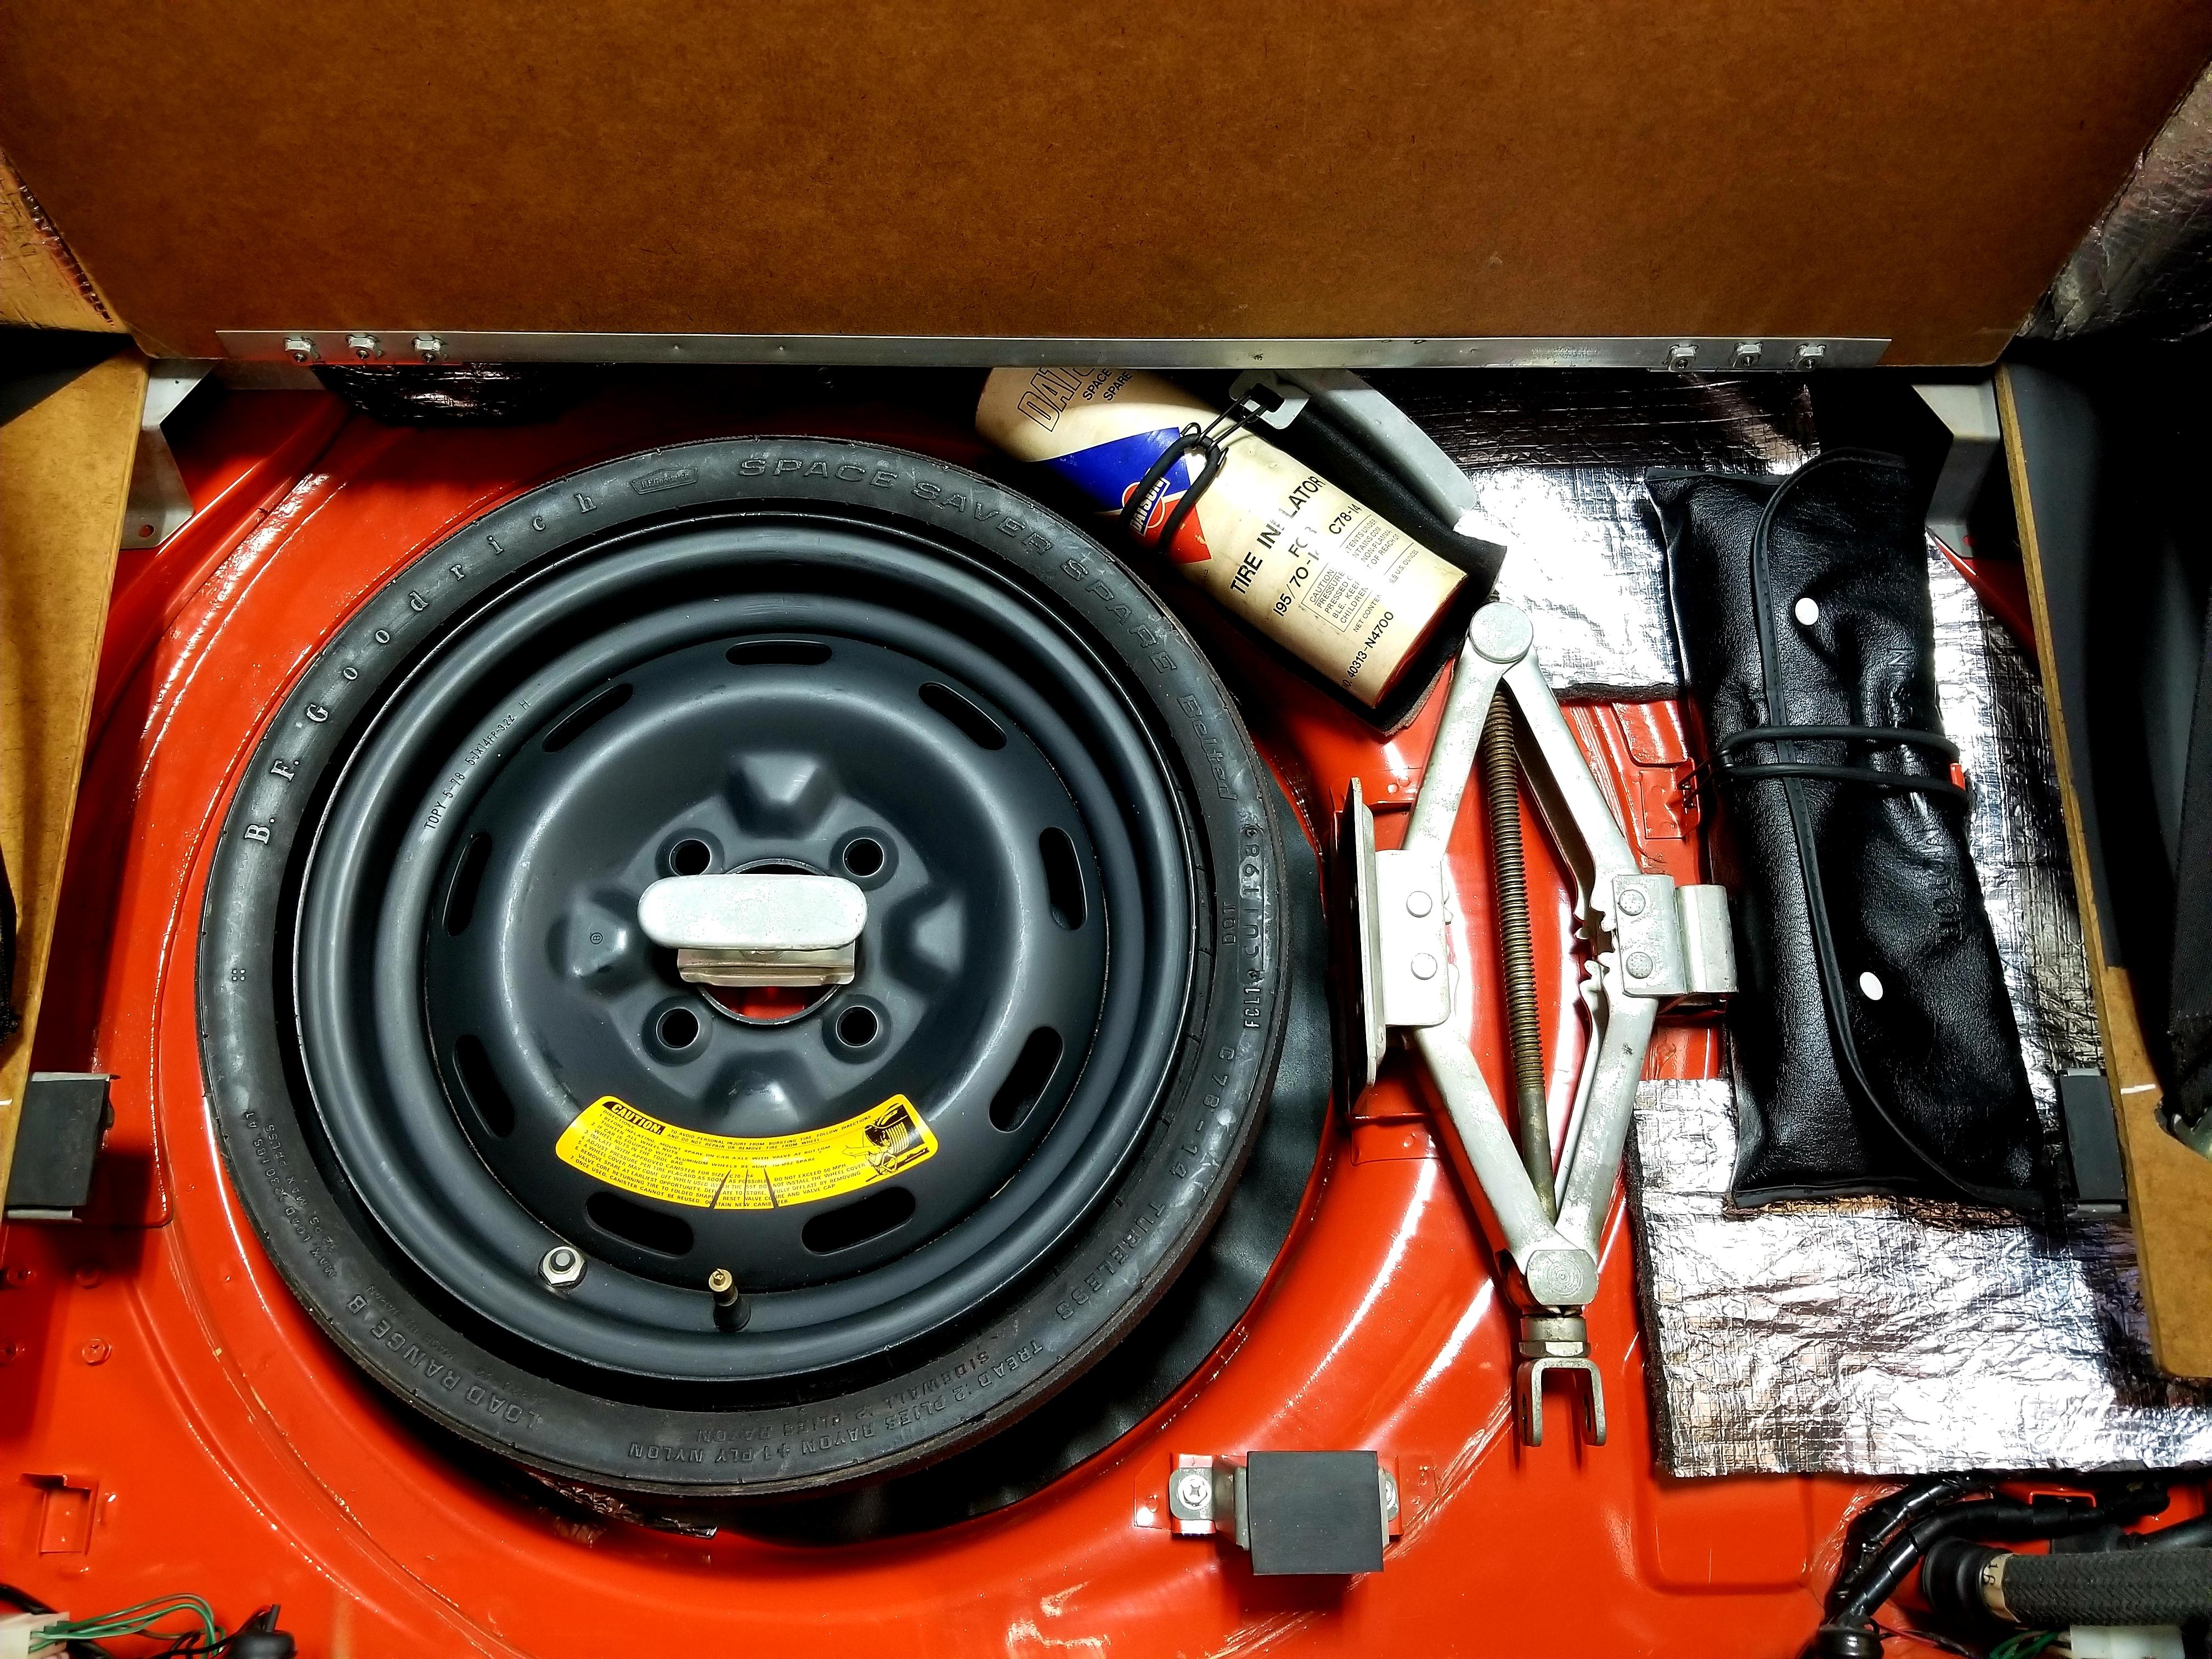
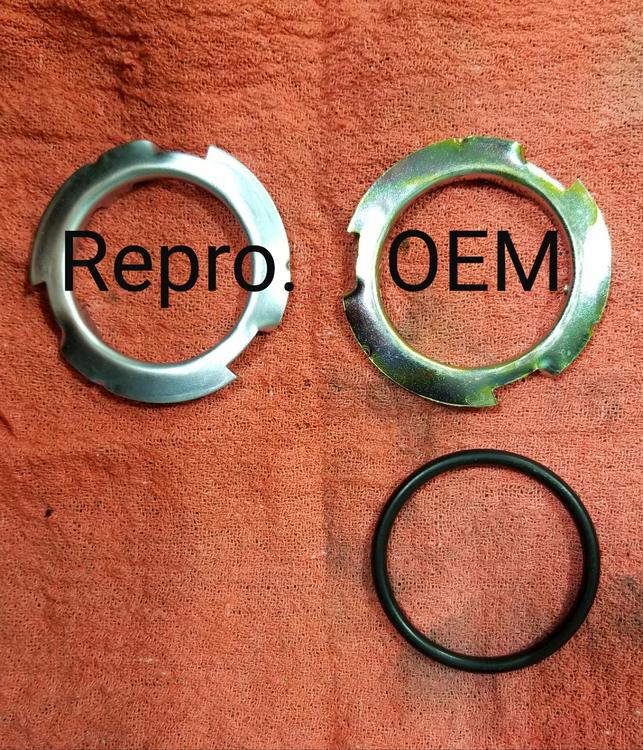
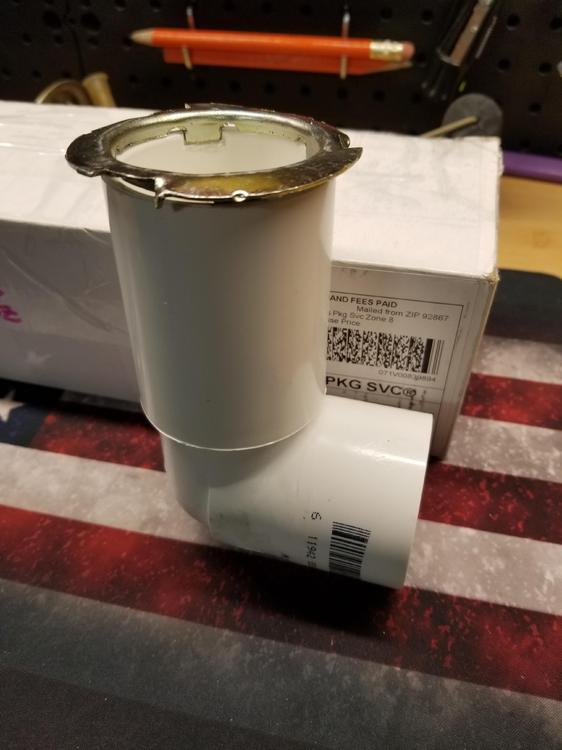
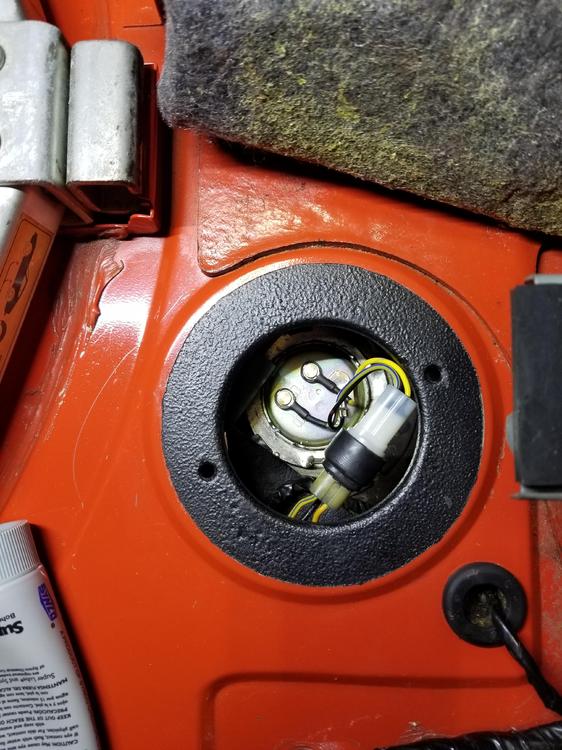
1 point... and the new fuel sending unit from Zcar Depot arrived this afternoon and it's installed and working!! Because the reserve fuel light had stopped working on my original unit I will confess that last week I had tried installing a fuel sender I purchased from MSA last September when they just got them for the '77-'78 280Zs but one of the contact rivets snapped off when I slid the connector onto it. Very bad quality! Not only do the MSA units come with different type connectors that you have to splice in after cutting the stock connector from the sender, the quality of the riveted contacts on my unit was much less than adequate and failed miserably. Fortunately it happened before the final stage of installation and not after everything was closed up again. Additionally the unit is more than twice the cost of the @zcardepot.com unit I just received which plugged right in and is working flawlessly. I spoke to James at MSA who's always very helpful and he said he would talk to their manufacturer about the problem but electrical parts cannot be returned, much less after 30 days. He will get back to me on it but I might be looking at a total waste of $200! If they at least repair it I will keep it as a spare or pass it on to a fellow forum member in need. Anyways...I designed a "wrench" out of 2" PVC pipe that enabled me to very easily re-install the lock ring over the sender and that makes the job a piece of cake. By using my Dremel, I made 4 slots on the inside edge of a 6" straight piece of PVC so that the 4 crests that jut out of the lock ring would fit into those slots. A 90 degree elbow at the other end of the straight piece of pipe provides easy rotation of the lock ring in either direction. I used my original lock ring since it was in great shape and lightly sanded and coated with anticorrosive bed liner paint the area around the access port. Pics attached. Thanks again everyone for all the good references regarding the @zcardepot.com sender.


 1 point
 -
1 pointMy motto has always been "If you're not bleeding at the end of the day, then you probably weren't working." This may explain the countless scars...1 point
-
1 point
-
1 pointThat's a lot different from my memory. I grew up living with my Mom so use your imagination. Nothing got done for one week a month, stay away from Mom.1 point
-
1 pointI don't remember cutting myself up with the compressor but I bleed so often most times I don't pay attention to it. The saying around here is if Daddy's bleeding we'll get a lot done!1 point
-
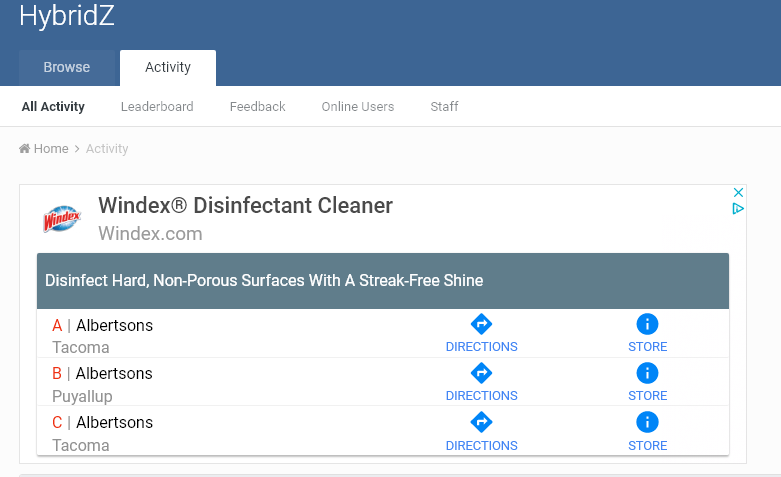
1 pointRecycled the page a few times and it toggled between springs and cuups, then this. Springs, bras and windex. Who is the customer? I'll stop now.
 1 point
 -
Hard to see without disassembling a few, but most of the ones I see do NOT appear to have a flat washer between the spring and the big hex nut #28, unless its much smaller and thinner than I can see. Other than increasing the spring pressure or giving the spring a kind of base, I don’t see that spacer washers are needed for anything in particular. There isn’t anything in the drawing, #29 is just a spring1 point
-
Thanks for the re-alignment tip! The Z Therapy DVD also advocates mix-n-match to find a pair of domes/pistons which have similar drop test measurements.1 point
-
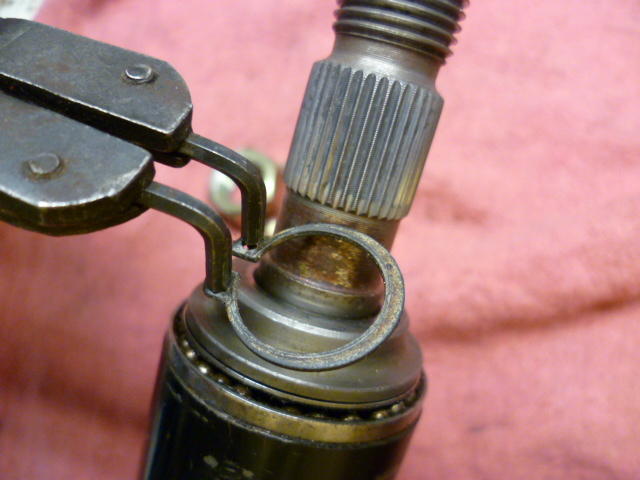
I found it easy to remove the clip, but yes... You should unload it first. Doesn't take a lot of force. (Alone) I found the easiest way was to place the column against the ground and grab the column housing (outside) with one hand and press down against the ground, thereby compressing the spring a little. Been a while since I've been in there, but I probably braced the whole thing against a hip or something? Anyway, at that point you can remove the clip as soon as it's unloaded. Of course, if you have a helper with a second pair of hands, it's even easier. Some pics because we all like pics:

 1 point
 -
1 pointIsn't that the same video from Hybridz? Did you do the stuff that was suggested over there?1 point
-
Boing boing boing boing. I see that the cabin fever has really started to take hold. So I've taken a steering column apart down to it's molecular level, so if you have questions about that, let me know. I may have pics.1 point
-
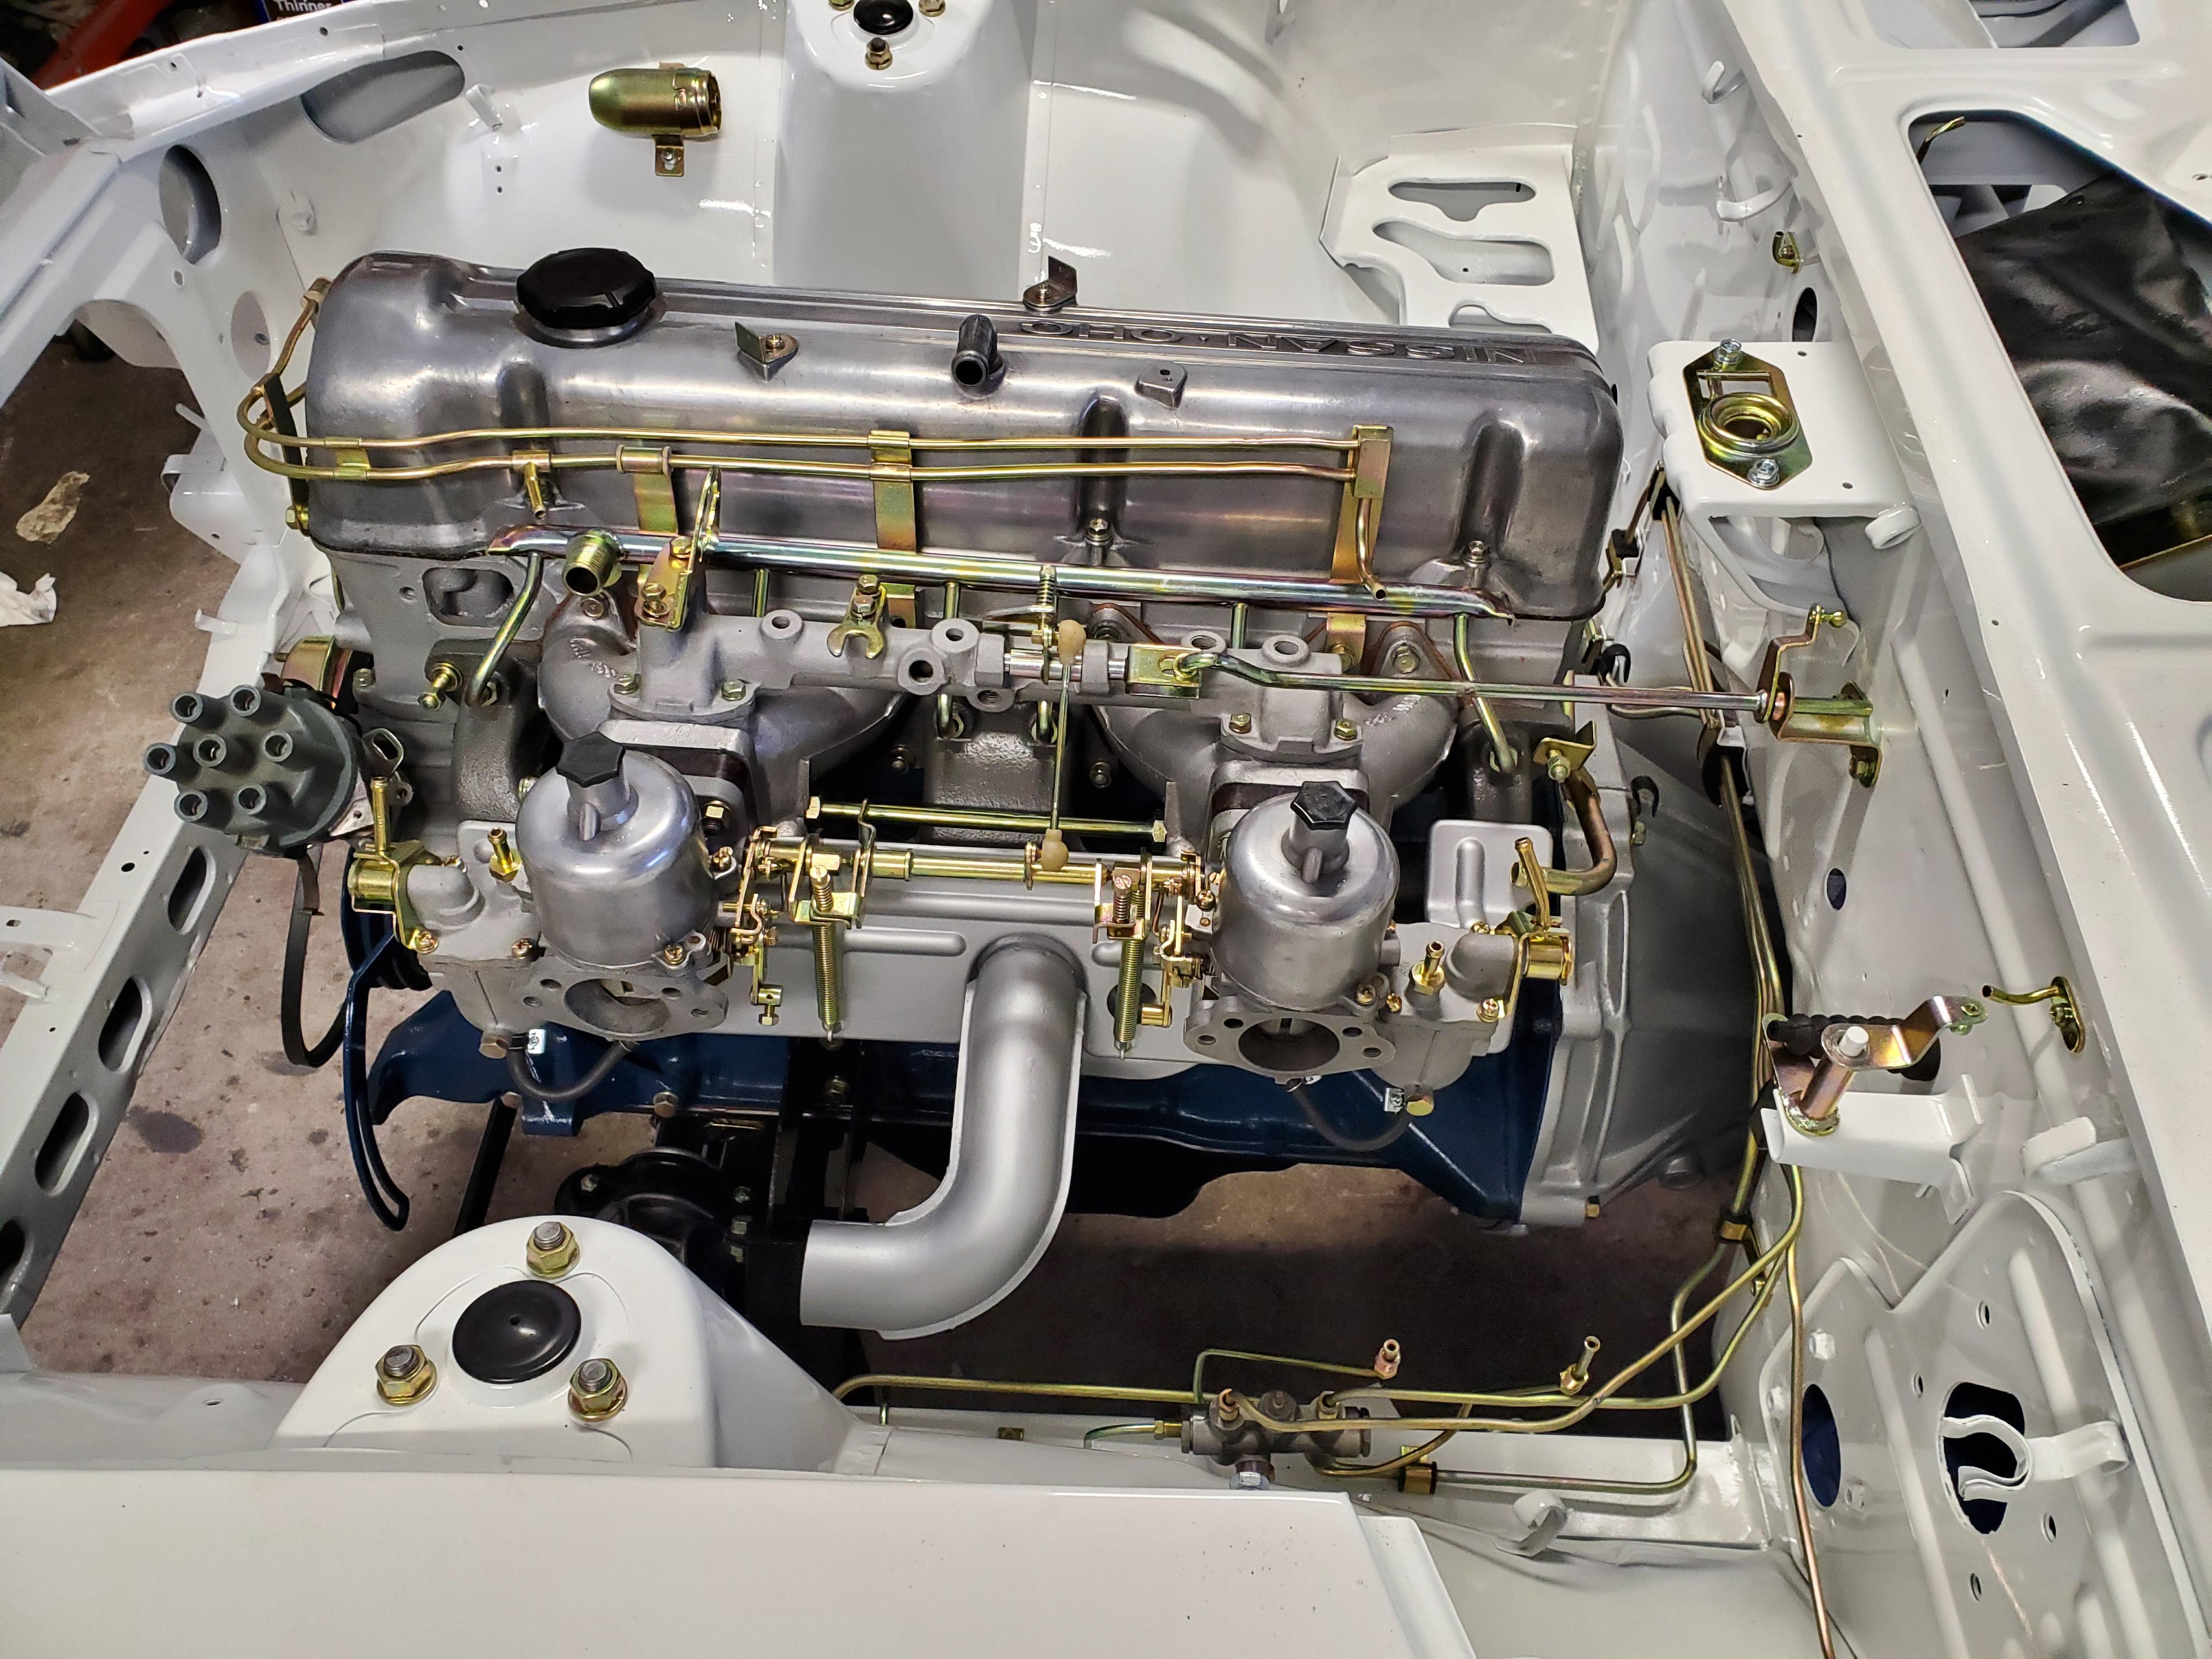
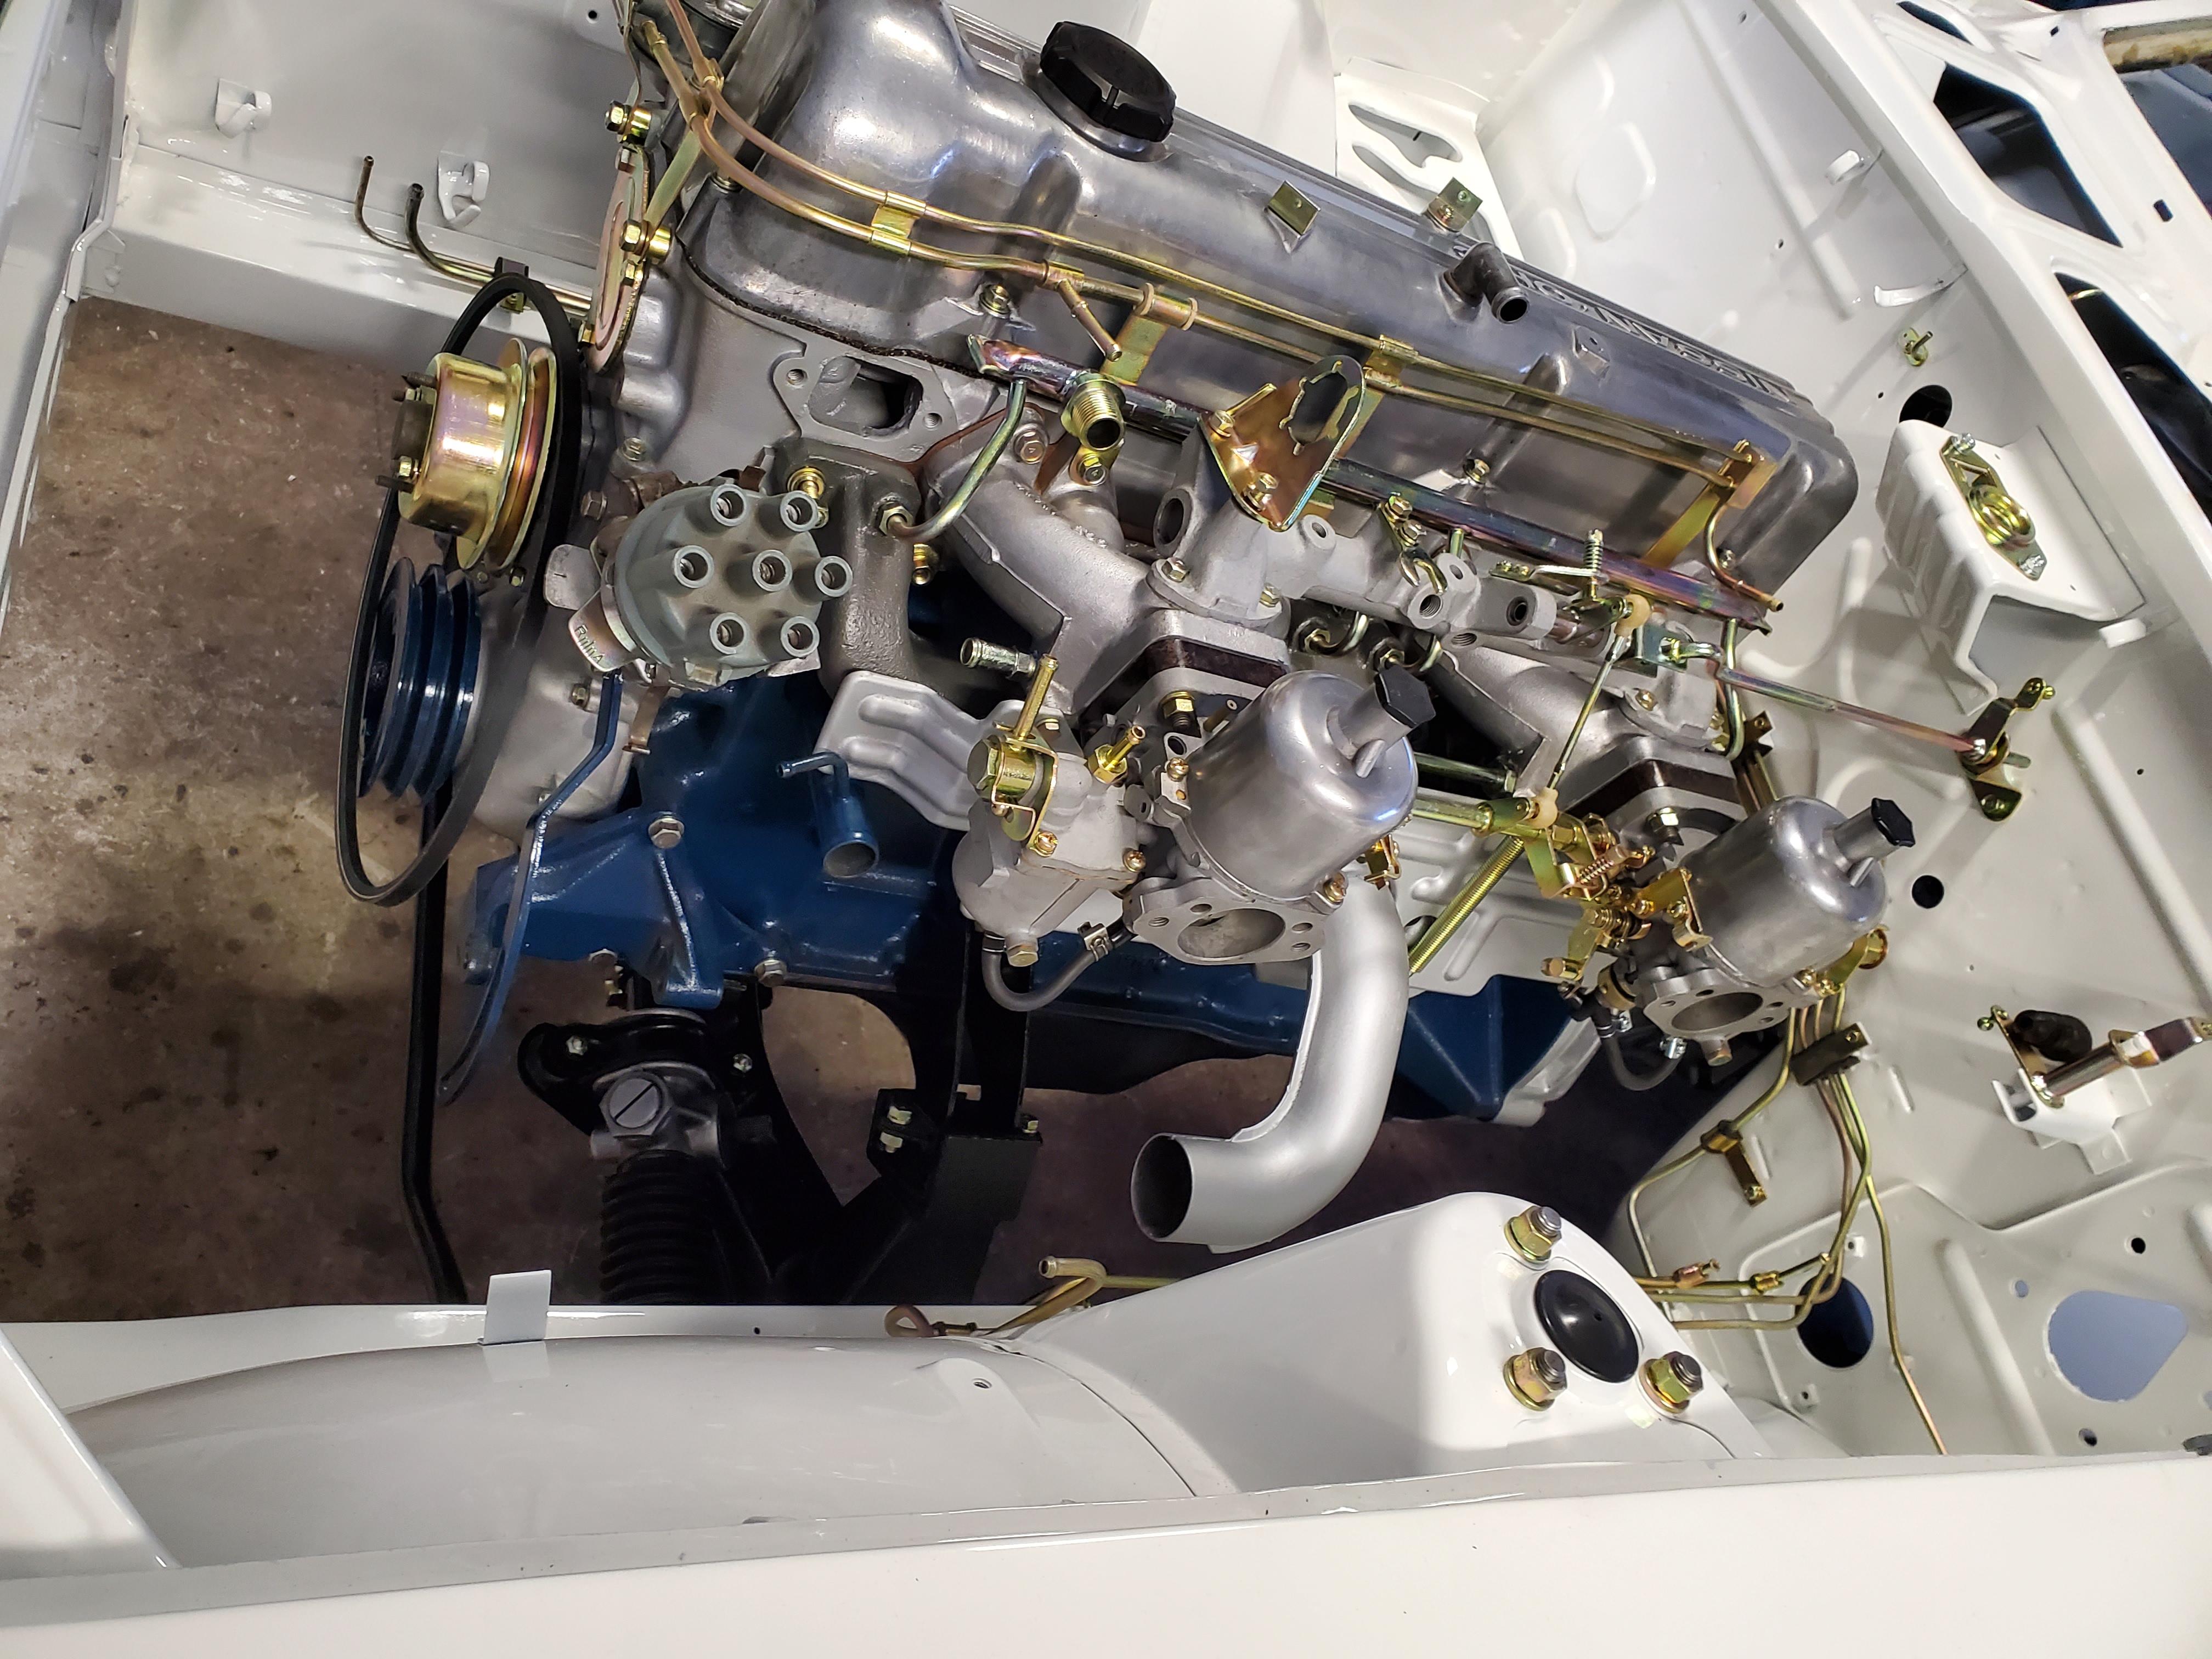
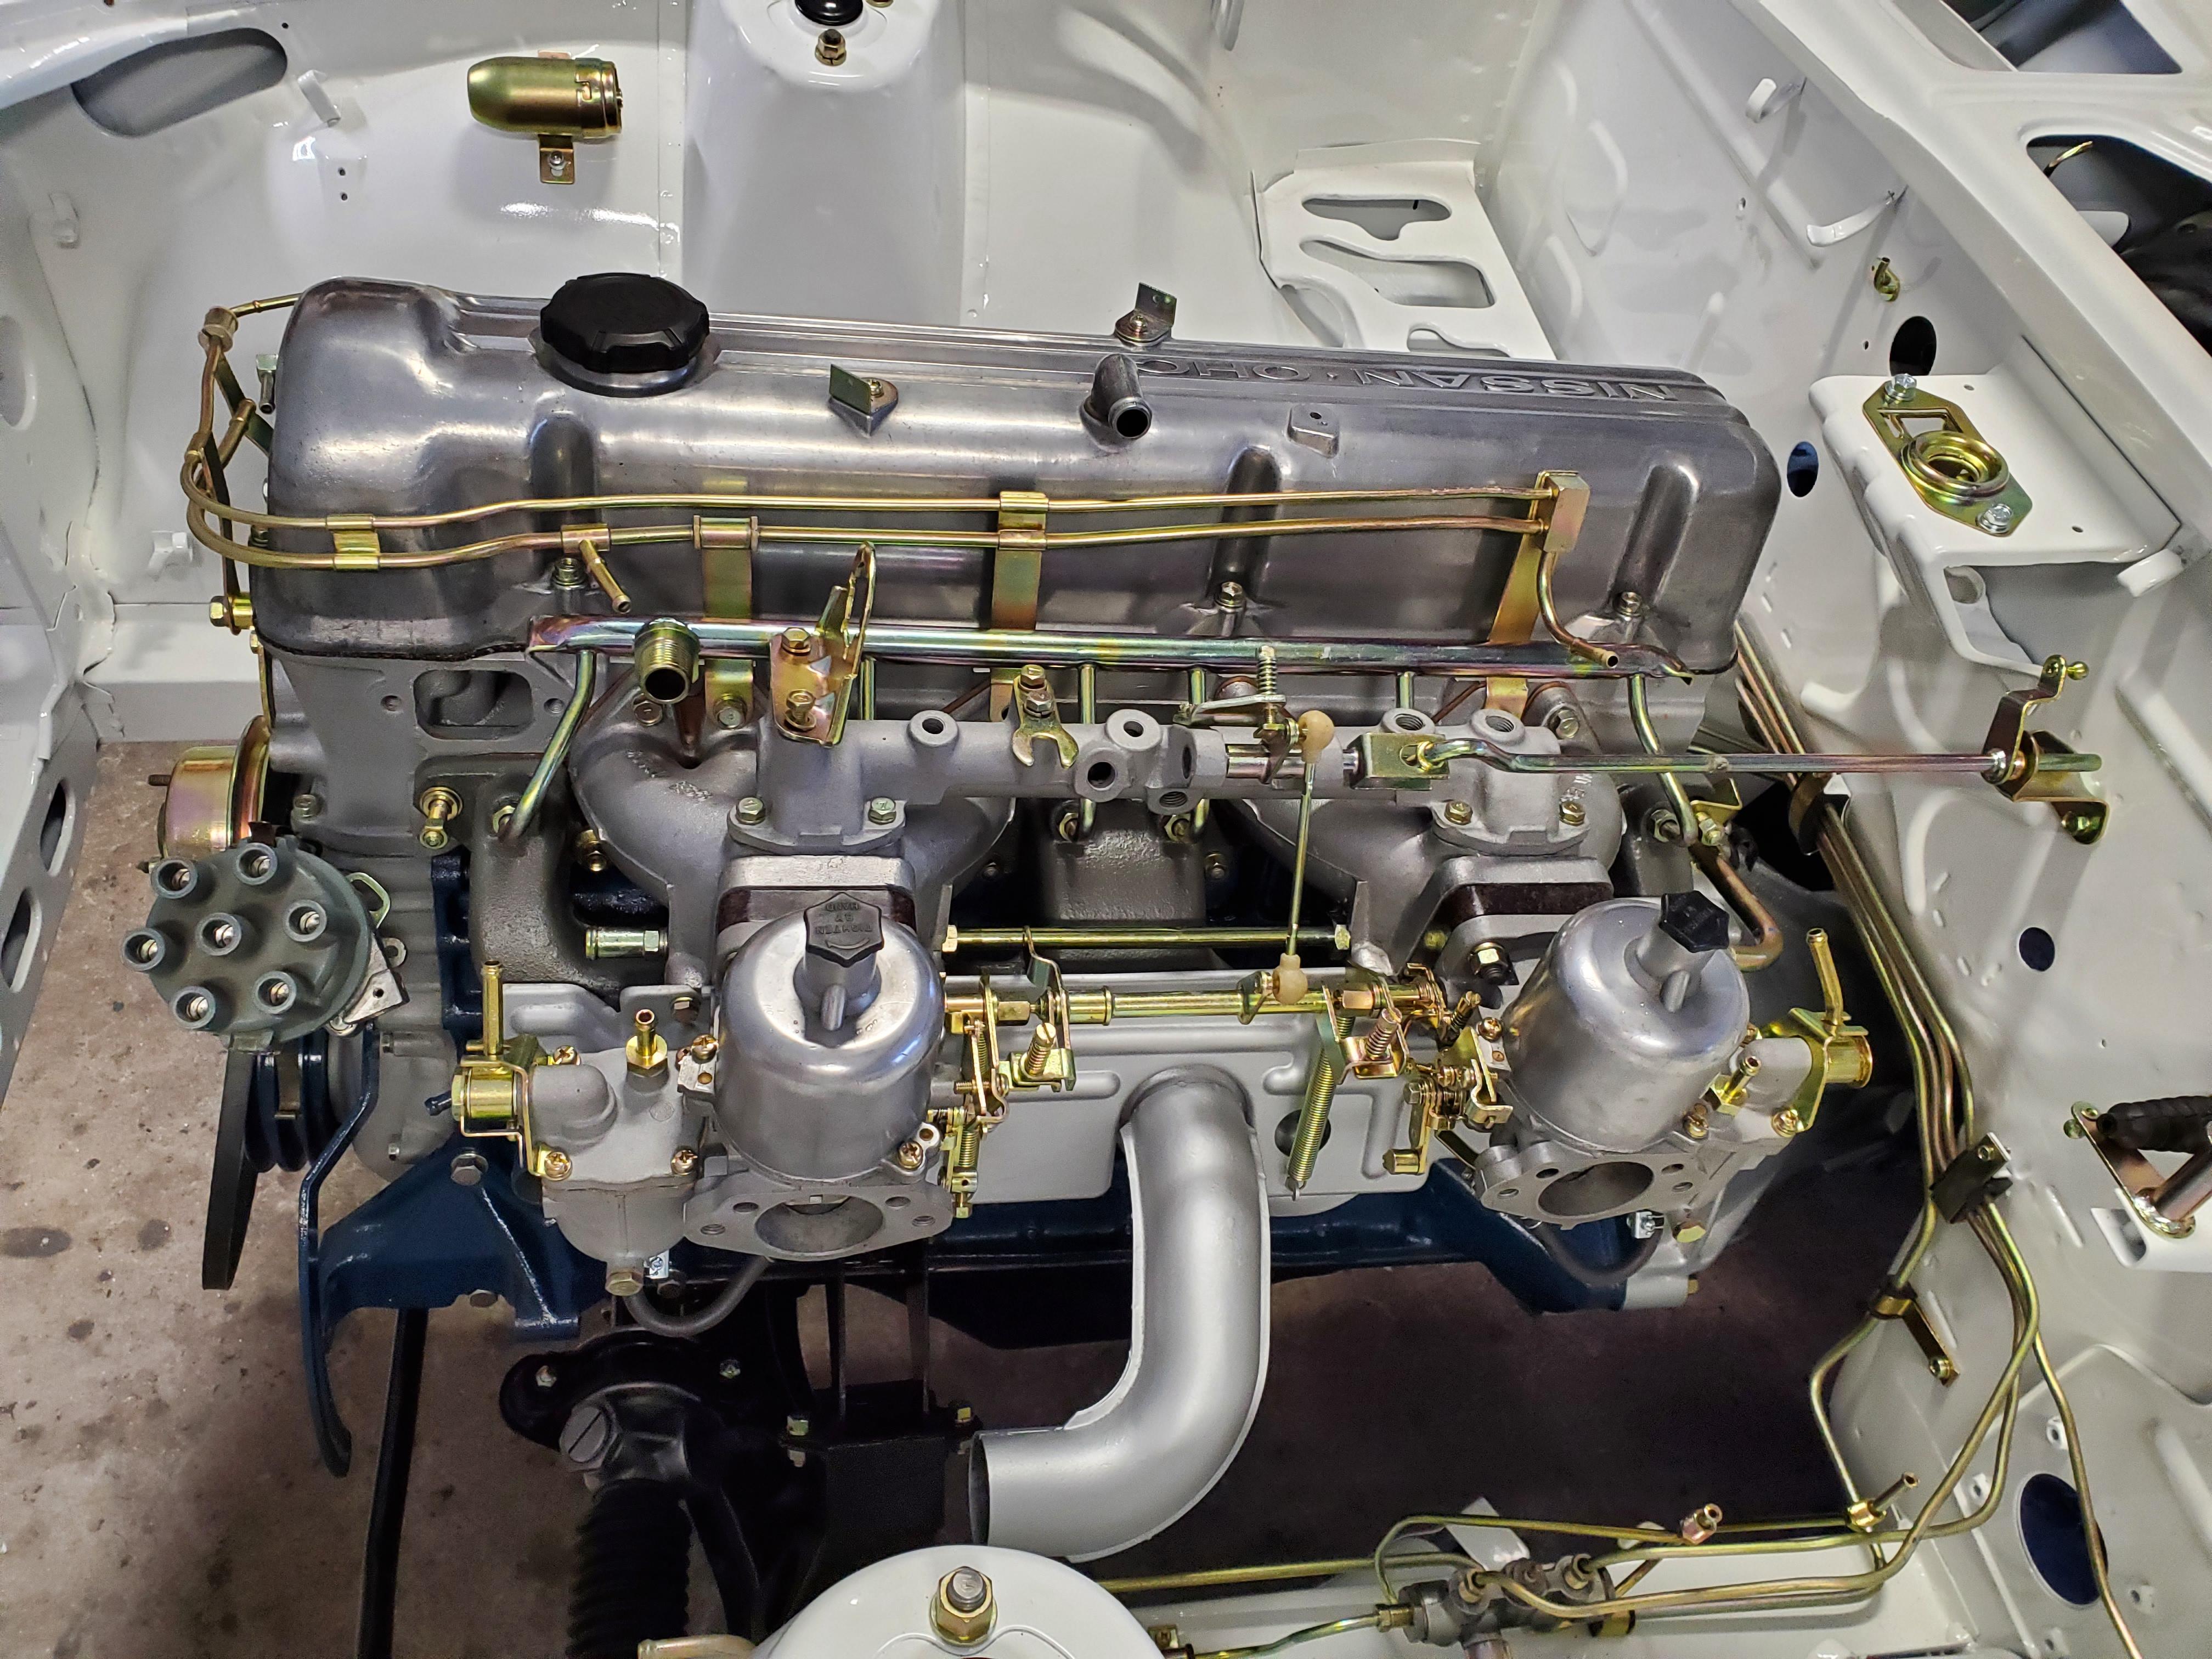
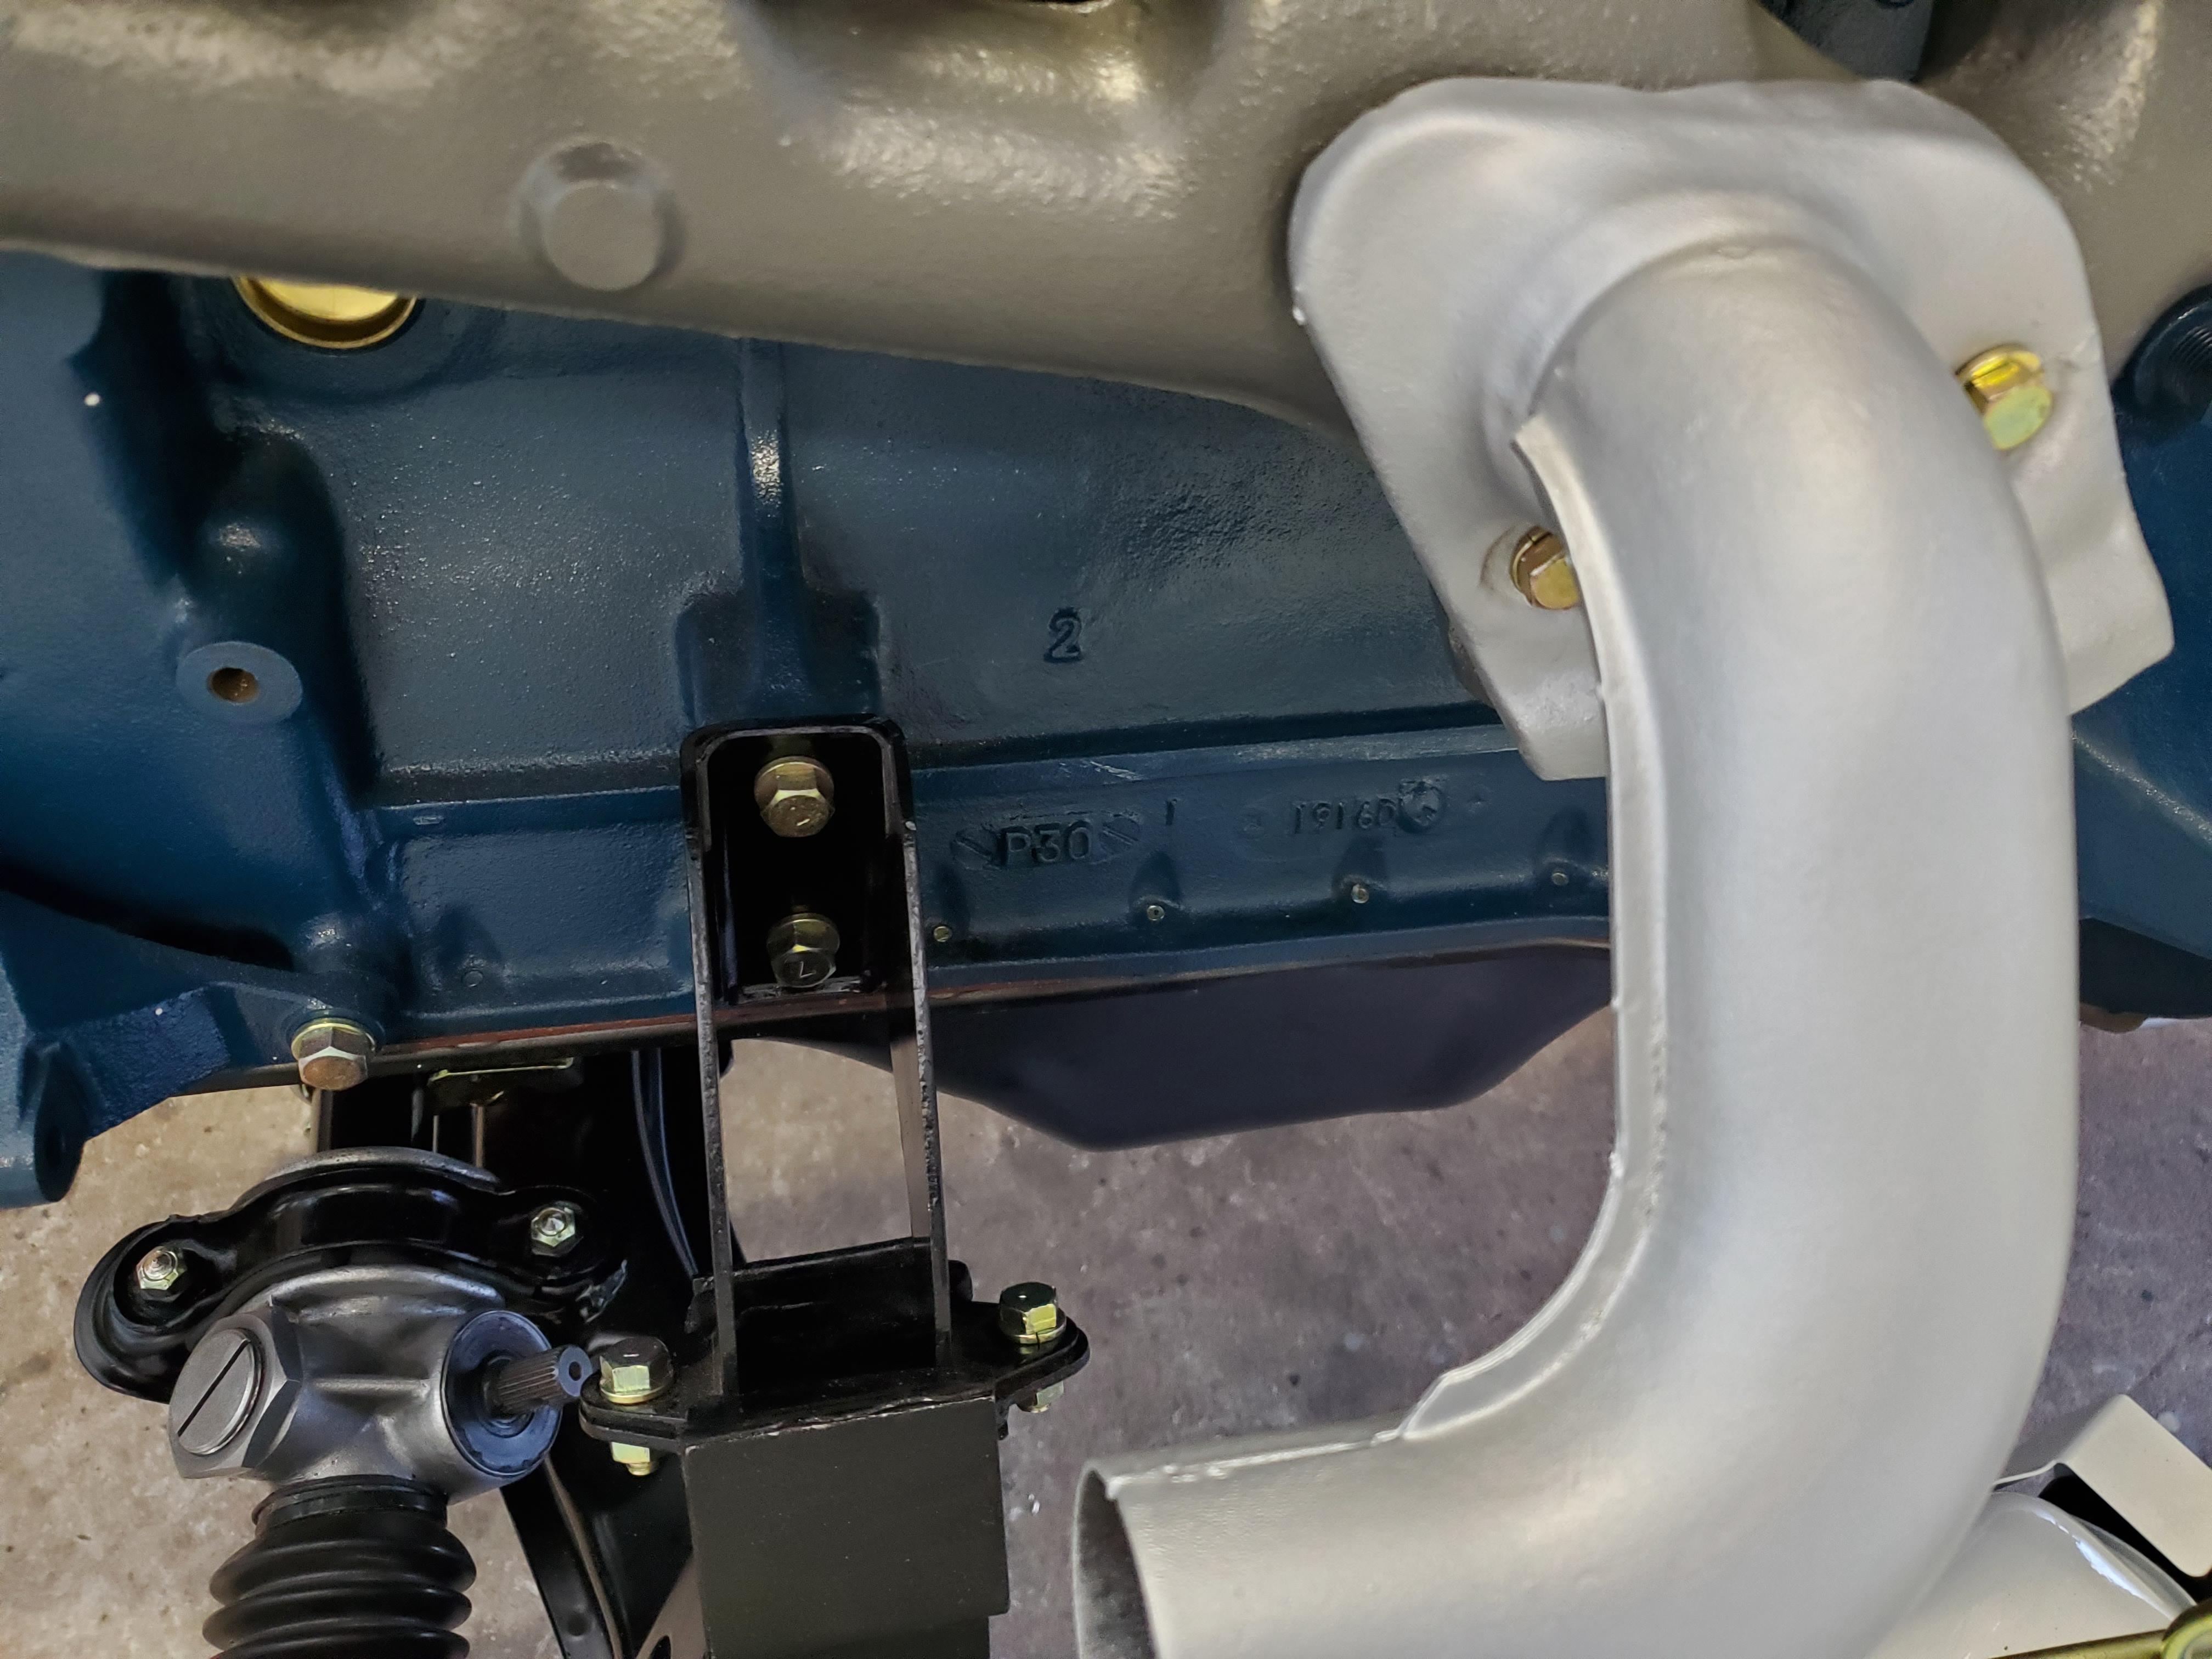
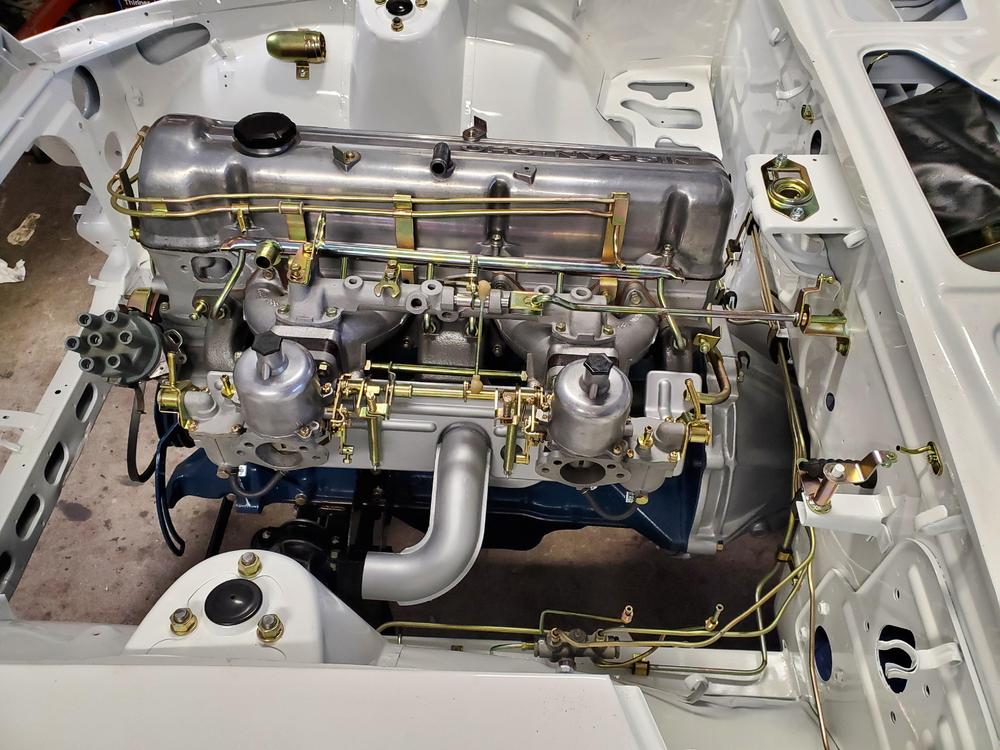
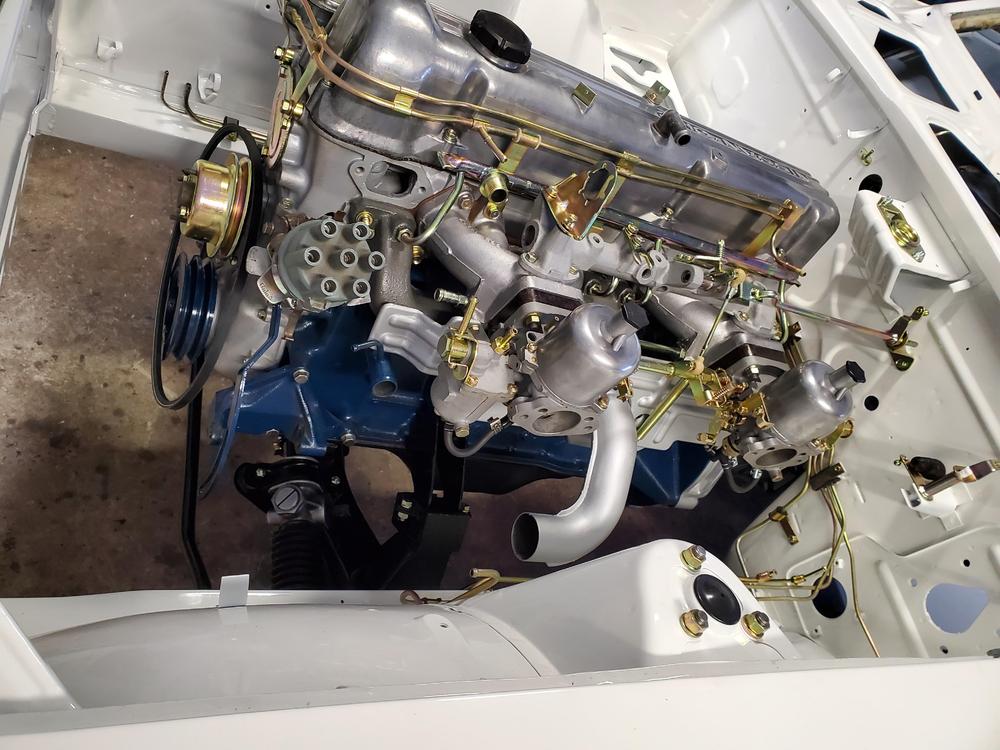
Got the manifolds and heat shield on. Started attaching the carbs and balance tube items.

 1 point
 -
1 pointMy build buddy bought one. I don't know if they have different "quality" levels, but it was the bottom of the line. We used it once and after that unbelievably frustrating and dangerous episode of thread galling and smashed knuckles trying to turn the handle... He told me it was my decision, I could either make it better, or throw the piece of shite out. I replaced the threaded rod with some all thread I had laying around, made all the wallowed out oval holes round again, and added additional lock-nuts all over the place to keep things where they belonged. We've subsequently used it to remove and install three motors and it's waaaaaaaay better. Sorry I don't have any pics.1 point
-
I don't have a yoke available. Its in the car. I guess I'll just roll the dice and try not to screw this up and follow Dave WM. Also, I'm going to leave that other side of the bearing in. When the transmission blows up driving to Nashville going over the mountains (if that ZCon happens), I'll then have time to reflect on my decisions I made today.1 point
-
Hi John, I was looking at my parts list and see I uploaded an old one. Back in 2012 I realised I forgot the input shaft seal. You should replace it as well. P/N: 32114-Y4000. Lip-Seal 30/45x8mm (NOK: AH1679G) I updated the list and clean it up a bit. It's also uploaded in the technical articles section. Tranny_Rebuild_Partslist-2020.pdf1 point
-
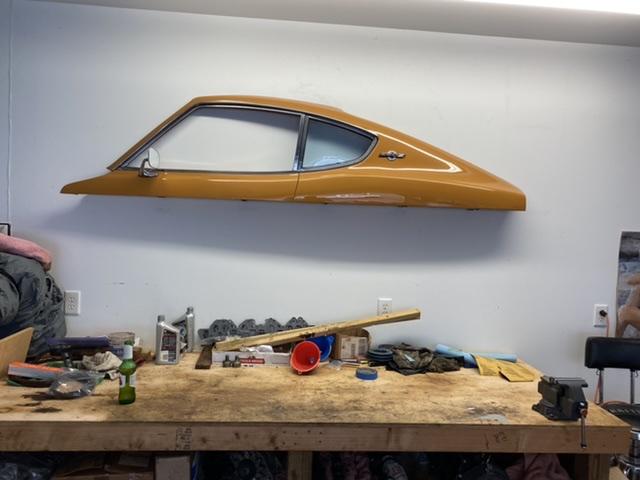
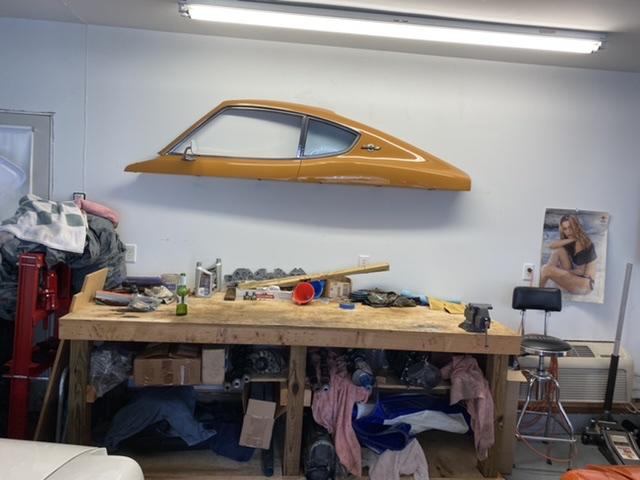
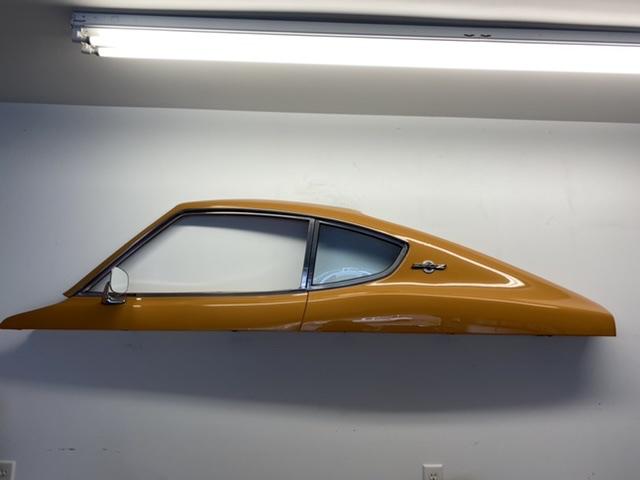
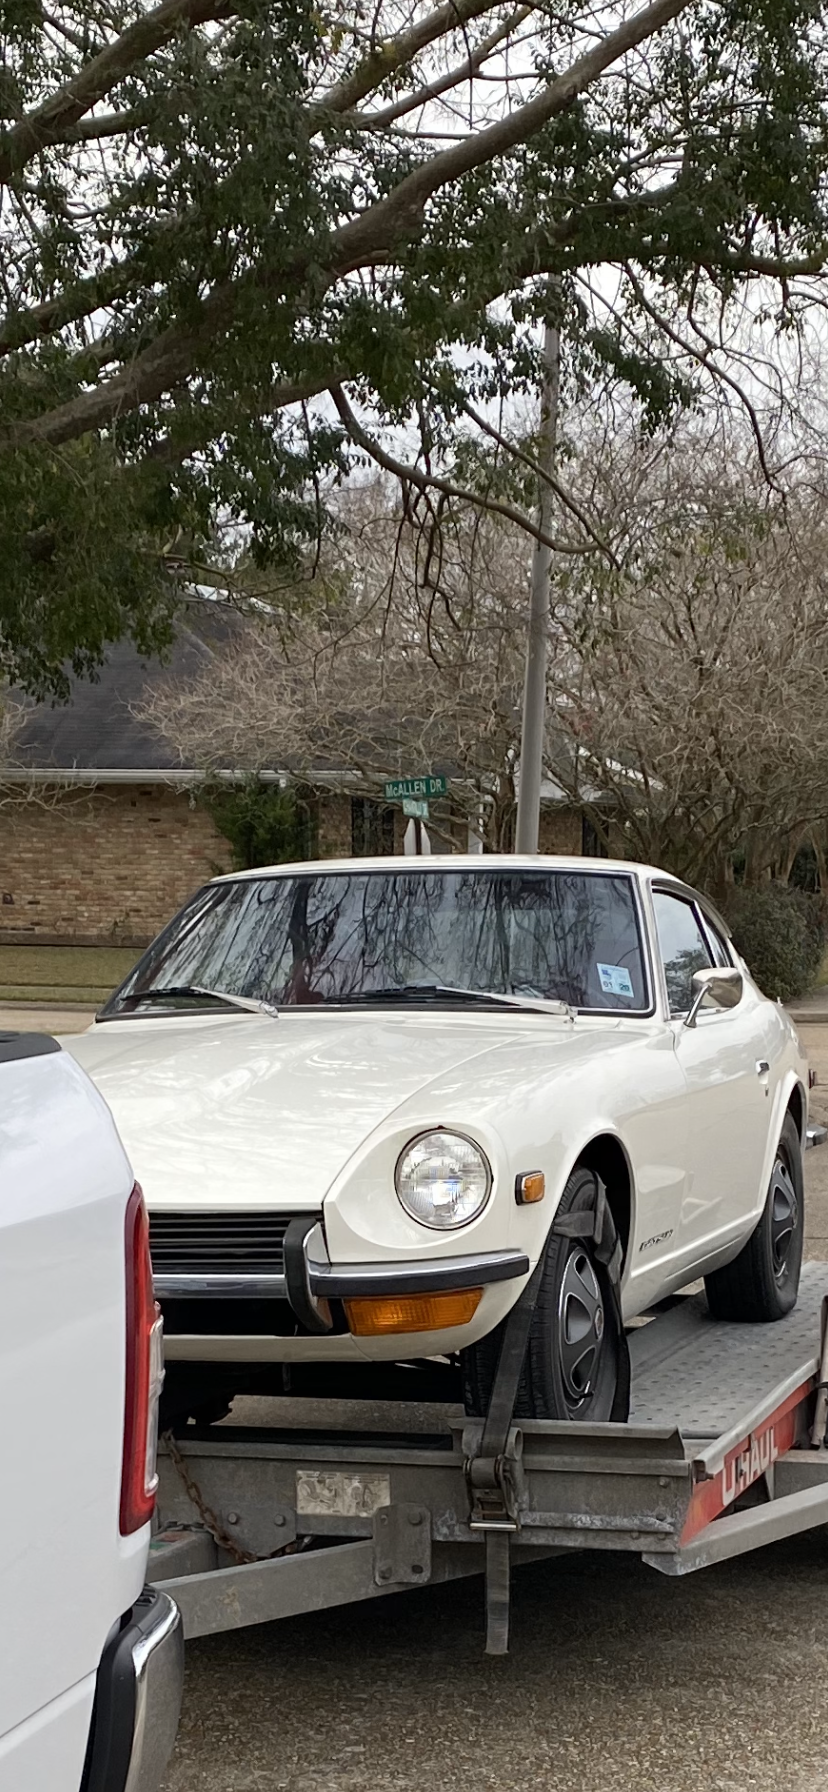
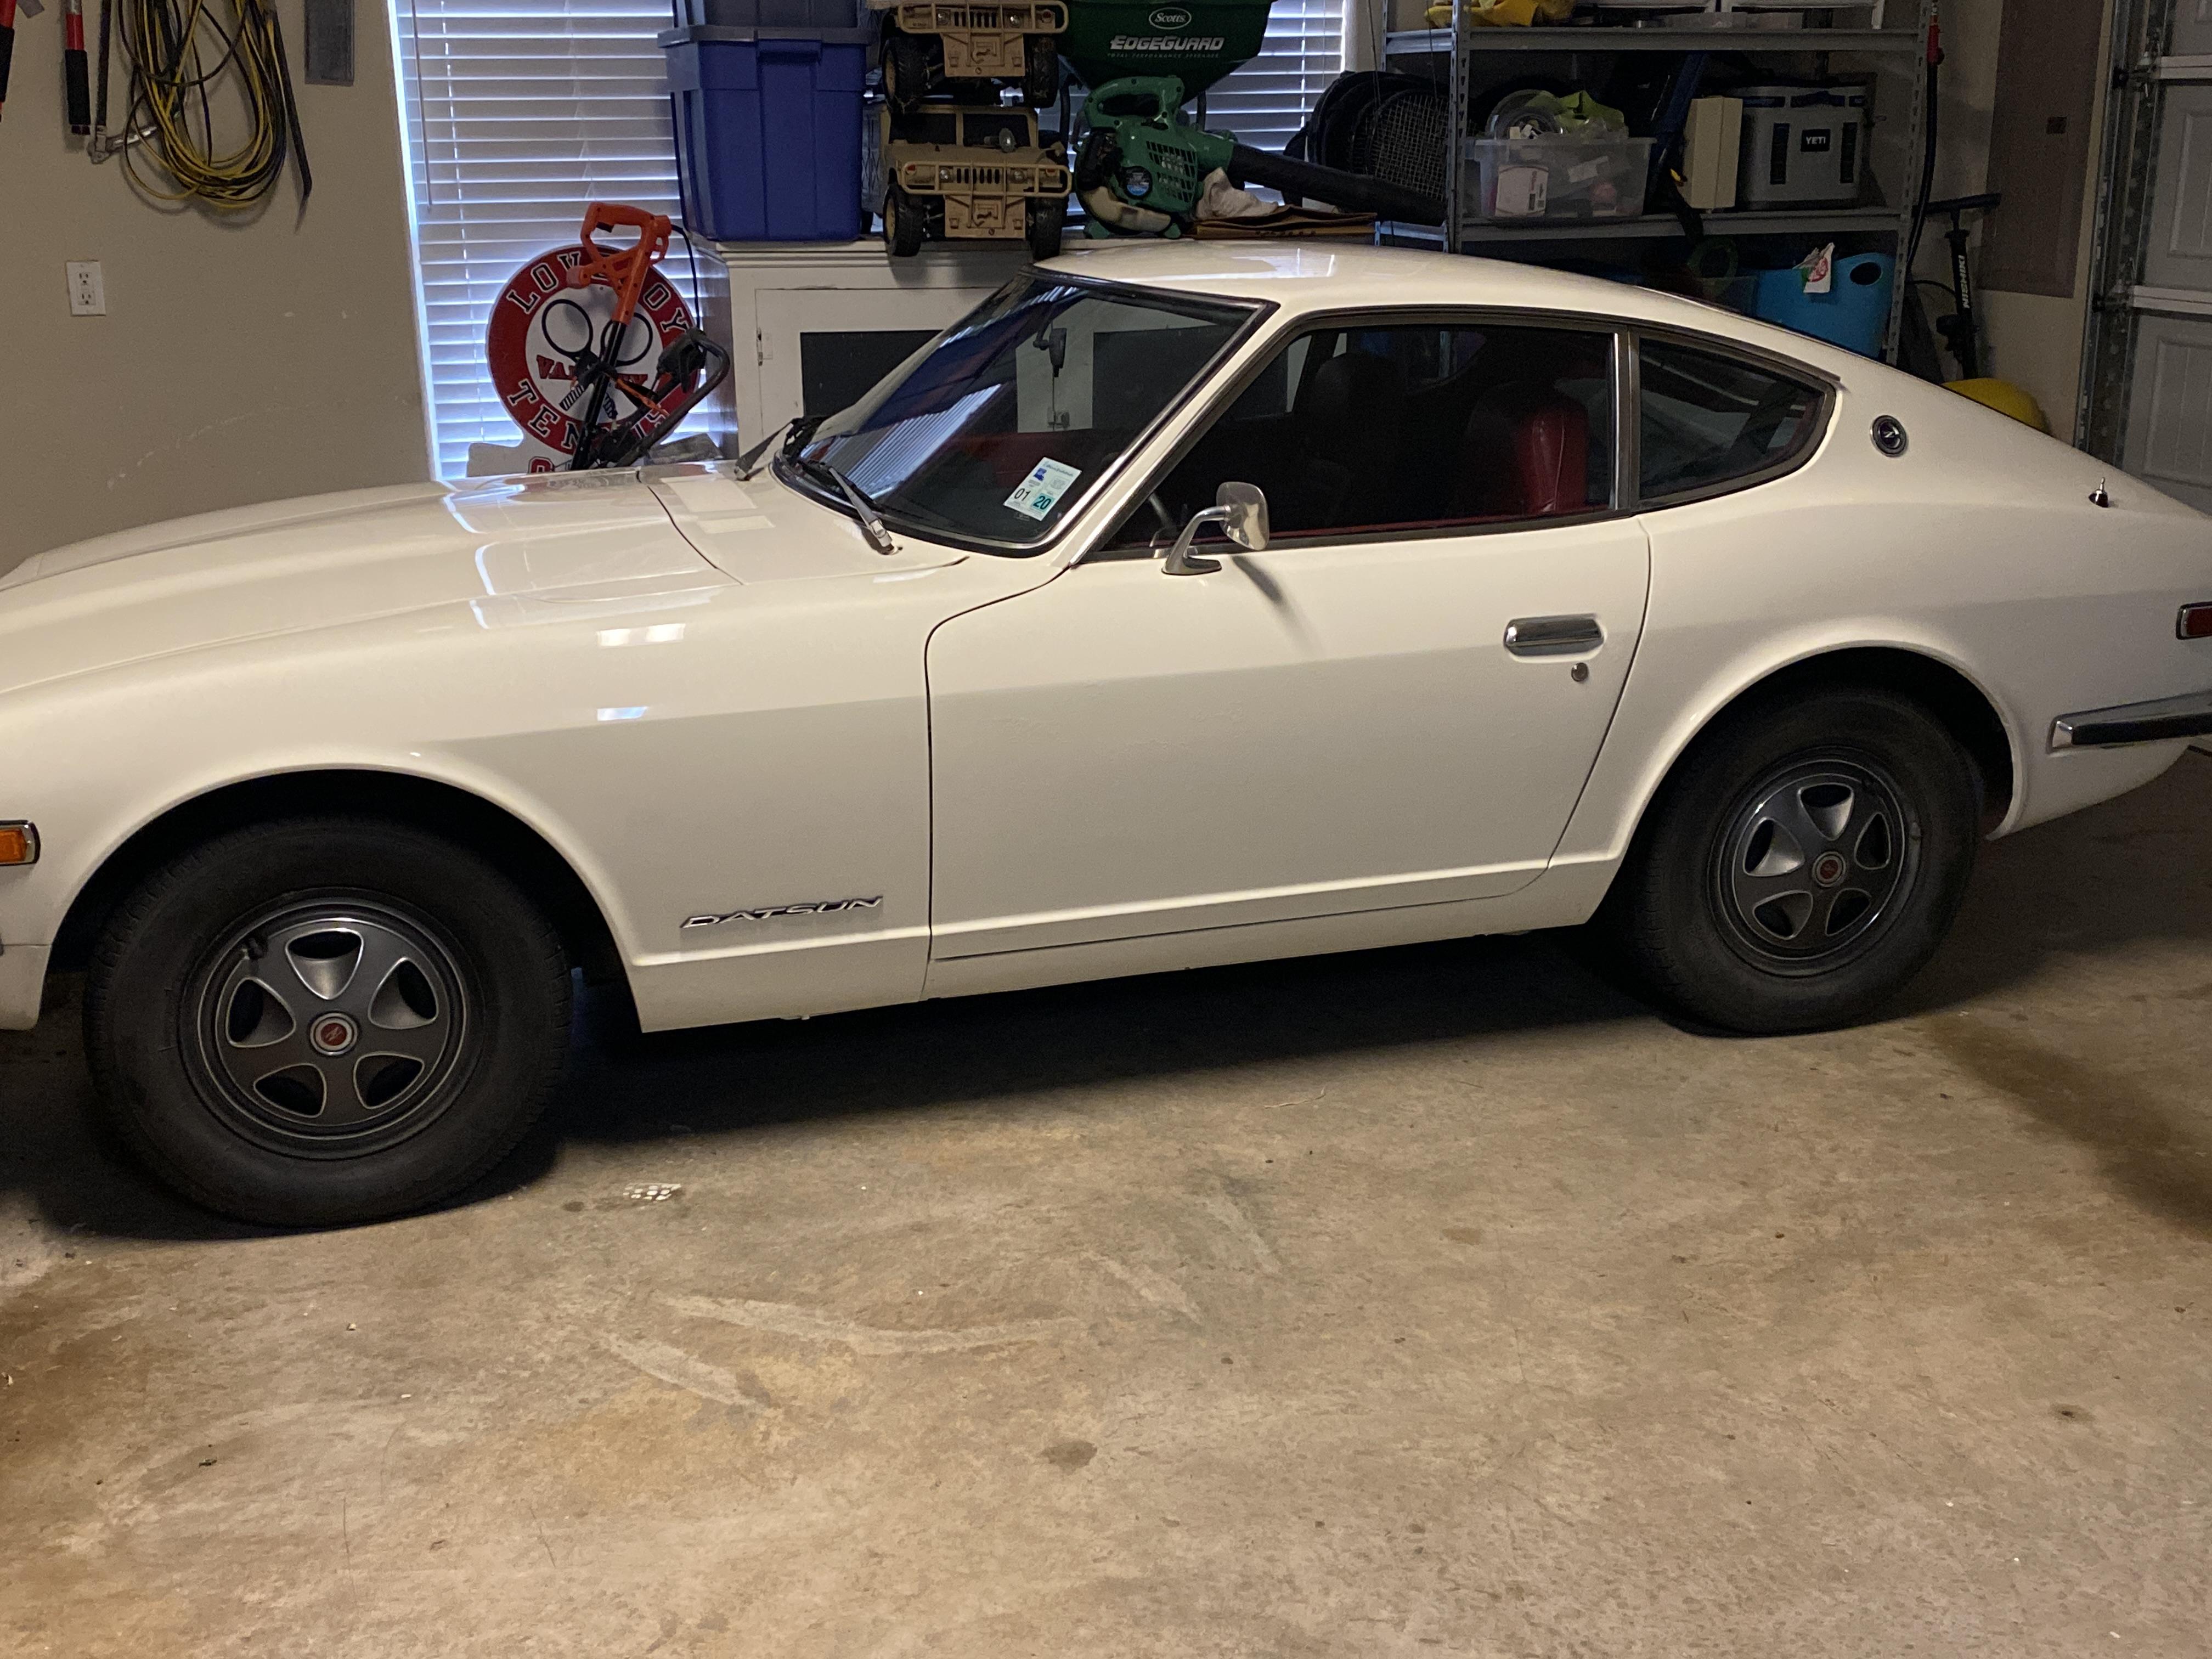
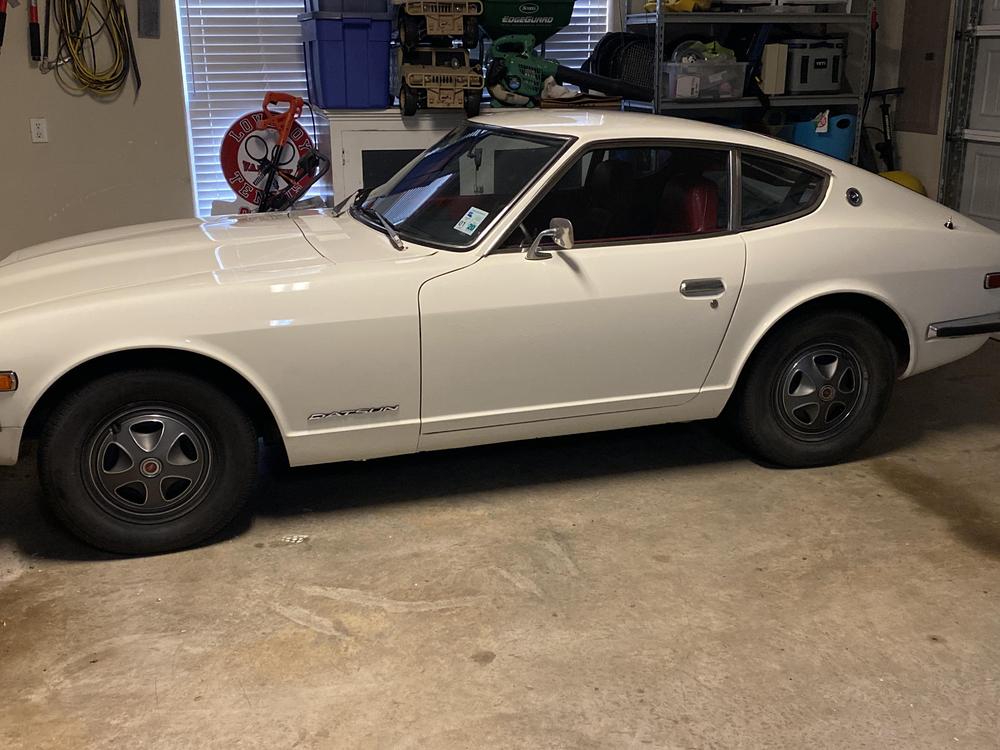
Thanks for the great information. Since I live in TX and it does get very hot here I think I will go with the ceramic MSA. I do love the looks of the SS though. Below are some pics of the car. 75K documented miles and first owner had car until 2012. Original window sticker and all service documentation throughout history of car. Next is on to Ztherapy SU carbs. Called them and they are booked out until June.. Geez they must be busy. Couple pics of the car below.

 1 point