Leaderboard
-

wheee!
Free Member5Points4,607Posts -
grannyknot
Free Member4Points5,158Posts -
KiileZ
Free Member3Points31Posts -
jfa.series1
 Subscriber
 3Points2,733Posts


Popular Content
Showing content with the highest reputation on 09/04/2018 in all areas
-
4 pointsListen ya young whipper snapper, one of these days you will start having senior moments then we'll see who's laughing.
 4 points
 -
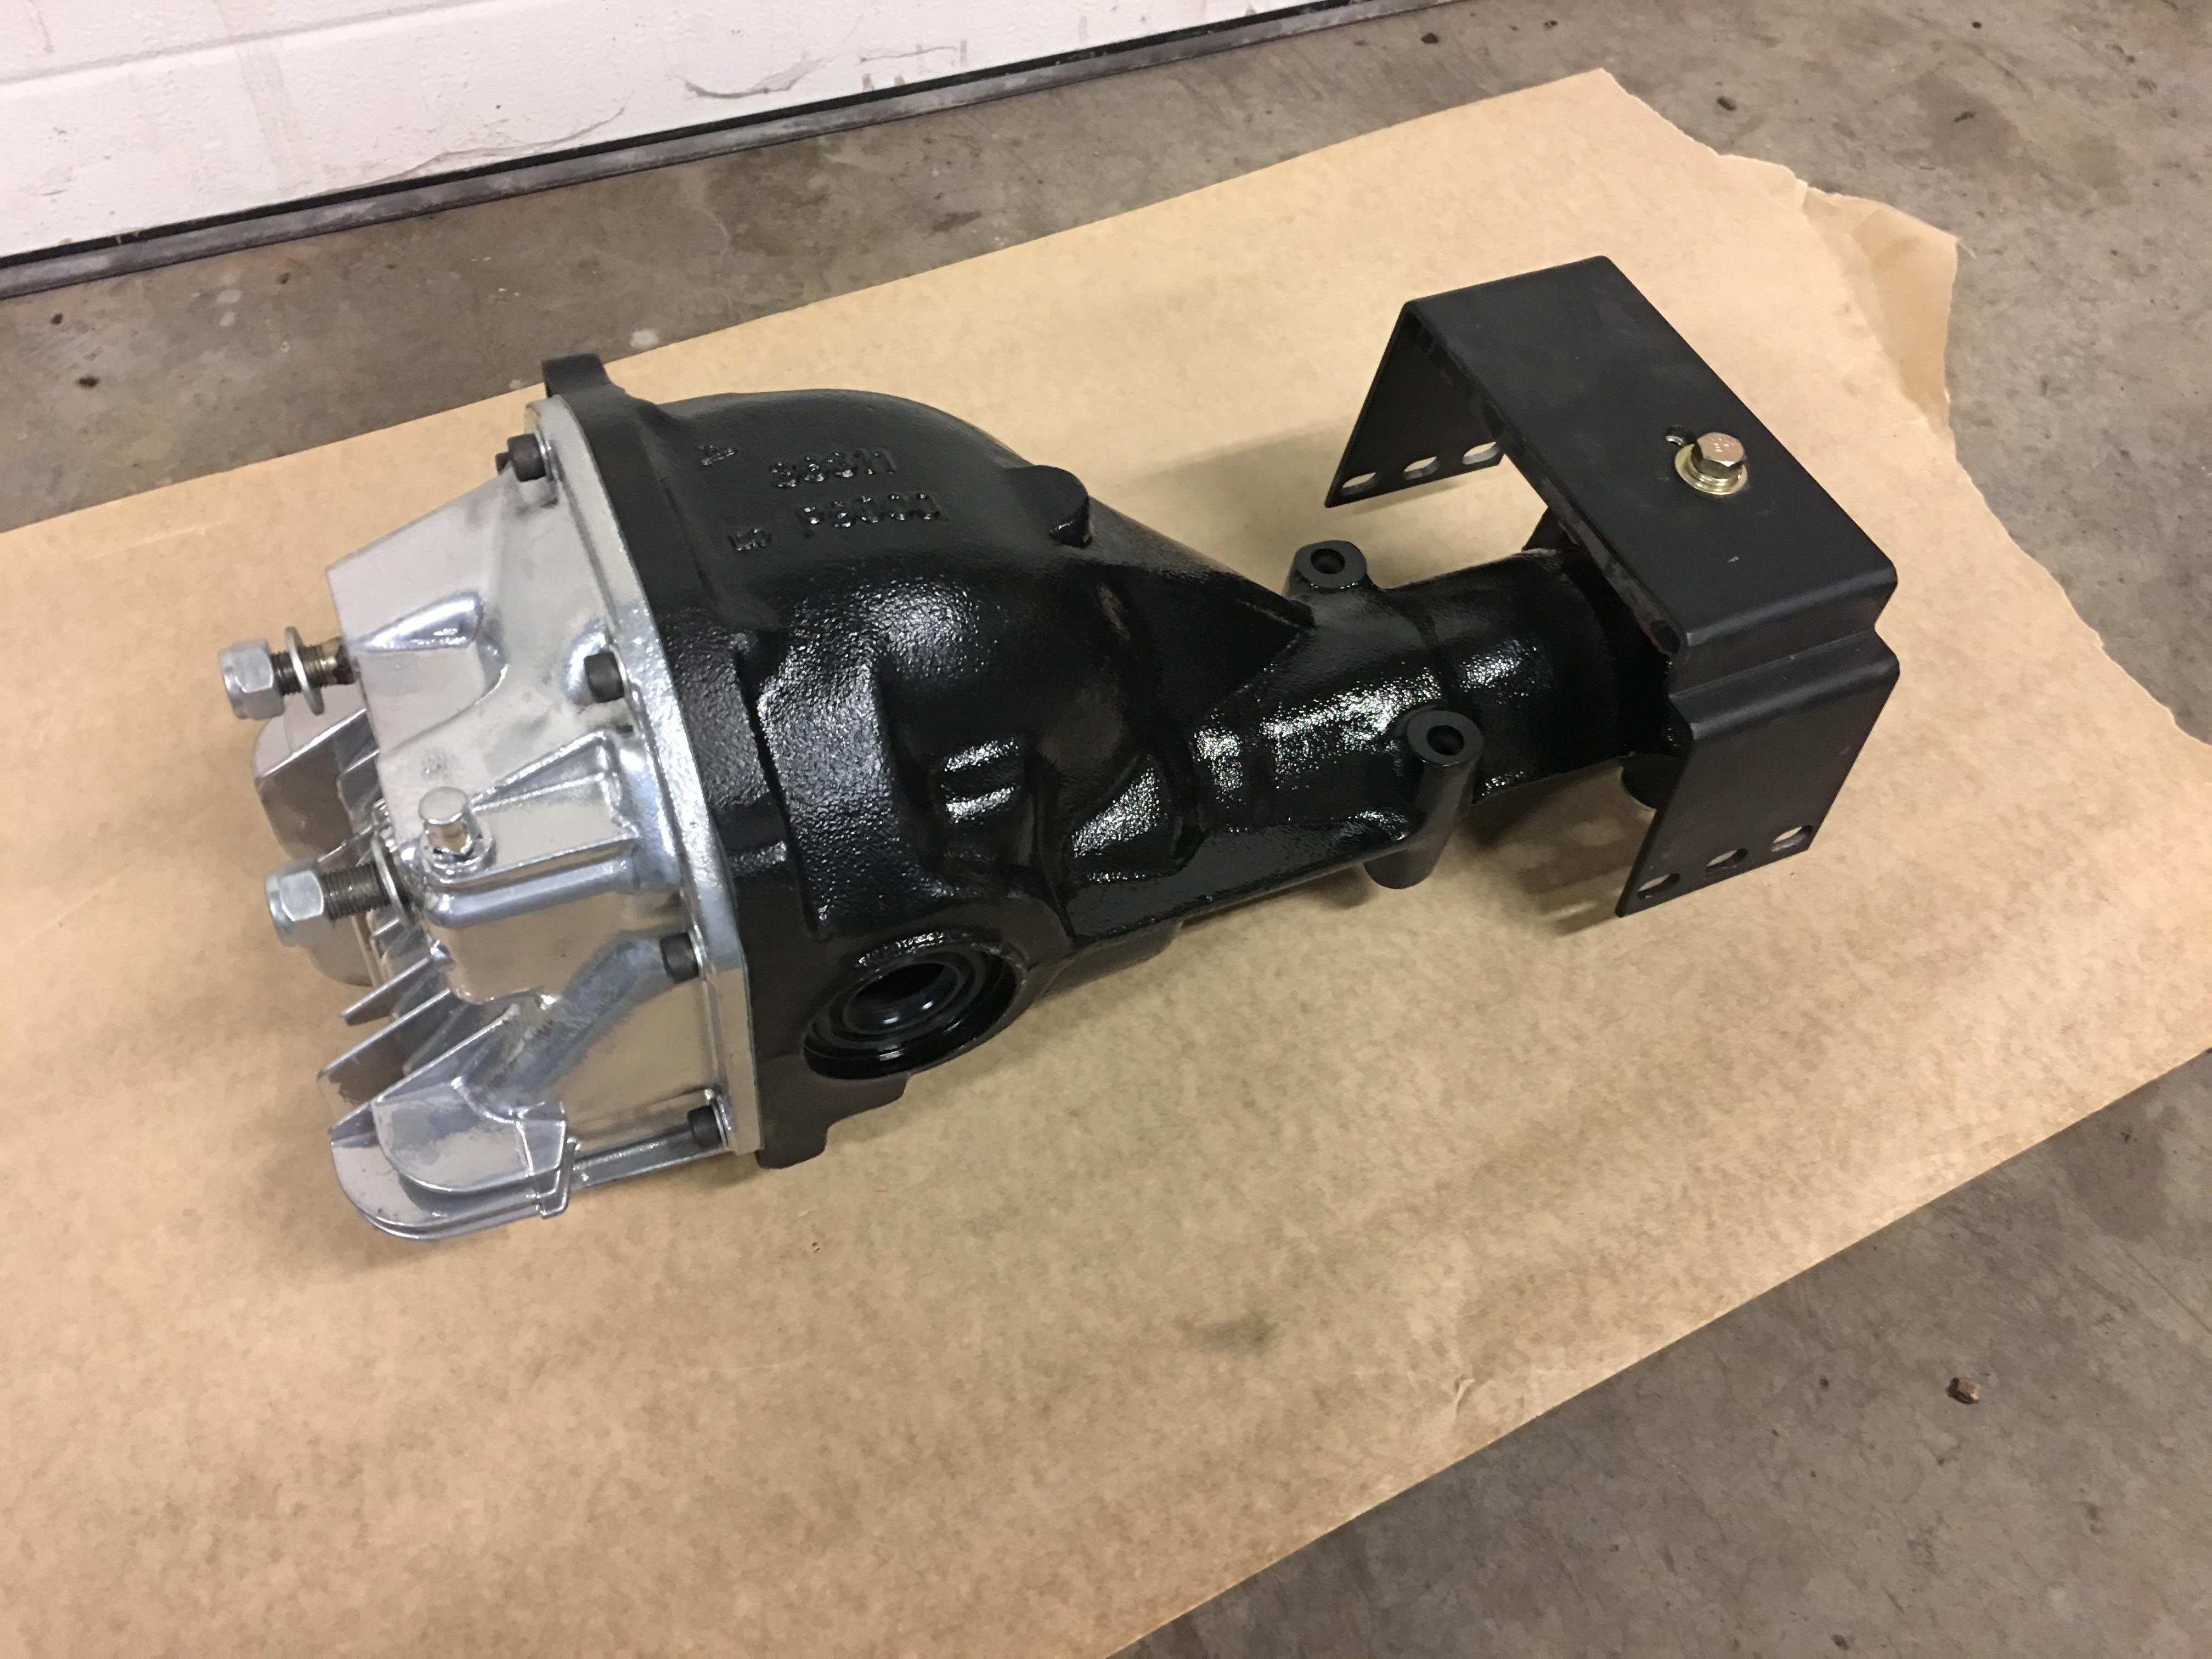
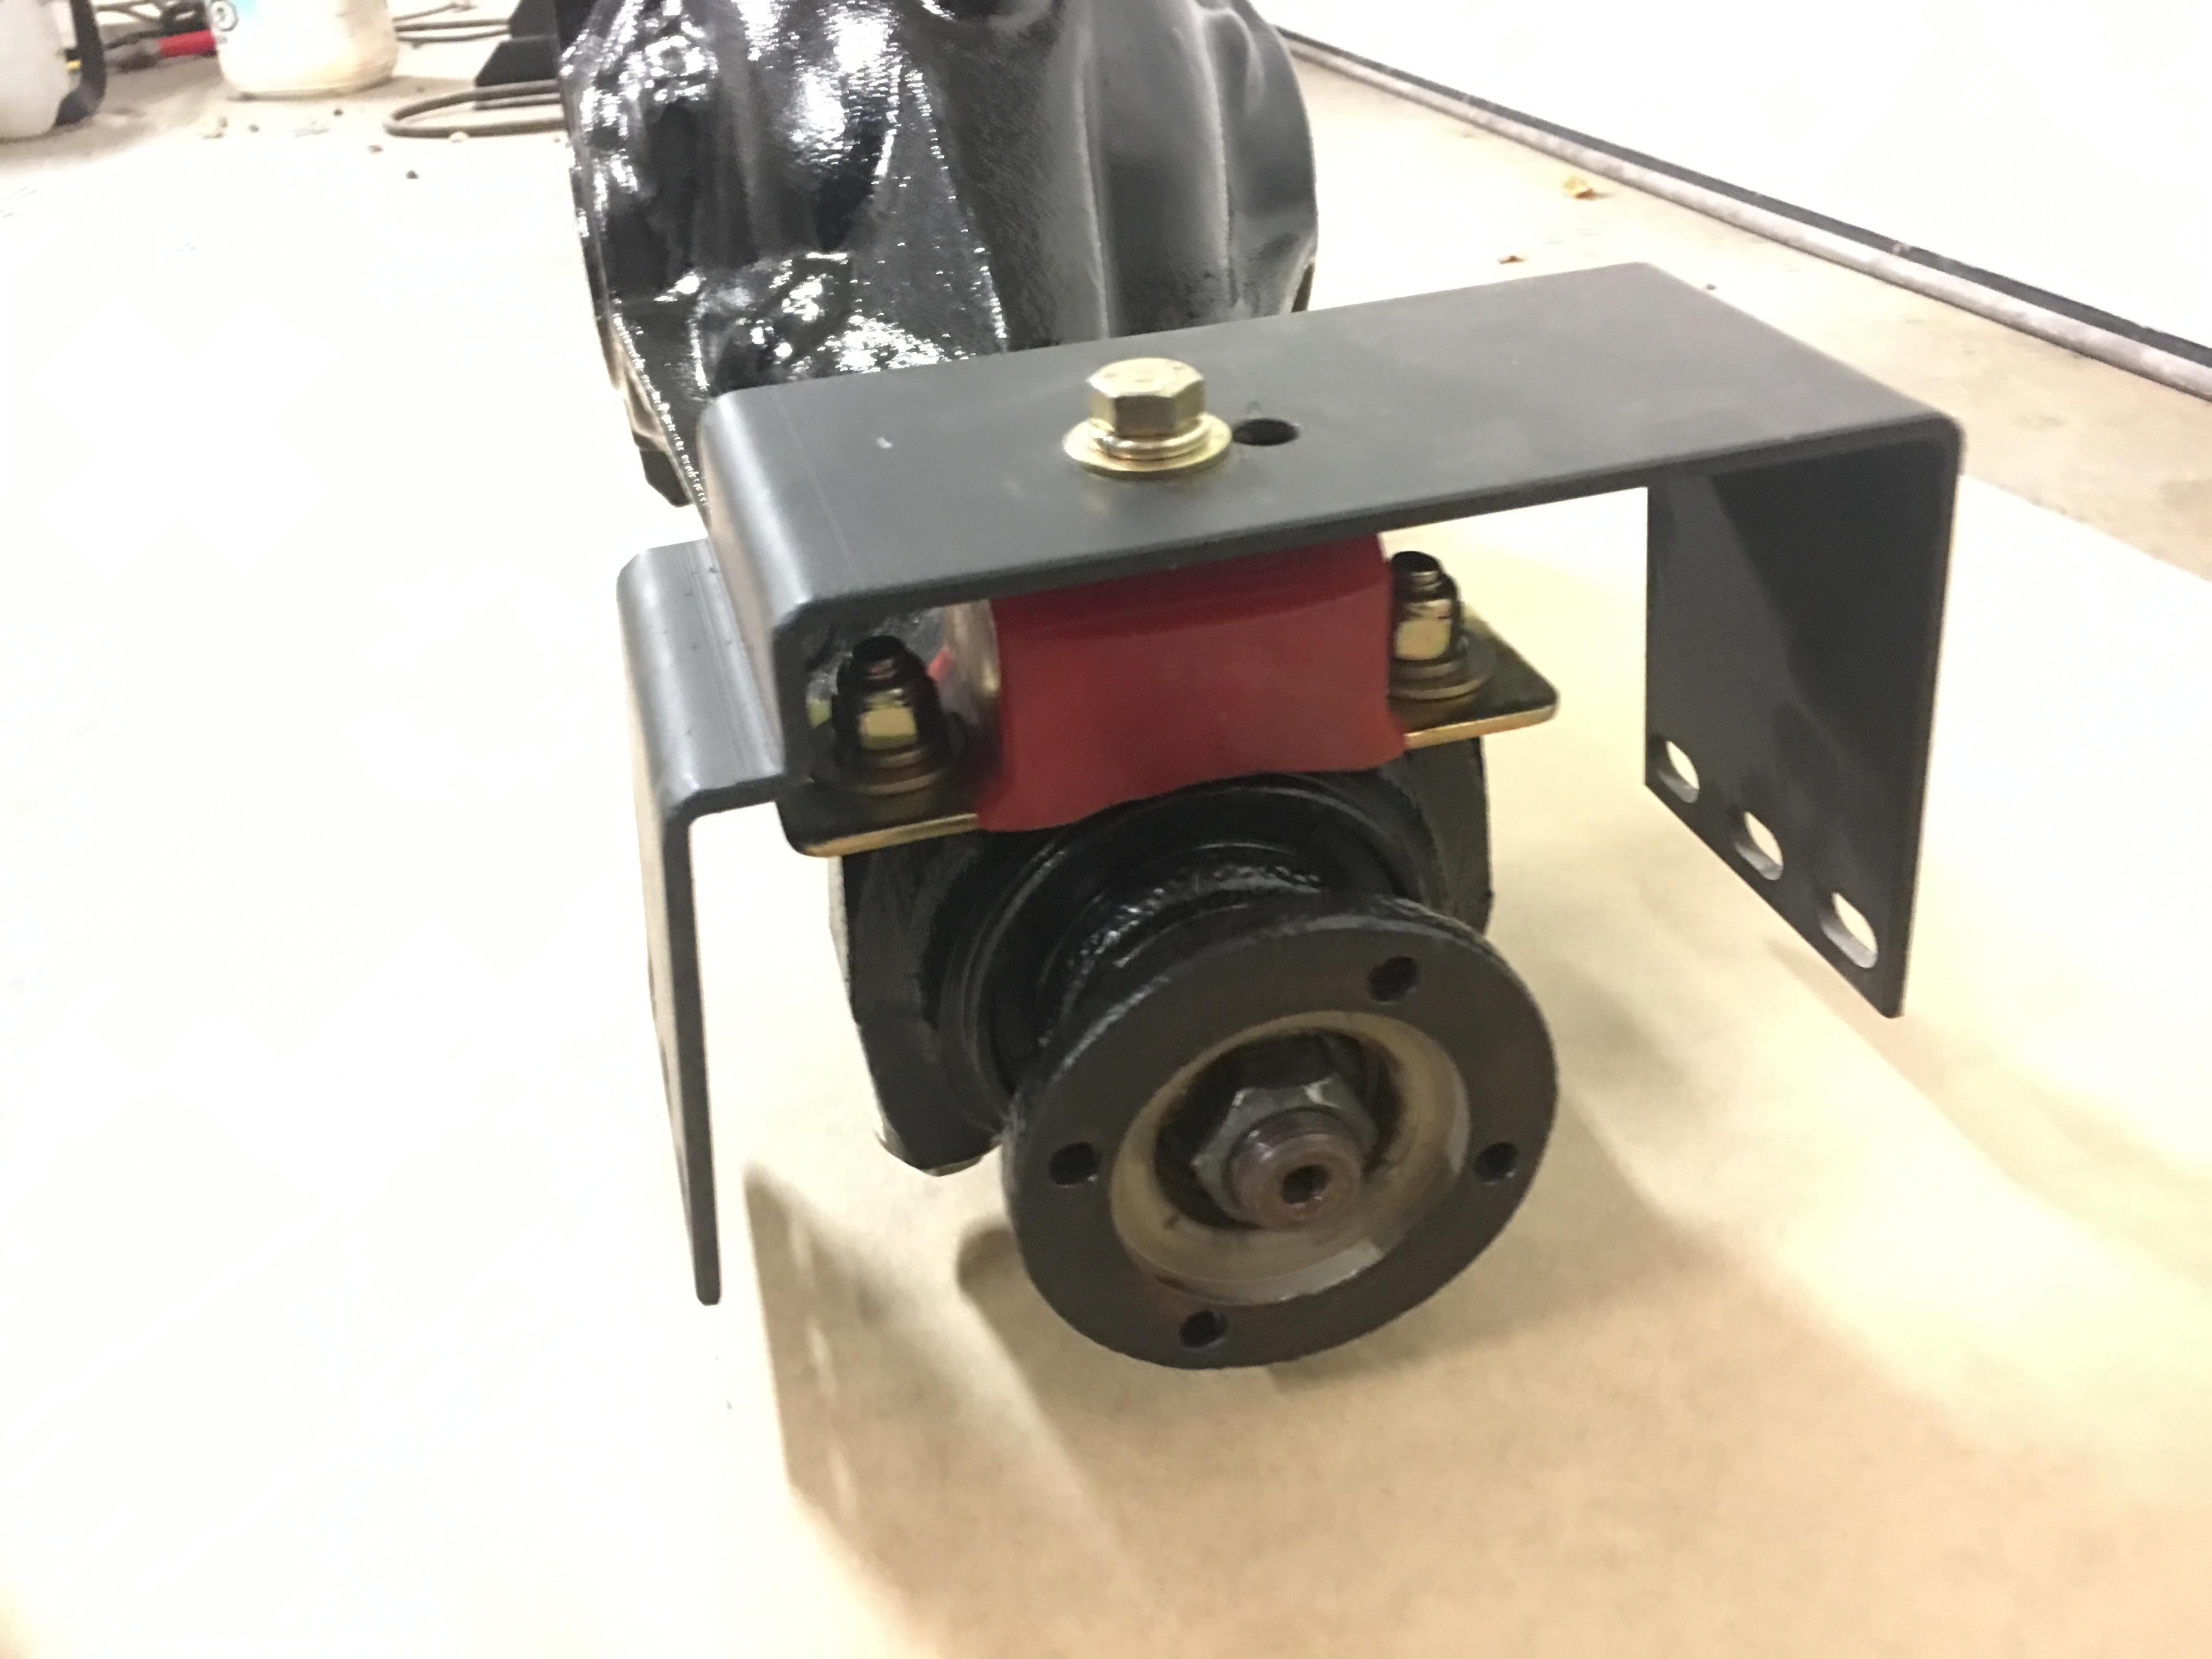
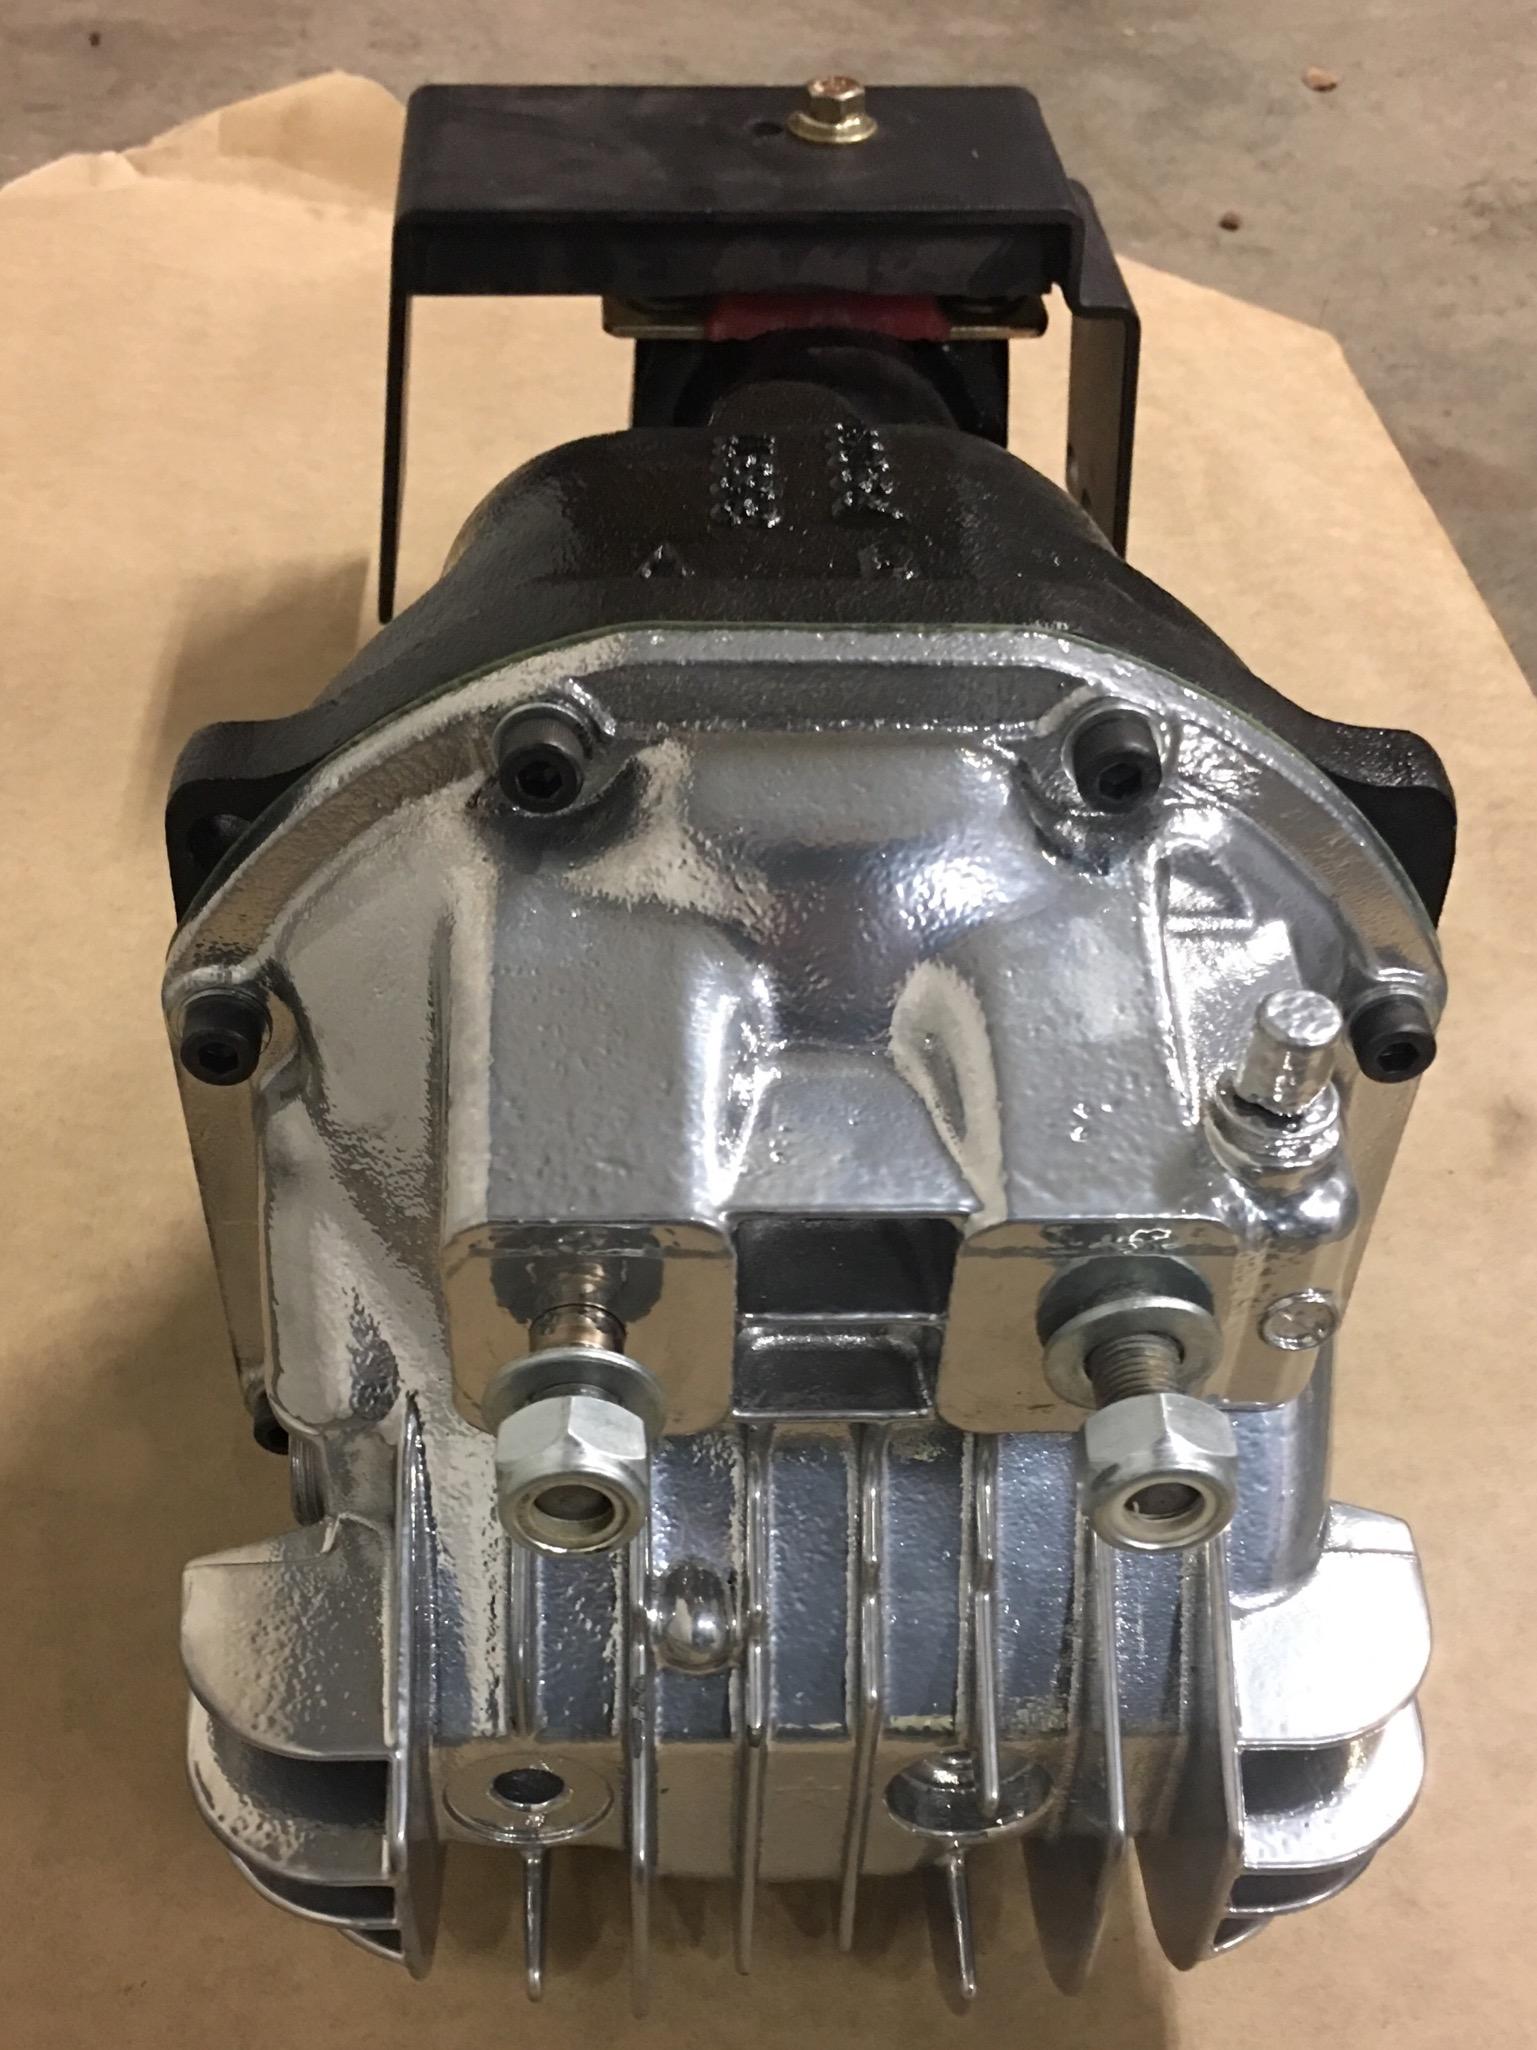
3 pointsDiff complete! Preload and gear swipe is on target. All seals and hardware replaced. Ron Tyler diff mount installed and ready to bolt up in the car!


 3 points
 -
I own a 1986 300zx that I bought 9 years ago and ever since I bought it, I have wanted a 240z. Well just this weekend I was finally able to acquire something that's definitely far from perfect, but something that I can drive and work on and make into something my own! I have attached a link to the imgur gallery below. I am super happy with the car. It's a 1972 240z. It definitely needs some work, but I can't find any rust that's bad. A little bit of surface rust and that's about it. Which is amazing since this is a midwest car lol. The car has been painted at some point in it's life and it shows how old it is. A lot of little scratches in the paint and such. It used to be orange, which one day I hope to bring back. I have a bumper for a 73, but since it mounts different I might have to find something else to go with. I got an old exhaust with the car that is basically a straight pipe with some resonators on the back I may try to install. The guy took it off because it was too loud and would wake up his kids. It has a header on it, but I can't tell what brand. Also got a set of Chastain Shadow Louvers, but no hardware, so that's no good. Overall, I am really happy with and I just want to bring it back to stock and just drive it! Let me know what you think! https://imgur.com/a/XrDIuR72 points
-
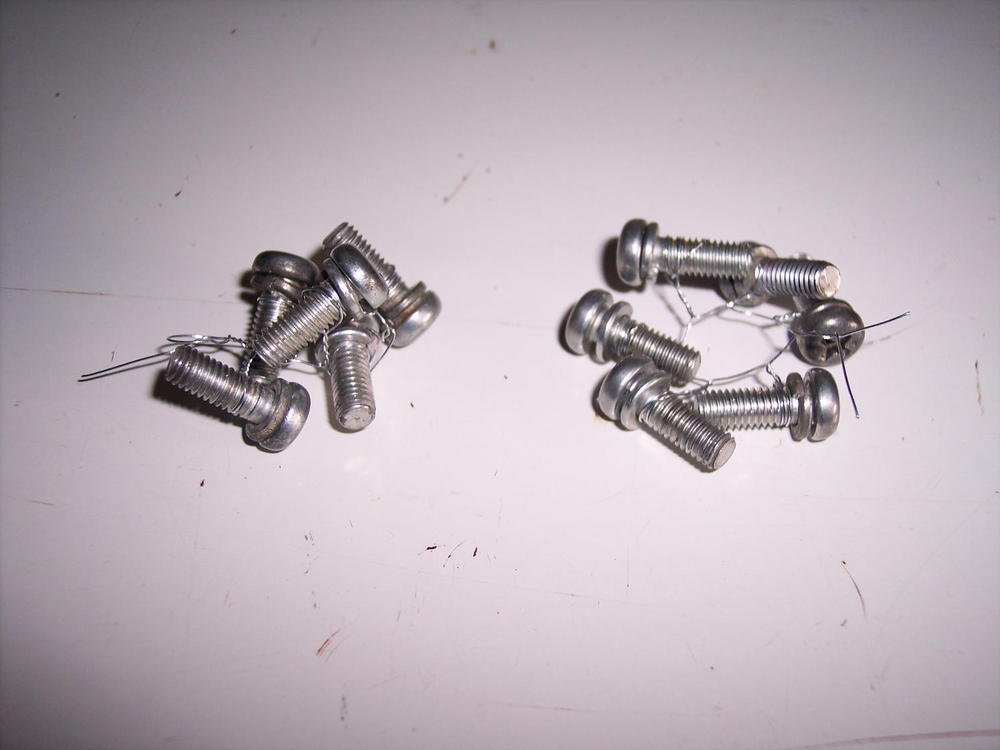
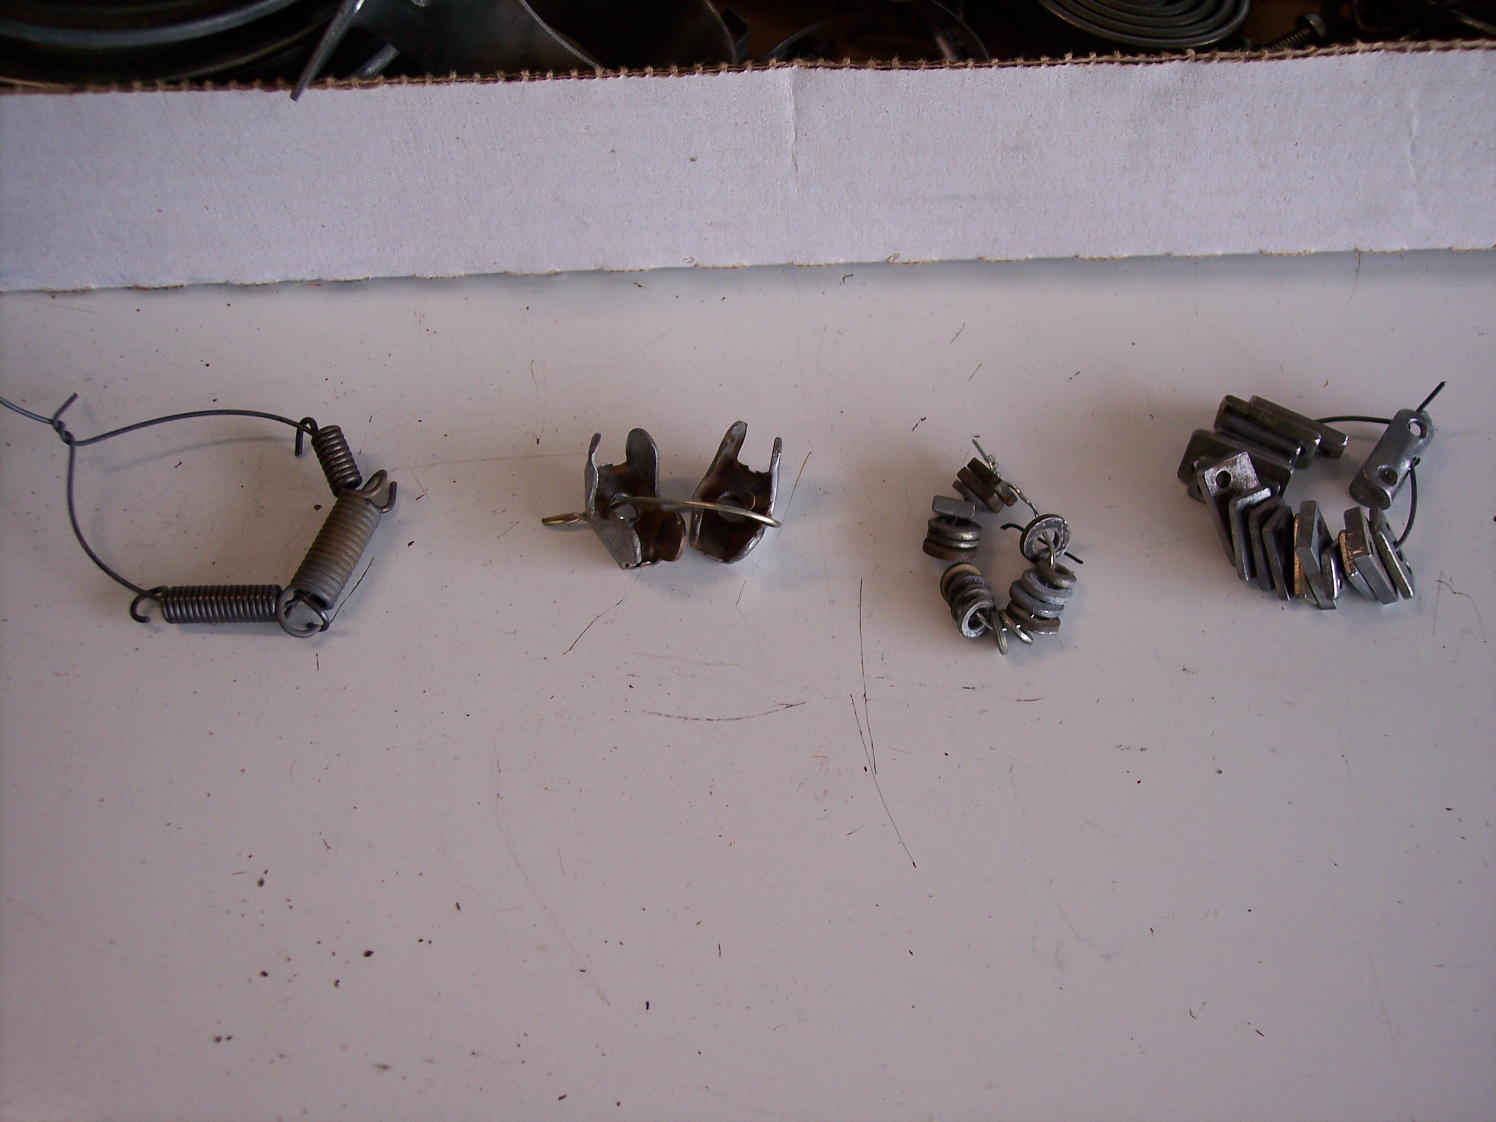
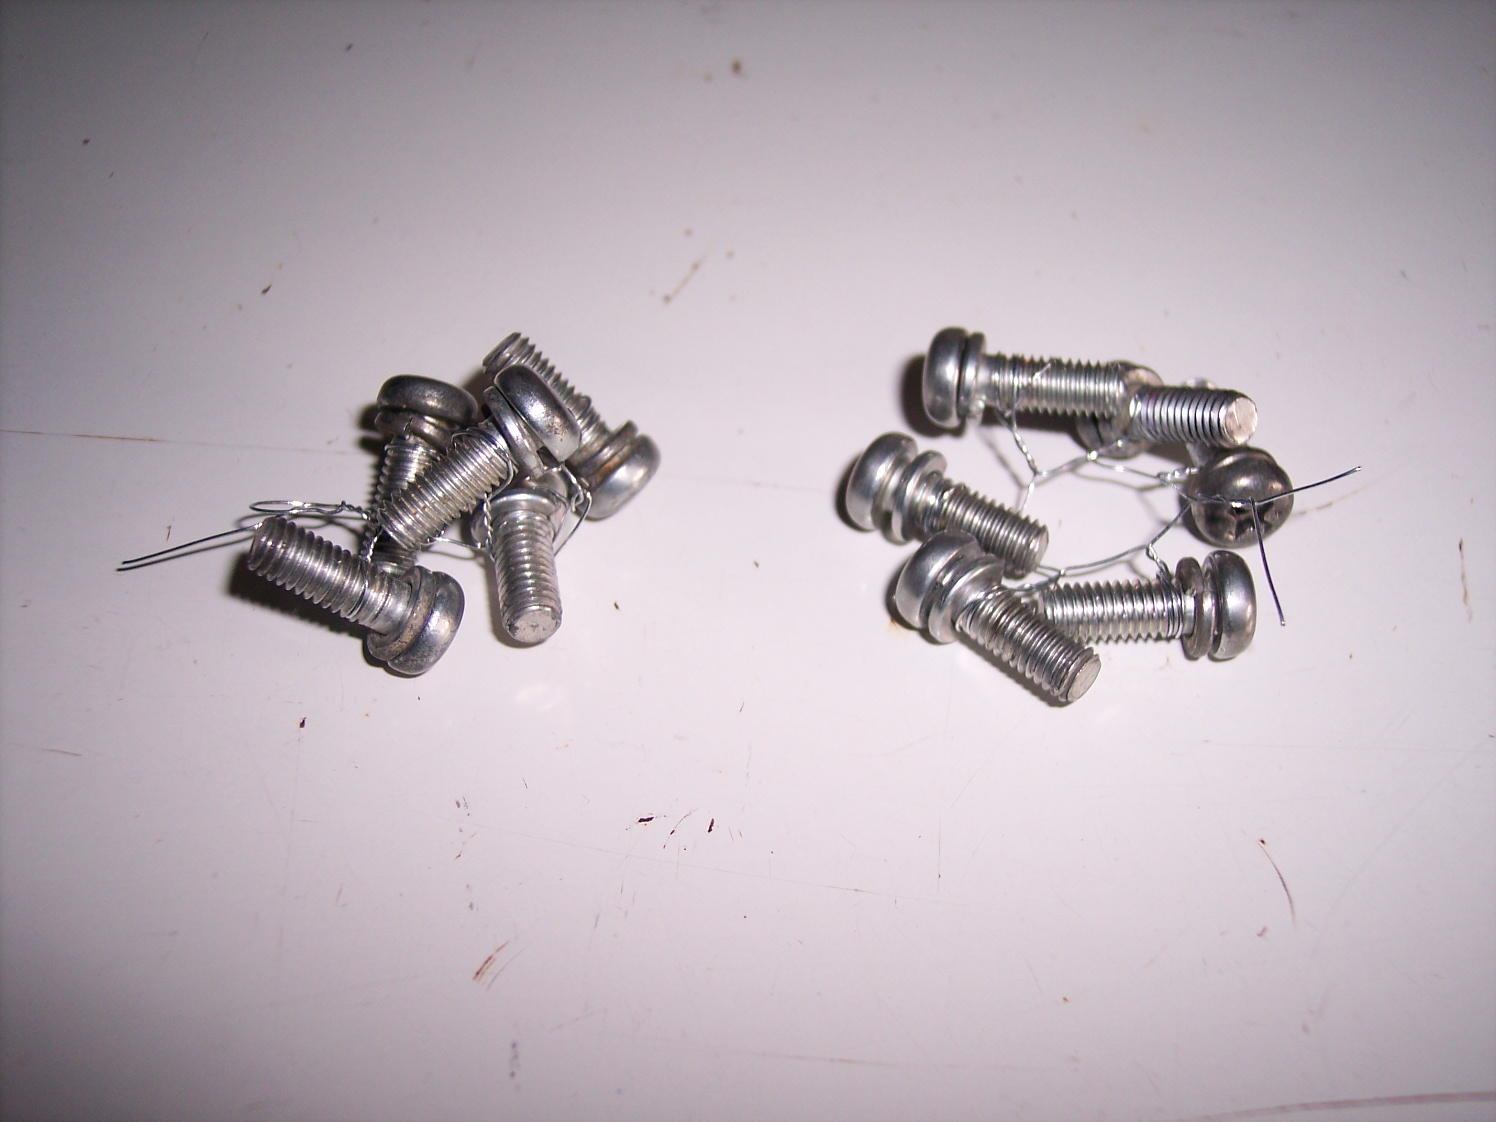
2 pointsI understand your concern over remembering where everything goes after plating - we all go thru that. Here's a suggested approach: - During disassembly, carefully bag and tag everything immediately as it comes off the car. DO NOT consolidate stuff, make it specific. Use a paper tag inside the zip bag with the parts to identify what it is / where it came from - a felt tip marker on the bag can easily rub off. - Thoroughly clean everything in a bag, remove all rust, dirt, paint, ...etc. The better you clean things, the better your plating results (remember the old axiom: garbage in. garbage out). A wire brush wheel on a bench grinder is great! Take stuff apart wherever possible: bolts, nuts, washers, springs, ...etc. If the factory plated things before assembly, so should you. - When a bag of parts is clean, photo the parts with the paper tag visible. Put it all back in the bag until all is done. - Small parts like washers, nuts, tiny springs can and will get lost in plating if left loose. Use some thin, soft wire to make closed loops for like things: nuts, washers, springs. For tiny screws, tightly wrap thin wire a couple of times around the threads then give it a twist to lock it in place (see pics). - When everything is cleaned, the moment of truth arrives: time to dump everything into a big zip bag to take to plating. Save your small bags and tags for use later when it all comes back. If you've properly documented everything, you should be able to return all parts to their original bag with tag. Good luck. -

 2 points
 -
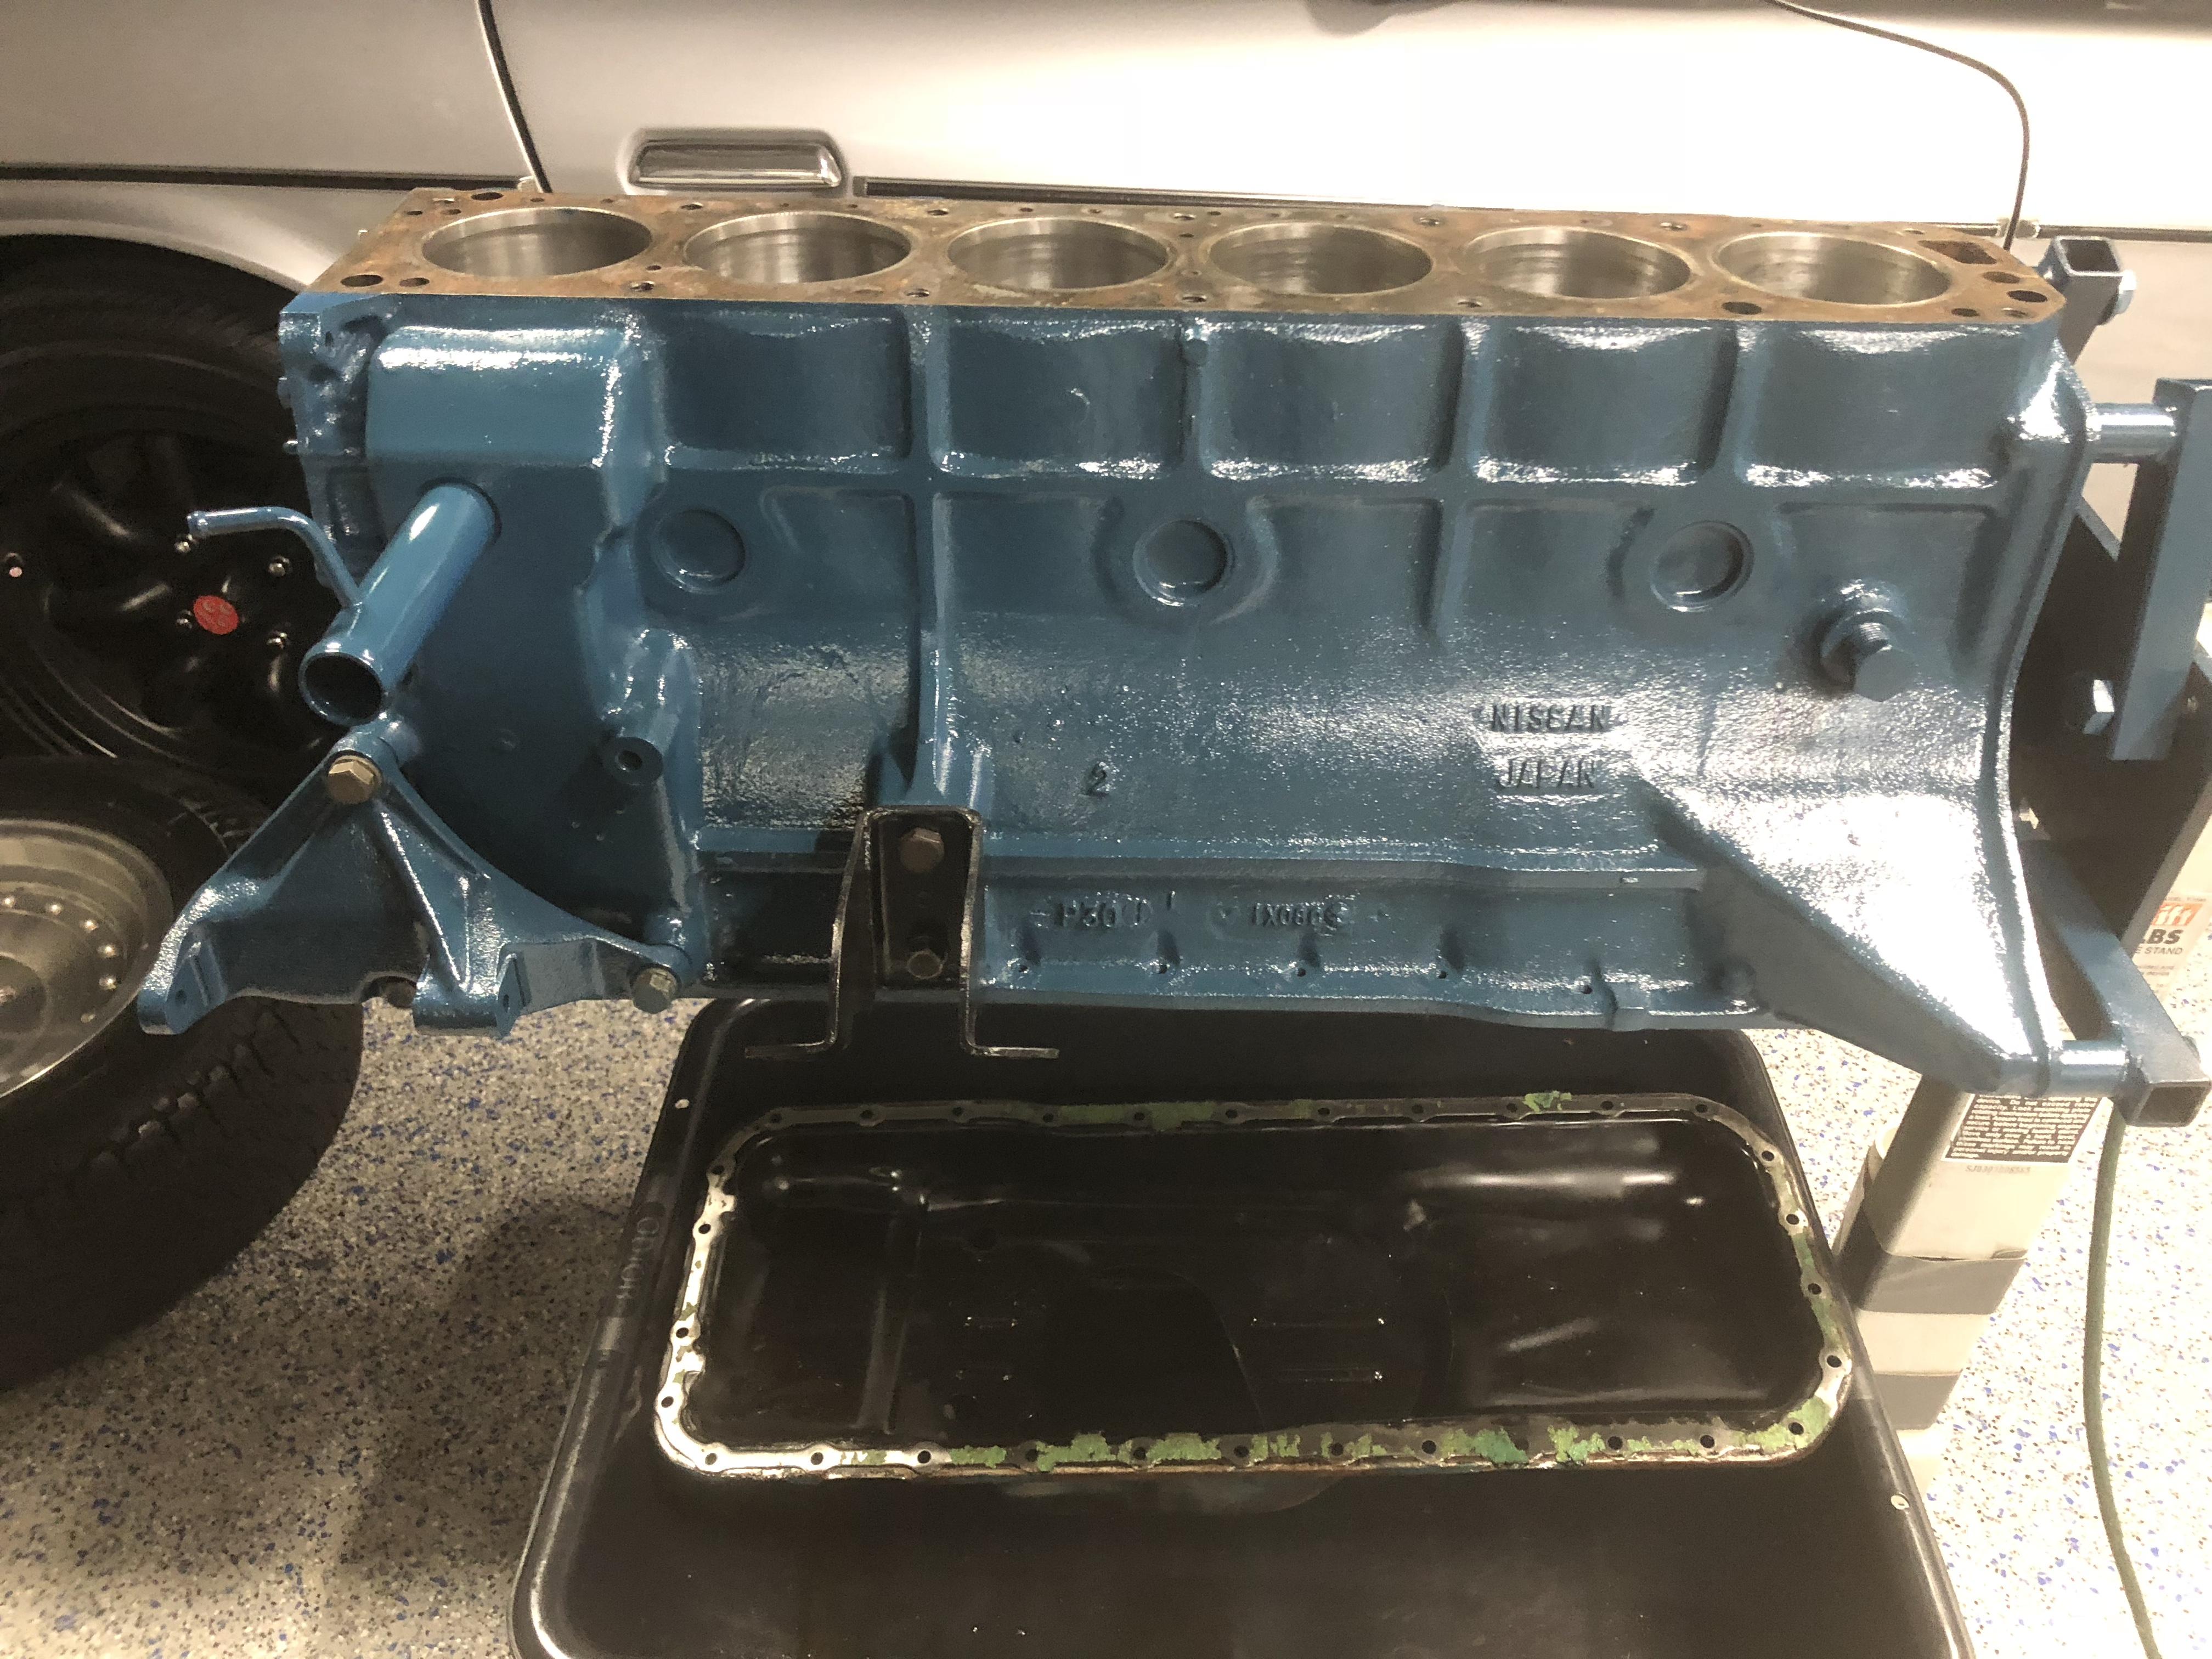
I have found that when first starting up any work on the cooling system that it is preferable to use just plain water. Less mess and less coolant in the driveway. When everything is AOK then drain and replace with distilled water and the correct anti-freeze mixture. I had a freeze plug blow out on a fresh rebuild and was glad I just used plain water. Just my 2 cents. Cheers, Mike2 points
-
1 pointI performed a test swapping connectors during idle but I have not tried swapping injectors and starting the car again to see if it followed the injector or stayed at the cylinder. I am going to measure the volume of the injectors as Zed Head recommended and go from there.1 point
-
its not dissimilar to the rebello purist,so it'll work, custom pistons allow me to make it work as a whole package.1 point
-
You could remove the radiator drain and run a hose pipe into the top of the radiator, balance the flow and let it idle for a few minutes to see if it overheats. This is a 240 diagram but it should help.1 point
-
I was actually thinking of moving away from the chrome on this. I was thinking of getting a front and rear MSA fiberglass bumpers. I am just a bit worried about their quality and what sort of finish they have on them. Your car is amazing! It has pretty much everything I plan to do to mine. Chin spoiler, fiberglass spoiler, 8 spokes with a chrome lip. Looks great! I hope mine looks half that good.1 point
-
1 pointAs @Patcon says, there is no such list. A very general "rule of thumb" is that unpainted parts from the firewall forward are plated yellow zinc and parts aft of the firewall are clear (white) zinc. One noted exception to the clear zinc rule is the fuel filler cap and neck - those are yellow zinc. Your best bet is to surf for pics of engine bays and other areas that have been restored to locate parts to be plated.1 point
-
1 pointYou could just try swapping an injector around to see if your symptom follows it before building an elaborate test setup. If cylinder #3 has no change when you disconnect the injector for it, you could swap the injector to #1 to see if the problem follows. You already have the rail out.1 point
-
The radiator cap is just a pressure relief valve. If the pressure is exceeded the coolant is purged through that tube. Could be that you got the wrong cap or that you just didn't have it inserted right. Check that cap closely, make sure it's seated so that it can hold pressure. If it's not seated the coolant will just flow out as it expands. The heater cores are best if they are blocked, not connected. By connecting them you're creating a short circuit for the coolant and it doesn't pass through the head. It just circles around in that useless loop. It reduces the overall flow through the engine. Where'd you get that cool looking "FUSIBLE LINKS" cover? Is that what they used in 1975?1 point
-
1 pointBasically every metal part on the car that was not painted body color, black or blue was finished some how, excluding aluminum pieces. Most were plated yellow and "yellow zinc" is used for that. I believe a couple of parts were plated black and some parts were plated shiny silver or "clear zinc" Even the parts inside the brake booster, the heater hardware, window regulators and latches were all plated yellow zinc. Most don't go to those extremes but I know a few that have...1 point
-
Does the temperature gauge work? What did it read? Yes they can overheat quickly if there is a problem. Overheating these aluminum headed engines is a no-no.1 point
-
1 pointProblem solved. Ran the tap. Cleaned it out. Ran the bolt. Cleaned it out. Ran the tap. Cleaned it out. It’s bright and shiny and very little damage to the threads. The bolt goes in smoothly but not easily. Feels correct now. I have some new bolts coming to replace this cheep junk.
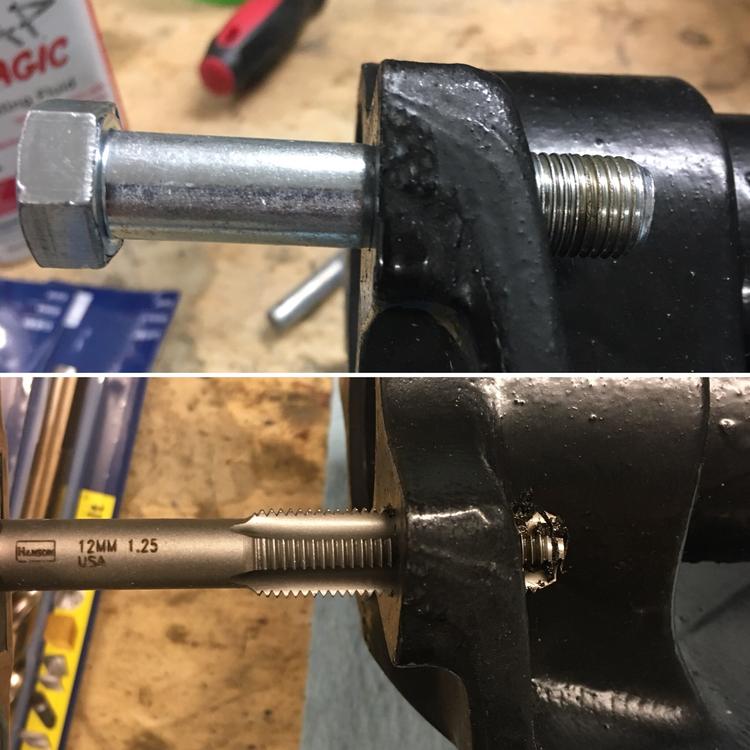 1 point
 -
1 point
-
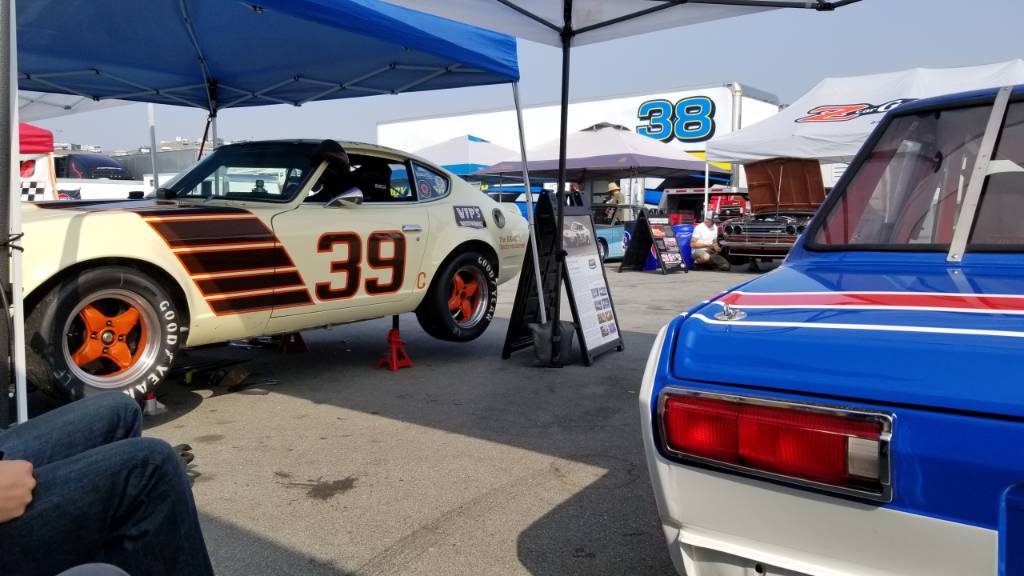
I pitted with those two cars that my buddy owns. It was truly a great 4 days for me. So many great Datsun/Nissan race people there. The famous and the not famous. Morton did great in his class, but Larry Cooper was right up there too in his 240 witha 2.4 ltr E88 head. He drove the wheels off it. All and all it was a weekend to remember. Thursday night had a great conversation with Jim Frederick, always great to see him. A special weekend indeed. Sent from my [device_name] using http://Classic Zcar Club mobile
 1 point
 -
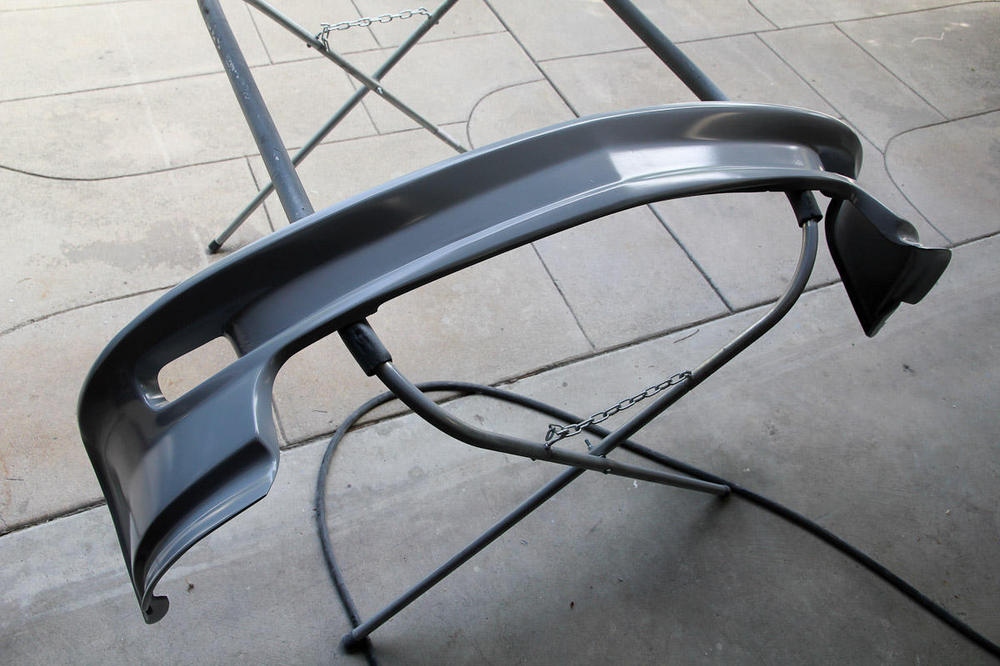
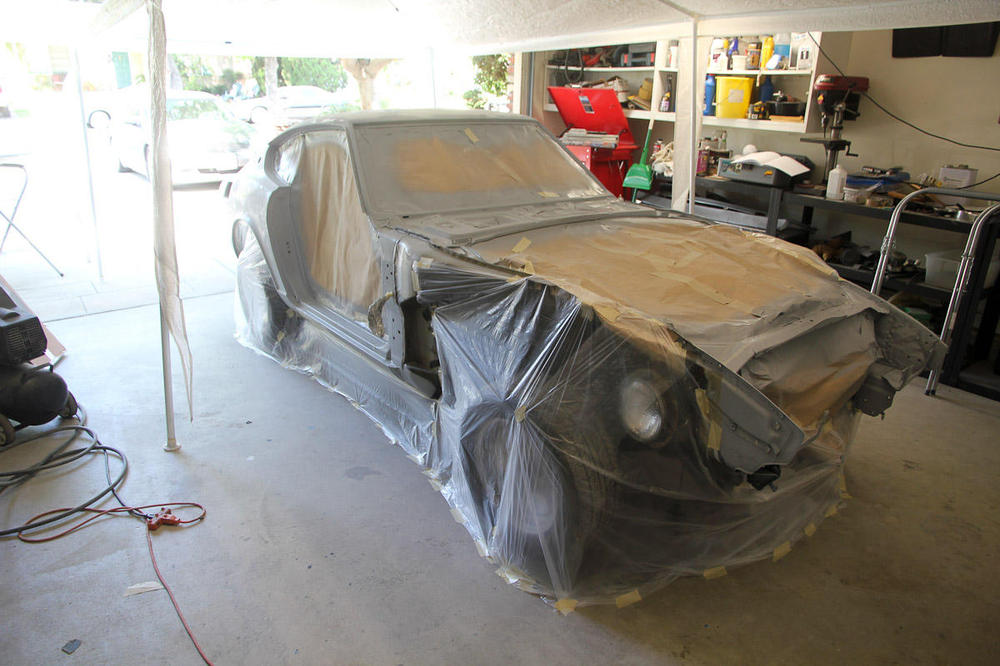
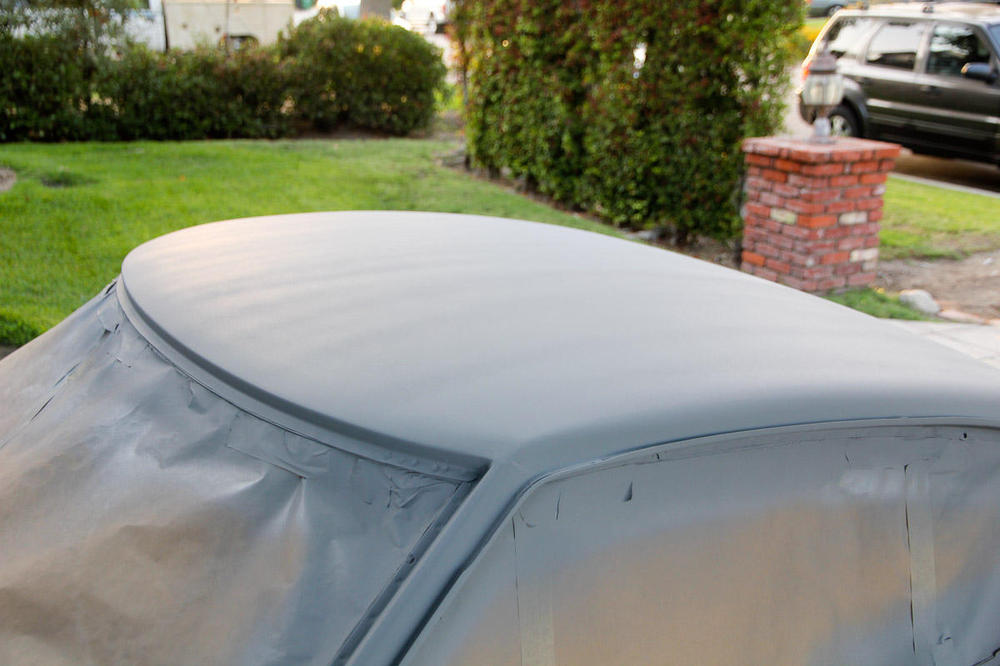
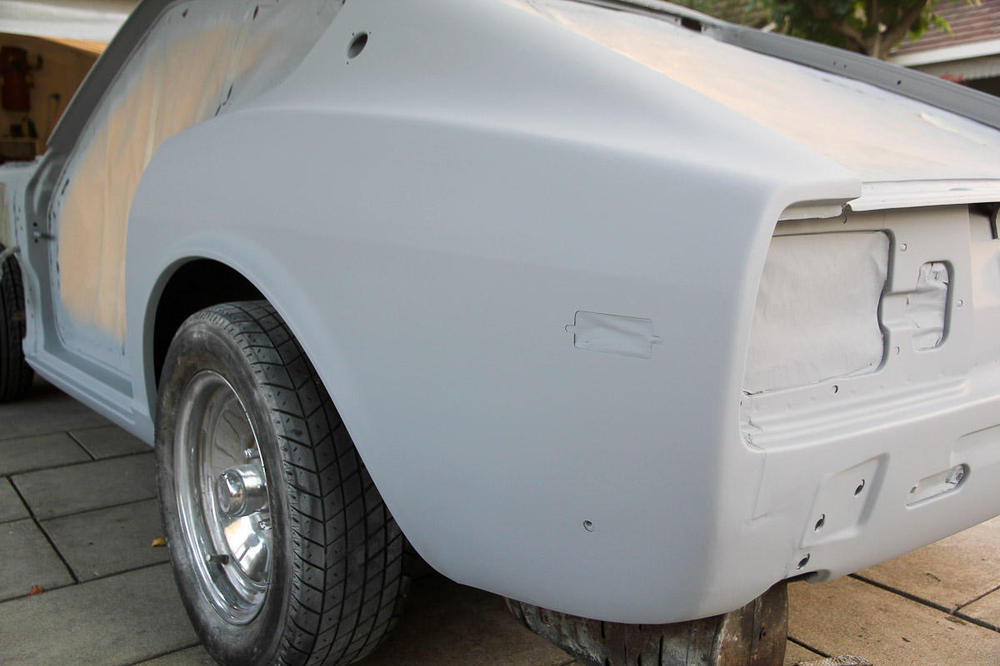
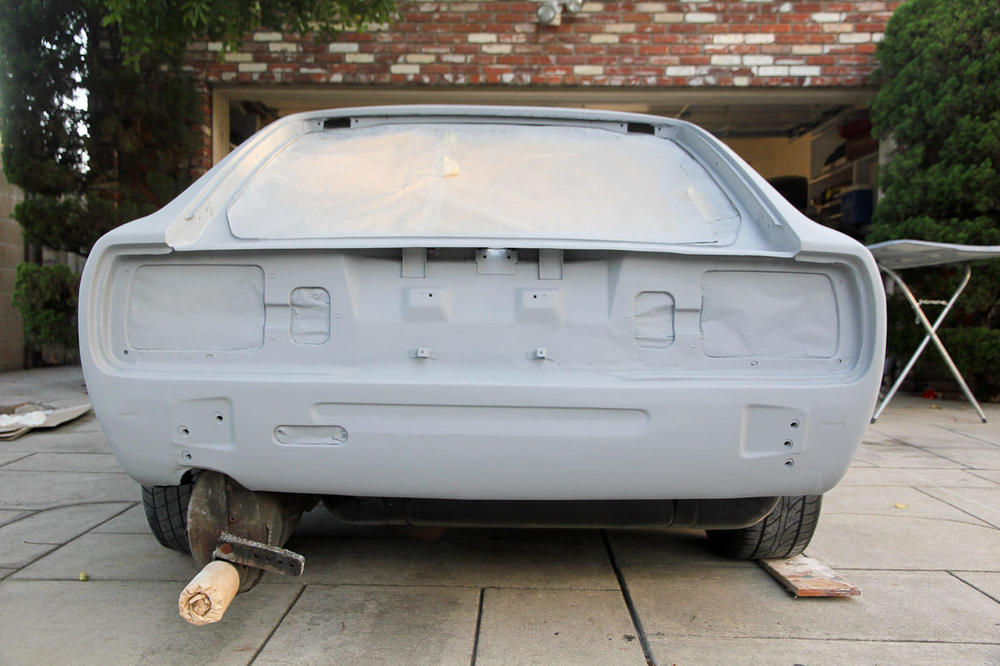
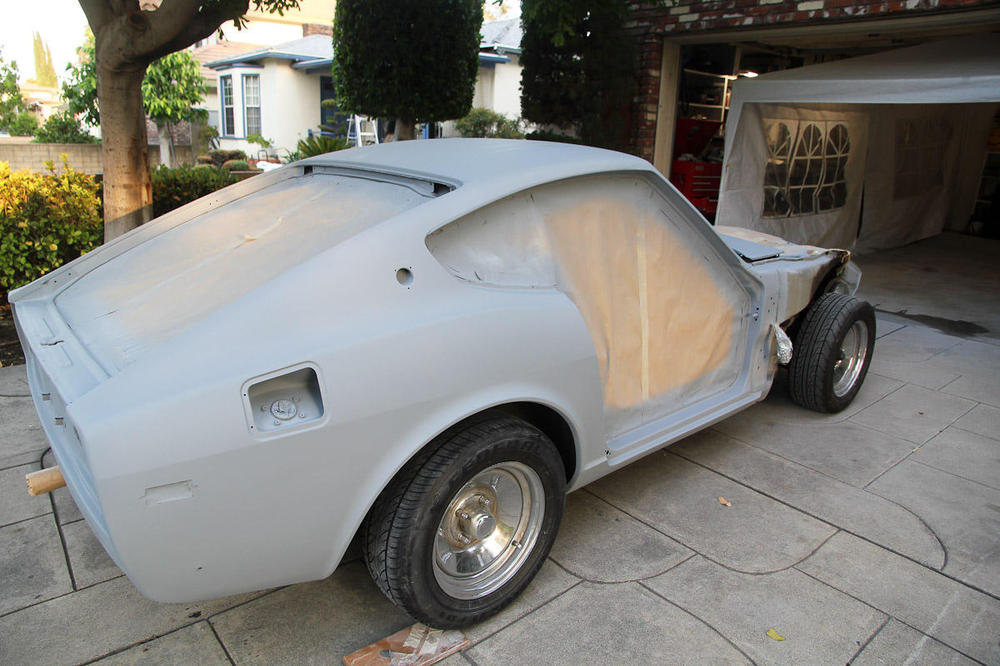
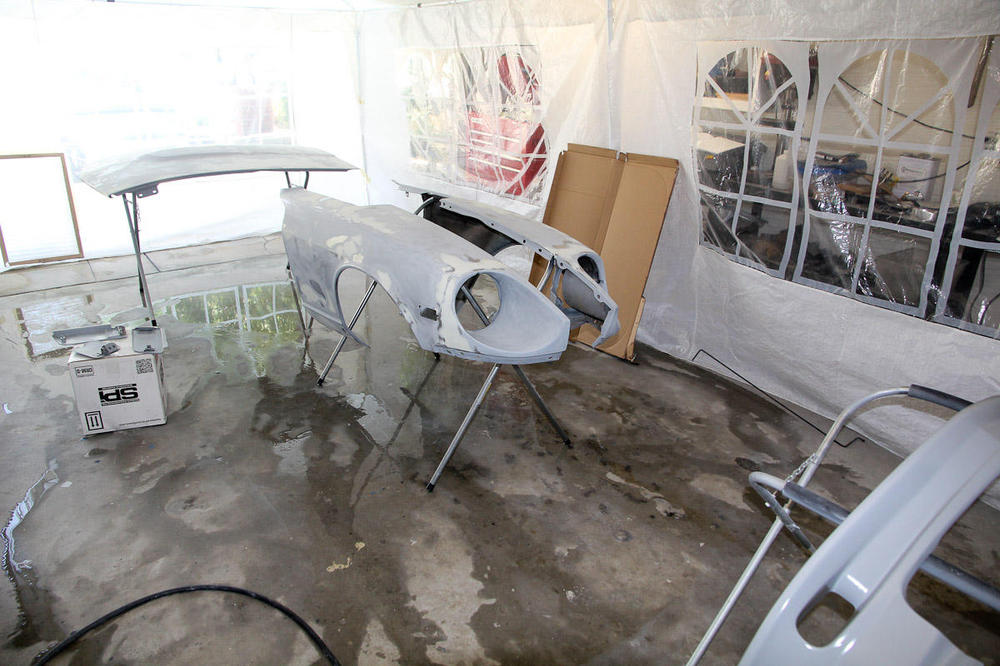
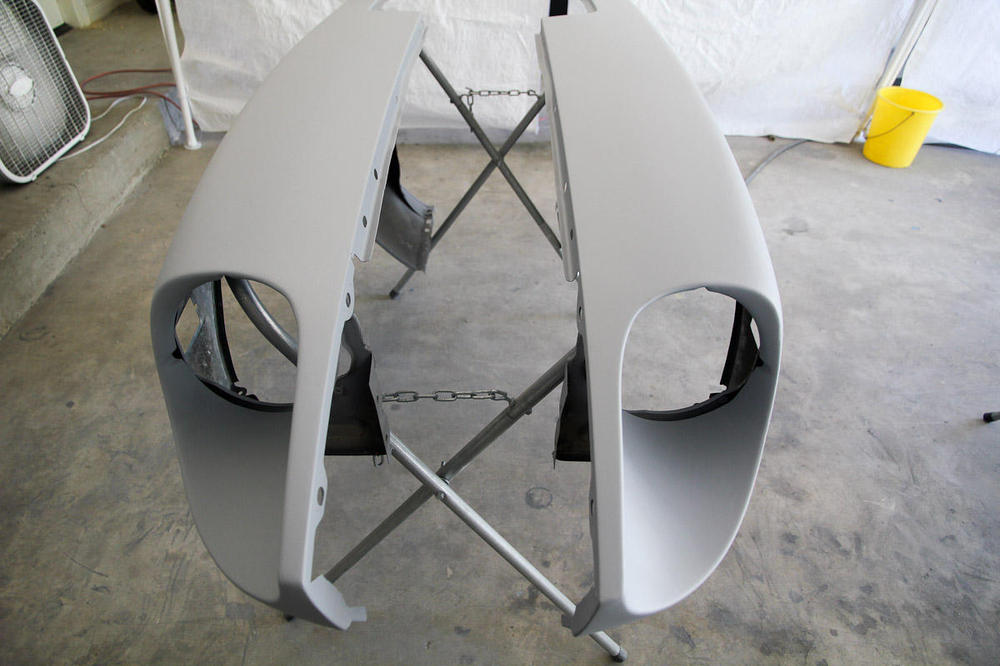
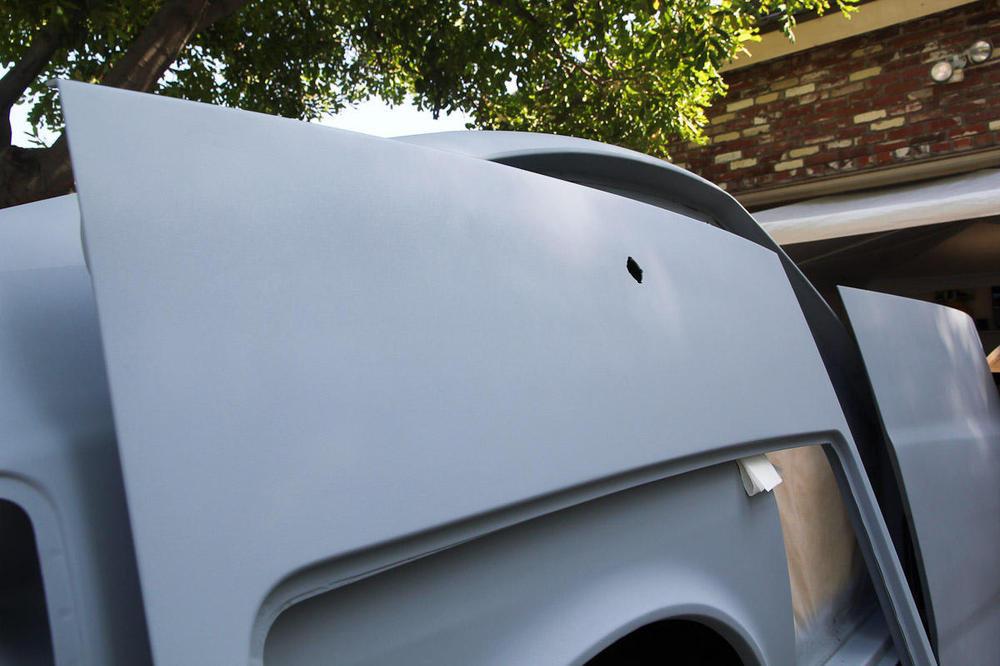
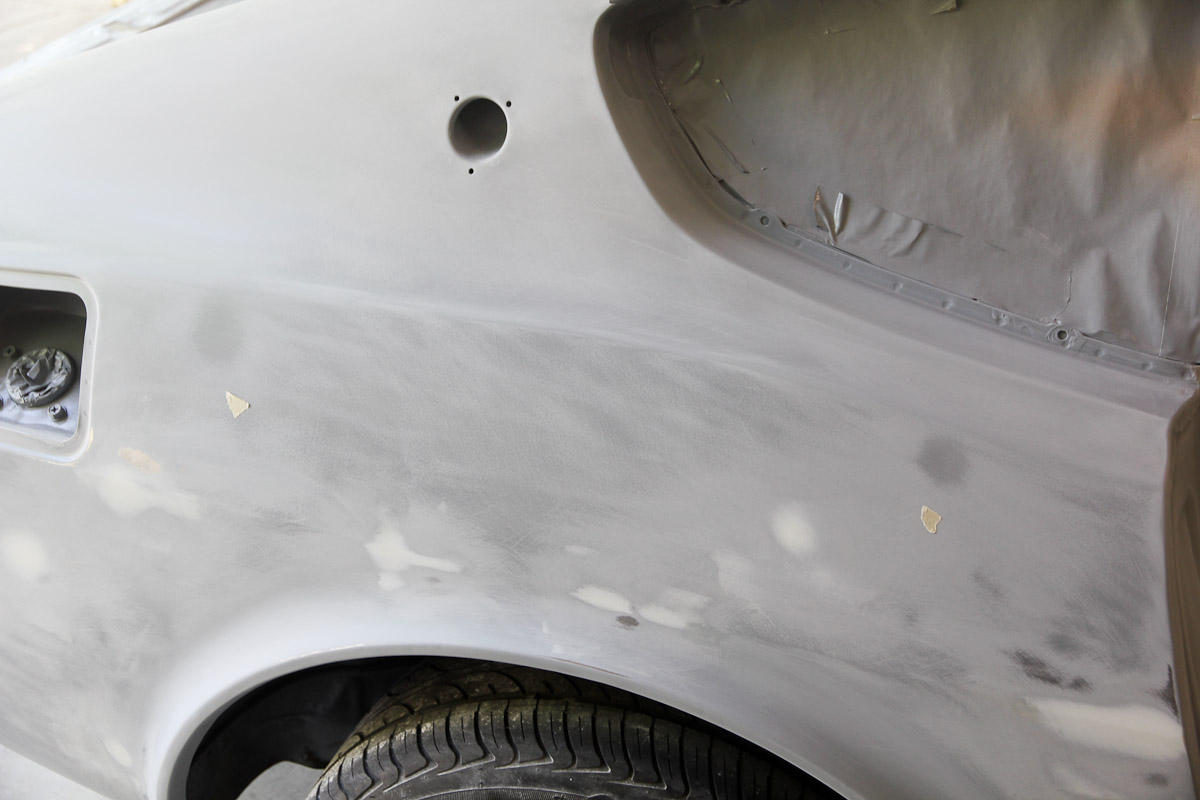
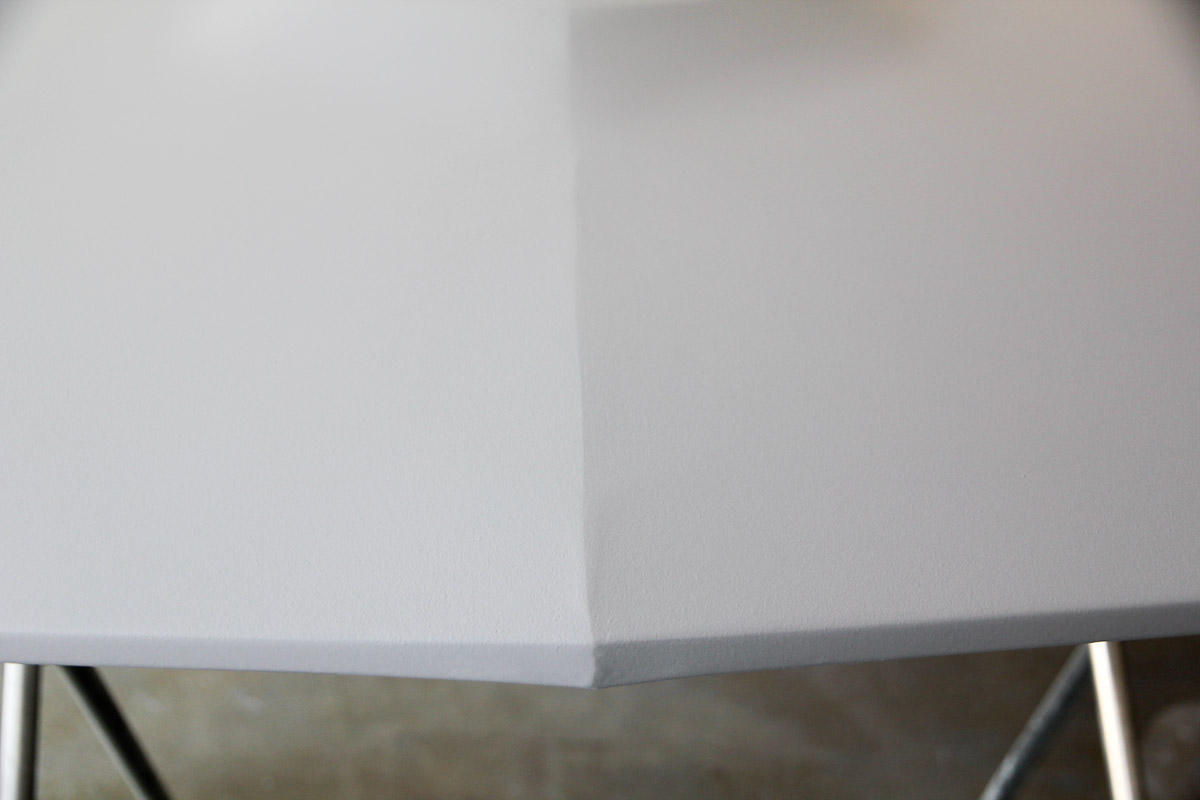
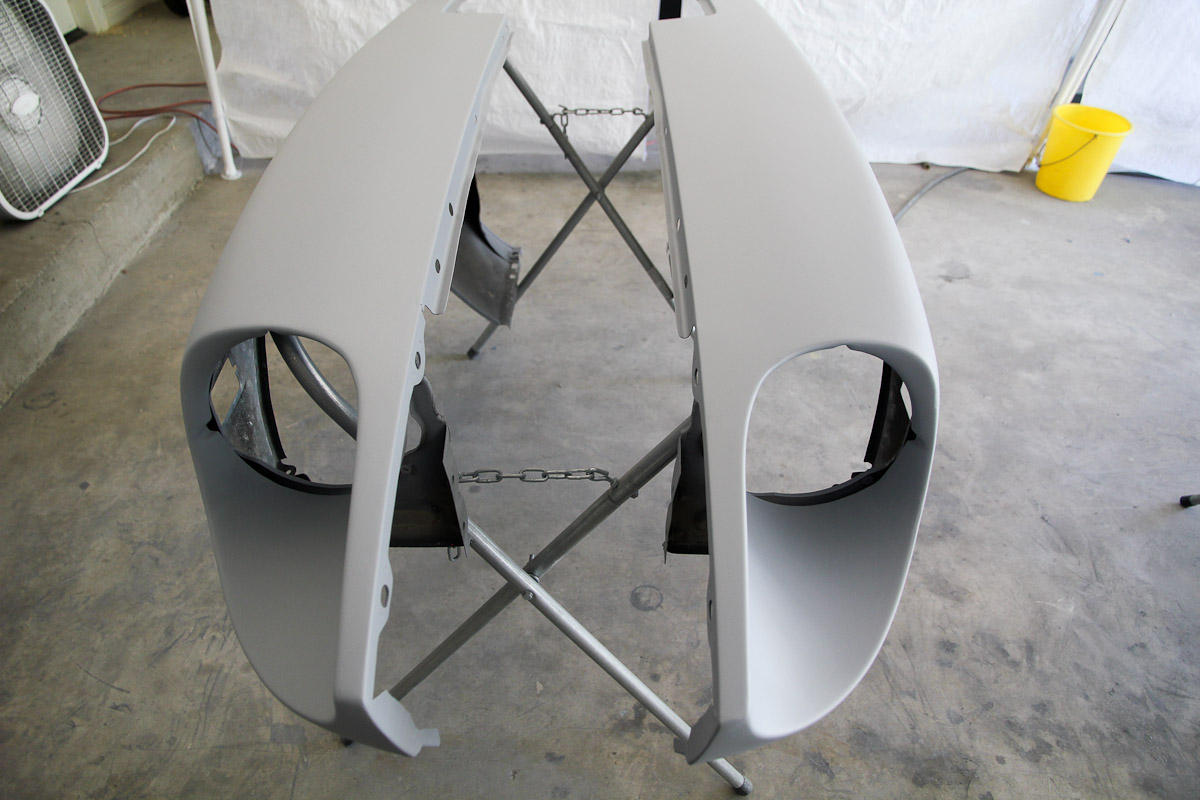
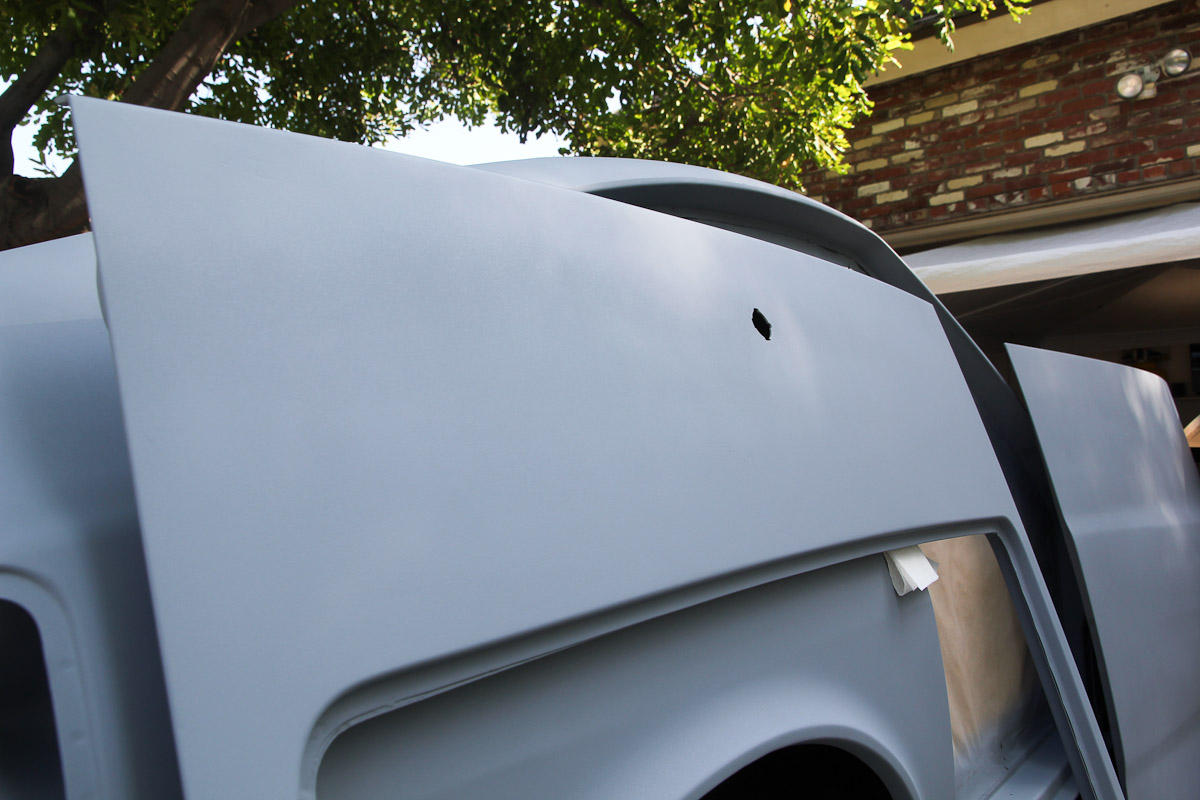
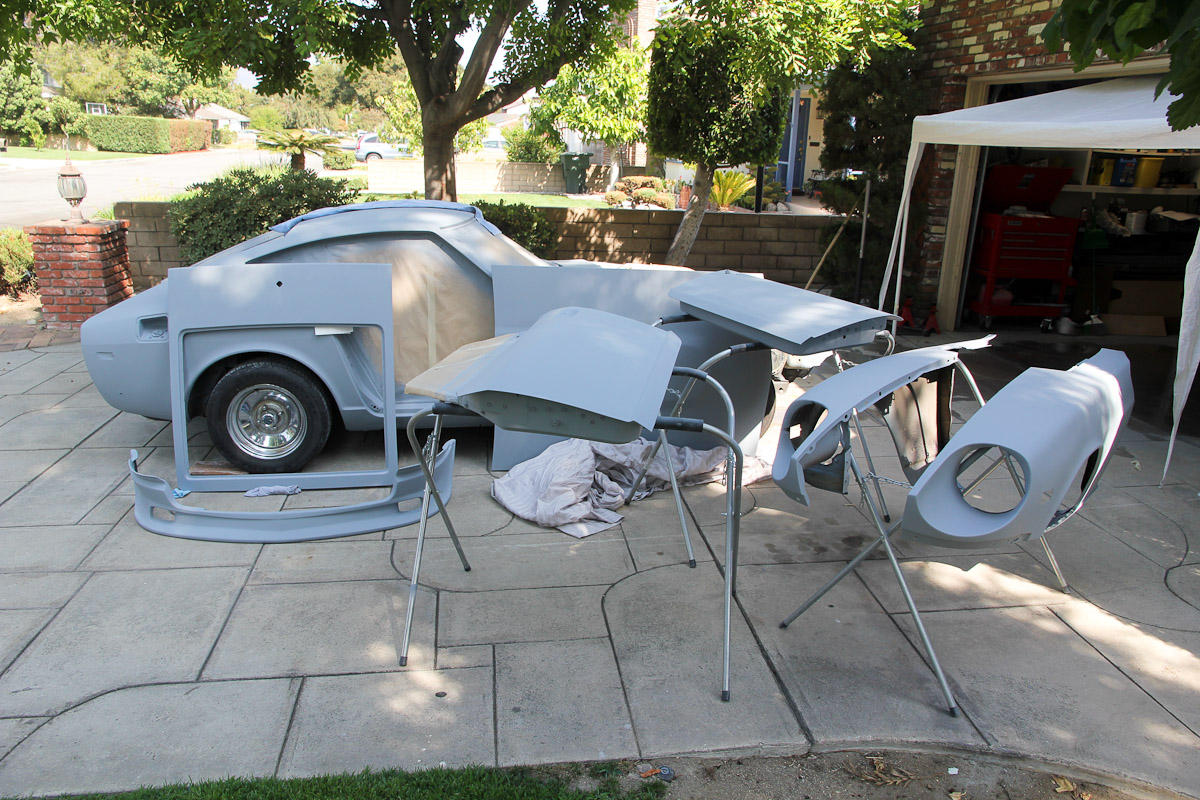
Labor Day? Yeah it was! My goal was to get primer on everything this weekend. Mission accomplished. Two of the lessons learned along the way: 1. Shooting high build is a whole different ballgame than epoxy or regular paint. I tested on the underside of the hood on Saturday and thought I had it figured out. Nope. The SPI primer sets fast and it wasn't until the end of things that I started getting the hang of it. A panel or two is fine, but I don't really want to do the whole thing again if I can help avoid it! 2. There's no such thing as a one-day project. (To be fair, this is a lesson I've learned many times. It's just that I've forgotten it just as many.) Saturday was prep day: scuffed everything and fixed a couple of dents that I missed before. And shot the air dam with adhesion promoter and epoxy. Sunday I did the shell. You can see some striping on the roof where I had problems with the gun. Regardless, really happy: the stripes will sand out, but the roof is flat! The rear looks pretty good. I even got most of the swage line on the quarter. Came out better than I expected. Monday was everything else. More problems with the gun left some thin areas in the paint and I almost left it alone...then came to my senses and put everything back in the tent to spray another coat. Again, really happy. I need to do some minor touchup on the headlight bucket seams, the top of the driver side door, and on the hood, but again, everything came out straighter than I thought it might. Need to get some spot putty and guide coat and start blocking, but I don't think it'll need much. Honestly, I could put color on it now and it would exceed the expectations/goals that I had before I started. I'm getting a beer!


 1 point
 -
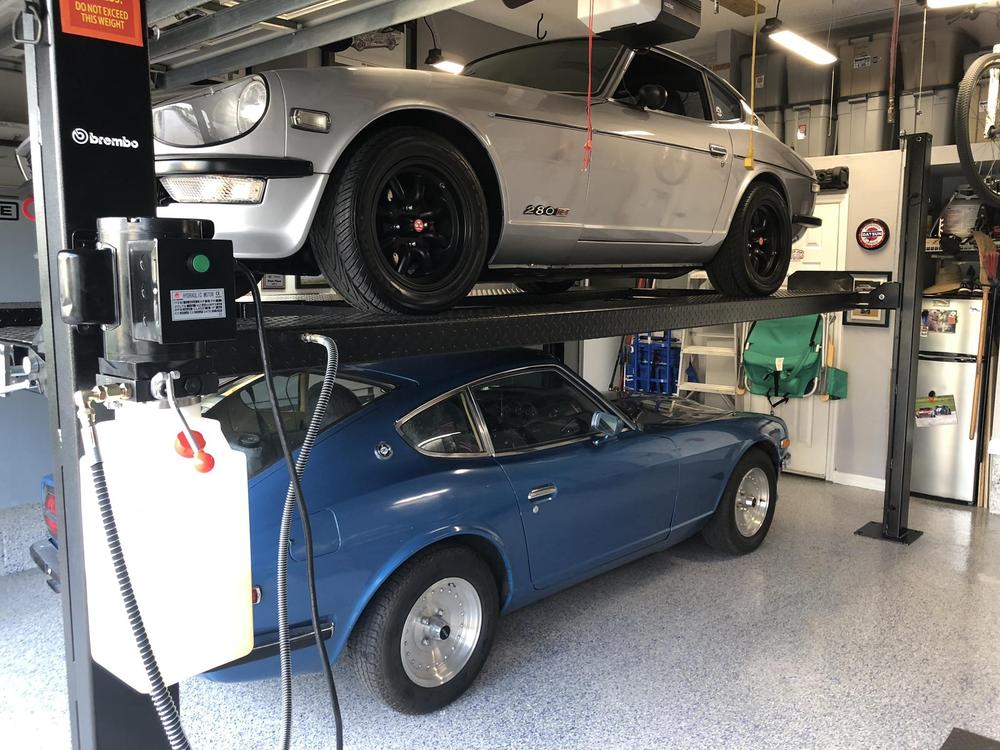
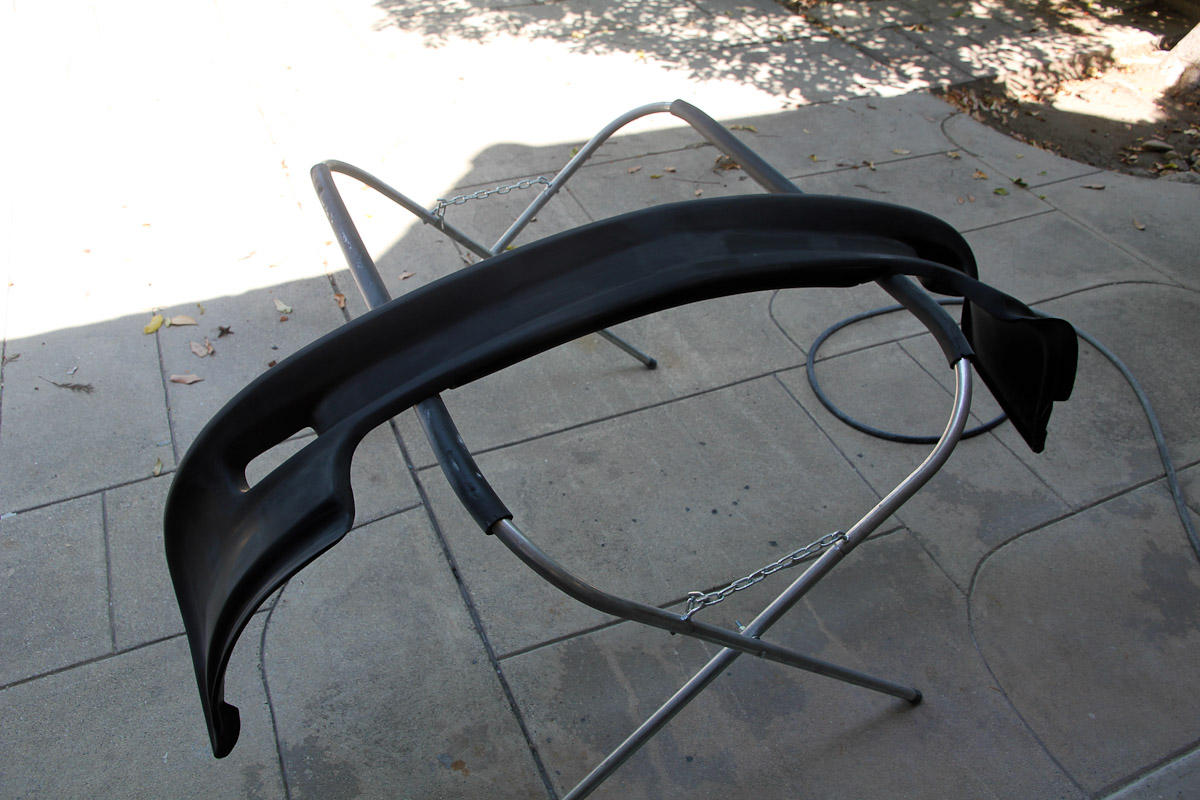
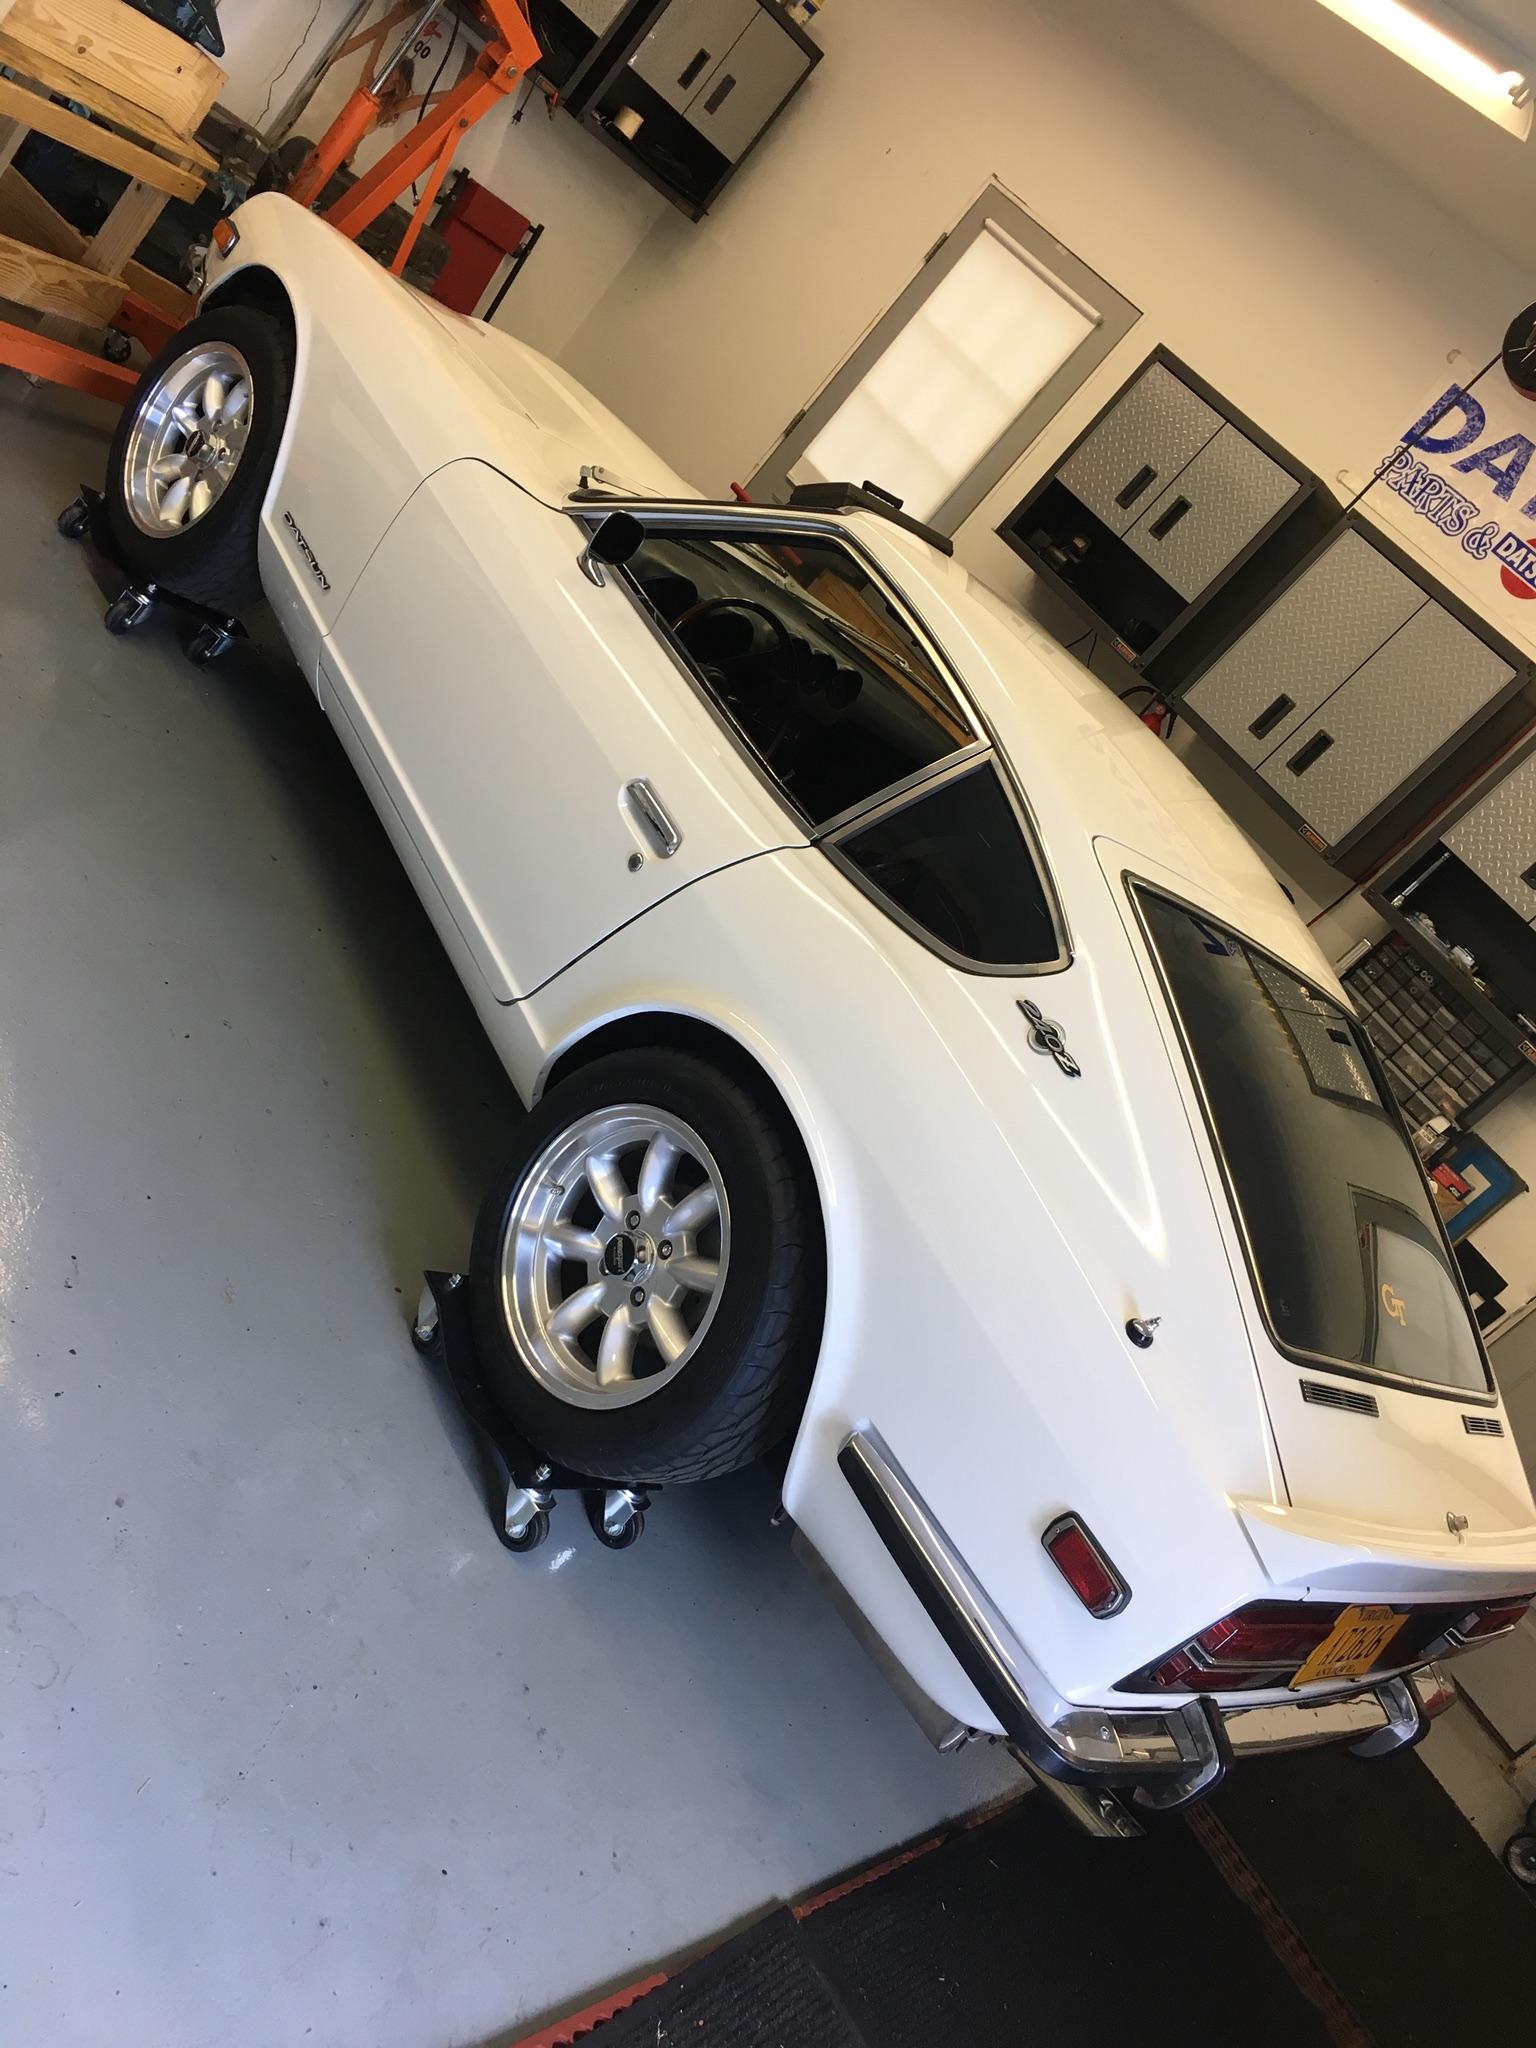
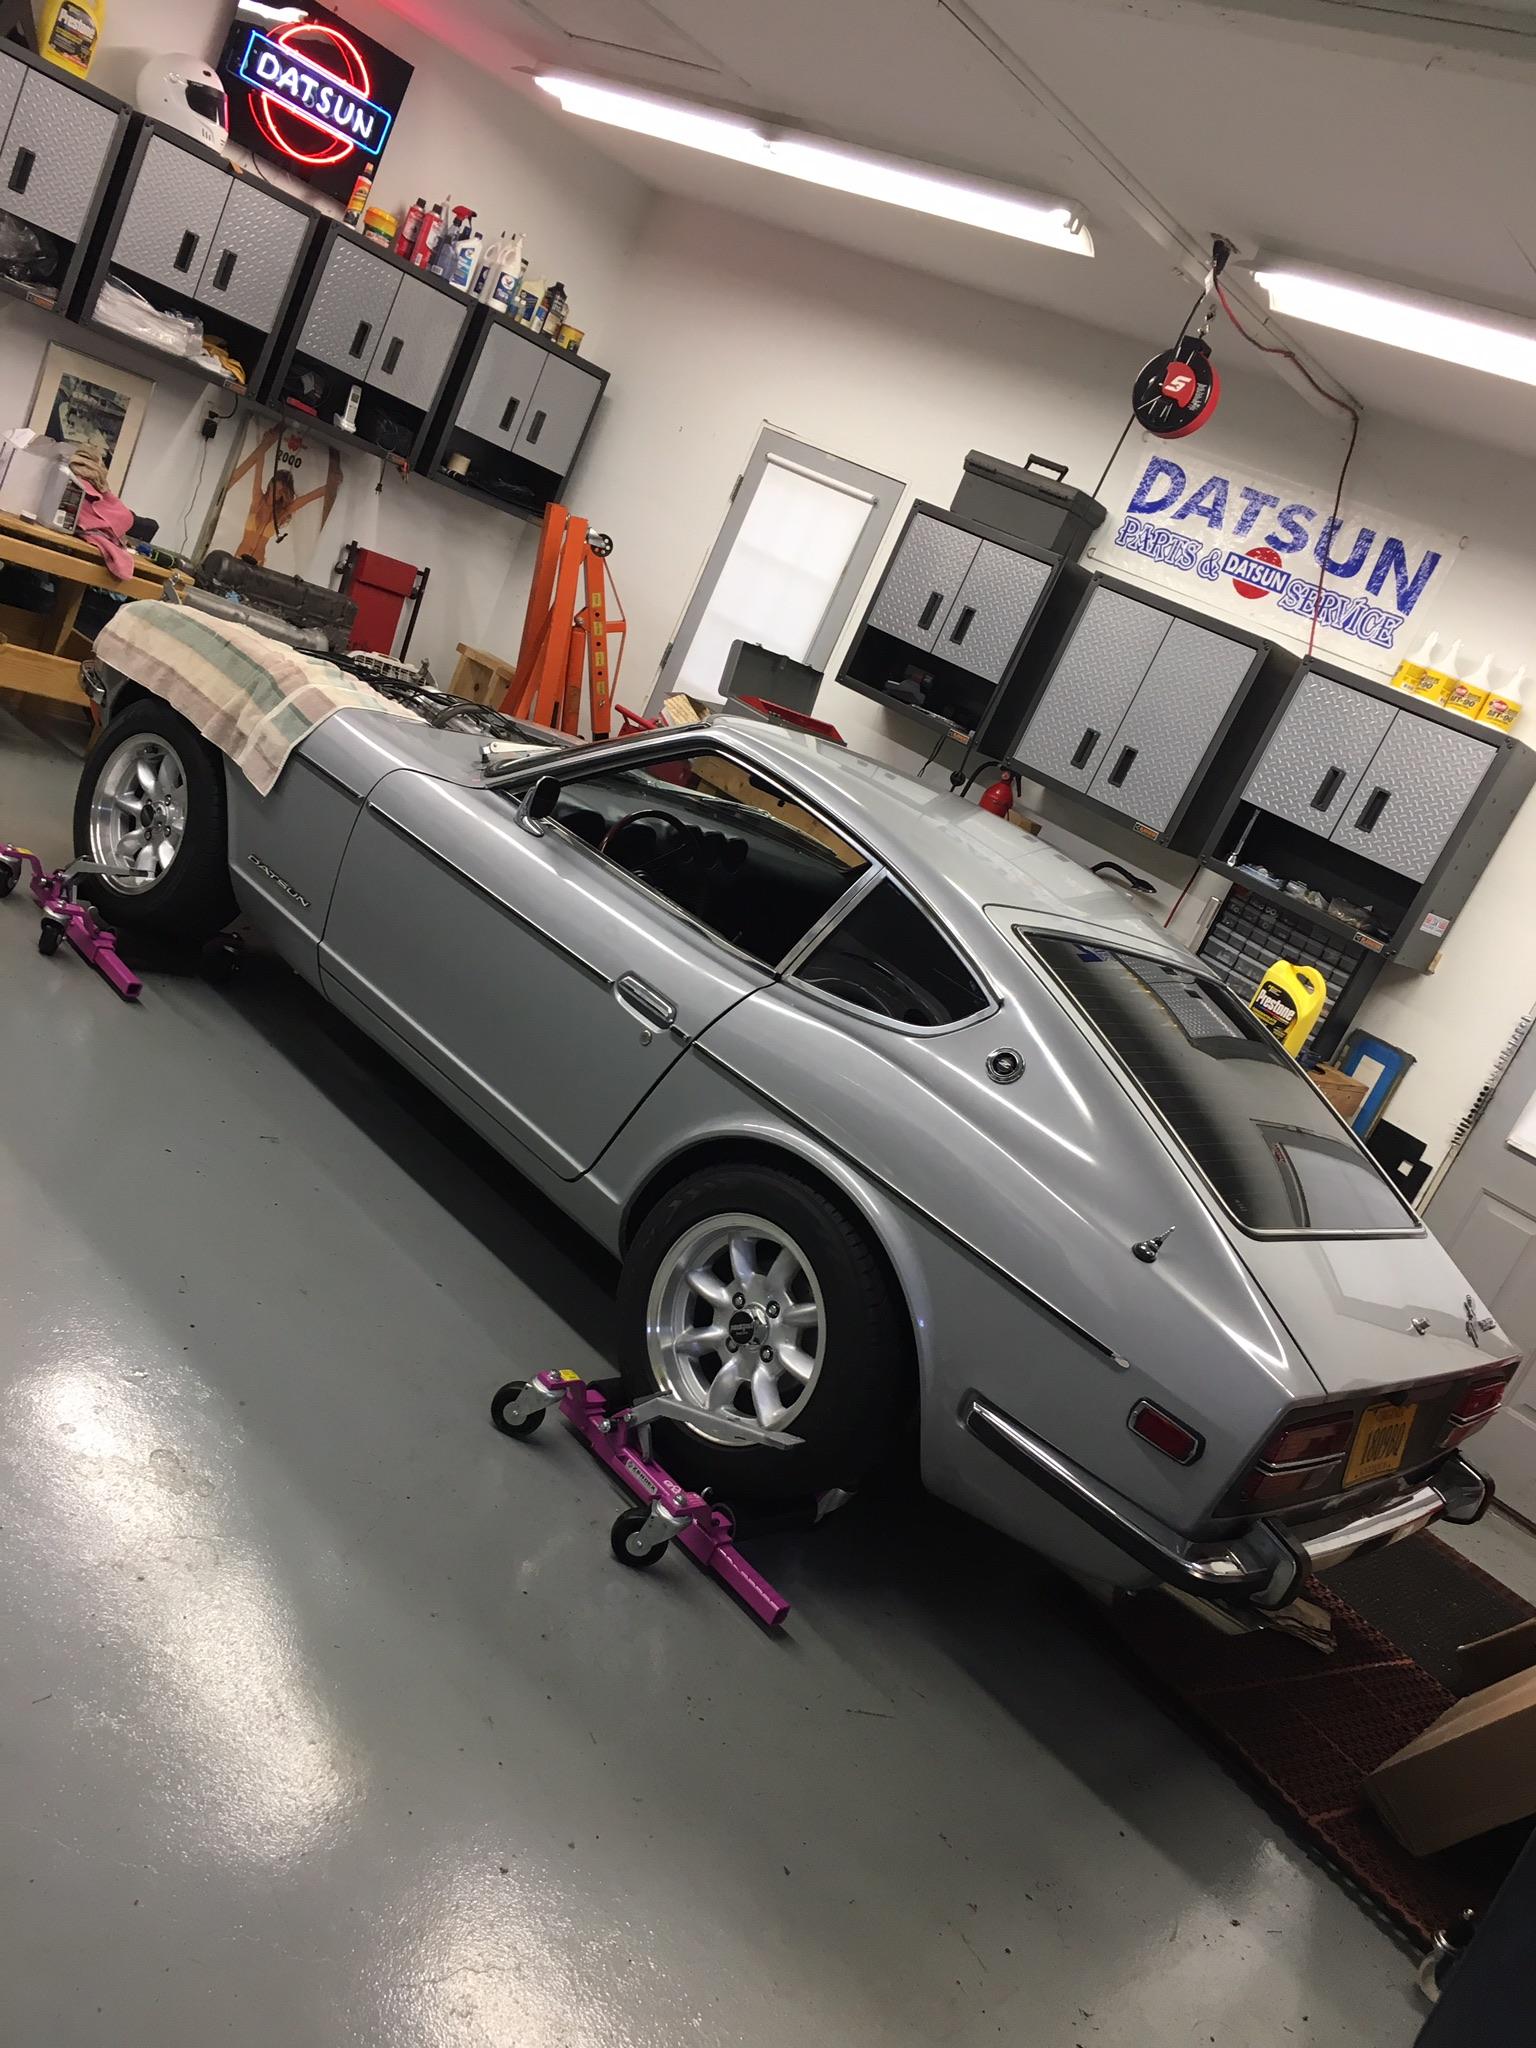
That’s a rack for my Go-Jack foot jack dollies. I have to dollie the white car around to fit the 4th car in that garage. I used to use these, but it’s a pain to roll around a jack to put them under the car. Now with 4 pumps of the foot on each Dollie, the car is ready to push round. ?

 1 point
 -
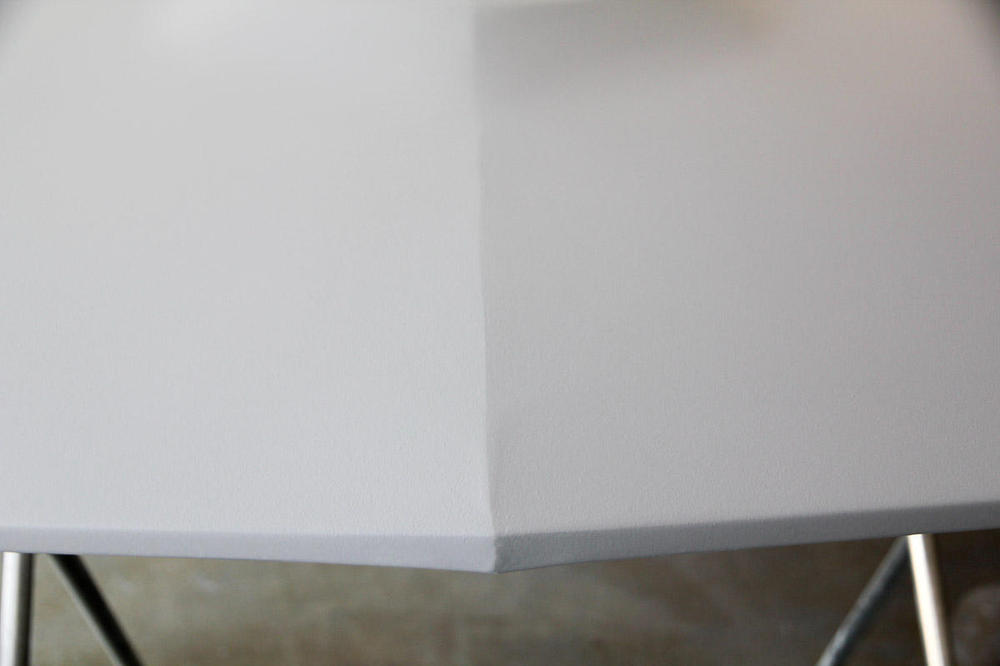
1 pointI am not here to hijack this thread...just do an update on my dash. I was asked recently to share how my dashed has held up using the Six10 marine epoxy ( The Six10 Marine Epoxy Link: Six10 Introduction ) as surface repair and feathering material when I repaired my dash while still in the car back in 2013. Now that it is August 2018 ... 5-1/2 years later the dash looks super. Here are recent pics after I installed a Refurbished Stock Working clock in the dash. Note: My car is in North Carolina and stored in a garage without climate control. Temps reach 100+ in the summer and as low as 0F in the winter... and no cracks have been observed. How to use Six-10 Epoxy: Reference this old post from 2013:
.thumb.jpg.281d4e64c6d66e6e79c7d2fc4d3802dd.jpg)
.thumb.jpg.66d03be683291056bf89a399b2cb5a1c.jpg)
.thumb.jpg.06d566c71ac5ec33b273ccc76f54fba7.jpg)
.thumb.jpg.712c8653926dd30fd4951c9d01cb120f.jpg)
.thumb.jpg.6be88d20a2efa56e96de11af42e6e5b5.jpg) 1 point
1 point -
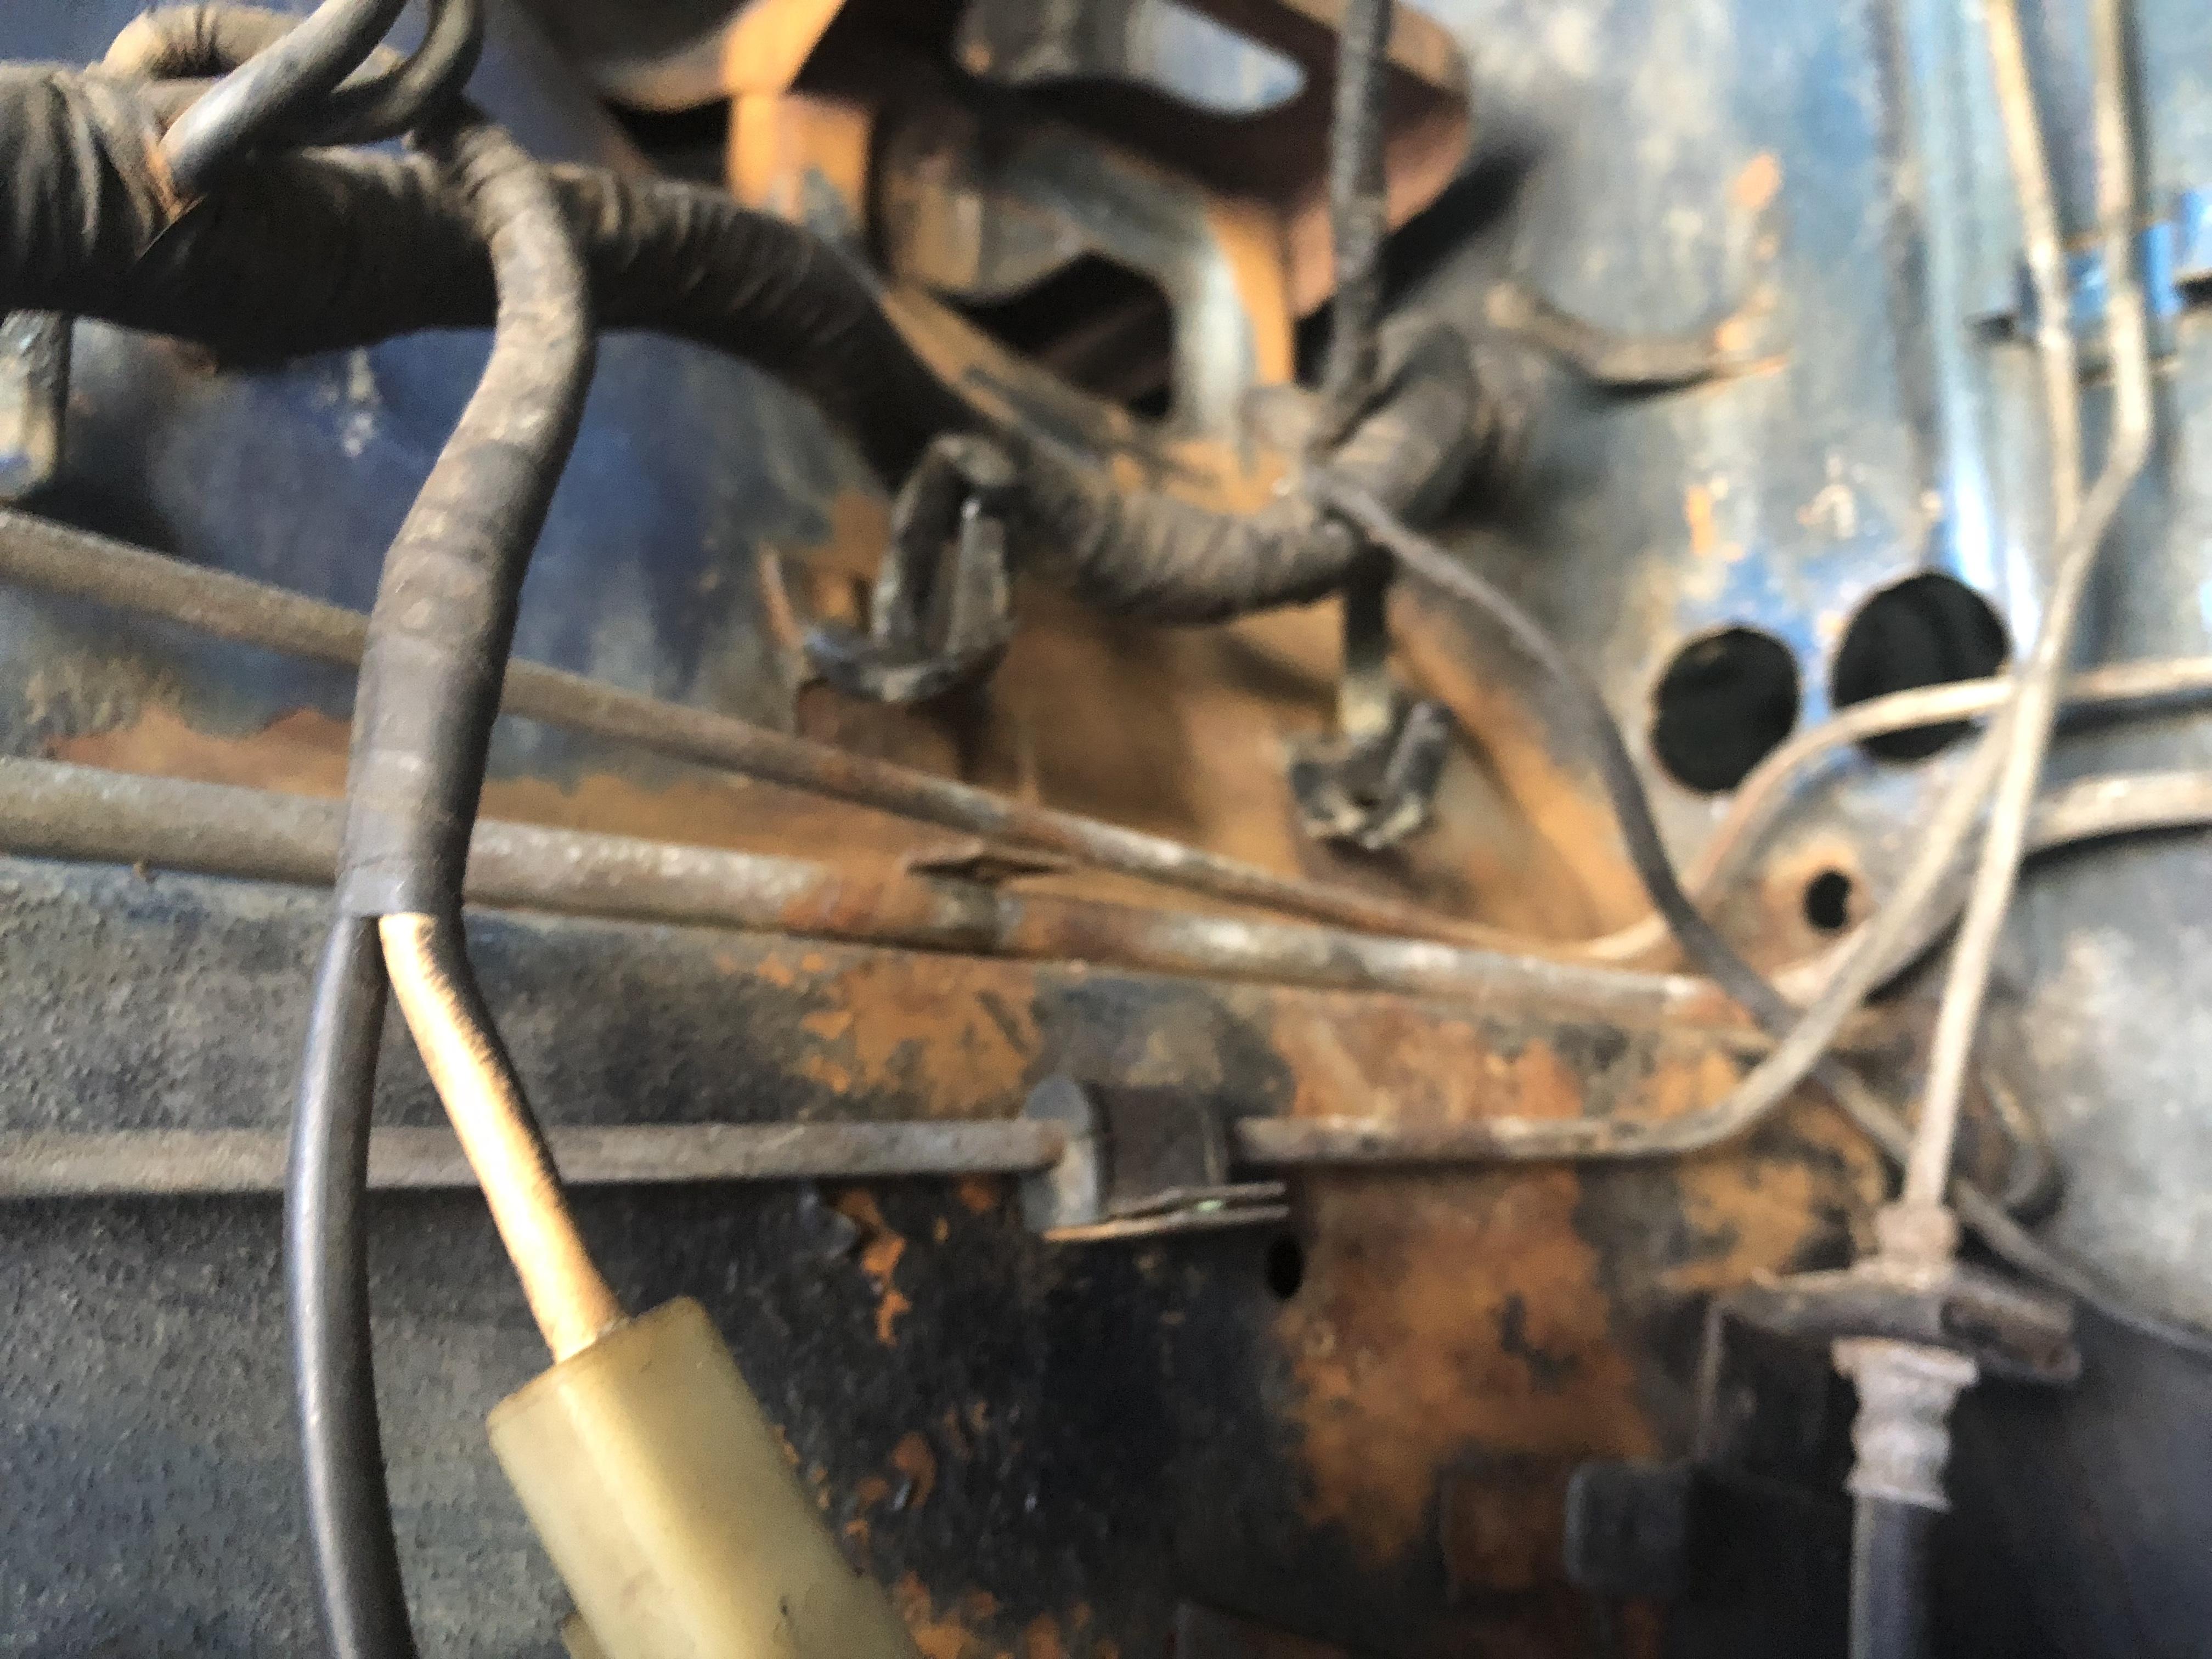
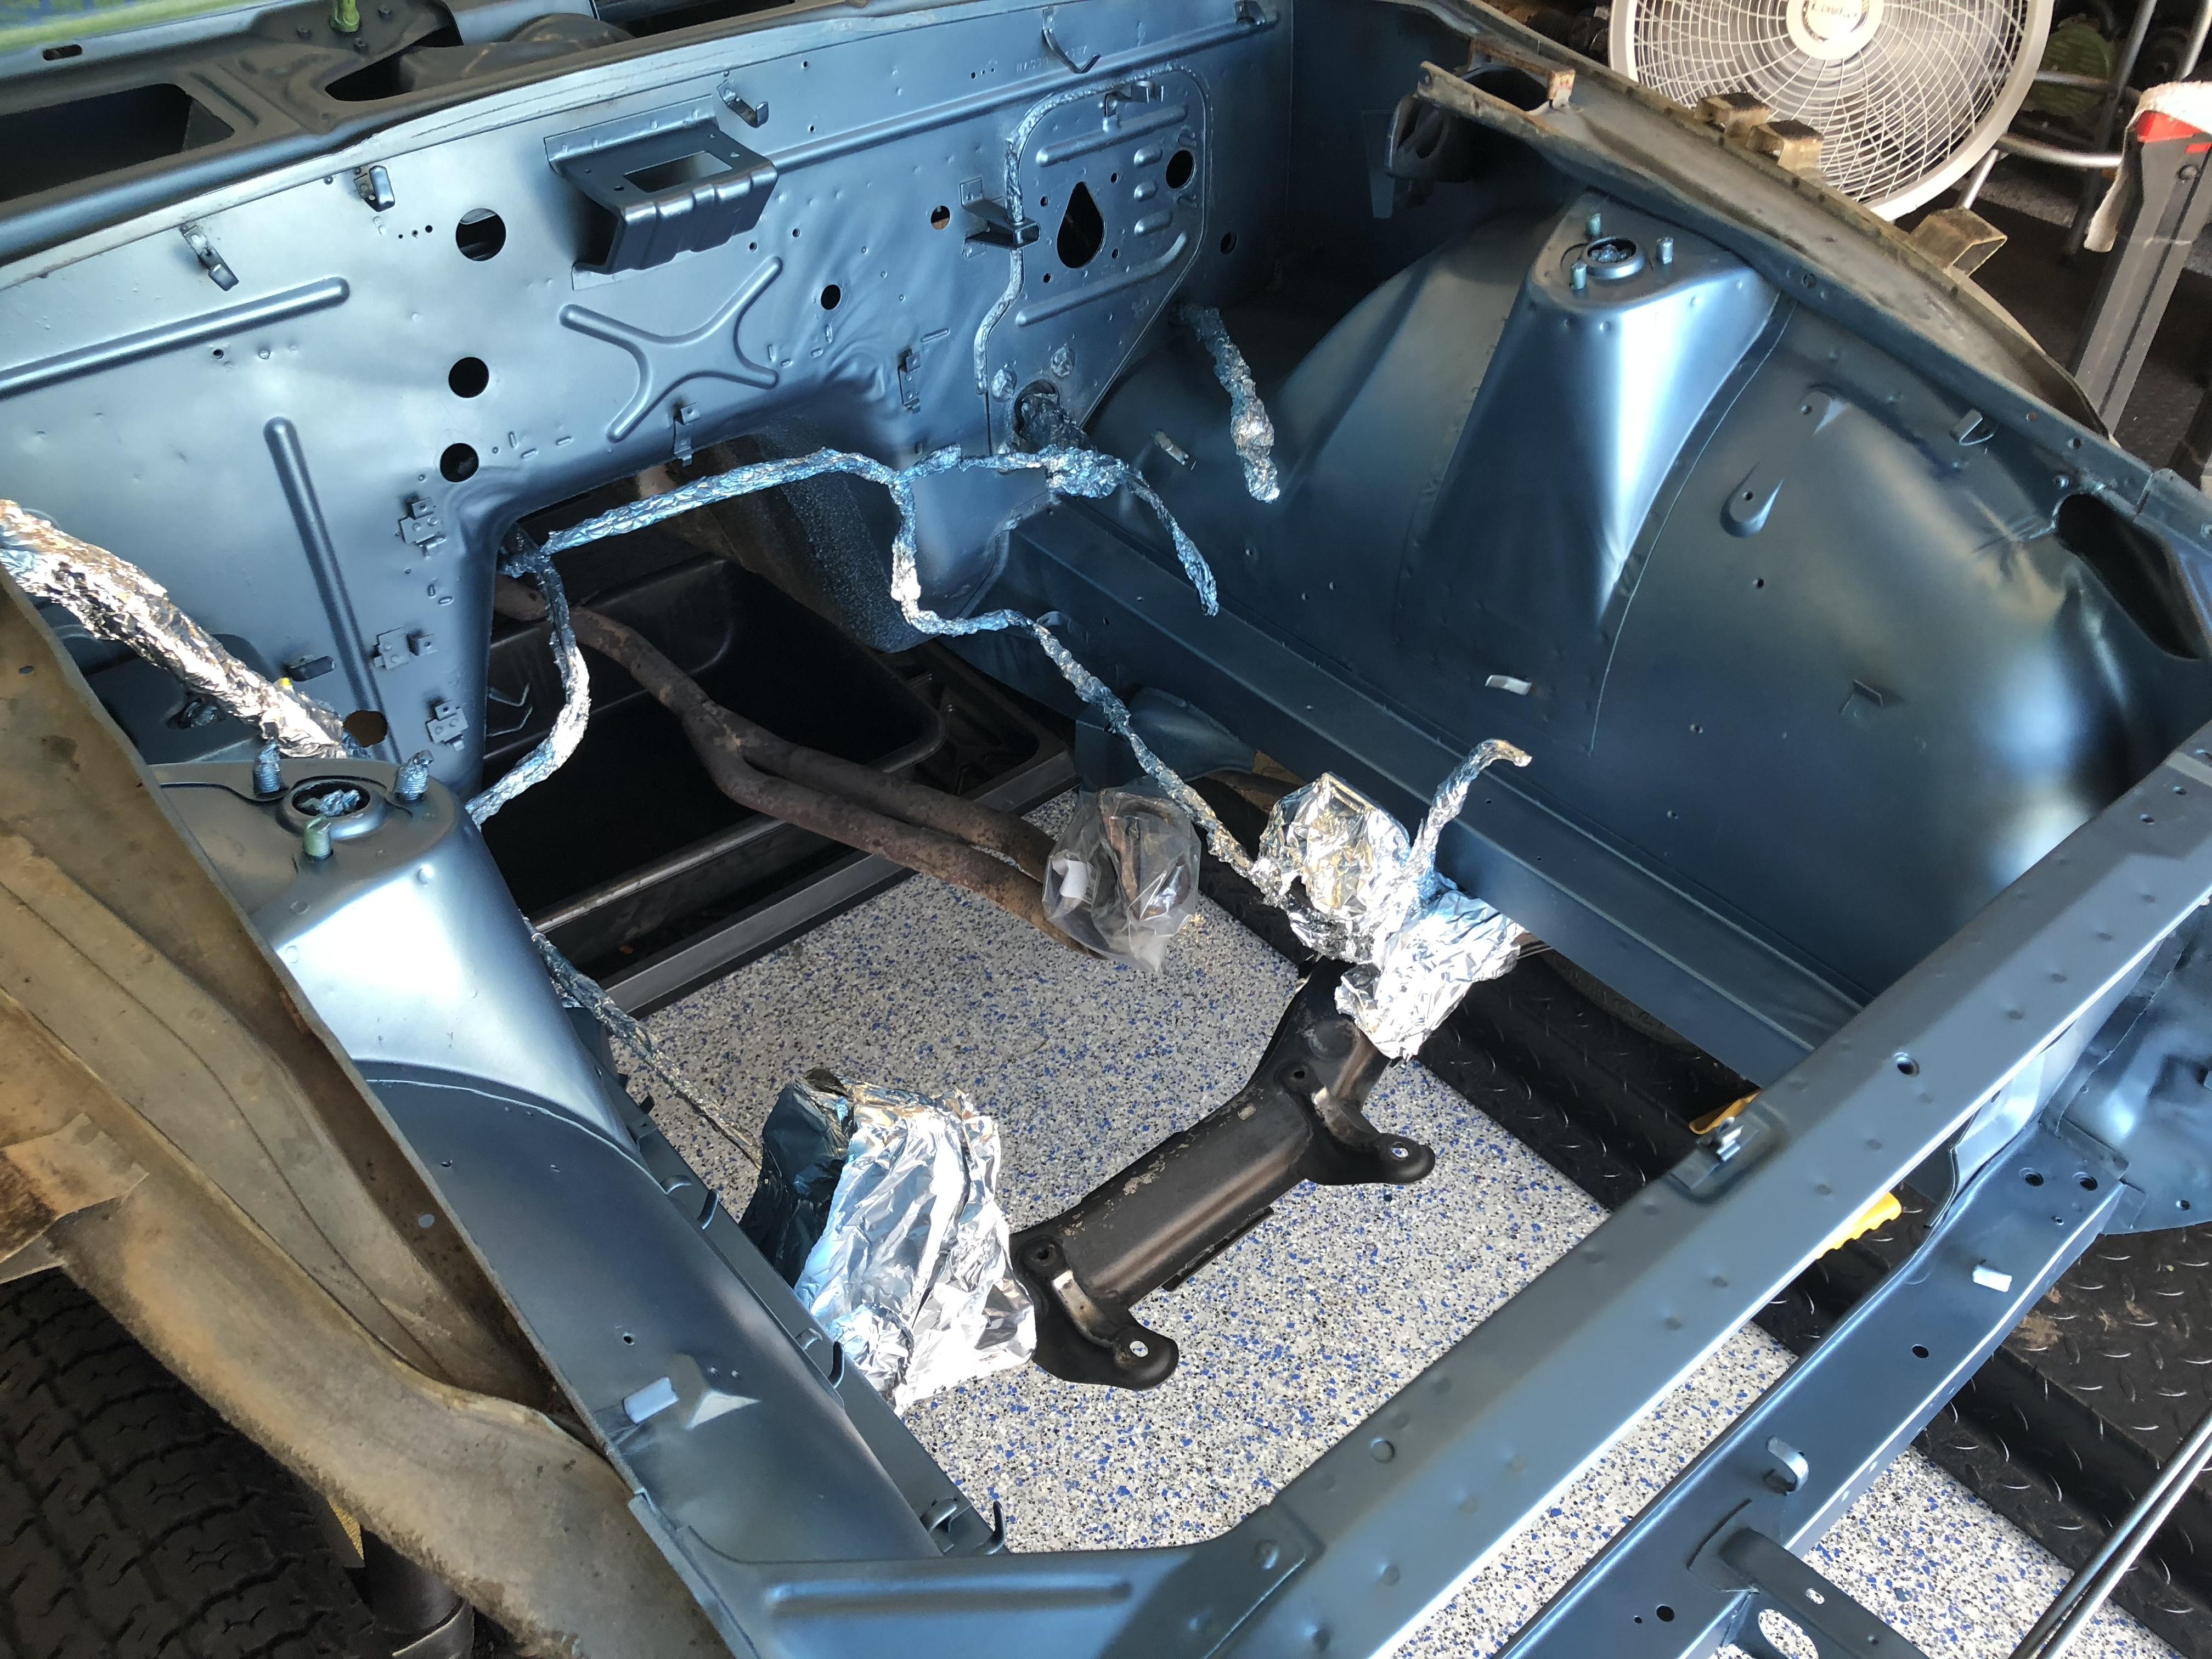
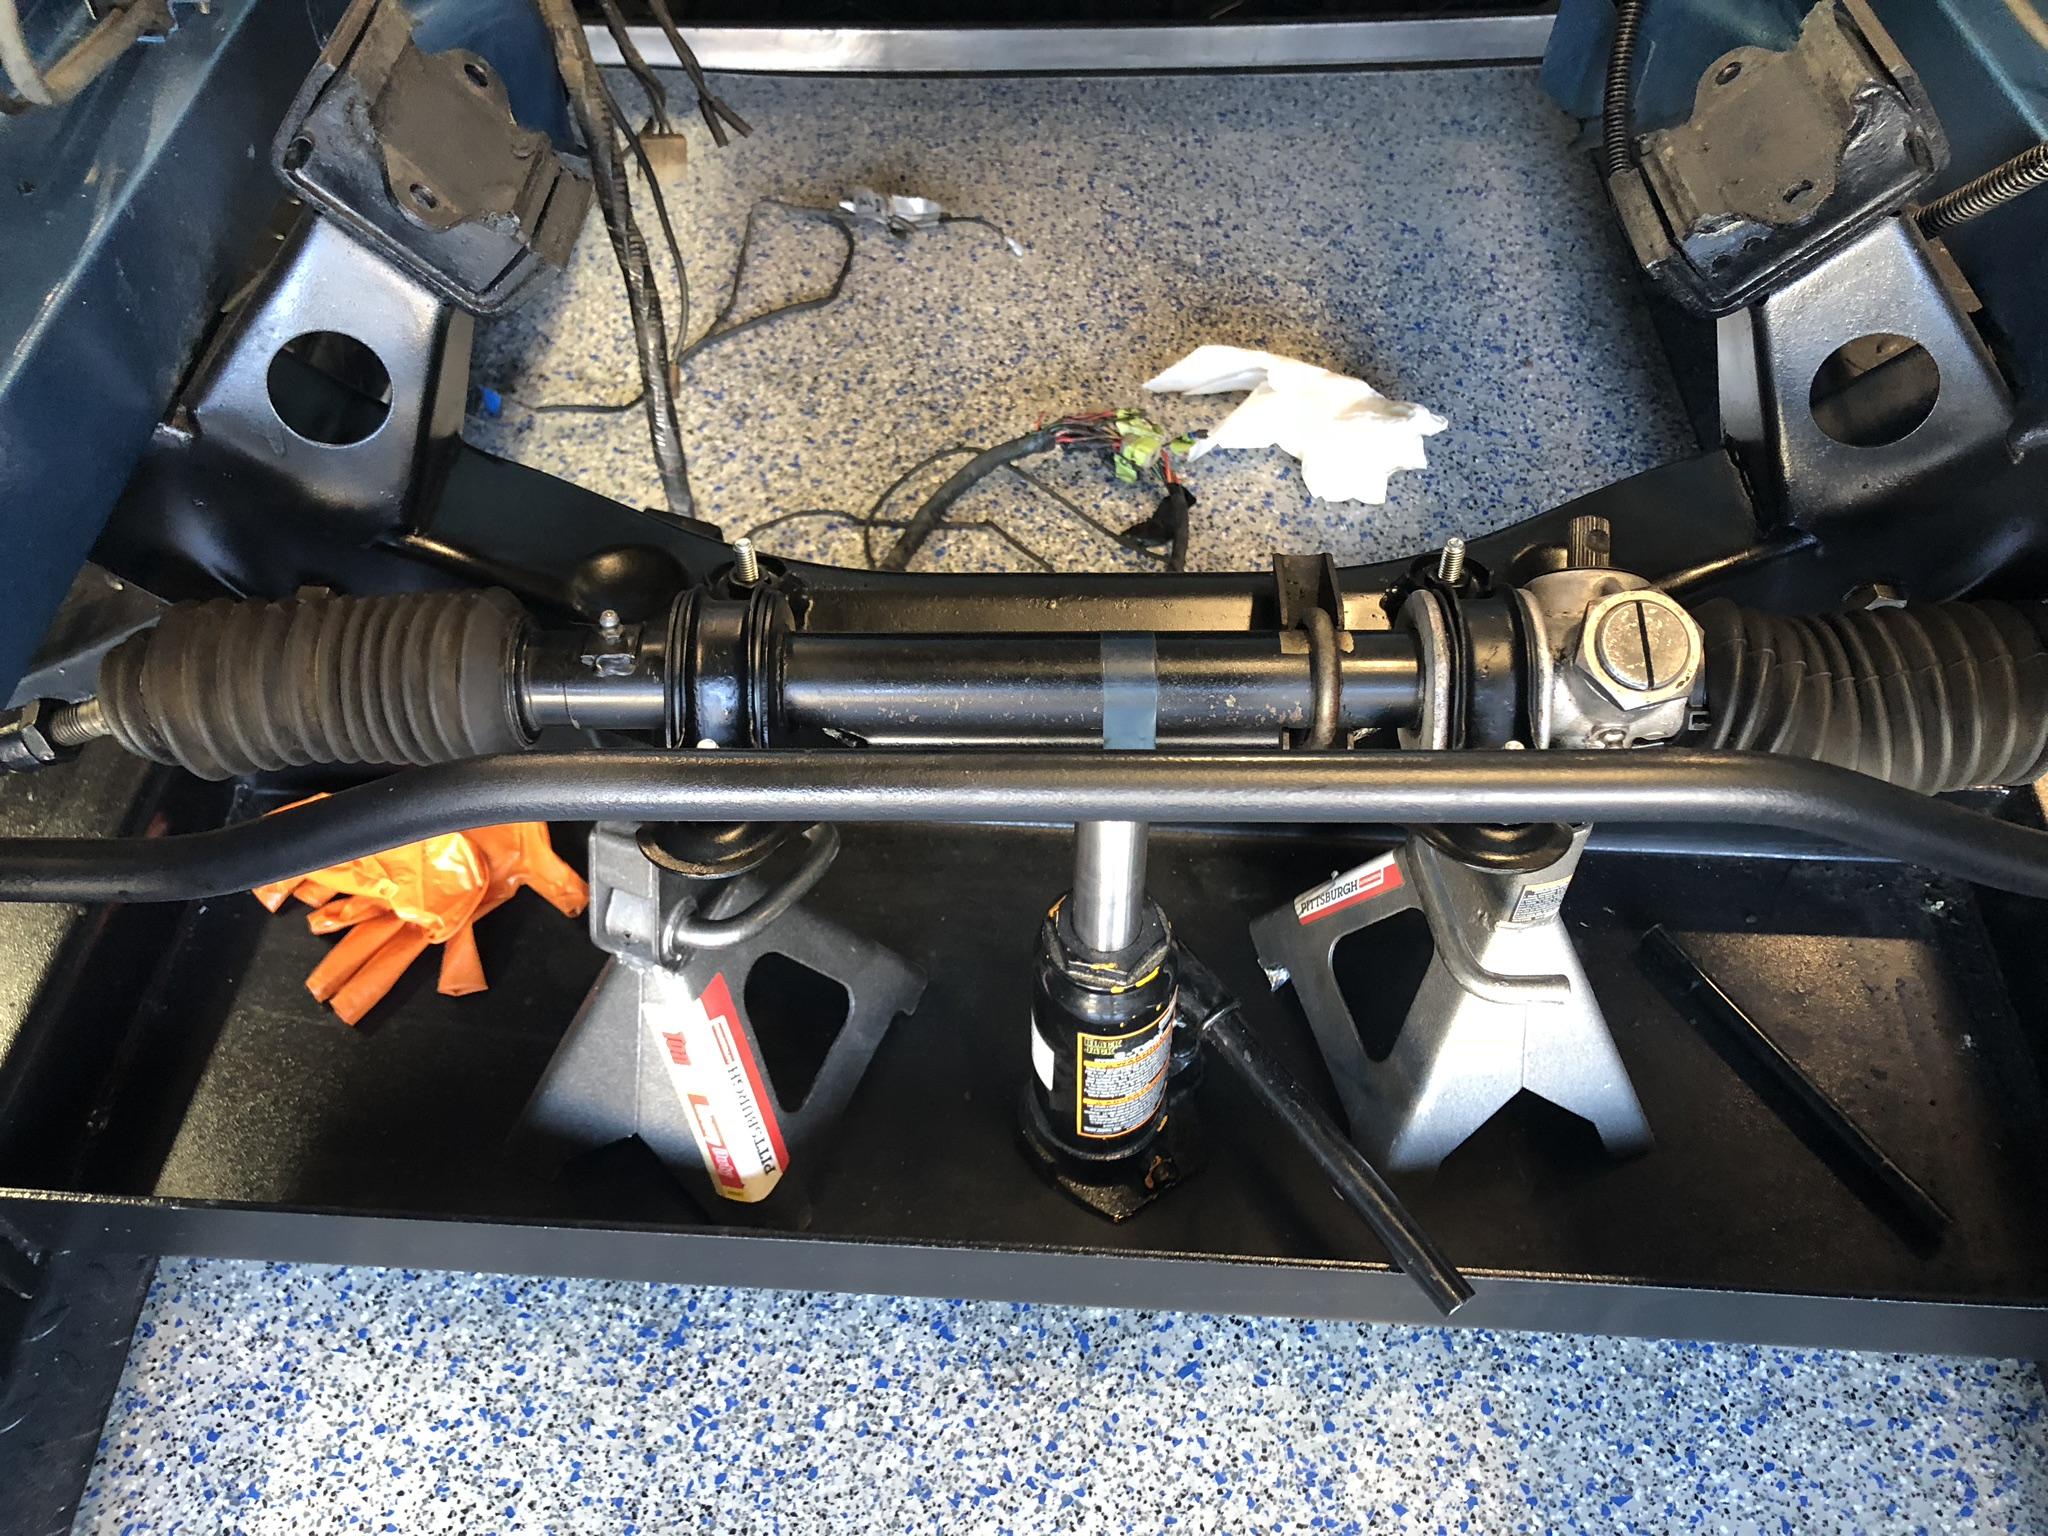
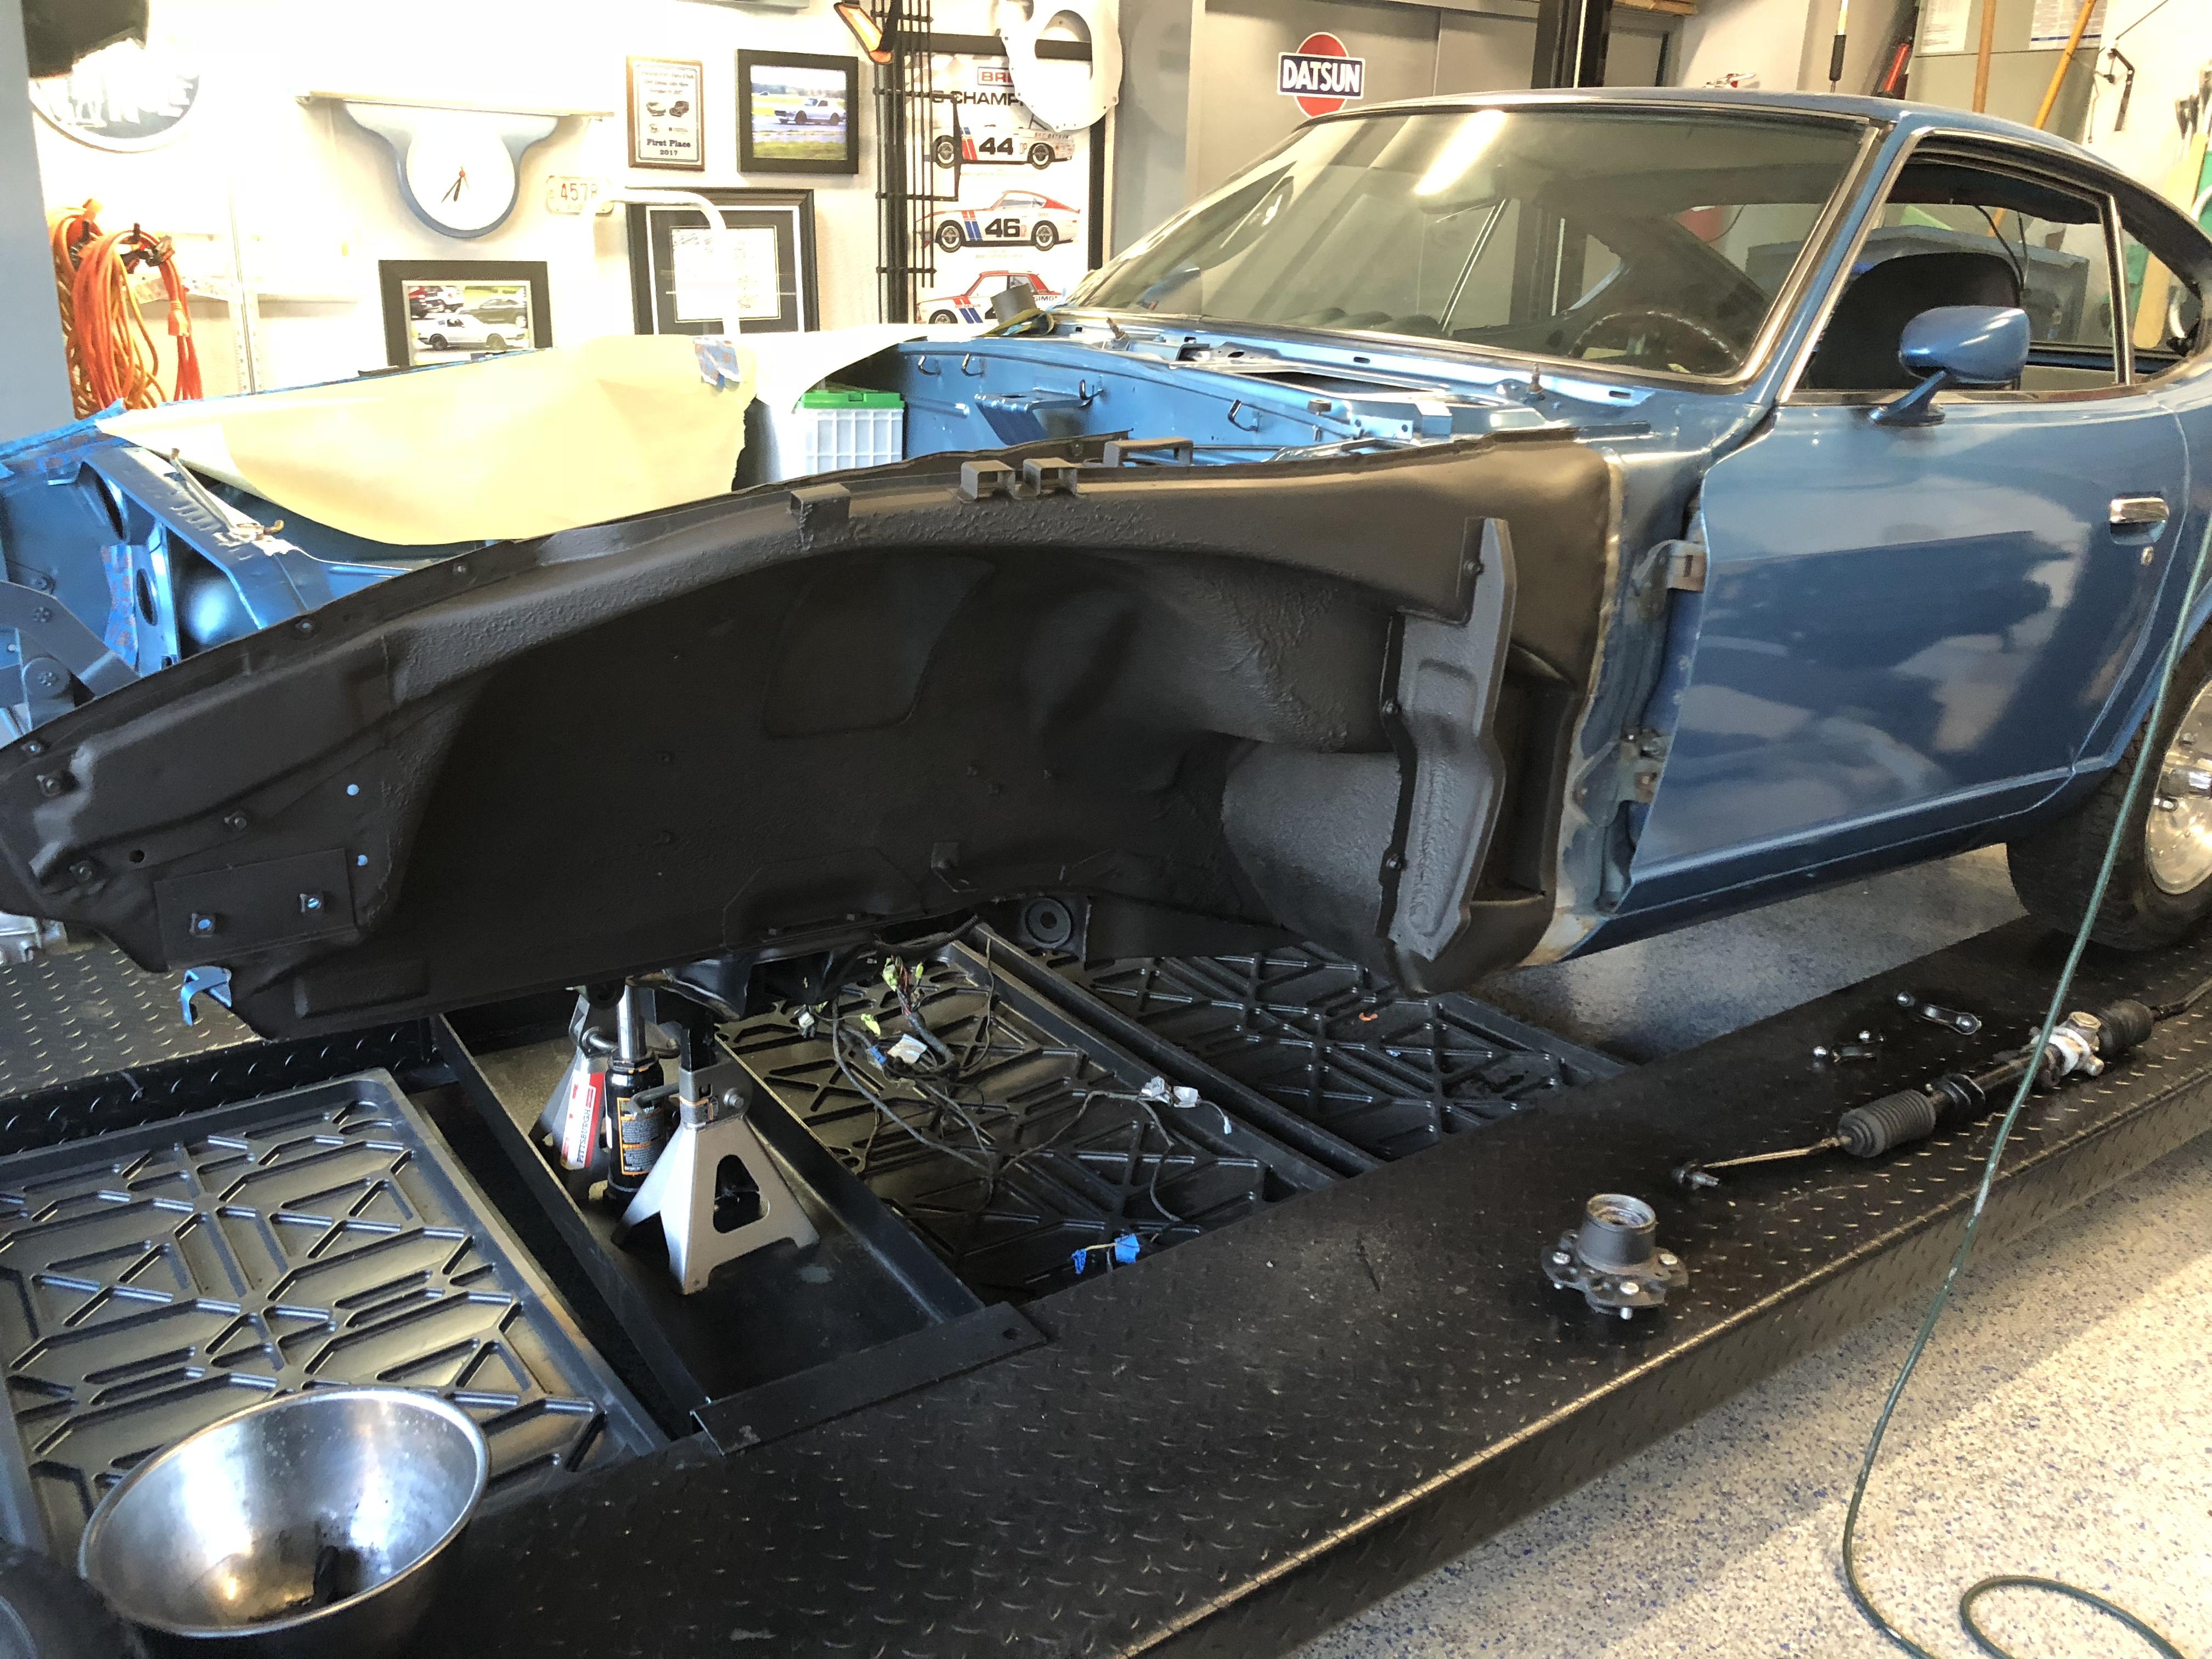
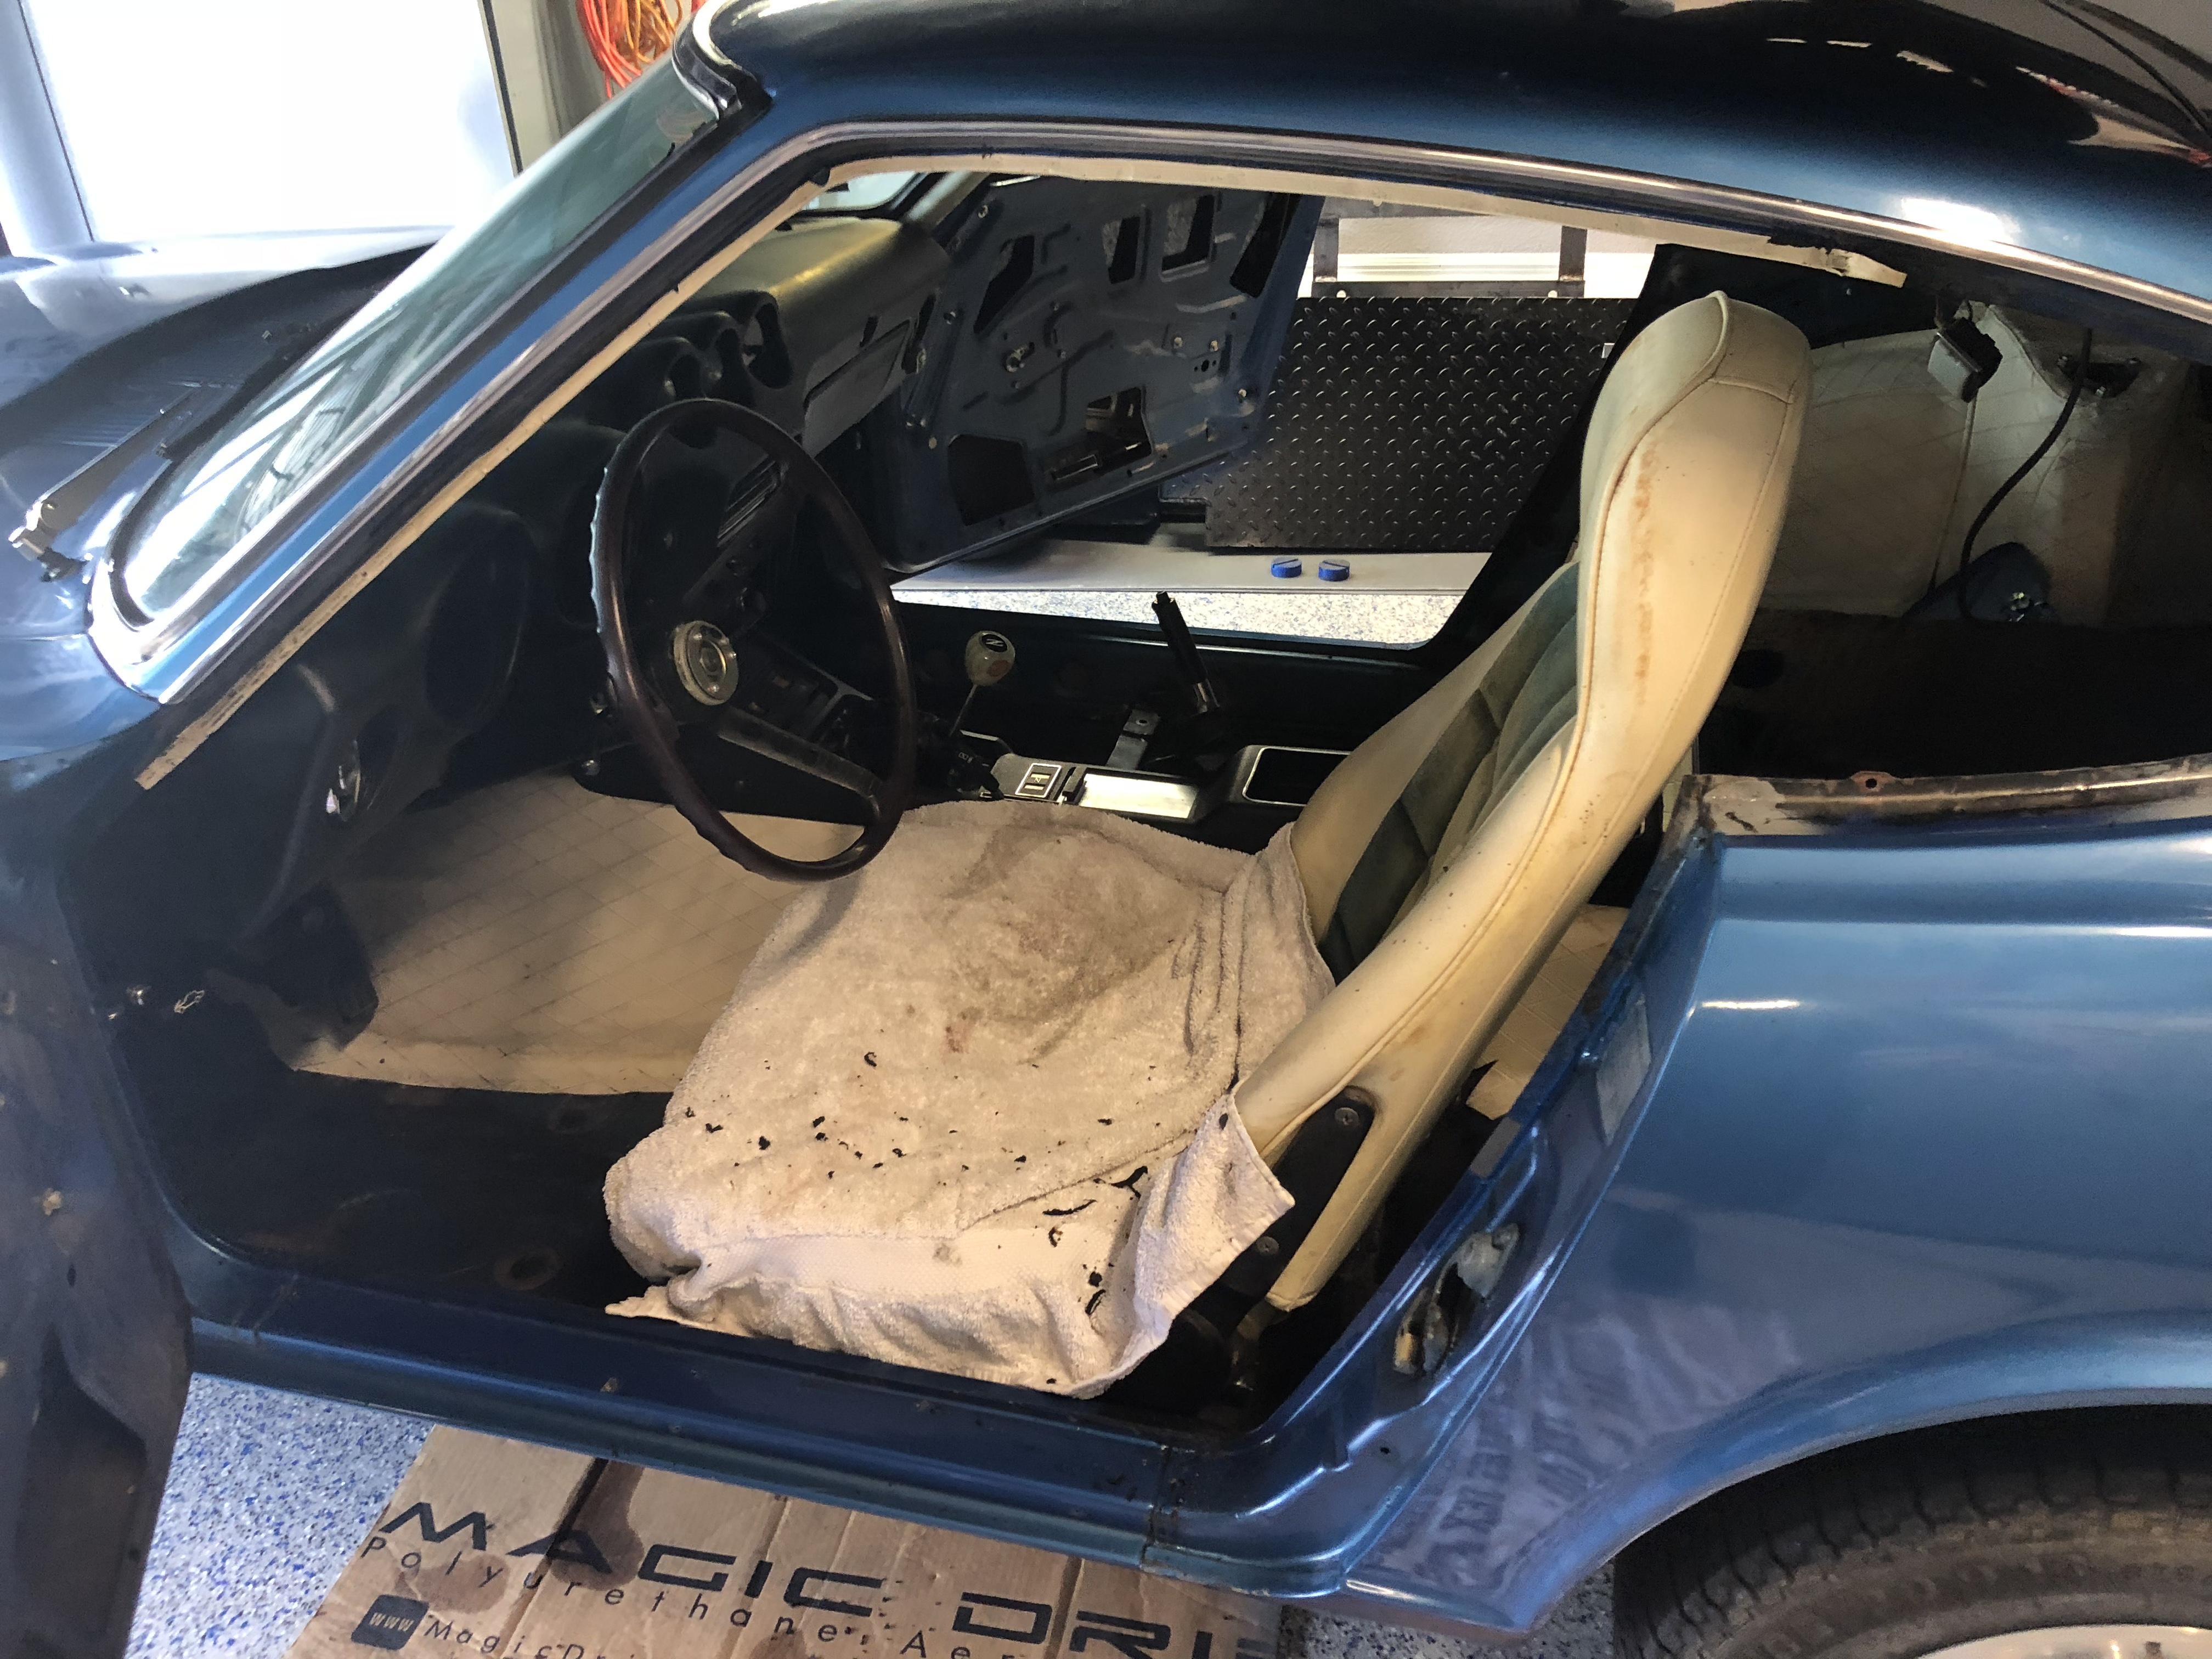
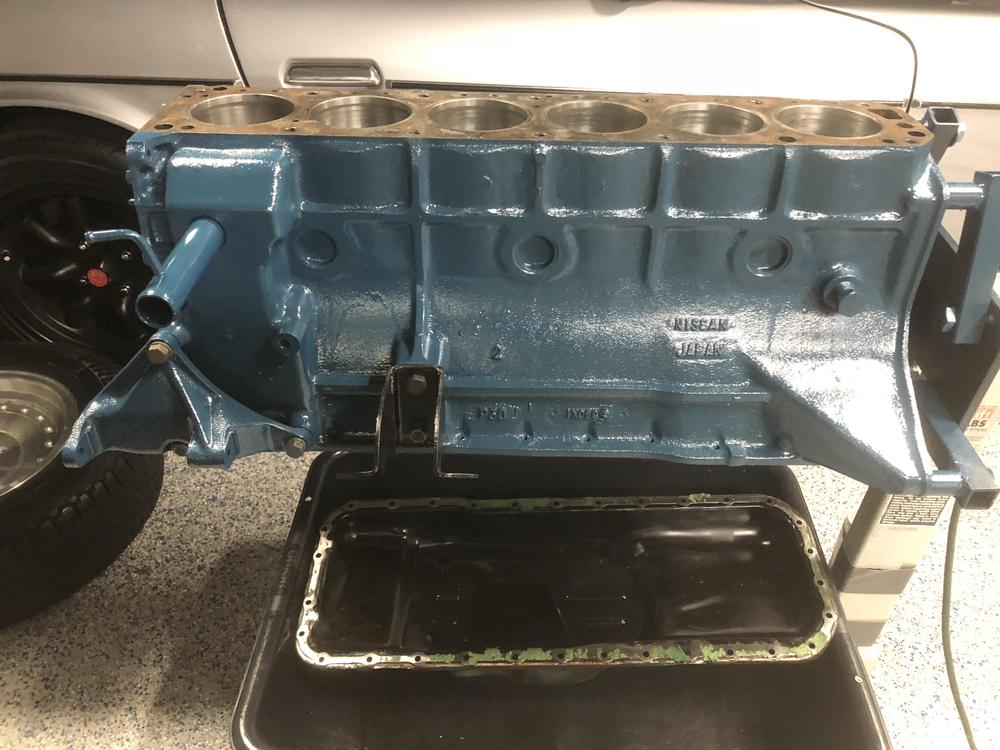
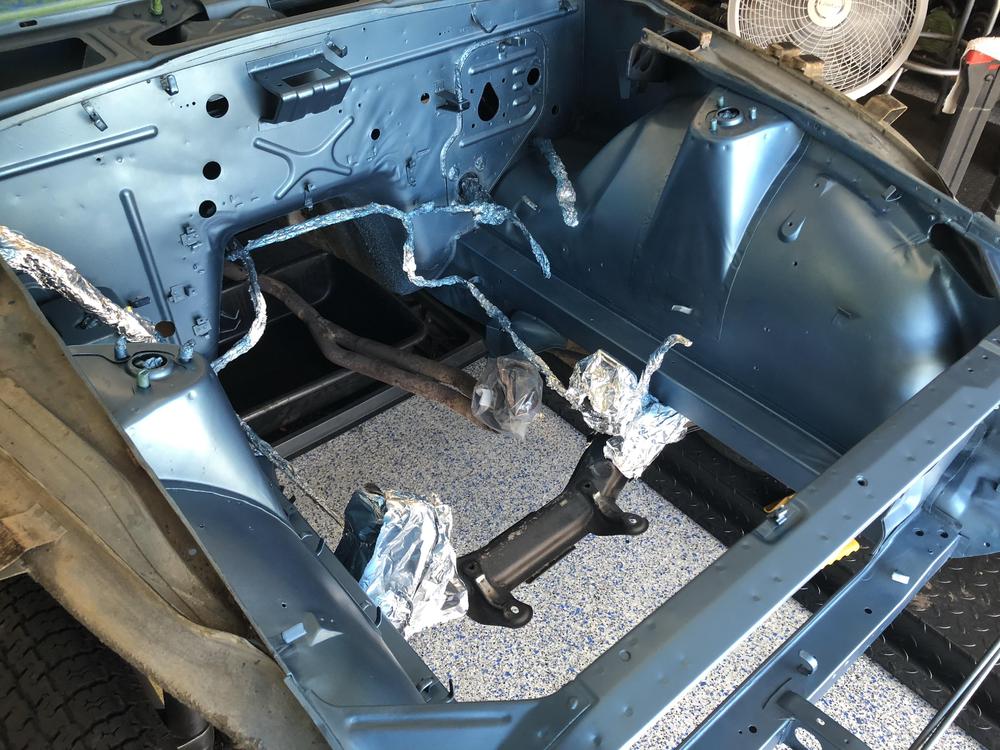
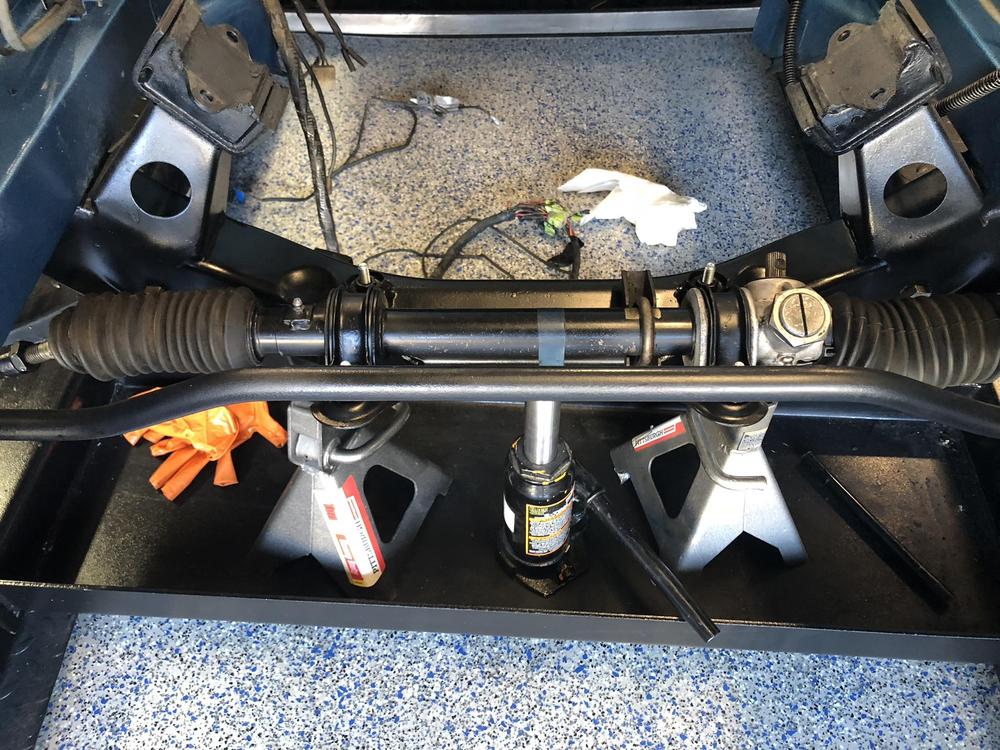
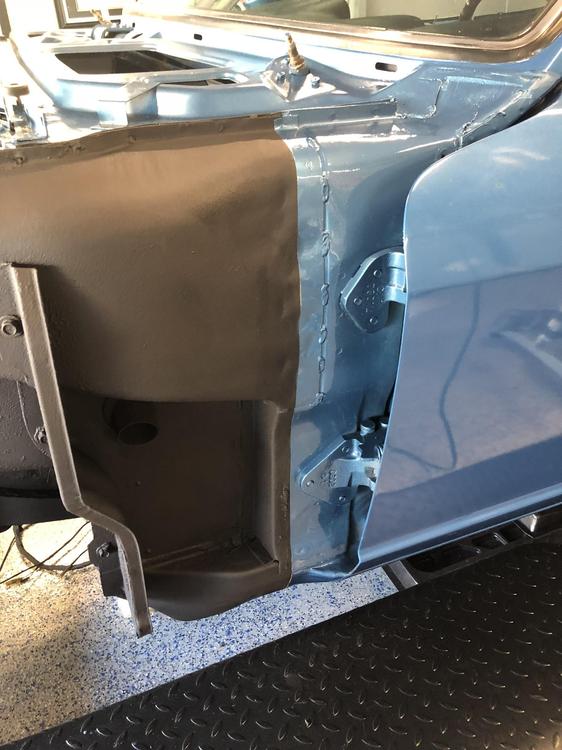
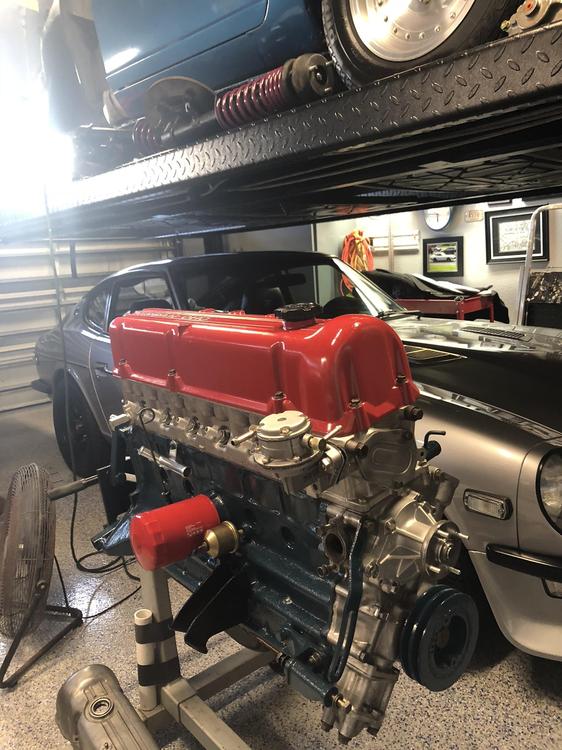
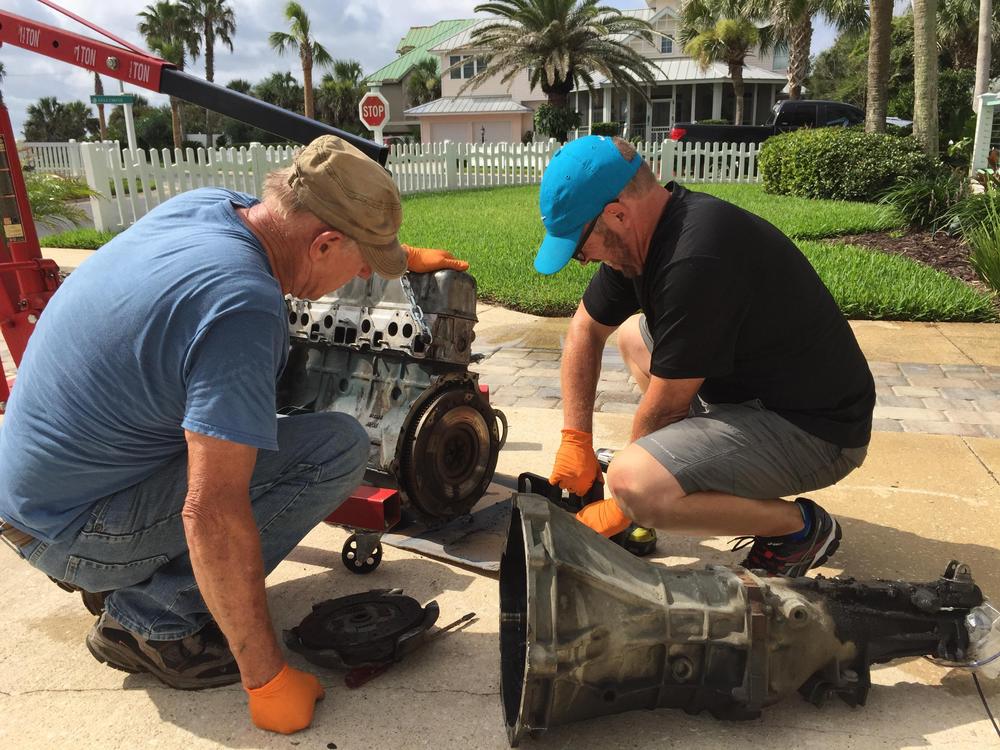
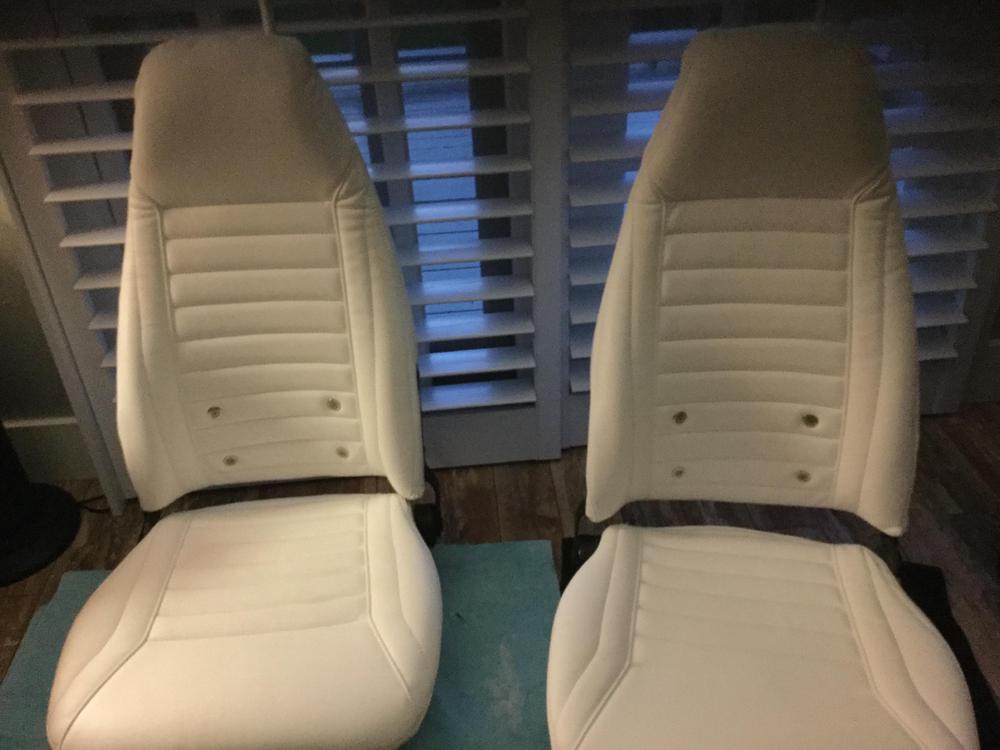
Over the past 2 month. Pulled the engine and trans, had the head rebuilt, rebuilt the motor, cleaned and repainted engine bay: rebuilt the front end and replaced all the rubber, new struts. Removed front fenders, resprayed undercoating and or paint where appropriate. Still need to finish engine bay details, rework stock valve cover and then we can drop motor and trans back in. INterior was completely striped and seats have been rebuilt. New wheels, tires exhaust etc etc etc......


 1 point
 -
1 point


.jpg.6547aa833558c7e5bfa31262d5b25c5e.jpg)
.jpg.a9691c701d50e00539831fe18377bc07.jpg)
.jpg.c8904705754919b076788f63dc69a5ca.jpg)
.jpg.32b69526c618b5b4b356b71155b40ff7.jpg)
.jpg.99dd2ab37d811c9bc79f7f1202cb64e6.jpg)