Leaderboard
-

kats
Free Member5Points2,215Posts -
Mark Maras
Free Member2Points3,719Posts -
Patcon
 Subscriber
 2Points11,142Posts
 -
duffymahoney
Free Member2Points961Posts


Popular Content
Showing content with the highest reputation on 03/08/2018 in all areas
-
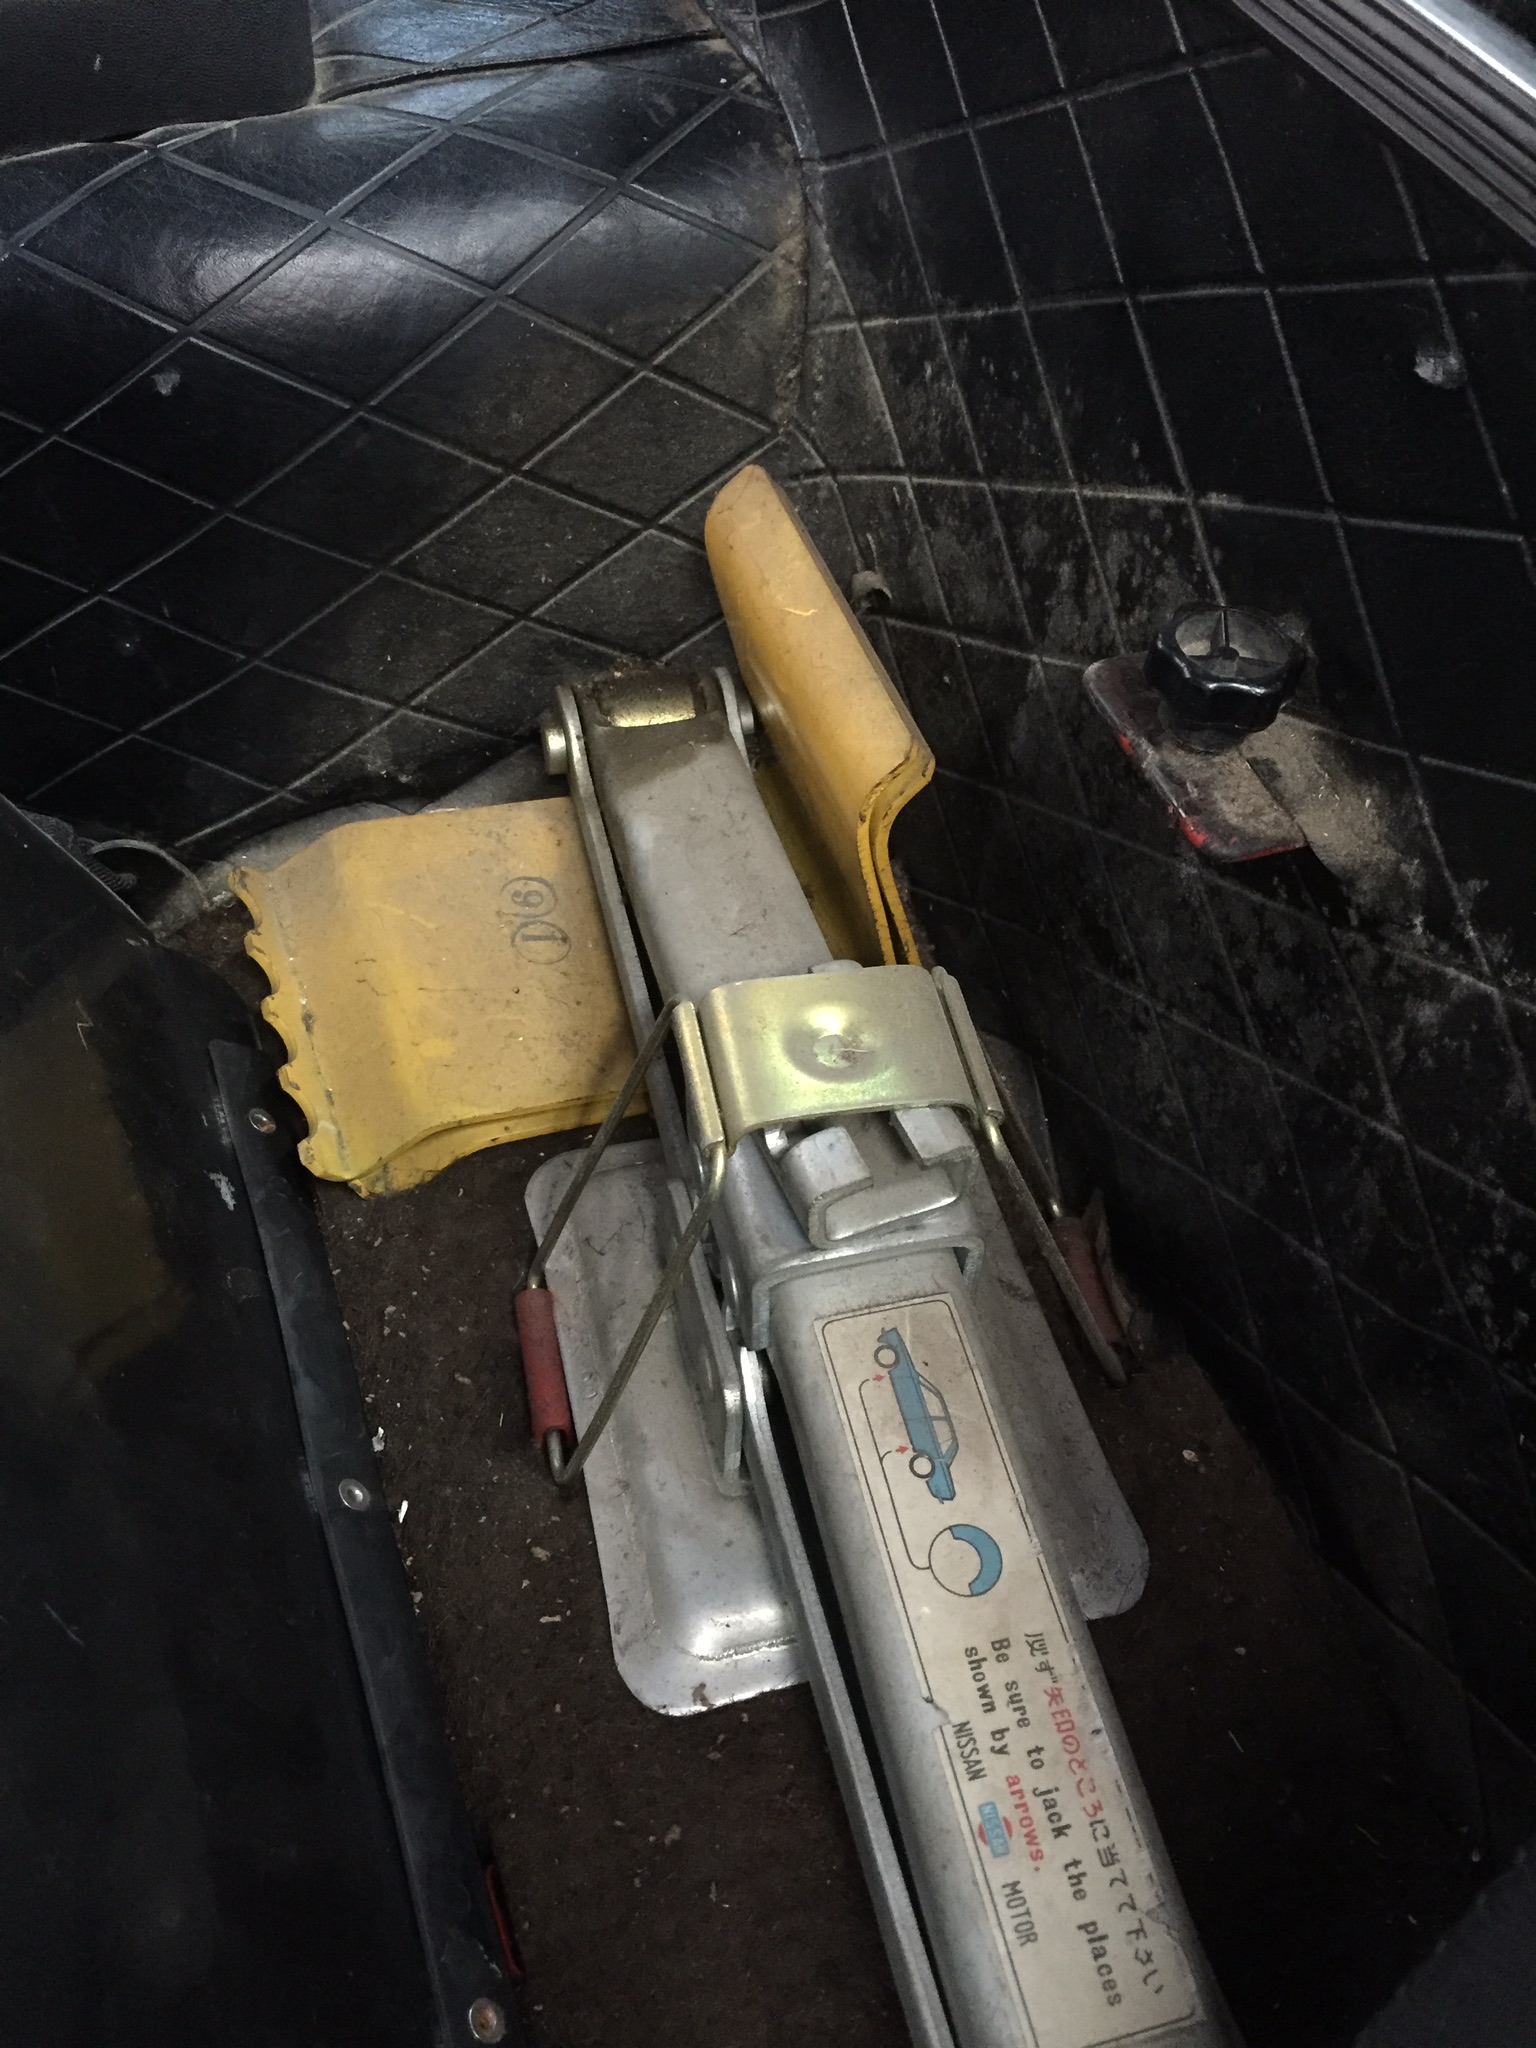
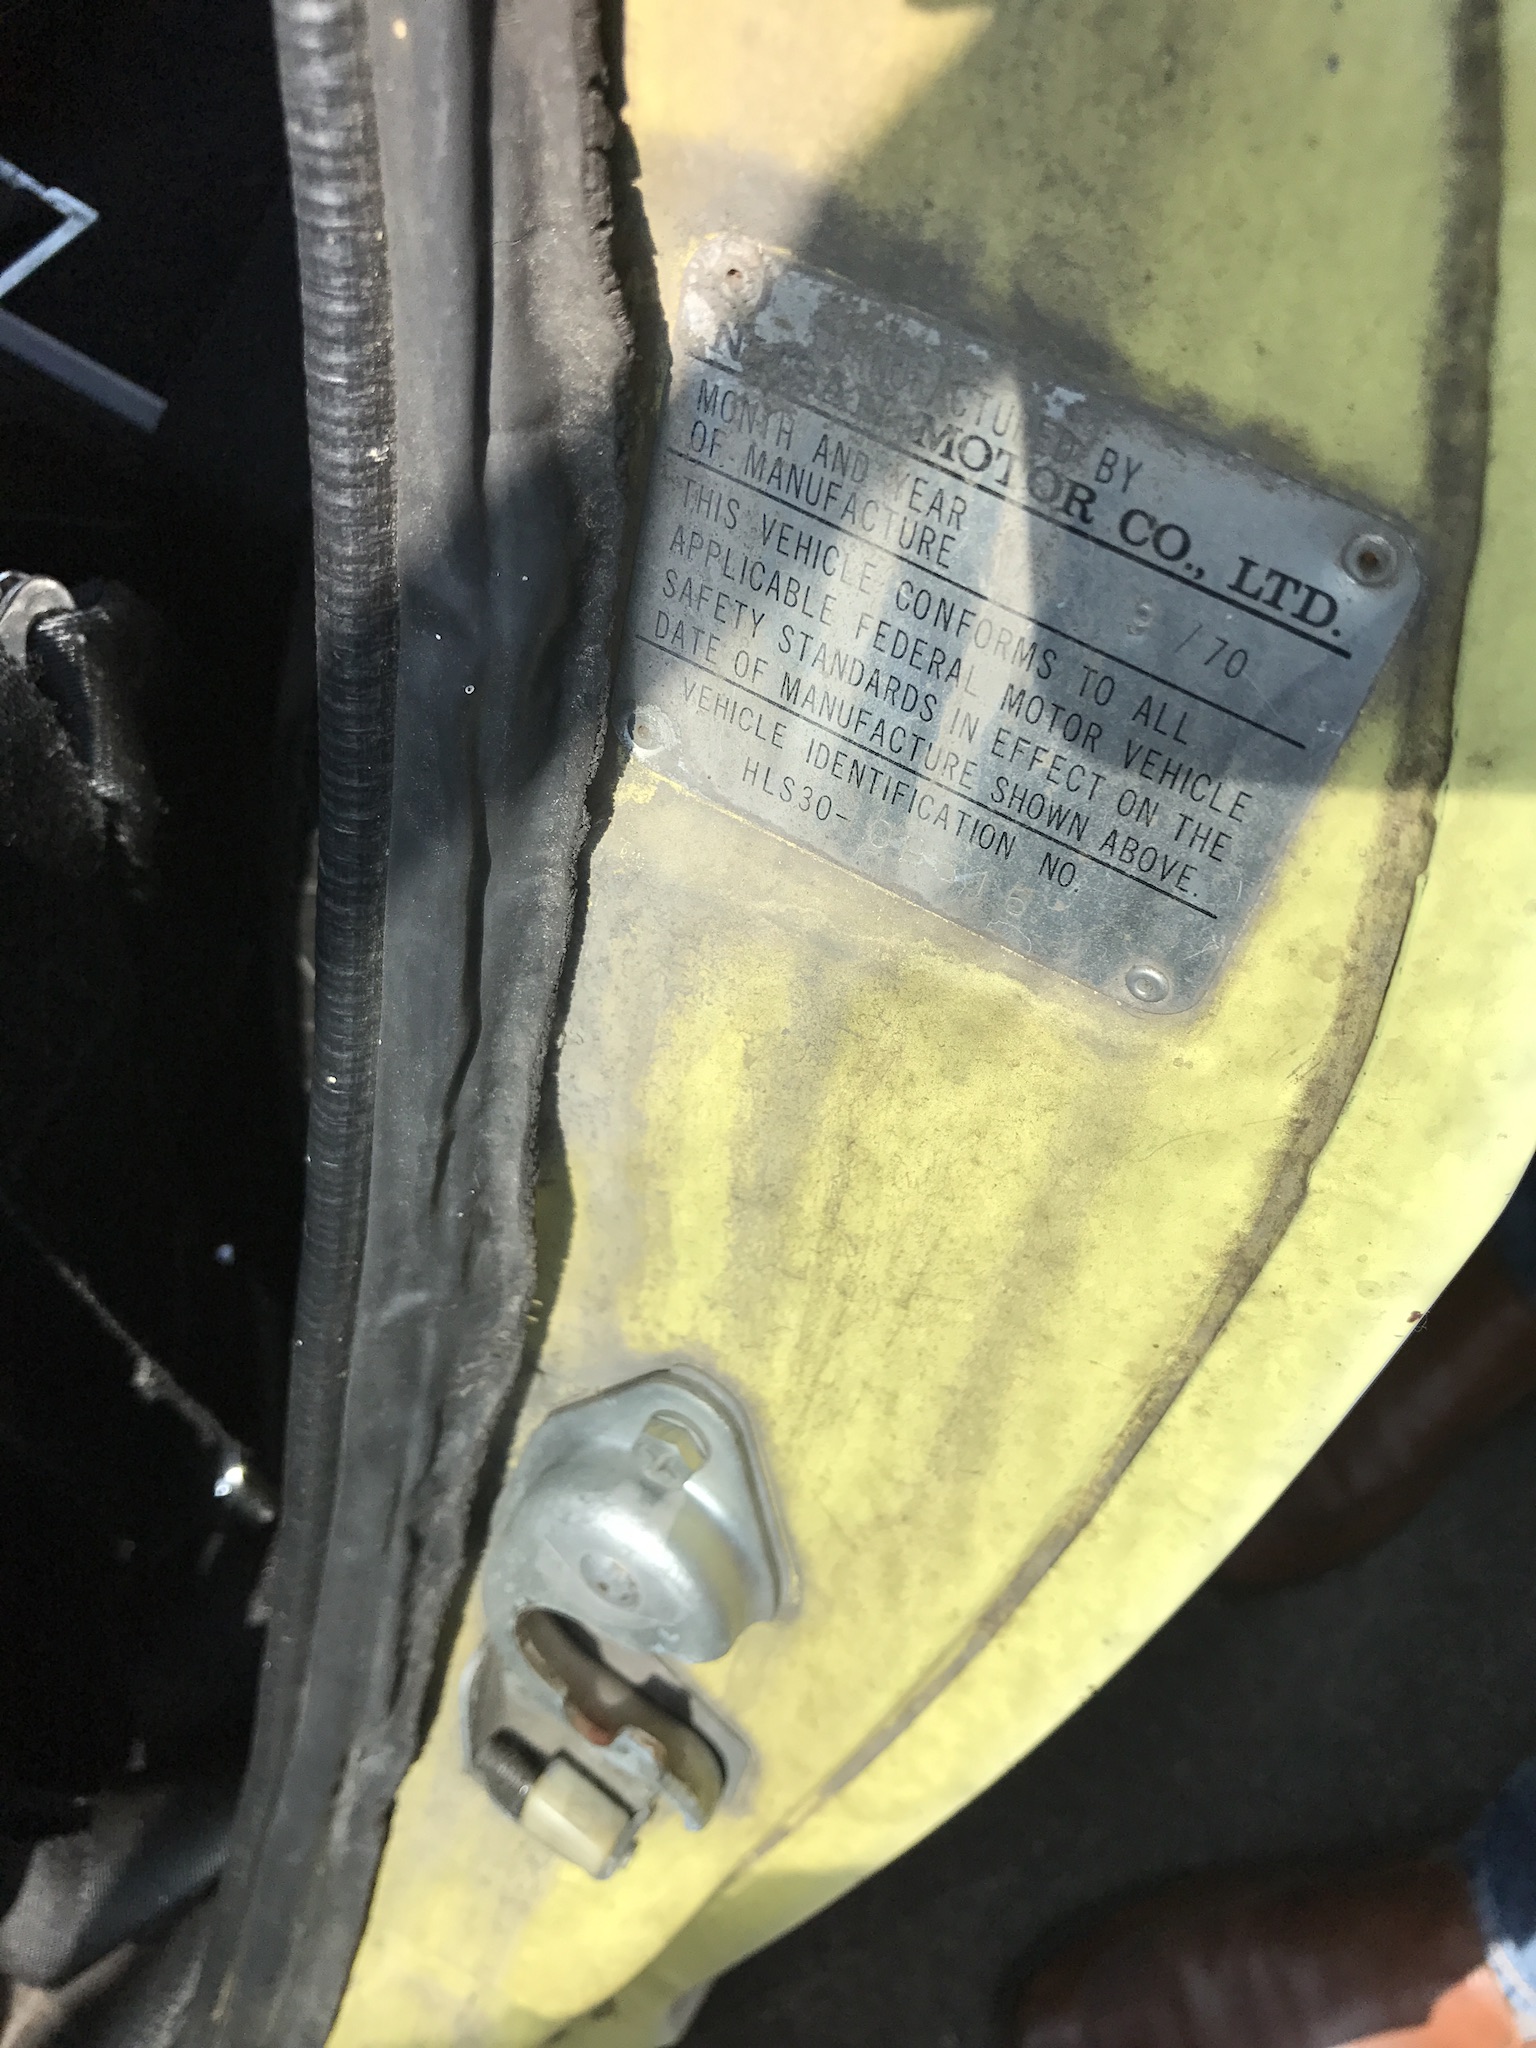
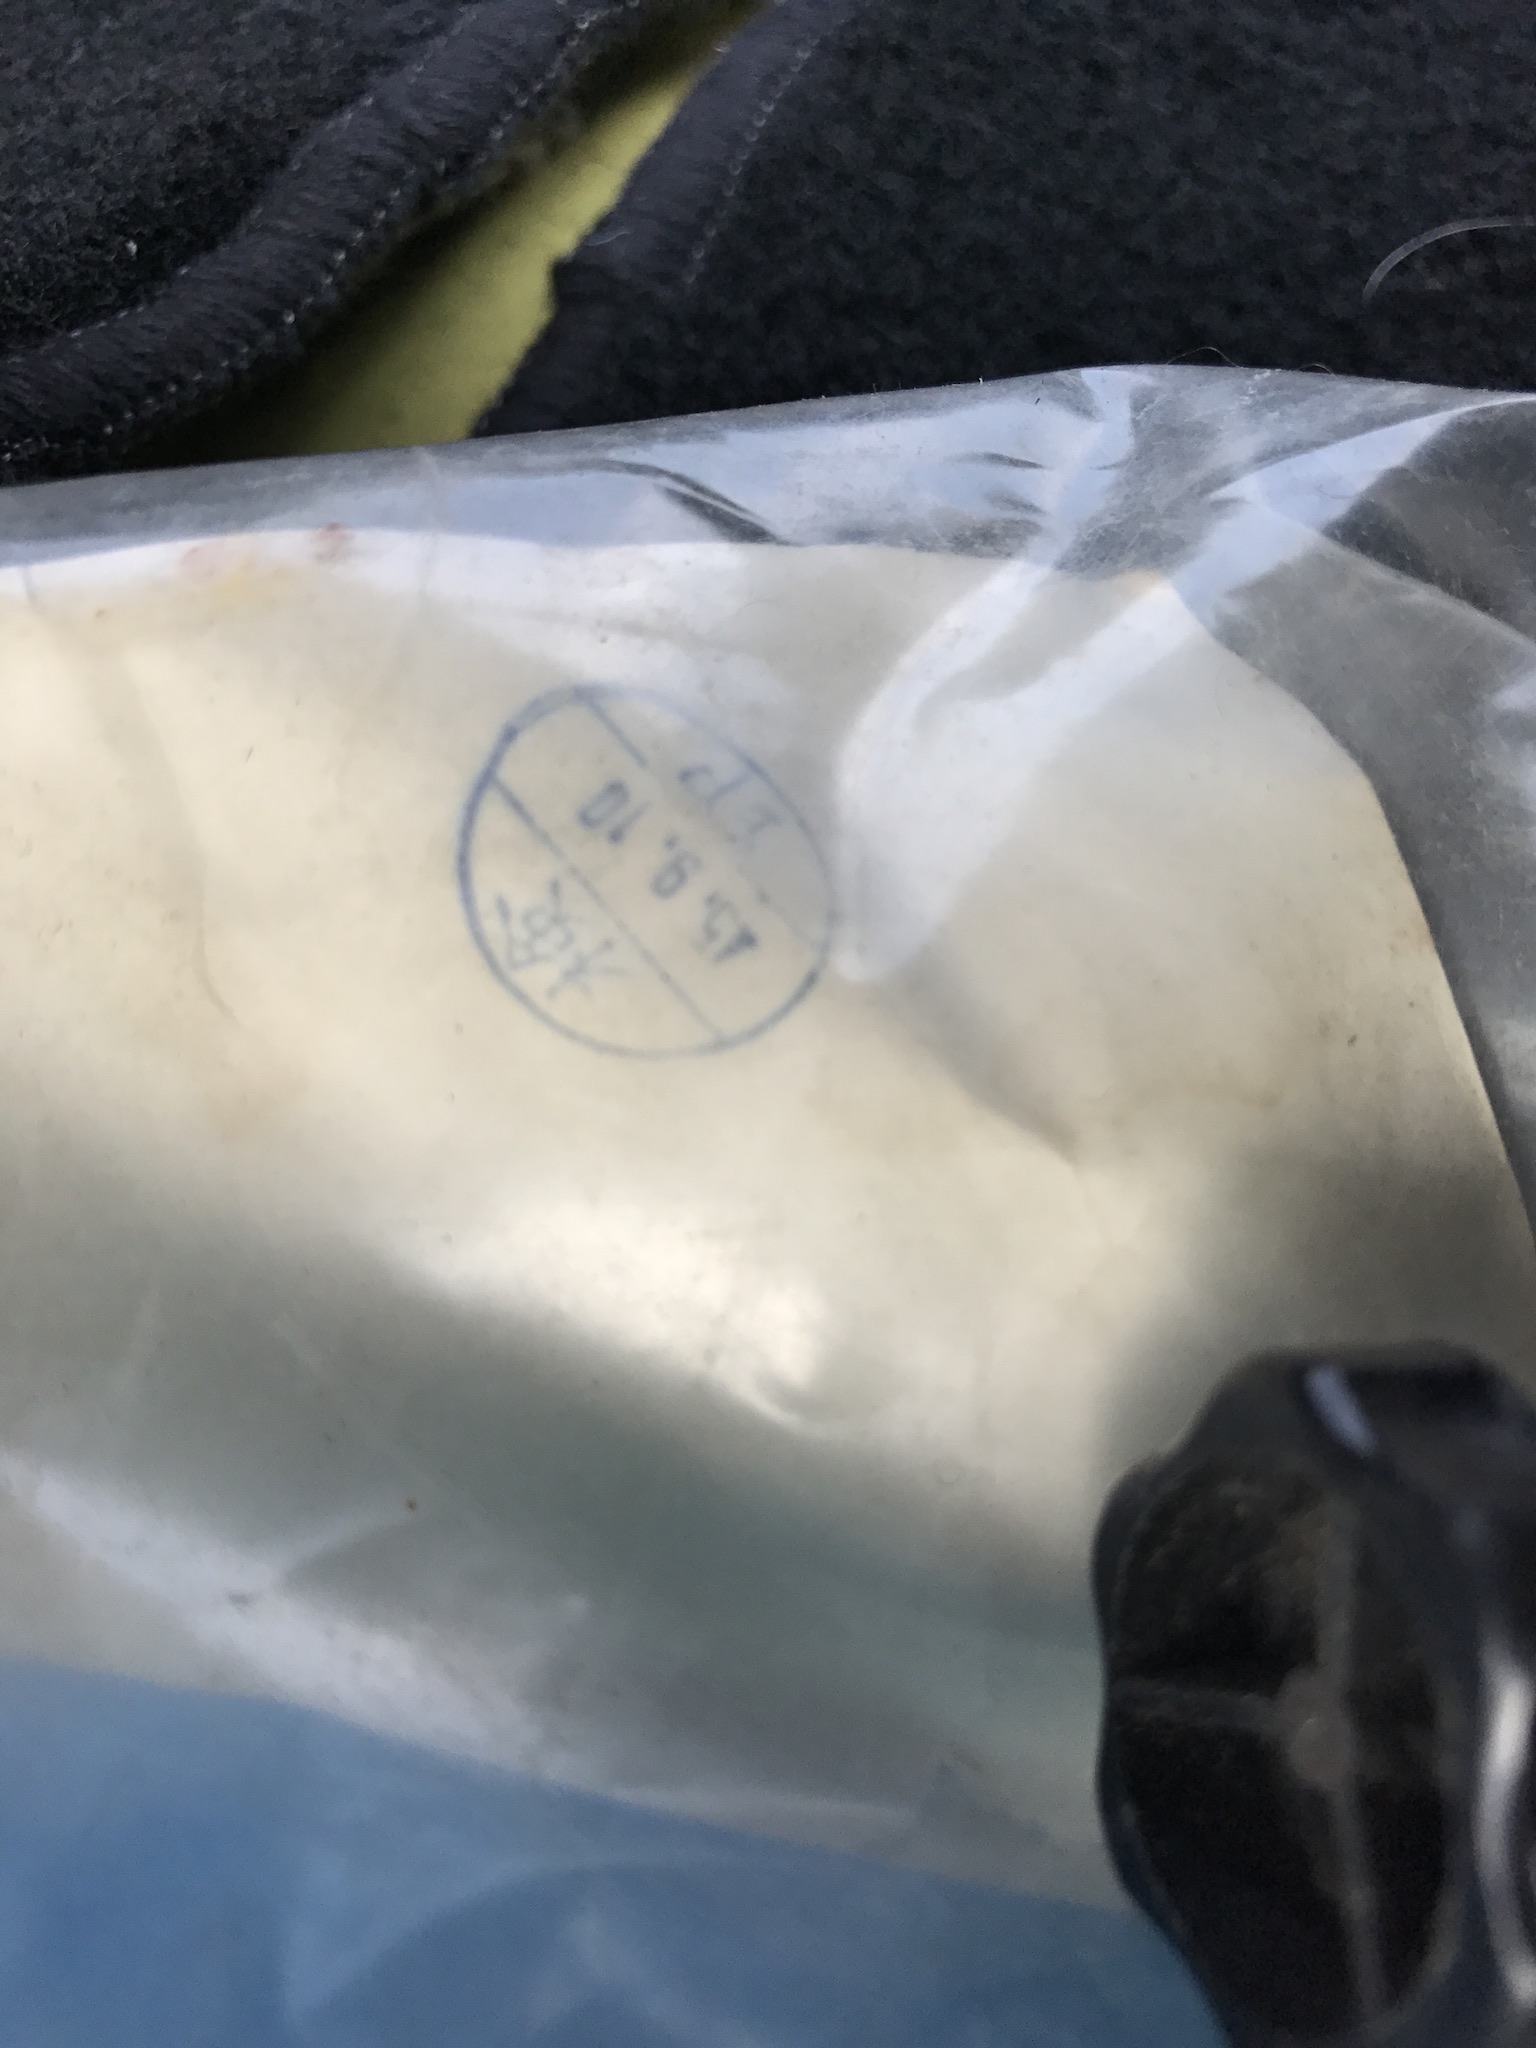
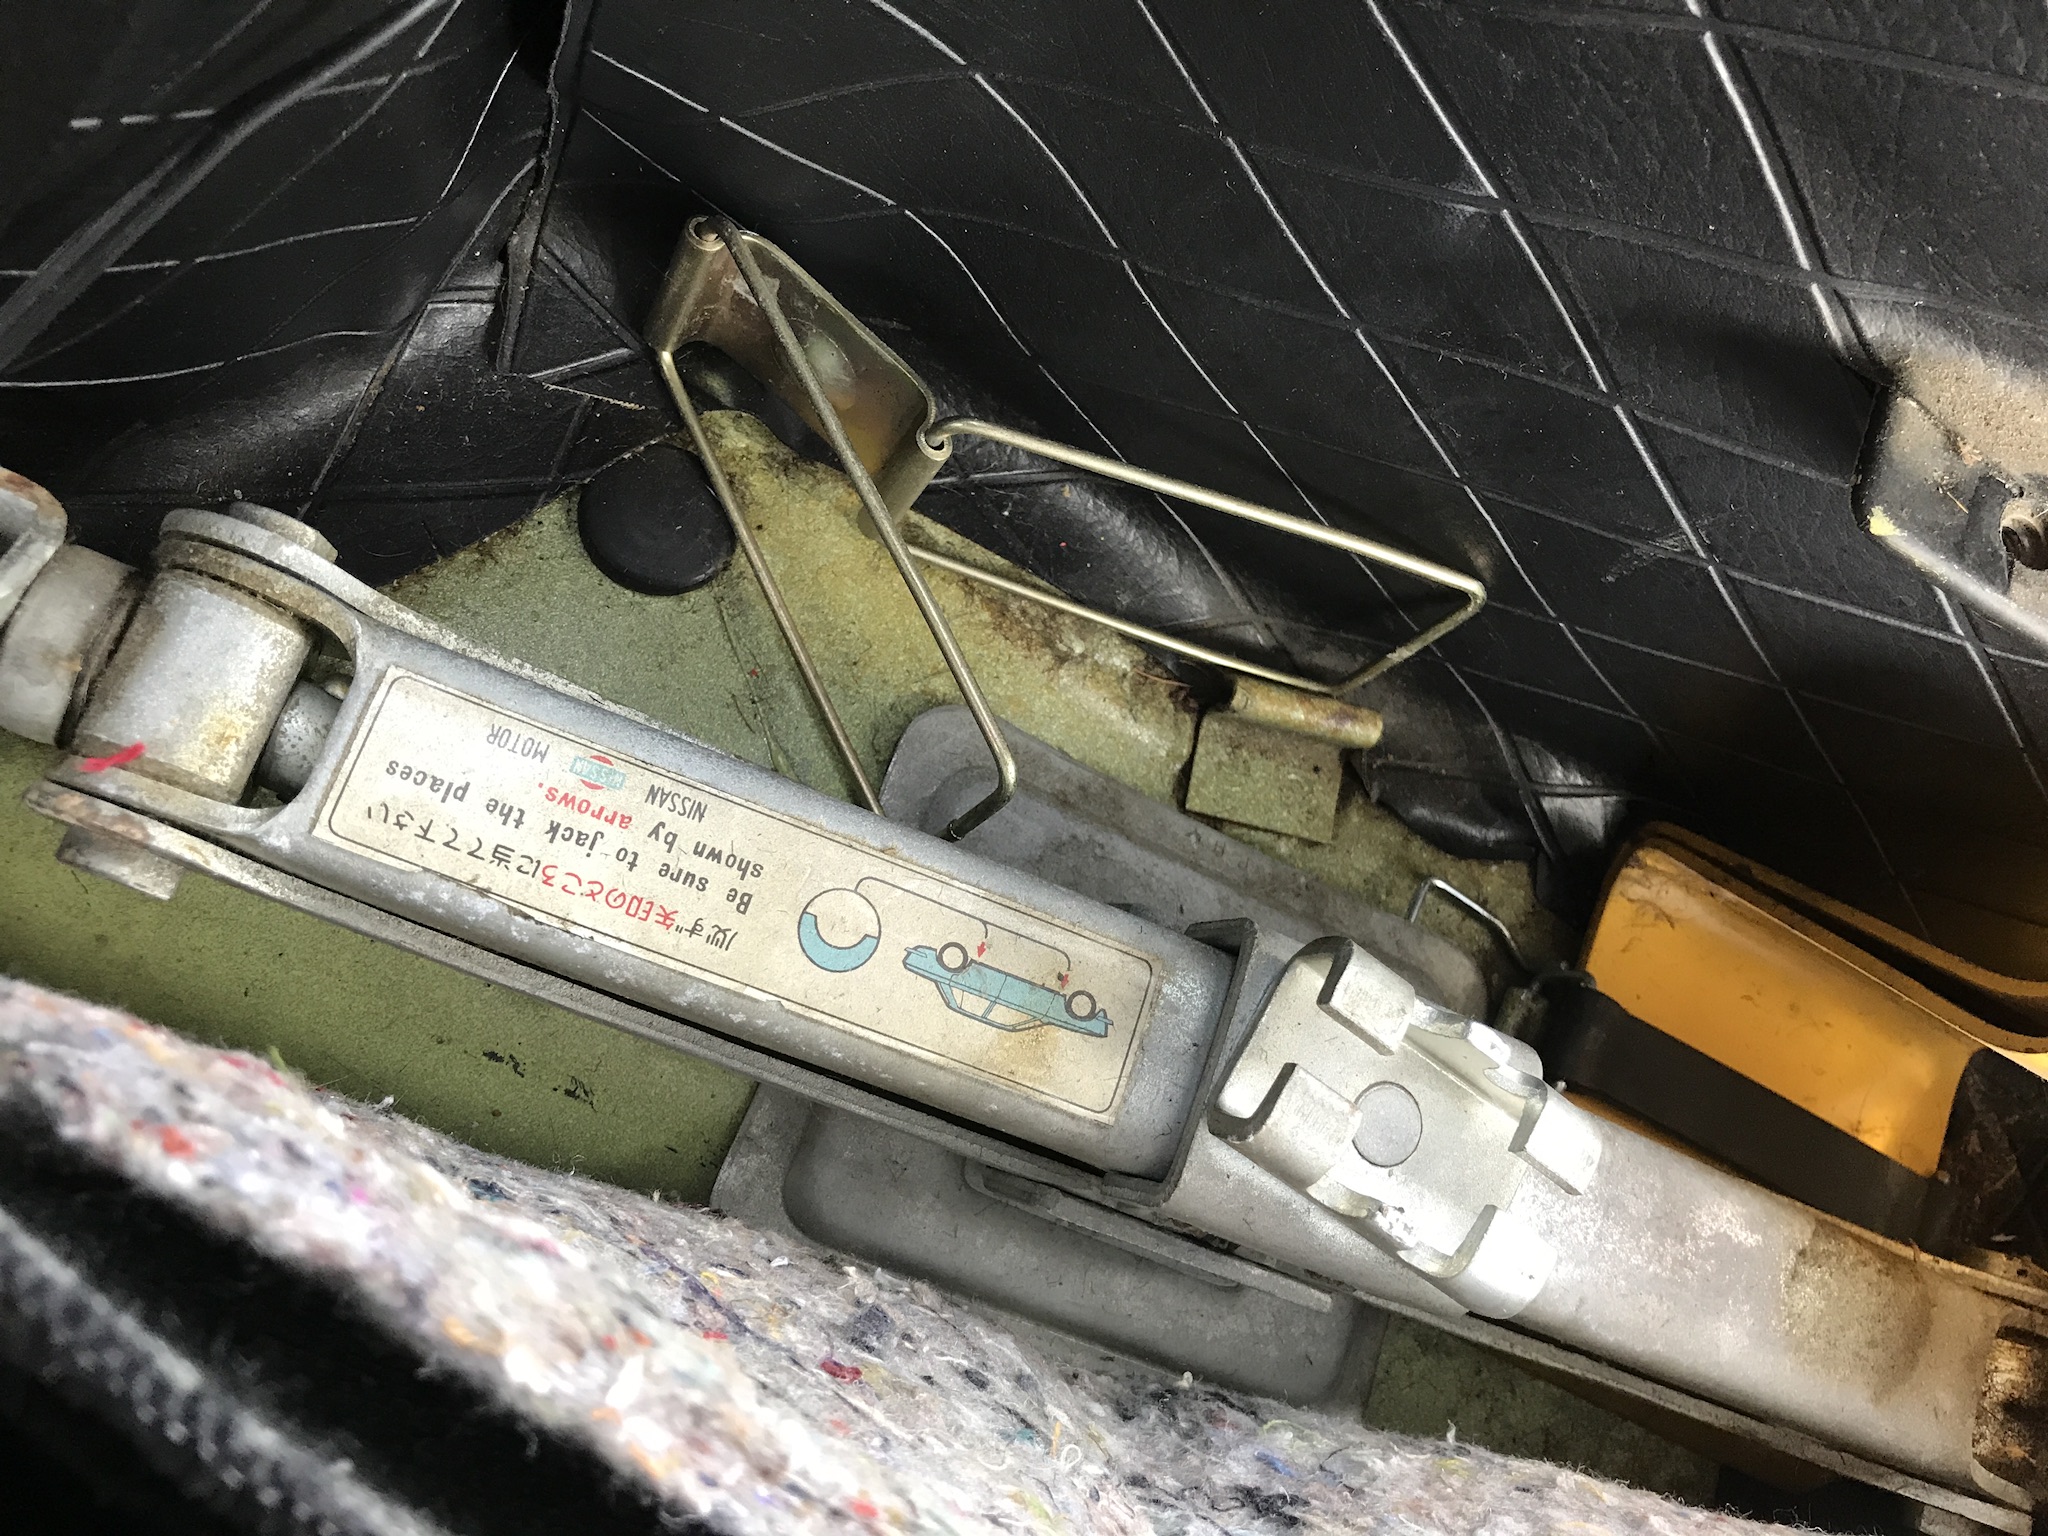
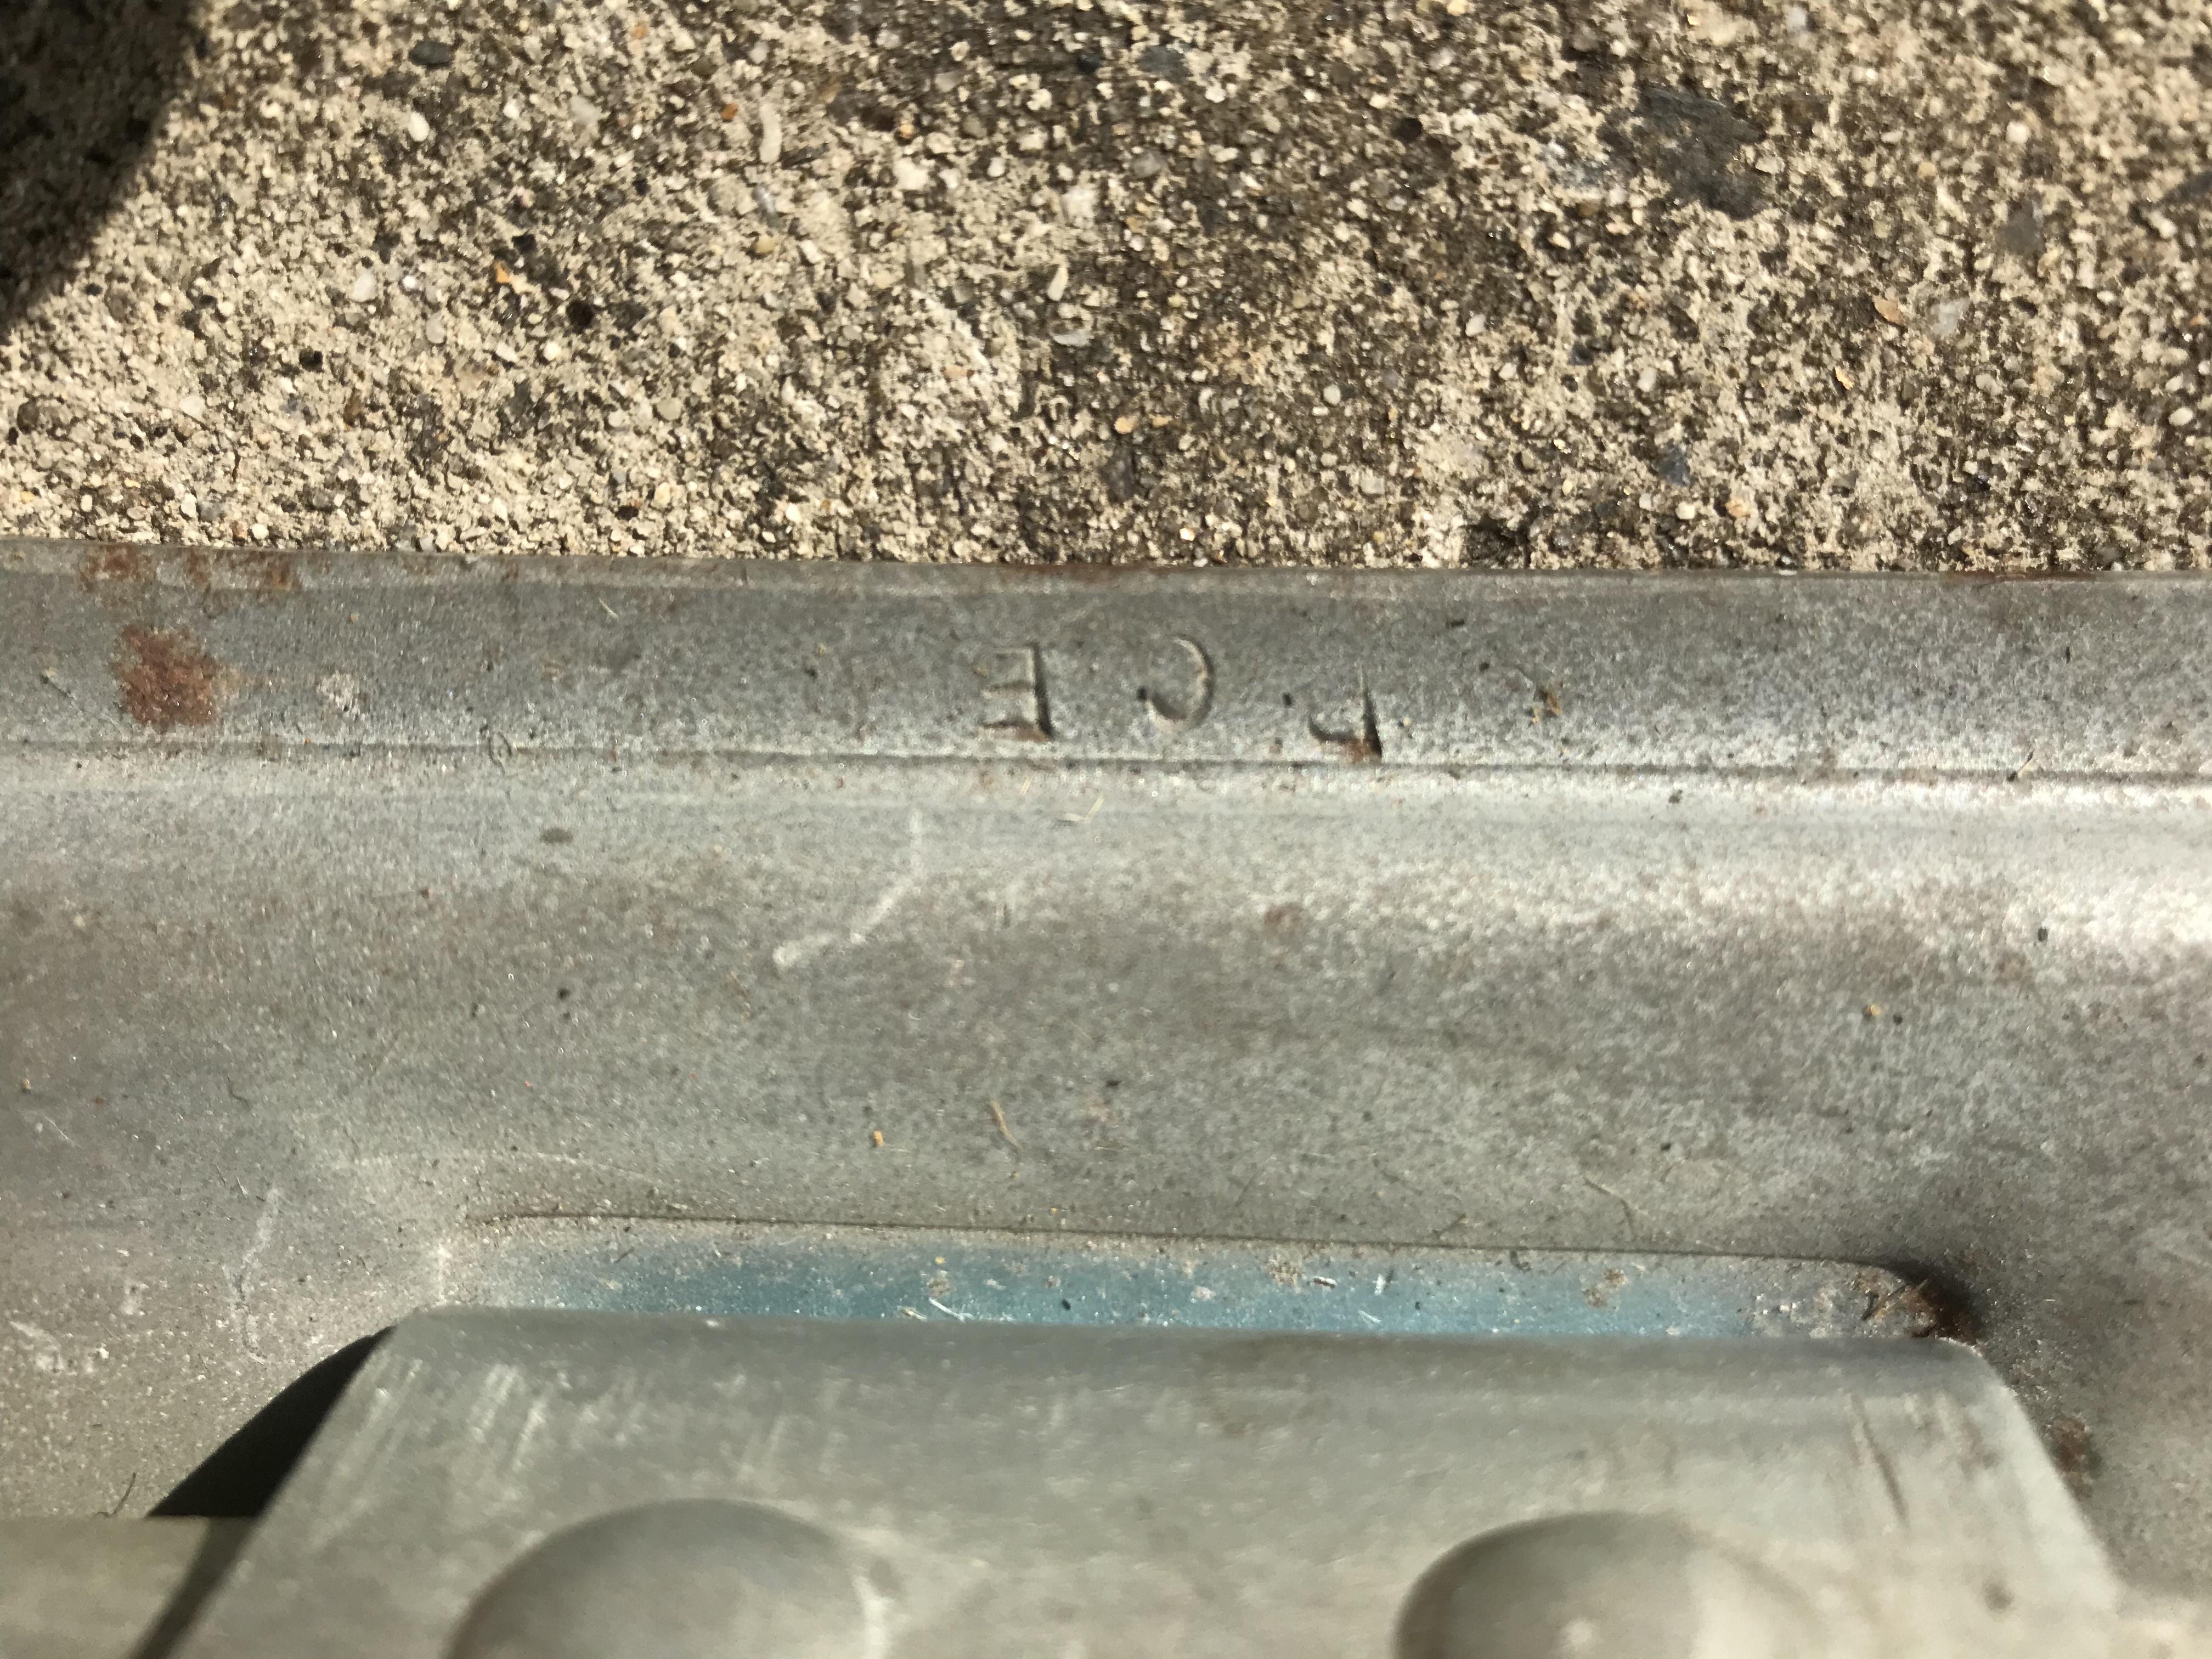
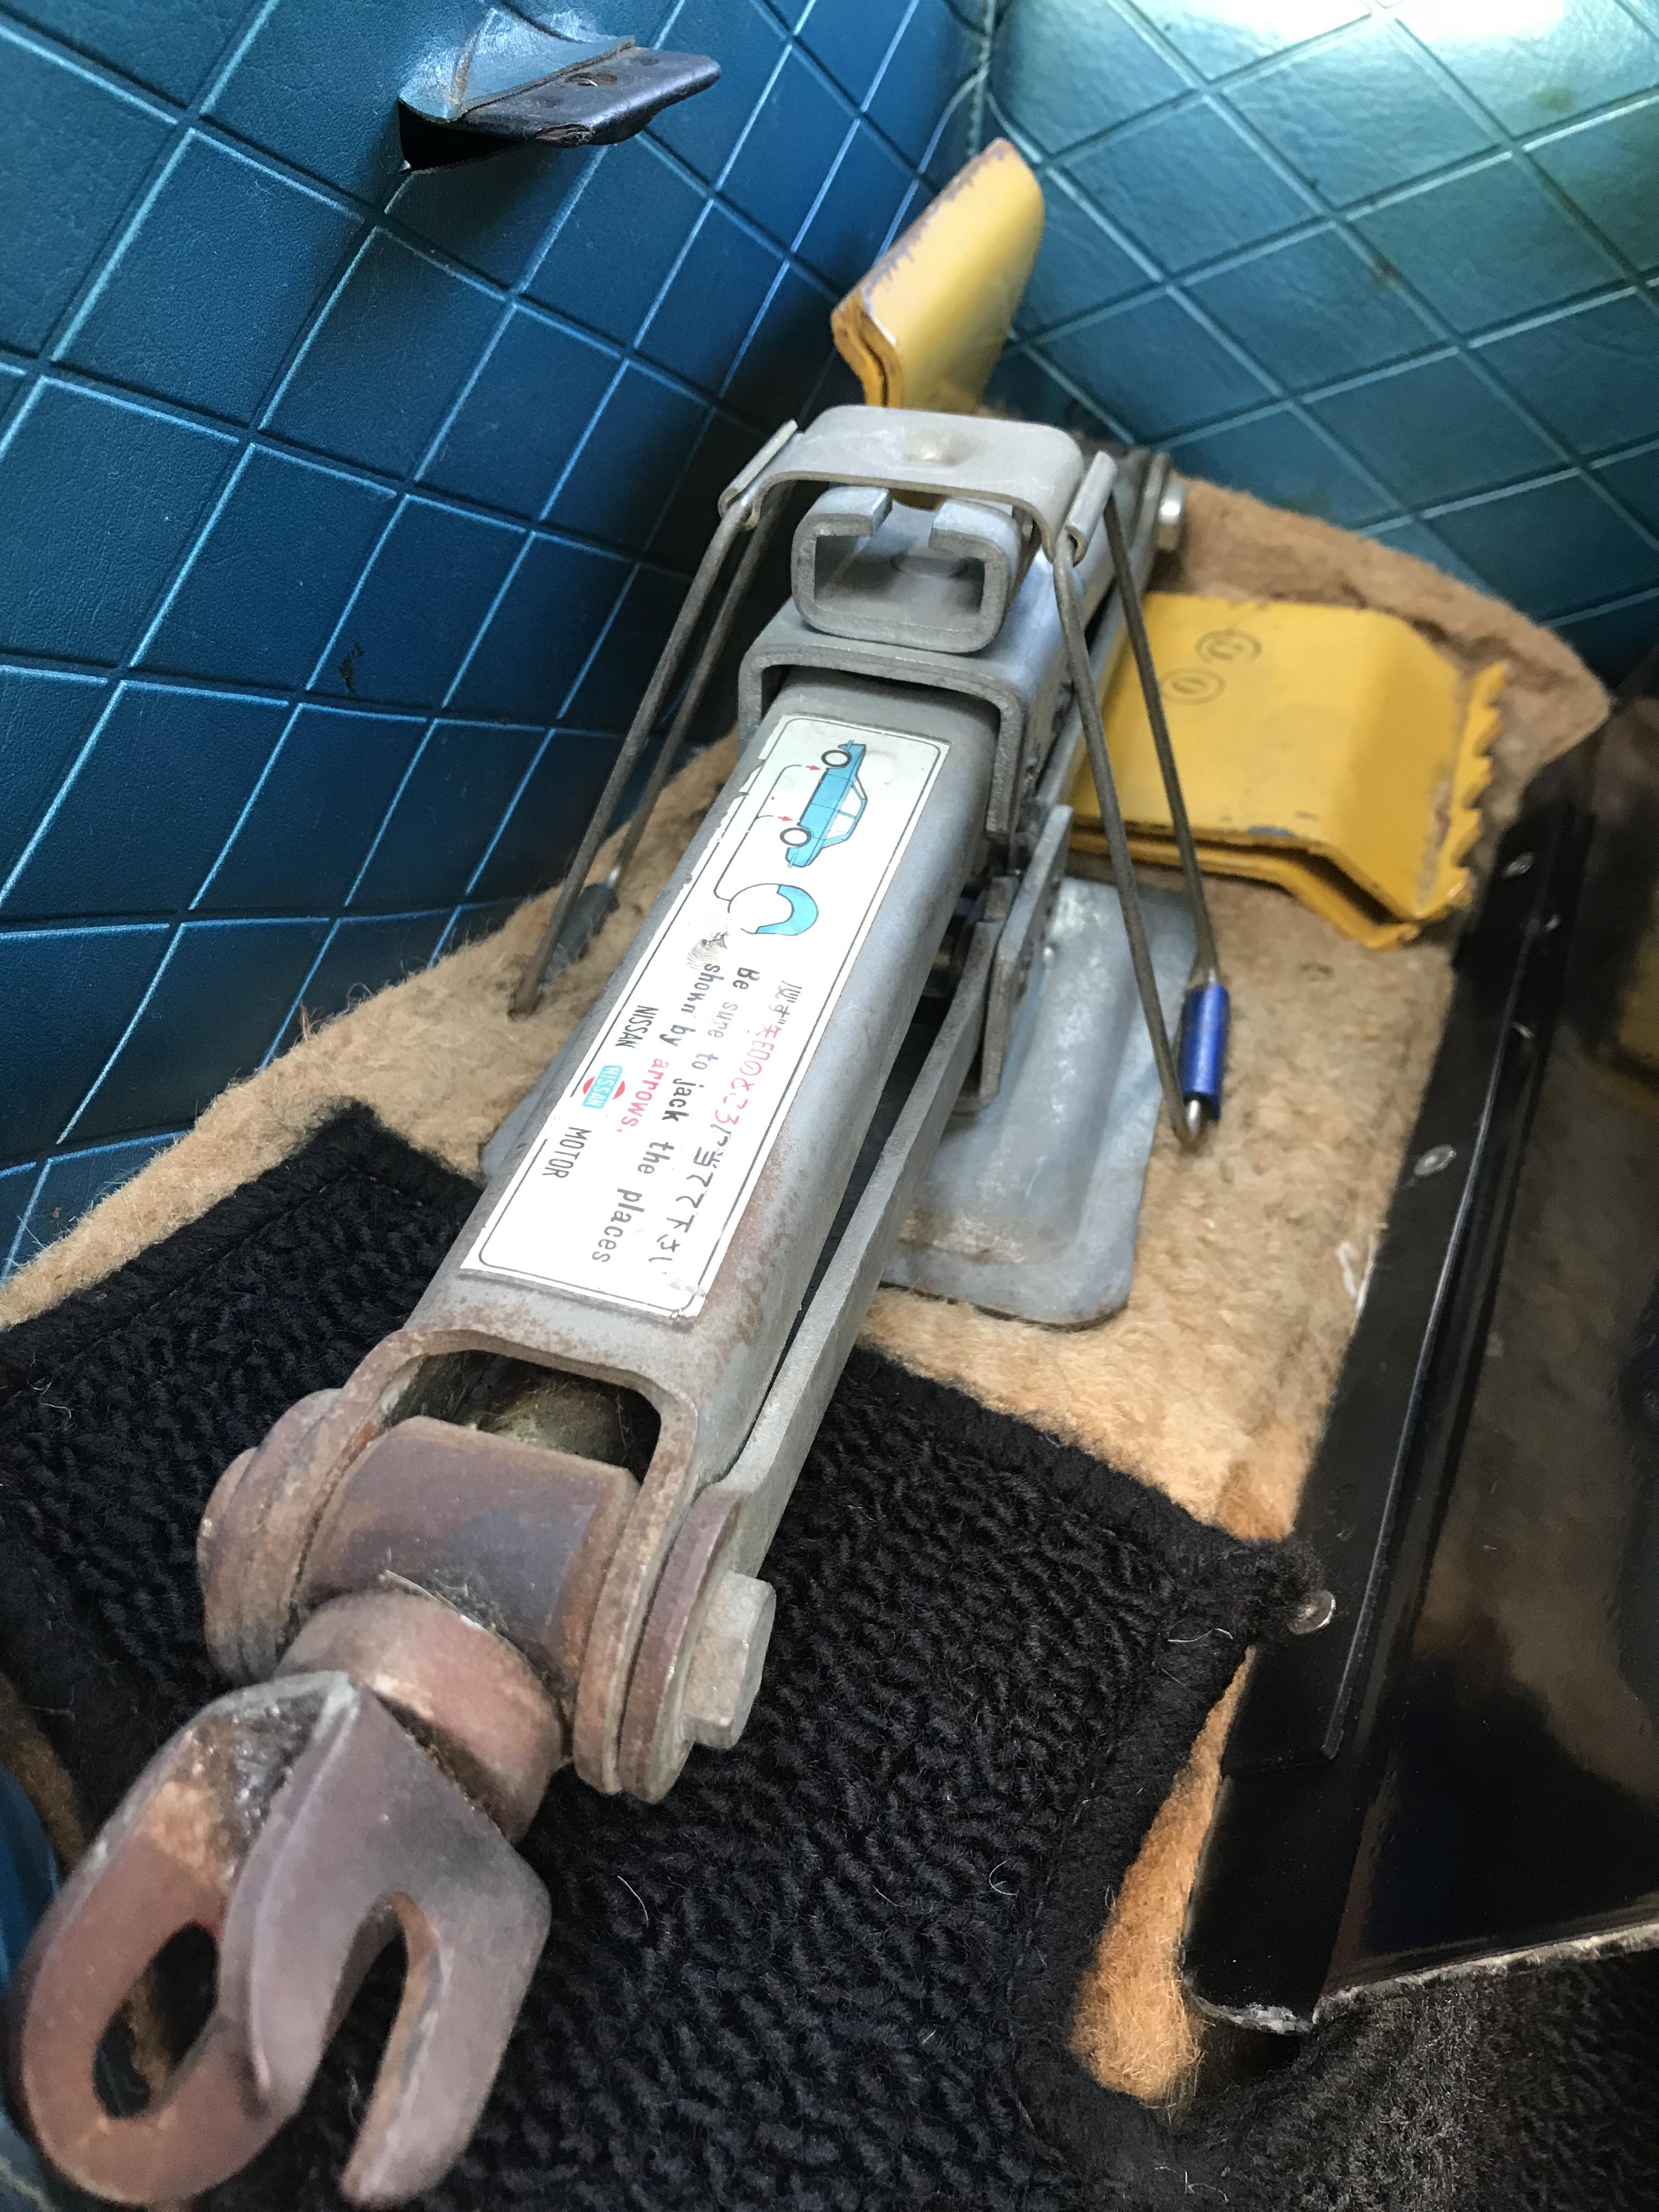
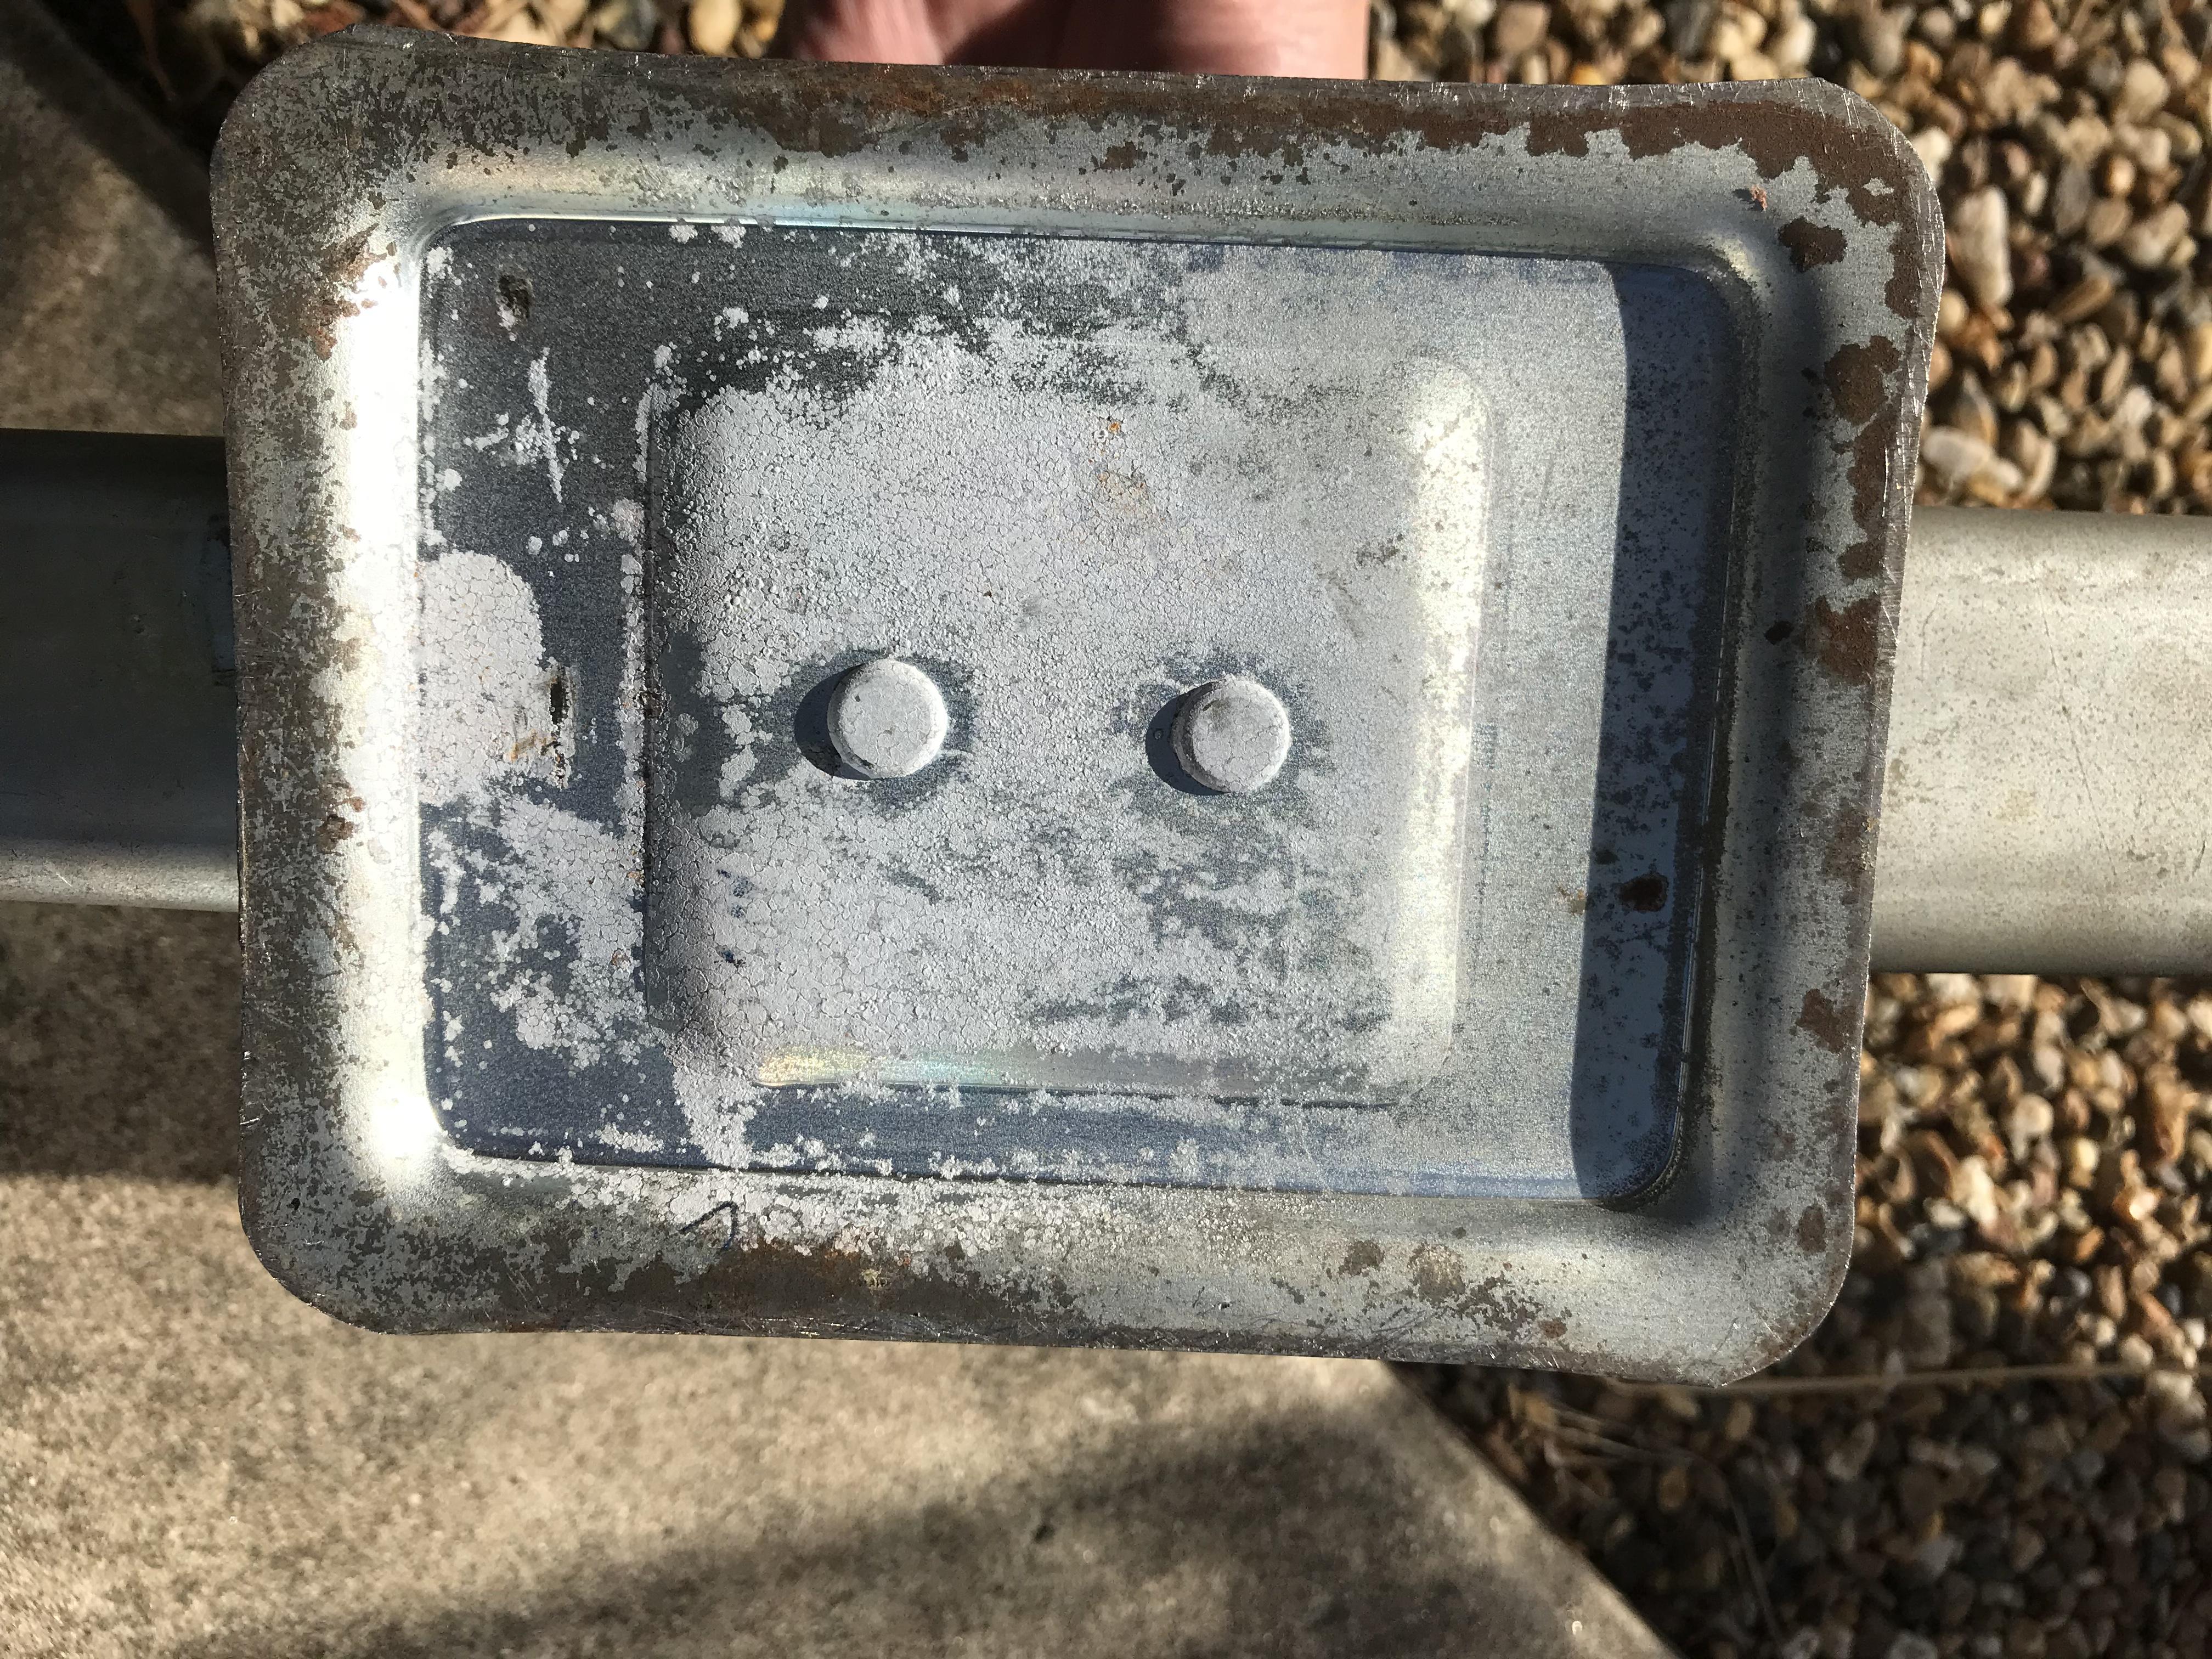
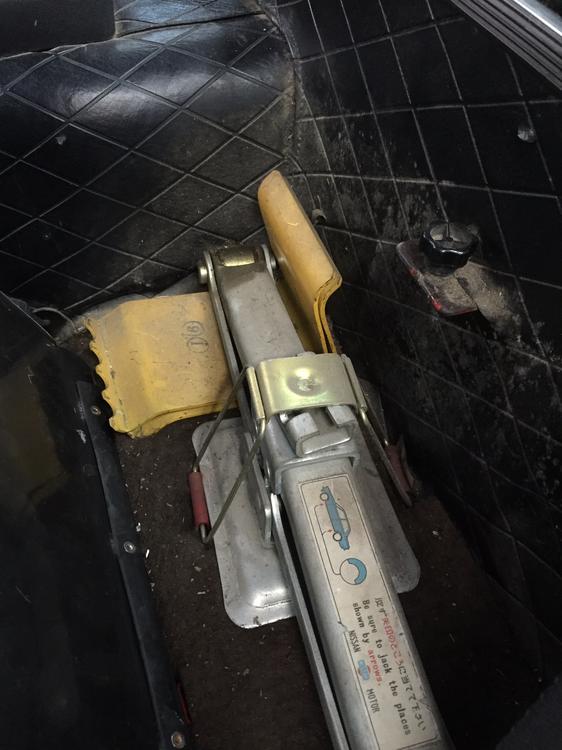
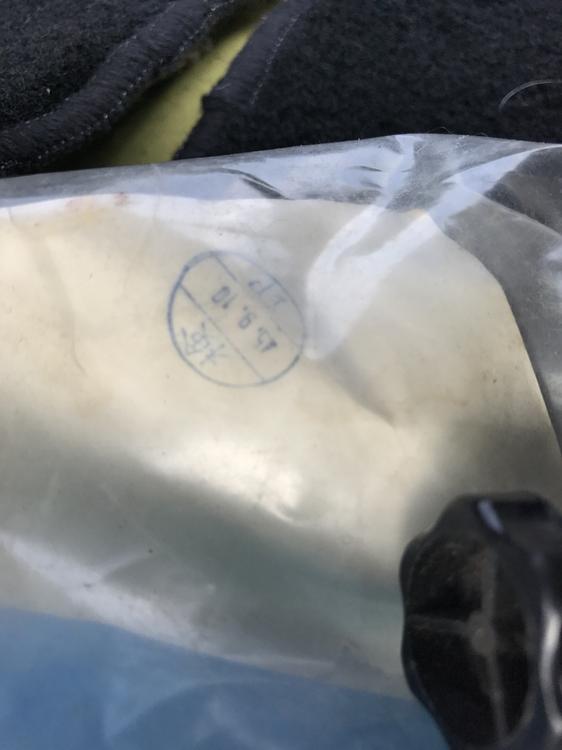
Hi, have we discussed about this before? I want to know the answer of these coding. Each jack has alphabetical code, I have a jack , ’ P. C. E ‘ Could it be made 1970 March 5th ? This jack is in my 03/1970 240Z. And olso the car has ‘ 0. C ‘ stamp on a tire stoppers , I guess it could be 1970. March. I saw a 09/1970 car has ‘ P H Y’ , this means 1970 August 25th ? This car still has a paper list in a tool bag, with a stamp ‘ 45 9 10’ ( 1970 September 10th) And I found some 1969 cars have ‘ O ‘ for their jack, O I A , 1969 September 1st ? O G S , 1969 June 19th ? These cars have these on their tire stopper s. ‘ 9. I ‘ 1969 September? ’ 9 K ‘ 1969 November? Kats


 2 points
 -
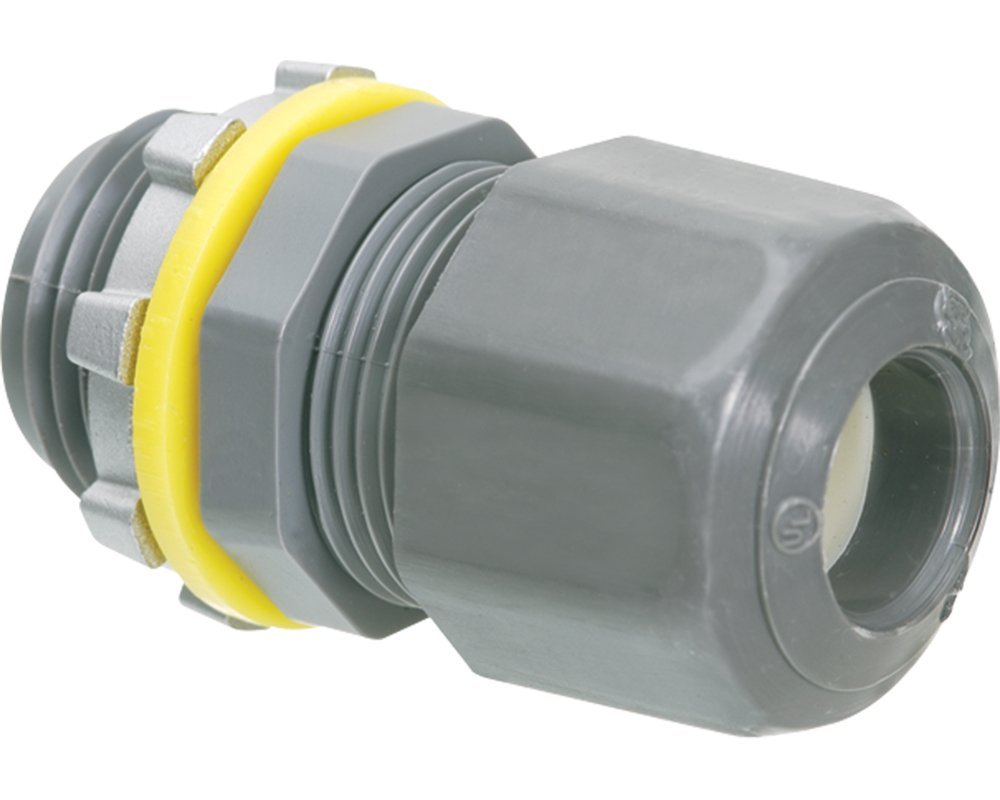
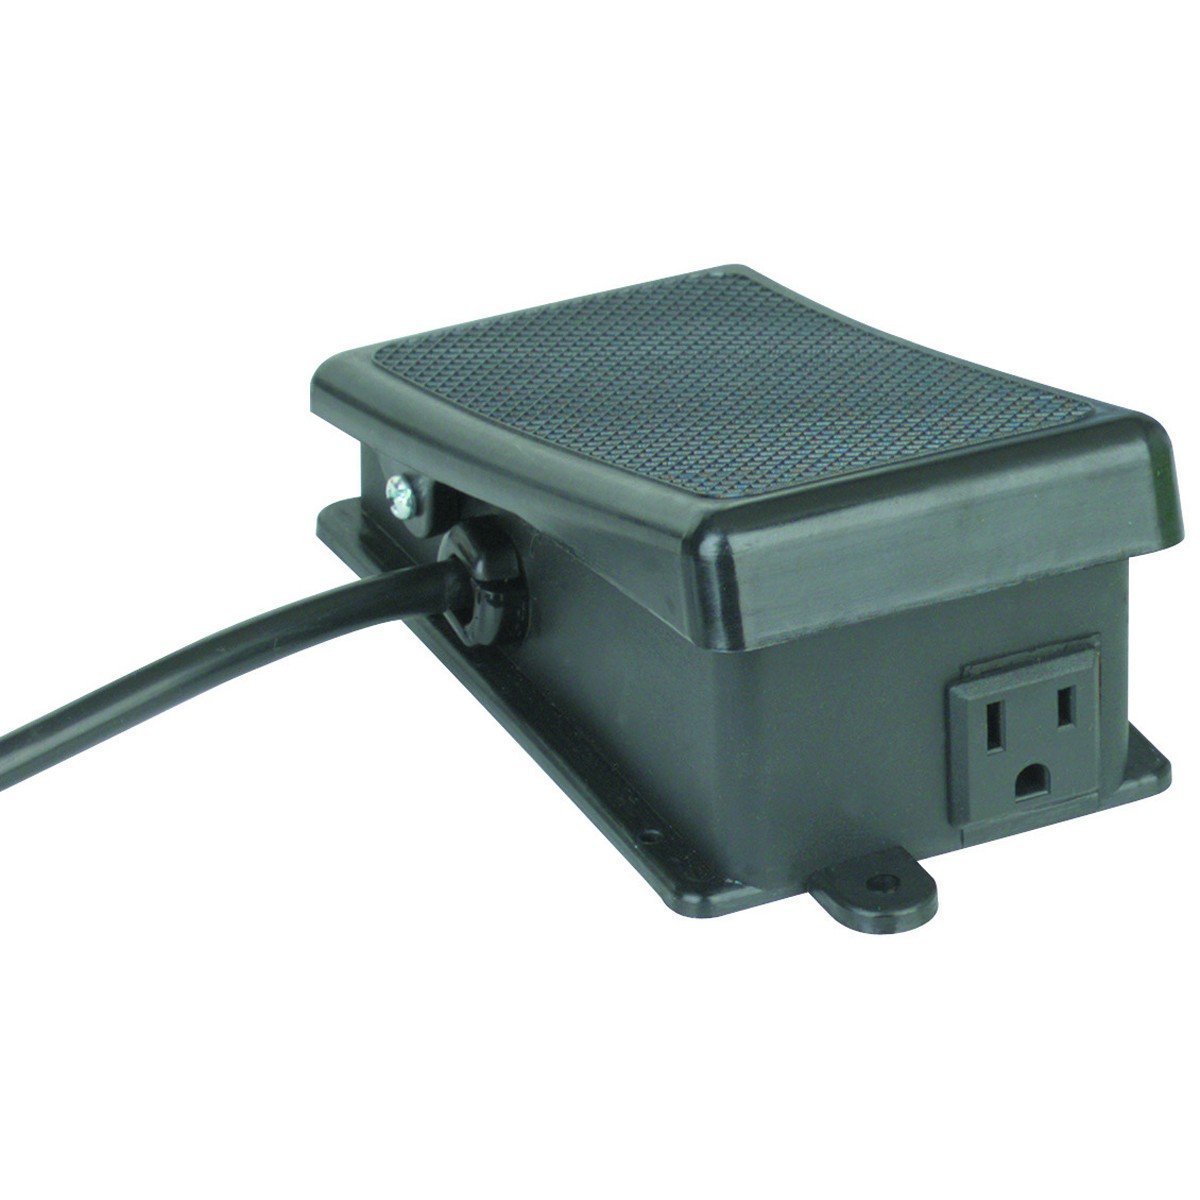
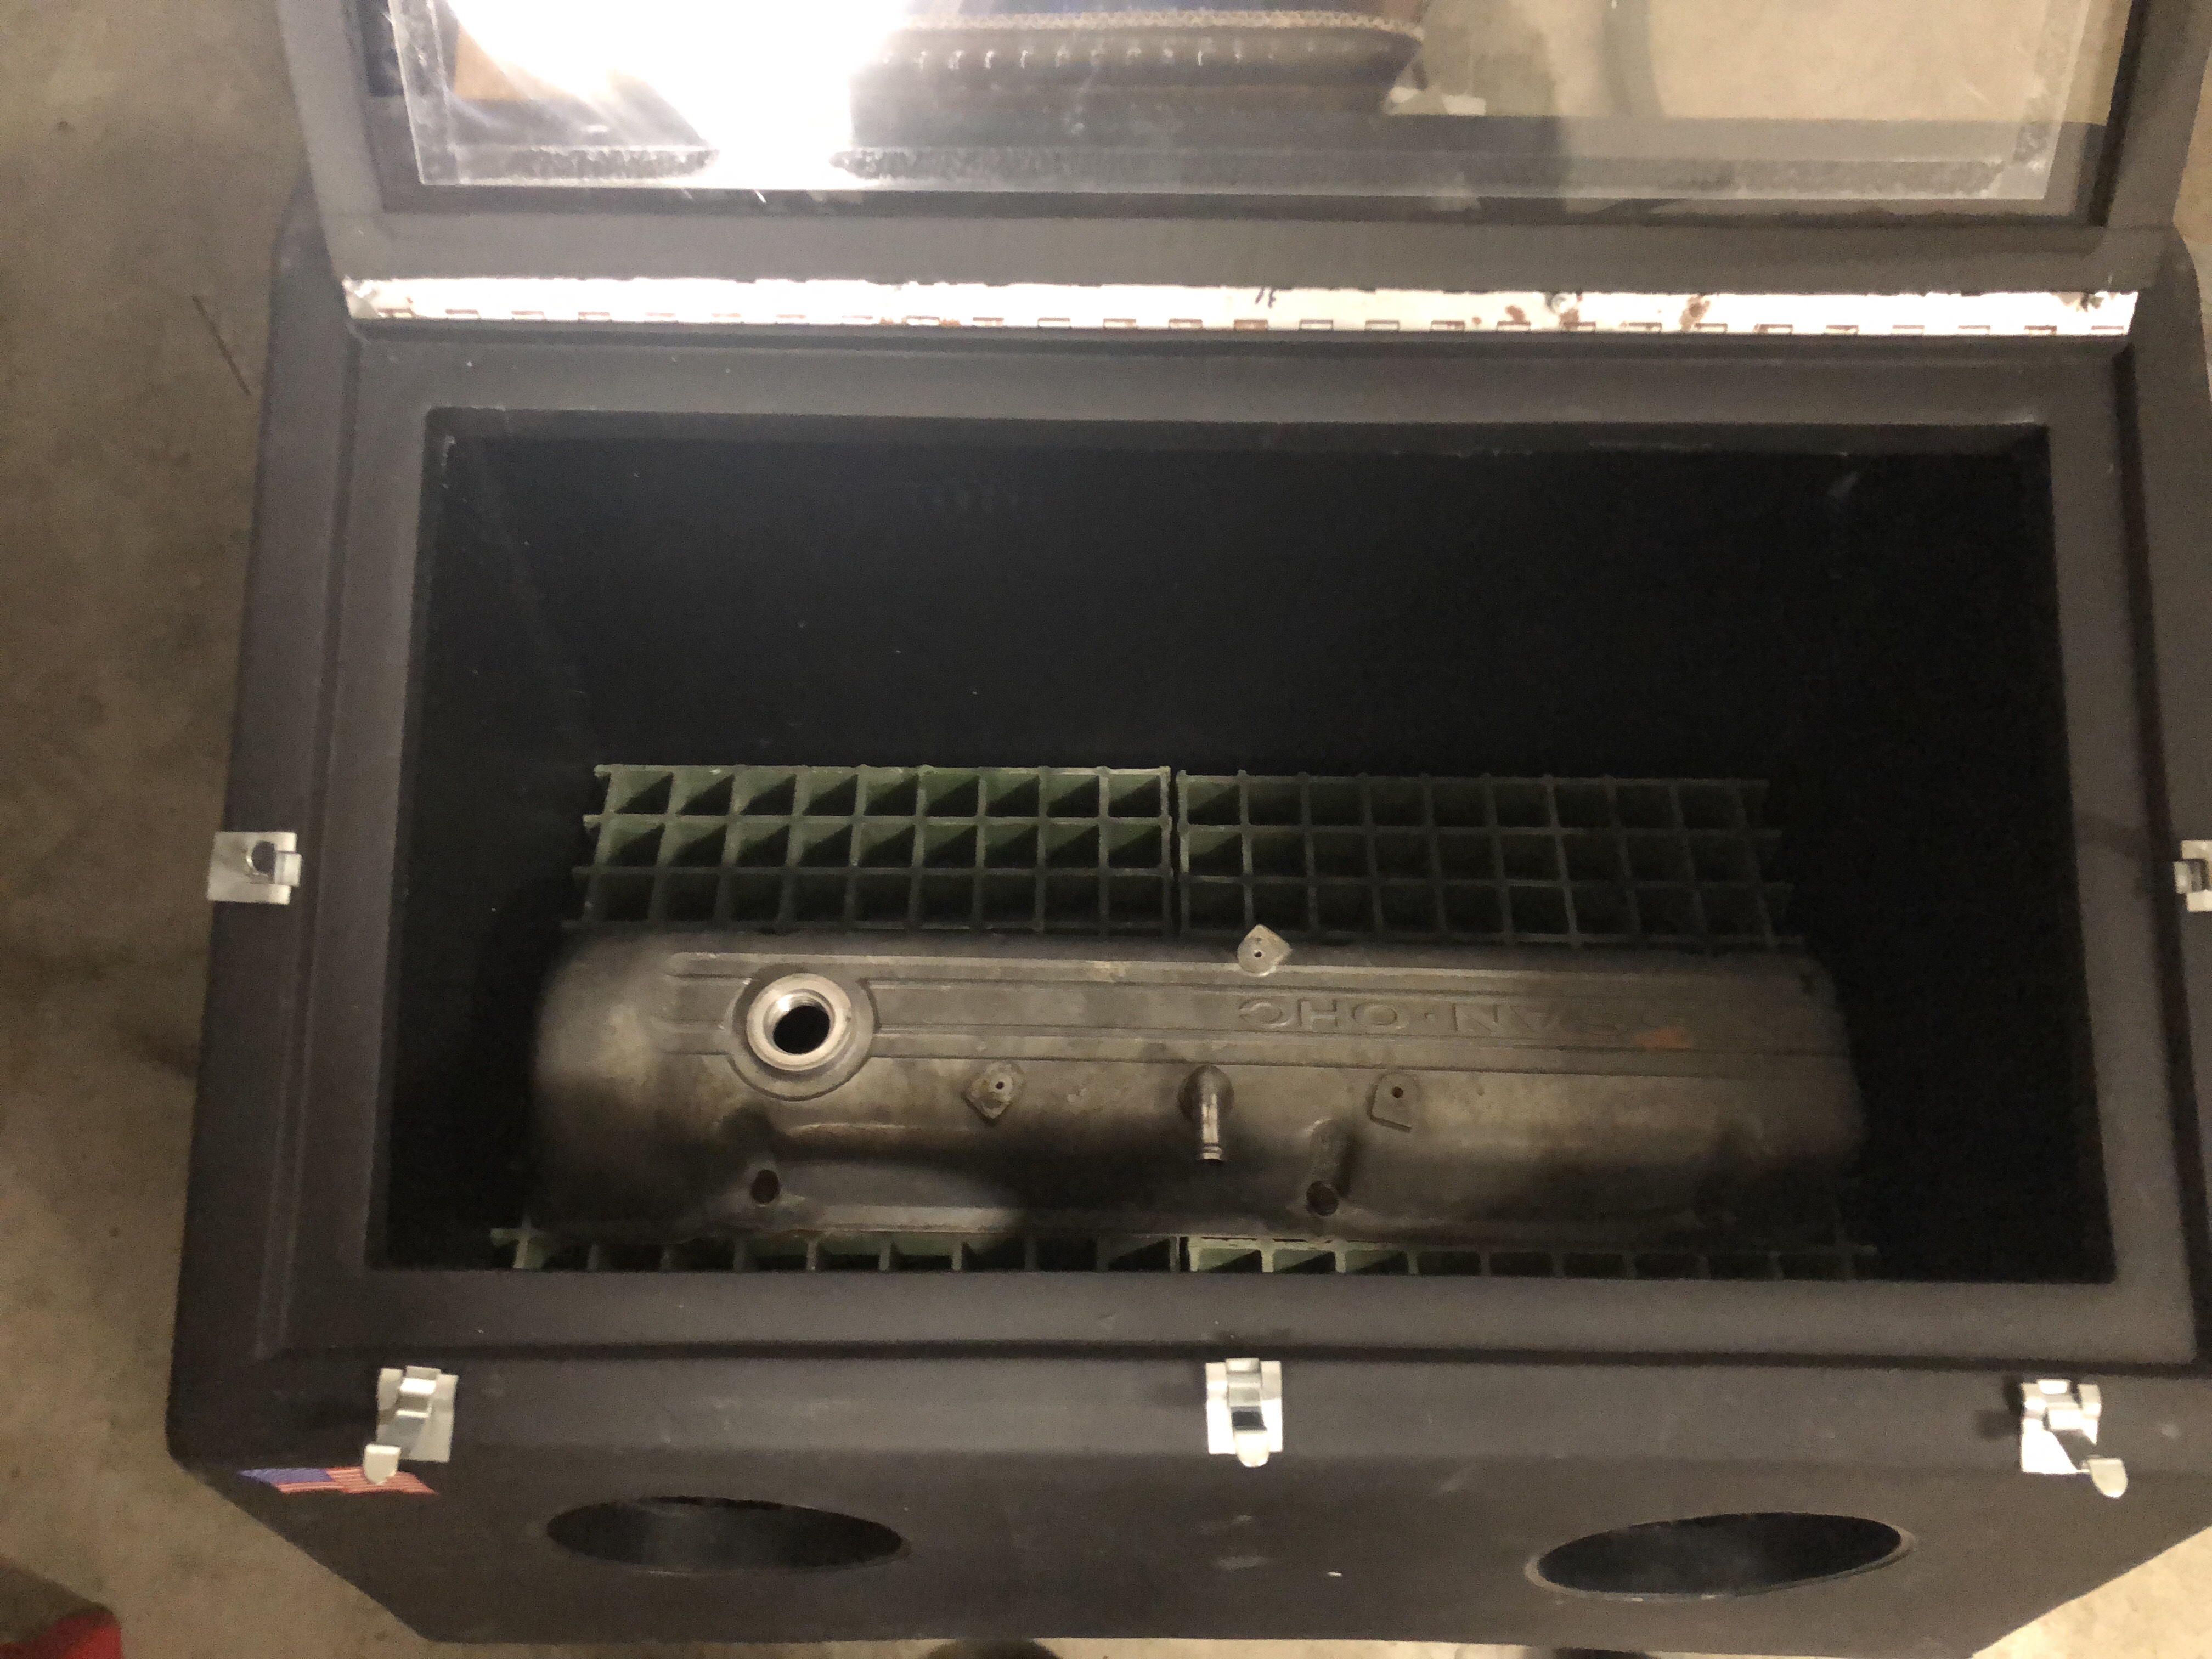
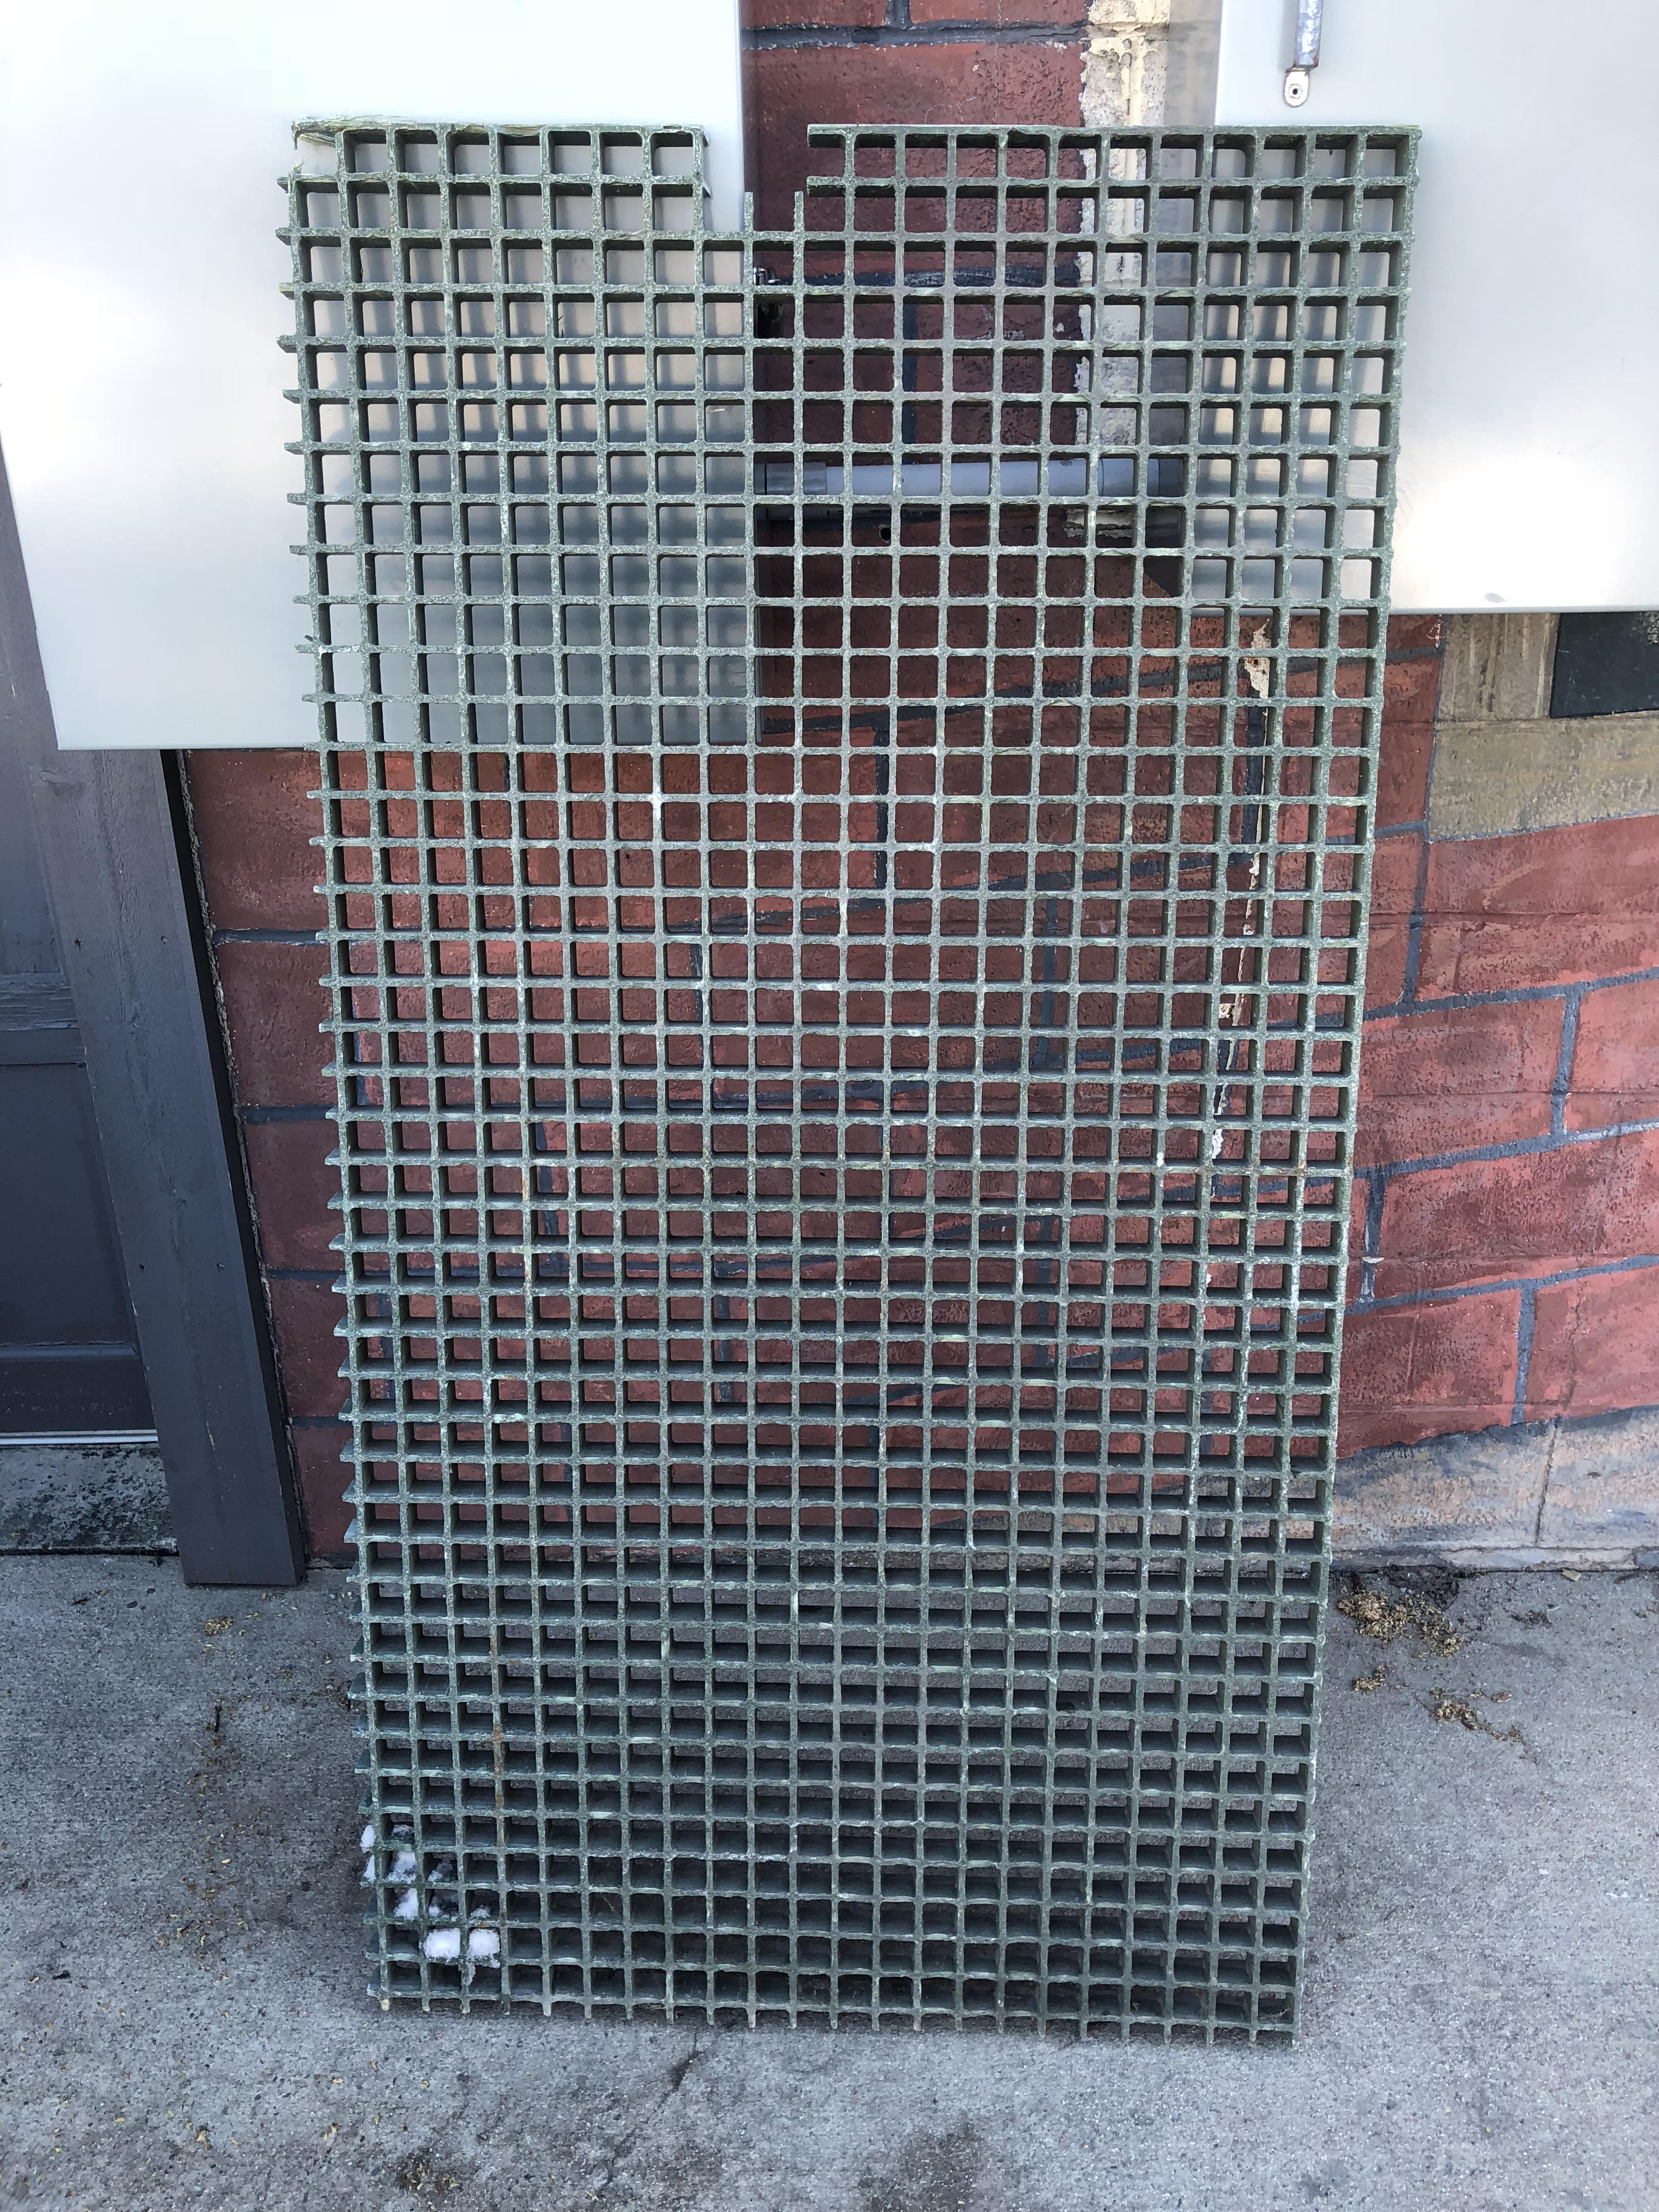
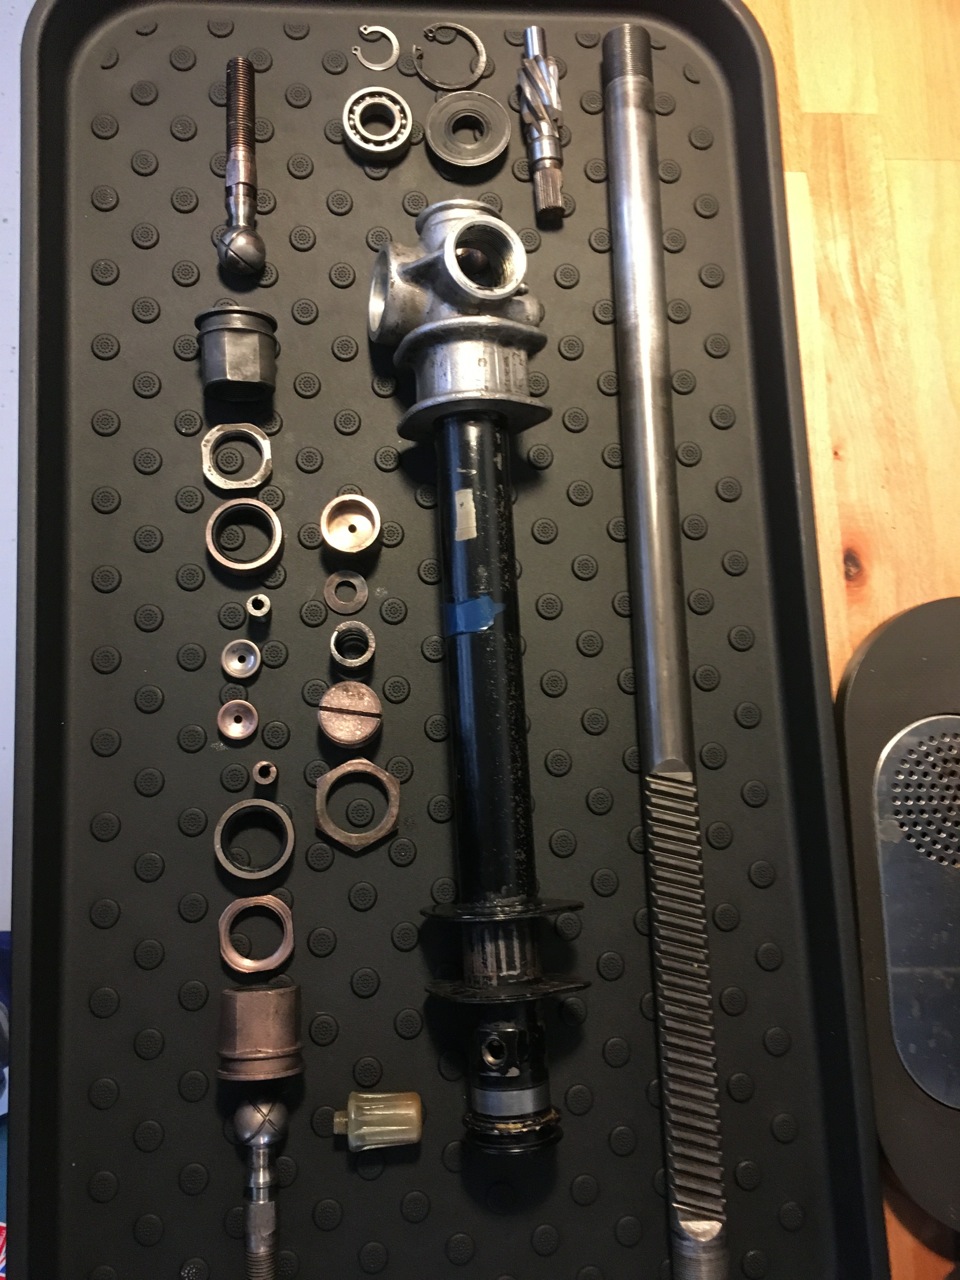
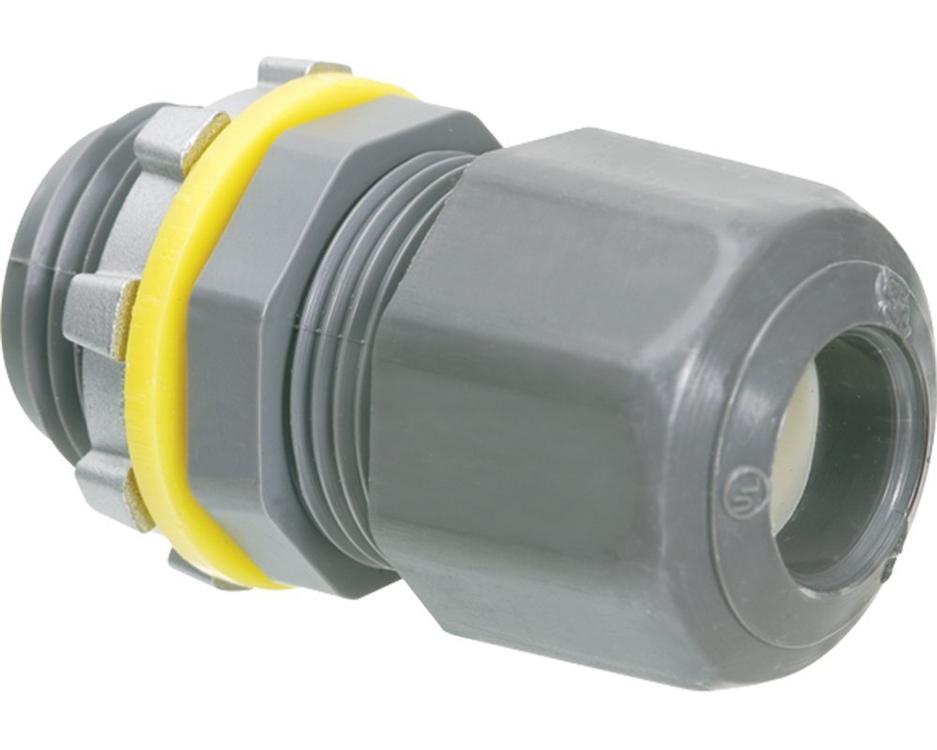
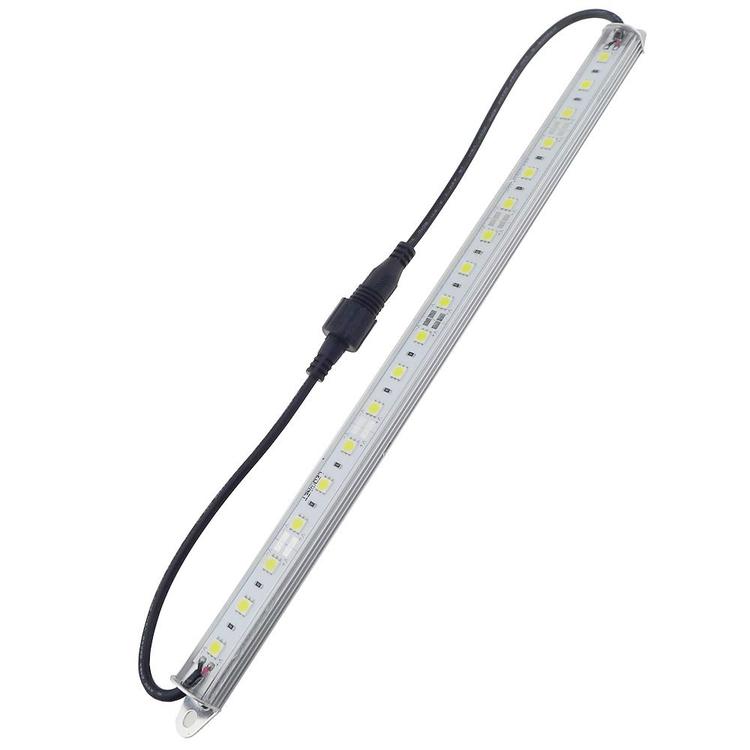
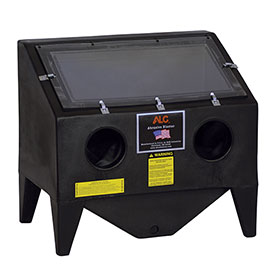
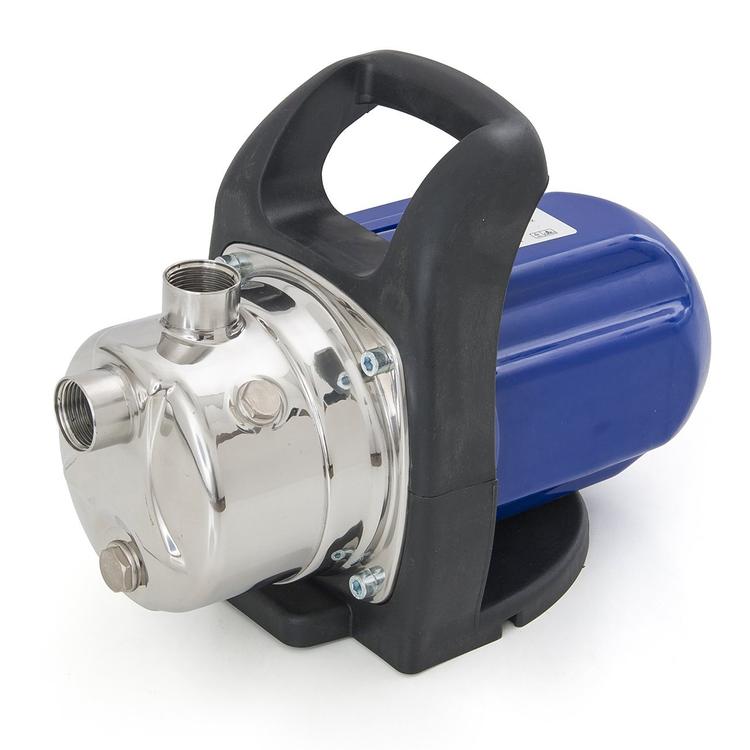
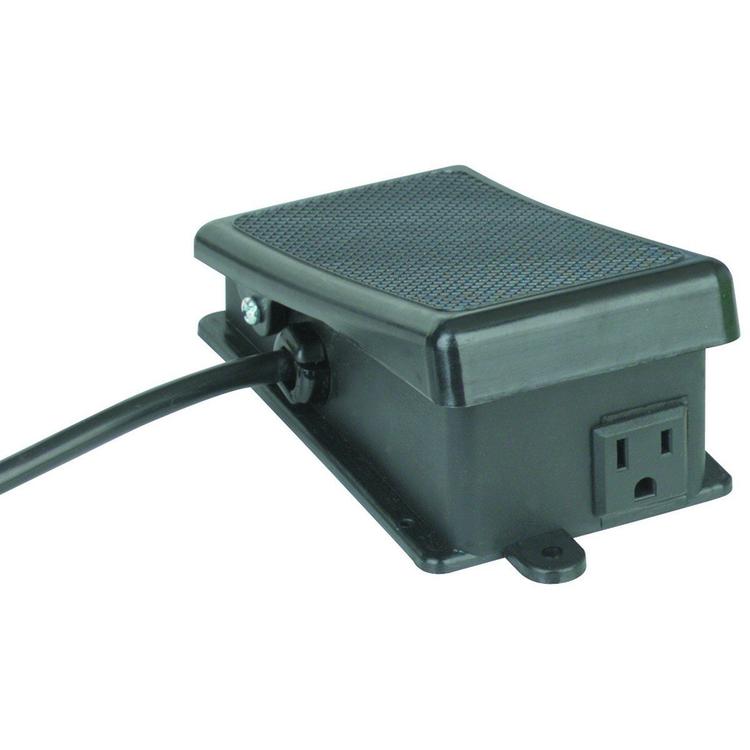
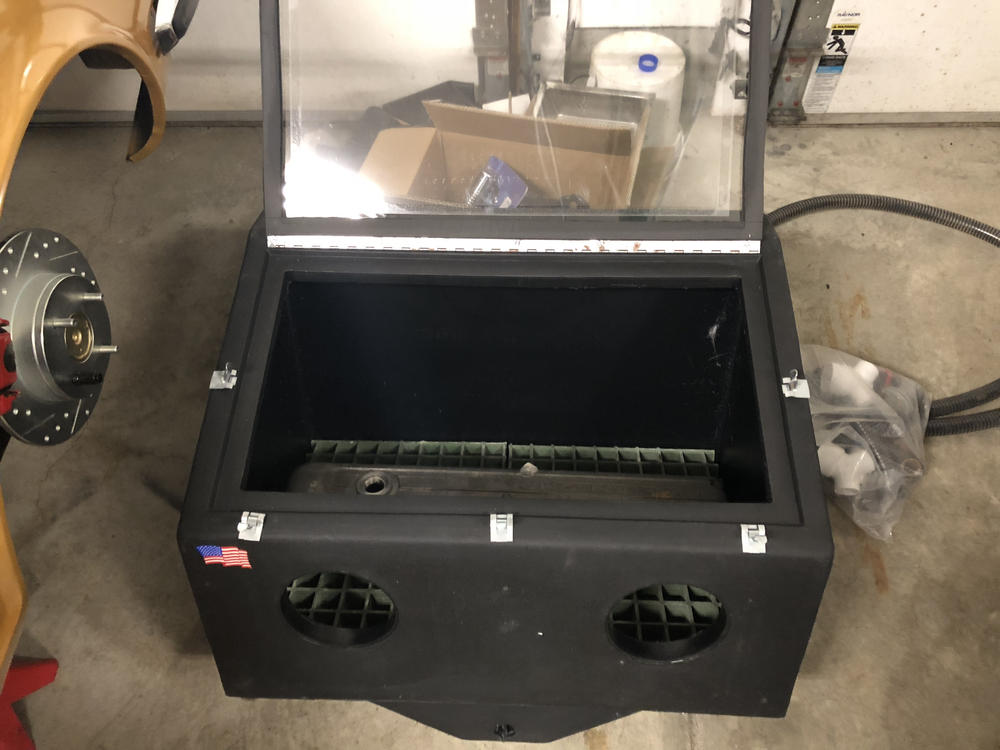
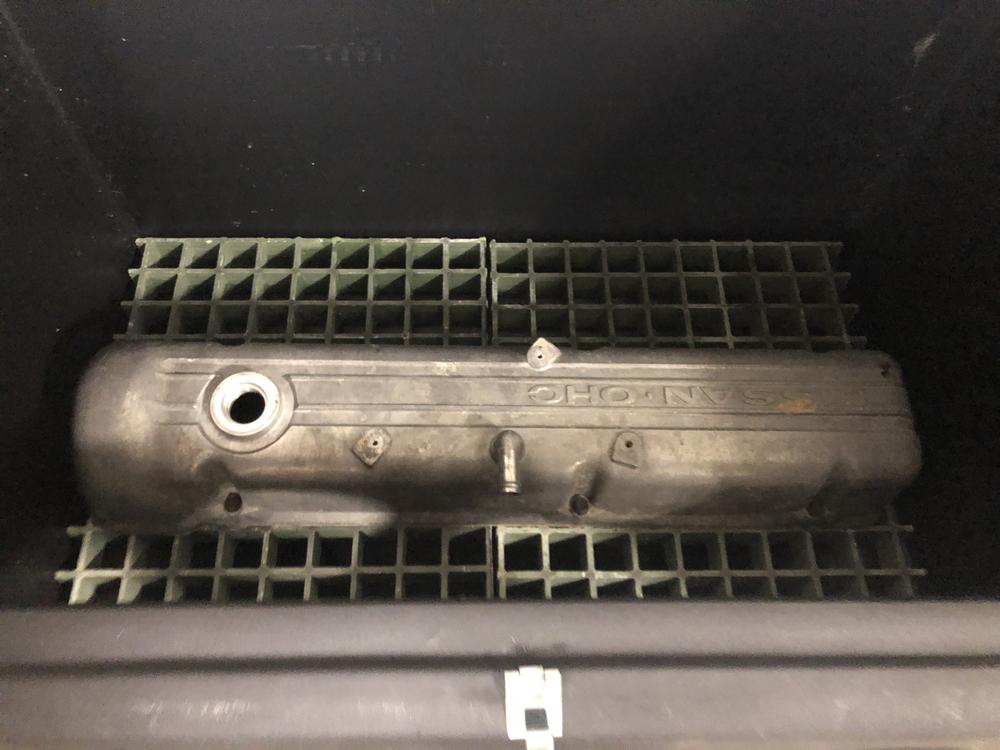
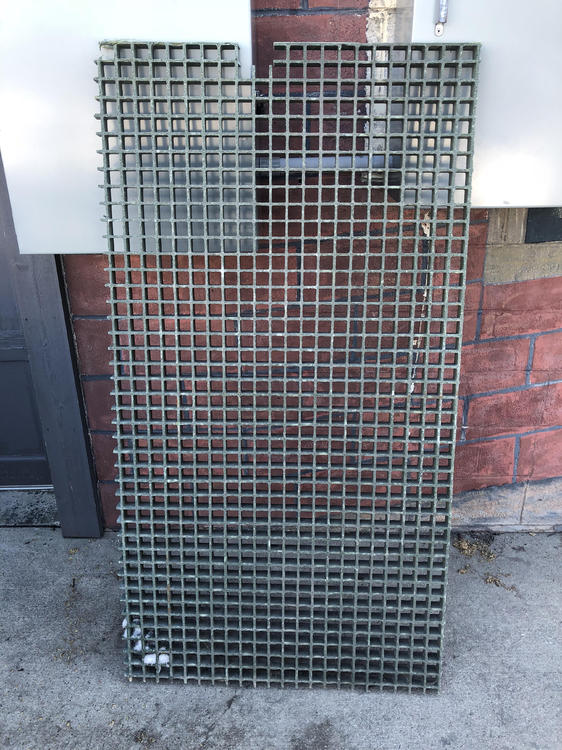
I have decided to make my own vapor/ hydro blasting cabinet. I have a bunch of Datsun parts (mikuni carbs, intakes, ac, head etc..) that I want cleaned up and shiny. I really really like the look of hydro blasted or vapor blasted aluminum parts. So I live in a tiny town, that's about 1.5-2 hours from a major city, but even that city doesn't have anyone that hydro/ vapor blasts so I am either shipping parts (expensive, and chances for damage) so it's time to make one. The basics of vapor blasting is a glass slurry mix (ratio unknown as of yet) of water and 170-325 Glass Bead (tiny beads) pumped in circulation through a gun that has compressed air attached to push the slurry at high speeds. Which doesn't damage or pit the aluminum, basically from what I read, it almost picks out the dirt out of the surface. It doesn't even affect zinc, rubber etc... I was just going to get a harbor freight cabinet and ruin it, but decided to look around the web first. I figured someone makes a plastic blasting cabinet. Which turns out they do! Simple, light and pretty cheap. I will probably end up using it not very often, so I would rather it not rust out. I ended up getting one off ebay for 175$ shipped! Retail on it is like $350. So I was pretty stoked. I wanted this size to fit a datsun L6 head. The one I bought: 31" version https://www.summitracing.com/parts/sni-40390 Smaller: 22" version https://www.northerntool.com/shop/tools/product_200136624_200136624 Pump: Next was a slurry pump, I wanted centrifugal so that the slurry wouldn't ruin it. I decided on this one. According to vapor honing videos you want good psi from the slurry pump, this one is 63 psi. I will be going from 1" down to 1/2 or so for the gun, so that psi will be lower. https://www.amazon.com/gp/product/B00TQCSUZK/ref=oh_aui_detailpage_o04_s00?ie=UTF8&psc=1 Lightening: I wanted to be able to see inside and I would rather not get electrocuted. I found some neat LED's on amazon that are meant for fish tanks. They are 12v that use a small ac adapter and are fully waterproof. I got 2 warm white 12" long ones. https://www.amazon.com/gp/product/B00OP3P1AM/ref=oh_aui_detailpage_o01_s01?ie=UTF8&psc=1 False Bottom: The blasting cabinet came with super super shitty screen for the false floor. Which is mild steel, so I threw that in the trash. I have a bunch of stainless grating (I own a brewery and we have lots of scrap) that I was going to use. But I was worried about damaging the aluminum on sharp stainless. Then I had an idea! Plastic grating and I actually had some laying around! It's a fiberglass/ plastic grate meant for standing on. I cut it down into two pieces and she fits perfect and are easy to remove. I also have a small stainless basket for smaller parts. It has very small holes so it should keep anything small from going down to the pump. Through Hull: I needed some way to get the slurry out without leaking. I decided on a cheap through hull for a boat. Which fits perfect. The pump is 1" so I decided to run 1" hoses from the cabinet to the pump and back to the cabinet. I went stainless, which is a giant overkill. But whatever. I will also pump a wide screen on the through hull so it doesn't suck anything large into the pump https://www.amazon.com/gp/product/B001HC0R6W/ref=oh_aui_detailpage_o00_s00?ie=UTF8&psc=1 Water tight Pass through: I will use liquid tight cord Strain Relief Cord Connectors. You can buy them online or at any homedepot. They have a few sizes. I should be able to use them for the compressed air into the cab, slurry and 12v. So it will be water tight. 120v Foot Switch: Since your hands will be in the machine I decided to use a foot switch for the slurry pump. https://www.amazon.com/Power-Maintained-Latching-Foot-Switch/dp/B004LJ6MYE/ref=sr_1_1?ie=UTF8&qid=1520527436&sr=8-1&keywords=120v+pedal+switch I will hopefully finish it this weekend, I will use marine 5200 on all the through hulls. Should be a fun project! Videos of vapor blasting honing: https://www.youtube.com/channel/UC2DdHXu6oFqUWZ-rNNR7Bcg Some of the before and after are amazing.

 2 points
 -
2 points@jalexquijano A word of advise. You are down to just a few advisors here. One main one! If you fail to heed his advise in a timely manner, right away and all the way, he may quit trying too!!!!2 points
-
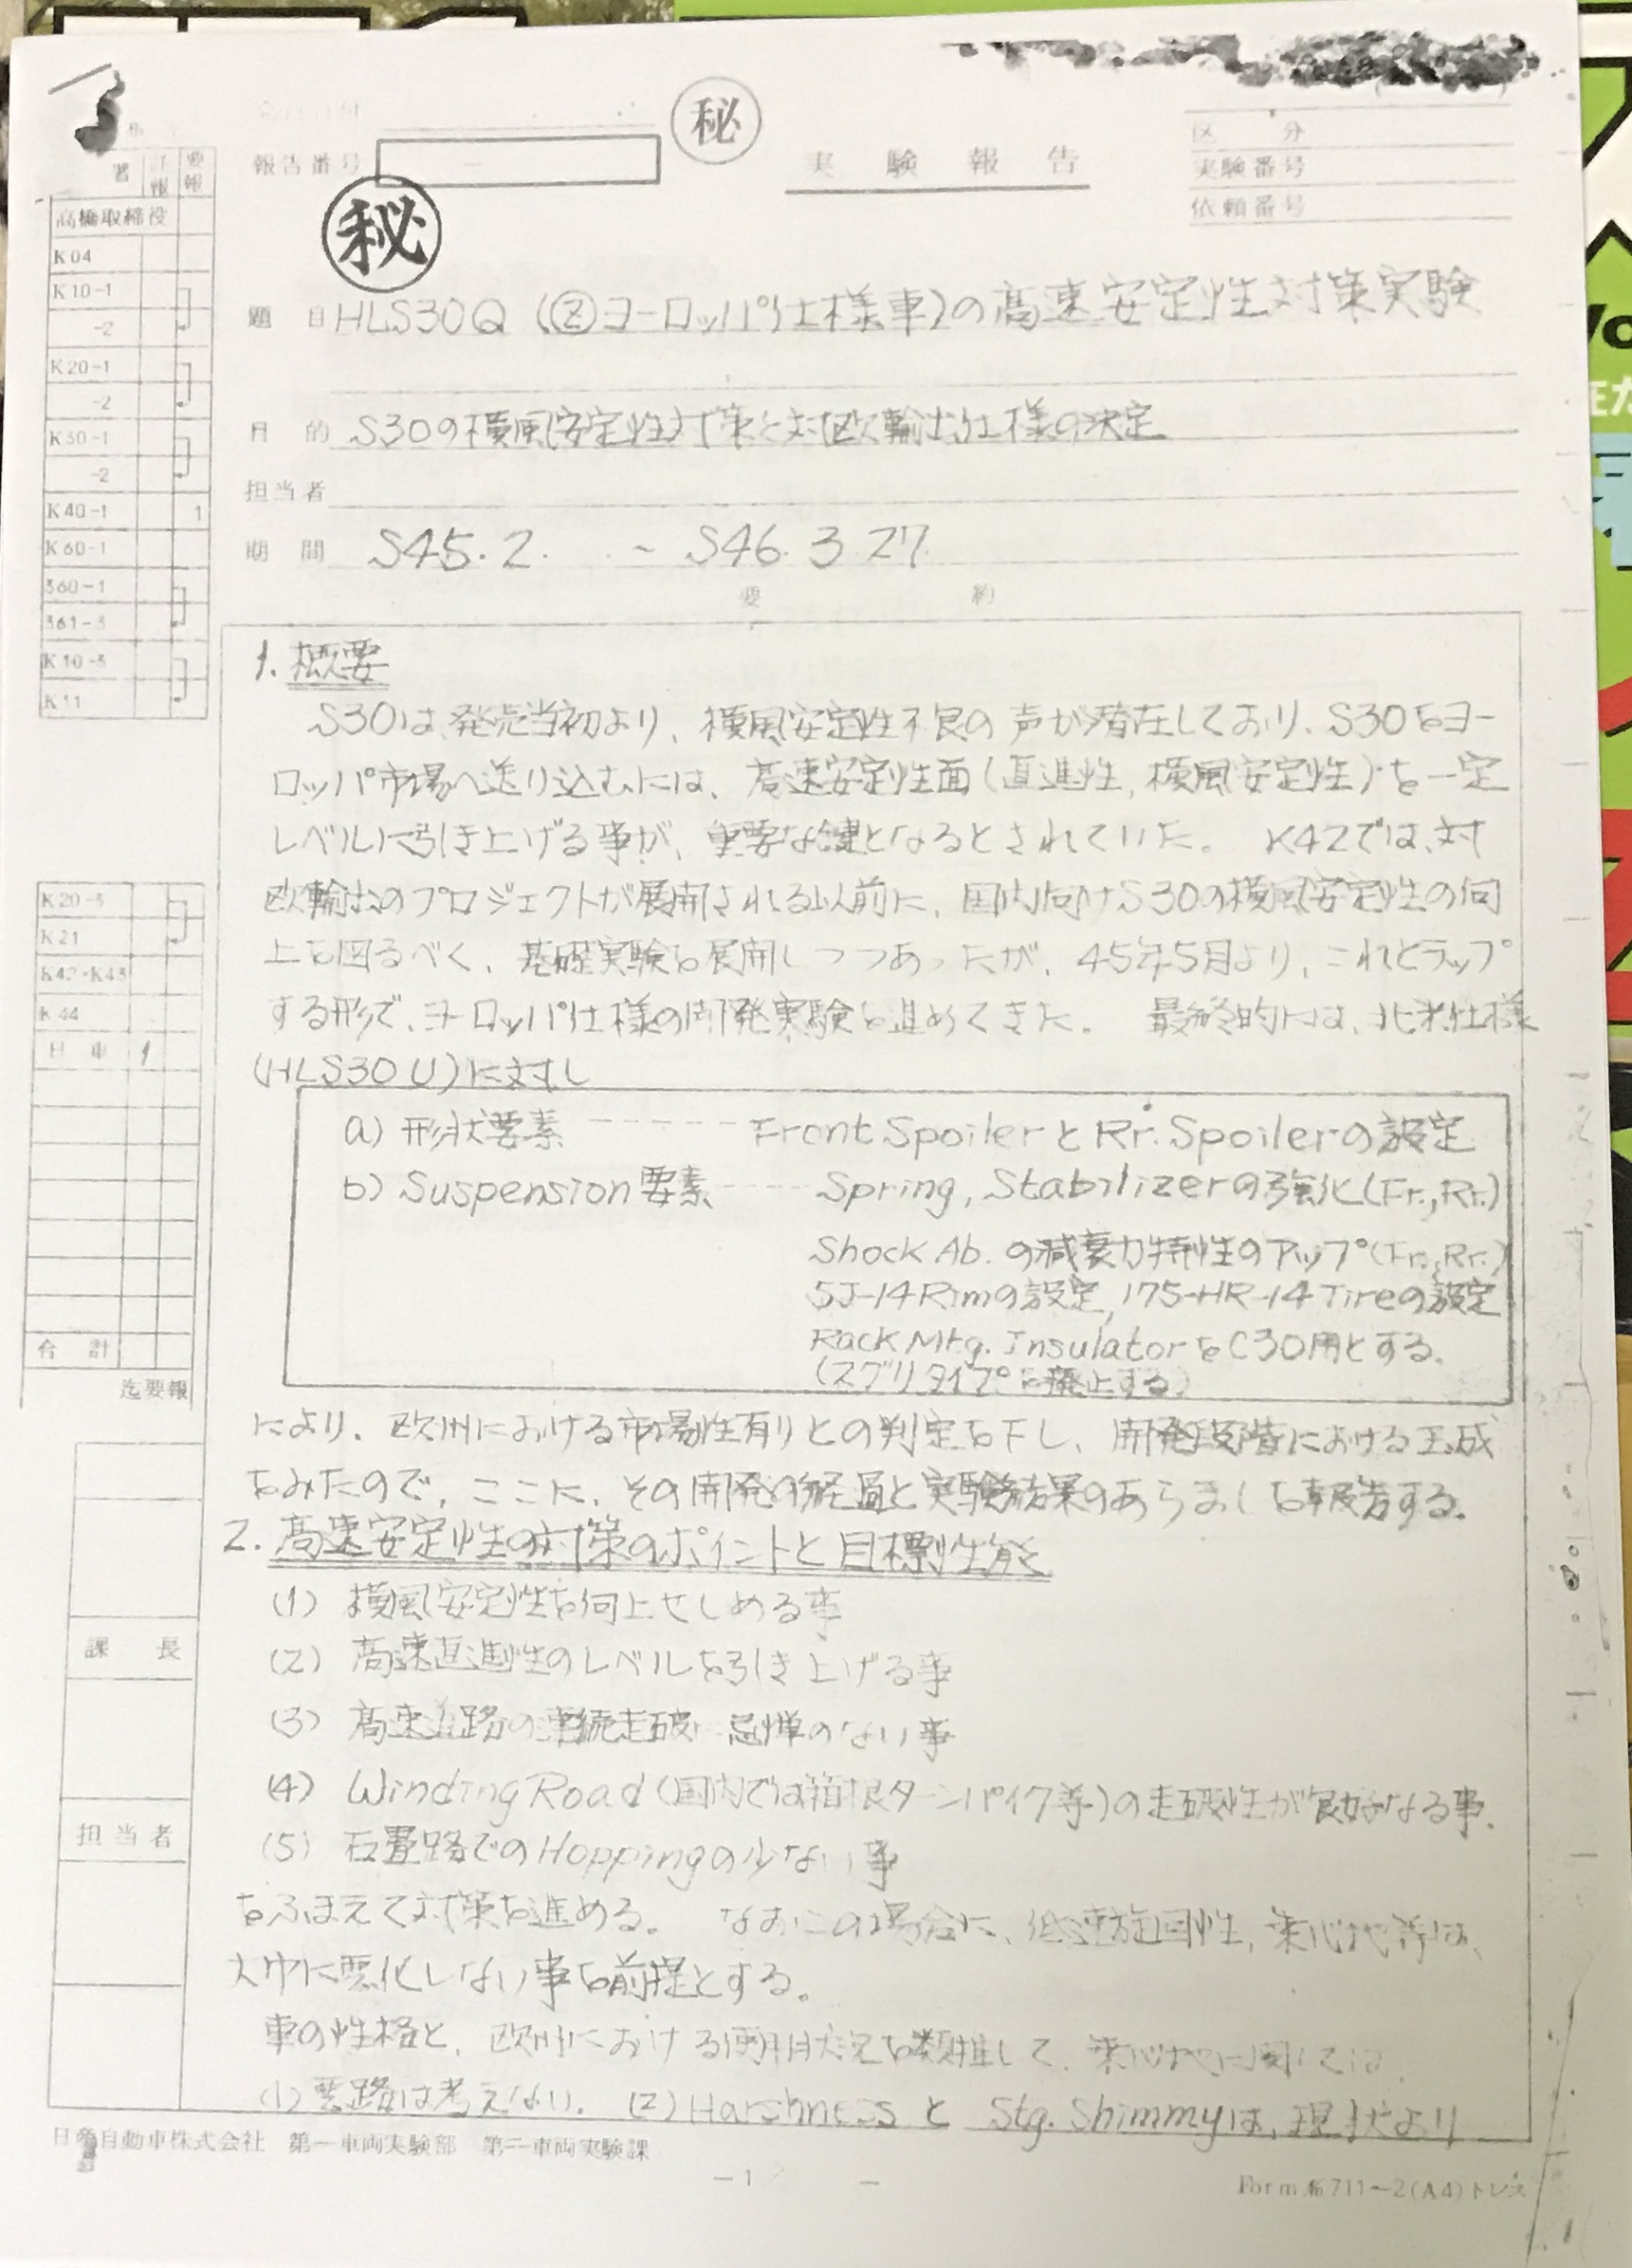
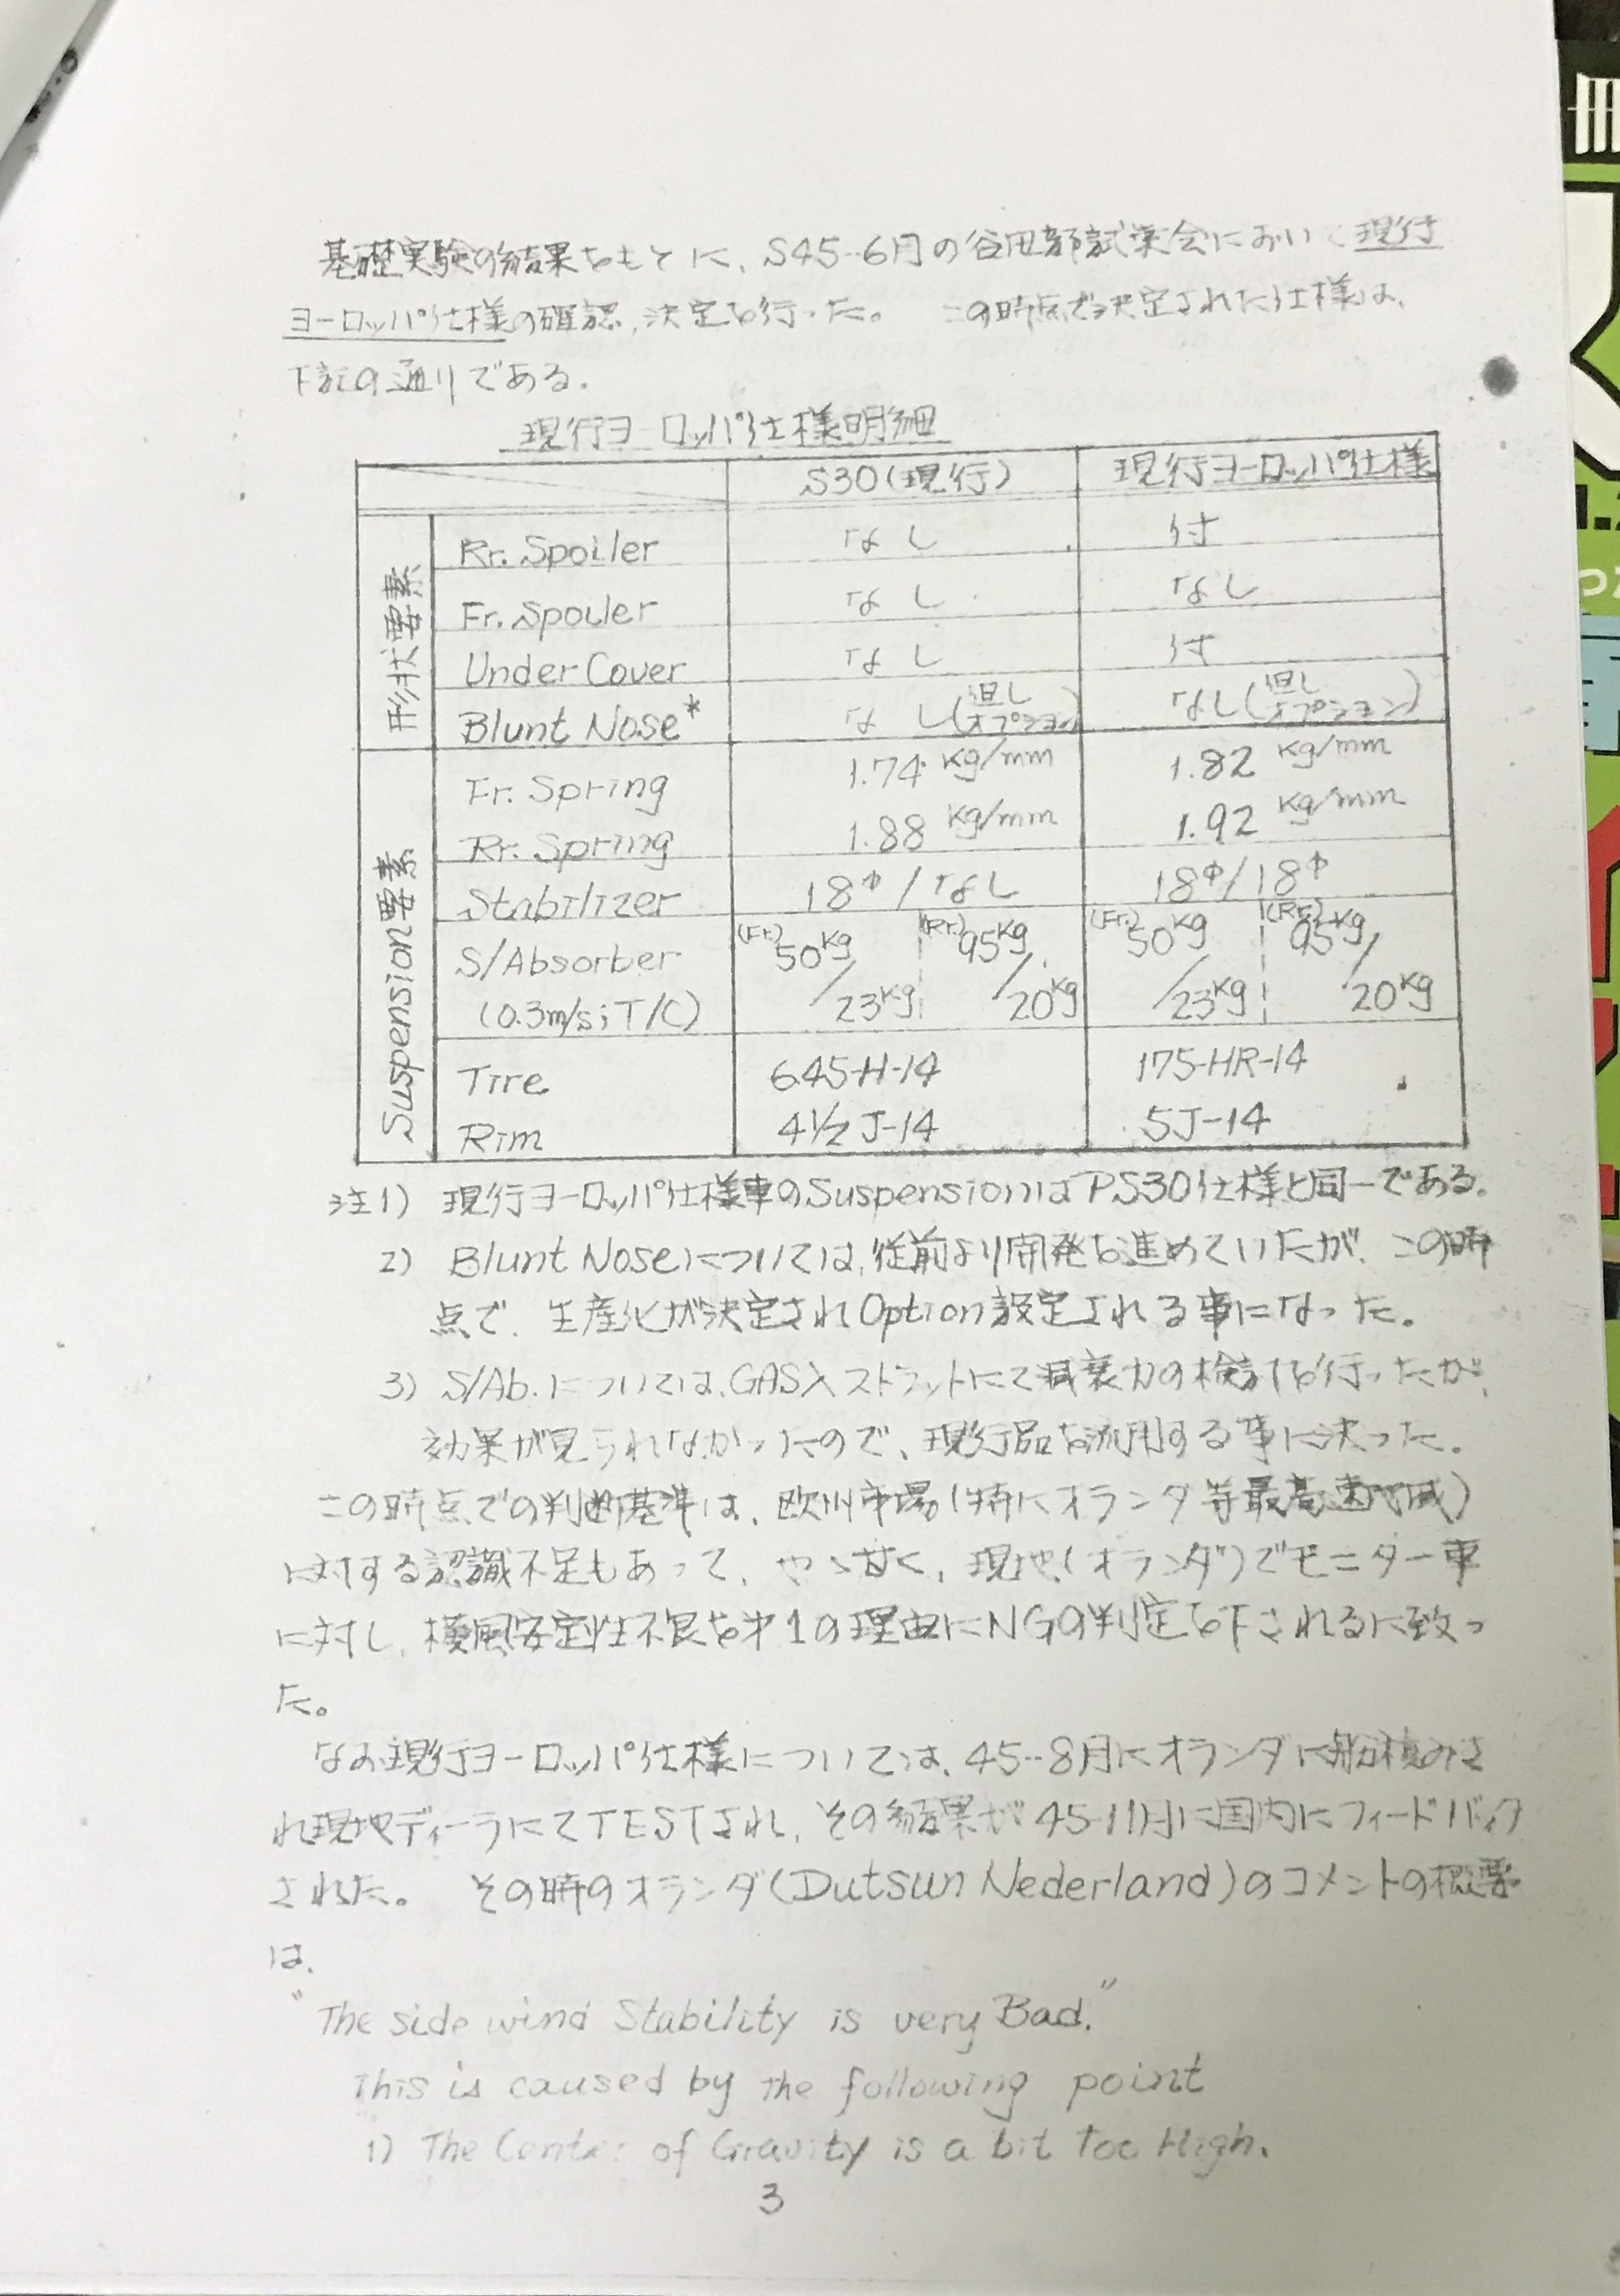
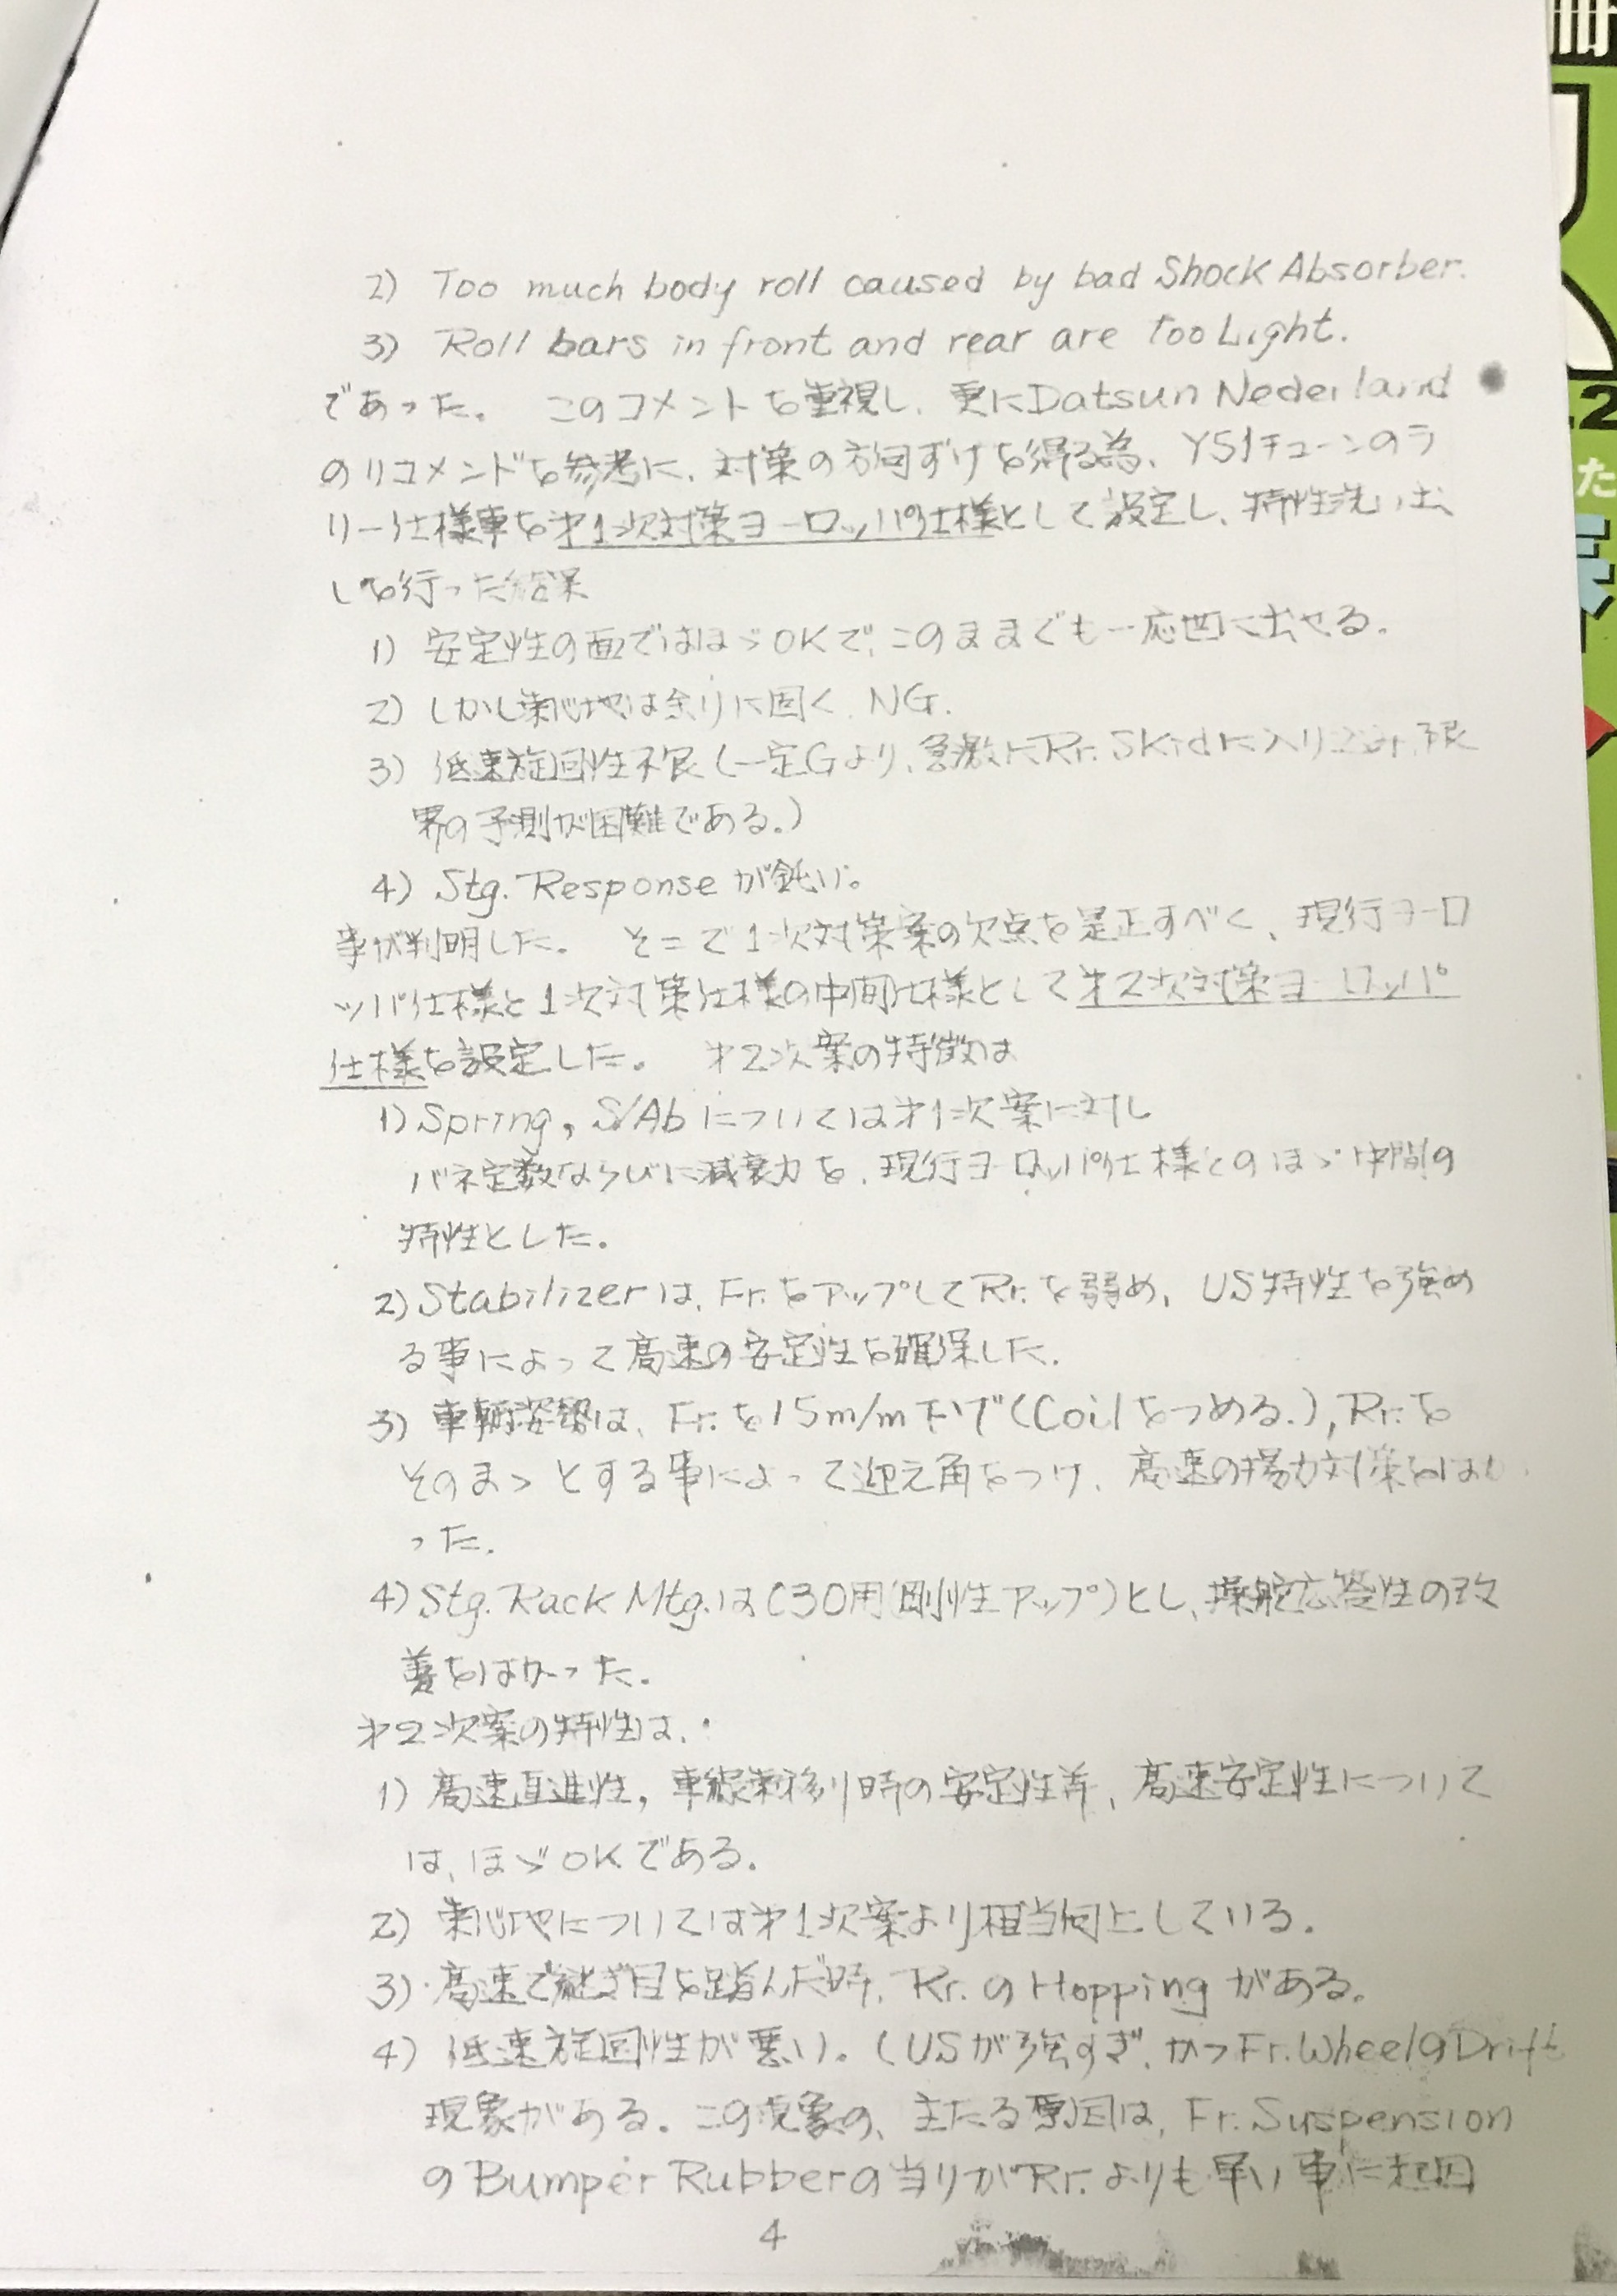
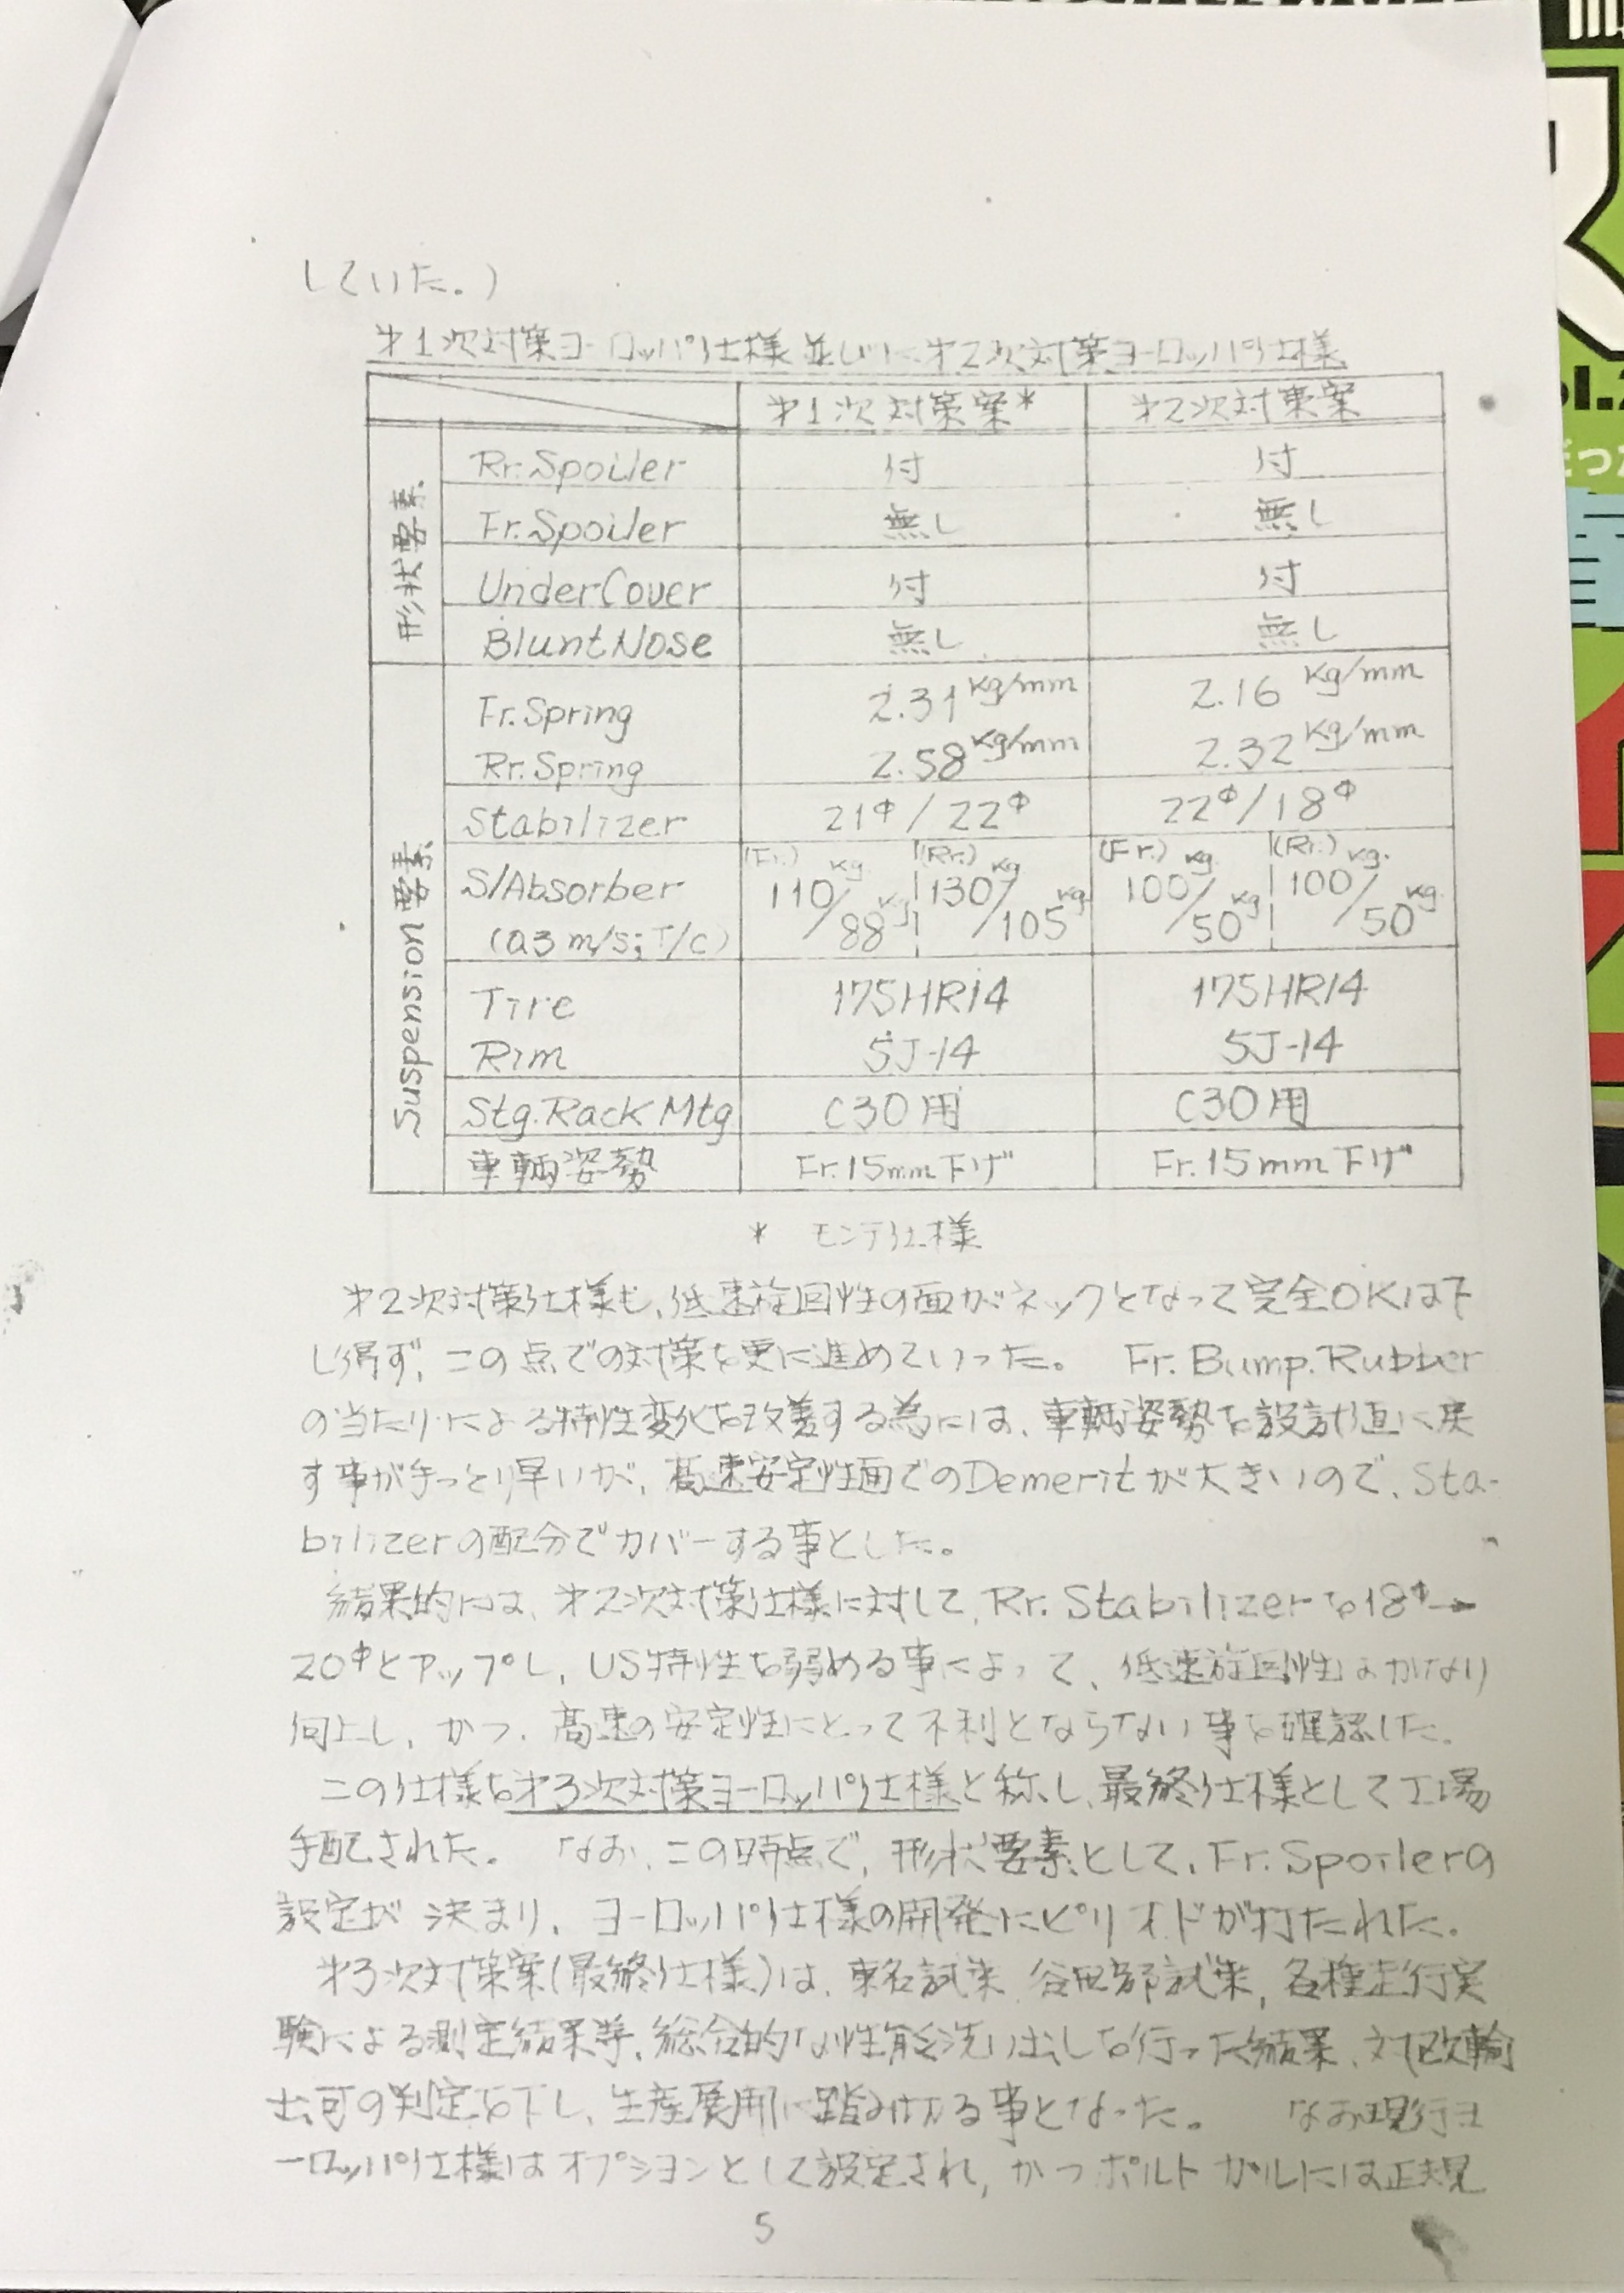
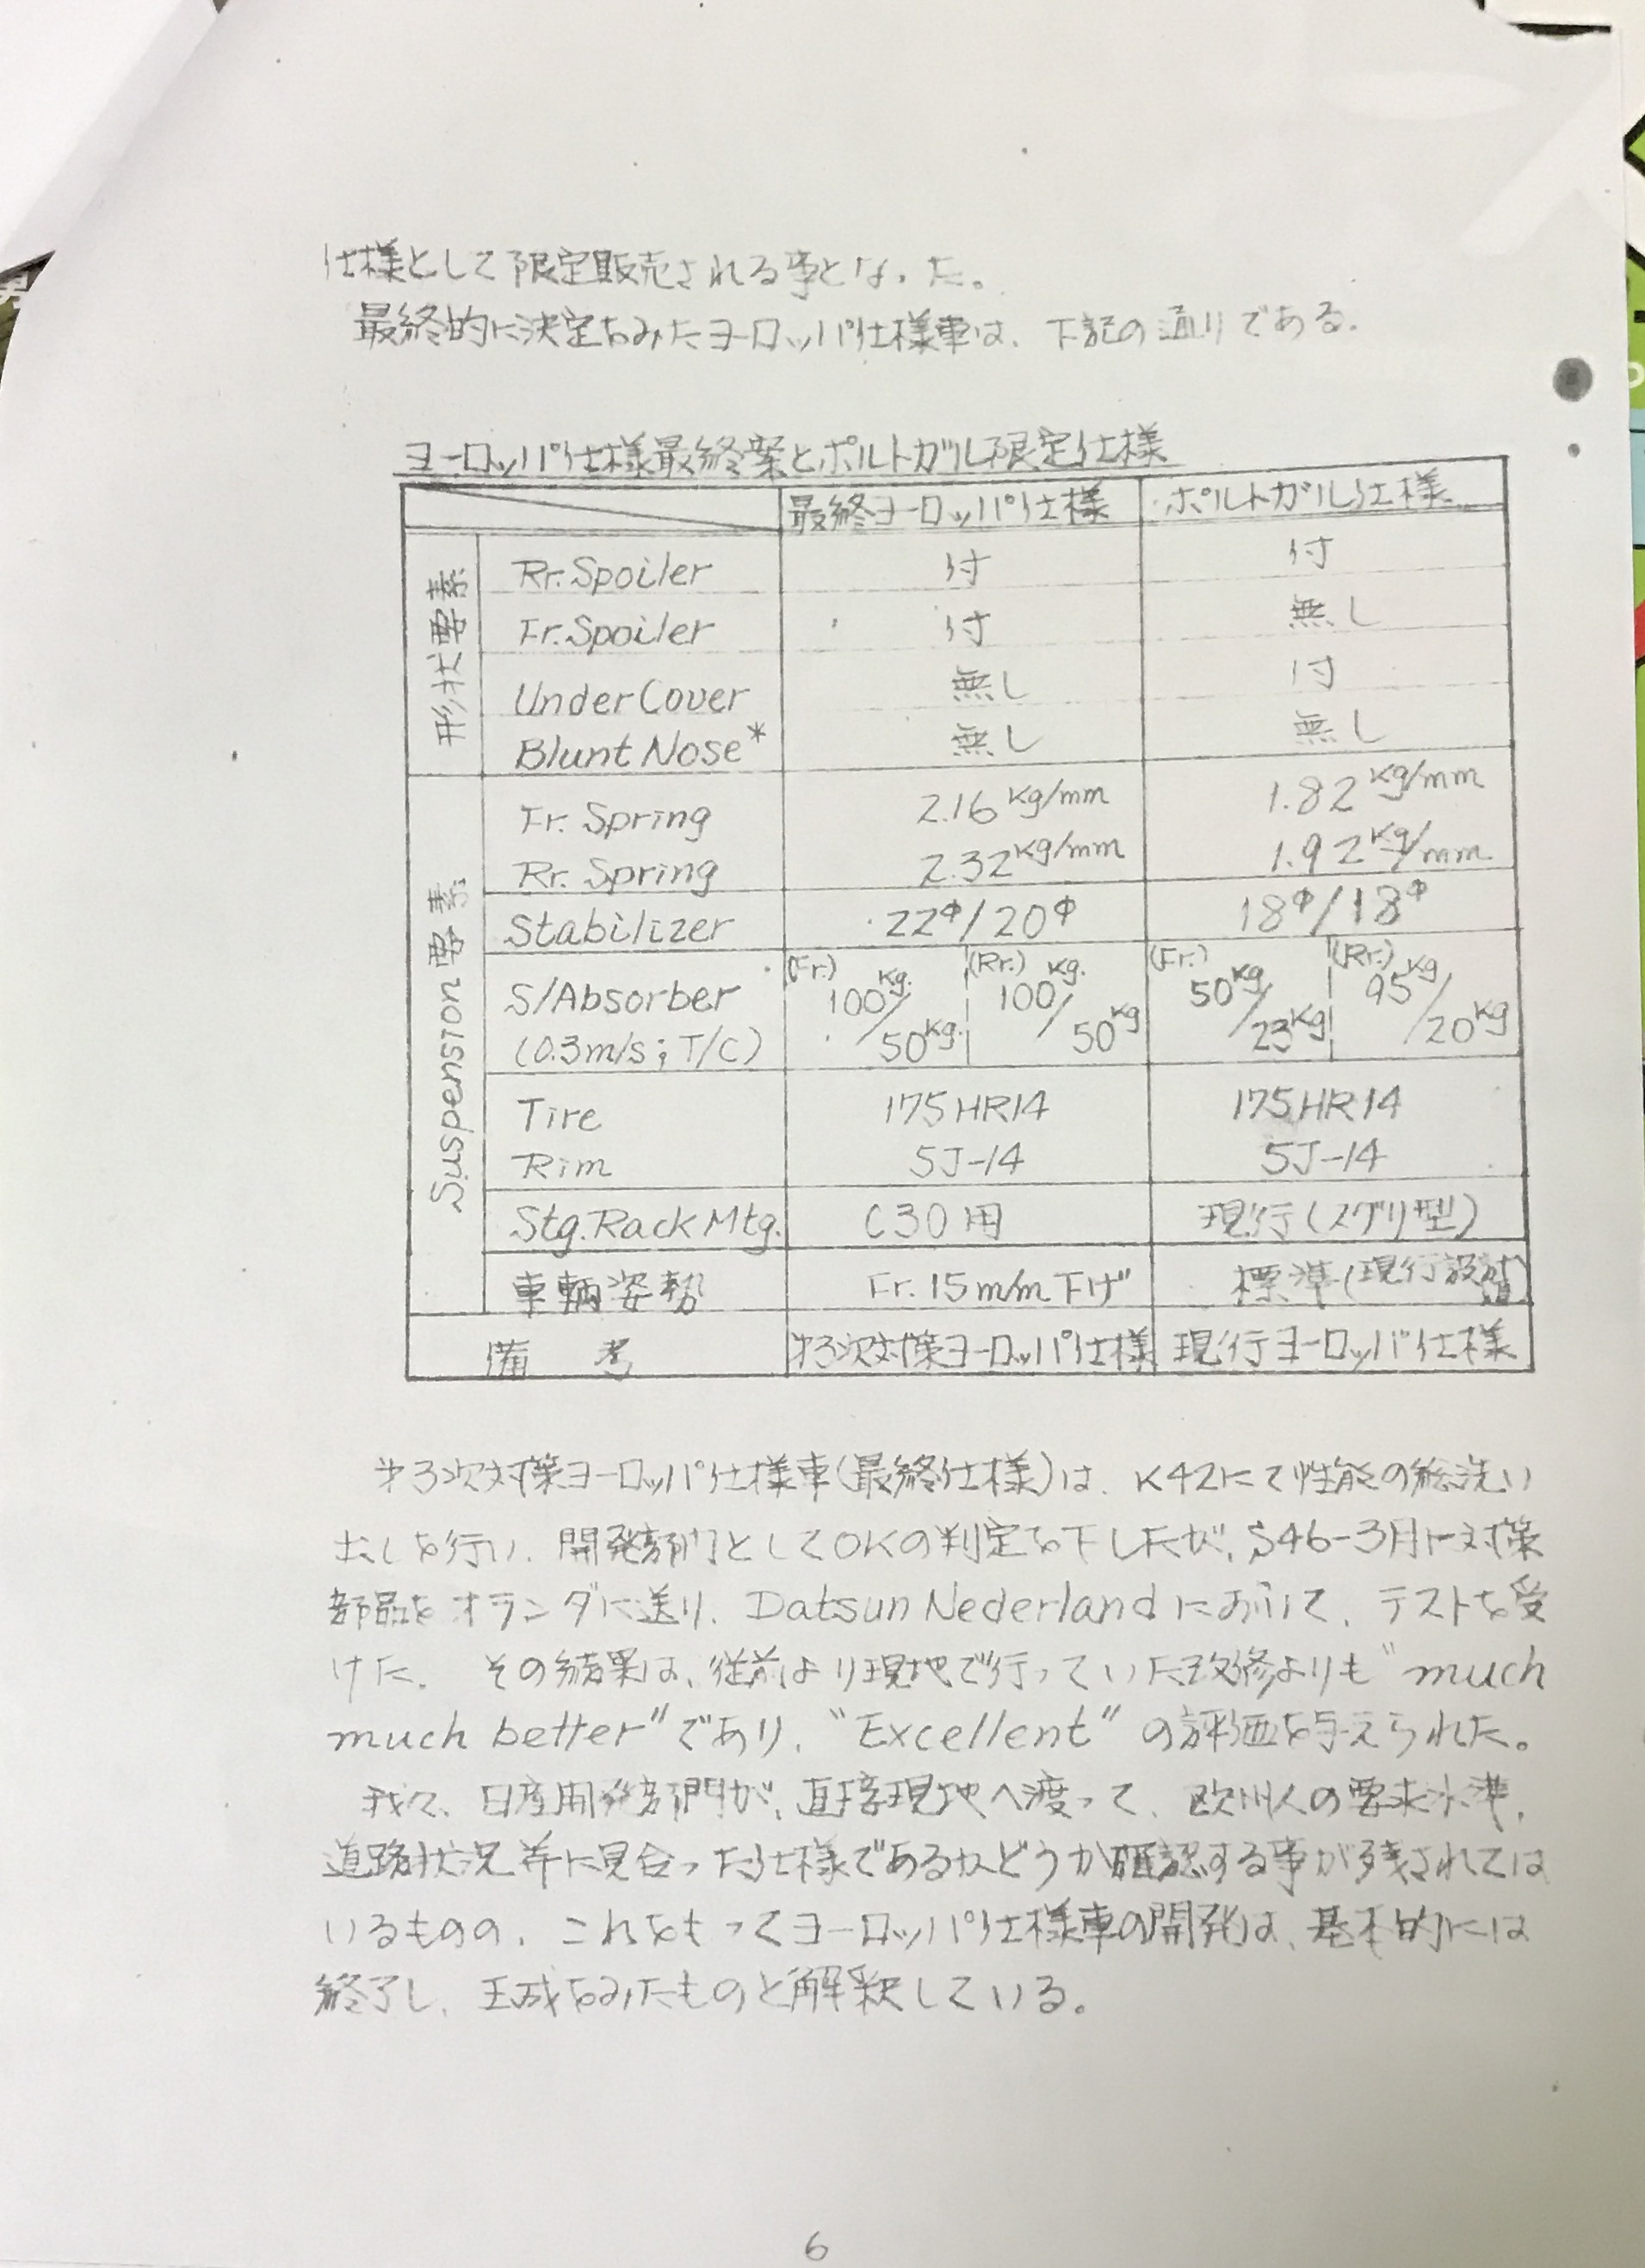
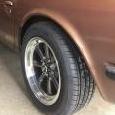
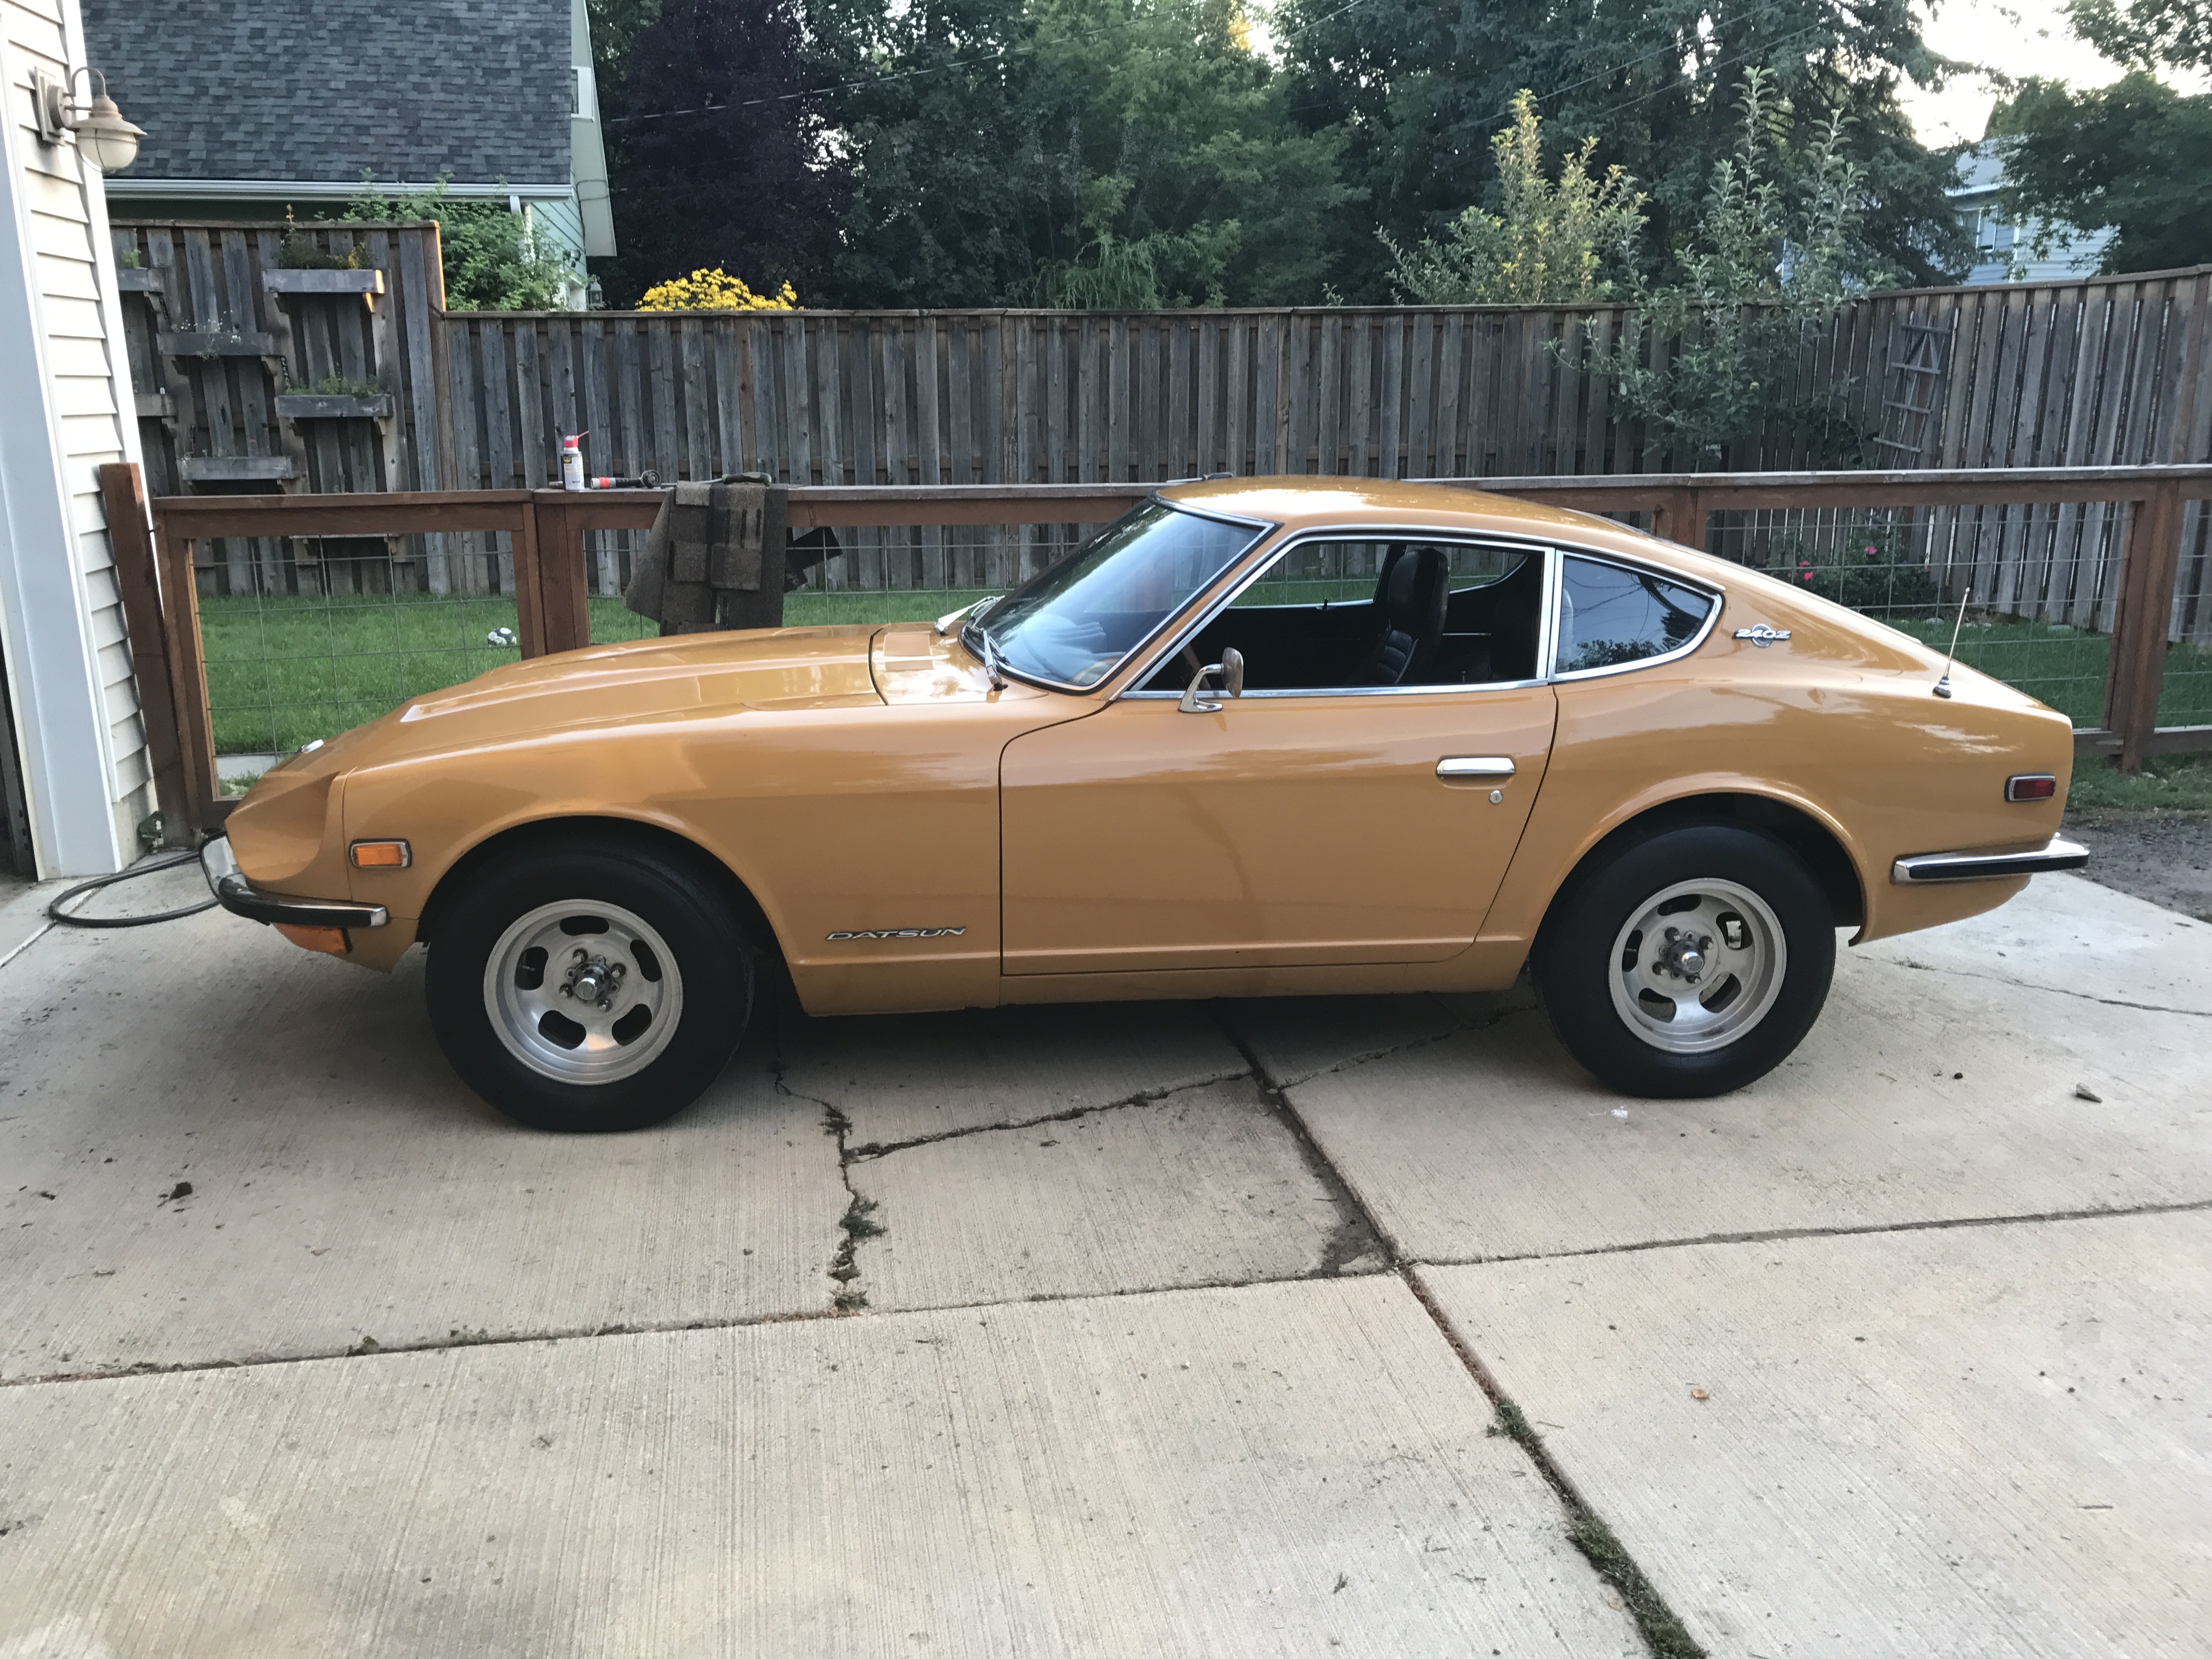
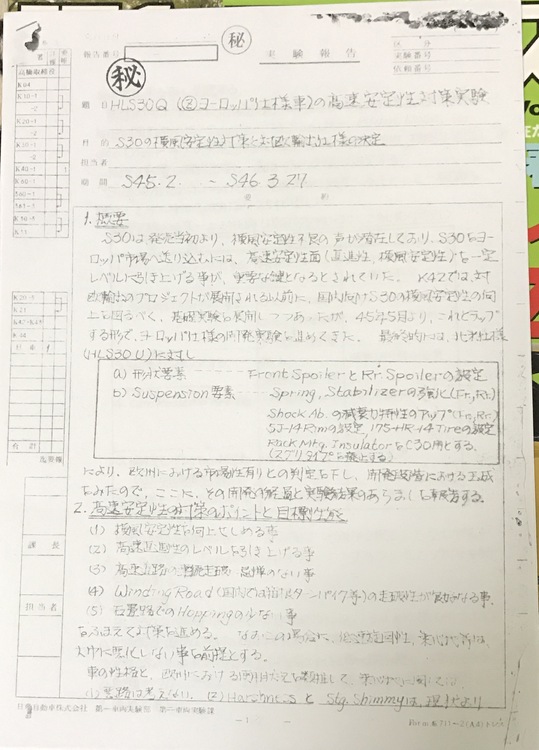
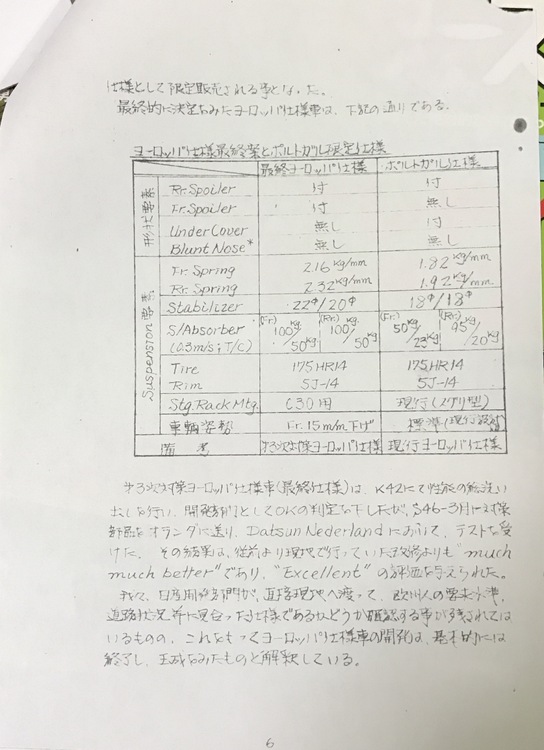
Hello, I think the best performance 240Z is Europe model, after seeing this report. I try to show and I do my best , I hope you enjoy. First of all, Nissan started development faithfully from February 1970 for the Euro model . Not before the beginning of its production. Nissan did not think about being famous in Europe? Or they wanted to do the development without hurrying up? Anyway March 1971, they finally set the spec like this, Final Europe version Stabilizer bar front 22mm / rear 20mm Stiffer spring front & rear Stiffer shock absorber front & rear Front height minus 15mm Spoilers front & rear With this spec, the optional magnesium wheels (same as Z432 )would add more better handling and performance, I saw some car has the wheels in Europe. One interesting note is, there is a "Portugal Version " This is like a Z432, because spring rate and stabilizer bars are the same. Not as sporty as Final Europe version but it has a little more sporty feelings than others. Kats


 1 point
 -
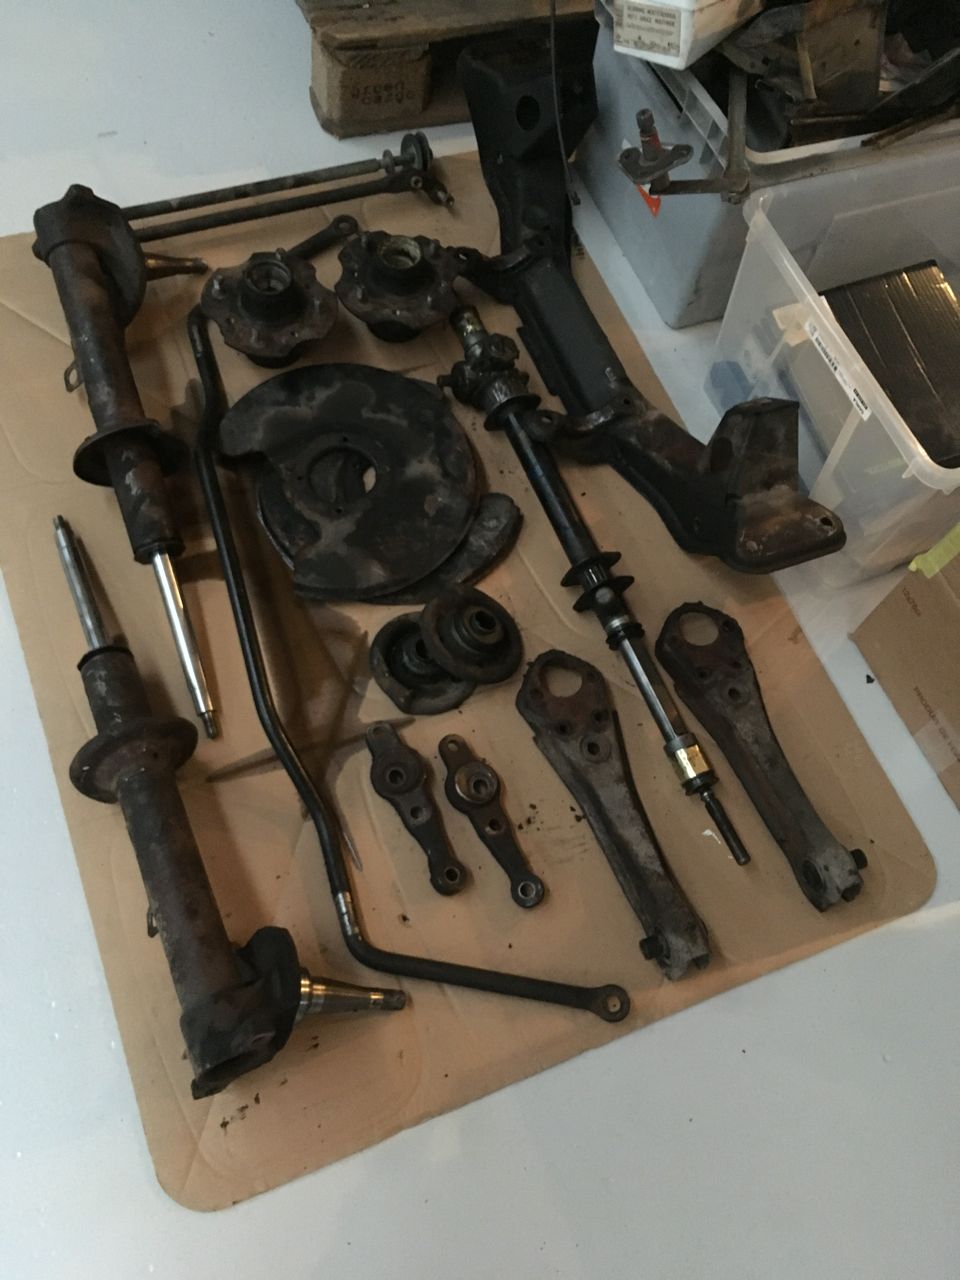
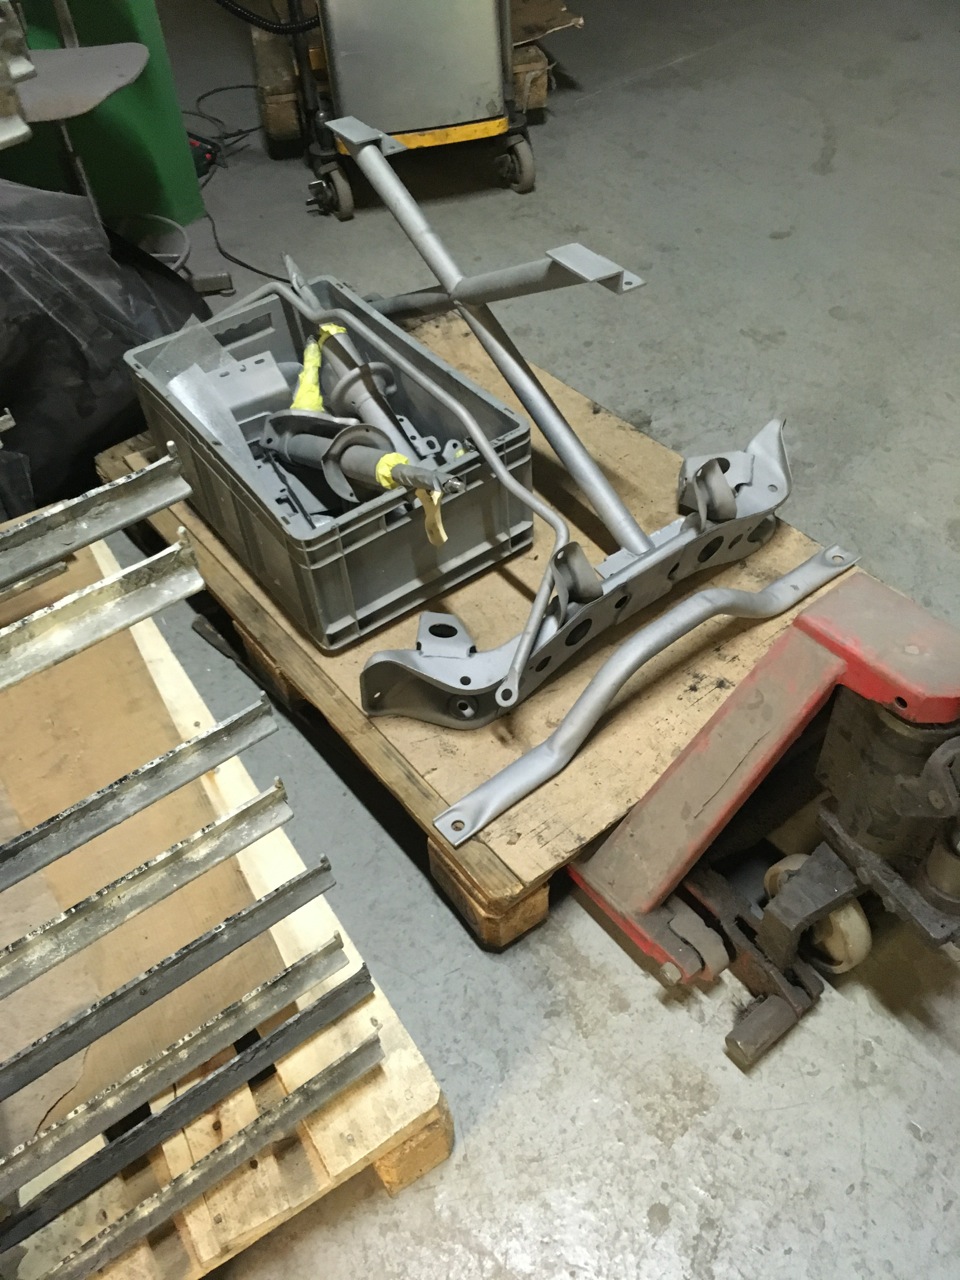
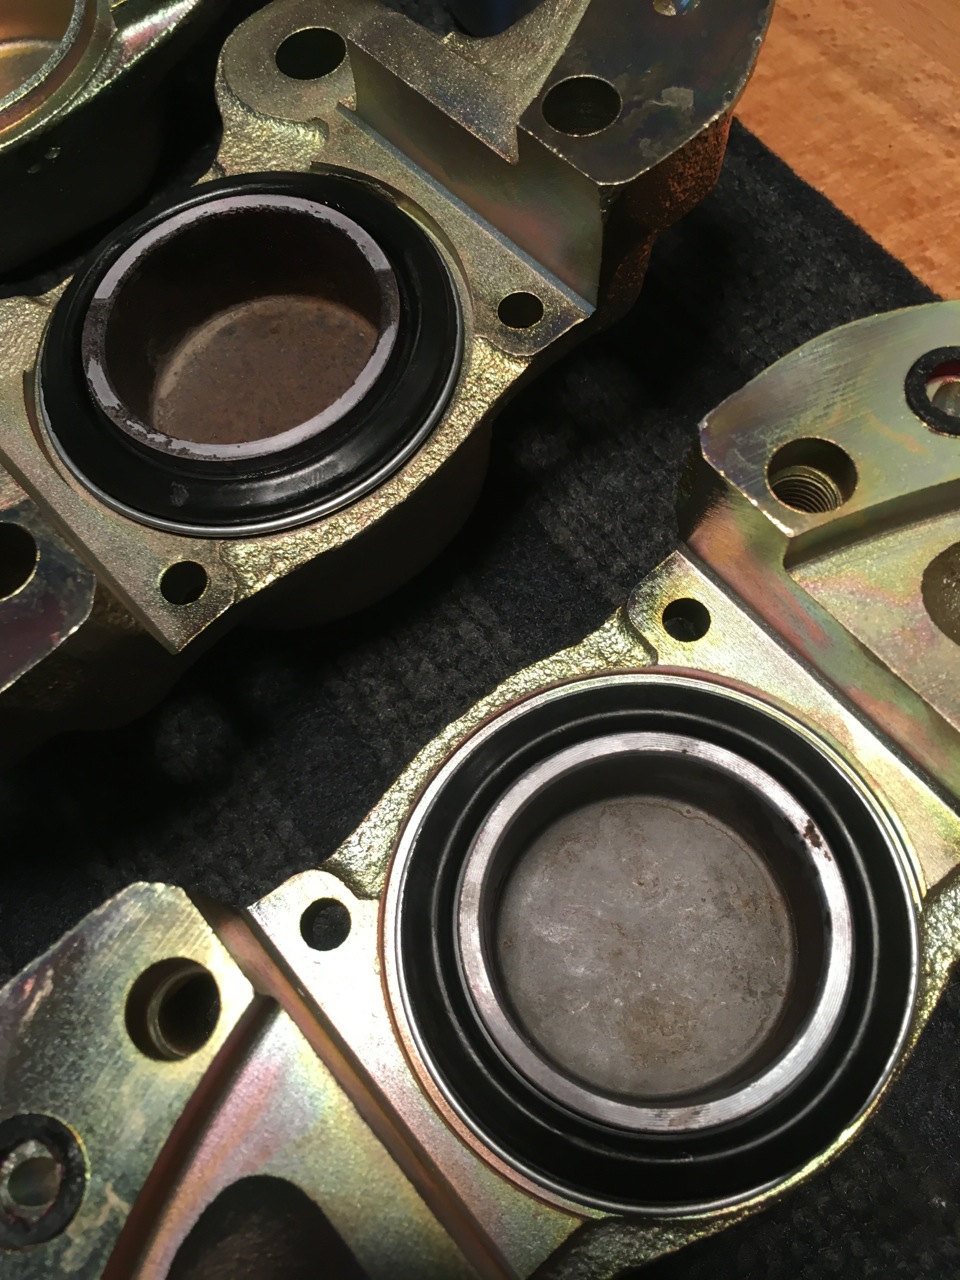
1 pointWhen I got my car I decided to restore the entire undercarriage, starting with the front and working towards the rear. First up... Front, nothing left untouched.


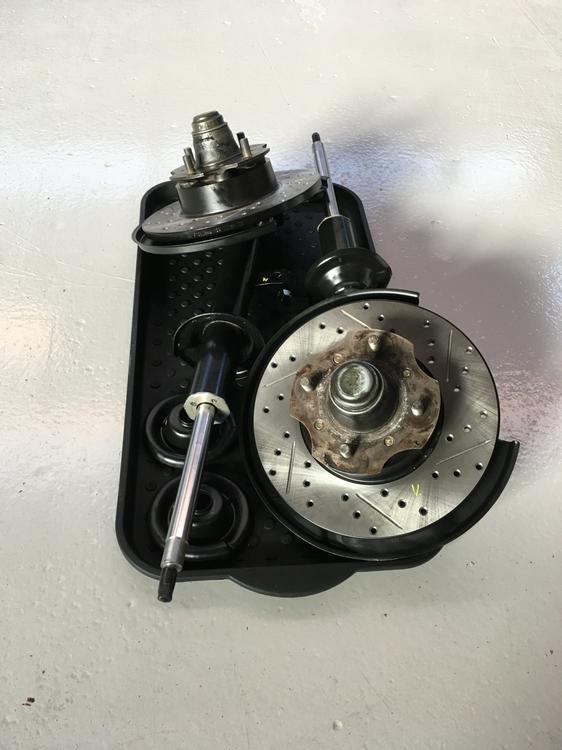

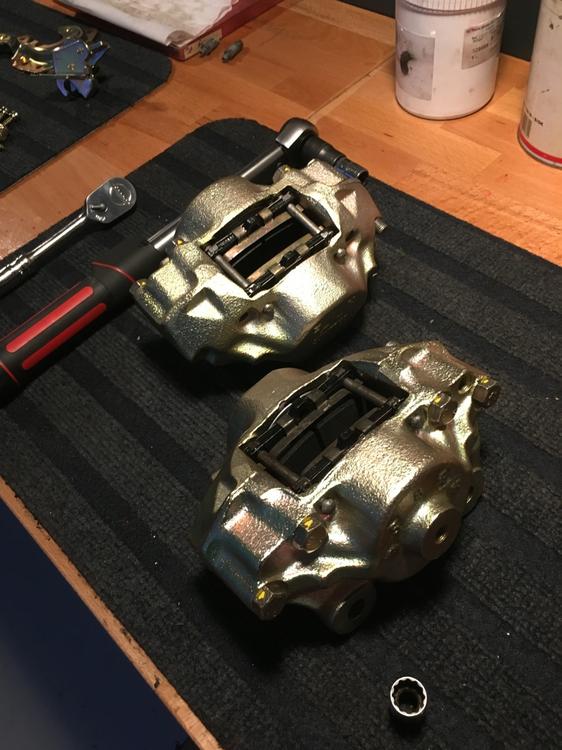
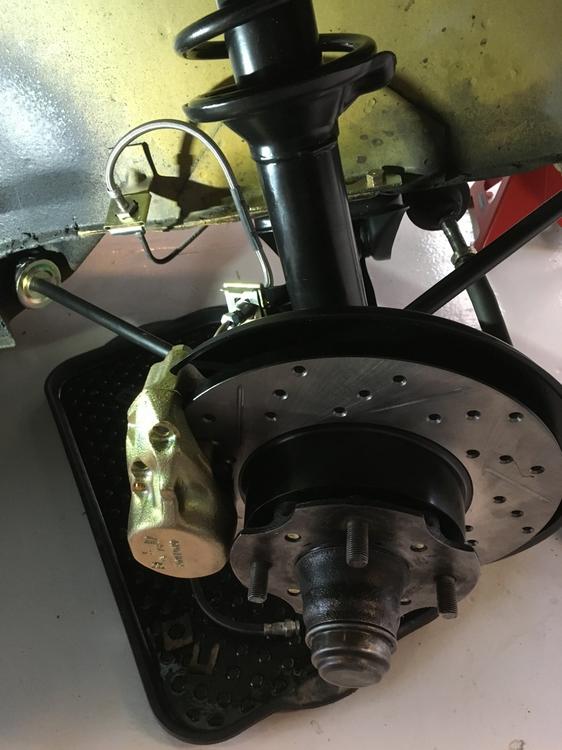 1 point
 -
1 pointJerry, The rounded top, phillips head wire hose clamps are zinc plated. Silver, not yellow cadmium. I DO have later style wire hose clamps with hex head screws that are cadmium plated, but they are not the 'correct' style for my early cars.1 point
-
1 point
-
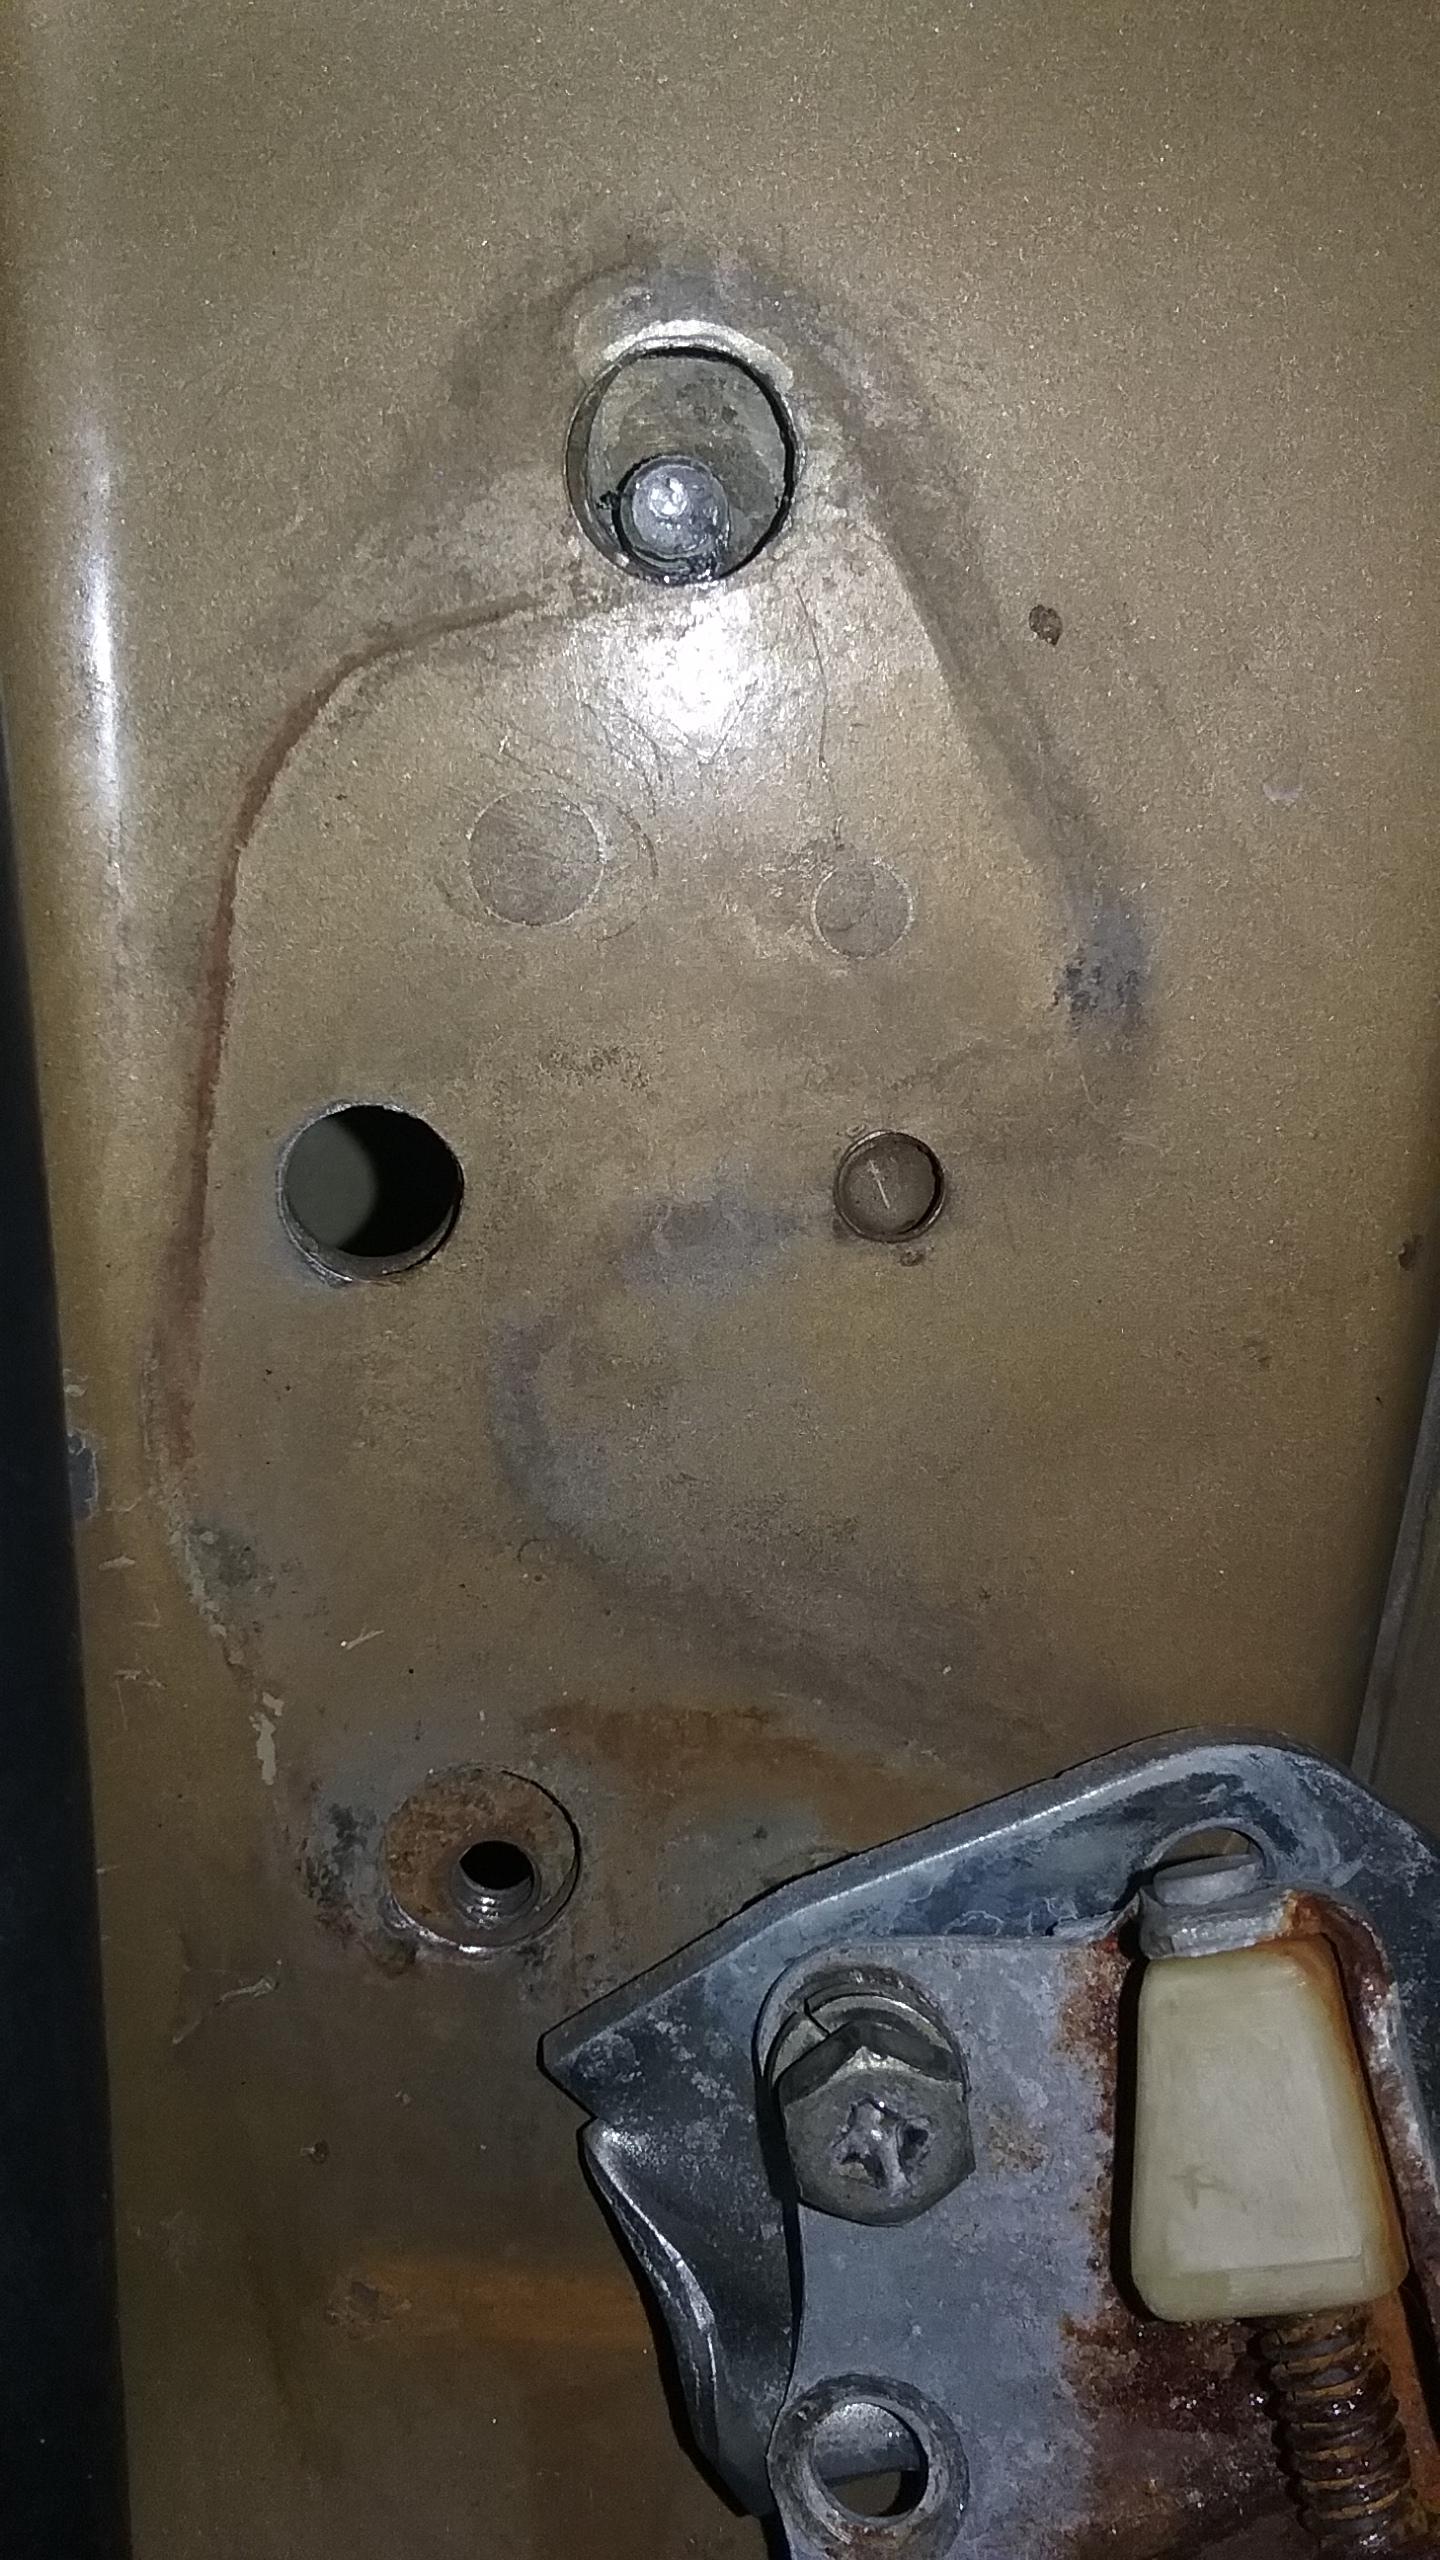
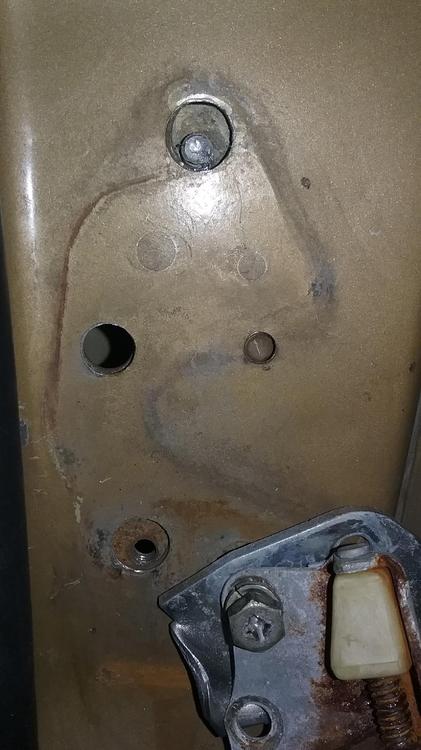
On Saturday I was getting frustrated about the striker plate moving on the driver side door, so I attempted to cinch it down good. That didn't end well. I noticed that my attempts to drill it out were meeting with similar success. (Tip: Spring loaded punches don't seem to pack enough punch to mark the center of a bolt. Are you familiar with the First Rule of Holes? It goes along the lines of "When you find yourself stuck in a hole, the first thing to do is STOP DIGGING!" I called a friend from the Georgia Z Club who has restored several Z cars to ask for advice/help. Fortunately he was willing to come over (yesterday) and drill it out. First he started with a dremel tool and shaved down a little where I had attempted to drill into the bolt. Once that was smooth, he marked the center with a sharp punch, and then he started to drill. He wasn't happy with the first go, so he hit the bolt with the punch again. He proceeded to drill through the bolt. He changed out the bit and drilled through again. Using the extractor, he pulled out what remained. We chased the threads, and I dug though my Nissan bolt collection to find 3 new bolts of adequate length. He adjust the striker plate, and the door closed just fine. After he left, I pulled the remains of the bolt off of the extractor. It would take a micrometer to figure out if he could have gotten it closer to center. Now that I've seen his techniques, I want to practice punching and drilling out the center with some bolts in my collection.
 1 point
 -
I've been running this oil since the rebuild a few years ago. Also, its one of the few oils available with high zinc.1 point
-
Don't run the engine too much with the heater core bypassed. Better to block both ports. It's a topic of endless discussion, but seems pretty well decided.1 point
-
1 point
-
1 pointSound advice. But, like so much sound advice that's been offered to solve the Panamanian Zs problems over the last several years, my guess is that it will NOT be heeded. And that's a shame. The carb float problem has been diagnosed to death and the advice has been pretty much ignored. I'll be interested to see how much longer people will be willing to help. Dennis1 point
-
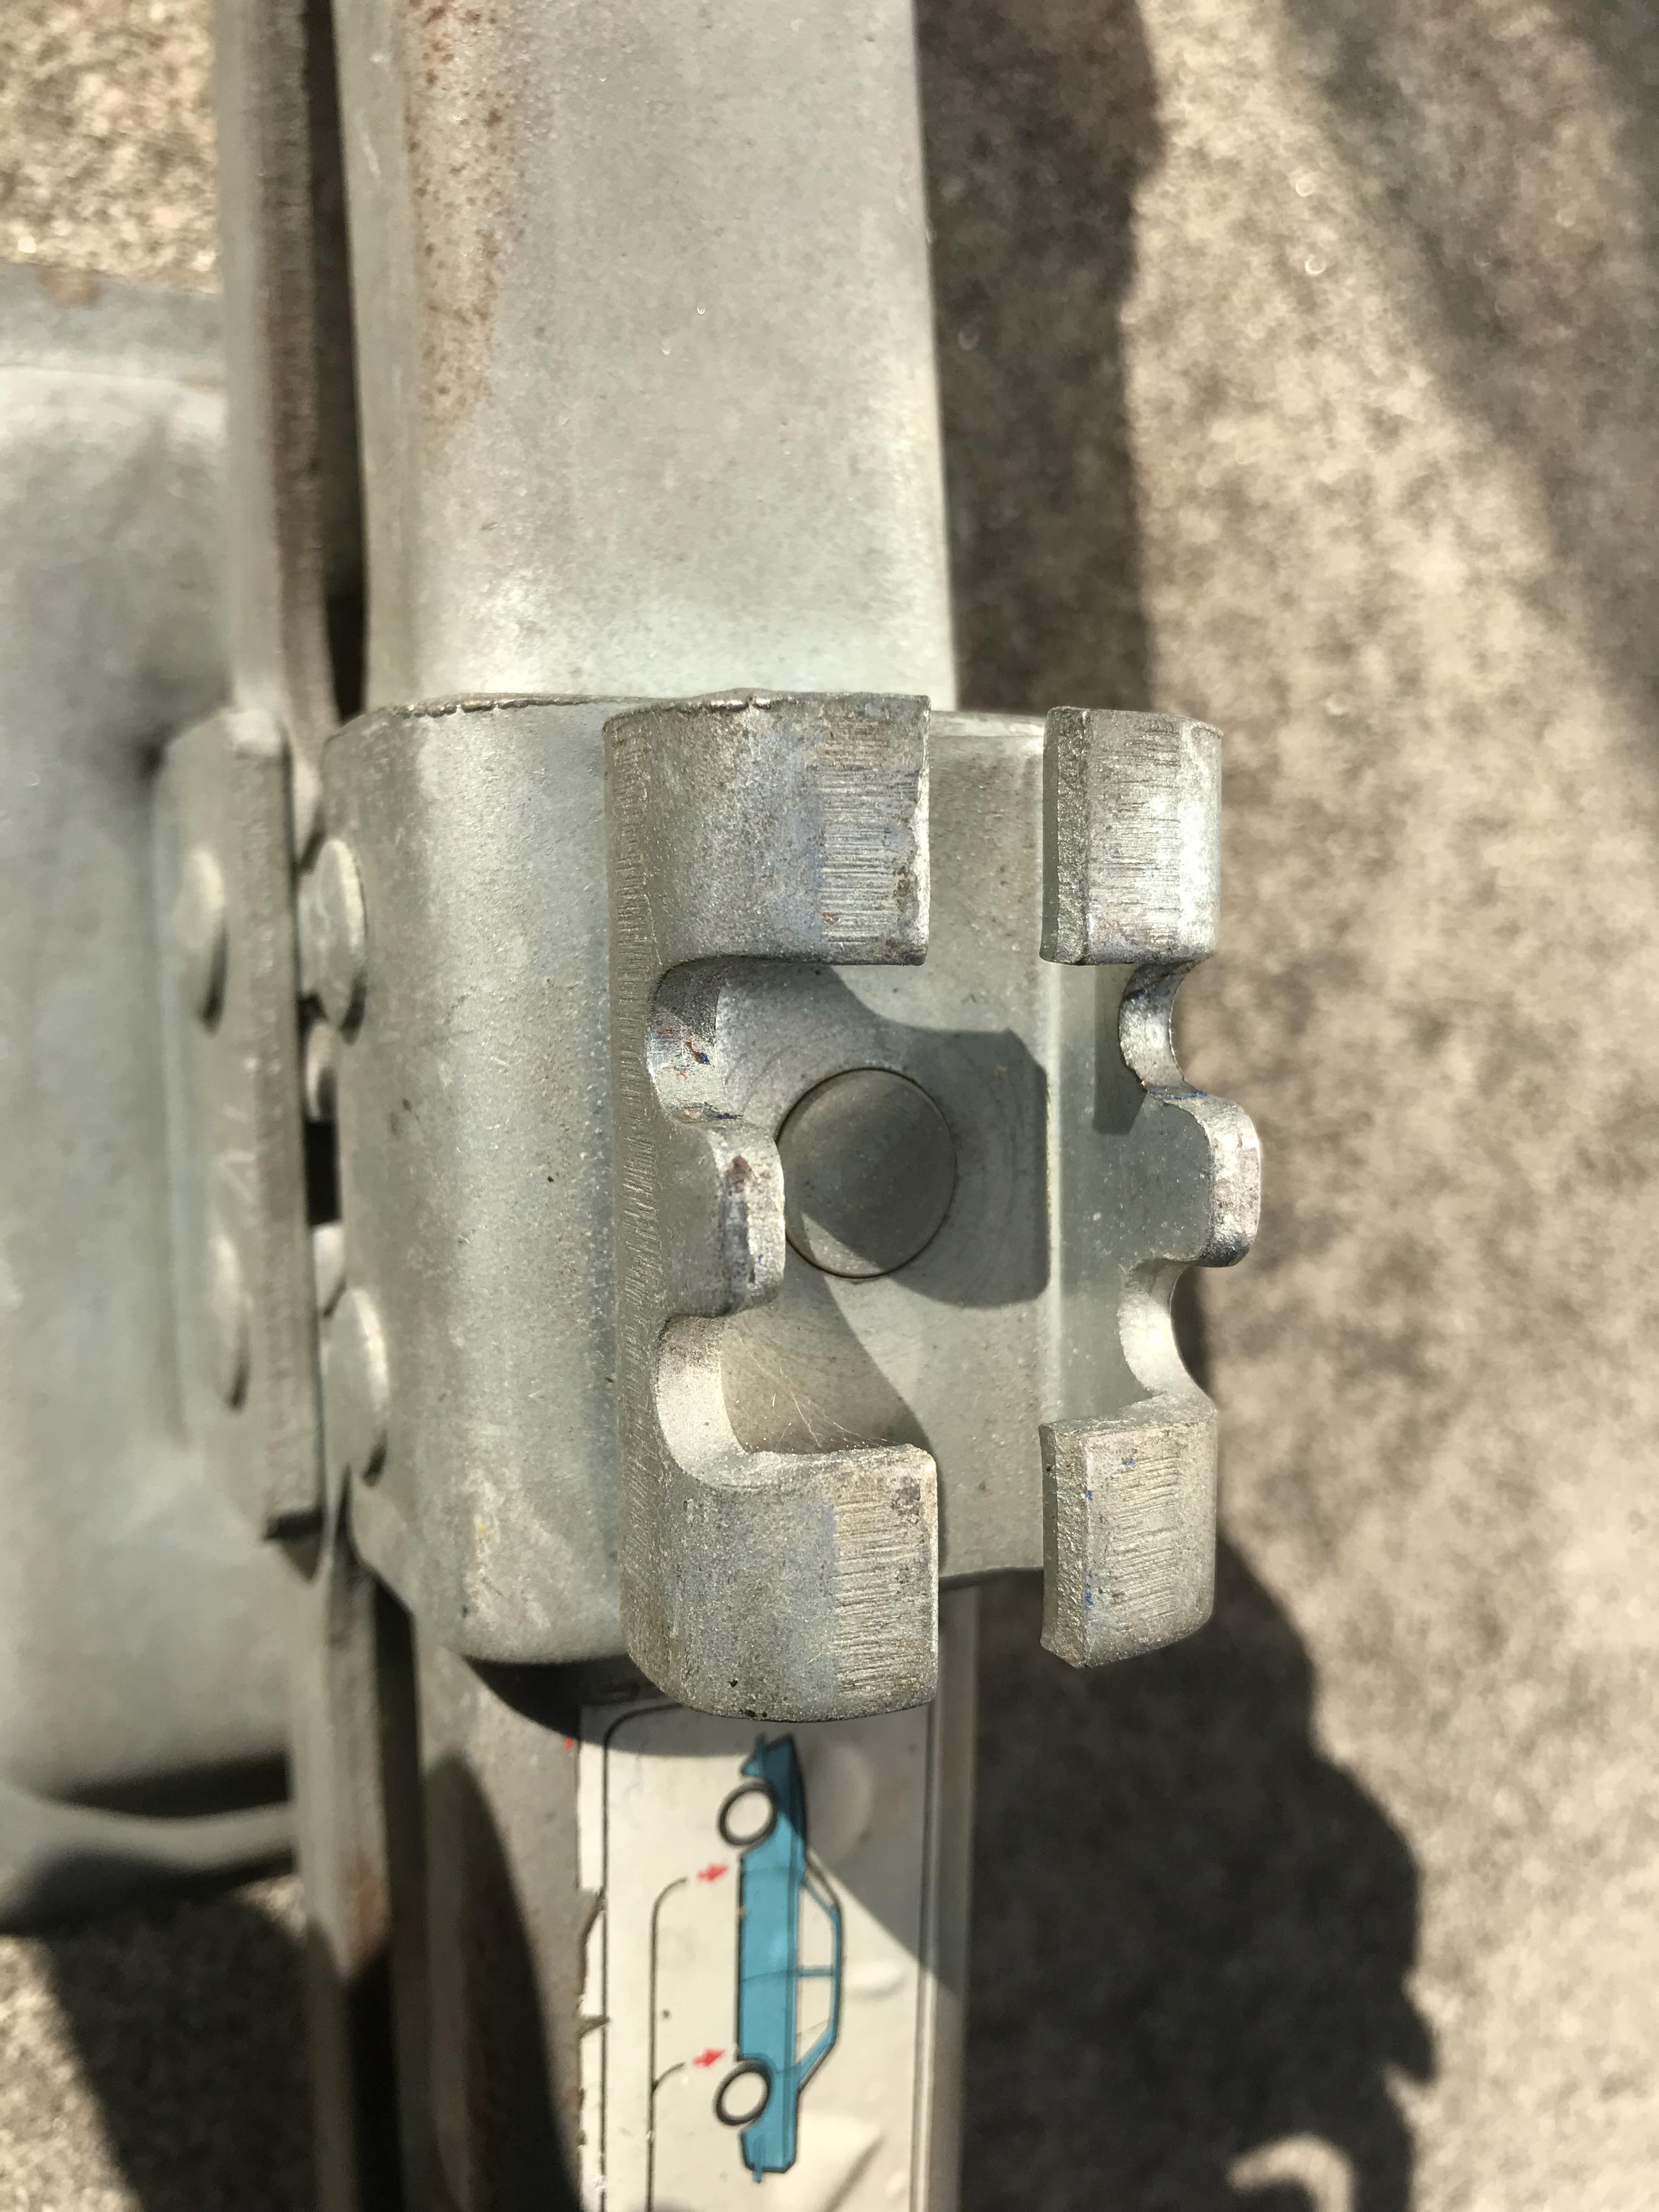
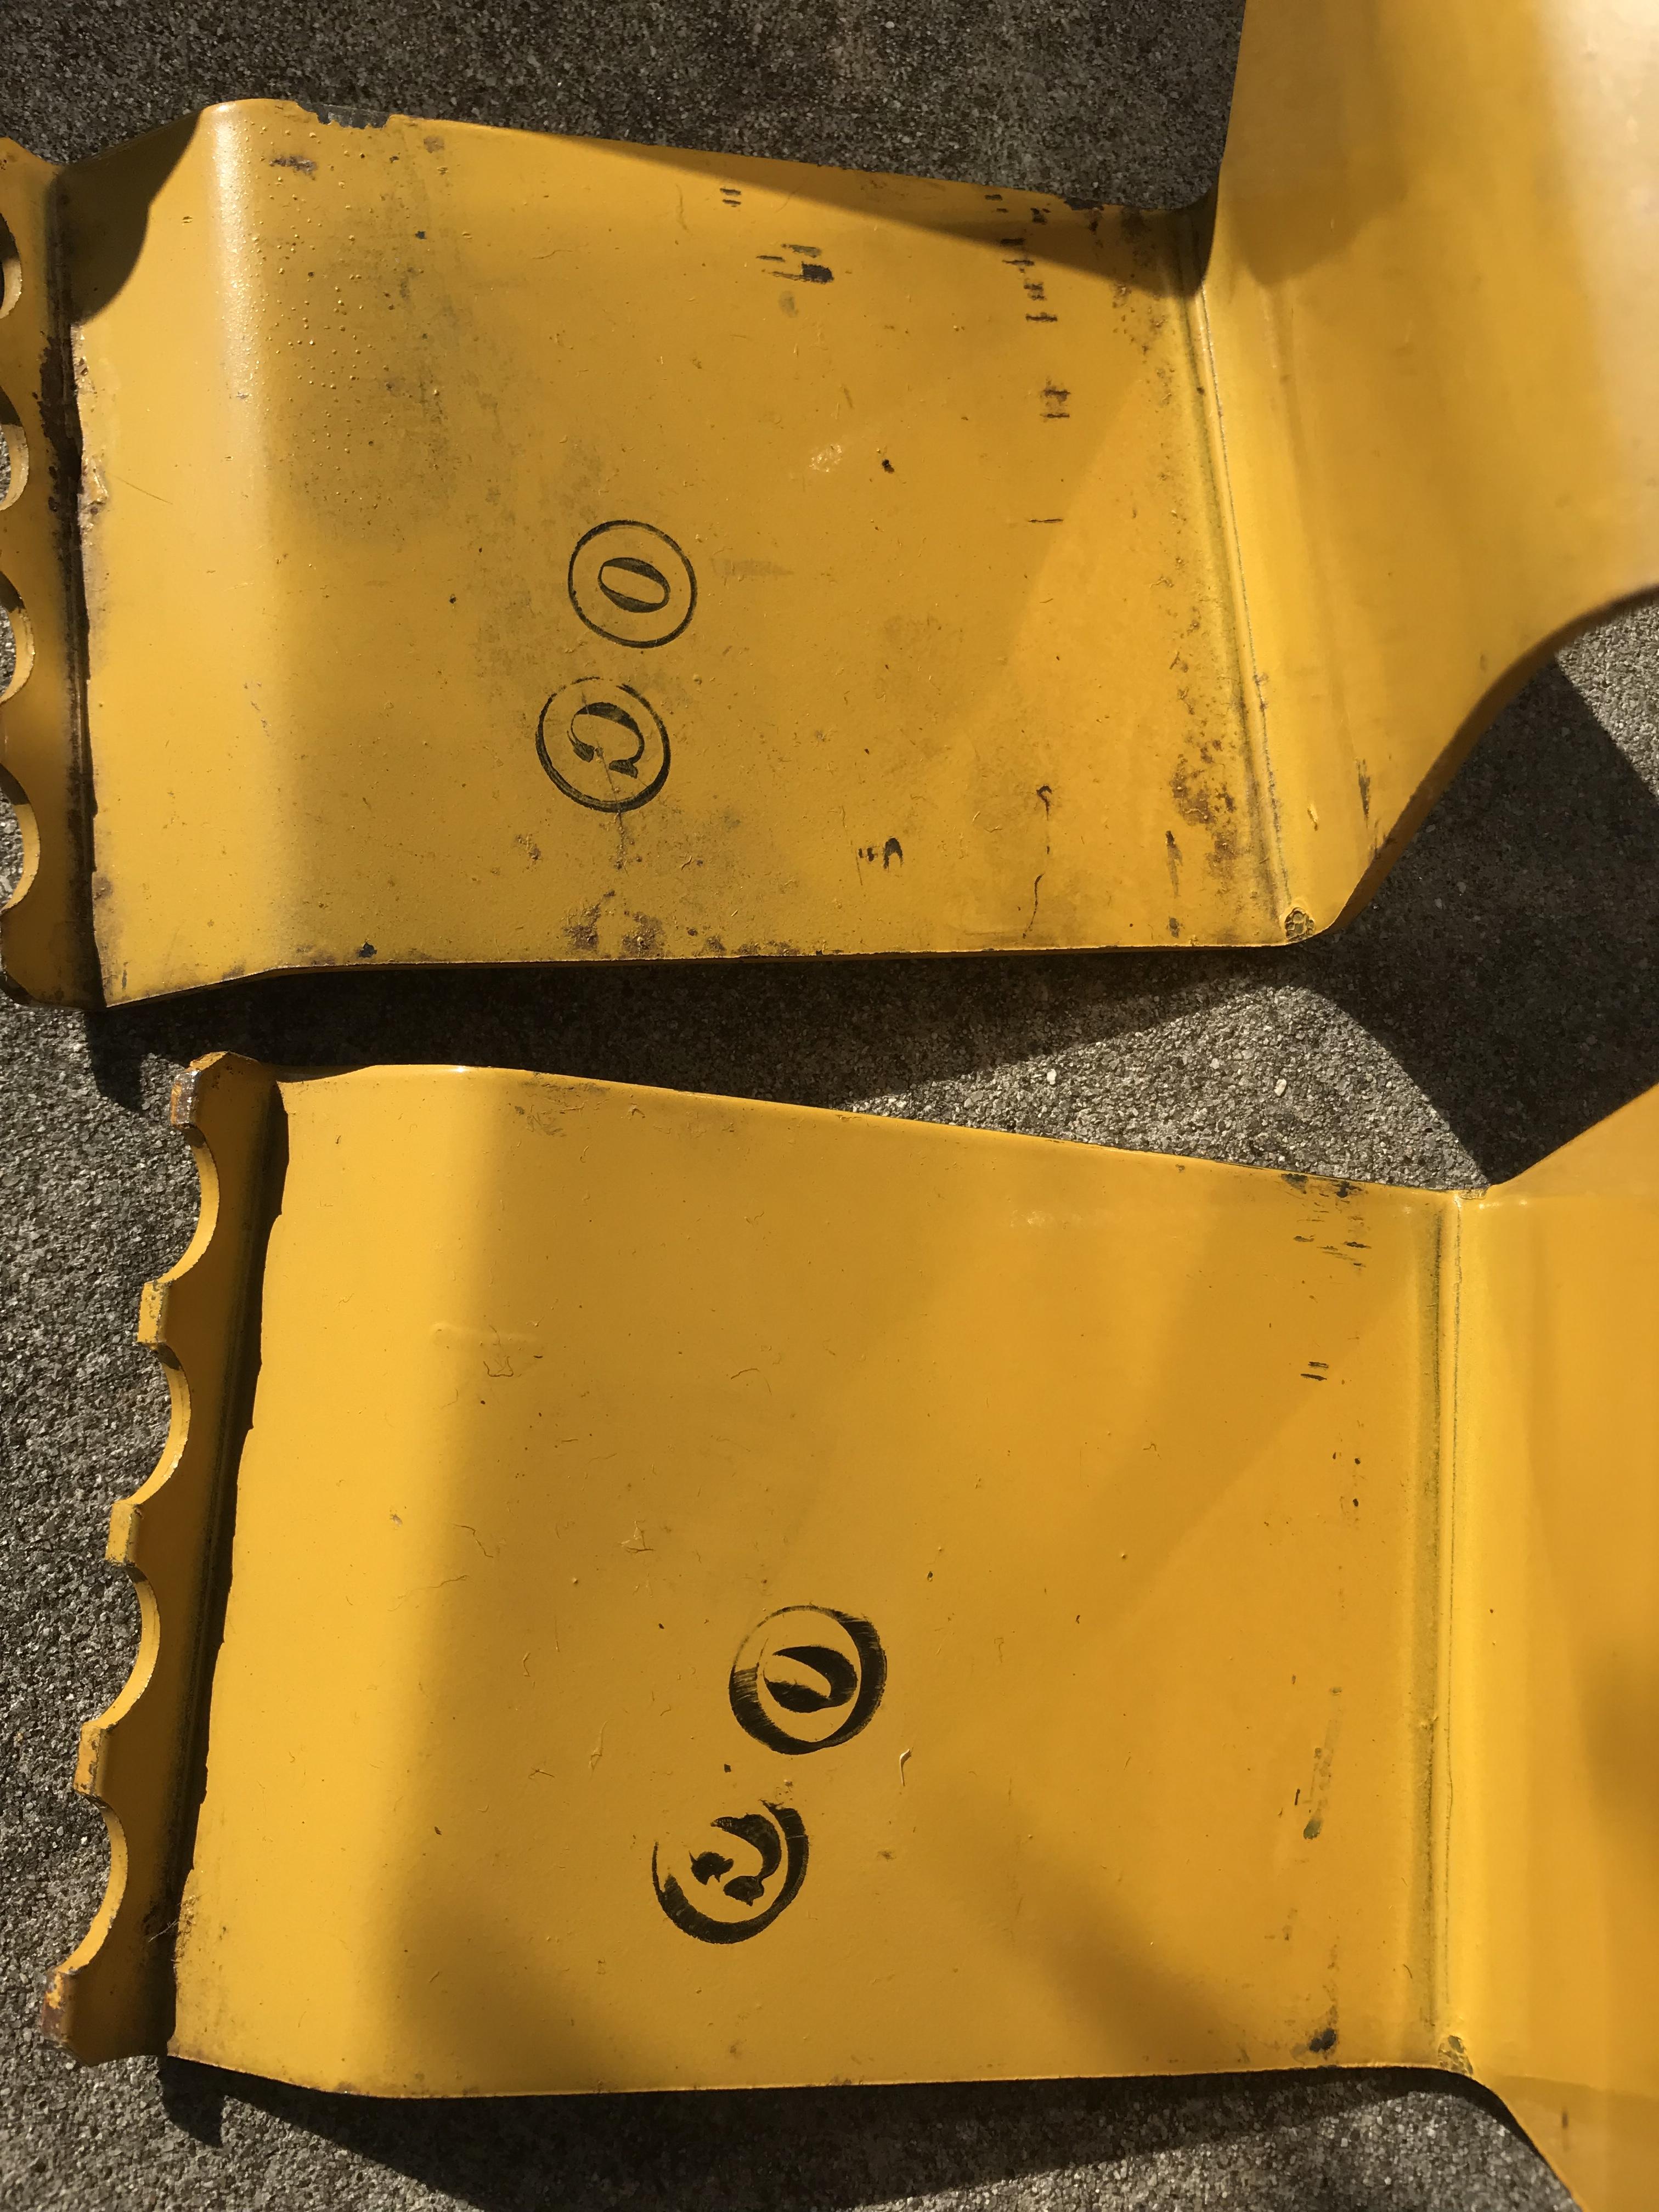
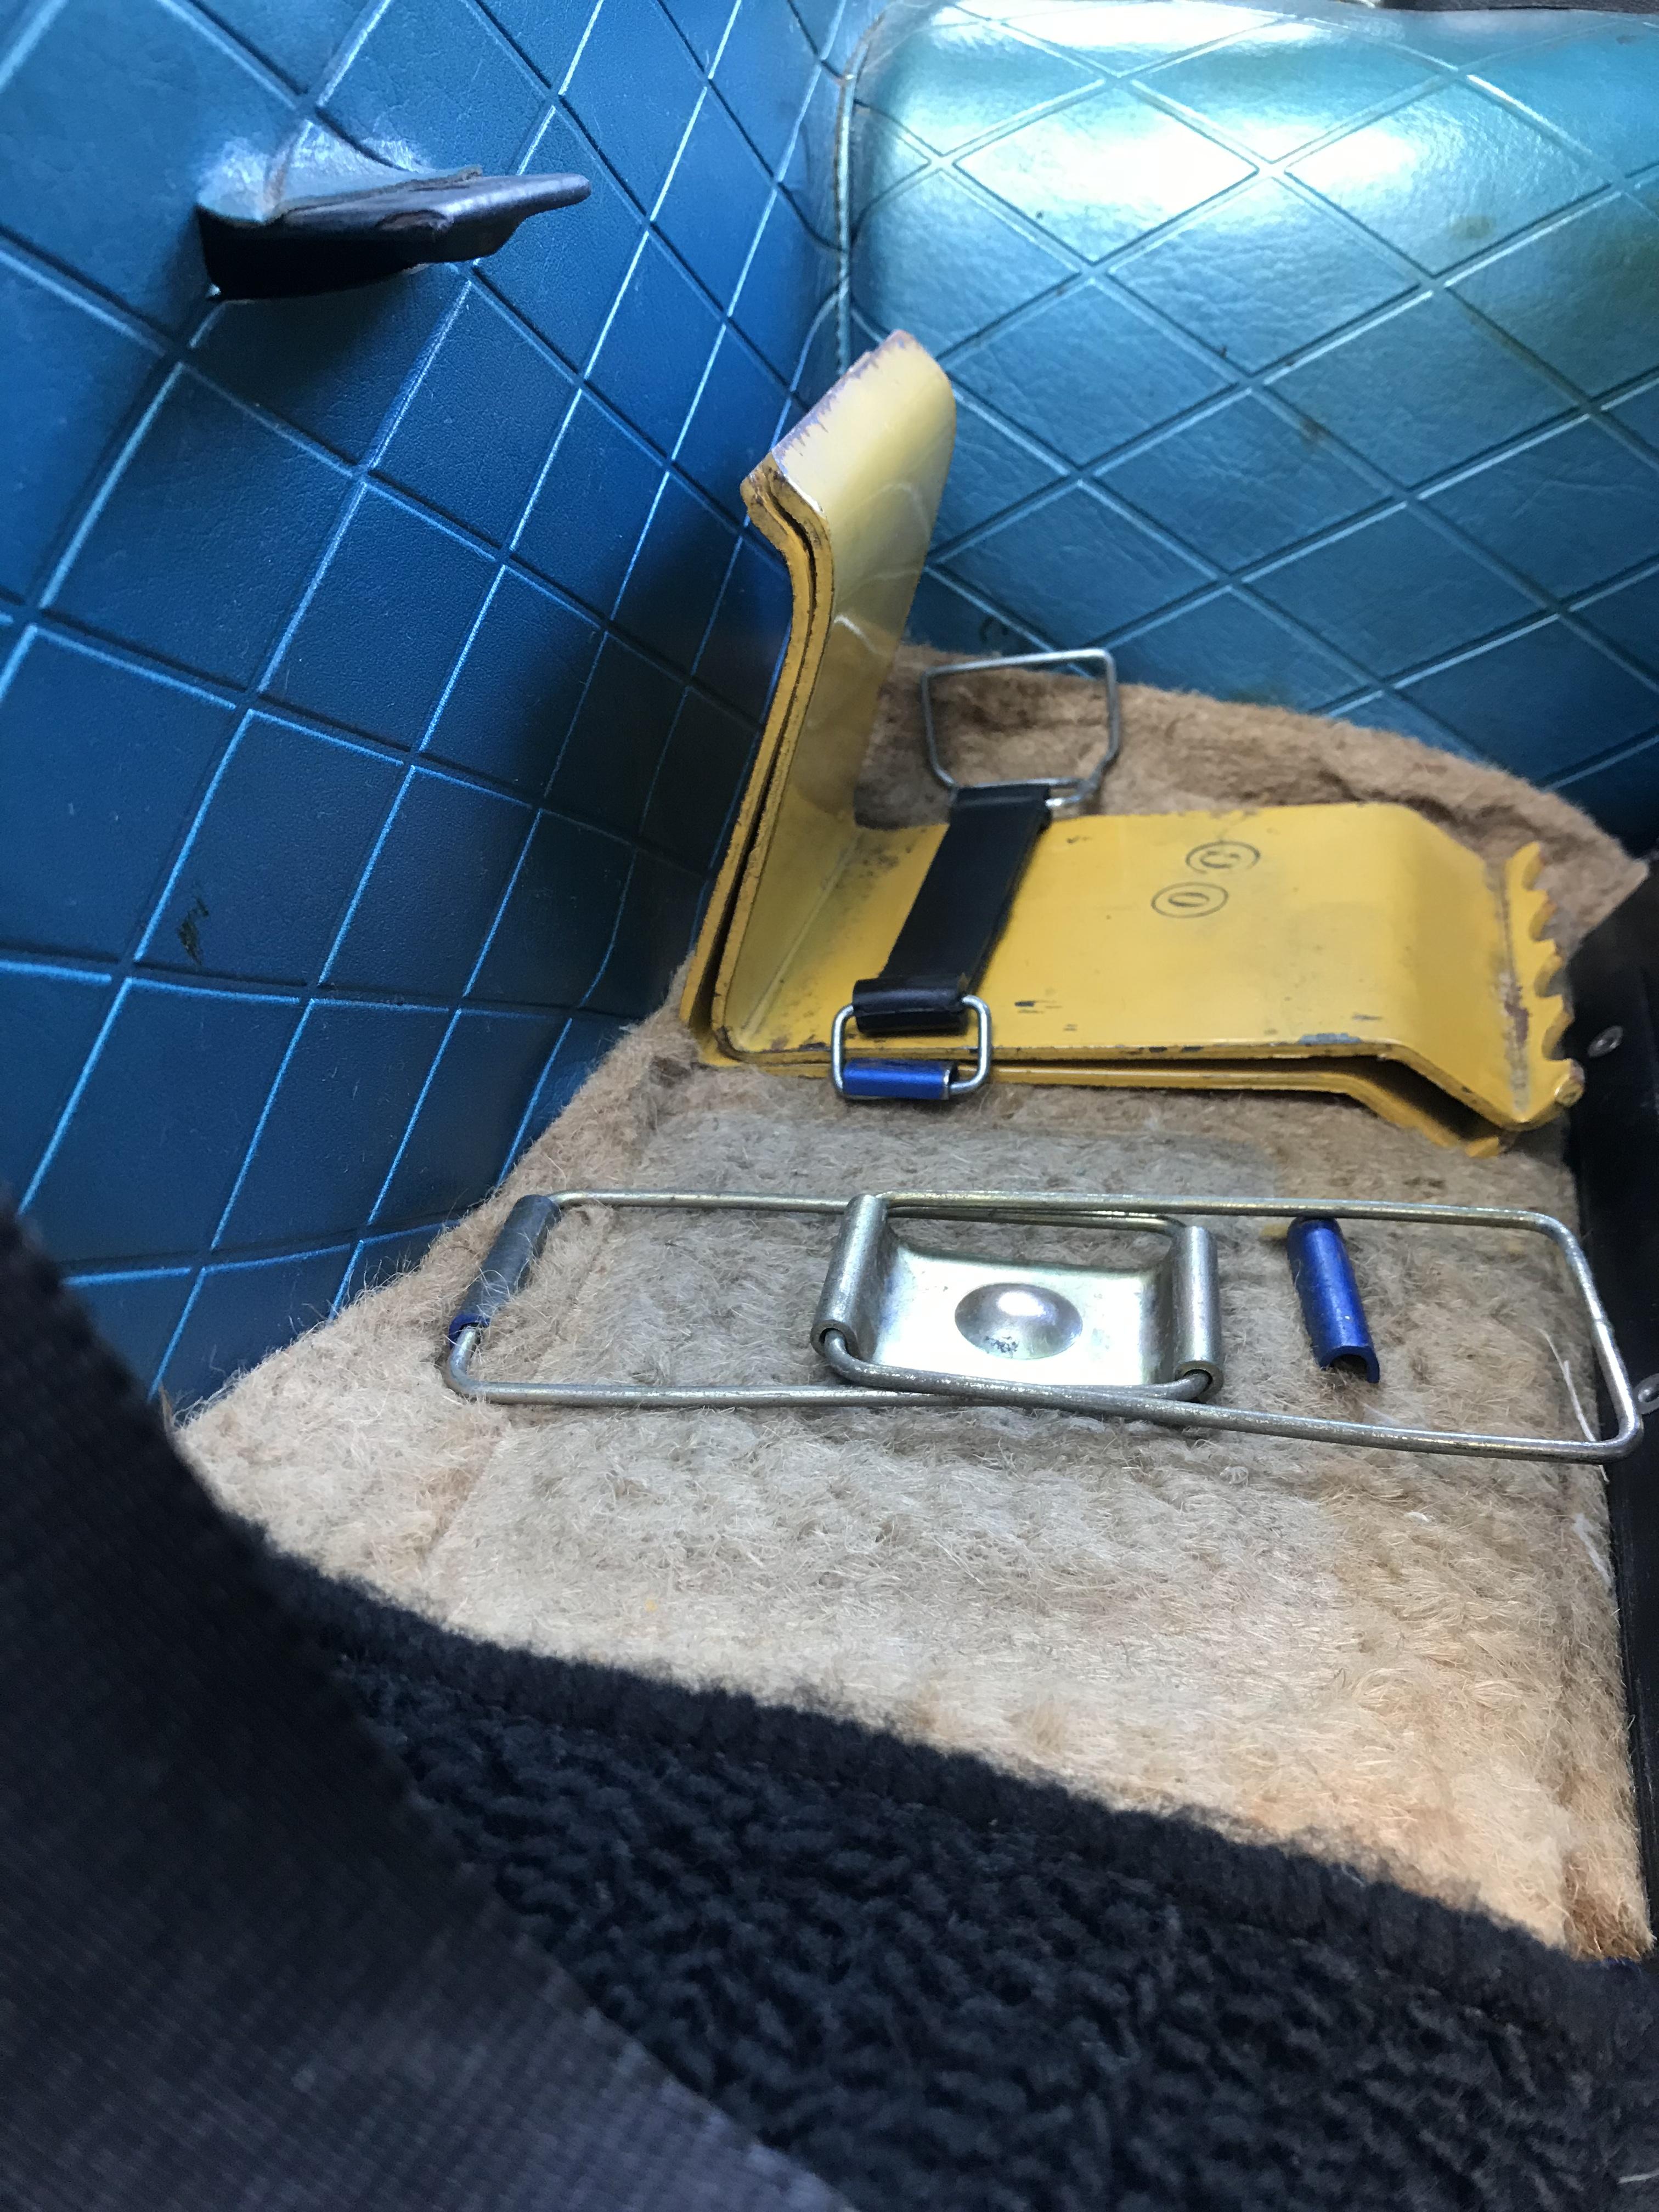
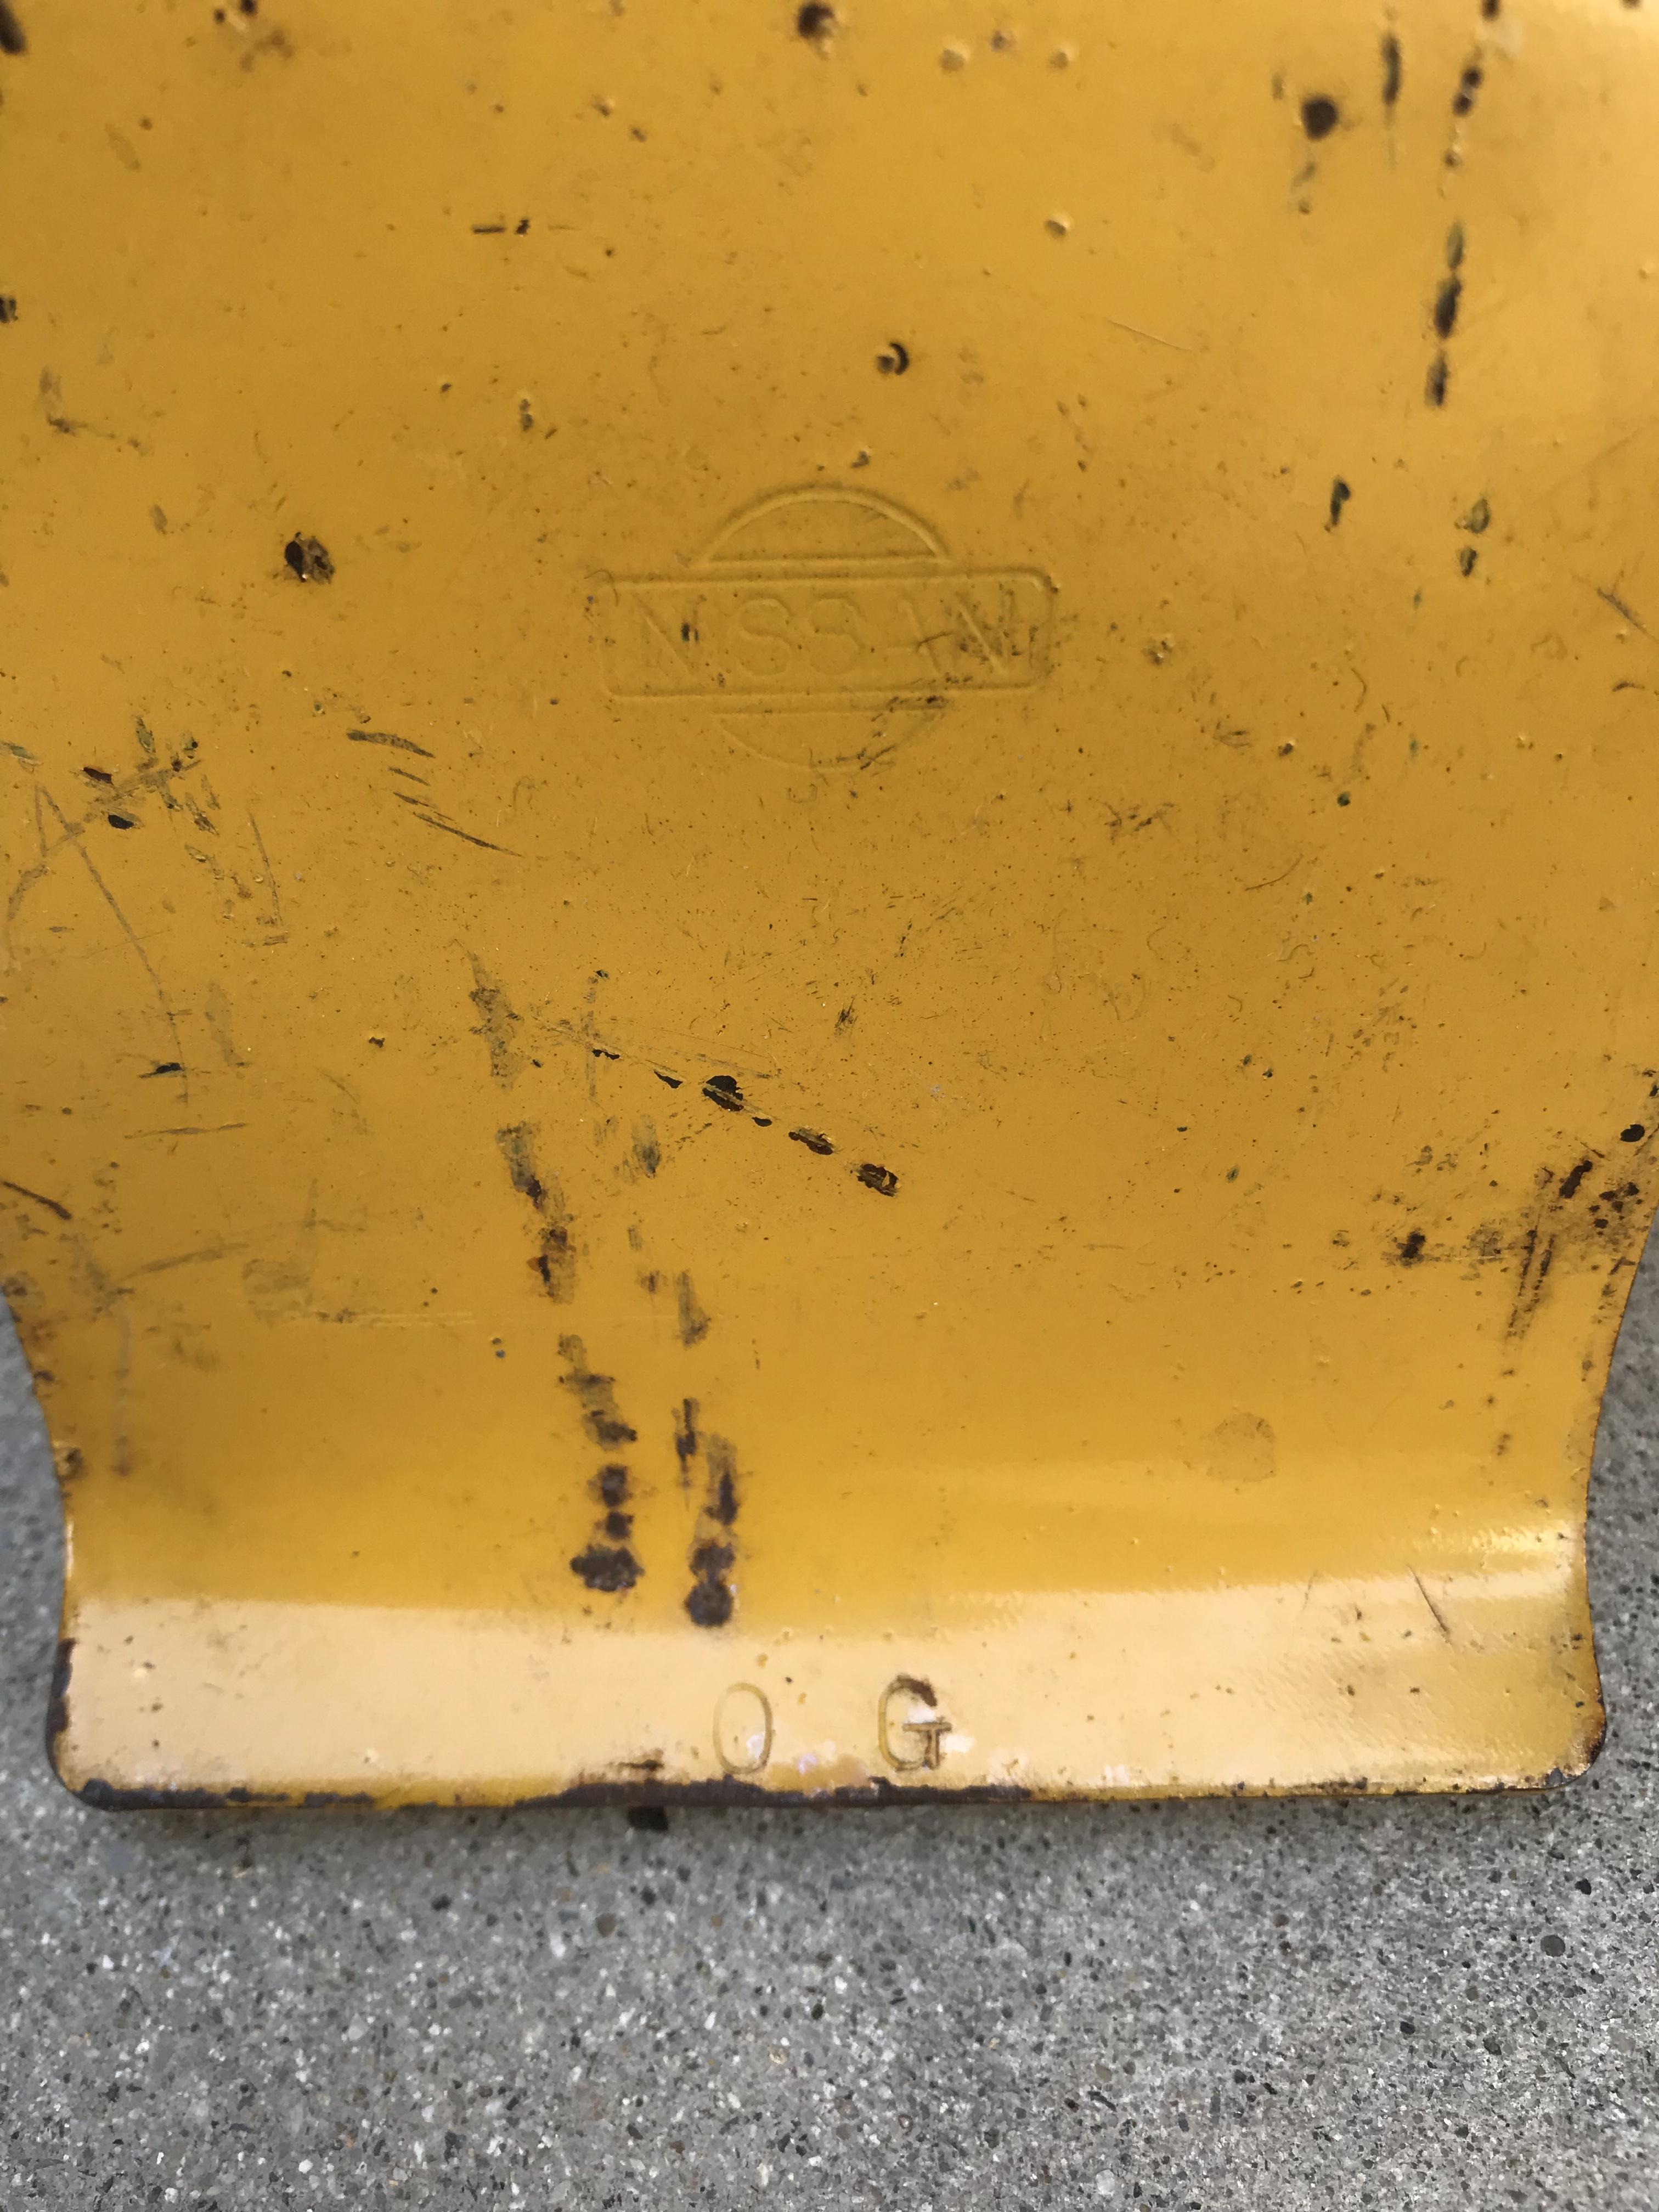
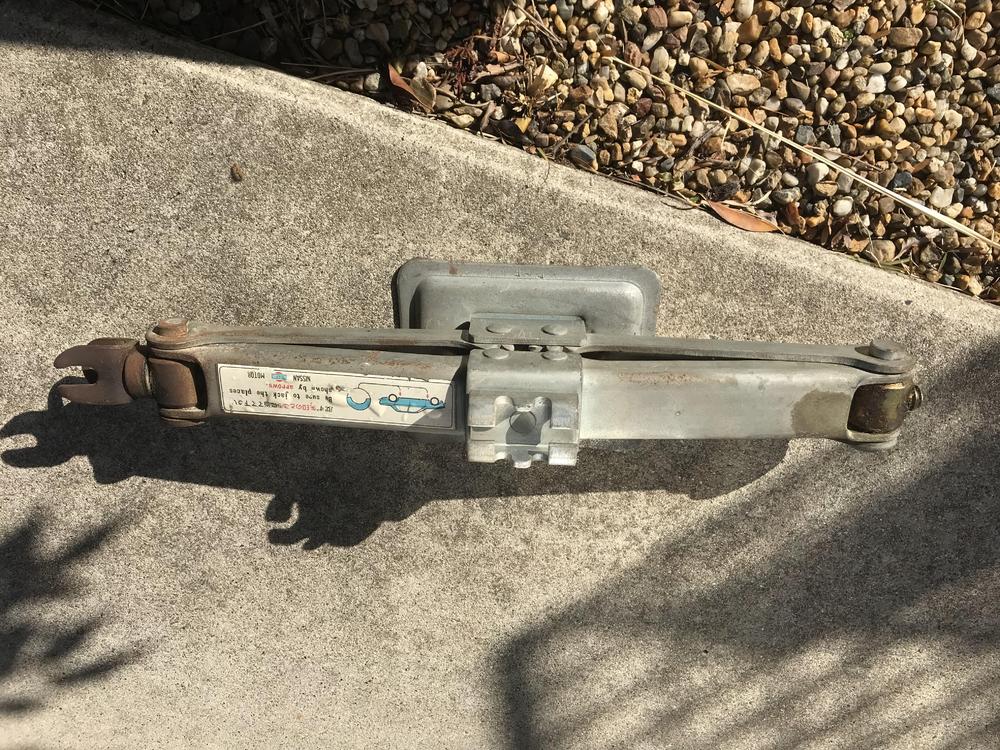
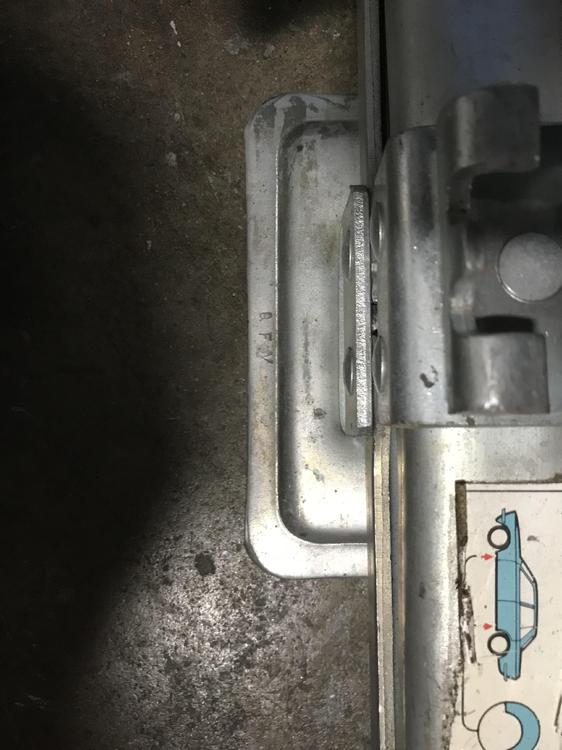
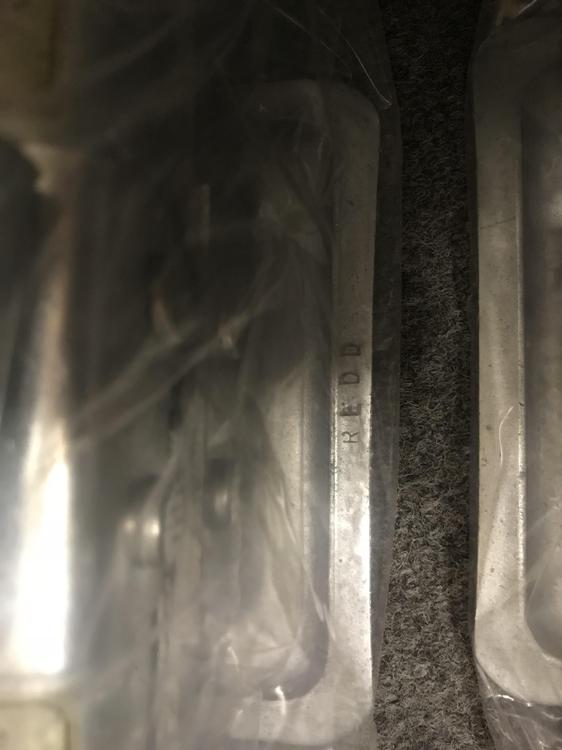
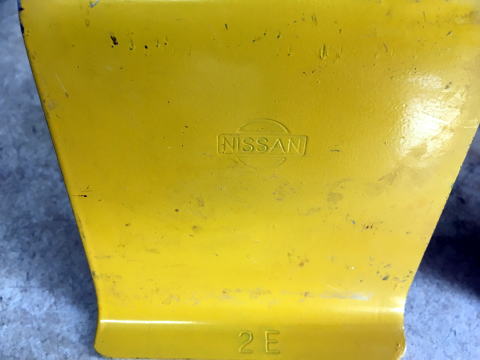
How about these , I think Tire stopper, 0. G. 1970. July 2 E 1972 May ‘C ‘ is stamped, however ‘ G ‘ is engraved, so the change would be happened around April to June 1970 . Jack , Q. F. V. 1971. June 21st R E DD 1972 May 30th Somewhere around 1971 , jack has changed its comportments . Early one has unique contact piece and only two rivers applied to hold the basement while later ones has four . If this is true, ‘ A’ means 1954 . At that time Nissan was making Datsun sports DC-3 . I think this is one of the easiest way to guess when my car had left from the factory. And it is nice to have ‘ munching numbers ‘ those factory items. How about yours ? Kats


 1 point
 -
I've run Carter and inexpensive Facet pumps on my Z for 40 years. Both have worked well until "end of life" necessitates replacement. Even the stock mechanical pump was adequate until I chose to go electric for no particular reason other than the newer Zs had electric pumps. Dennis1 point
-
My cheapo AirTex fuel pump gives me 2.3PSI at the carbs & my bowls have never run dry.1 point
-
1 pointYou're looking at the wrong end. picture, Dr. of Ears, Nose and Throat NOT Dr. of Proctology. Get back under the hood where the problem is. If you have doubts about the fuel pump?s, do a pressure and volume test and then get back to the floats. Don't keep buying new pumps.1 point
-
1 pointRich, Emotion---not logic. Love---not money. You've set a new standard, beyond the honorable Mr.Wick Humble. Your documentation of this restoration is Z reference material for all time. Do the book. We will buy it.1 point
-
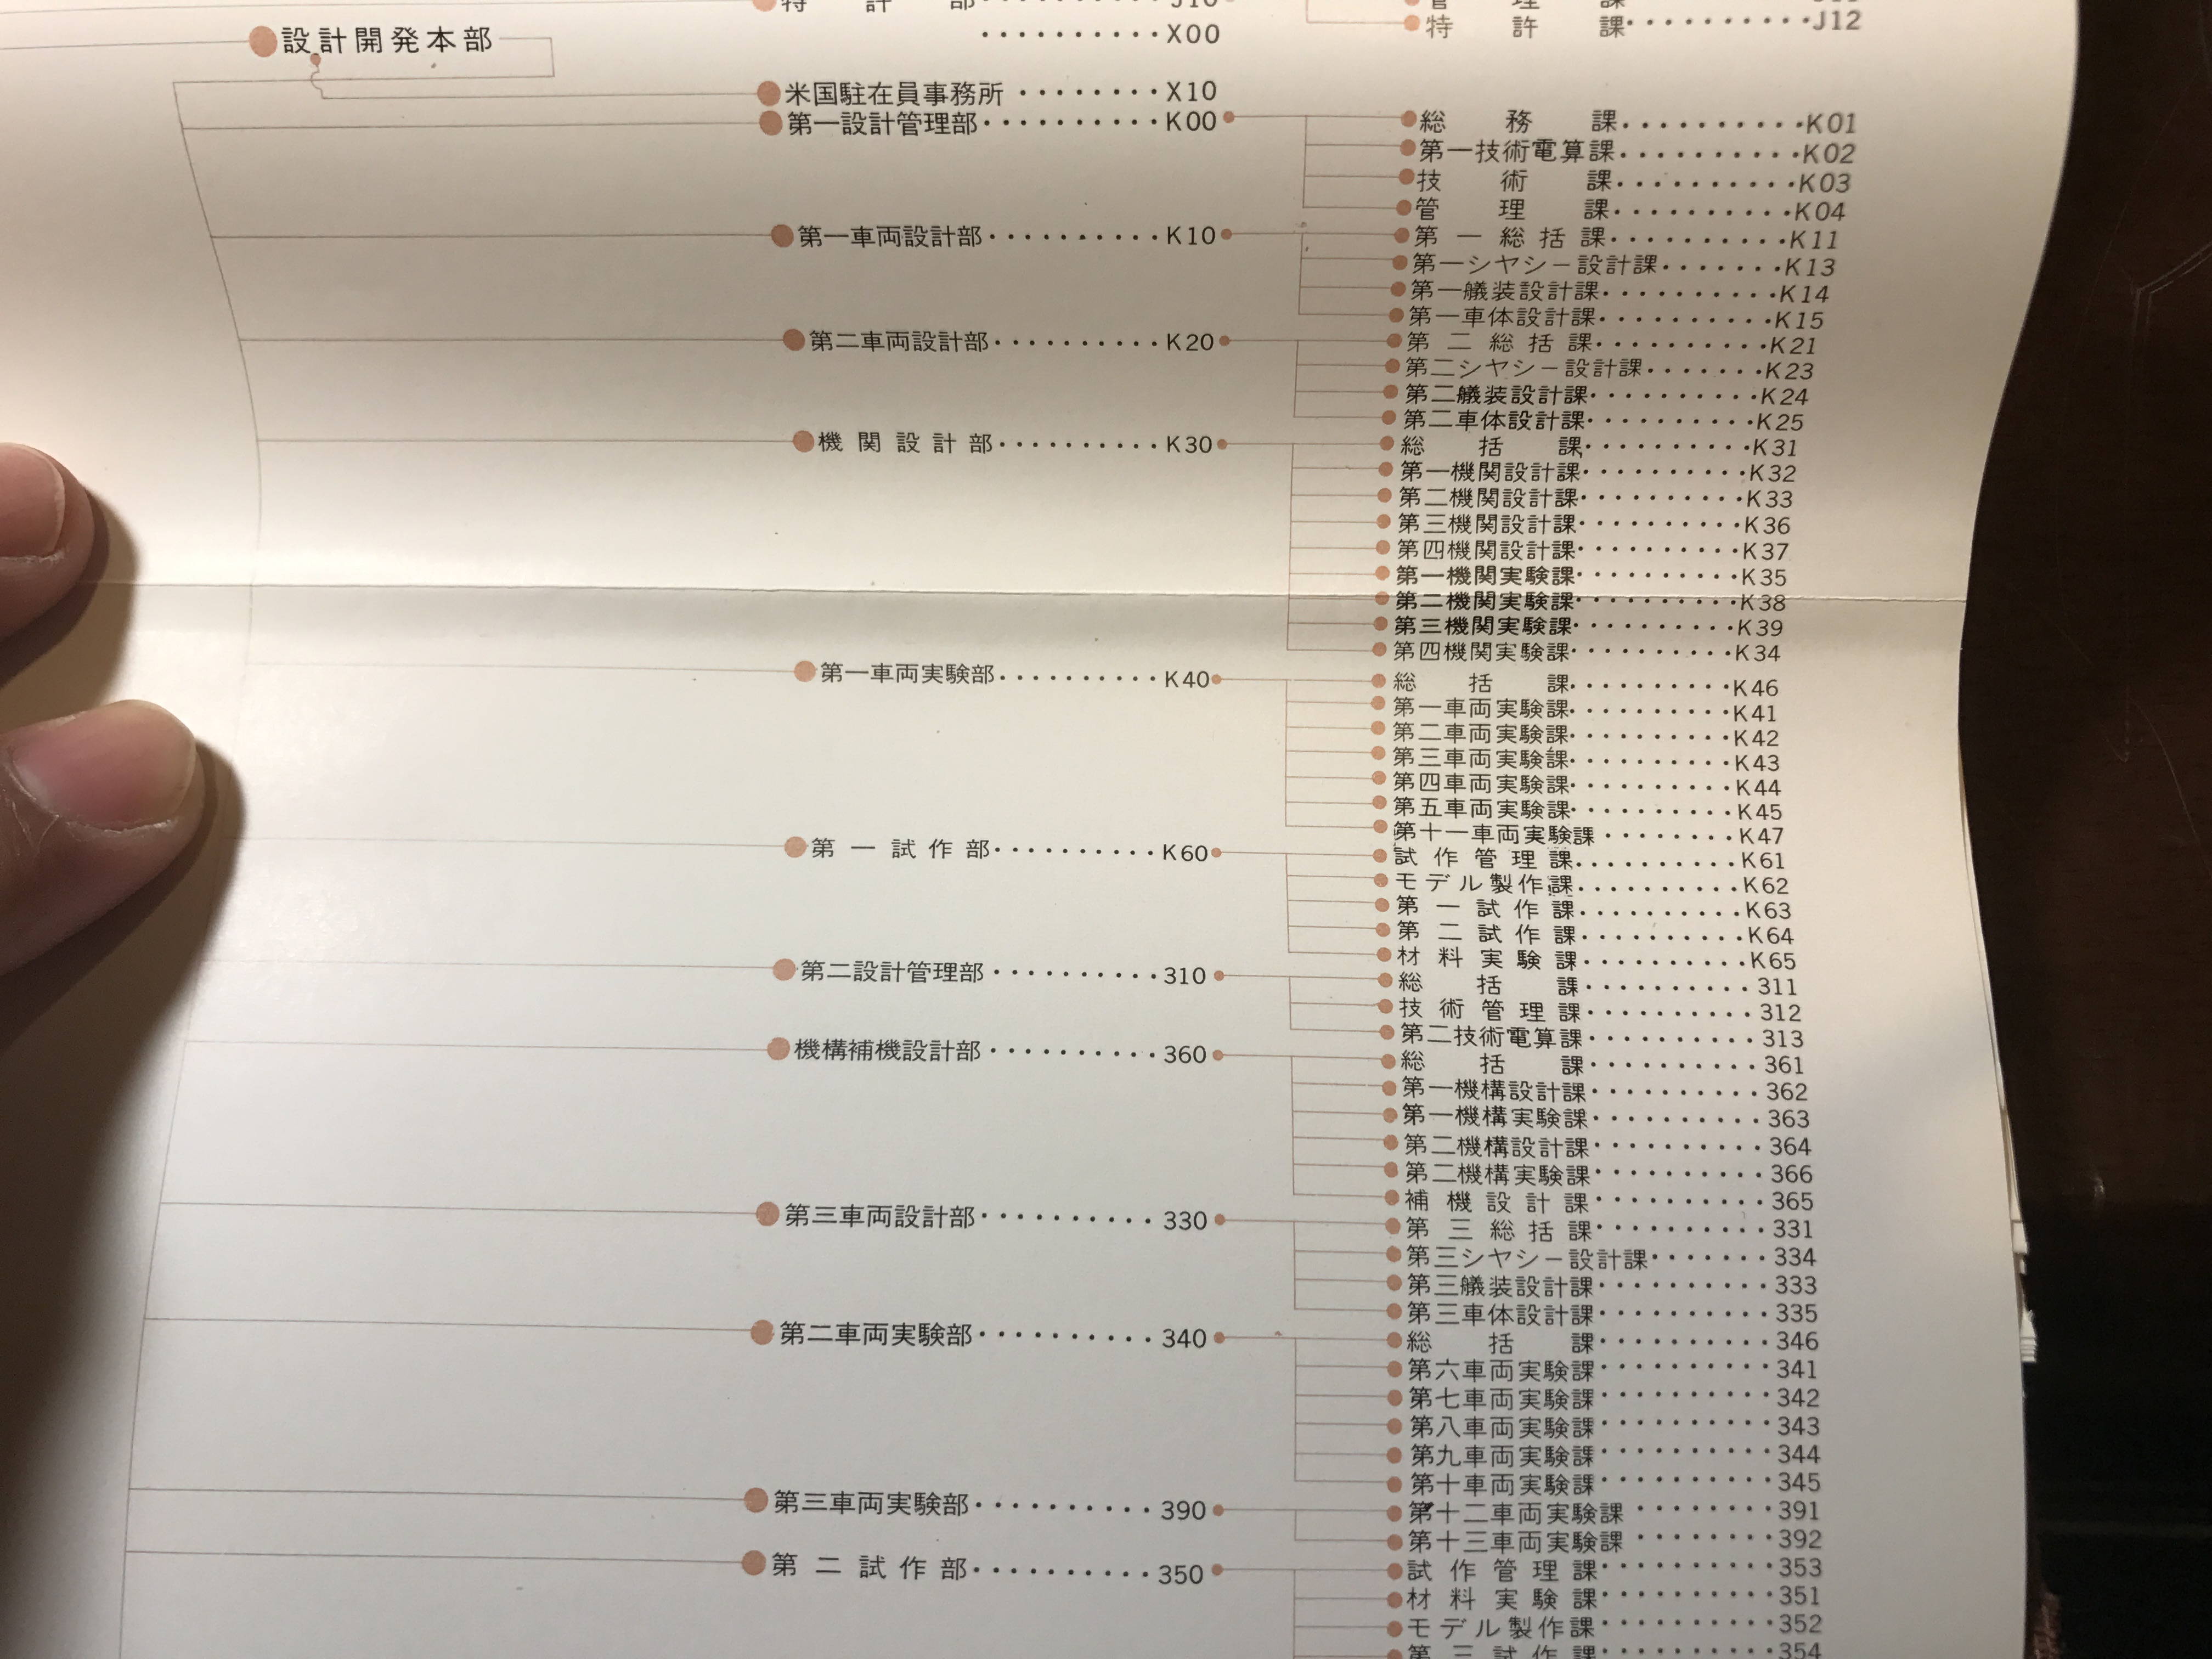
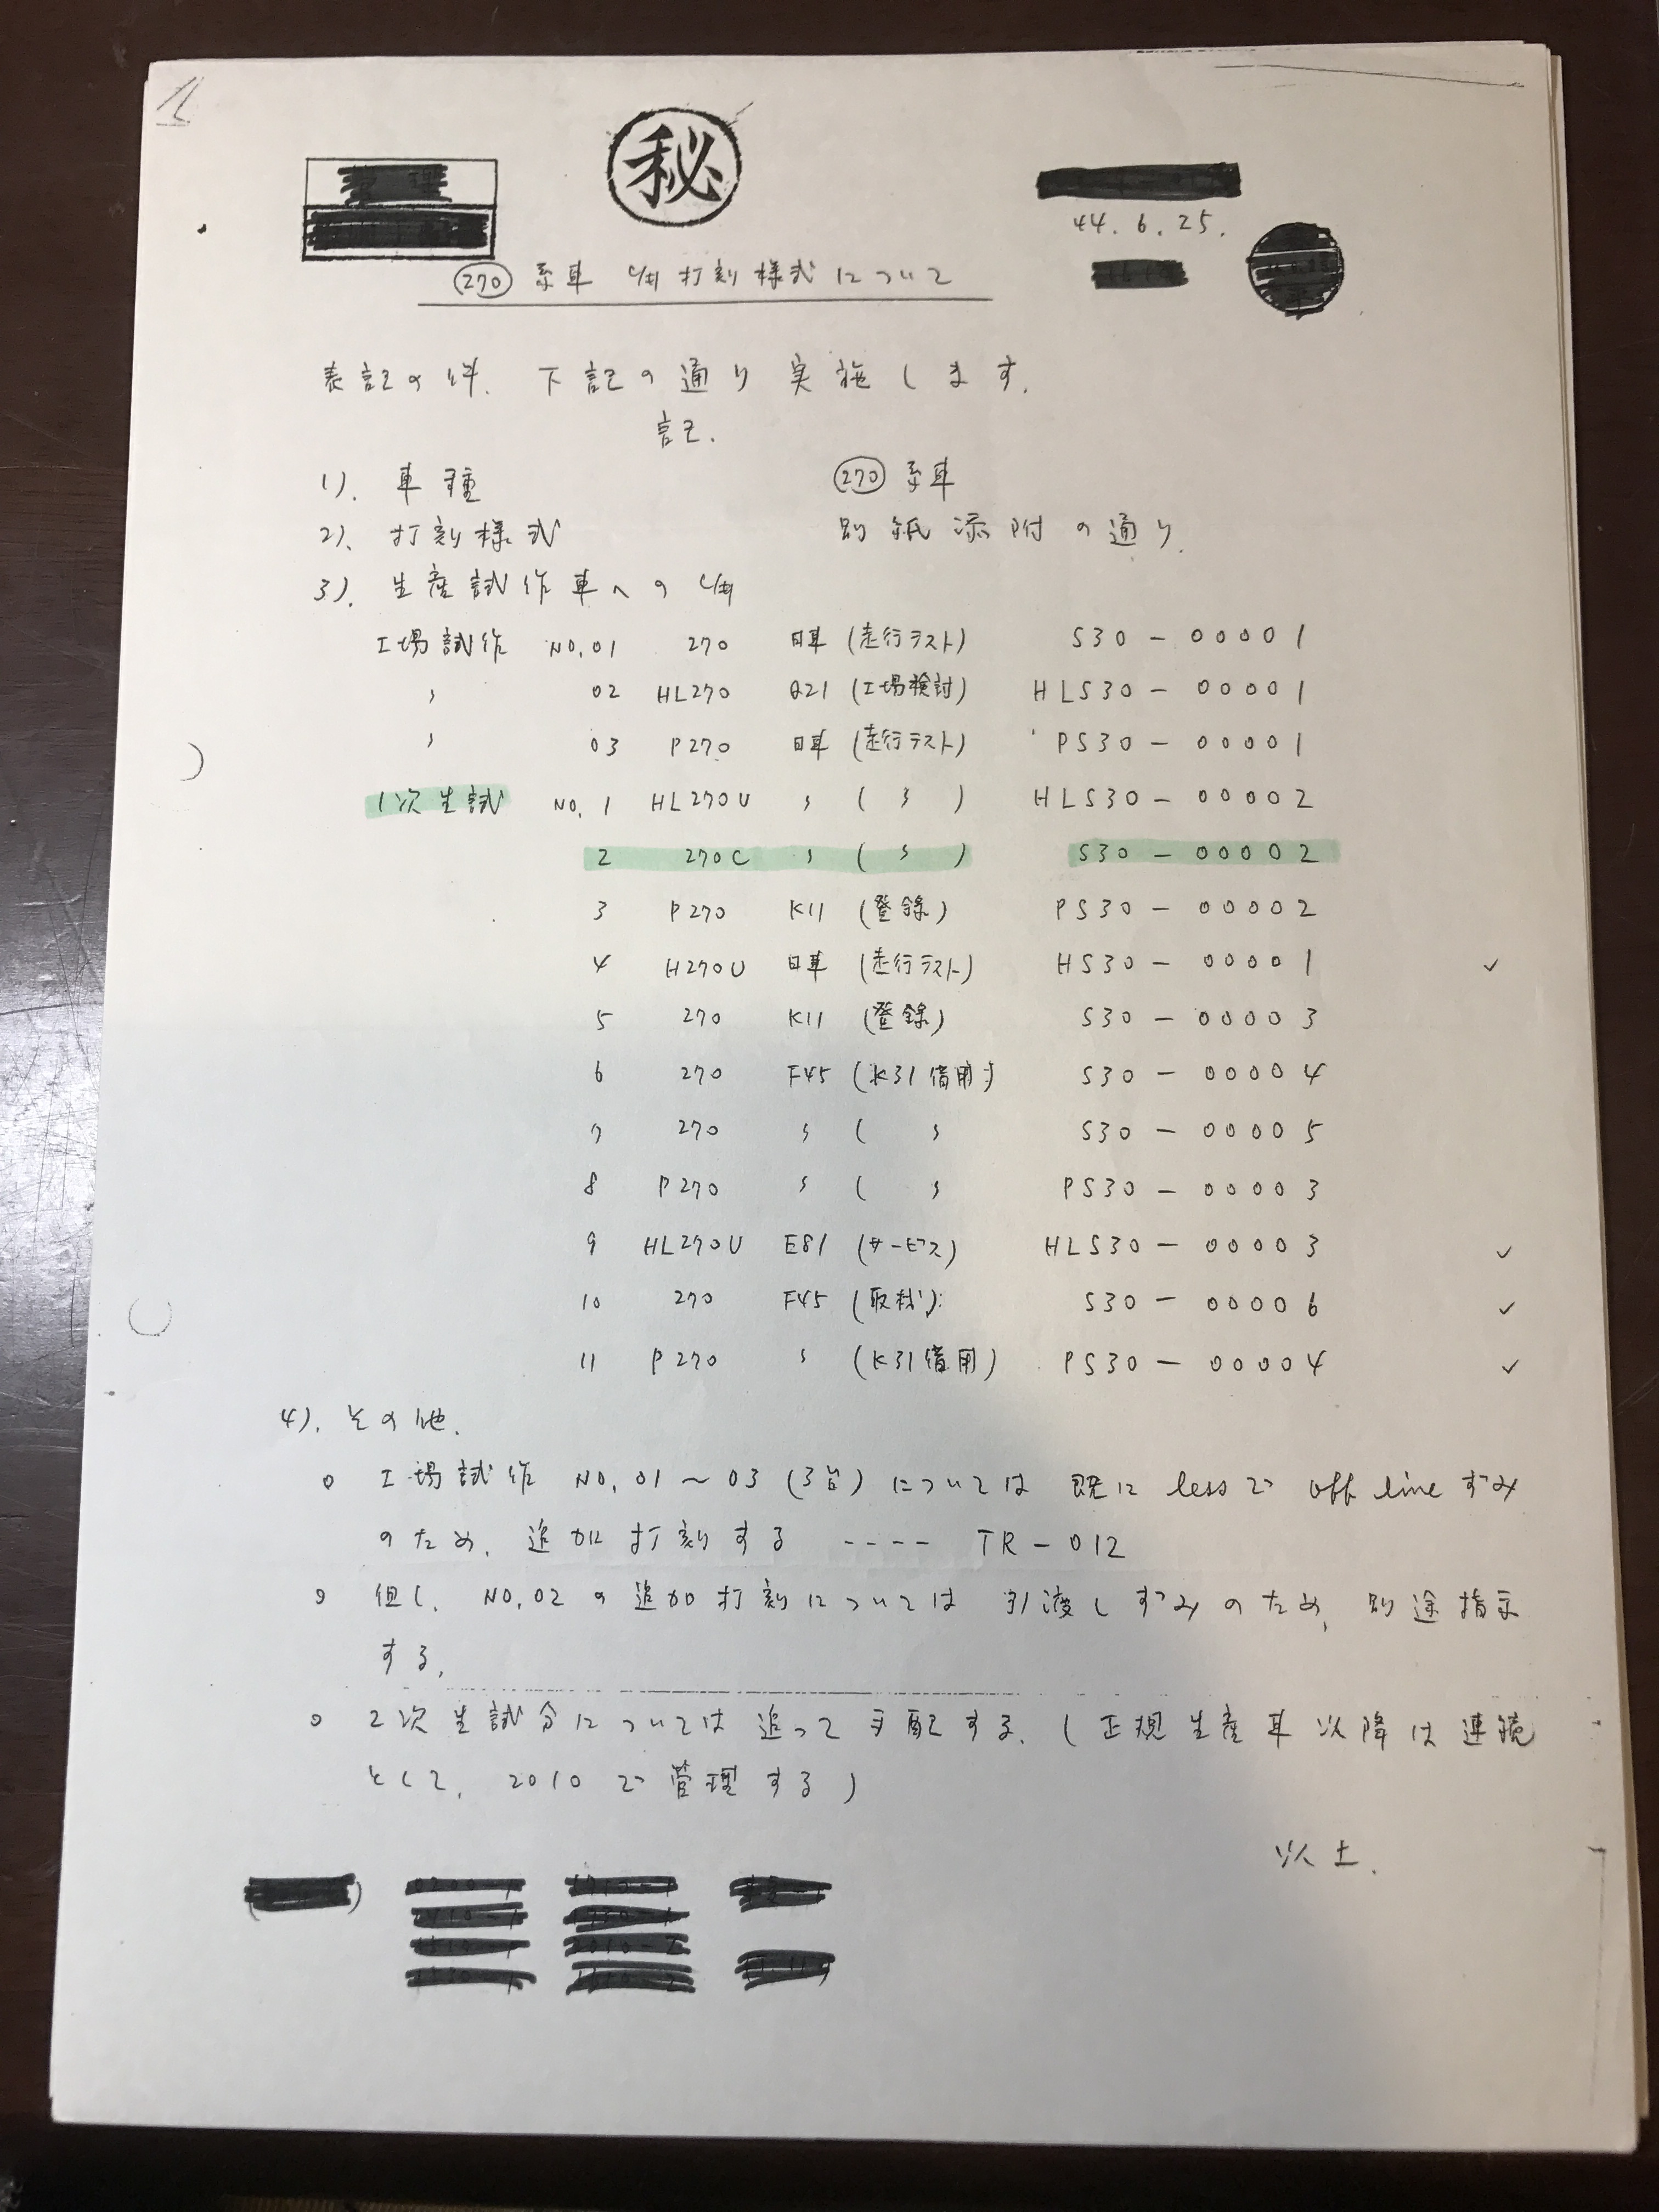
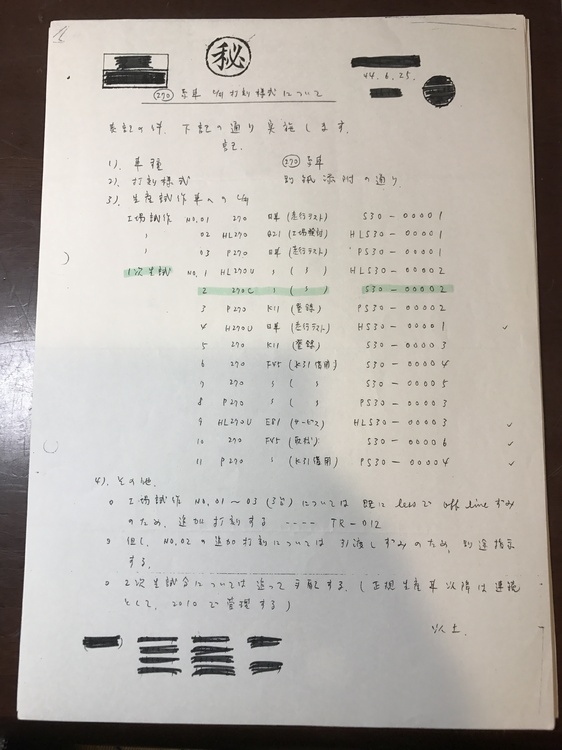
Before that, I found new today, about a department code(ID) , we talked about it before in another thread, very first S30 prototype making sequence . Each car has each department to belong, we did not know what "K11" means. Now I see K11 is Dai Ichi Soukatsu Ka (general affairs section No.1) in Dai Ichi Sharyo Sekkei Ka (Chassis layout/ mechanical design department No.1 ) I have Nissan footage books( Alan you have them too) ,this 1964-1973 has a lot of interesting information. Please see the attached pictures. Kats

 1 point