Leaderboard
-

siteunseen
Free Member3Points15,115Posts -

Diseazd
Free Member3Points3,362Posts -

Zed Head
Free Member1Points19,228Posts -
Namerow
Free Member1Points1,551Posts


Popular Content
Showing content with the highest reputation on 05/23/2017 in all areas
-
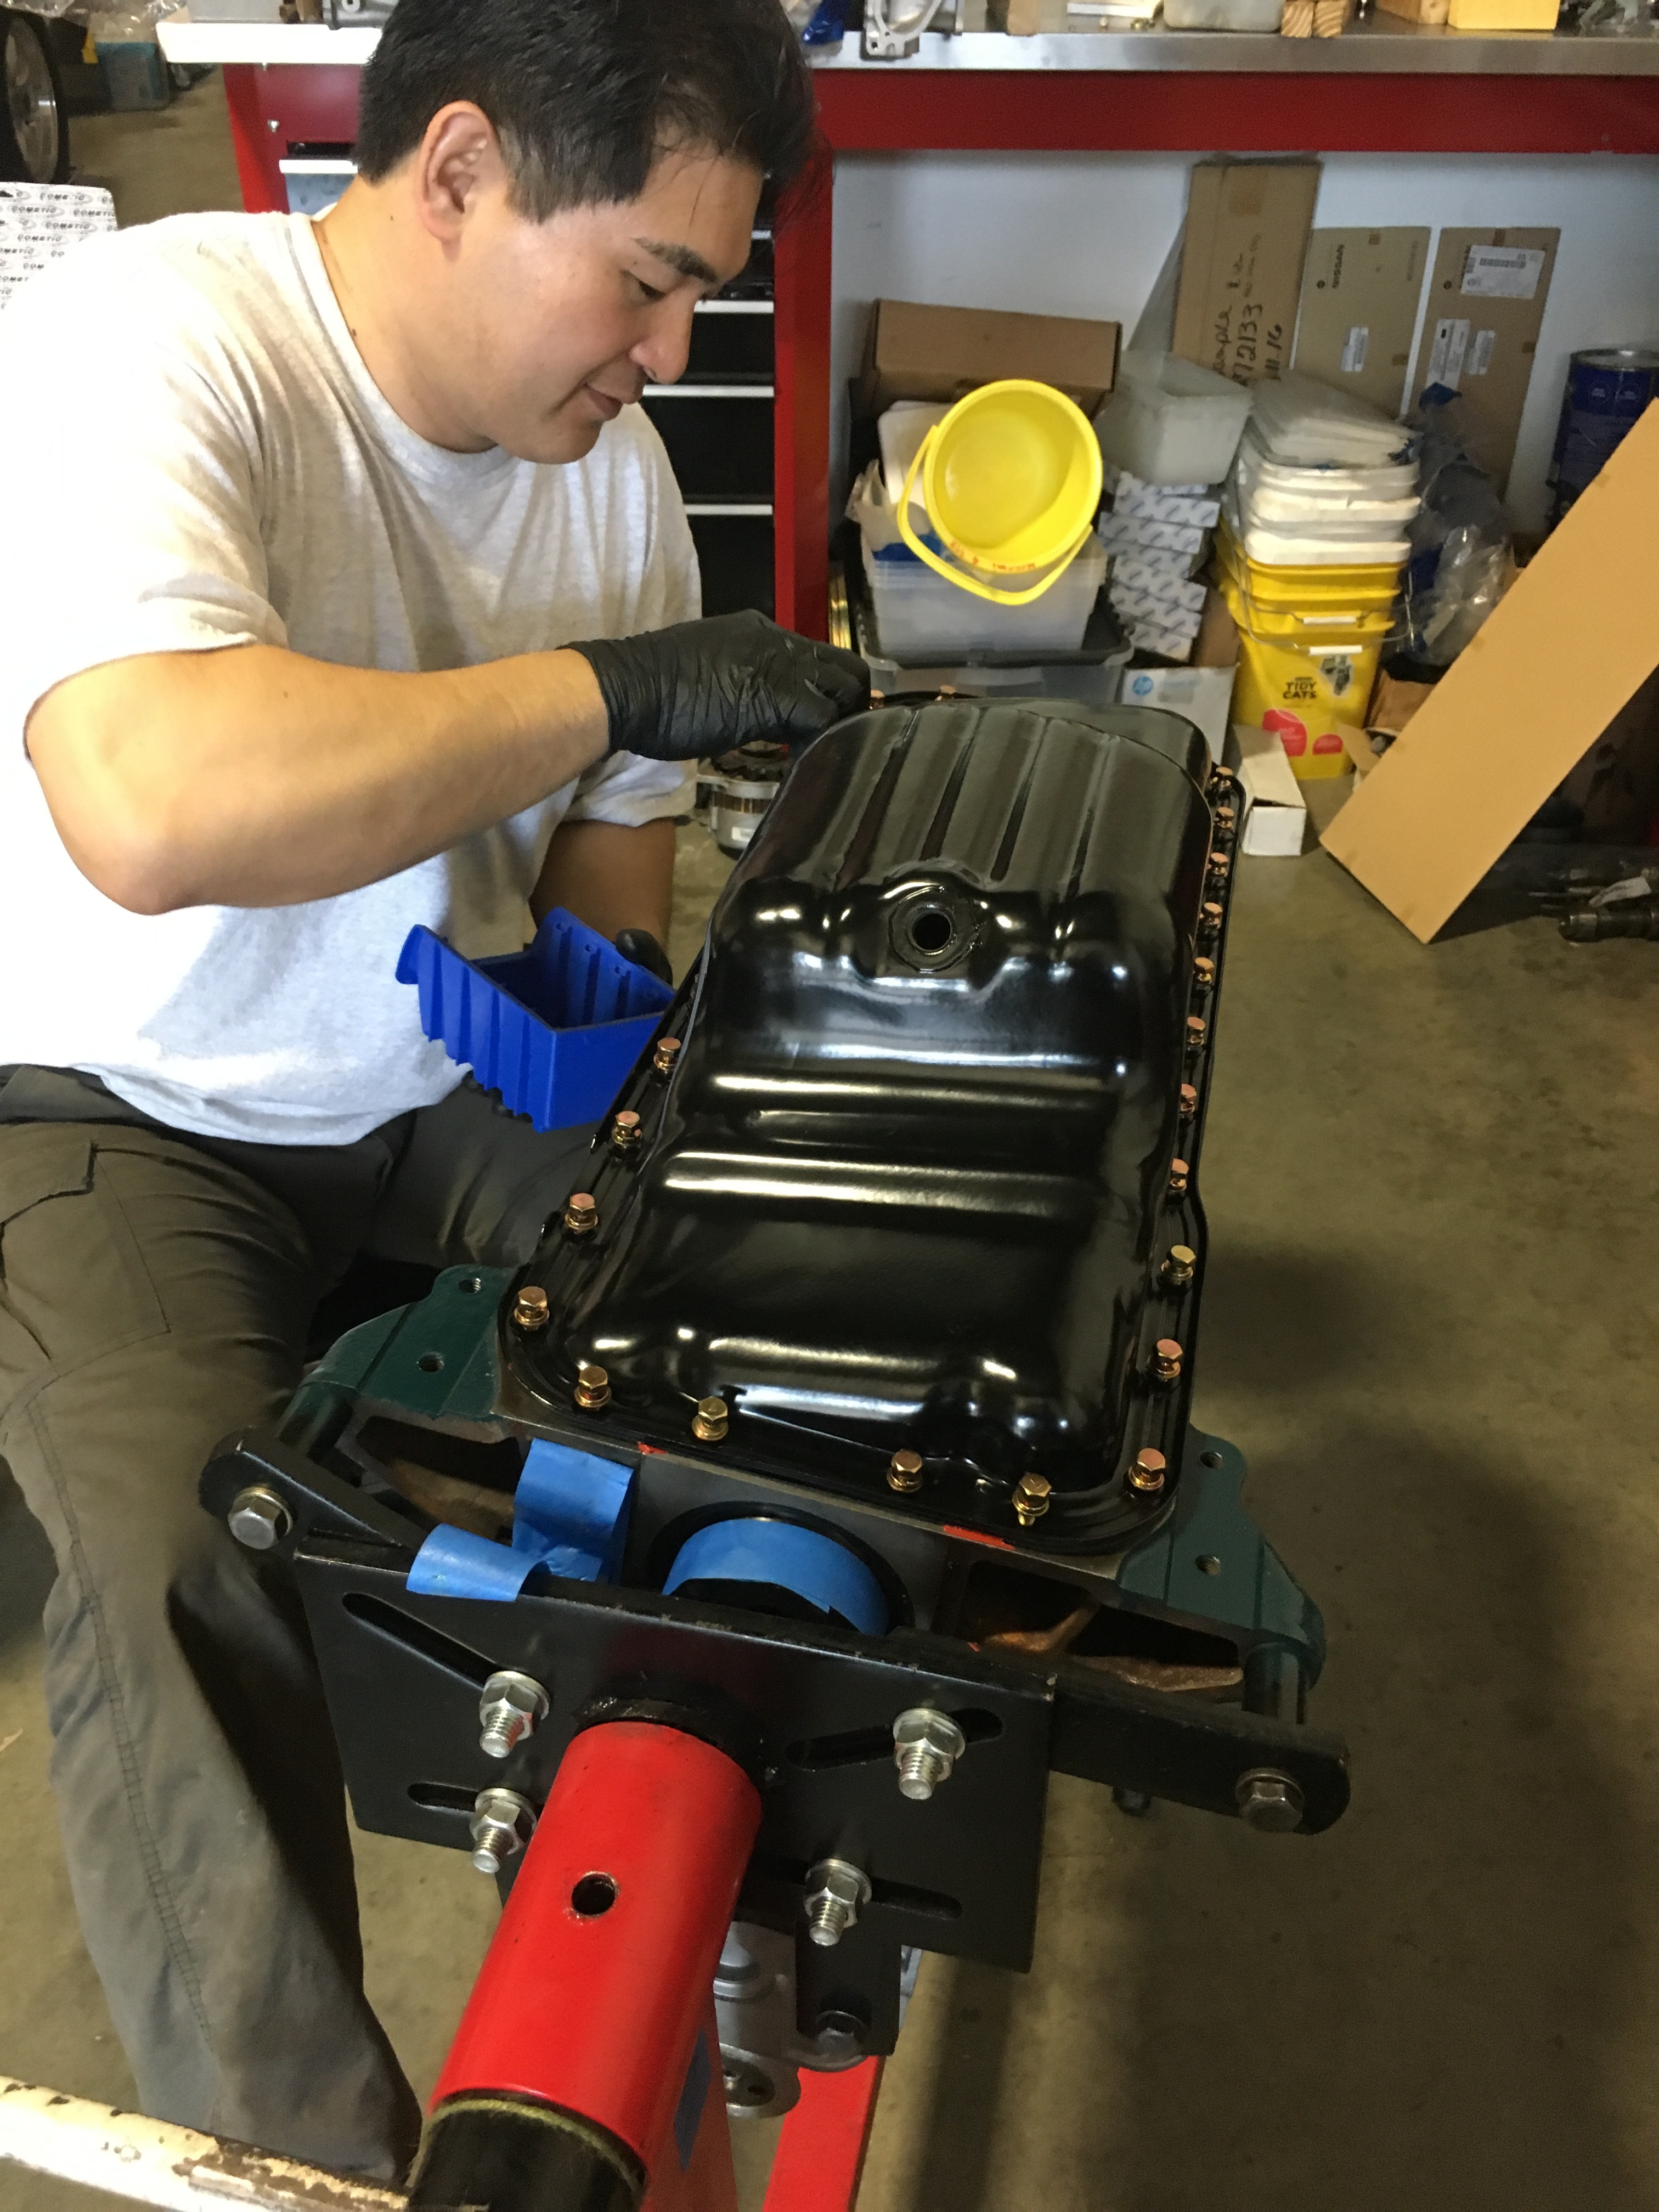
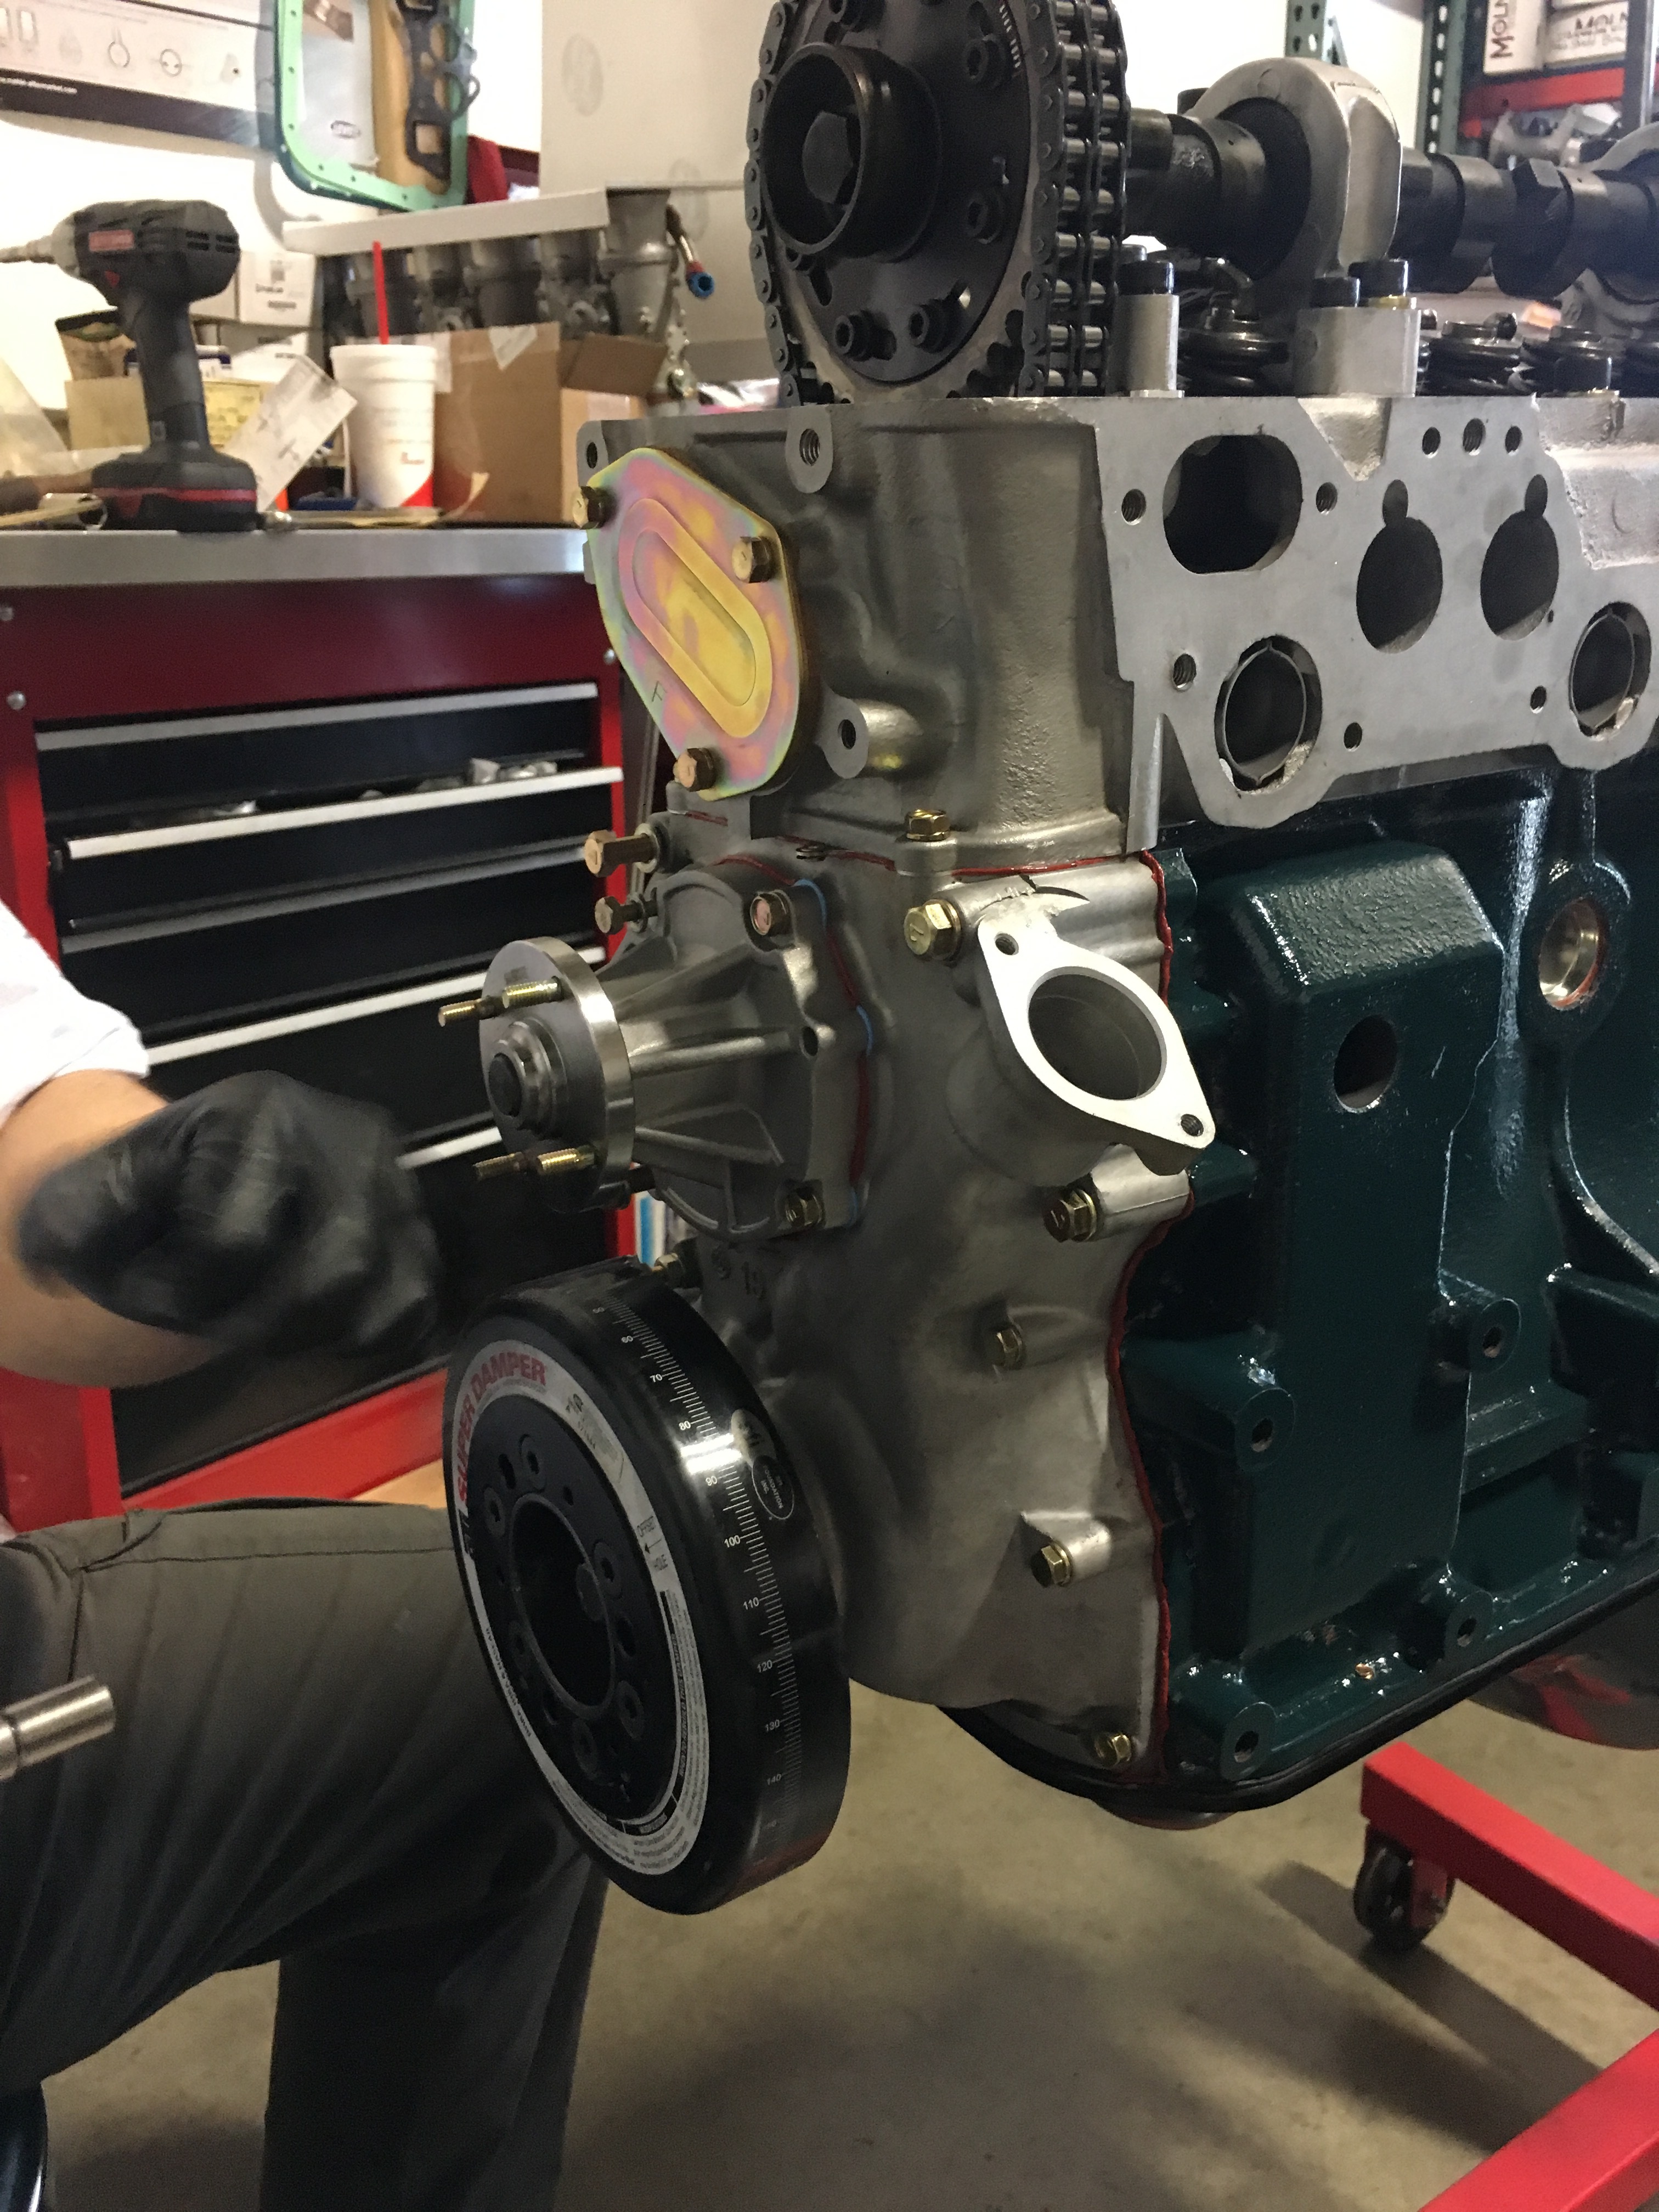
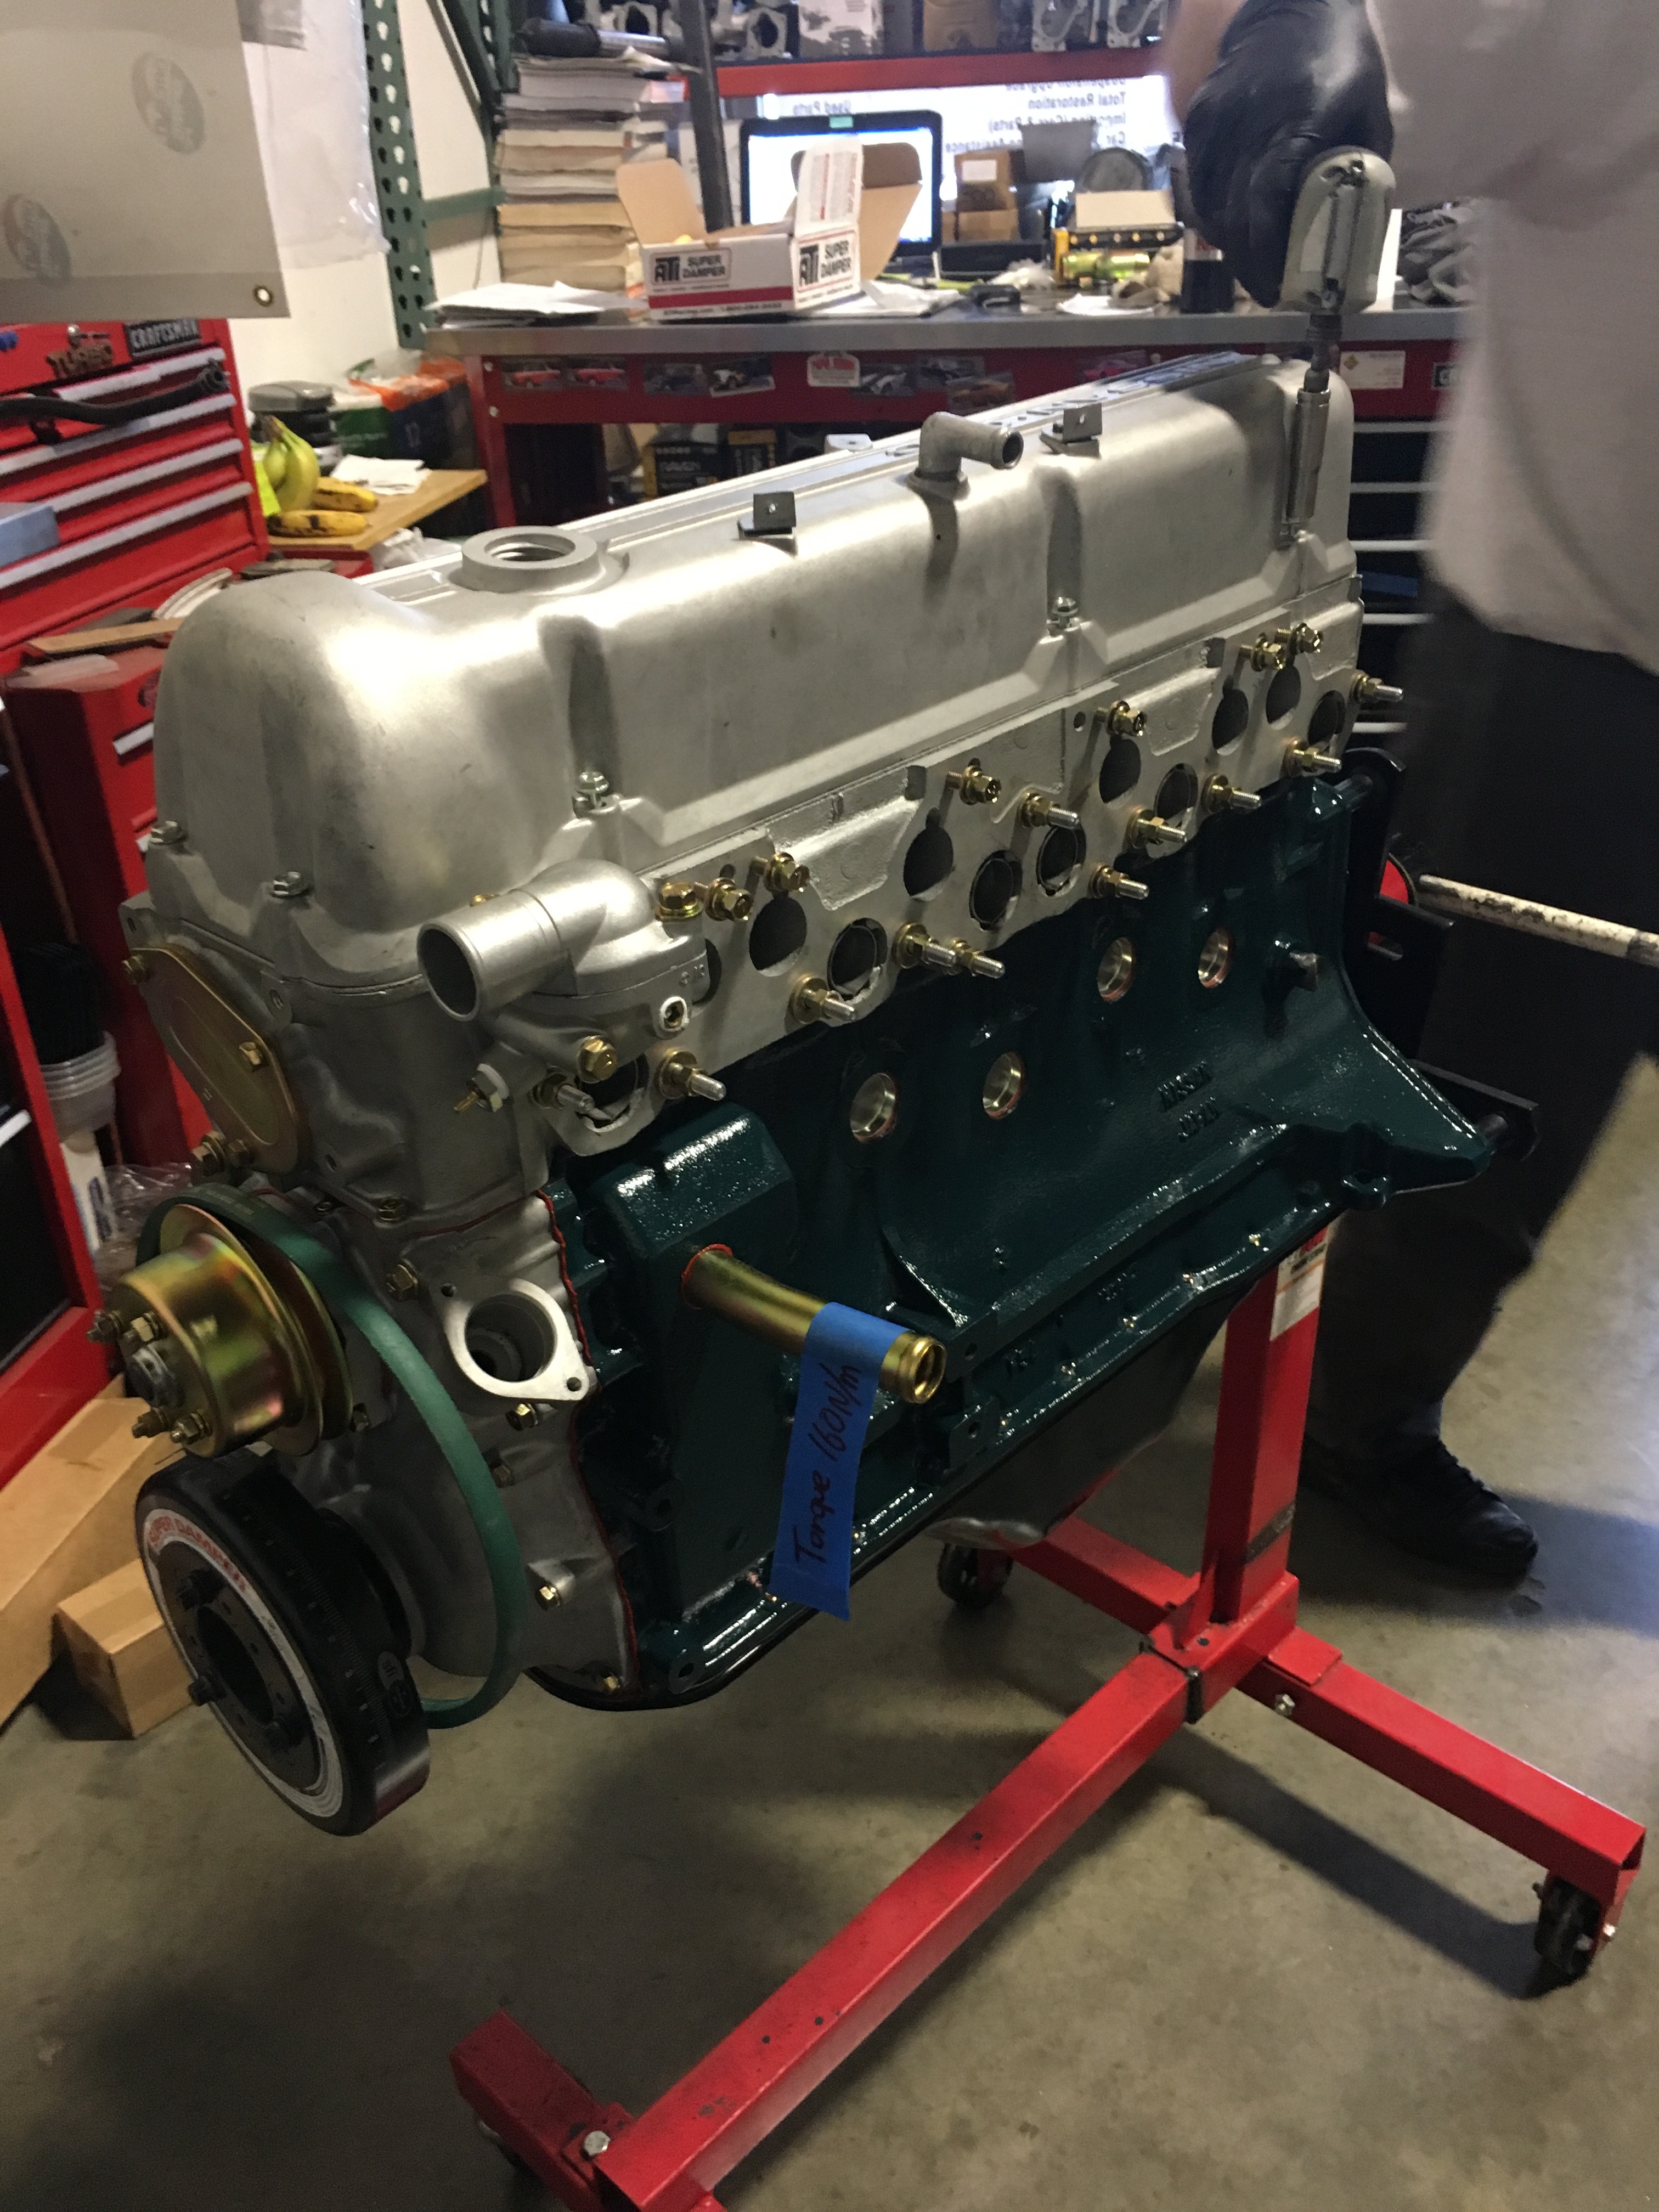
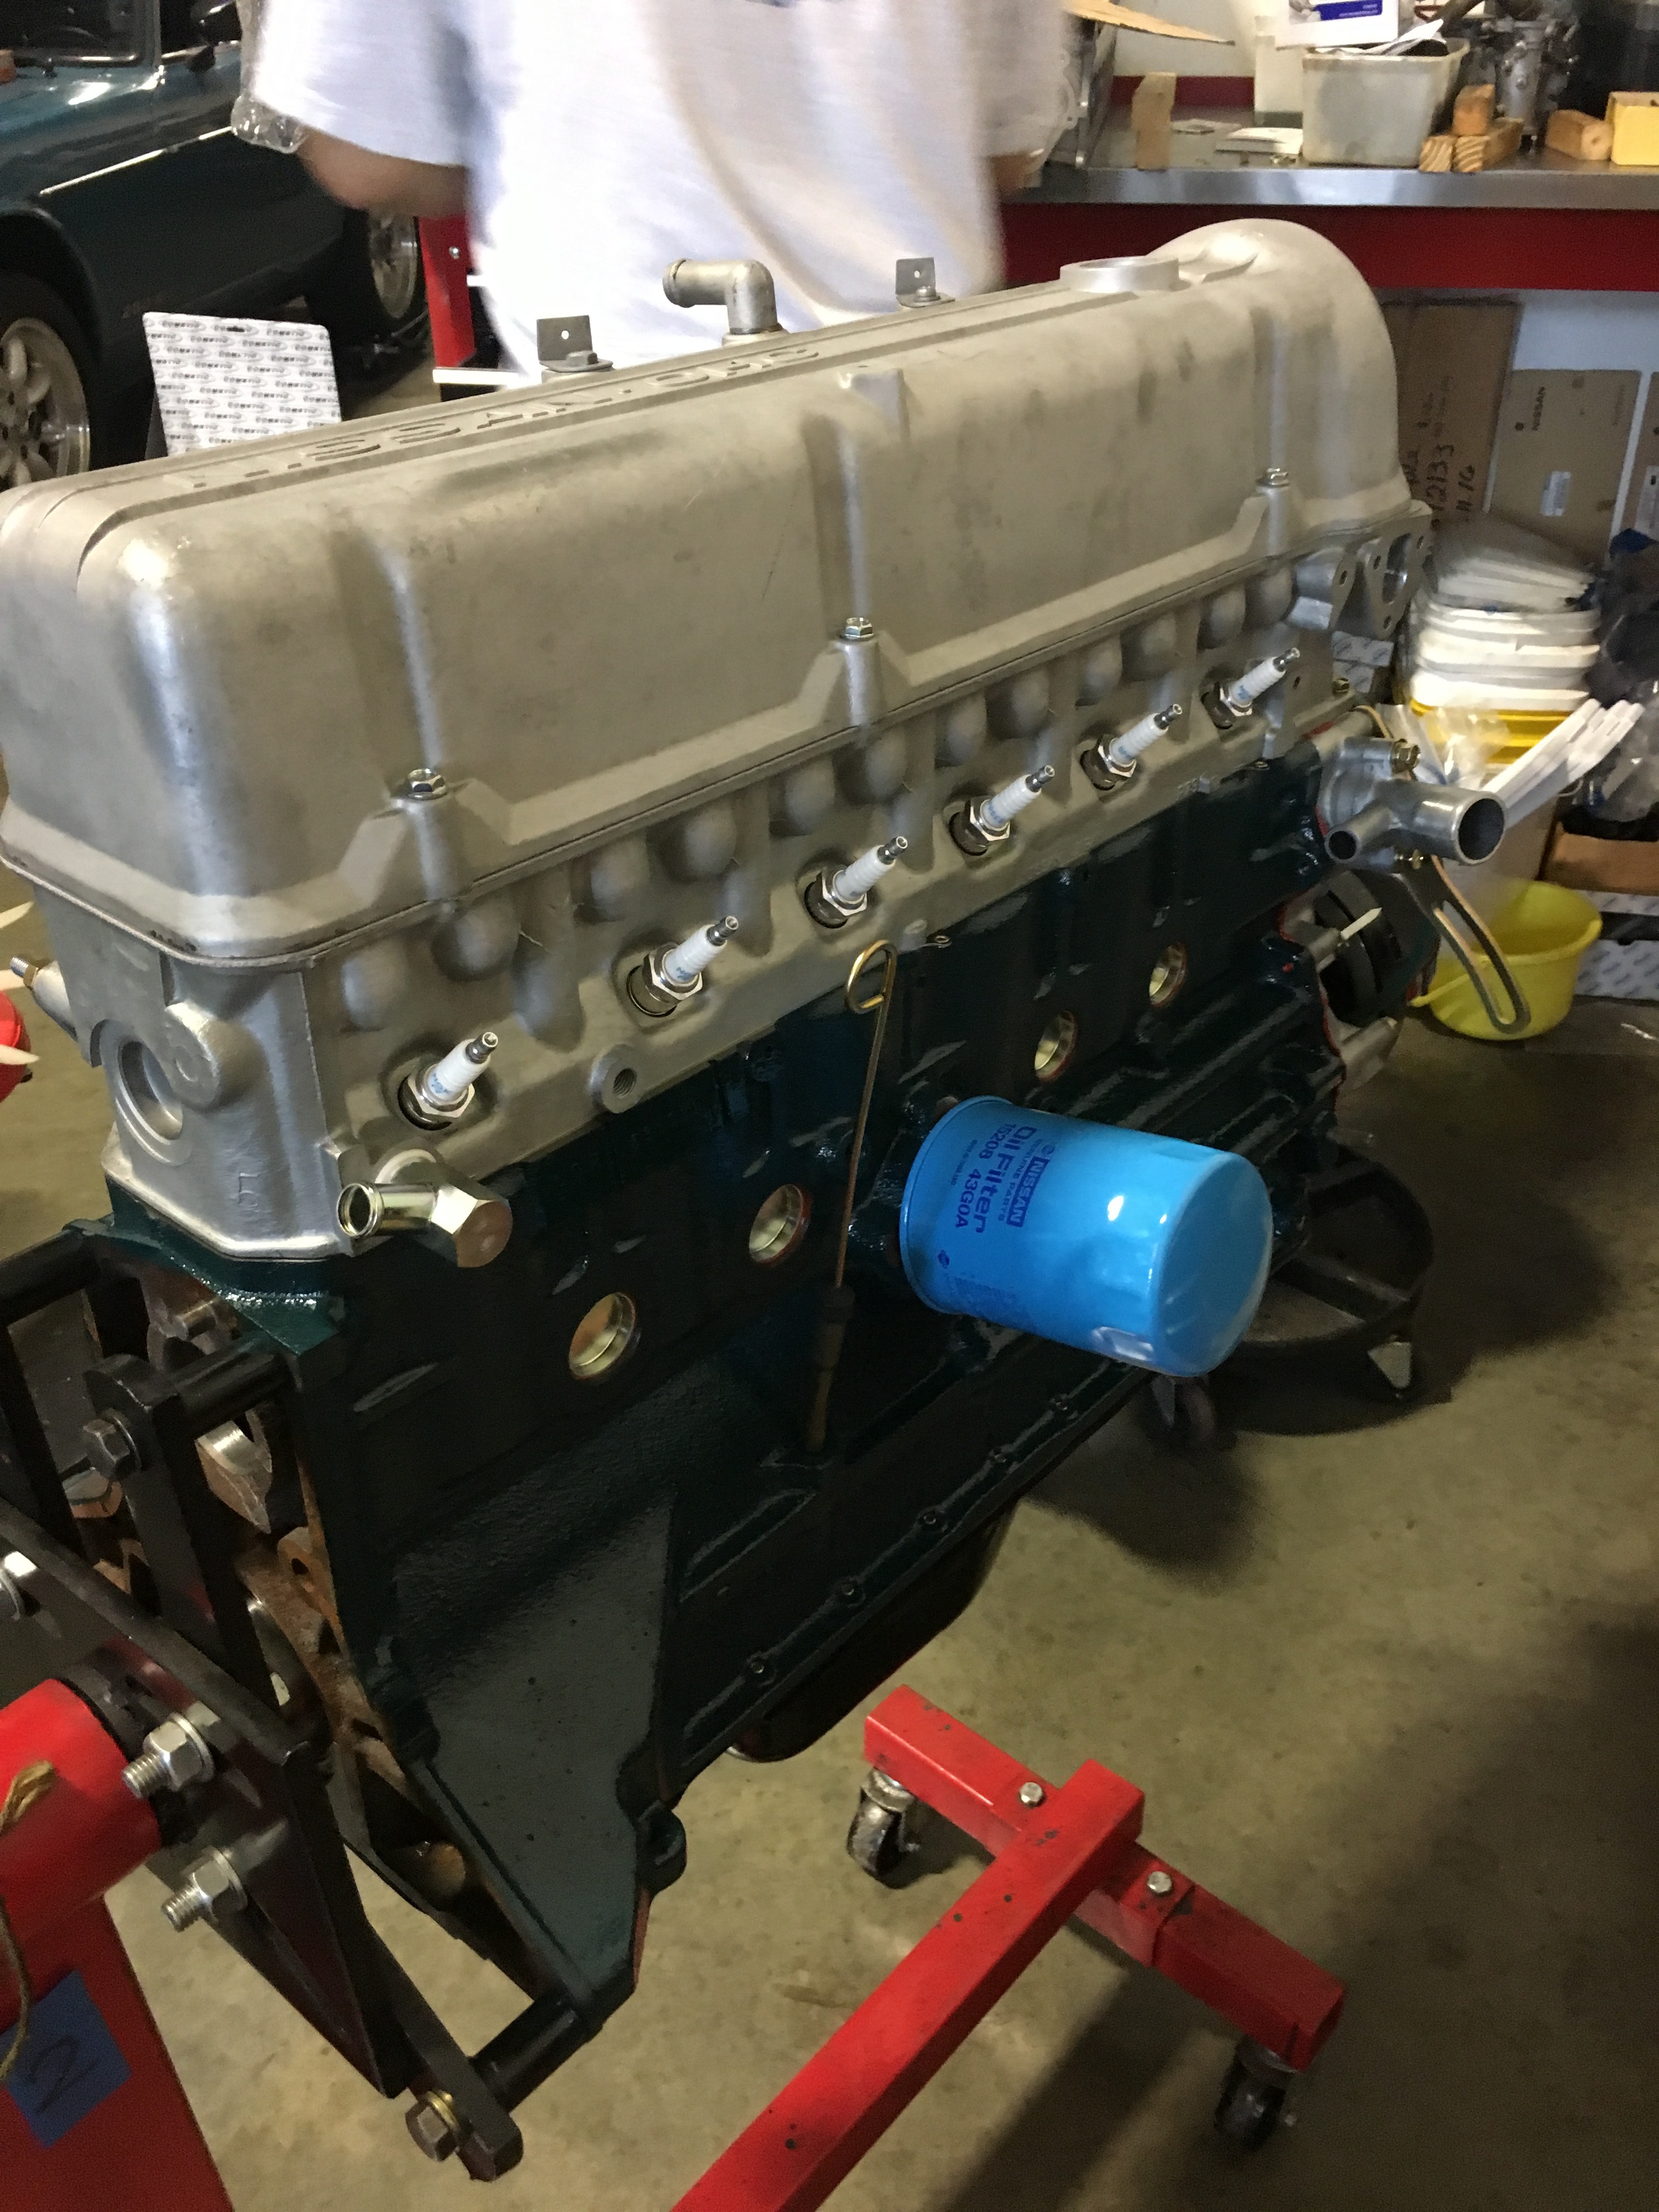
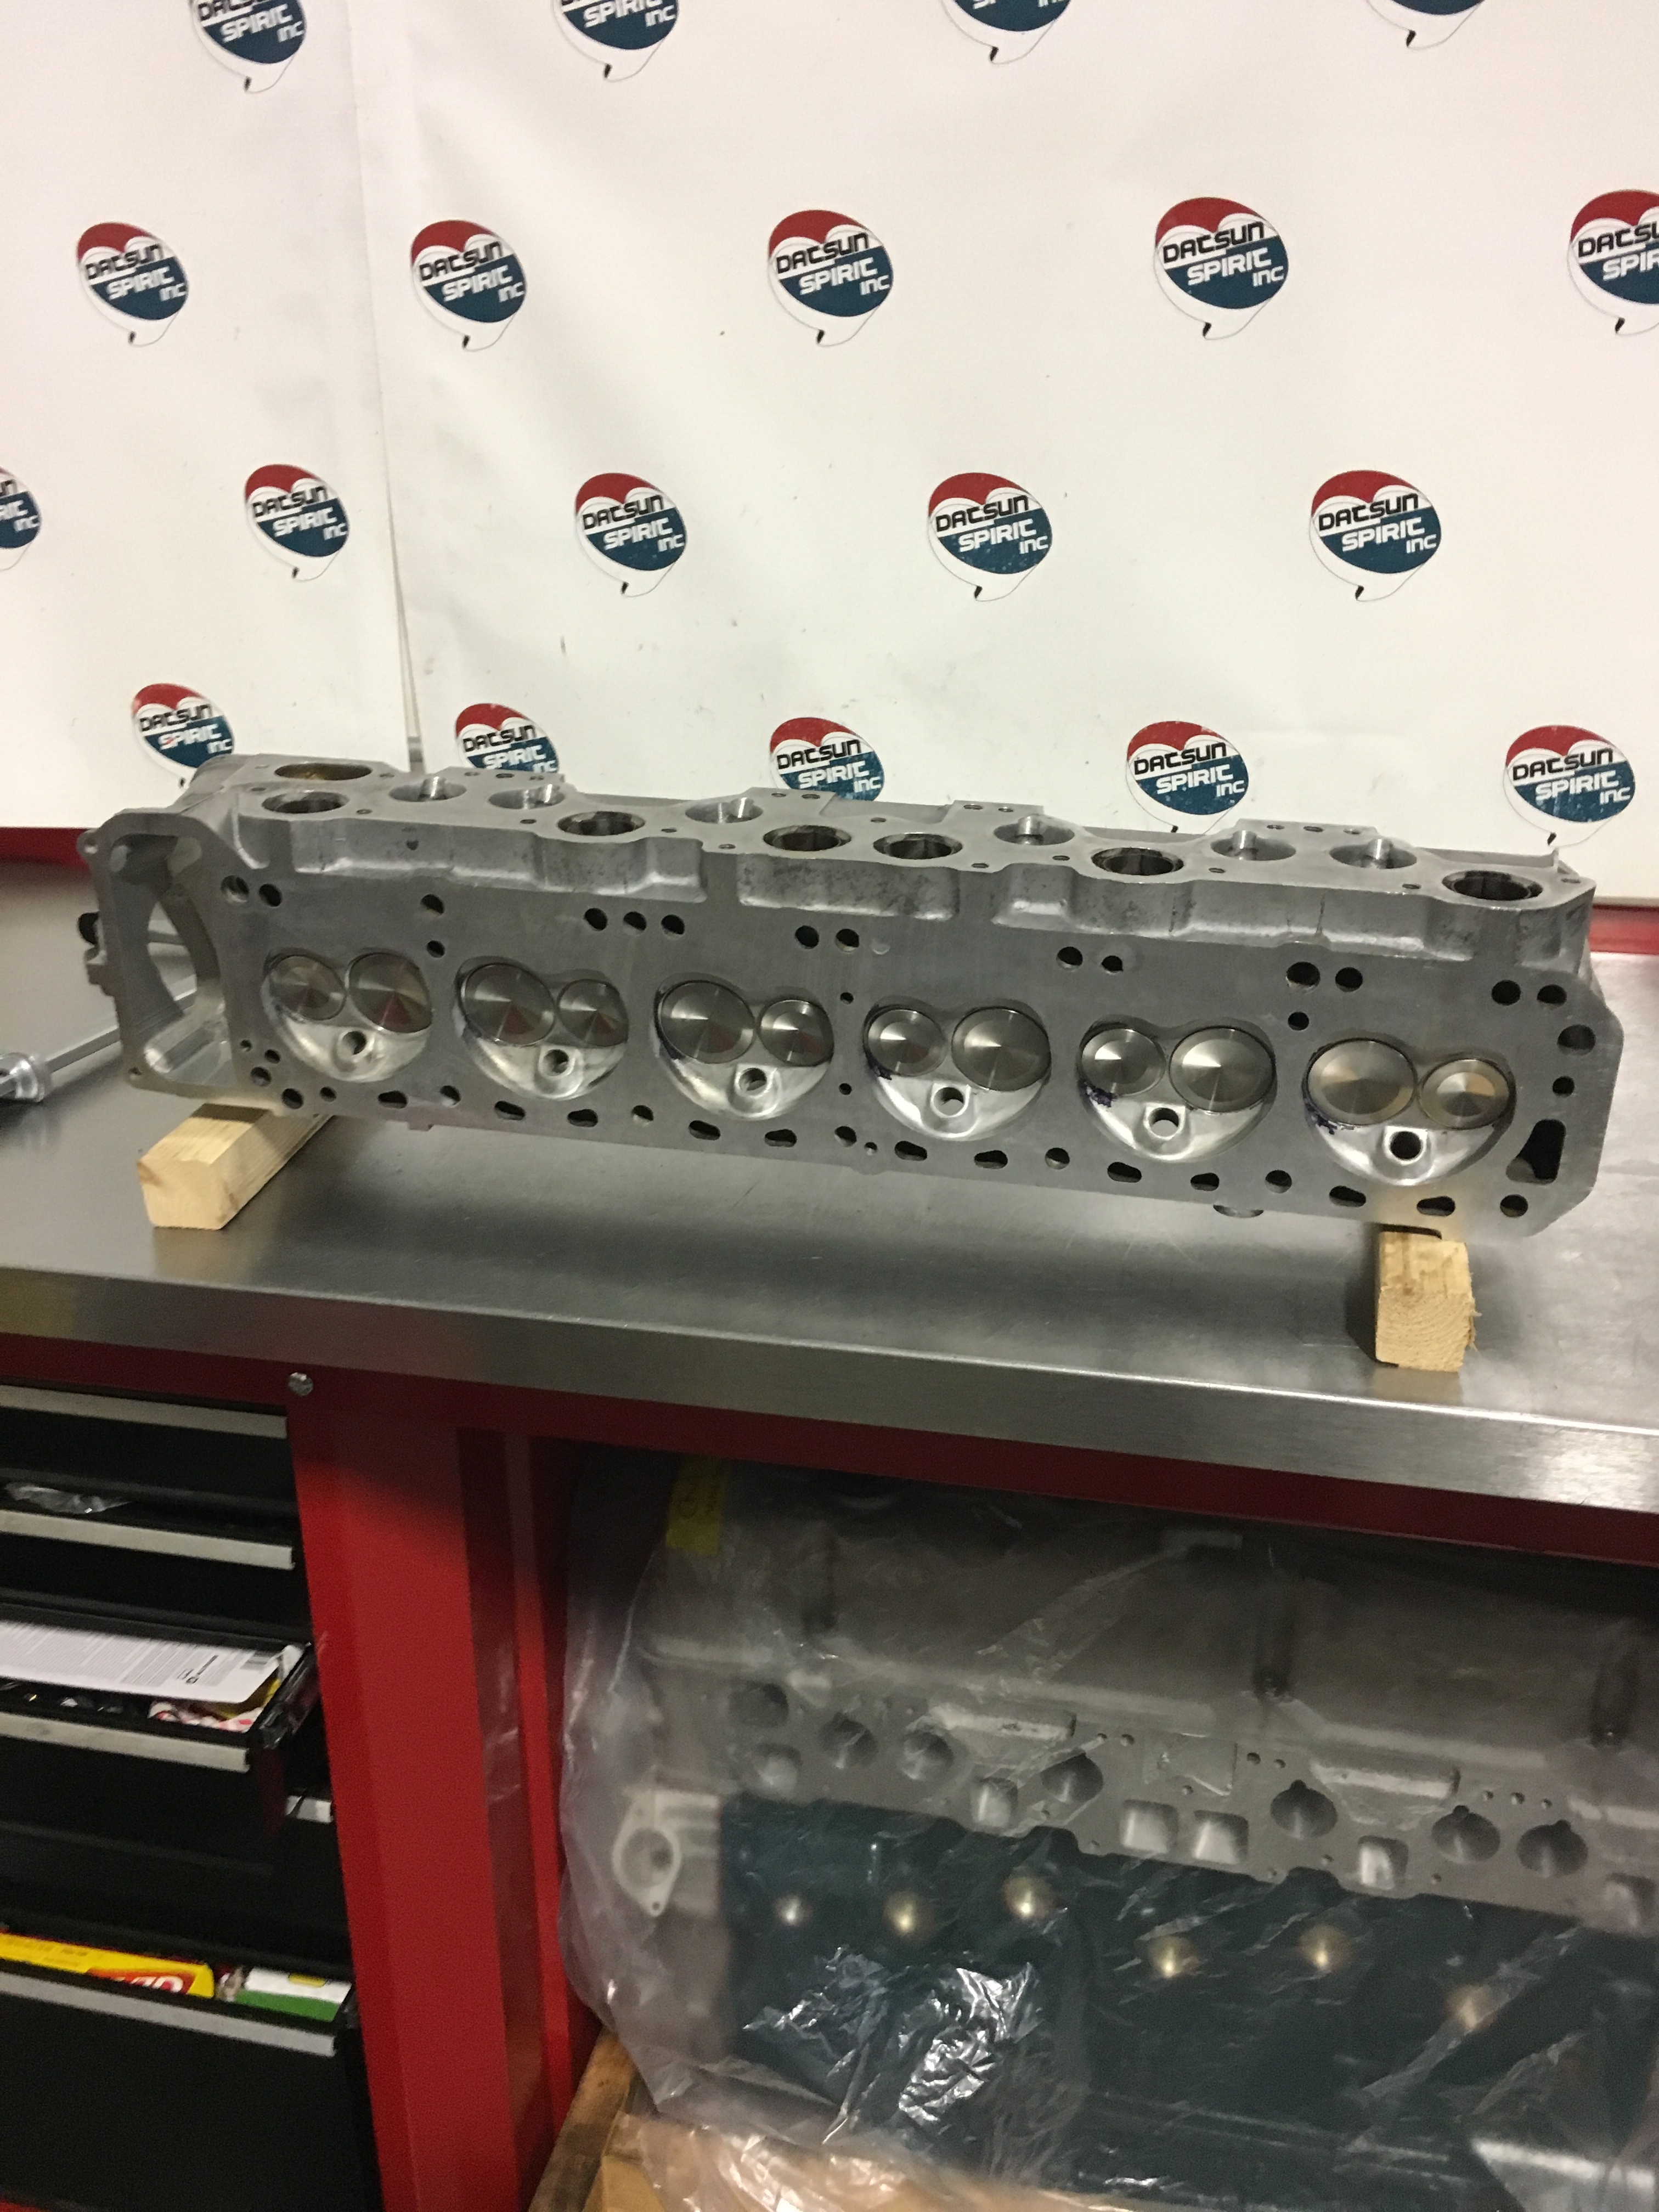
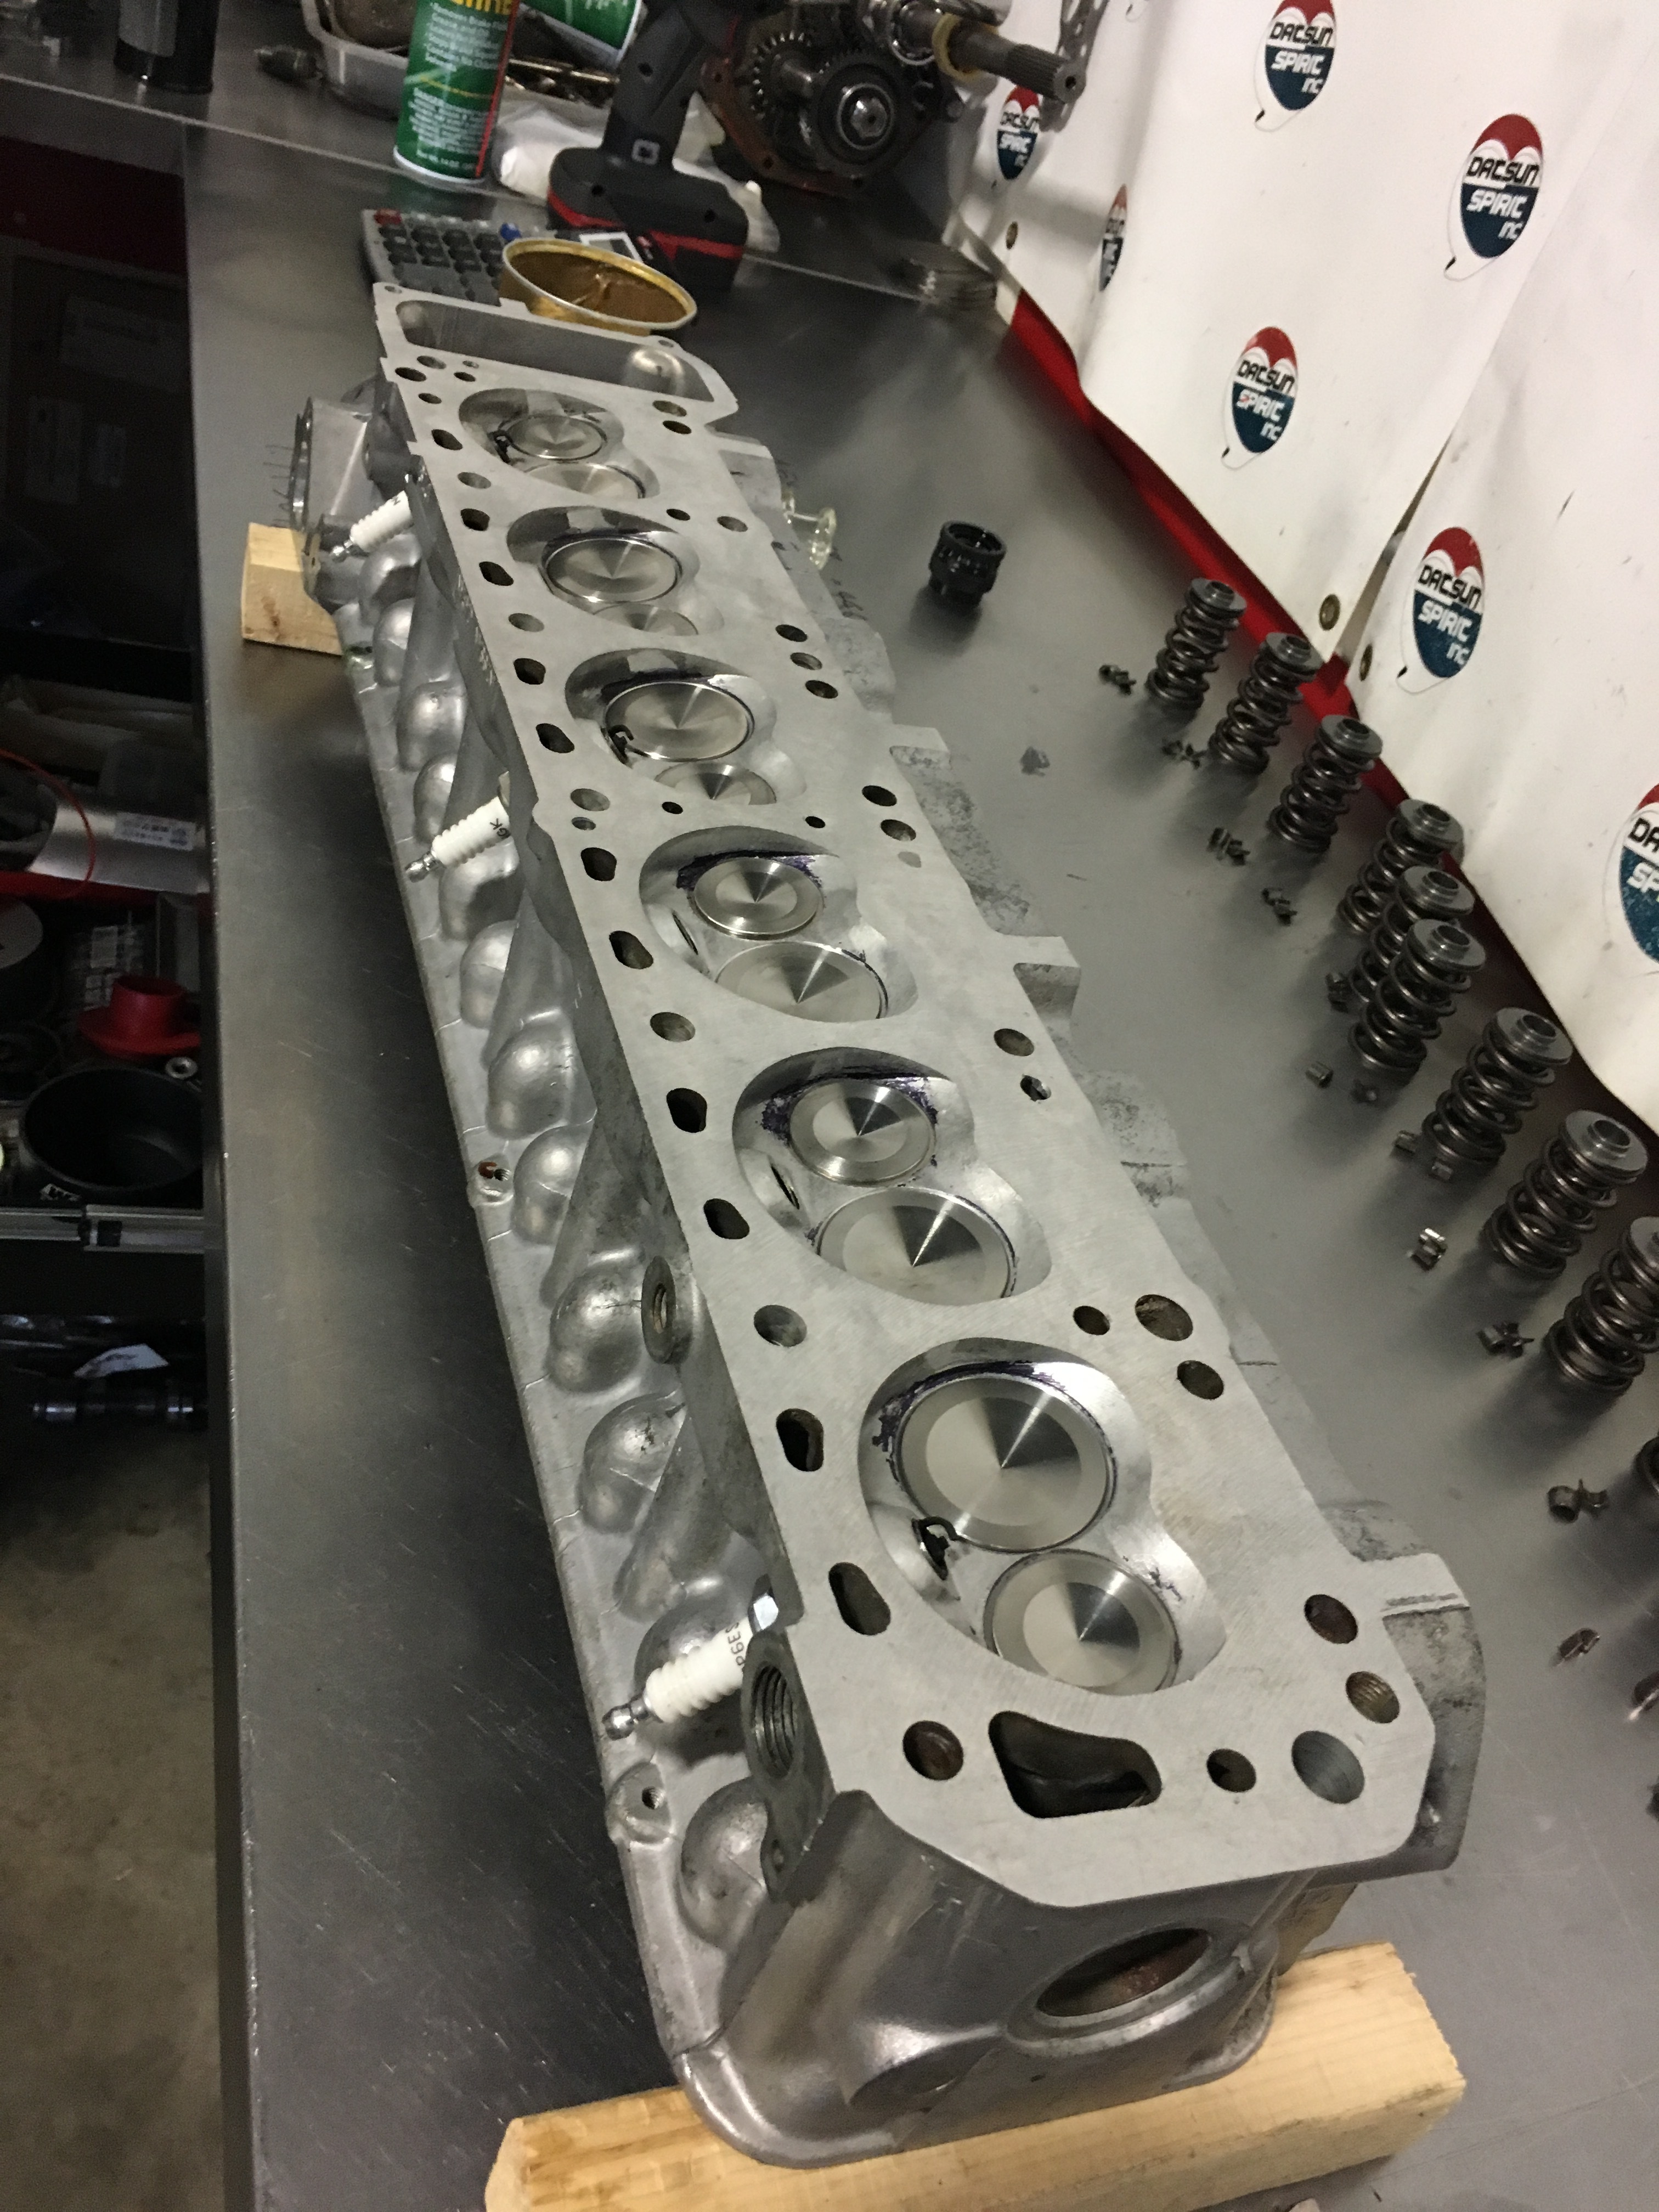
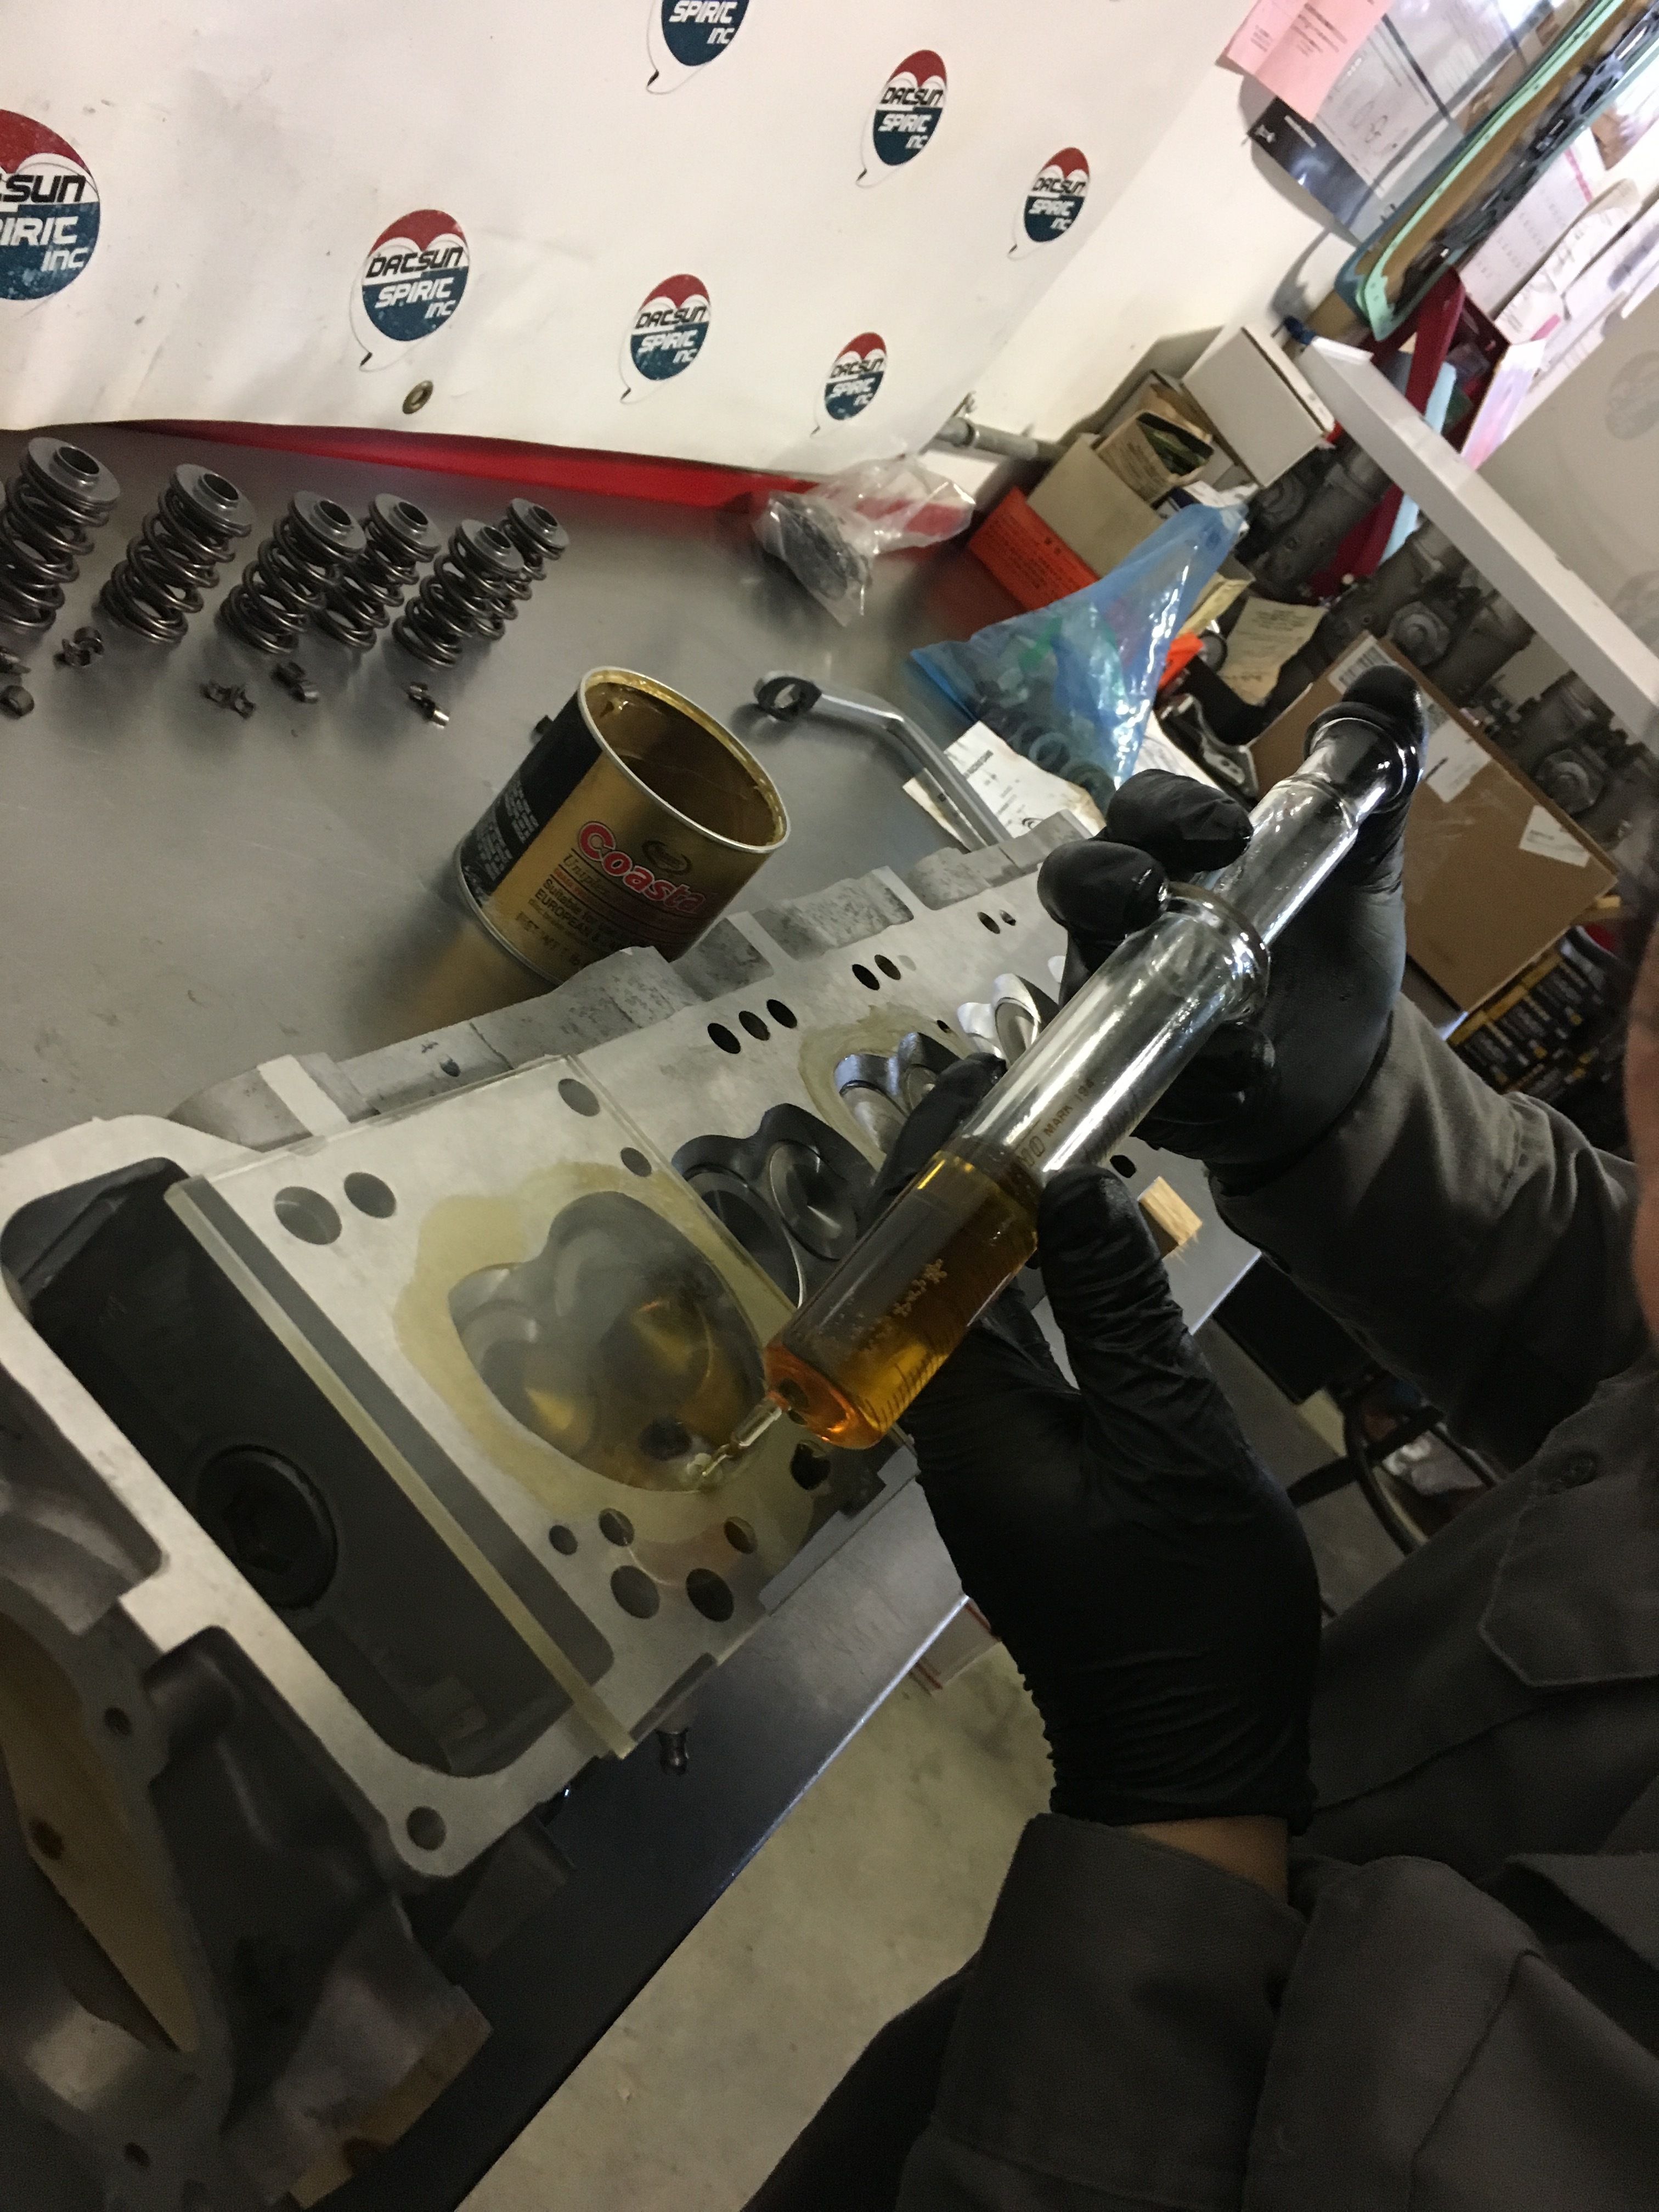
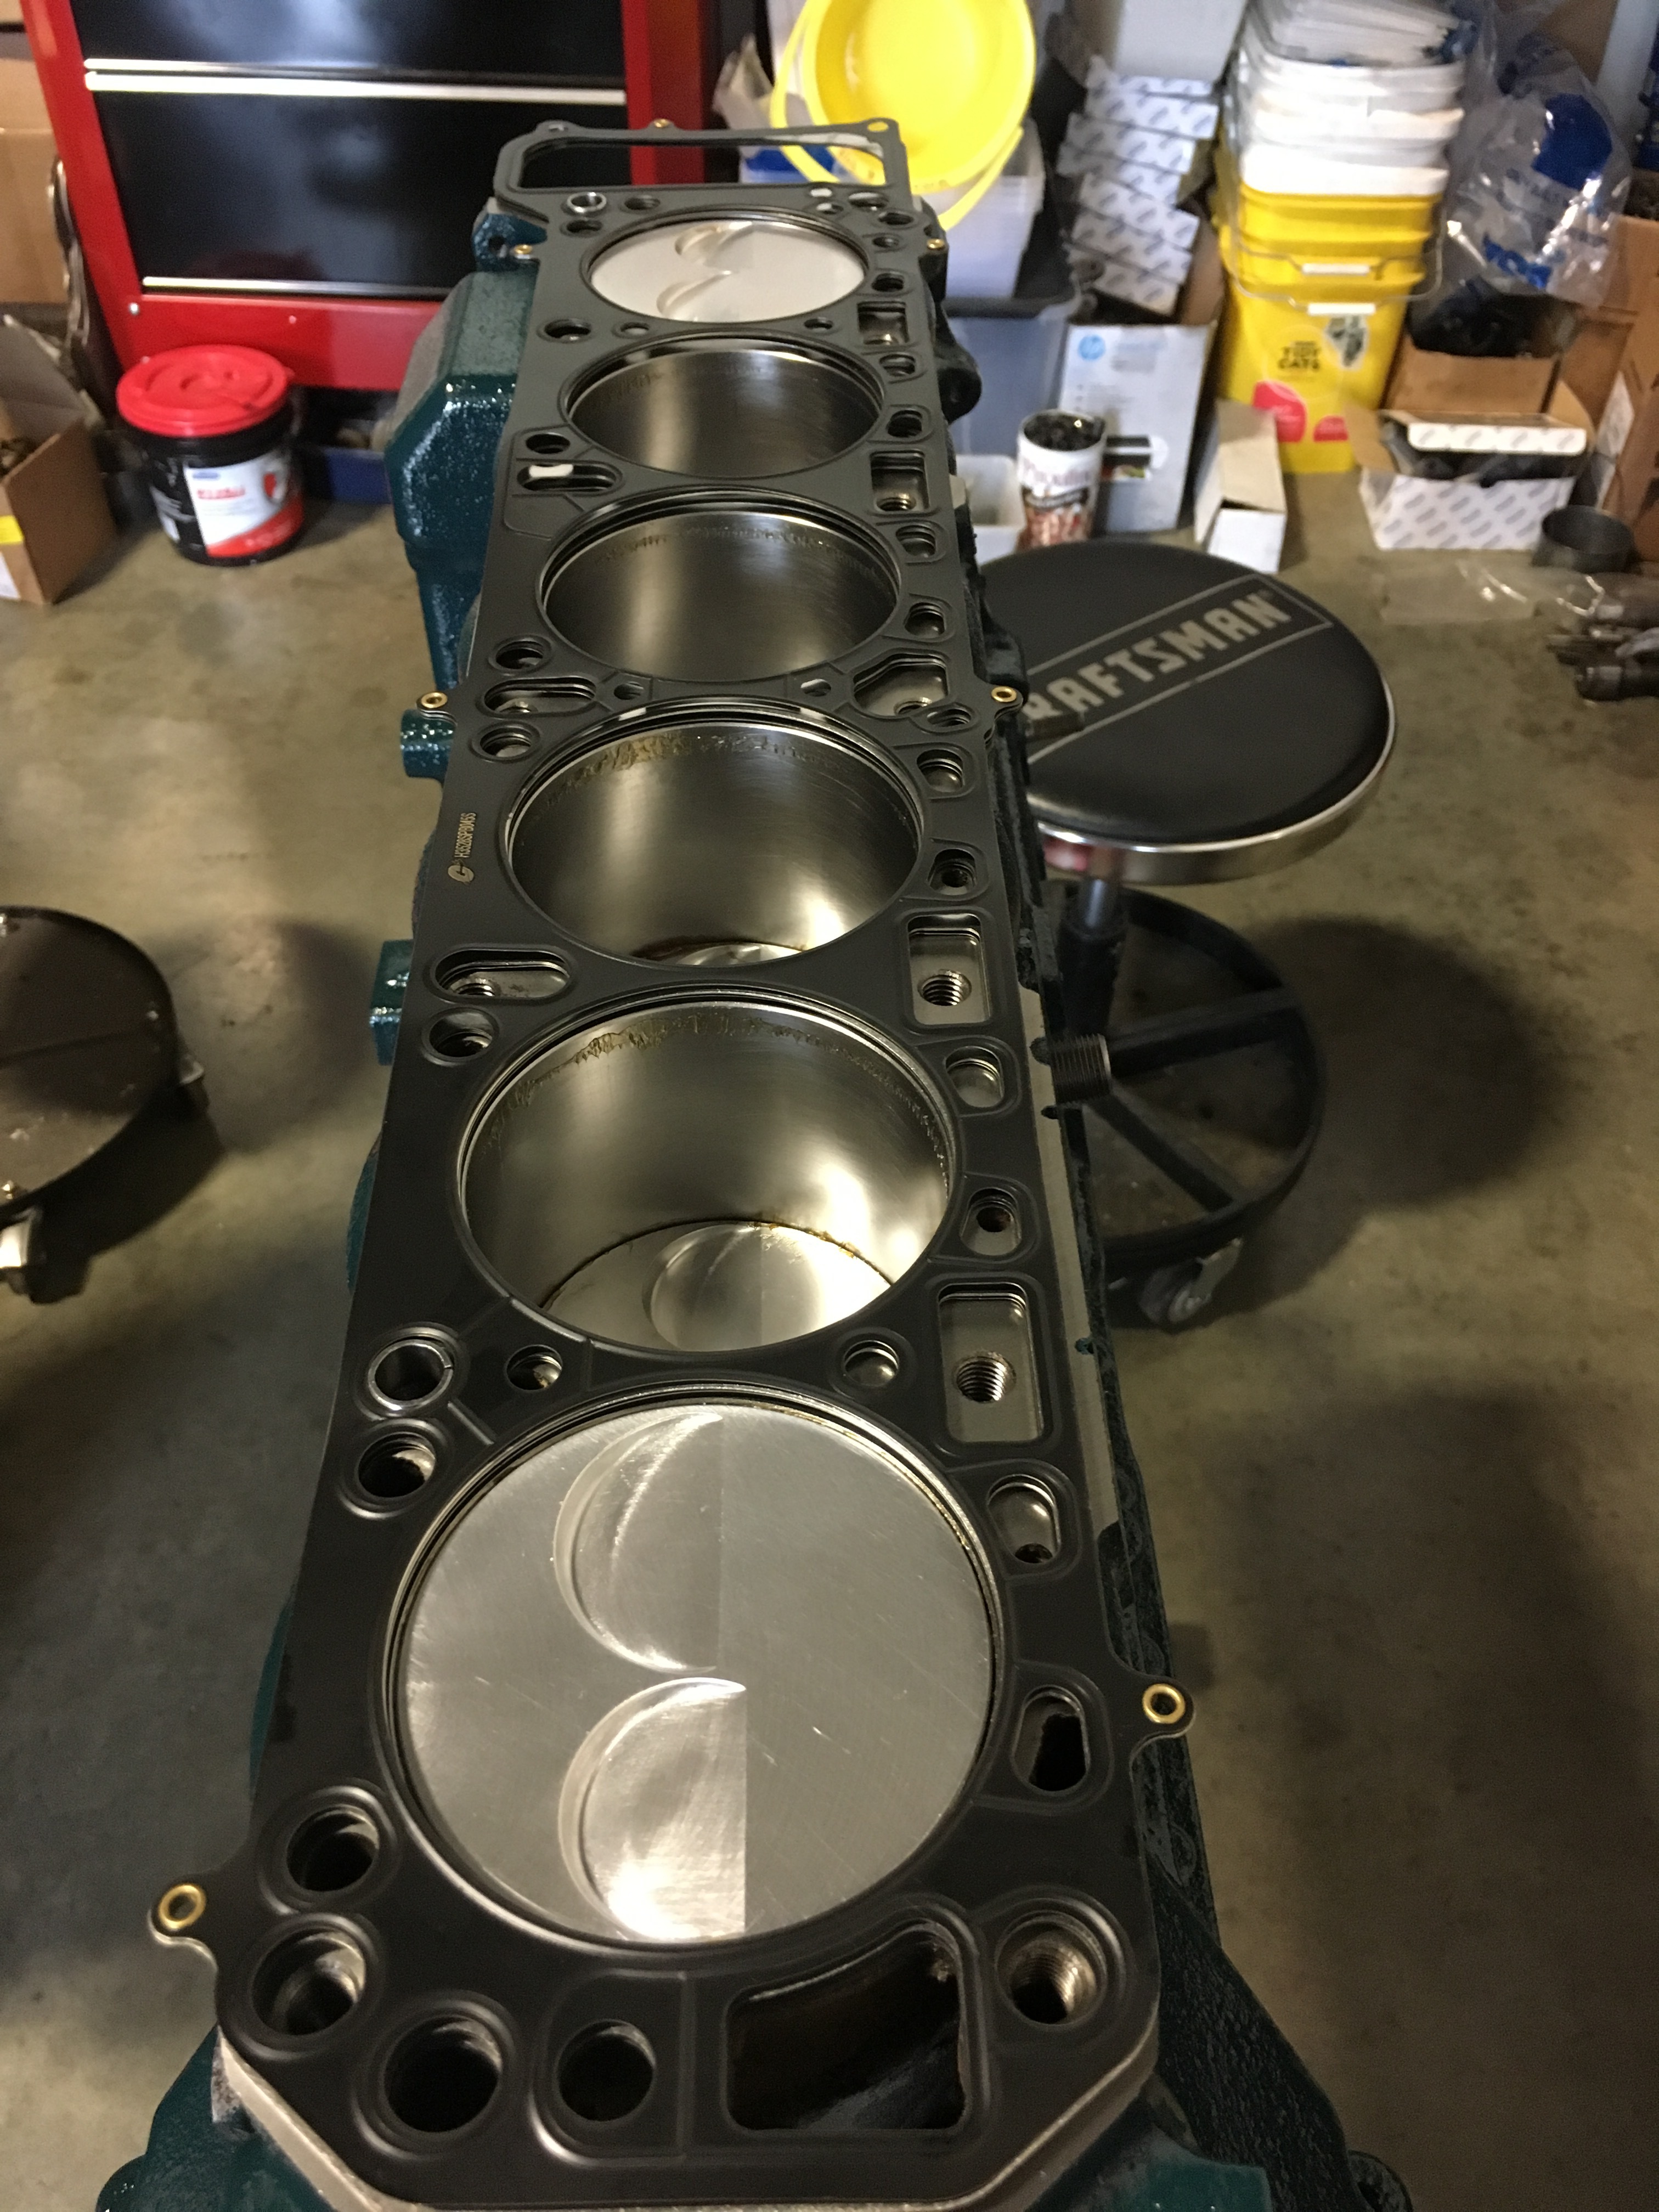
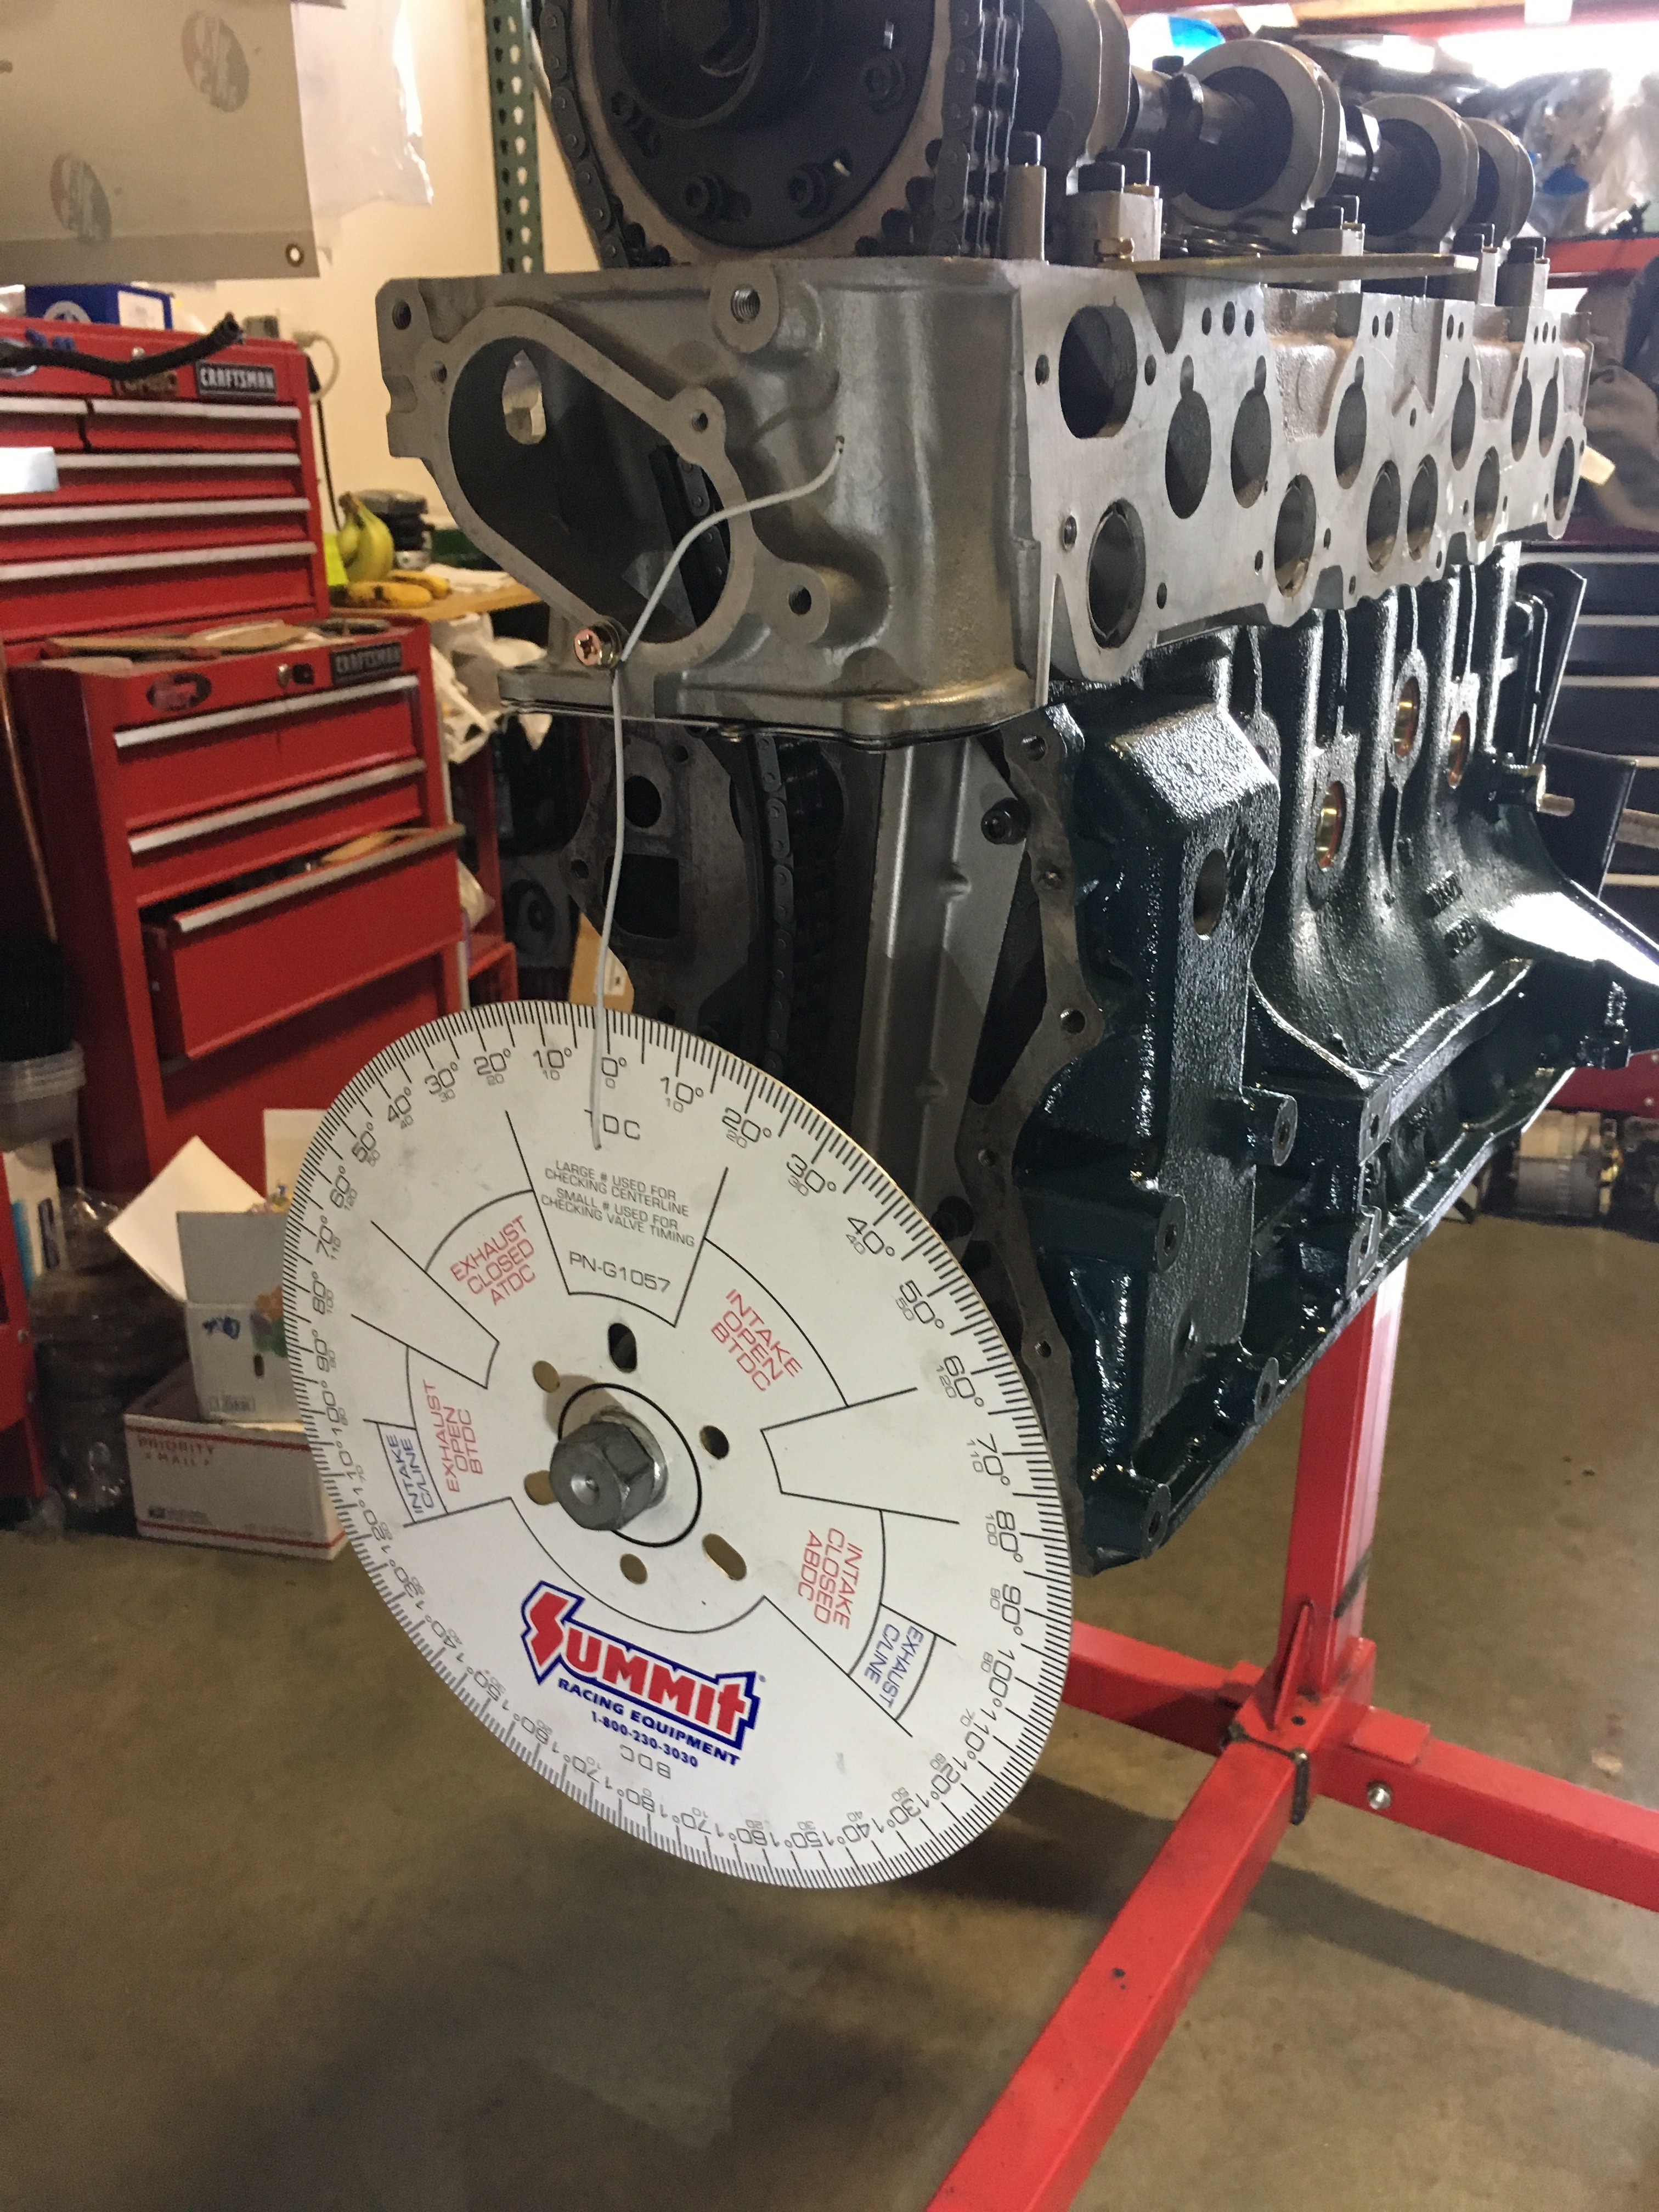
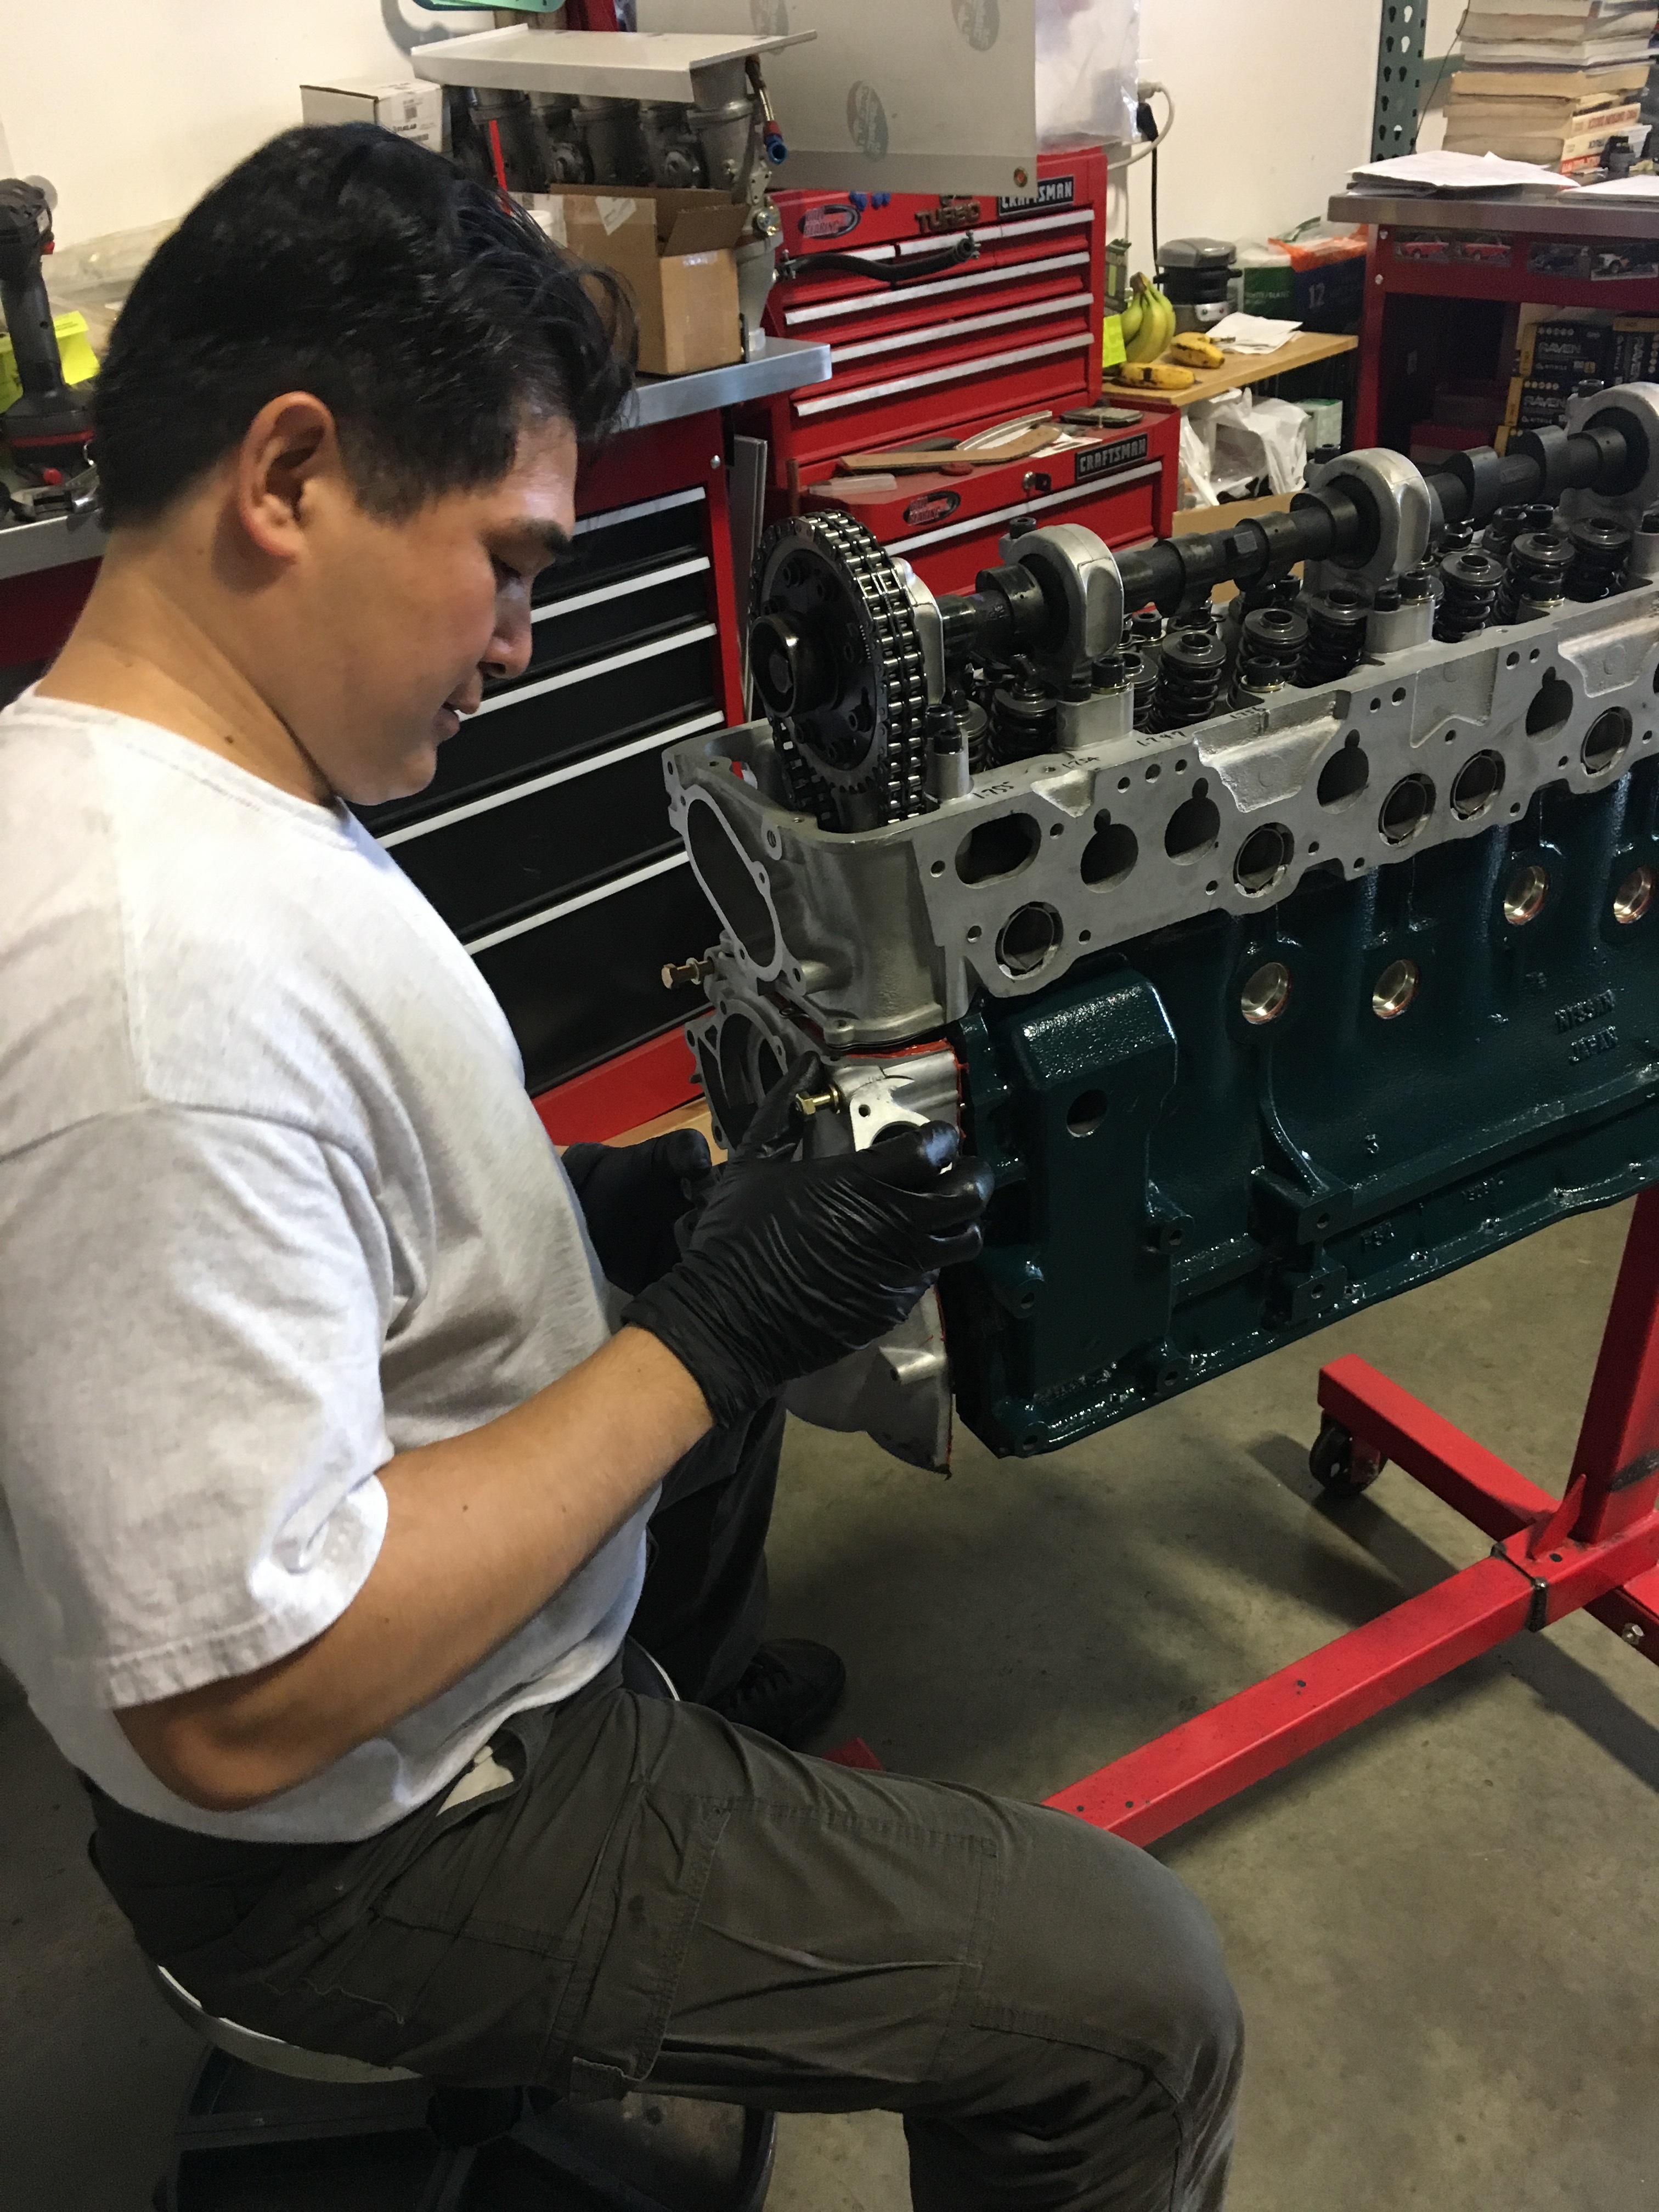
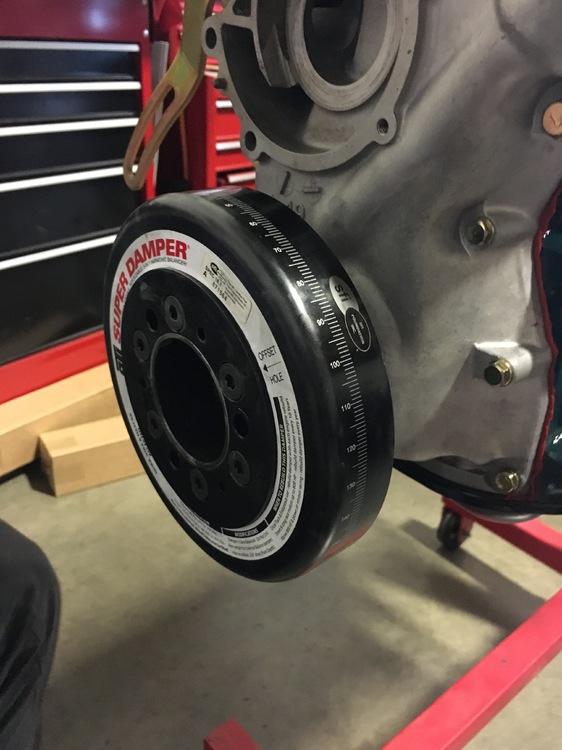
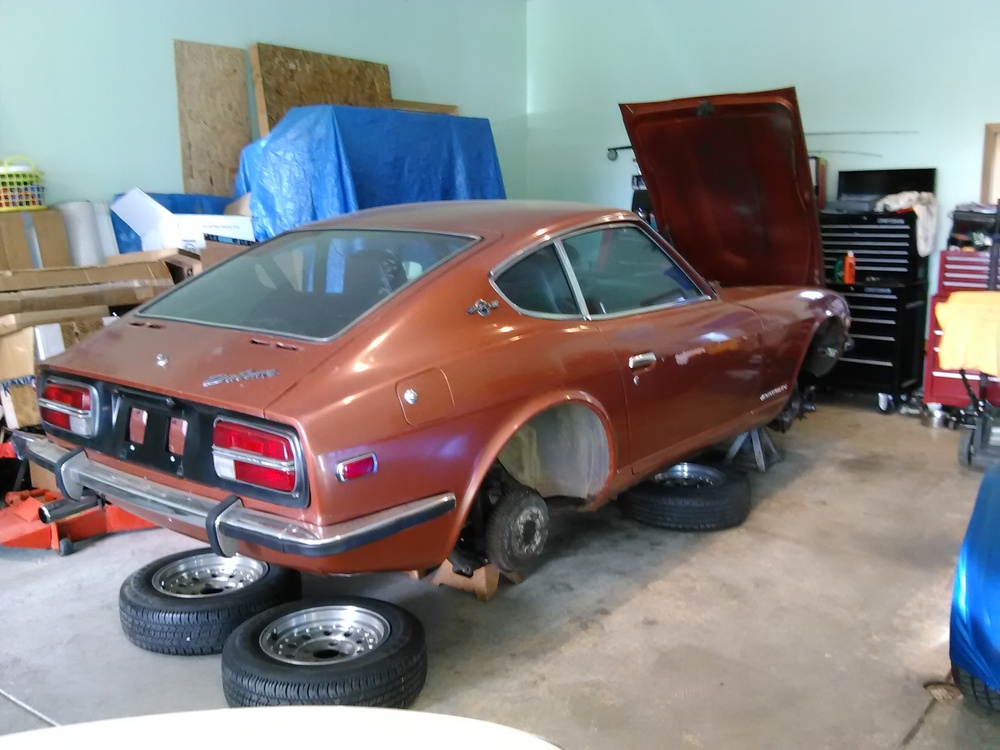
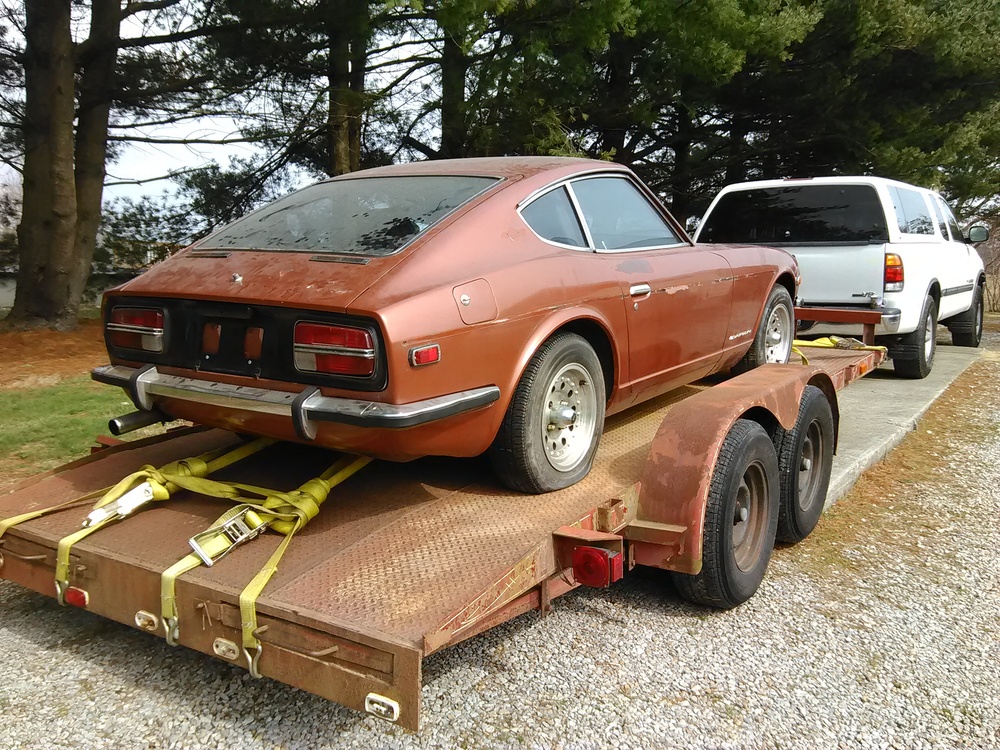
2 pointsBrought it home....busy day. Now it's time to put the finishing touches on her and drop it in the green 72.


 2 points
 -
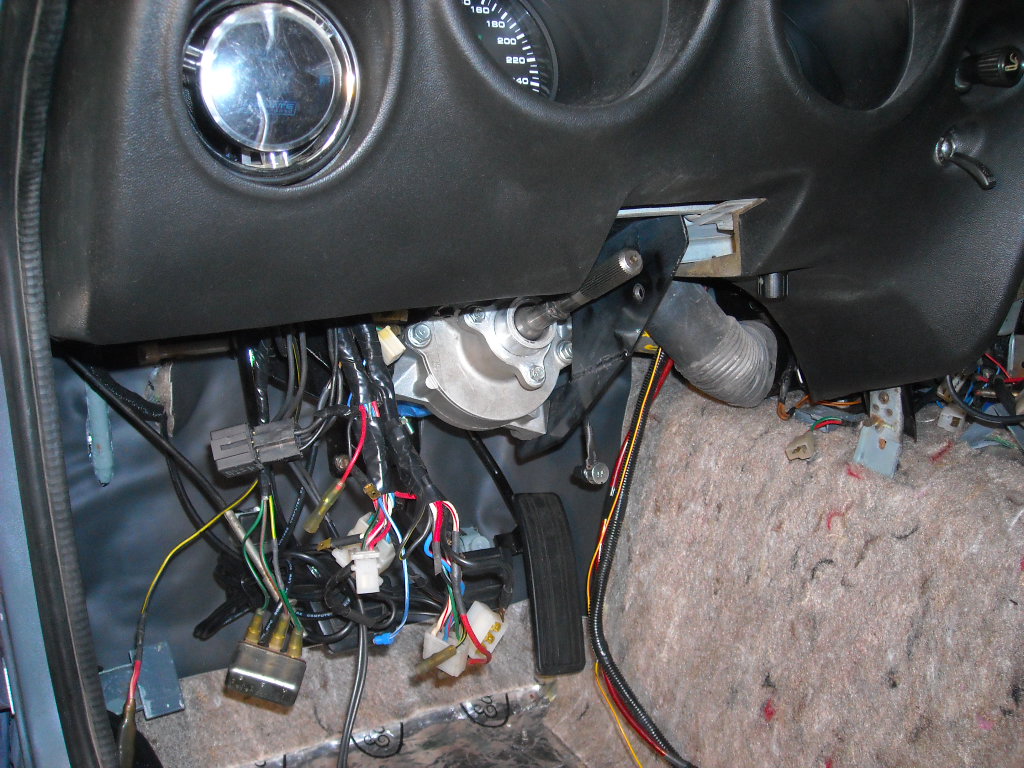
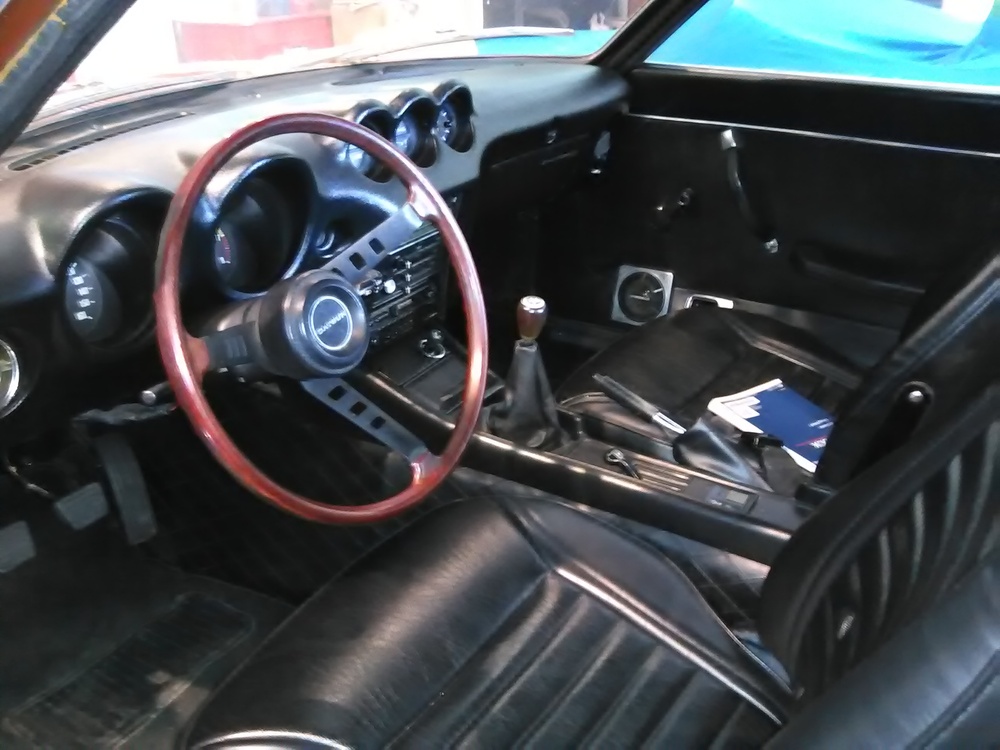
1 pointClean, clean, clean. Use contact cleaner or CAIG Deoxit. The wires tend to be okay but the connections get corroded. There are replacements for the things like the injector connectors. The connections under the seat are probably the brake warning lamp check relay. At least one is. BE-36 and -43 in the factory manual.1 point
-
Absolutely amazing job on this beautiful beast Chris. I cannot wait to experience the finished product in person. Congrats.1 point
-
1 point
-
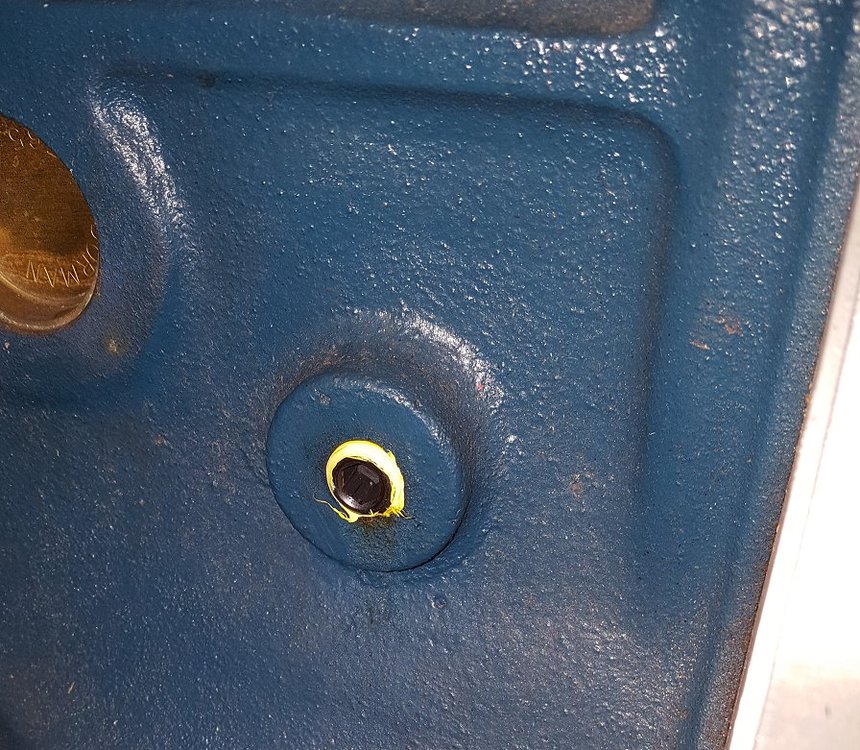
1 pointMystery solved! After a lot of trial and error I figured out the hole size and thread. It is 1/2 inch -20 (fine thread). I had tried several 12mm bolts and they were close but still left a little wiggle room. I thought it might be 13mm but I quickly found that 13mm is almost obsolete and 14mm would be too big. Using an online calculator, 12.7mm = 0.5 inches. So I ran to Lowe's and I could tell 1/2 course thread was too aggressive so I bought a 1/2-20 bolt and a 1/2-20 allen key cap screw. I tested with the bolt first and eureka, IT FIT! I then tested the cap screw and it fit too. I wrapped the cap screw with yellow sealant tape and installed it. I topped off the coolant, let the car warm up to temperature, and took it for a spirited run. All was dry and looking good so I call it job done! For anyone that needs to buy one of the cap screws, it is a Hillman brand fastener, model 880938, Lowes item 137329.
 1 point
 -
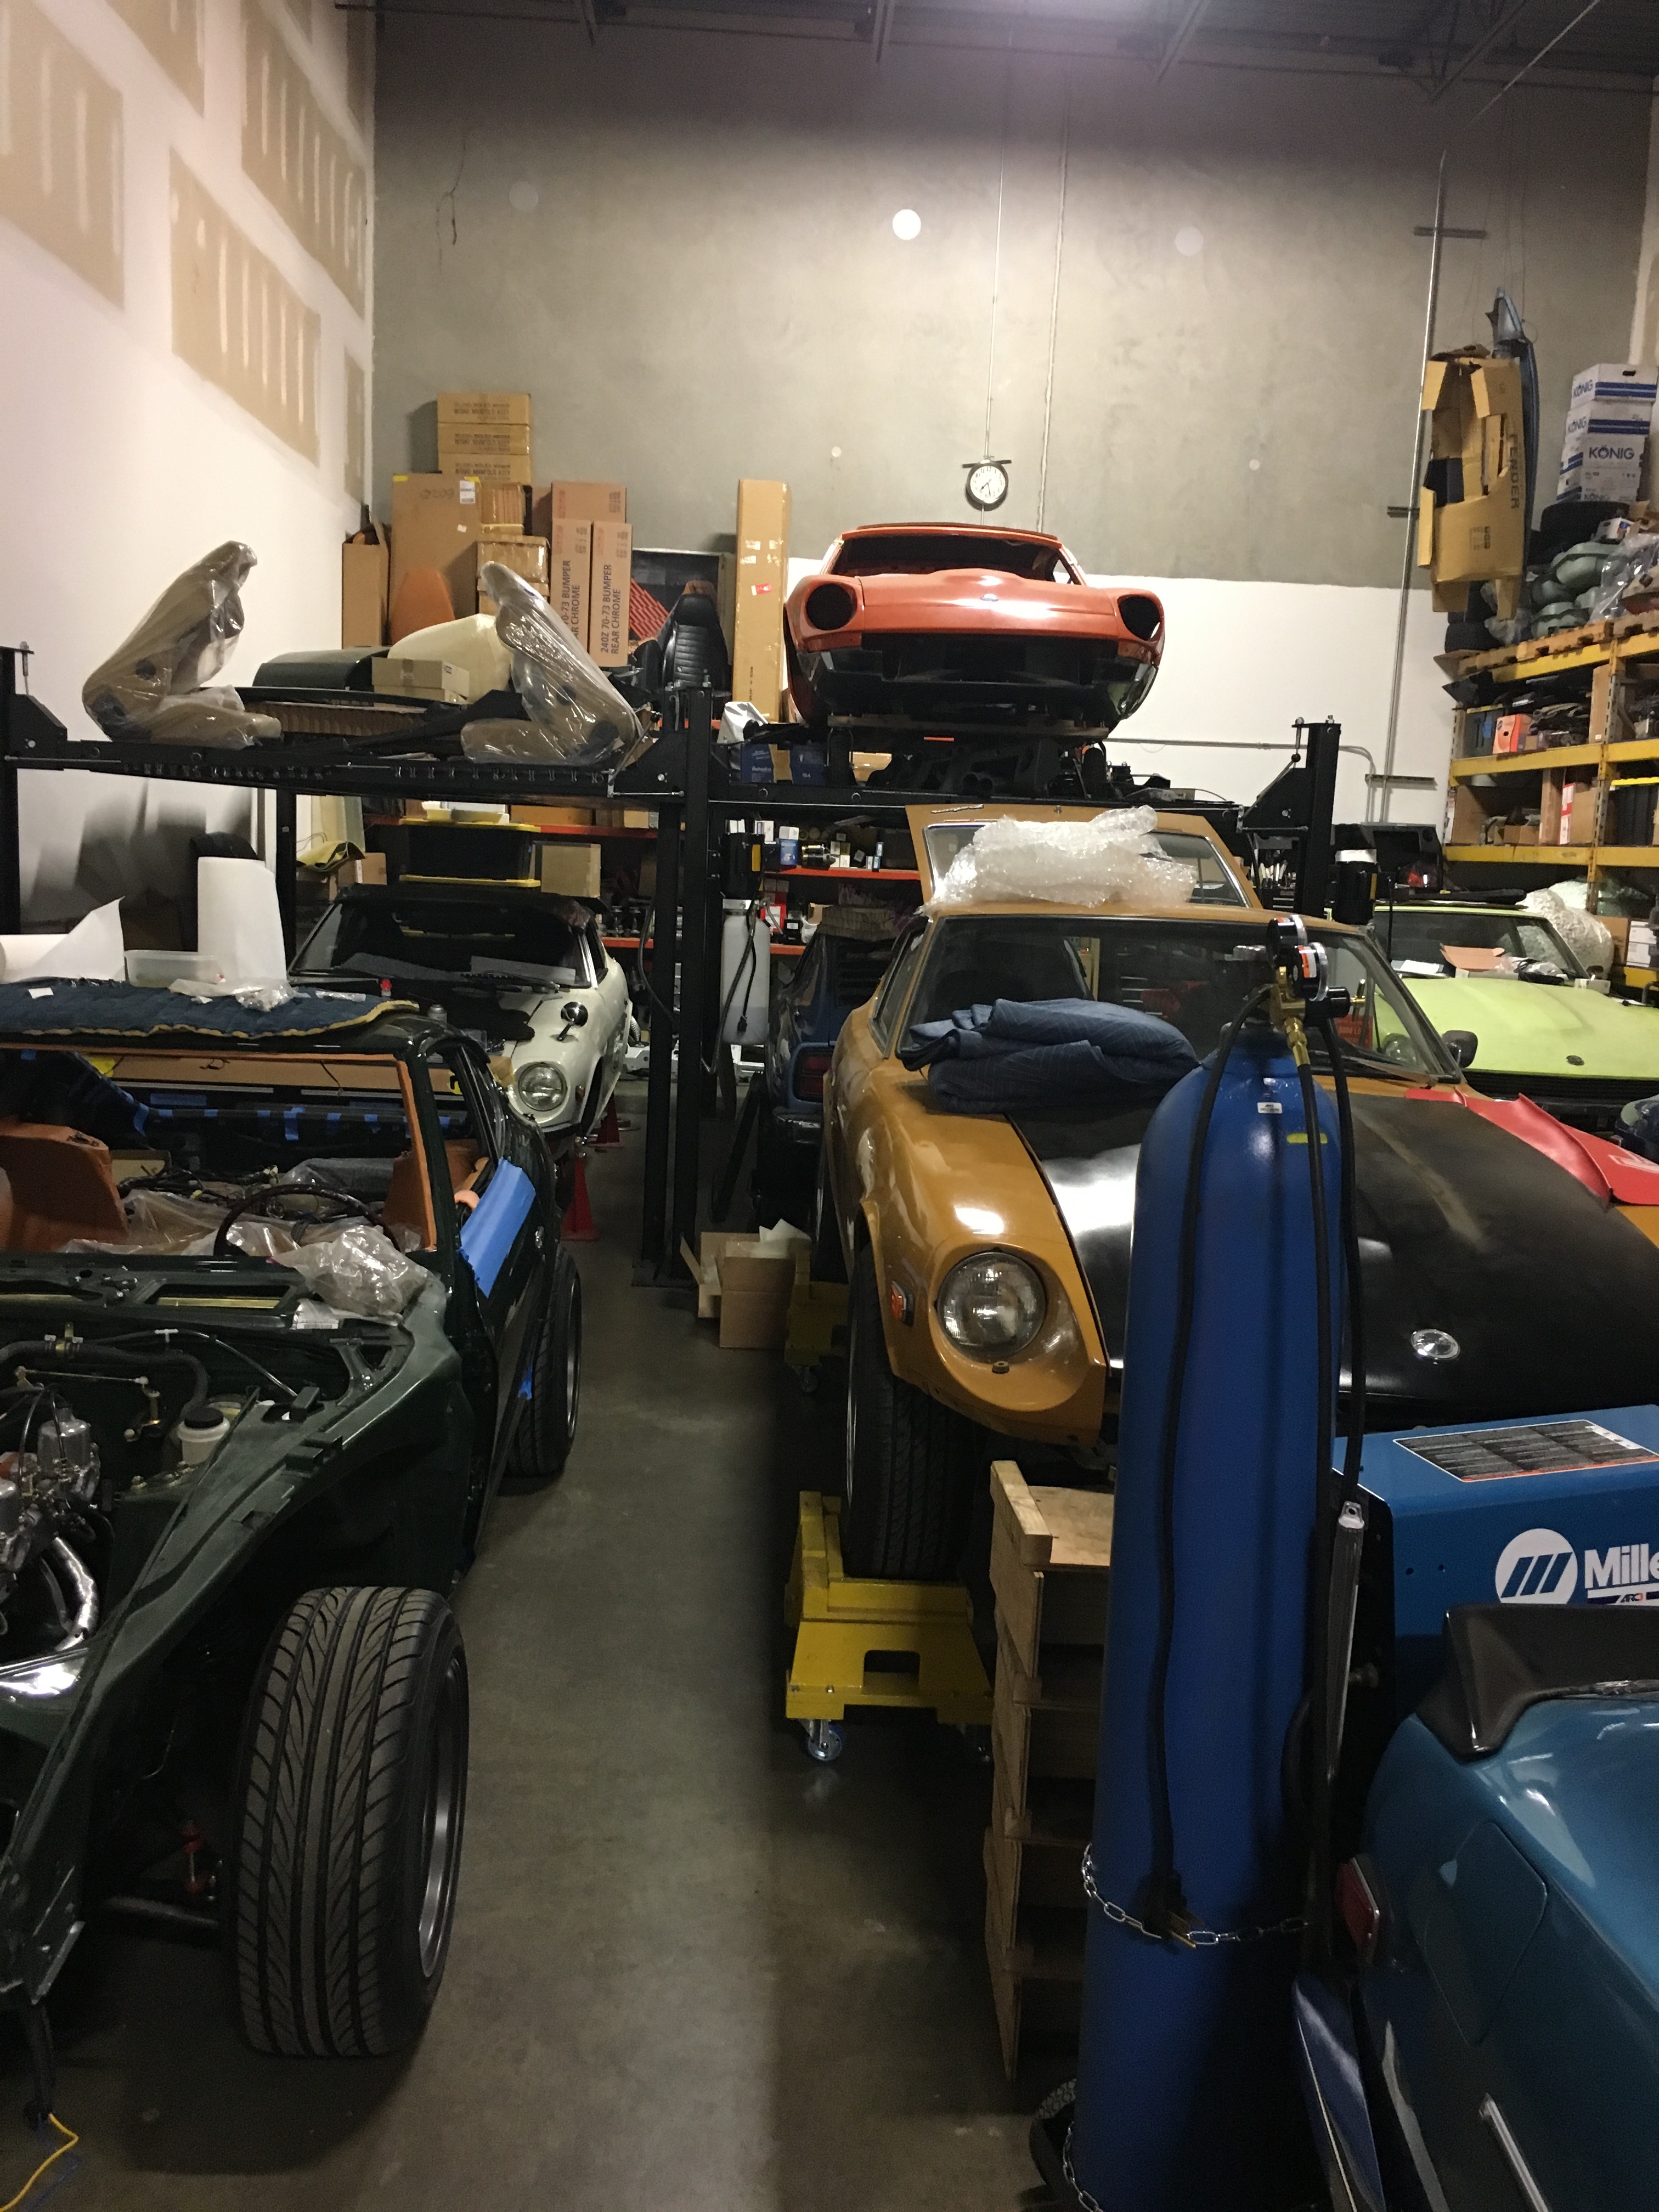
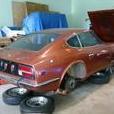
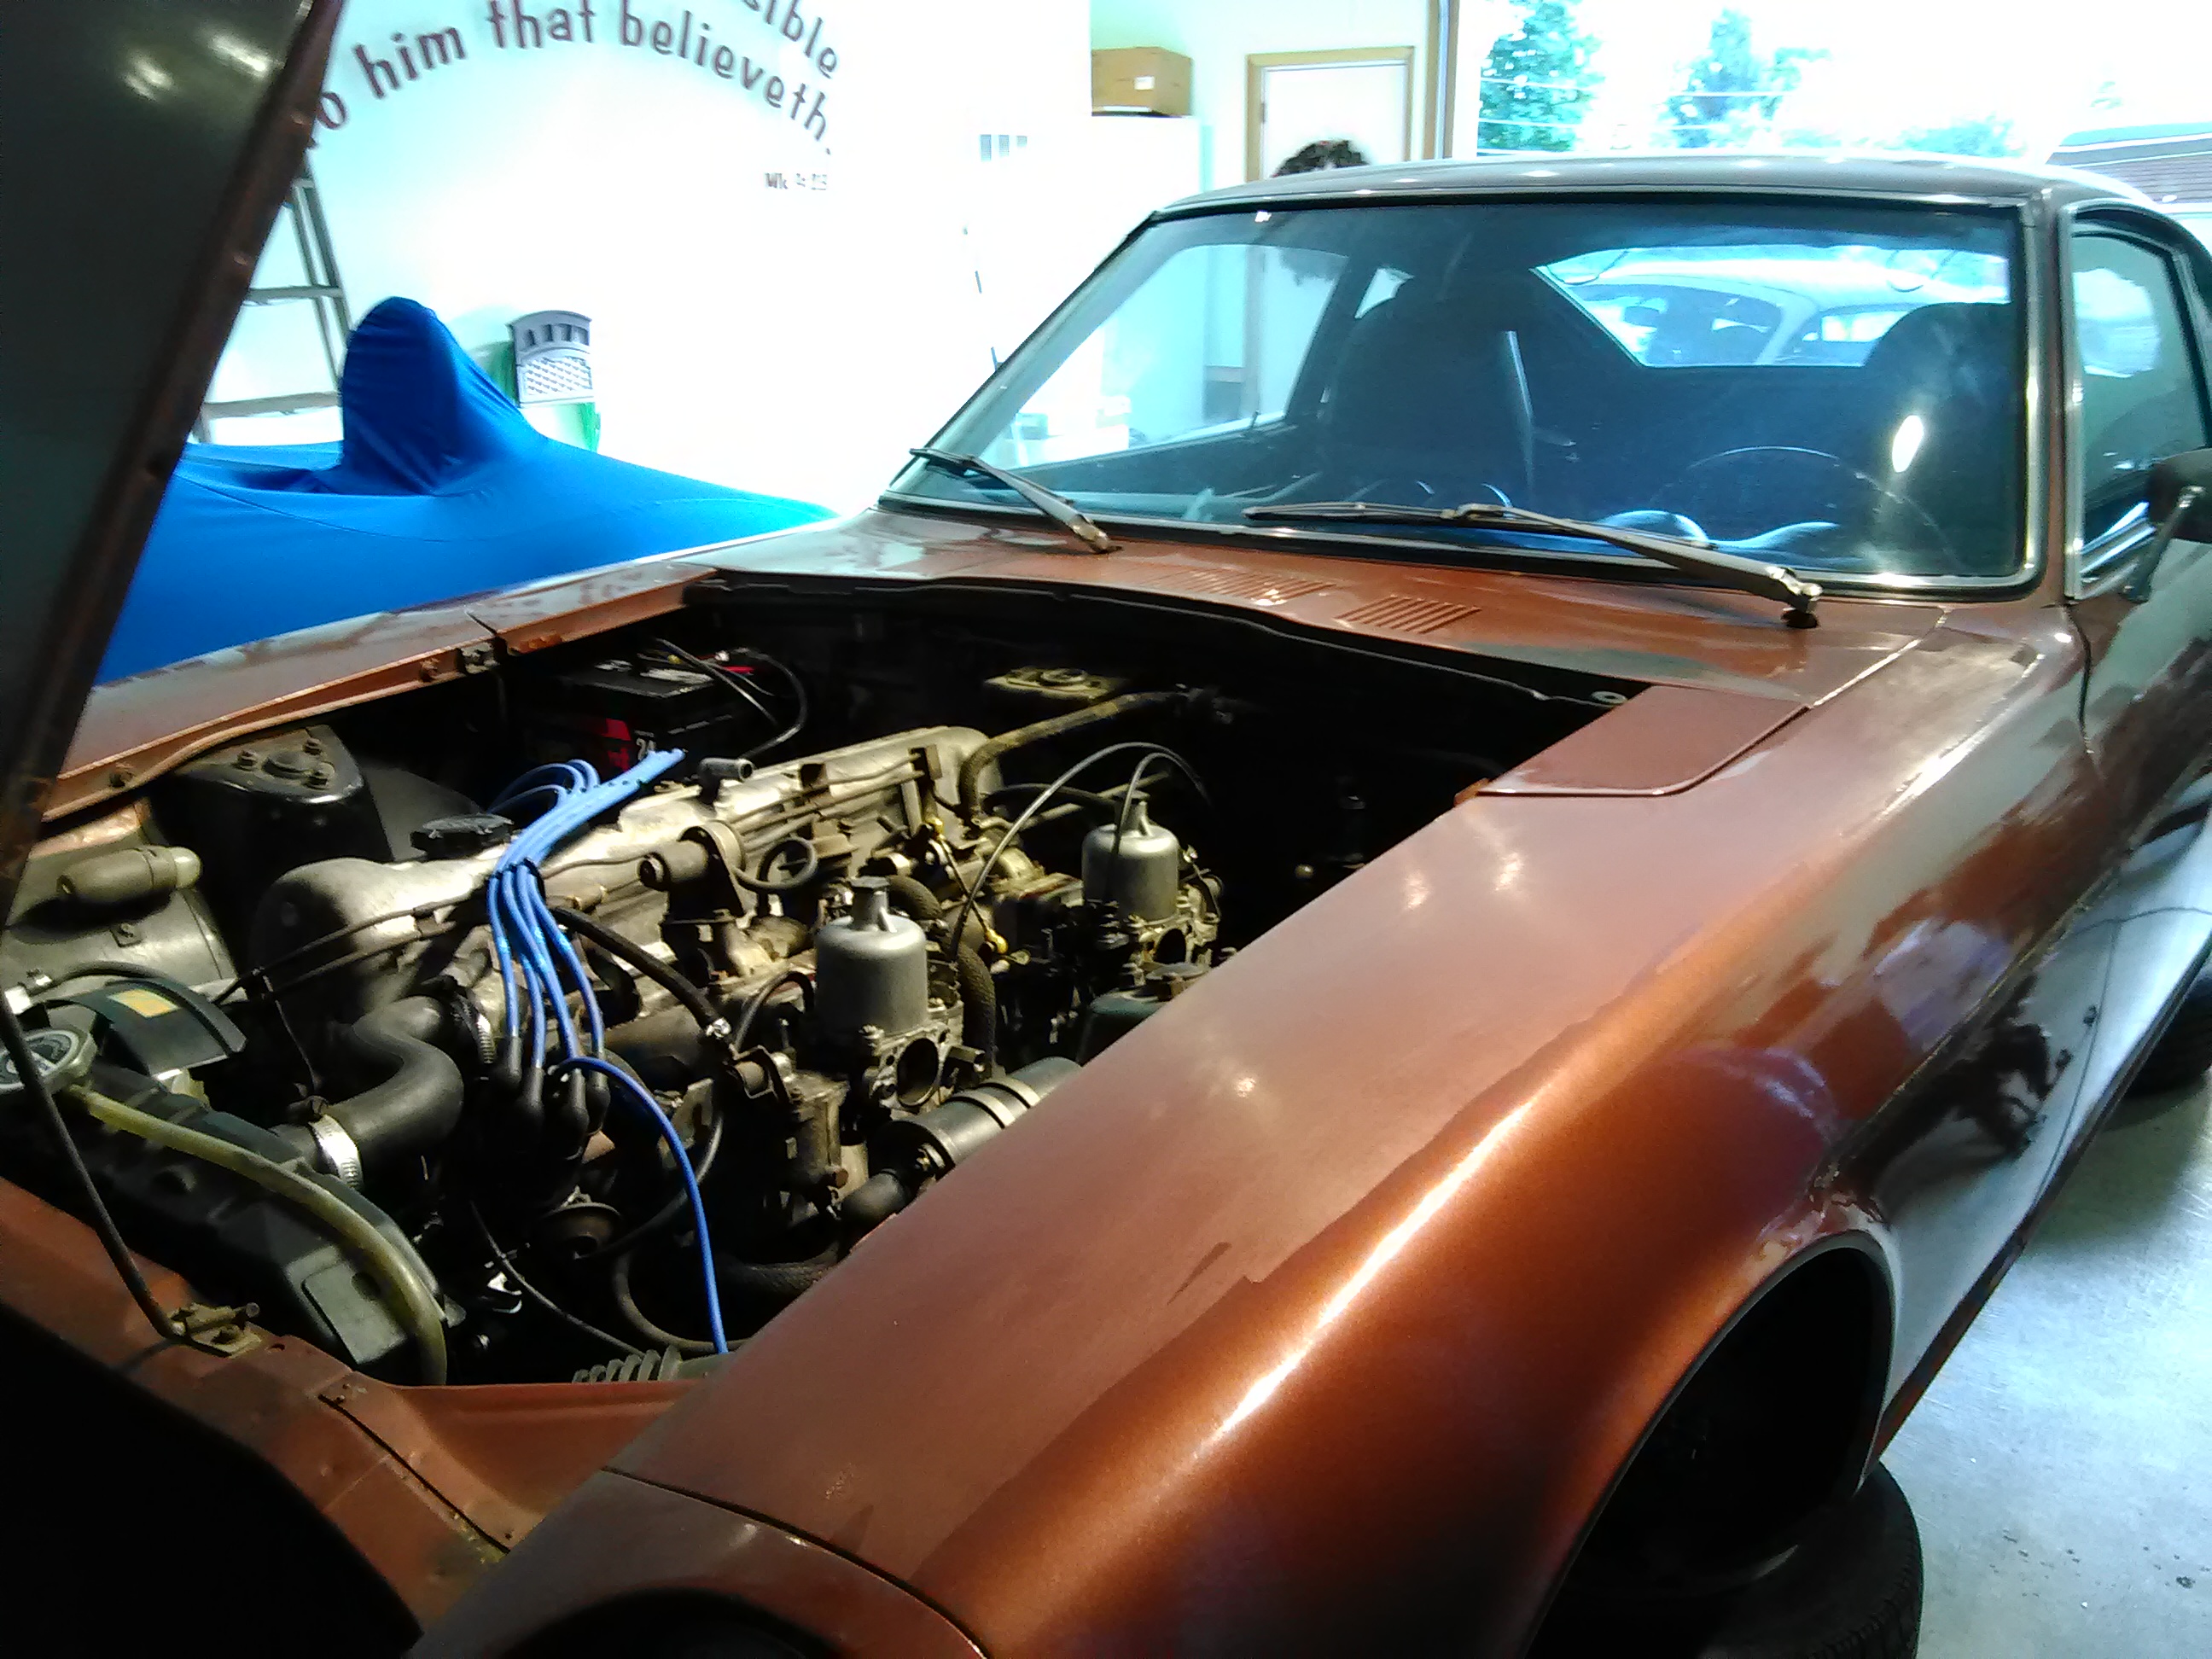
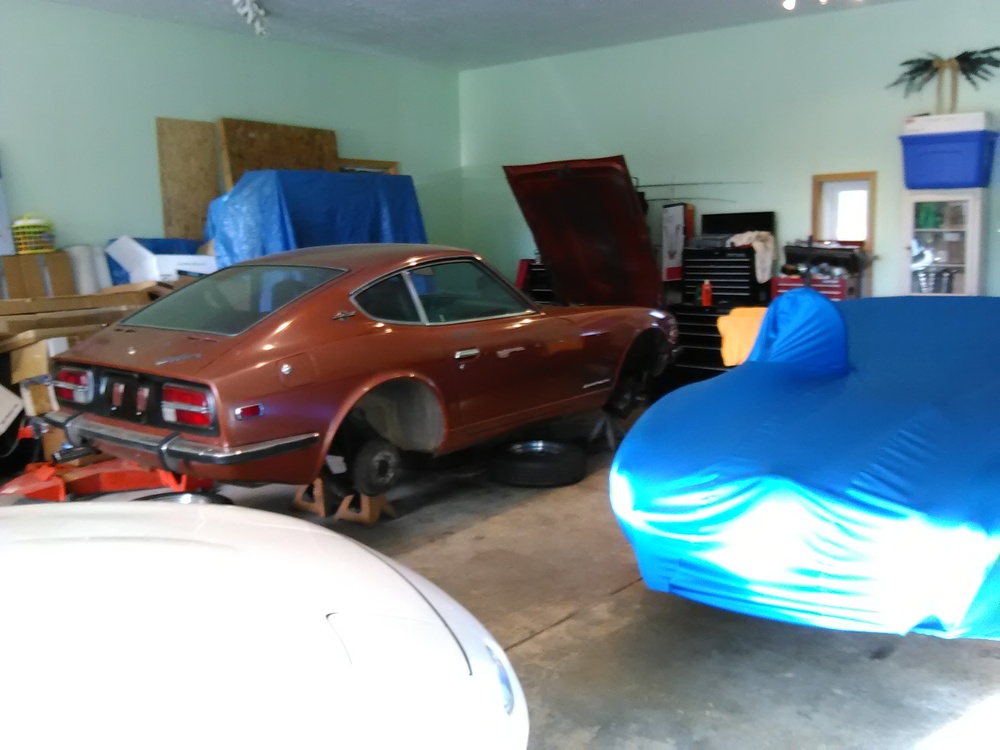
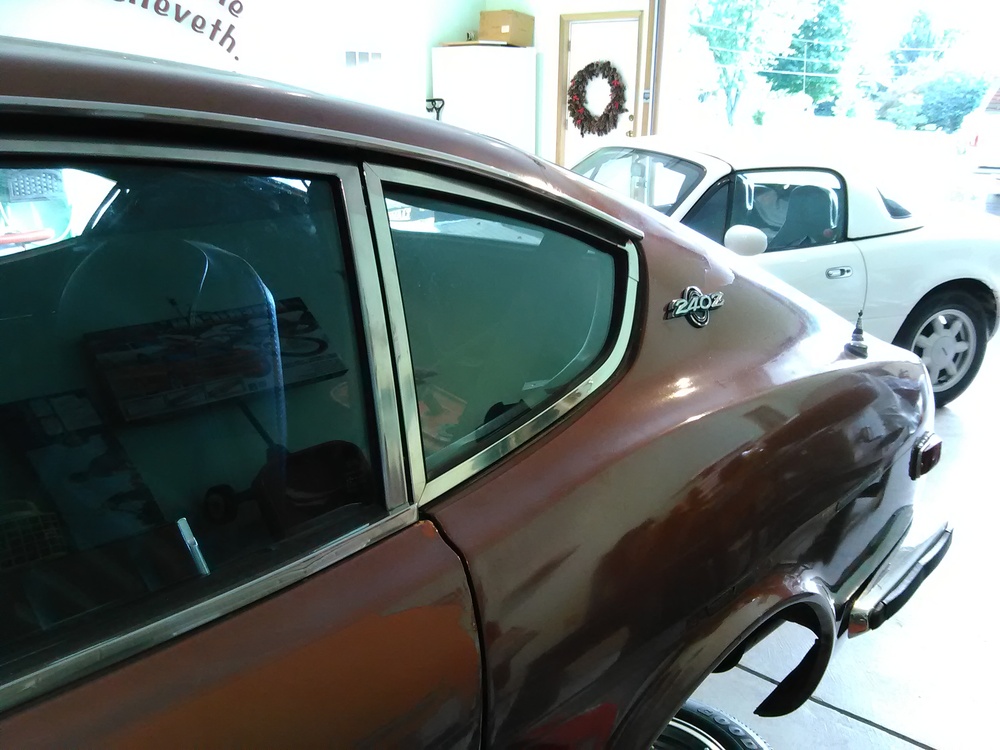
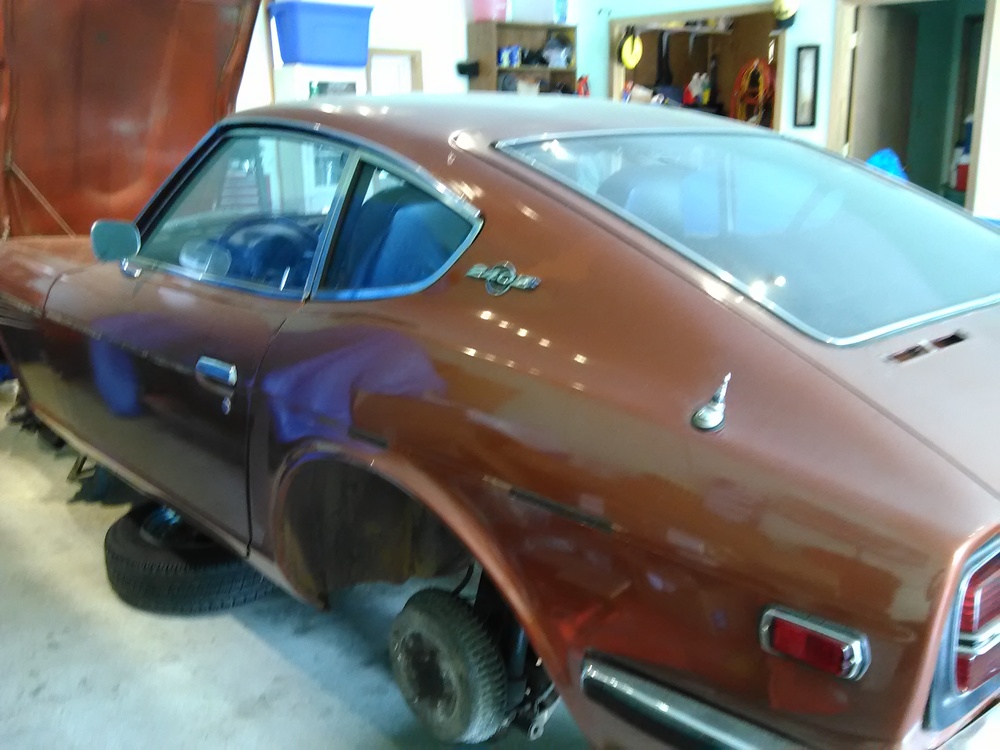
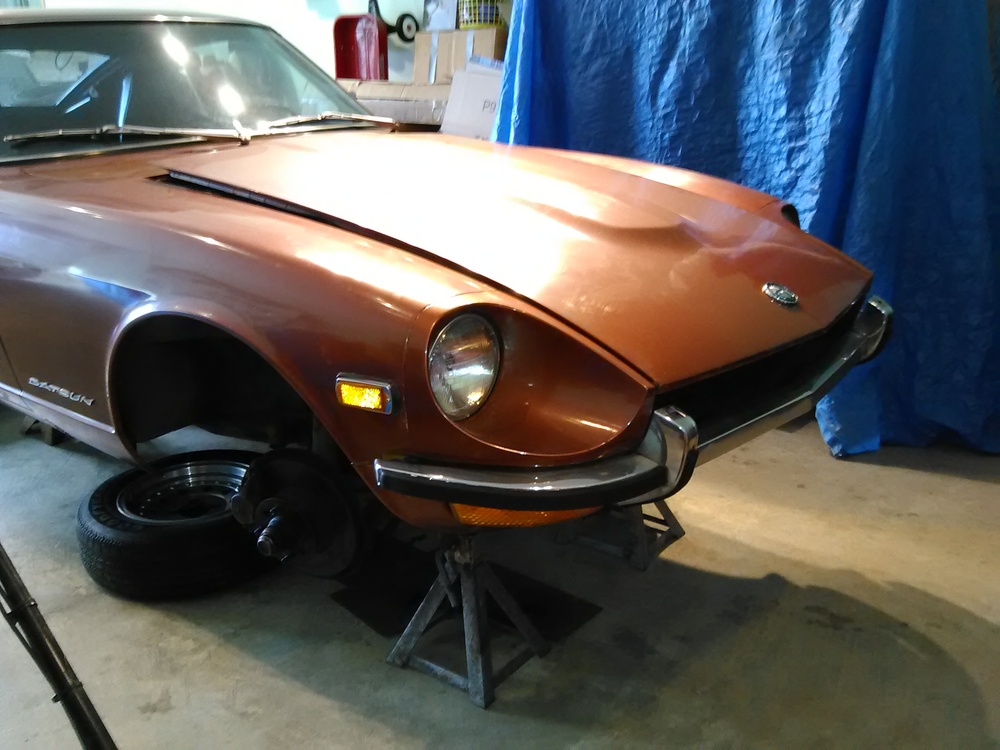
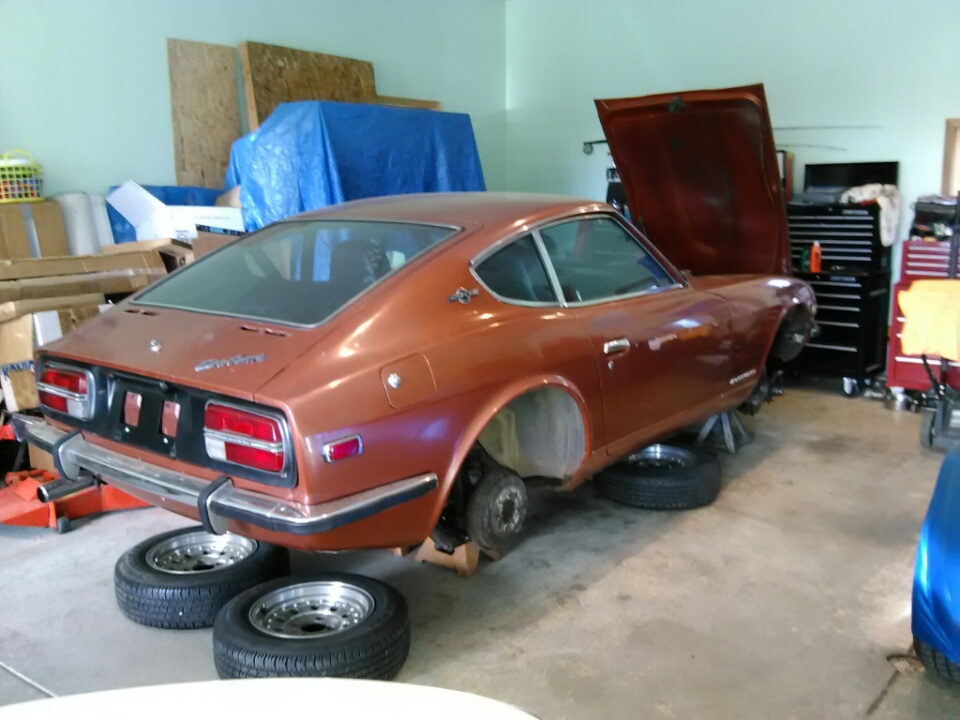
A couple of months ago I found this 10/70 which had been stored away for 10 years. I was able to buy this one and 2 others. A 5/70 and a 1/72. The brown one is one that can be refreshed and put back on the road fairly quickly. Looking forward to driving it soon.


 1 point
 -
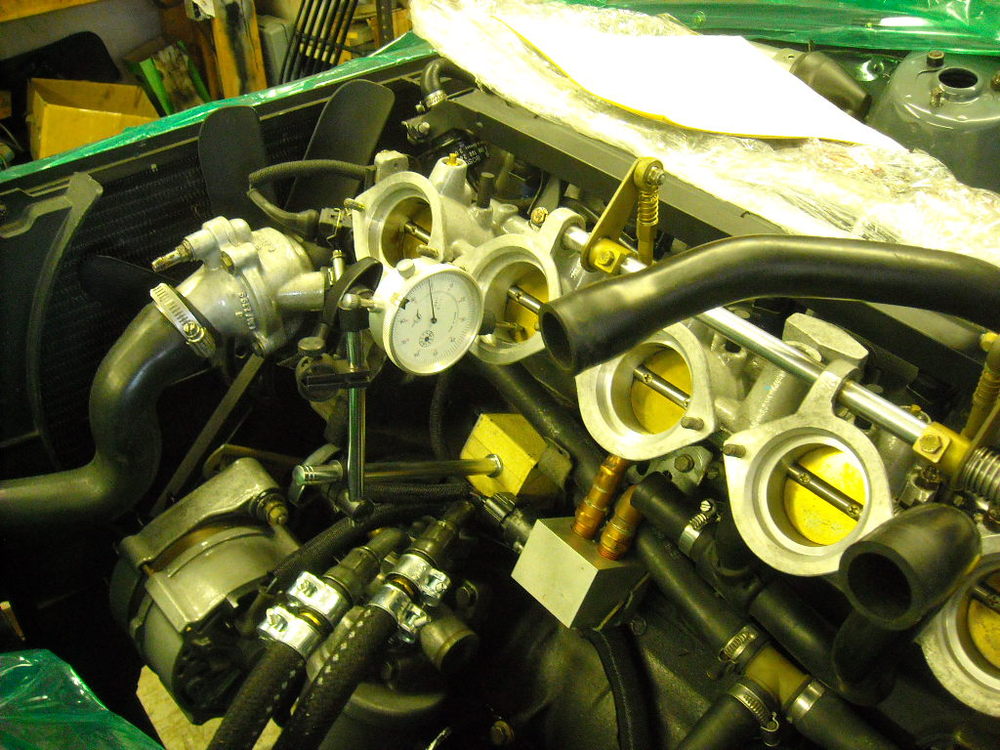
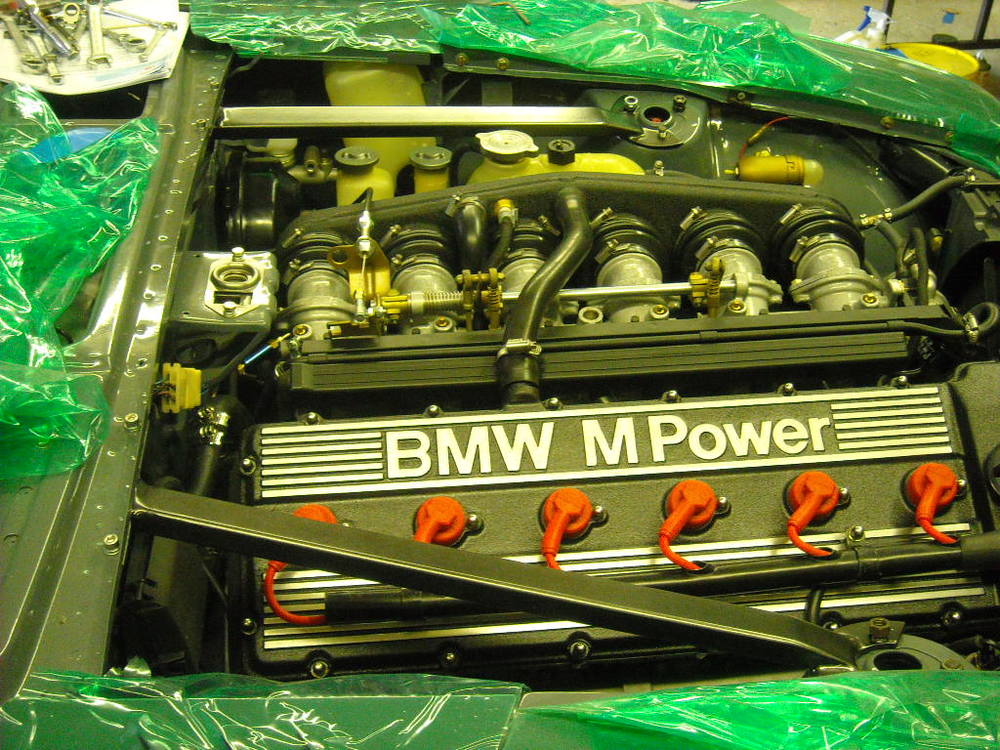
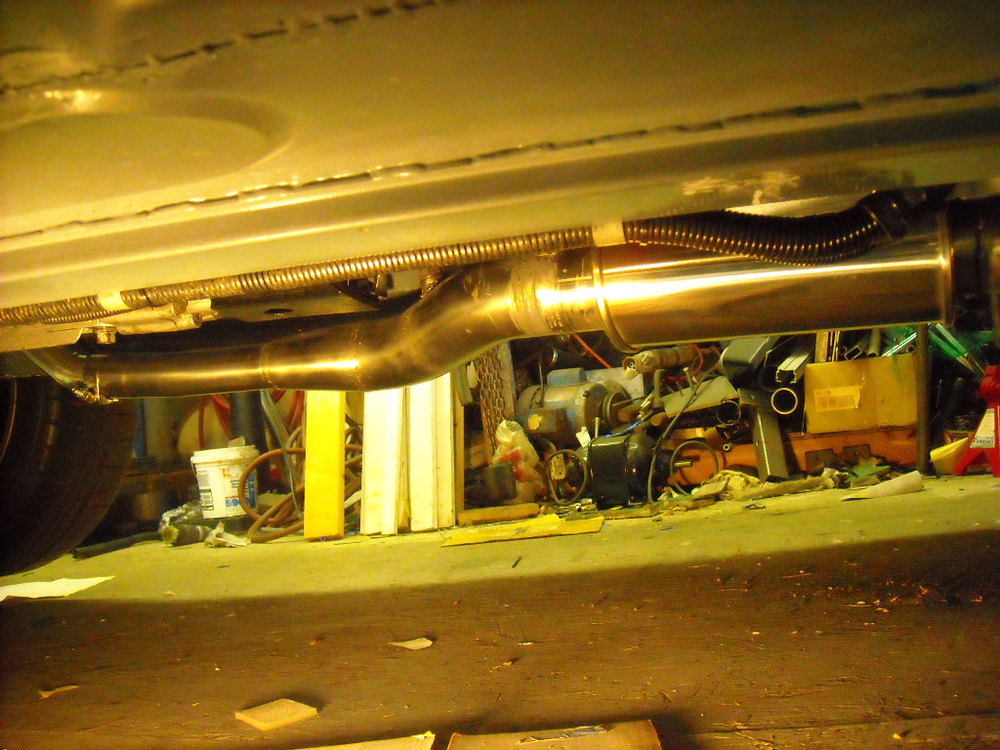
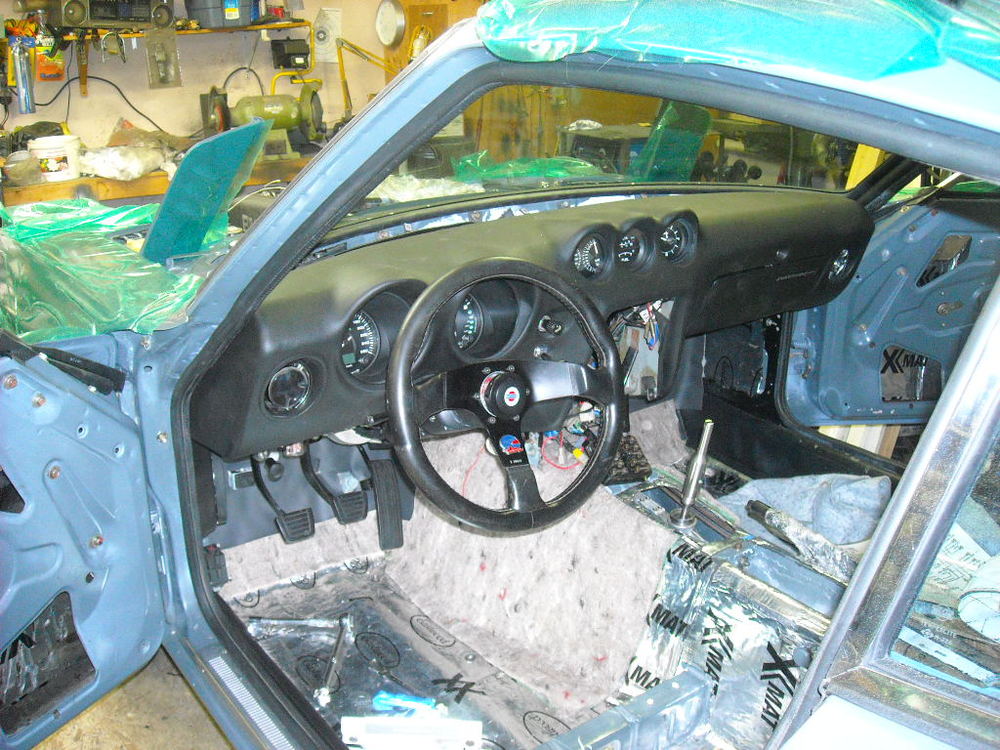
Got all the ITB linkage zeroed in so now just have to balance them once I get the engine running,The strut supports are on and coolant is in, no leaks yet,Power steering is installed and dash is in for good now, only had to pull it once,Got the exhaust system in, I would like to find some way to tuck the muffler up a bit more but also like the twice pipes look,Starting to look like a car again!Sprayed the finisher with SEM Landau,Brake lights are in, hoping to use this June 1972 plate, will have to see what the MoT has to say about it,This is one of the leather replacements for the original vinyl pieces from Interior Innovations, it's not glued in yet and I'm not looking forward to it, I wish they had used garment leather instead of upholstery grade leather, it would have been much easier to shape to the wheel well. It is very stiff and fights you on every corner and seam.


 1 point
 -
1 point
-
Oh man... you evil man. May all your children be born naked.1 point
-
1 point
-
1 pointIt's a form of 'acoustic duct lining' and it's there as an airflow silencer. Not sure how effective the end result is. You'd need to try a the system 'with' and 'without' to decide. BTW, I did this same job myself a couple of years ago. It's very time-consuming. There are a lot of foam gaskets in the Z's heater/blower/vent/duct system and some have very tricky shapes (esp. the piece in your photo). Many need have holes punched out for joint fasteners. Rather than use contact cement to try to glue new foam in place (messy), try making your own adhesive-backed foam by bonding the foam to two-side-adhesive-backed clear vinyl sheet (8-1/2" x 11" -- available at craft stores). Leave the peel-off paper in place on one side of the vinyl sheet. Now draw your gasket templates onto a piece of 8-1/2" x 11" printer paper and use a glue stick (stationery supply store) to glue the paper to the vinyl backing sheet. Now you can use a razor knife, scissors, hole punches, etc. to cut out your gaskets. When done, peel off the backing sheet from the vinyl-backed foam and stick in place. Most of the gaskets should be about 1/16" thick, installed. I used 1/8" open-cell foam (compresses down to 1/16"), but I think some craft stores sell adhesive-backed, closed-cell neoprene sheet in 1/16" thickness that might be an equally good . Don't use the 1/4"-thick adhesive-backed foam 'tape' that hardware stores sell for home weatherstripping. It's too thick and the end results I've seen in photos look pretty marginal. The foam covers for the two big 'flapper' doors need to be top-faced with thin, upholstery-type vinyl. If you don't do this, the foam will wear off quickly around the perimeter, where it seats on the ridge in the housing. The gasket that's the most difficult to get right is the one around the perimeter of the heater plenum, where the removable end plate installs (for access to the heater matrix).1 point
-
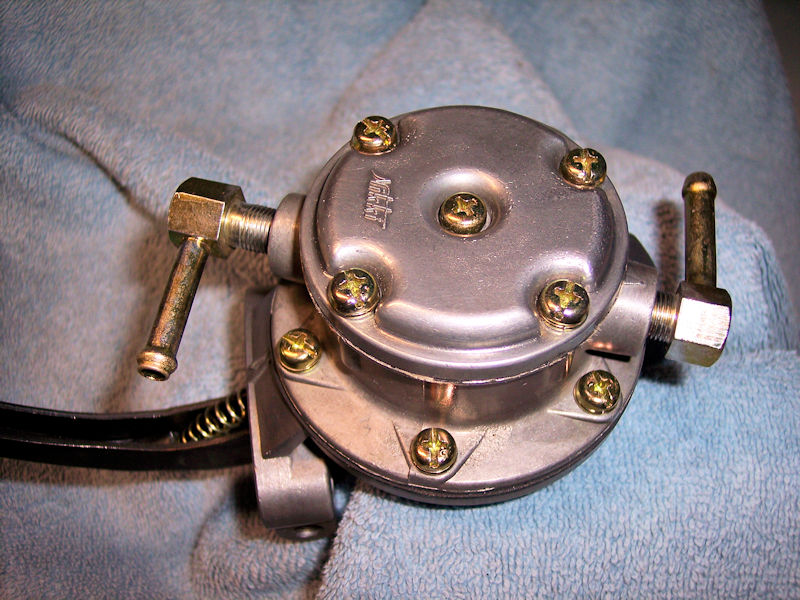
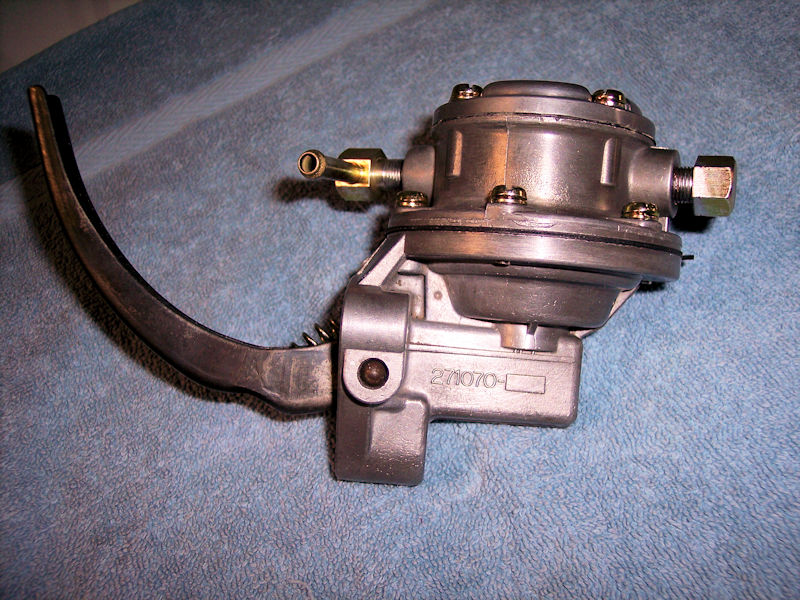
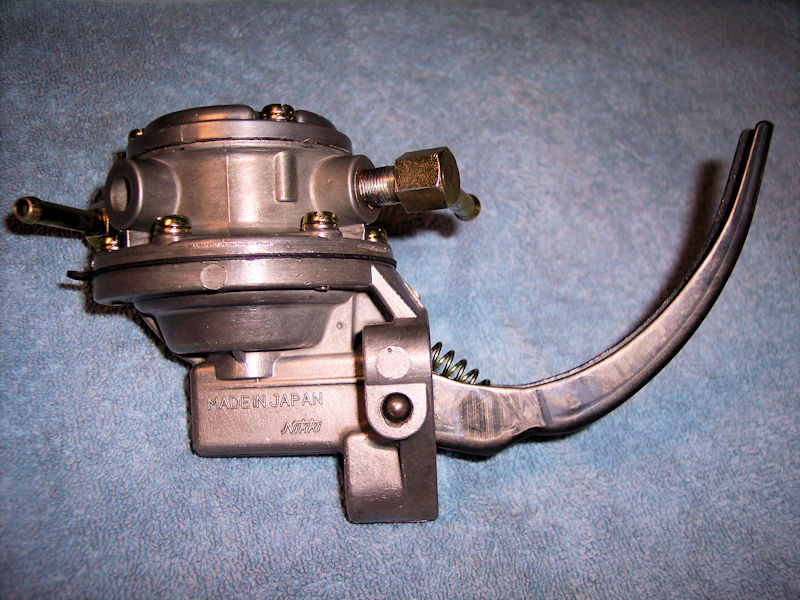
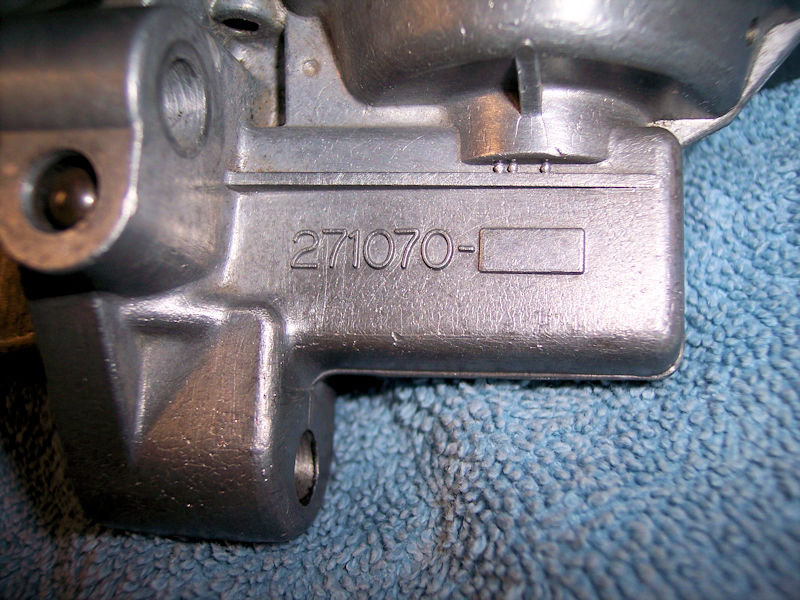
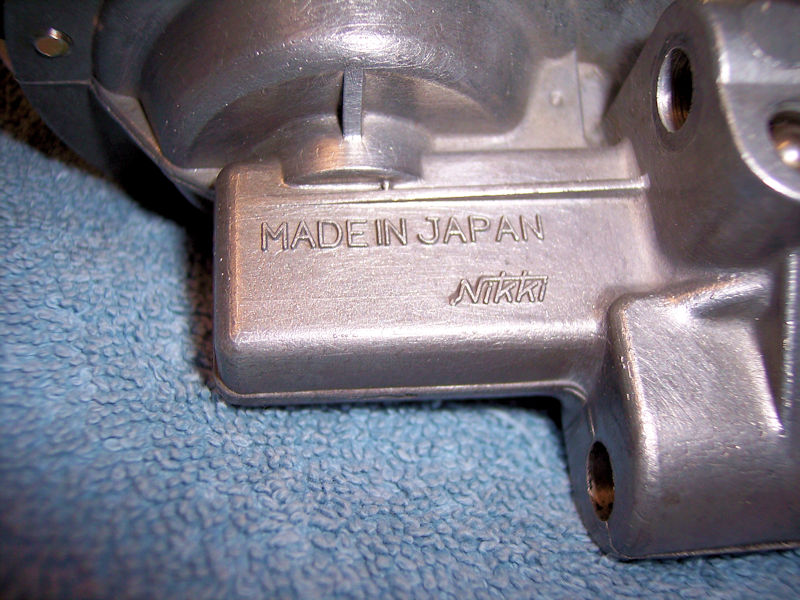
Reconditioned Nikki fuel pump for 240Z. Thoroughly cleaned and lightly polished, new oil seal, new diaphragm, all fittings replated. Valves and diaphragm tested for proper operation. $235 shipped within CONUS. Payment via PayPal.
 1 point
 -
Site, you paint so many mental pictures in so many levels with this post that I've read it 4 times and can't stop grinning every time. Best post I've read since I joined this great group!1 point
-
On the positive, I'd already lined my Mom up to come stay at my house with my dog. She's miserable helping raise her grandkids and that was something she was looking forward to, she loved the peace and quiet here while I went to Memphis. We've decided not to tell my idiot sister and her son that I'm not going so me and Mom will spend the week together here, cooking together every night! That will be as much fun to me, I'm a "Momma's boy" and happy as can be spending time with her. Life is short but Datsuns last forever.1 point
-
Sounds like Bart, "hello, Moe's bar. I'm looking for a Mr Jablowme, first name Haywood. Hey everybody looking for a Haywood Jablowme, anybody? Haywood Jablowme?"1 point
-
Haha! "insulted connectors". Spell check to the rescue!1 point
-
Way cool You realize, of course, that the orders for a kit are going to be rolling in. How long did you sit and watch it work. I would have cracked a cold one to fully enjoy the experience.1 point
-
1 pointI suspect the voltage regulator. I had a similar situation. Charging system was over charging. The reason I say overcharging is because mine was all of a sudden nearly reading 15 volts and would never go over 13.25 even at revving the engine when the voltage regulator was working.1 point