




CanTechZ
Community Member
-
Joined
-
Last visited
Everything posted by CanTechZ
-
Cool video from Hagerty at the Juncheng manufacturing plant making classic car parts including the 240Z (about 11 minutes in).
-
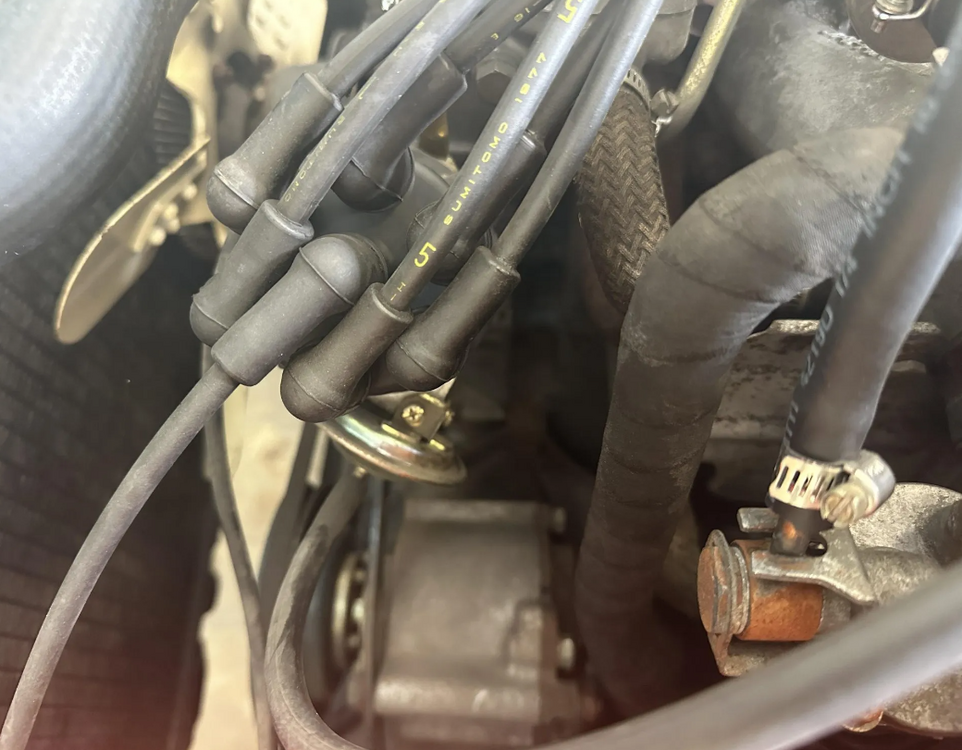
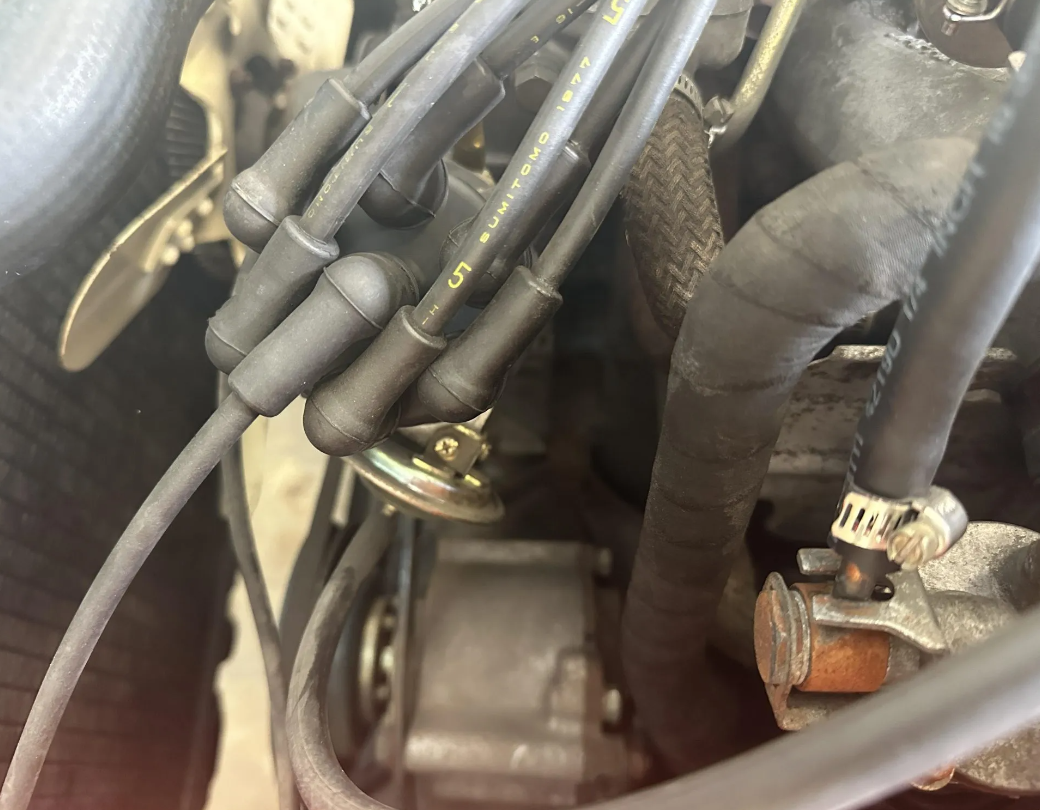
https://bringatrailer.com/listing/1970-datsun-240z-152/ Looks like there's a good chance it will beat $46K, one more day to go and its at $35K currently. I did notice that the sellers statement claiming "It also has the original sumitomo spark wires" is incorrect. Check the date code.
-
Sounds awesome. I like it. Reminds me of mine. 🙂
-
Here is a link to an informative site with info on the proper way to assemble and torque when using jam nuts. Most people get it wrong. The thin jam nut goes on first and is torqued to 25 - 50% of the full torque value and then the full size nut is installed. When torquing the standard nut to full torque, the thin jam nut is to be held stationary with a second thin wrench. This procedure gives maximum thread locking capacity. https://www.boltscience.com/pages/twonuts.htm
-
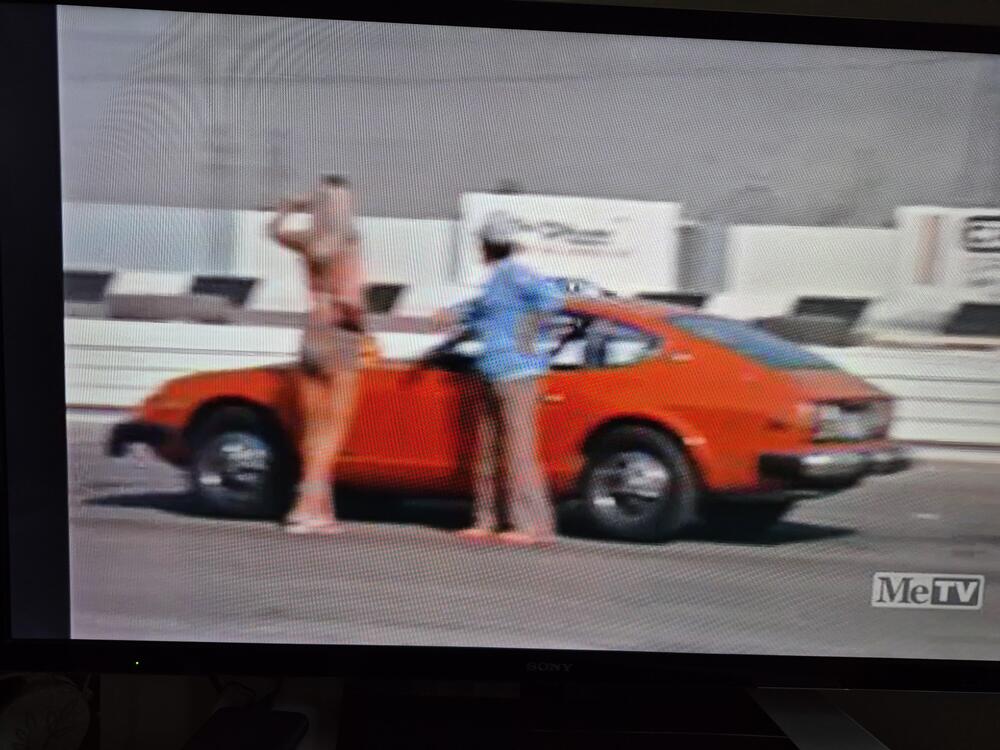
1975 - Harry O TV series Season 2 Episode 2, starring David Janssen with cameos by Farrah Fawcett. Neither is in the pic.
-
Those areas had vinyl that is backed by foam padding. It was held in with adhesive. Check out my resto thread to see what you are looking for.
-
I think you were on the right track here, just the wrong end of the p/n. 44 centimeters equals about 17.3 inches.
-
I wonder what the production date would be for this car, being an HS30? based on the engine number on the data tag, 13553, my guess is about 9/70. I don't see some of the very early features that my 1/70 HLS30 car has.
-
Have you tried Fastenal? I see M3 x 0.5 pitch pan head machine screws on the Canadian site. For M3, 0.5 is the standard pitch. https://www.fastenal.ca/product/details/QM2510010A20000
-
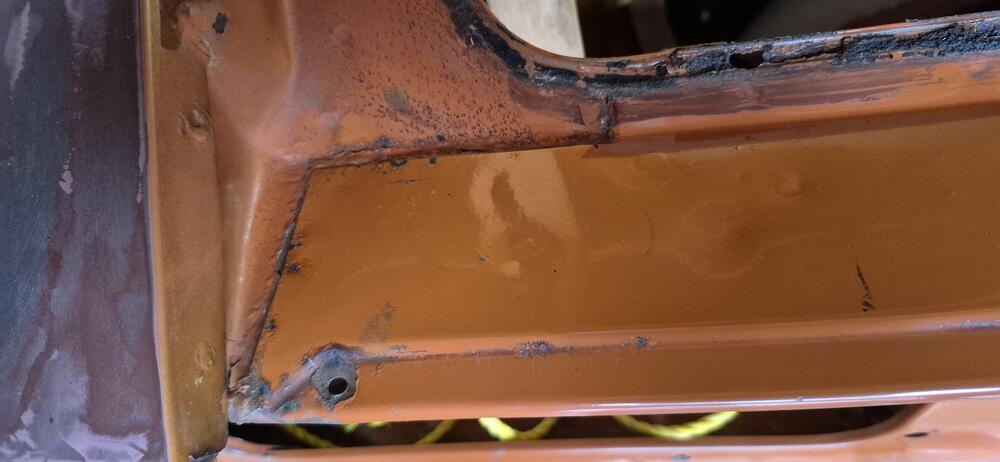
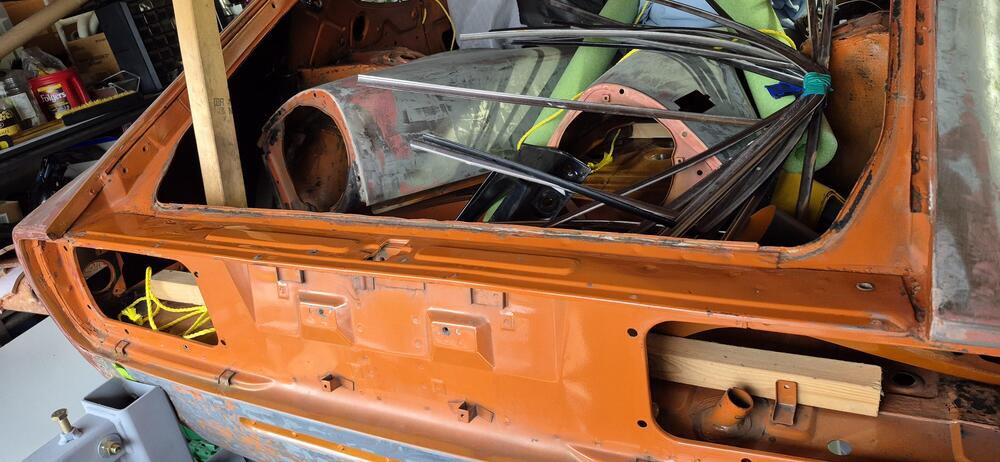
Not pristine, but hopefully these pics of #6521 give you an idea. This area has not be reworked on my car.
-
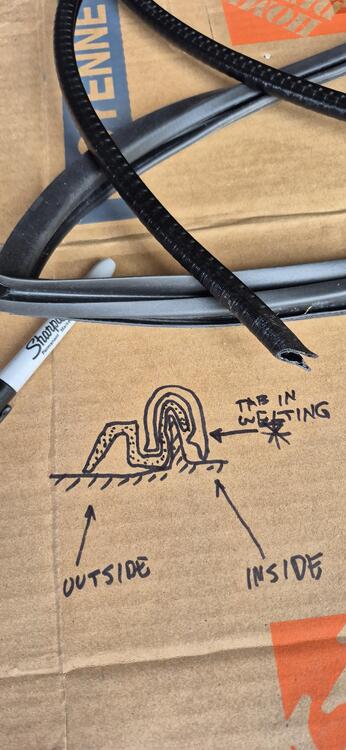
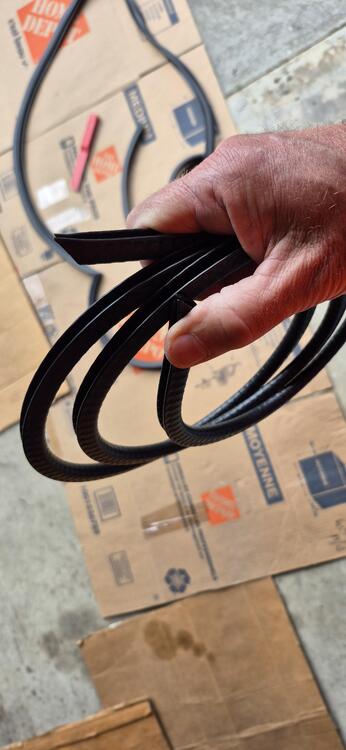
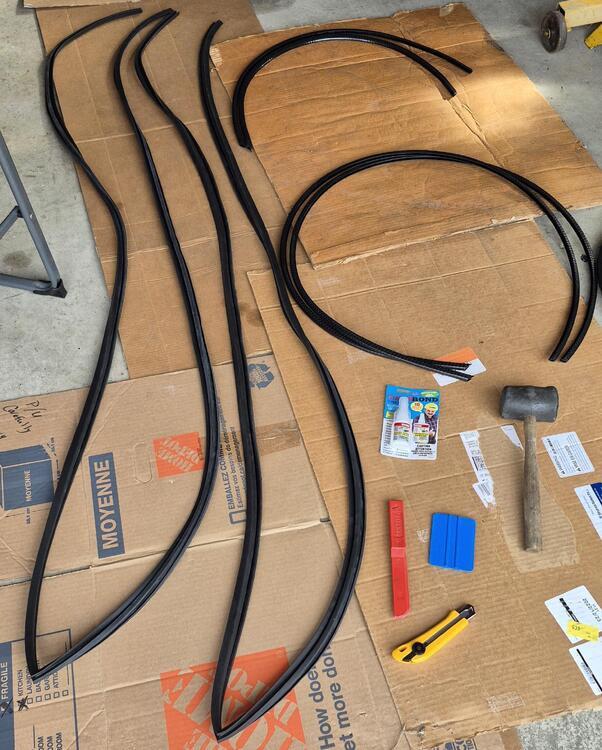
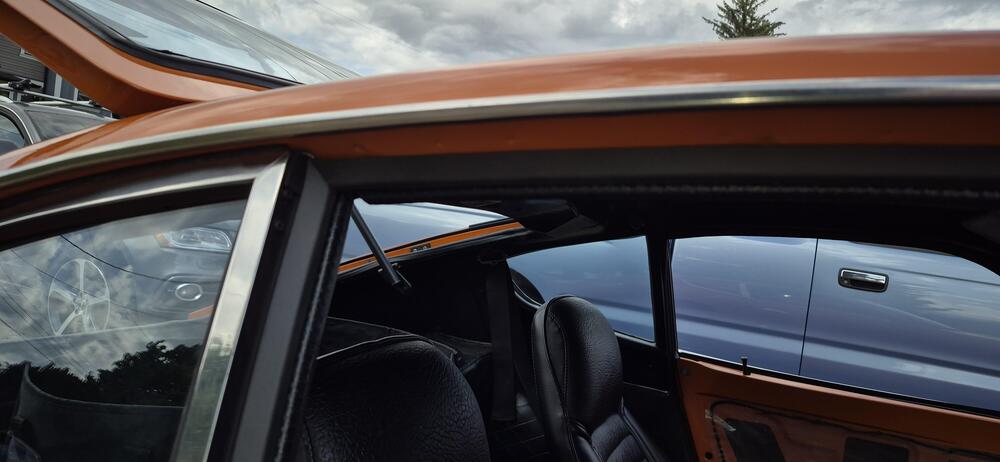
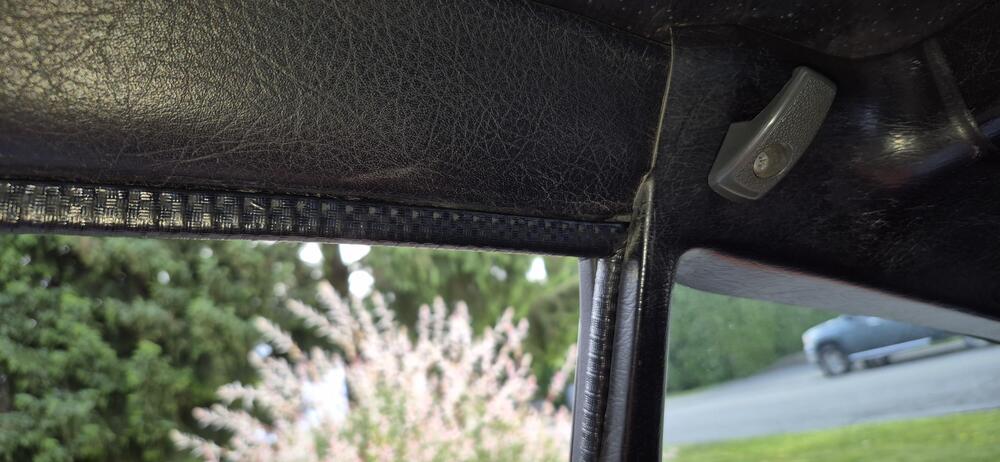
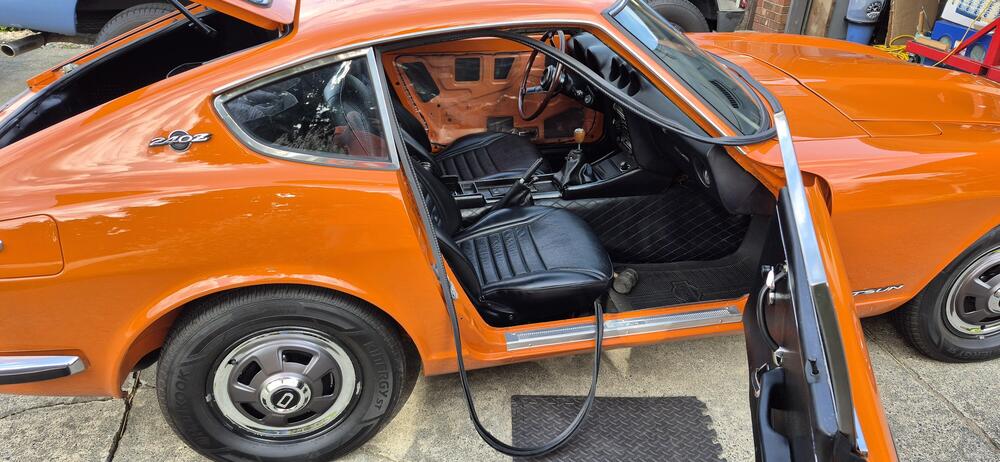
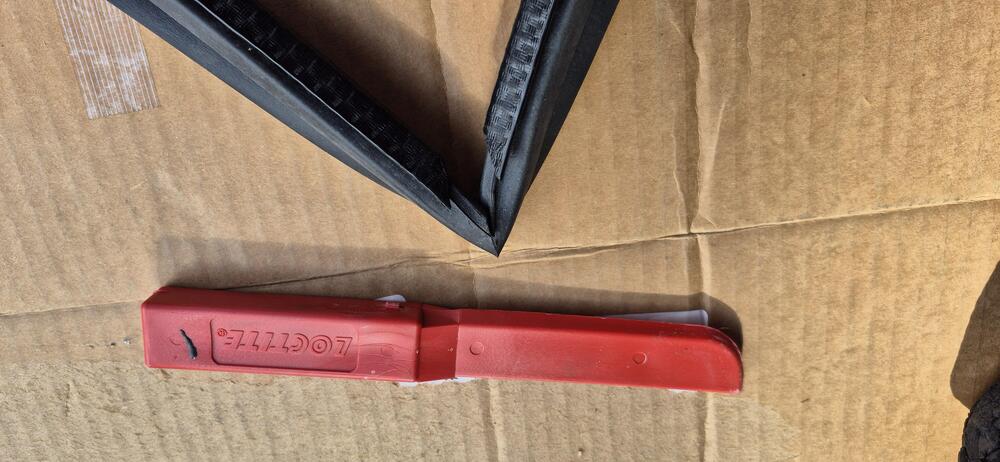
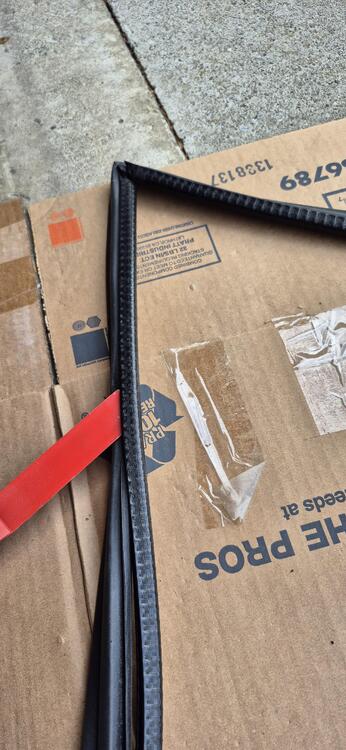
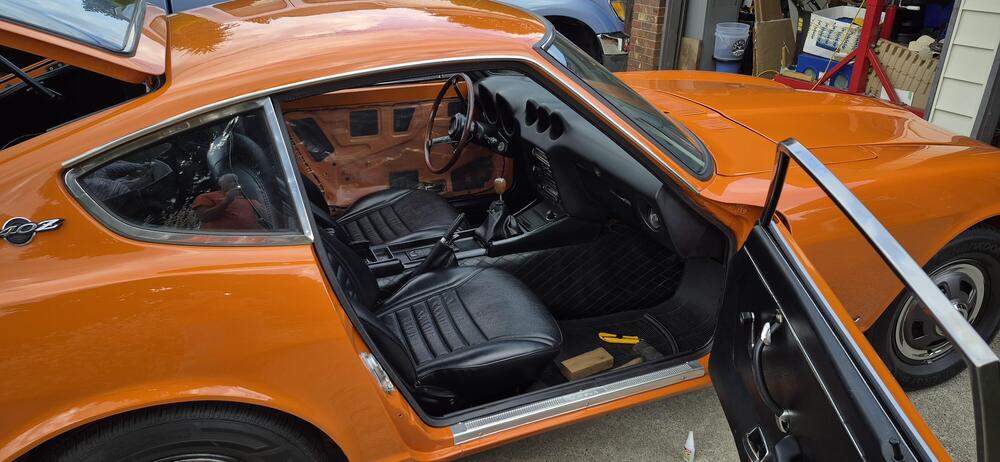
Here are a few observations and tips from my experience installing the S30 world OE style door seals. Firstly, I can't strongly enough state how great this product is. I followed the the instructions in the S30 world video and my installation was painless, taking a little over two hours, as I took my time. If I can do it, anyone can. Lol Here are a few installation tips: 1 Reroll the U shaped welting with the open end to the outside, this makes it easier to make the welting conform to the pinch welds during installation. Note that the U shaped welting is not symmetrical, it has a slightly longer leg with a tab on the inside. This leg must go to the inside of the car during installation. This is mentioned in the video but still can be easily missed. Here is everything you will need 2 Slightly spread the tips of the U shaped welting before rubber seal is installed. The rubber seal is inserted into the U starting at the 90 degree joint in the rubber and by spreading the tip of the U it makes the initial insertion much easier. I used a plastic Loctite mixing spatula to insert the rubber. This is the part to really take your time and use very gentle force to insert the rubber into the welting making sure it has fully seated. As mentioned the rubber is very soft and can be cut easily. I did not worry that the welting had moved away a little from the joint in the rubber seal, as when the rubber was completely inserted I could slide the welting back nicely into the corner. 3 Installation starts at the top rear corner of the door opening. The previous spreading of the U shaped welting tips helps here as well, to make it easier to install the welting over the pinch welds in both directions. I went a couple of feet in the vertical and horizontal directions so that the welting could hold its own weight while I checked the corner fitment. I'm very happy with the results.
-
Yesterday I finally got around to installing my S30world door seals. I have to that they are amazing, my doors now close using one finger instead of a forceful slam. Also I was having an issue where I could not lock the drivers side door unless I applied heavy force on the outside handle. It seams that old after market seals put a huge preload on the door when it was closed preventing me from locking the door. Here are a couple of videos to show the closing effort. Before - with the after market seals: https://www.youtube.com/shorts/d_O3pzJxocI After - New S30world seals installed: https://www.youtube.com/watch?v=e3q6LhGXkyE
-
Just to clarify, only the plastic hatch vents (1970, 1971) used the type of clip you posted. All of the emblems used circular barrel clips, similar to below, that push in from the top side. To remove the emblems you can carefully pry them off from the top side. If you can get access from behind it does help to push on the pins as you pry.

-
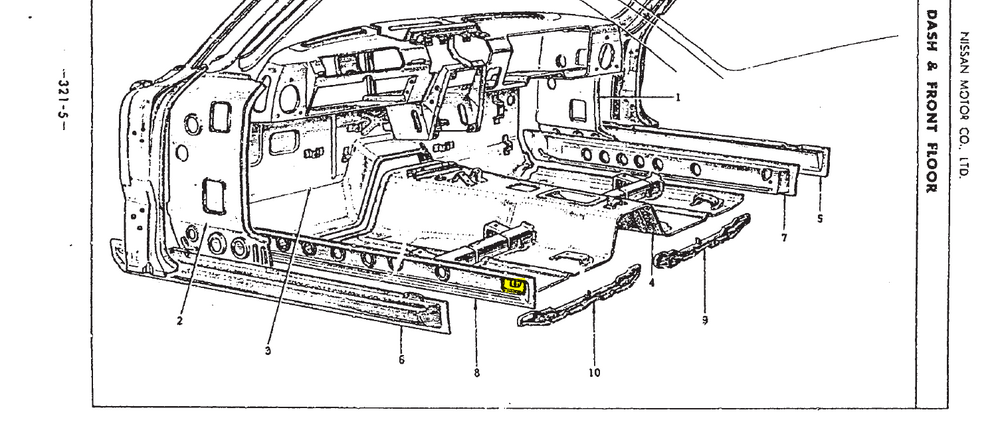
Here is a good image from the JDM service manual The highlighted part in the image above is the seat belt mount/reinforcement that @Patcon sent. Here is a link to item 8 in the JDM image above you might want get too, as the seat belt mount/reinforcement welds to it. The front part of these commonly rust out as well. https://kfvintagejdm.com/shop/datsun/inner-rocker-left-side-datsun-240z/

-
Try KF Vintage. https://kfvintagejdm.com/product-category/datsun/
-
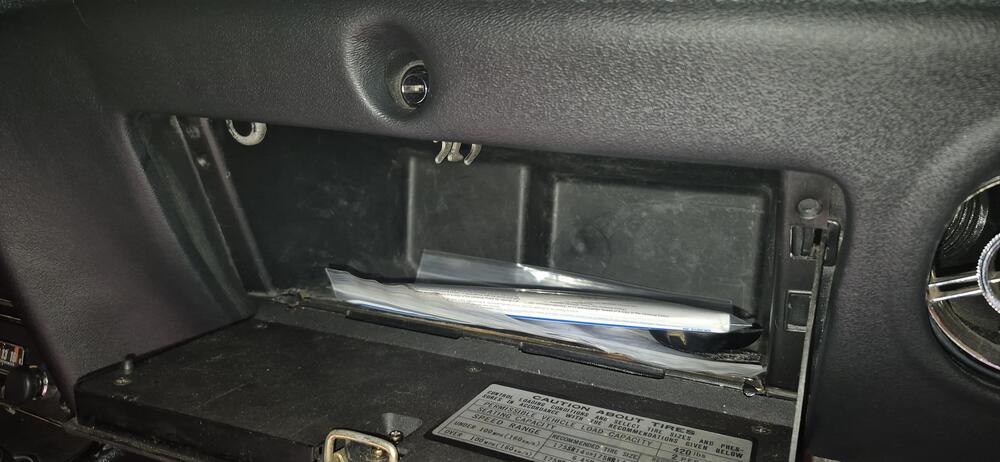
@Patcon no luck finding a recipient but after seeing @w3wilkes 's post about a modified 260Z box, I had a look at the open glove box on the nice 260Z currently on BaT, I think mine is from a 260. Looks like the hinge area is modified when comparing to the pic of mine above. I will look closer when I get home tonight.
-
No idea, but I will have a look thru the pile of receipts that came with the car.
-
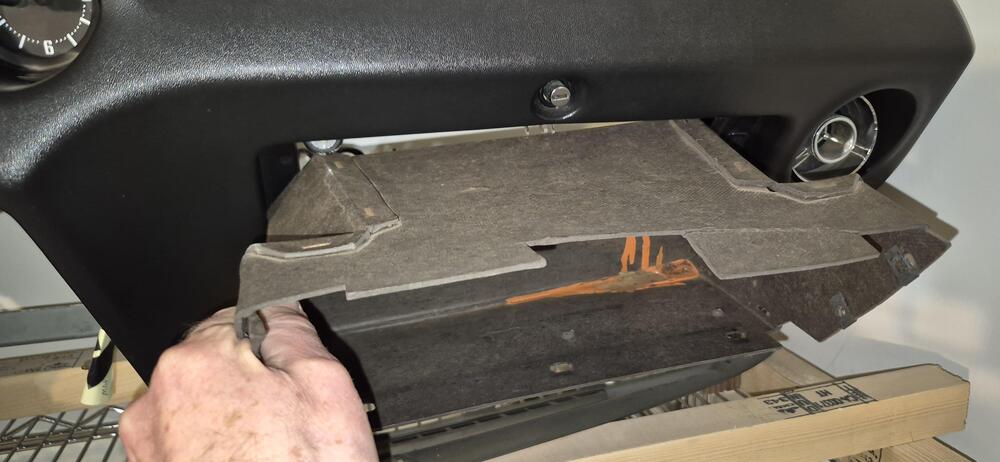
Yup, no way that the OE glove box liner will go in from the front. upside down or upside right. LOL Interestingly, my restored 1970 #957 has a plastic repro liner, and it does go in from the front.
-
You're right. I didn't even notice that. Lol
-
That's interesting, I just removed my heater fan/air intake assembly to fix a cowl water leak, The 1971 FSM supplement mentions removing the glove box door and then the liner from the front to make it easier to remove the assembly. Here is a pic from the supplement. I just assumed it would go back in from the front. I didn't try because I have a full dash cap.

-
I believe the OE spec tor the oil drain plug is 3/8 BSPP. The threads on mine measure 16.43mm major diameter, which is at the low end of the BSPP parallel spec, 16.662mm +0/-0.25mm. I don't have a metric 55 degree thread gauge but my 1.3mm 60 deg. thread gauge is very close to the spec pitch of 1.337mm. https://amesweb.info/screws/bspp-thread-chart-calculator.aspxI agree with @Namerow this a great, and very useful post. I believe the 7/16-20 SAE threads are for the seatbelts. Possibly to meet North American standards of the time? For the JDM market I wonder if the seatbelts used M12 x 1.25 fasteners? Or was the SAE spec used worldwide?My July '70 car, #6521 has all of those features as well. I knew about your points 1 & 2 but not 3. Interesting, I learned something today, thanks.
 My Zed club had it's last group drive for the year, yesterday. My car gal girlfriend was my navigator, as we drove the twisty roads thru Glen Valley in North Langley. Great day.













Important Information
By using this site, you agree to our Privacy Policy and Guidelines. We have placed cookies on your device to help make this website better. You can adjust your cookie settings, otherwise we'll assume you're okay to continue.