HusseinHolland
Community Member
-
Joined
-
Last visited
Everything posted by HusseinHolland
-
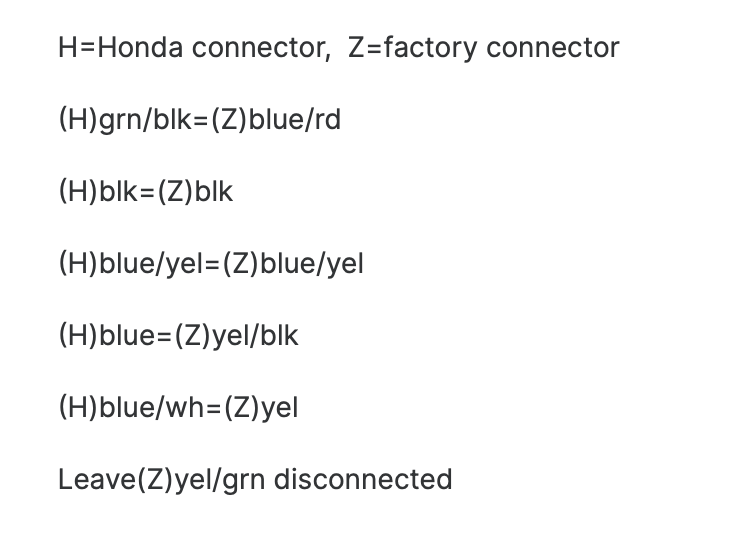
I thought I saw that one - but I missed the post that gave wiring cross ref for the motor (ZcarDepot listed one is the same as what I bought) I don't want the stock Nissan relay. The VAG 99 is 'infinitely" variable delay. Once you've used it, its difficult to use a stock interval setup typical of older cars. What's odd to me is all the stuff attached to the Datsun motor - I don't see those components in the diagram, unless that is the interval relay, but that's non-sensical since the manuals show it in the relay panel
-
Yay! It still wasn't working for me yesterday.
-
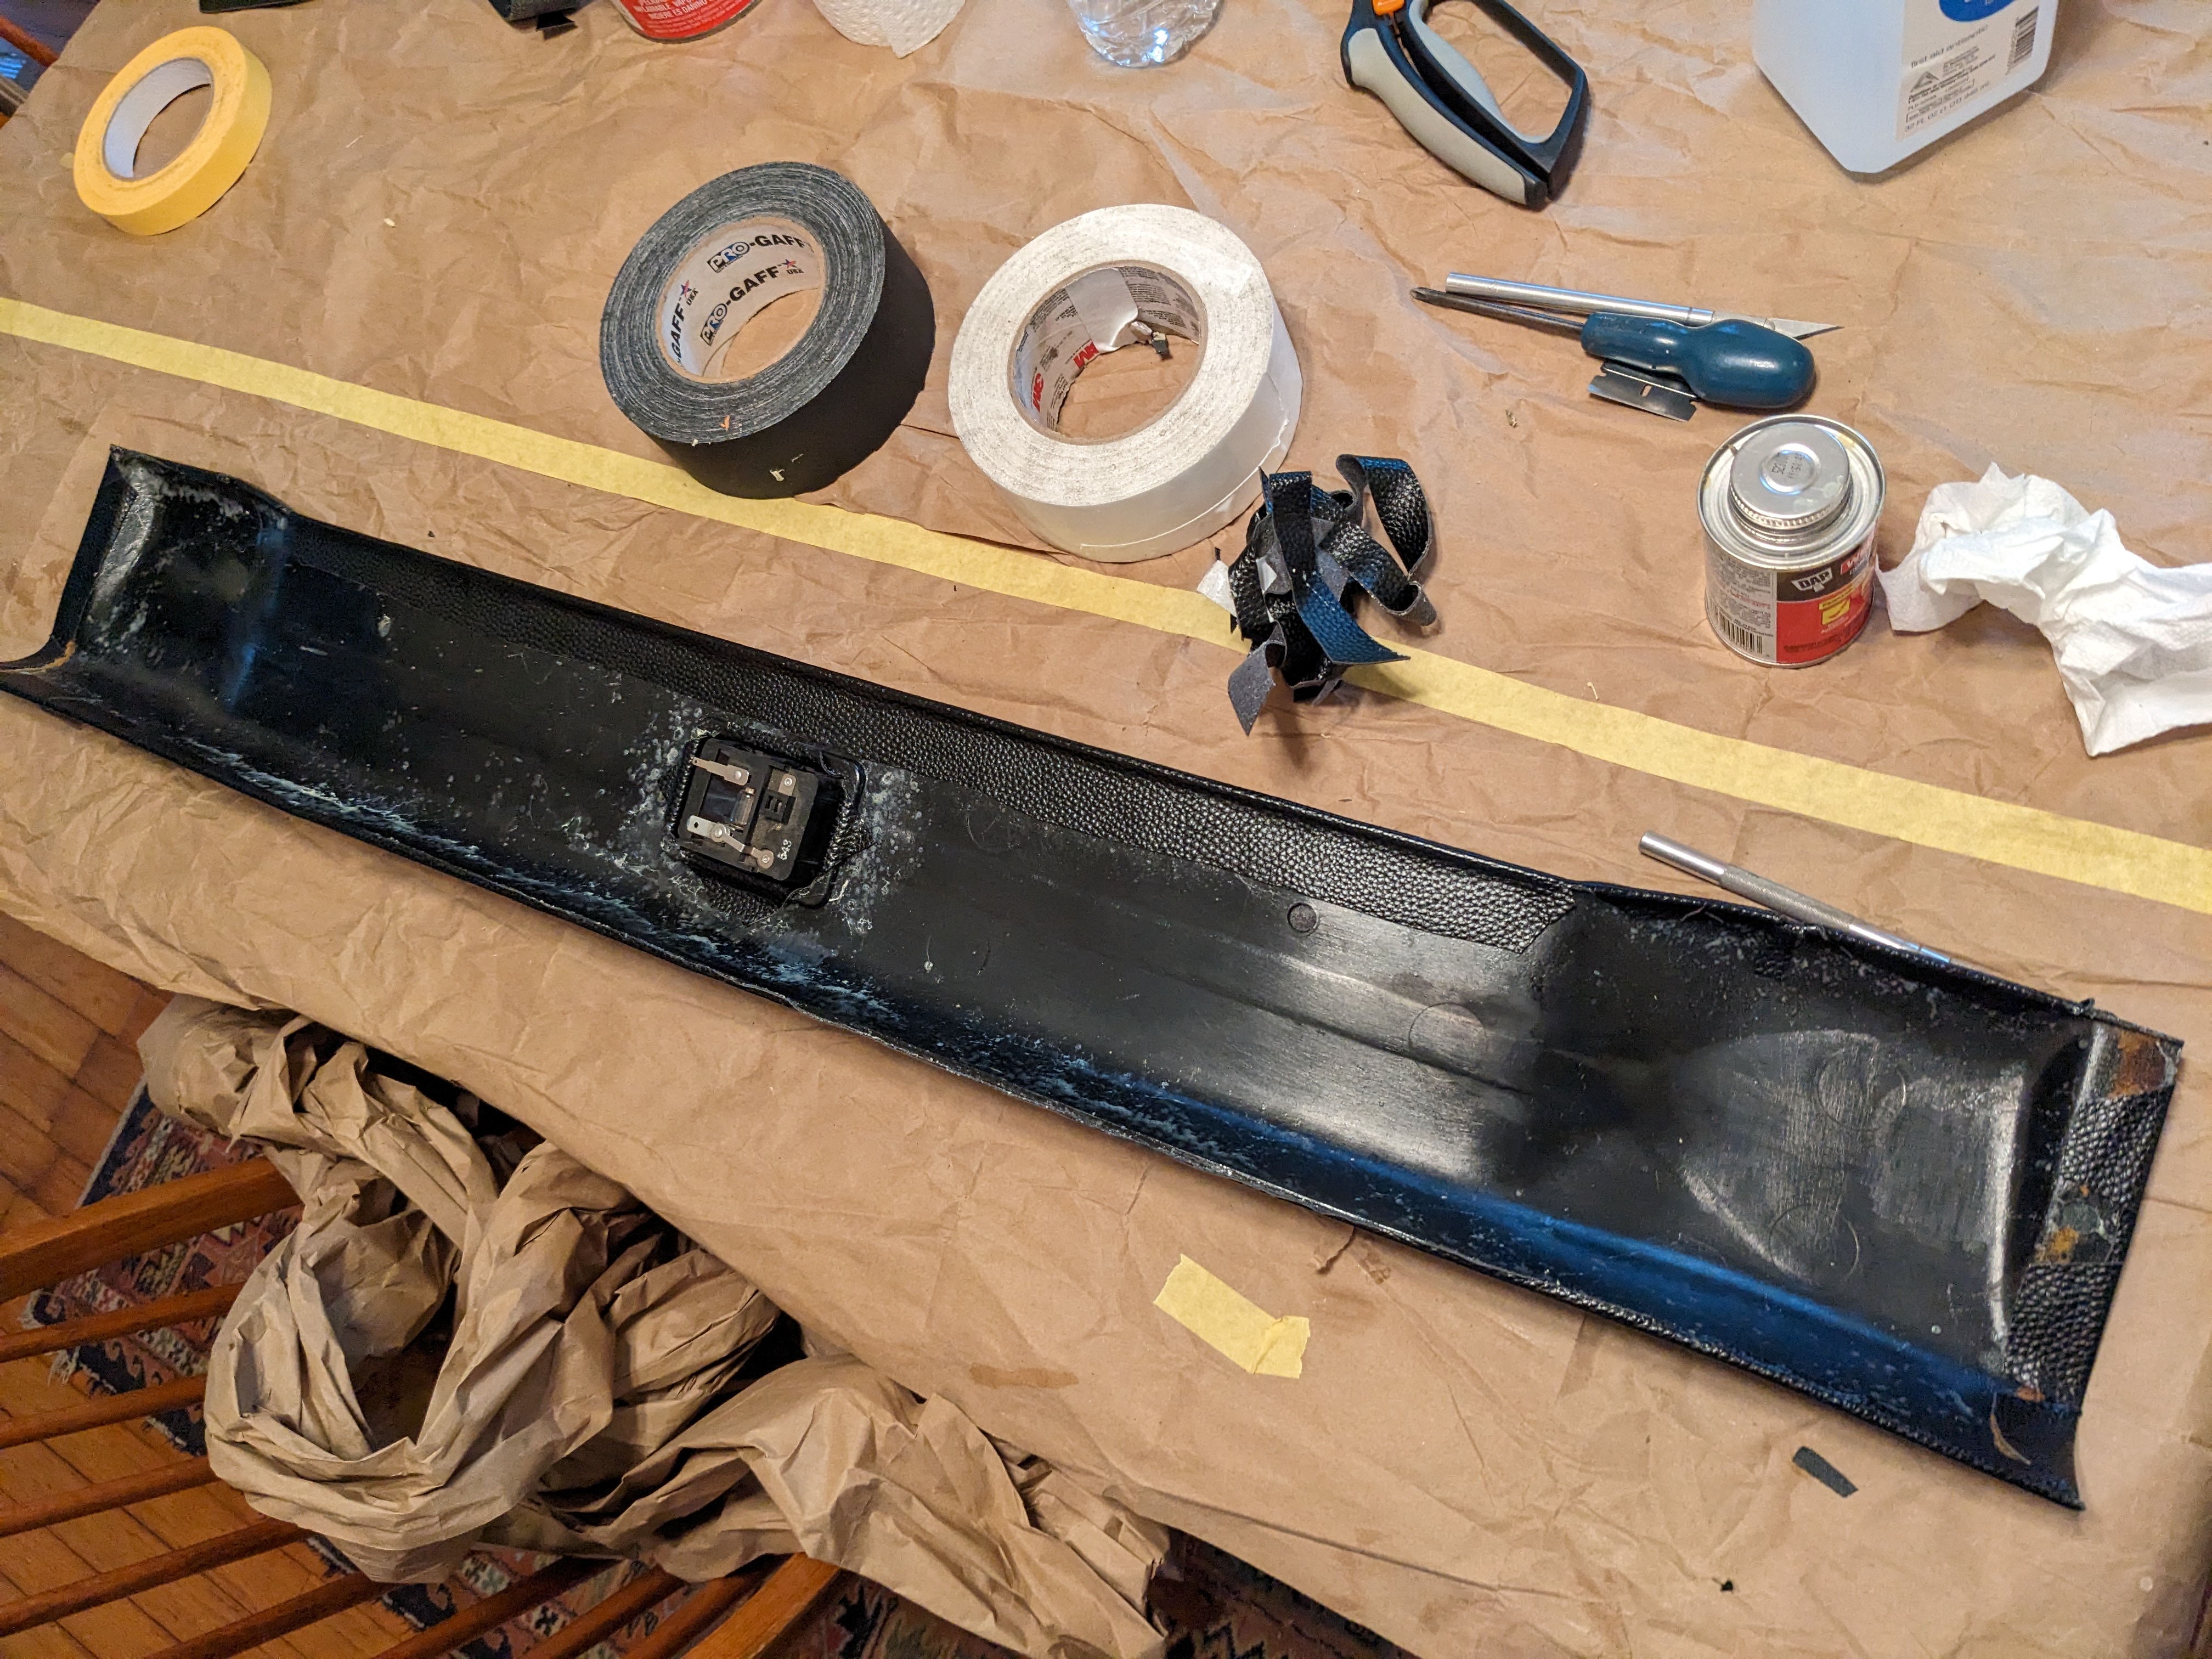
Now that I have the cowl prepped, and the Datsun linkage repaired & lubed, I'm doing the Honda wiper motor conversion documented HERE Reference thread regarding reverse polarity park 75-specific wiring post There's also another link somewhere for the AtlanticZ 'how to fit" PDF So, the big Q for me is how this all ties together. The FSM BE overview & wiring (page BE-62 & BE-68) for 75 shows the interval relay. The intermittent amplifier is shown on overview BE-6 and wiring BE-68. It is not shown on the flow diagrams on BE-66-67, unless I'm missing something. It's unclear to me, even after reading the function overview on BE-60, what exactly it's for besides the reverse park business. Maybe that's all it is. Because I'm a glutton for punishment, I want to add the VAG "99" interval relay to this - so my brain is exploding right now trying to overlay all the wiring permutations. I think I'll start from the basis of the 75- specific diagram, since they have figured out basic functionality & go from there.
-
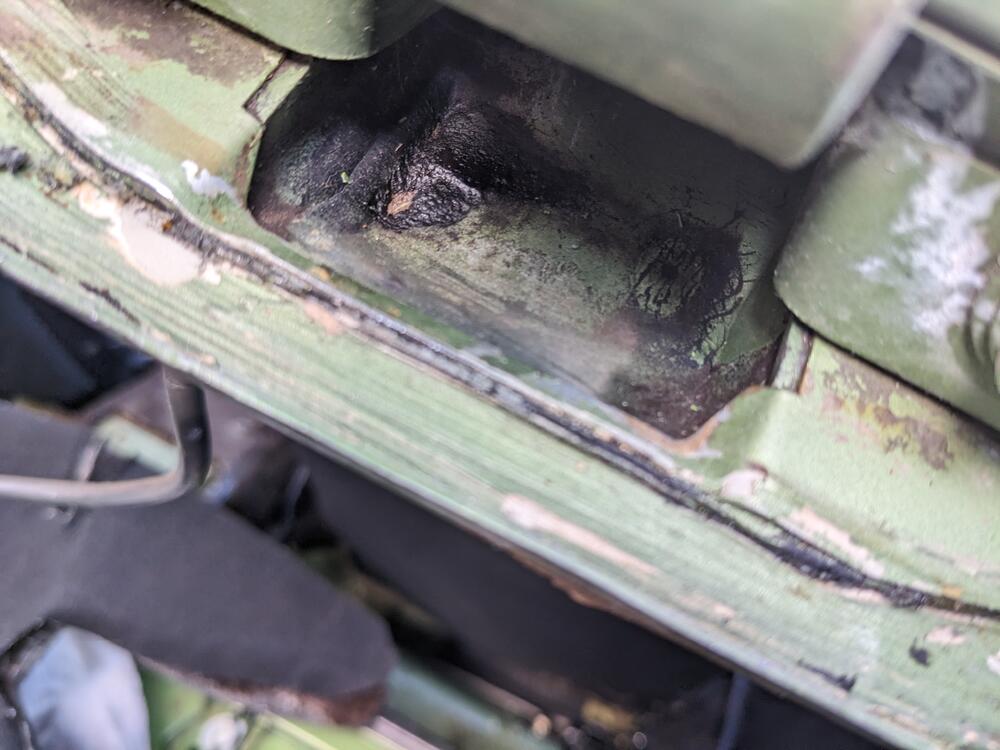
Worked on the wiper transmission this evening, after finishing the cowl cover. I also glued the cowl seal in place. For that, I added closed cell foam where the original was clearly chafing and/or vibrating & wearing the paint I stripped the wiper pivots, one required filing in order to remove the bearing housing, looked like it had been twisted with vice grips I then removed all the rust on the shafts, and heated & oil-blacked them acid dipped the bearing housings to remove rust from the steel (WTF??) bushings after that I lubed all the pivot bushings (brass) and greased the bearing housing with marine grease. There were originally felt collars around each linkage pivot to retain lubrication, only one remained & that fell apart when I cleaned everything up. just have to chase the mount threads in the bearing housings, then I can mod the motor mount plate for the Honda wiper motor, rewire the unit & install it all back in the cowl & close that up.
-
Since I'm new to the Z world, I searched for factory & repro parts sources online & found ZcarDepot along with several other sites. They were the only one (besides MilkFab, but they are specialty items) that responded very promptly to email questions, and also to order modifications (which has happened several times now, as I have found I missed one thing or another to complete a job).
-
@Captain Obvious Nice work! Any chance you have a summary list of components & MY vehicle that they came from? I'd like to investigate removing that convoluted linkage and the seemingly overly complex TB setup. Is the TB you used compatible with the stock TPS or did you use an alternate for that also? I'm surprised the 4cyl TB was sufficient ID, but maybe the Z one is way undersized (like the exhaust)?
-
I'm going to keep the heater valve in the cabin - I want to convert to AN bulkhead fittings for the bayside hoses. In part so that when I do the drivetrain conversion (at some future date) it will be easier to modify, same as the AC line fittings I'm going to get rid of the long flapping hose & put a section of 5/8 SS pipe (approx 18") which will be bolted to the block in the existing harness attachment points. I'll be bead -rolling the pipe for a tight hose fit
-
Finished the cowl paint & put the new cowl cover grommets in place. Tomorrow I can glue the cowl seal in place
-
My washer pump was DOA, along with all the hoses to & from the jets. I decided to fix it all while I have the cowl apart I have stashes of Volvo parts, so I made a Volvo (VDO) pump fit. These were used for all Volvo 700/900 series from 83-98, so readily available. Later models use a large inlet that plugs directly into the tank, so none of those will work. Only had to bore out the factory sleeve to retain the new pump in the same location. Made an adaptor pigtail using the factory pump wiring. Pump is larger than original, still no issue with space Making an adaptor pigtail using the original pump harness Pump & tank installed, Volvo line filter added Volvo check valve added (just under the cowl lip) to maintain fluid head at the junction
-
Gathering fittings for the conversion - I'm going to put a bulkhead connector so the bay side hoses can be detached without missing with the interior connections. Down the road I will be altering the drivetrain, so I want to make it as adaptable as possible
-
I've had the same issue for days now. I posted about it in the chat section, but now I can't even find my post 😞
-
OK - so with mine, cleaning the contacts & replacing the rivets with brass screws has resolved the lack of contectivity. circuit open circuit closed
-
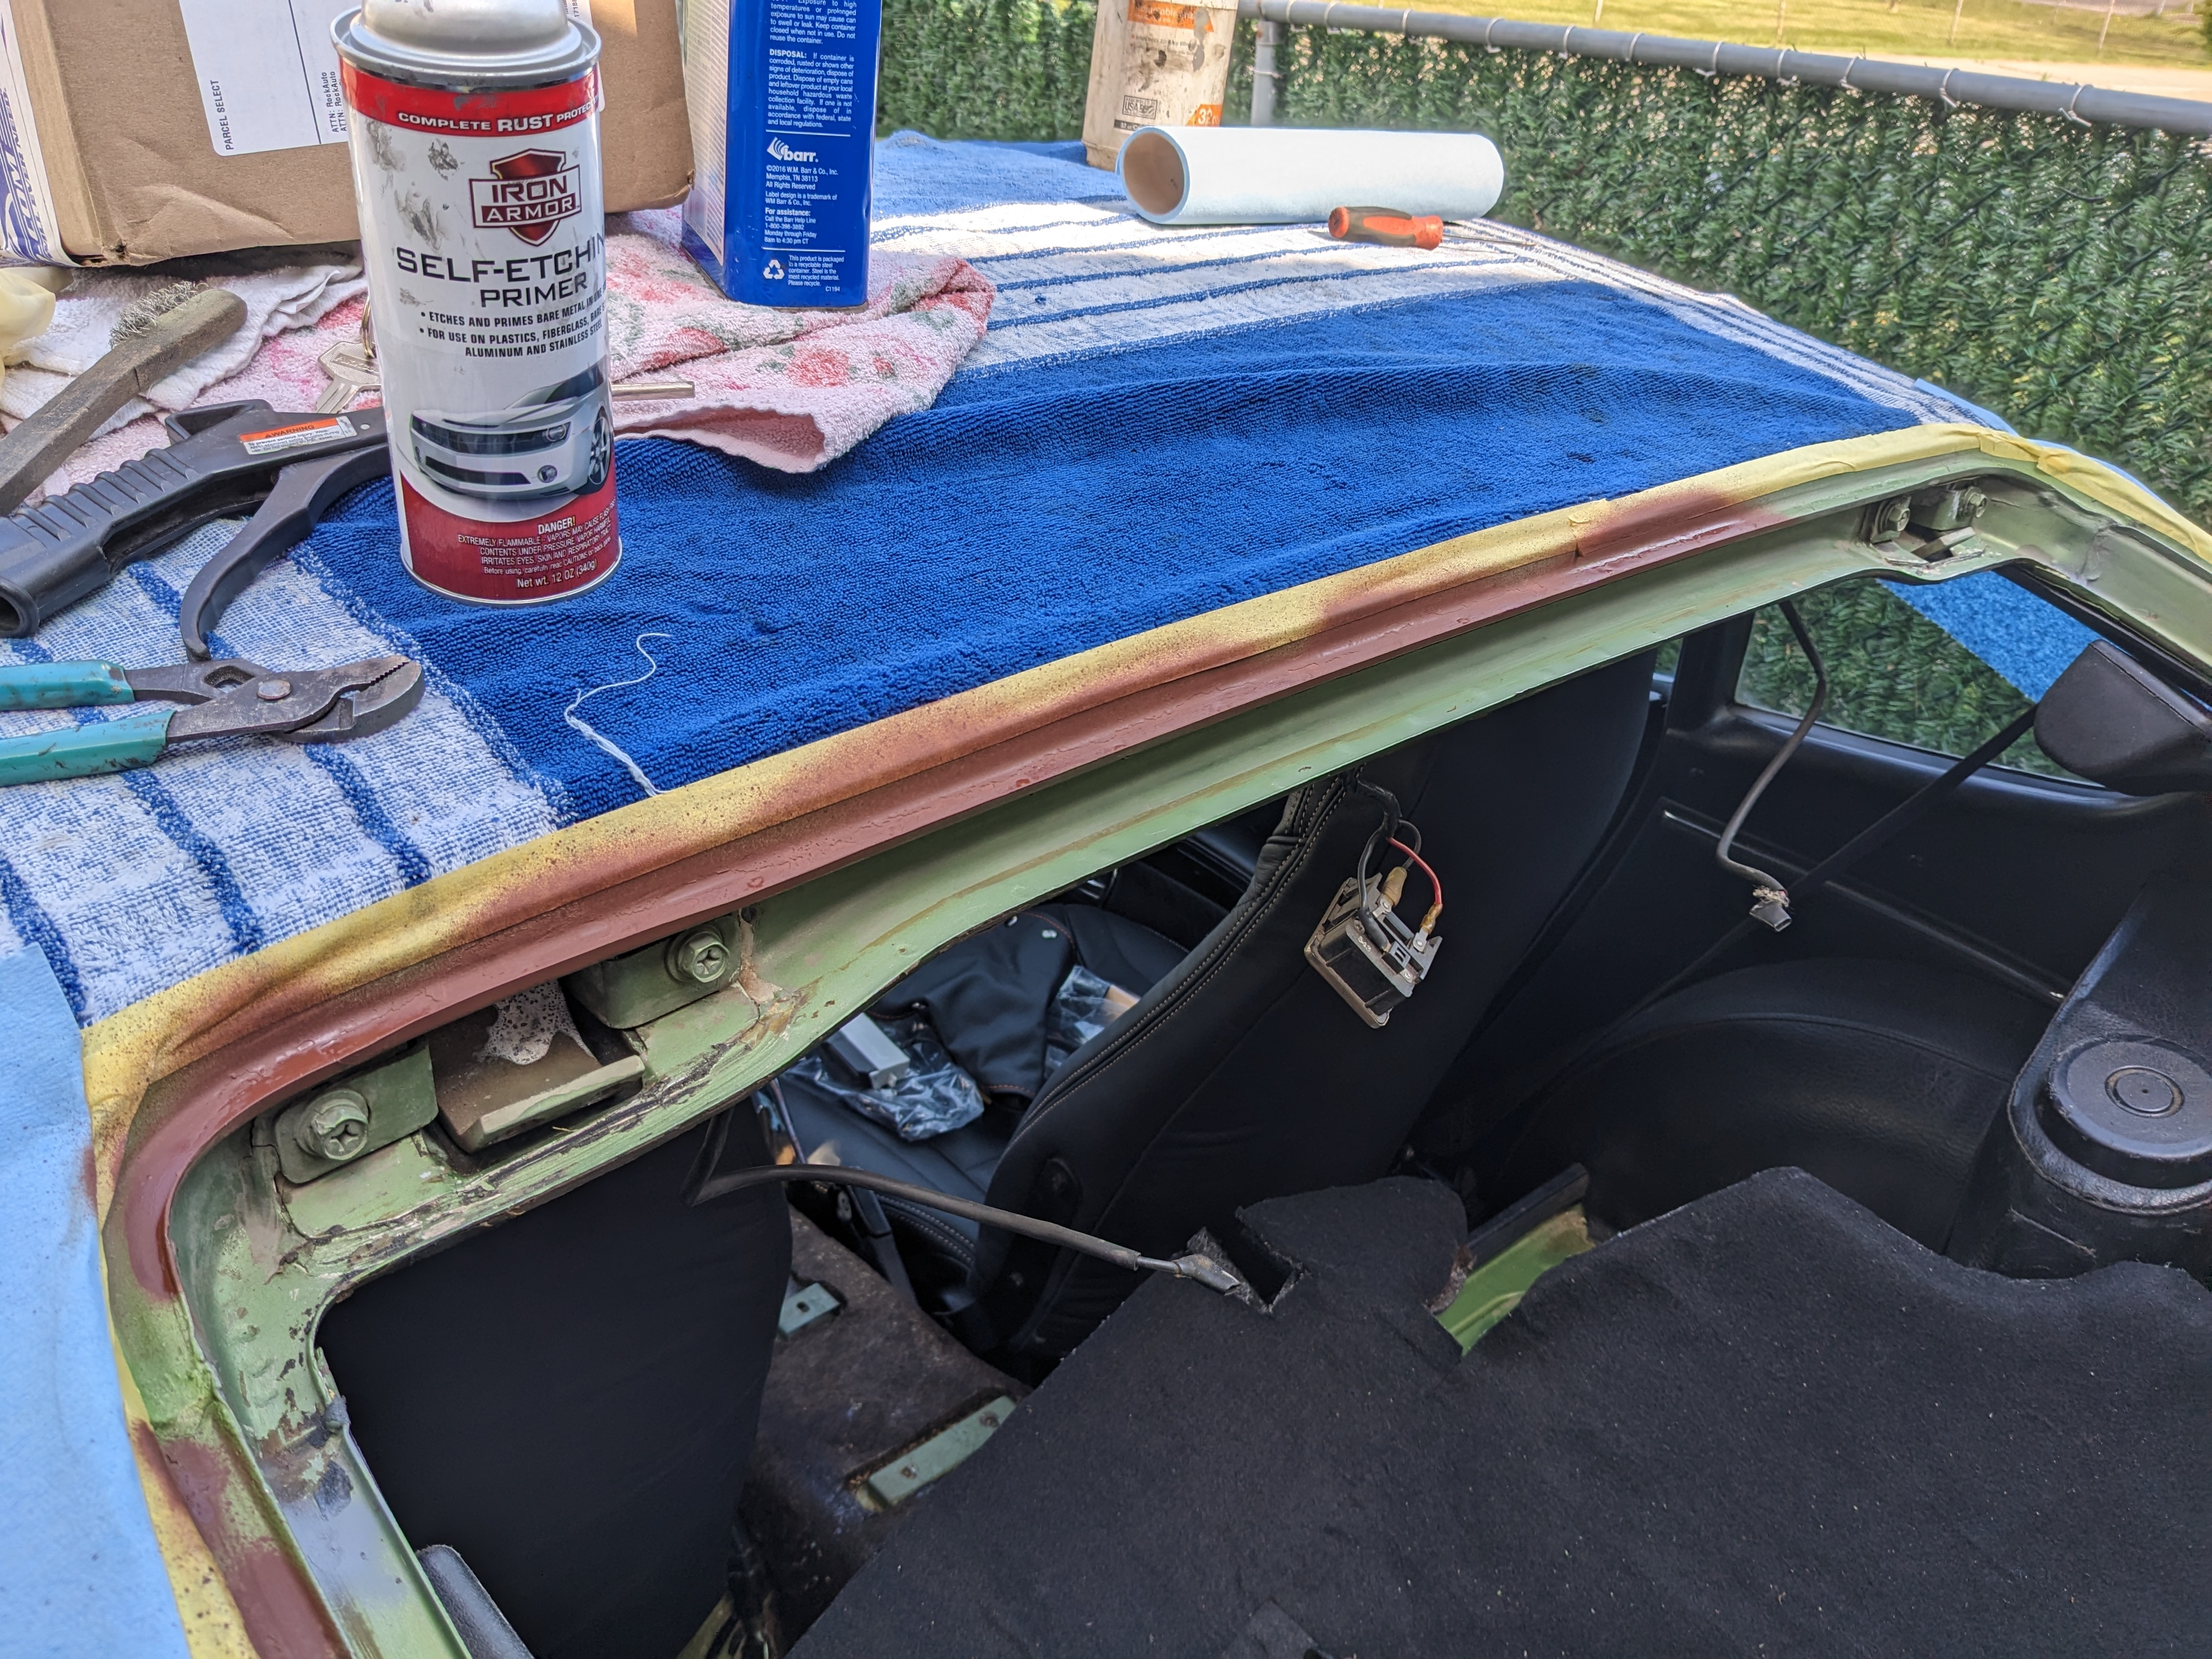
Primed & painted the cowl, and prepped the underside of the cowl panel have to make new foam pads for the cowl cover to replace these
-
I've had to resort to posting links from Postage - the 'choose and/or "drop" doesn't work - returns a server error everytime
-
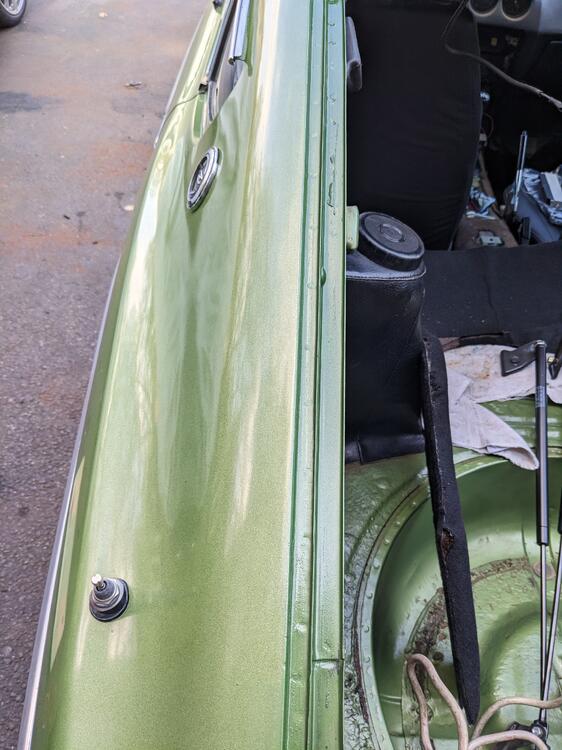
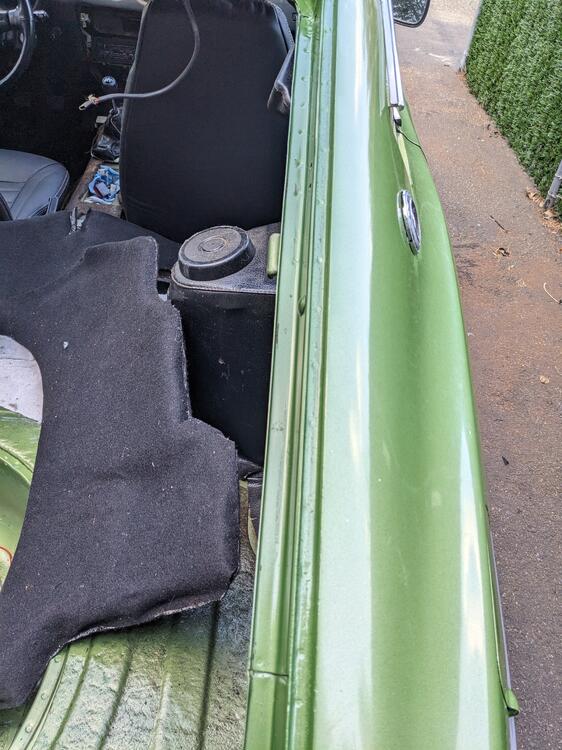
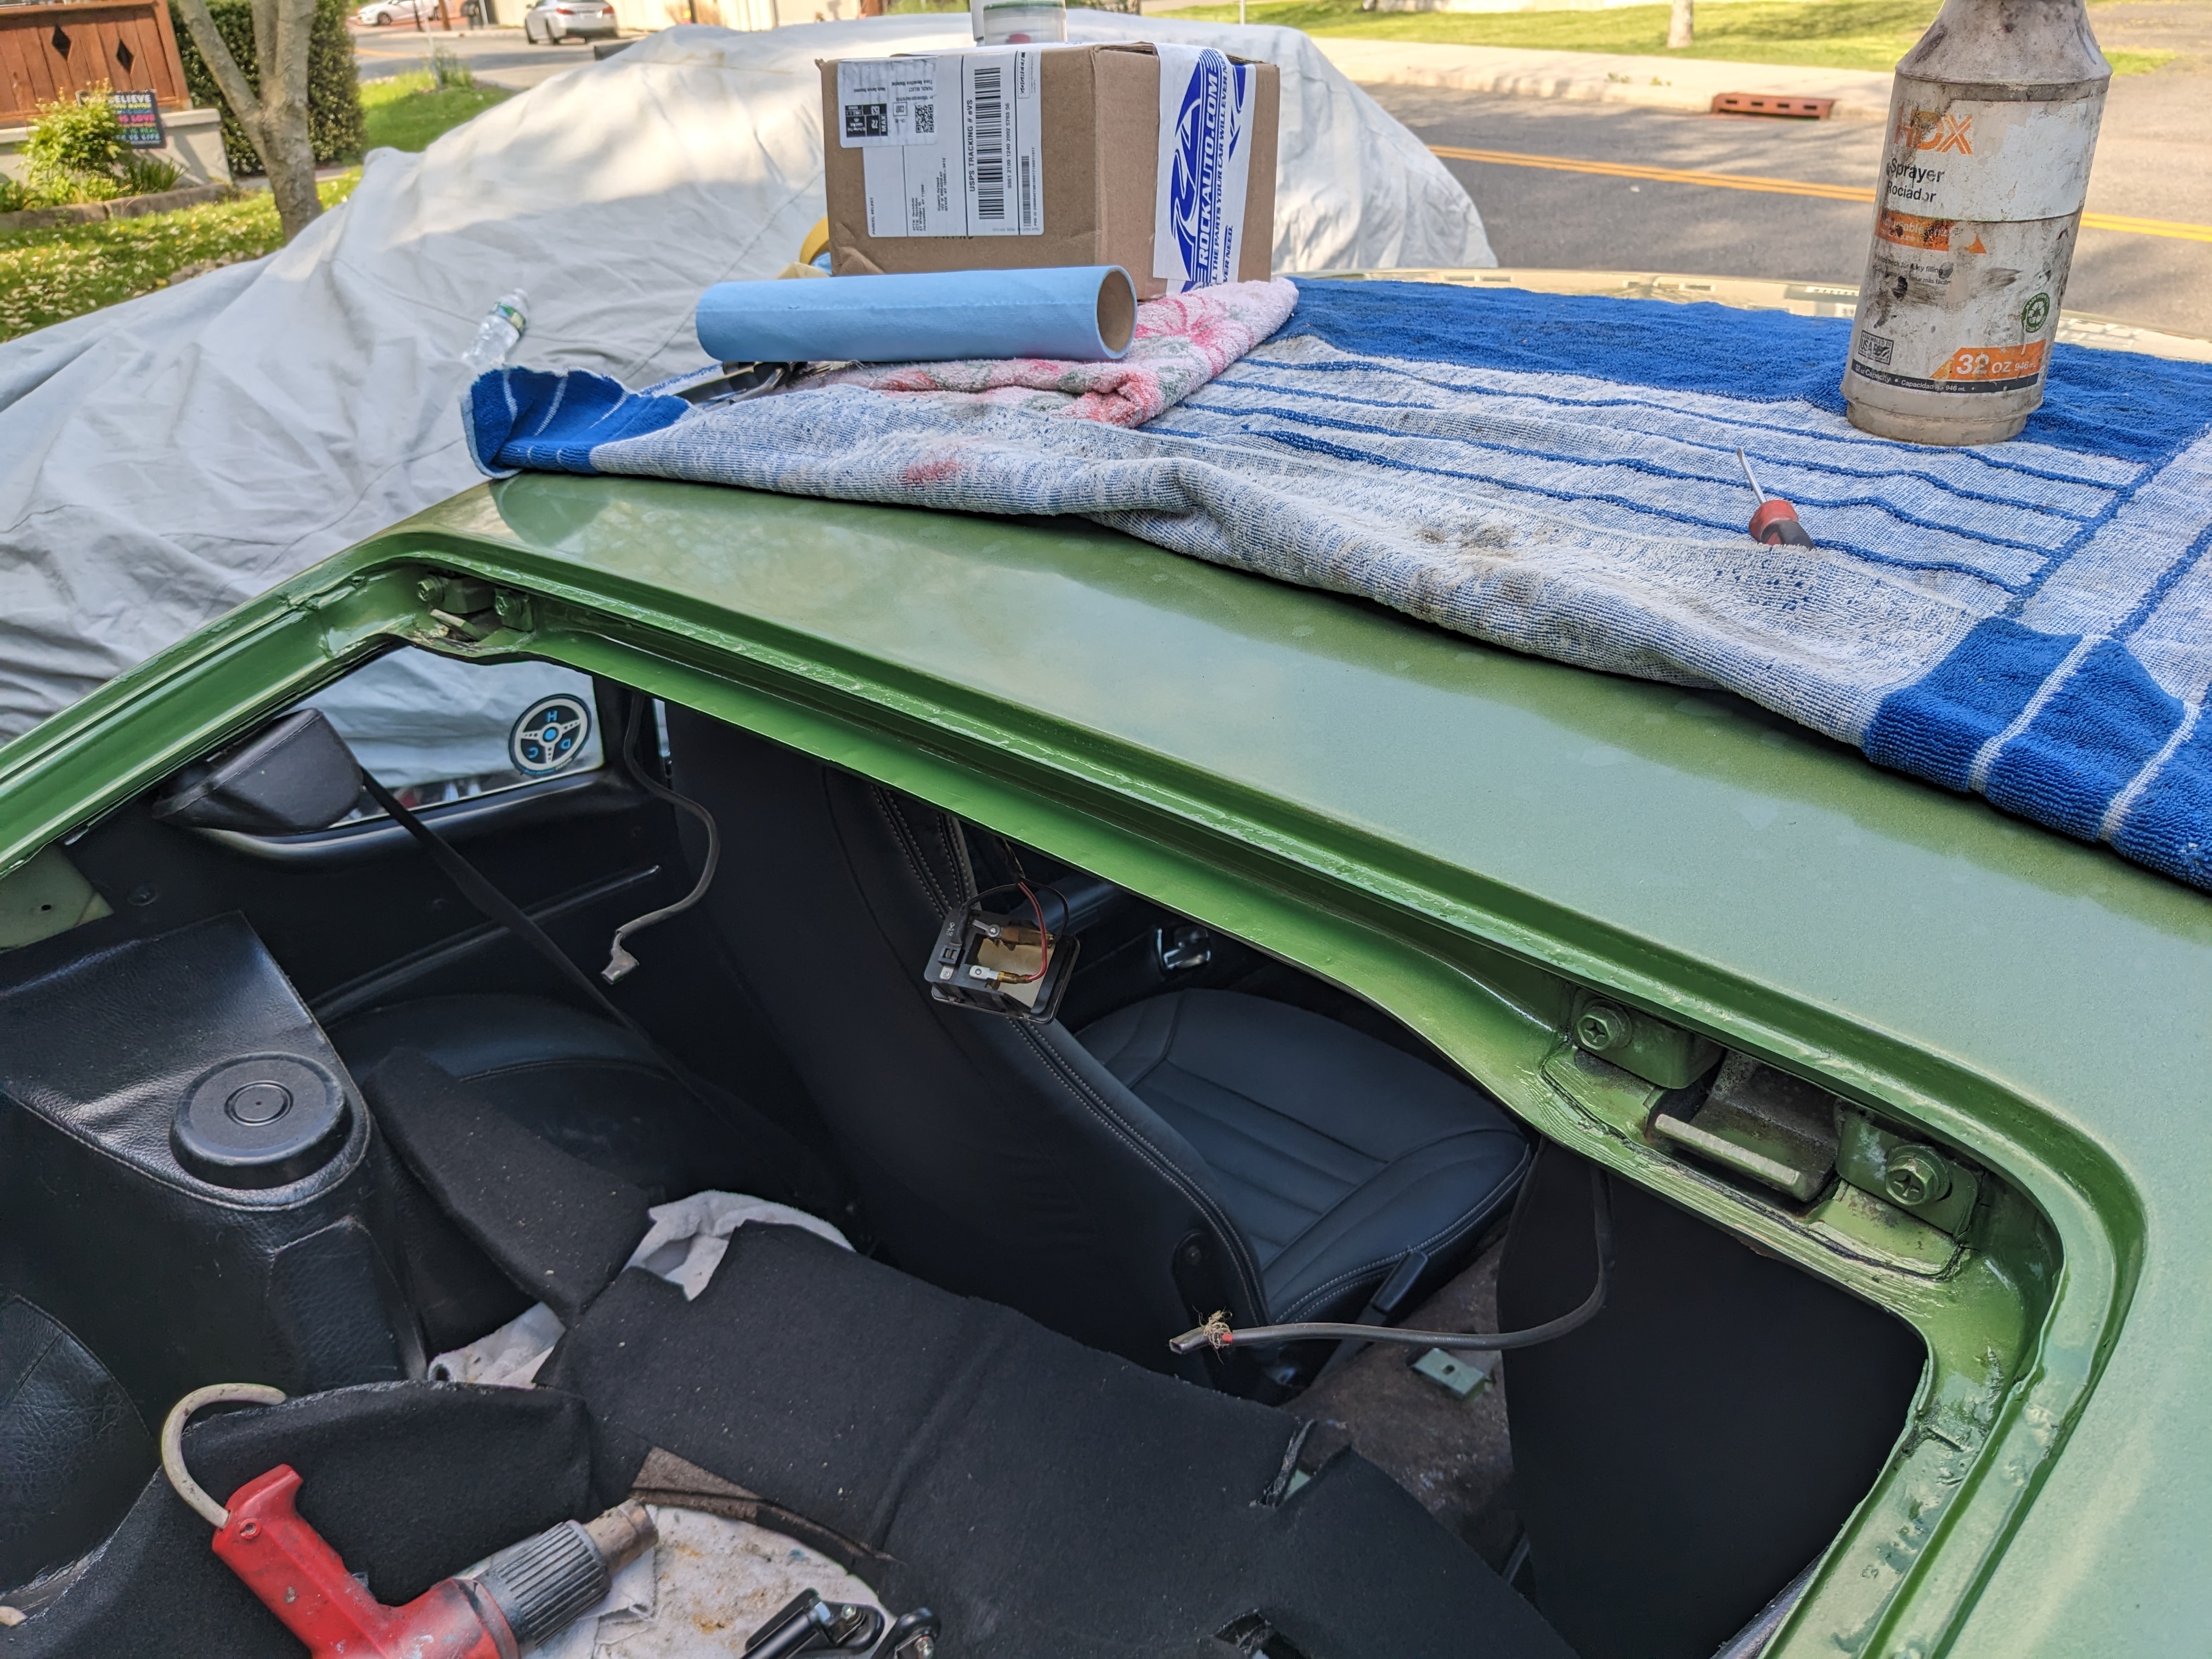
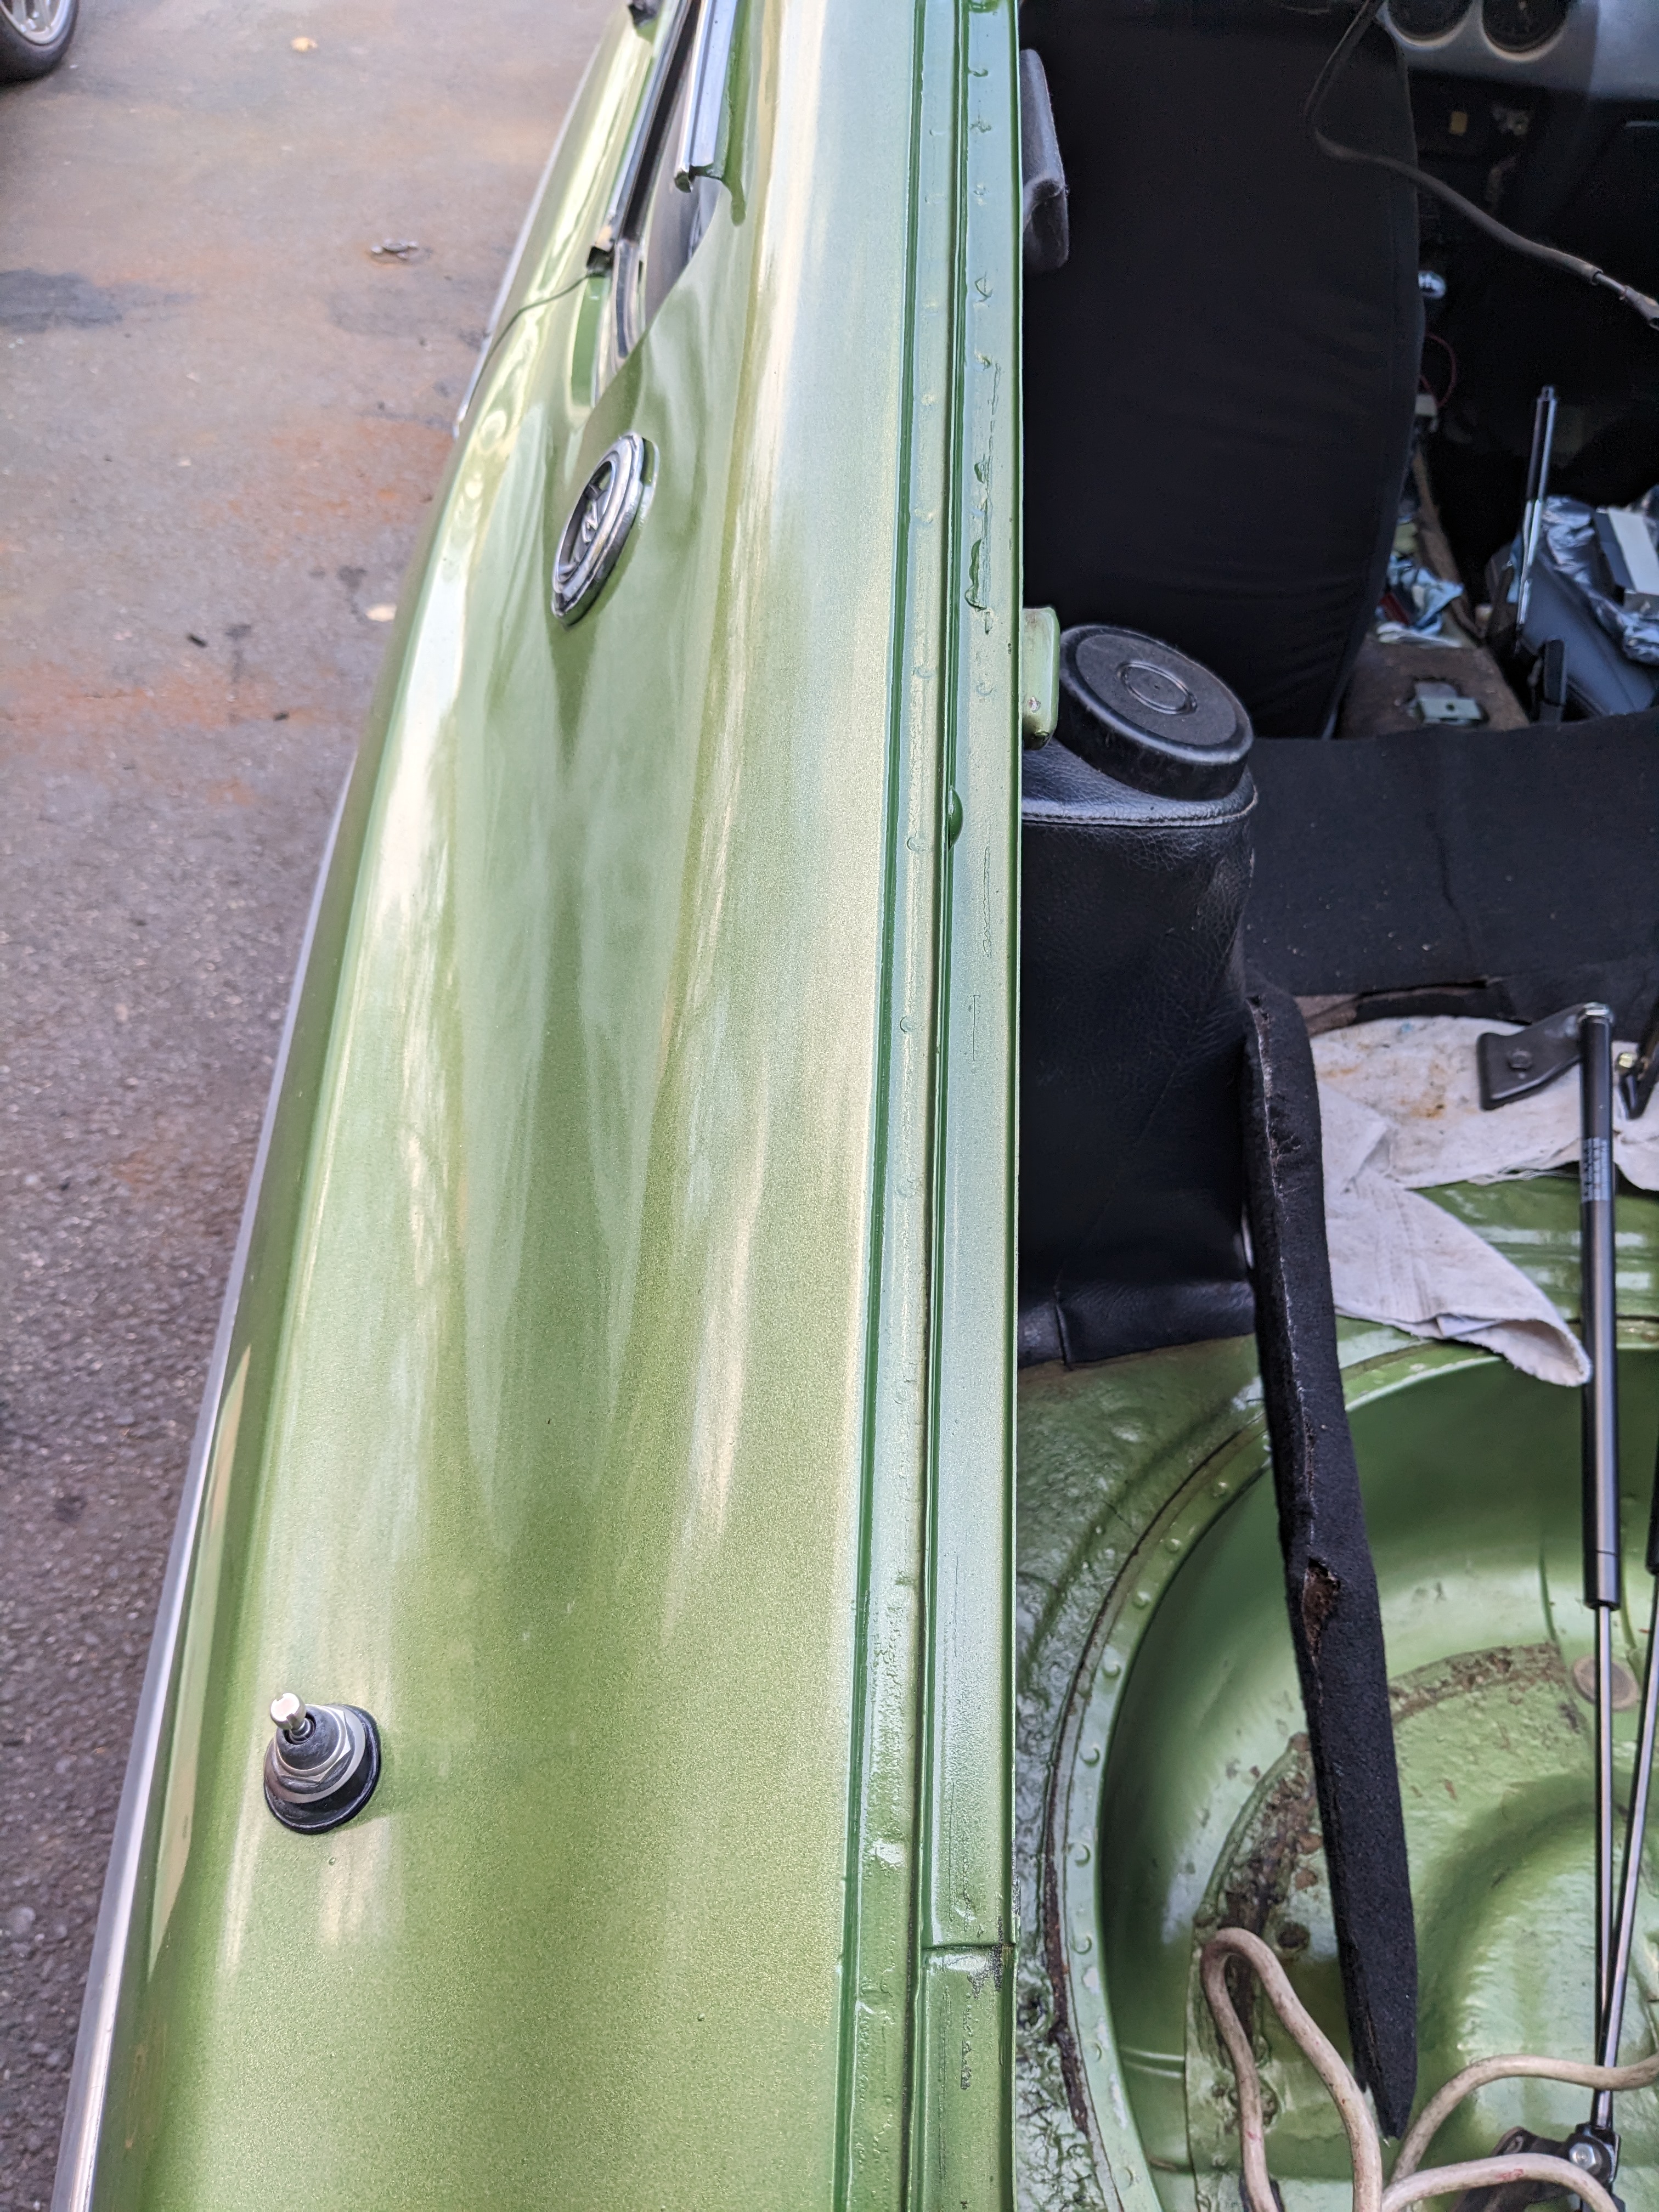
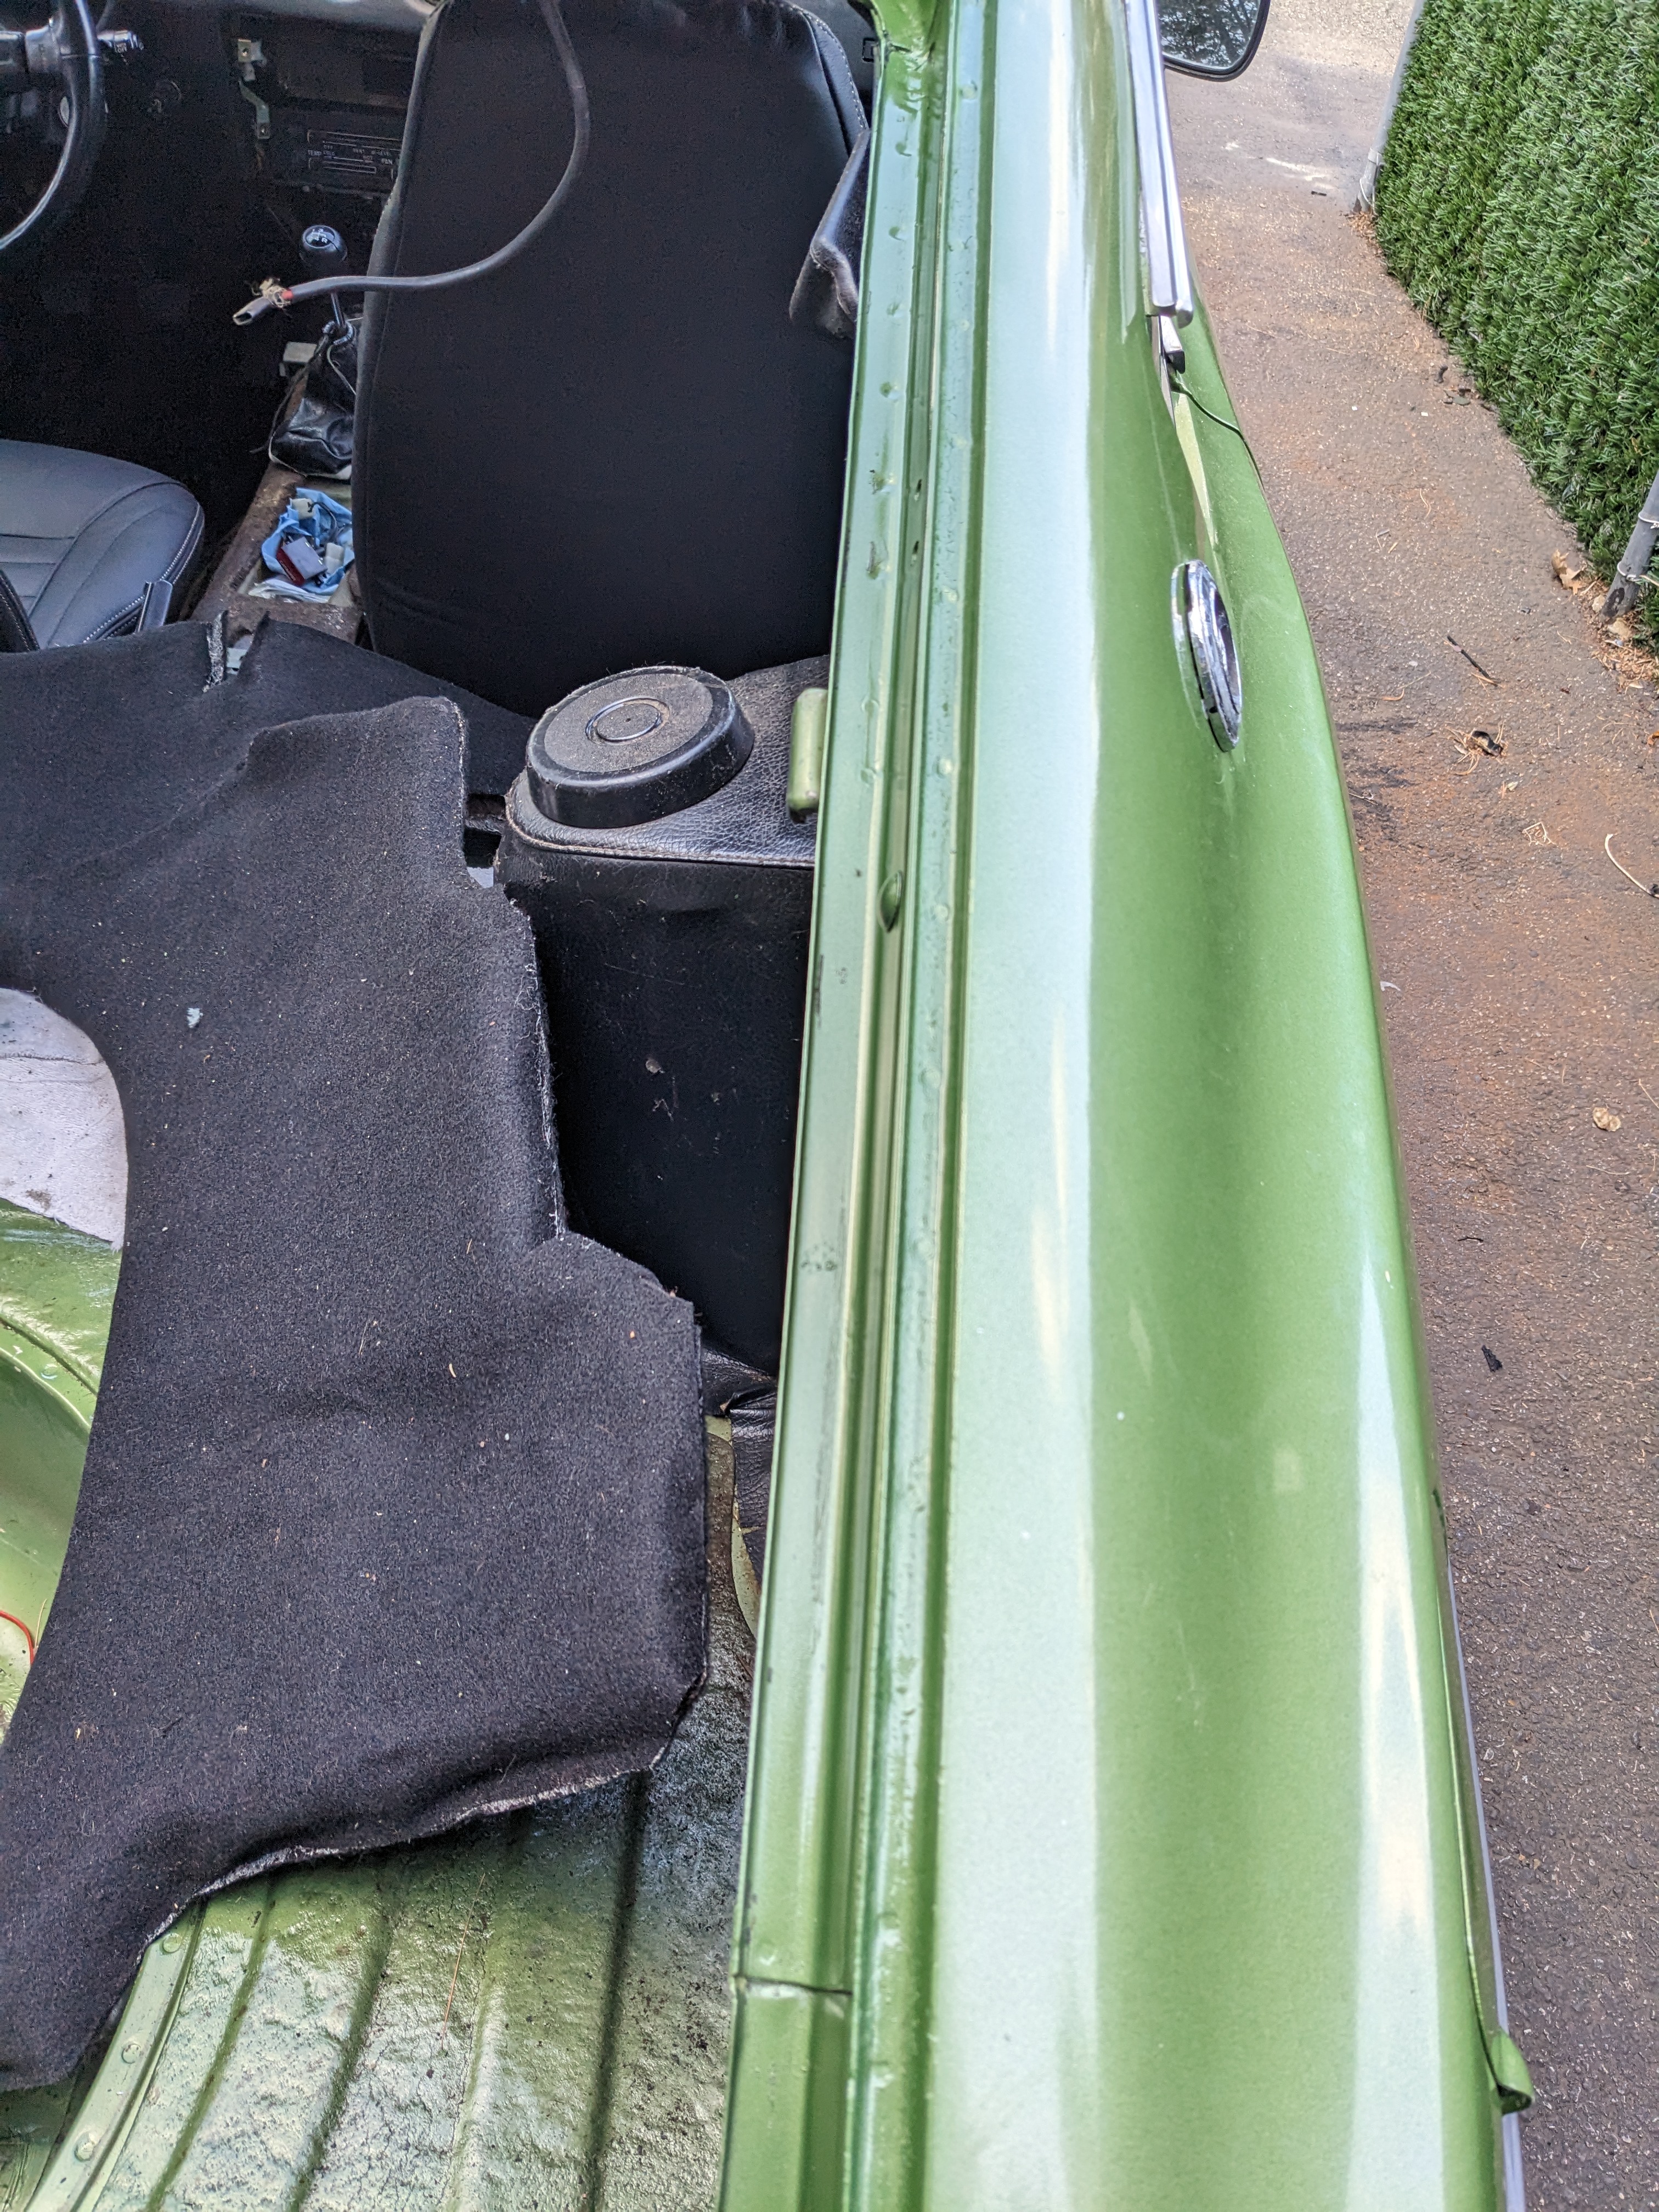
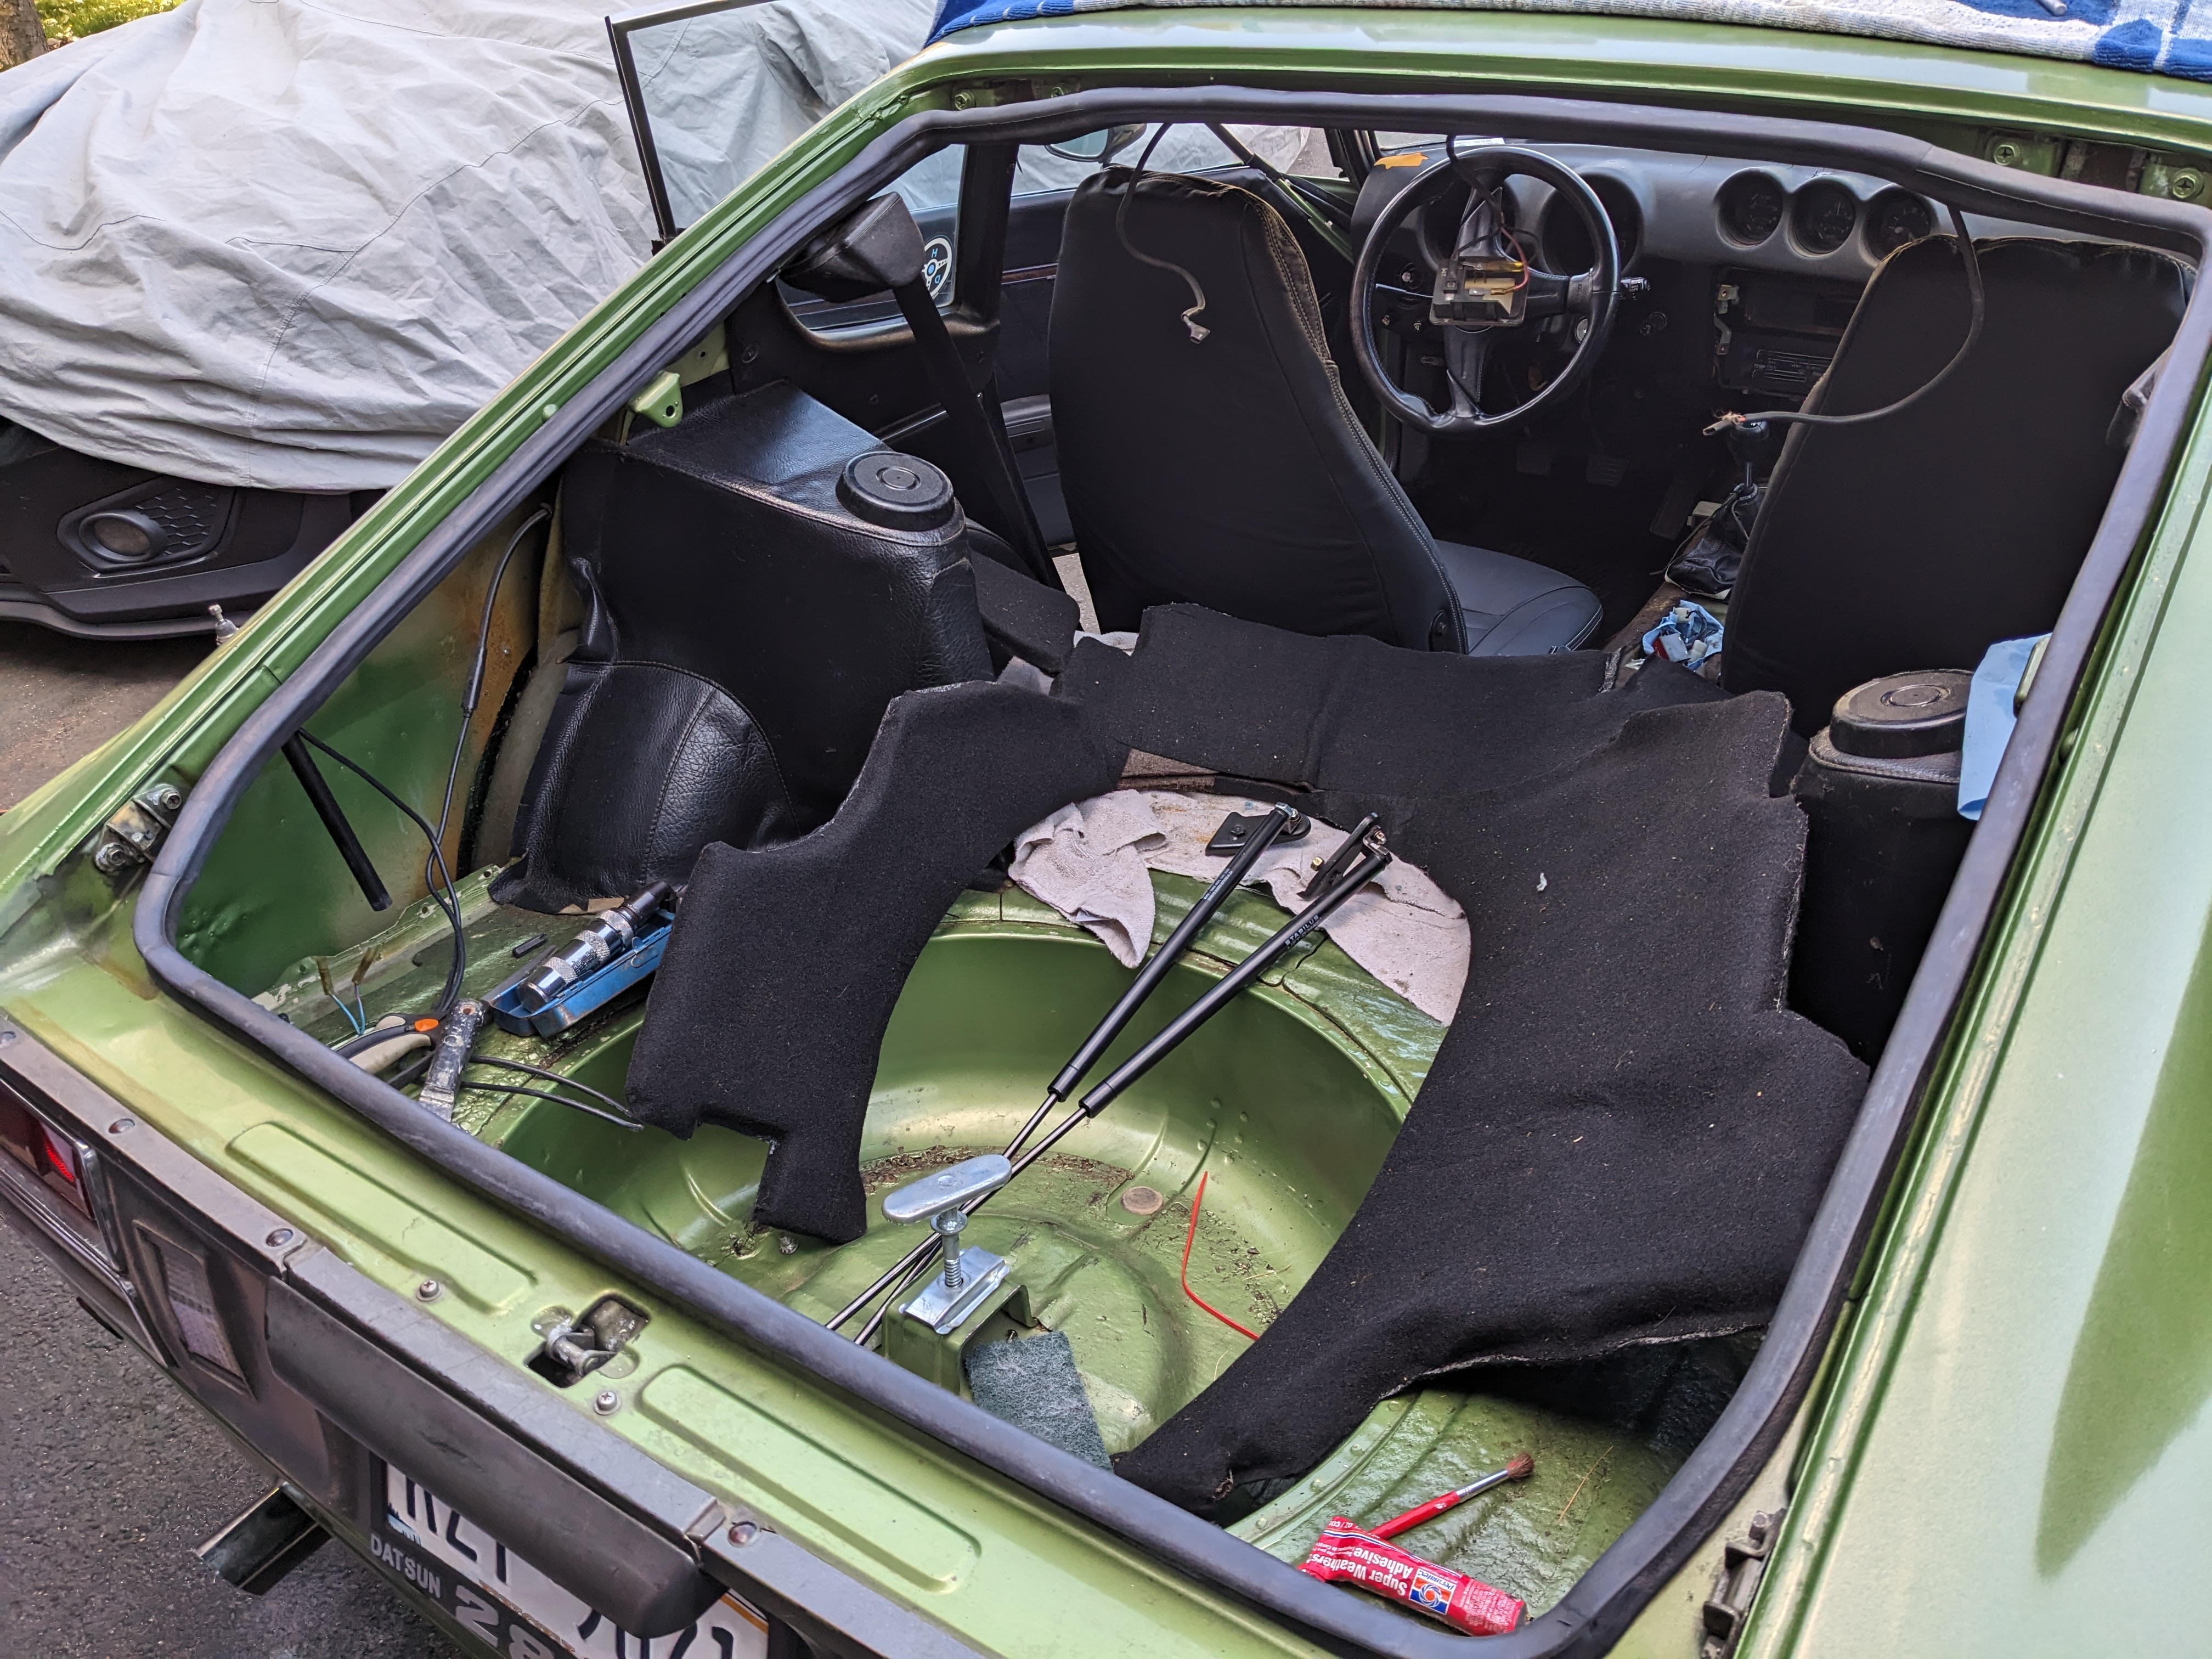
Got the hatch outer upper seal rebounded with the black super weatherstrip glue. I'm leaving the hatch off for another day to make sure the glue is fully set this time side panel buffers in I was going to do the cowl seal, but there was a little surface rust along the inner lip, so I took the cowl off & got sidetracked cleaning off the surface rust in the cowl & used Rustoleum Rust Restorer on it. Really hard to wire brush up under the cowl under the base of the windshield looked much like the underside of the cowl prior to cleanup slamming the door with the new seal caused stress on the mirror mount - the plastic inset broke. I made a SS plate to reinforce it, glued the original piece back in place, and added a retaining clip to join the two retaining clip reinstall
-
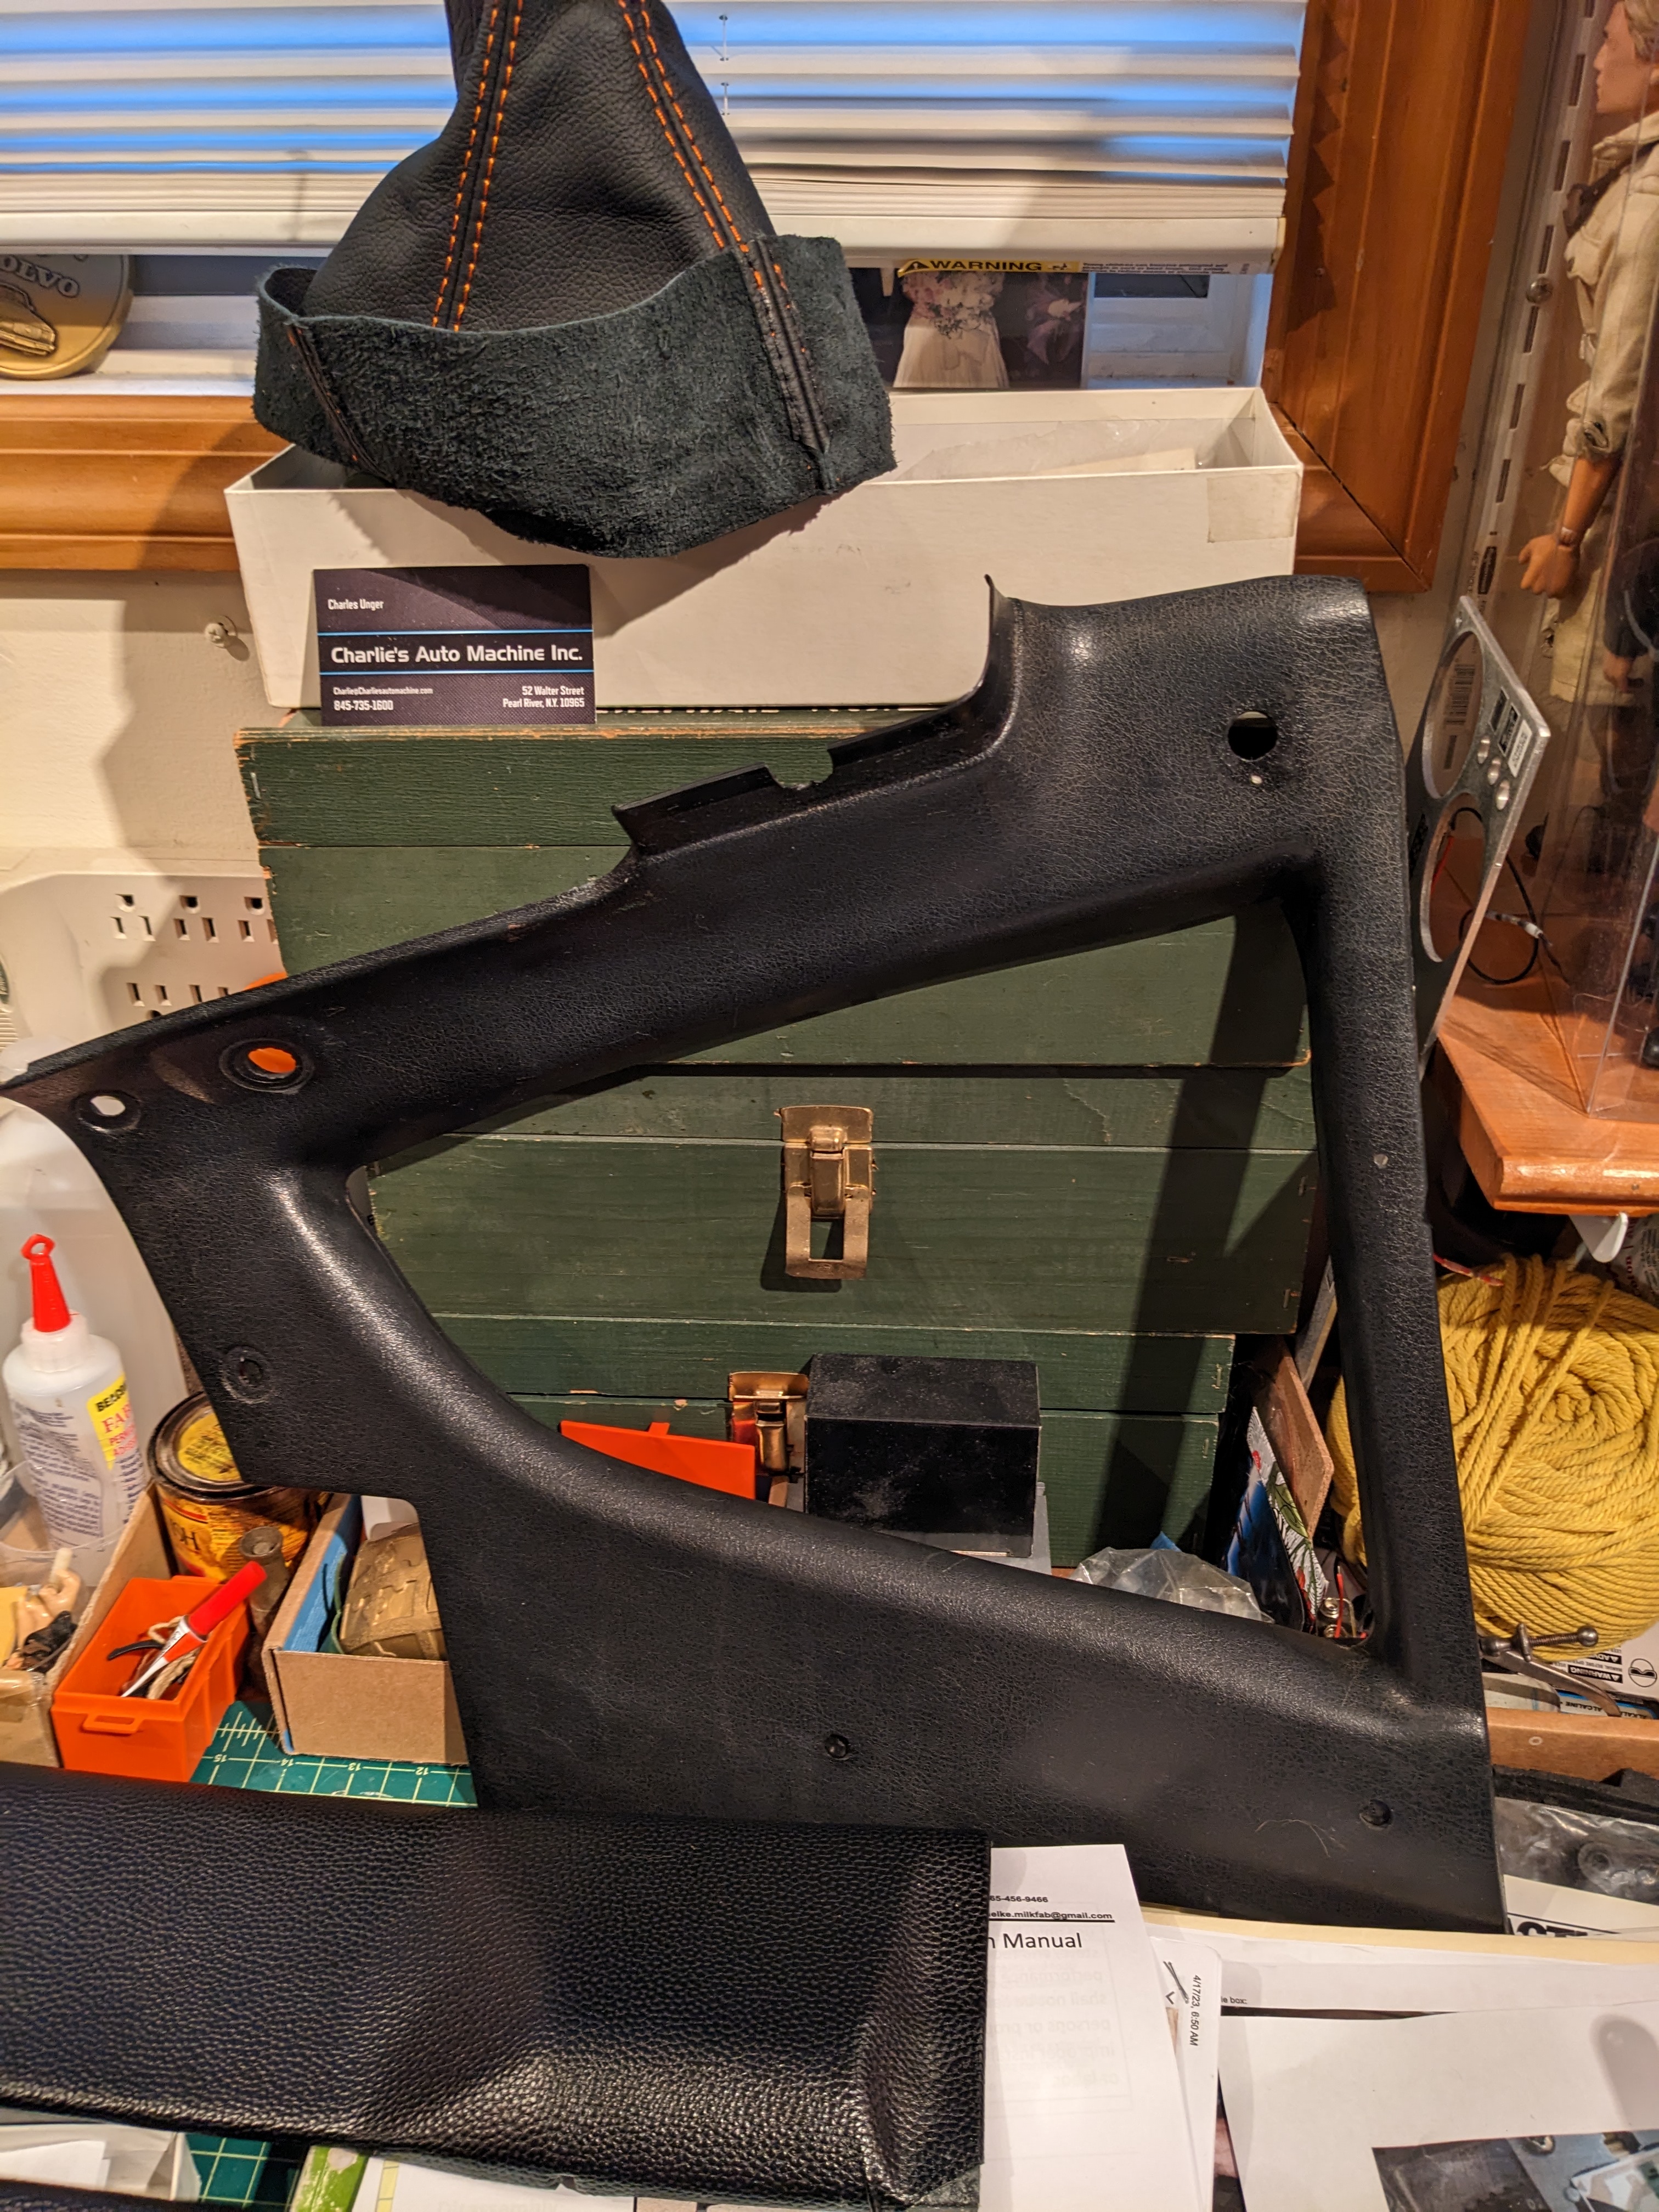
test fitting the 1/4 inner panel - the lip covers the exposed opening original gap (pass side) with screws visible left hatch area panel test fit - note I did not re-introduce the speaker perforations in the bottom left. I'm not going to put speakers in the original locations anyway. vent slots recut, retain clips in place
-
I removed the switch by drilling out the rivets. Looks like the contacts thru the rivets were bad. There was discoloration on both conductor tabs. I have to retest the switch with the cleaned contacts aluminum rivets contact design - open contacts closed if the continuity is good with the cleaned contact area I'll use brass screws instead of aluminum rivets
-
Still looking around regarding the rear hub/wheel mount surface. I took this pic off the MilkFab webpage of customer reviews I'm considering adding a deeper sleeve for the wheel hub to center on. I'm having trouble with the concept of the wheel only being supported by the studs. Seems like it is fine for lighter 14" wheels/tires, however I just can't believe it's not a long term issue when using larger wheels & tires. Maybe I'm just over thinking this aspect, I dunno.
-
Did you ever go forward with this? I'm wondering much the same thing. 80's & early 90's Volvos that still used a fan clutch also had an electric pusher fan (on the condenser). Later cars all had the single eFan like all FWD cars. I'd rather have the large singe eFan in place of the fan clutch, but since that is a tricky thing in the shallow space, adding the condenser fan controlled by an AC trinary is what I am also considering.
-
Thank you for the link. The eBay link is dead. Seems a waste too buy 5, but considering the $$$ pricing for a new lamp, $10 for a switch ain't so bad. I did find a listing for 2 for $8, but 5 for 10 is such a better deal 🤪 I'll have to find other uses for the extras. I guess this is a fairly common failure. With the attention to detail & Japanese desire for precision I'm kinda surprised. I can't imagine it was used that often. I was going to disassemble the switch & clean up the contacts, but that doesn't seem worth the time.
-
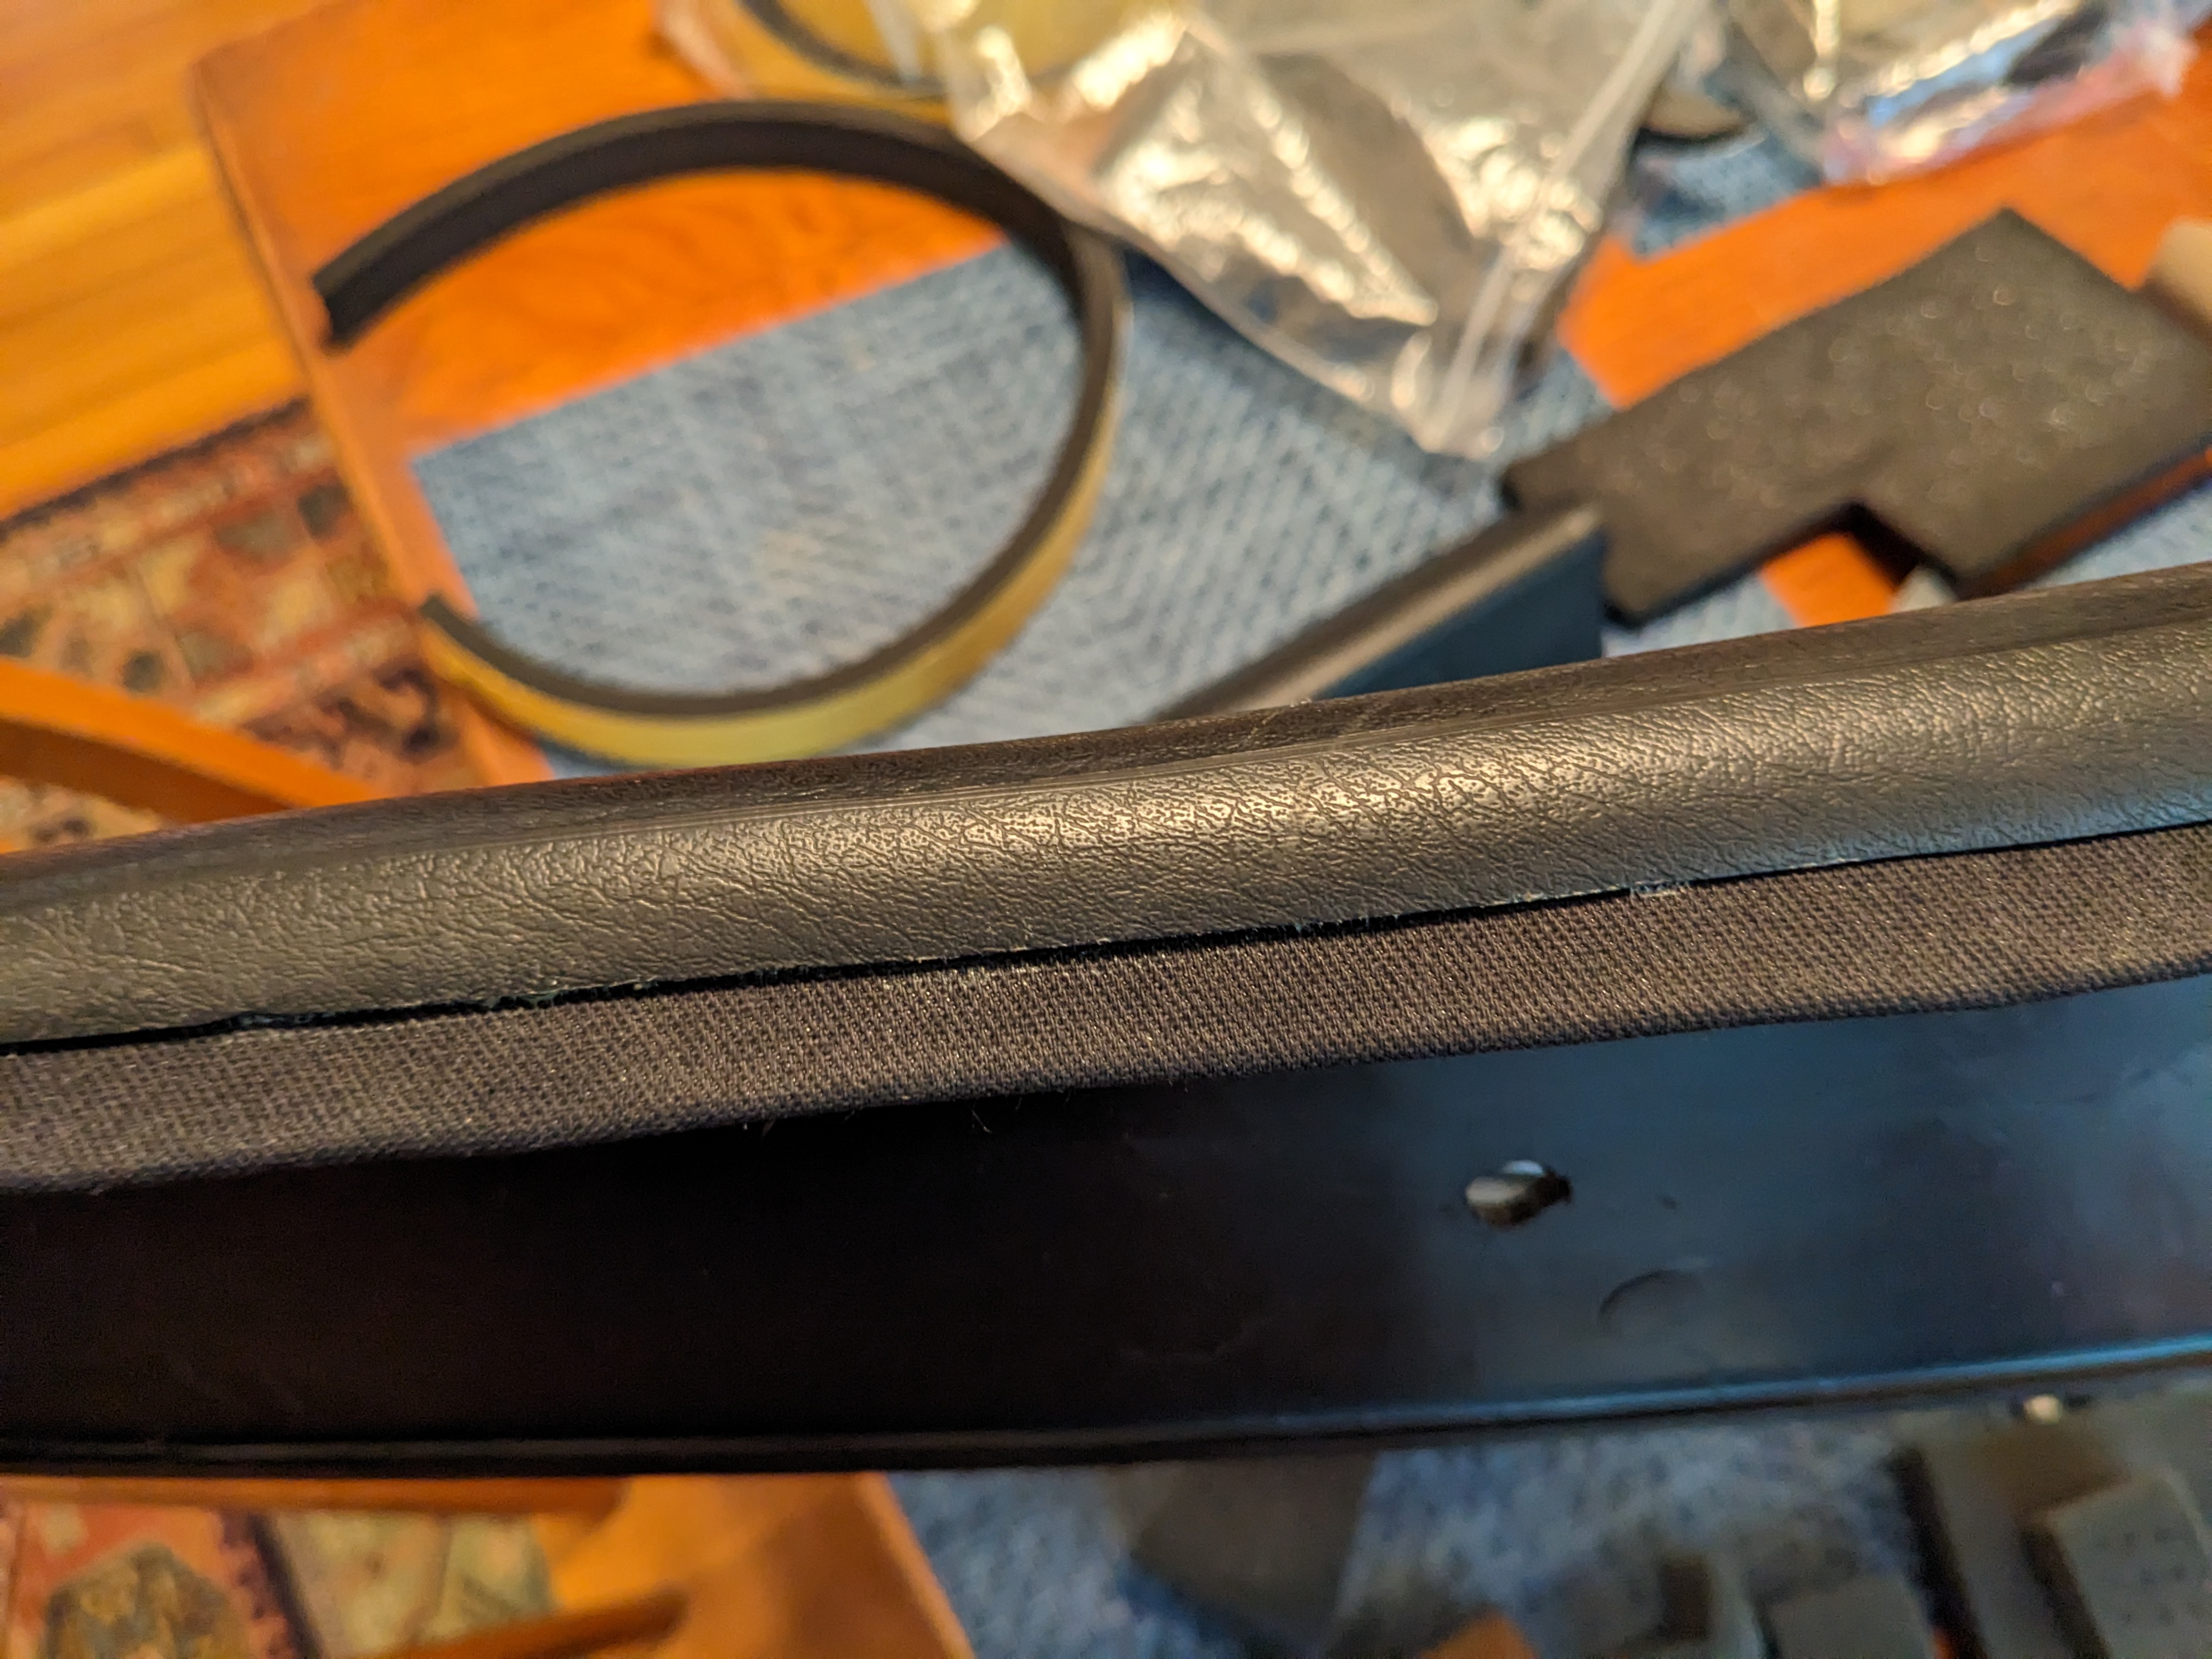
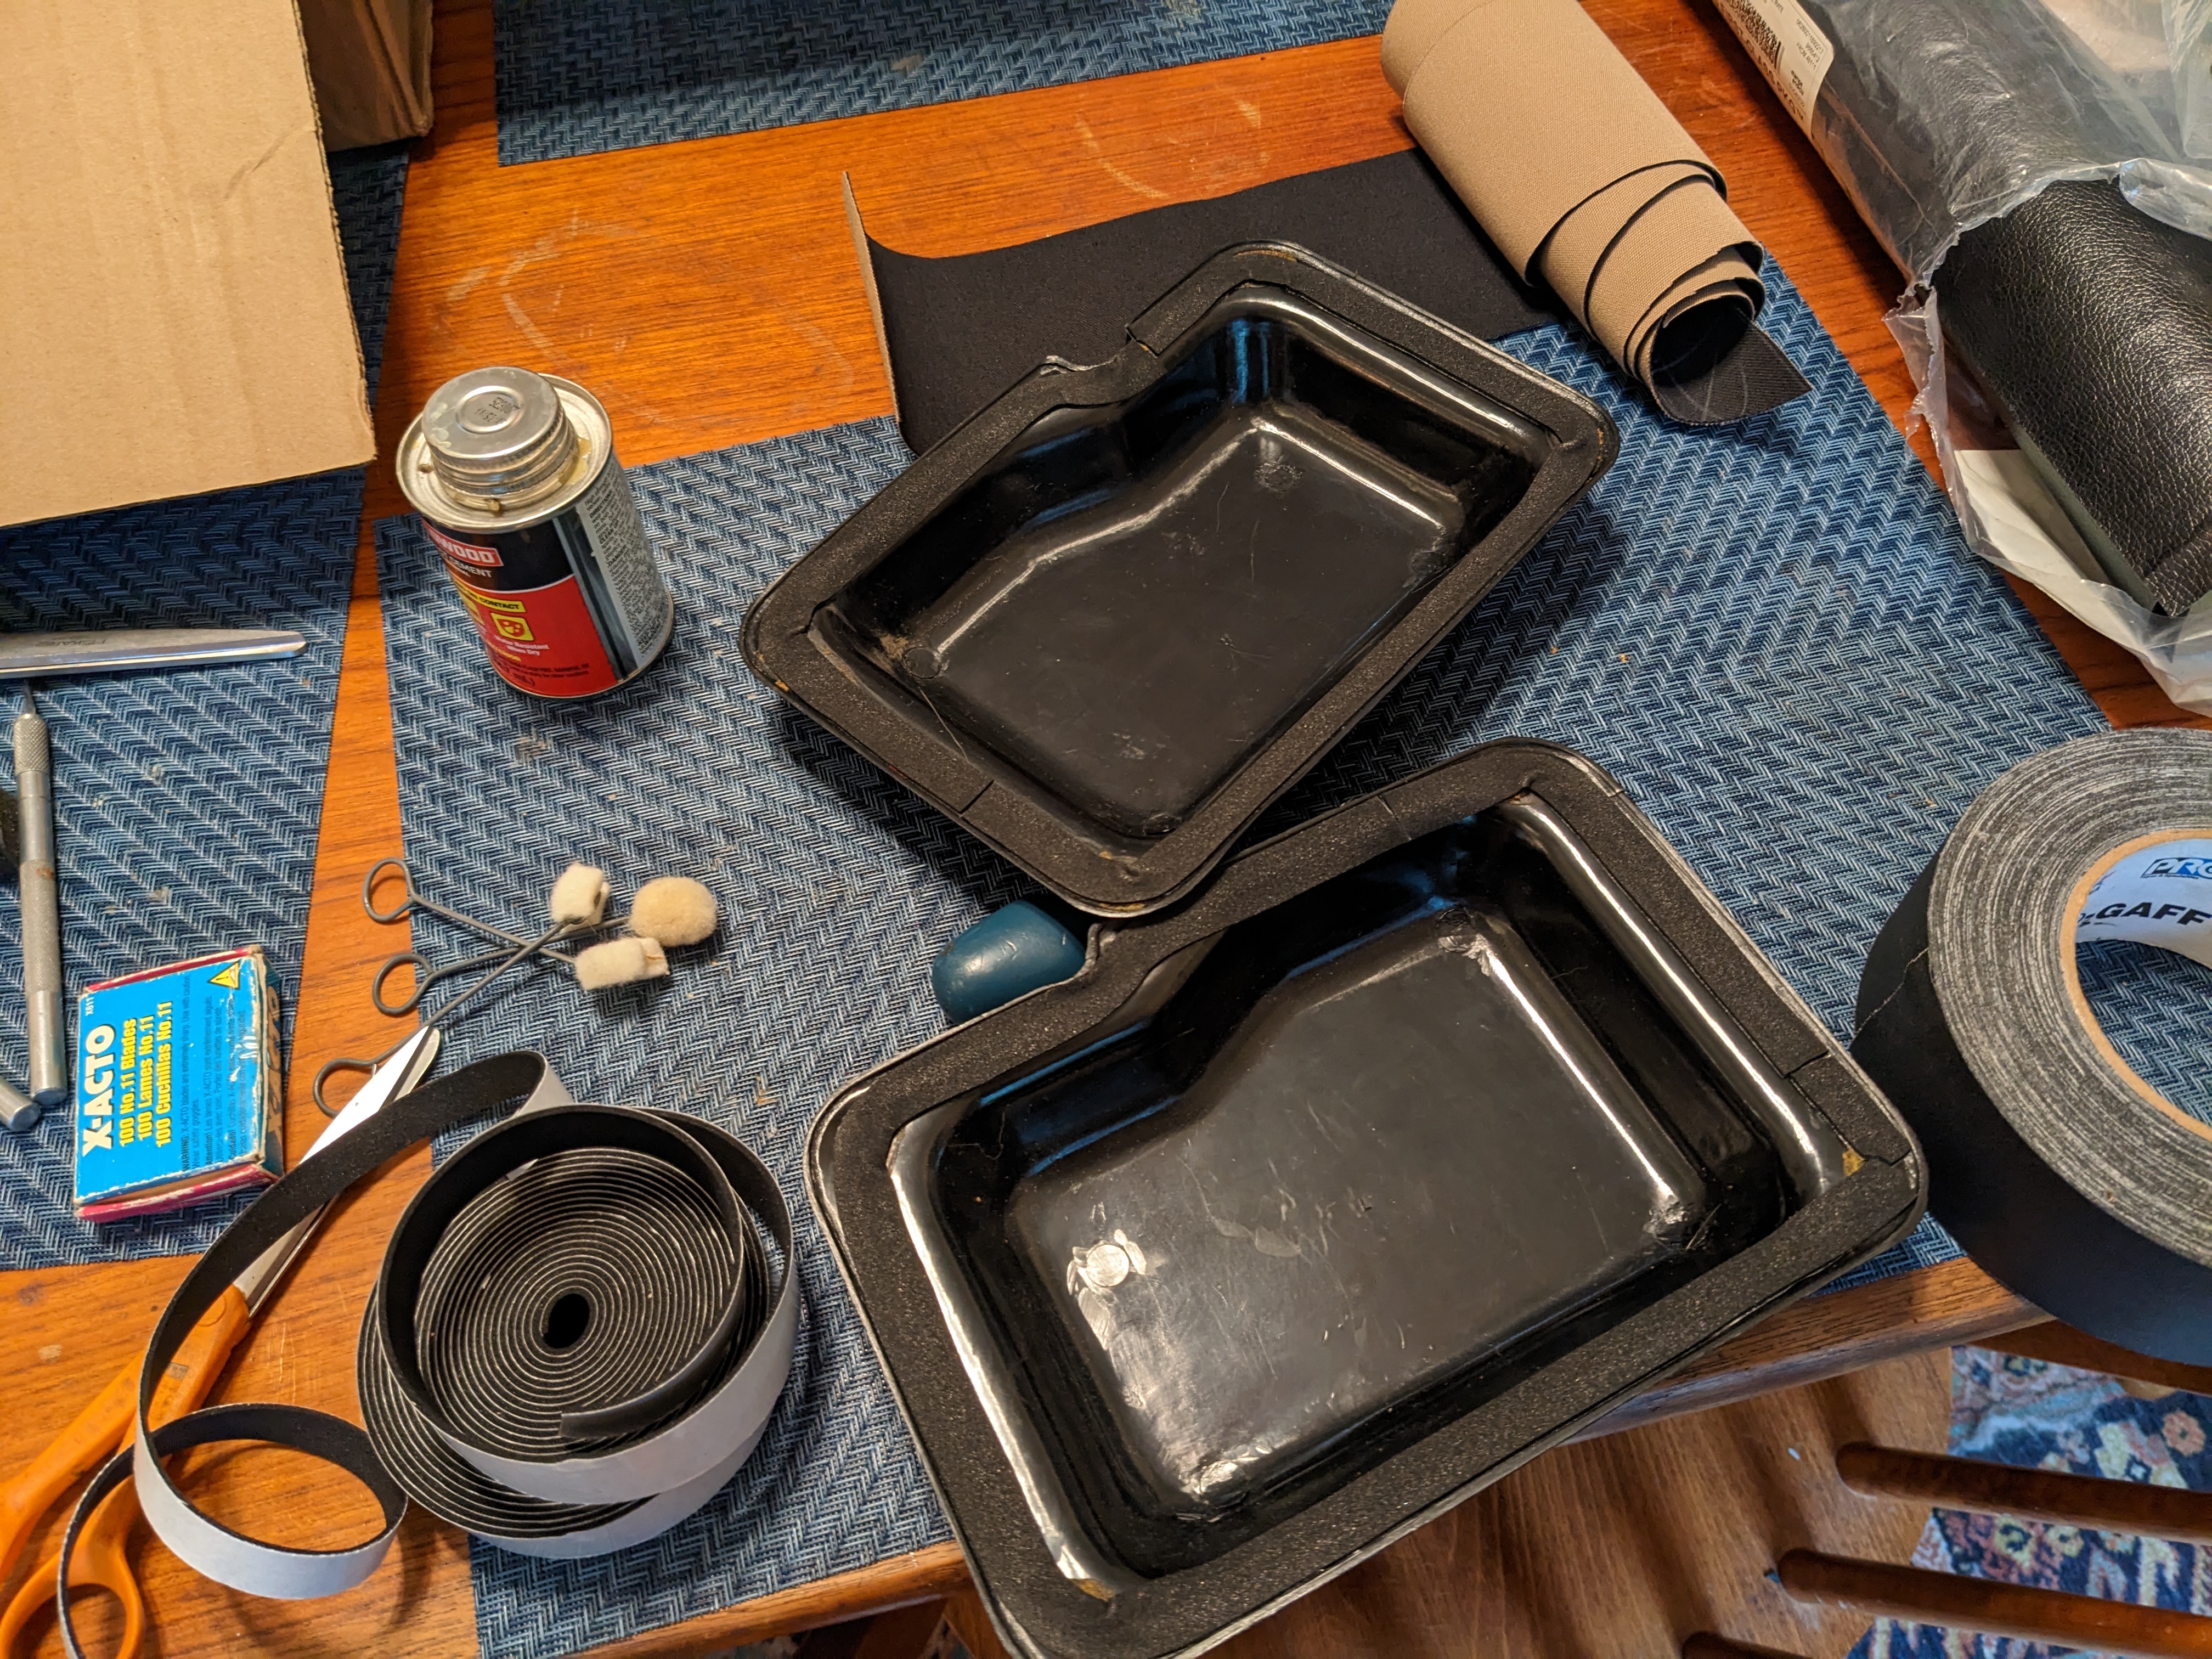
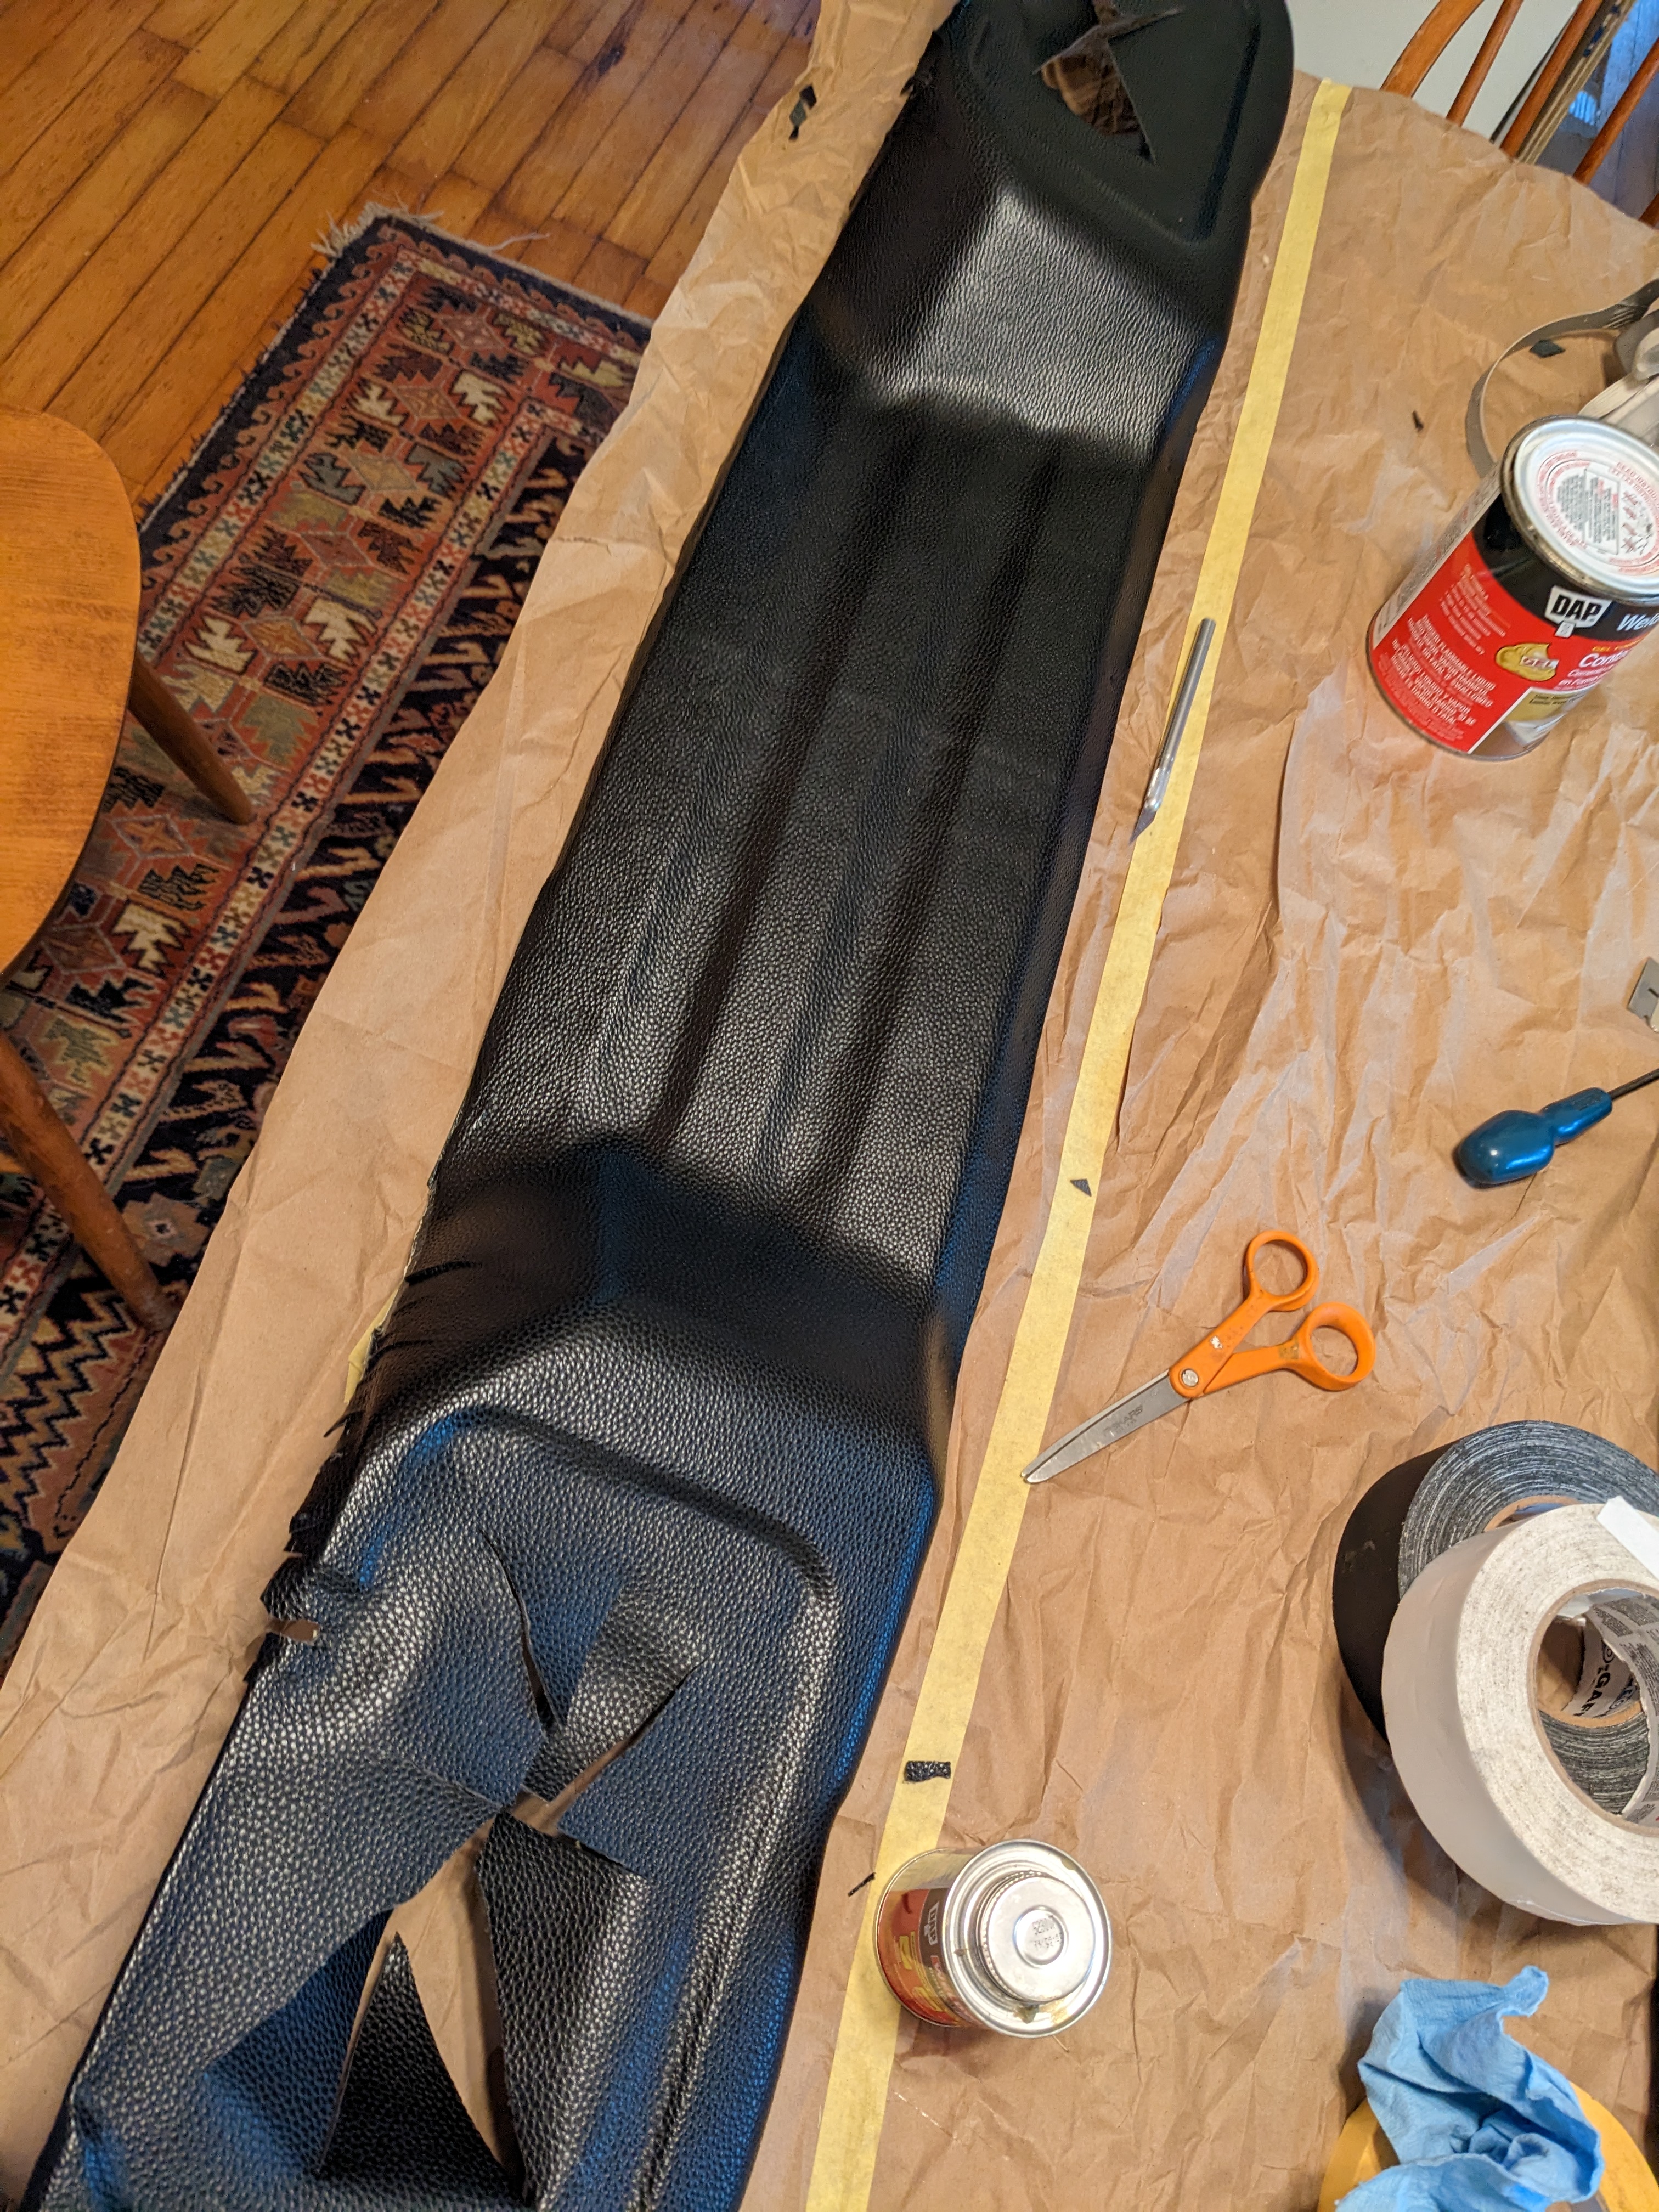
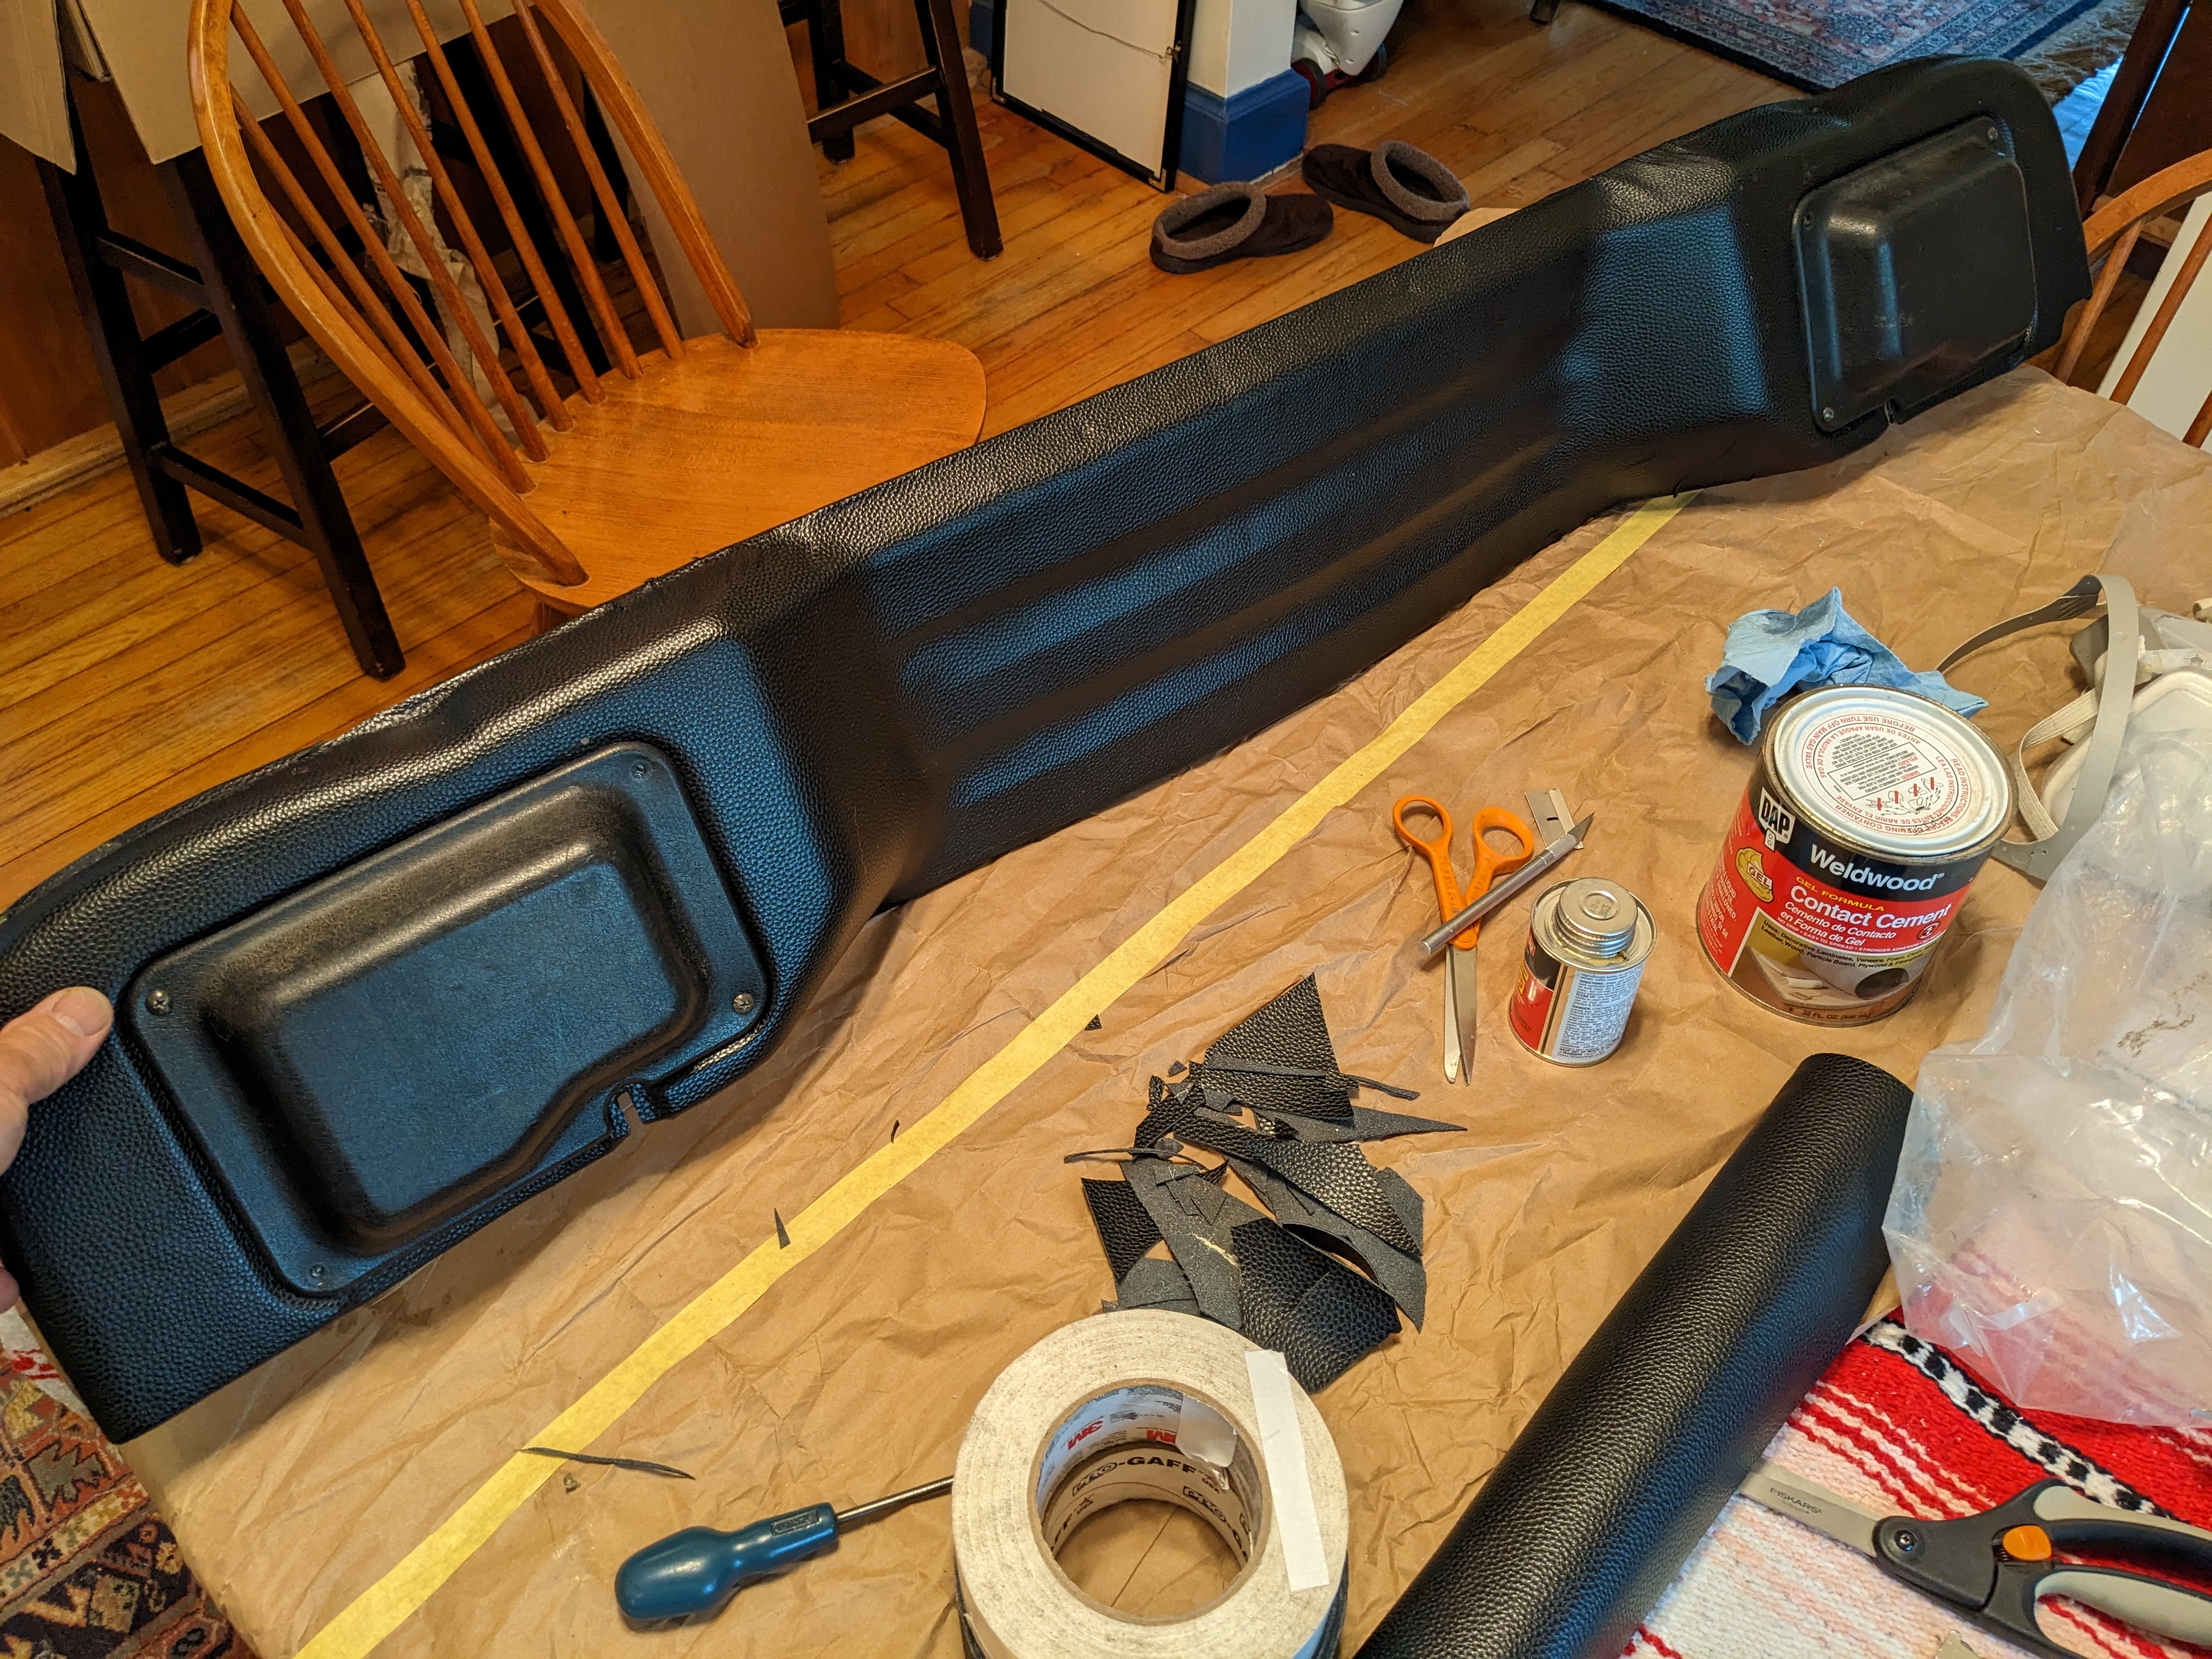
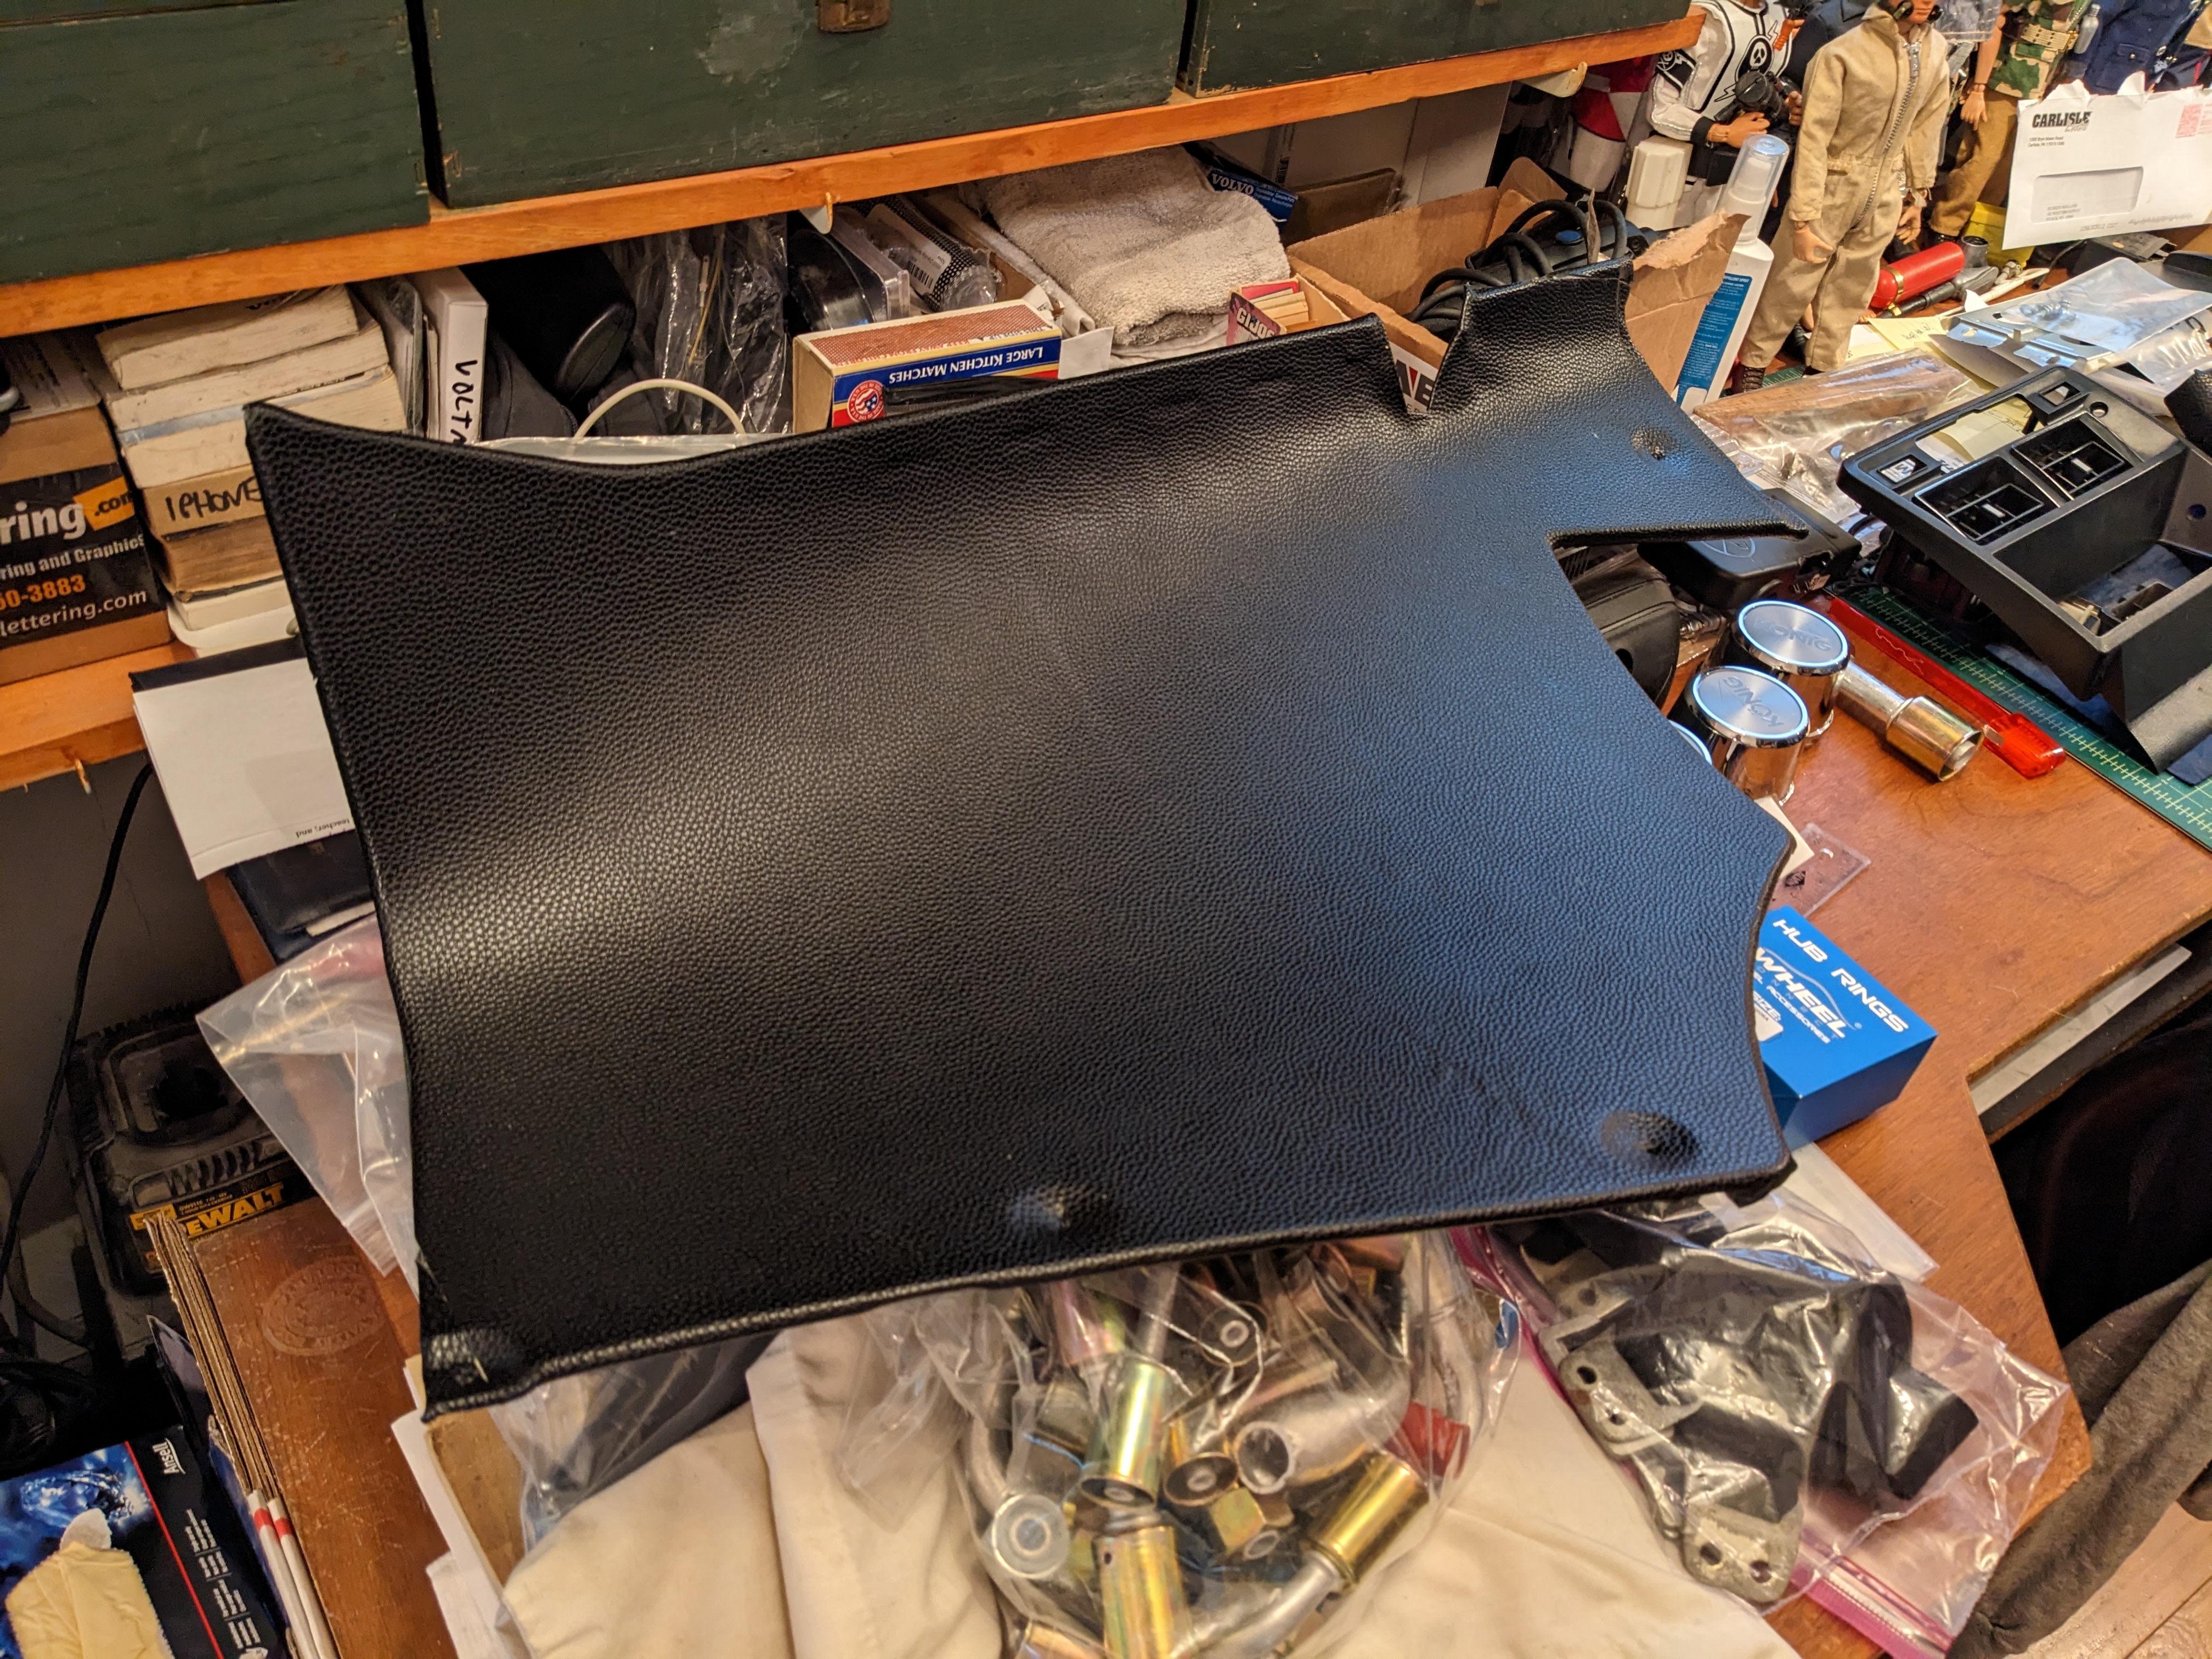
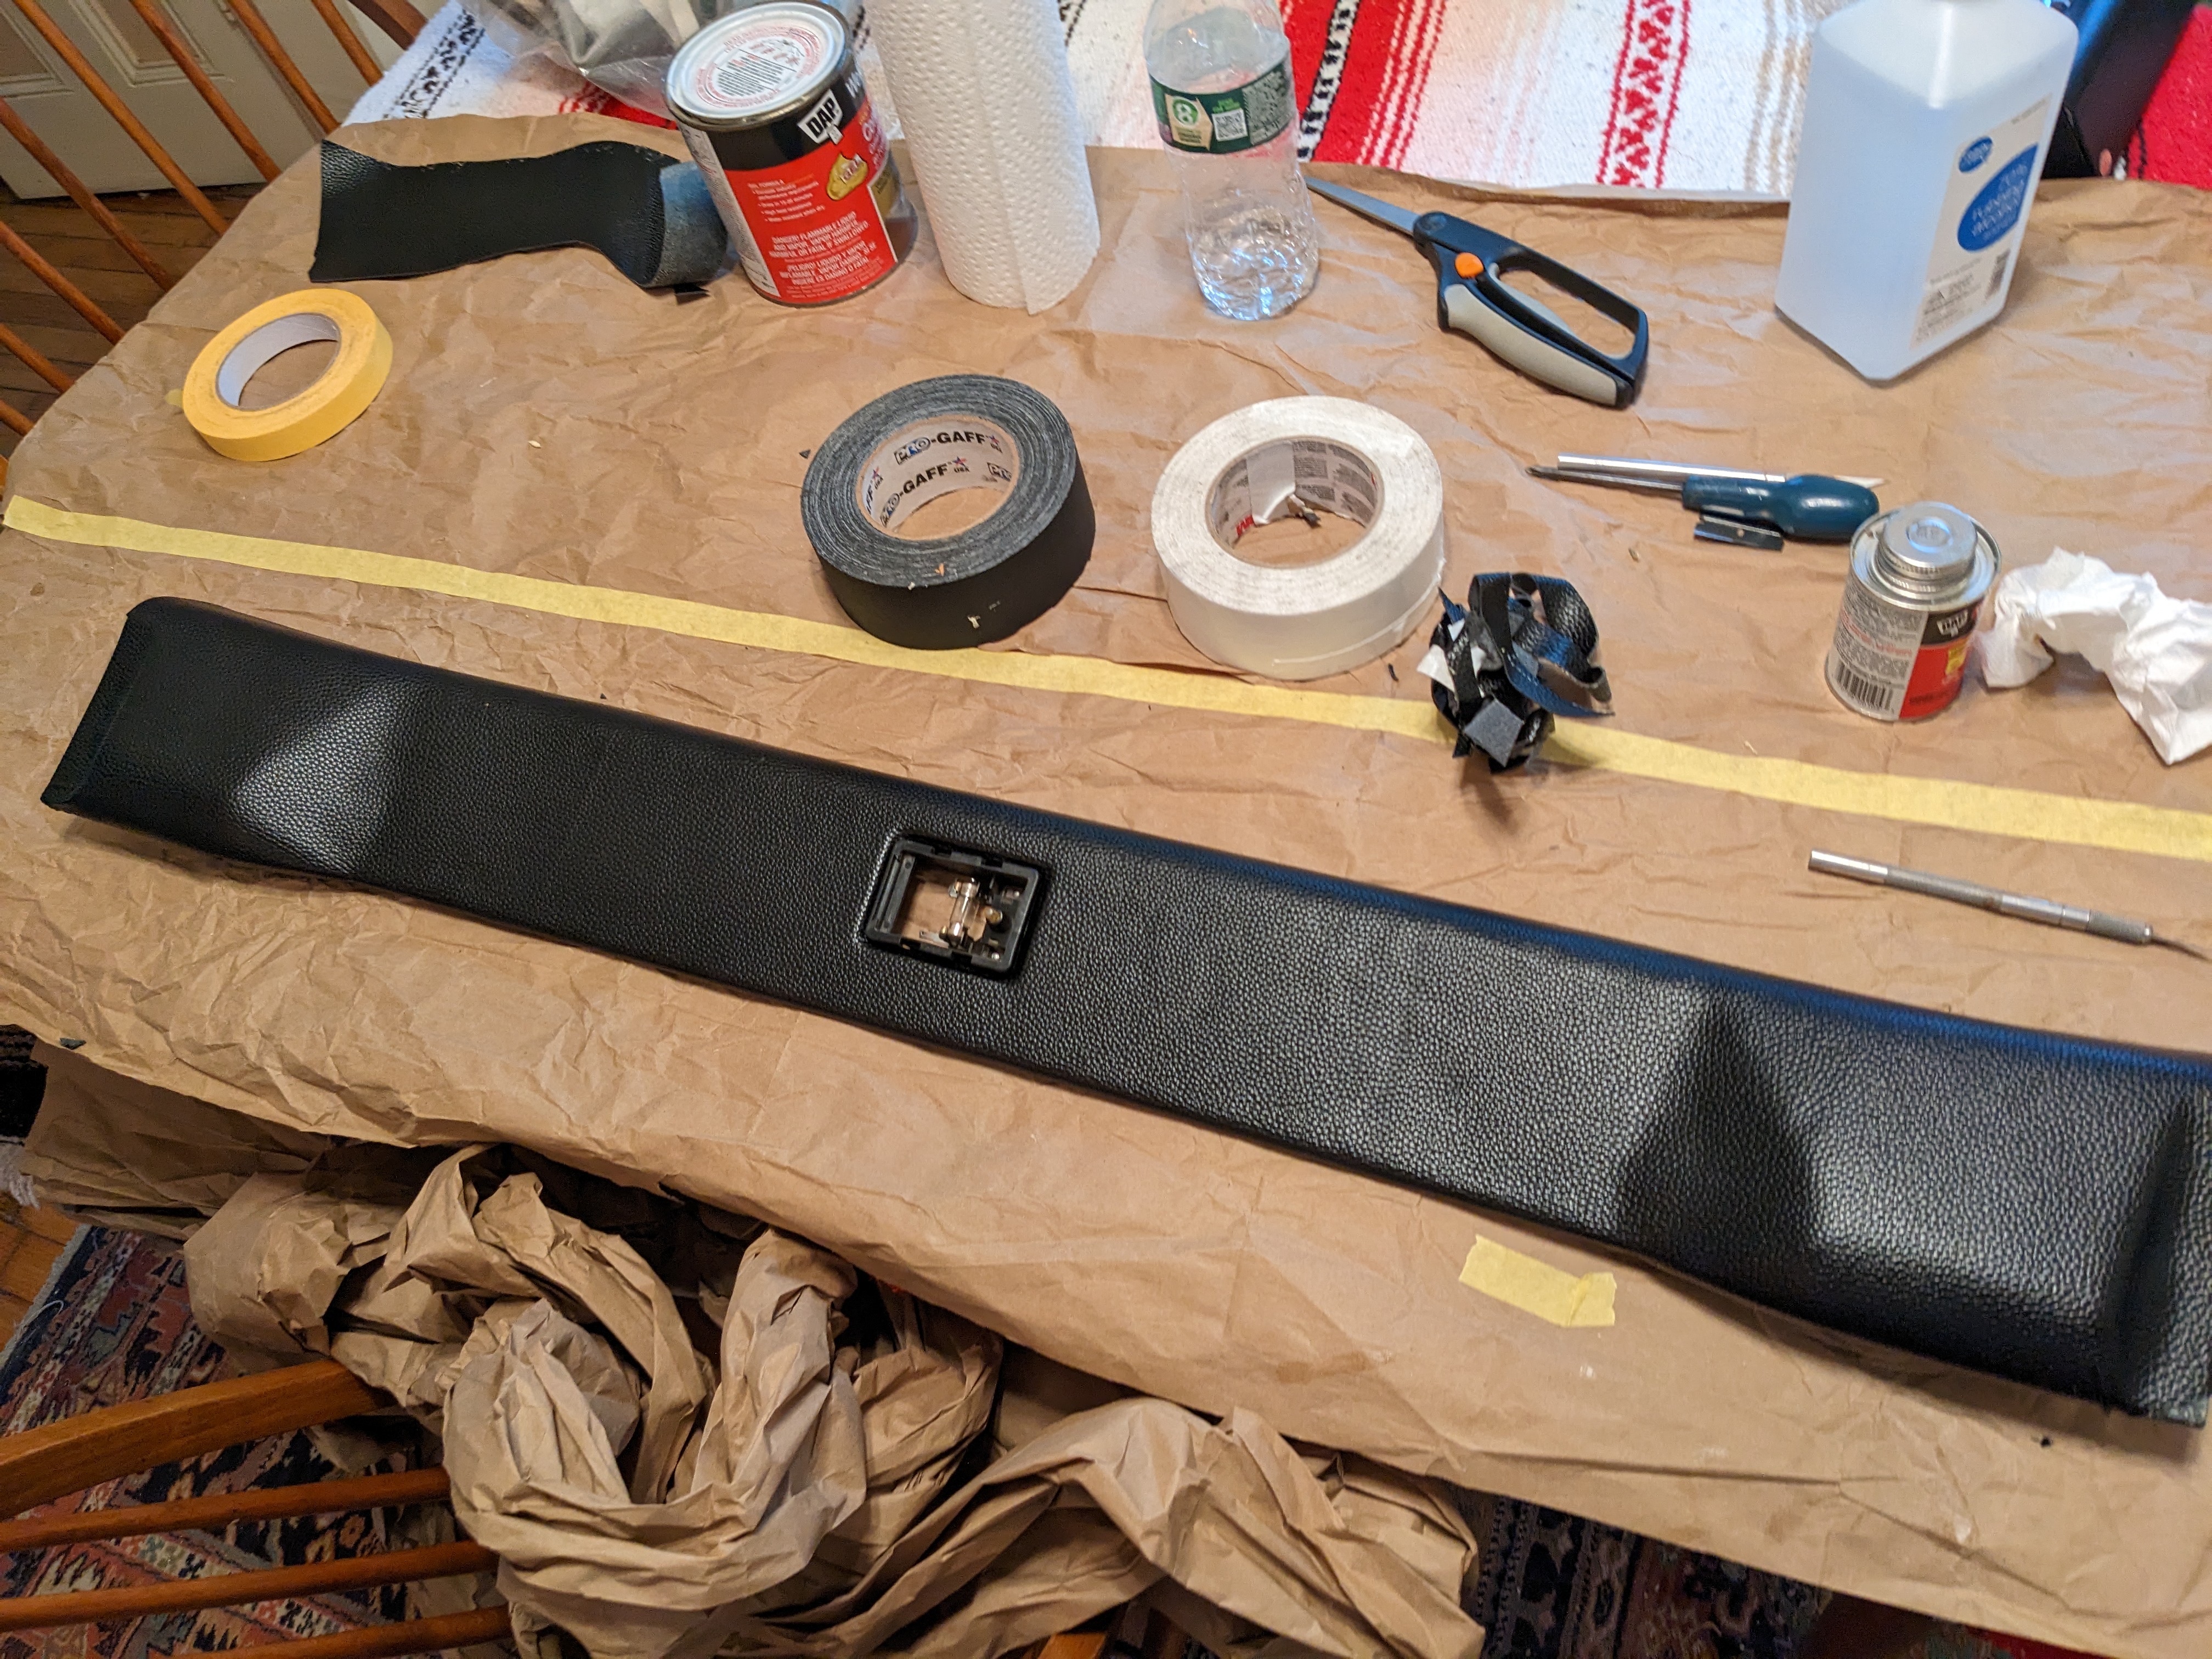
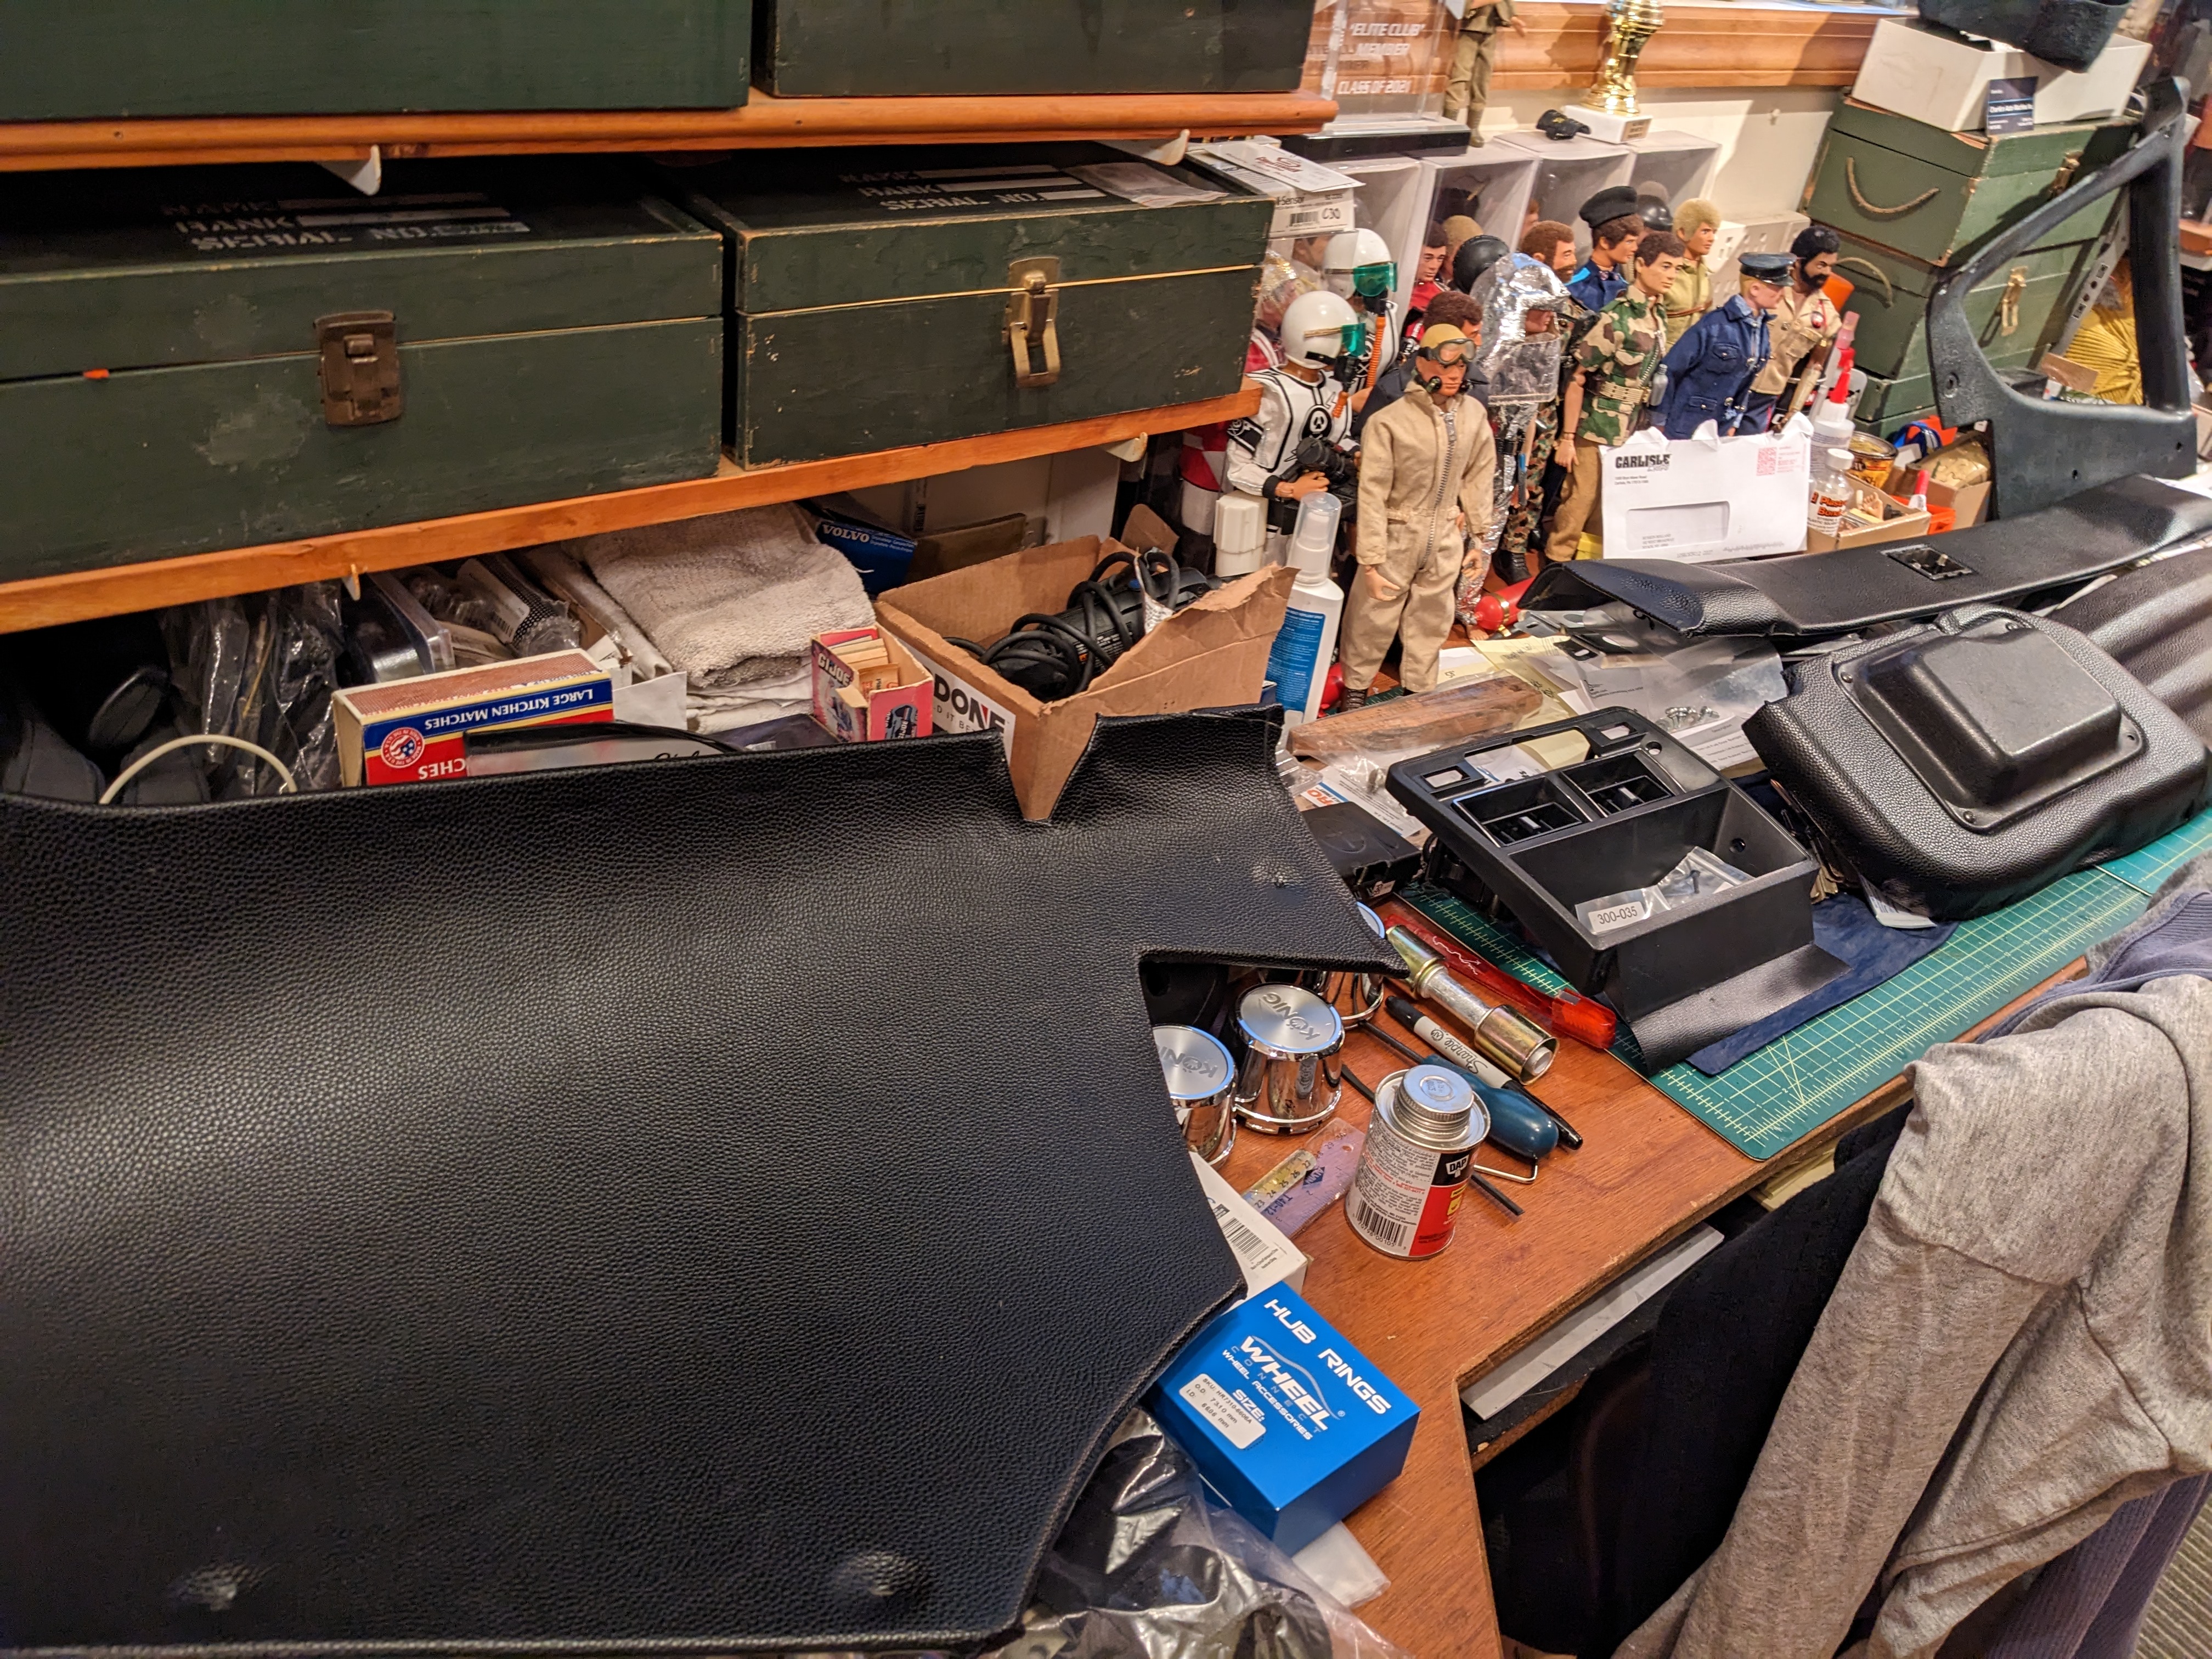
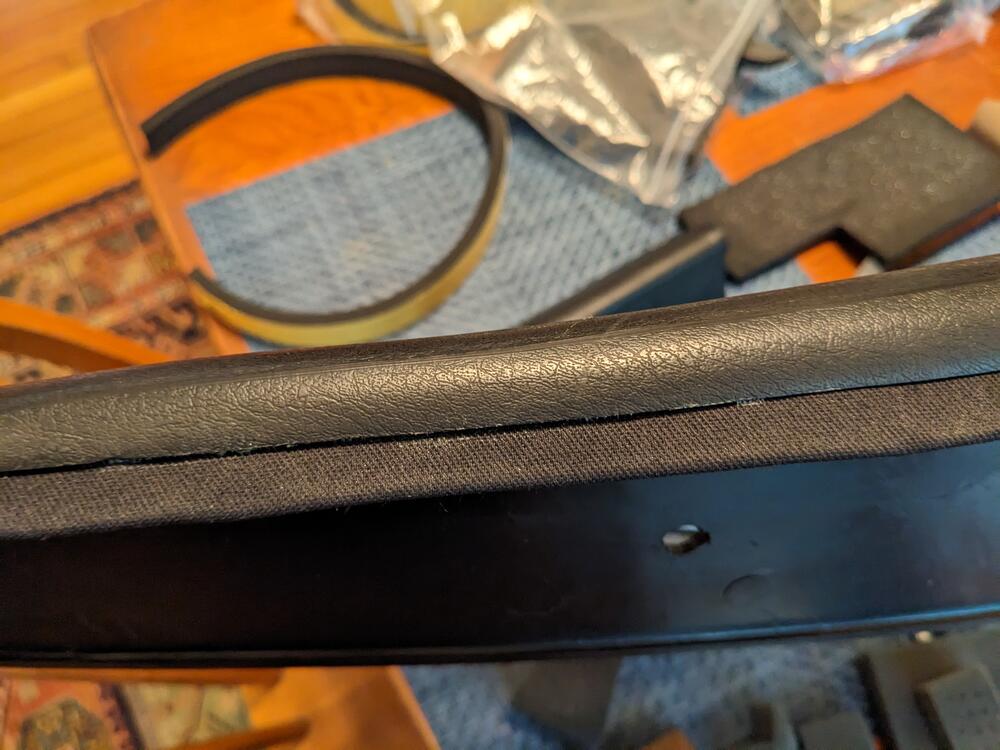
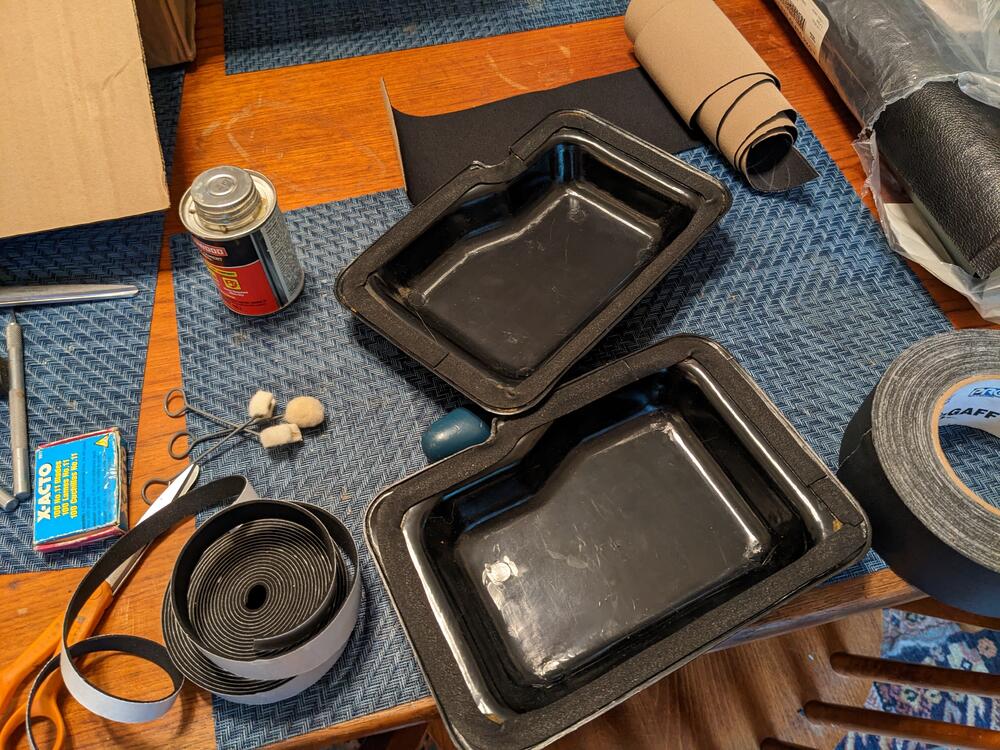
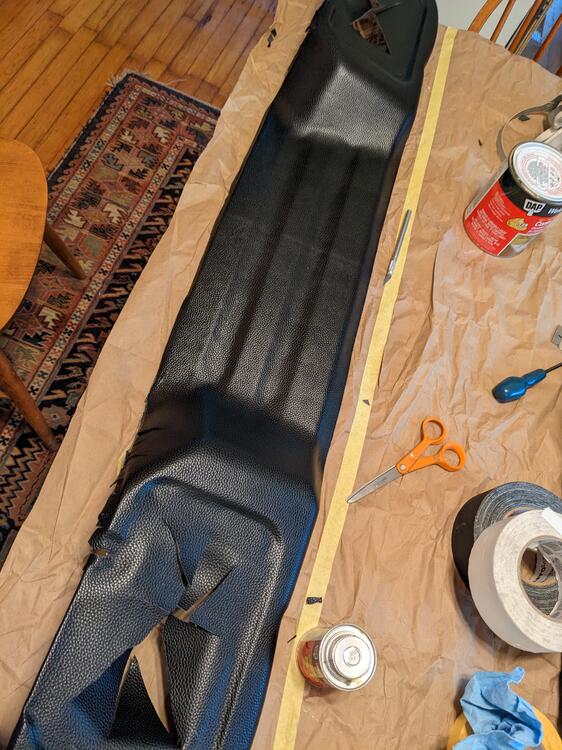
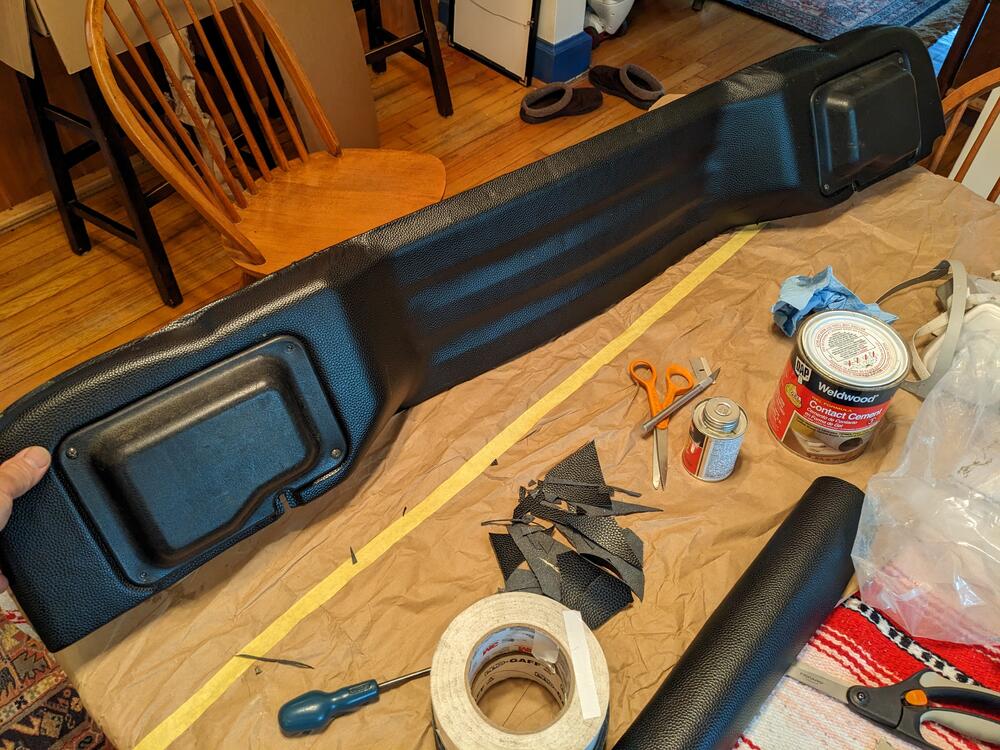
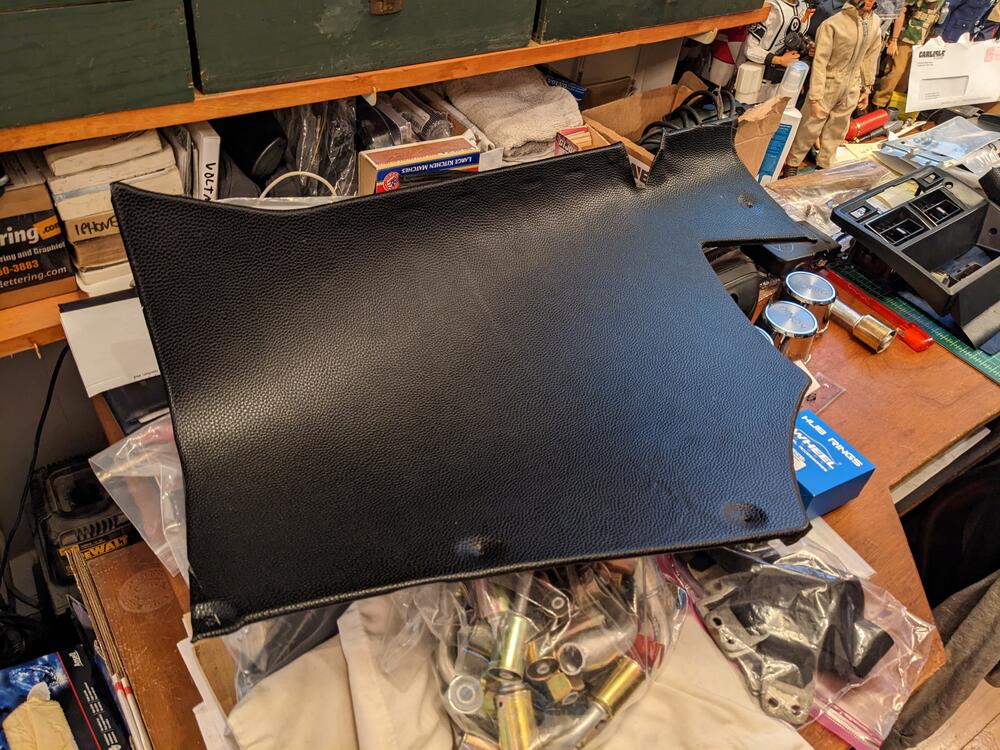
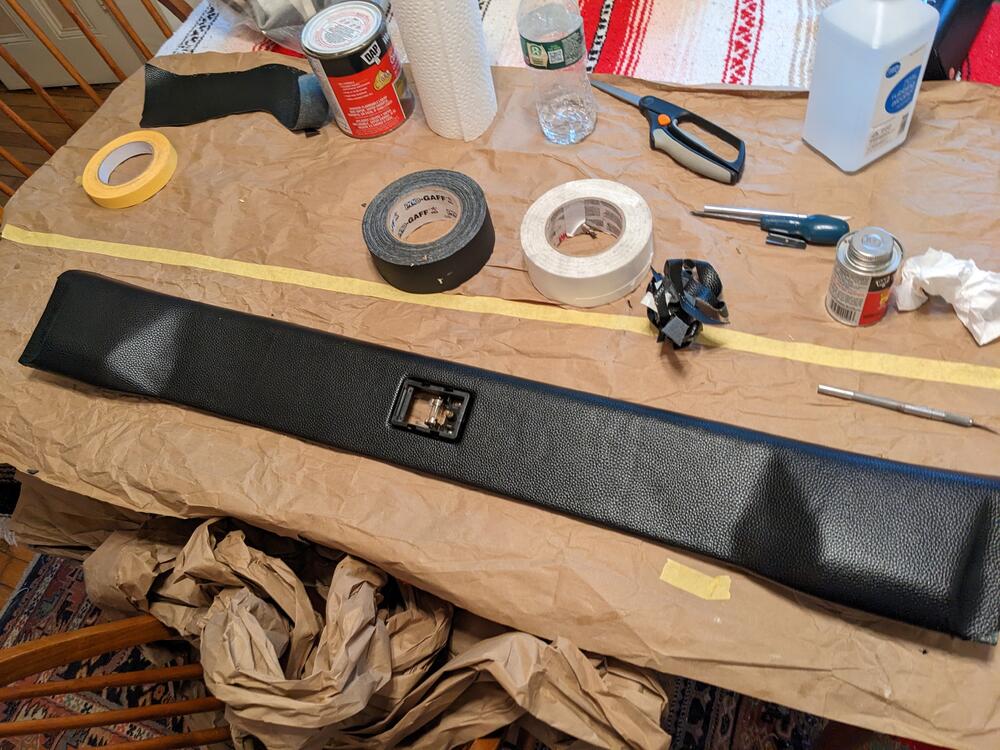
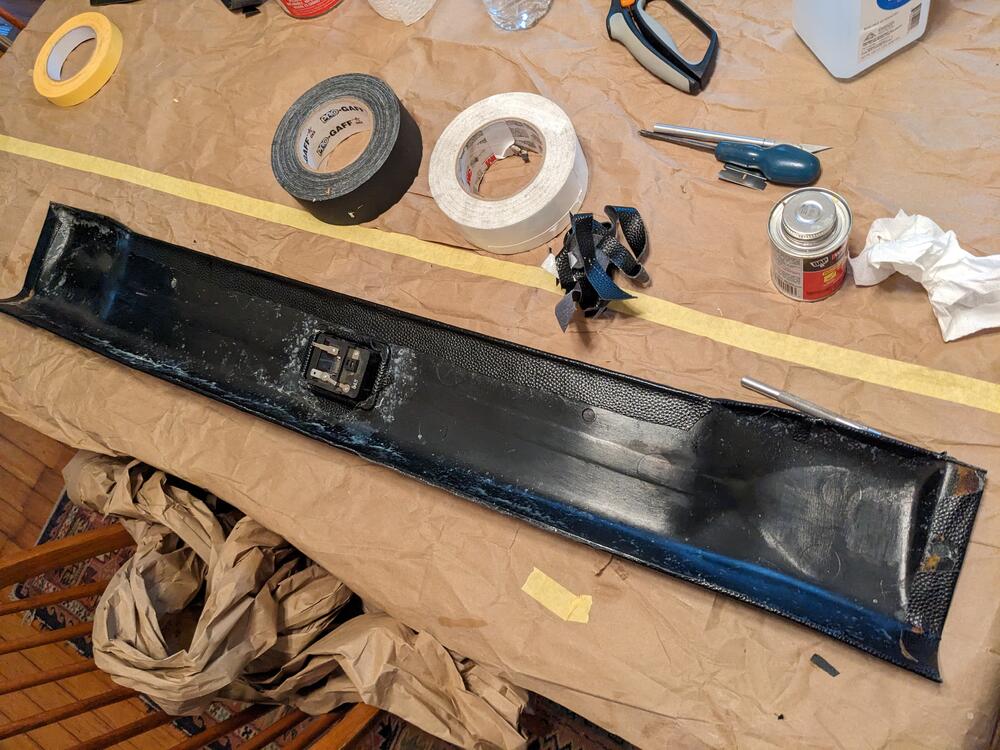
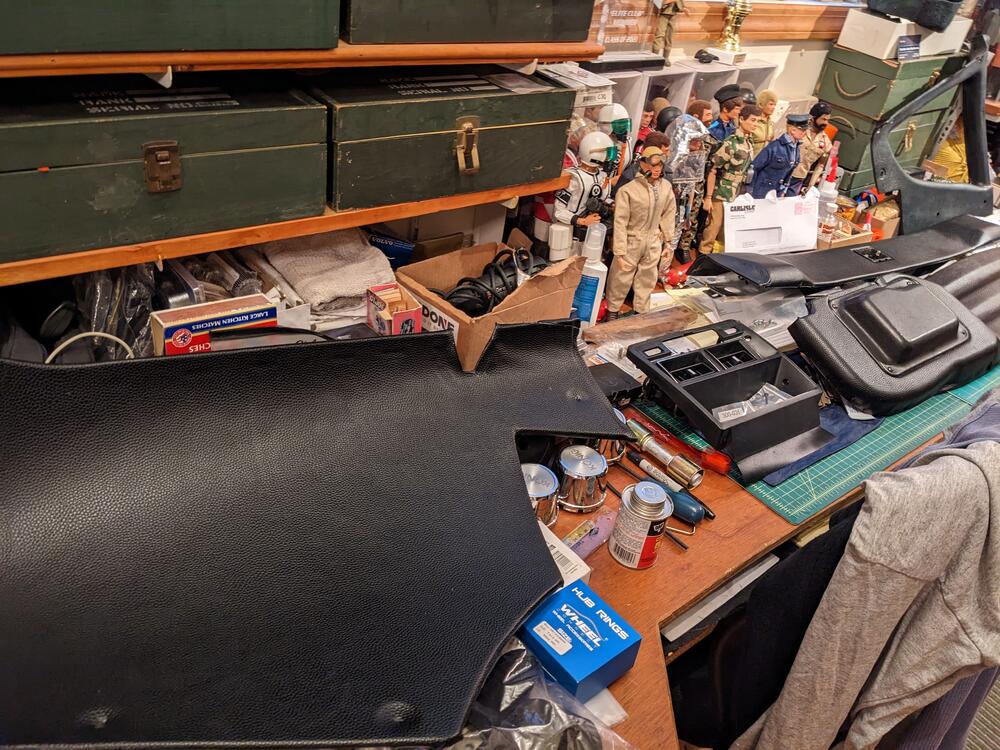
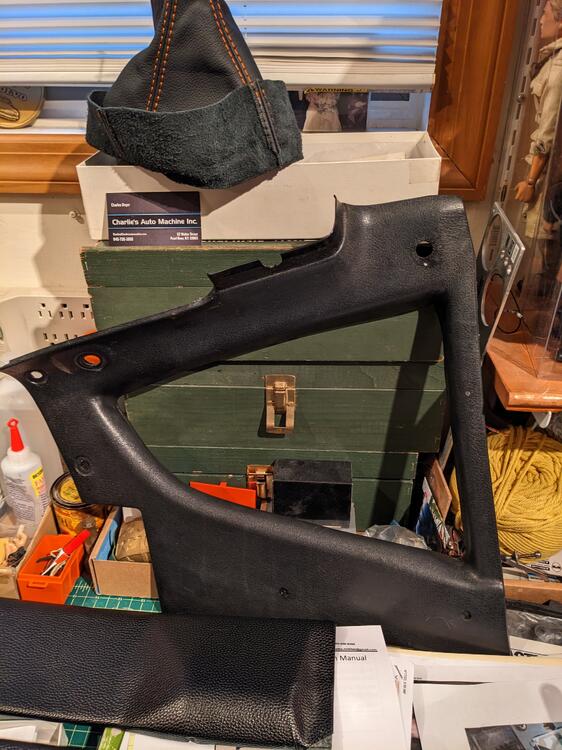
Since it's been rainy all weekend I've been working inside on vinyl covering for the all-plastic 280Z hatch area panels. Closed cell foam to replace the old foam padding. added a canvas edging where the hatch inner panel sits against the opening - I don't like that one can see the mount hardware & gap between the inside of the glass & the trim, hopefully this will fill it undecided on covering the 1/4 glass trim, so many curves it will be a PITA to cover closed cell foam on the lamp access covers roof hatch trim tail lamp cover panel left rear hatch area panel. The right side is going to be a bitch.
-
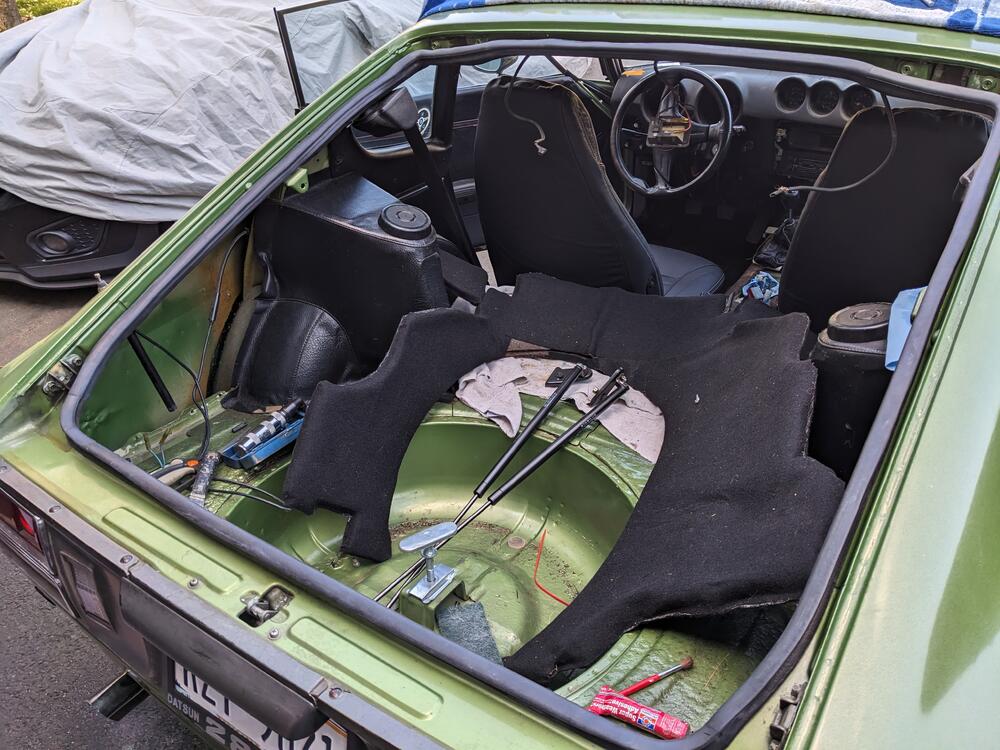
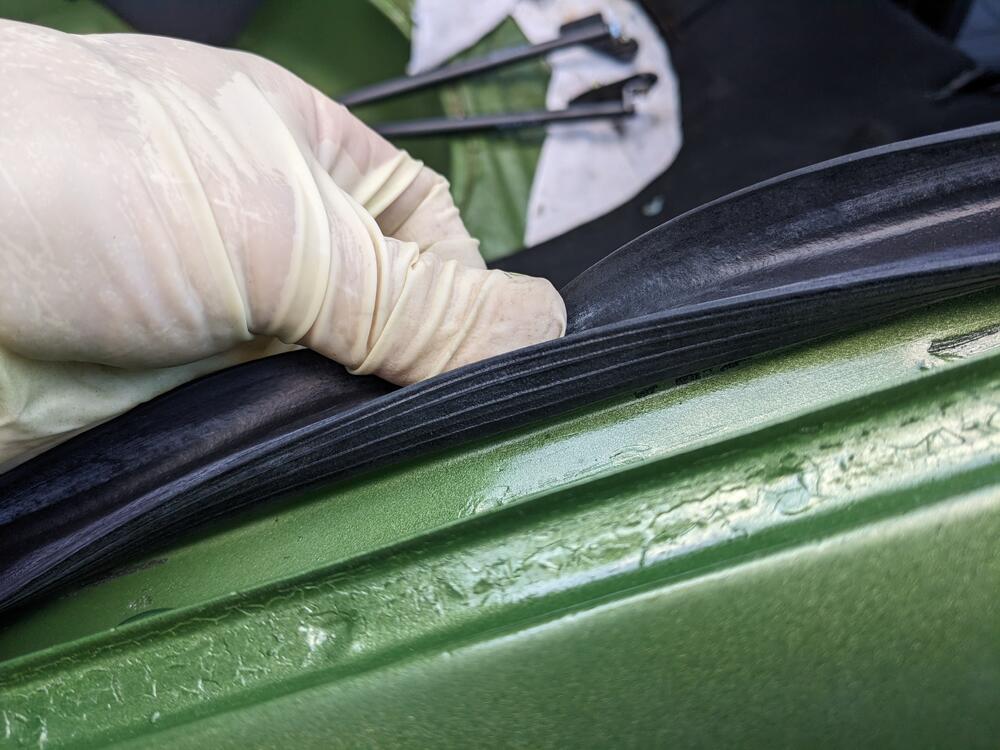
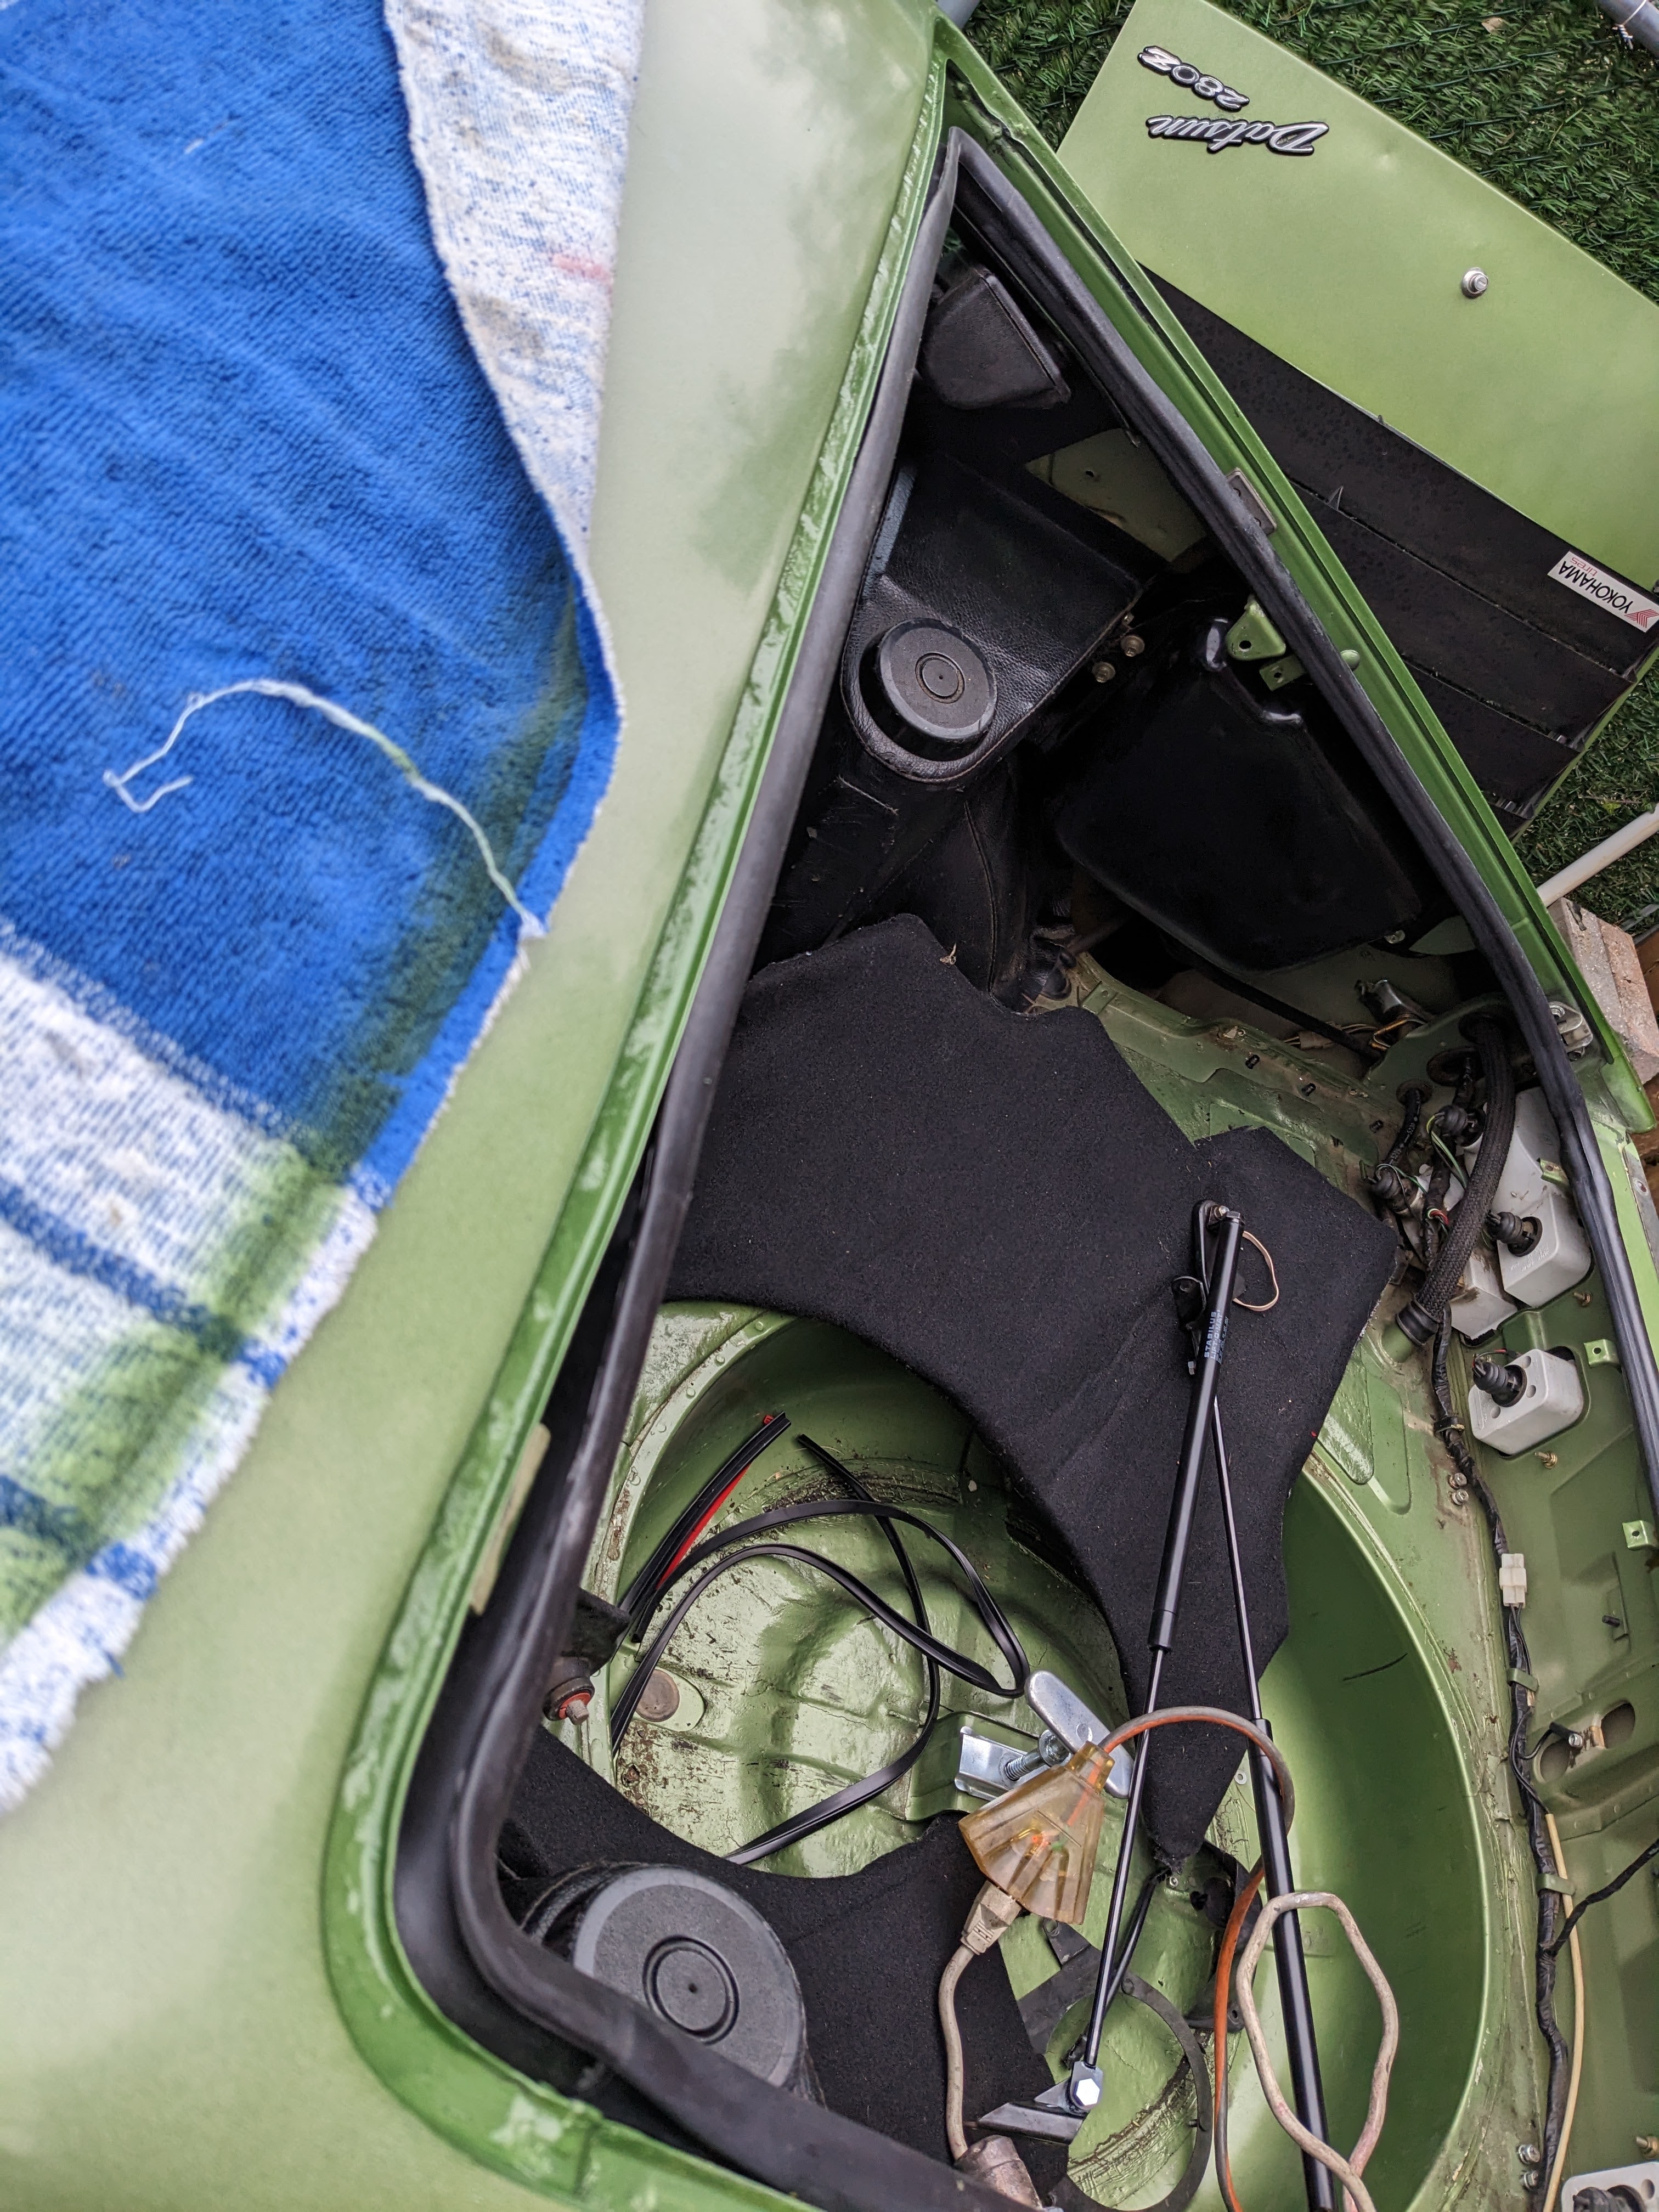
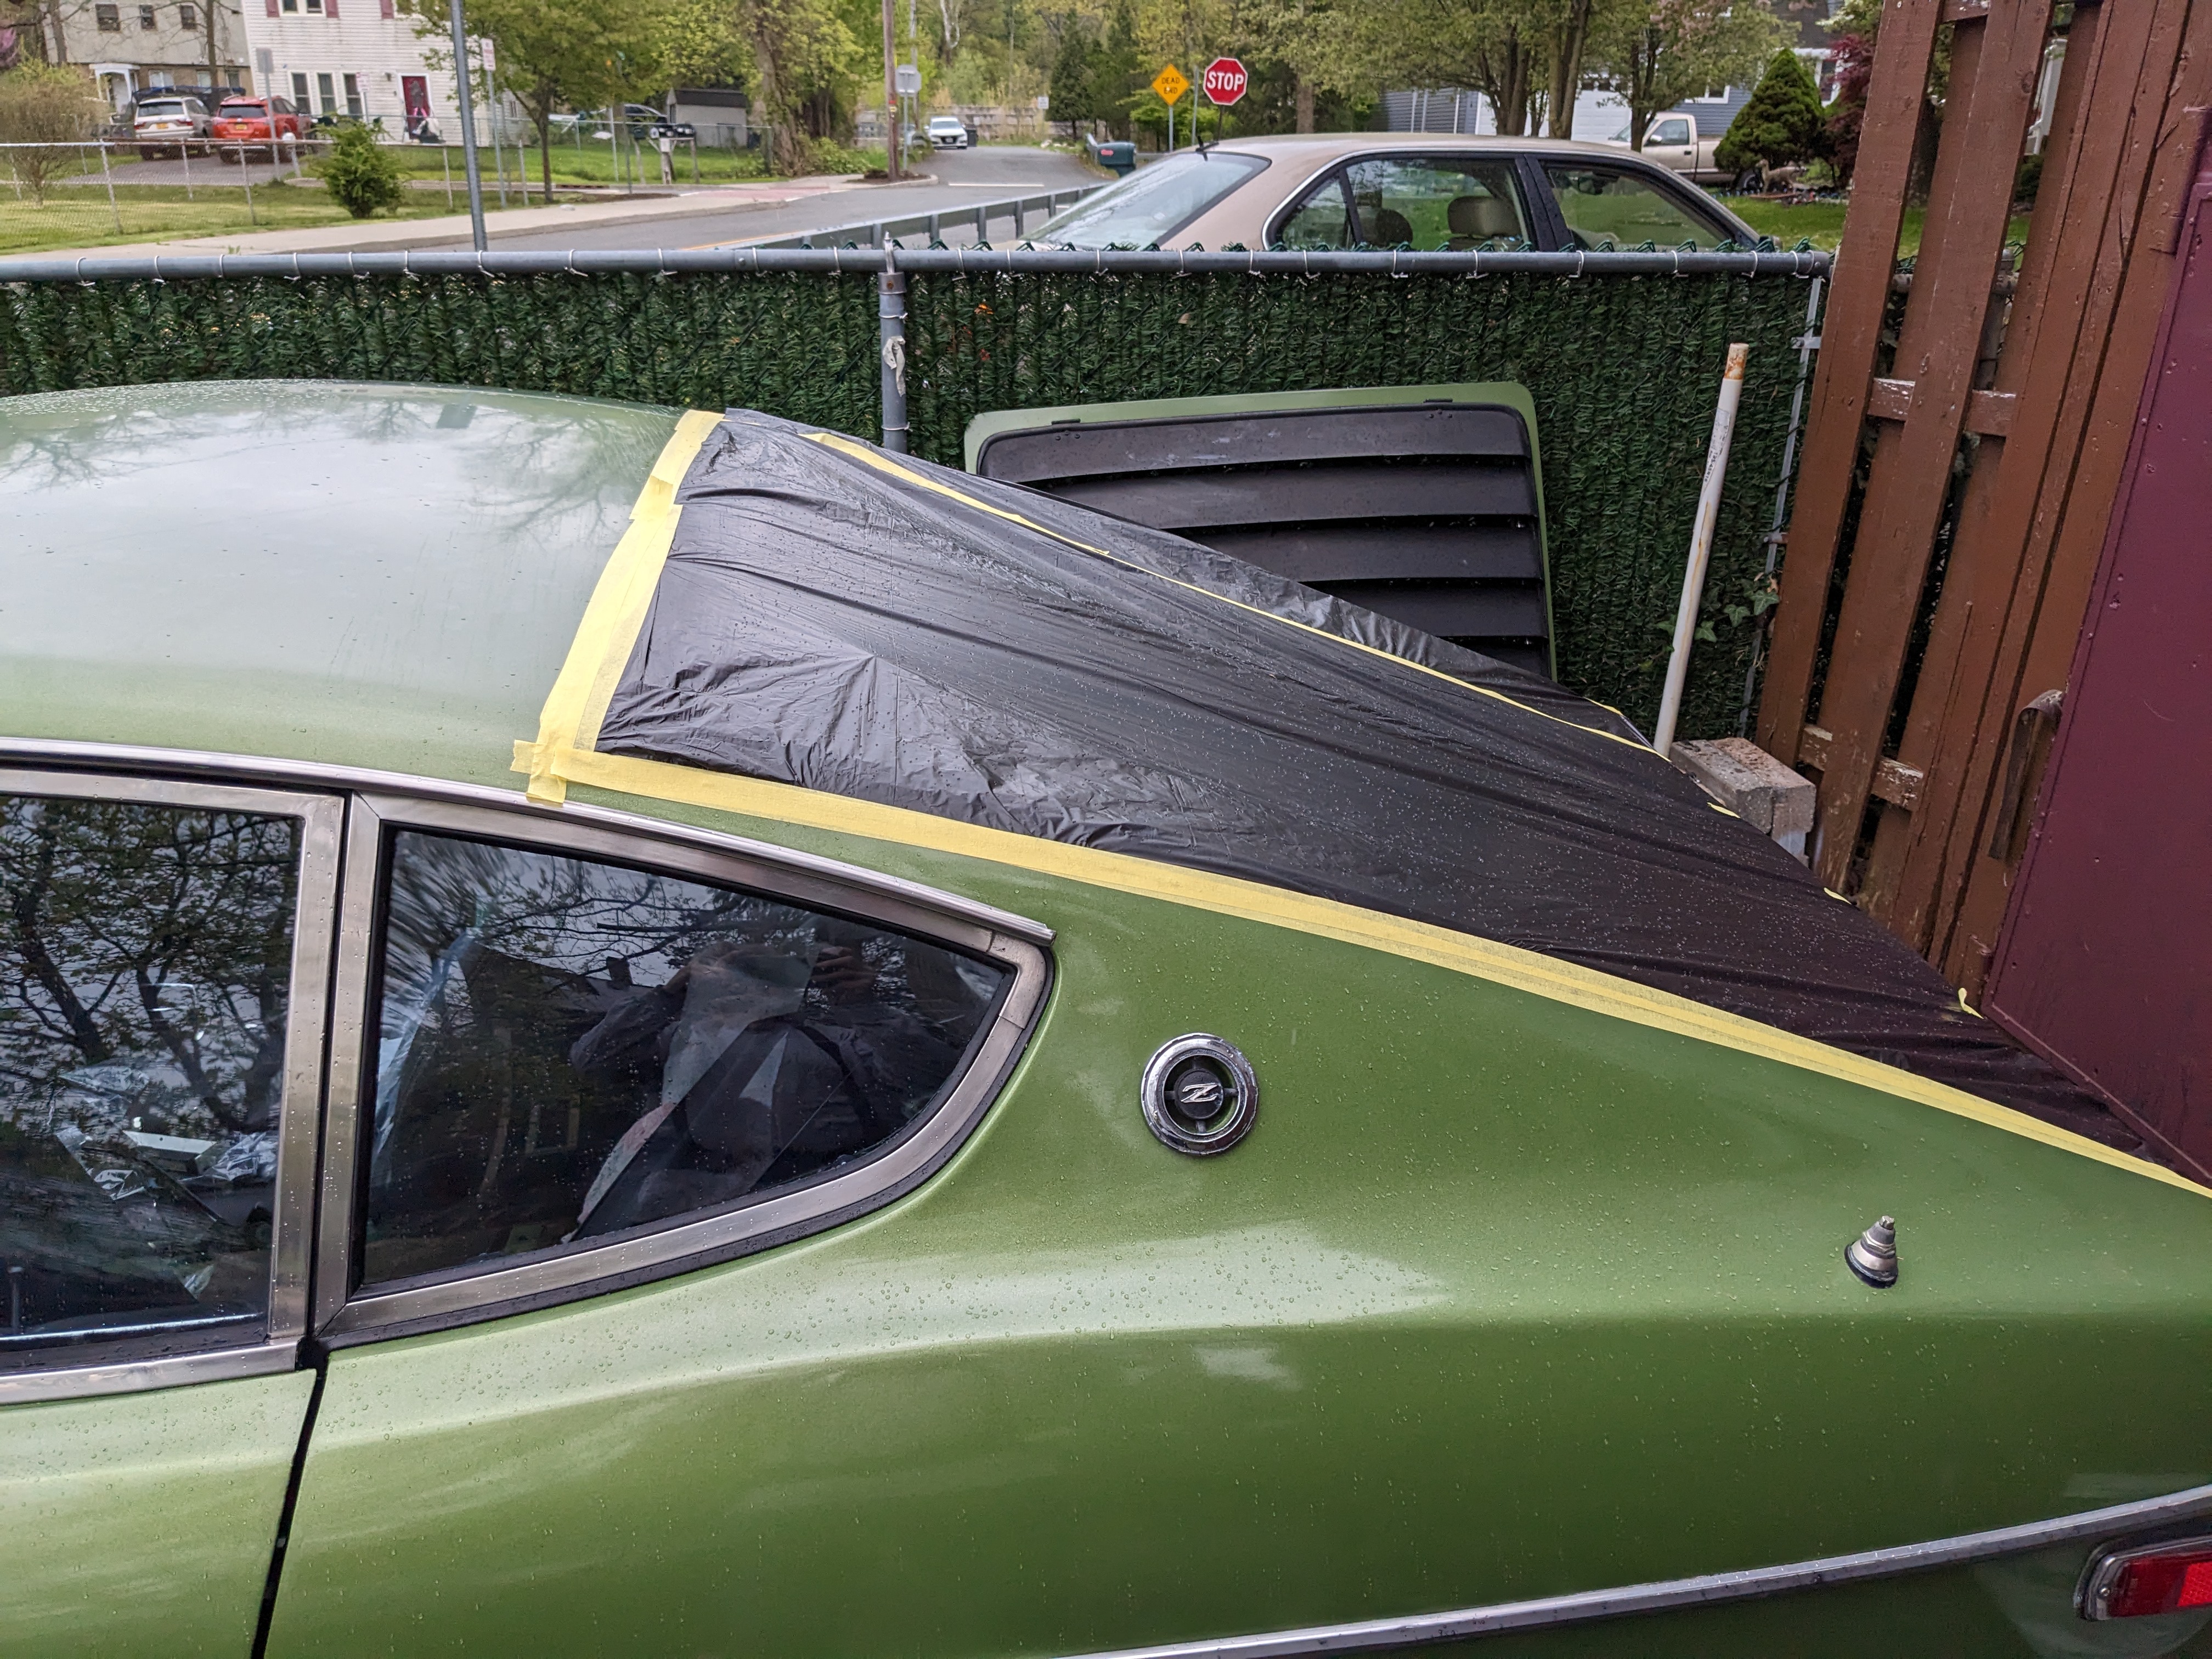
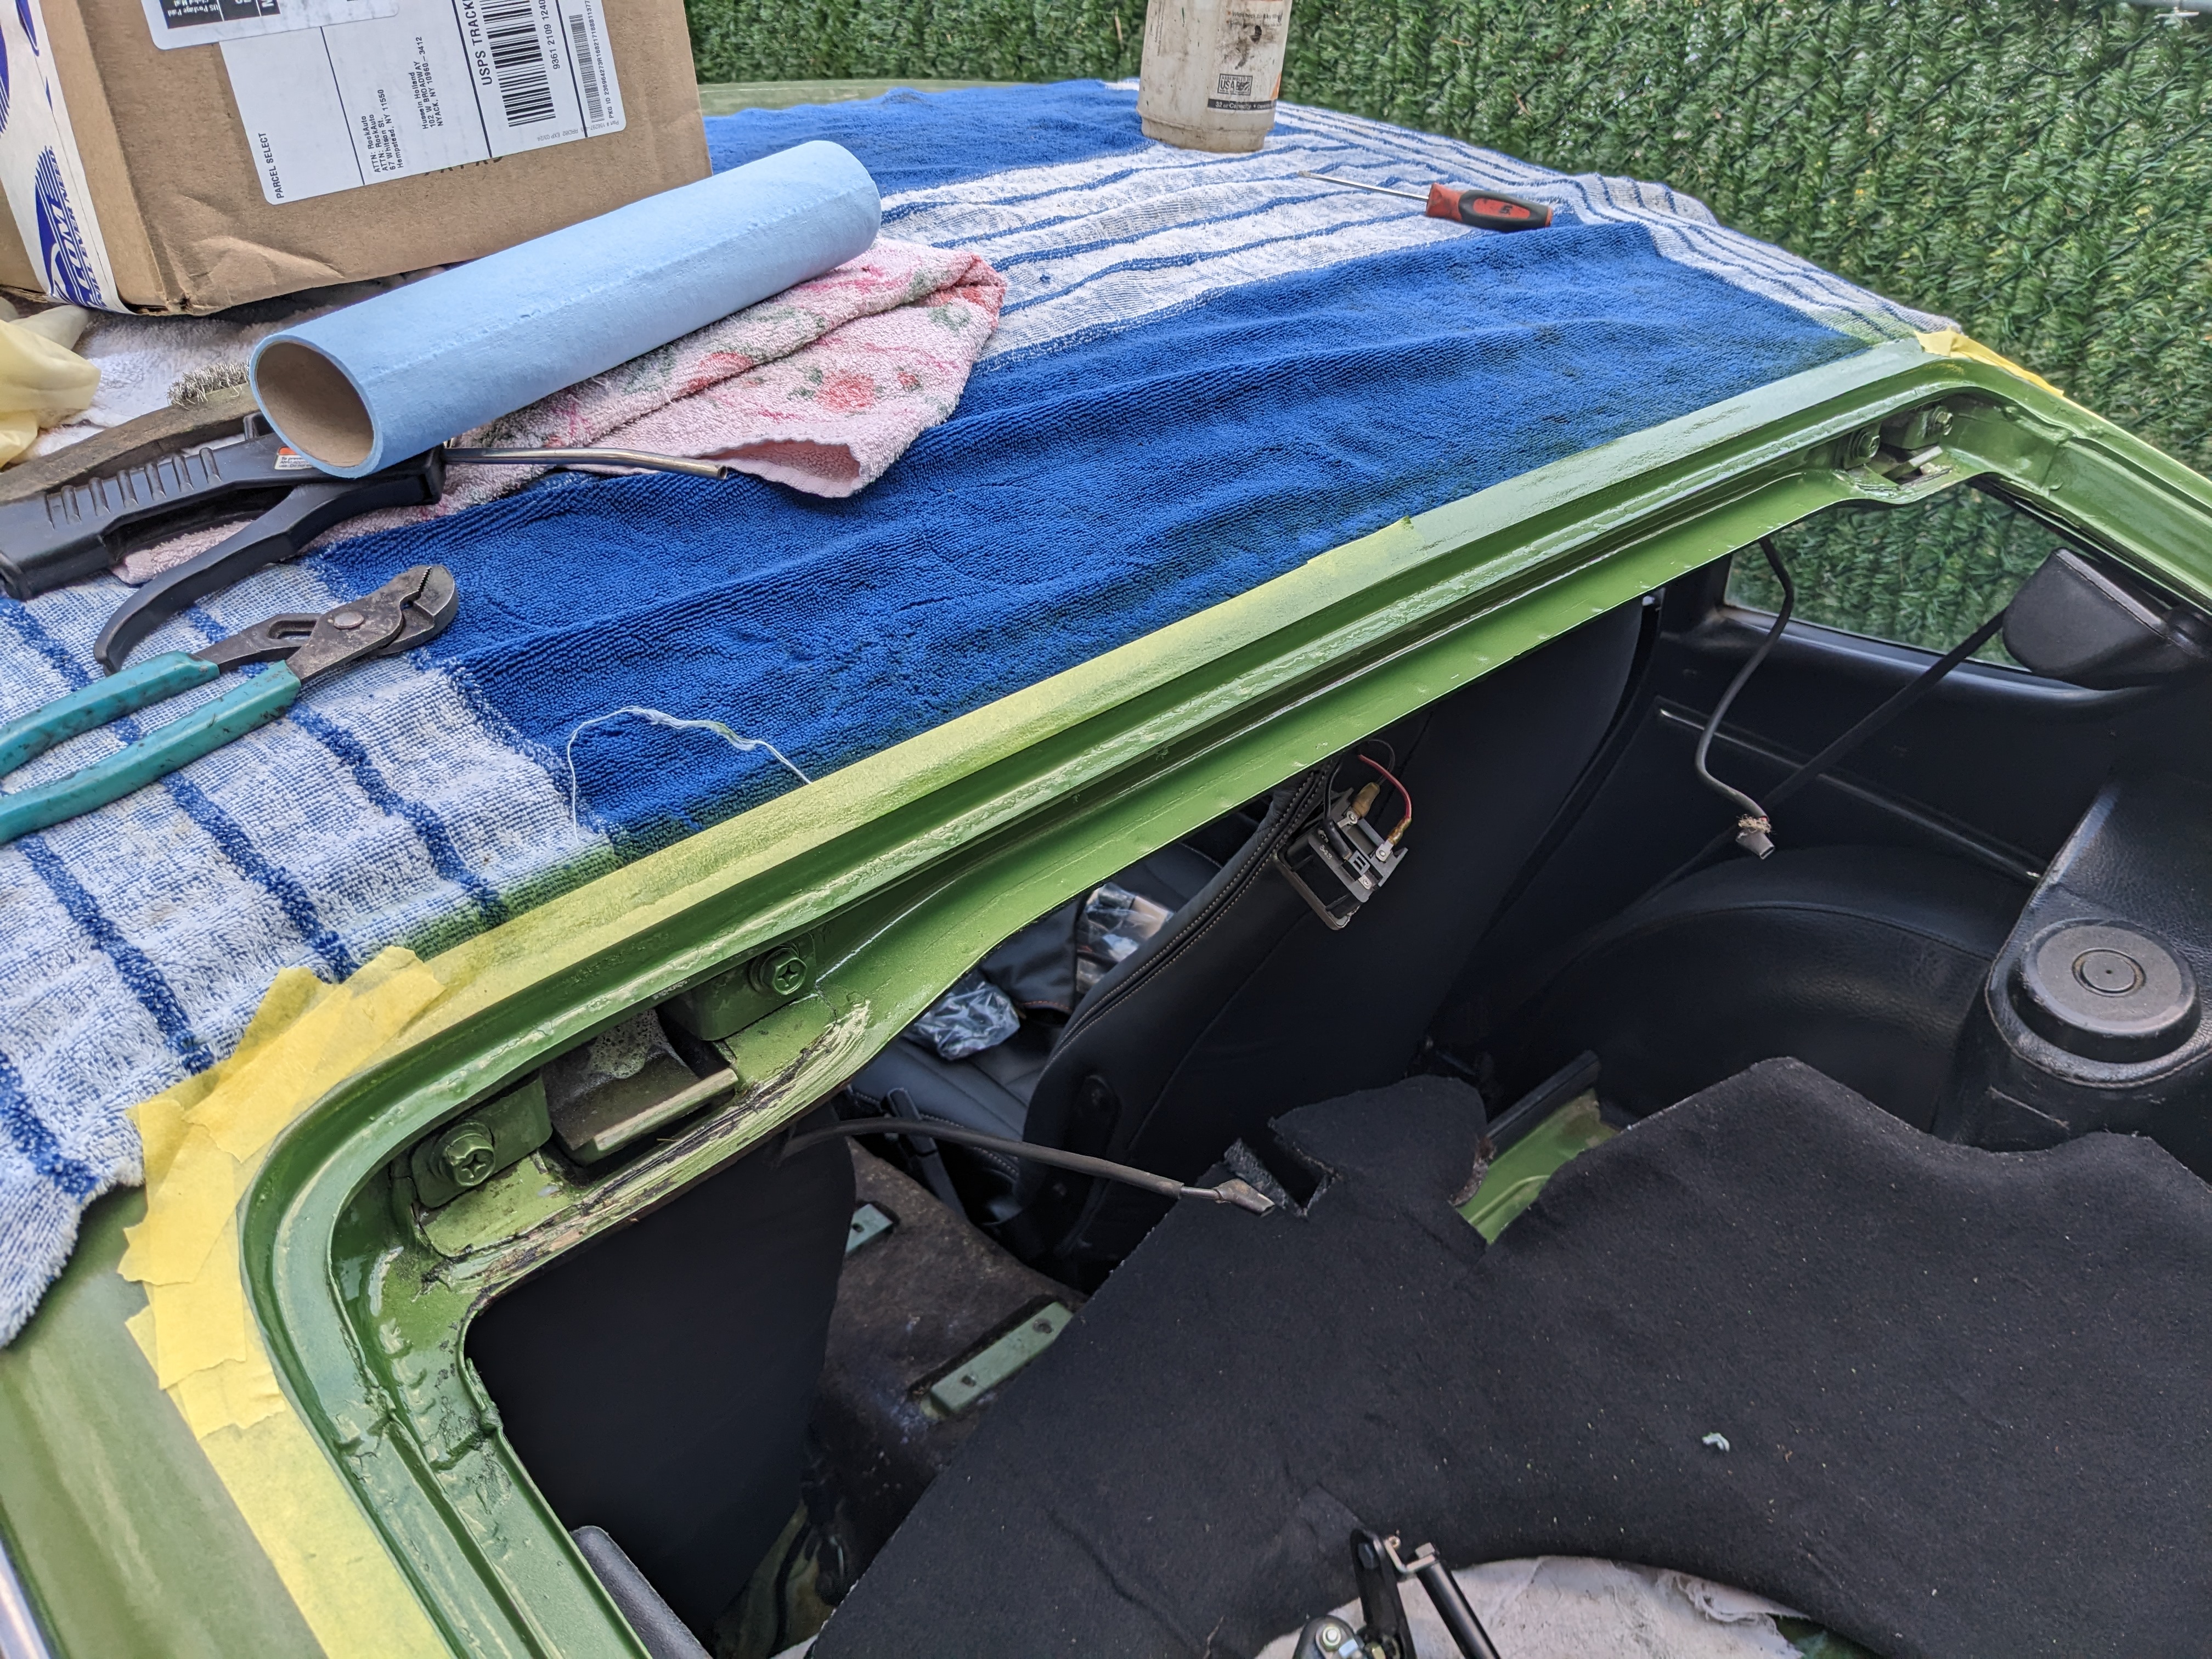
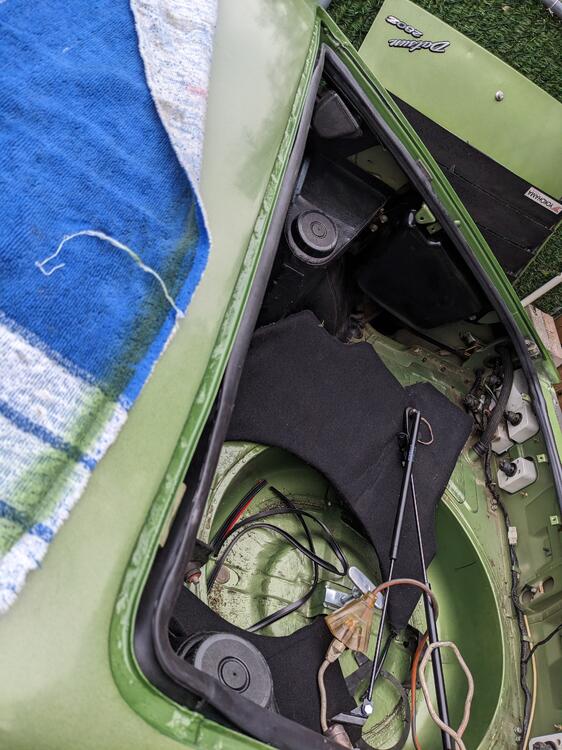
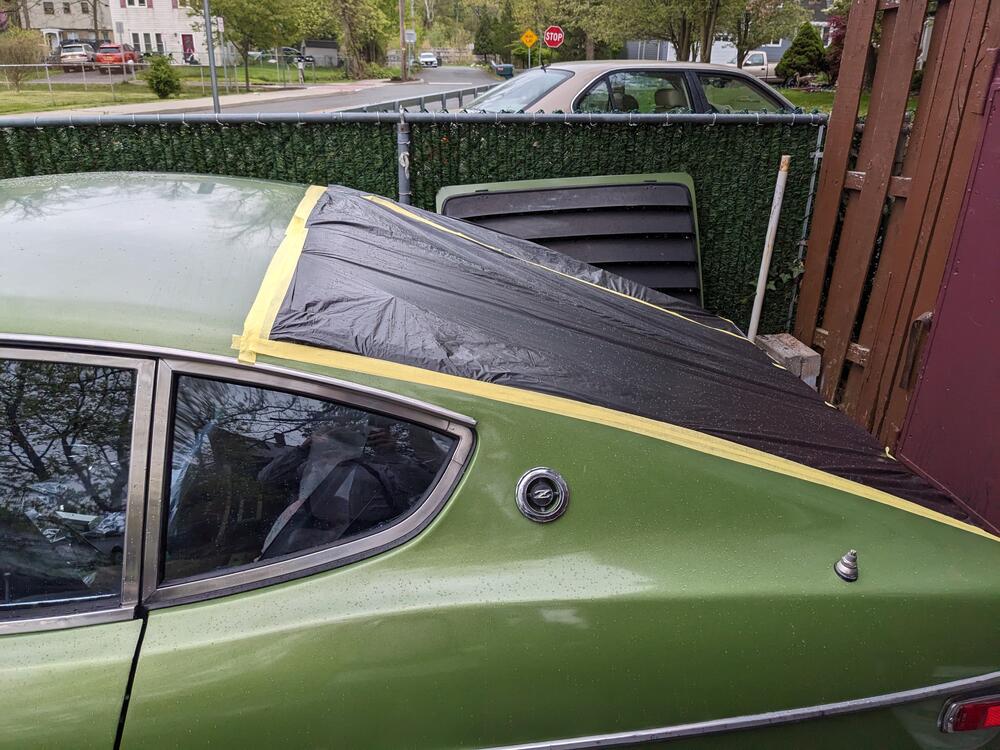
I didn't lube the upper outer seal to make sure it didn't cling to the hatch edge then closing and the seal bond had not fully dried, so it pealed inward - I found out today. We have rain forecast pretty much from now until Monday, so I removed the hatch, stripped all the adhesive (which messed up the new paint, since I clearly didn't let the paint cure/harden long enough) and repainted the upper trough/lip. I'm leaving the paint to harden until Monday when the rain gives over, then I'll re-glue the outer seal, and leave the hatch off until it's clearly properly bonded. I also bought the black super weatherstrip adhesive instead of the yellow I used previously. taped up the opening, then covered the car with 2 breathable covers
-
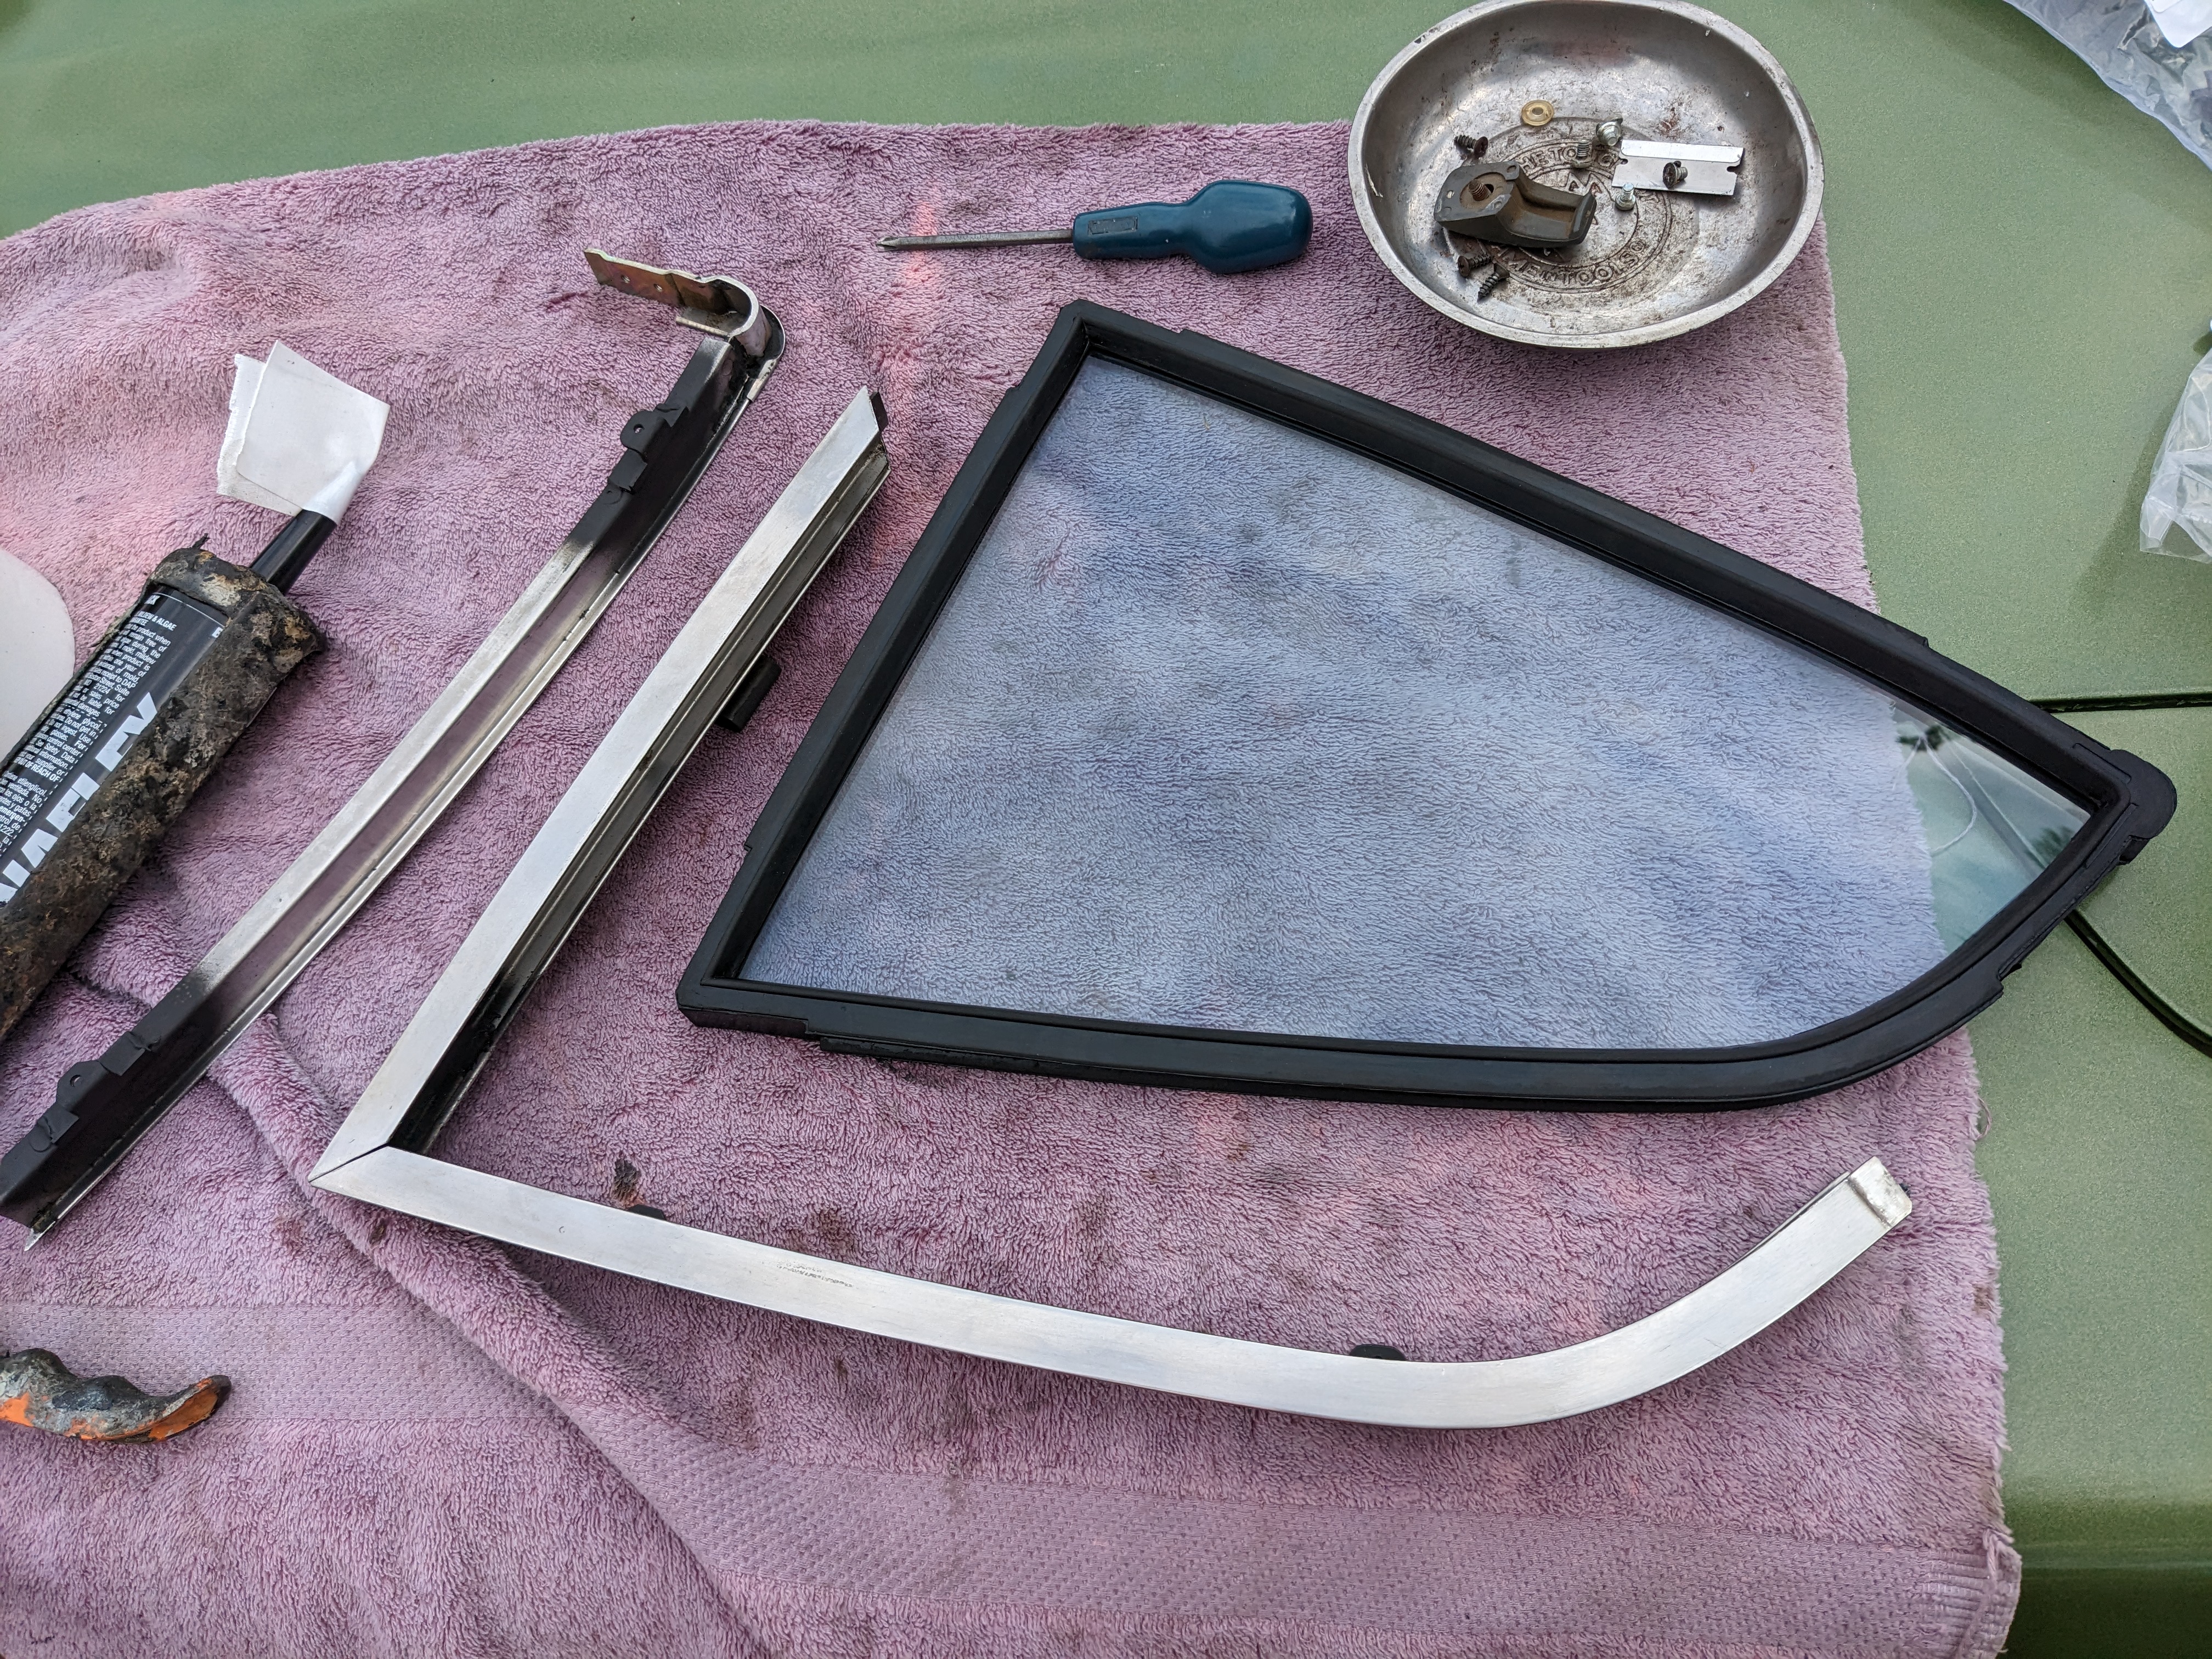
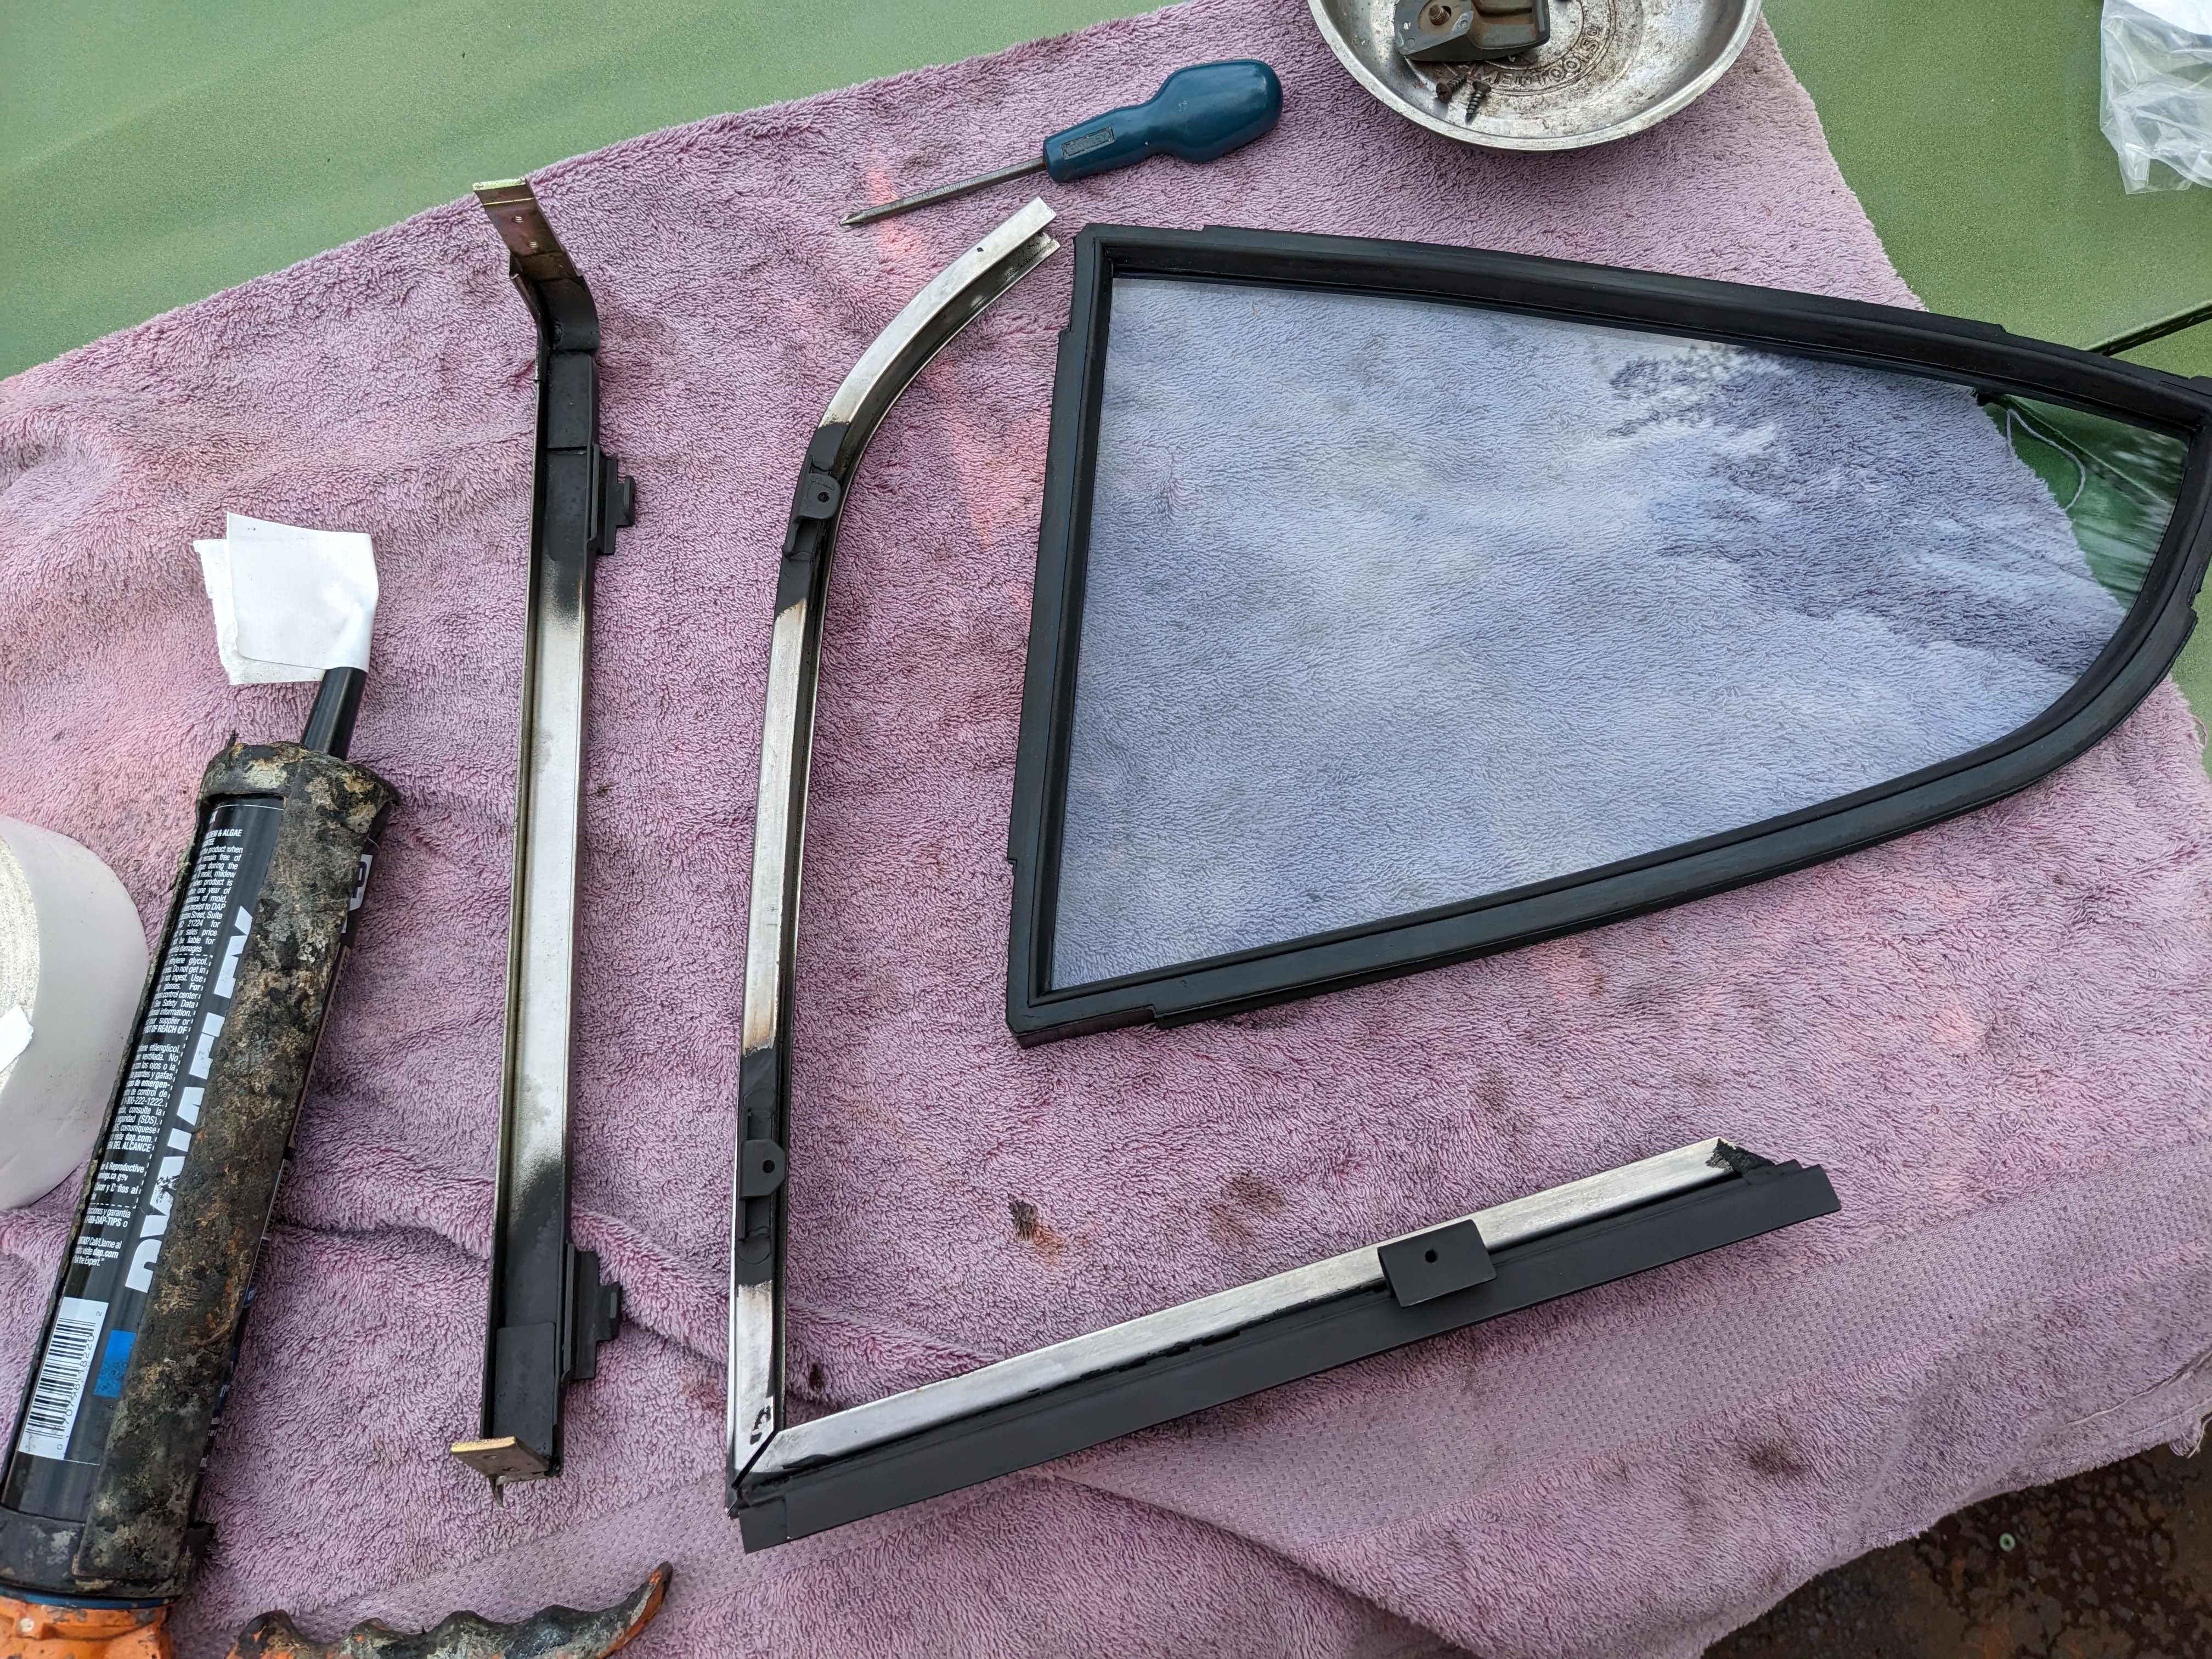
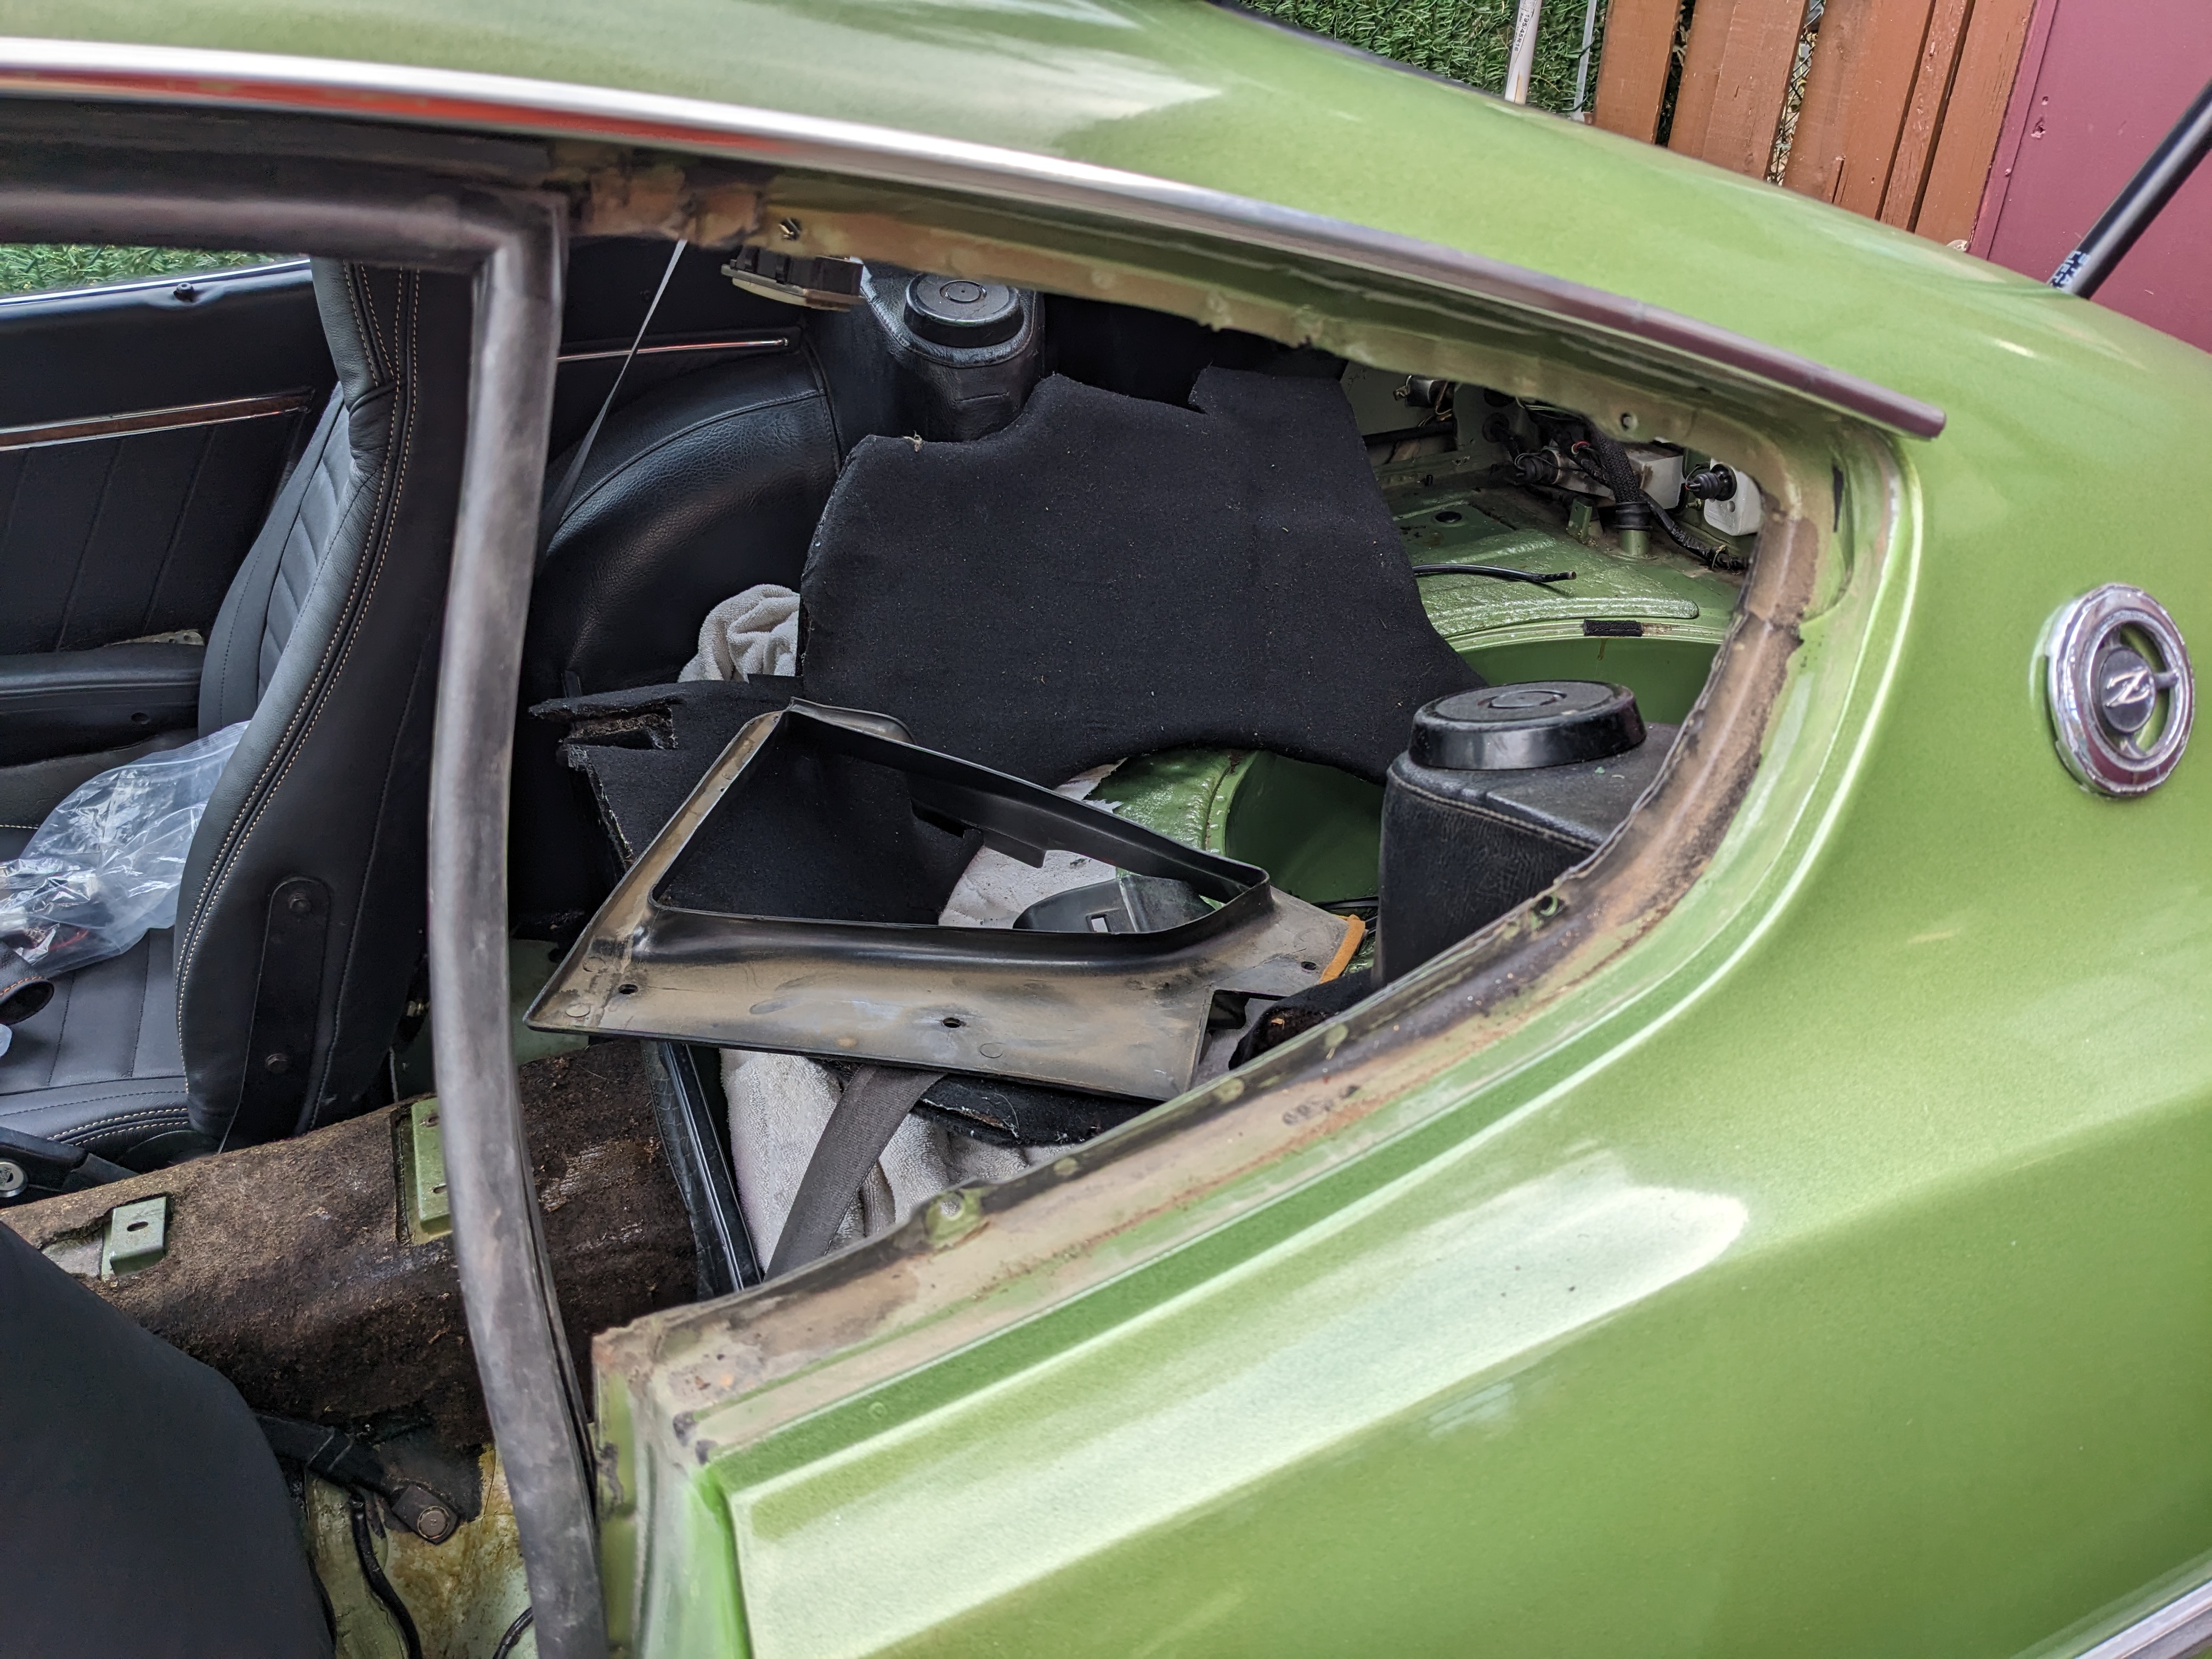
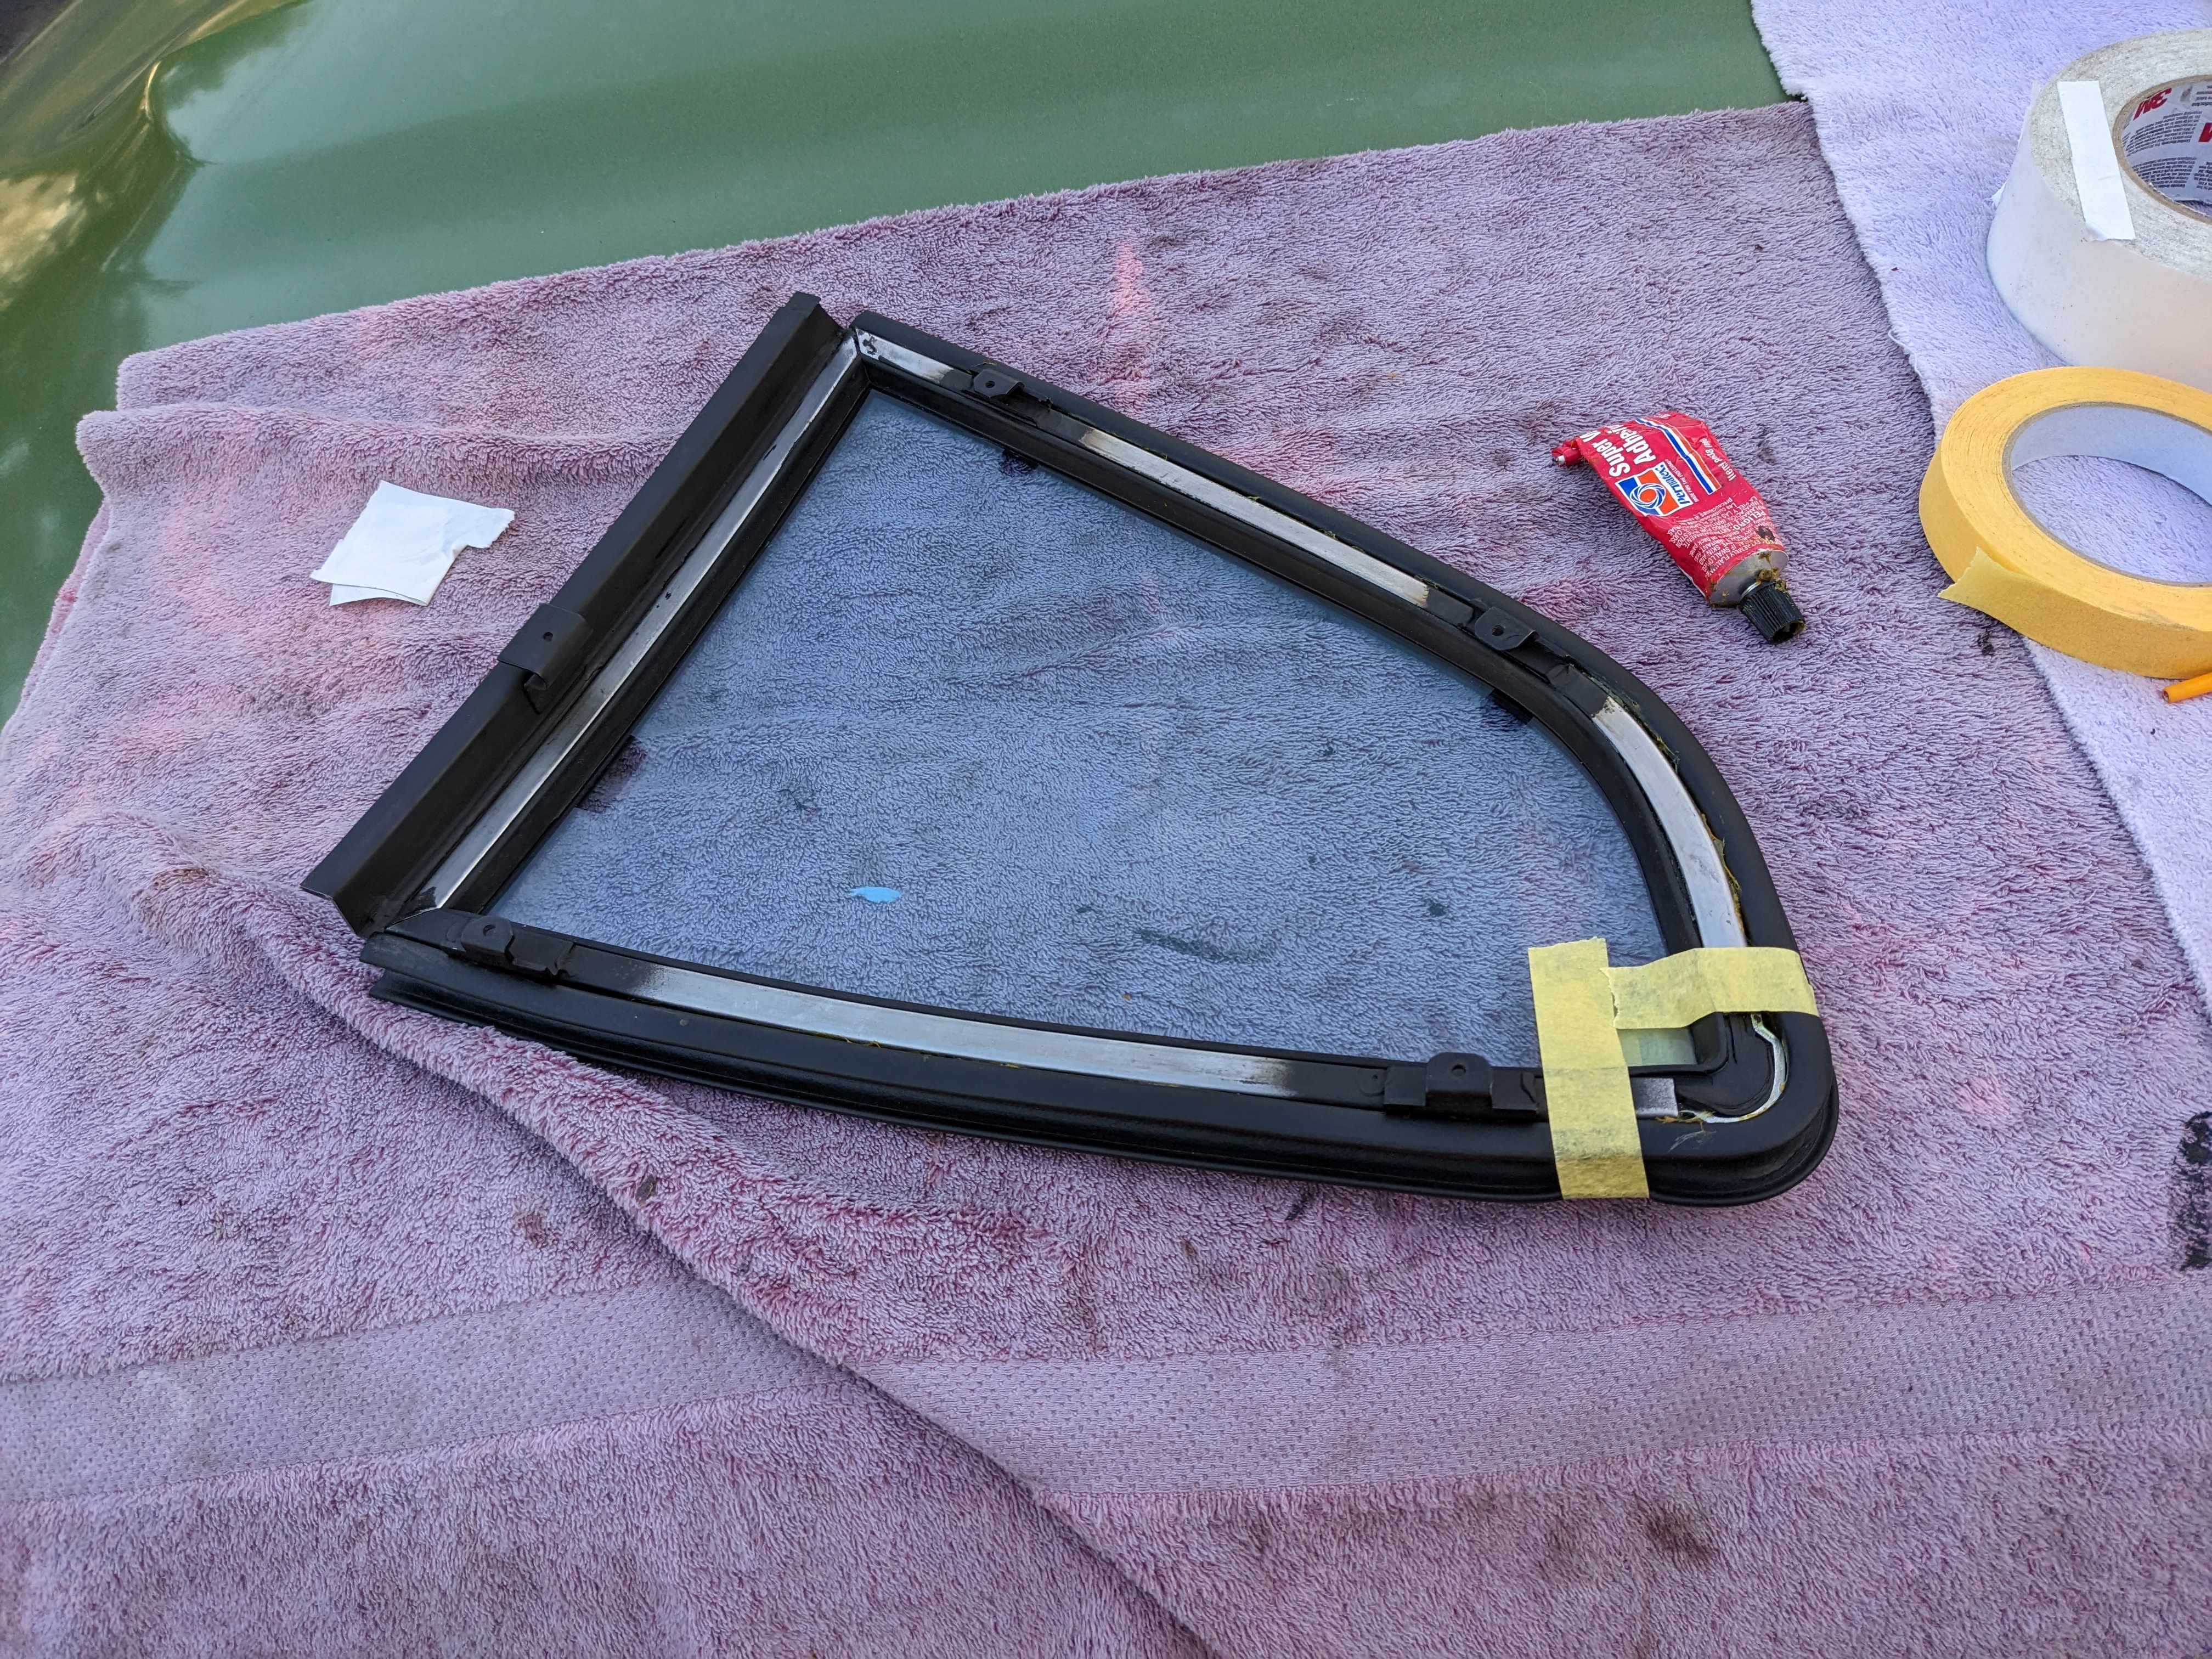
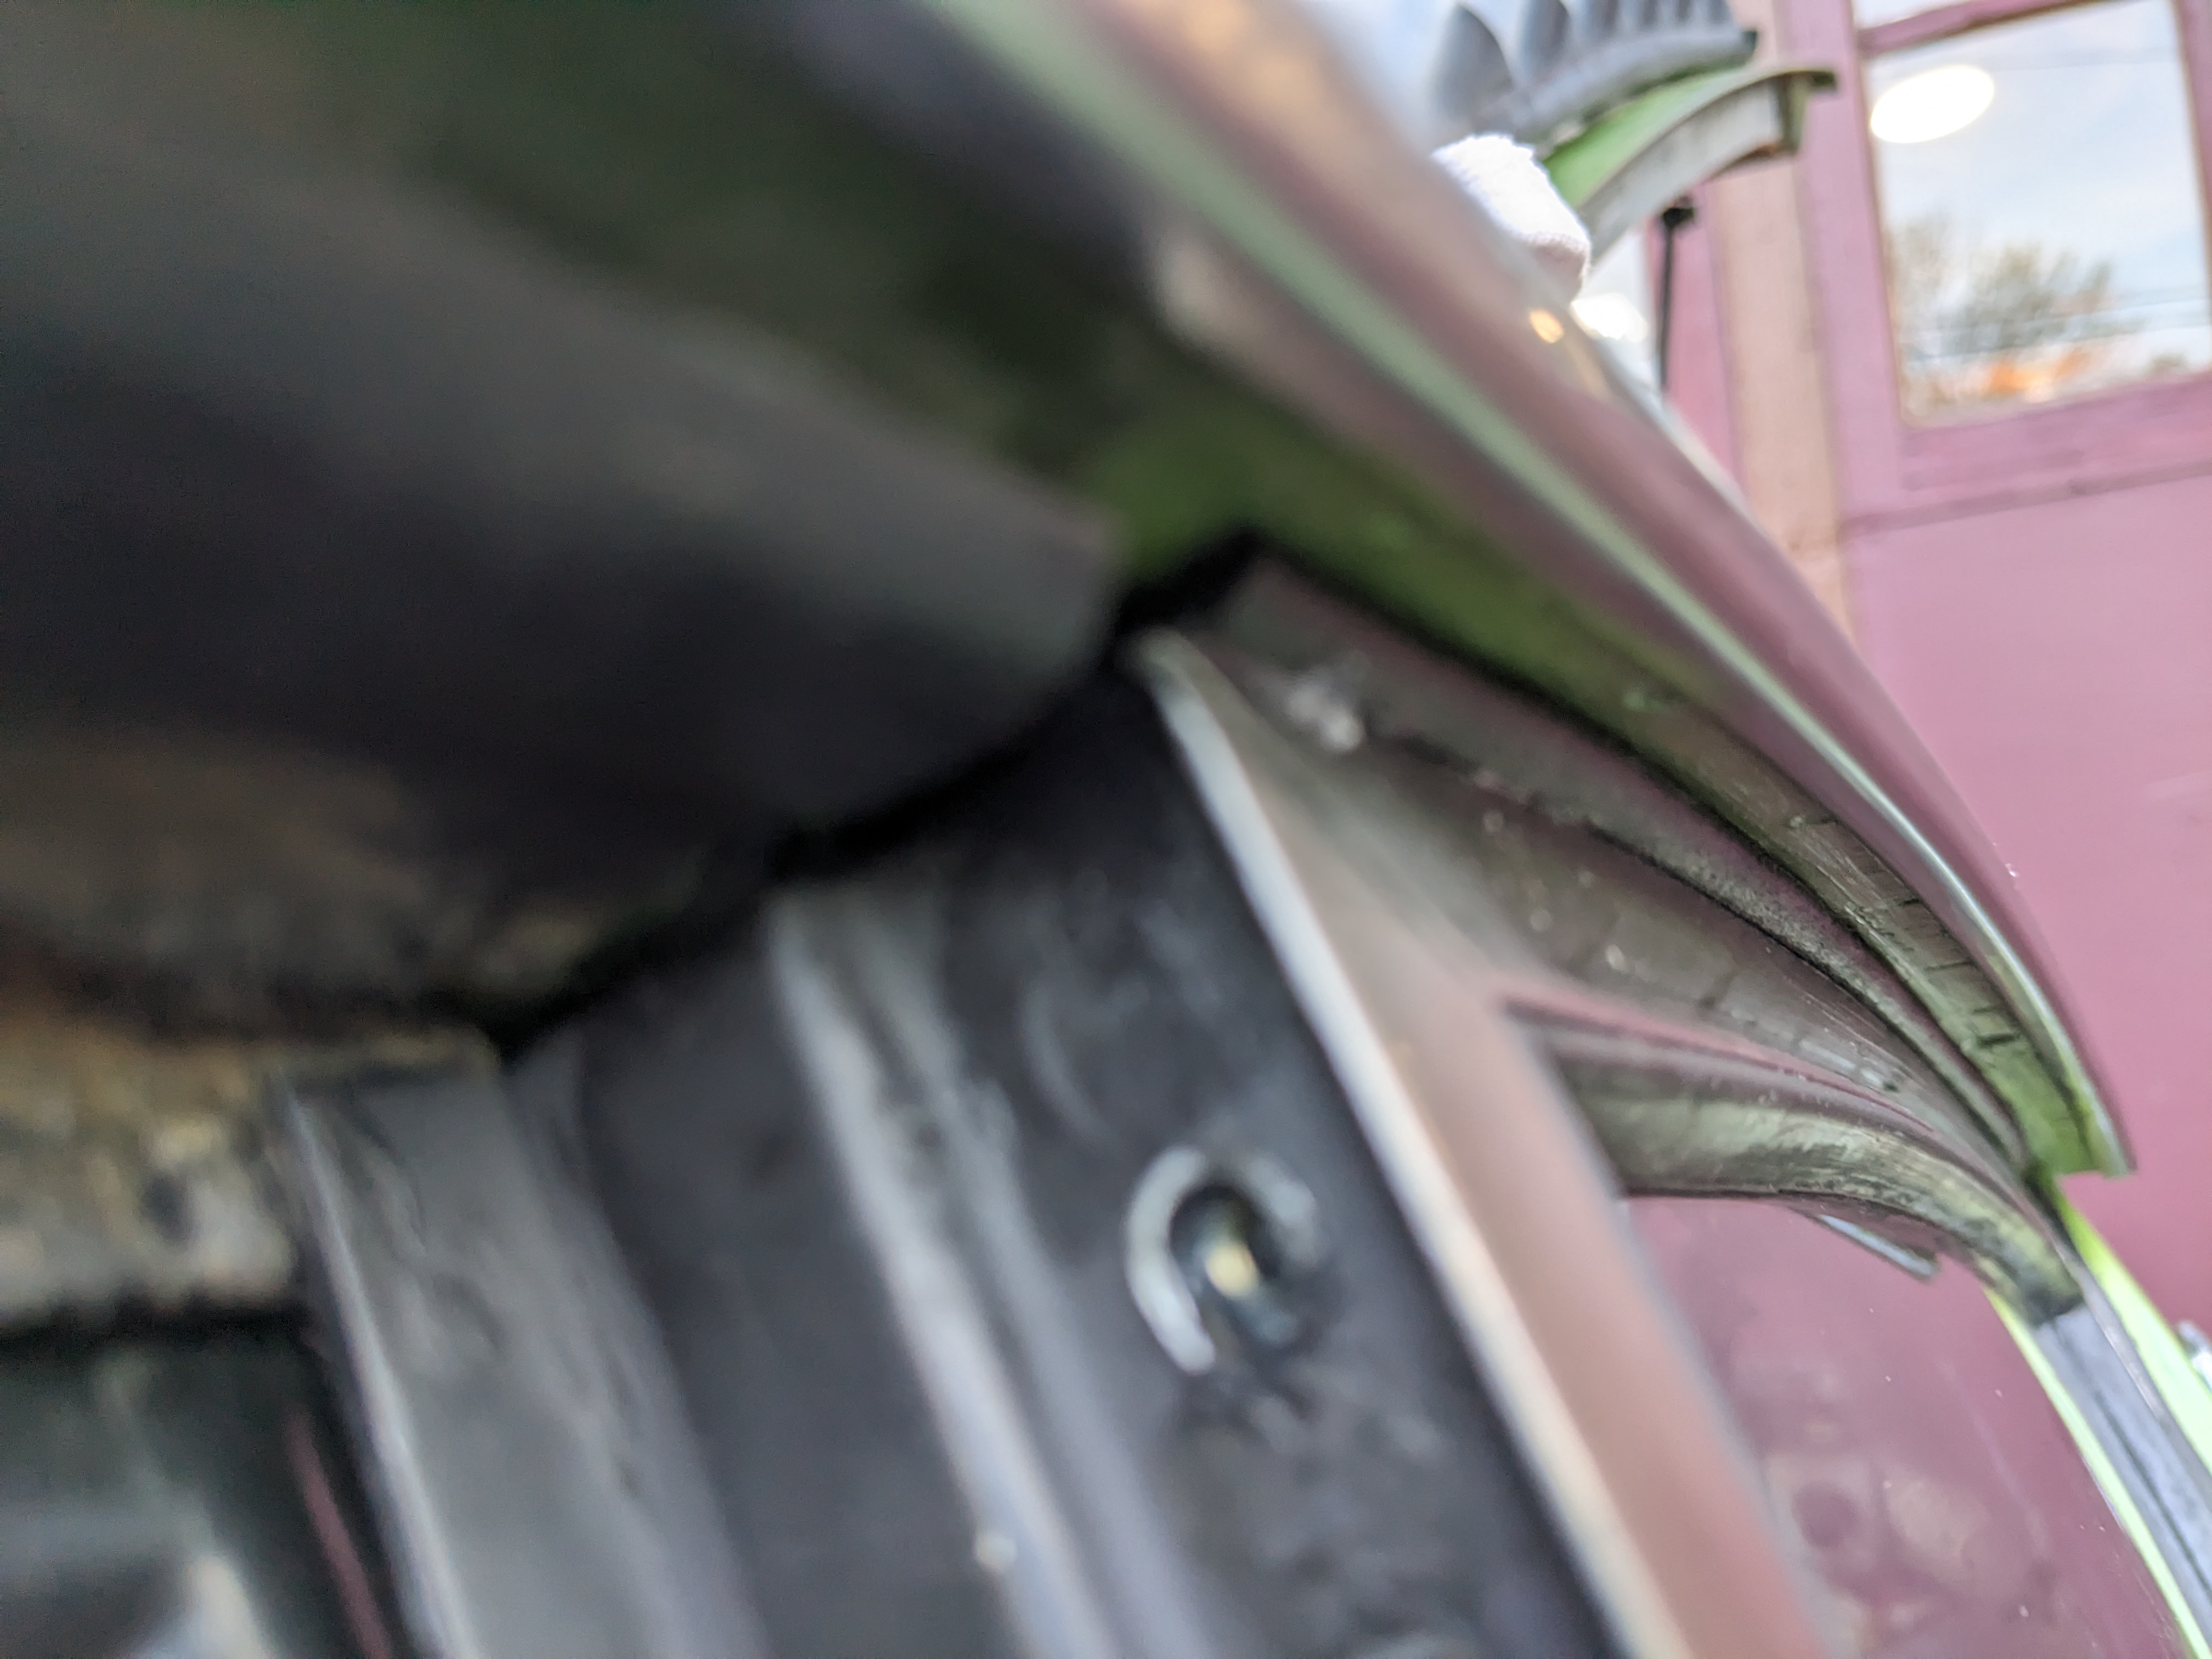
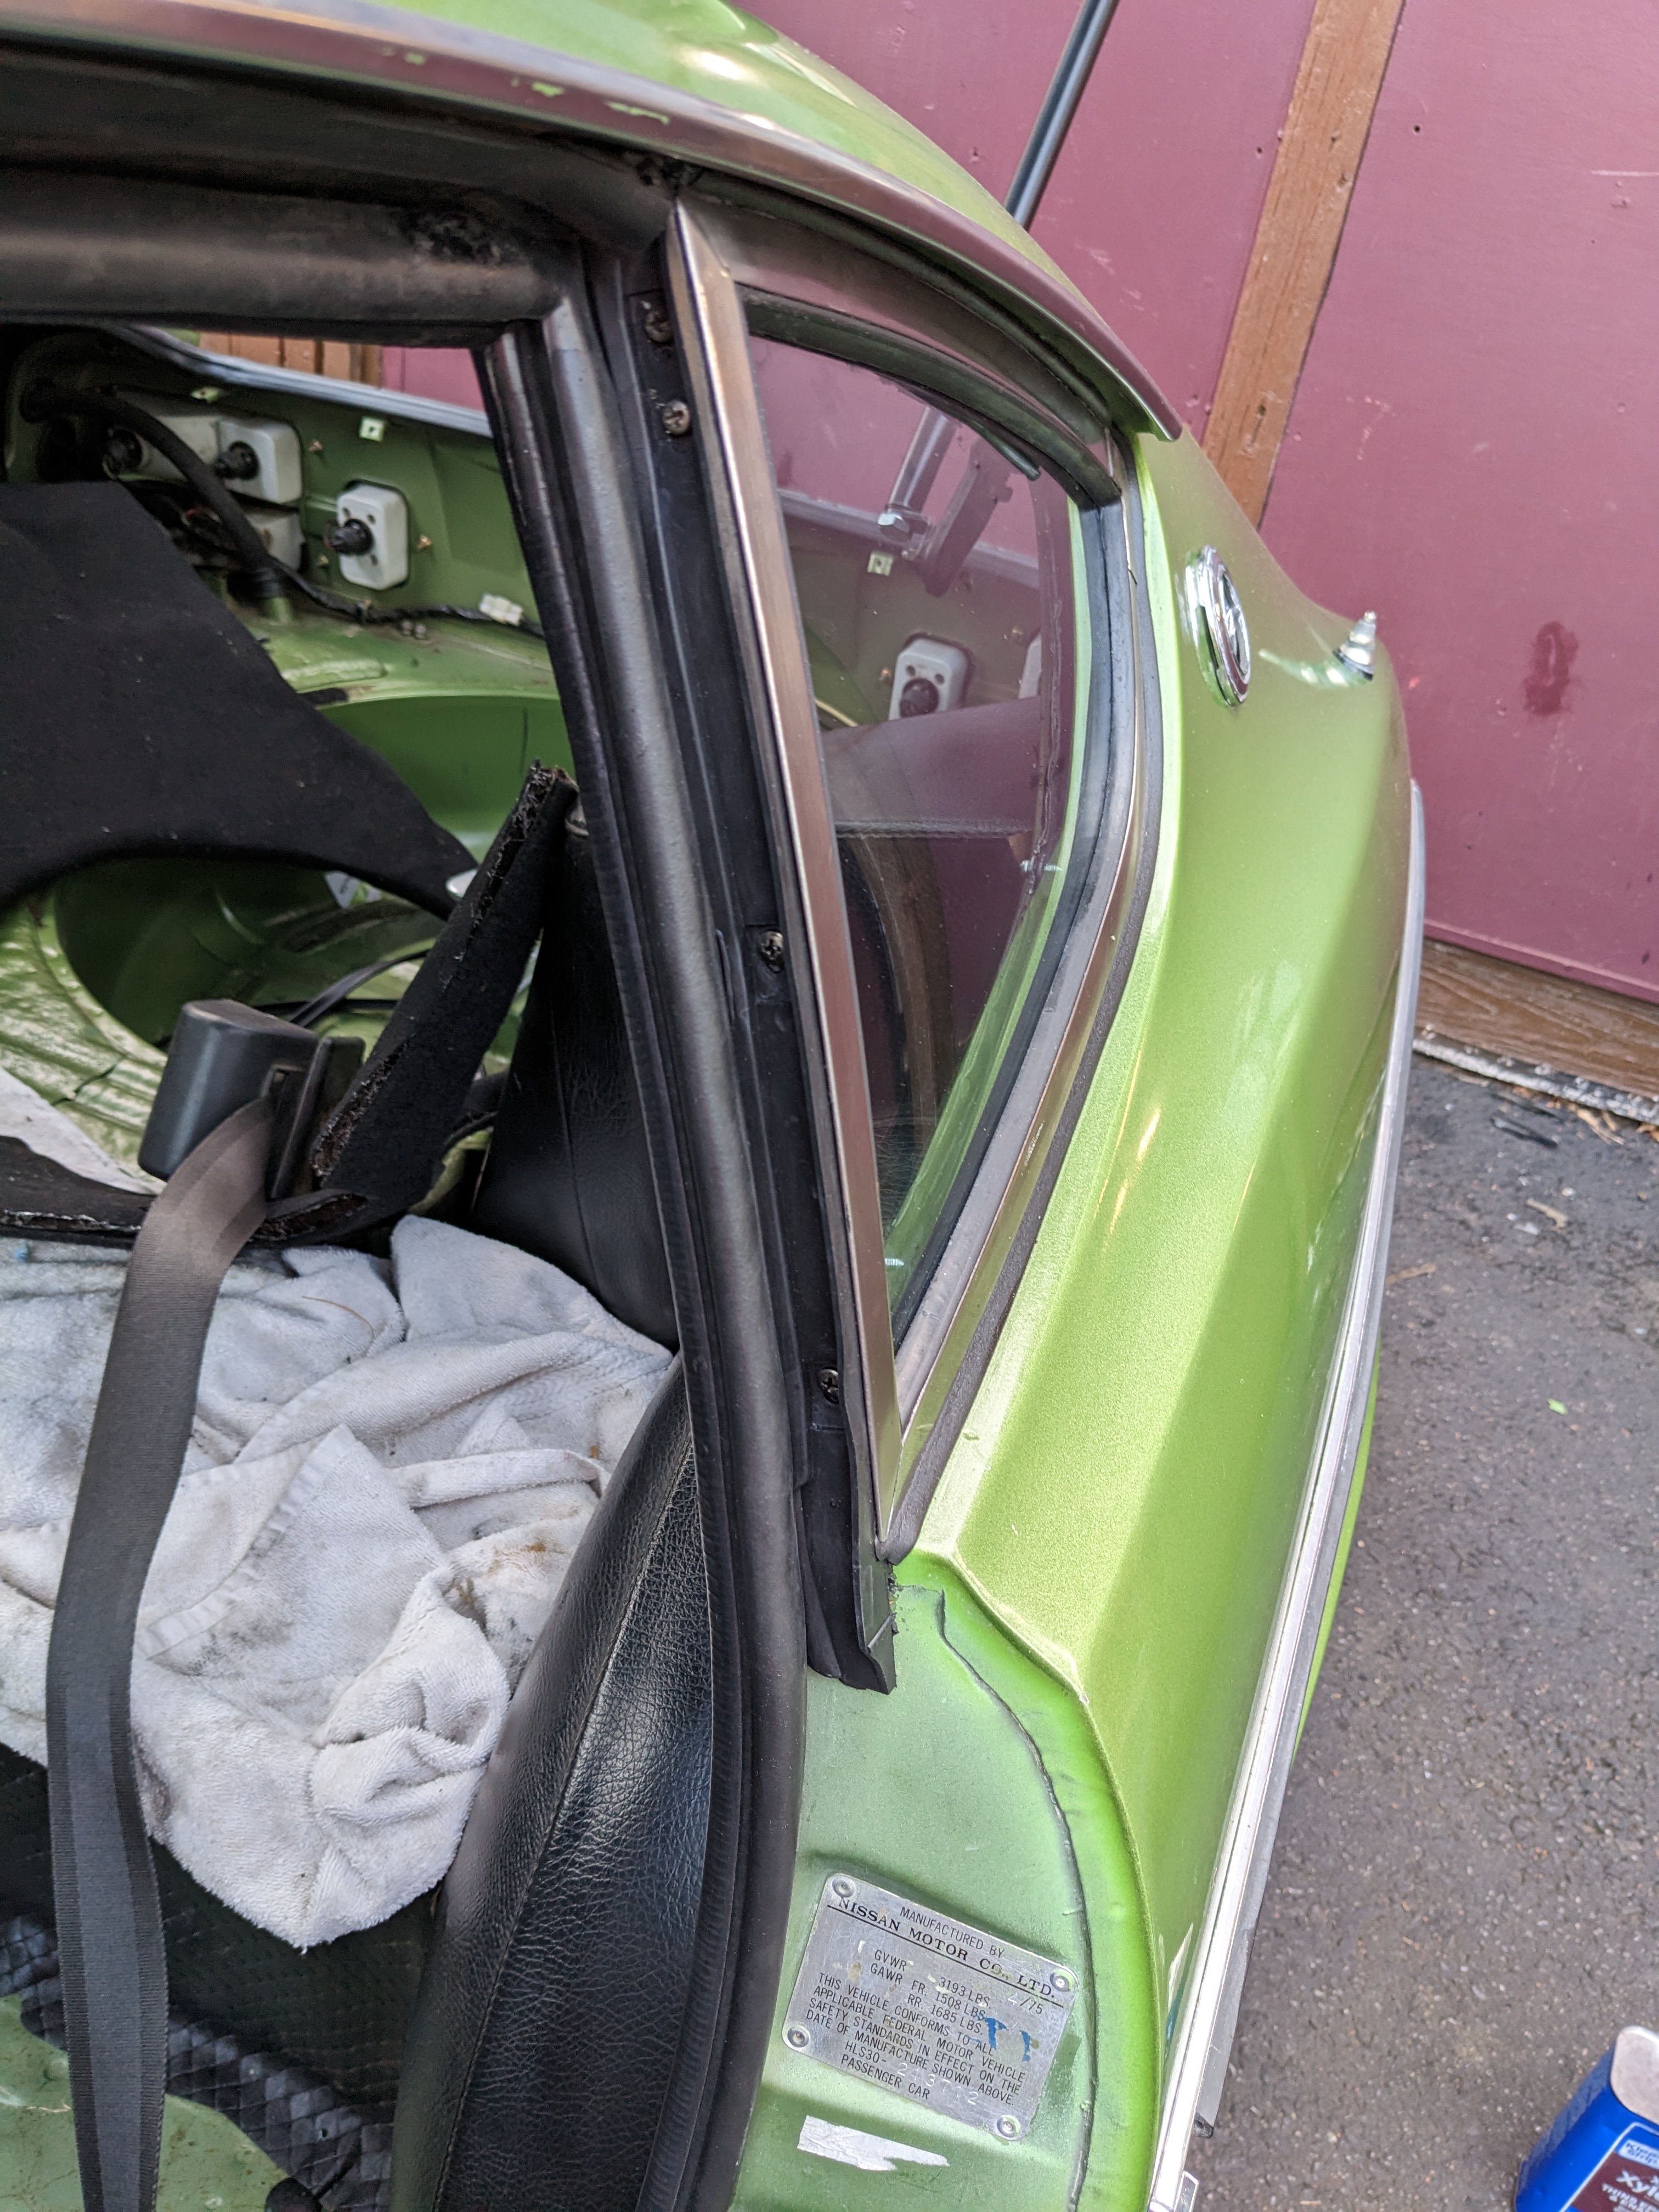
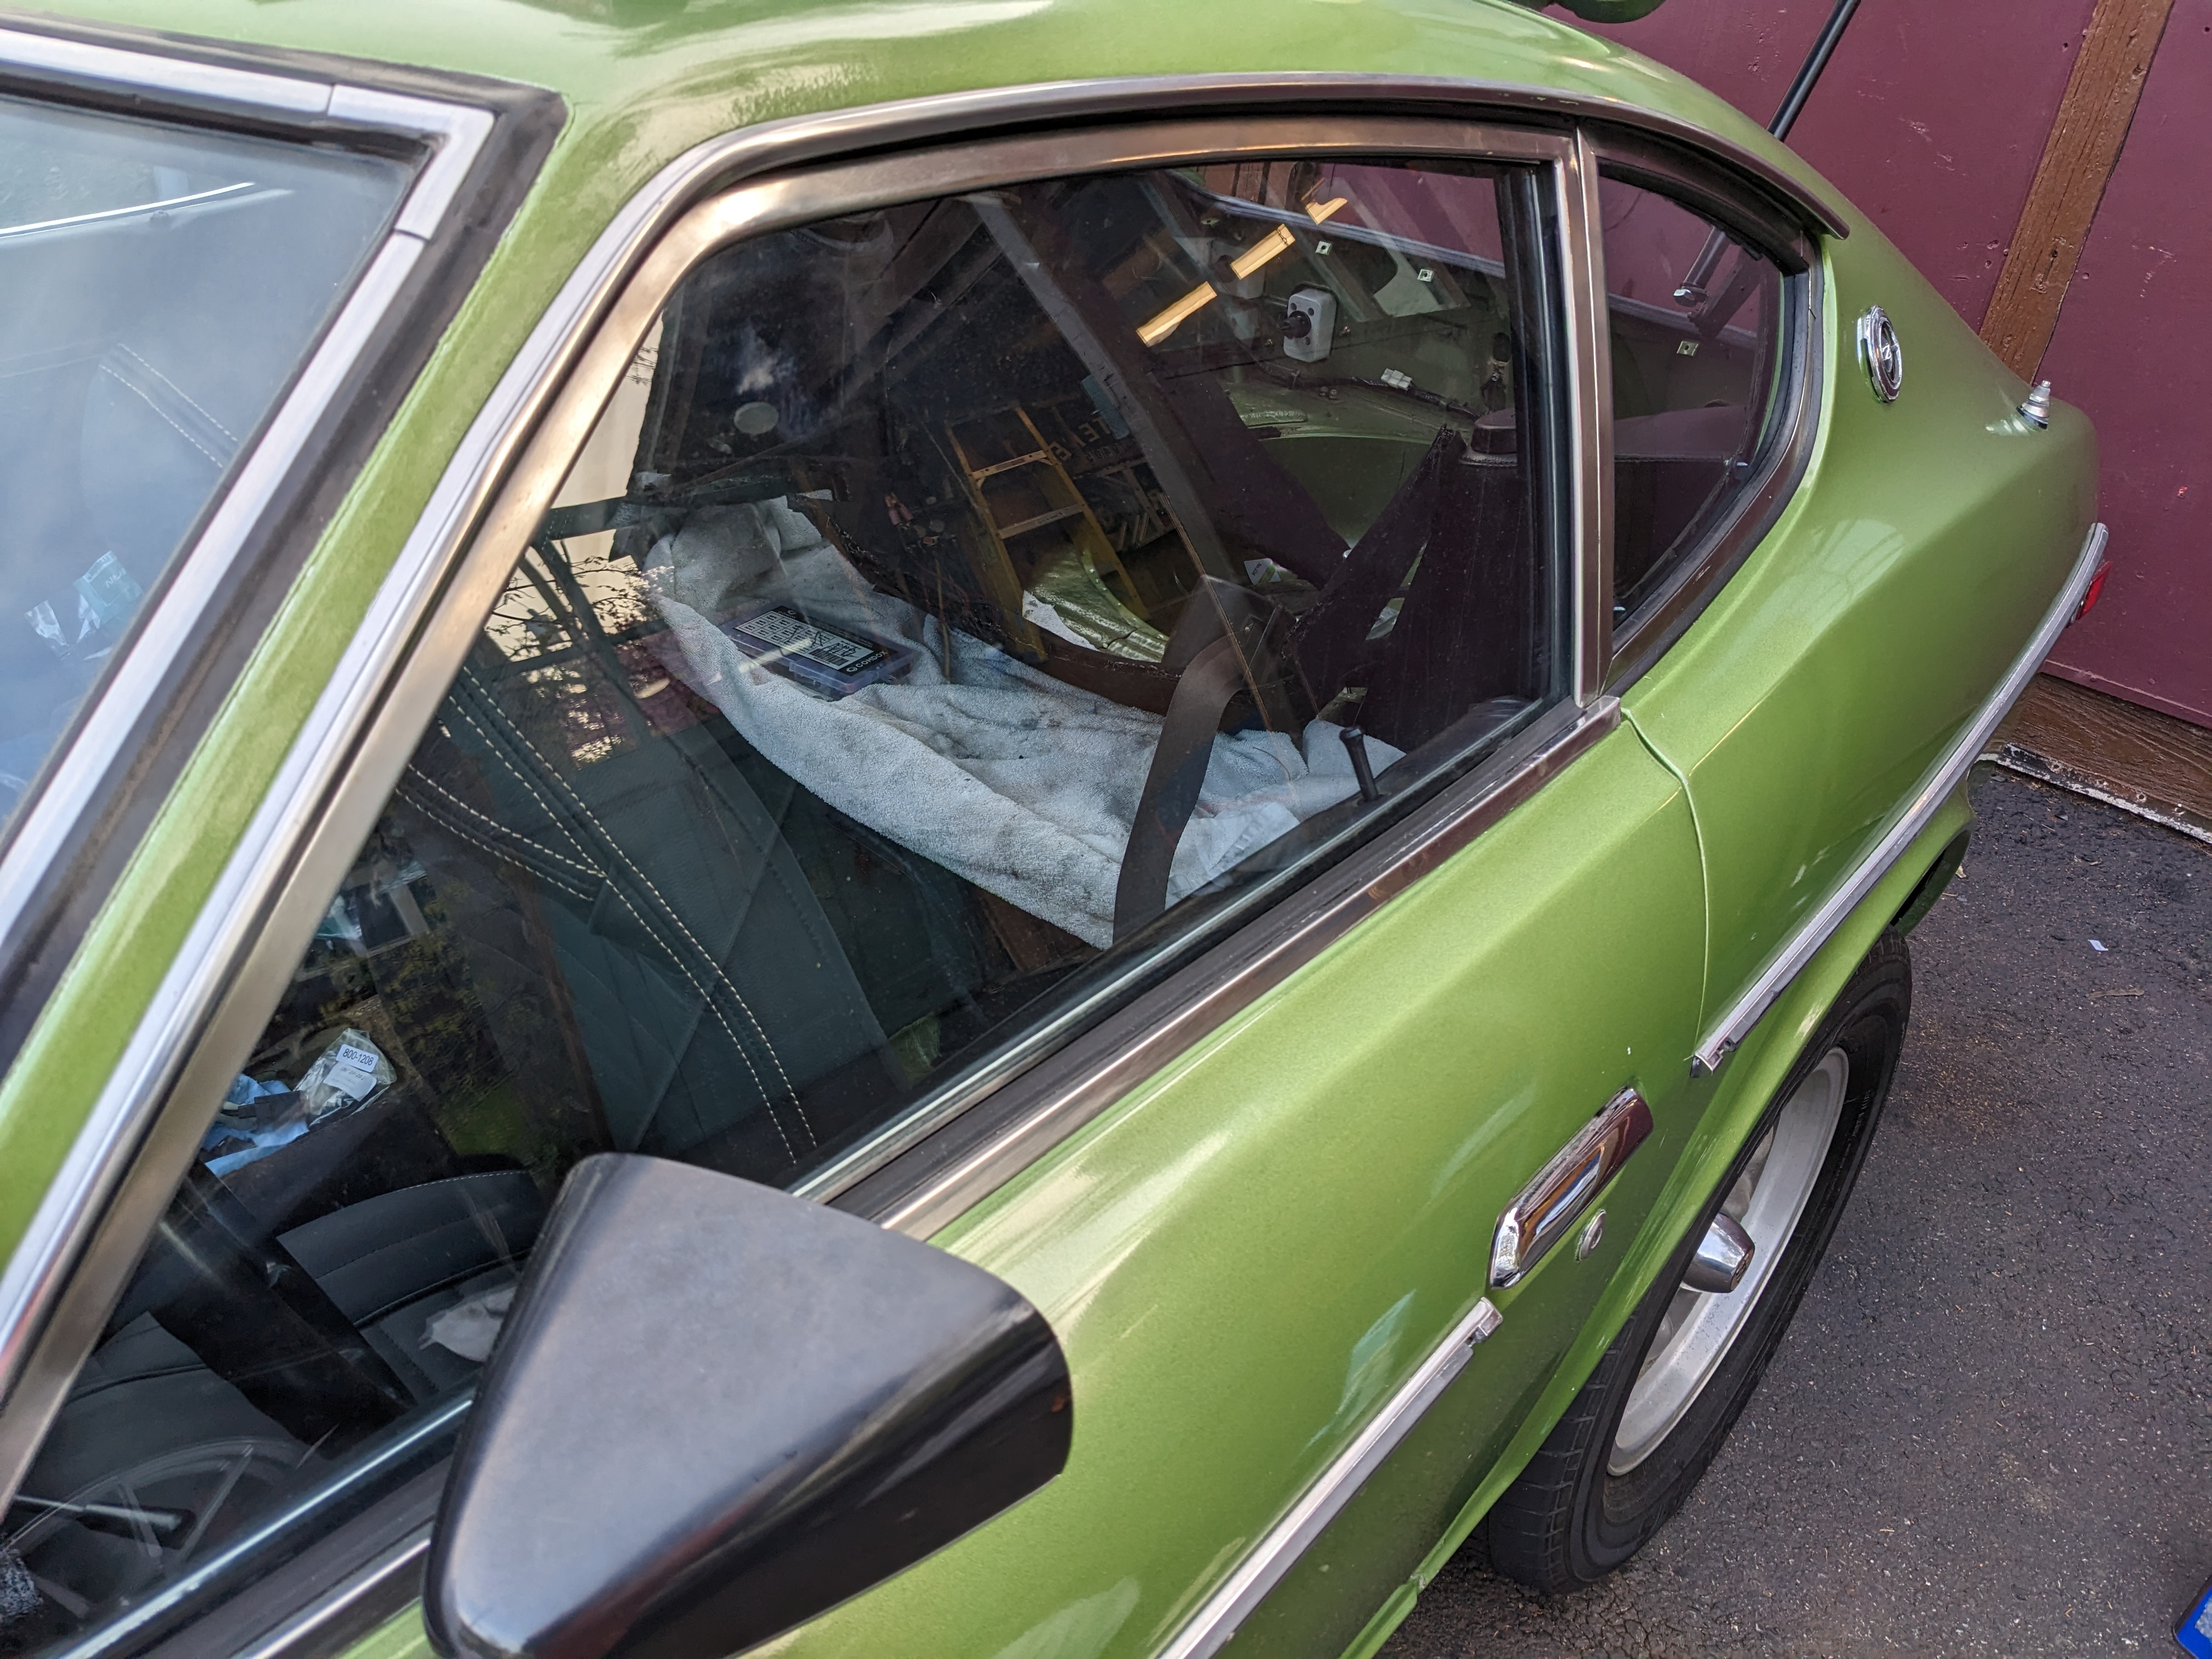
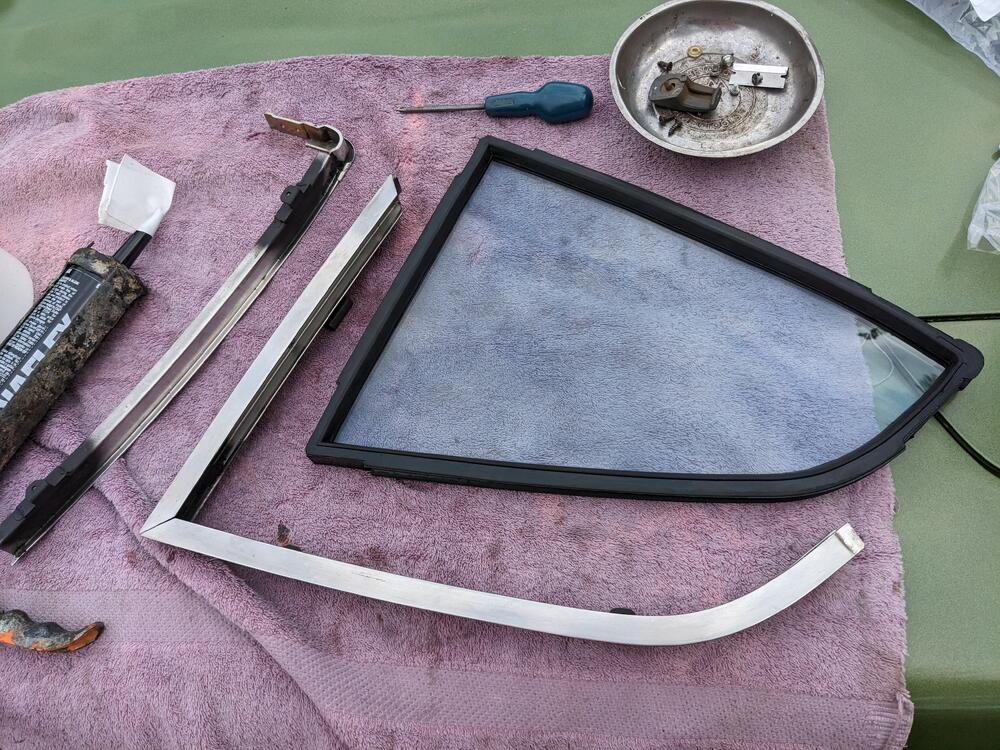
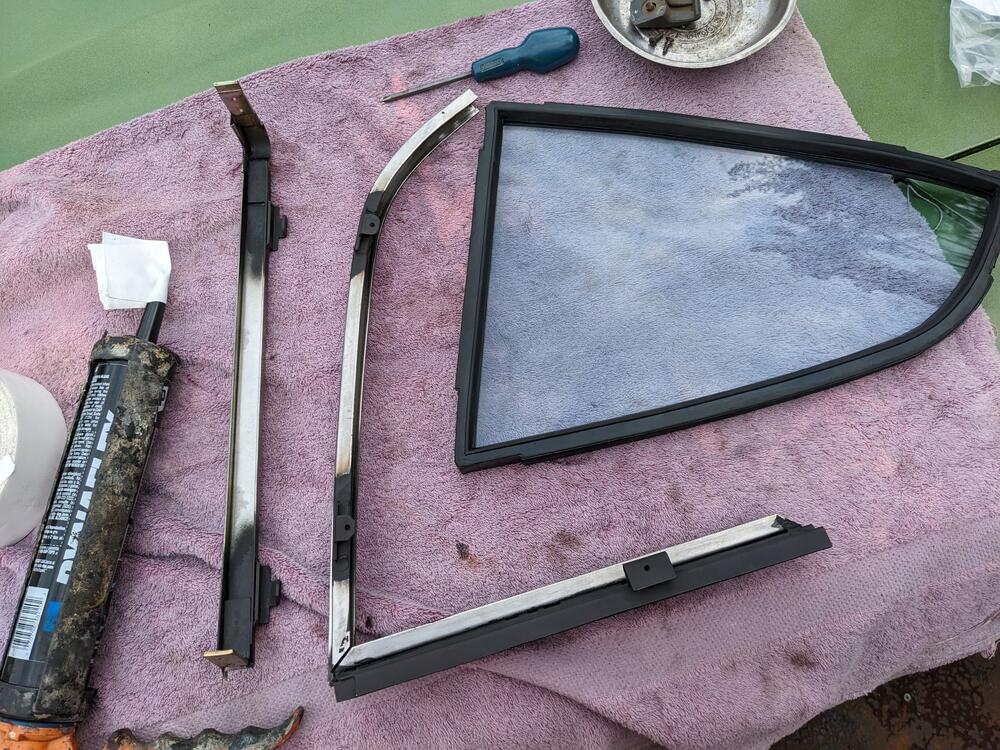
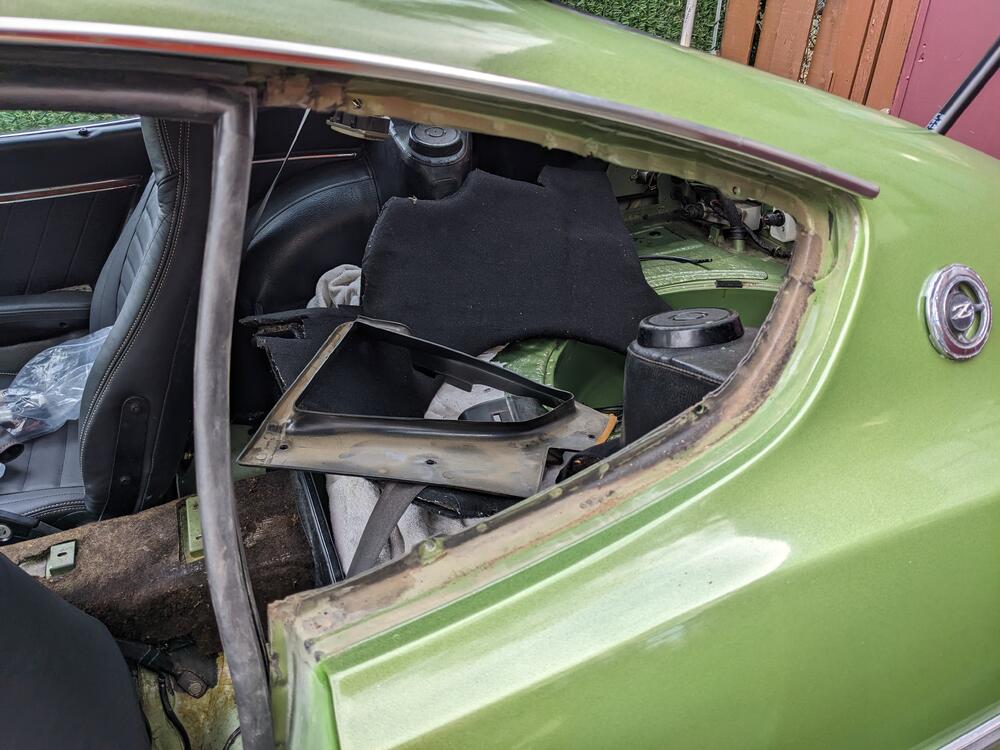
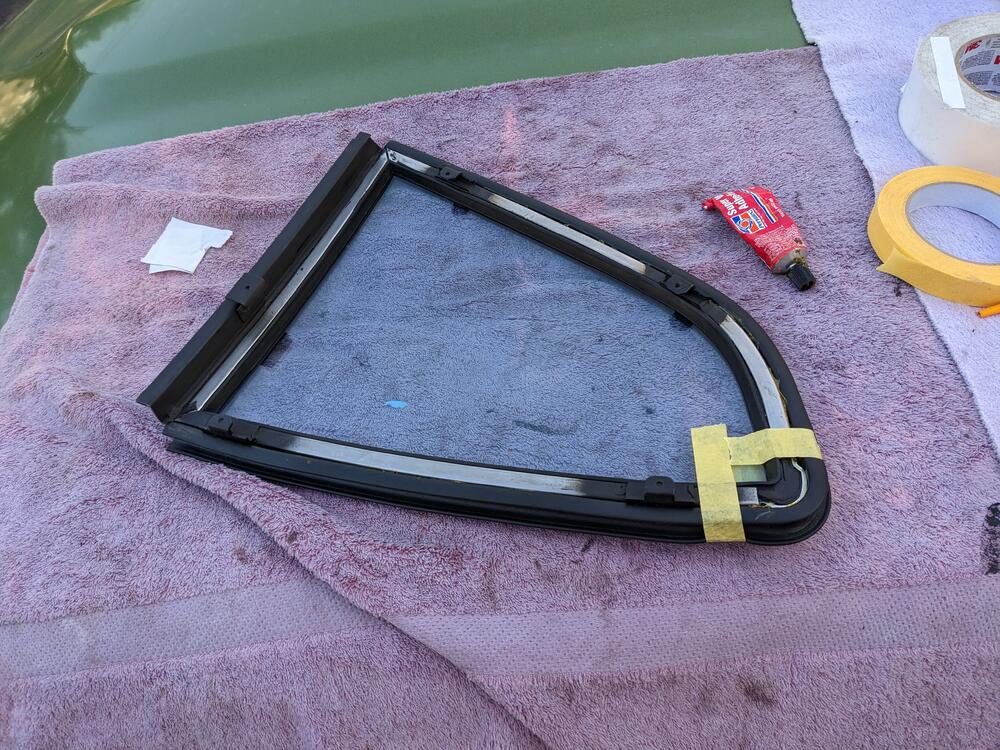
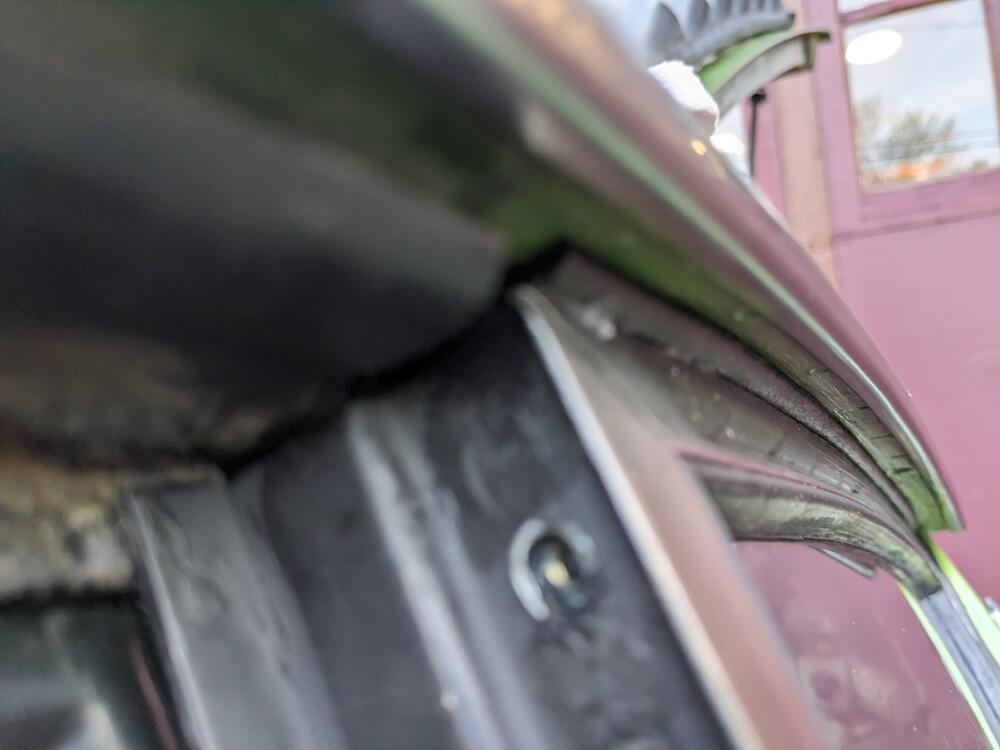
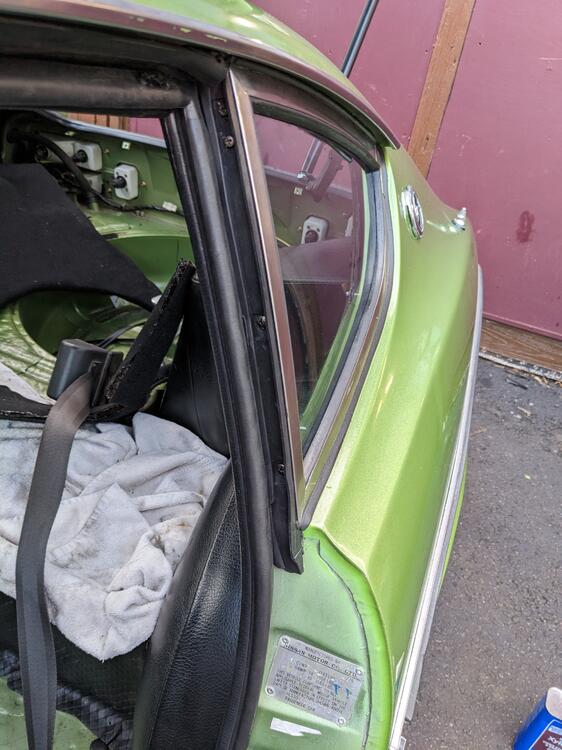
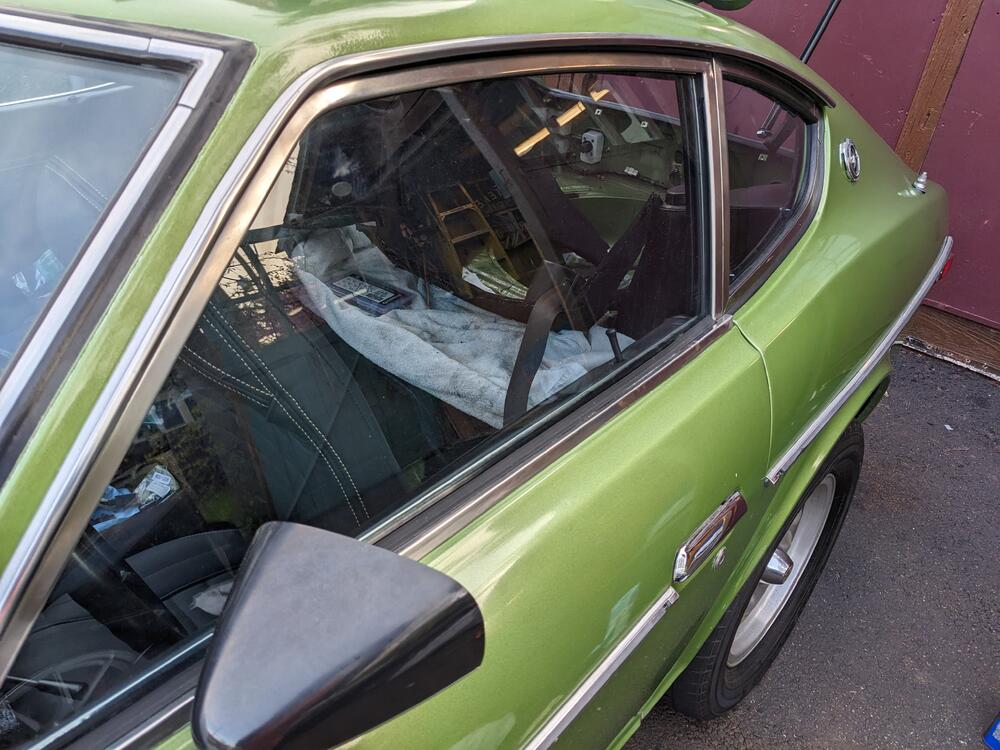
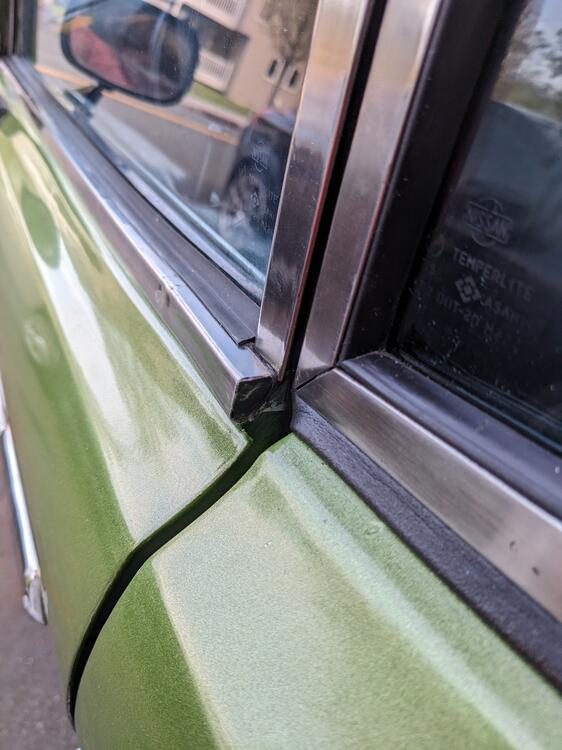
Took out the left side 1/4 glass/frame & replaced the inner, outer & forward vertical seal. That was a bitch! Getting the frame pressed back in place to align the retaining screws was quite a challenge . I had to do it twice, as the first time the top lip folded inwards instead of out. Frame sections all cleaned, I painted where the securing plates are welded, as there was small amounts of rust. The forward edge of the main frame I sanded back & repainted. scrubbed the glass clean of all sealant residue opening needed a little cleanup, but no paint issues glass & seal set into frame, outer seal glued to frame top outer seal lip properly situated on second attempt. Liberal amounts of vaseline helped to get it to slide into place forward vertical seal that takes care of the driver's side openings, with just the seal inside the driver's door window frame to address the end cap was gone from the scraper molding, so I modified a trim panel retain clip to fit
-
Dang - I should have kept the bags for the side seals. Not sure they would take back sub-components of a full kit though. I'll just have to buy another top seal & copy your approach.
-
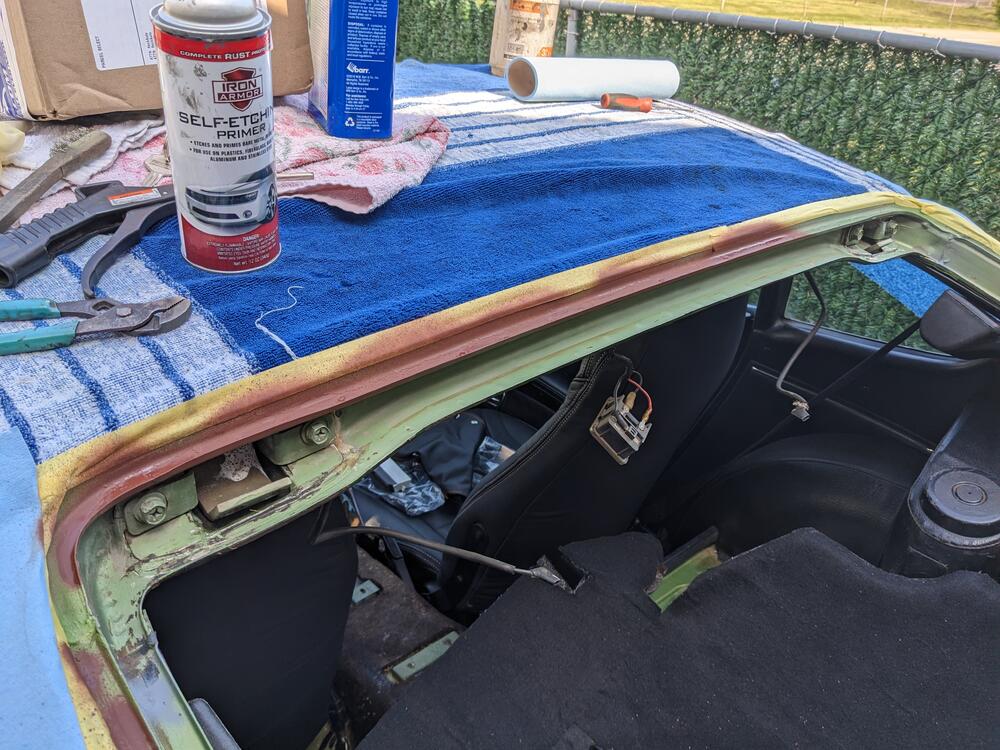
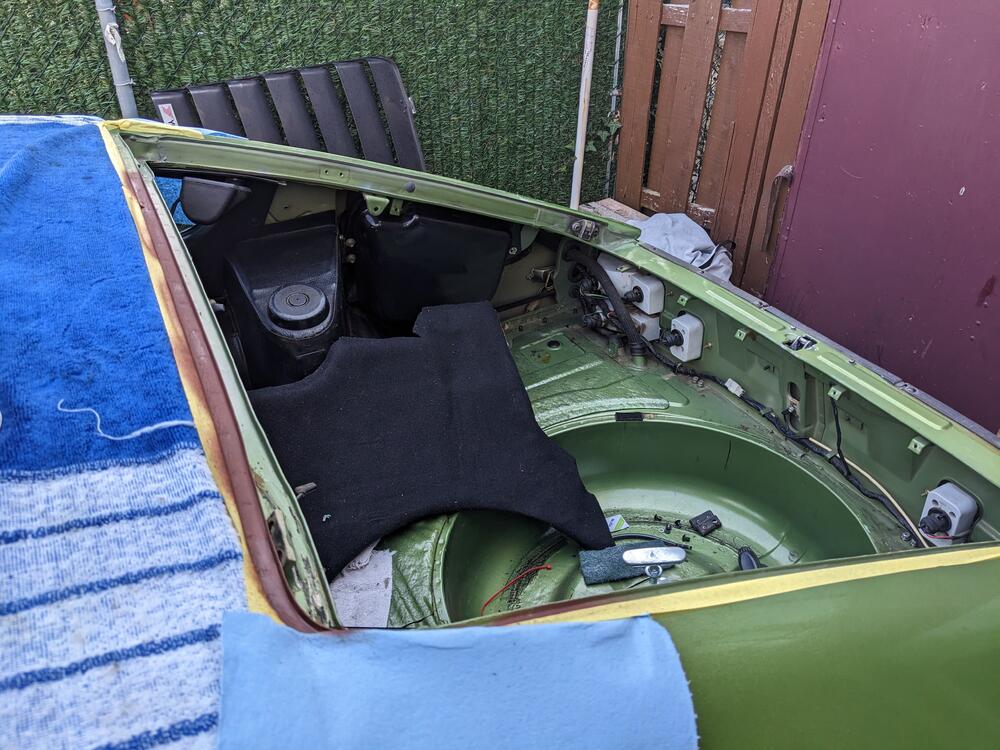
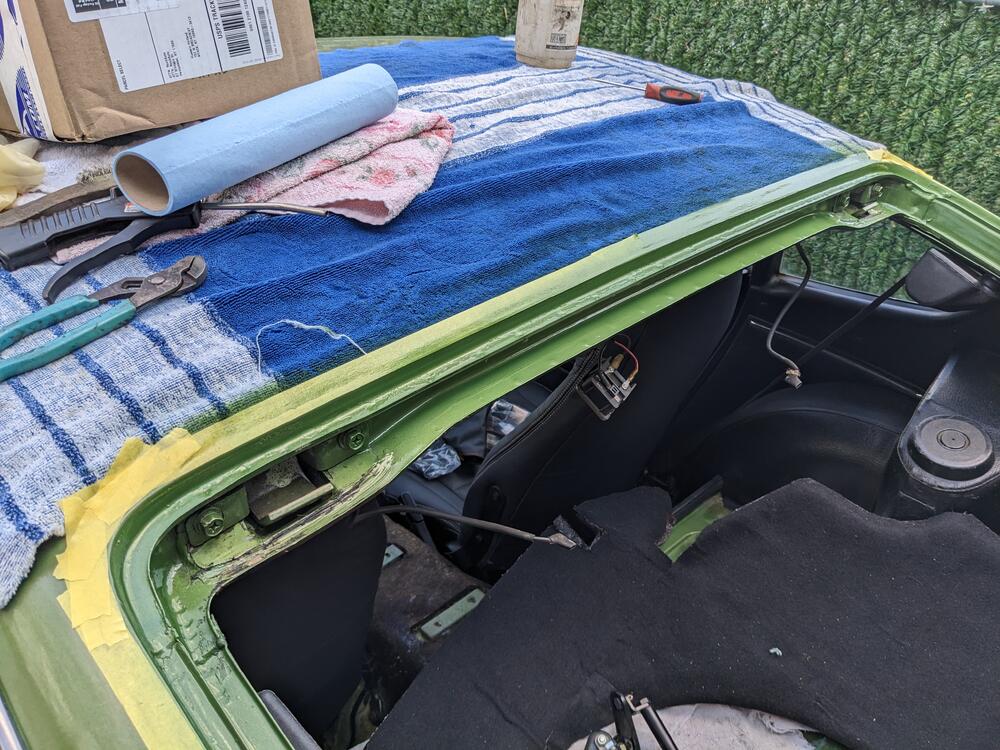
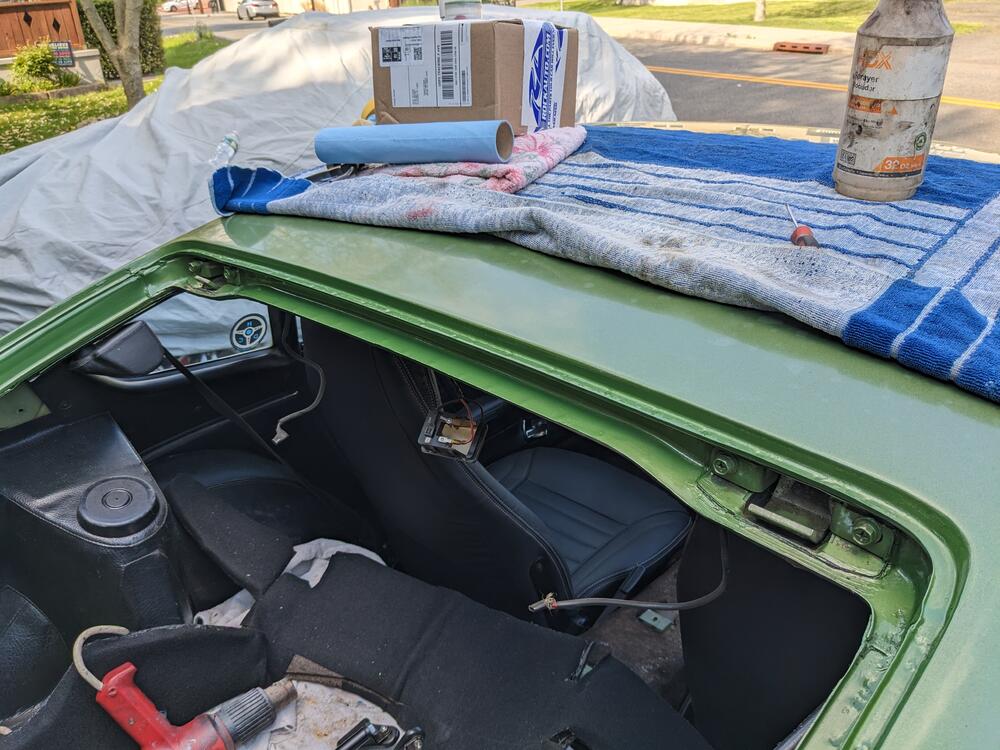
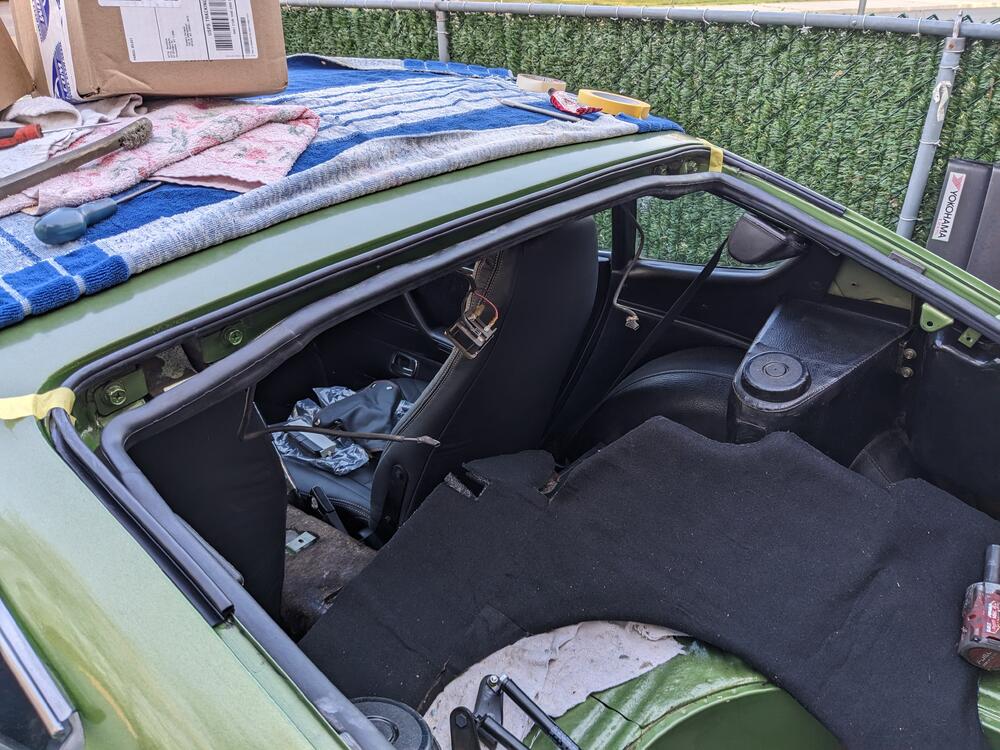
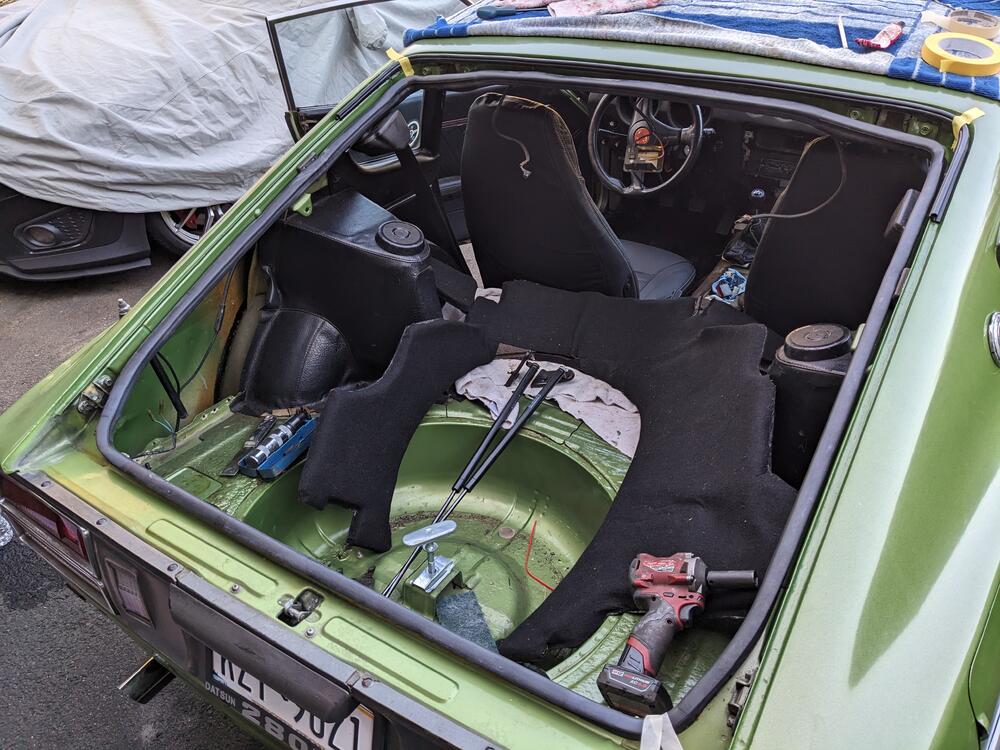
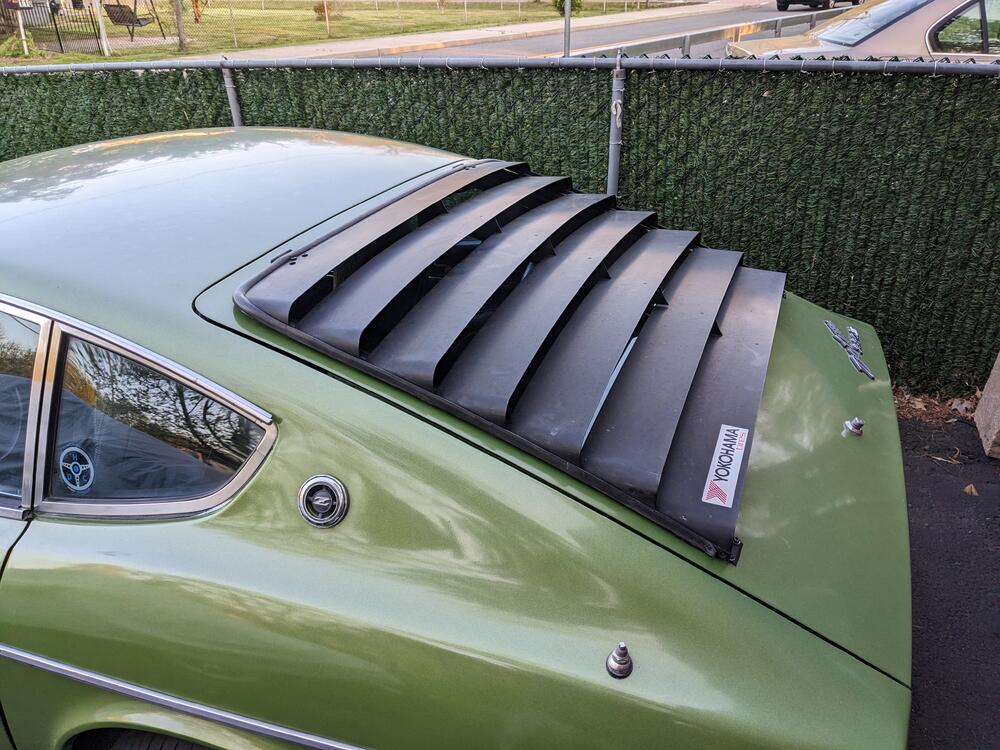
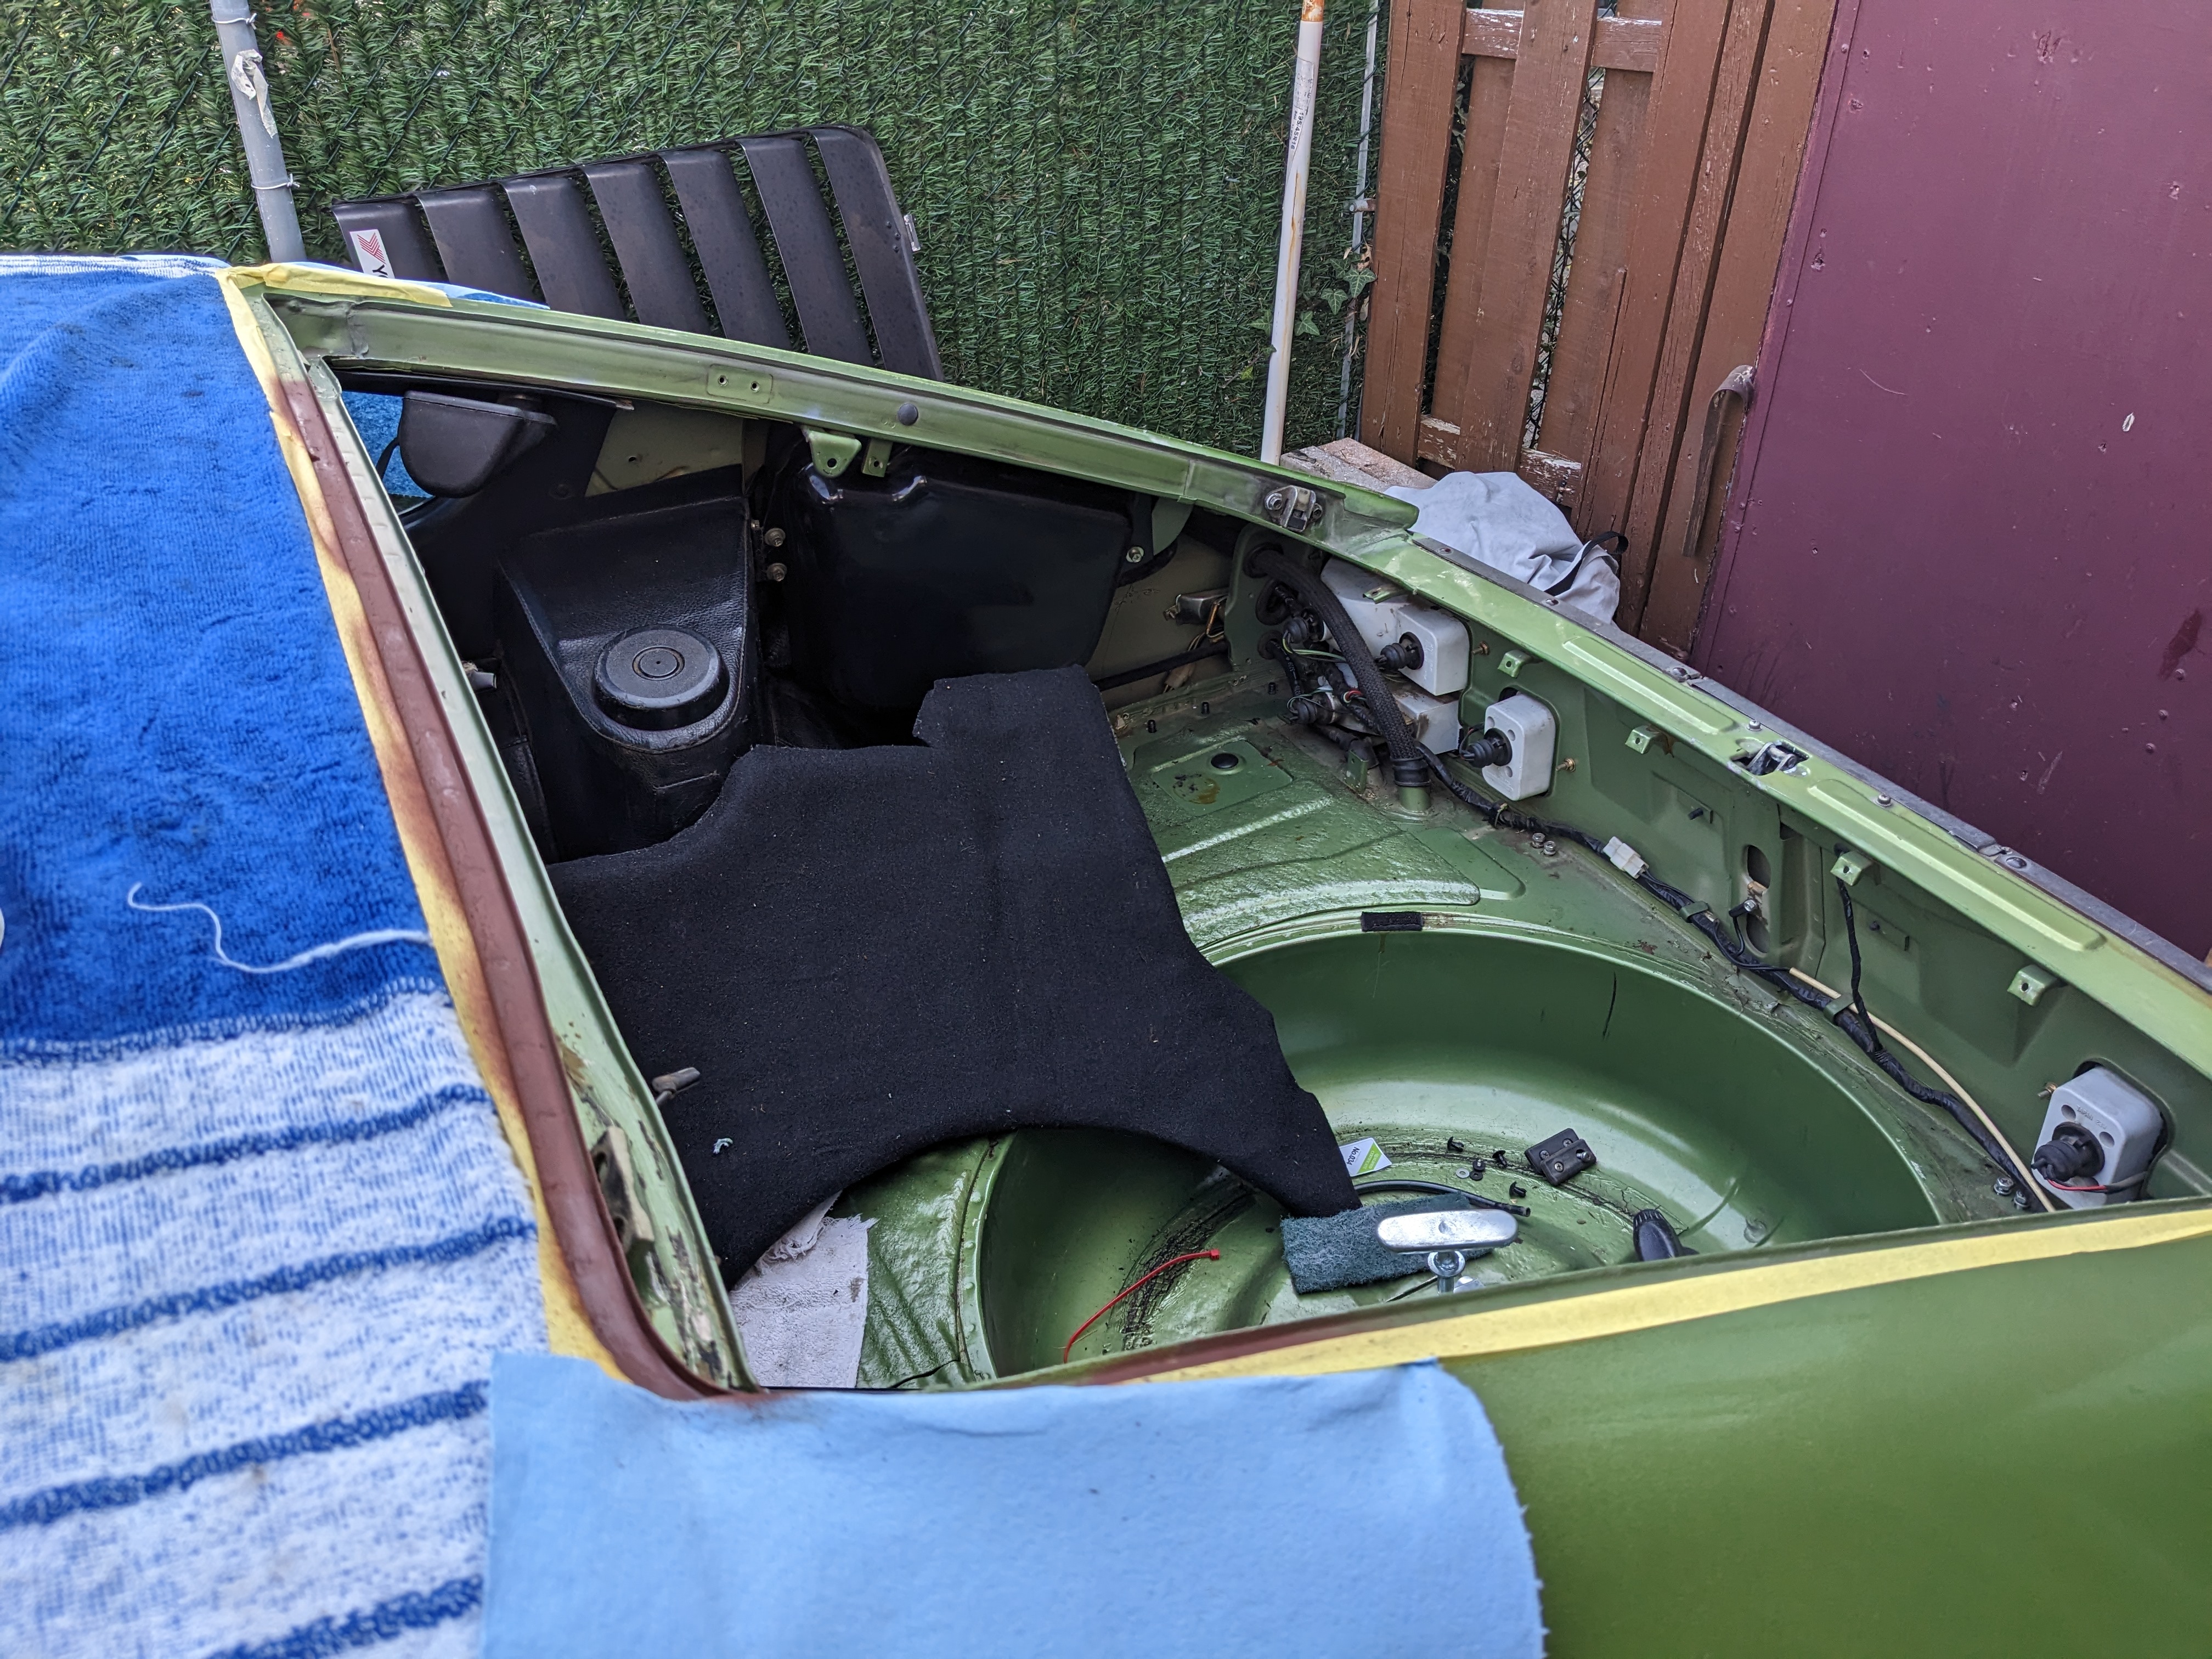
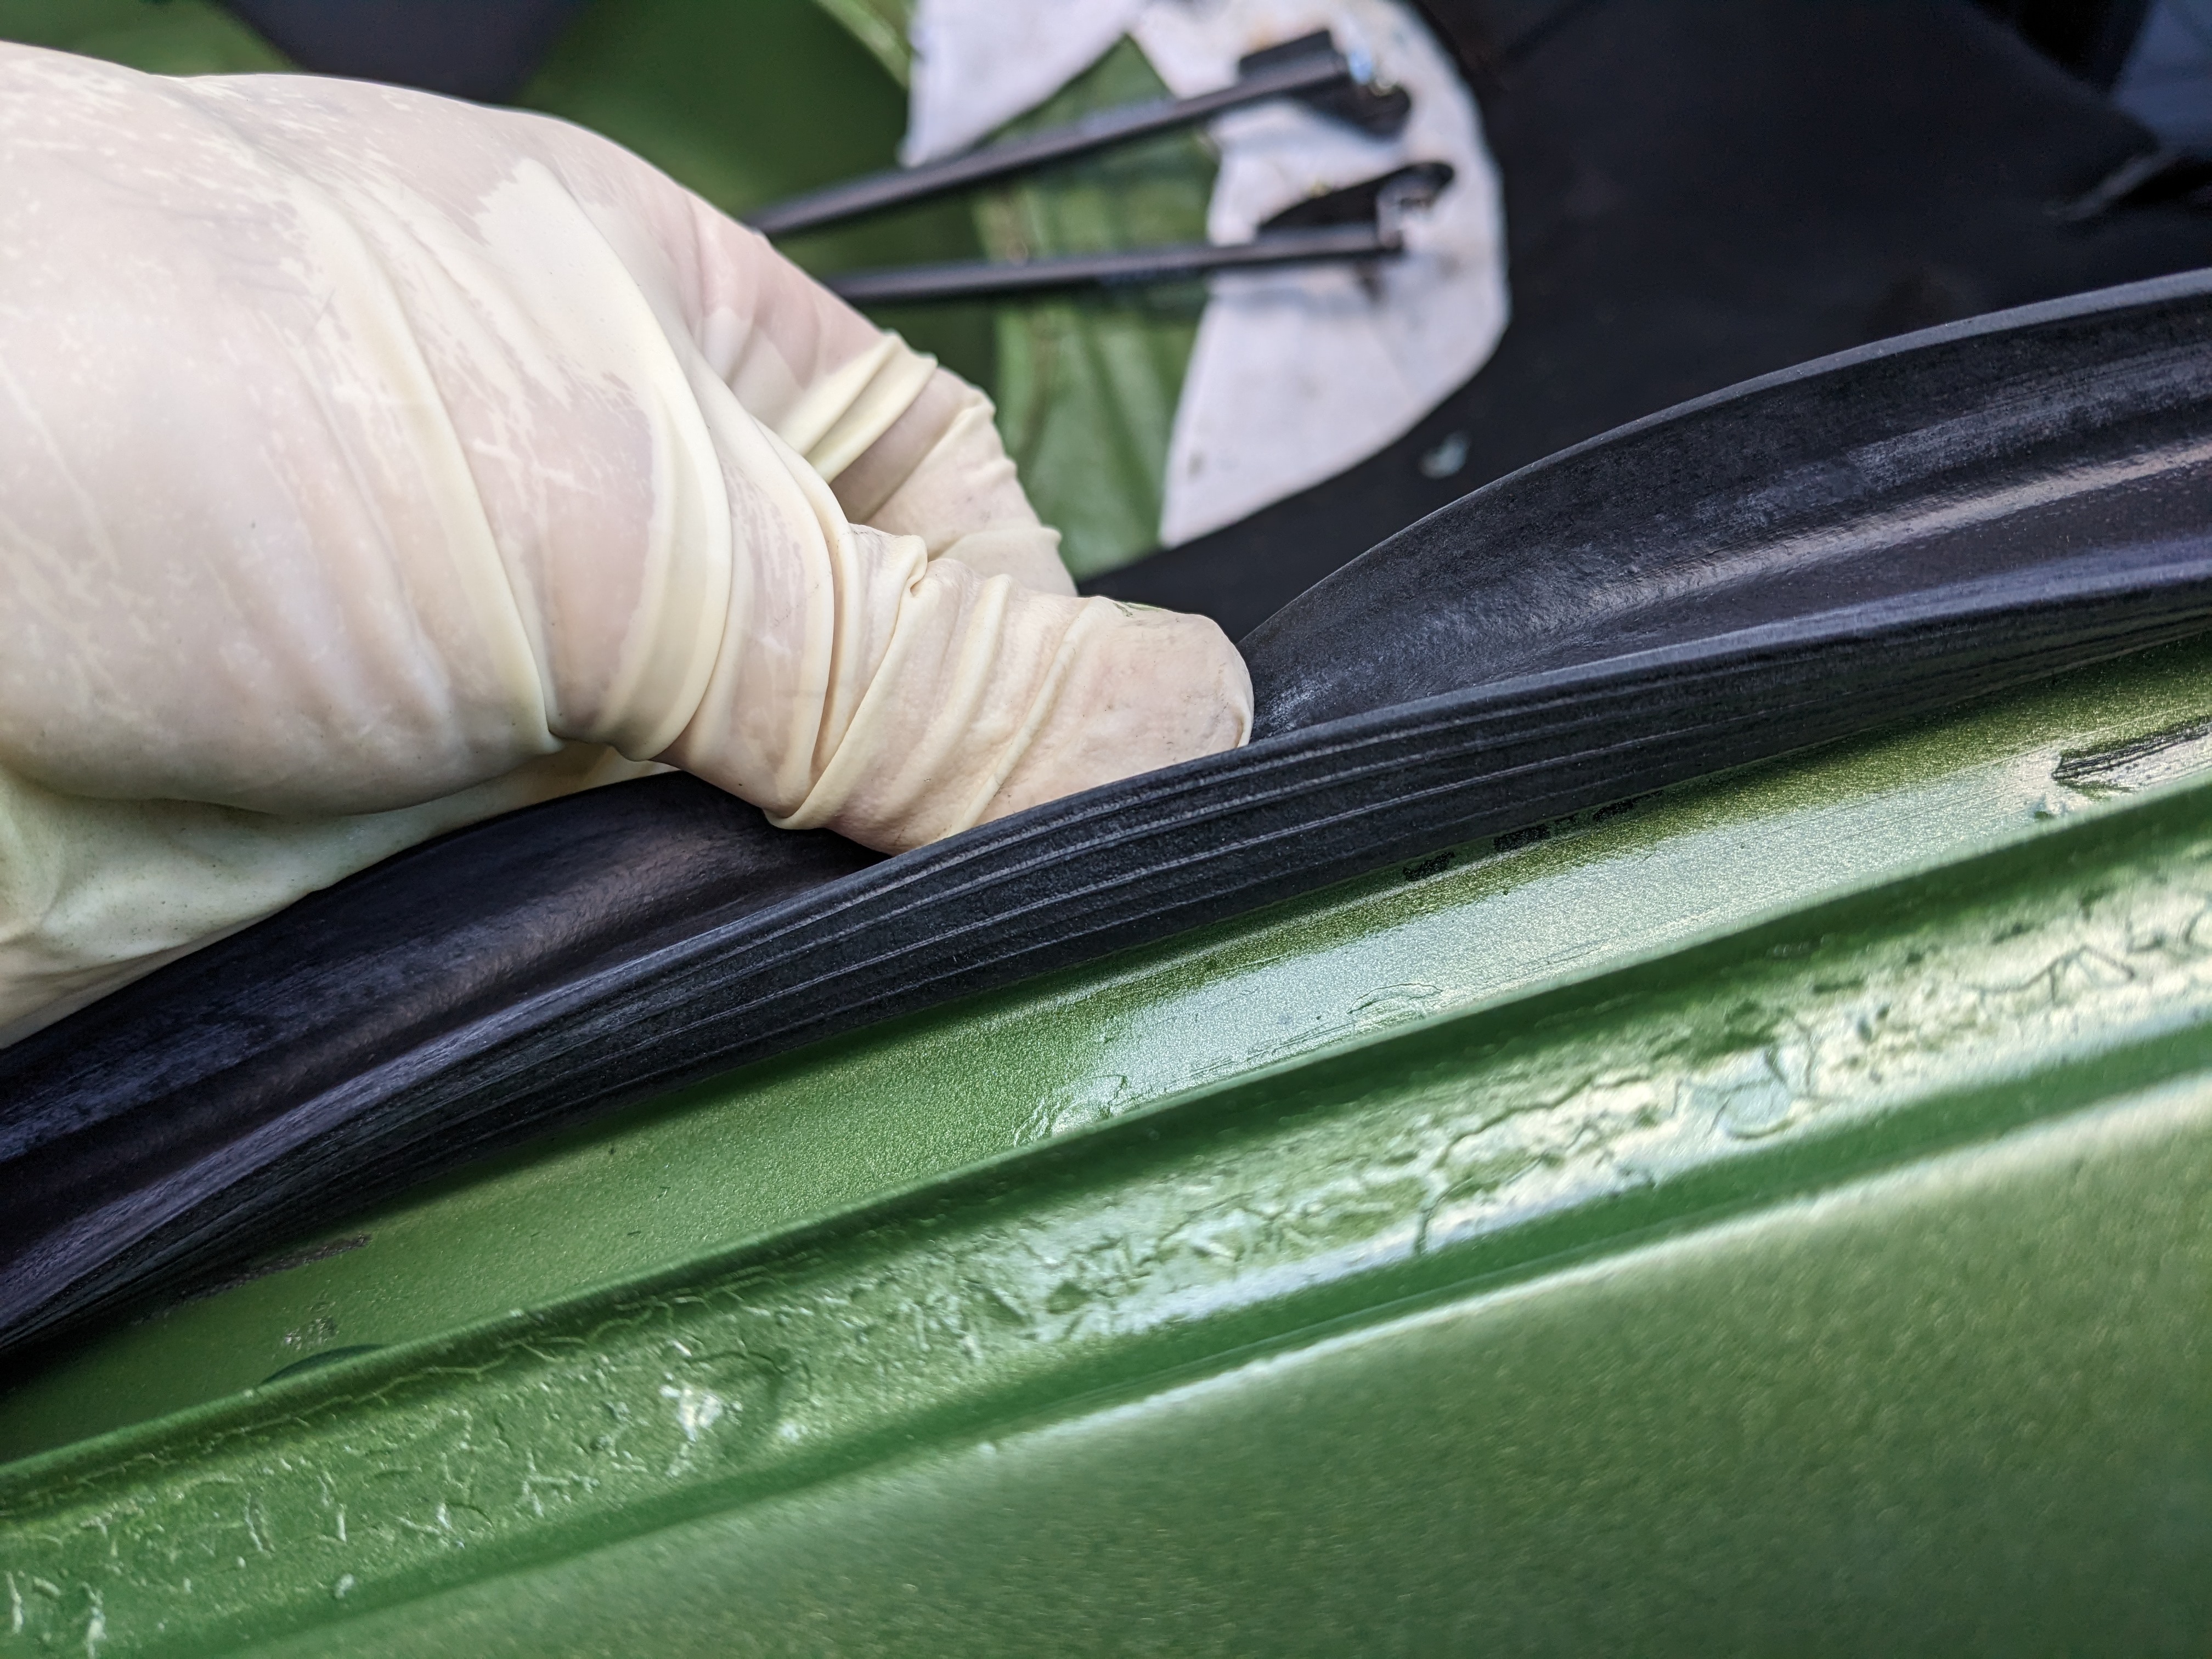
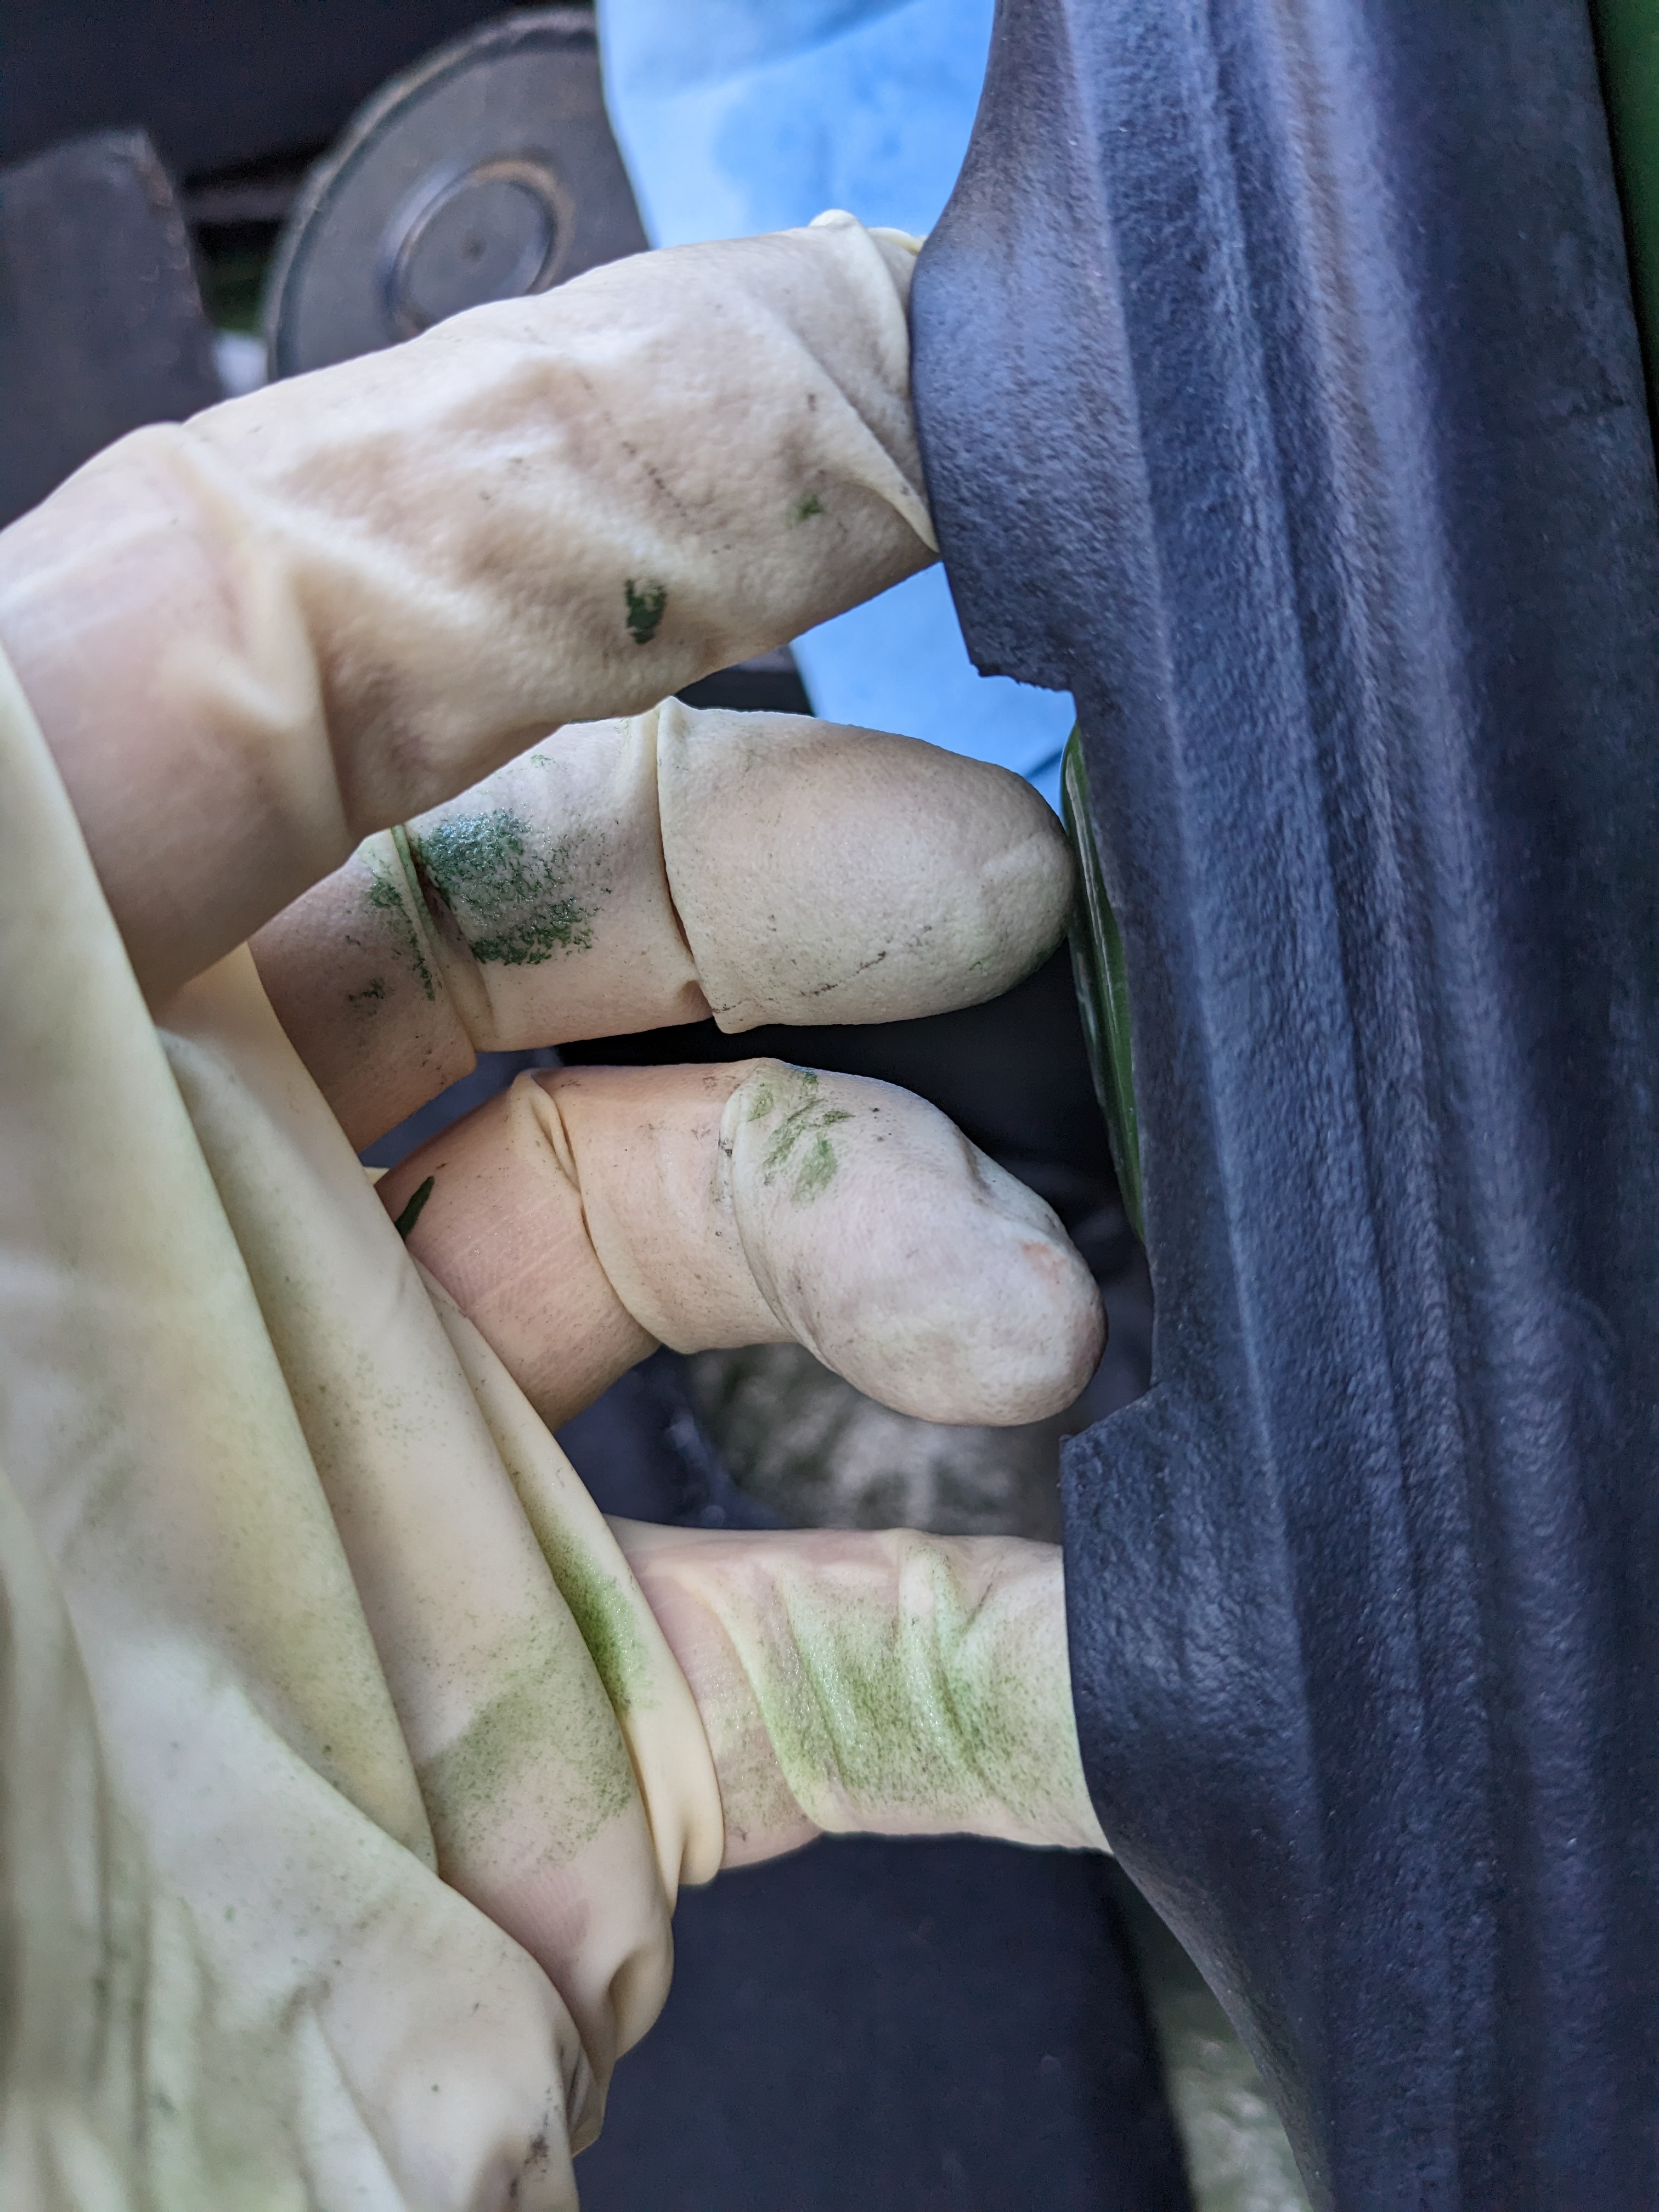
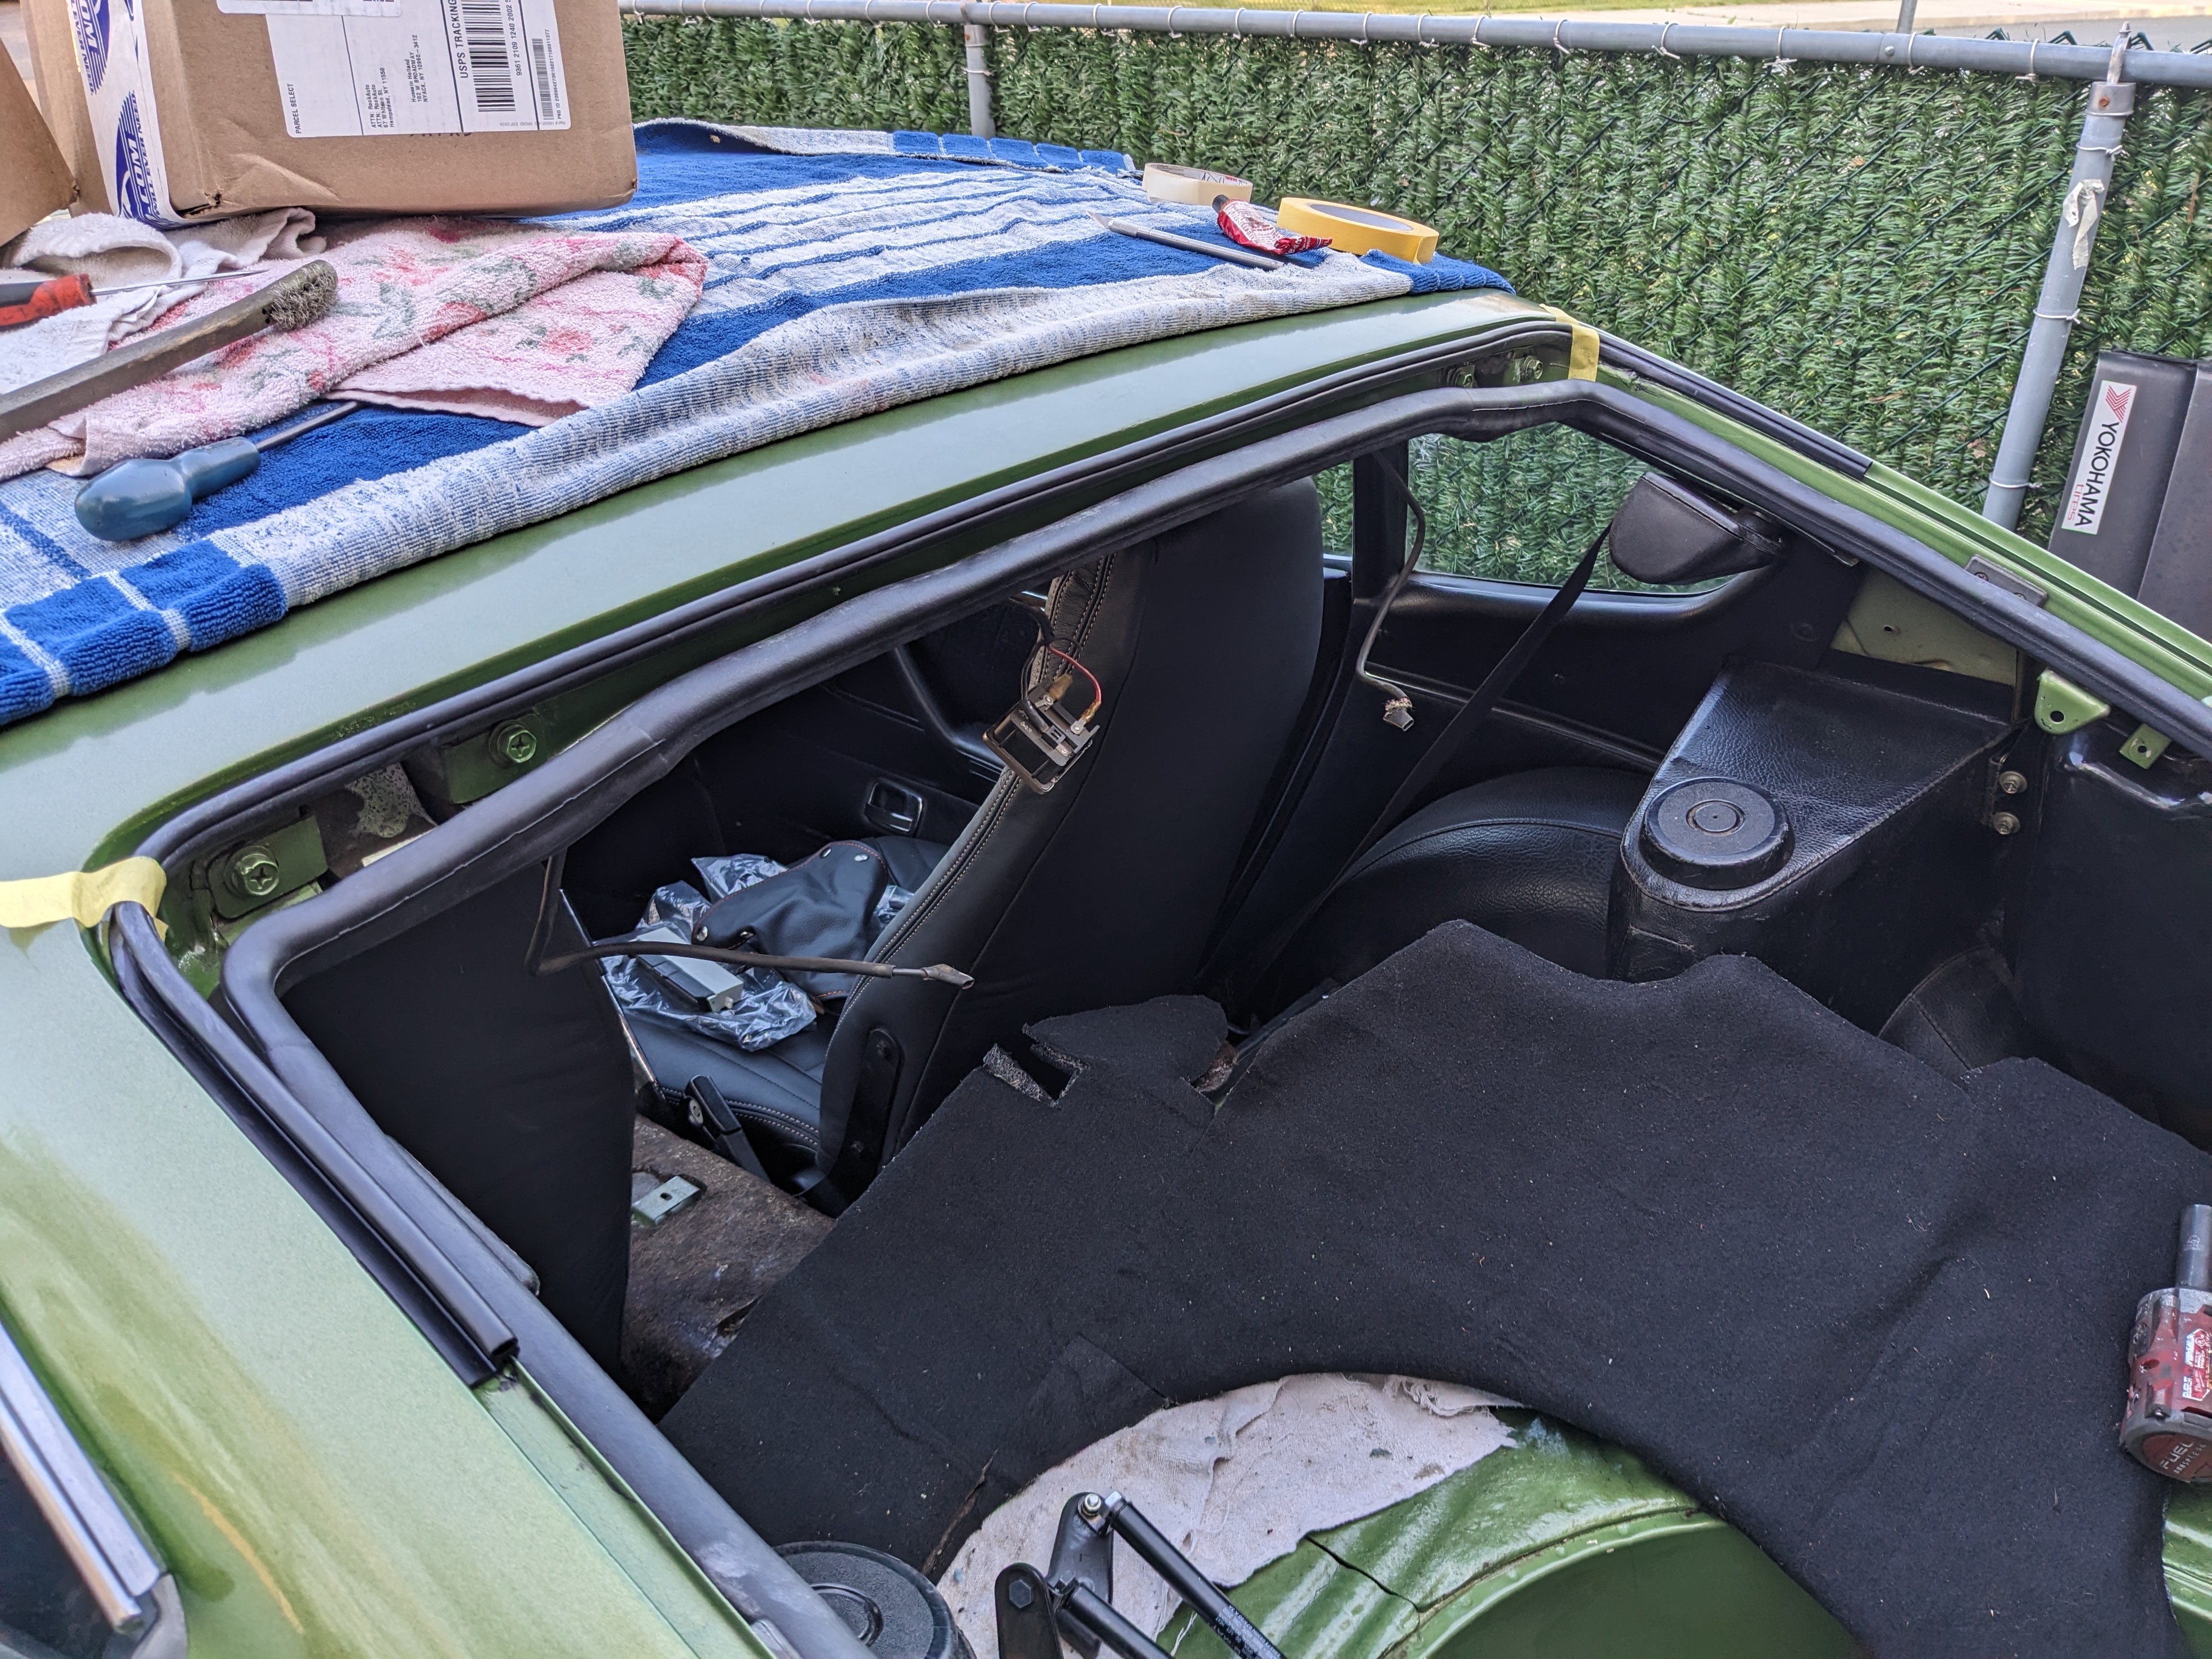
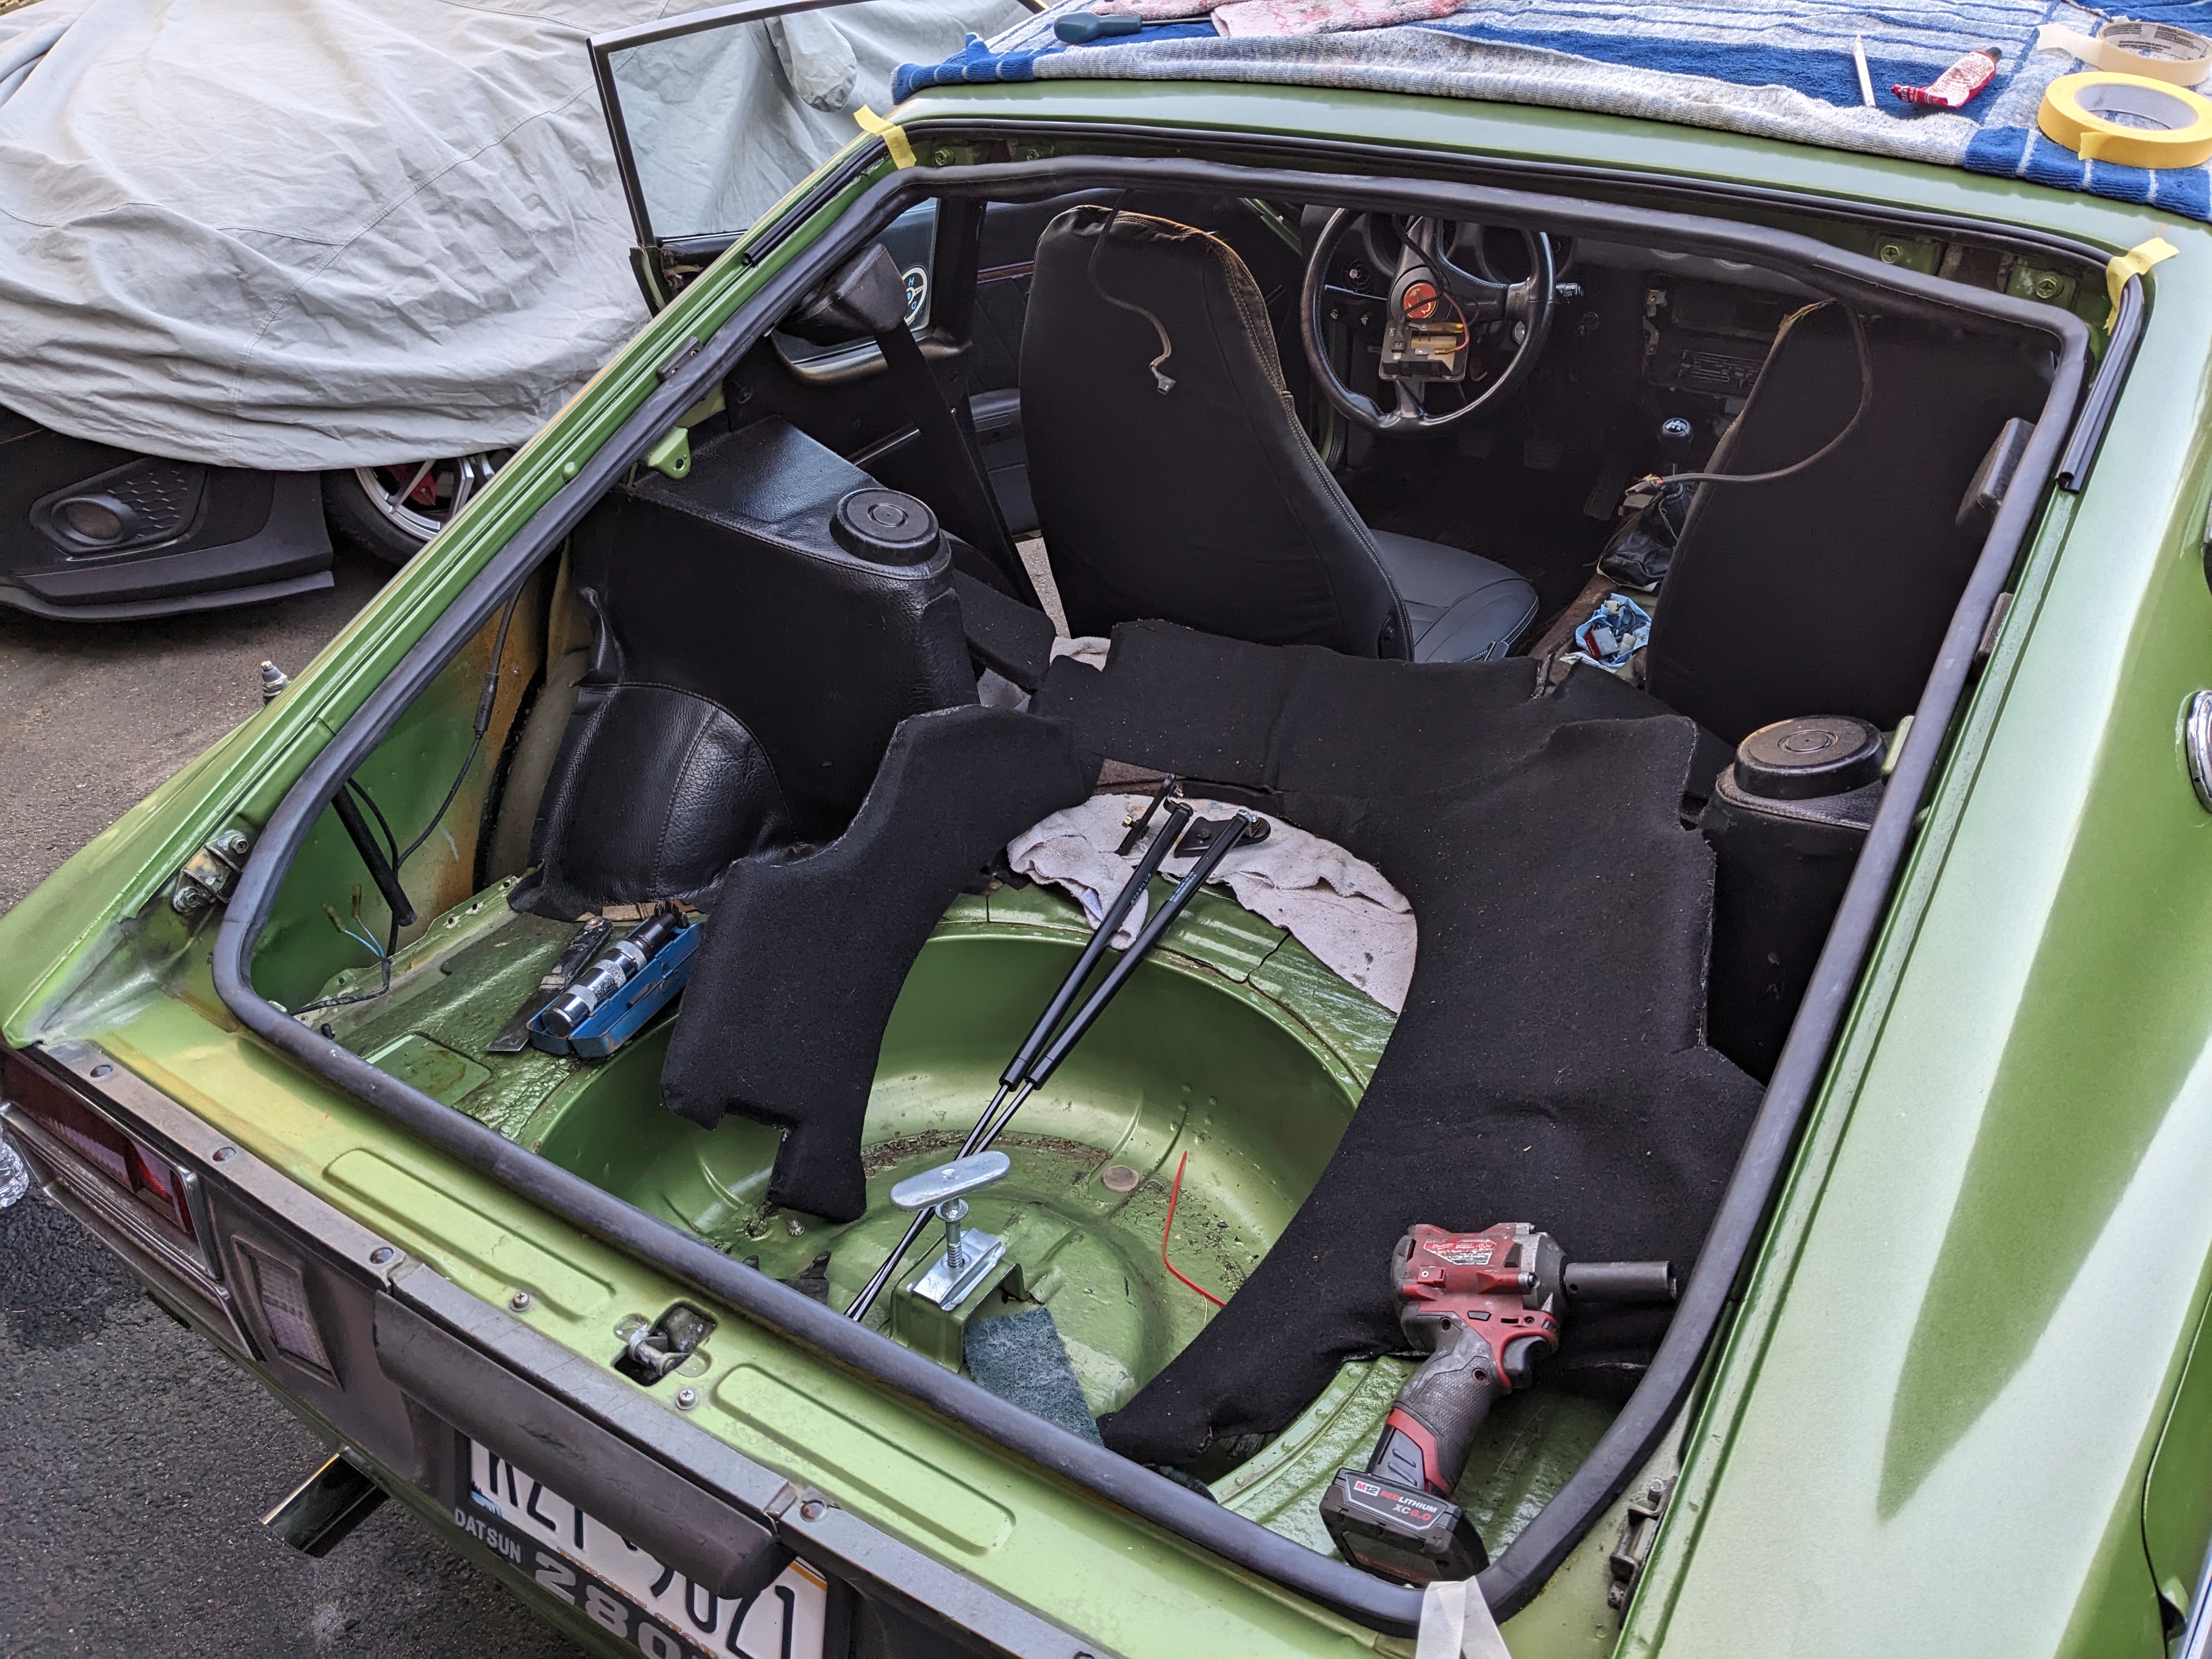
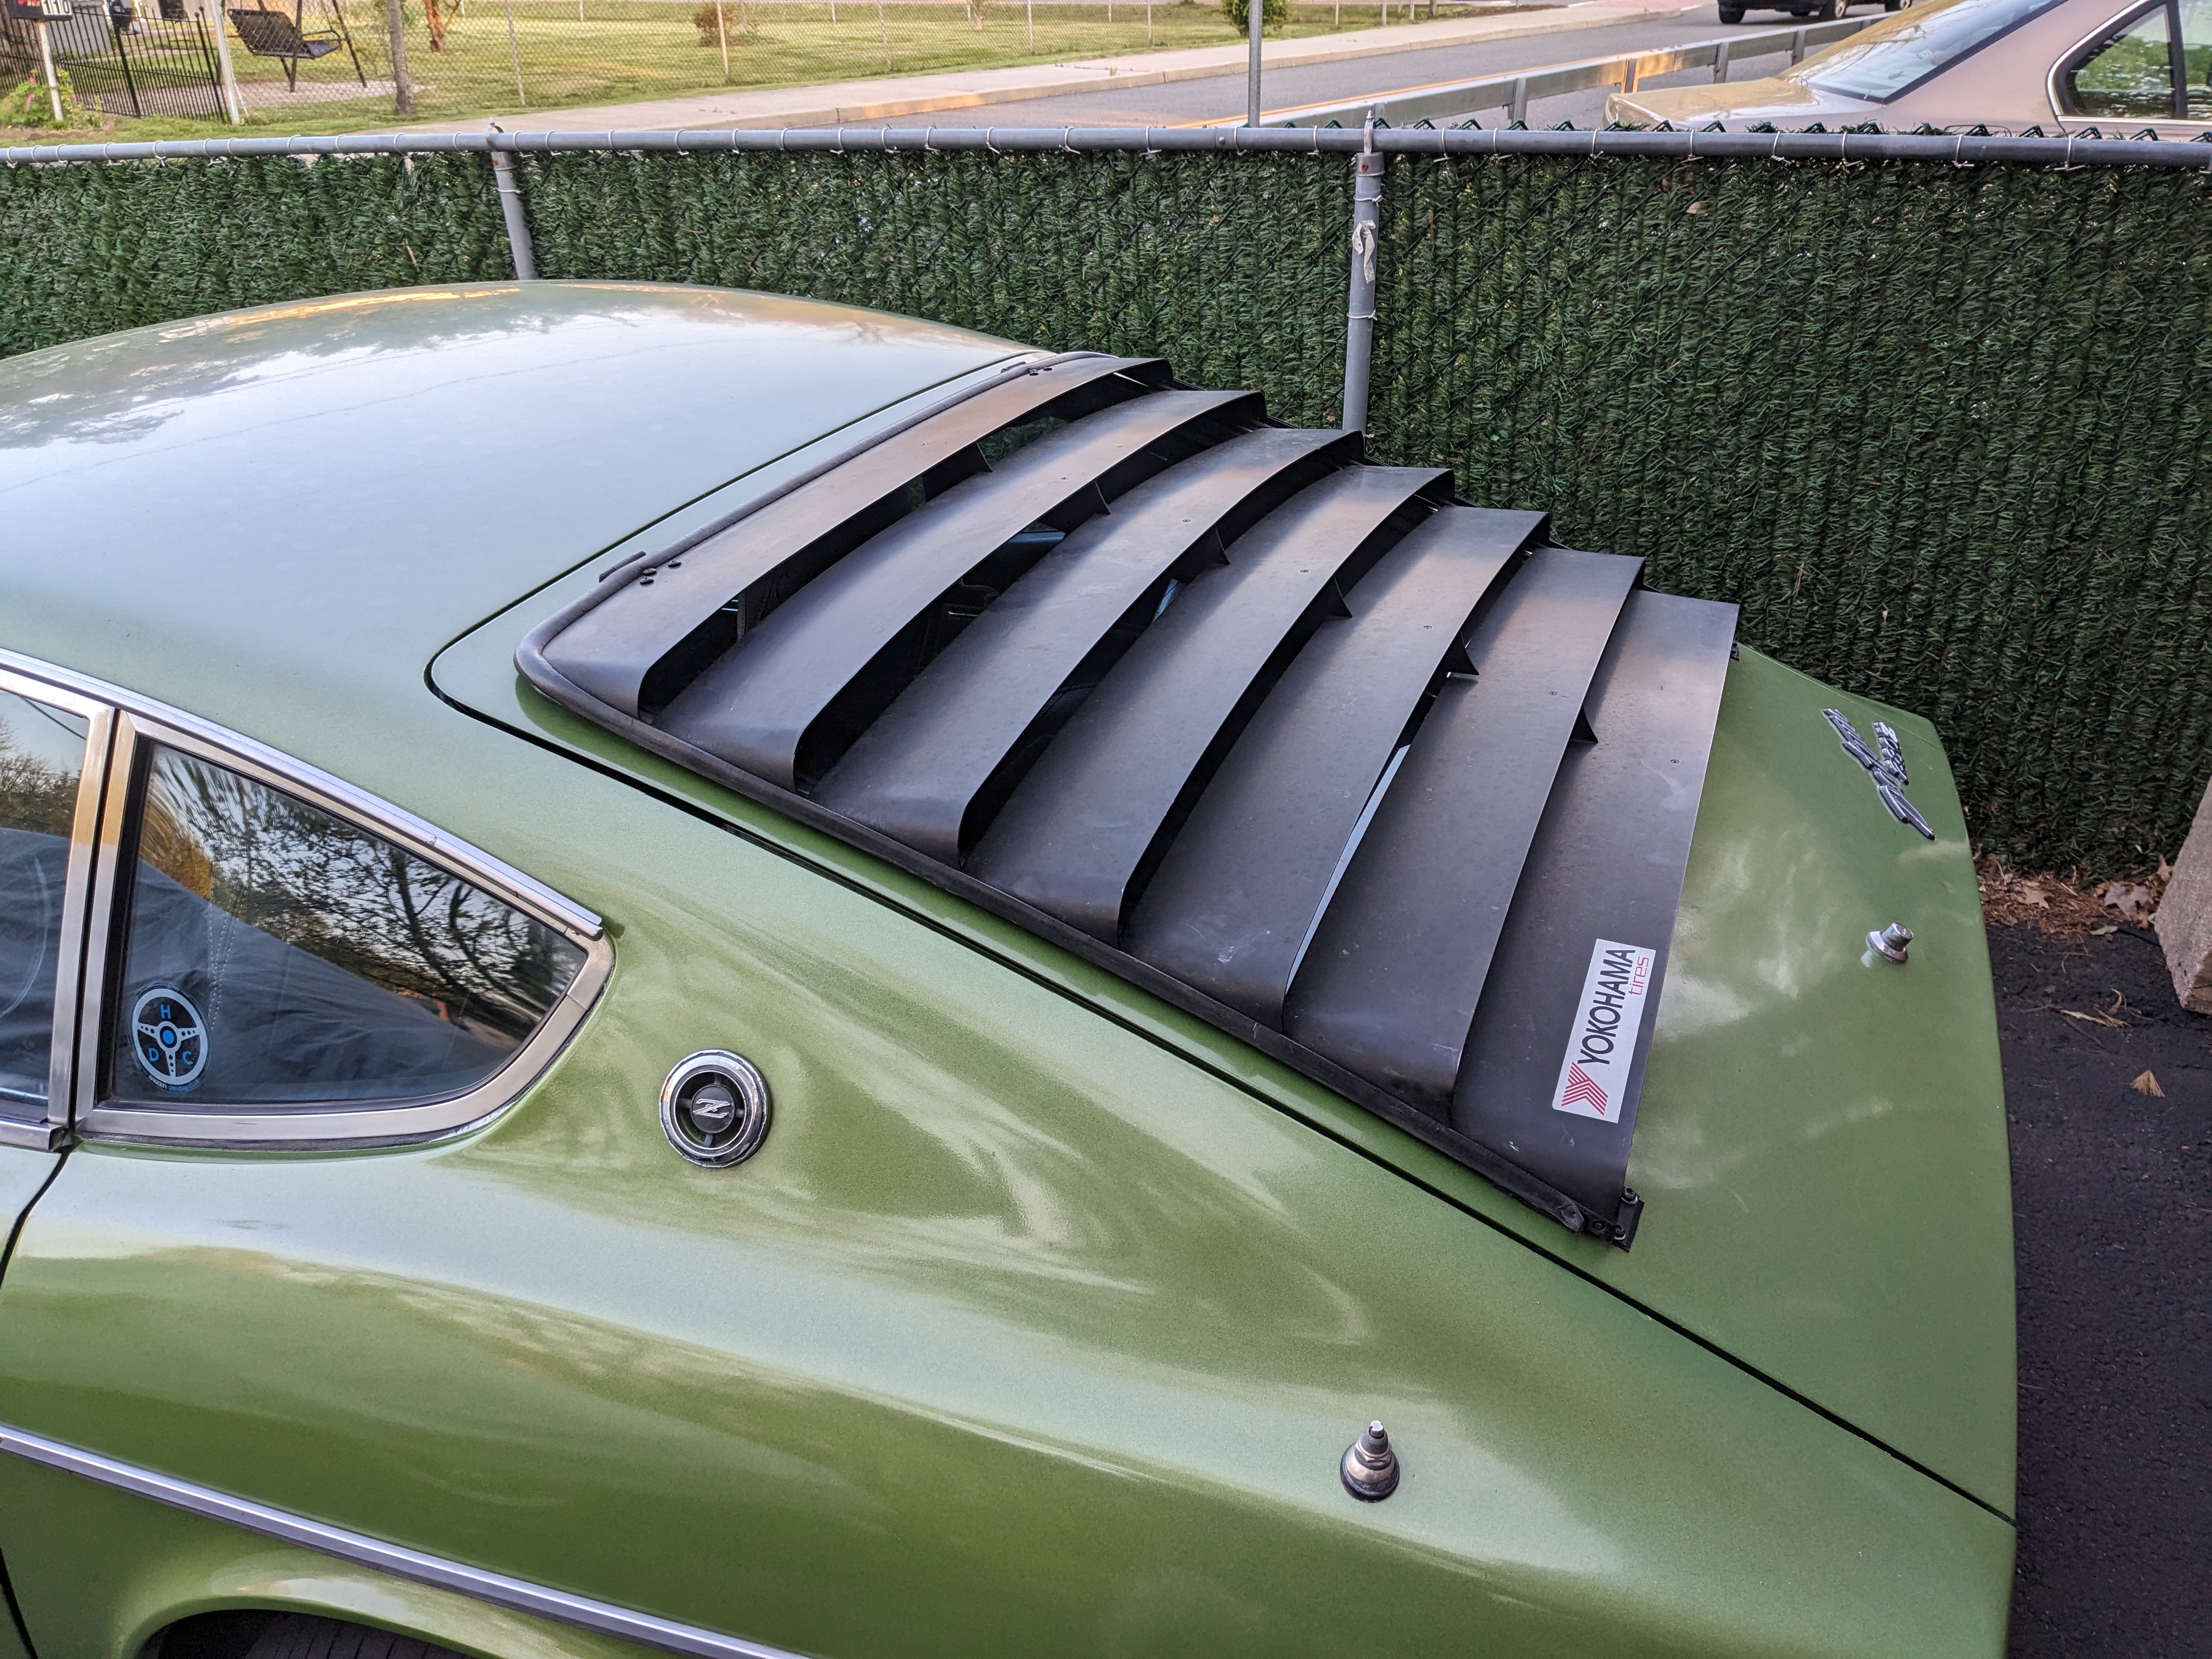
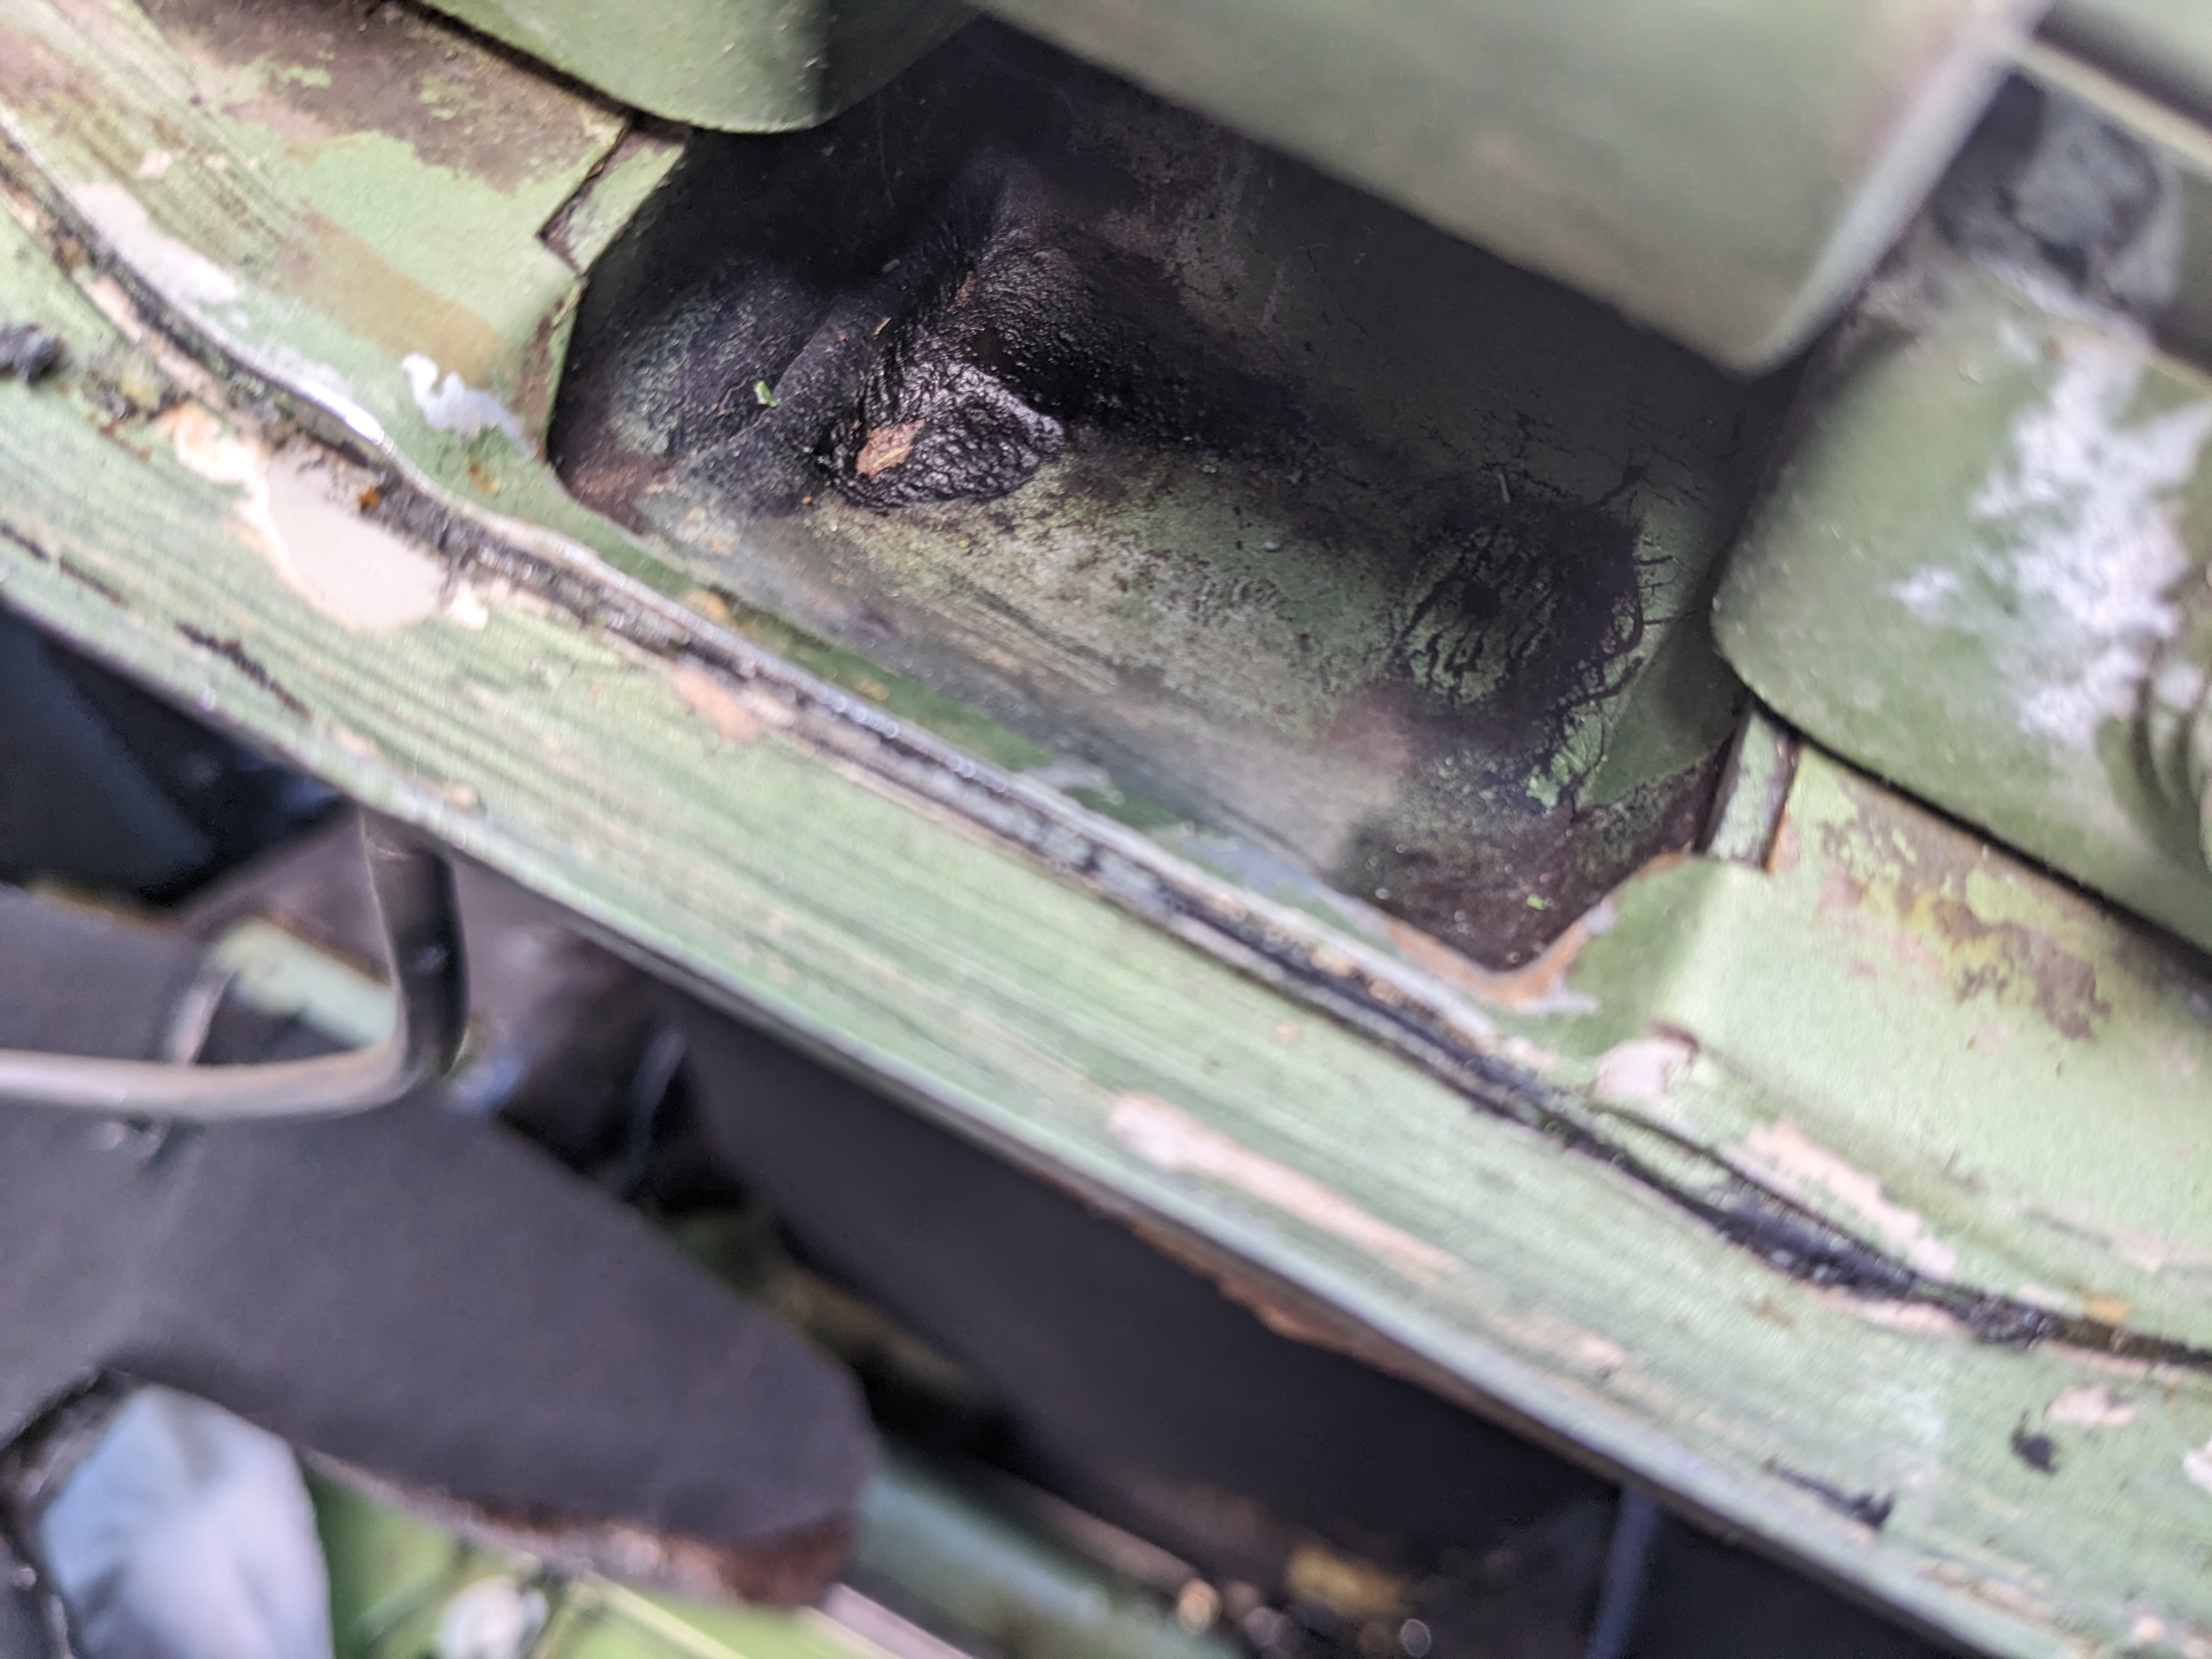
I just looked at the seals in the Precision Kit I bought from ZcarDepot. You comment above did not register until I saw that the lower seals they provide have a square profile, and no bulb. Where did you buy the bulb lower version? I don't care for these ones, they don't sit flat at all in the channel I was able to remove the hatch (with assistance from a neighbor), clean up the channels, prime & paint the upper outer channel, install the inner hatch seal, and the top outer seal. Had to get the hatch back on as it's going to rain overnight & tomorrow morning base coat & clear side channels Test fitting the hatch seal. took a couple tries to get the correct orientation. Also had to drop the seat belt reels to get the seal inner lip properly tucked under the plastic trim at the top sides overlap ridge that gets the glue had to notch the seal inner lip where the hatch brackets attach to the hatch opening Glued in with weatherstrip adhesive. With it in-situ, I worked the lower run first, then the left side, top & finally the right side. After that I put the upper side buffer blocks back in. Then I put the upper outer seal on. Hatch & louvres back on It will all have to come apart again at some point, I found that the hatch screws were not fully tight & the hinge was pressing into the rubber seal cup on the pass side, creating a rub hole on the inner side. I sincerely doubt that was the cause of the water in the hatch/cubby area, seems much more likely the lack of proper hatch sealing was the culprit.