HusseinHolland
Community Member
-
Joined
-
Last visited
Everything posted by HusseinHolland
-
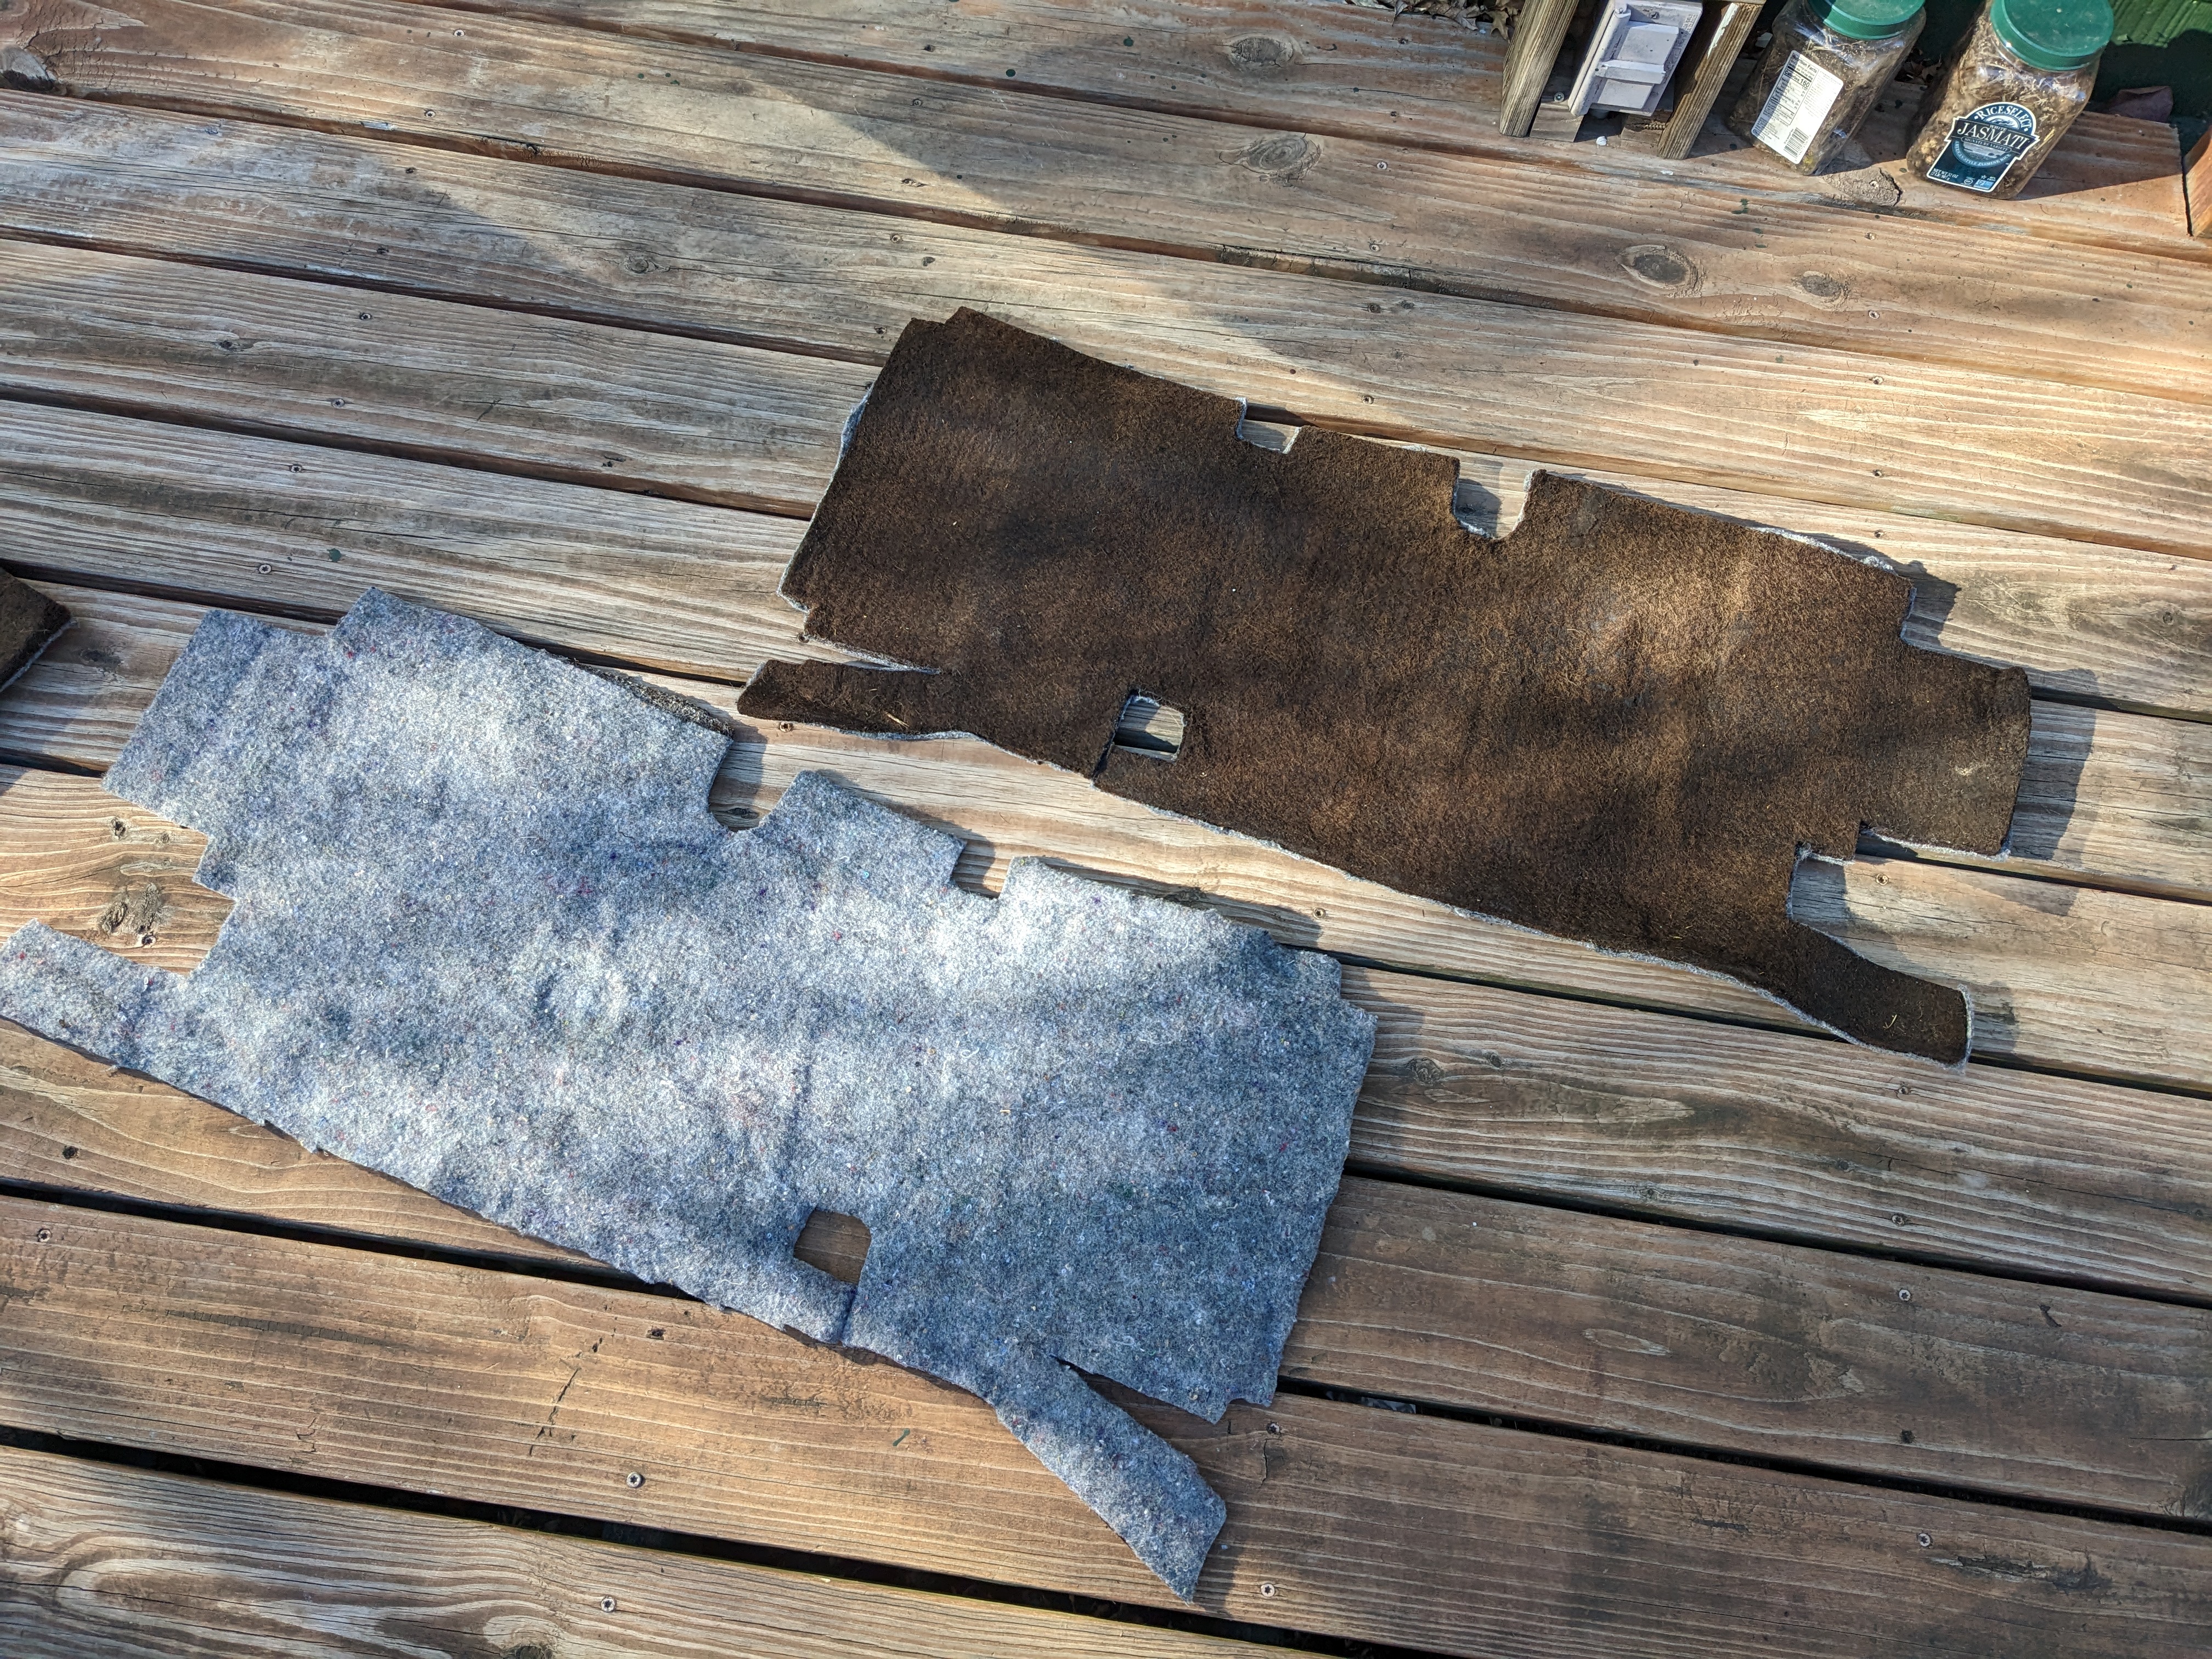
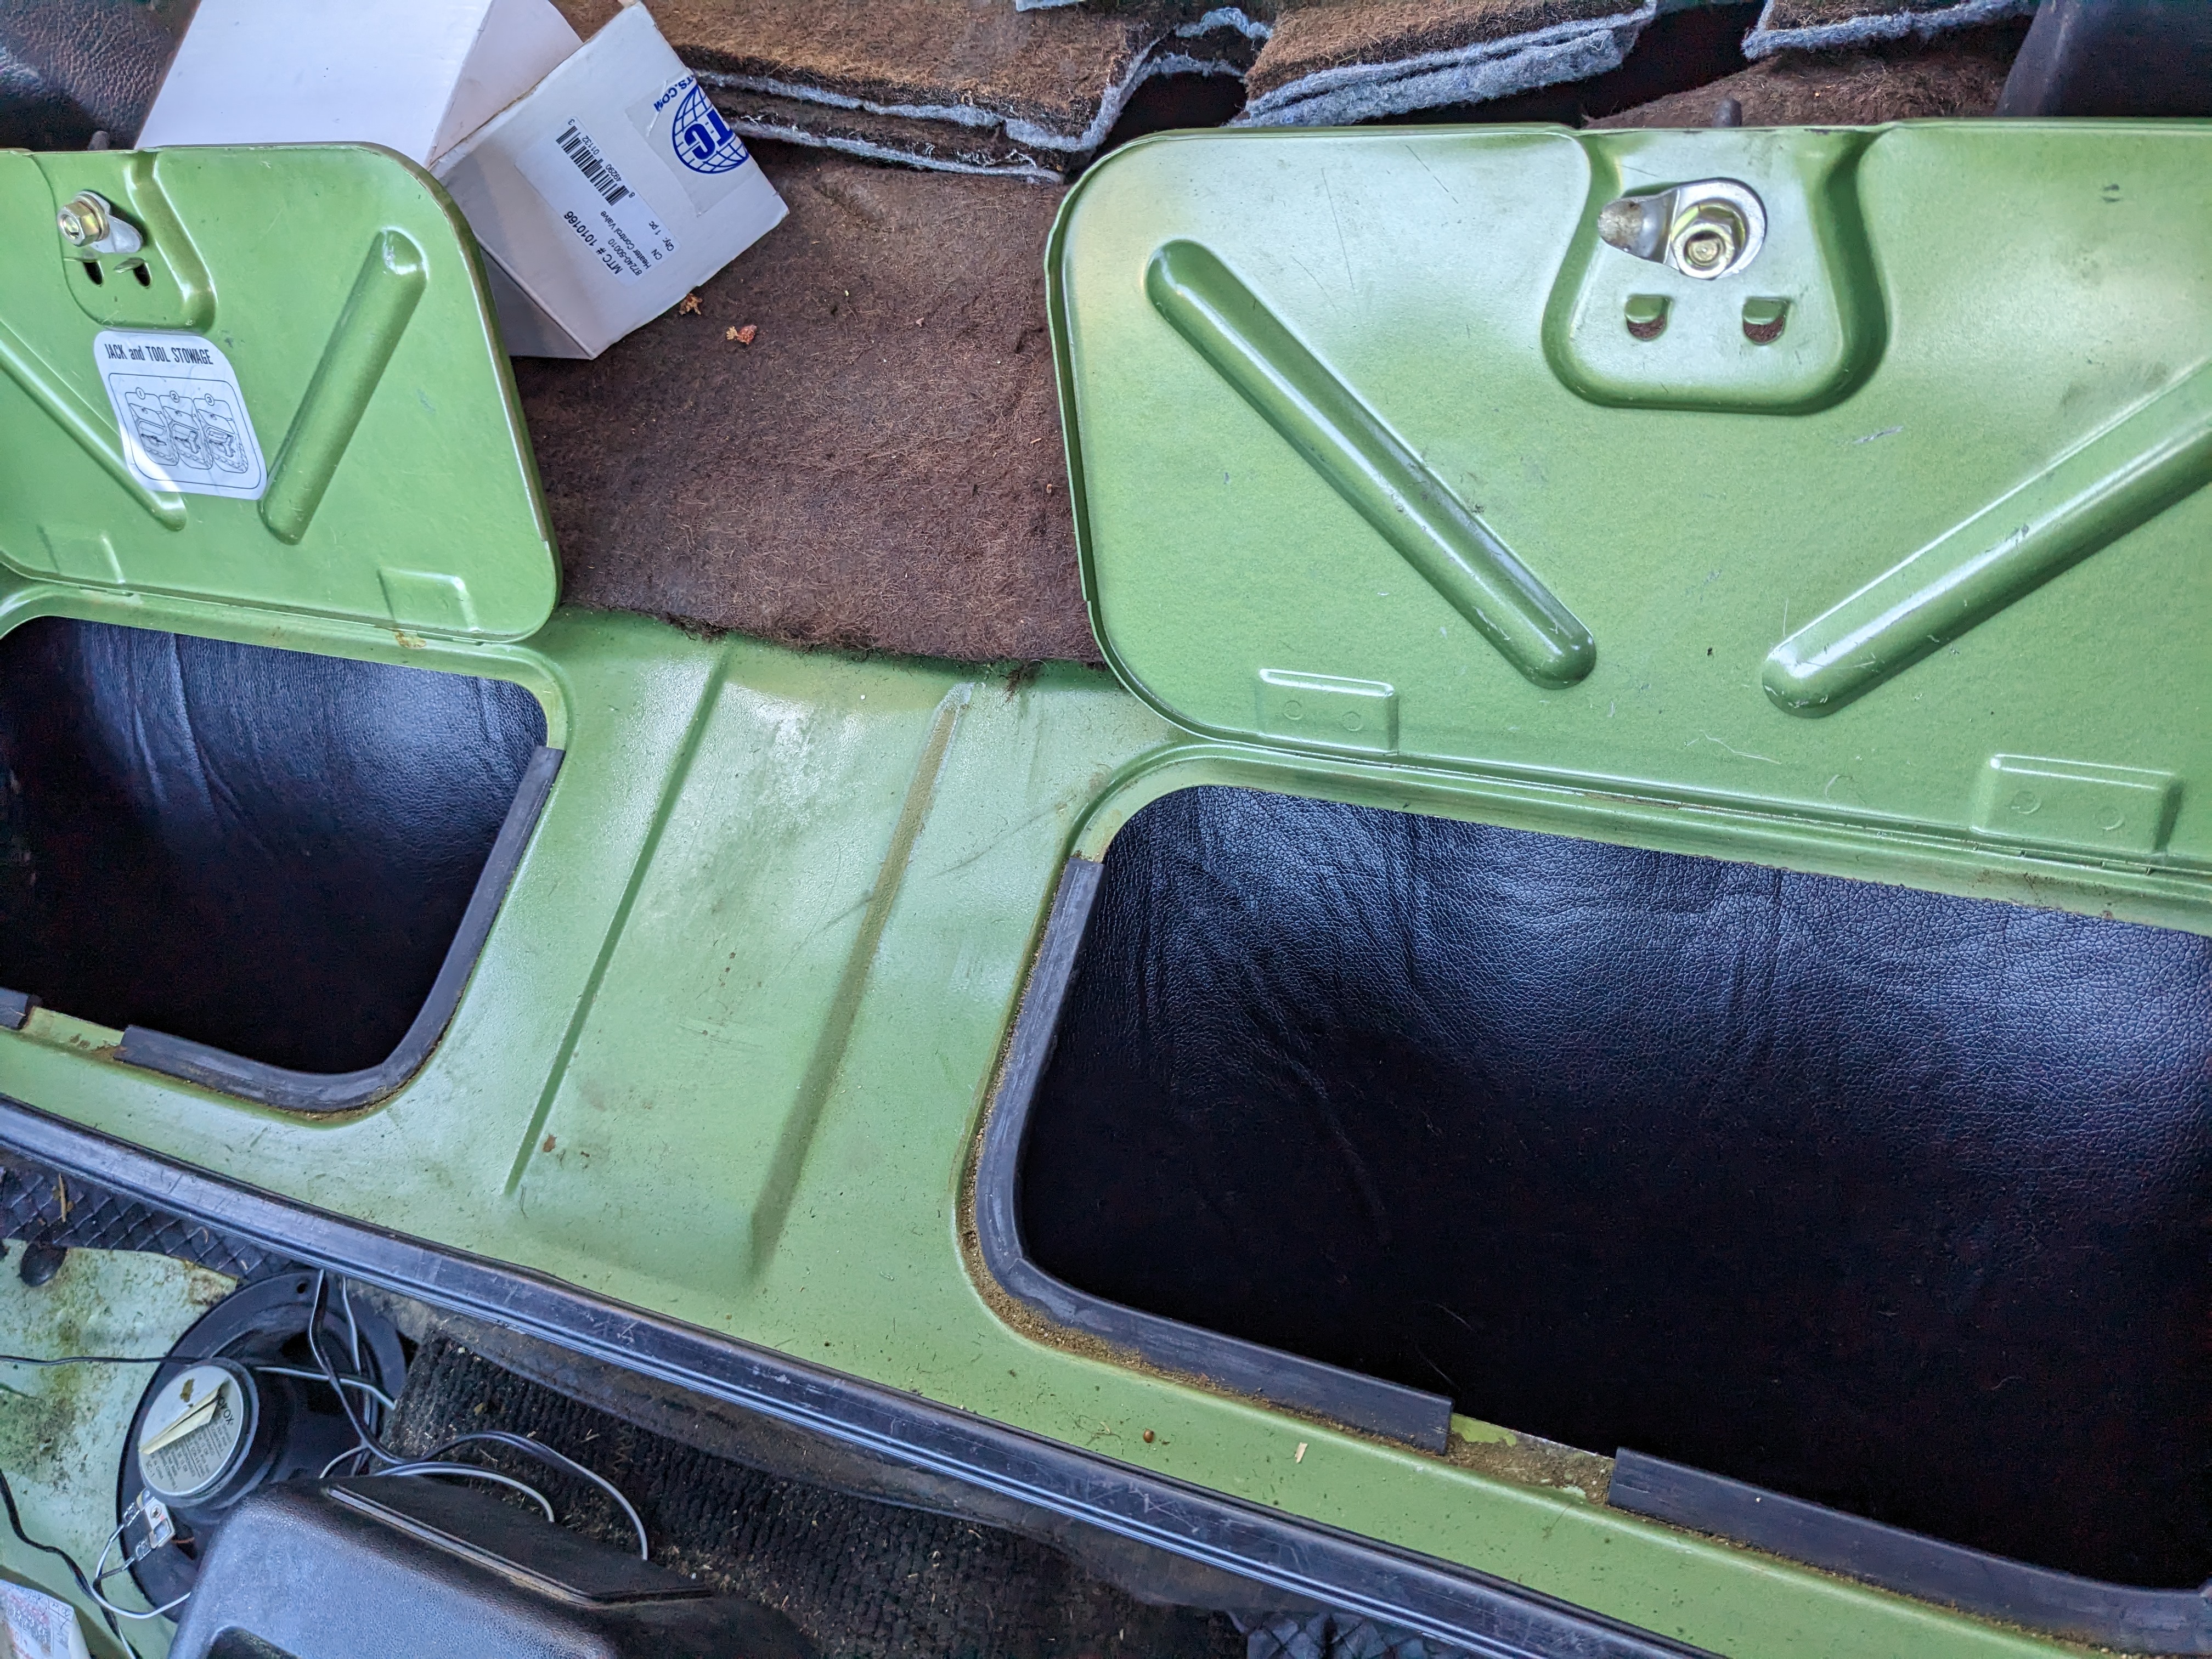
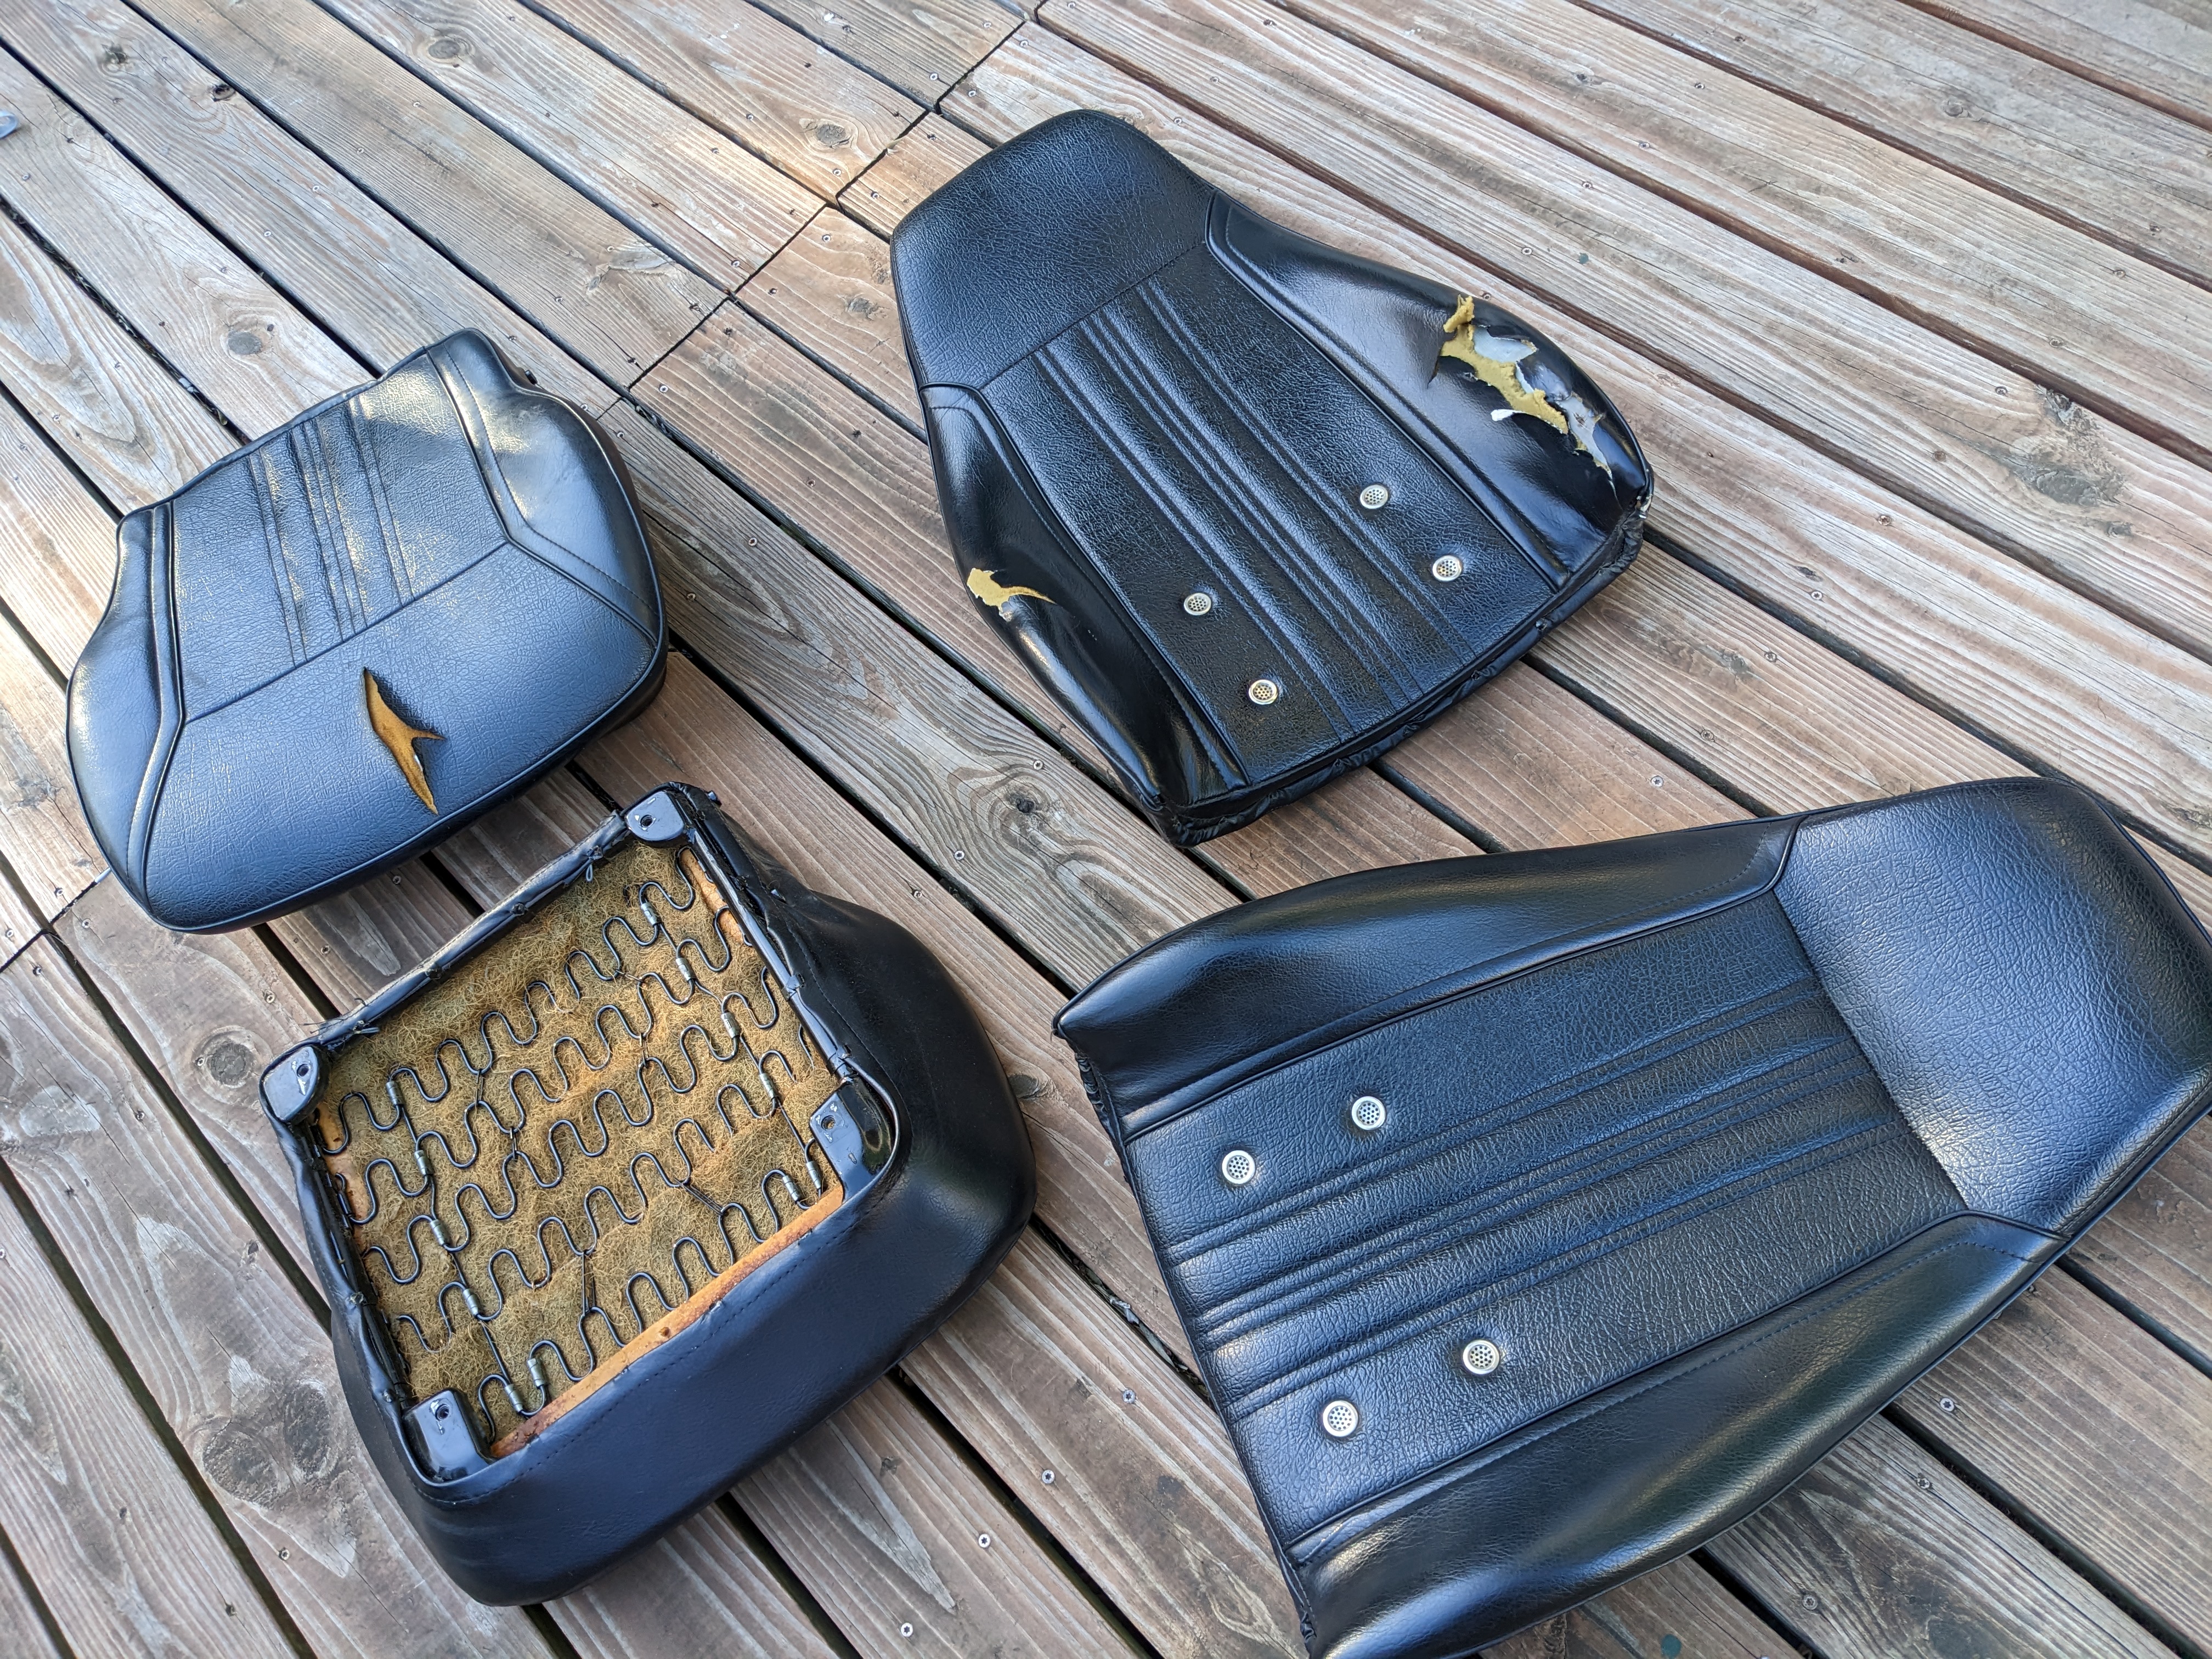
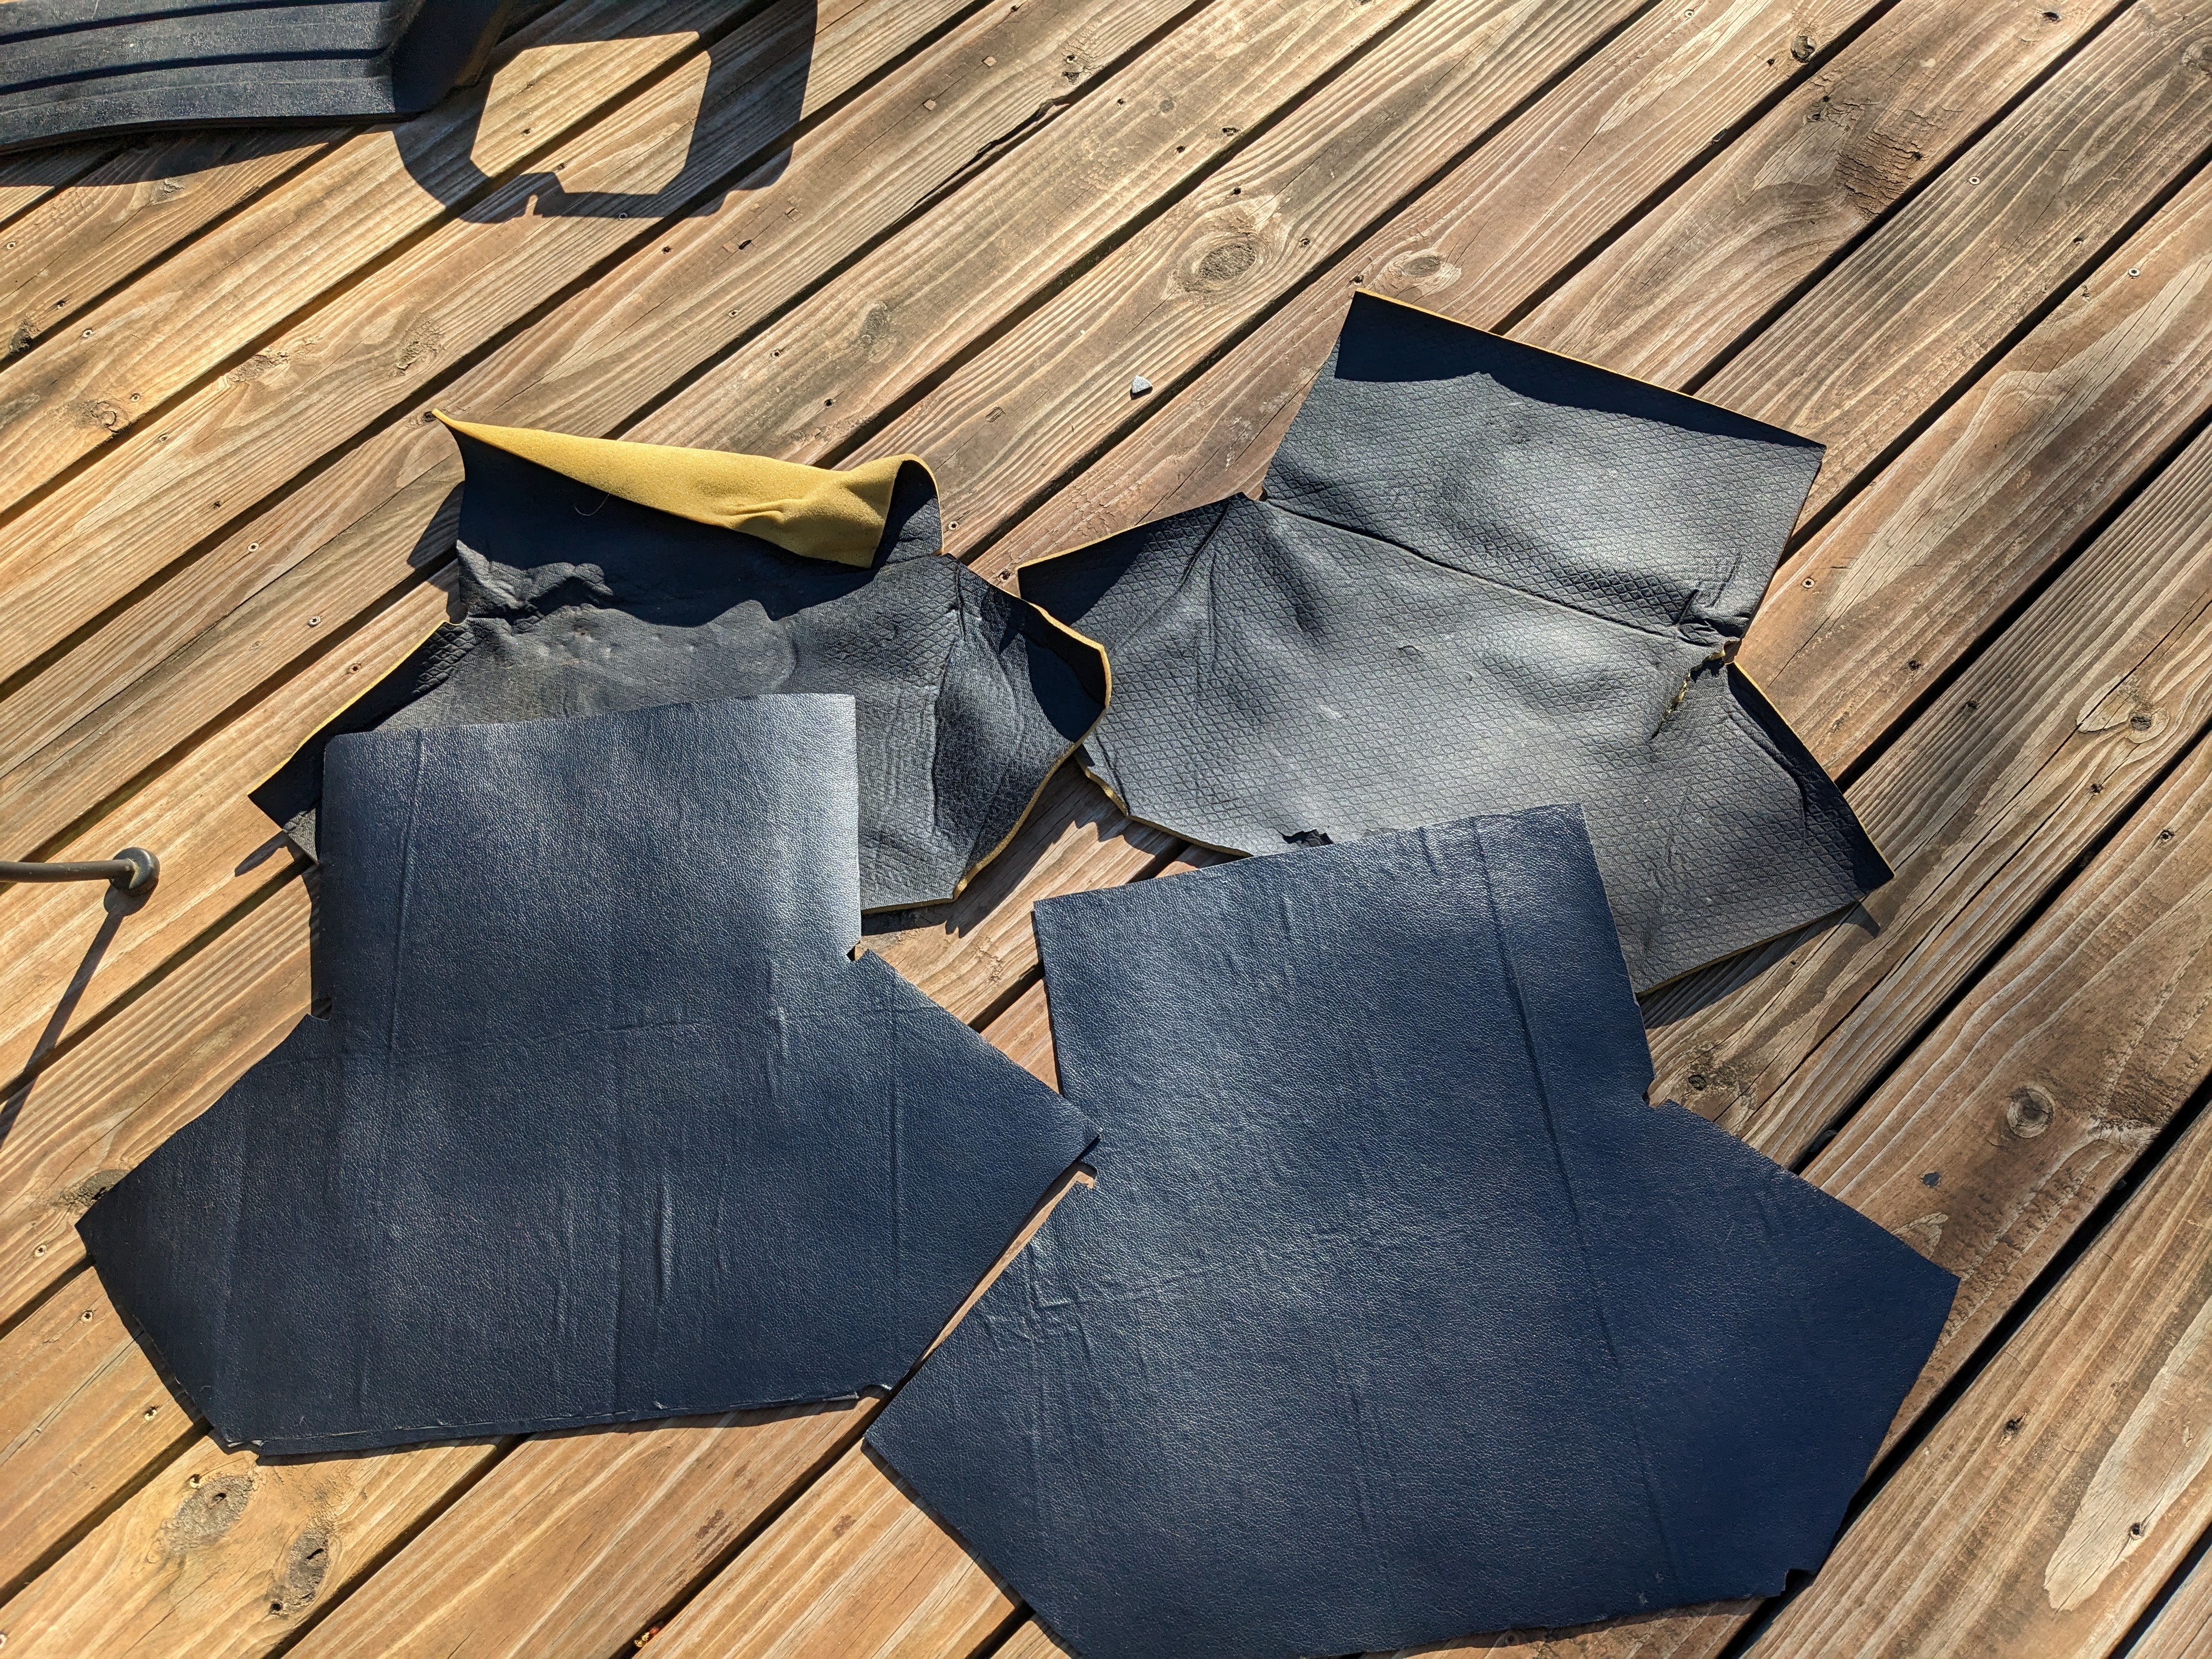
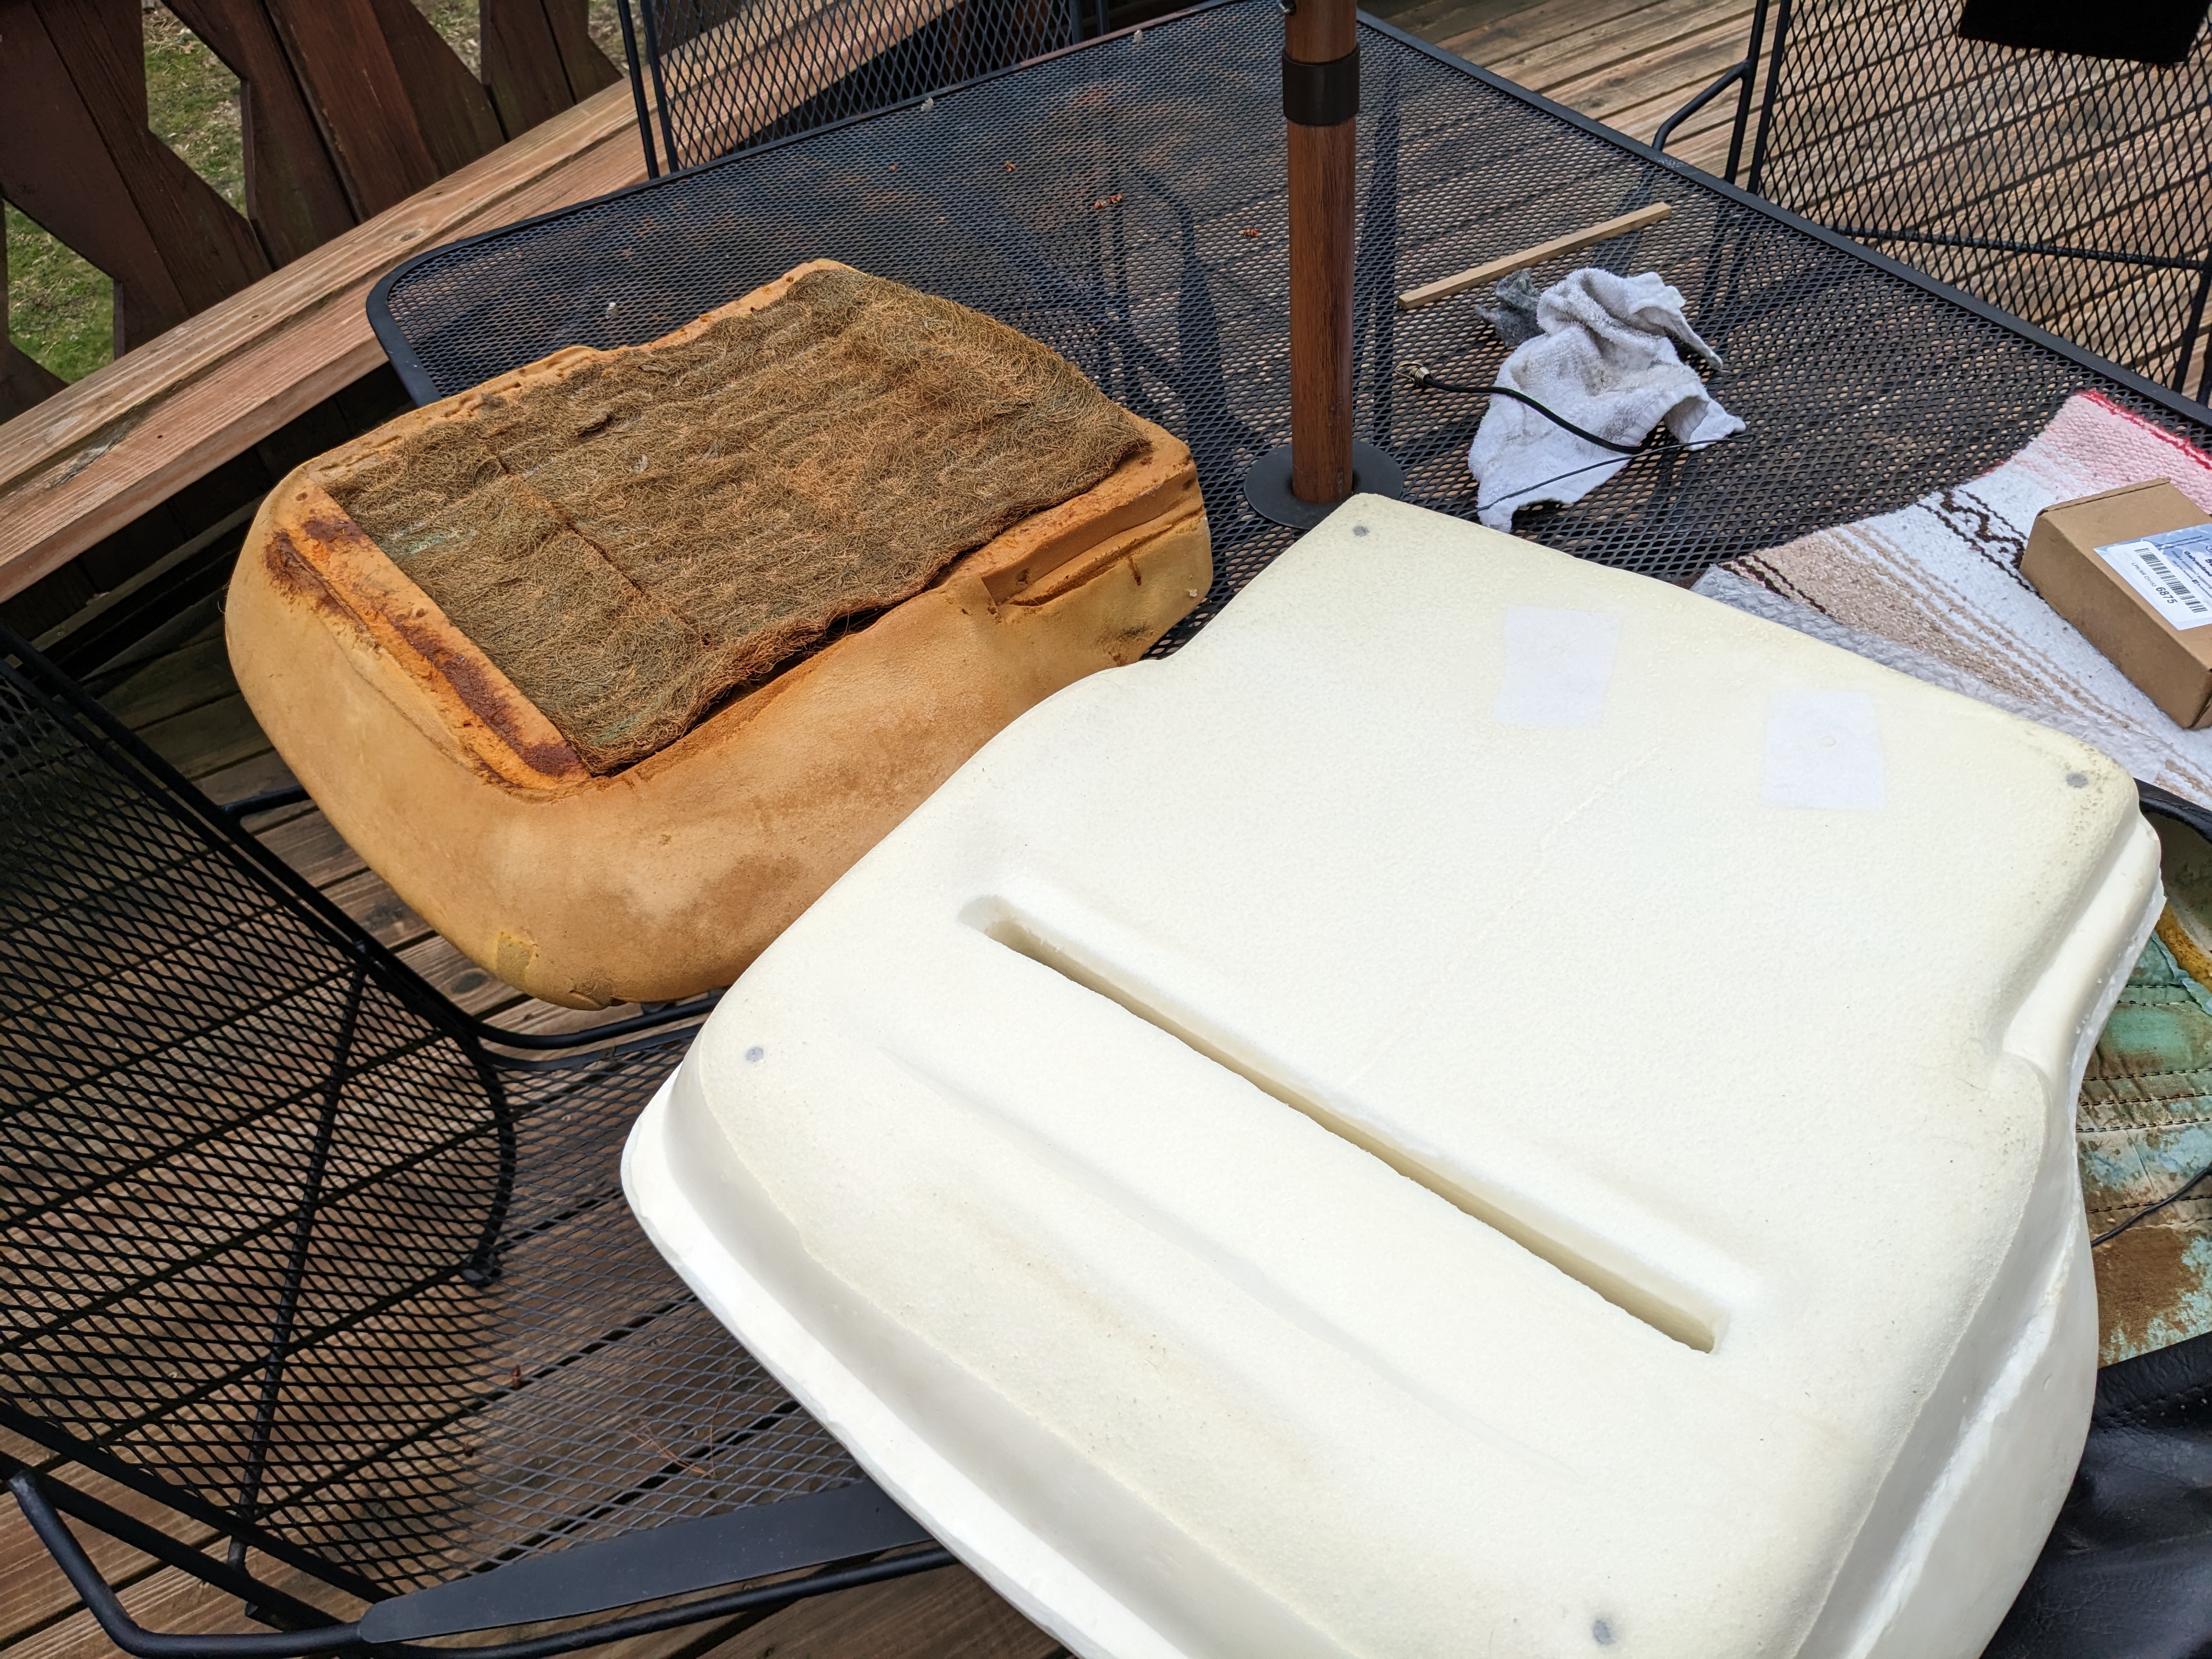
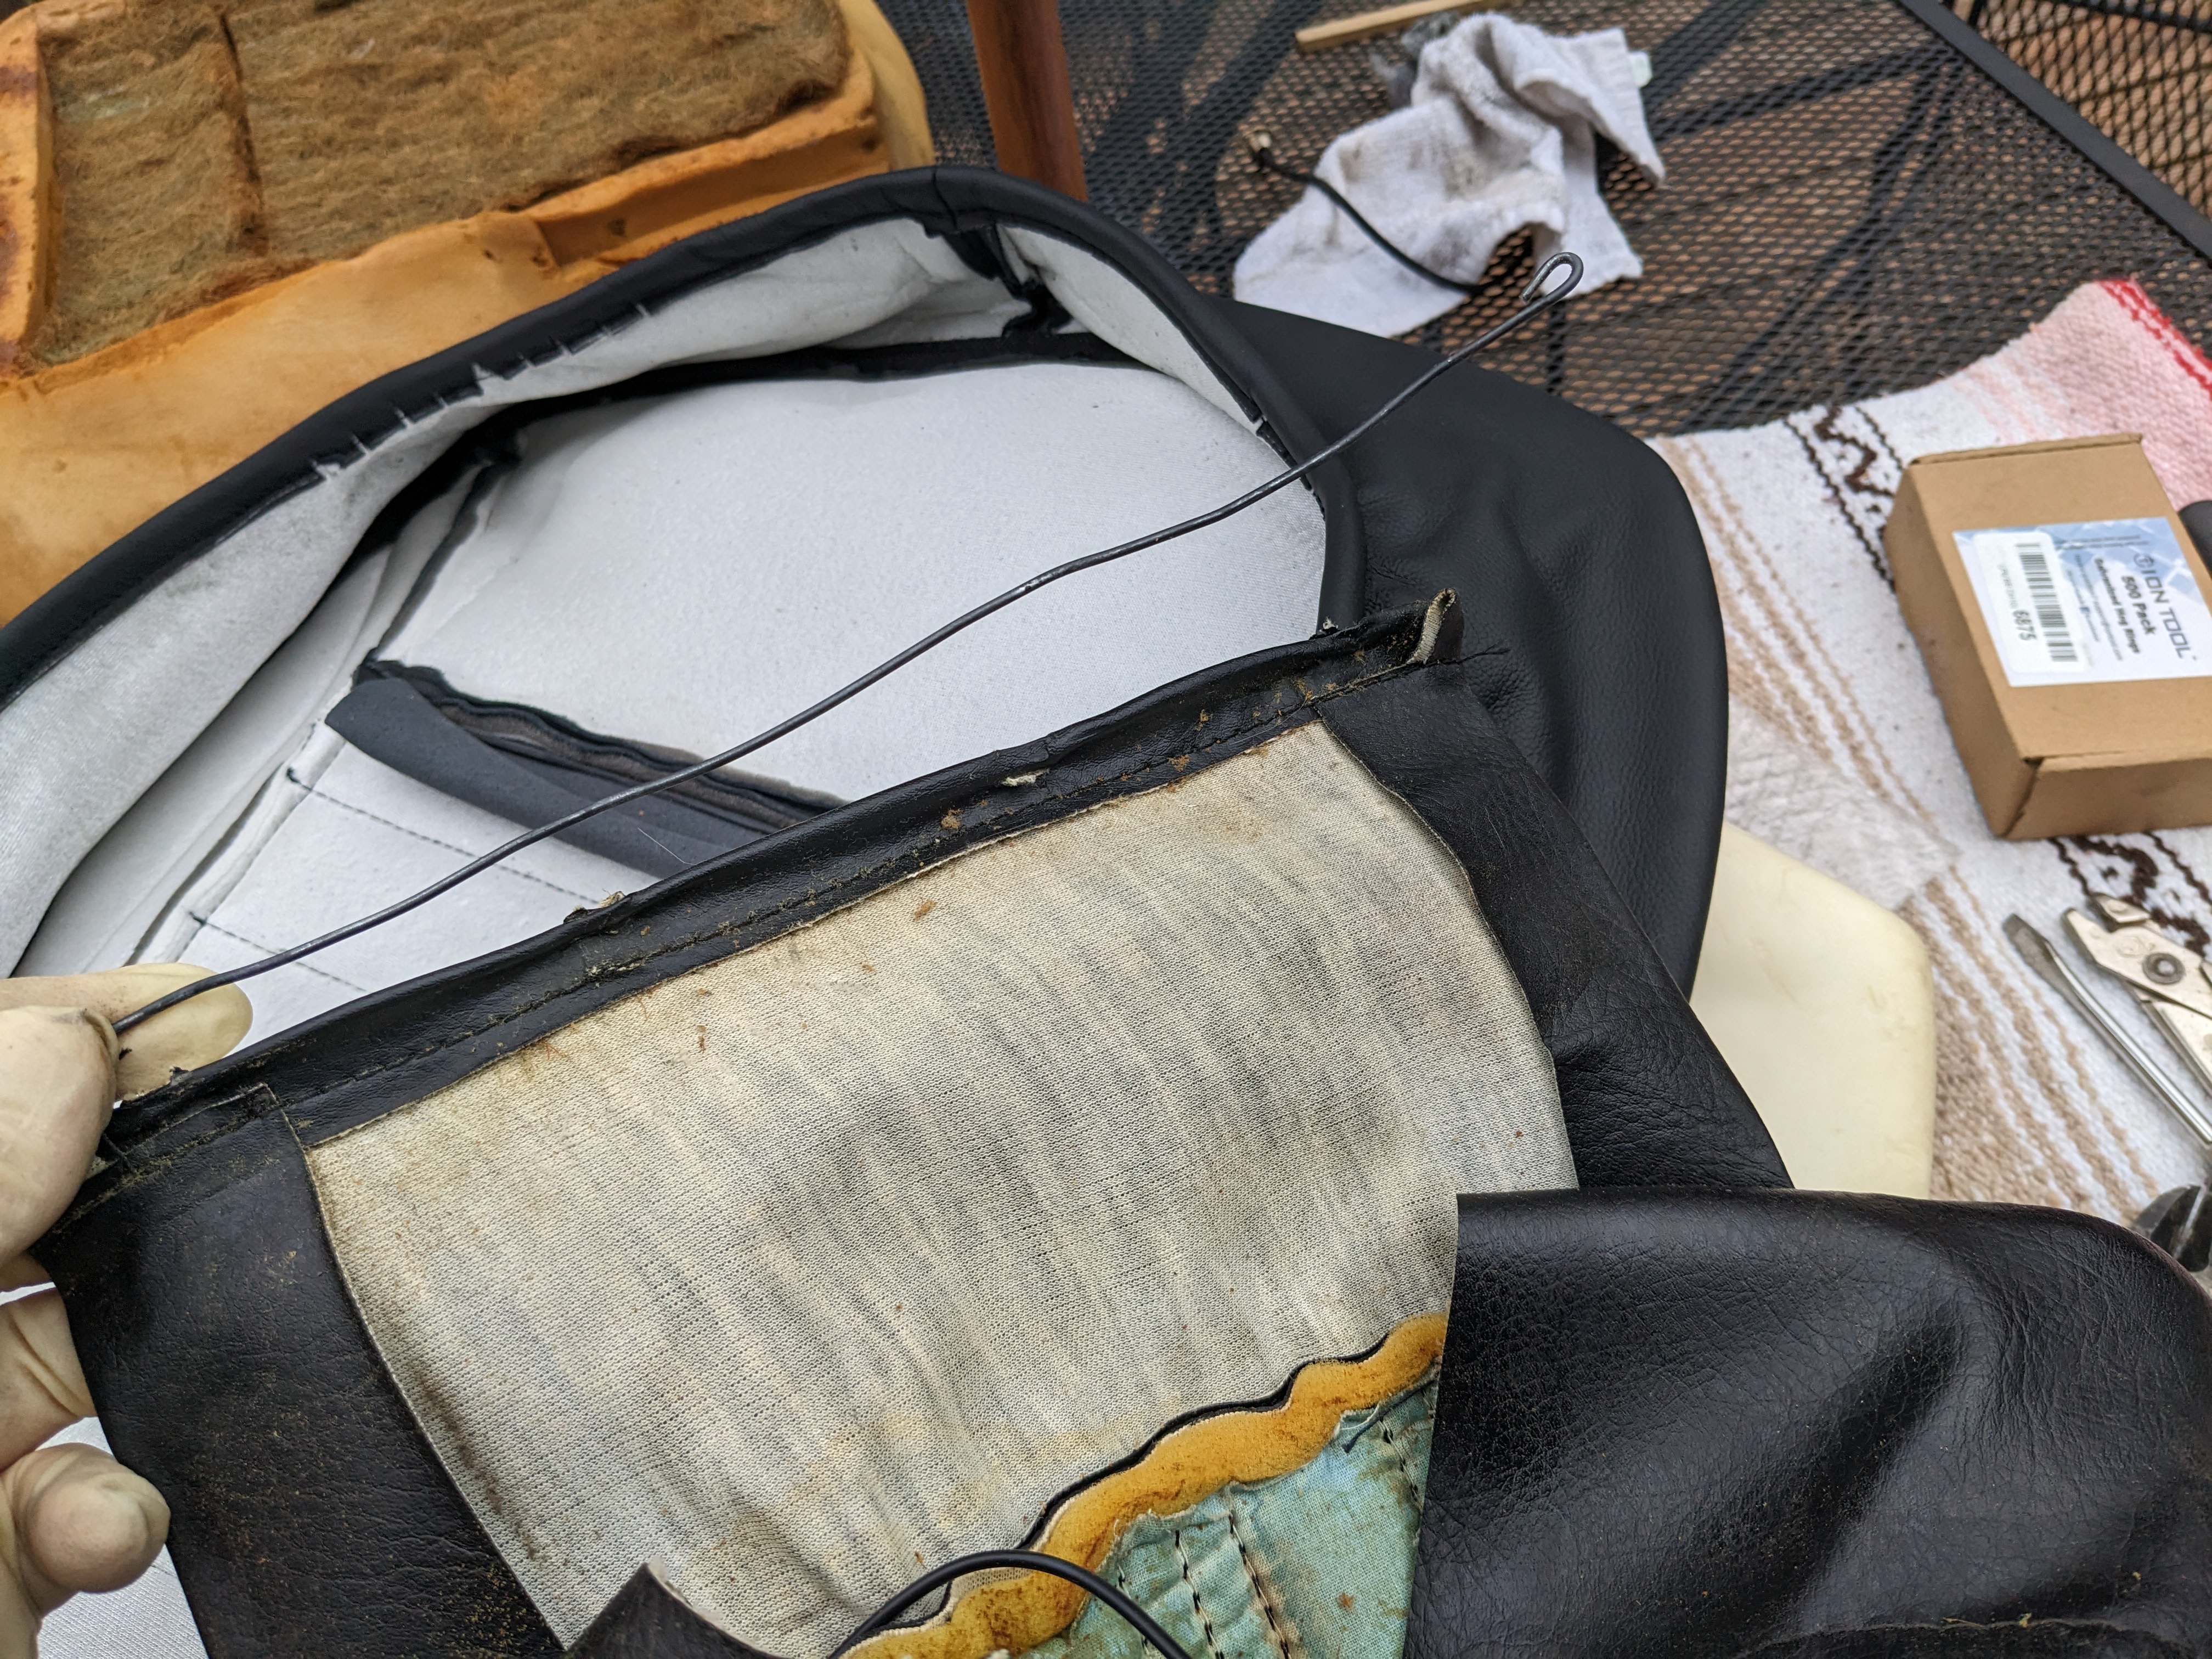
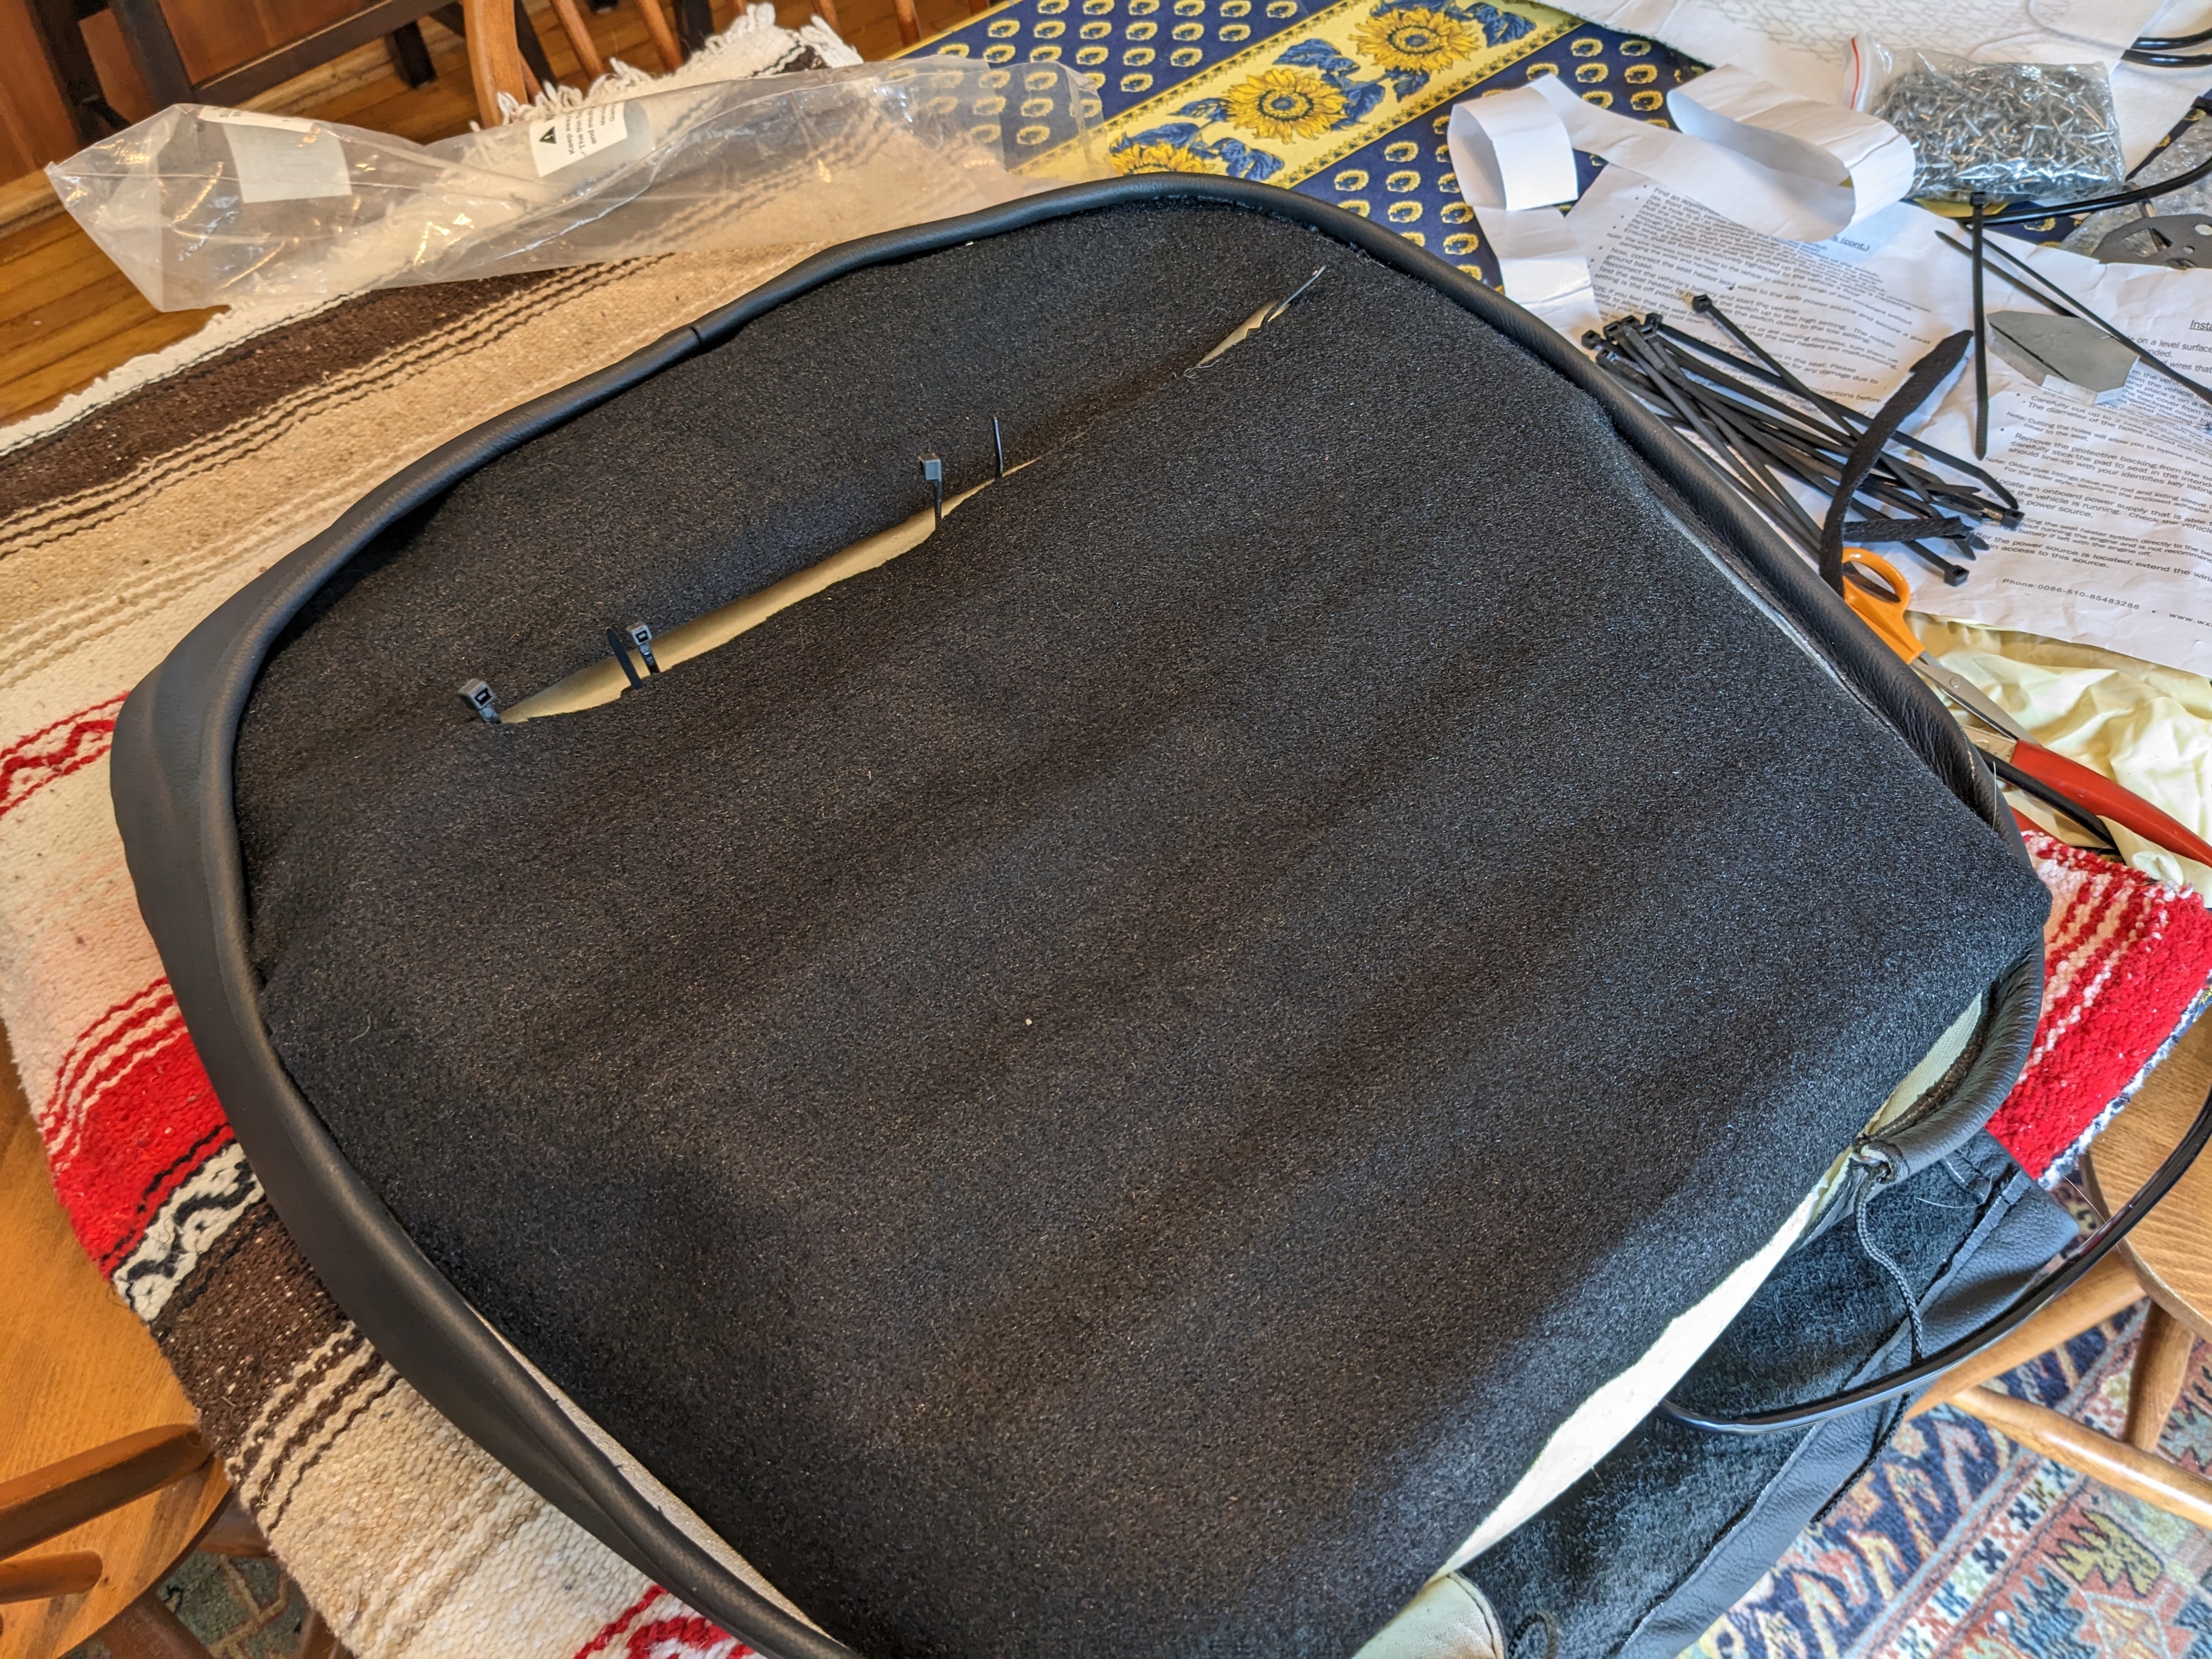
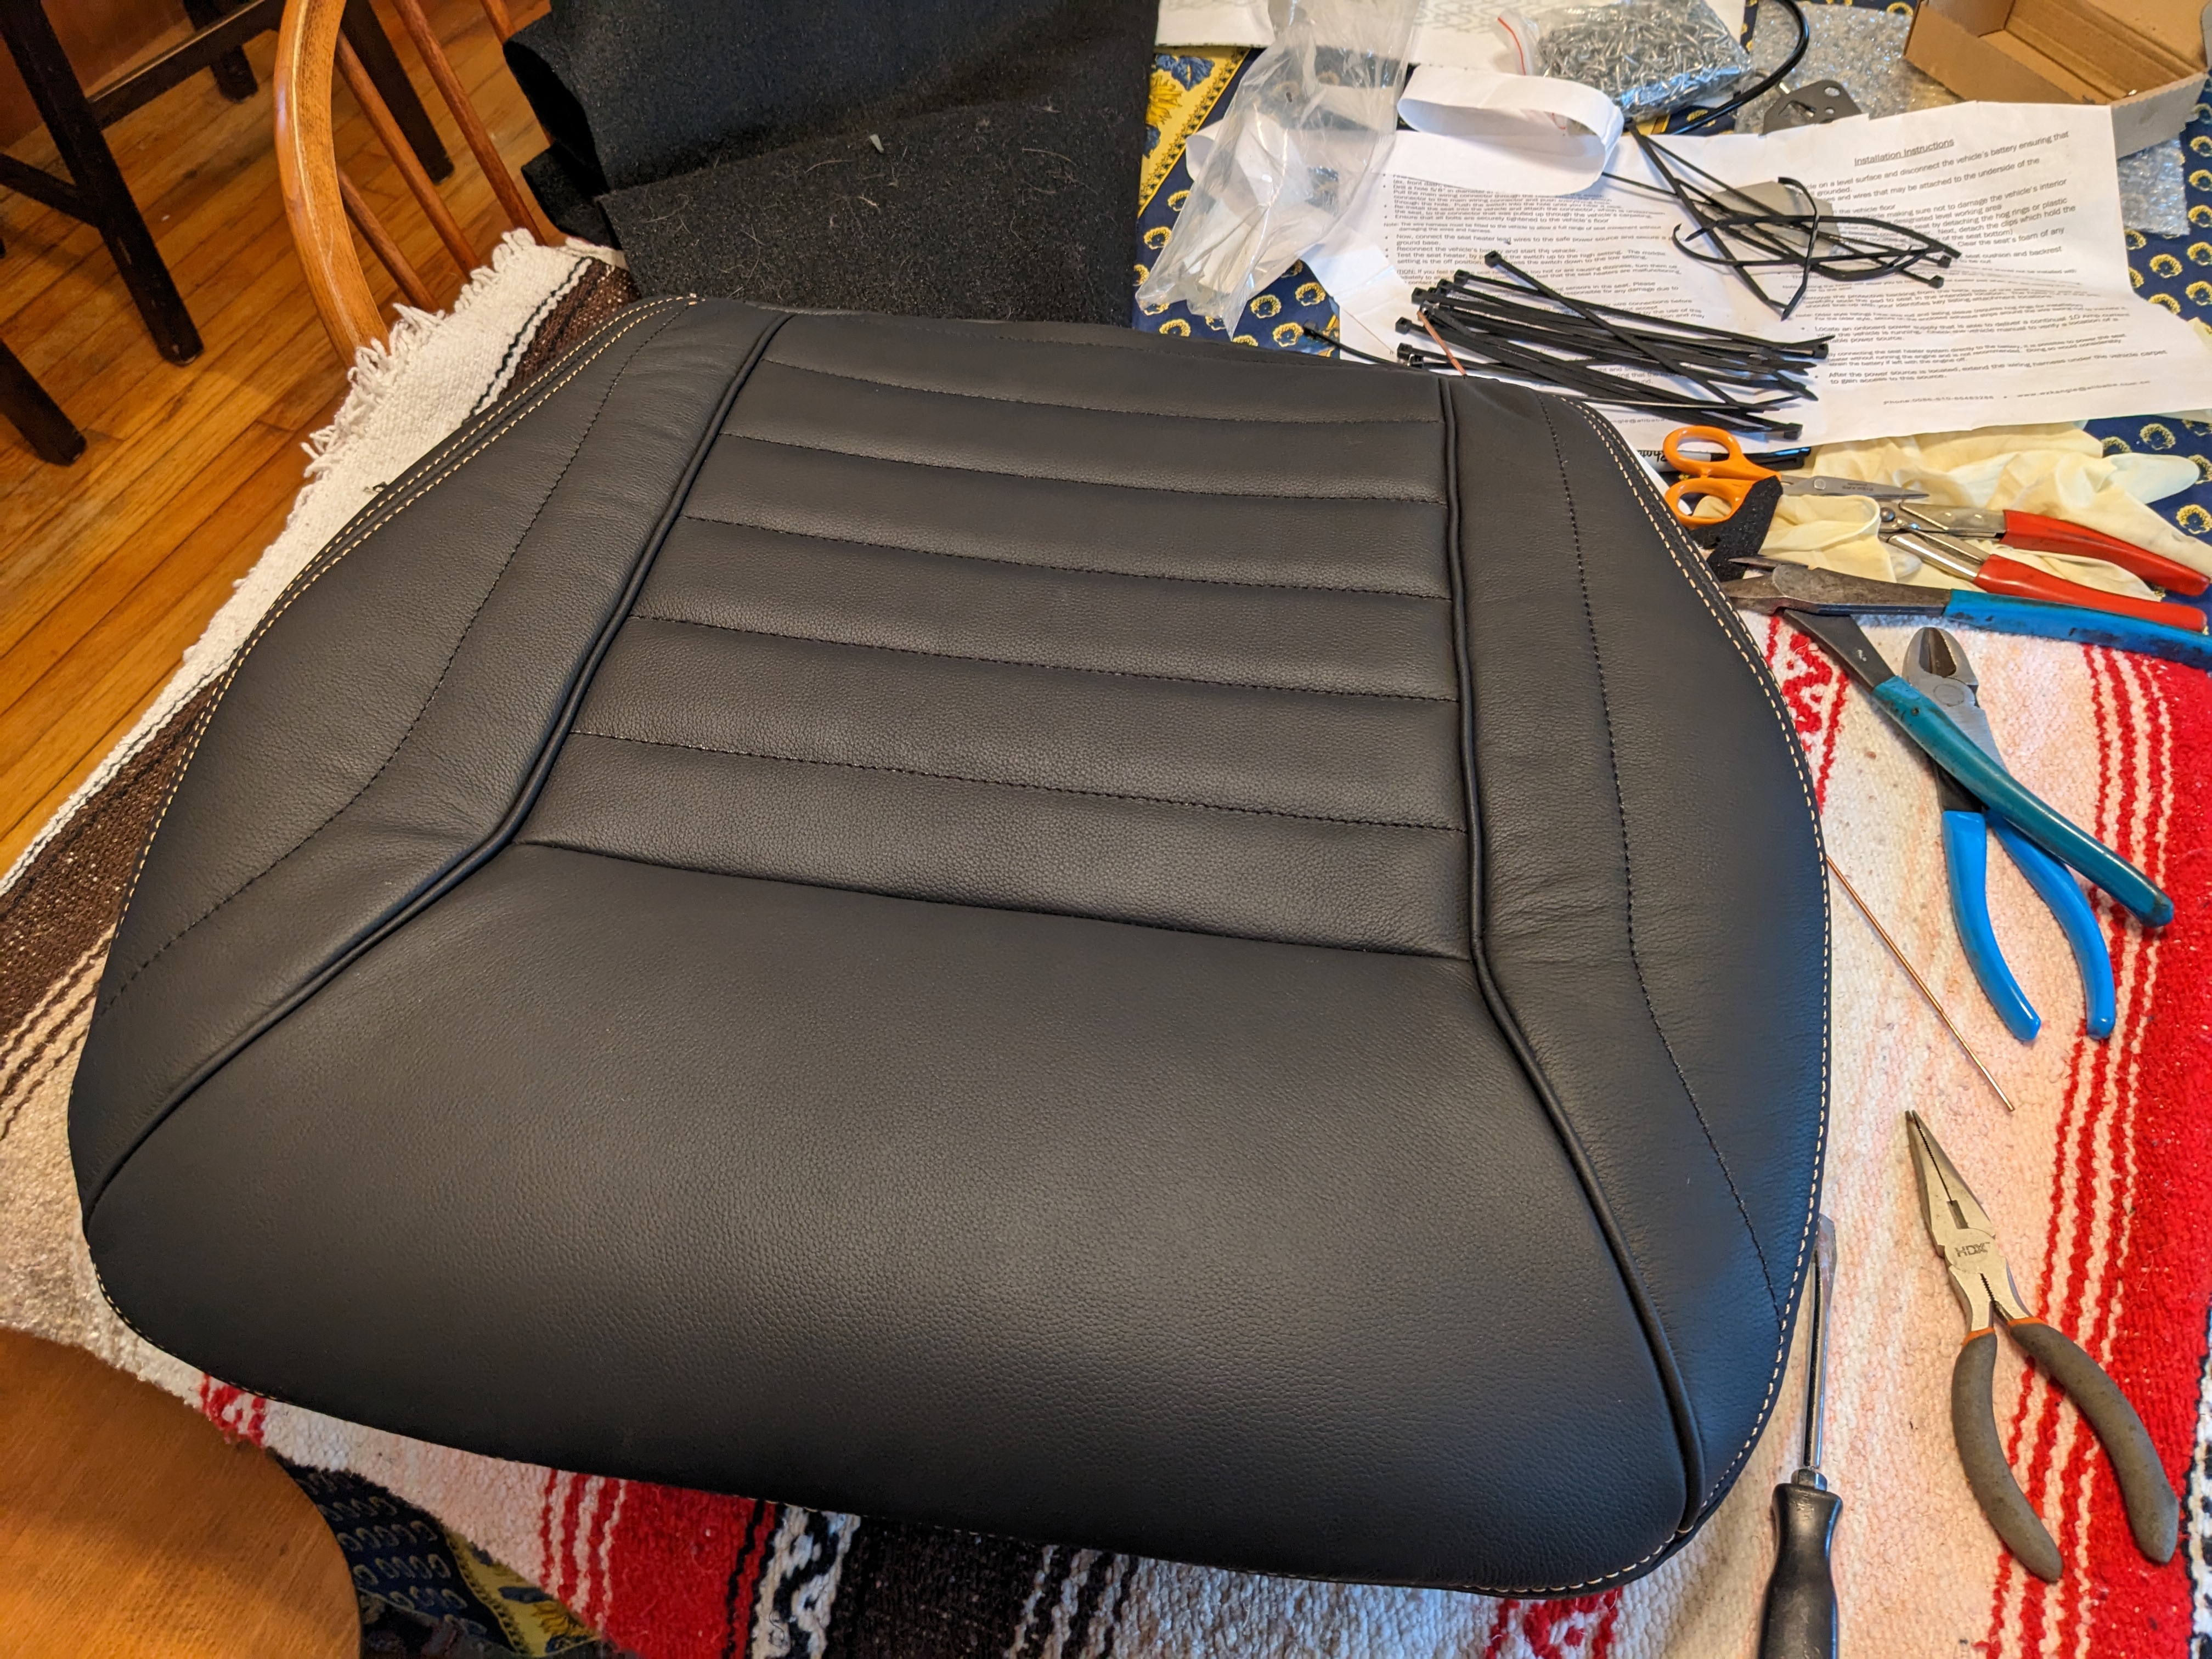
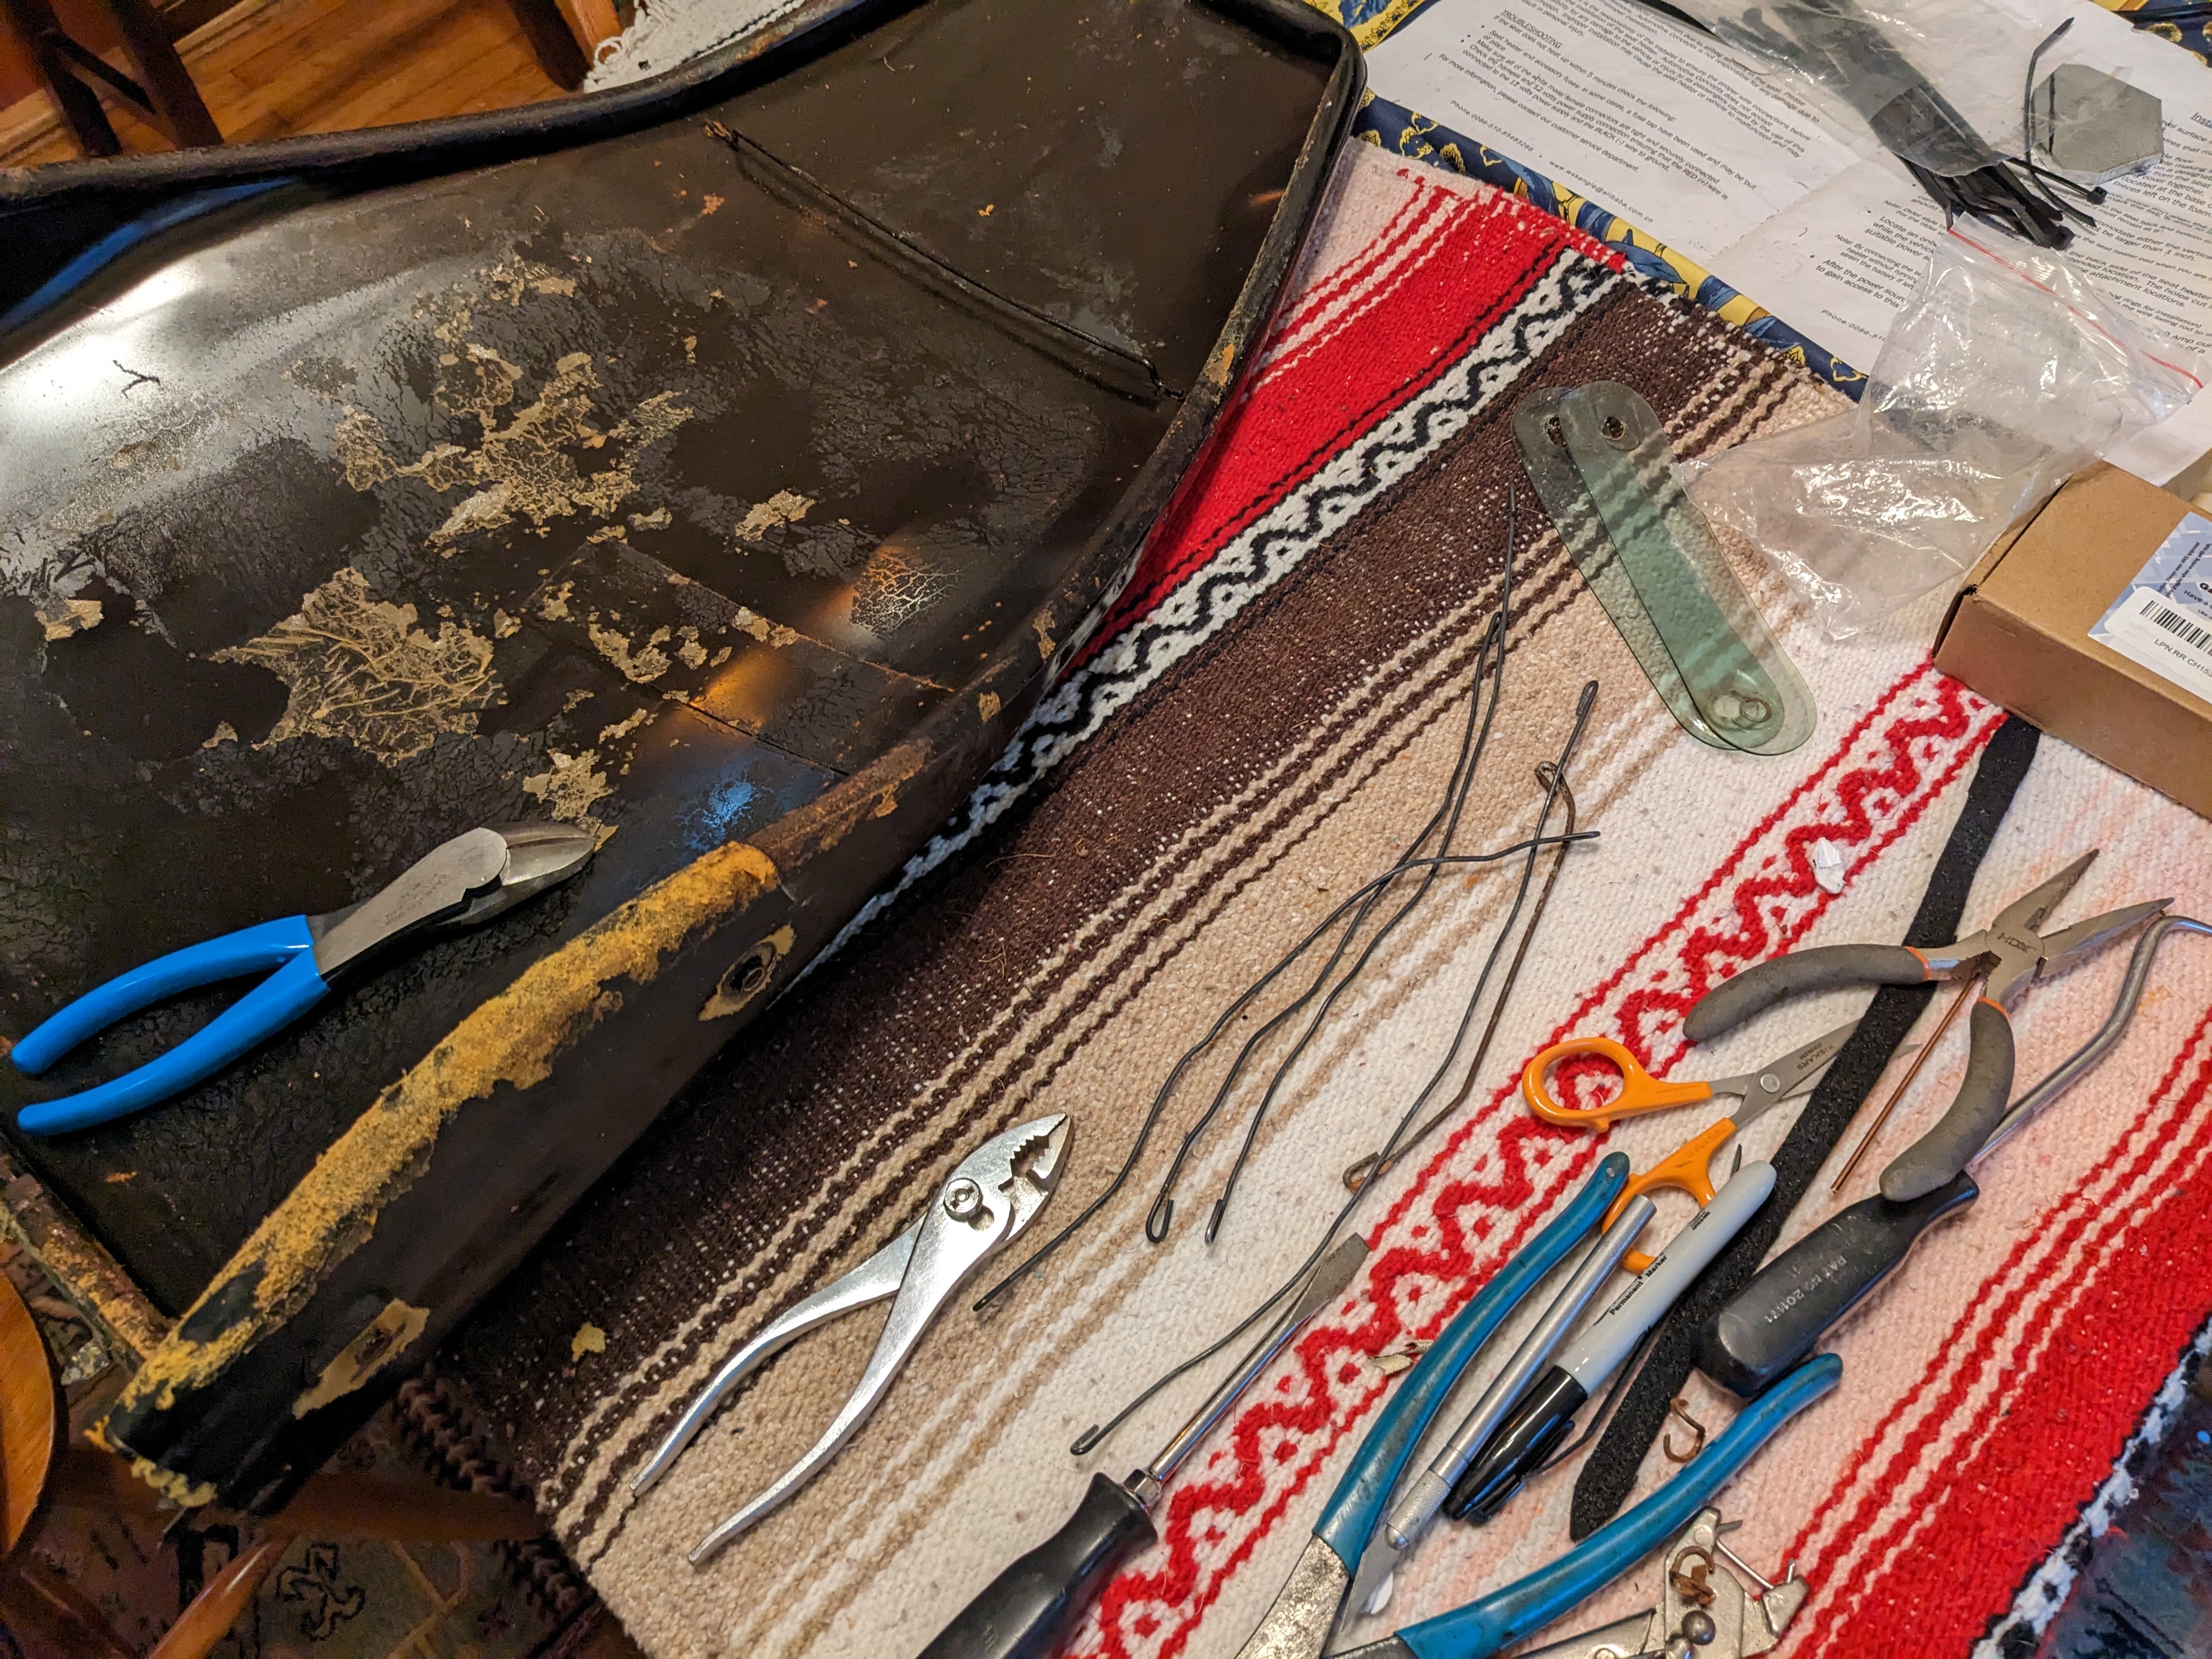
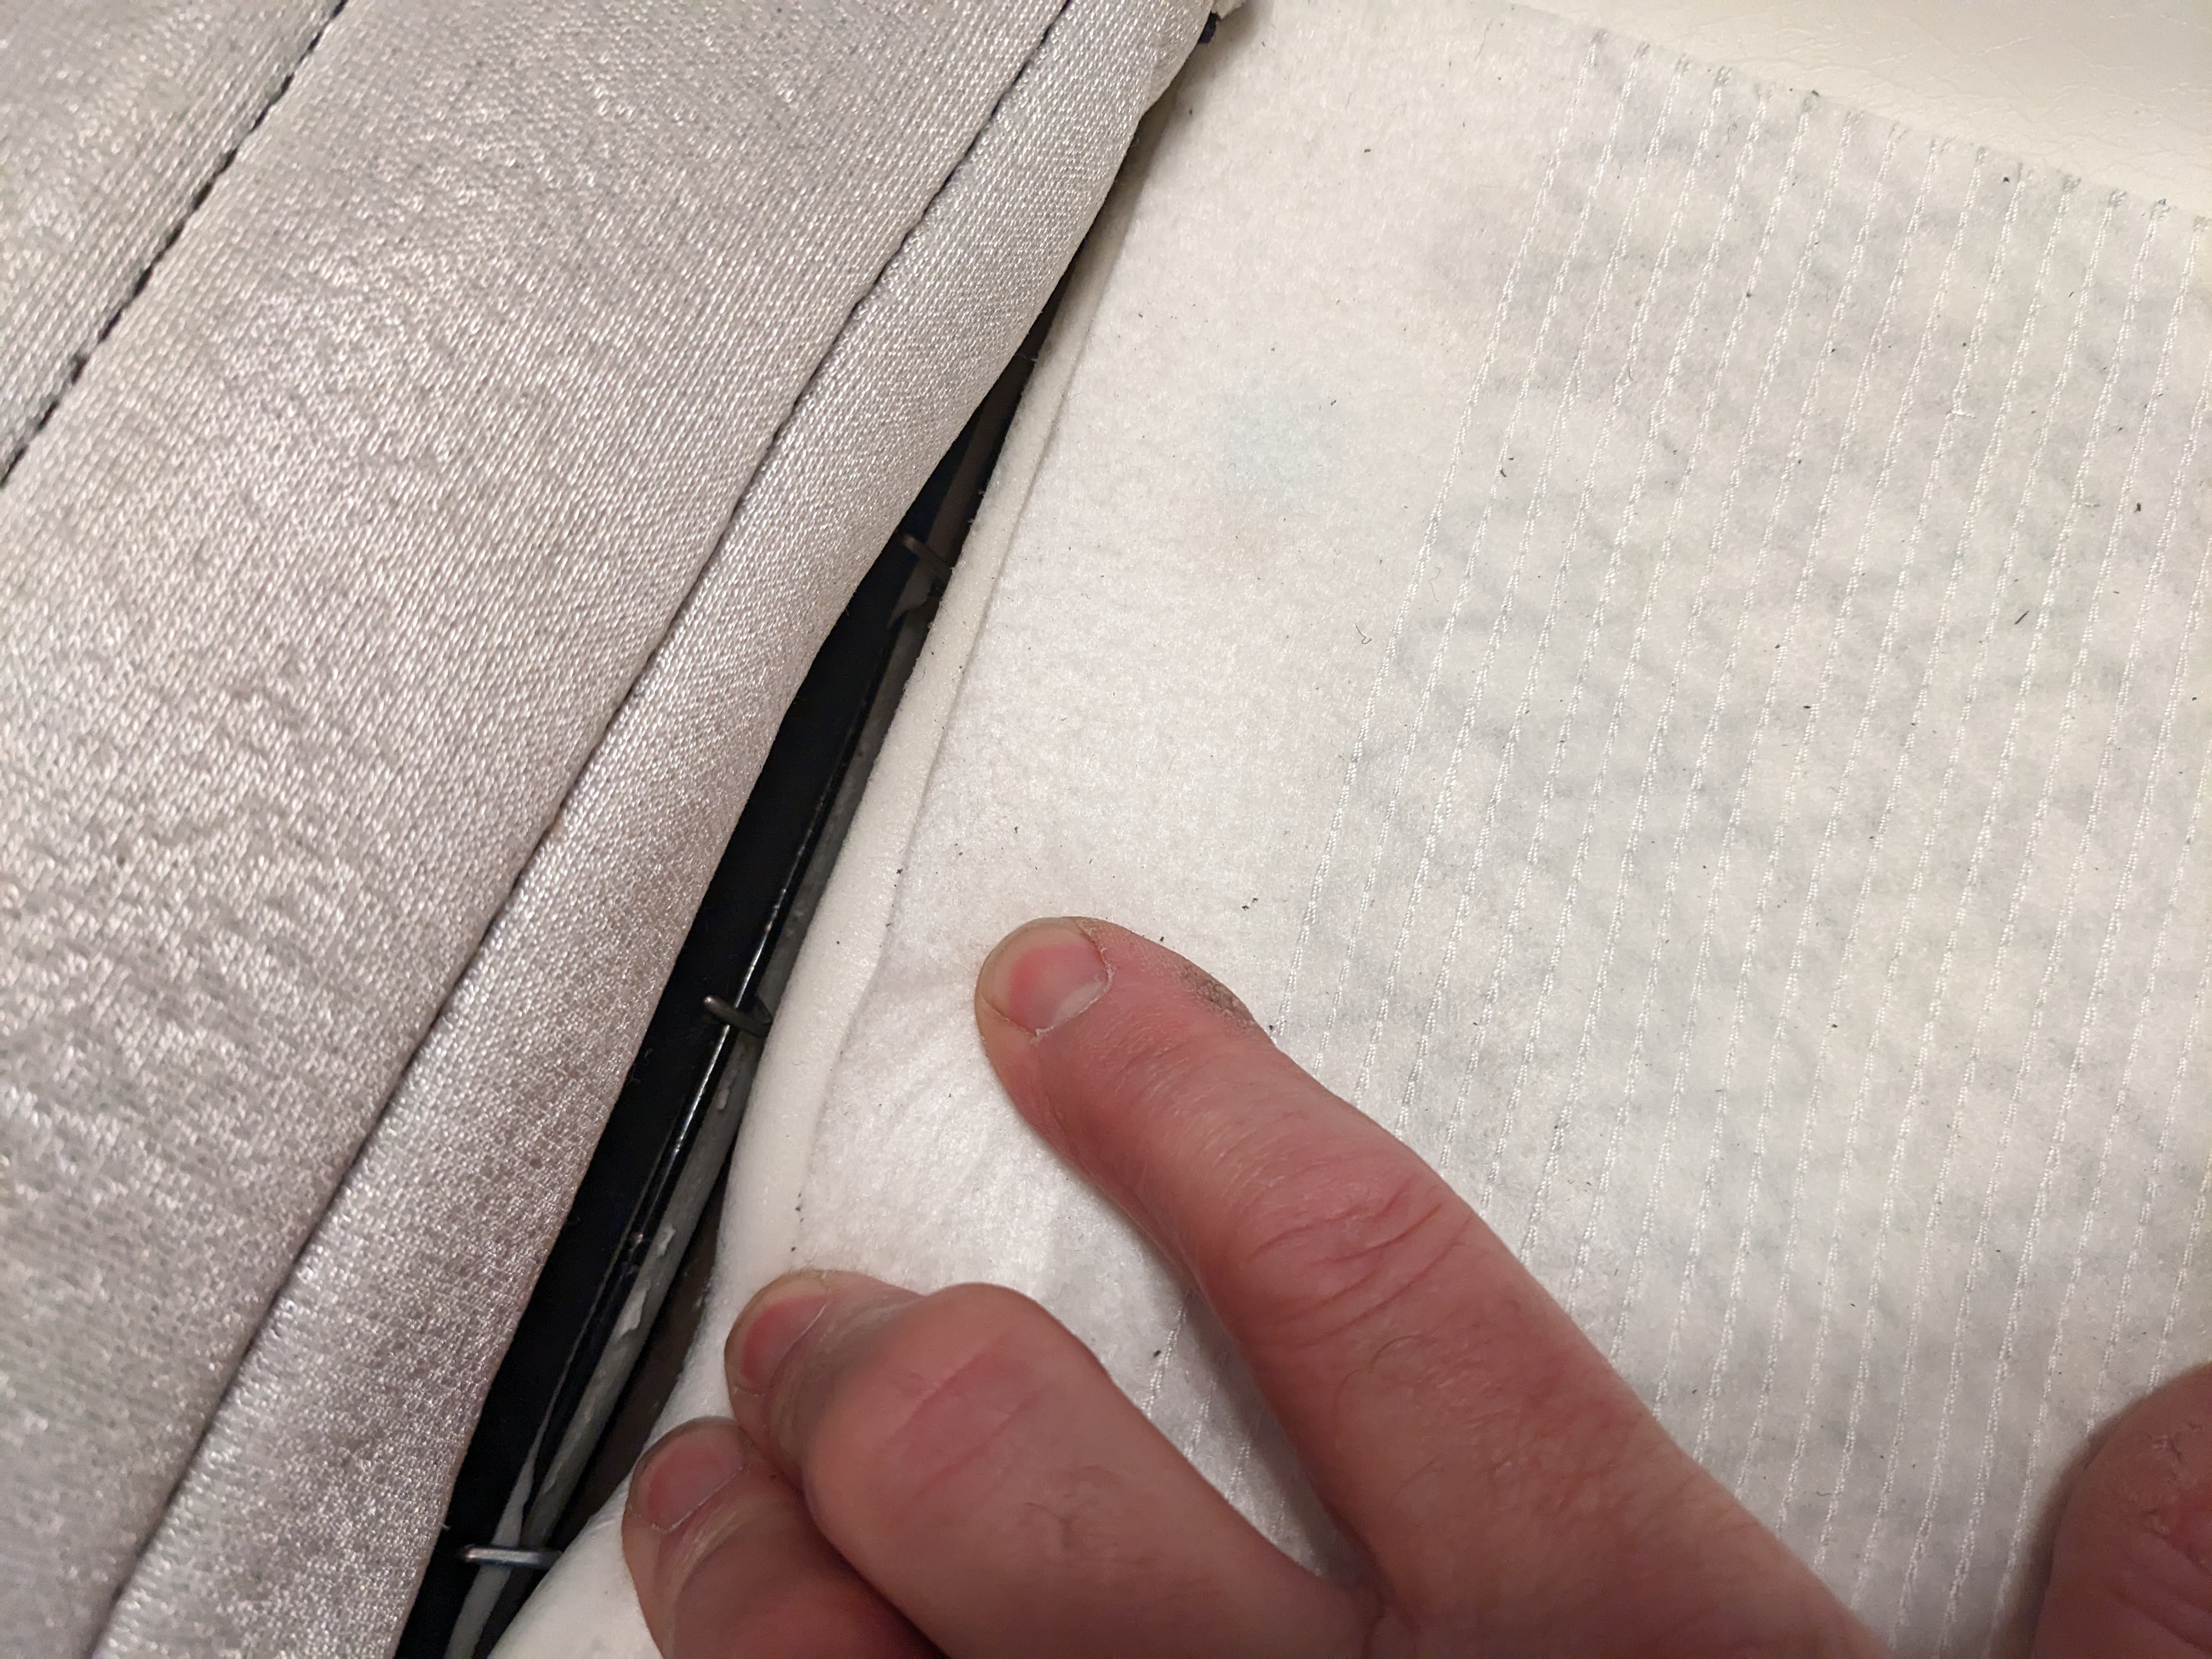
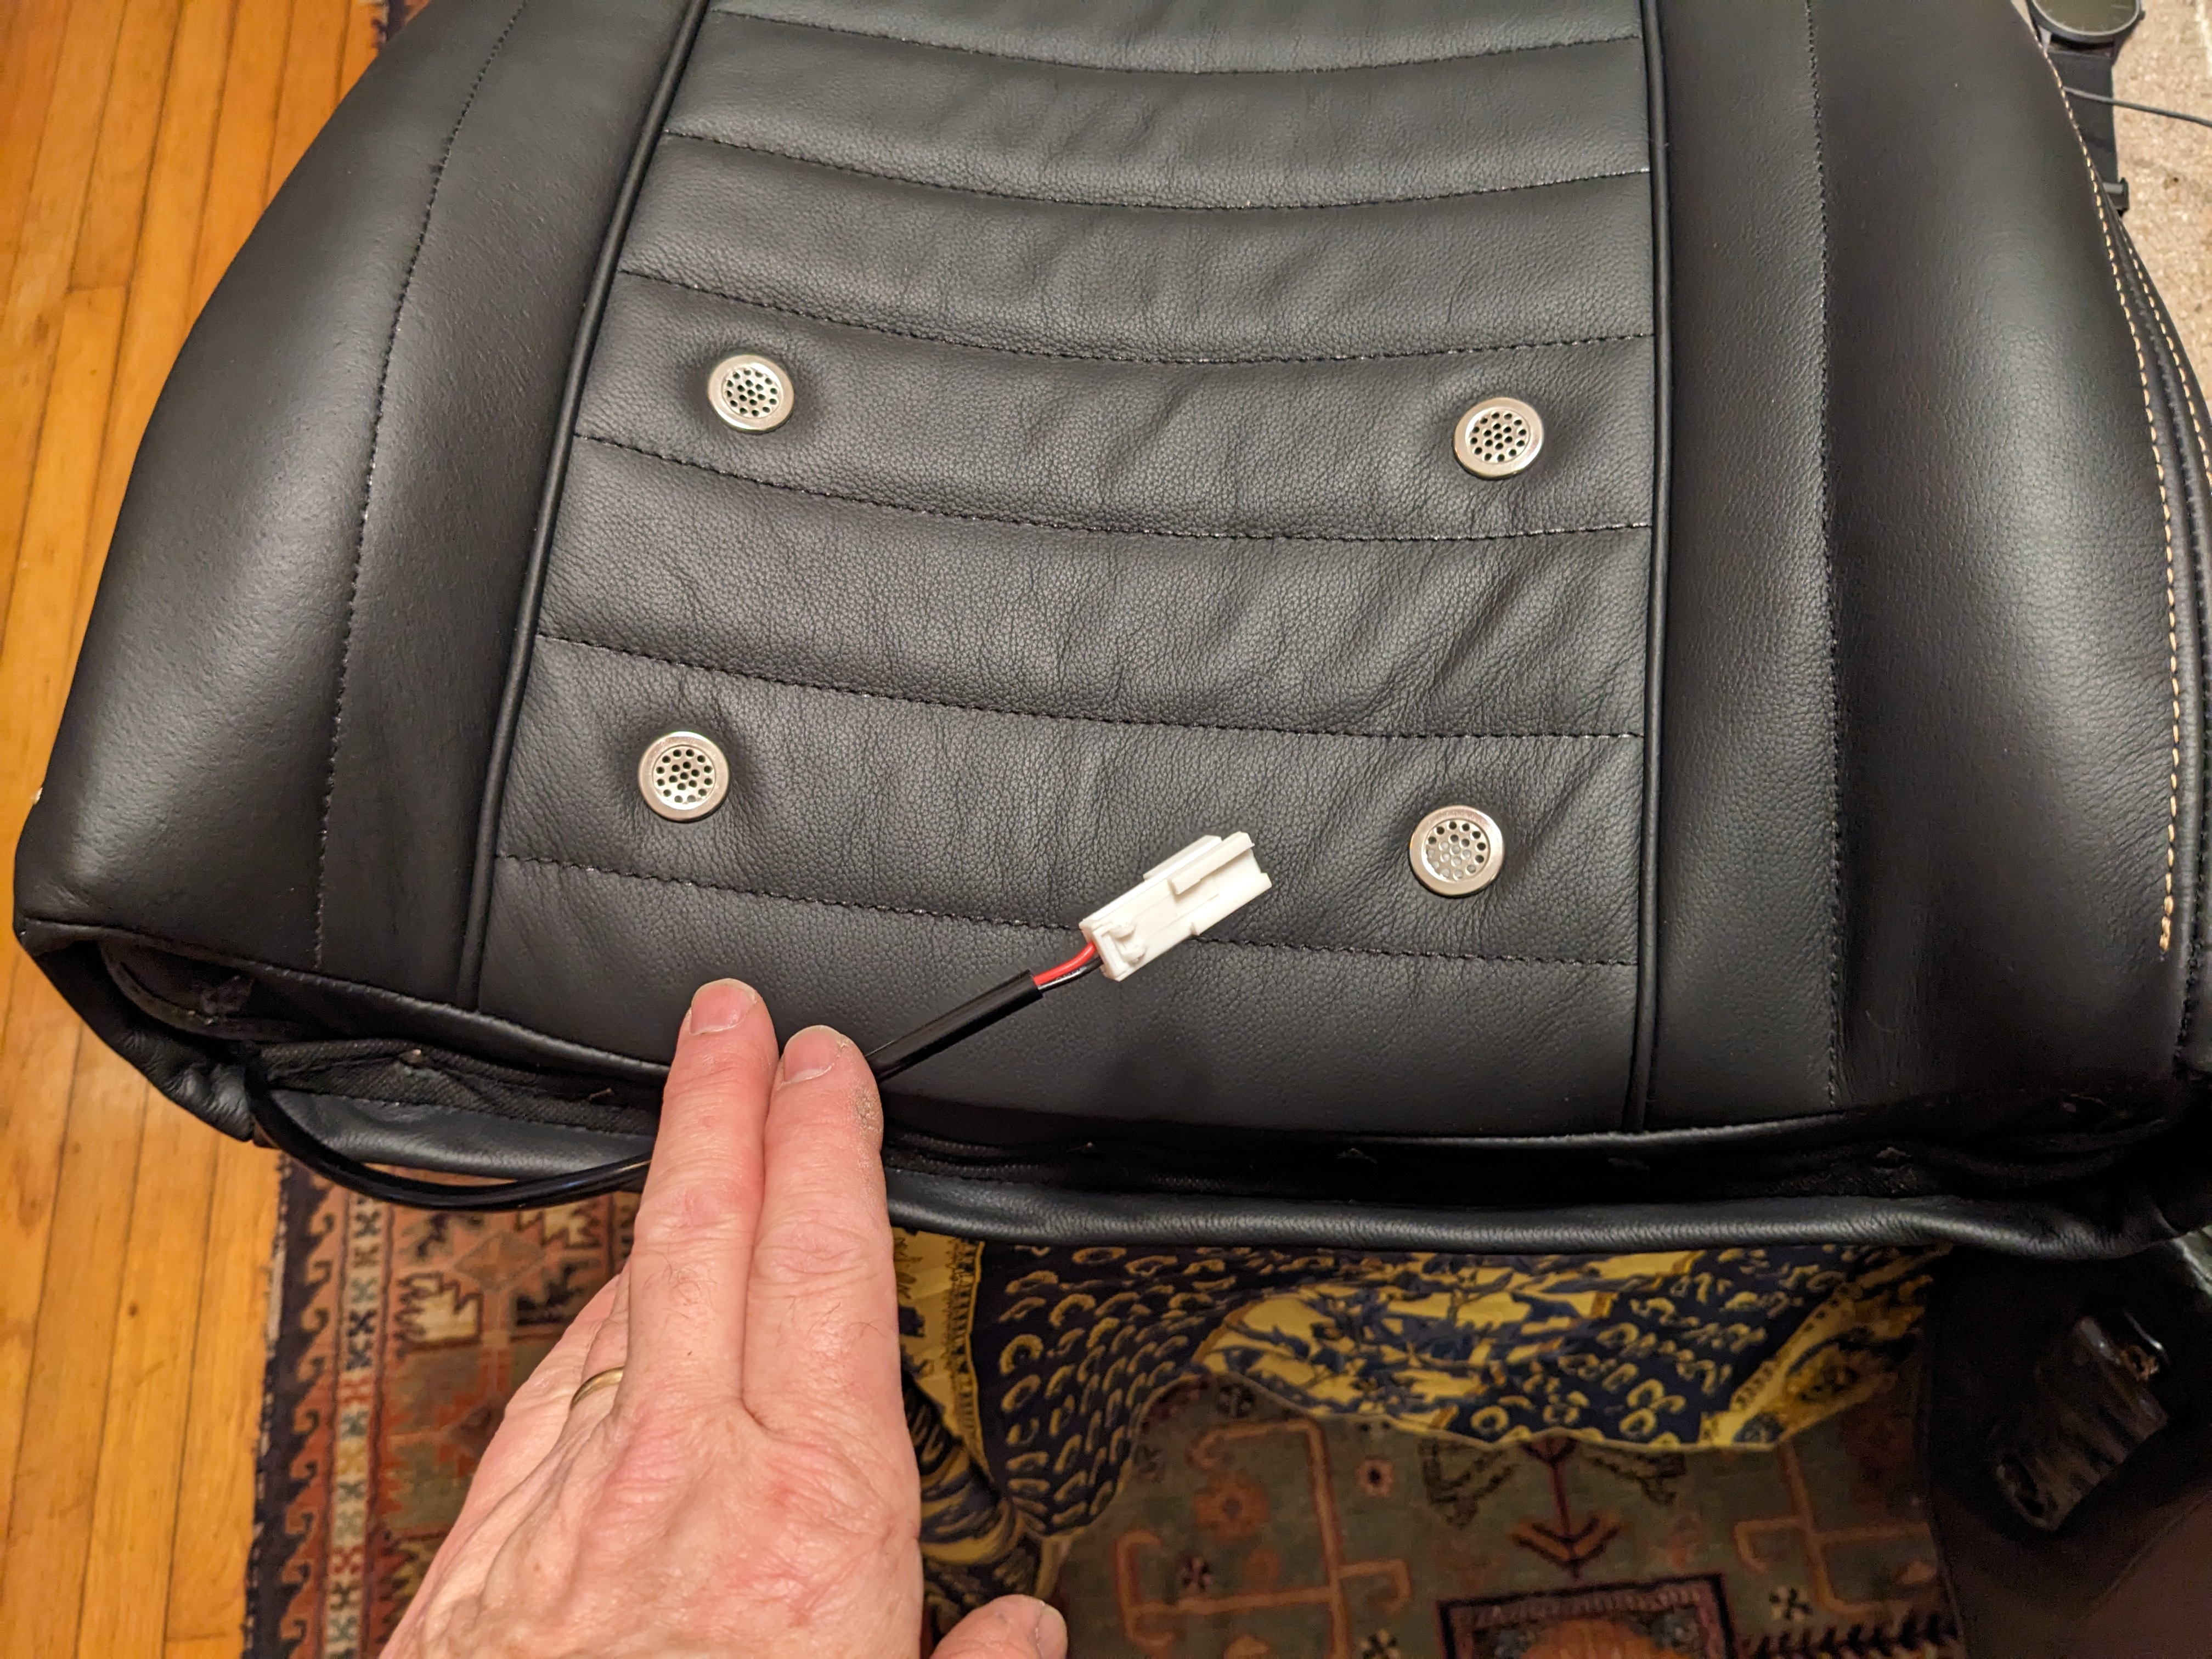
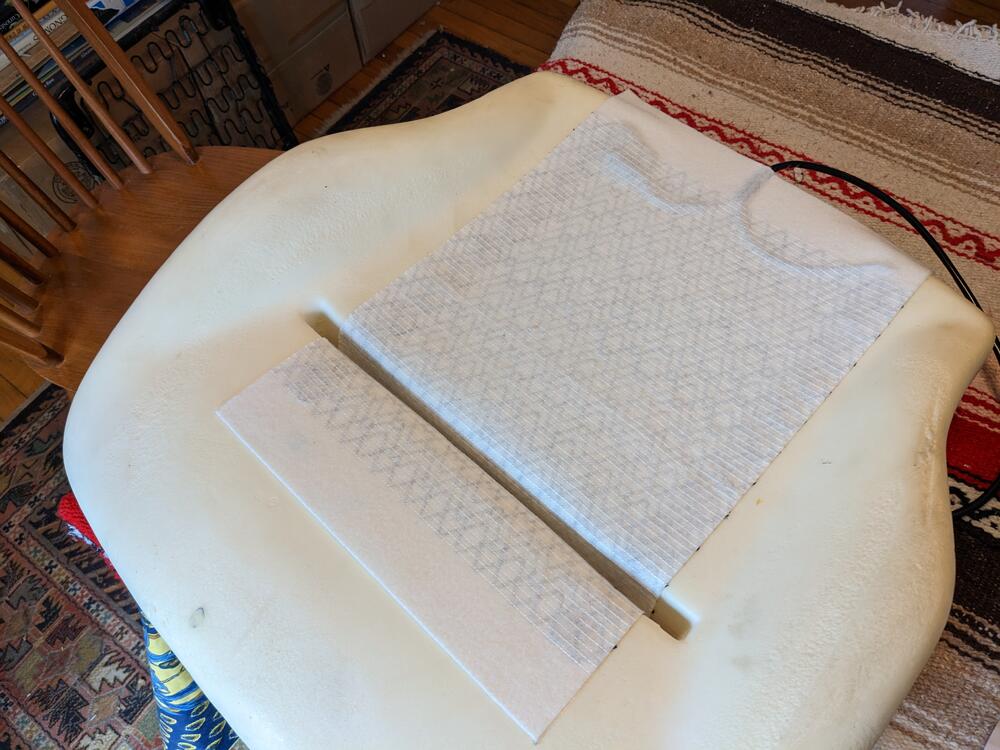
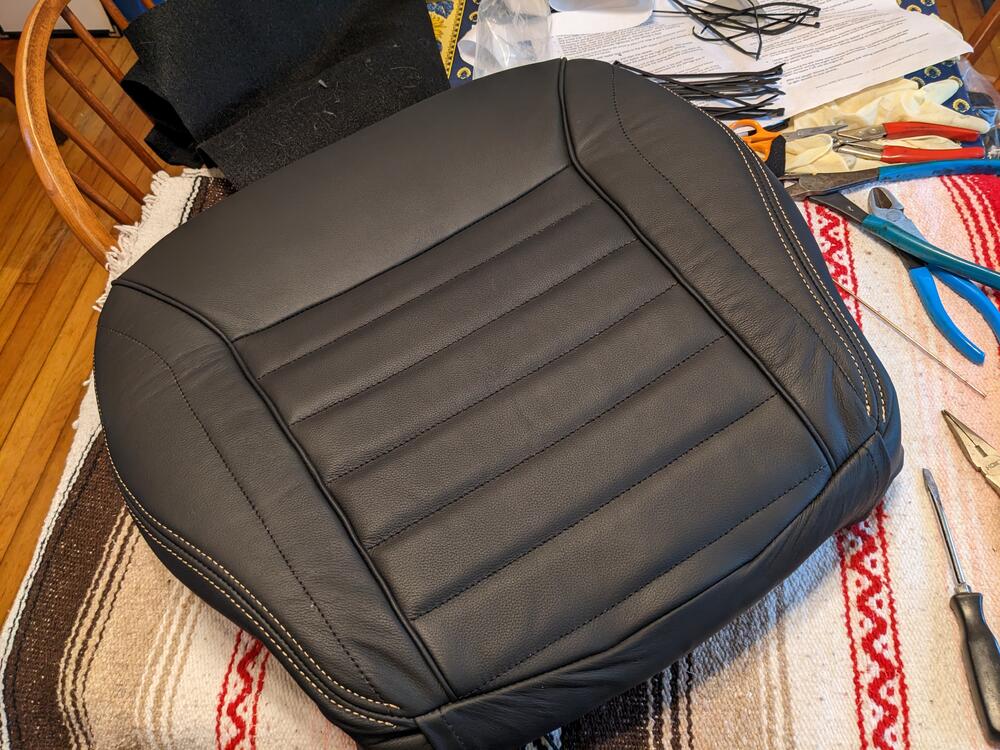
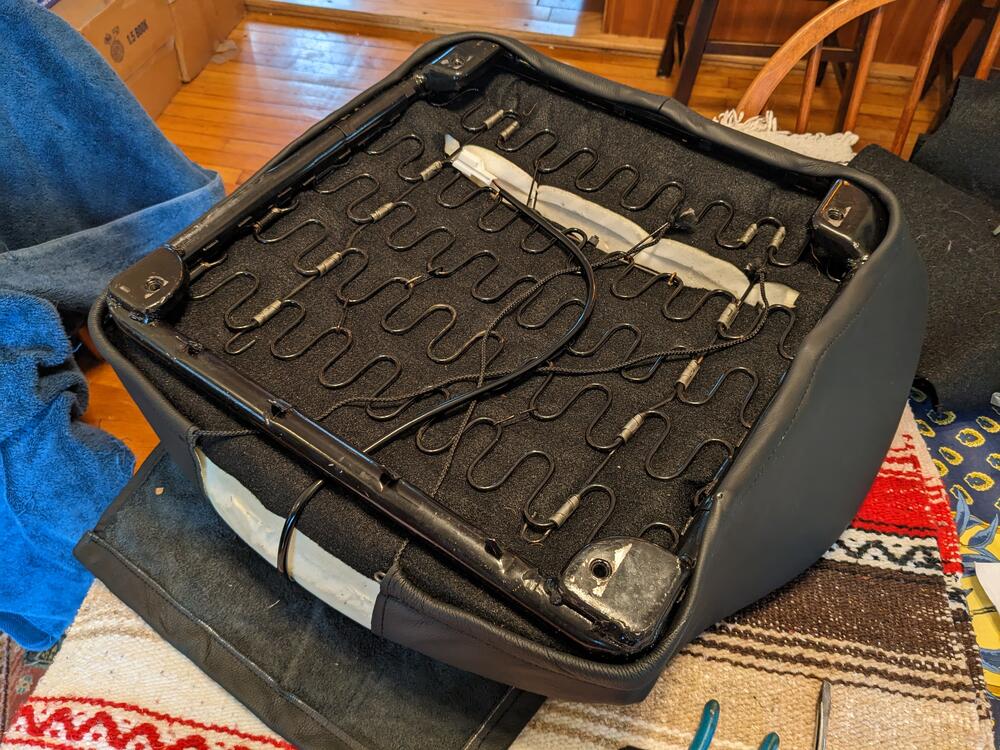
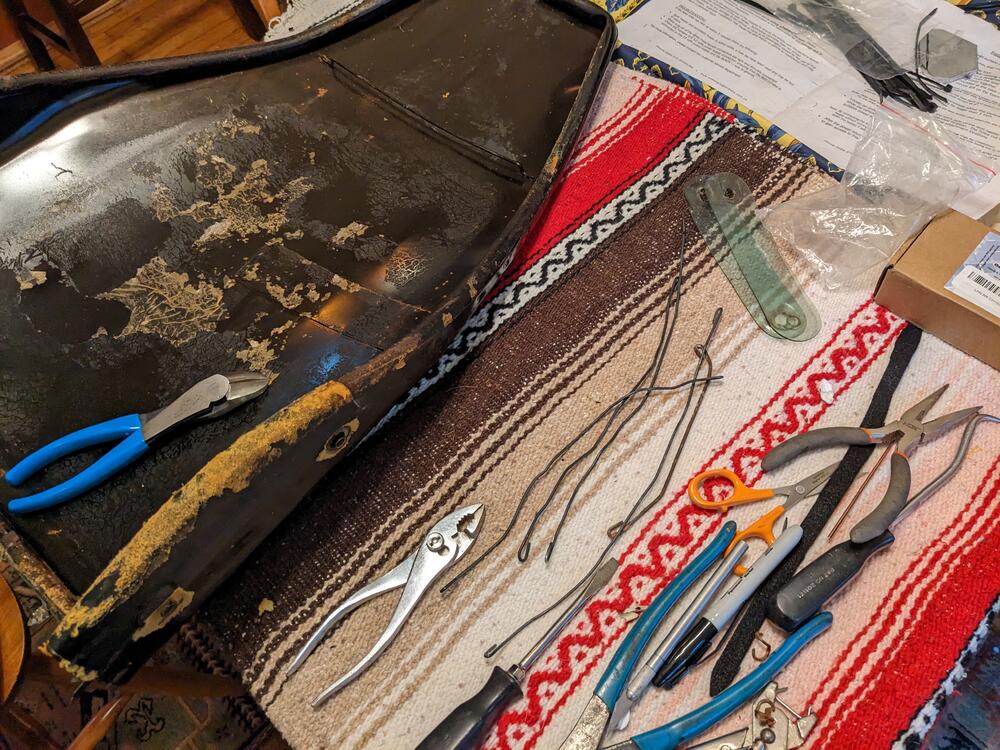
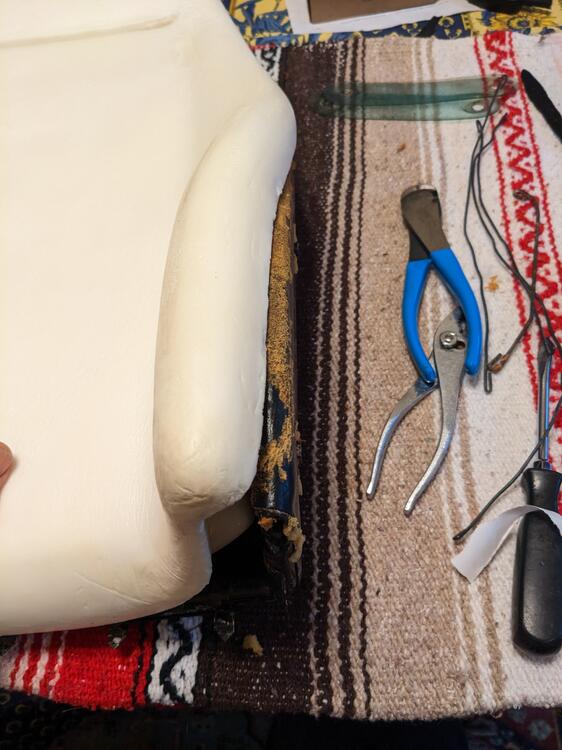
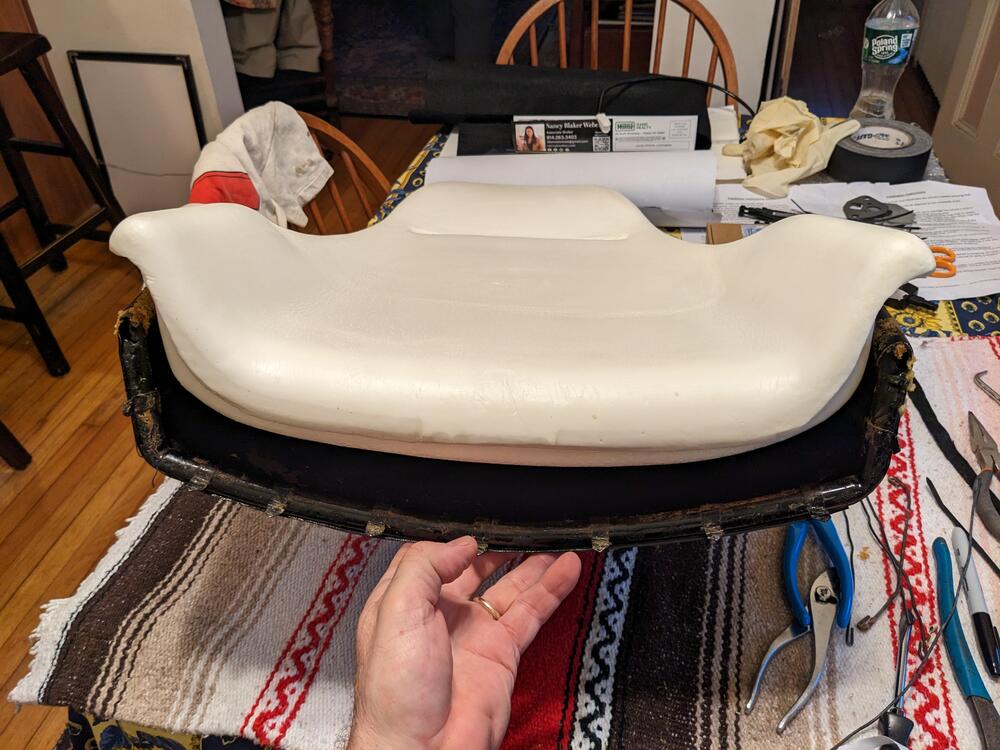
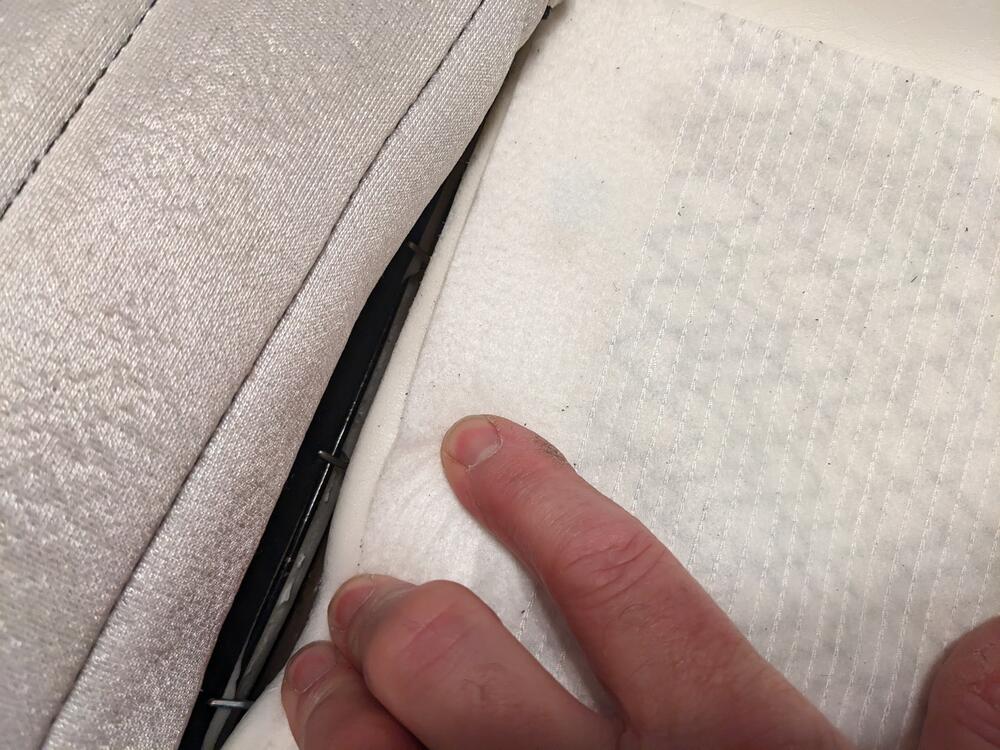
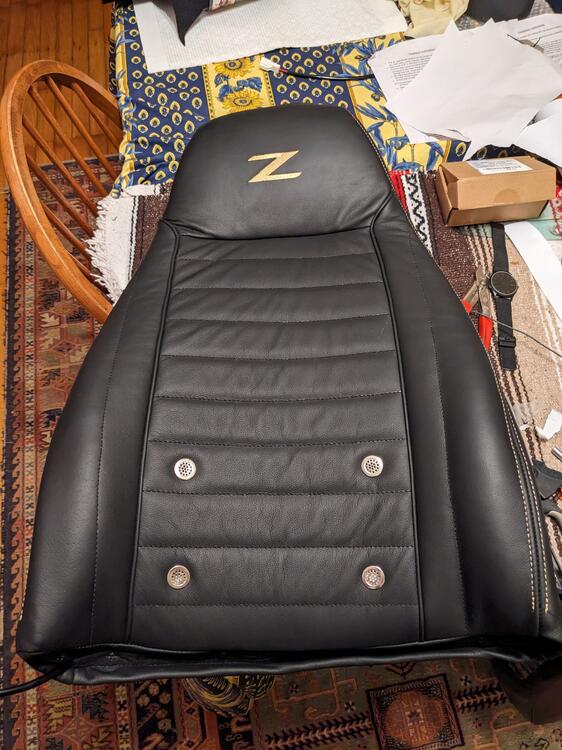
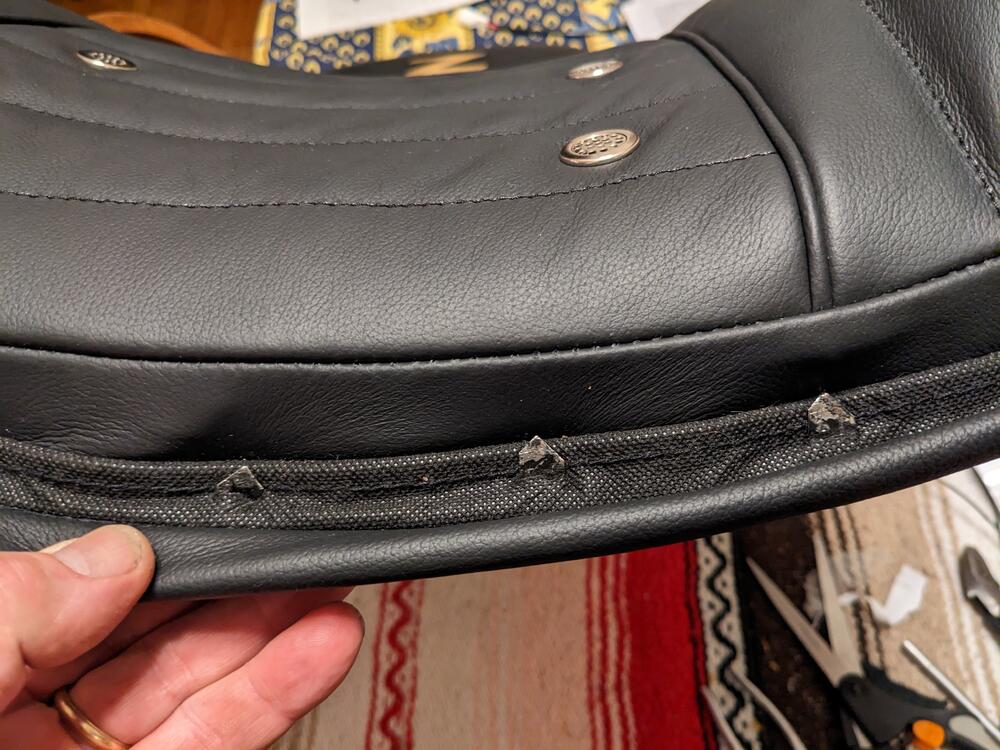
I bought the leather versions of their upholstery (off Amazon, included vents & "Z" embroidery without additional cost), and the new foam to go with. My original seats have 250K miles, so I figured safer to have the foam. There was much hay on the floor. I watched a coupe videos, just to get the gist of the Datsun construction. One guy used dozens of tie wraps(!). I'm familiar with Volvo & Honda (S2000) seats, many hog rings on those, so it was nice to see the way Datsun went about it. Anyway, took the seats out yesterday, and the carpets & under-matting. I have new carpet also, so I need to clean everything up, fix the heater valve coolant leak, then put the new carpeting in, so I can reinstall the seats. Added a reinforcing layer to the under-mats Made new cubby inserts, foam w/ vinyl layer glued removed the seat hinges & rails. Pass seat back upholstery was still good, but I don't want vinyl . Have to clean up the hinges & rails before they go back together. I'm missing the outer hinge covers on both sides. Foam comparsions - new one is thicker, doesn't need the hay layer transfer perimeter wire from originals Started raining, so I moved indoors. Adding seat heaters while I'm at it. Used tie wraps to add in pulling the upholstery flap through to the wire frame Layer of felt to protect the foam Frame wedged in place, upholstery tangs pressed into leather seam, forward flap hog-ringed in place, rear flap not yet attached Fit seems OK Stripped the driver's seat back The upright foam doesn't seem to fit as well, however once the upholstery was on, it seems OK Pulled upholstery over the head rest portion & install 3 hog rings took a couple tries to get the cover reasonably aligned, still a little off center forward cover stretched over tangs, then rear lip seat heater wire brought out near the hinge


-
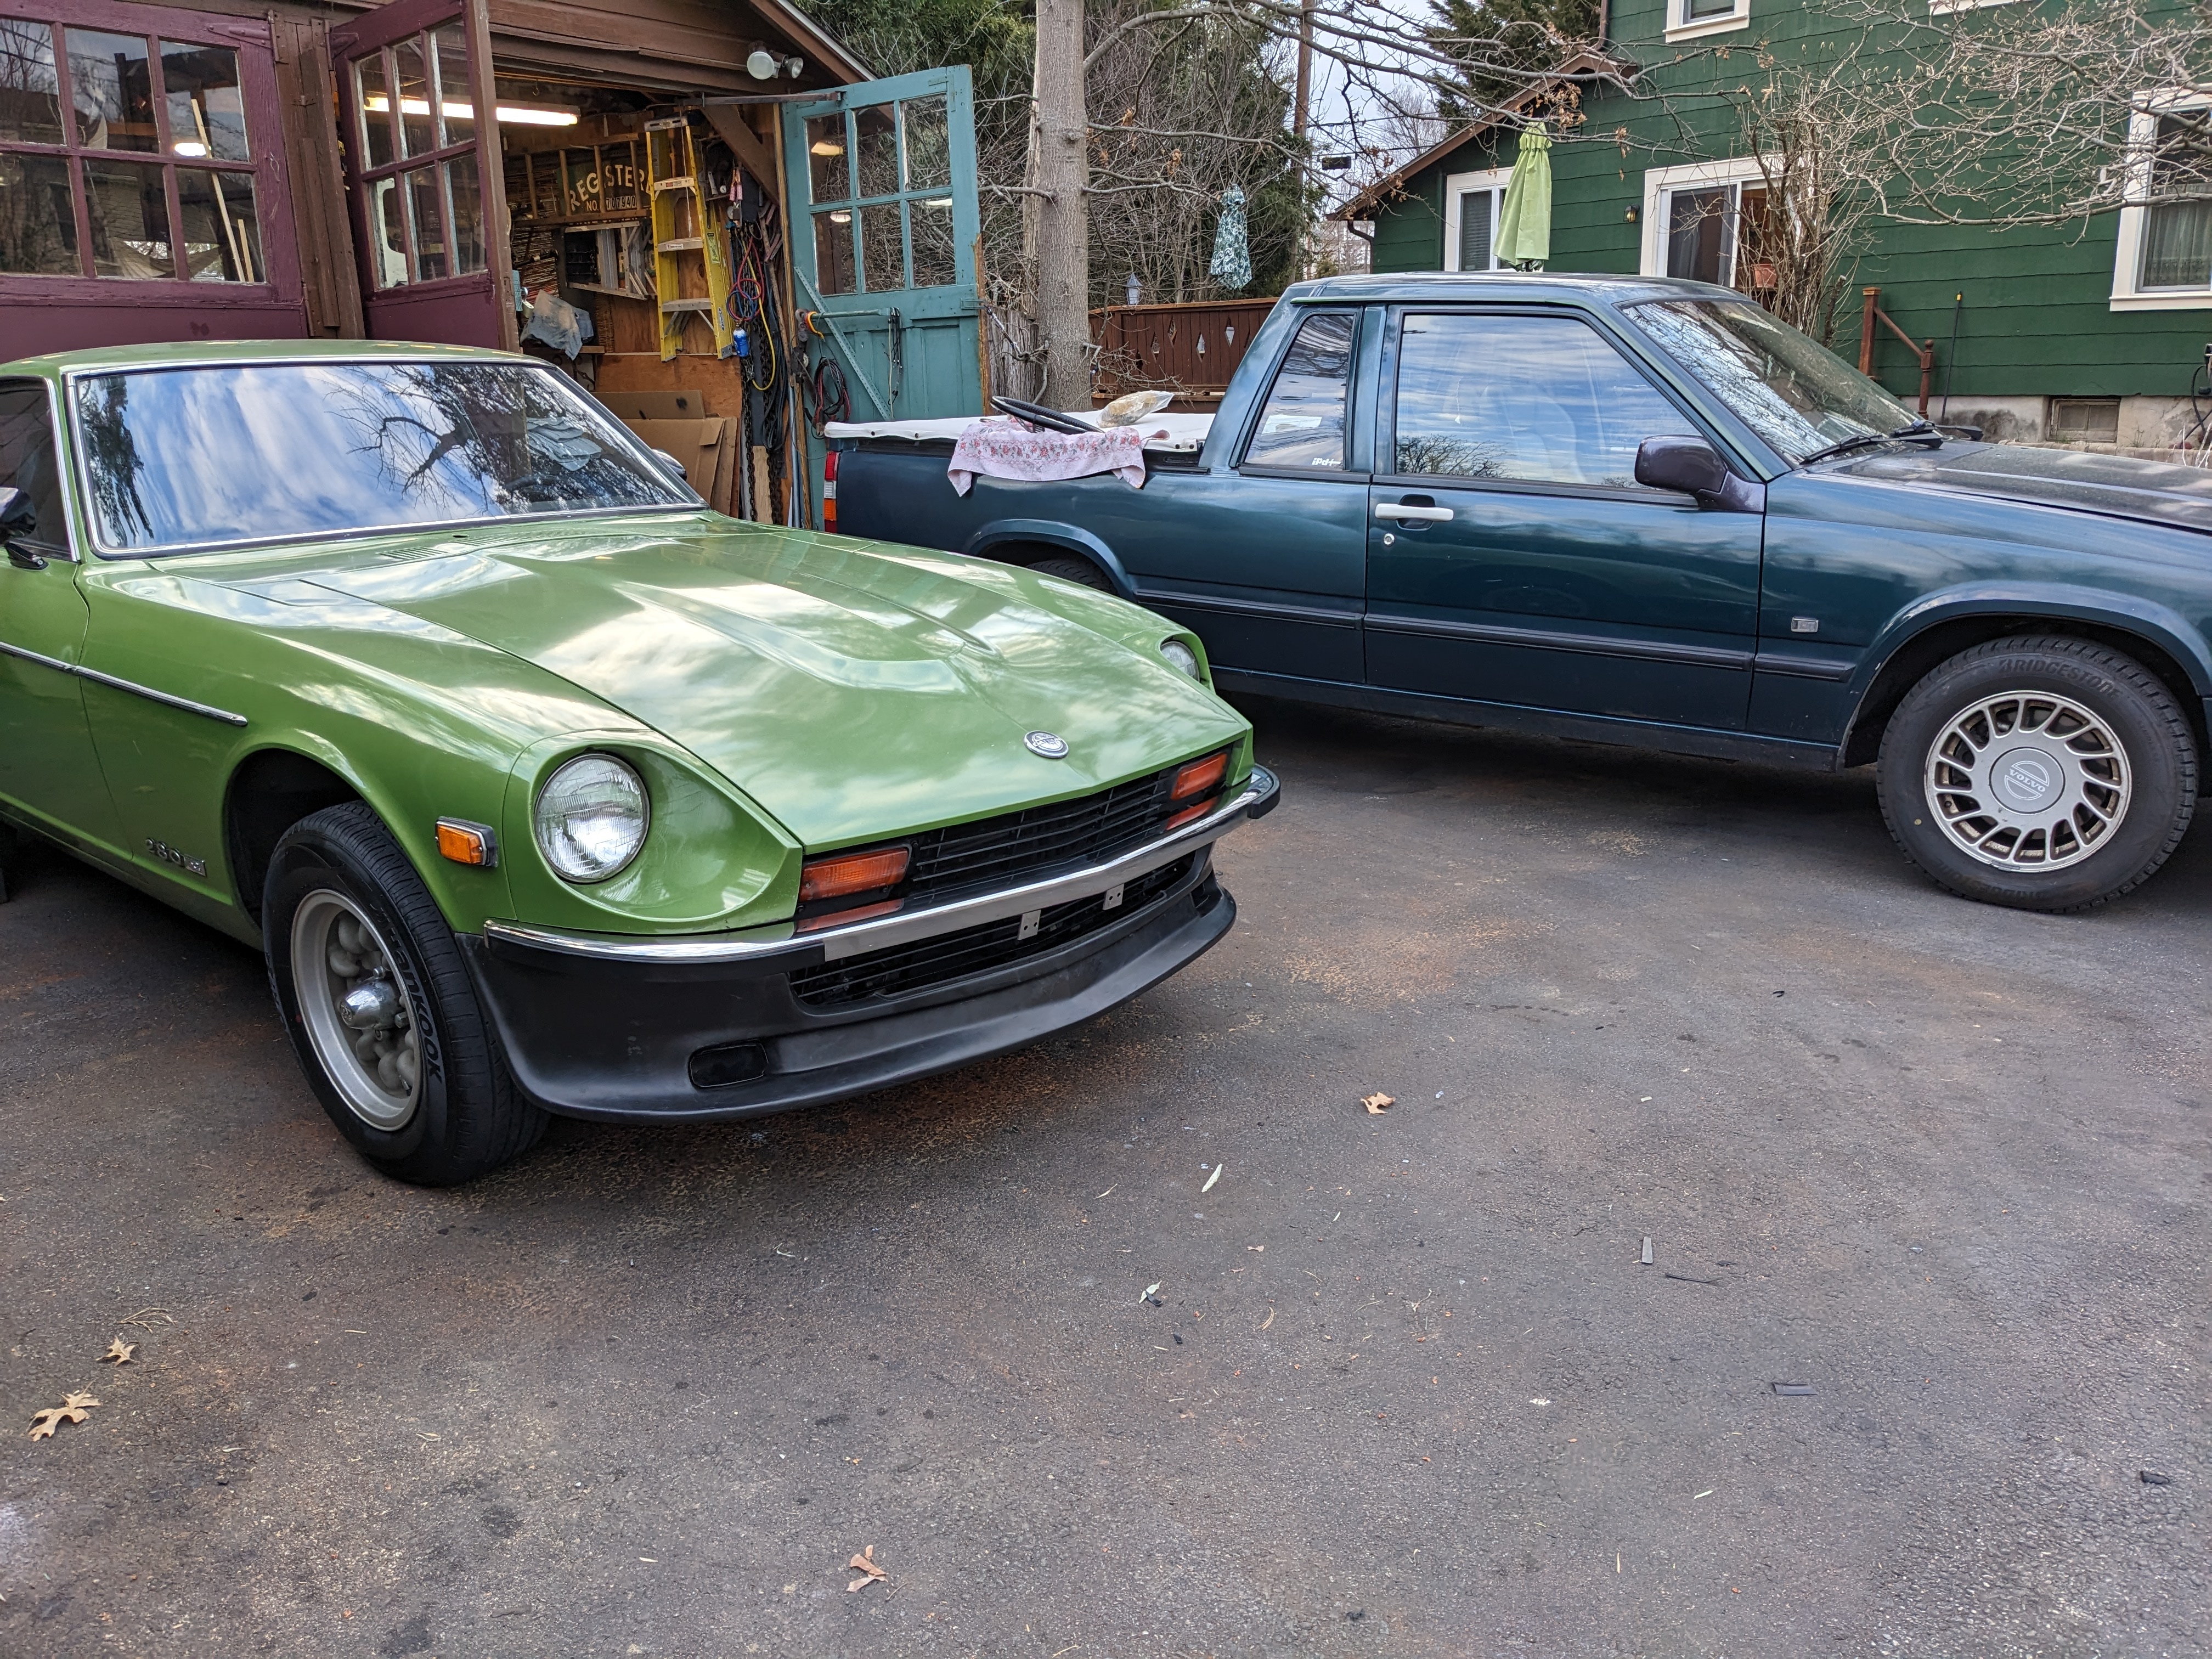
Looking at one of their dashes for my 75 280Z. I haven't had any luck with messaging off the website, or with FB messenger. I found the phone number in this thread, so I've tried texting. See what happens.
-
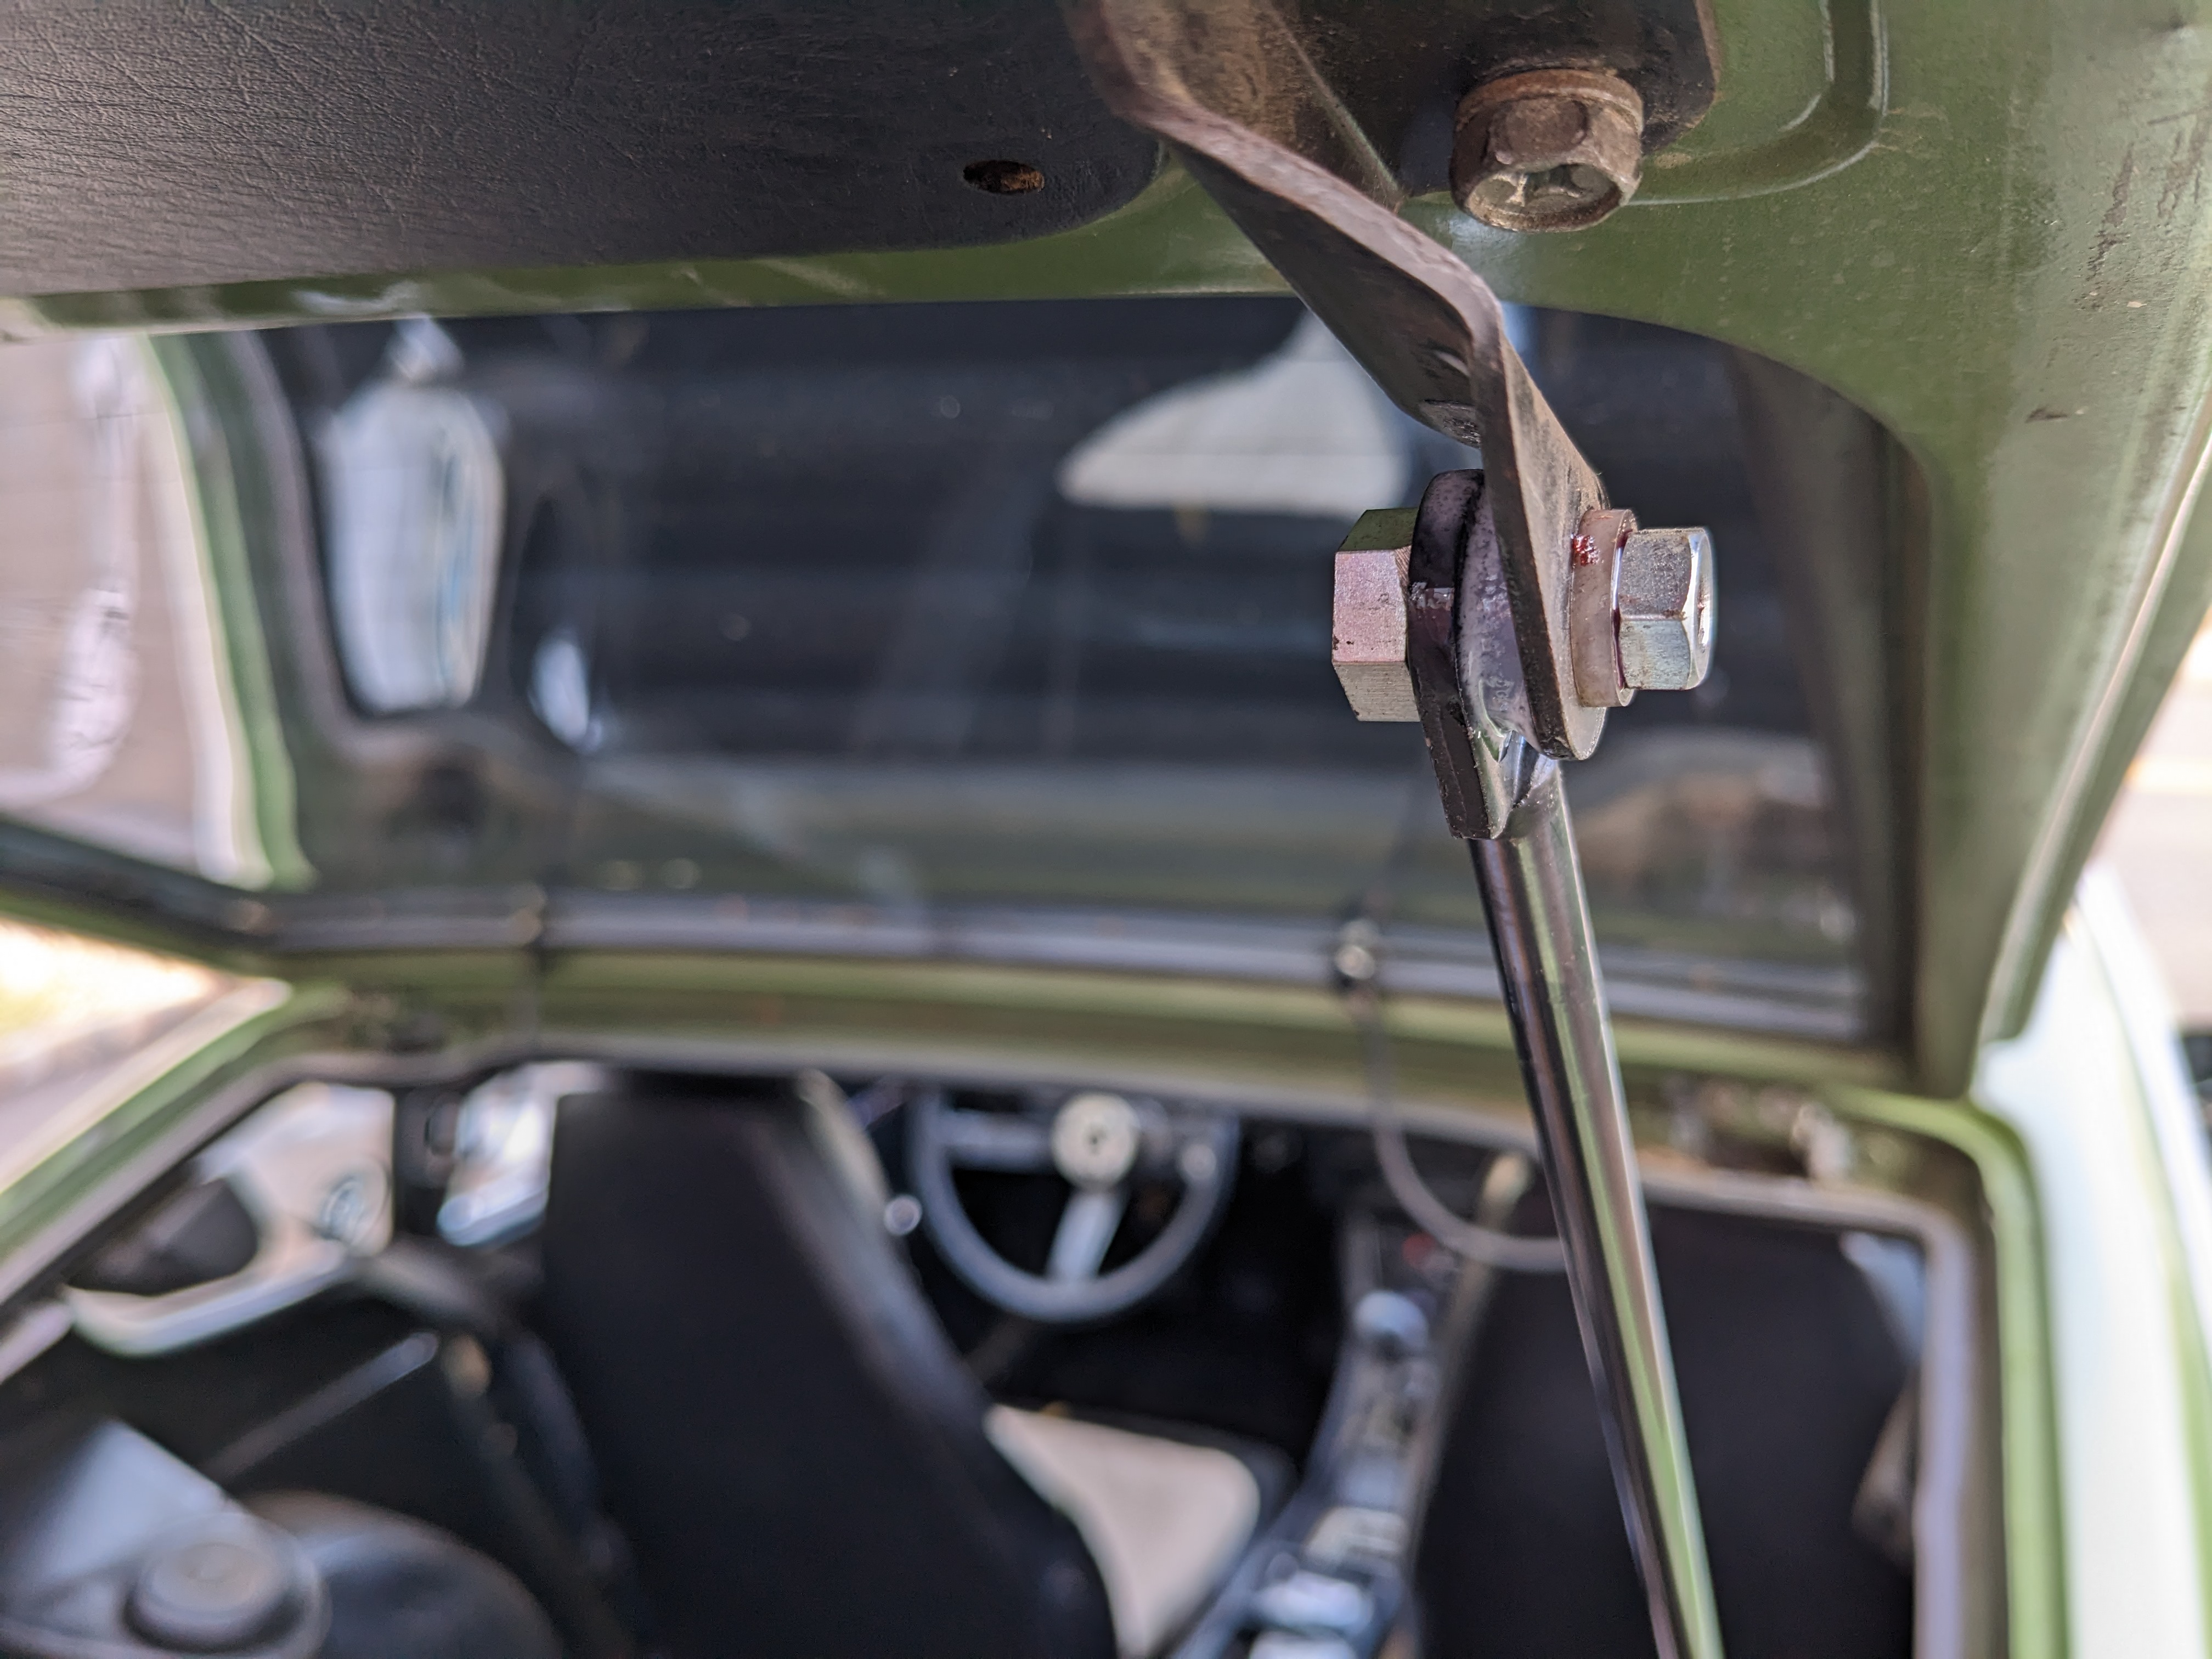
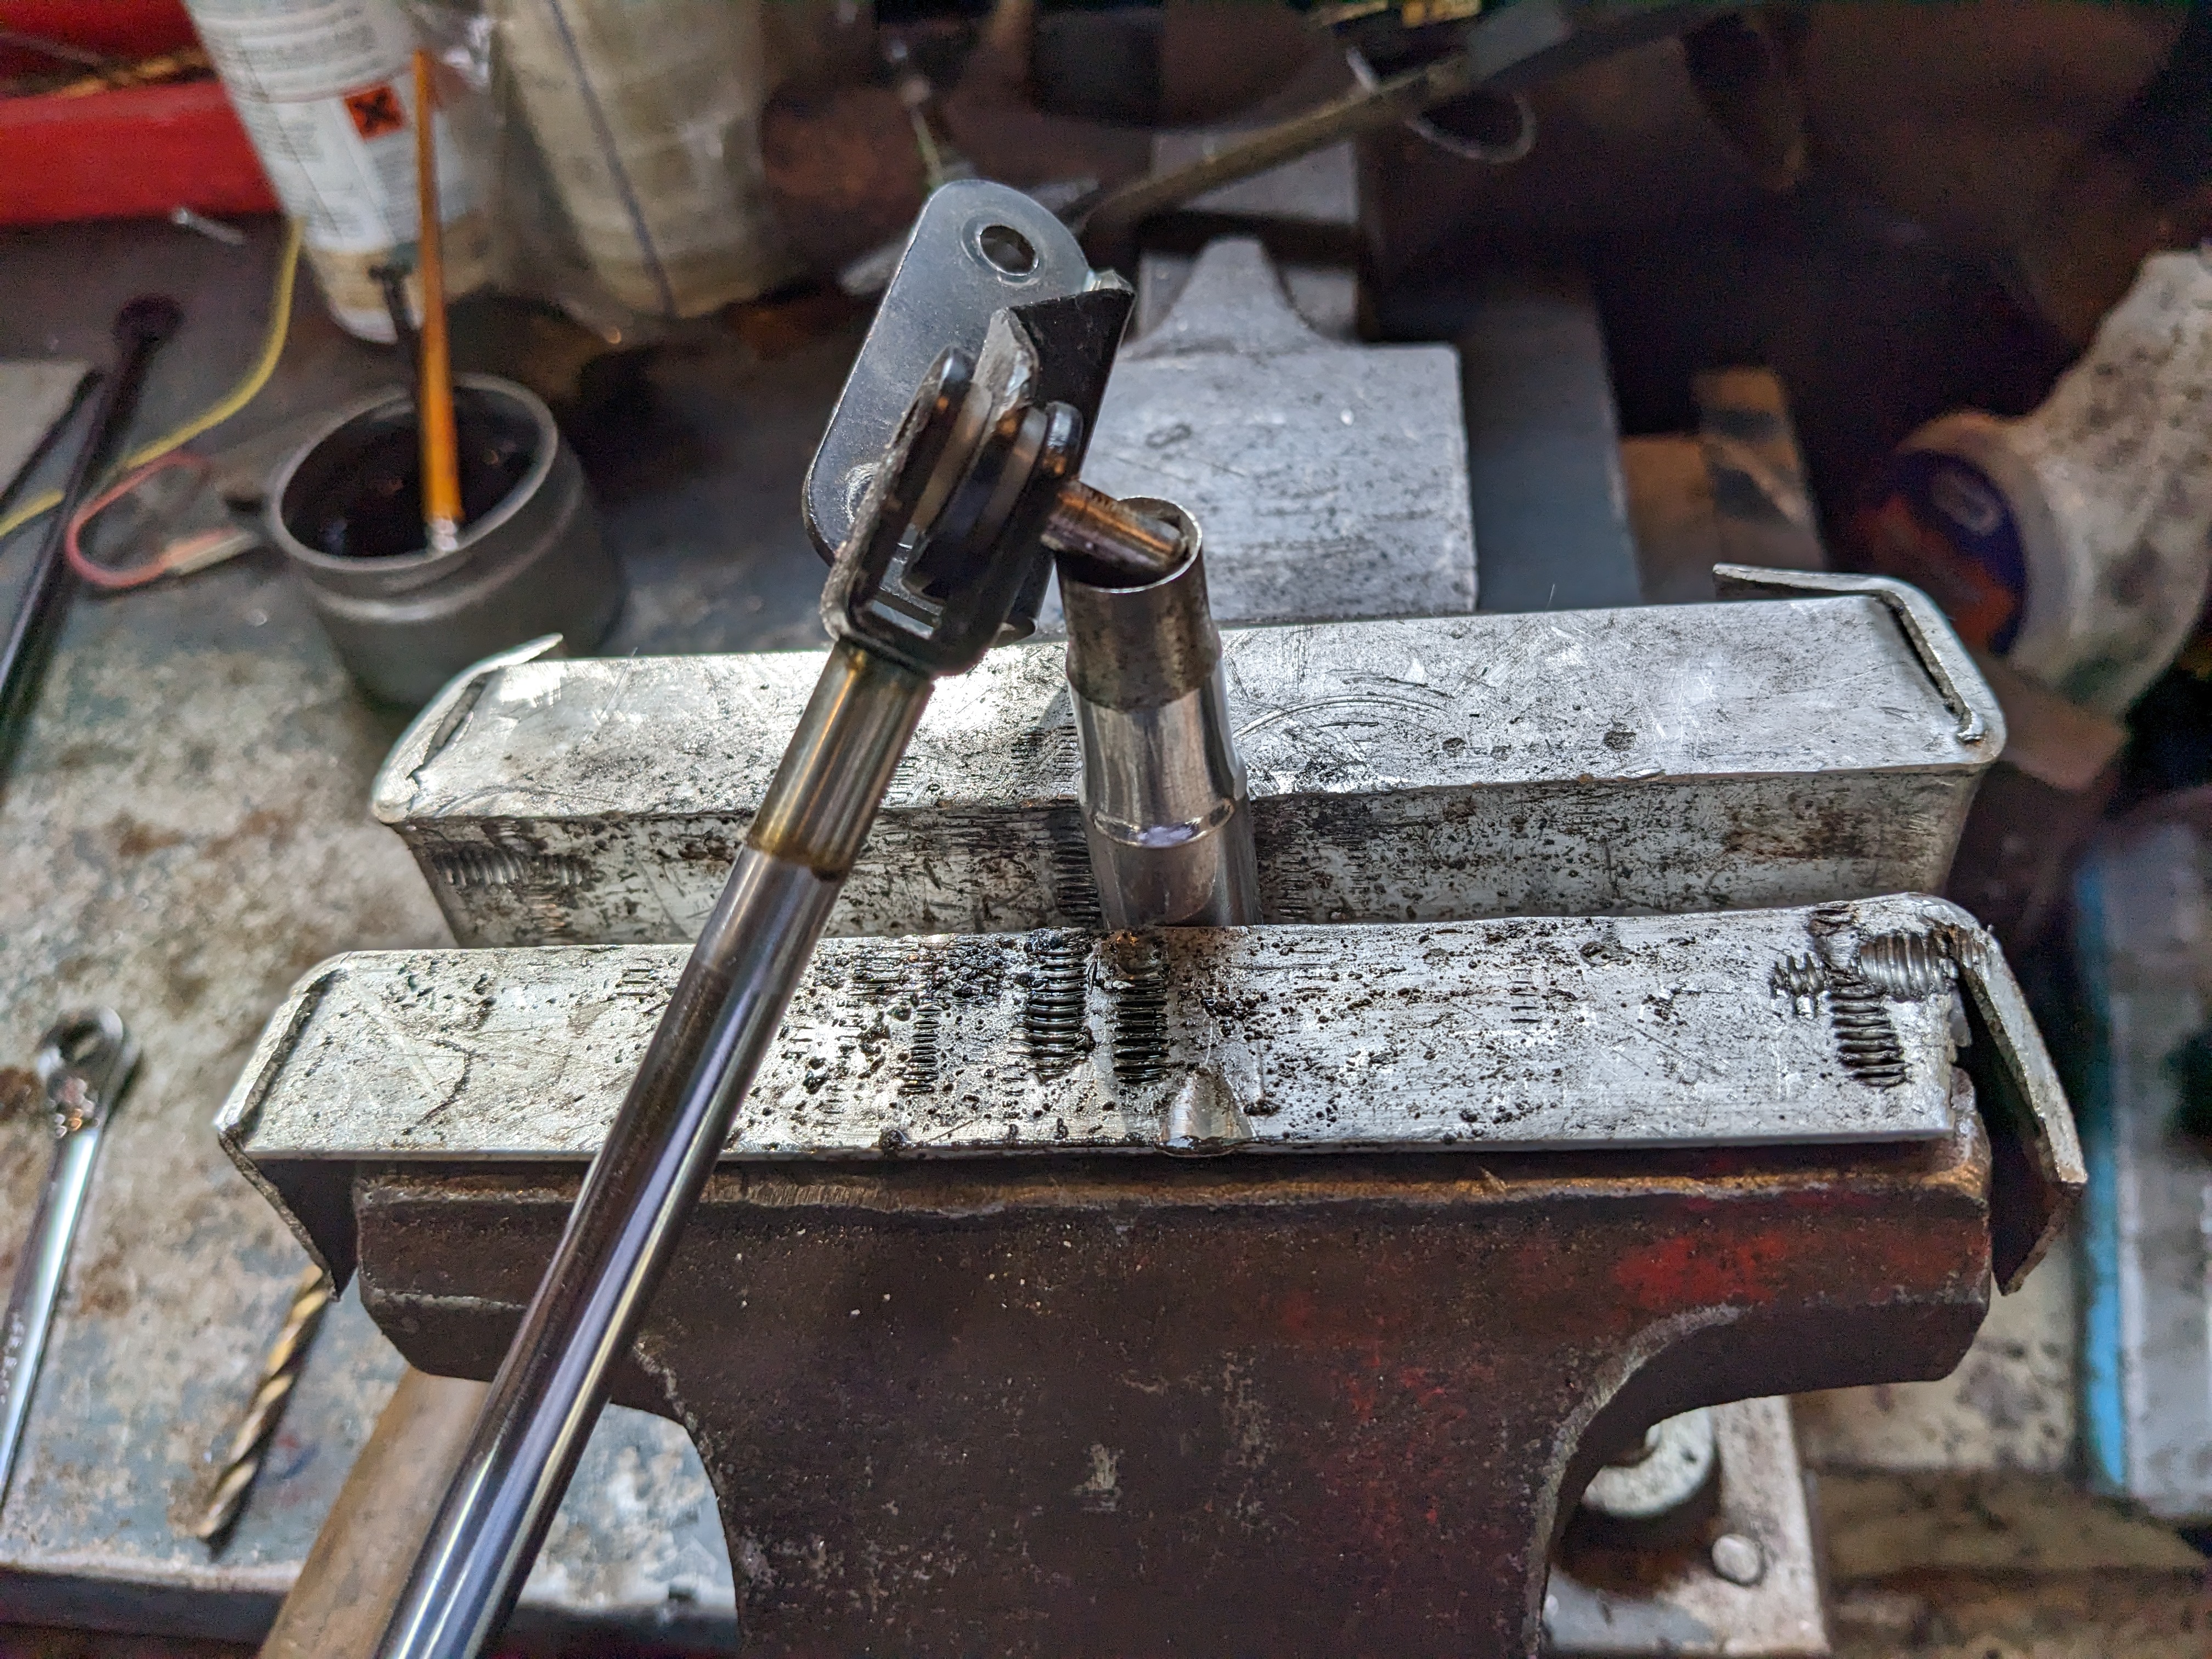
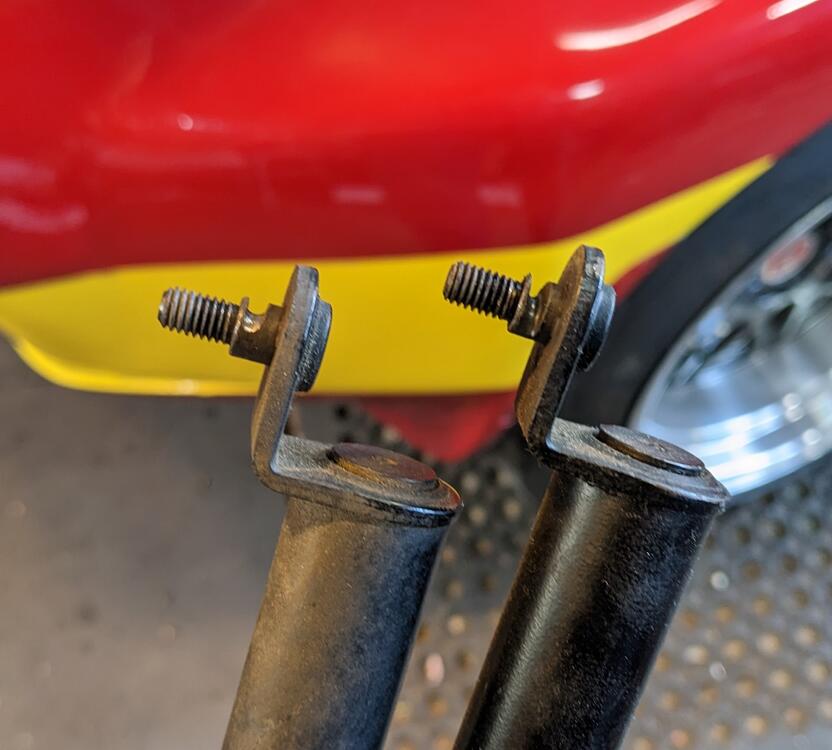
removed rear bracket from the old struts just a little wear on the body side pivot I reused one old bushing on each end of each strut Even with the hatch blind, it now lifts itself once it's lifted about 8-10" off the catch


-
Just curious if they ever resolved the cover issue, and how you dealt with gluing it to the old dash. I'm considering buying a new repro dash, just because trying to repair an original dash is always going to end up less than stellar, IMO. I'm not thrilled about spending that much on a dash, however one has to look at it all the time. It's like having a vinyl steering wheel, it just feels wrong.
-
STB 3B-250273 Comes with all these bits... It's raining, so I can't look at installing mine until tomorrow

-
So it's pretty much self evident when you look at the accessory bits that come with the strut? I didn't know they came with any adaptors
-
Thank you - I'll check it out. EDIT - I saw a recent one with the control head, is that what you meant? I didn't see a more detailed one scrolling through your video library I'll do that. I tried to take a pic yesterday, but I didn't have sufficient lighting.
-
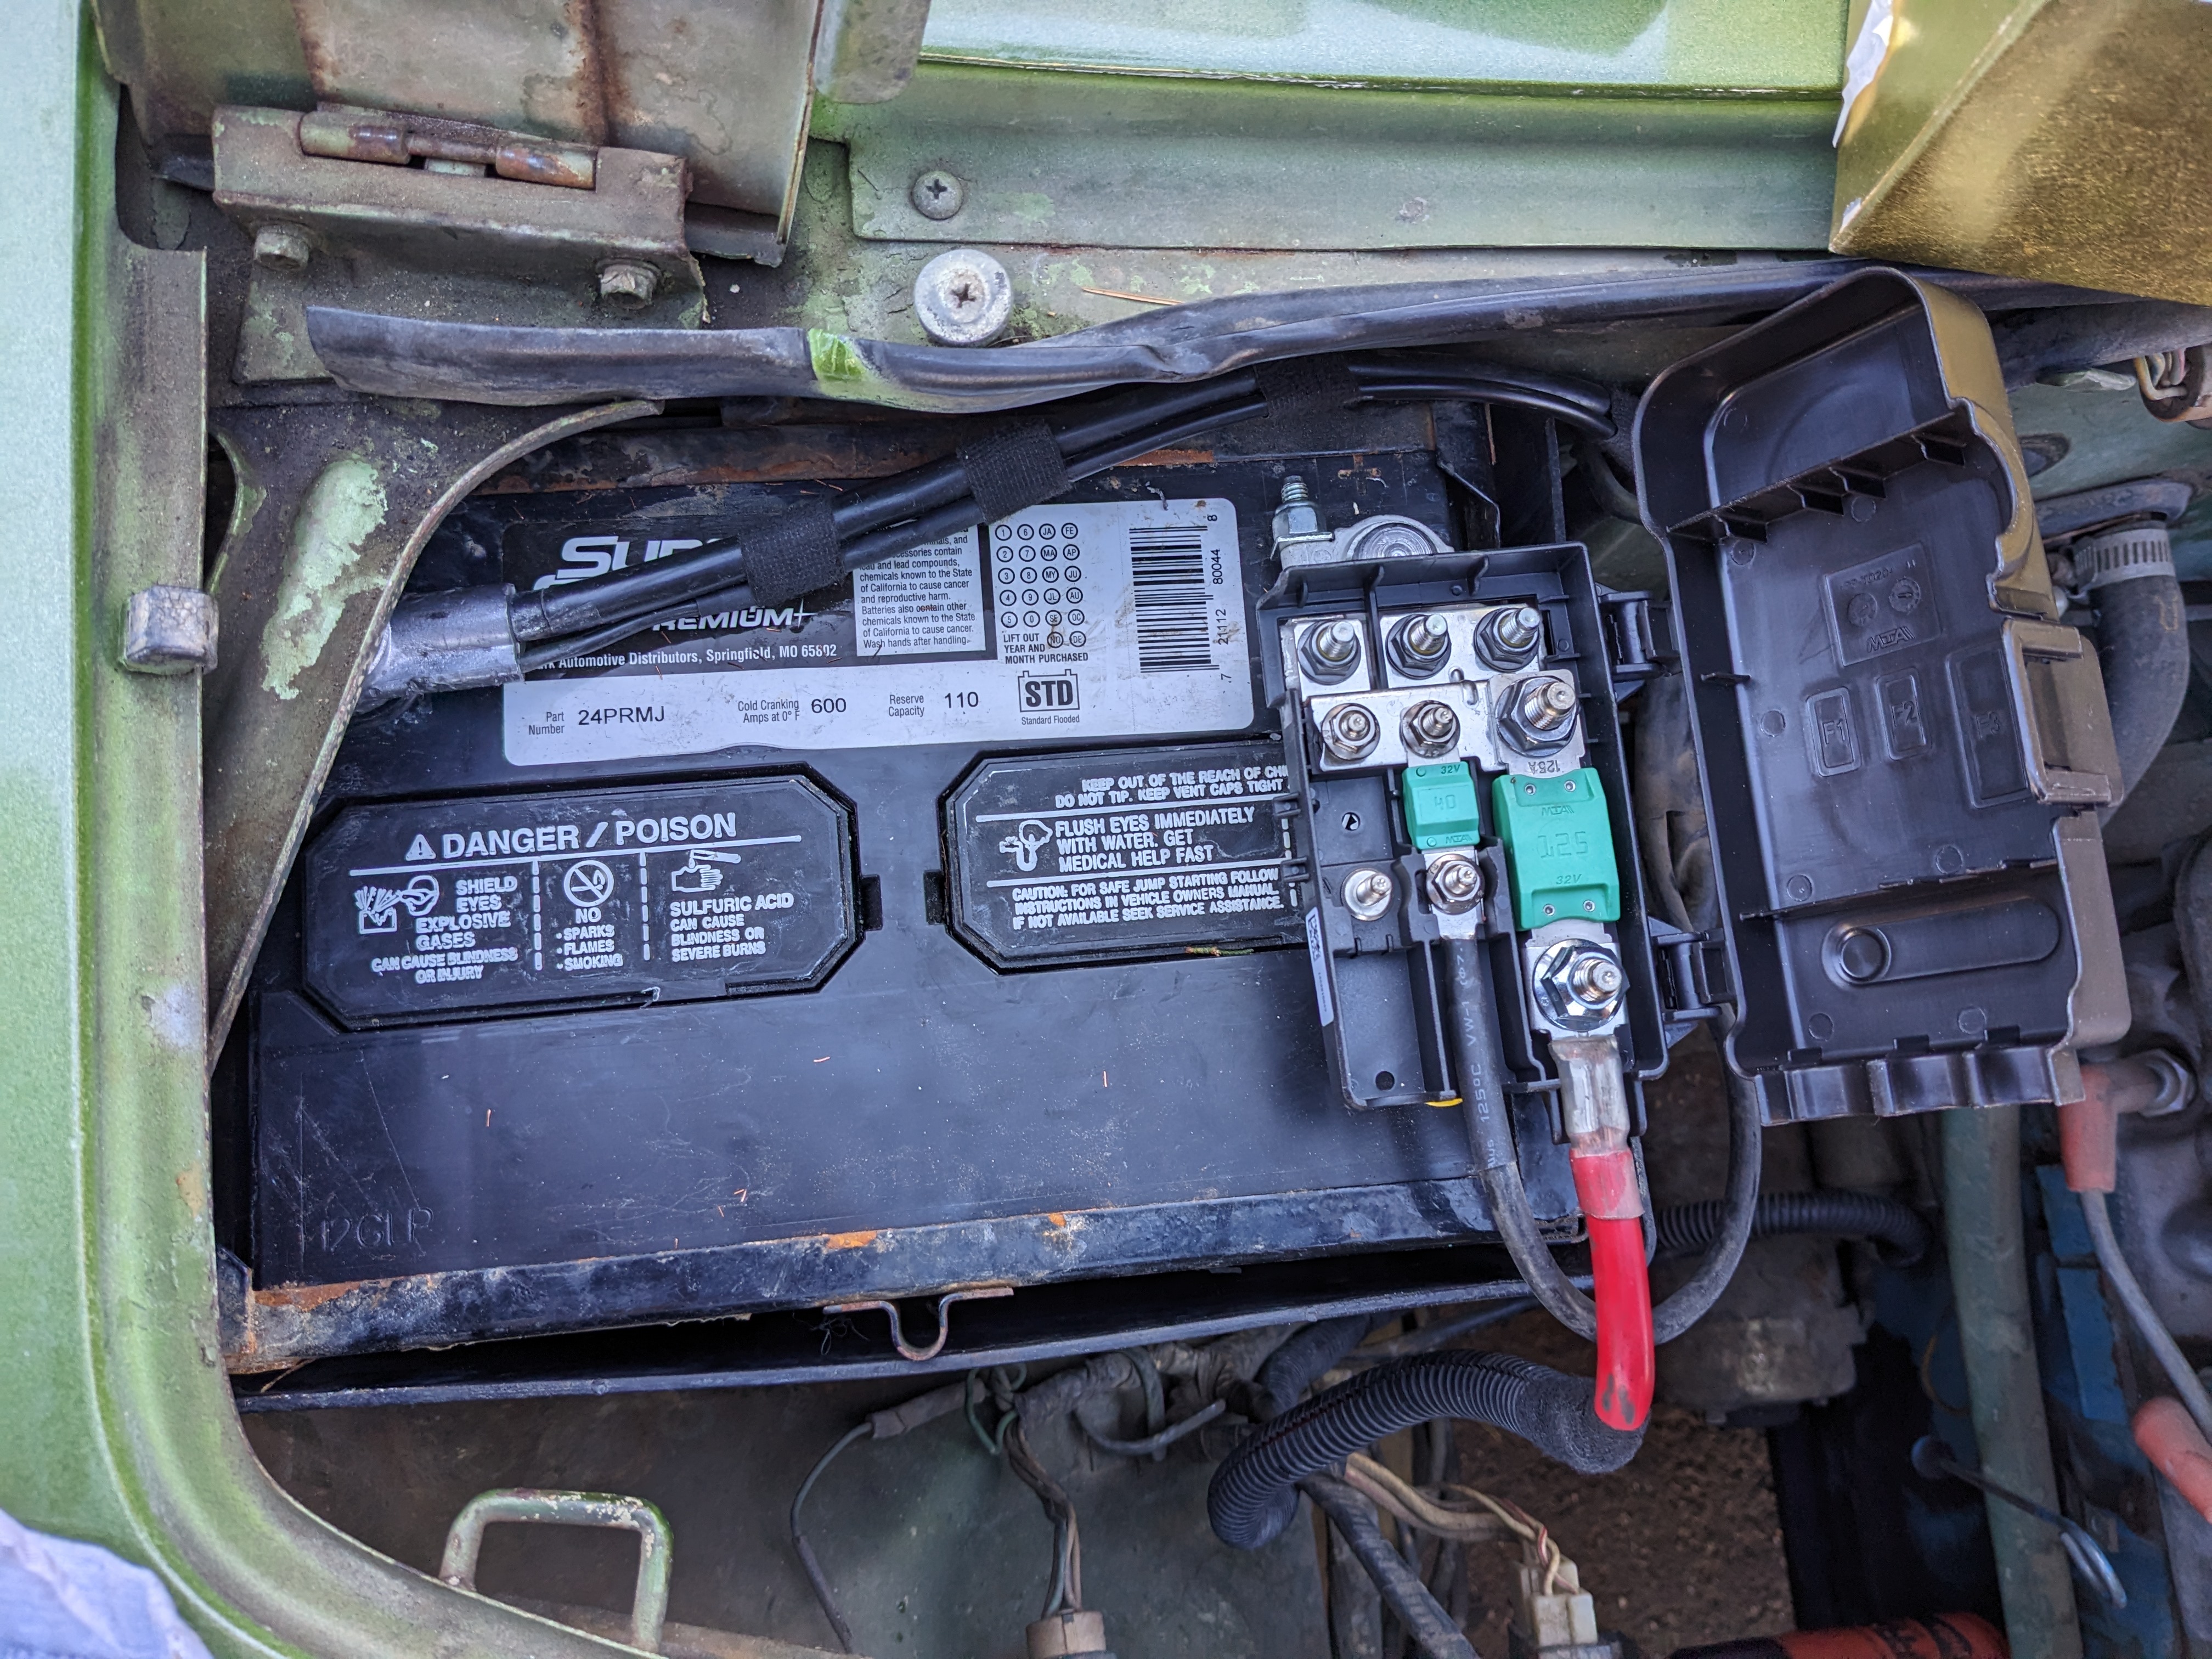
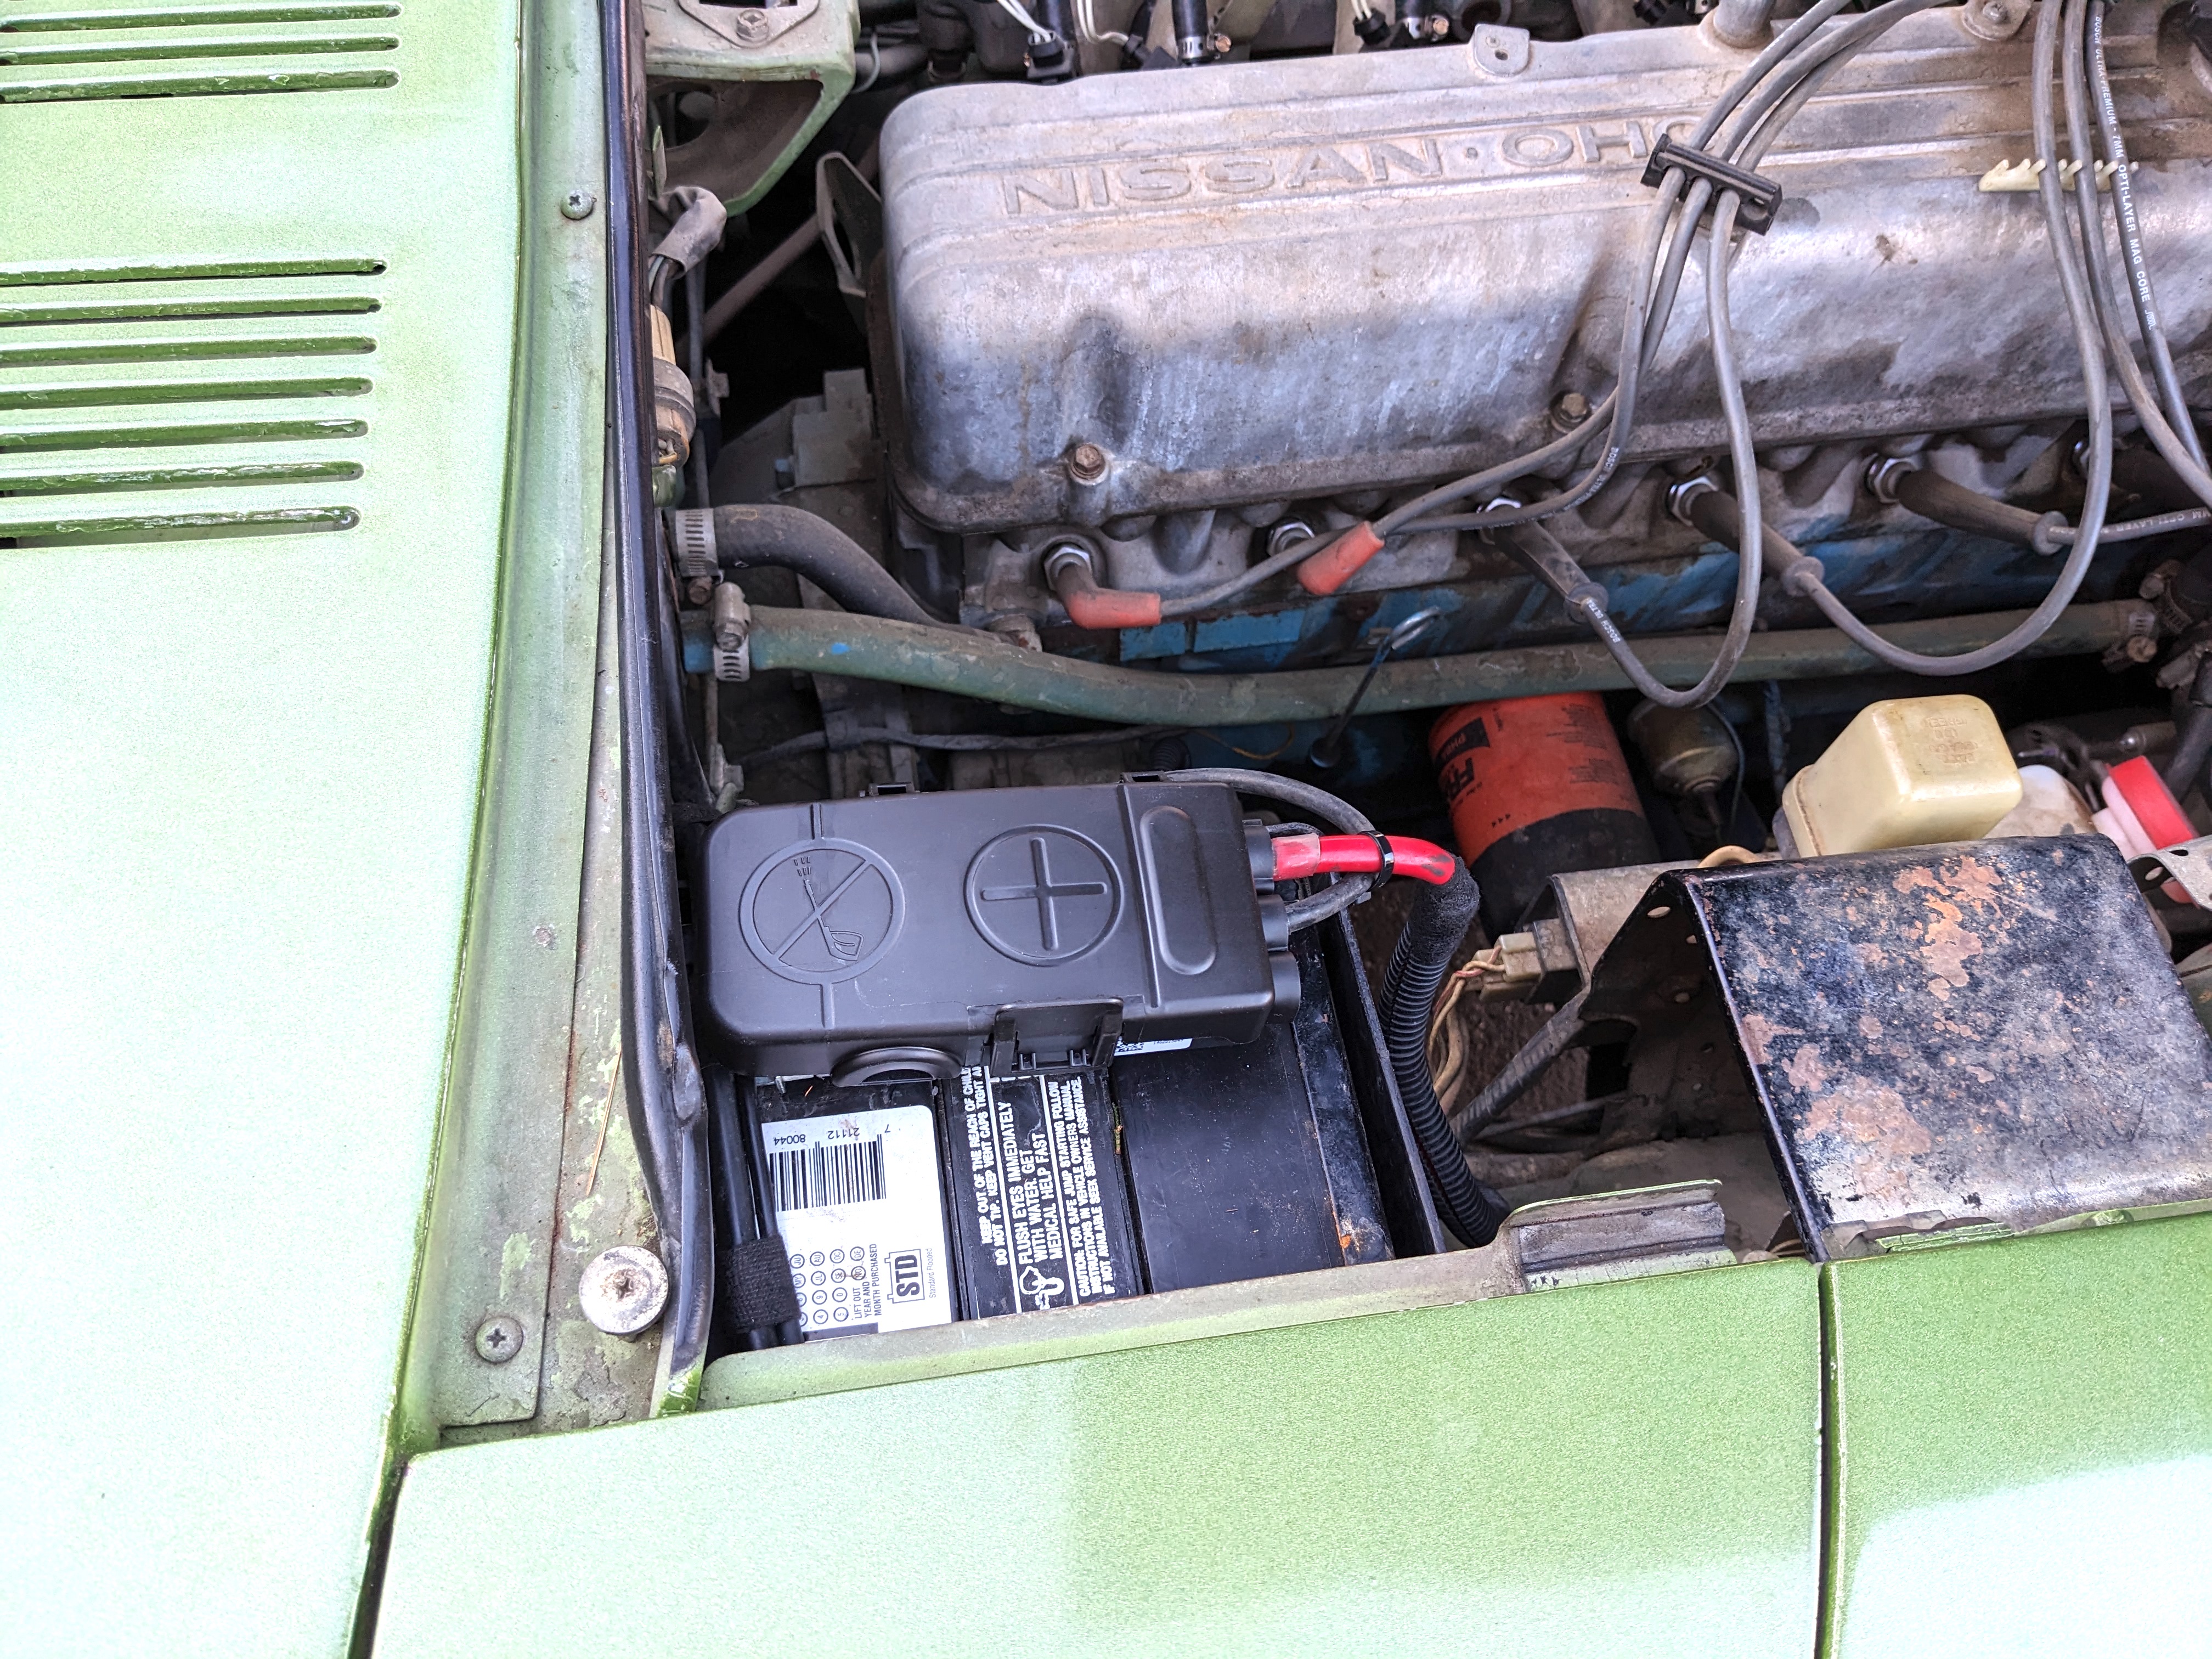
Is this new valve in your post the 4 seasons part, or an OEM valve? I'm assuming OEM, since it has the I/O tubes? My 75 280Z has AC, but looking up under the dash, I don't see the bulkhead valve, only a heater valve. All the lAC lines look 'universal" with the hose clamp fittings, not crimped lines, so mine is perhaps a dealer installed version? Maybe that's why he said the AC never really worked, because there is no positive heat shut off? This leads to another question - if the dealer kit differs from factory, would that mean the control head also has no vacuum switching? If I add the positive shut off valve, I will need a switched vacuum source to activate it...
-
The caster rods? They are buggered along with every bushing. I can take the right front wheel & move it fore/aft about 6 inches(!) The control arm bushing is GONE. The left wheel bearing is toast... I bought a full poly bushing kit for the car, along with the OEM diff mount. Also new Eibach springs, KYB struts & balljoints. I didn't buy any rack related parts yet, besides the mounts. I found both boots are gone. The rack itself seems to be OK, I do need to recheck the tie rods.
-
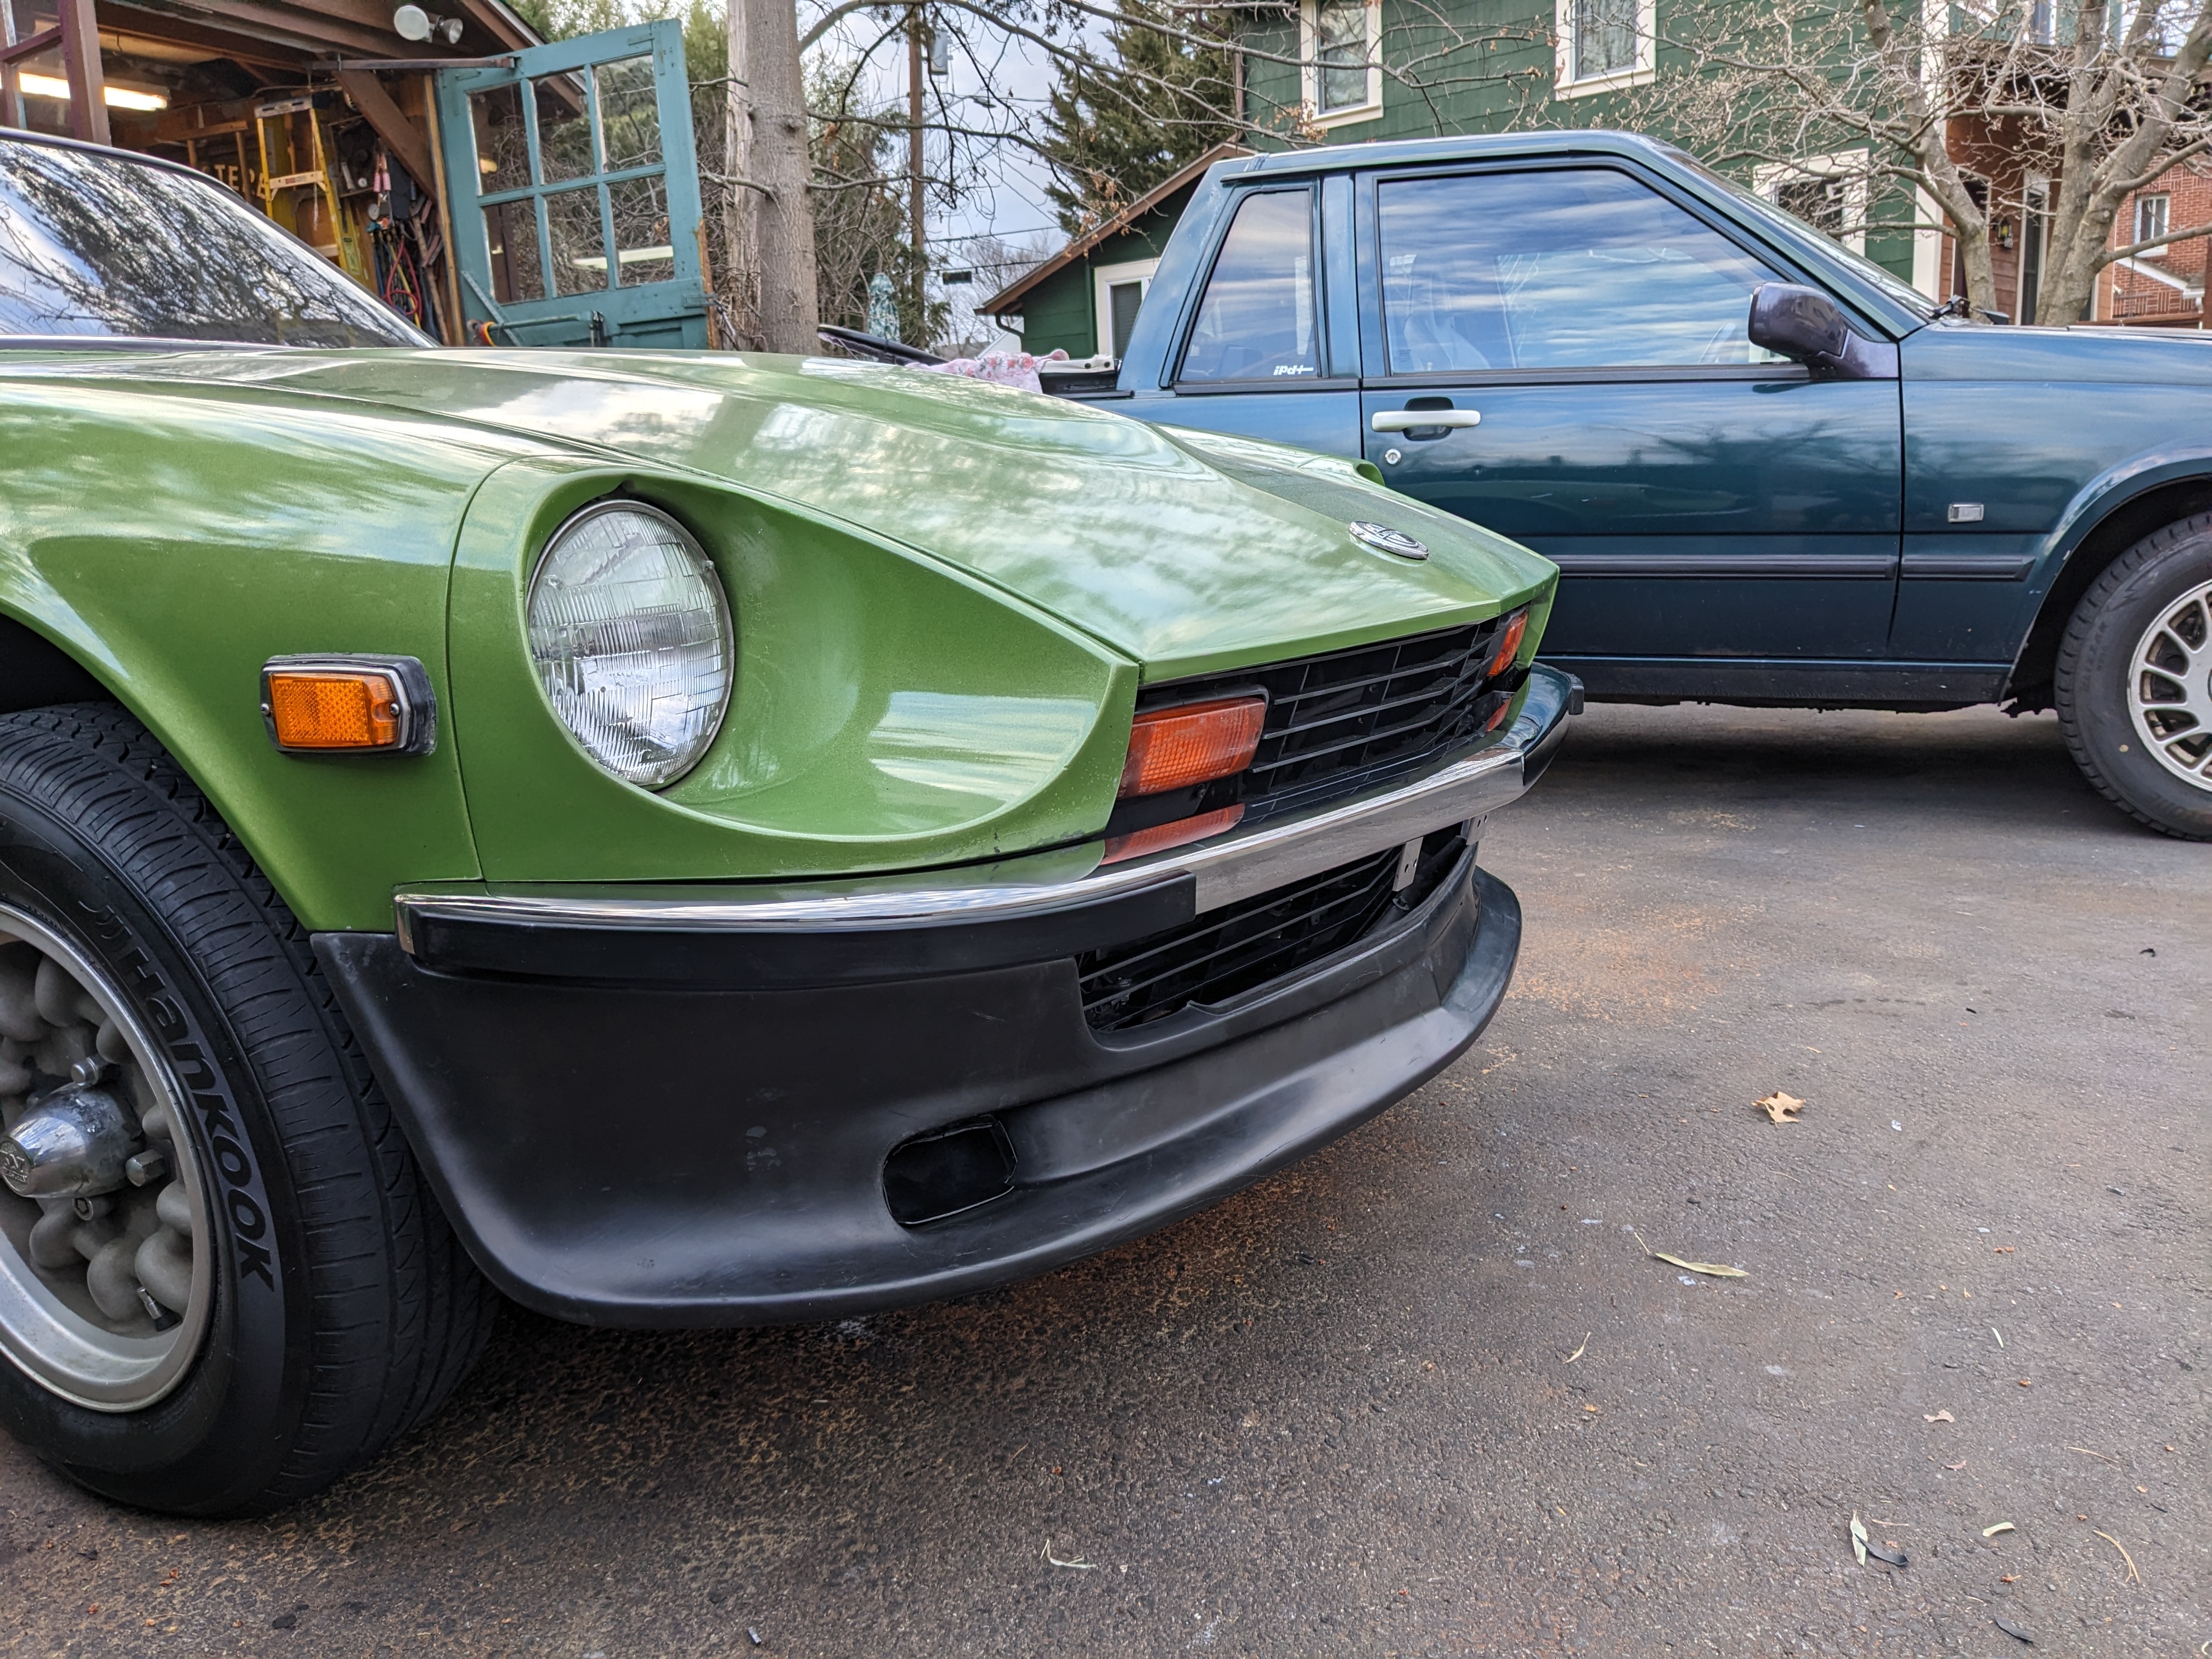
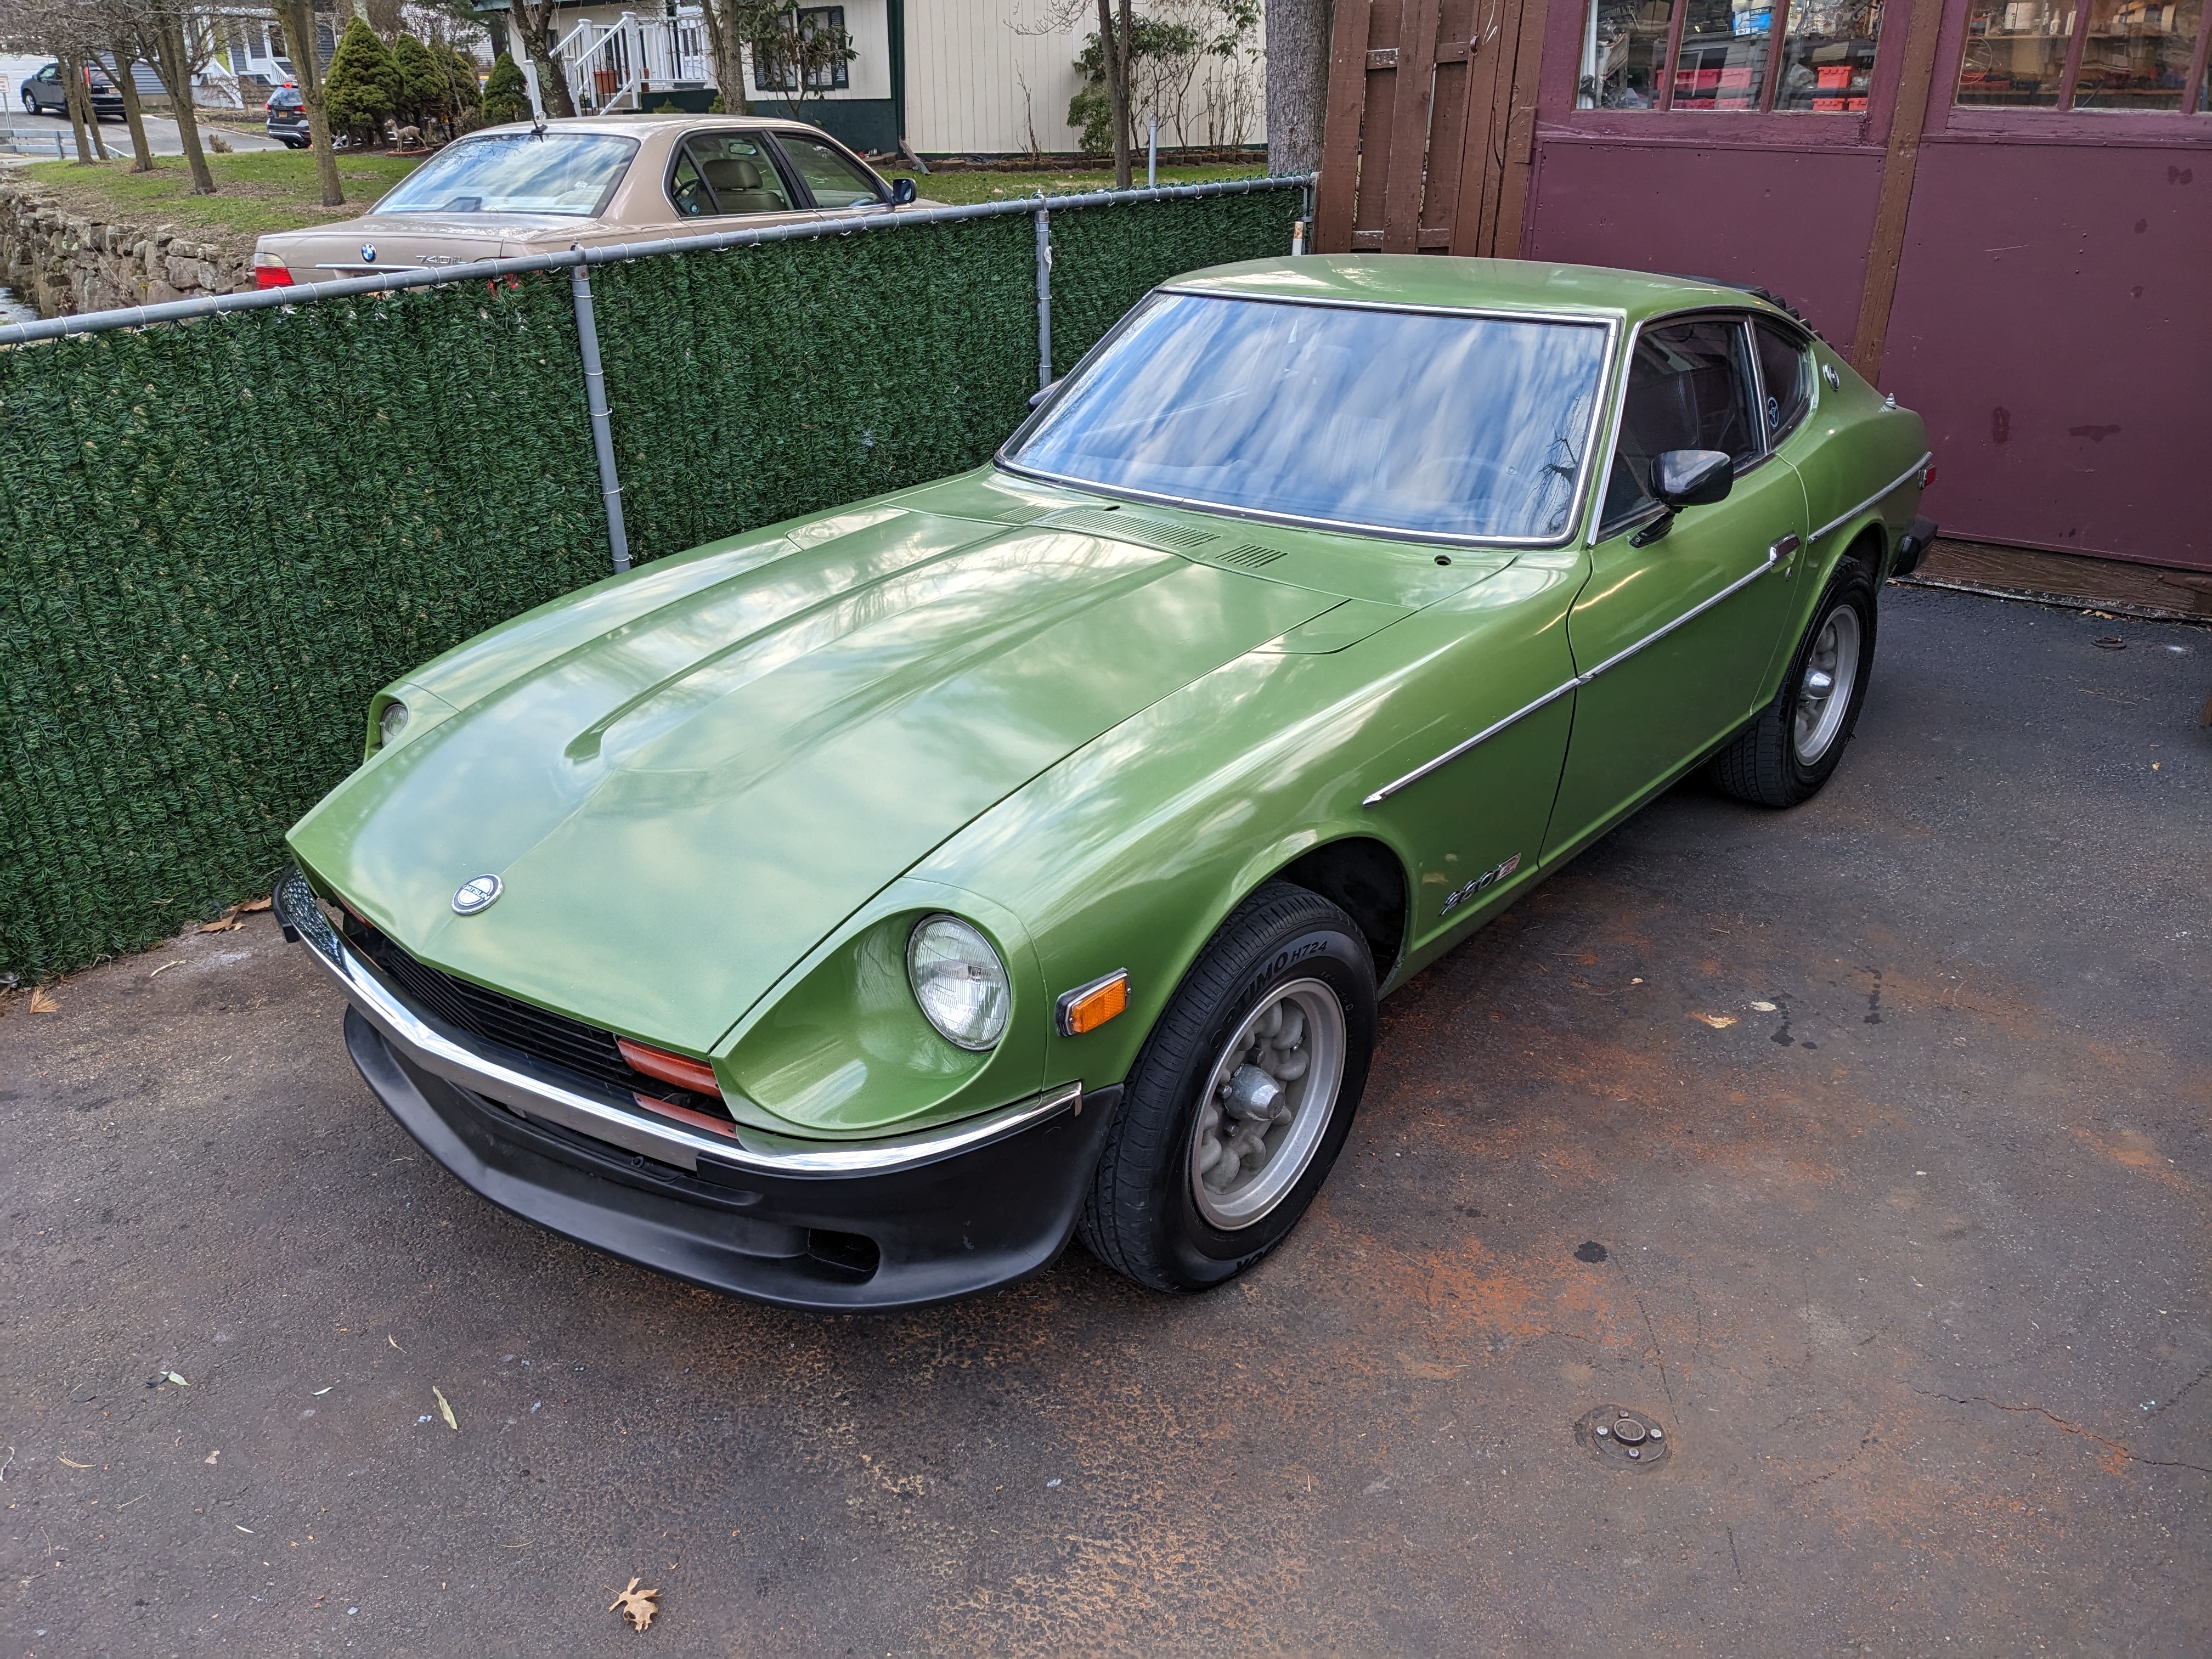
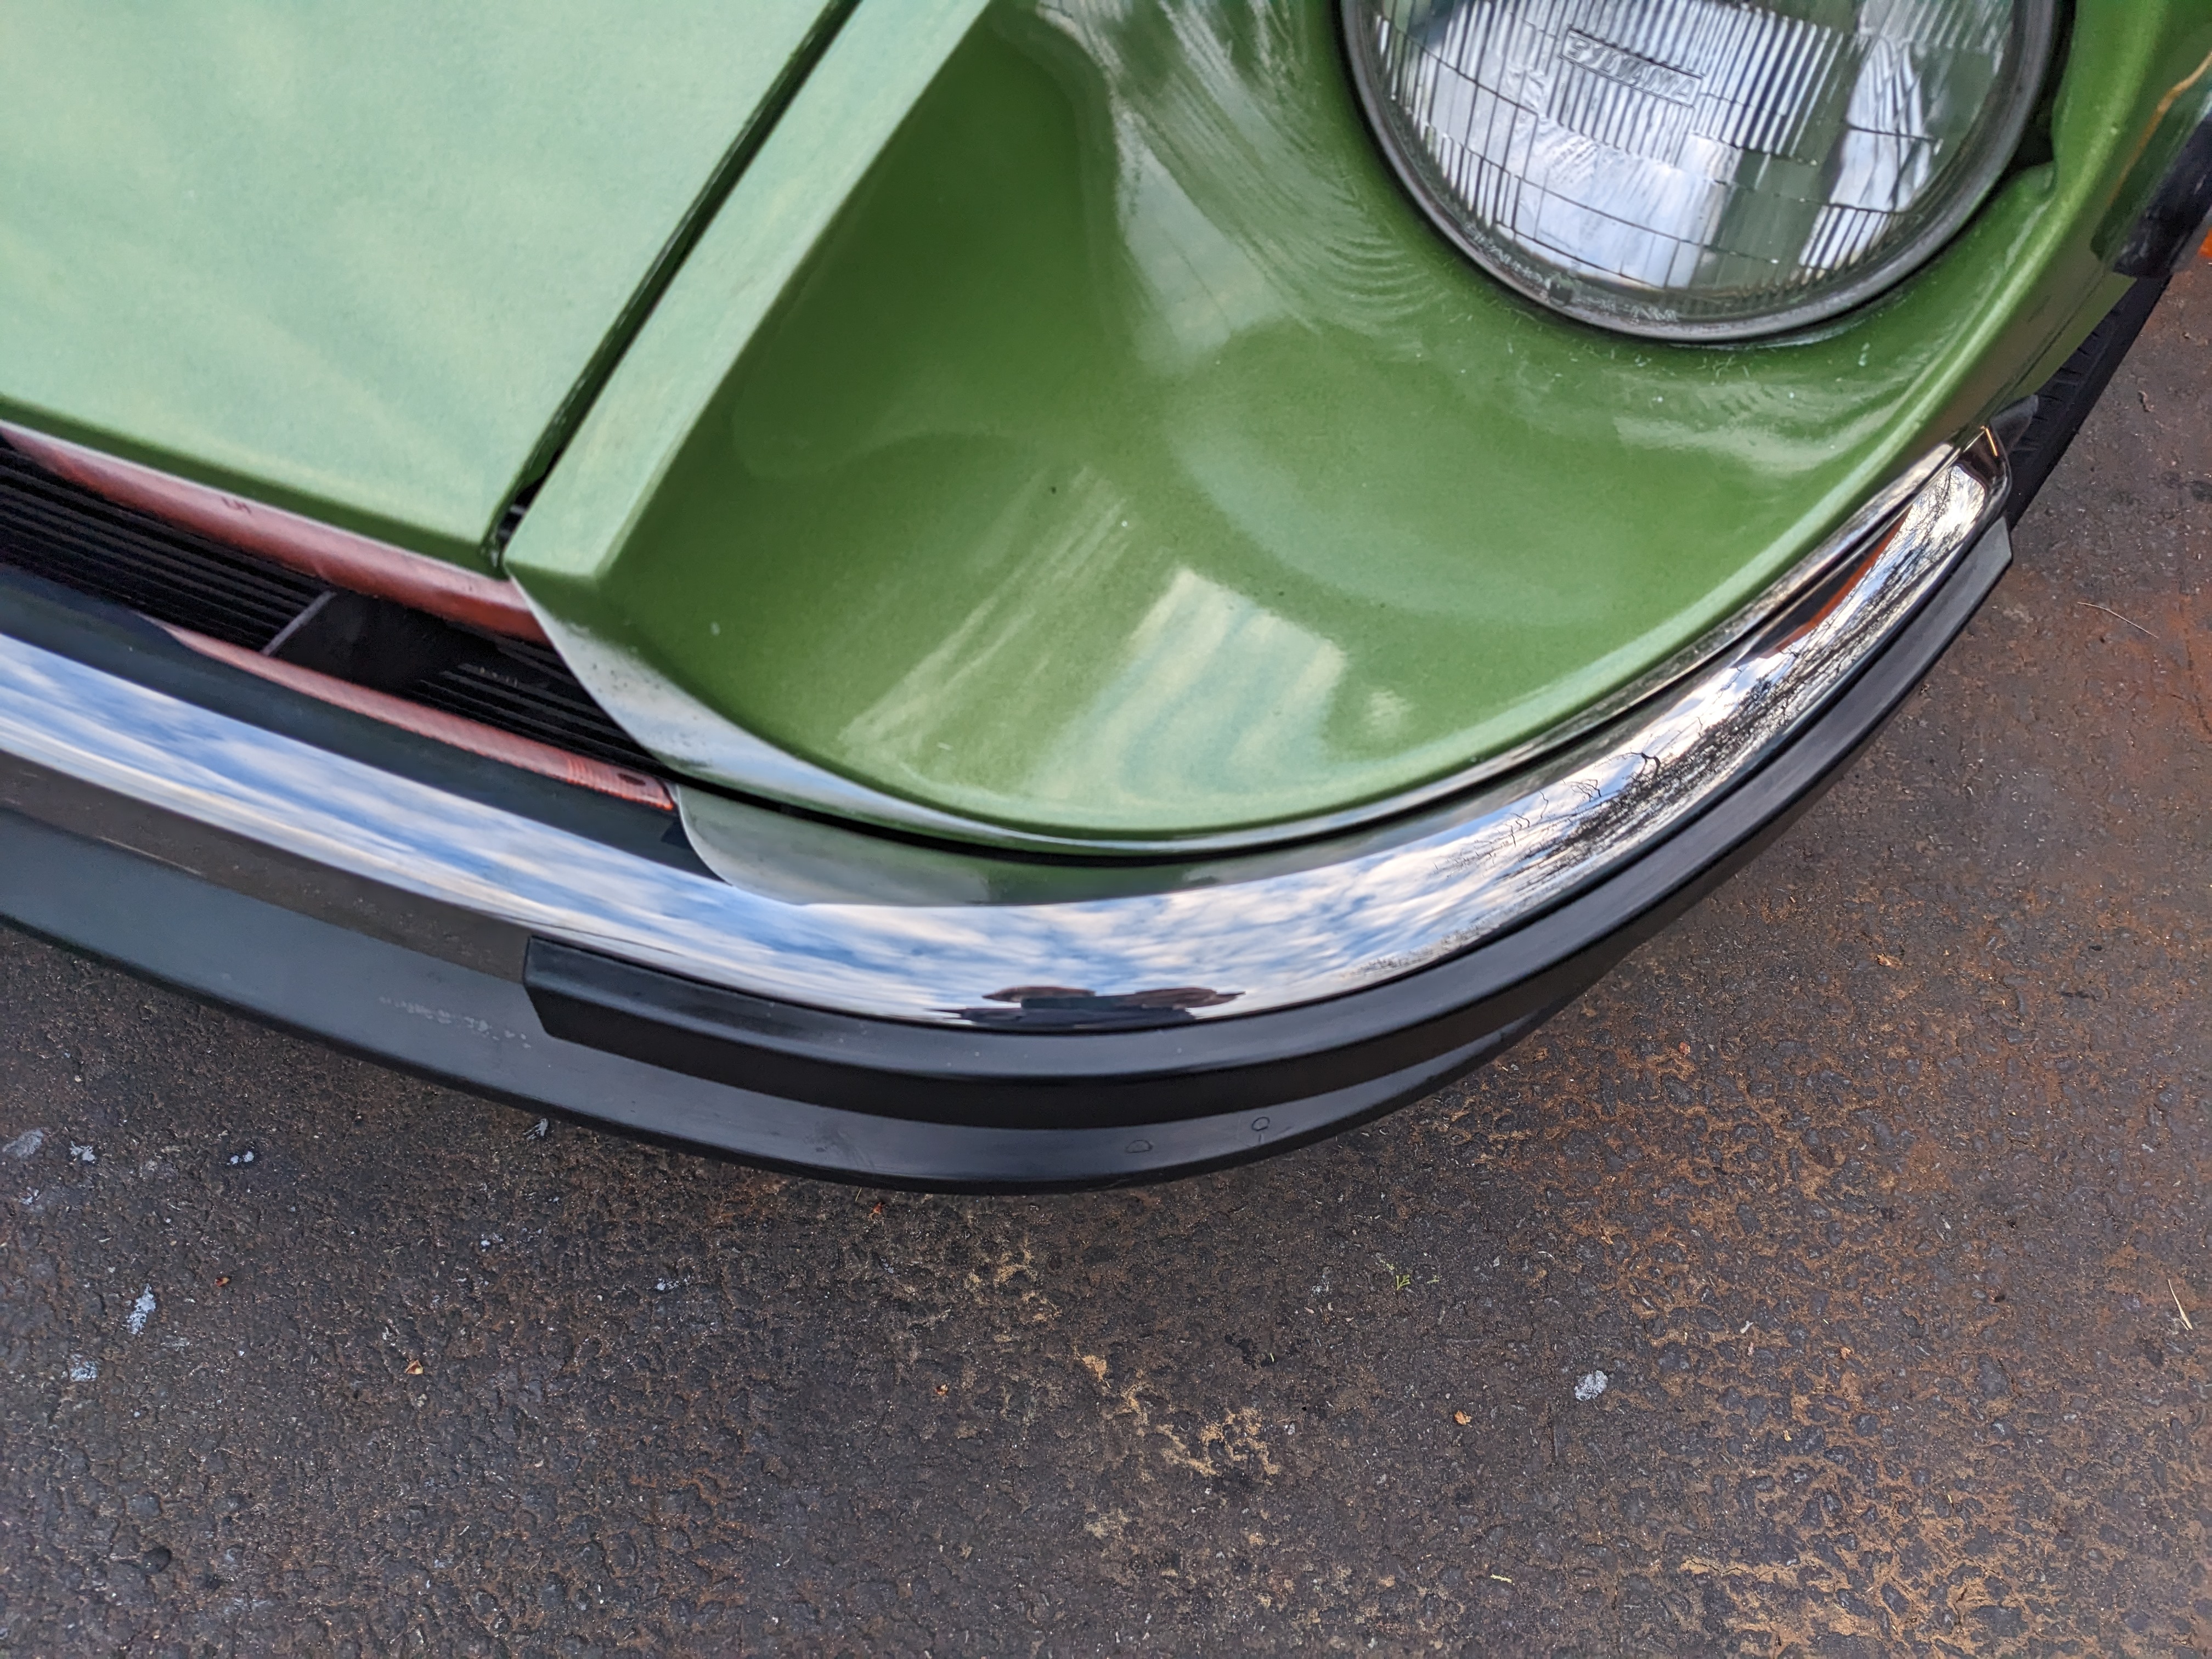
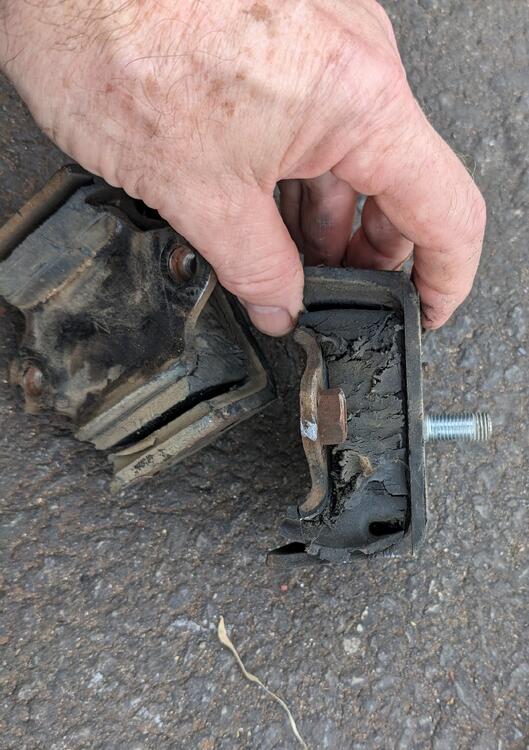
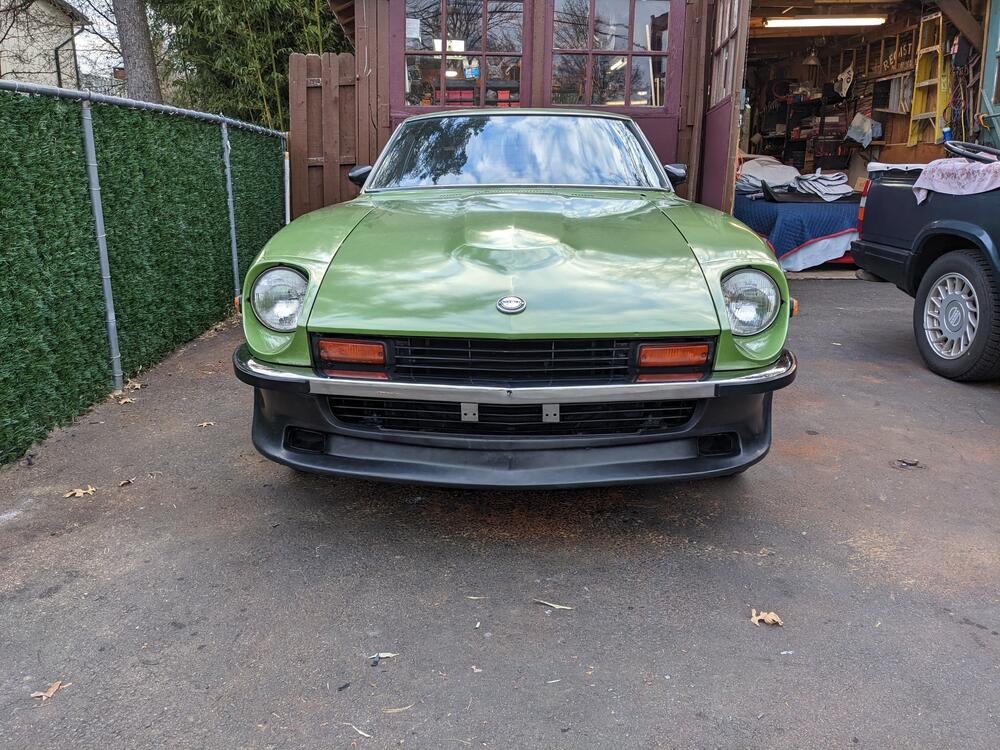
Finished the install after work - did the motor mounts first, since I had the car jacked up anyway. The car has 250K miles, I don't think he did any suspension bushings or any mounts in all that time. I'm happy with the fit & look. Not sure I needed to splurge for the Skillard grille, but I didn't want any of the gap I've seen without a full grille The bumper fit is very good


-
I will figure it out when mine strut arrive, it's odd that no one who's used them has responded....
-
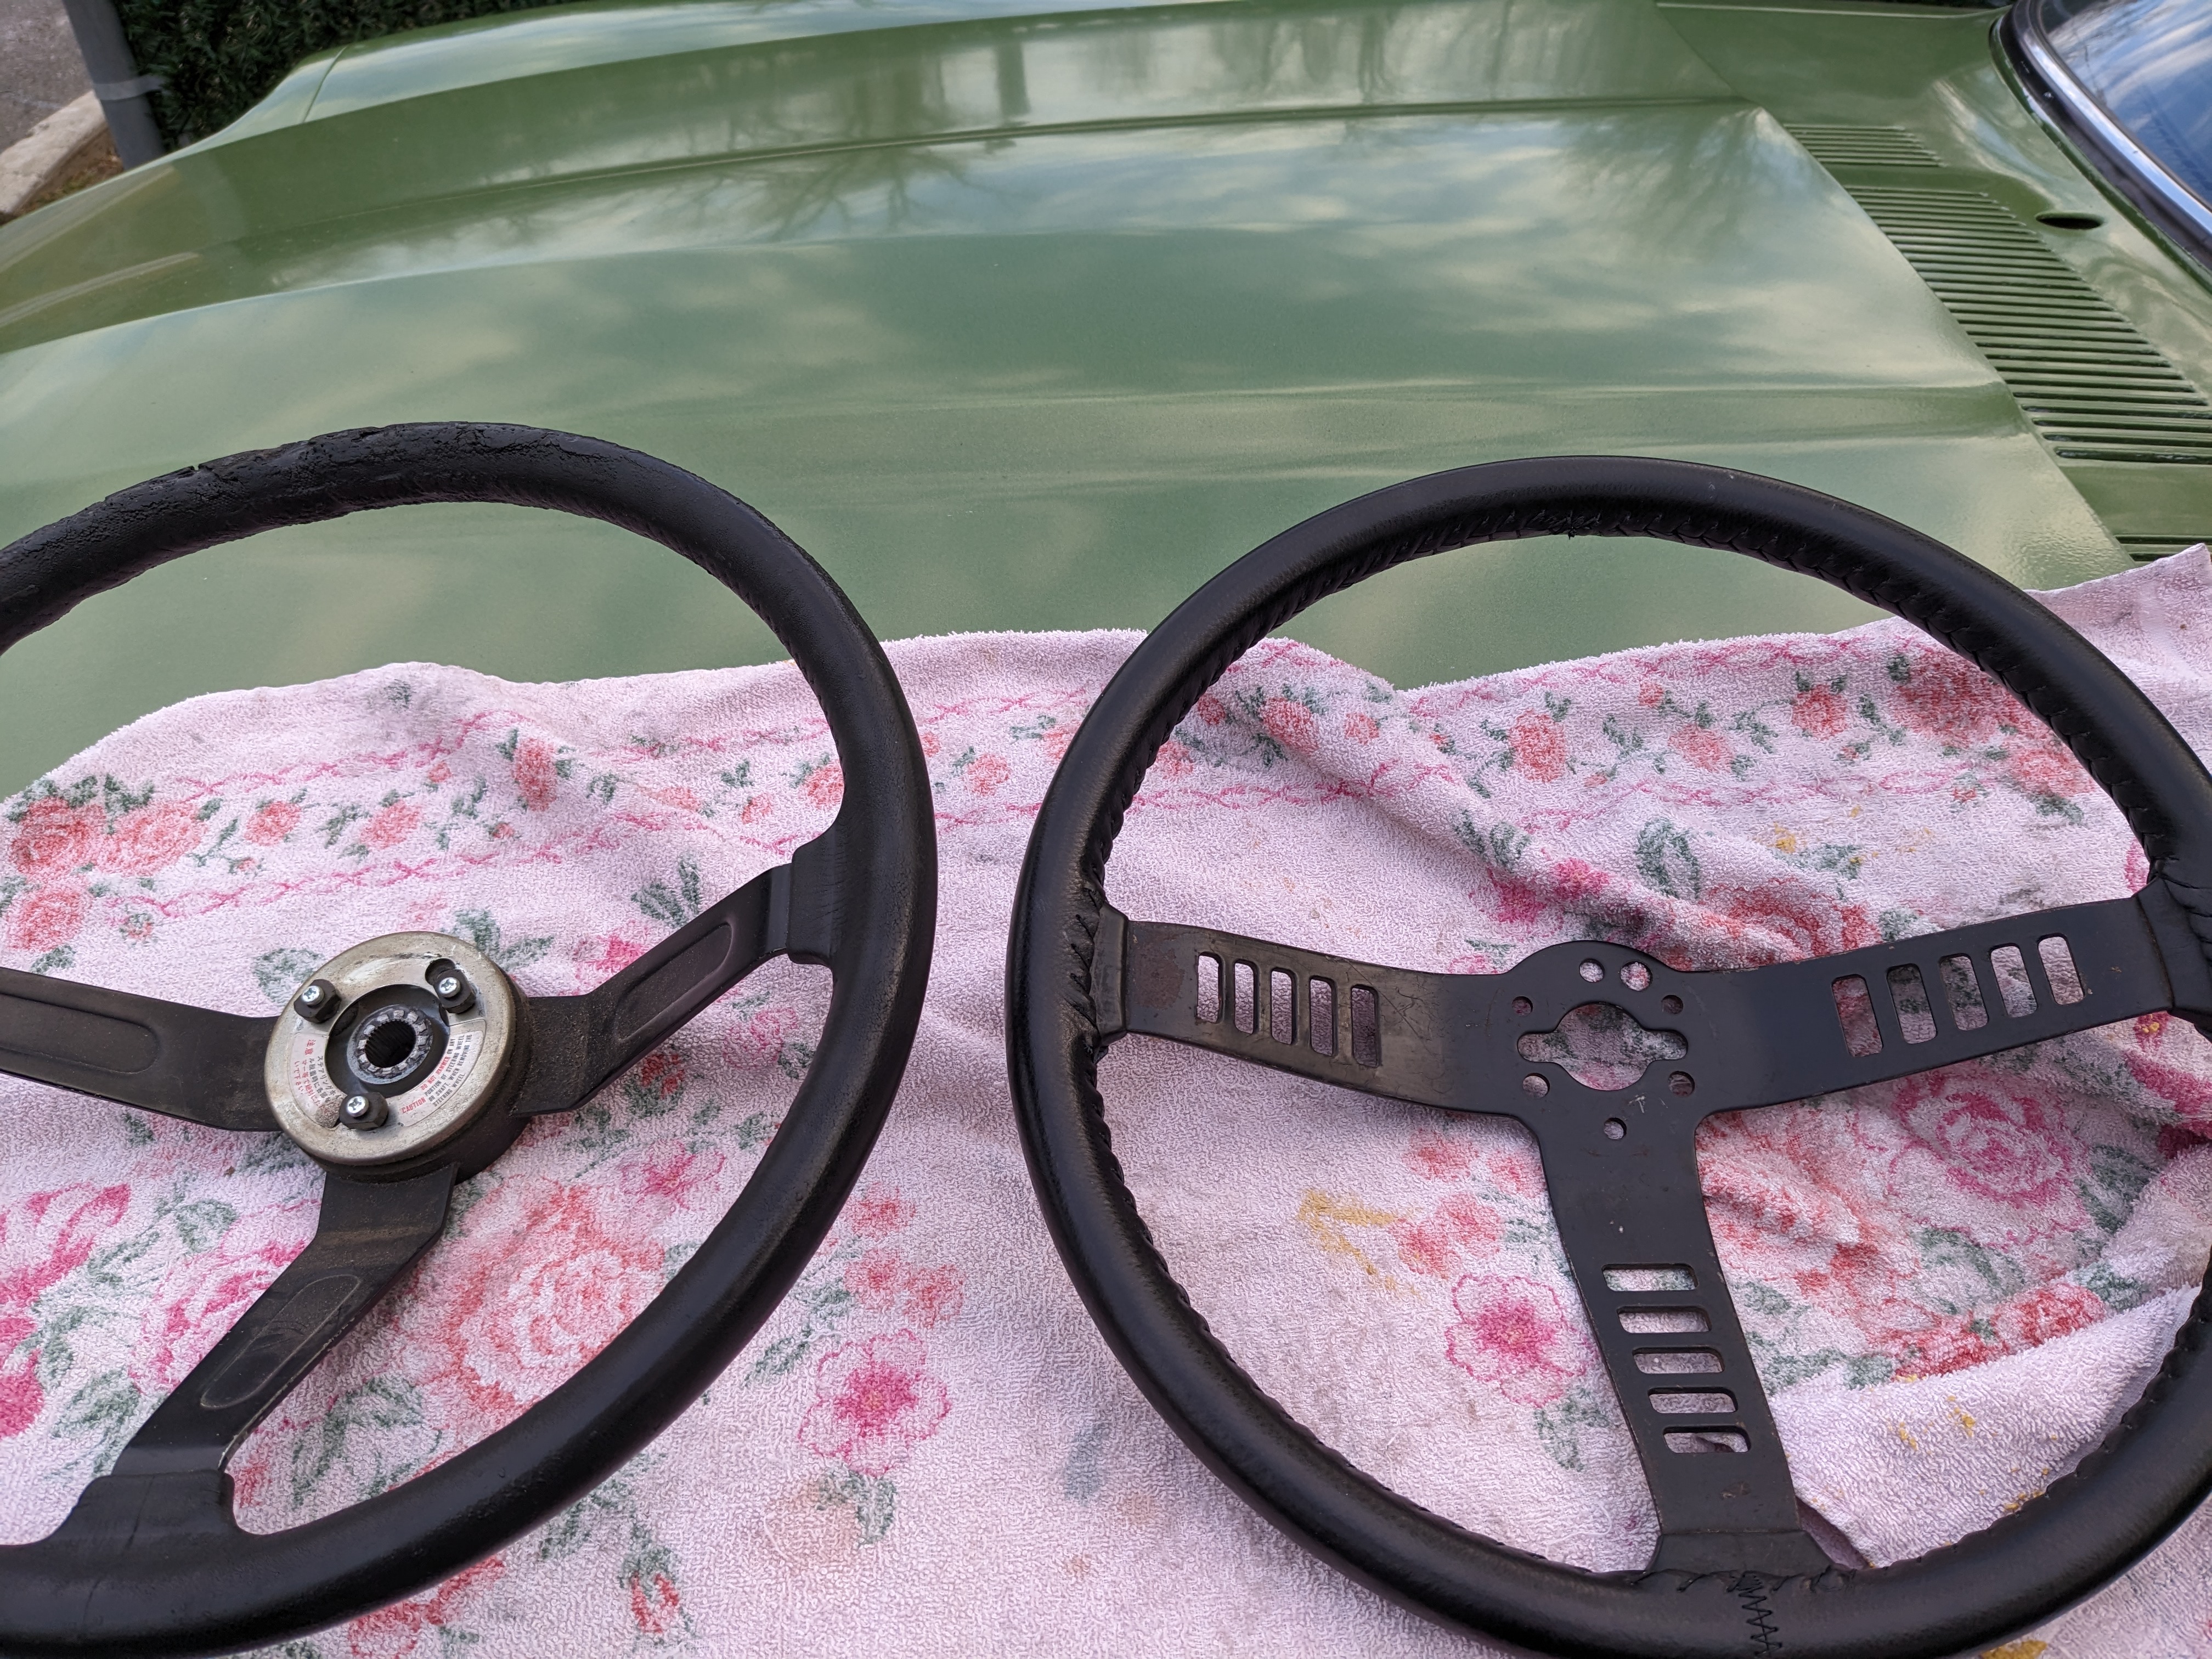
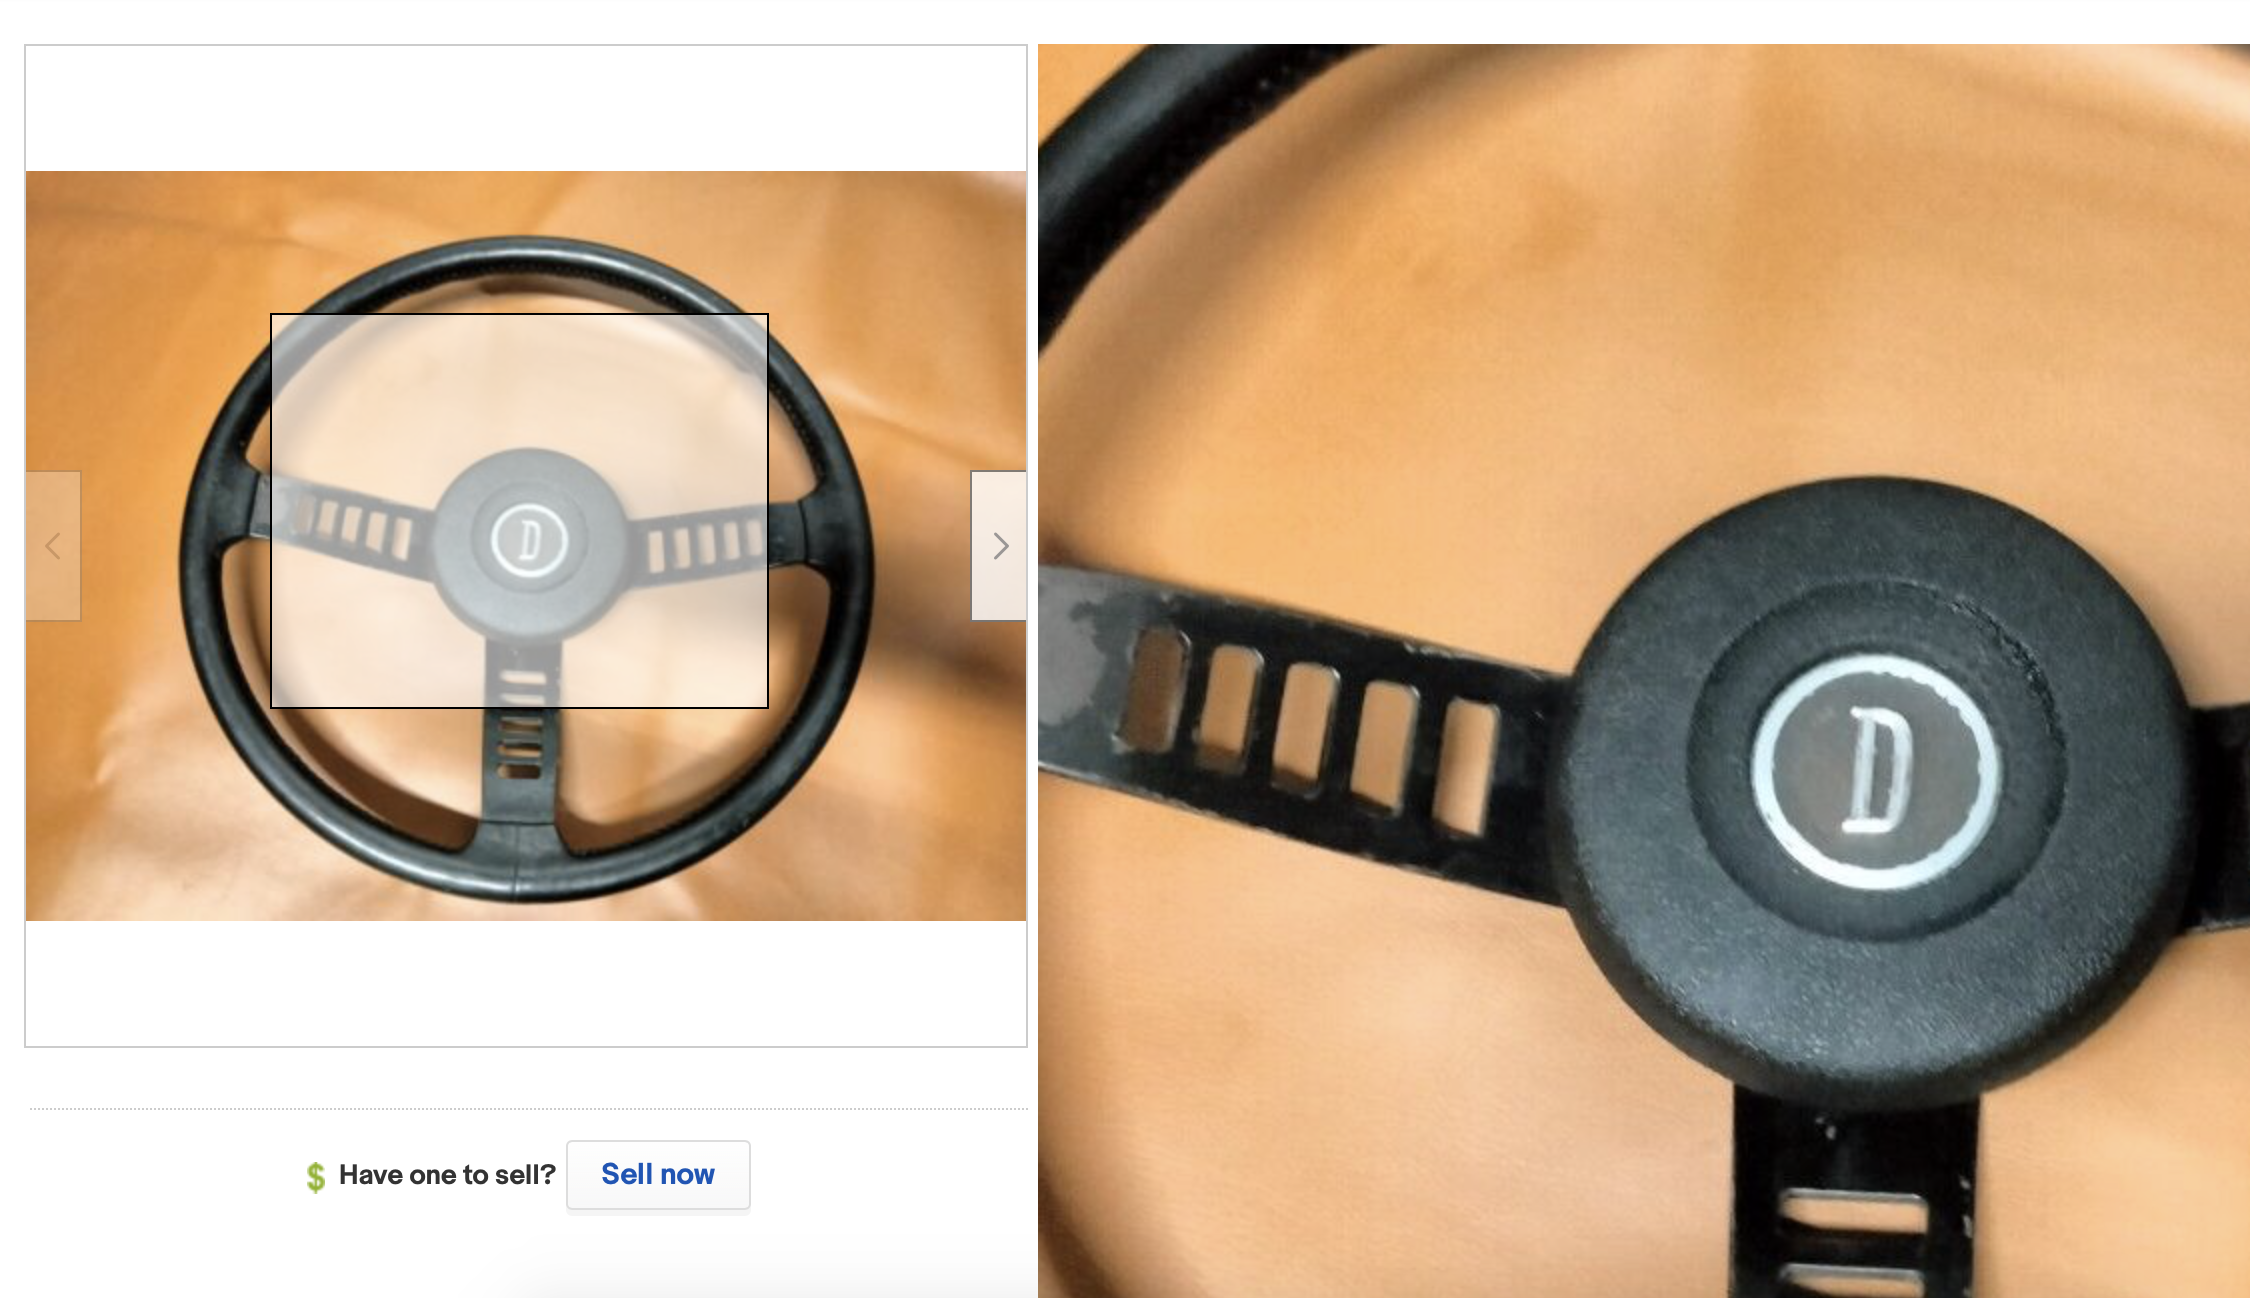
I bought a used steering wheel off eBay, listed as applicable to 240/260/280Z, as mine is 'squishy". The listing implied it was a factory wheel, and it appears to be. The problem is it has no hub, and since I'm new to Datsun, I didn't realize that the stock wheel in my 75 is not detachable from it's hub. So, Can anyone advise me on what hub I need to look for to make this wheel work? Thanks in advance image from listing, it specified without hub or horn button shown


-
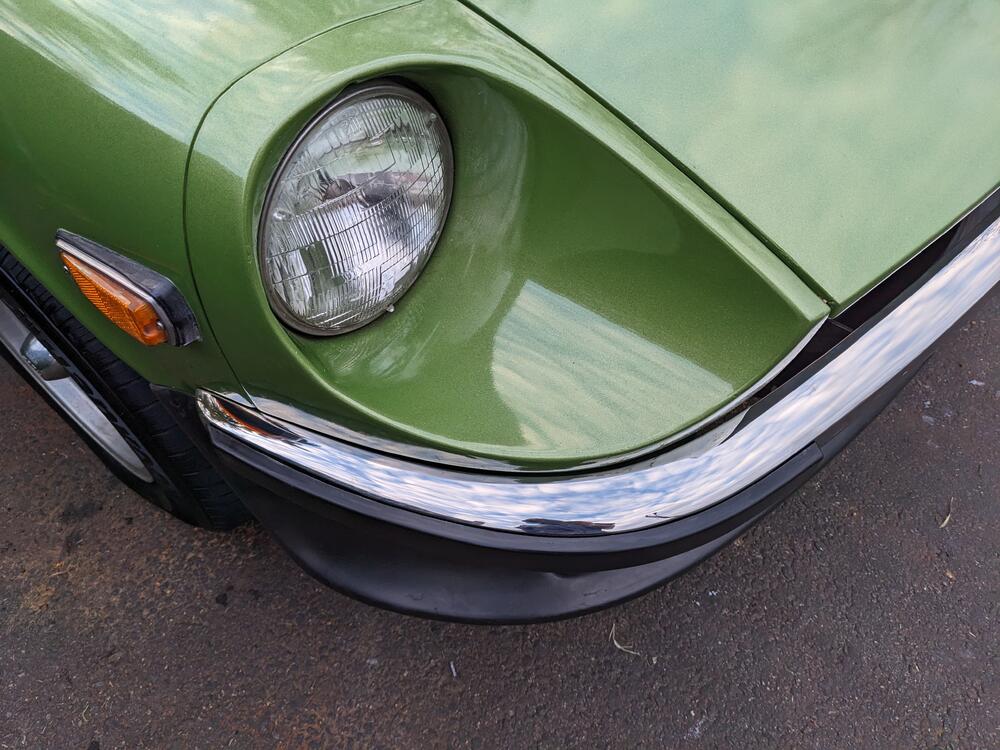
Had a few hours after work, so I focused on fitting the Skillet grille & the front bumper & brackets, after I replaced the 3 pedal pads Brackets in first, then test fit bumper With the bracket alignment figured out, I worked on the Skillet grille. 4 brackets are loosely fitted to the grille prior to mounting. I bought the full grille, not the bumper version, as that version has large cutouts on either side. I cut narrow slots to allow the bumper brackets to pass through Then I put the bumper on before I ran out of light. The fit is really nice. 4 M10 studs secured through the brackets with 17mm head stainless nuts. I'll put the spoiler back on tomorrow. The only catch with doing it this way, is that the valance has to go in after the grille, so the 3 mount screws , and then the horns have to be fitted from above. There are small bumper blocks that I also bought from ZcarDepot (800-924). A M6 bolt passes through the fender & into a captive nut in the bumper
-
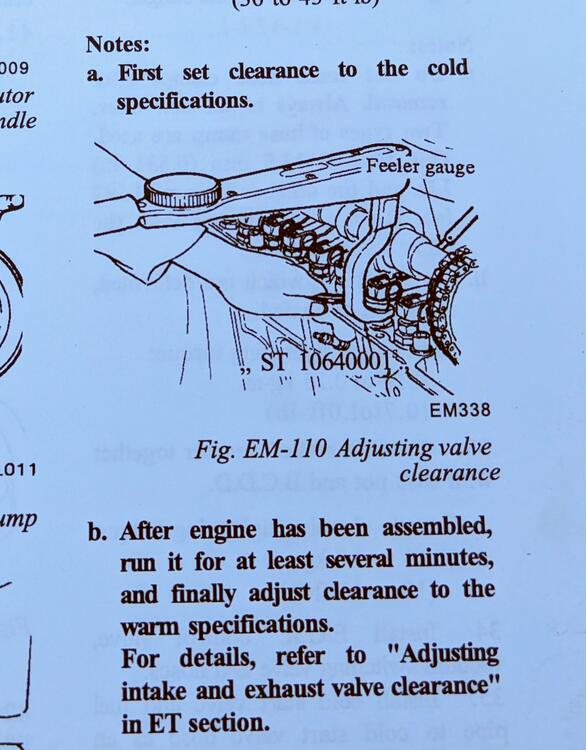
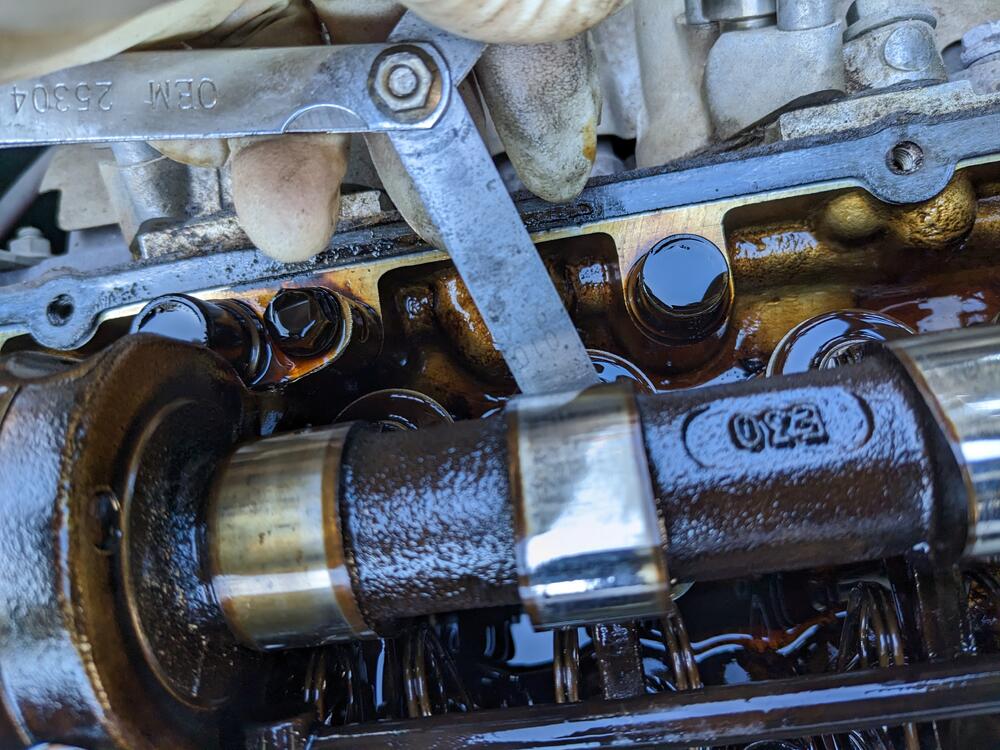
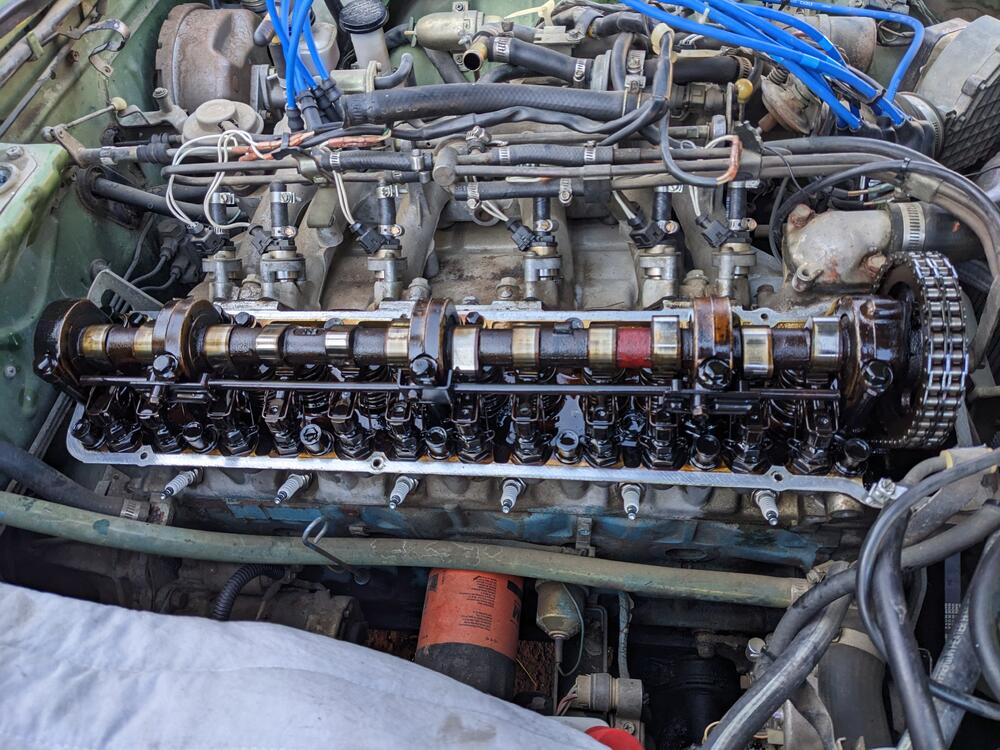
Yeah, the motor has 250K miles on it. I'm surprised the compression is as good as it is, really. I'll recheck it after loosening all the valves back into spec range. Thanks - So the large base nut (17mm) is the lock, then there is a 14mm? nut built into the shaft, I'm assuming, since it's tucked up against or under the rocker? I couldn't see it last evening. I'll look closer in better light. I'm used to MG/Volvo/Fiat/Honda layouts, which all had an obvious adjuster. I appreciate that tightening the lock typically reduces clearance, I usually shoot for the looser end of the clearance range when adjusting.
-
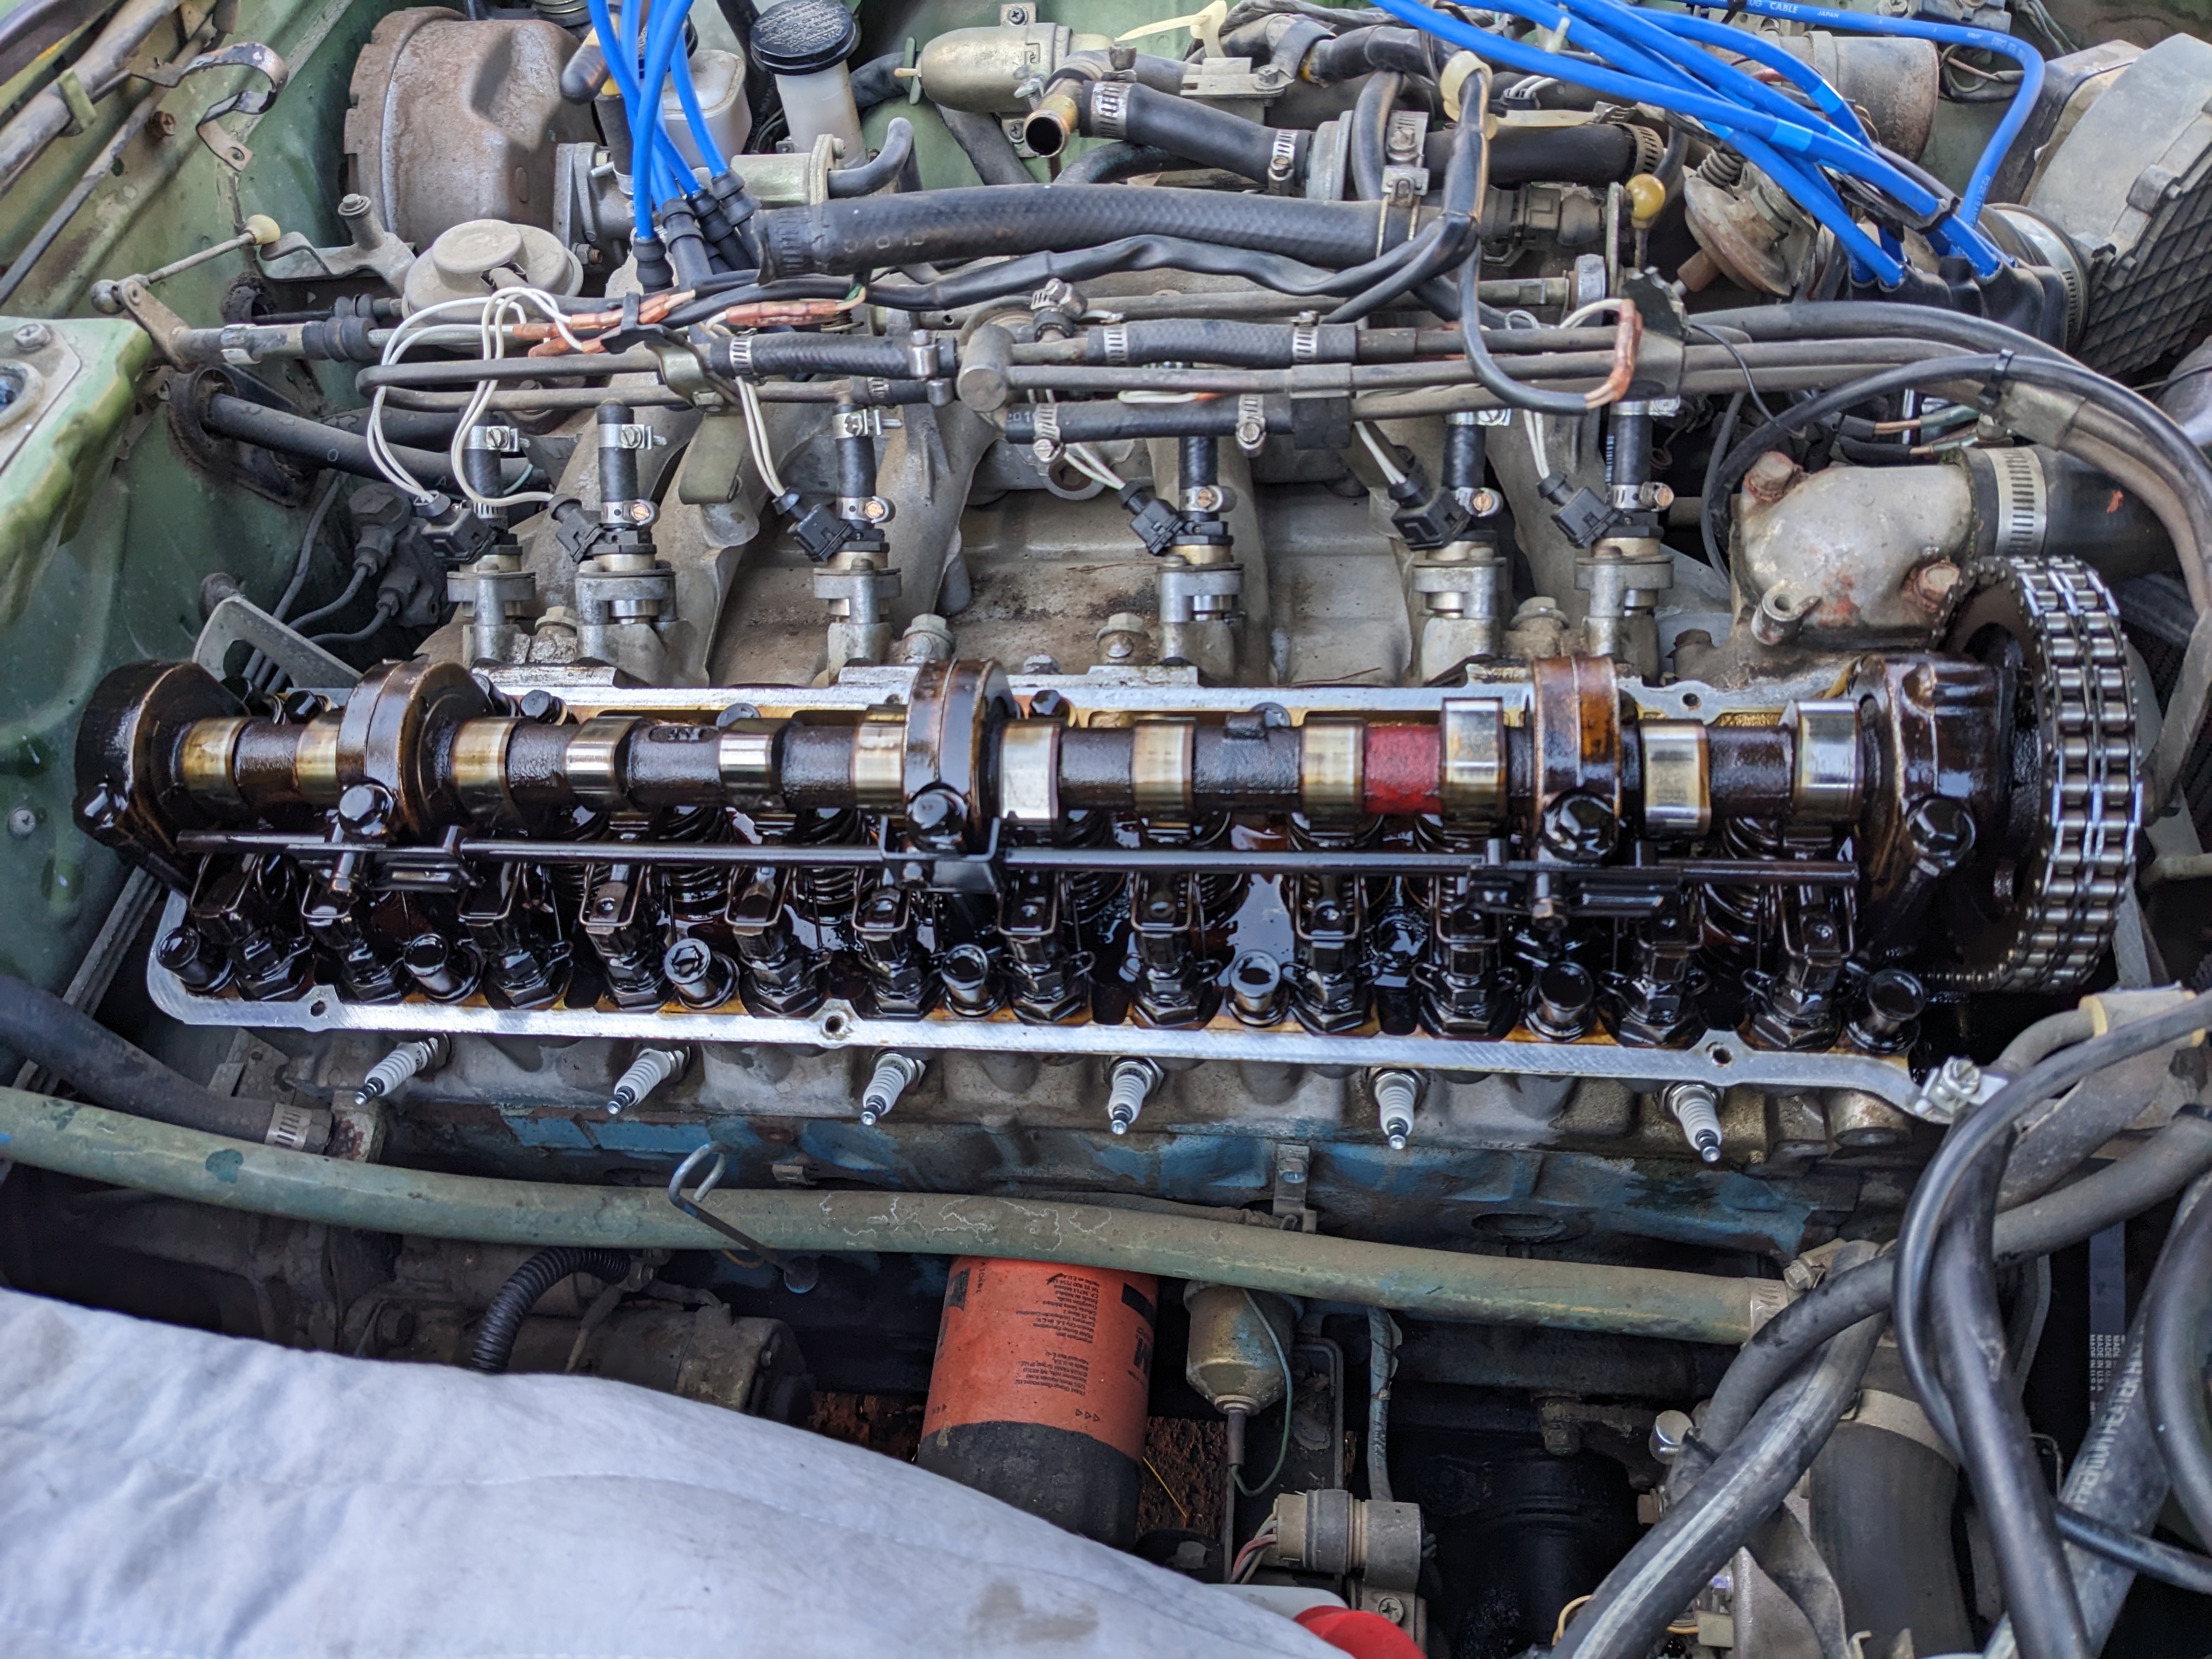
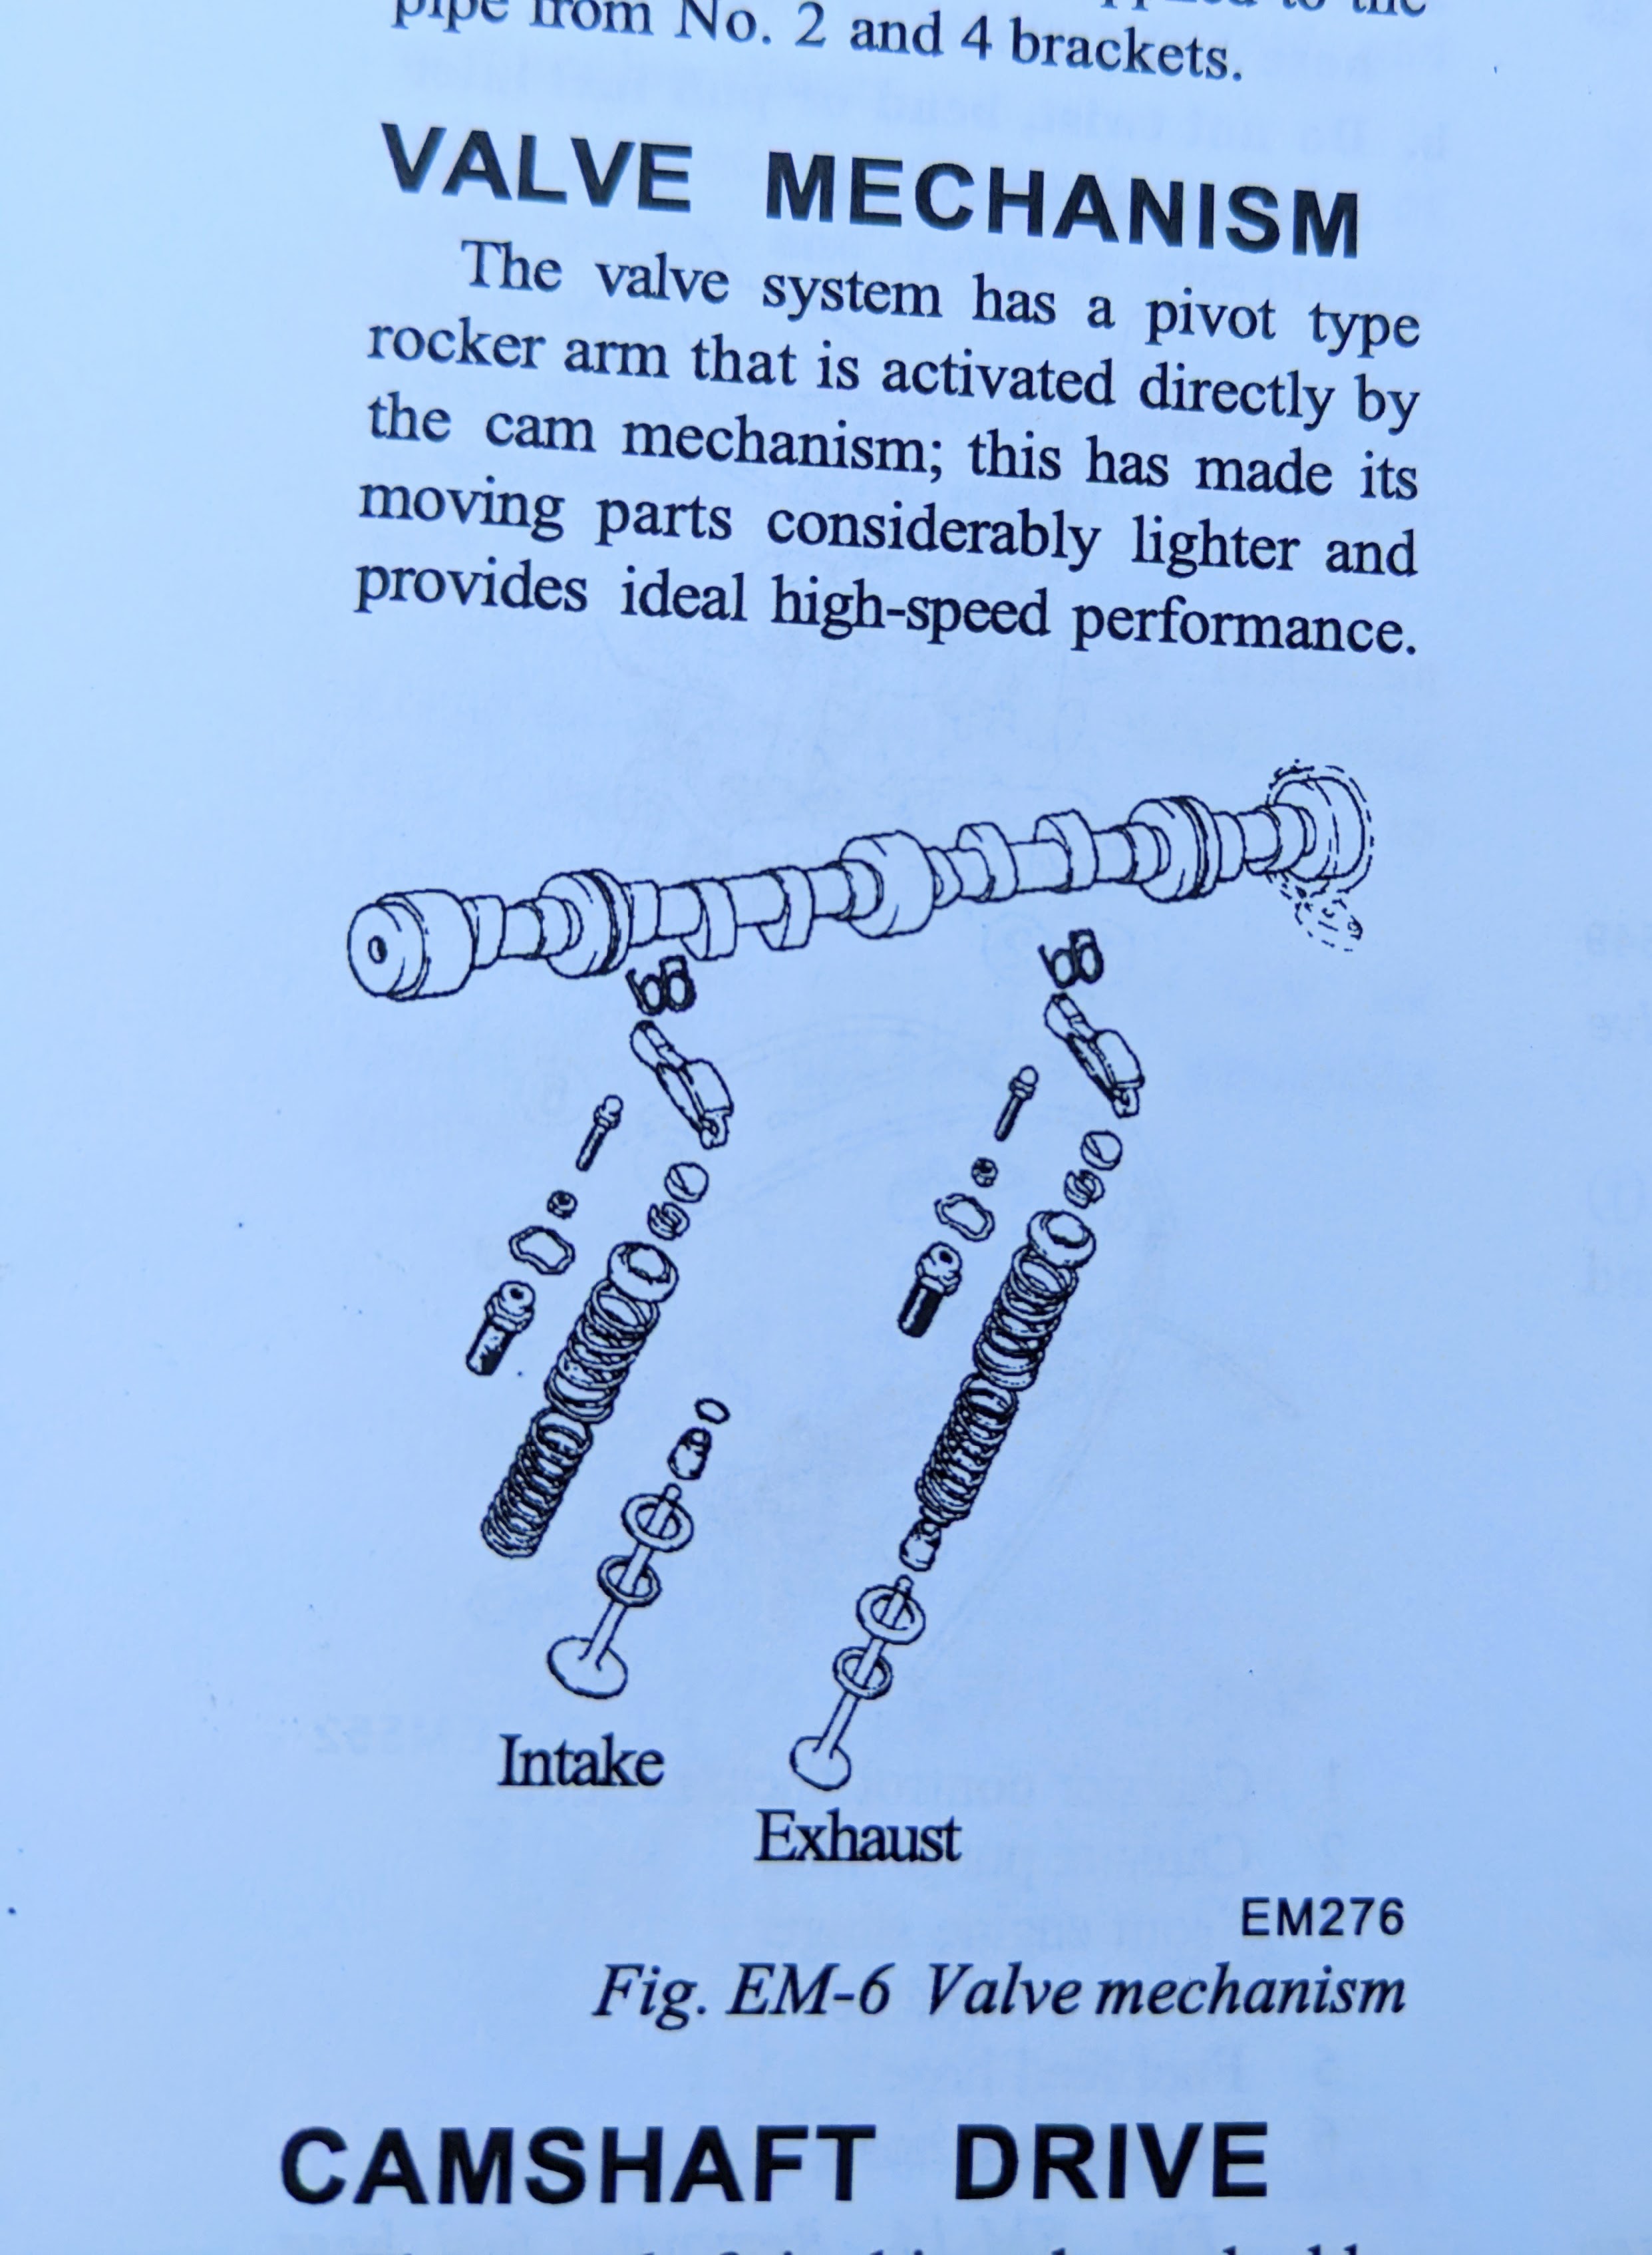
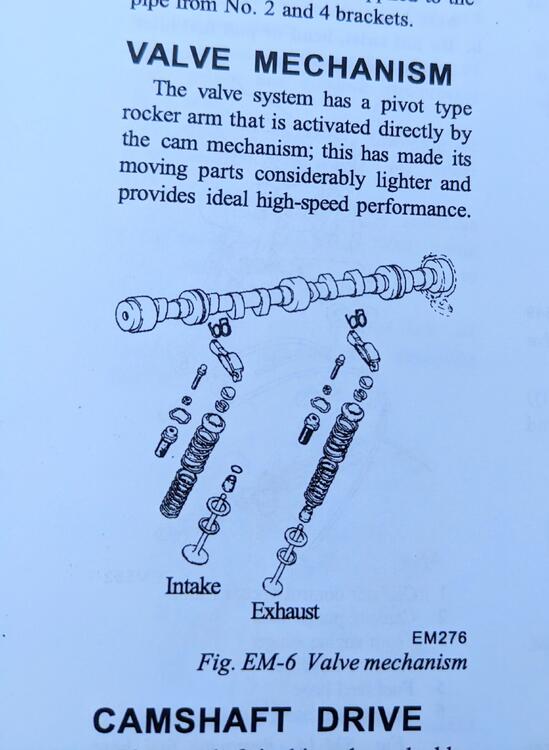
Any pics of the adjustment operation? The above tool set is helpful - The Nissan 75 manual has no detail on the process, that I can find beside this pic in the Engine Mechanical section I tried to figure it out from the pic of the valve layout. Not clear to me, besides that the 4 elements on the left are the adjuster Mine are all way too tight - can barely get a .010" feeler in there (checking #5 exhaust here, as that cylinder only had 145psi vs 168psi on the other 5)
-
In all the video installs I looked at, they seem to have issues with the spoiler dropping/warping - the 280Z has a valance that the spoiler sits against, if you don't remove it.. Clamped the middle to secure it, marked & drilled the 4 outer end attachments. Instead of futzing with nuts & bolts, I just used M6 stainless rivnuts & M6 sems screws For the leading edges, I used plastic body clips instead of bolts Added two rivnuts to the center section to anchor it All together (for now). I have a tall Skillard grille coming, and chrome skinny bumpers to complete the look. Ultimately, the spoiler will be body color. Added tape to where the bumper trim bolts went, covers up the extra unneeded holes. I'll make some brake ducts, so those cutouts don't look out of place
-
I saw this thread last week, and ordered a pair off Rock Auto for mine. Not here yet.
-
I'm going to have to work on the HVAC in my newly acquired 75 280Z - the PO said the core leaks. I'm reviewing your Escort core mod for that (so far the pics are all dead, but only on page 2). As far as this mod goes, you don't mention the heater control cable, does that mean you used the stock cable & re-routed it out the firewall? I do like the idea of the valve being out of the dash area.
-
-
-
As an aside - I'm actually English - moved to the US when I was 19 - I used to own & work on British cars after I moved here. I was quite insulted by the joke at the time. It did seem to be true unfortunately.
-
There is a saying in the US - "why do the British drink warm beer? - Because they have Lucas refrigerators" 🤪
-
-
Any double function (assuming you can find one) relay is going to take up as much physical space as two standard relays. At that point it makes more sense to stick with the factory setup. You can buy 'gangable" relay sockets for Bosch style Micro and Mini relays, so you can keep it pretty compact space wise.
-
Indeed. Since the Nissan EFI has the ignition pulse to the ECU, there is no reason to use anything complex here, just a question of single or double throw.