HusseinHolland
Community Member
-
Joined
-
Last visited
Everything posted by HusseinHolland
-
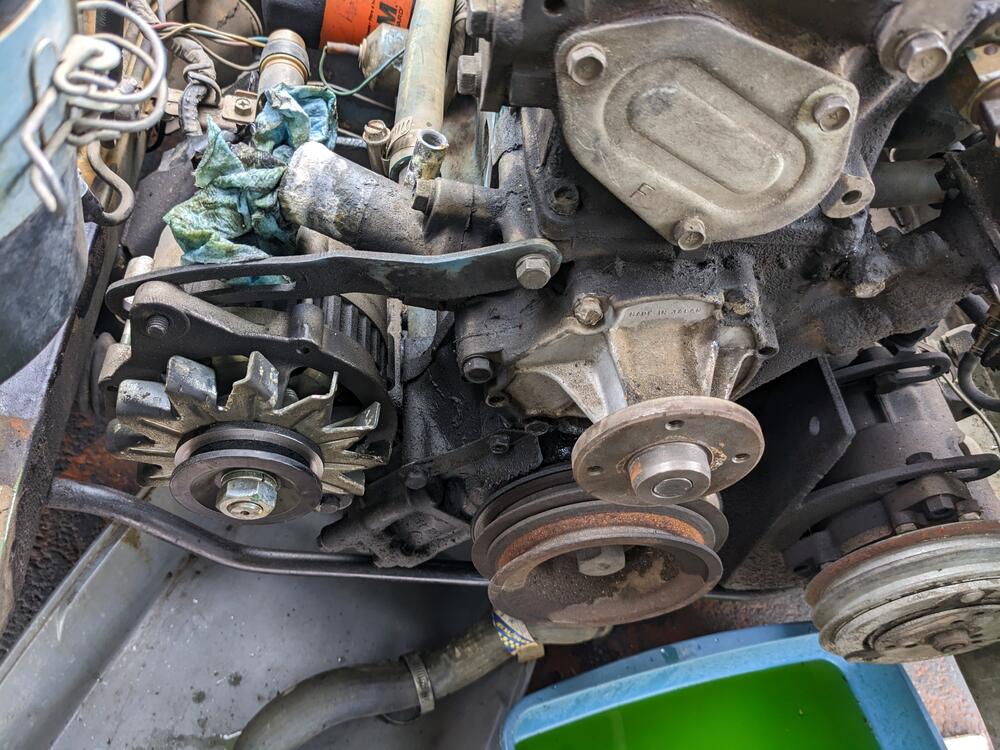
Thanks gents. I think I'm just going to remove the cover. I don't need to tempt fate right now. Hopefully the water pump bolts don't snap on me. @Yarb indeed - I will be doing that as I mentioned above 🙂 Seems easier to do it whilst the rad is out the way & I can get a puller on the crank pulley.
-
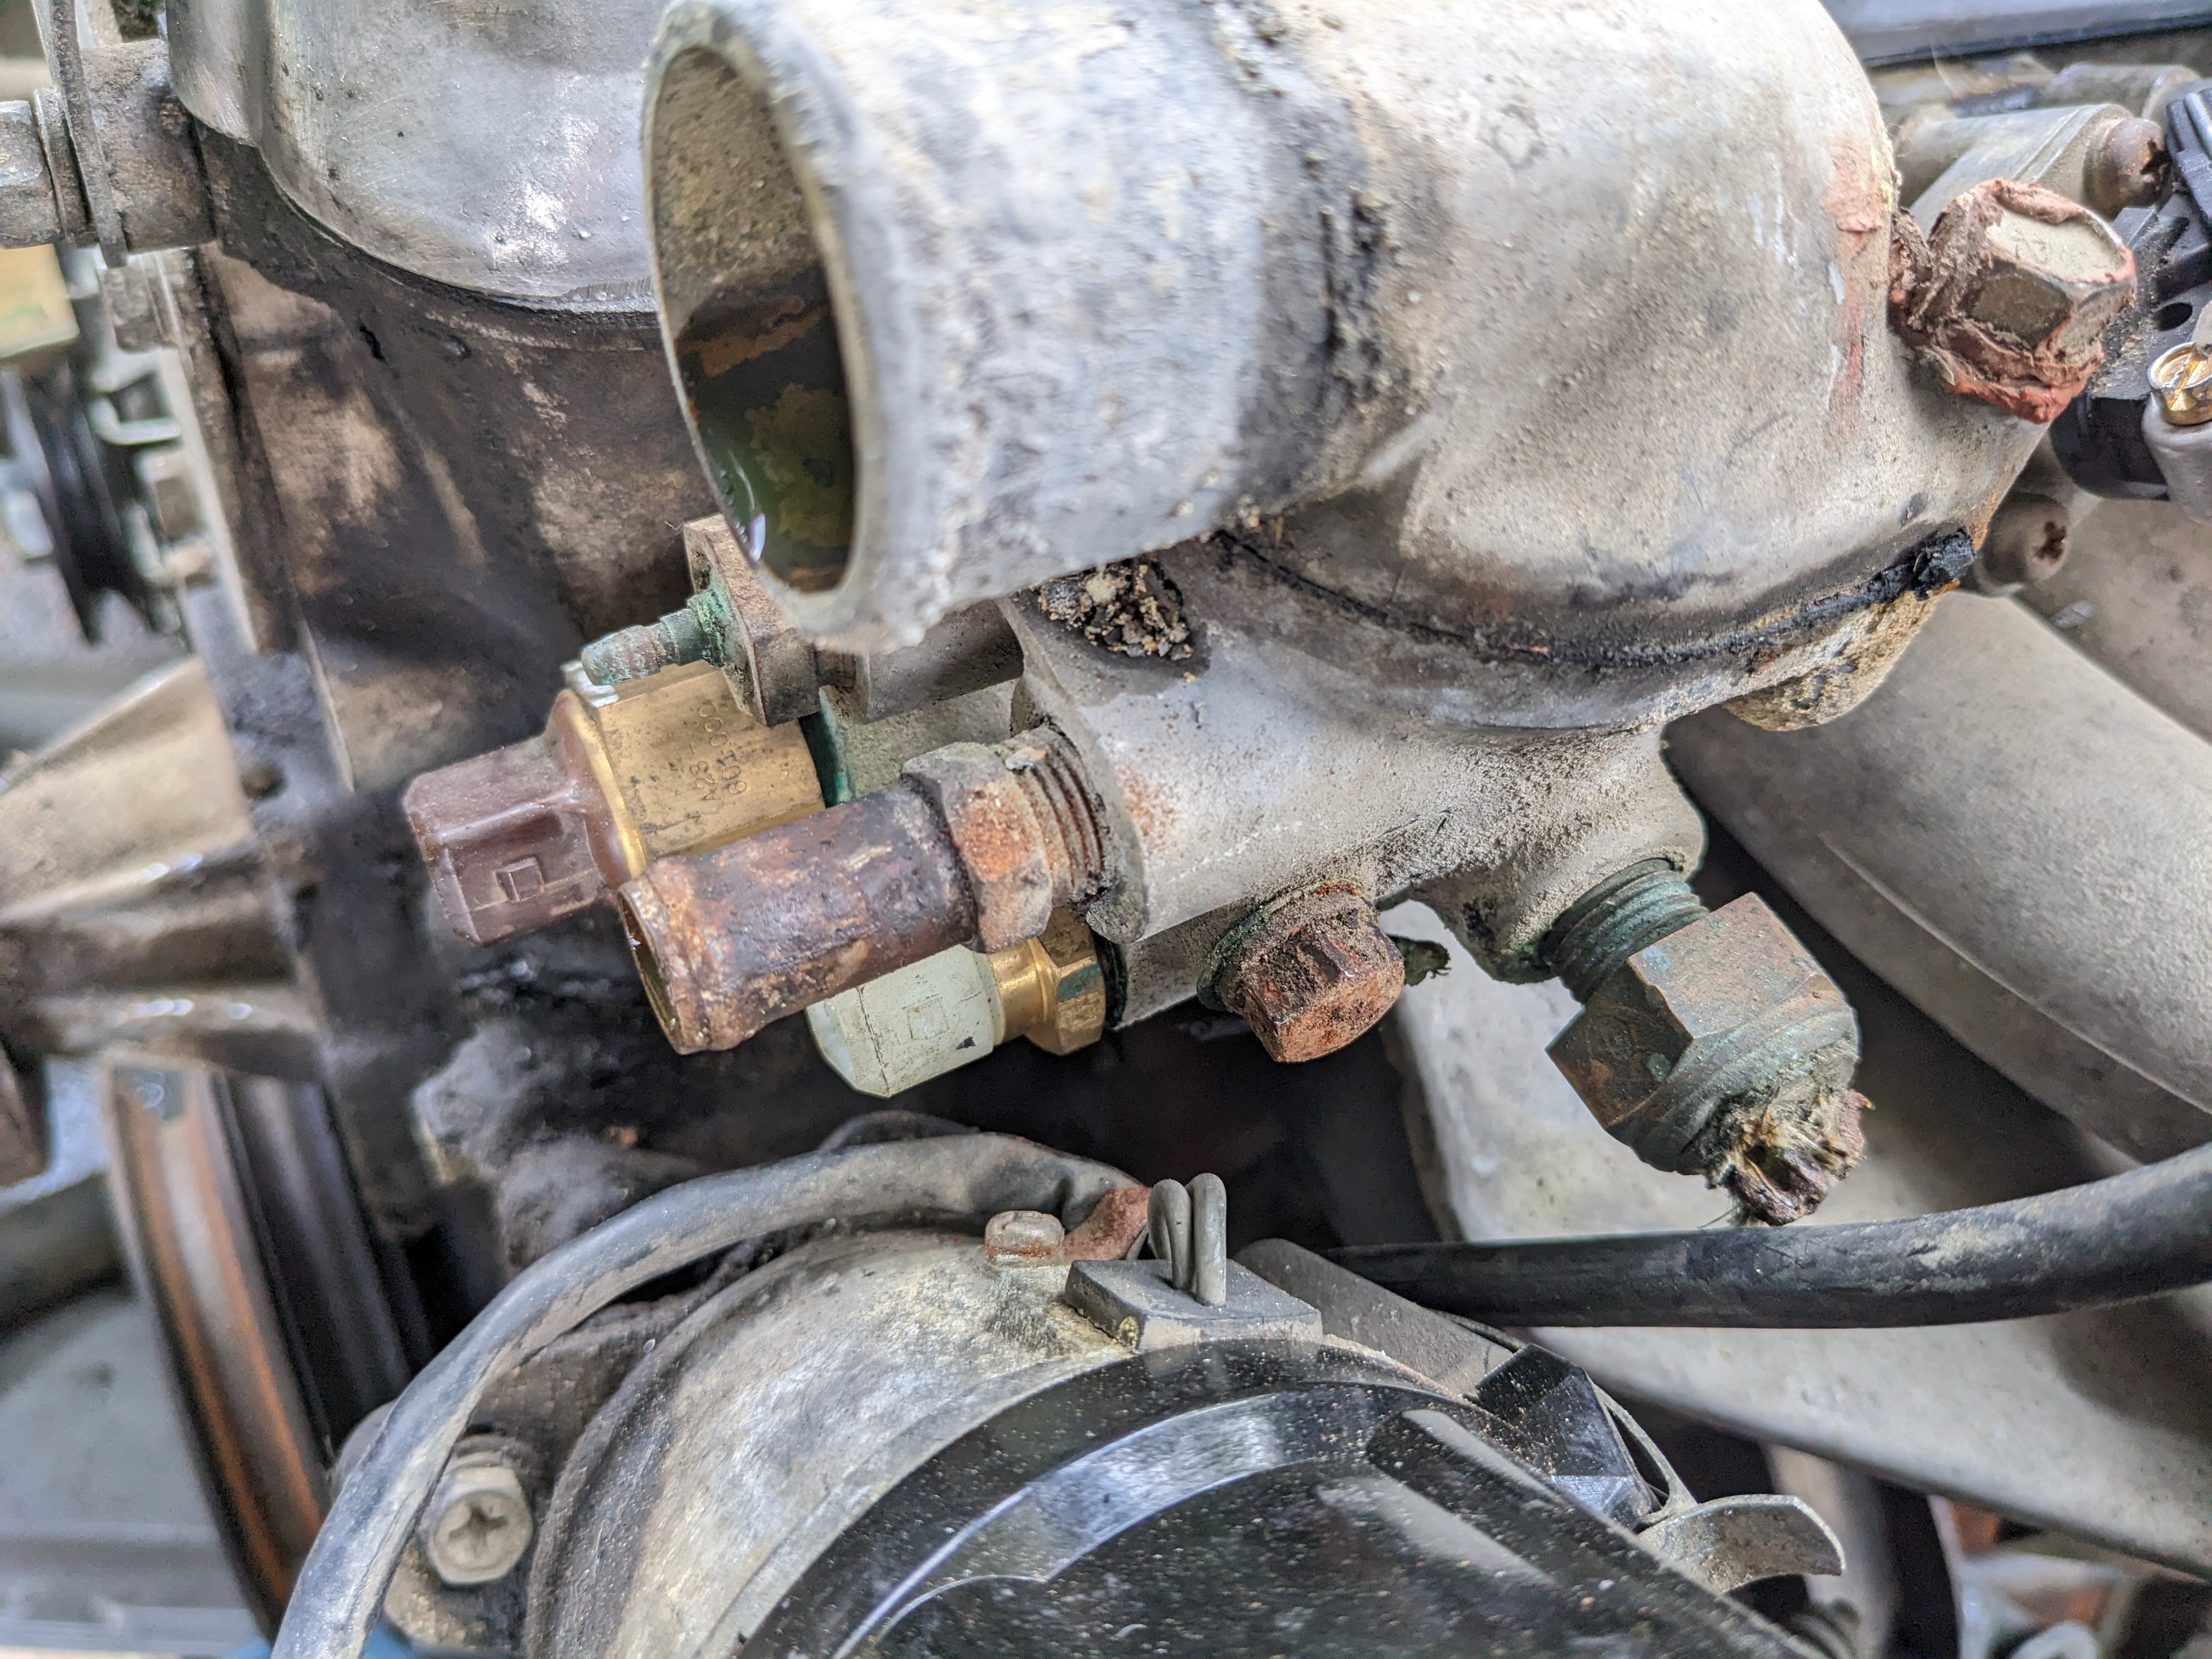
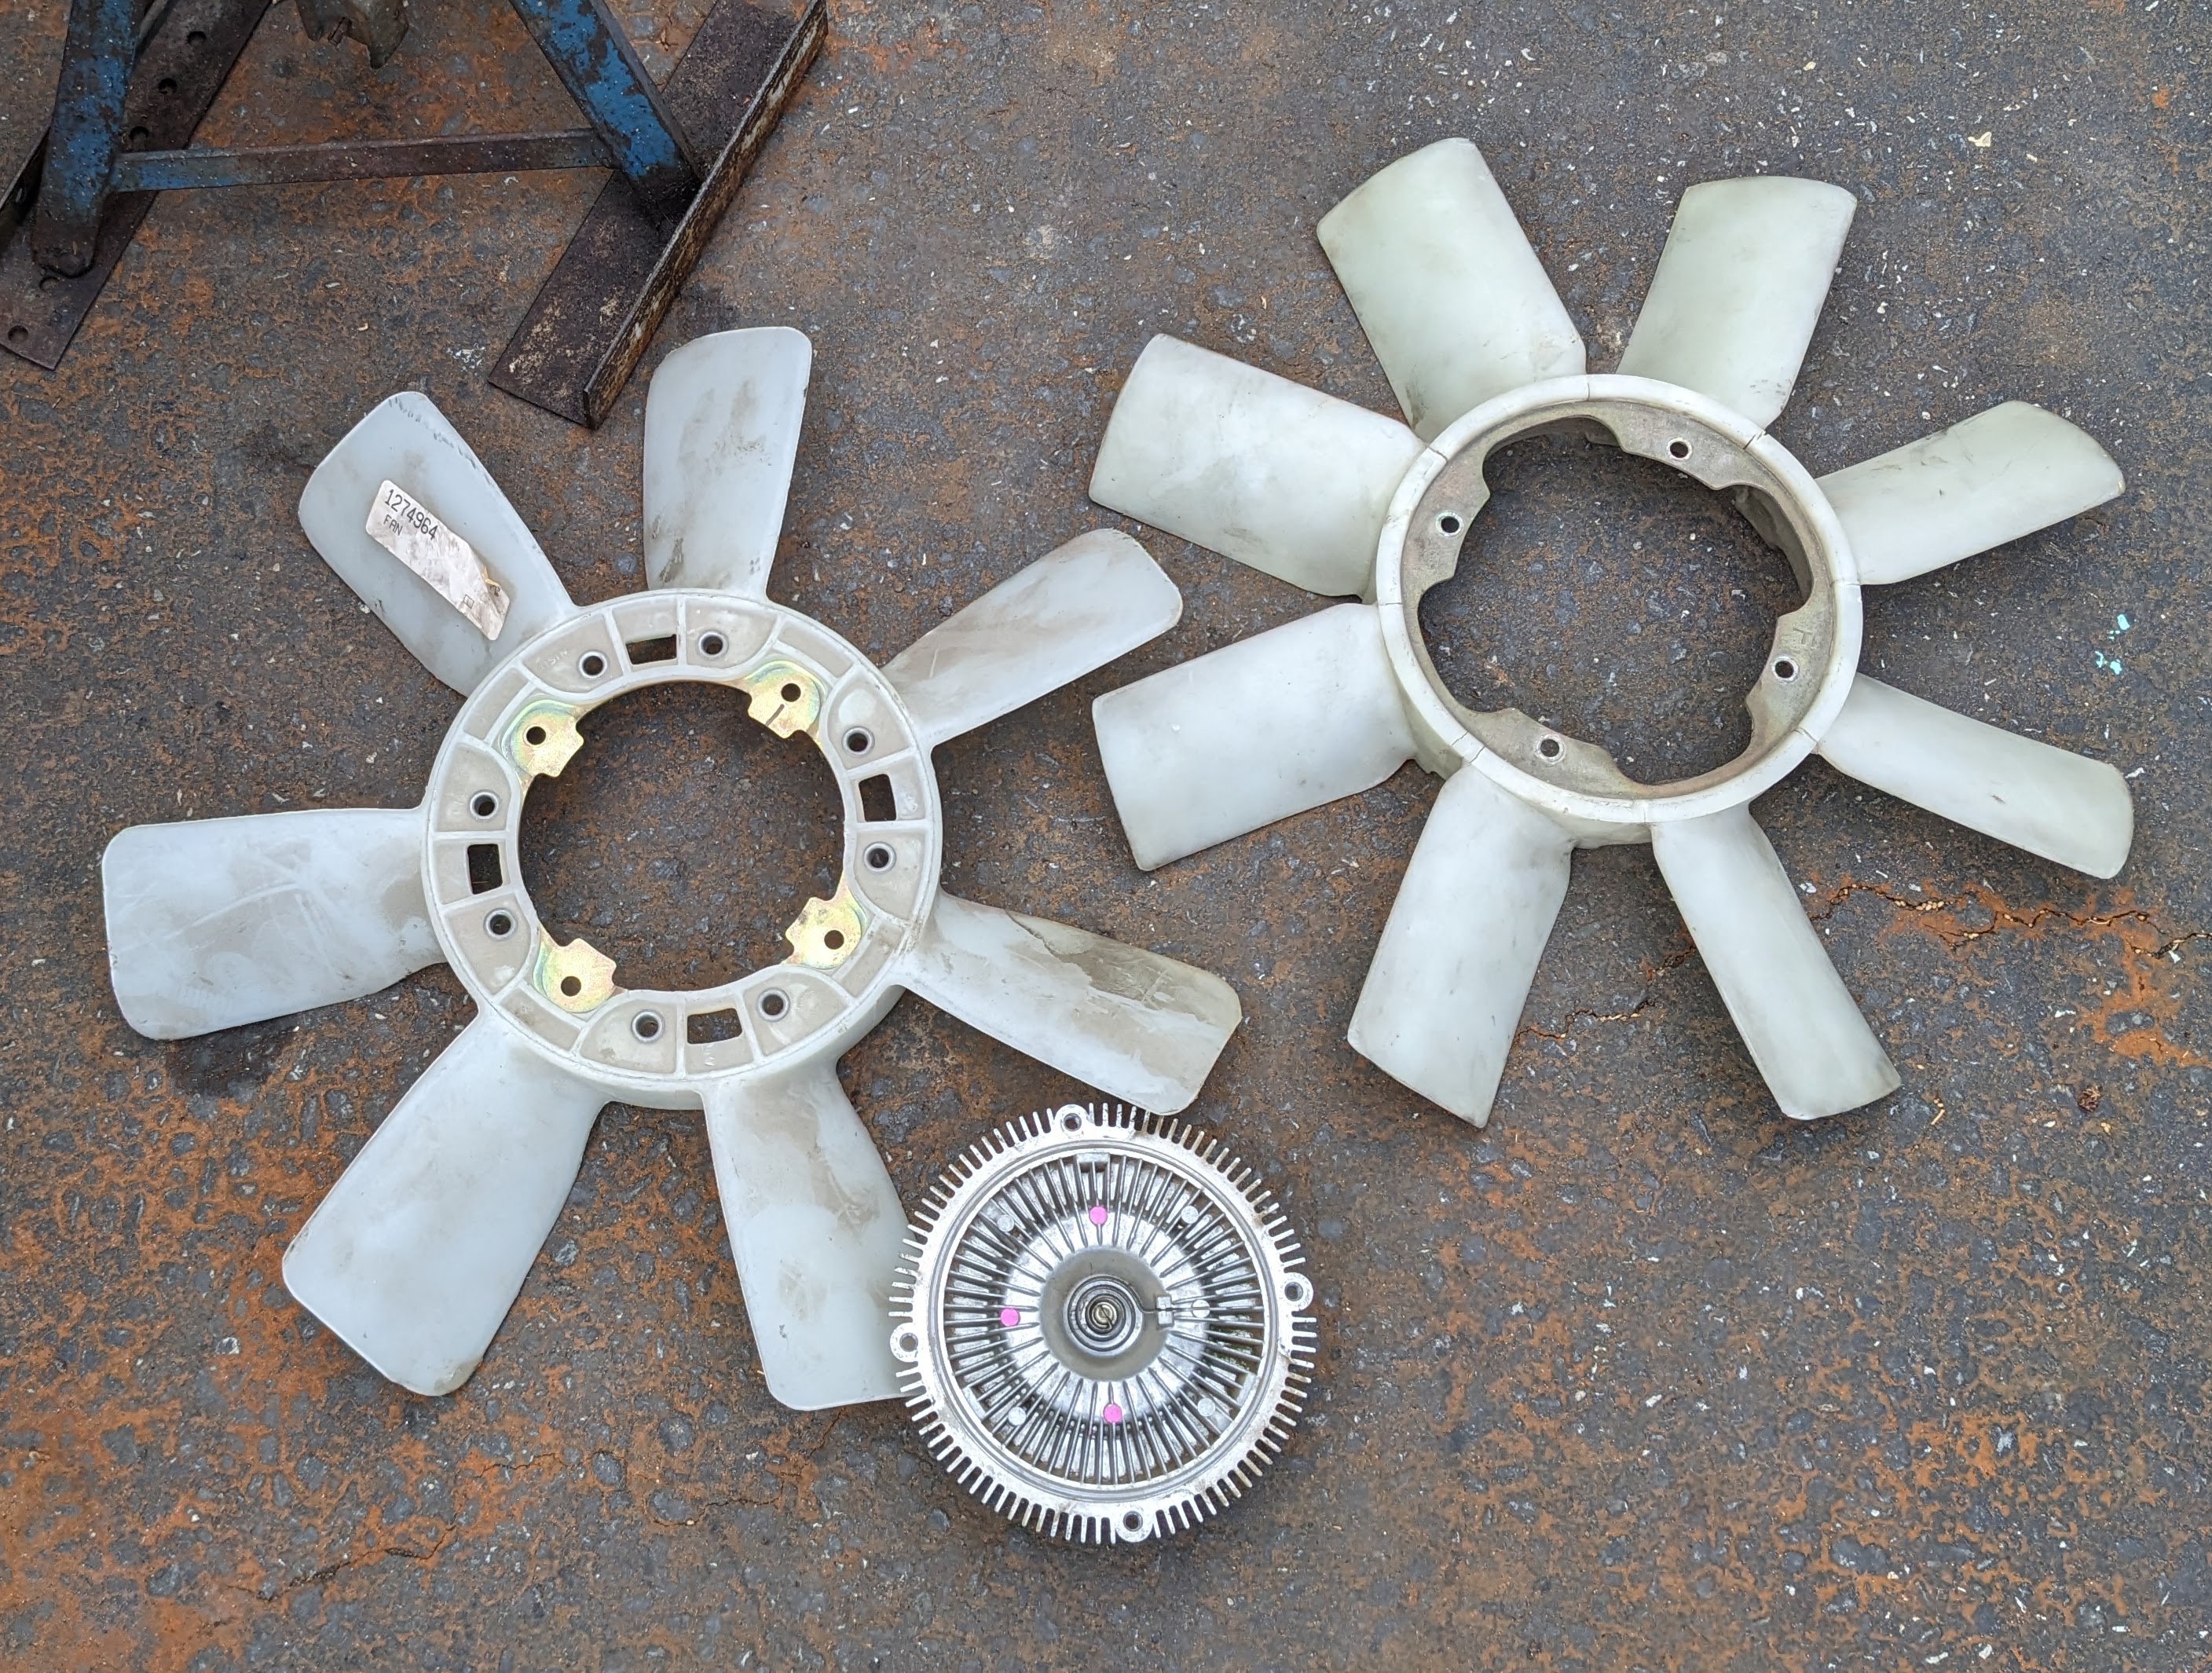
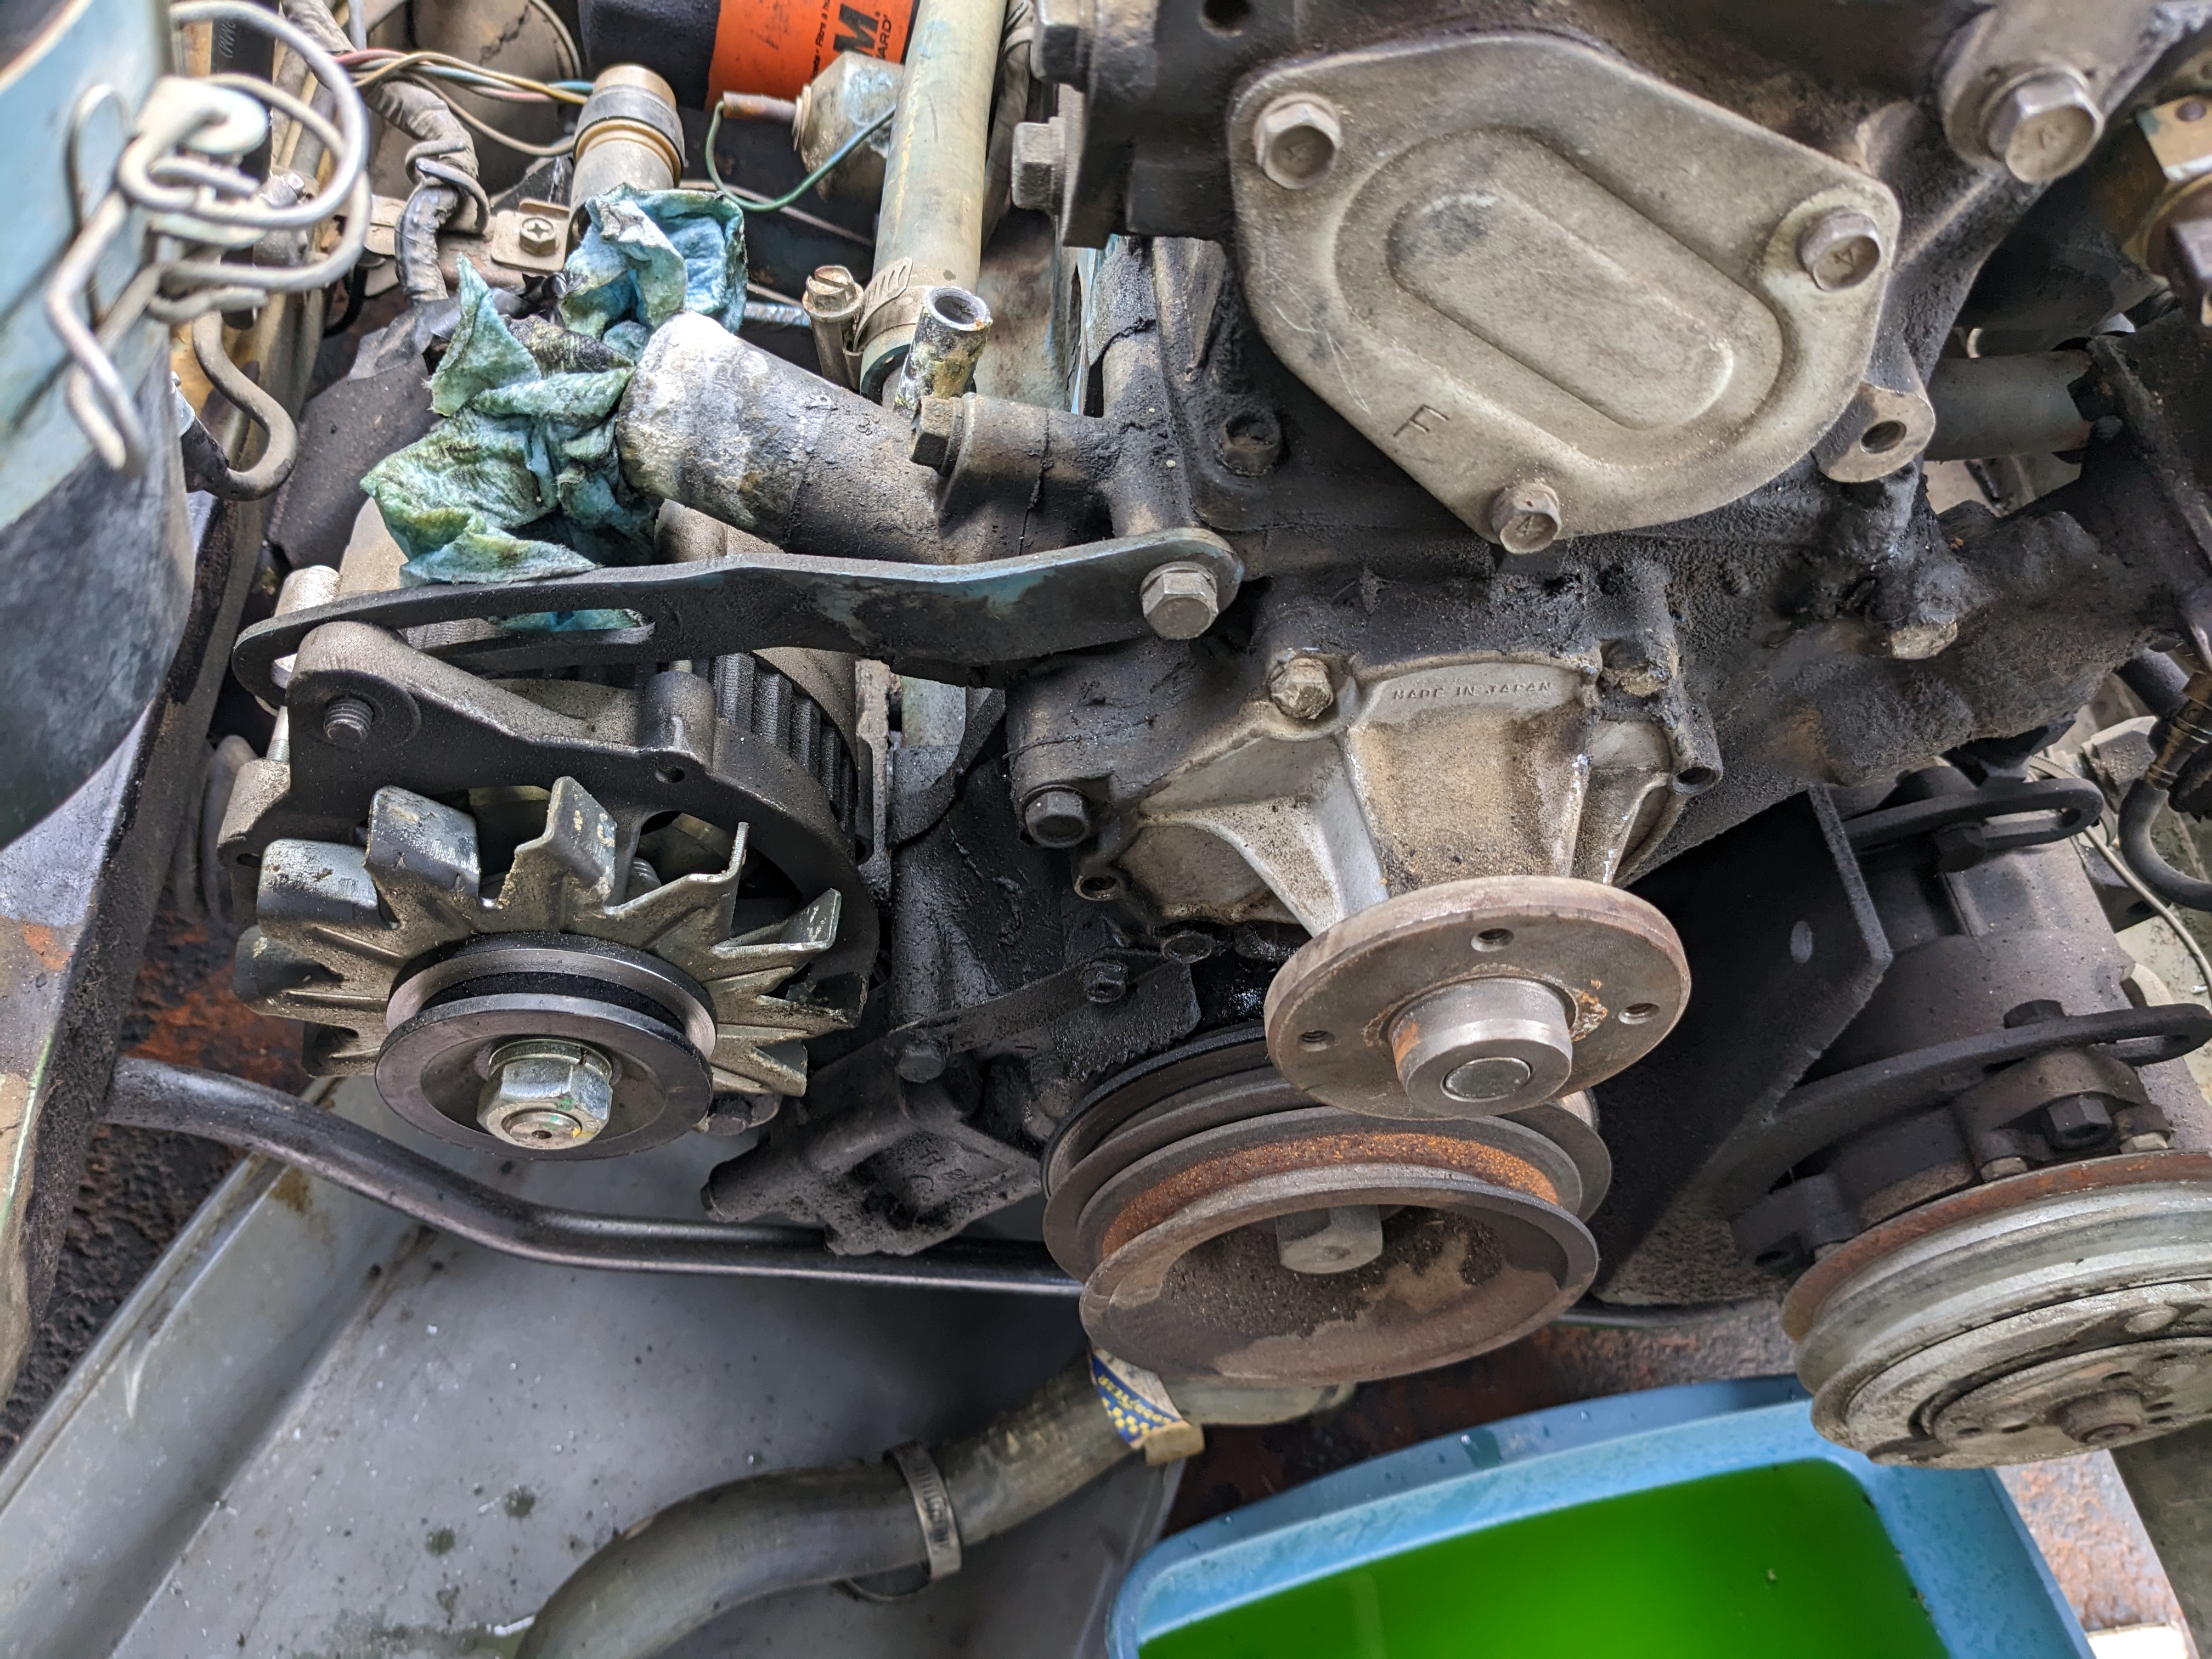
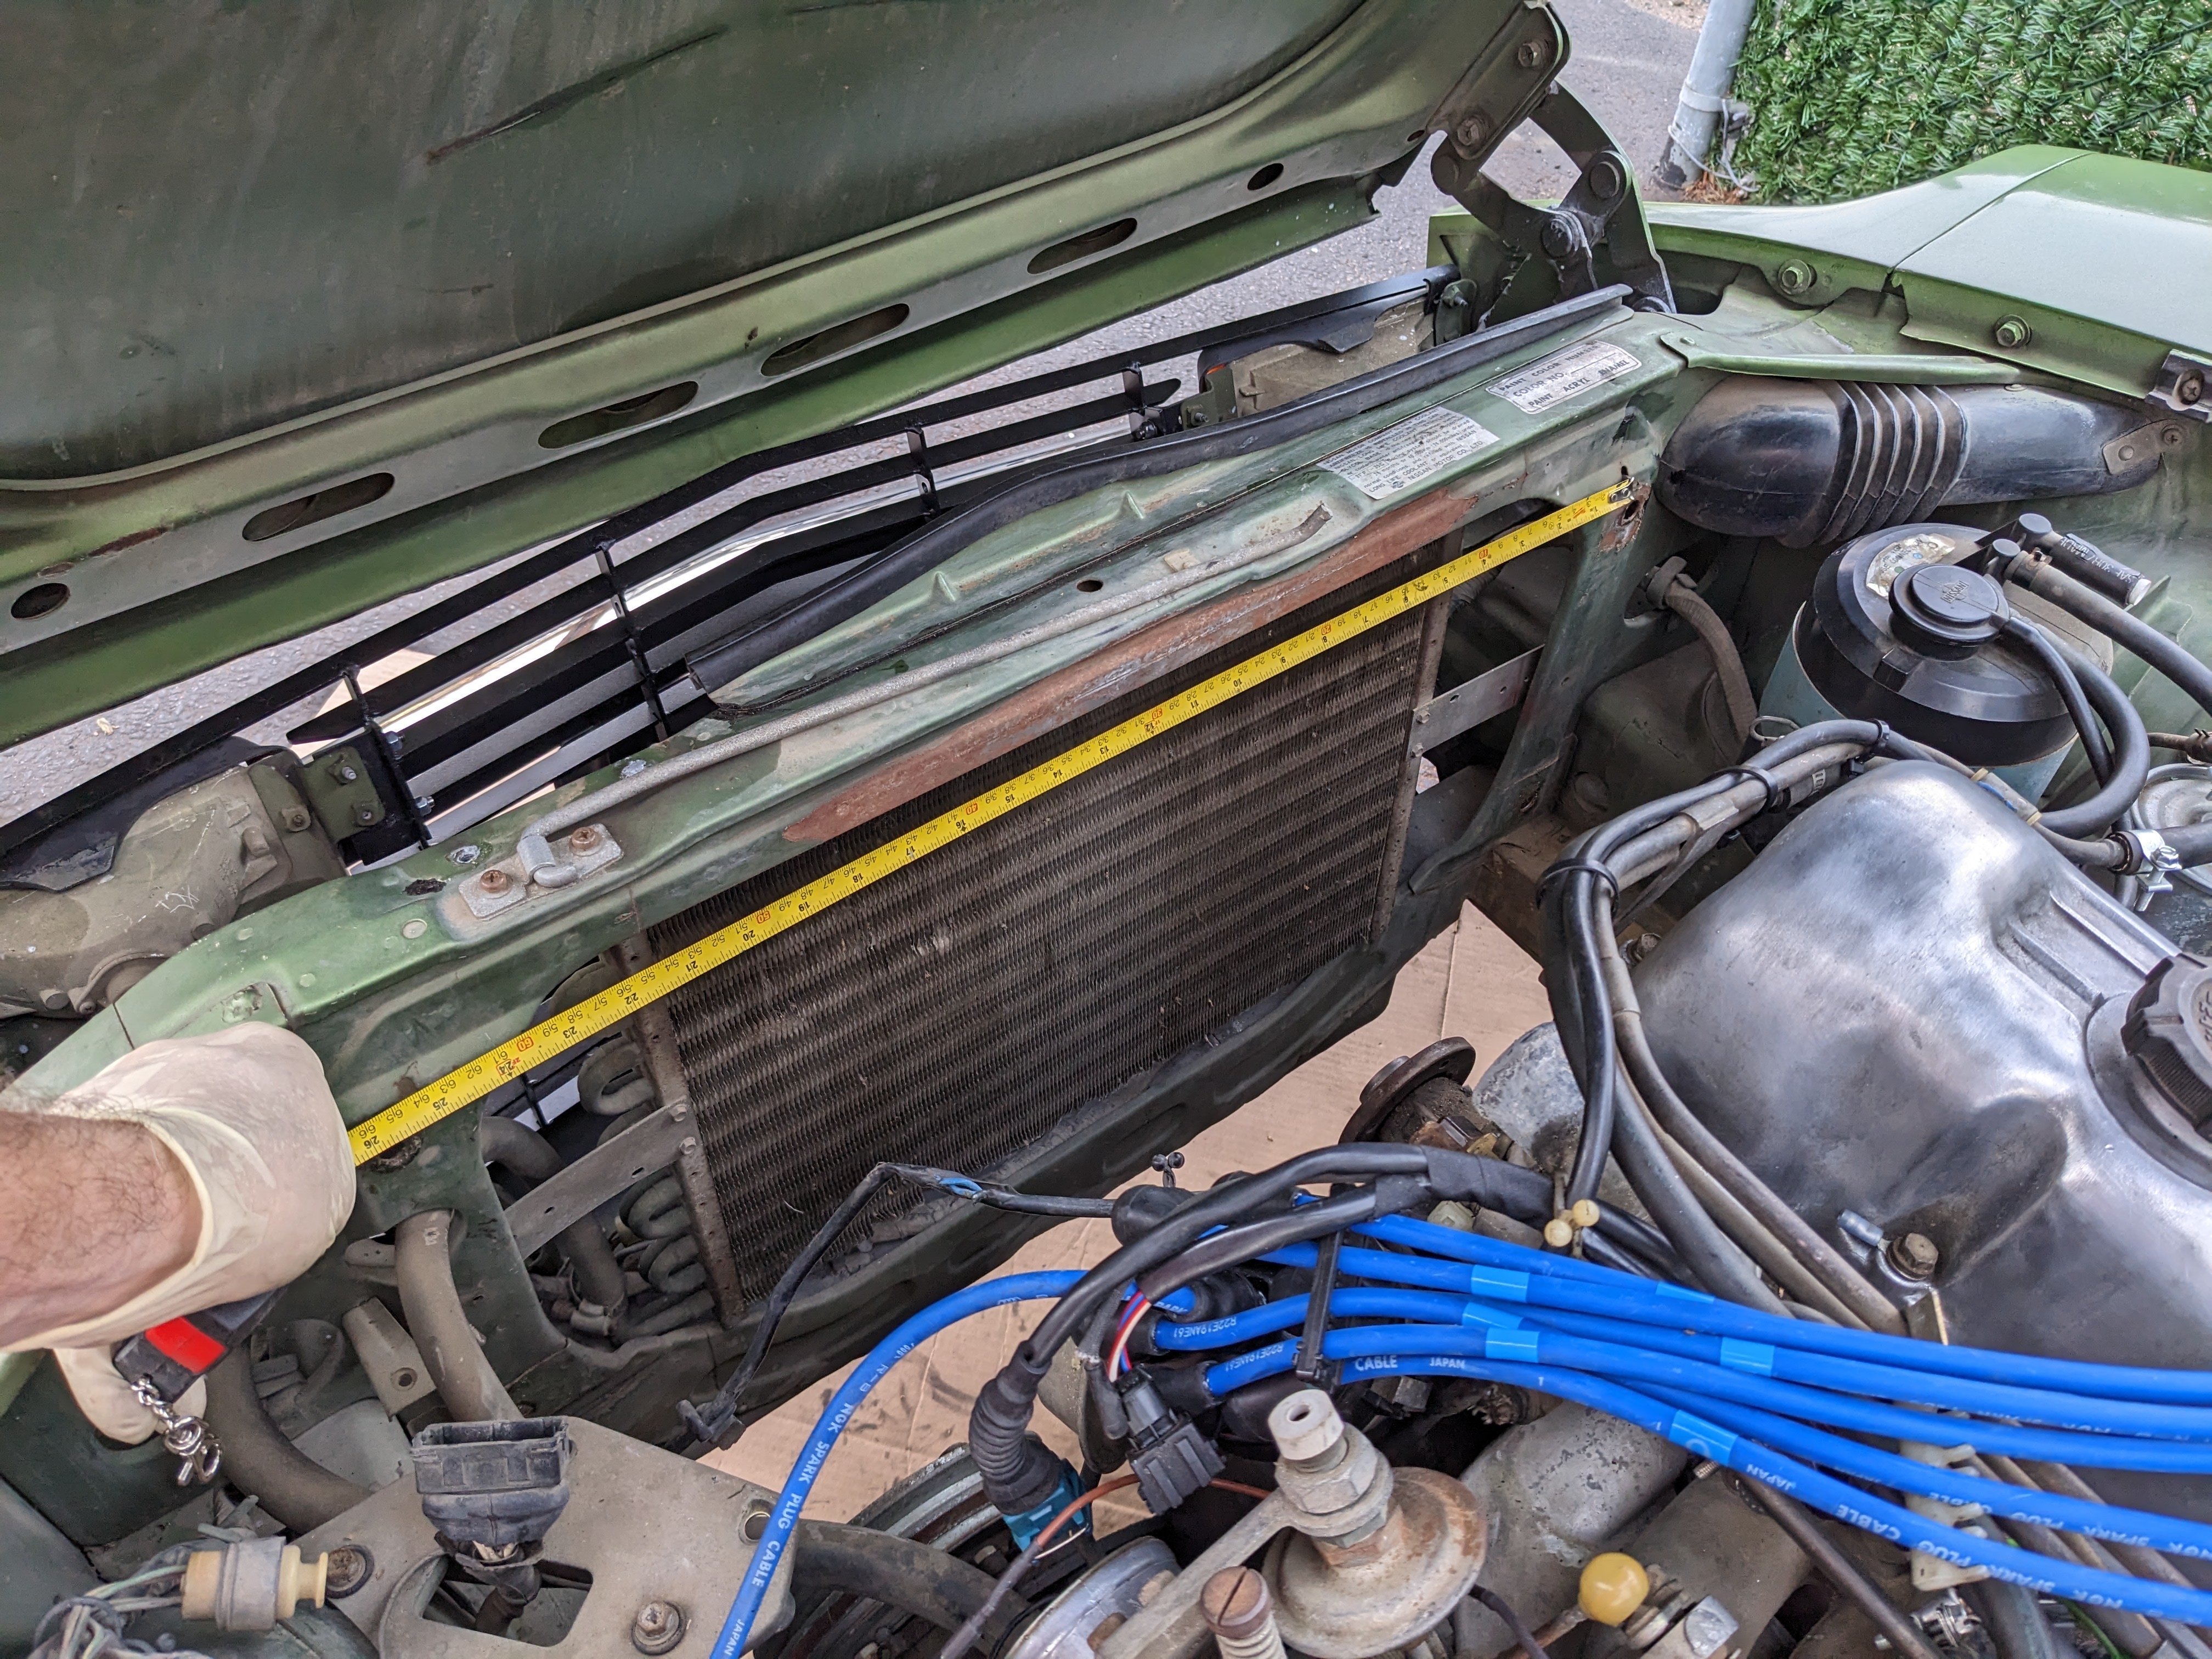
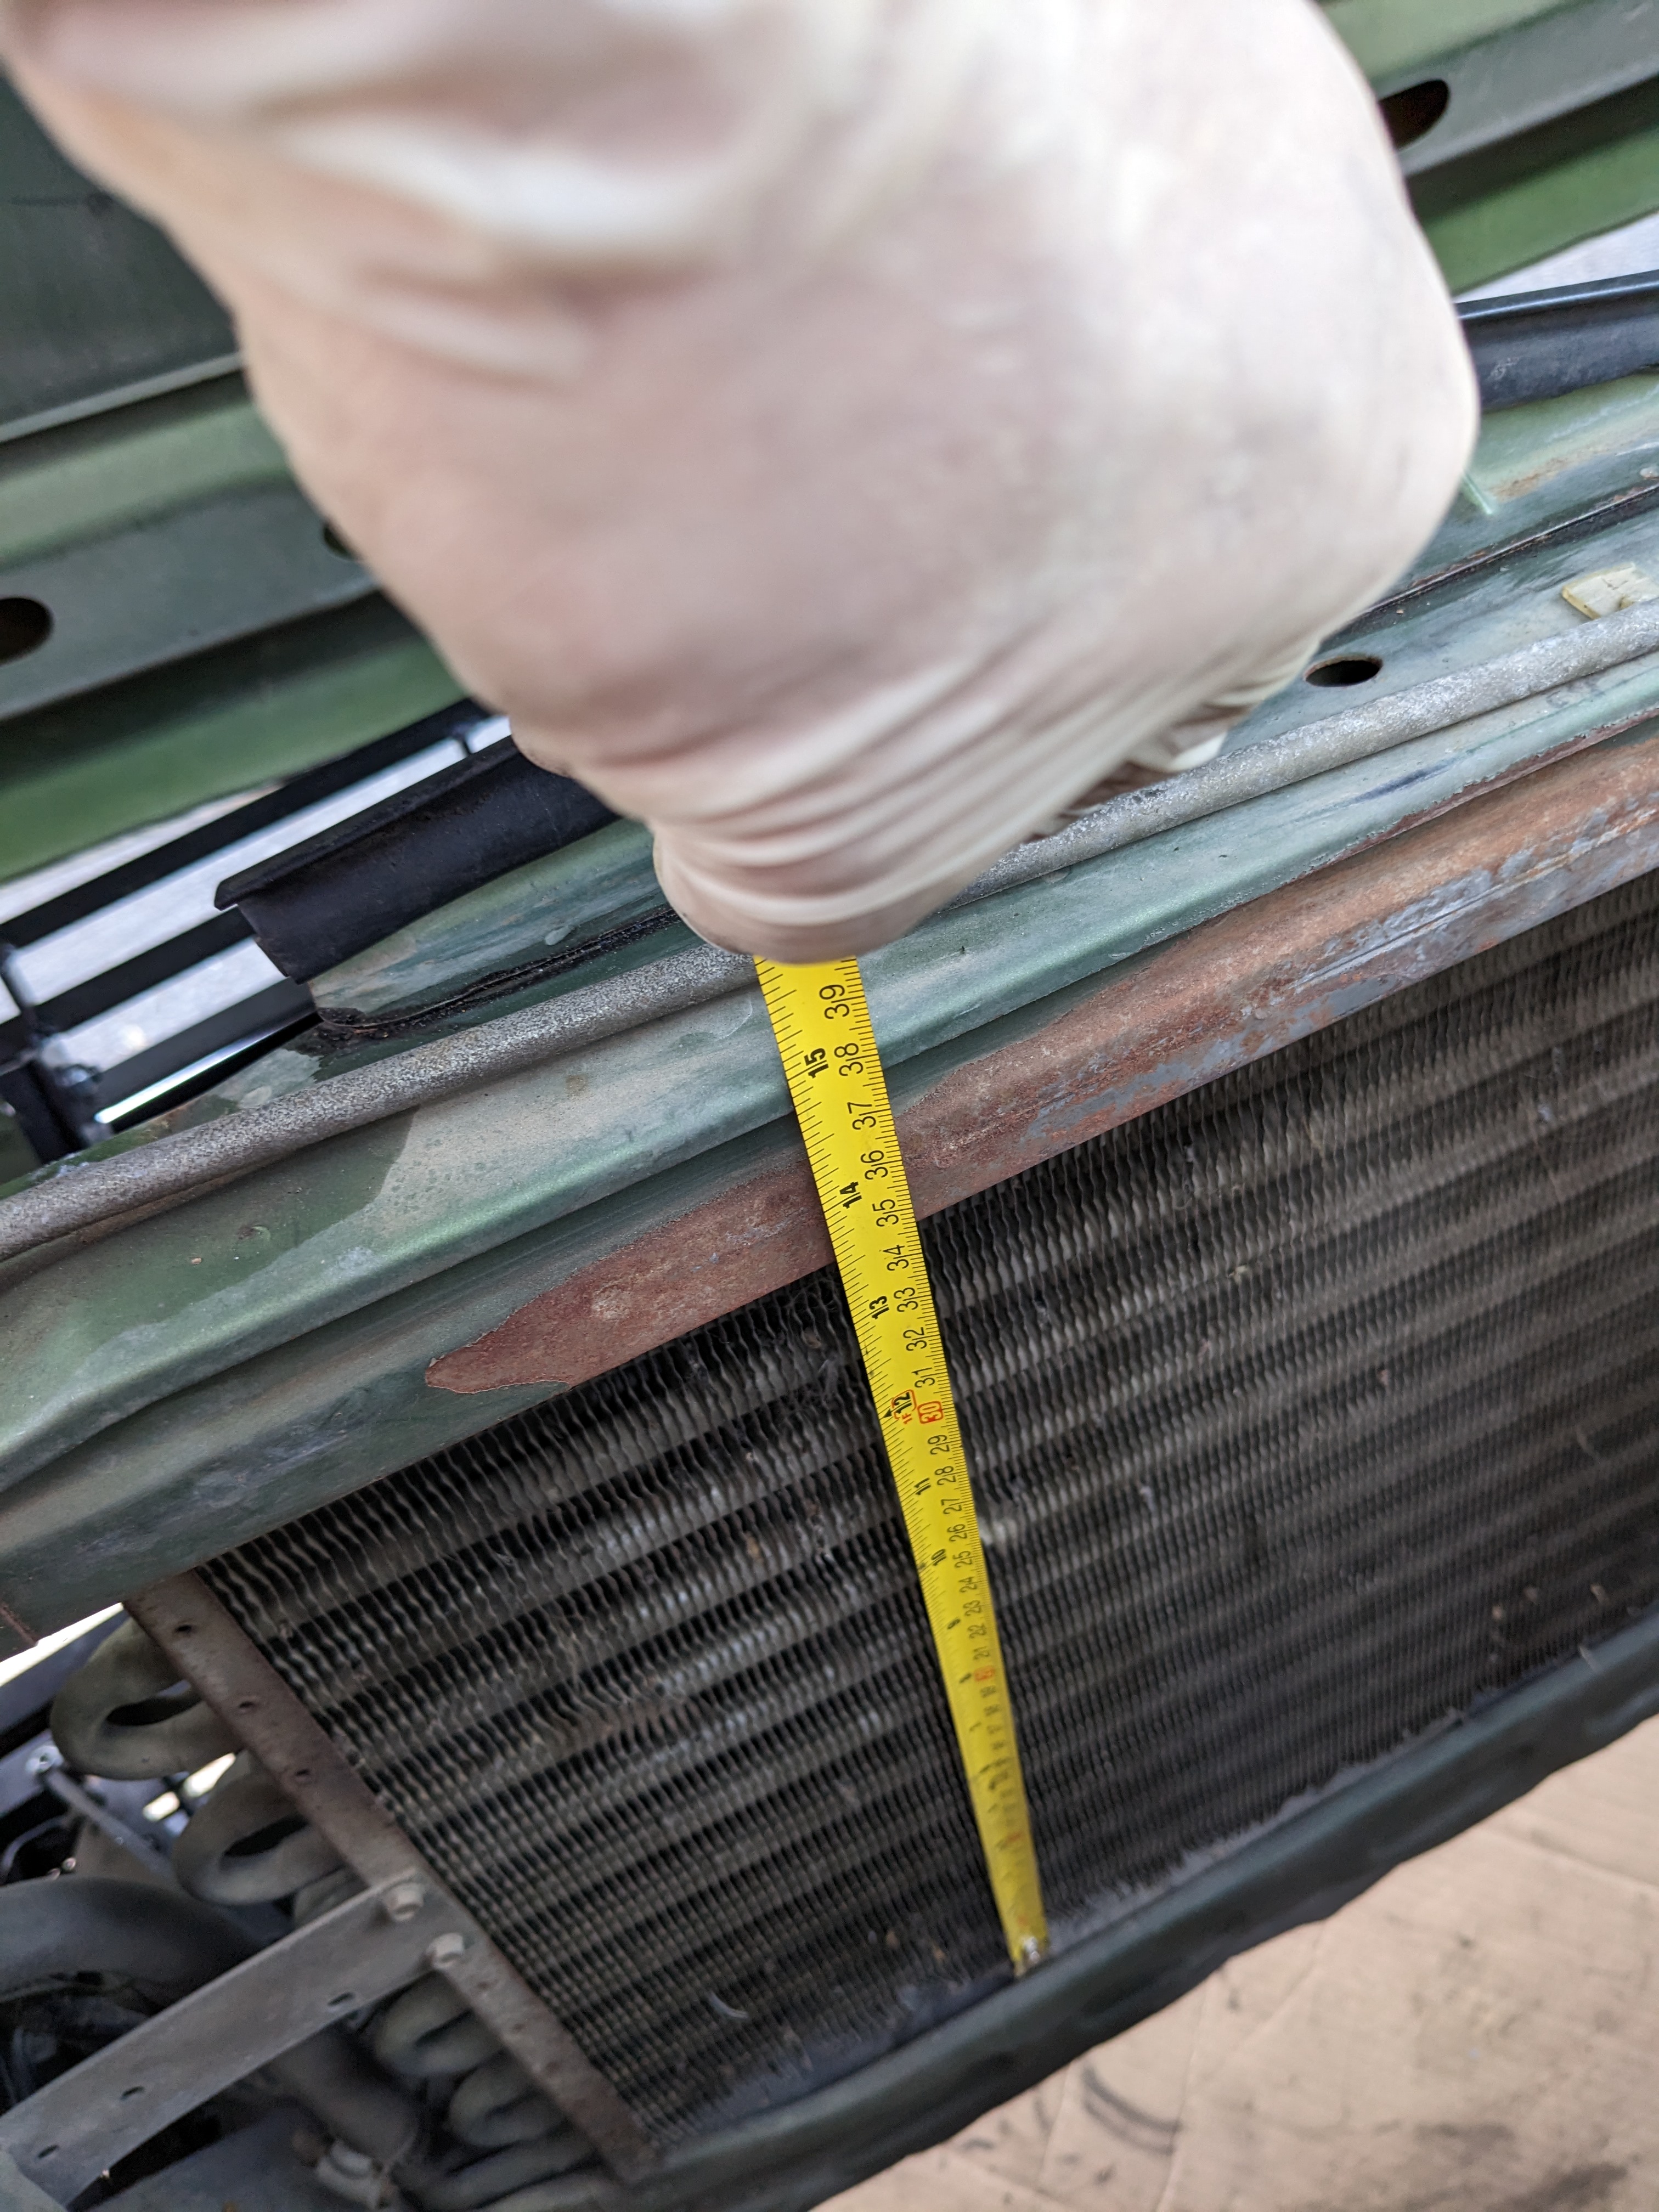
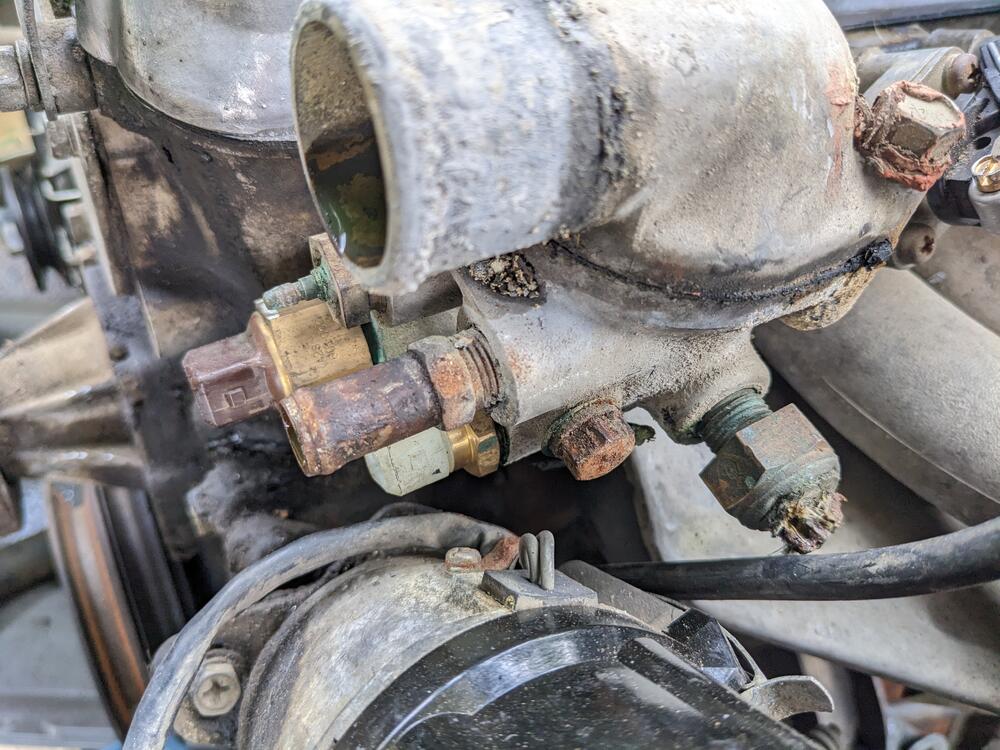
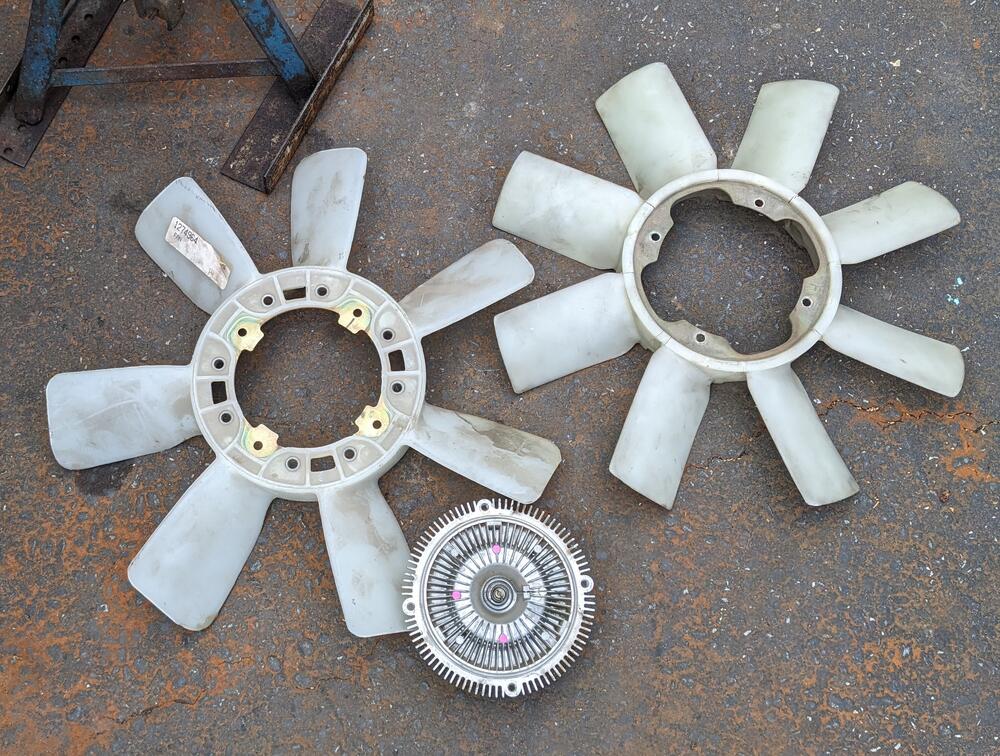
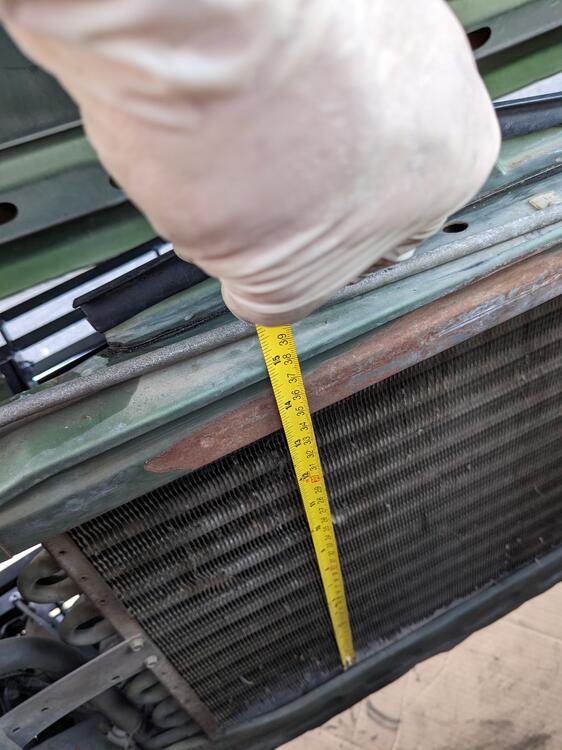
So as part of the general overhaul I'm replacing the leaking water pump, and the t/stat cover gasket. I wanted to remove the entire housing to give it an overall cleaning & replace the mount gasket. The issue is the long bolt feels like it's going to snap - I only tried to loosen it slightly, and it just felt wrong. If you've ever snapped a stud I think you know what I'm talking about. The question is, is that a thing that happens with these? It is a relatively long bolt, so it is possible it's twisting somewhat as it turns. I just don't want to have to remove the head to address a sheared off bolt, so if it is fairly common for these to snap, I'll leave well enough alone & just replace the cover gasket & check the T/stat. Any input would be much appreciated front crank seal is also obviously leaking, so I want to address that now as well Fan blade has multiple stress cracks - Volvo used Aisin fan clutches & blades through early 90's on some models, so I have a new fan blade, just have to mod the ID to remove the 'tangs' that will be in the way I will see if I can fit an electric fan & shroud first. All the Volvo (Bosch) ones I have are around 3.5" depth off the rad, which is deeper than the clearance I measured. They work really well. It may work for this install as the fan is offset in the shroud. I'll experiment with that. If so, I'll add a thermoswitch in the lower hose (again using a '80's Volvo coupler intended for this purpose) as there is no rad provision for one.
-
Just found this thread. Very useful! I've ordered one of these off RockAuto, still a good deal at just over $40 for the 4 Seasons 35086.
-
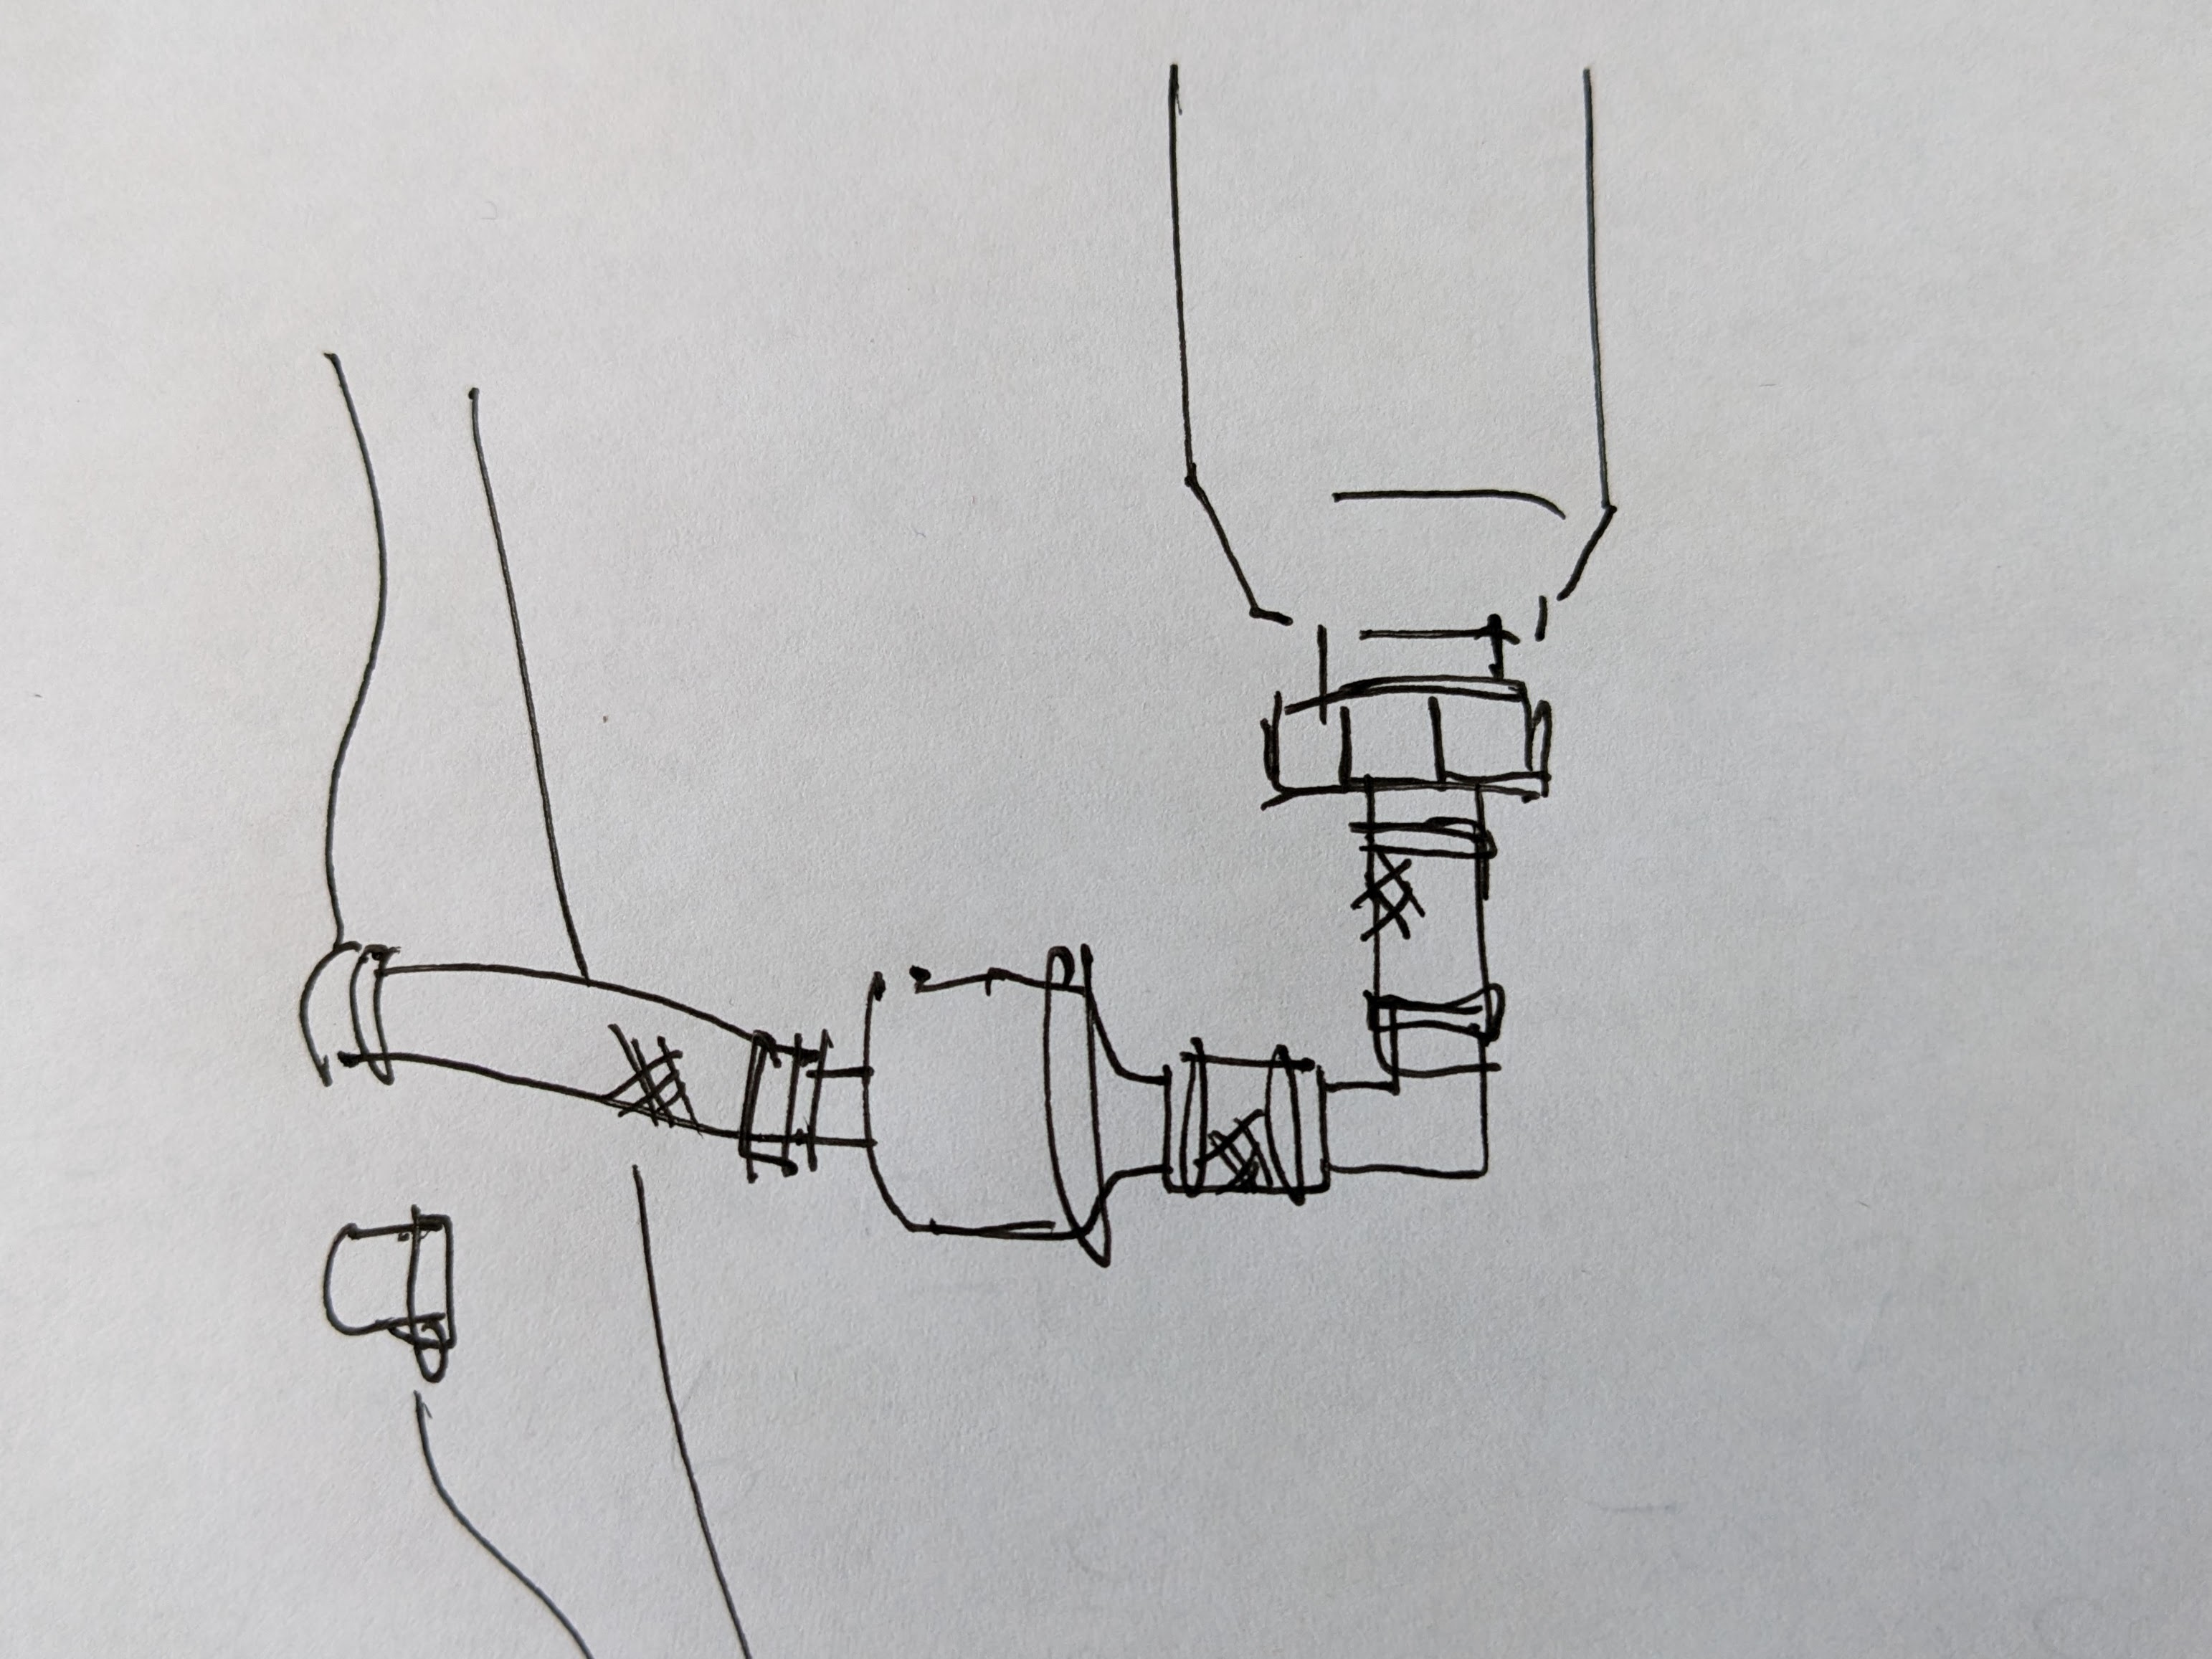
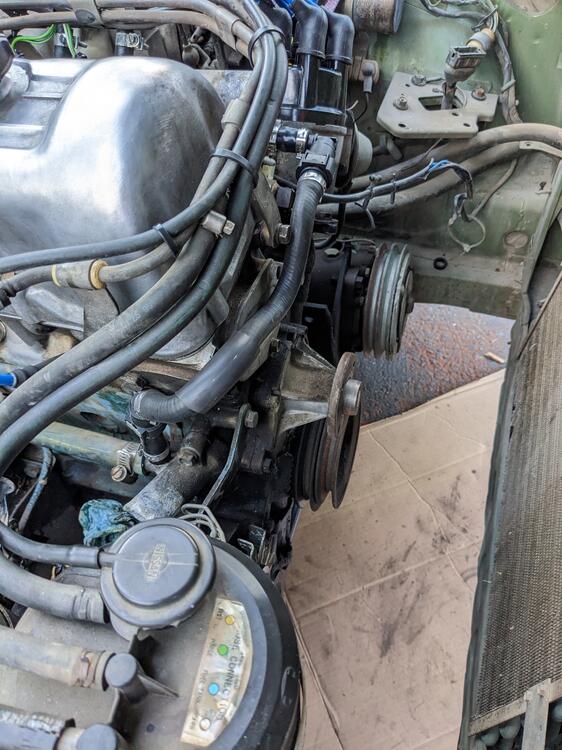
I made a line to serve the purpose. Fiat EPDM hose at either fitting, then a Volvo shaped bleed hose with quick connect fittings to make it easy to service without messing with the end fittings
-
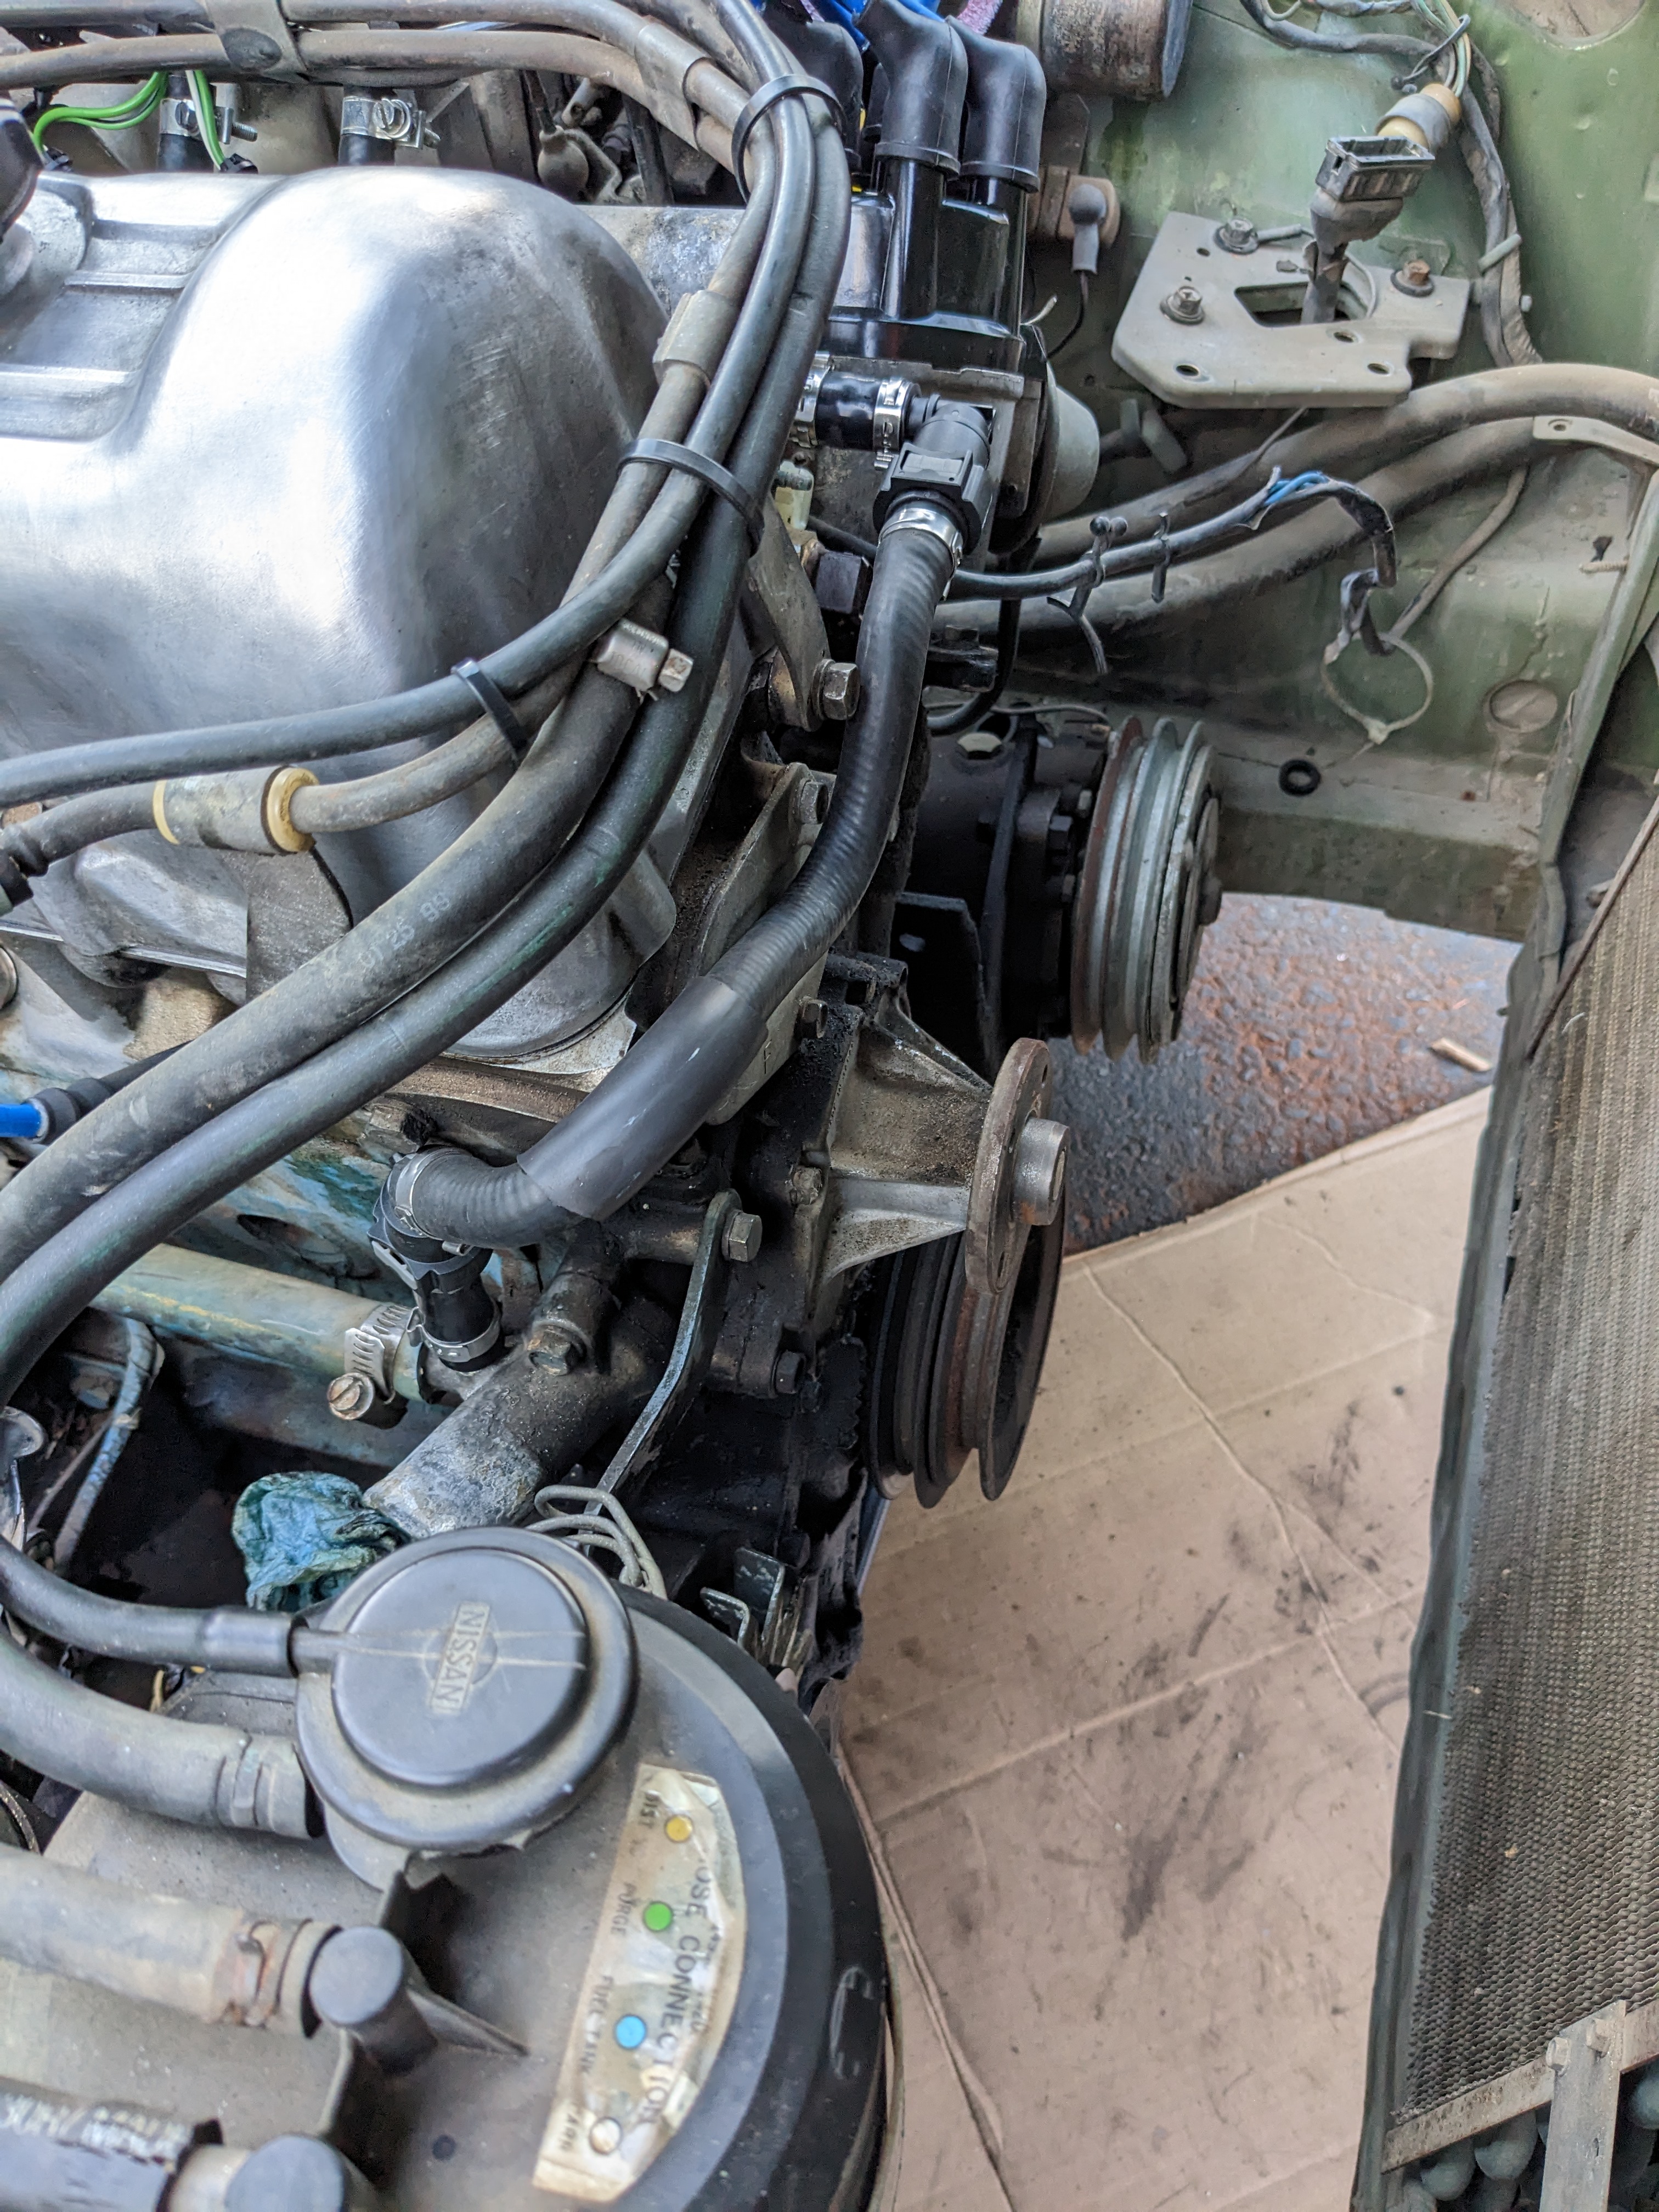
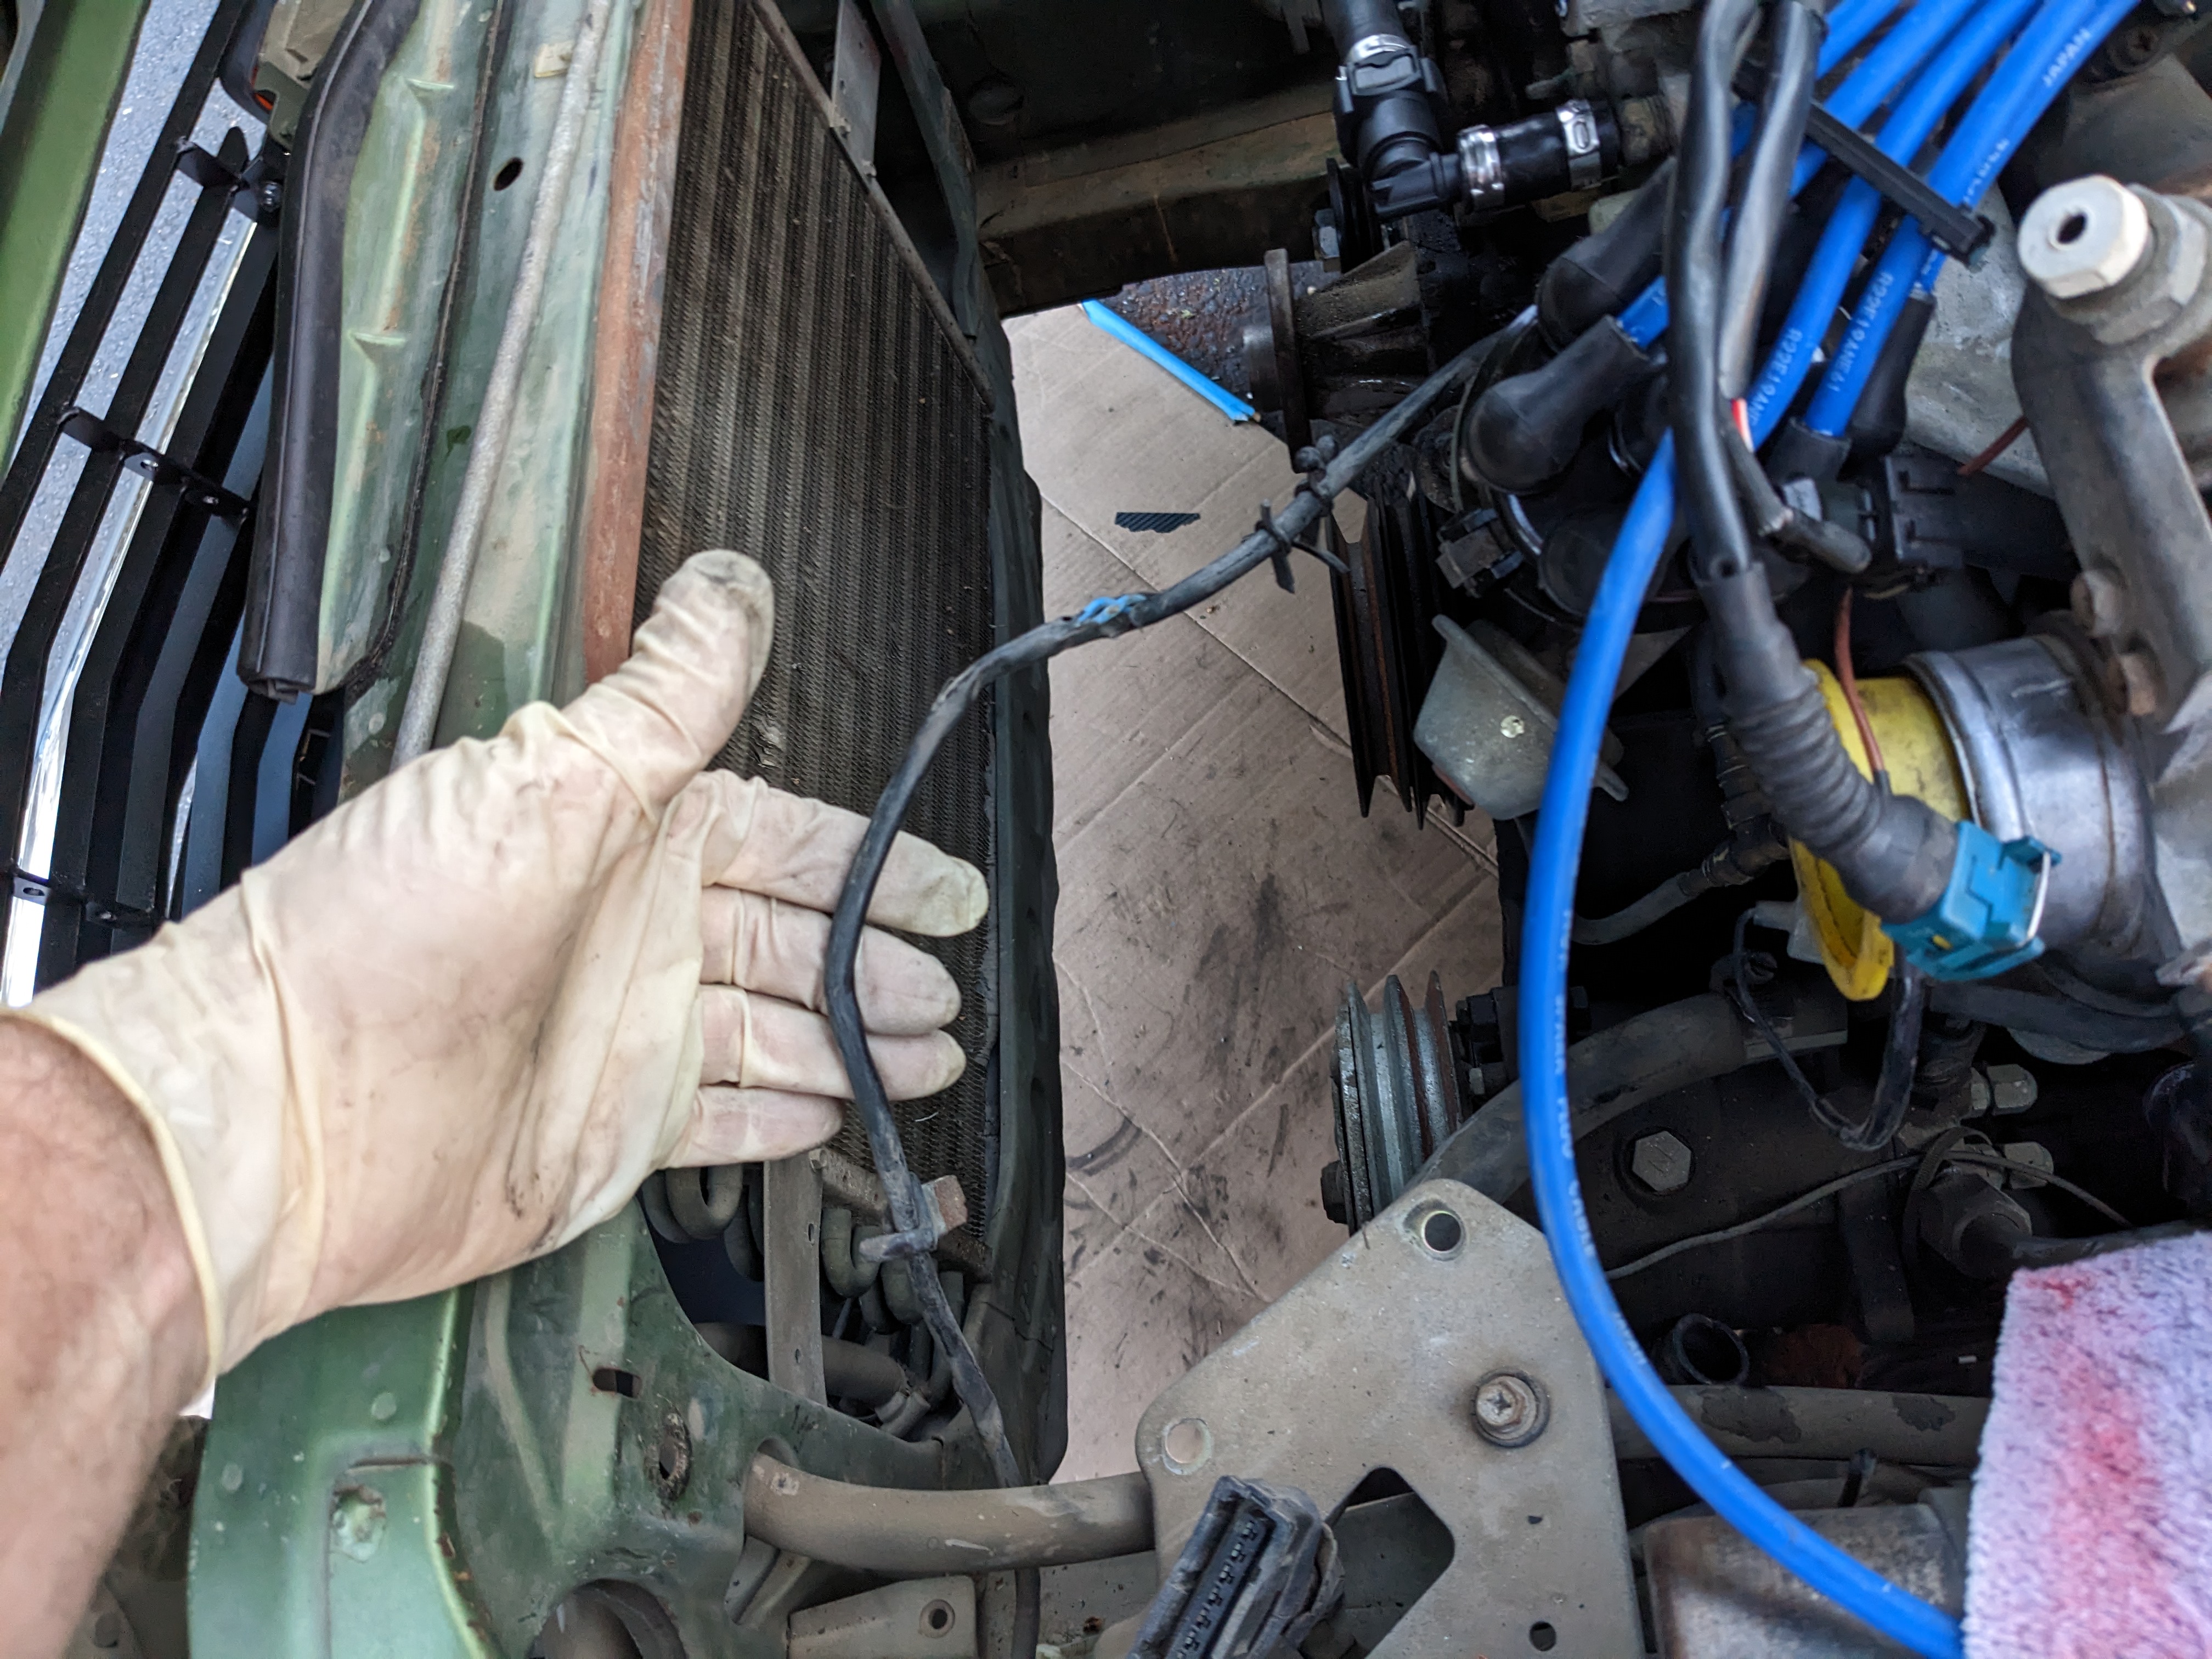
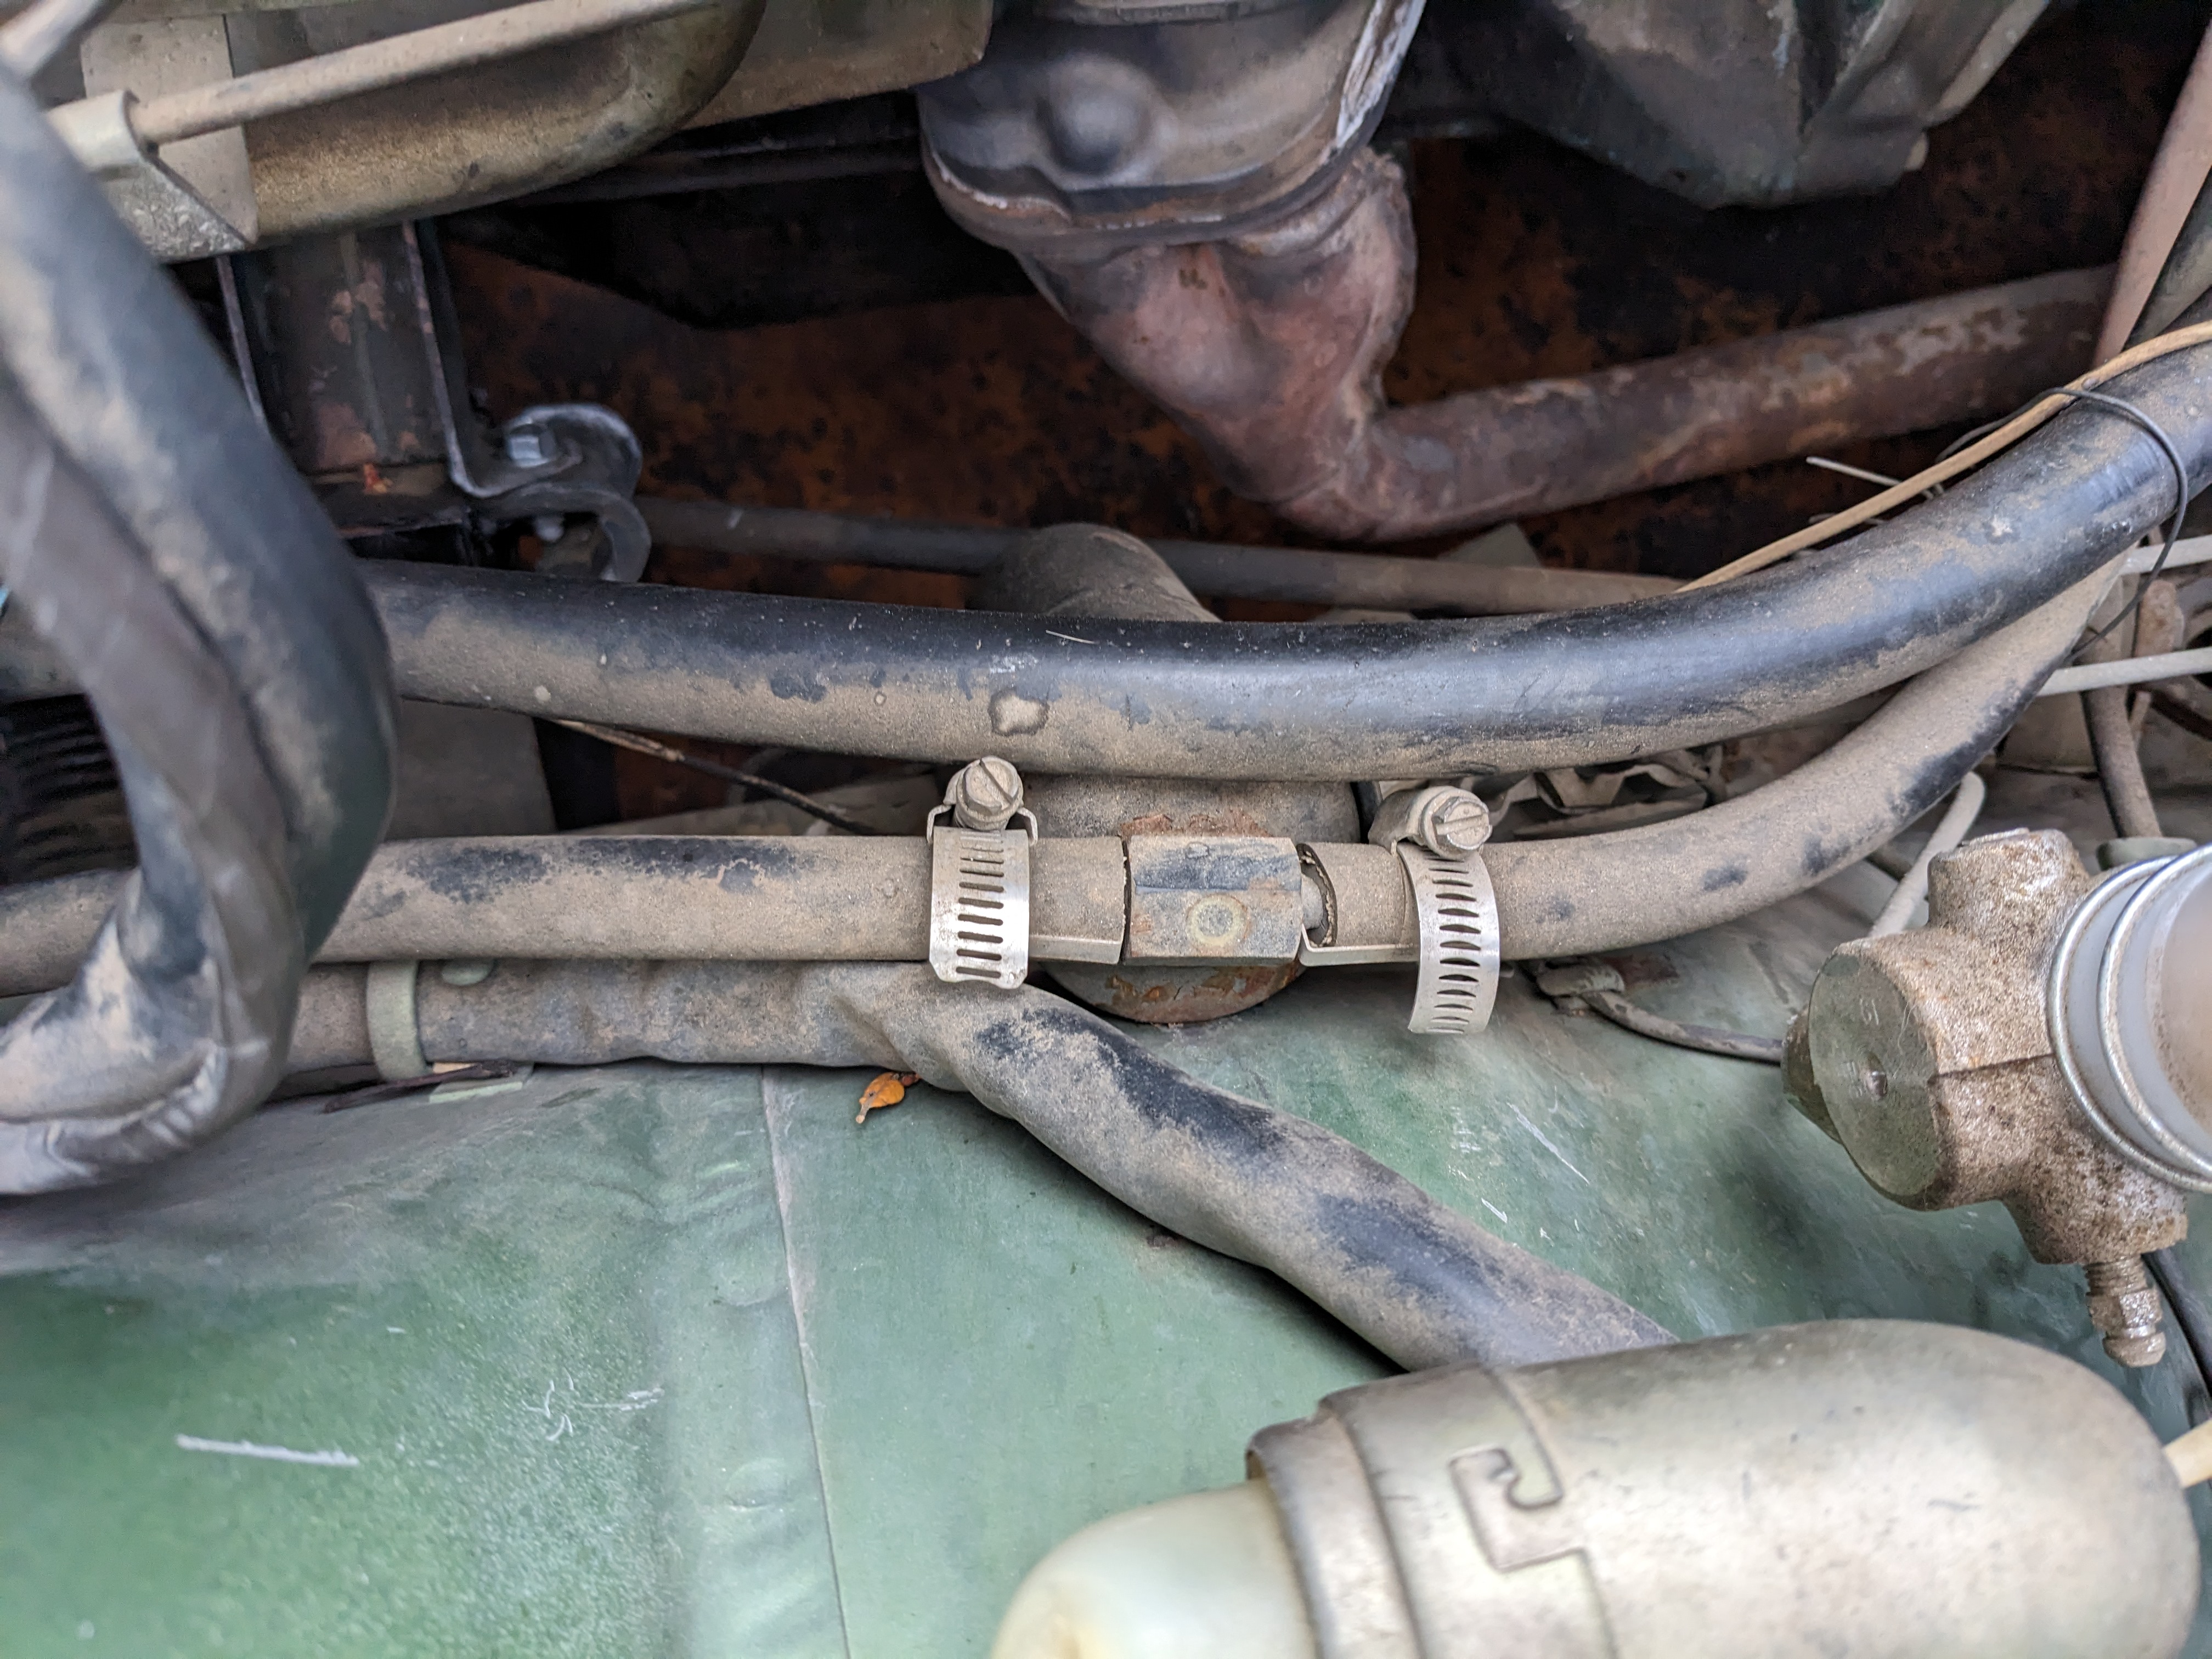
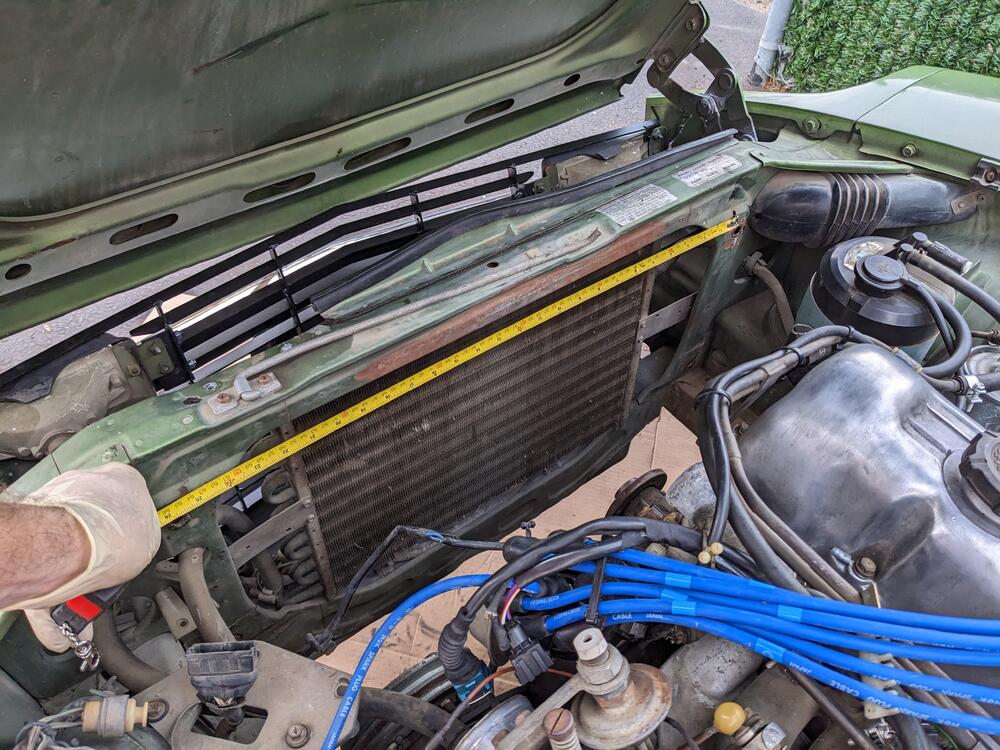
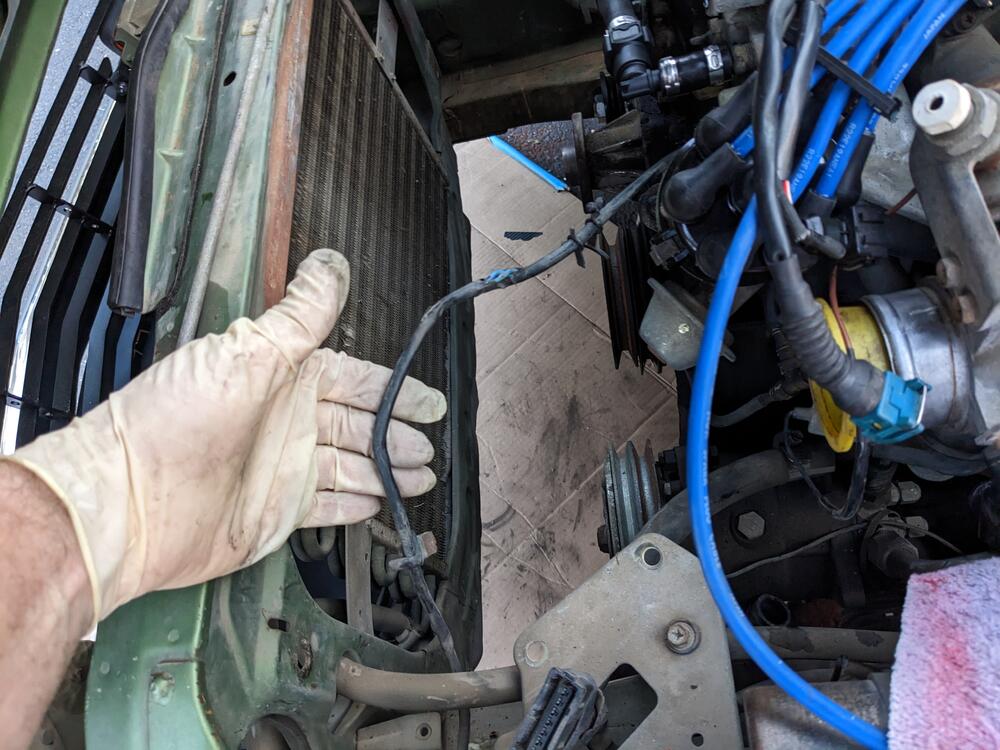
I'm going to piggy-back on this existing thread, rather than start a new one, if that's OK. I asked a related question in Captain Obvious's heater core thread I'm going to revamp the non-factory AC in my 75 280Z, using the accumulator/orifice tube system rather than the antiquated & less efficient expansion valve & receiver/drier setup found on most older (pre mid-late 80's) imports. I've already done this successfully on my Bertone X1/9. The main difference here is that I don't have the factory control head, so I'll likely need to use one of the aftermarket rotary t/stat w/capillary controllers to regulate it. I've bought a universal 12x25" condenser, orifice tube 'repair' kit (Santech MT0669) and a GM accumulator (Four Seasons 33197) typically found found on all 700 Volvos. I will probably use a Sanden or Diesel-Kiki compressor, since that's what I'm familiar with from Volvo applications. I may have a new one in my basement. As long as it has the 4 mount ears I can make it fit. The clutch can be swapped out for a V-belt version. If I keep the current line routing, rather than the factory layout with the receiver drier on the right inner fender, it will greatly simplify the layout. Question is whether I can fit the accumulator on the left side - the receiver/drier is currently stashed down on the inner fender near the manifold/downpipe. Not ideal. I may need to route the lines around to the right & put the accumulator on the existing bracket used for the vacuum tank (I presume) on right inner. That would mean much longer AC lines, so I'll have to figure that out. I have the AC beadlock crimp tool, so making lines from scratch is not a problem. My Z currently has a 14x20" condenser, and I think having a slightly larger overall surface area (approx 300 vs 250 current) can't hurt as a side not, why the heck did Nissan route the distributor feed harness along the rad hose?? Seems like a recipe for diaster. Mine clearly got clipped by the fan at some point
-
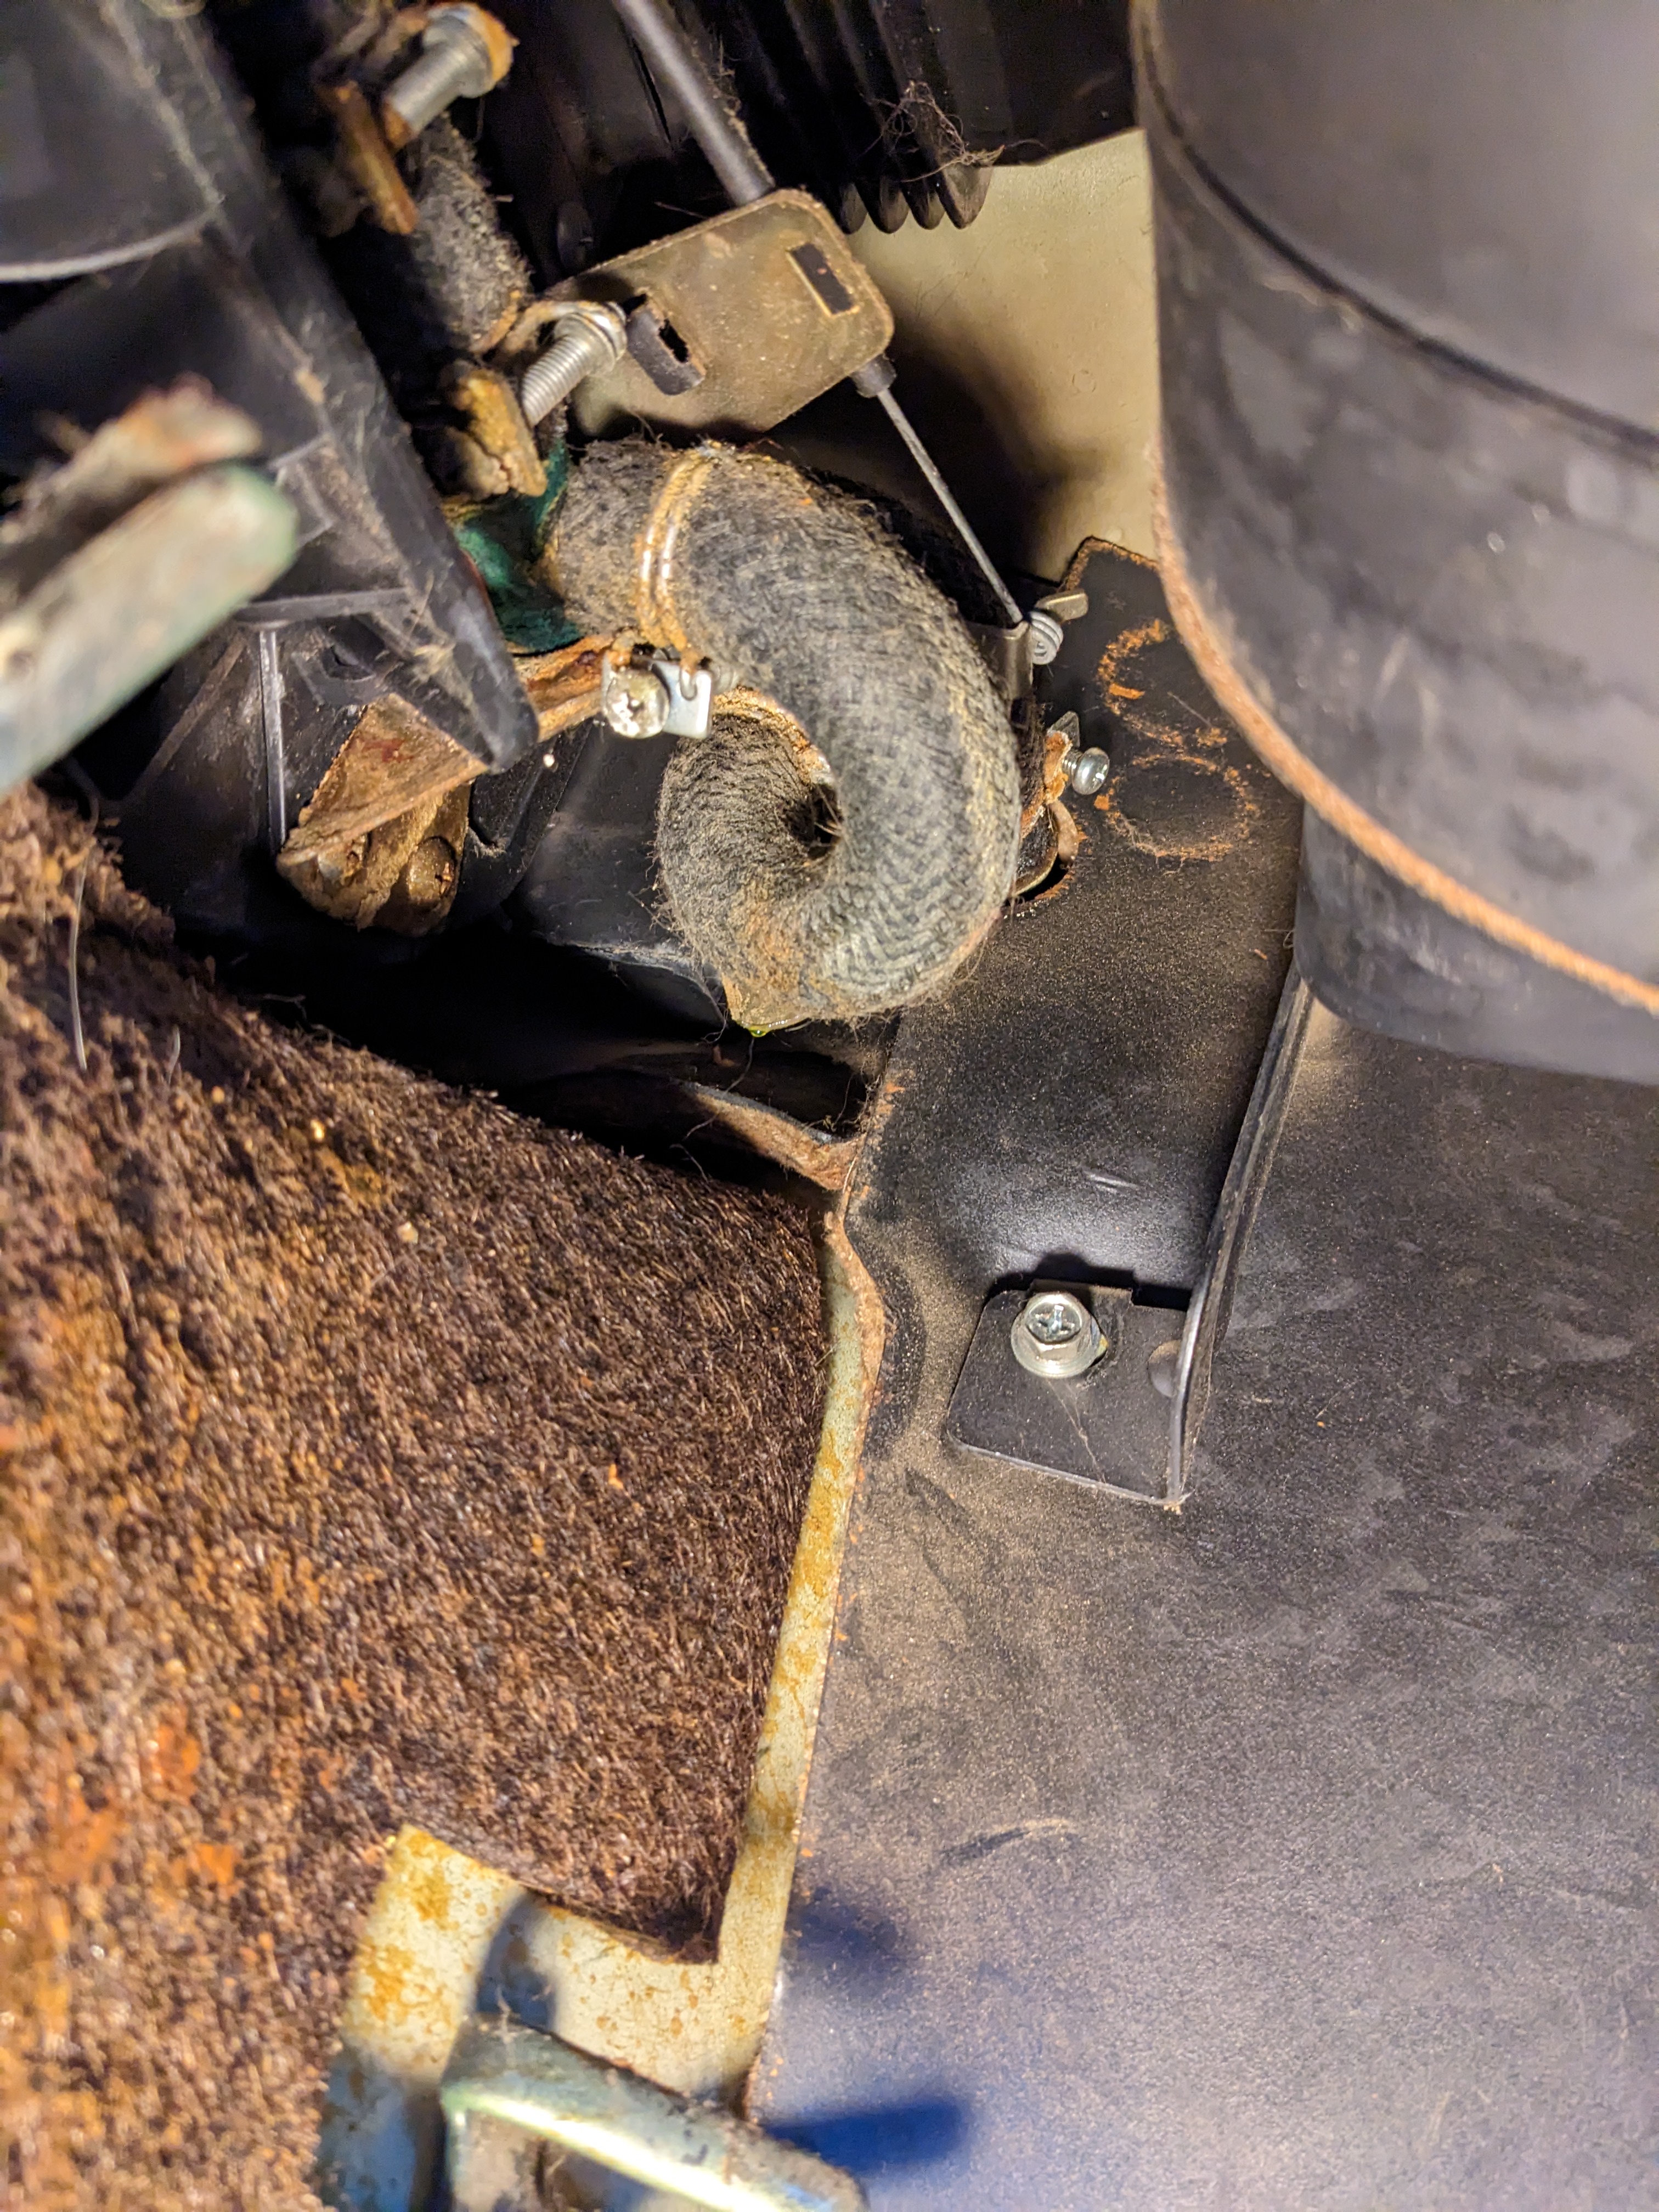
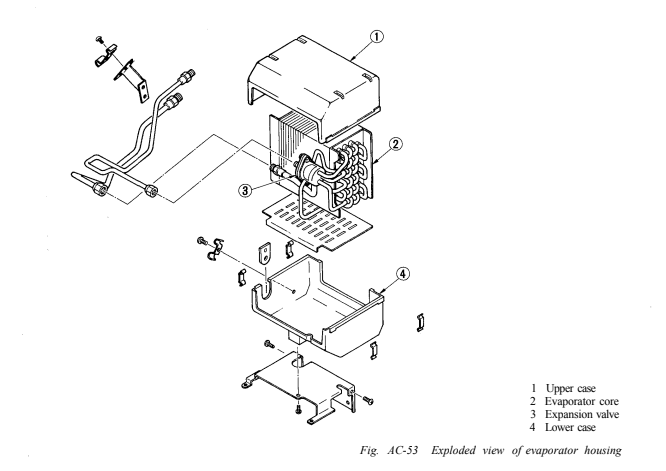
@Captain Obvious - I'm hoping you can clarify how the heater box unites with the AC section - the manual is very unclear to me - does this entire box attach to the one in your picture where the foam seal is located on the left? I'm trying to figure out the layout before I take mine apart. Since it''s not factory AC, I'm wondering how the evap is mounted if the housing is not normally present on Non-AC cars. Can't seem to find a schematic that clarifies that.
-
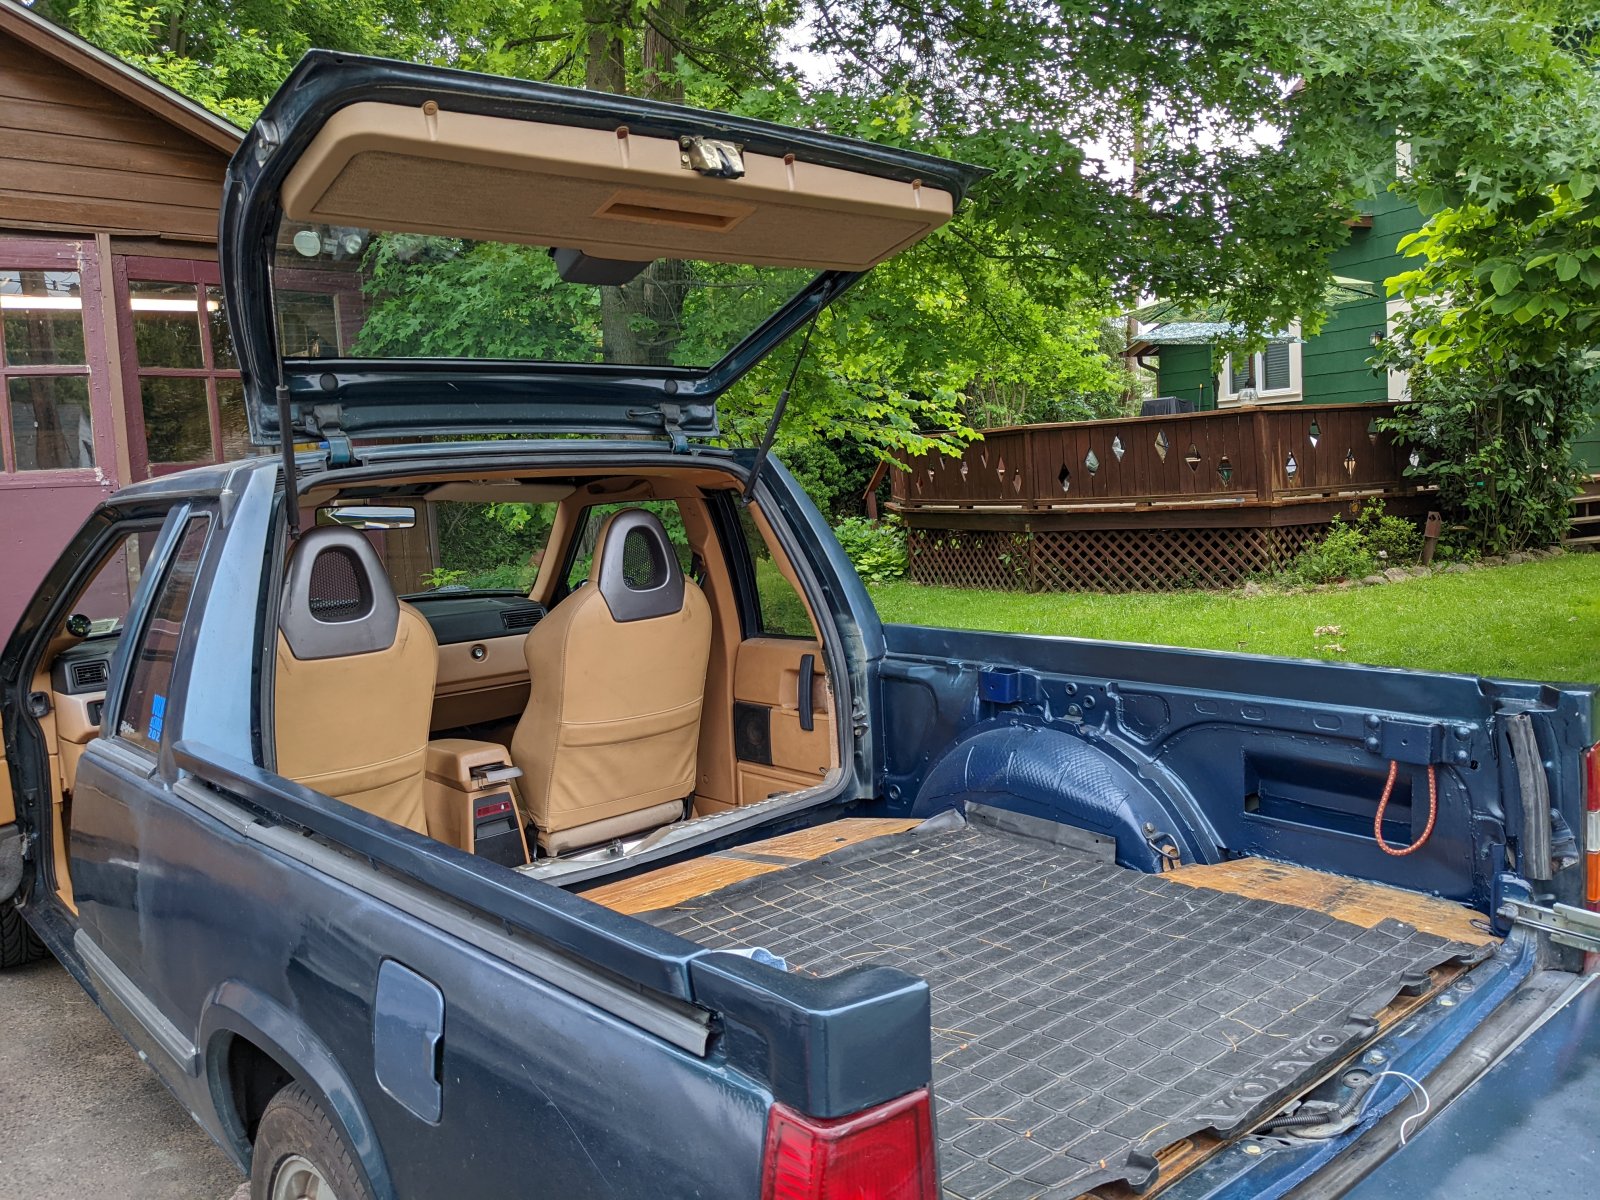
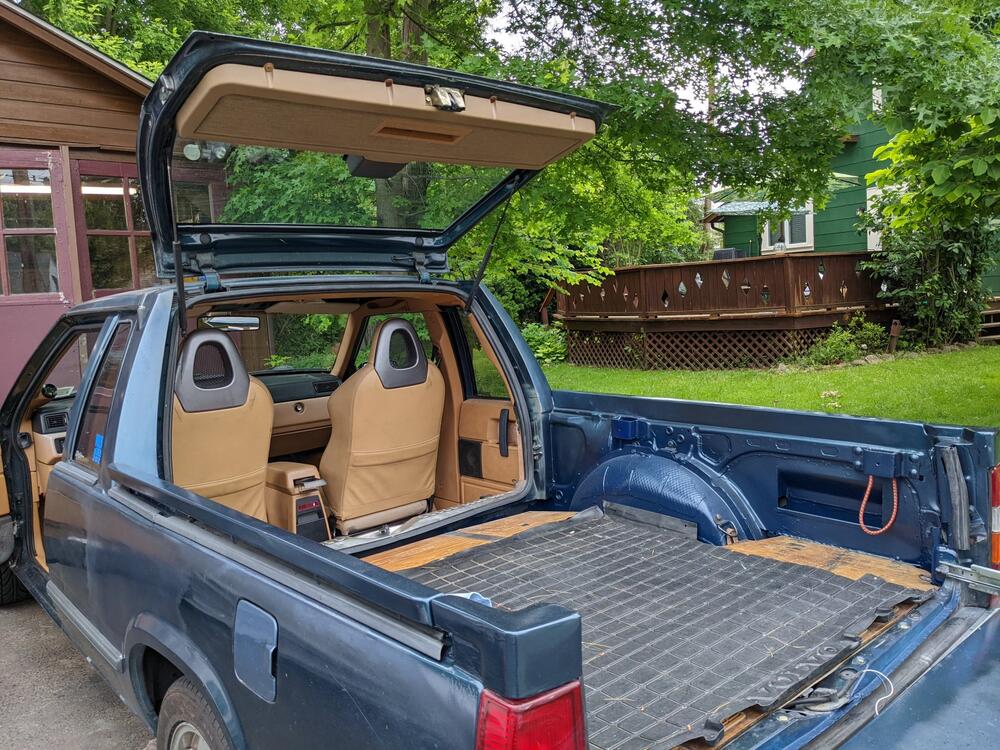
Thank you. I made that last year - took about 3 months to do the cut & weld work on it. I wanted to keep the gate functional, and keep the flow of the factory body lines as much as possible. On the bumper install, I removed the rear bumper yesterday. I was surprised to find that my valance is a bolt on desgin - I've seen many YT where they had to cut spot welds to remove it. Perhaps that is only the late 280z? I need to drop the tank so I can get the bumper shocks out before I test fit the rear bumper. While I was on the back end, I added M5 rivnuts and some closed cell foam as a surround for the hatch louvre, that got rid of the rattles & open holes that will only be rust magnets now the car is in NY climate
-
Just to add to this - the cold start & warmup cycle is MUCH improved - takes less cranking time & throttle response is better than before. Still need to address the fule pump & feed, as the ppl that worked on it previously loved to run much longer hoses on everything, so there is a crimped loop in the feed to the pump, I would expect that is creating a delivery issue at anything over idle load. In any event, I need to drop the tank to remove the rear bumper shocks, for the skinny bumper install.
-
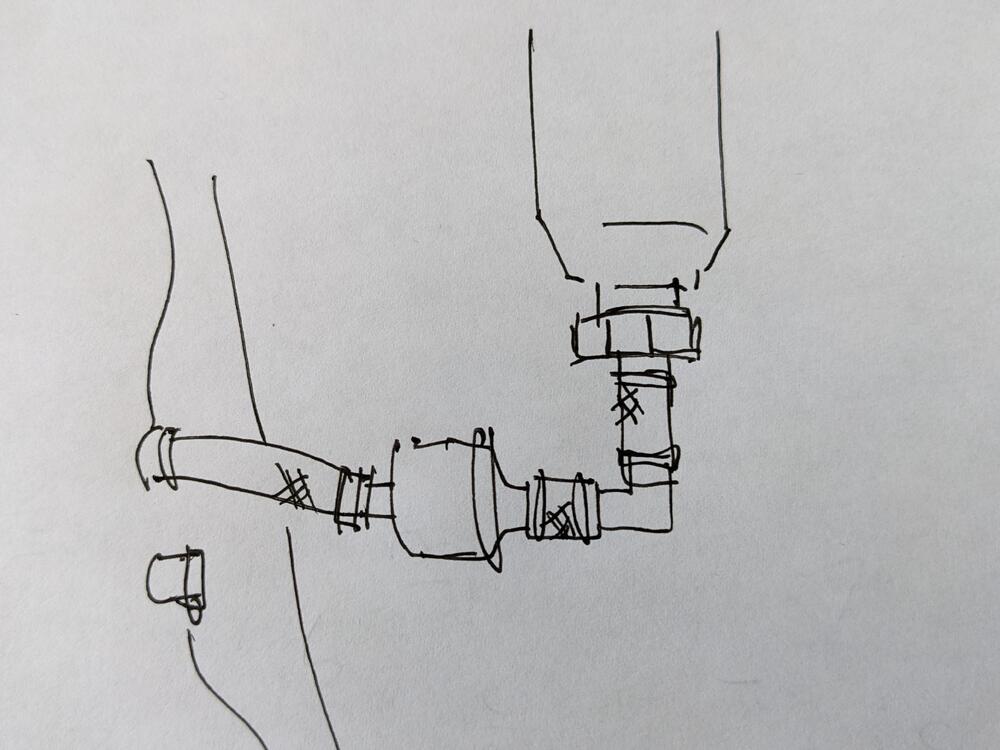
Can you simplify the input side? The feed is very convoluted. Have you had the same setup since the first pump you installed? Perhaps the elbow right off the pump, so the filter is more inline with the tank outlet. I dunno. Looks problematic to me.
-
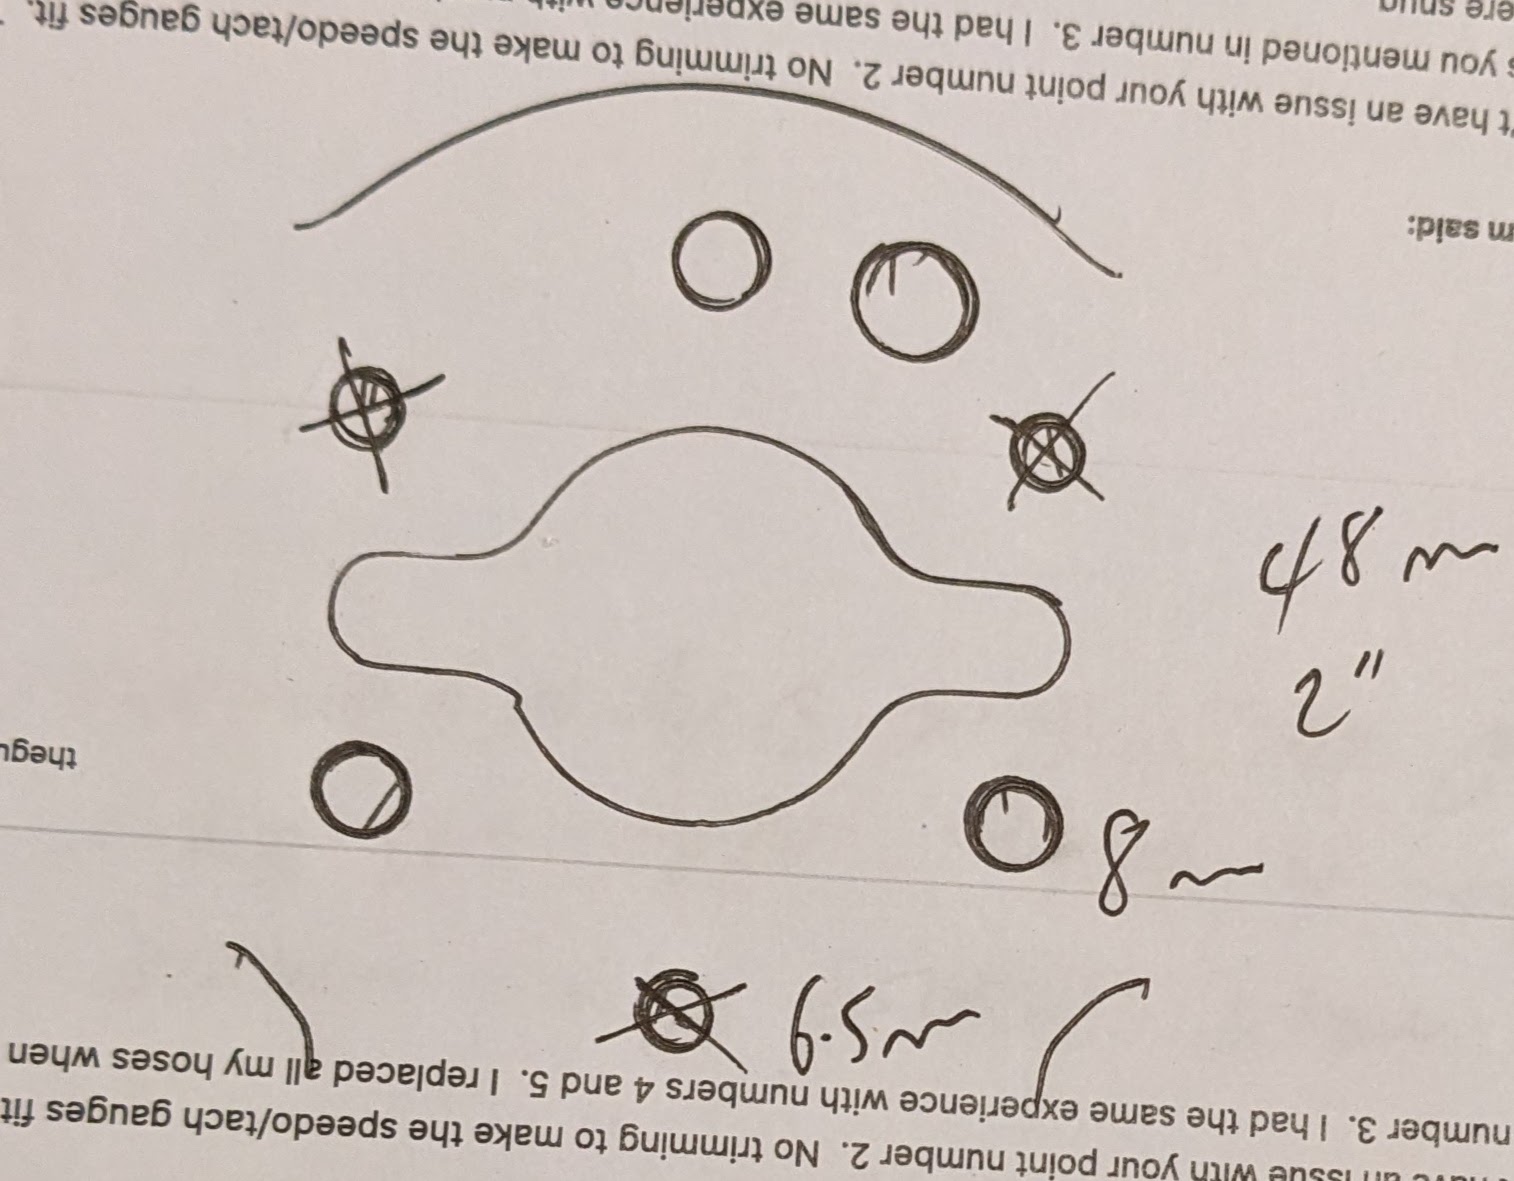
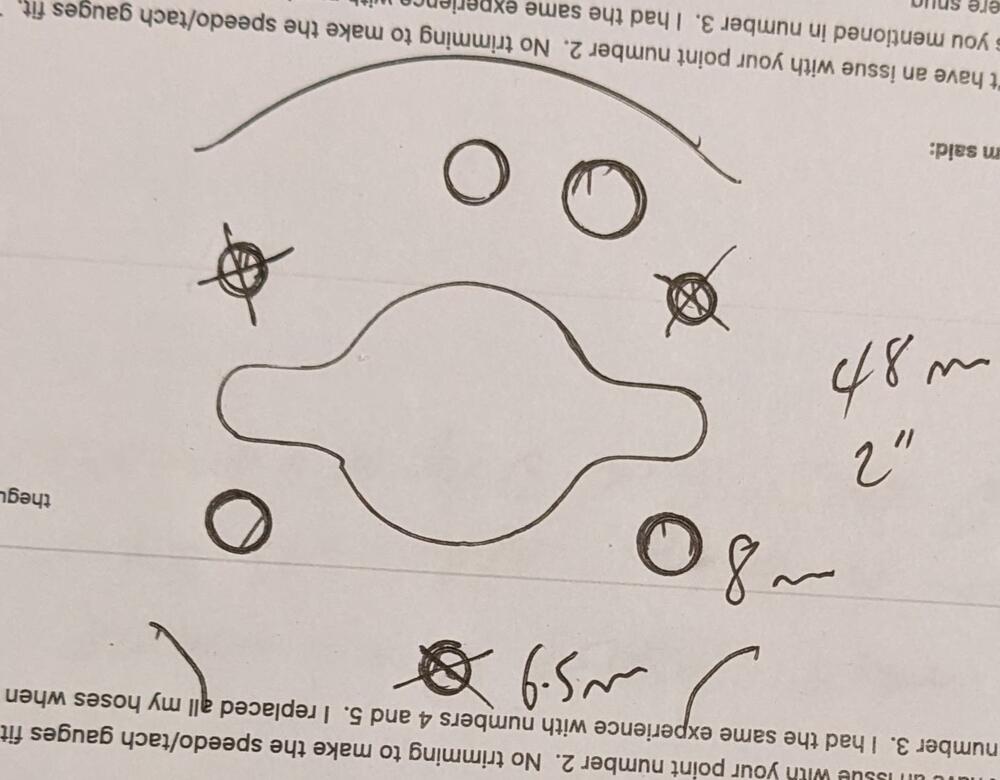
Thanks - that's actually the same as what I used to mount the Nardi wheel. The old Datsun wheel I need the hub for has 2 3-bolt mount patterns, one with 6.5mm holes the other with 8mm holes, 48mm bolt spacing
-
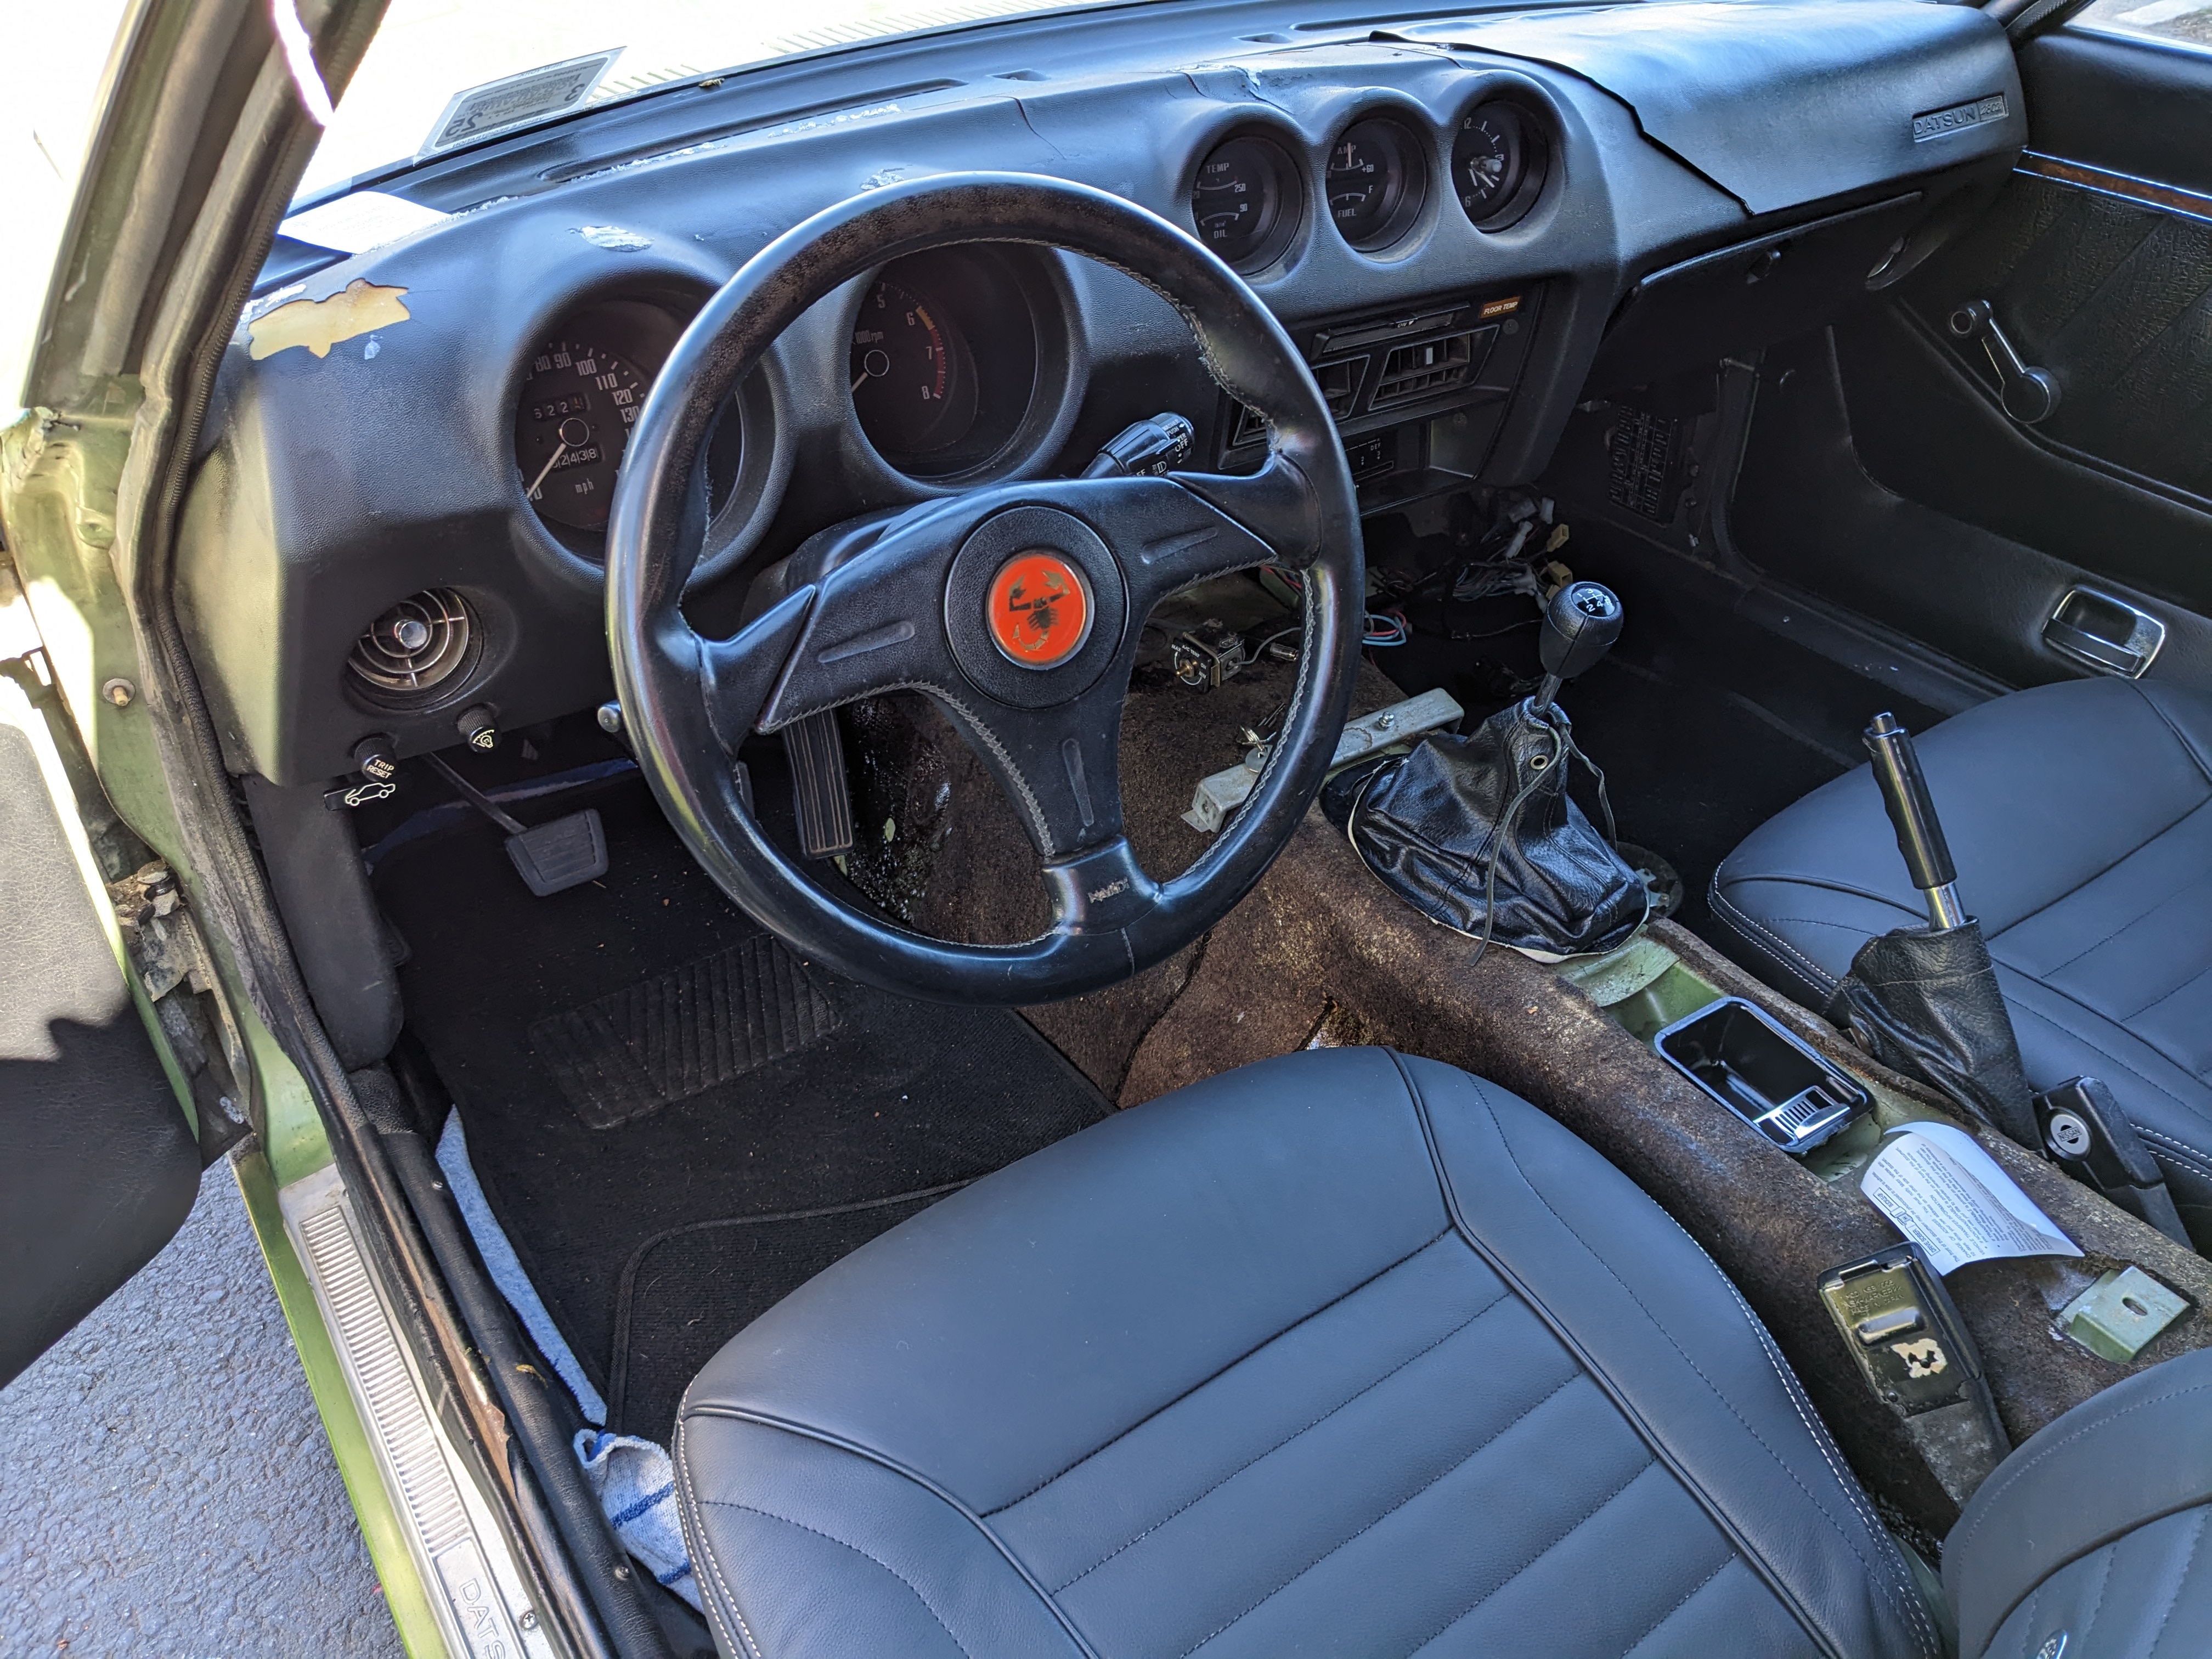
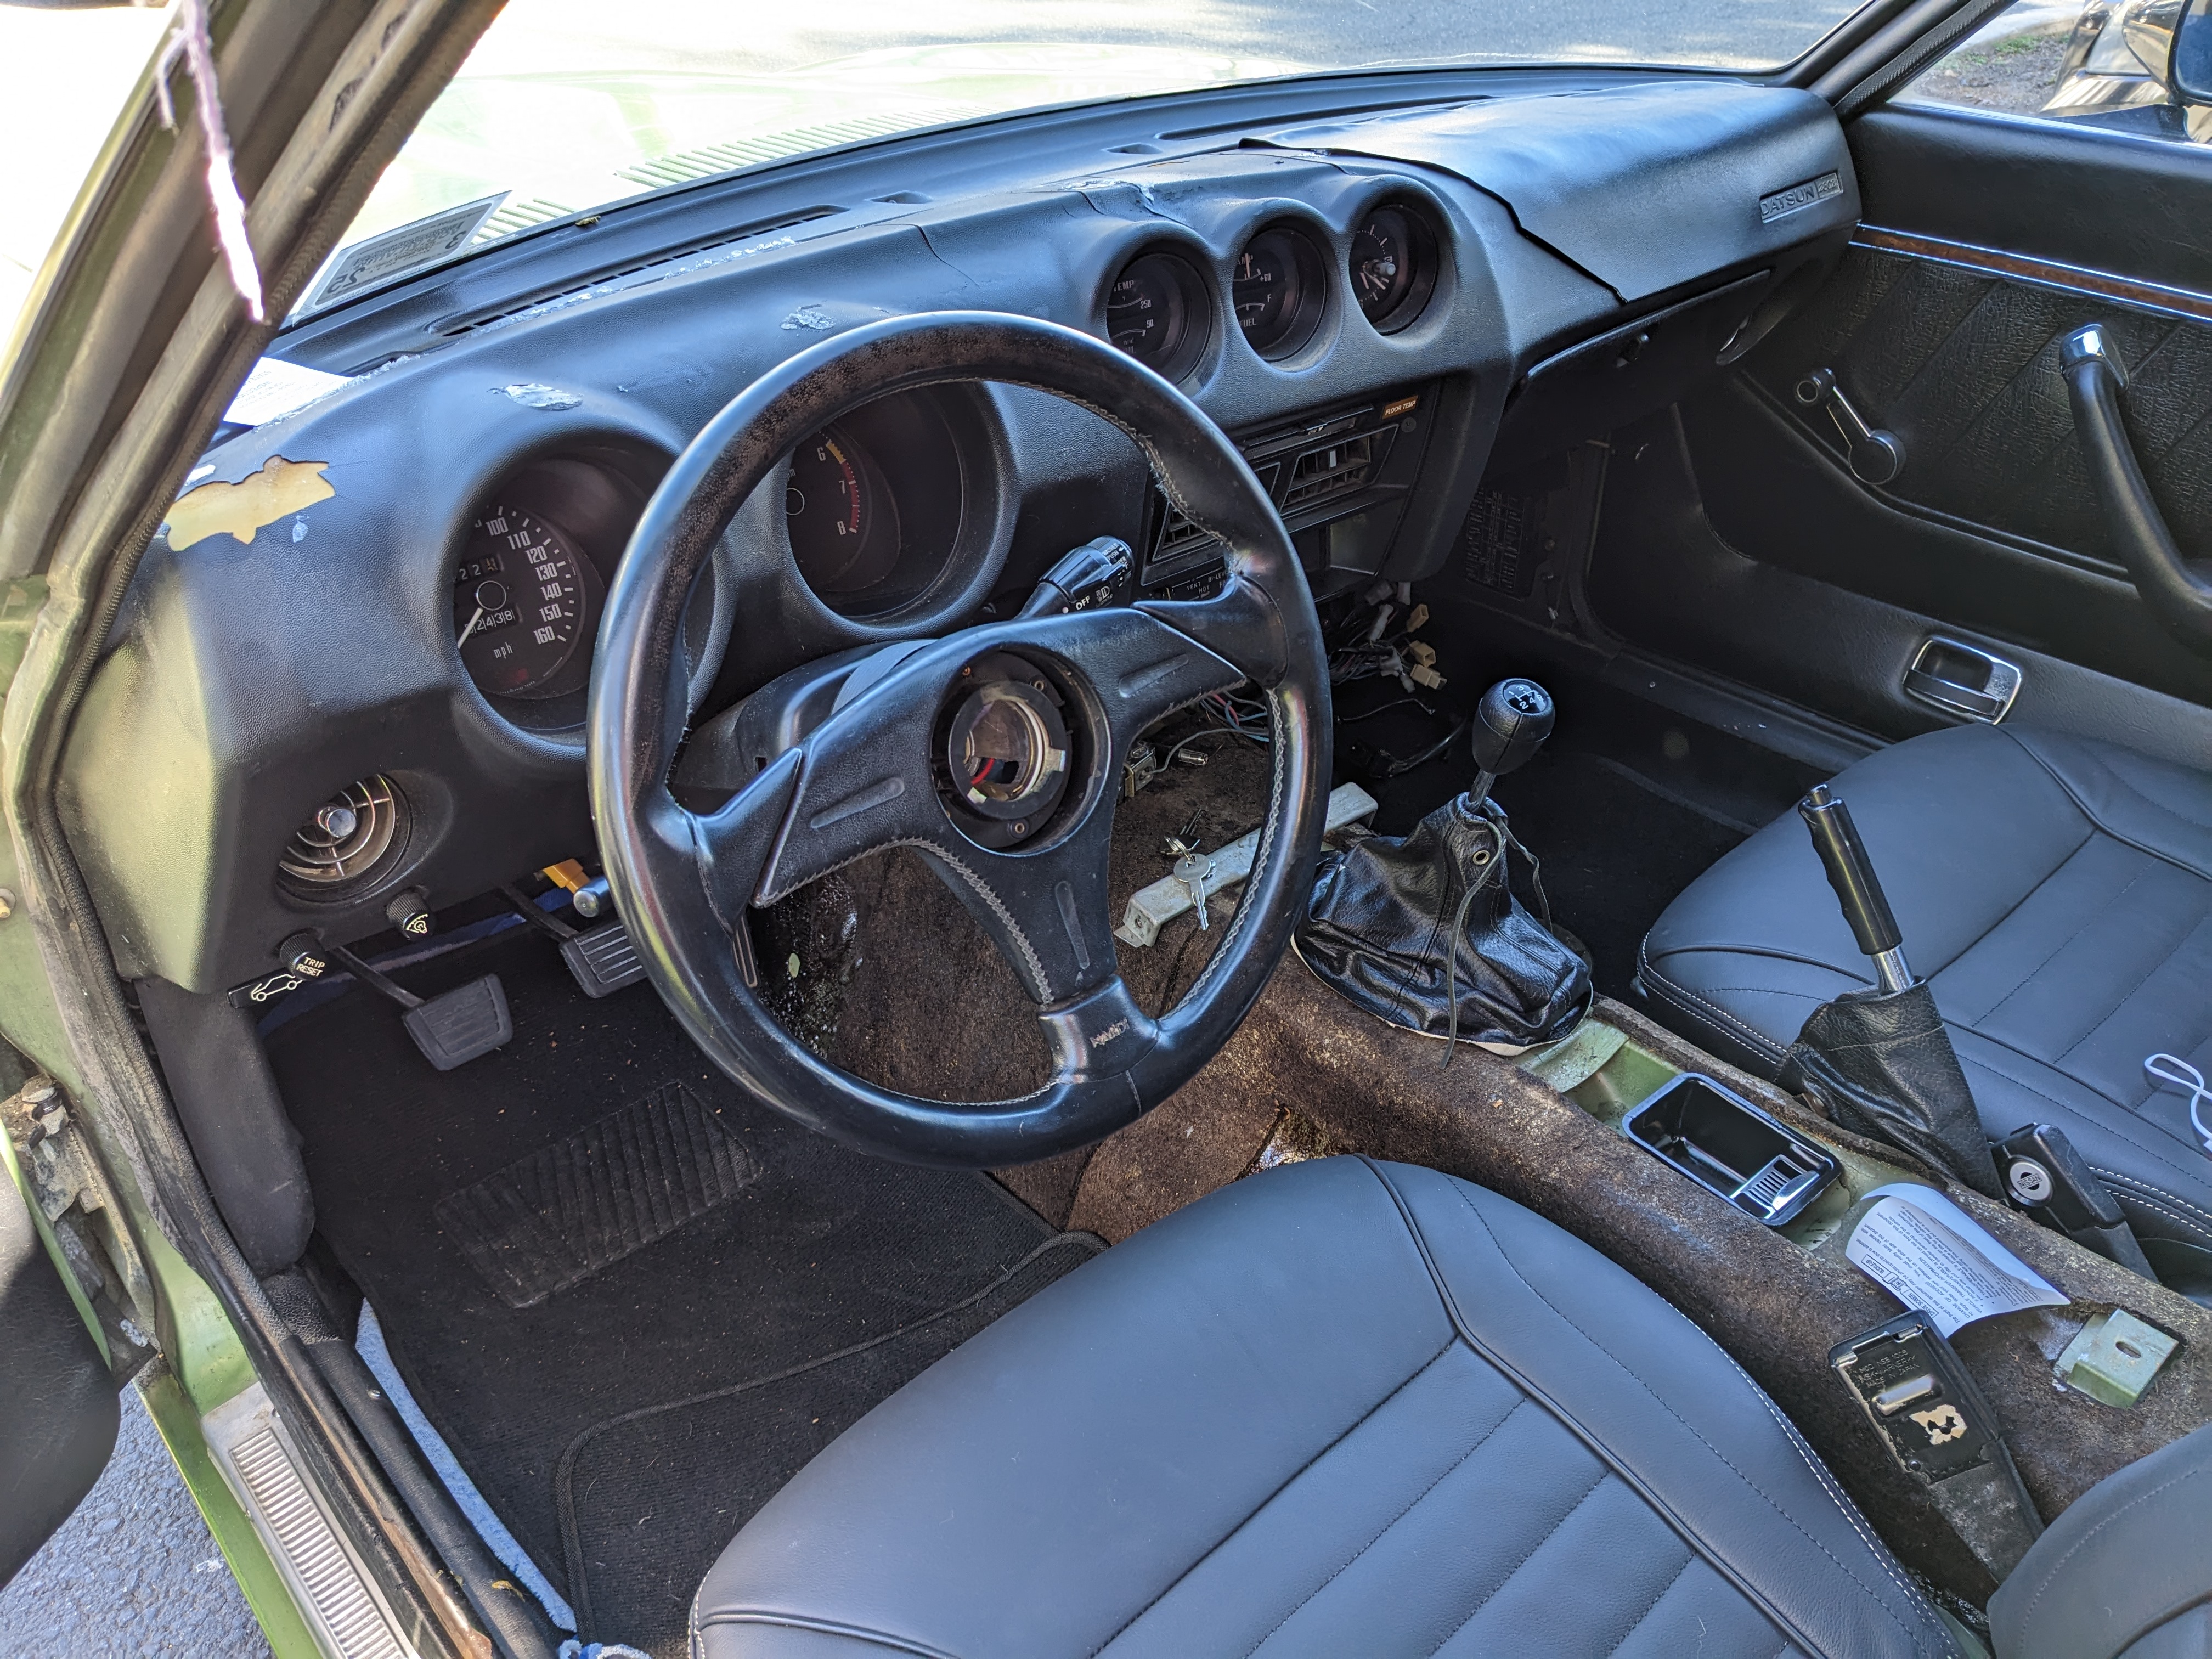
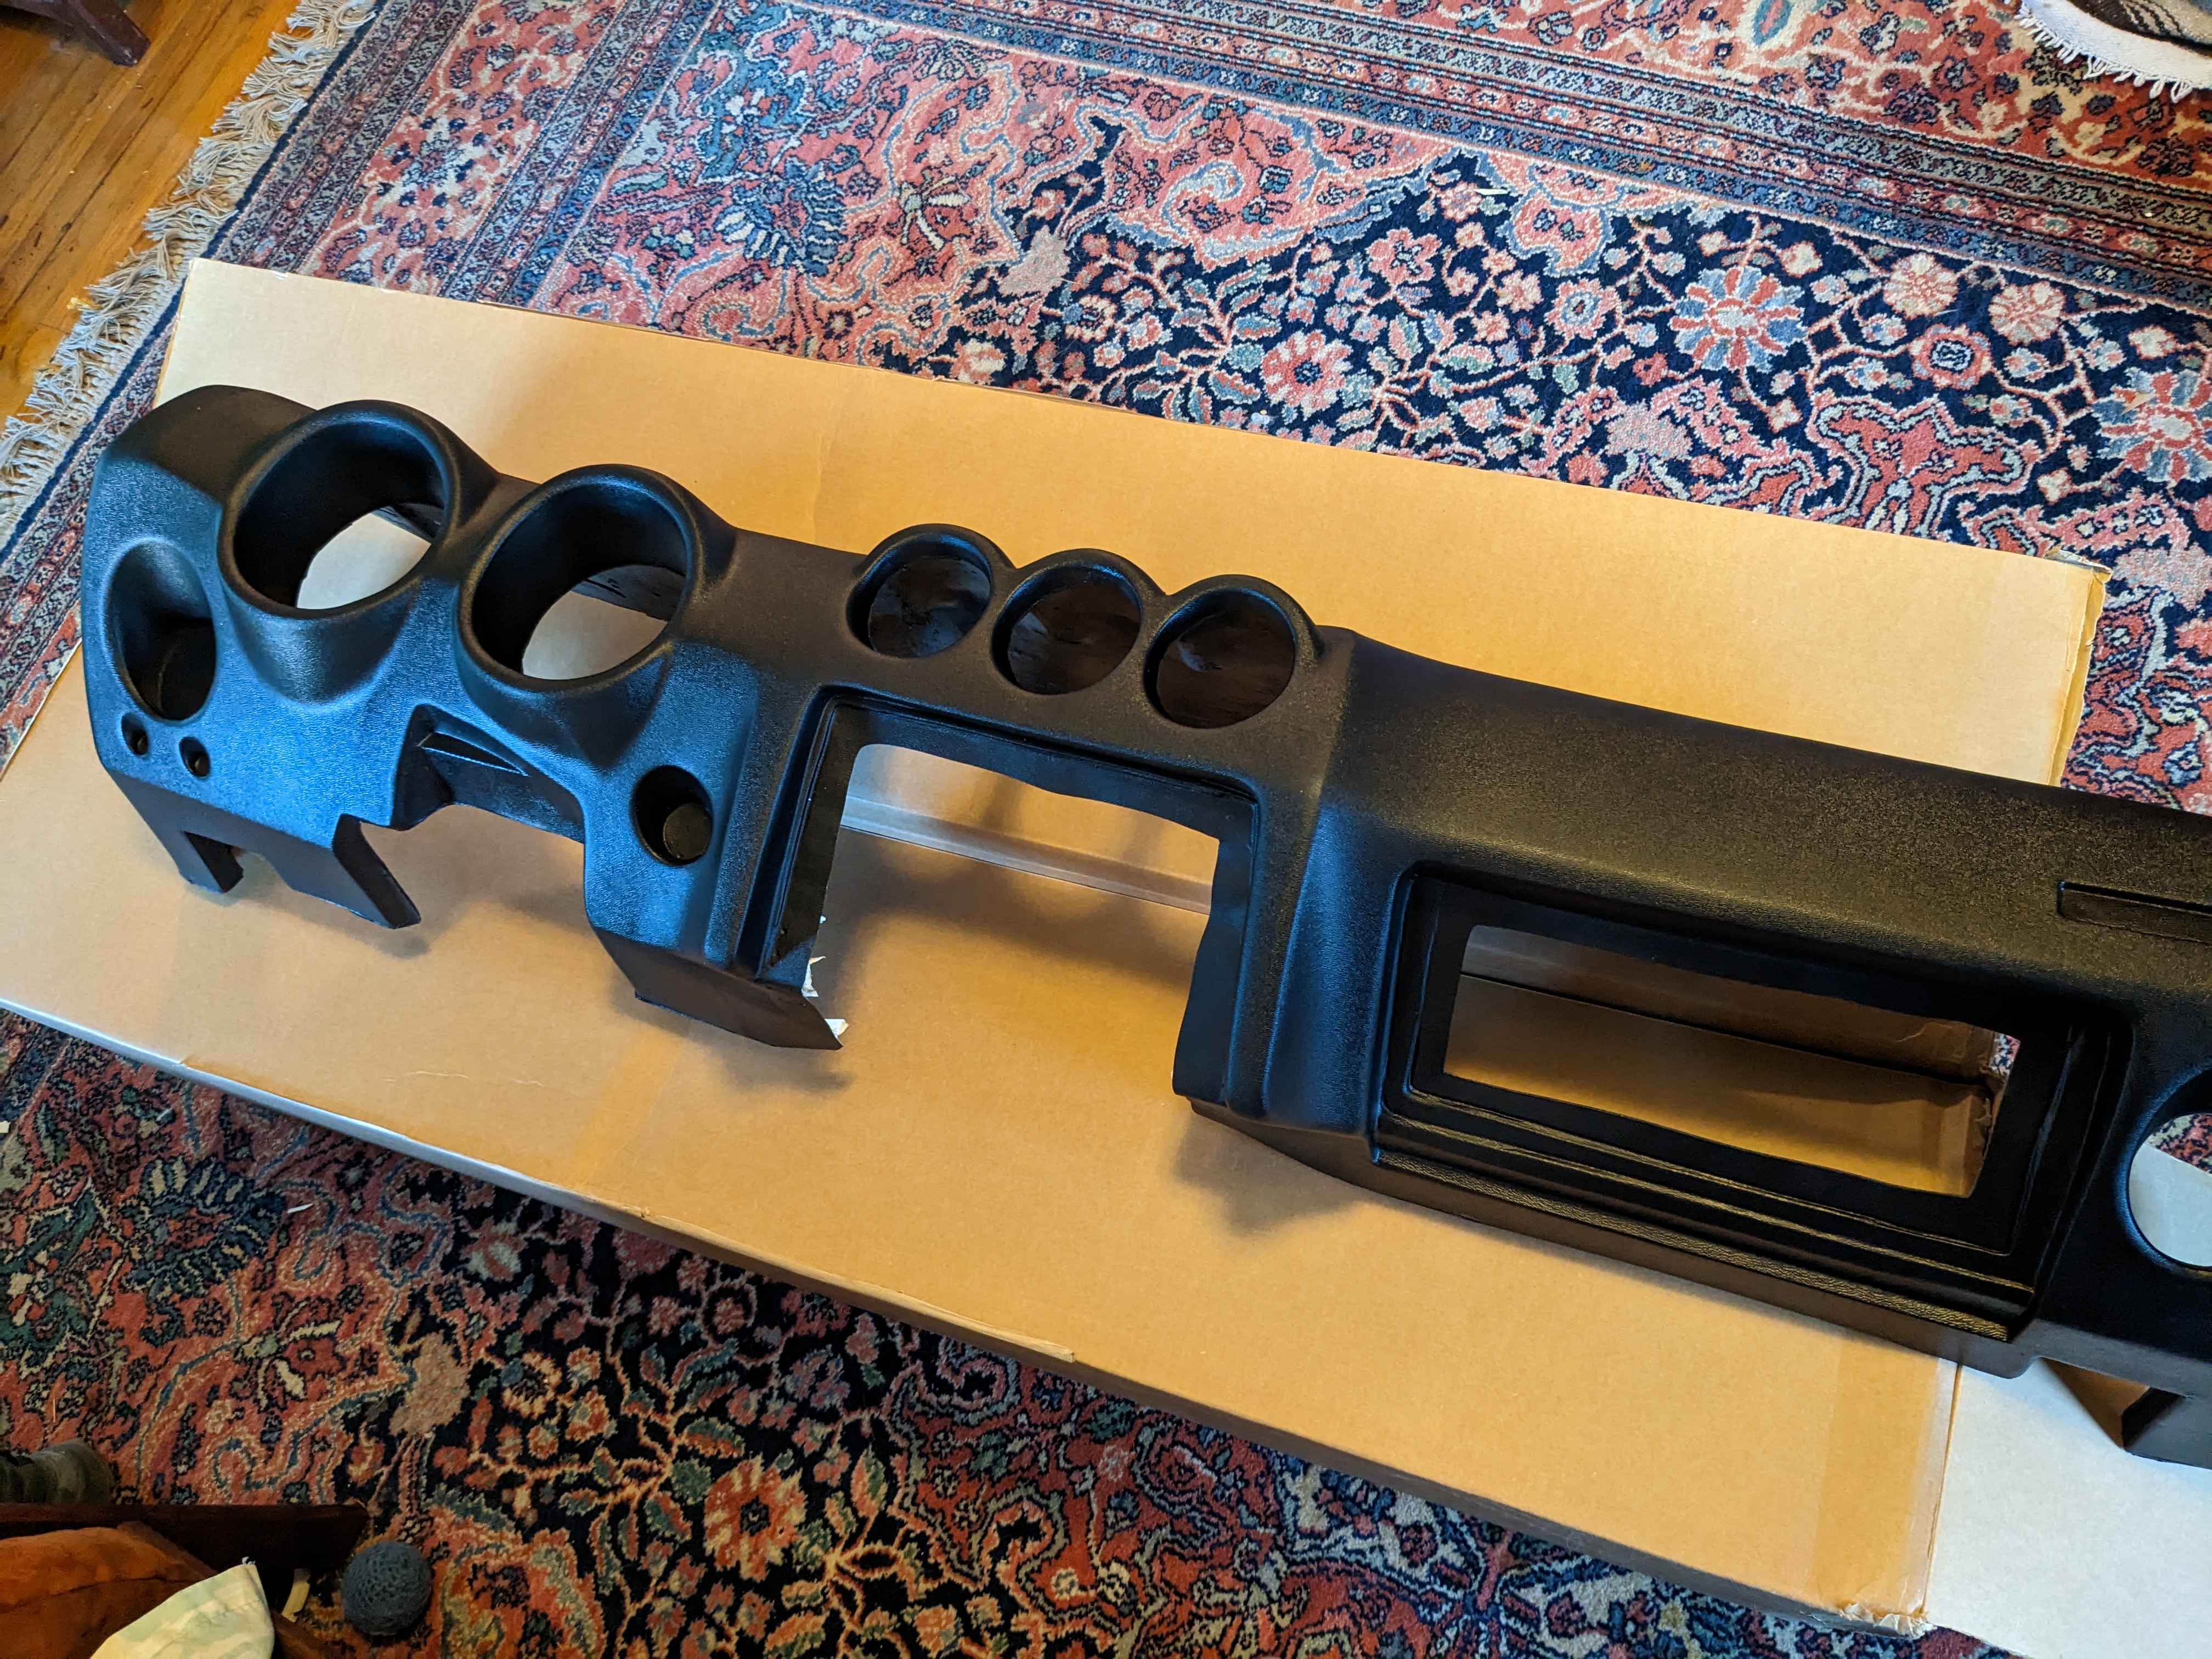
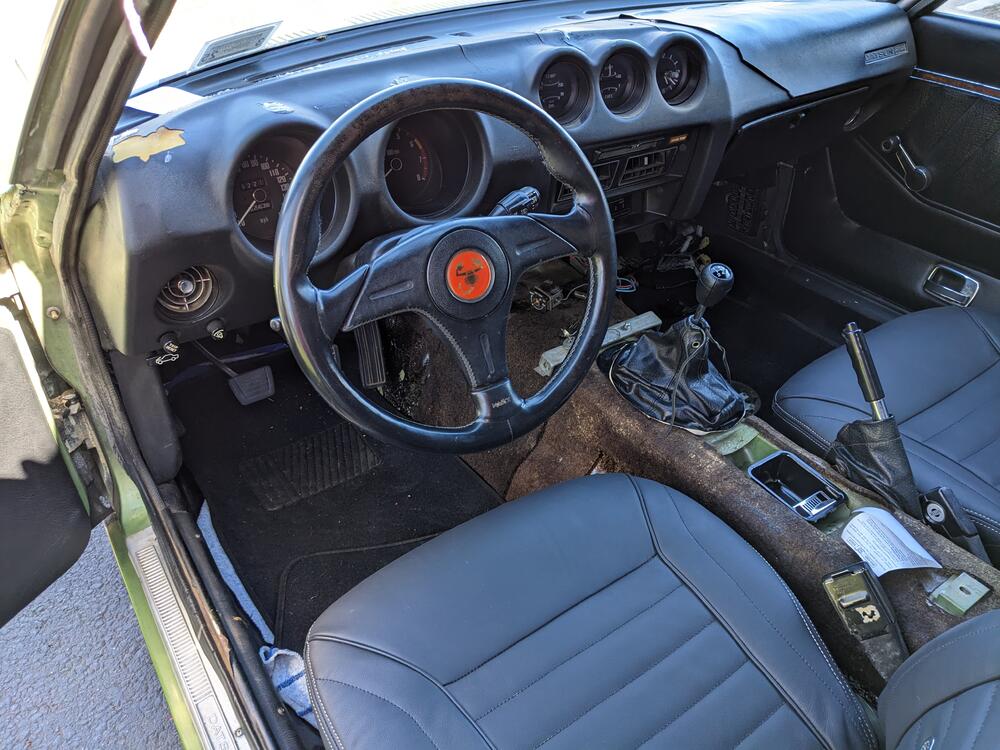
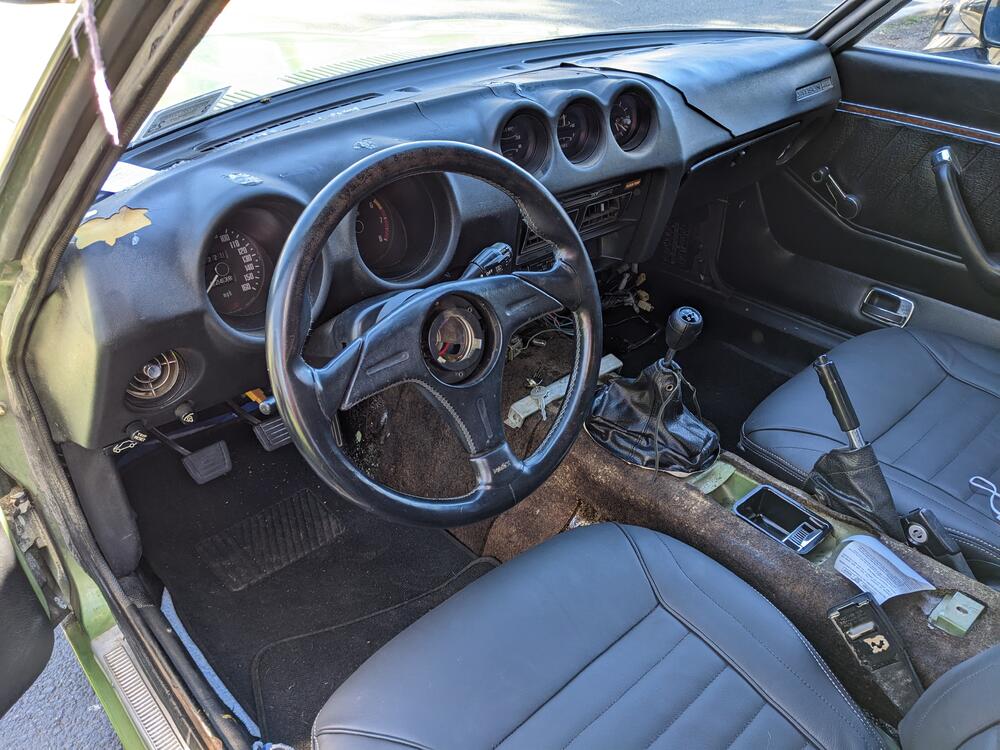
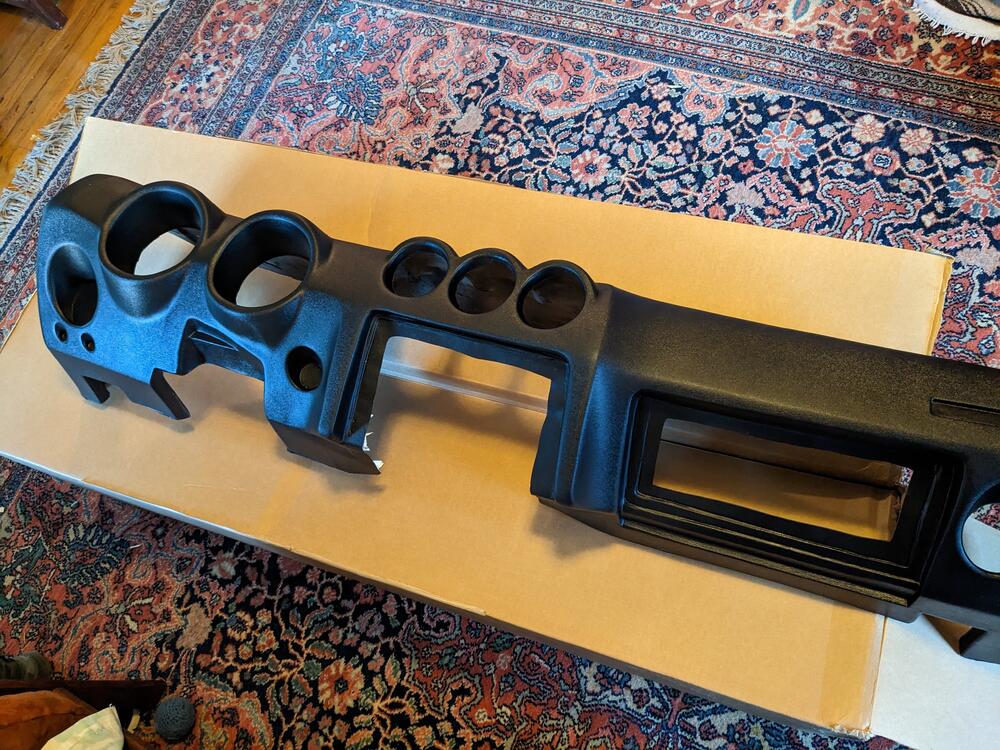
Still haven't figured this out, so I bought a cheap universal wheel (Nardi/Personal/Momo) Boss kit HUB-N-2 that allowed me to use an old Nardi wheel I had stashed. I'll need to find a 48mm Datsun emblem to replace the Abarth emblem. This will do until I figure out a way to use the Datsun wheel. New dash is here, so that will be on the agenda
-
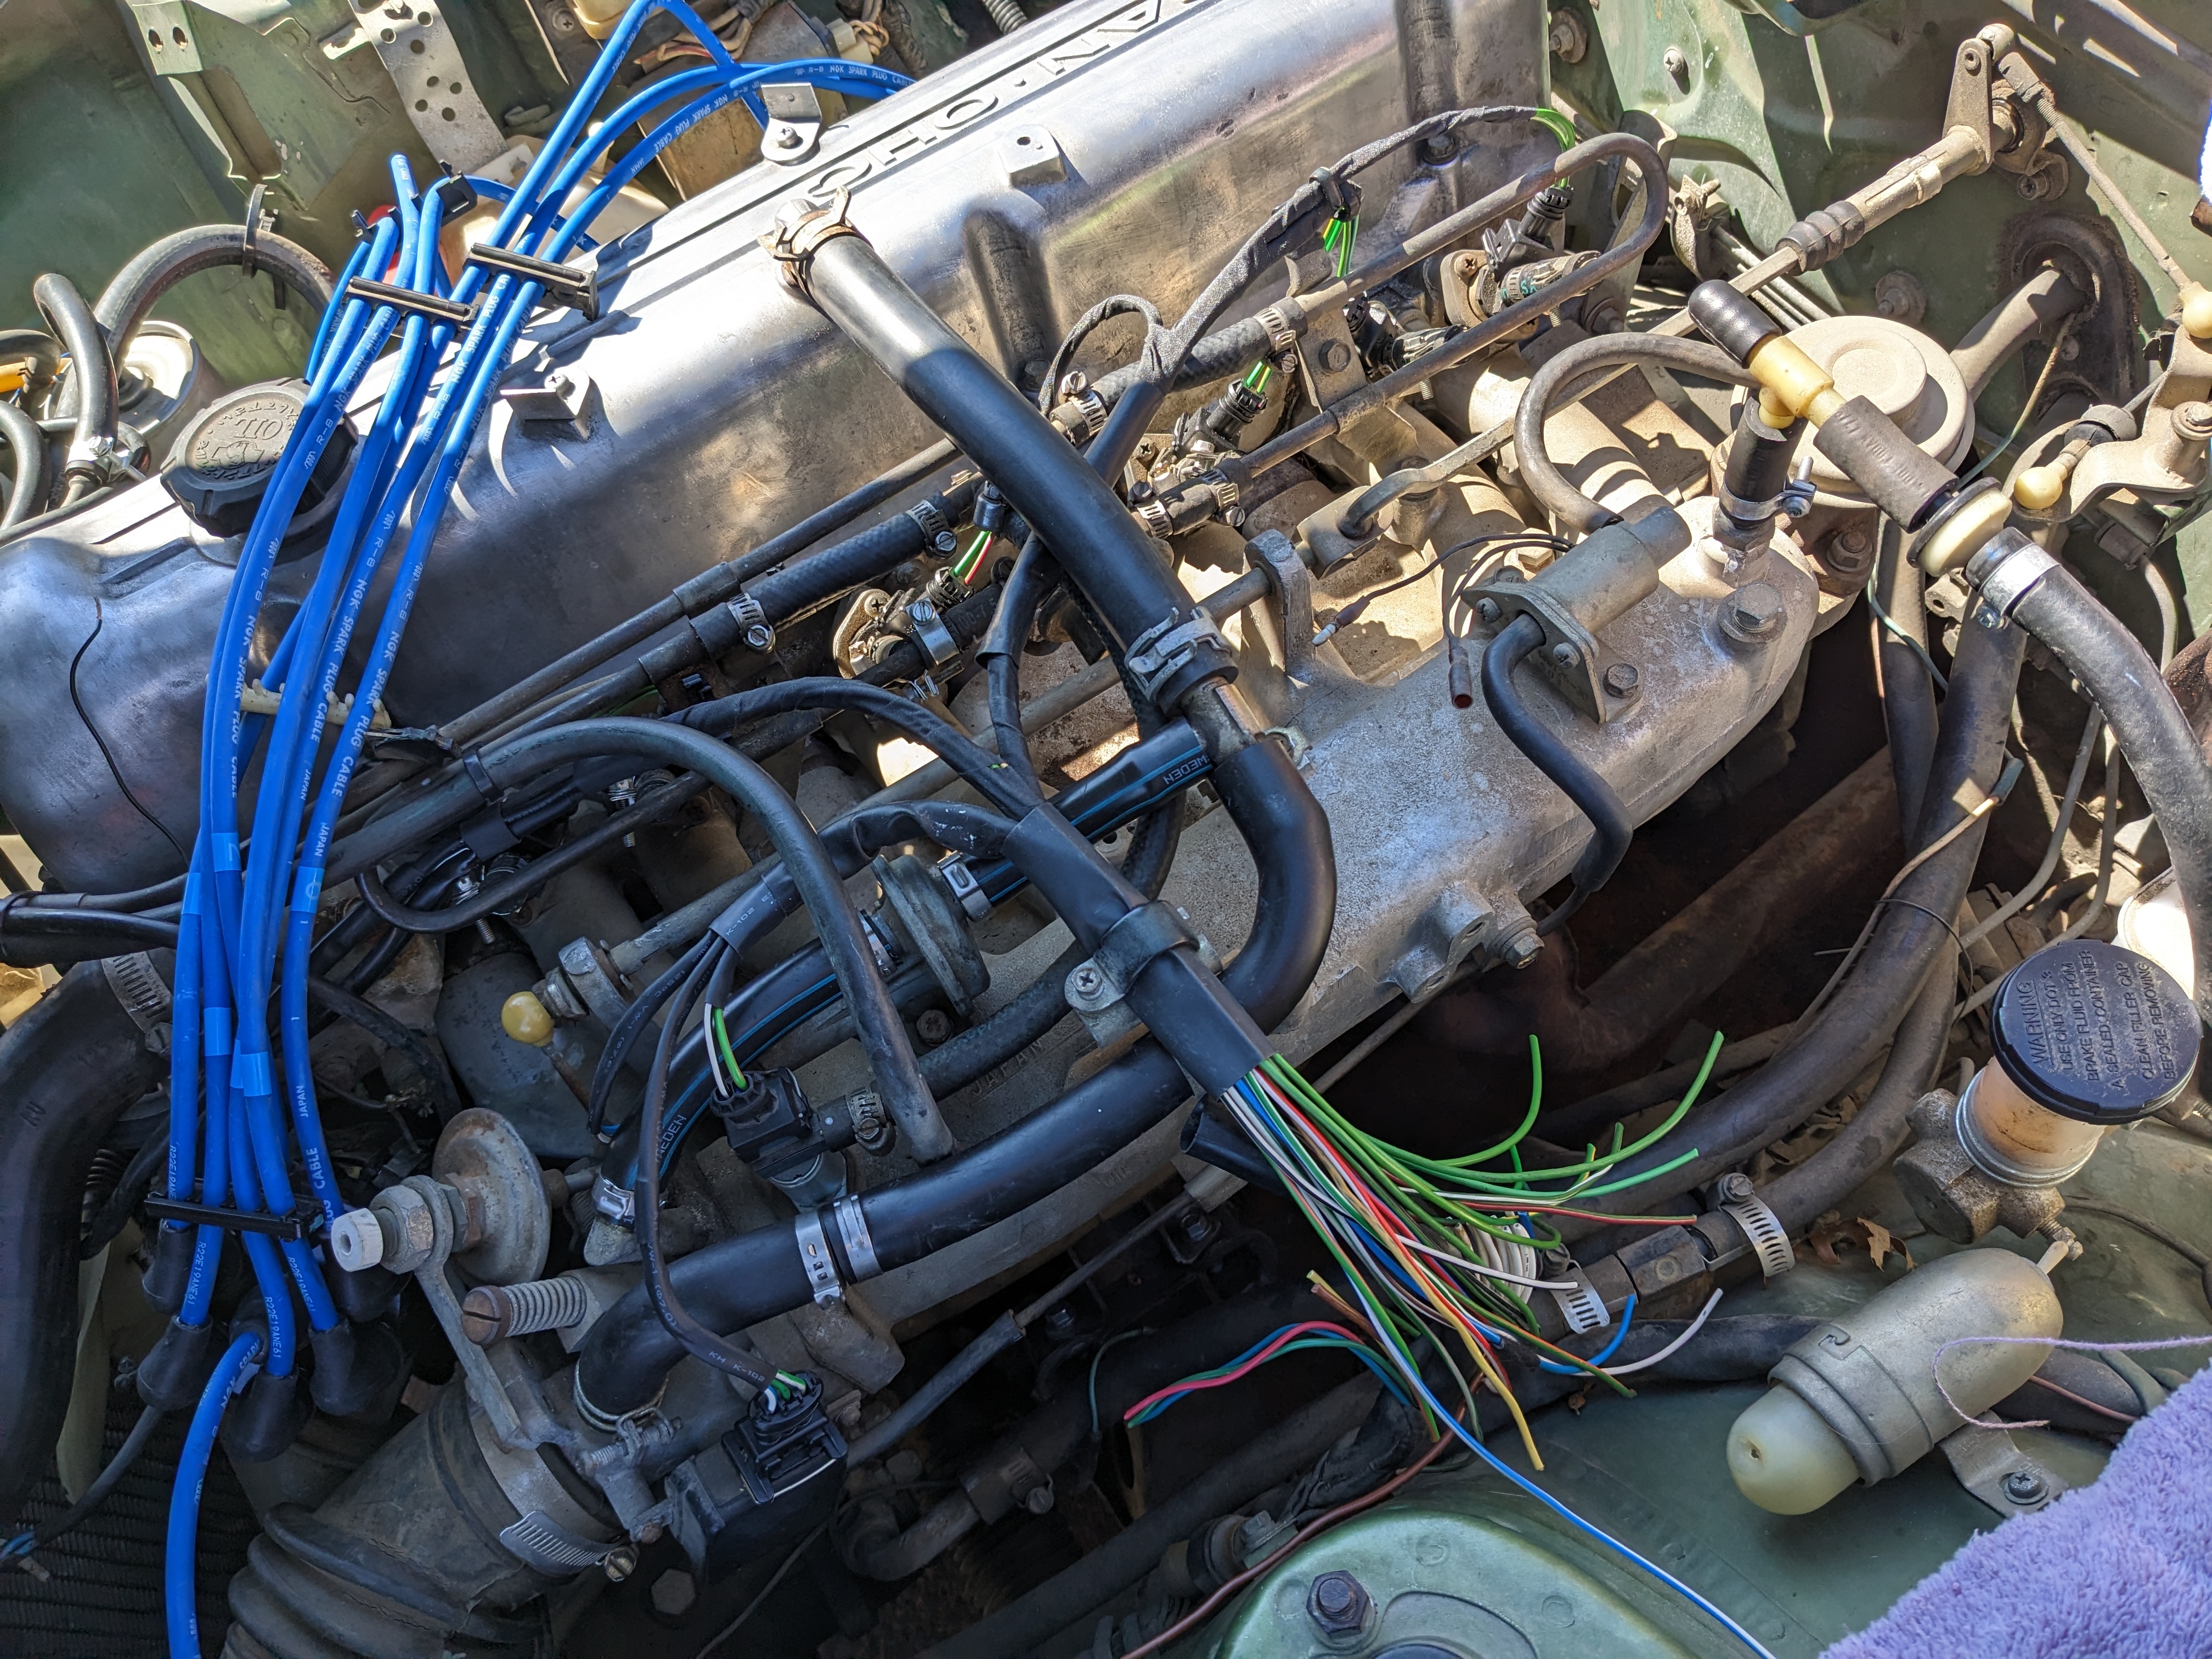
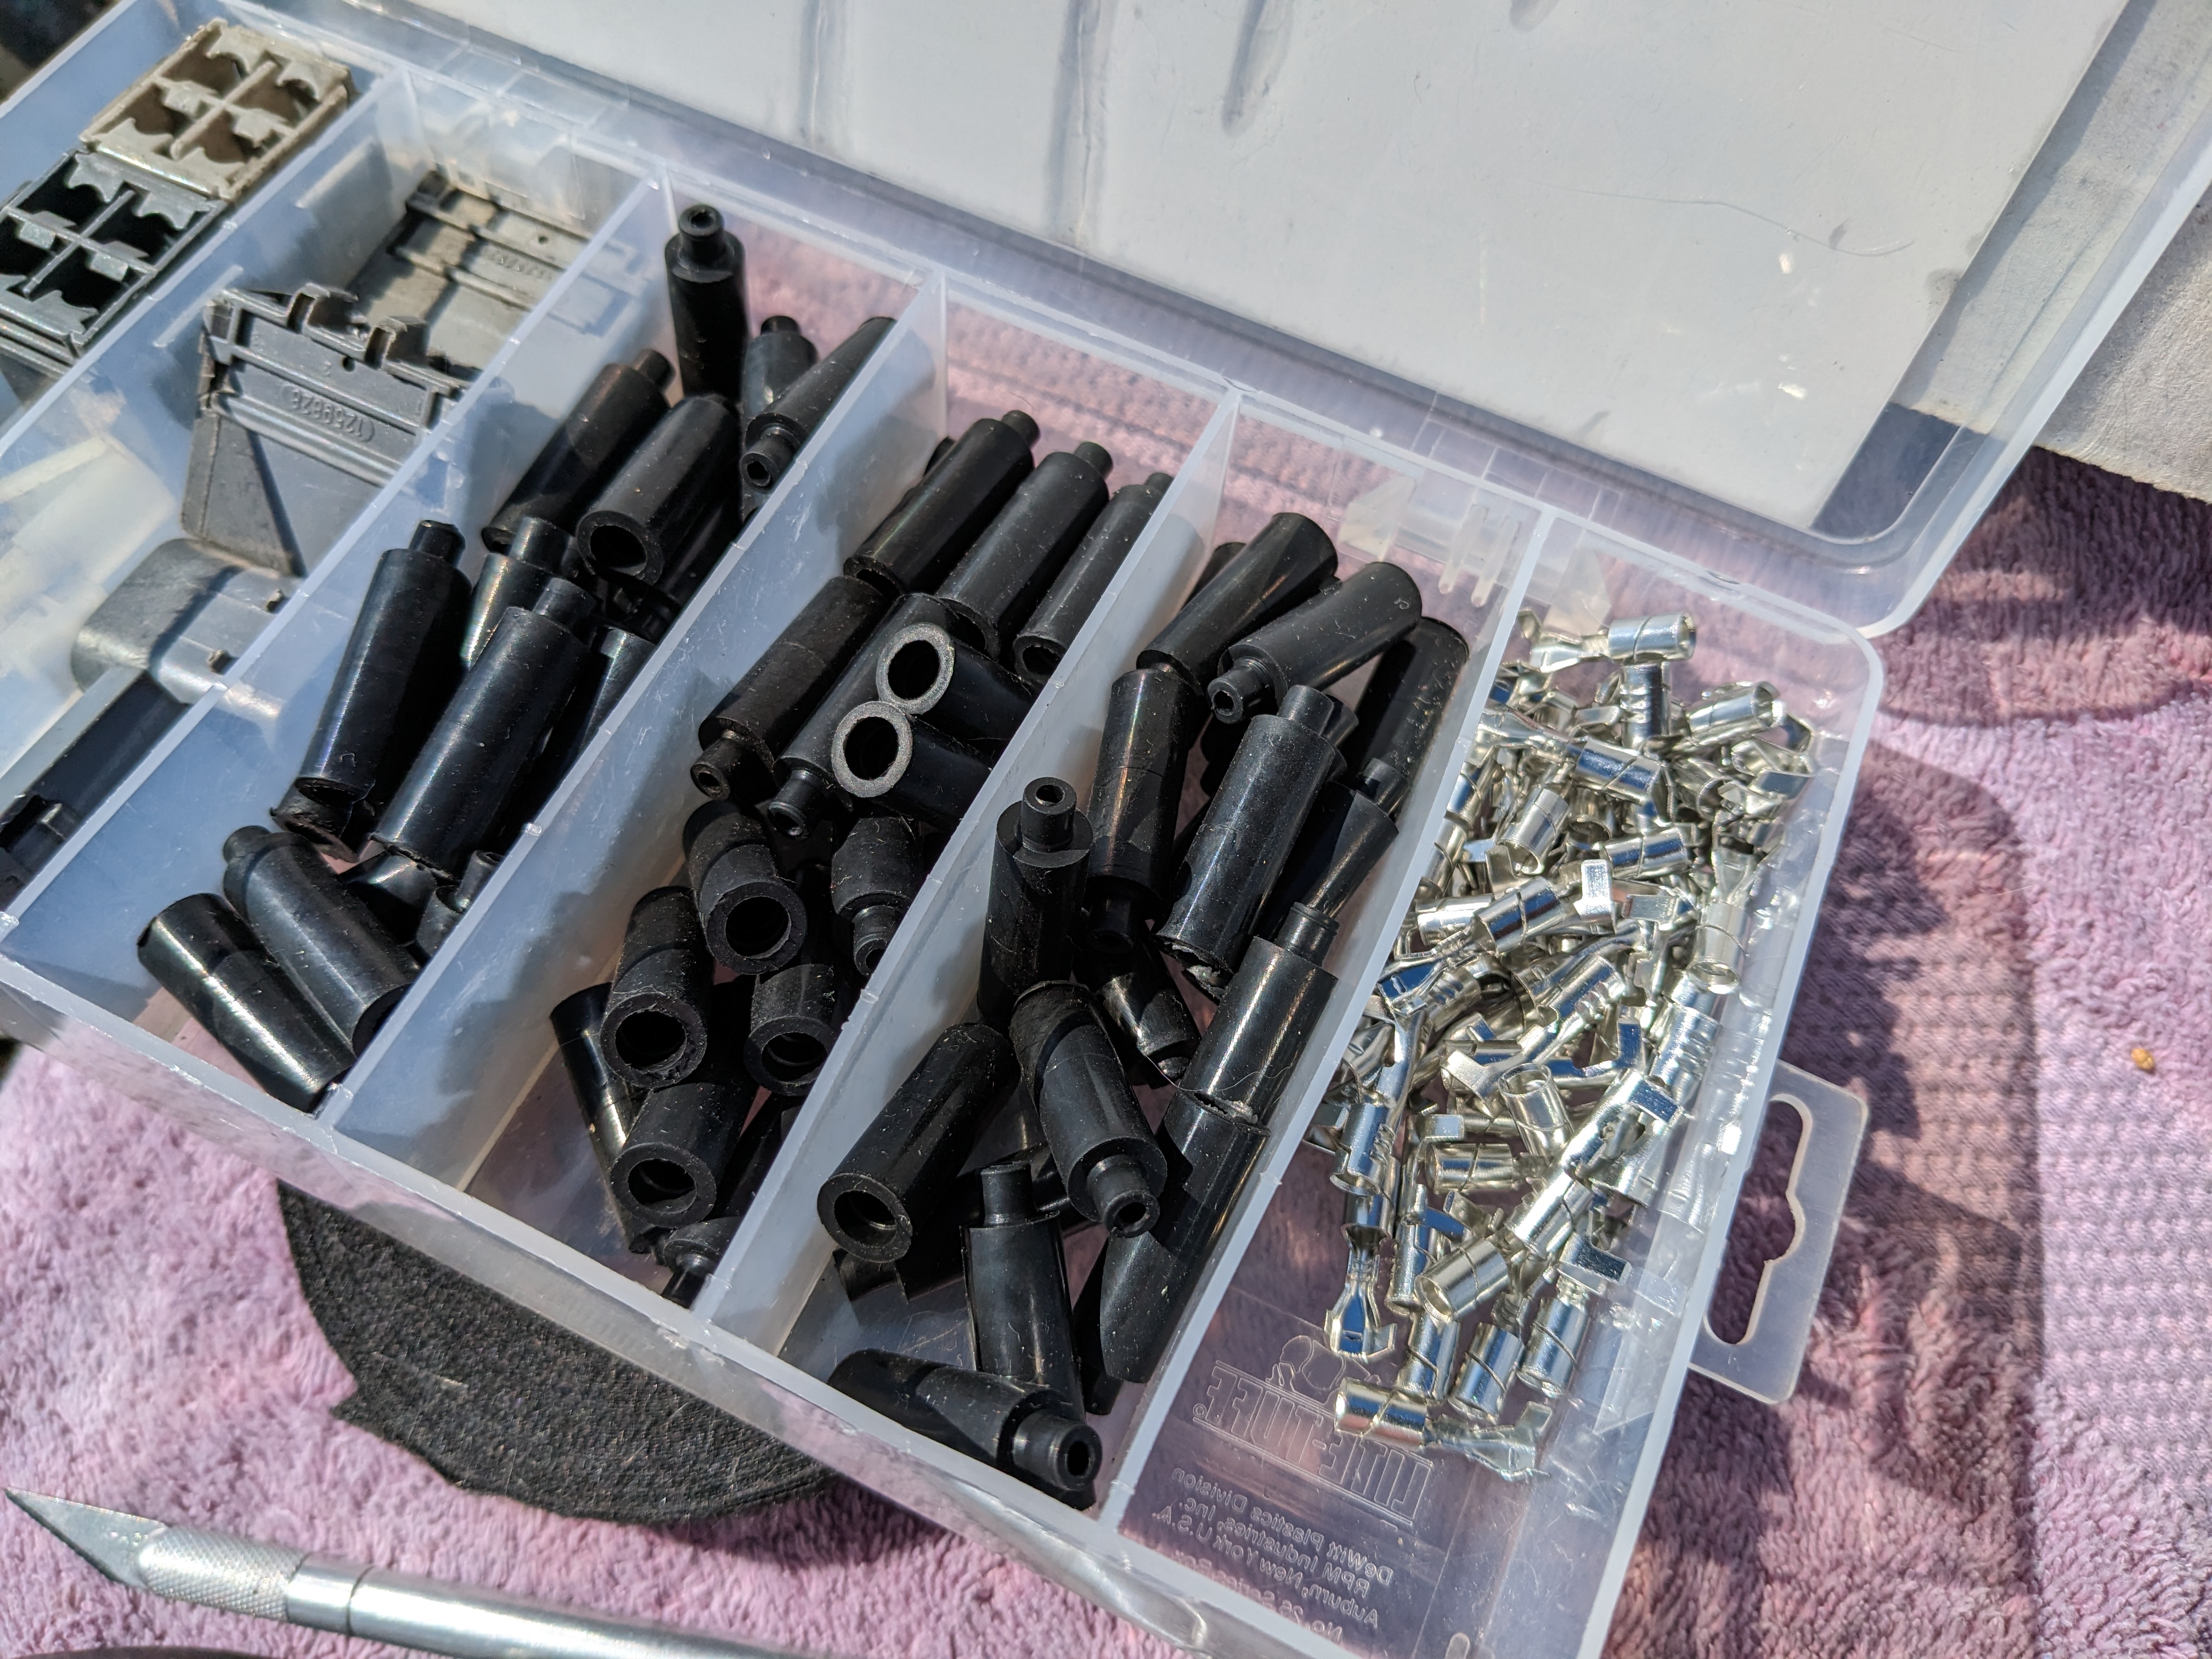
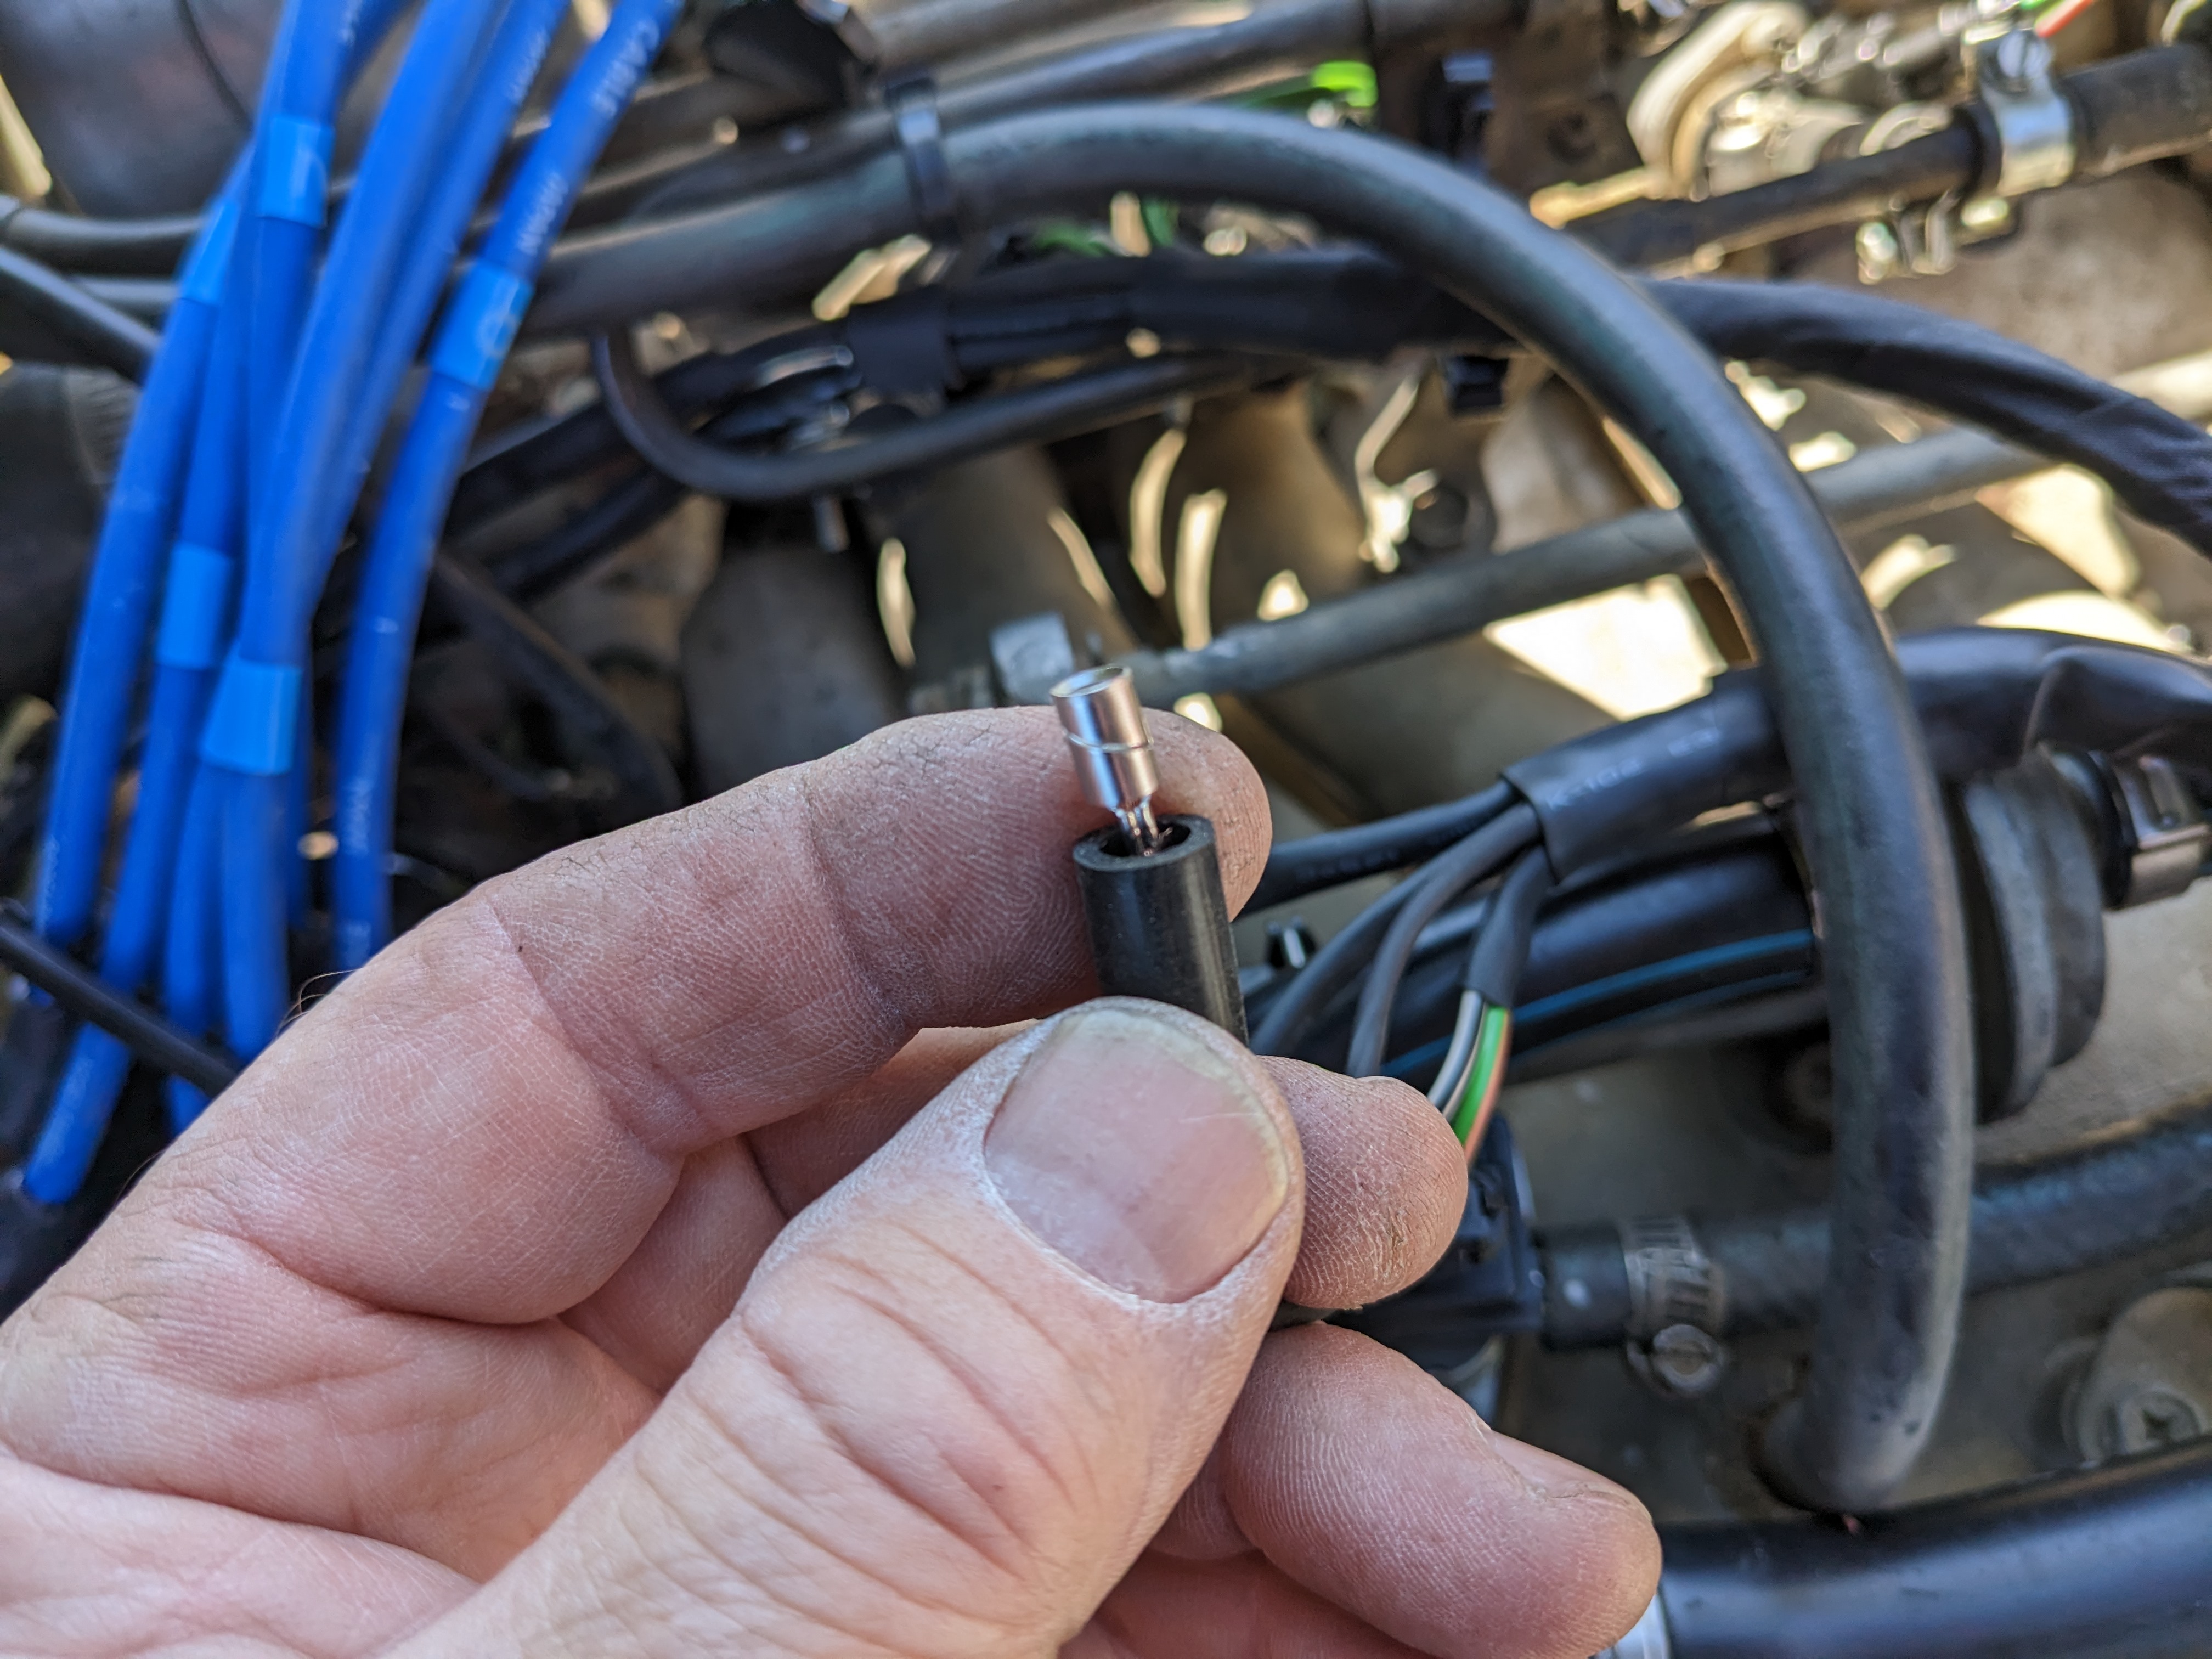
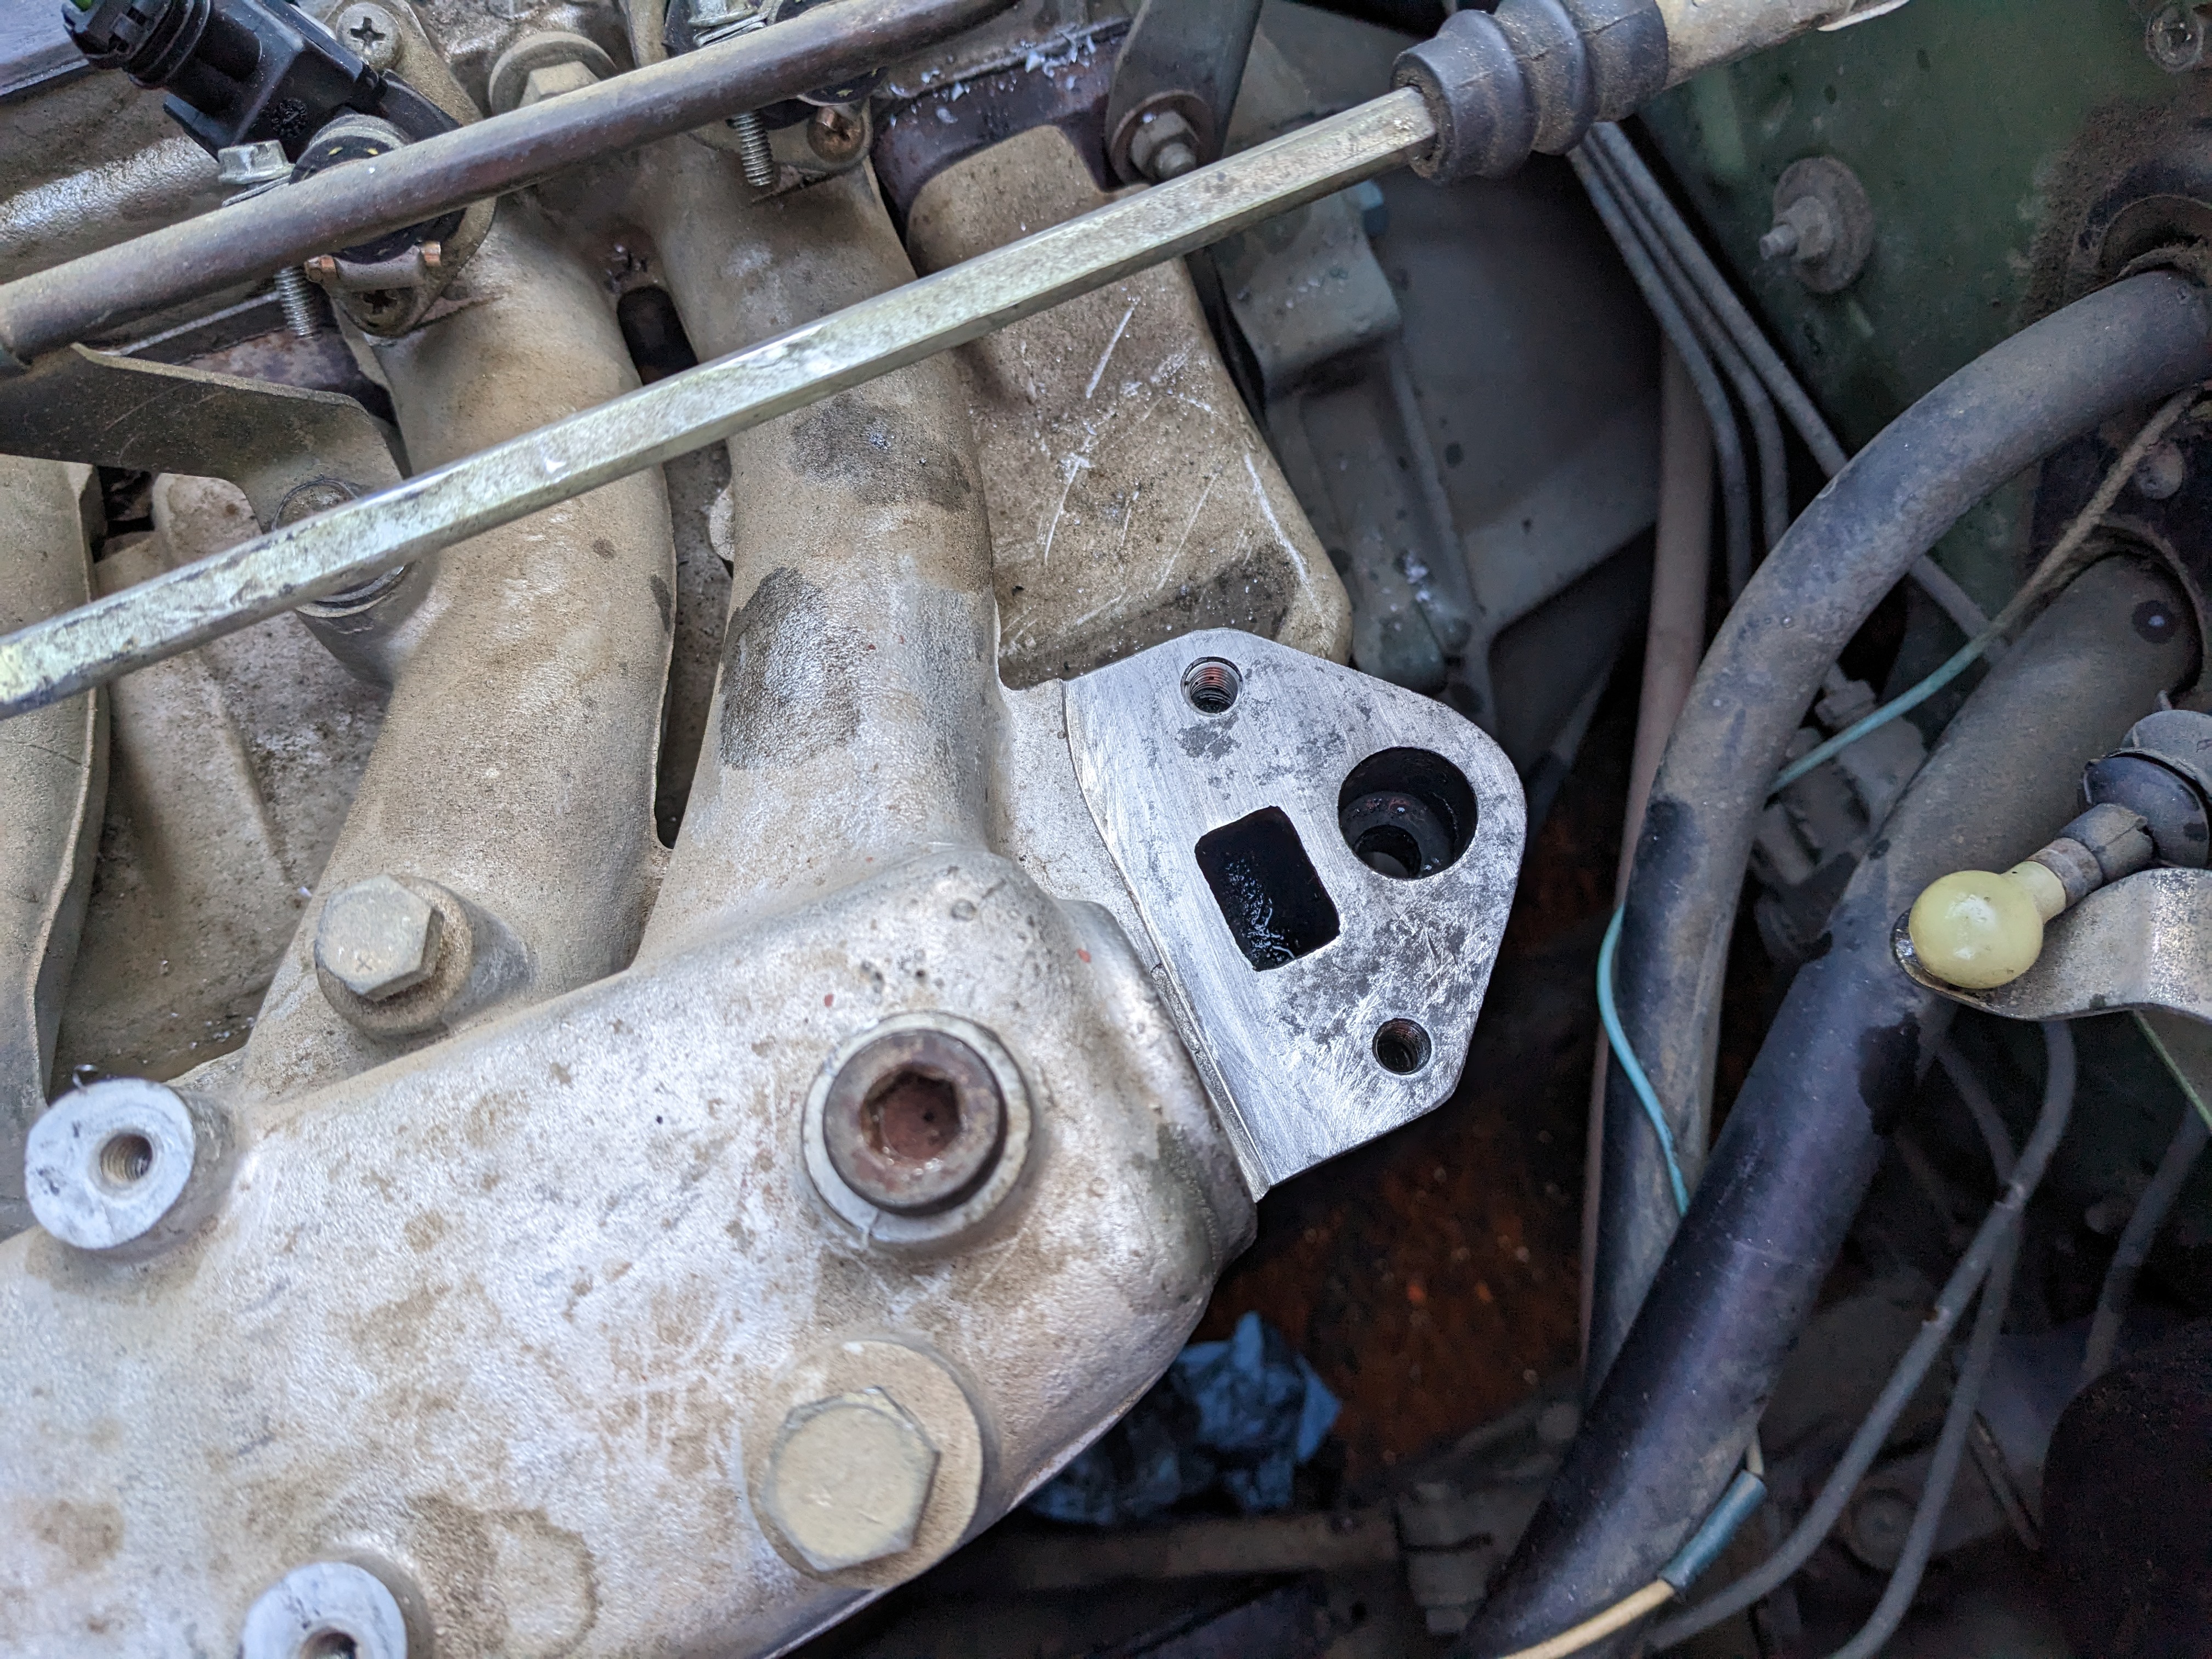
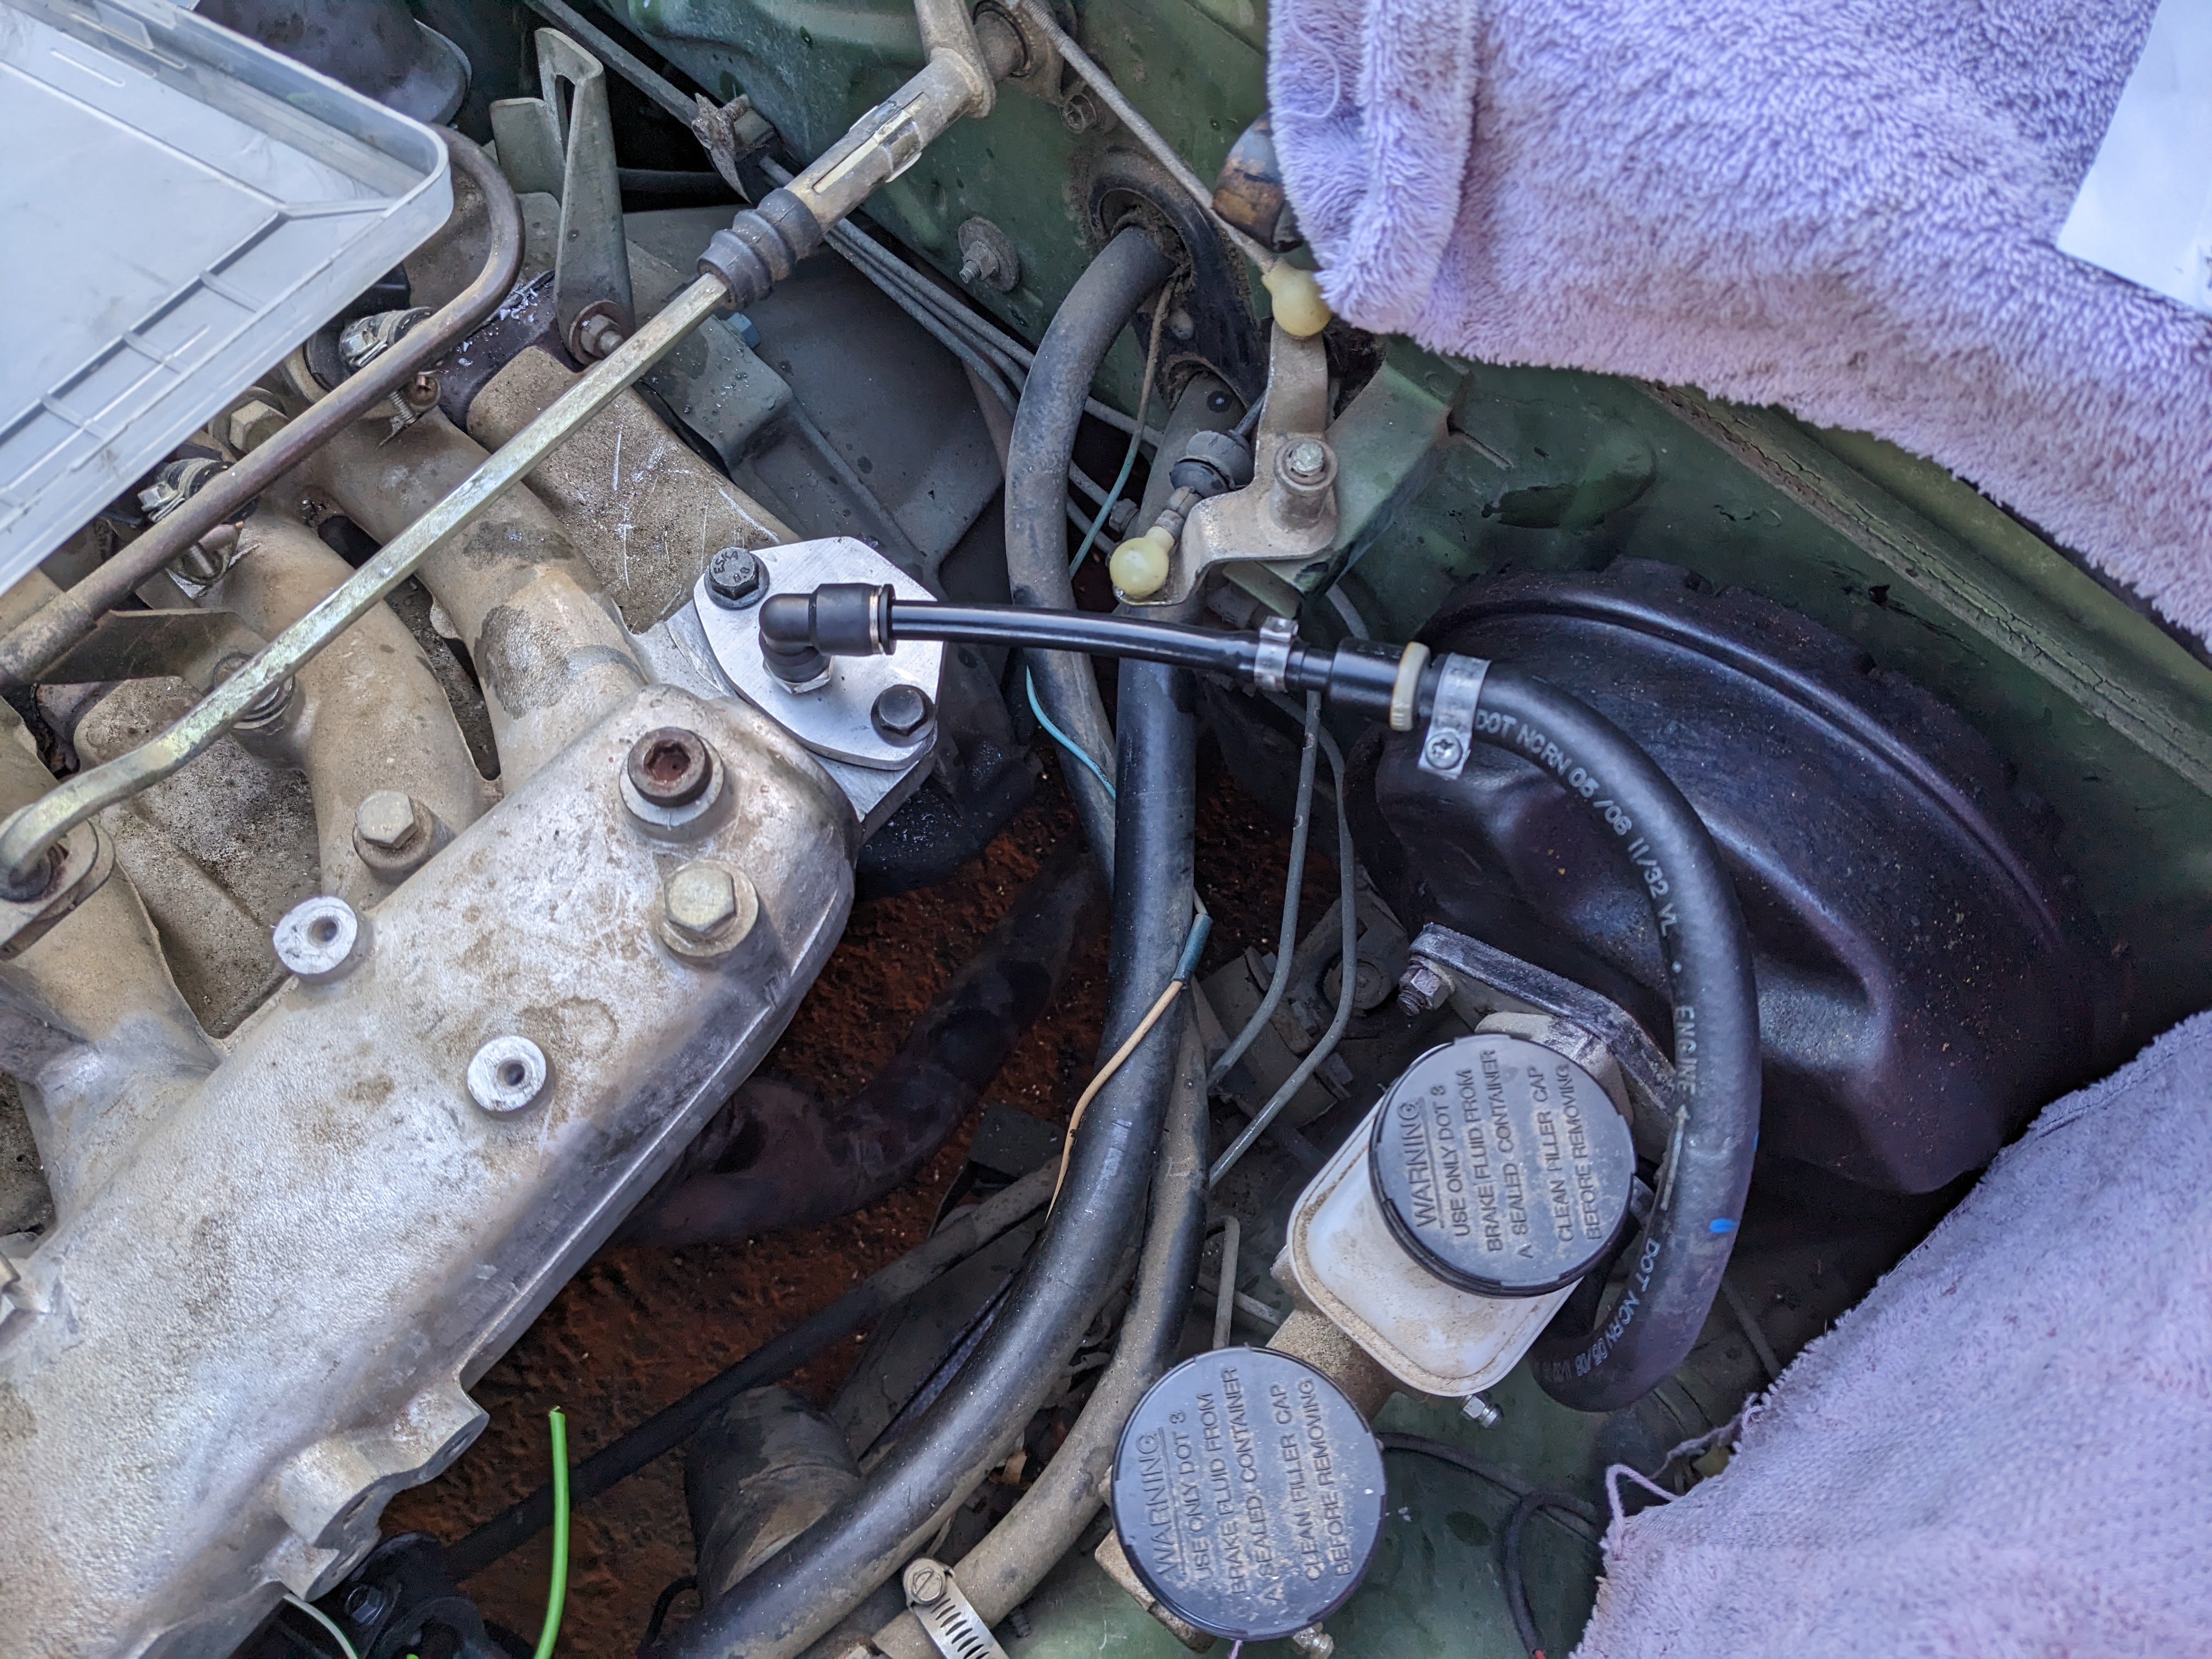
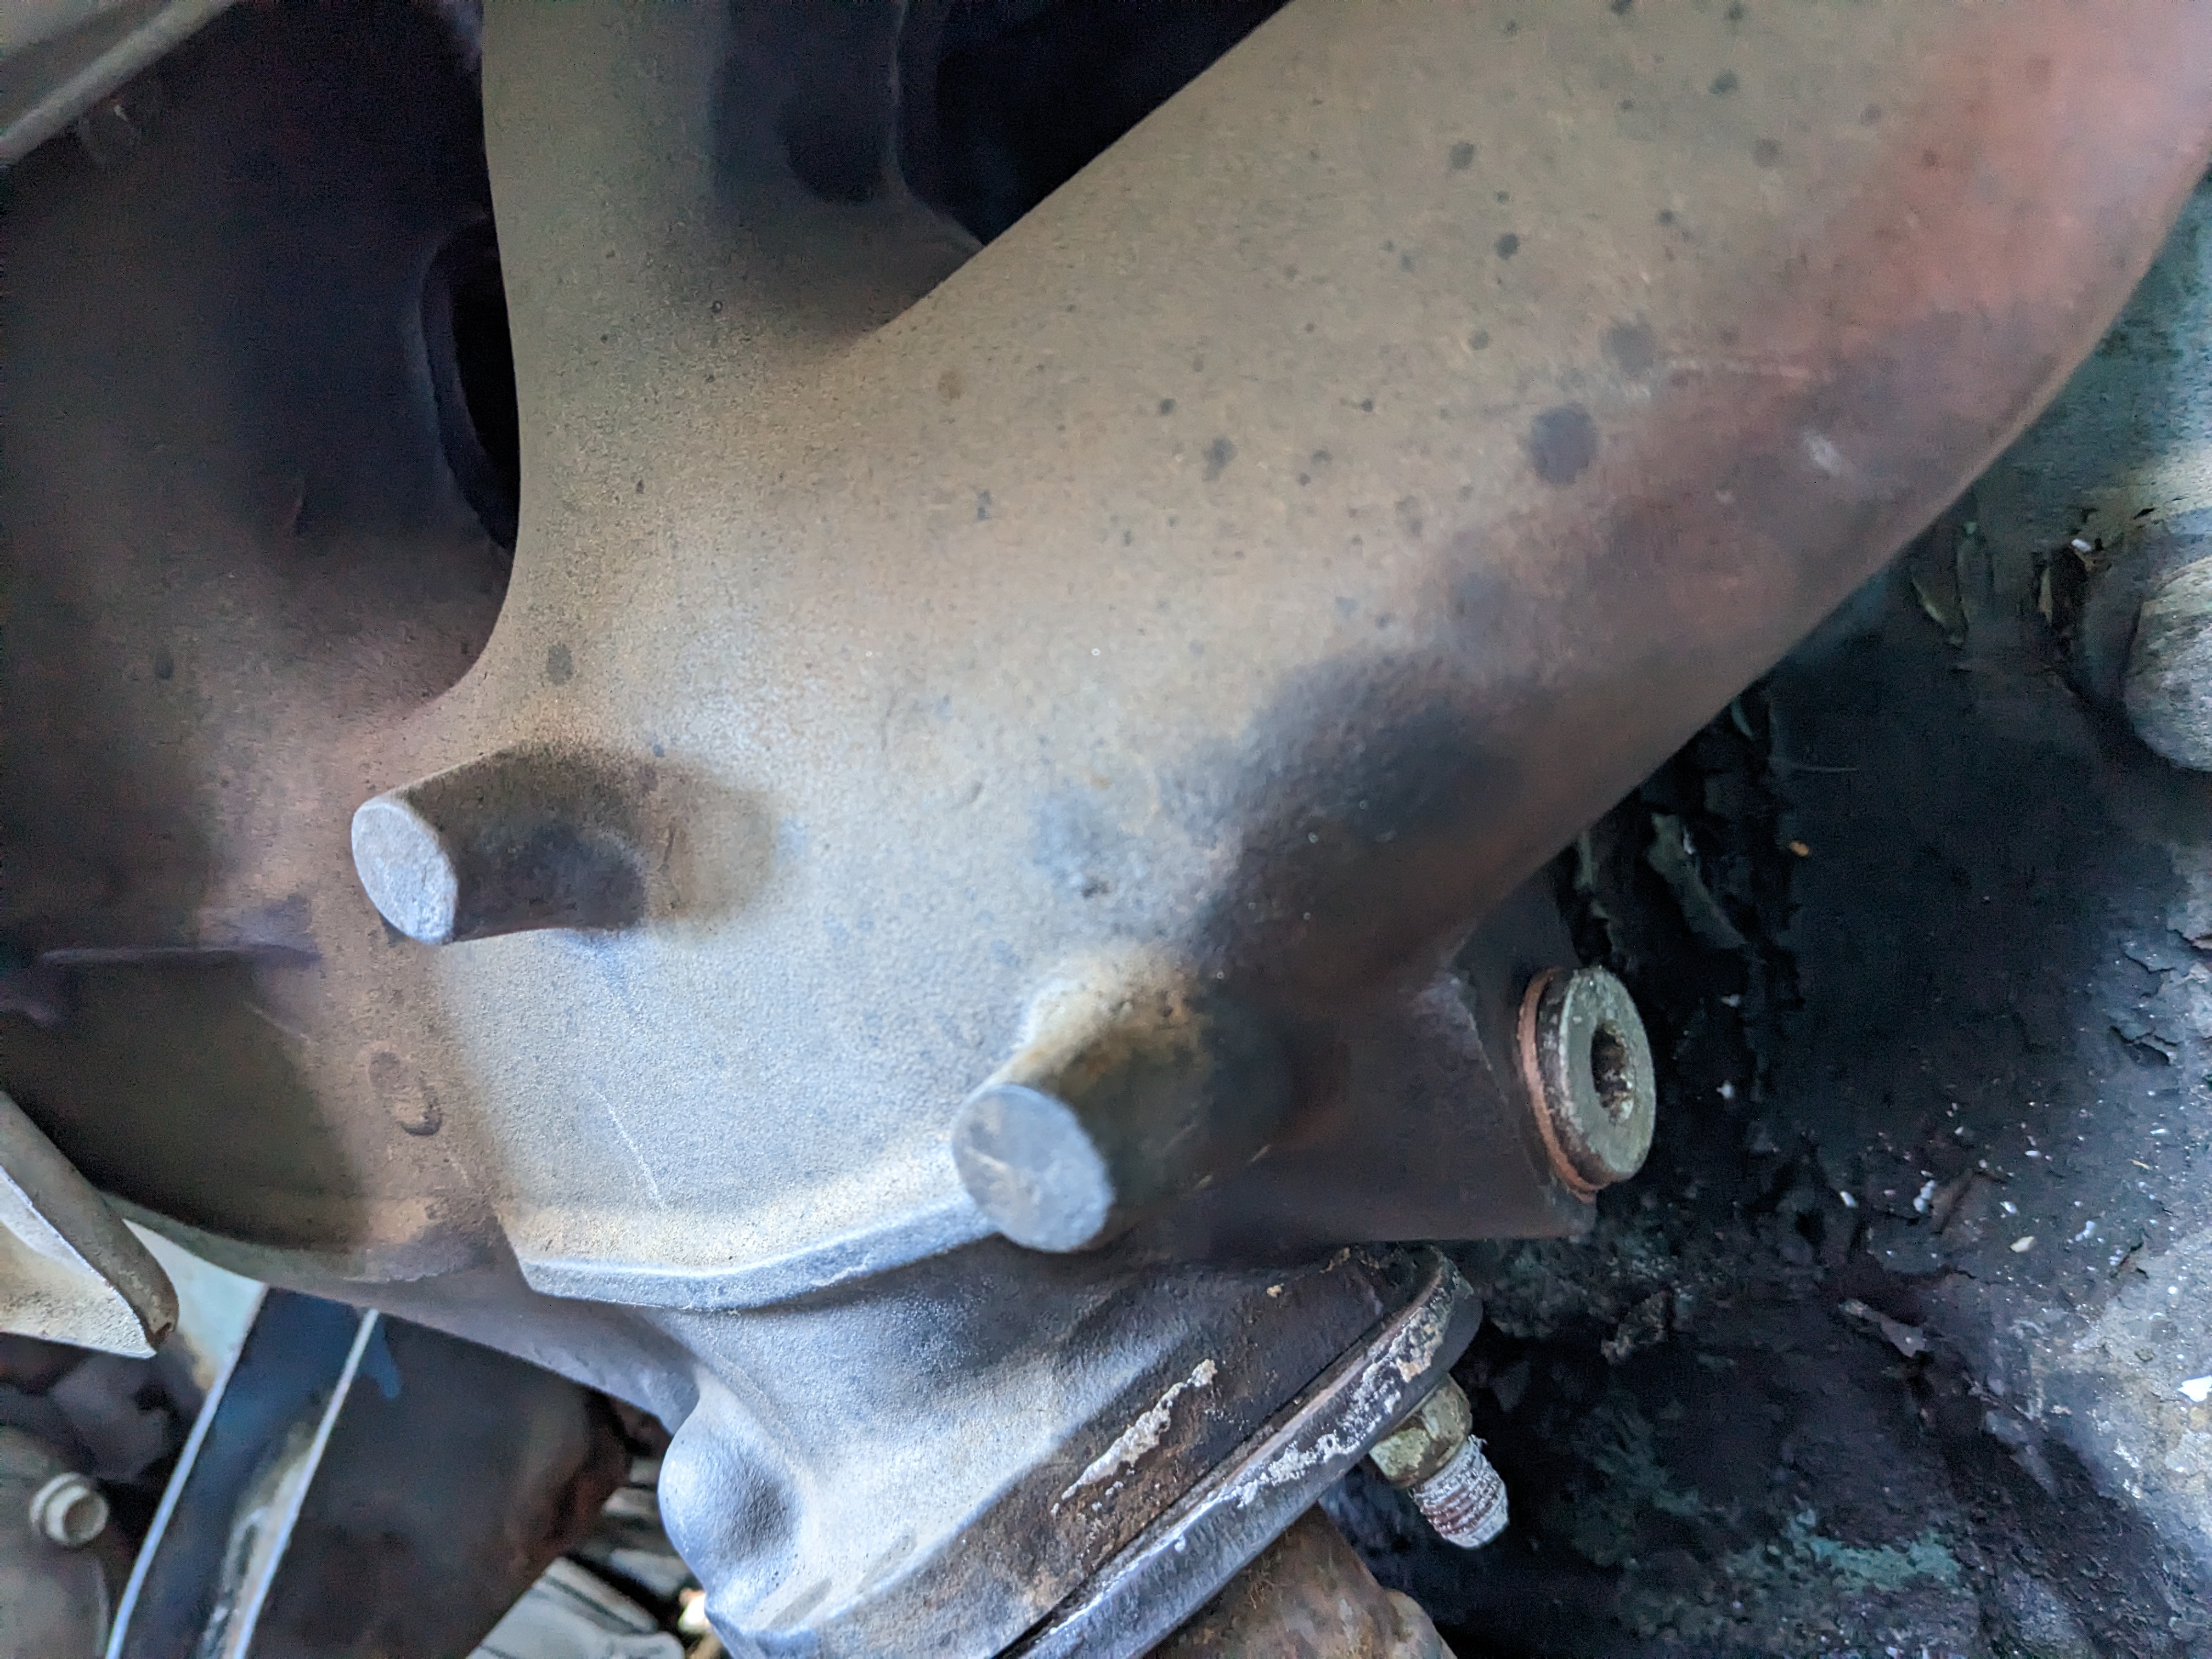
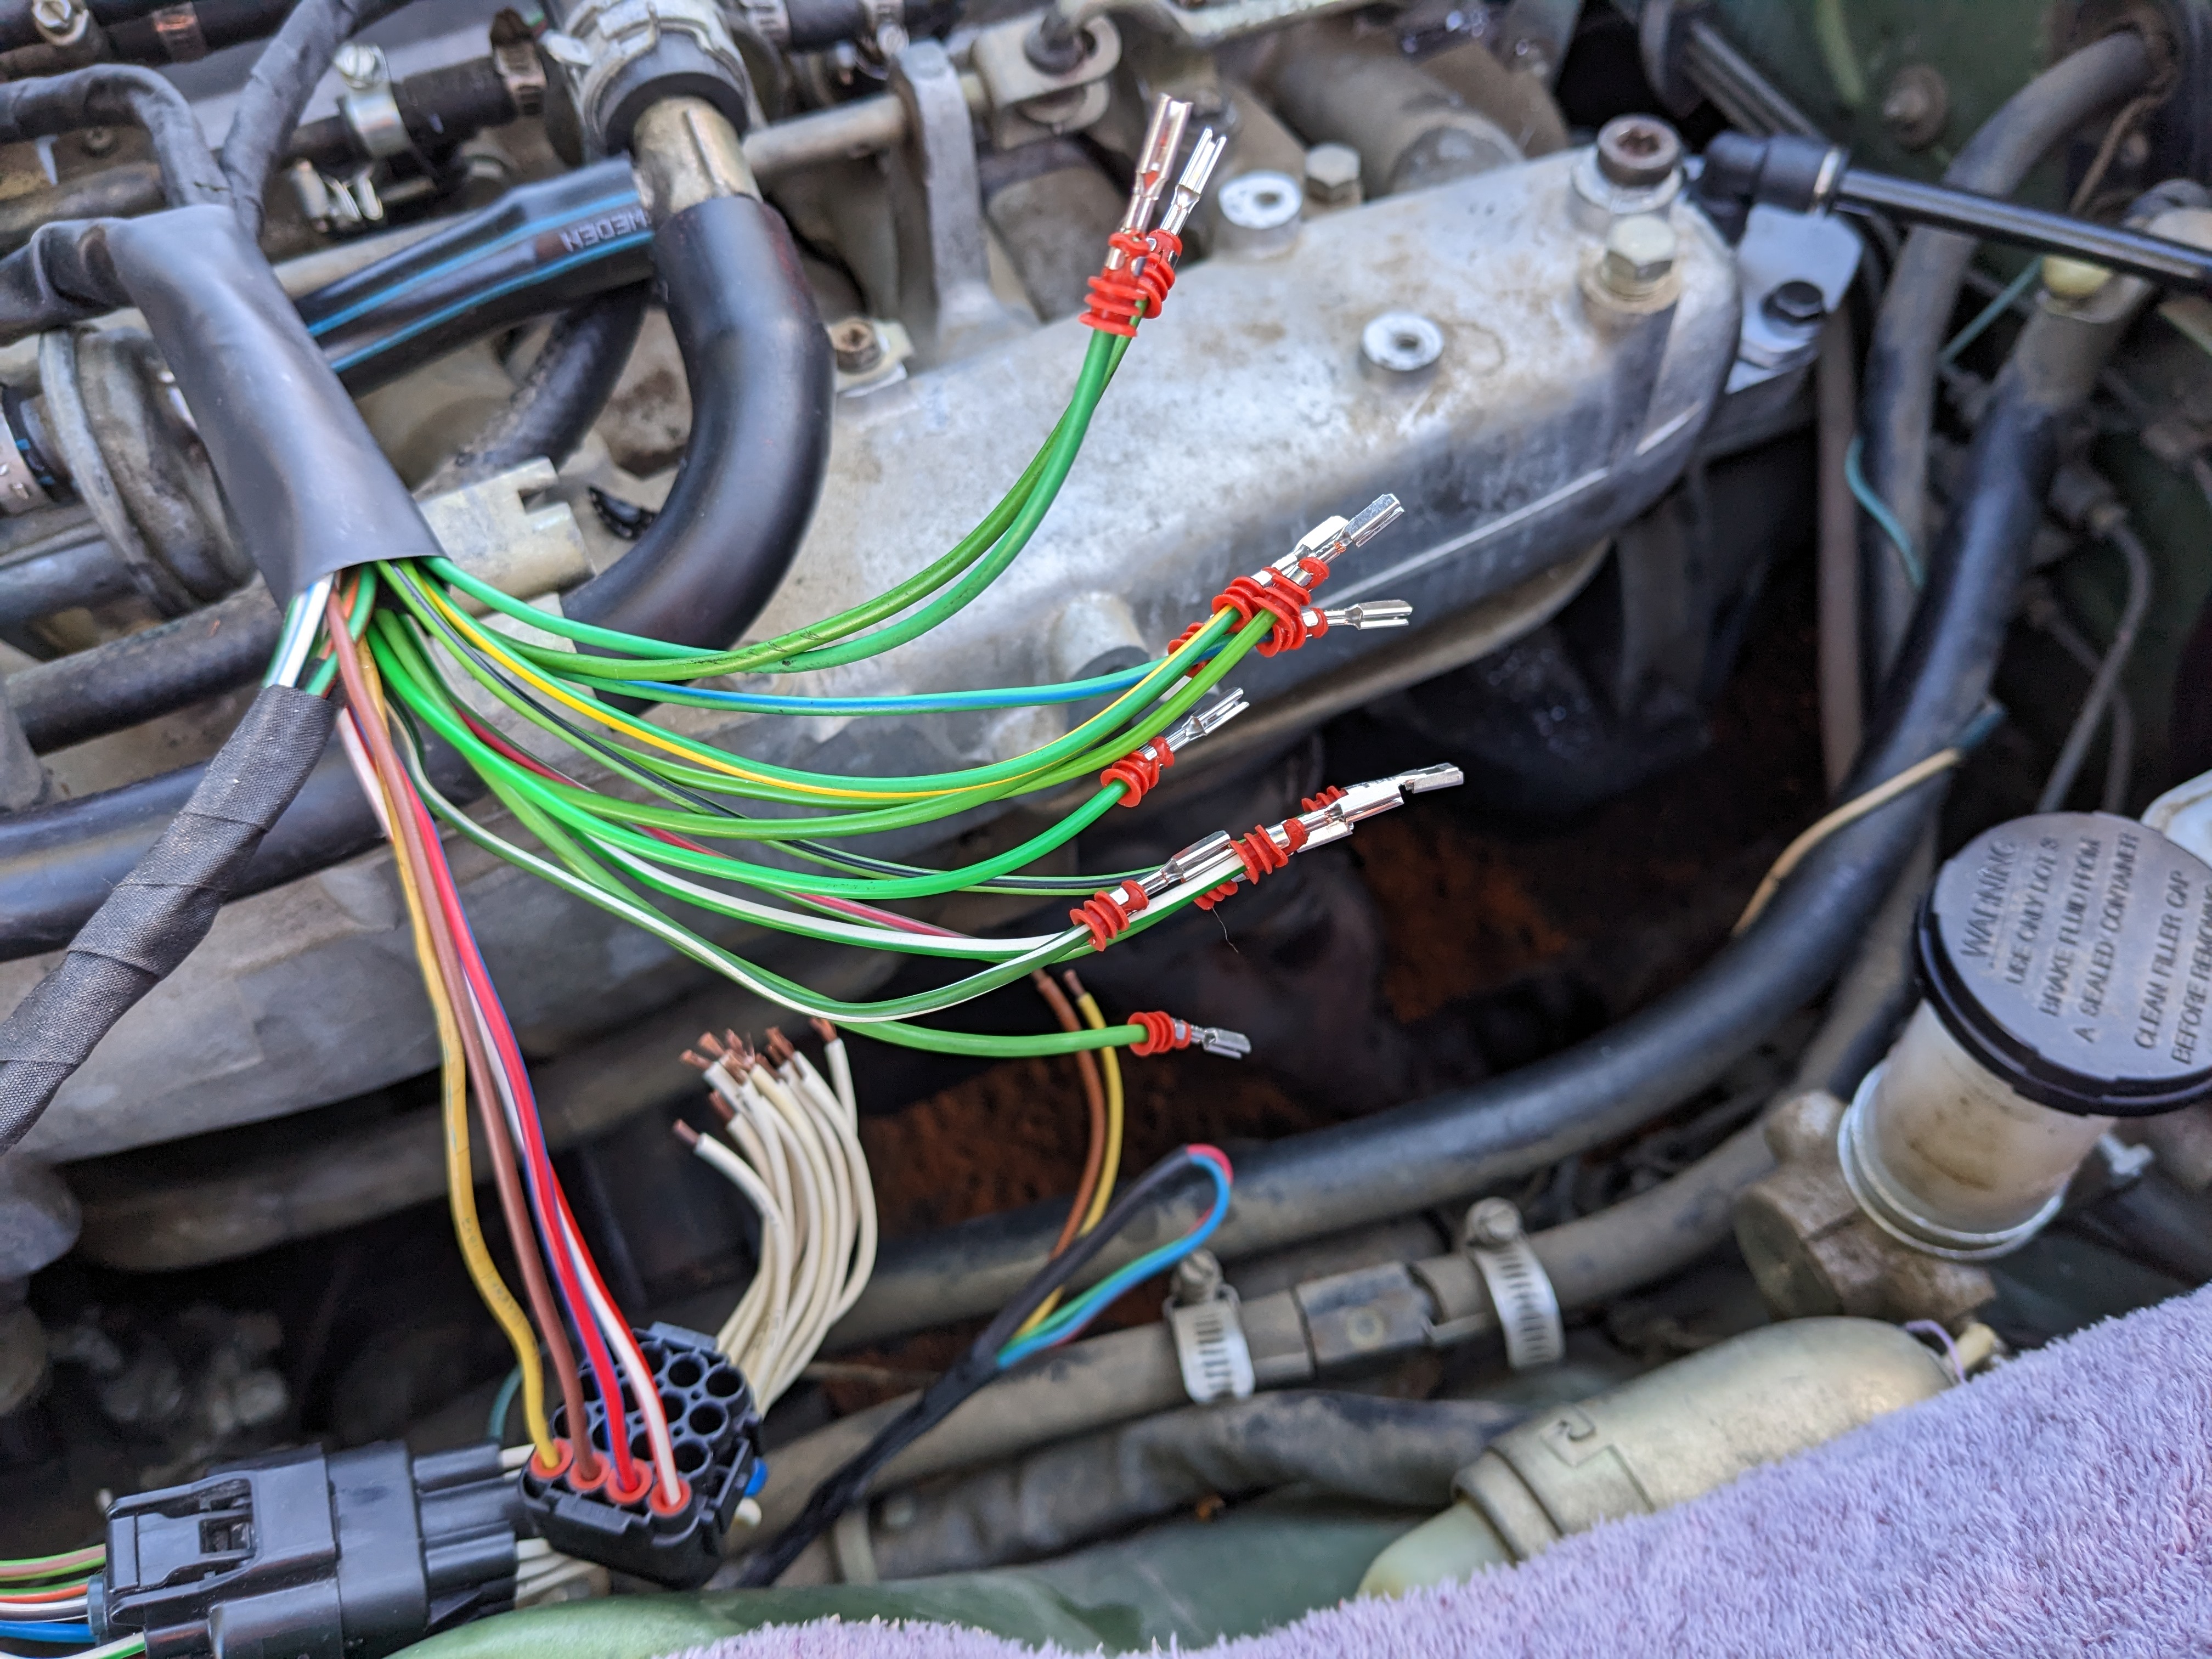
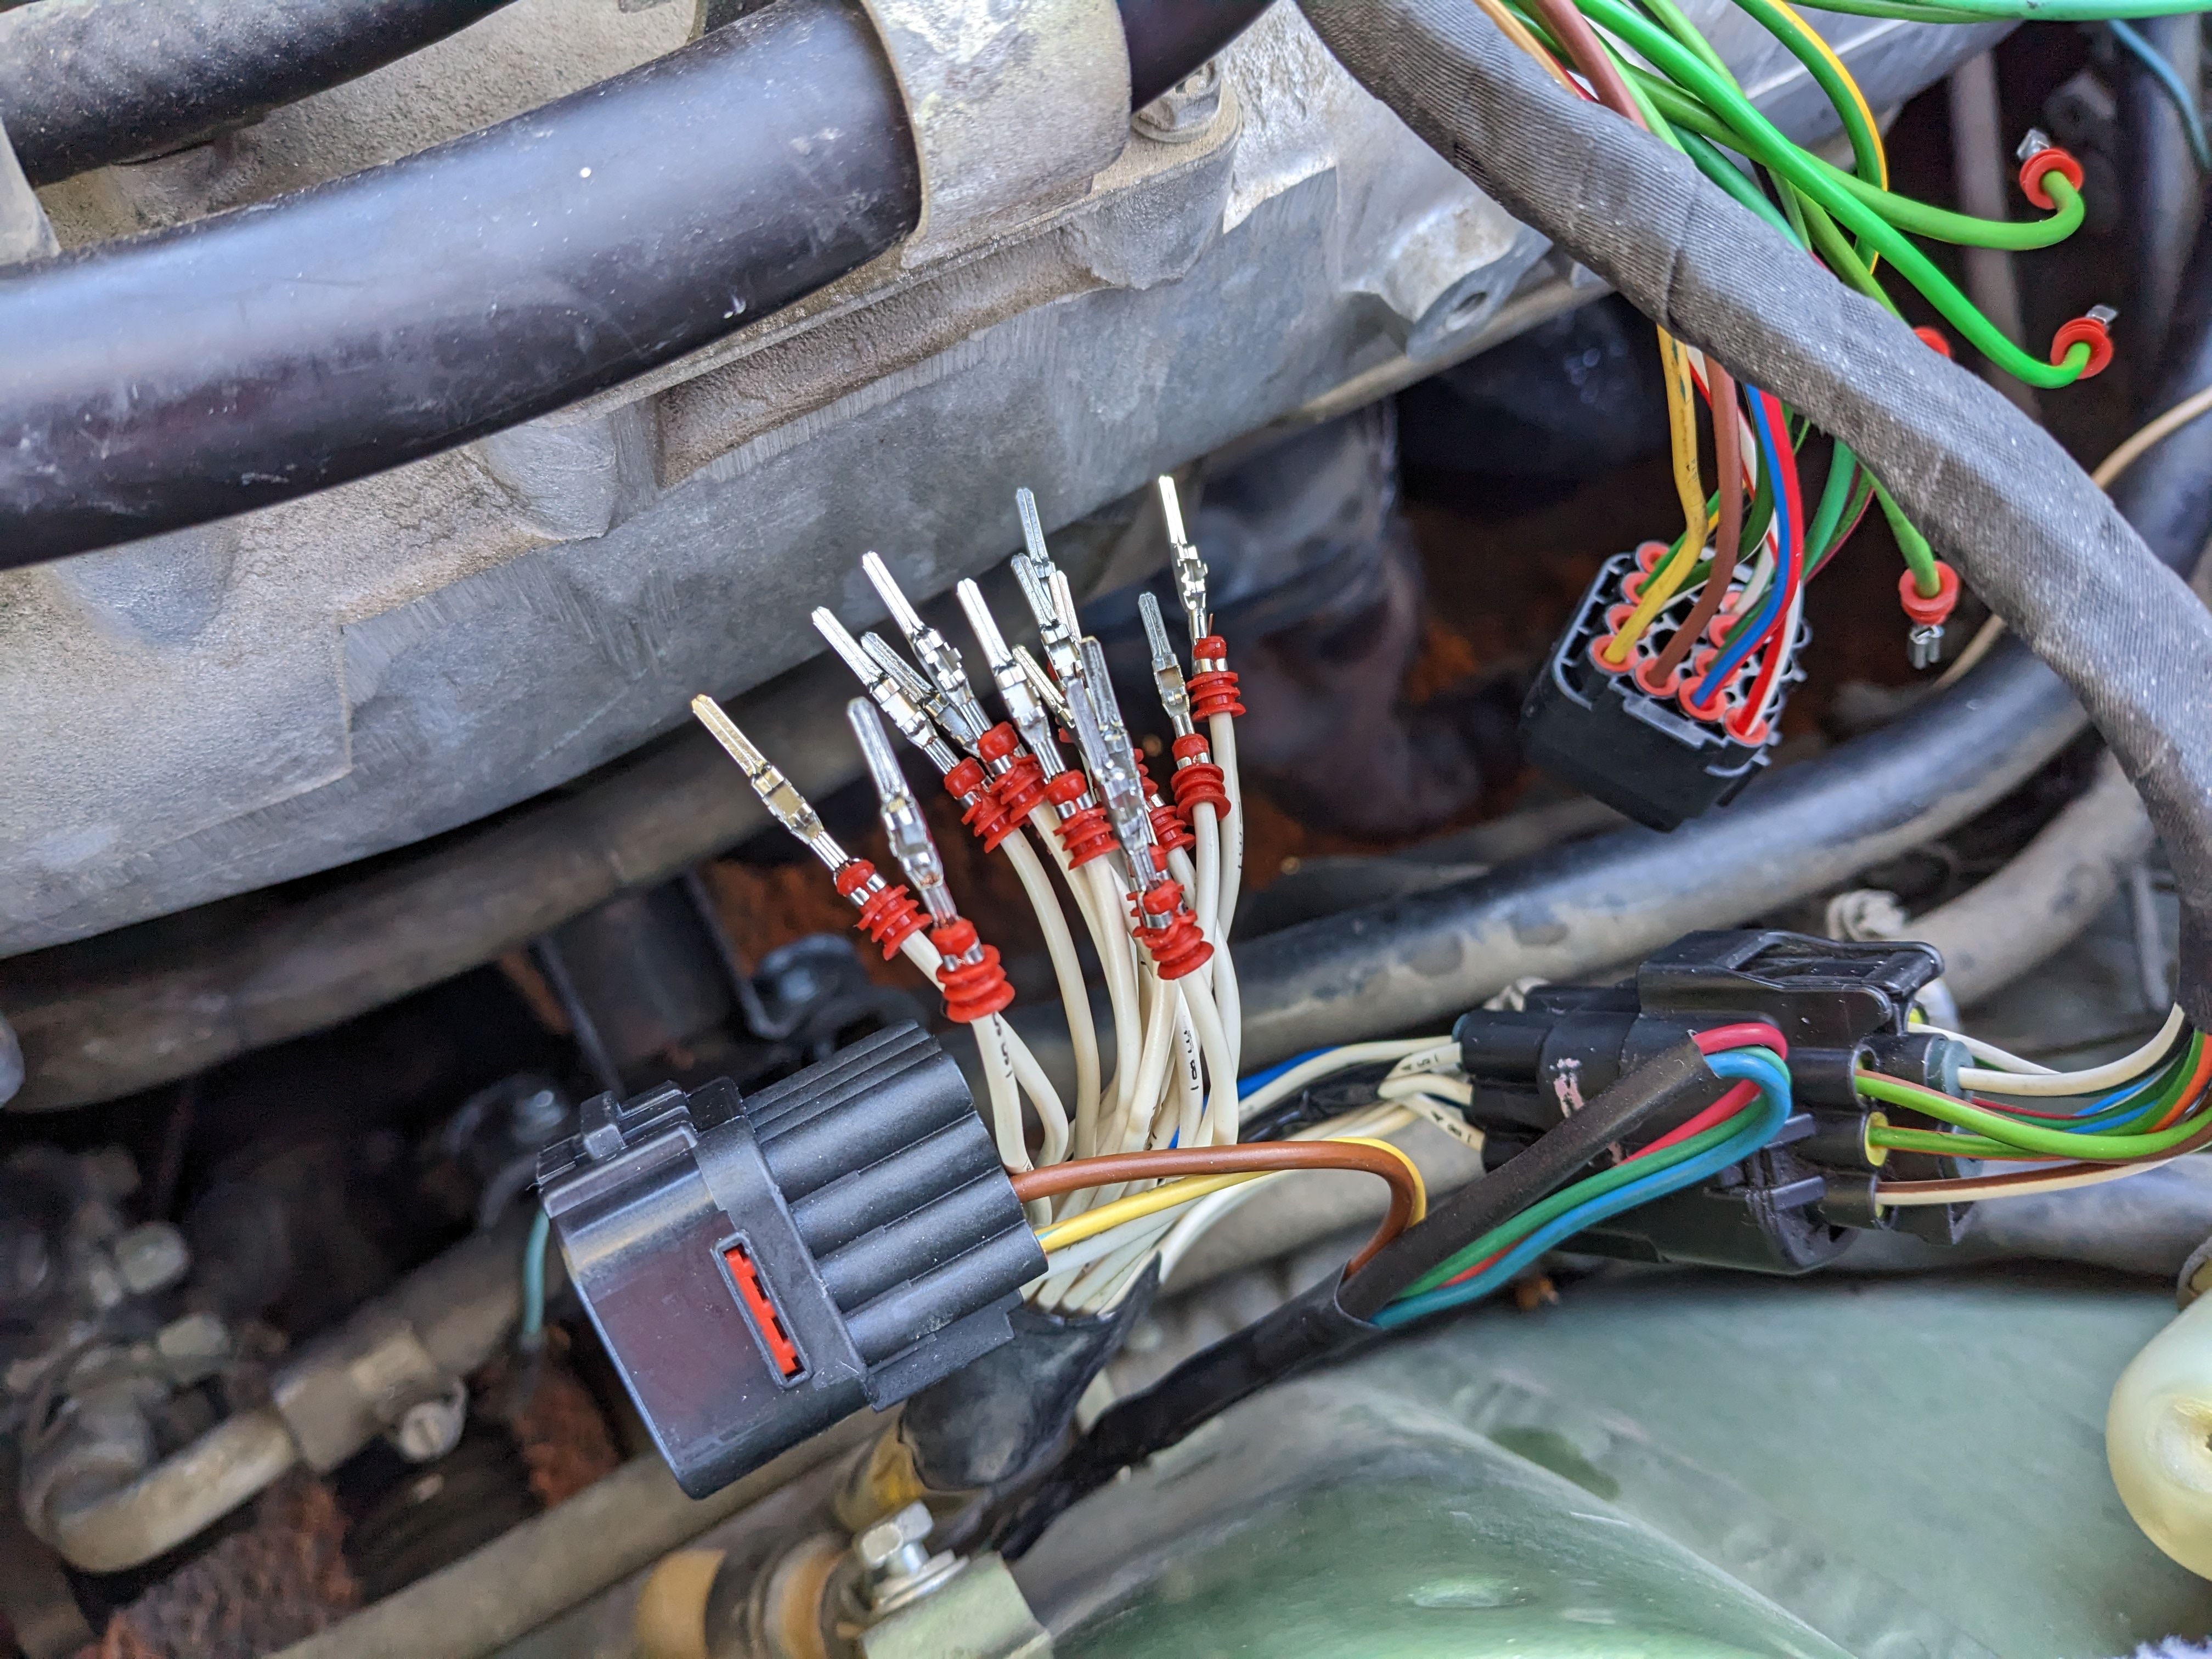
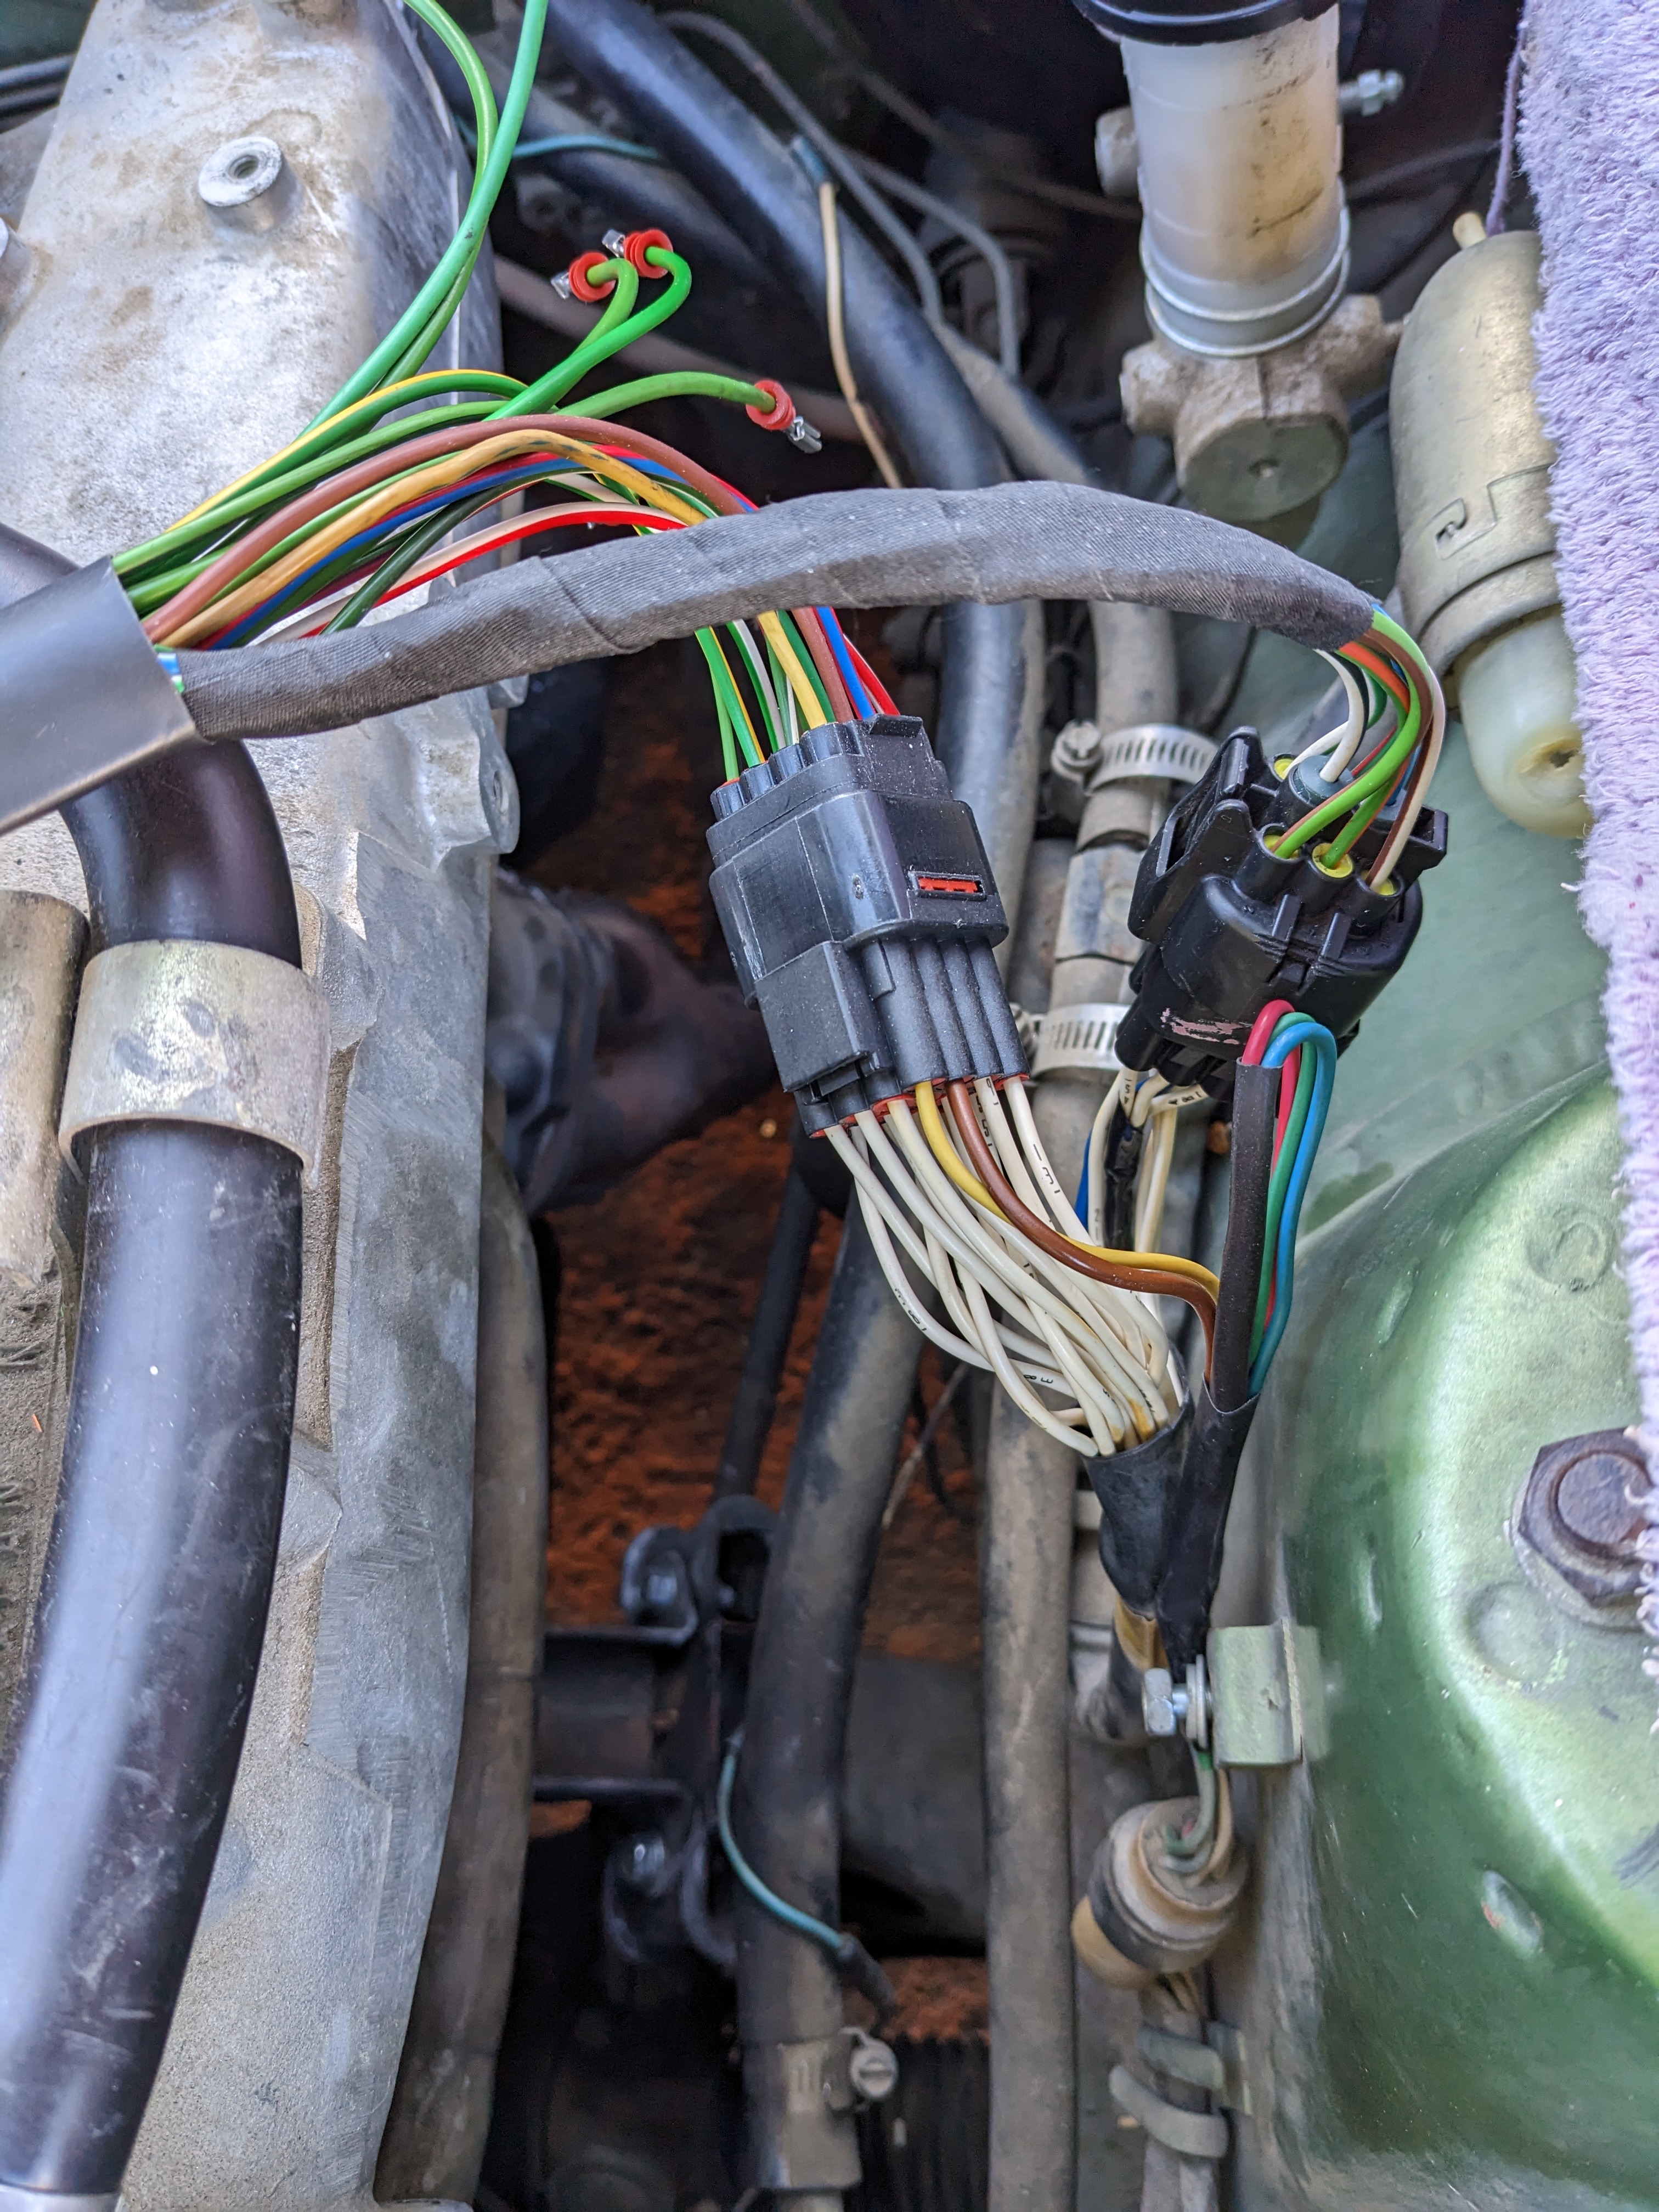
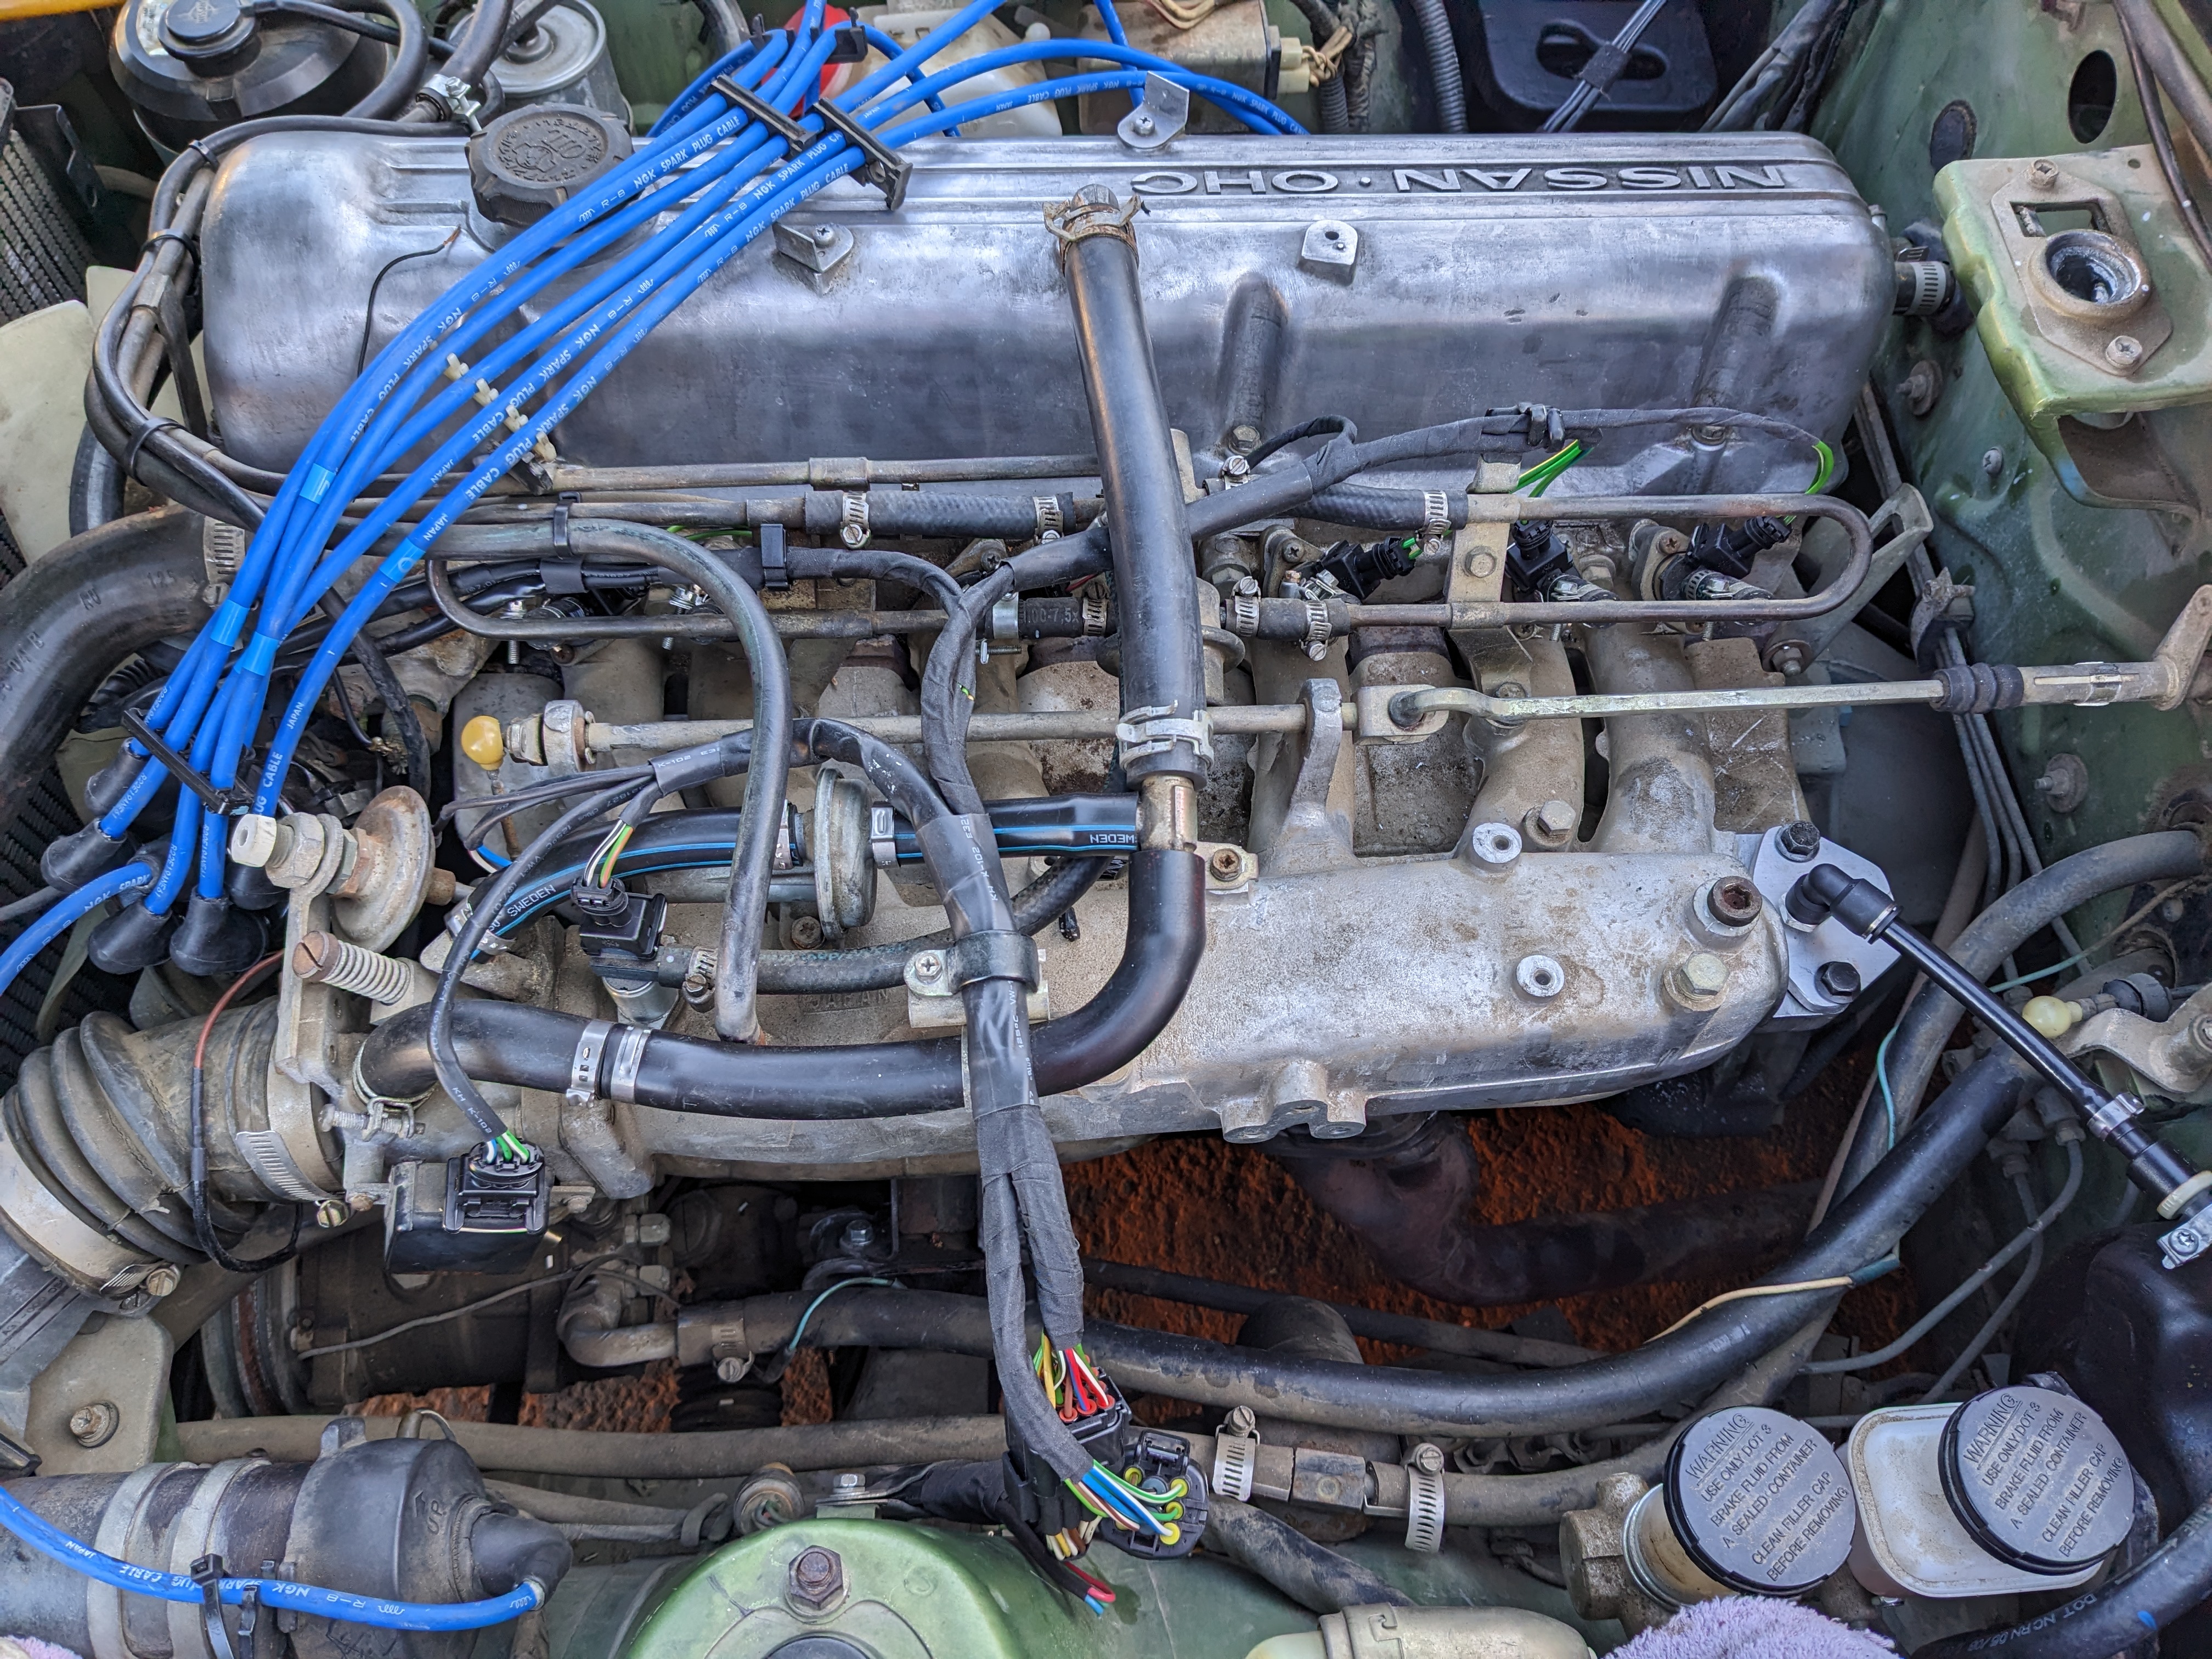
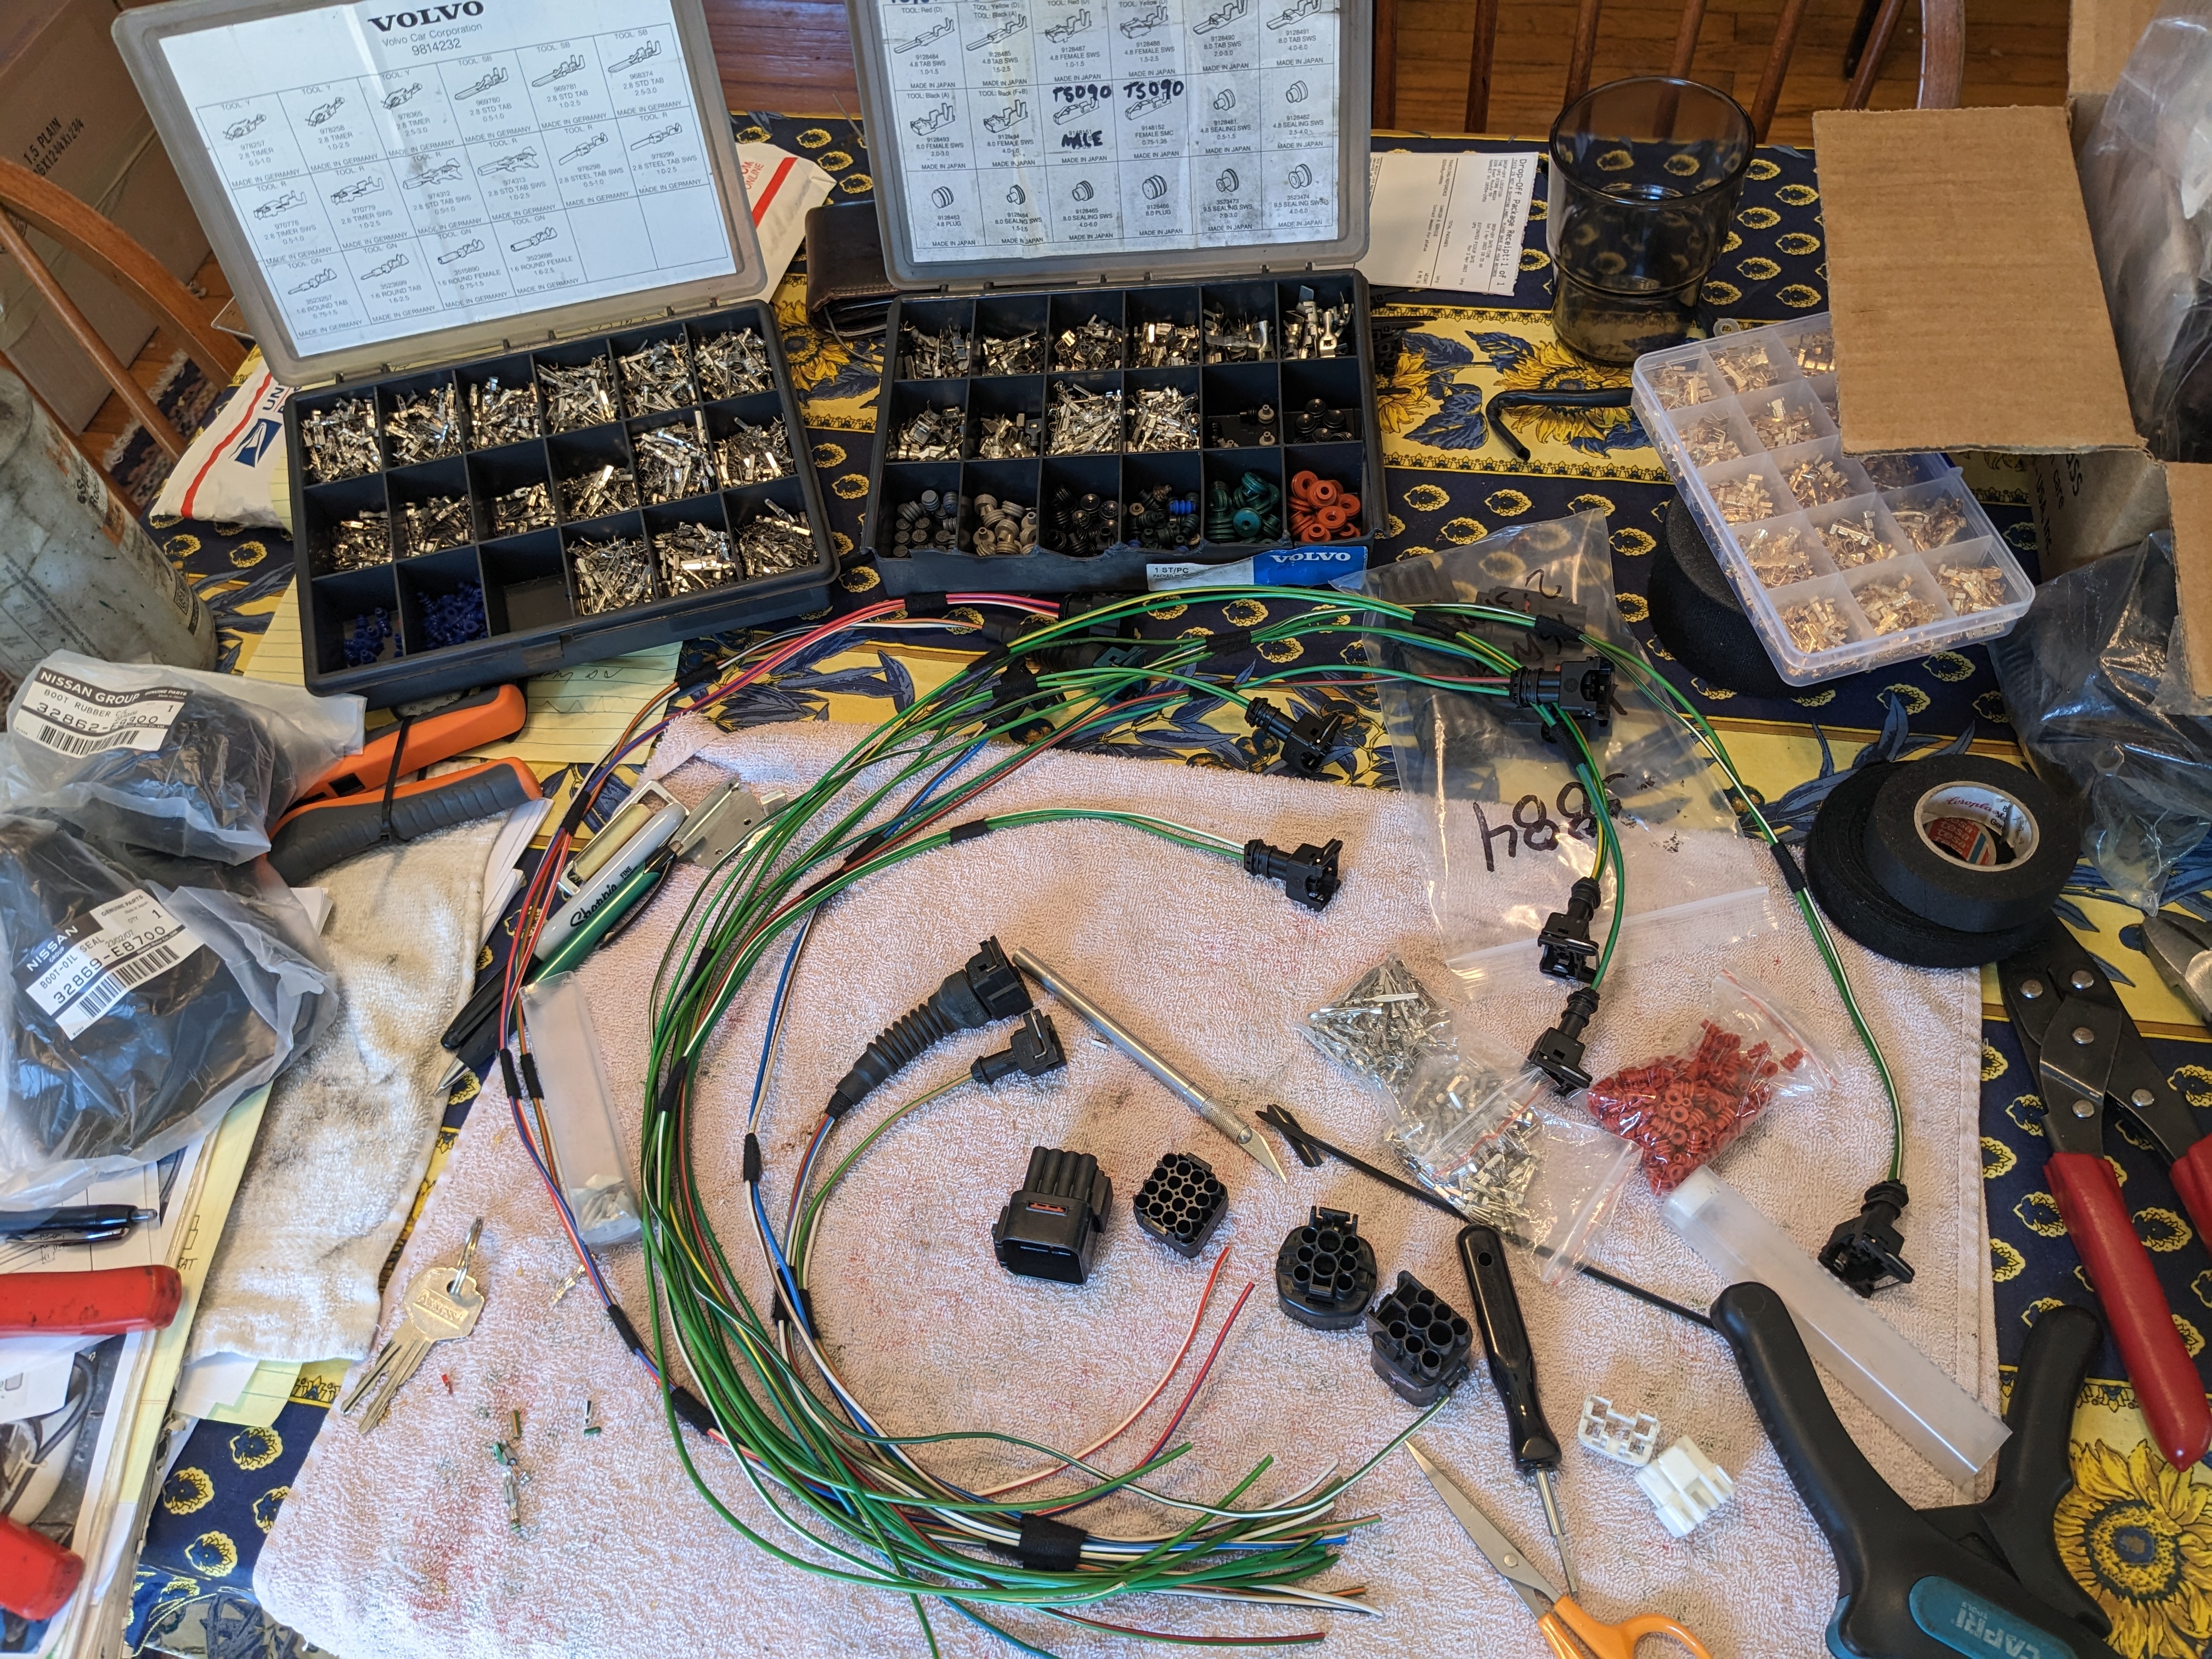
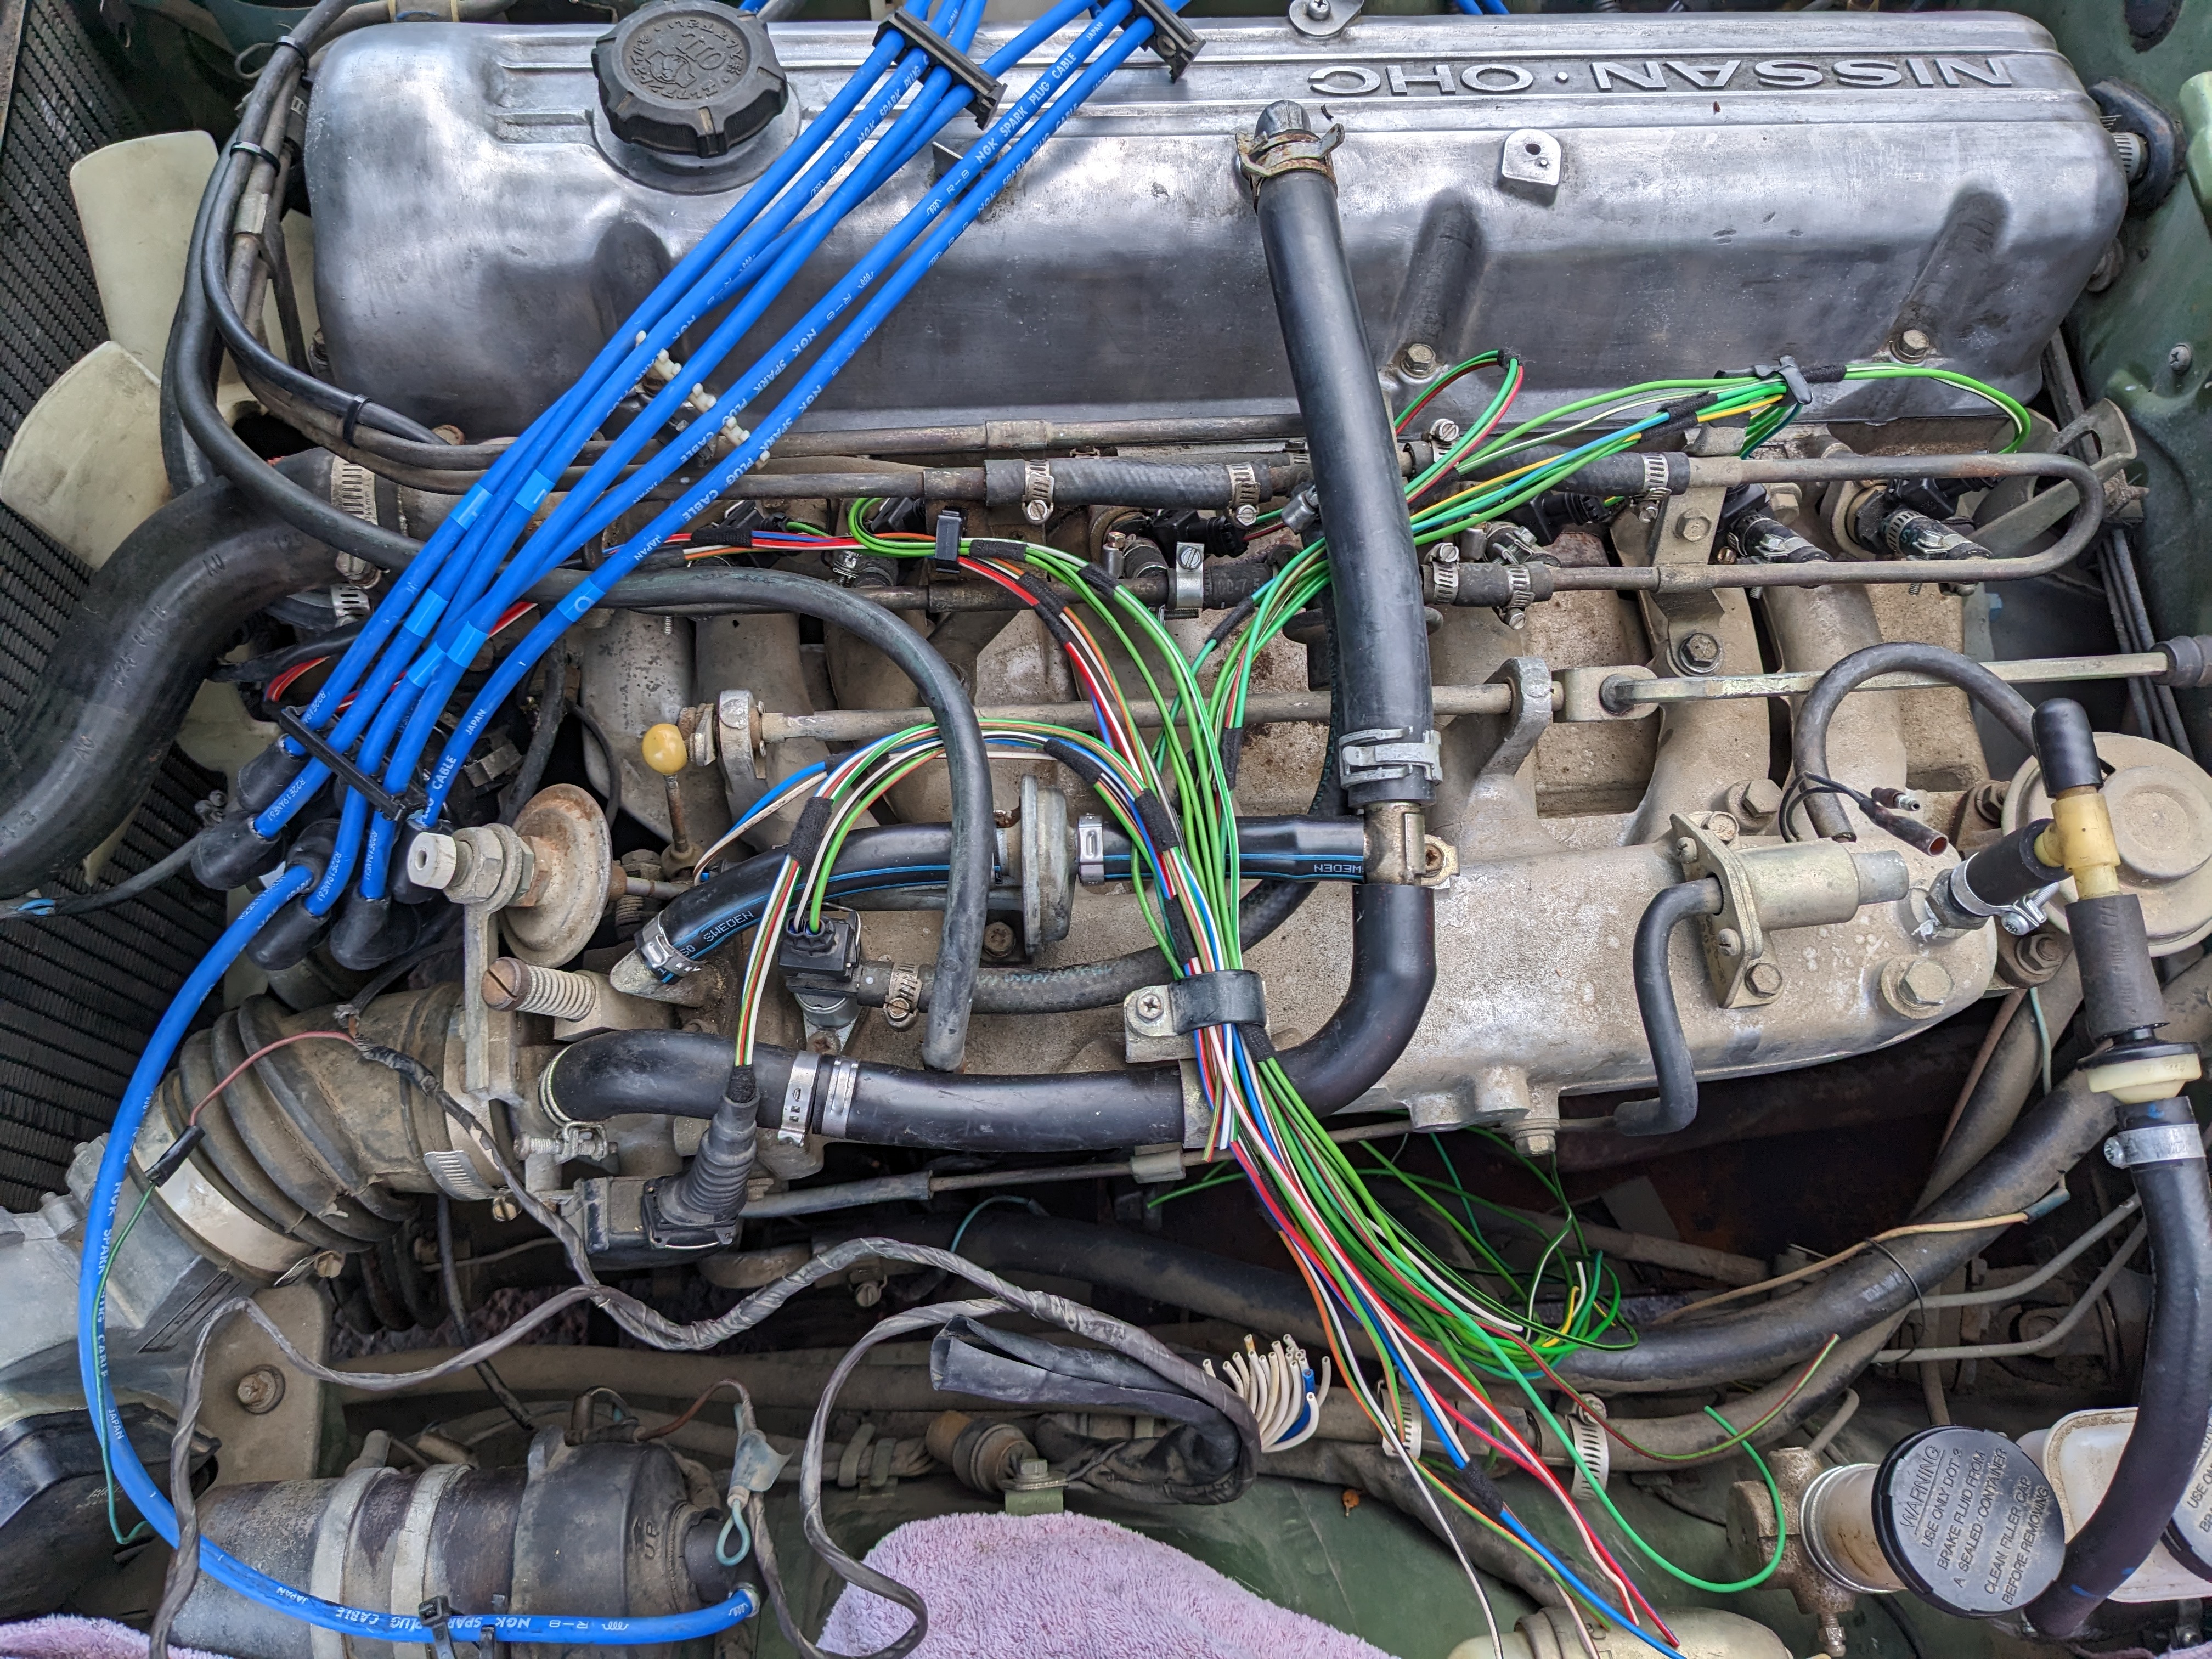
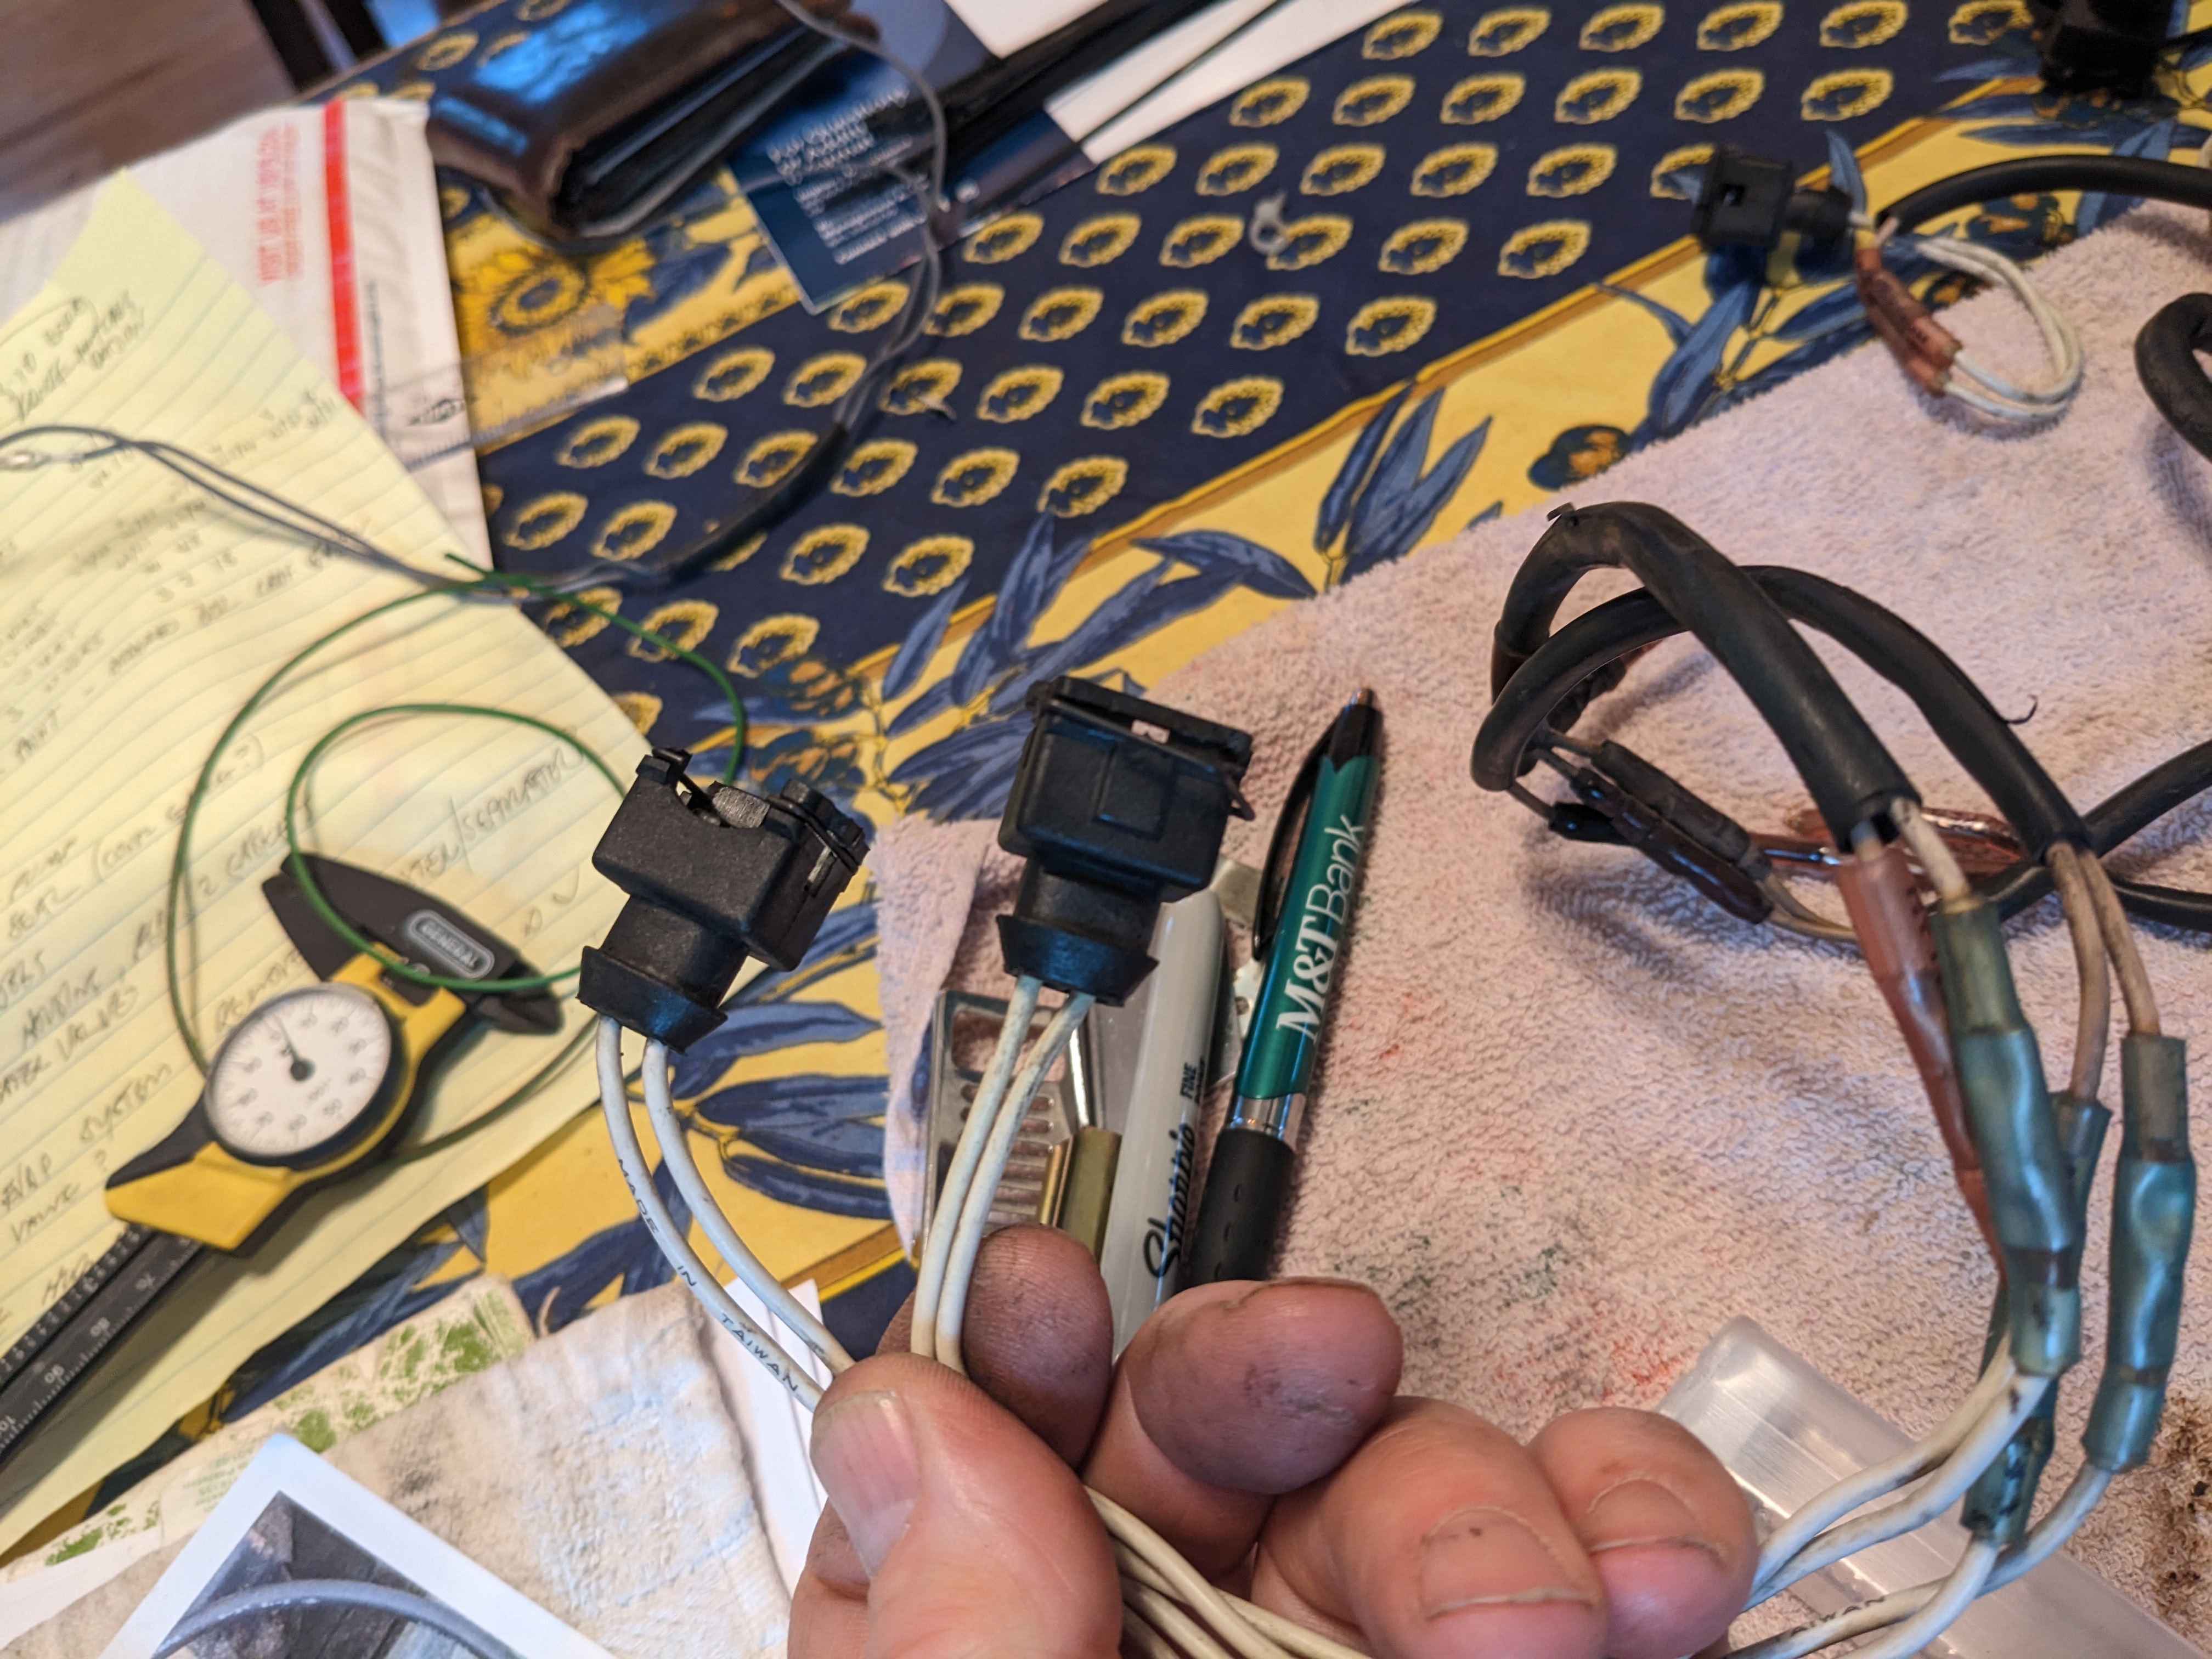
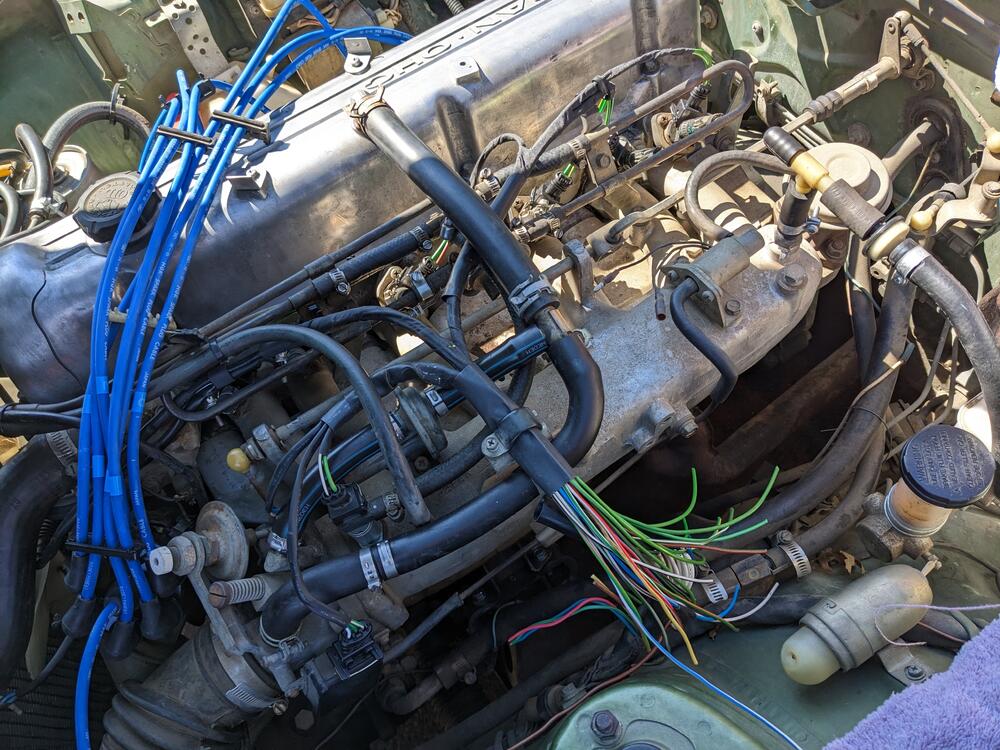
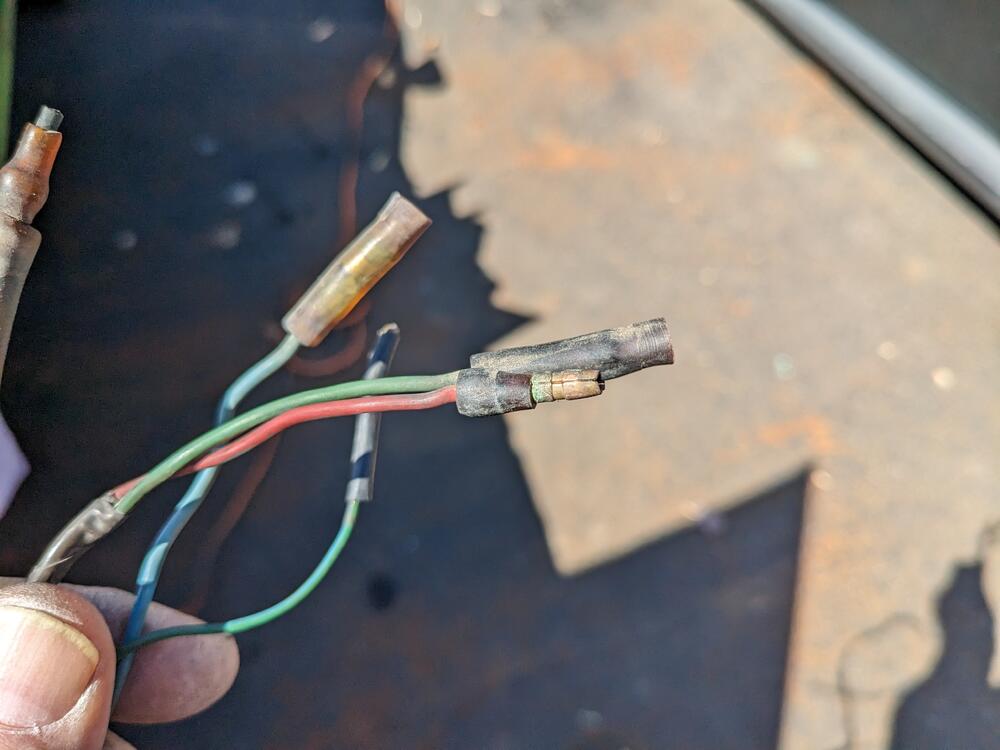
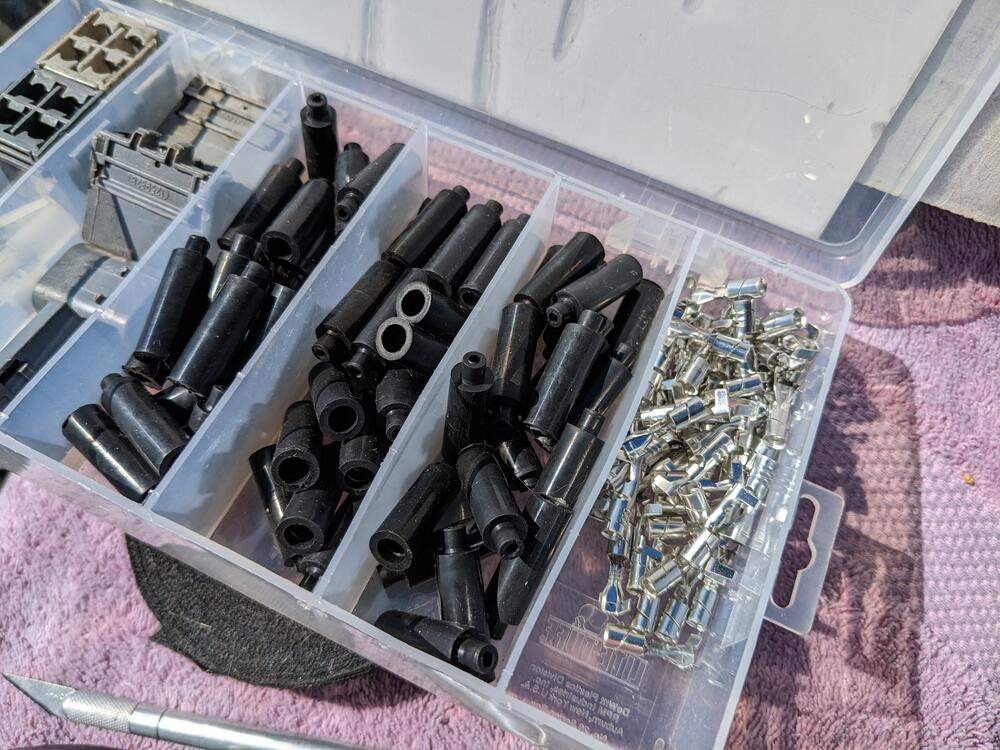
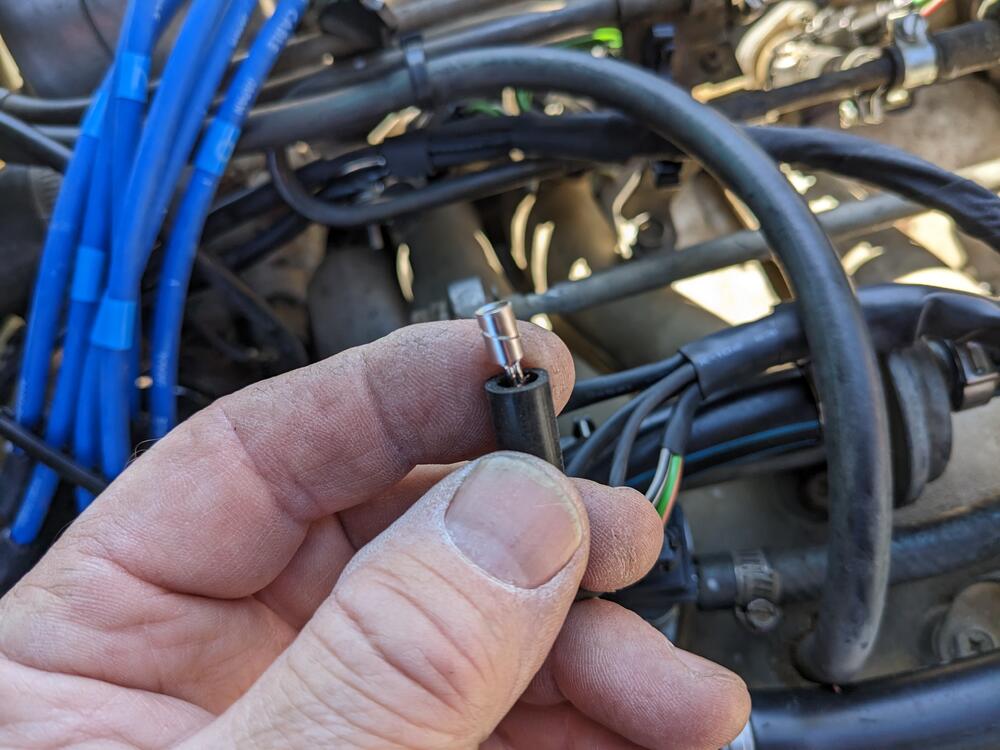
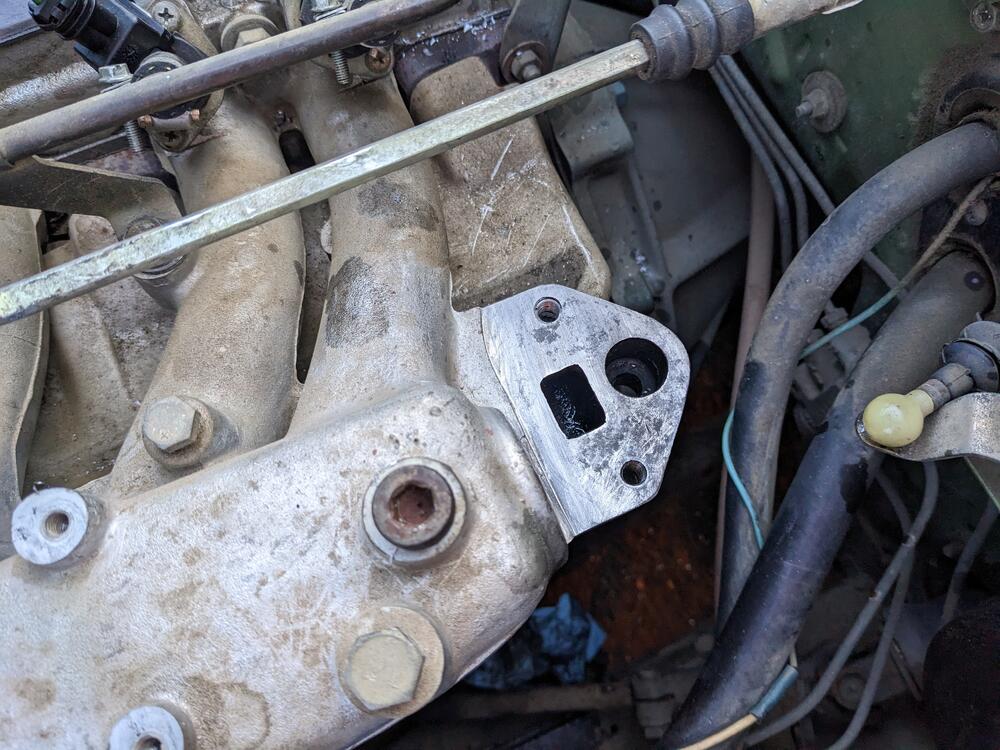
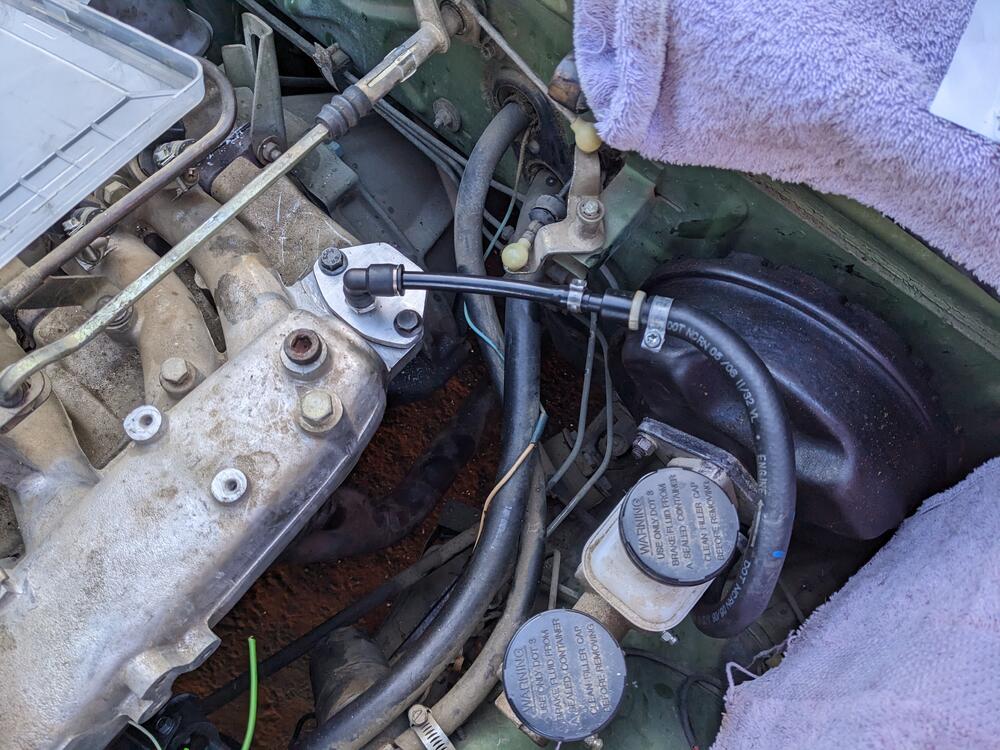
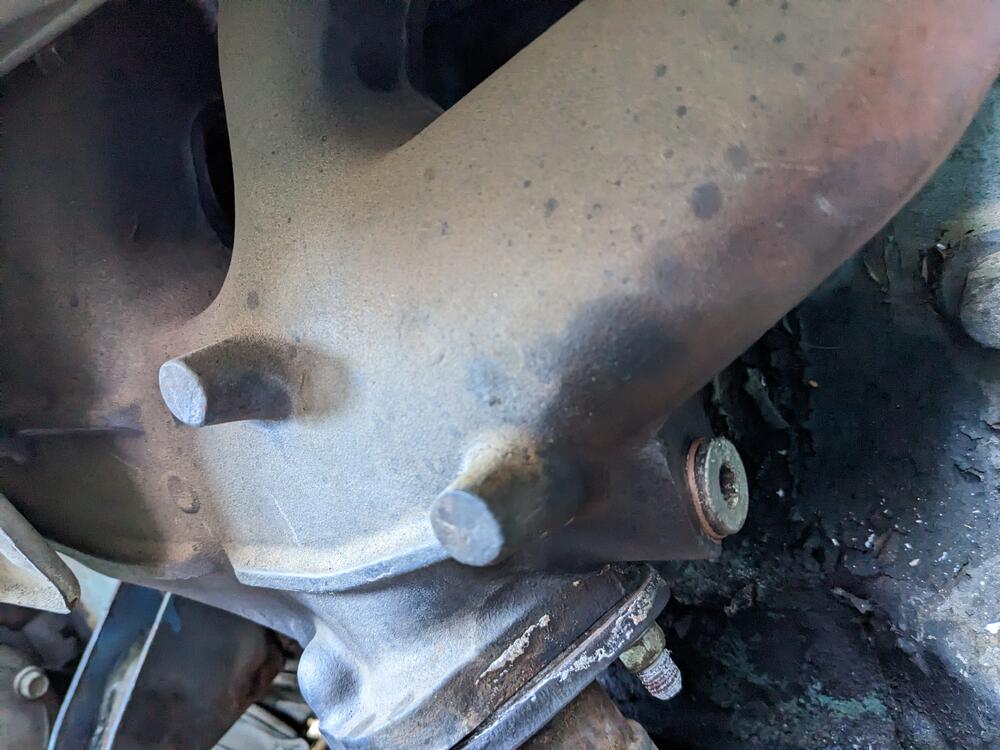
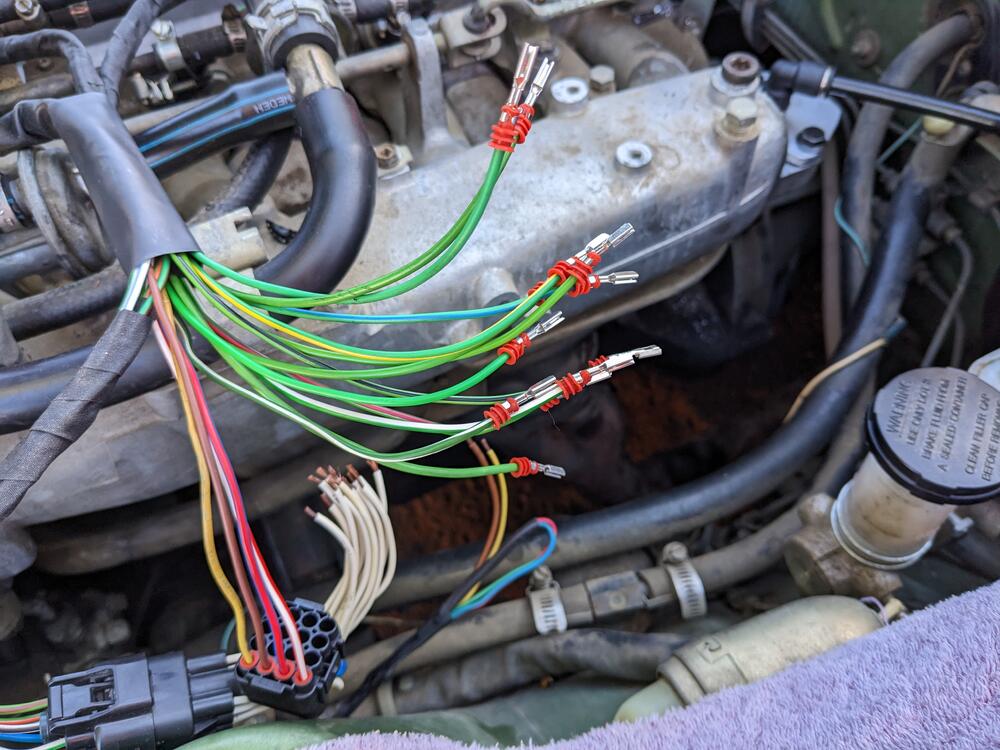
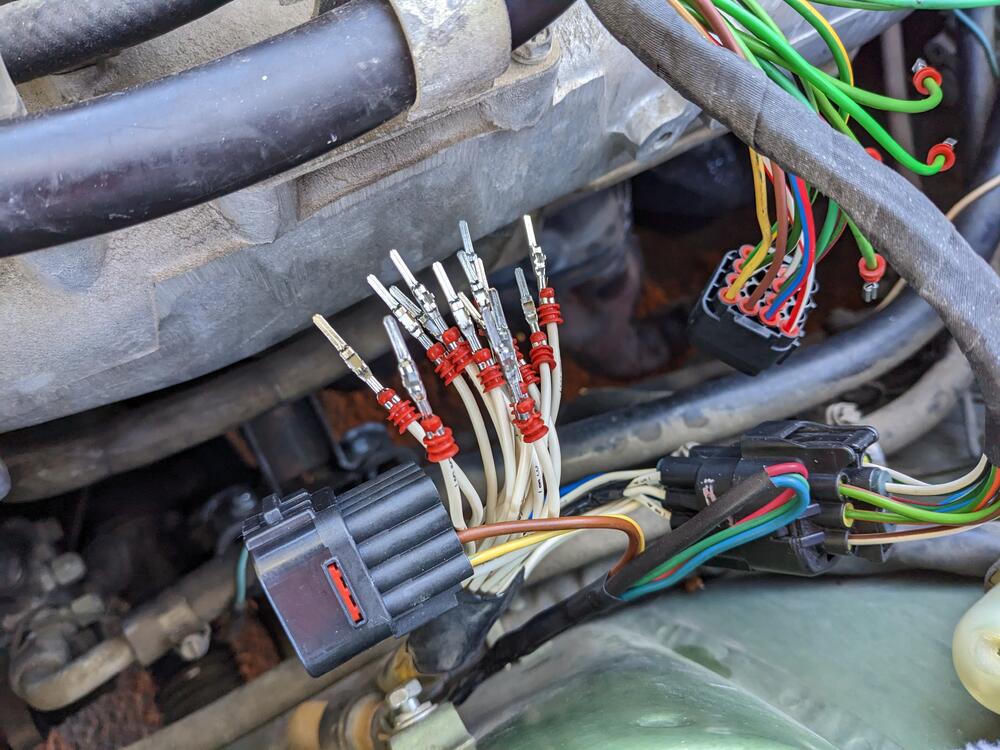
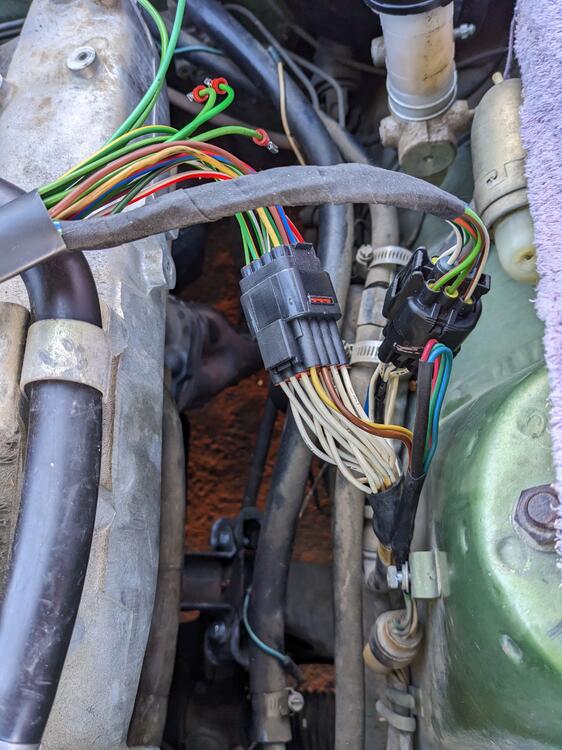
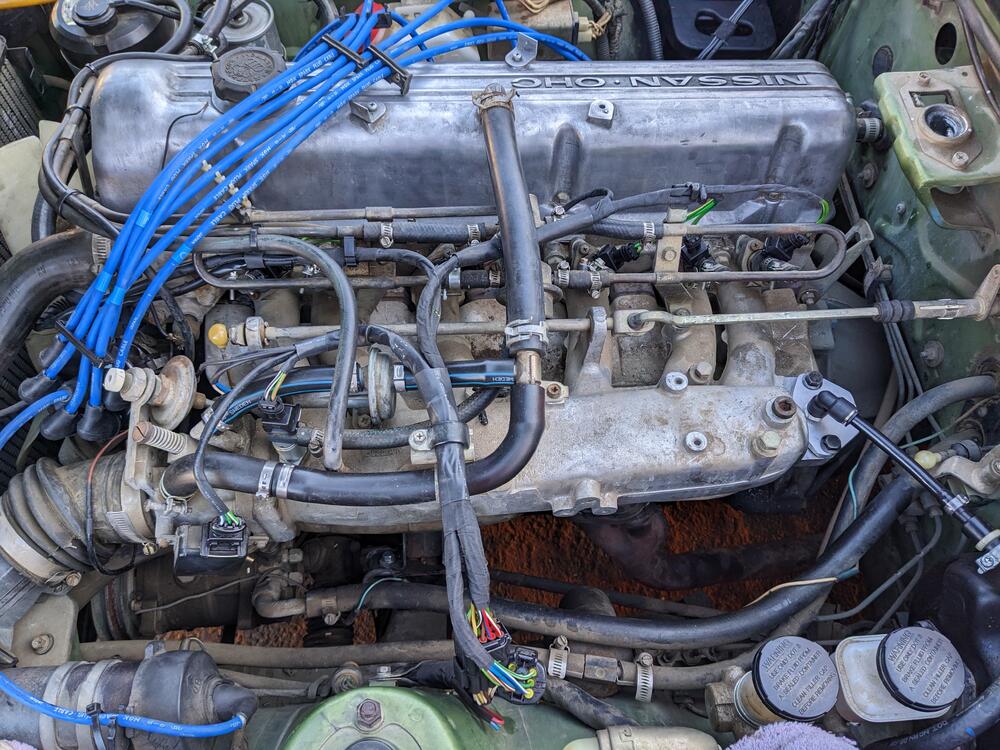
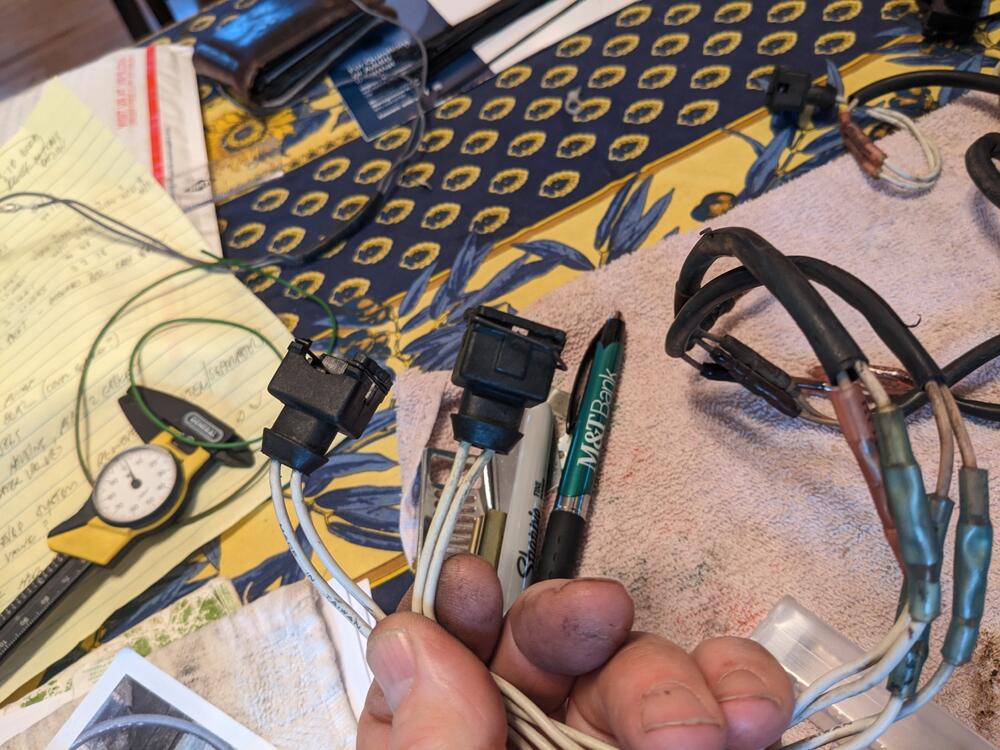
Got the wiring harness tidied up before I trimmed the junction area The decel bypass solenoid connector didn't look any better than this EGR one, so I cut that off & replaced it Volvo used a somewhat similar connector, with better waterproofing, through the early 90's, so I replaced it with that type Removed the EGR solenoid, valve, vacuum & exhaust tube while I was there - had to put a helicoil in one stud location blocked off the exhaust manifold port Made a blanking plate & added an elbow 10mm quick release for the booster line. I reinstalled the Datsun check valve, I found that the PO's tech had installed it backwards, with the grey side pointing at the intake. No wonder there were notes on the brake booster not feeling right. crimping all the Delphi terminals - 16way for injectors (12) Decel solenoid, Coolant gauge, and ECT The TPS, CSV, Thermal timer, AAR are in the Sumitomo TS hybrid 090/187 housing on the right Back together & running. Didn't resolve the cold start issue entirely. I need to add a pressure gauge & see what the pump is doing, and actually function test the CSV/timer circuit
-
Thank you for the information. Interesting that the AAR doesn't perform at optimum. I wonder what the issue is, I would assume idle related, since that's what would happen if the valve doesn't shut properly. Old Volvos & Fiats with D-Jet, K-jet & L-Jet that used a AAR bolted it to the head or to the block, which makes sense if you want it to properly close at normal operating temp.
-
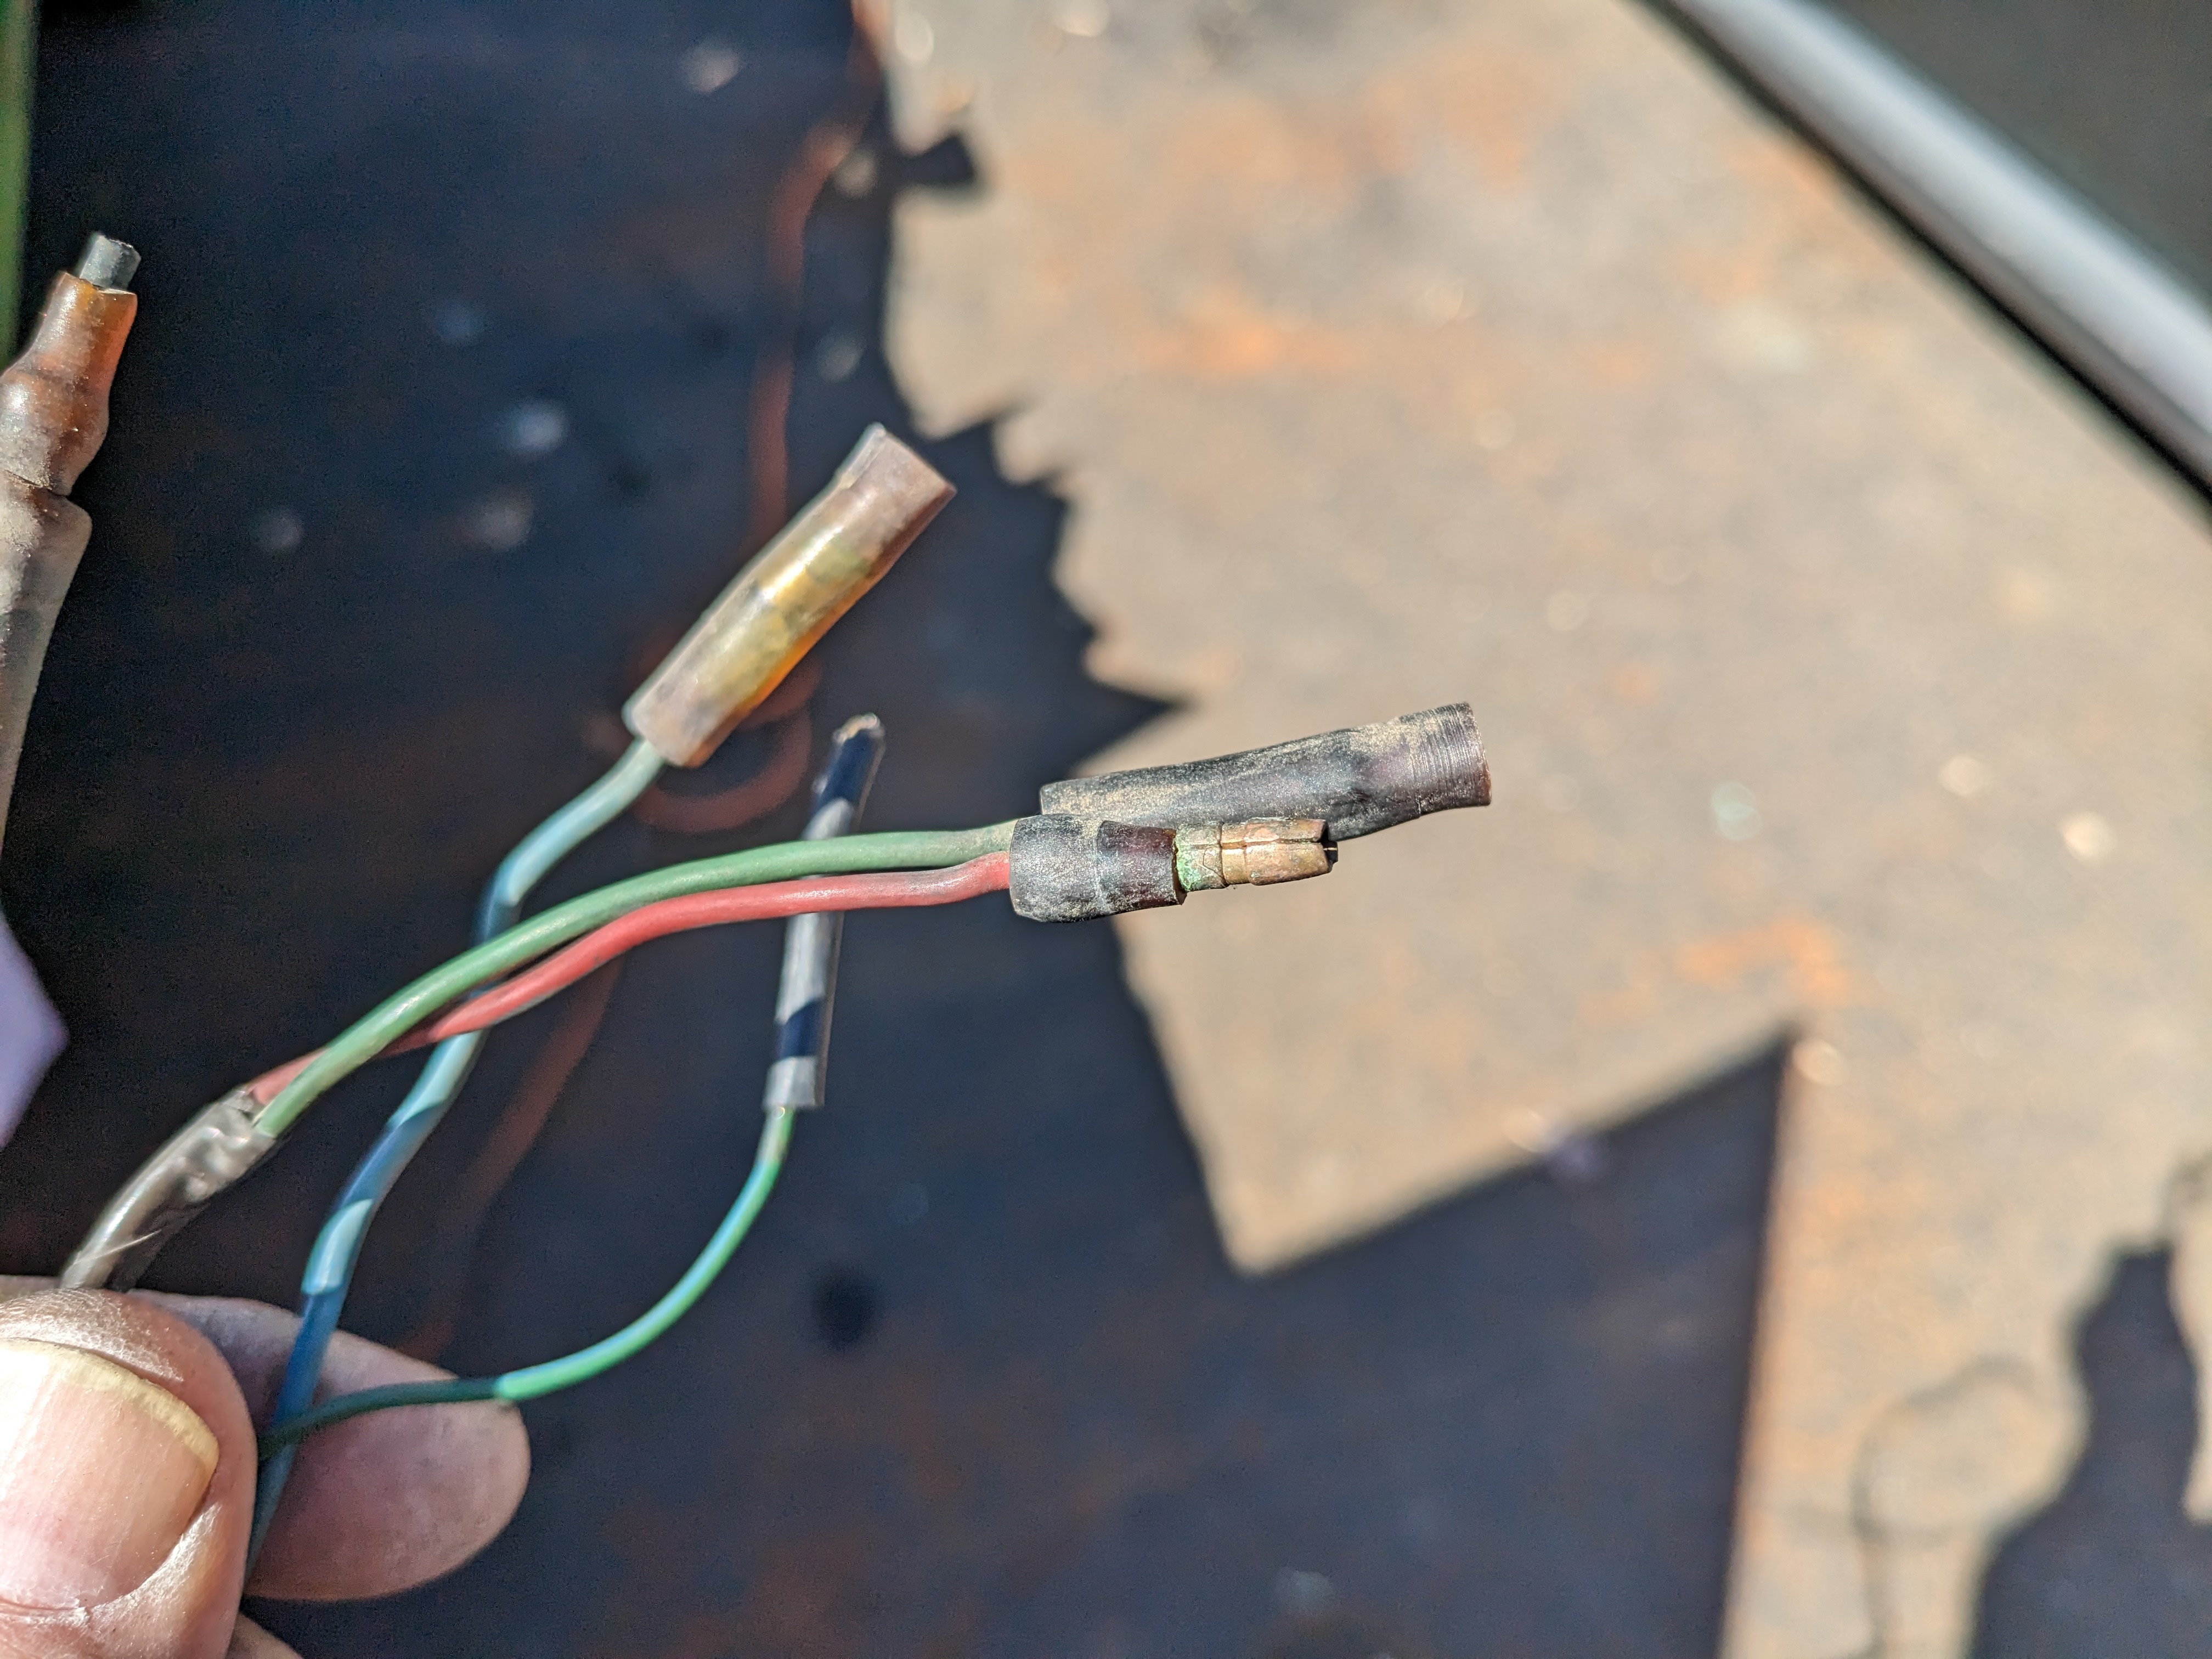
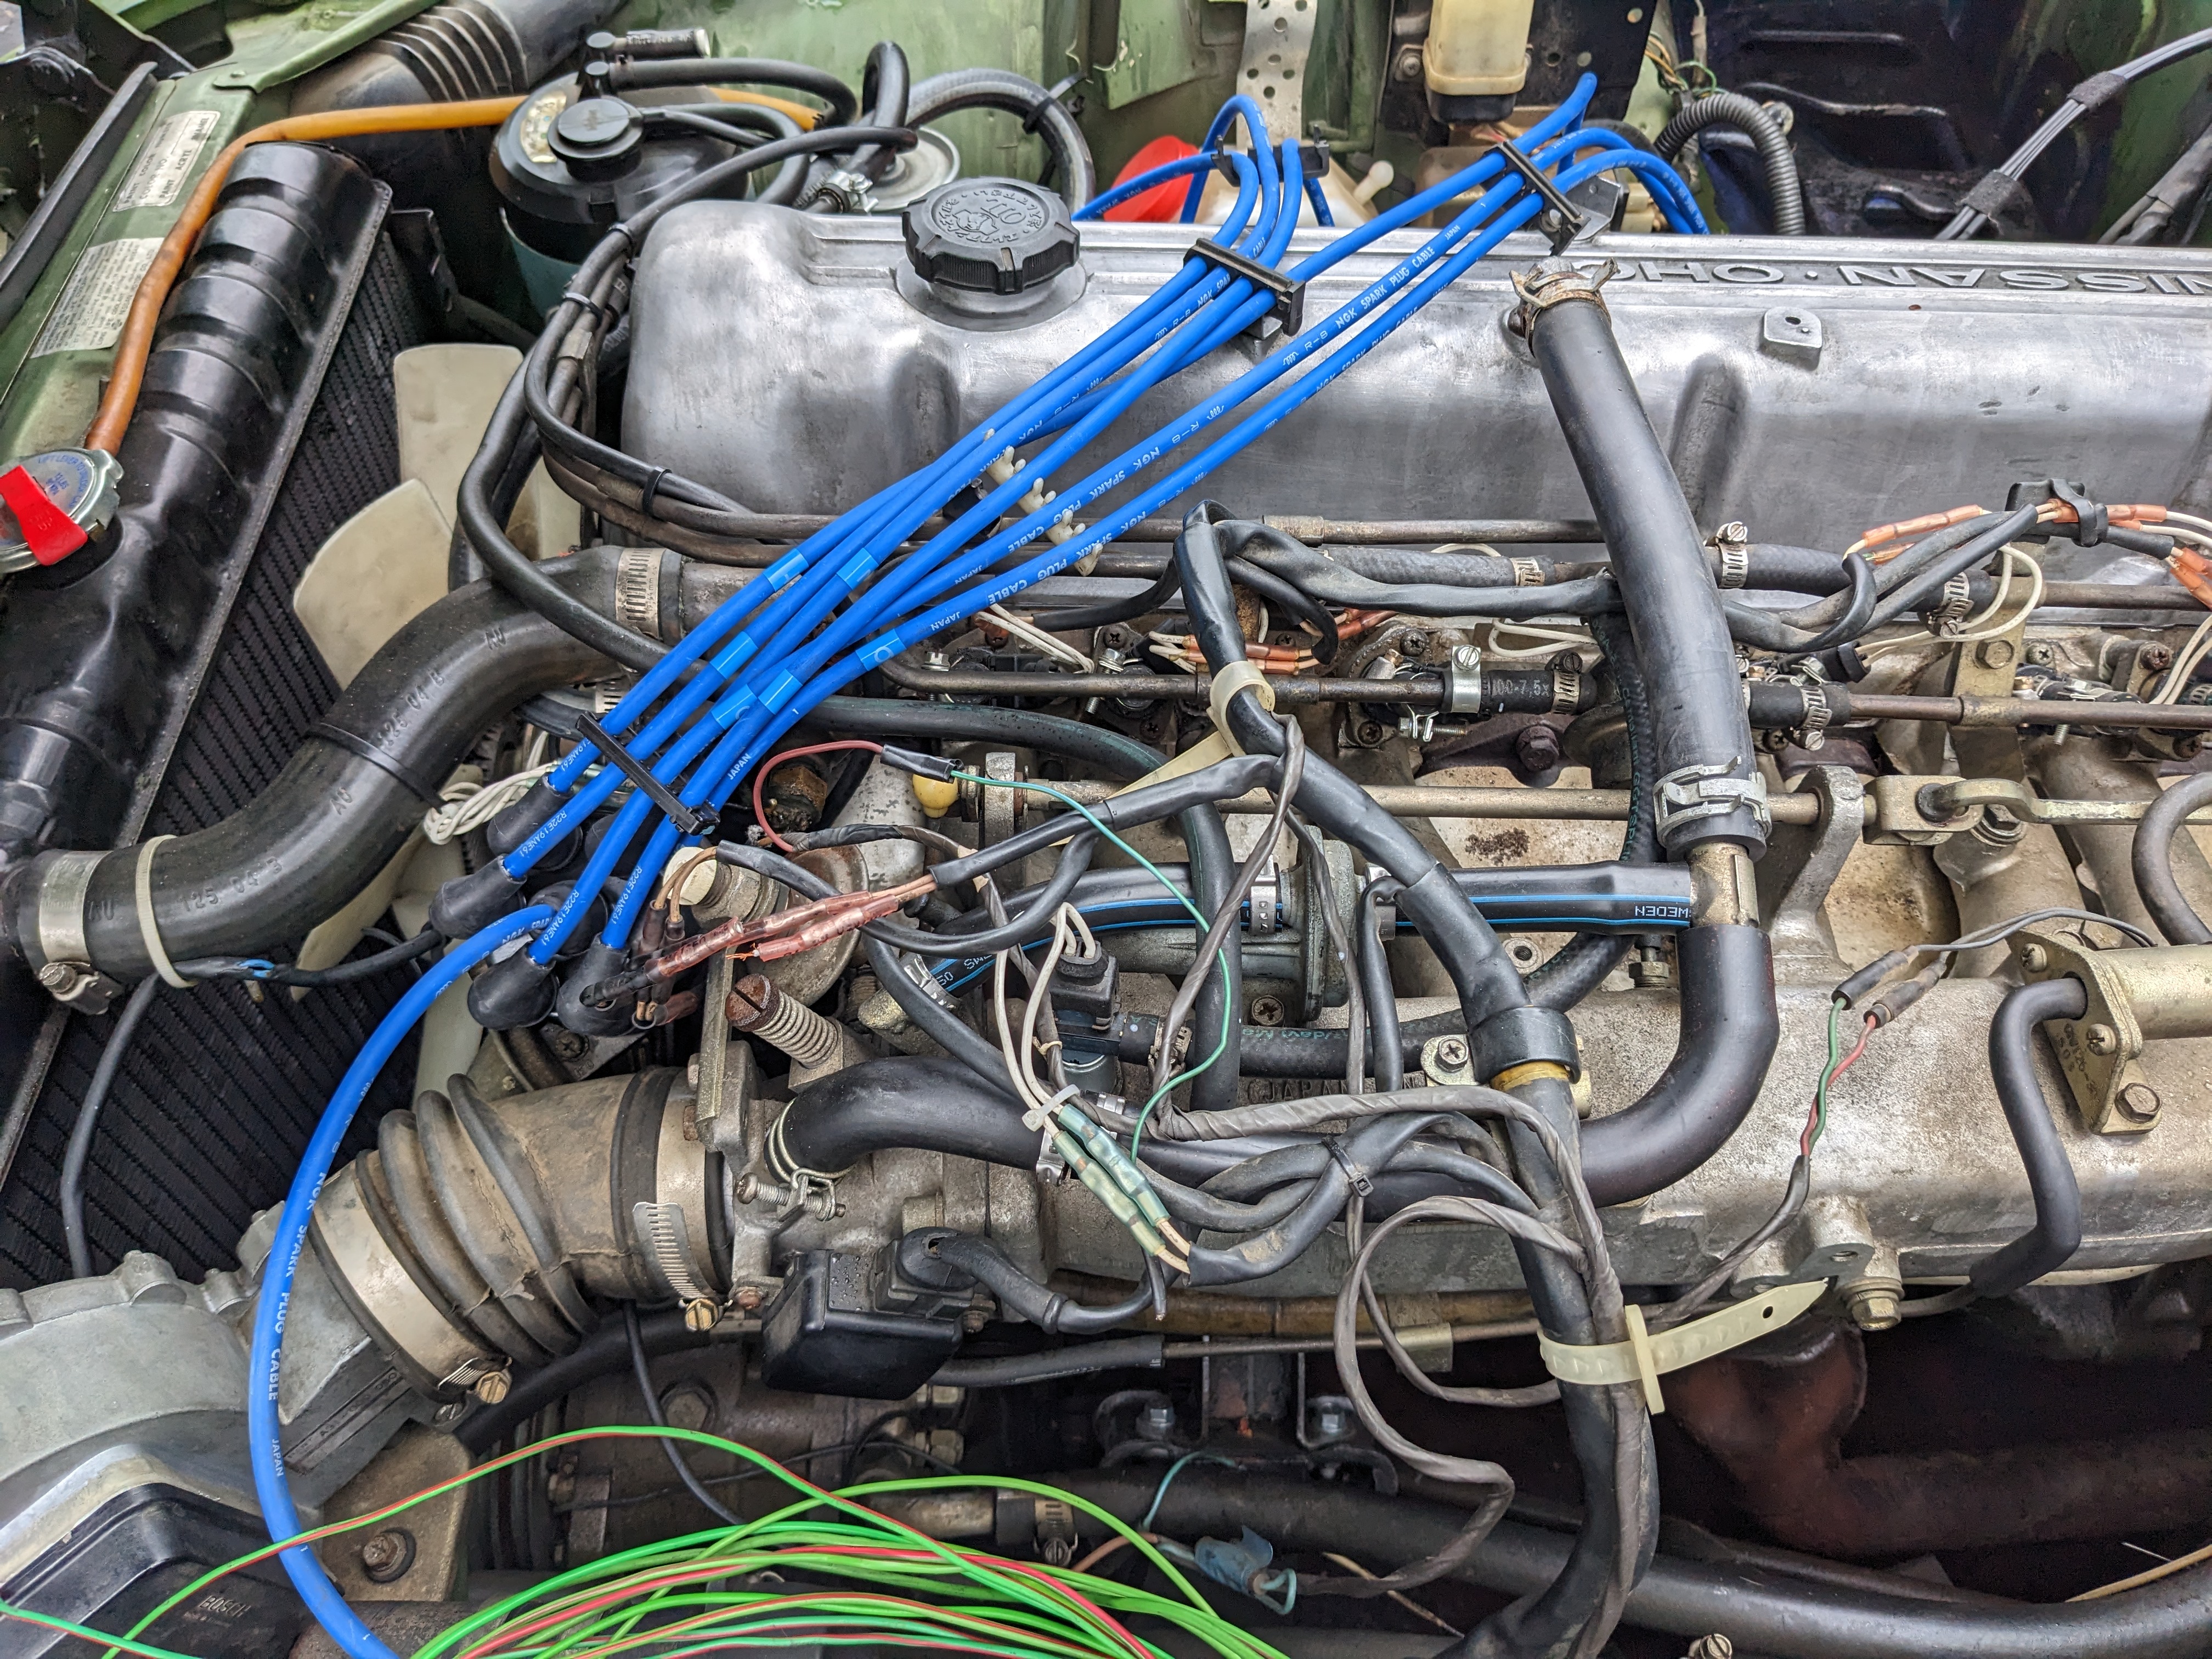
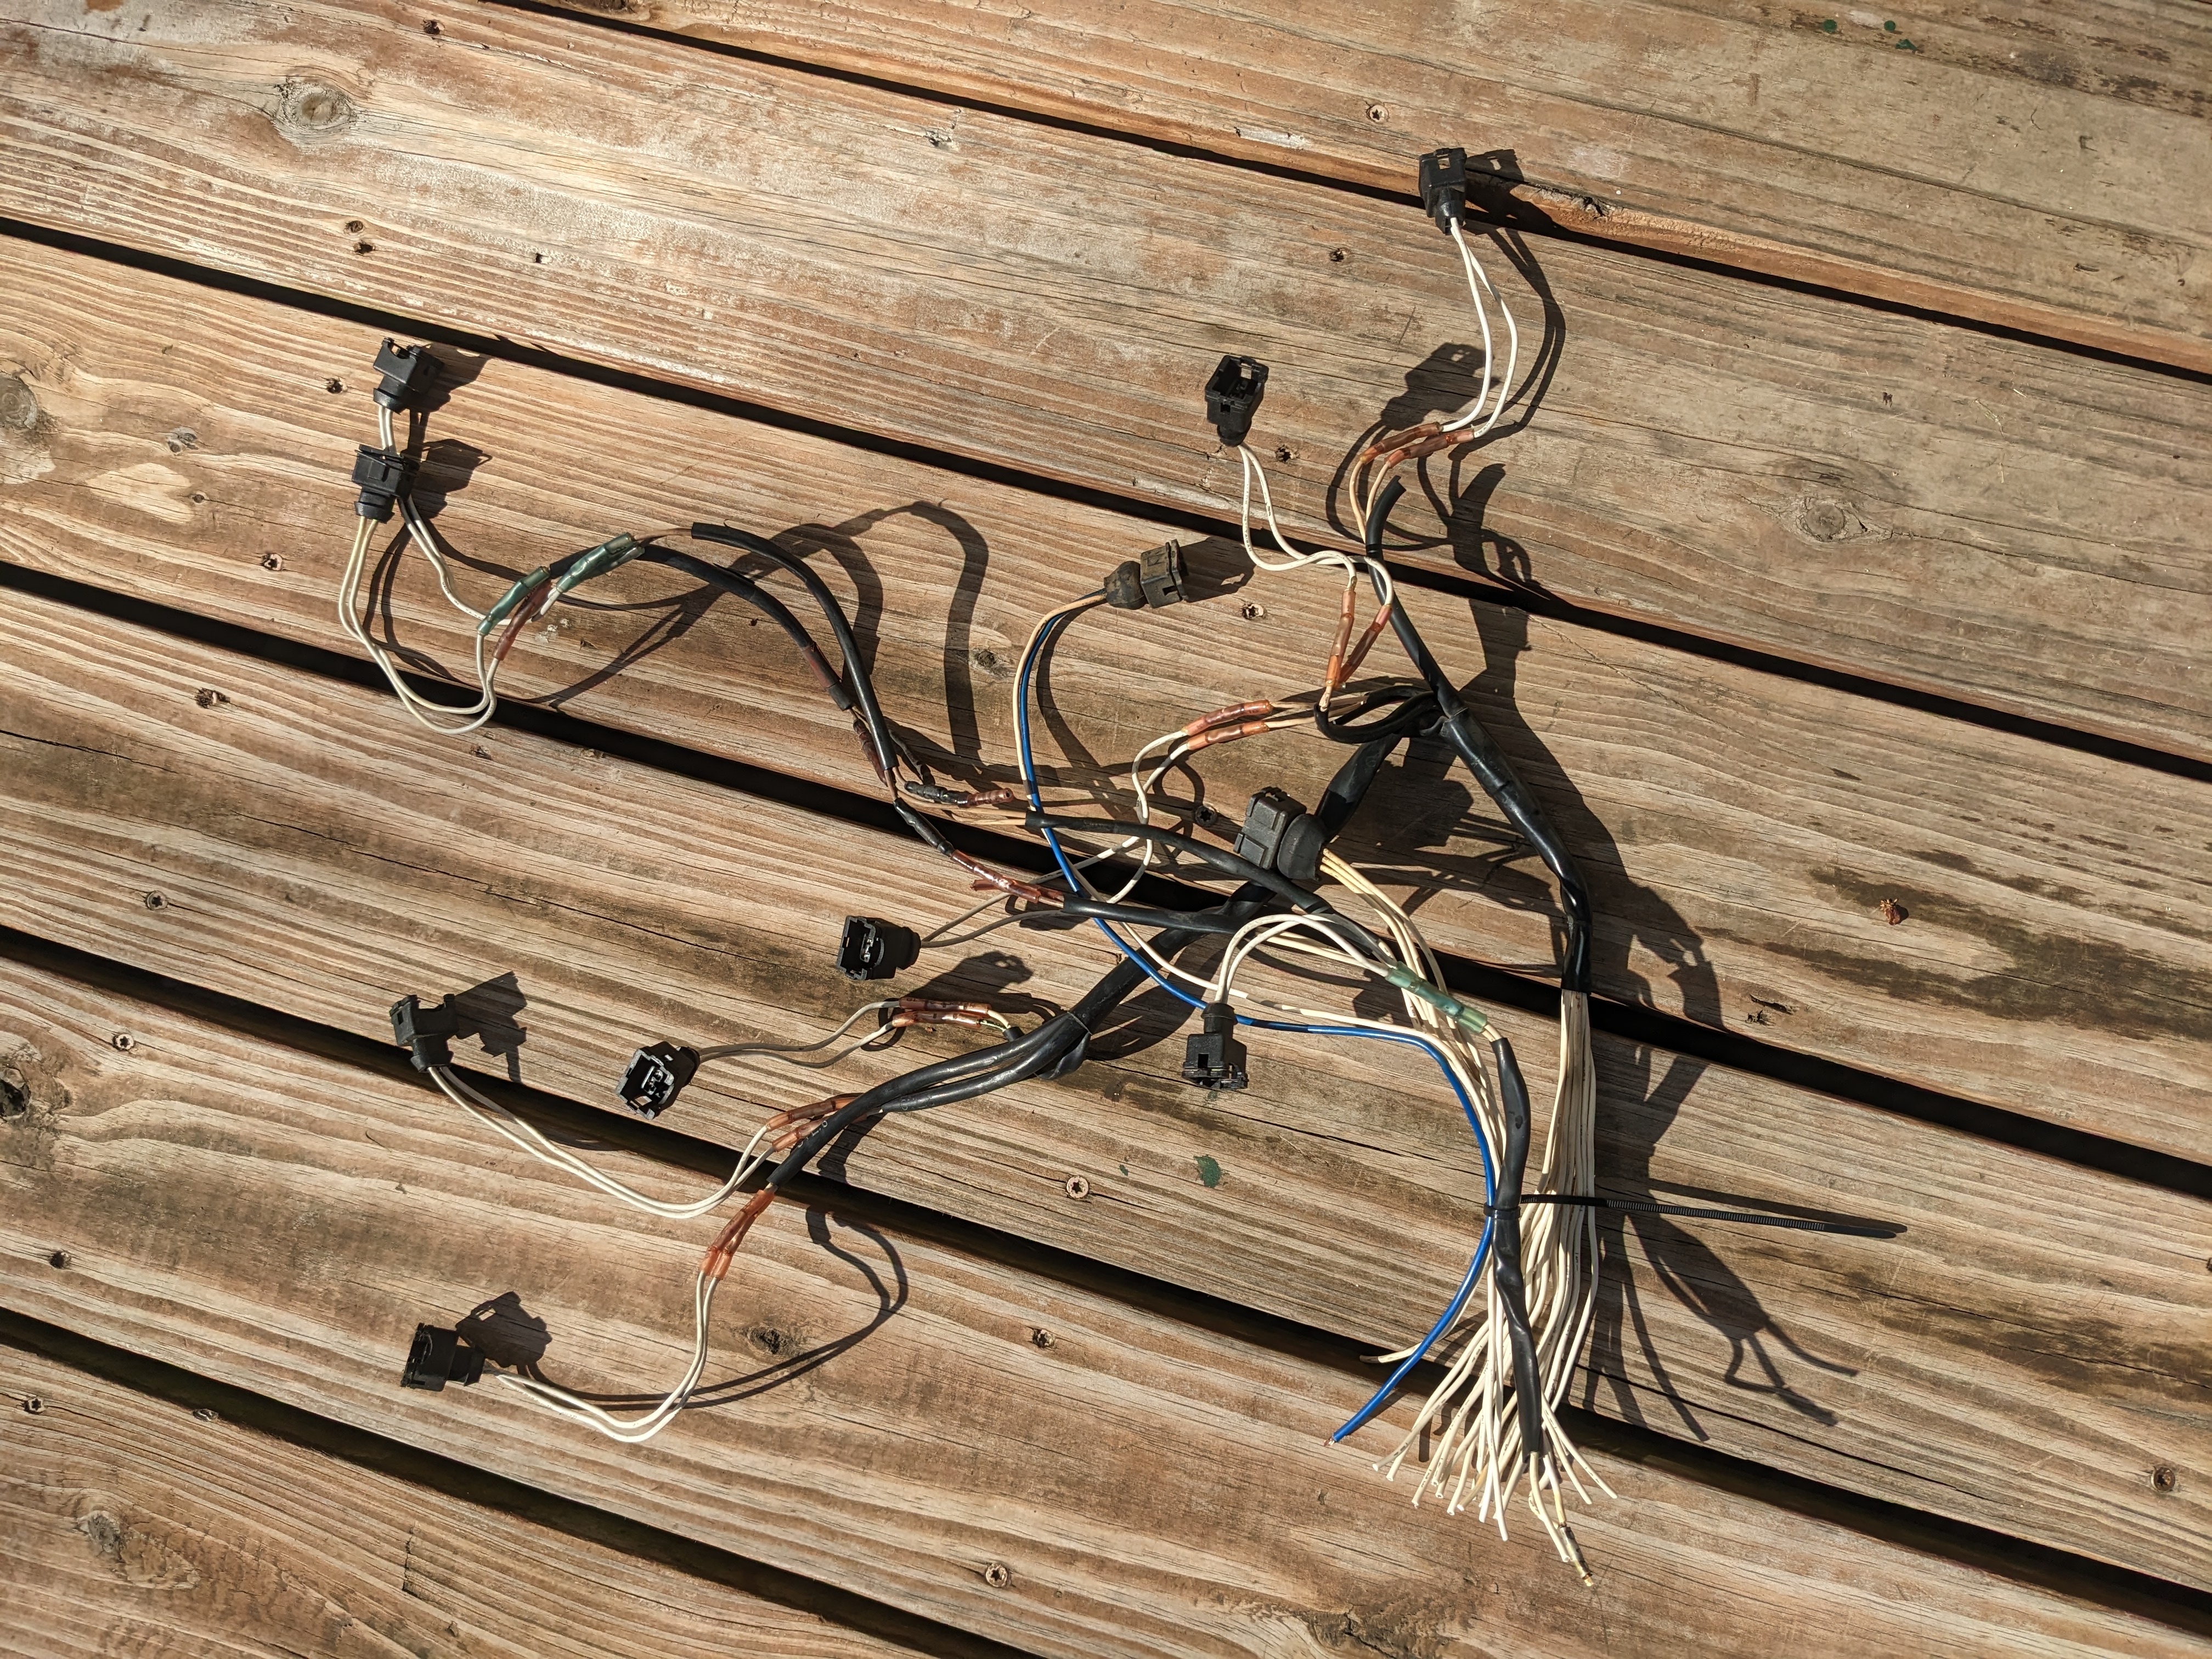
My 280Z has had all kinds of botch repairs to the EFI harness. Quite the mess. I want to get rid of the spaghetti look while I'm at it. So, I cut the entire harness at the strut tower, and I'll put in a couple gang plugs to tie the new harness to the original. These two were the patched thermal timer & ECT - based on the other end where I can see the cable numbers, I think they had them reversed. That would help explain the horrible starting & rough running I'm using wiring colors based on Volvo conventions, since that's what I'm familiar with. I'll make a legend to translate from the white numbered harness to the colors used. Using new TE/AMP 282189-1 junior timer housings with waterproof seals for the sensors & injectors. These also have the spring release tabs, so much easier than the old style where you need to get in there with a pick to release them. The gang plugs are Deplhi 16 way and TS hybrid 090/187 8 way figuring out the layout on the motor before I add the gang plugs & wrap it. Have to add in the temp gauge wire & the throttle valve, the EGR related wiring I'll dead end since I'm removing the EGR valve & solenoid.
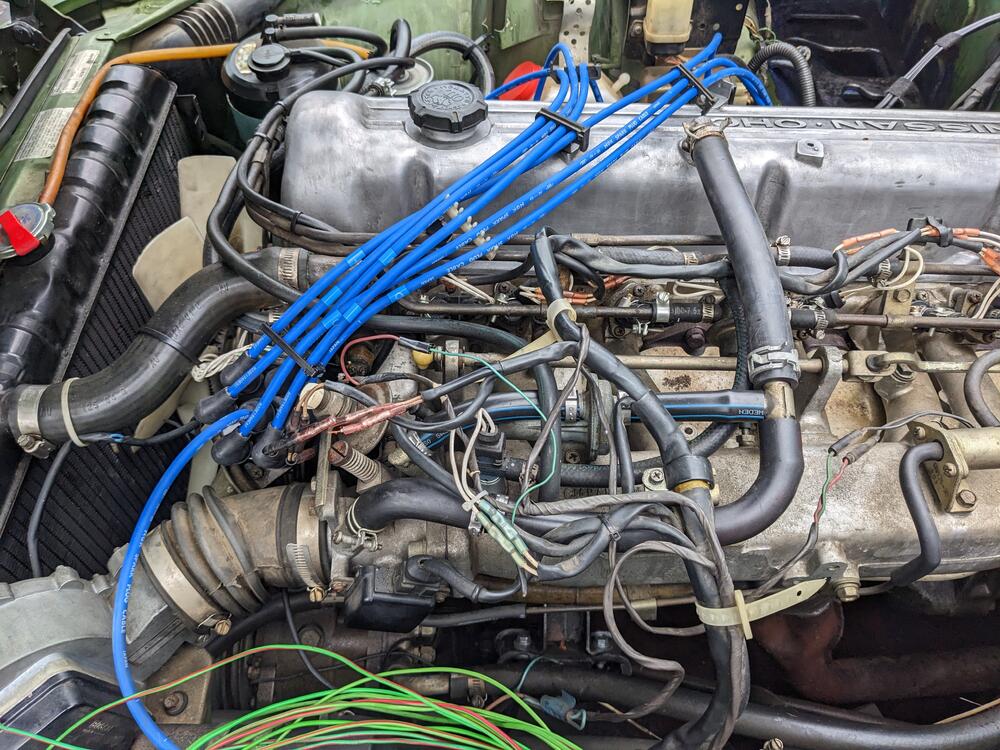
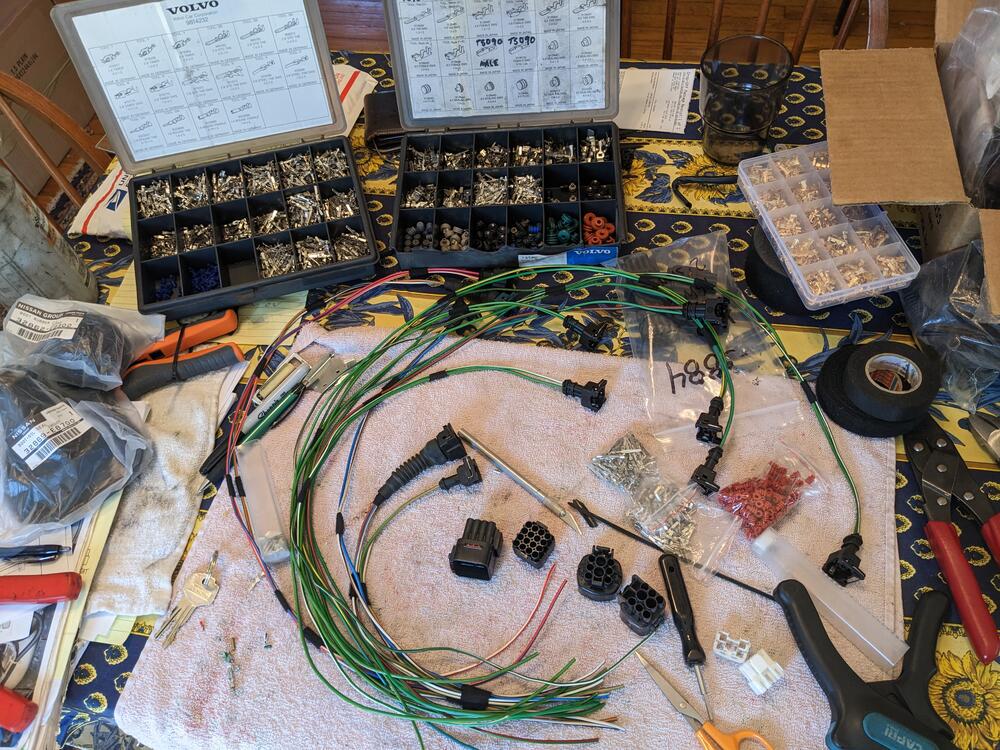
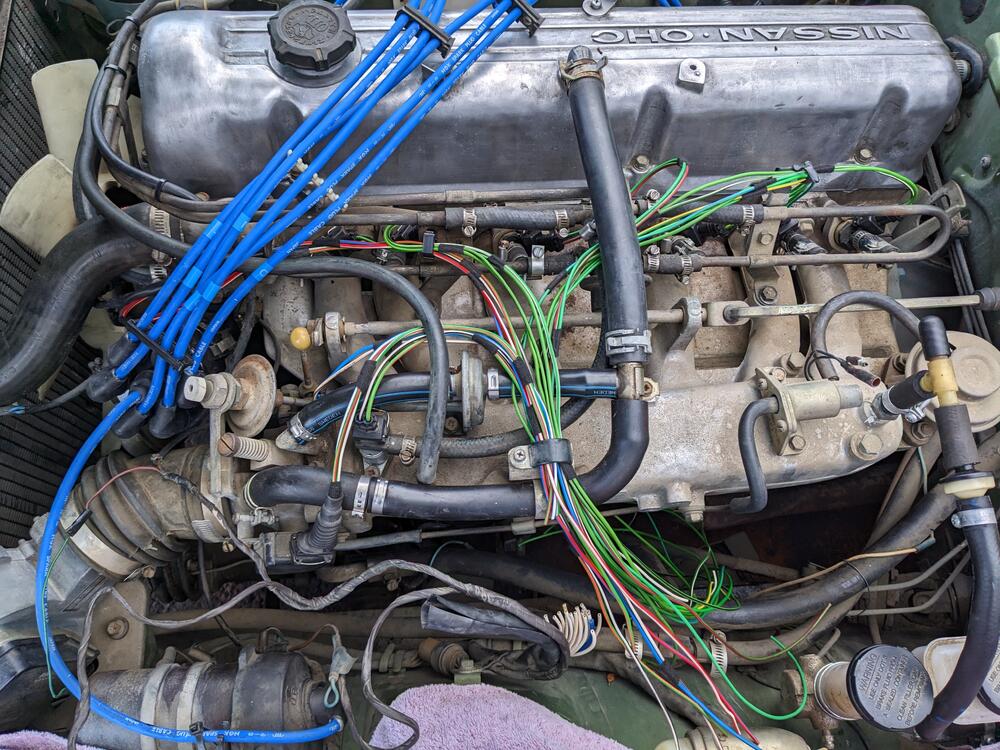
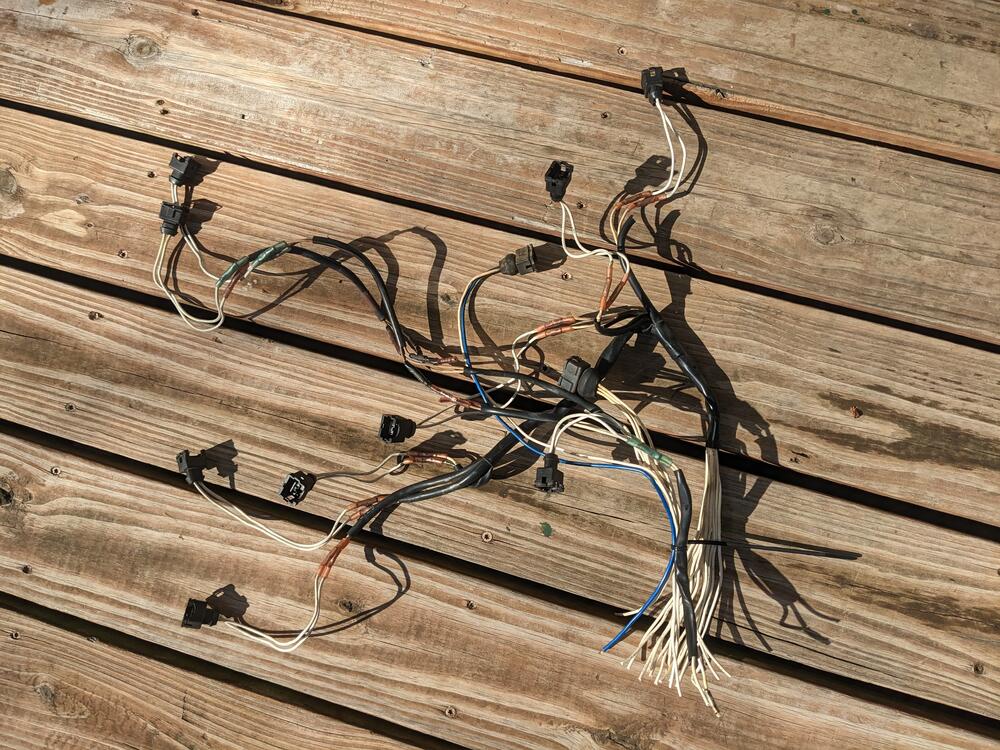
-
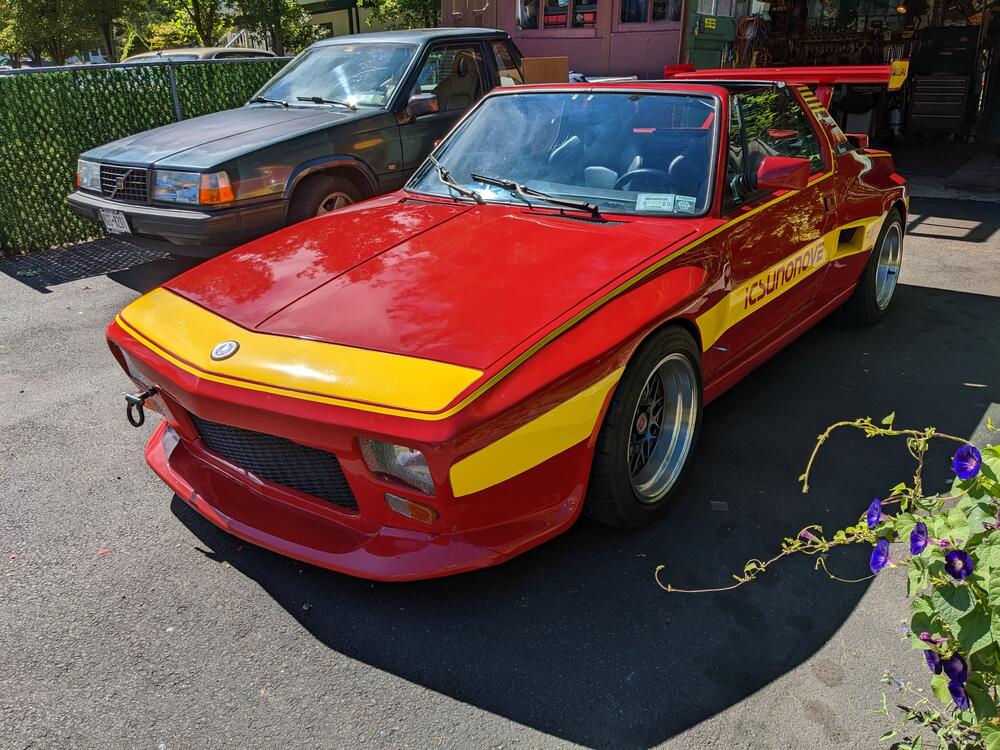
It is. 200WHP & only 2000lbs. JDM K24 with K20 head, 6 speed transaxle. I've had the car for around 16 years, I love it but I'm selling it to fund the Datsun, it doesn't need any more fiddling with 🙂 So 76- on has an alternate bypass to keep the engine properly circulating coolant before the t/stat opens located where? I'm assuming the AAR = aux air valve, but I don't know the layout of the cooling system, and the FSM doesn't show much.
-
I'll make my own lines. The dash will be coming out anyway. The main thing I have to figure out will be the controller. I'll make new lines & convert to Accumulator /Orifice tube, I did that with my X1/9
-
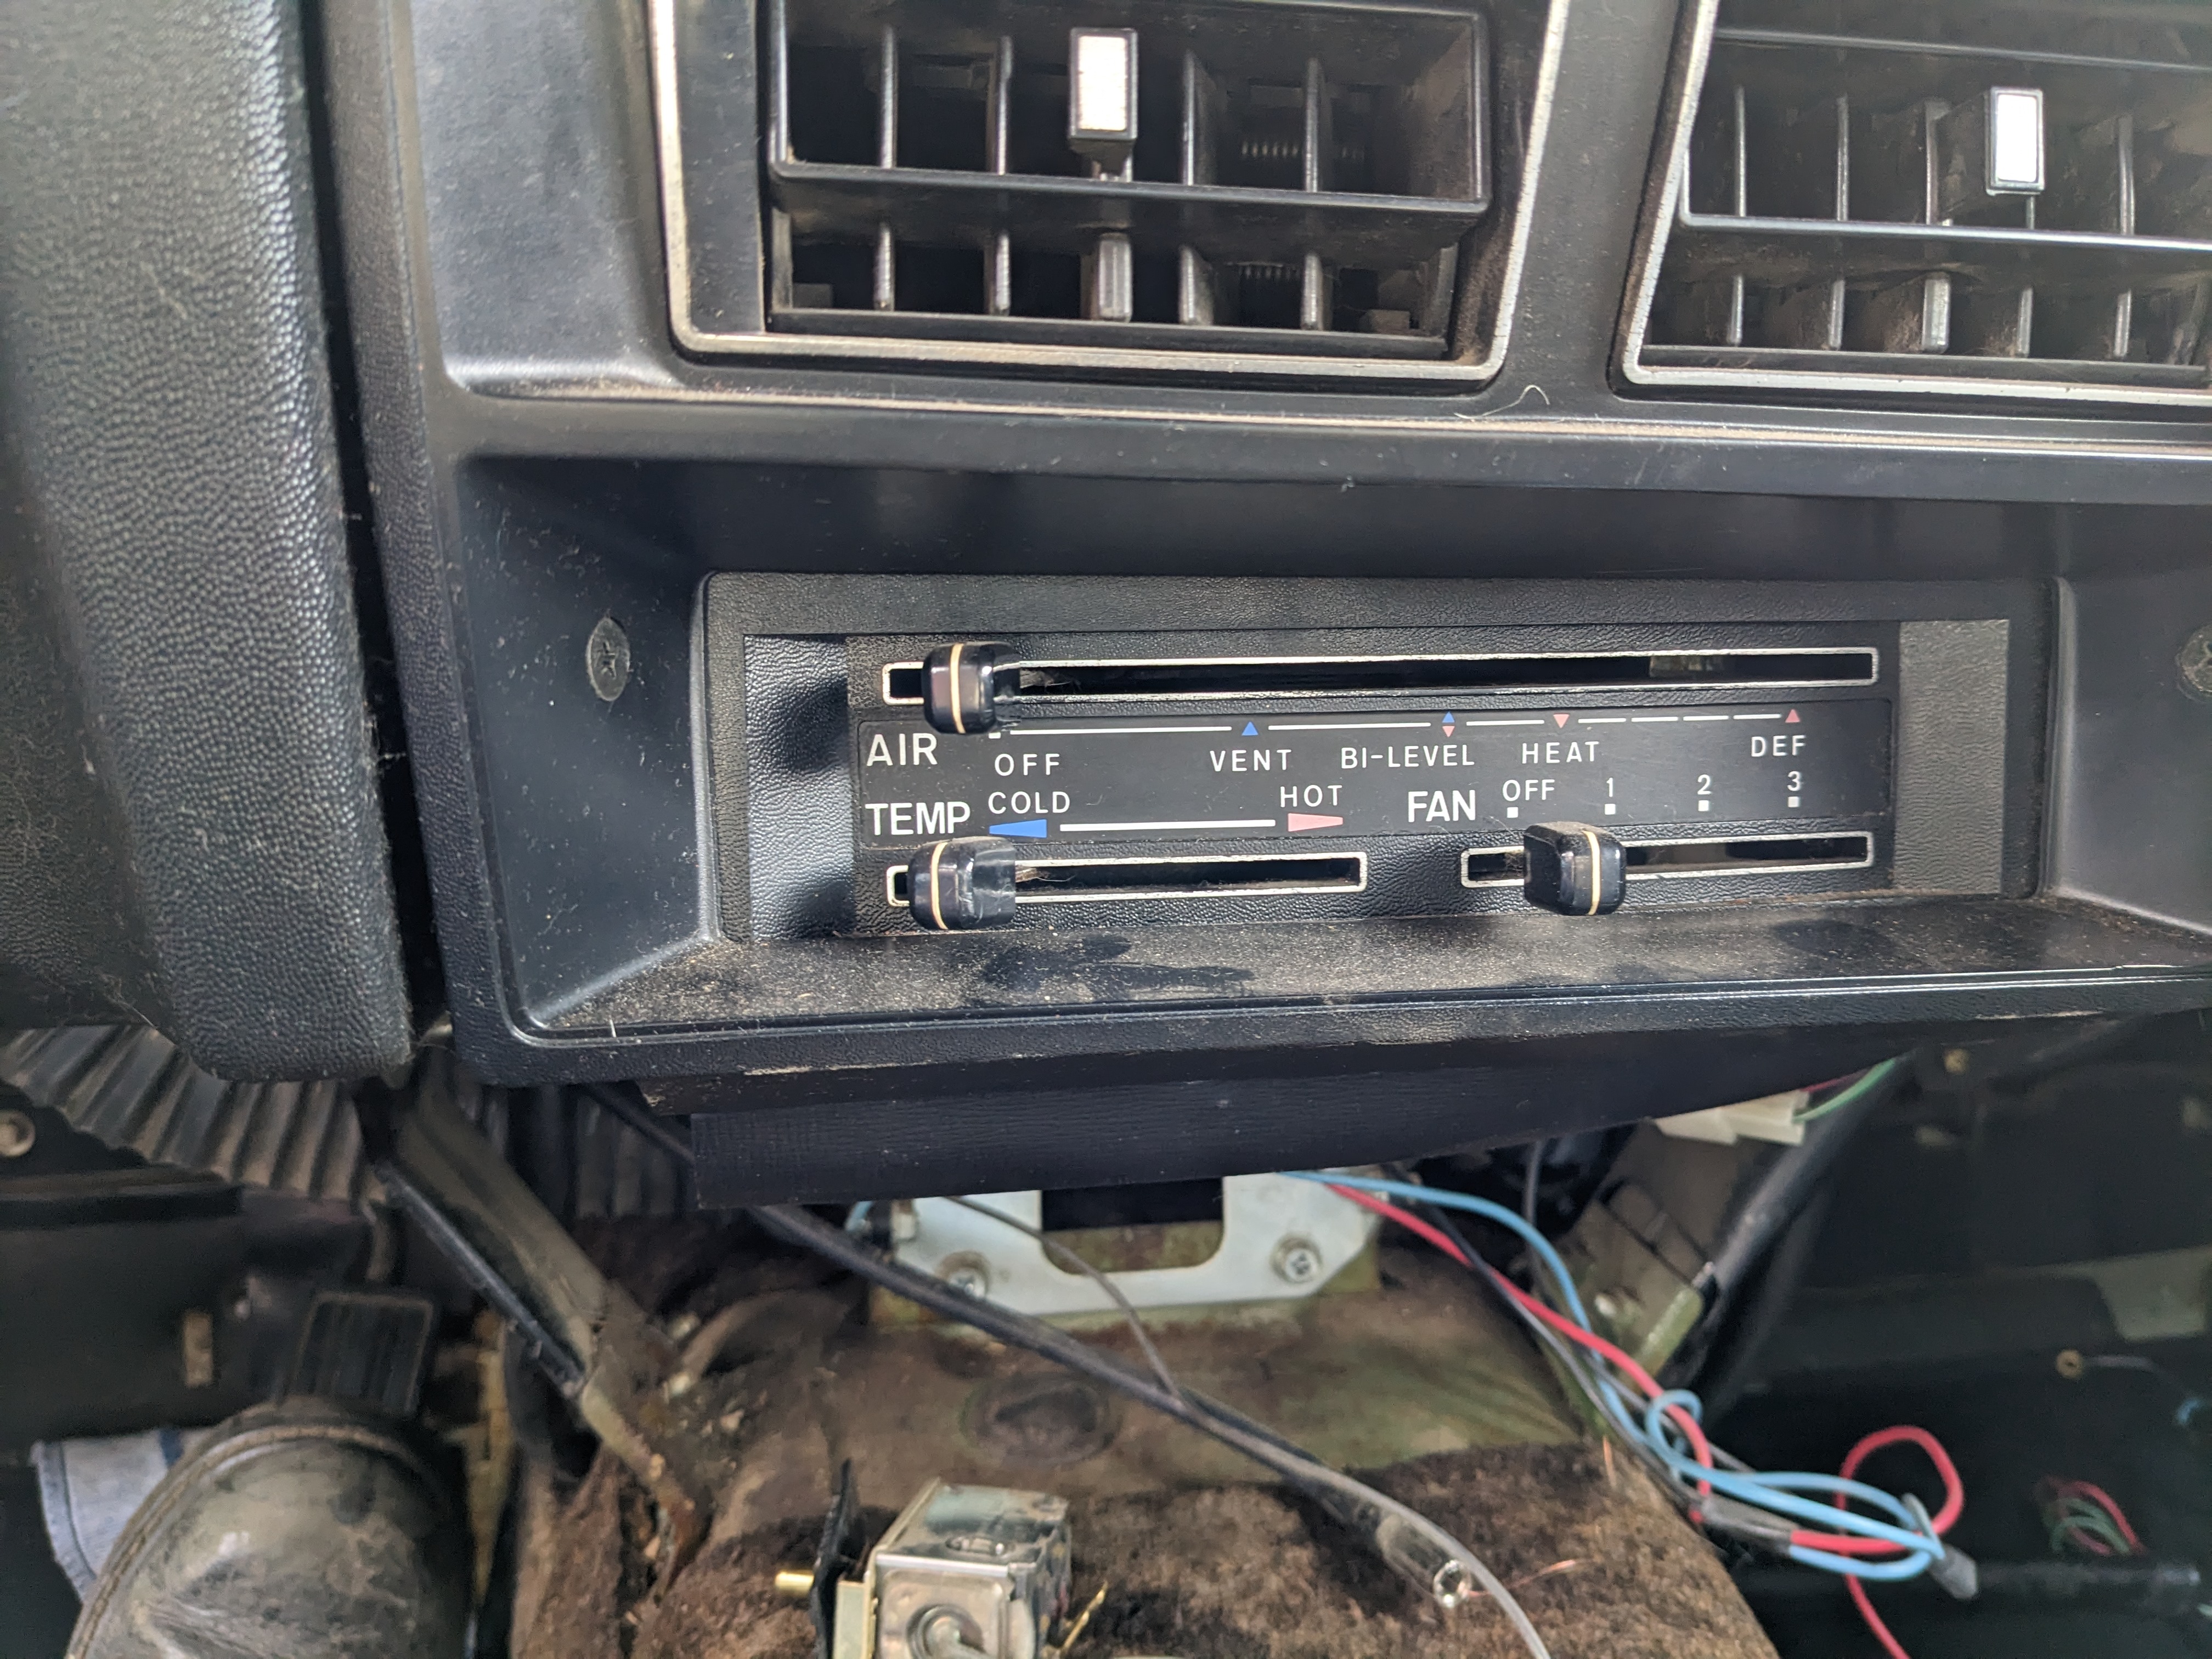
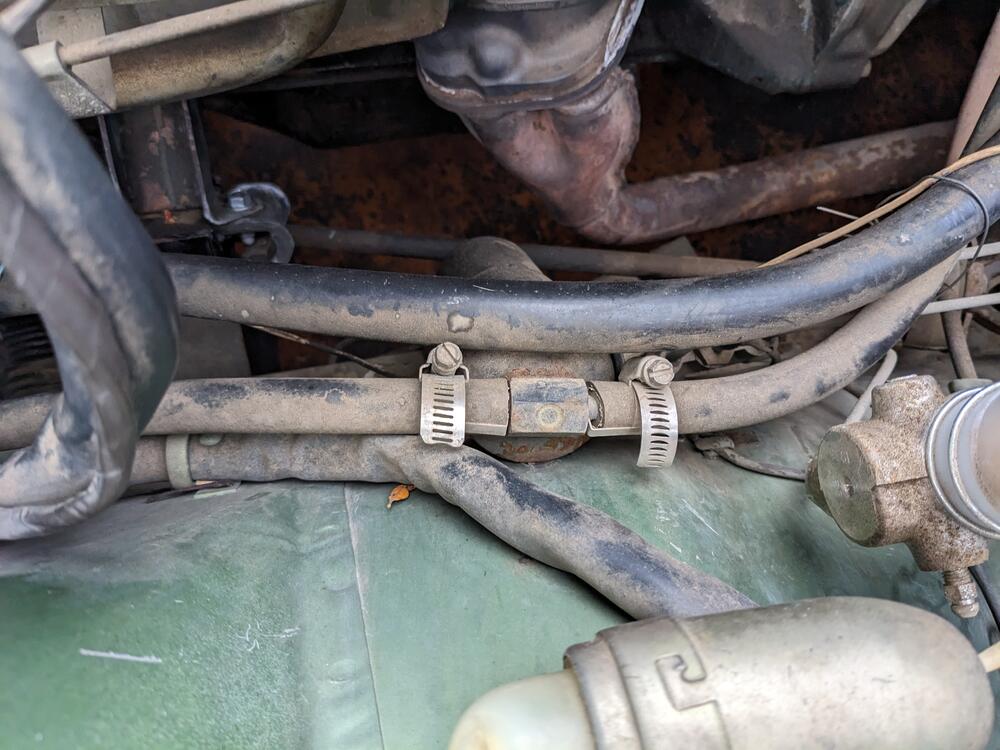
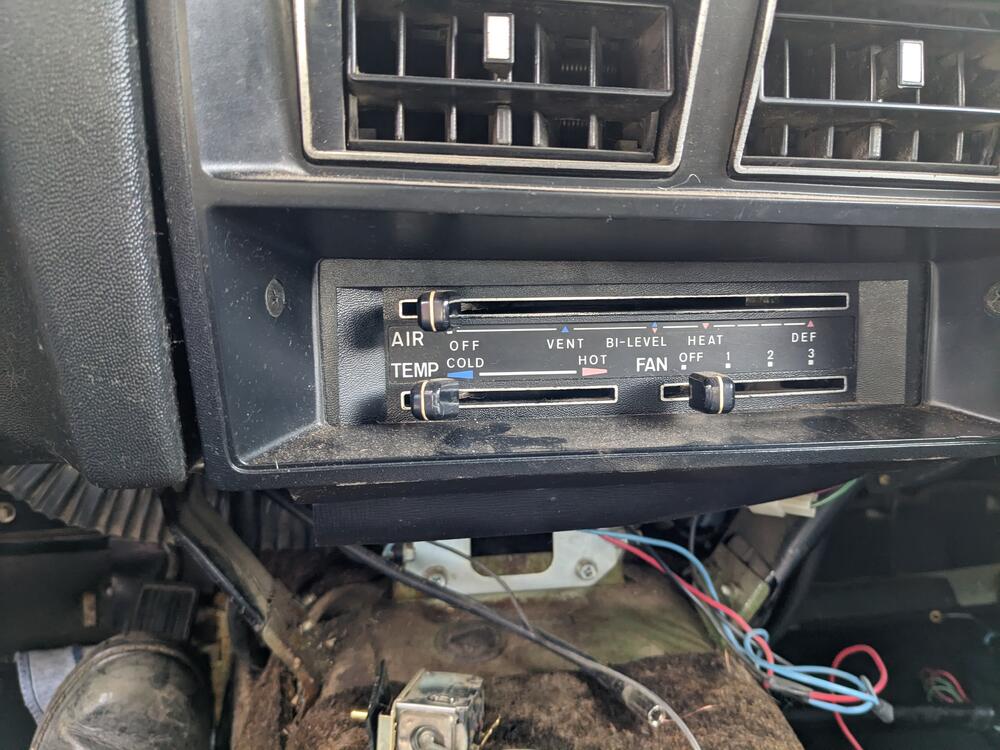
Thank you for the research - that is what I have, the t/stat housing with the nipple and the water inlet with same. The hard pipe was removed at some point, and they installed a long loop of heater hose, very ugly work. I'll have to rework it. My AC is most definitely aftermarket - this is what I referred to regarding the line fittings - total crap Control panel
-
So, what is the point of the loop? You are familiar with what I'm talking about? I assume all 280Z have it. Not talking about the heater circuit.
-
Can't seem to find any concise pics of the overall layout on the 280Z - mine has a loop hose that connects the t/stat housing to the water inlet housing. No pic of it in the 75 FSM. Unclear as to the point of that, unless it serves as the bypass to circulate the head & block when T/stat is closed. Seems like an unwieldy design though. Any ideas?
-
These you were able to dim? Looking at the reviews, it seems a crapshoot.....
-
Thanks for the indicators - mine is definitely not factory, the control panel does not say AC, and the AC binary switch is mounted below between the CA warnings for Floor Temp & Cat. I took a pic, but it's out of focus. All the lines on mine have the hose clamps, definitely generic, not factory fitted lines. I'll download the 76 AC section & review it. What I'm inclined to do- since the major comments need replacing - is what I did with my X1/9, convert it to Orifice tube/Accumulator, and ditch the expansion valve & receiver drier. Just have to figure out what to use as a controller.
-
Had time to get a pic up under the dash - looks to me like the stock non-AC setup?
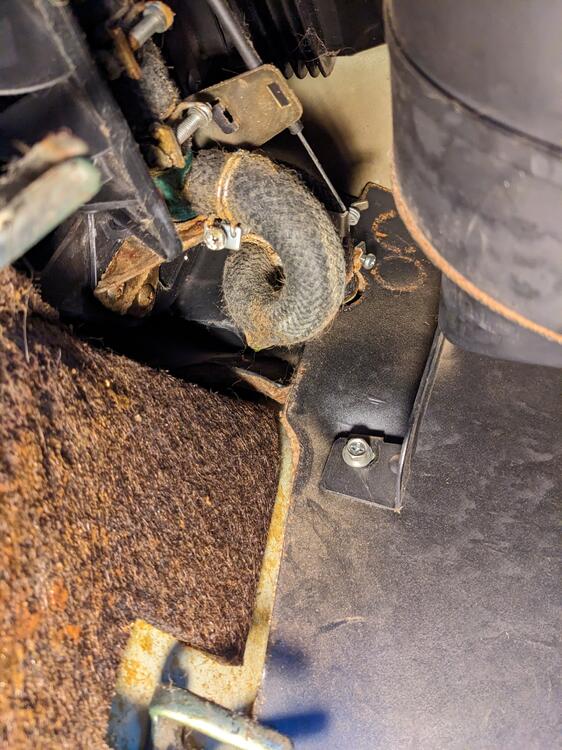
-
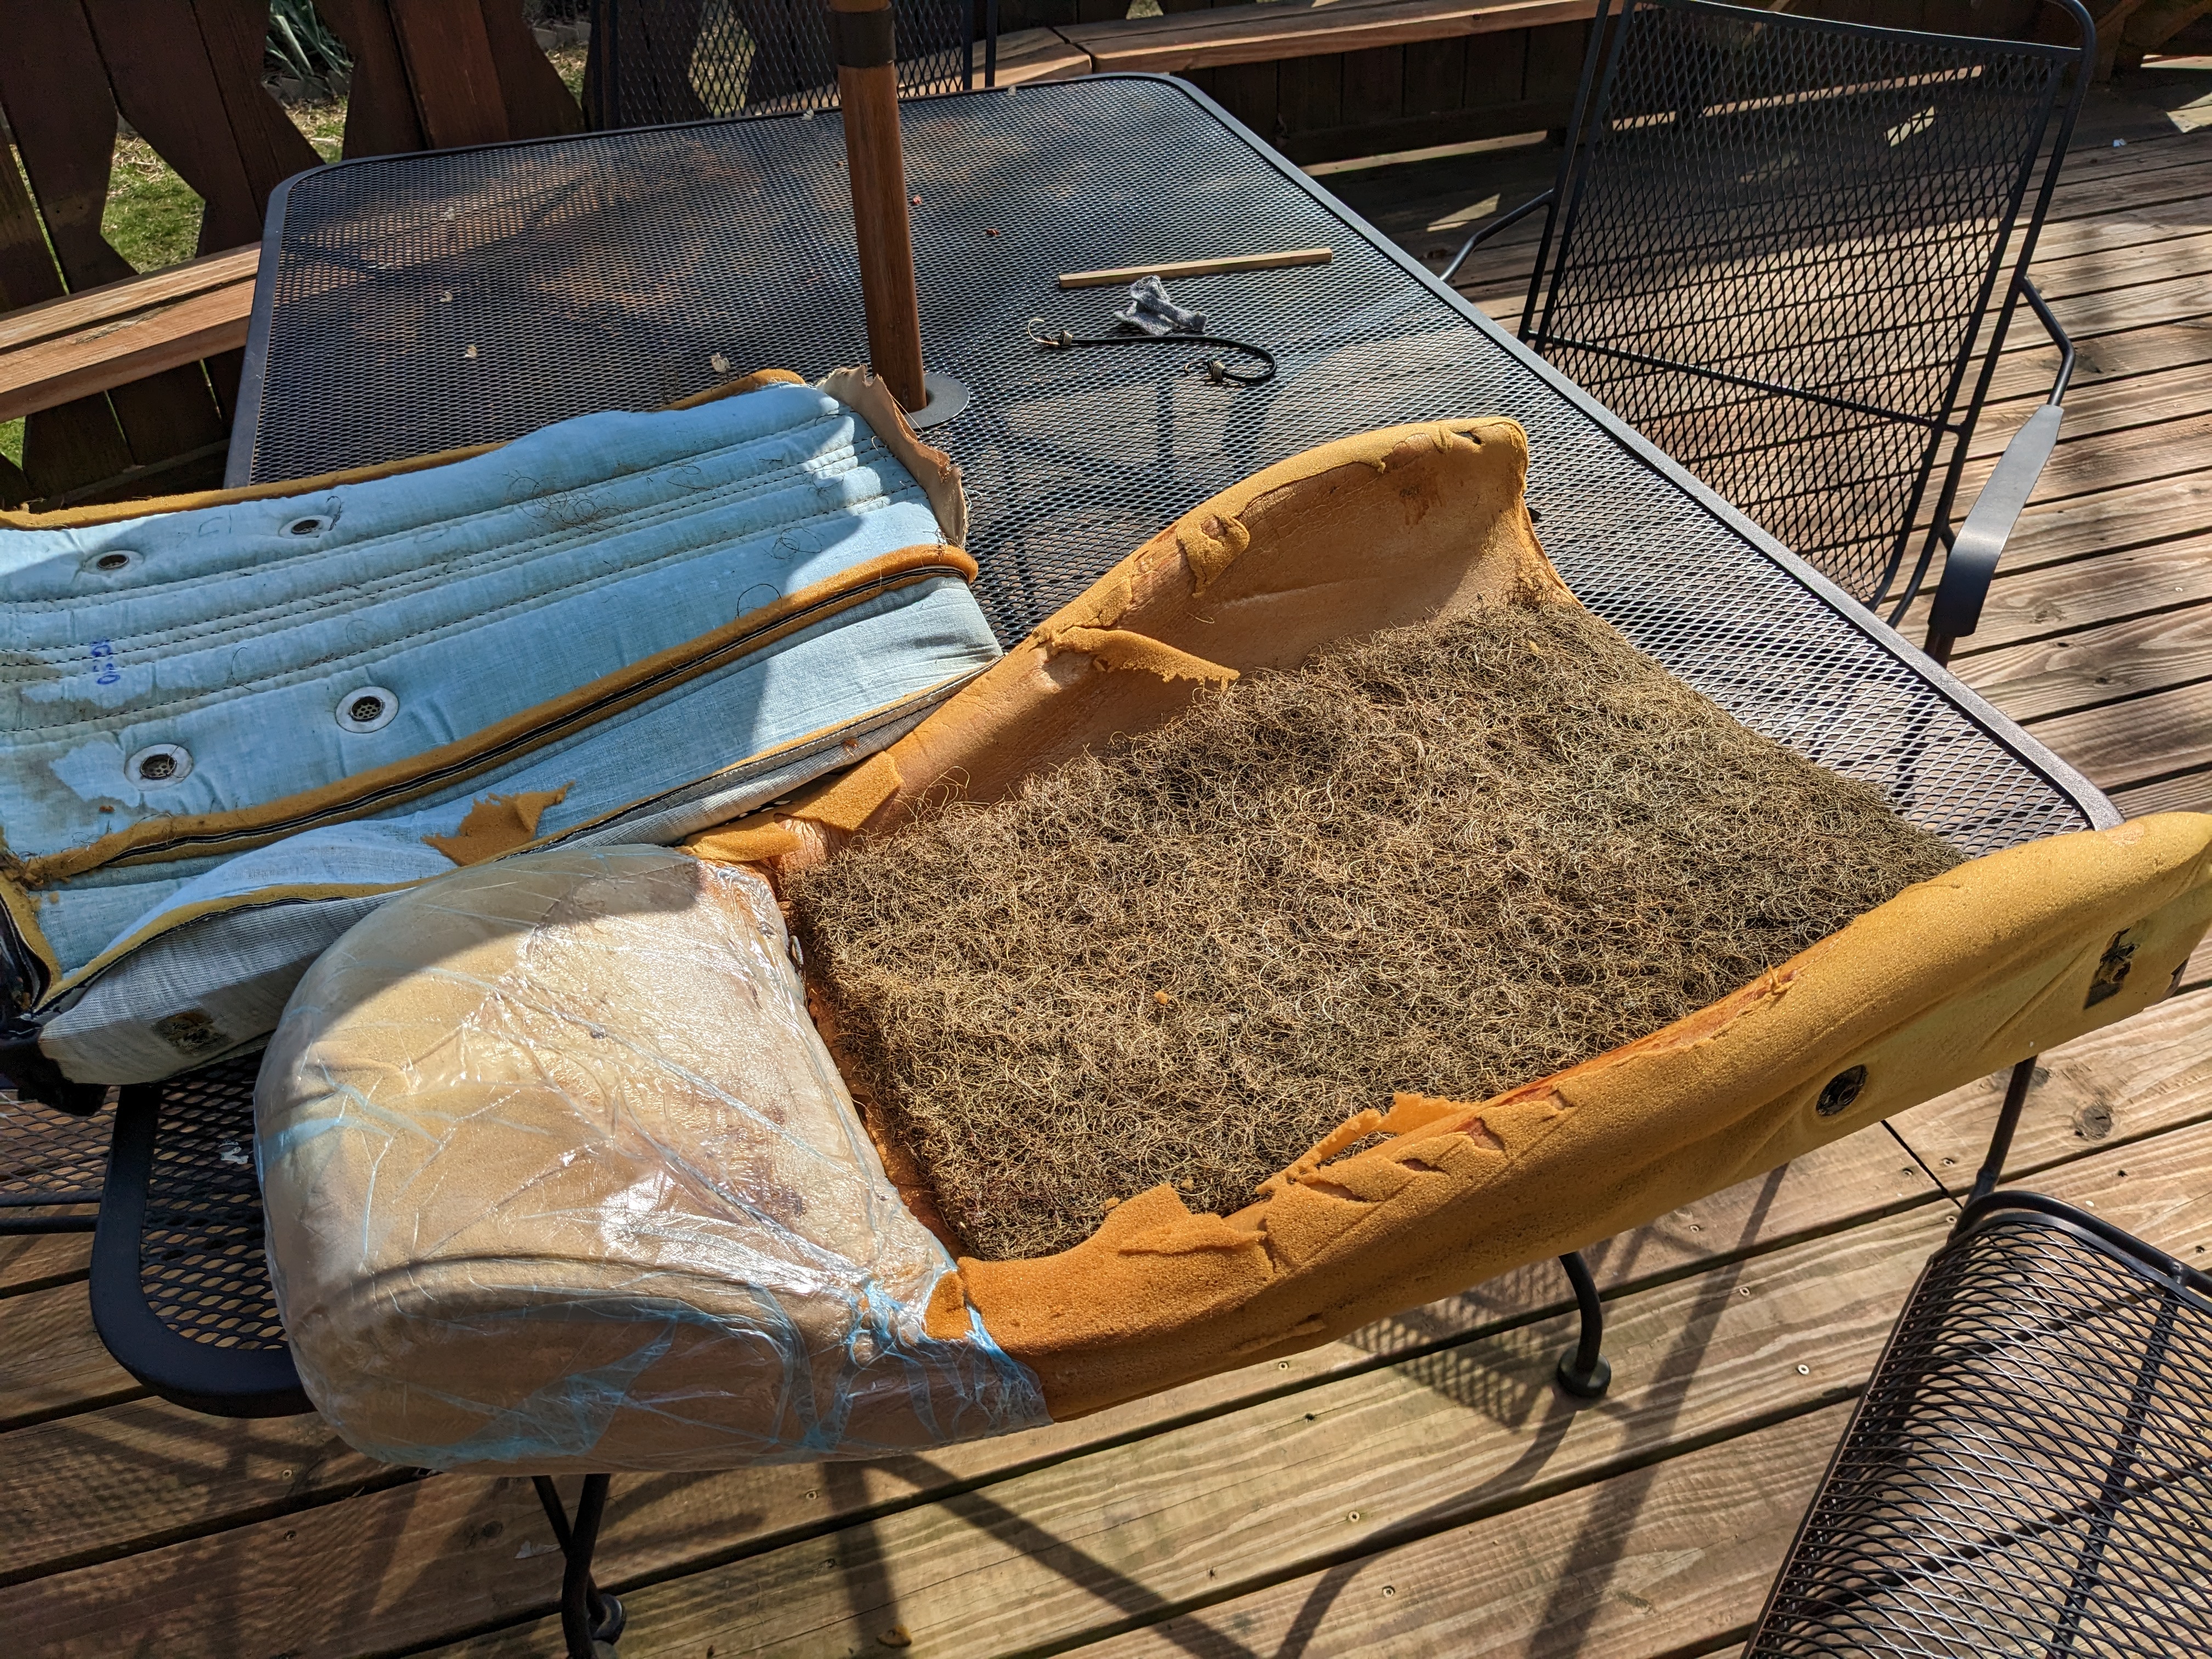
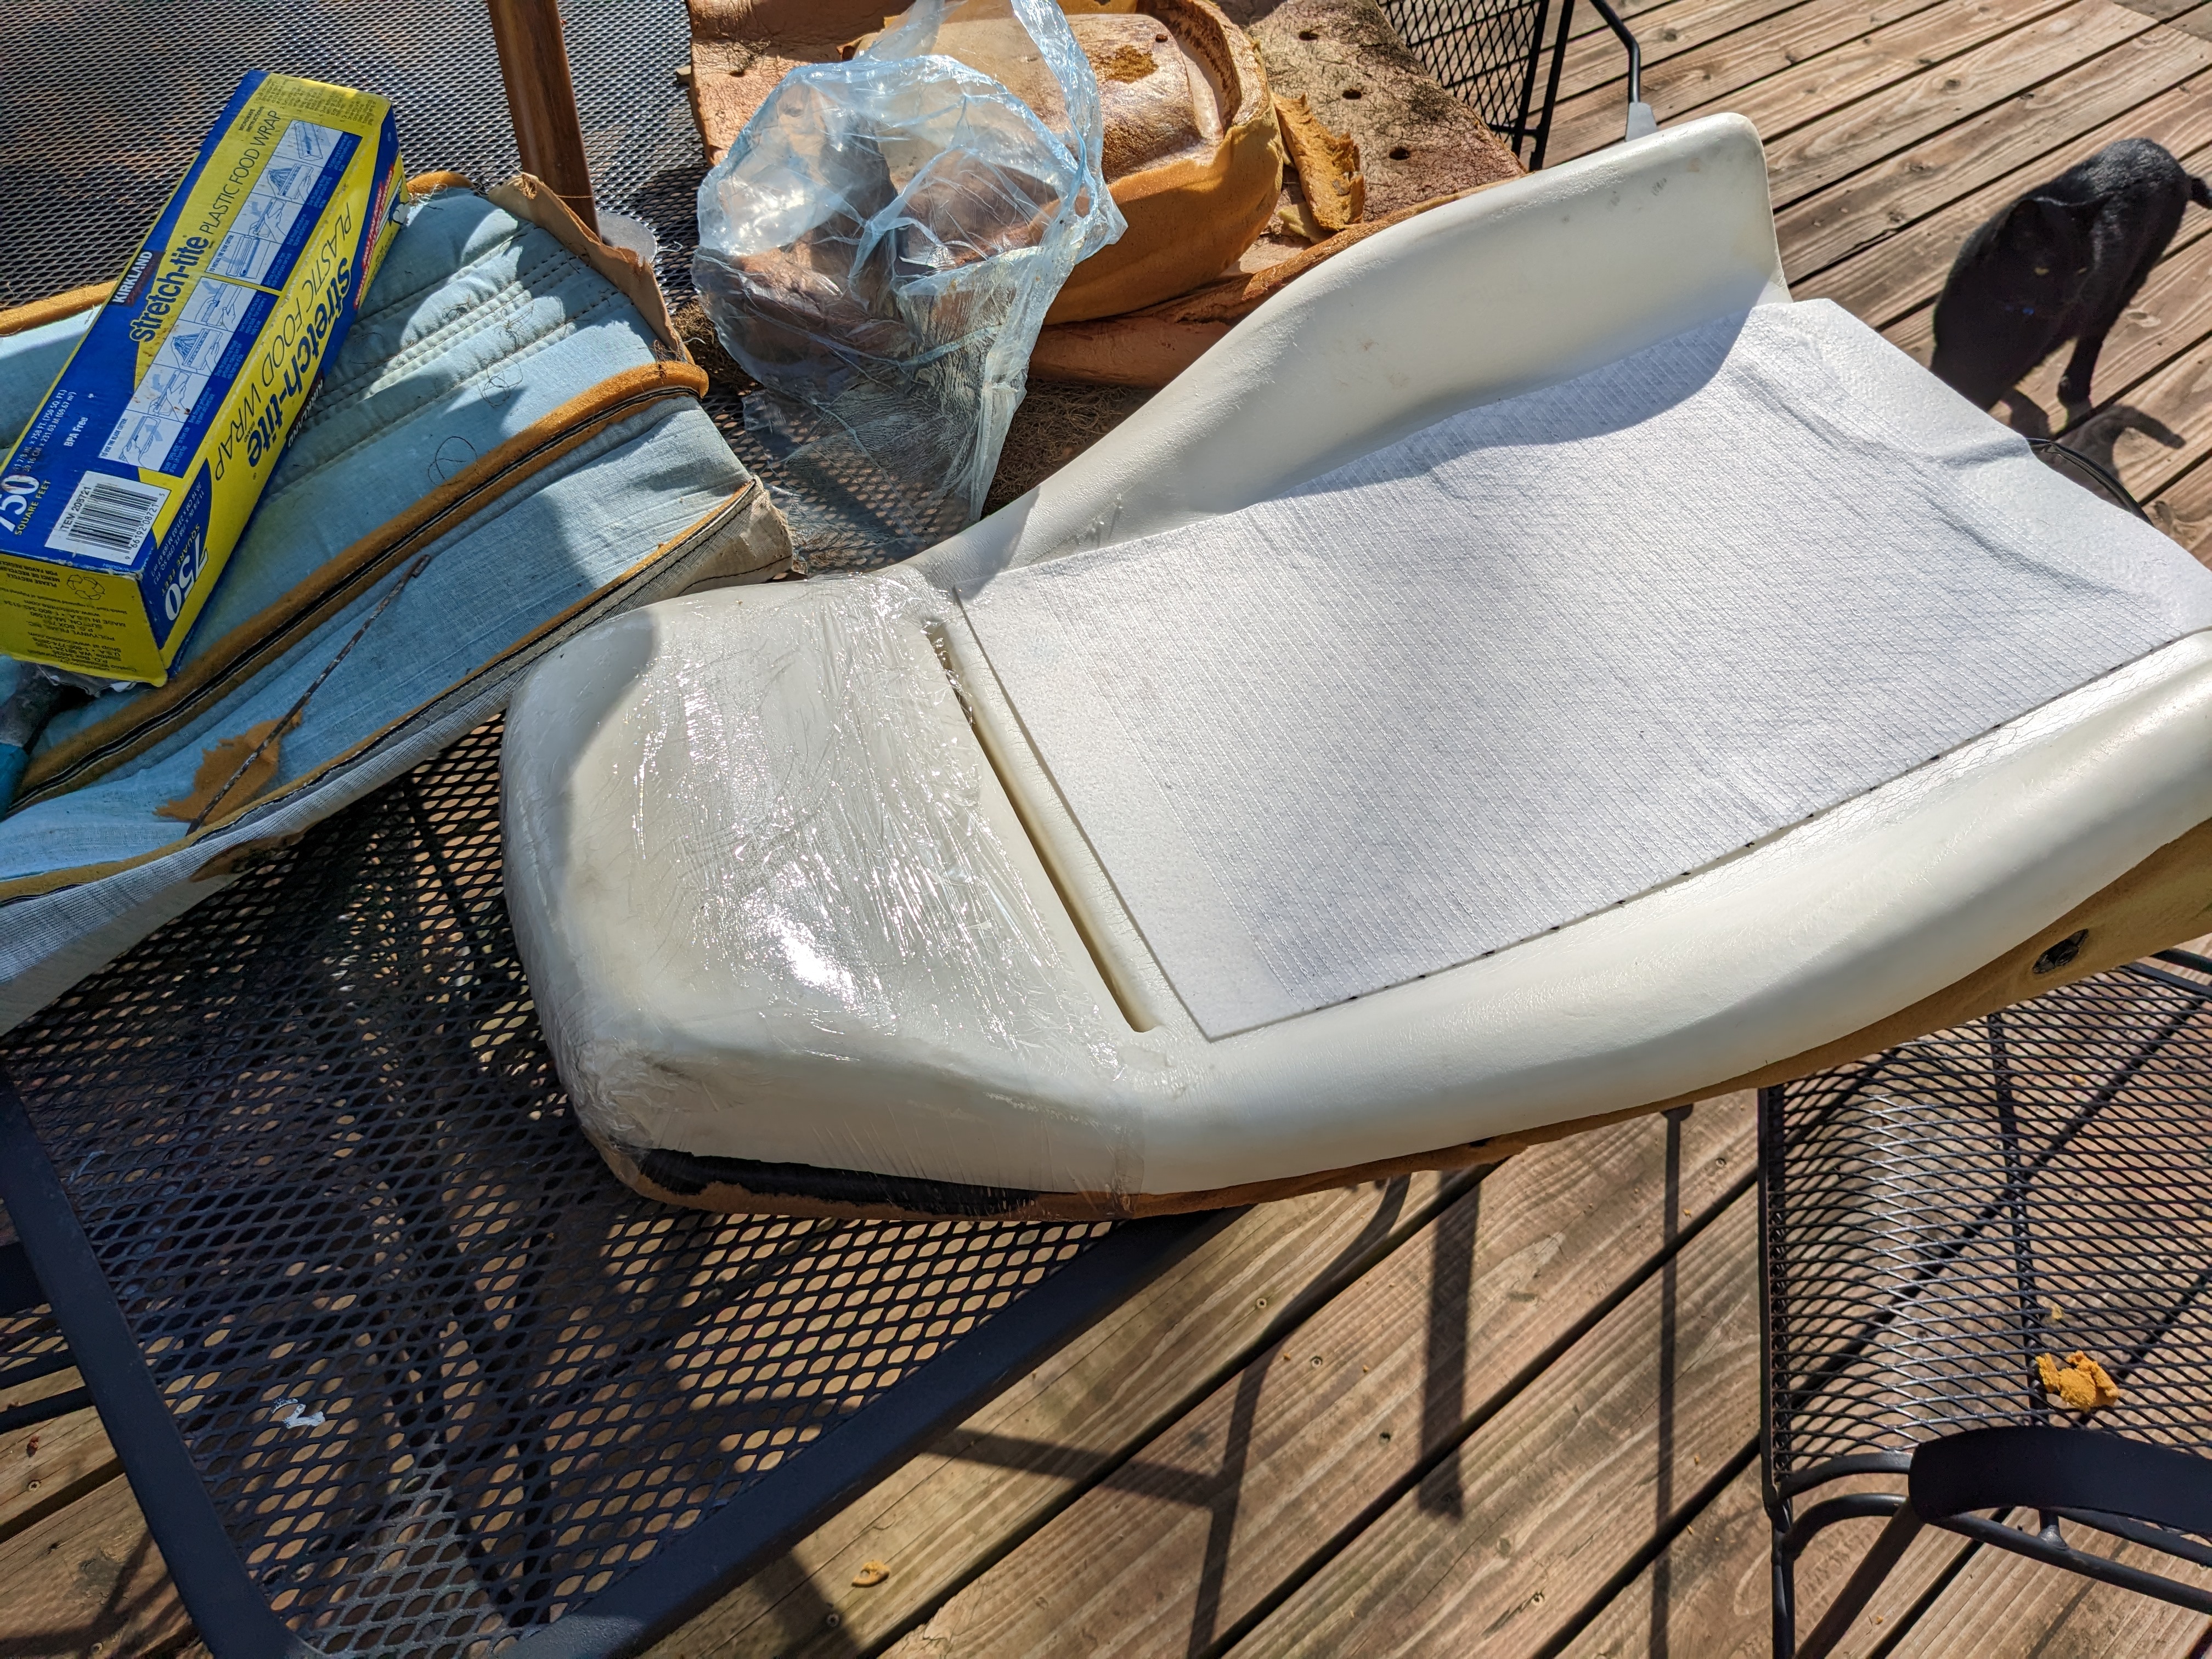
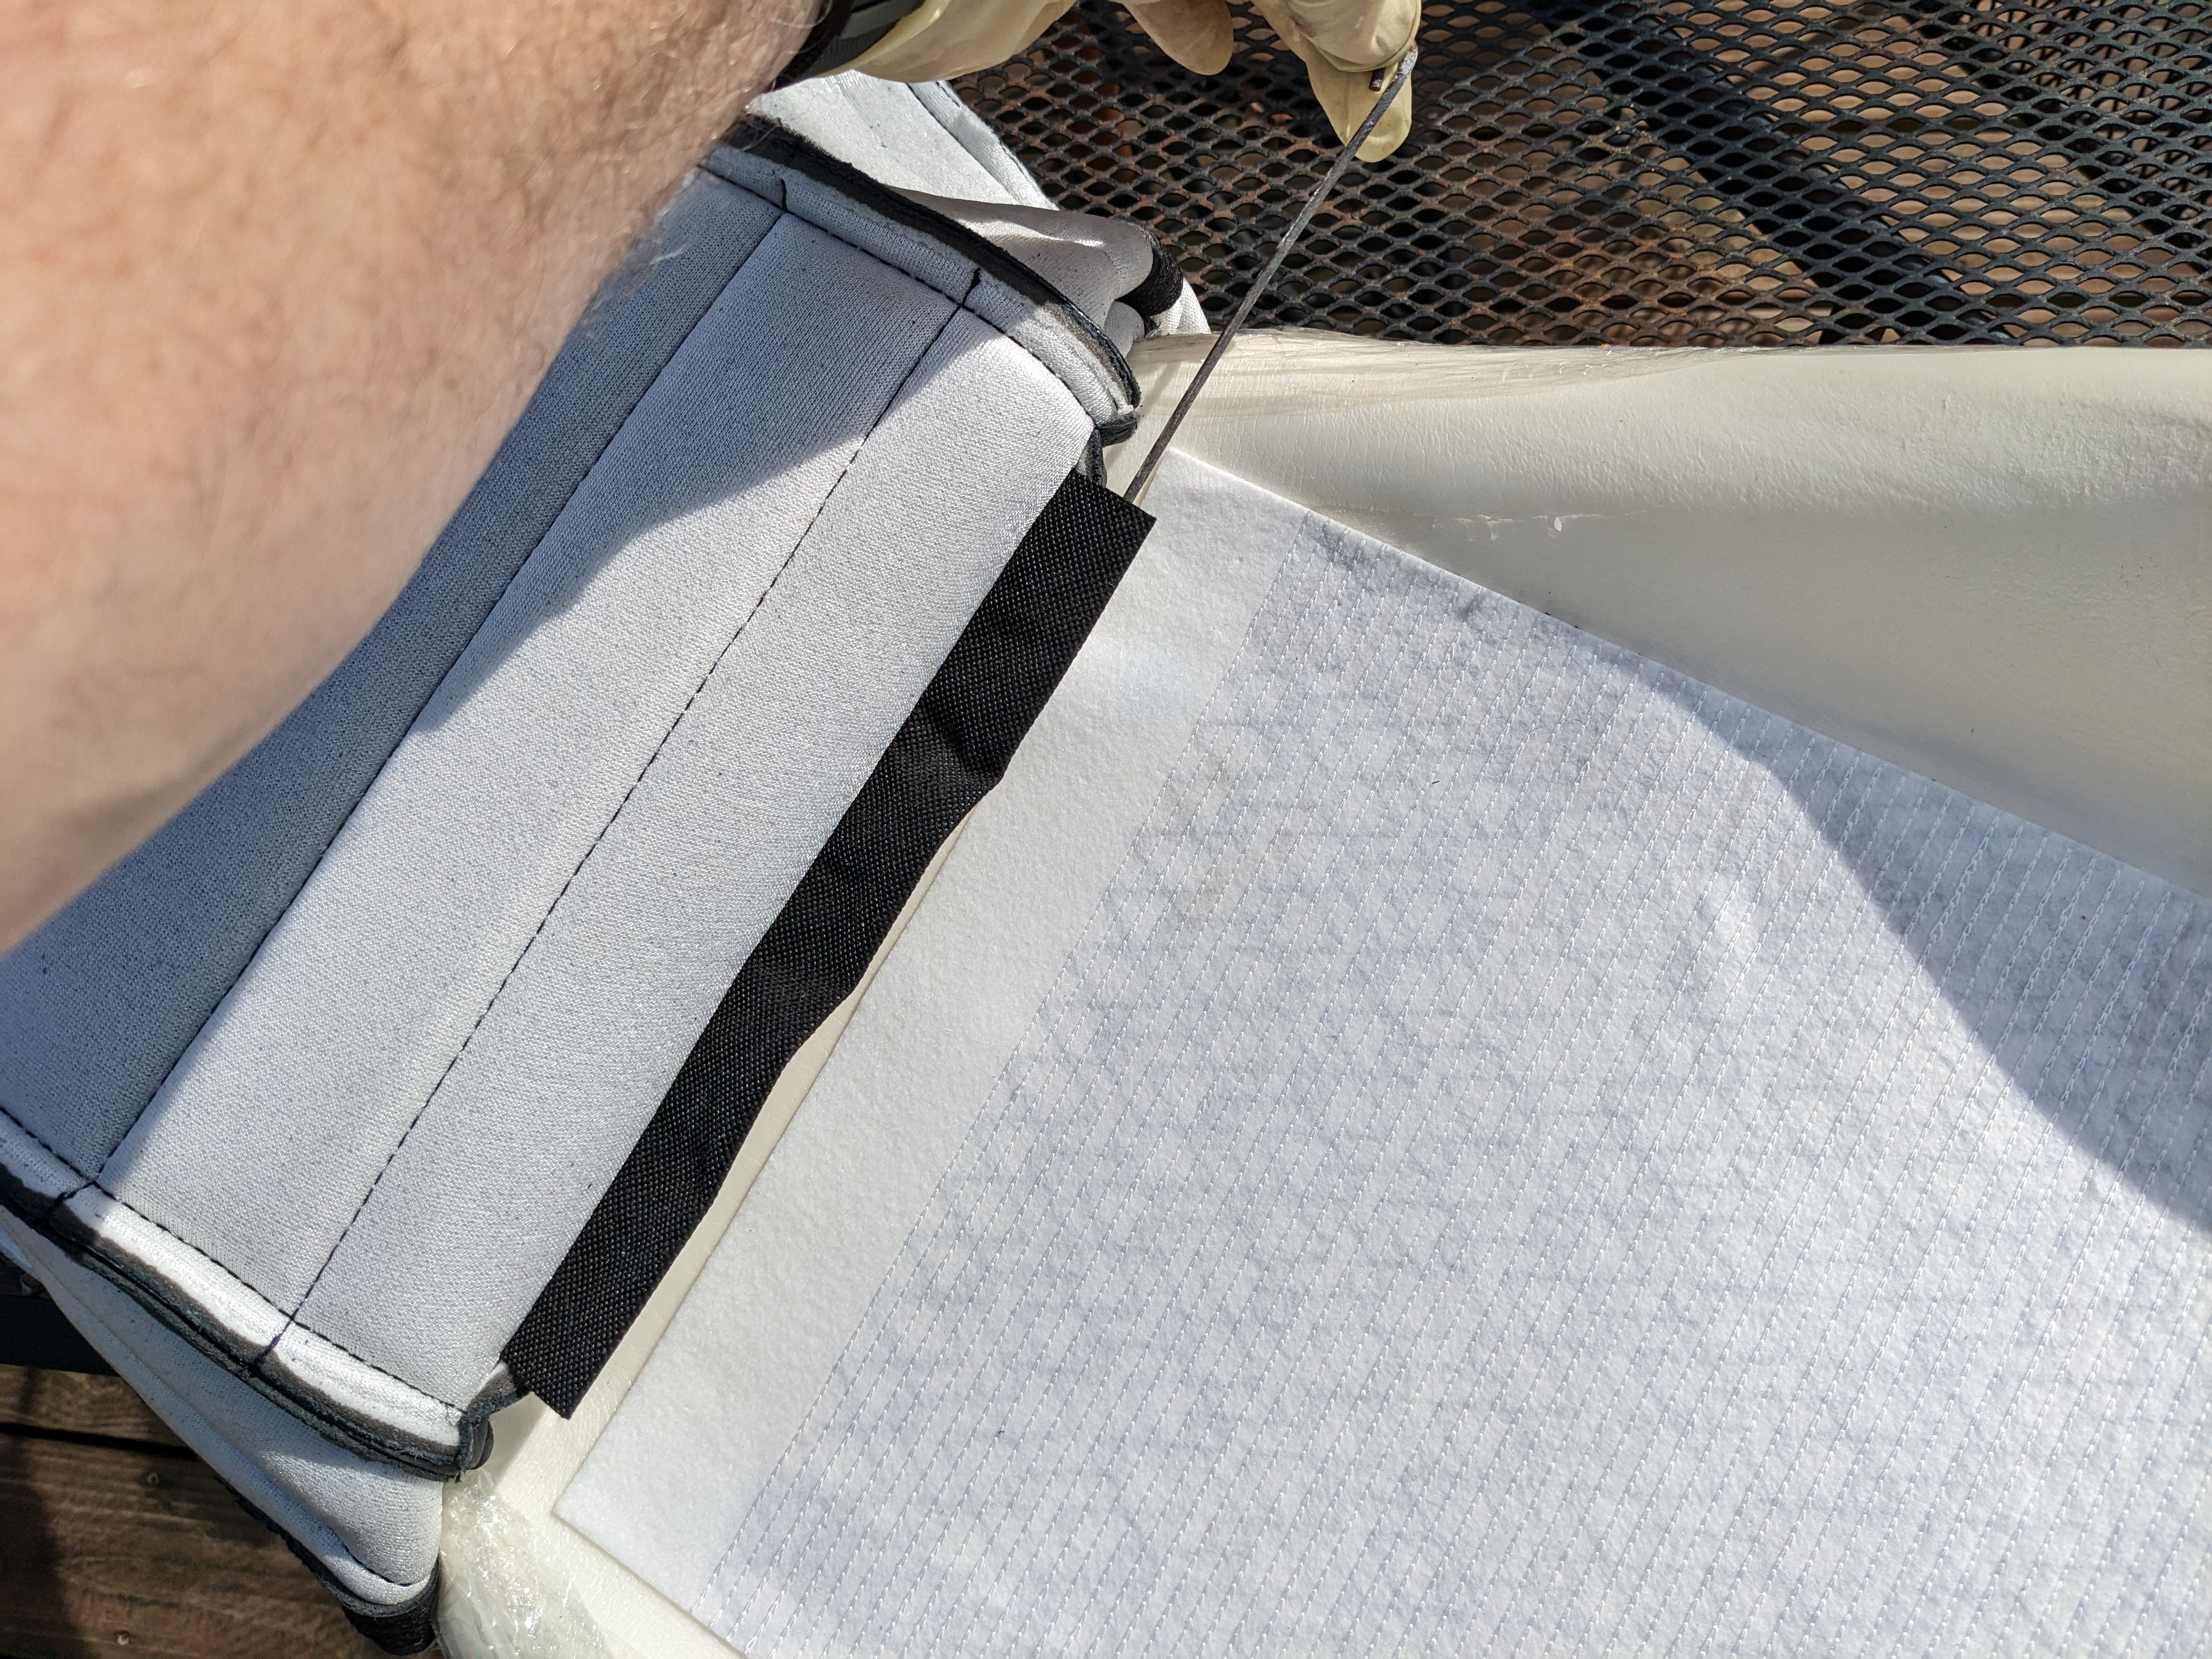
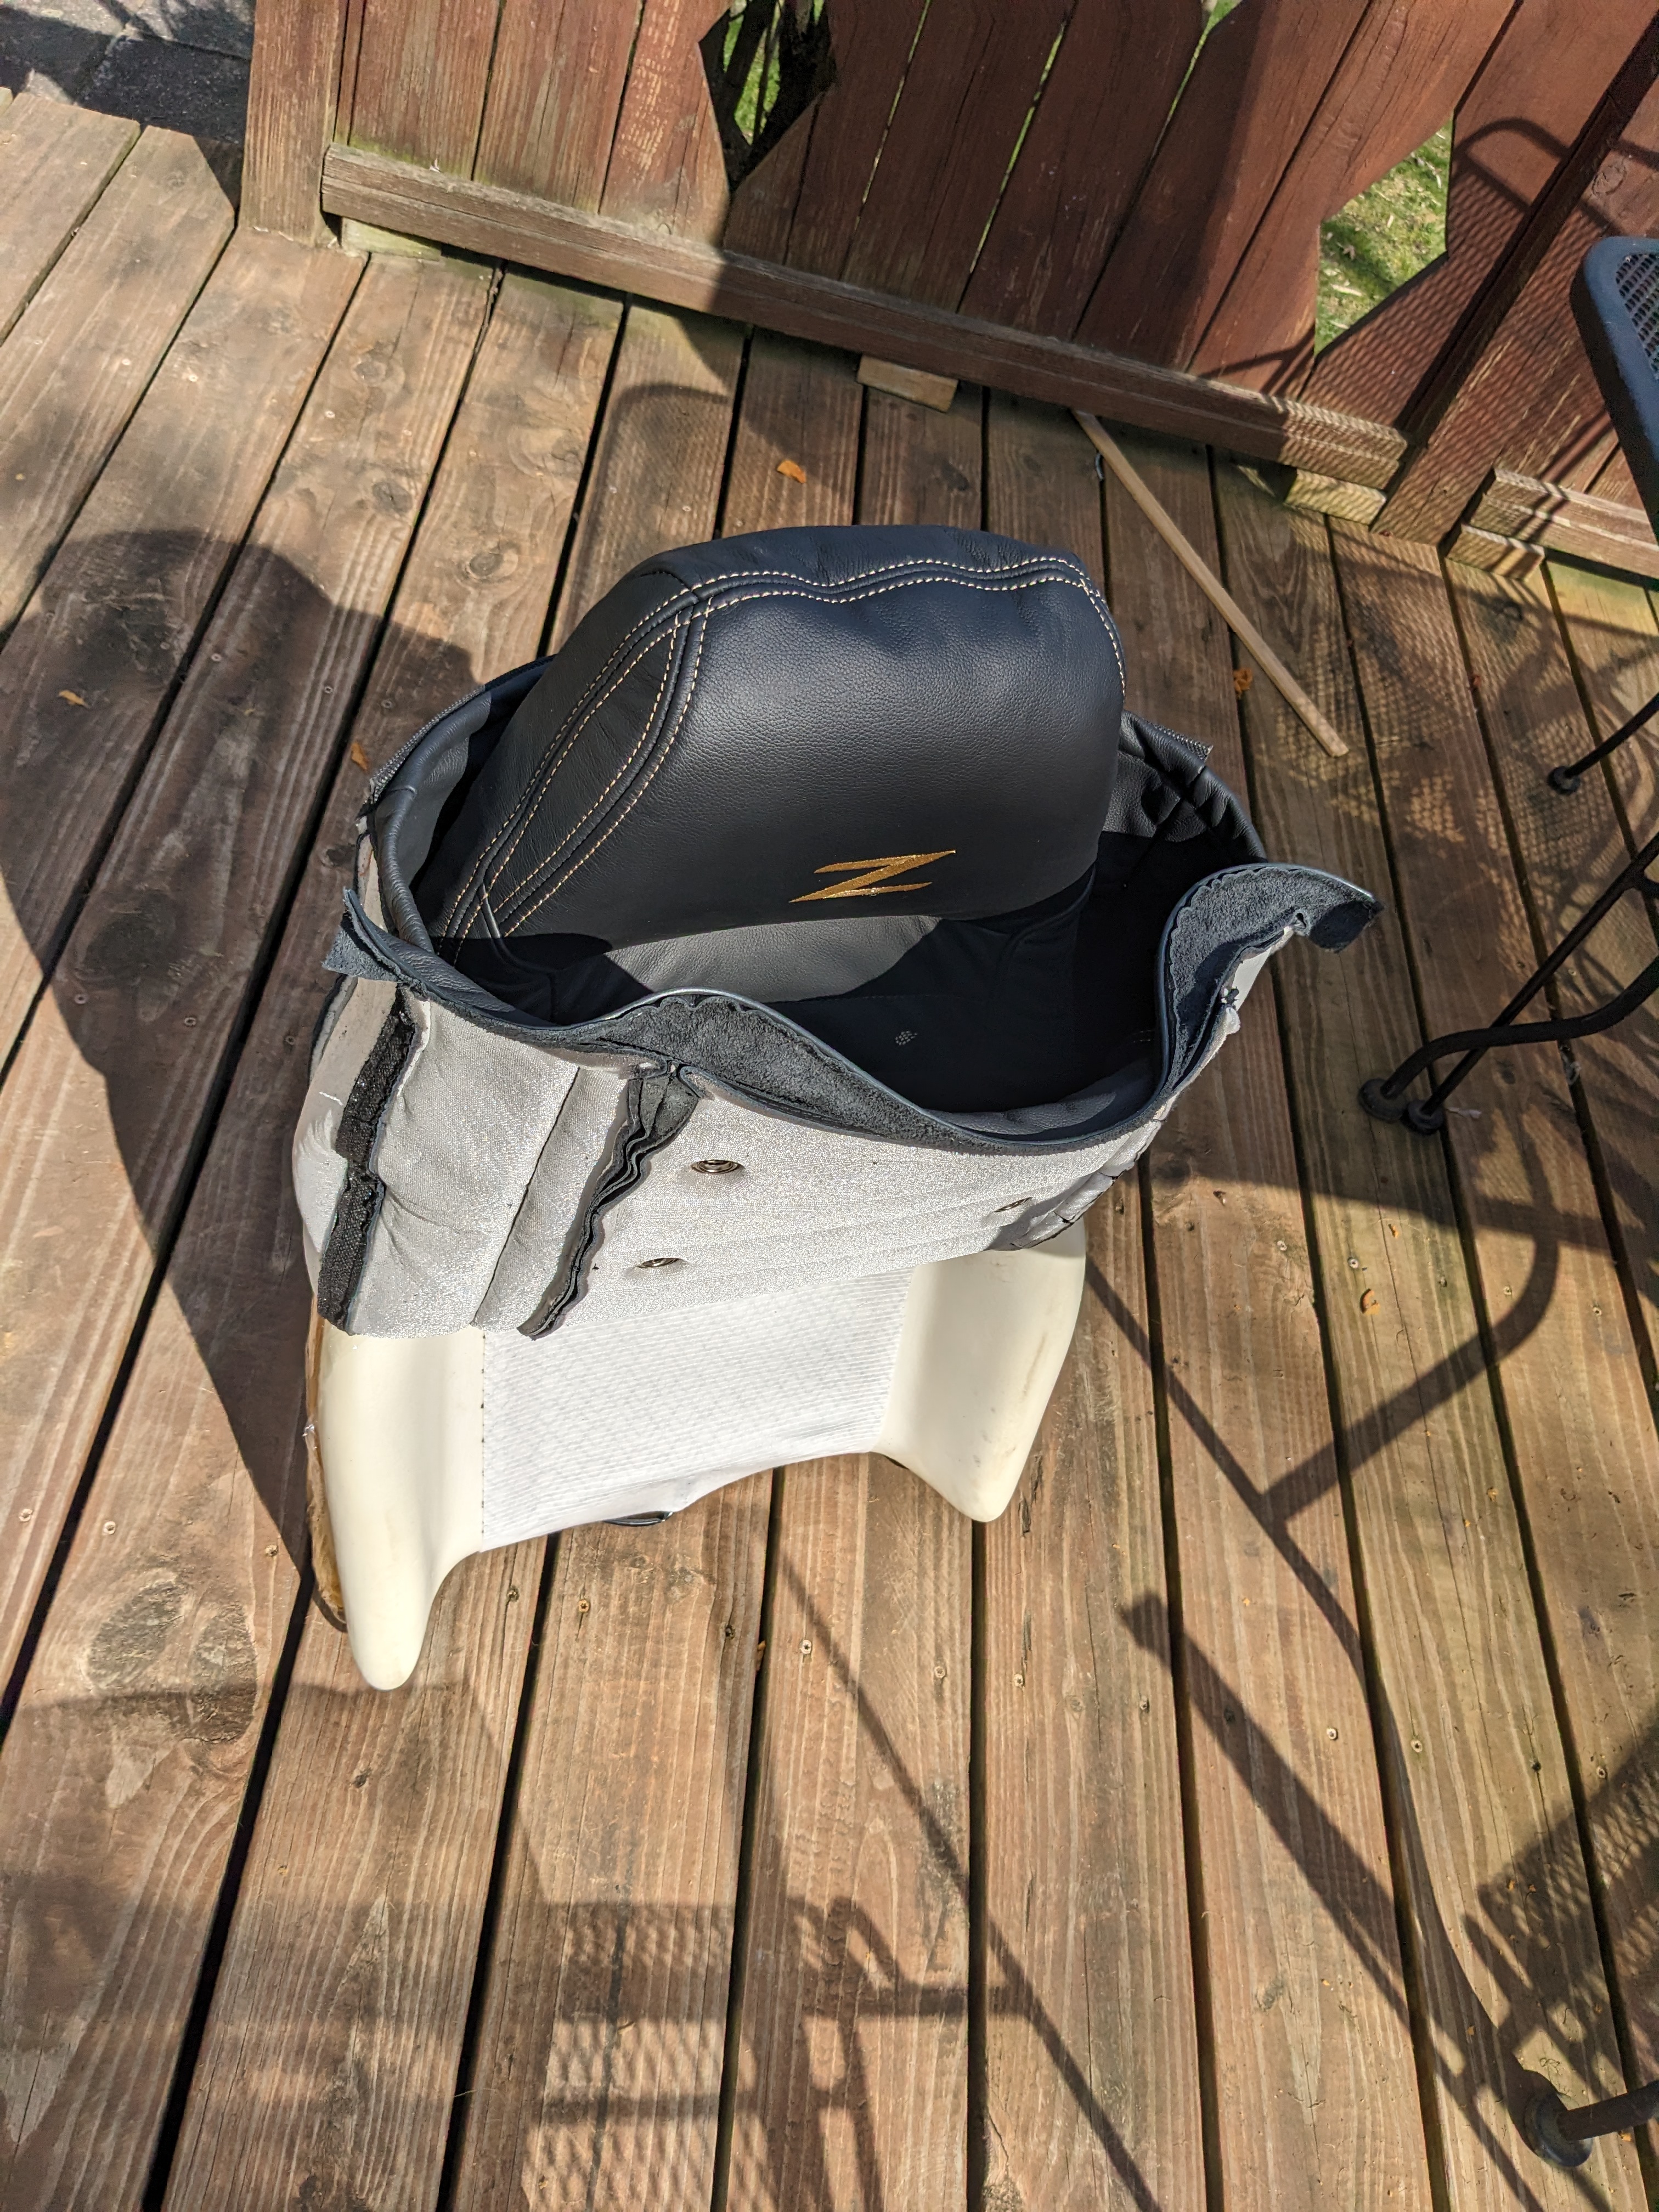
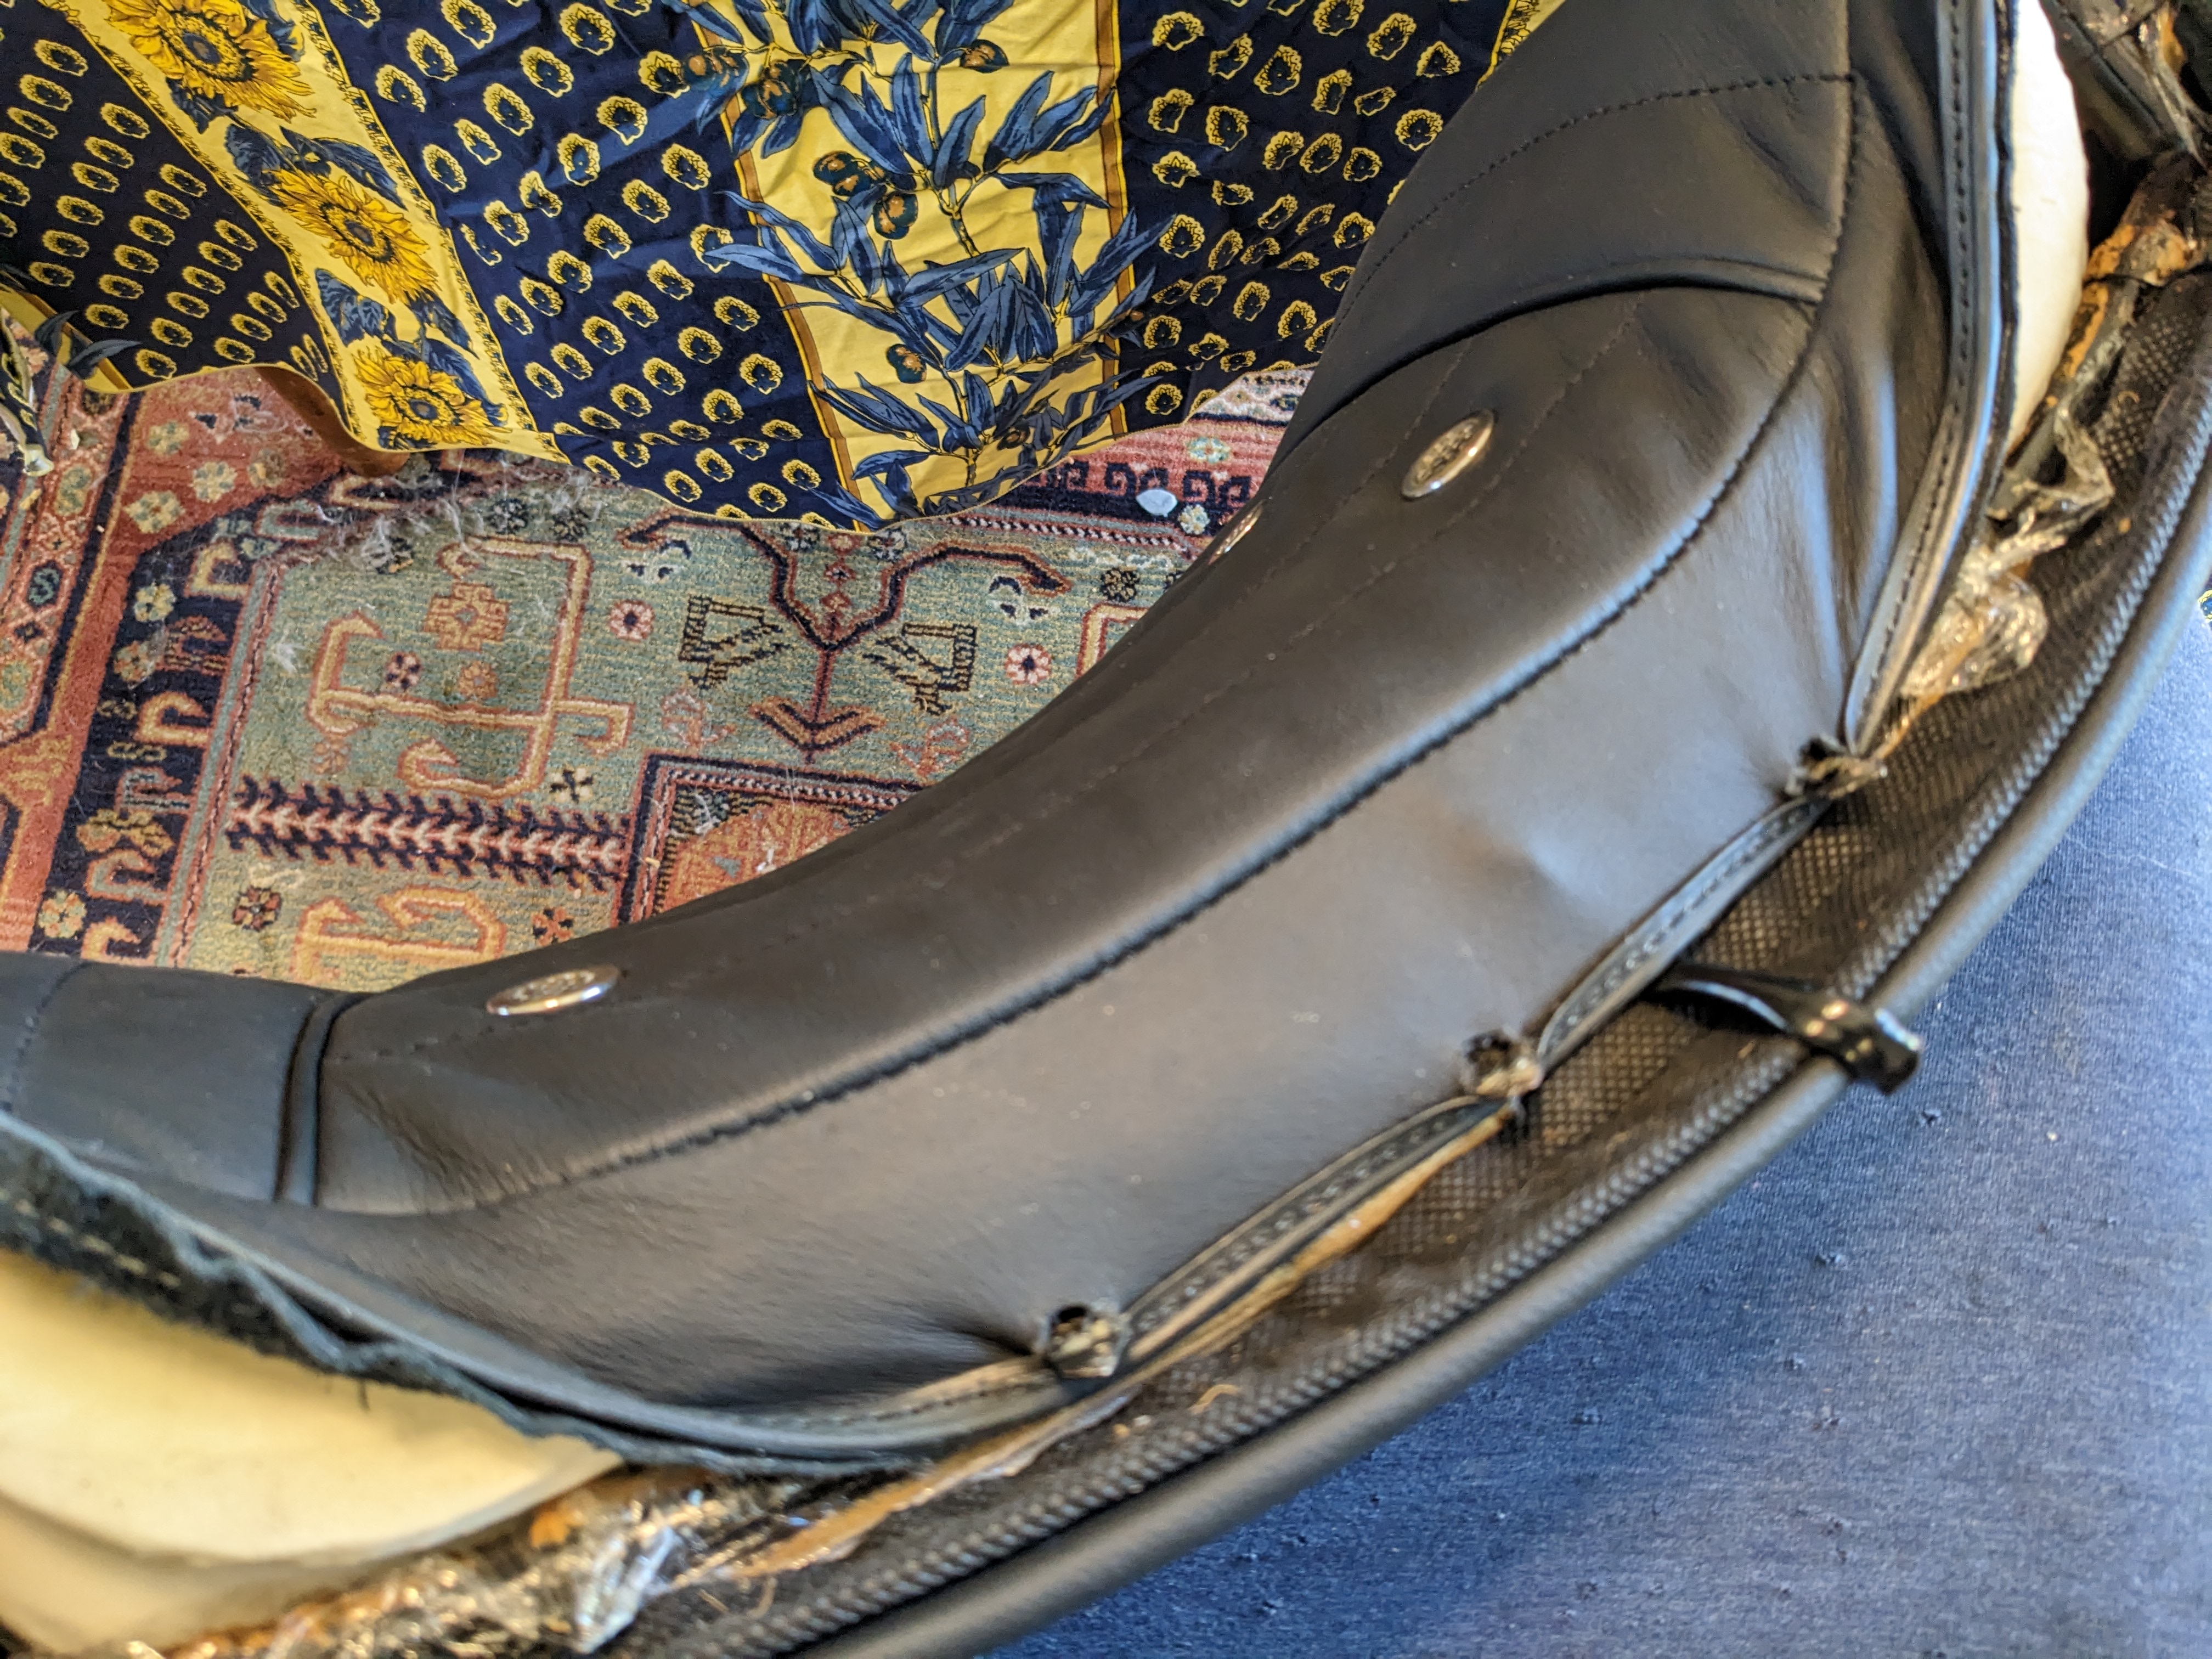
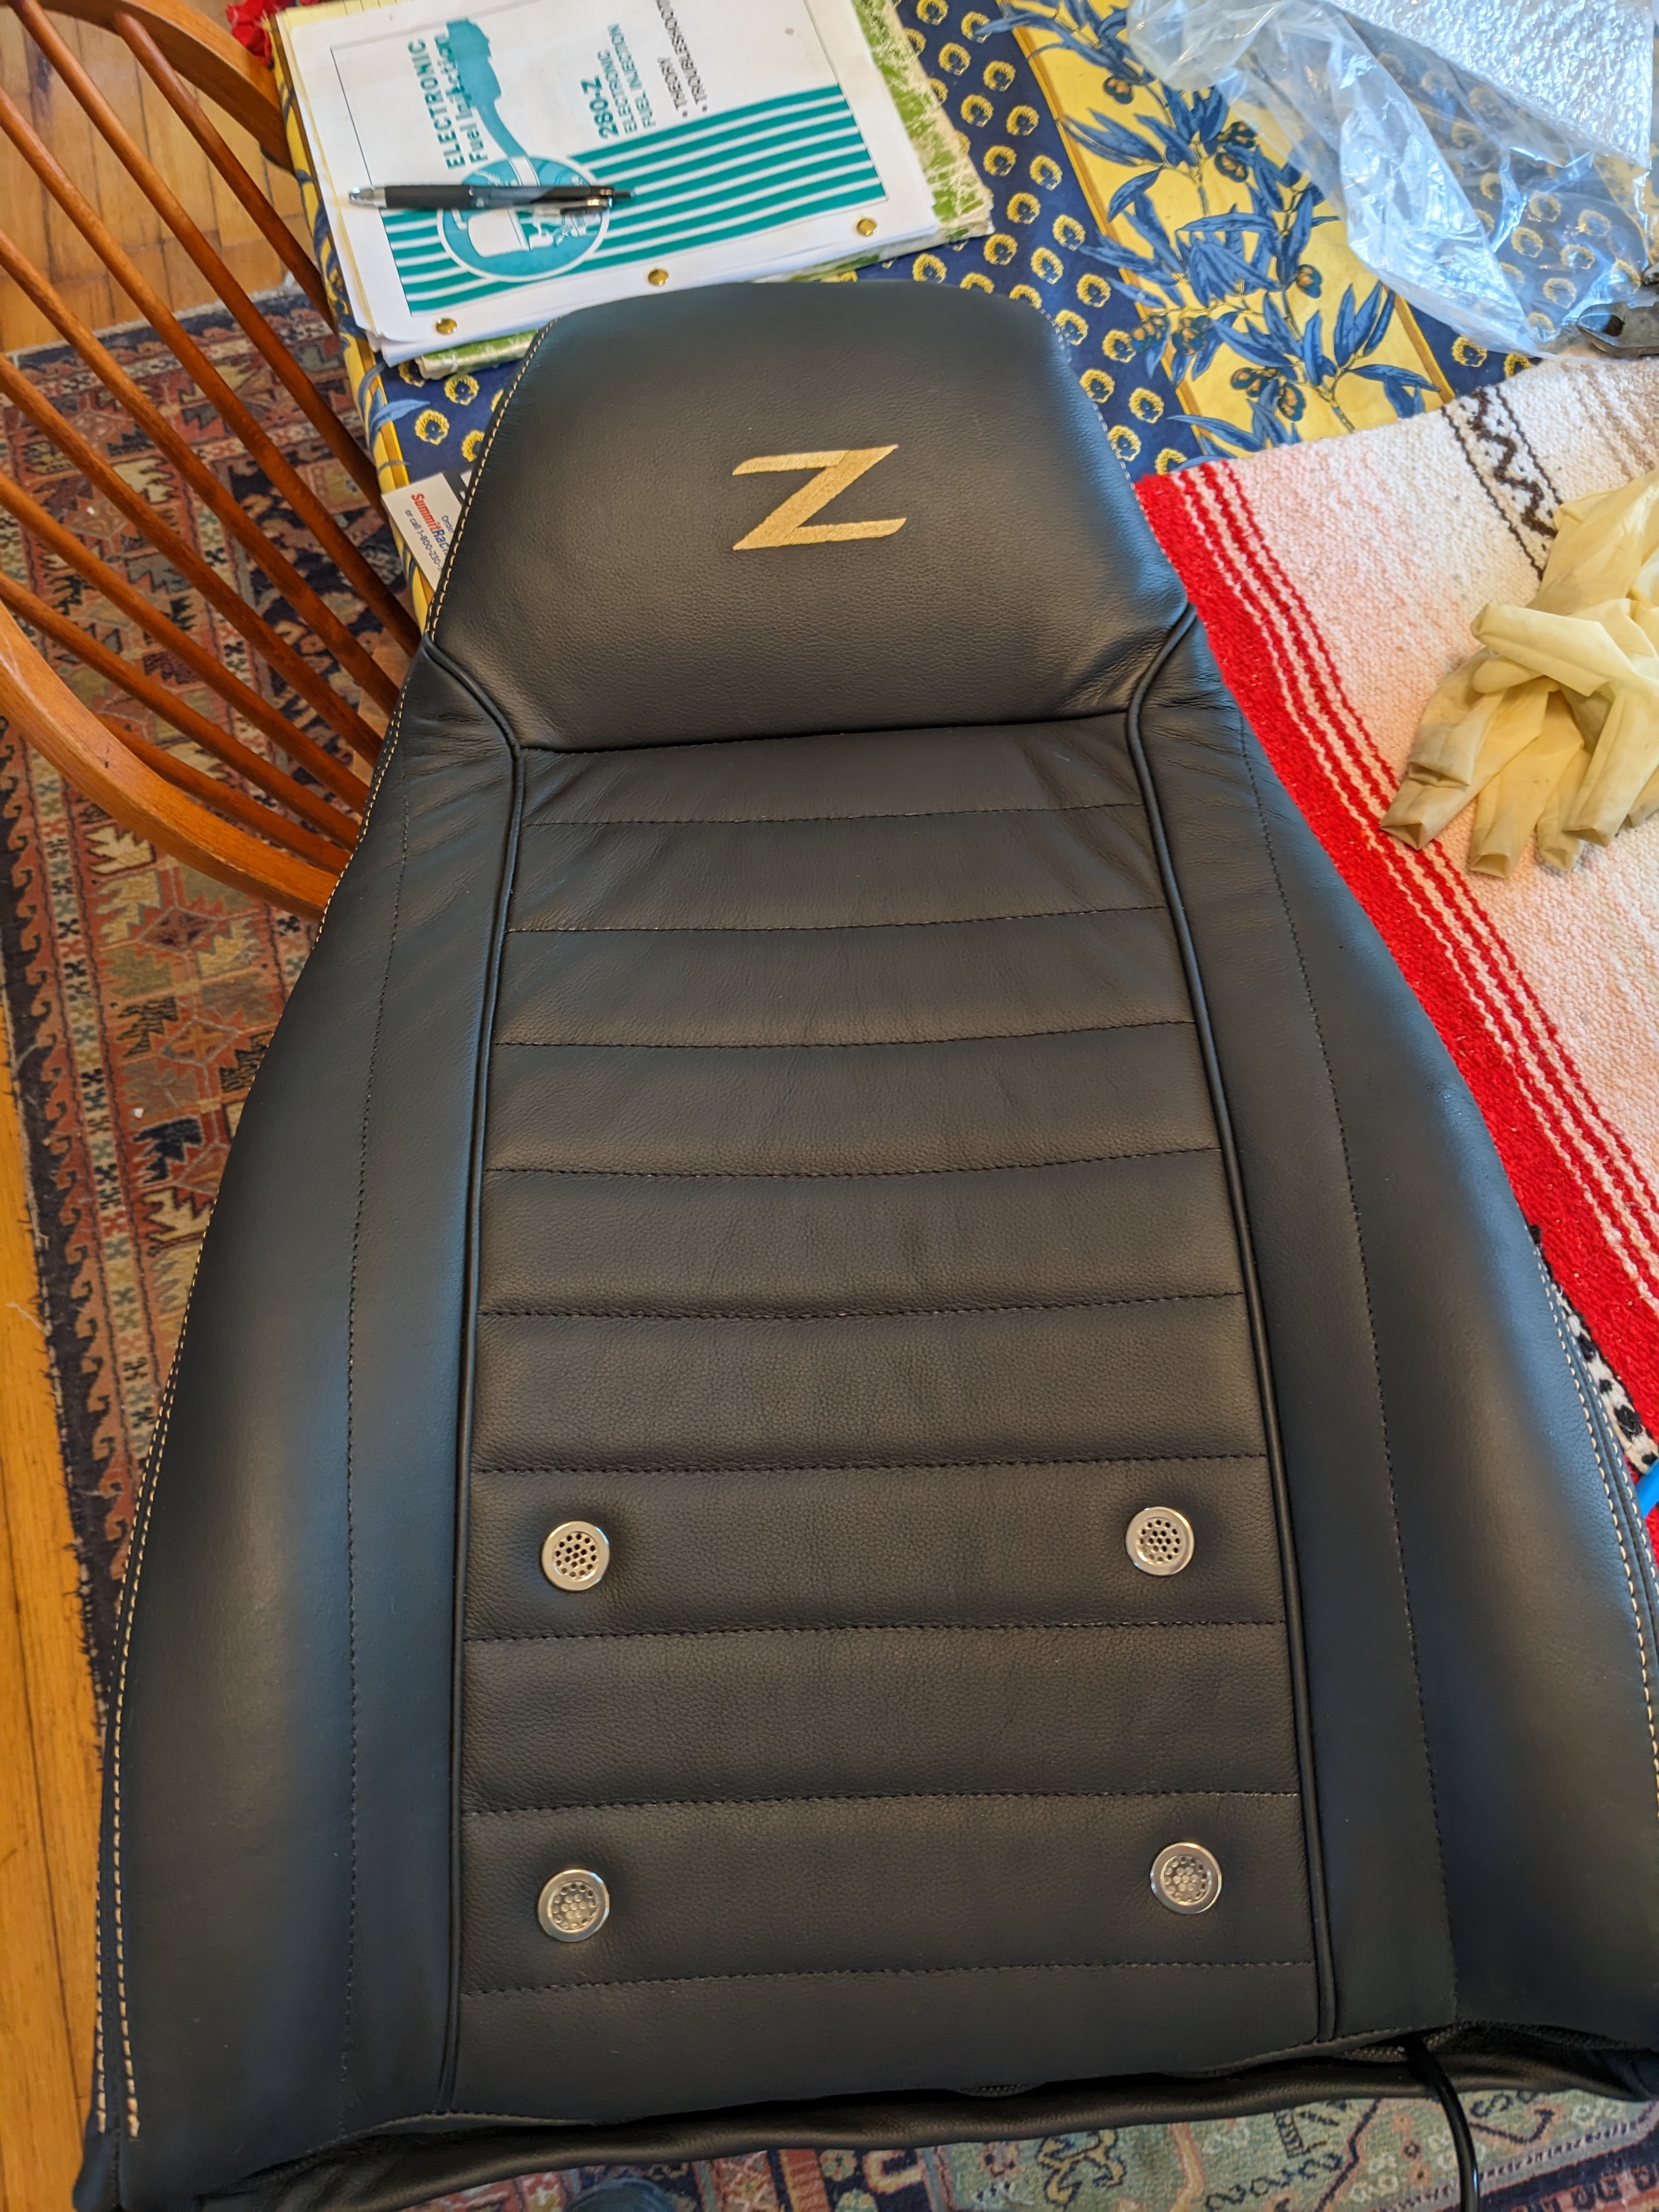
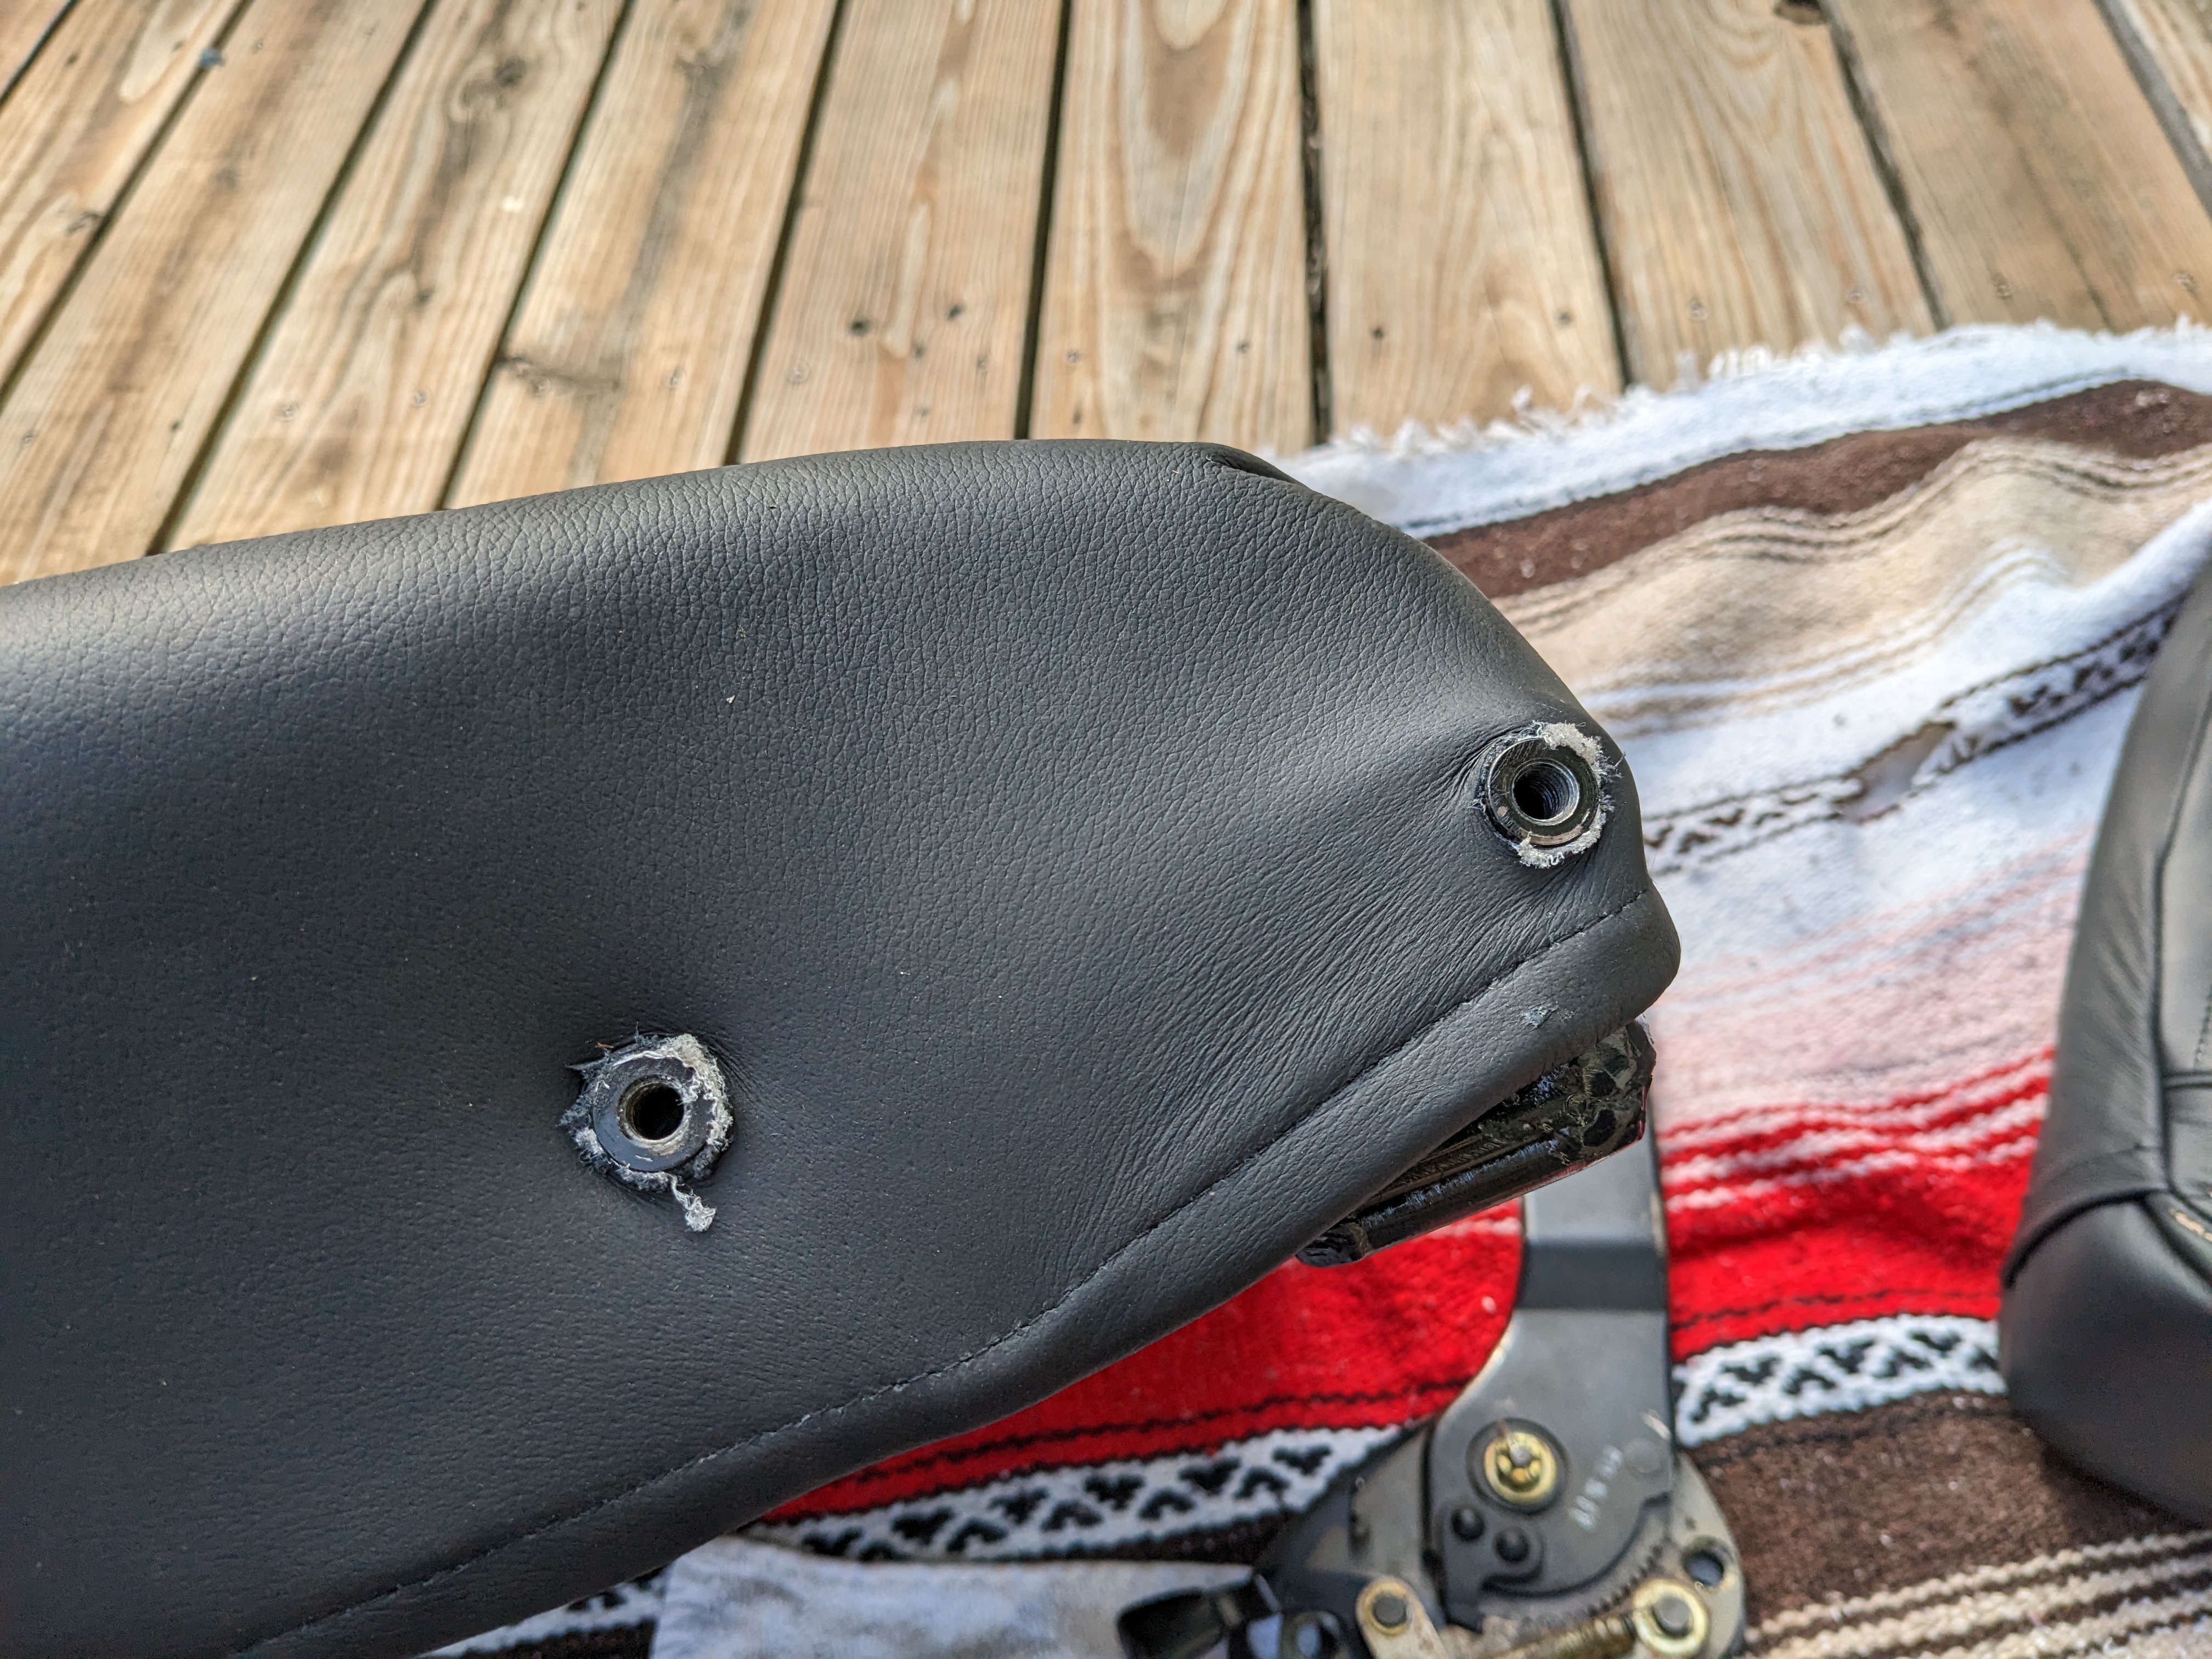
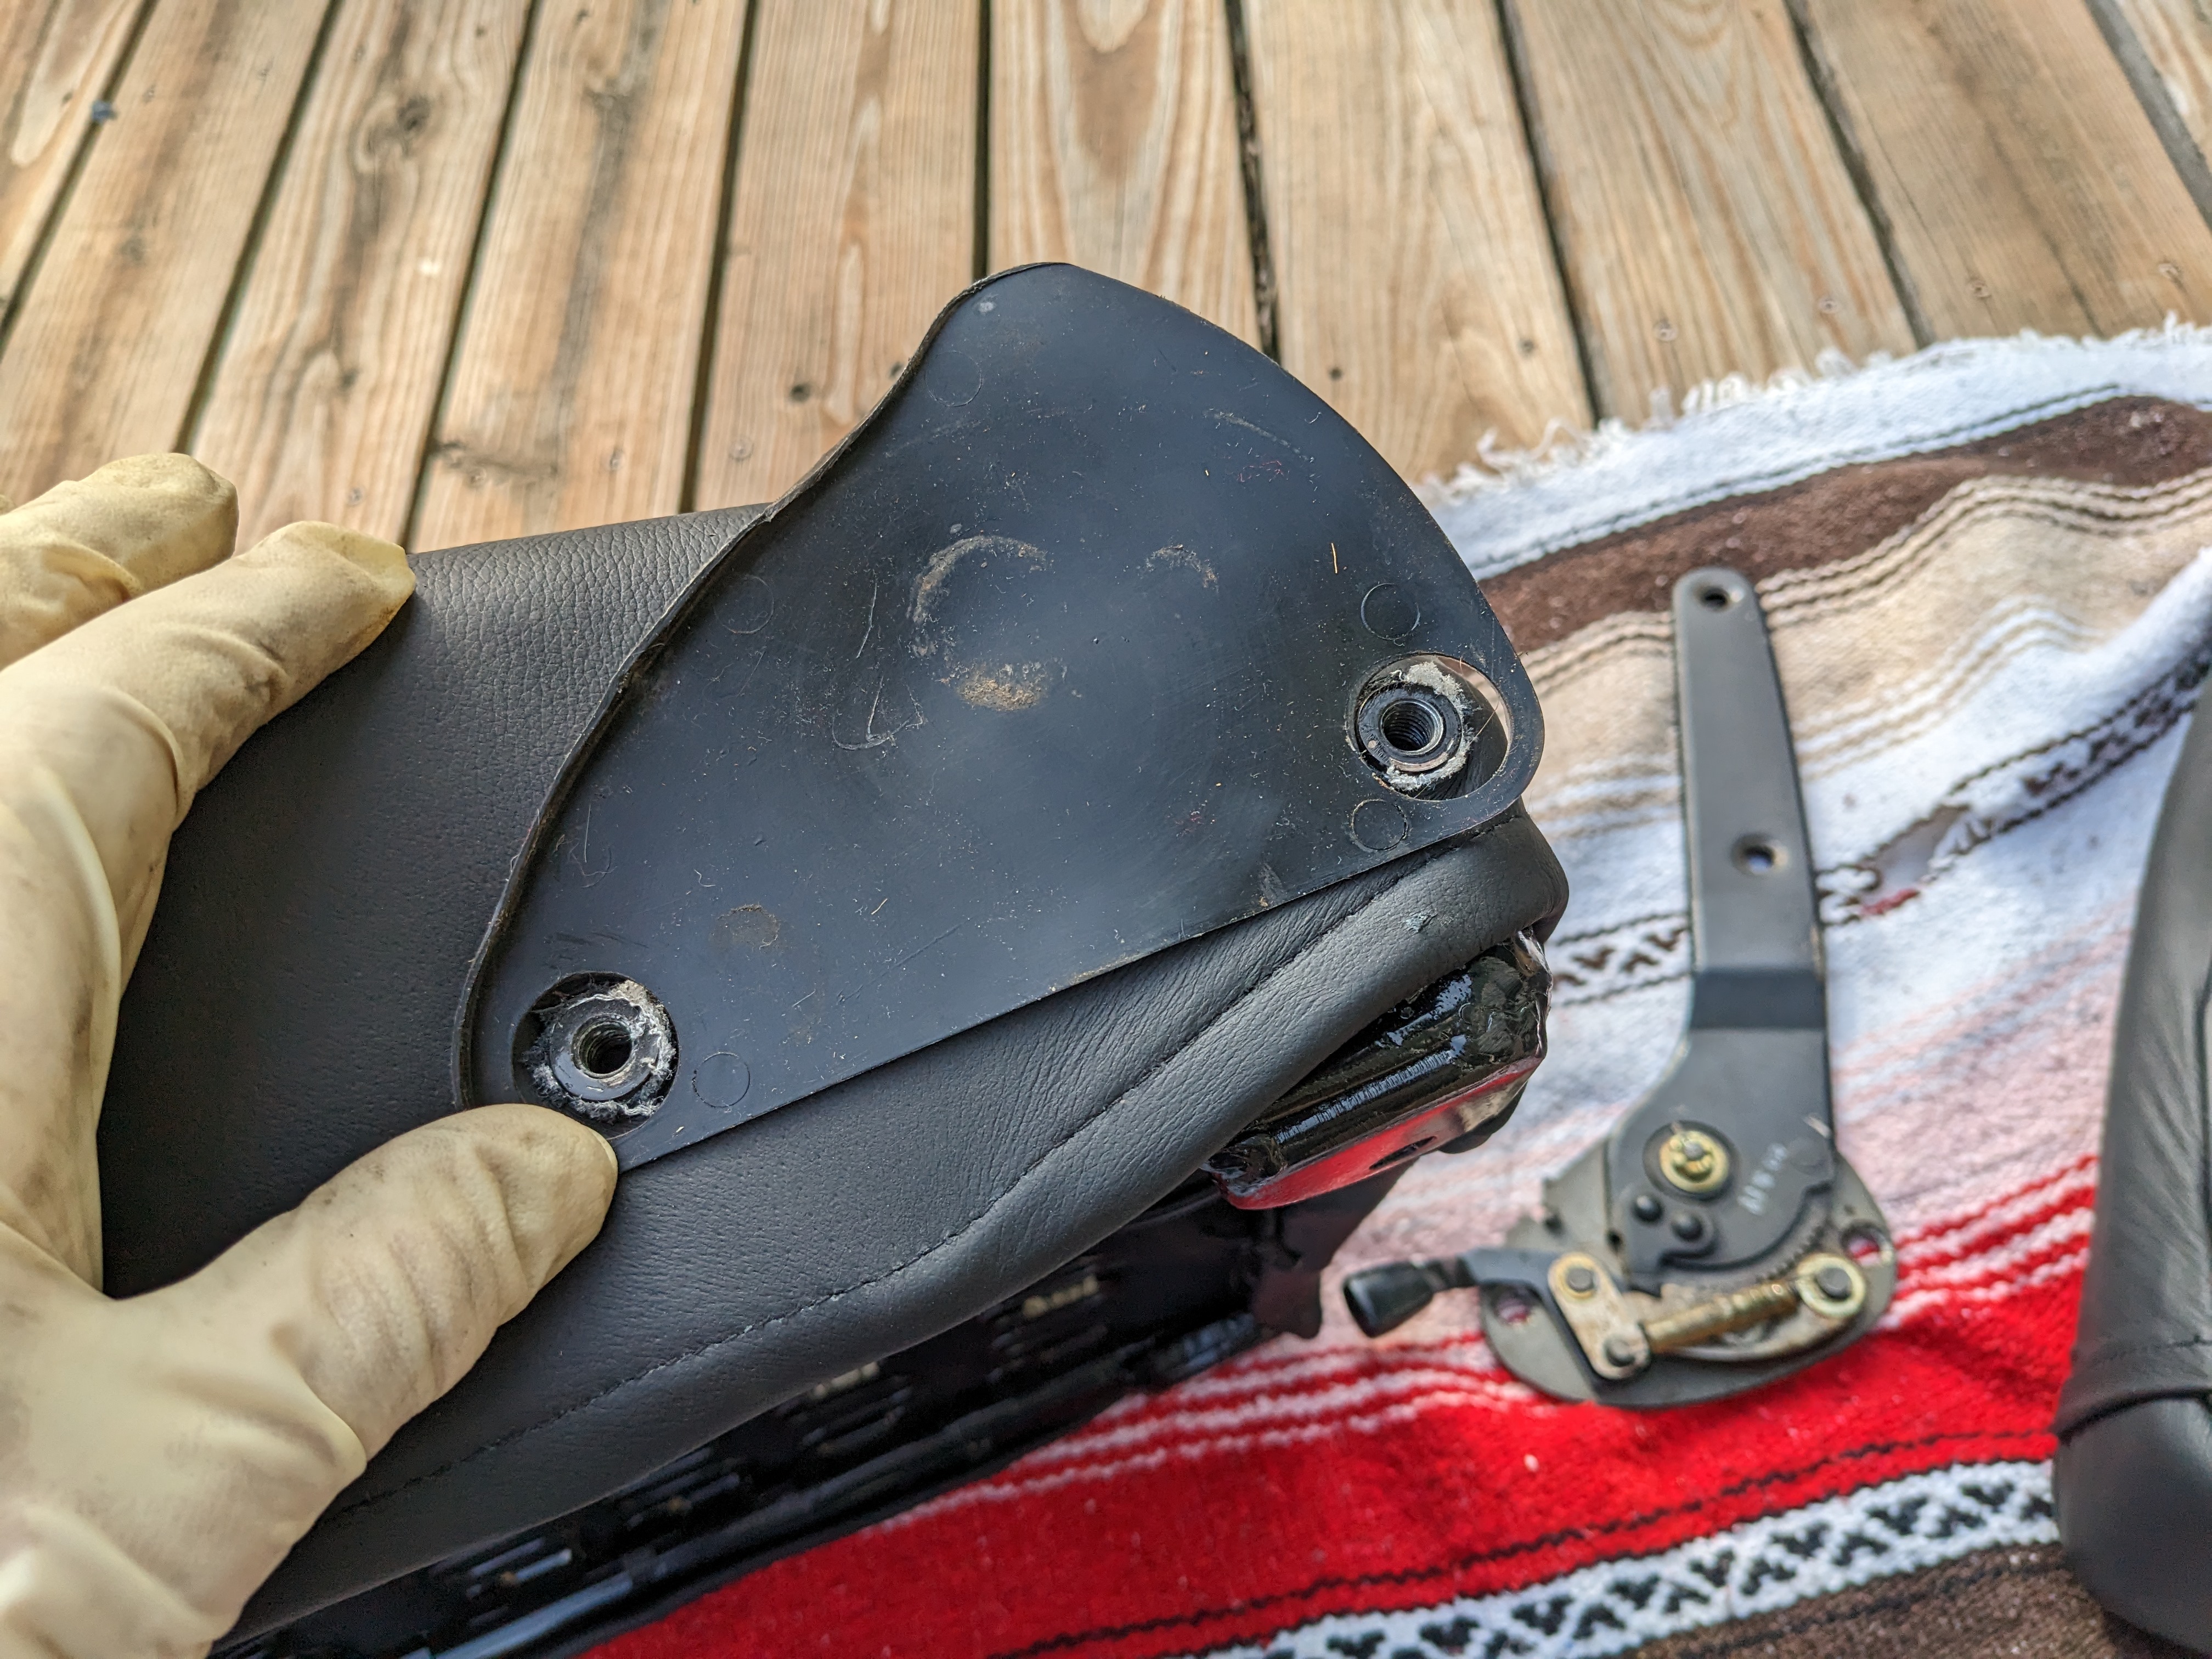
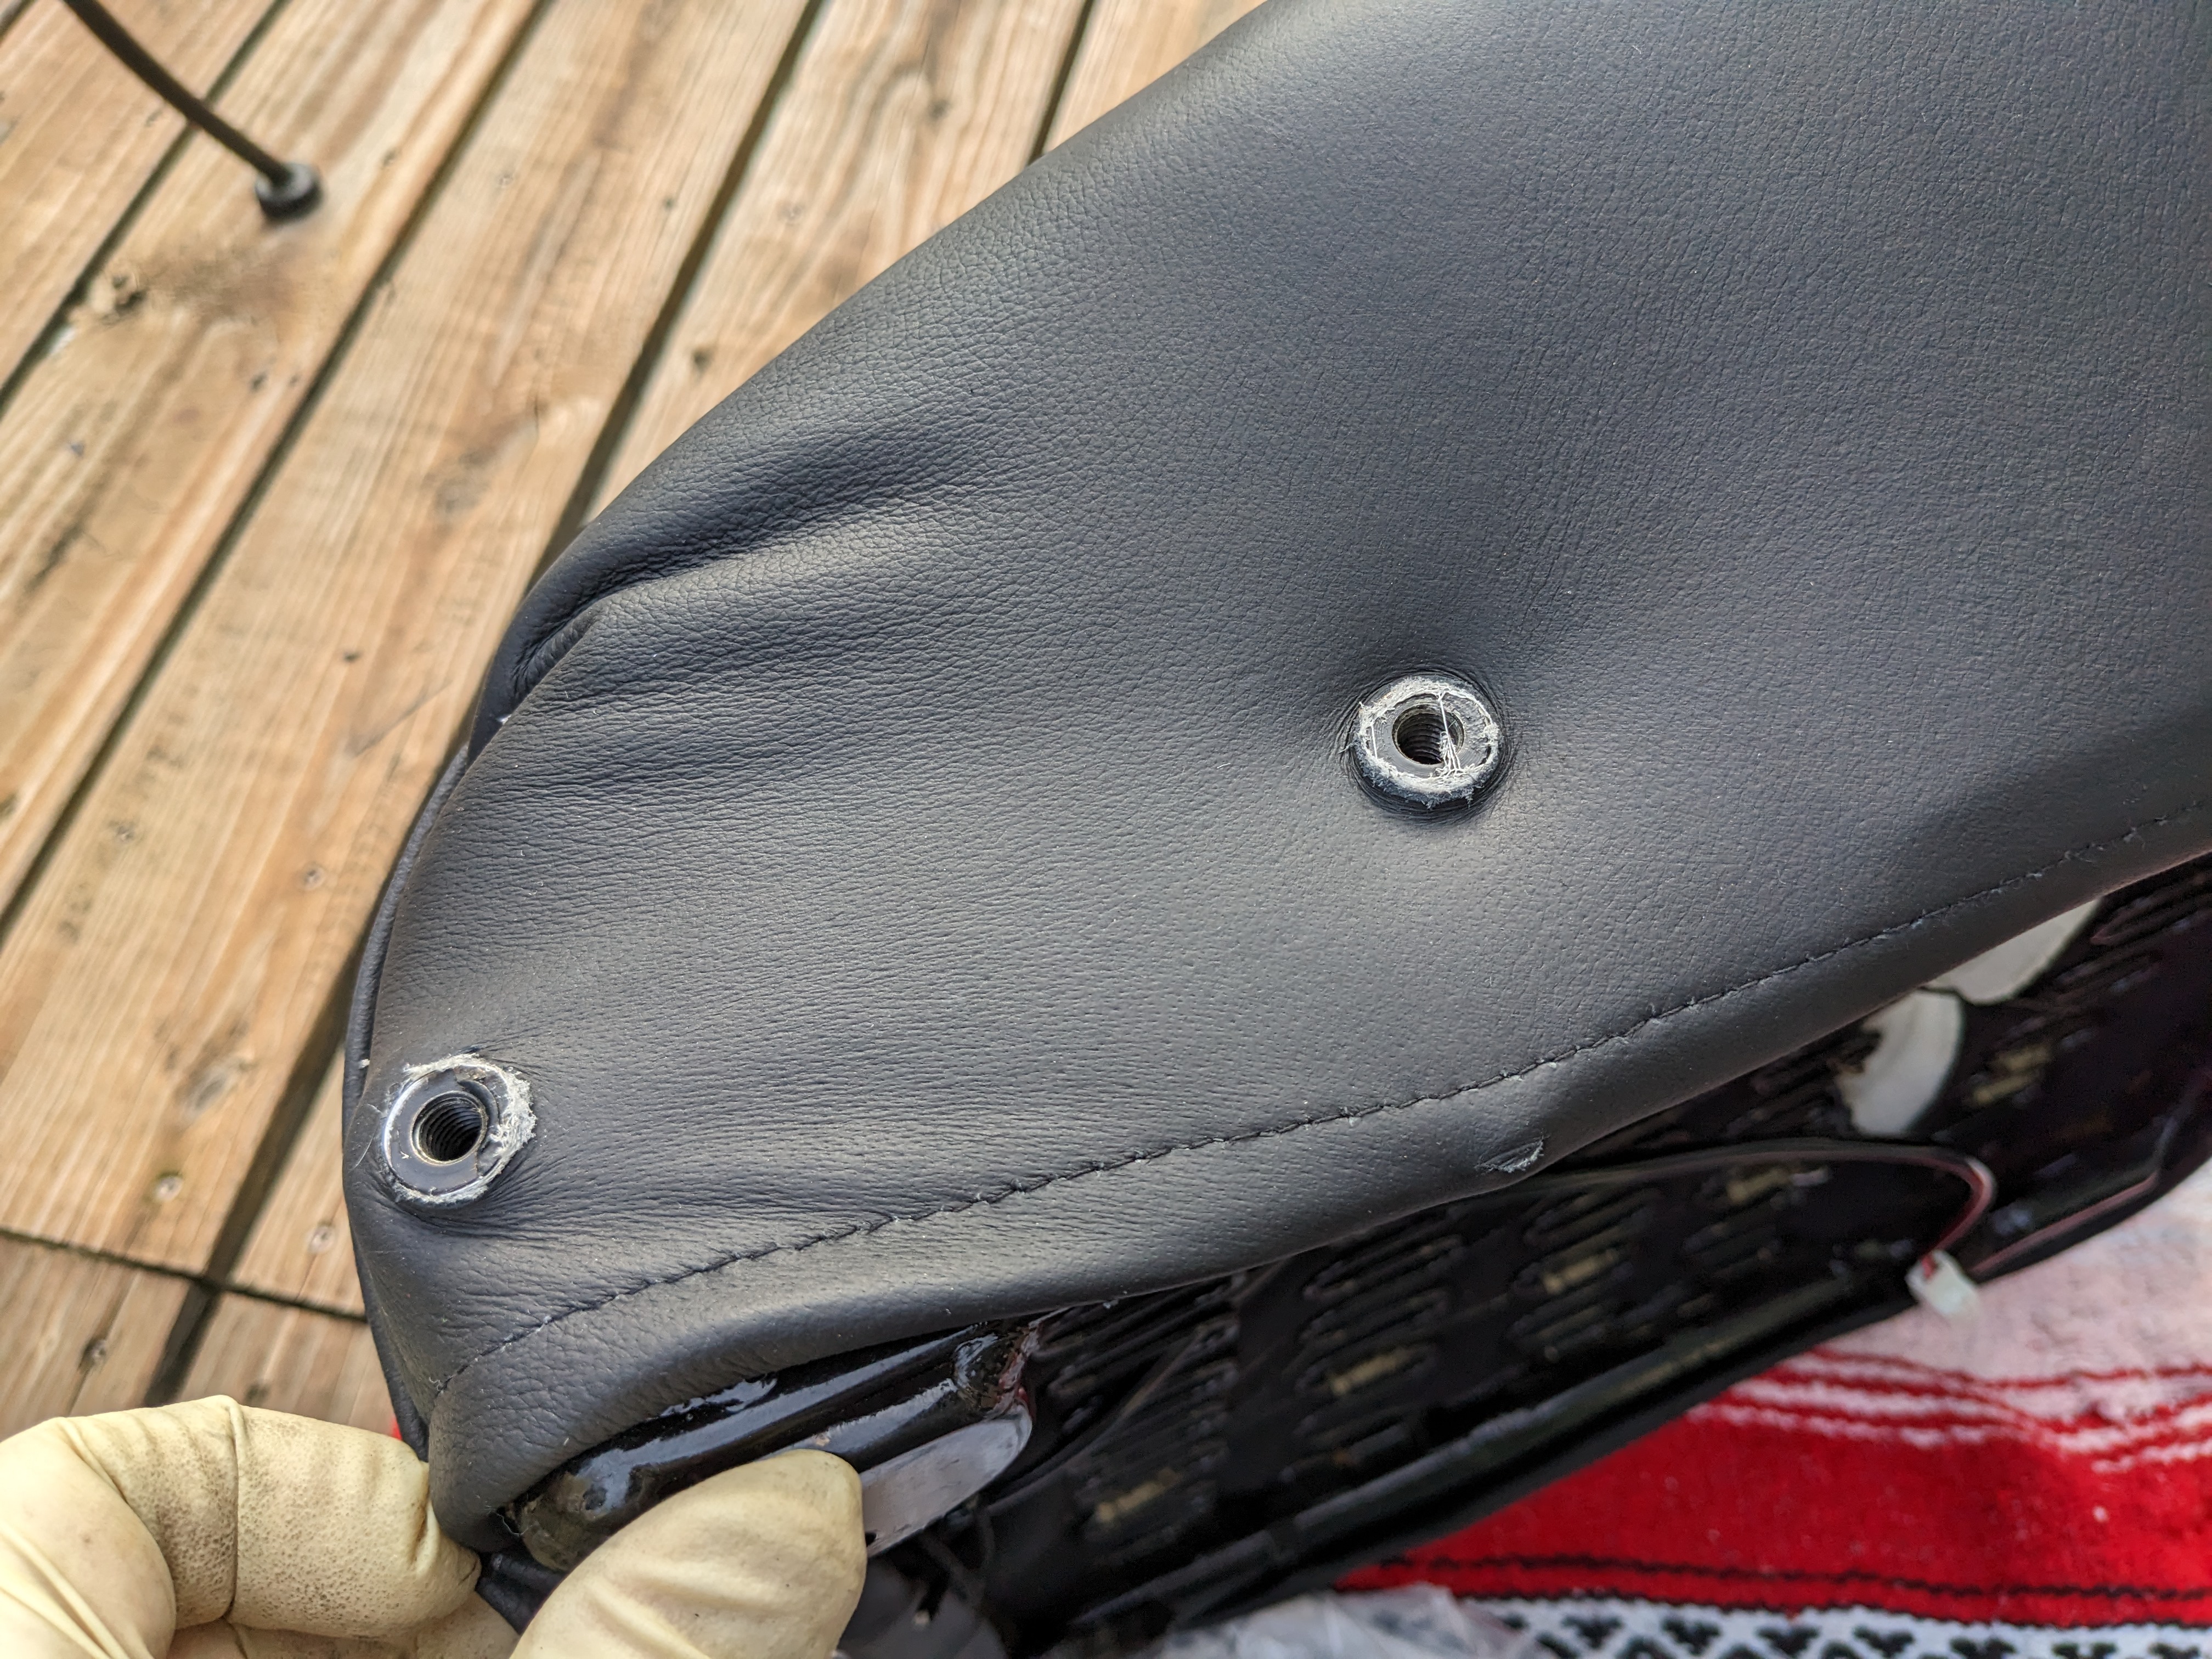
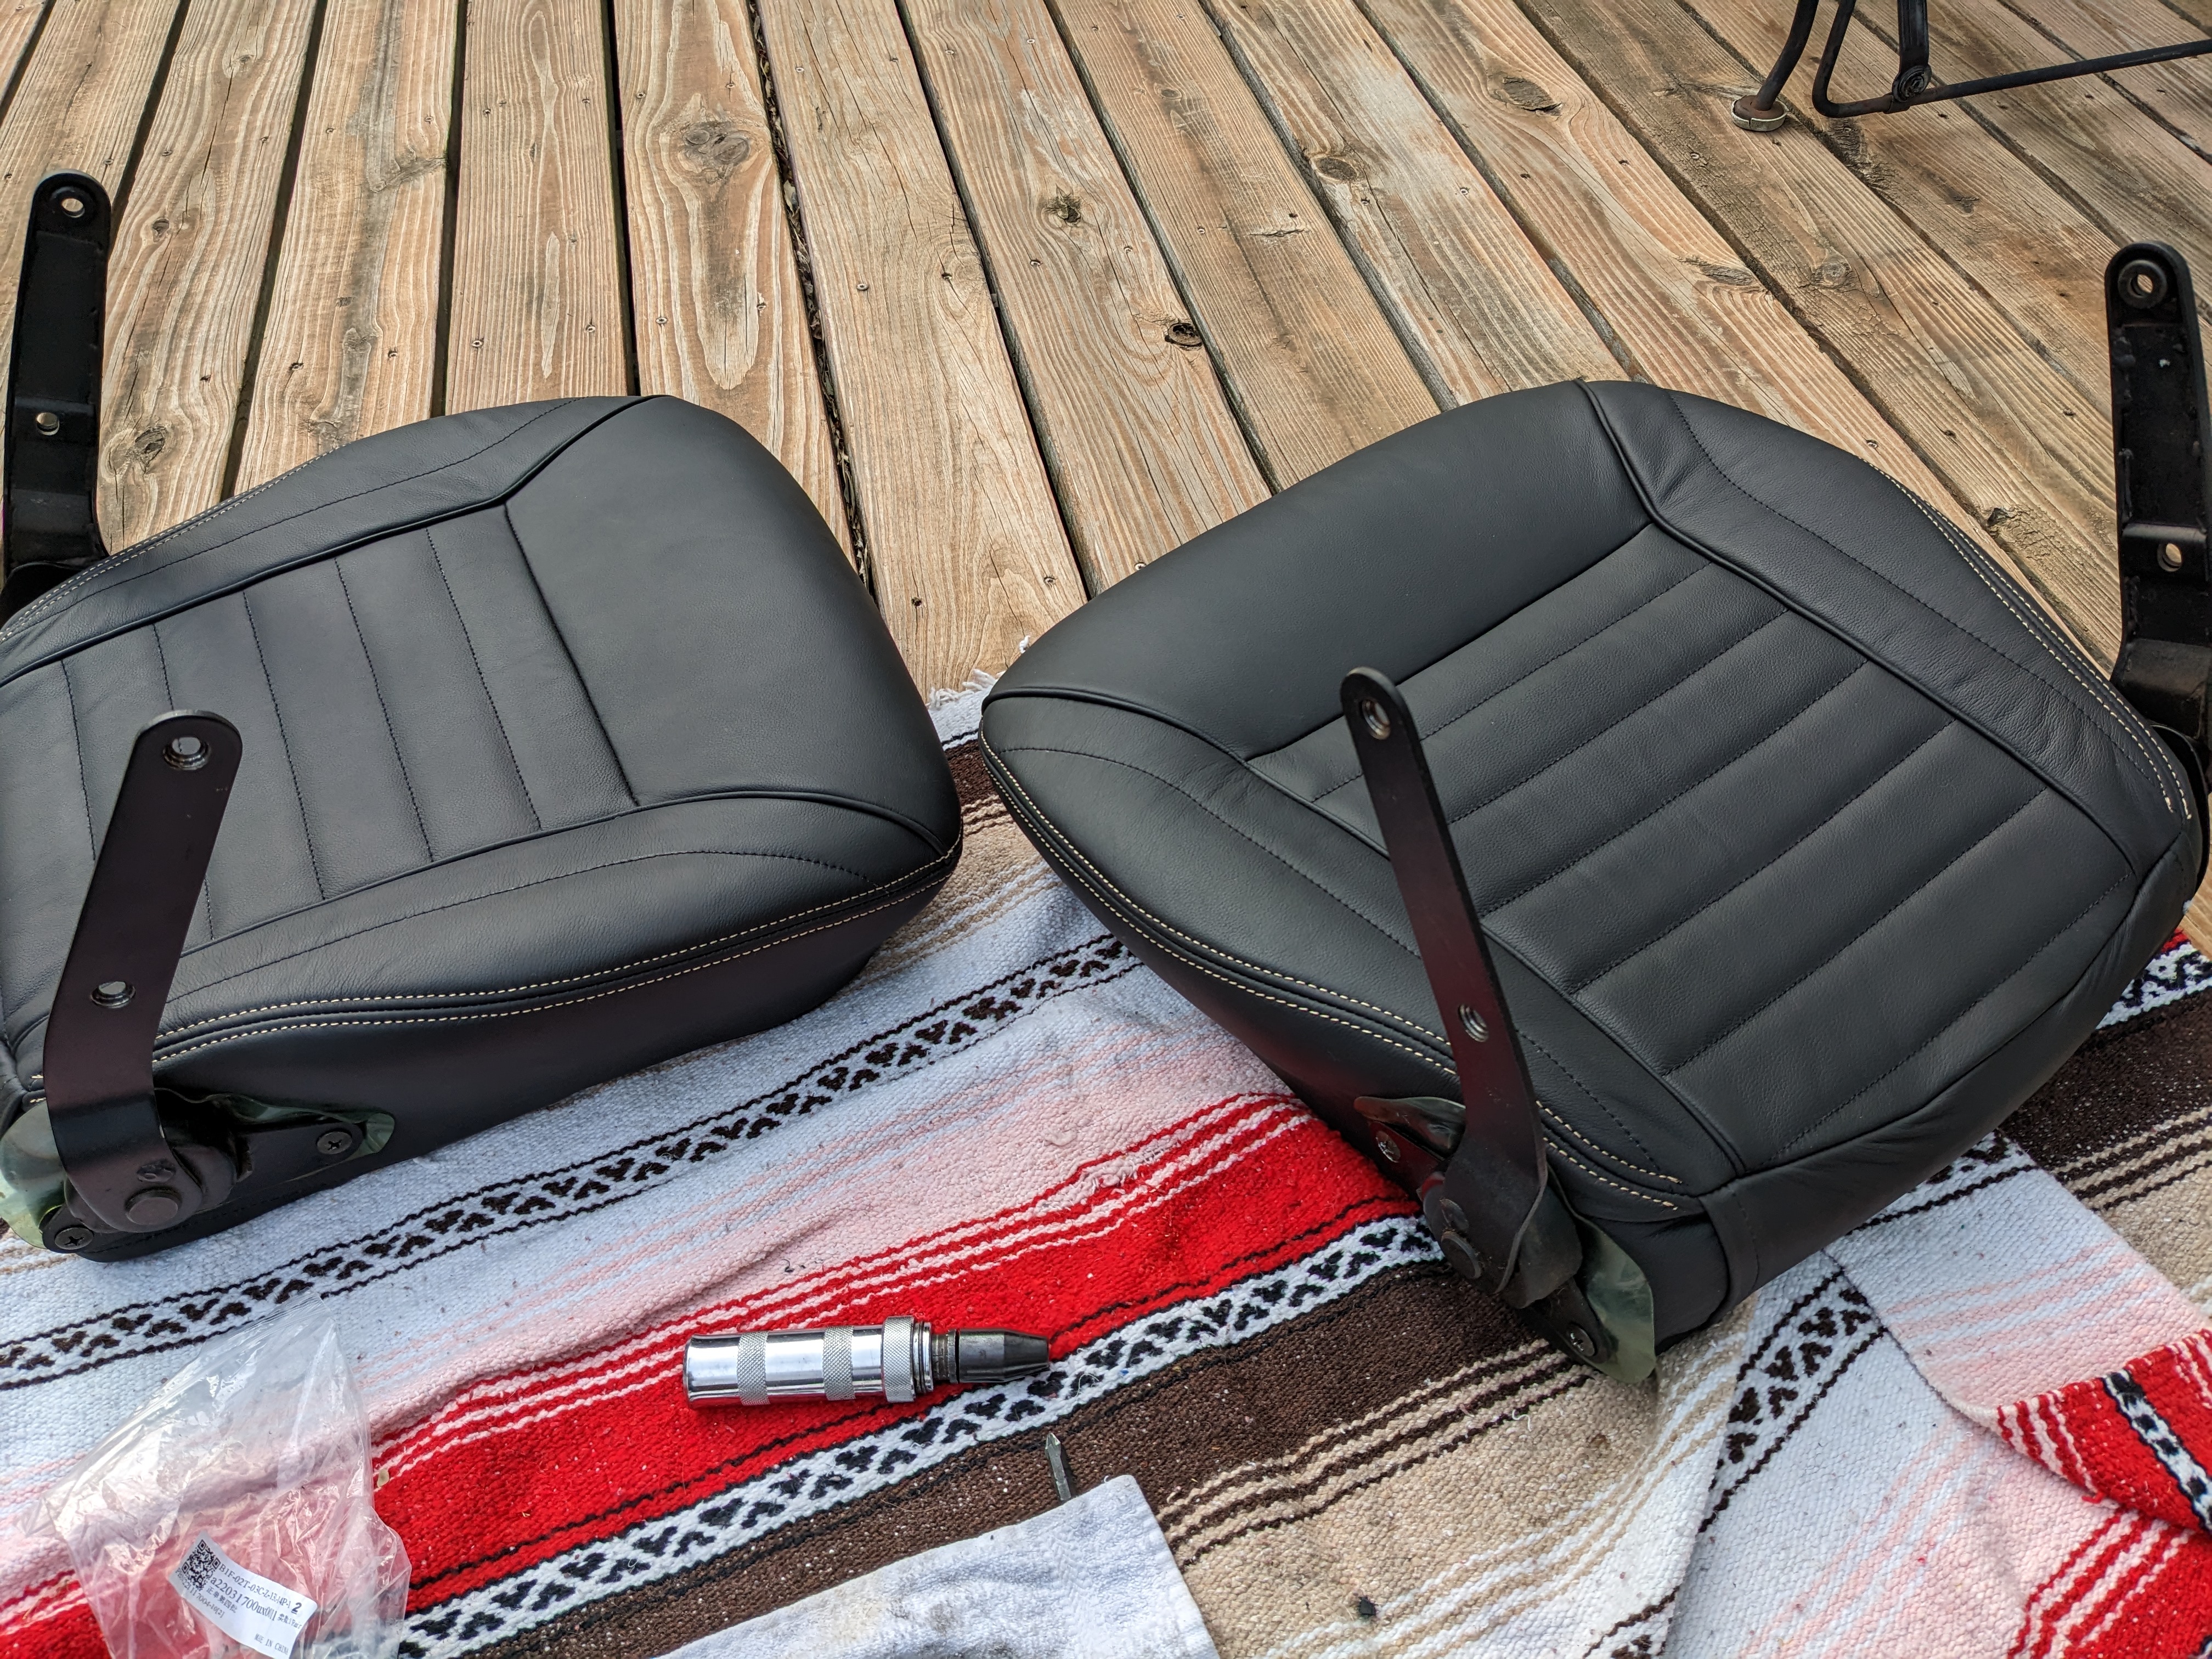
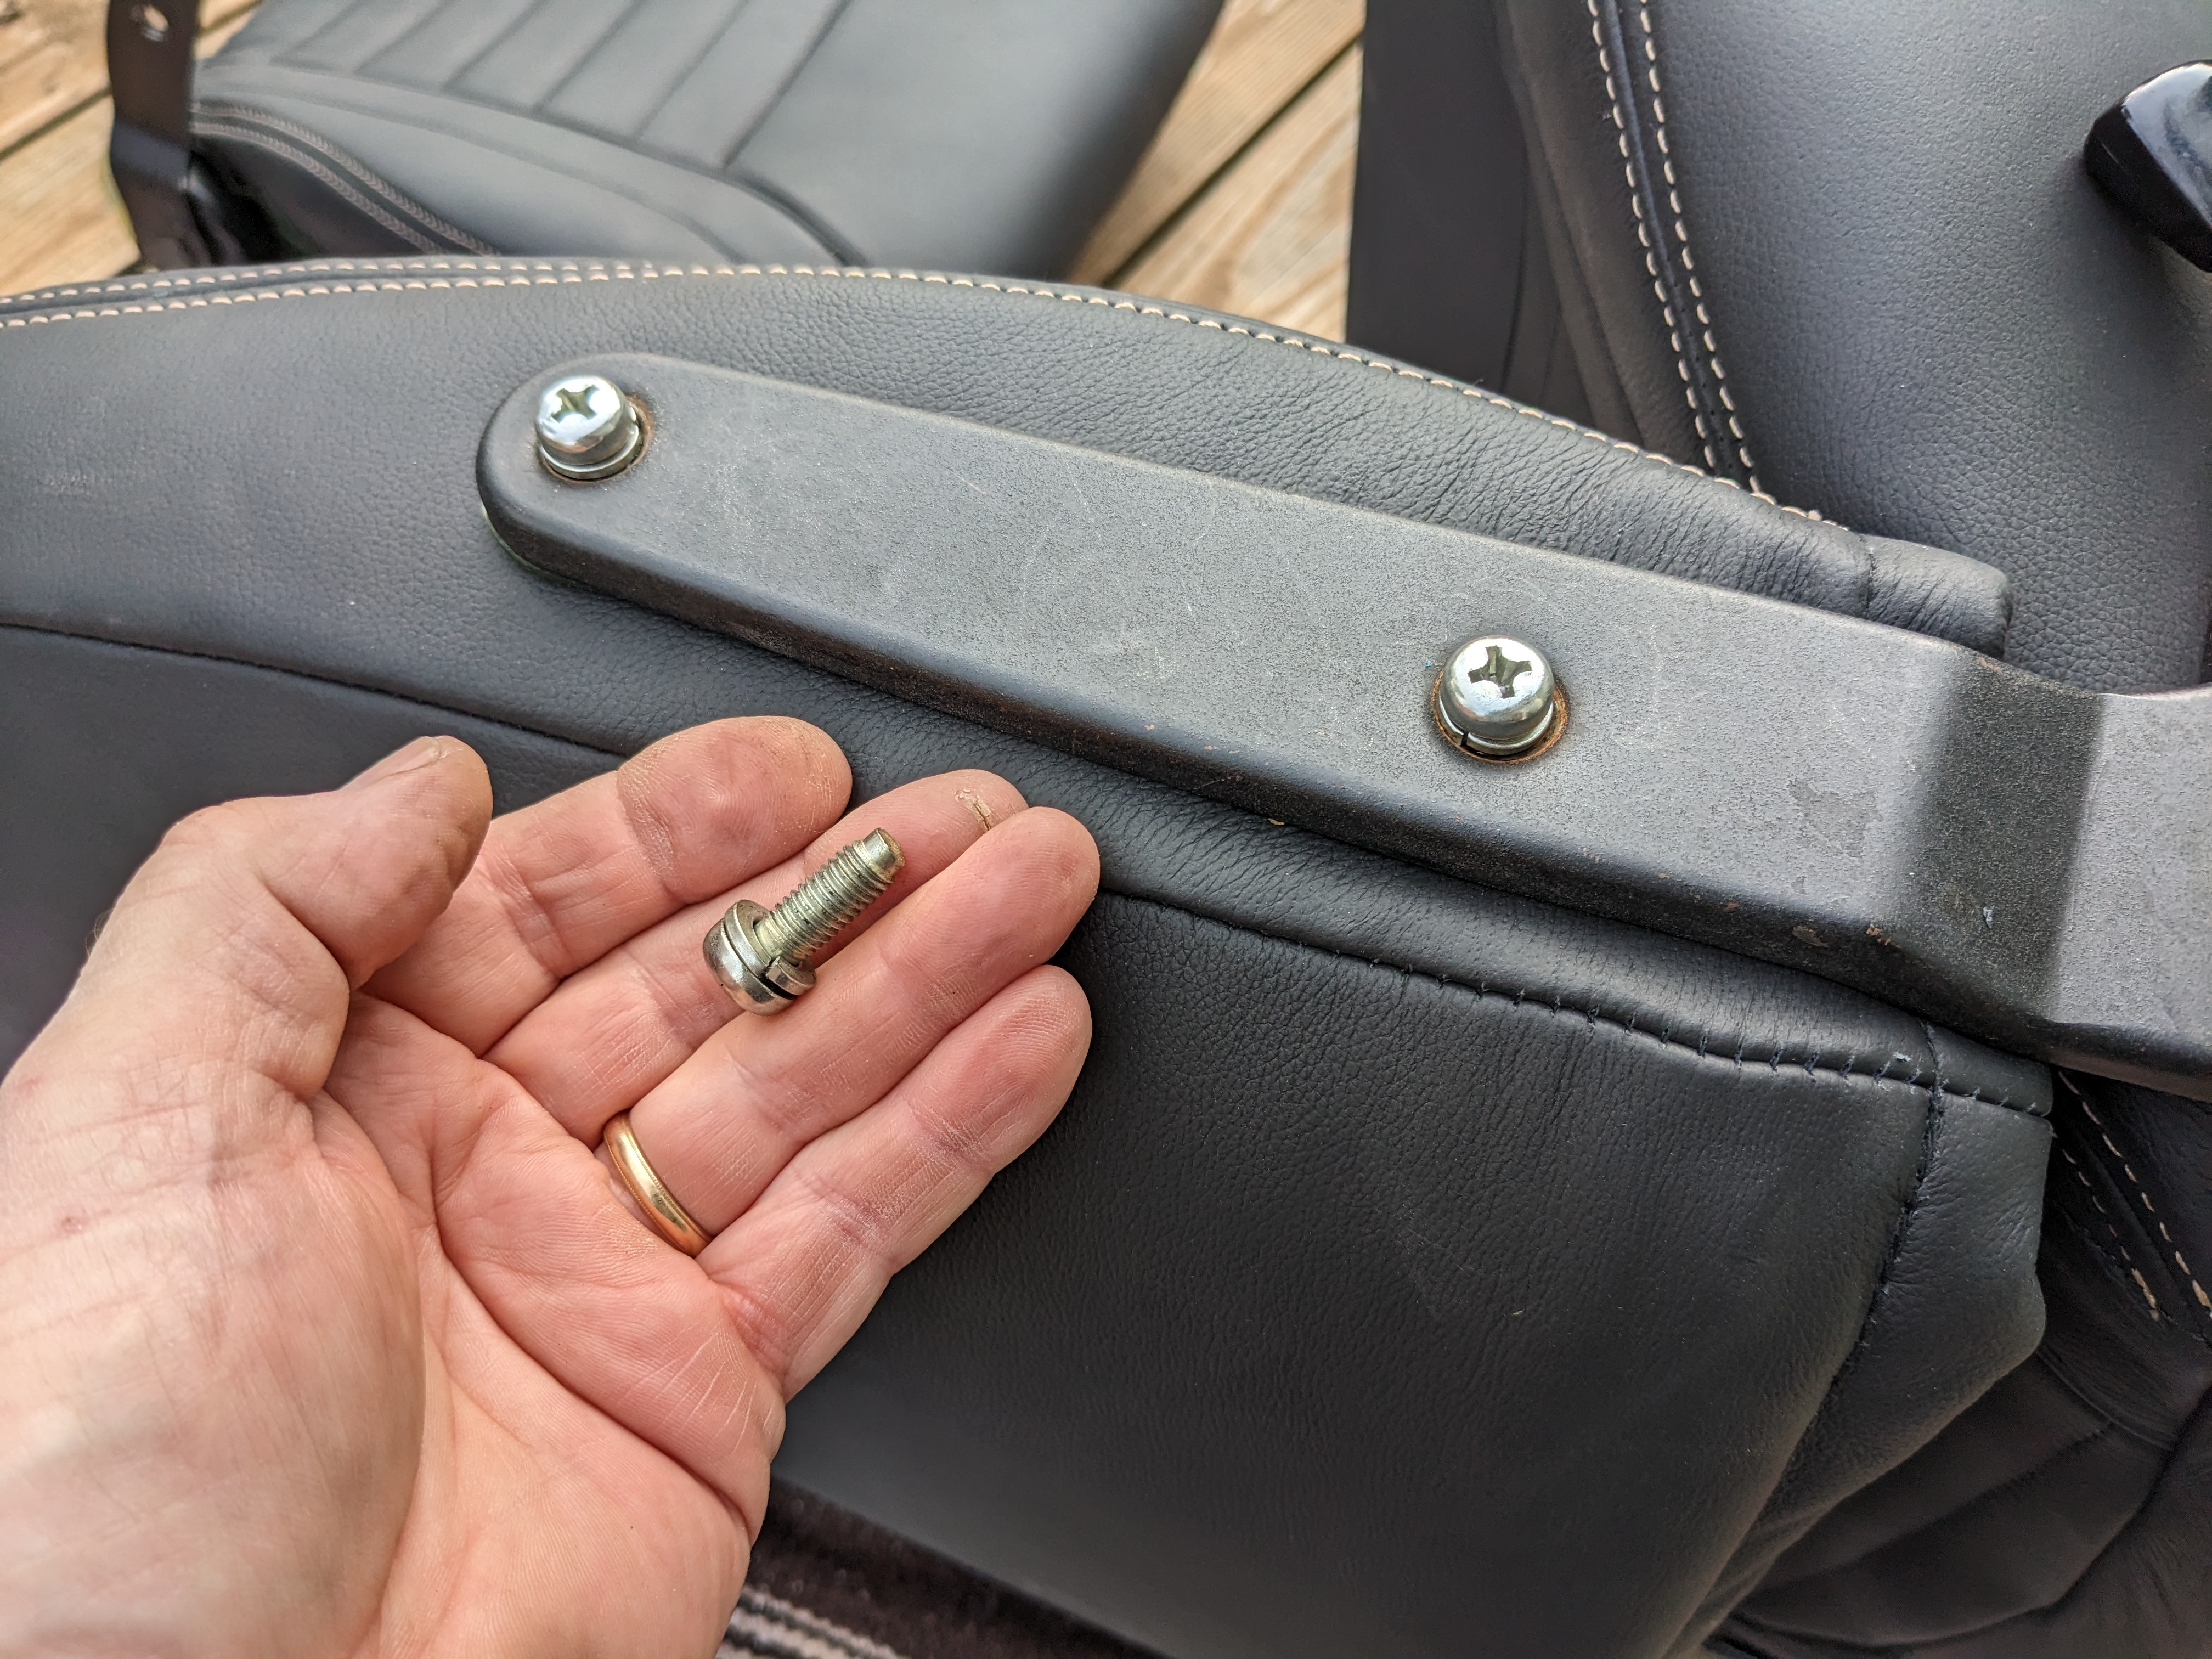
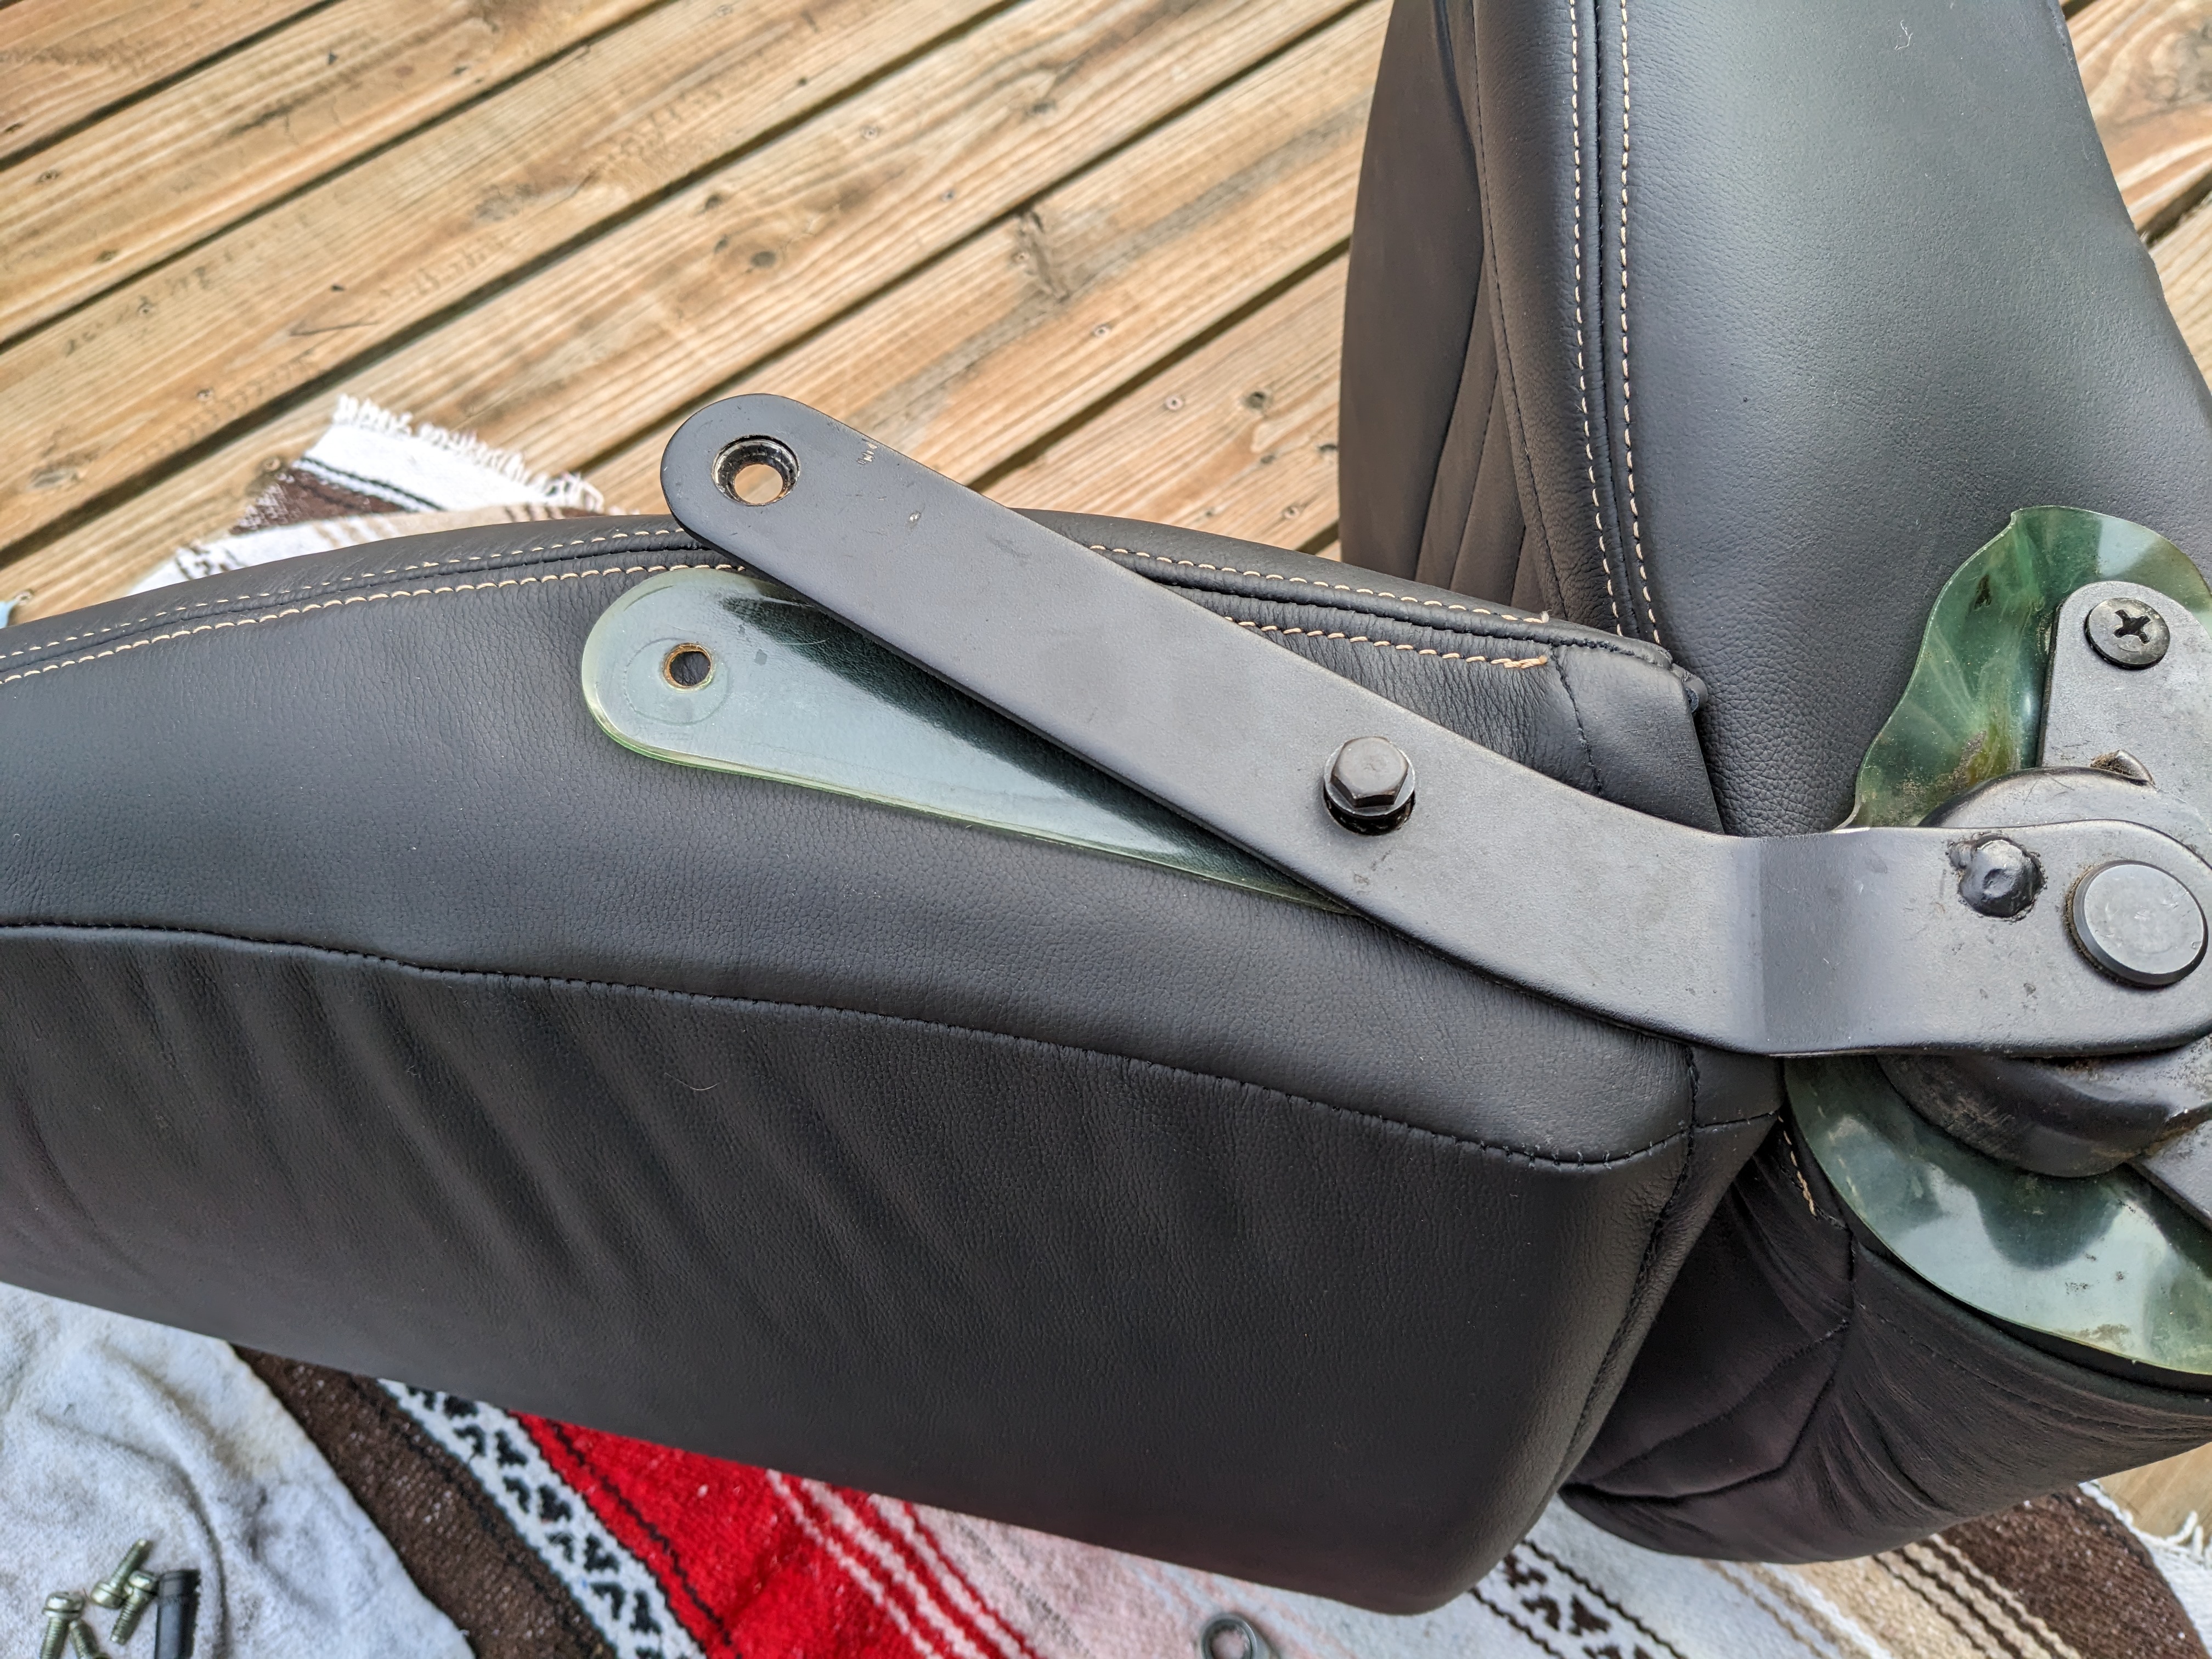
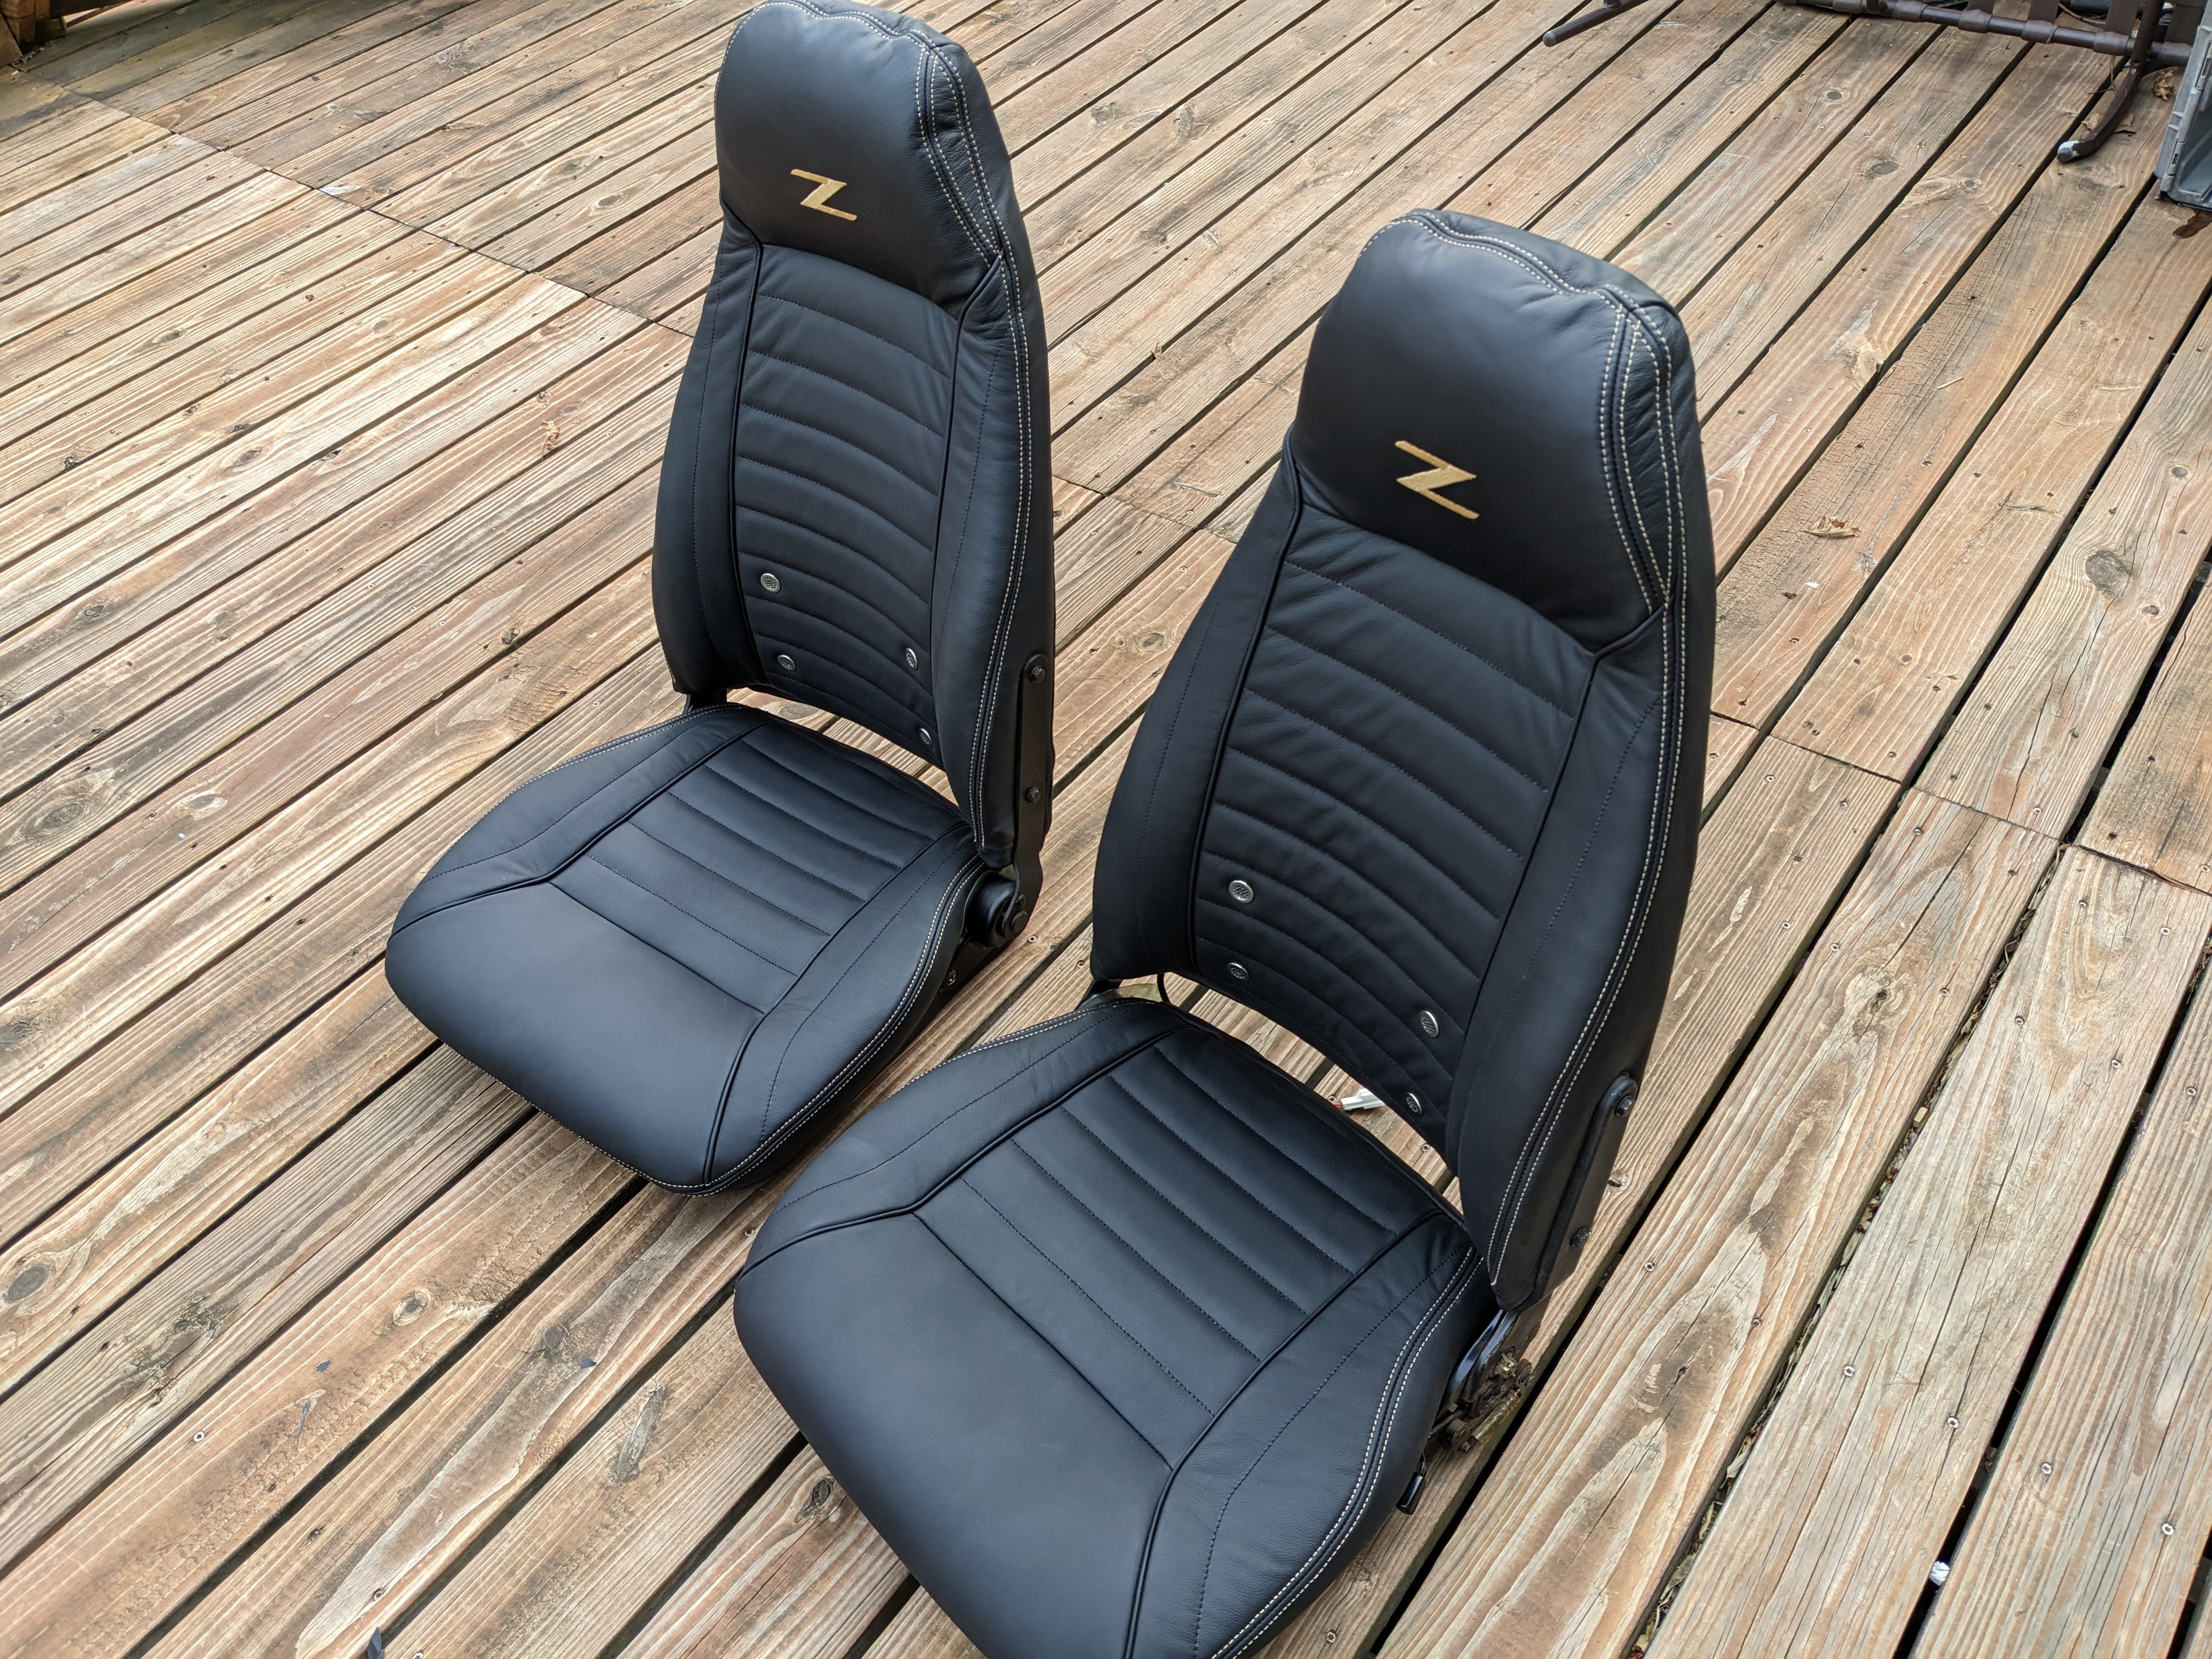
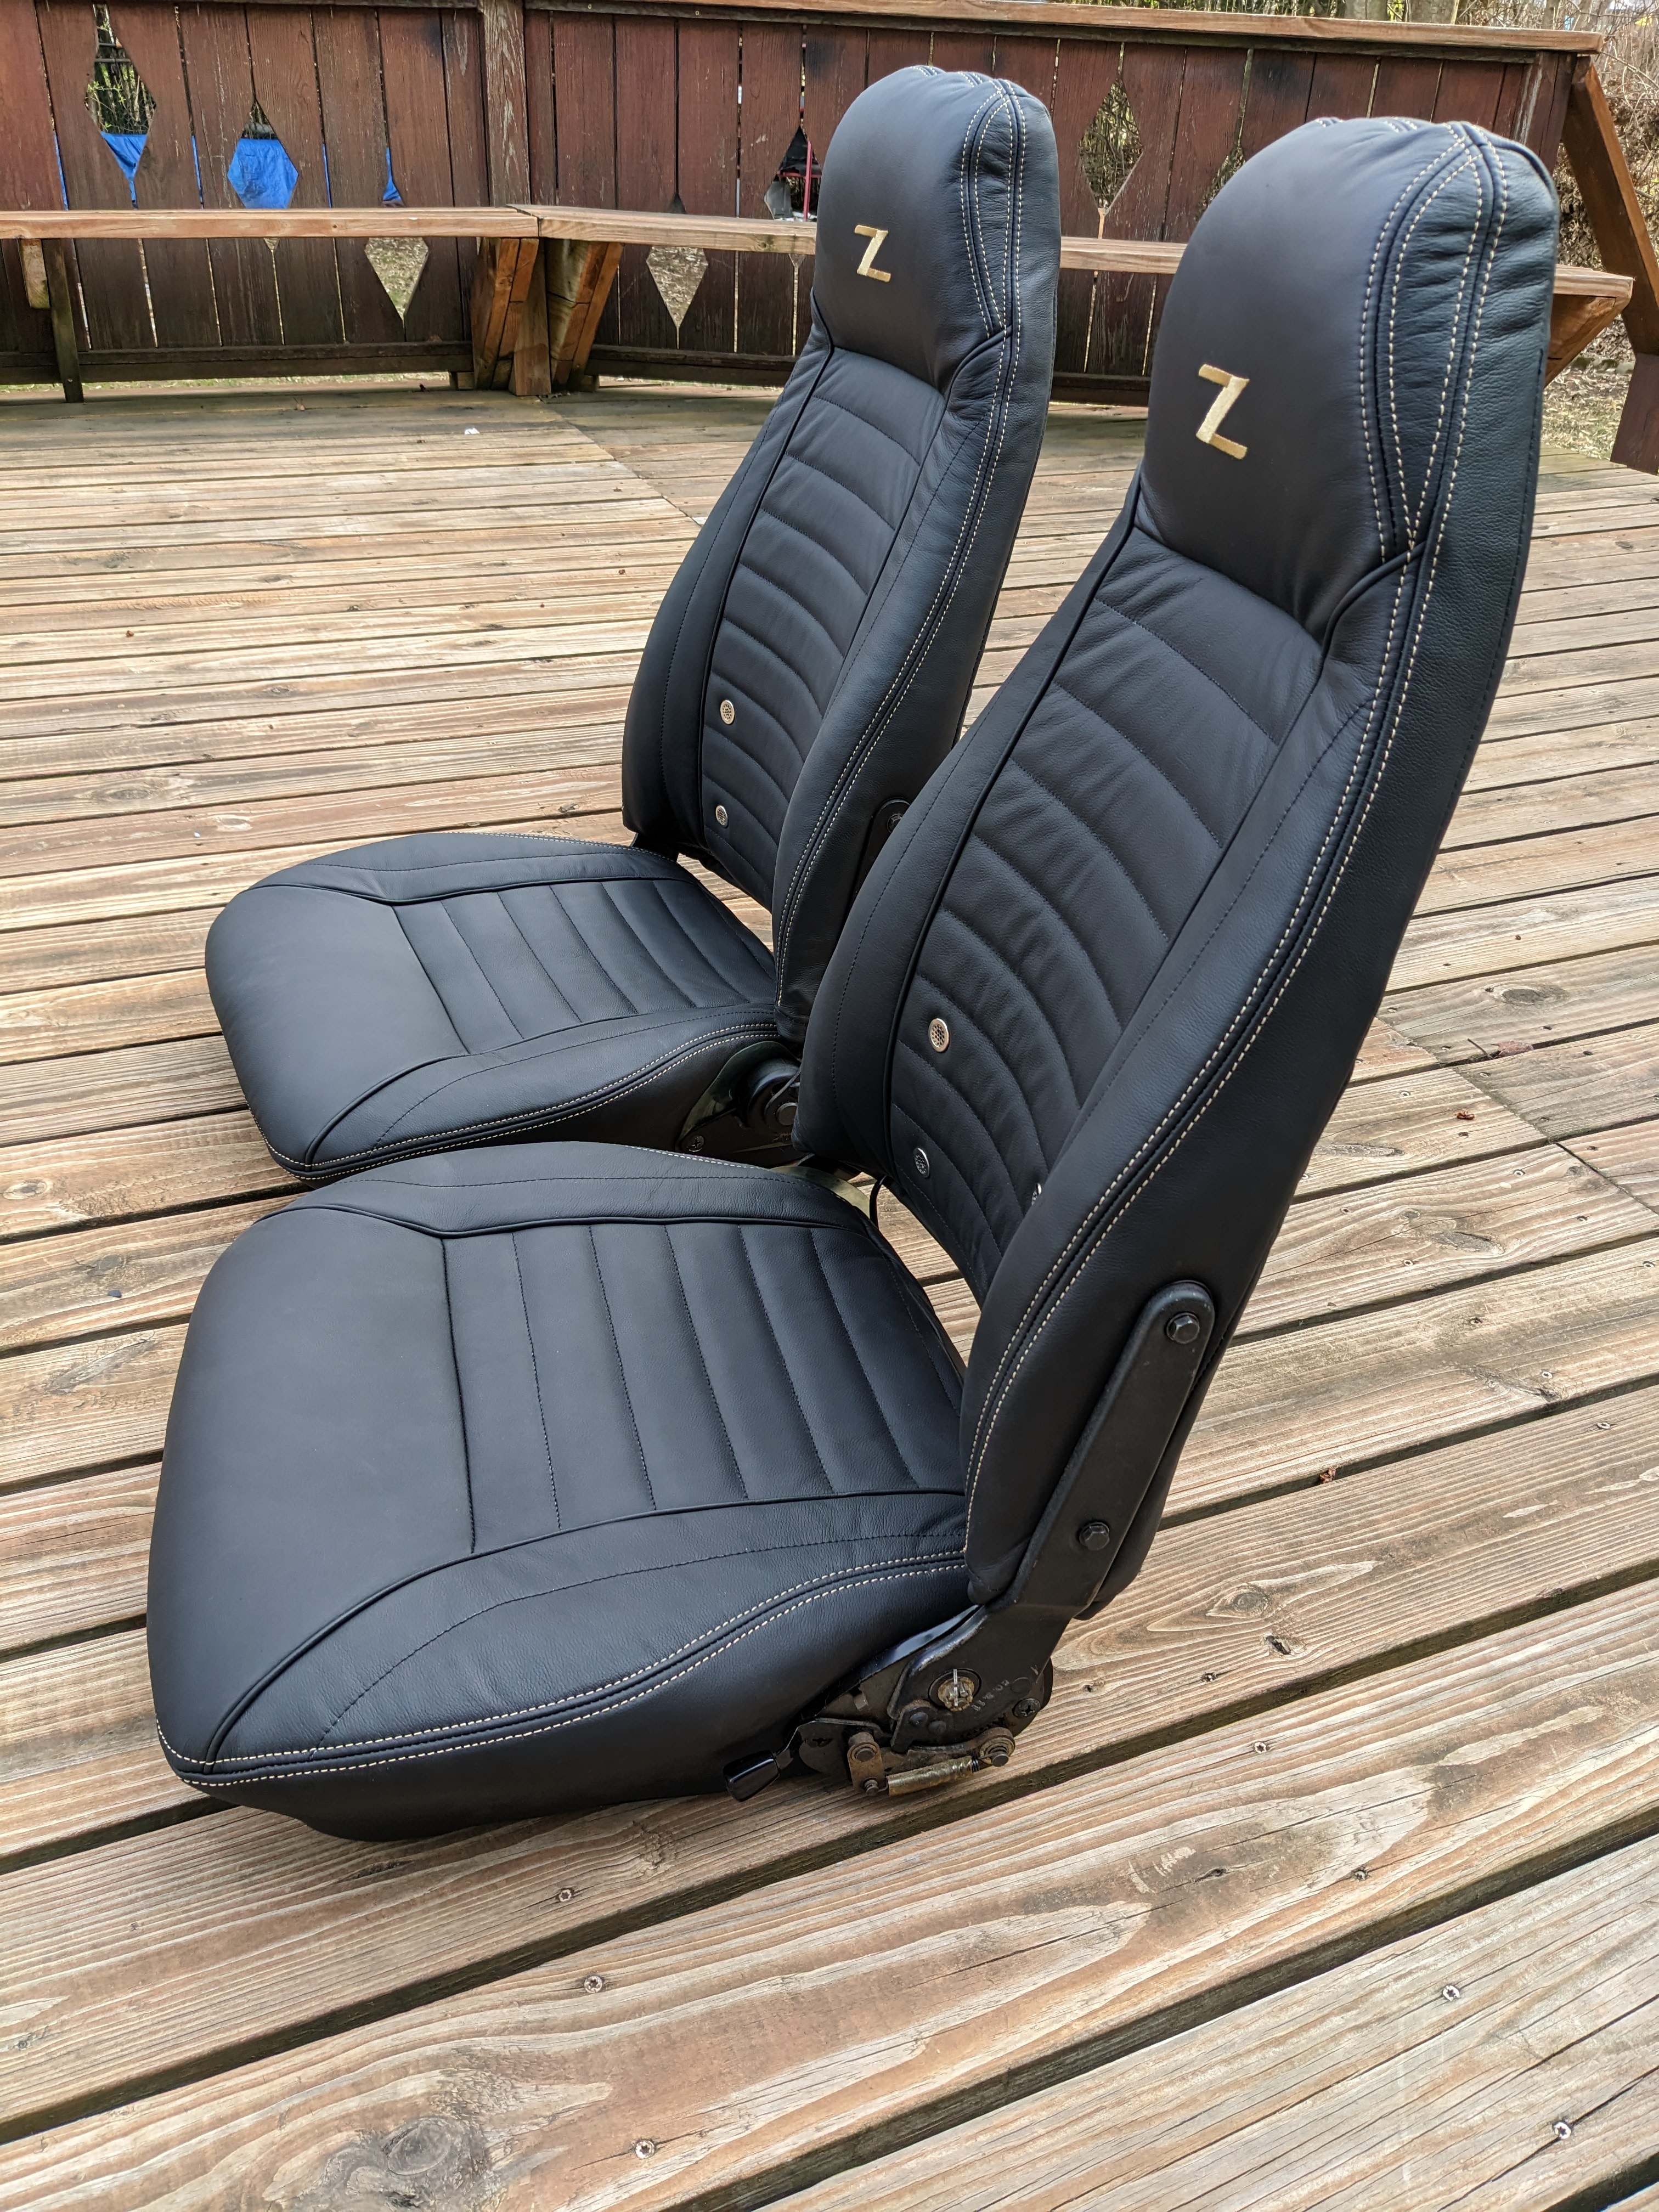
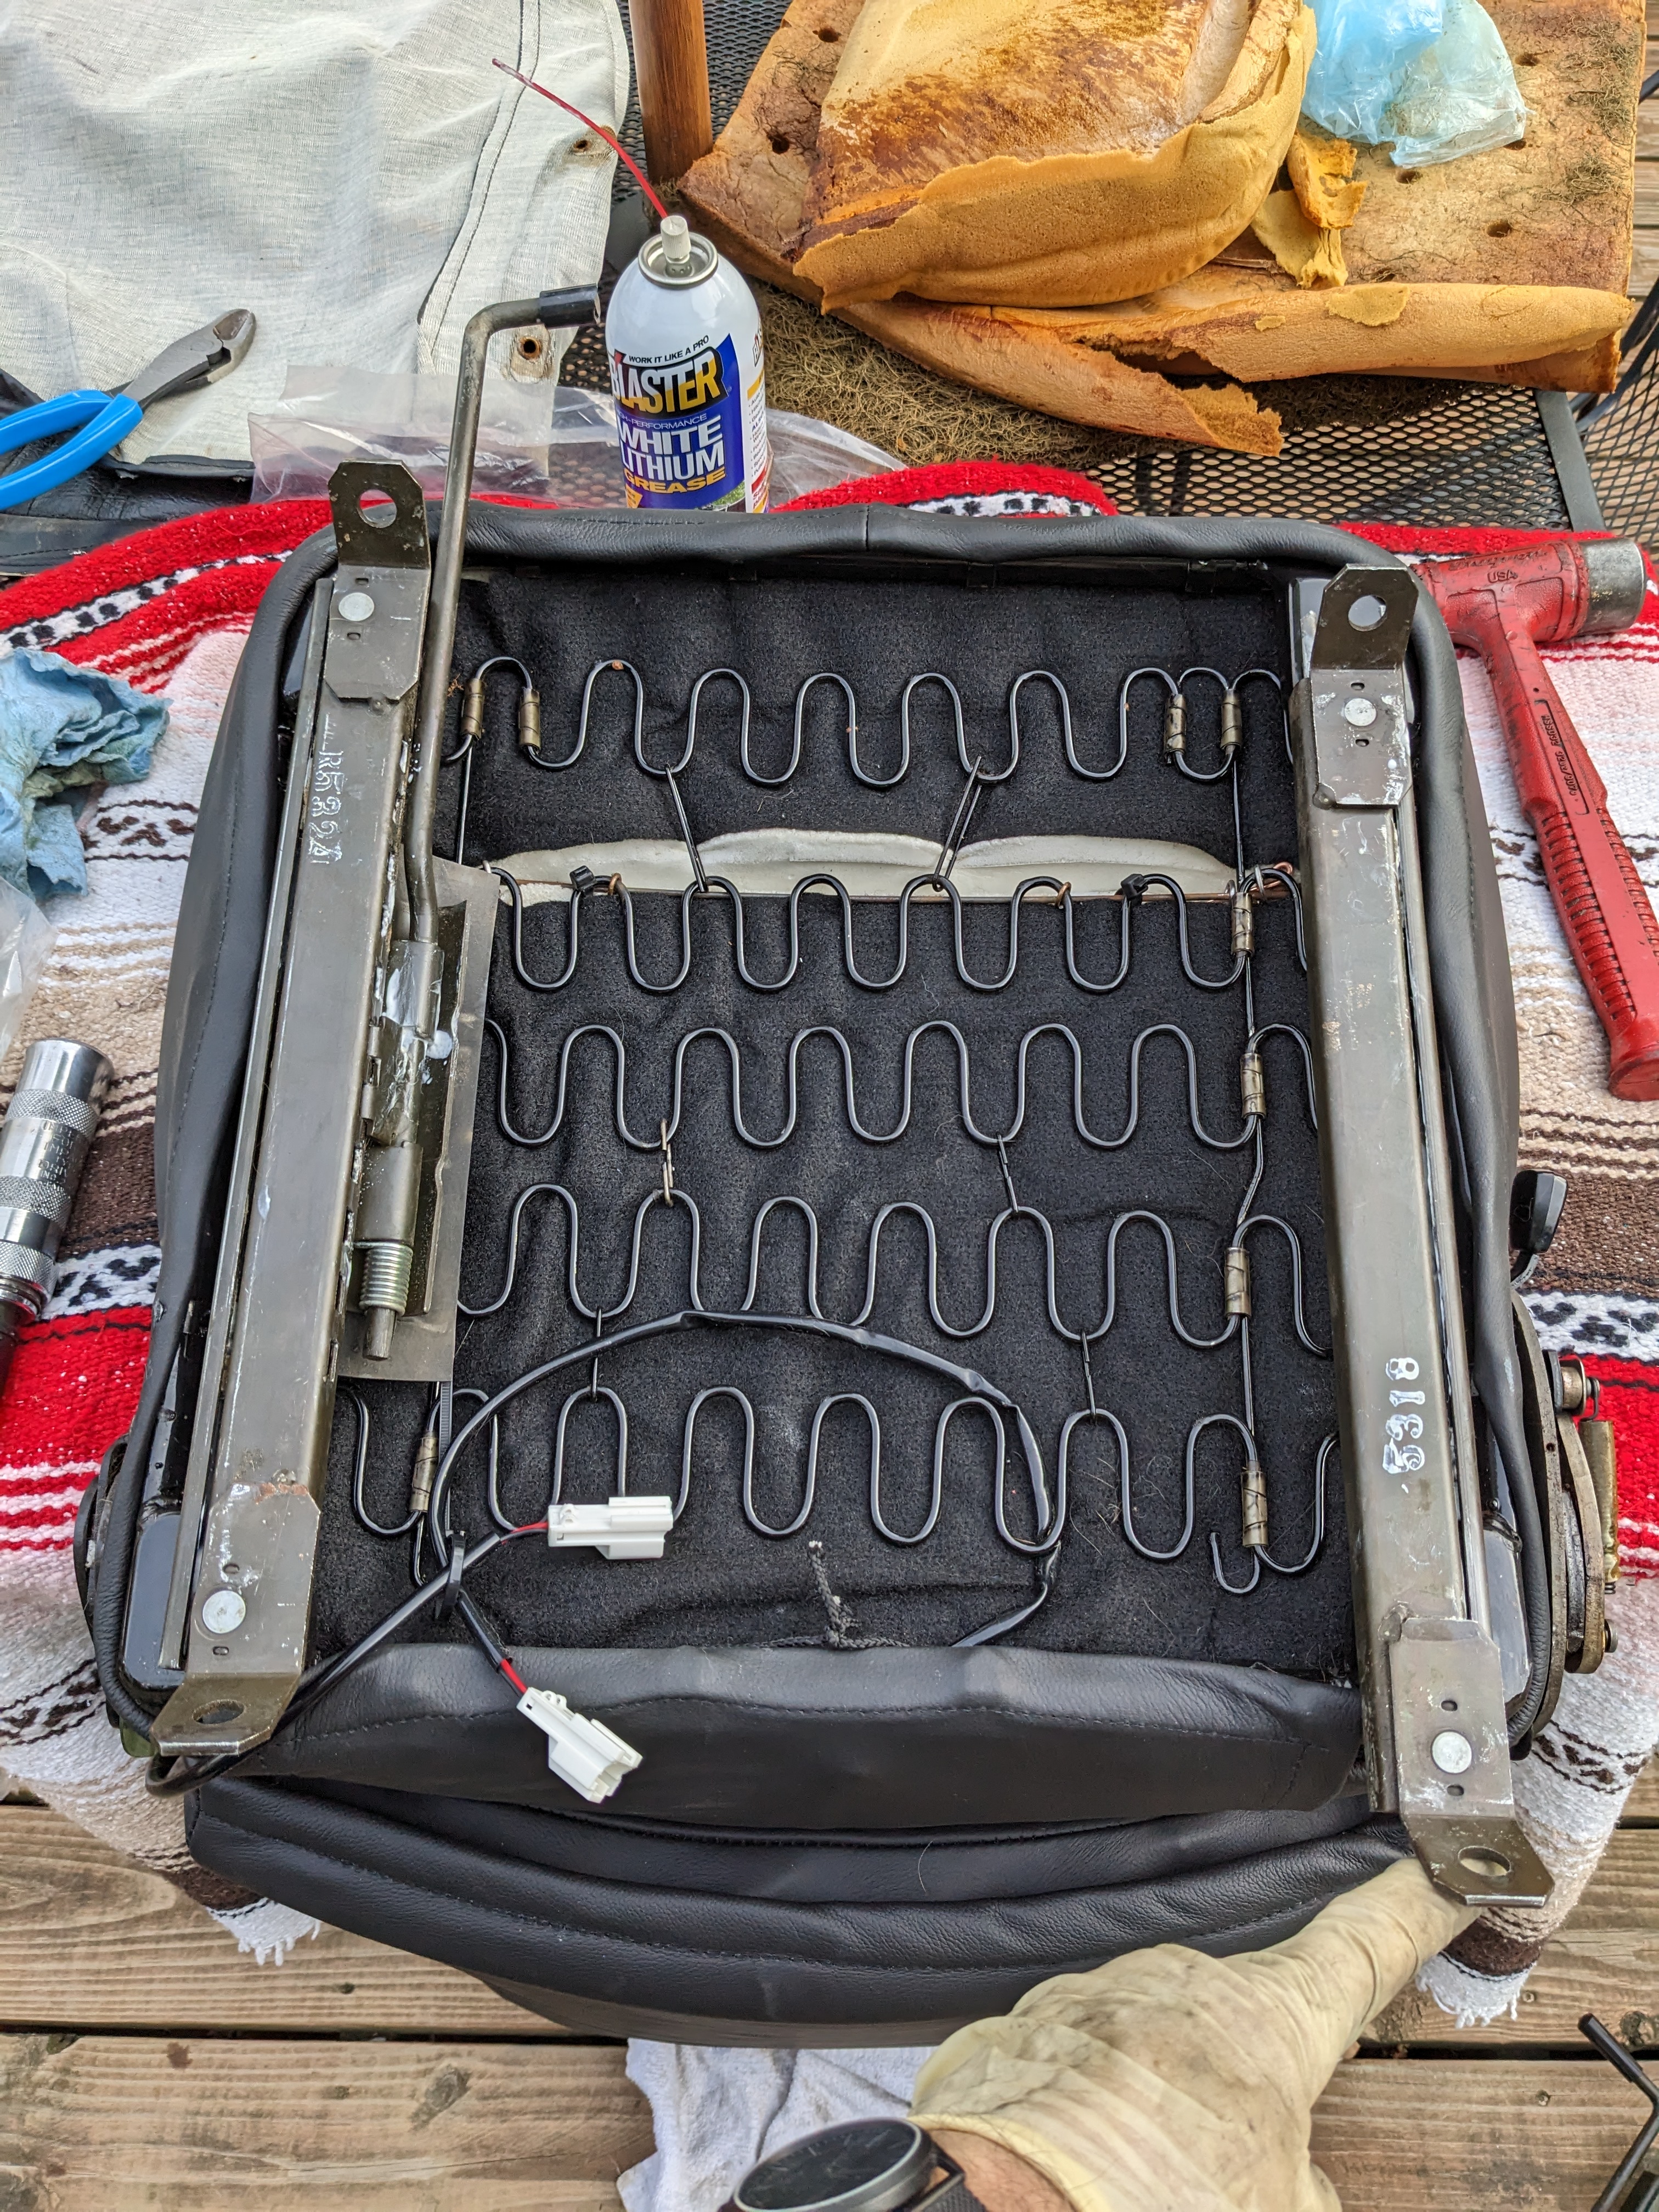
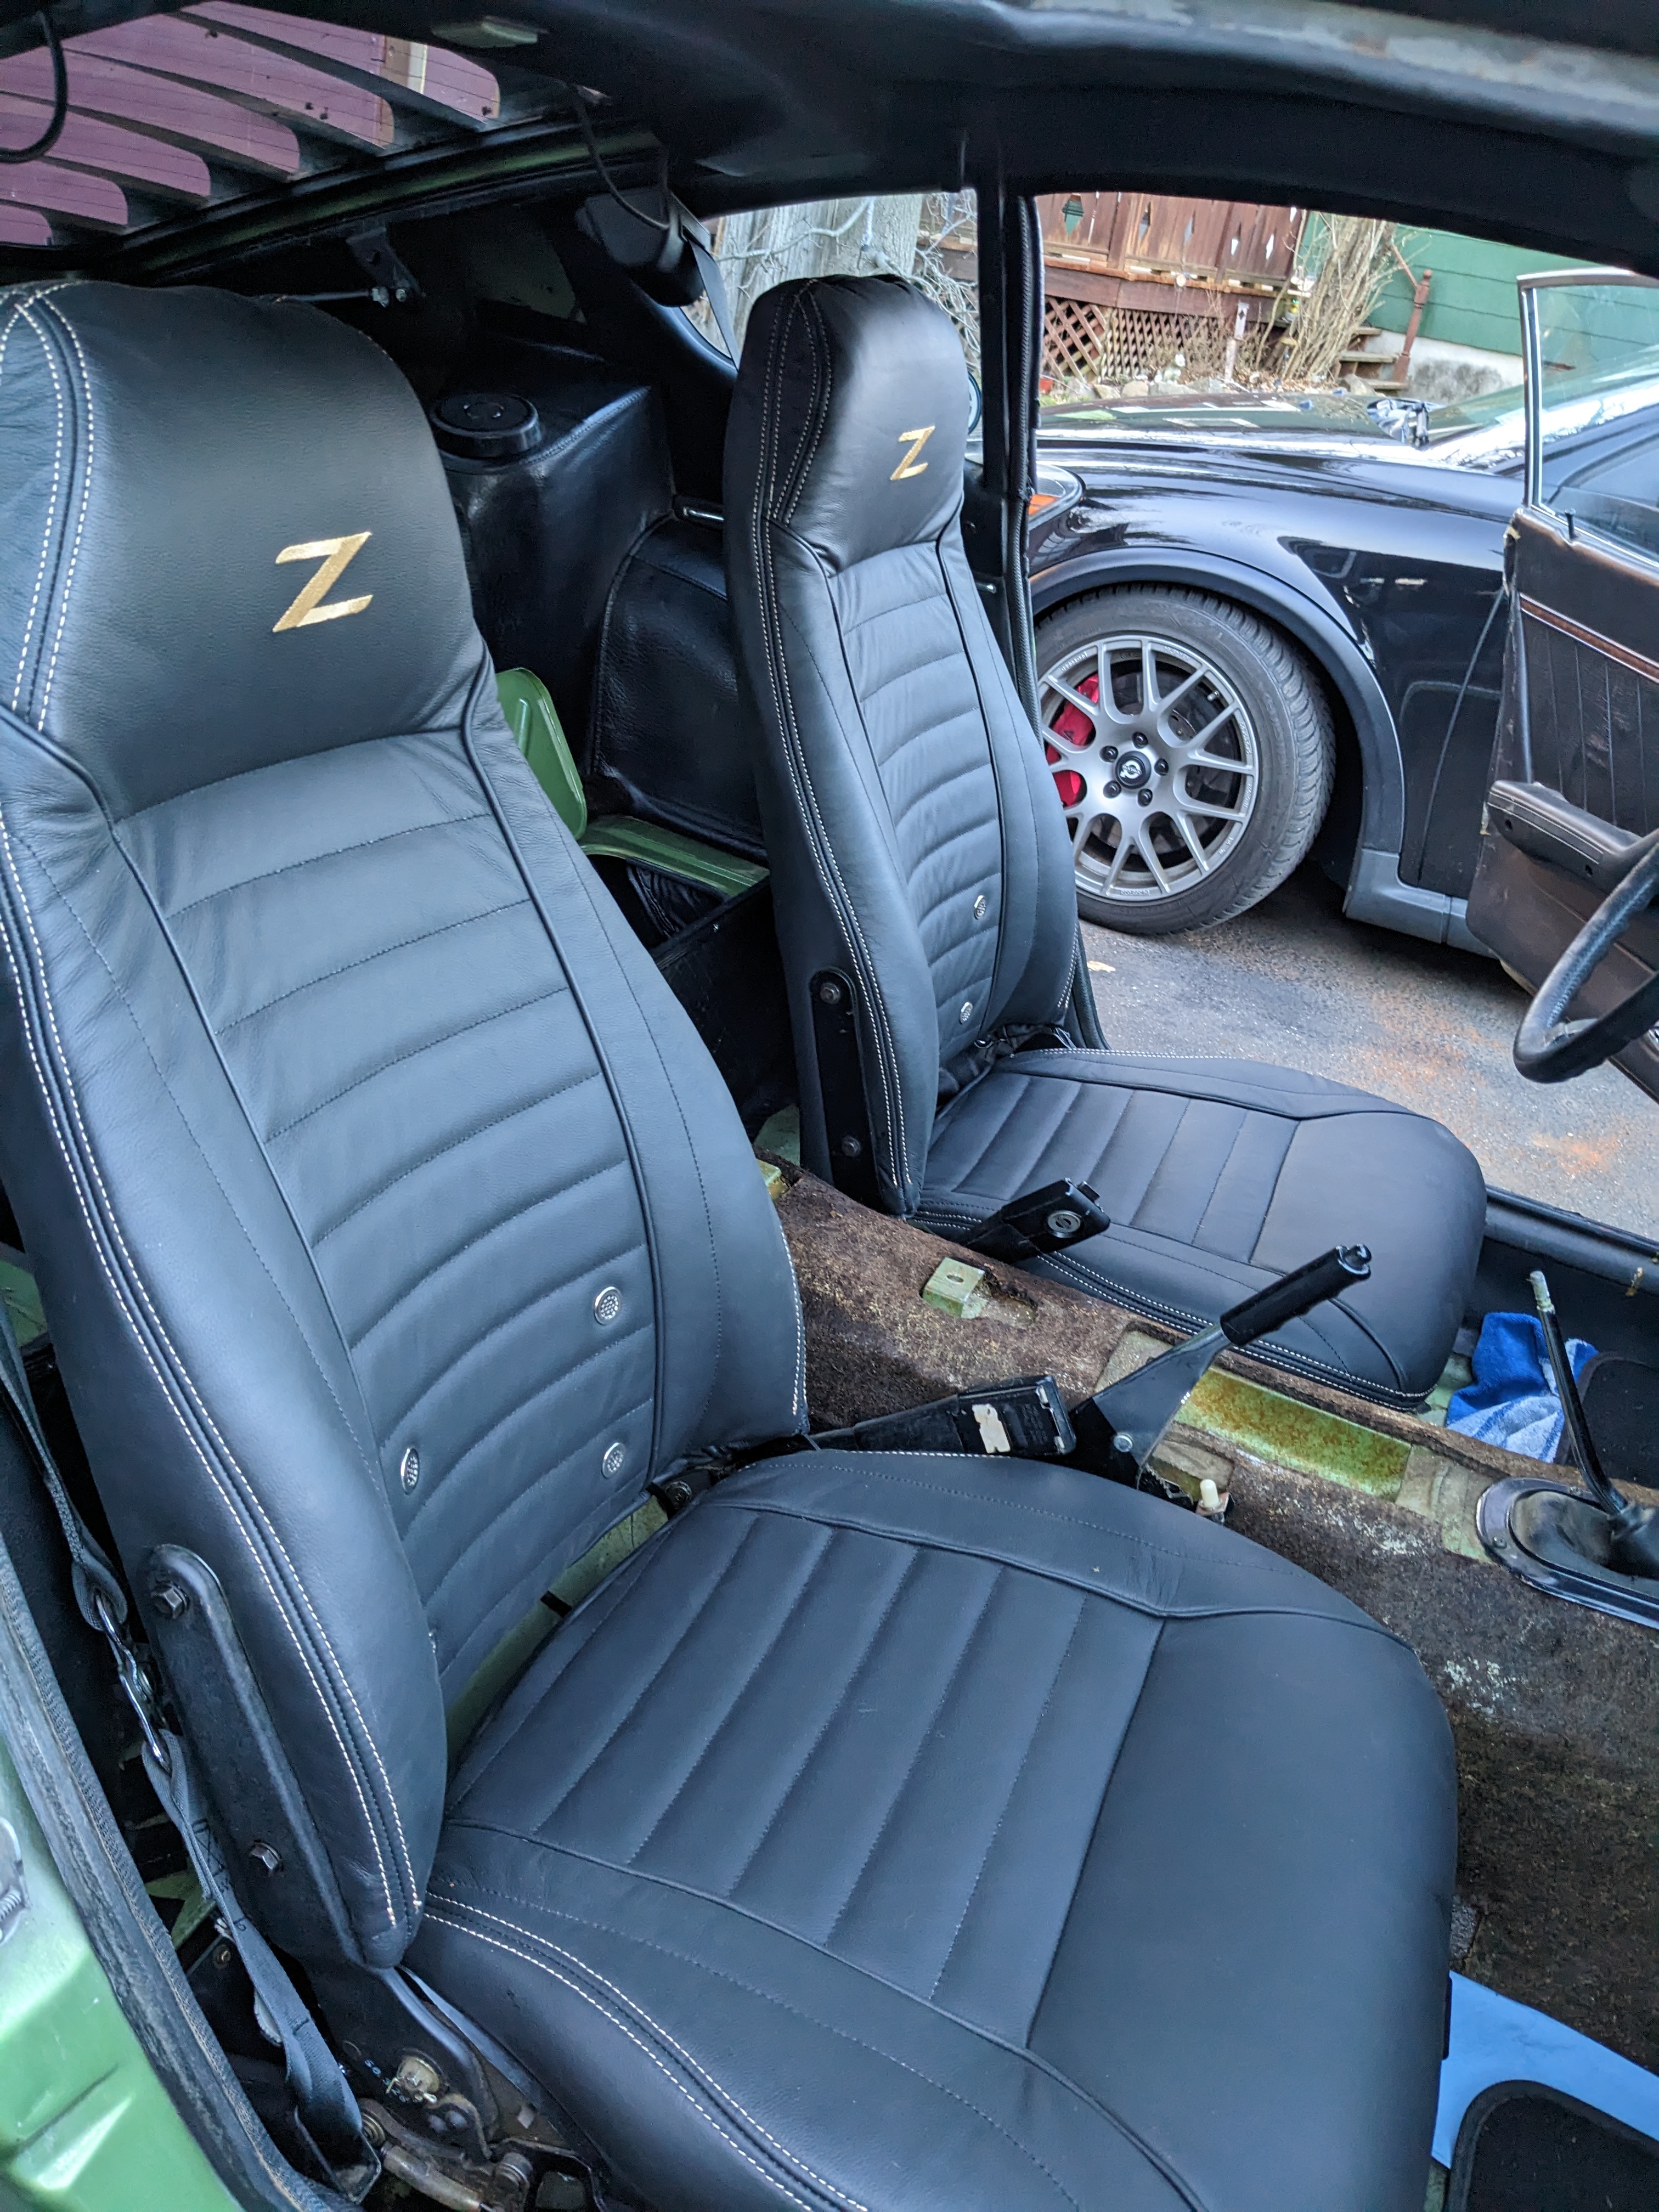
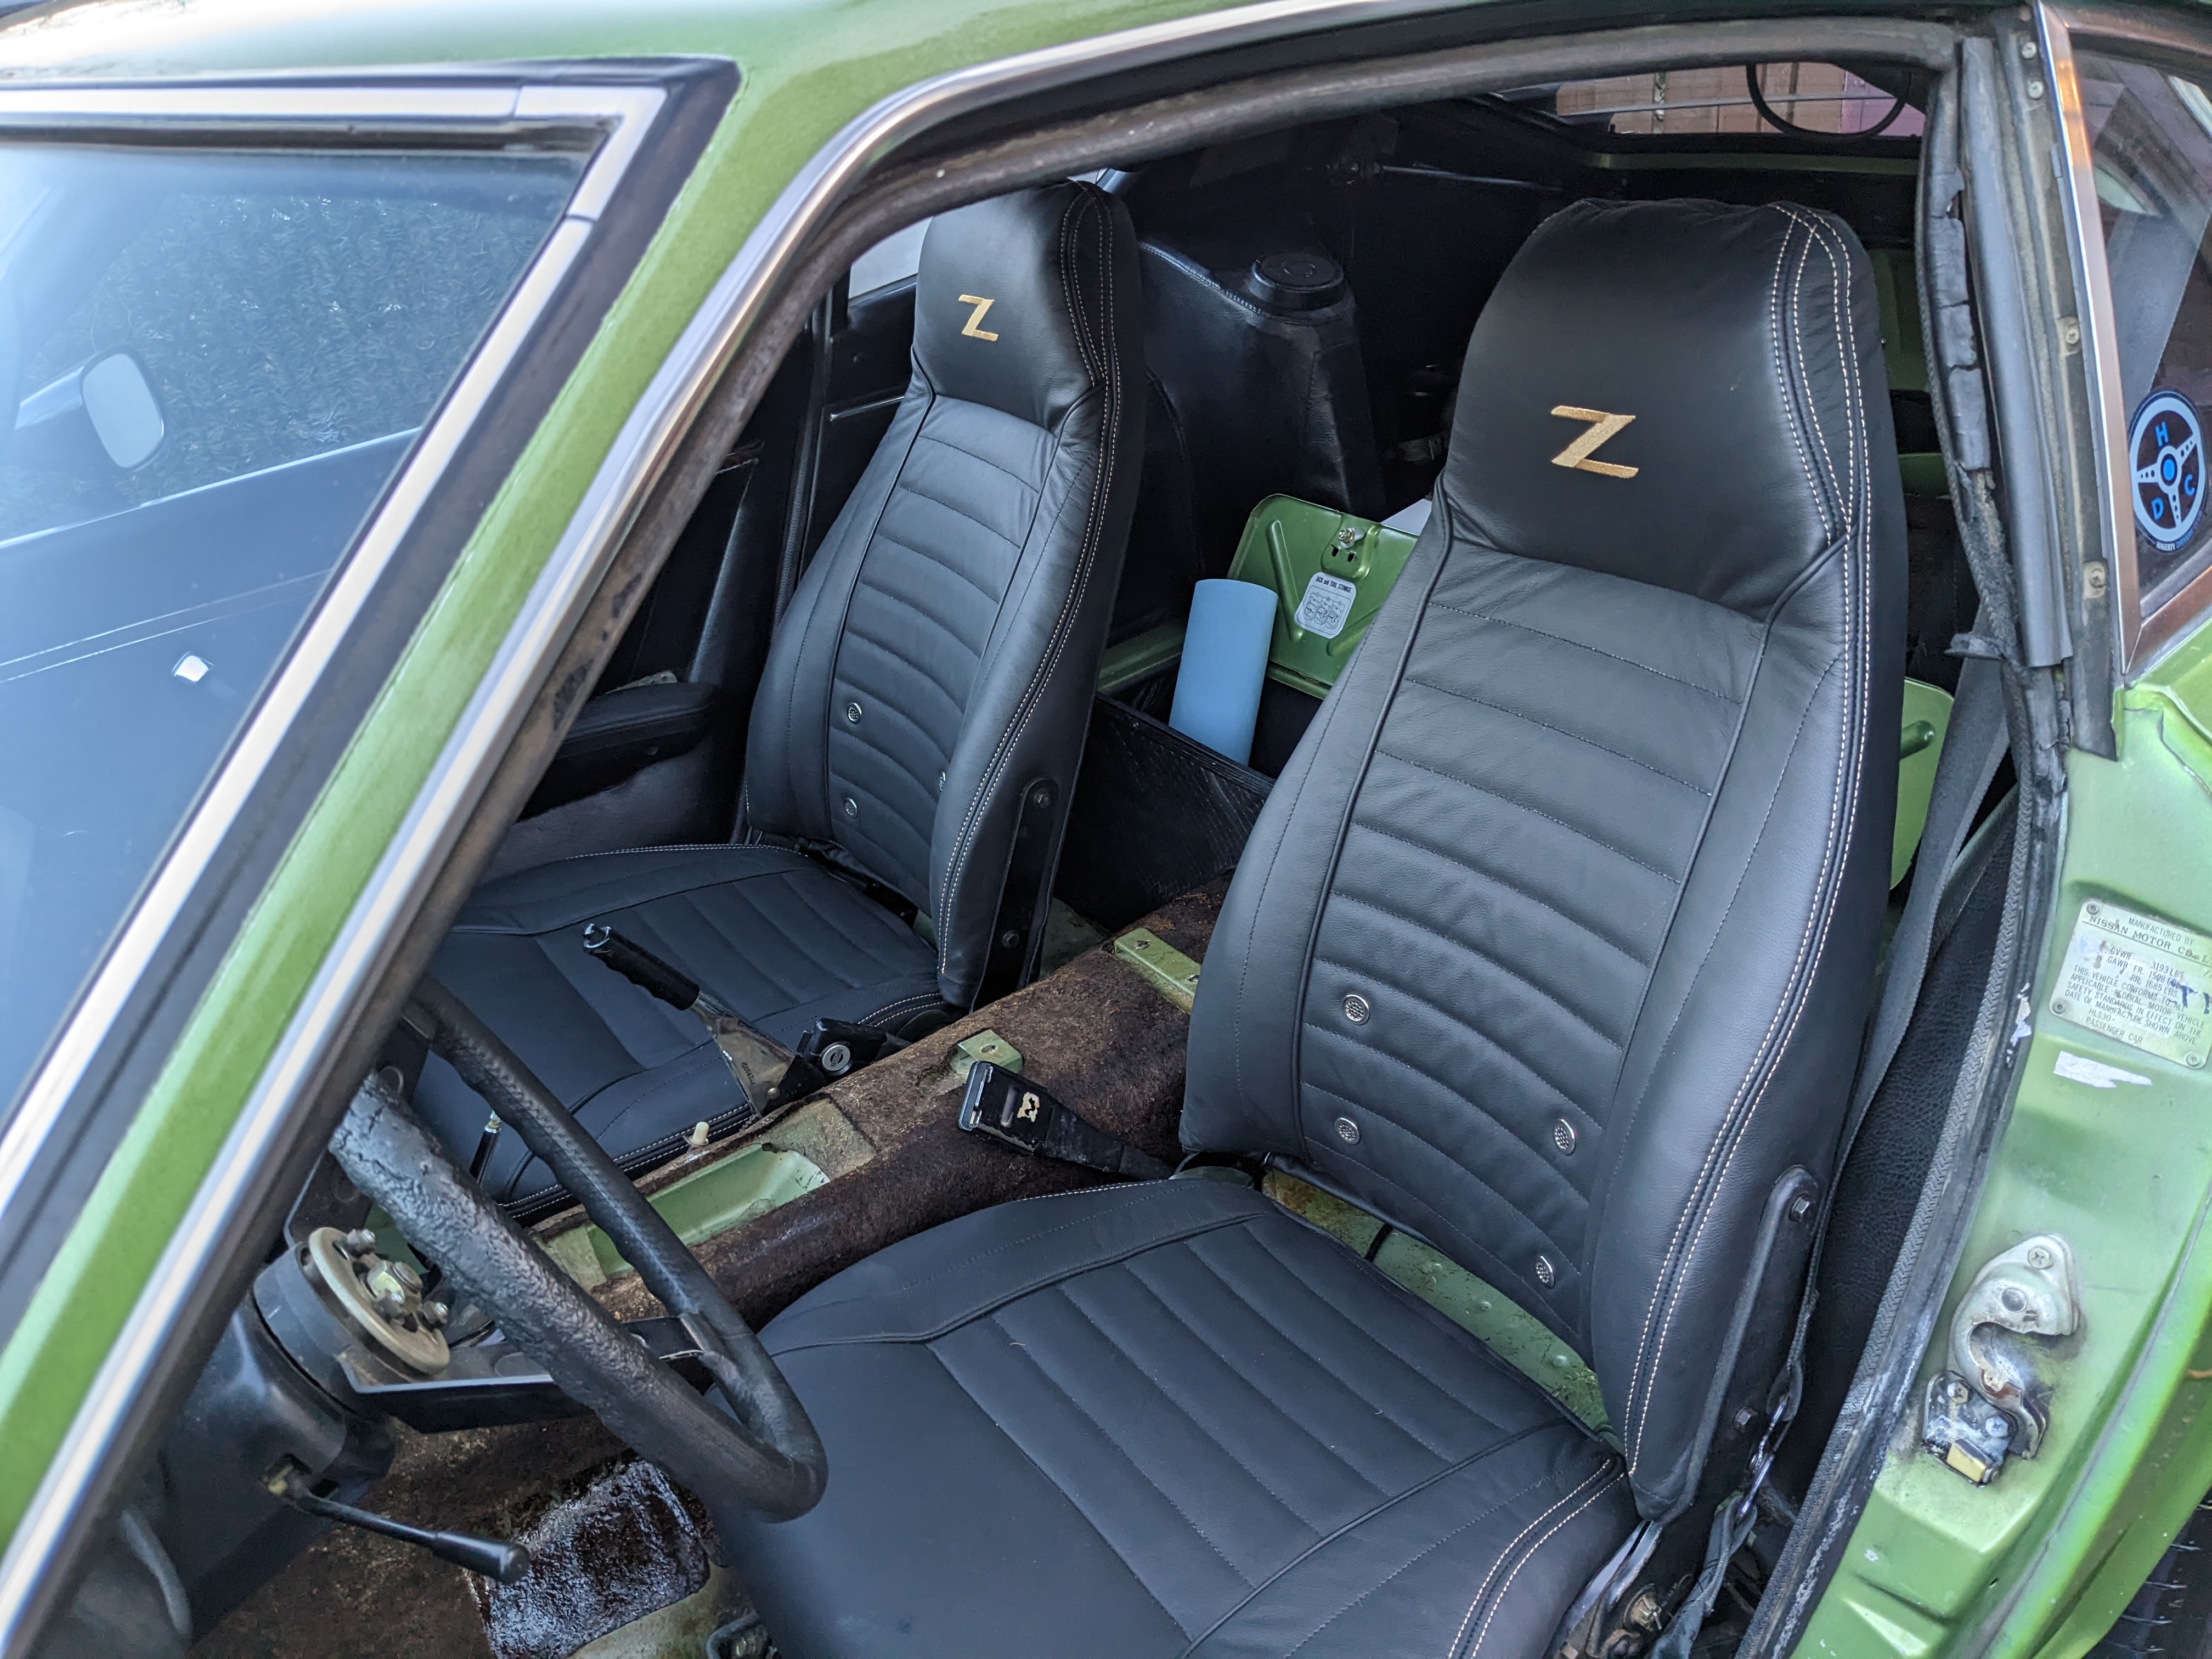
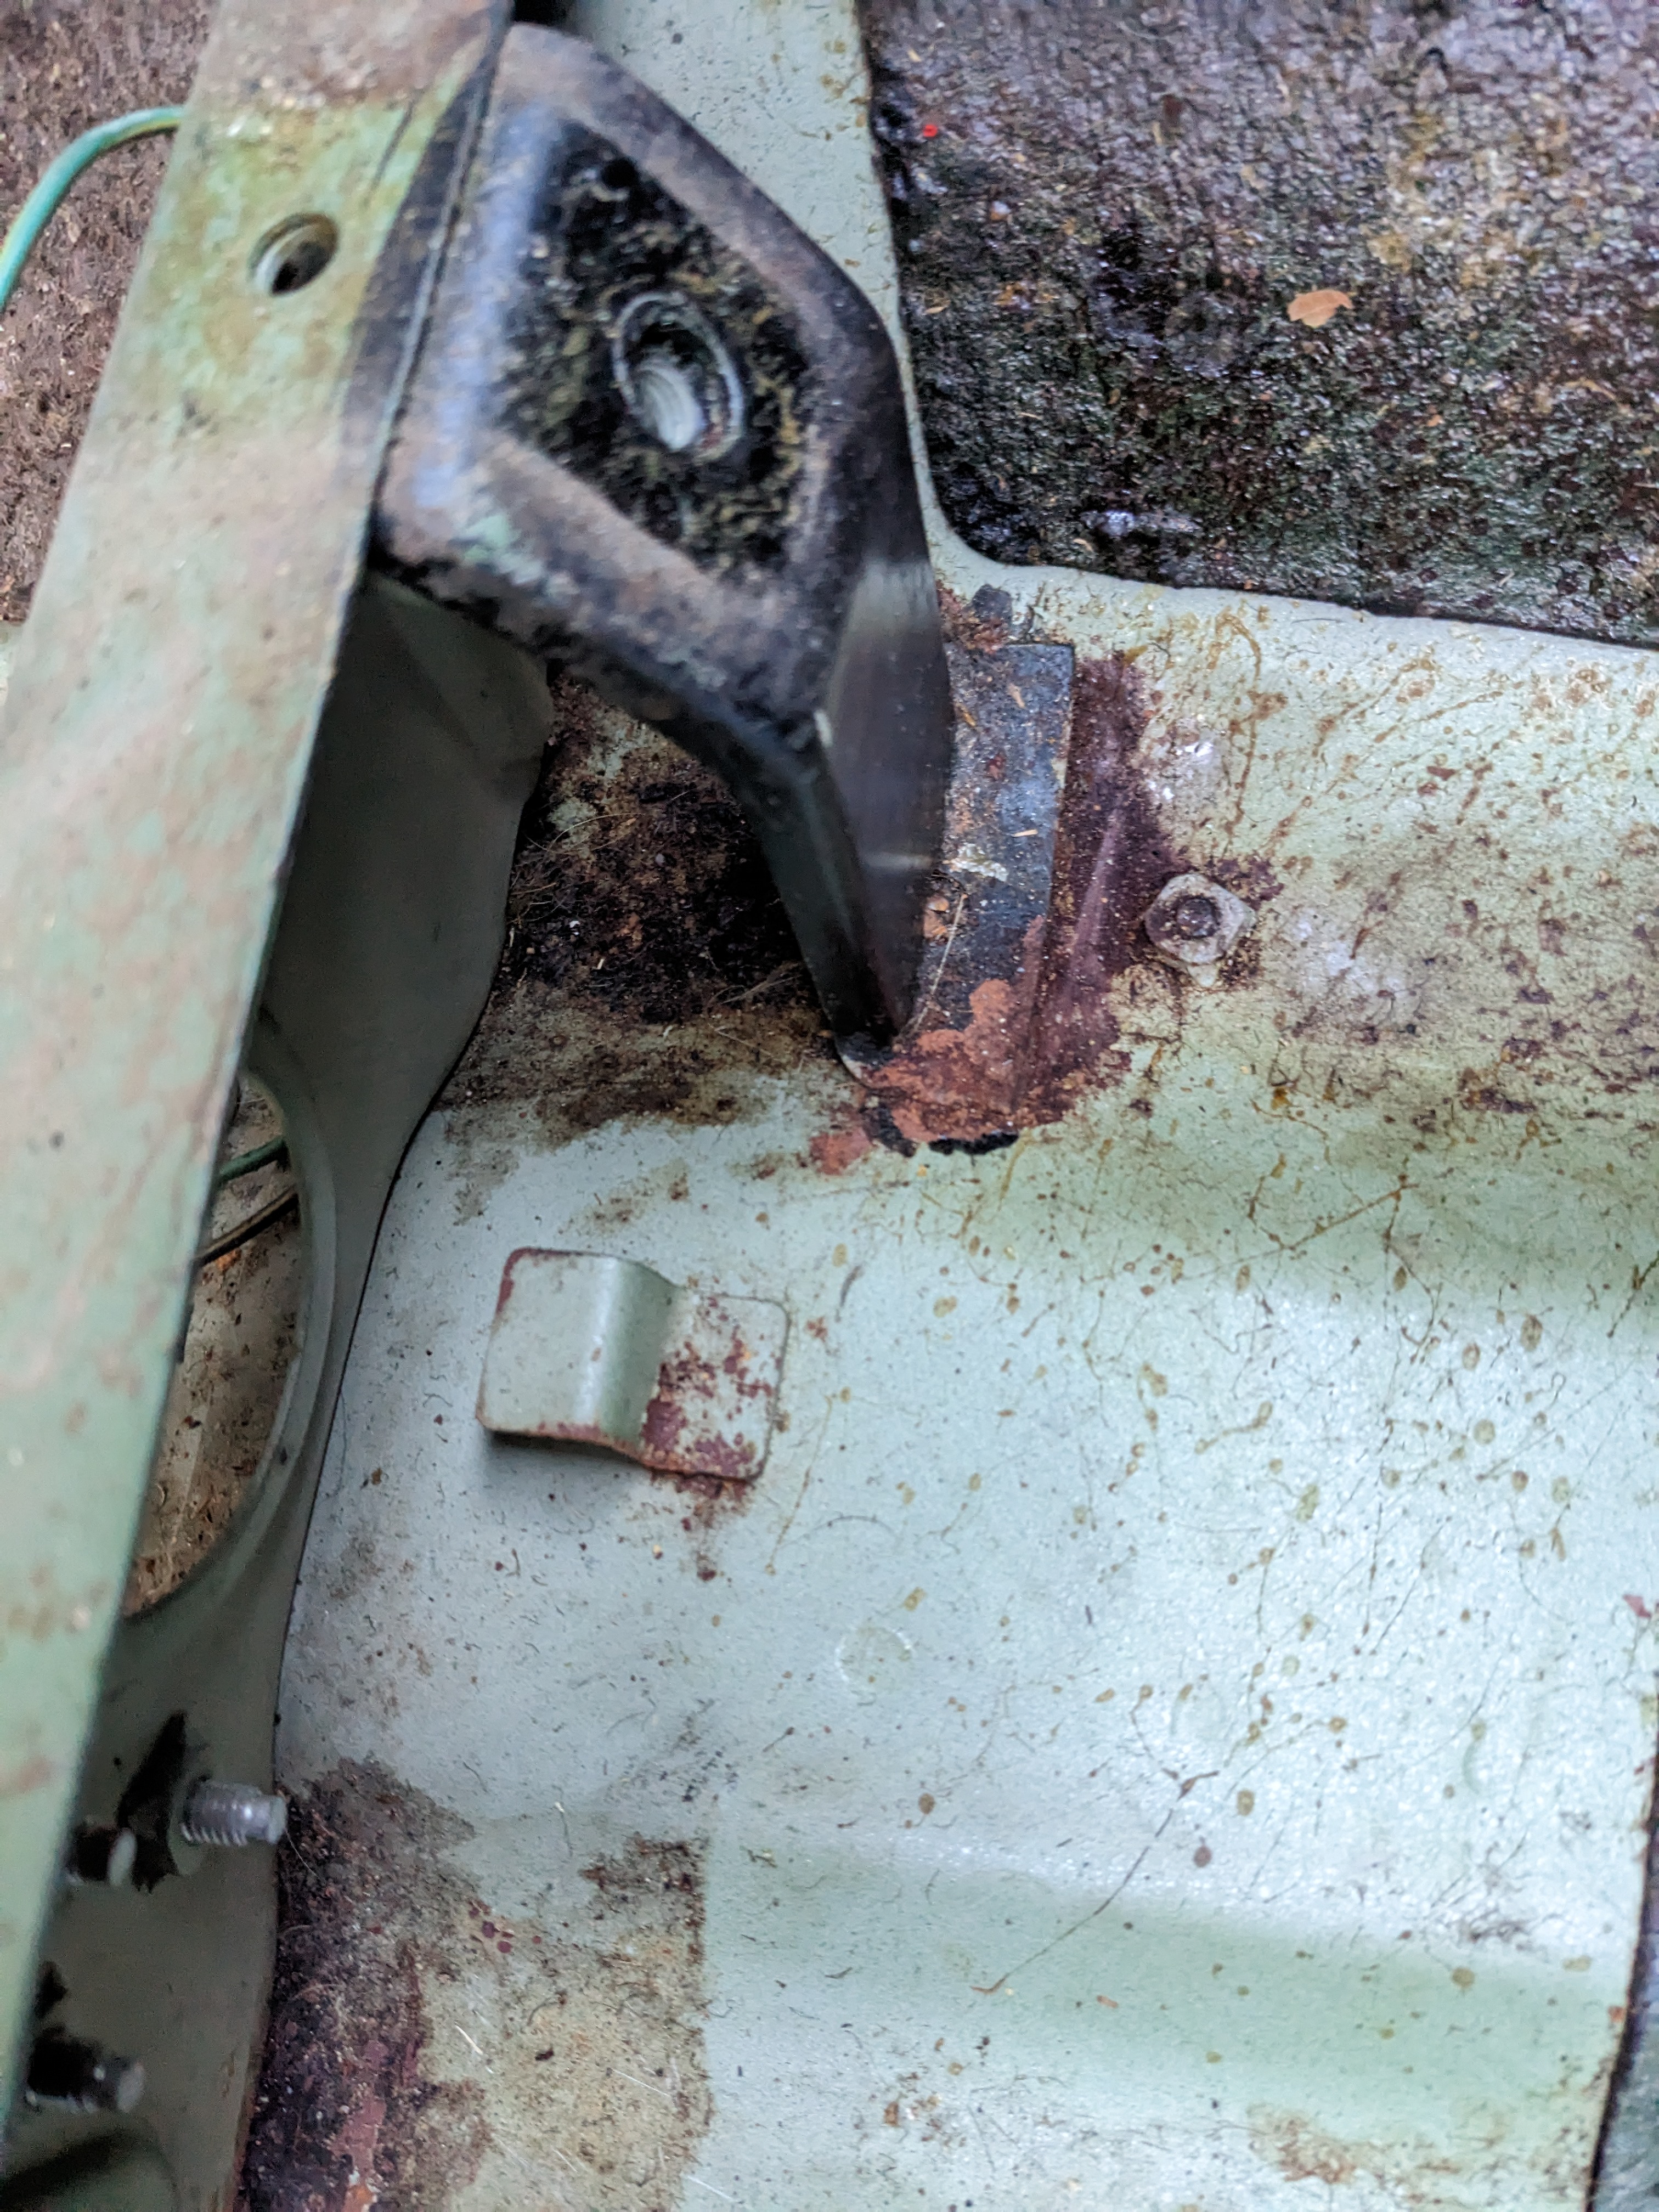
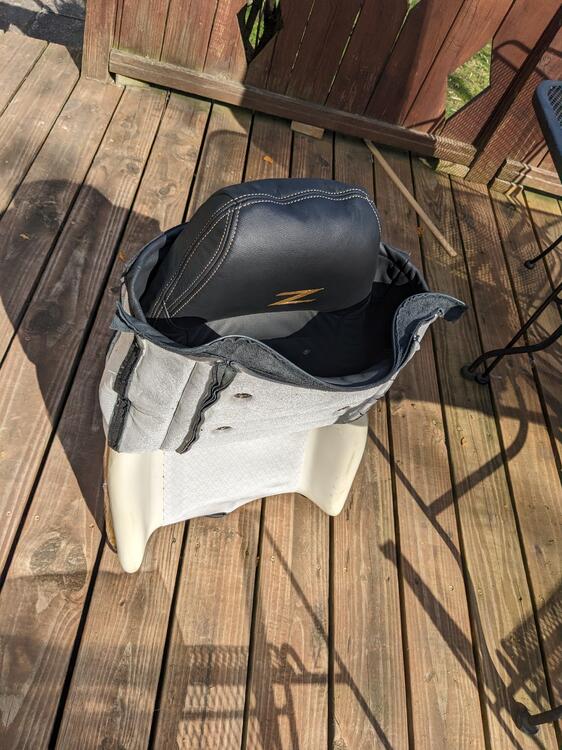
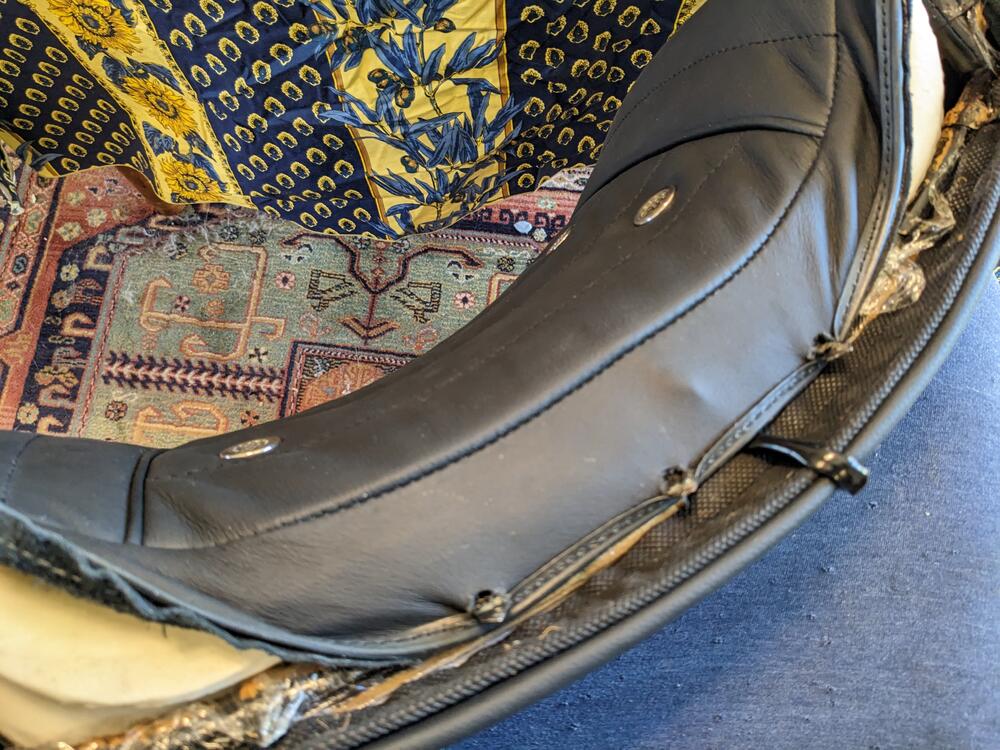
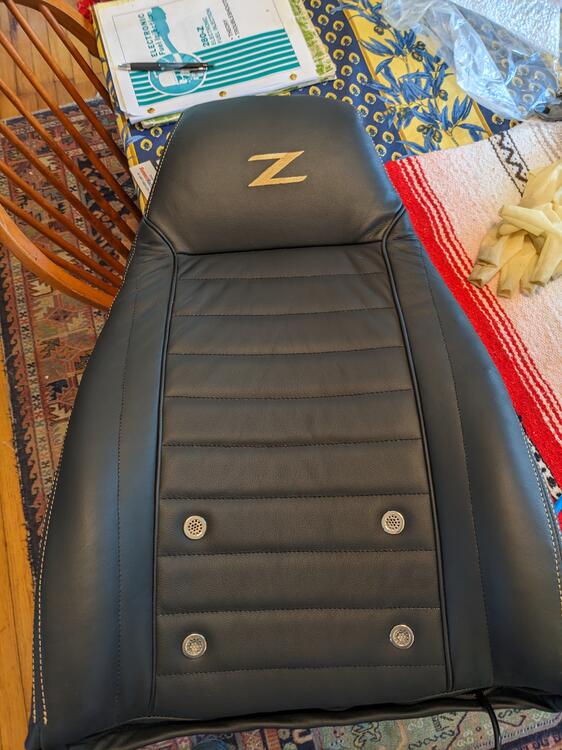
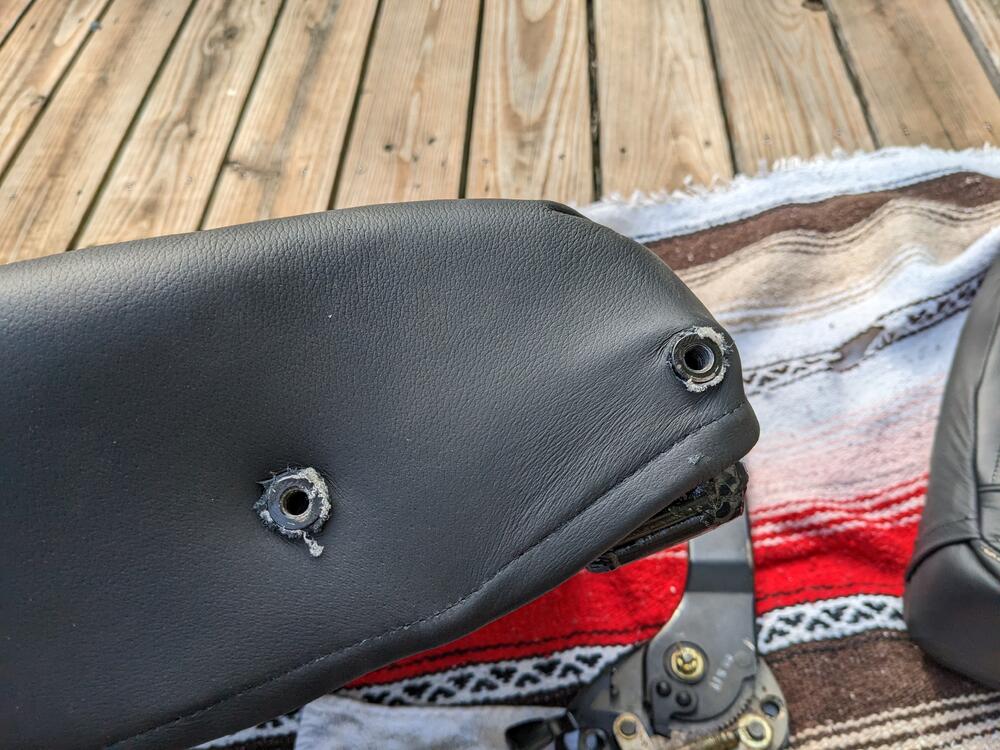
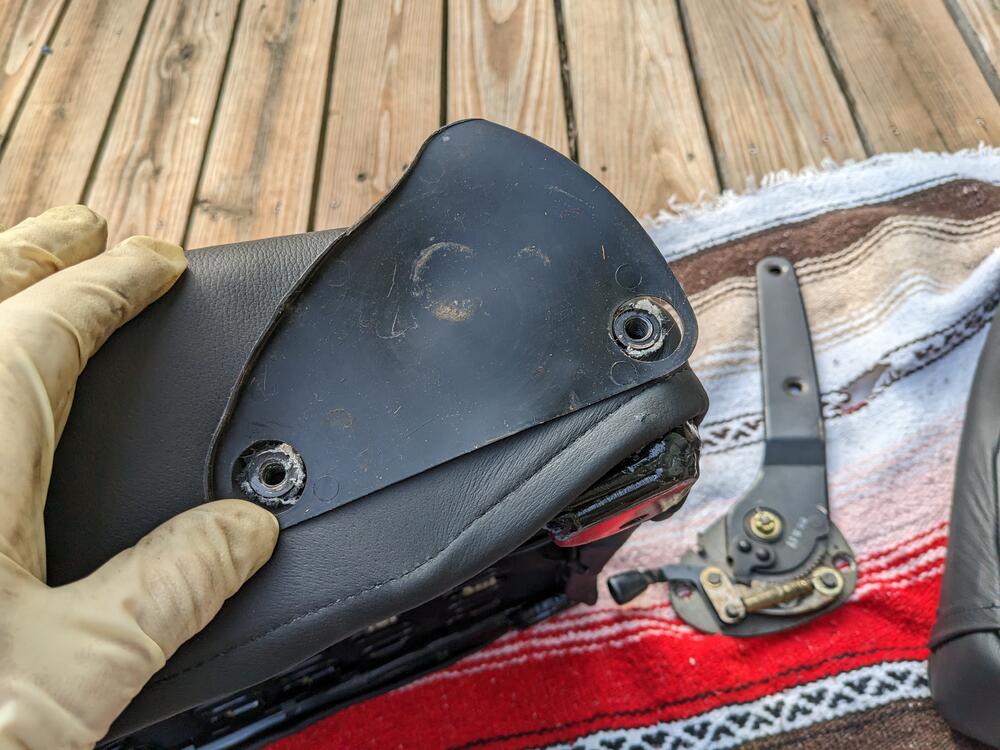
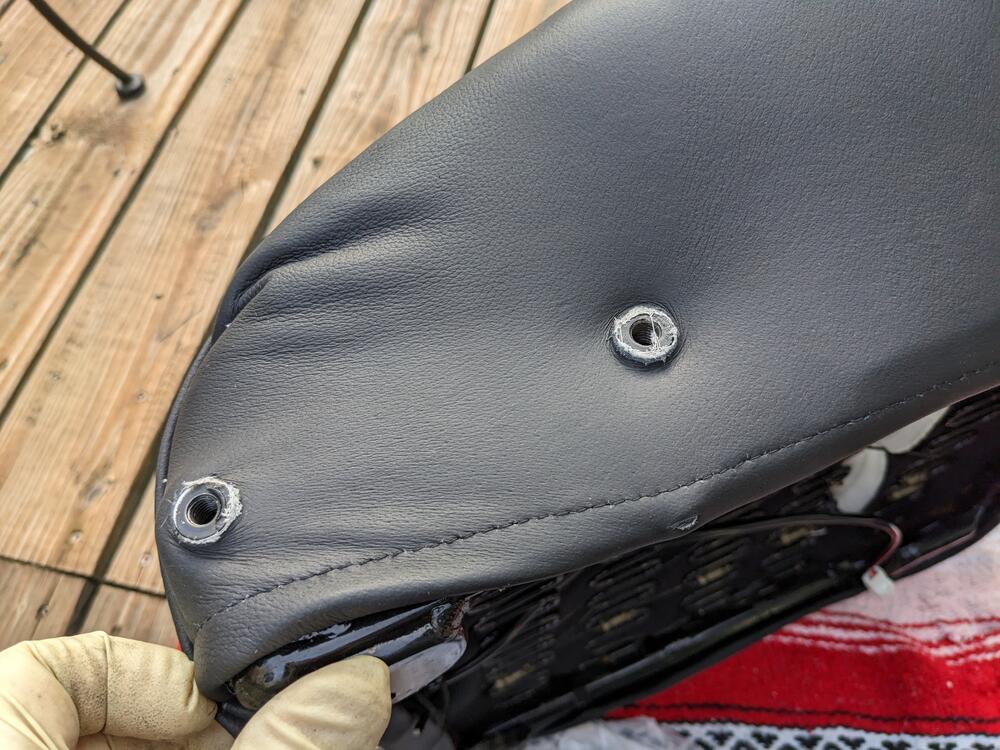
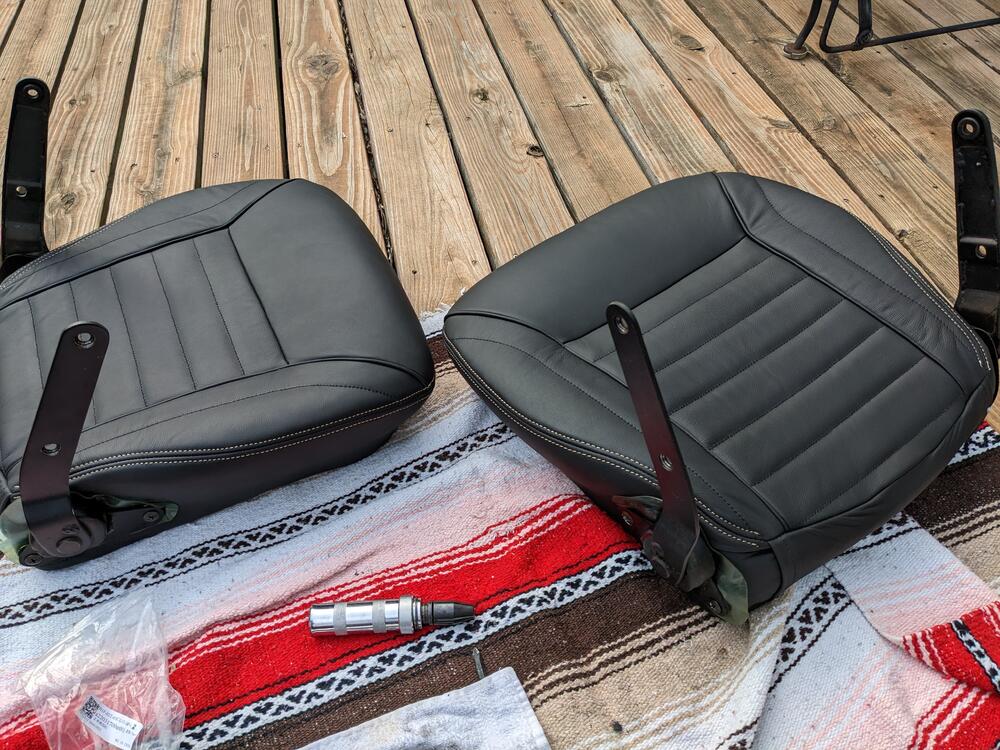
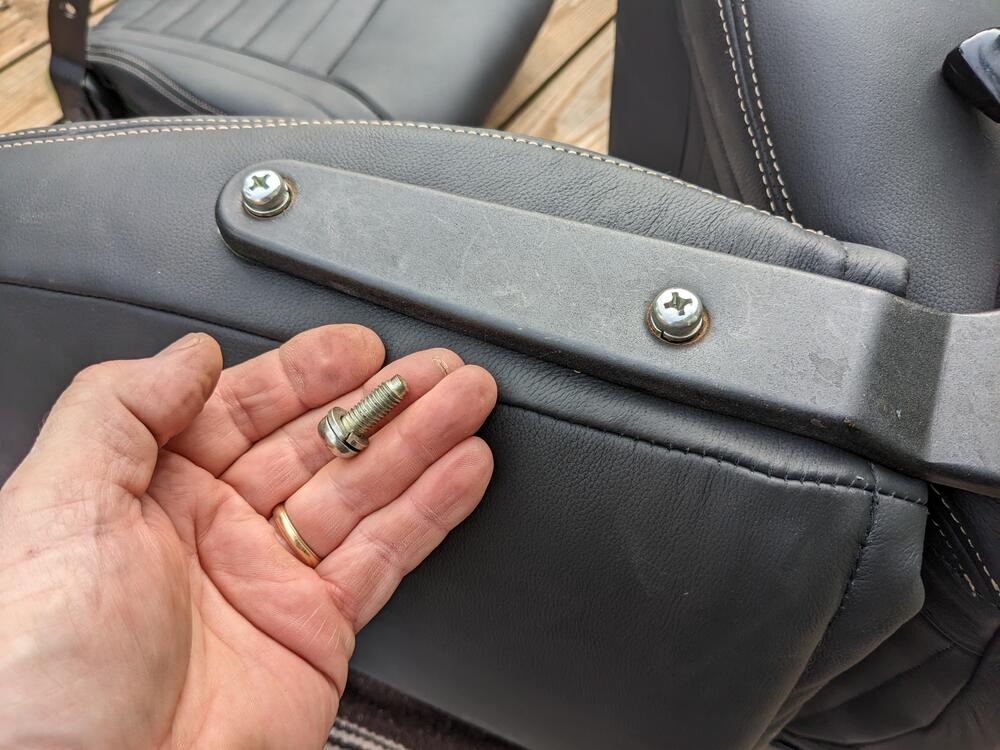
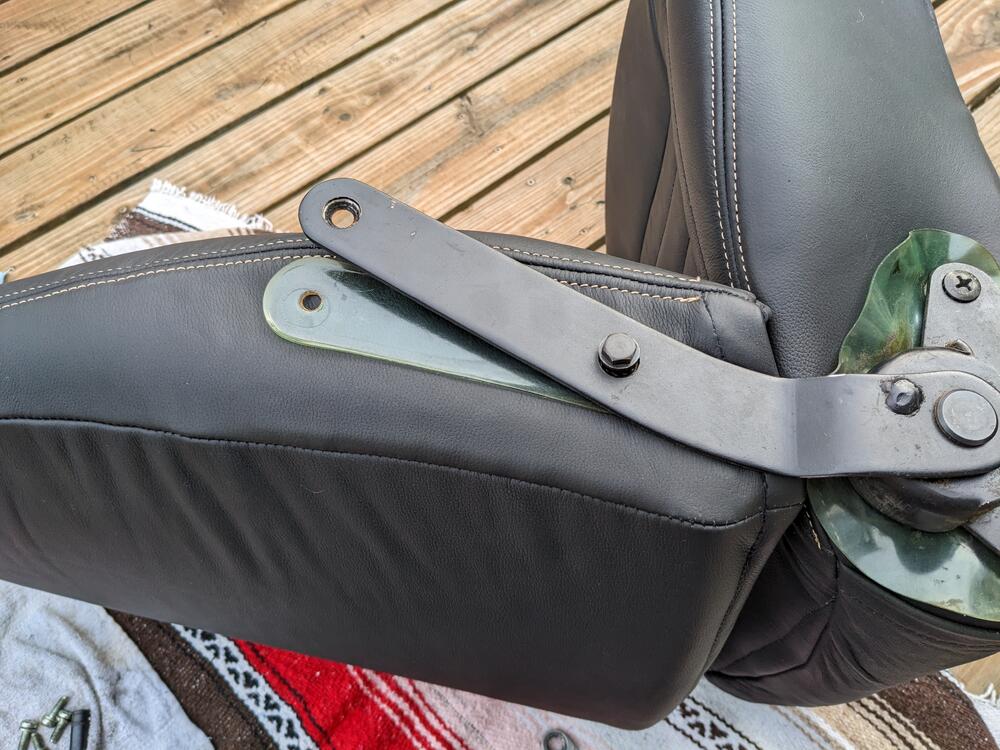
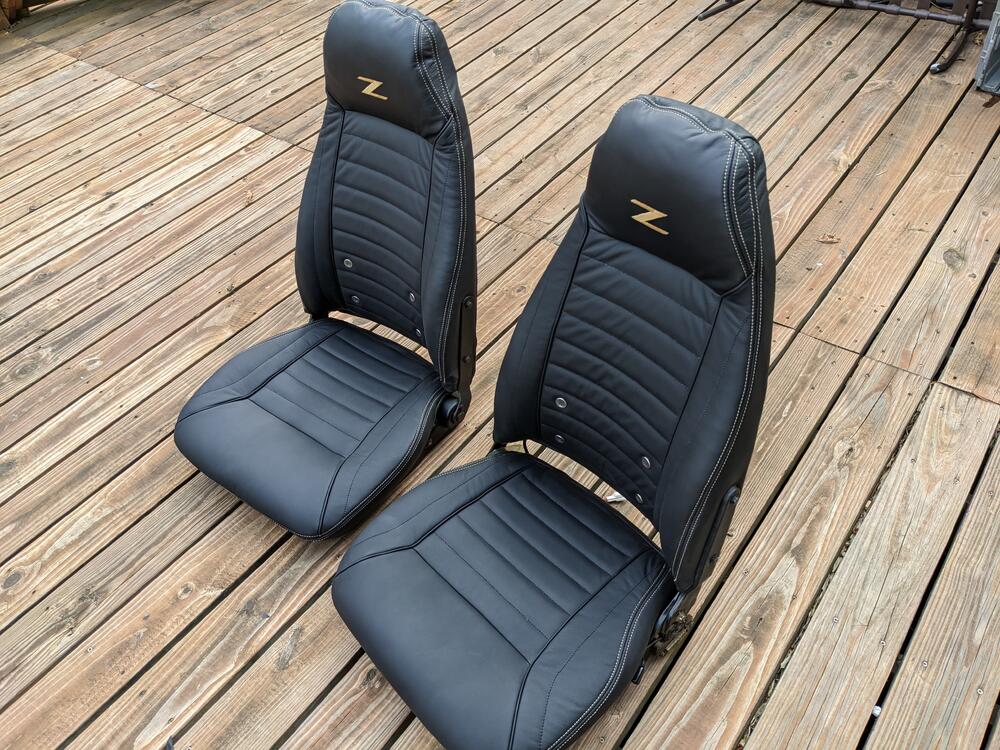
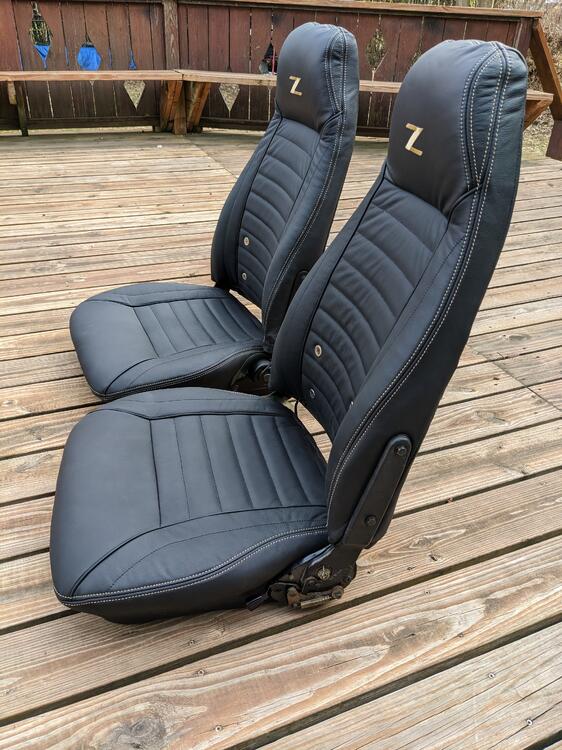
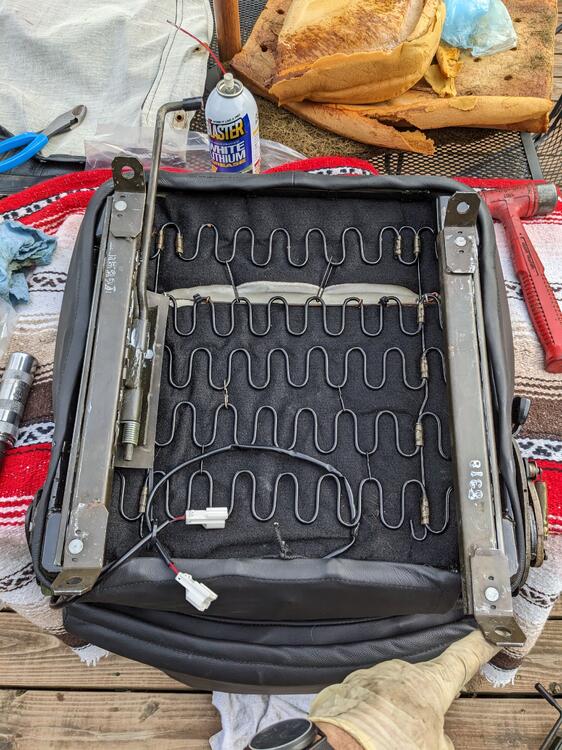
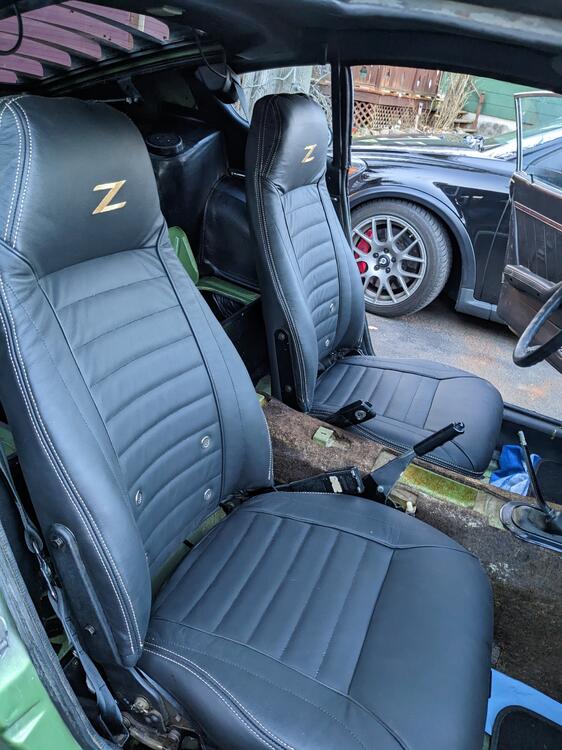
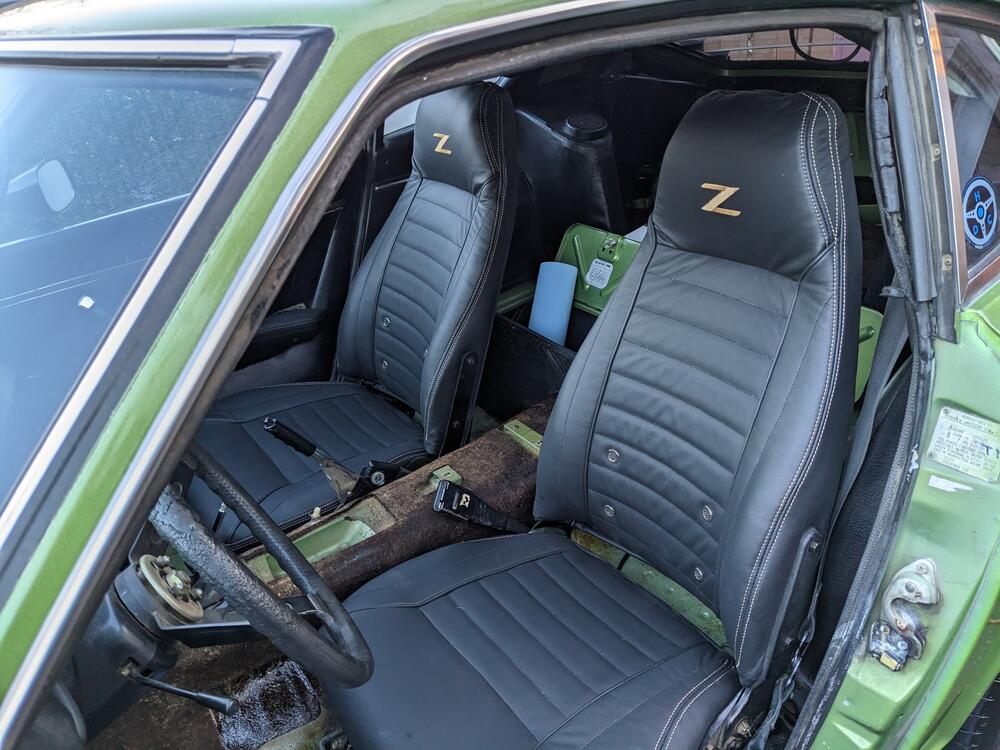
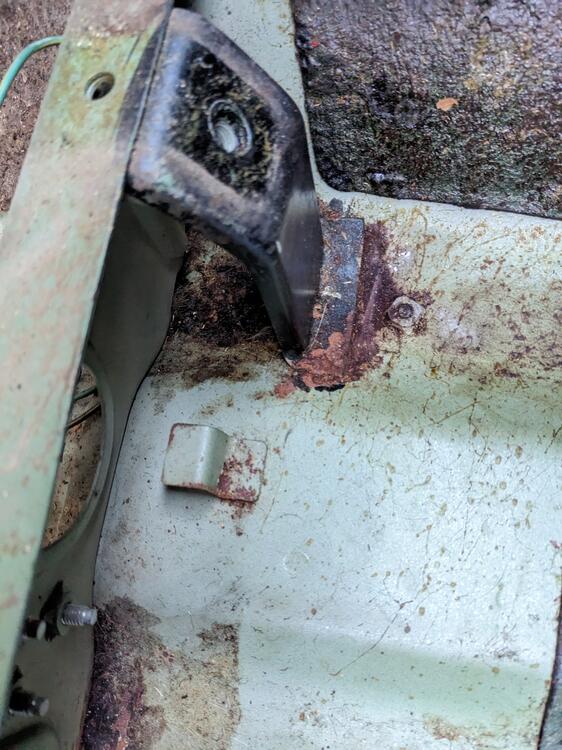
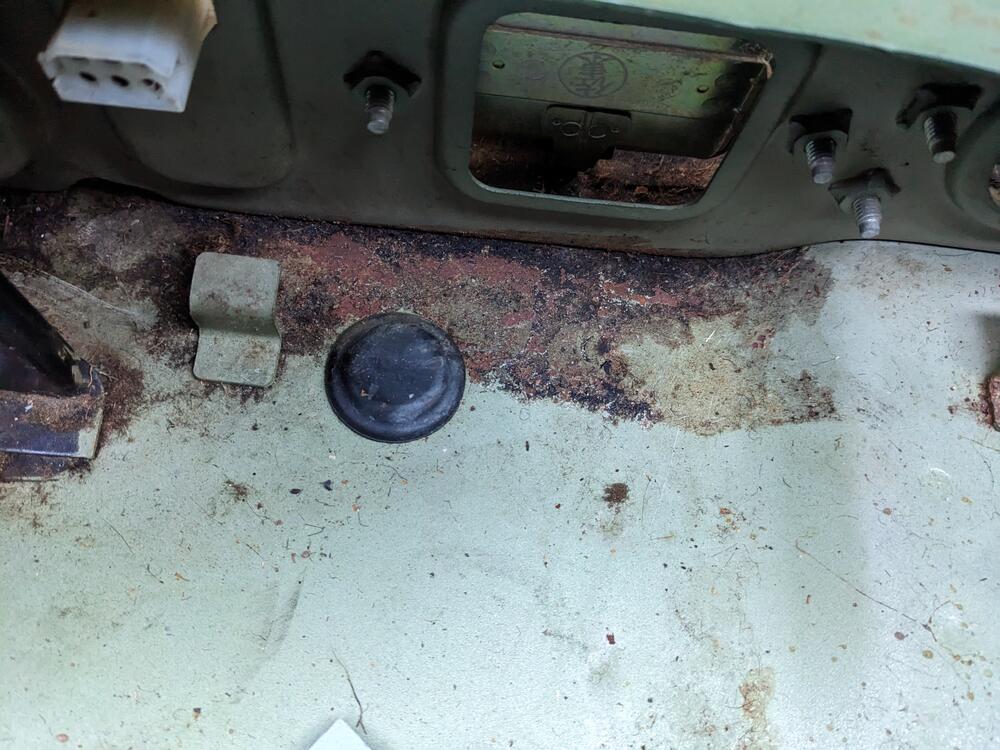
Worked on finishing the seat upholstery & re assembly today guts of original used Saran Wrap on the headrest area, made it easier to pull the cover over & align it inserting original support wire Cover going on securing the bottom edge this one is more even cut holes for the hinges fit protectors behind hinges hinges in place on cushions Uprights are a little tricky - the back screws don't have a taper guide tip, so I used the rail screws first to position the hinges then swap out for the correct bolts one at a time all together rails back on after clean & lube I put them back in the car for now - have to finish cleaning the floors run the heater wiring & put the carpet in before actually installing them found a small area of surface rust to address on the forward passenger side seat attachment
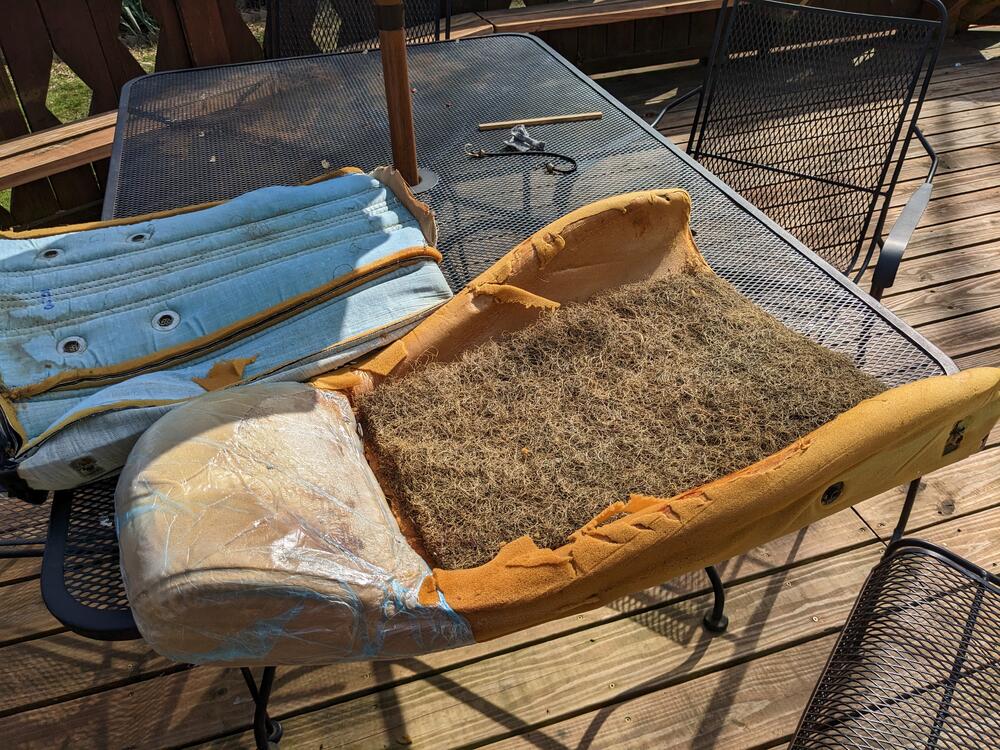
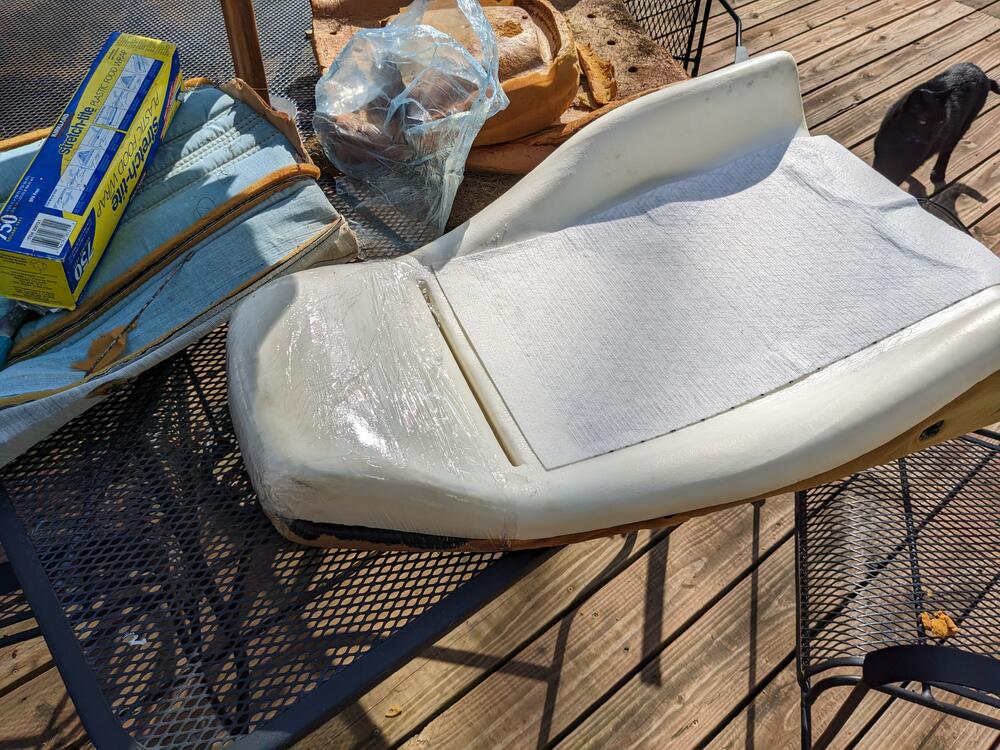
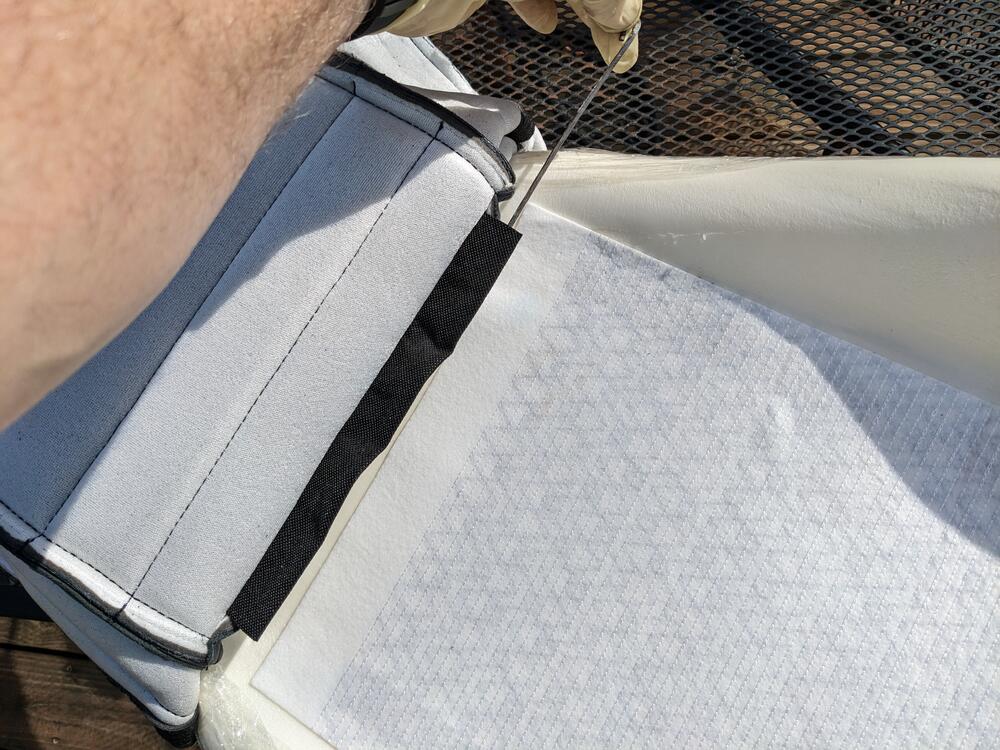
-
Thanks - I actually printed that one out, since it had all the notes listed 🙂
-
Thanks for the tips - I think I watched a video (yours?) that illustrated the potential issue with the glue box opening. I definitely noted comments on pressing the dash as far onto the metal frame as possible.