HusseinHolland
Community Member
-
Joined
-
Last visited
Everything posted by HusseinHolland
-
Sounds like the starter to me - I can't imagine there are any mechanical relays that would make that heavy click. I guess I can try & video record it, when it happens next. Was fine this morning coming to work. Yes, both new and old starter symptom is identical. If I bridge the solenoid with a screwdriver it cranks every time.
-
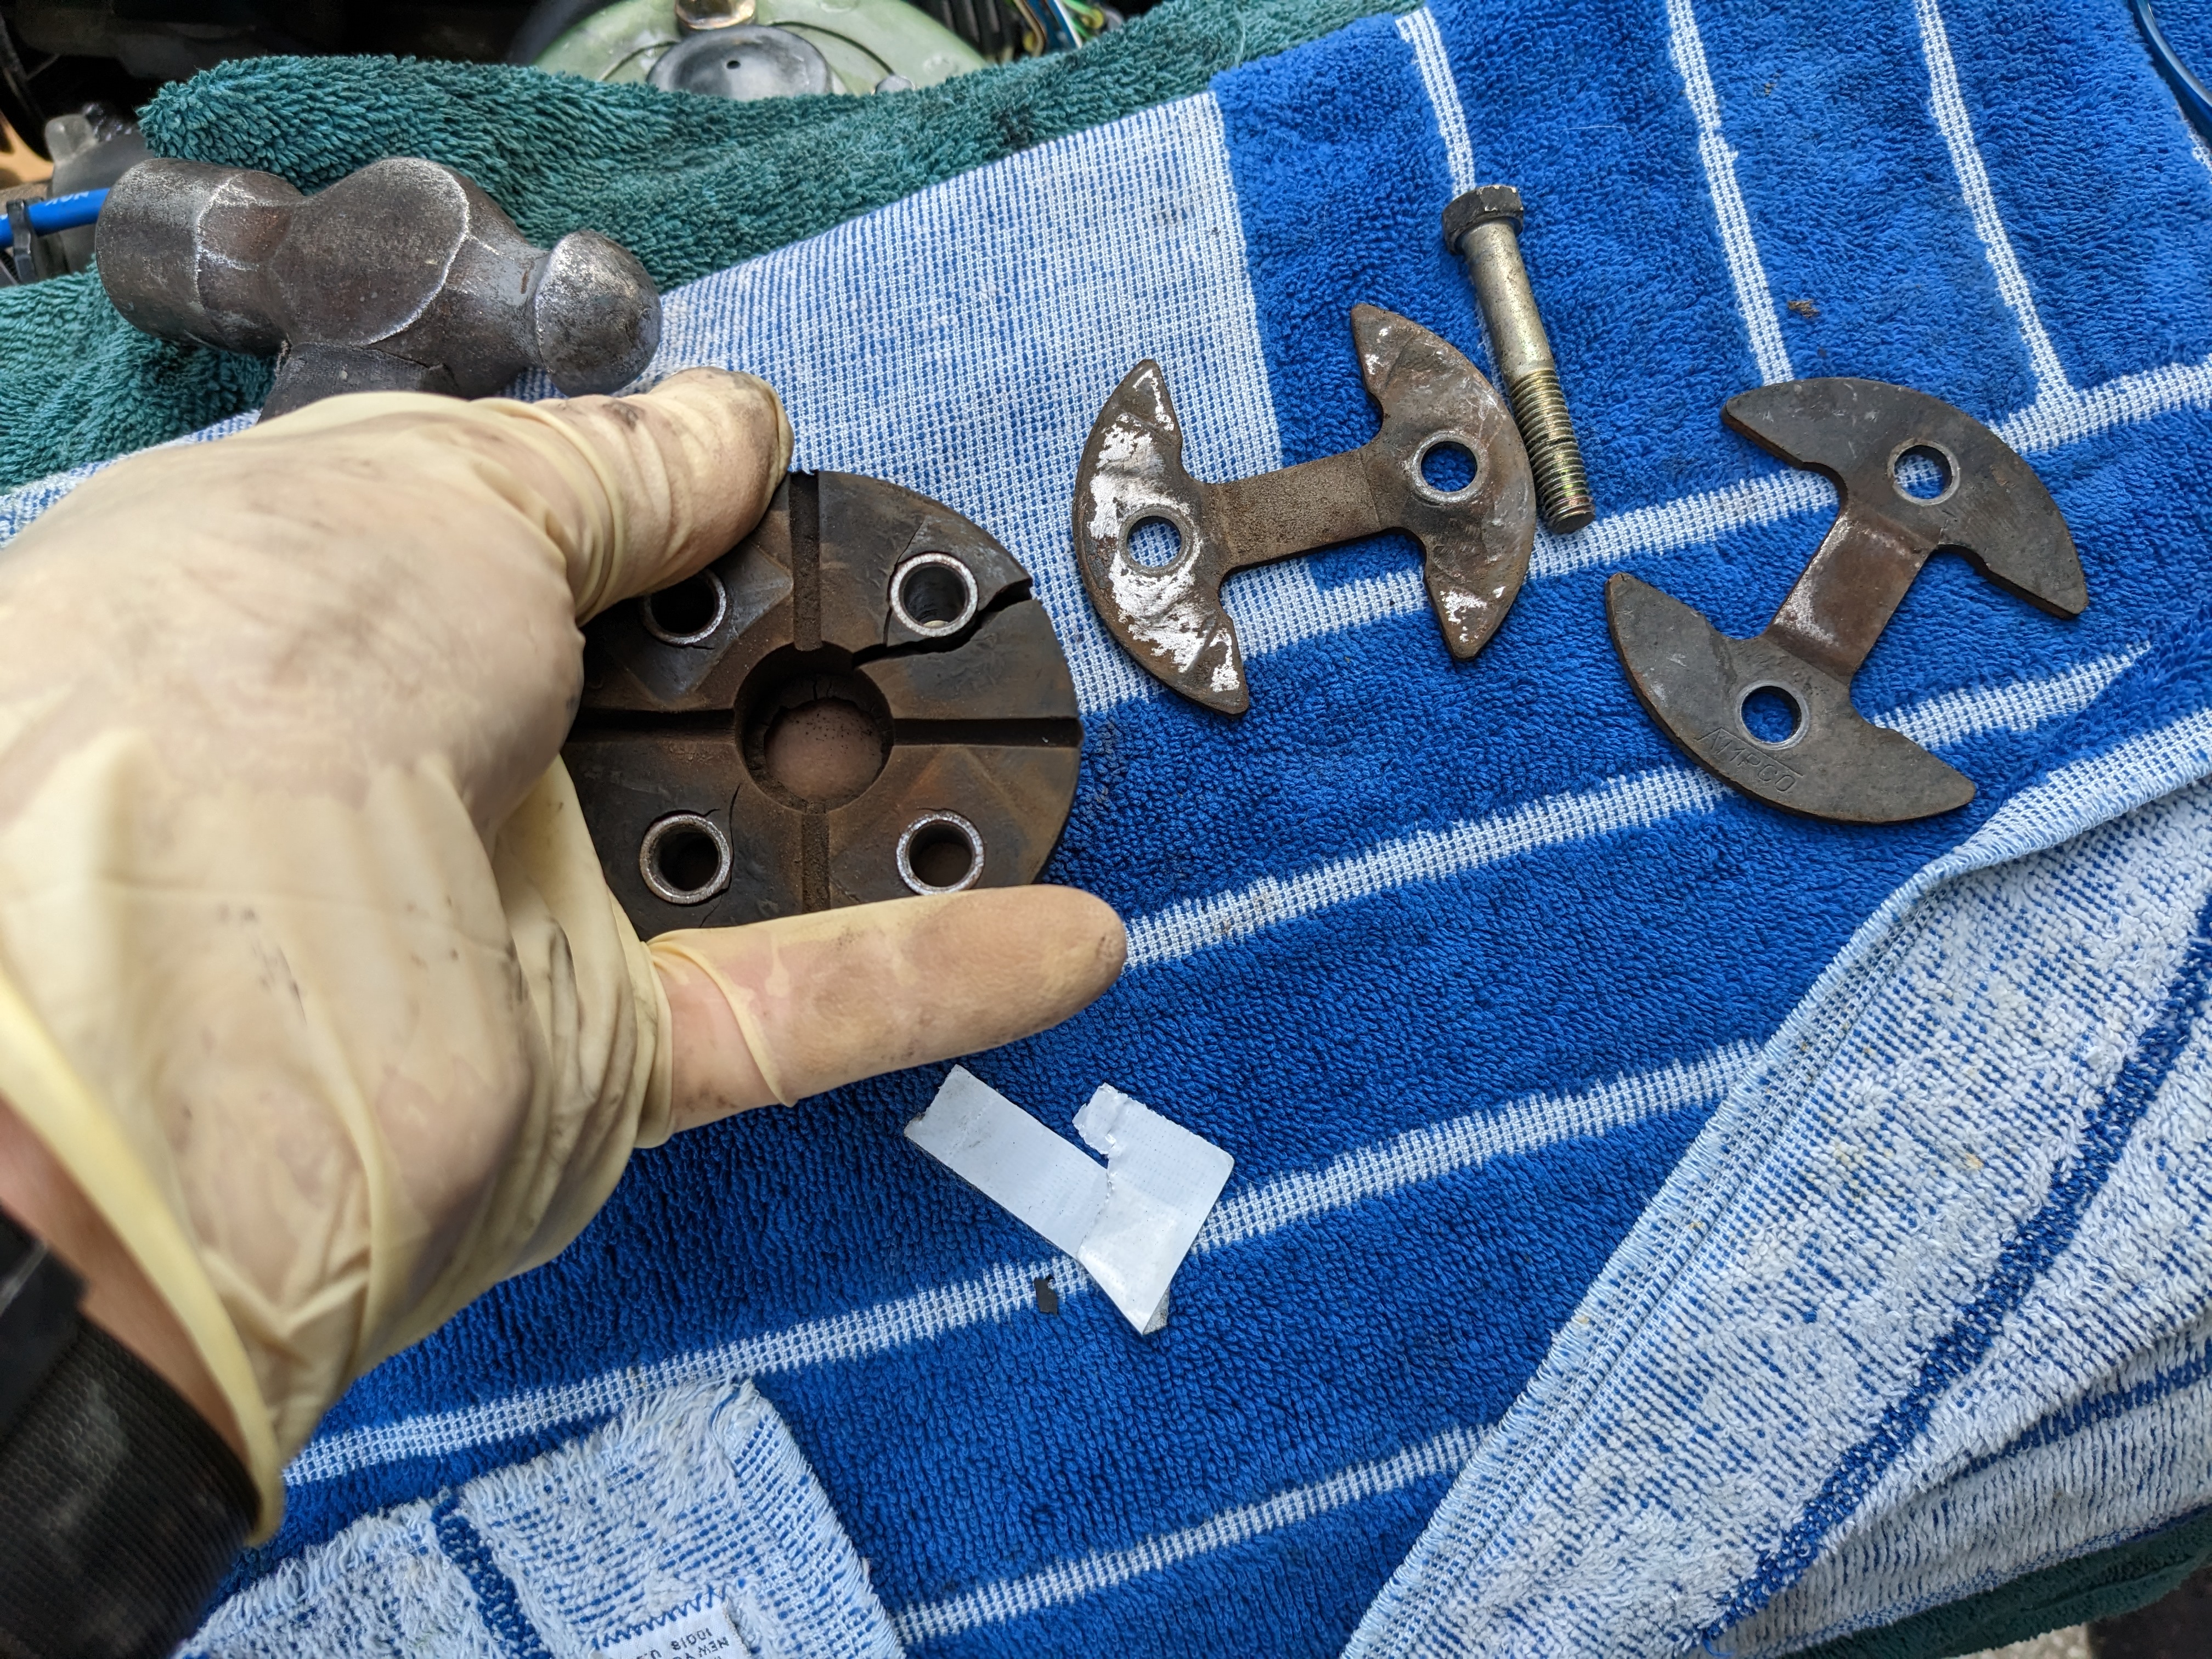
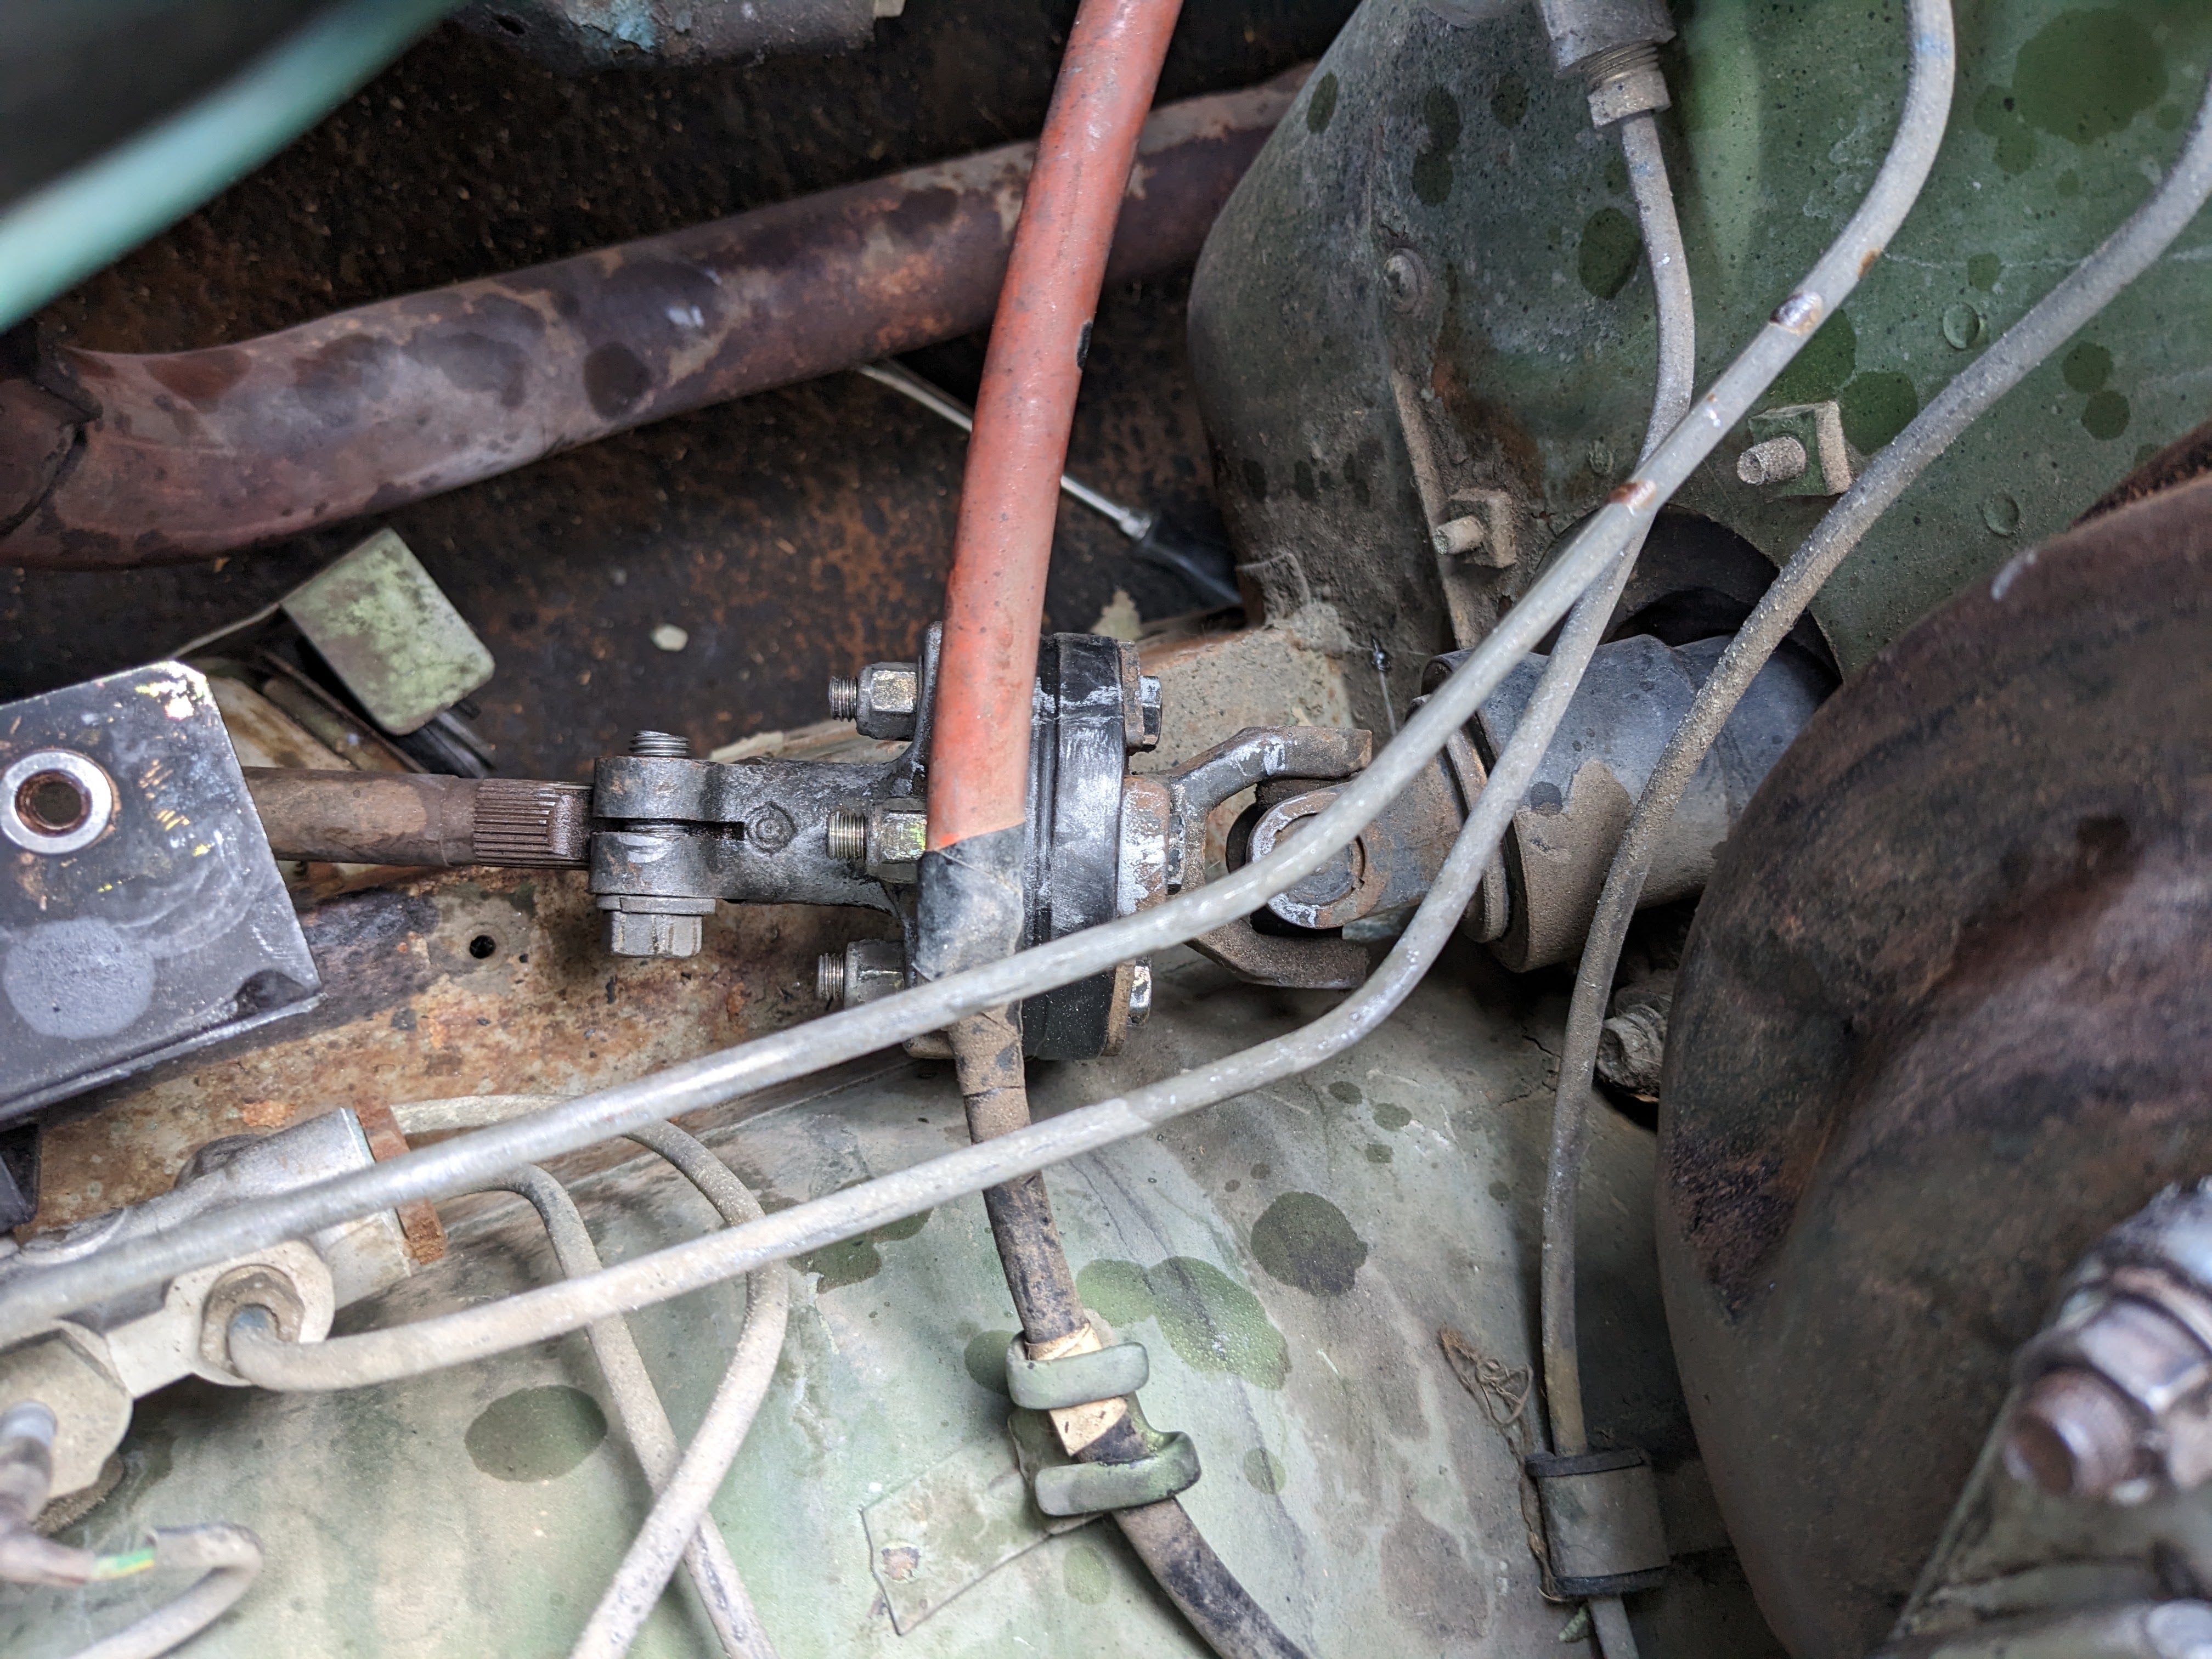
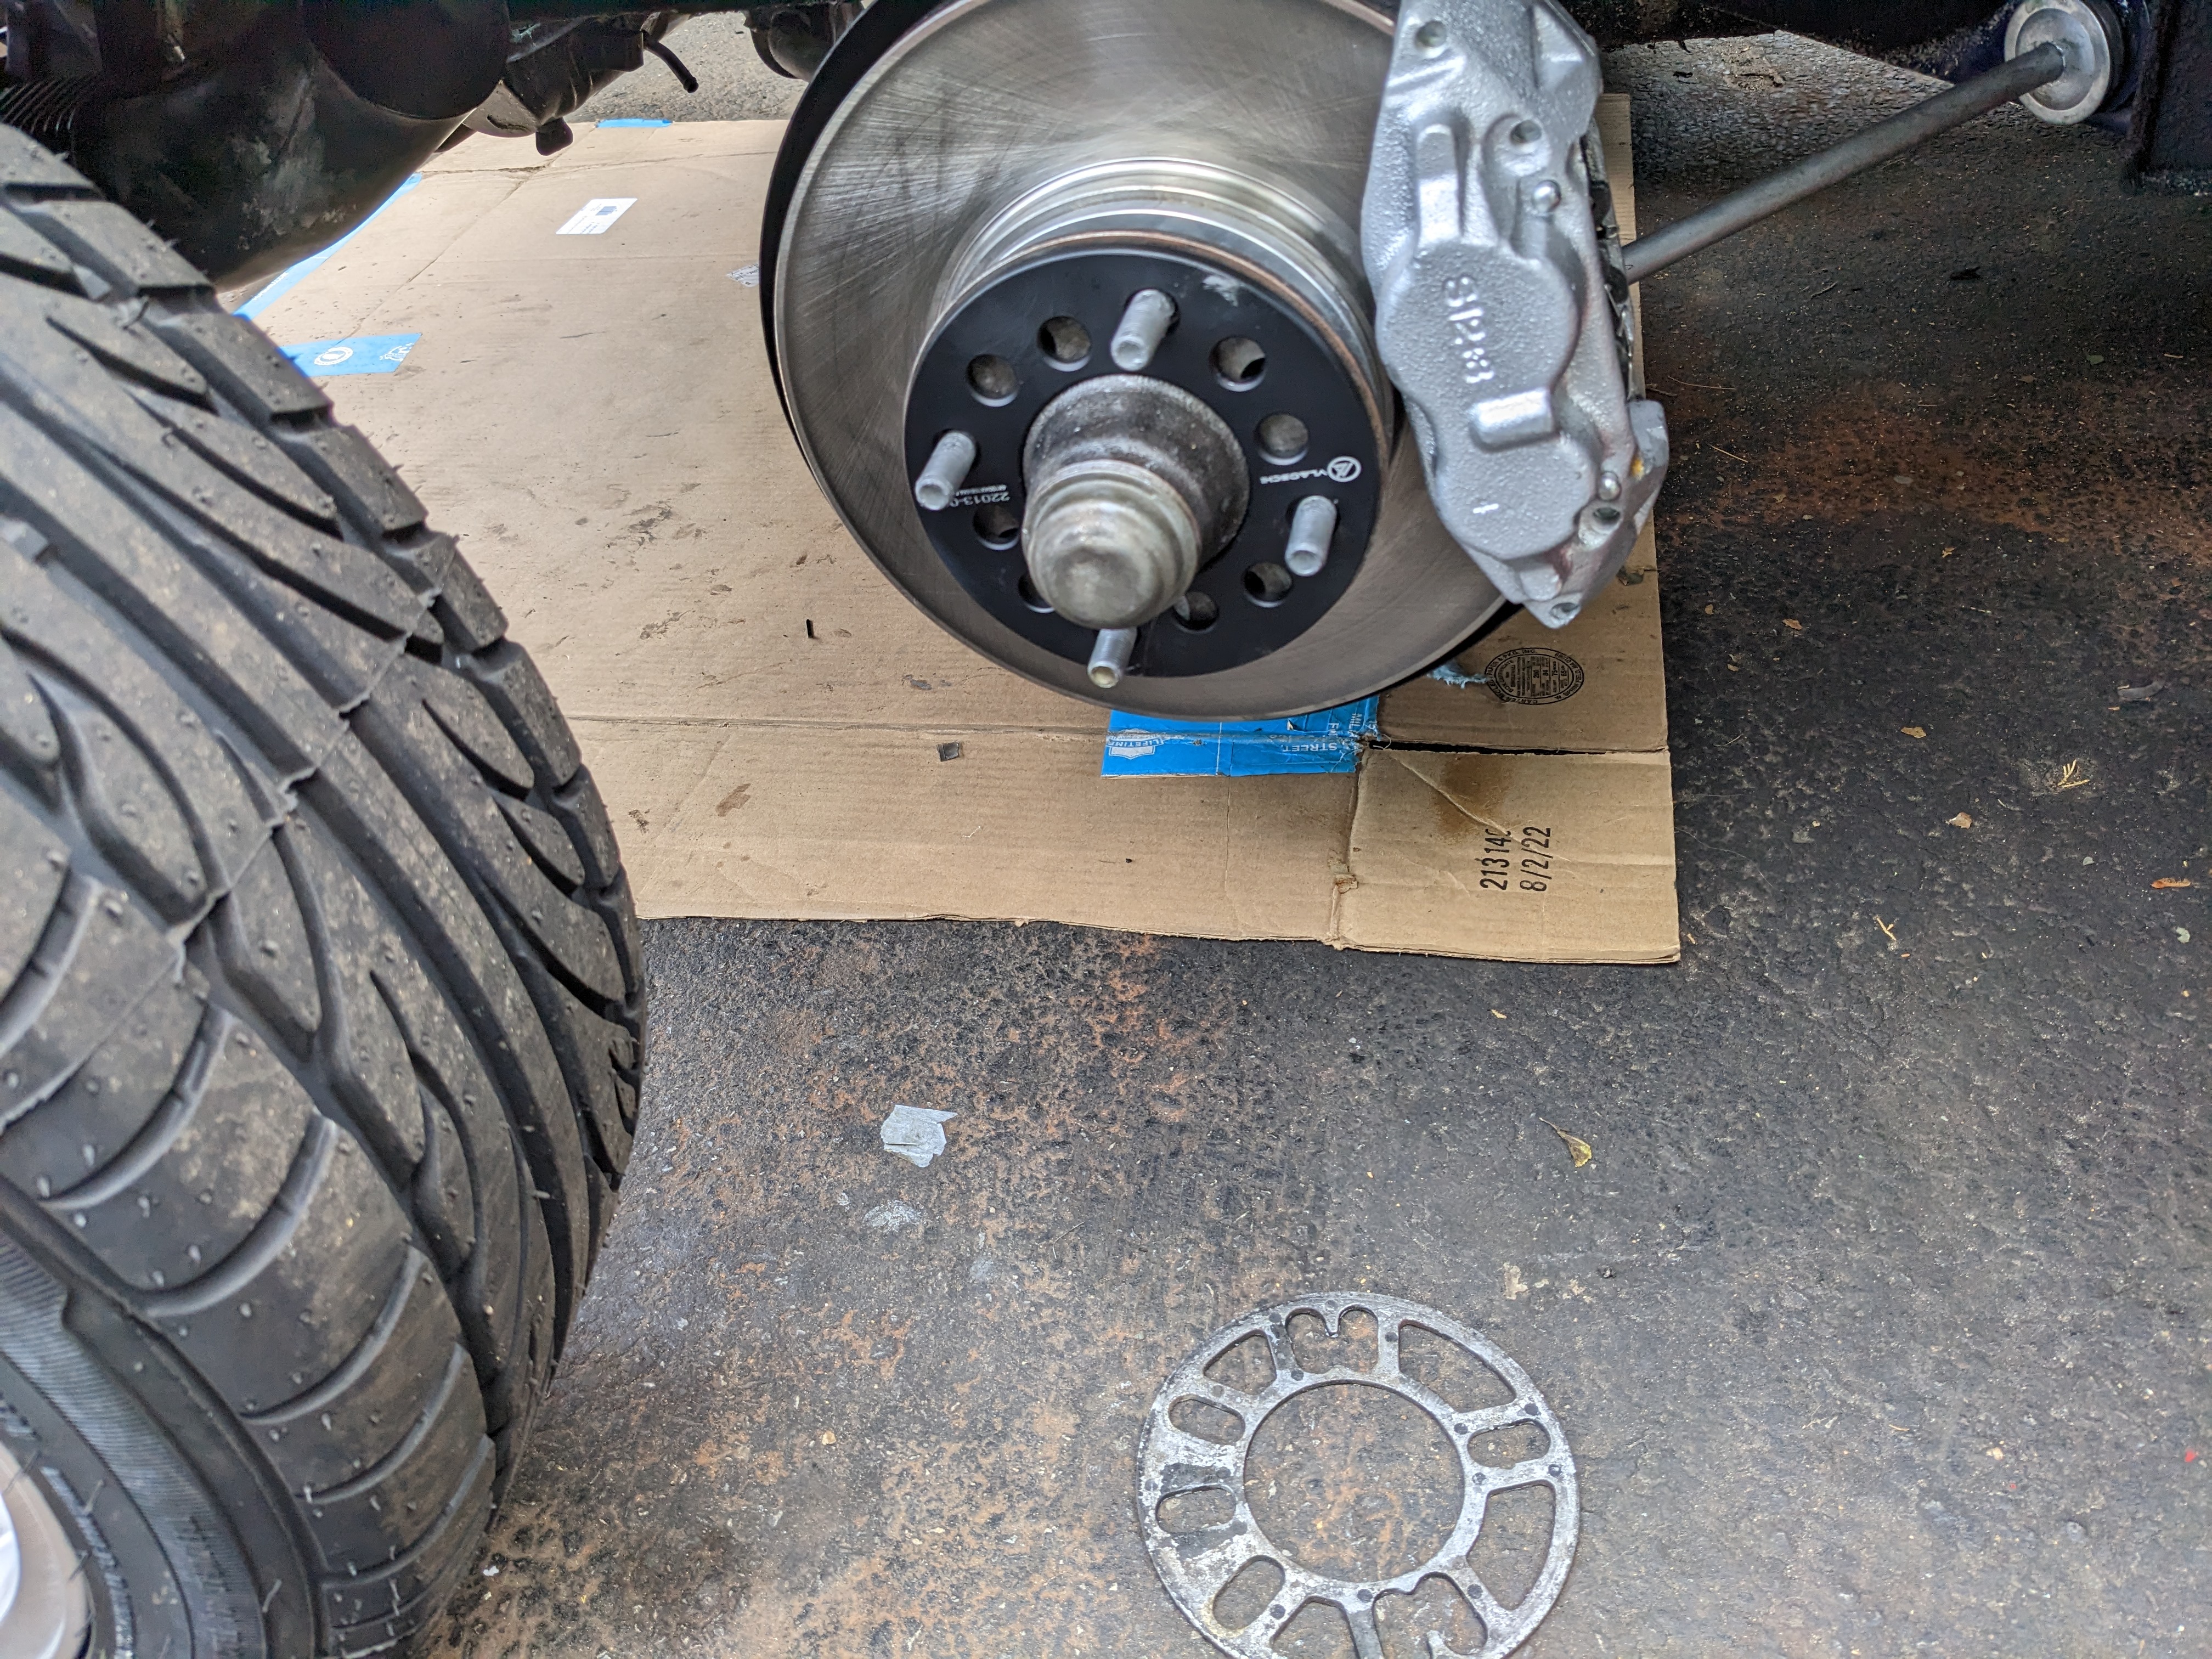
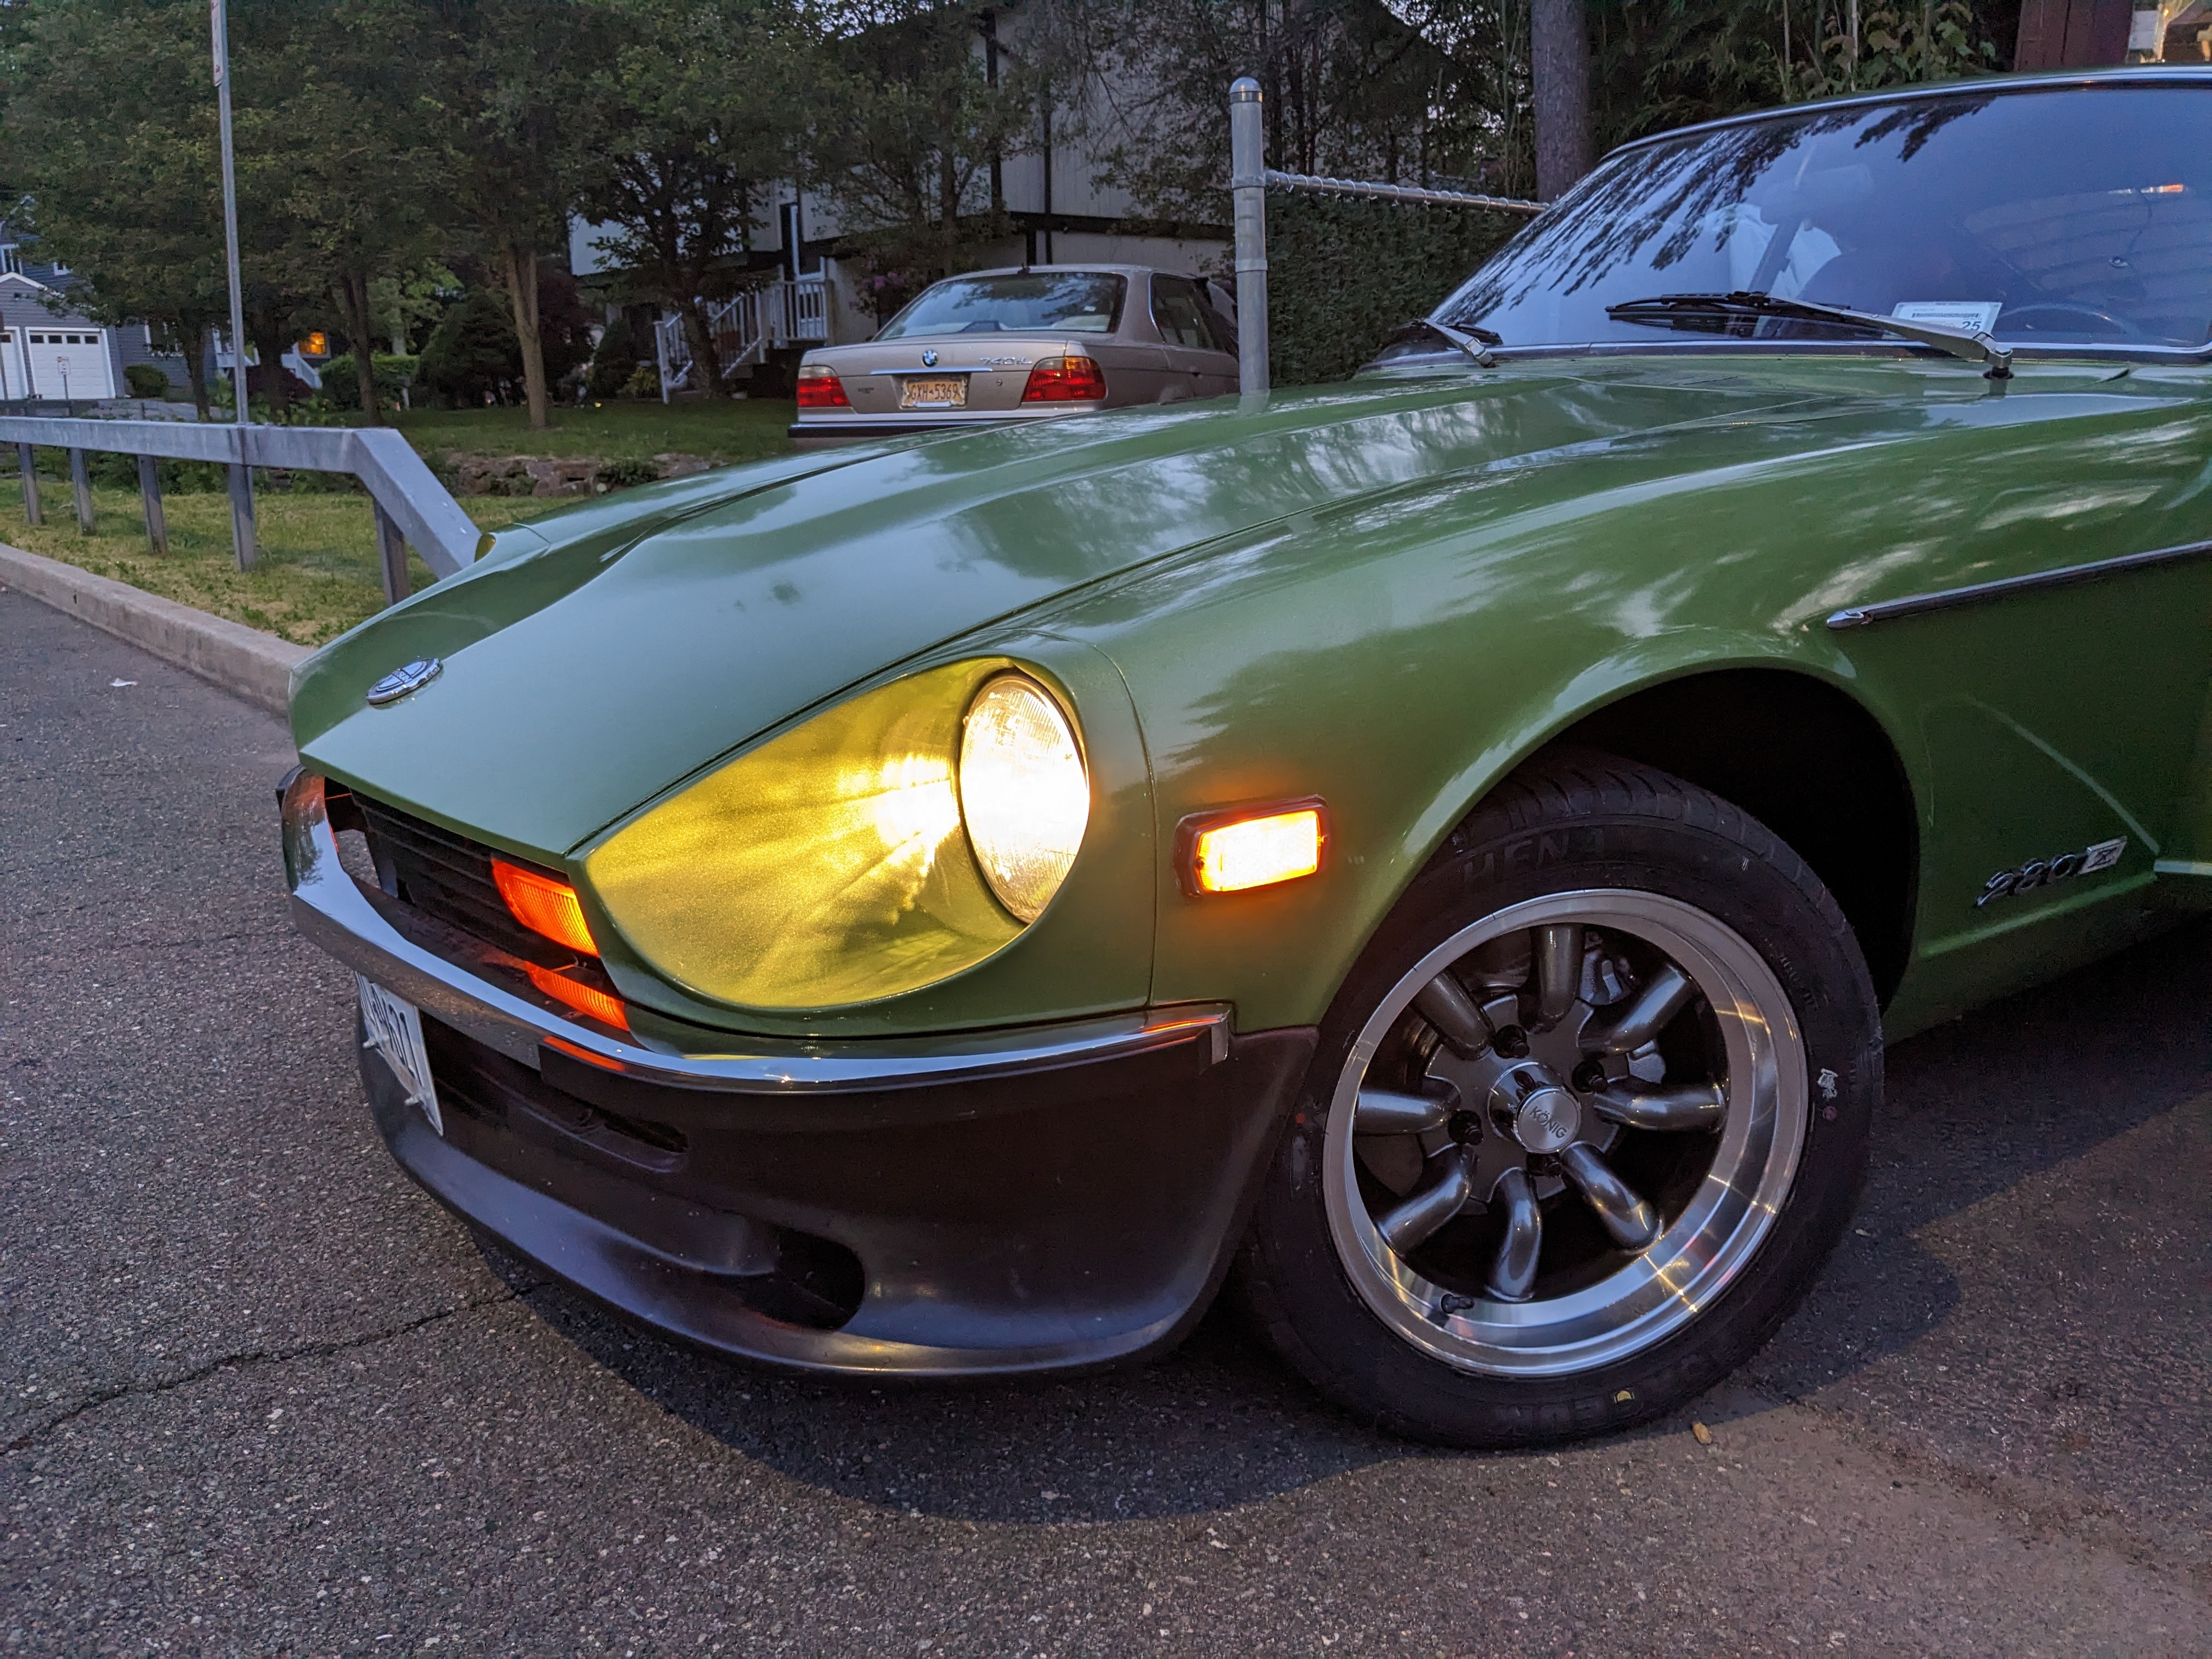
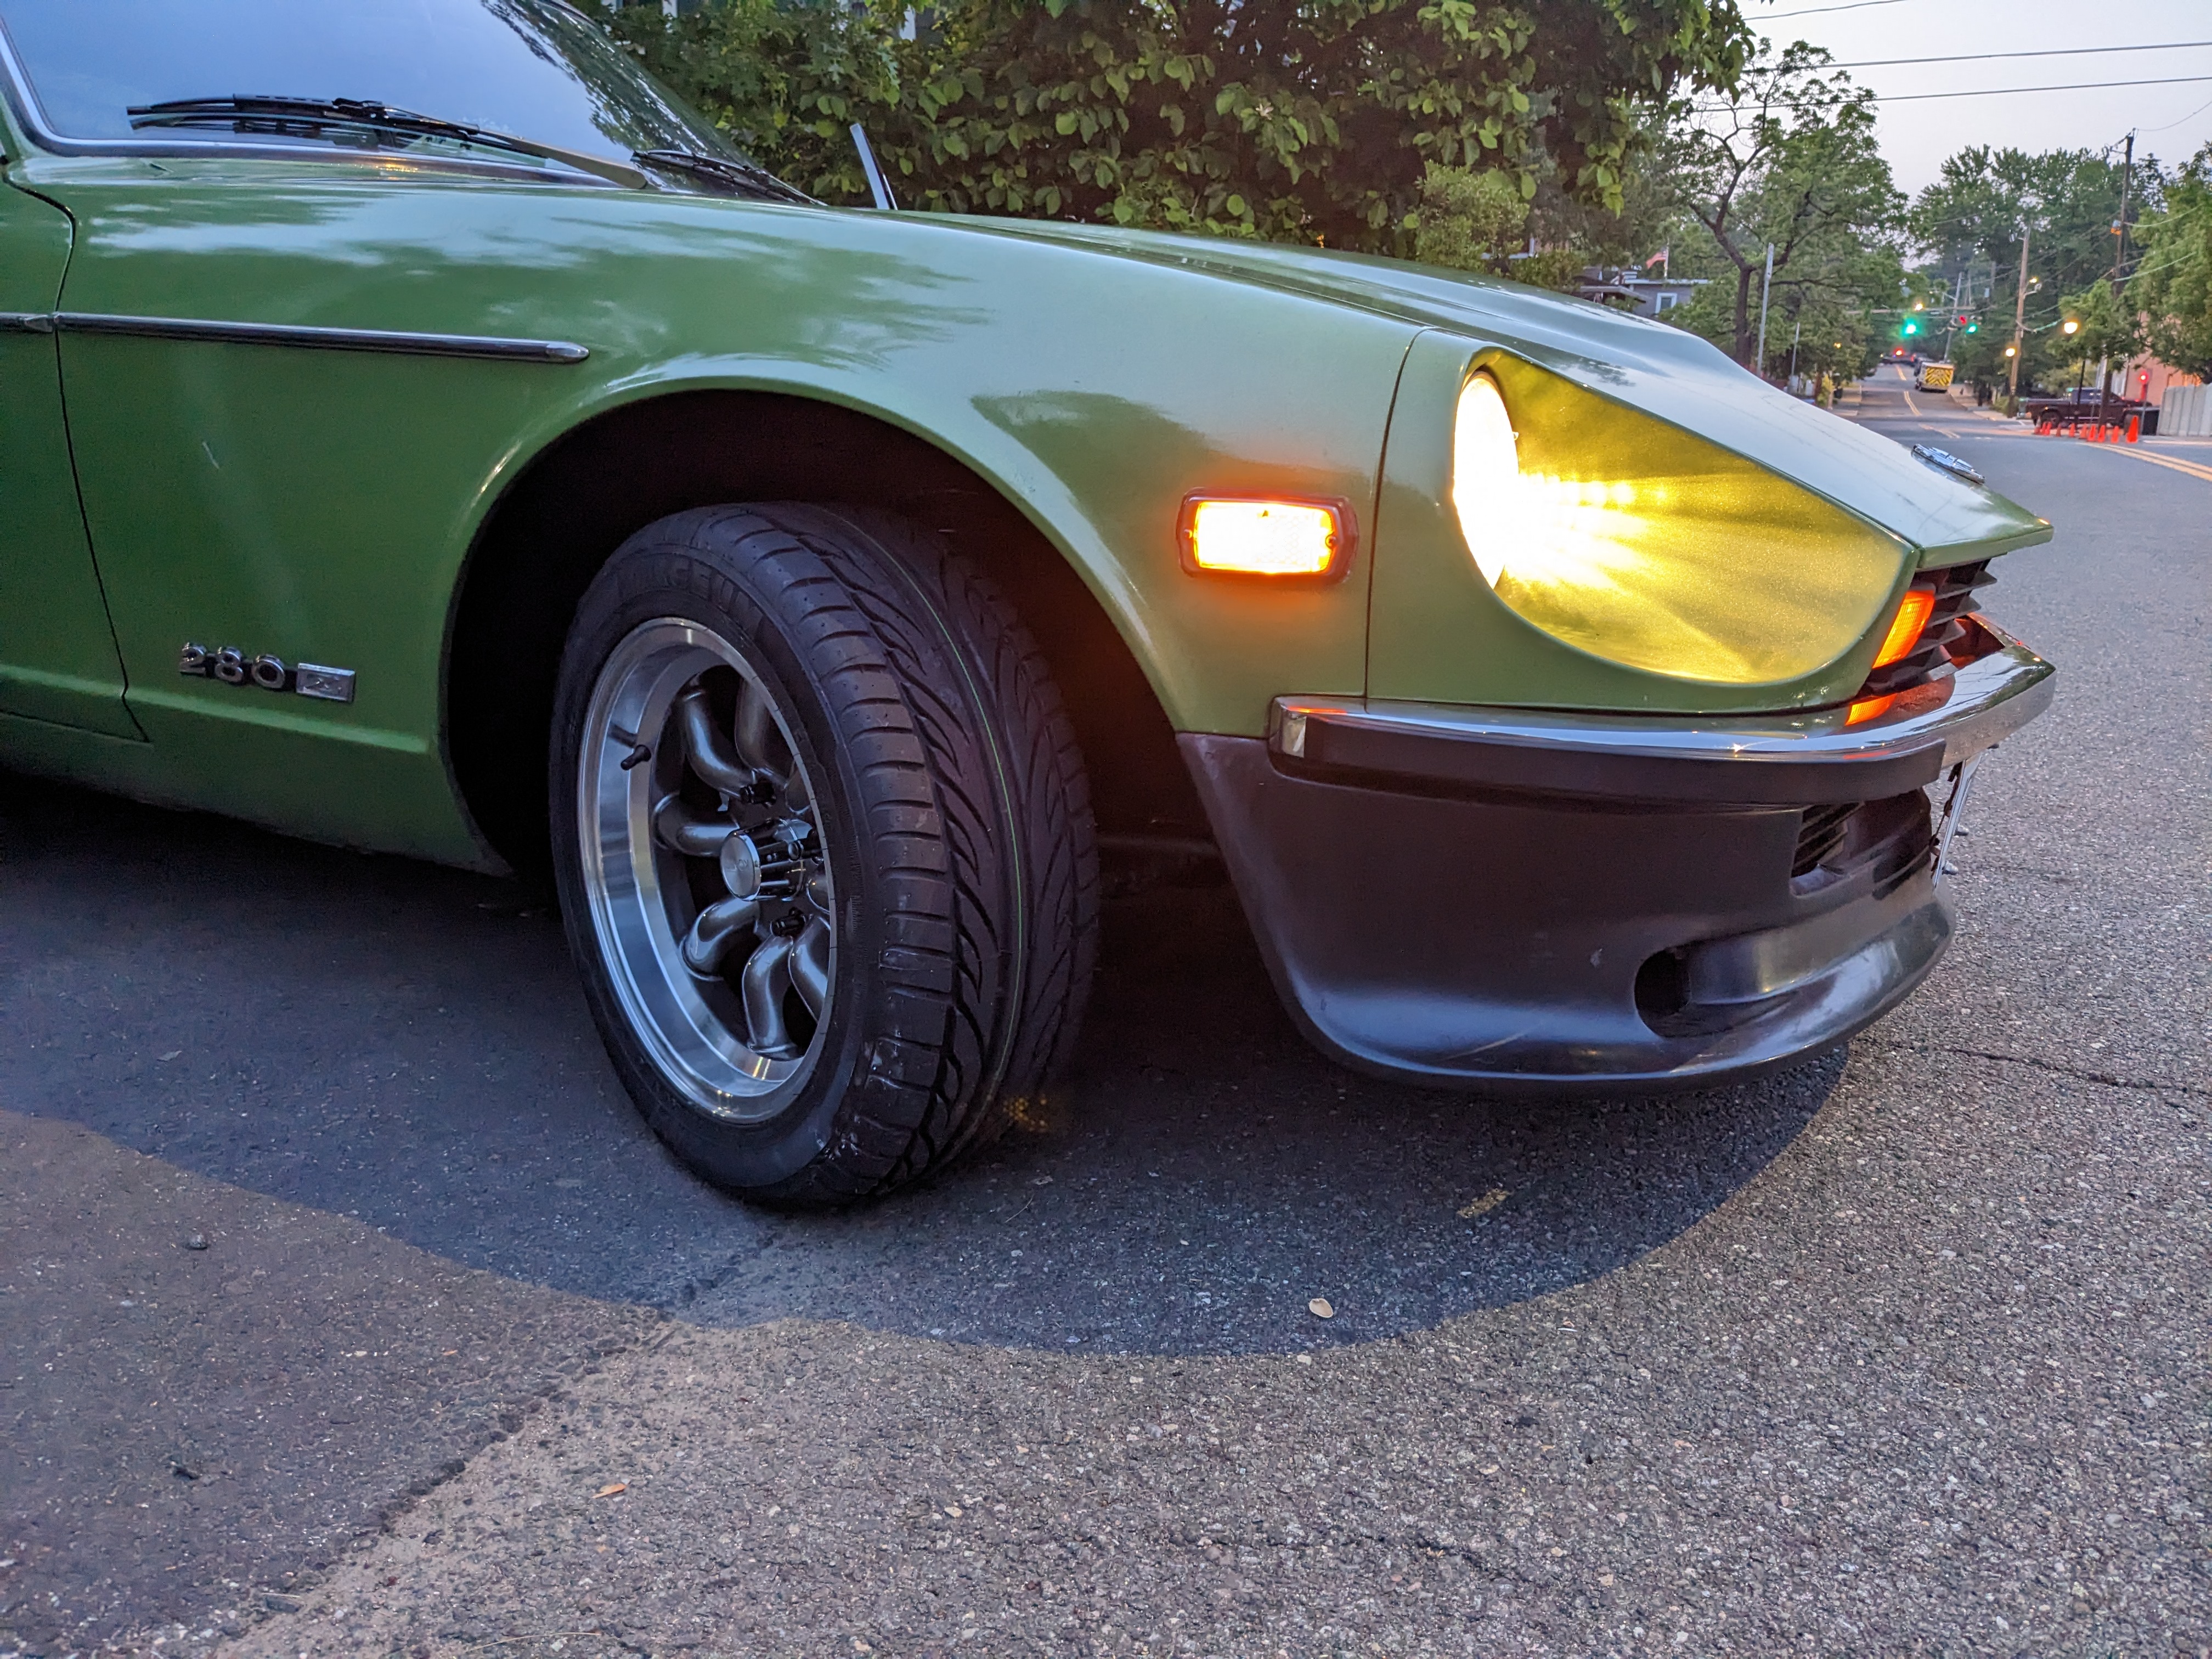
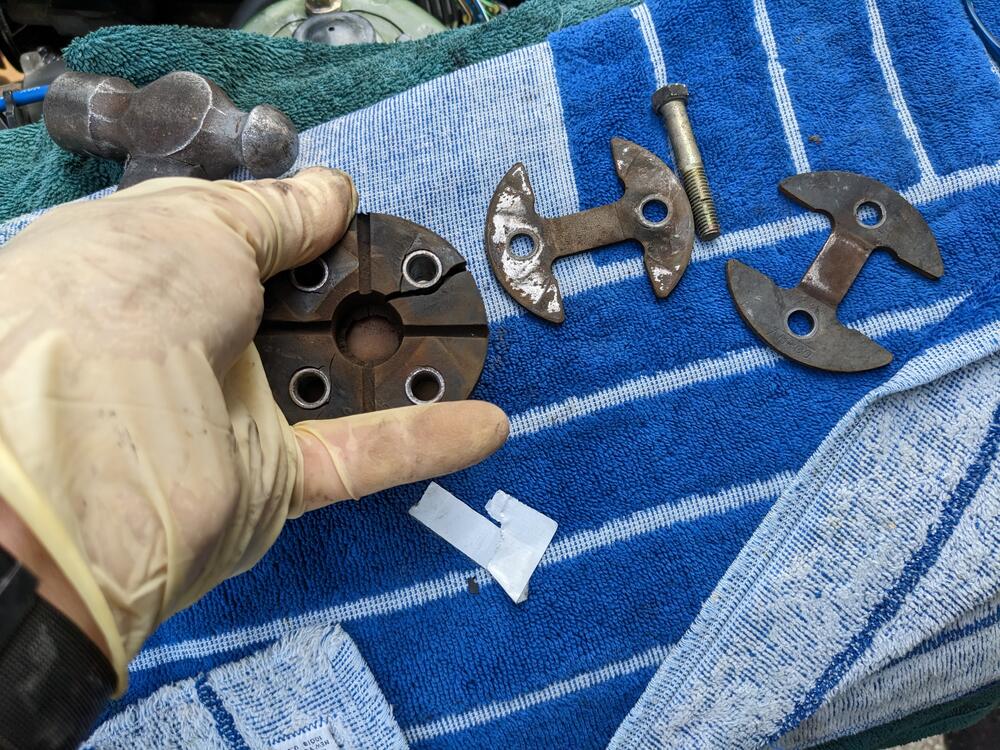
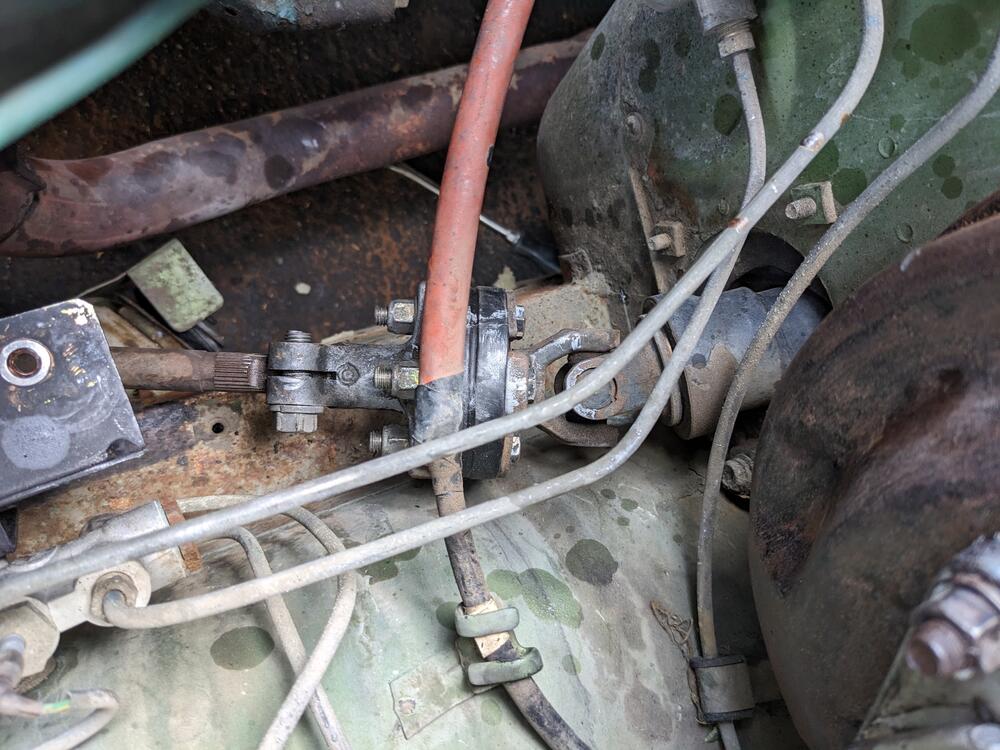
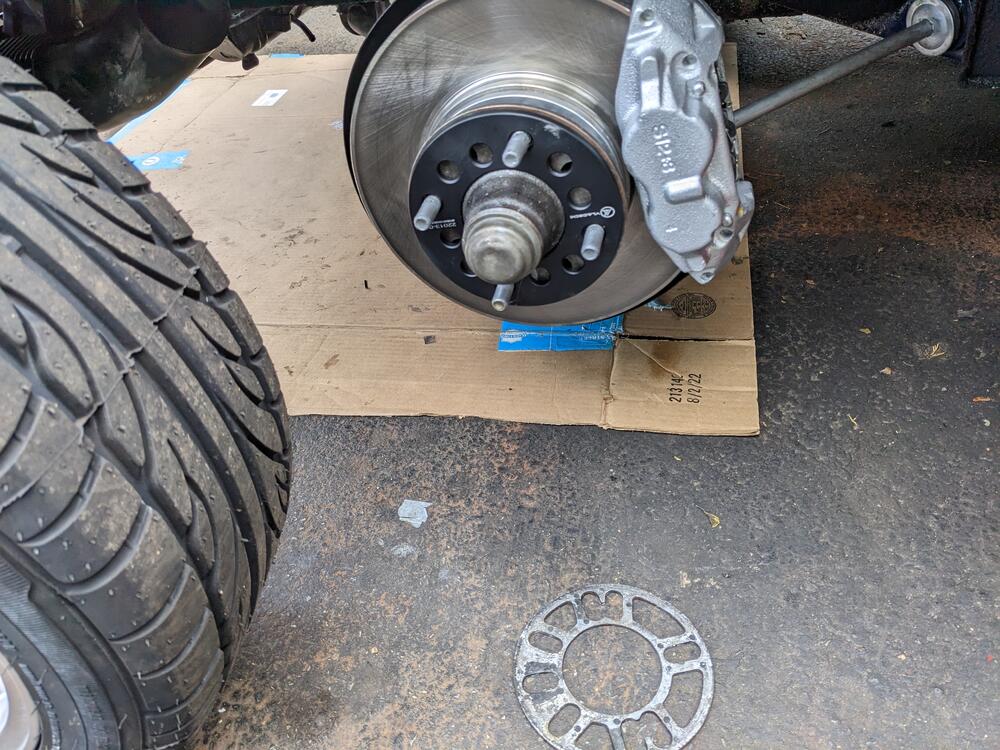
Drove the car about 35 miles today, there is still a vibration in the steering wheel - The only thing I hand't changed yet was the column rubber joint, so I did that after work. The u-joint still feels nice & tight. Also swapped out the 1/8" wheel spacers for 1/4" to get a better safety margin on the caliper clearance off the wheel hub
-
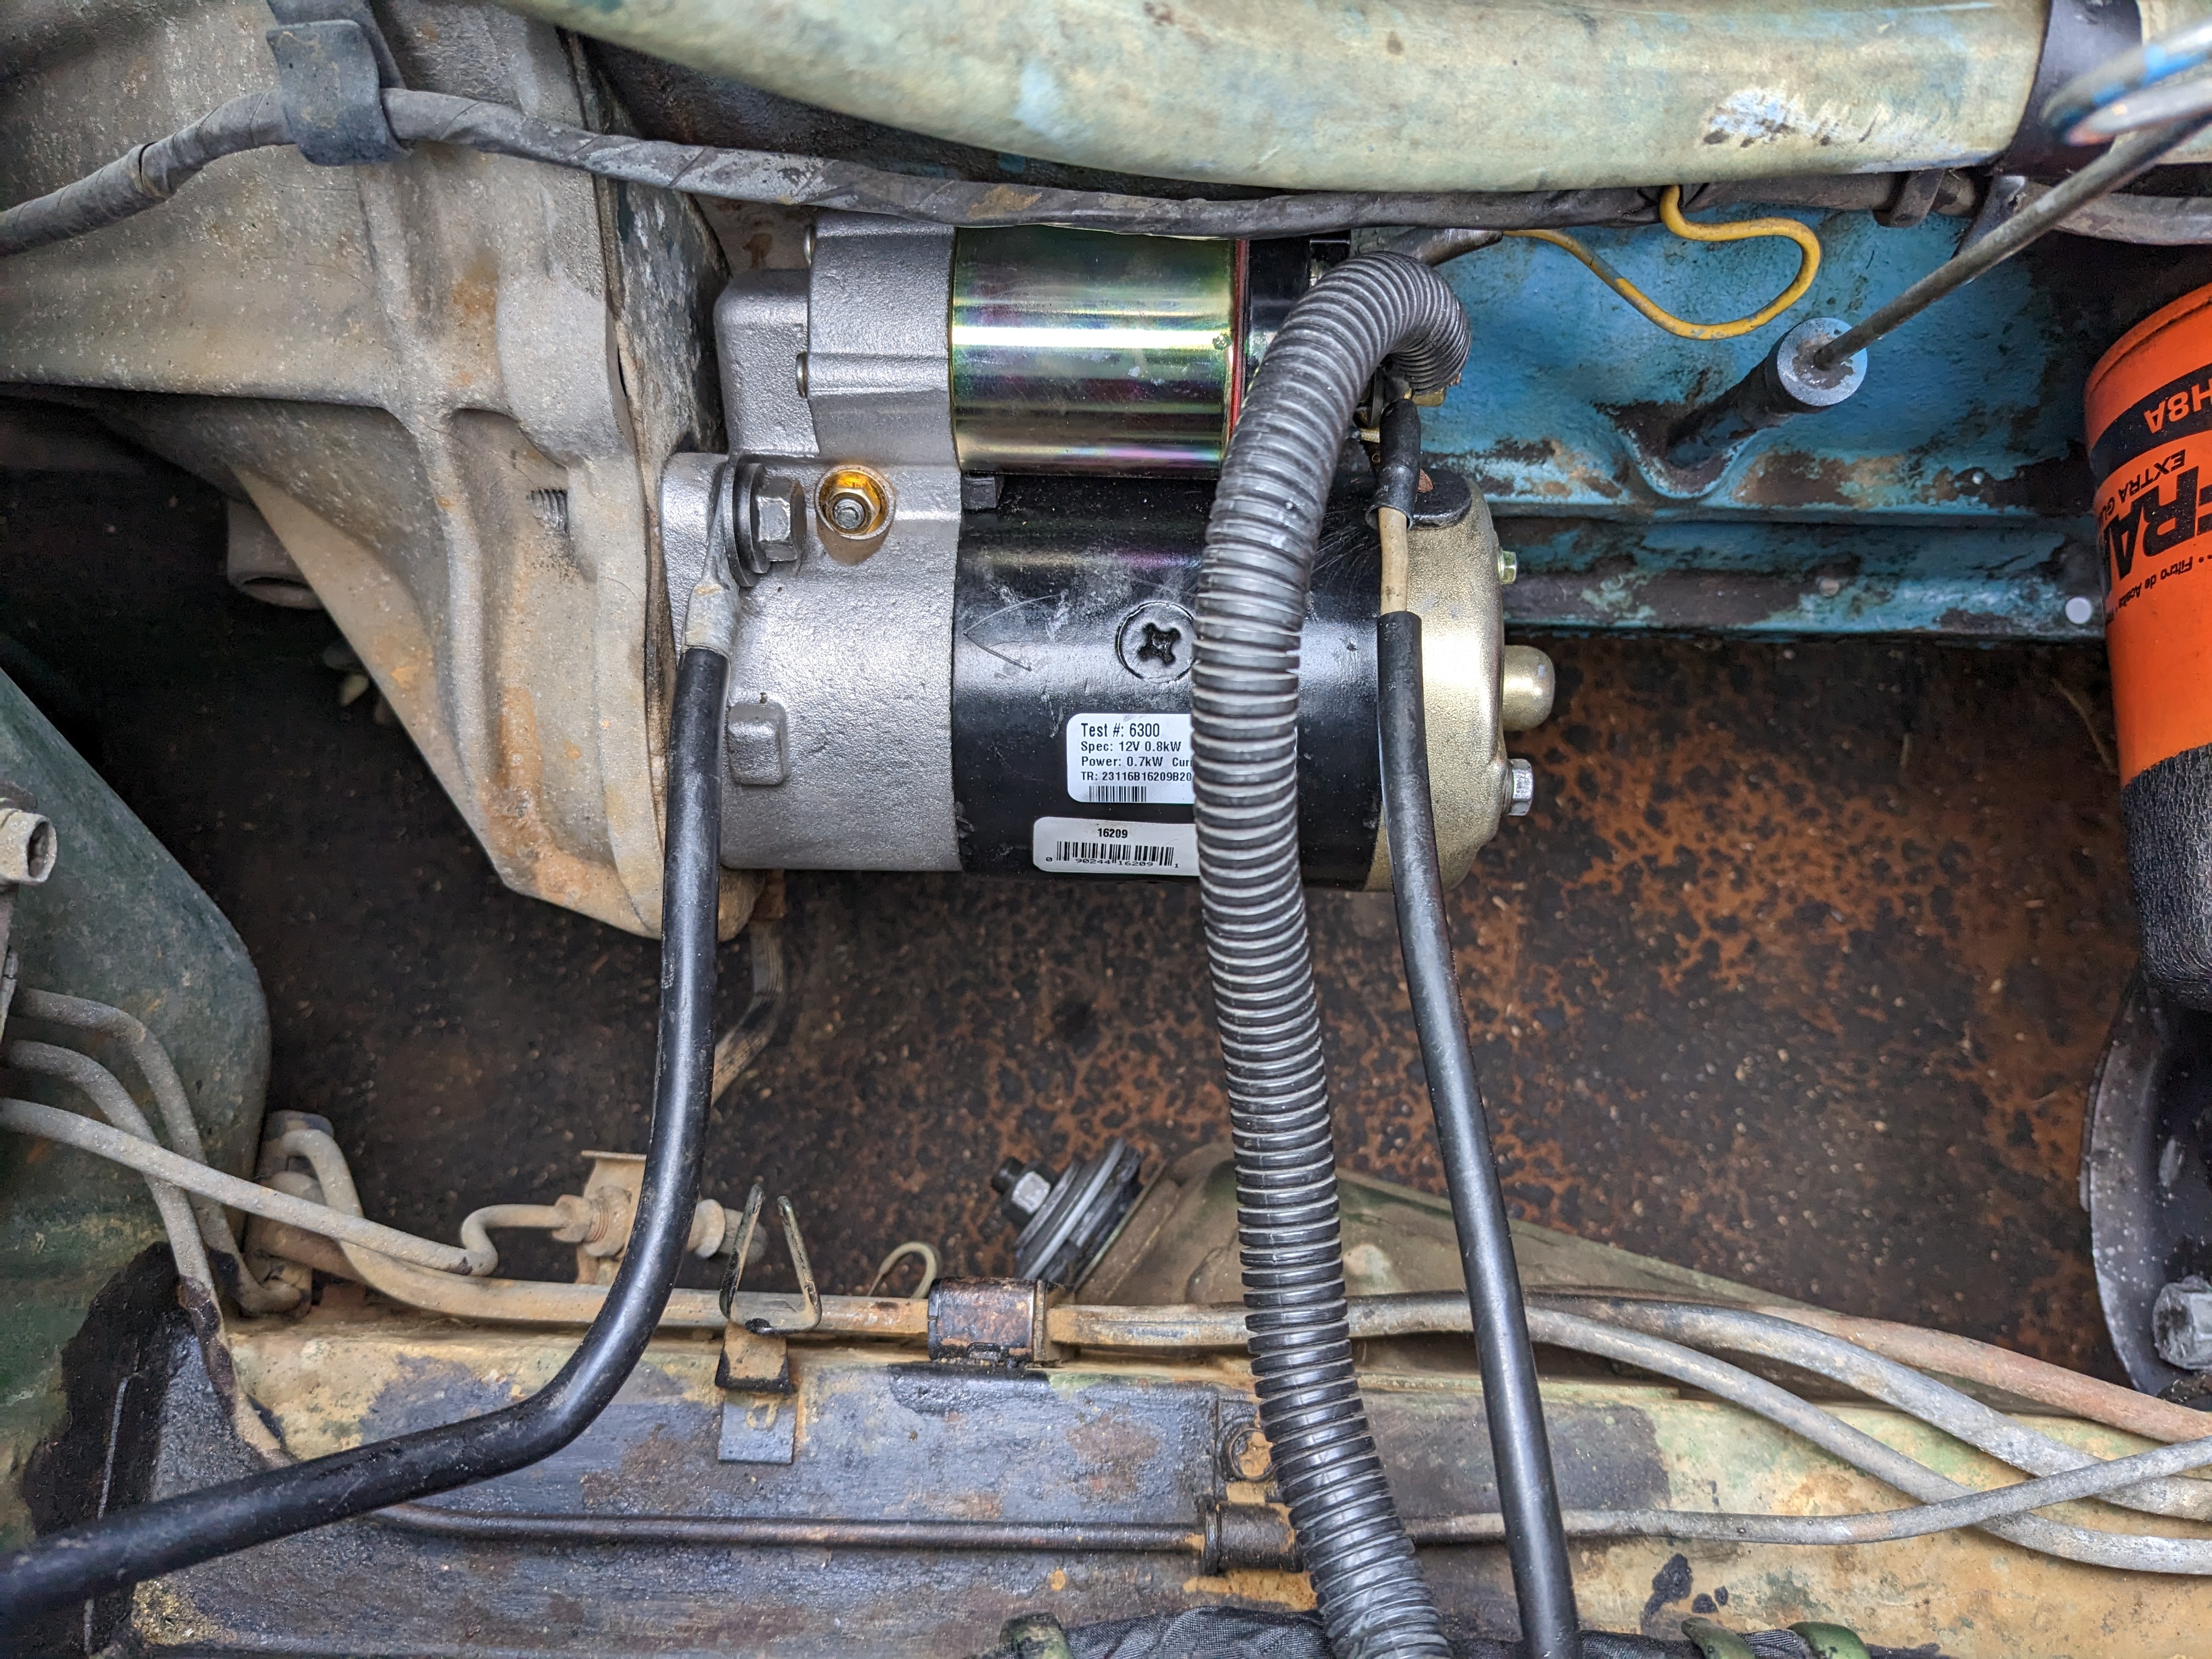
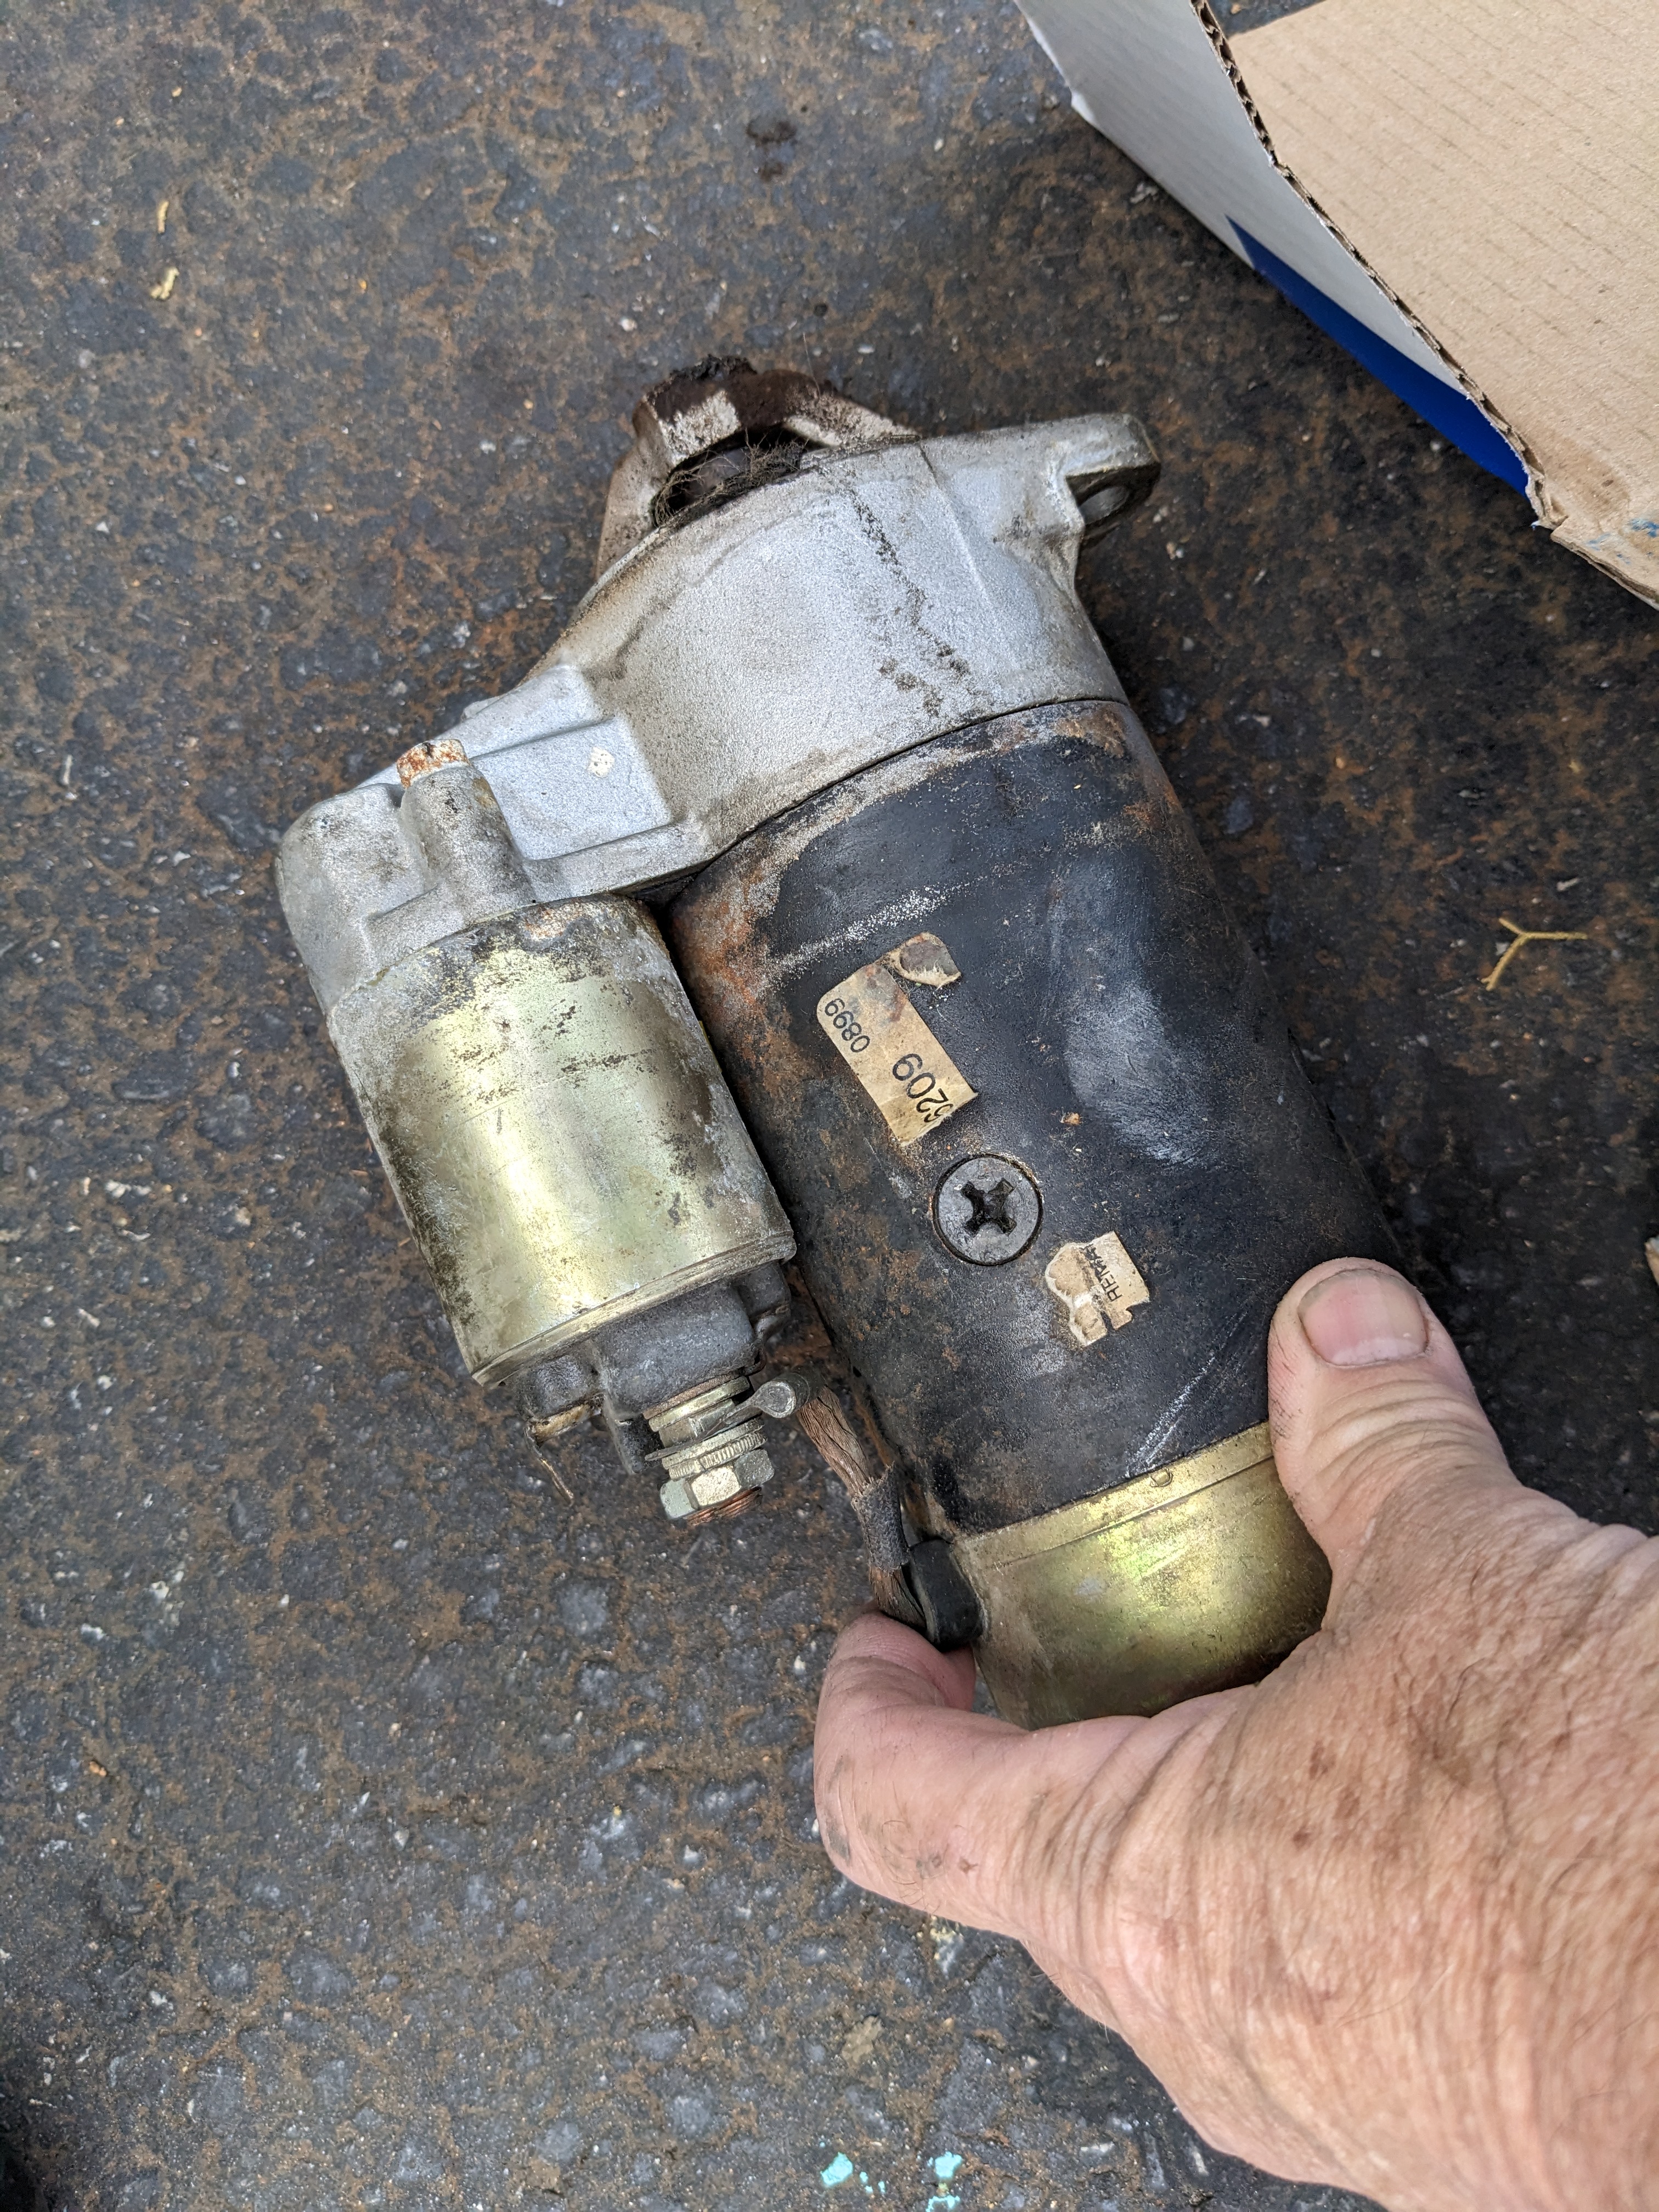
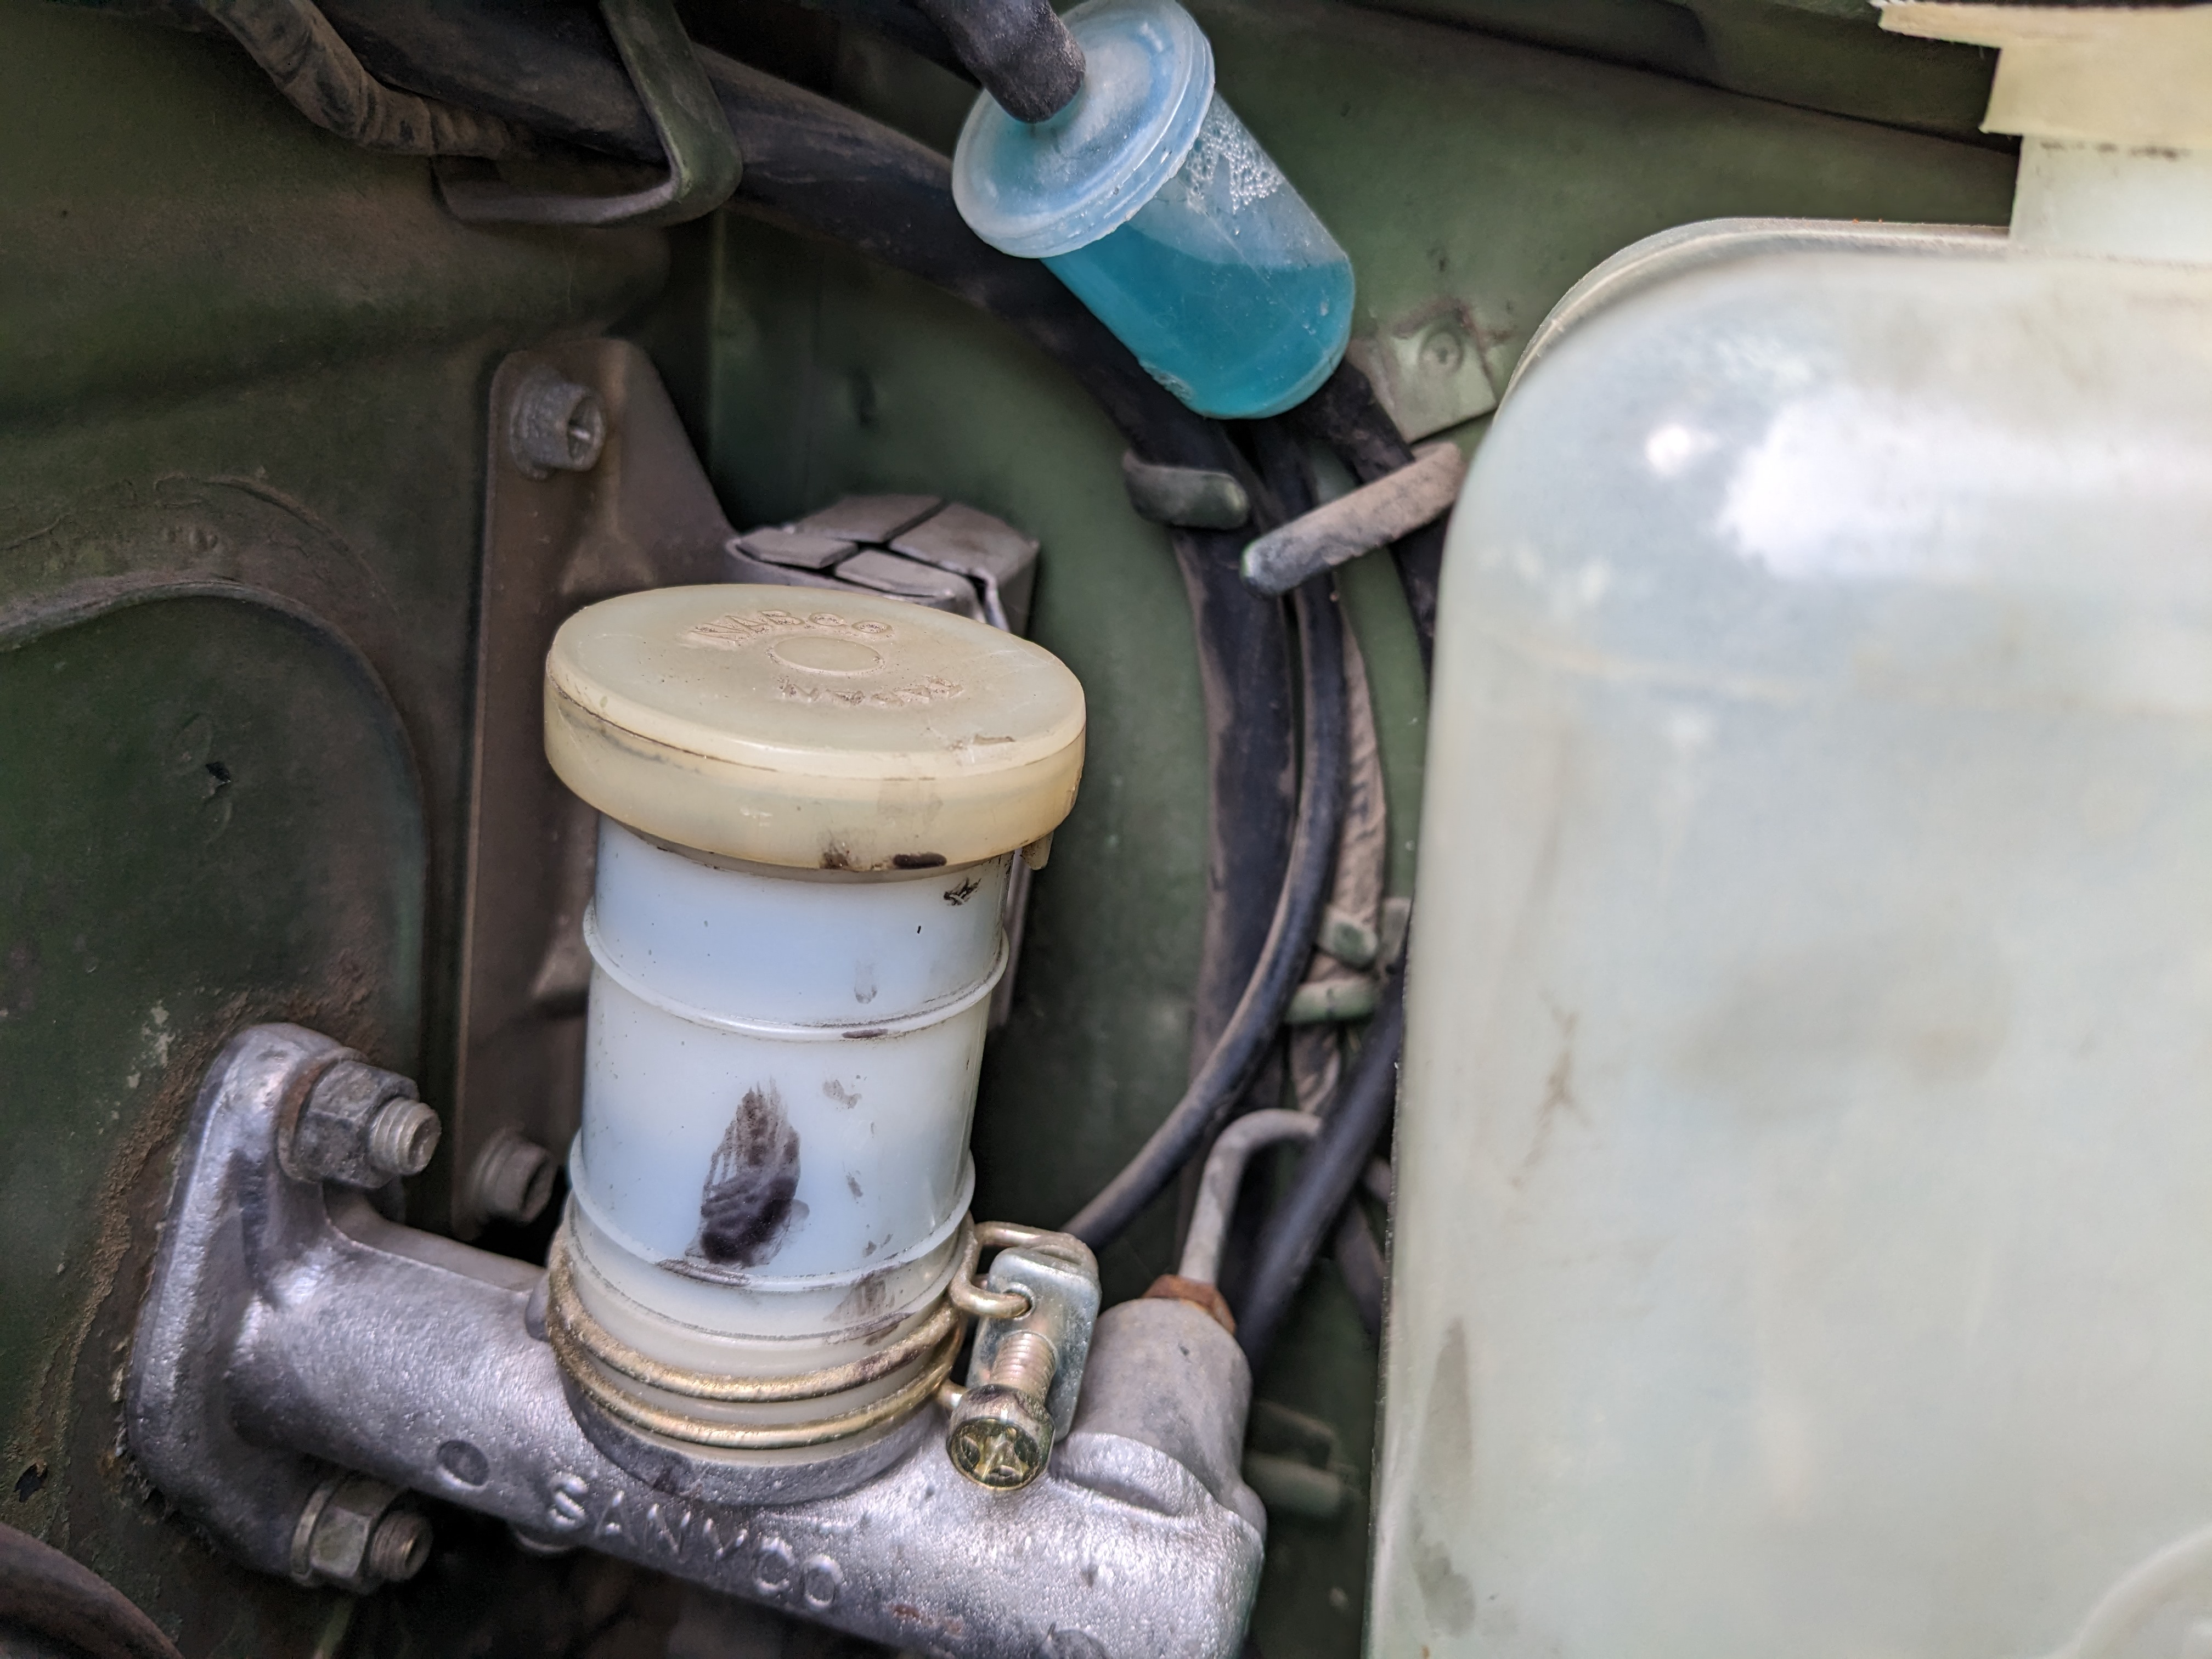
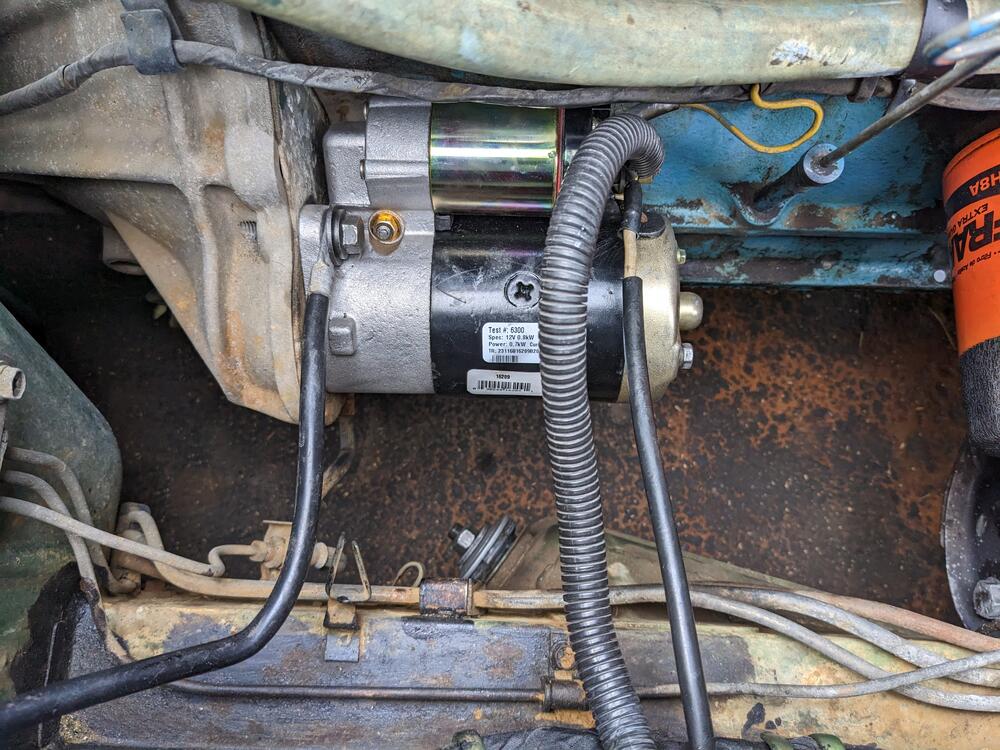
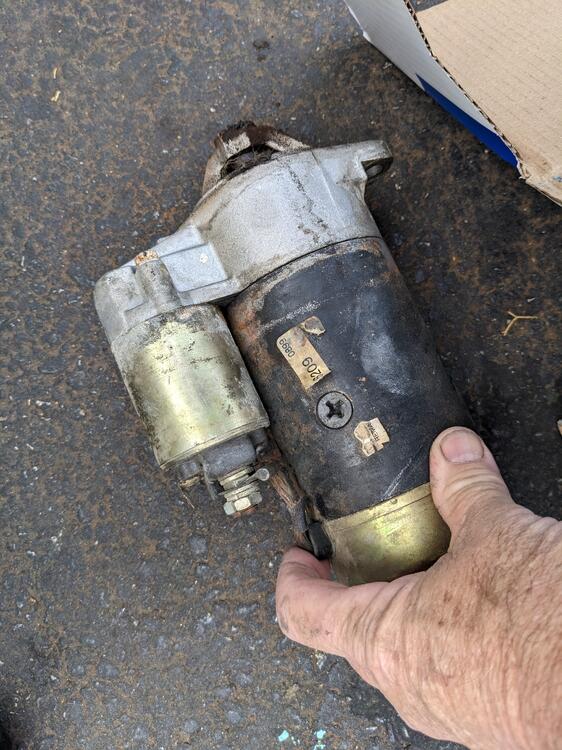
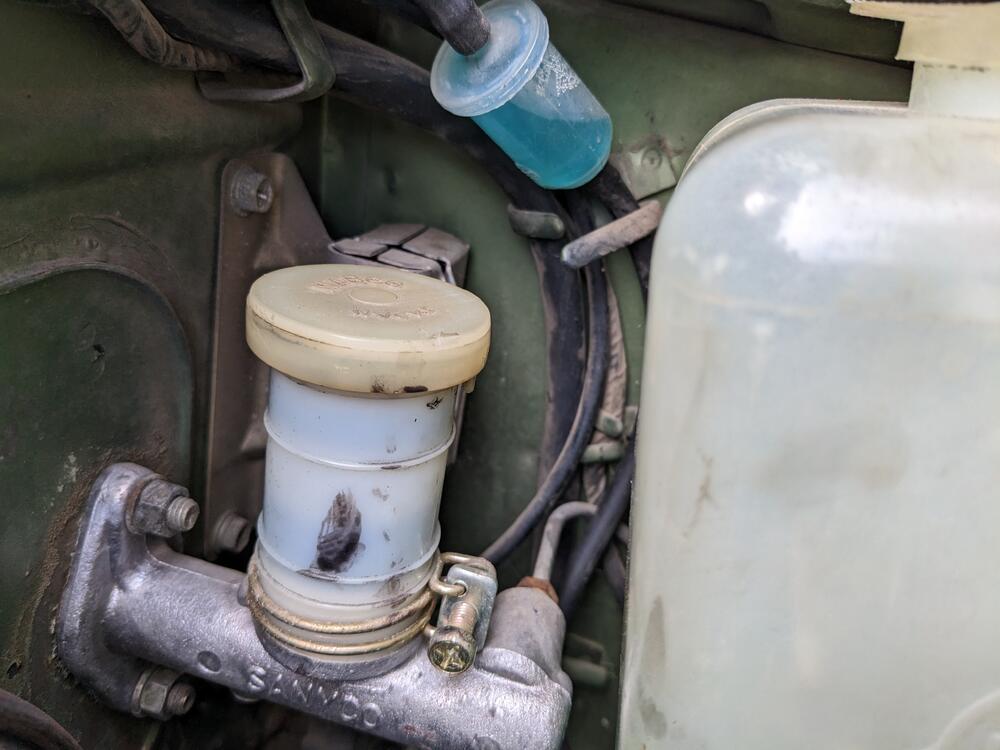
I put a Delco Reman starter in after work. There was already a reman in there Needless to say the problem still exists. I don't understand why the ammeter shows a heavy draw when it clicks if the problem lies in the wiring. I'll put a new spade I=on the solenoid trigger next. Another question - I can't figure out how the clutch MC cap comes off, it won't turn no matter if I try just turning, push down & turn, lift & turn. I don't want to break it. Seems to have tabs on the sides, but I don't see how they retain it
-
I would not add dynamat. Having made the mistake of doing so on my X1/9, it is a royal PITA to remove should you need to do so. It can be applied judiciously to act a panel damper, but that's a different goal from what you are proposing. I'm sticking with the original matting on my 75, I just added a layer of batting to the original undermatting to help keep it's integrity
-
- I'll have to take a closer look. I'm going to drive it around for a couple days, it still needs all the rear work, but it feels pretty good now that the front end isn't floating all over the road.
-
Glad I found this thread. I re-foamed & upholstered my original Z seats in leather. They look great, but are really uncomfortable & lacking in support. I have lower back issues & sliding around on the seat just doesn't work for me. Since I'm getting a 2006 350Z in a couple weeks to use for a drivetrain conversion in my 75 280Z, I think I'll add the seats to the work. Probably do them long before the drivetrain, actually.
-
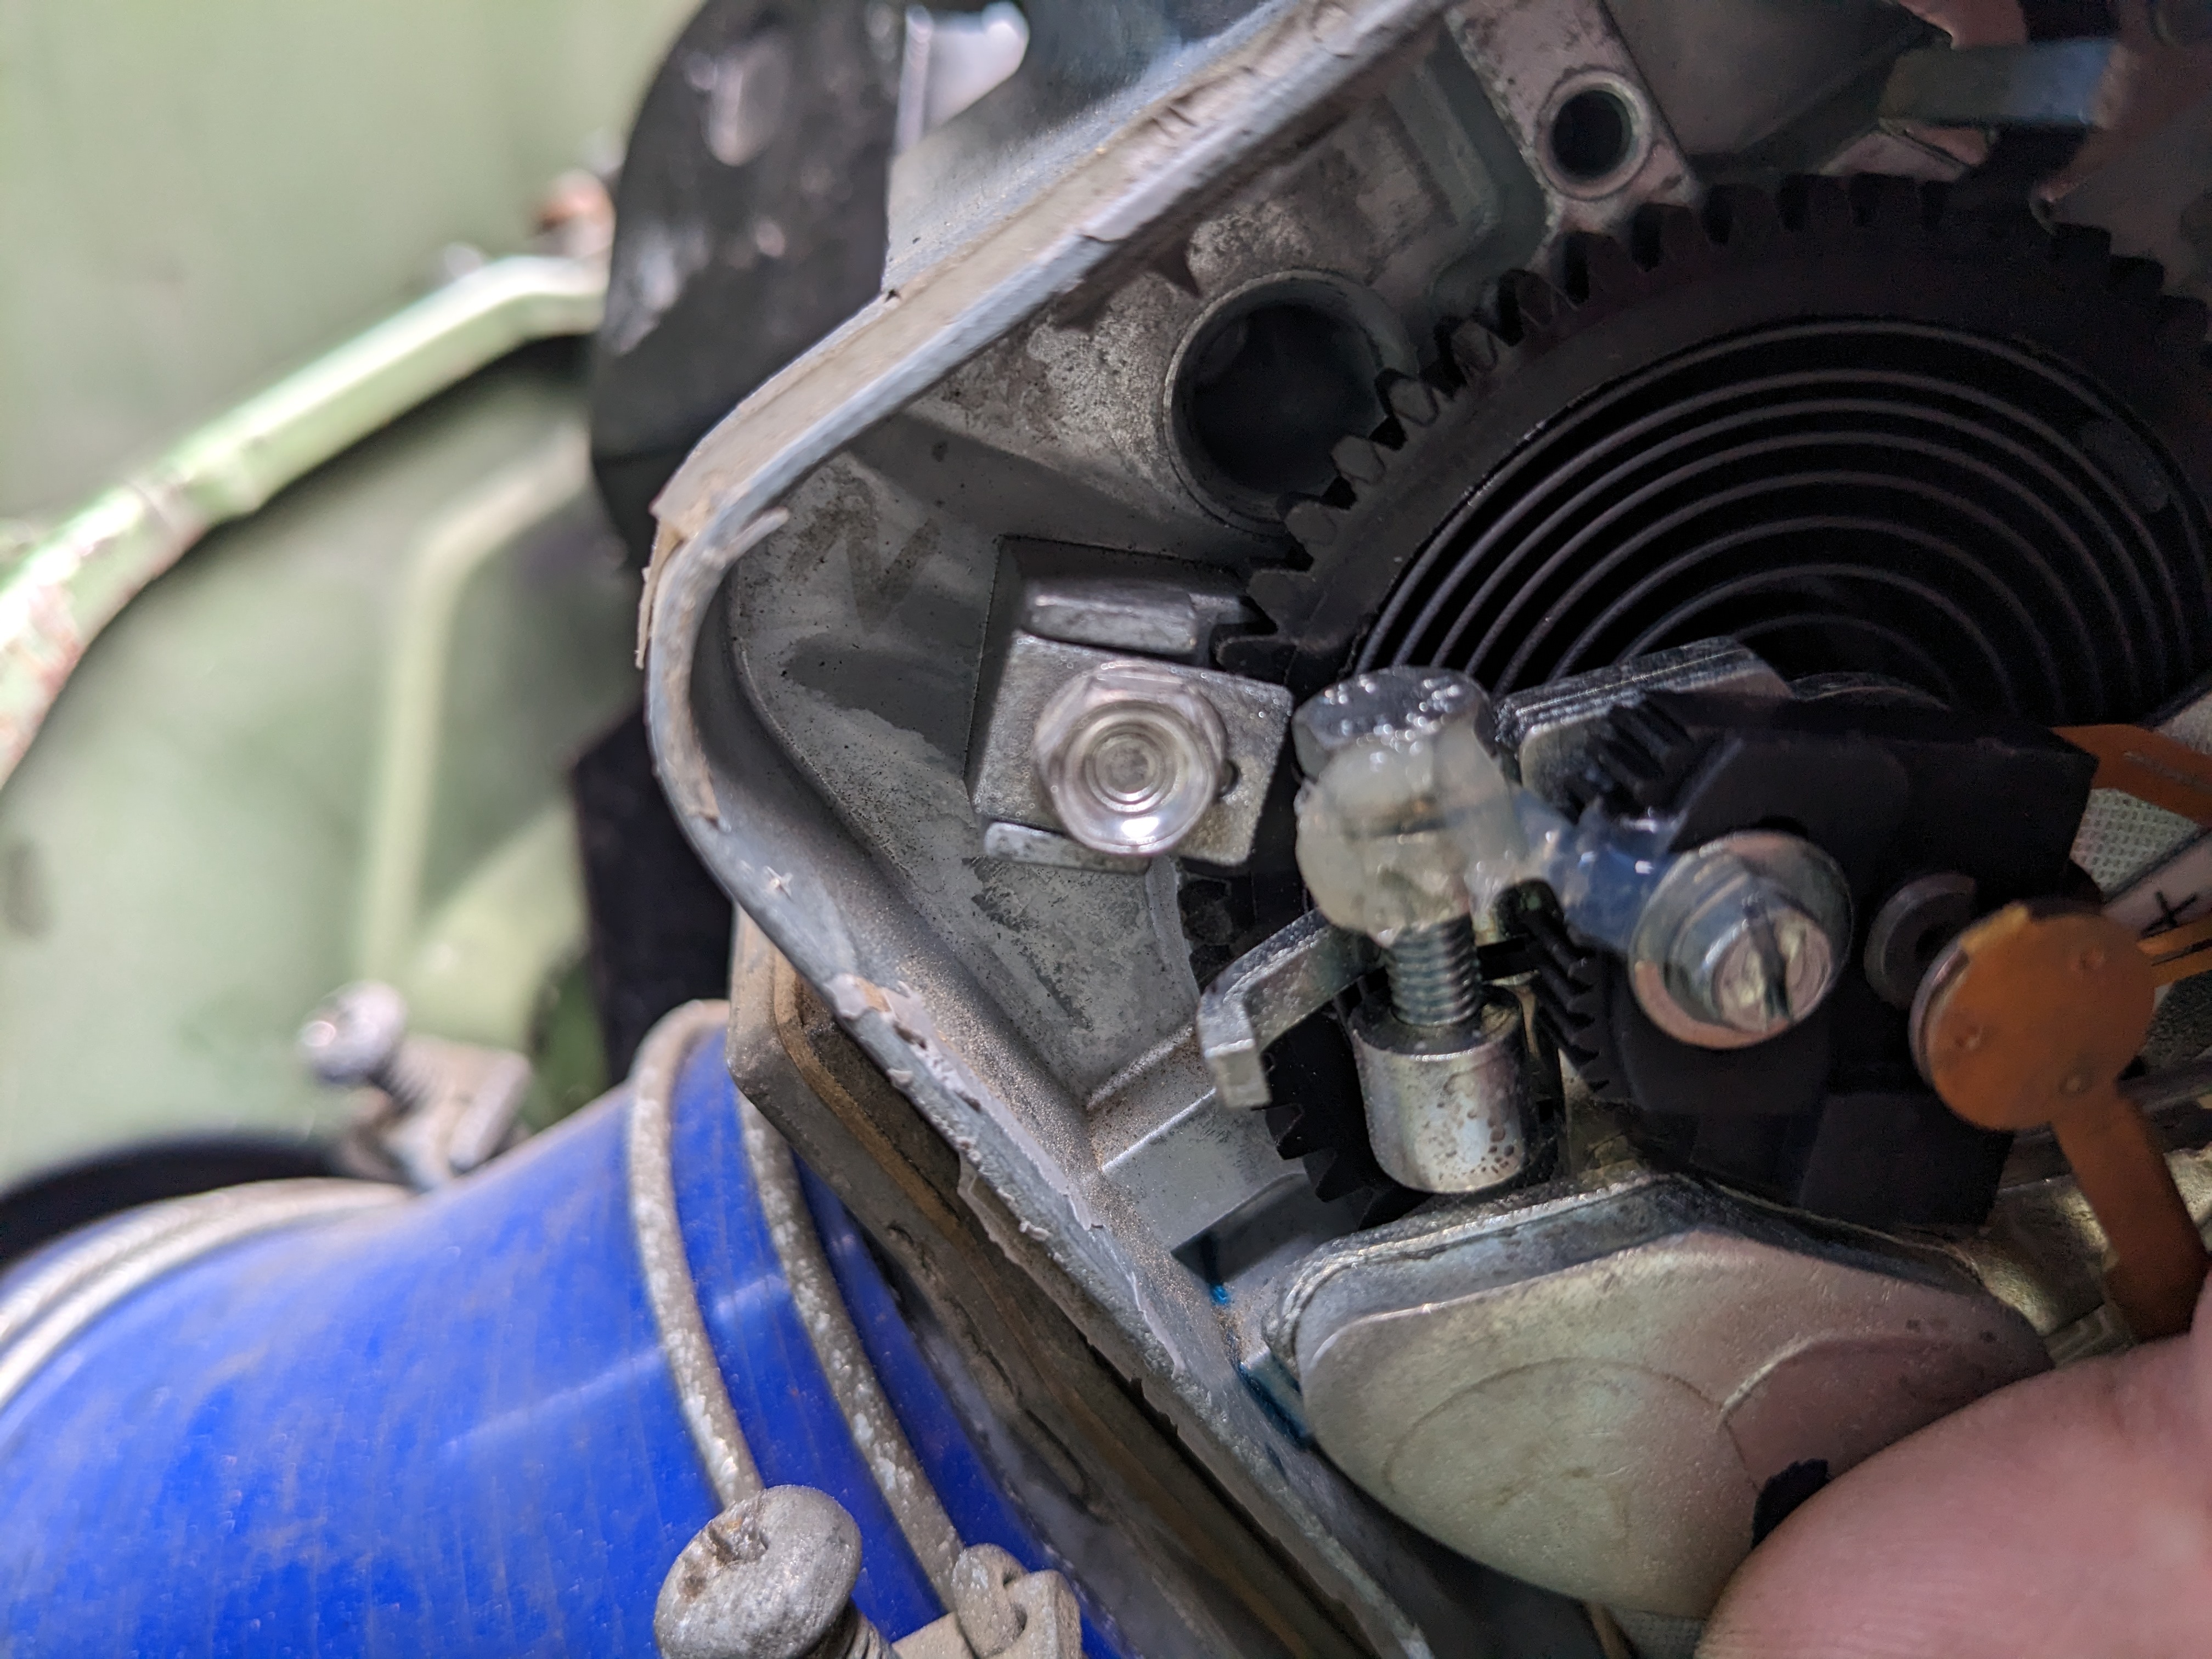
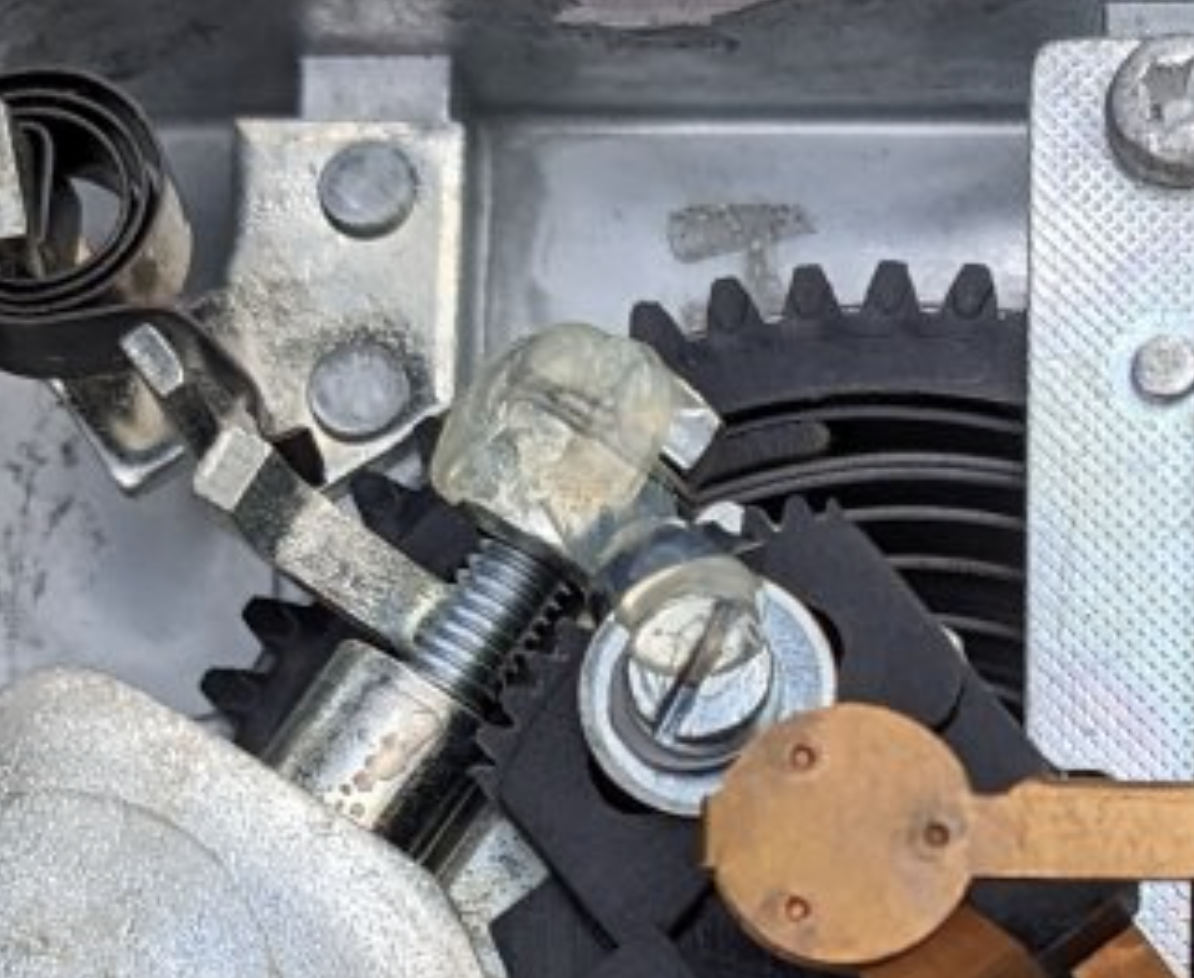
hhhmm... I don't see any blobs on the black gear that would assist in determining where the original setting was 😞
-
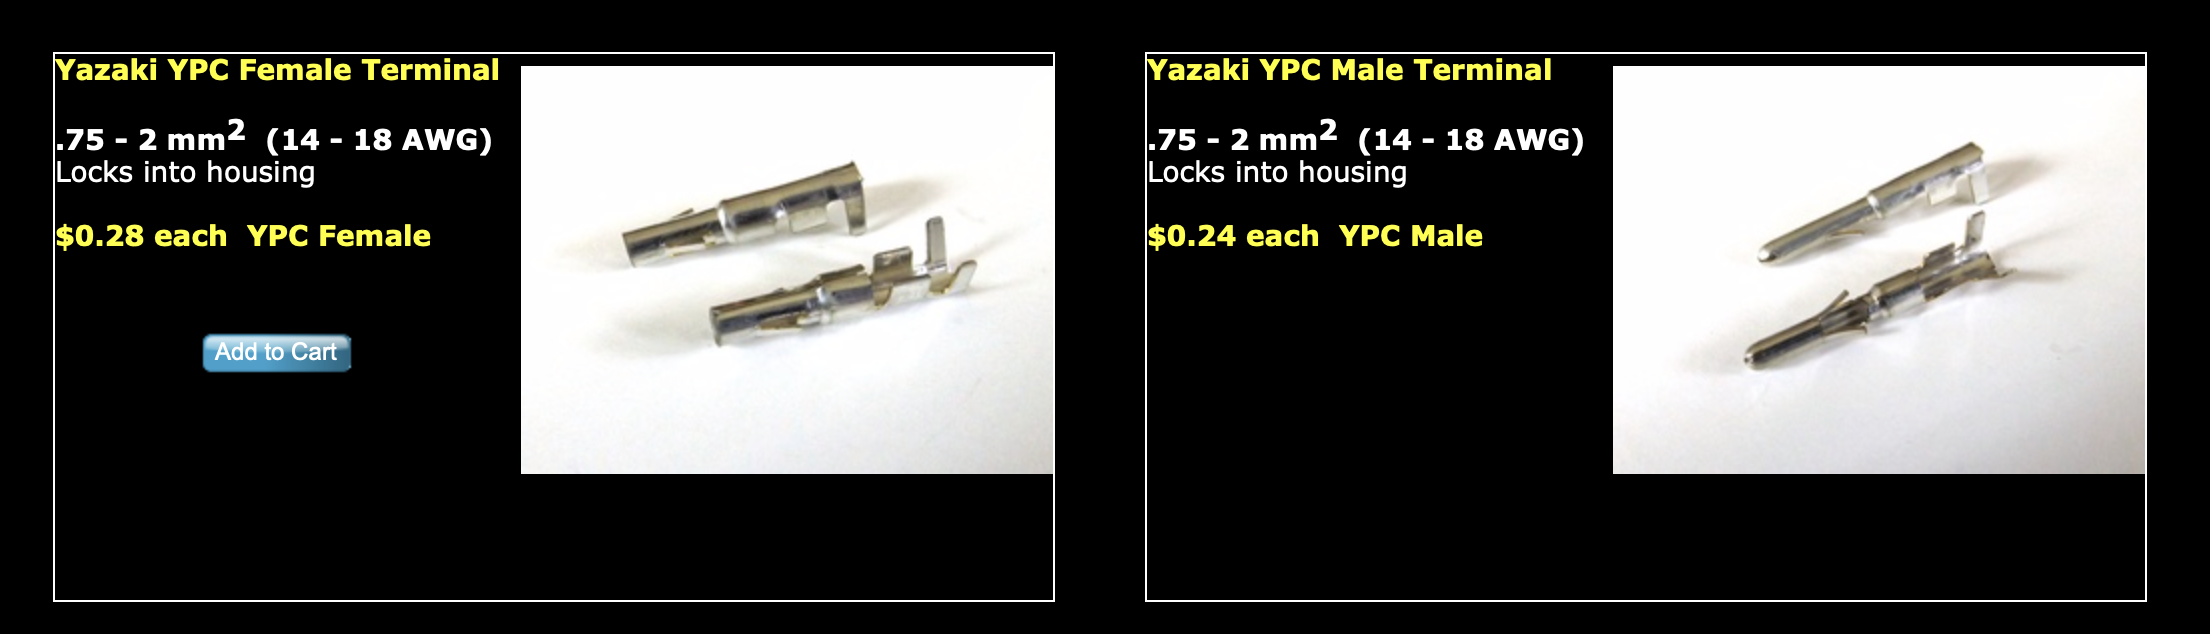
Thats awesome - comes out to 17cents a terminal, seems fair. I bought a batch. The starter acted up again today, so next order of business is to remove it & see if I can determine a specific issue with the solenoid as you had.
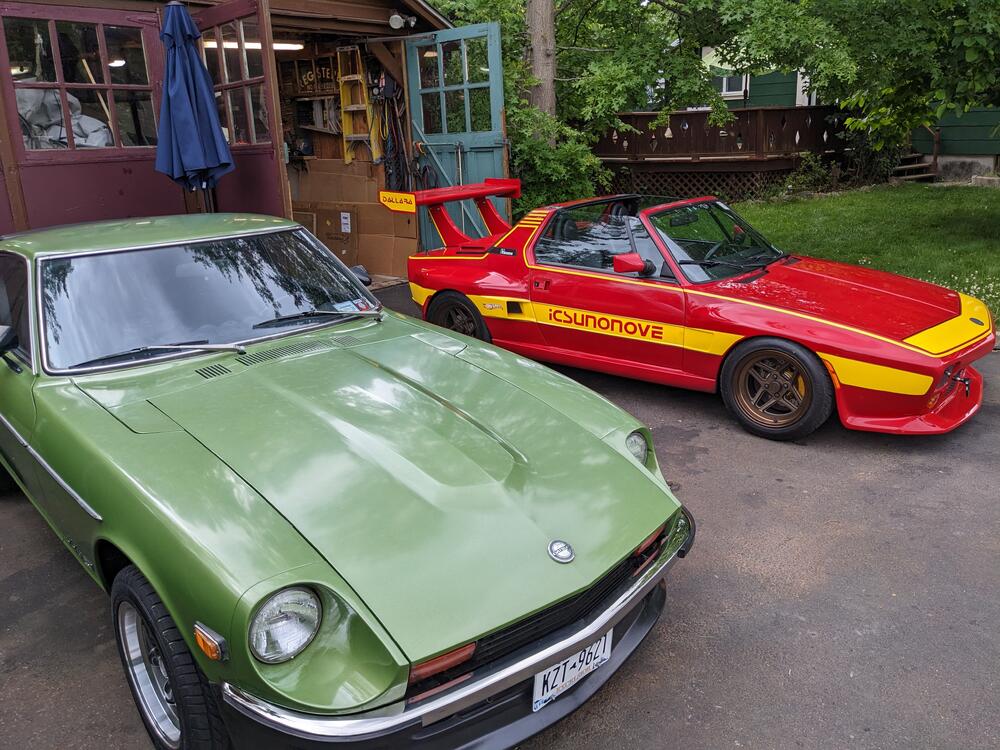
-
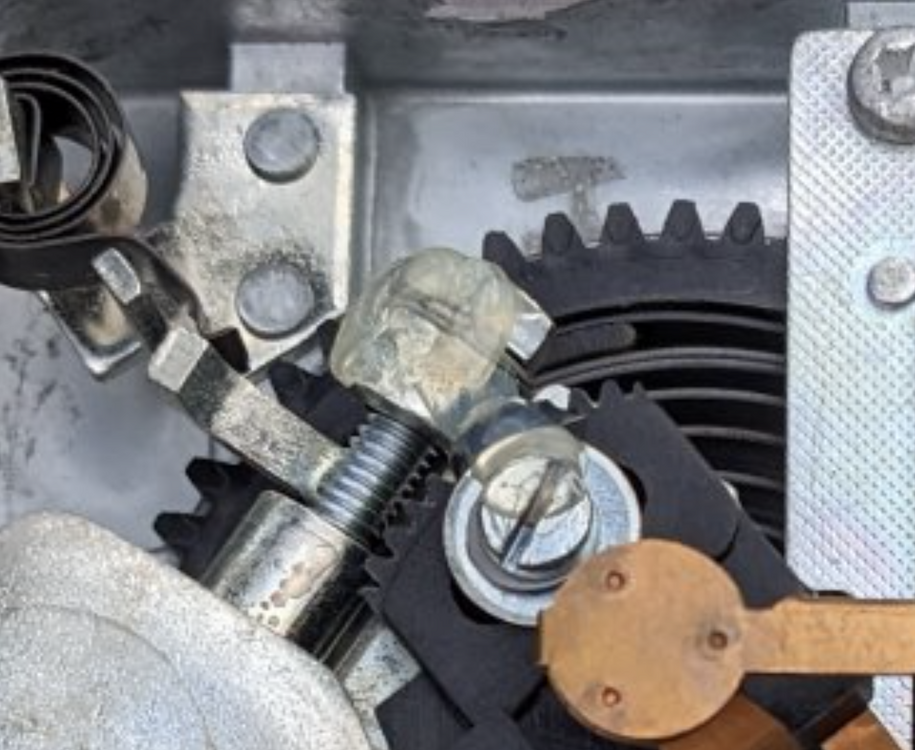
@Captain Obvious - looks like it may have been tweaked then - there is no blob on the clamp
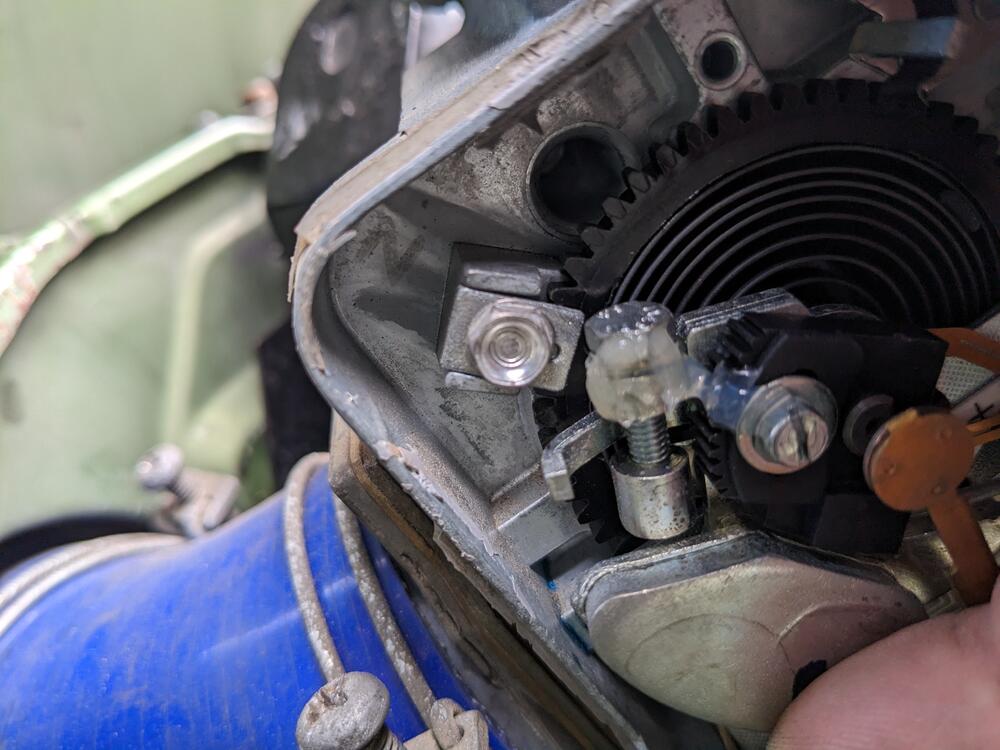
-
I'm not sure I mentioned it on here yet. A neighbor who is also a car nut noted that a good friend of his up in RI has a 2006 350Z w/6 speed that will not pass inspection due to rust in the rear subframe. He suggested that I would perhaps be interested in the car to use as a donor. That is the ideal way to go, as I will have all the EMS, modules, etc., and everything else that I might need. The price he is asking is less than I would pay for a CD009 trans & VQ35DE motor, and he's going to deliver it in a couple weeks 🙂. Apex Engineered makes a front subframe designed to properly locate the Nissan V6, so I will likely go that route & then fabricate whatever else I need from there.
-
Thank you! OK - so looks like Yakazi YPC series - EasternBeaver does have them, and it appears CycleTerminal does, but no stock of male pin I do have some proper (OEM Fiat/Volvo) EFI hose clamps left over from my D-Jet & LHII days - I may just use Oetiker clamps, it's not as is they need to be removed at regular intervals anyway.

-
Runs very smoothly now - this is idle during warmup https://youtu.be/_dLoJwT2UqY
-
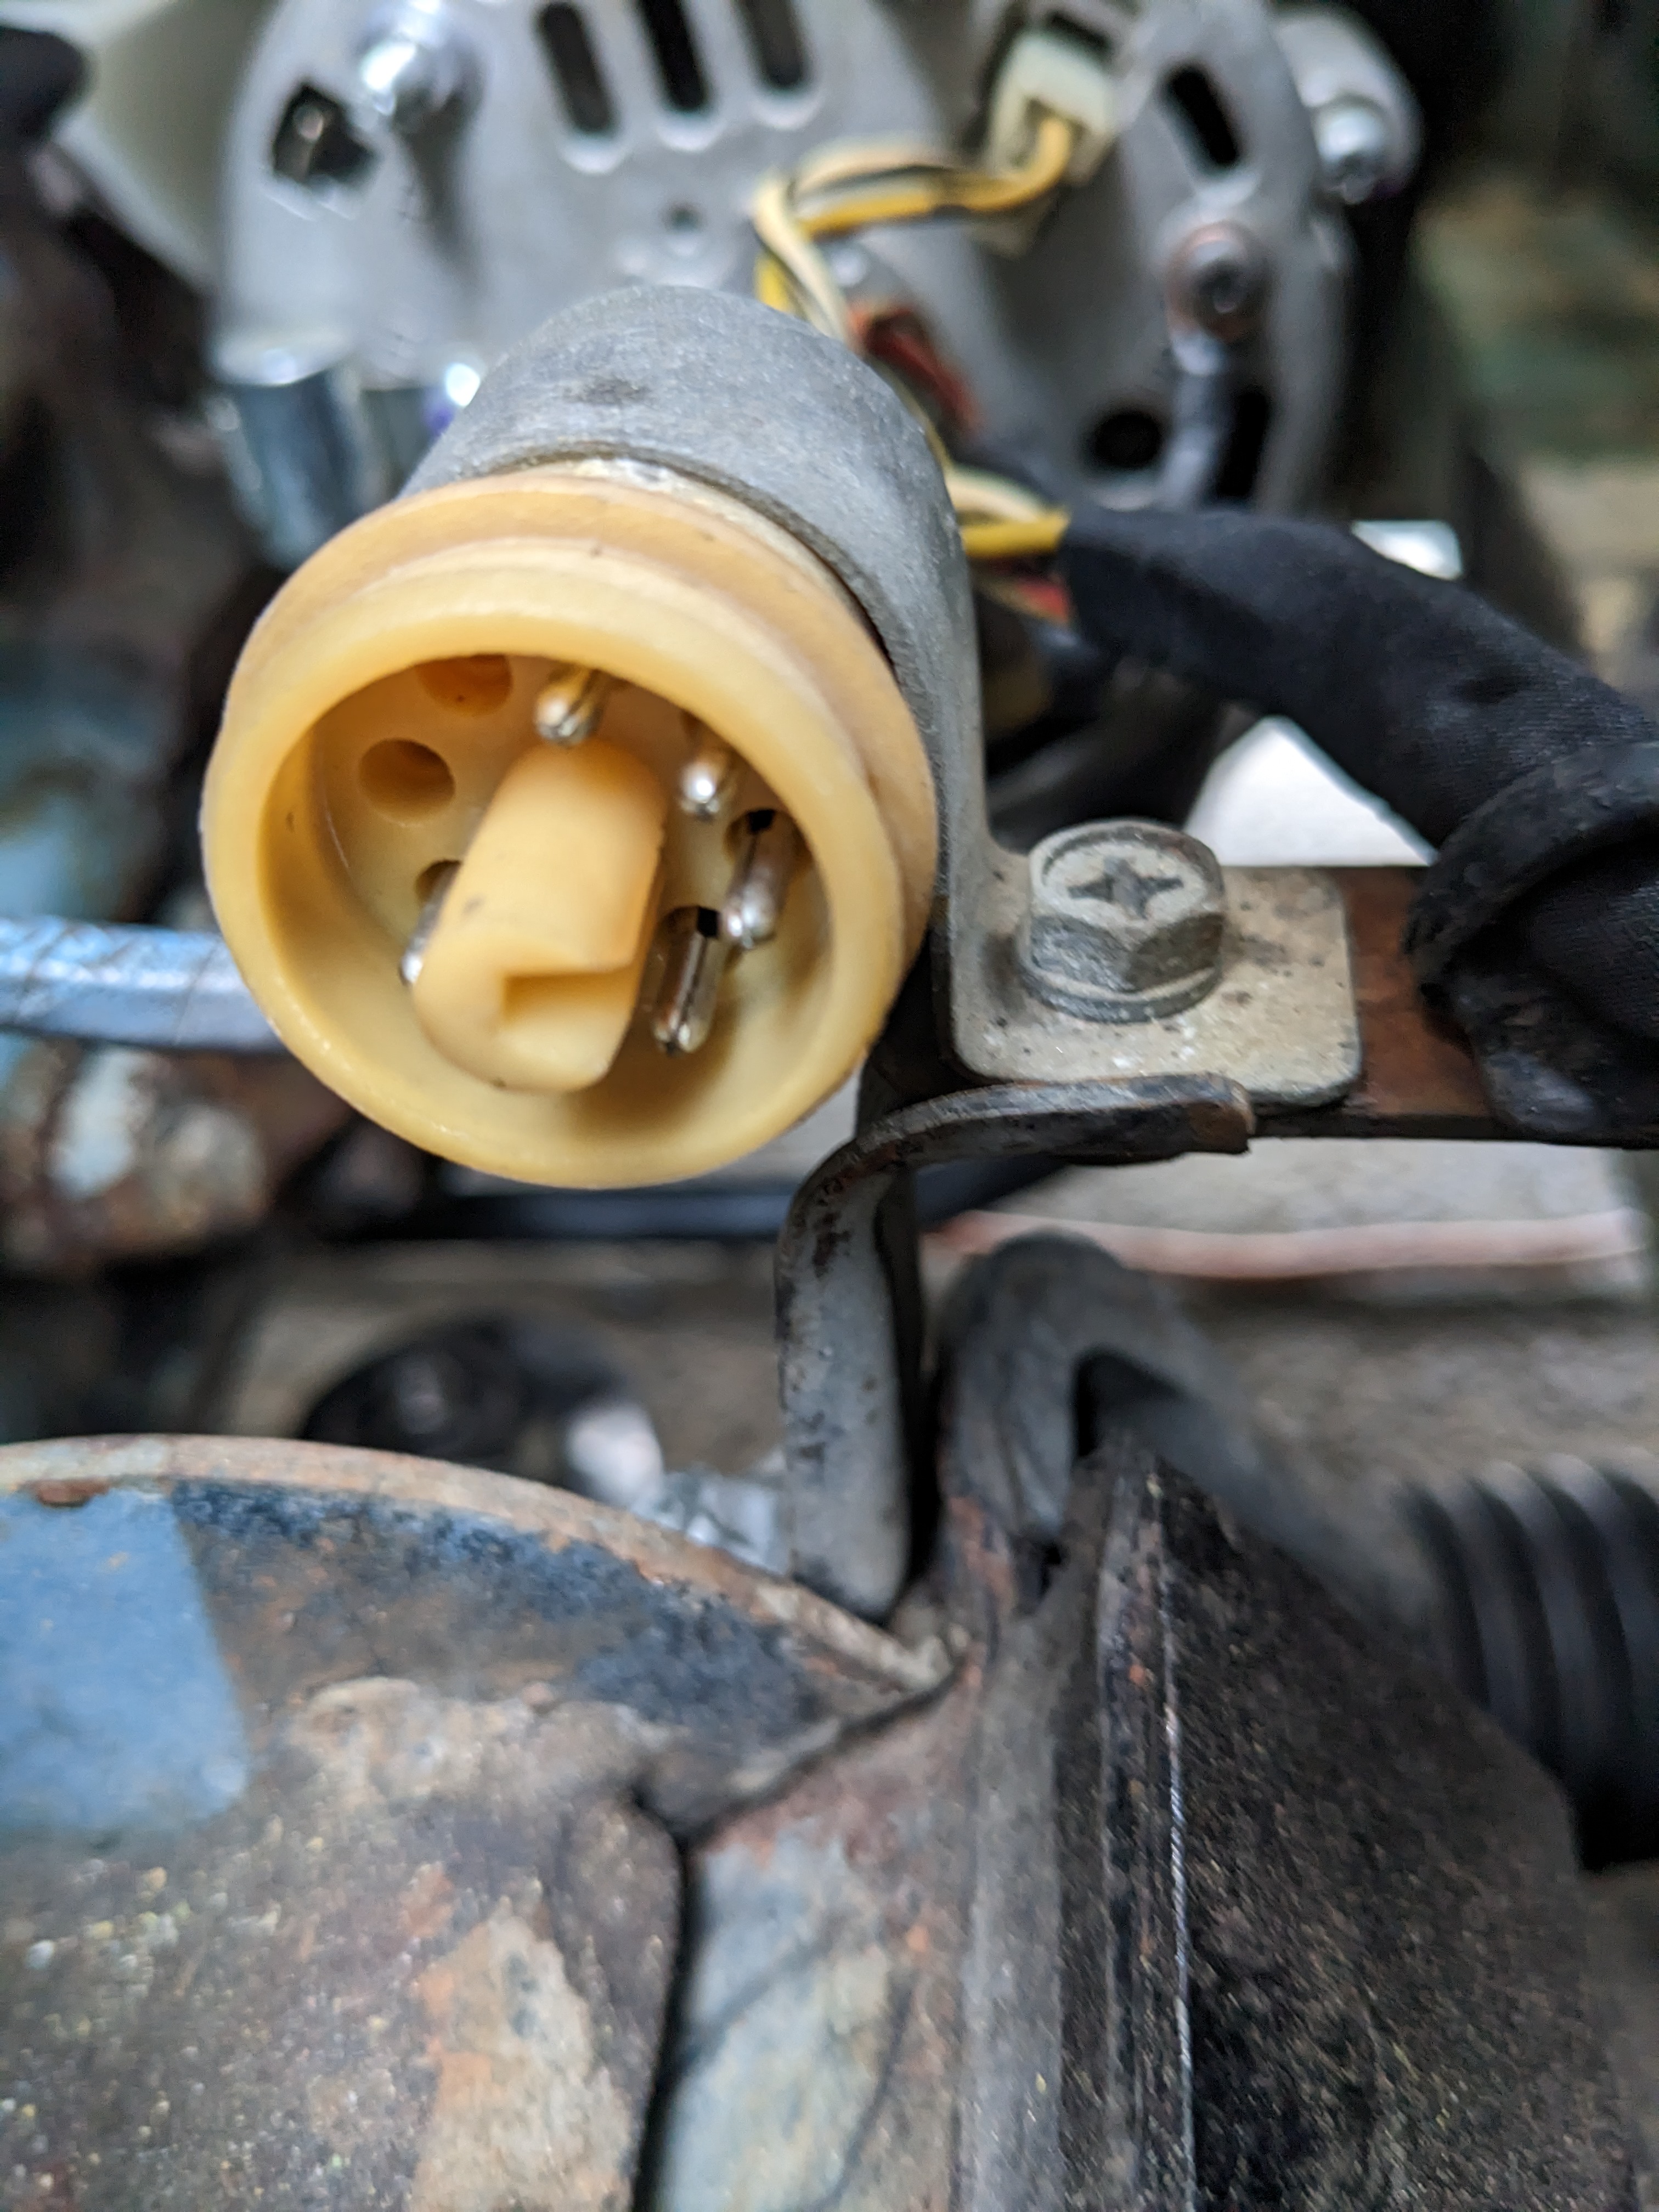
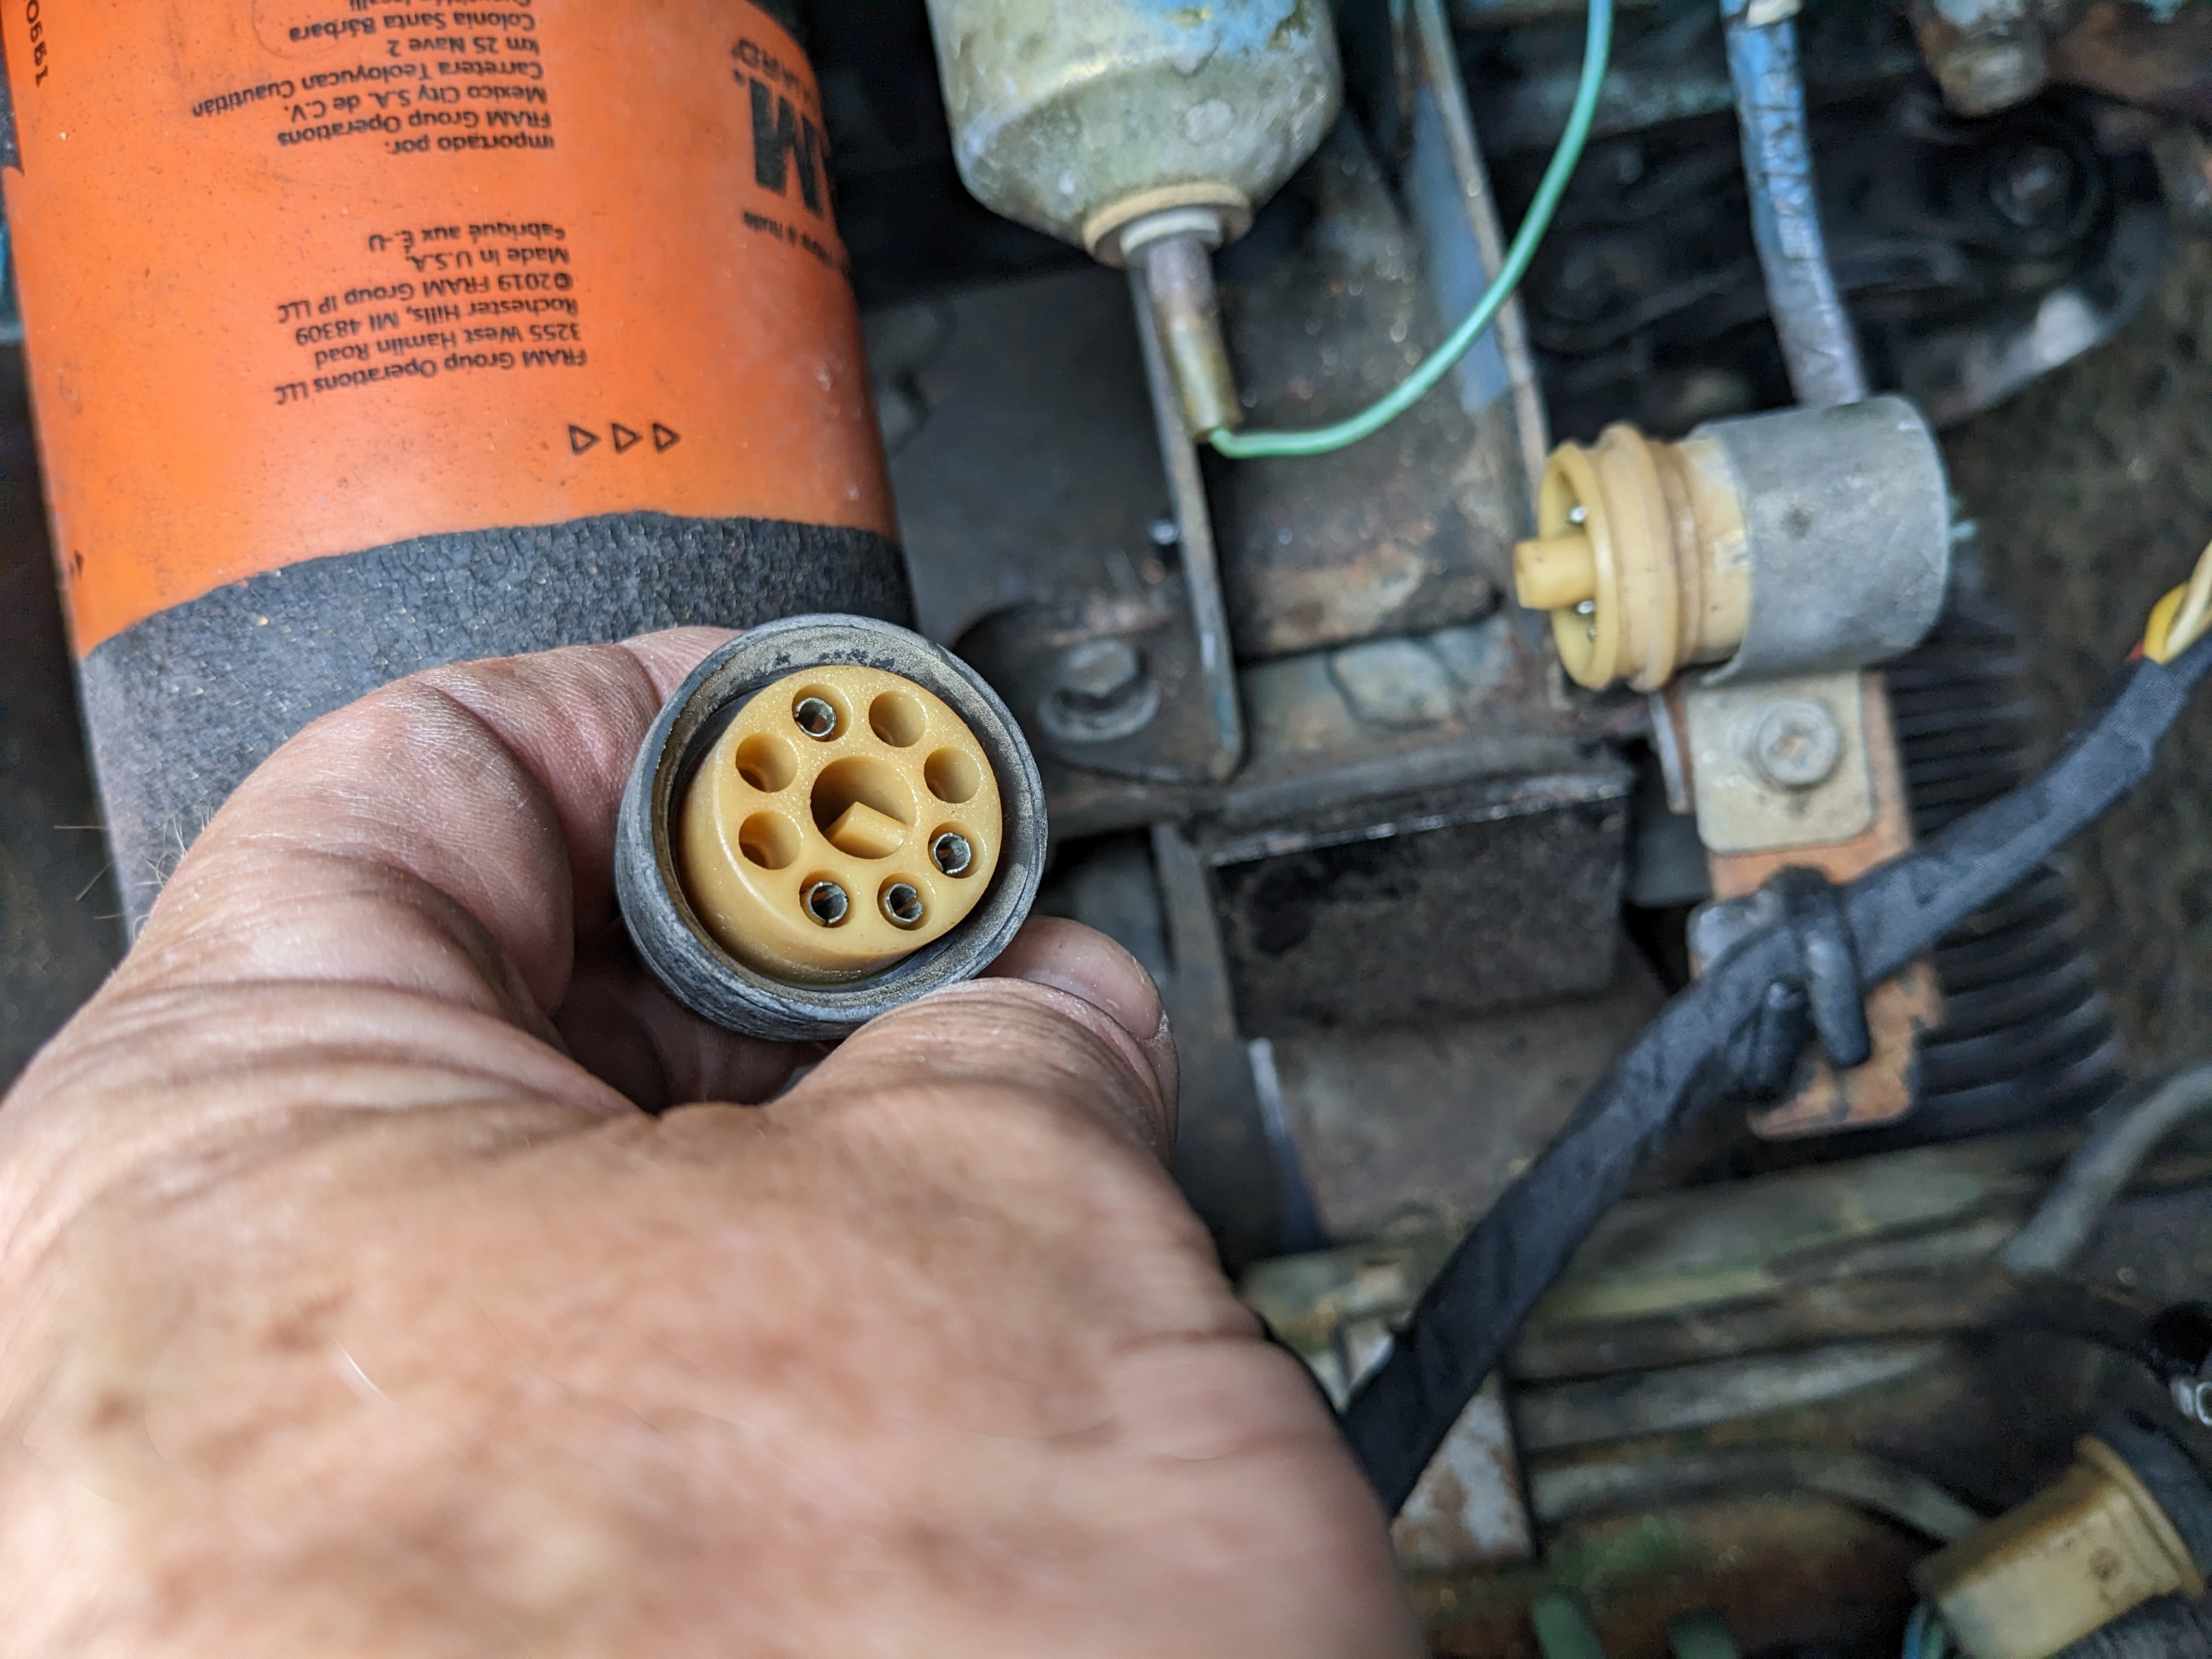
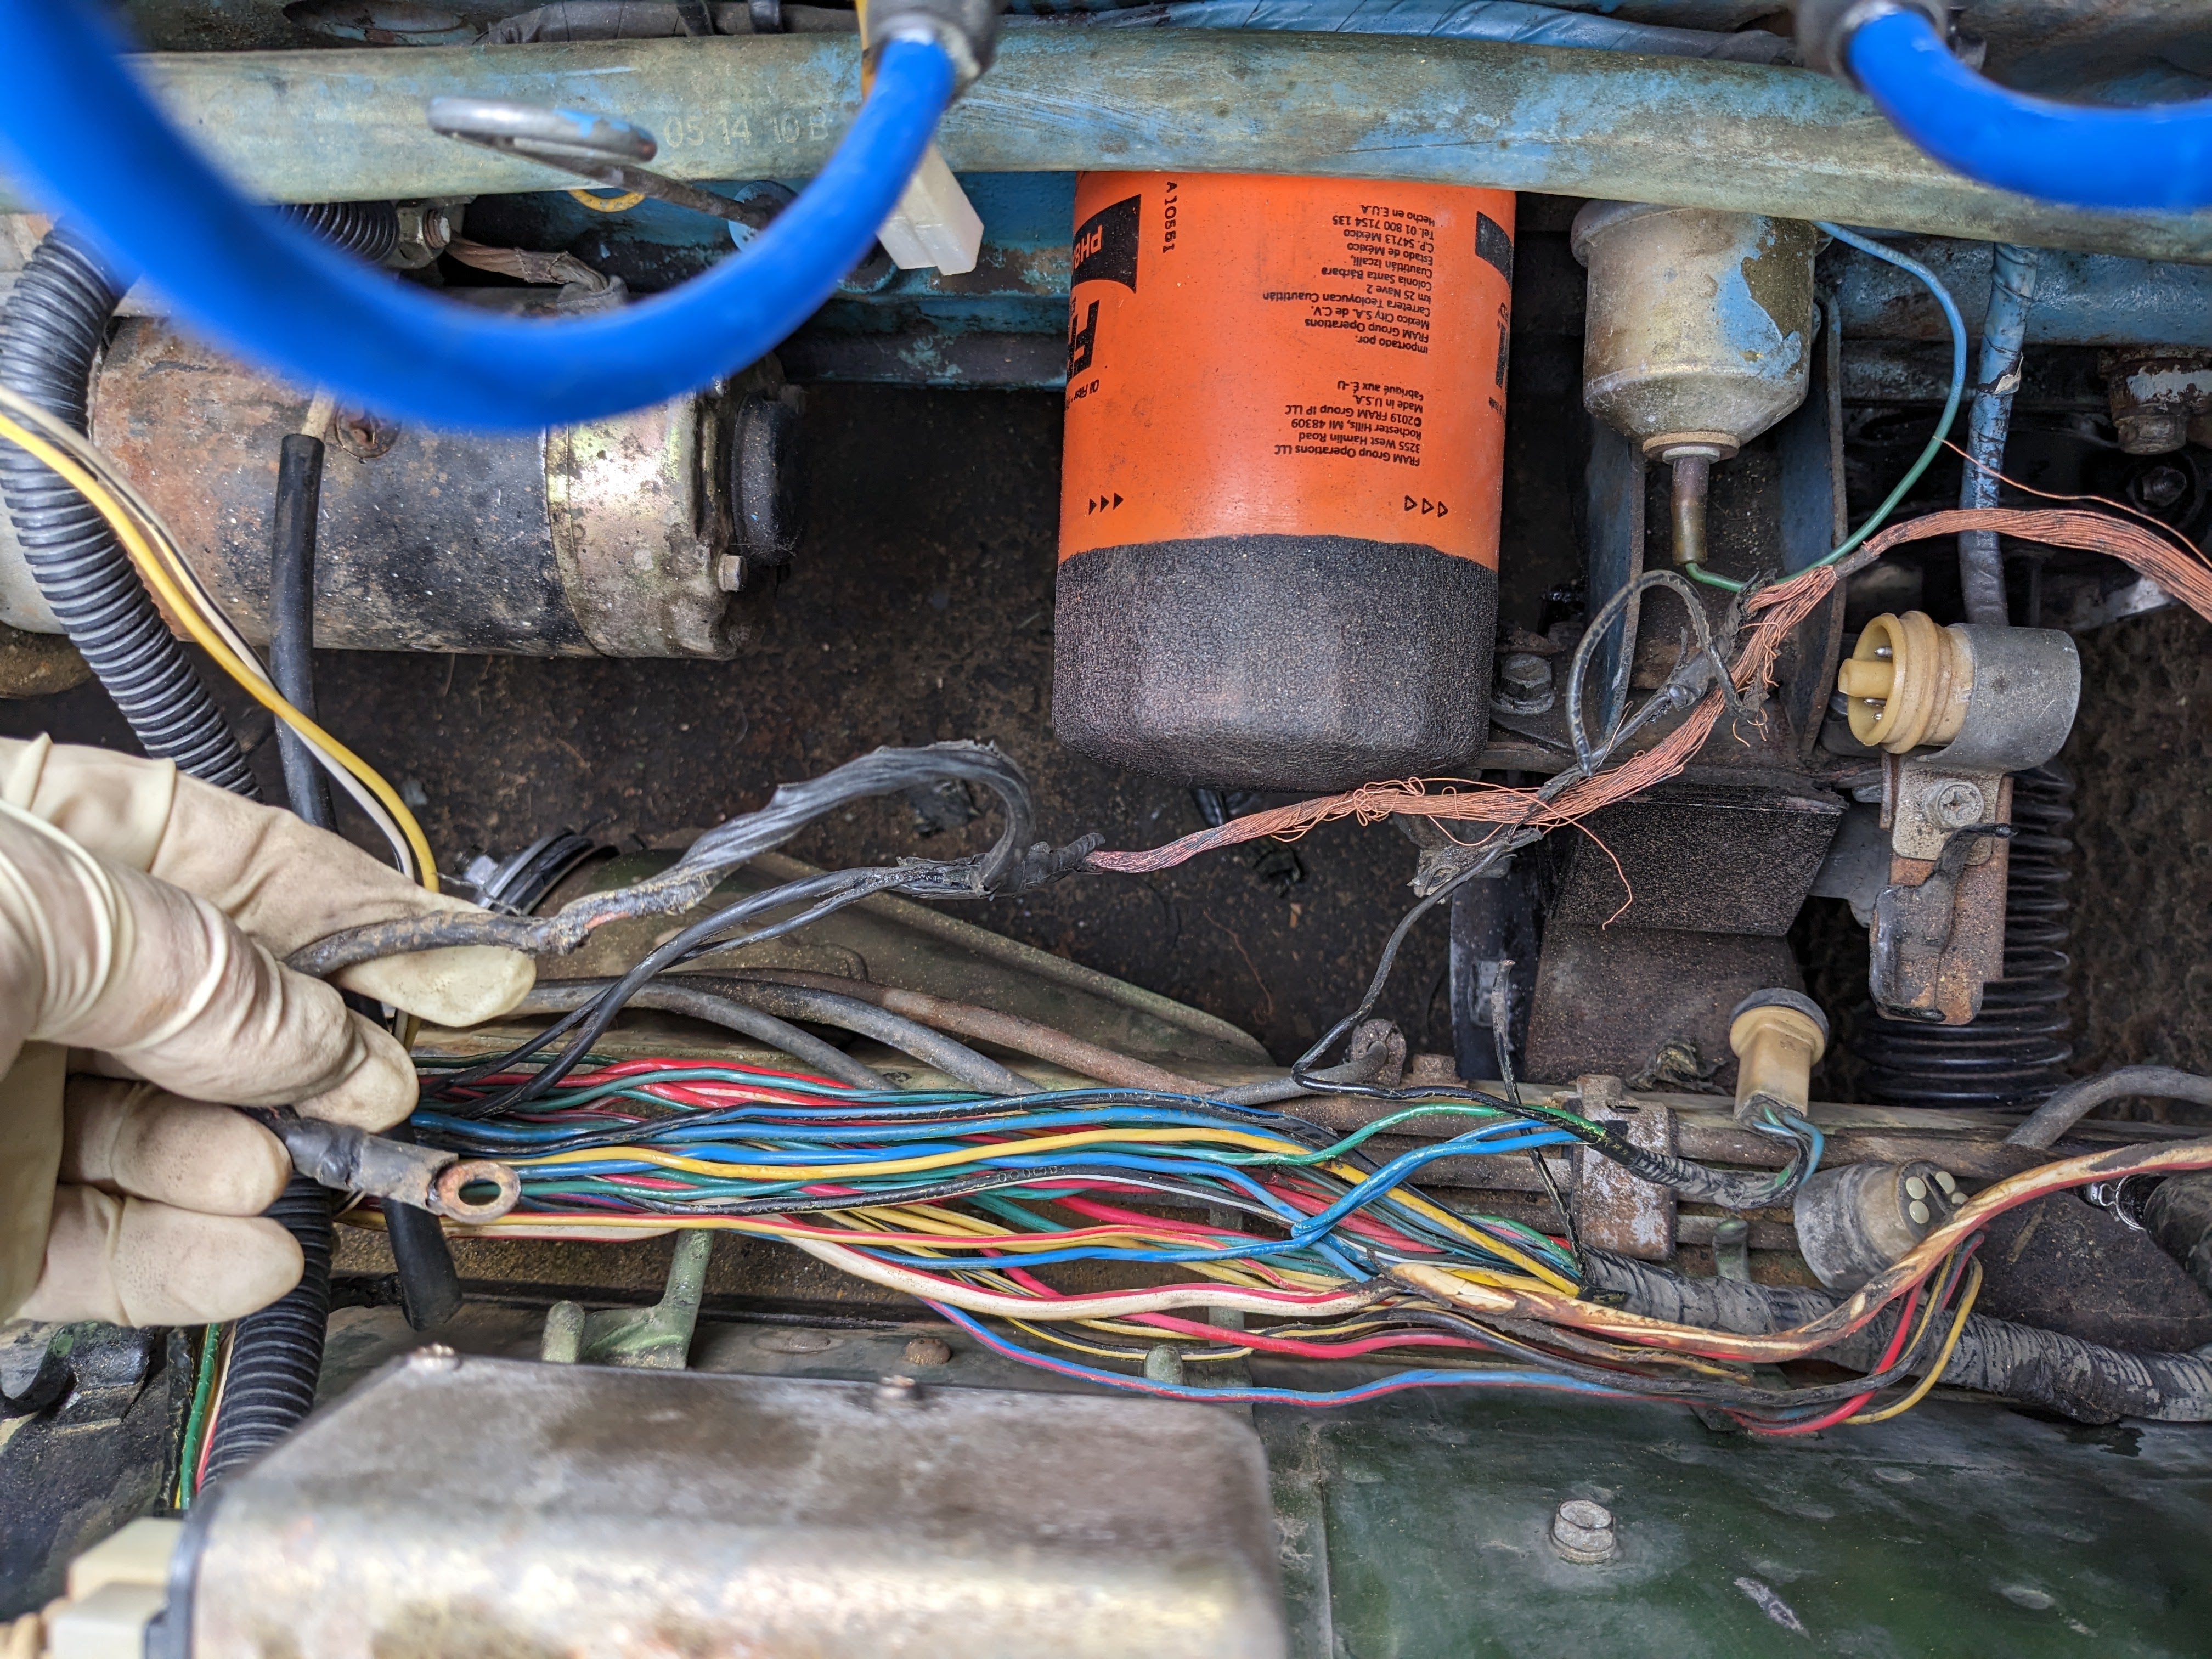
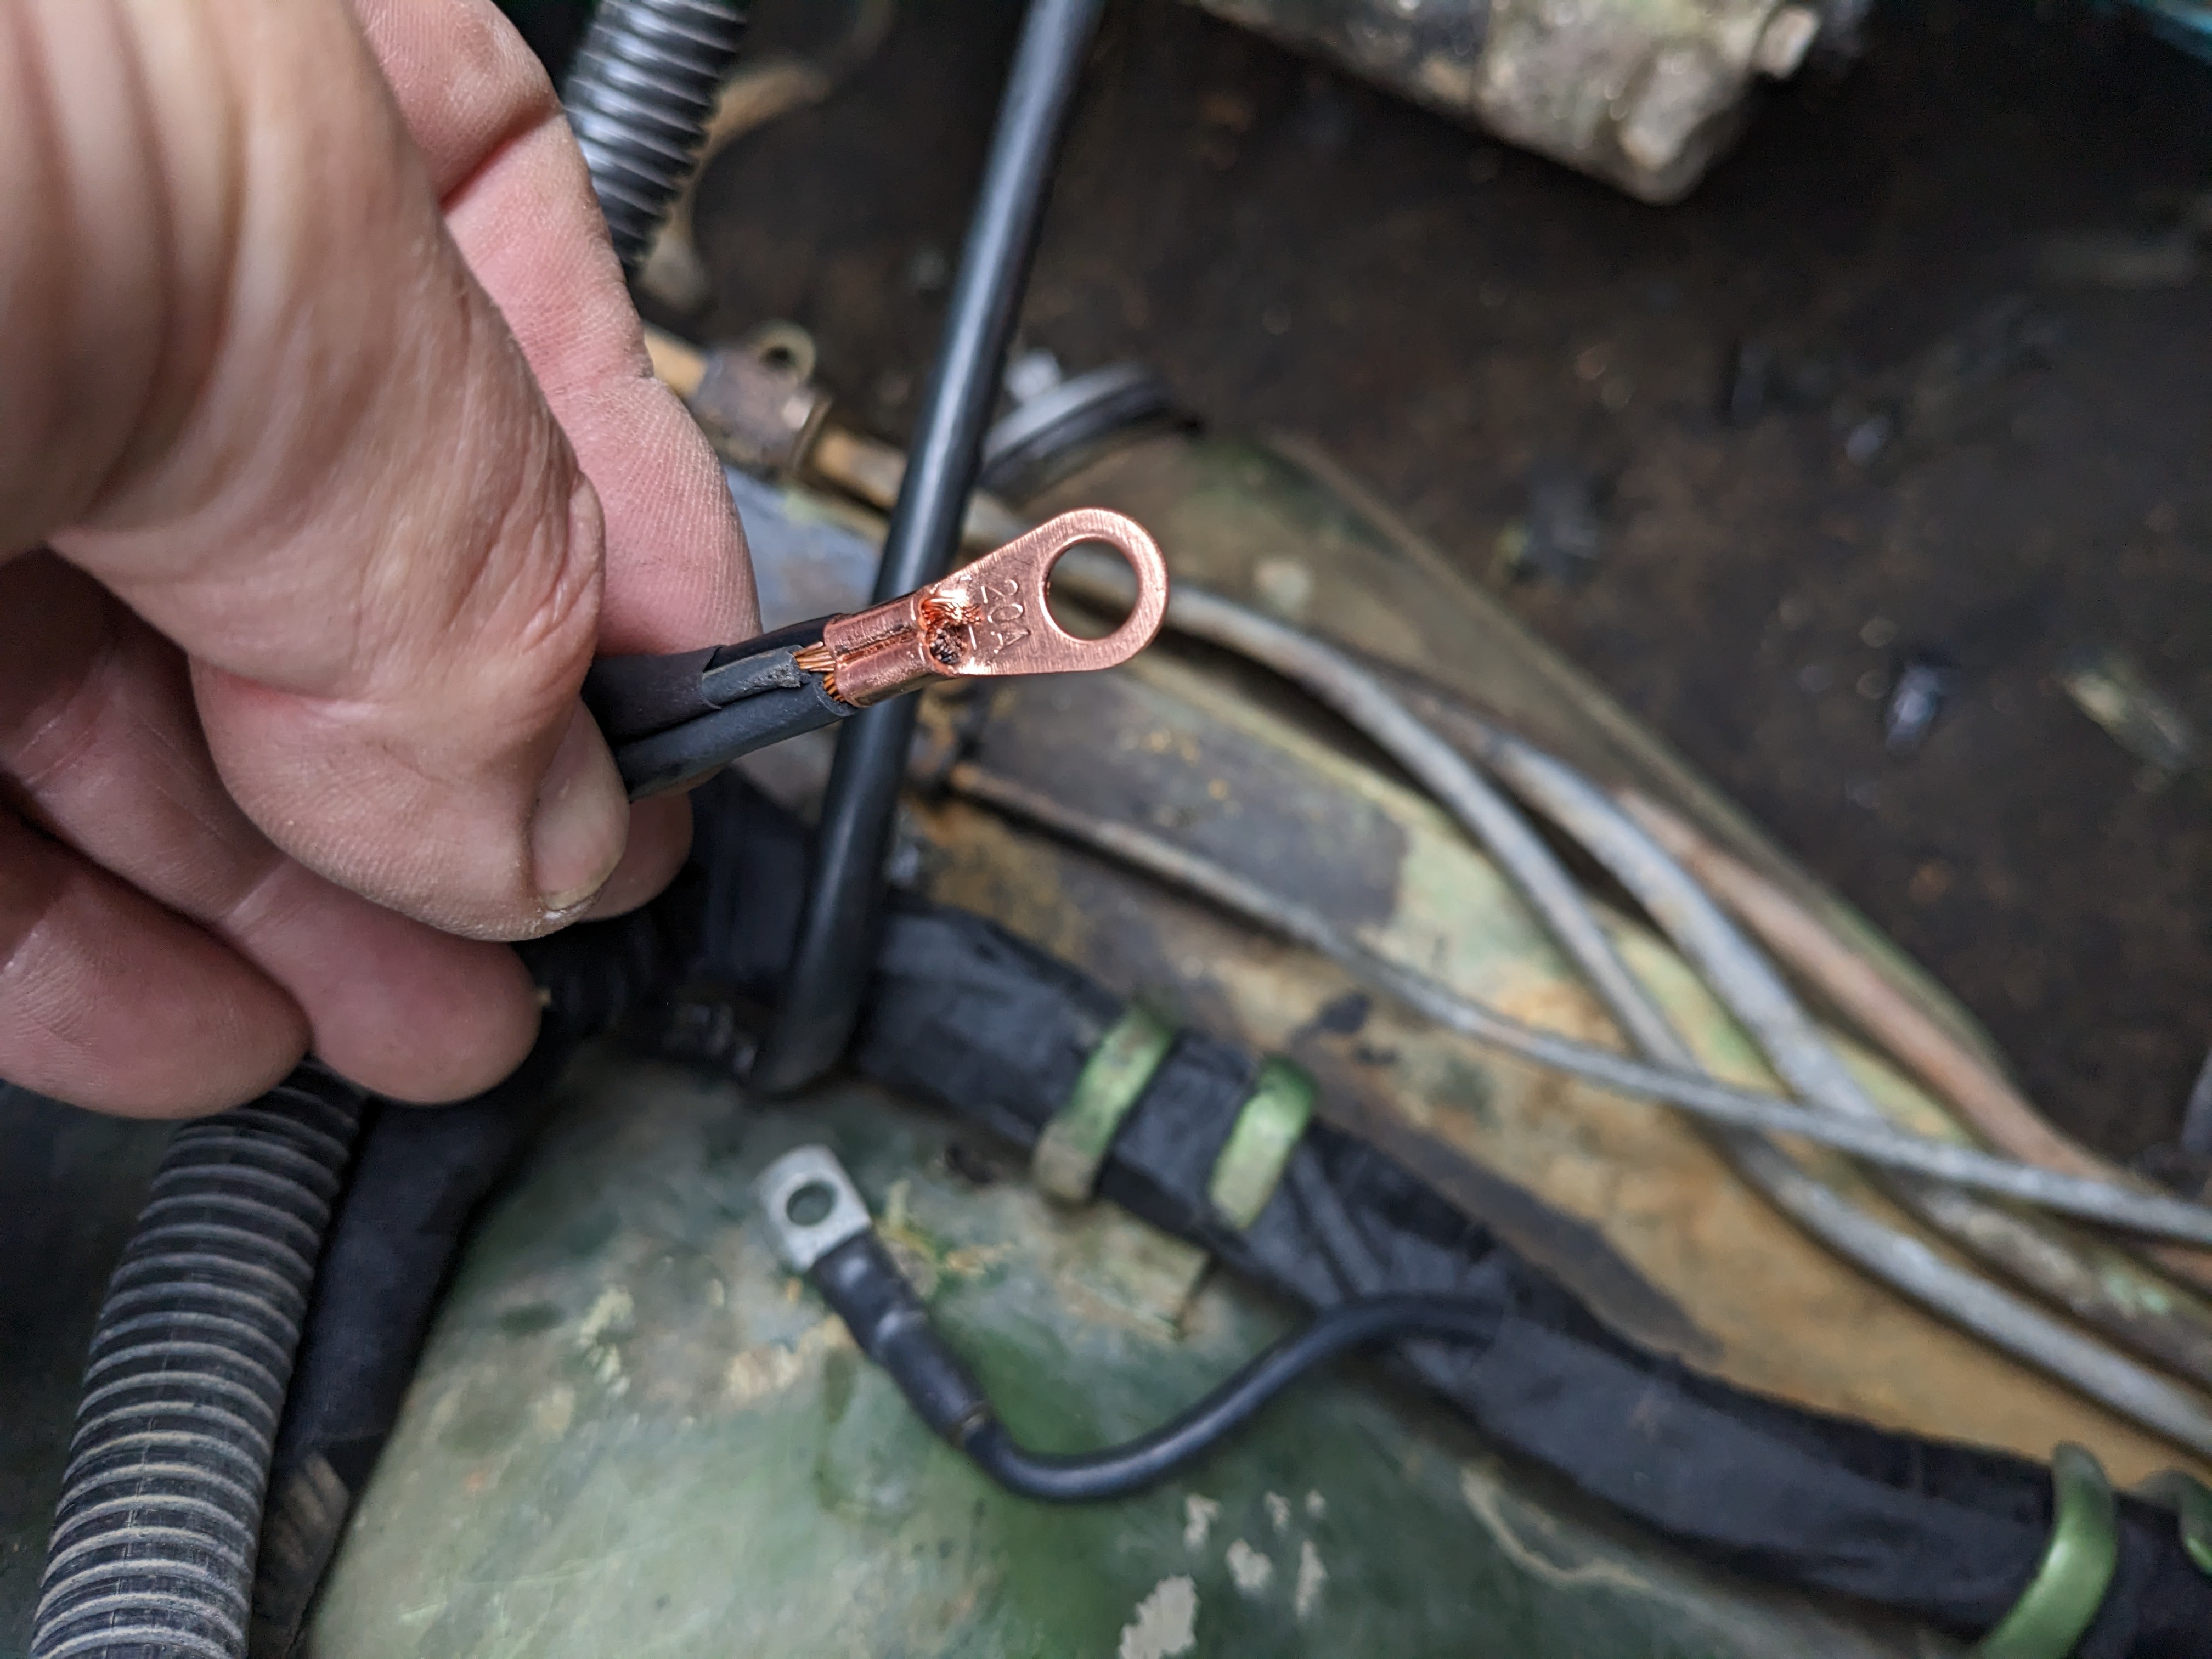
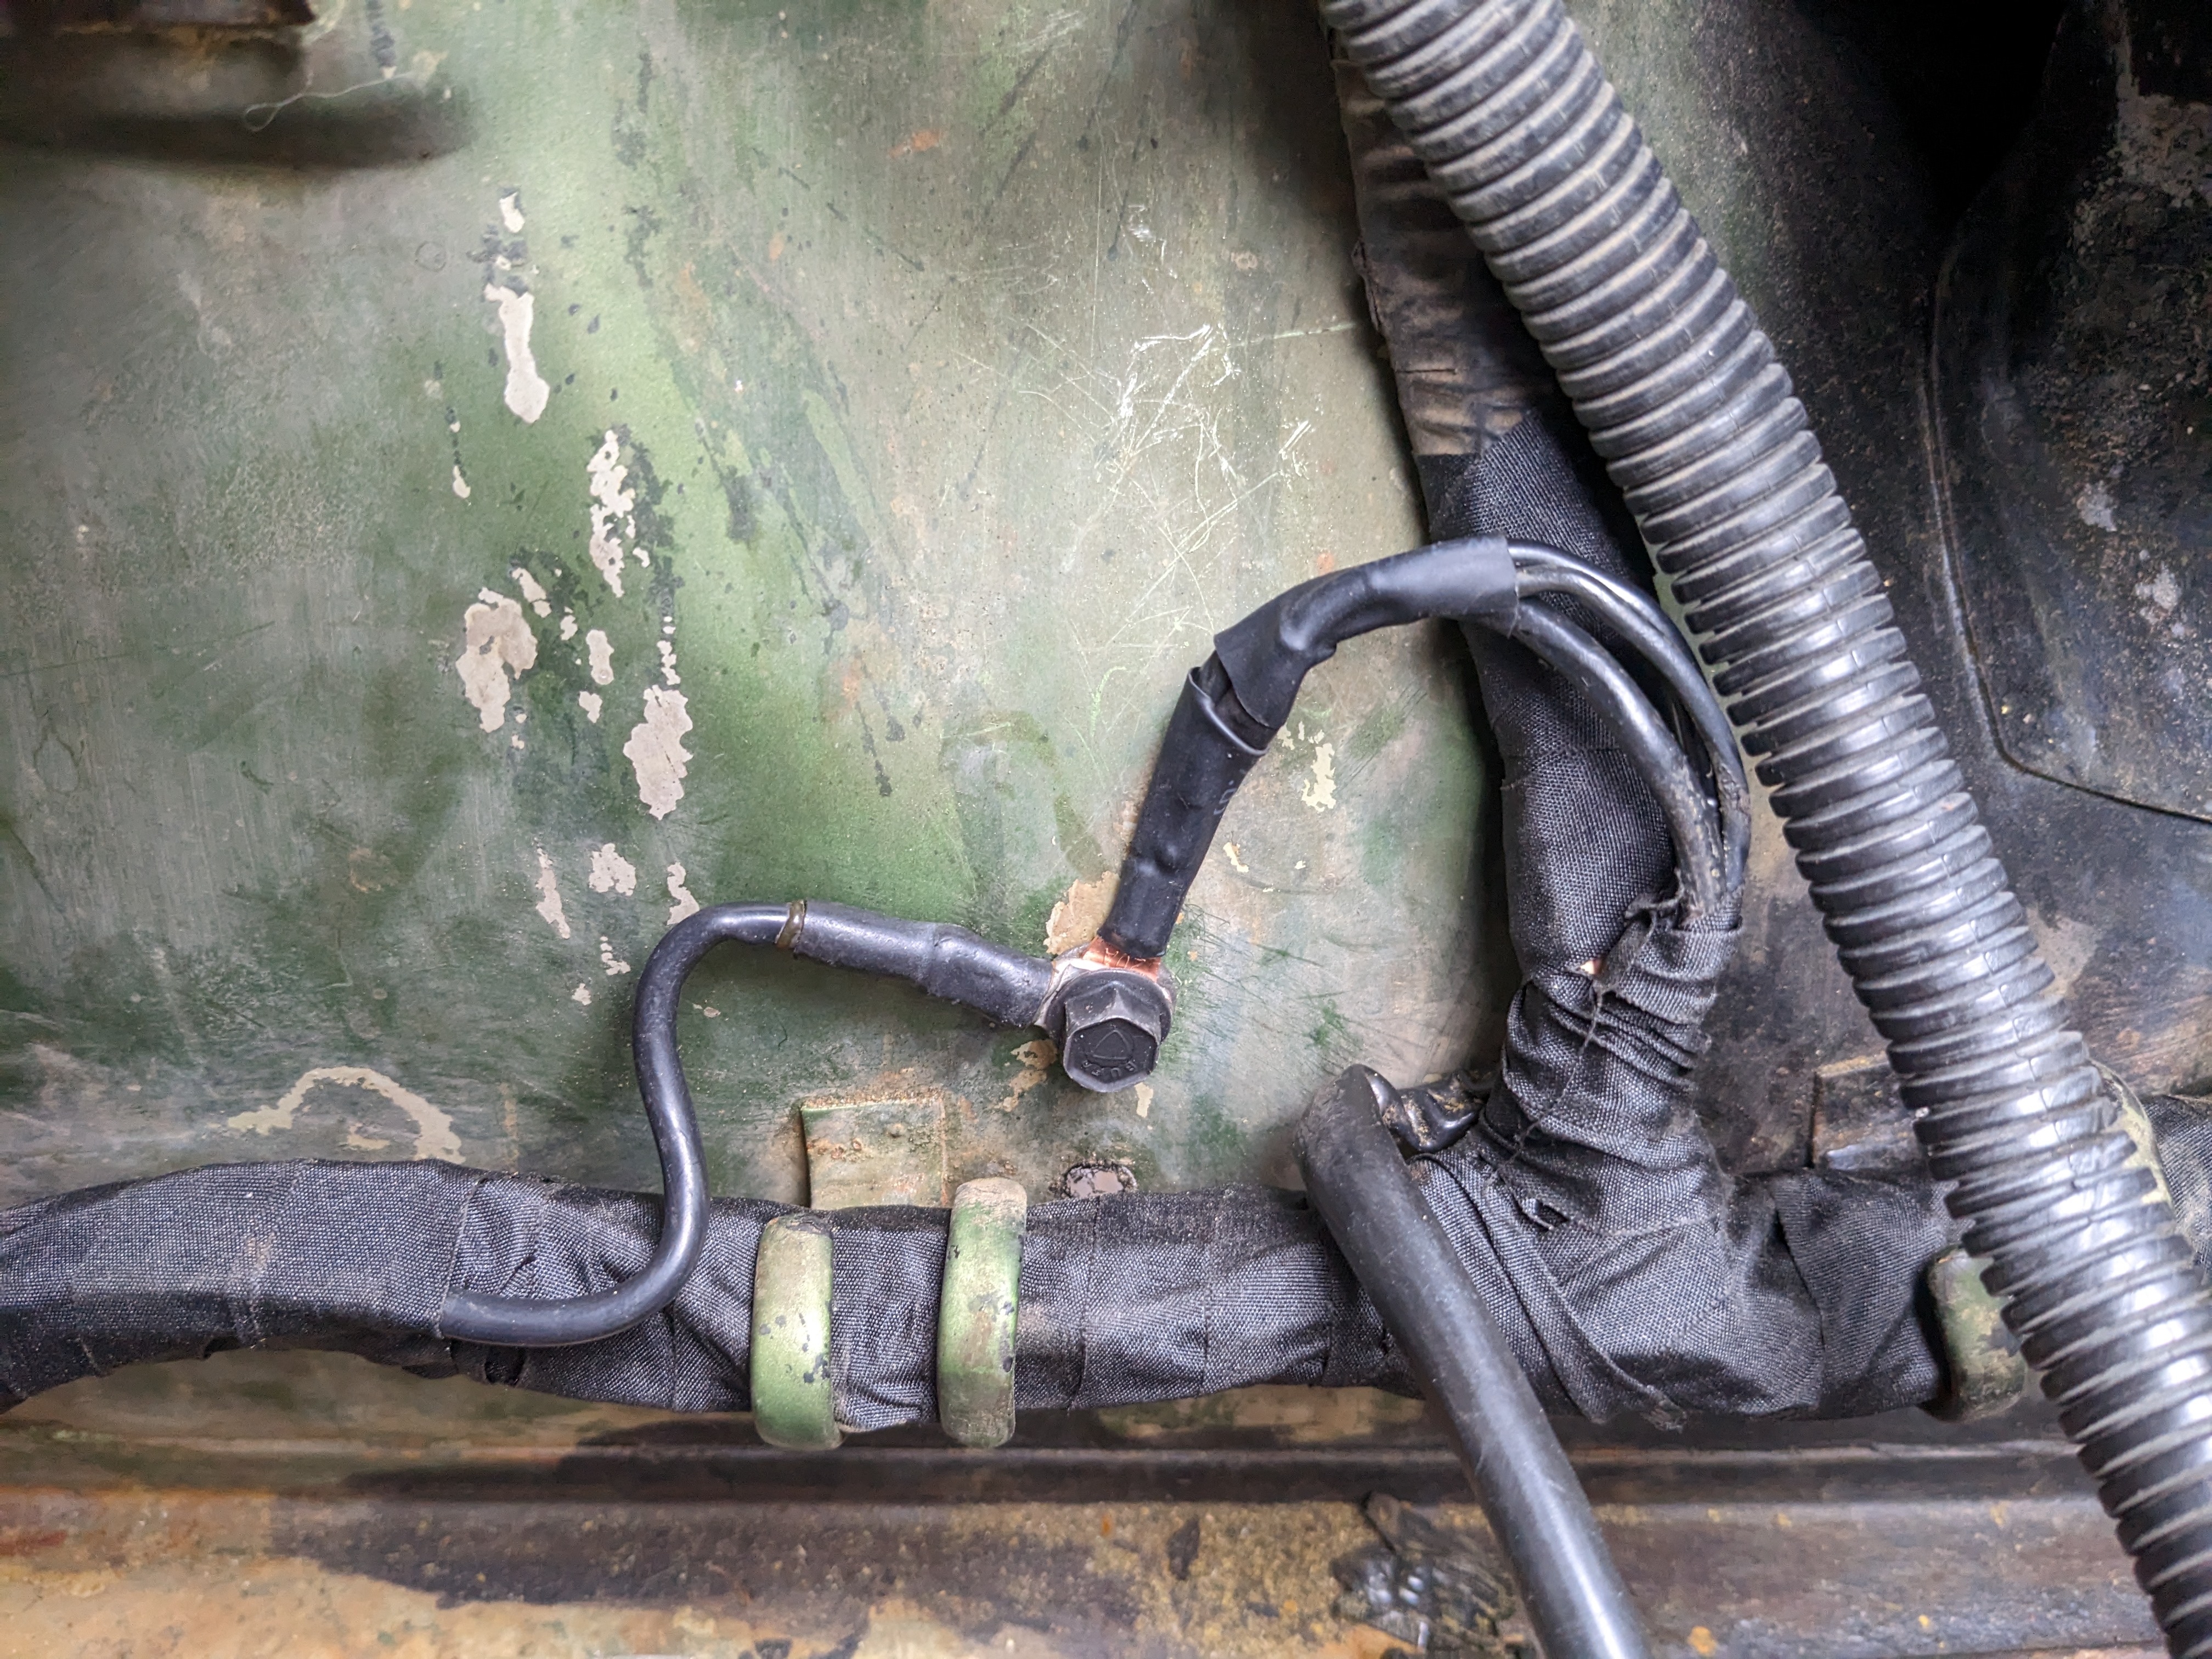
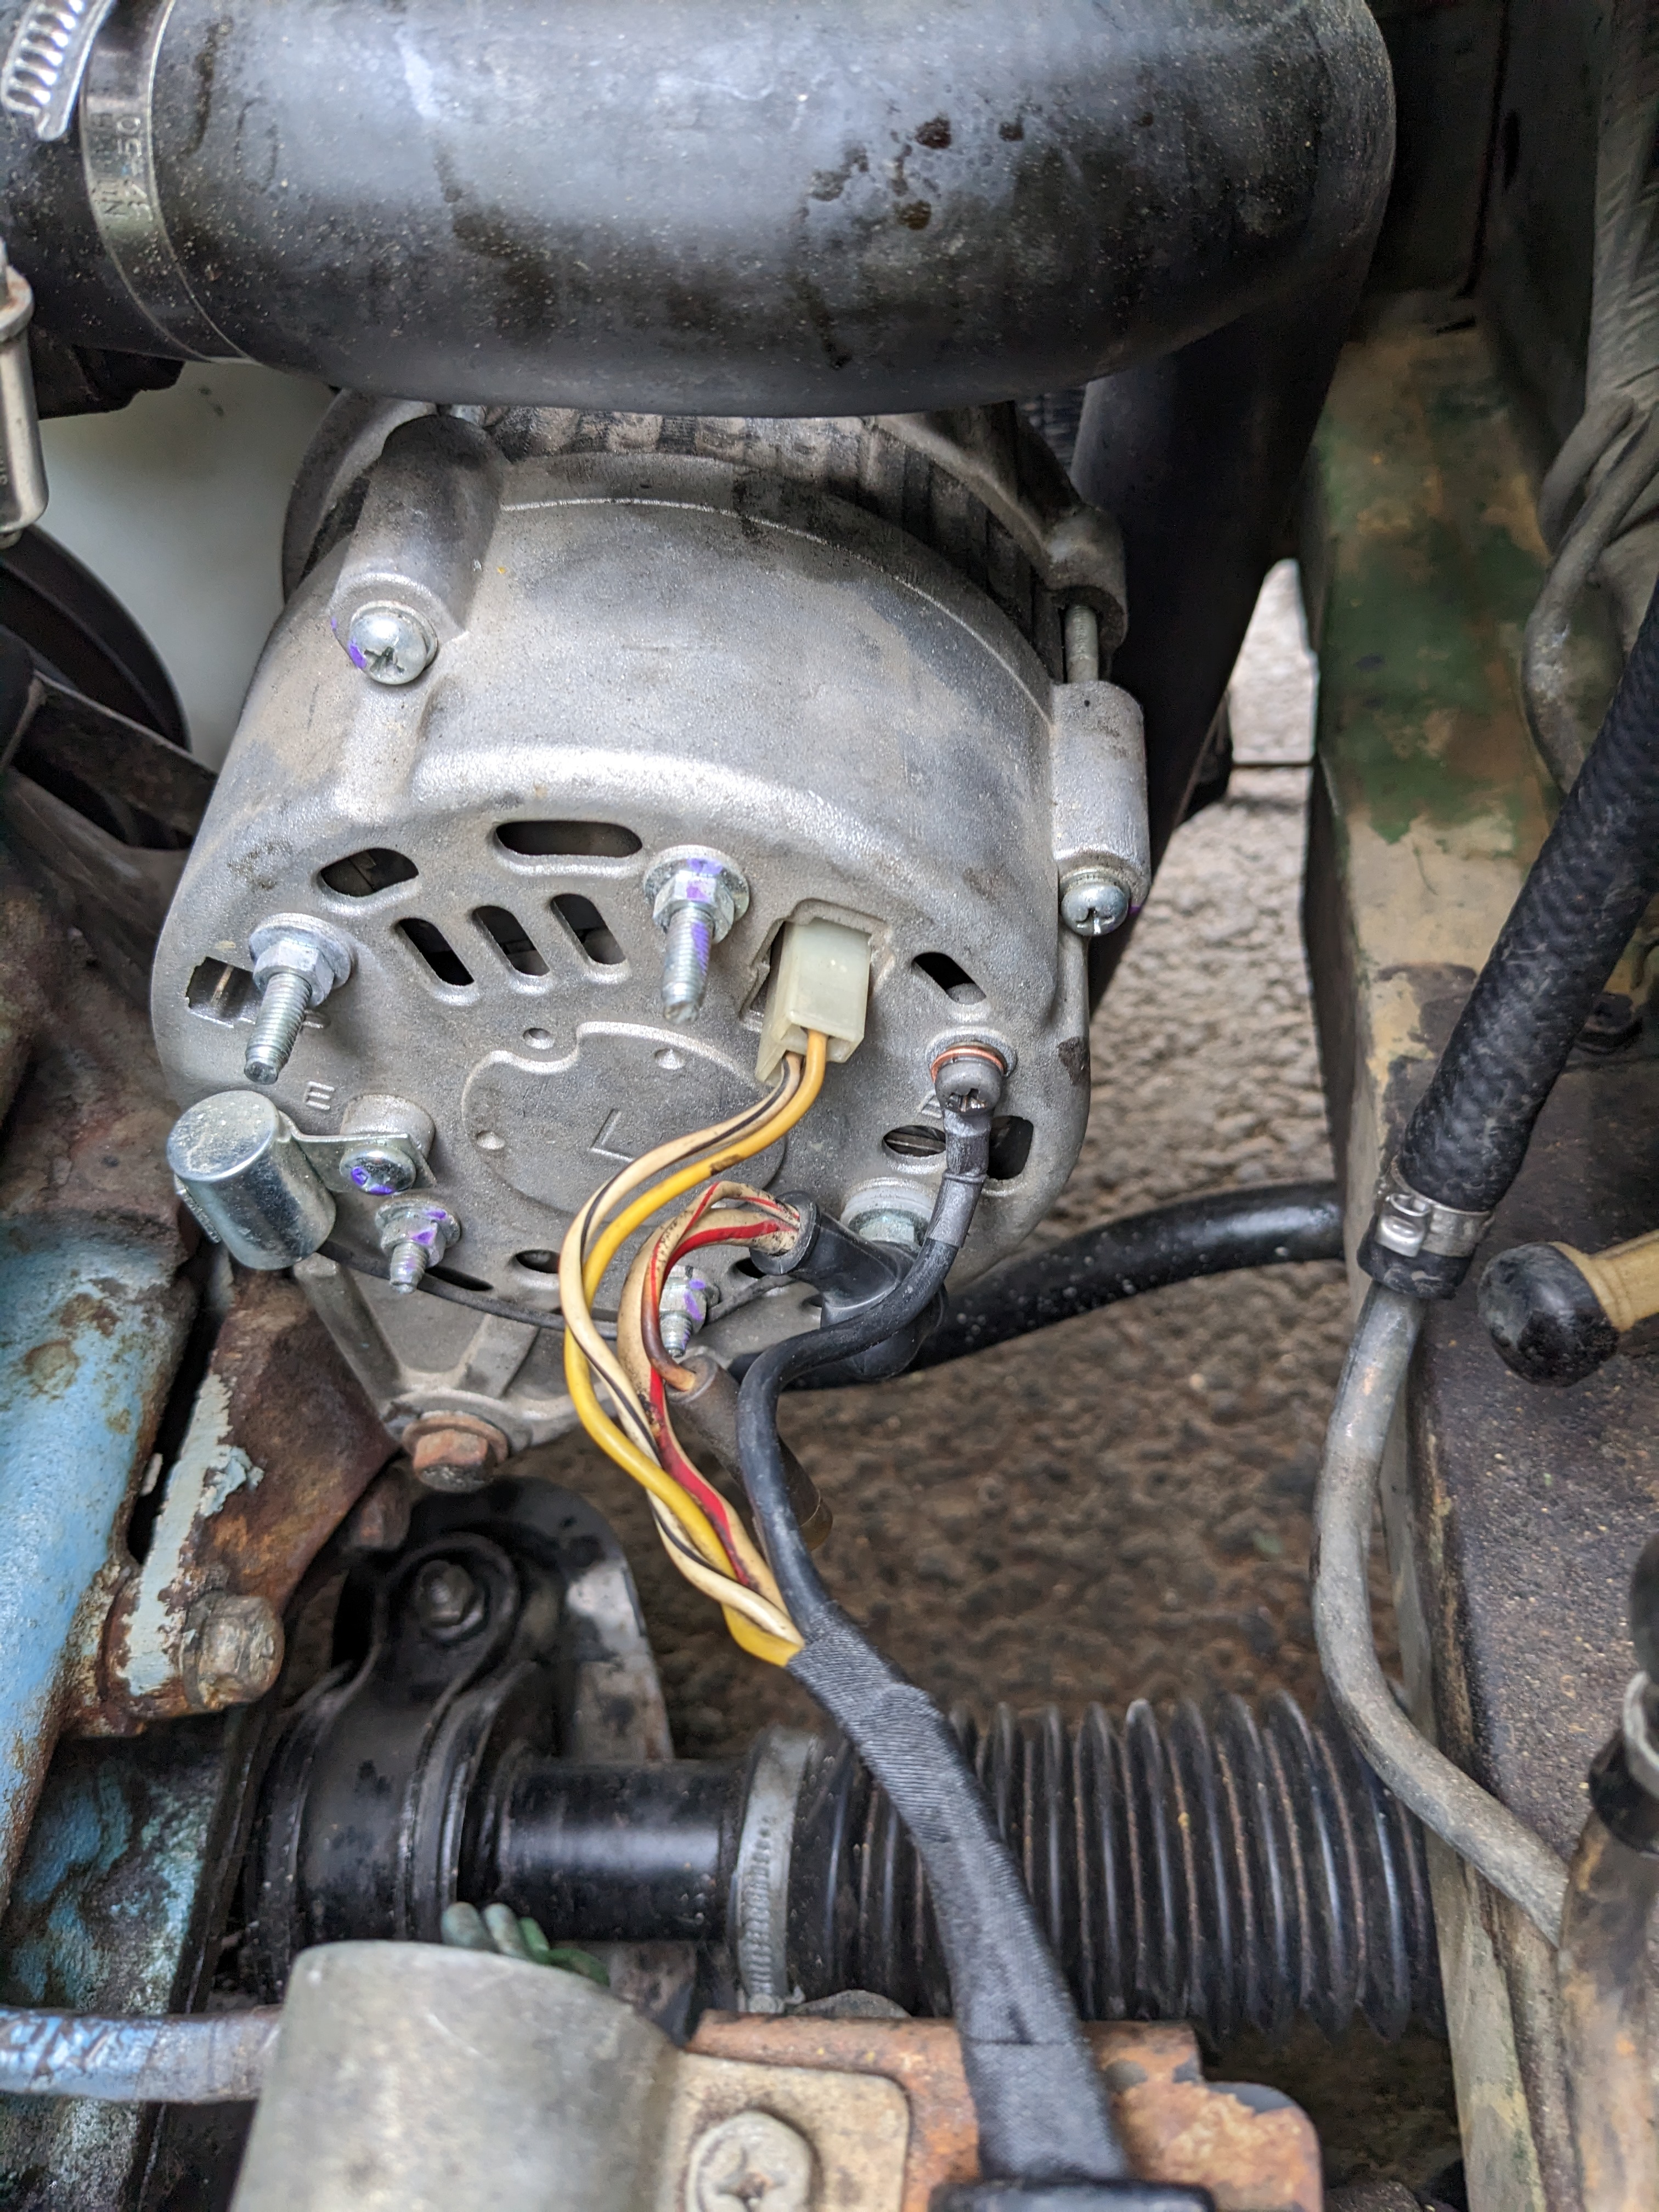
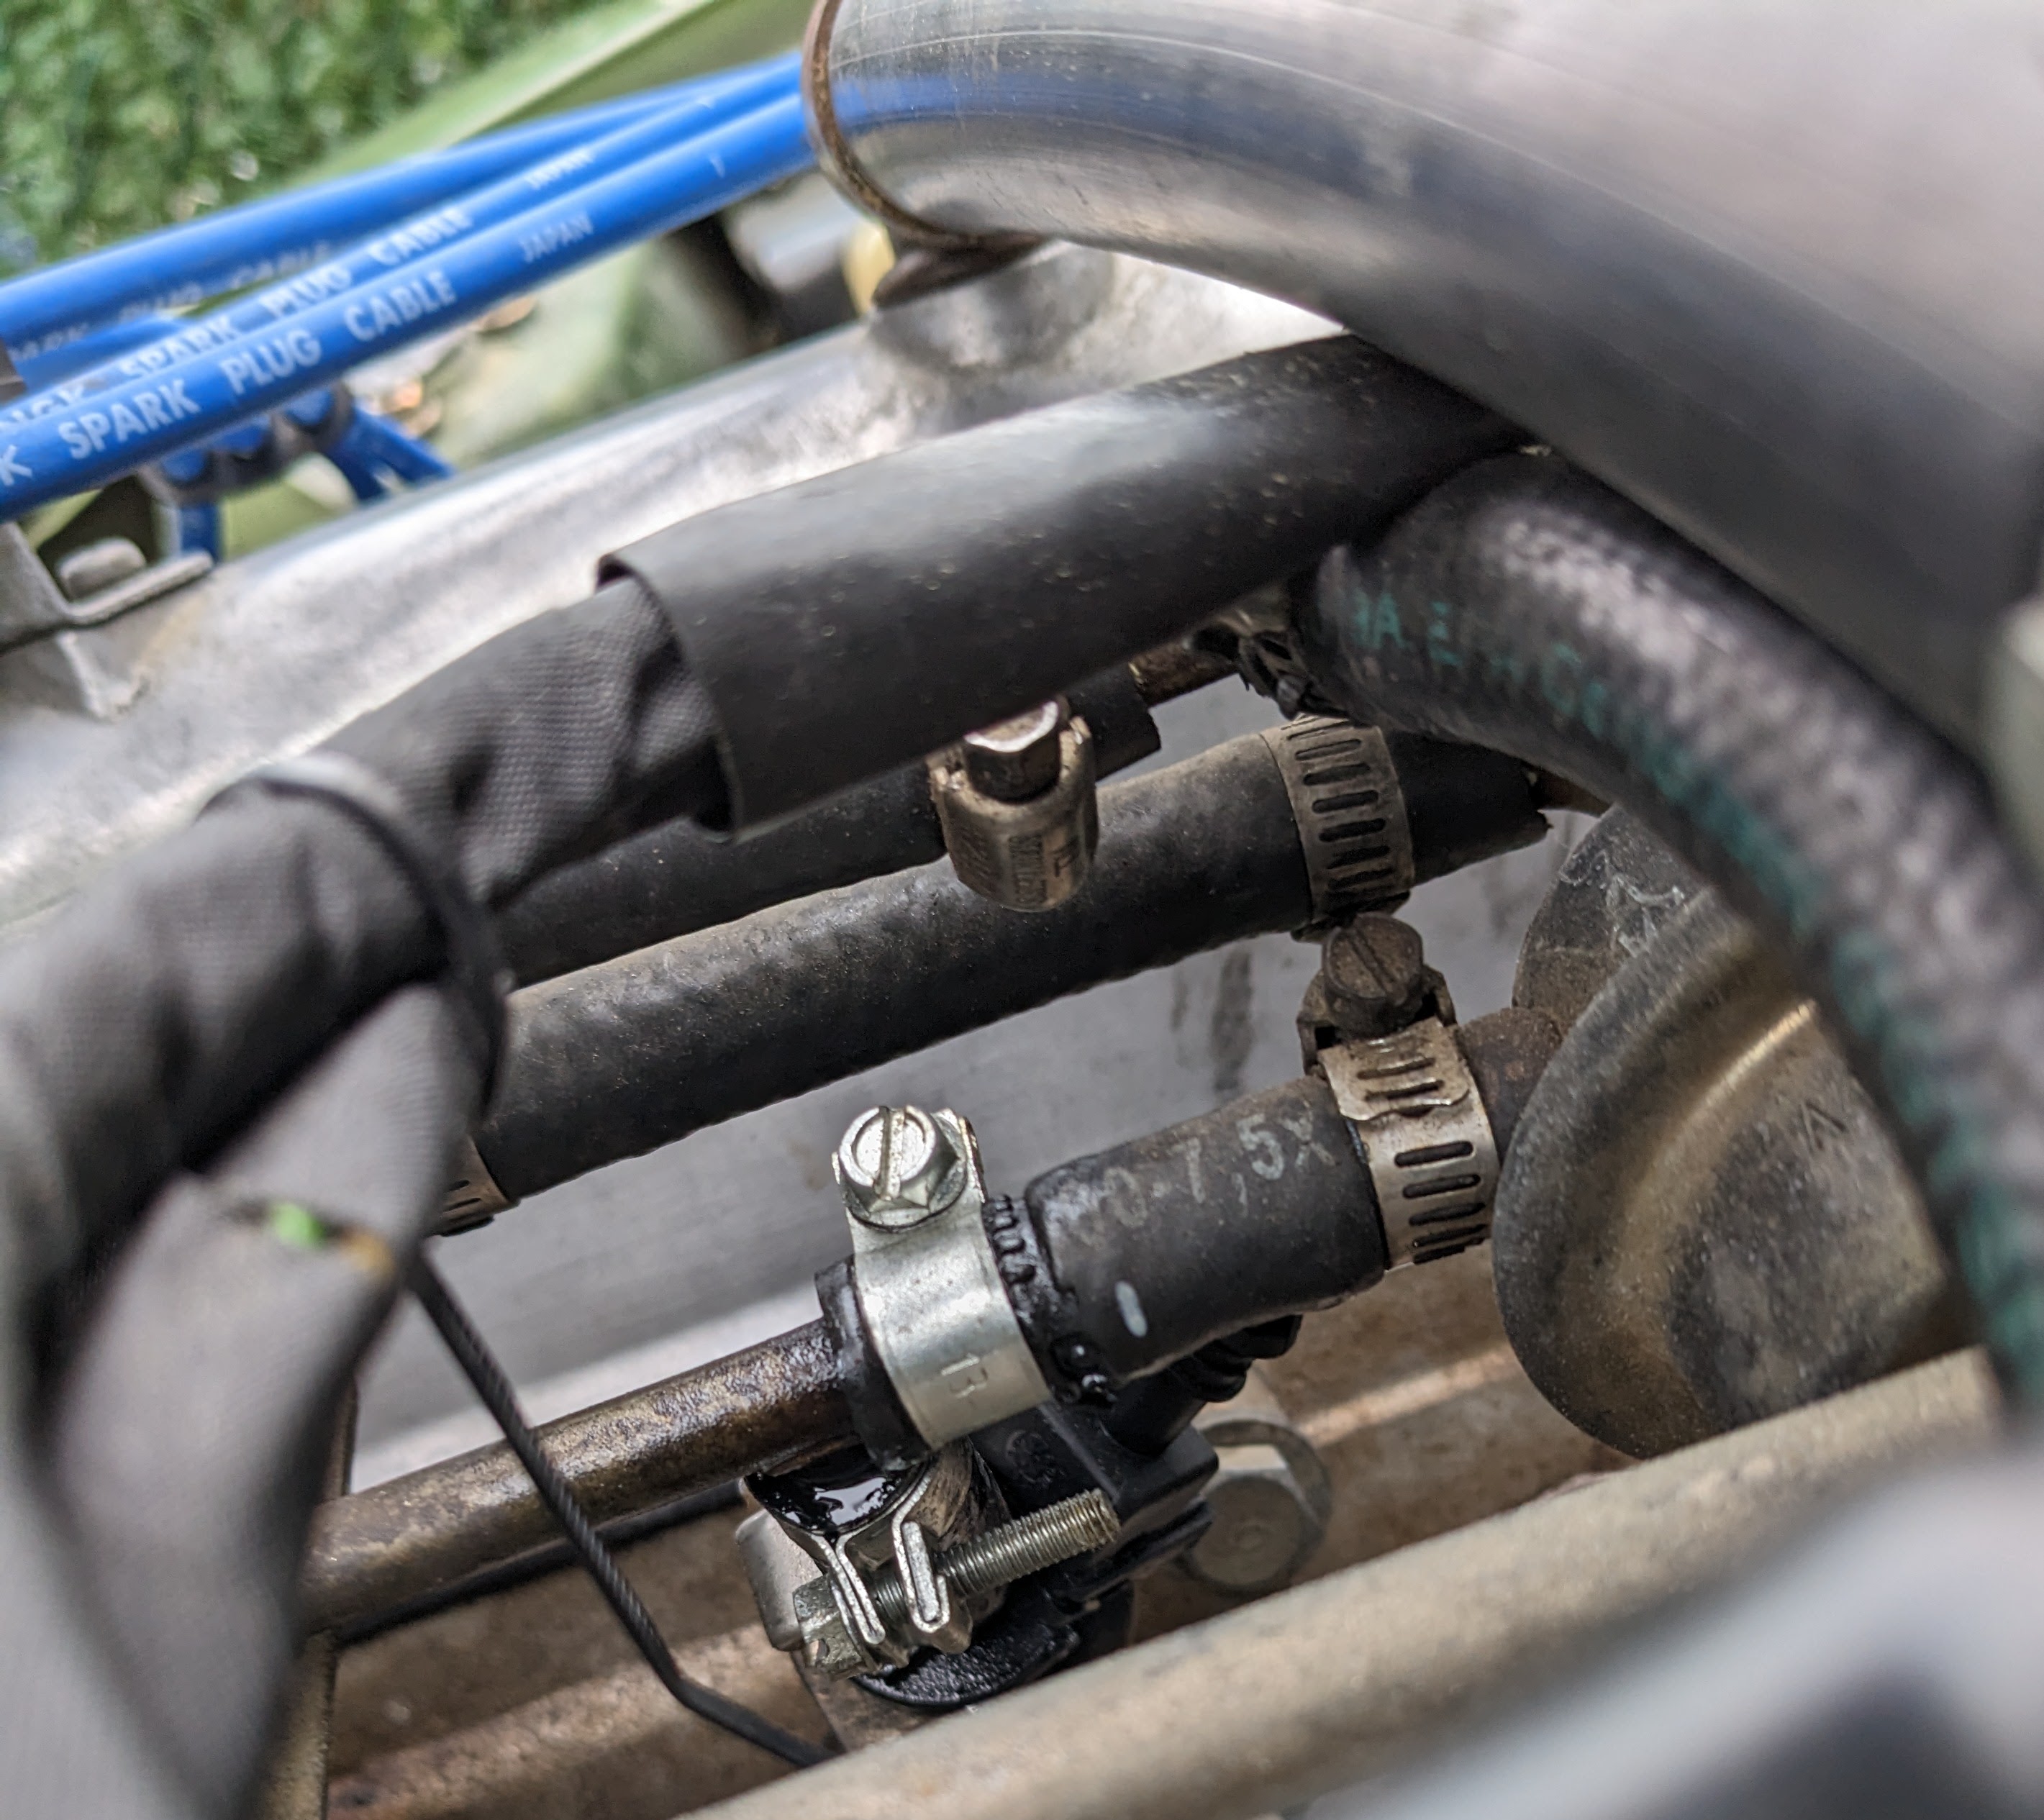
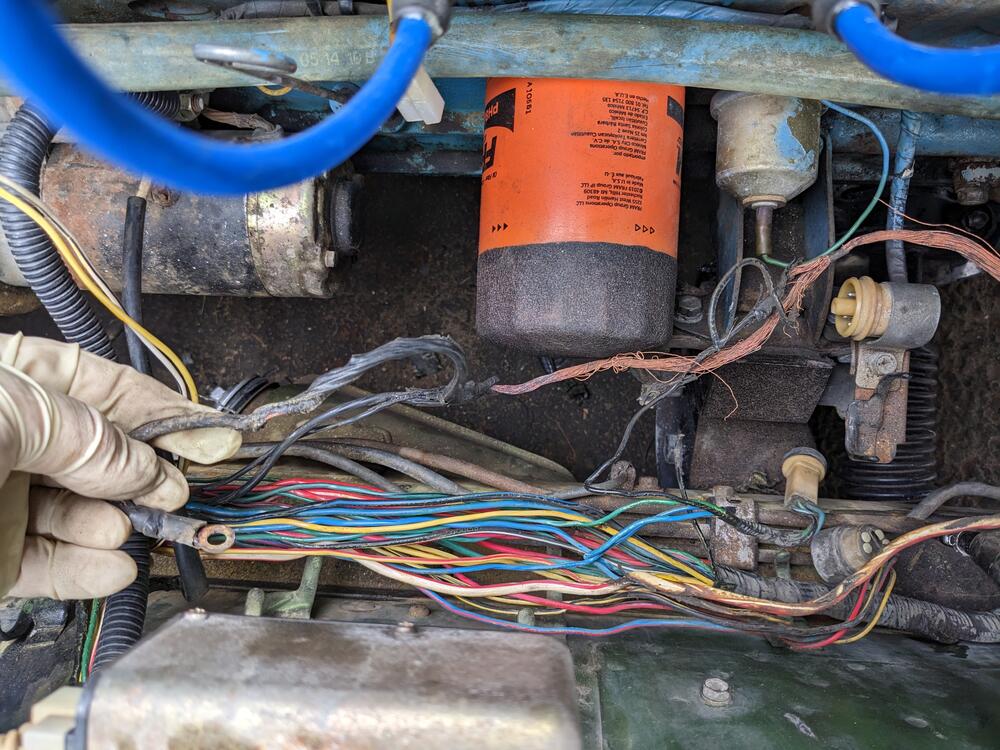
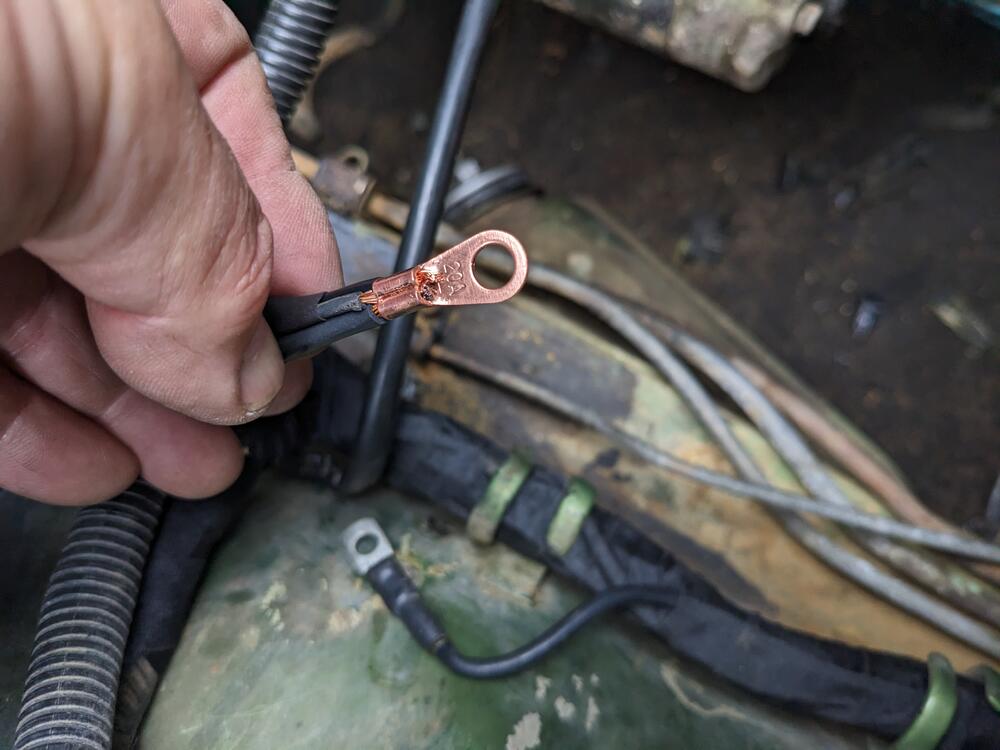
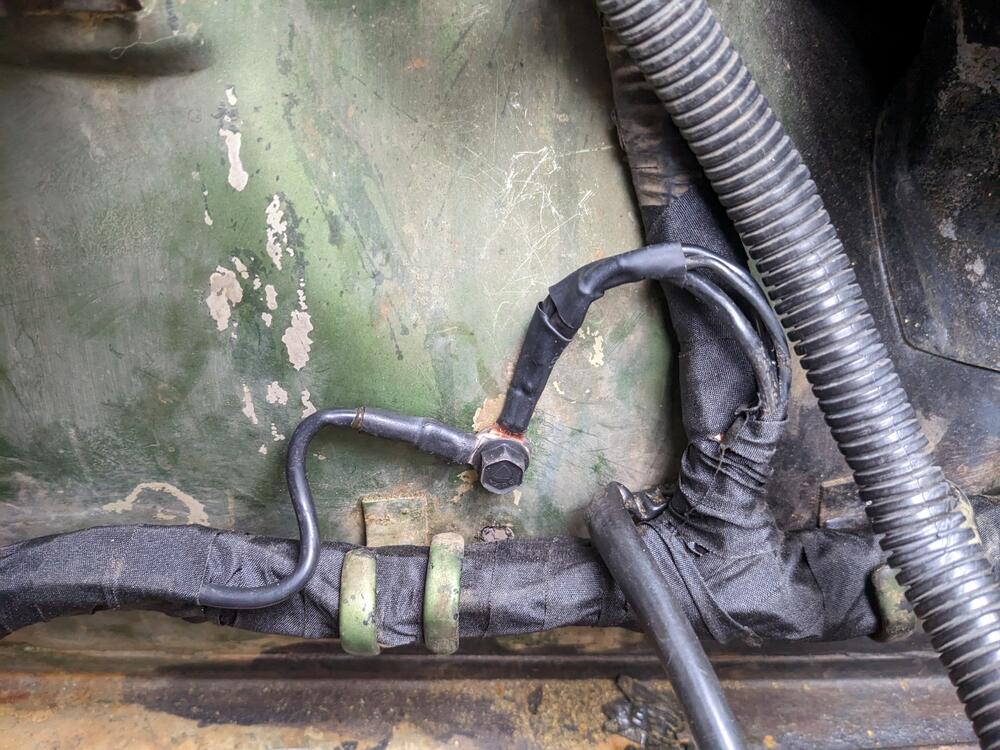
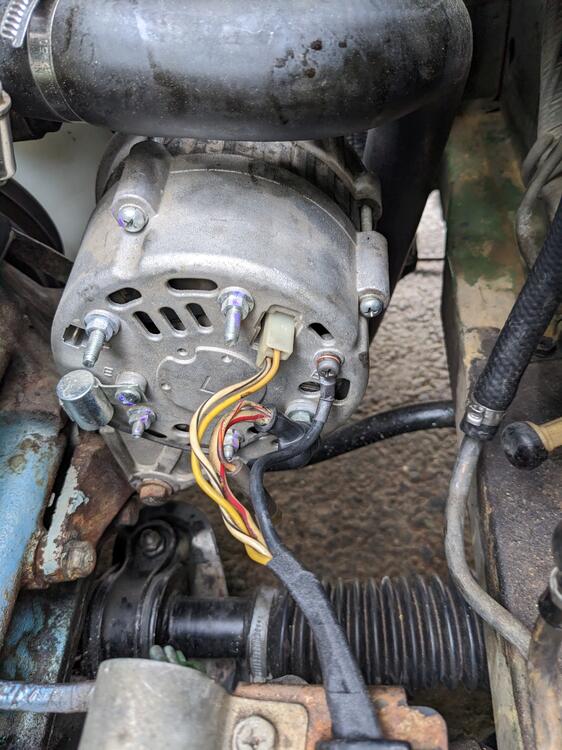
So, the ambient temps dropped back into the 60's today, and I could not duplicate the problem. I did look at the wiring & tighten the spade. Not sure how much that matters when it's relying on the round pins on the bridge connector. I took that apart & cleaned both sides with contact cleaner. I'd really like to replace these pins. Does anyone know what series/brand they are (Yakazi, Furukawa, etc.,)? The oil pressure gauge worked again after this, so I have to consider that these contacts are less than ideal now. I could see that there were issues with the hanrness along the frame rail, so I stripped out the ground wire to the alternator, which had clearly overheated at some point. Thankfully it hadn't shorted or melted through the insulation of any other wires besides the smaller grounds that splice into it. The connector at the inner fender was not tight at all. One of the heavy gauge black wires goes/comes from inside the cabin, not sure offhand what circuit it is grounding, but the connection was not good at all. made a new ground cable for the alternator, and tied in the 2 smaller ground wires that were previously connected into a separate ground. At the other end, I separated the grounds that came from the cabin & added a separate eyelet Alternator end wrapping that up, I ran the engine & immediately smelled gas - #3 injector hose clamp was not fully tight at the rail. I will need to redo all those at some point. I hate the open slot hose clamps, they are not appropriate and always cut into the hose
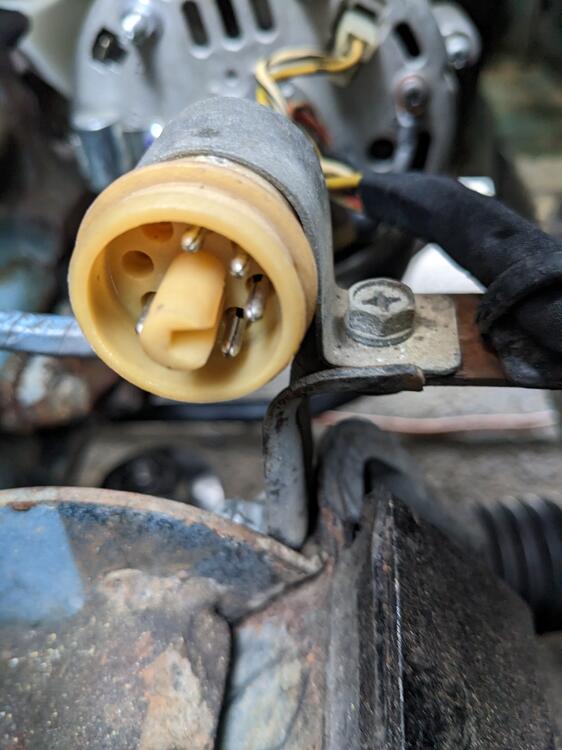
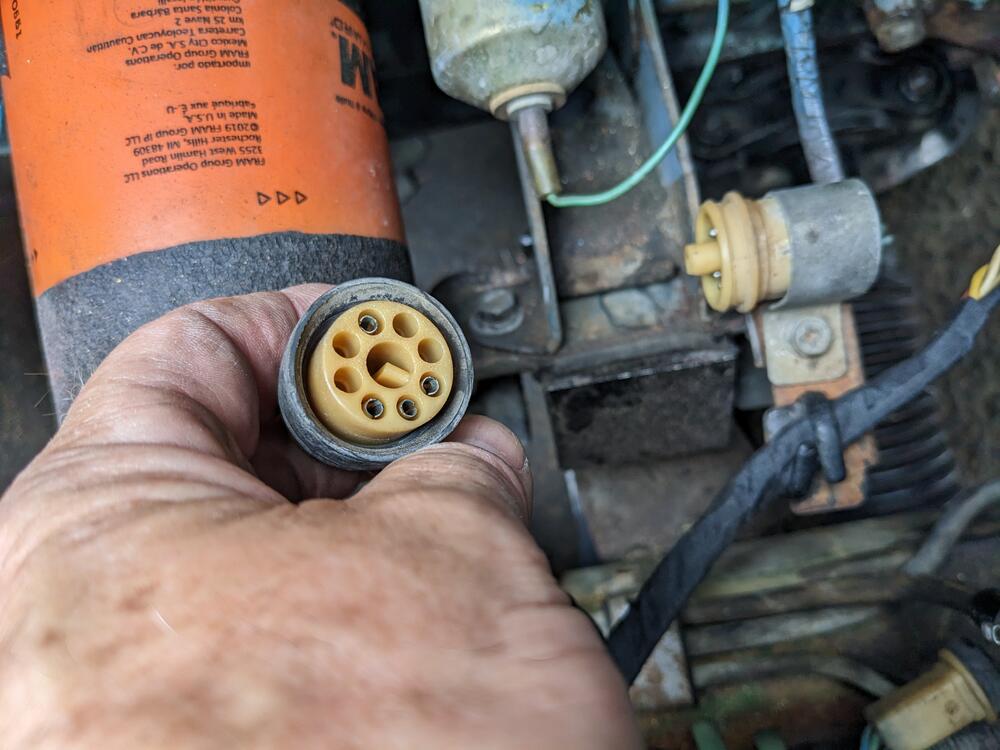
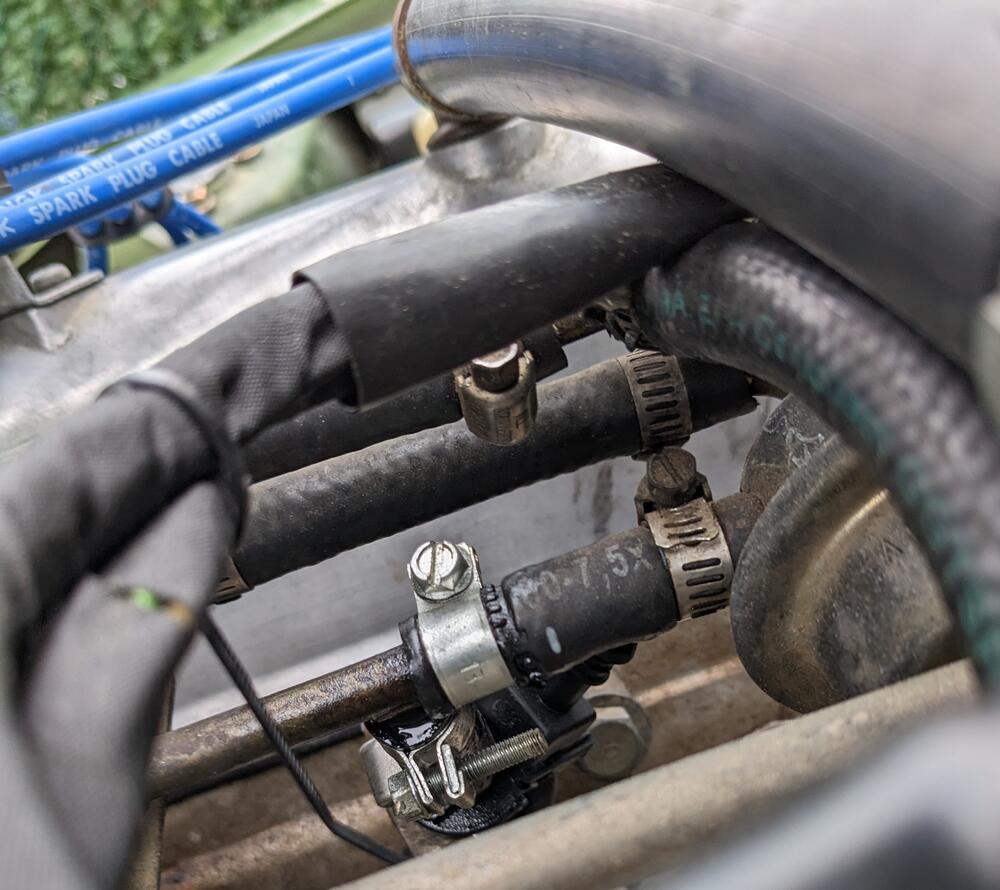
-
I'm gonna say it's not been messed with
-
I took the front cover off mine to check the needle track - on Fiats' version it can develop carbon buildup that throws the values off at differing points of the scale. Lookig at it again, I think mine is original in terms of spring setting. I haven't driven the car enough to know whether it's performing at it should. I do know the fuel pressure at the rail is low (30psi) once the motor has been run for a awhile, during warmup I noted 34-36psi. I'll start a thread on that when I get to testing / checking the fuel pump, etc.,.
-
So, the stock EFI does actually manage close to stoich on the highway? Or did you tweak the AFM settings to lean it out? I like having a WBO2, just to know what's actually going on, esp. under load conditions. I will add an AEM WBO2 to my 280Z, but that's going to happen when I do the VQ35DE conversion.
-
I searched & did not find any specific content related to solenoid and/or starter circuit. Now that I've actually driven the car on short (3-5 mile) runs around the local towns, I have found that the starter will not engage unless I cycle the key several times once the engine & bay are hot - I can hear an audible click from the starter, and the amp meter shows a heavy draw at that moment the key is held in the start position. Up til now I have only started & run the car idling in my driveway. I gather the issue can be related to the wiring from the ign sw. to the starter solenoid, if it's not the solenoid itself. Since it seems to be a heat soaking thing, I was leaning toward a mechanical issue with the solenoid. I don't see a relay in the wiring diagram between the switch and the solenoid terminal. If the wiring is a common problem I will add a relay to offload the the switch & draw current directly from the battery. I had to do this on my X1/9 at one time, so I am familiar with setting that up if needed. I did find a "Starter Relay Upgrade" on ZcarDepot, however I don't see that my 75 even has such a relay in the diagrams. As an aside, I also see that the OP gauge doesn't always read pressure, although it did previously when I was just idling the motor in the driveway, so that also needs attention. Any typical failure points to look at in that circuit? Any input on these?
-
I bought a stock gasket, and it was already seeping oil mostly just sitting for the past couple months. The silicone one came from MilkFab
-
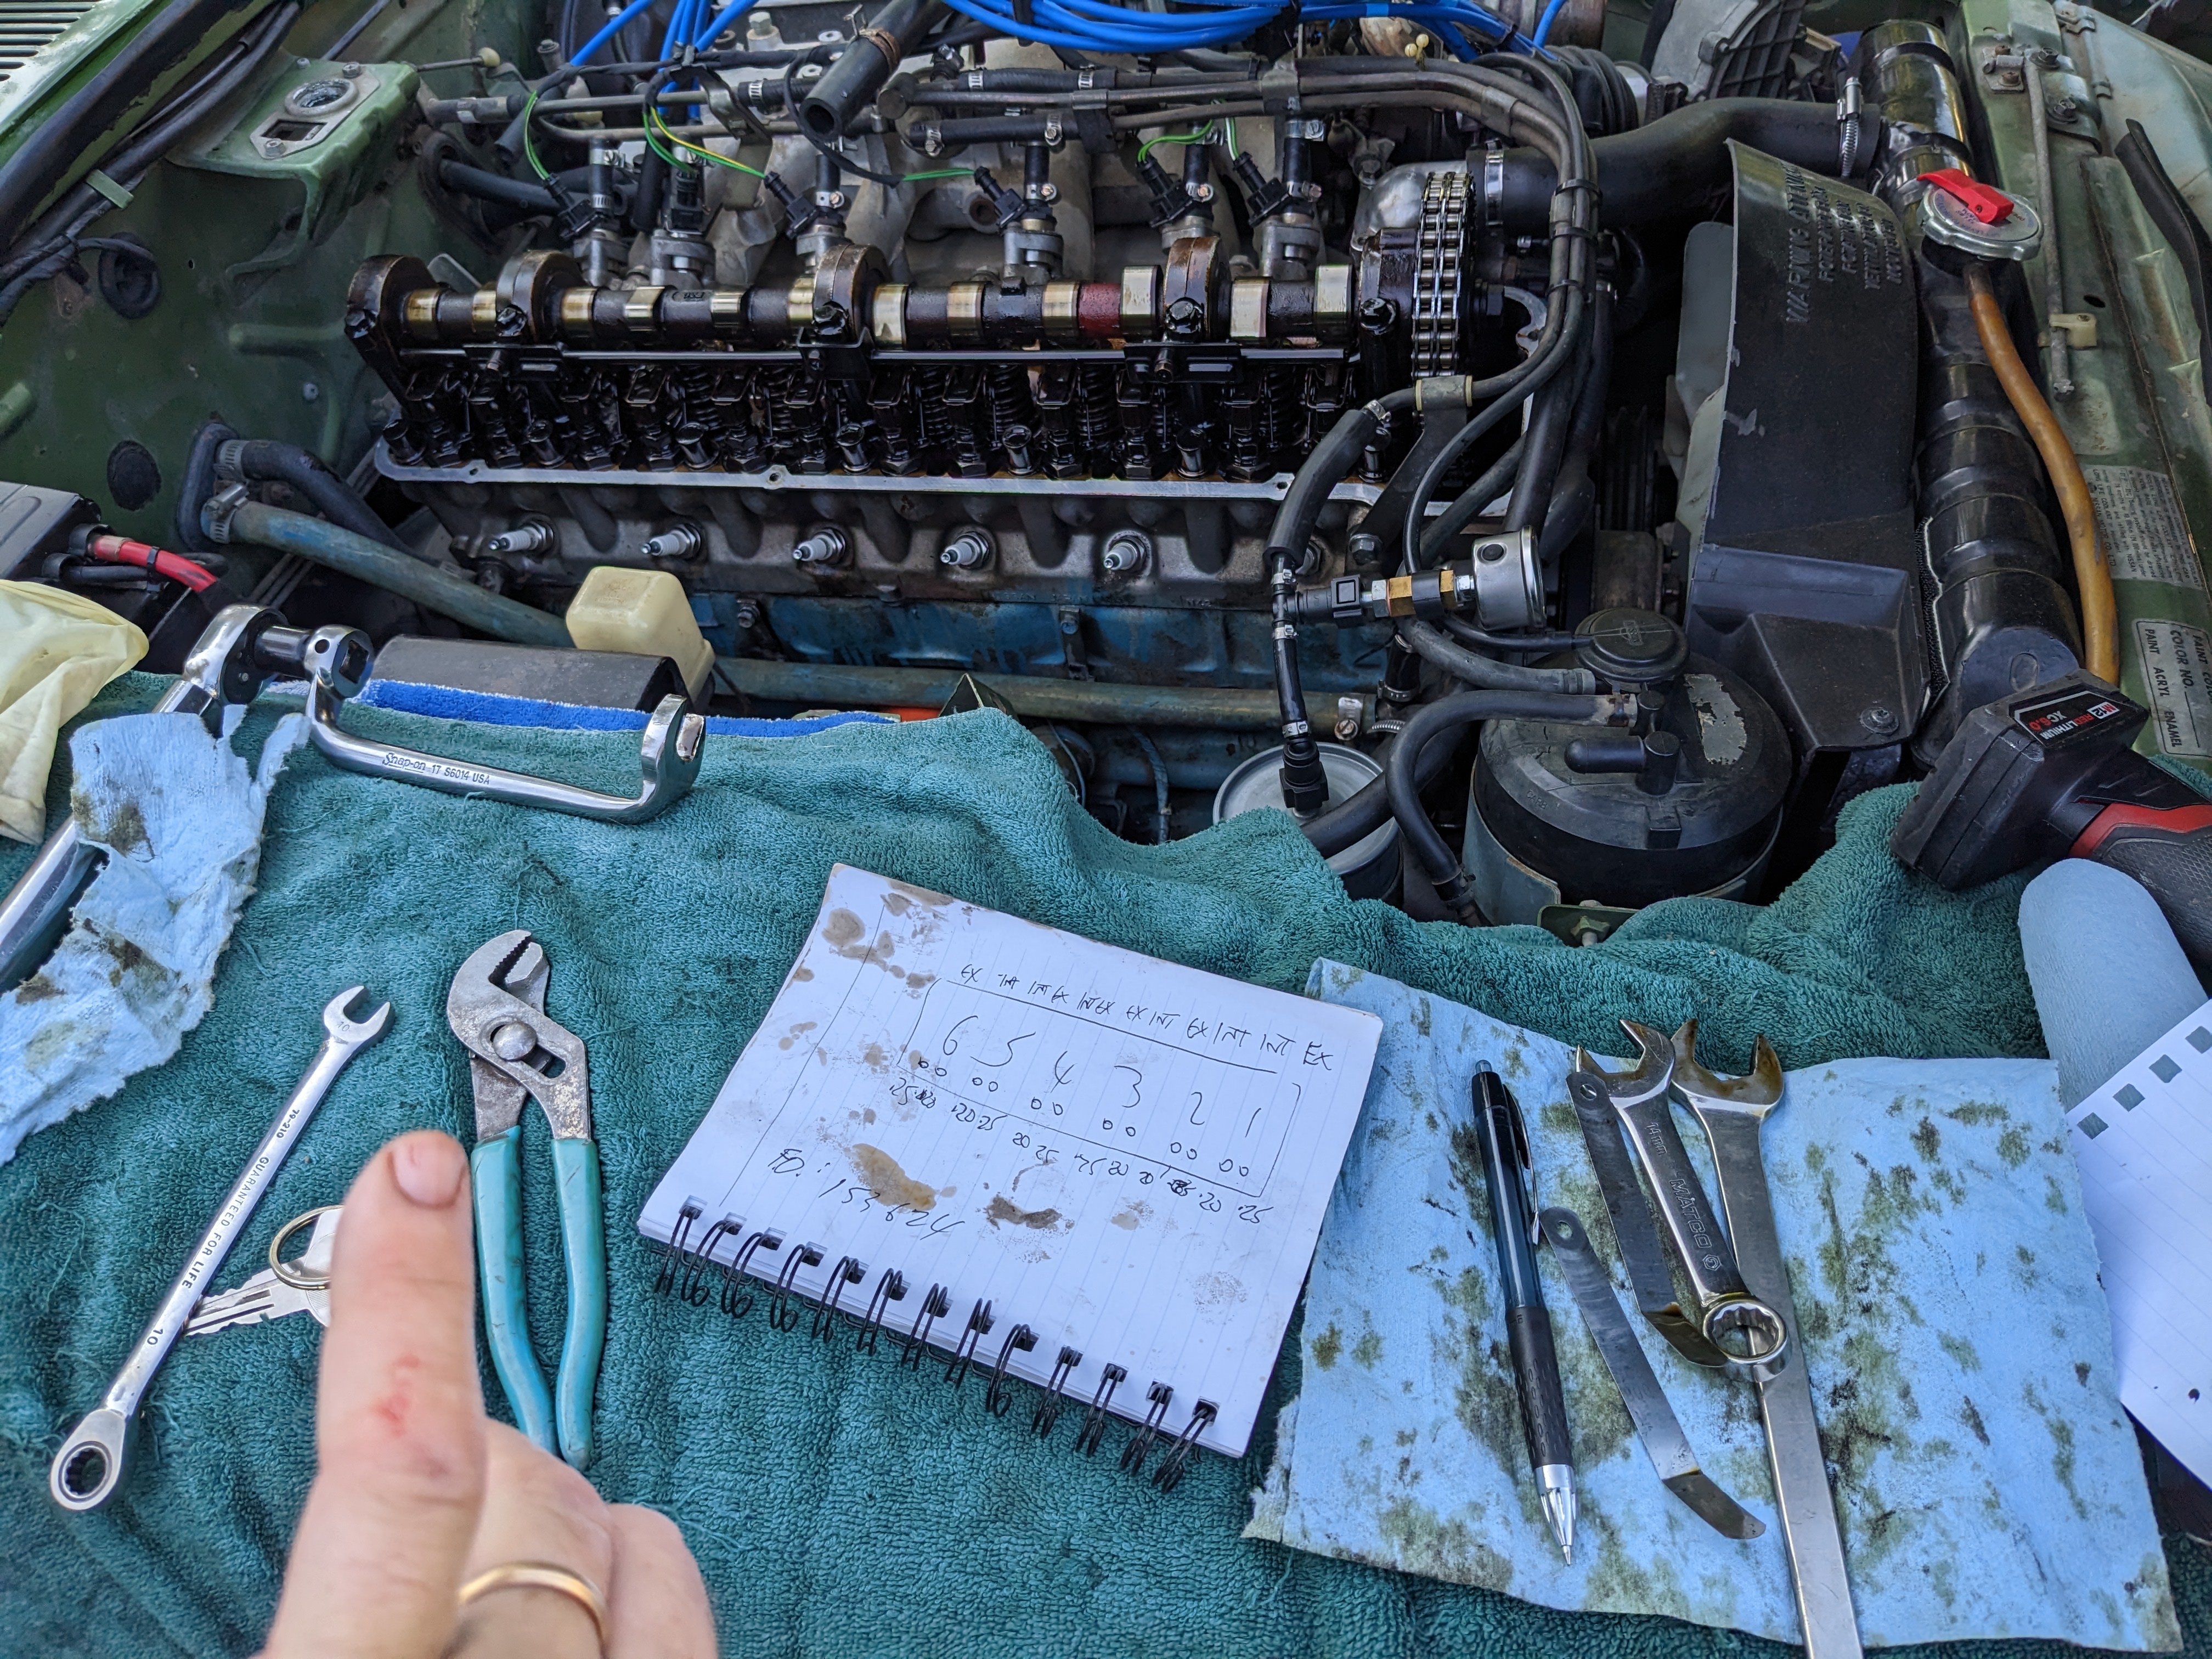
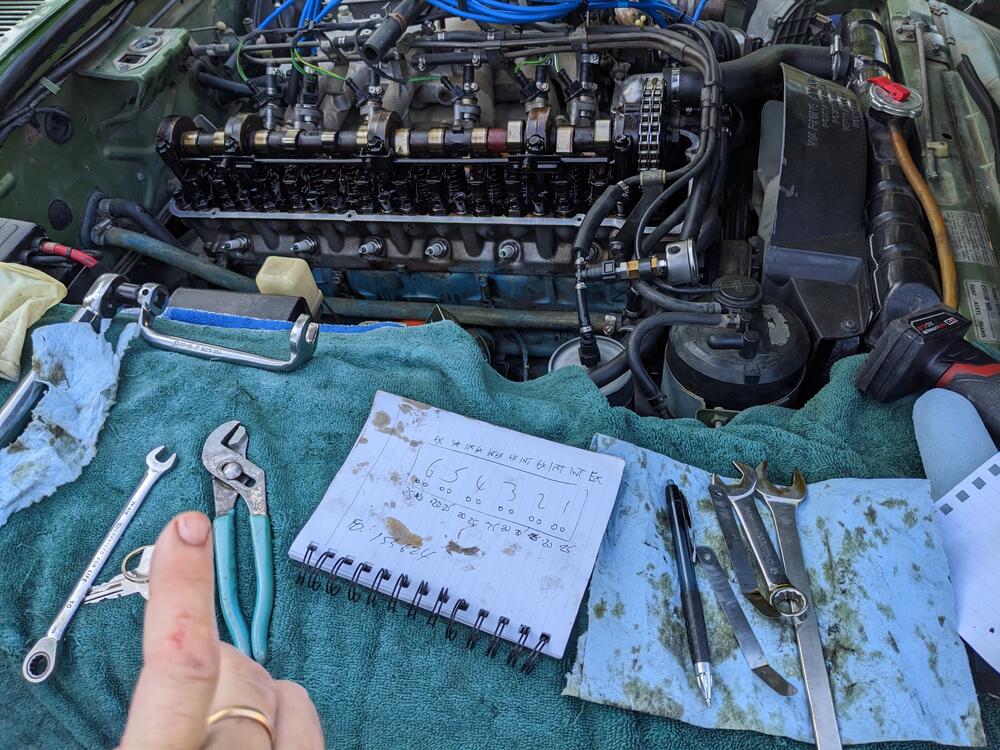
Finally got back to the valve adjustment, now the car is back on all 4 wheels. I just bump the motor with it in 4th gear. the car is so light I can push it forward with one hand on a tire - went 1, 5, 3, 6, 2, 4. I also bought the silicone VC gasket, but didn't read the install directions until I was ready to put it all back together. I found that it has to be "glued" to the cover with RTV. SO, It's not going to be finished until tomorrow One of the locknuts was so tight I took a chunk of skin off my finger on the metal cover next to the battery. Most of the rest were barely tight. No valves were within cold spec, all too tight. couldn't even get the .008" in the exhaust rockers. They were all at least 1/2 a flat too tight. I set all intake @ a snug .008" and exhaust @ .010". I did torque the lock nuts to 36ft/lb, based on the range given in the FSM. Definitely fiddly, as I found it very easy to end up with the valve too tight again, when snugging the lock nut.
-
Thanks Zed Head - with my Mum it's only going to get more involved moving forward. I'm retiring from teaching at the end of the upcoming school year (2023-2024), so I'll be able to give her more time. She has a long to to list for stuff on her house & yard that I really don't have time to address as things stand. I had looked at that and a couple other posts before I decided on the rear brake kit. I went with the MilkFab kit, in part because they include specific directions, which can also be downloaded off their website . The other main reason is that it uses much newer & readily available Mustang (Girling?) calipers - they are very similar to versions used on various Volvos, so I'm comfortable with that.
-
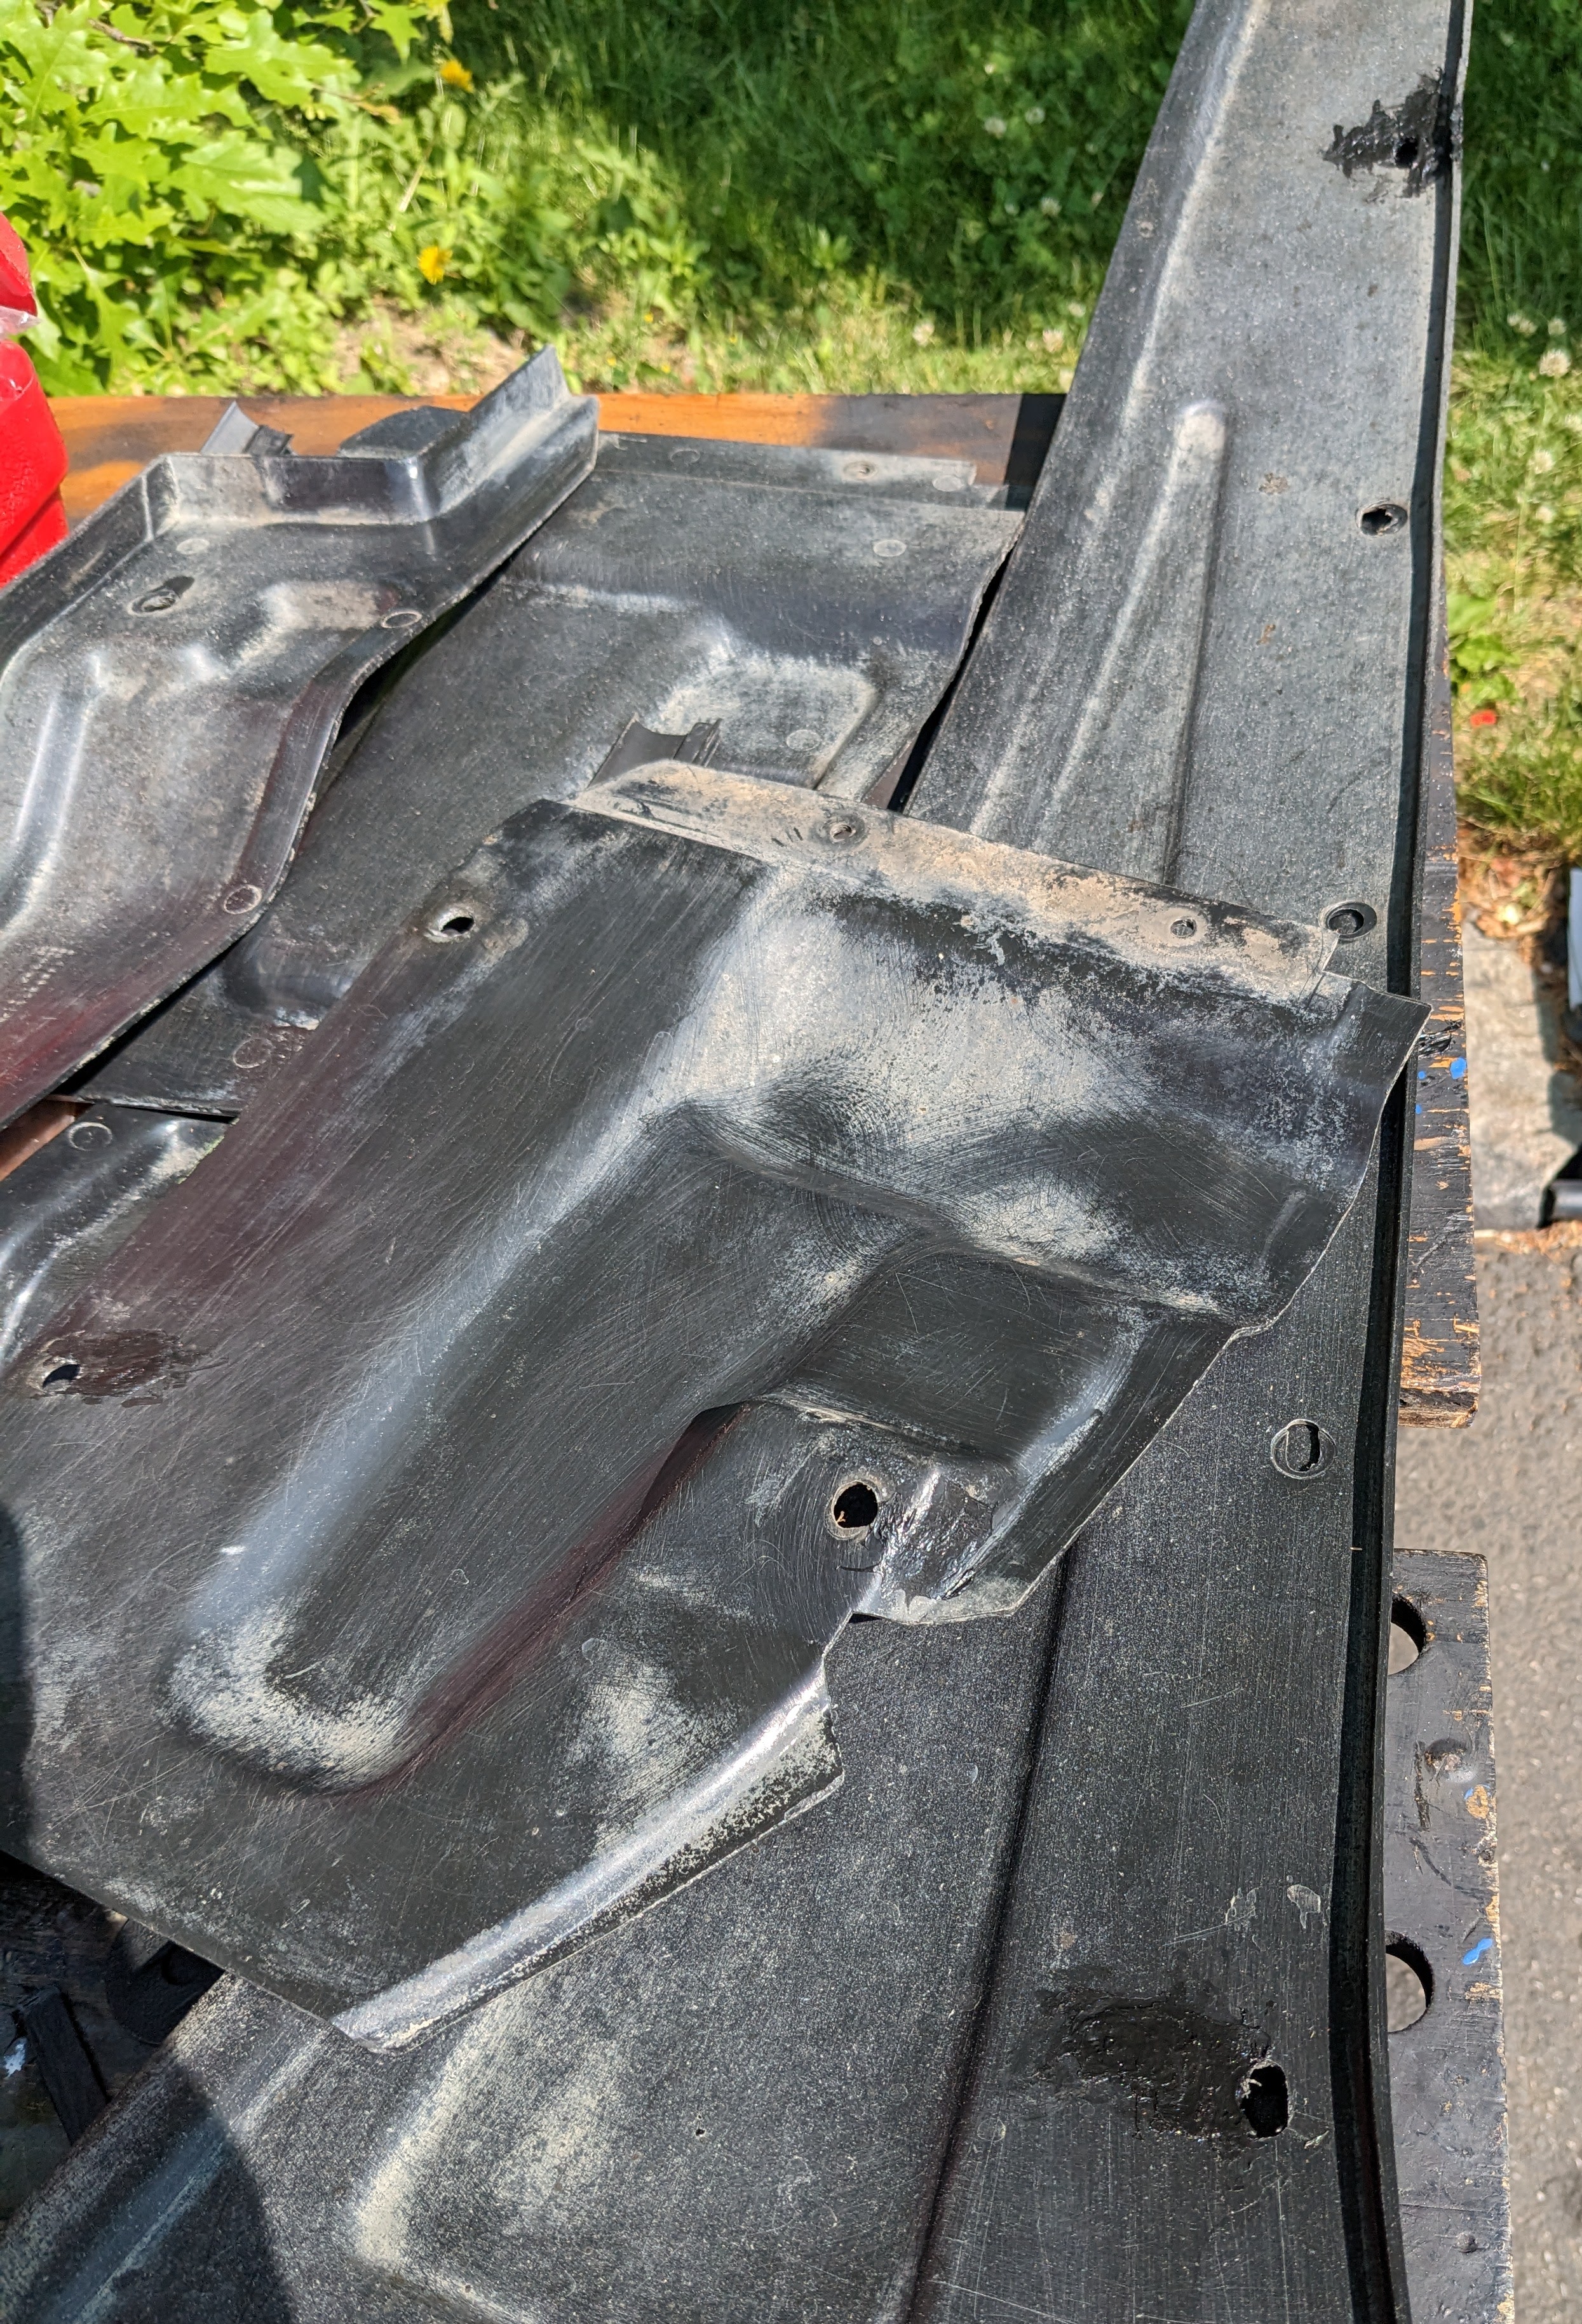
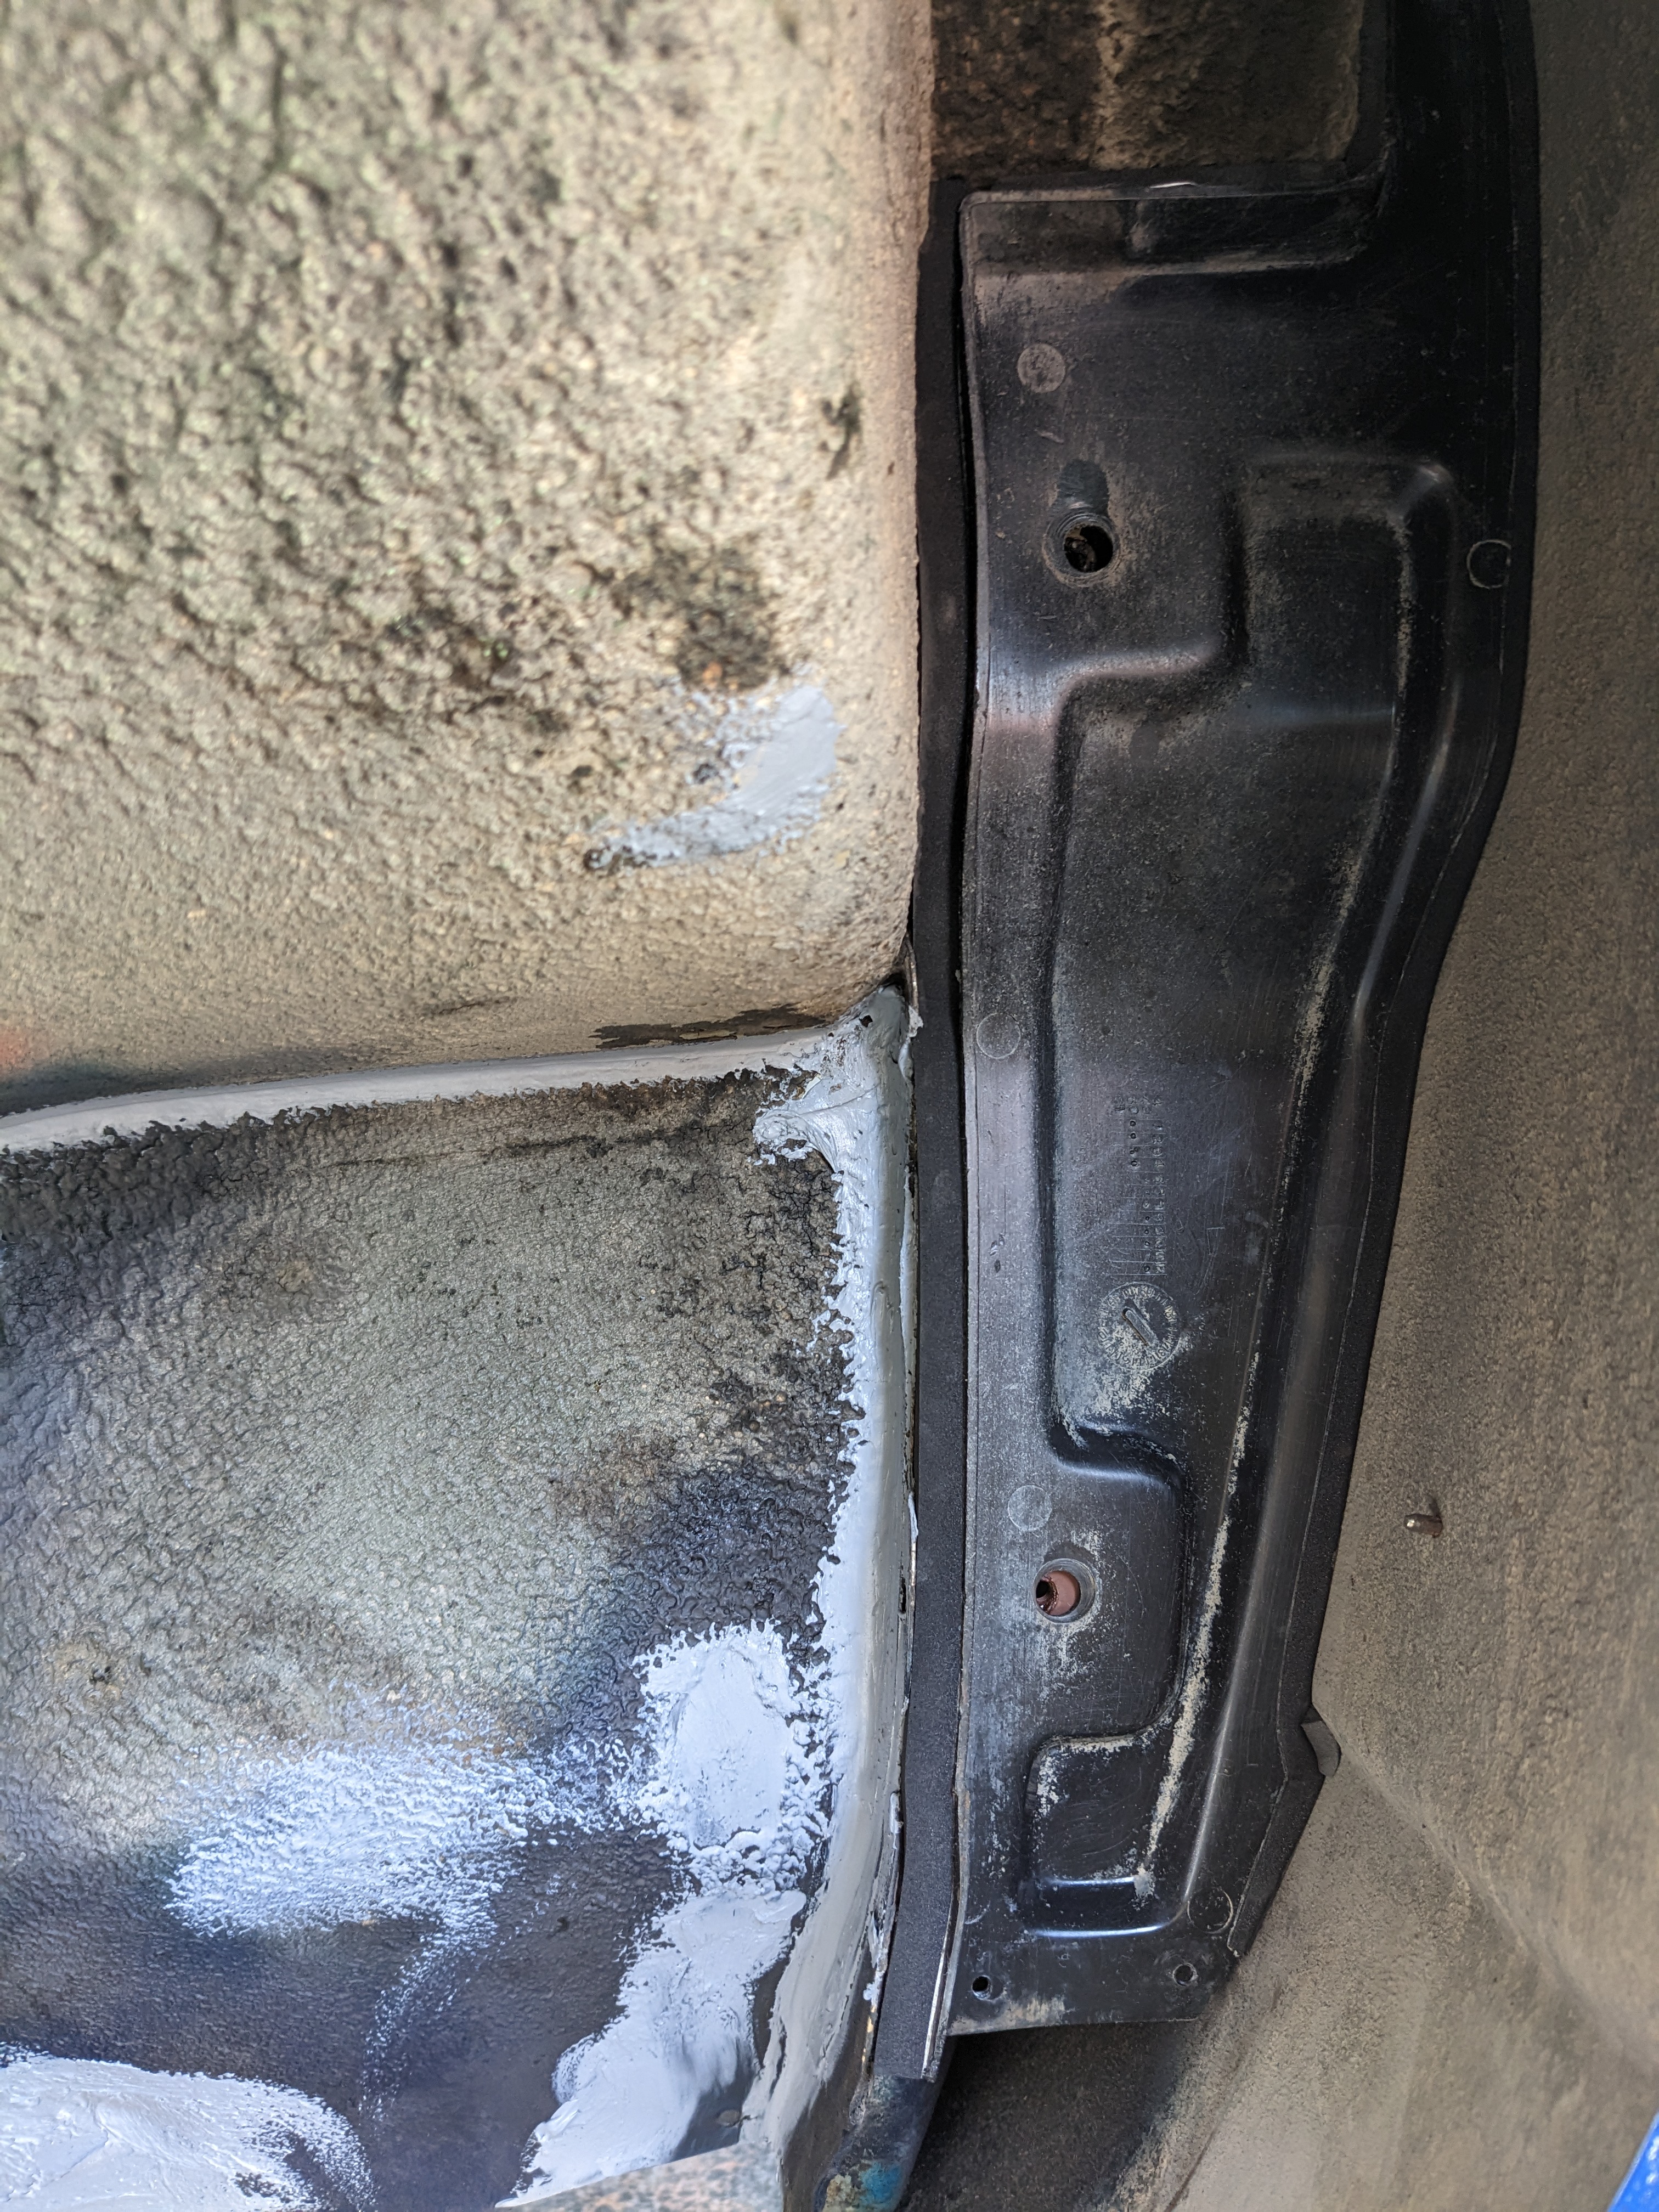
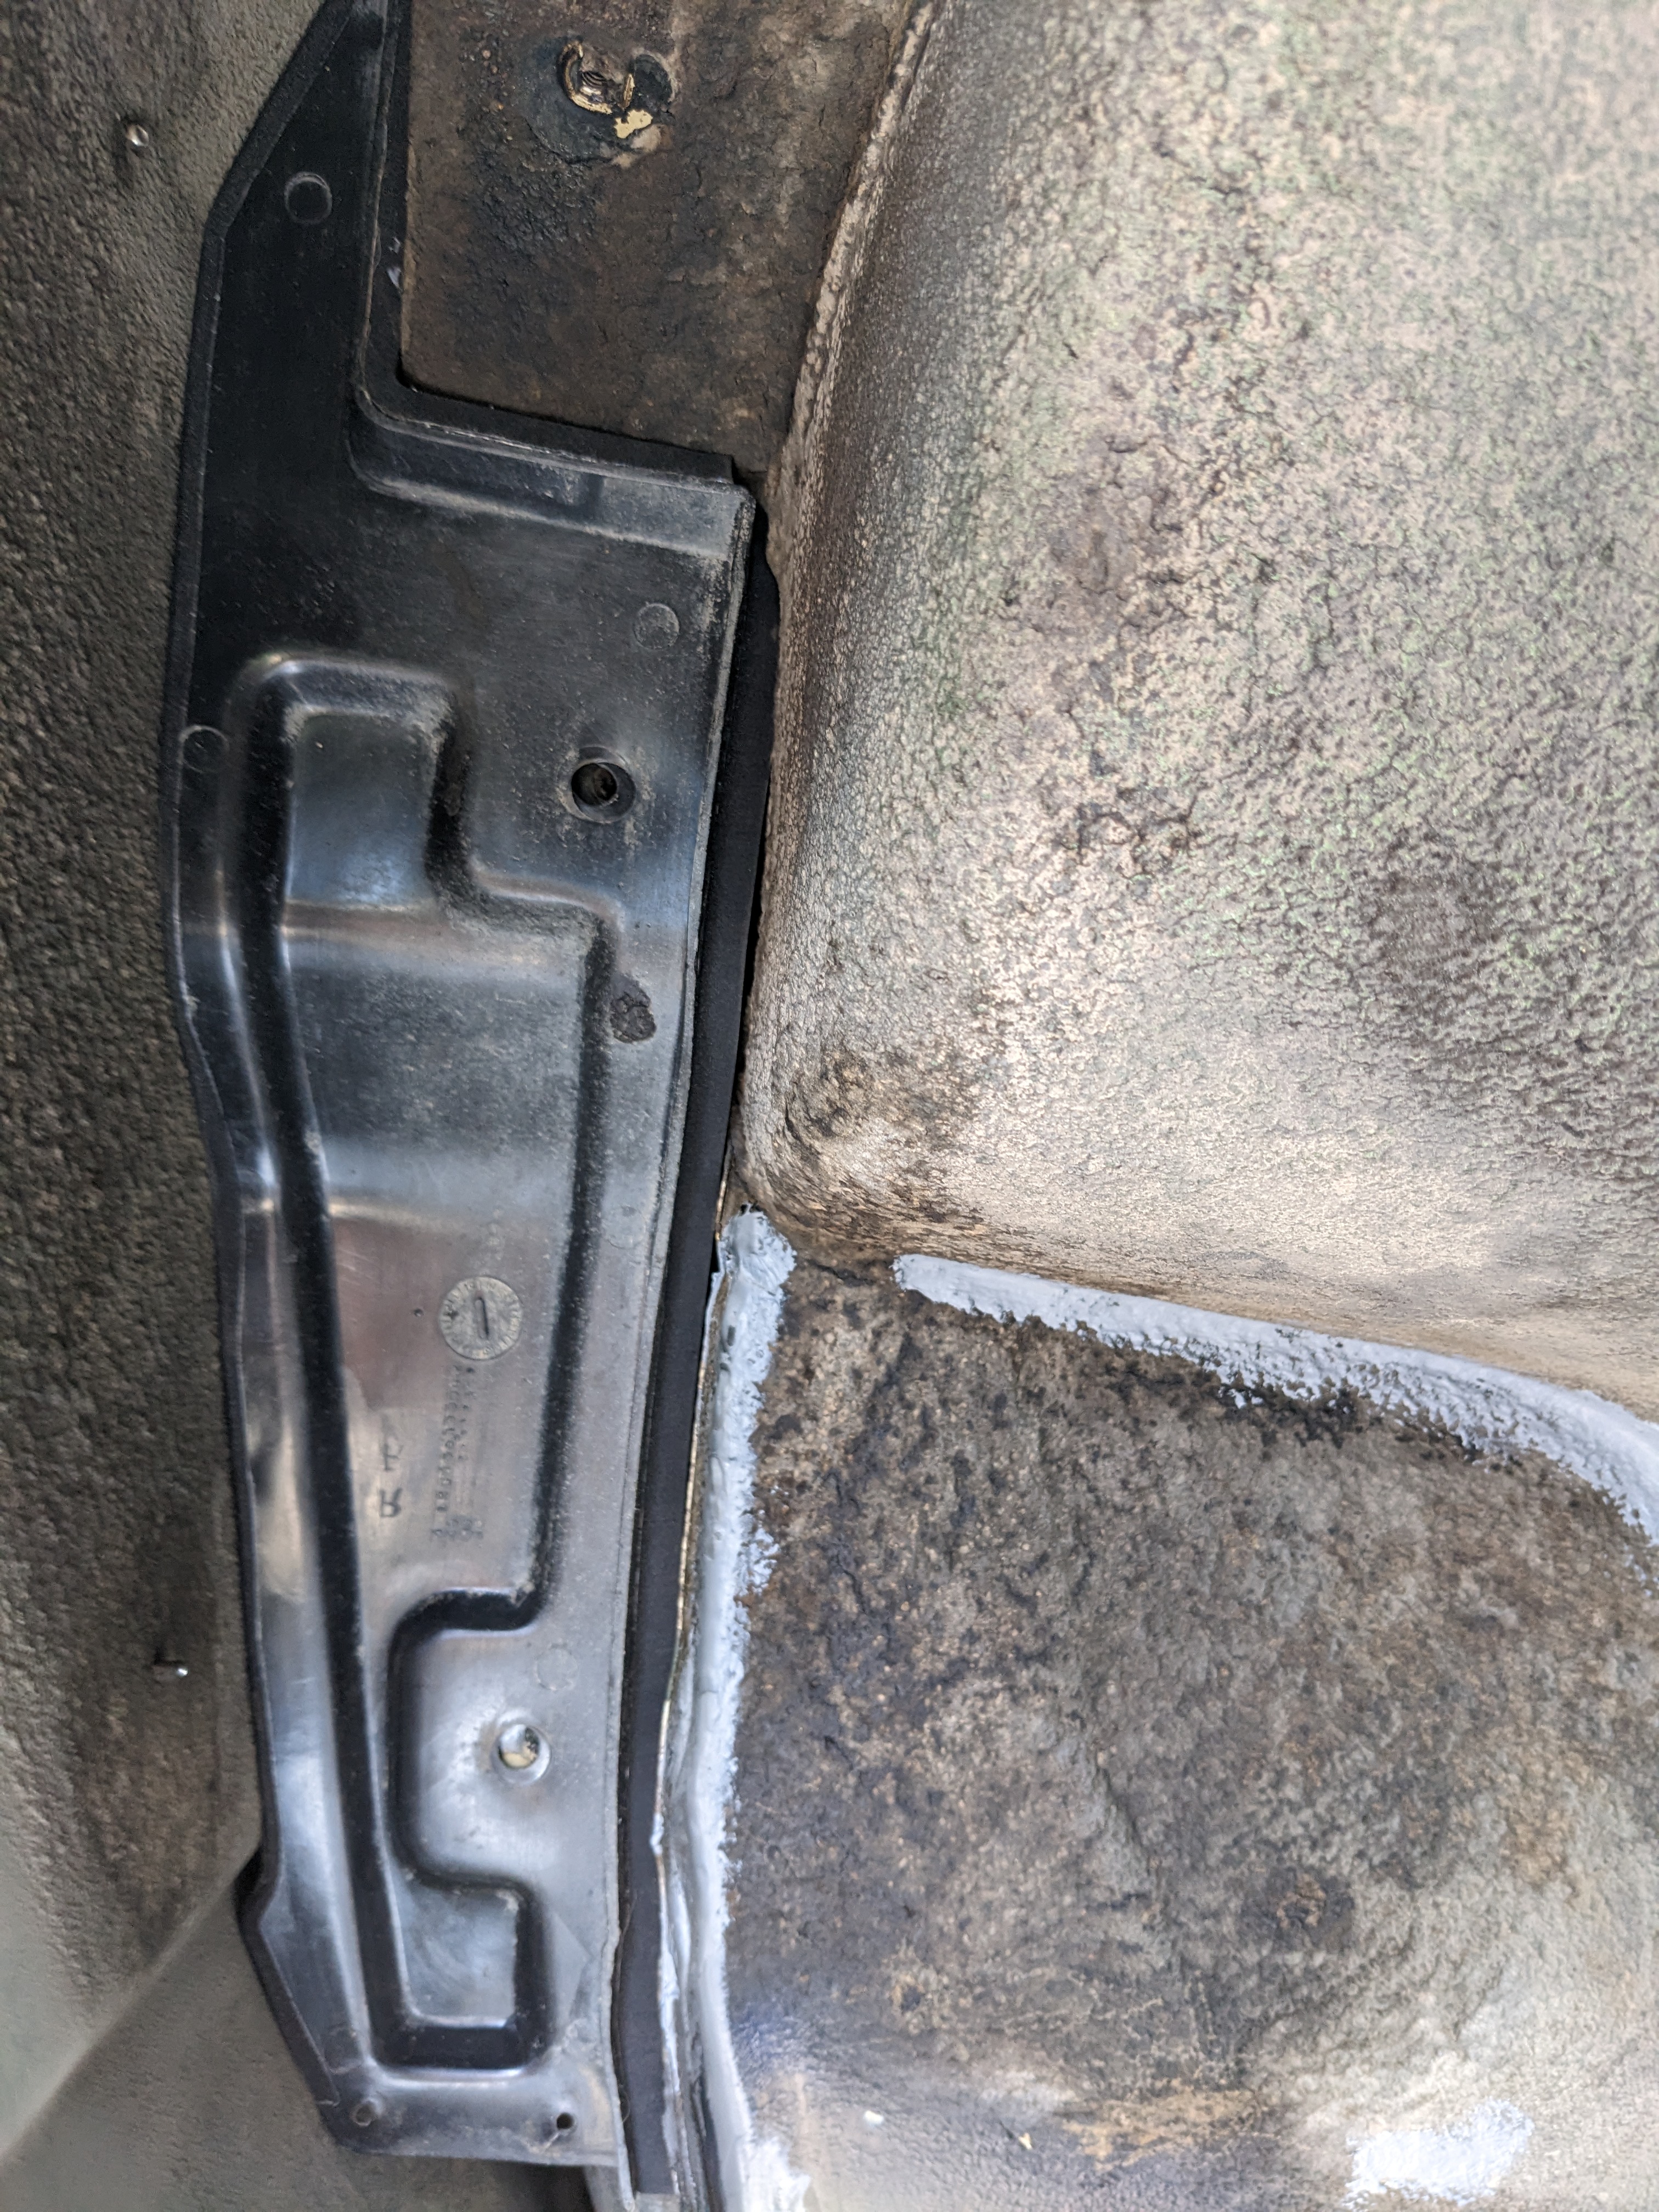
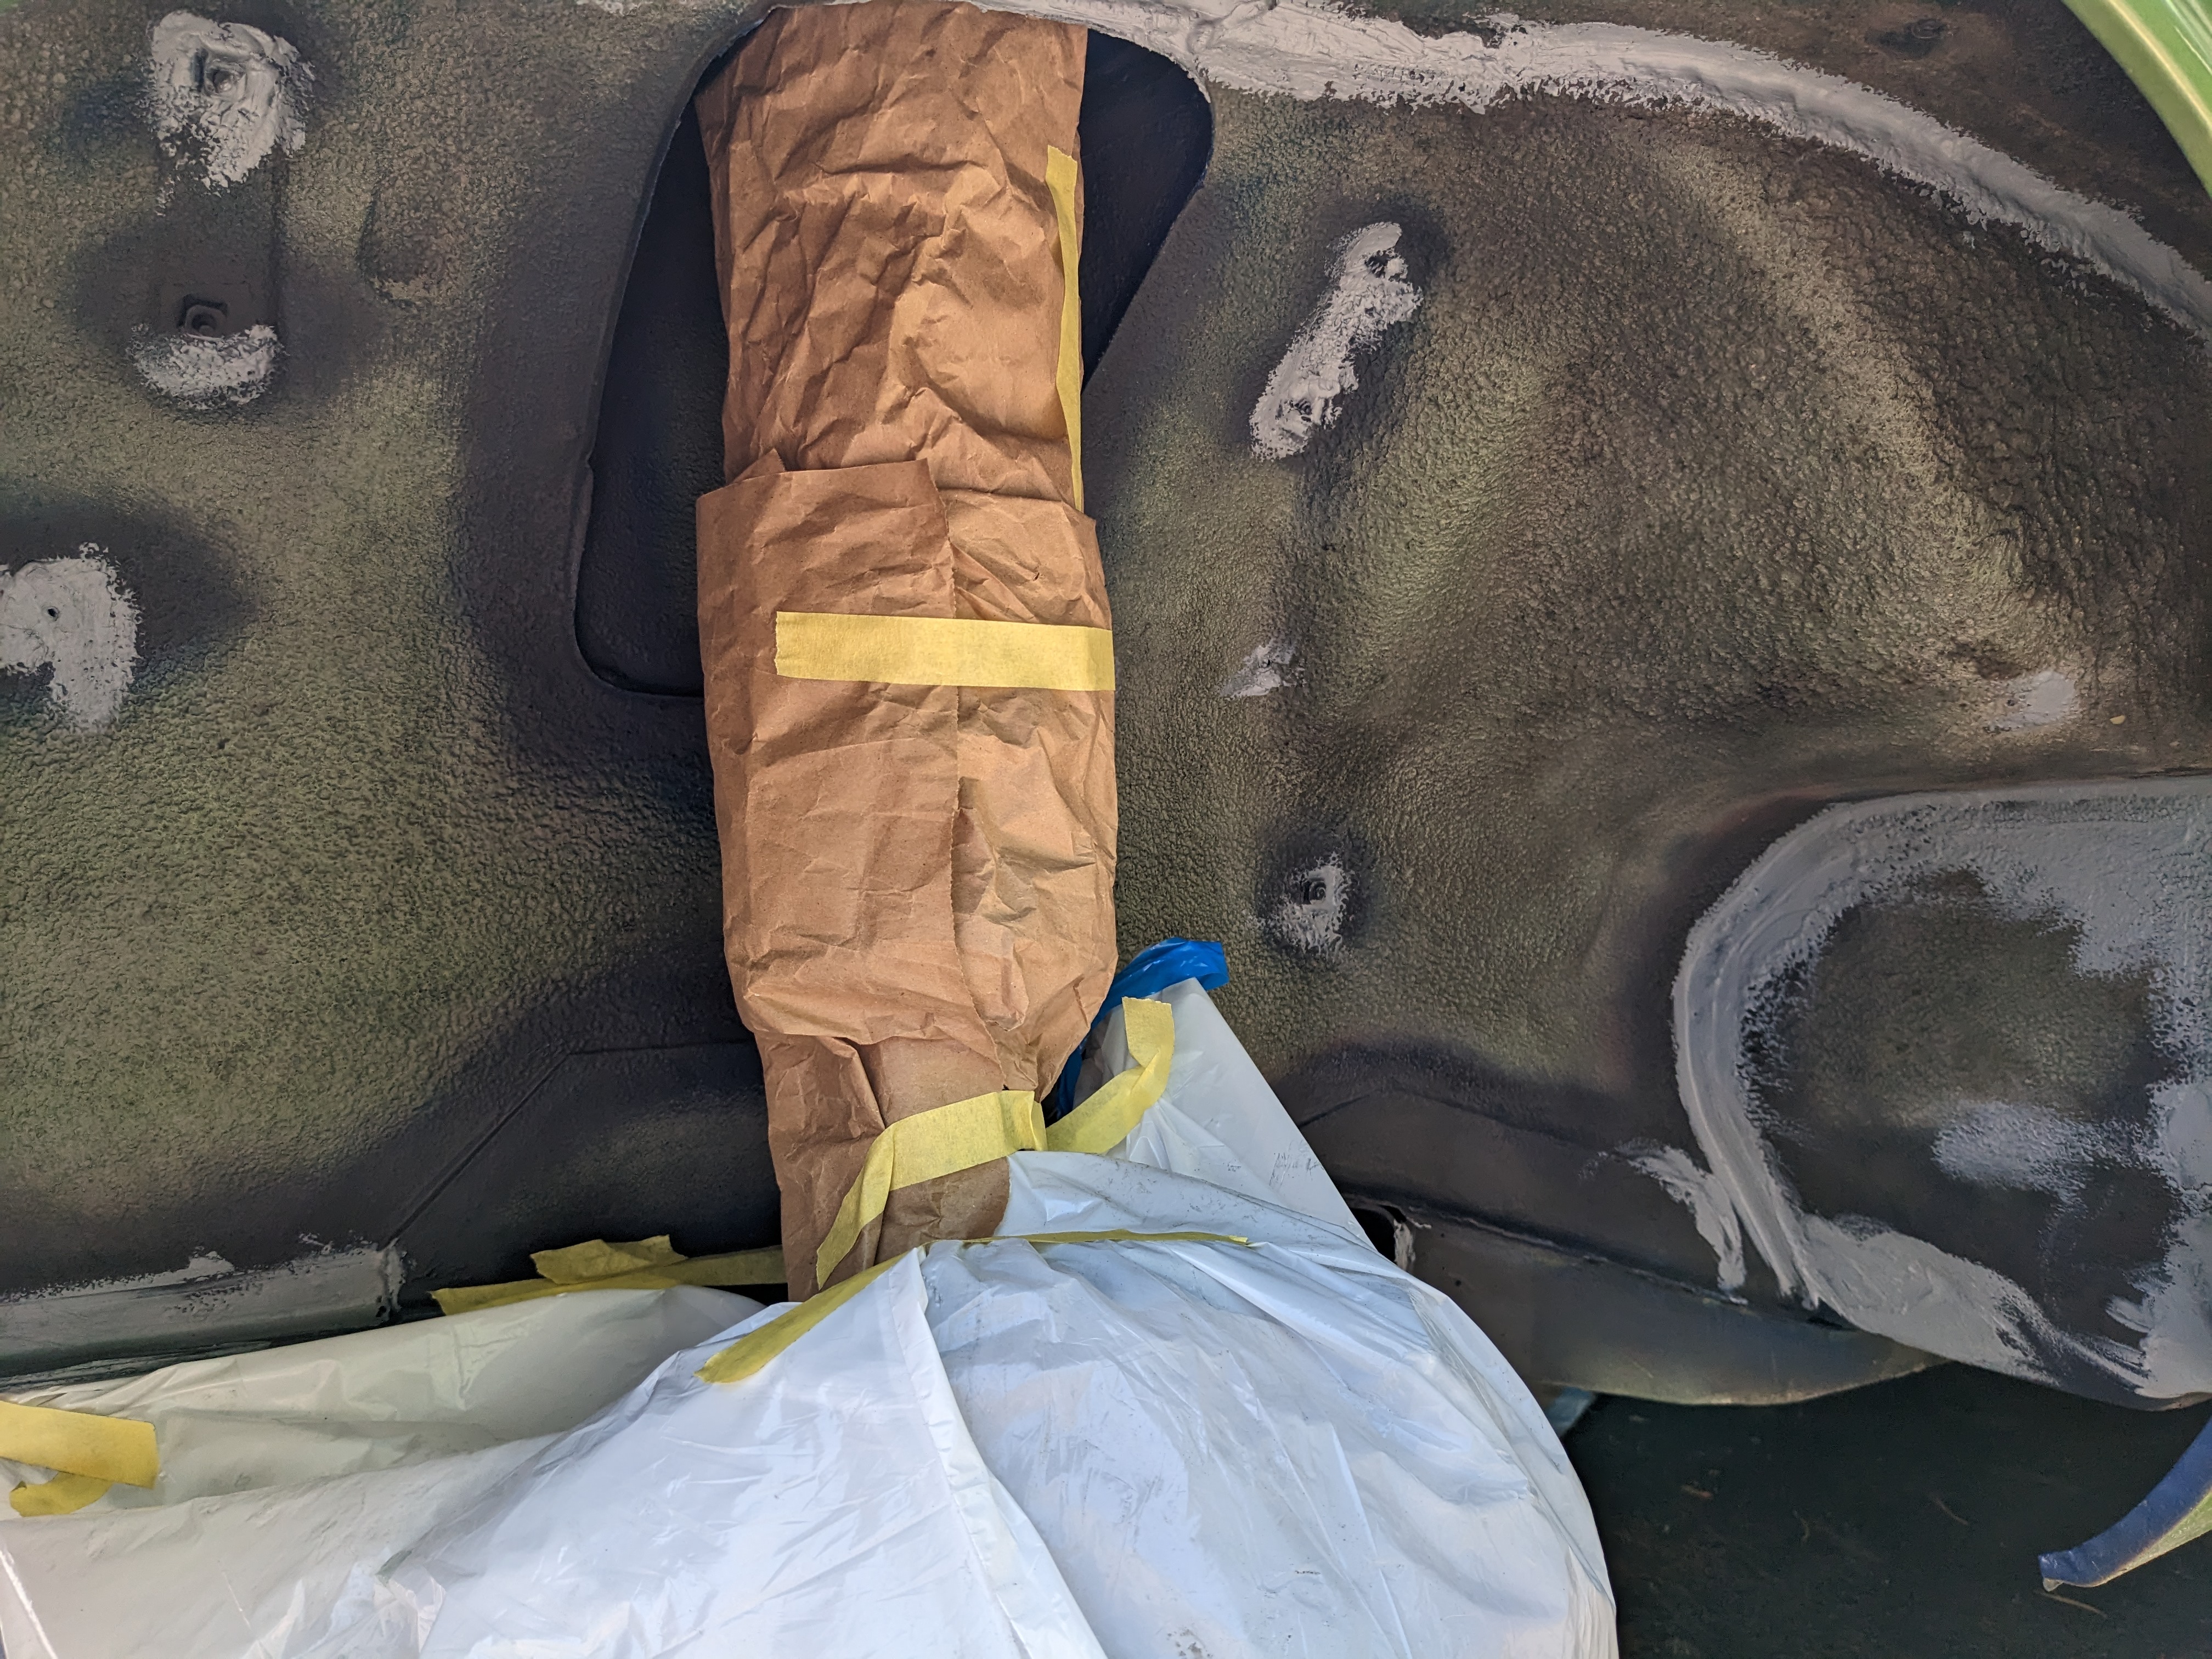
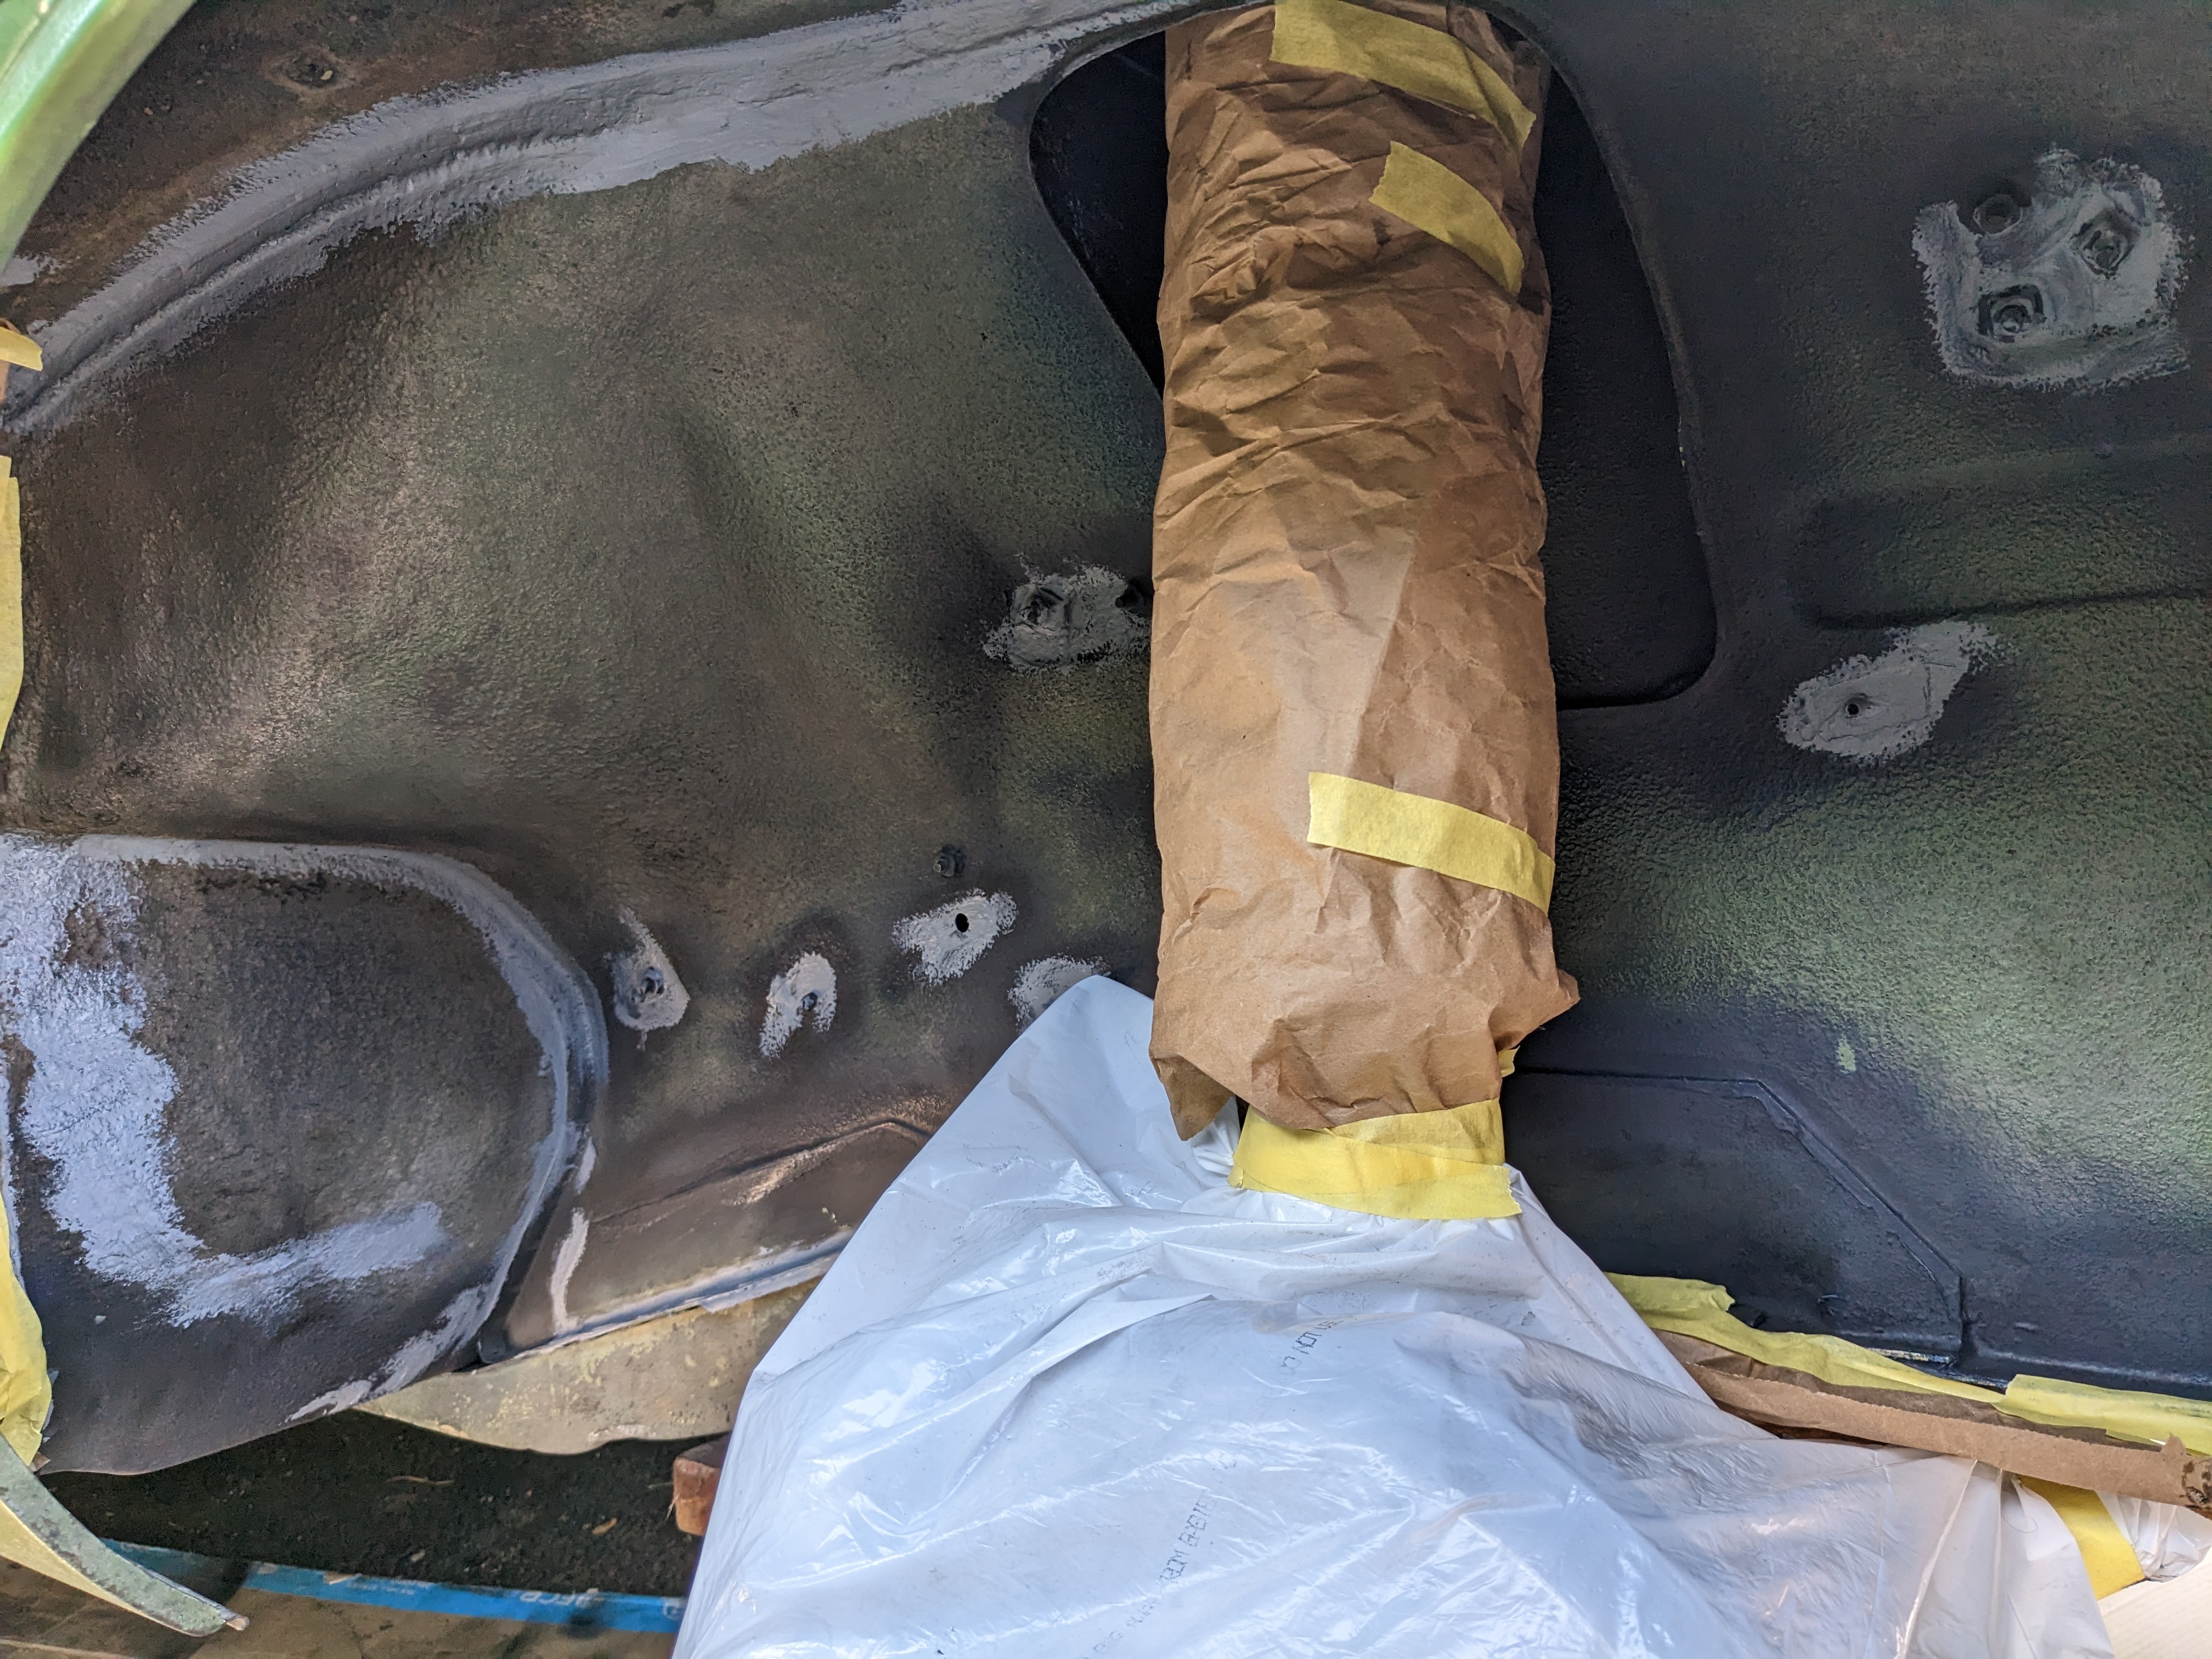
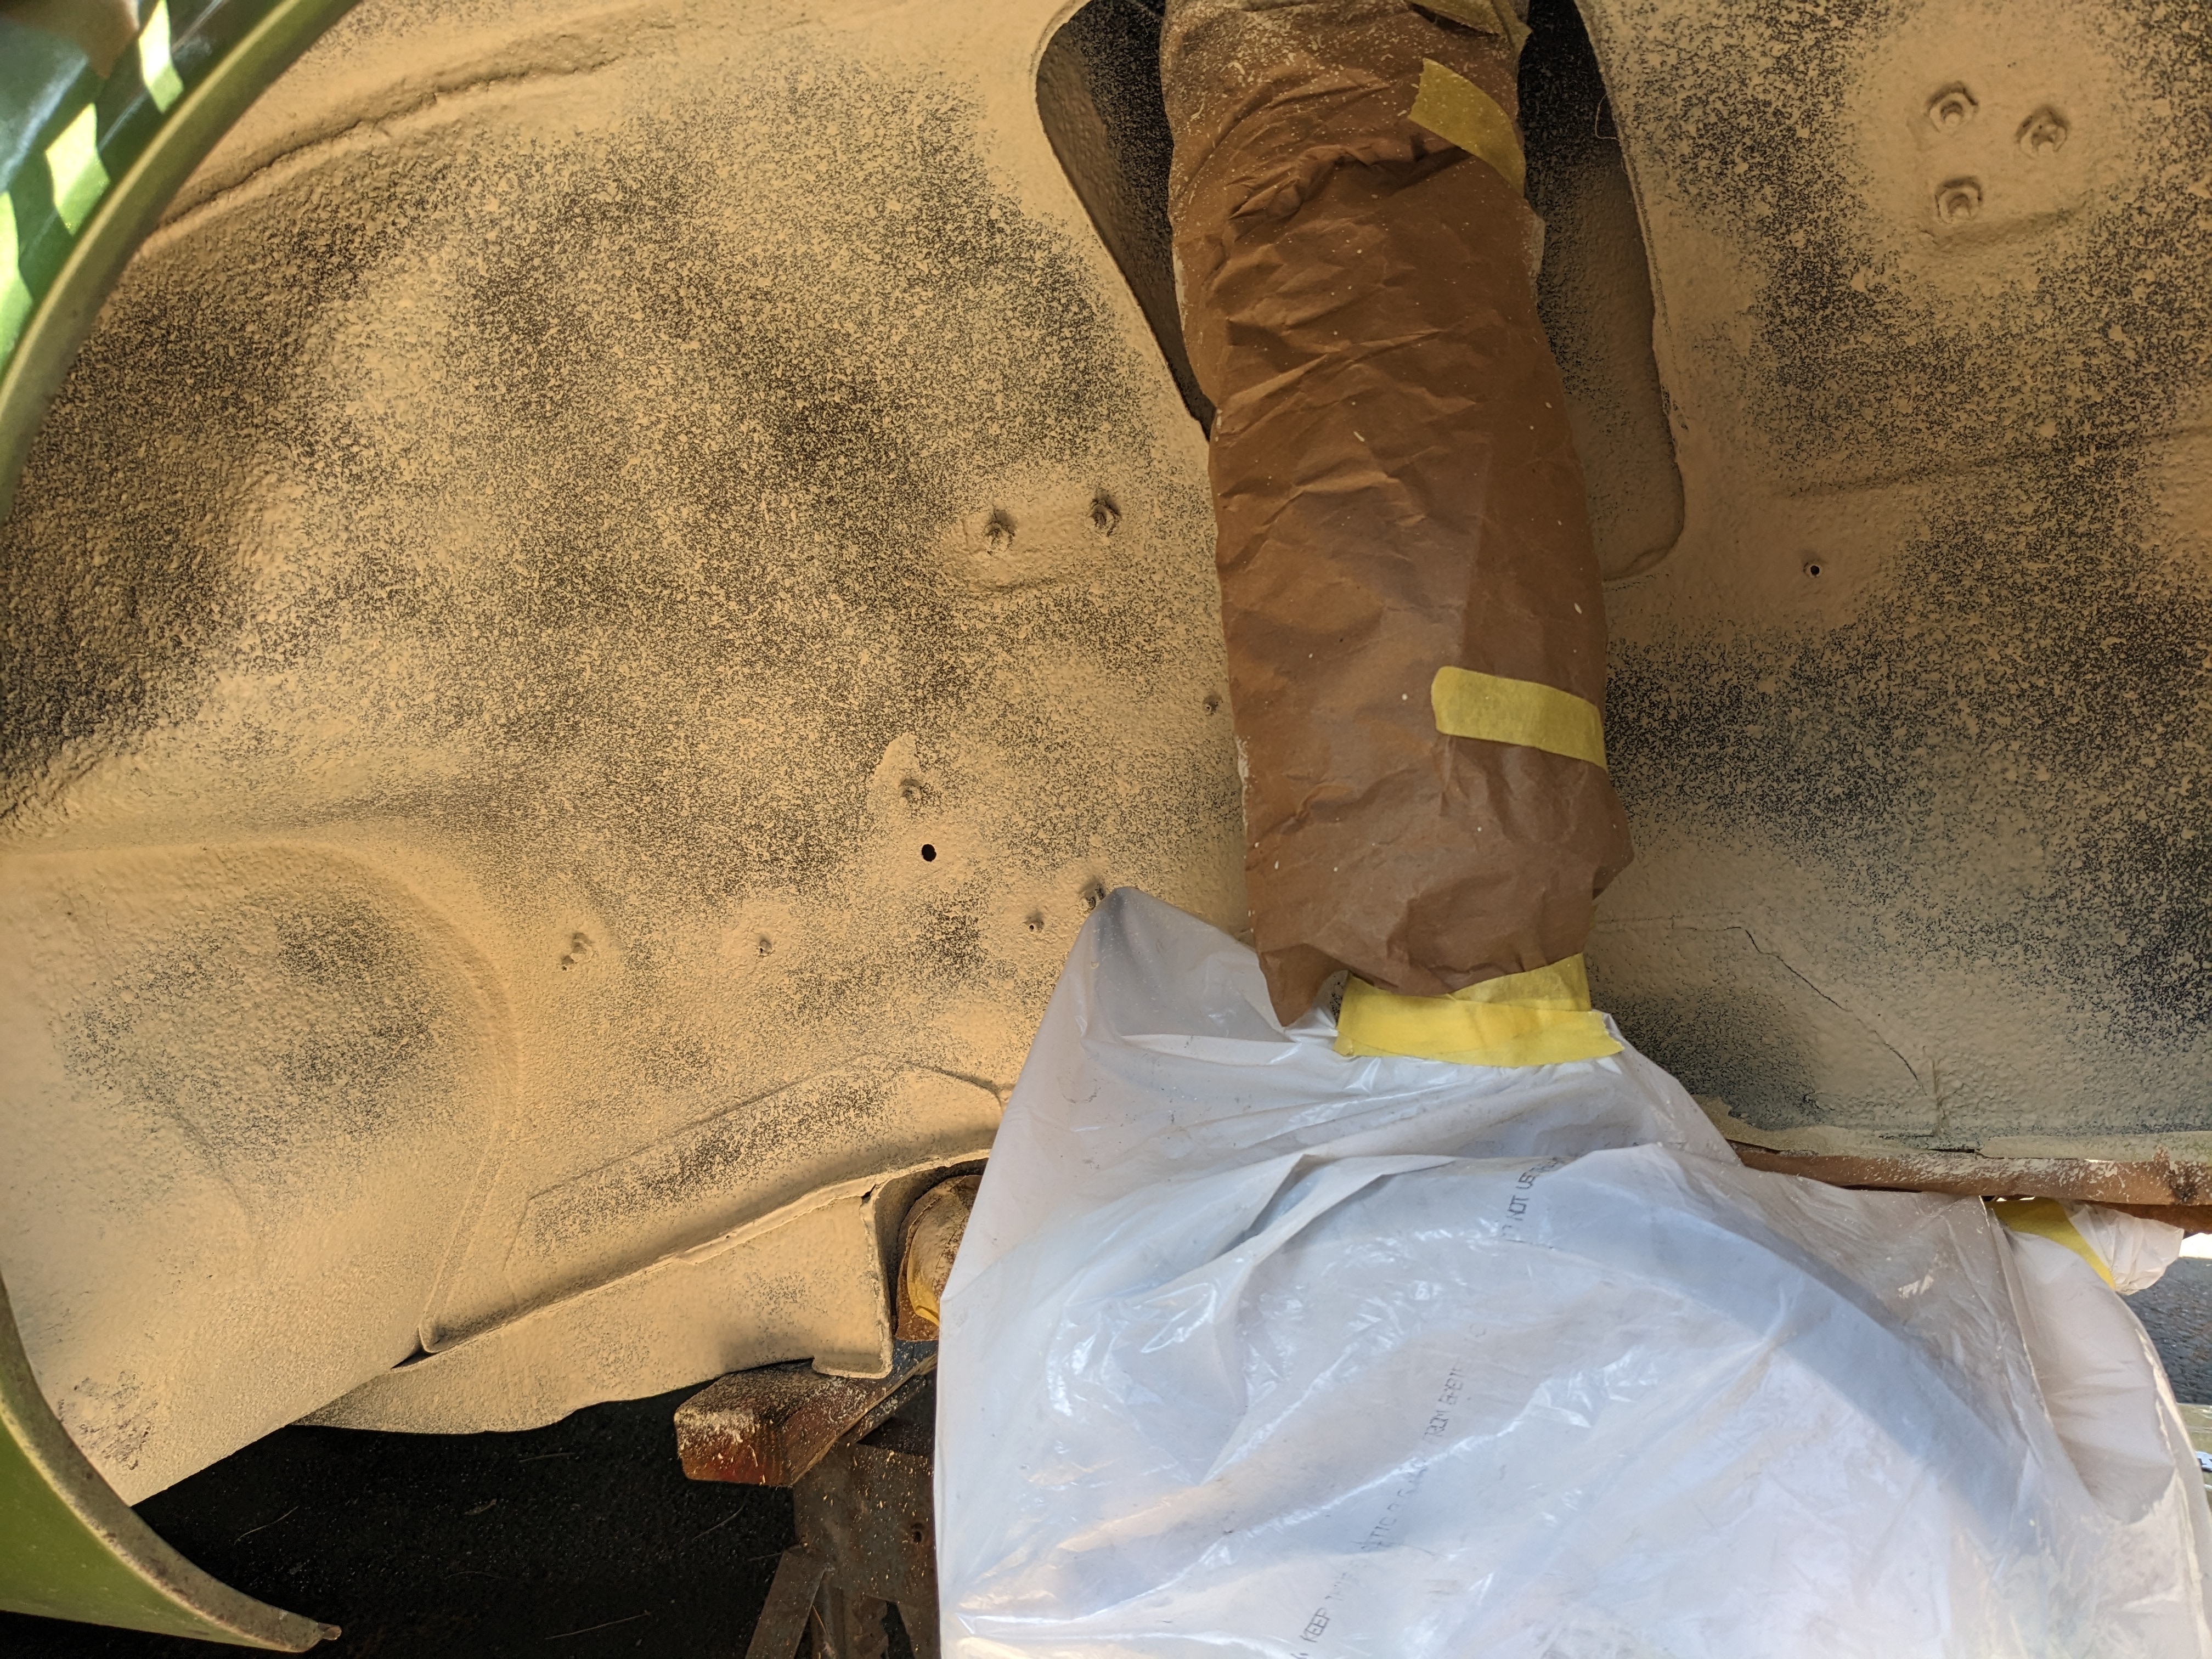
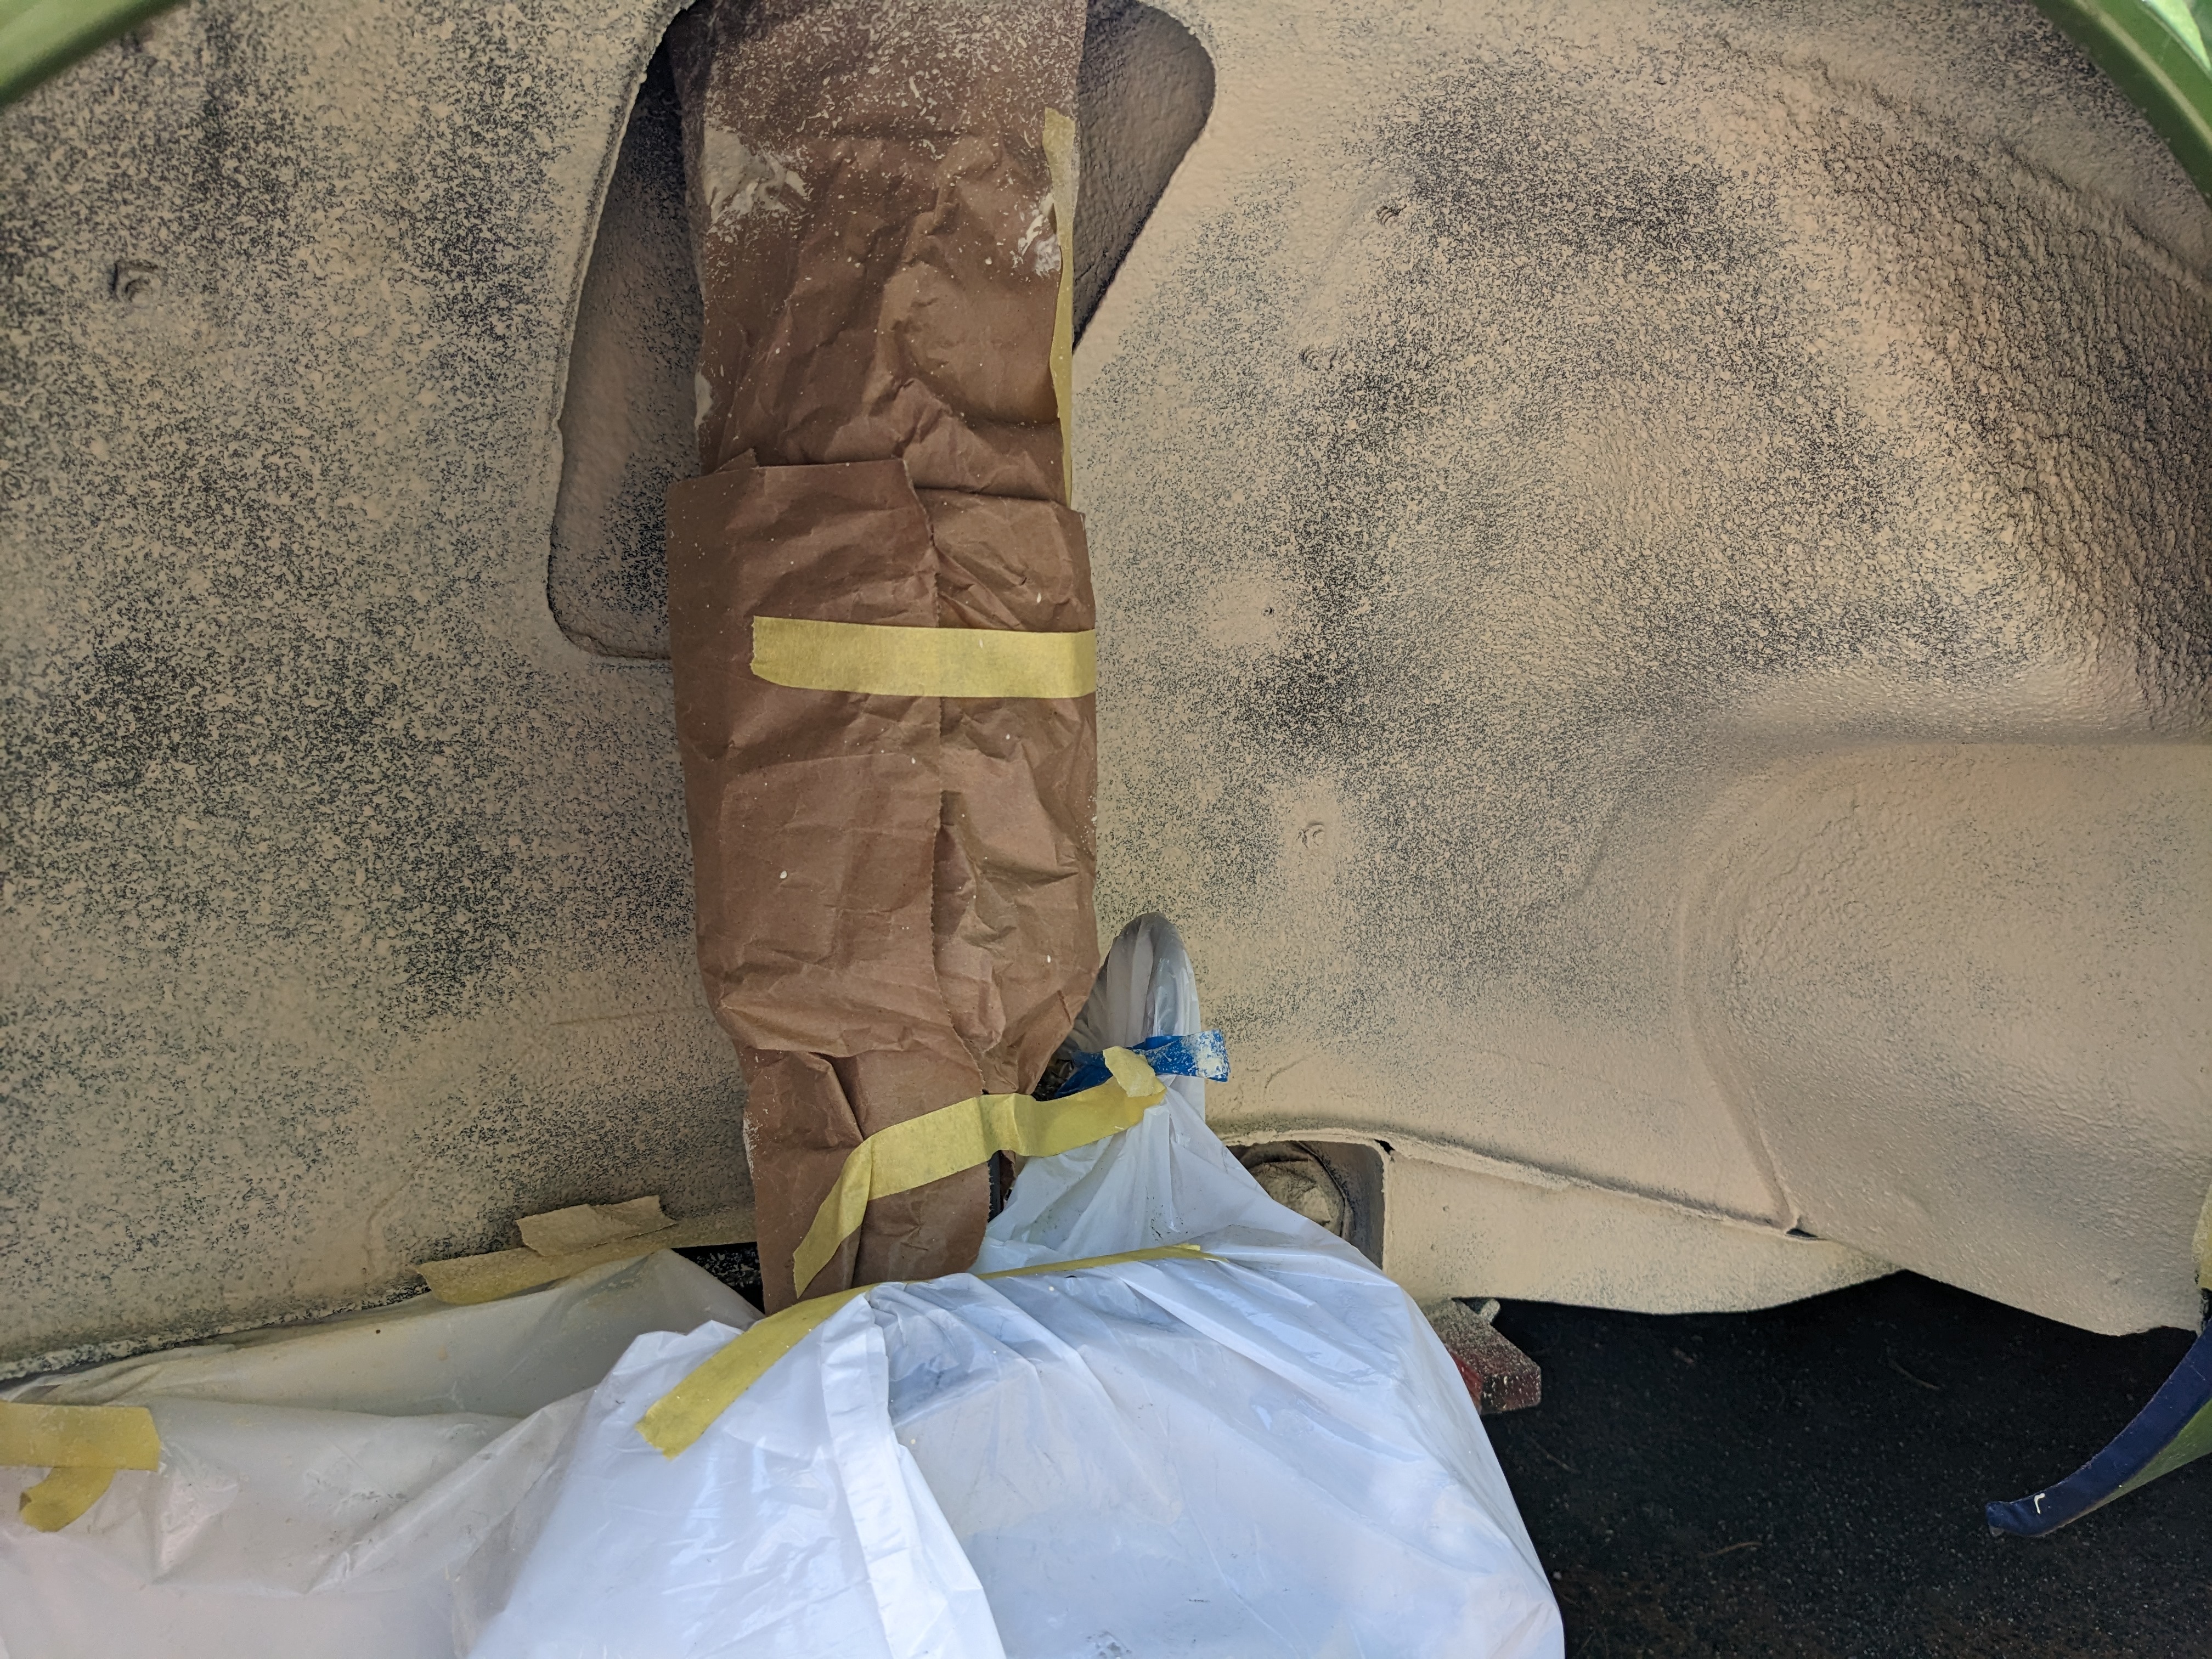
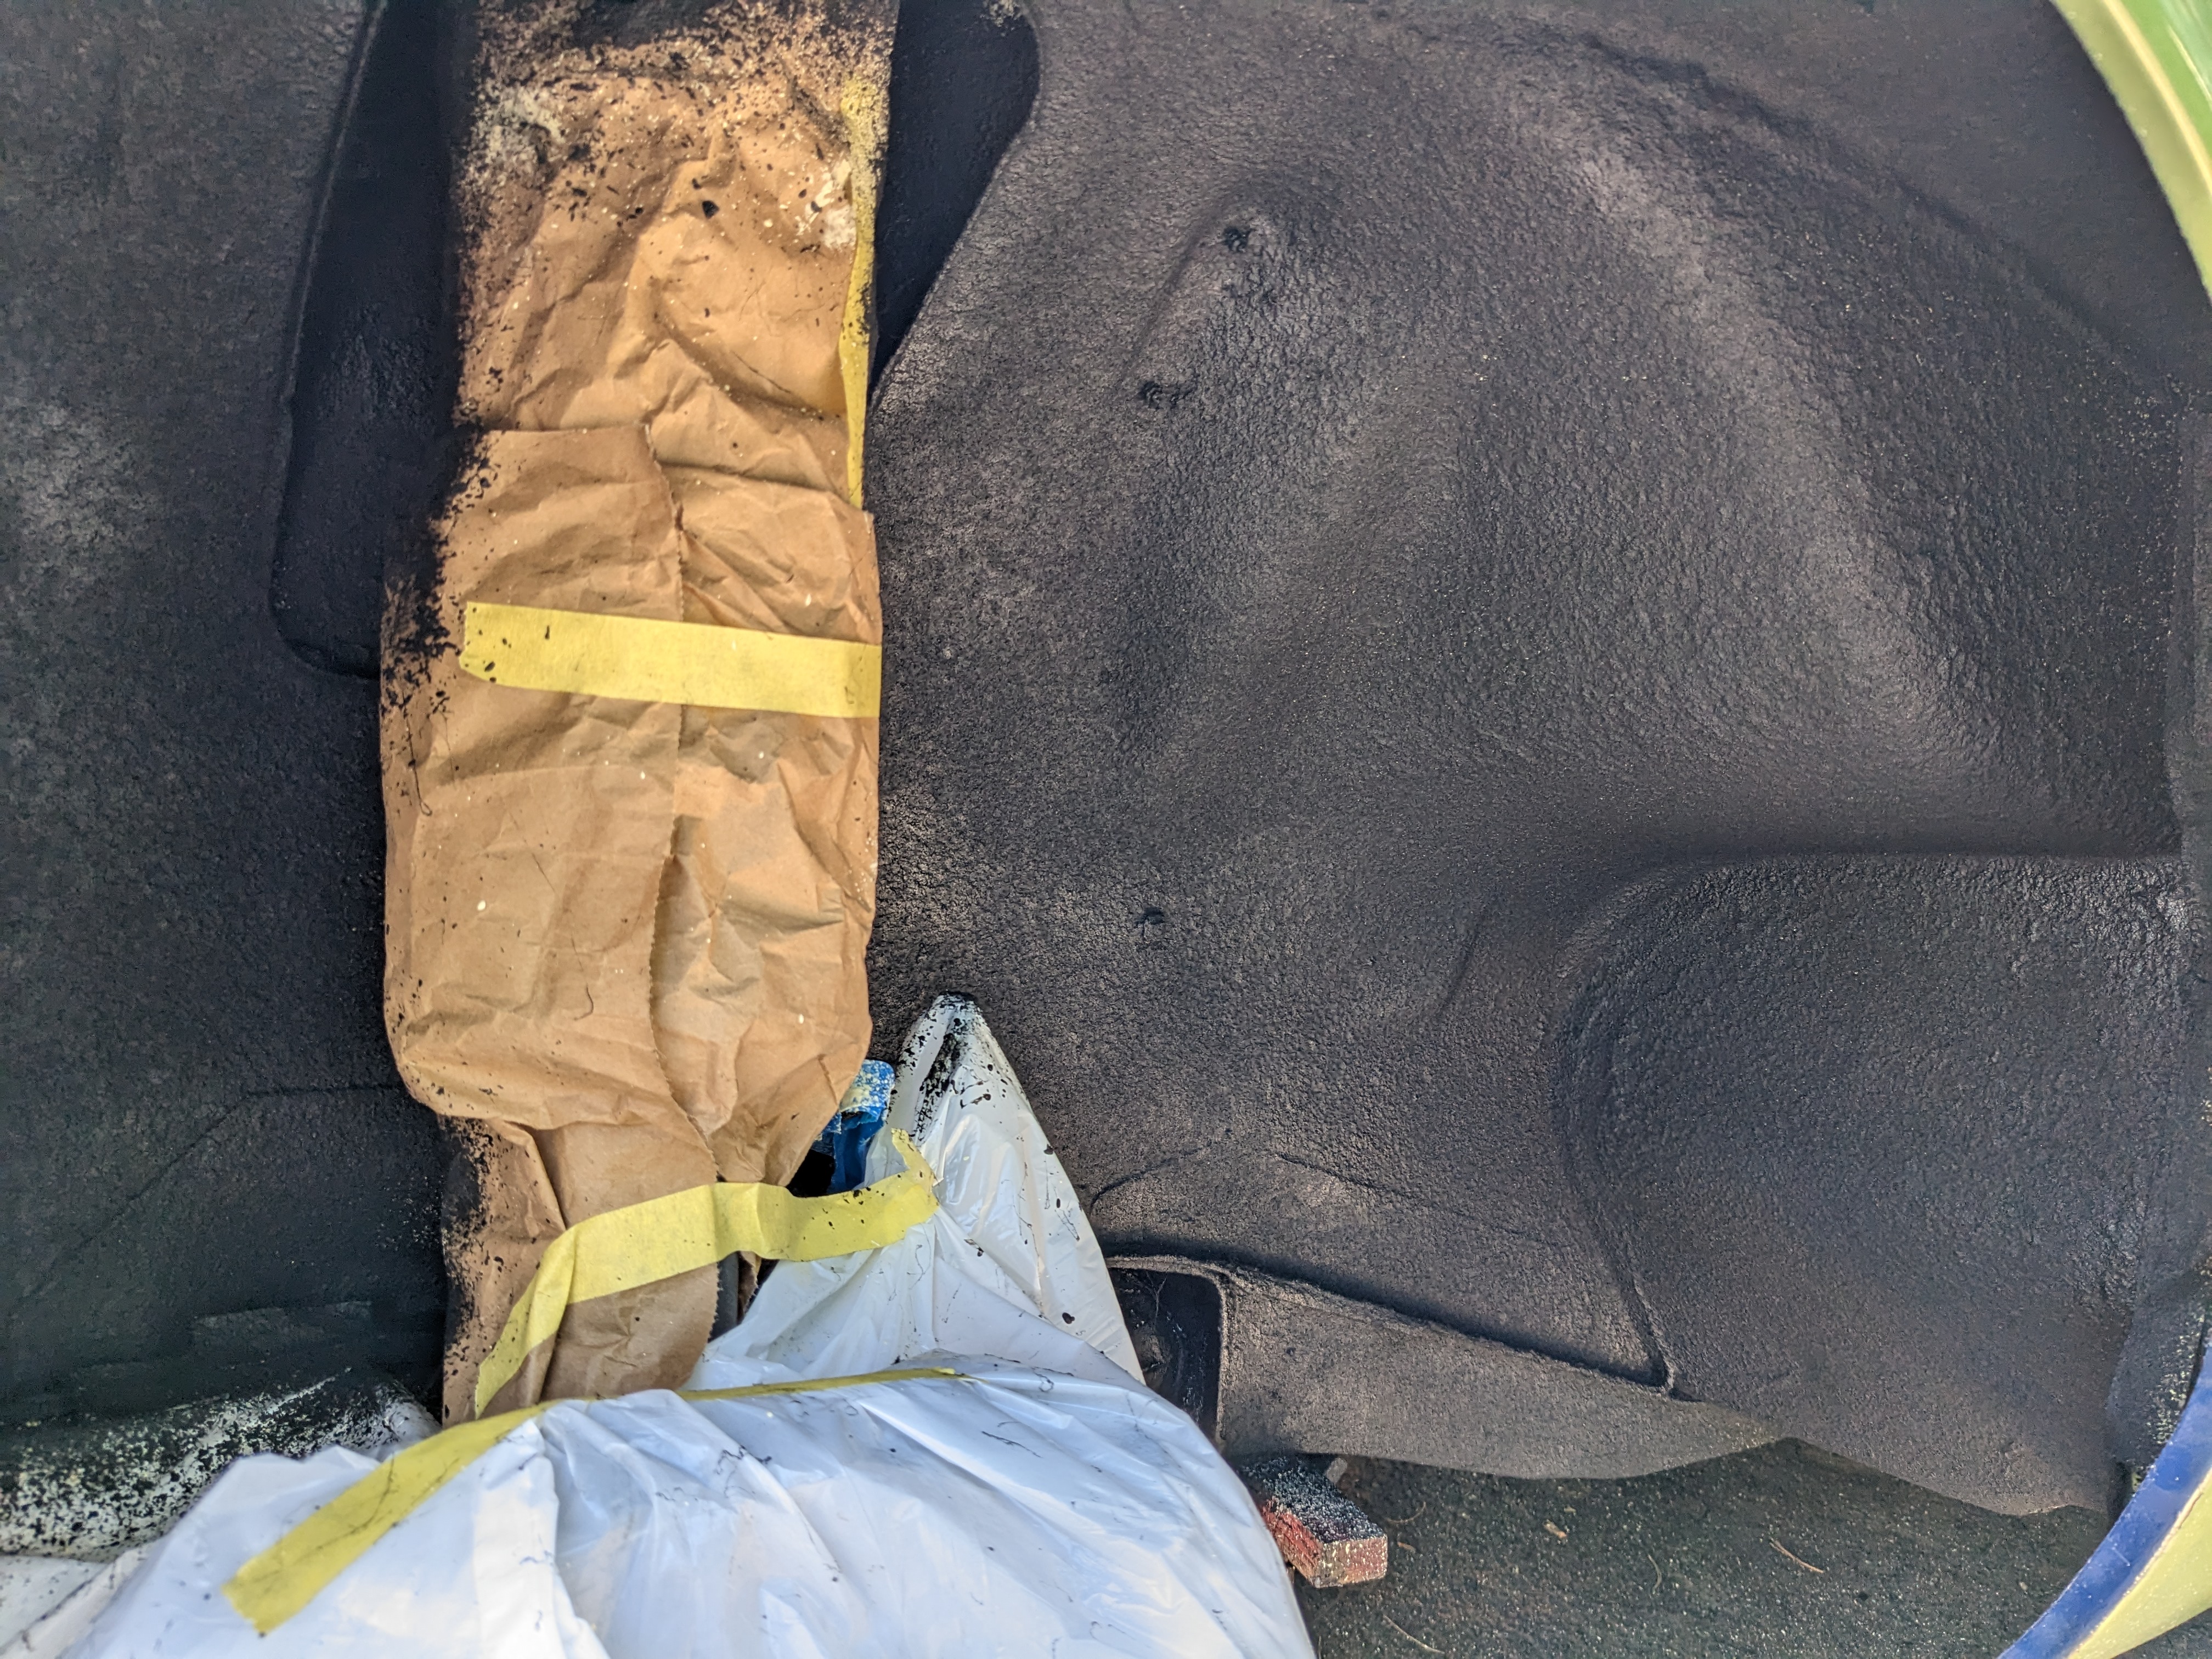
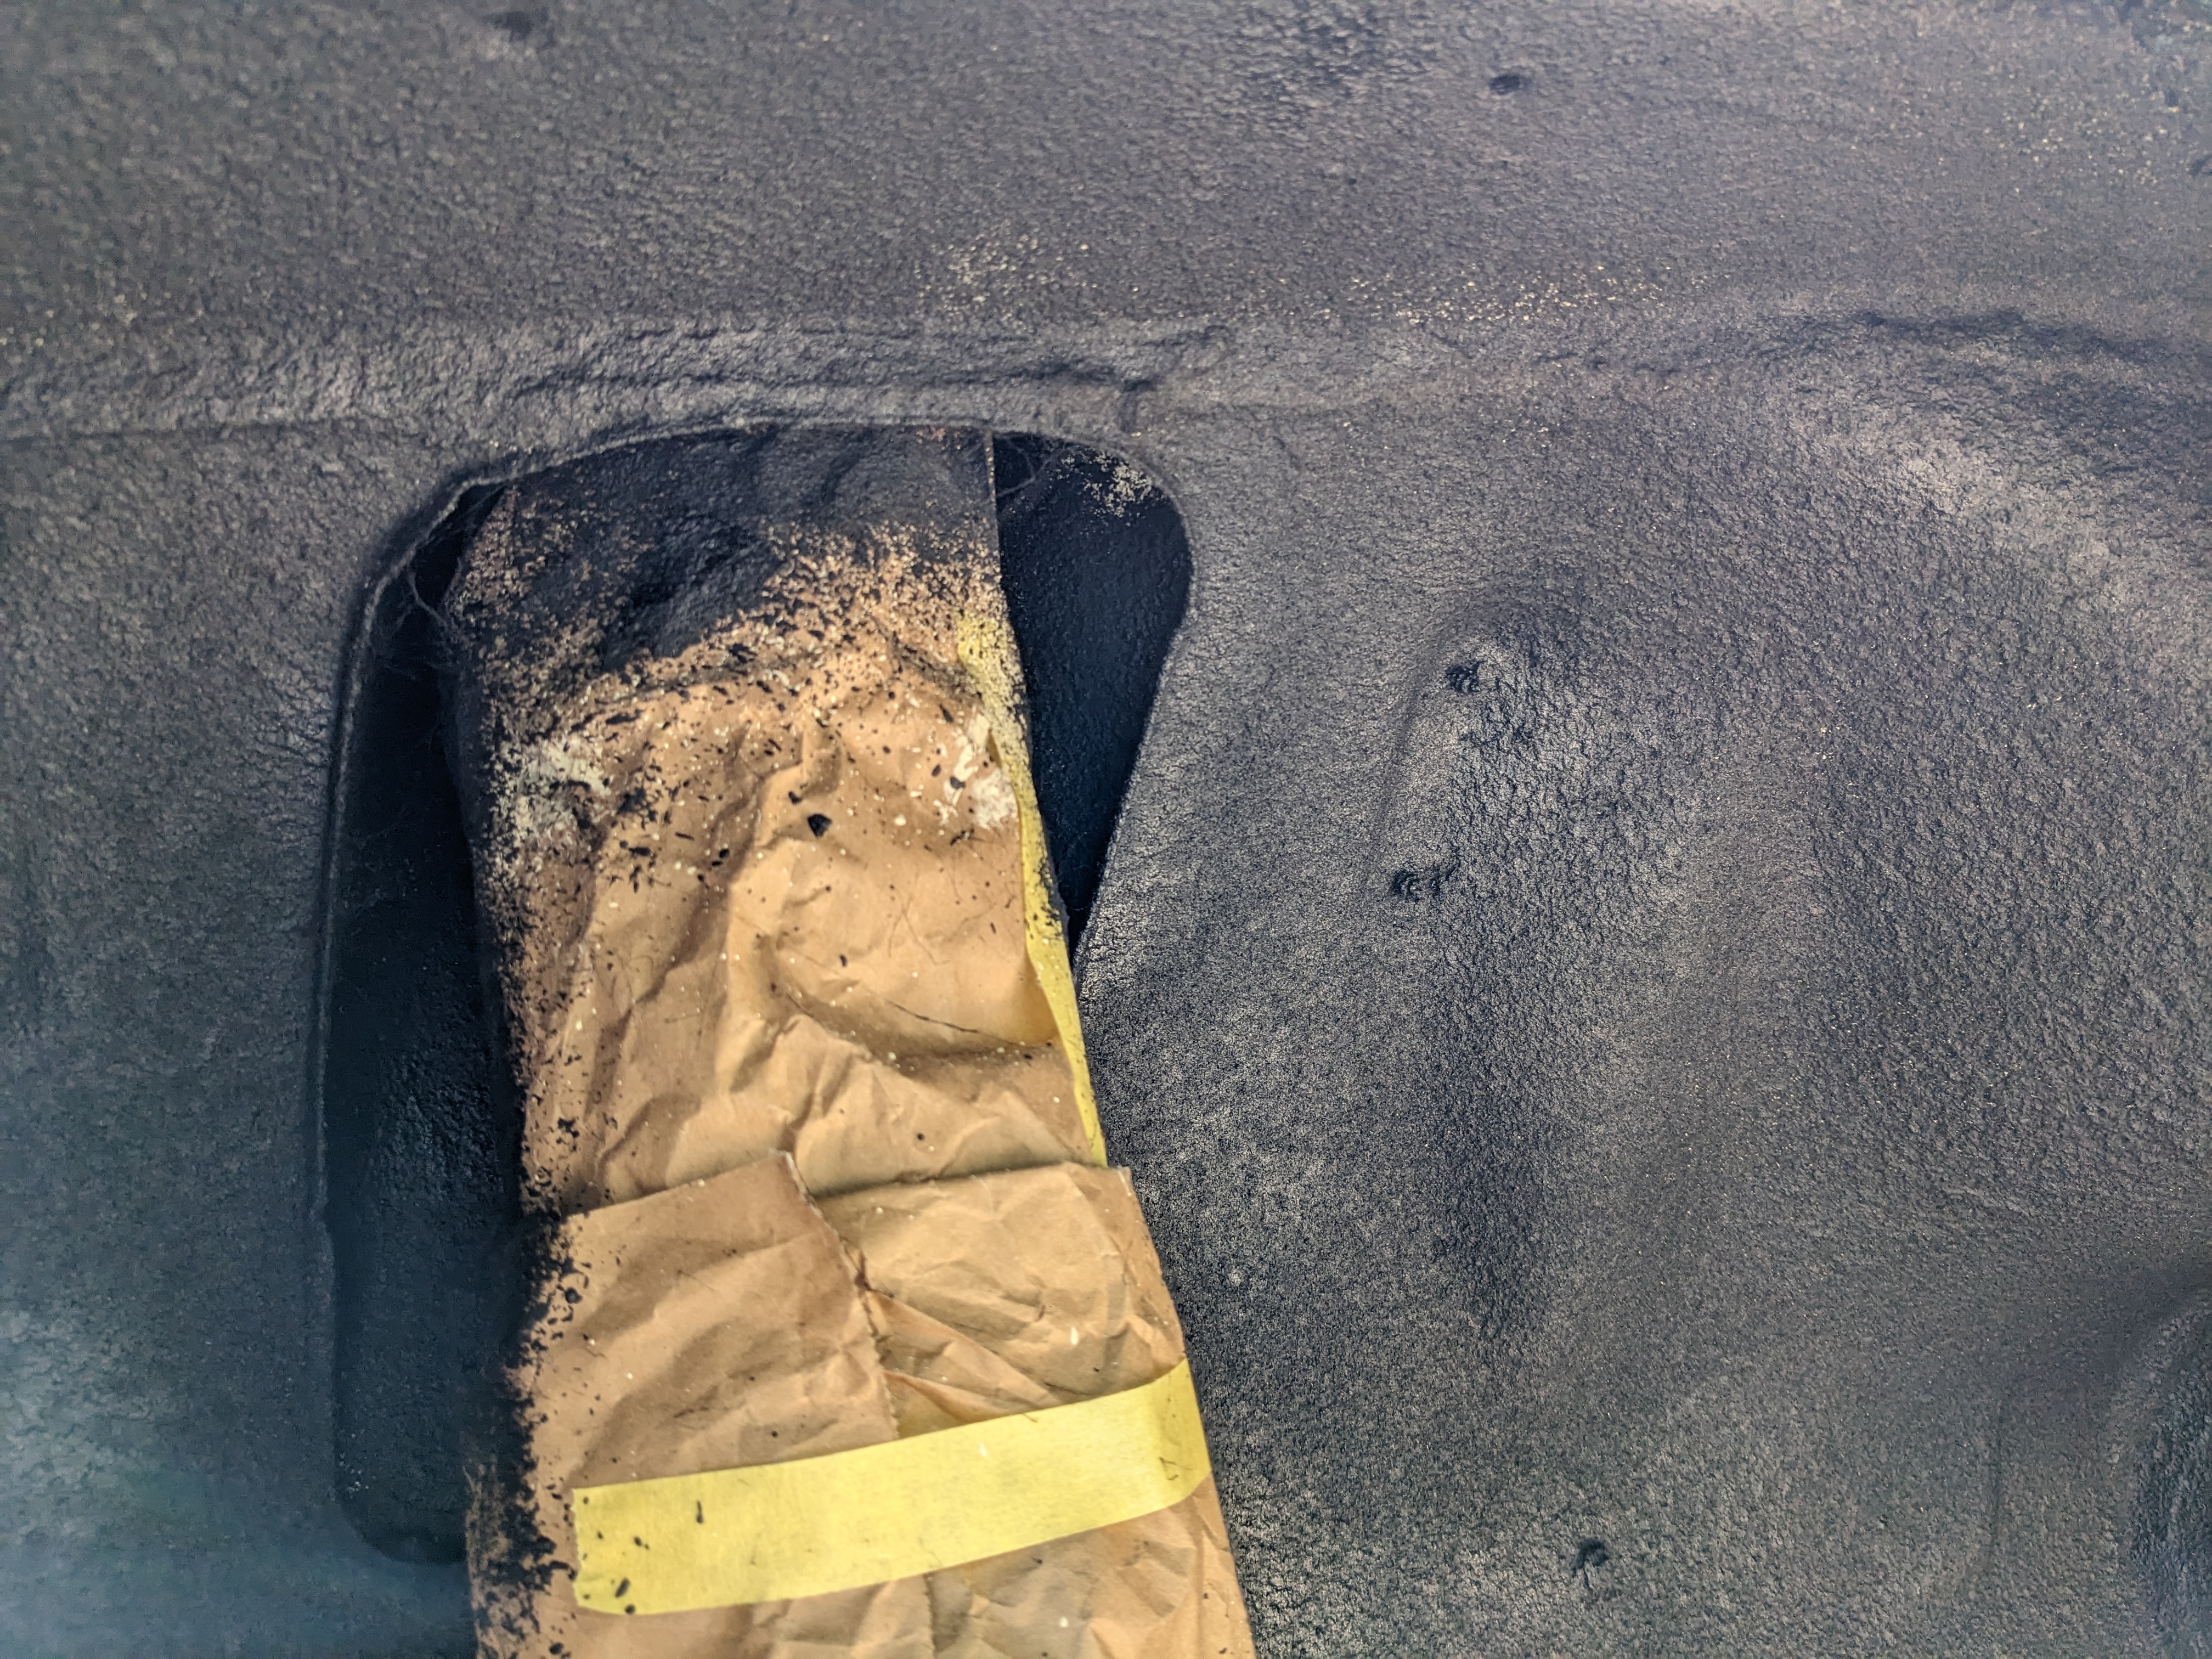
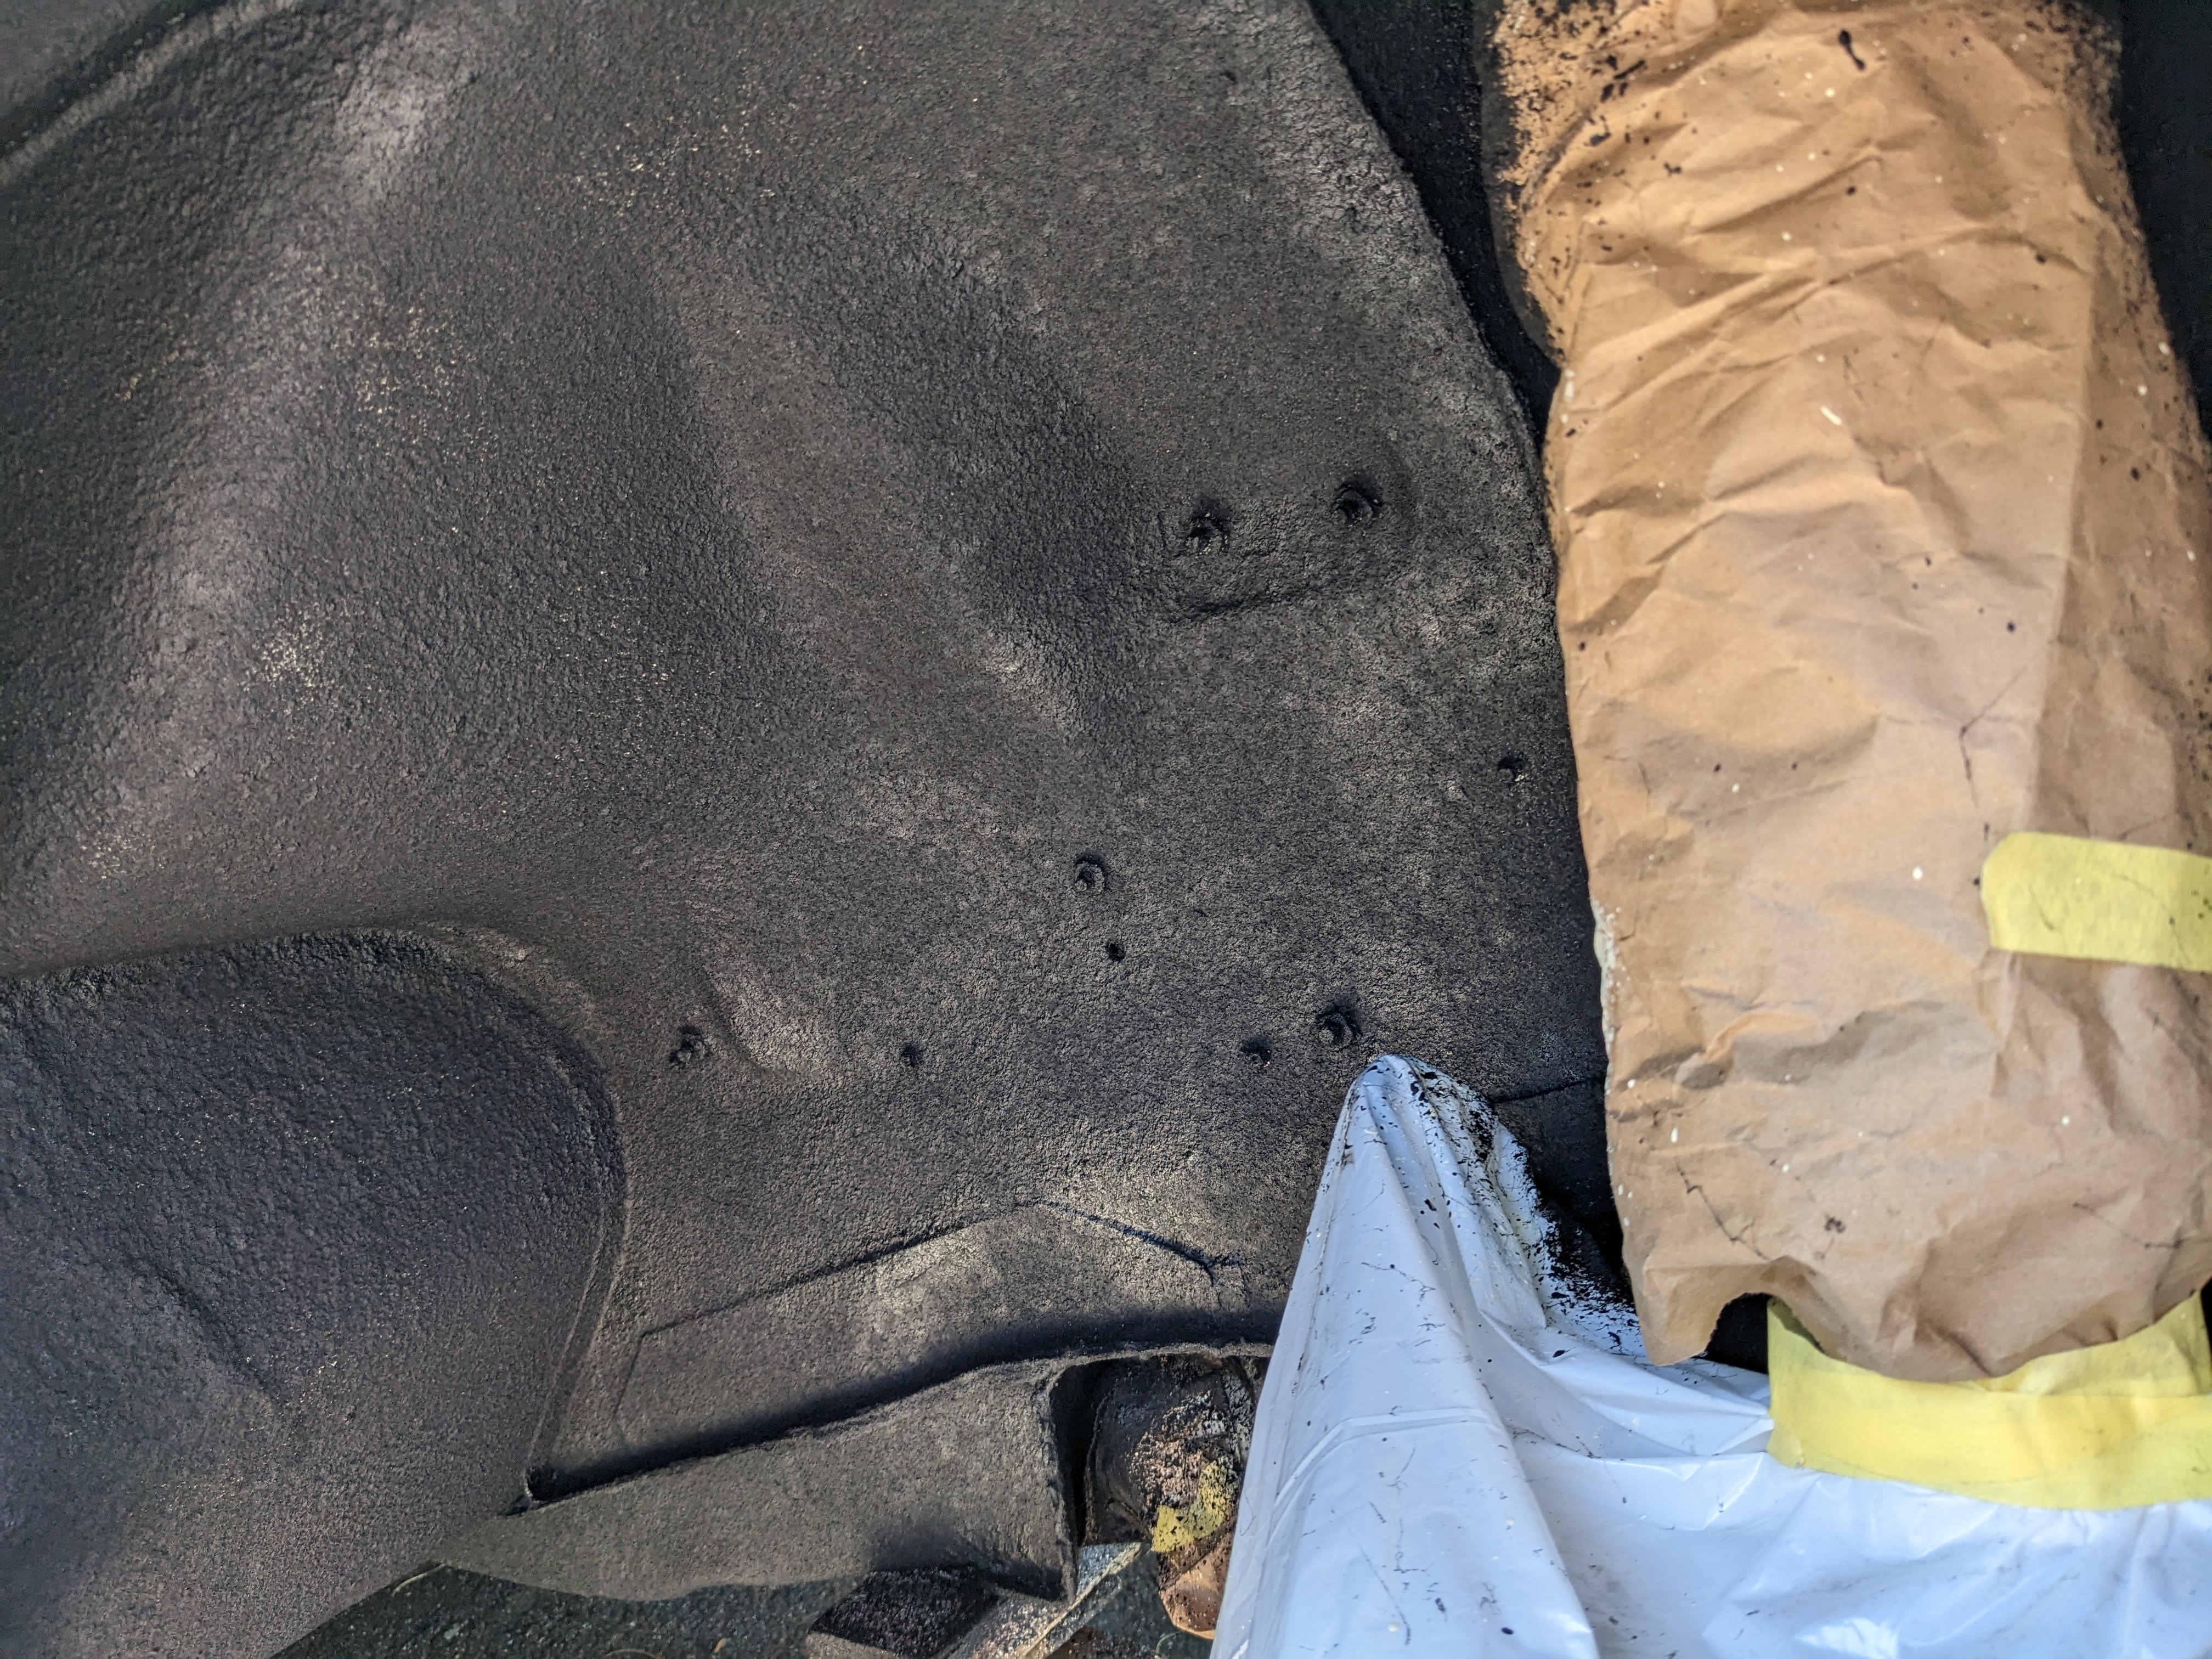
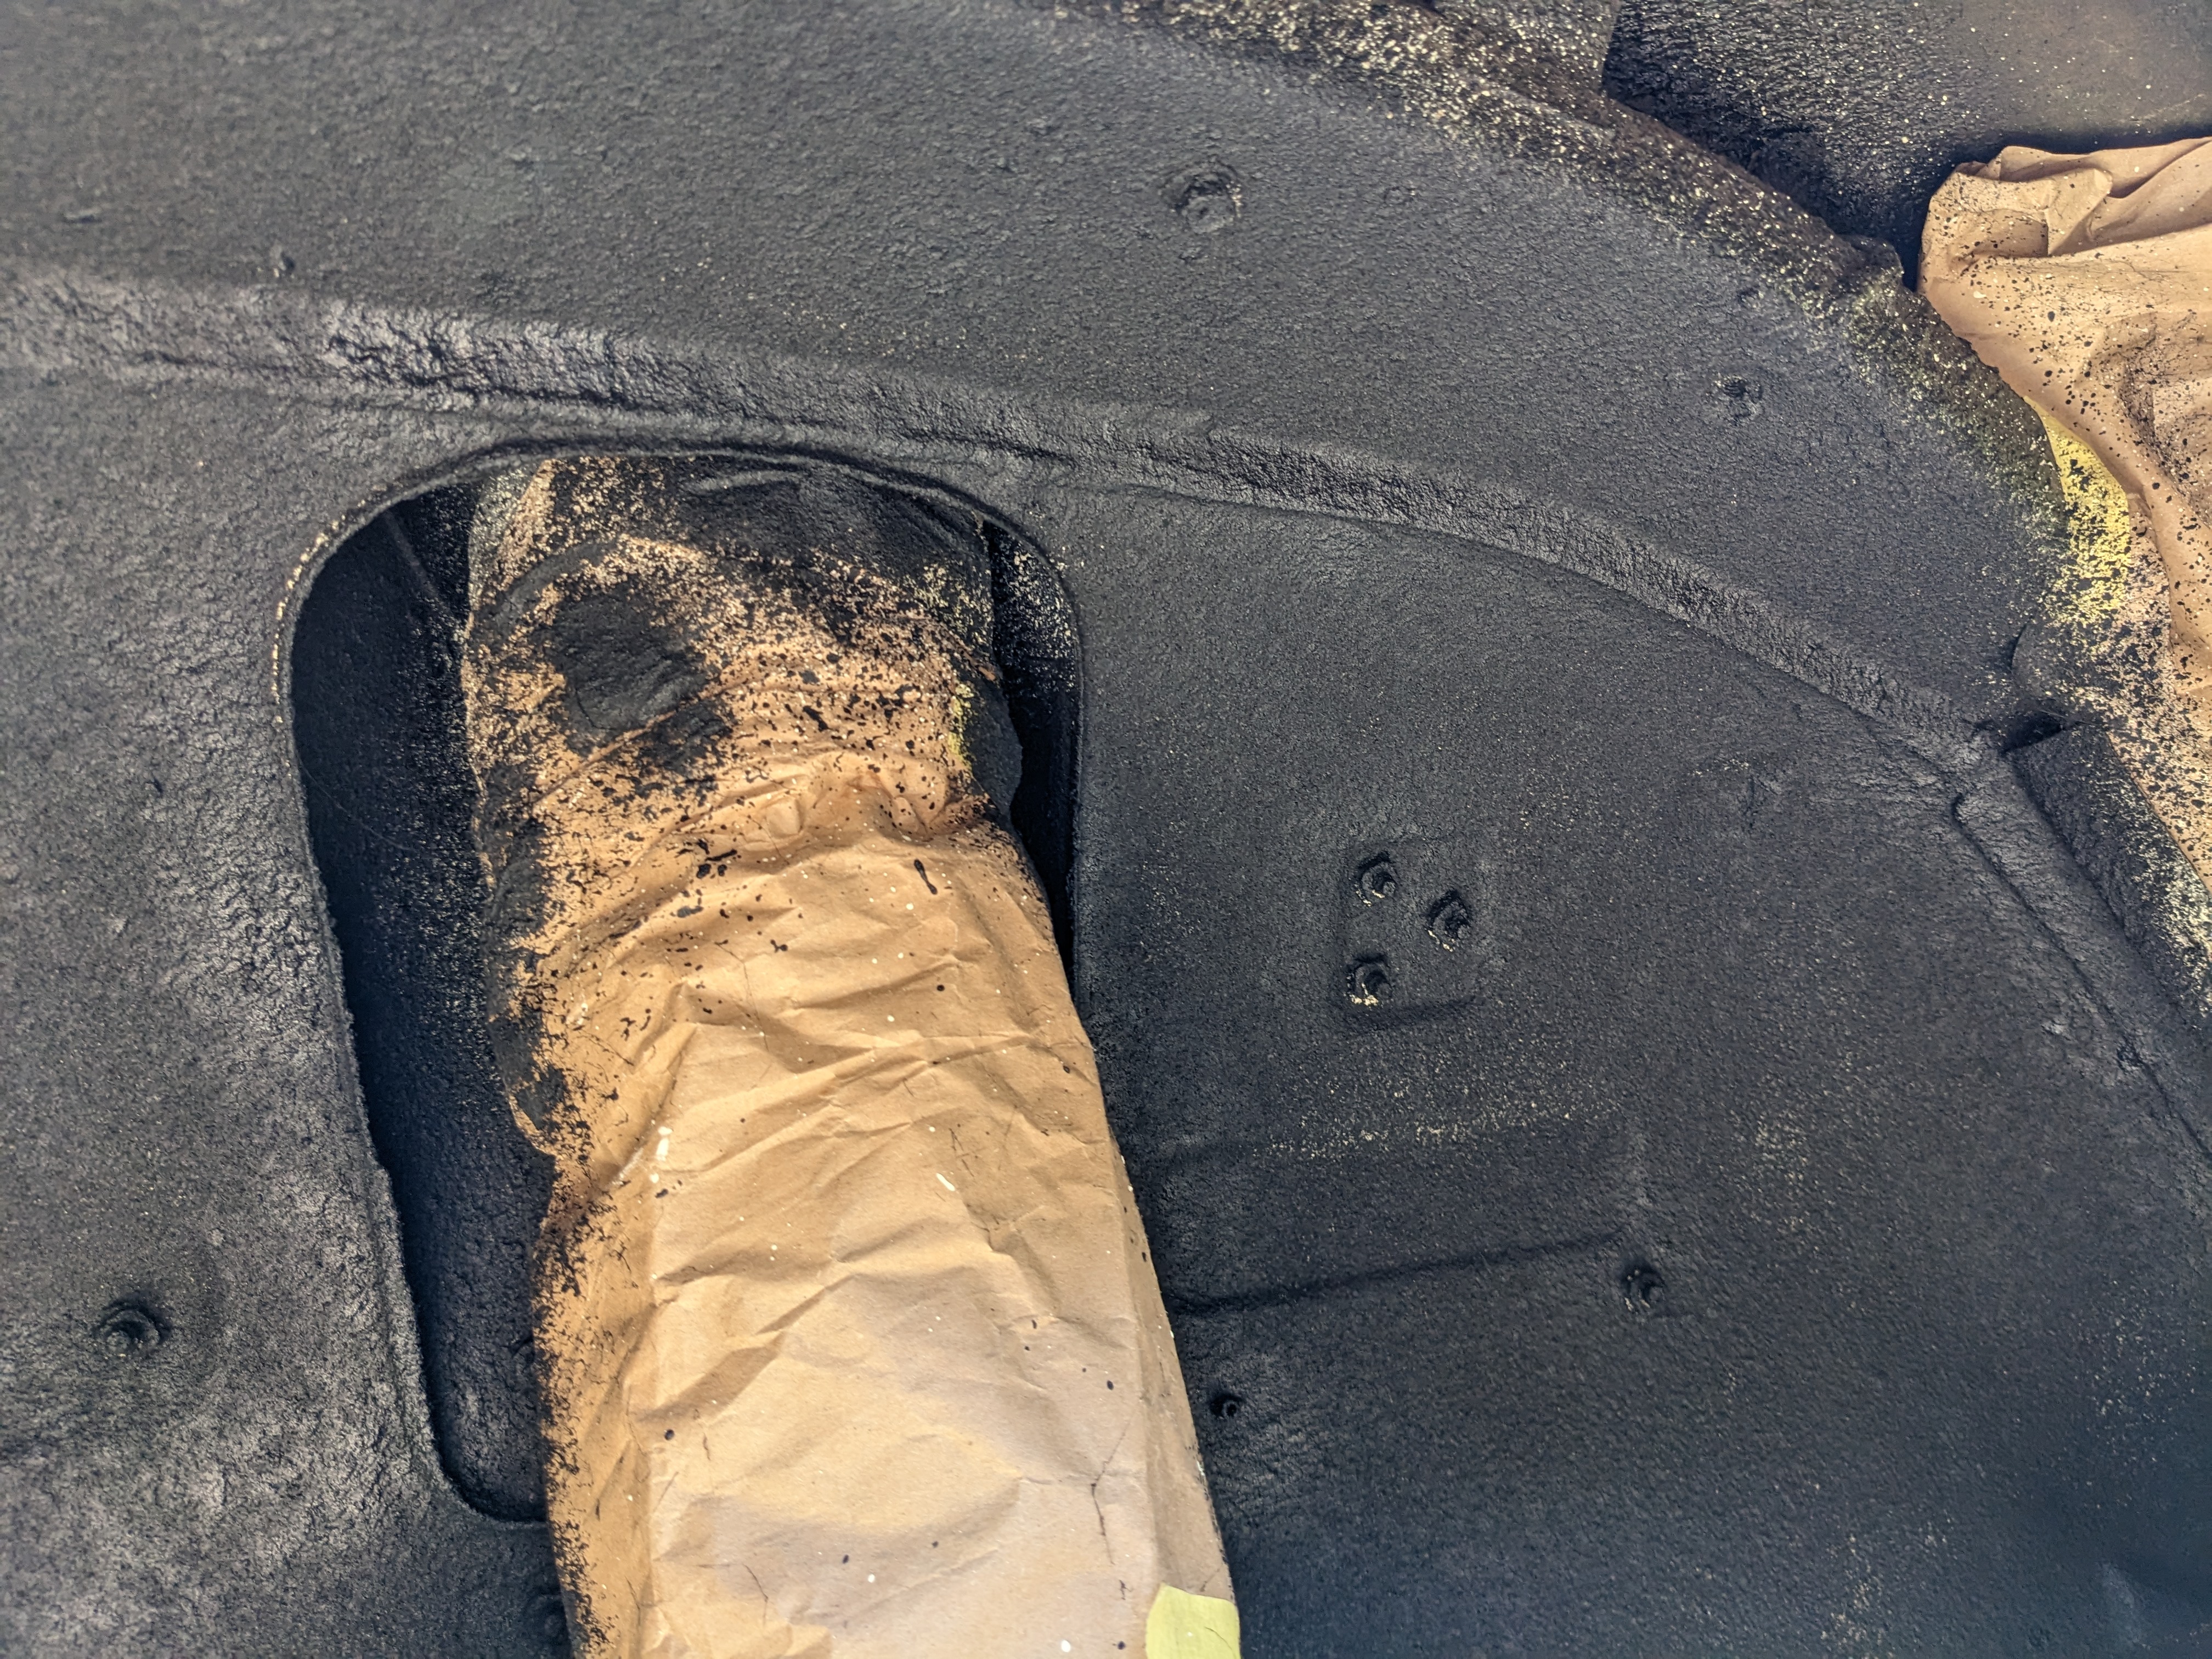
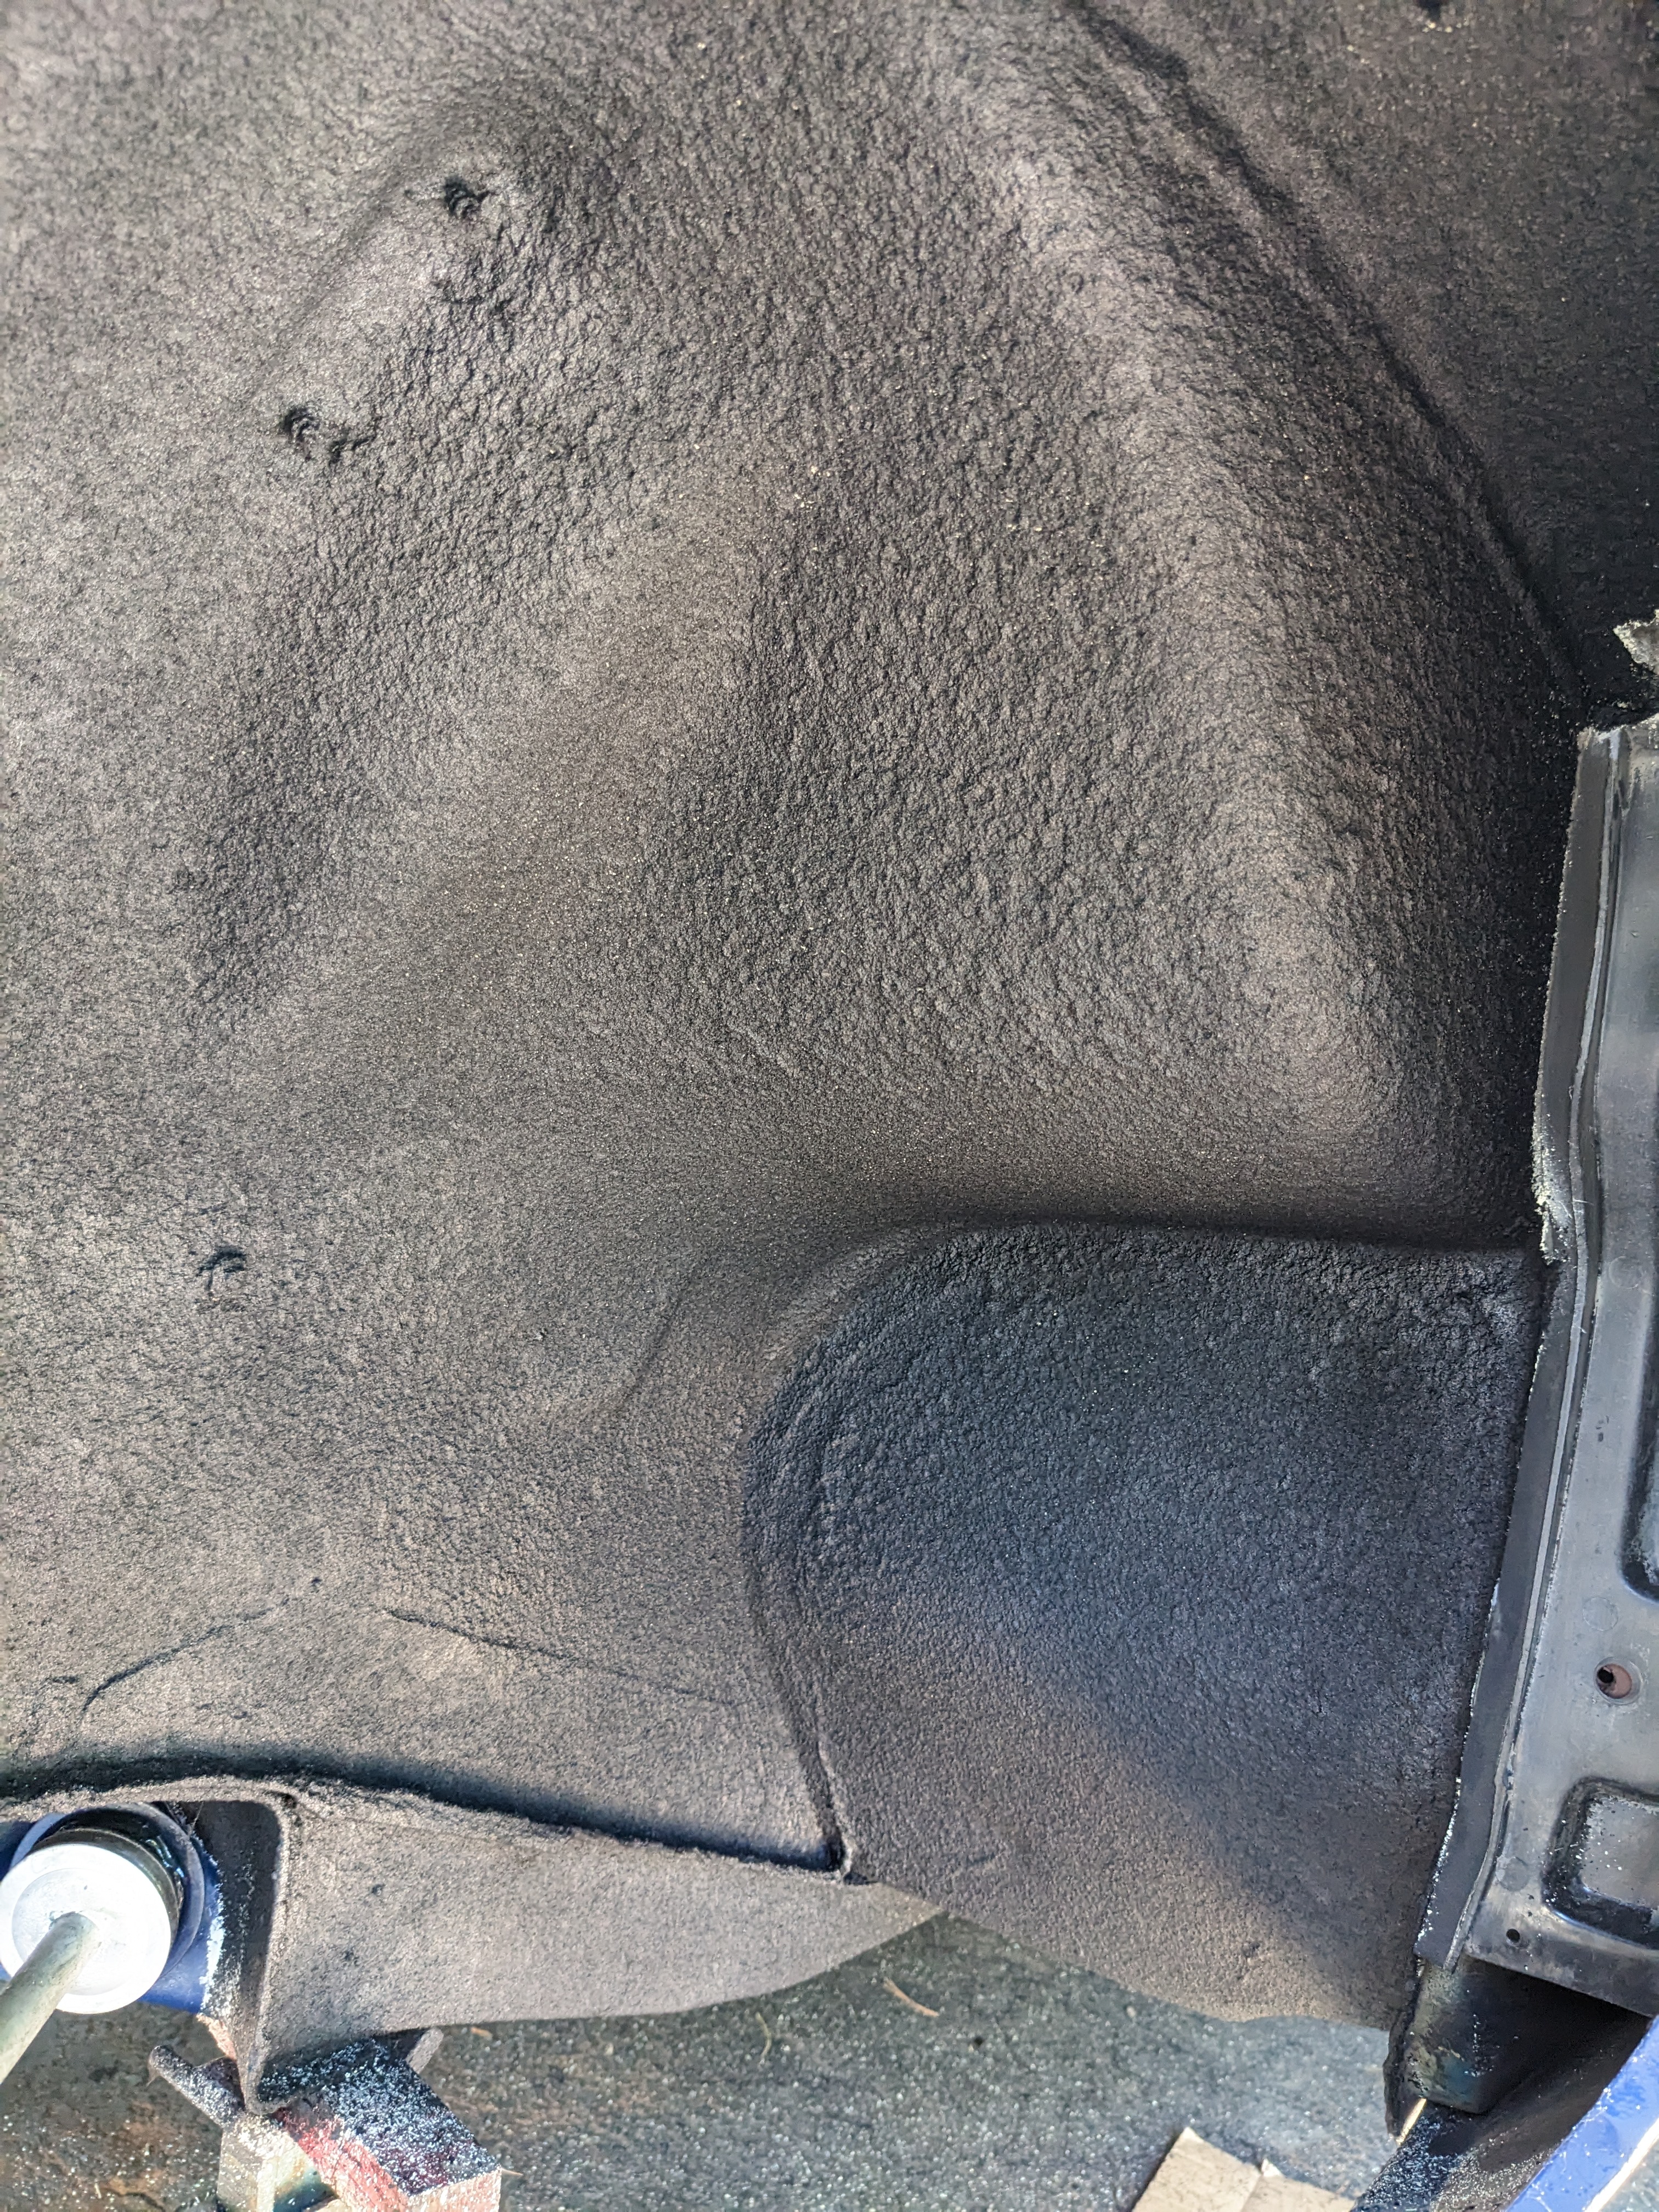
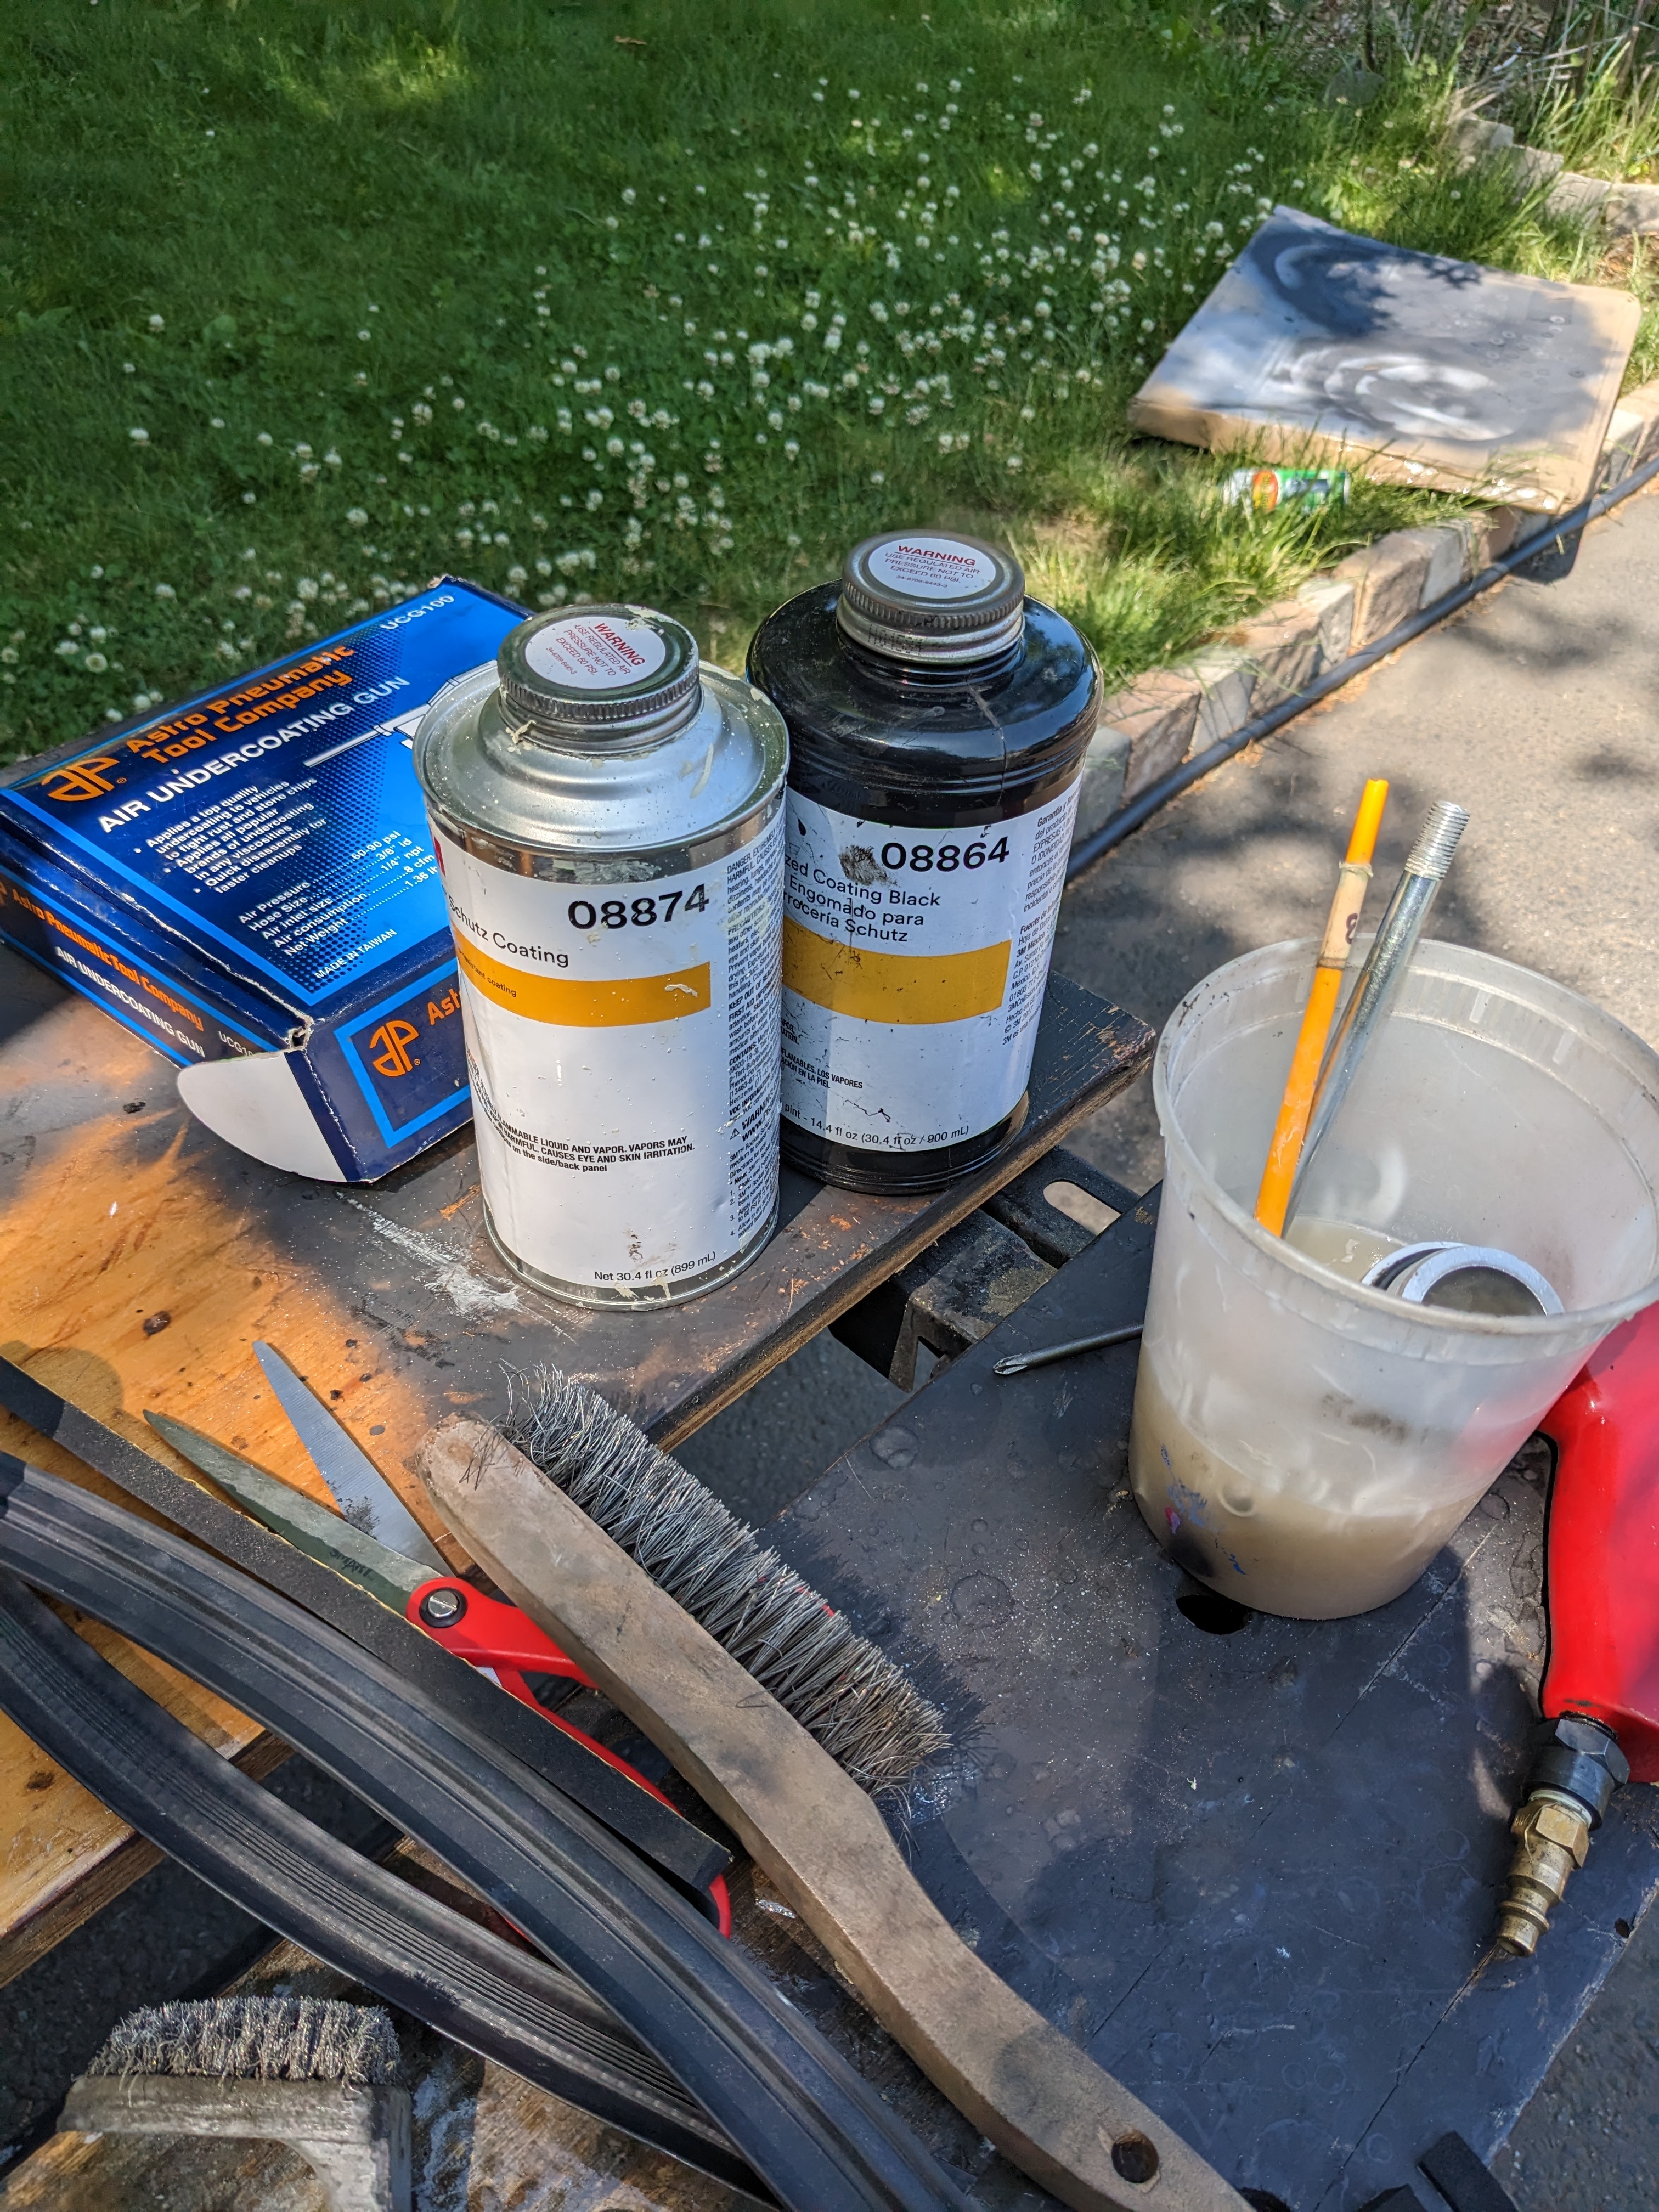
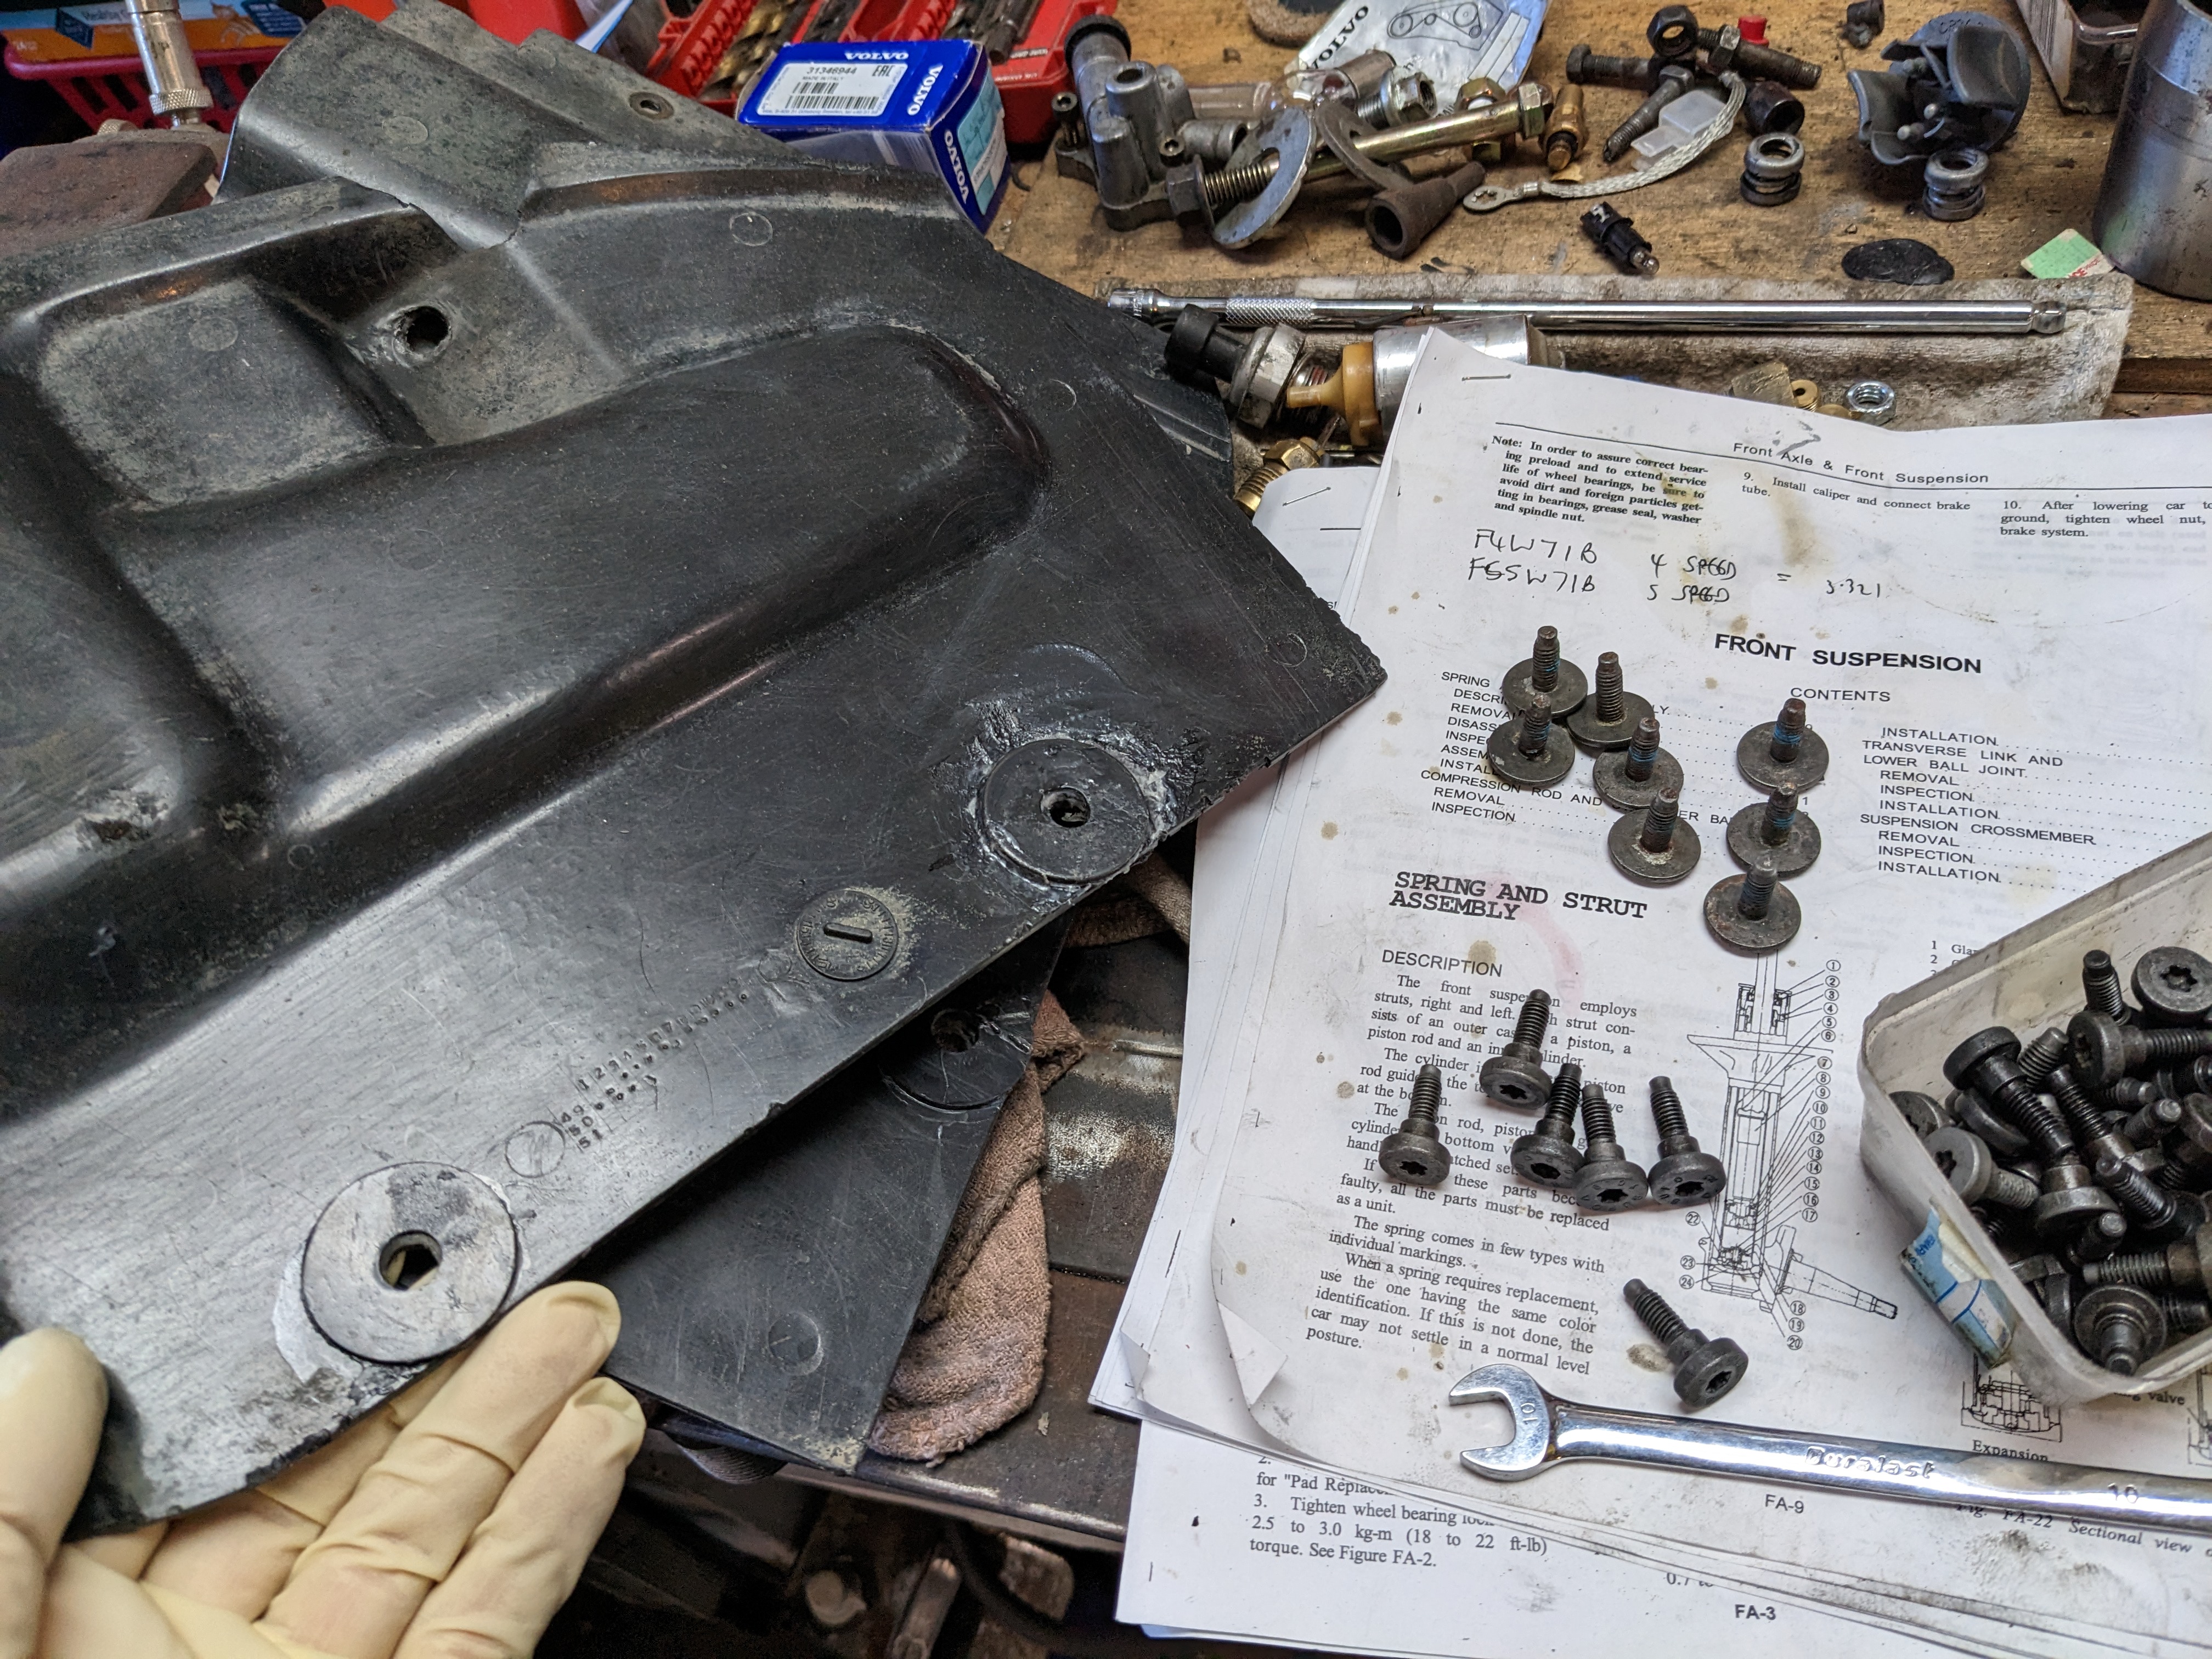
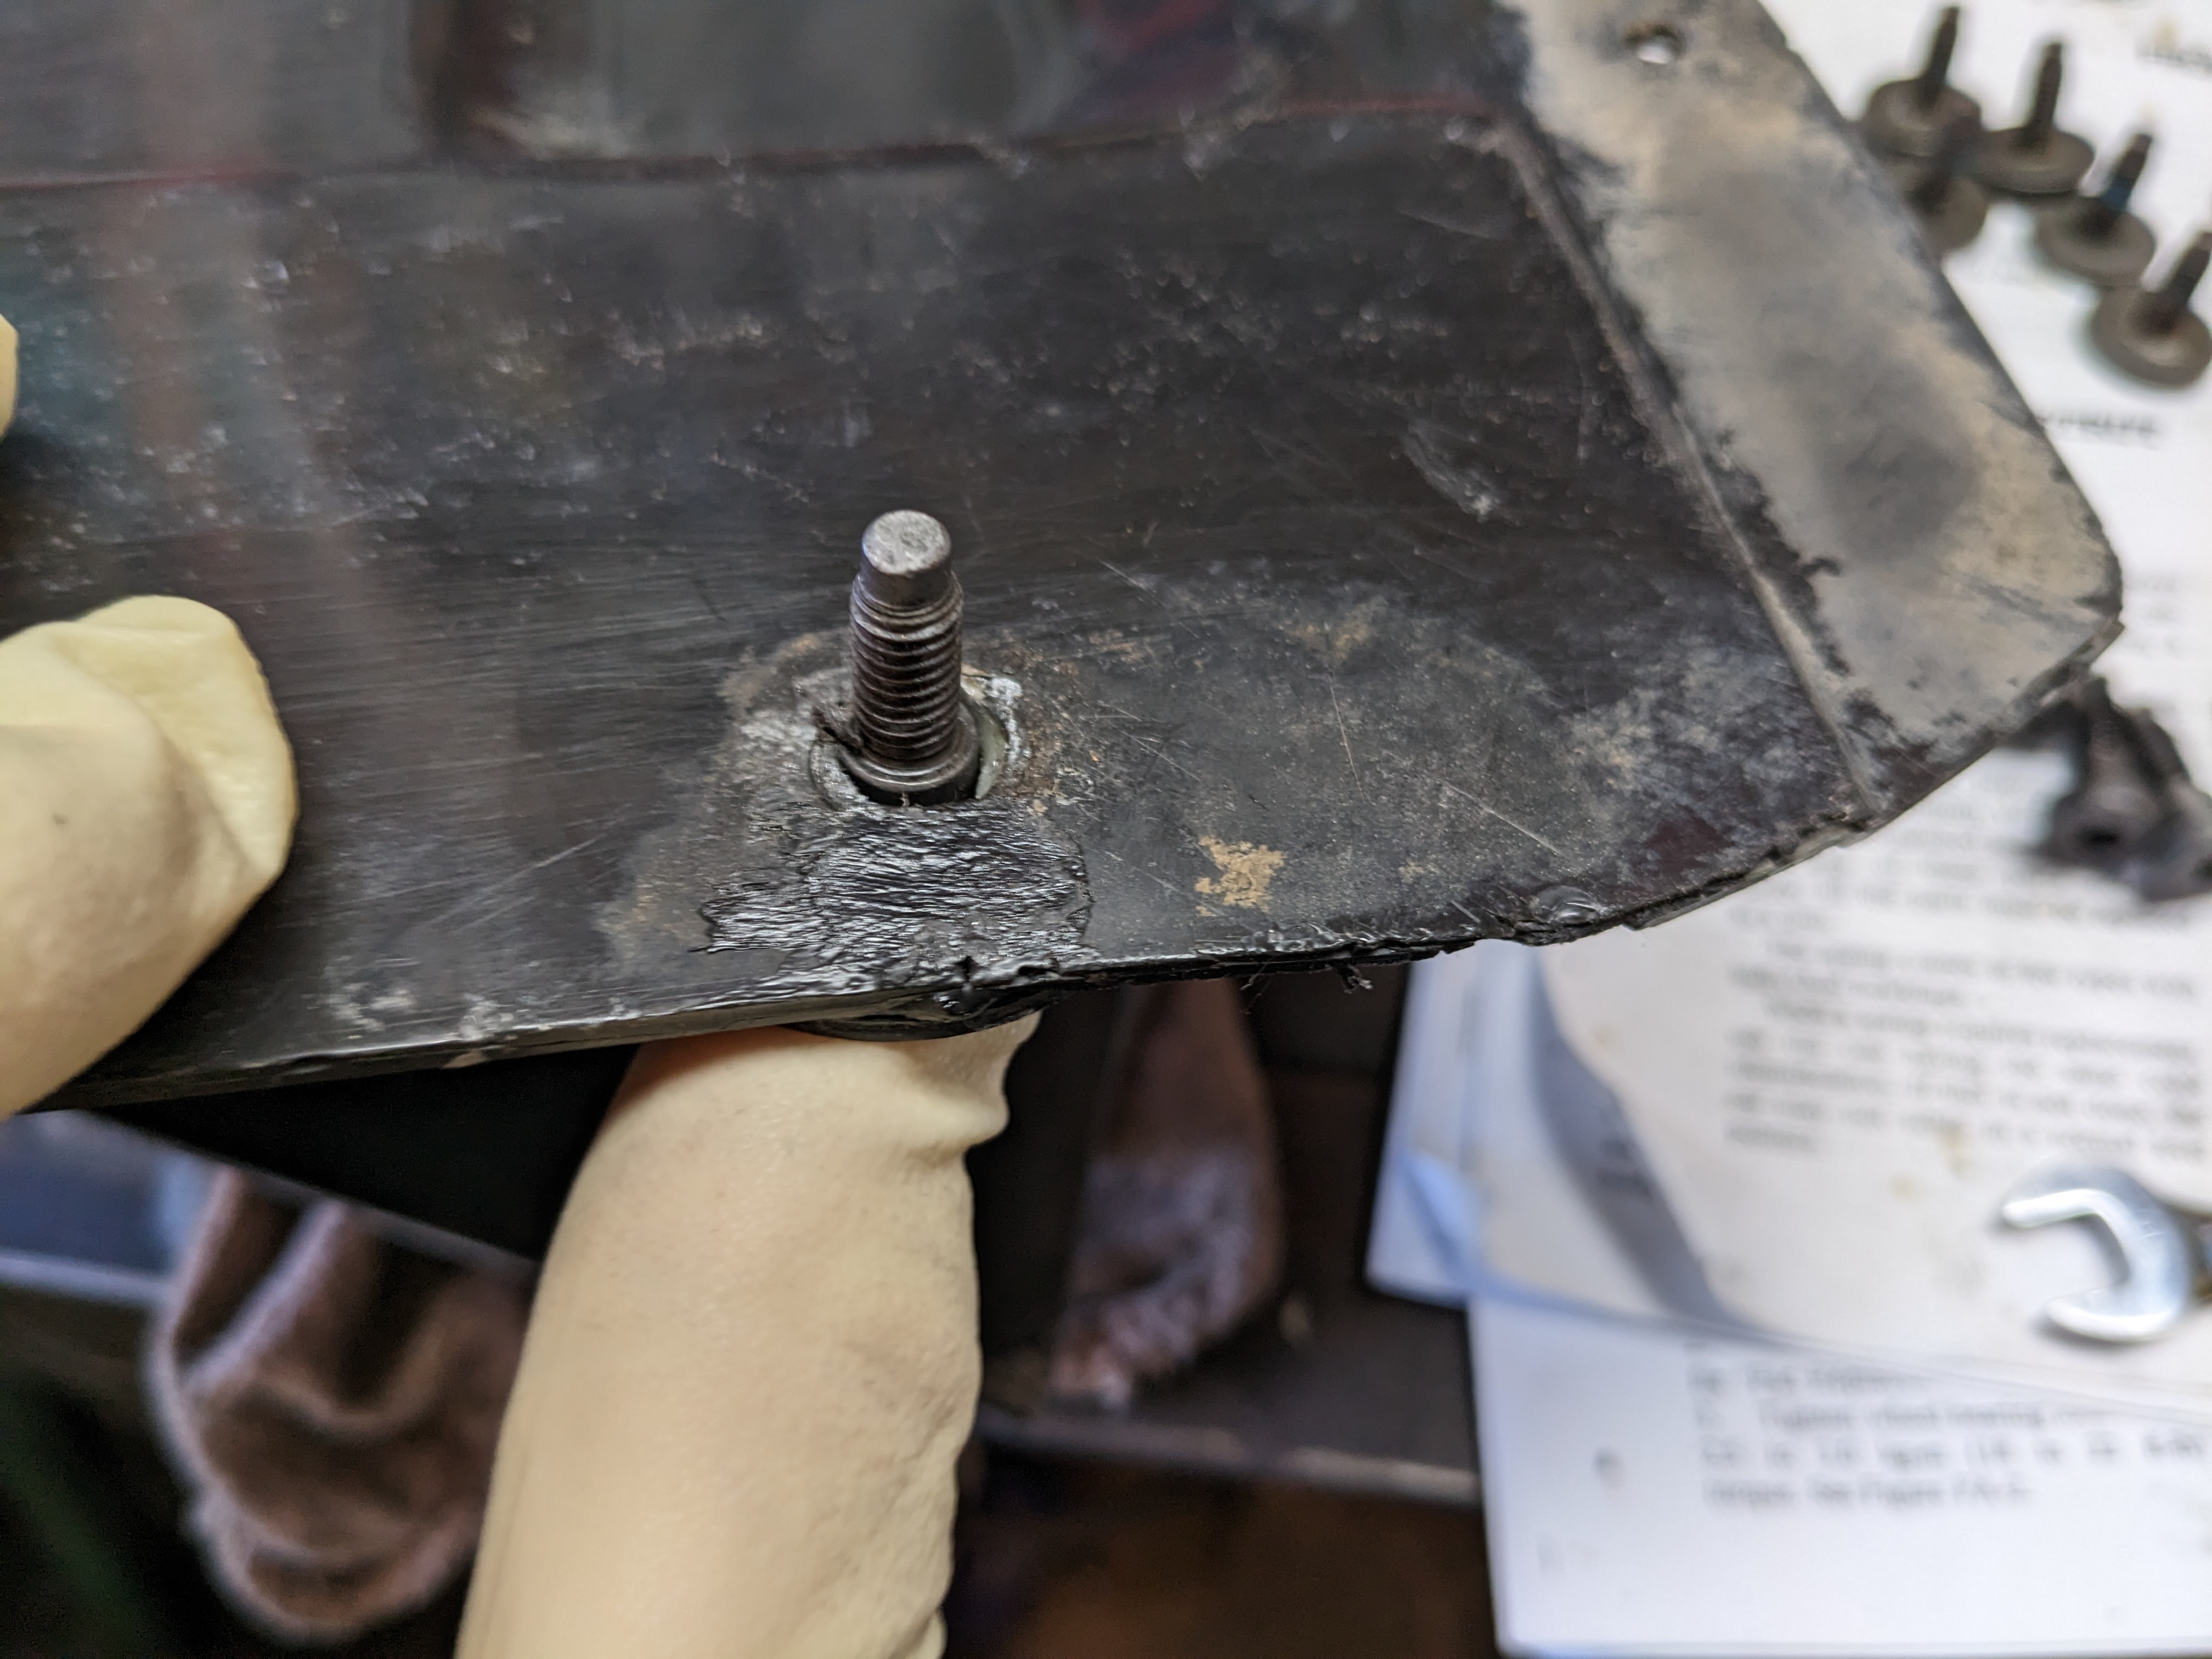
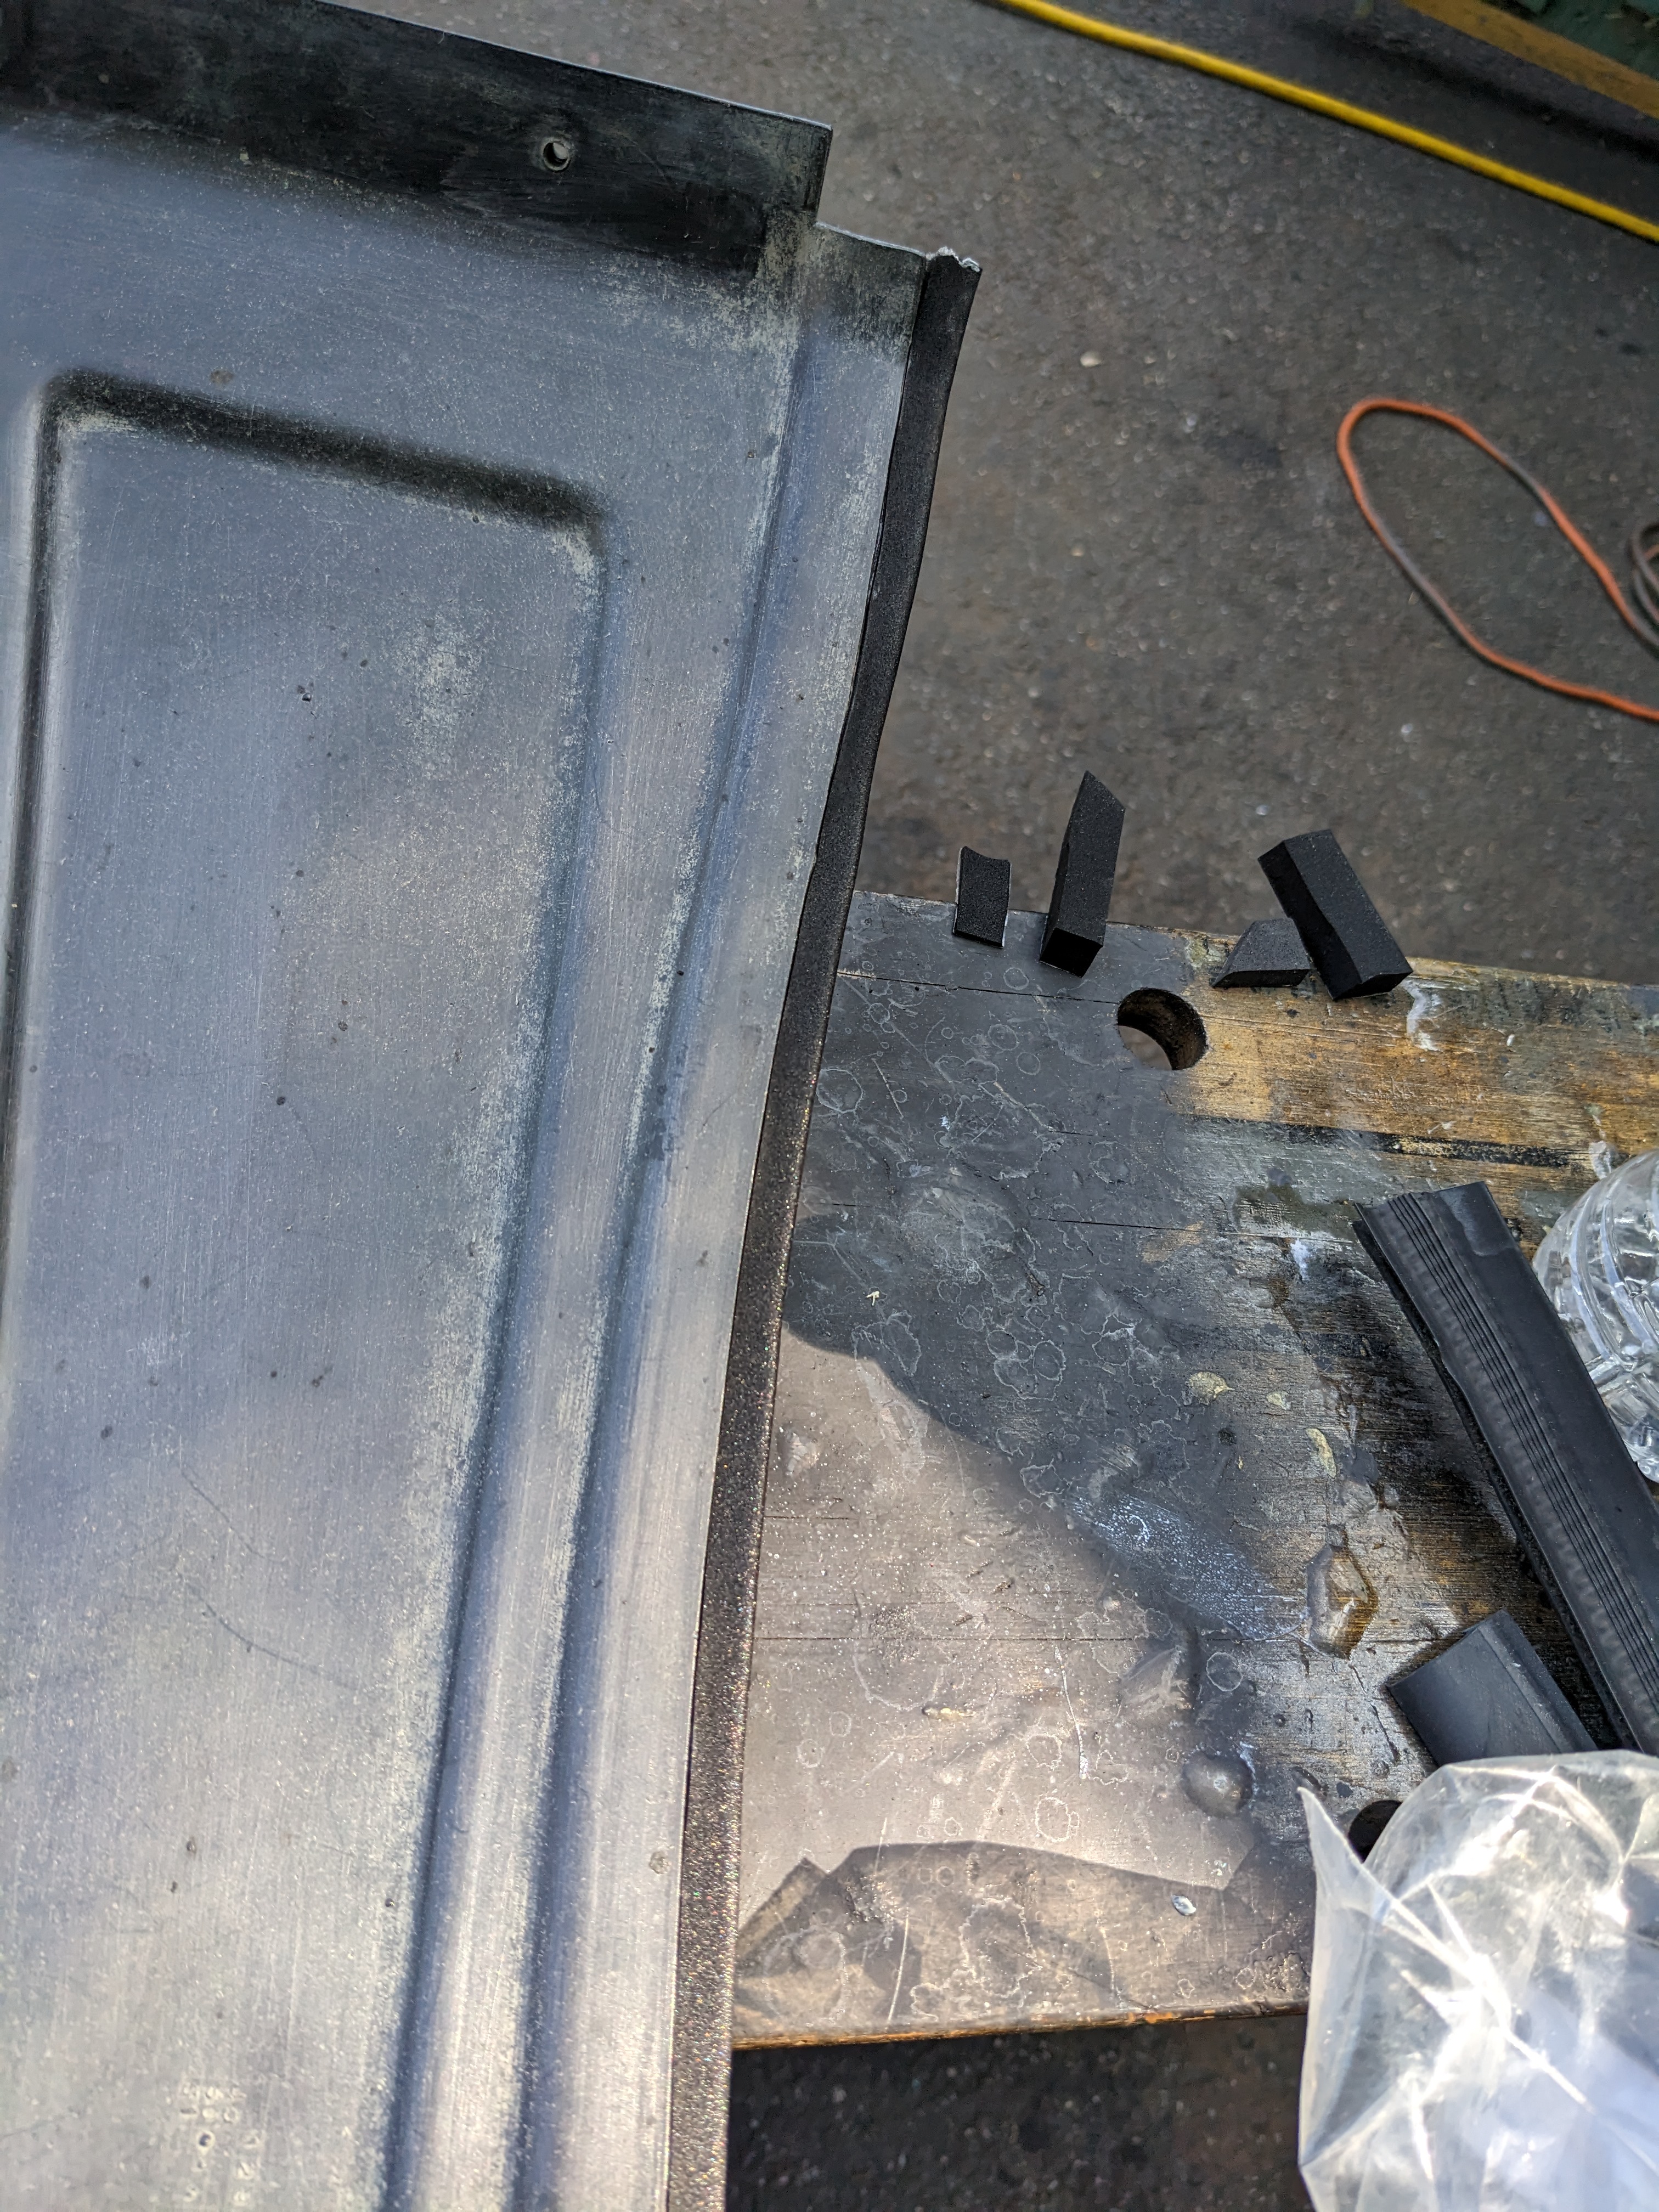
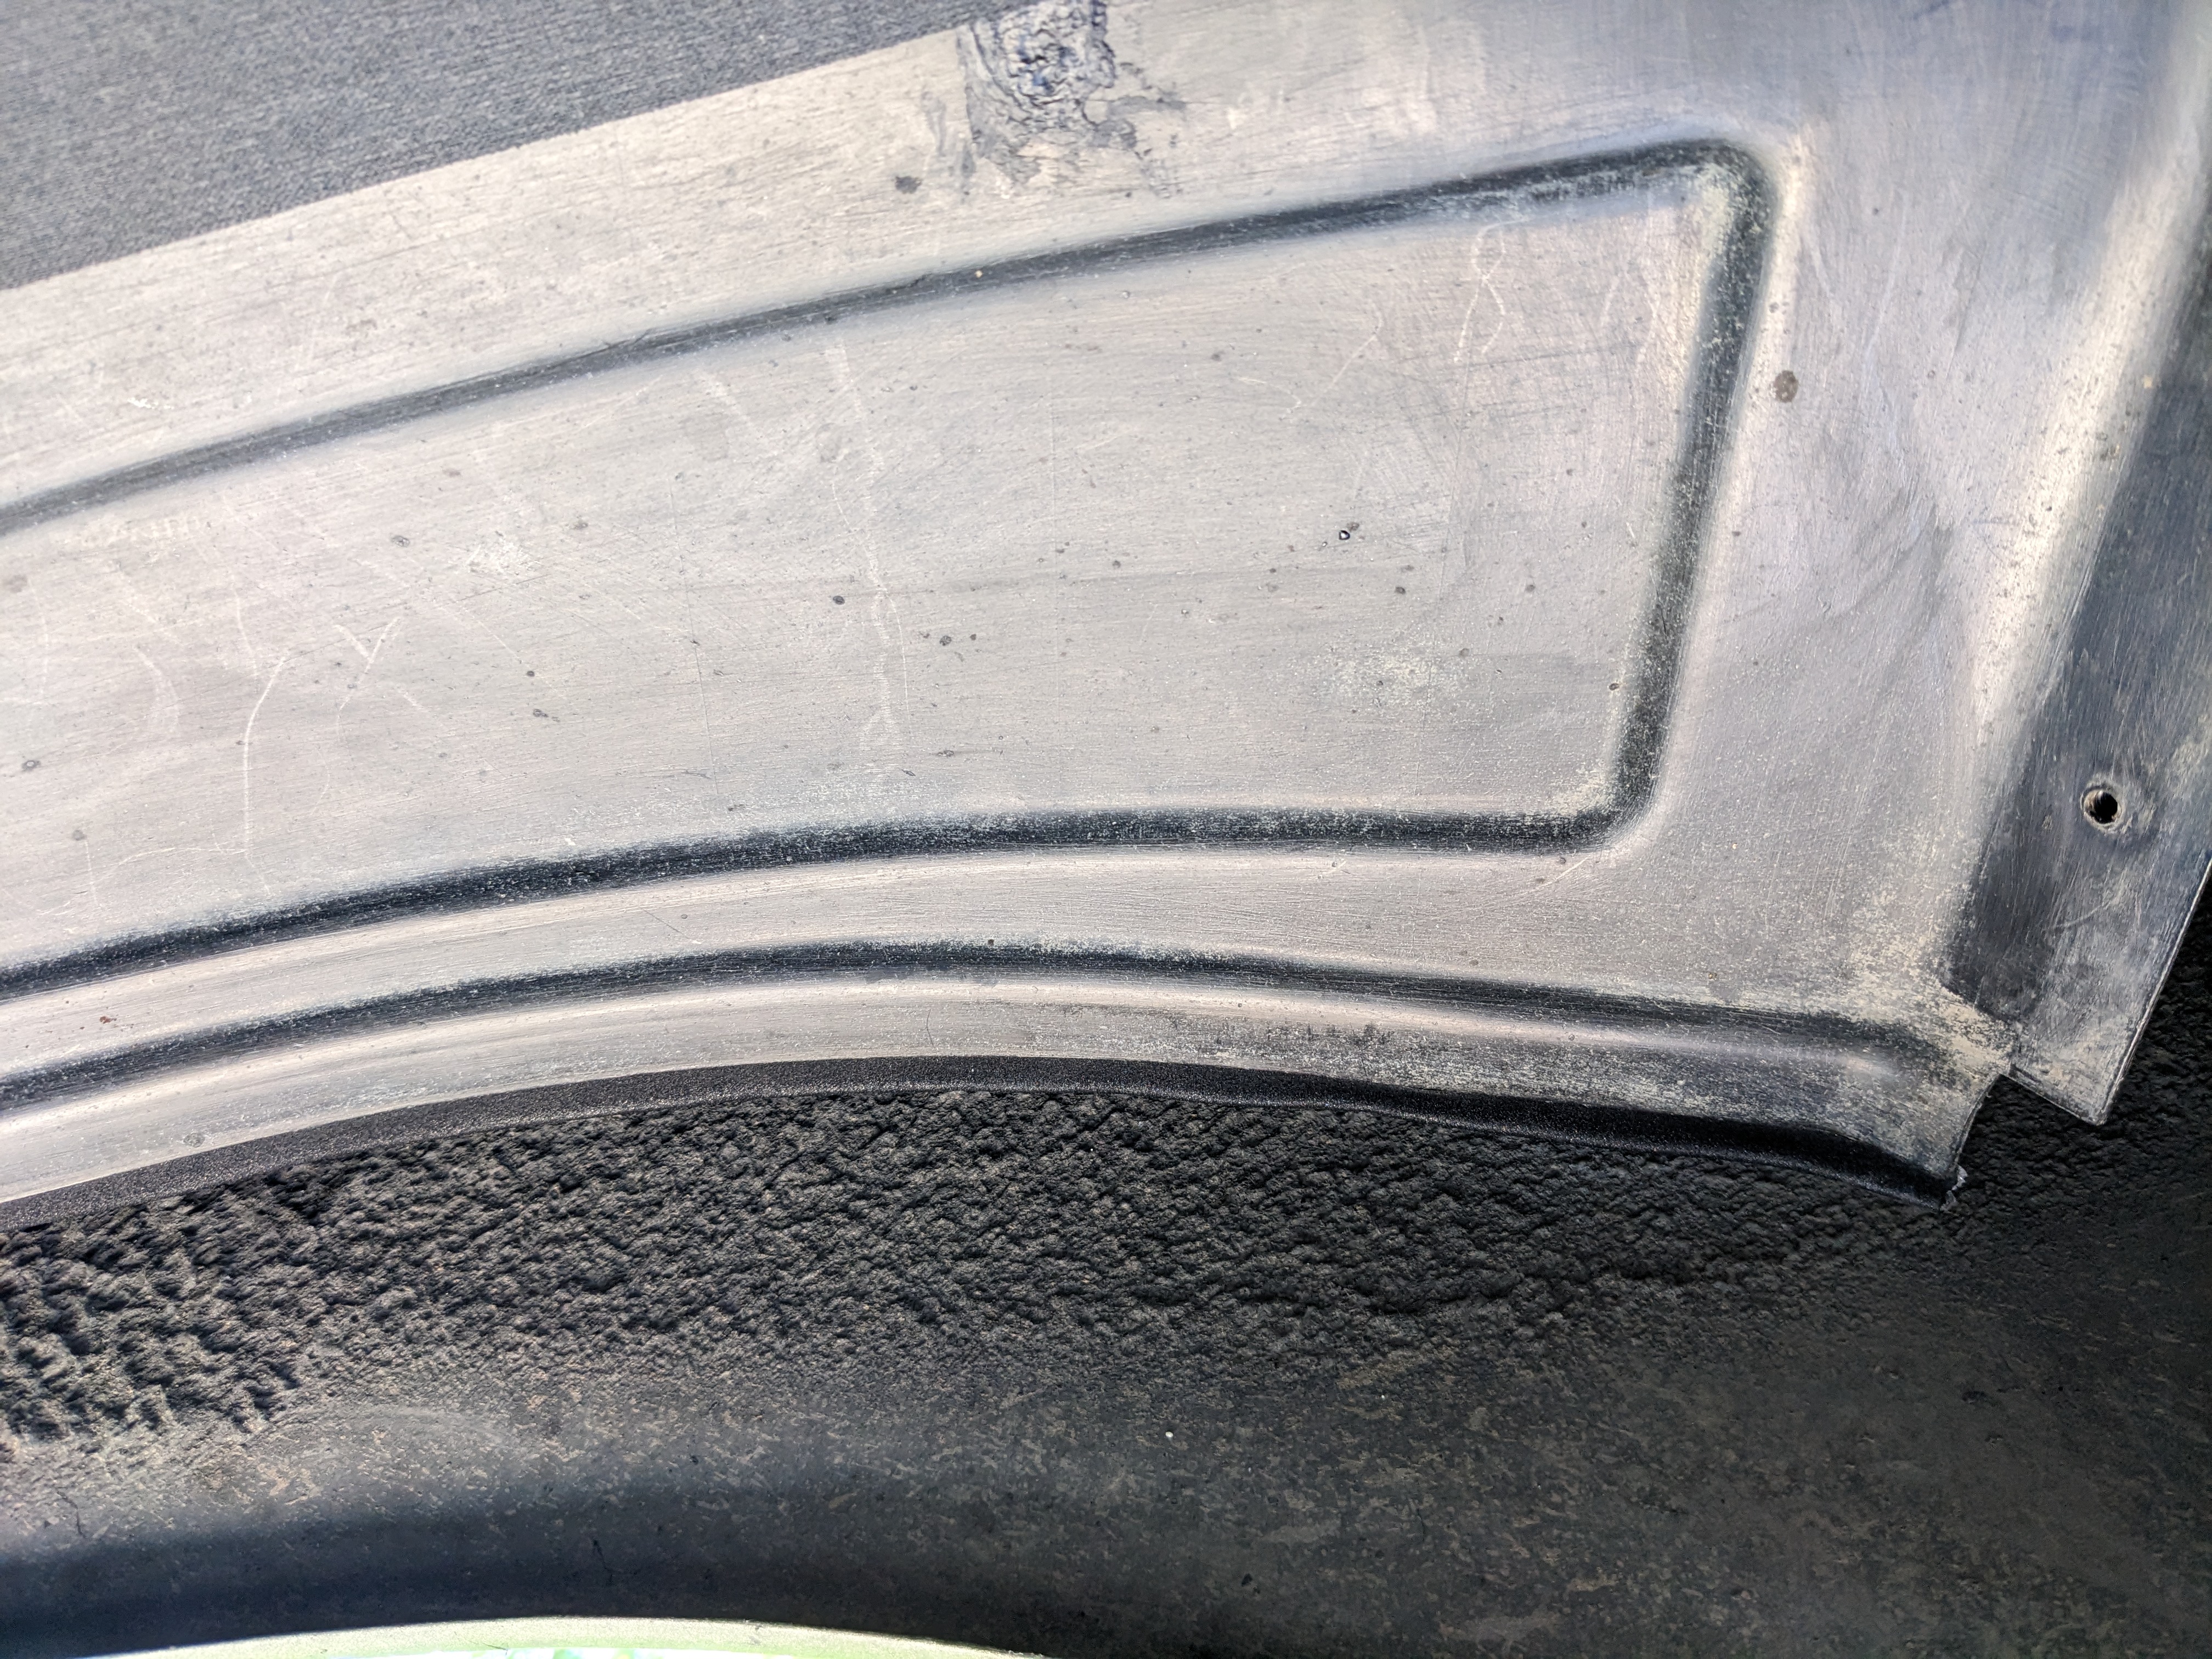
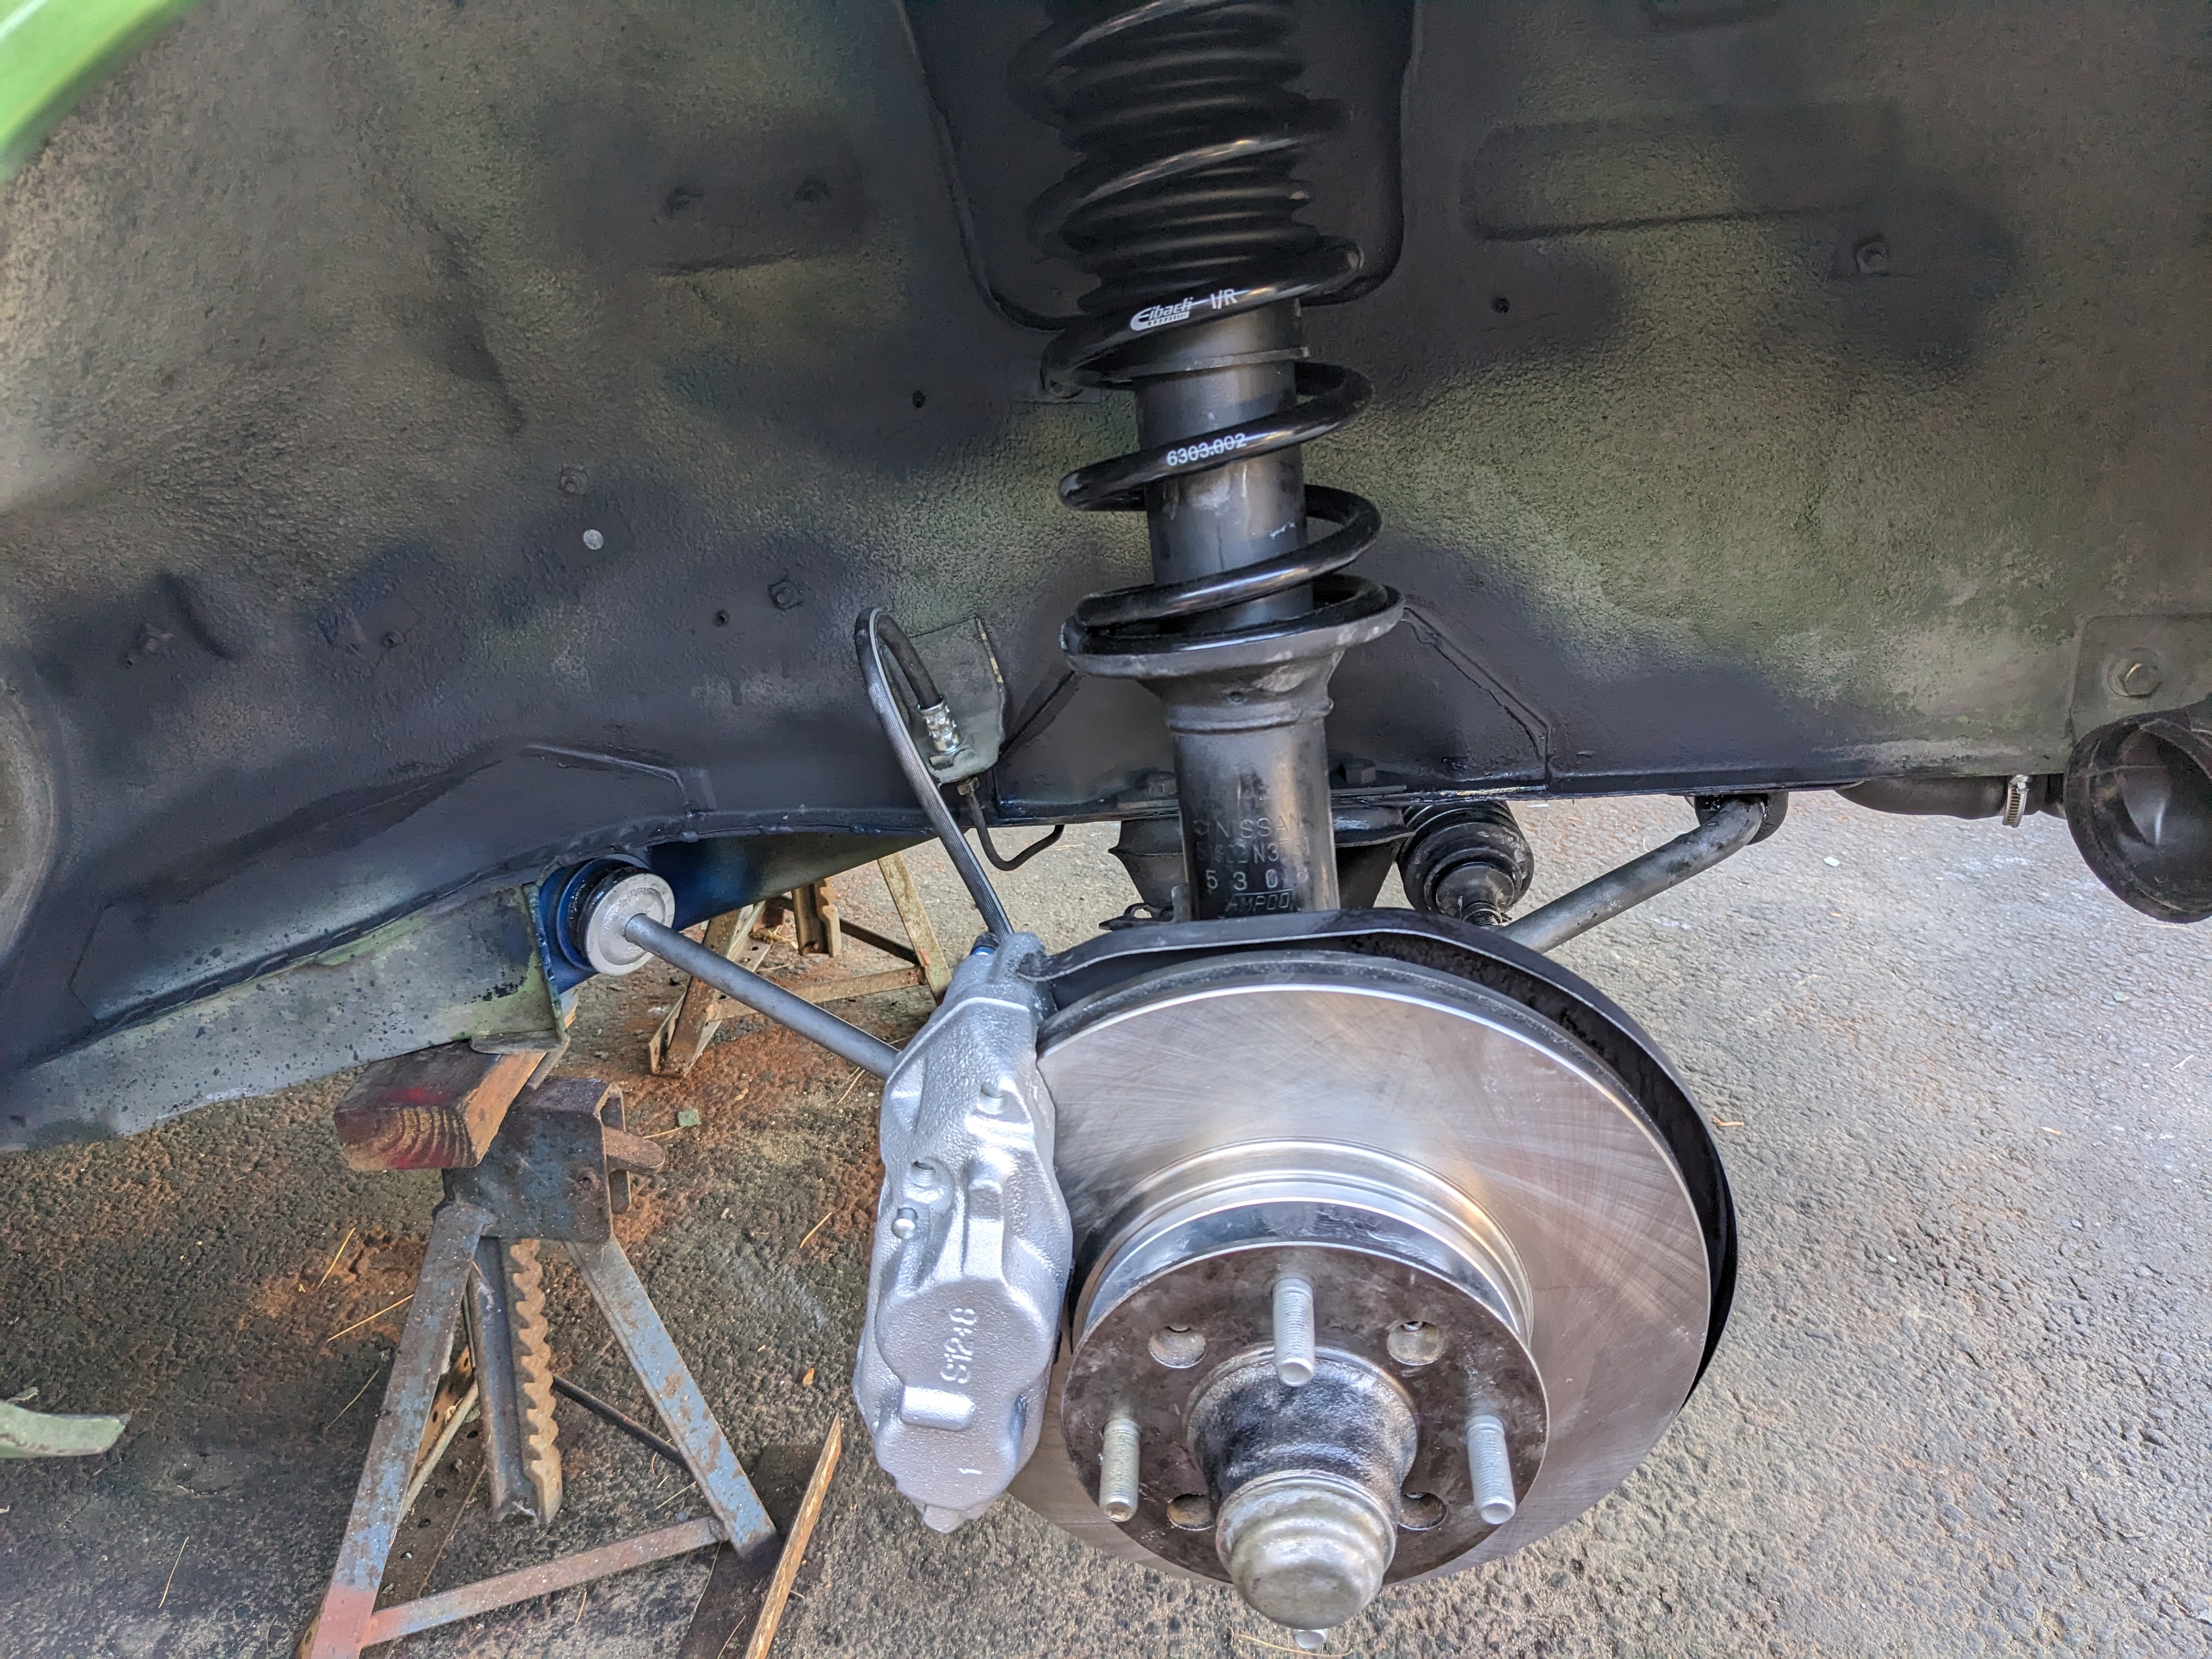
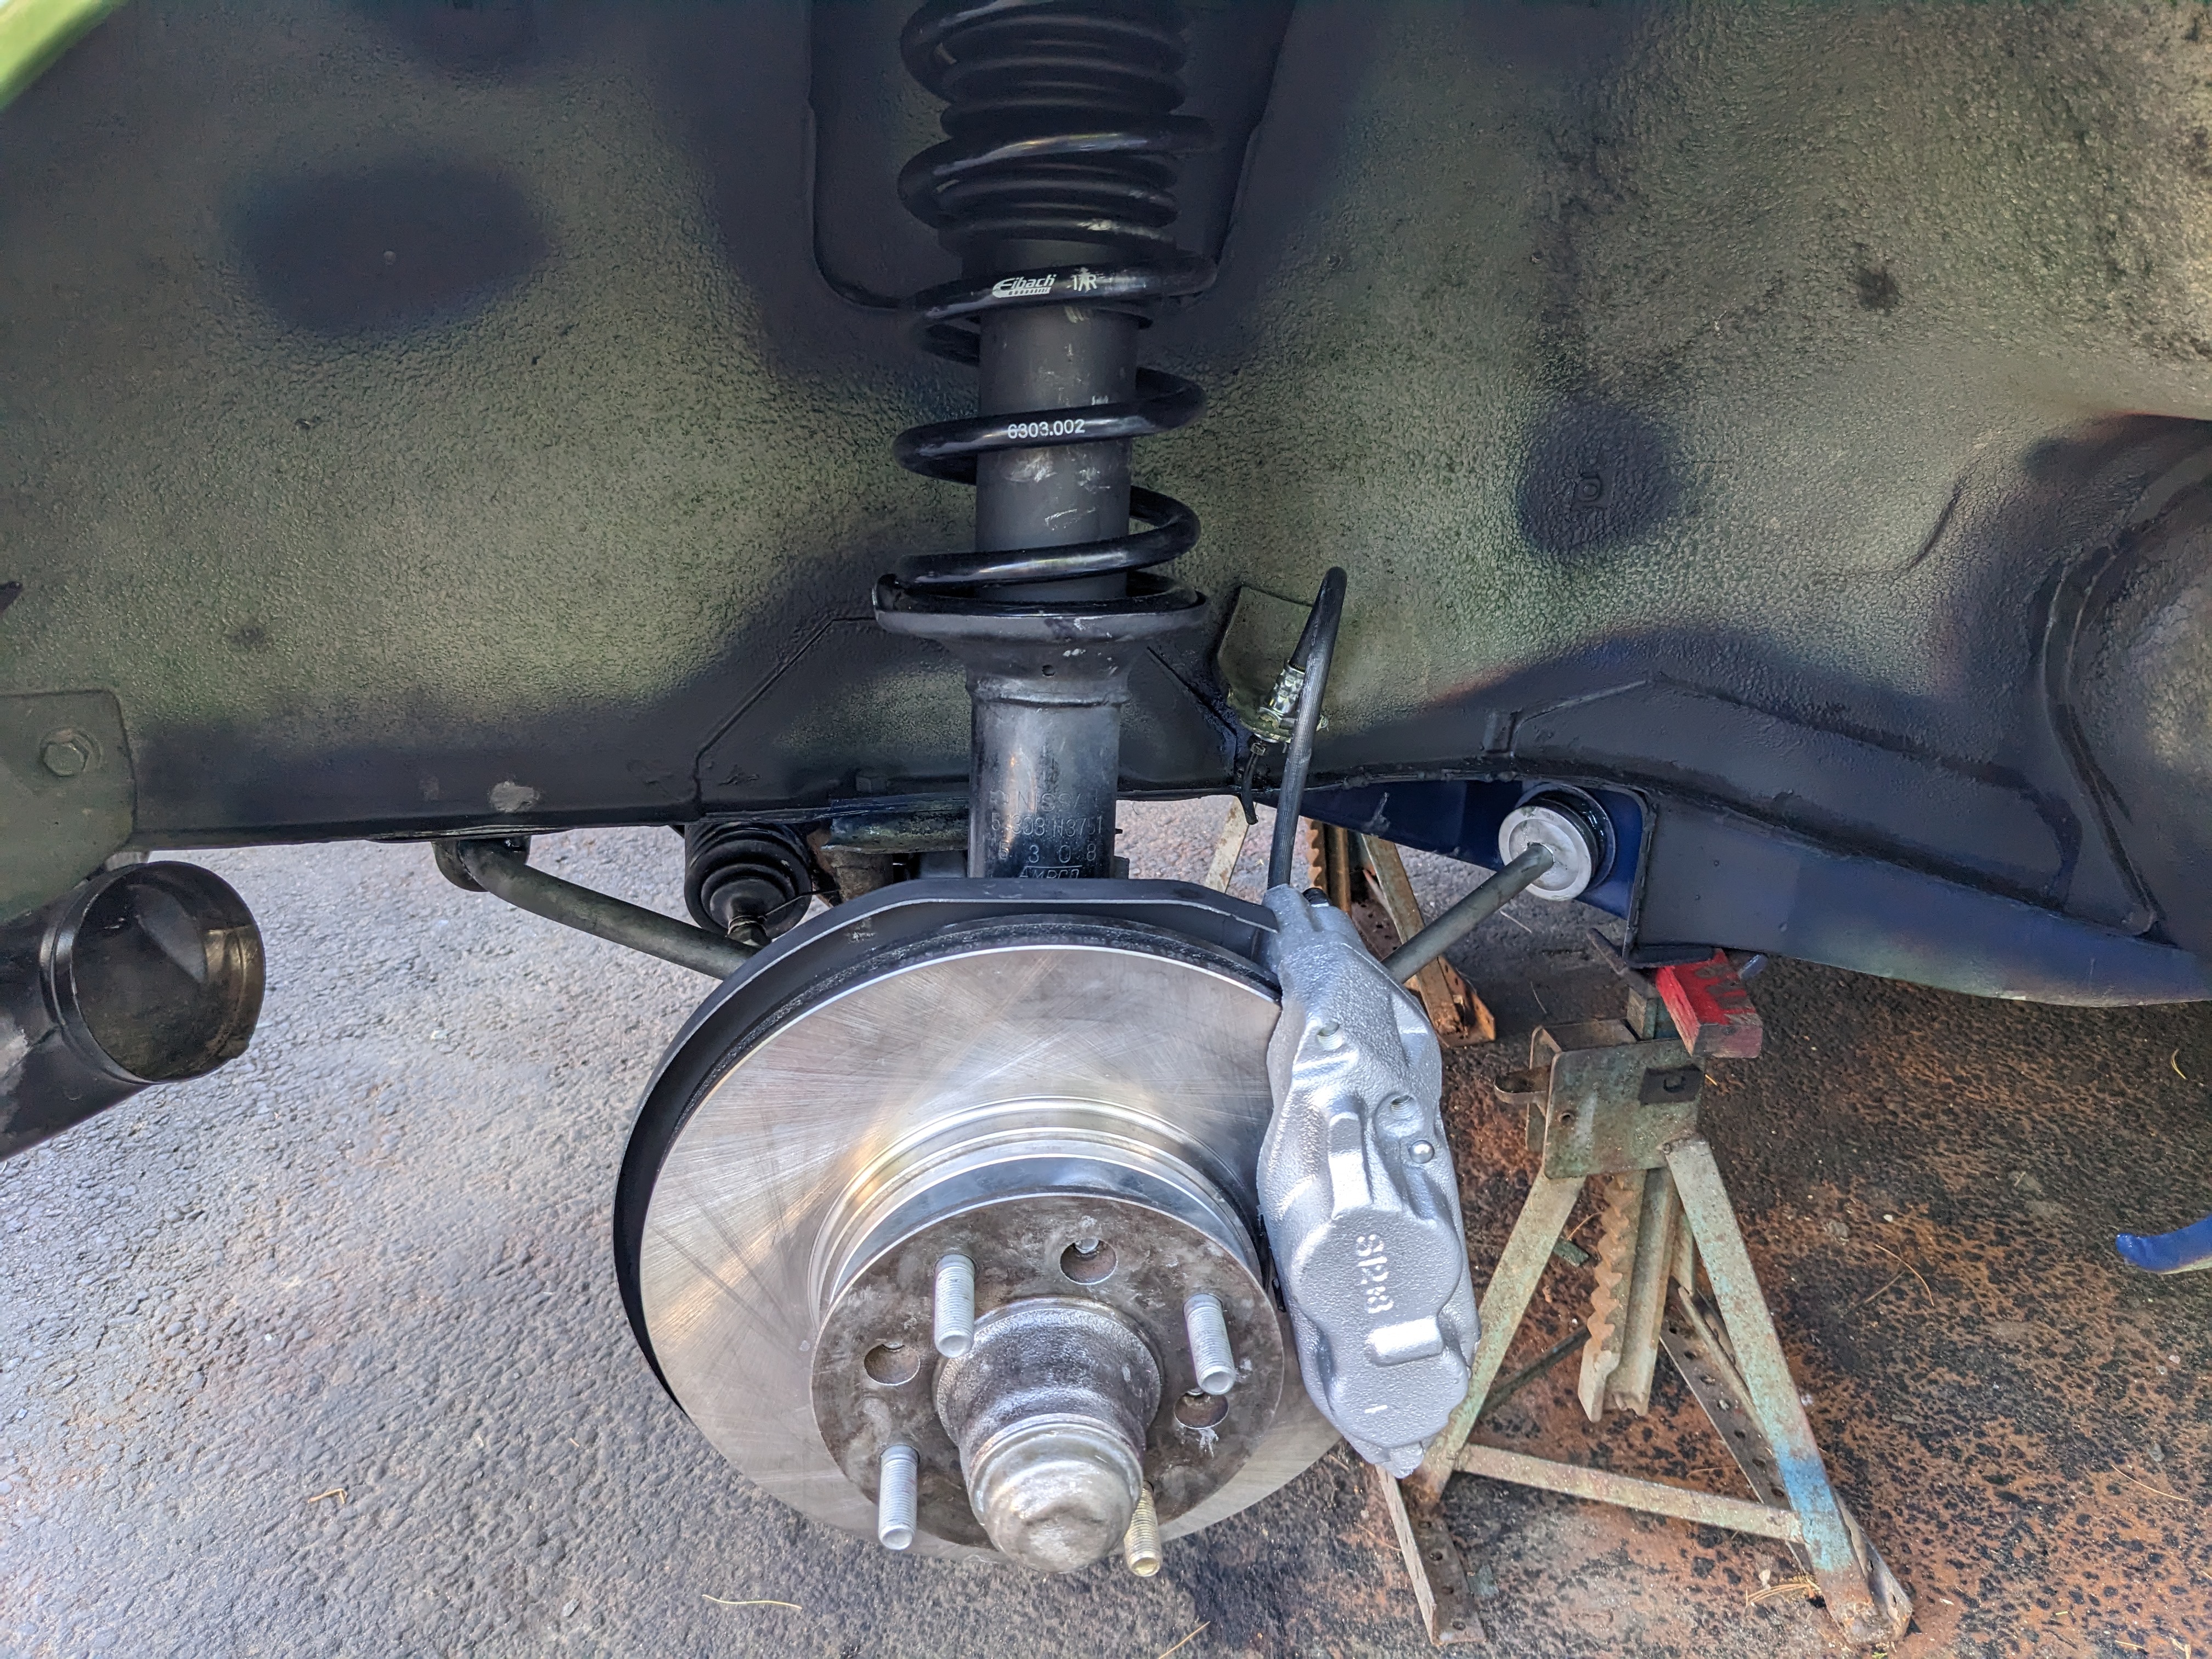
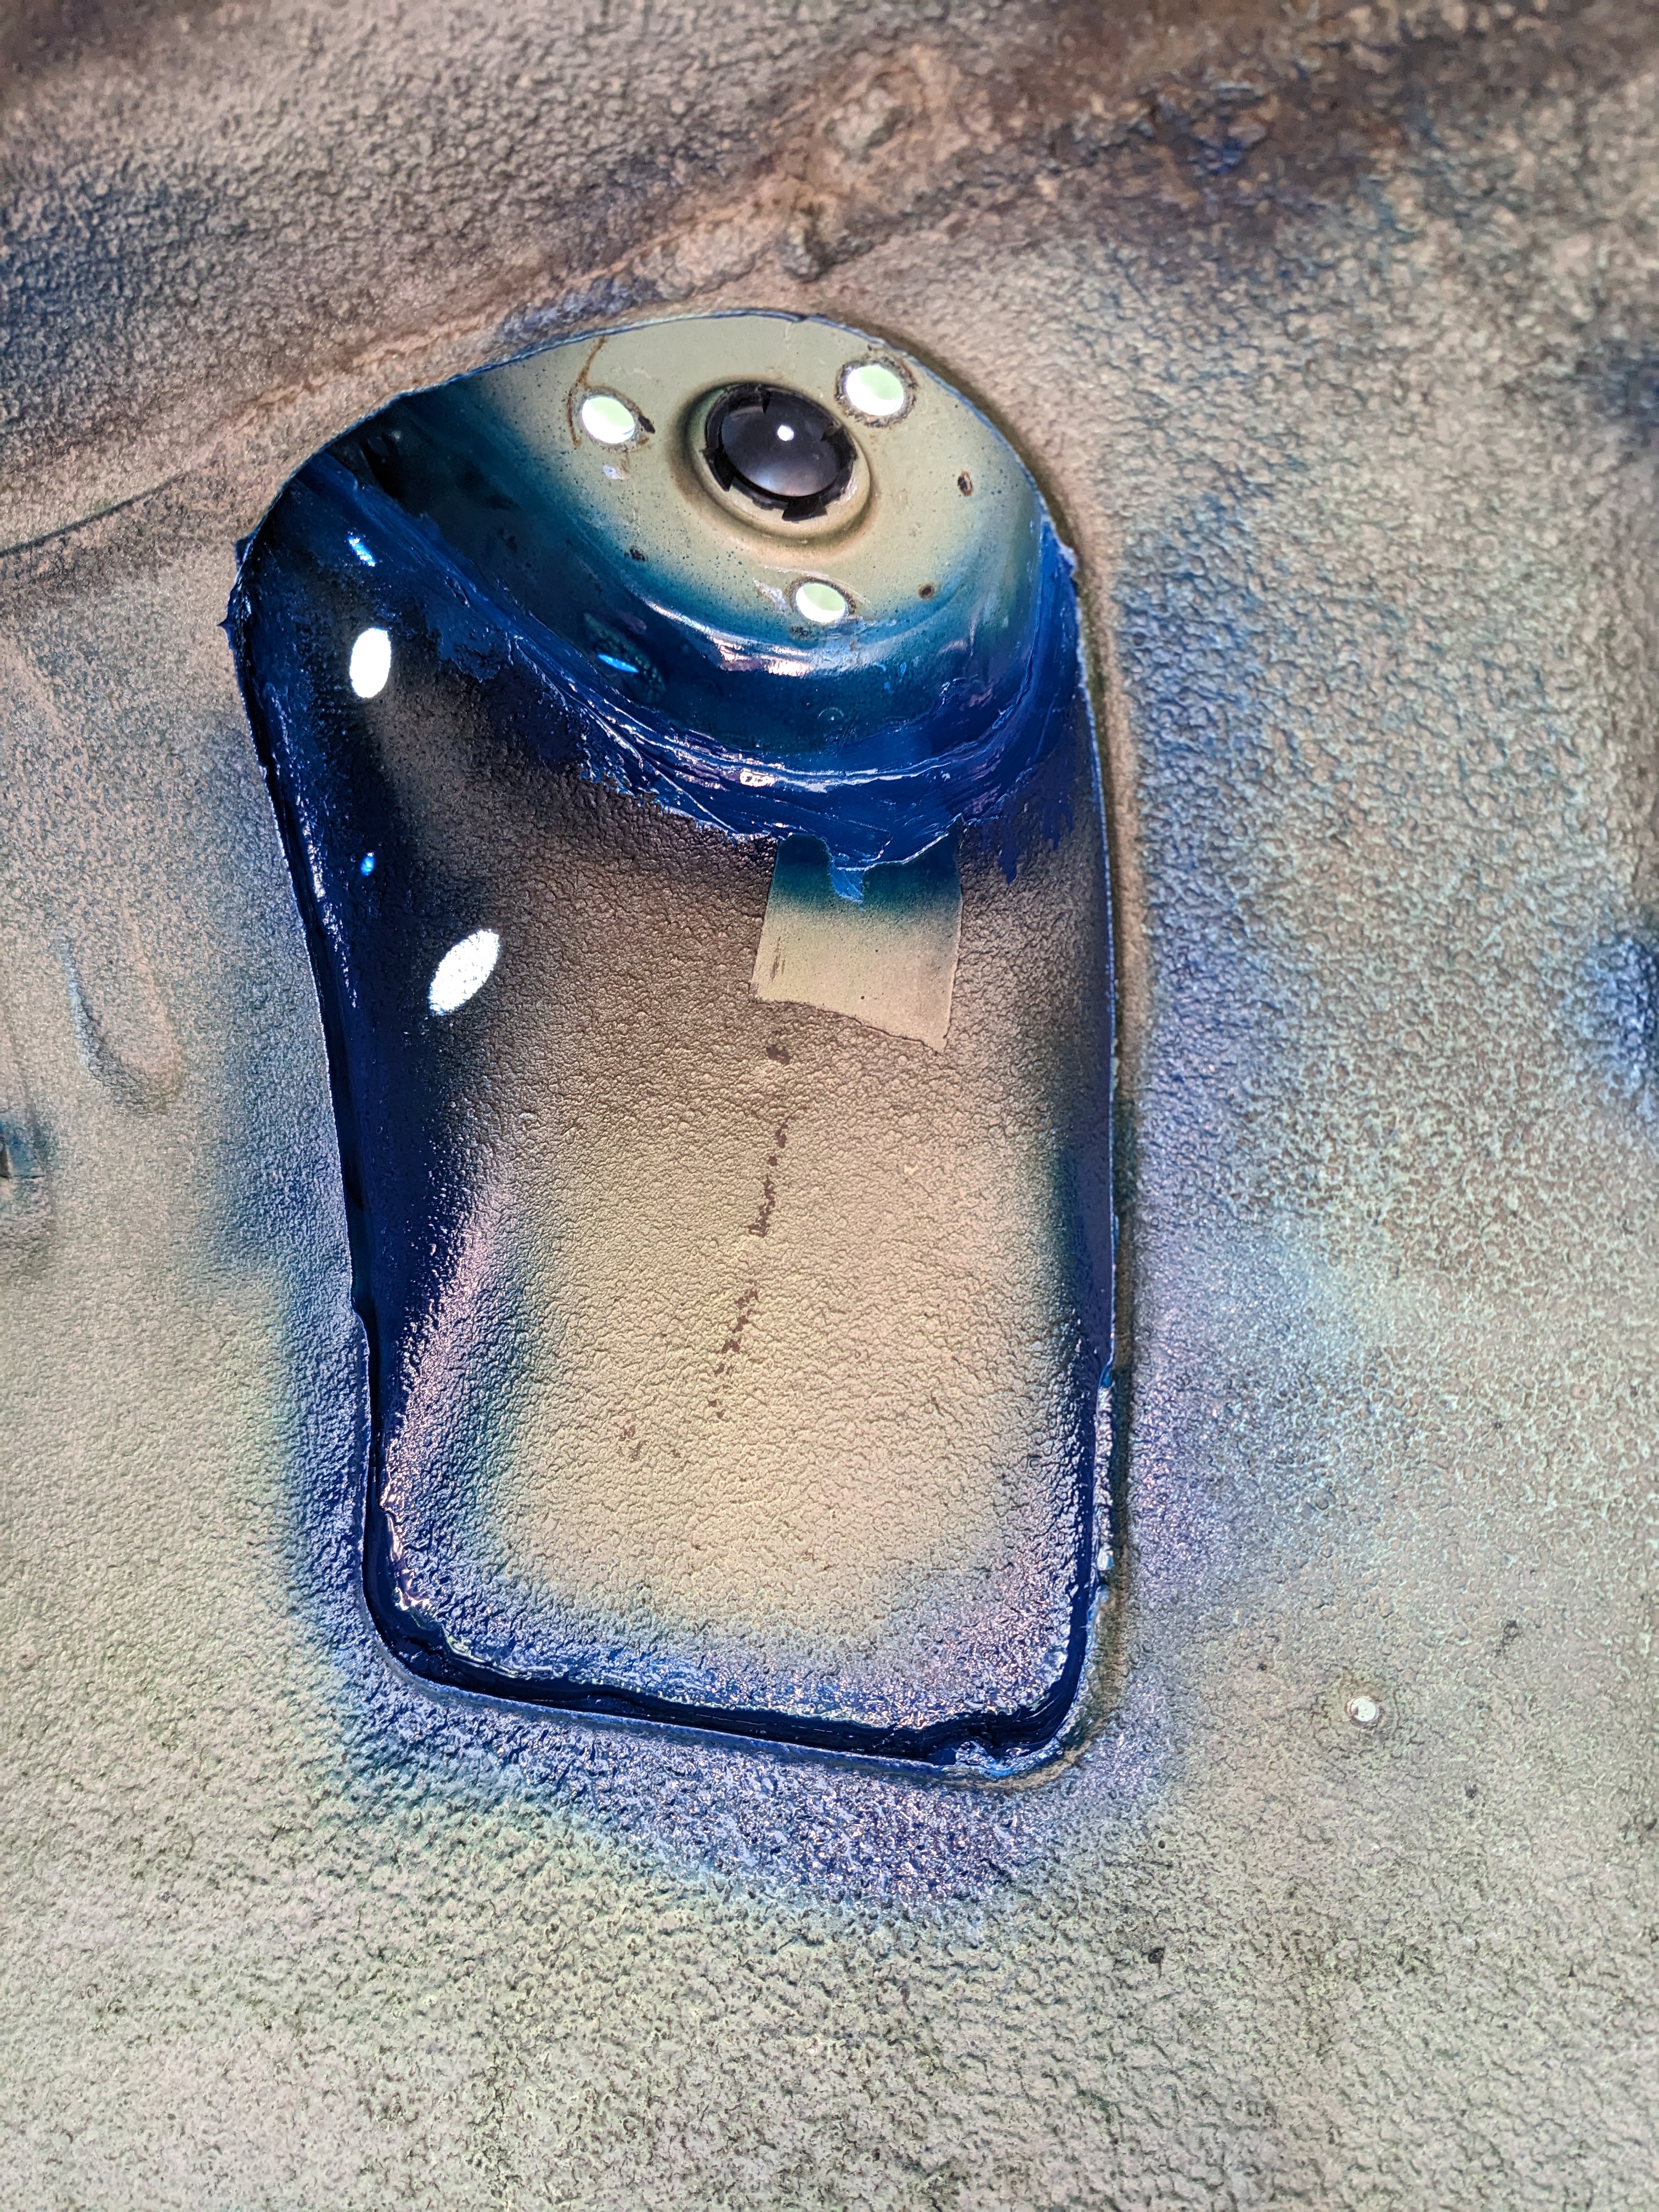
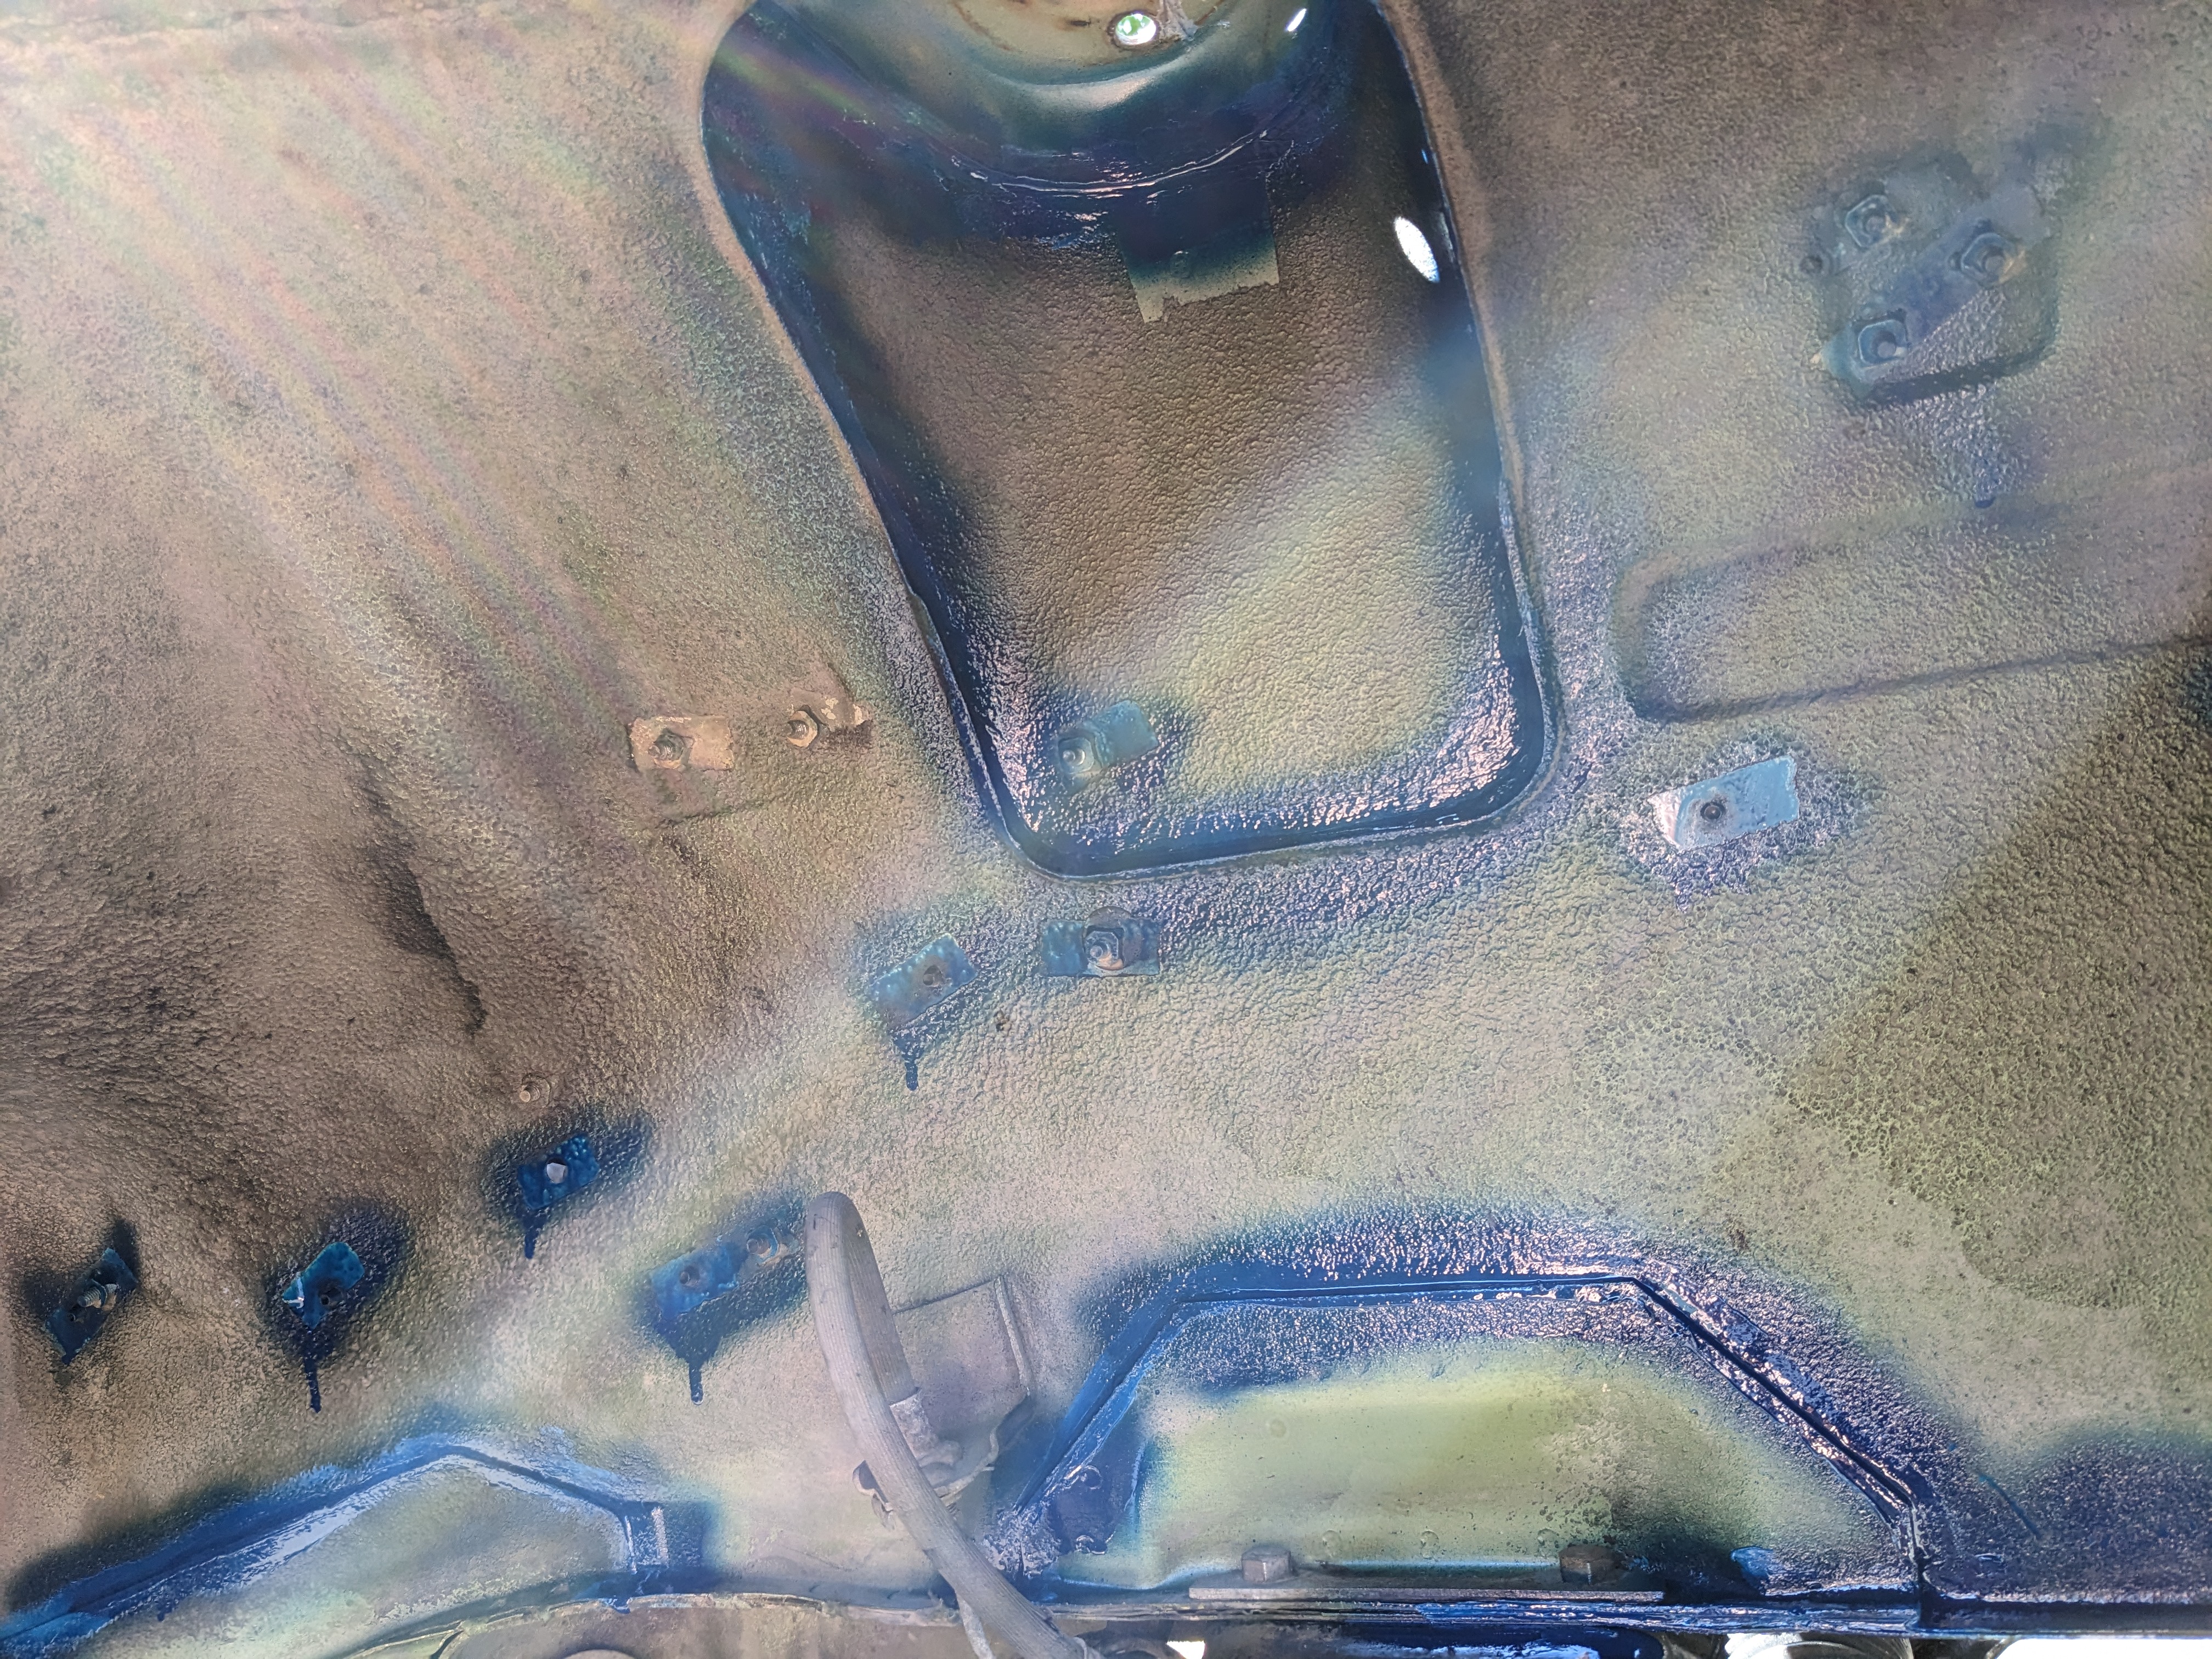
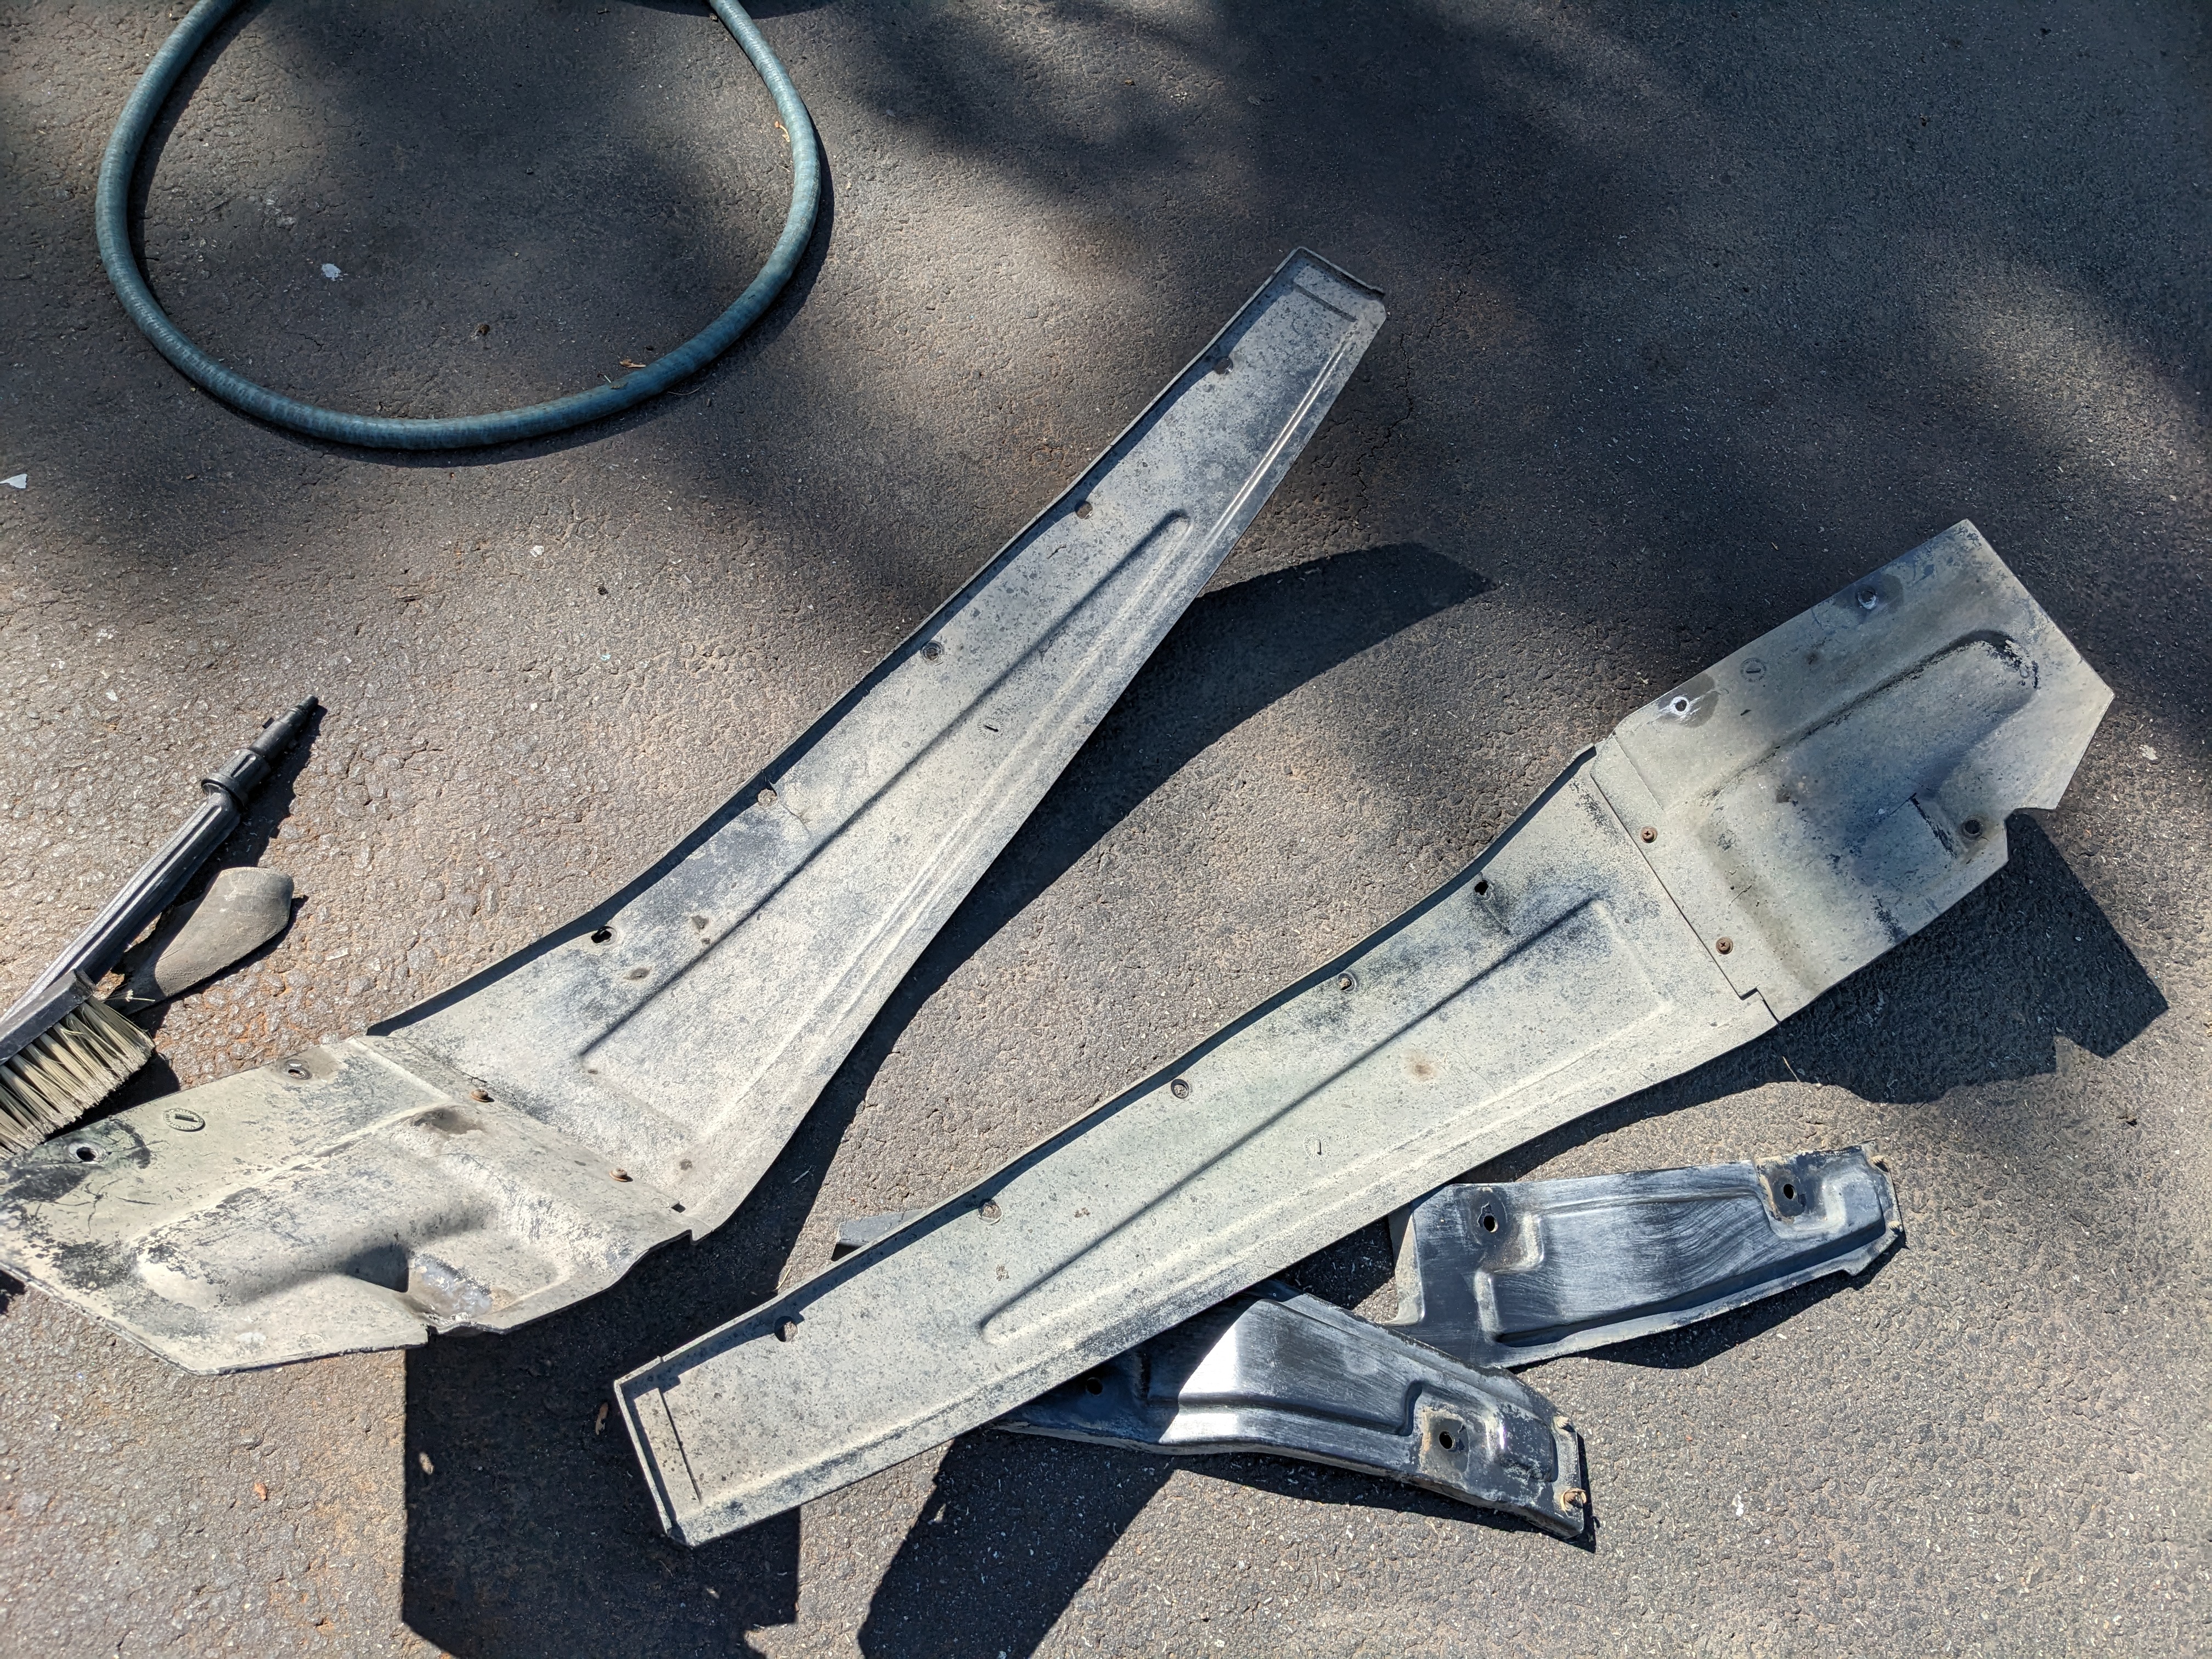
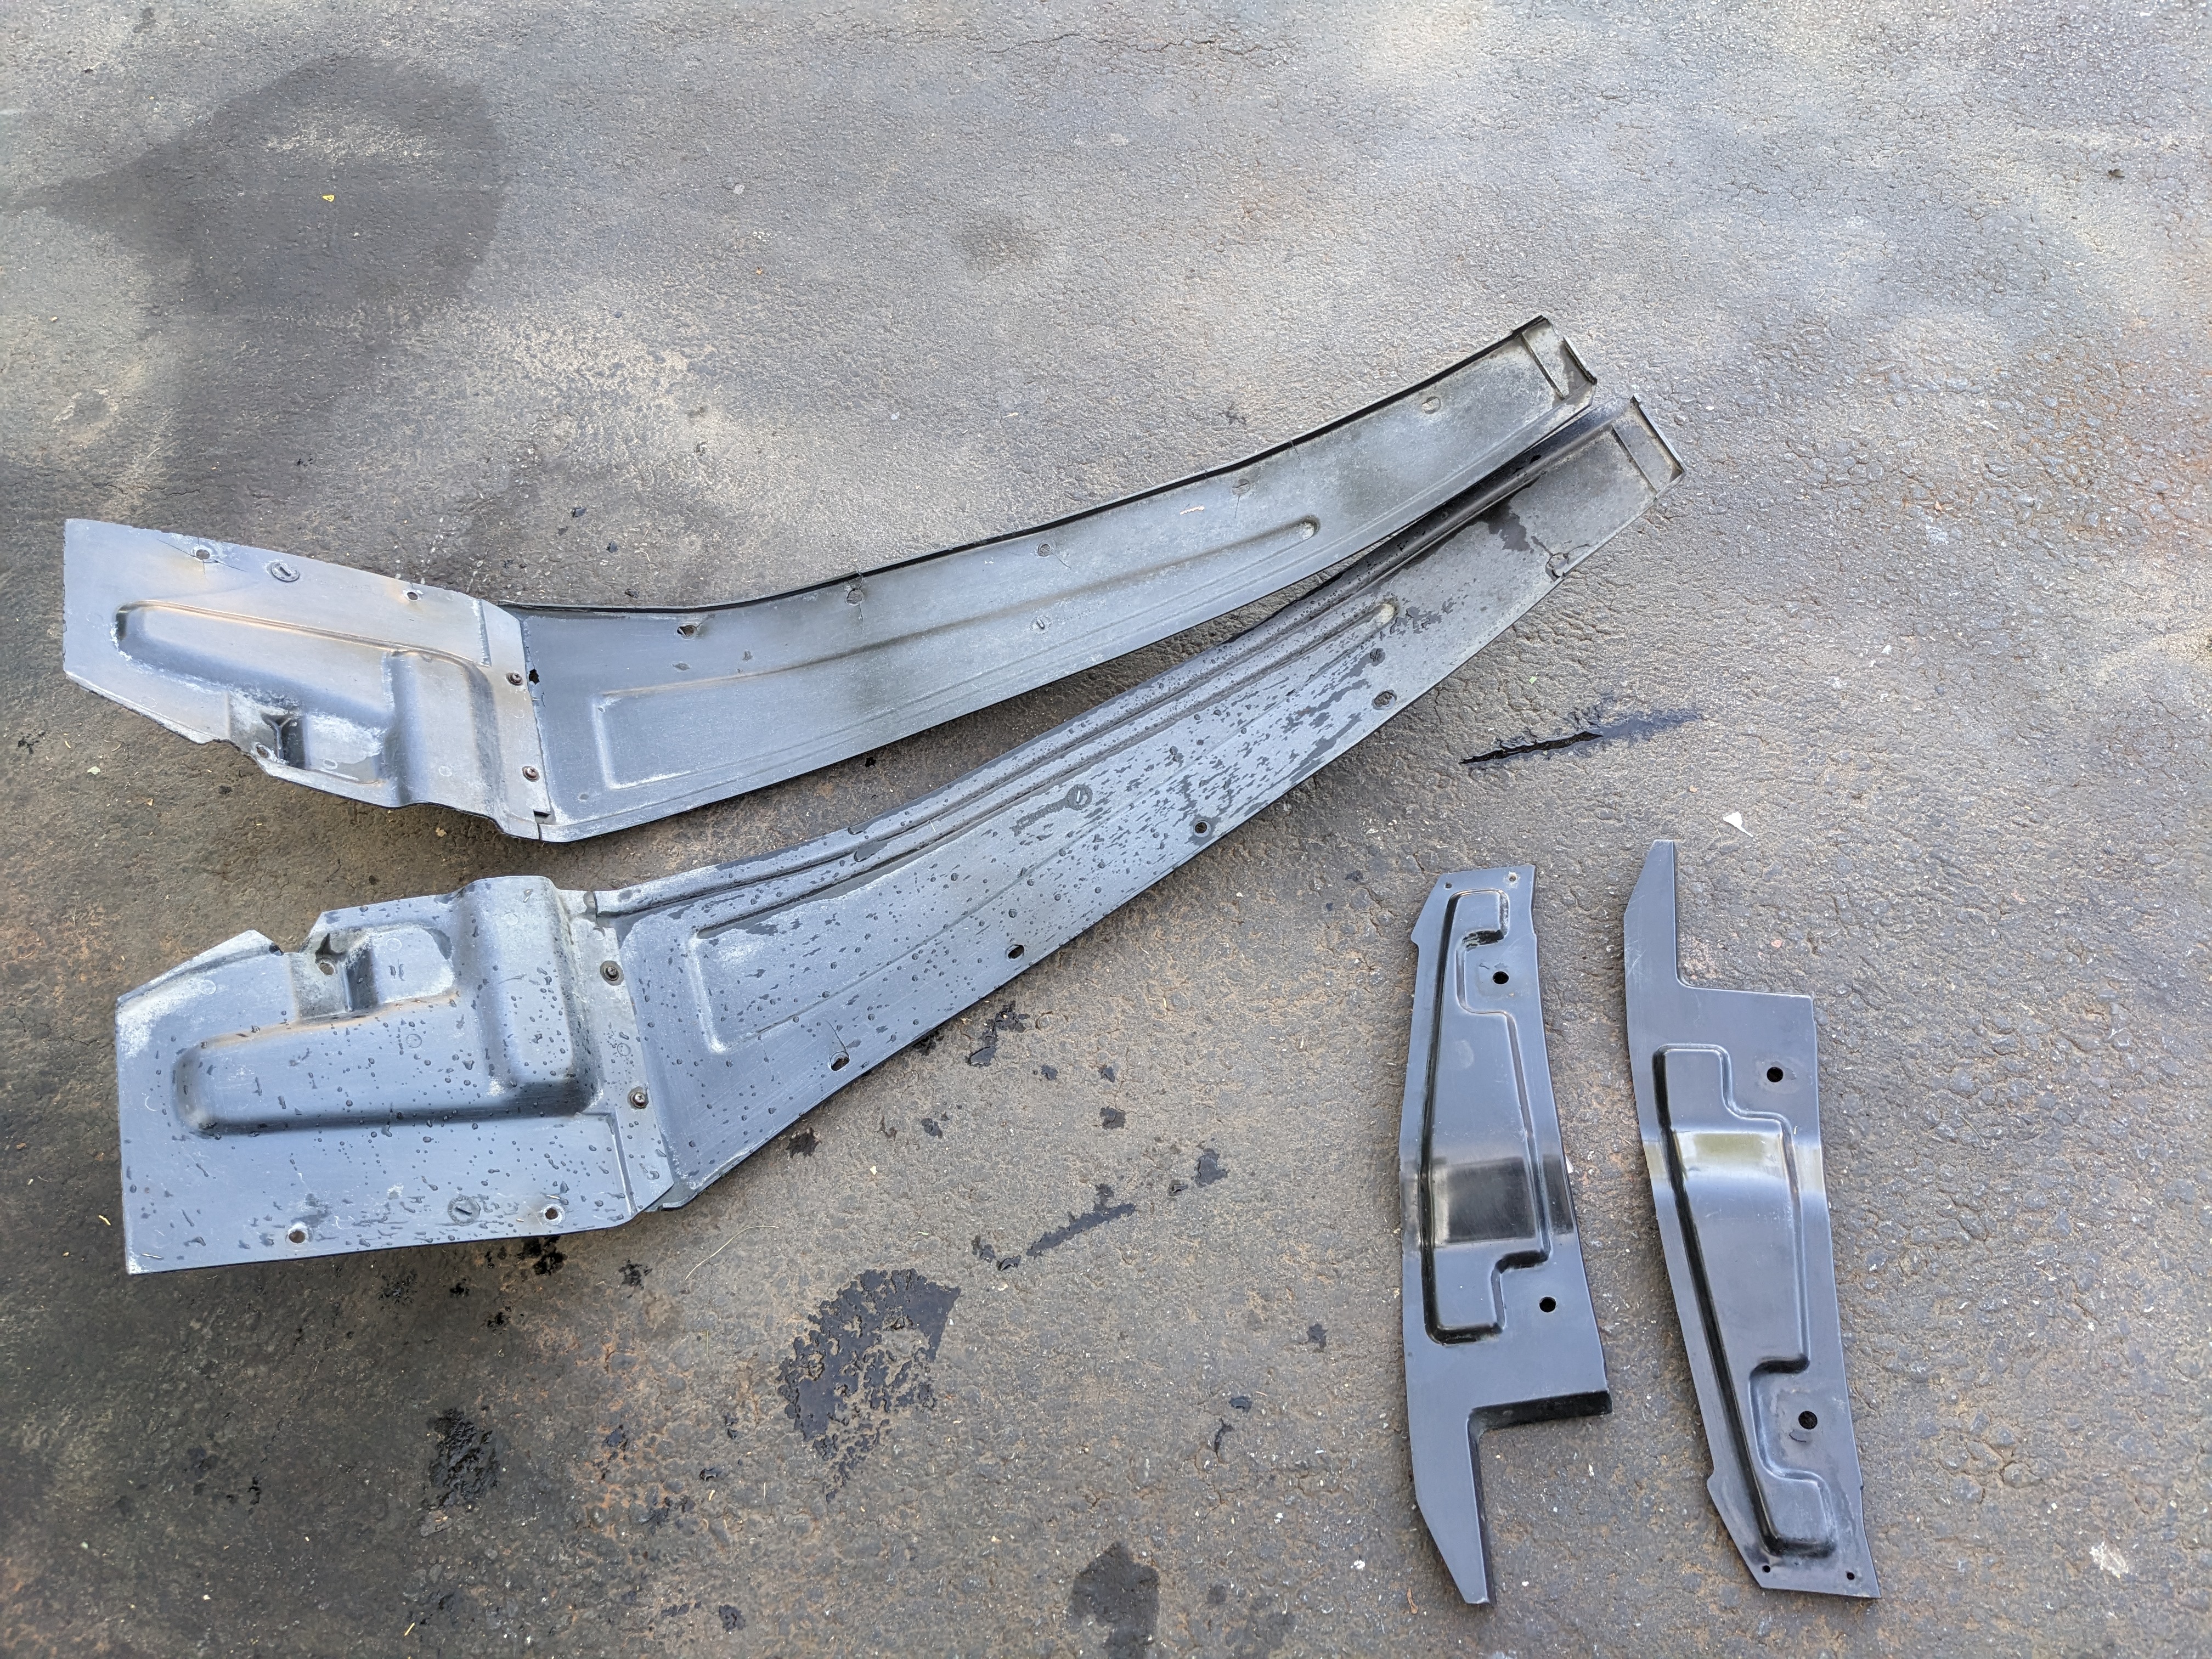
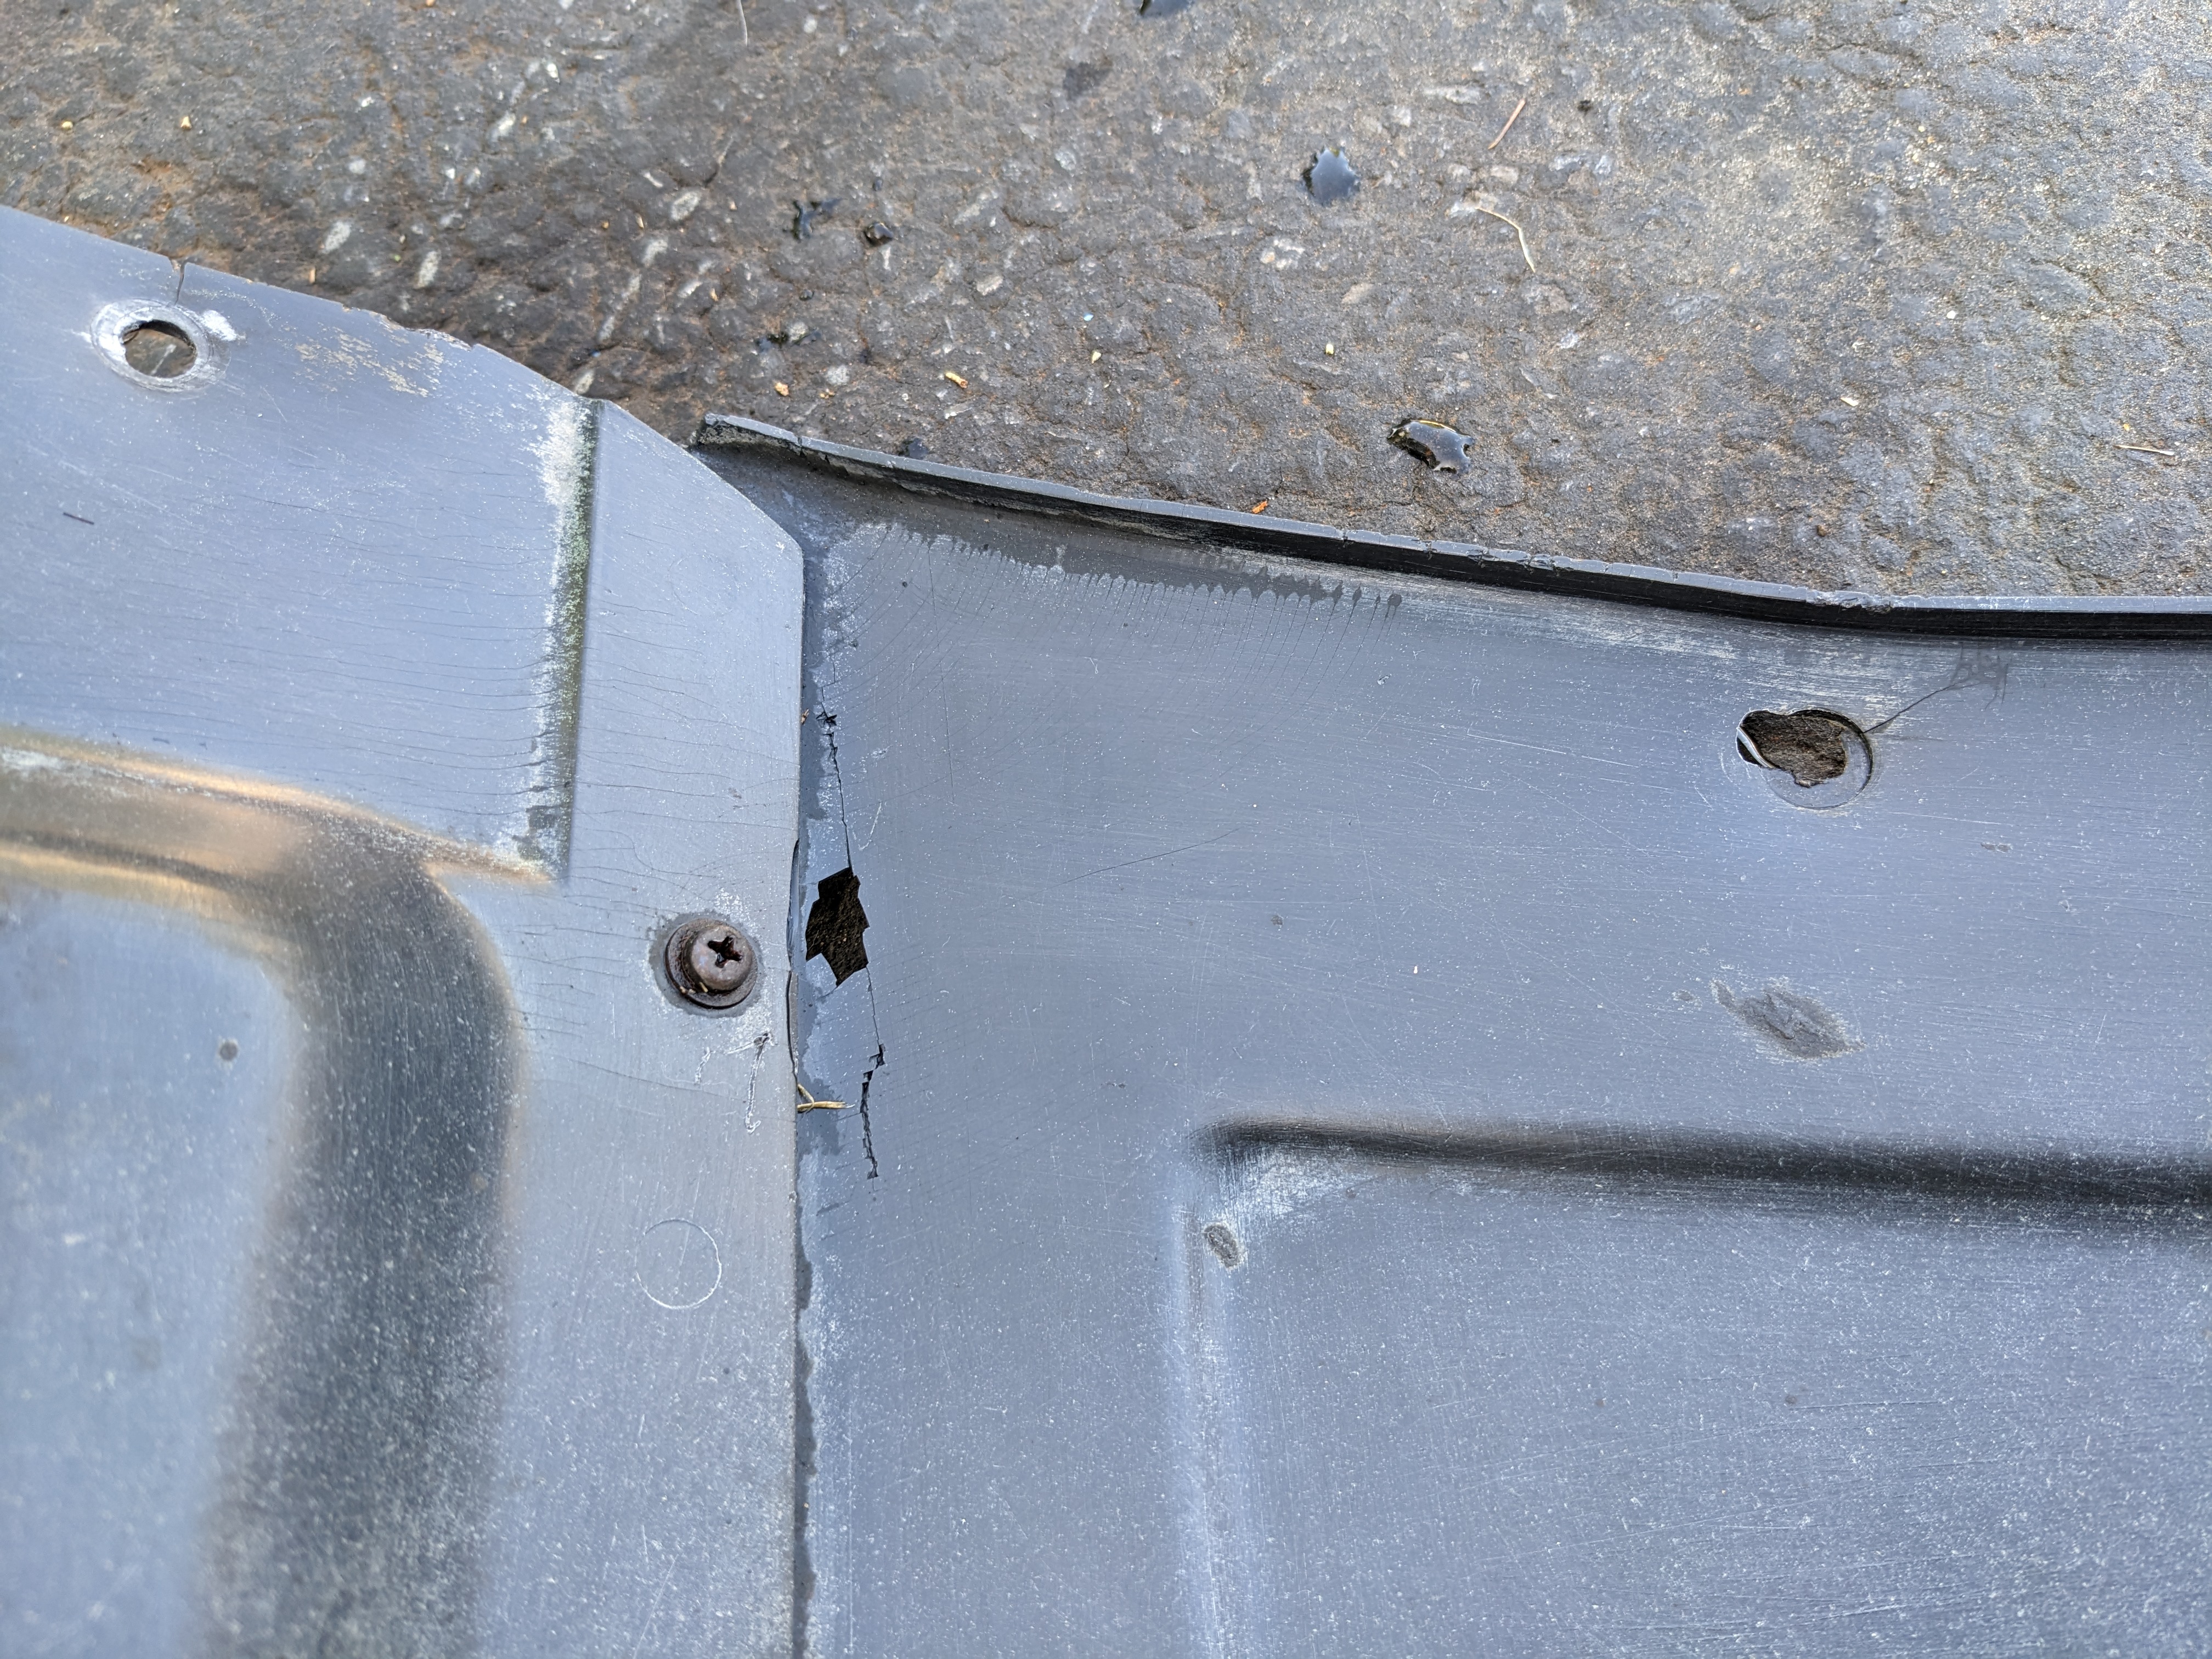
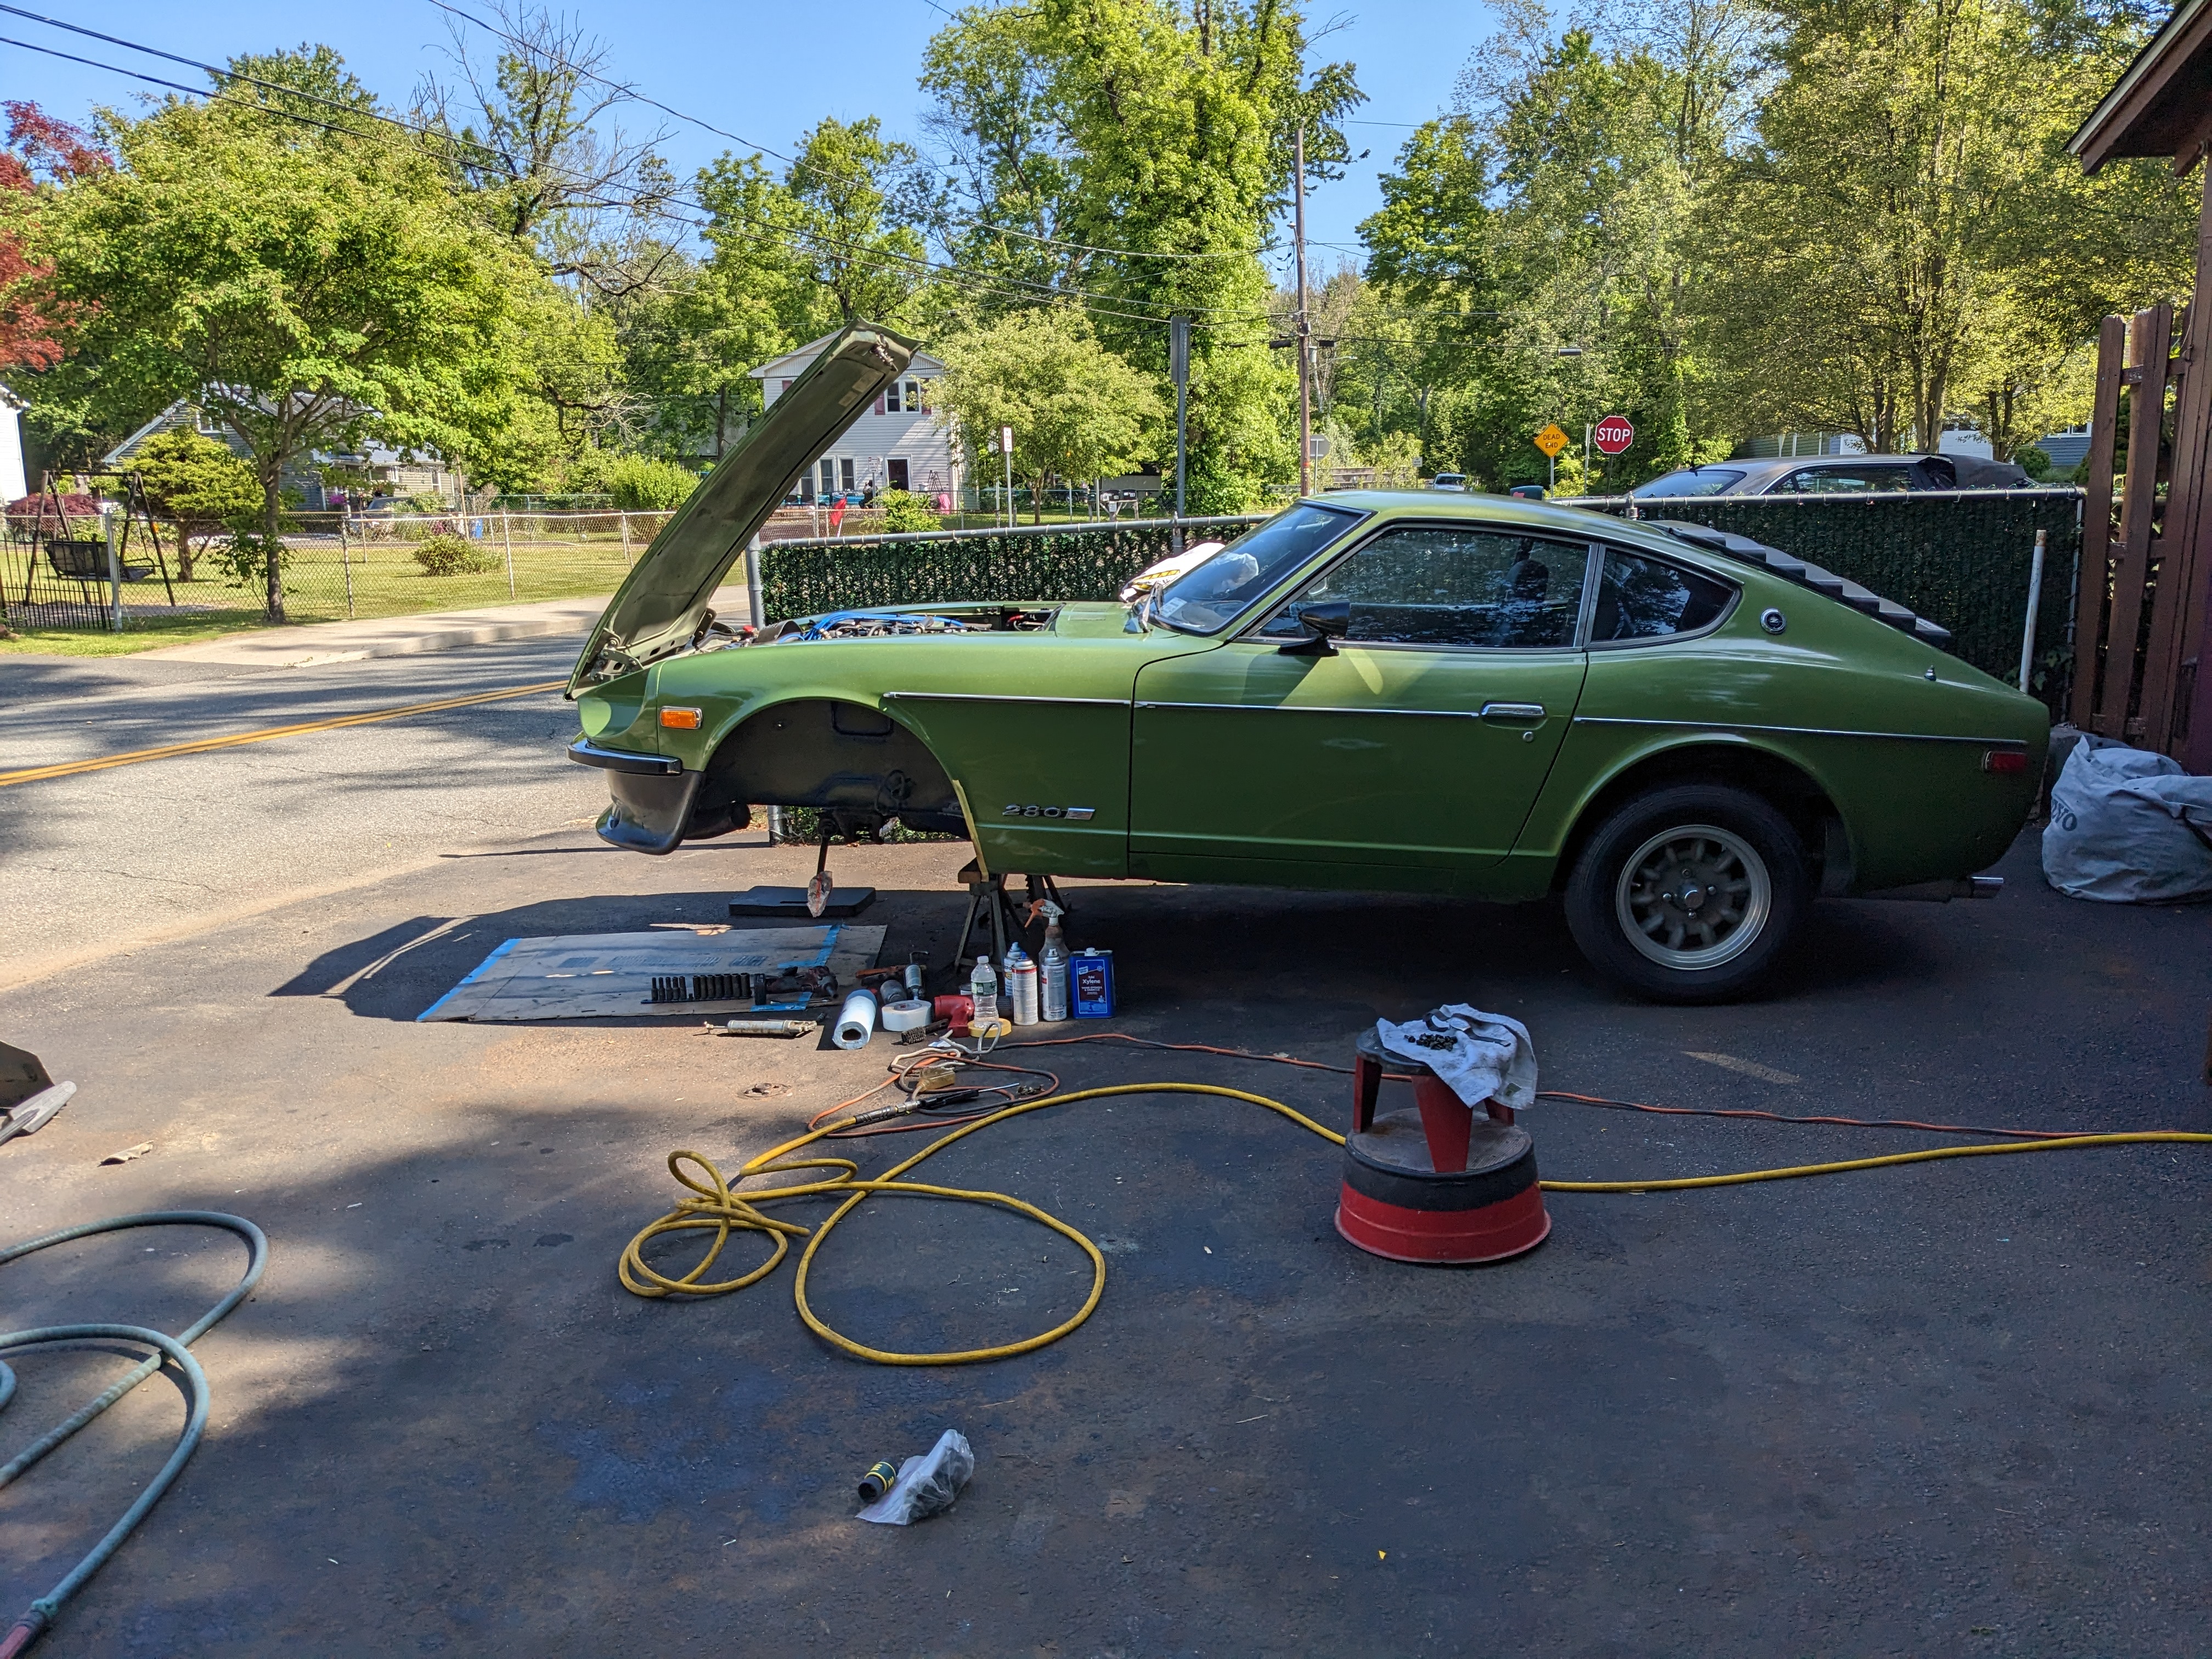
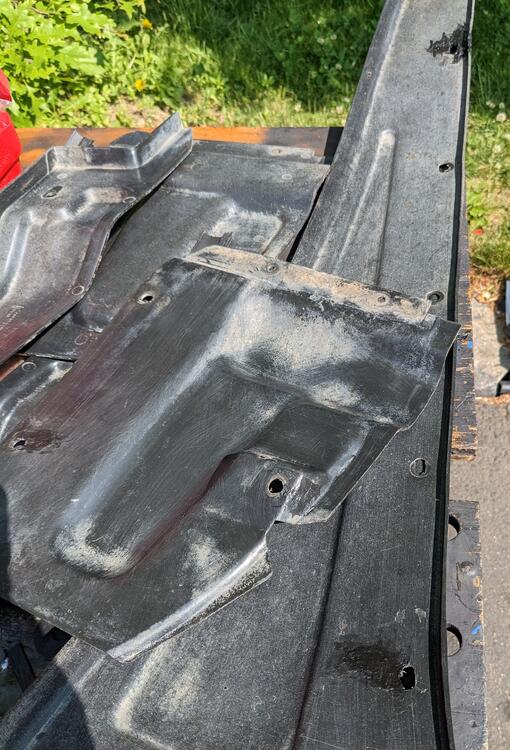
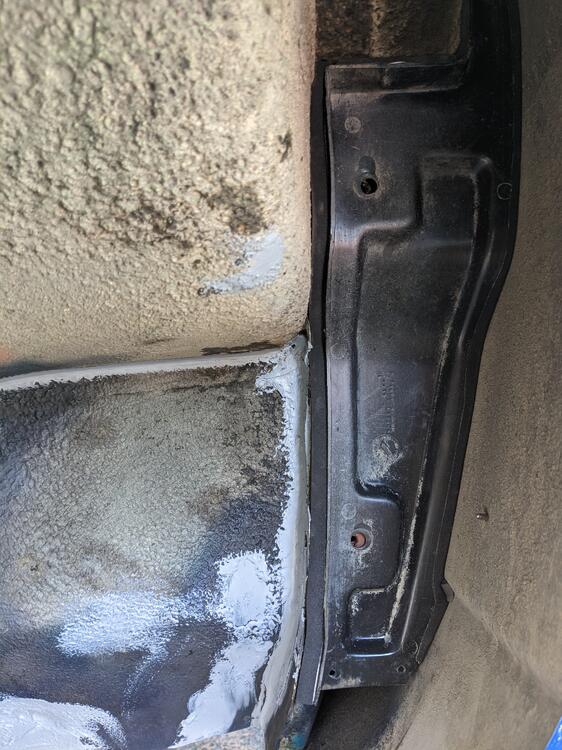
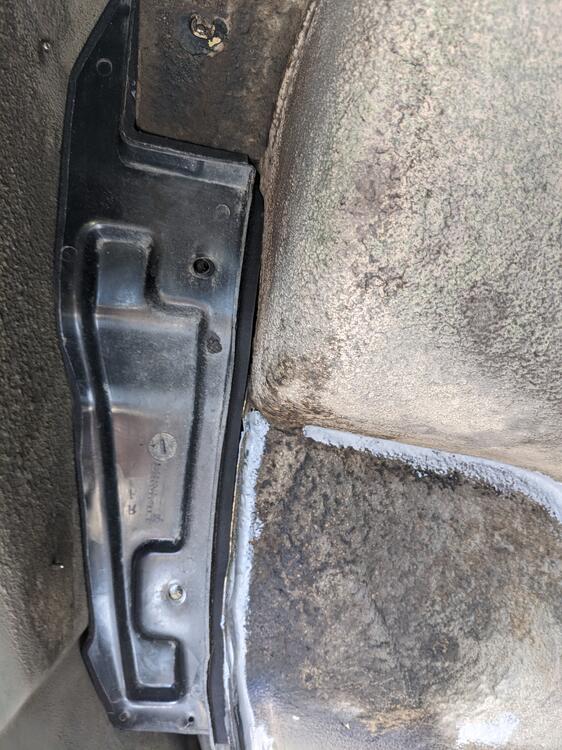
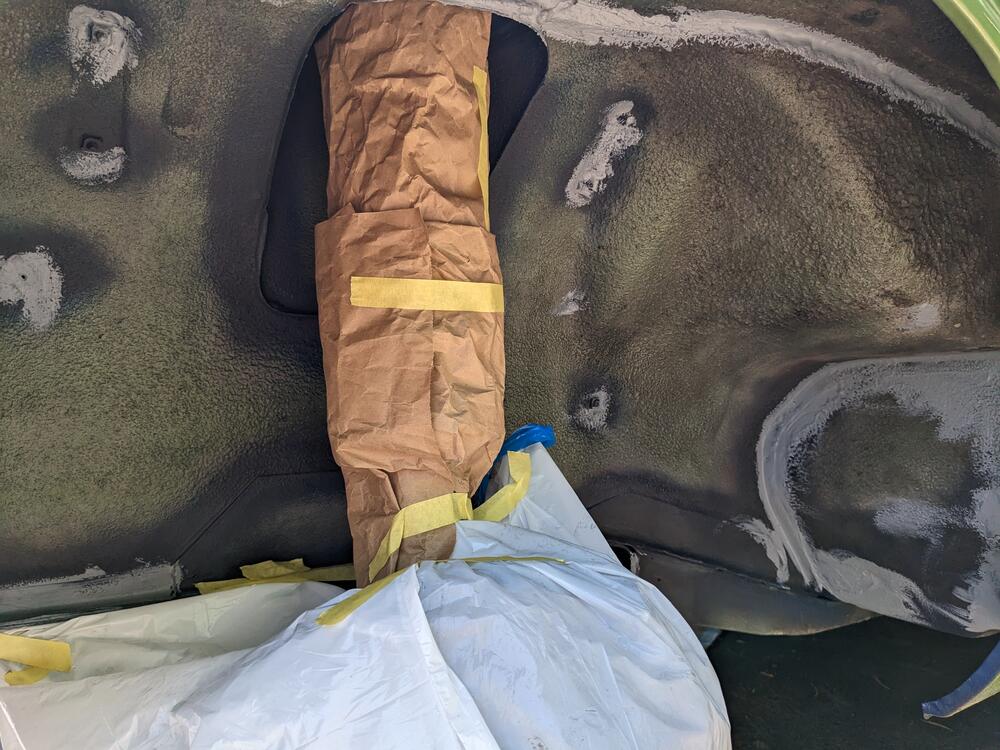
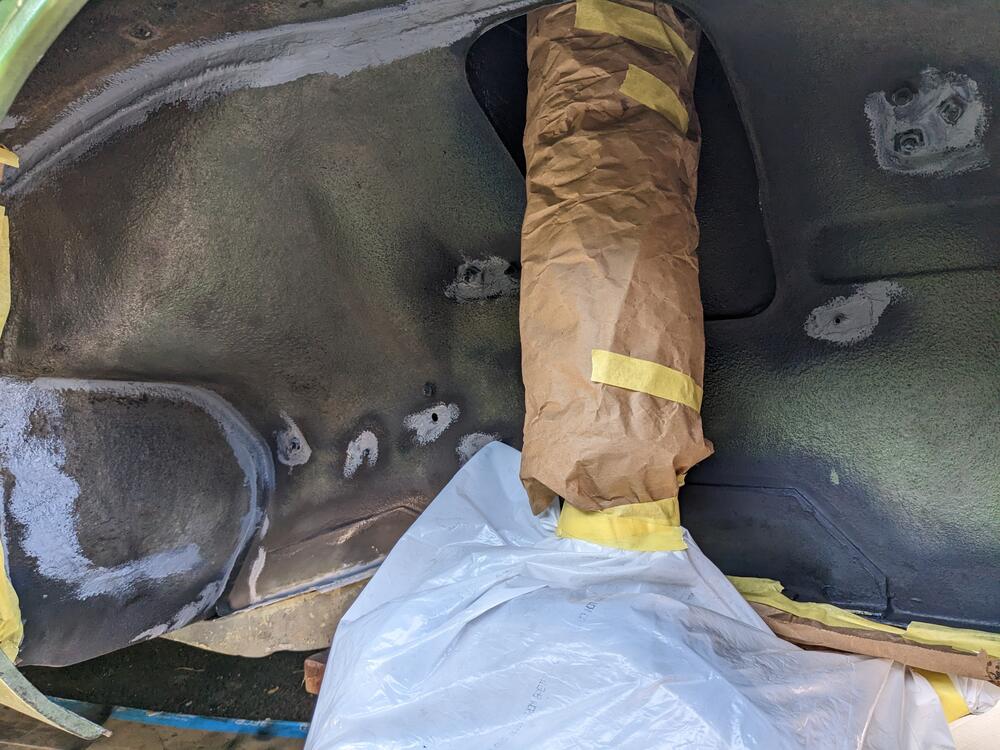
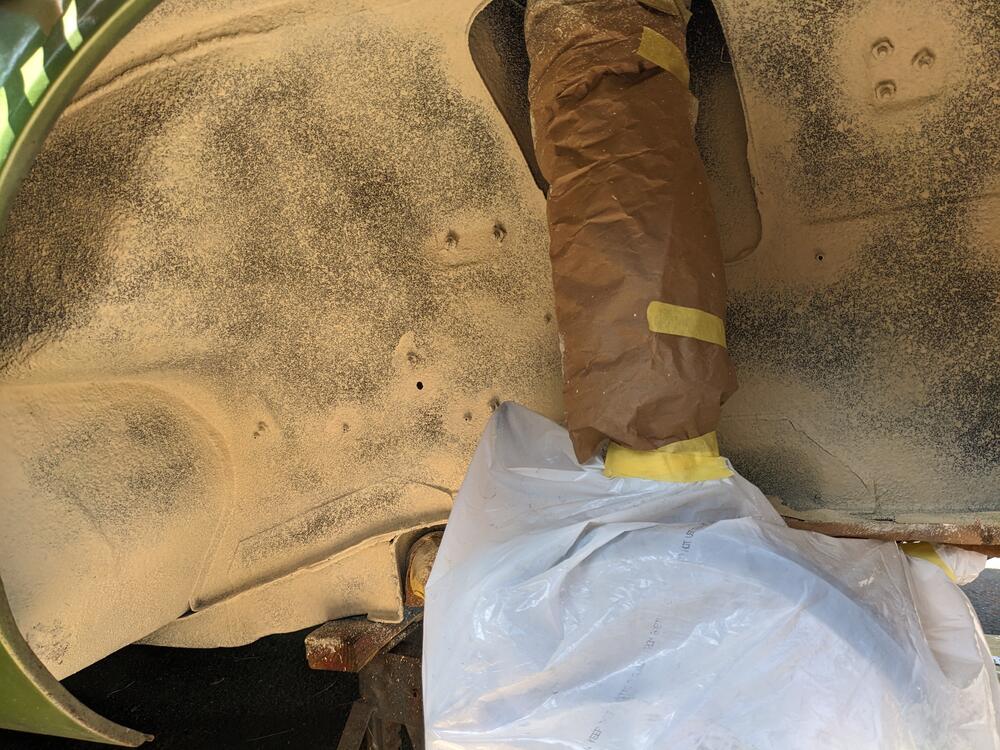
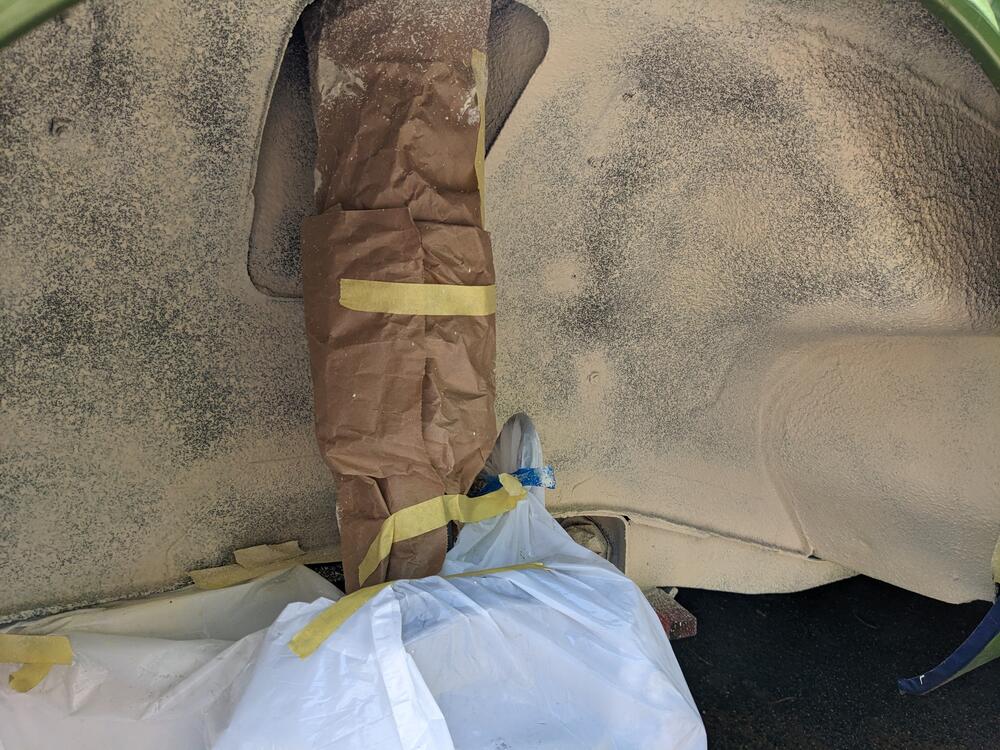
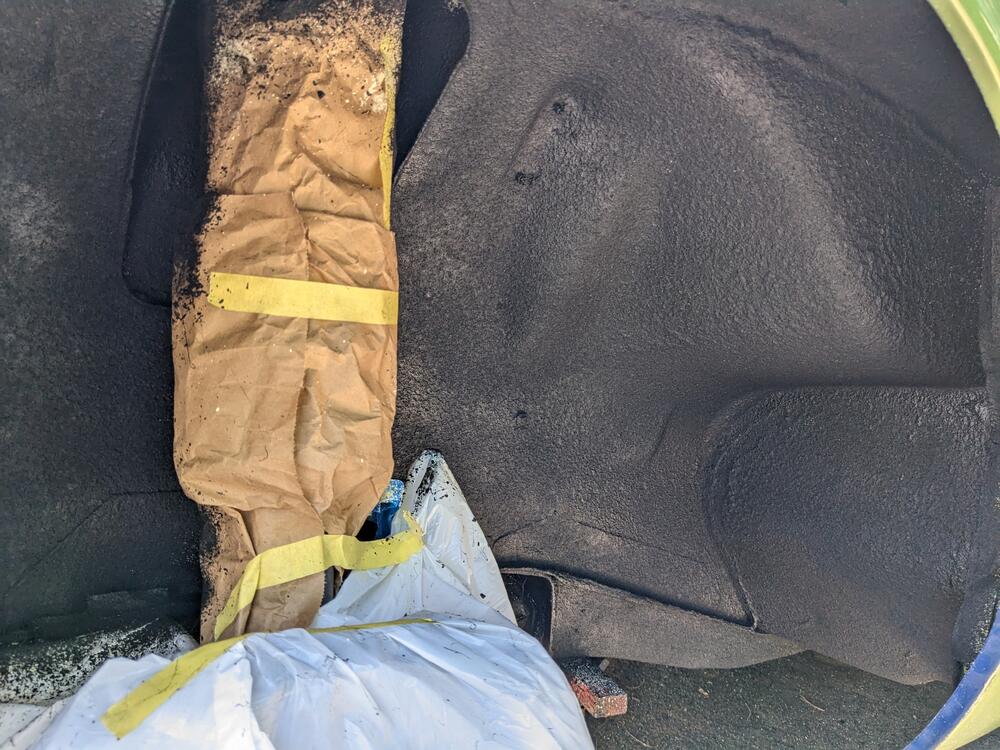
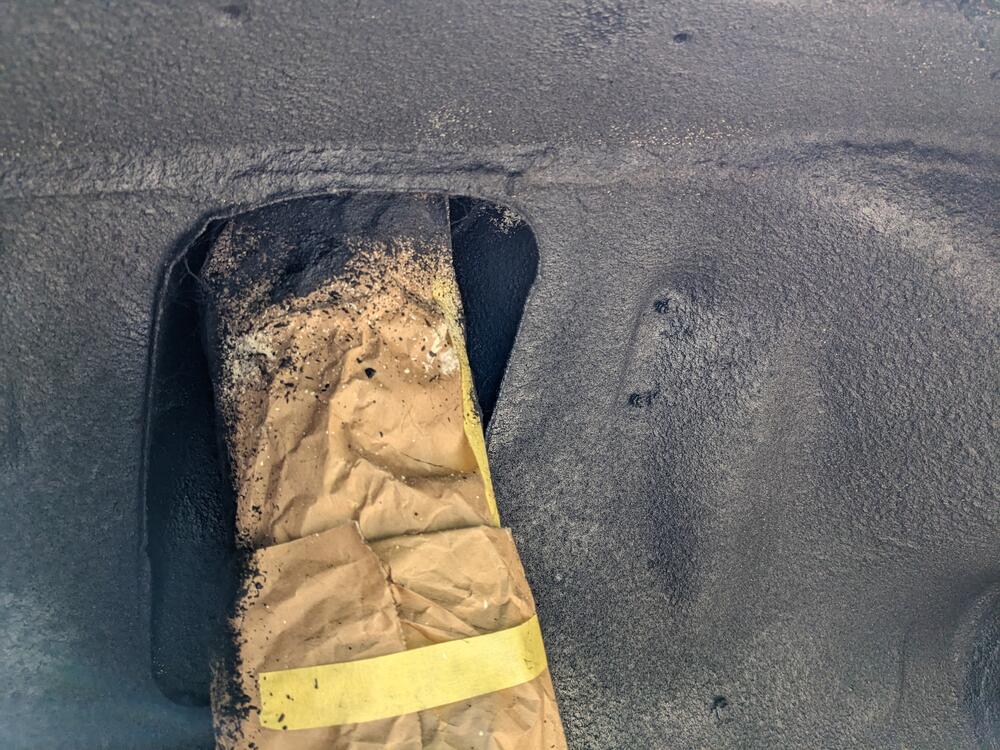
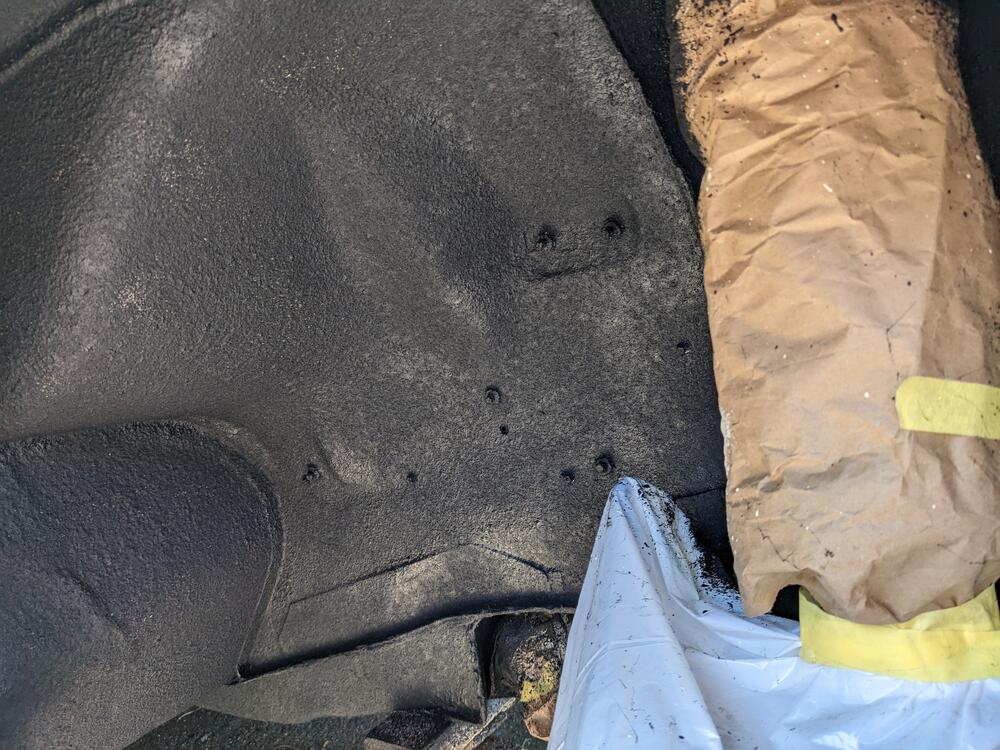
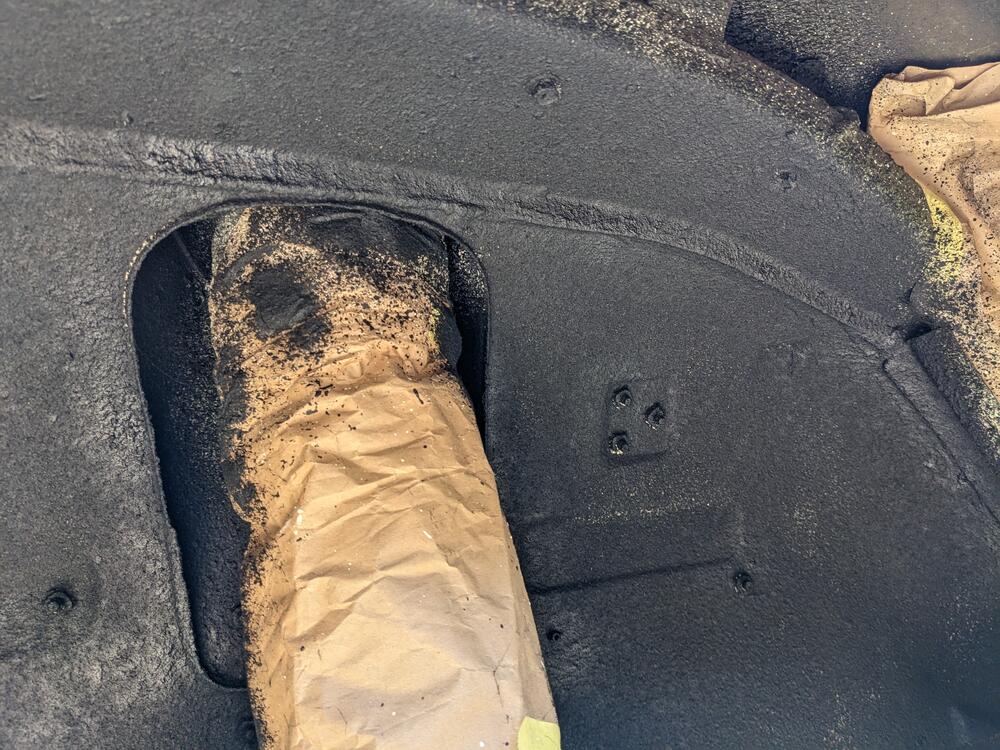
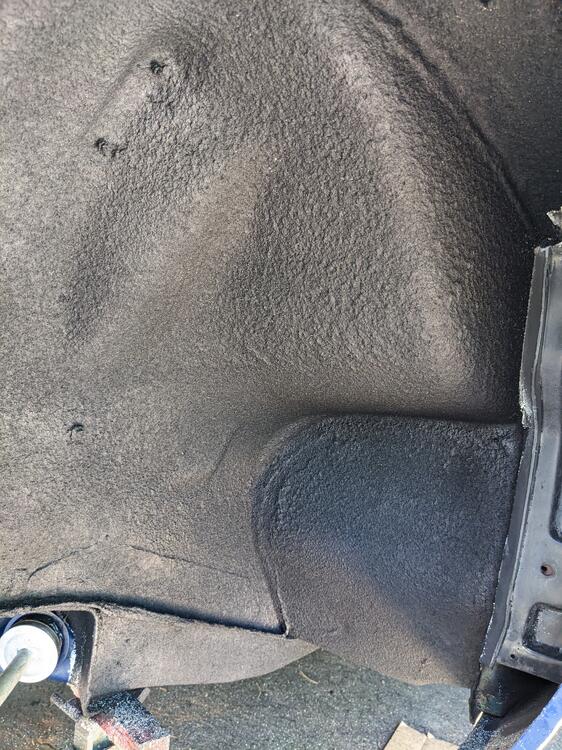
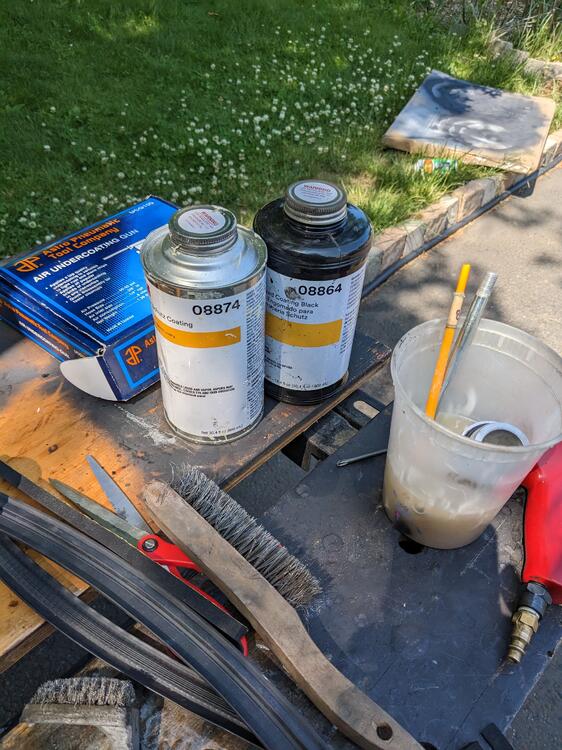
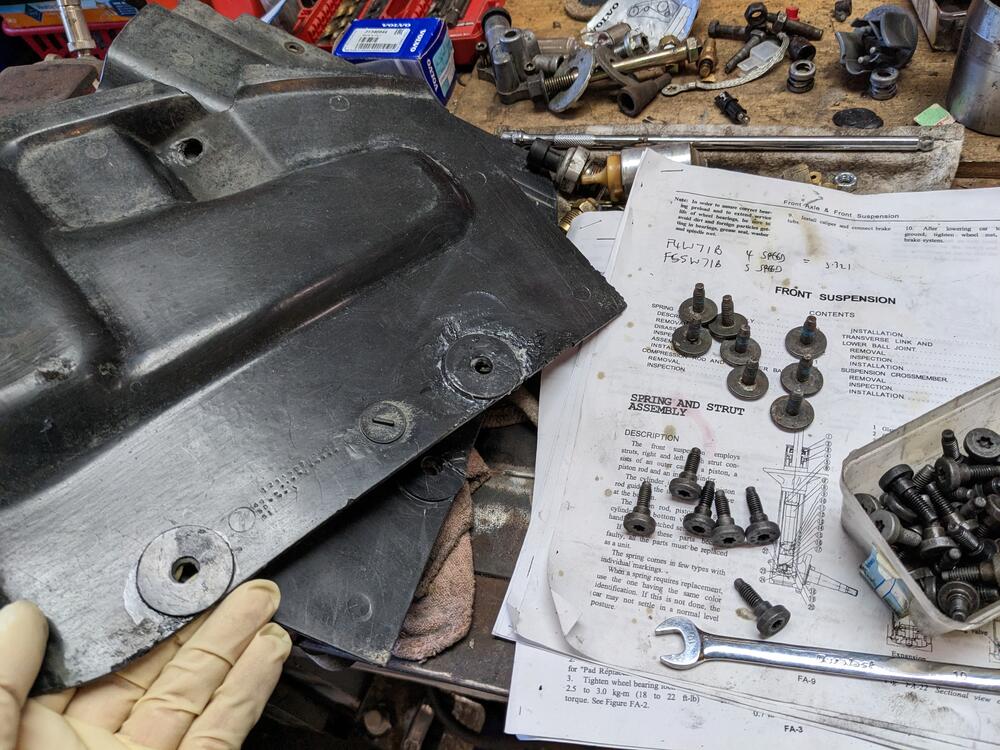
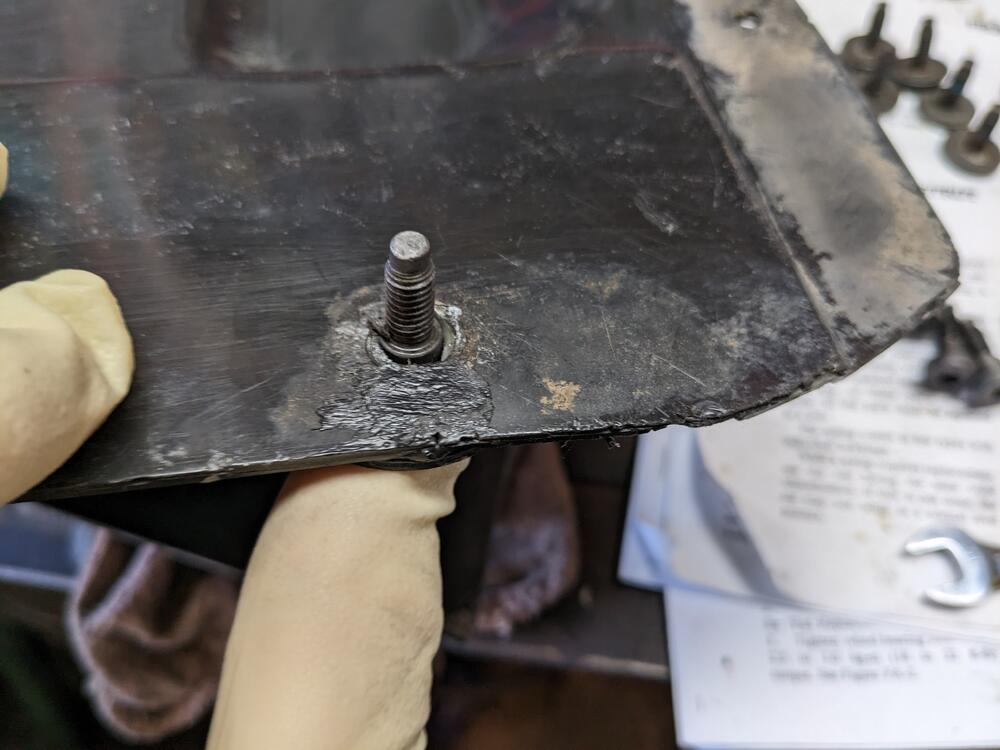
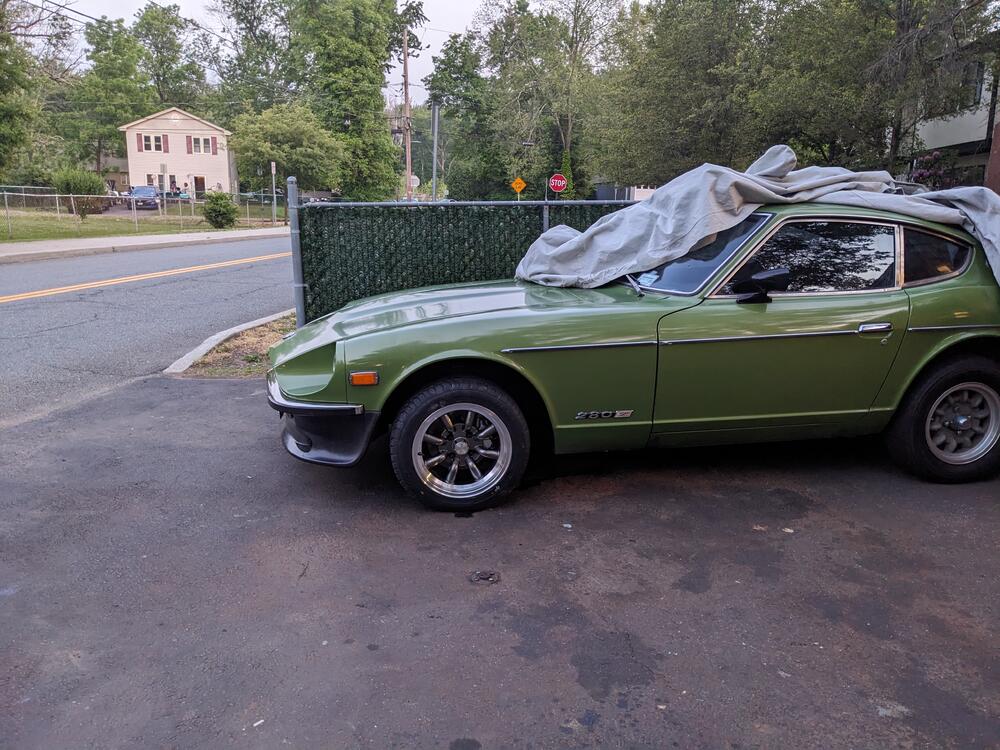
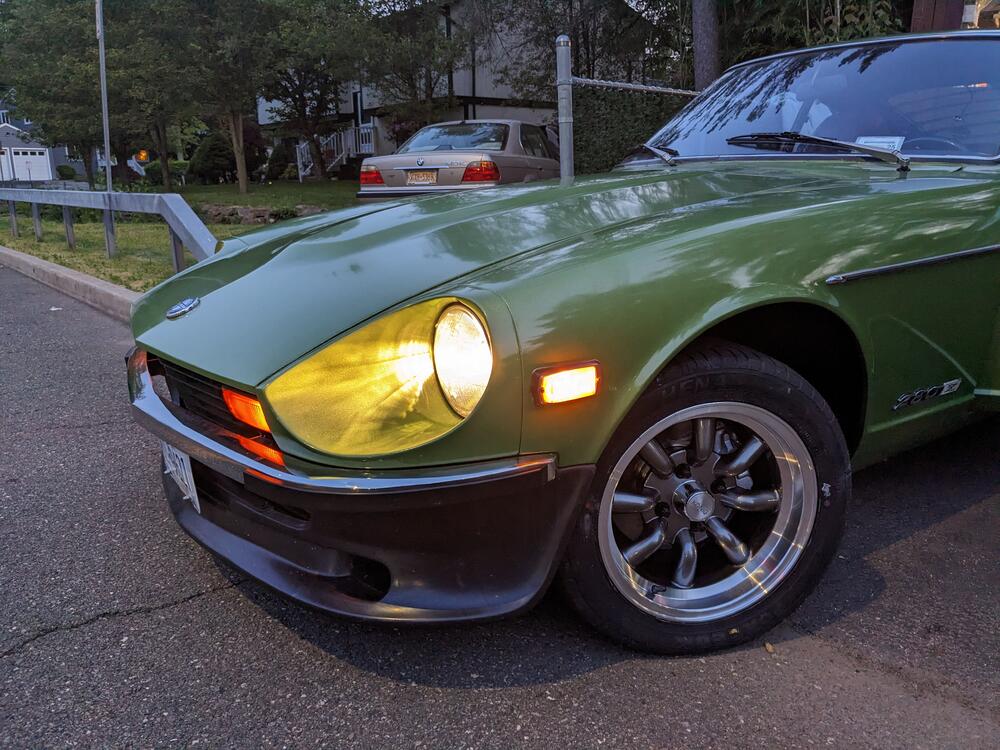
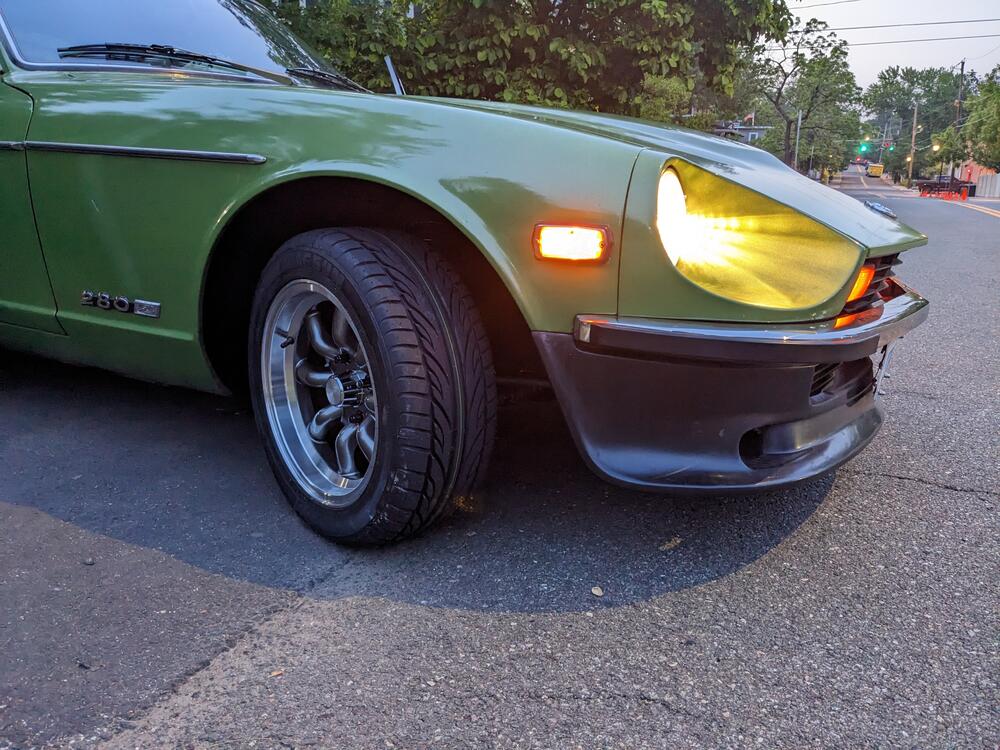
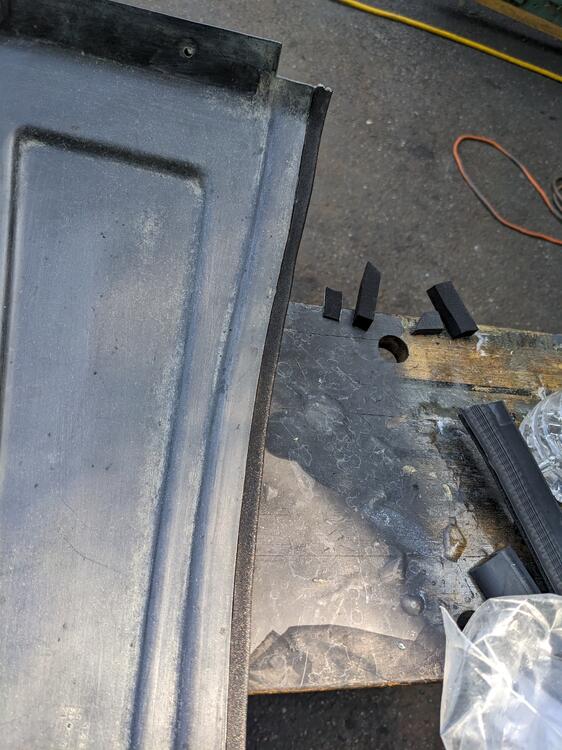
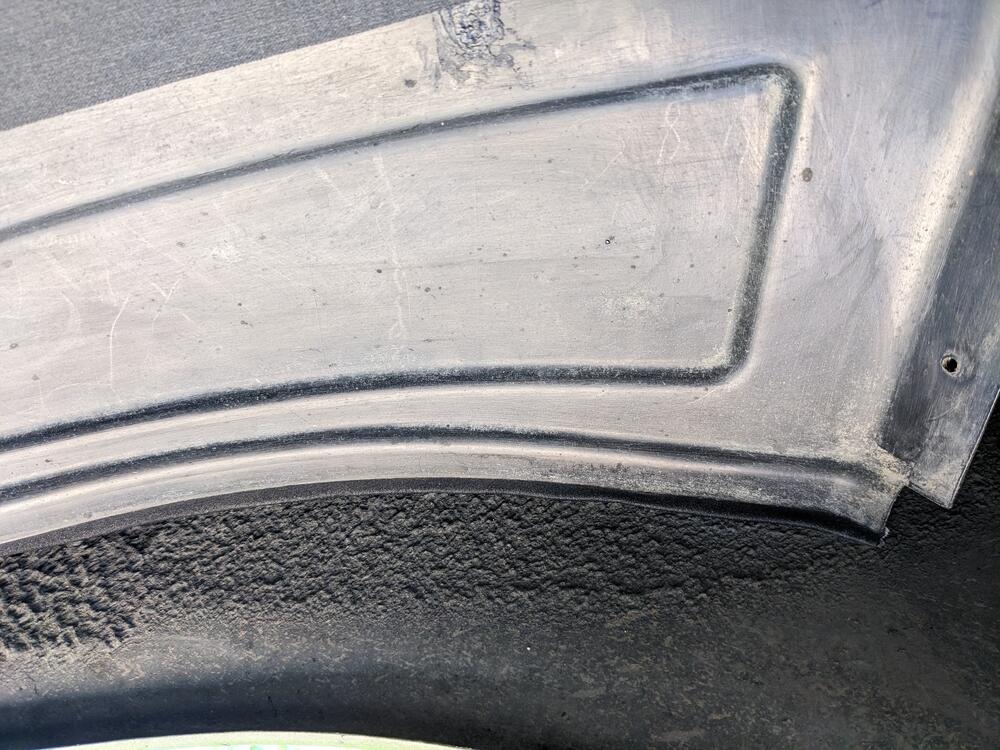
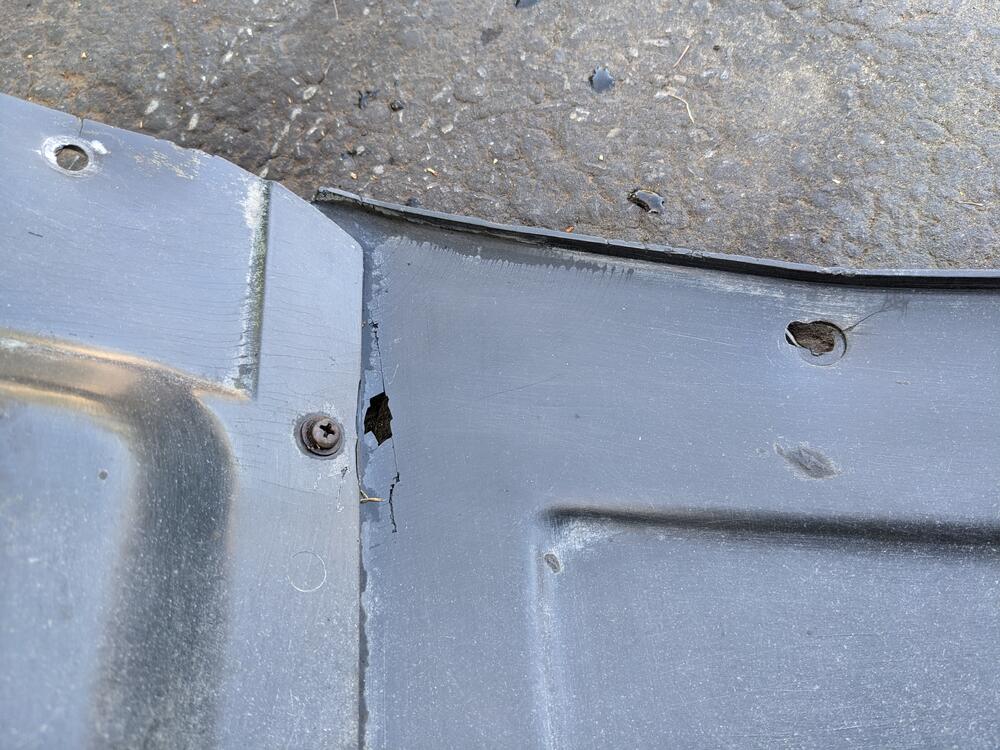
Got the brakes bled, then worked on the fender liners & the wheel well coating. Did some plastic weld repairs to the cracks around the mount points Added closed cell foam to the inner rear panels, they are not exactly a snug fit by any means added a foam lip for the main panels, they also don't seal against the fender as supplied. I looked for an EPDM lip, but the ones I have are too bulky. I've since found one online, so I'll revisit that when I remove the fenders in the future reinforced the forward sections with plastic washers. Also using Volvo M6 hardware with large heads, to spread the load Shouldered hardware - prevents crushing the liner Scrubbed the wheel arches with a wire brush, then prepped the undercoat with lacquer thinners to help the Rocker Shutz adhere wait 45 mins then apply undercoat Put the Konig on to find that the backside of the hub doesn't clear the Toyota S12 calipers. Had to add a 1/8" spacer to each side
-
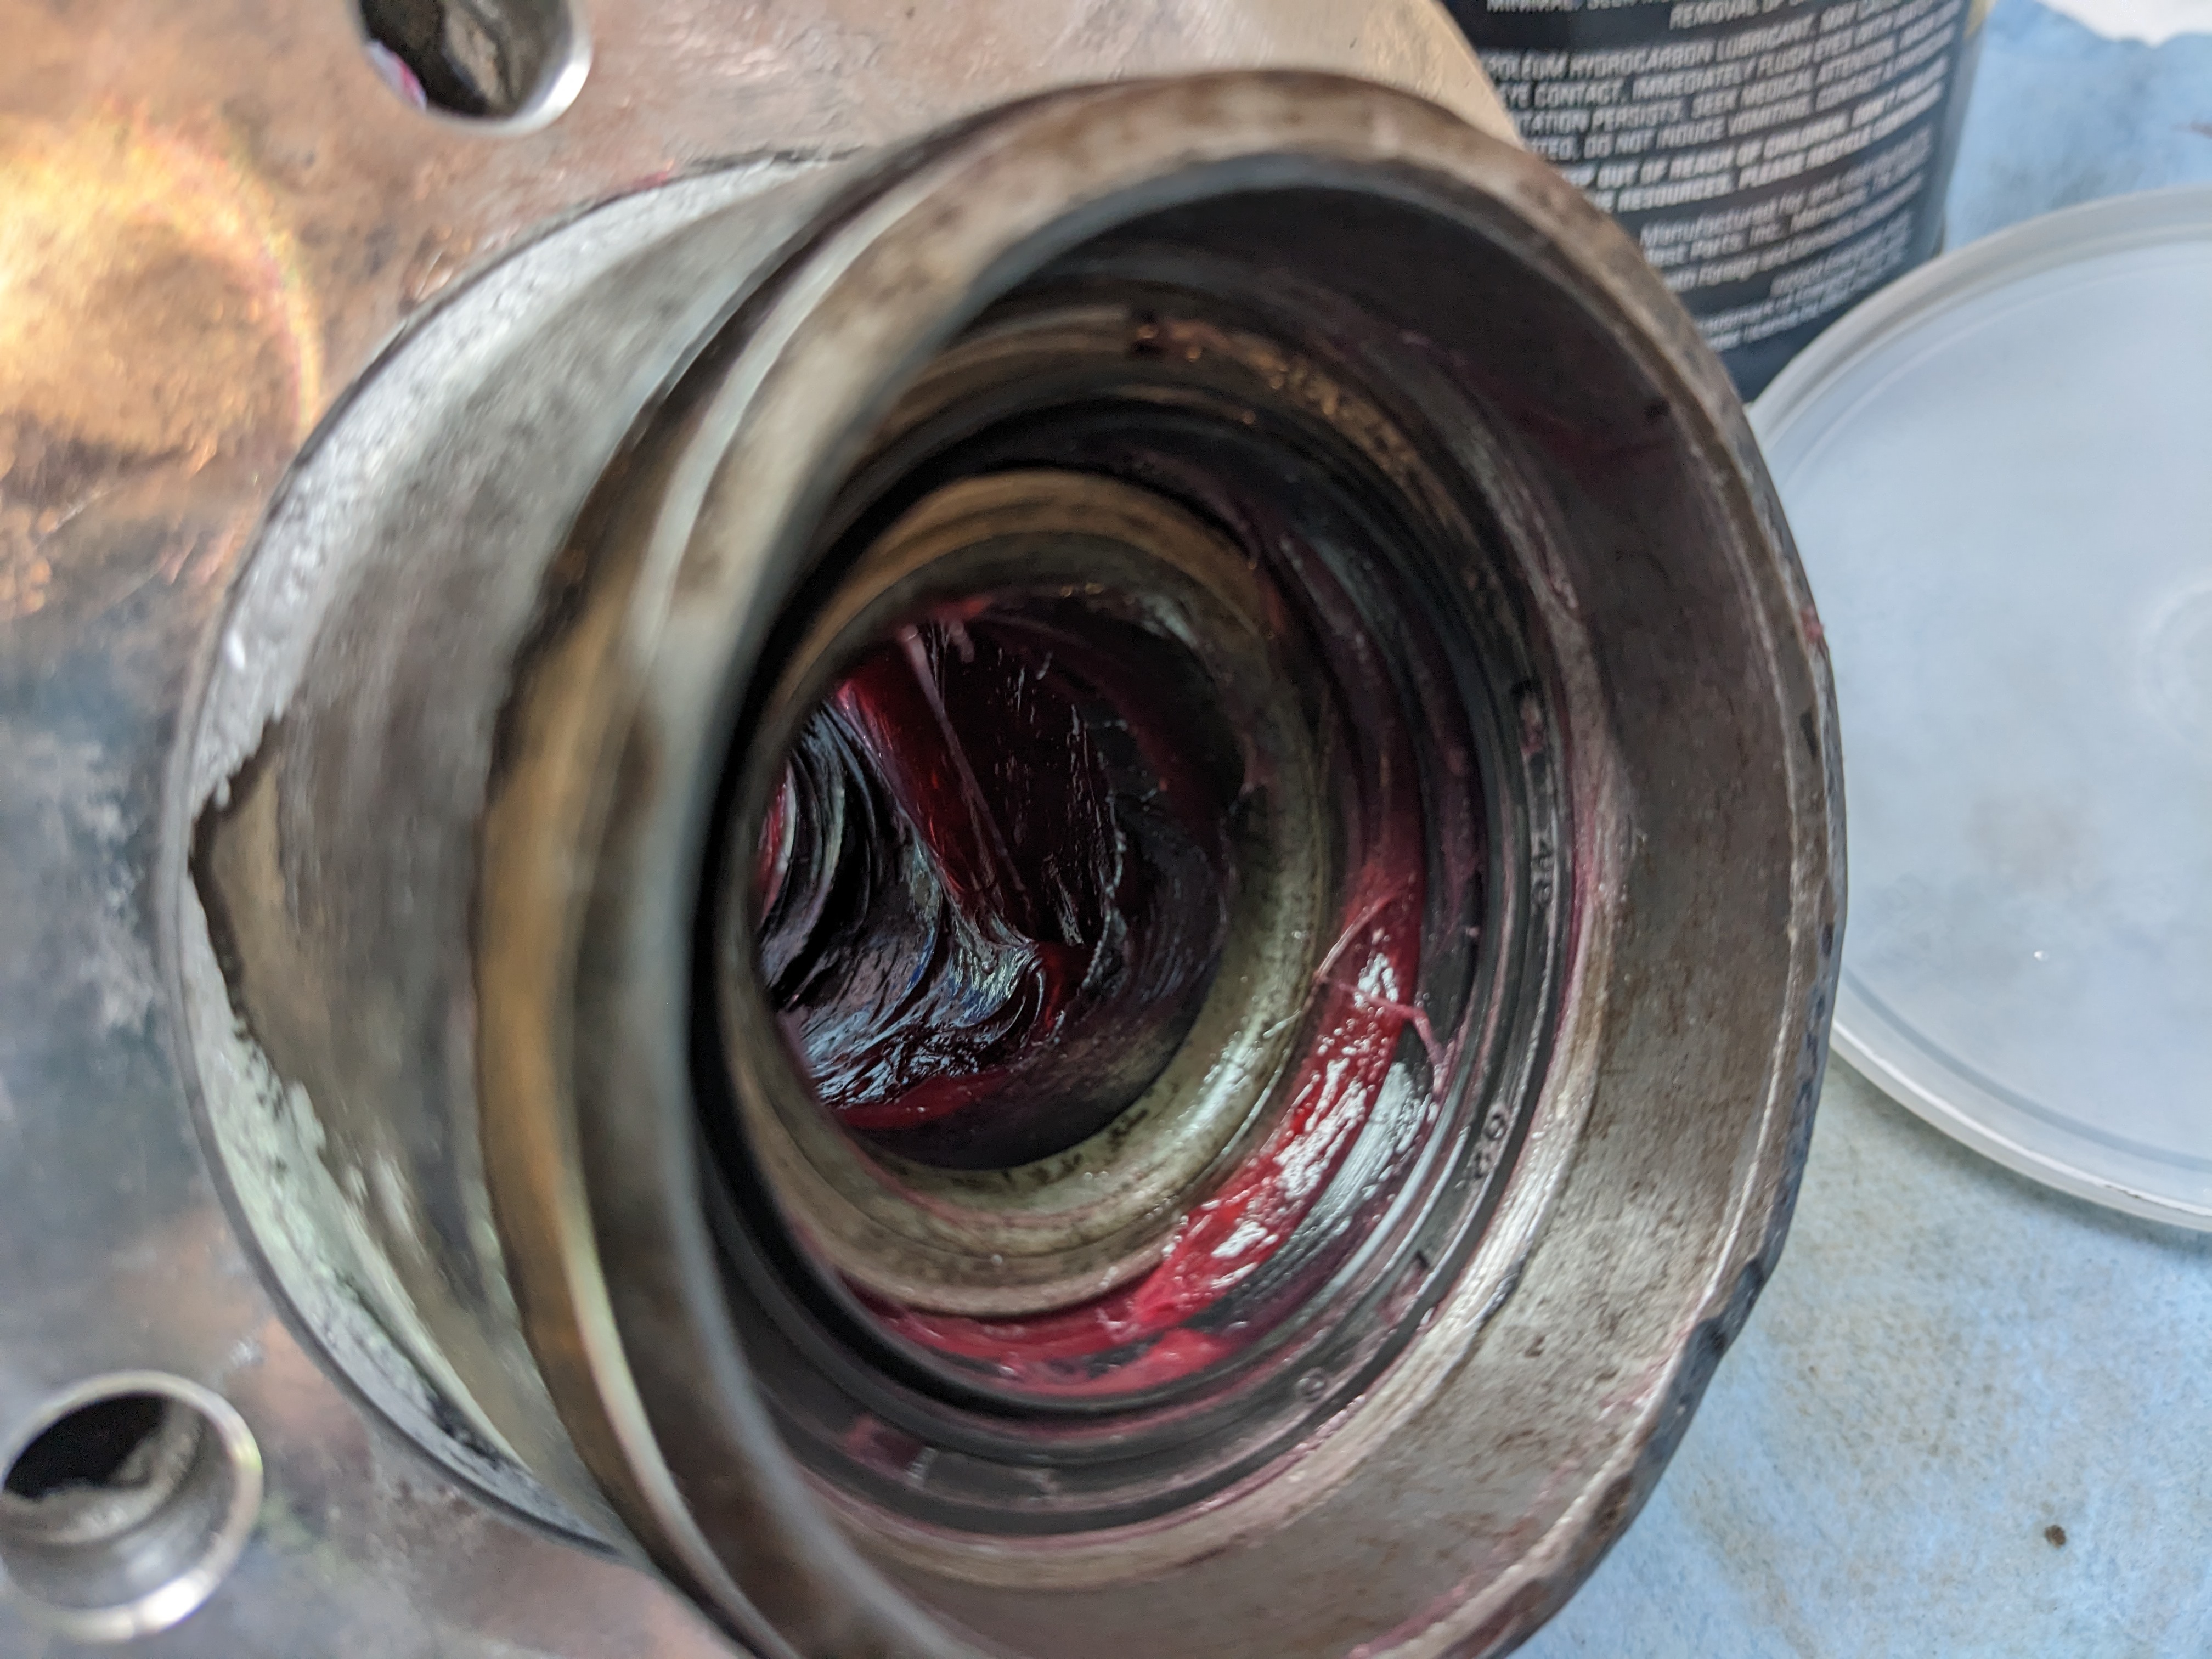
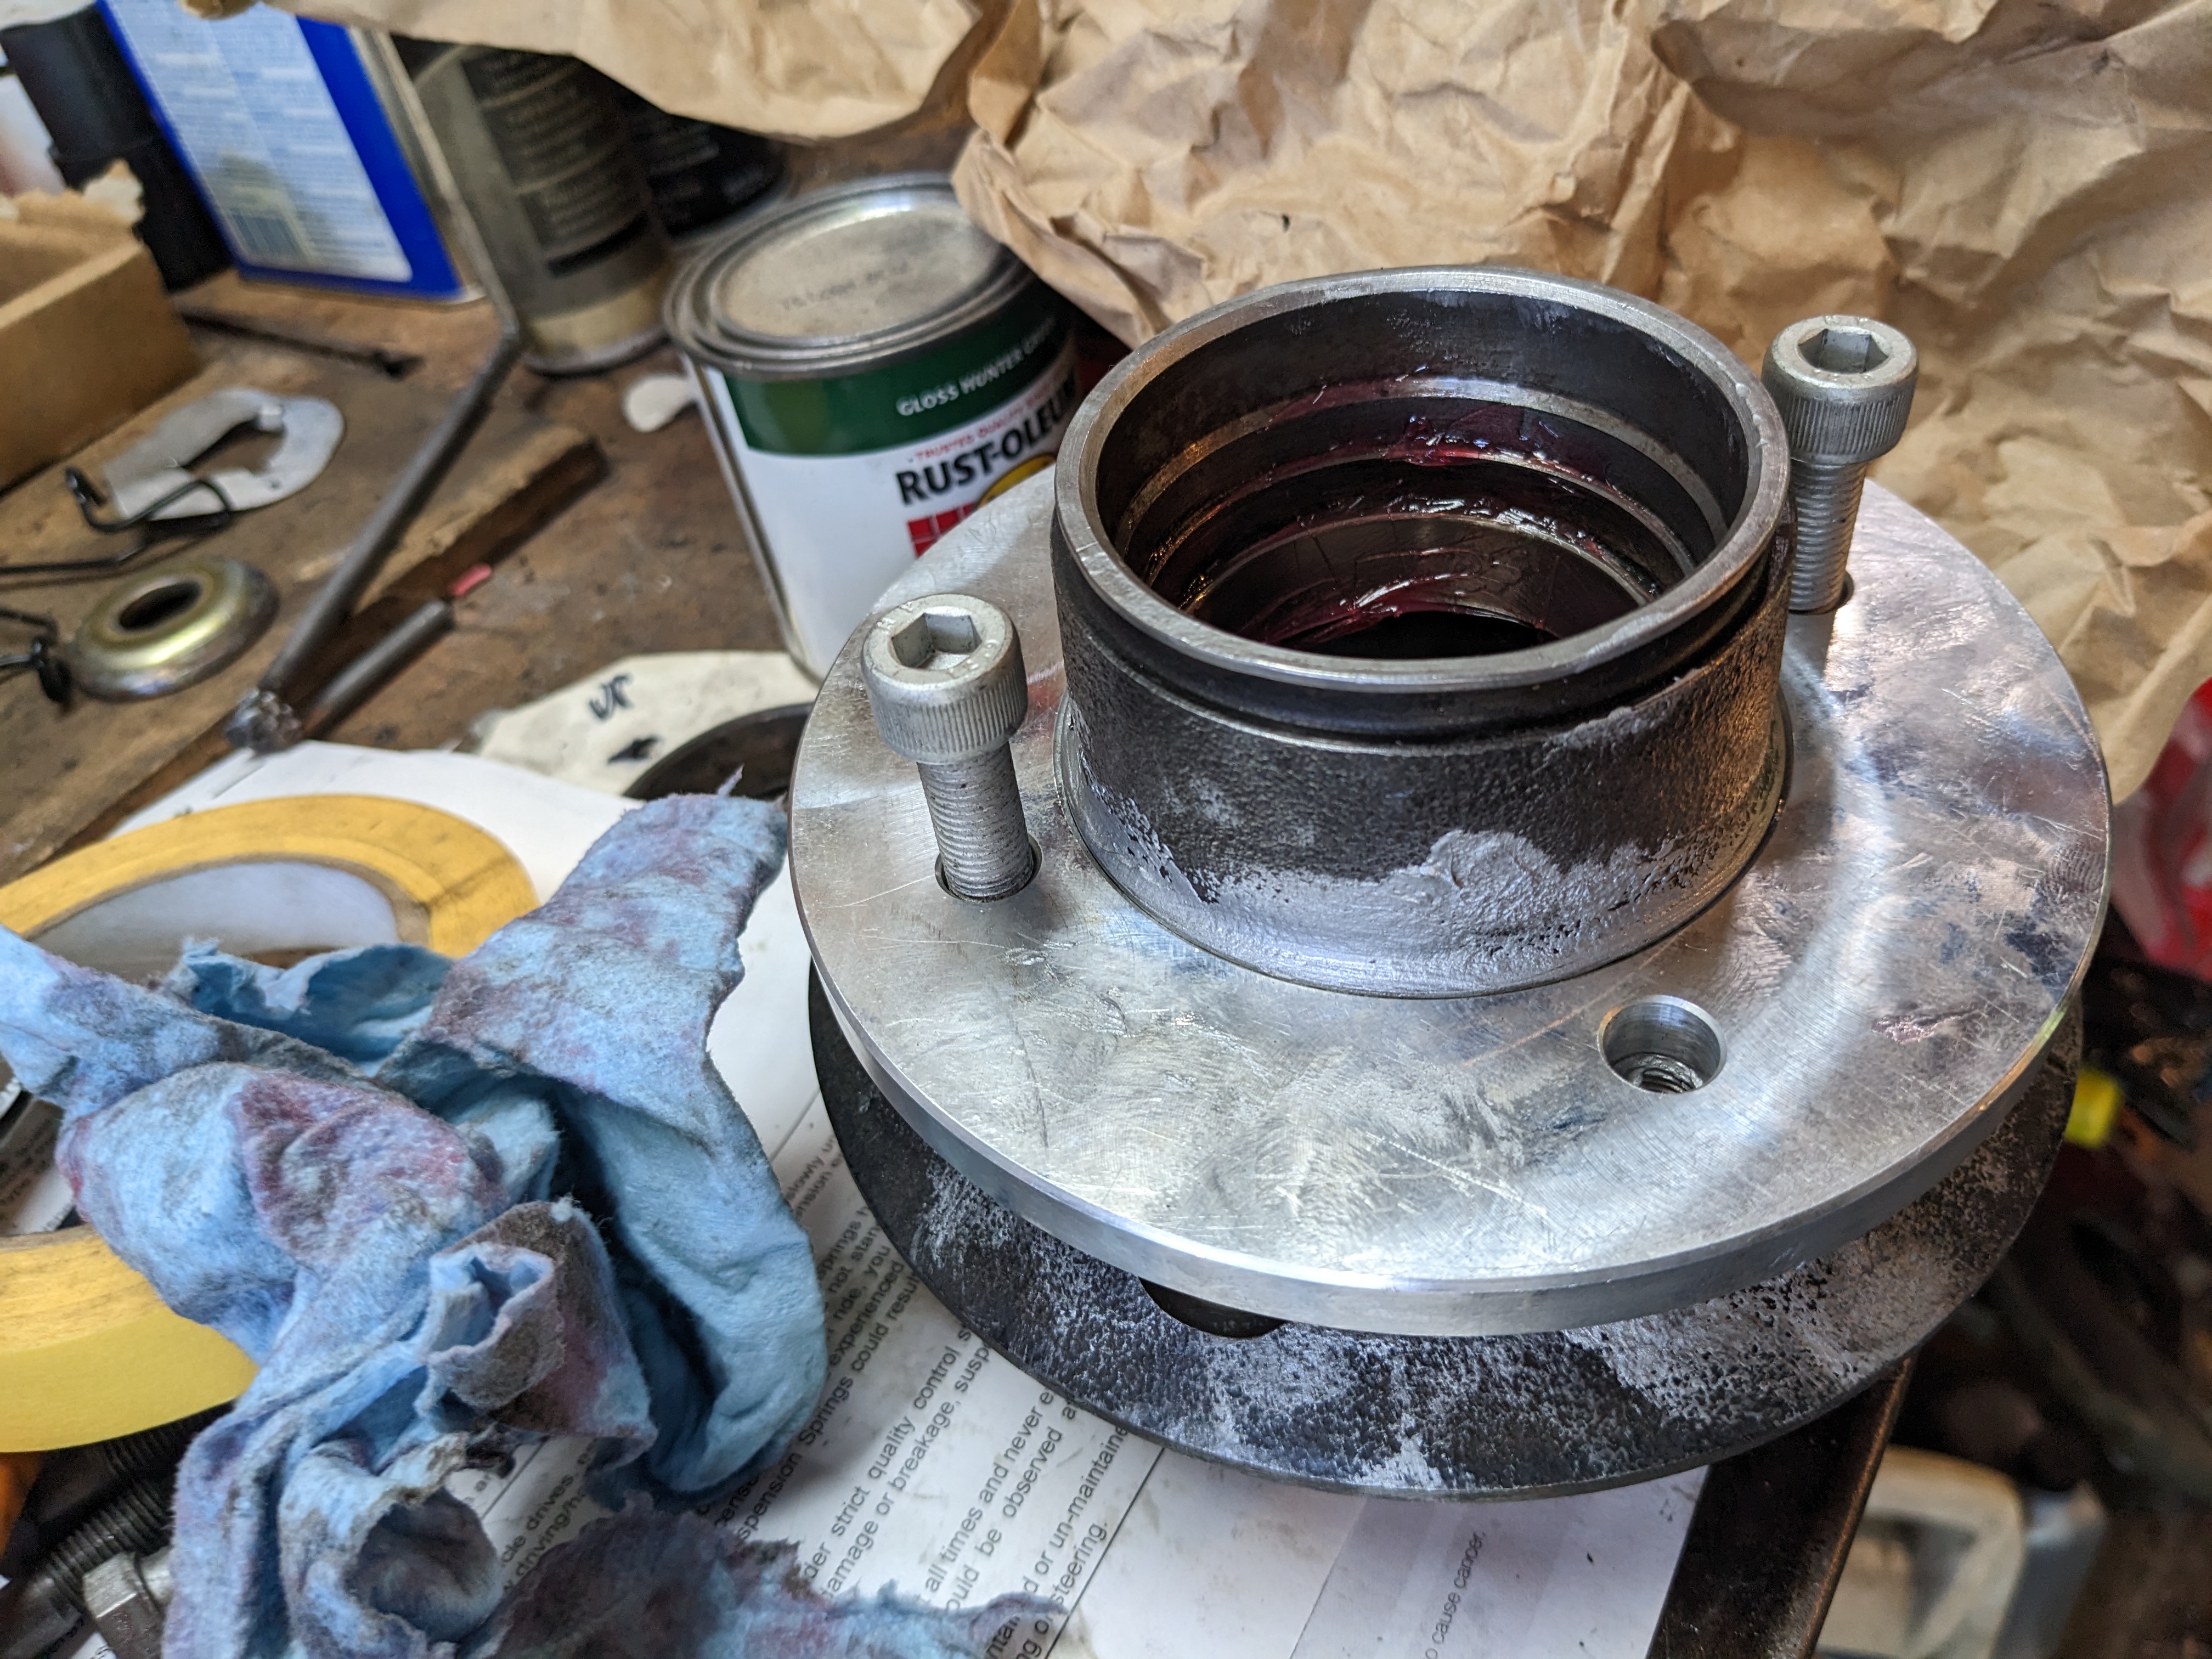
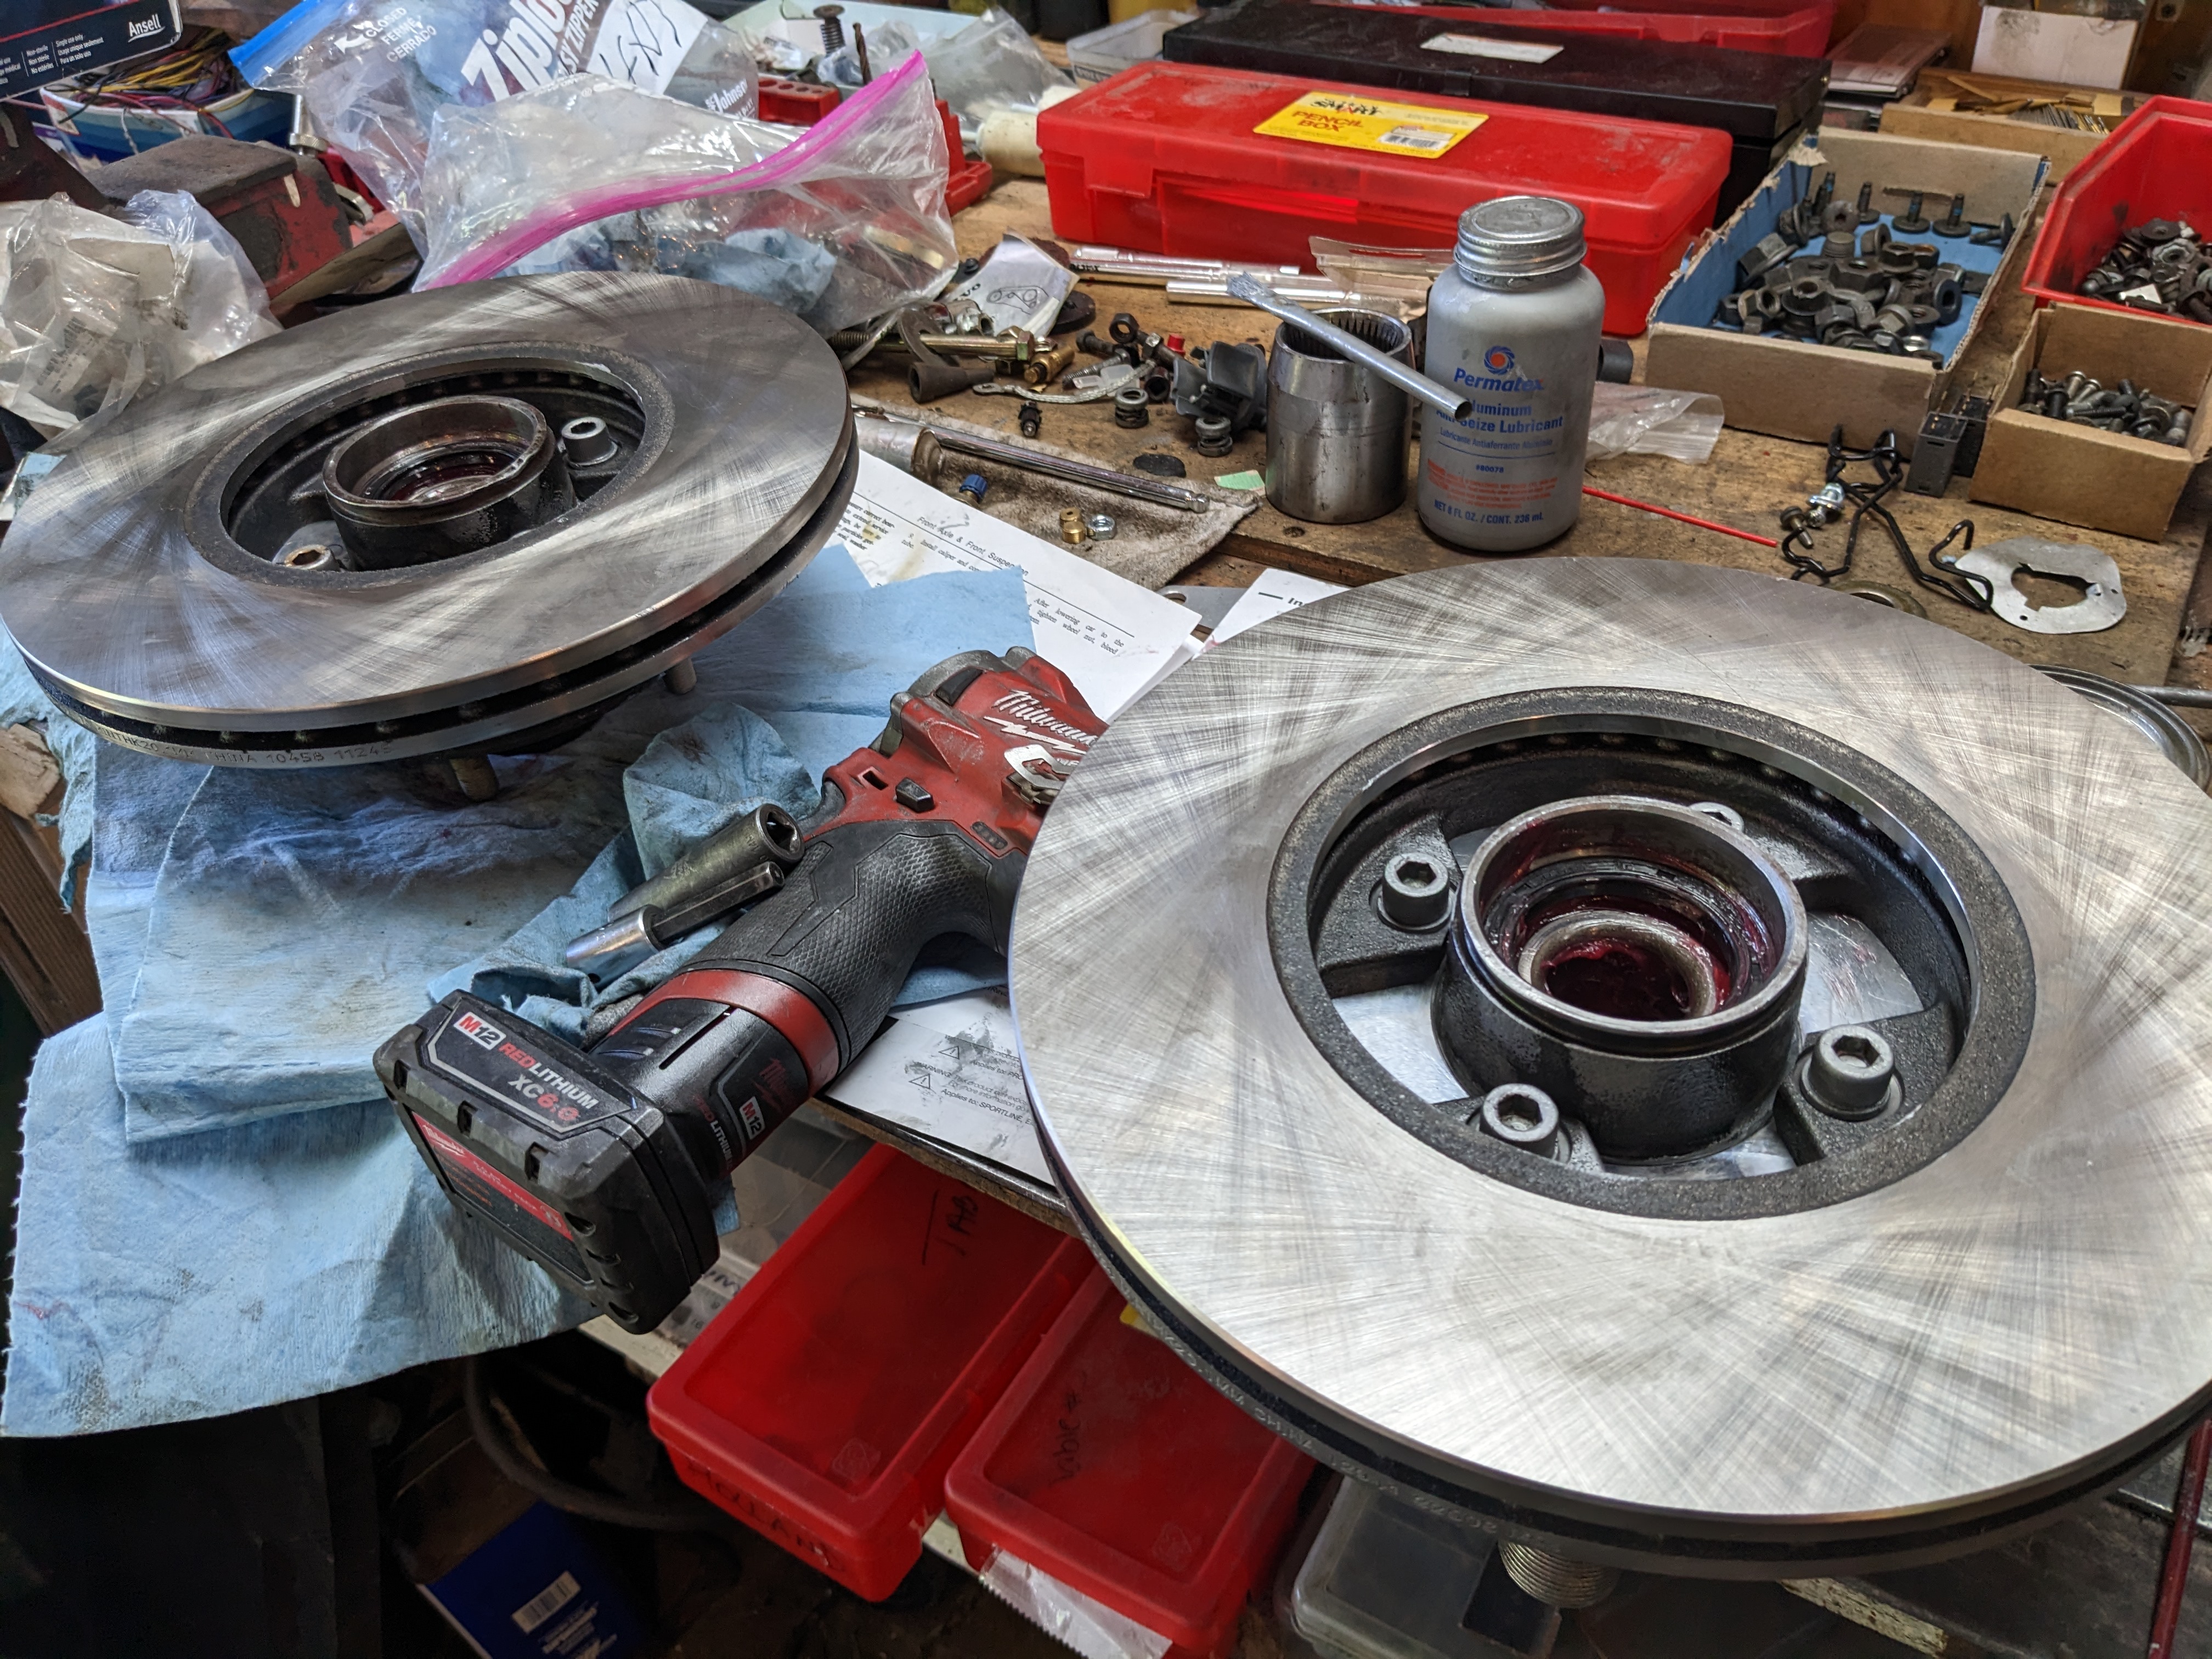
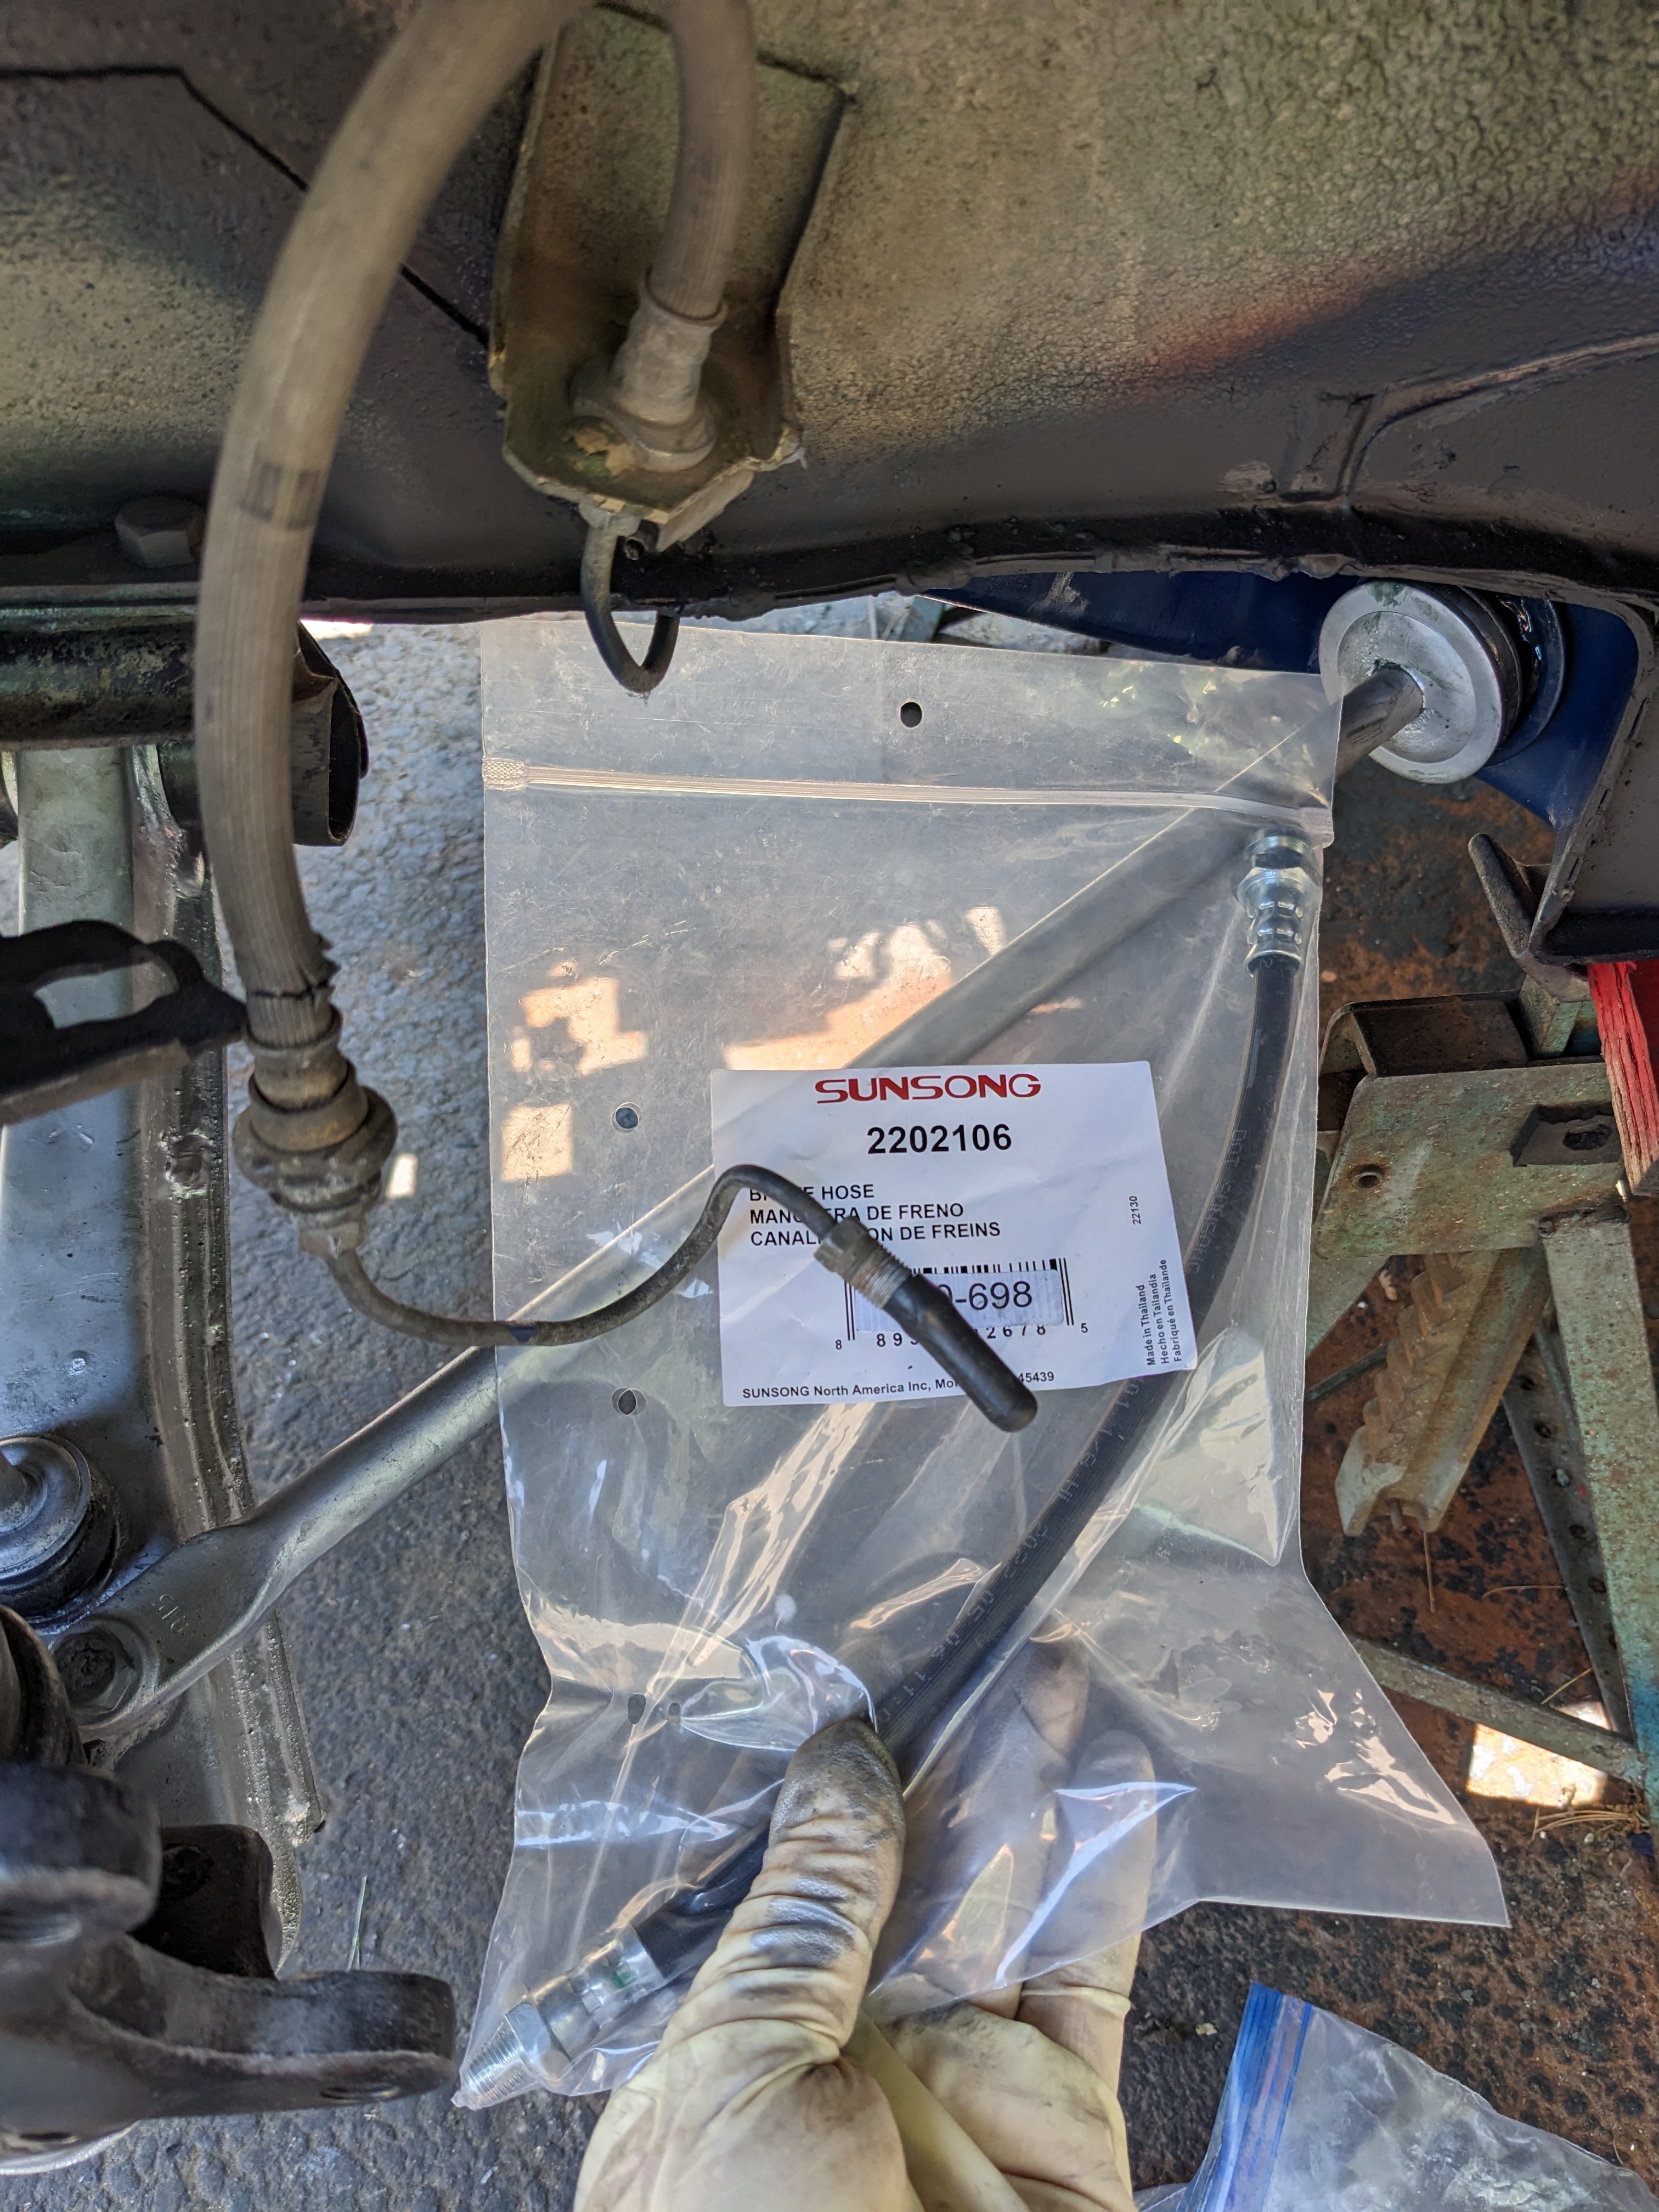
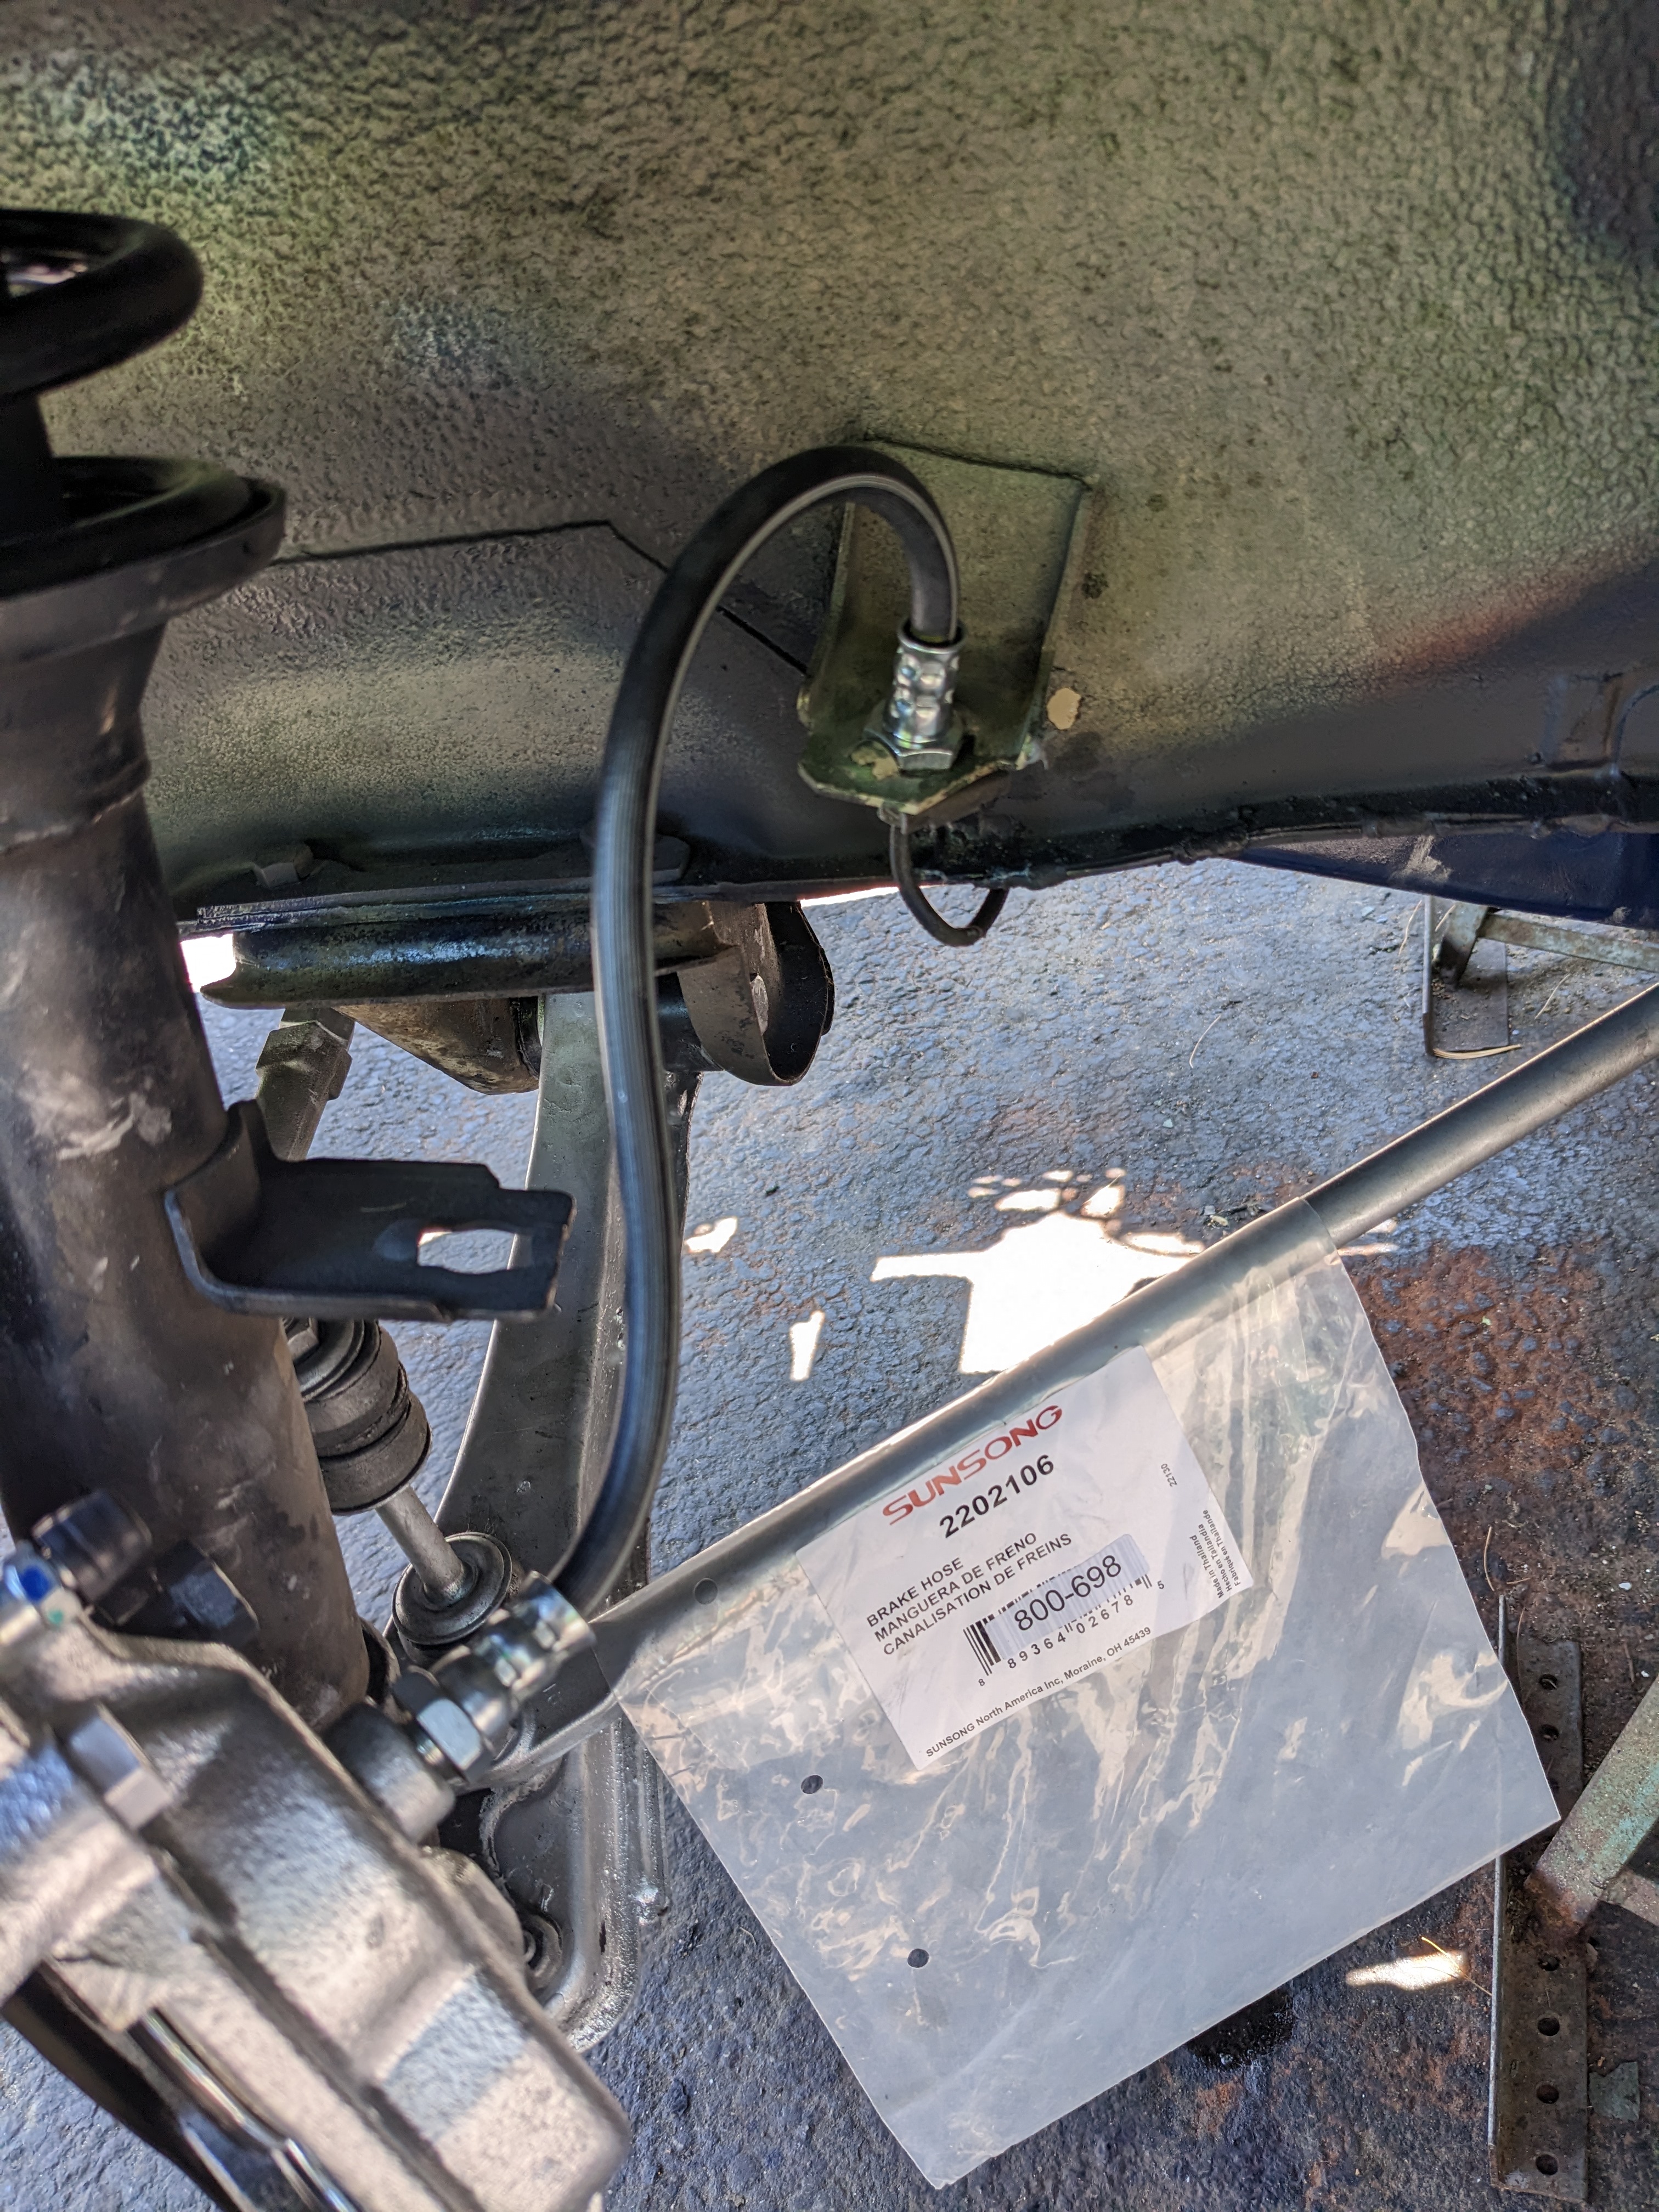
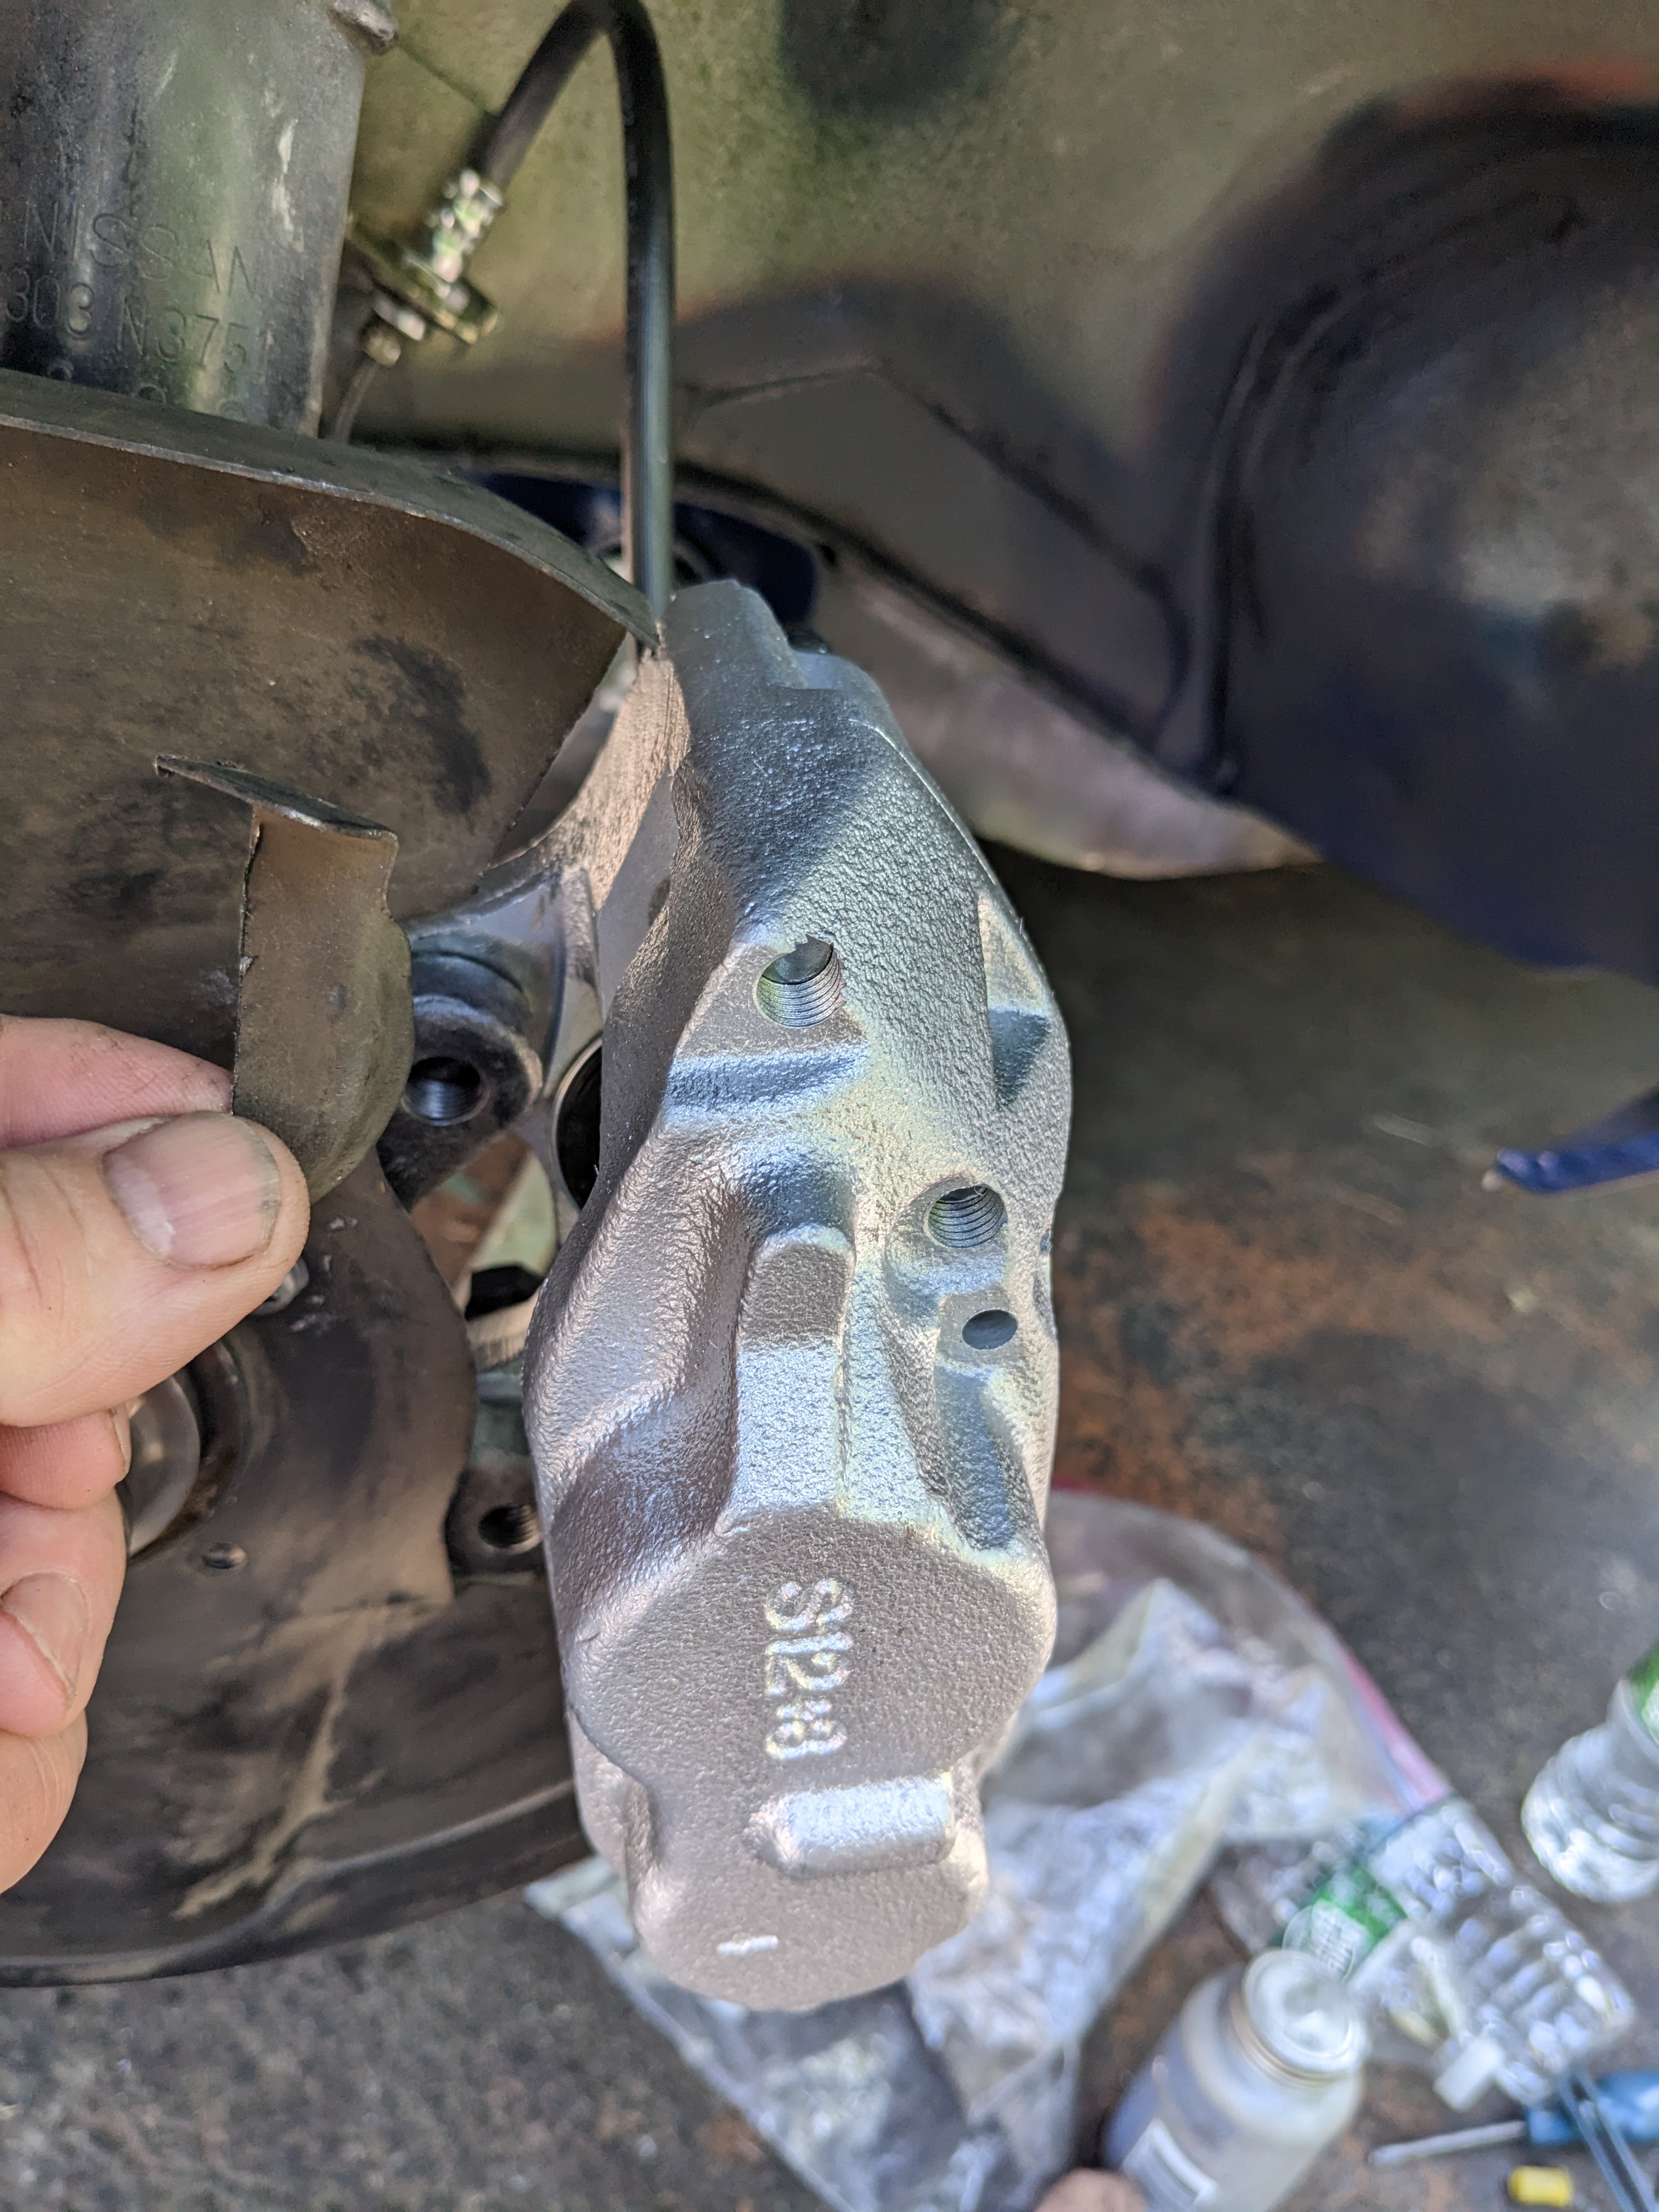
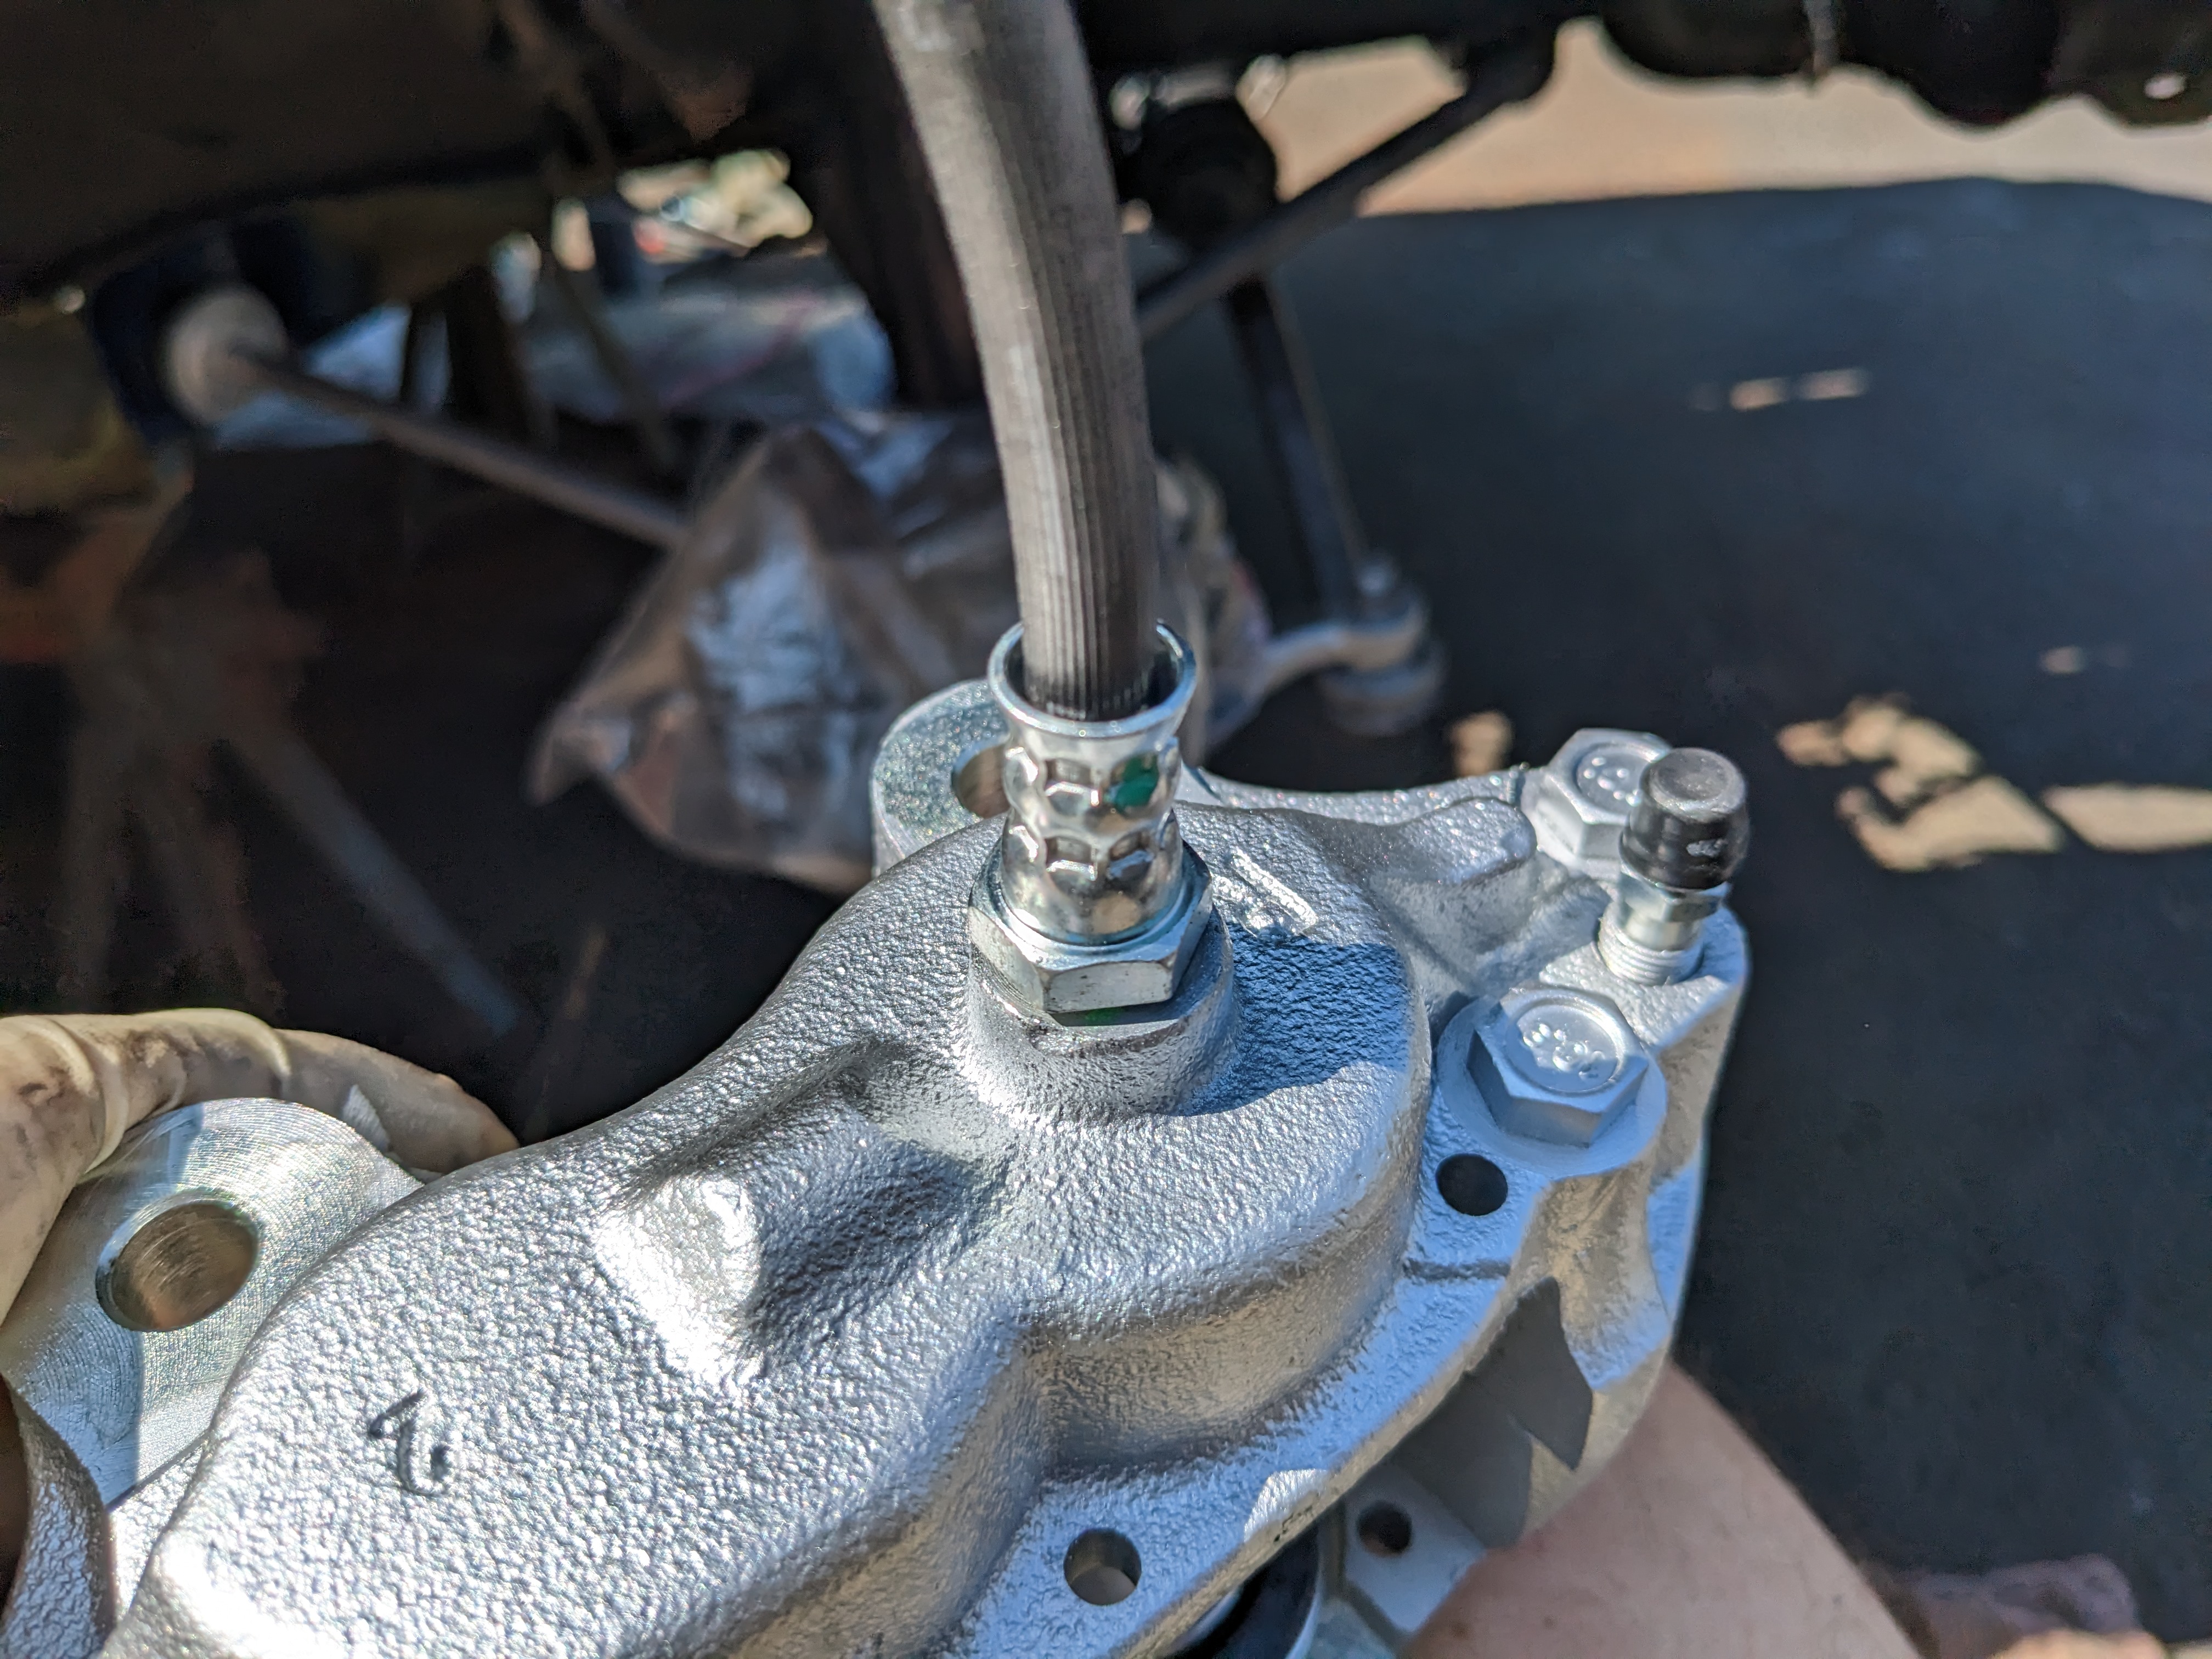
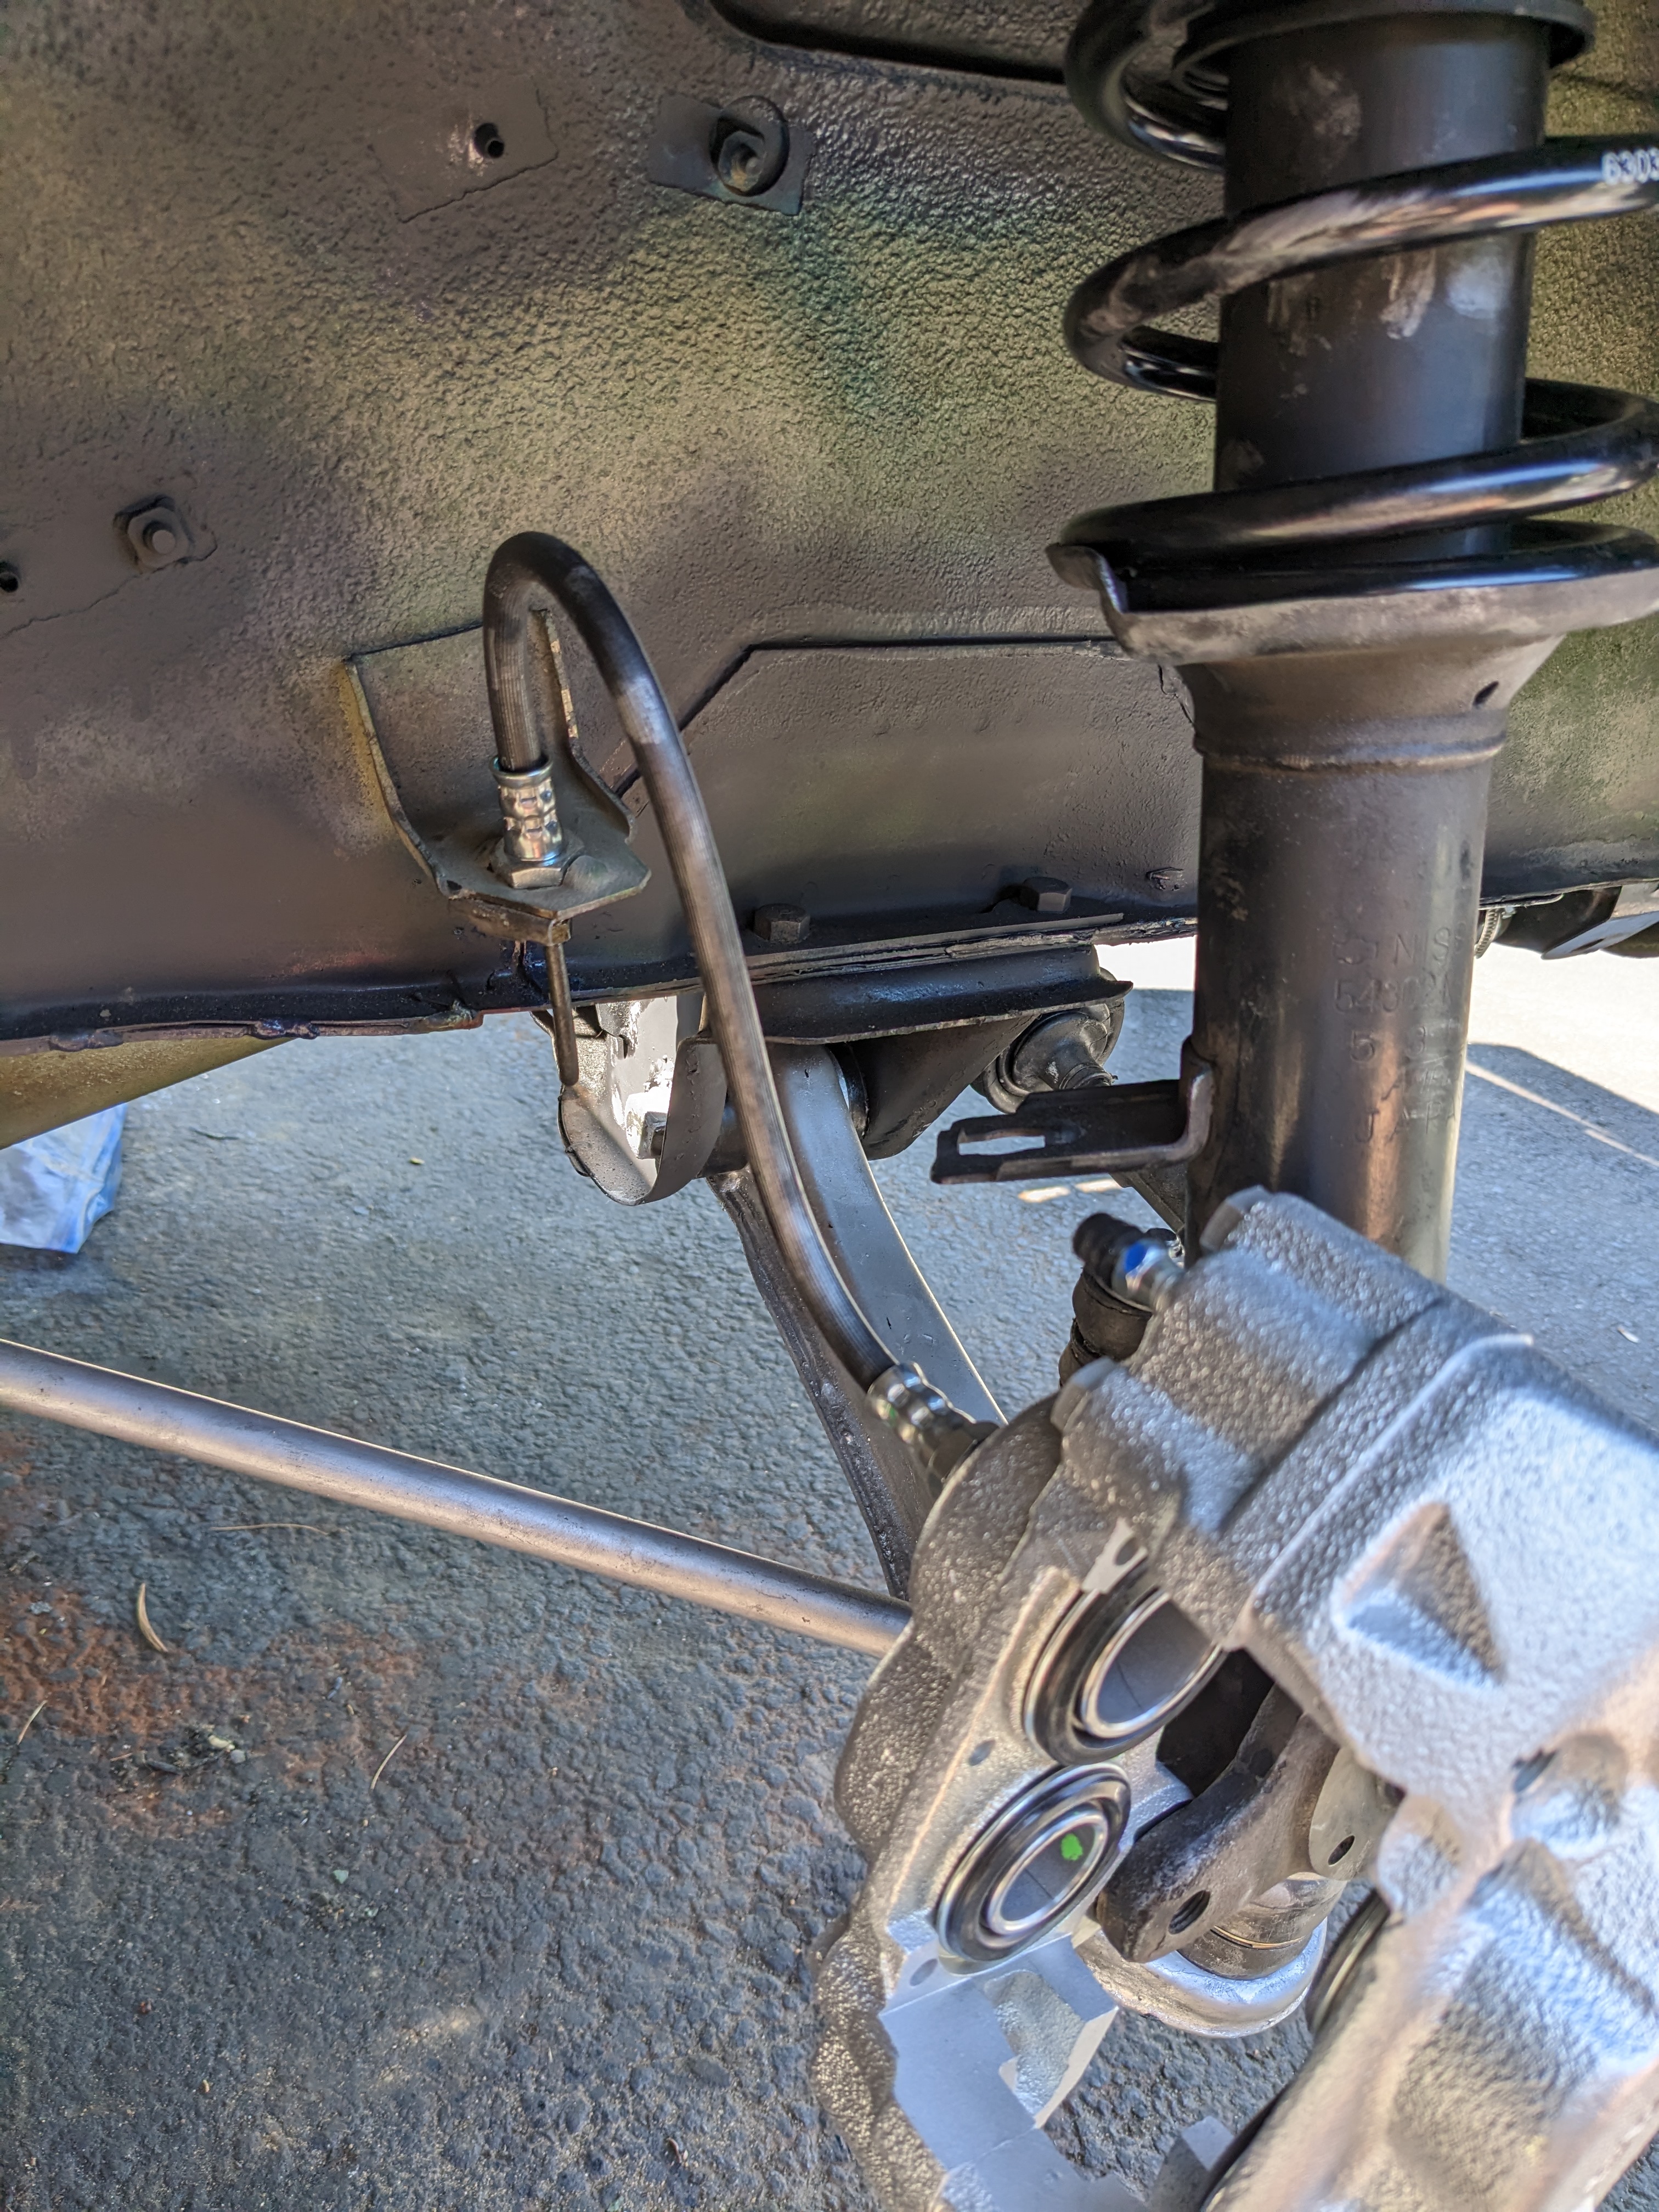
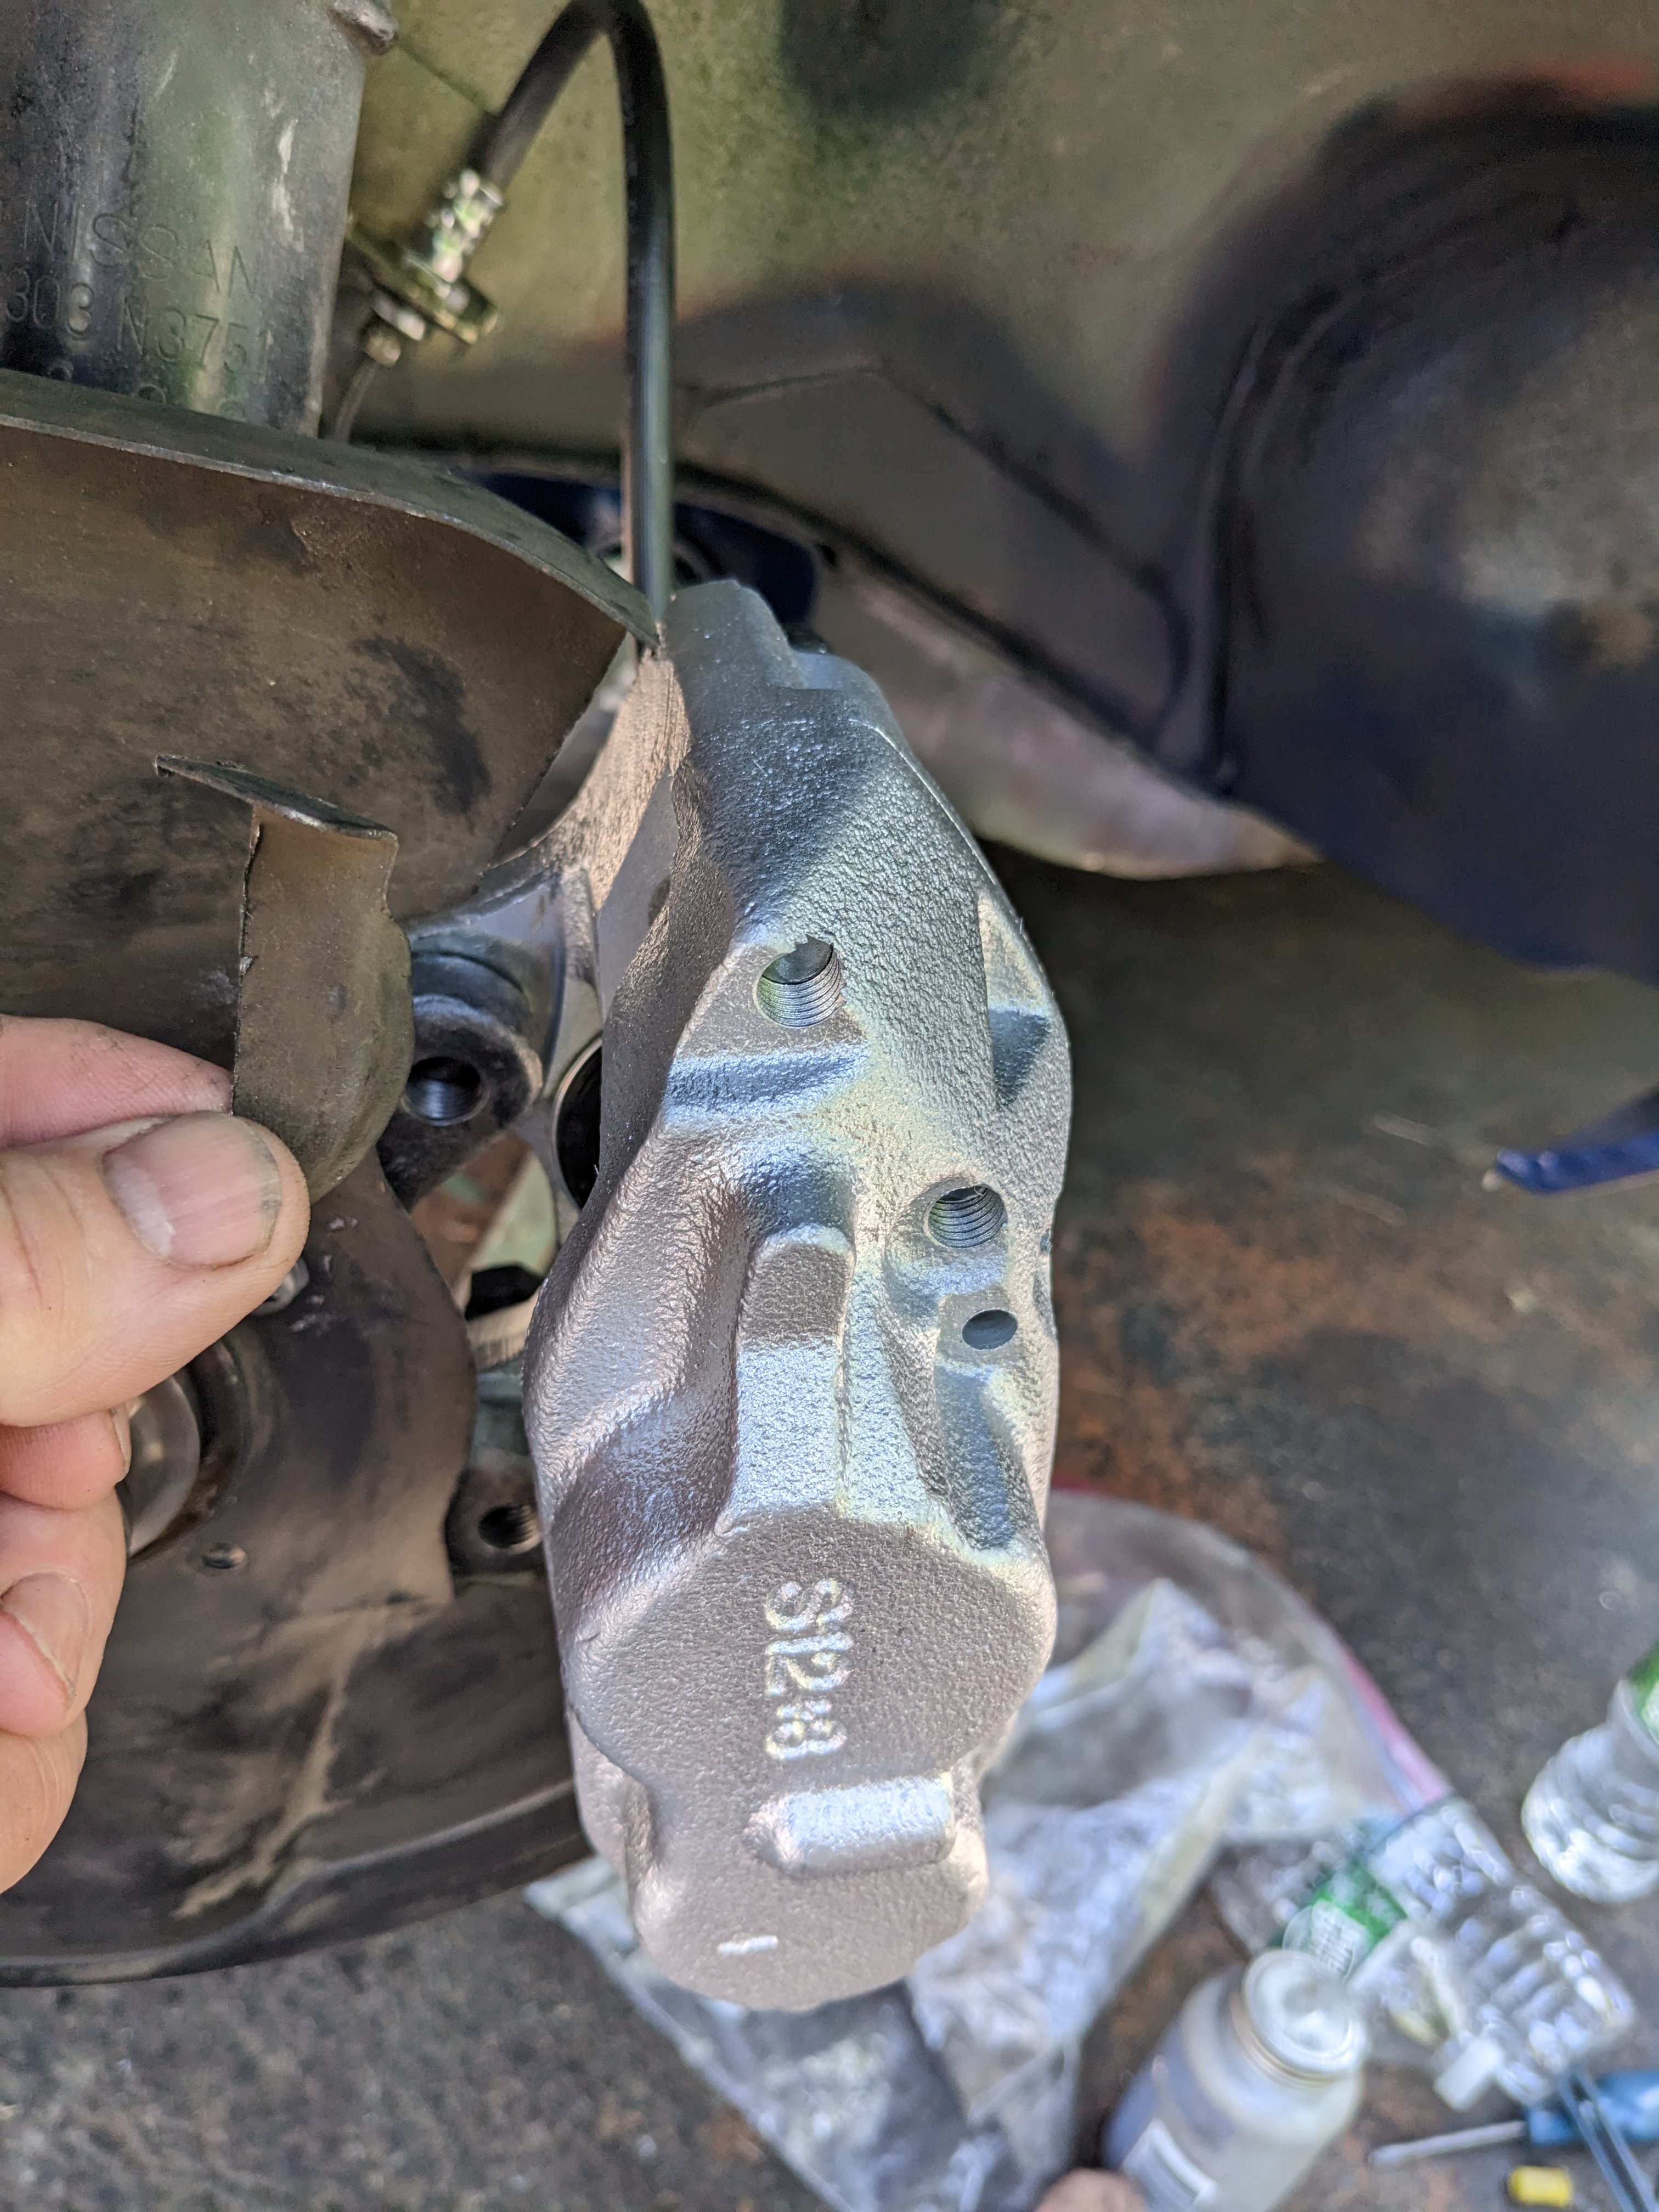
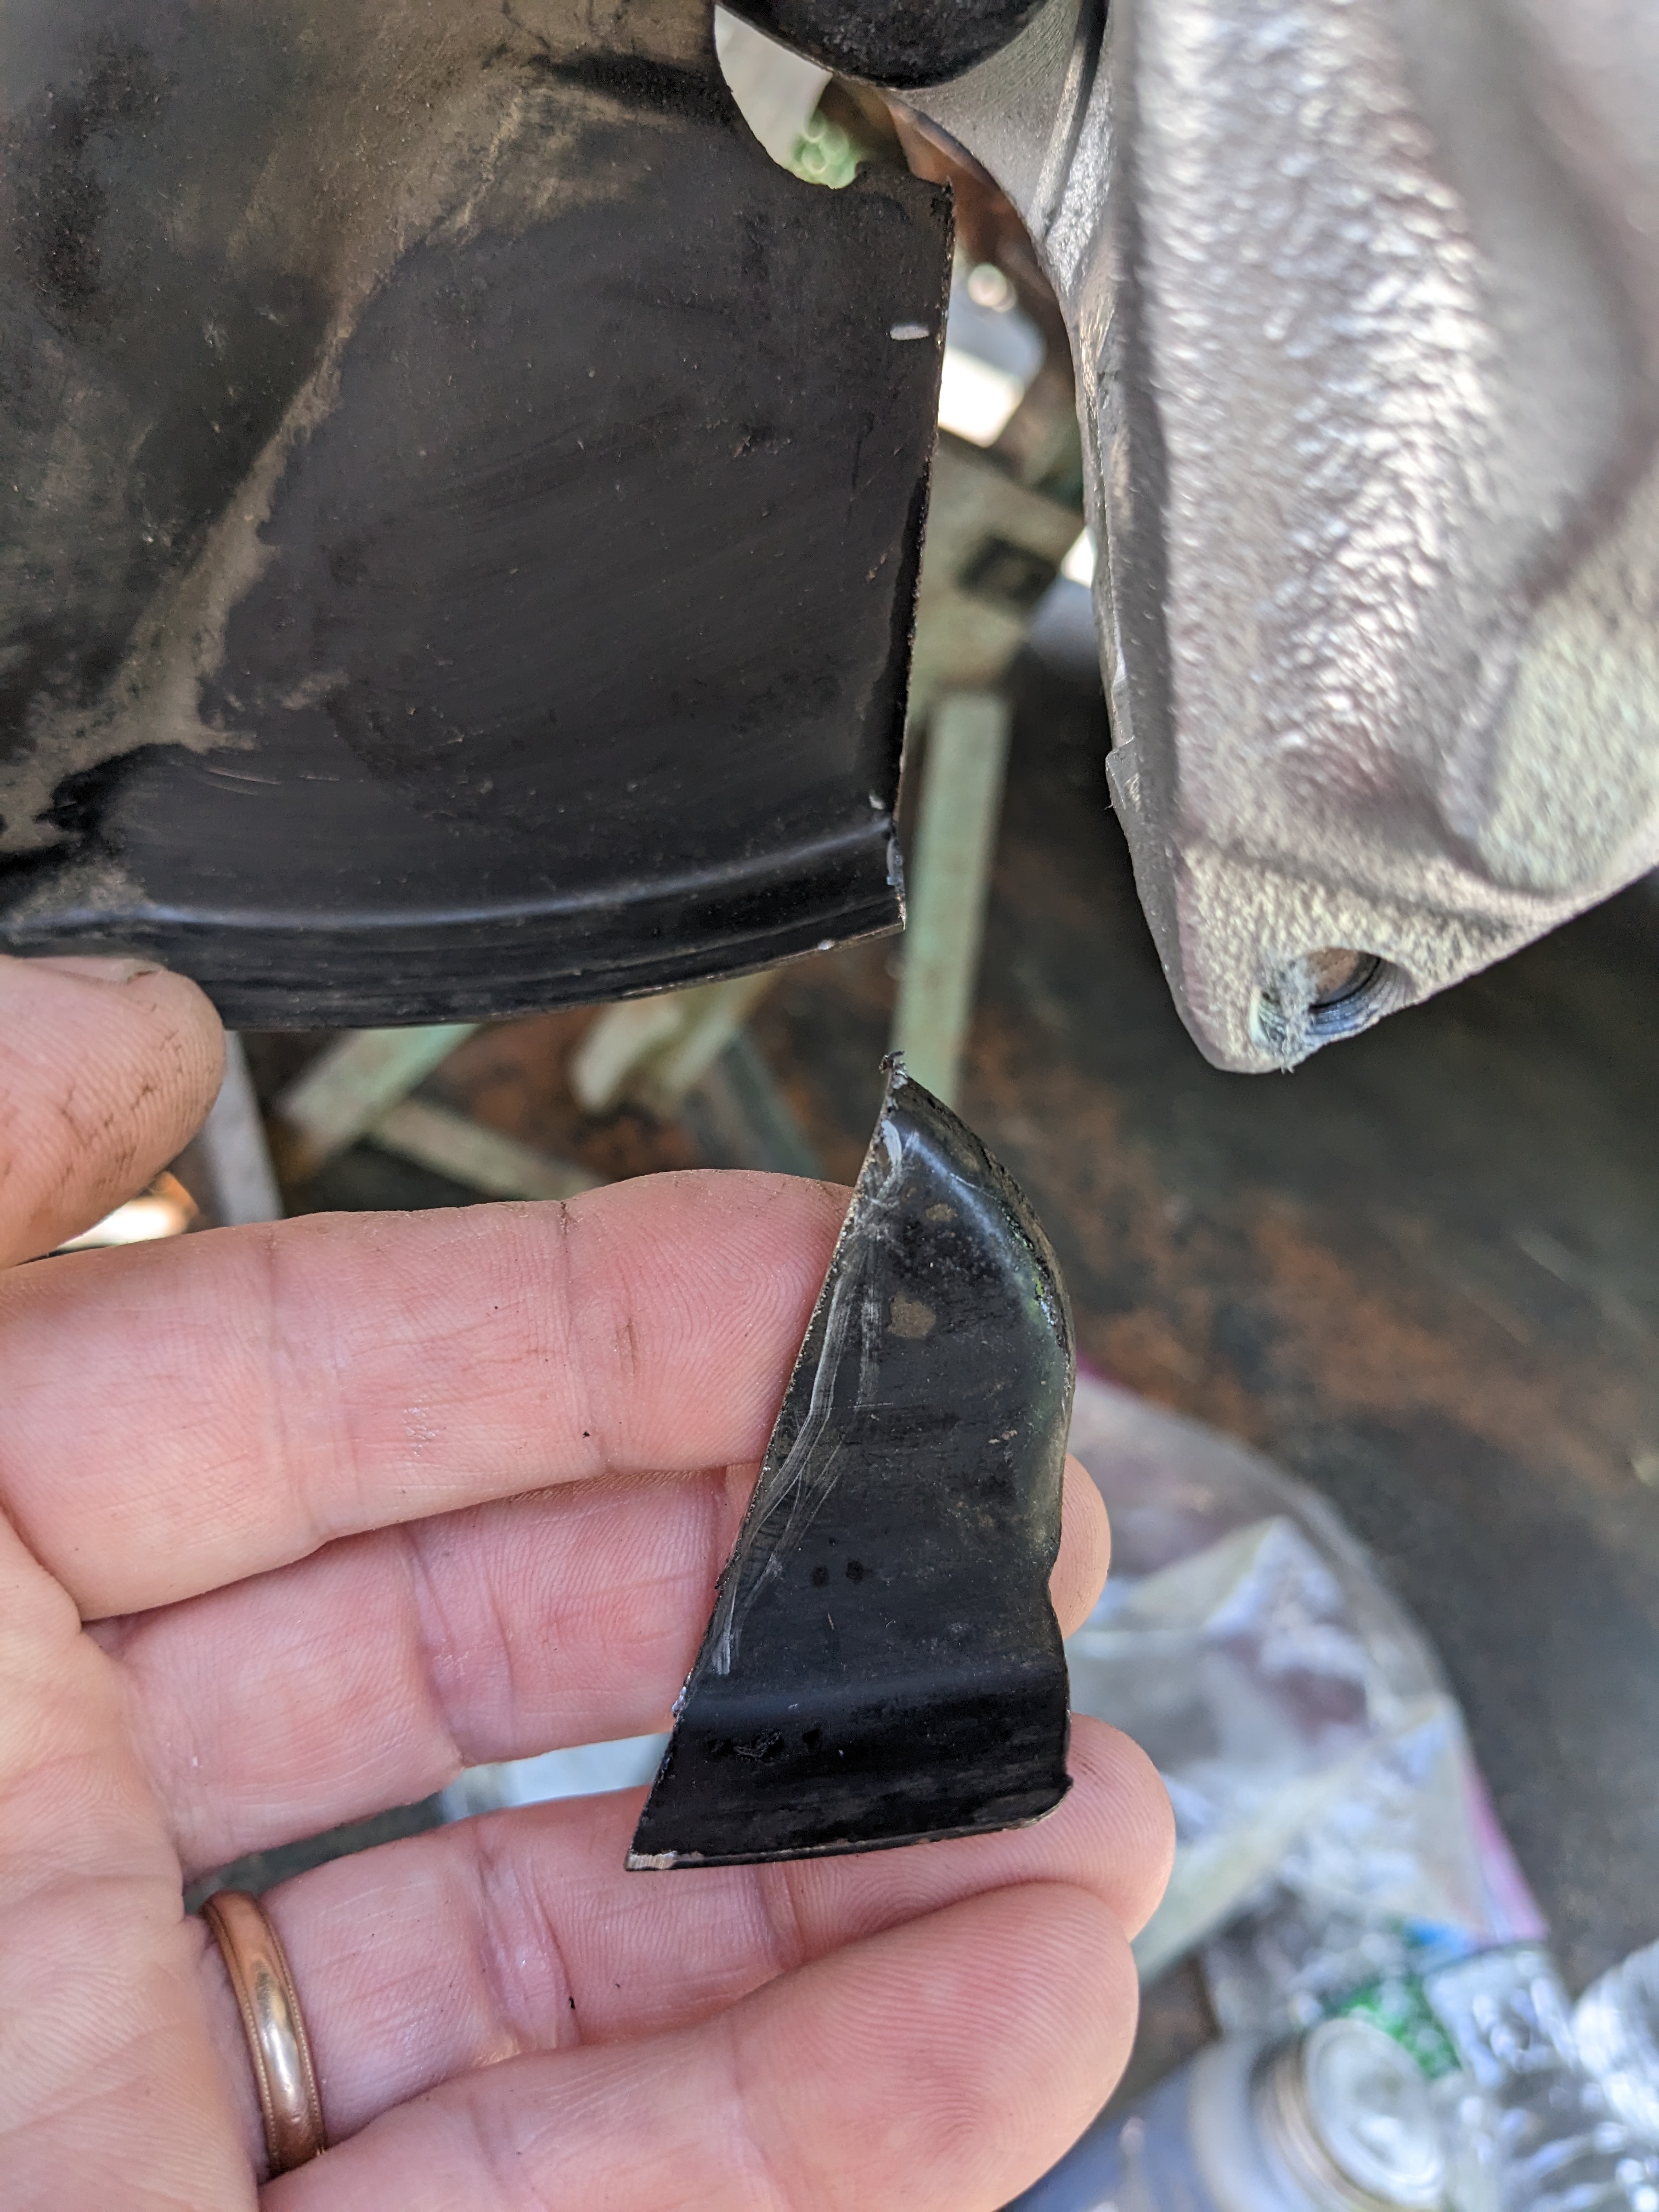
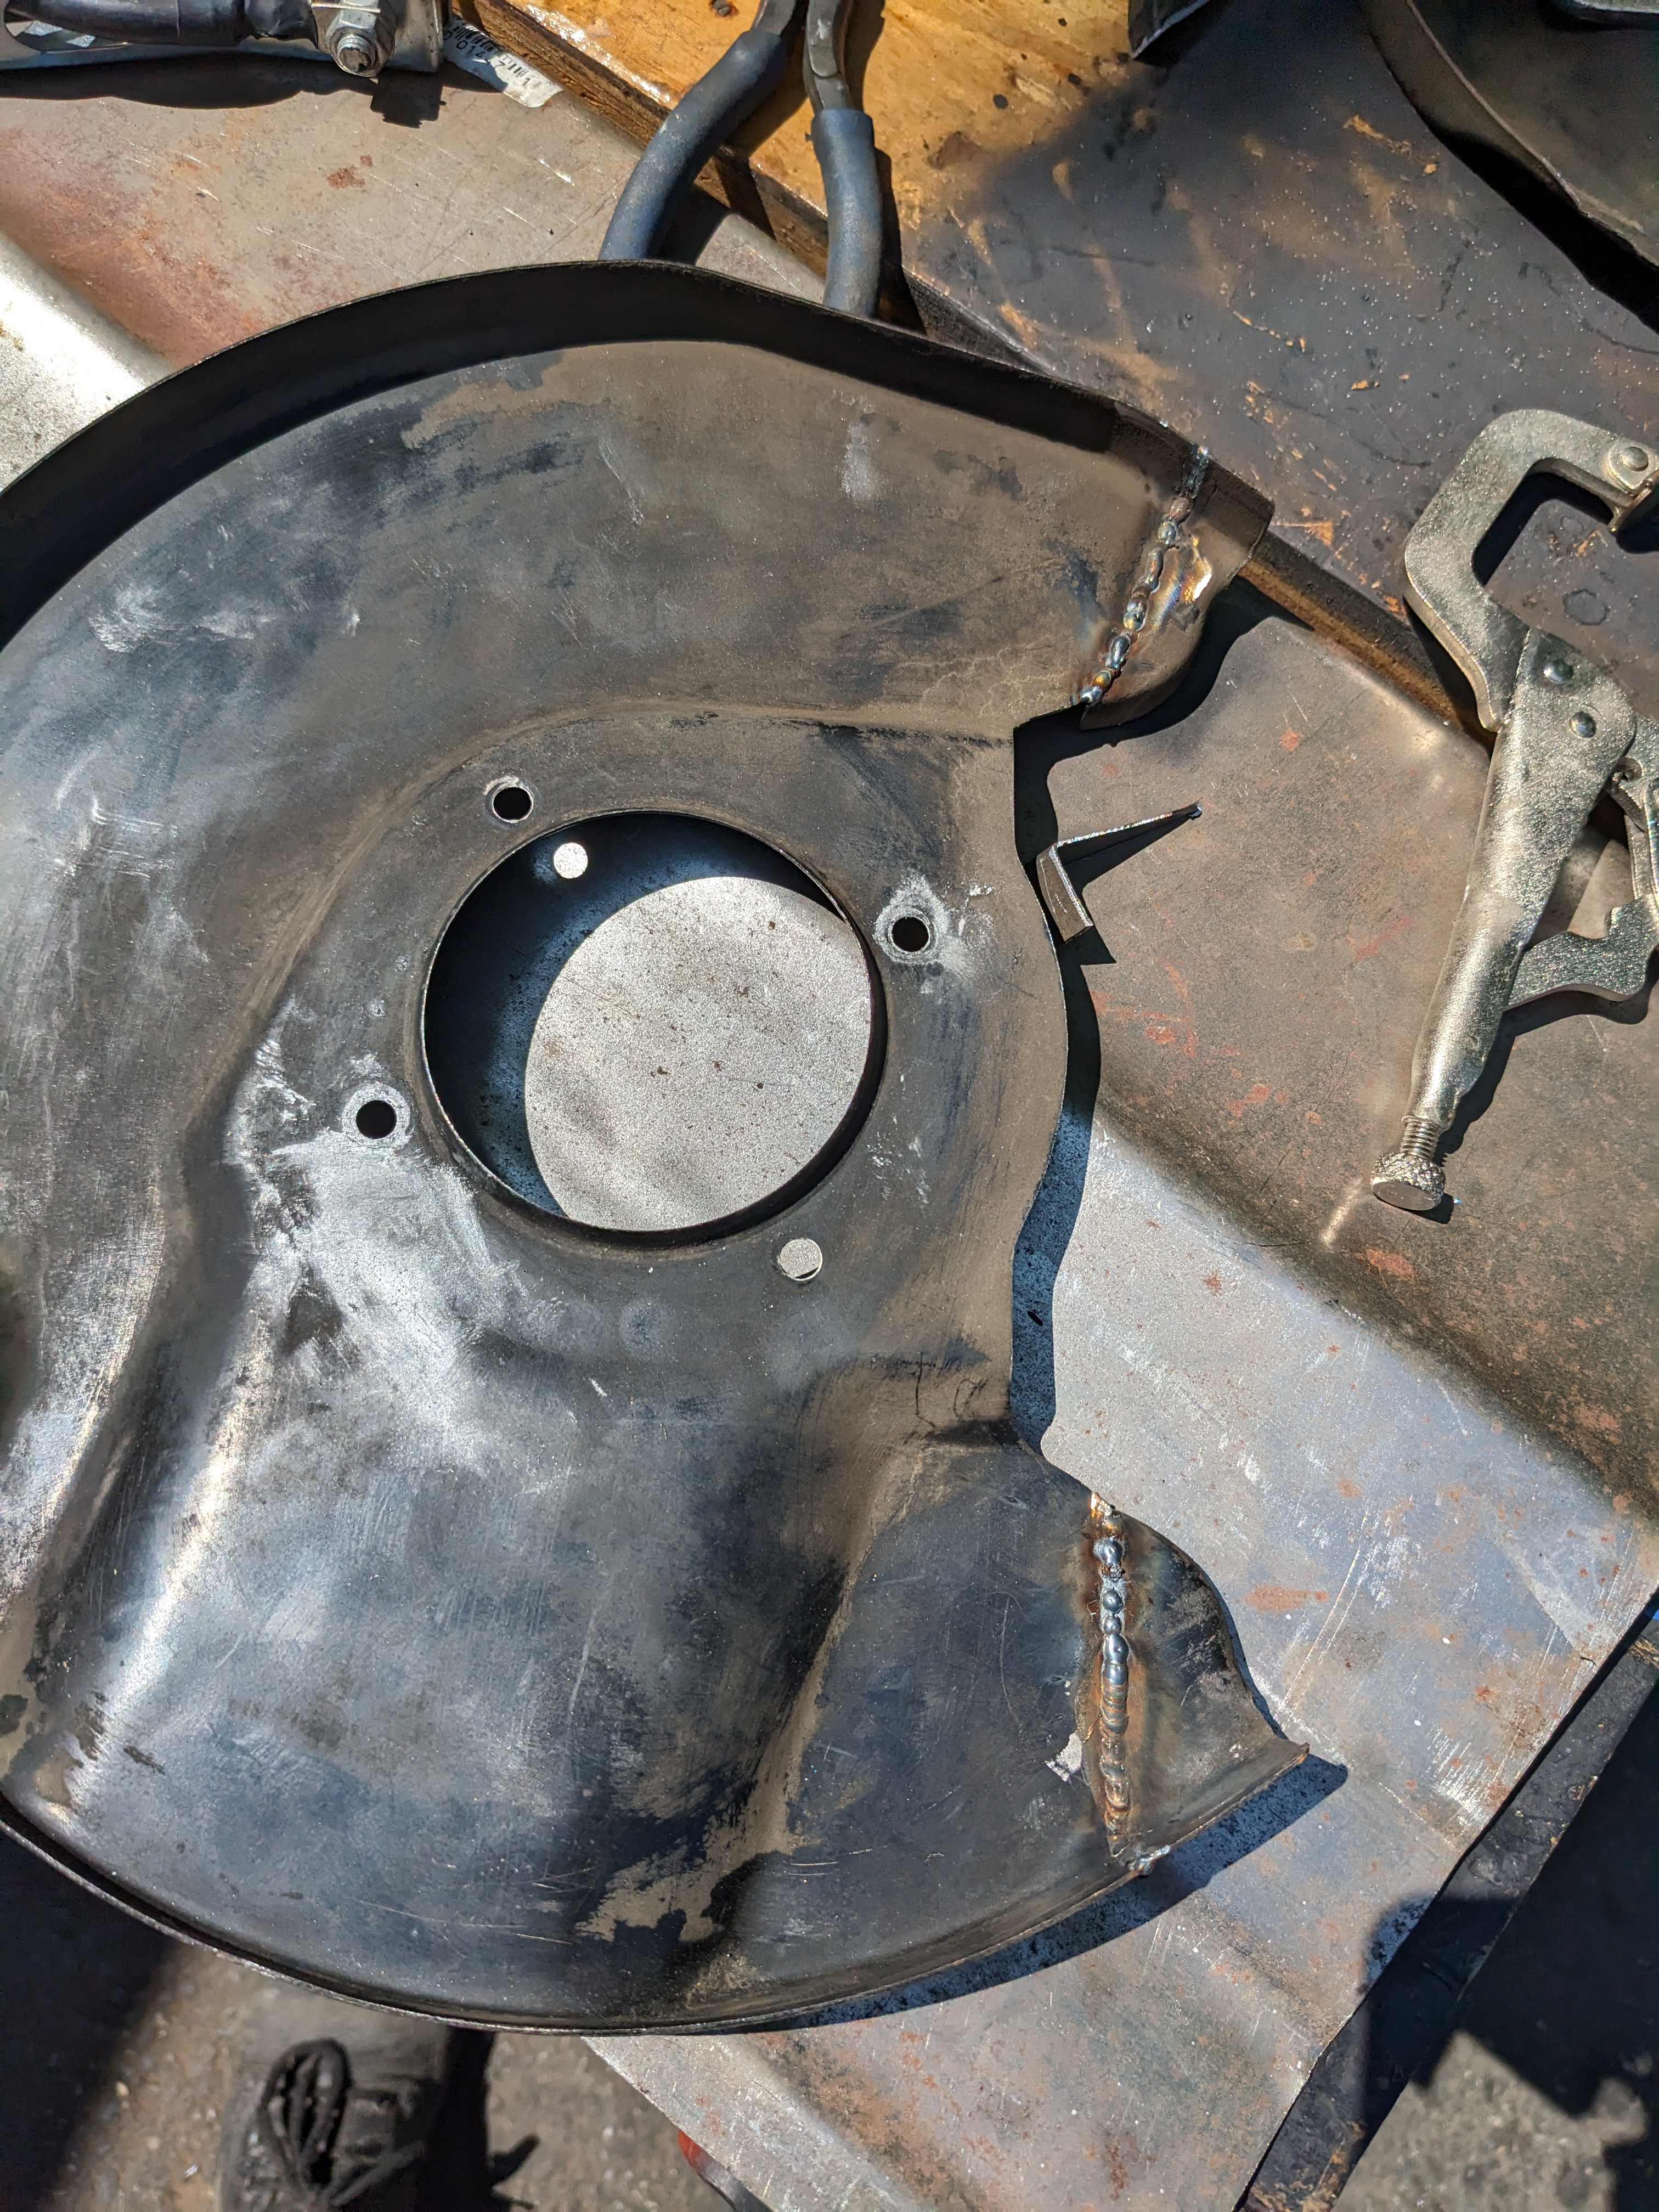
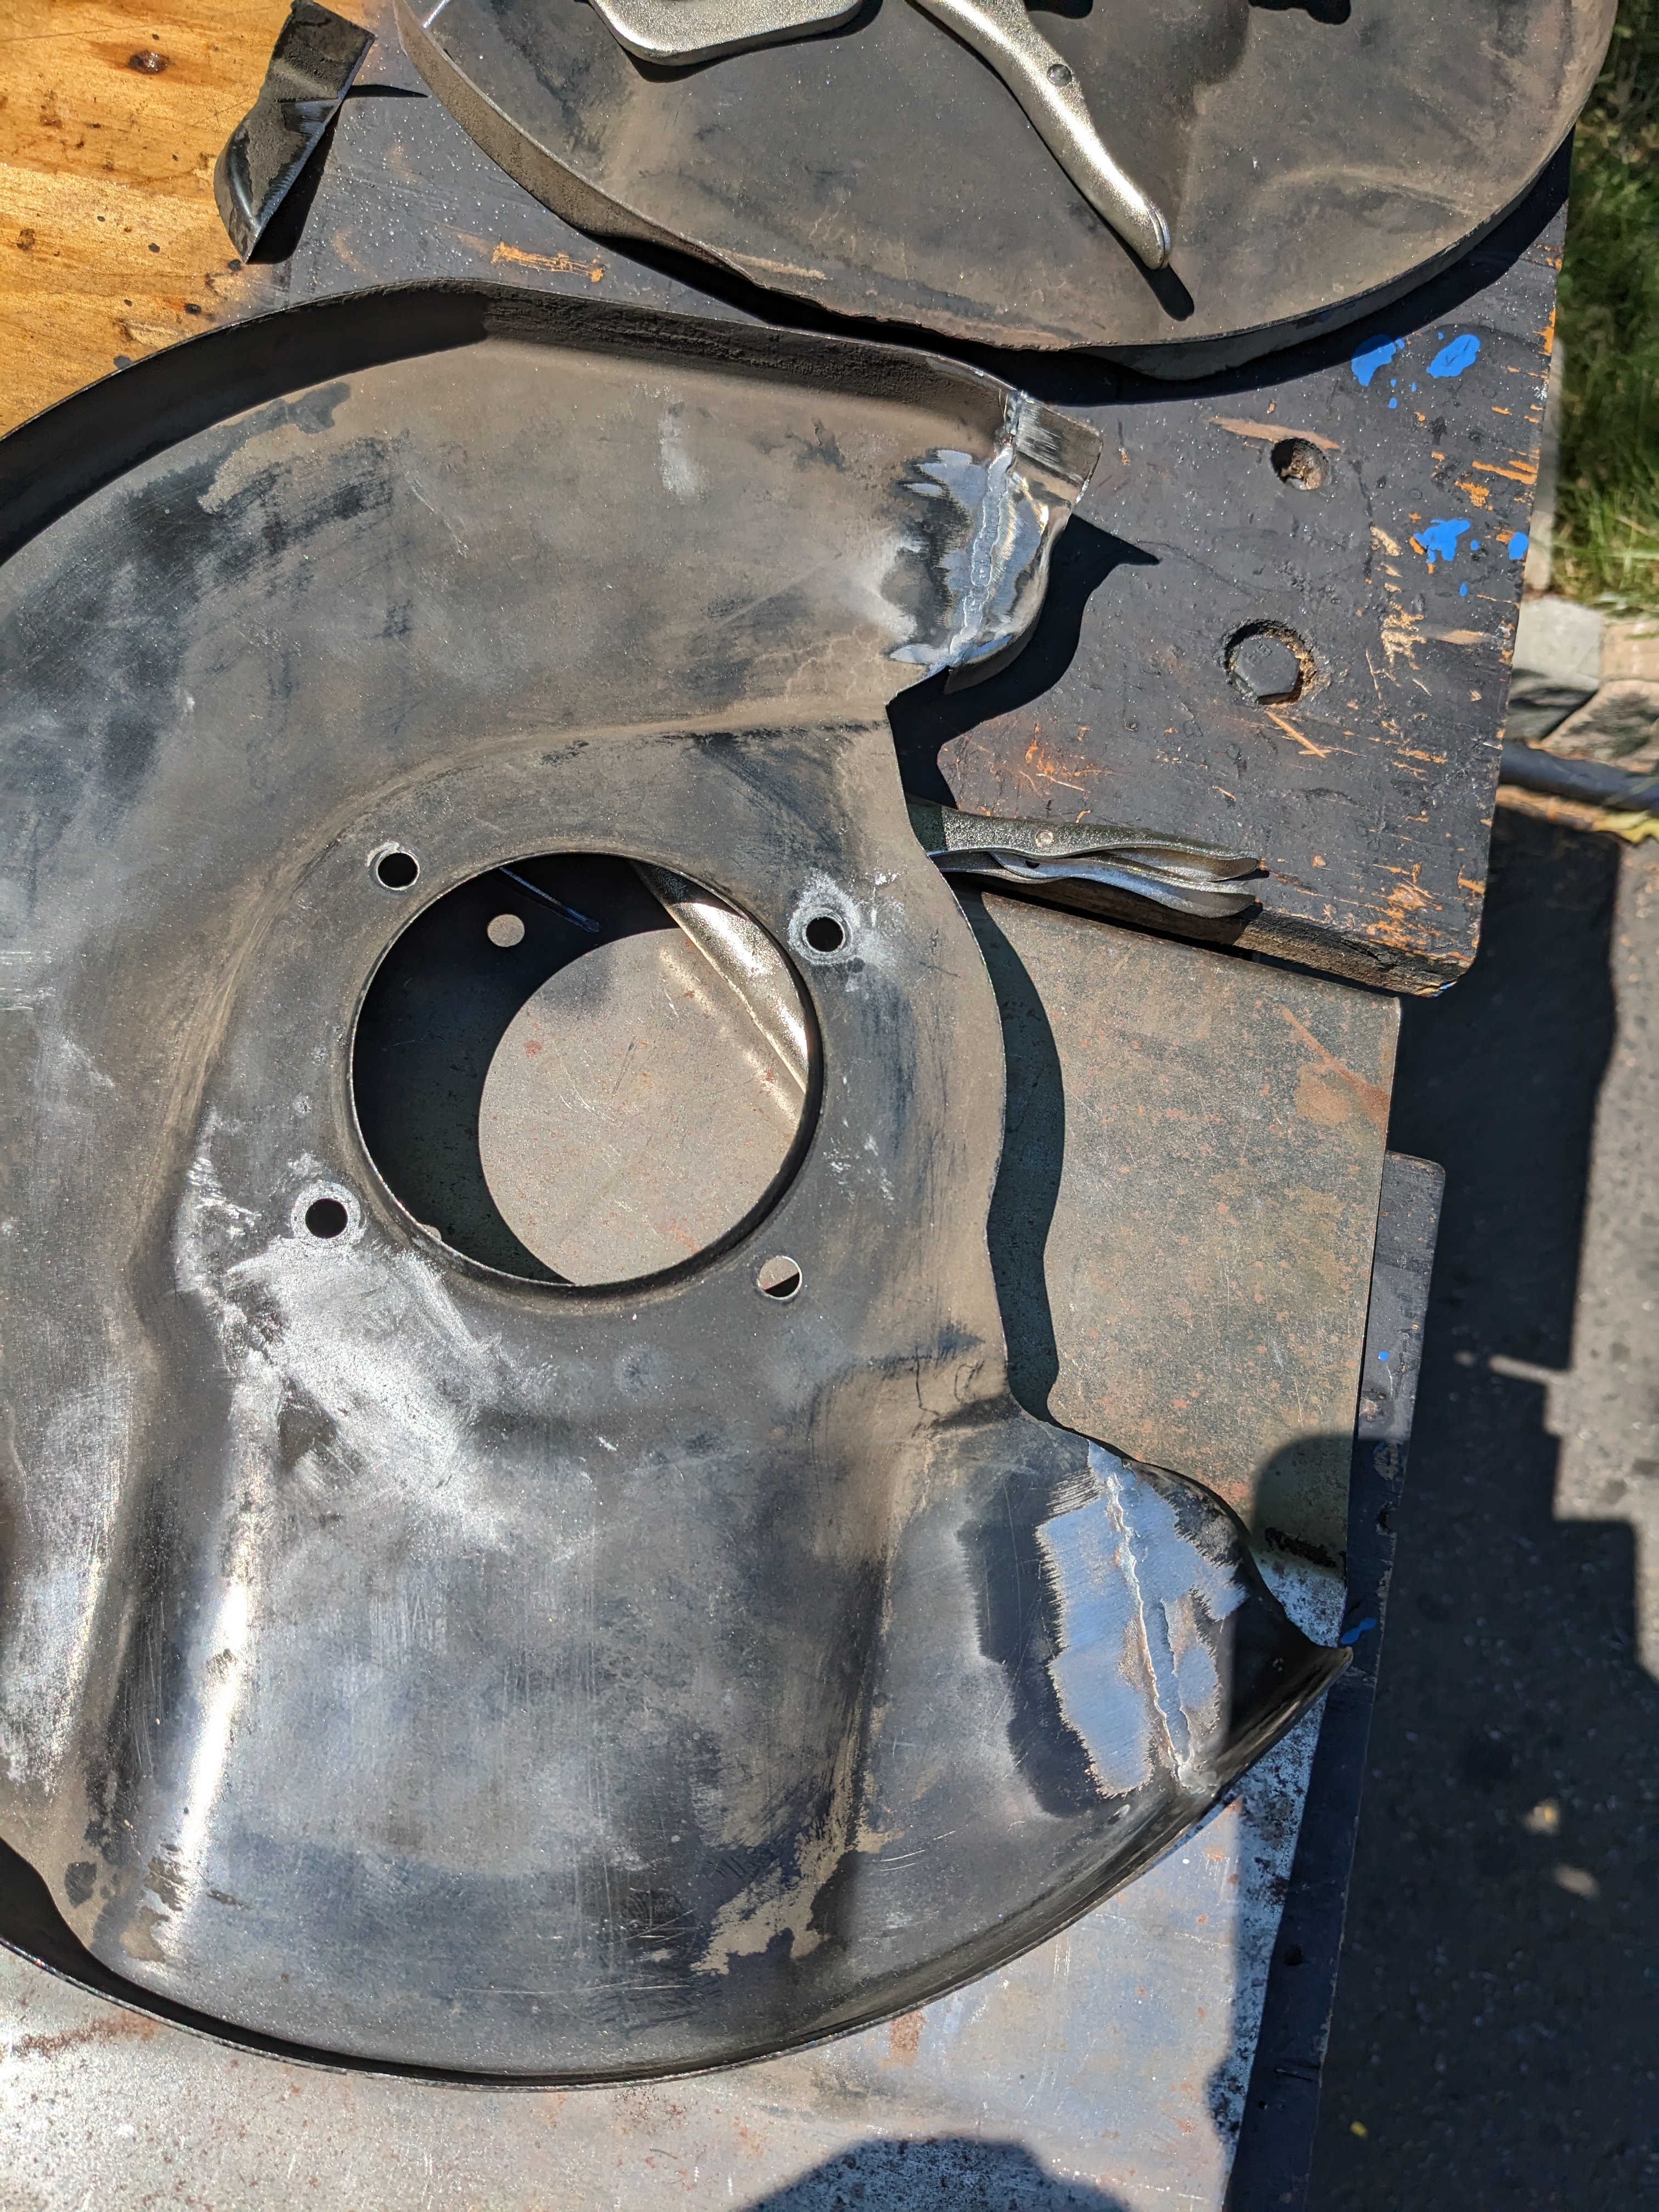
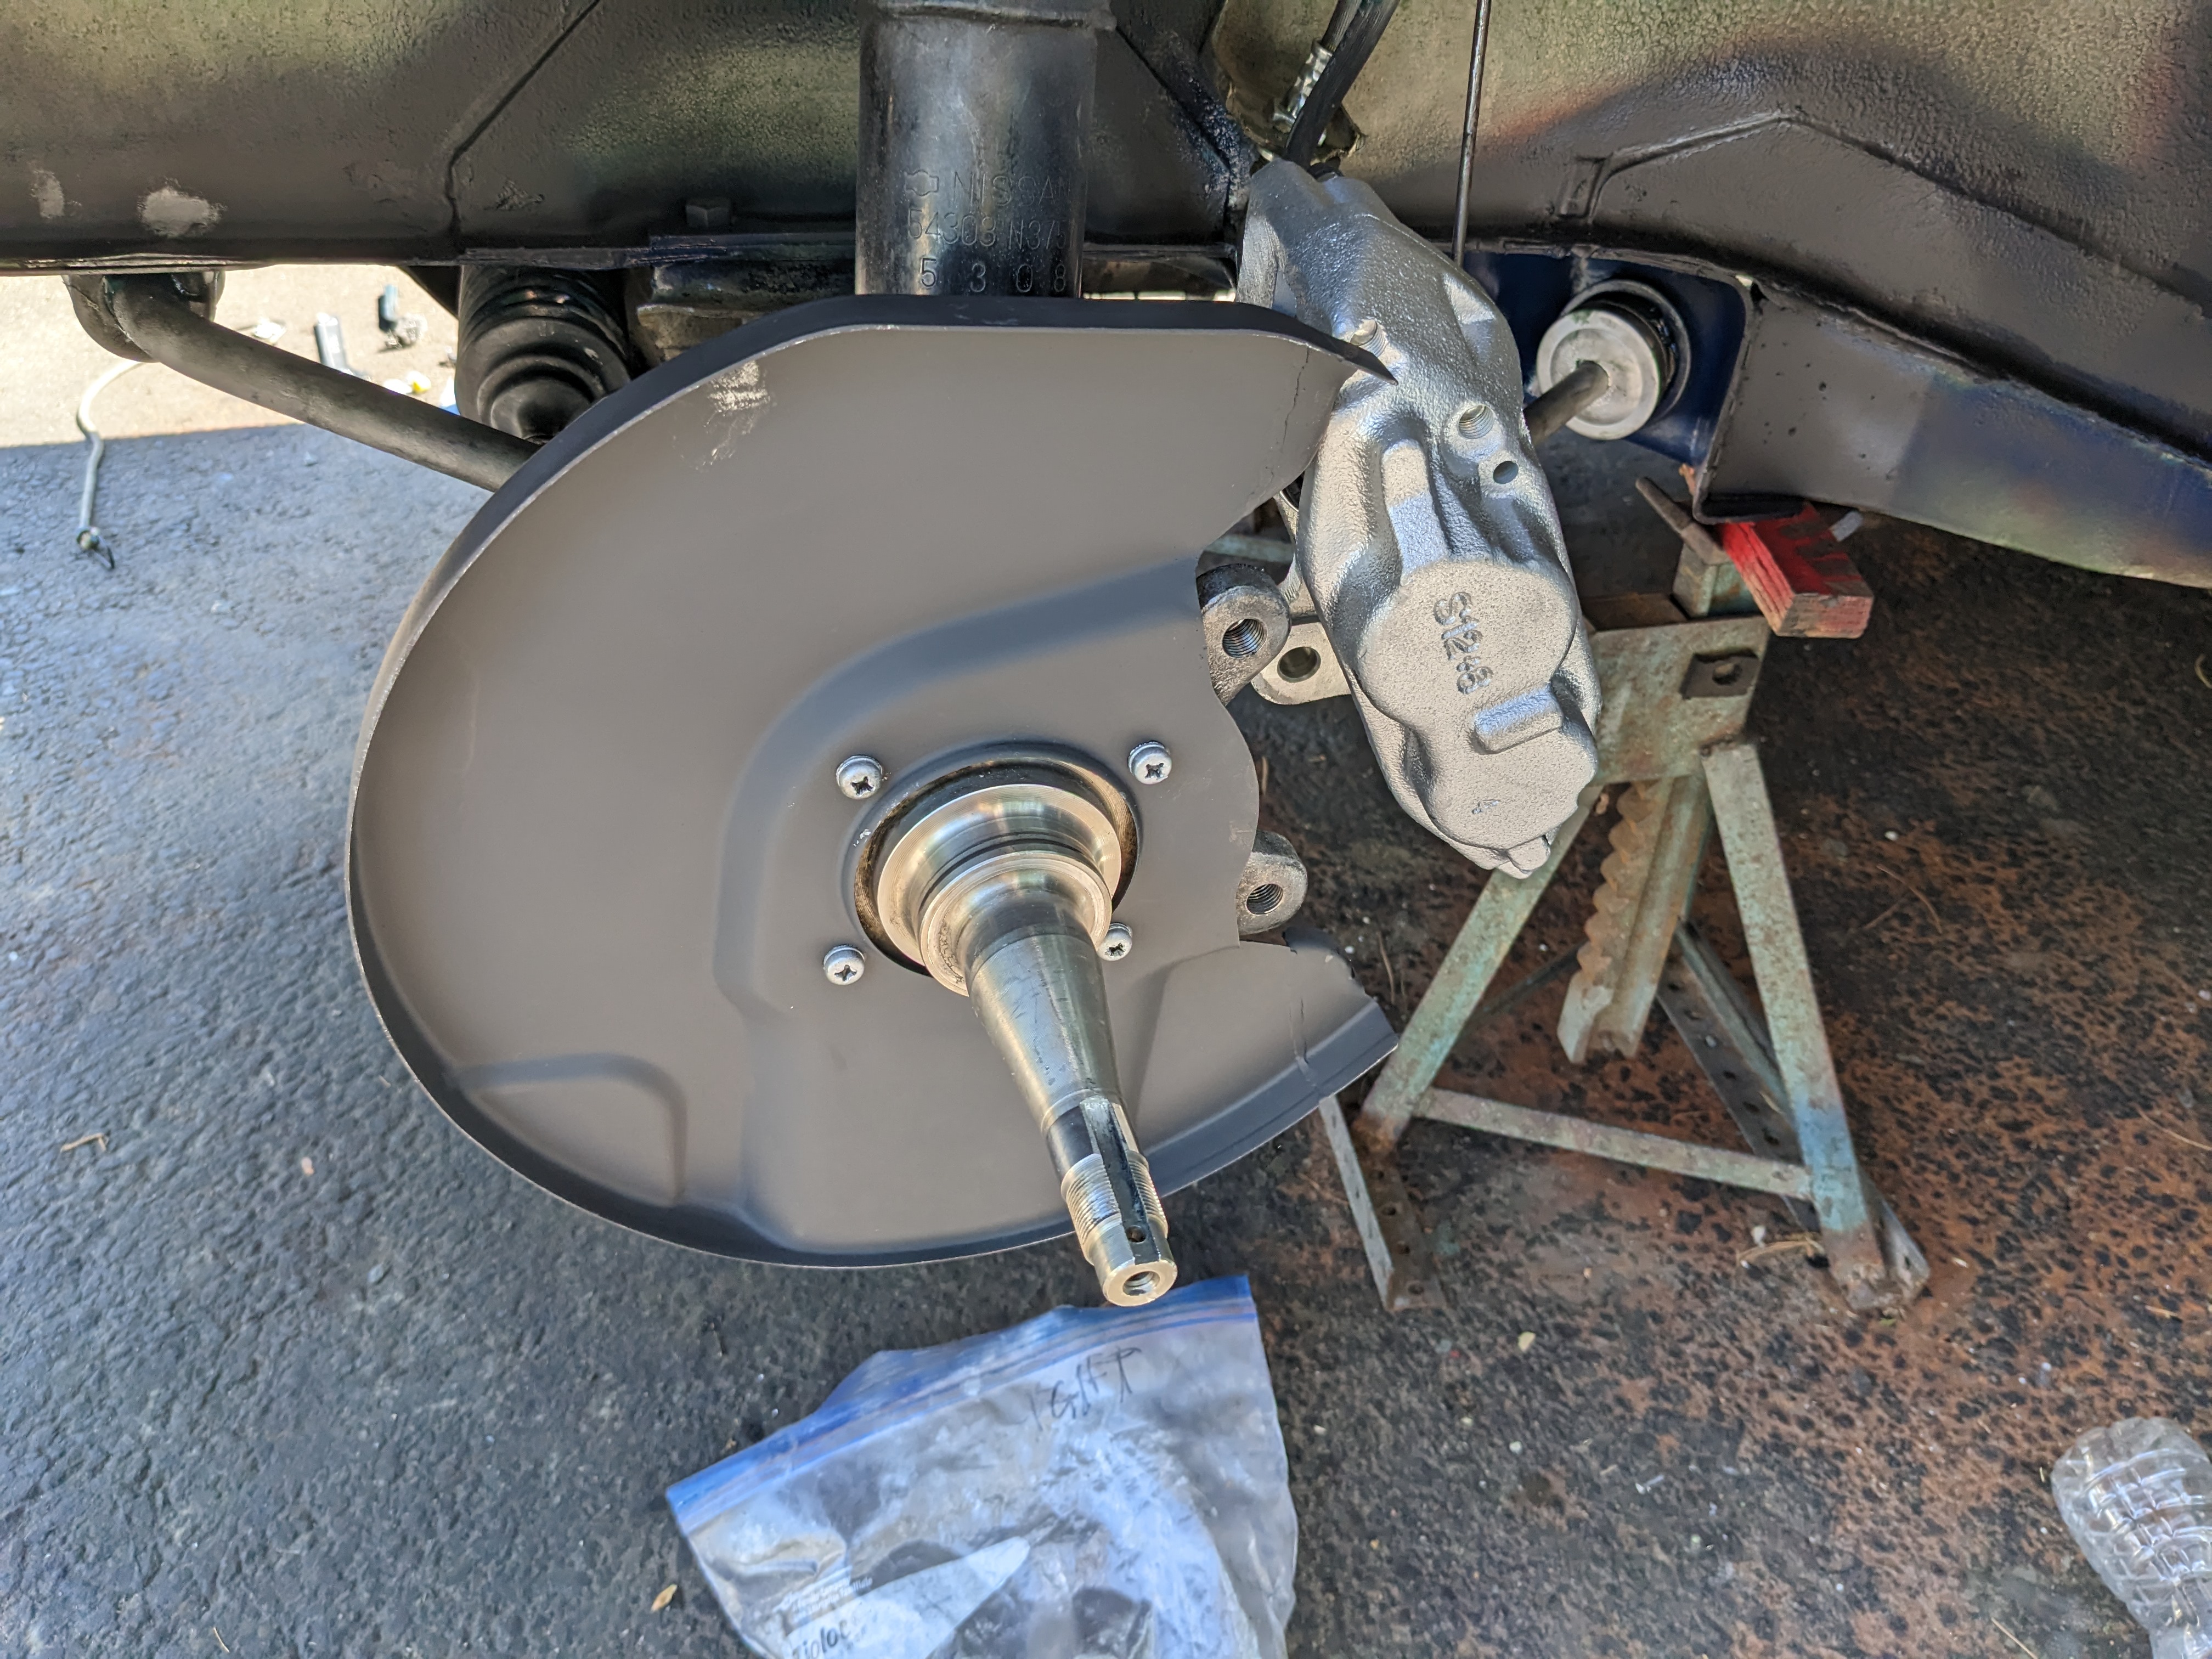
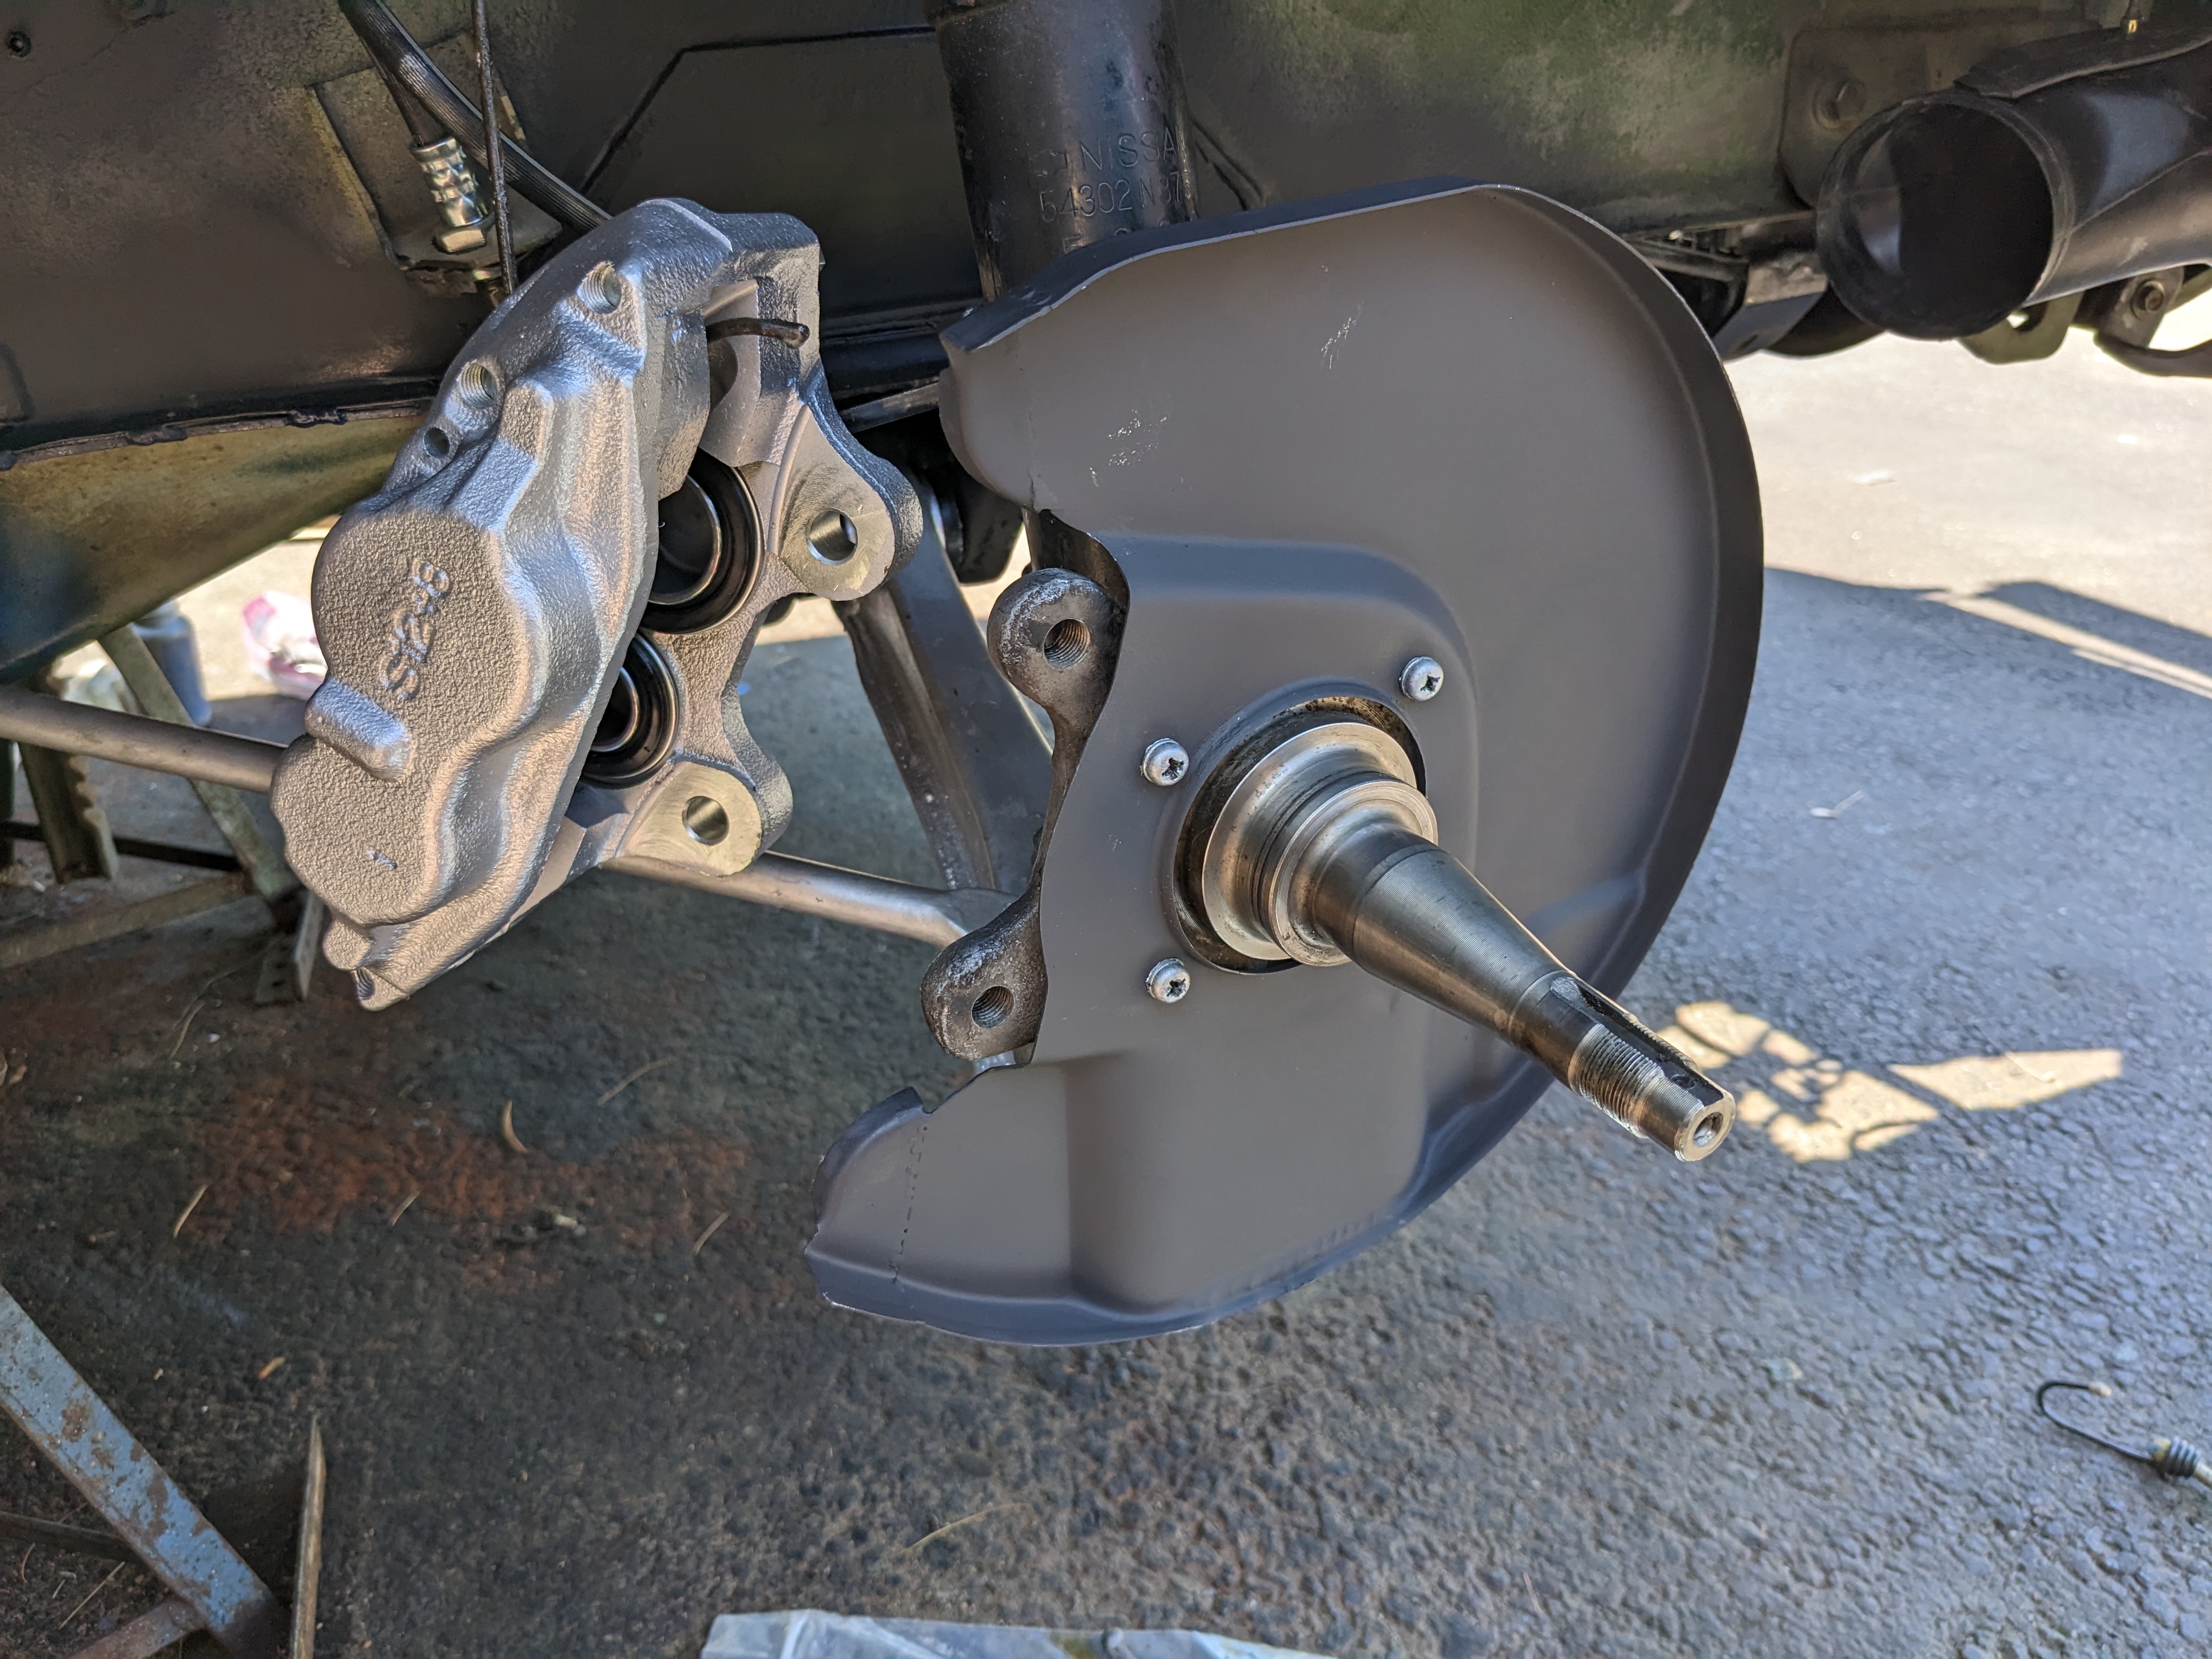
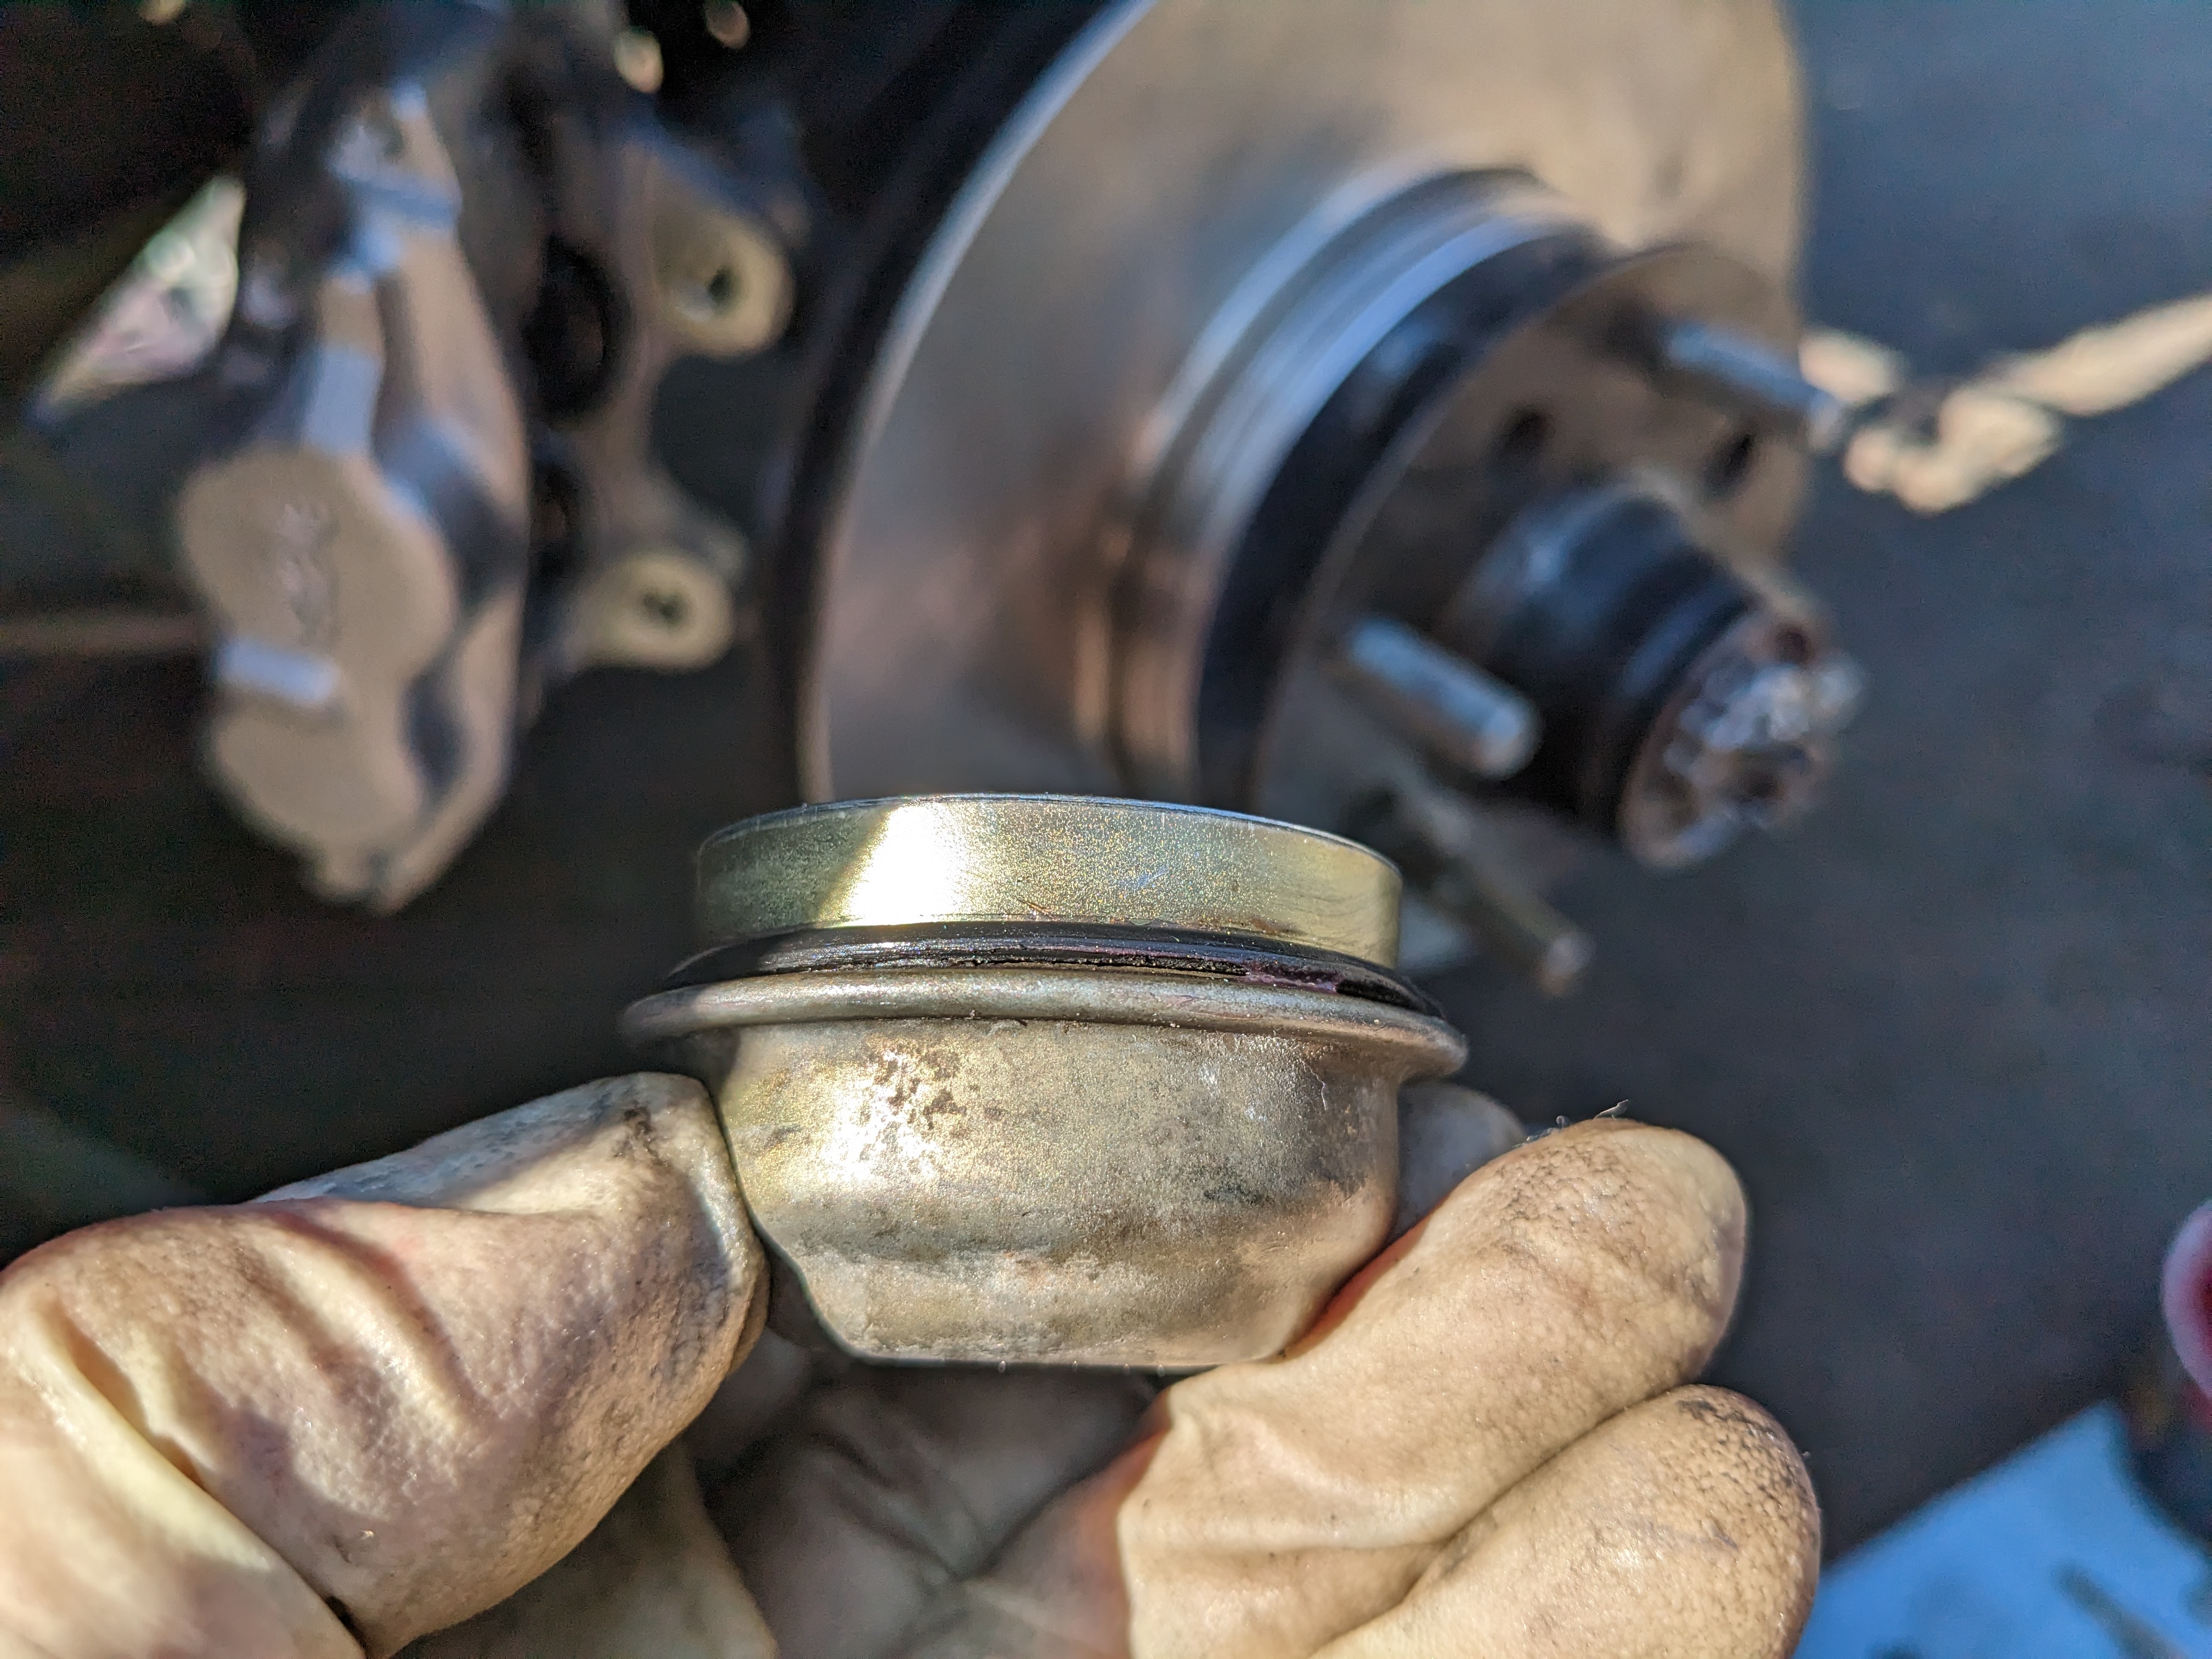
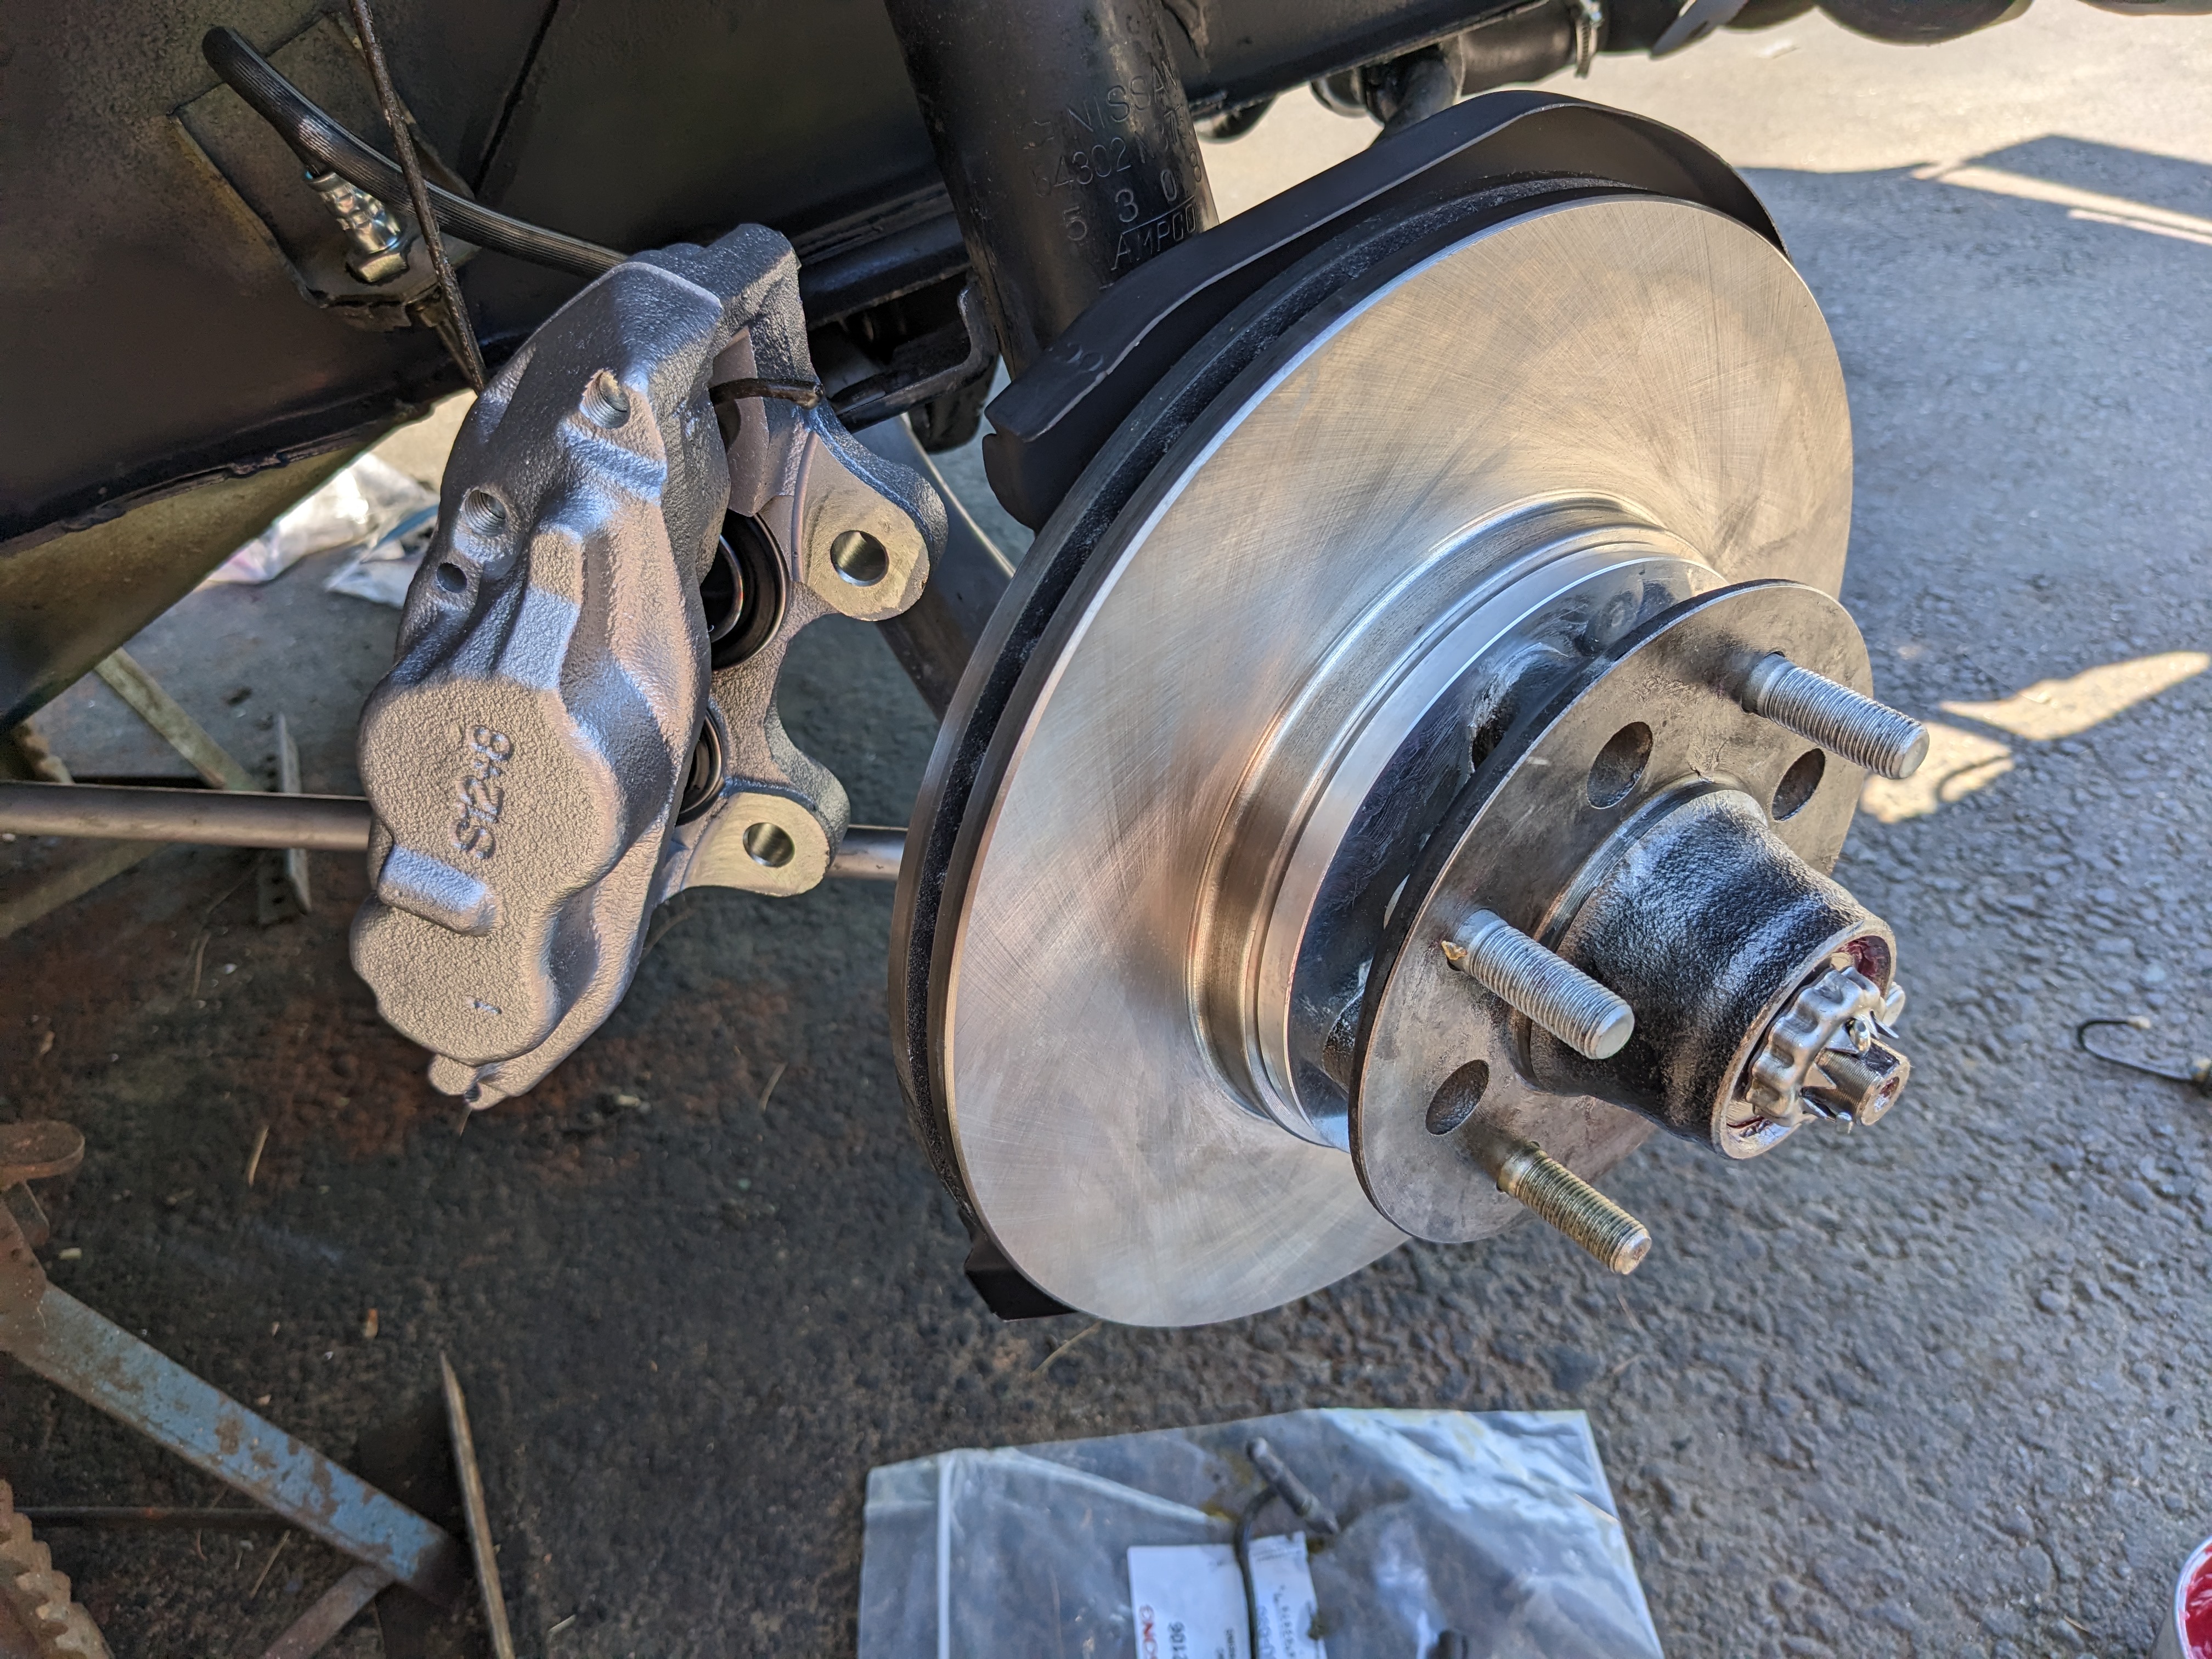
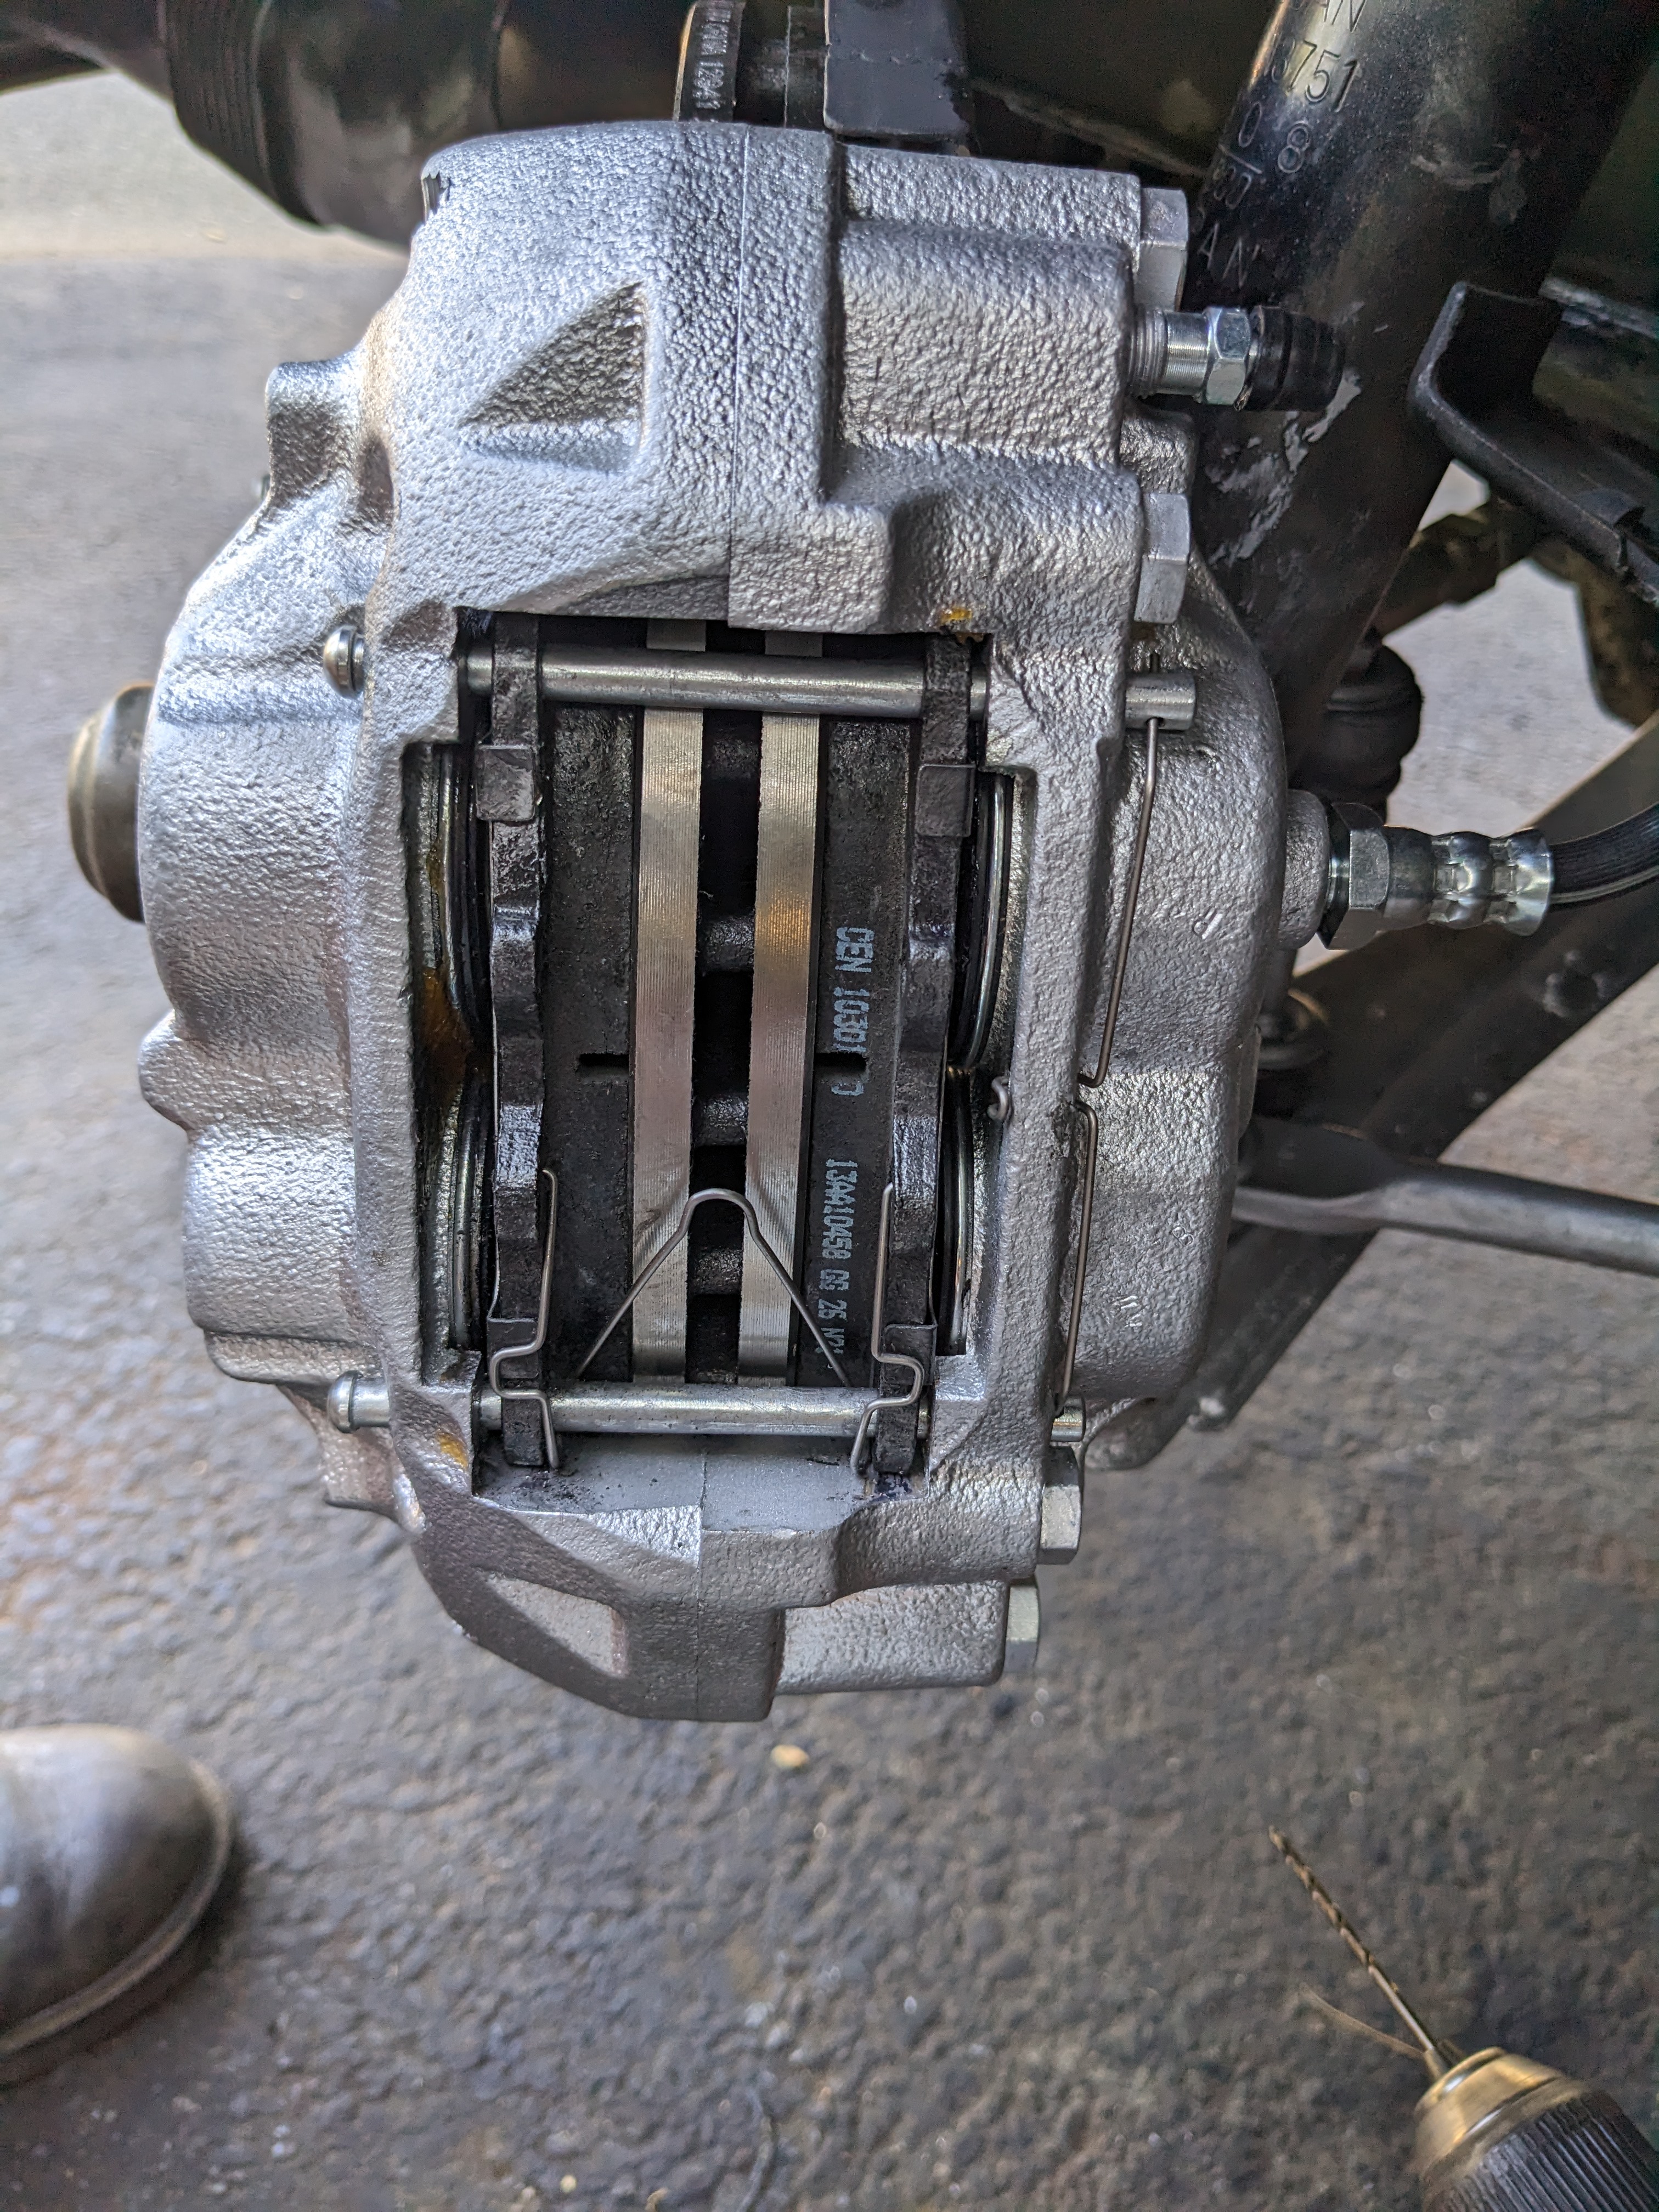
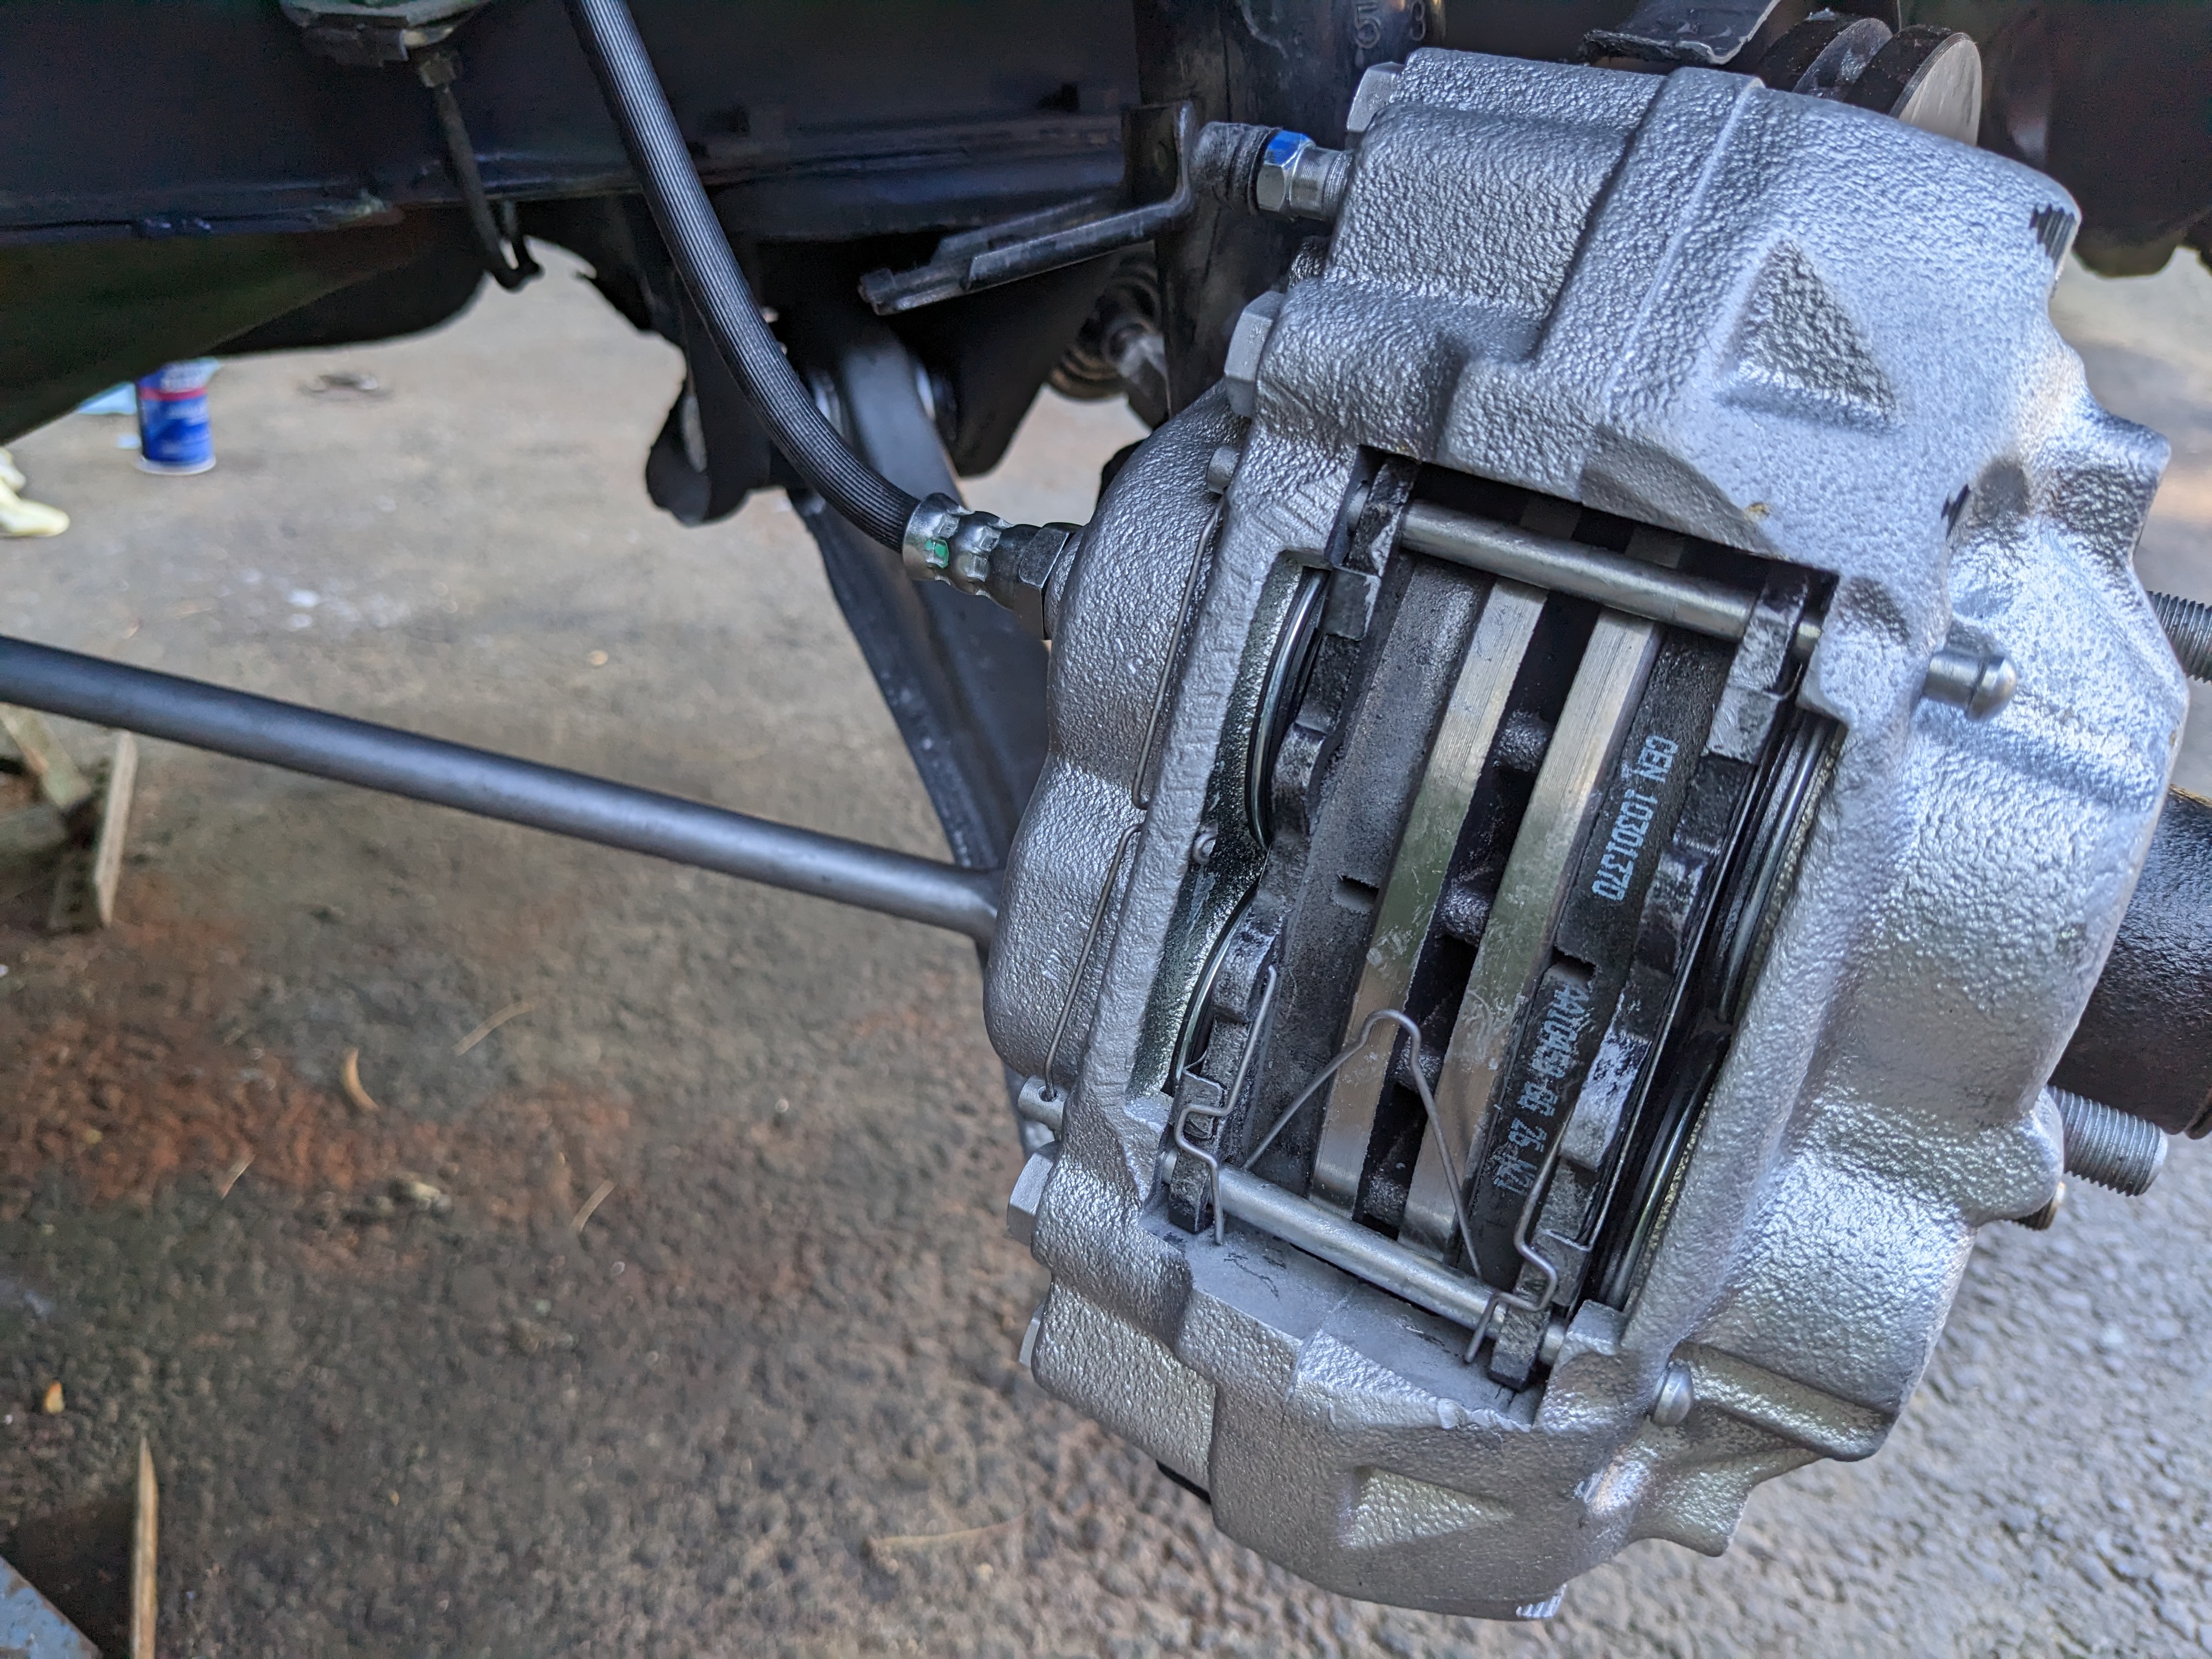
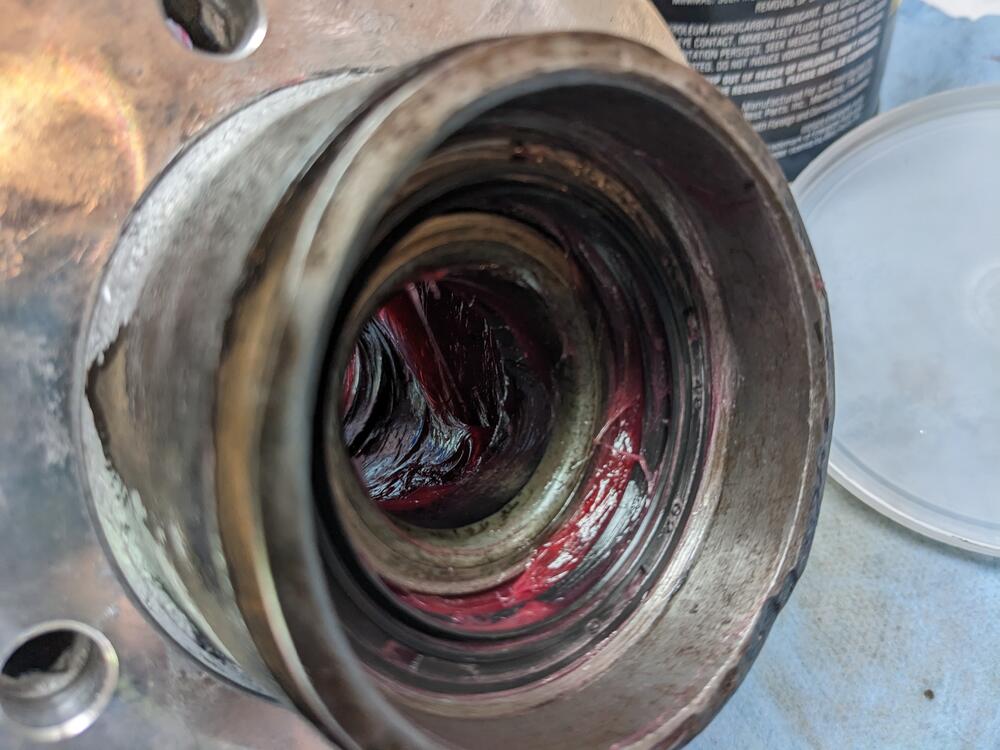
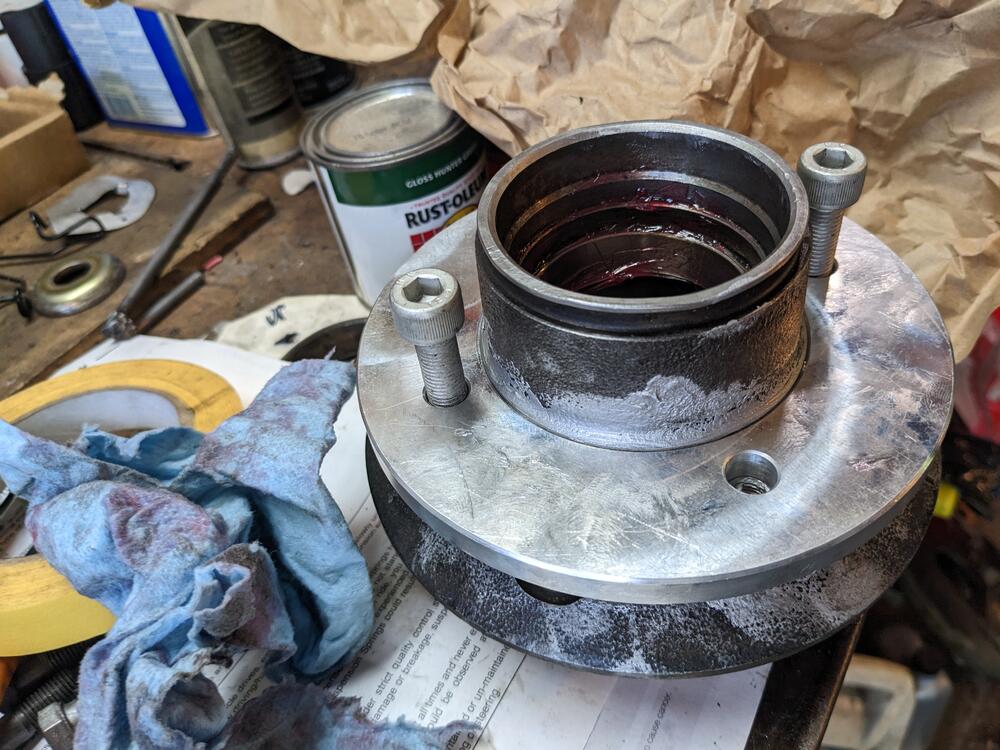
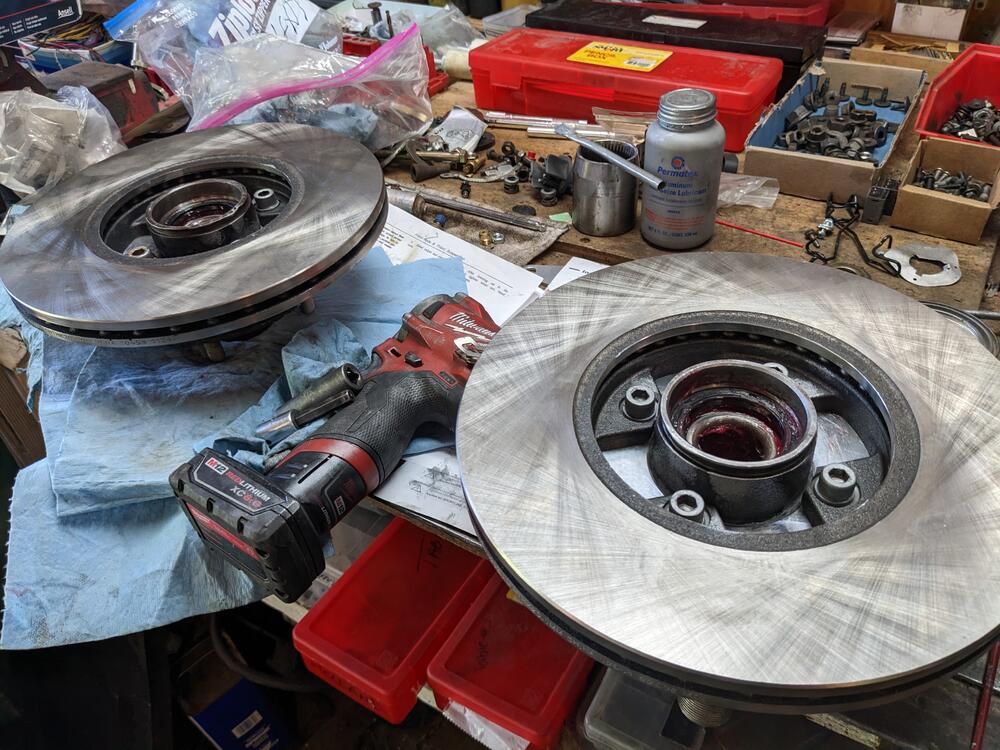
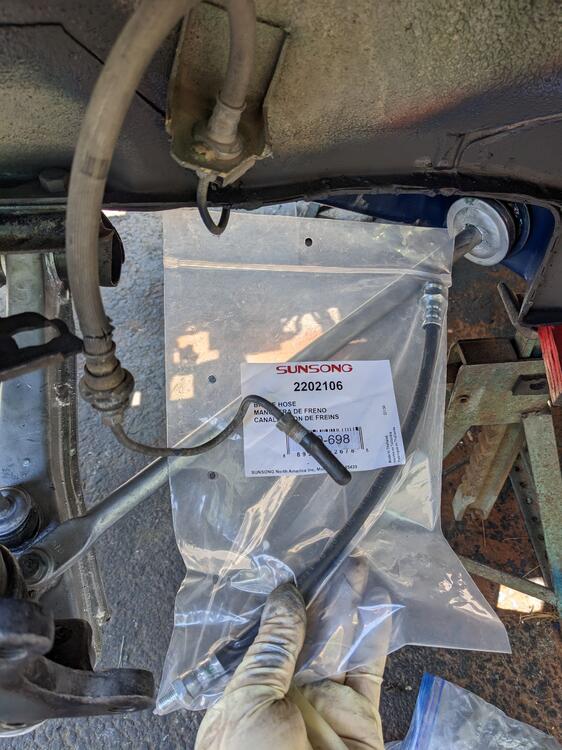
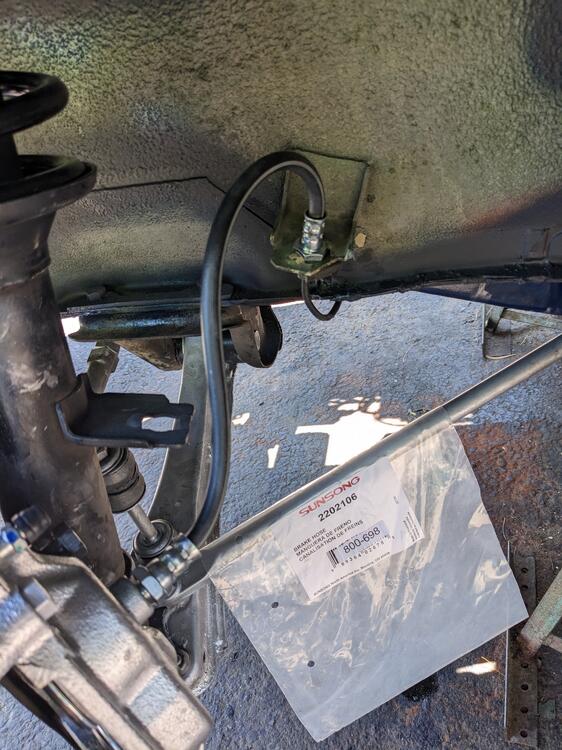
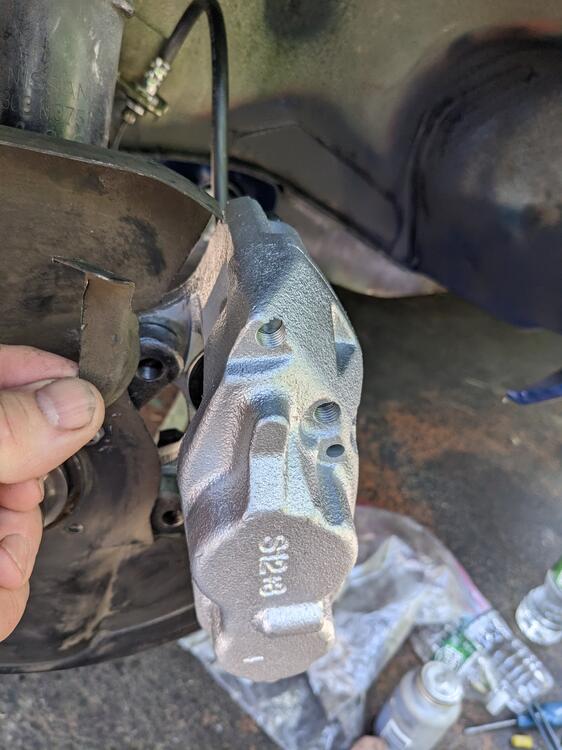
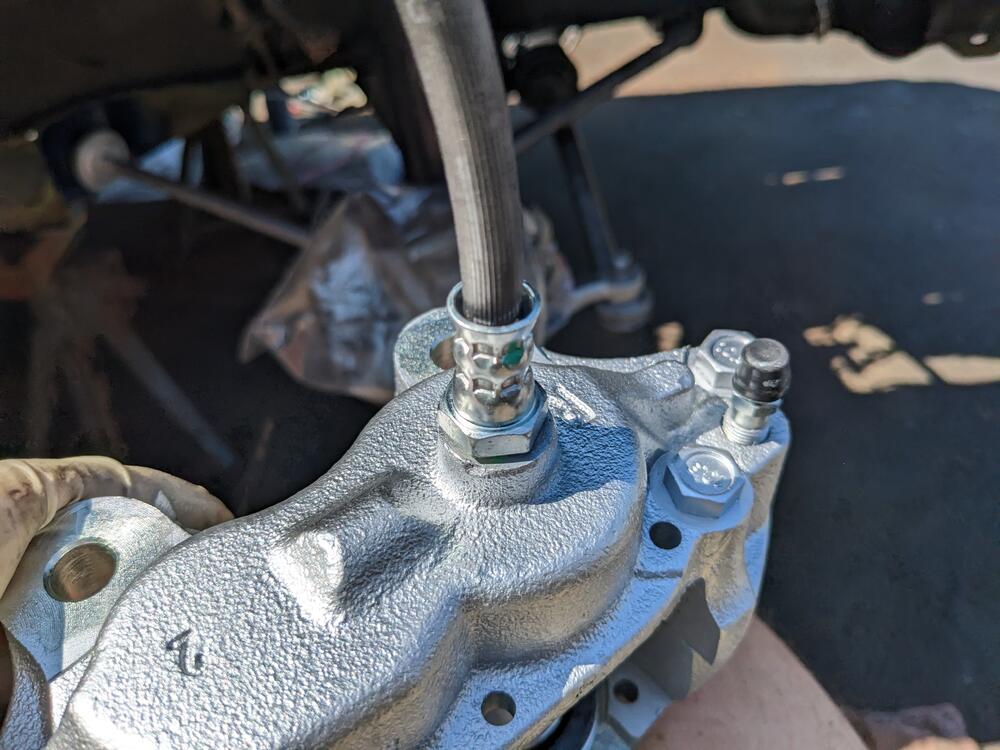
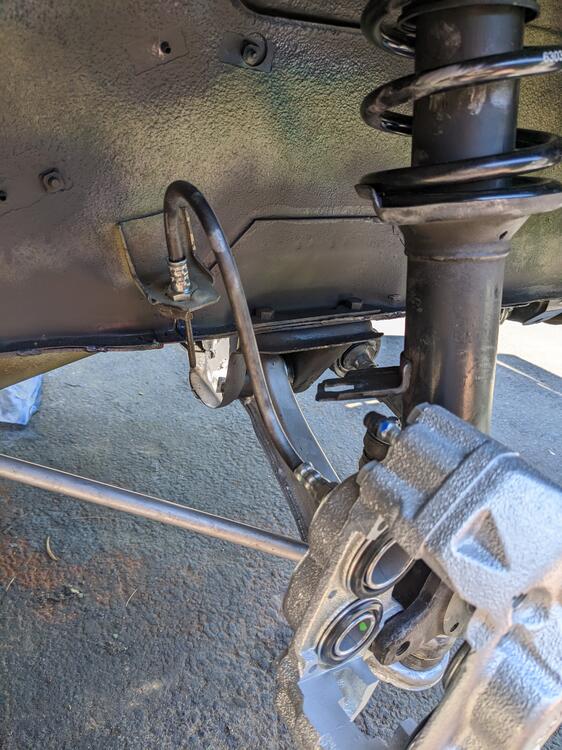
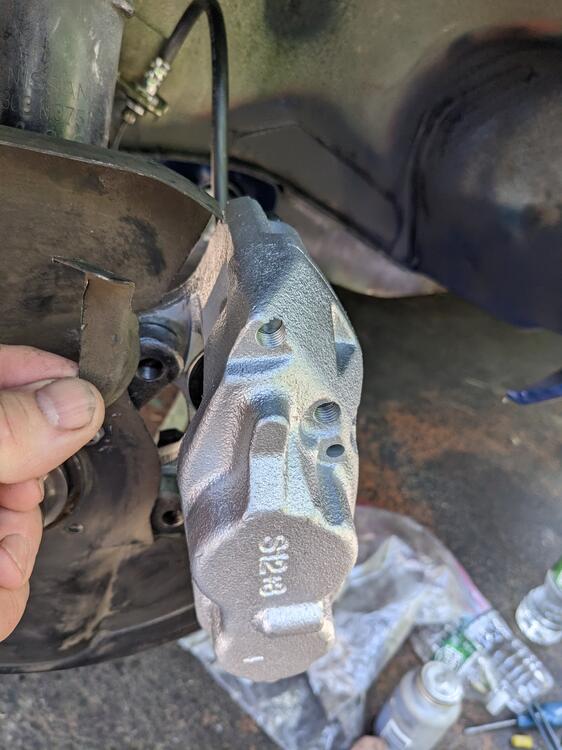
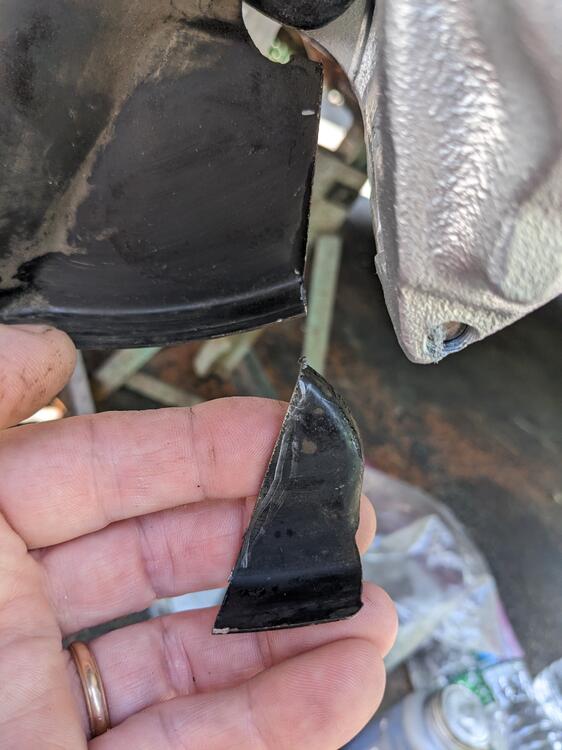
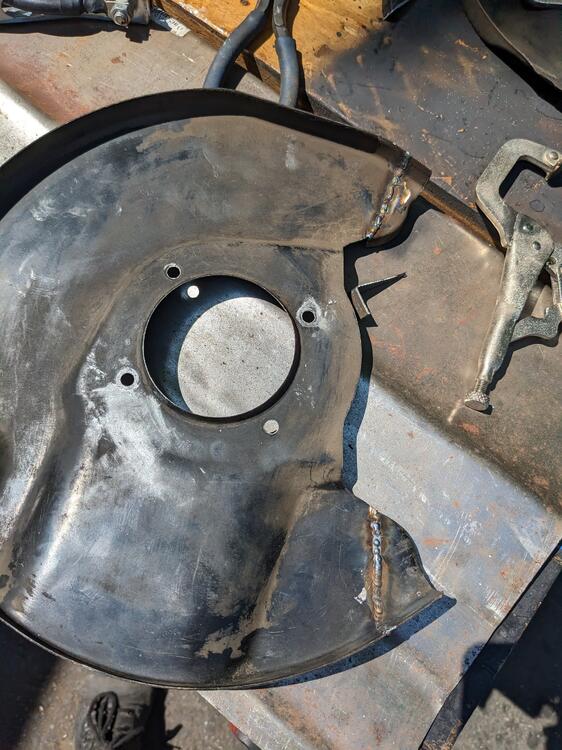
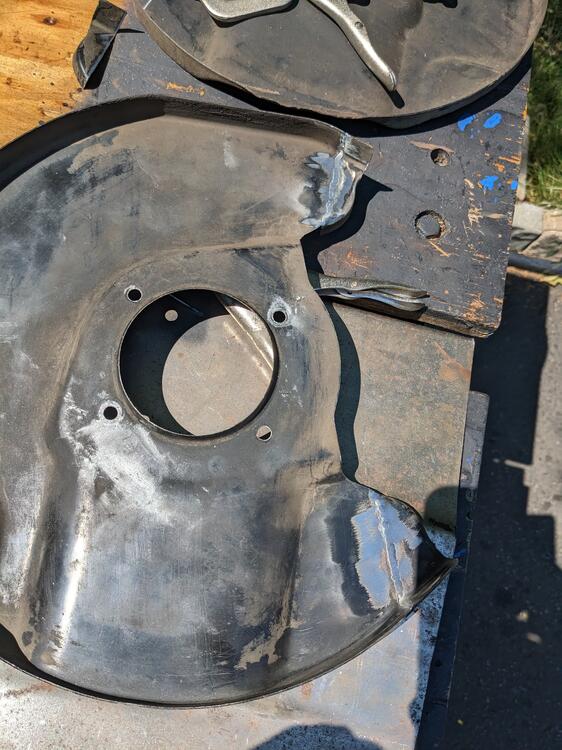
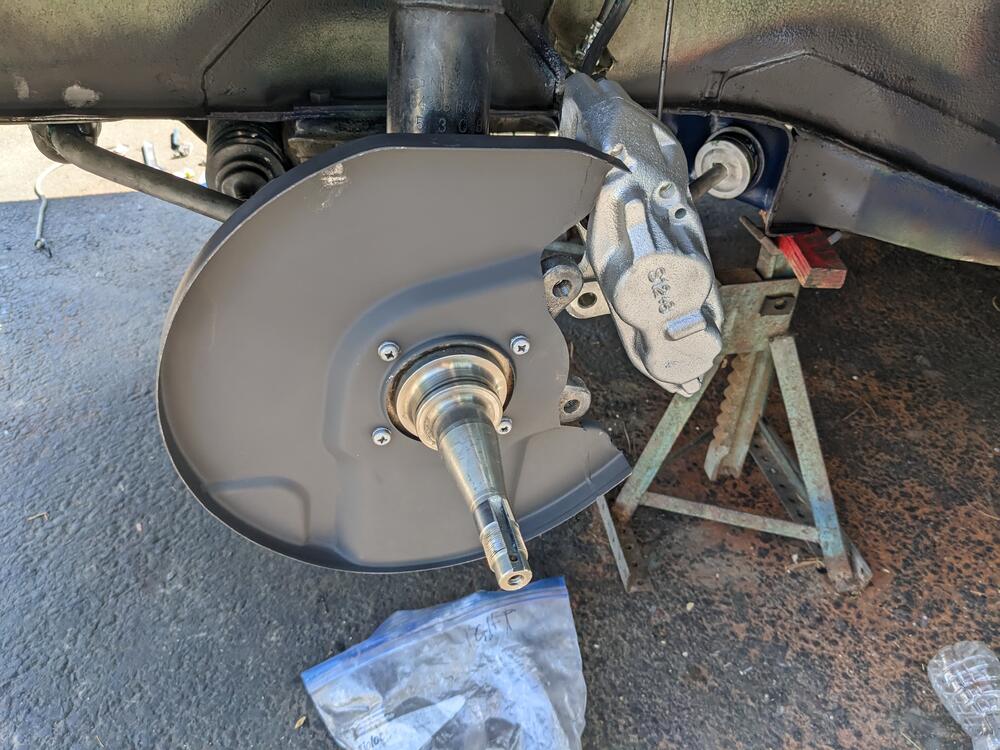
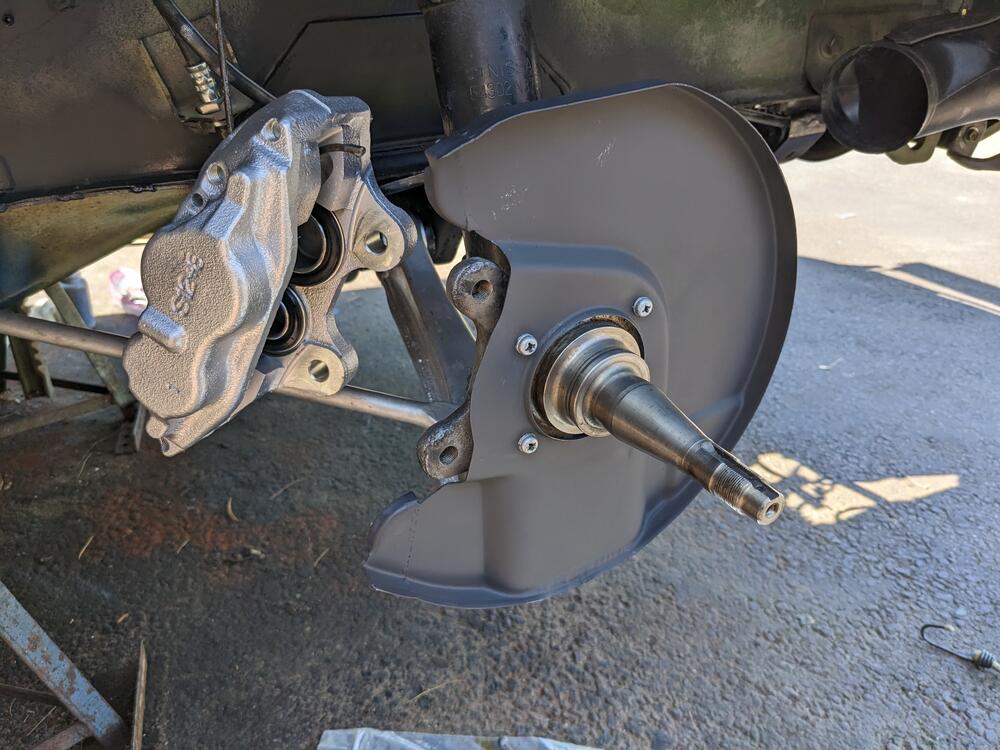
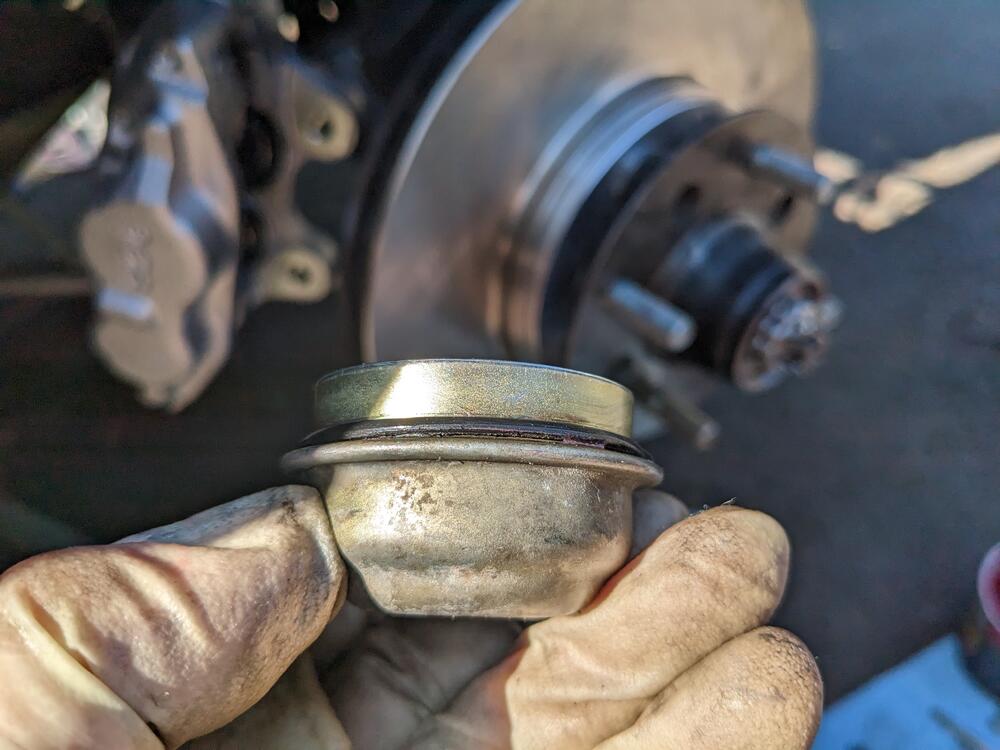
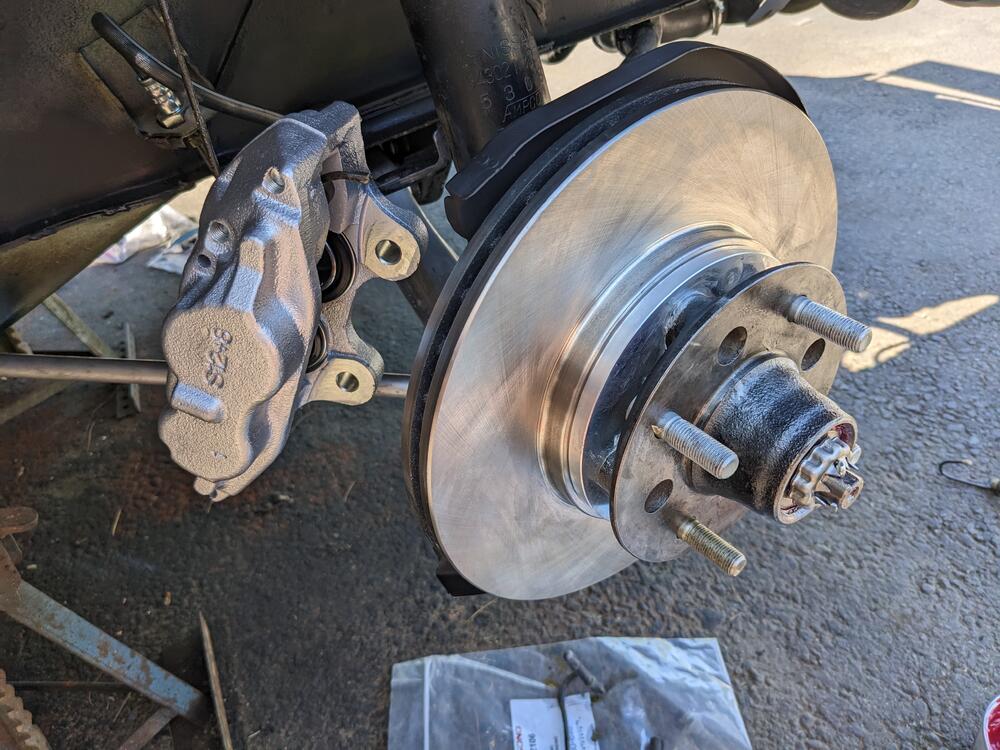
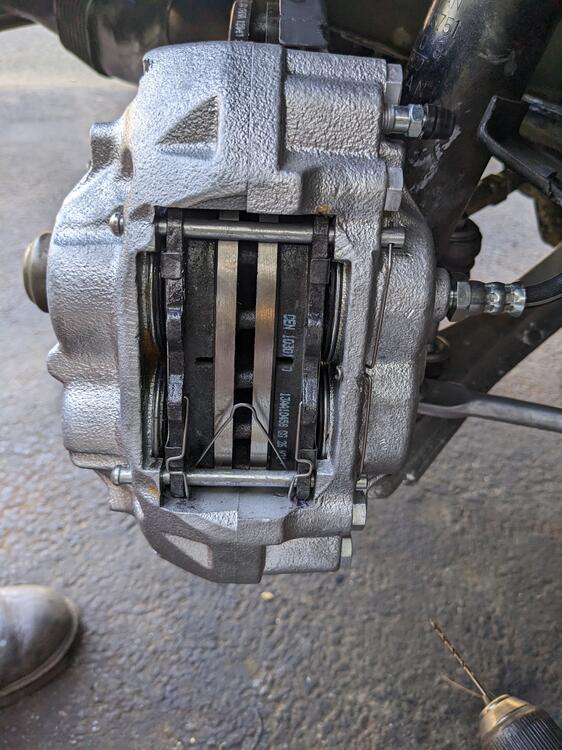
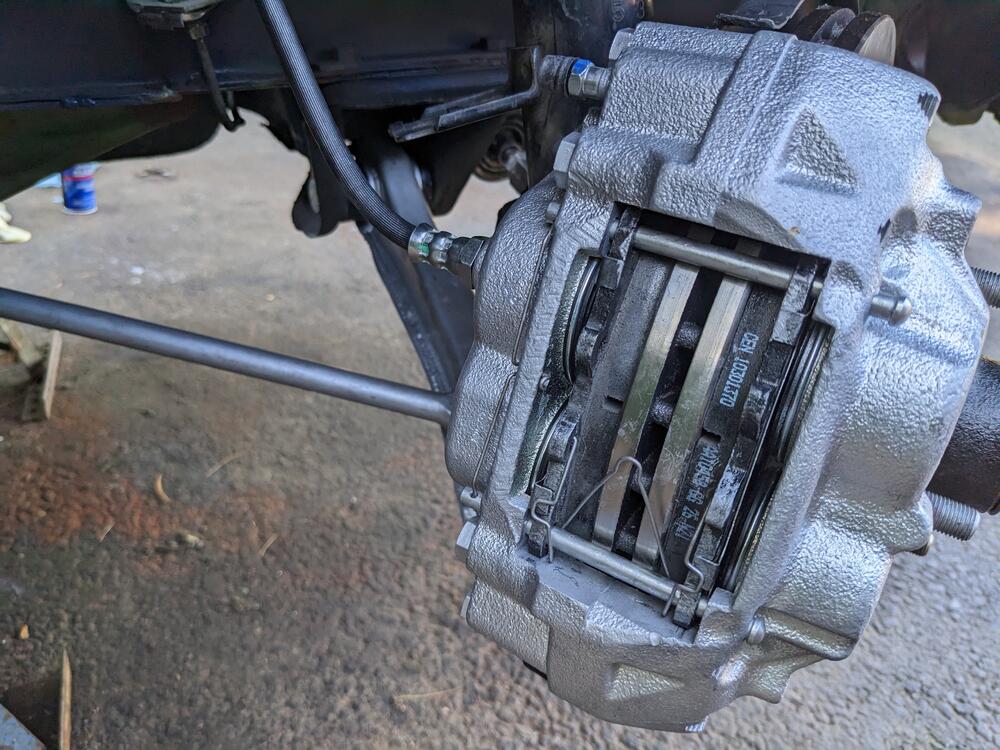
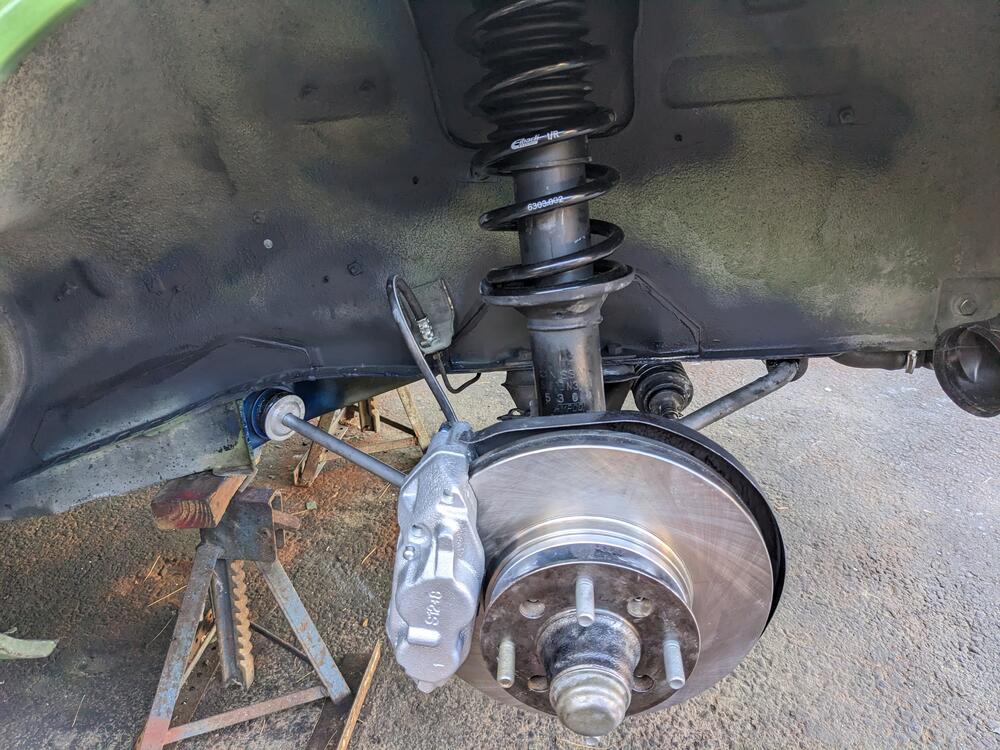
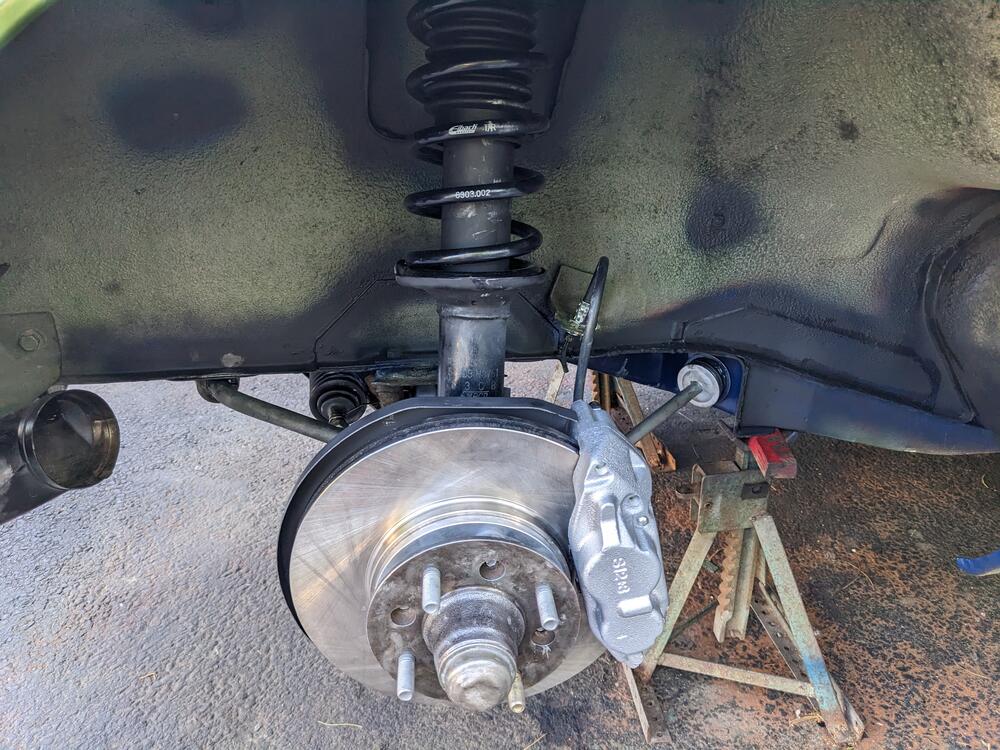
Finally got back to the brakes. I bought the ZcarDepot kit, which comes with no directions. I didn't realize that the supplied hose is intended to replace both flex & rigid lines, it didn't appear long enough. Besides that, the back plates have to be modified to clear the larger Toyota S12 caliper. I had cleaned out the old grease from the hubs, and repacked the wheel bearings in preparation for reassembly. So, I filled the hubs with new bearing grease as per the FSM, and installed the inner bearings & grease seals. I also found I never received the 8 longer bolts with the brake kit. Thankfully I had extra bolts from a CEIKA brake kit. Rotor spacer in place. CEIKA bolts. Vented rotors bolted to hubs. Single hose to replace original hoses Hose installed into caliper first, to prevent twisting or binding the hose Modifying the back plate. Sections removed I didn't want to leave cut edges on the back plate, so I reduced & welded the folded edges back on Cleaned up, primed, painted & installed Hubs & rotors installed, bearings adjusted. Longer studs installed for the Konig wheels Nice touch on the grease caps, oring seal Pads & hardware installed. The outer pad didn't have the hole for the damper spring, had to drill it out Just need to bleed the brakes
-
Put the struts, torsion rods & swaybar/links back on today. That was fun. The poly kit doesn't come with the front sway bar bushings (WTF?), so I put the old ones back, and put rubber instead of poly for the links. I've ordered the poly for the 18mm sway bar pivot. The torsion rods I have heard that the poly can damage the rods, since it cannot flex & pivot through the suspension travel arc. So, I put new rubber ones in. Hopefully get the brakes on in the AM.
-
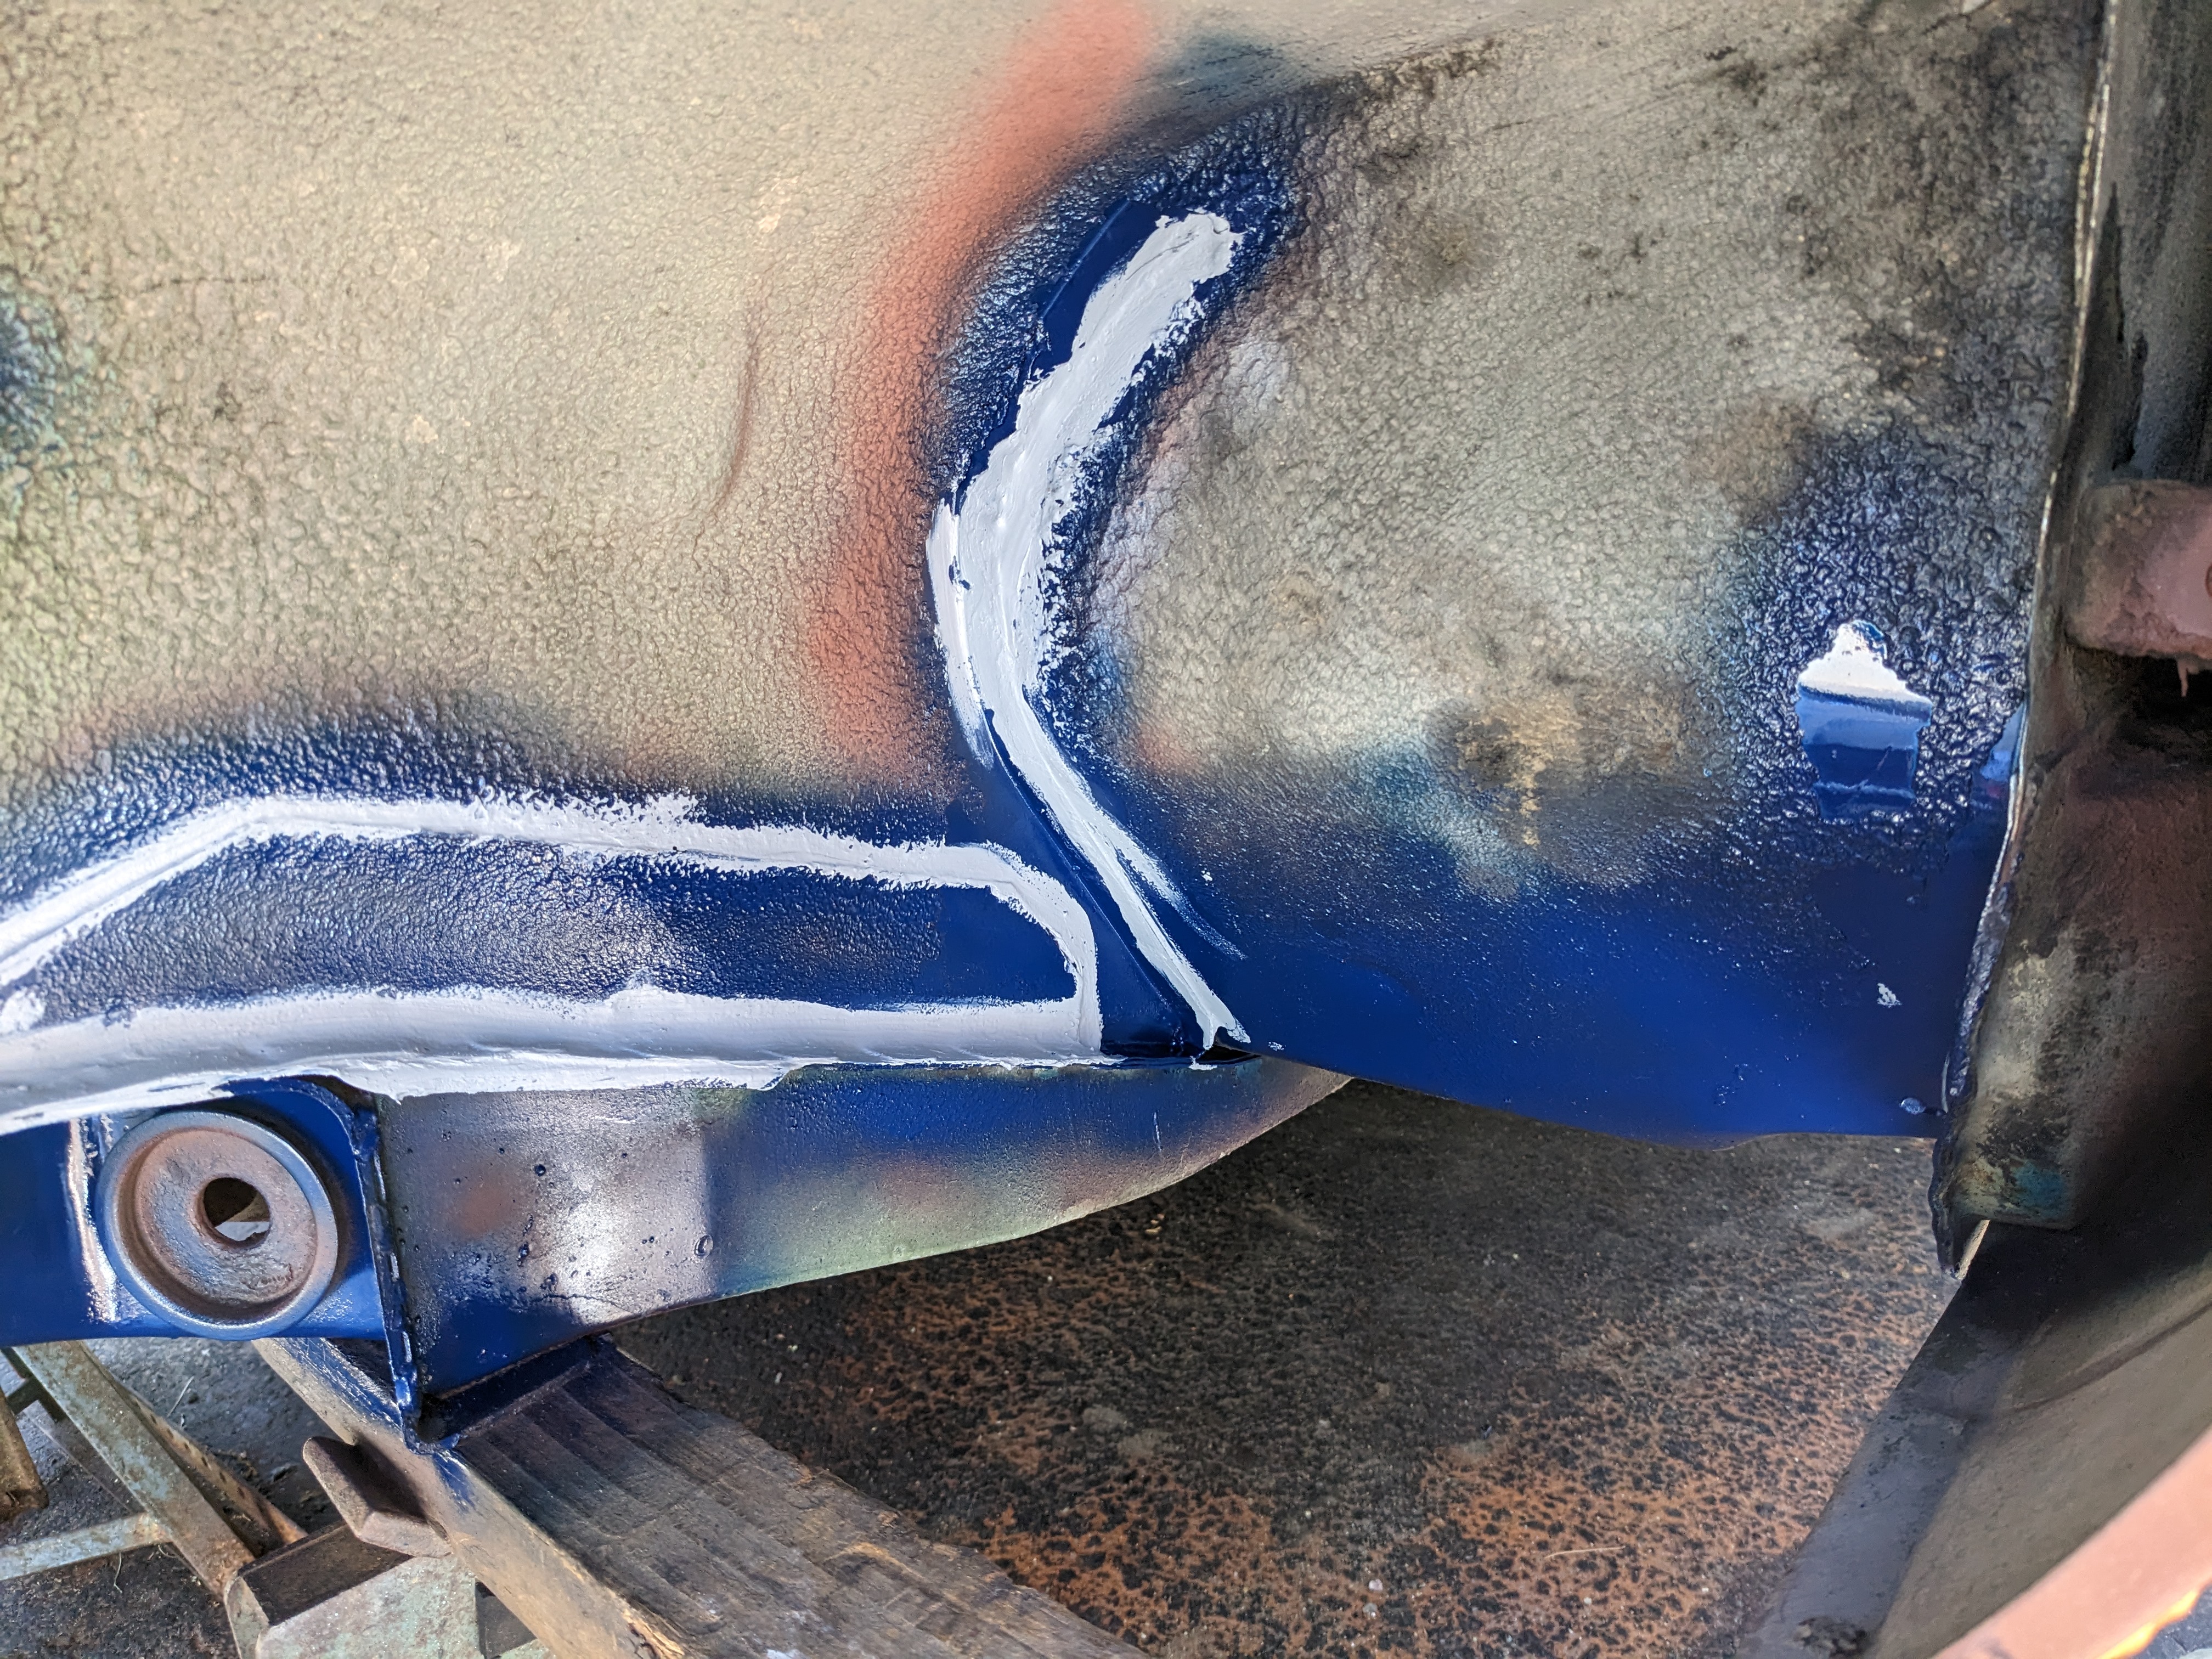
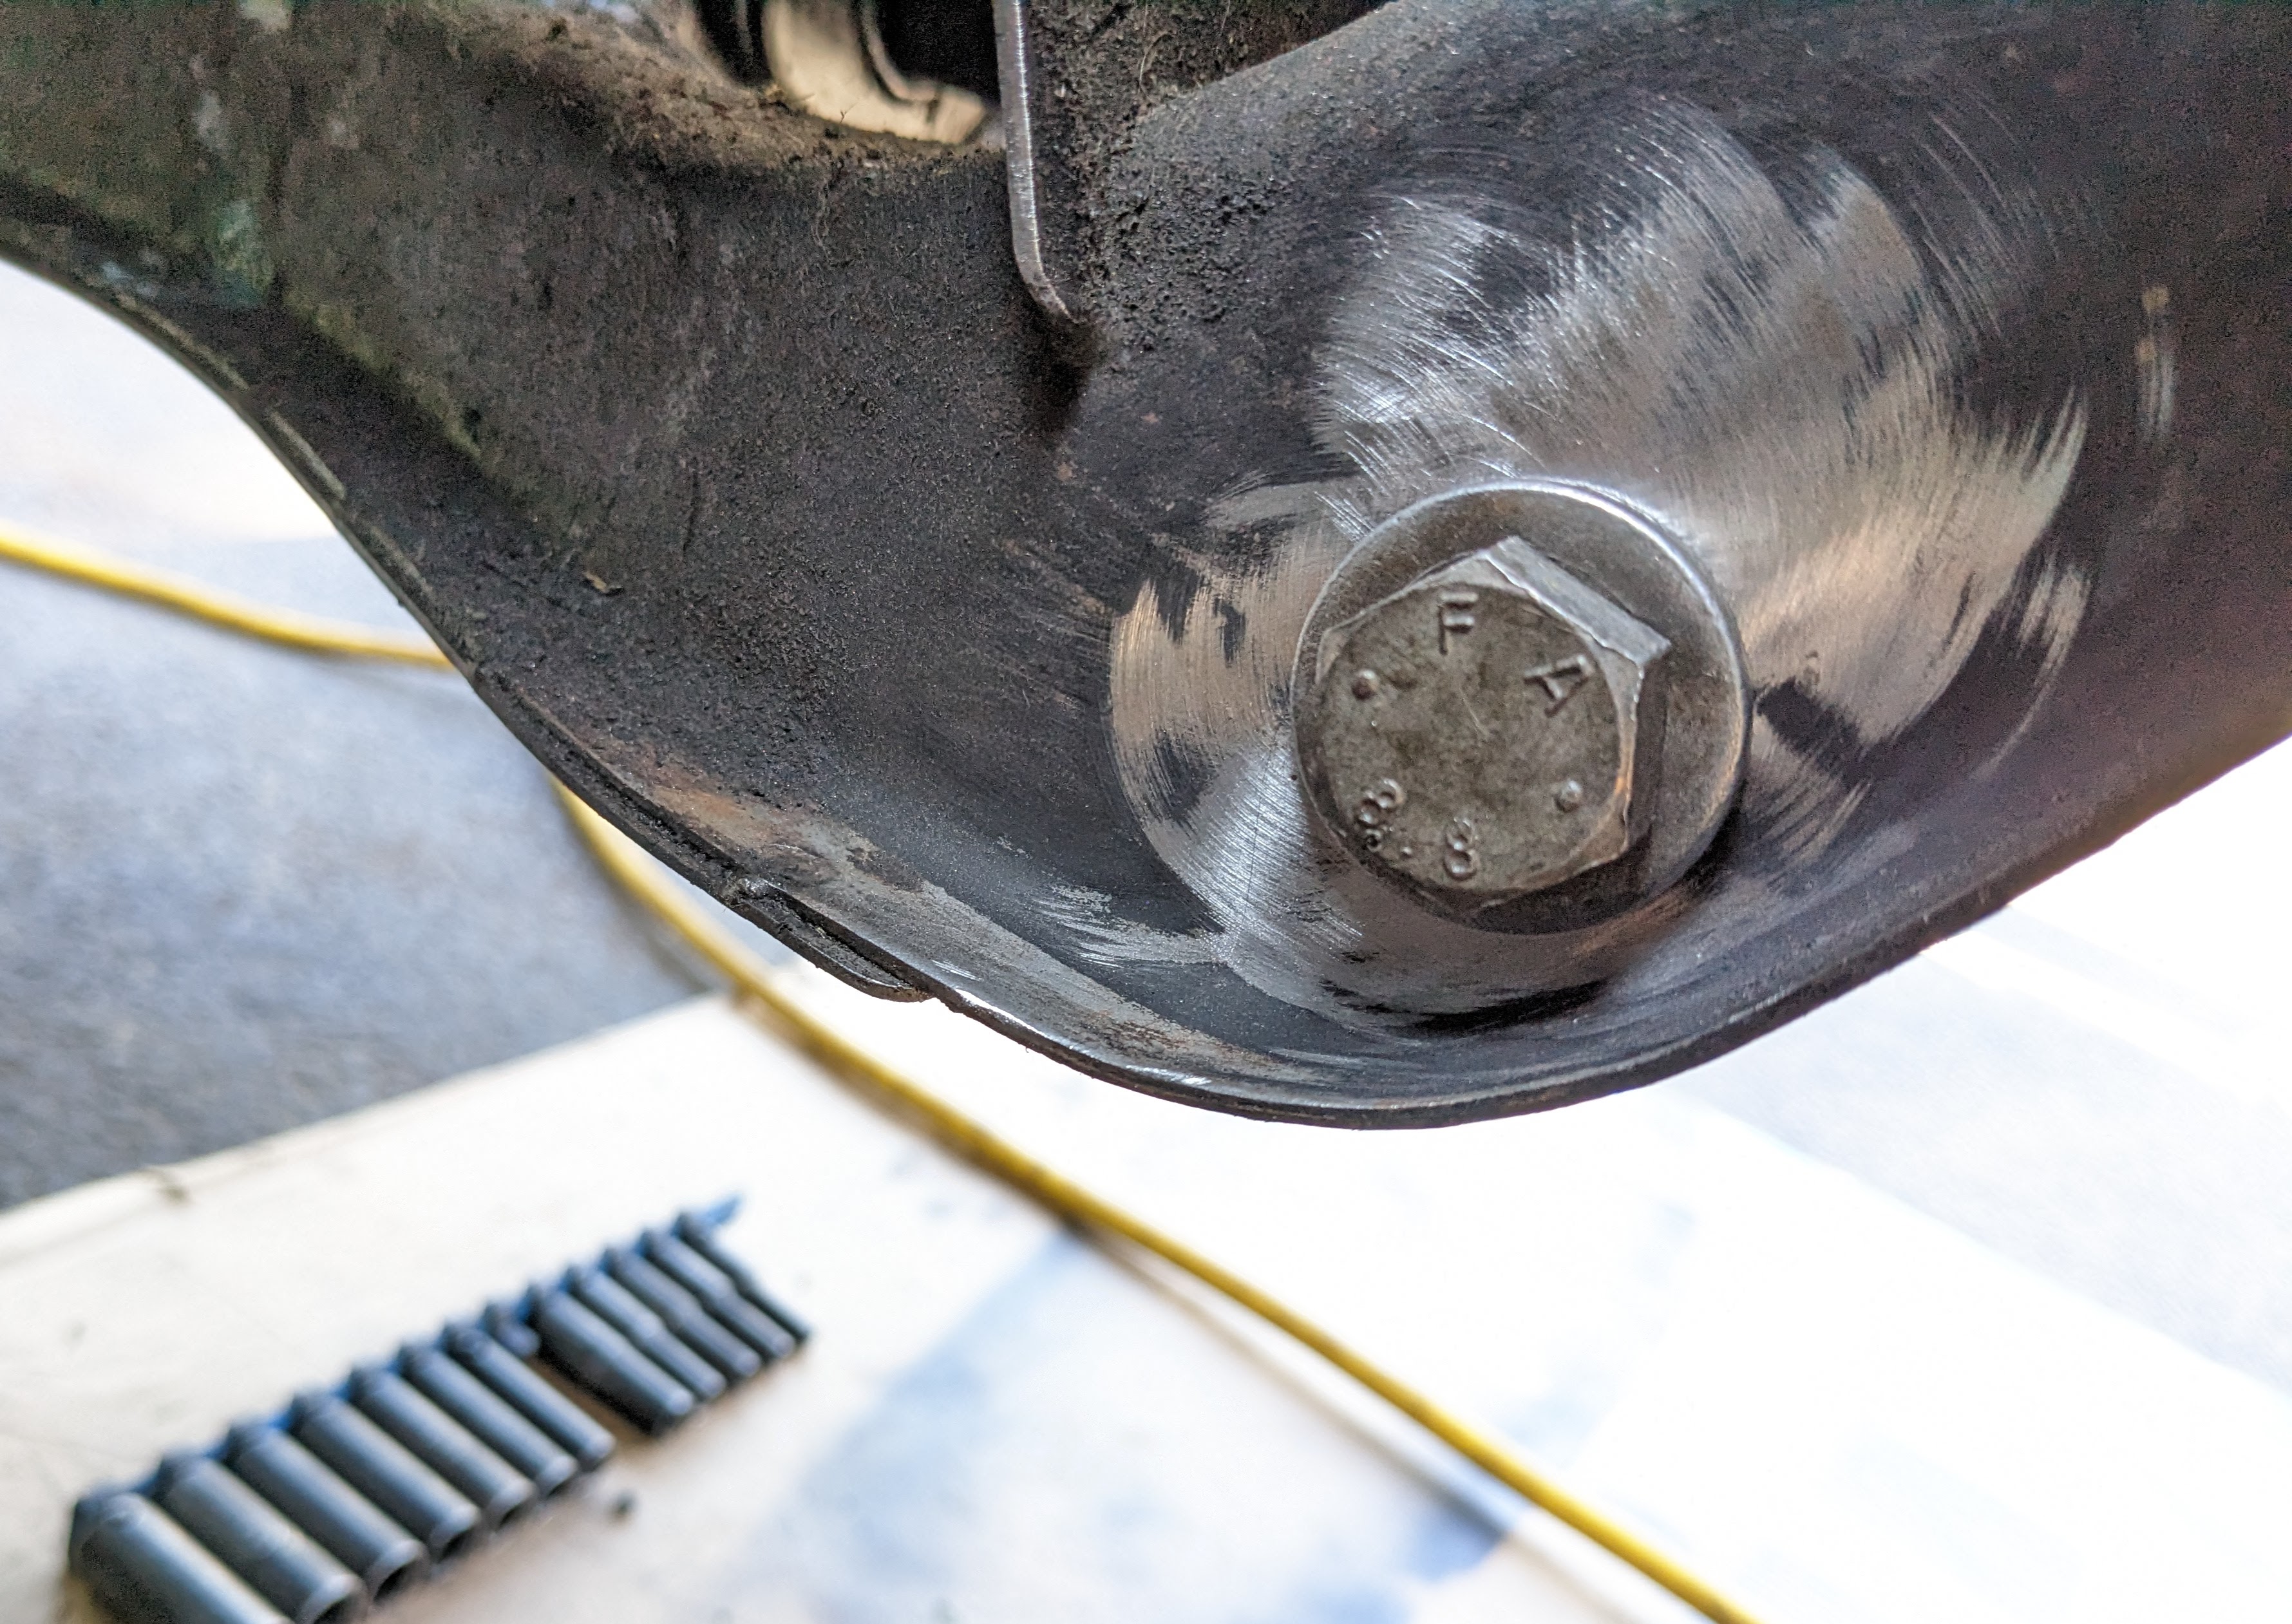
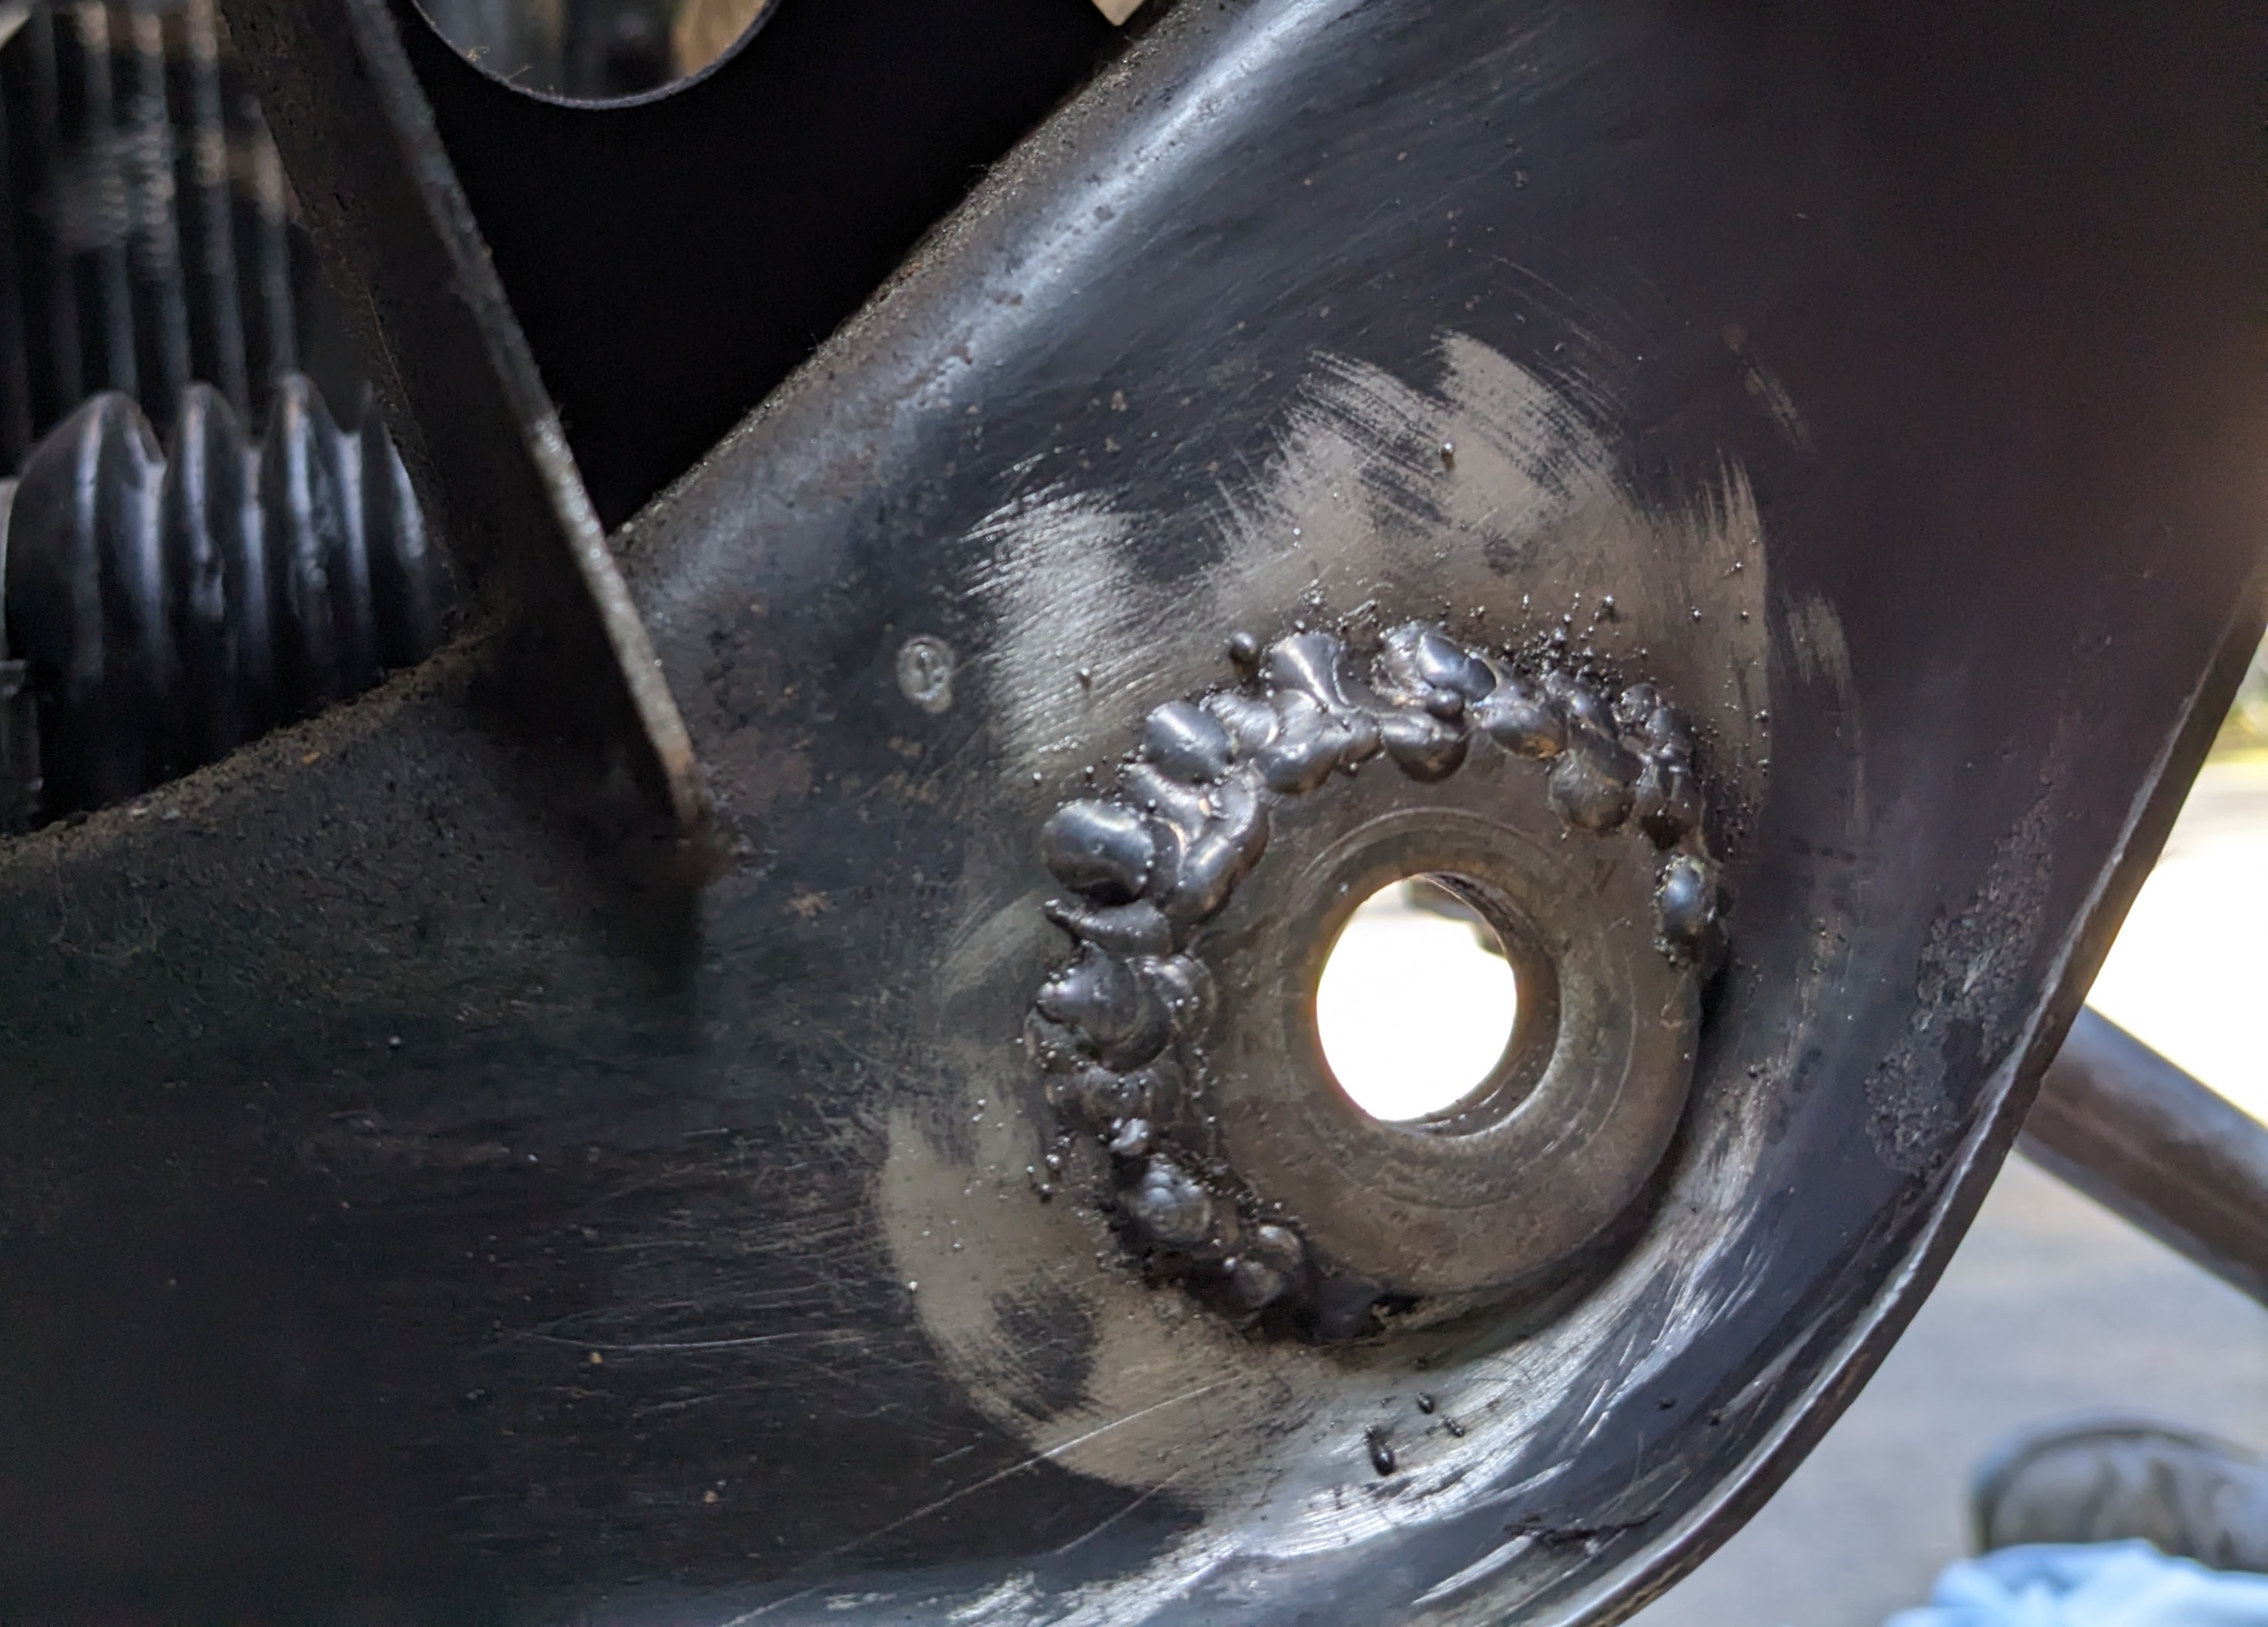
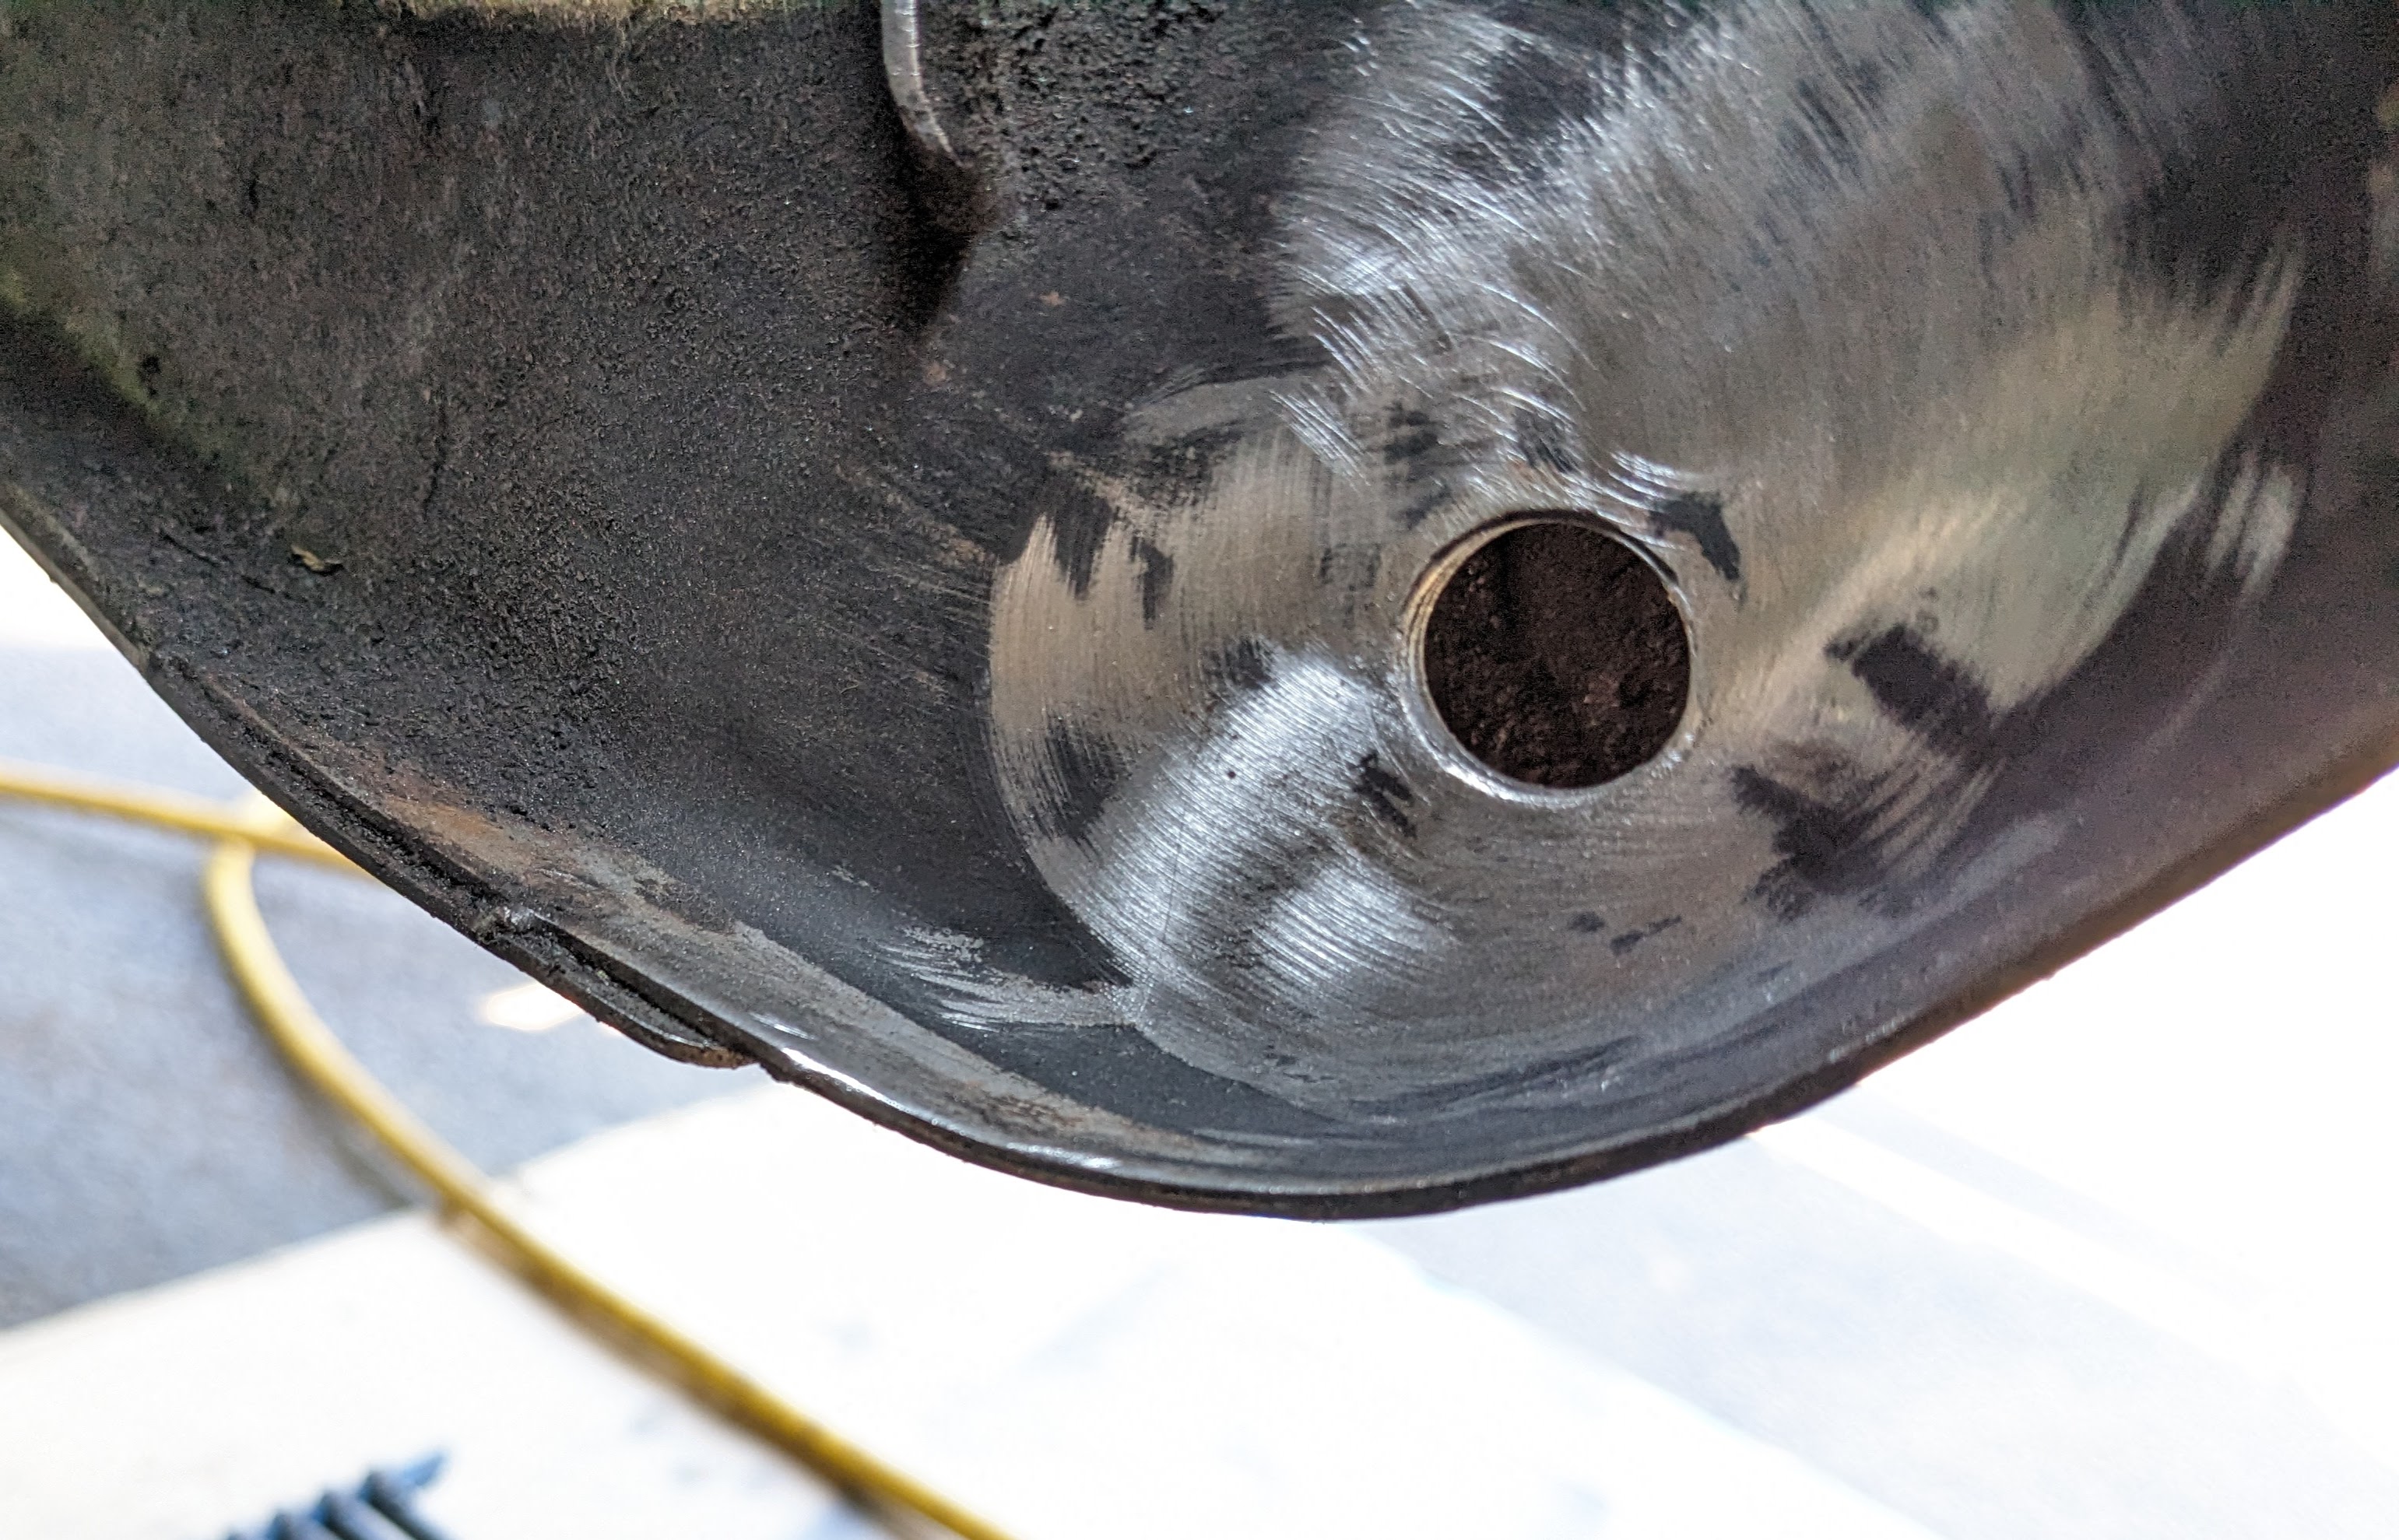
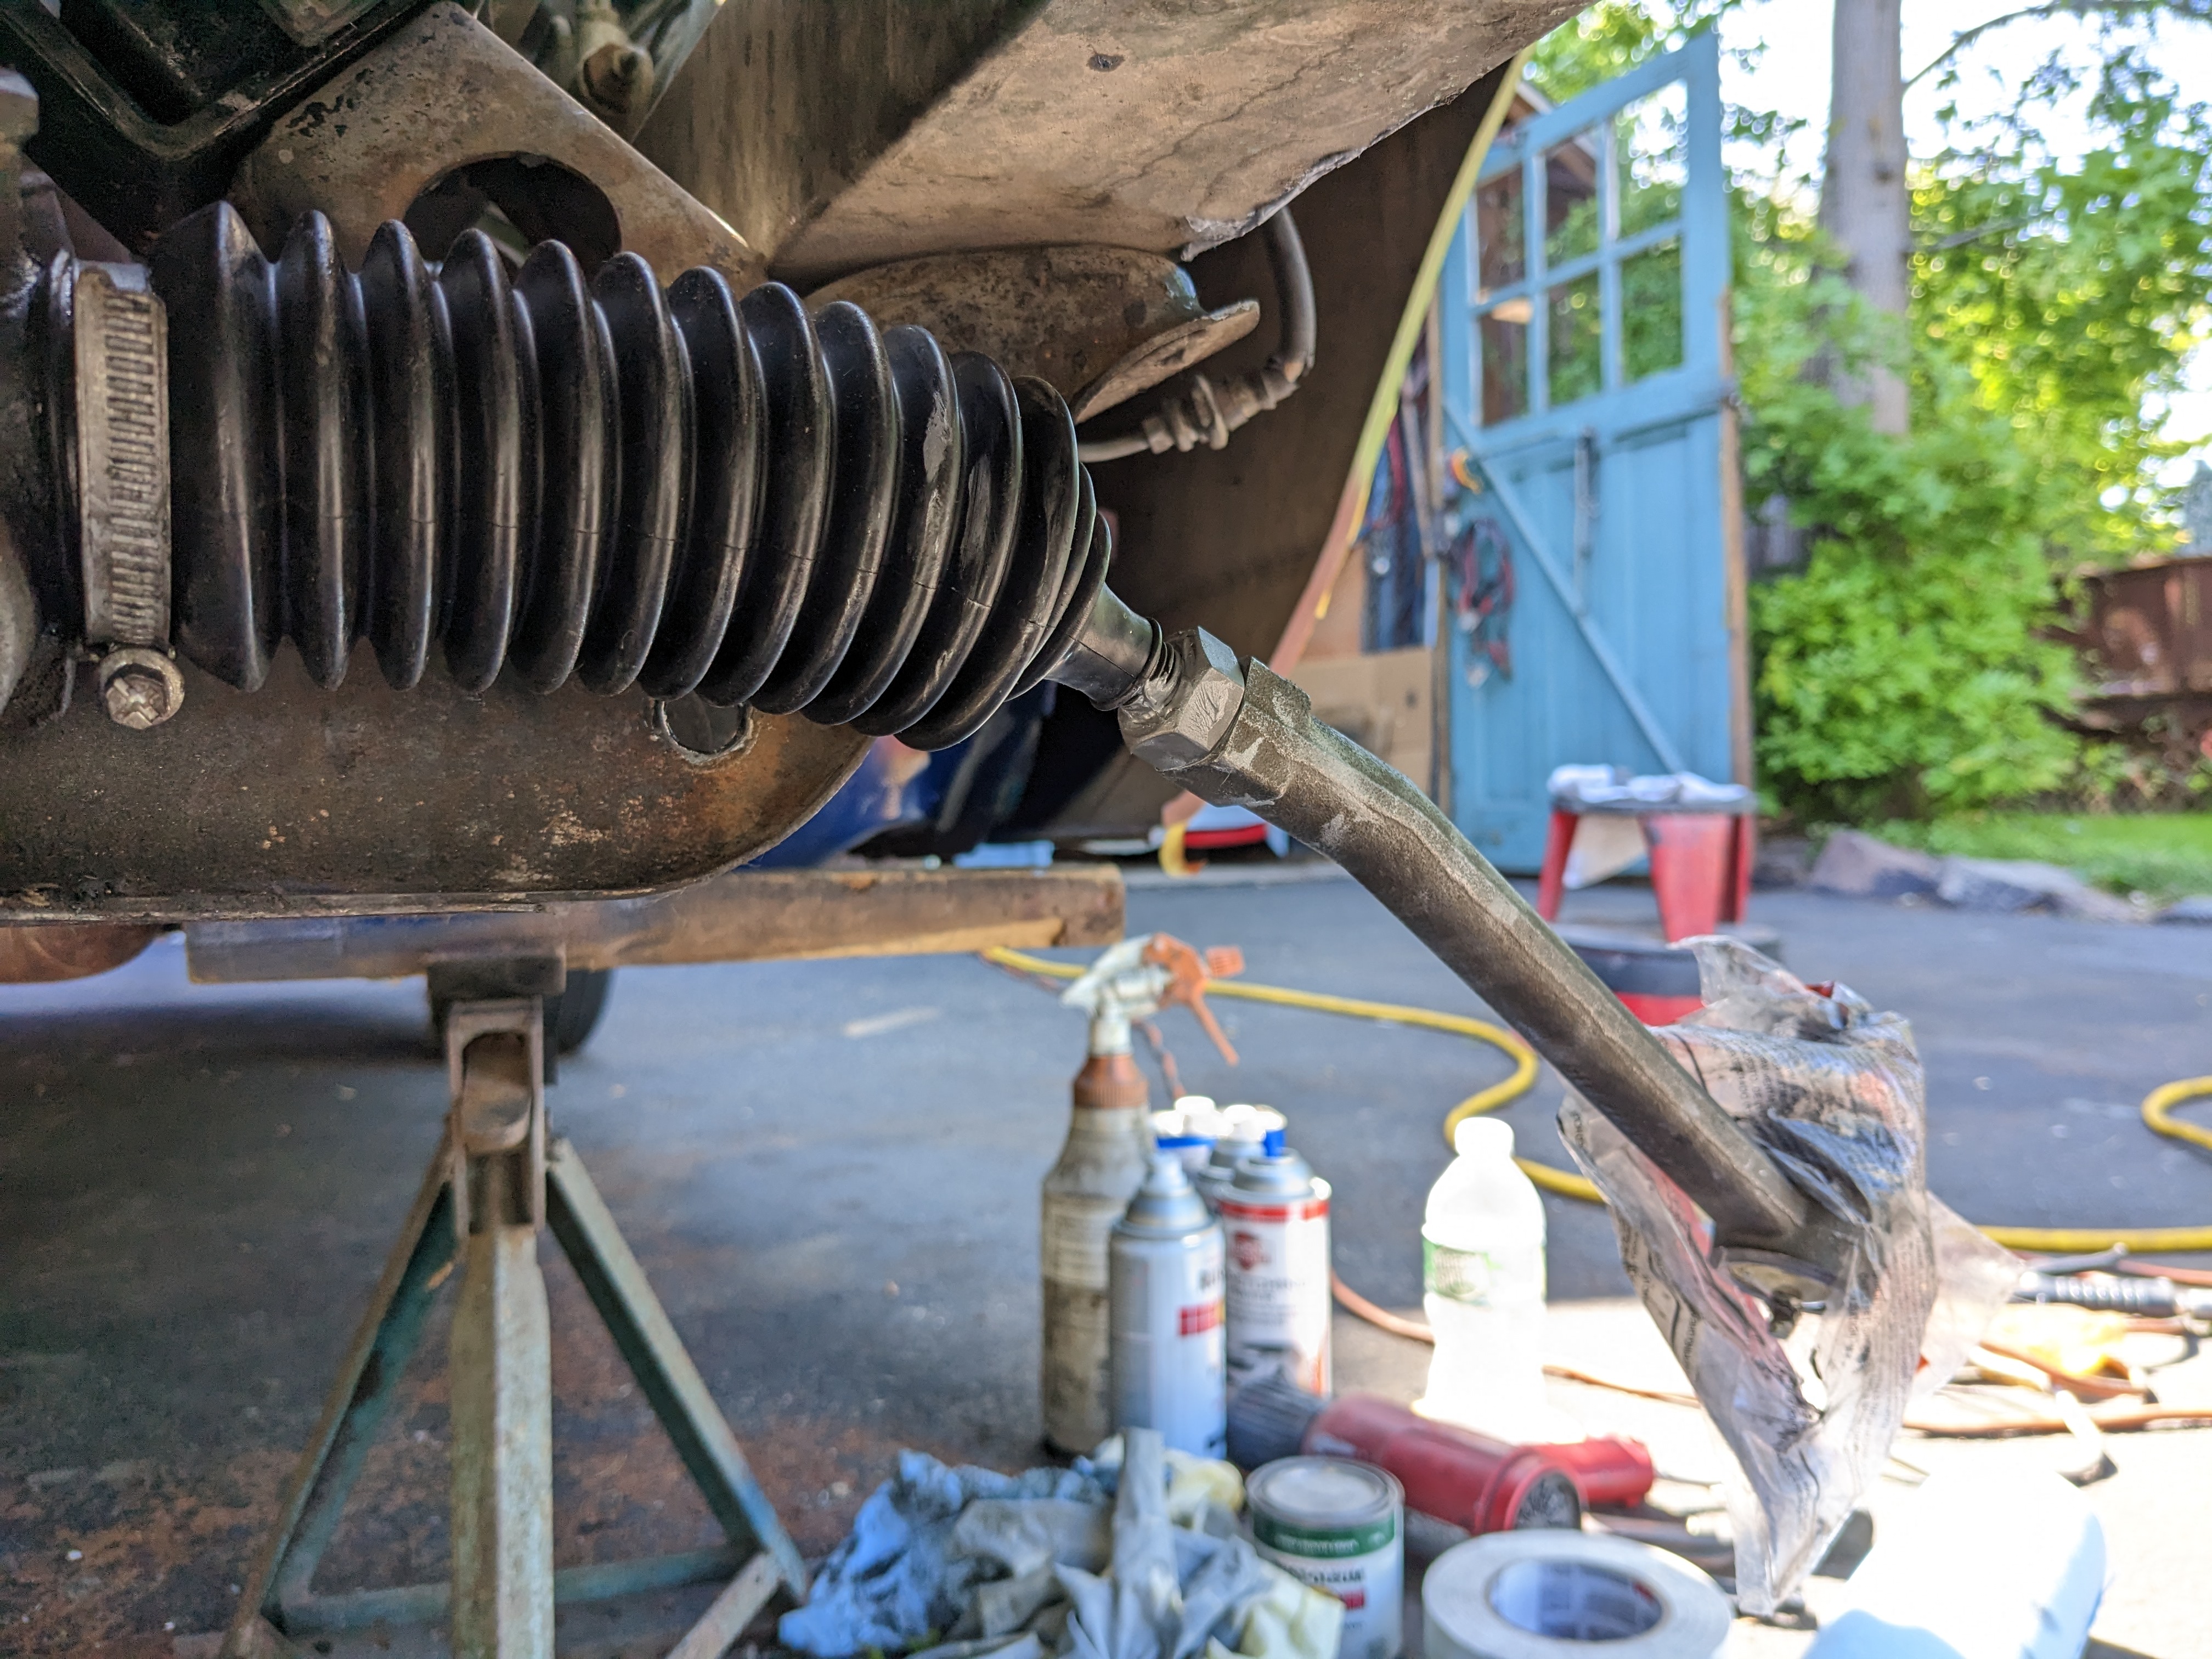
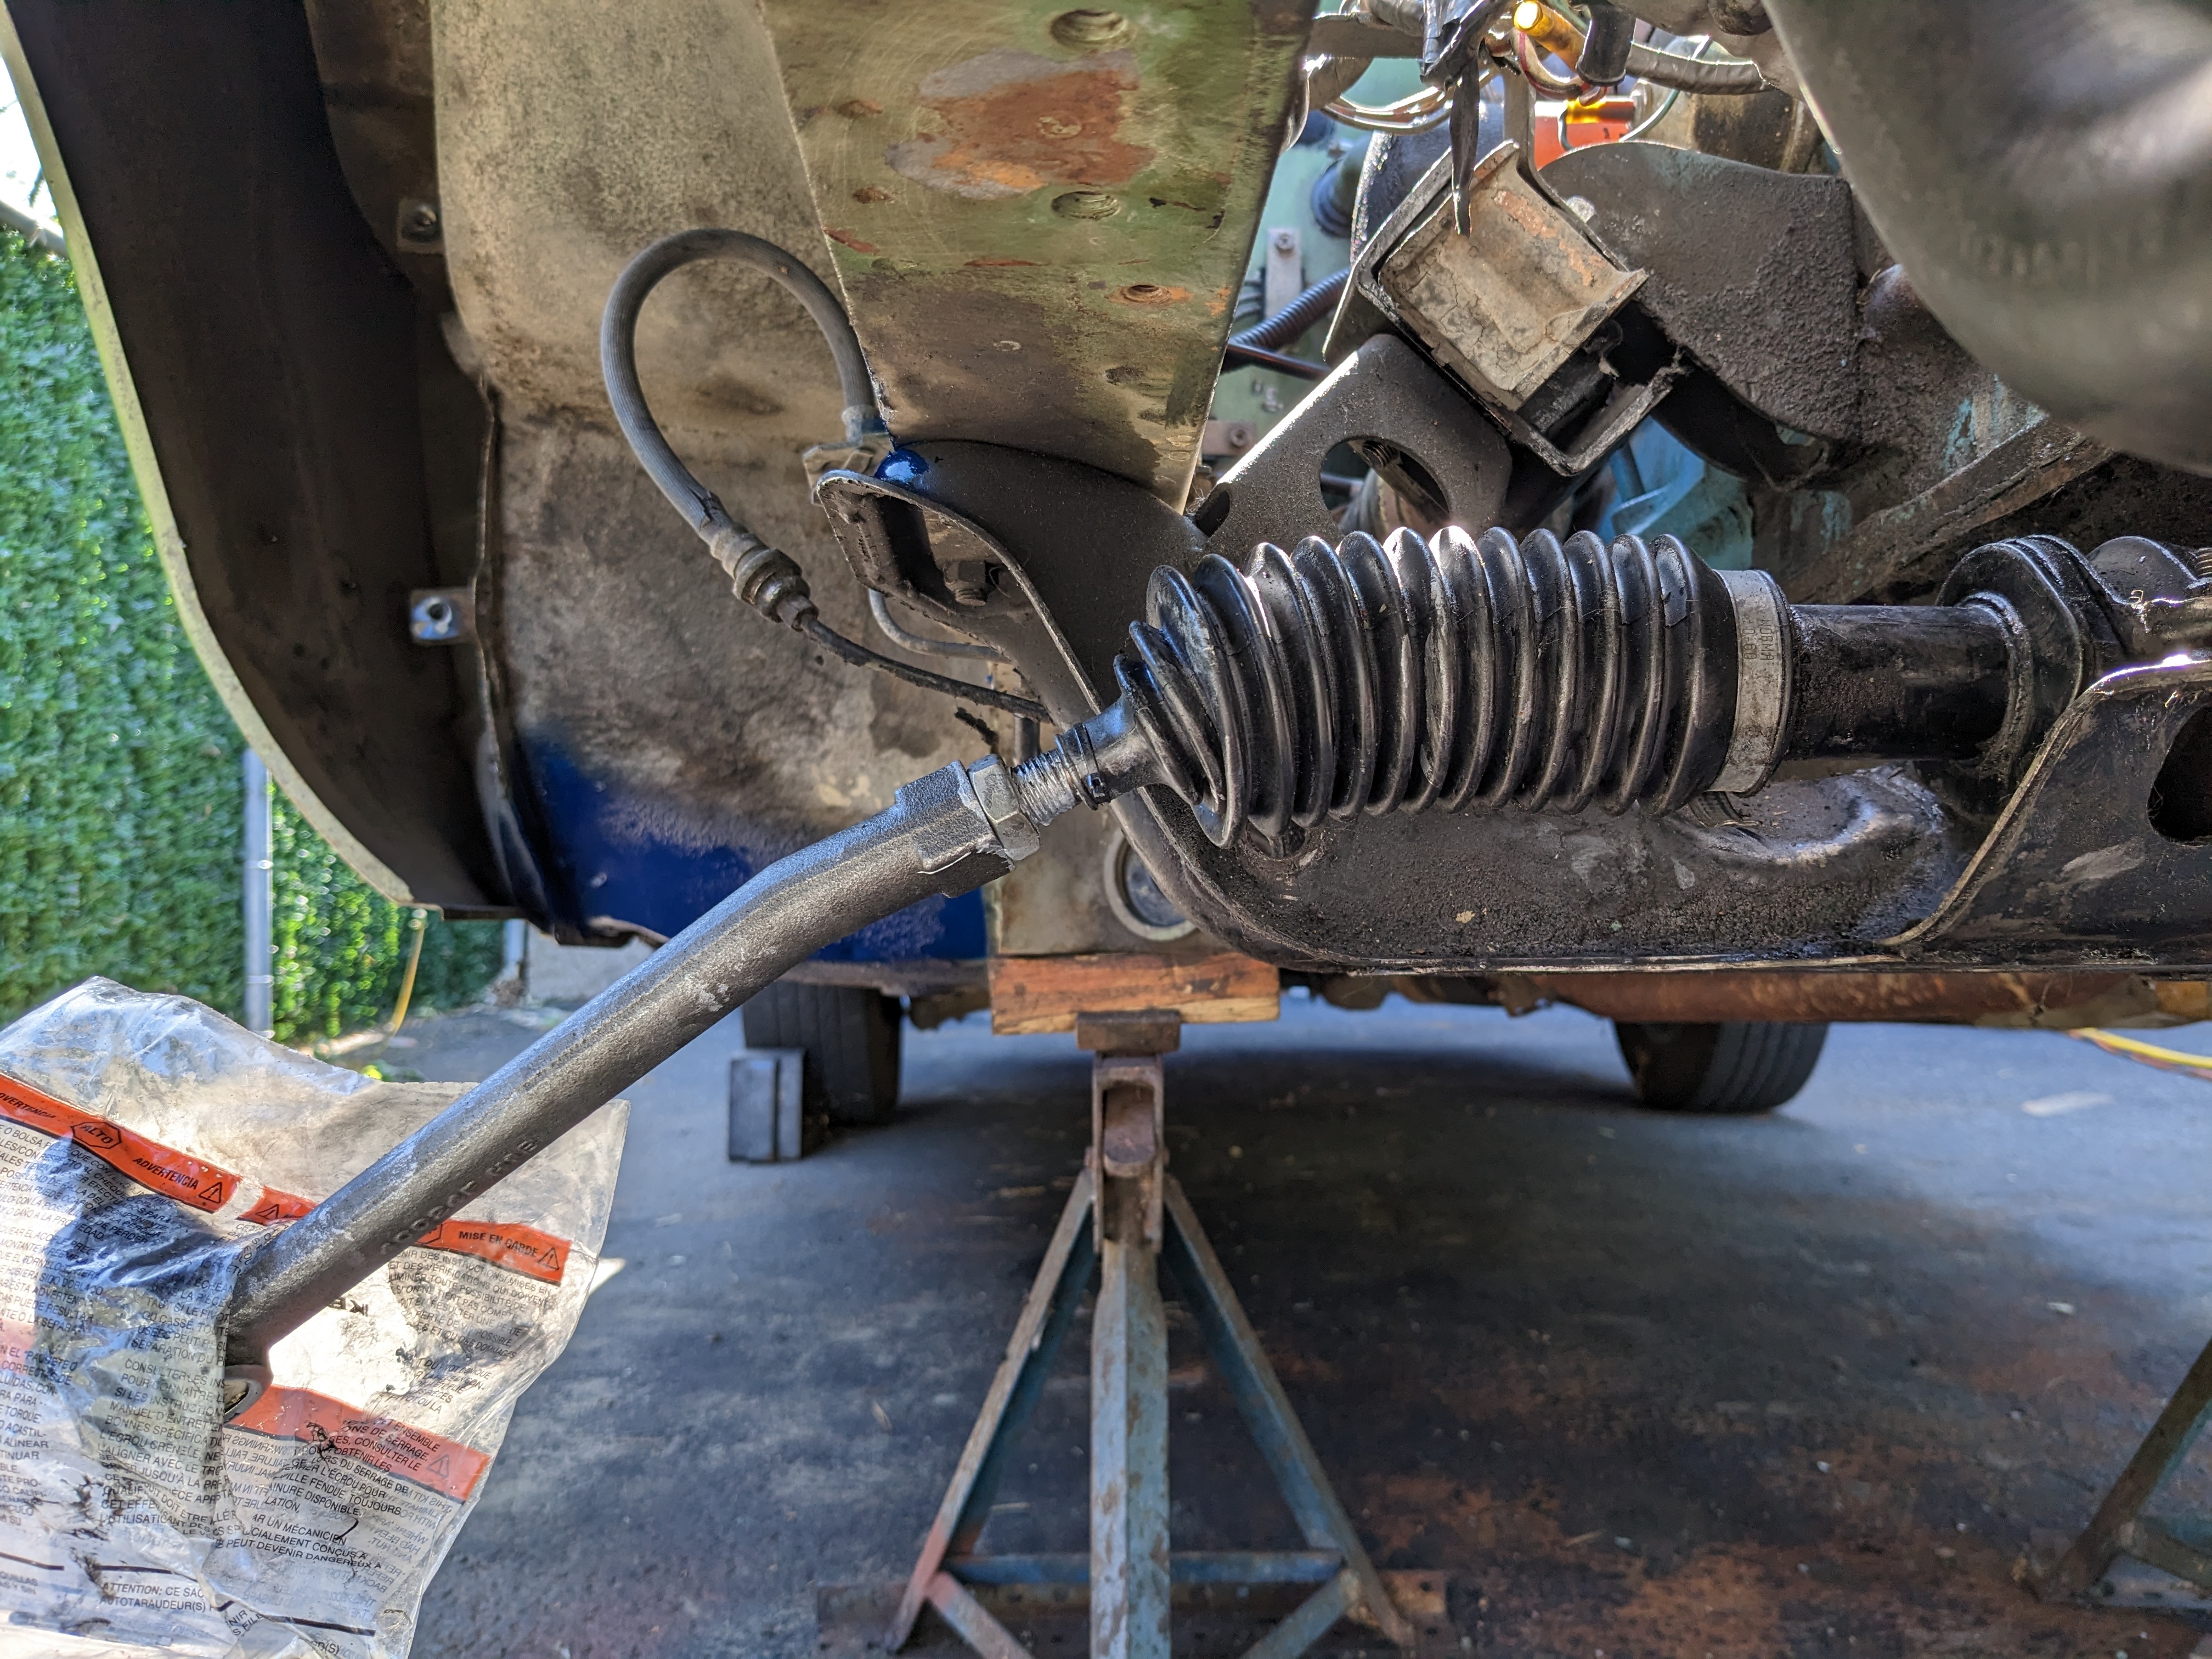
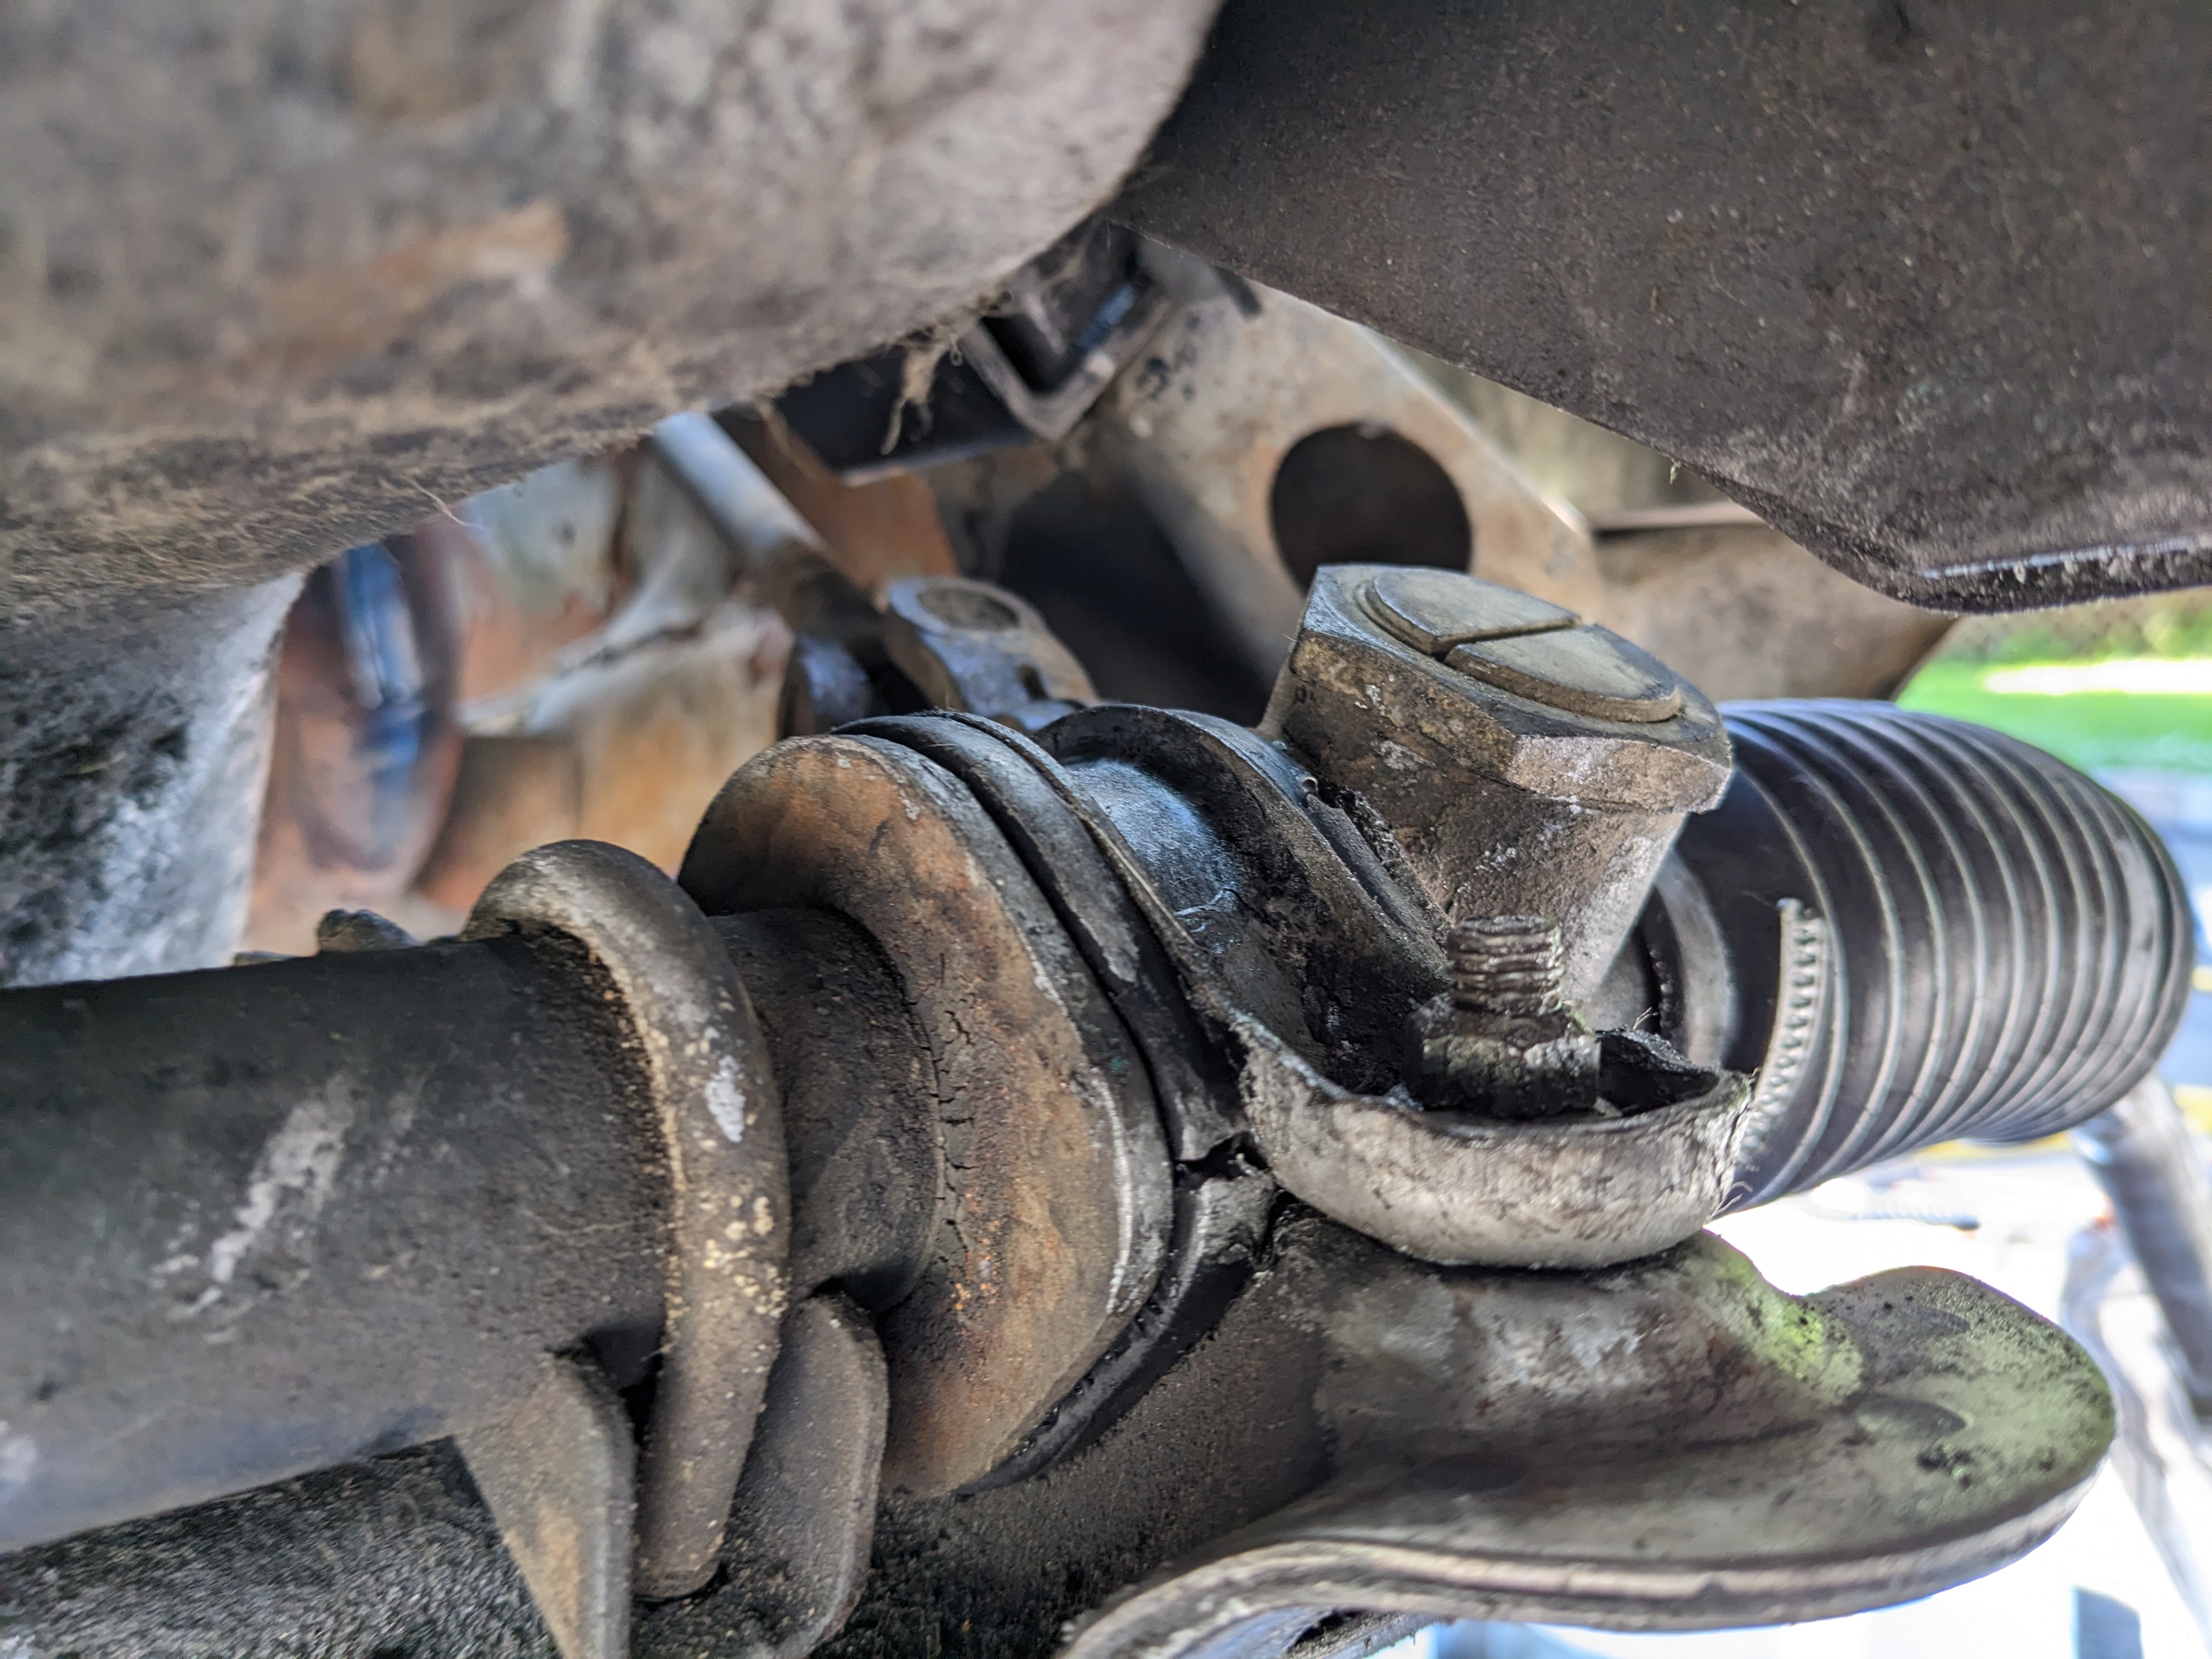
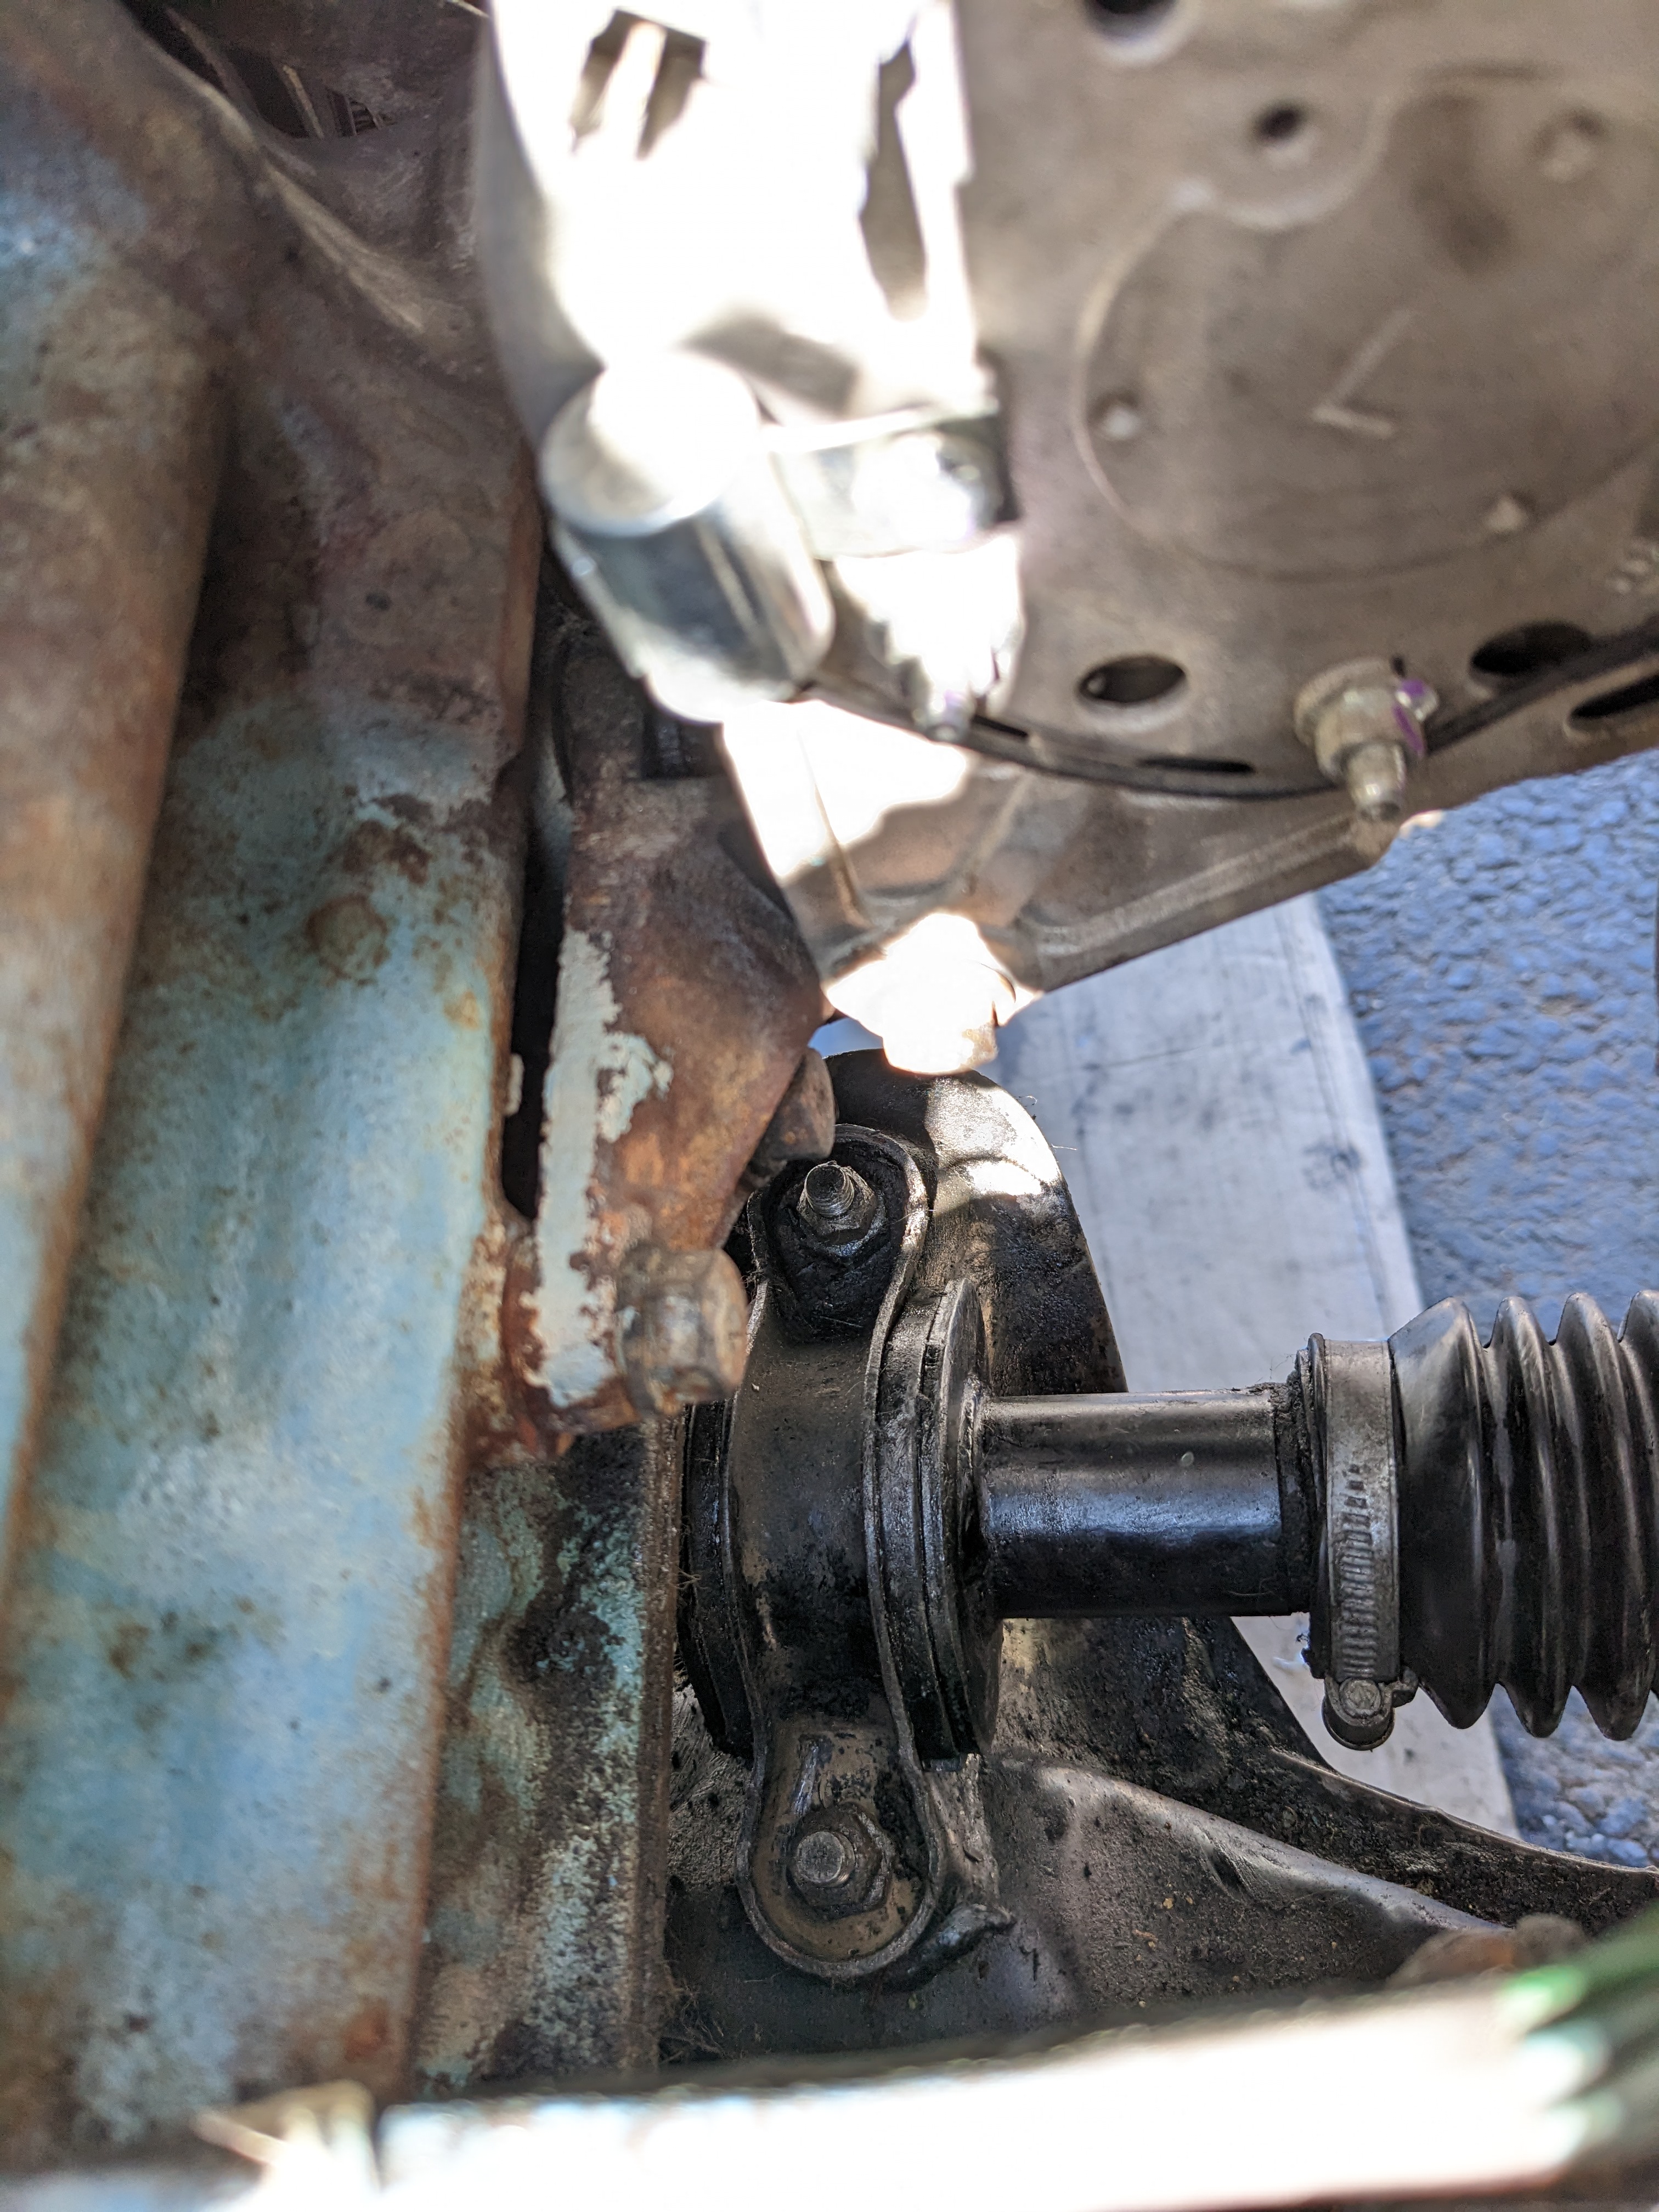
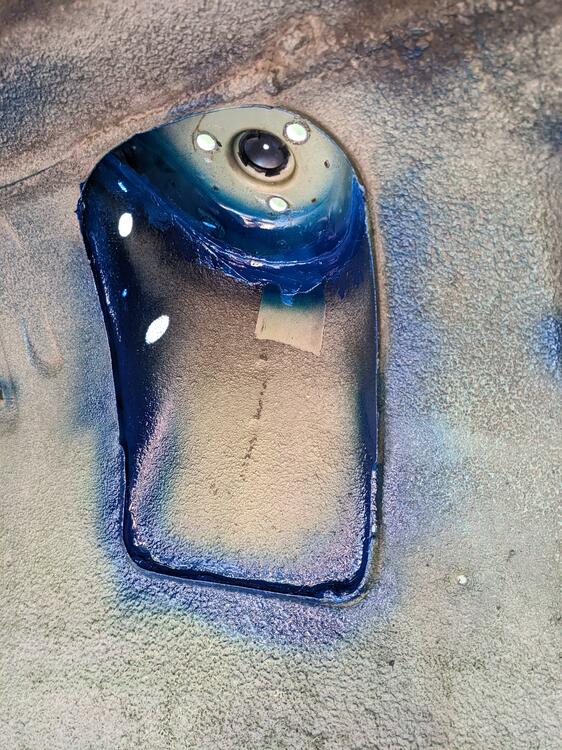
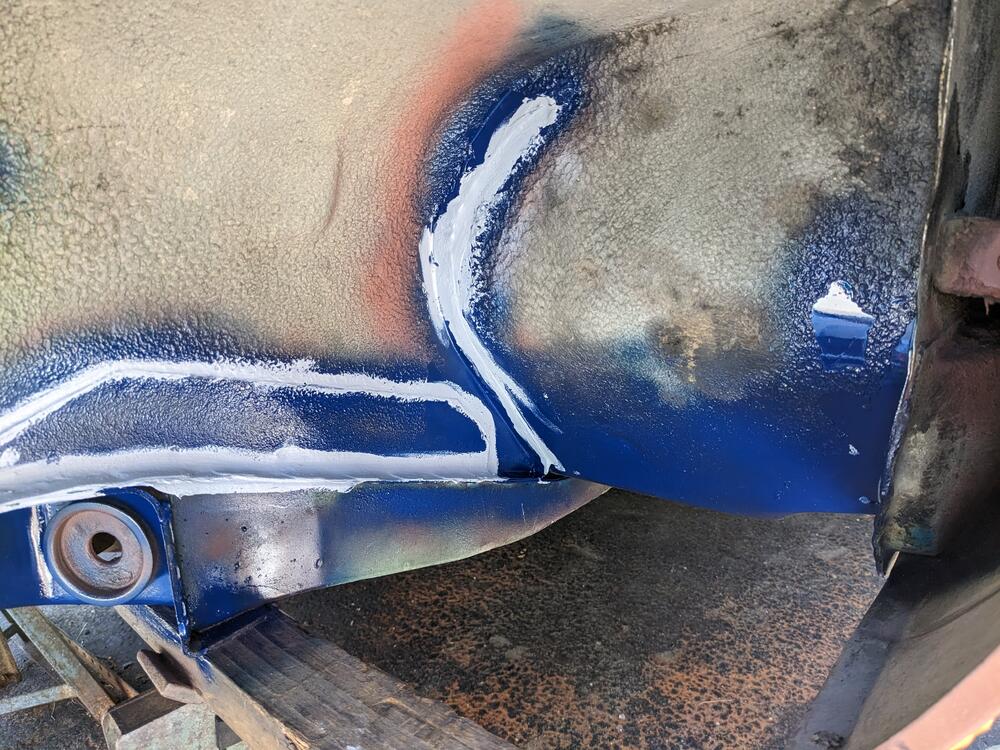
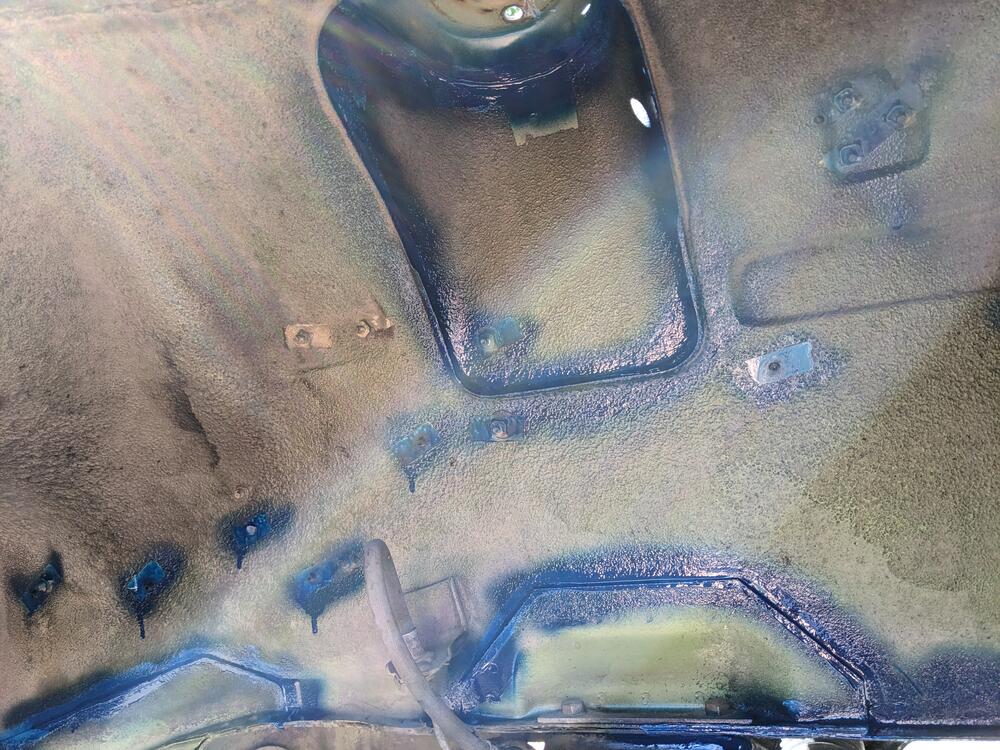
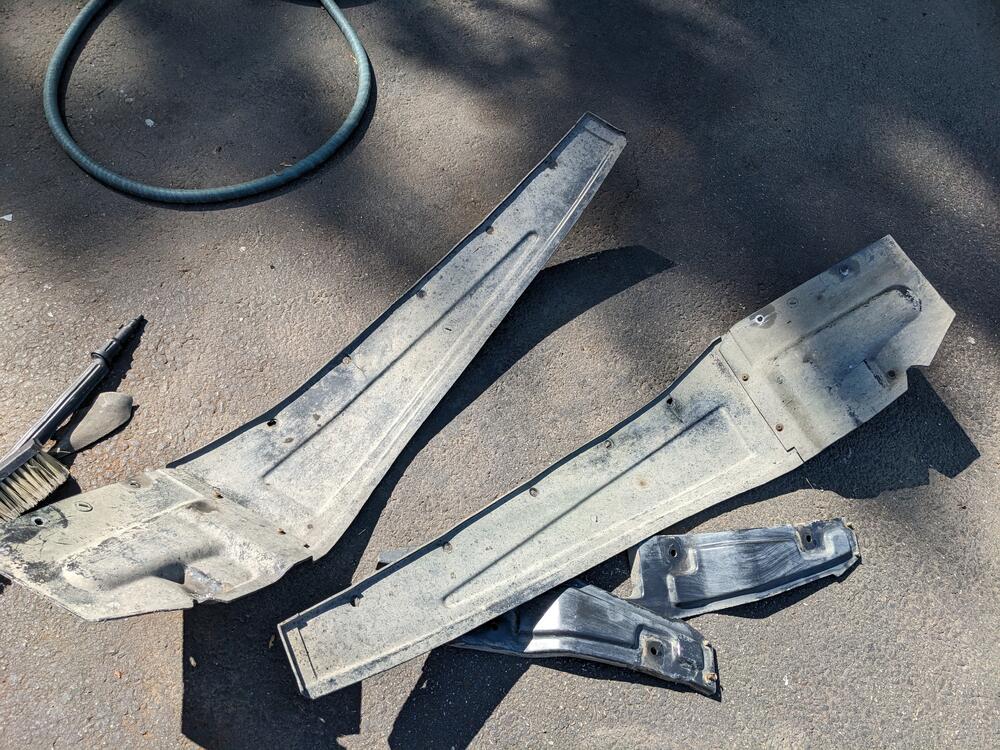
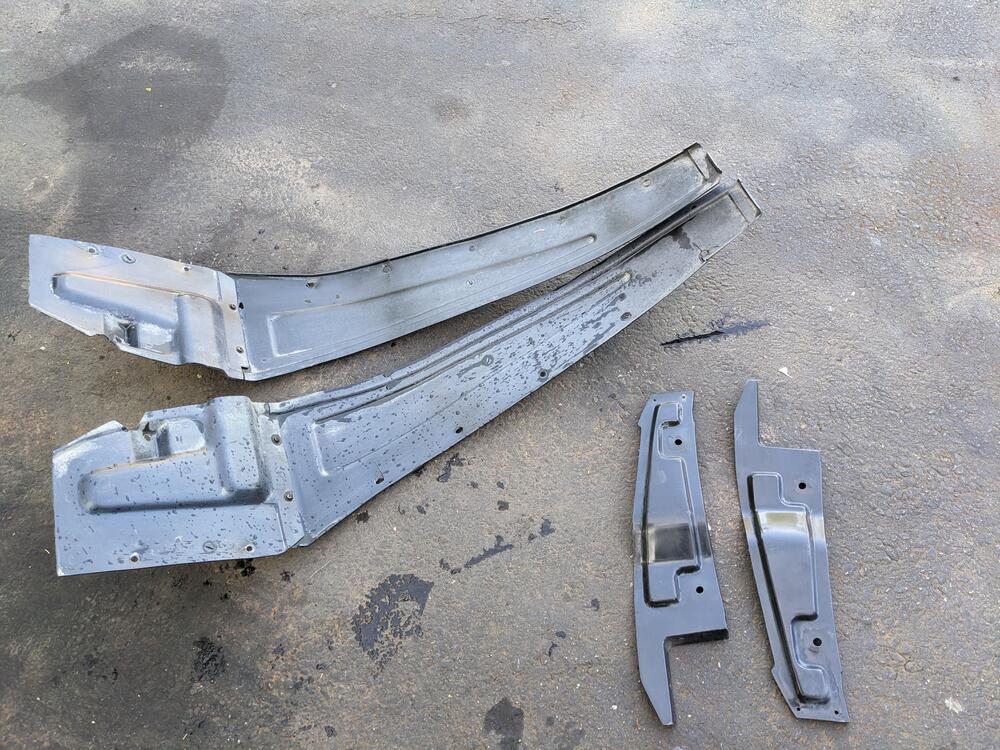
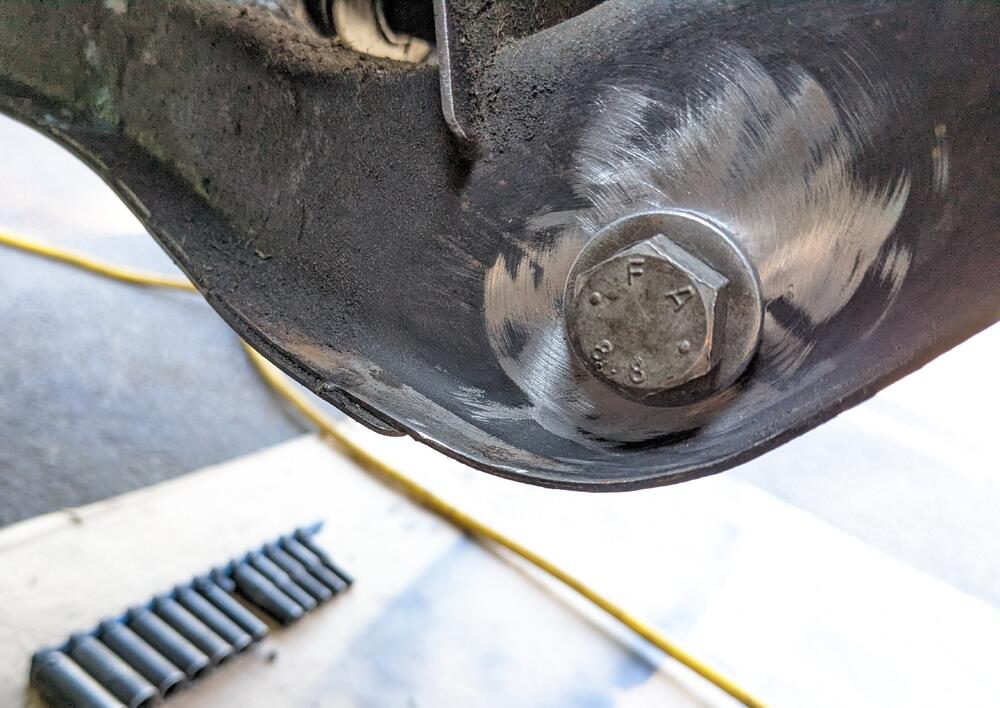
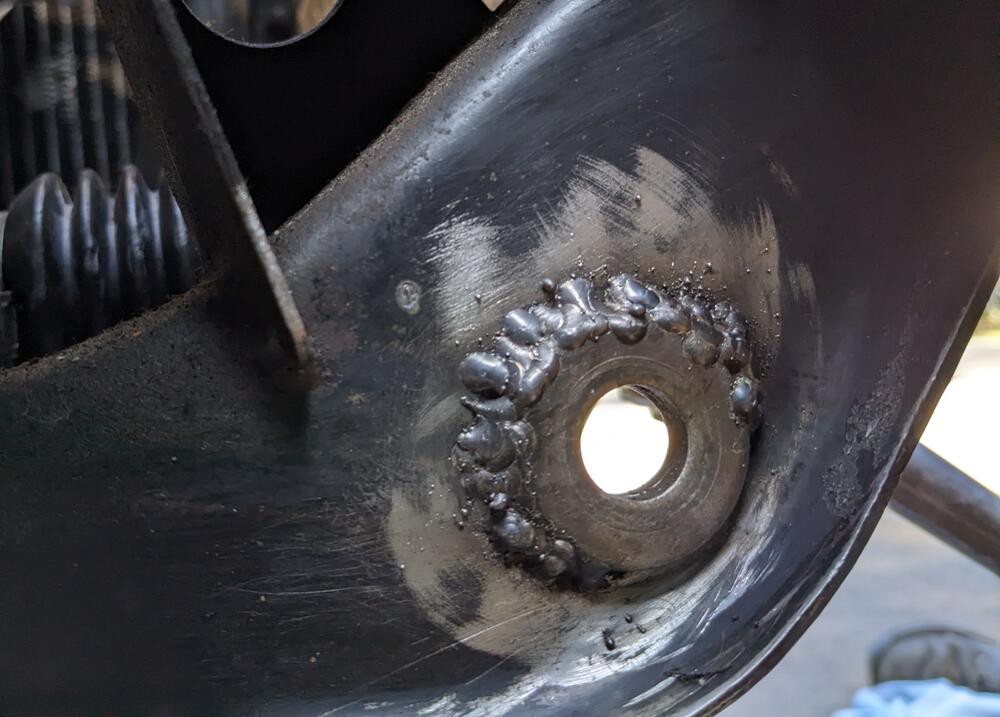
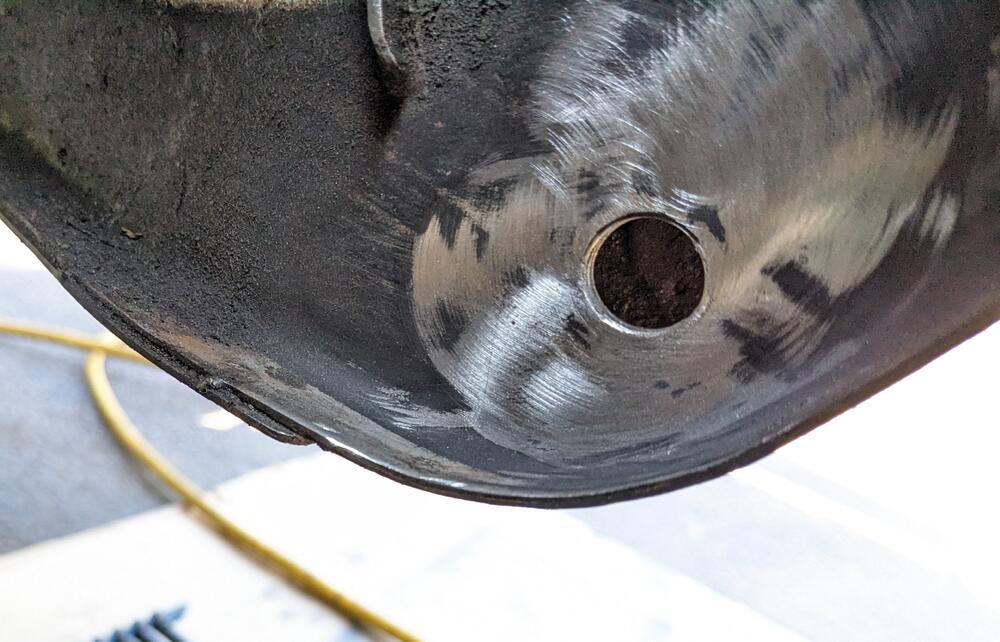
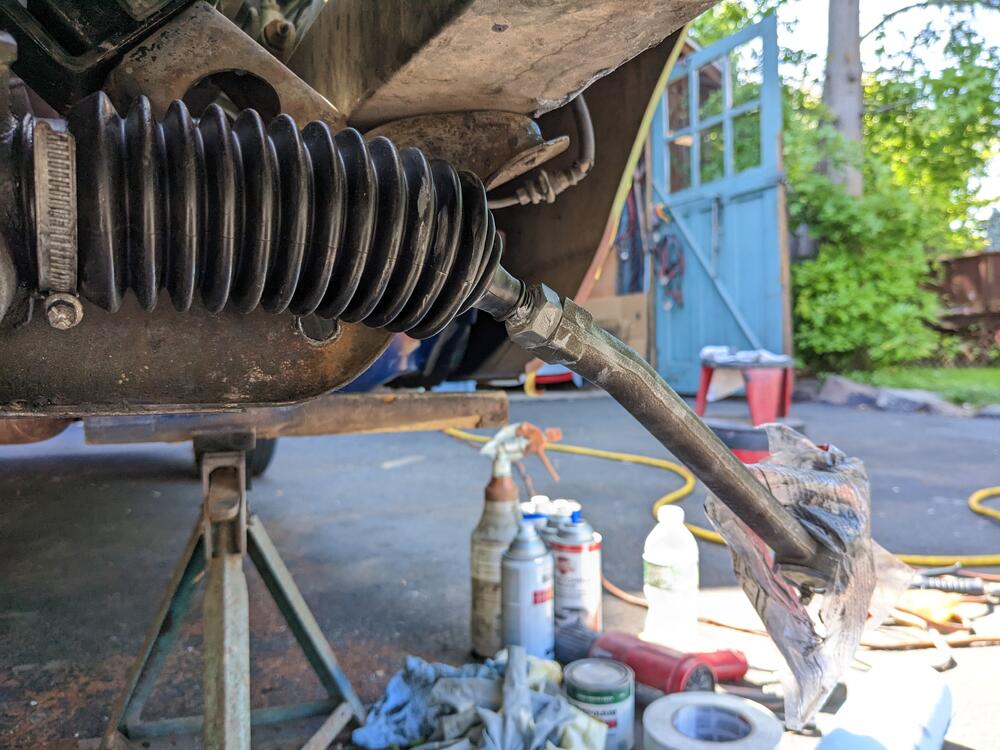
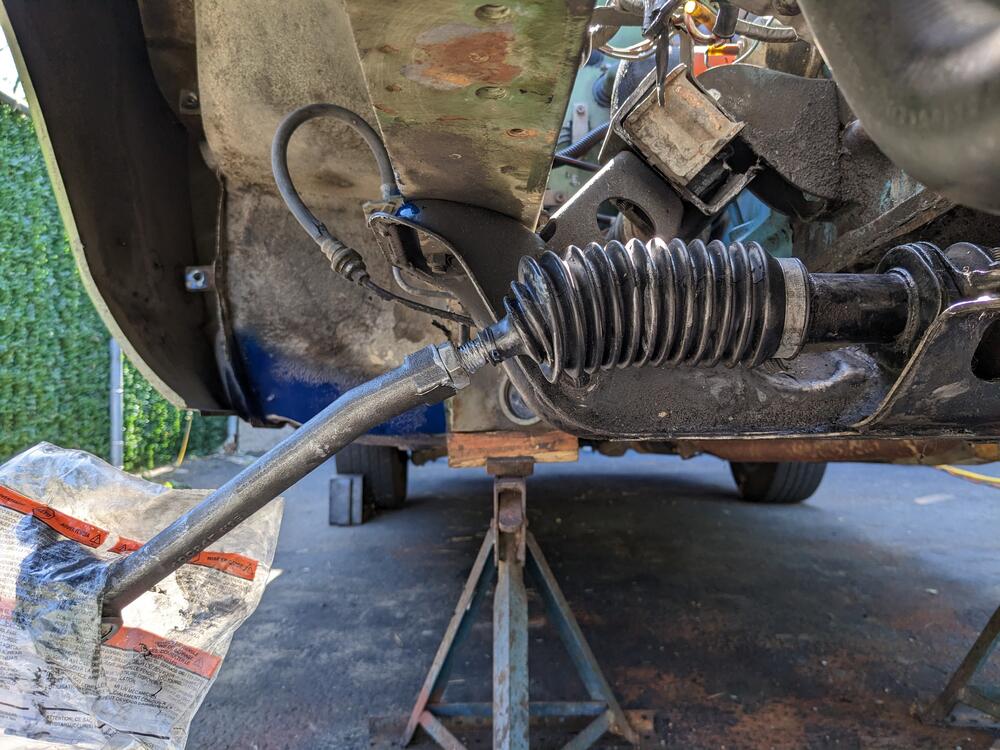
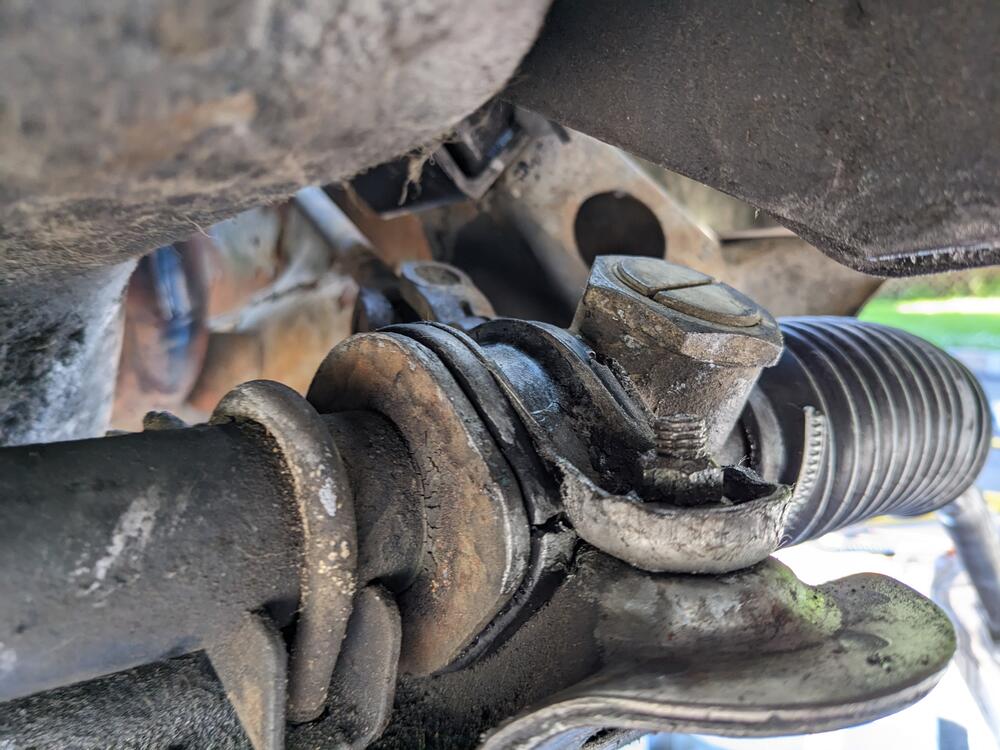
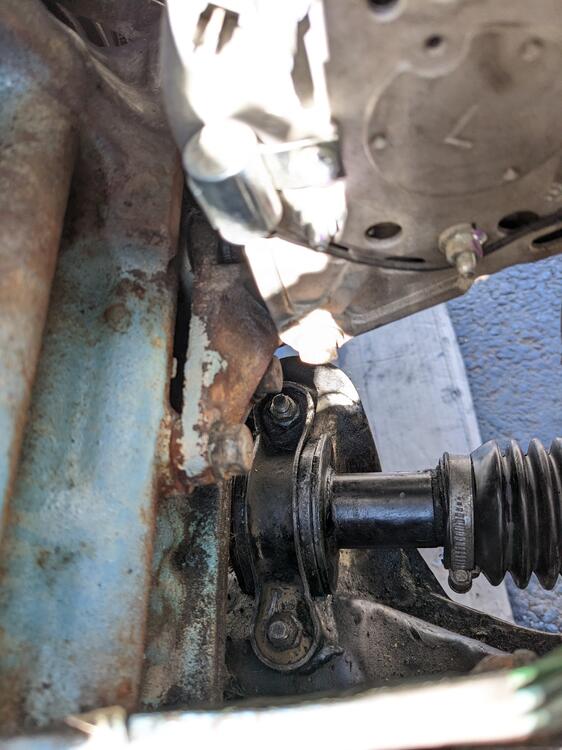
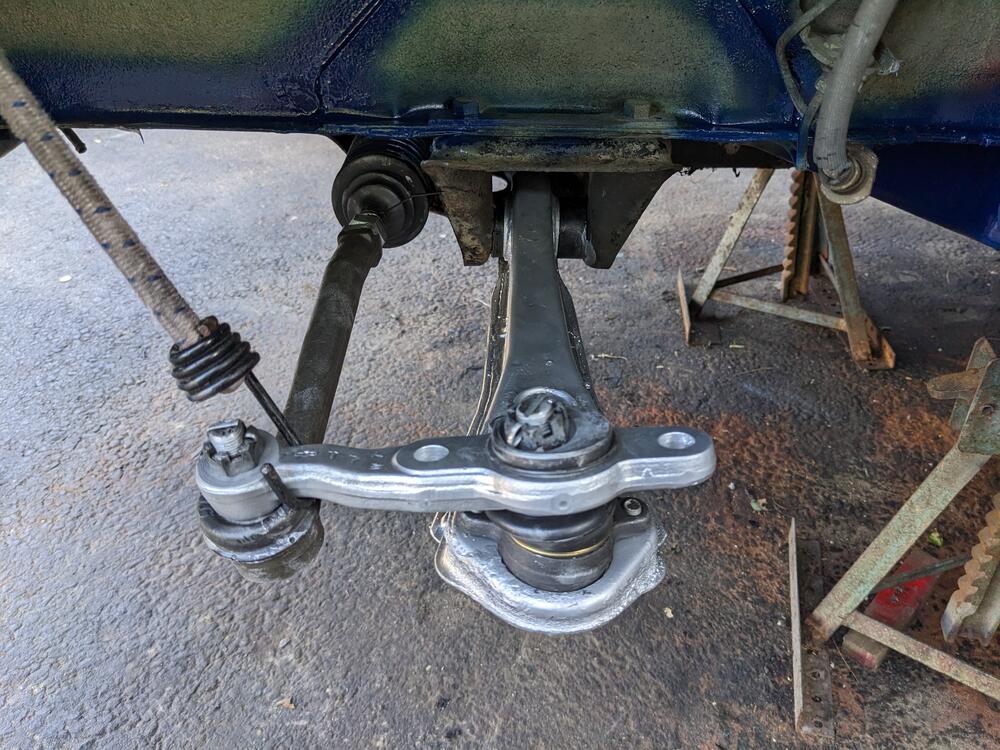
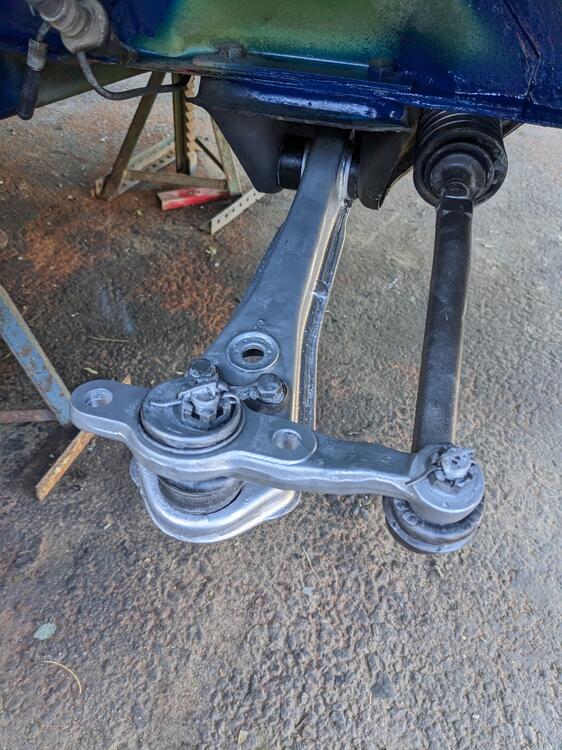
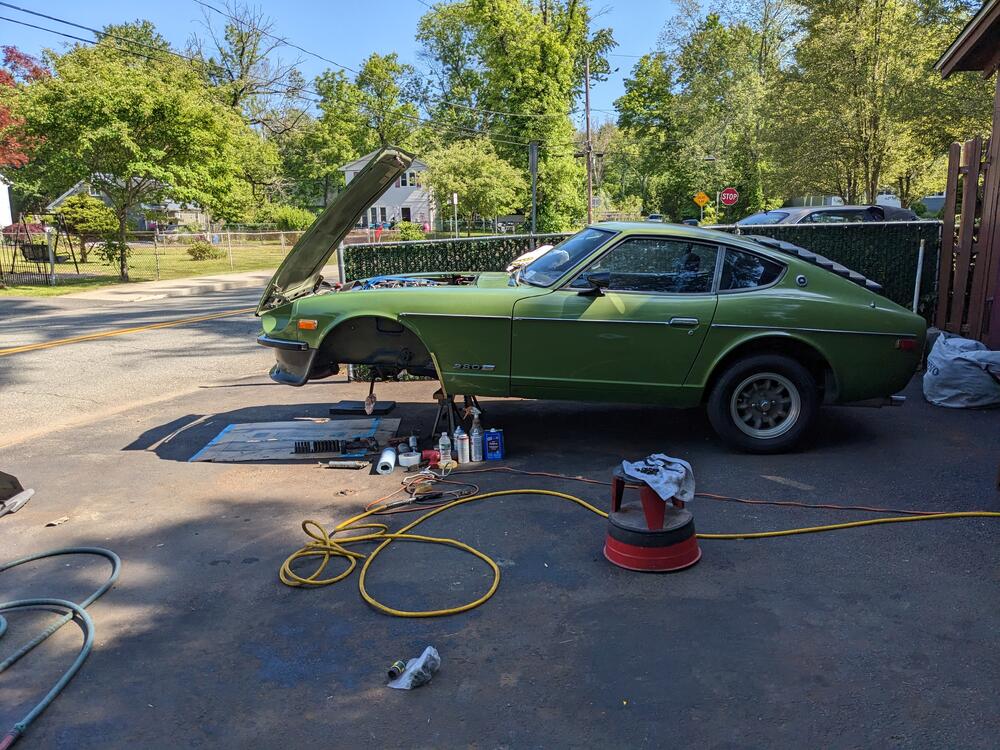
Had time today to work on the front end. I spent a fair amount of time cleaning, scrubbing, degreasing & prepping the inner fenders & strut tower, frame reinforcements, so I could get some seam sealer in there followed by primer & paint. Not that the car will ever see winter driving, but any moisture getting into those areas will happily rot the metal I'm sure. The larger undercoated areas will get further cleaning, then I'll go back with some fresh stone chip & then undercoat. DTR, I'll remove the fenders & redo the seams back there he inner fender liners need some work, and the lower right mudflap was gone. Much silt wedged between the fender & inner panel, not good for NY cleaned up somewhat, need to address the cracks cleaned up the right control arm mount hole & welded a heavy washer in place to remove the slop from the ovaled holes Din't bother welding all the way around, it's not going anywhere Steering rack mounts, new boots & tie rod ends in New control arm poly bushes & sleeves in place
-
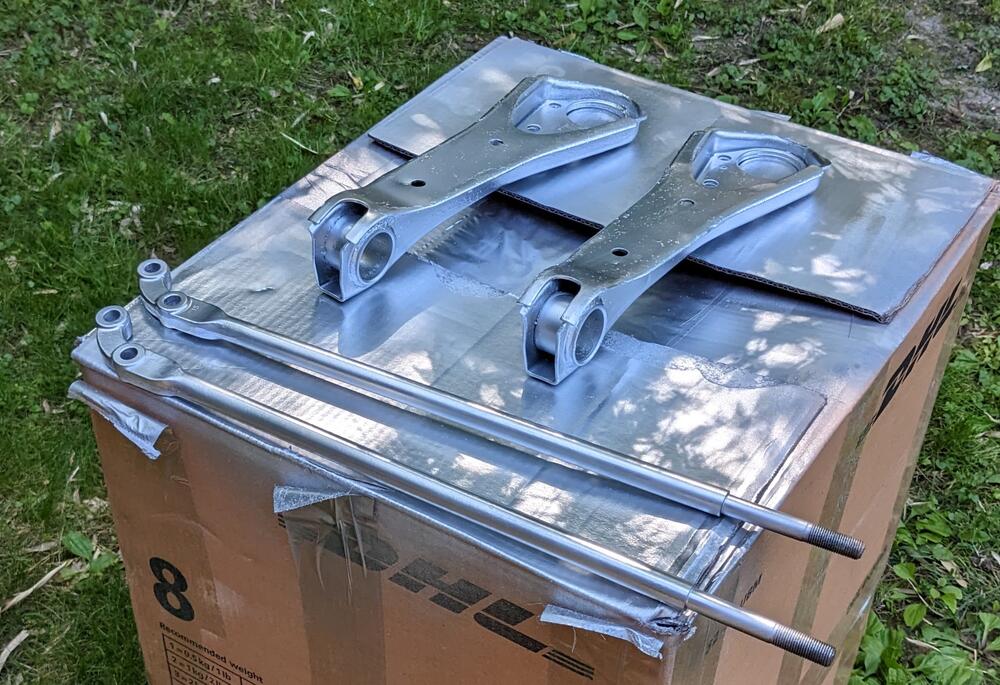
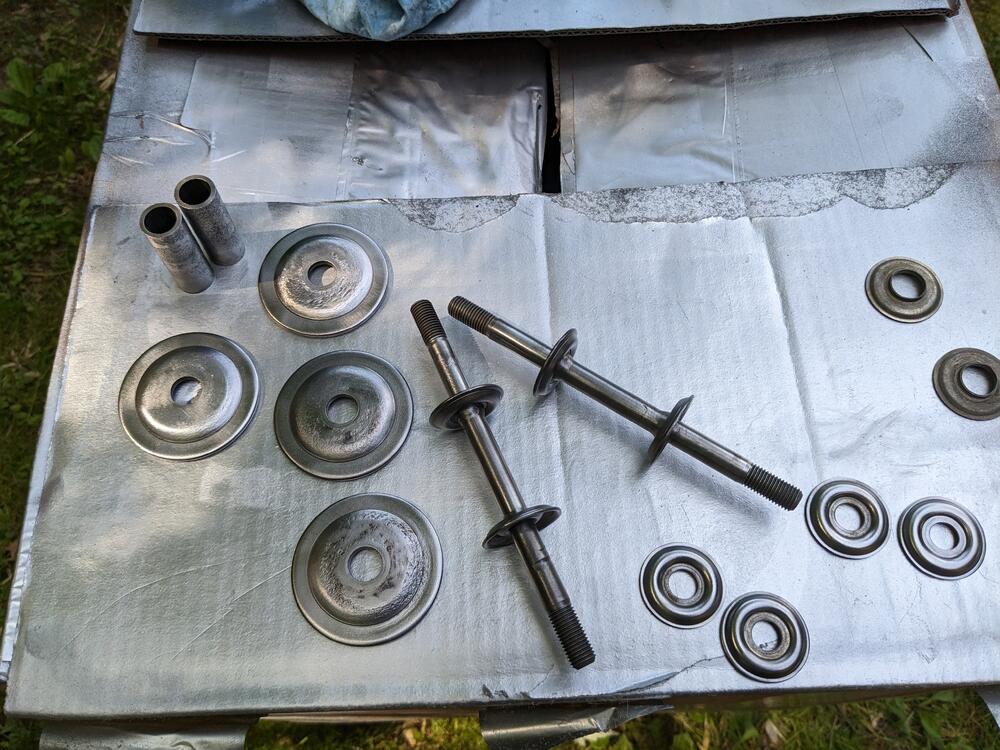
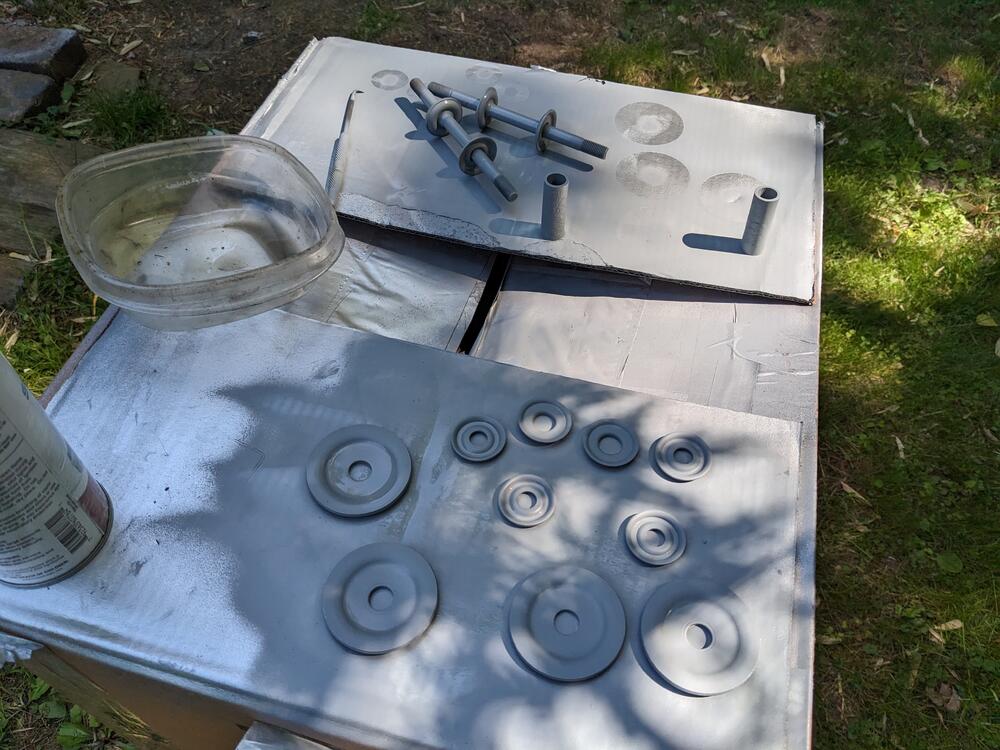
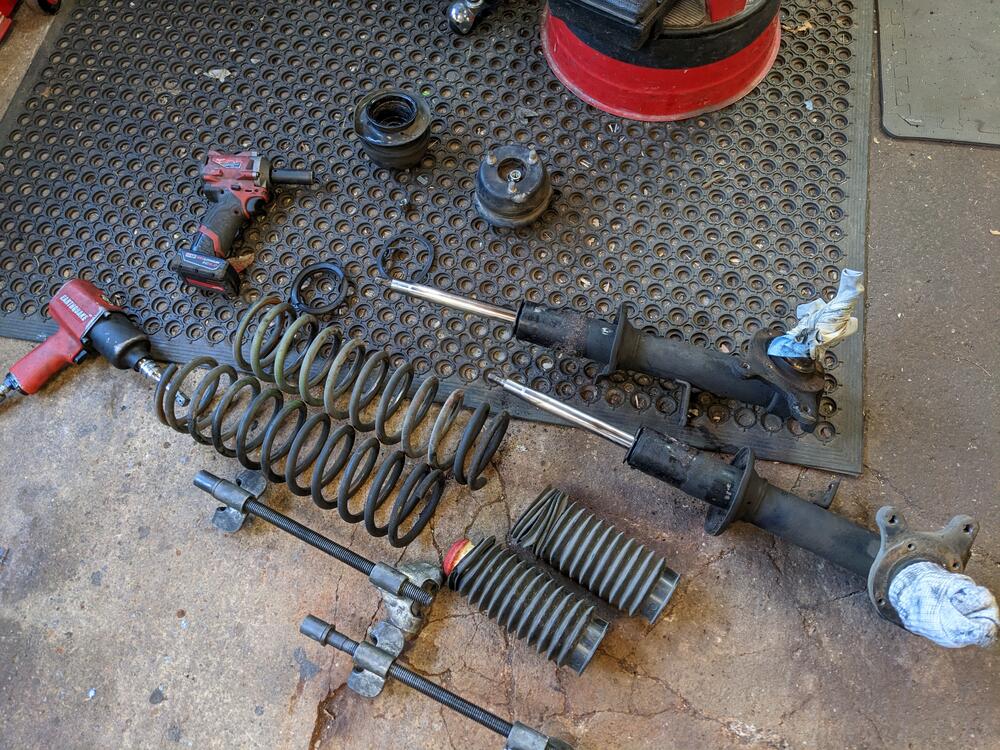
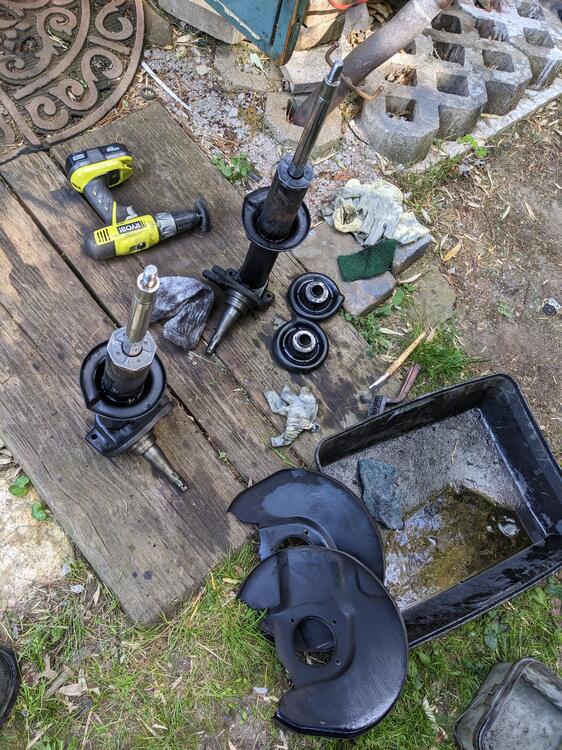
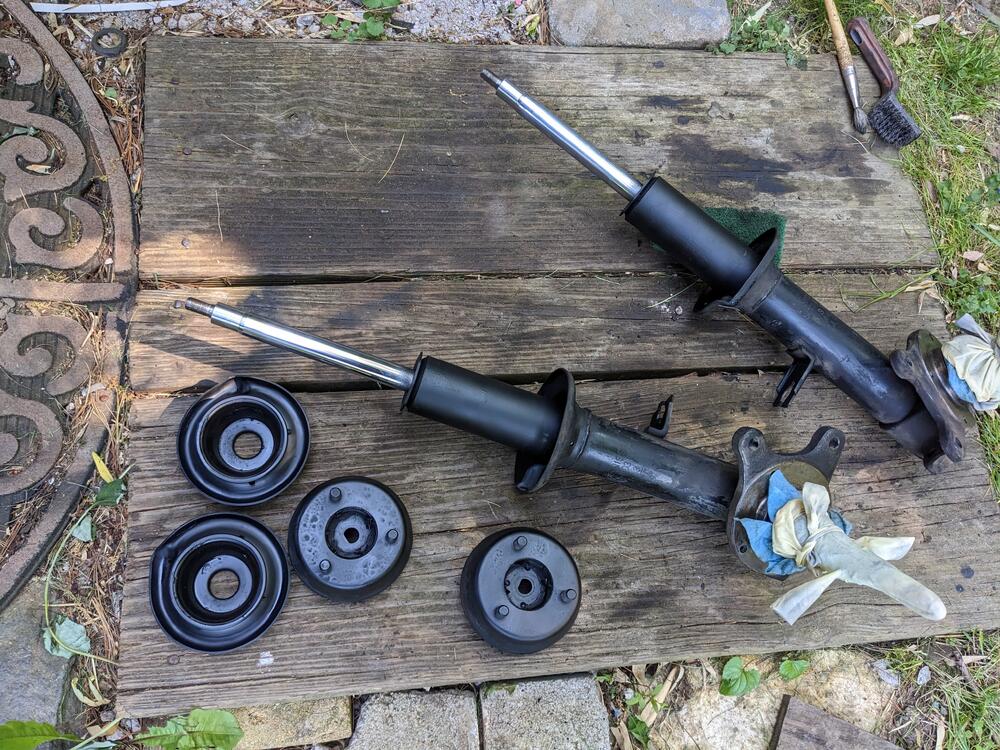
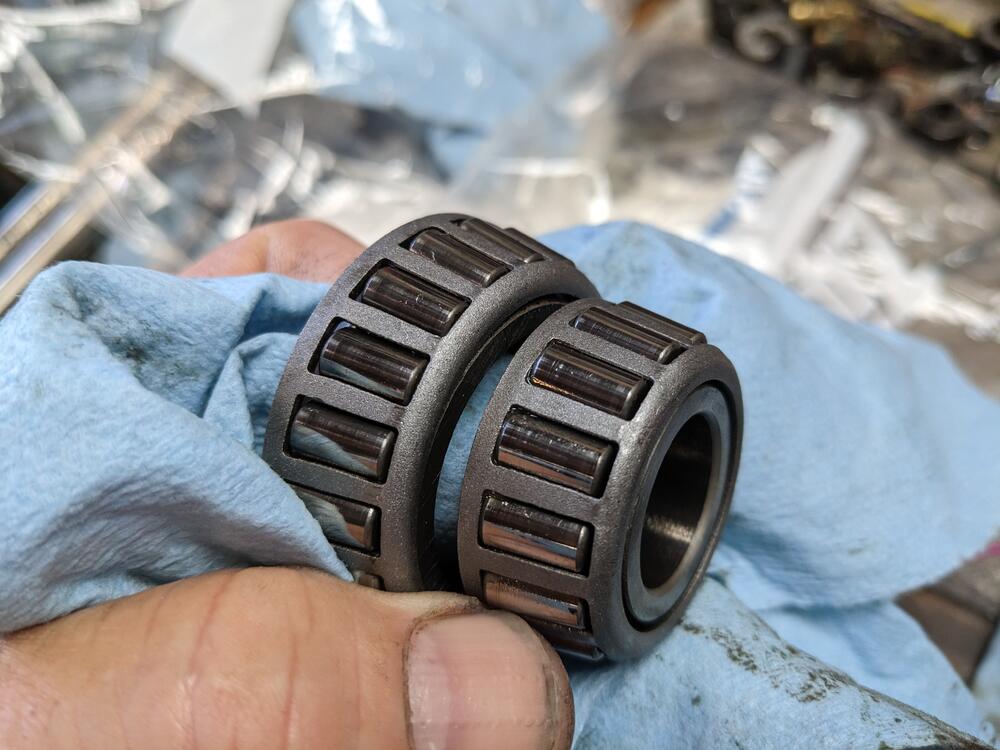
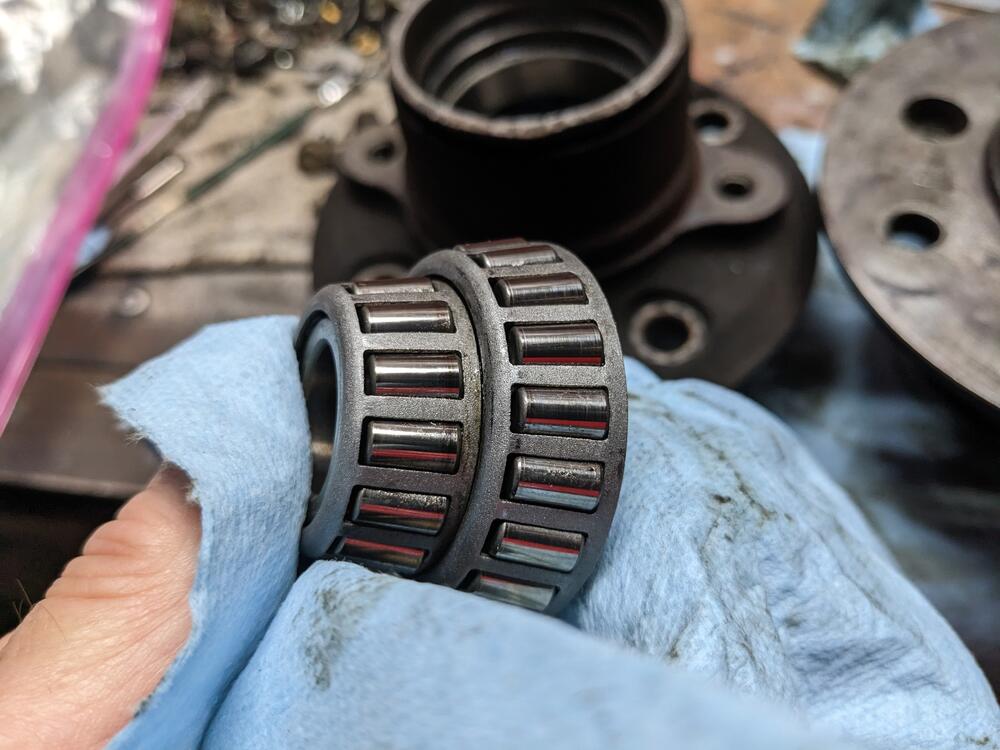
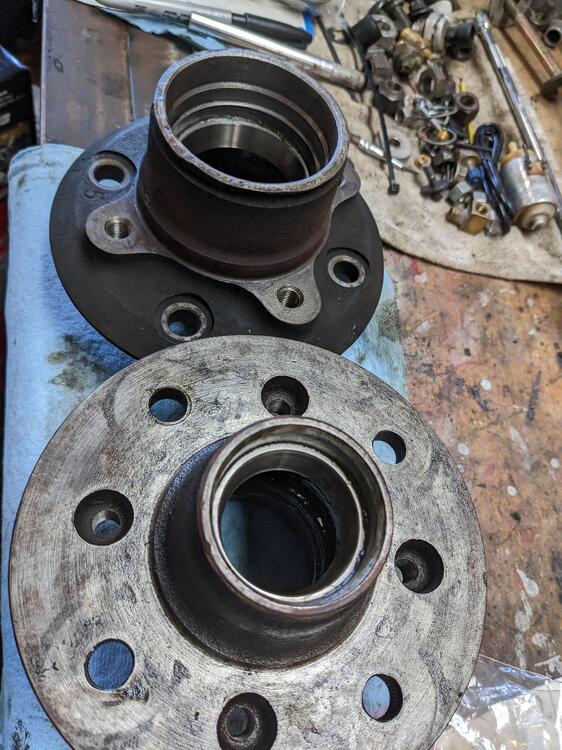
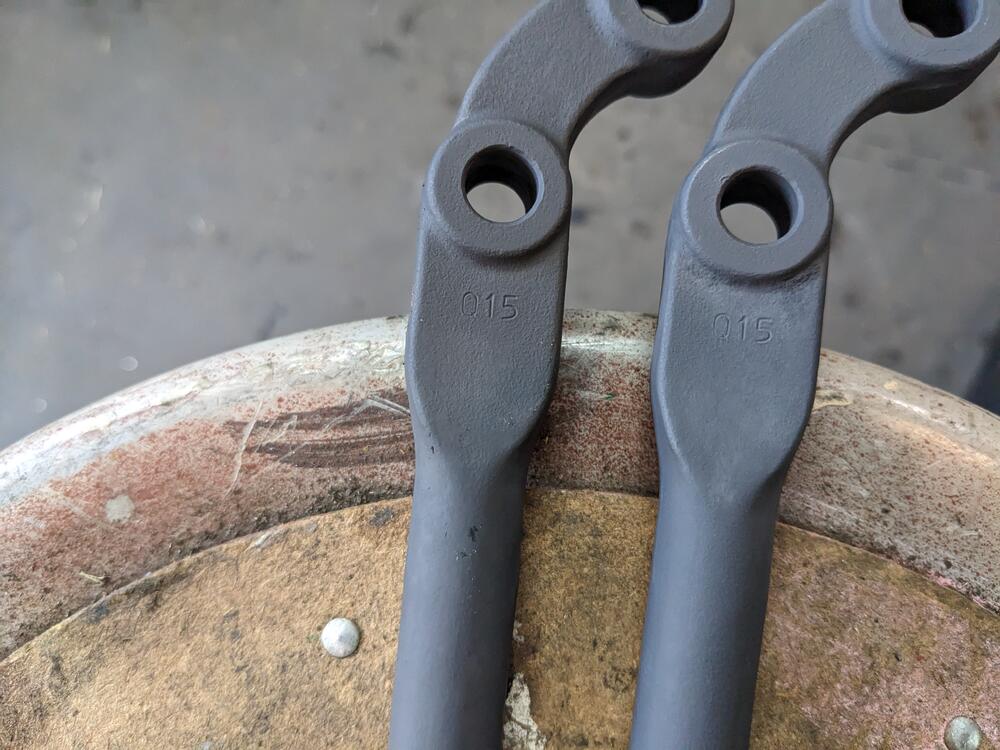
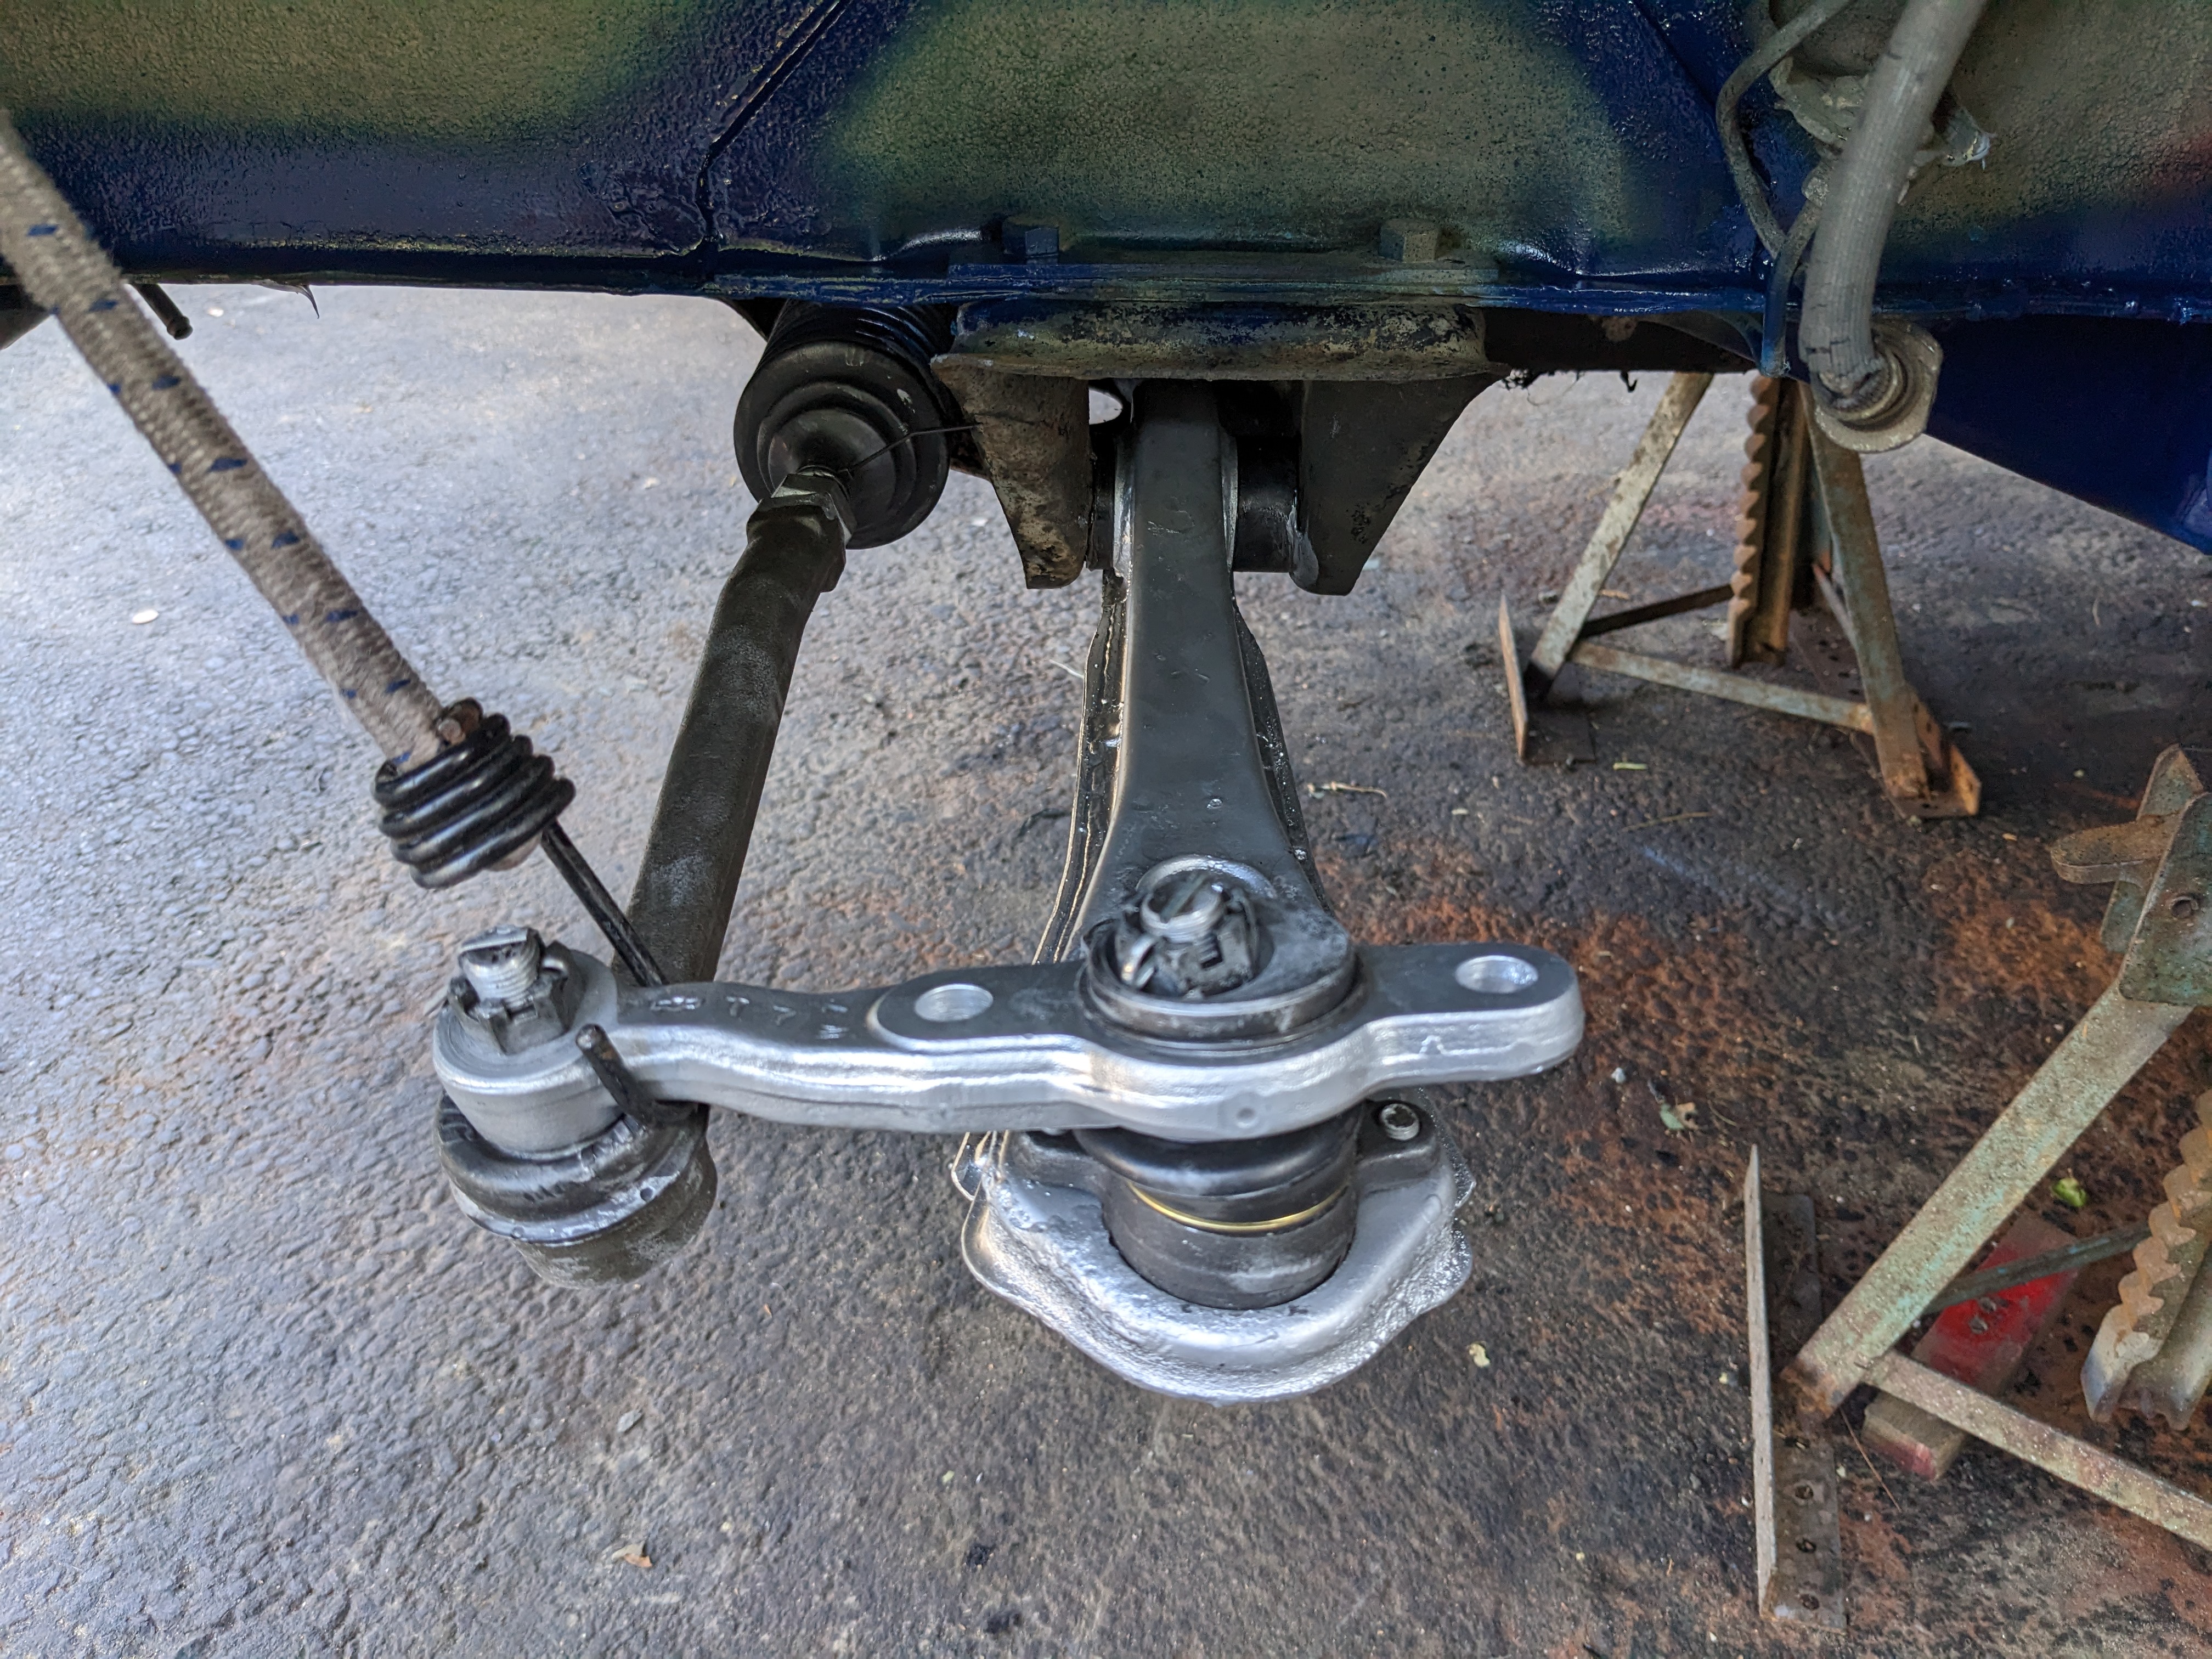
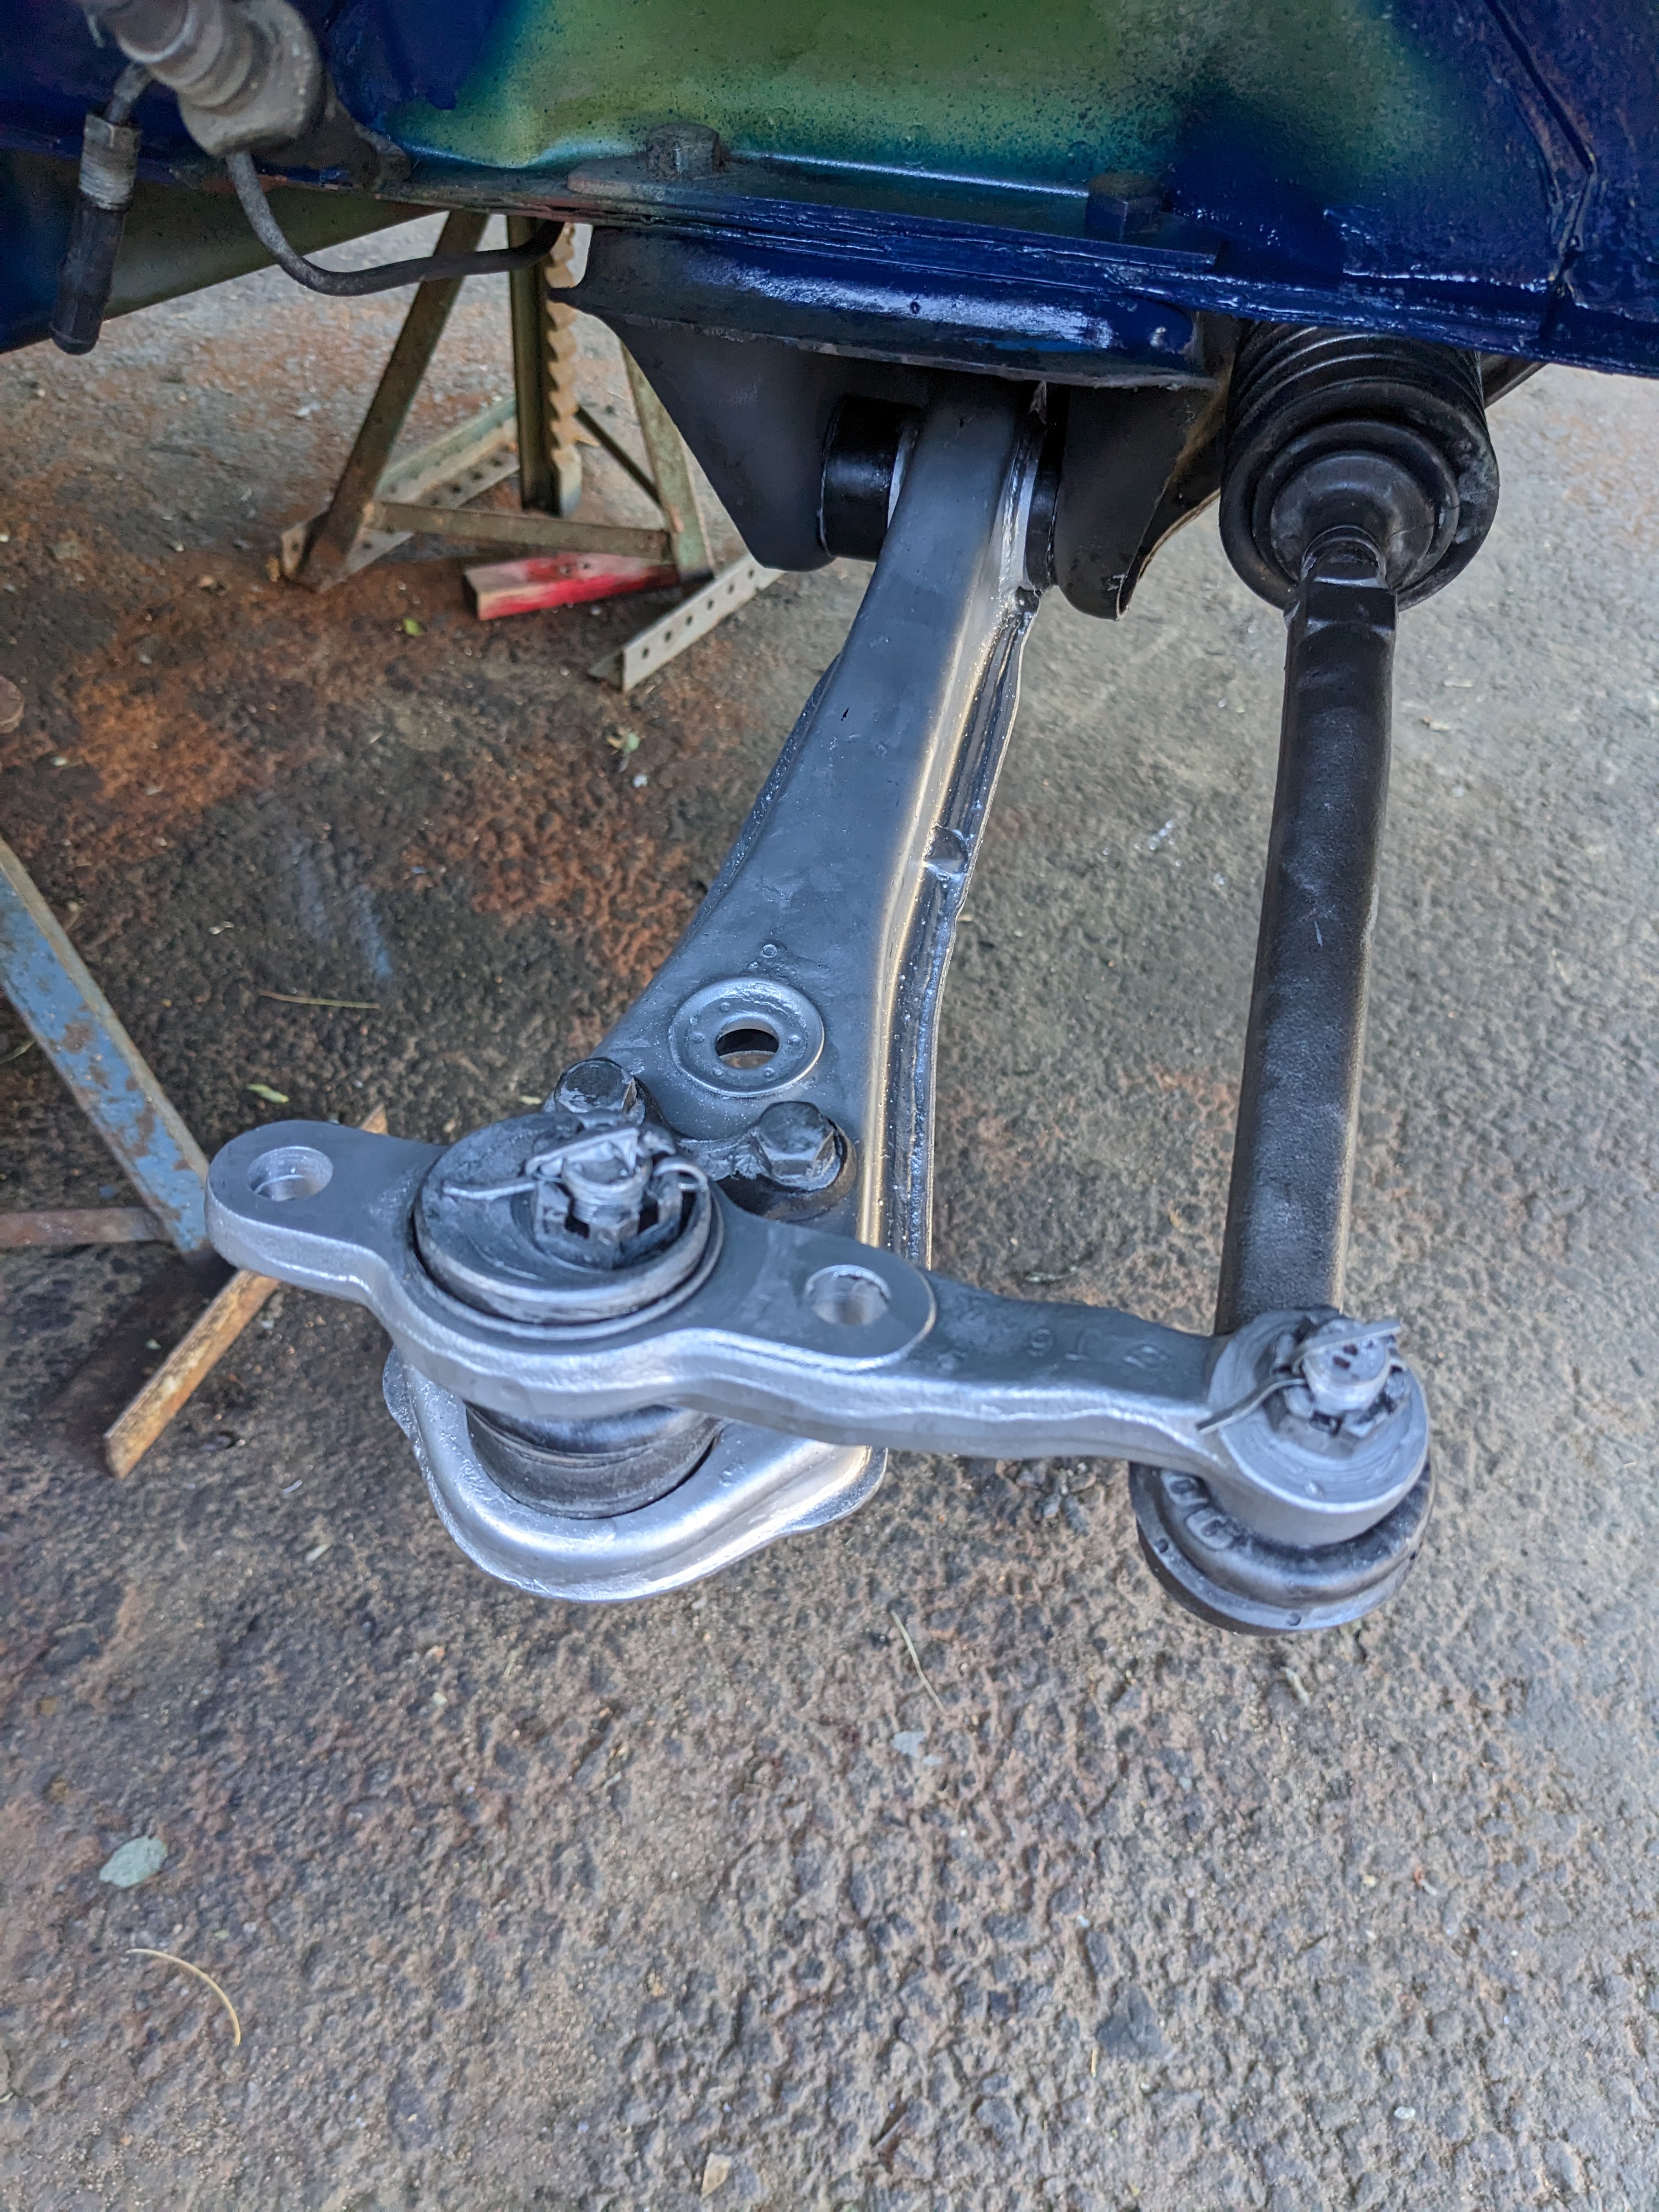
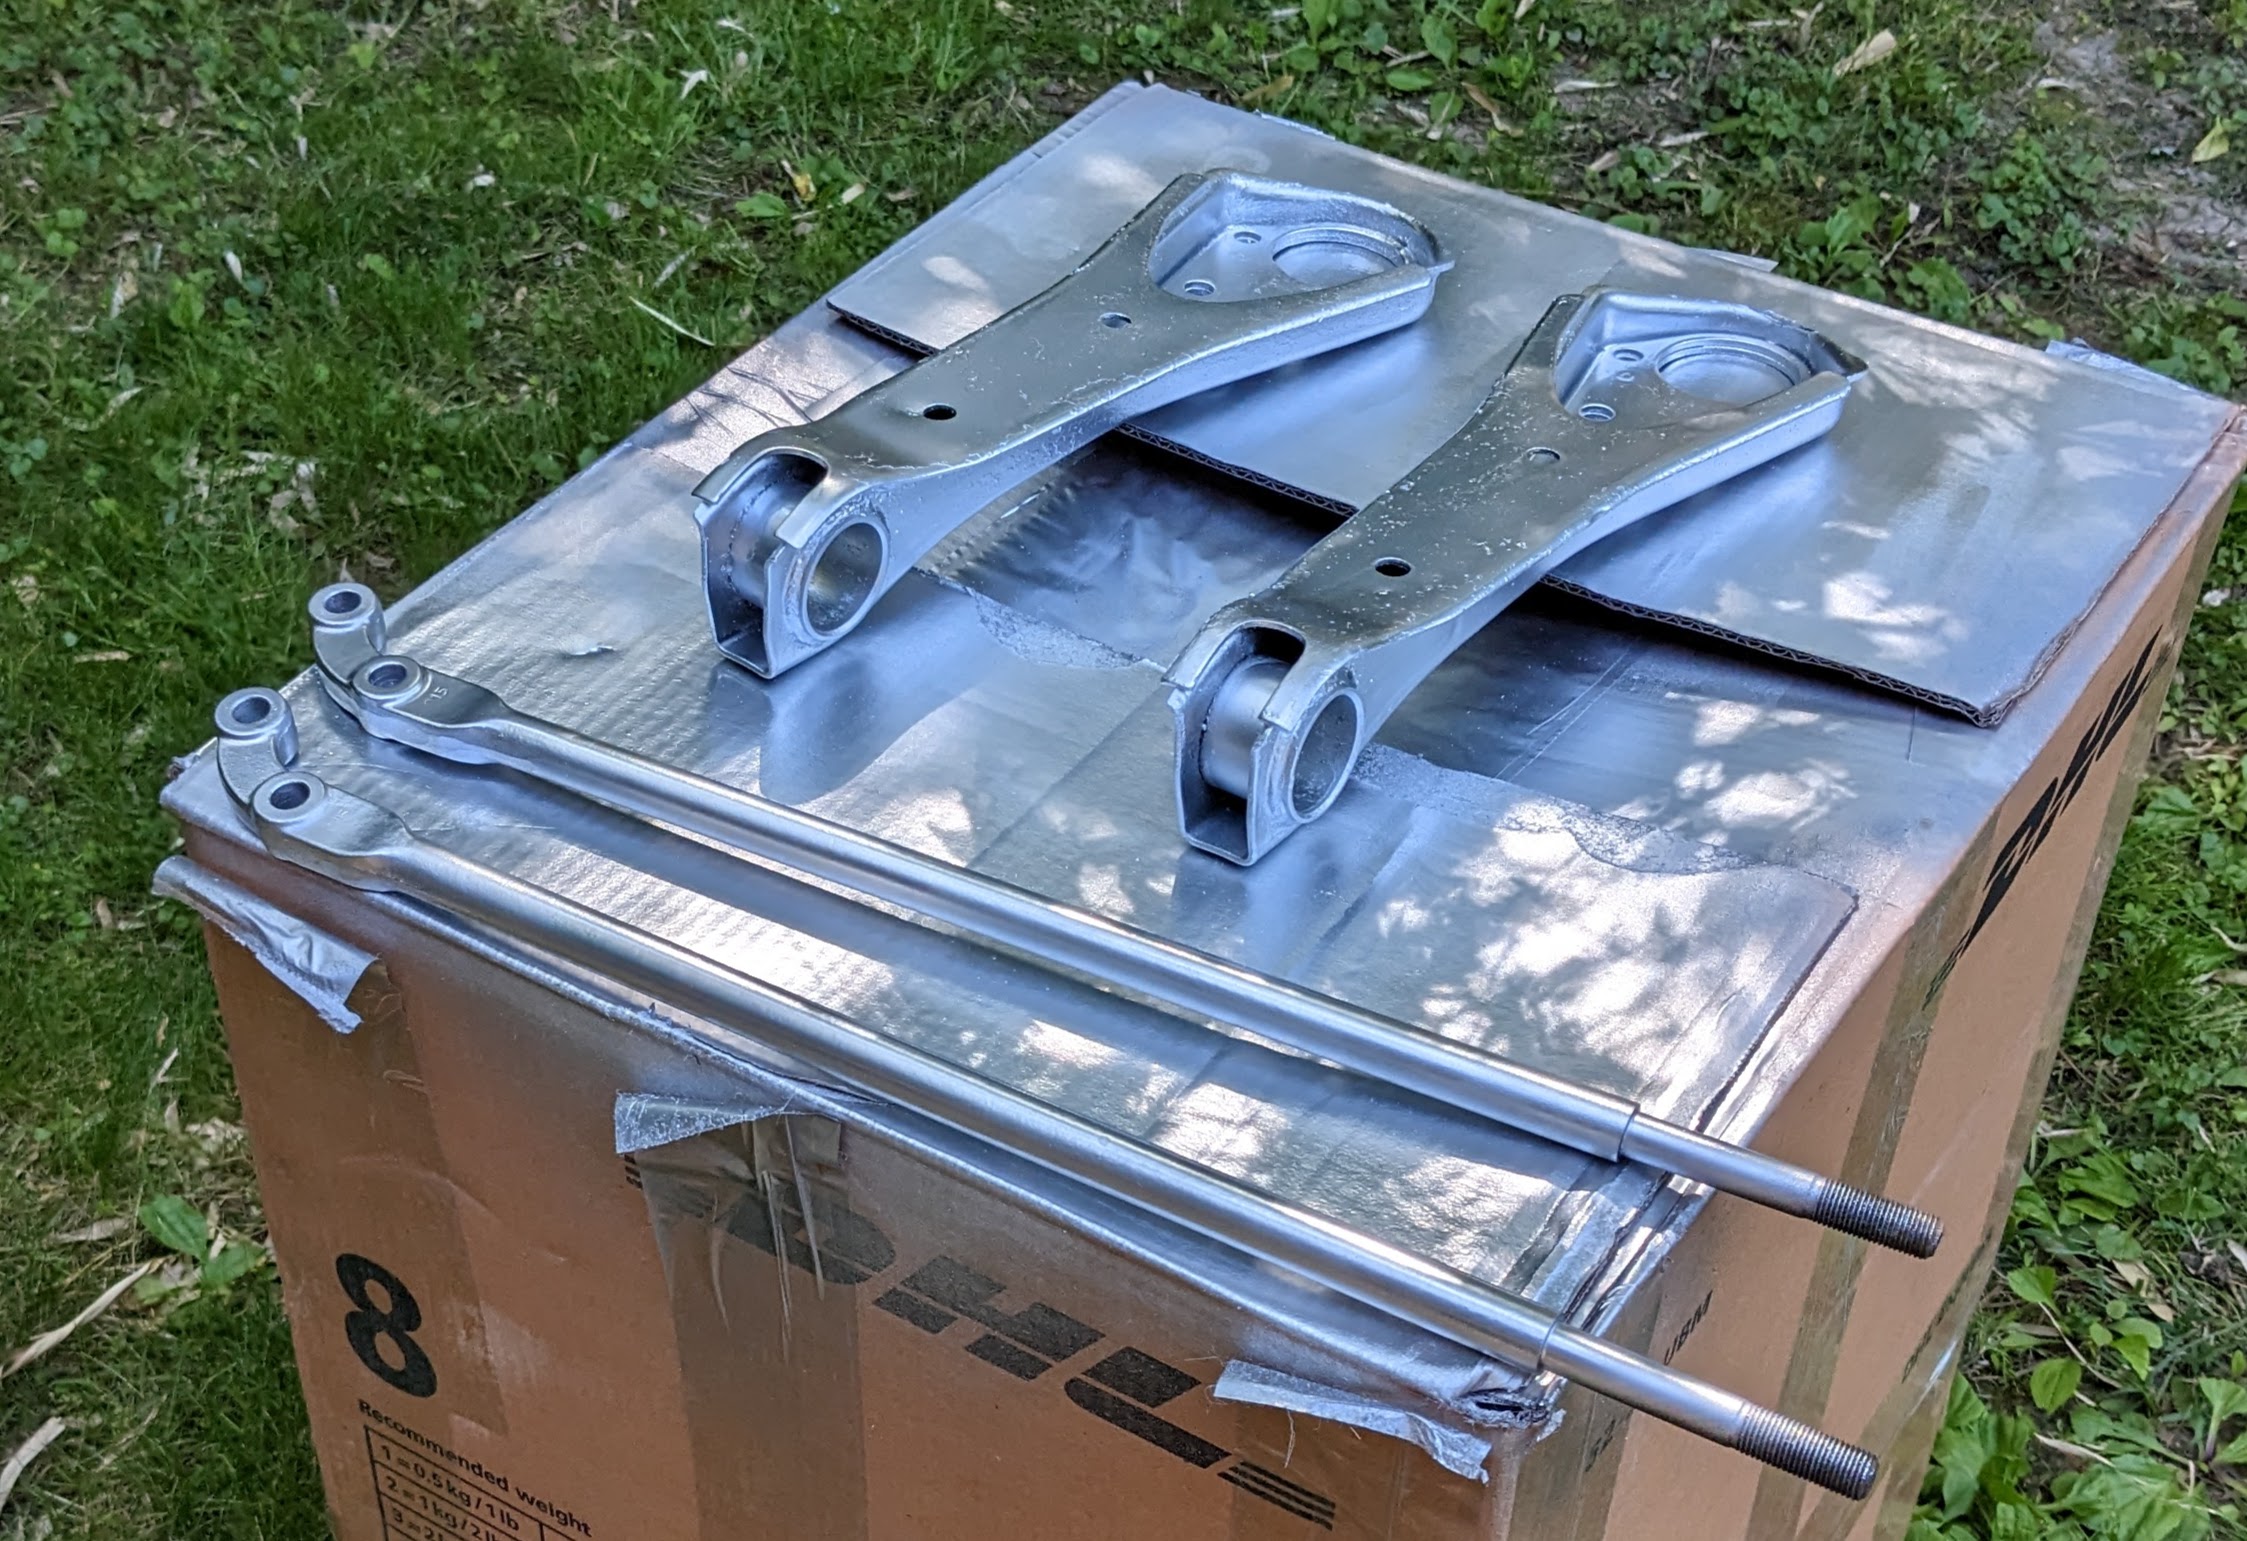
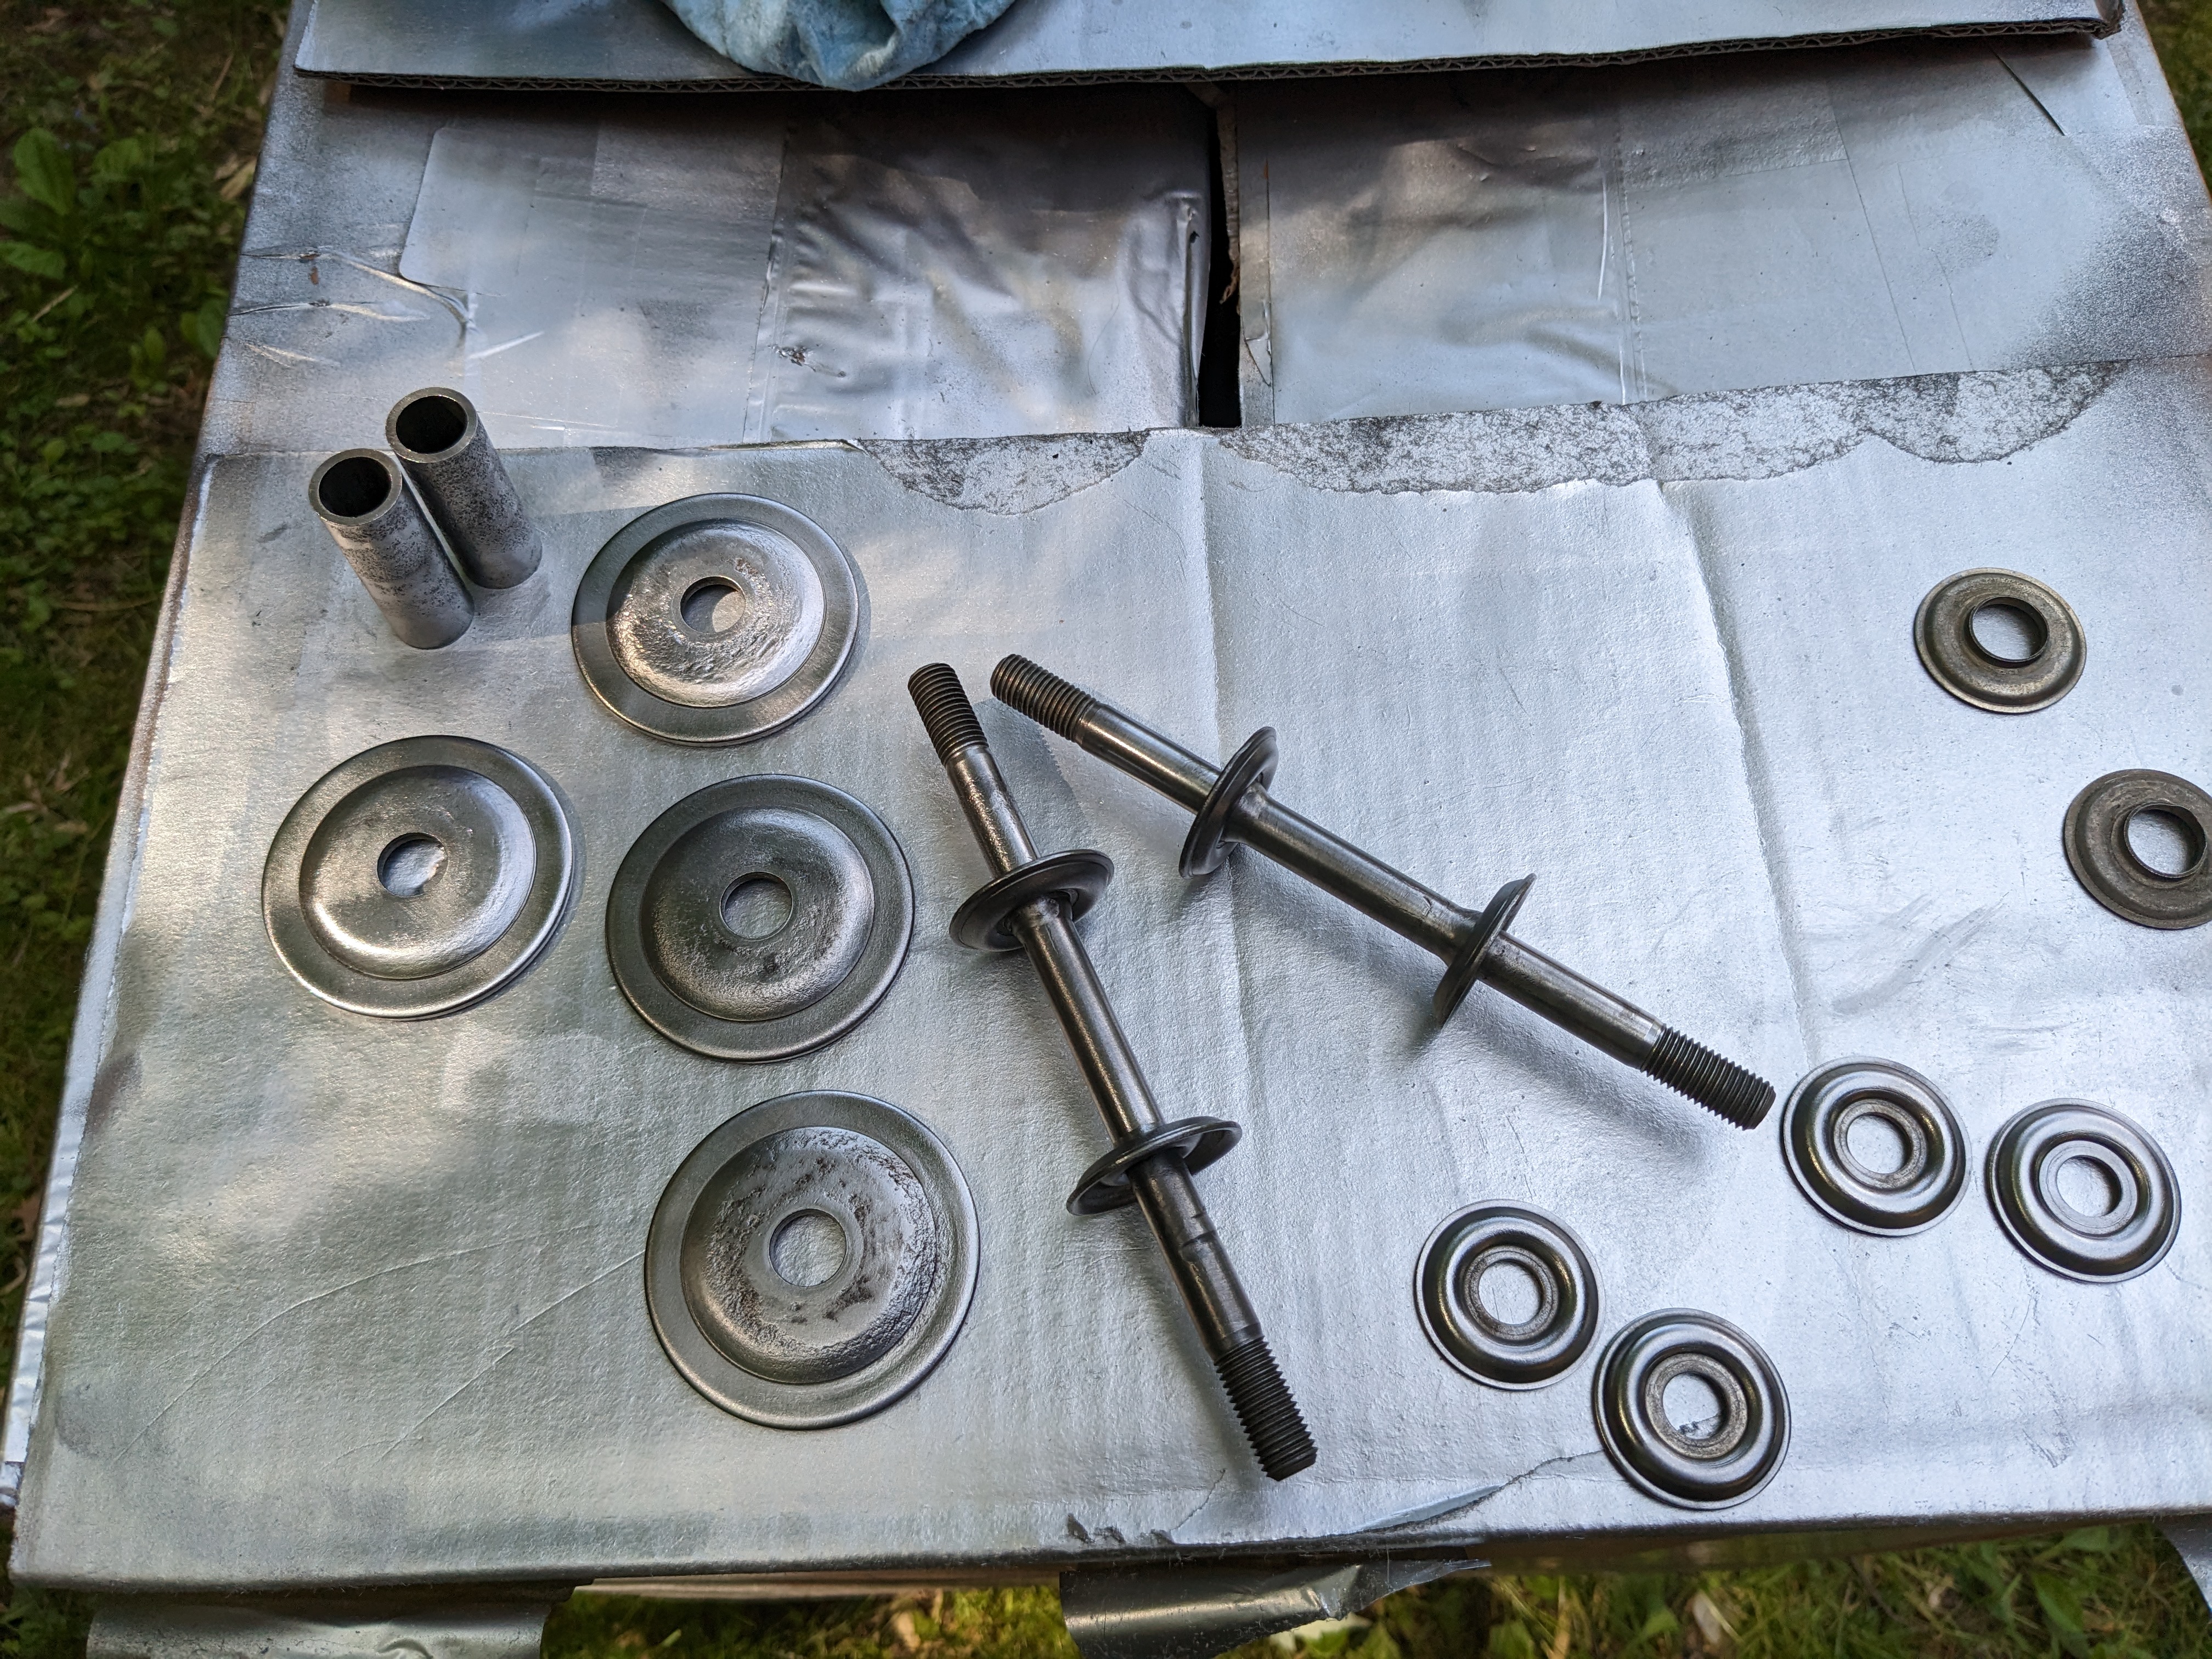
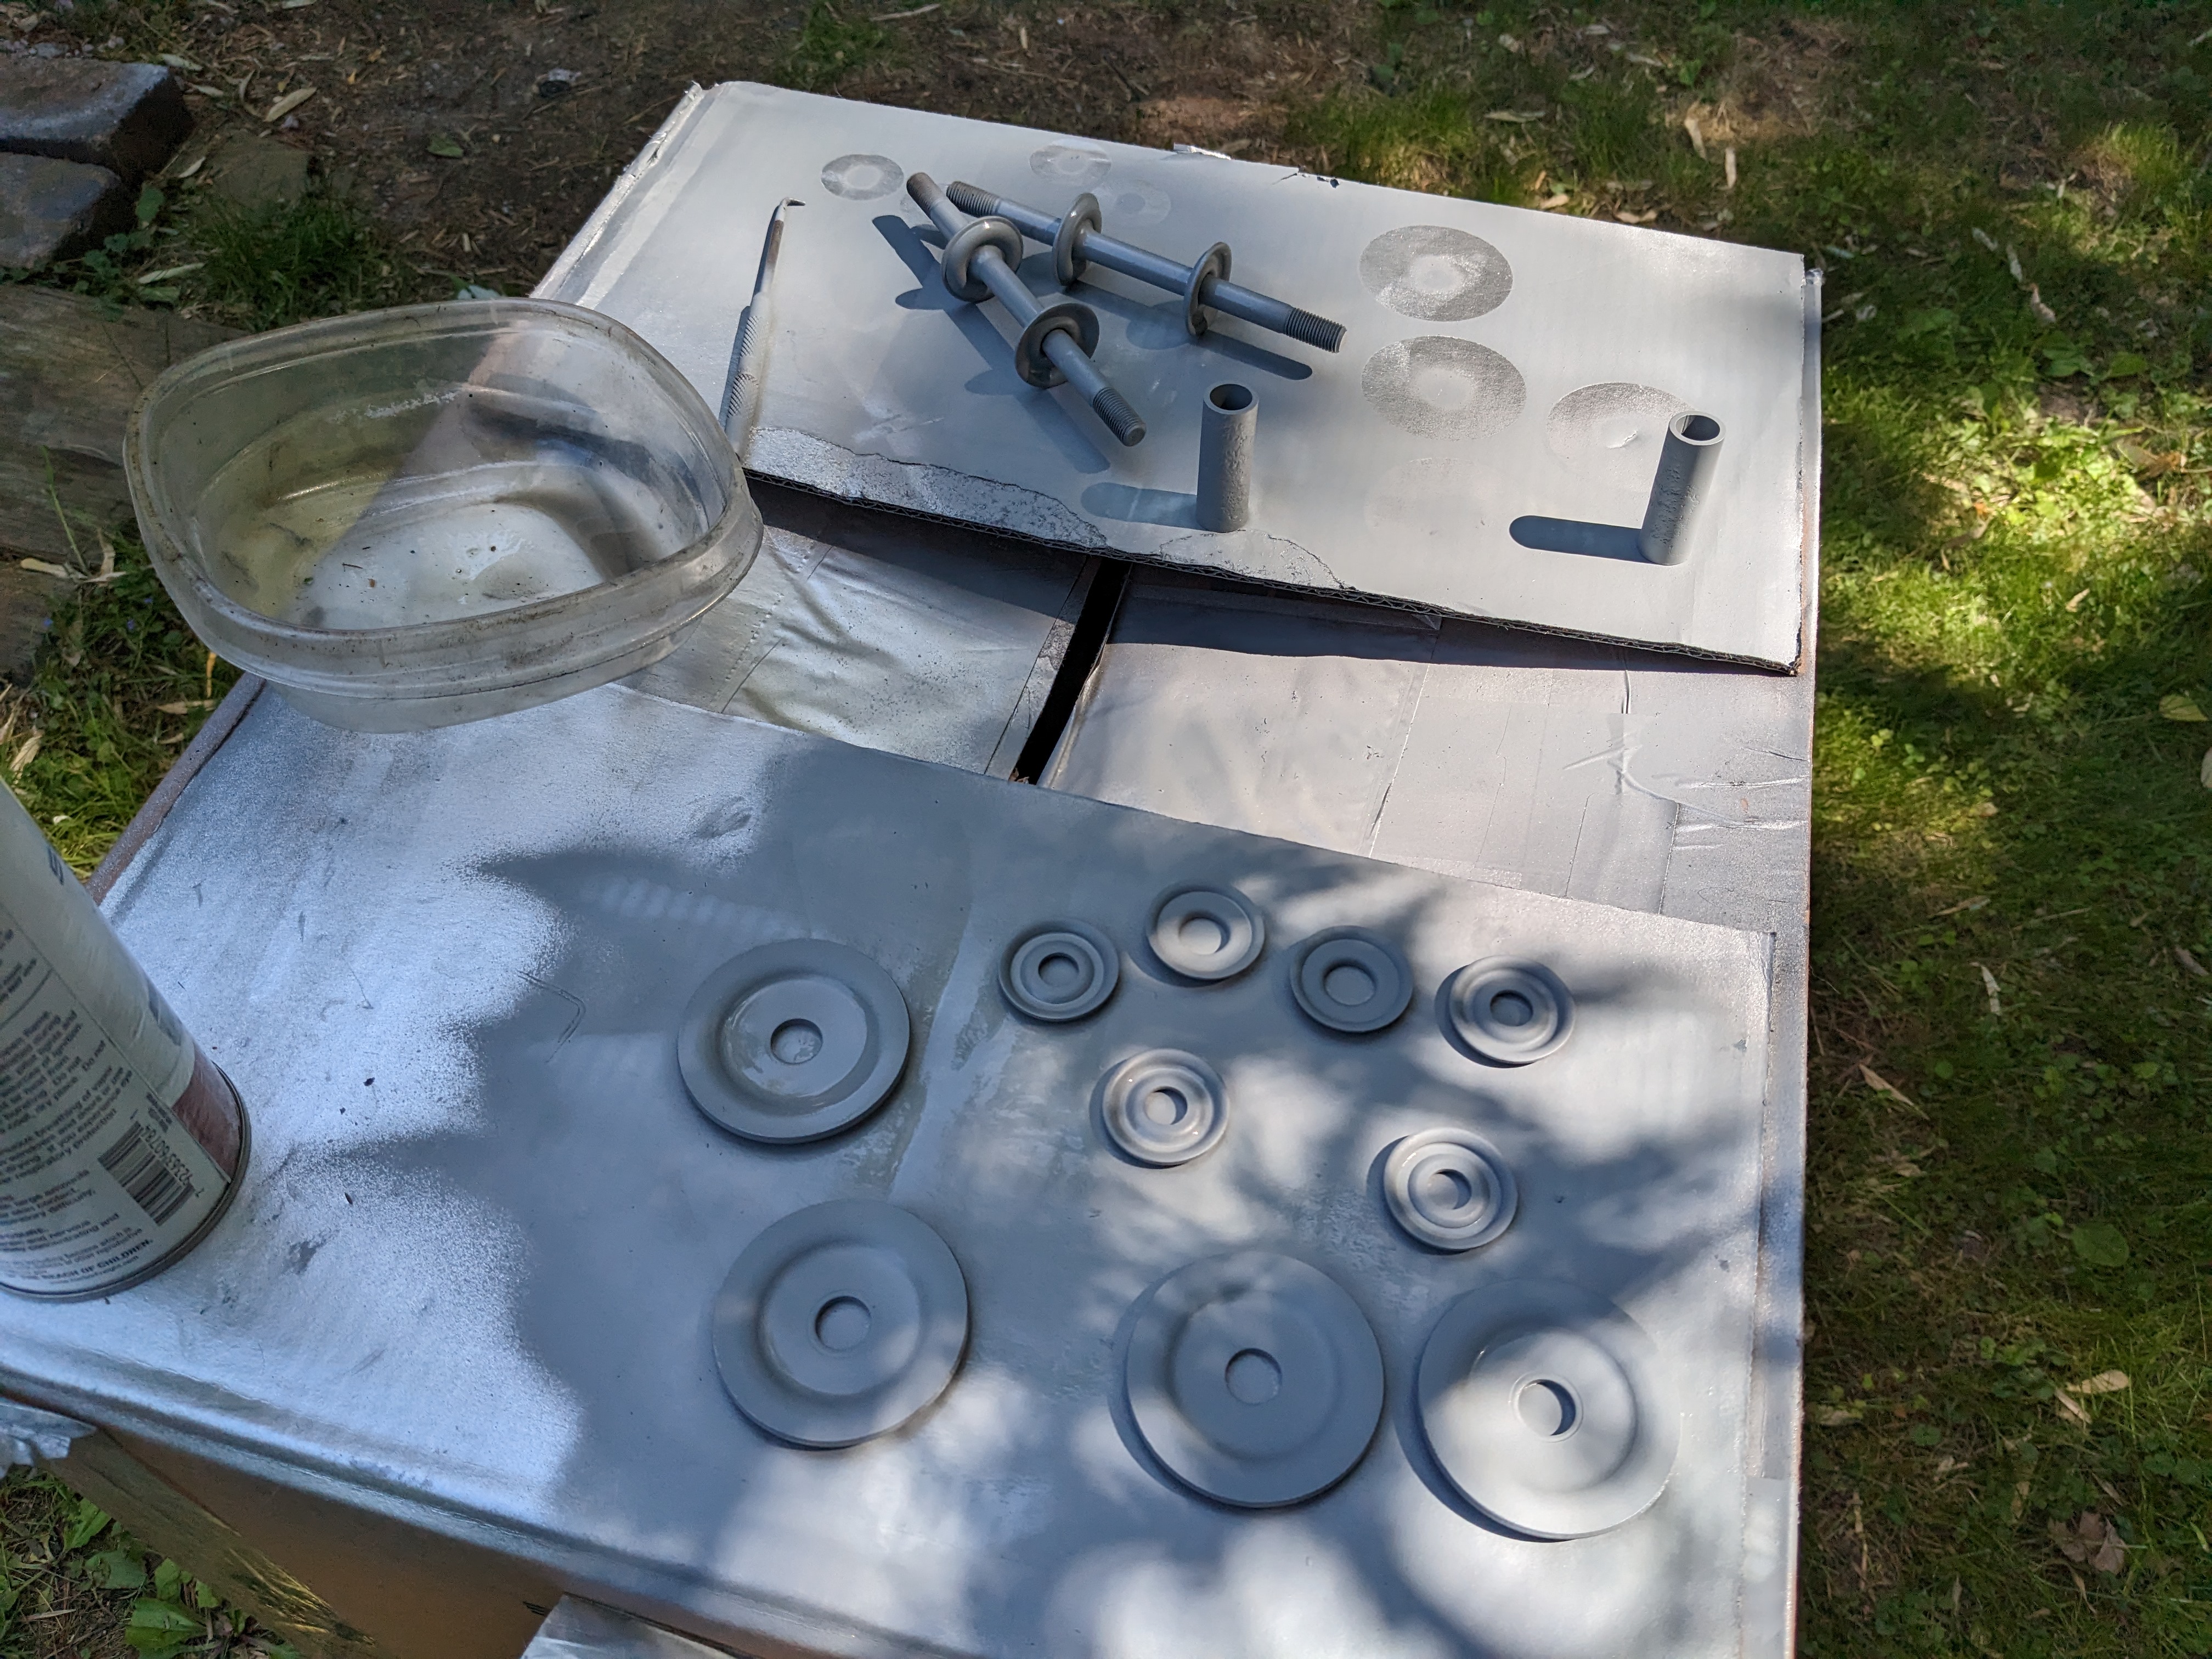
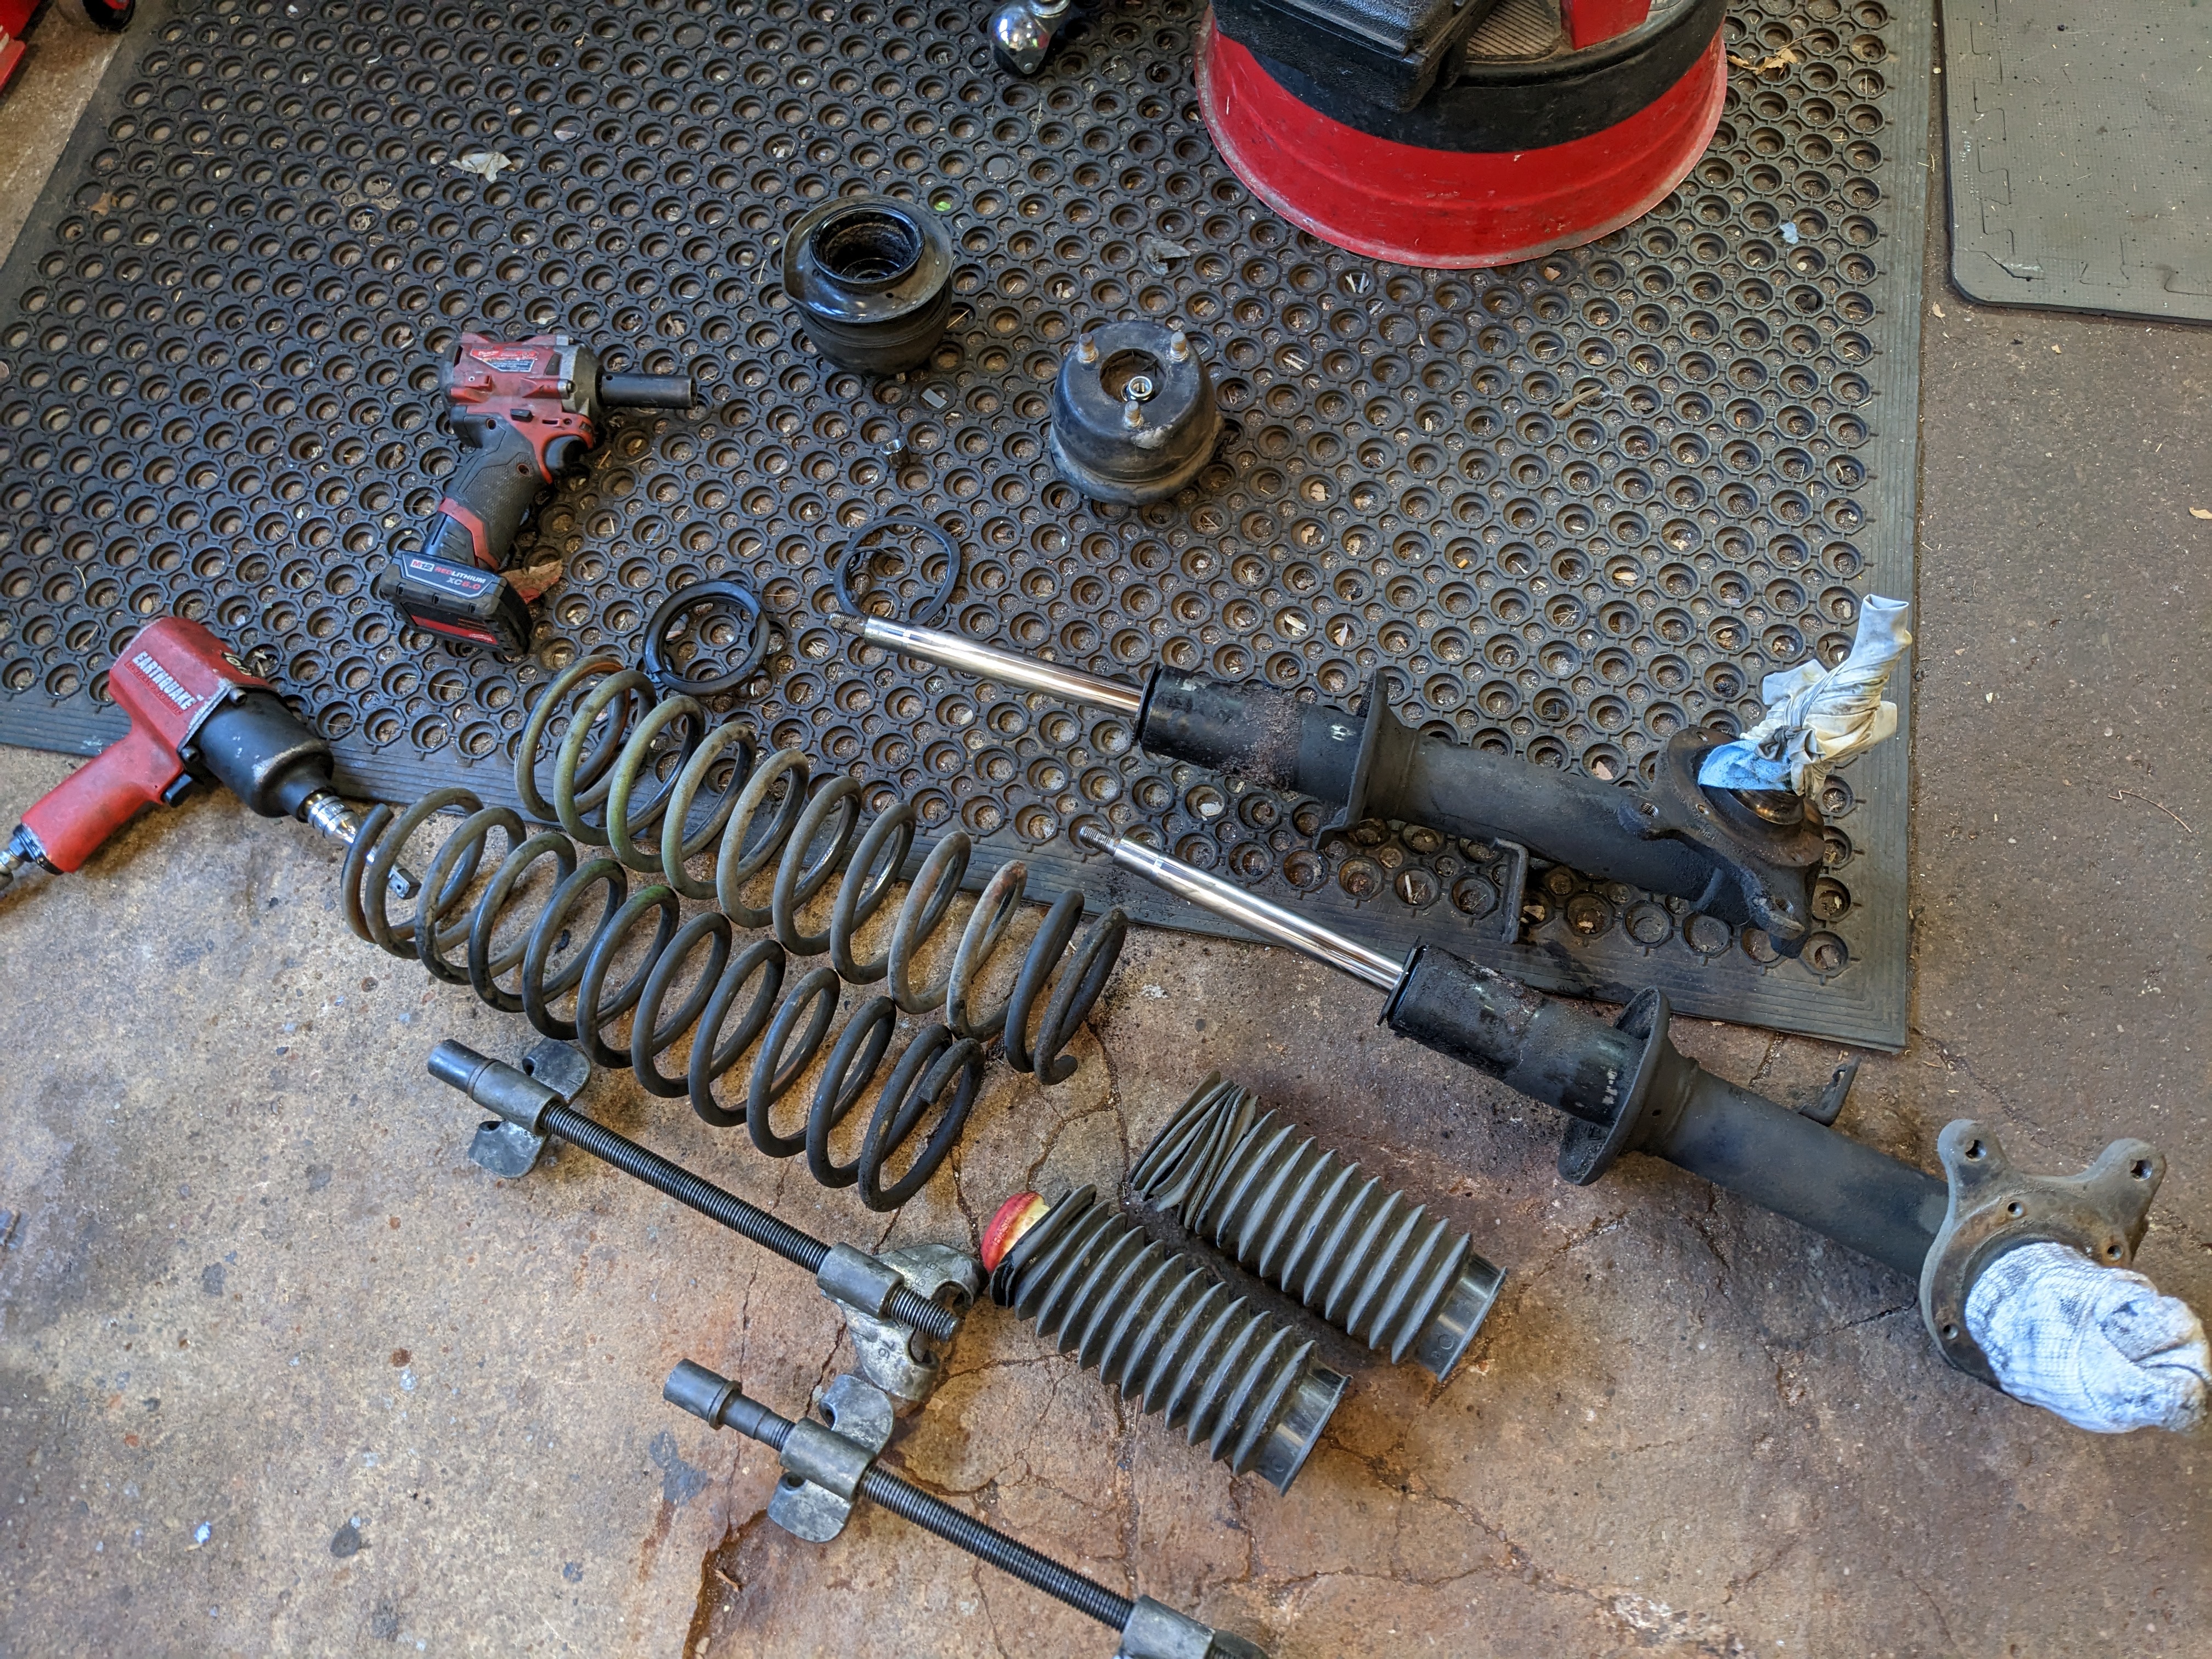
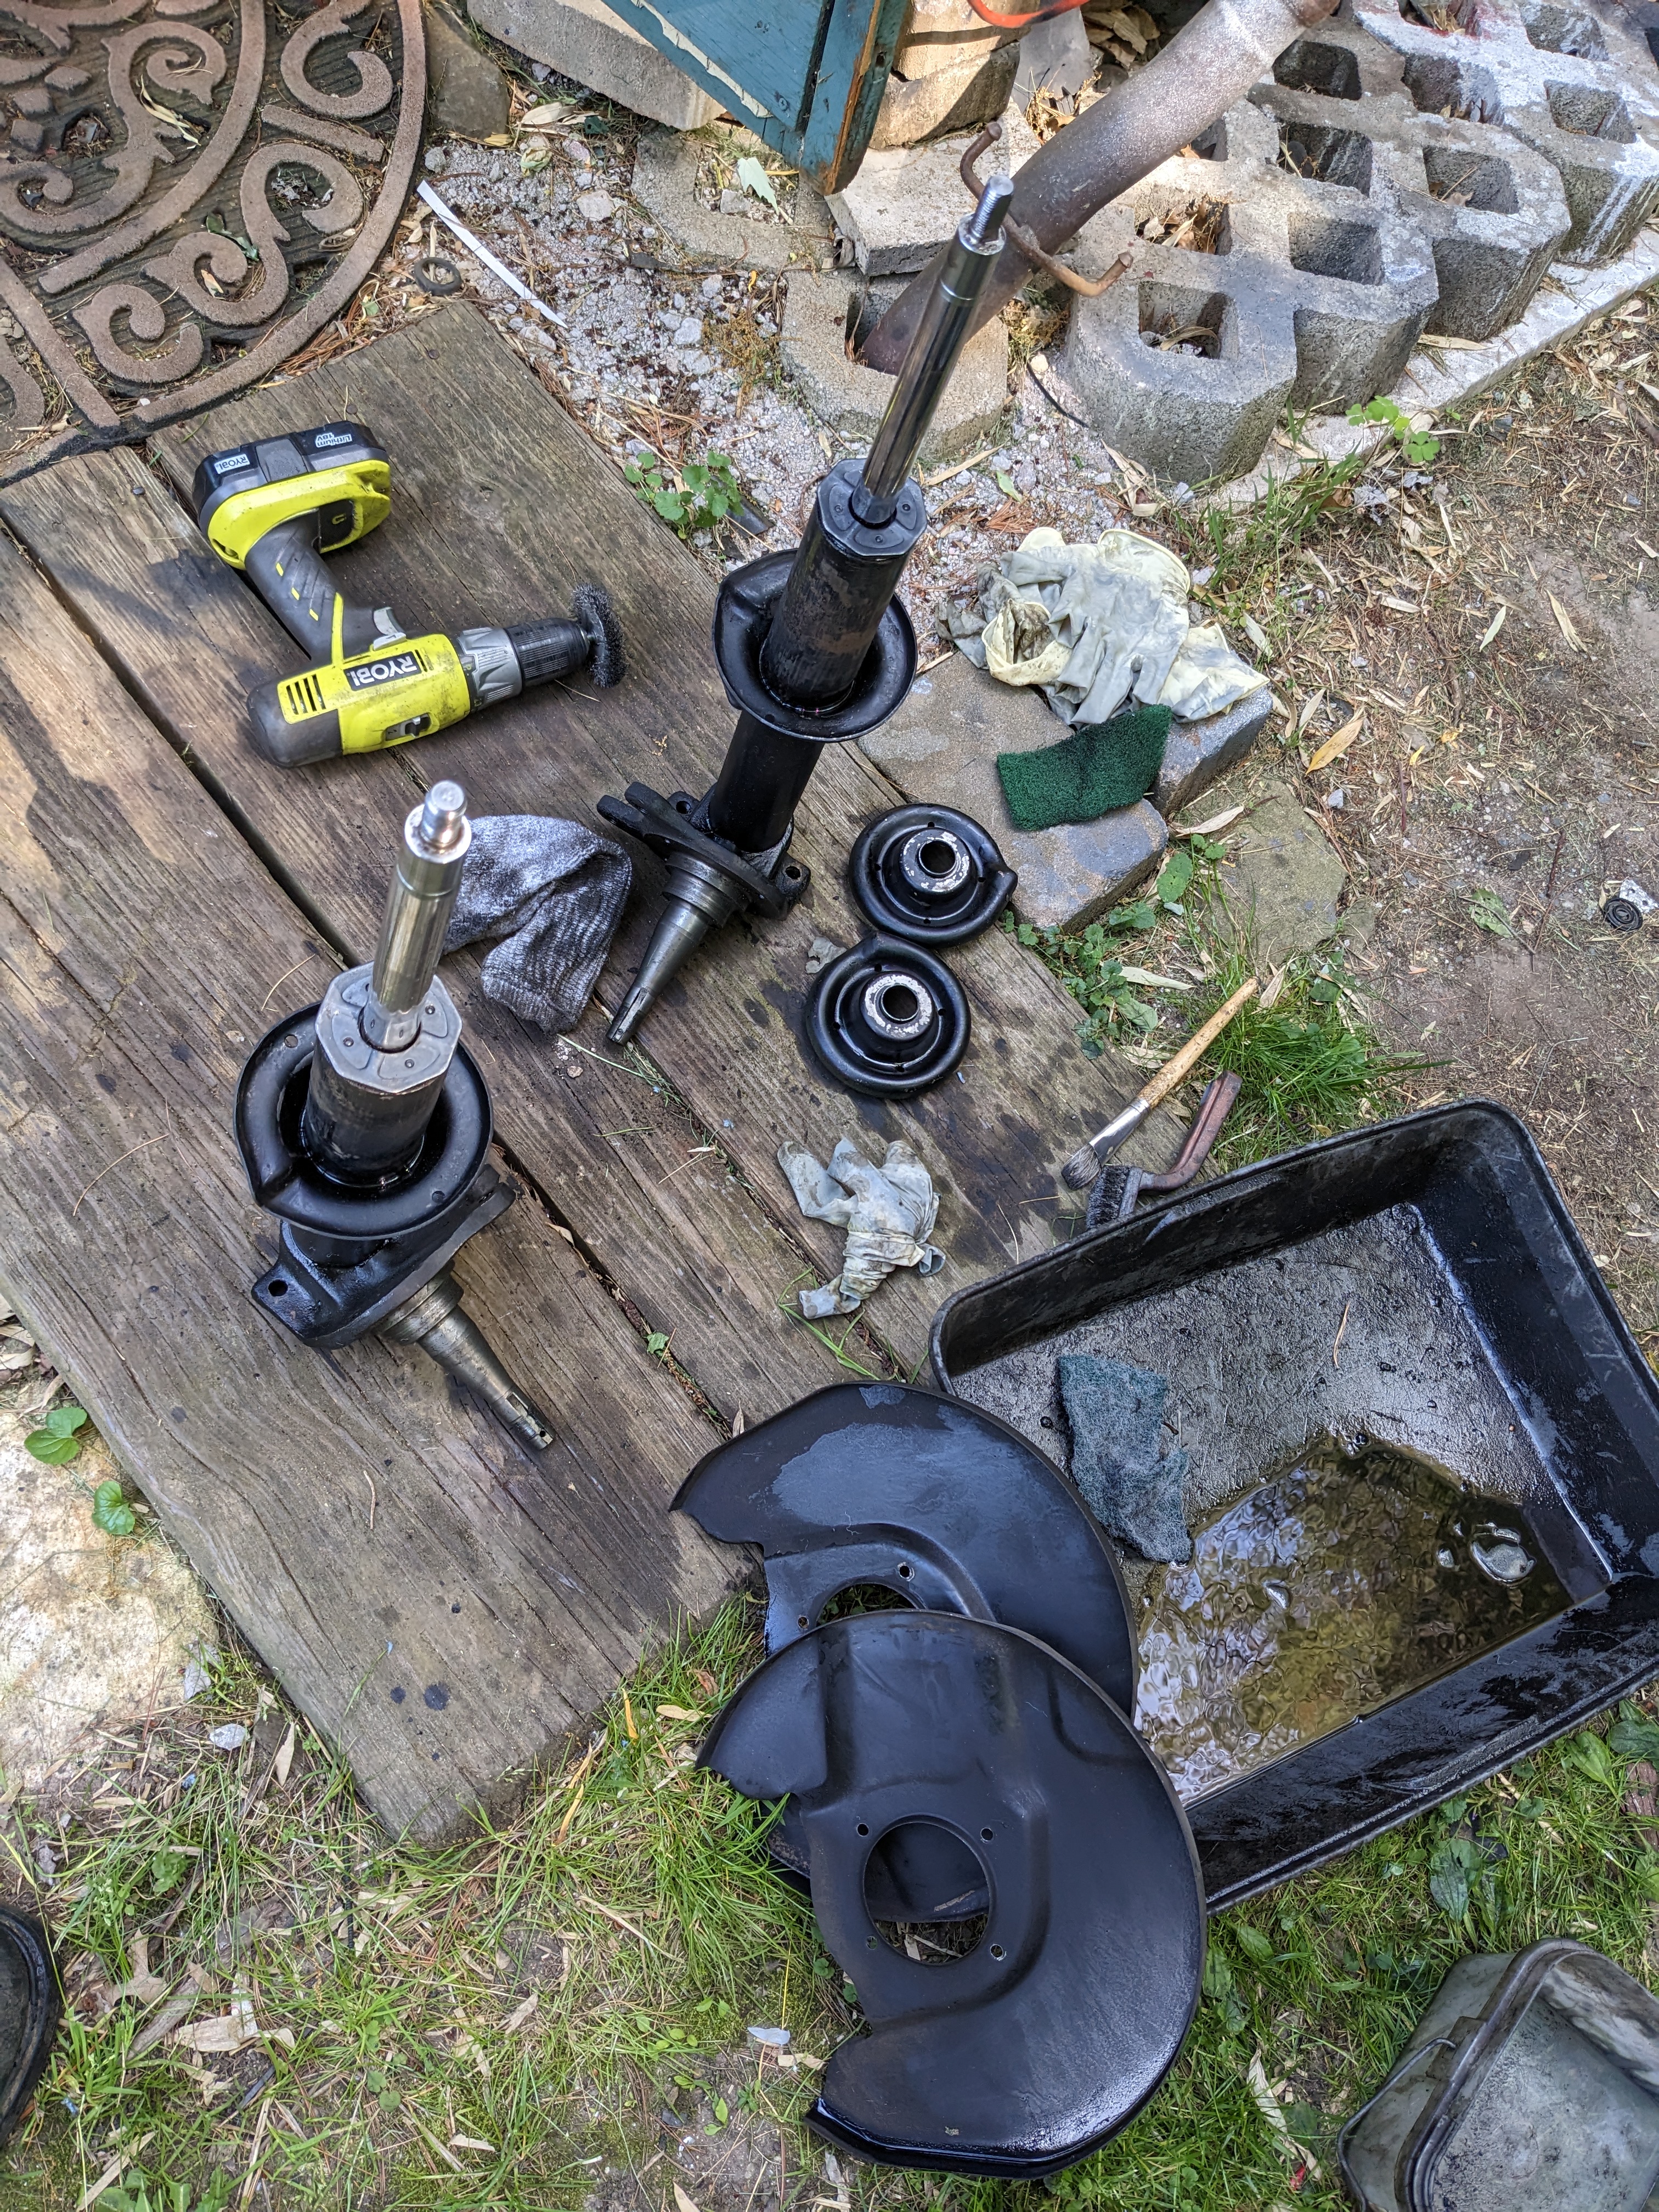
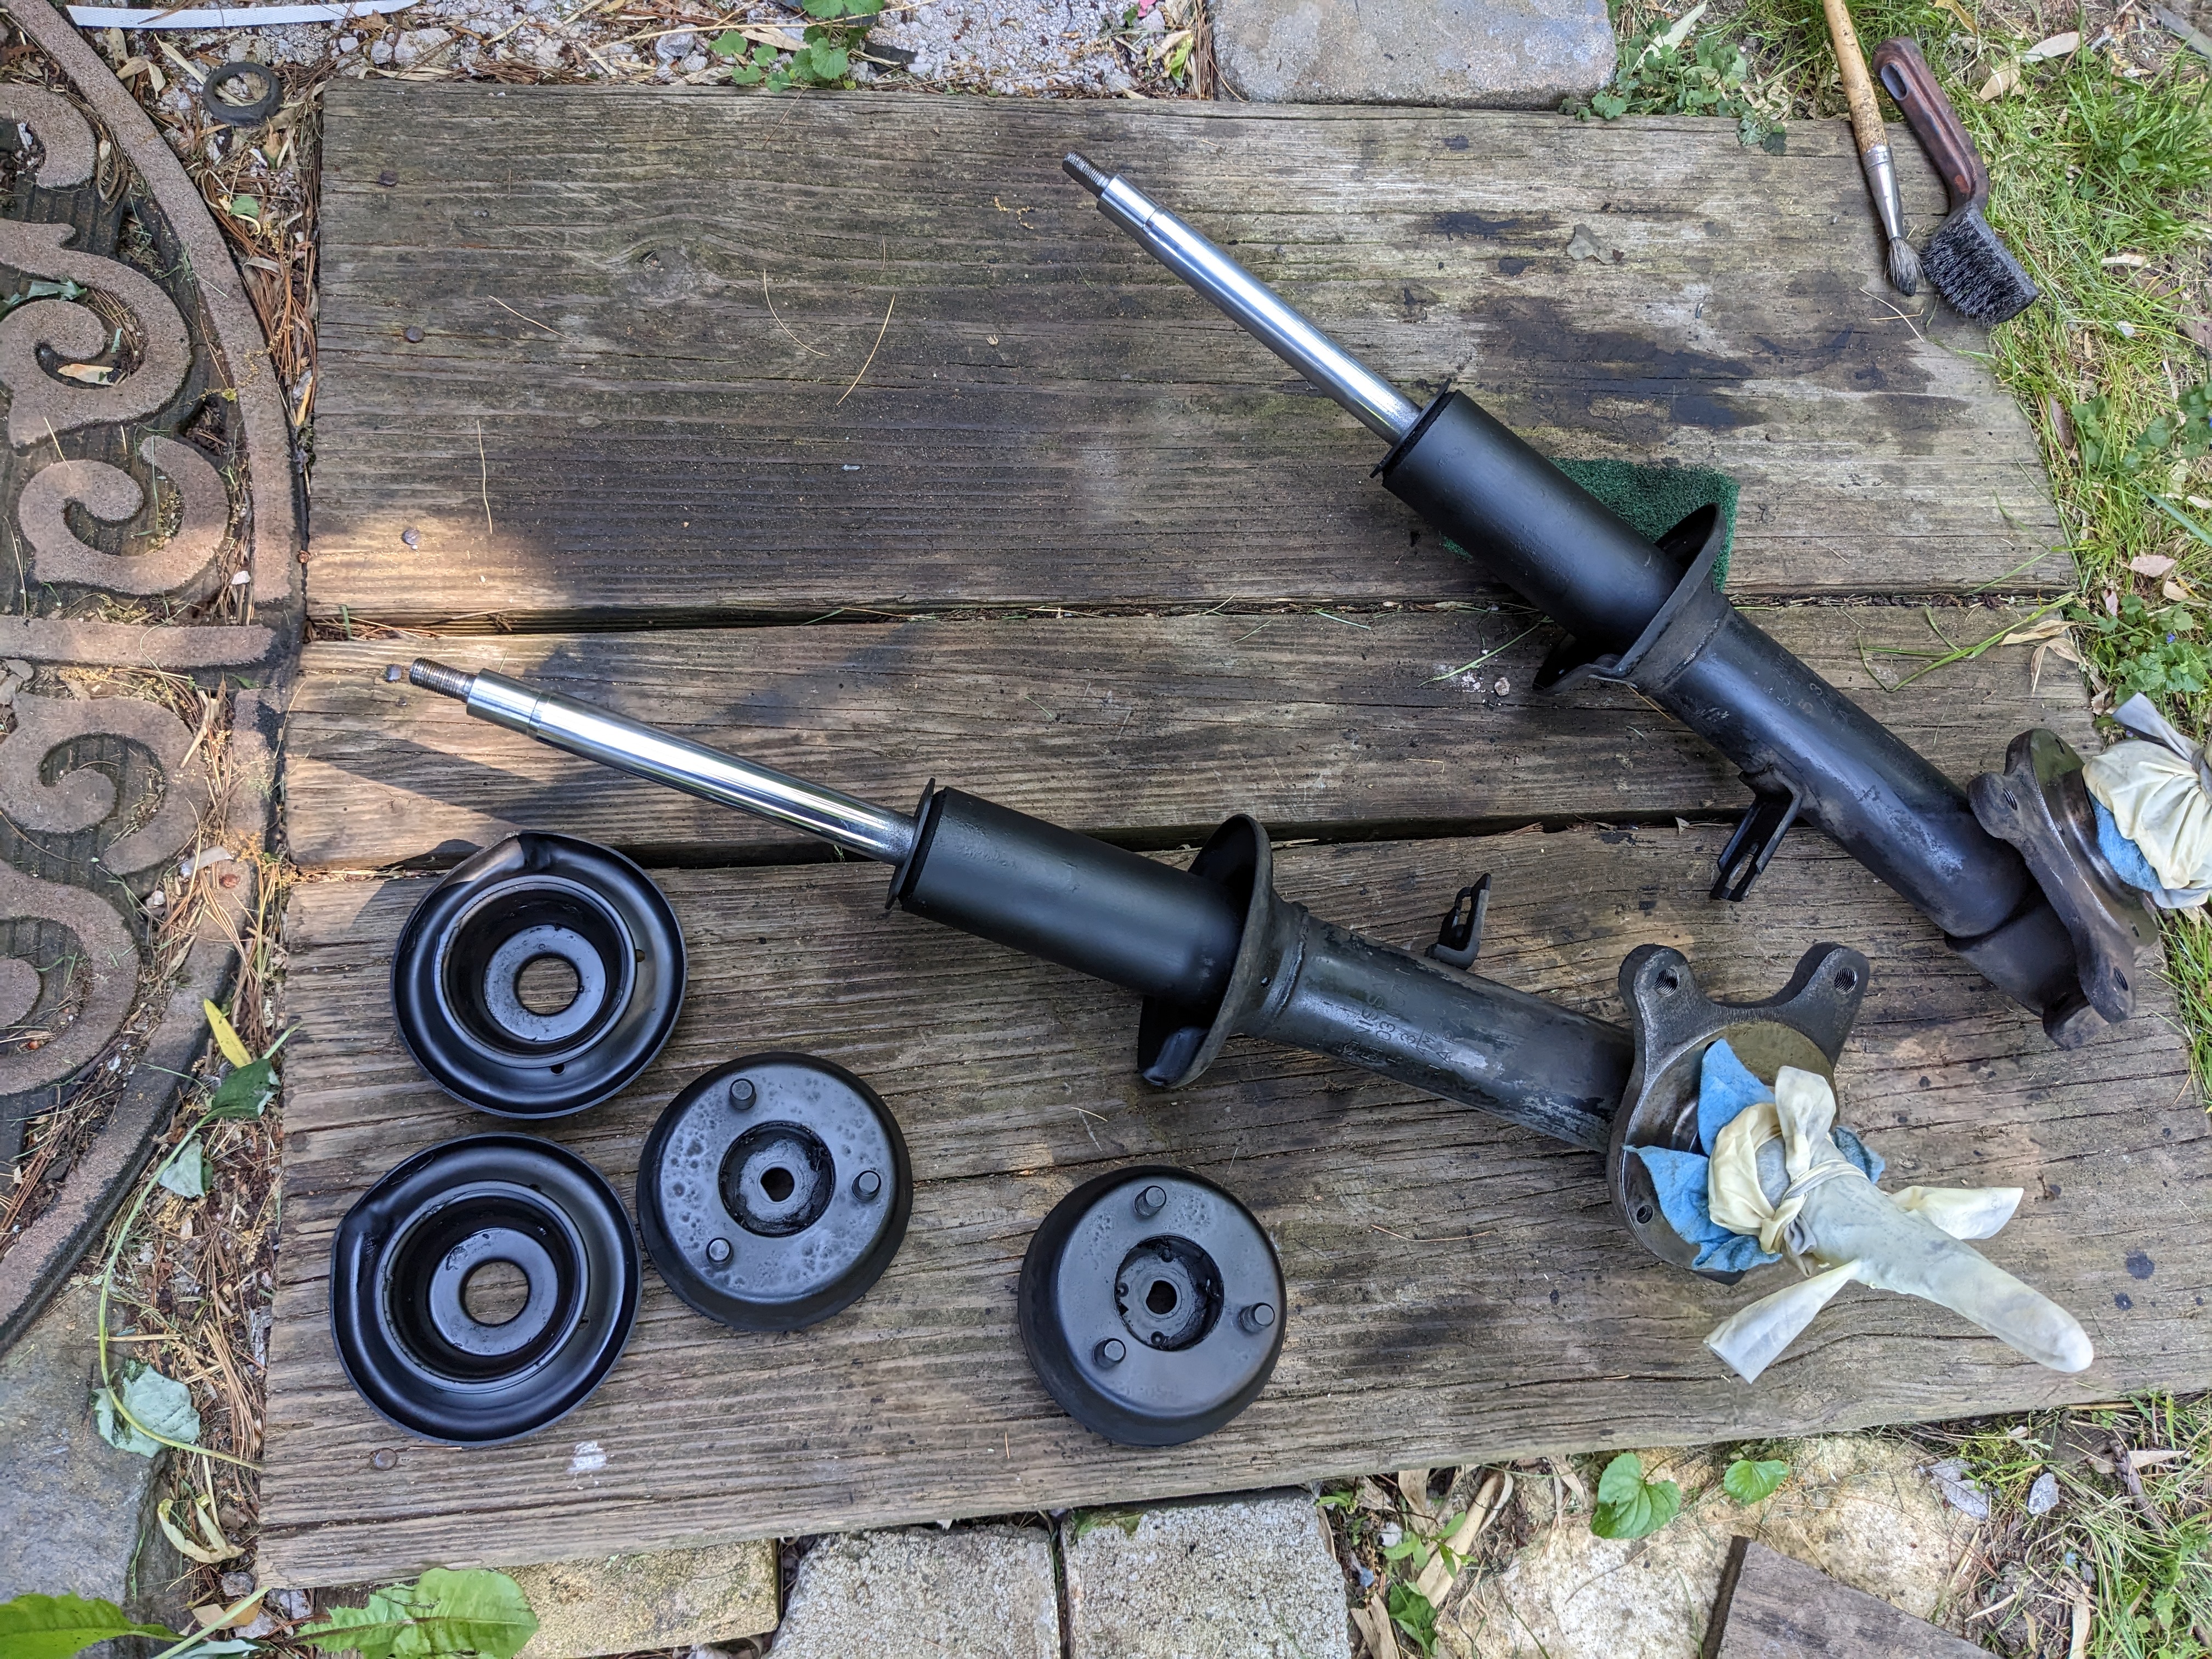
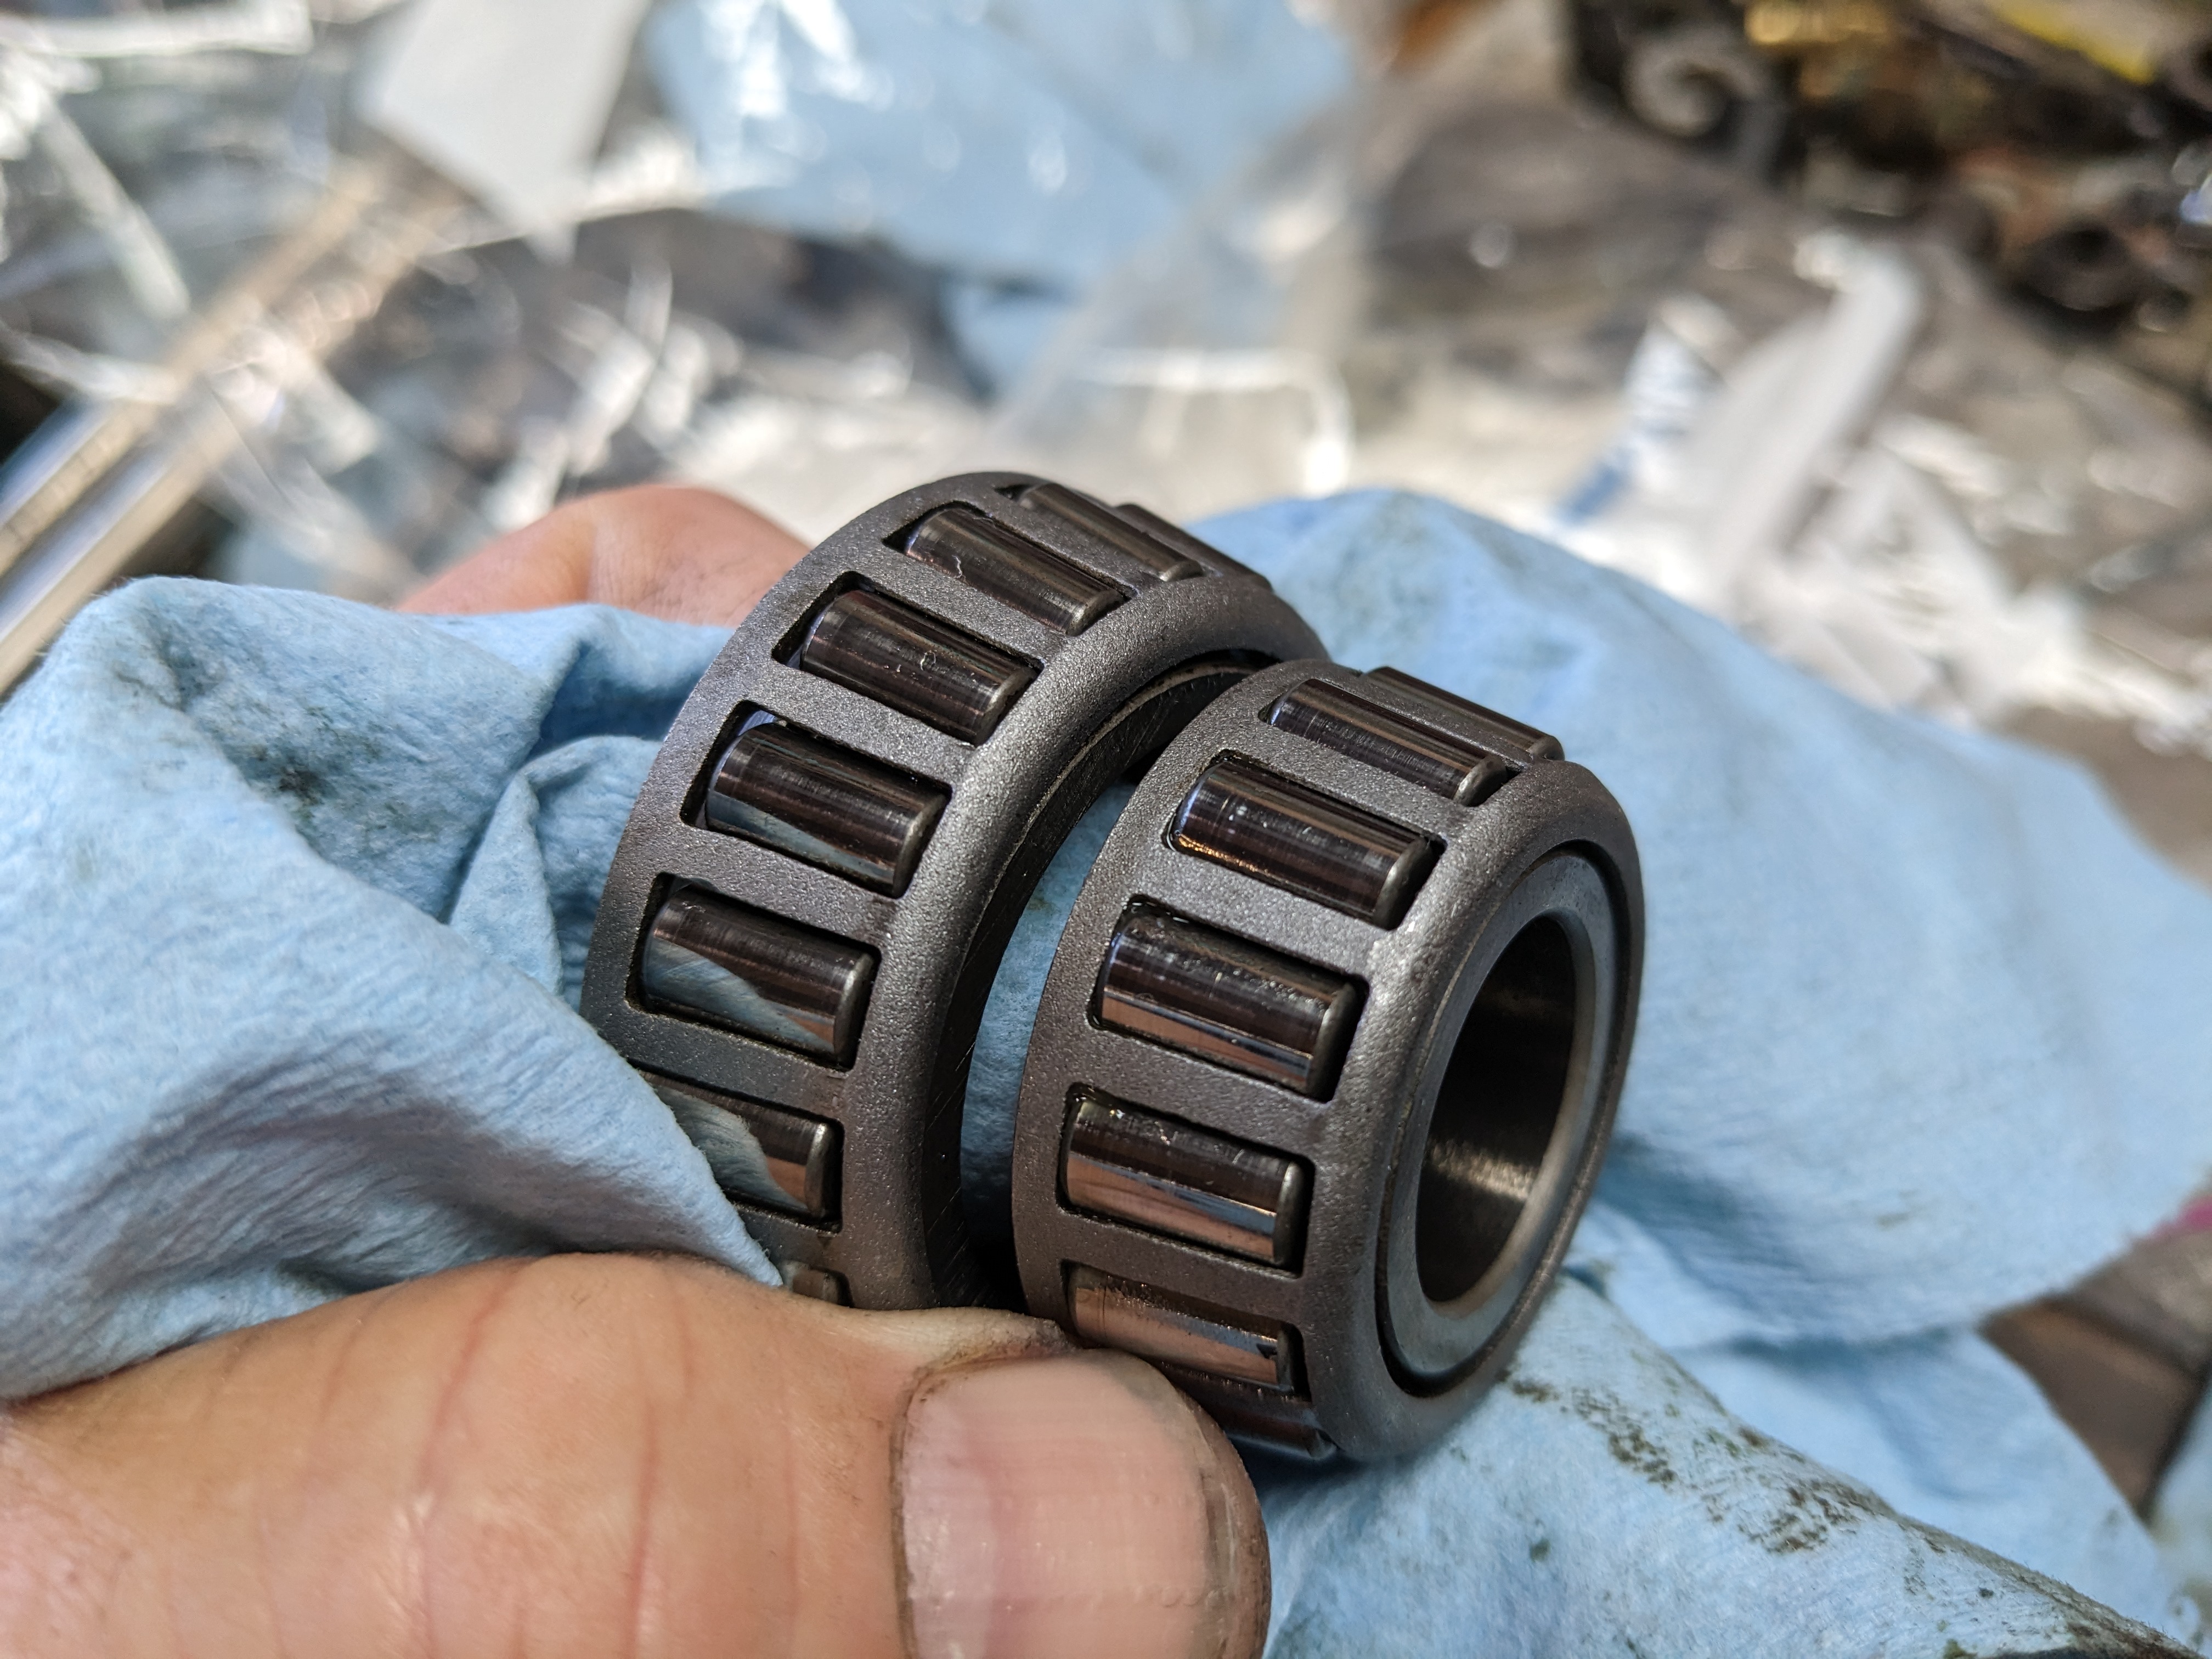
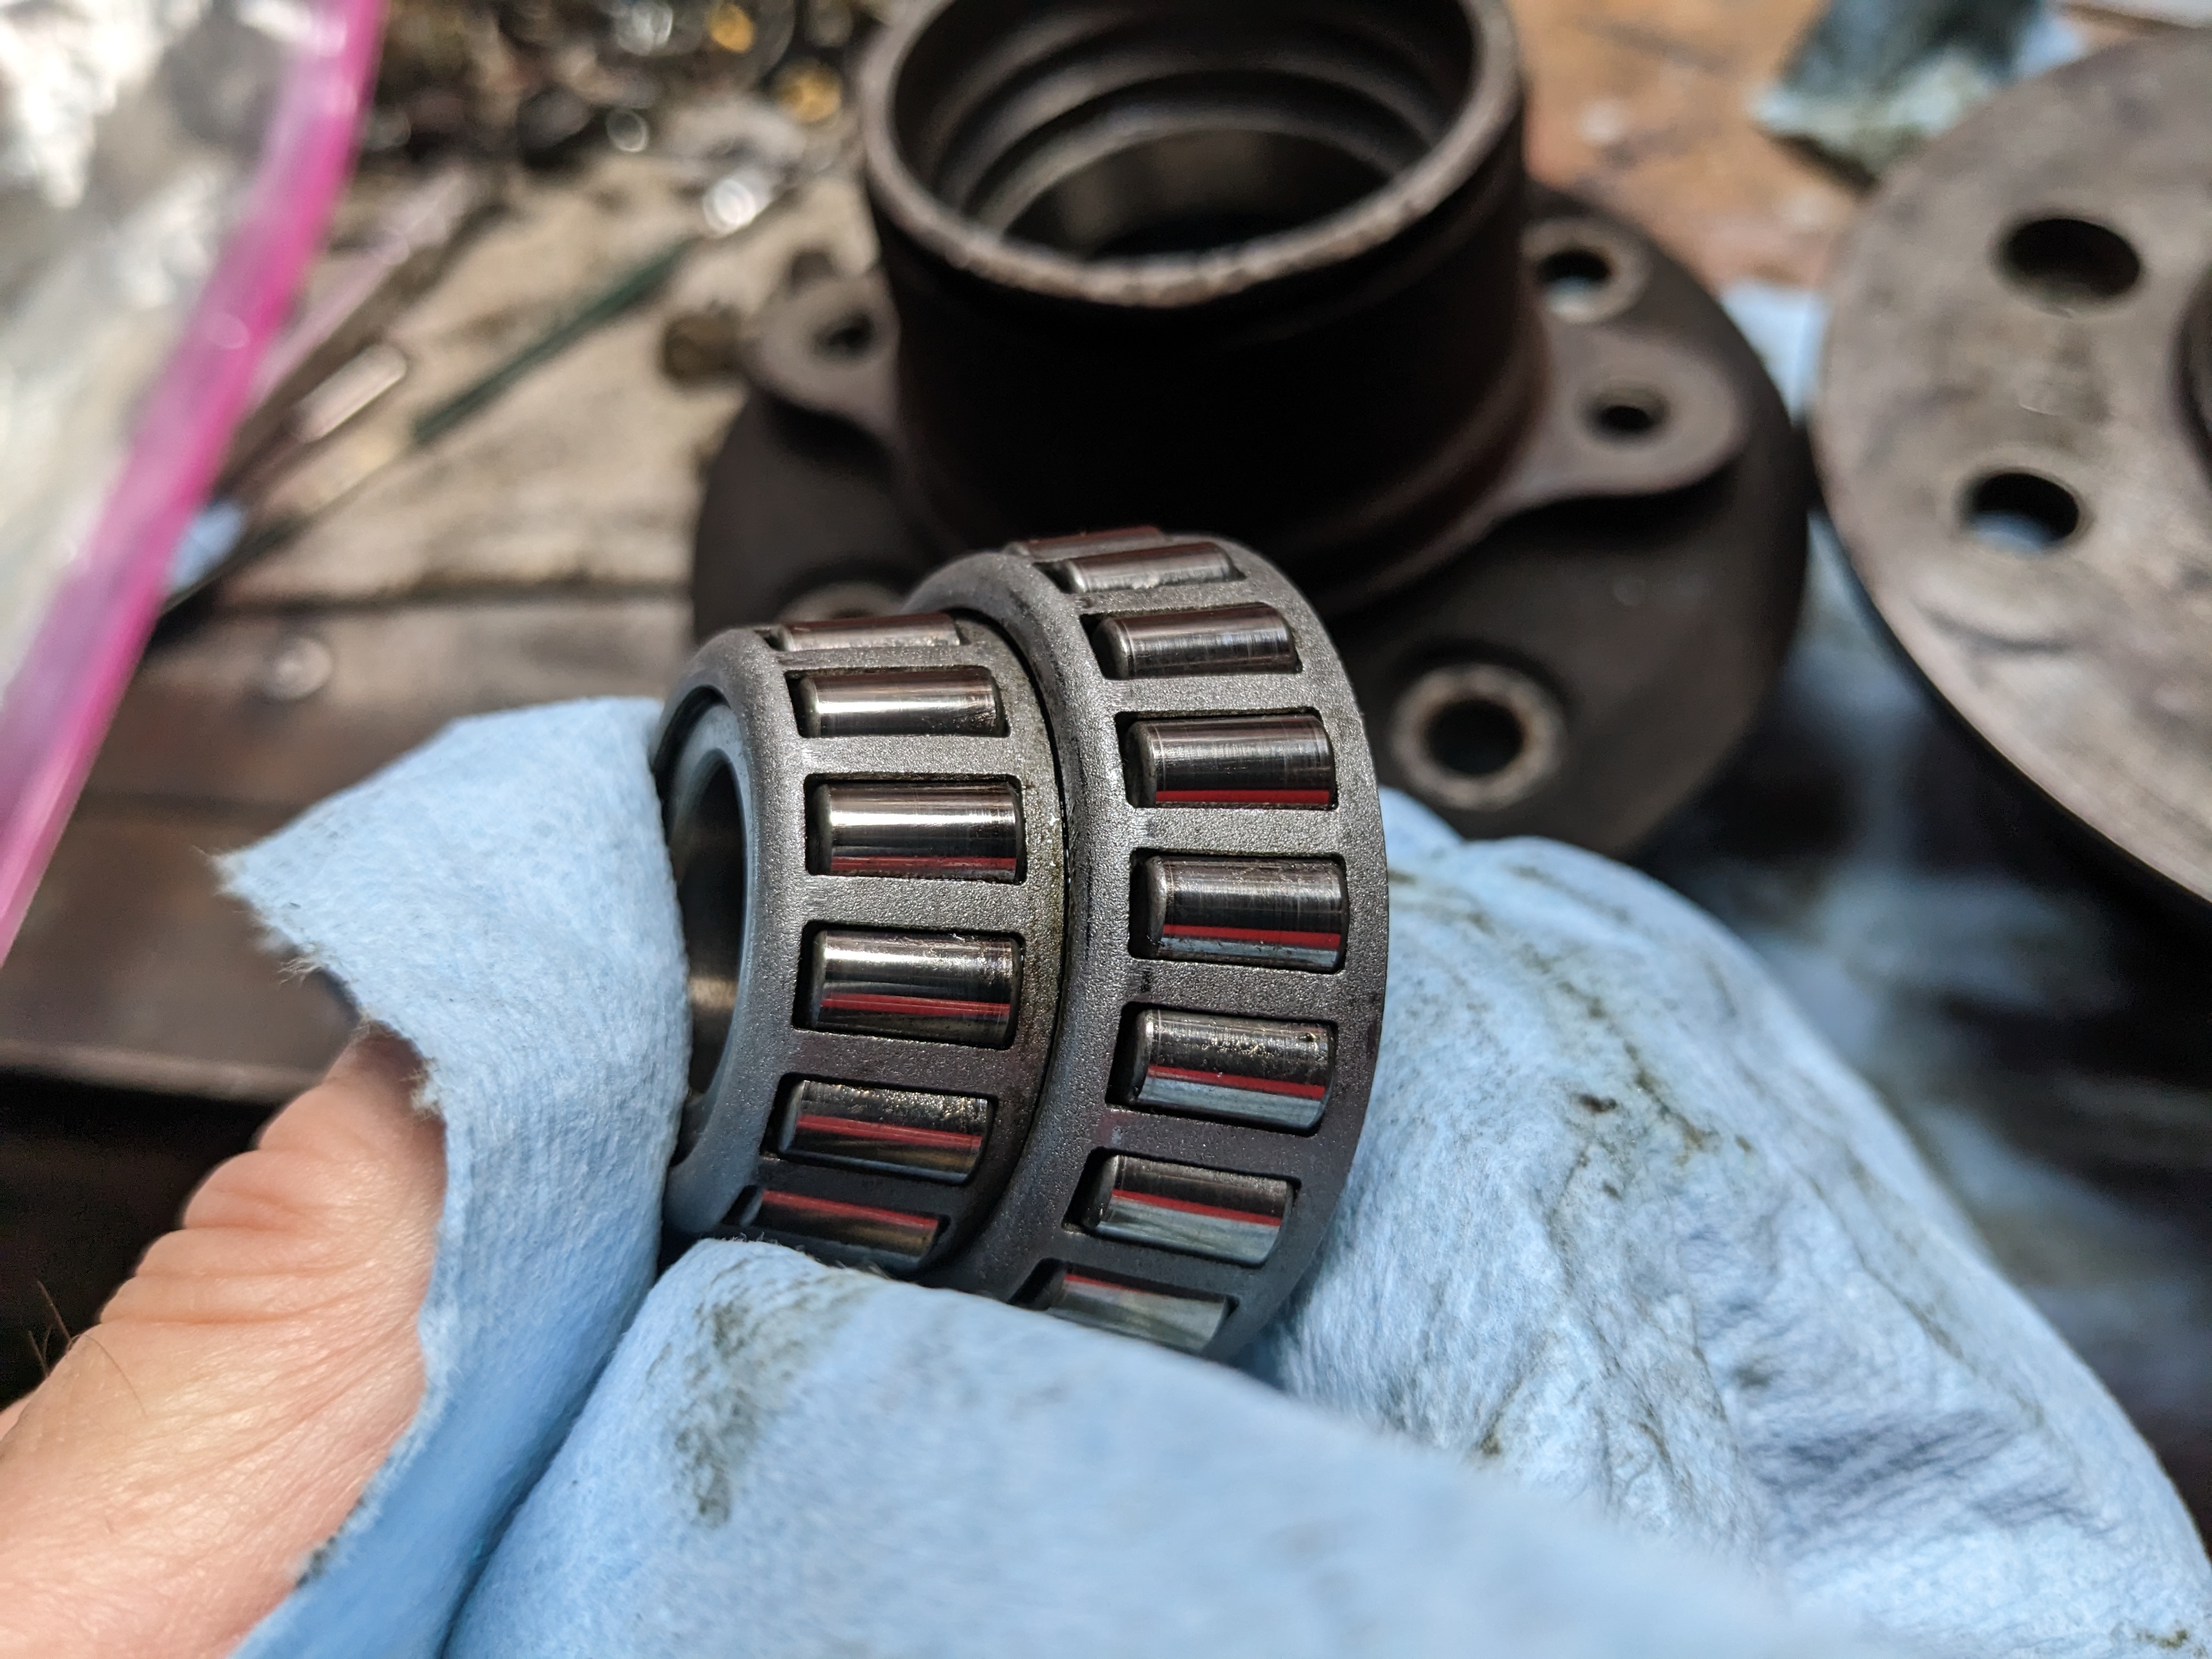
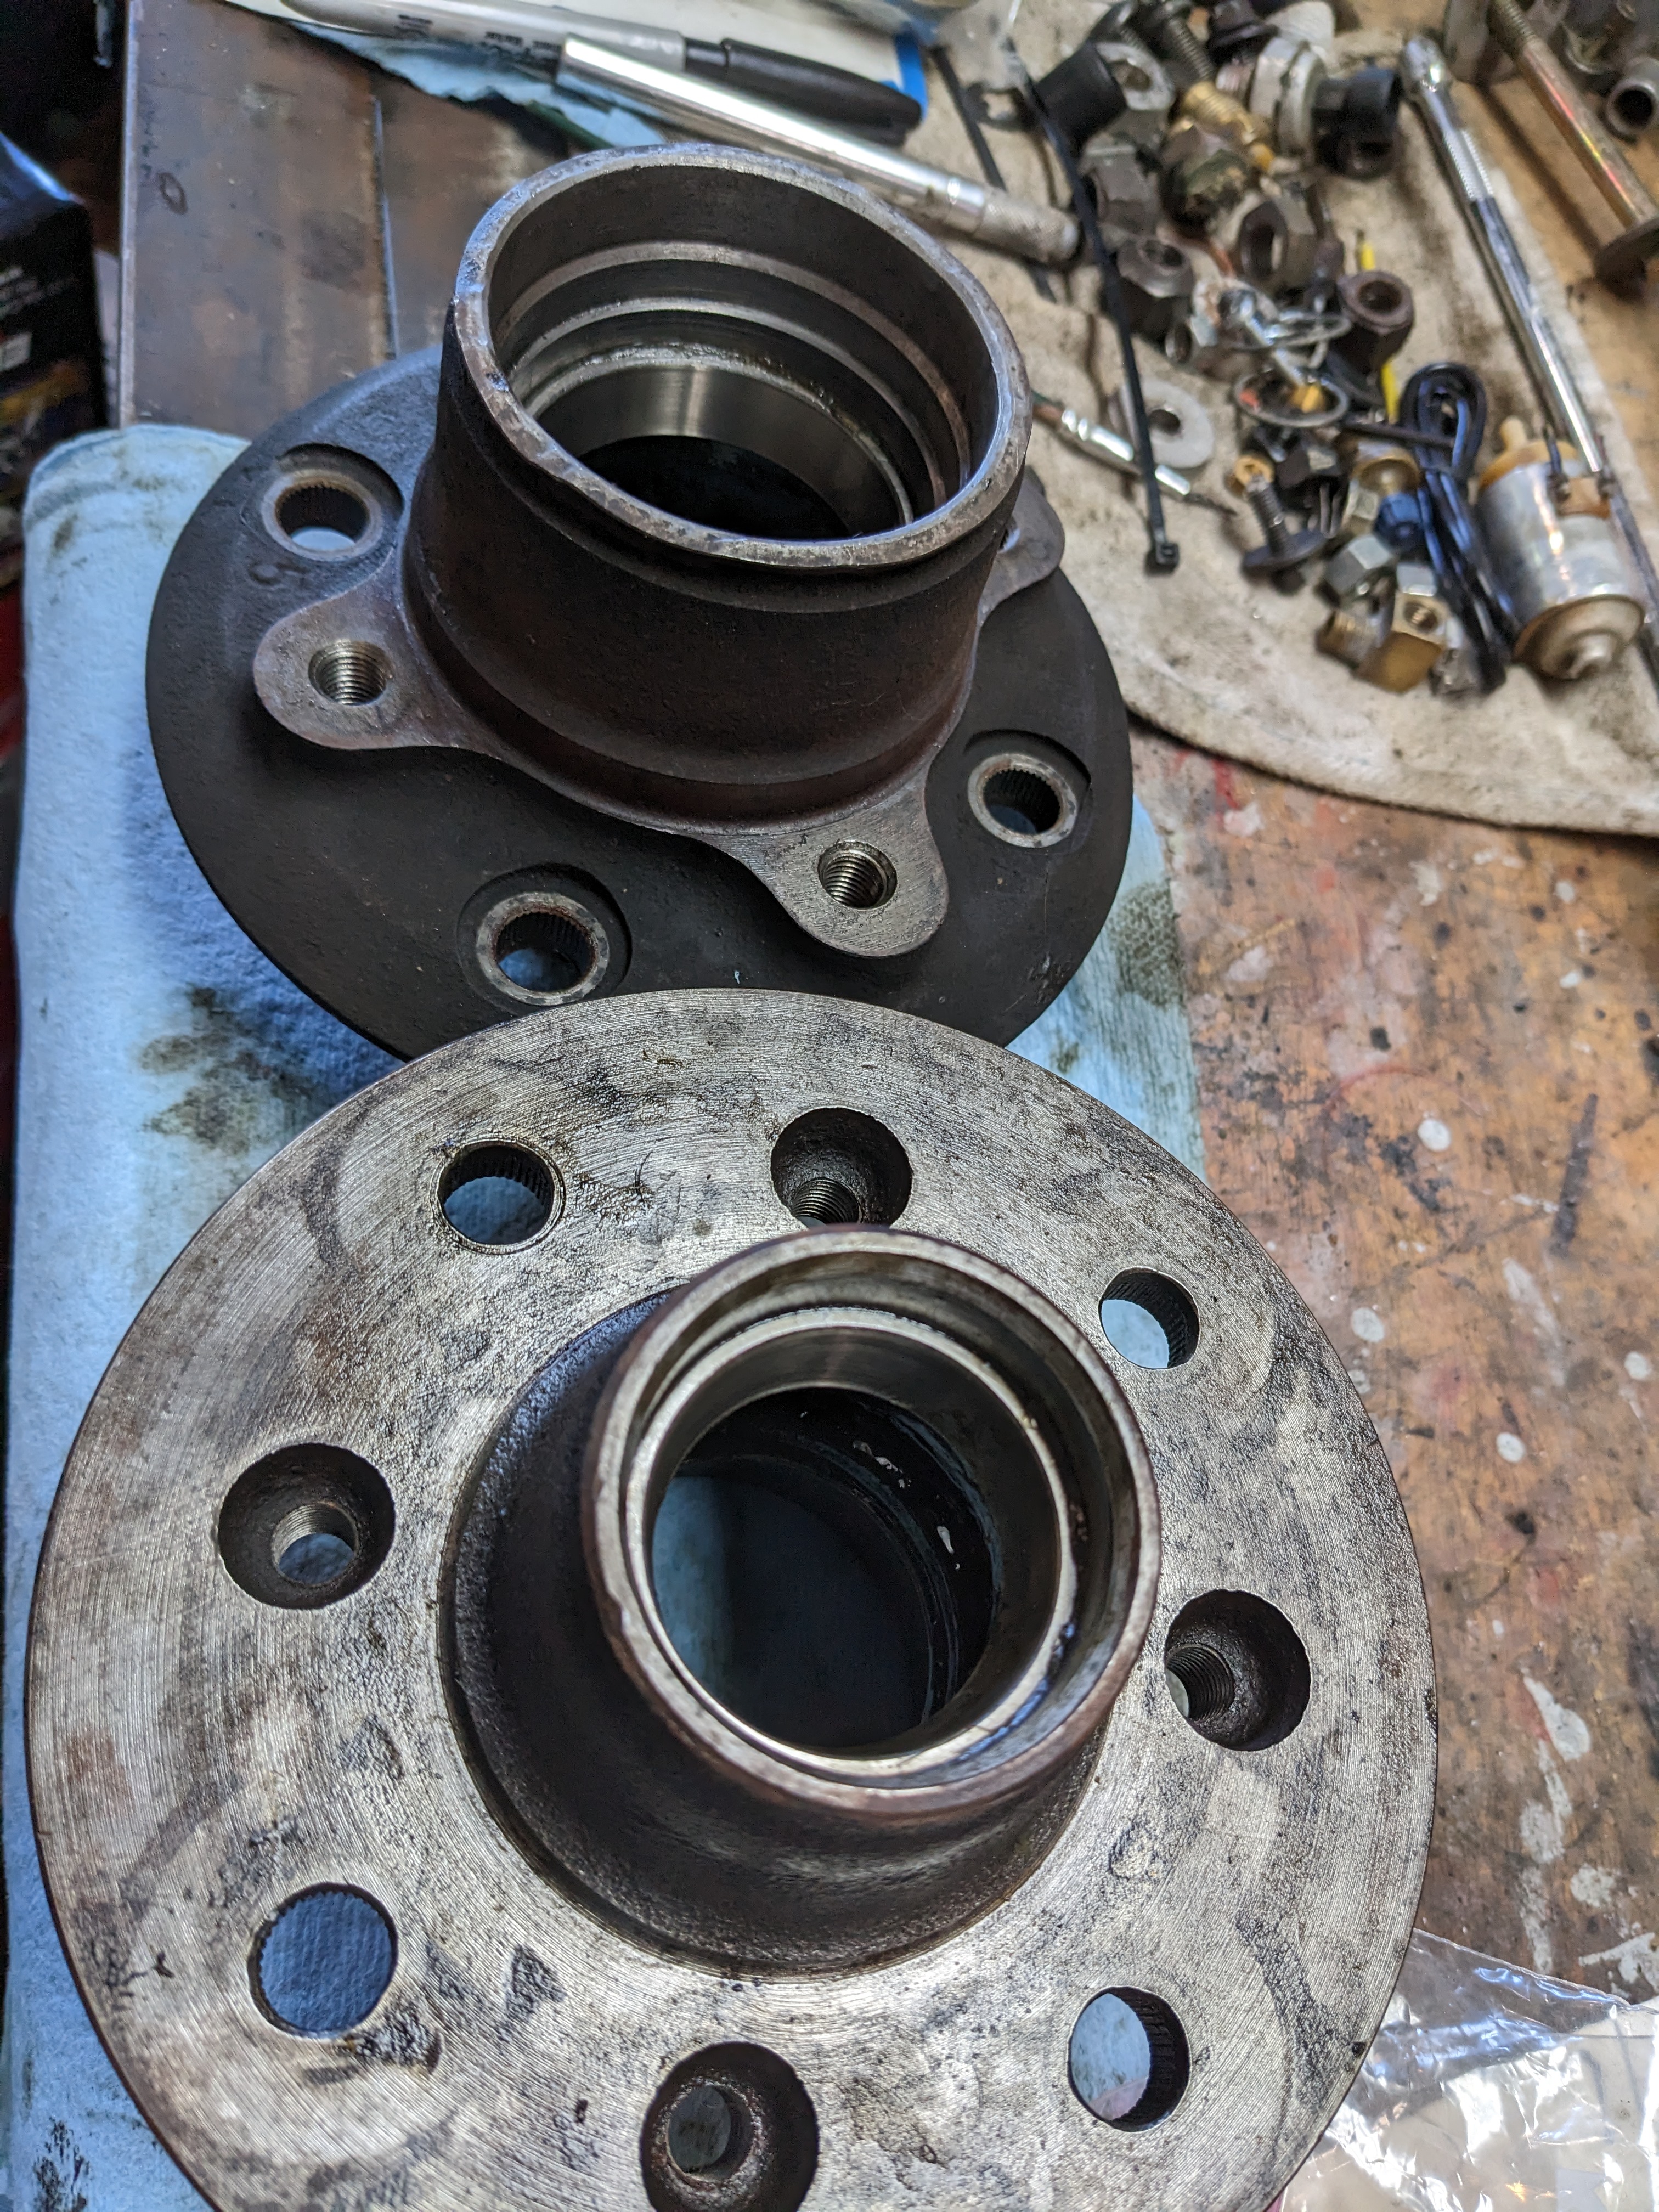
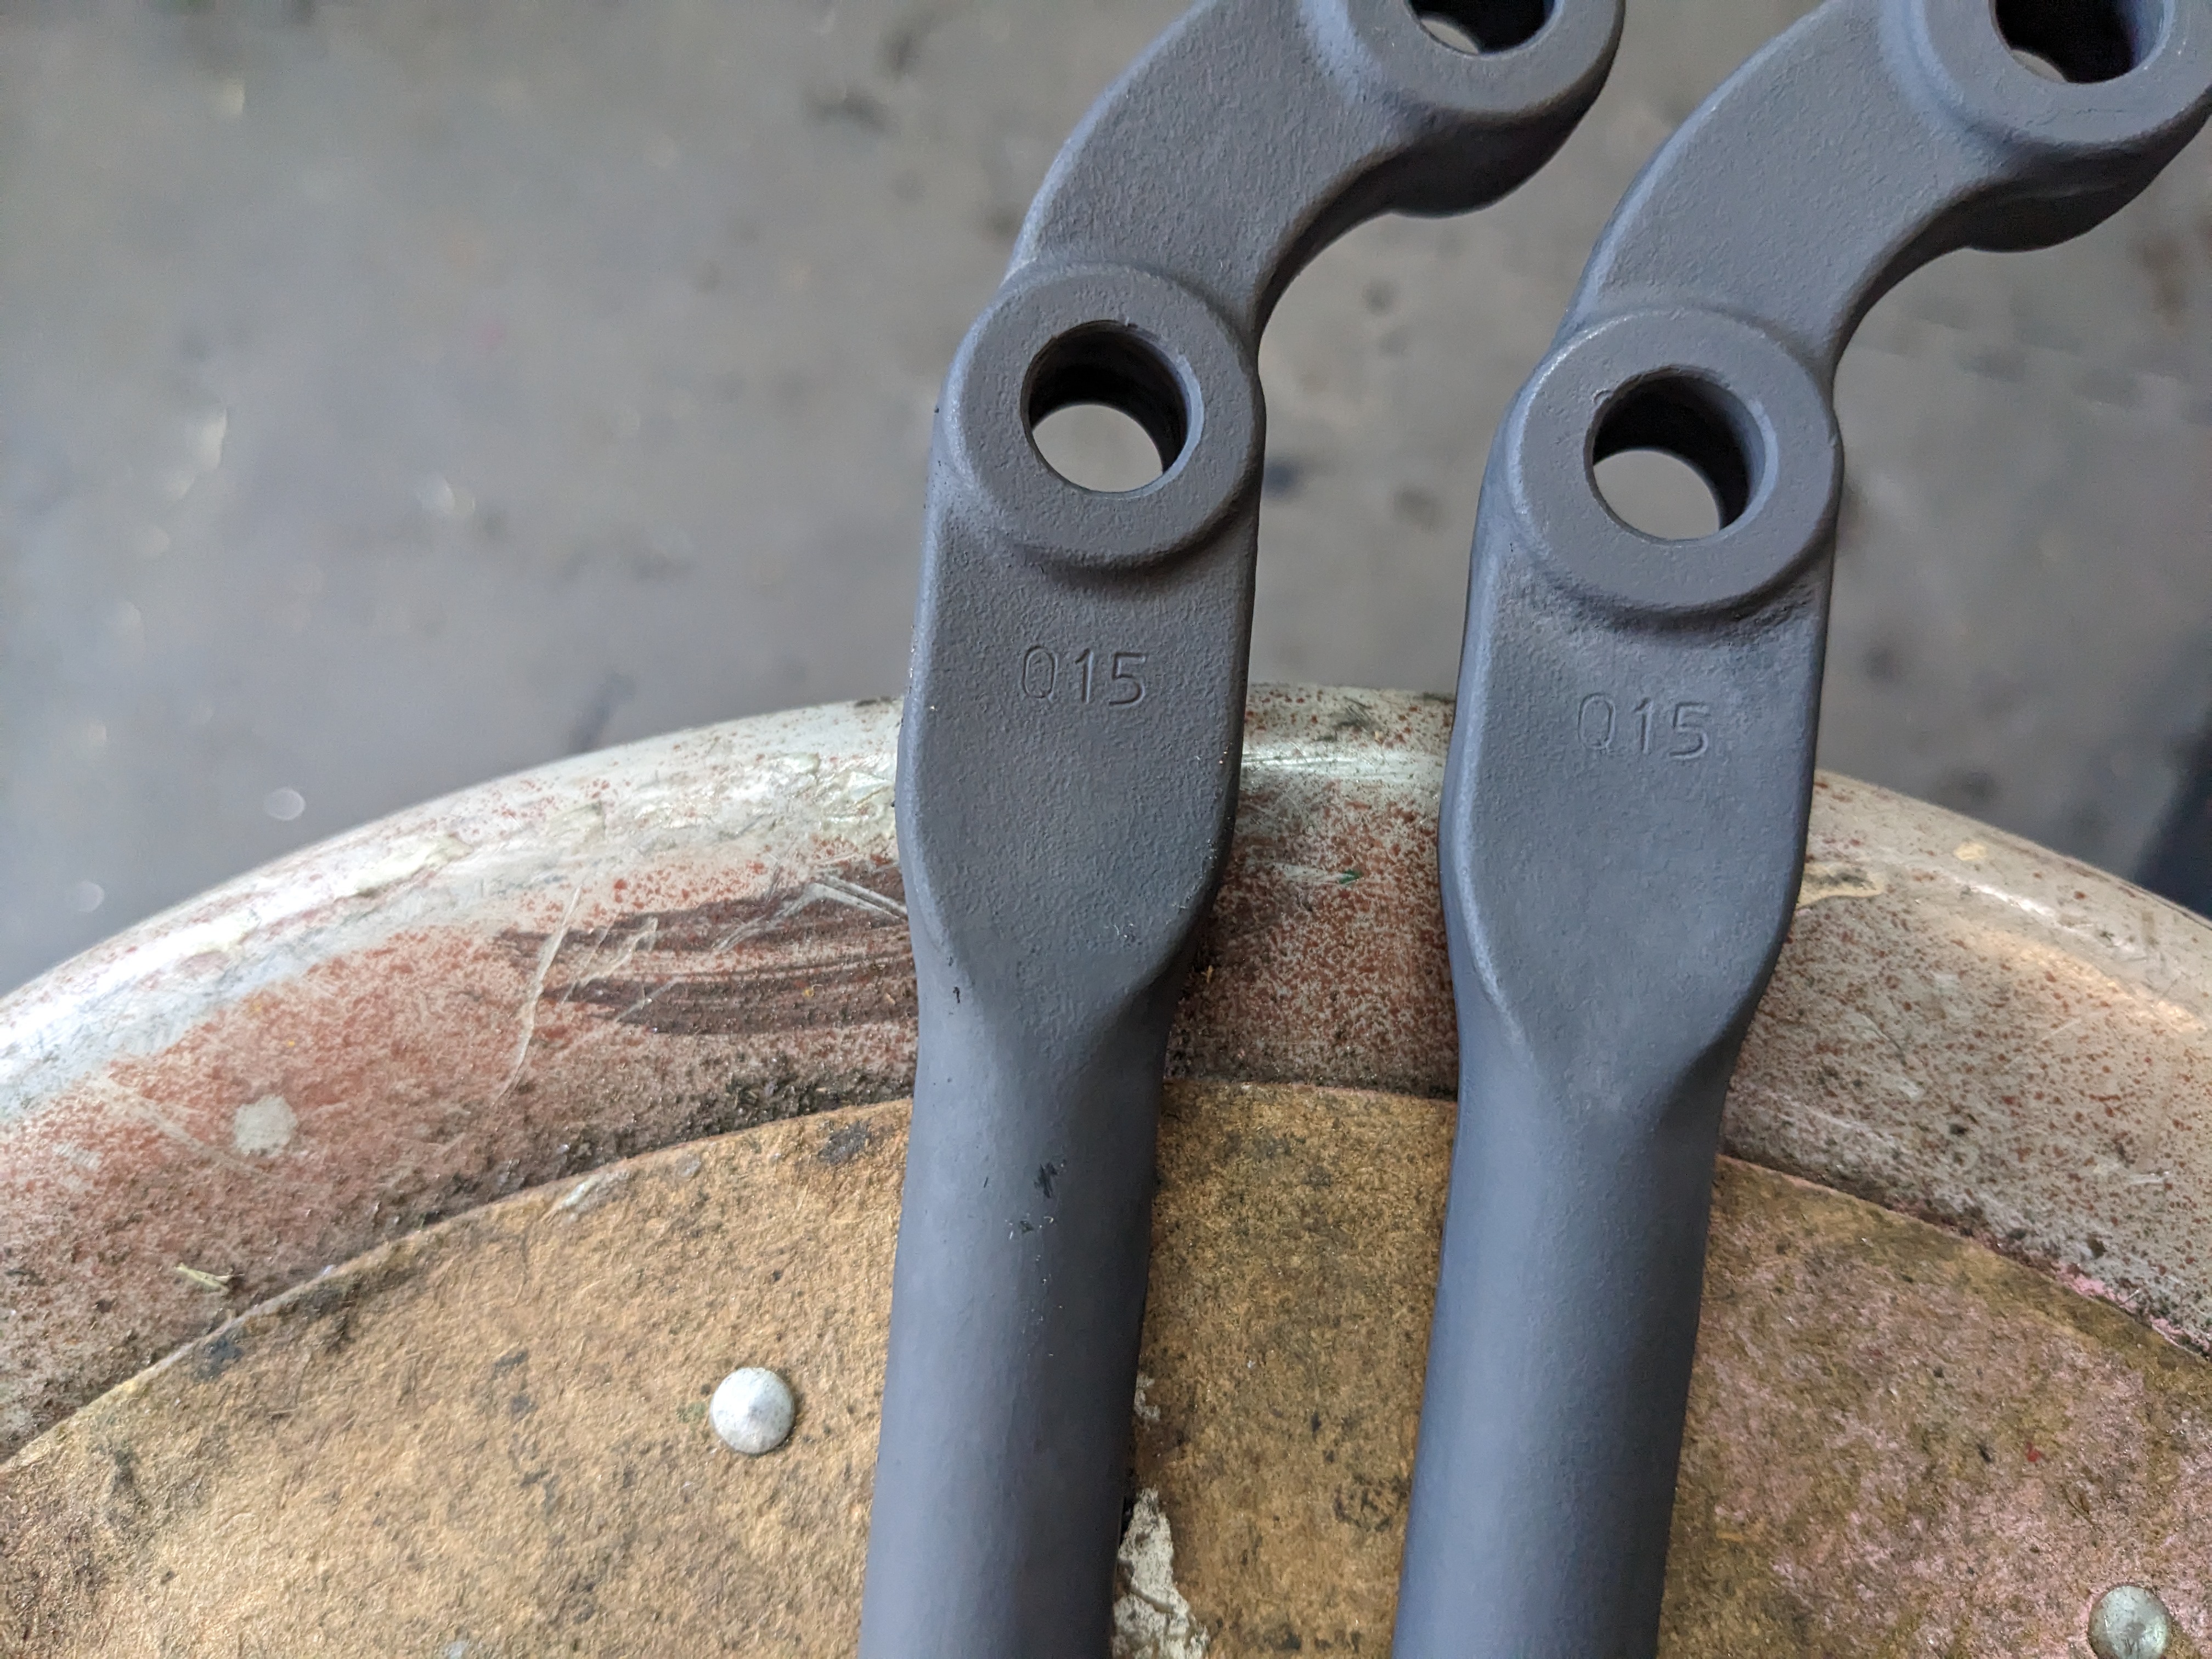
Some siblings are in town visits with my Mum, so I had a bit of time to work on the front end stuff. Never marked which tension rod was which, but they have the same marking, so I'm assuming L & R are equal. Volvo offered several lengths when they had a similar design. used a silver enamel on these, easier to see leaks against the lighter color, but I'm not sure I can deal with it if the suspension components stand out looking at the car. Probably going to repaint them black I had acid dipped & cleaned all the hardware, so I primed & primed the sway bar & tension rod bushing plates stripped the struts. everything that I'm keeping is in good shape, just had to strip the strut tubes of the crust around the upper tube top bushings and spring seats cleaned up wheel bearings all flushed of old grease. The races and bearing really look good, so I'm just going to re-grease them & pack the hub this time around. I didn't hear any bearing whine or grumble in the front end when driving. hubs need to be cleaned up