HusseinHolland
Community Member
-
Joined
-
Last visited
Everything posted by HusseinHolland
-
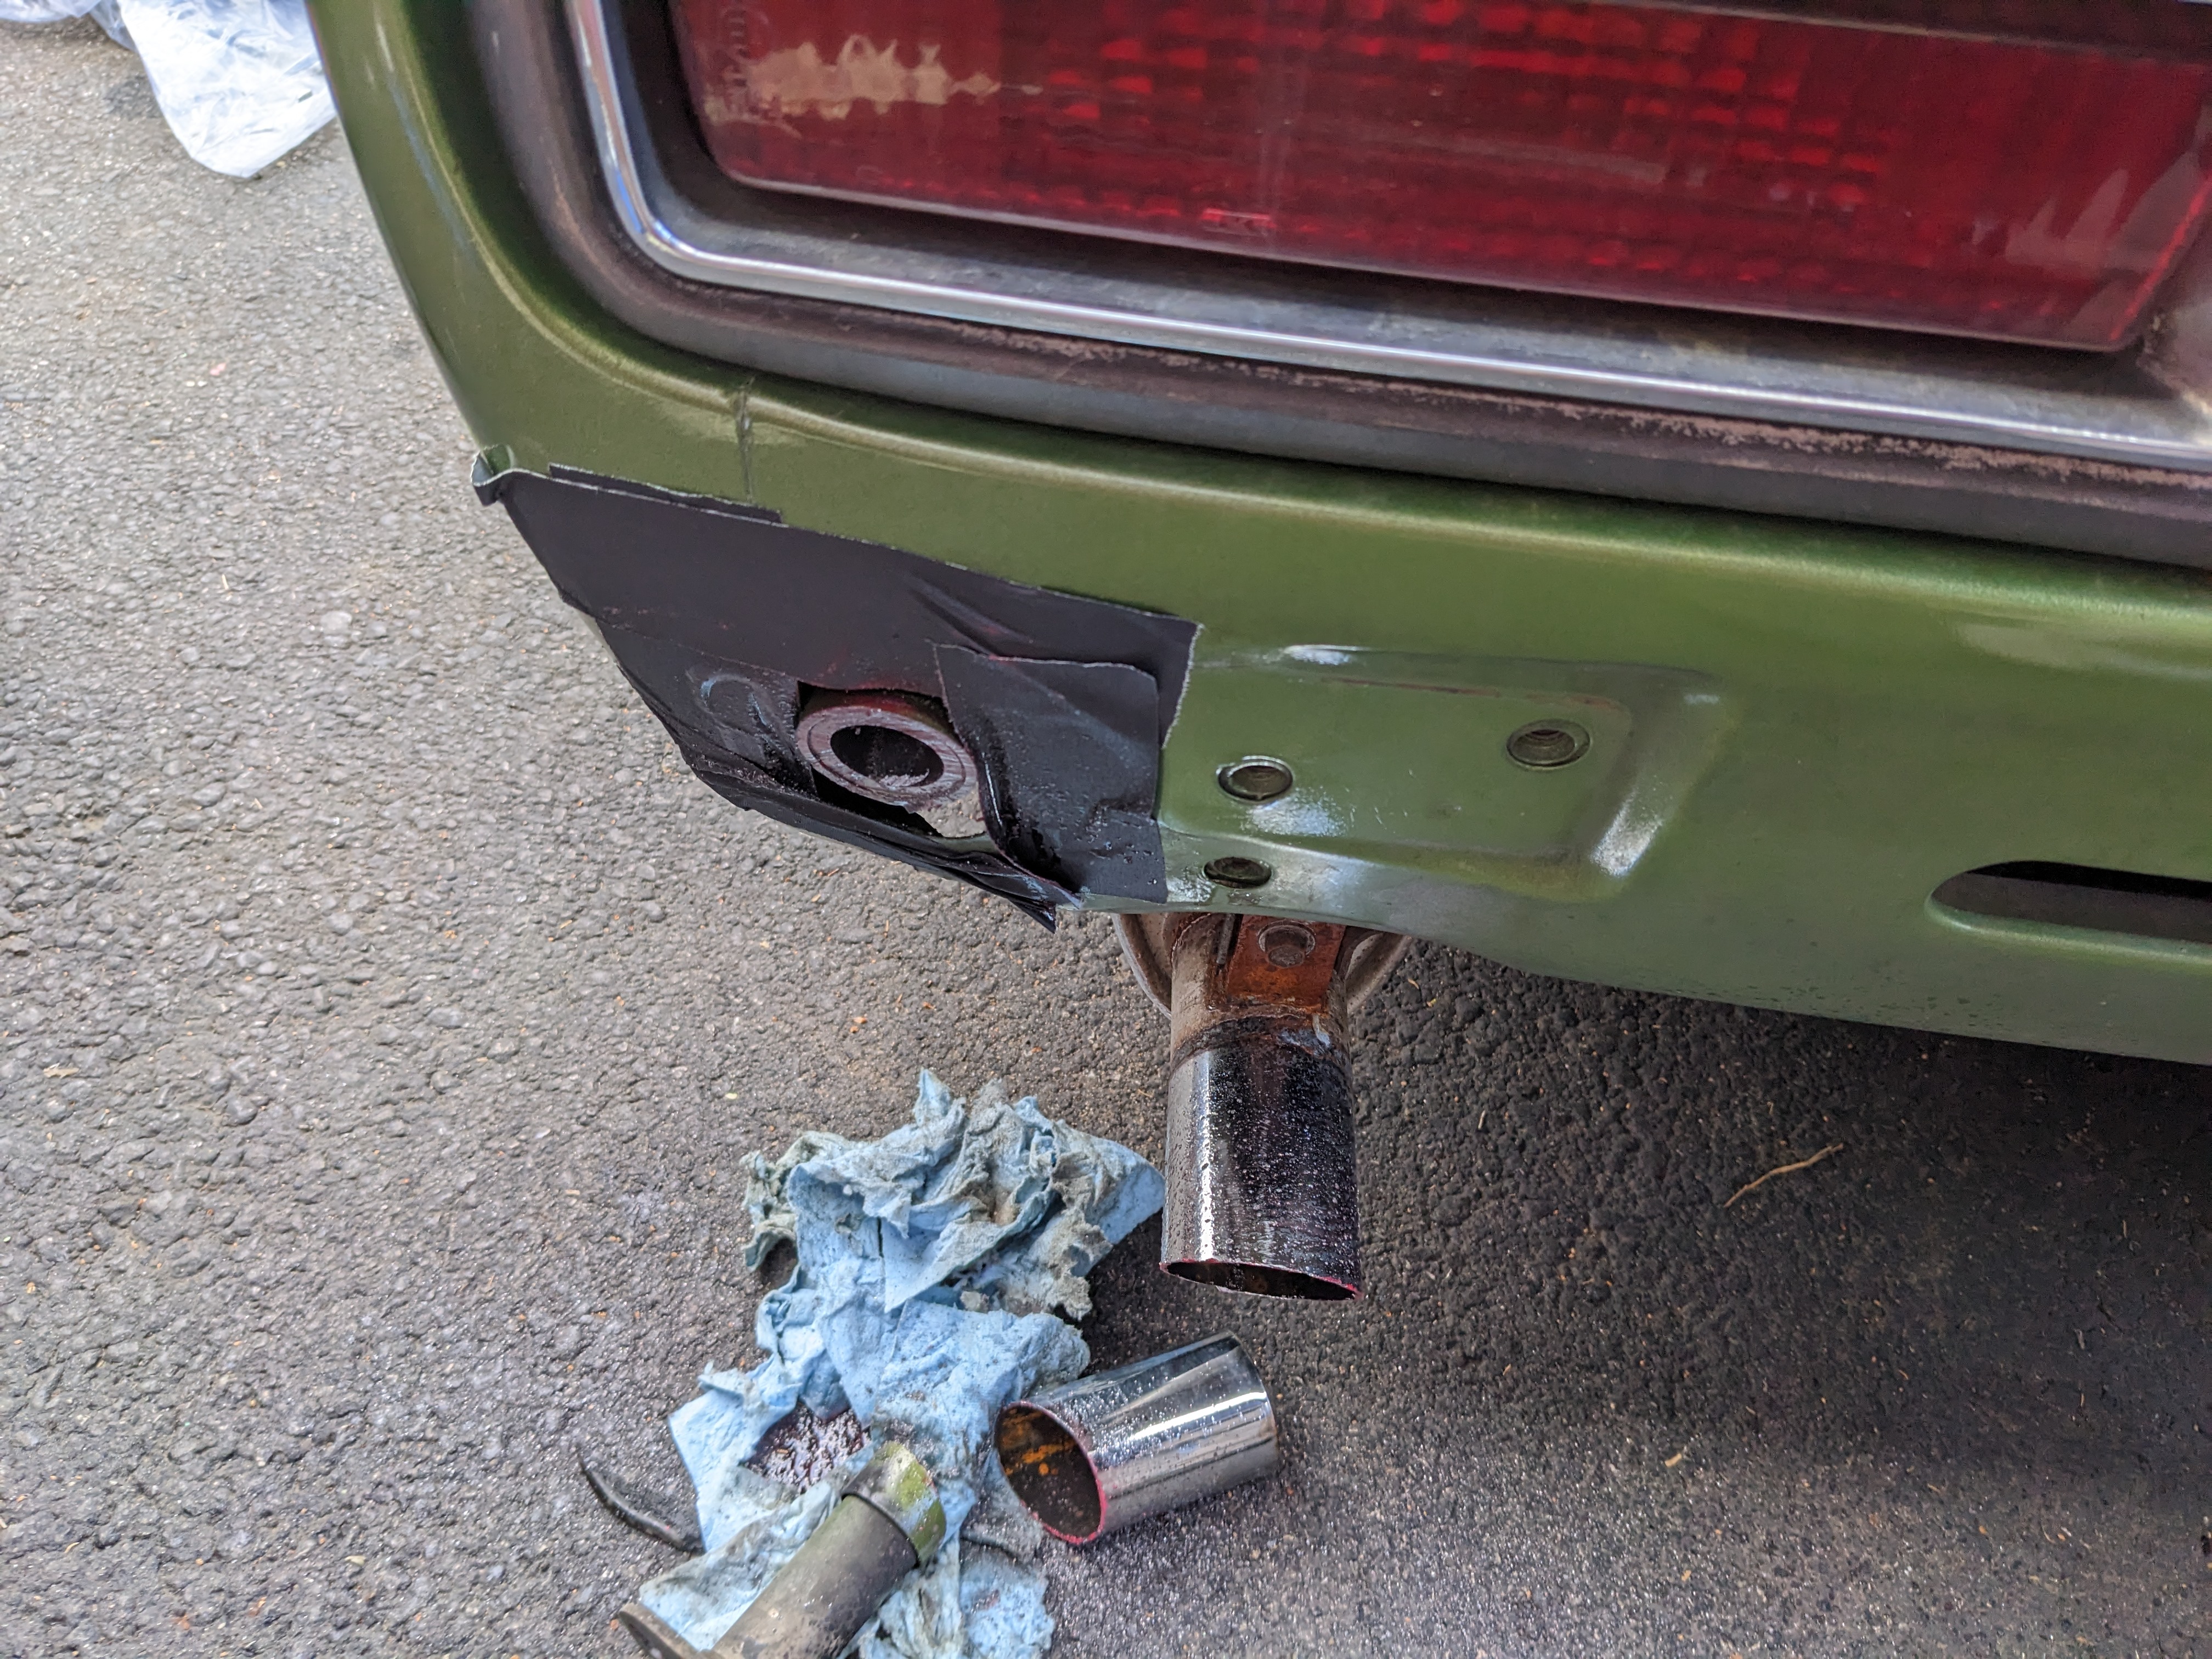
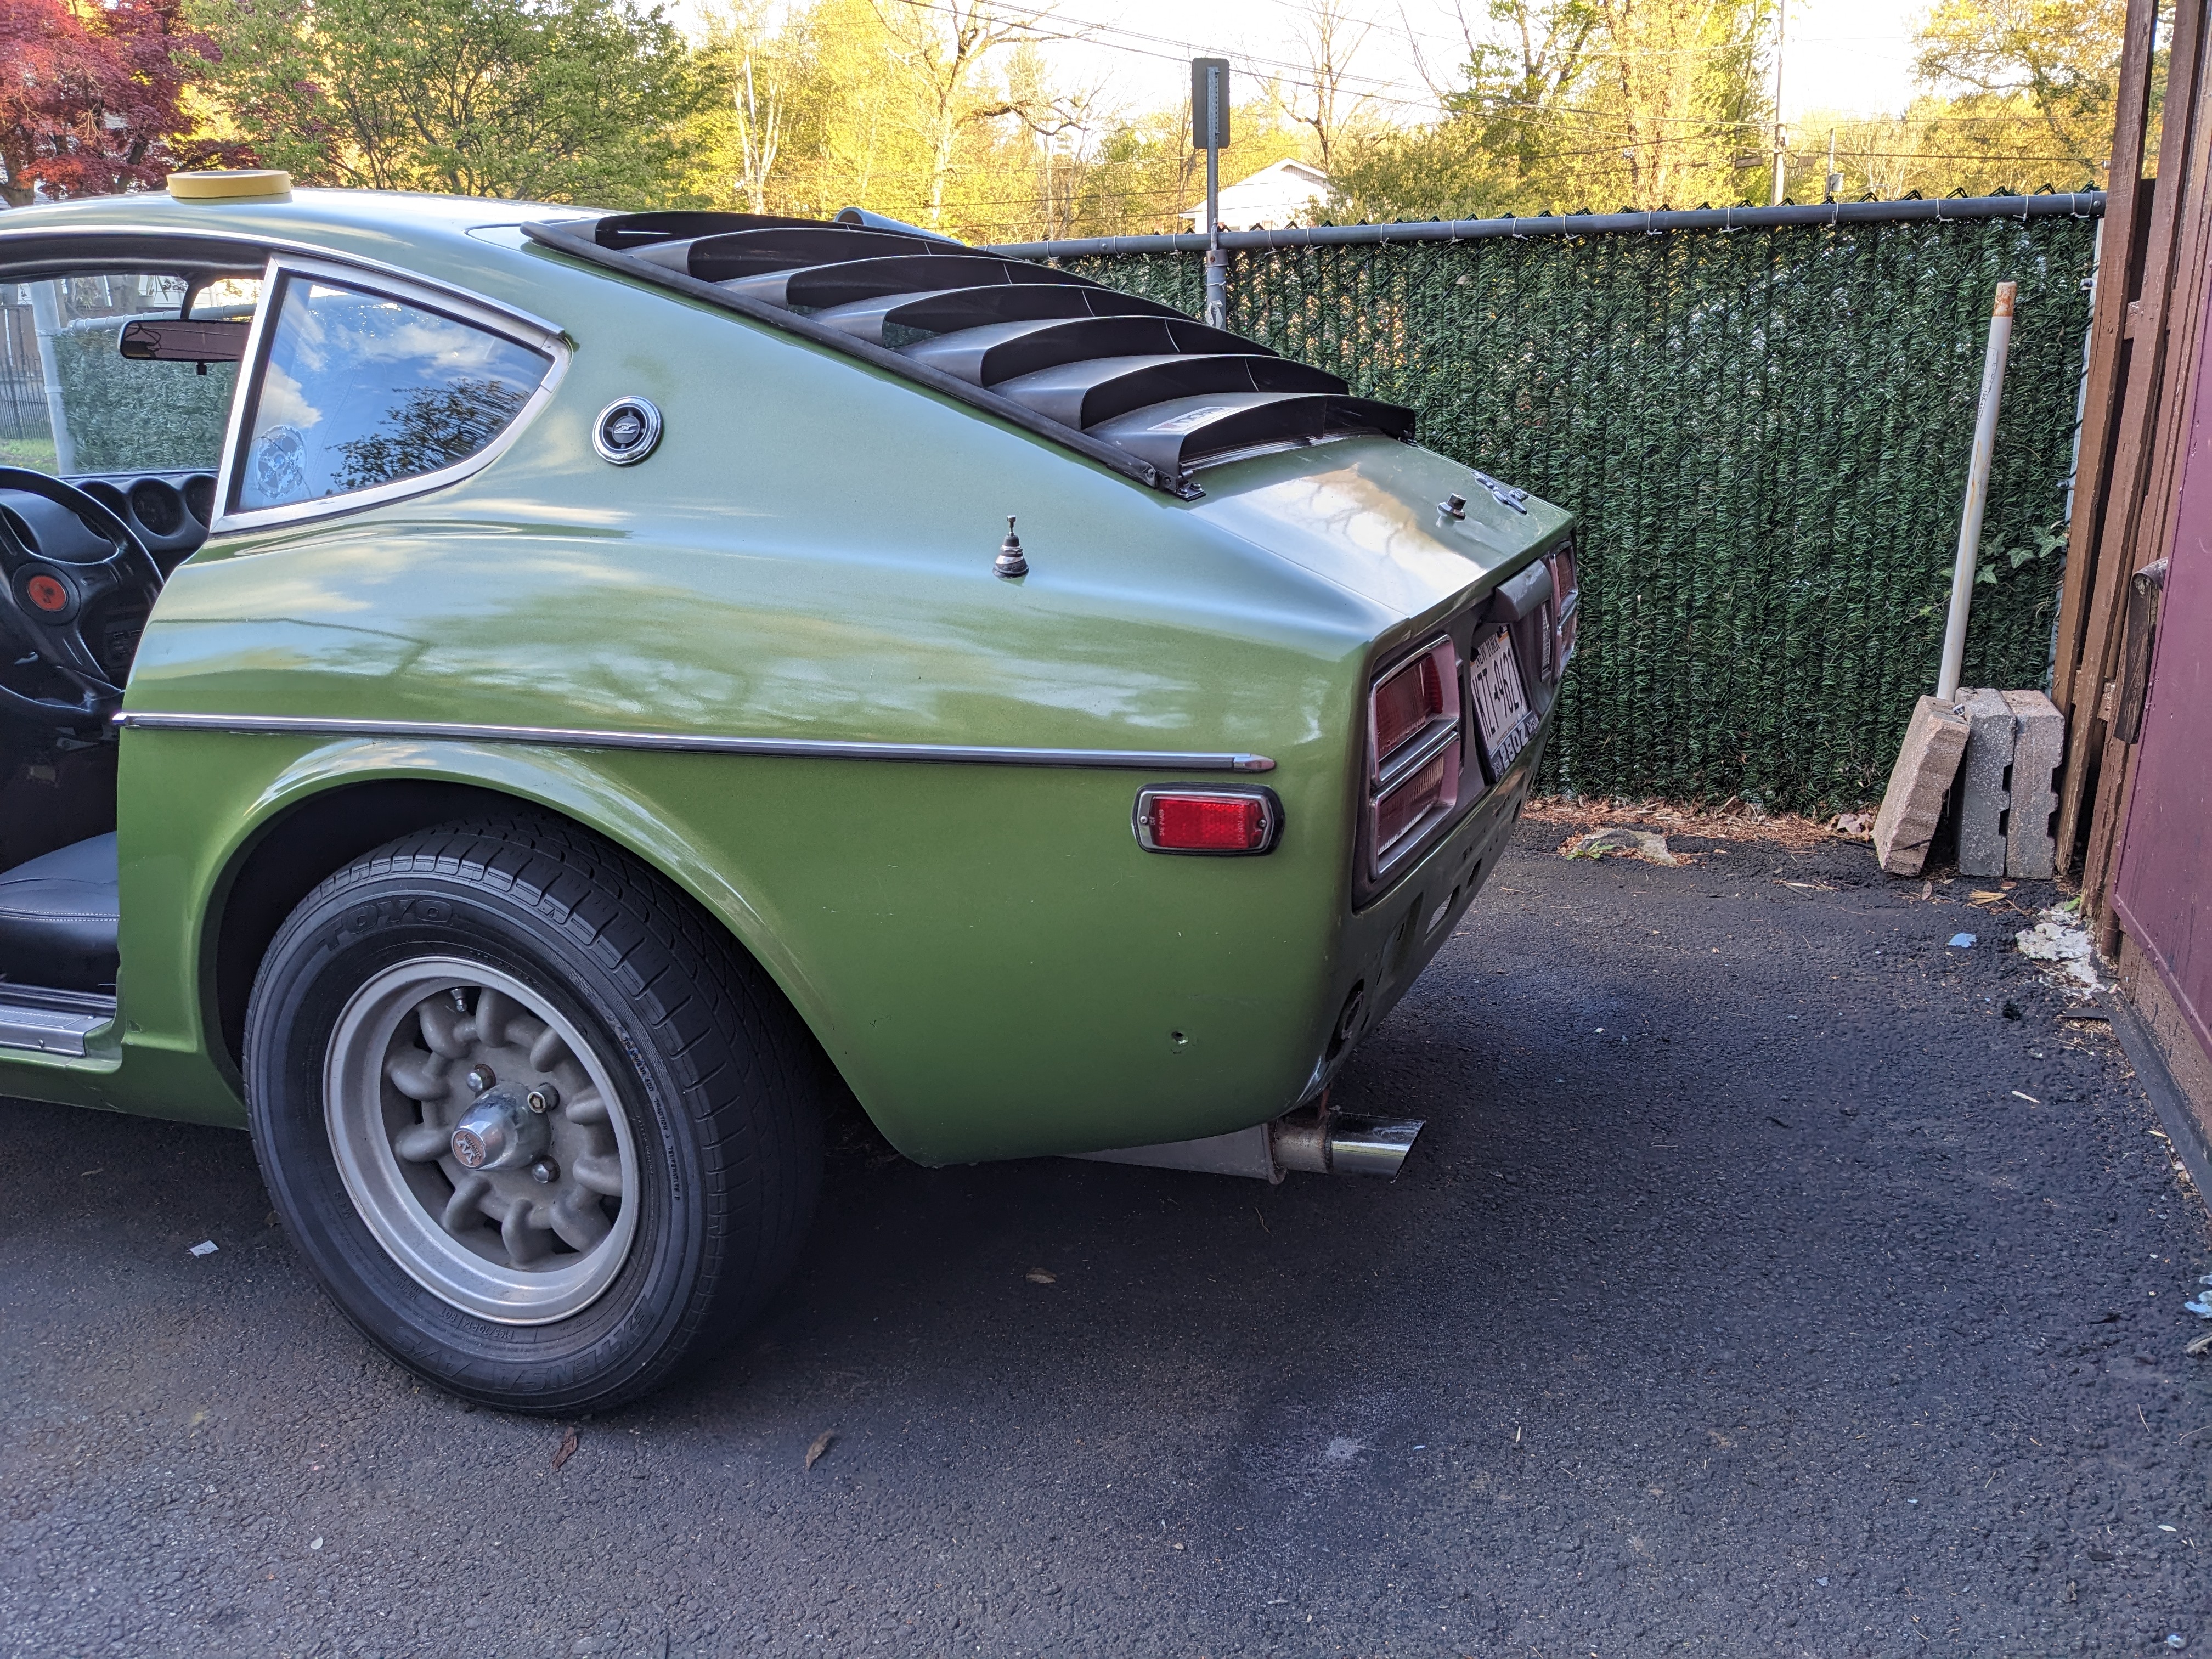
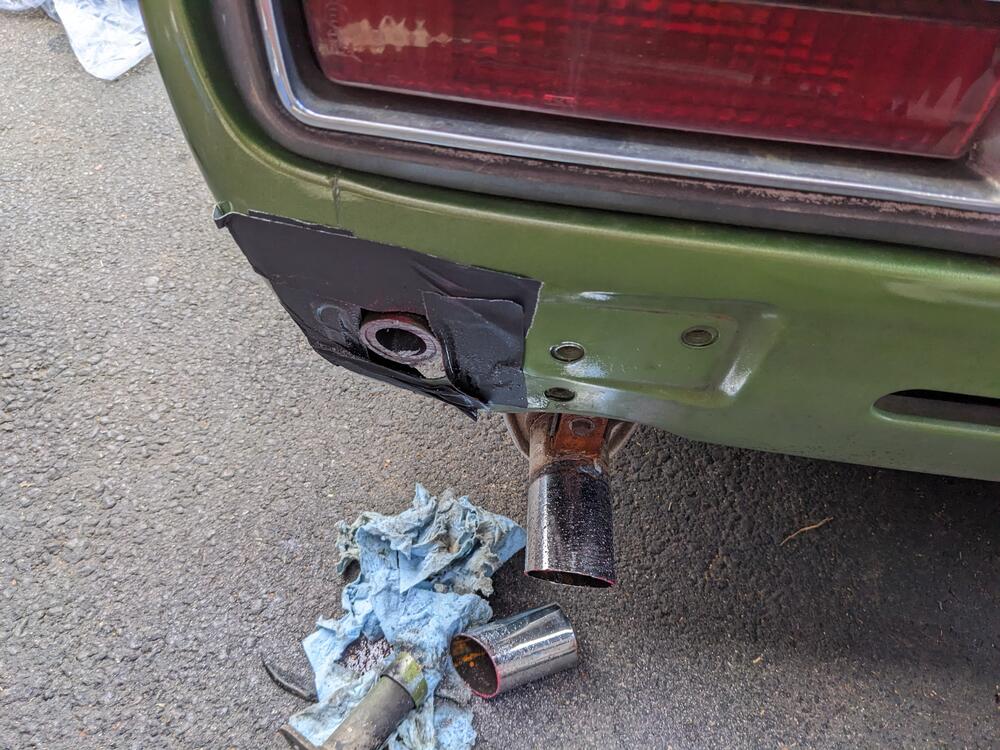
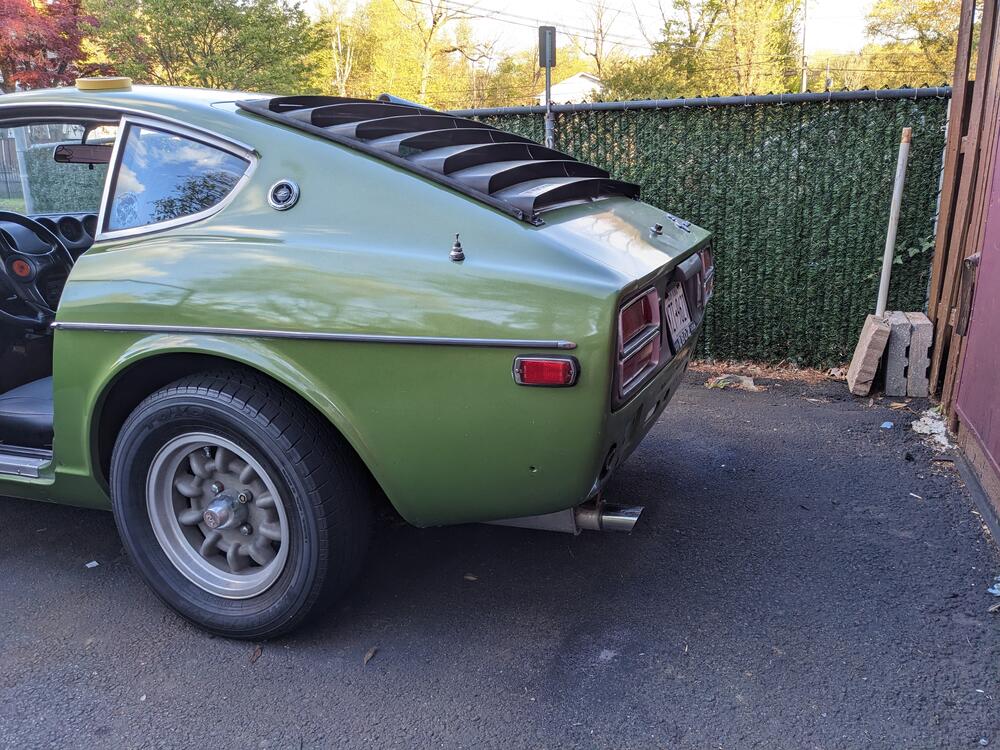
Still don't have the back bumper on, and with all the other work that has taken precedent, it is unlikely I will be dropping the exhaust & gas tank any time soon, so I cut off the bumper shocks (Sawsall) for now, so I can at least get the rear bumper installed. Removed the end screws to relieve the gas before cutting. Chopped back the tailpipe while I was at it.
-
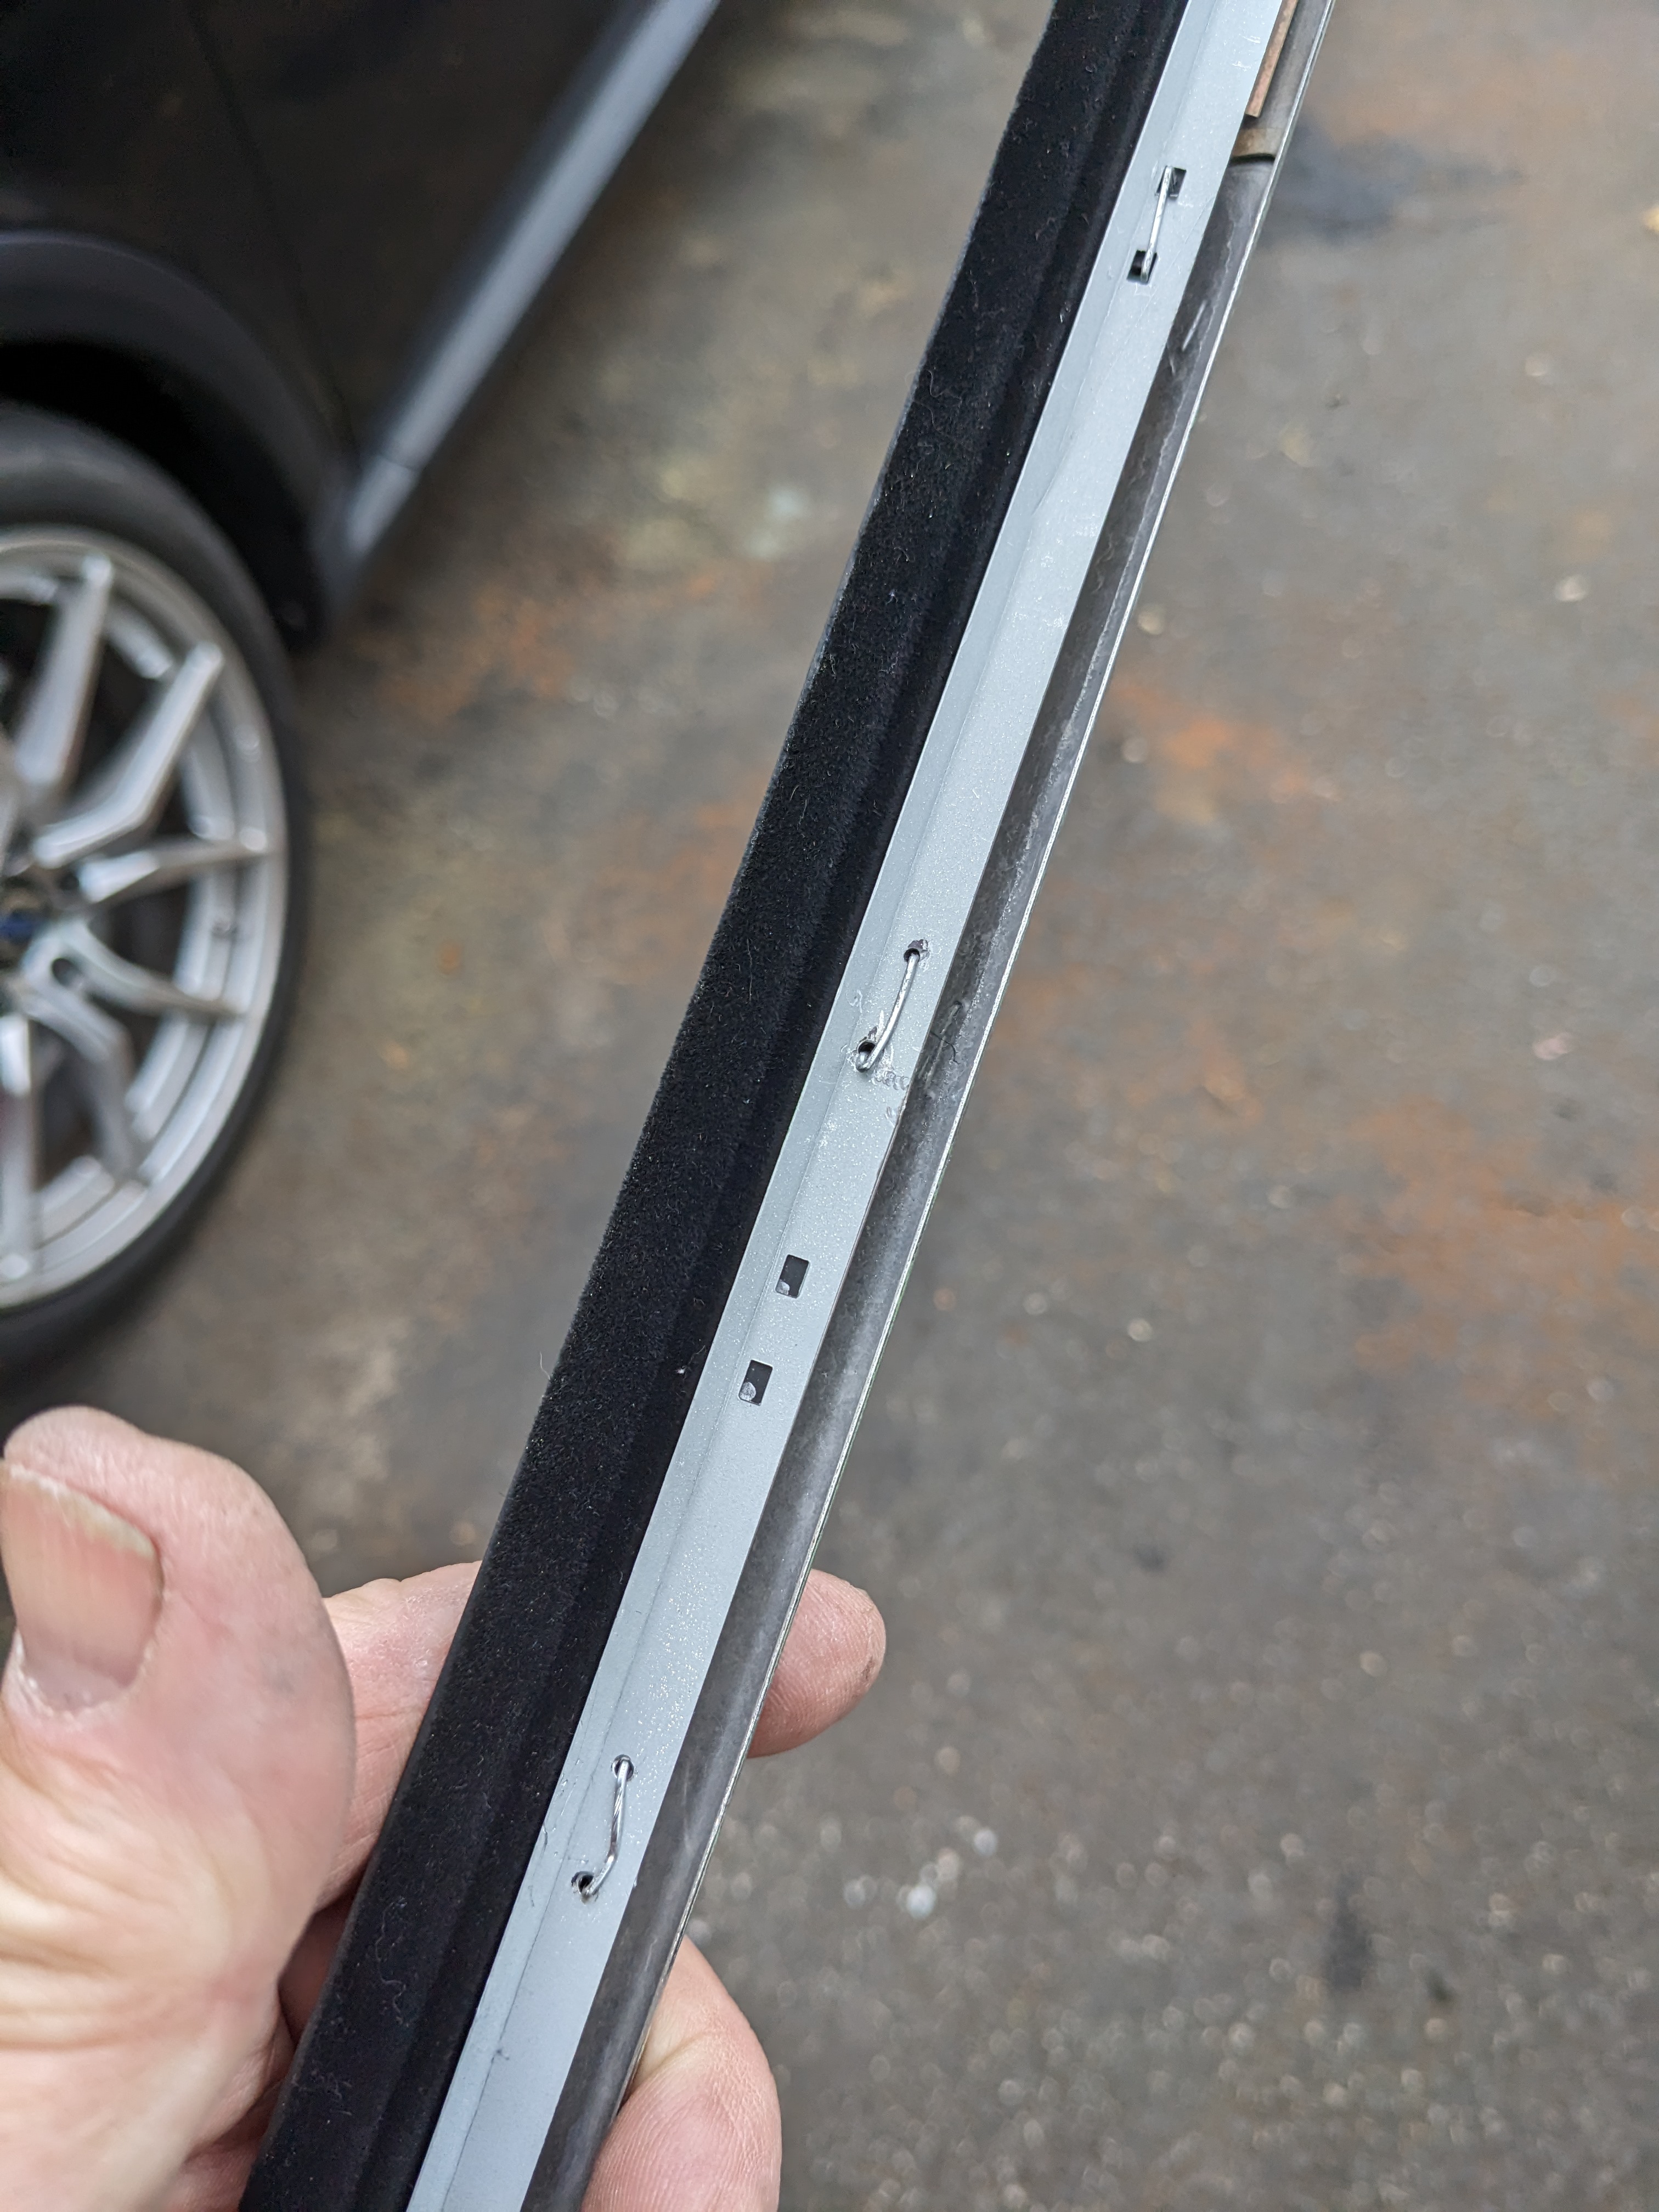
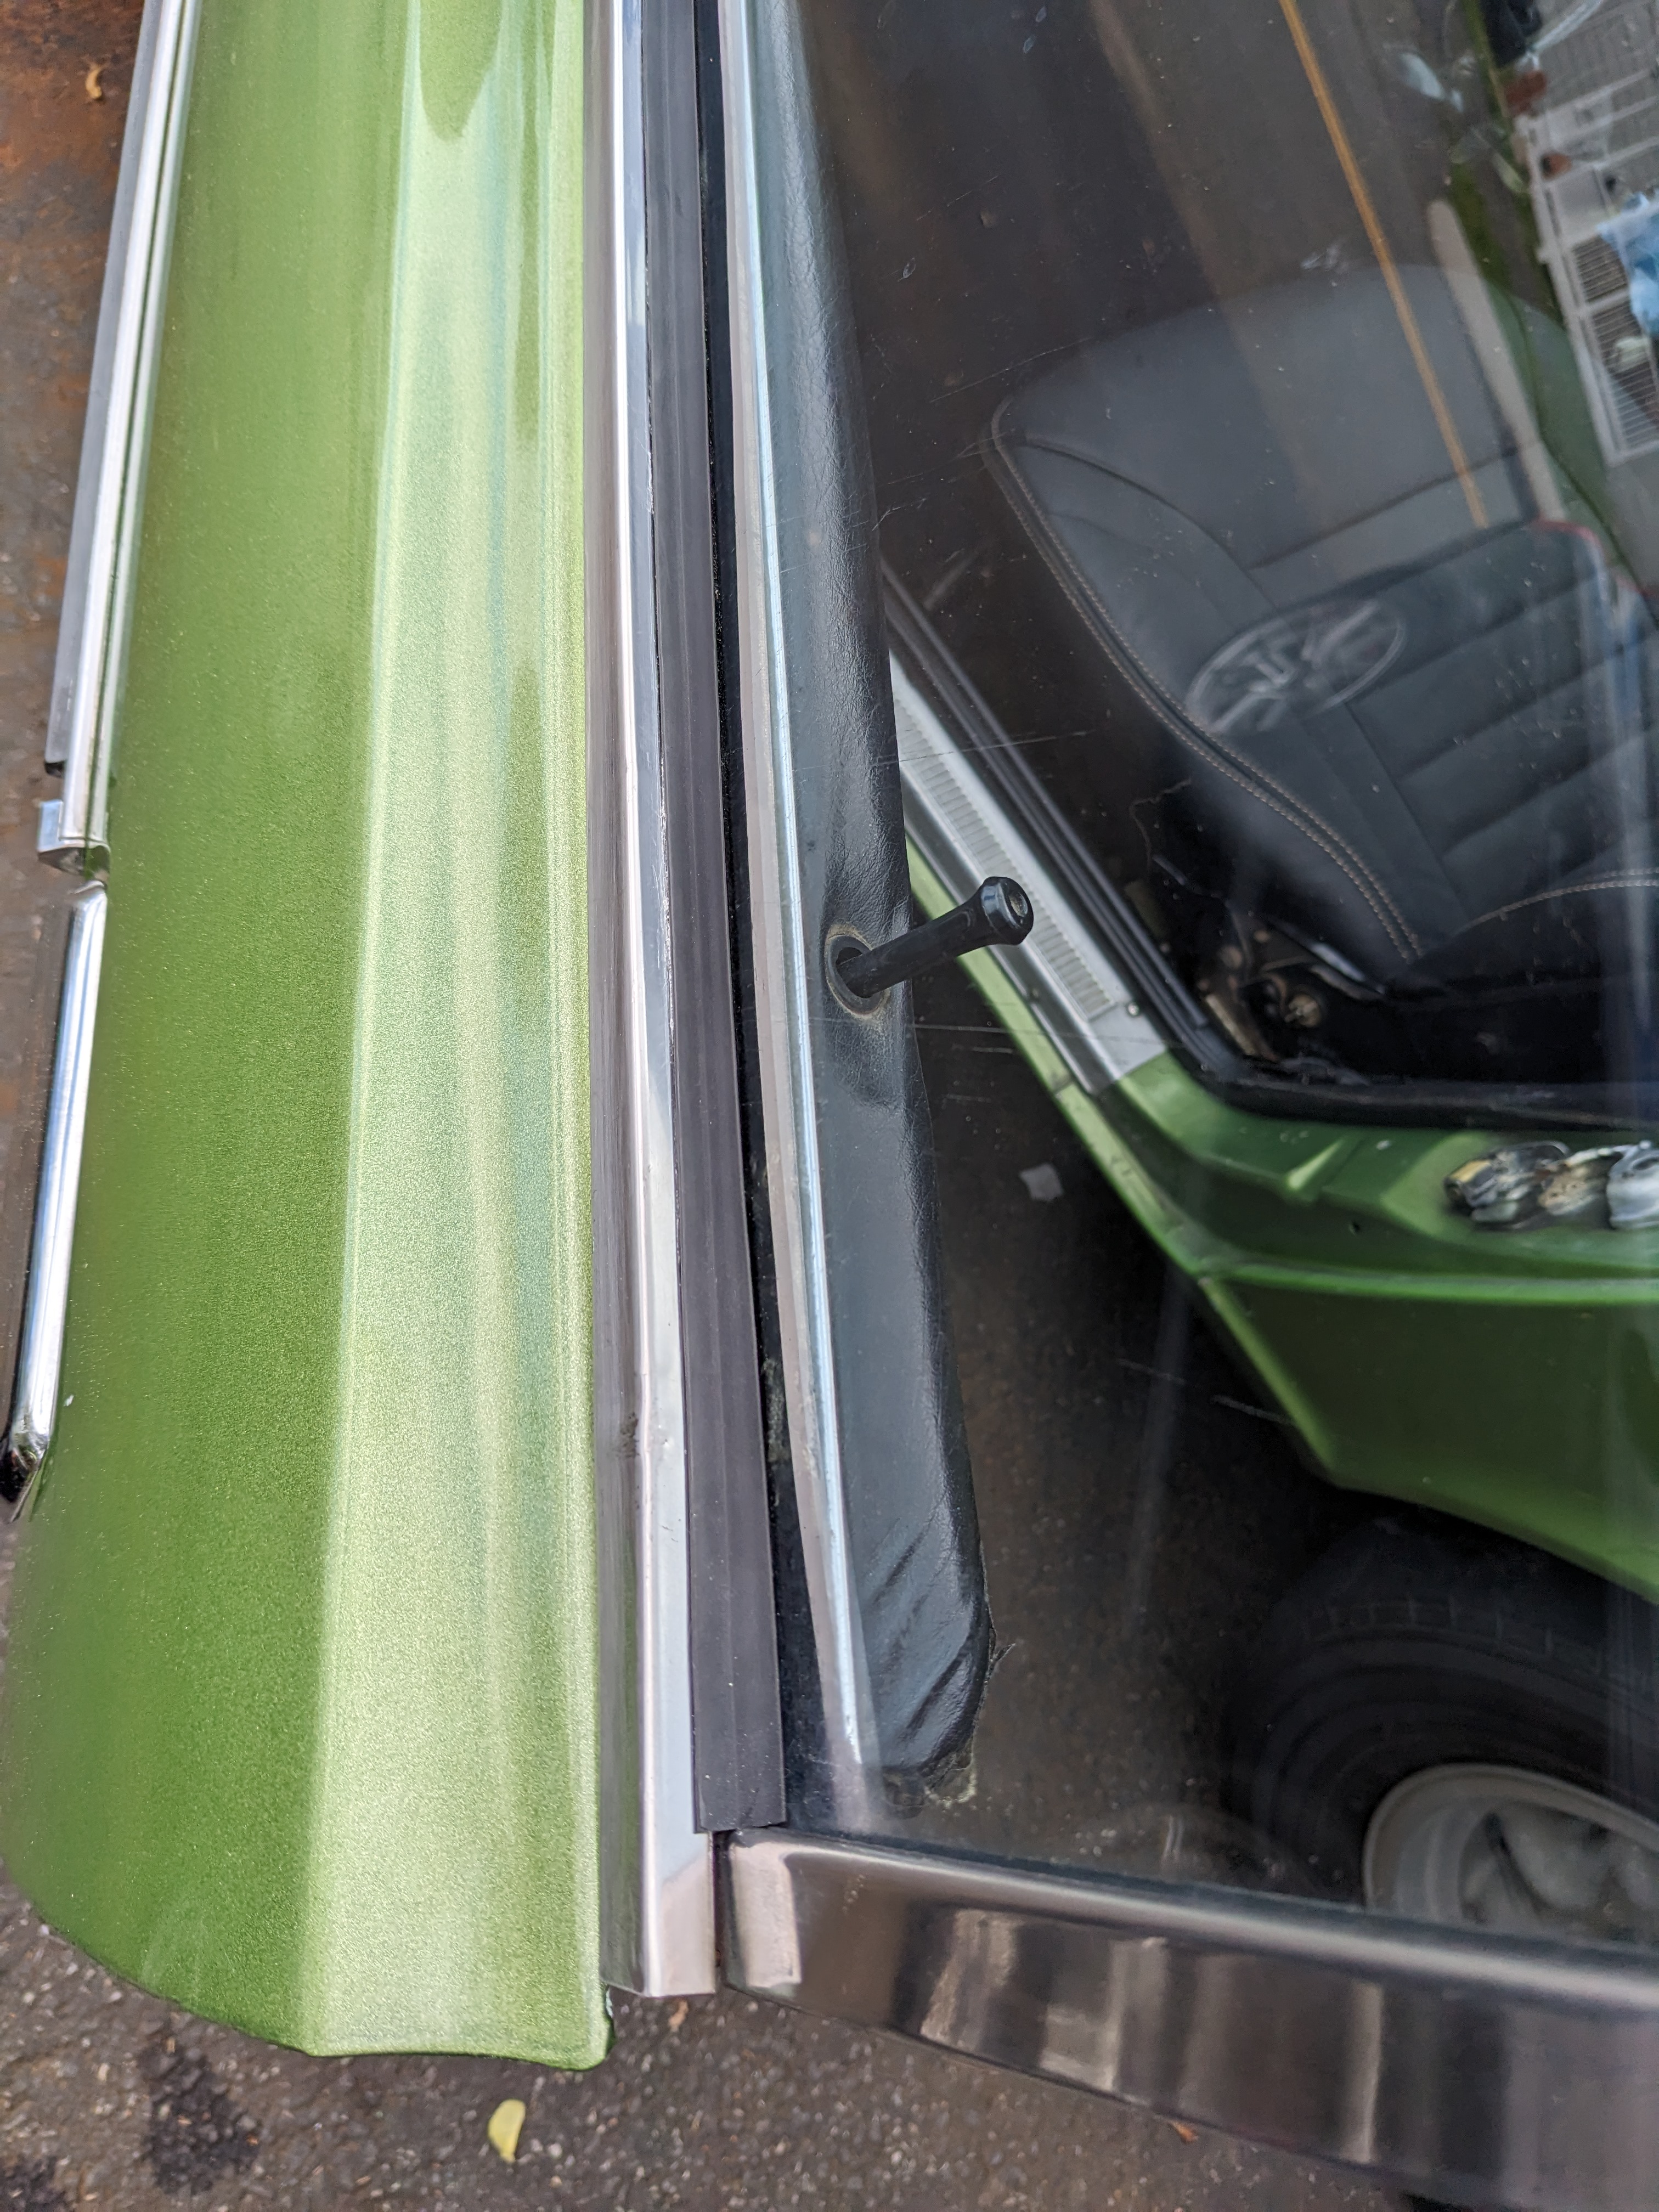
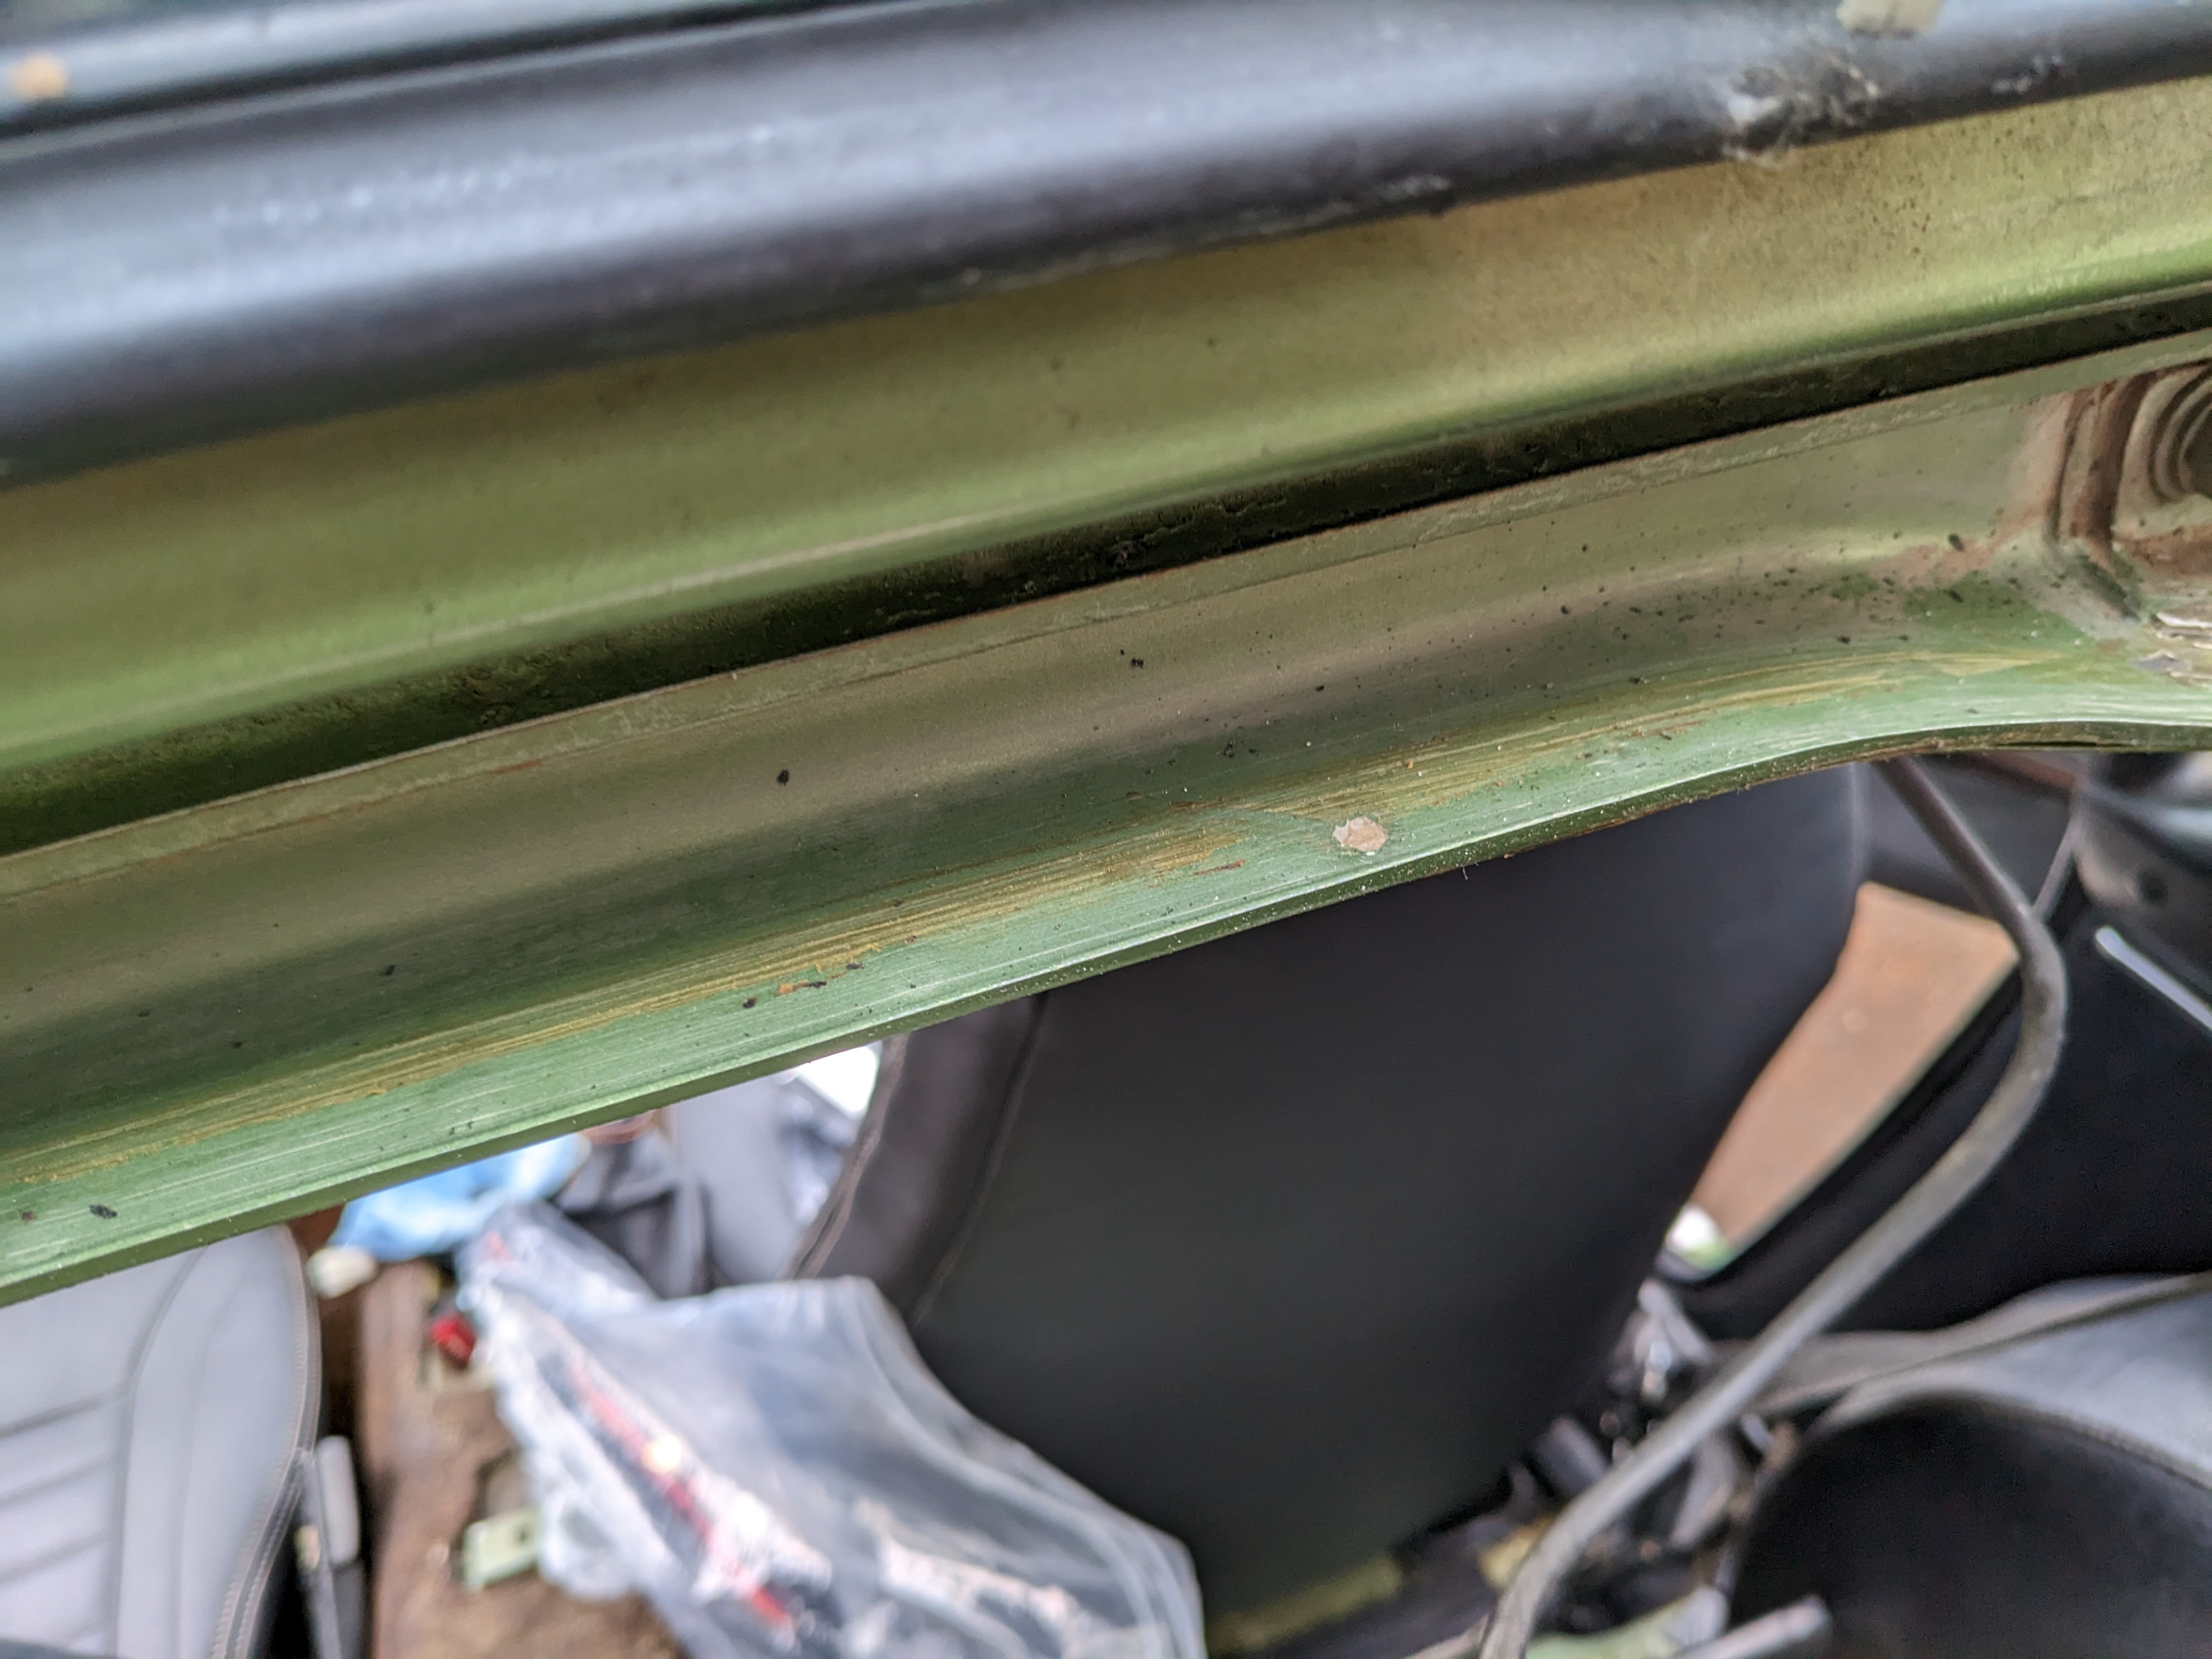
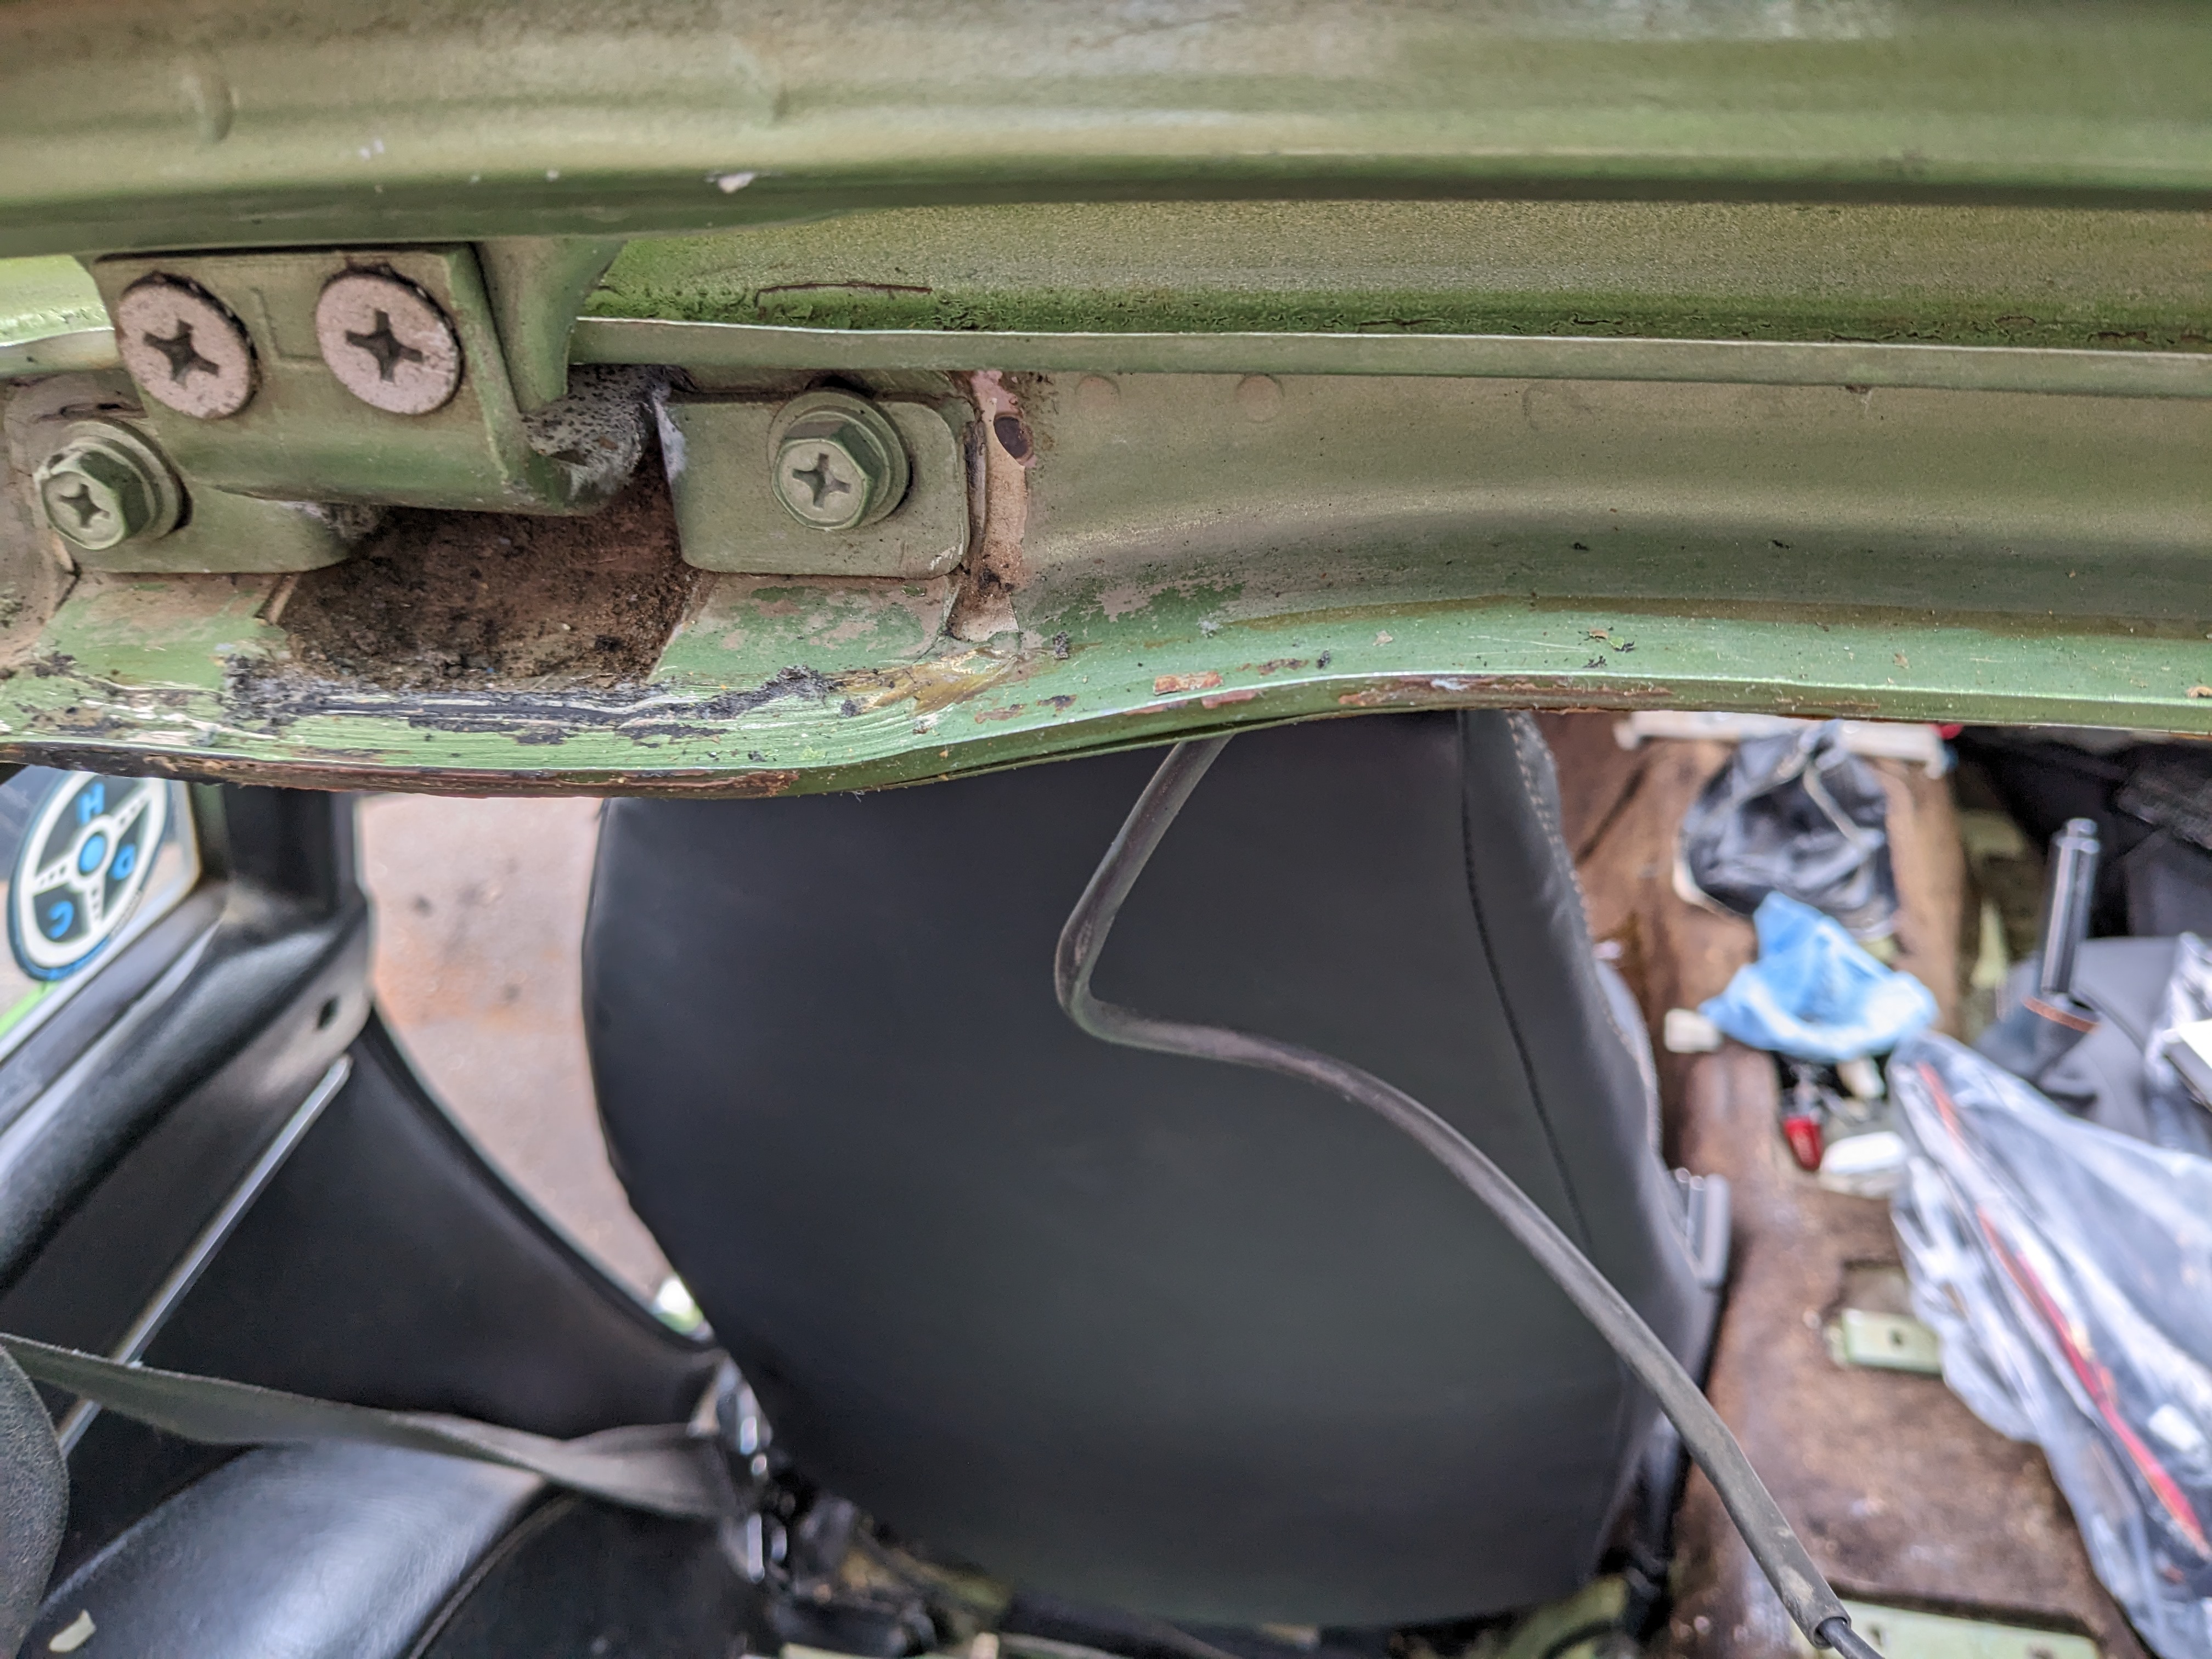
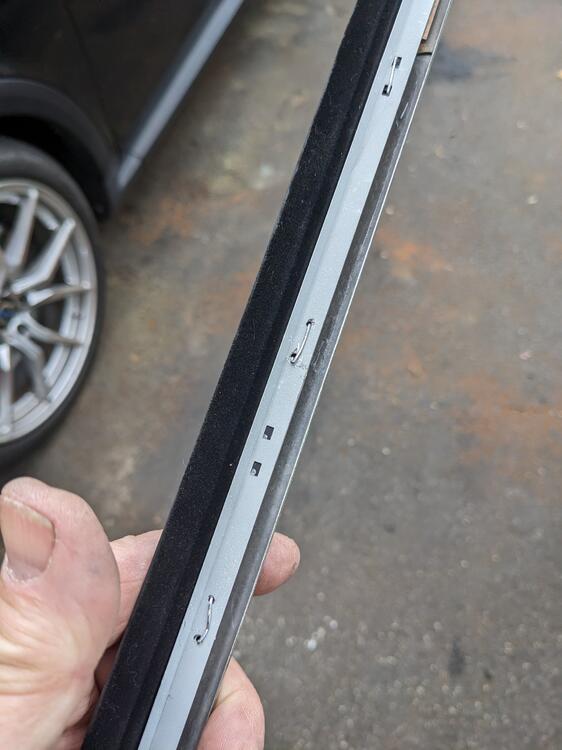
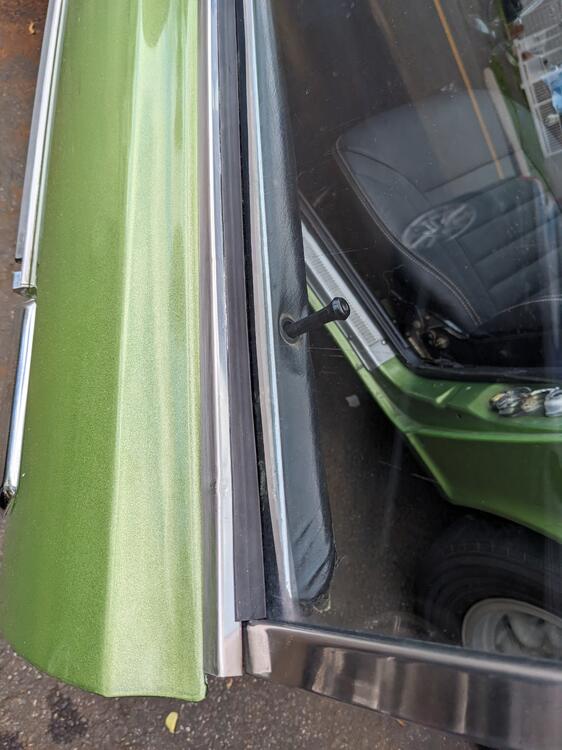
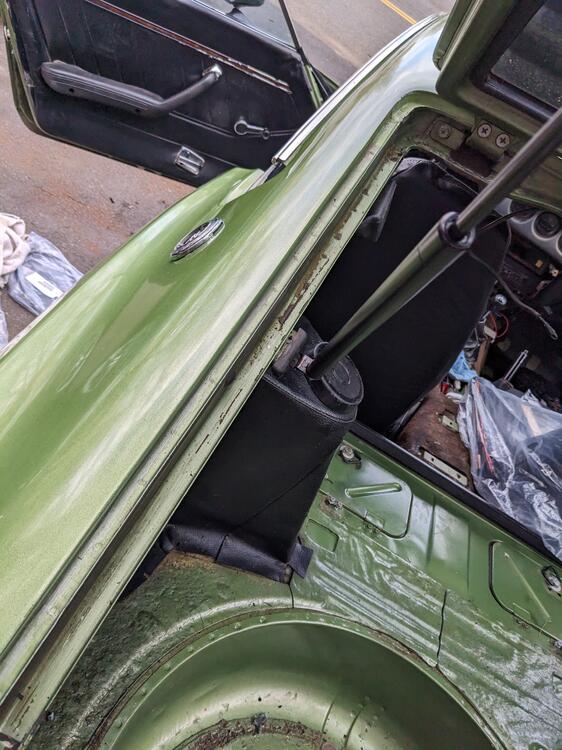
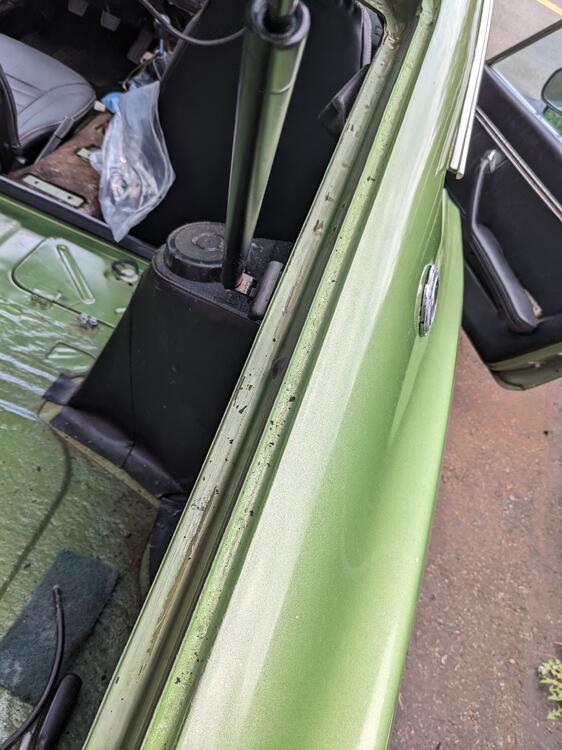
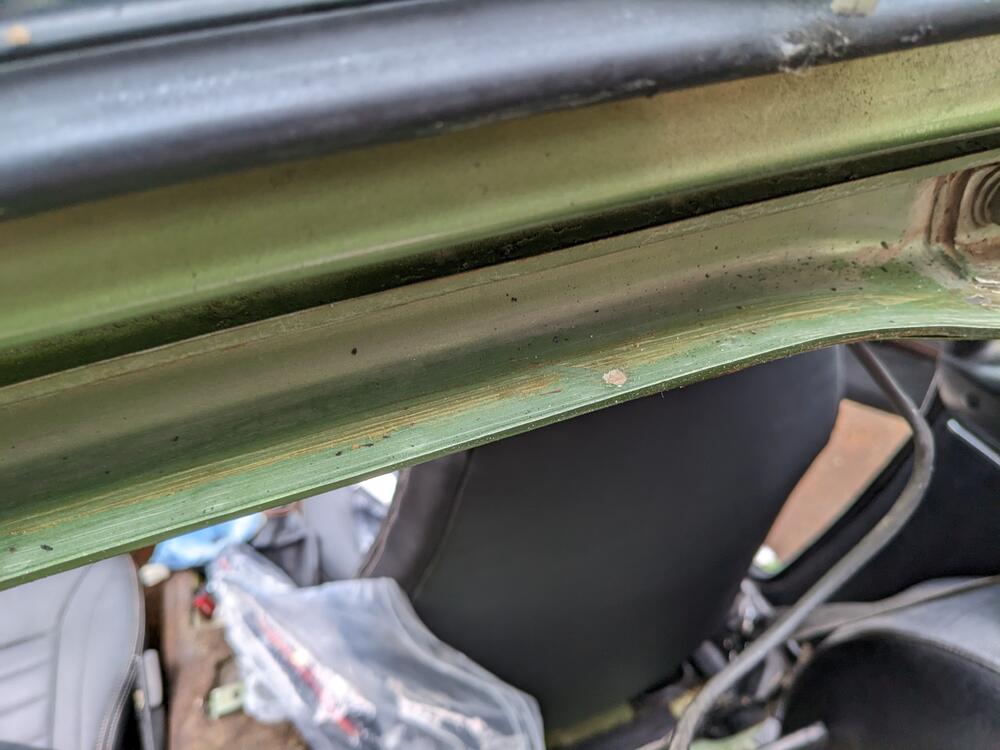
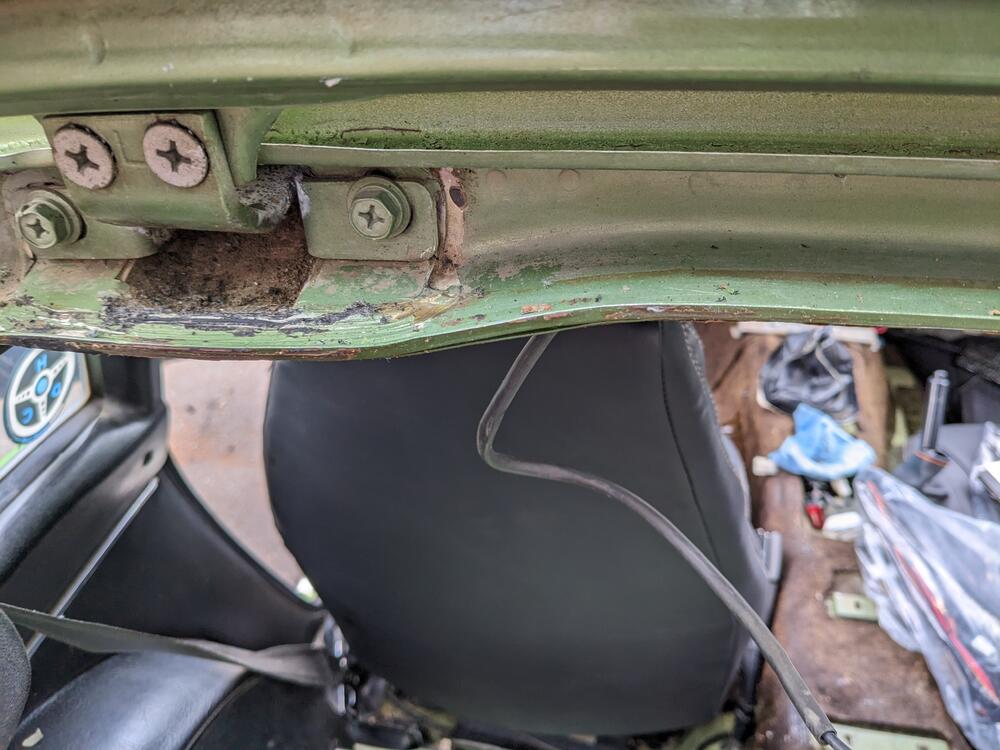
Many thanks for the seal pics, that makes it clear. Did you also use weatherstrip adhesive for the lip, or something more contemporary to glue it? Seems quite likely that is the reason for my water ingress. There is no rust inside, that is all the spare glue residue from whatever they spray up in there are the factory. The PO certainly never ever took anything apart. I did order new hinge seals, however it really doesn't appear that any water has come in through there. I may pour a little water into the hinge cup just to confirm it though. Those seals won't be here for a couple weeks and I'm doing the hatch seals NOW. I removed all the remnants of the main hatch seal & all the glue/foam residue all around the lip. I used xylene, which softens the glue & foam, makes it easier to remove. Still took 2 hours to get it to where it is now though Still need to clean out the remaining crud from the hinge inner boot. Looks like I'm going to be removing the hatch to finish this, there is some surface rust in the upper drip channel behind the hatch. Can't get in there properly with the hatch on I did redrill the metal strip & staple the scraper for the drivers side. I'll go with pop rivets on the pass side, but I need to get a good drill bit for the stainless.
-
It would definitely indicate if the rings are the issue, I've specifically diagnosed an issue with oil consumption on my K24 that way. One bad oil control ring. It was consuming a quart every 200 miles. True that if the valves are fully seating, it's not going to indicate if the valve seals are the issue. As you said, either removing the intake or carbs & looking into the ports for oil on the valve stems would likely be the way to go for that aspect.
-
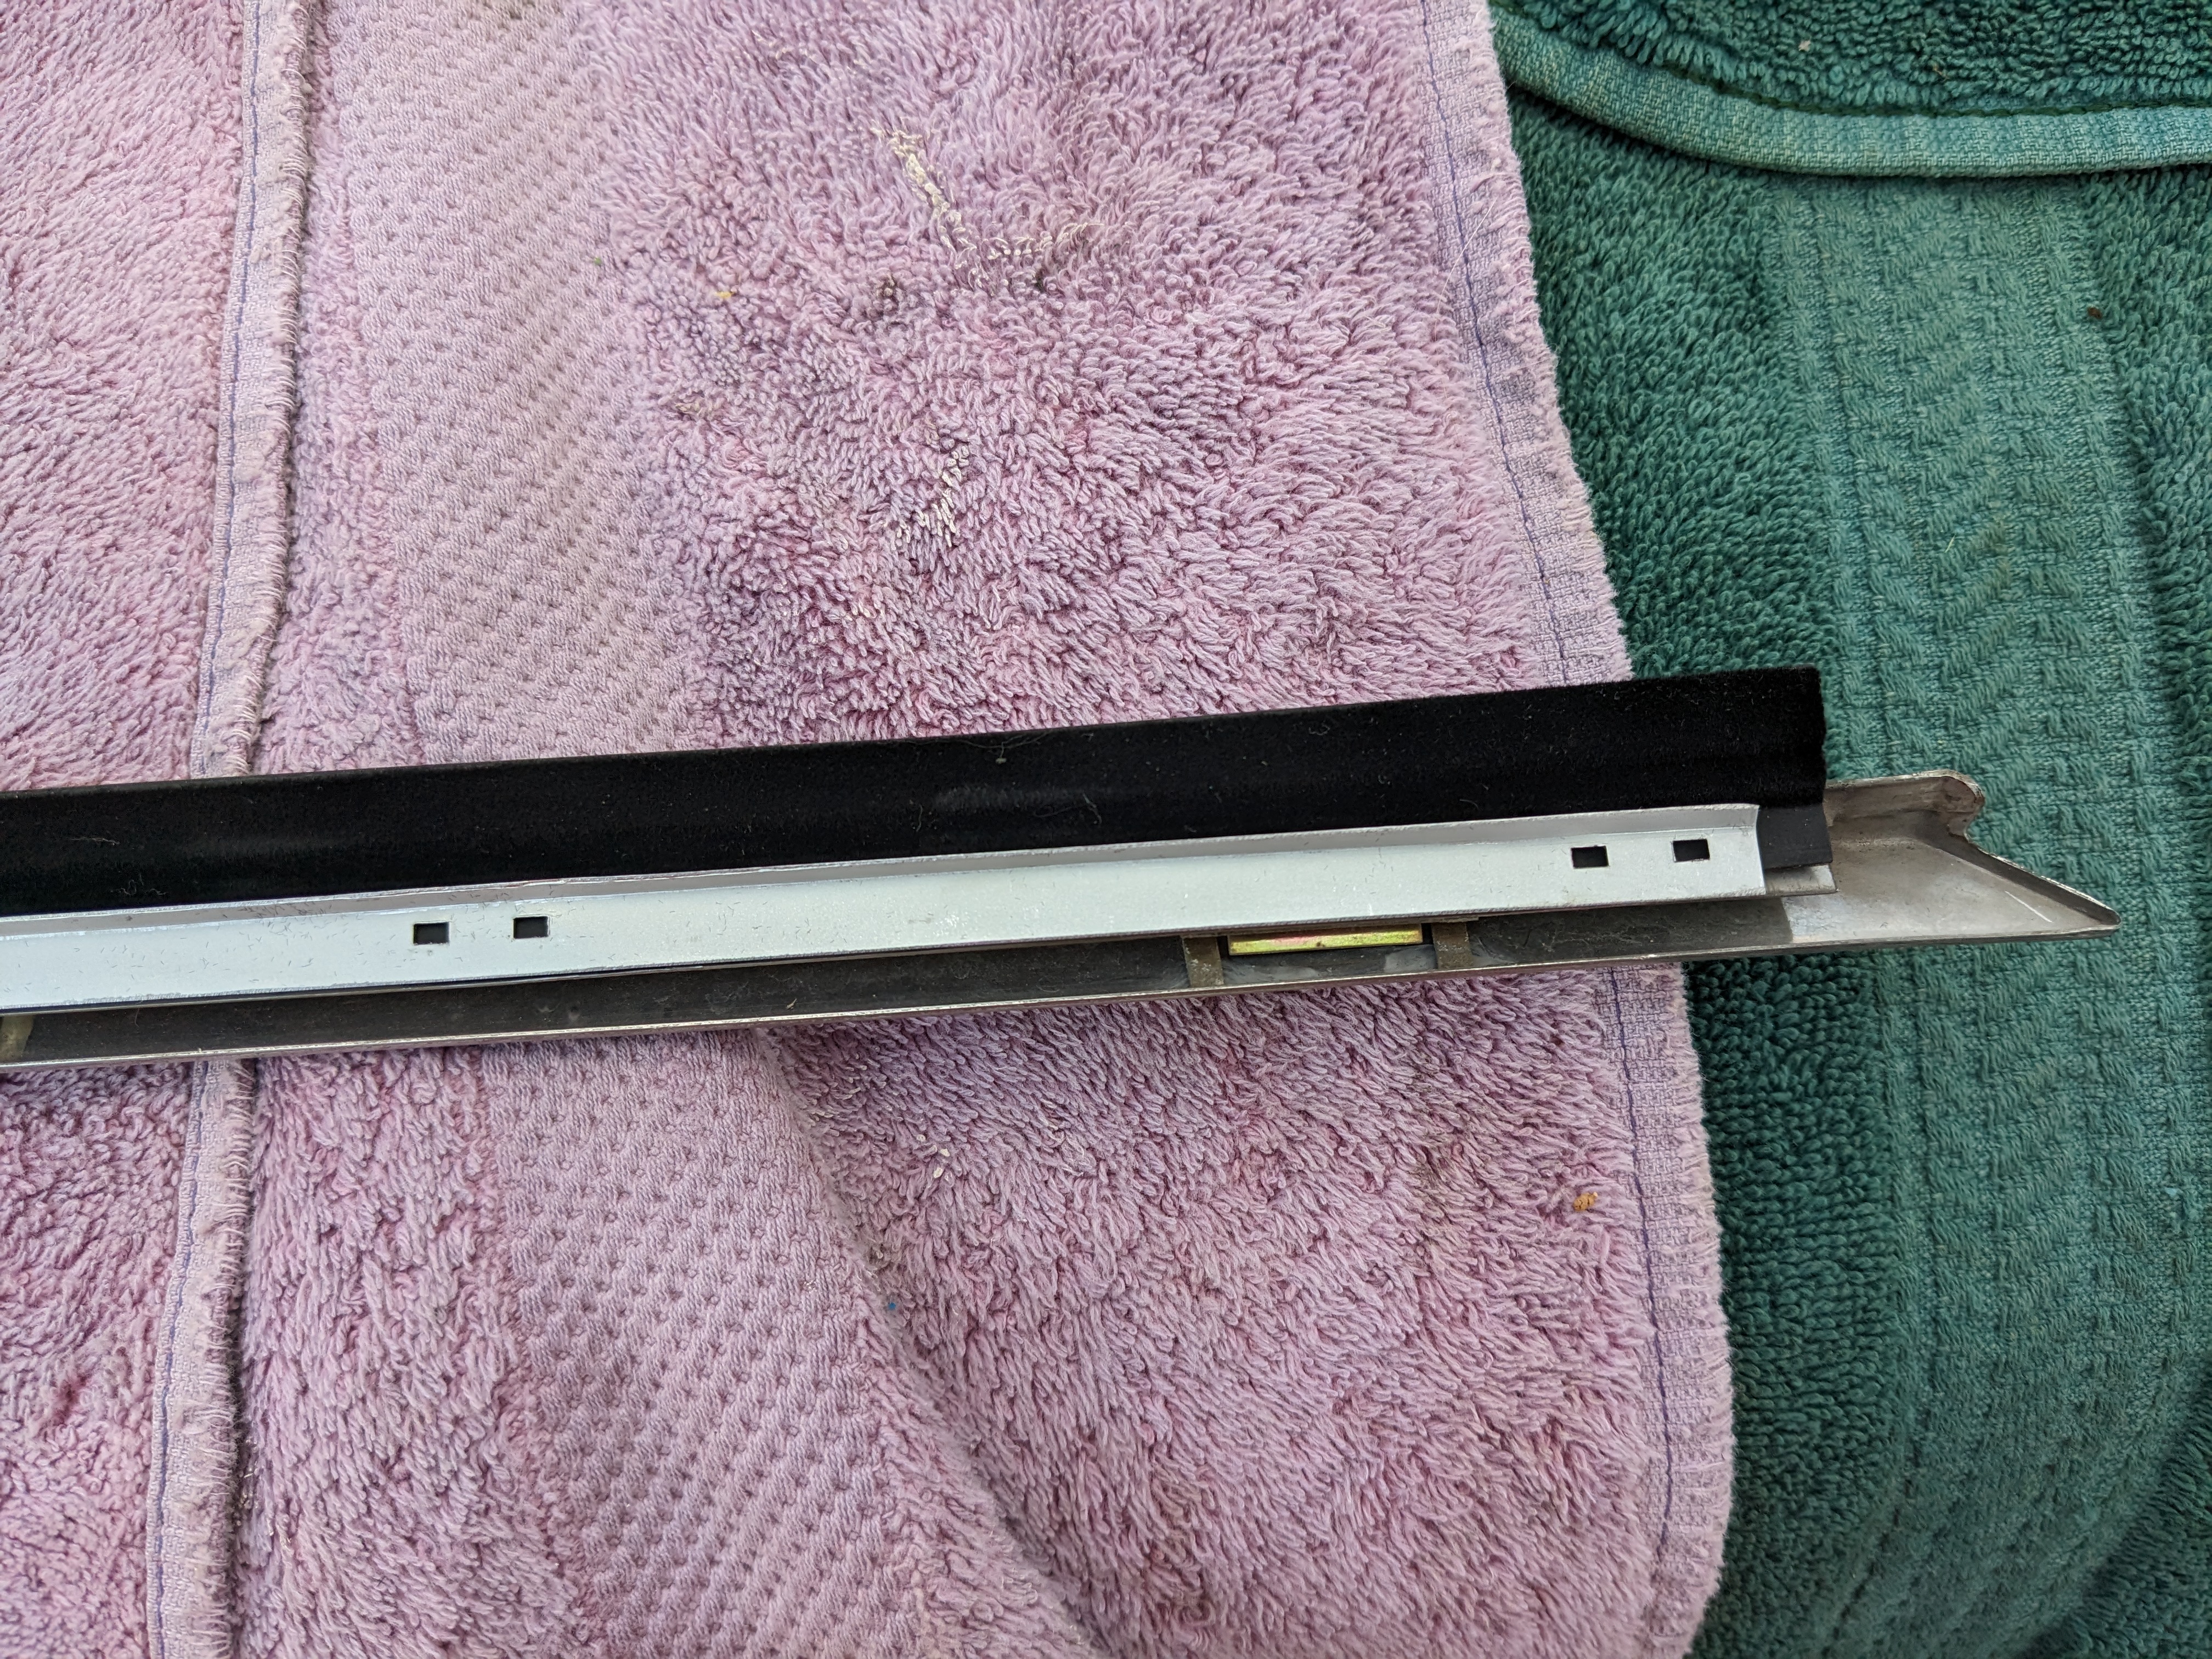
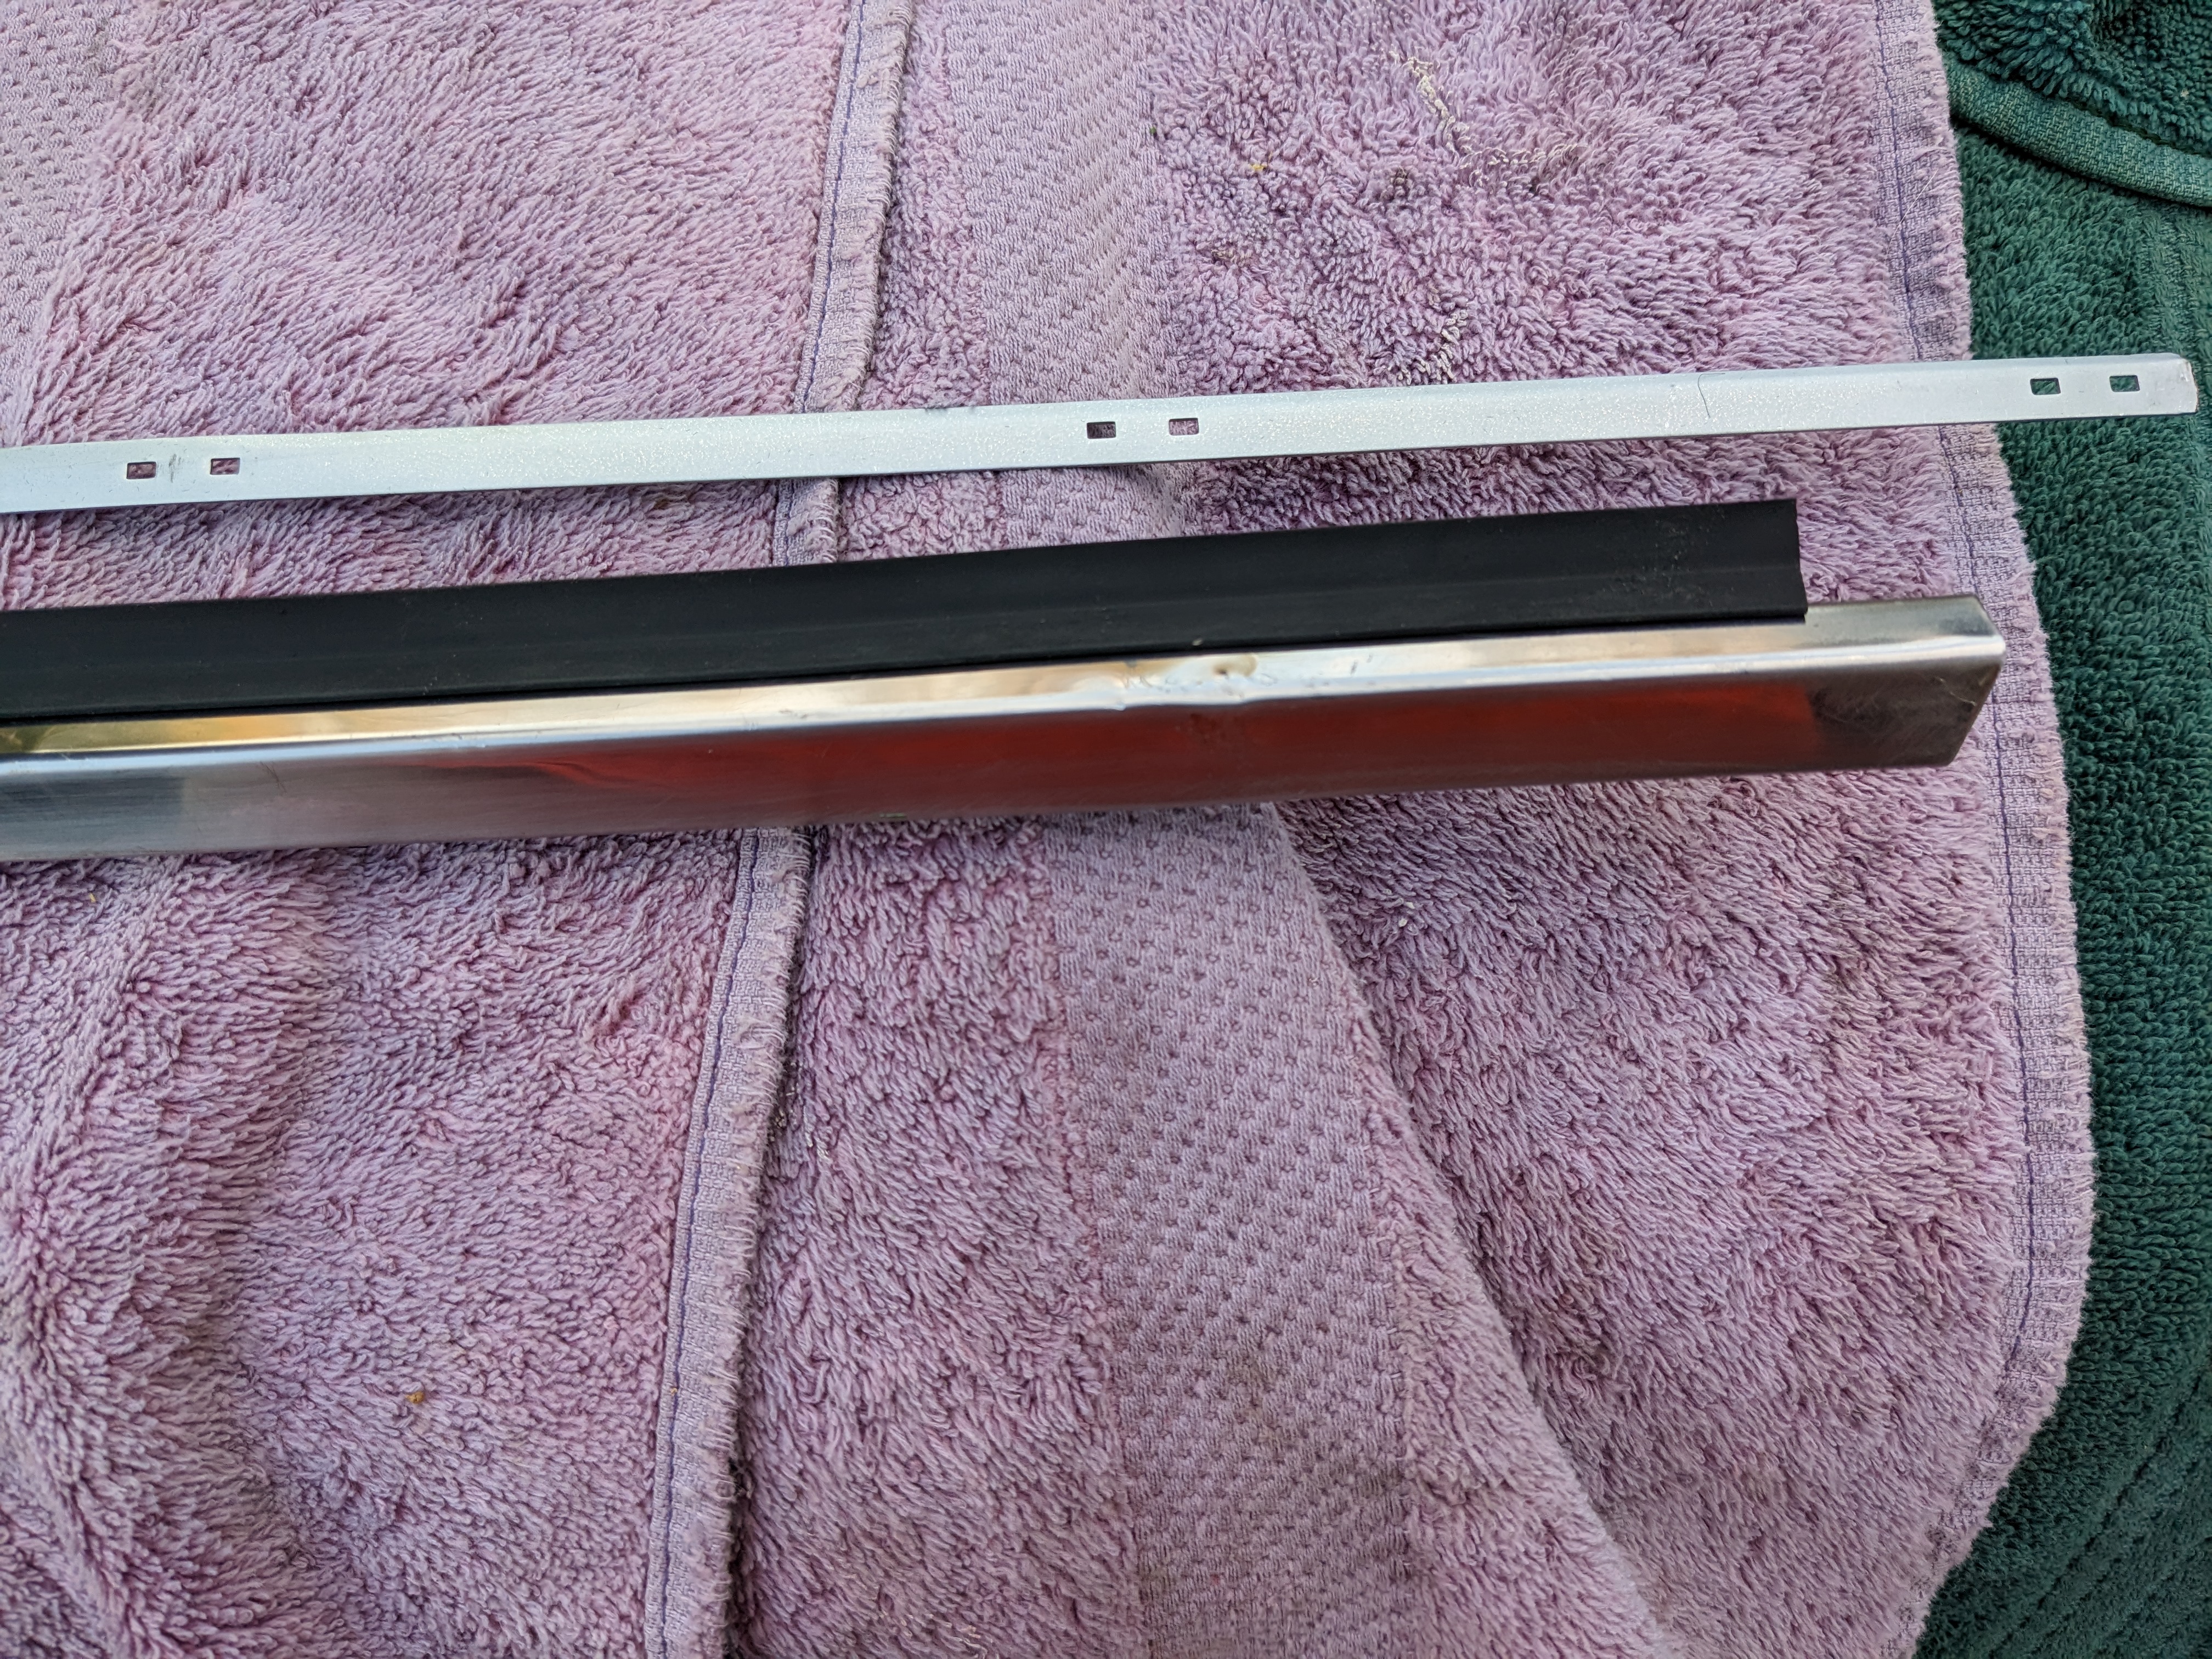
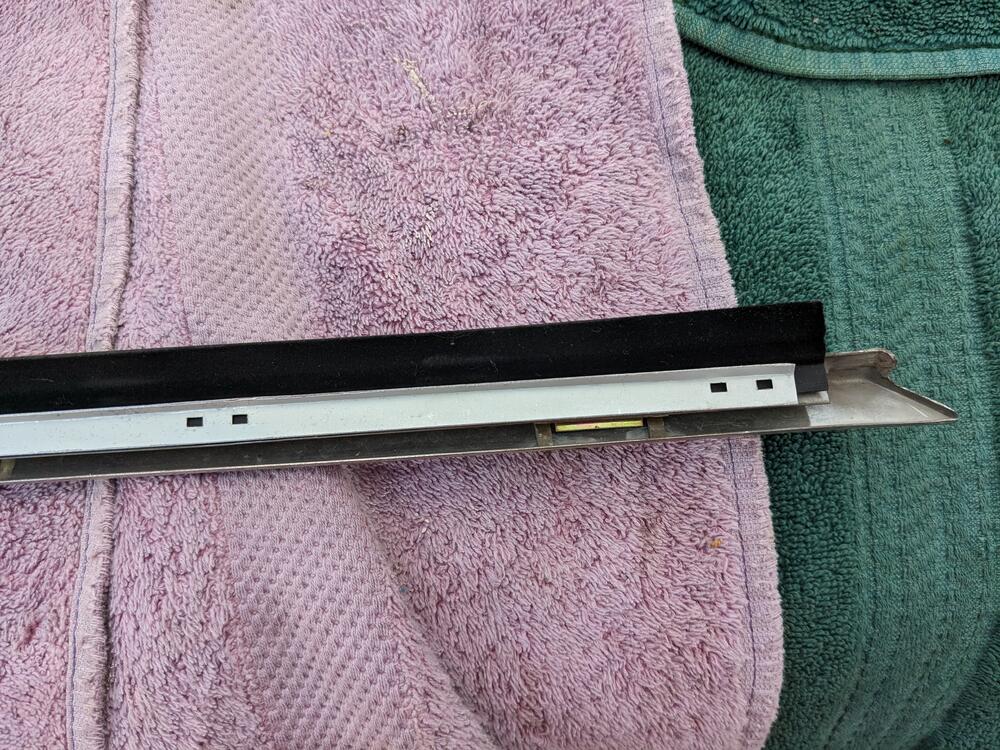
OK - ZcarDepot sent me a link to the manufacturer video - that's exactly what they did. I will have to redrill either the strip to match the molding, or vice-versa
-
I would say you need to do a leak down test. That will clearly indicate where the blow-by is coming from. The longer you let it idle, the worse it will be, esp if it is or was also running rich & washing the cylinders. Leak down test will remove the doubt.
-
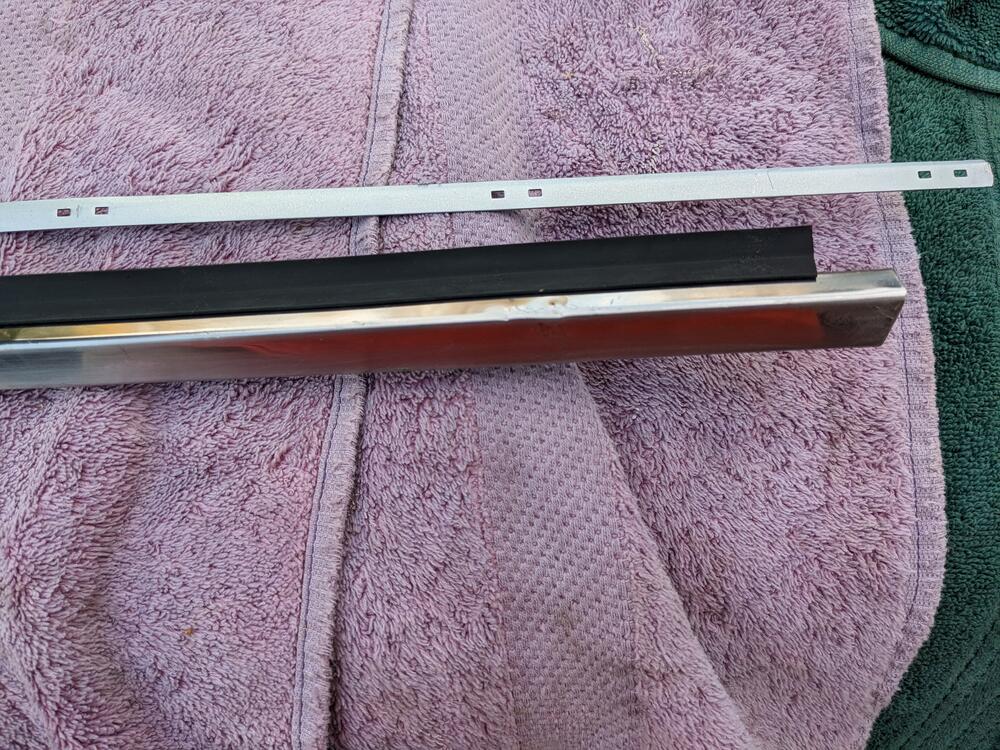
The scraper molding & retaining strip came from ZcarDepot. You have to remove the original strip & retaining plate from the main molding.
-
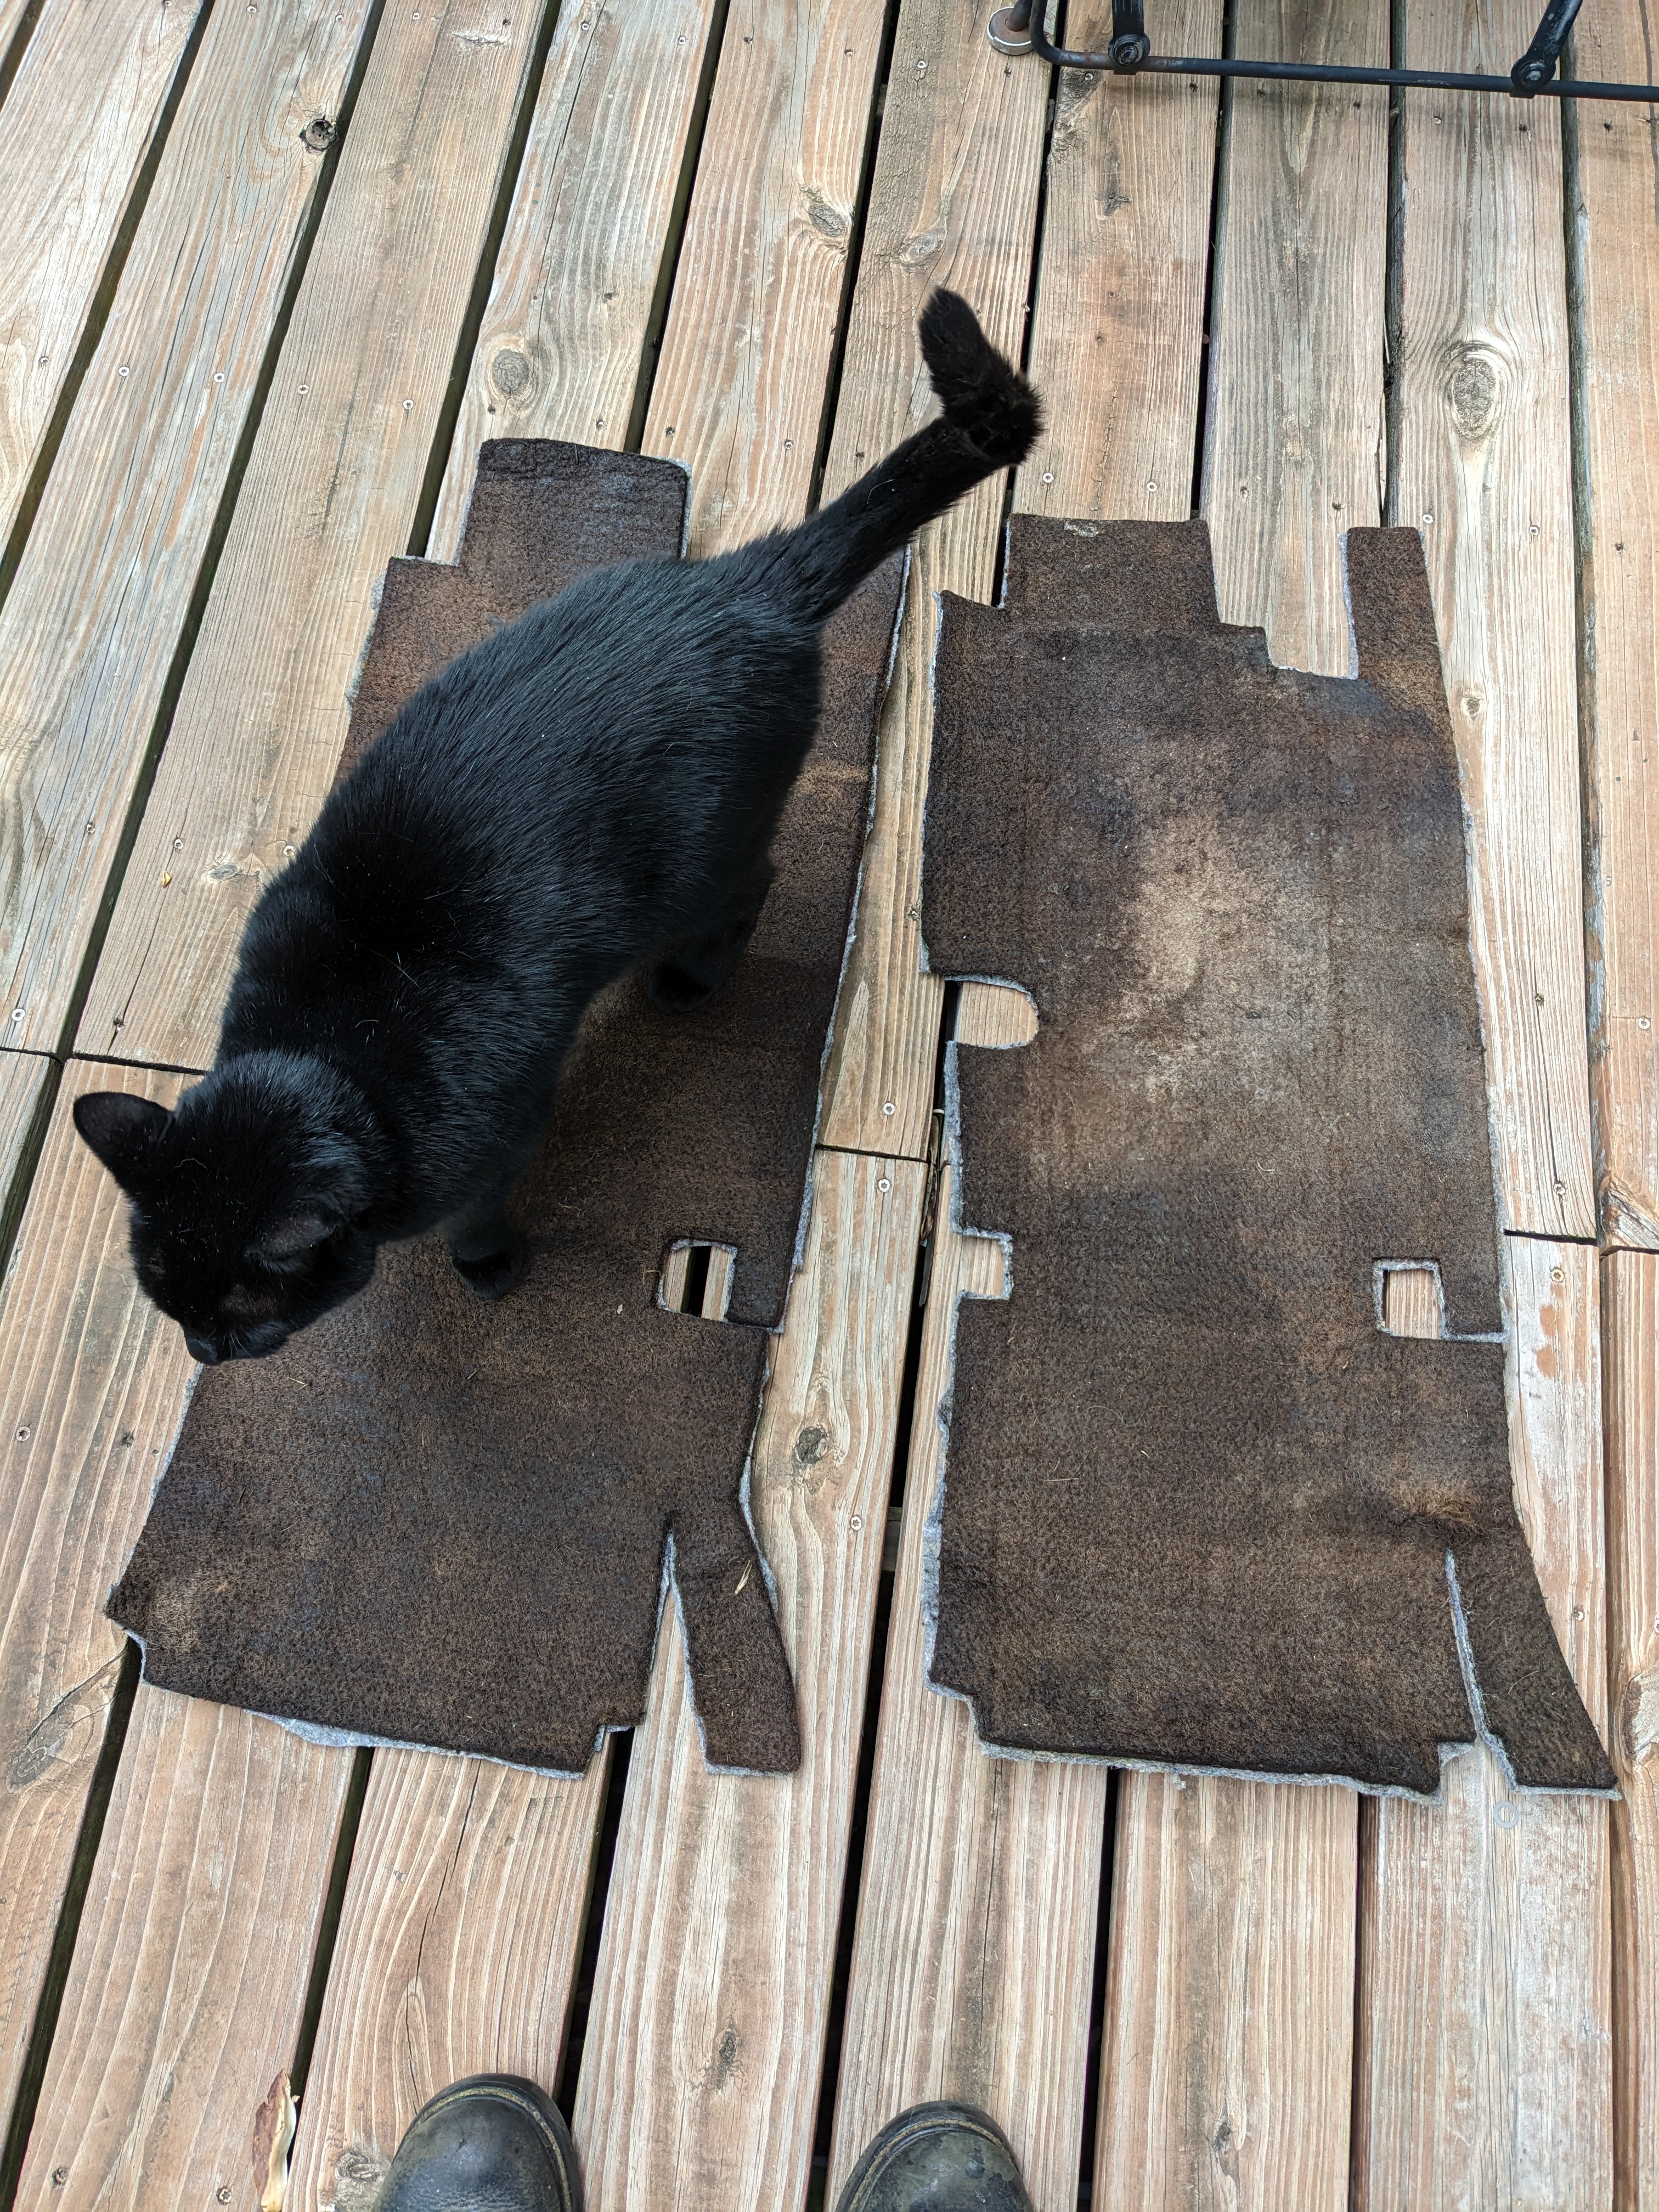
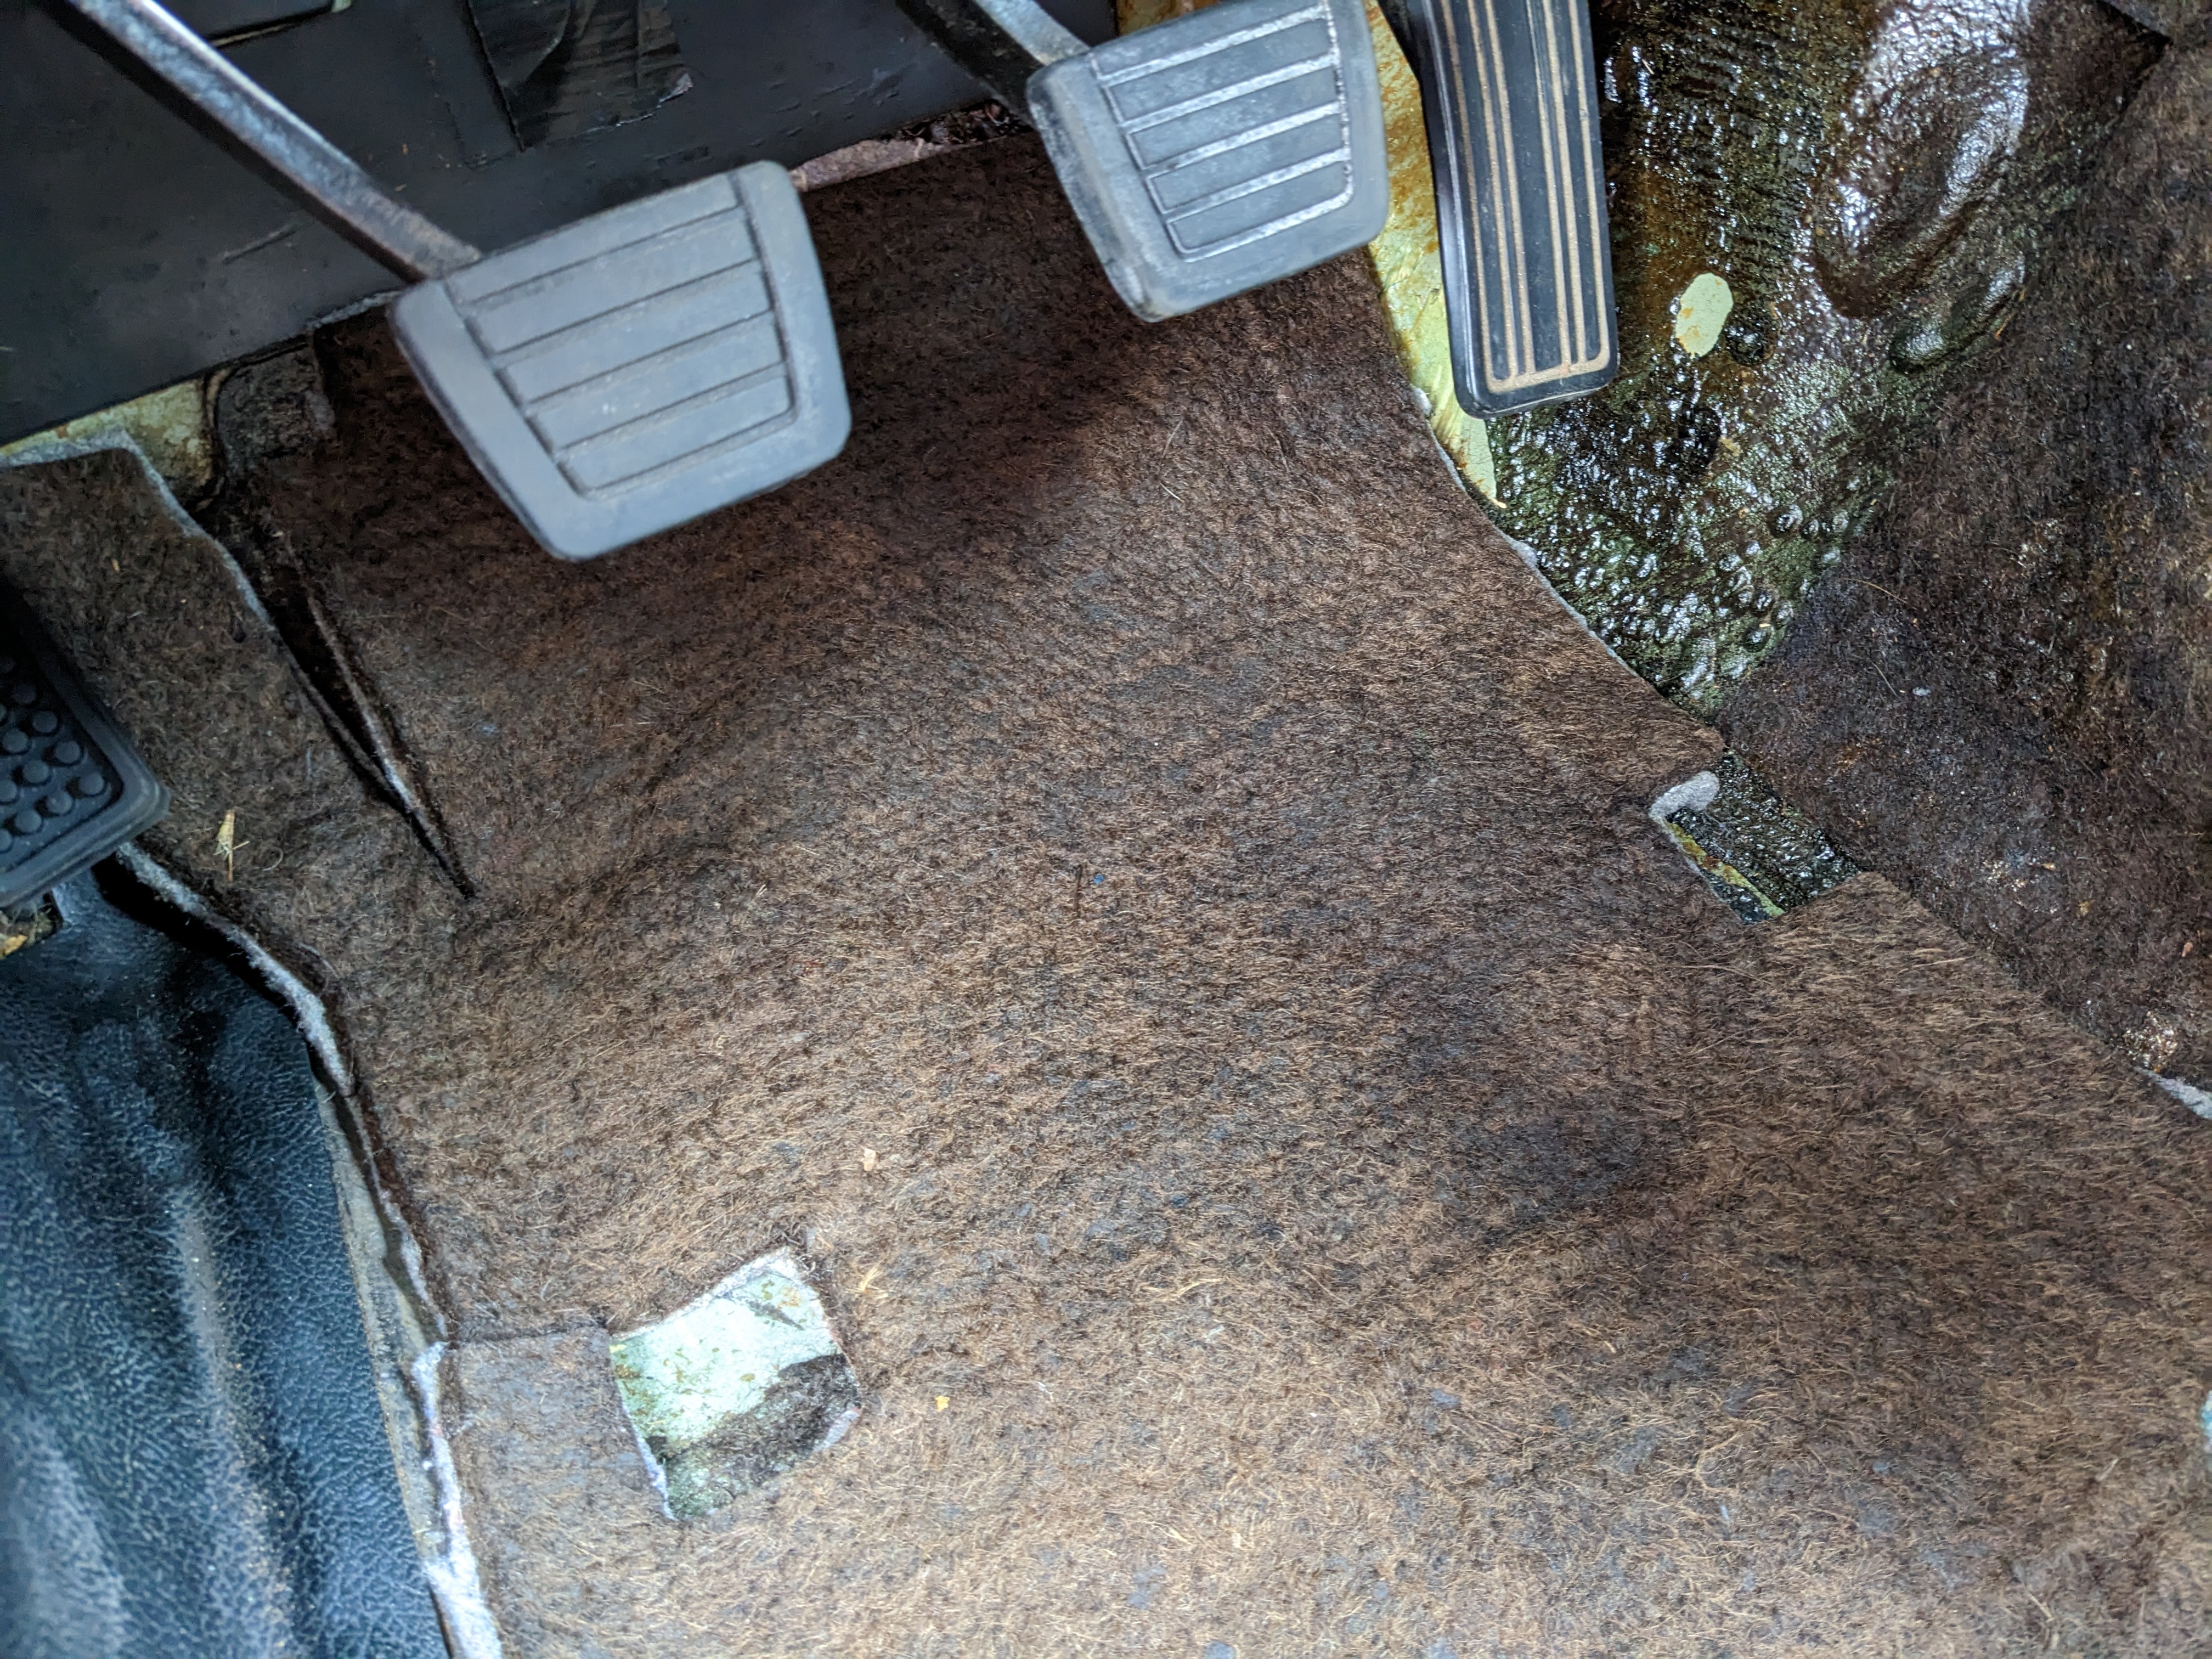
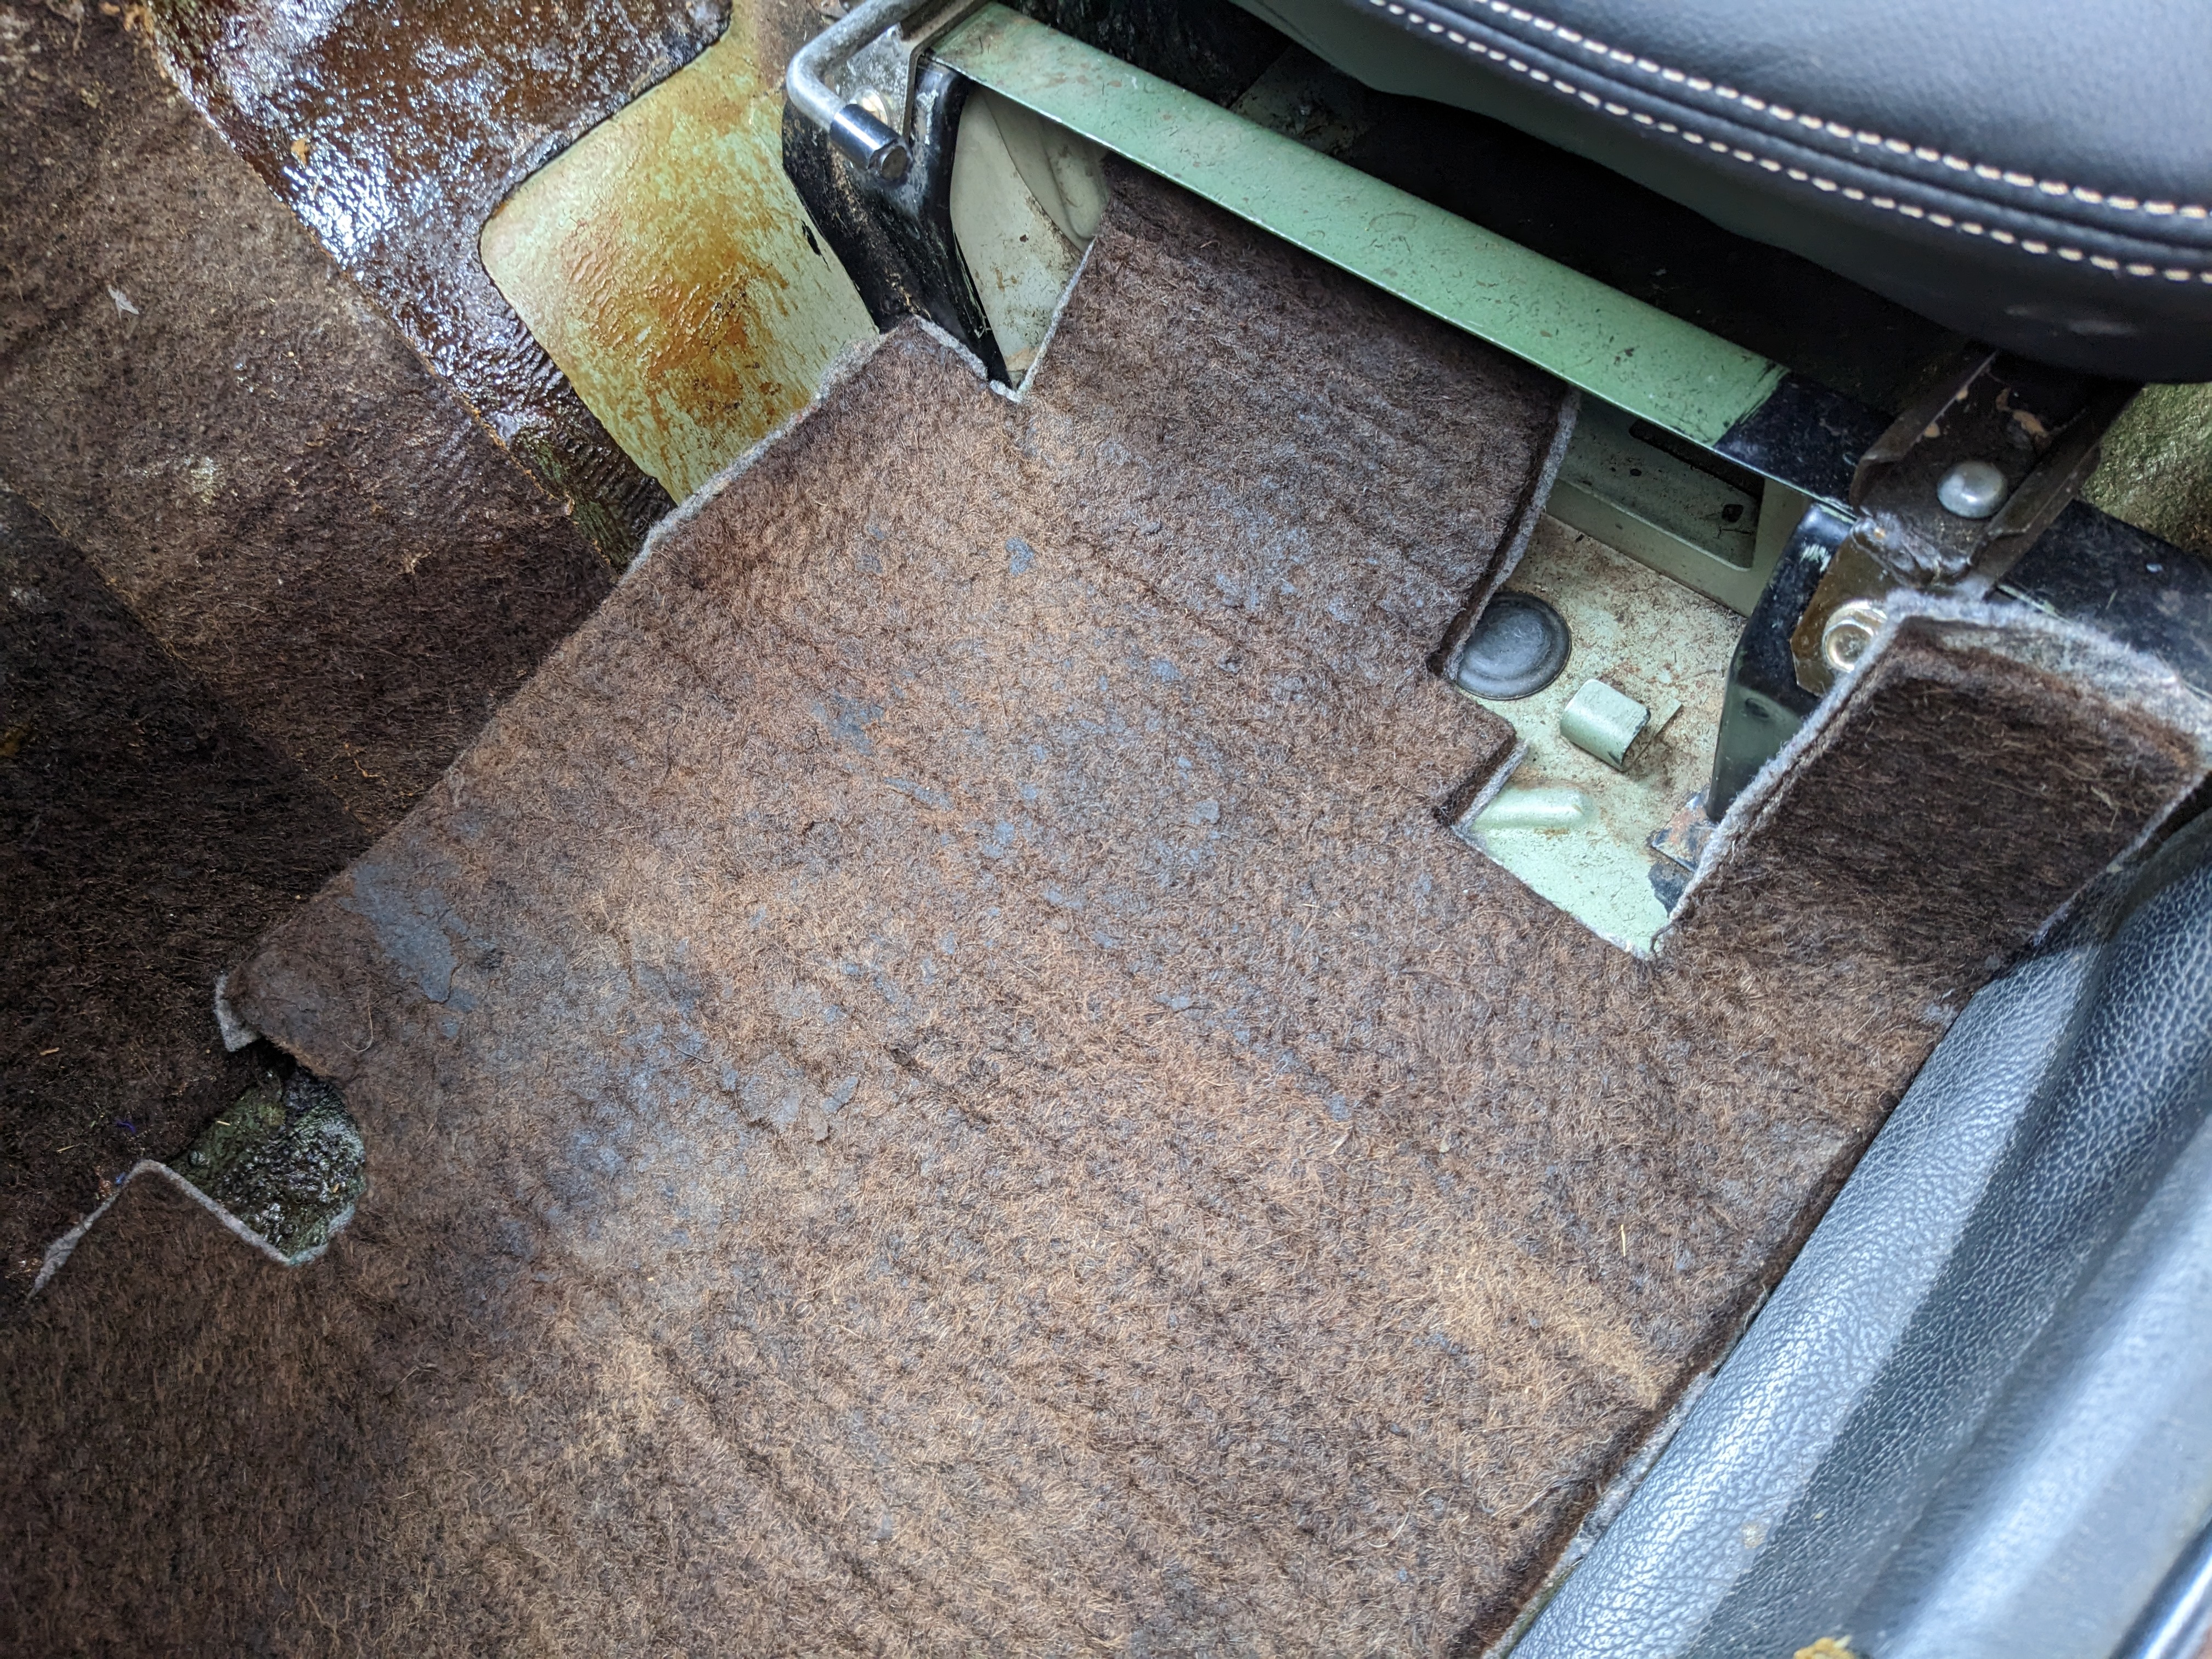
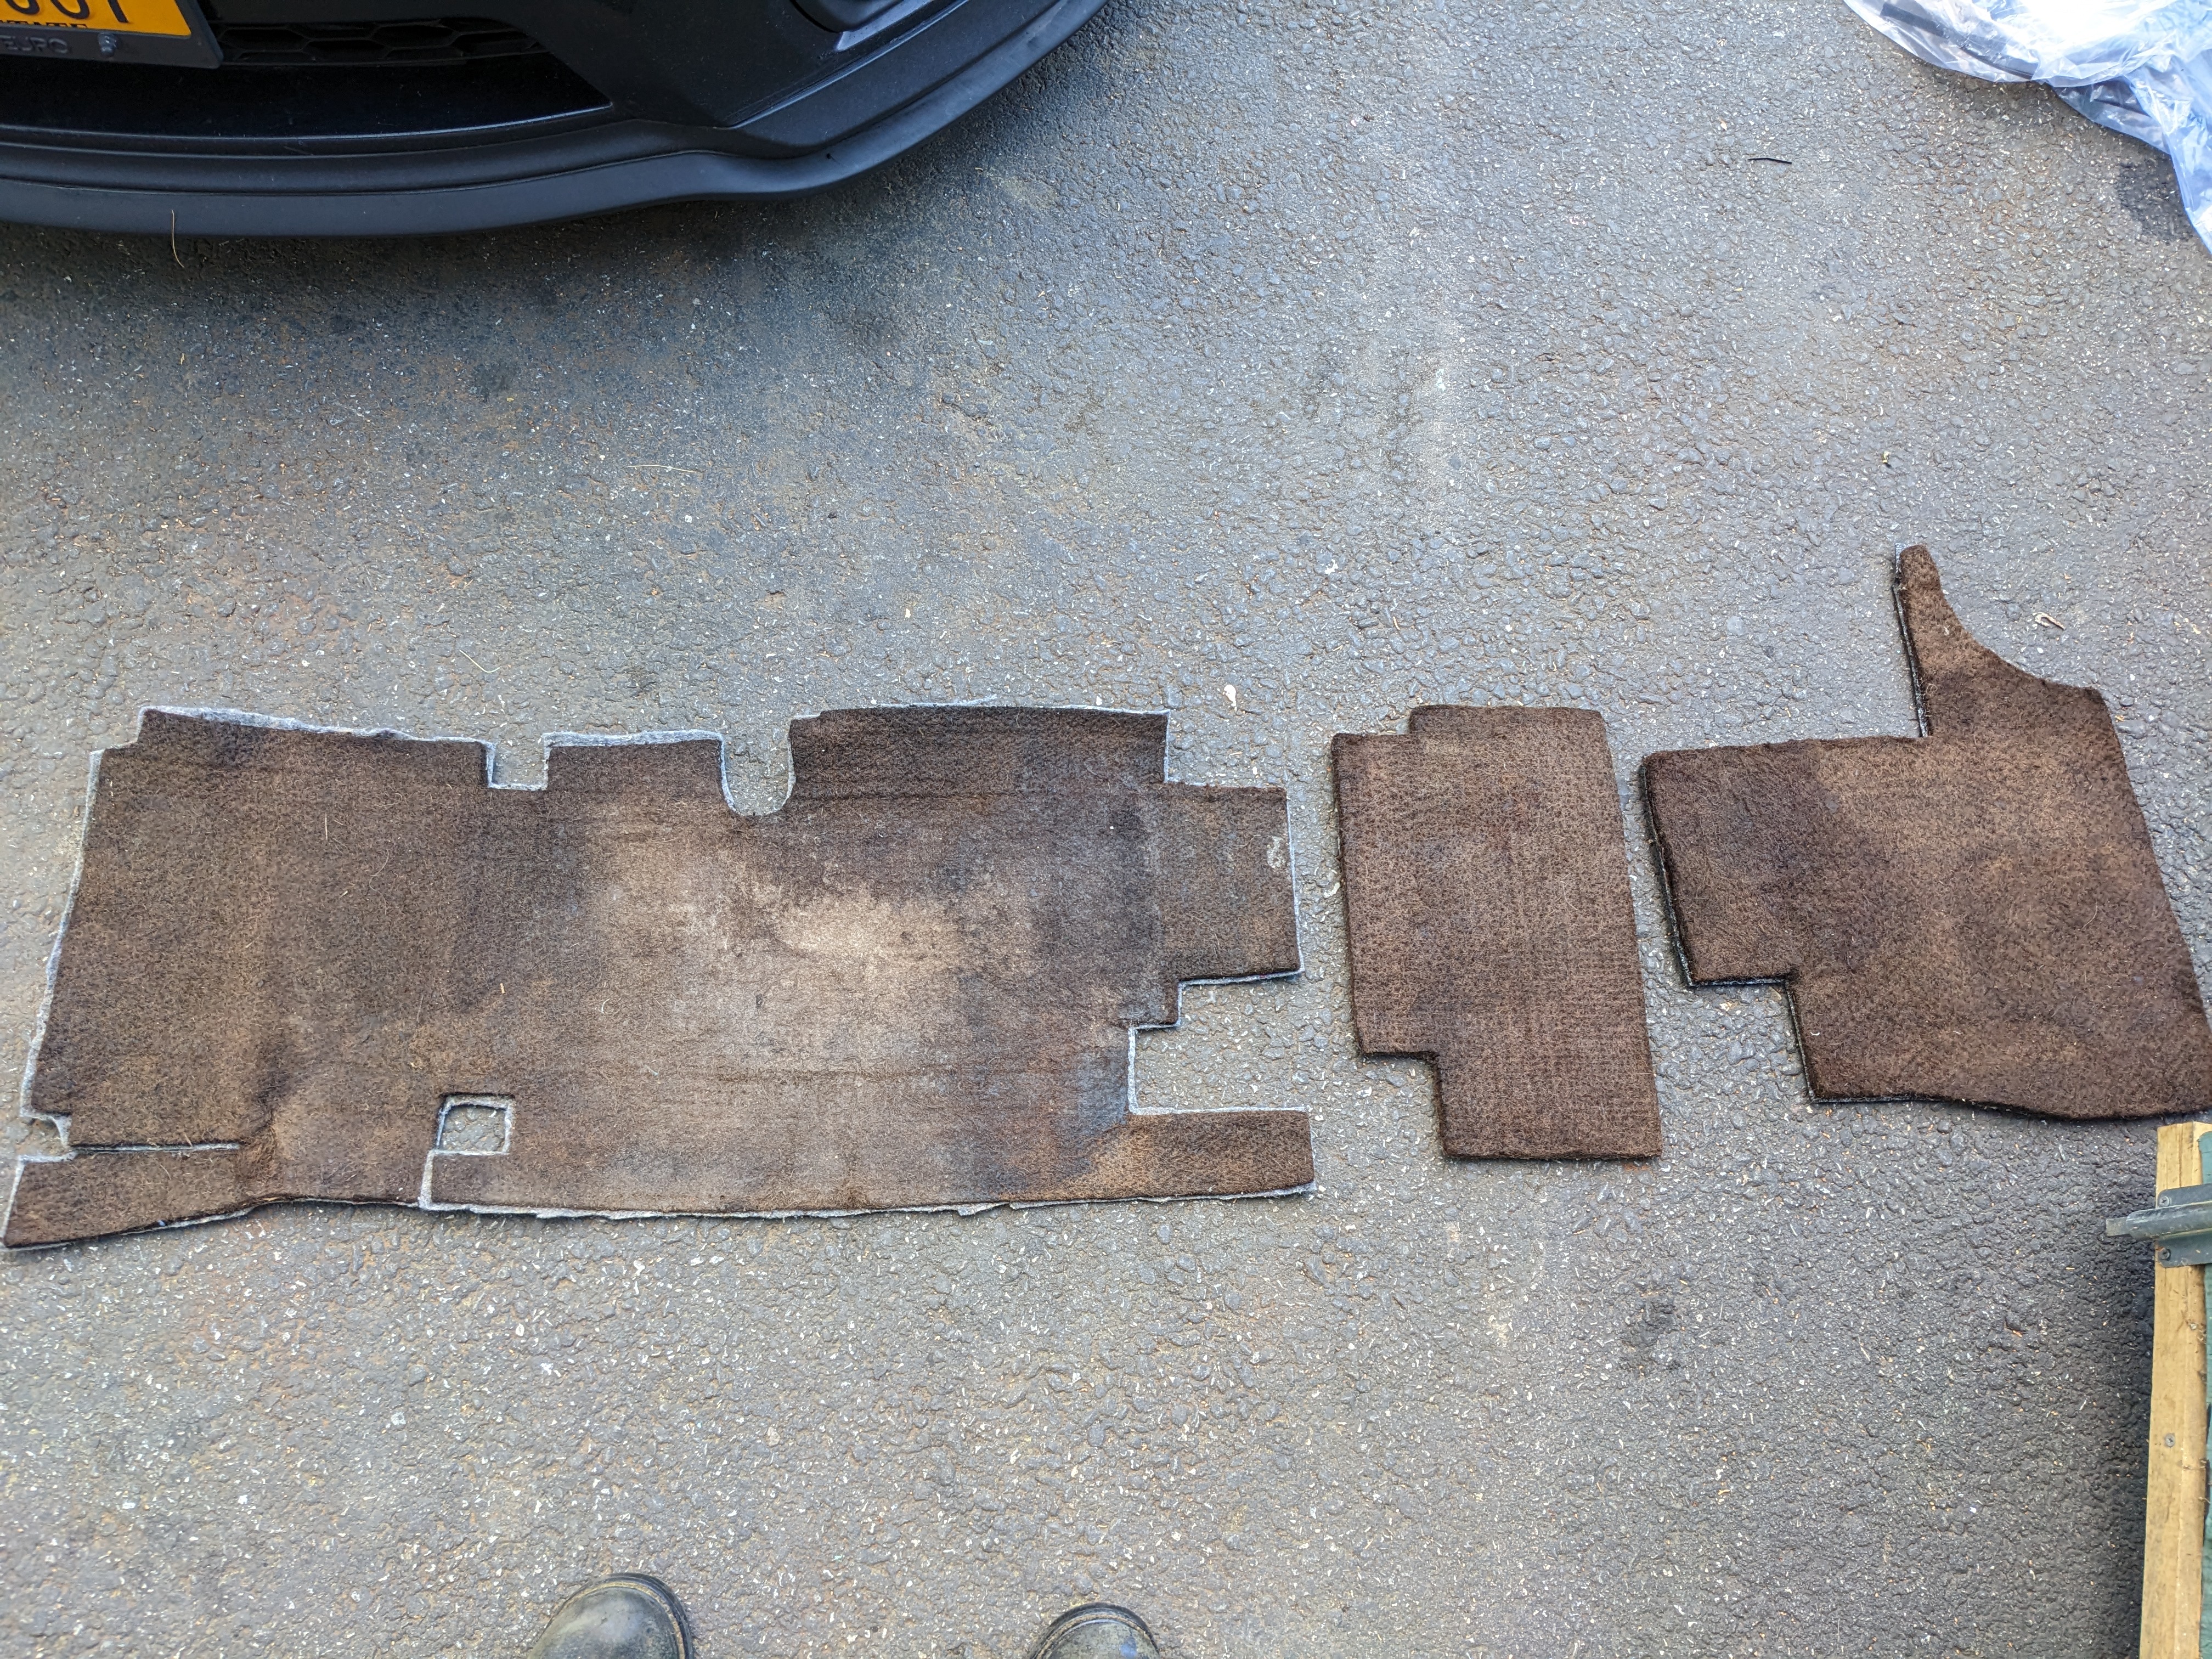
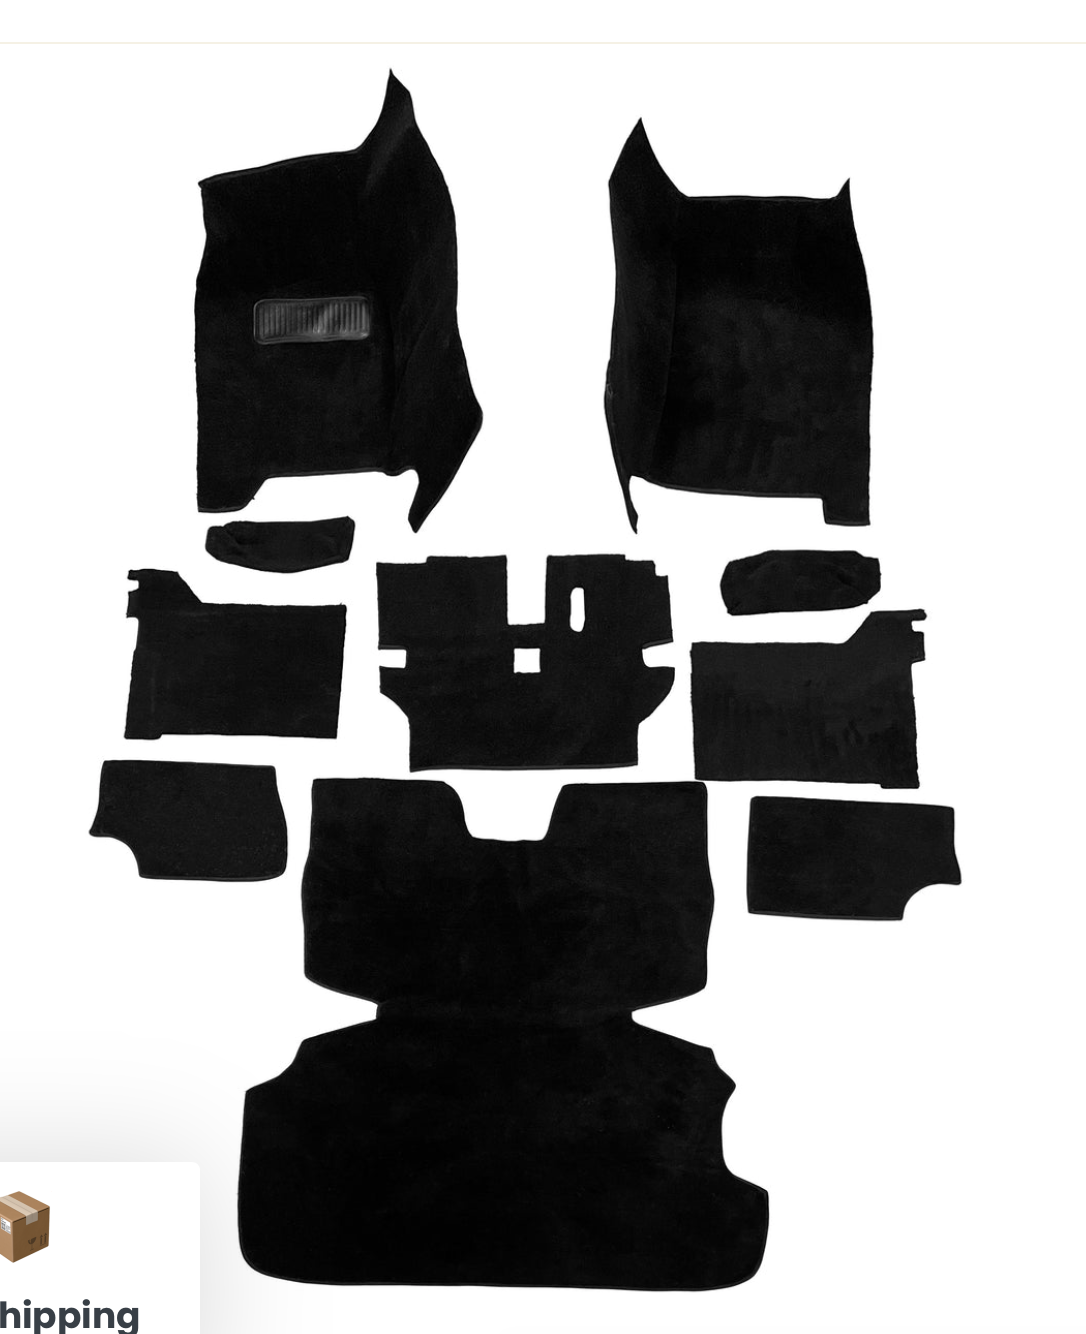
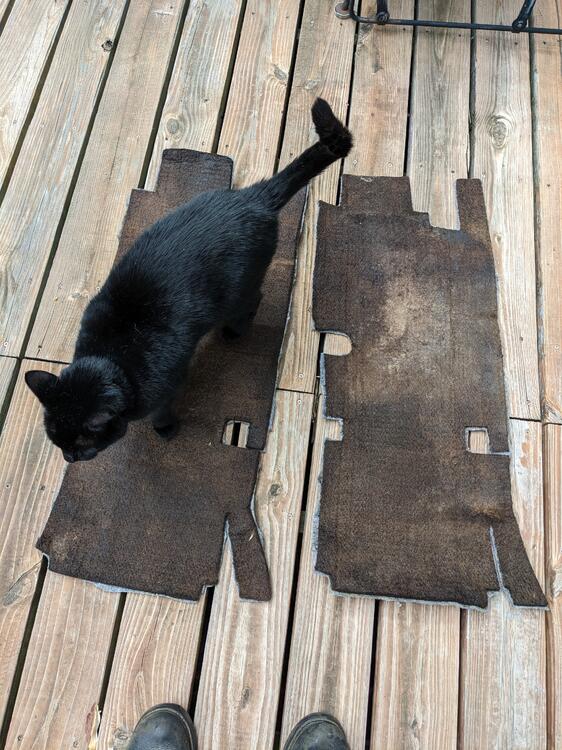
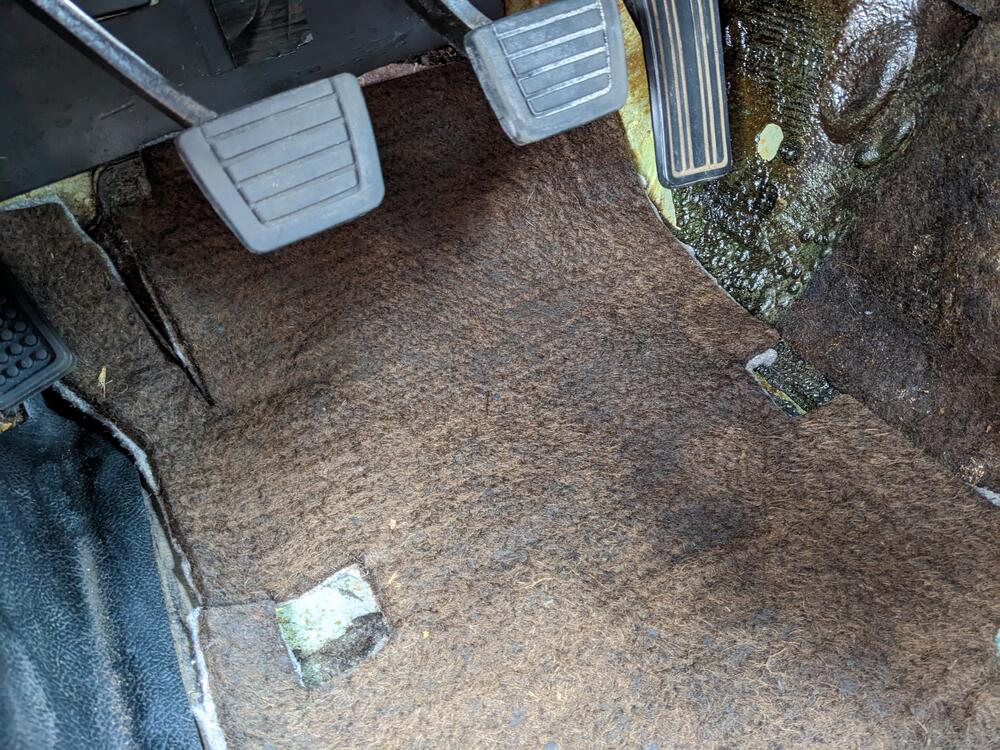
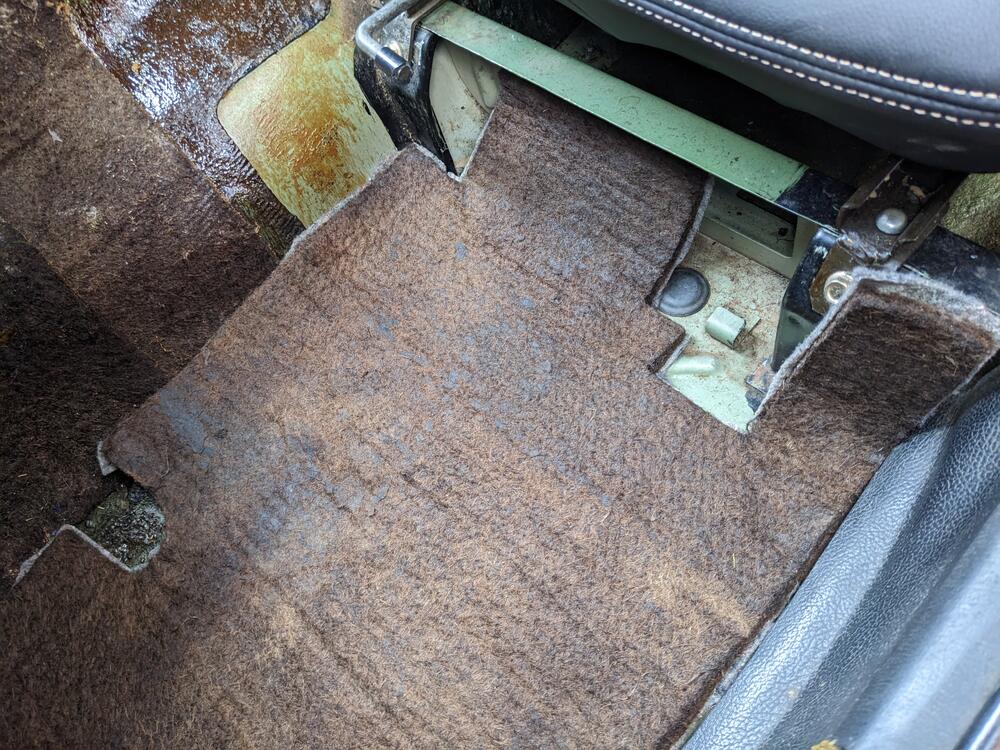
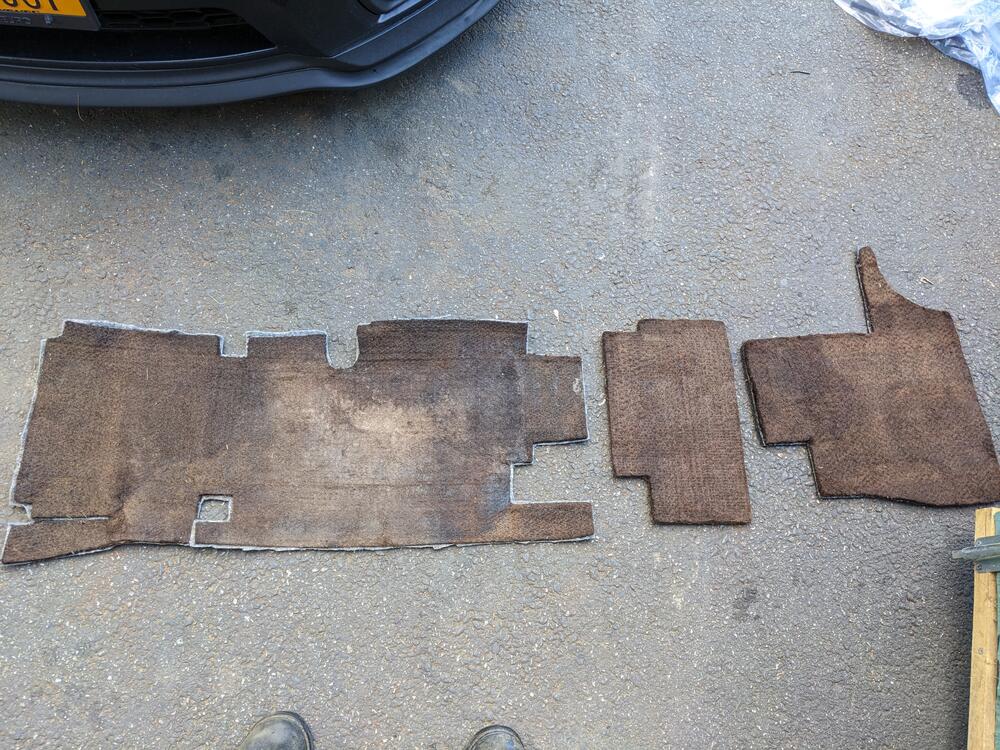
They look really "lumpy" - do they level out when actually installed? I have a question for you - did you note which way the undermatting fits in the front? I removed mine to clean & dry them, and didn't take a pic. putting them in,, I don't seem to find a obvious orientation that doesn't seem to have fitment issues. There are cut-outs that don't seem to align with anything Do you know if this is correct? EDIT - I have 3 pieces per side
-
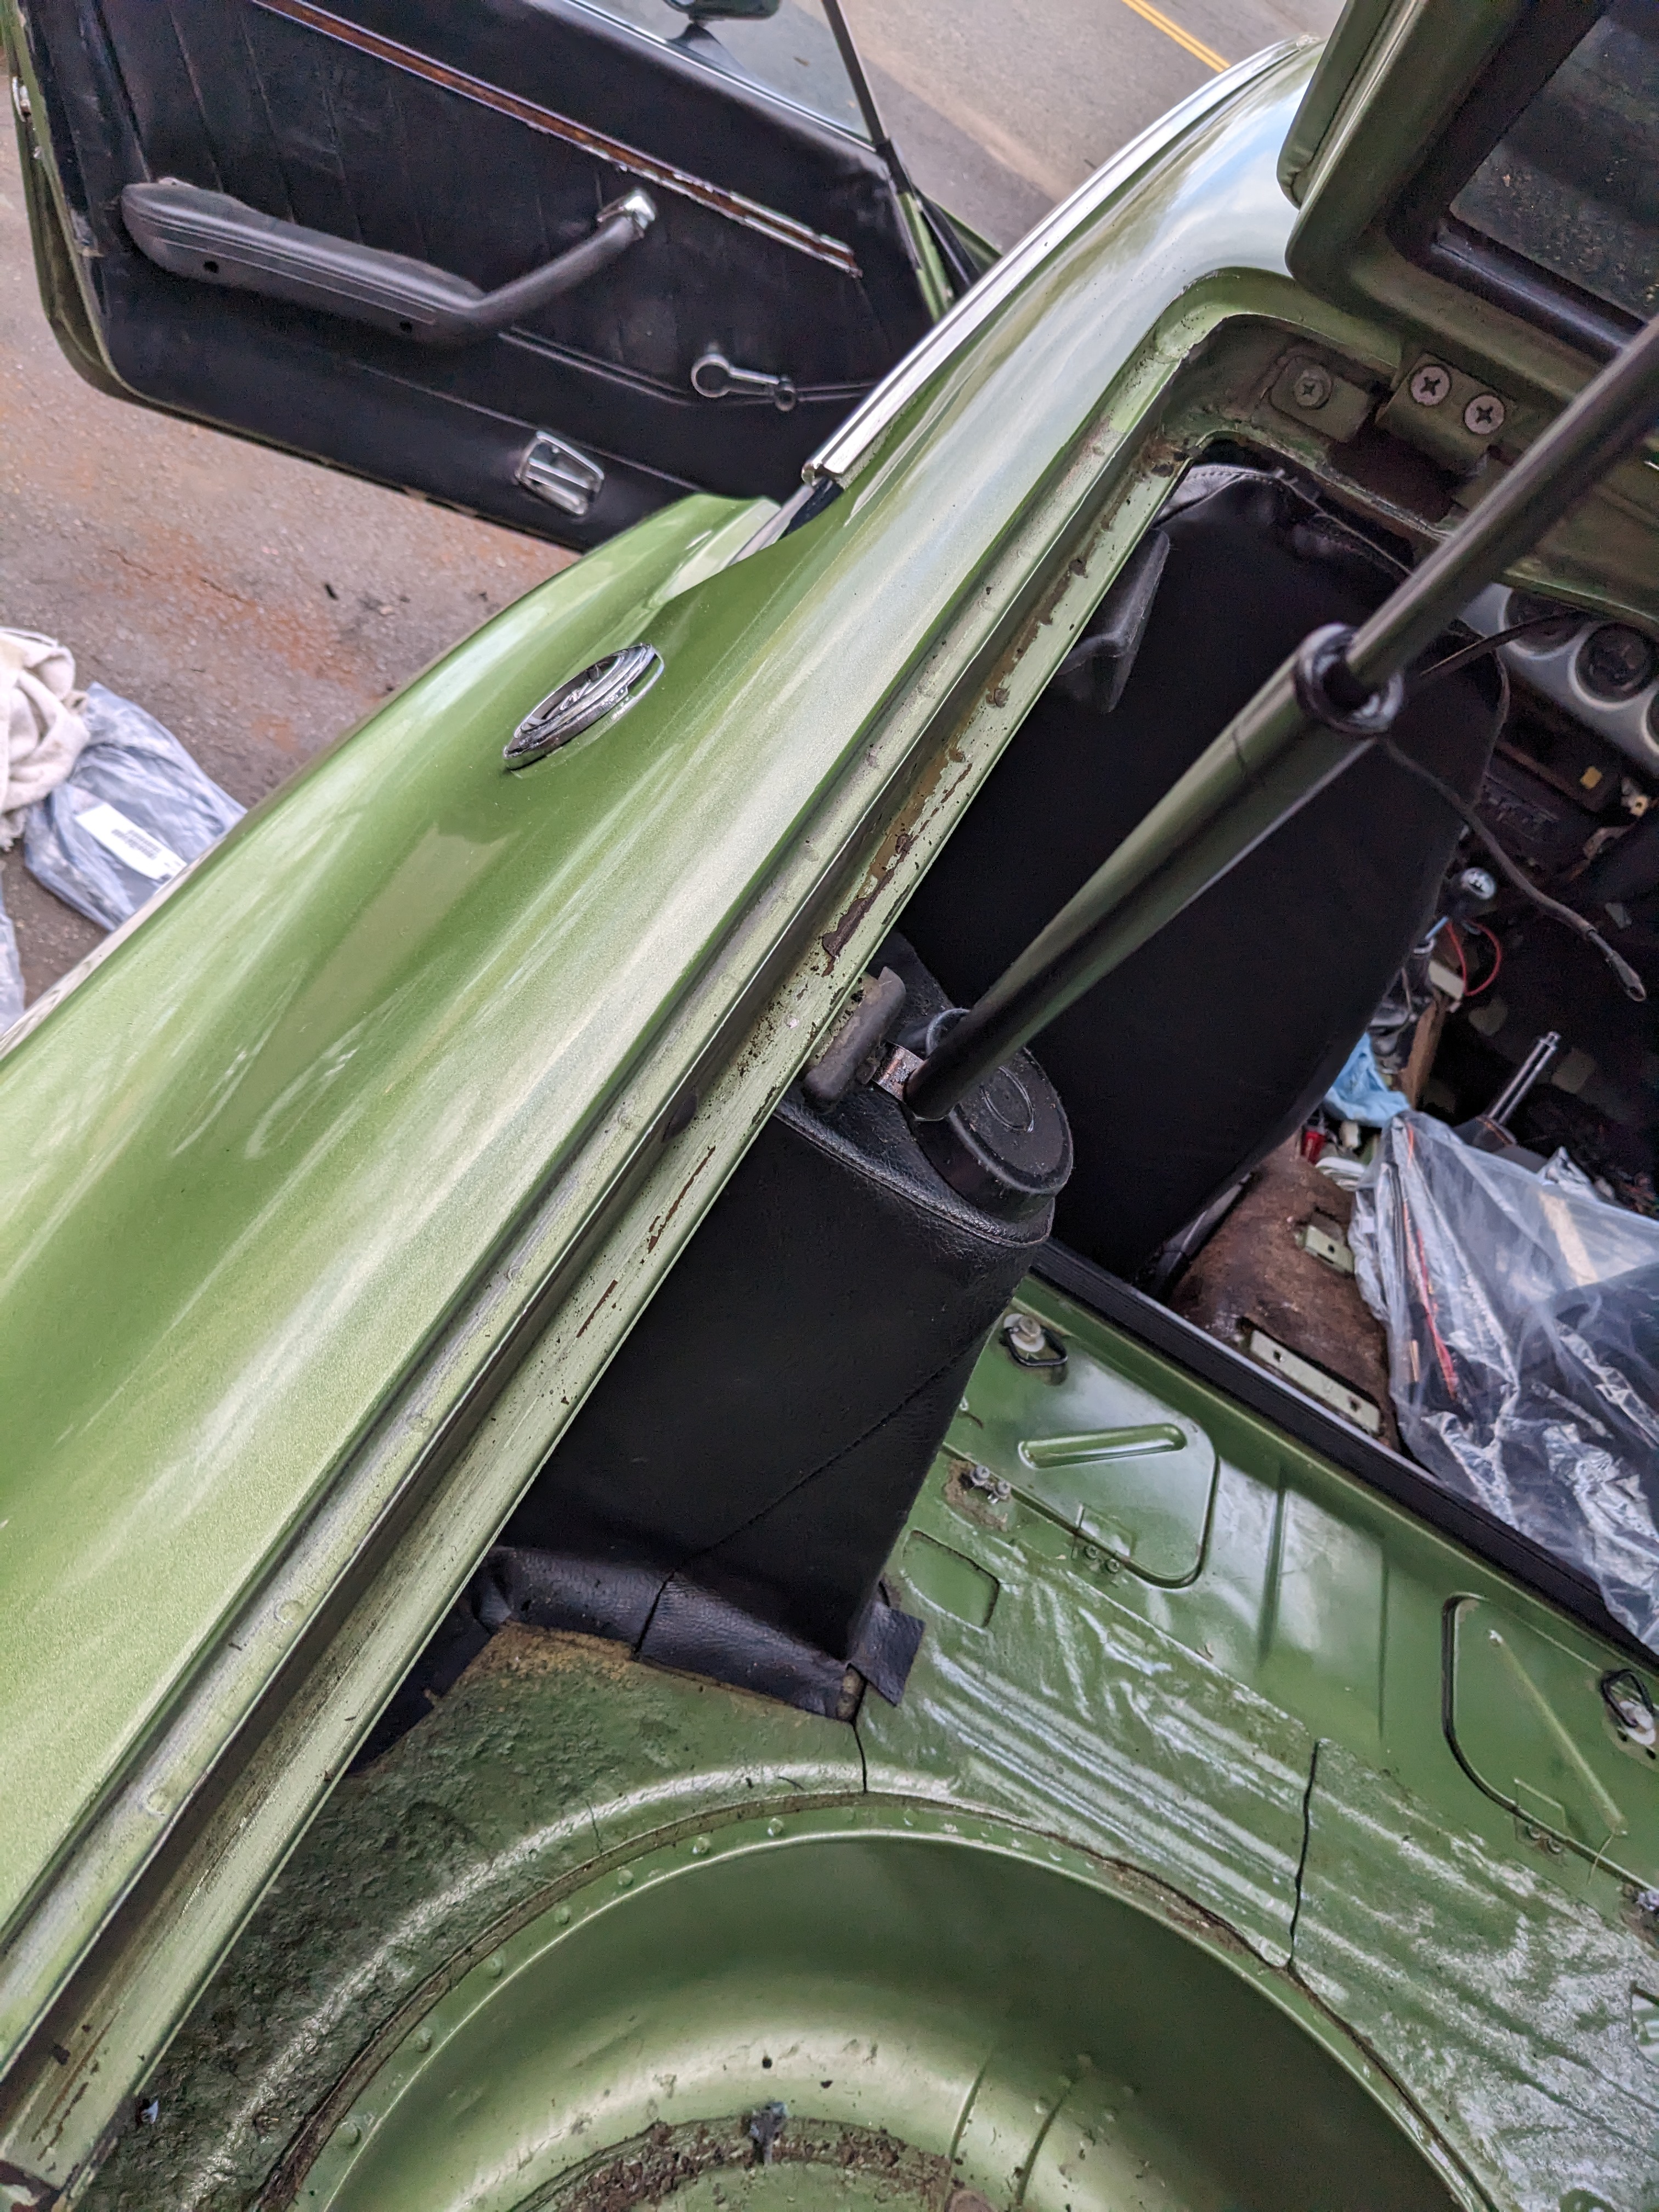
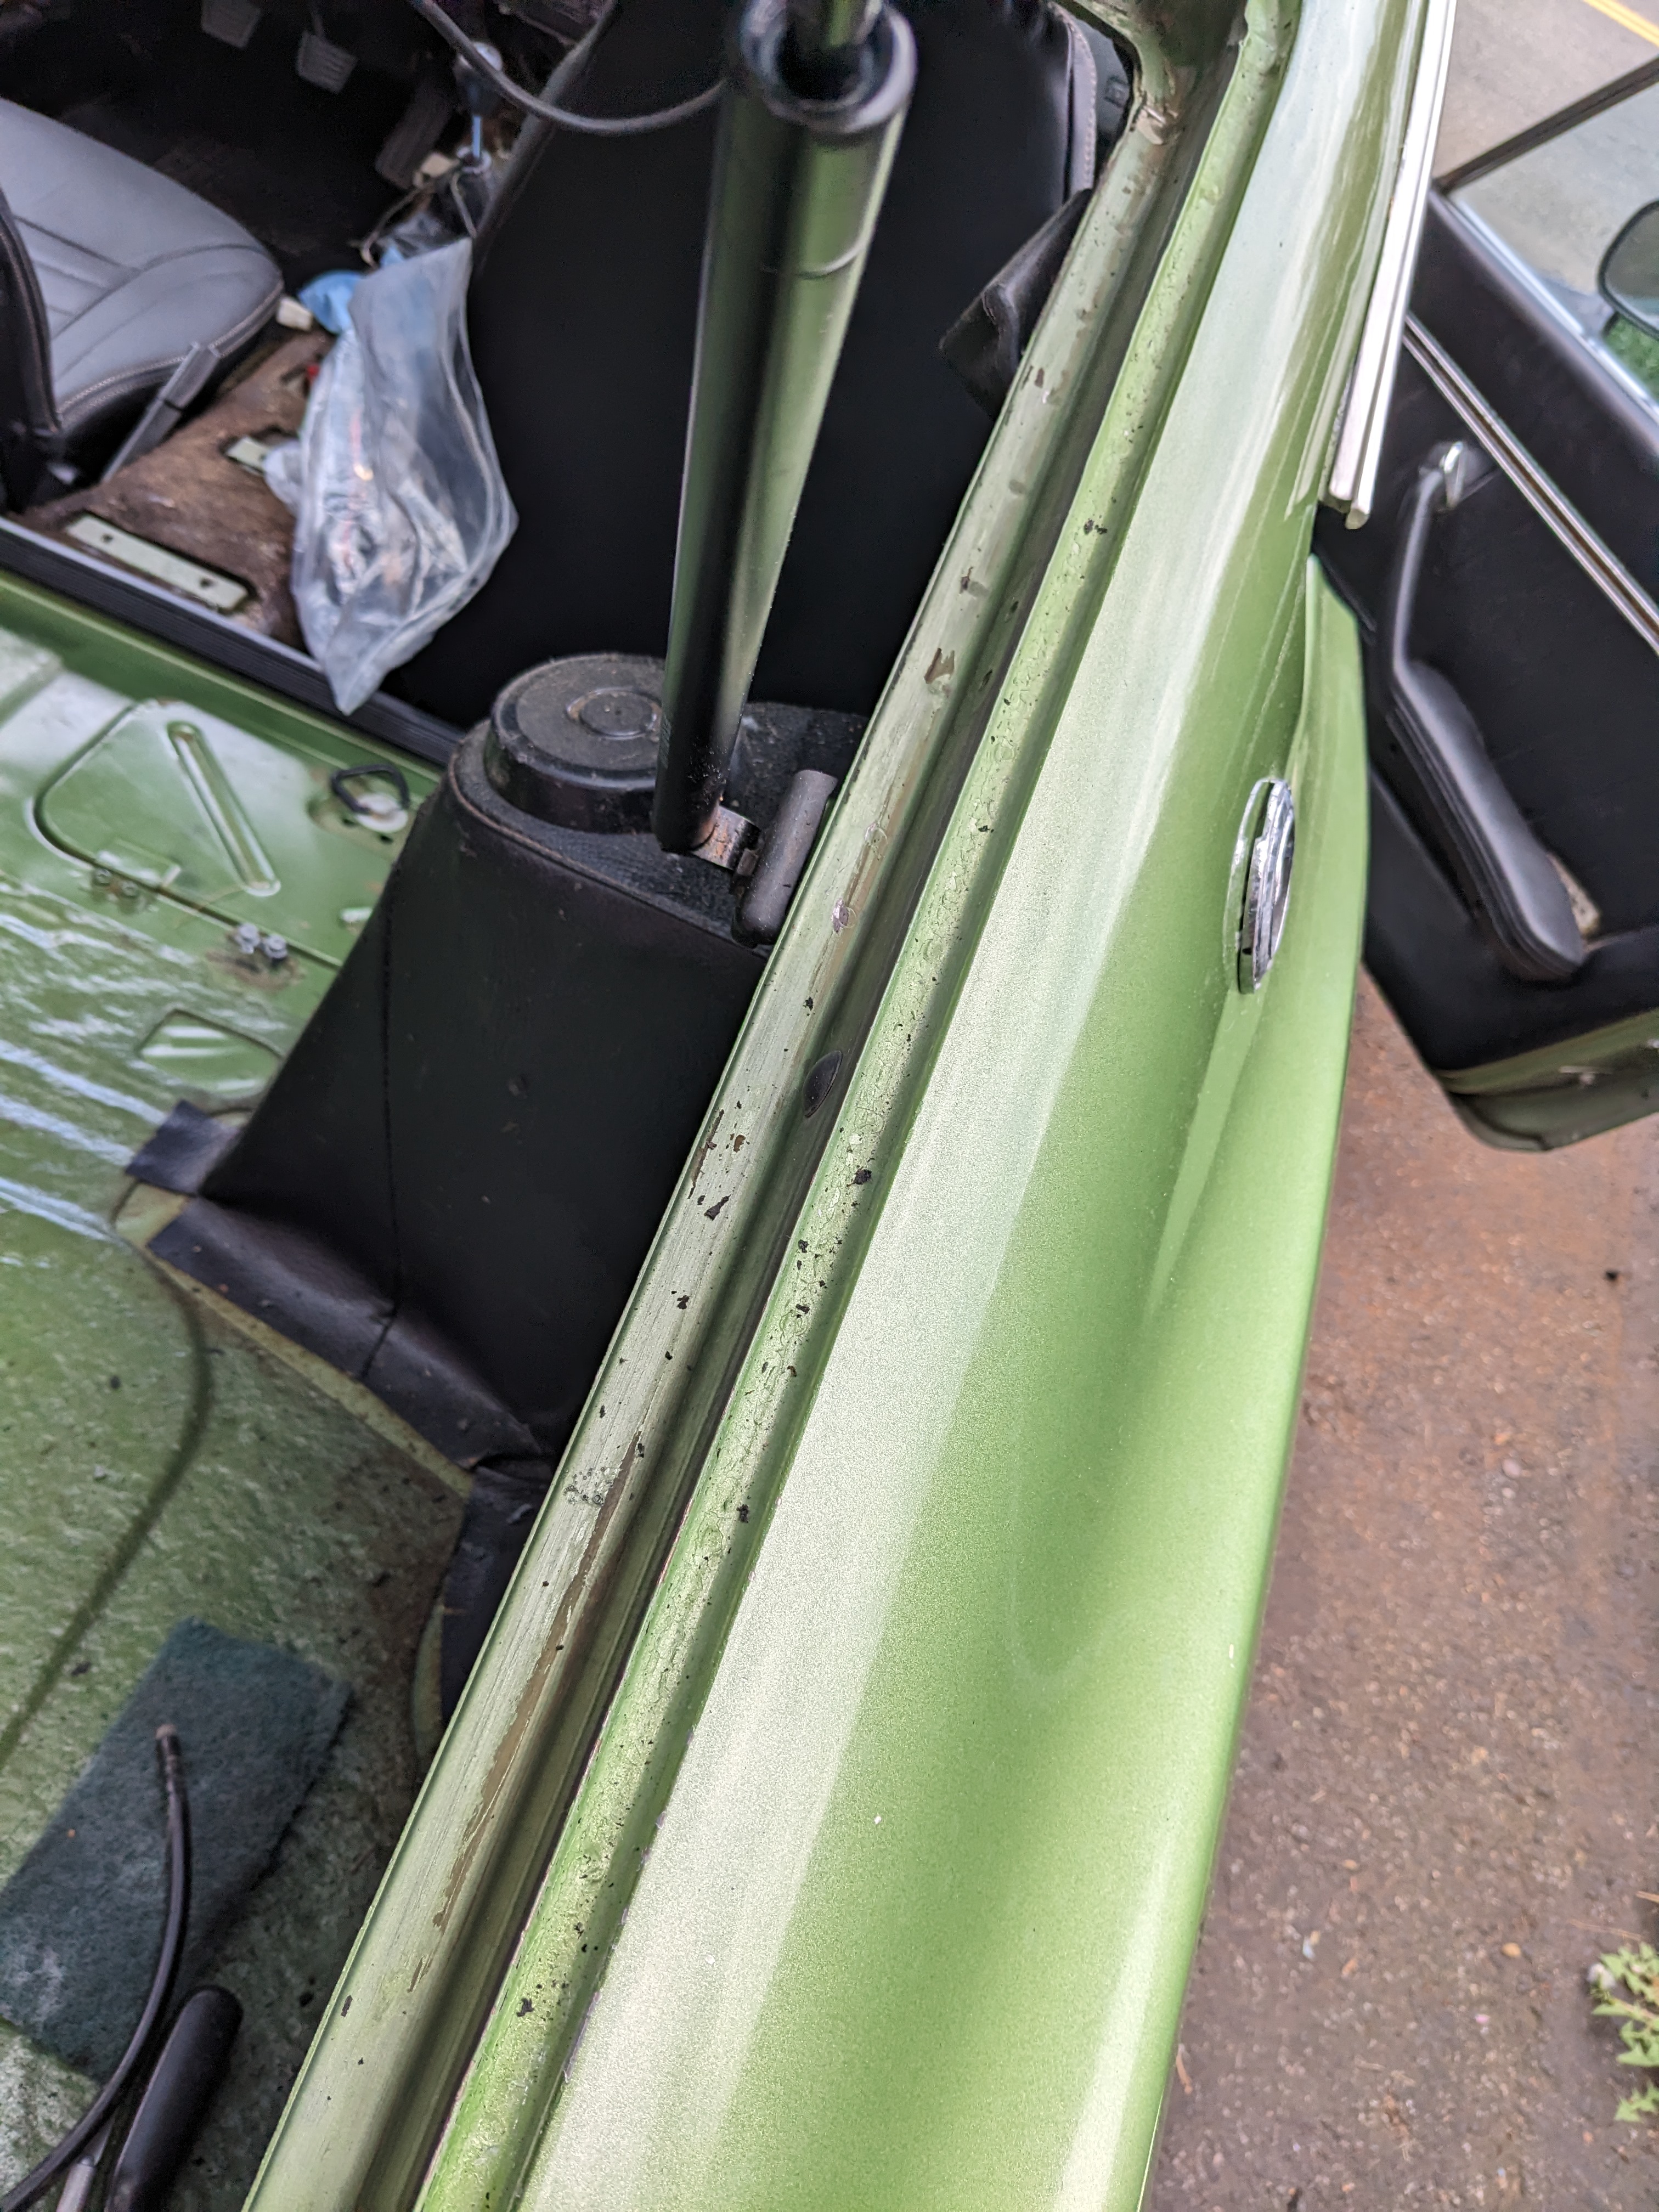
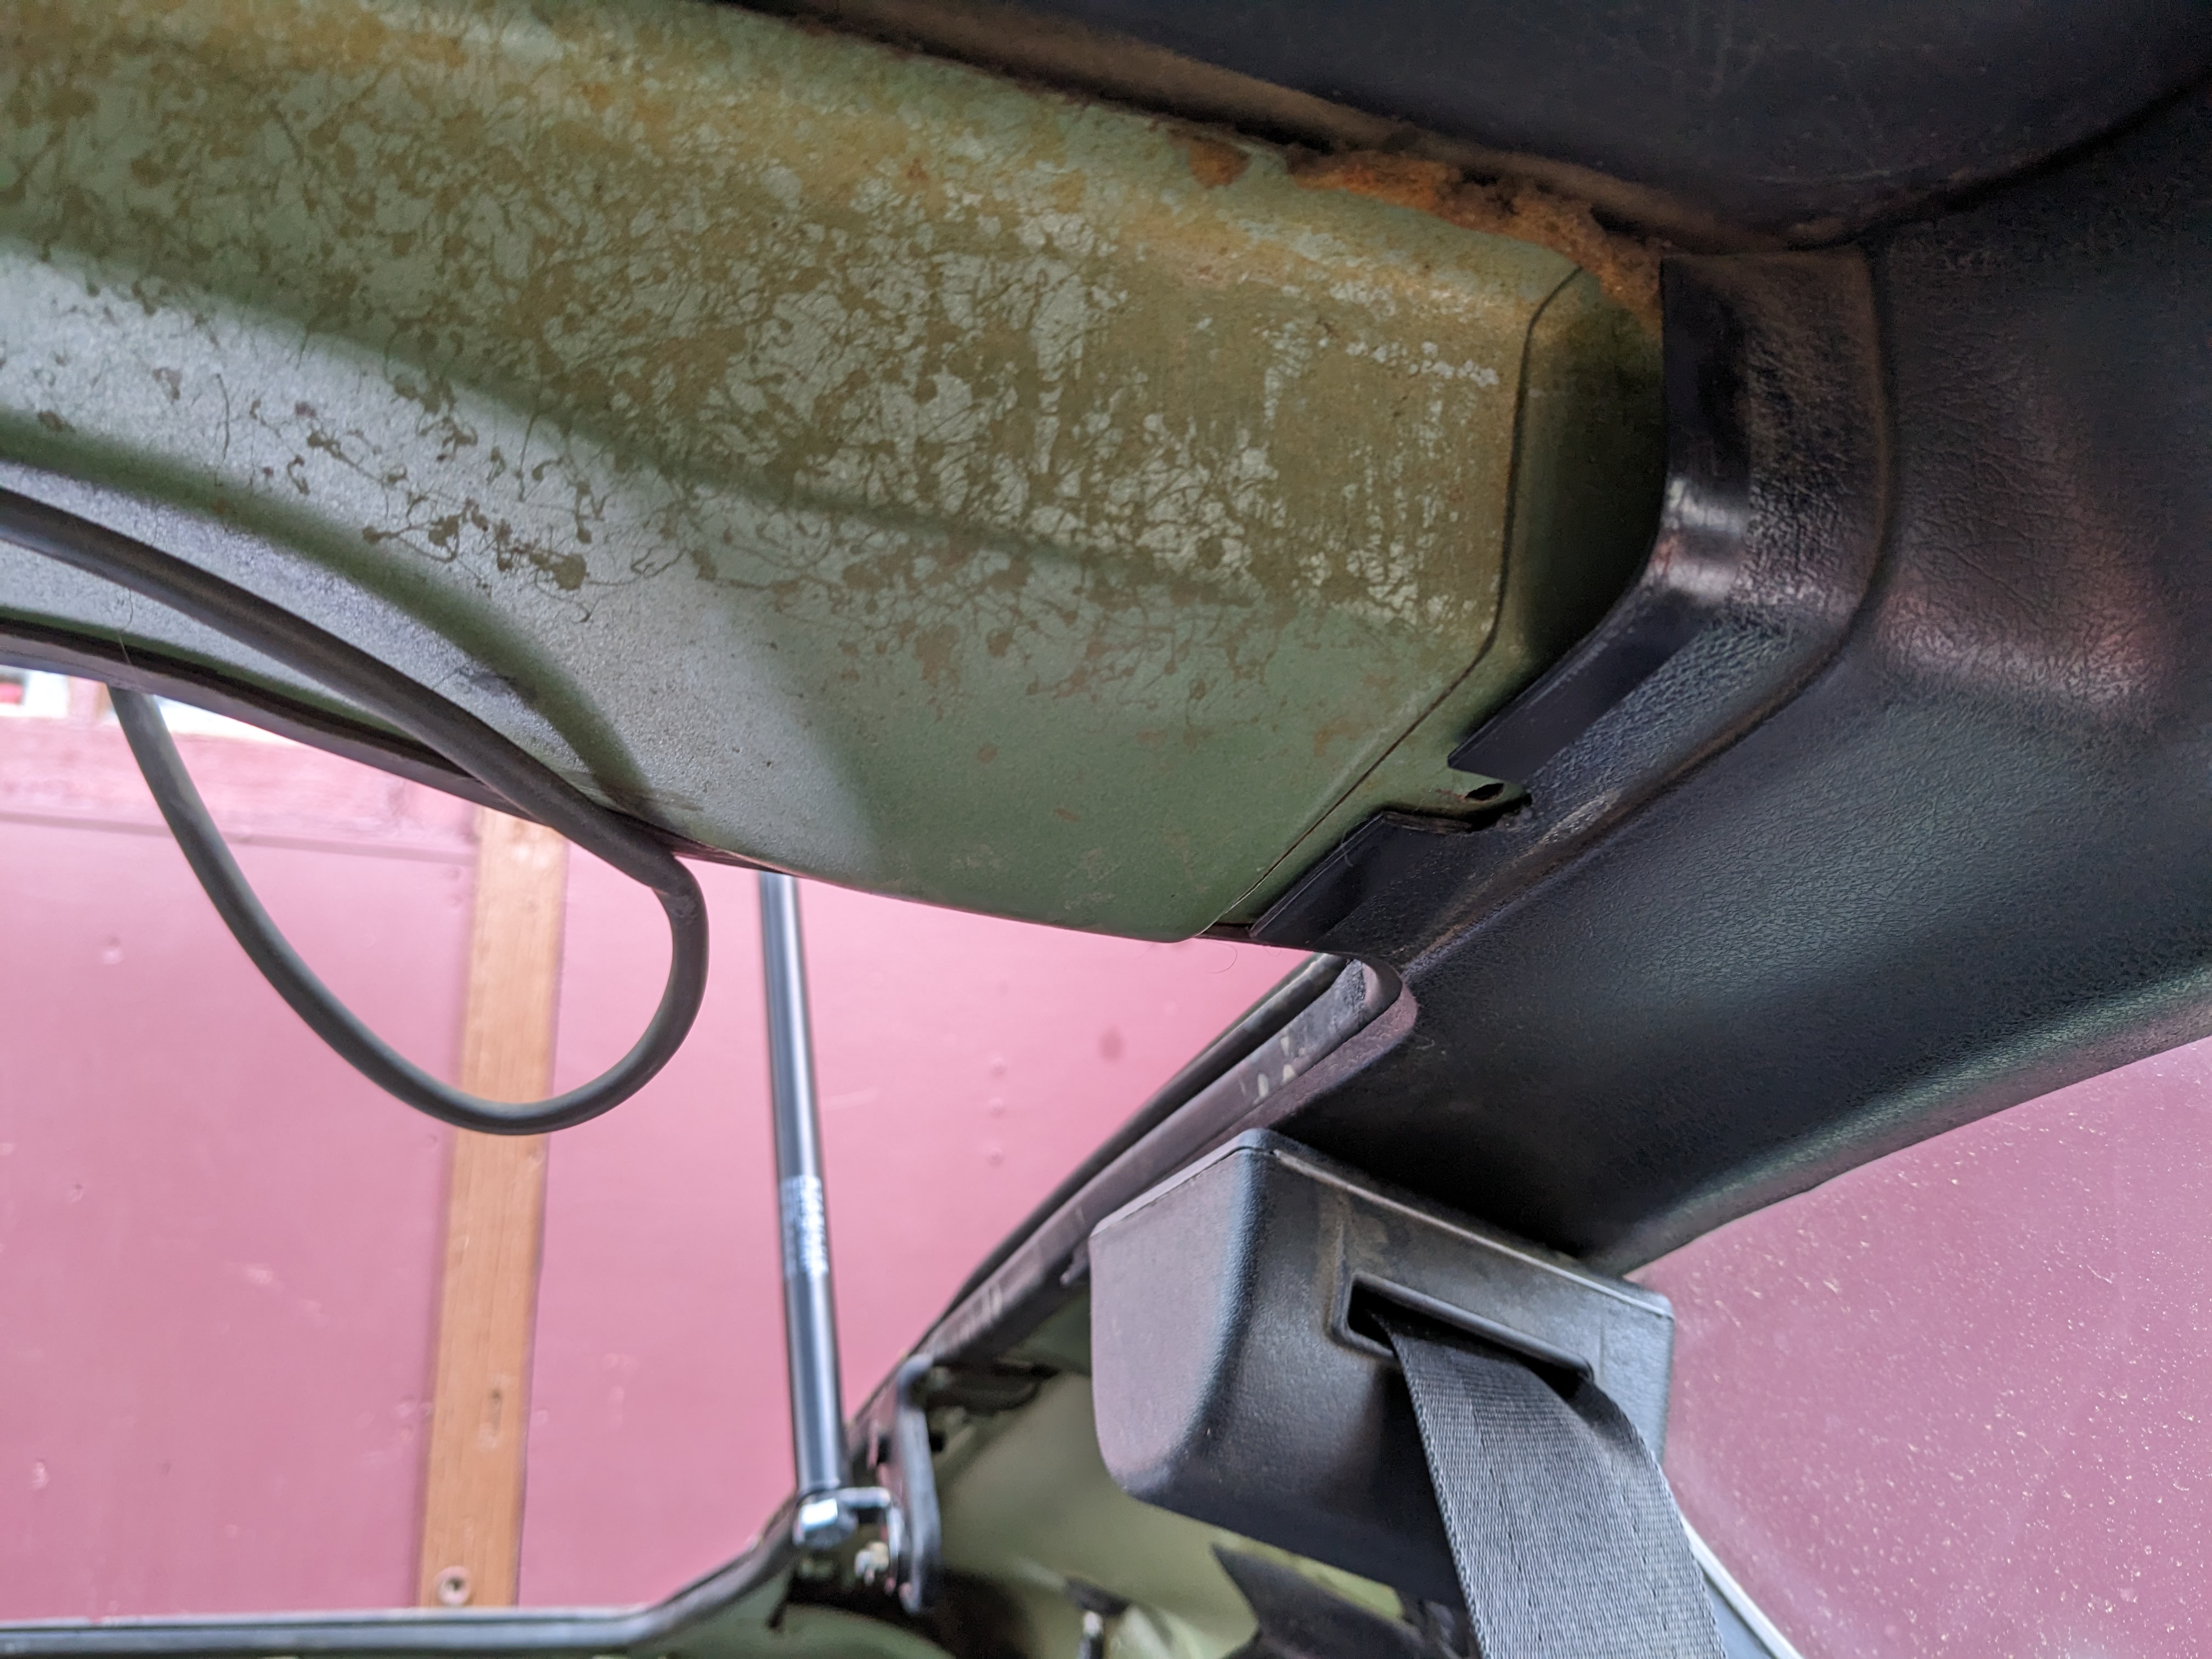
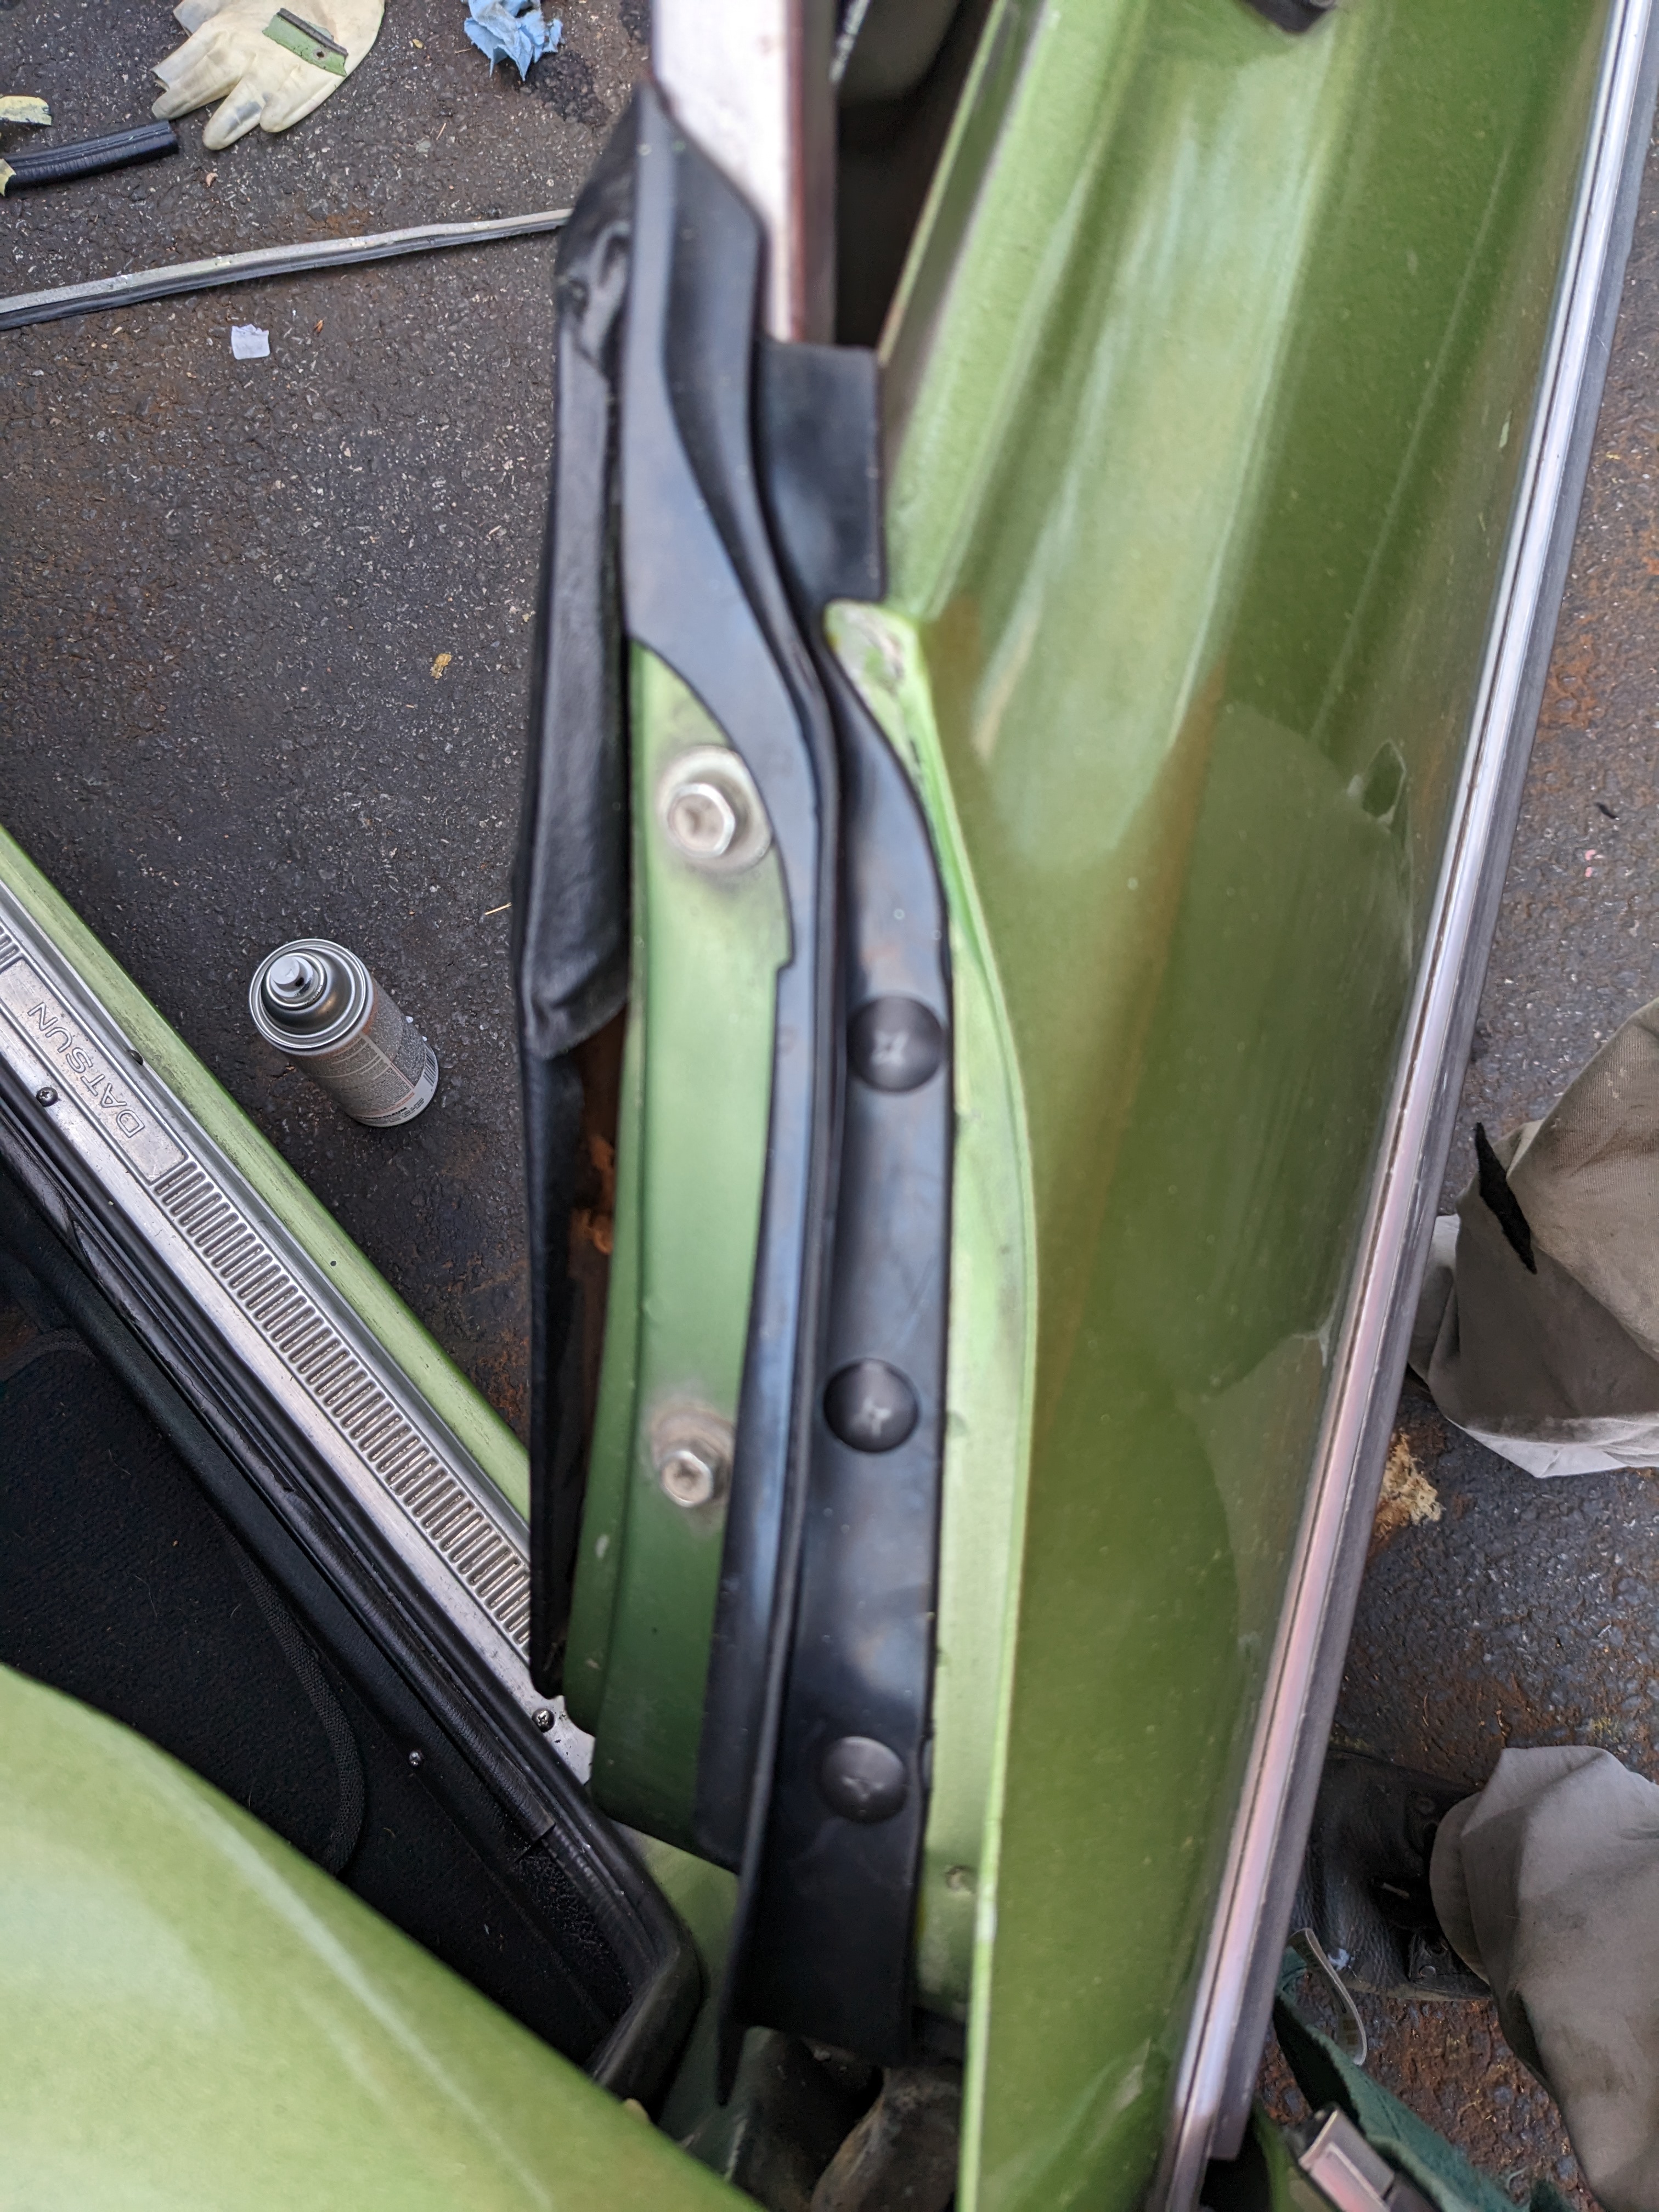
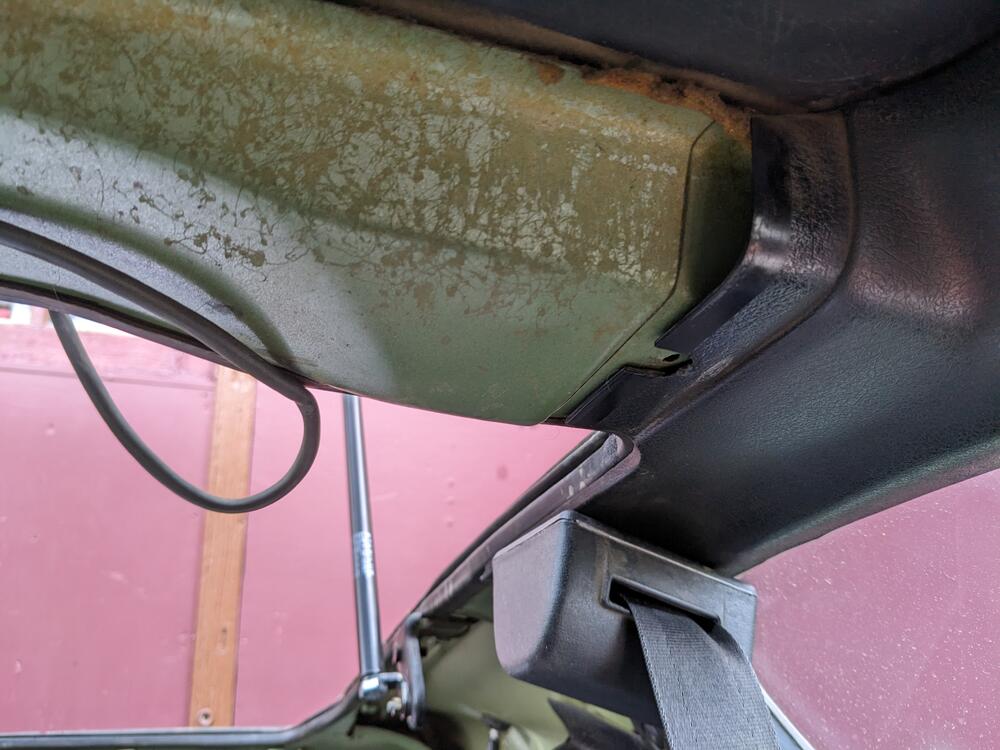
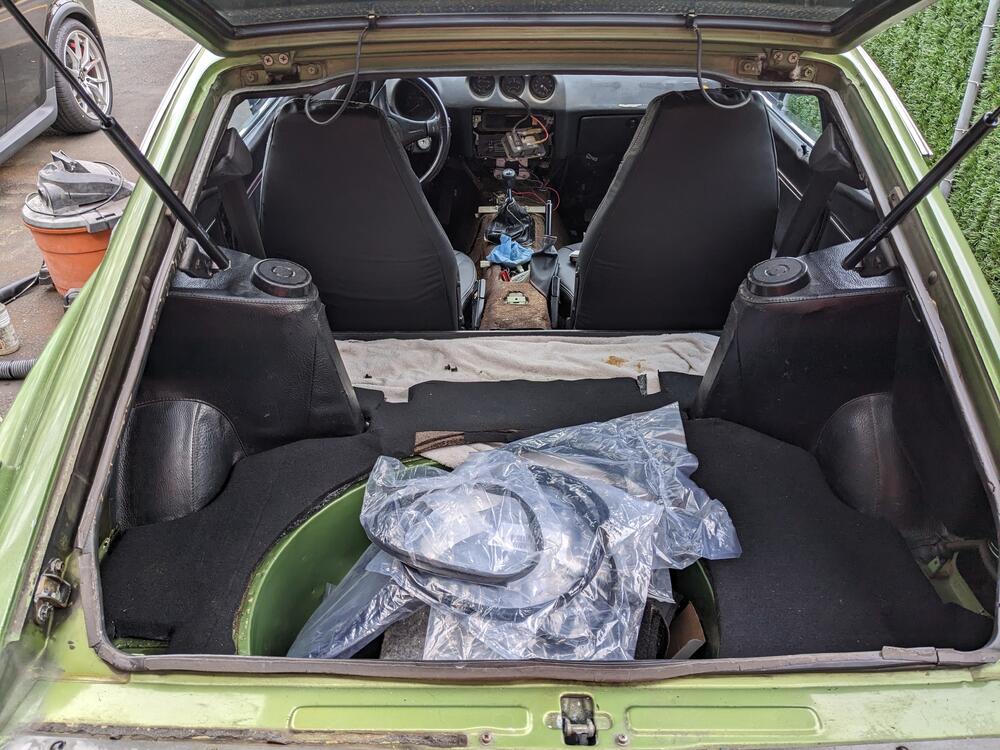
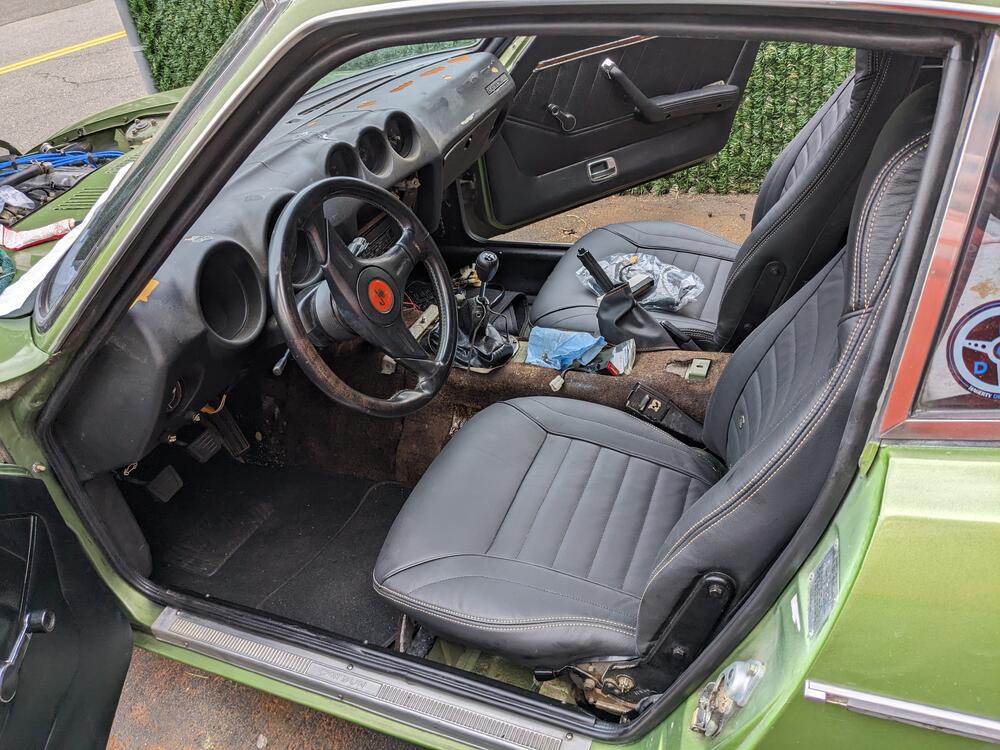
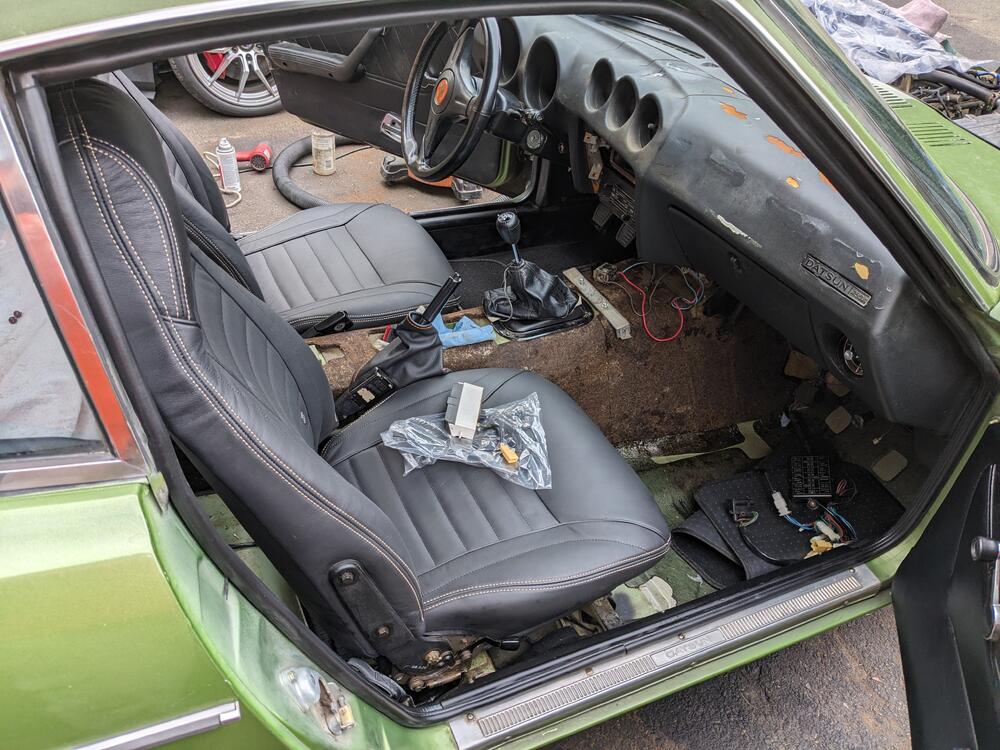
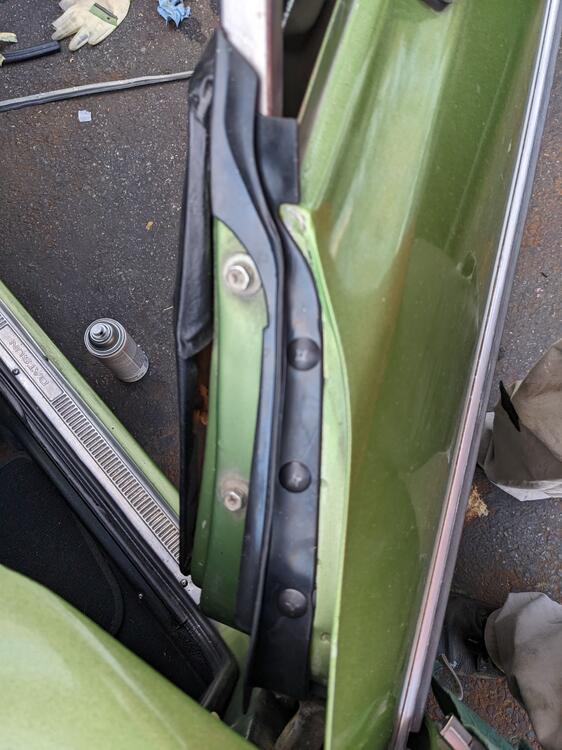
I started dealing with the body seals today. I removed the rear roof trim to look at the hinge seals, and from what I can see, if those leak it will run down the 1/4's into the body sides. Can't see how it would run into the rear floor area I have 4 pieces that go with the hatch opening, but I only know where the main seal fits. Mine doesn't have any other seals around the hatch opening . Anyone have pics of their hatch with the "upper outer" and "lower side" seals in place? I got both door seals in. Doors are a bitch to close / open now. I moved the latches slightly outward, just to reduce the load on the release mechanisms Driver's door-to-fender seal in I started on the scraper molding seal, but I don't know what type of stapler would even work to staple the new retainer strip in place. Anyone done theirs?
-
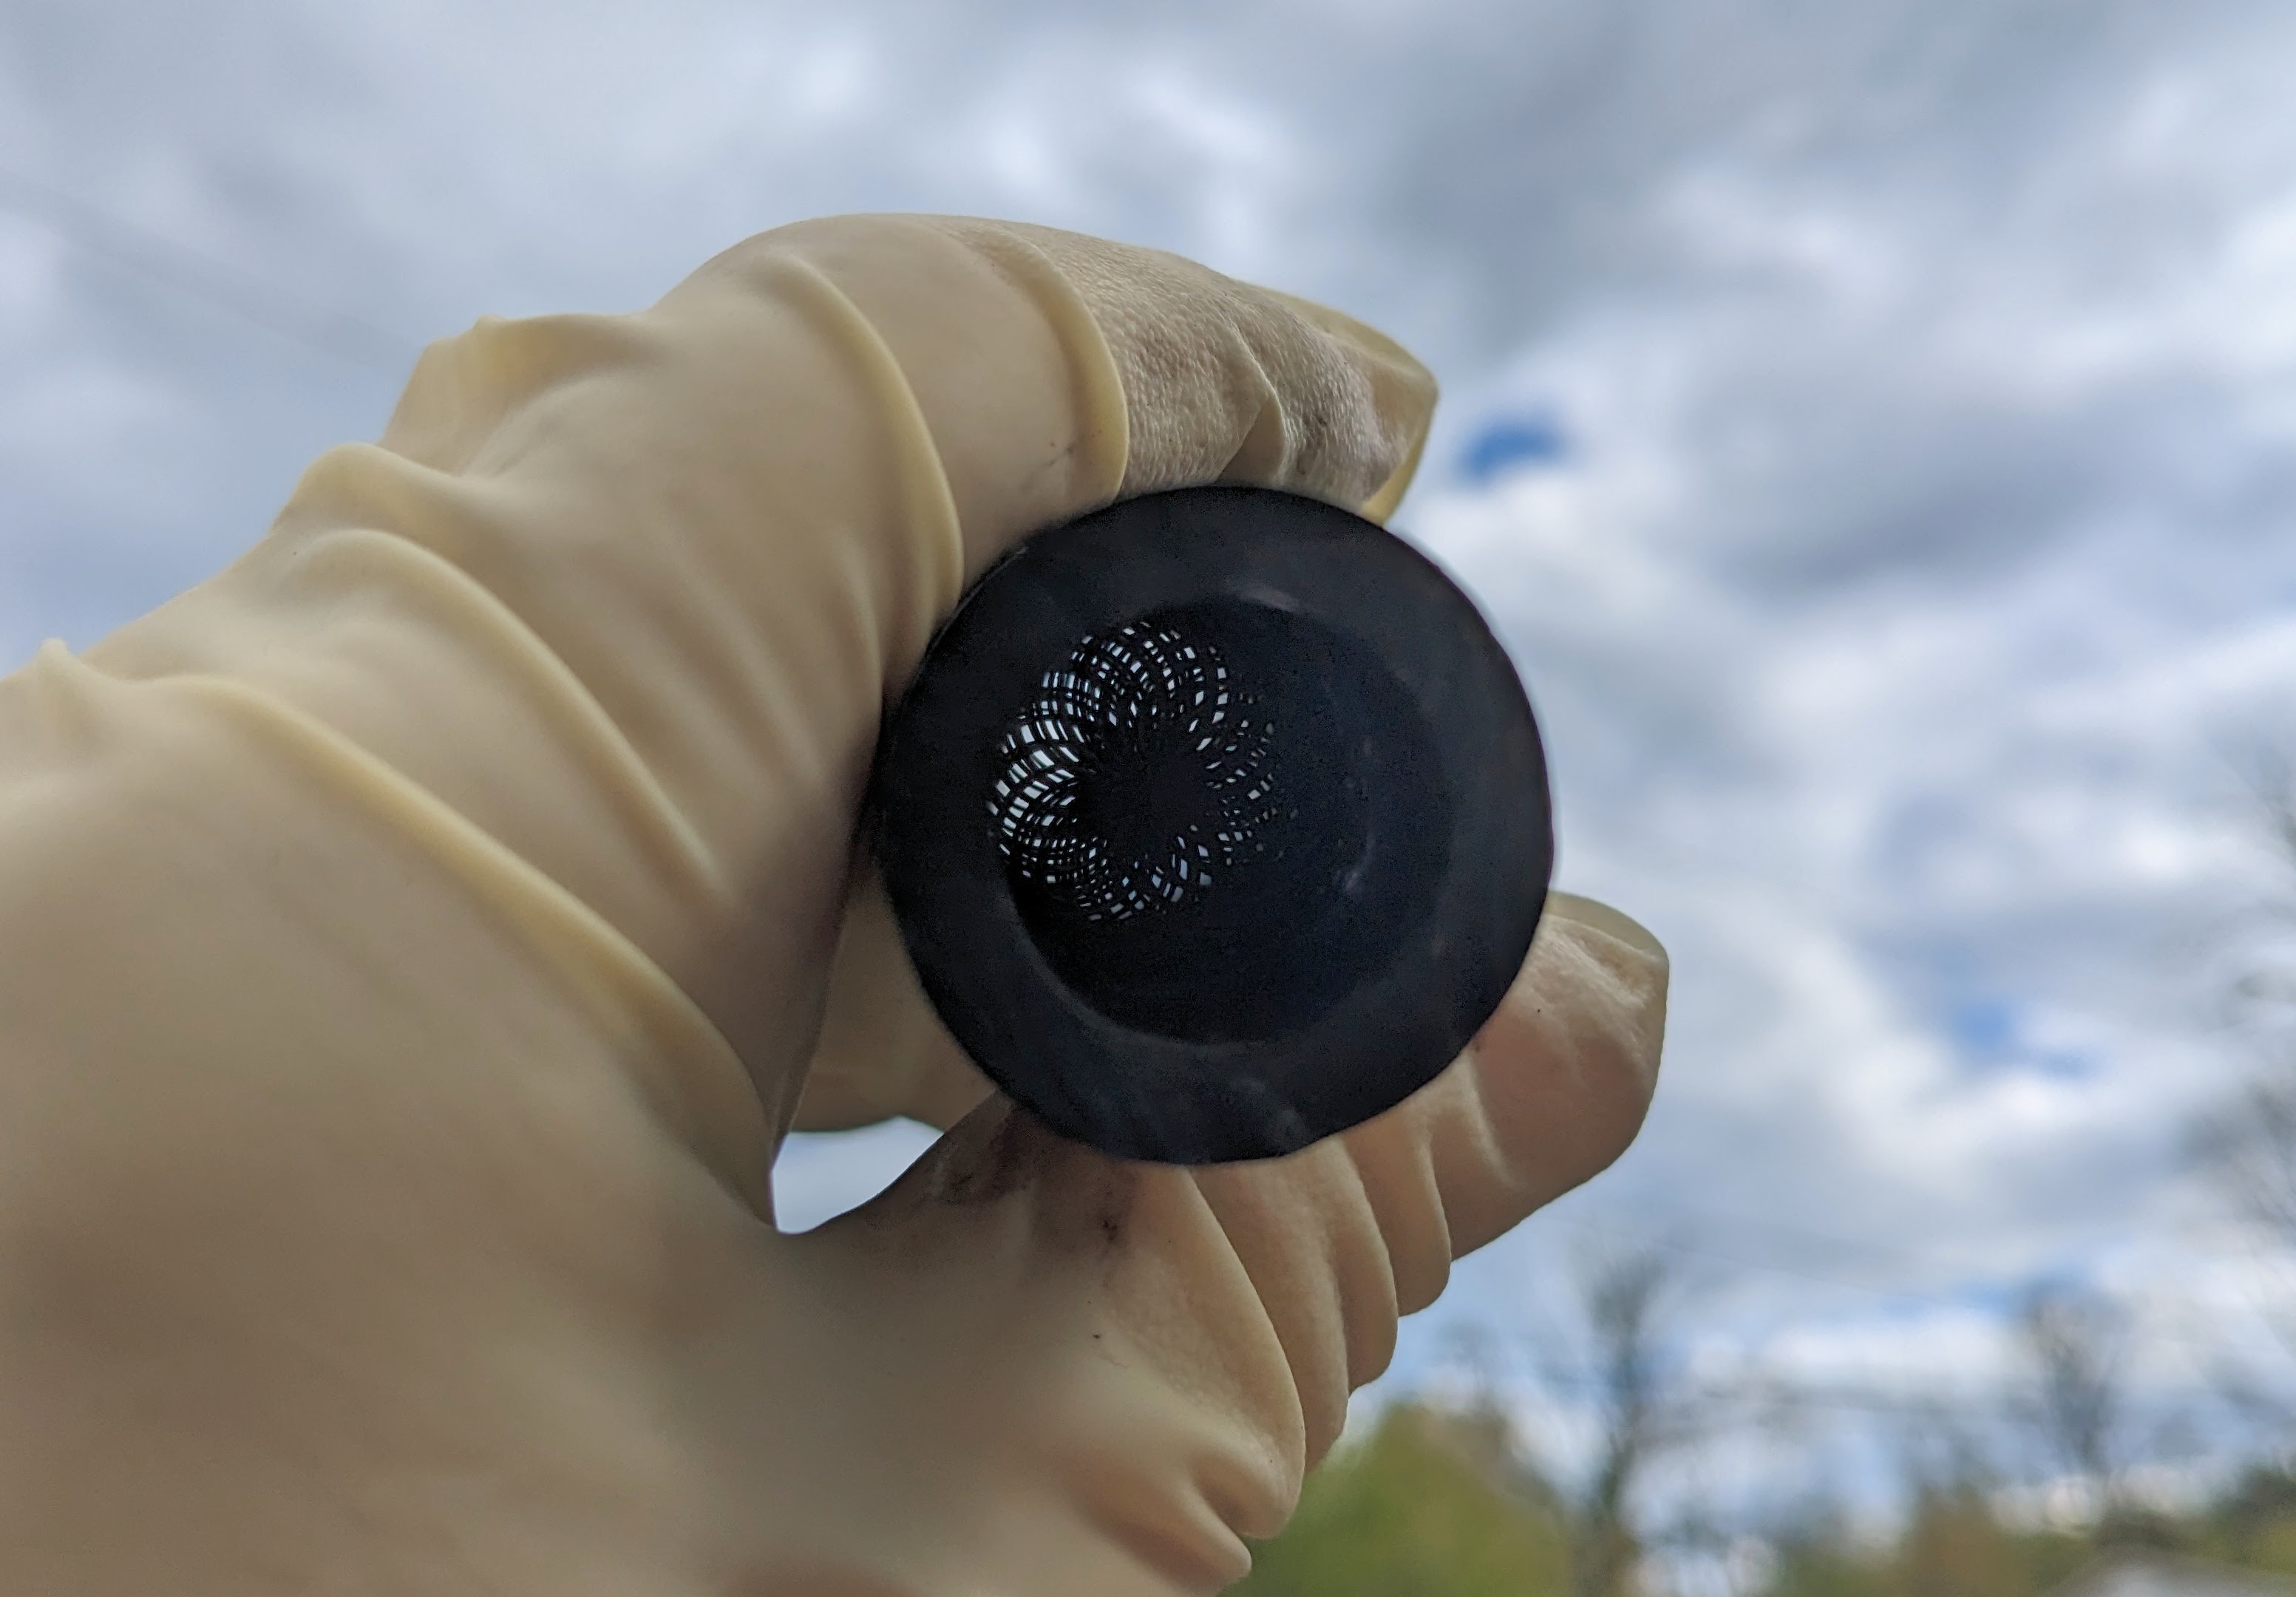
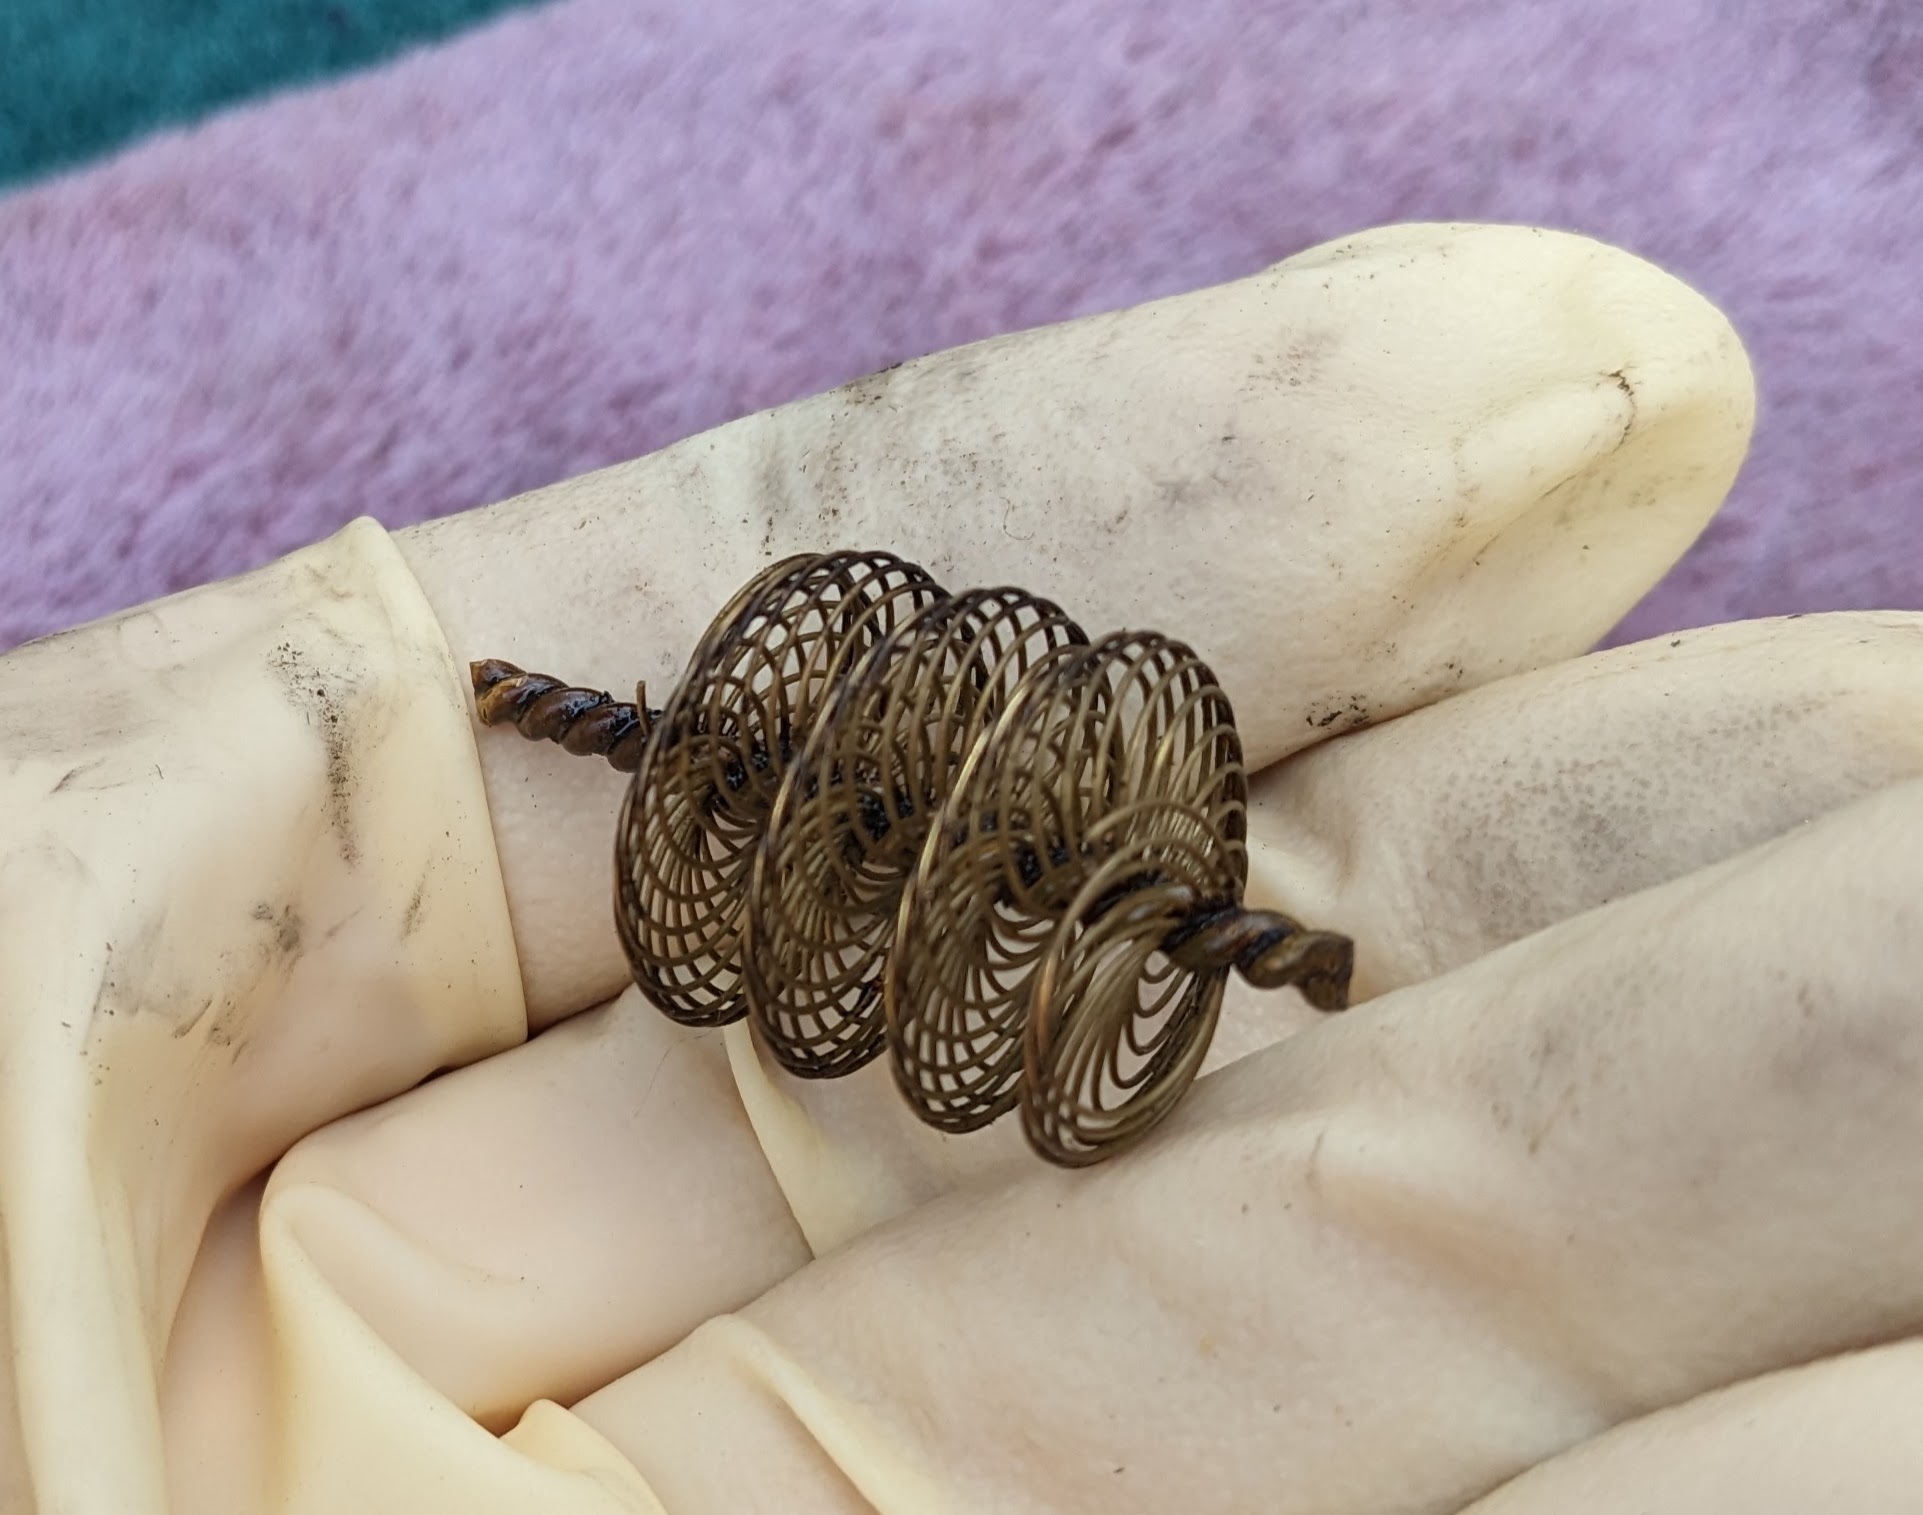
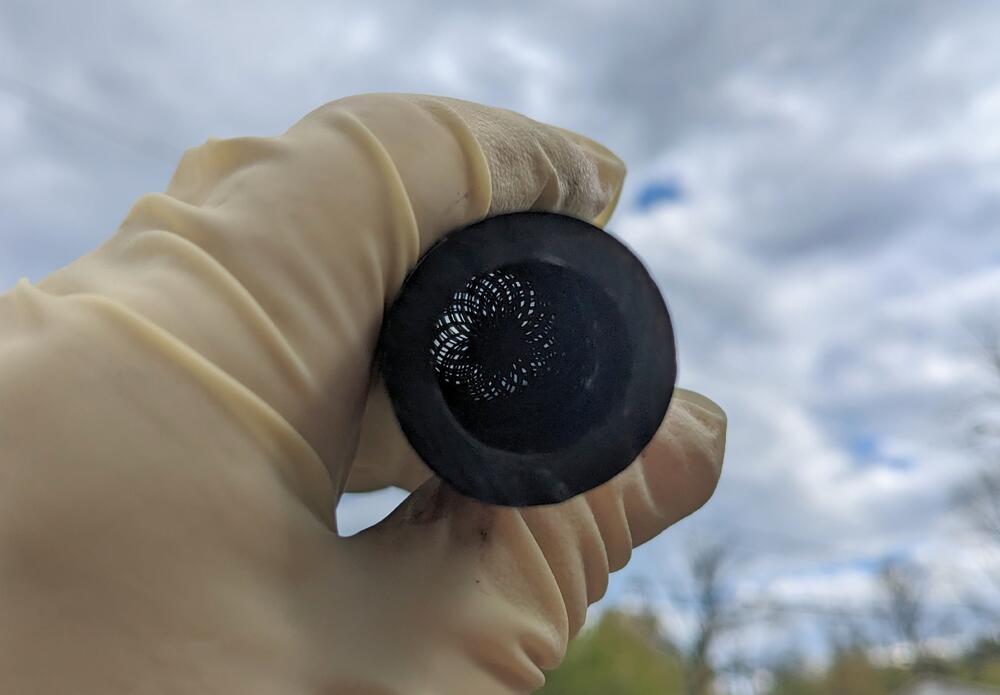
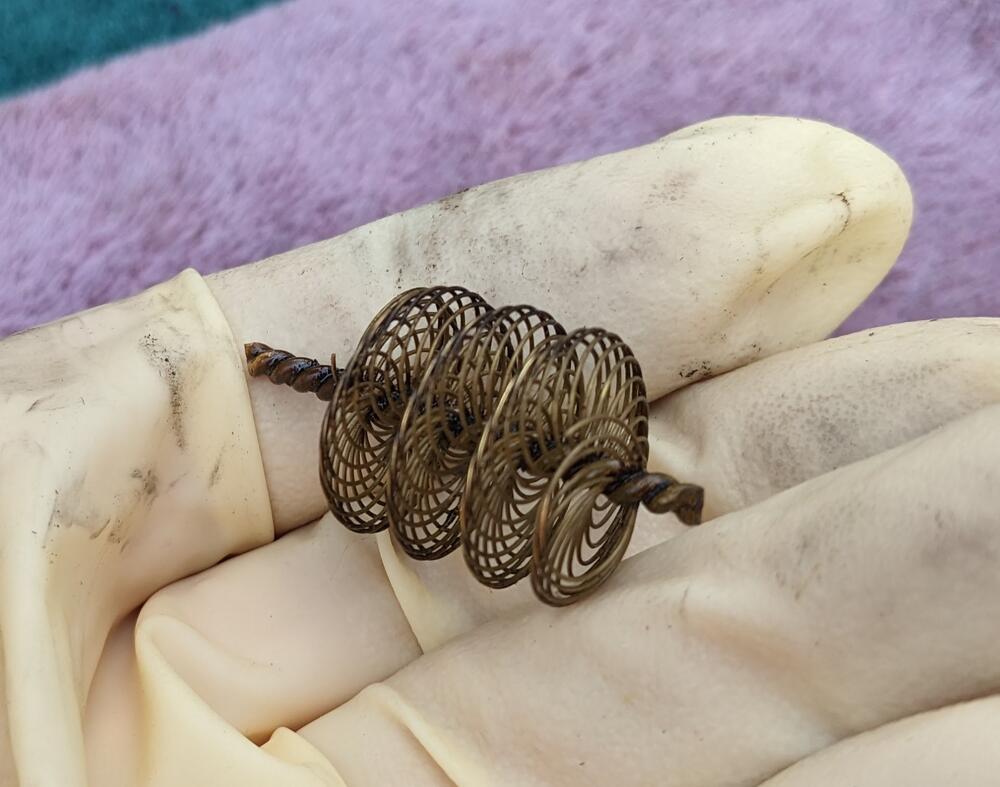
So, the flame arrester # 4159642 from 70'-80's Fiats is well constructed & fits perfectly inside the vent hose. EDIT: brand new, under $5
-
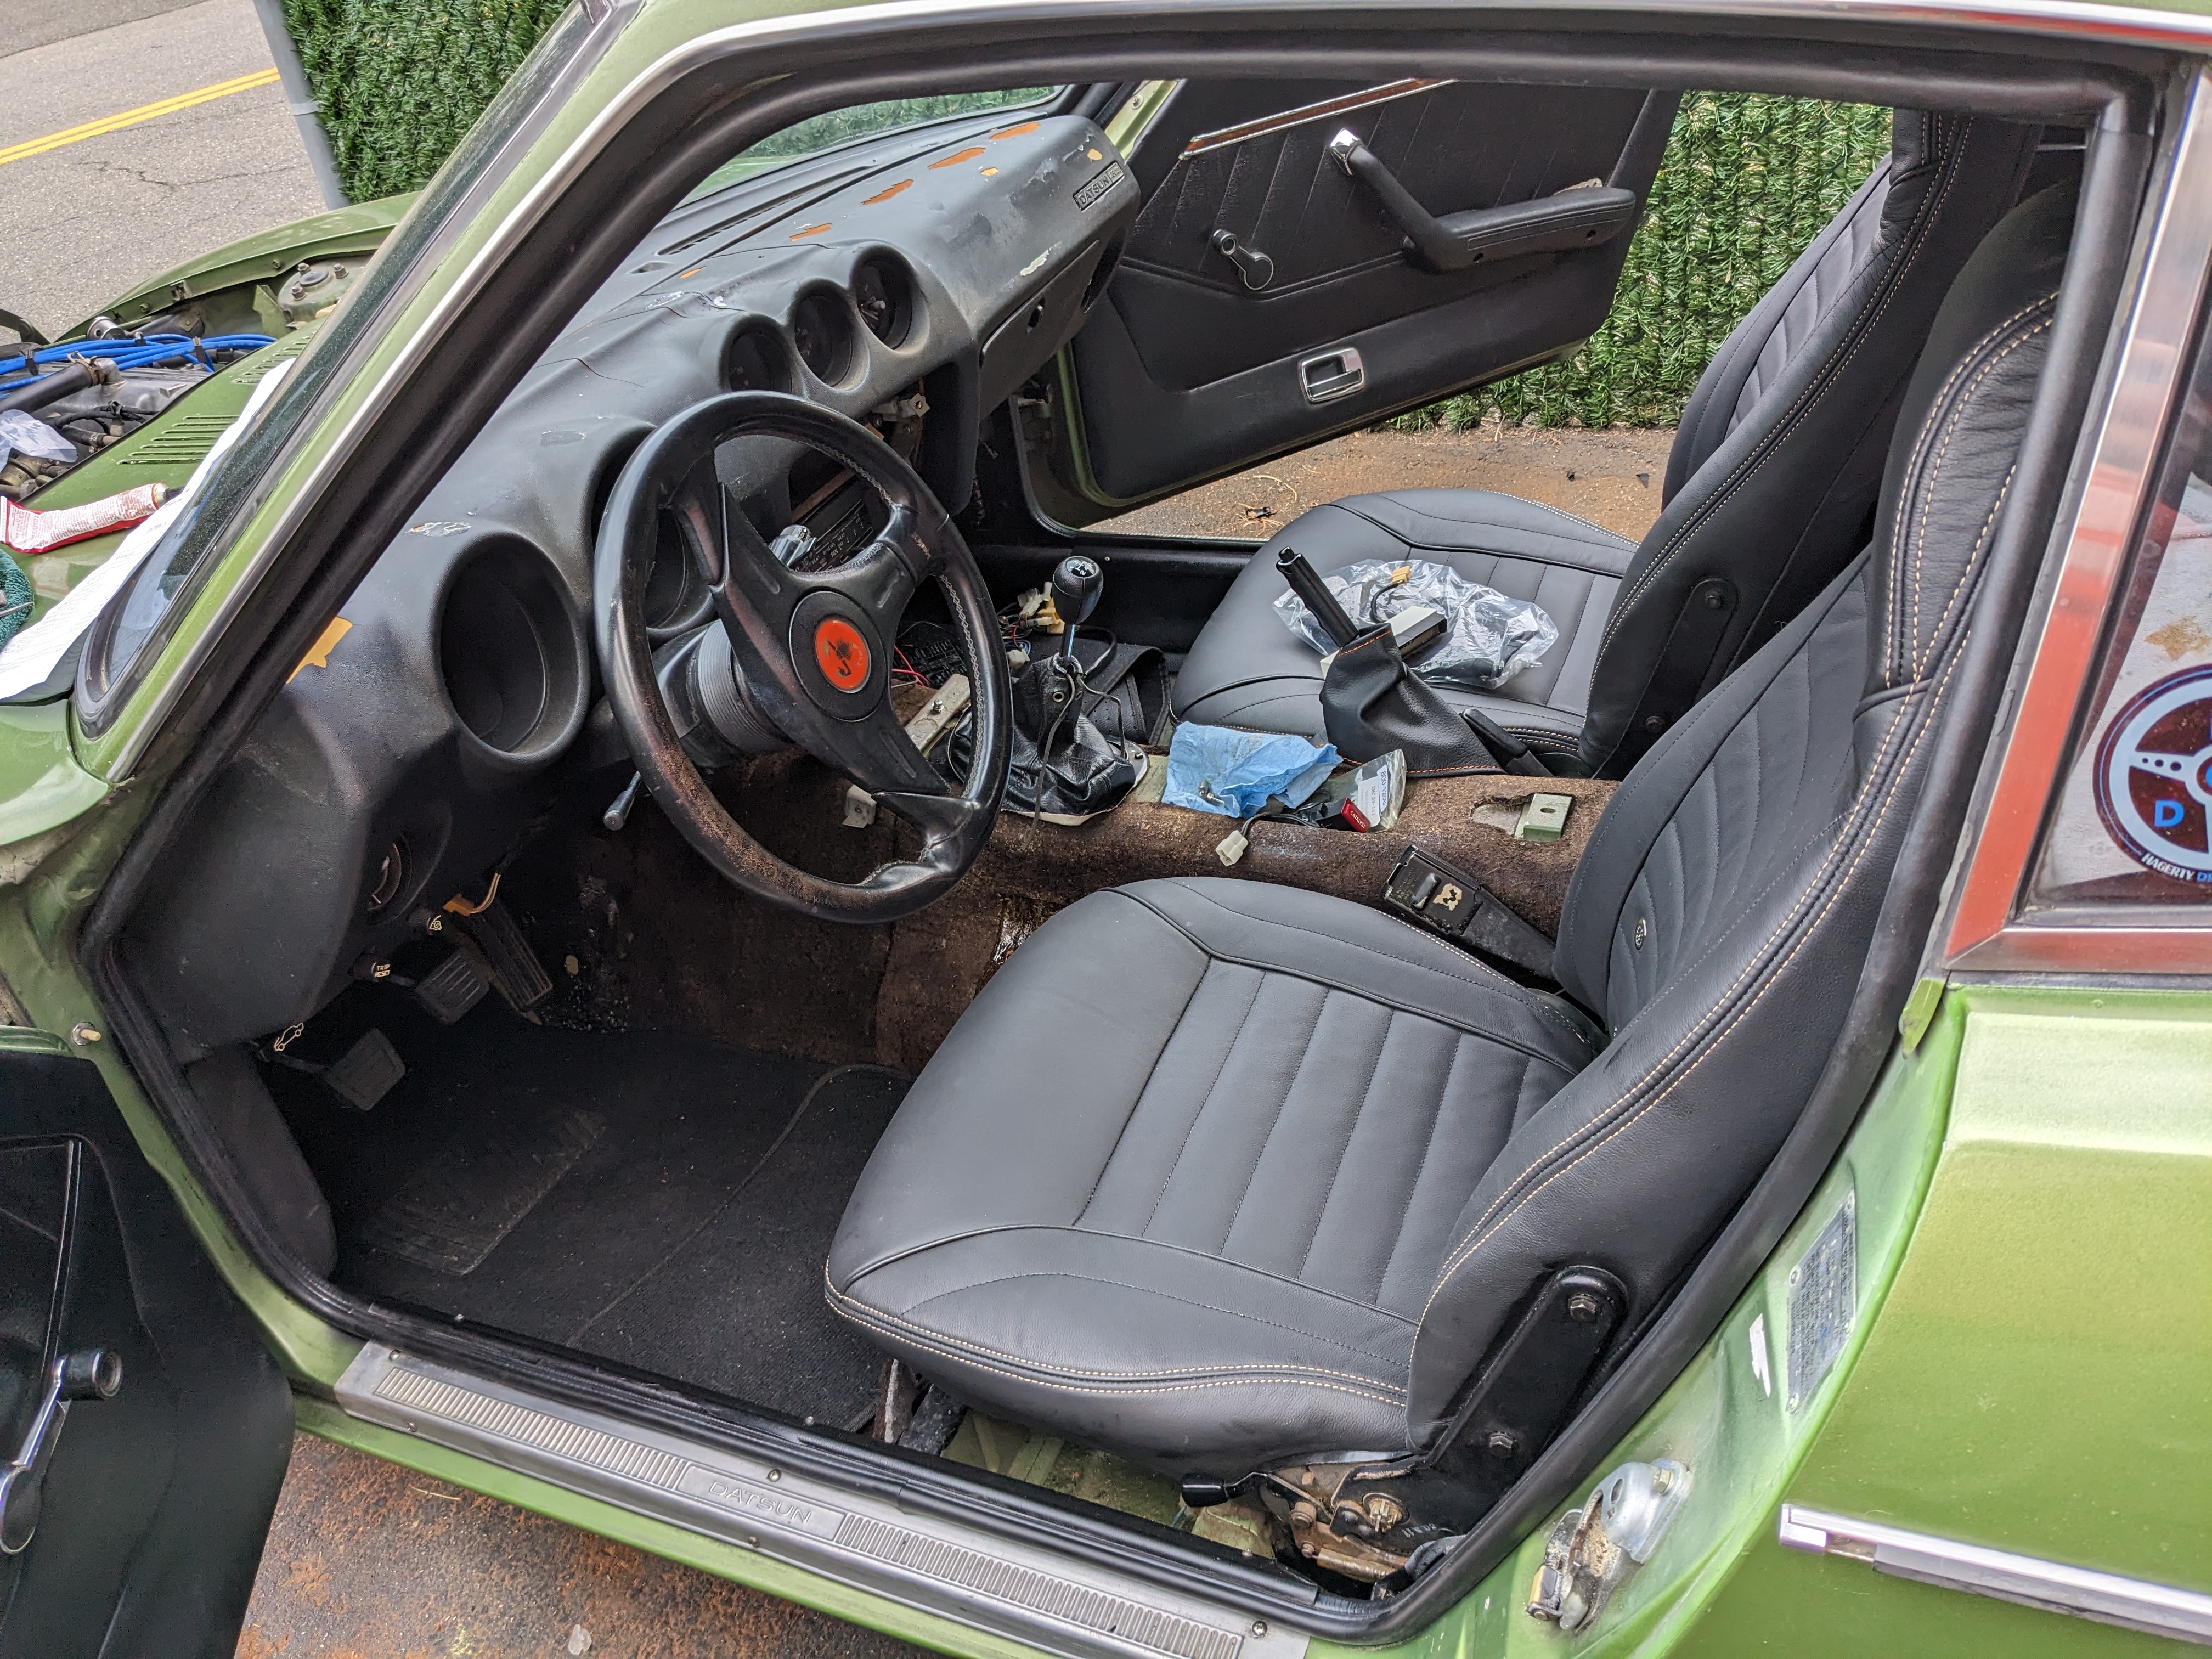
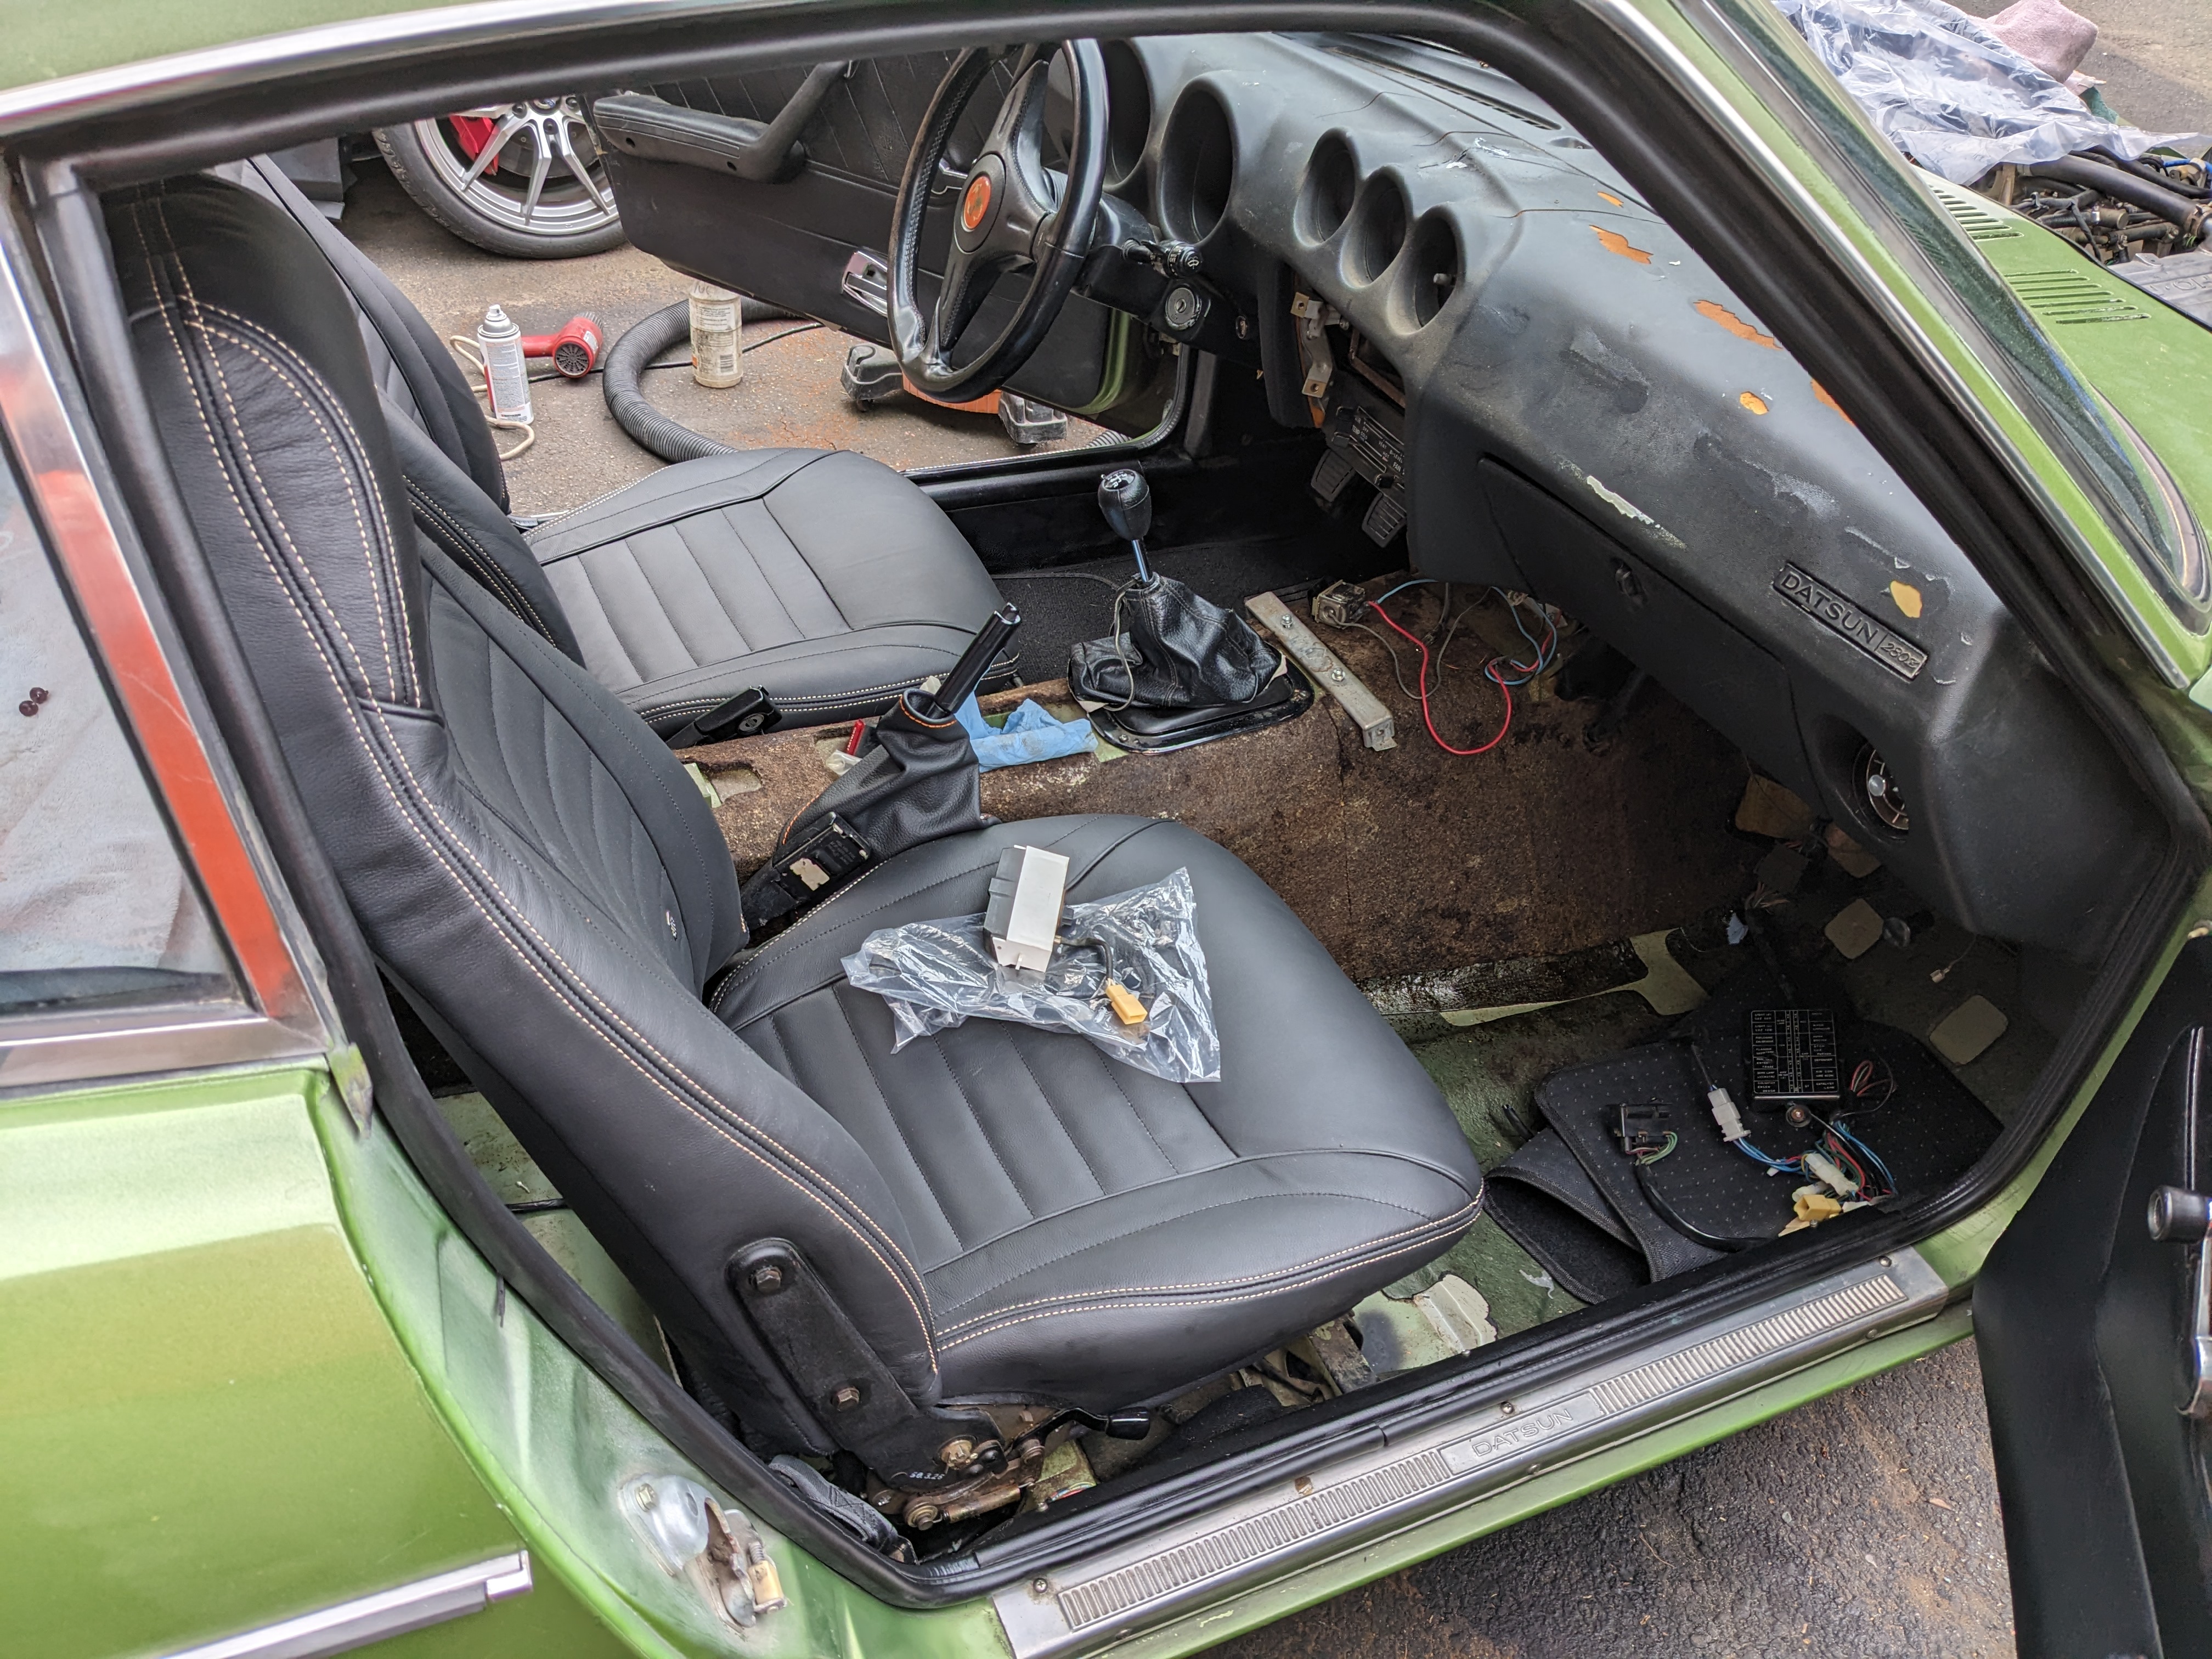
Did you order new Carpet? I ordered mine (75 280Z) from NewarkAuto. The quality of the carpet is very good. Properly backed as well. They have a kit listed for the '77, which is definitely not the same layout as my 75. Can't tell from the image if they cut & seam the strap openings you would require. I would call them to check .

-
I was thinking I may have to squat inside & have my wife spray the roof (trying to simulate rain, so not a jet aimed directly into the hatch channel). I'll drop the interior trim for a better look see.
-
I chose them over some of the other rear brake conversions because they use a newer (more readily available for servicing) rear caliper & pads. They have been super responsive to email questions. I haven't fitted the brake conversion yet so I can't speak to the quality of fit. I'll post pics of course when I get there.
-
Thank you for the responses. The hinge area makes the most sense, in terms of water dropping directly from above, the car sits basically level, only a slight downhill angle of a few degrees. The undermatting in the hatch area was only damp where it touched the water in the rear pocket area, it's not wet below the hatch. I'll drop the trim panel & see if I can see what the hinge seals look like. I guess the next step would be figuring out who makes them anymore.
-
I thought of you this weekend as I was down in Philly with some Art Honor students, visiting PAFA & Philly Museum of Art. 😬 There is also a cool Sculpture park about 1/2hour North




-
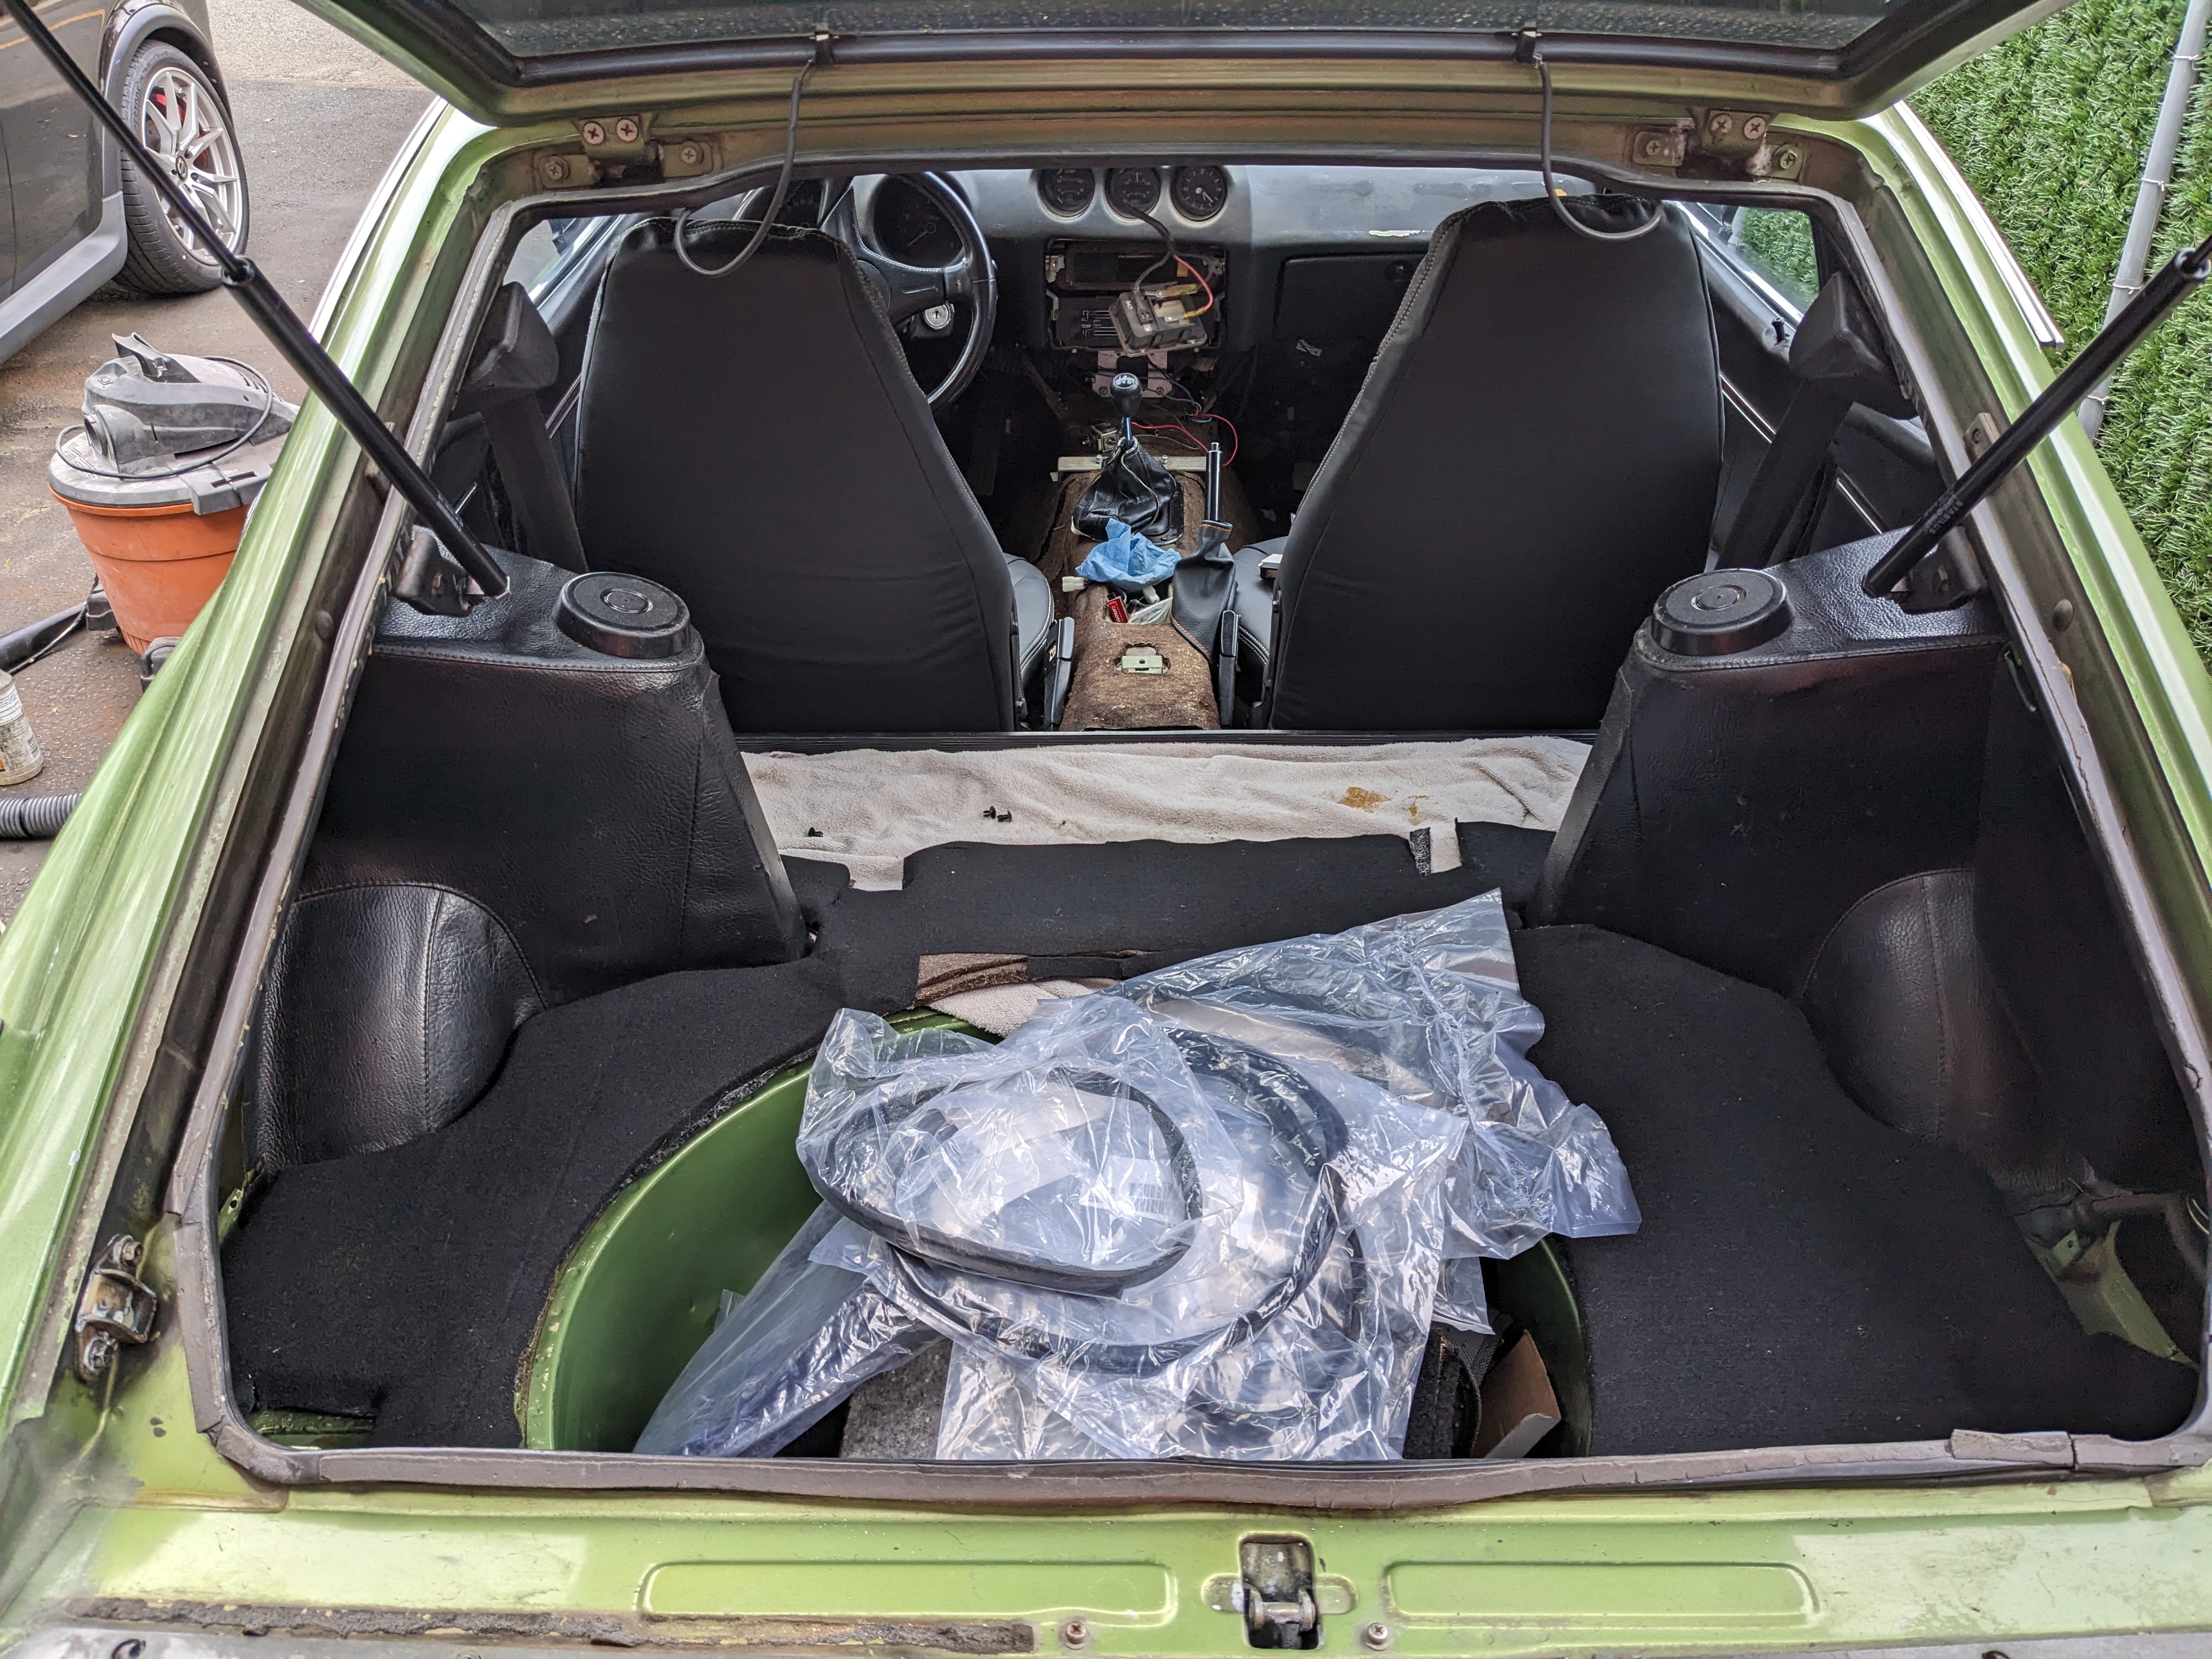
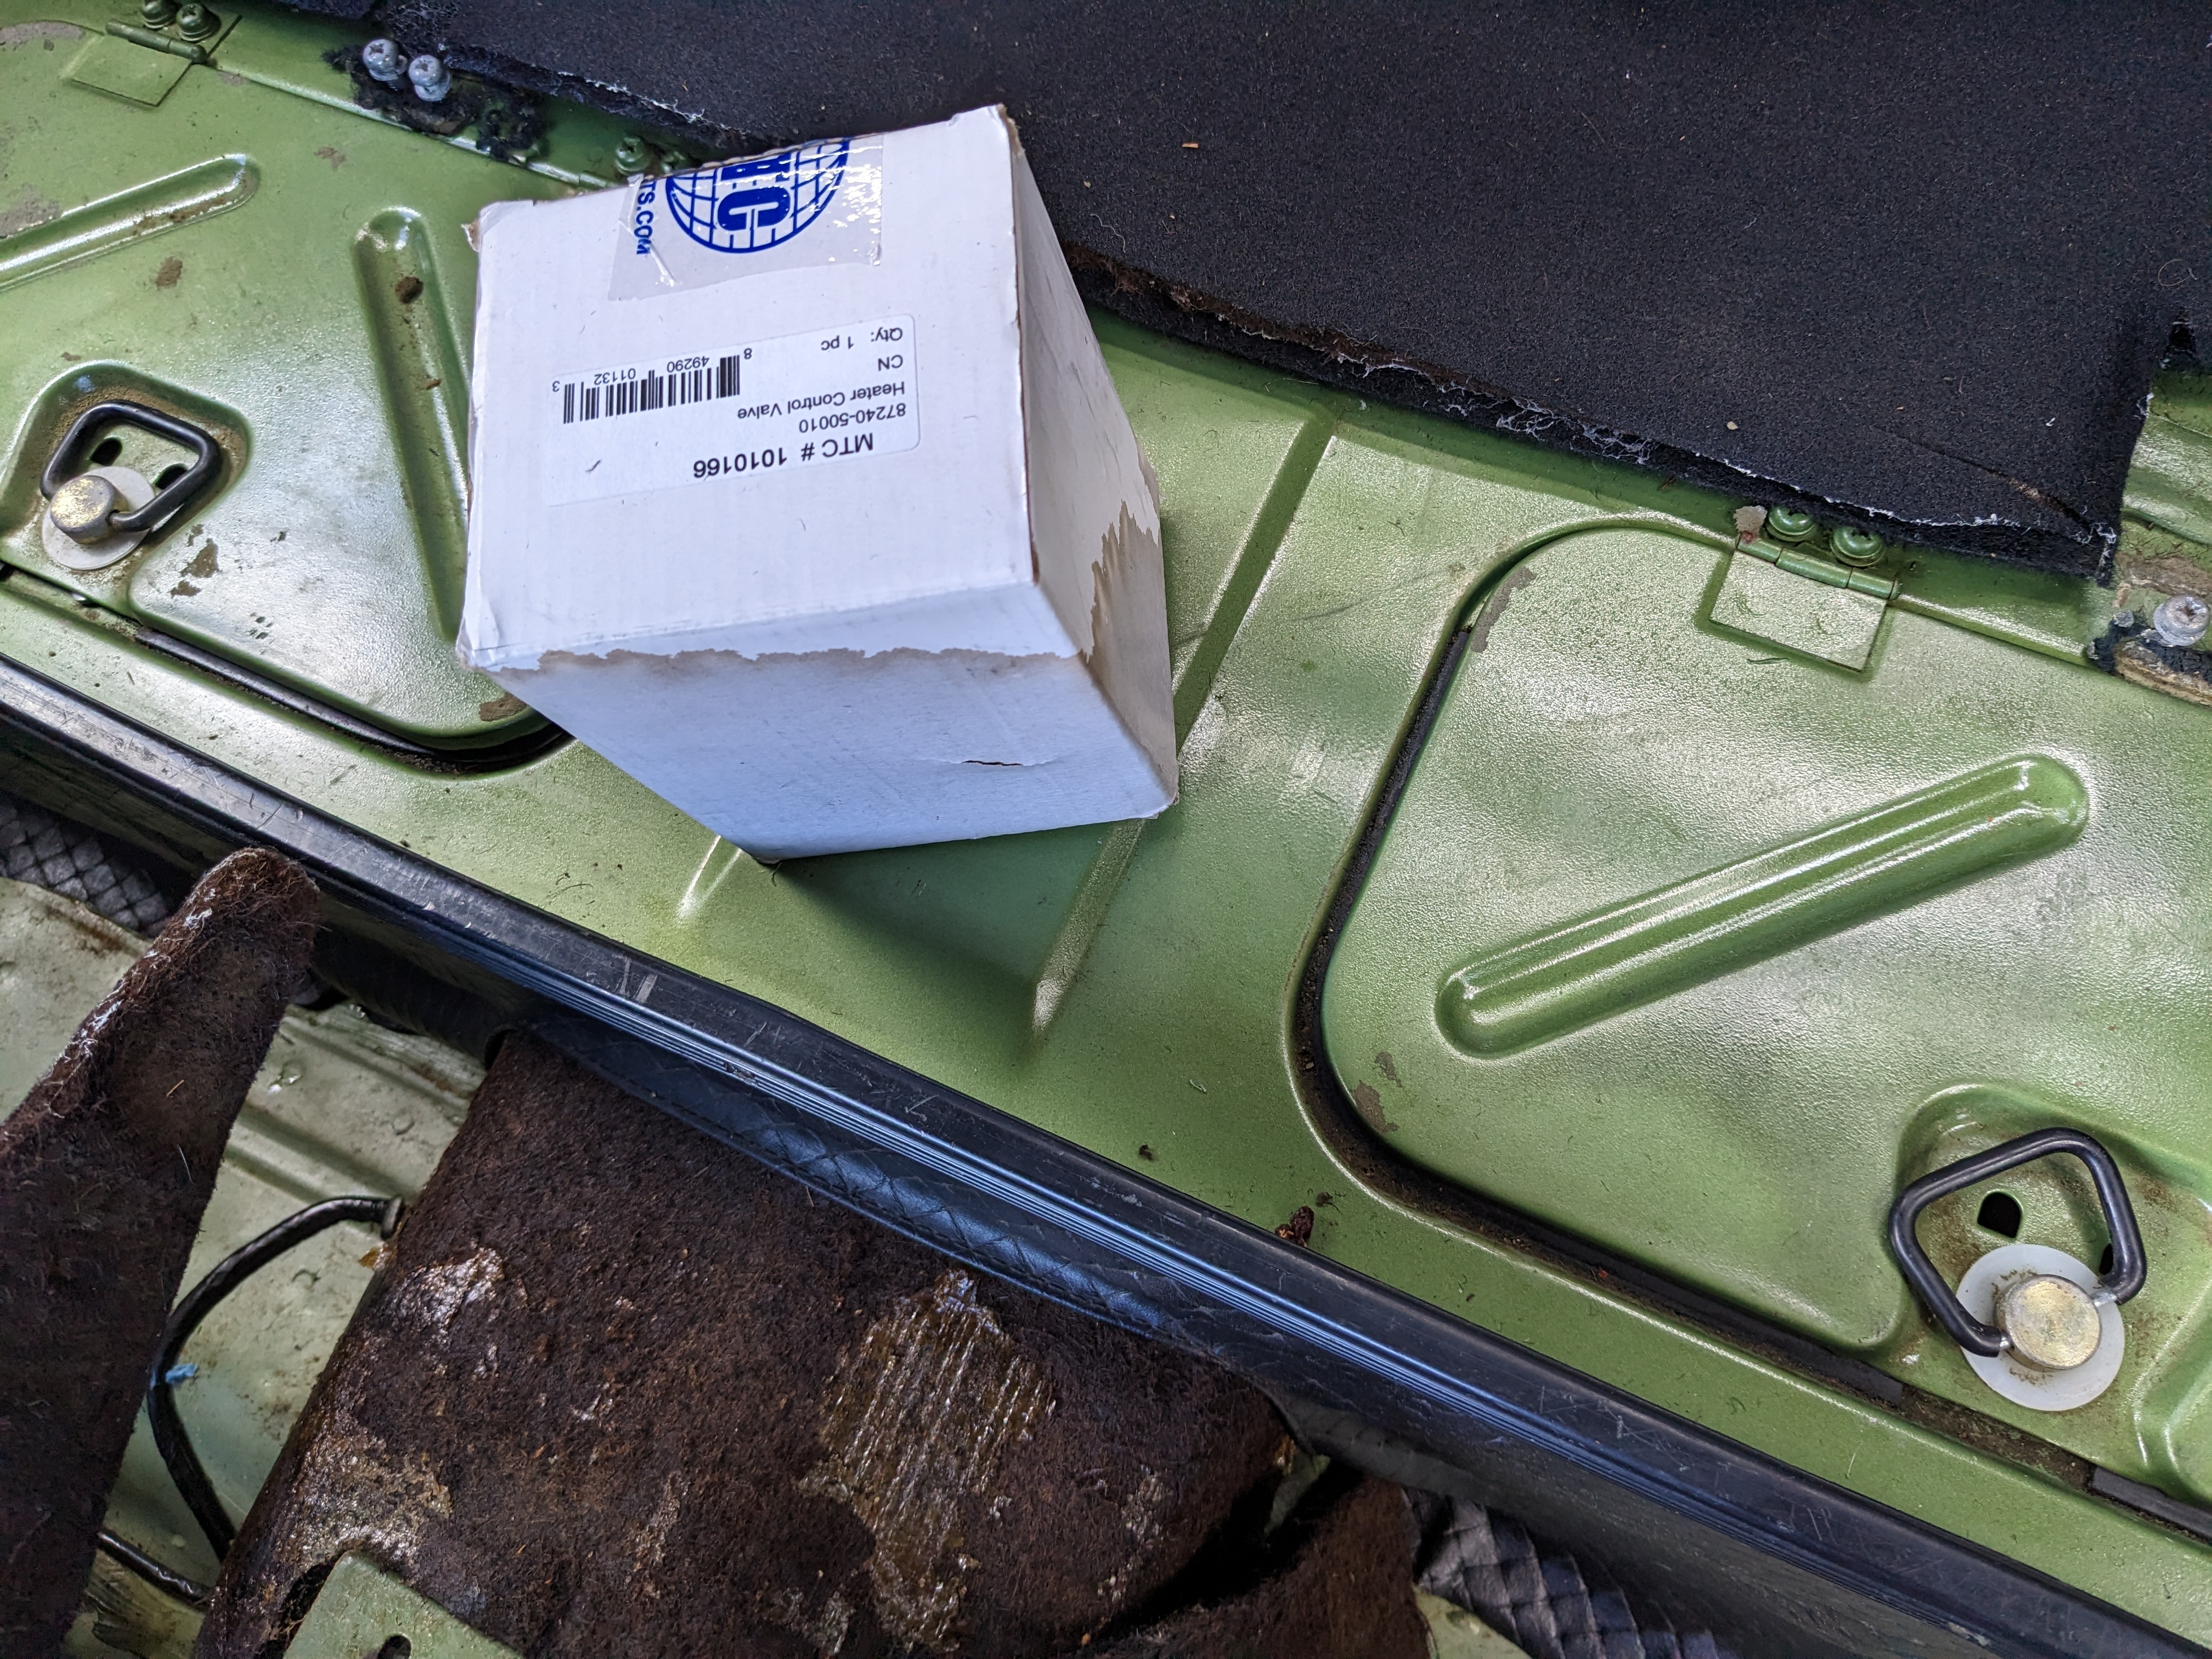
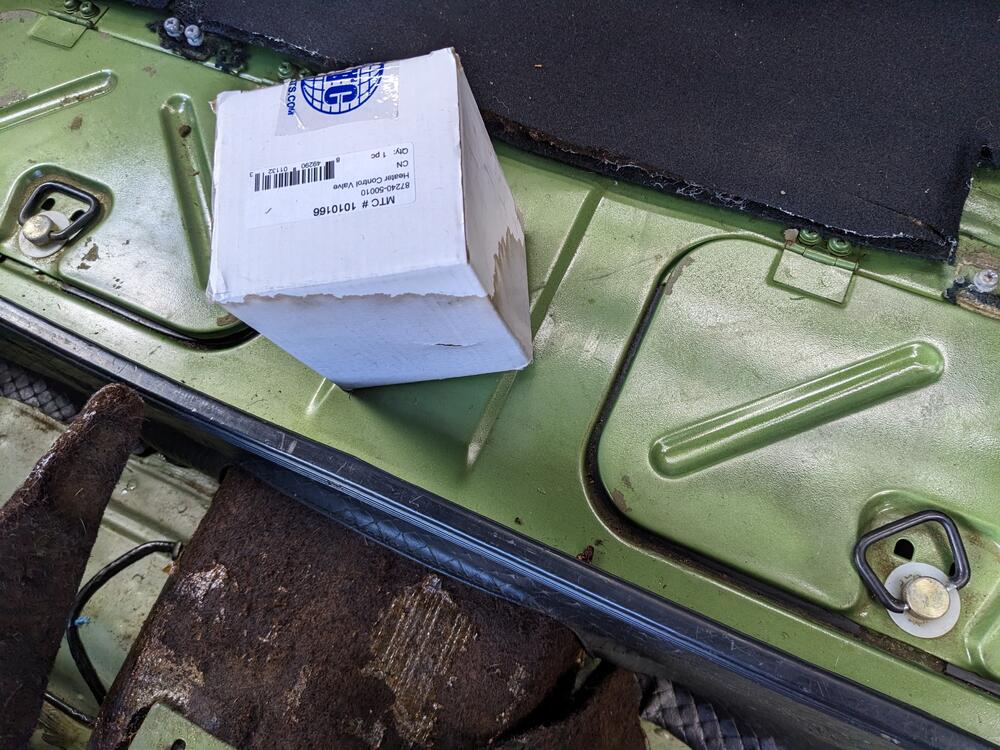
We had a deluge here last night. When I checked the car this afternoon, it was obvious water had got into the car, but I can't be sure where to look for the source. There are no stains on the inner roof trim that would indicate the passage of water, however most of the wet area was along the lip behind the seats, down into the pockets and from there out onto the floor pans. I had a box sitting on the ledge and it obviously absorbed an amount of water. This pic was after I mopped up the water by the ridge. Any specific places I should be looking? I have a new hatch seal I will be installing anyway, but I don't see how a hatch seal would cause water to drop so far forward
-
Thanks for the link! Not sure if I would go that route, the goal is to rubber mount the compressor in the bracket, to reduce vibration when compressor is running. I have the one on my K-swap Fiat hard mounted, and I've had to be careful with the mount hardware working loose from the vibrations. That one is a top mount, which does seem more of an issue in terms of susceptibility to vibration. I went through several revisions to get it properly mounted. Having it isolated when possible just makes life easier mockup with spare compressor
-
You did this on yours? I was leery of hand drilling the rotors without a lathe or other proper centering equipment, however the machine cost around here to re drill would be around $60 or so per rotor. Hopefully I have them close enough to not cause an eccentric vibration.
-
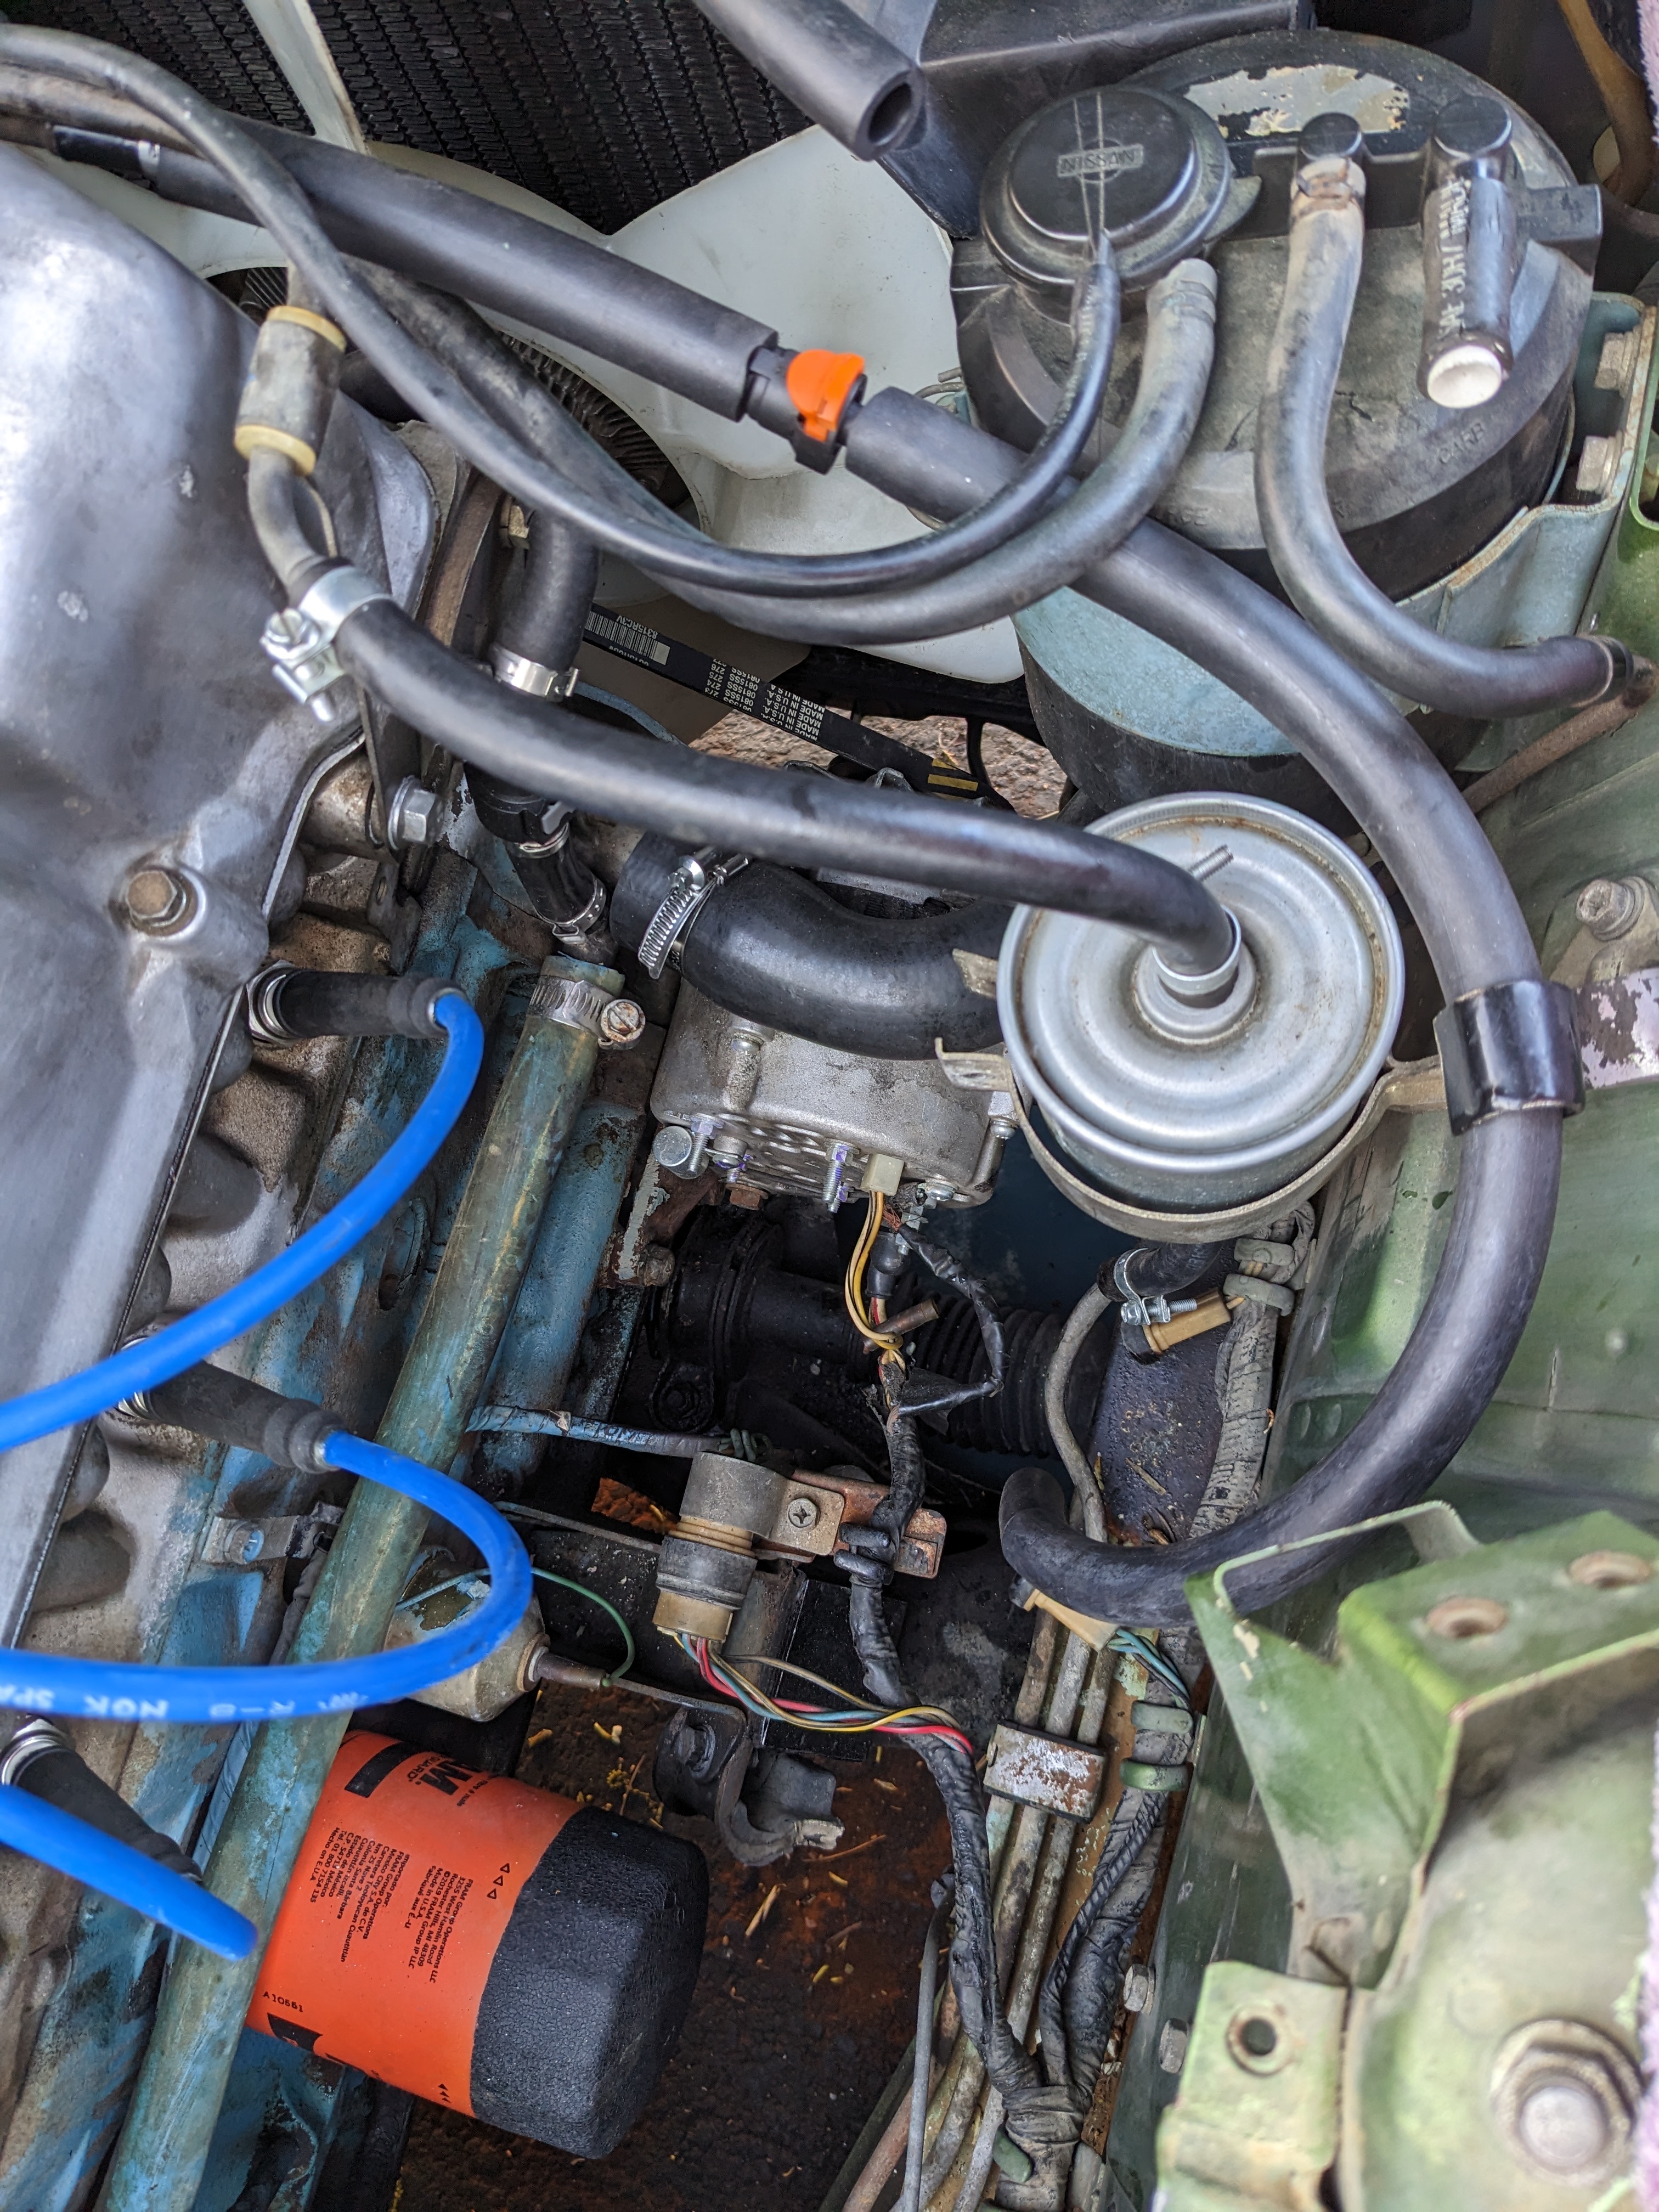
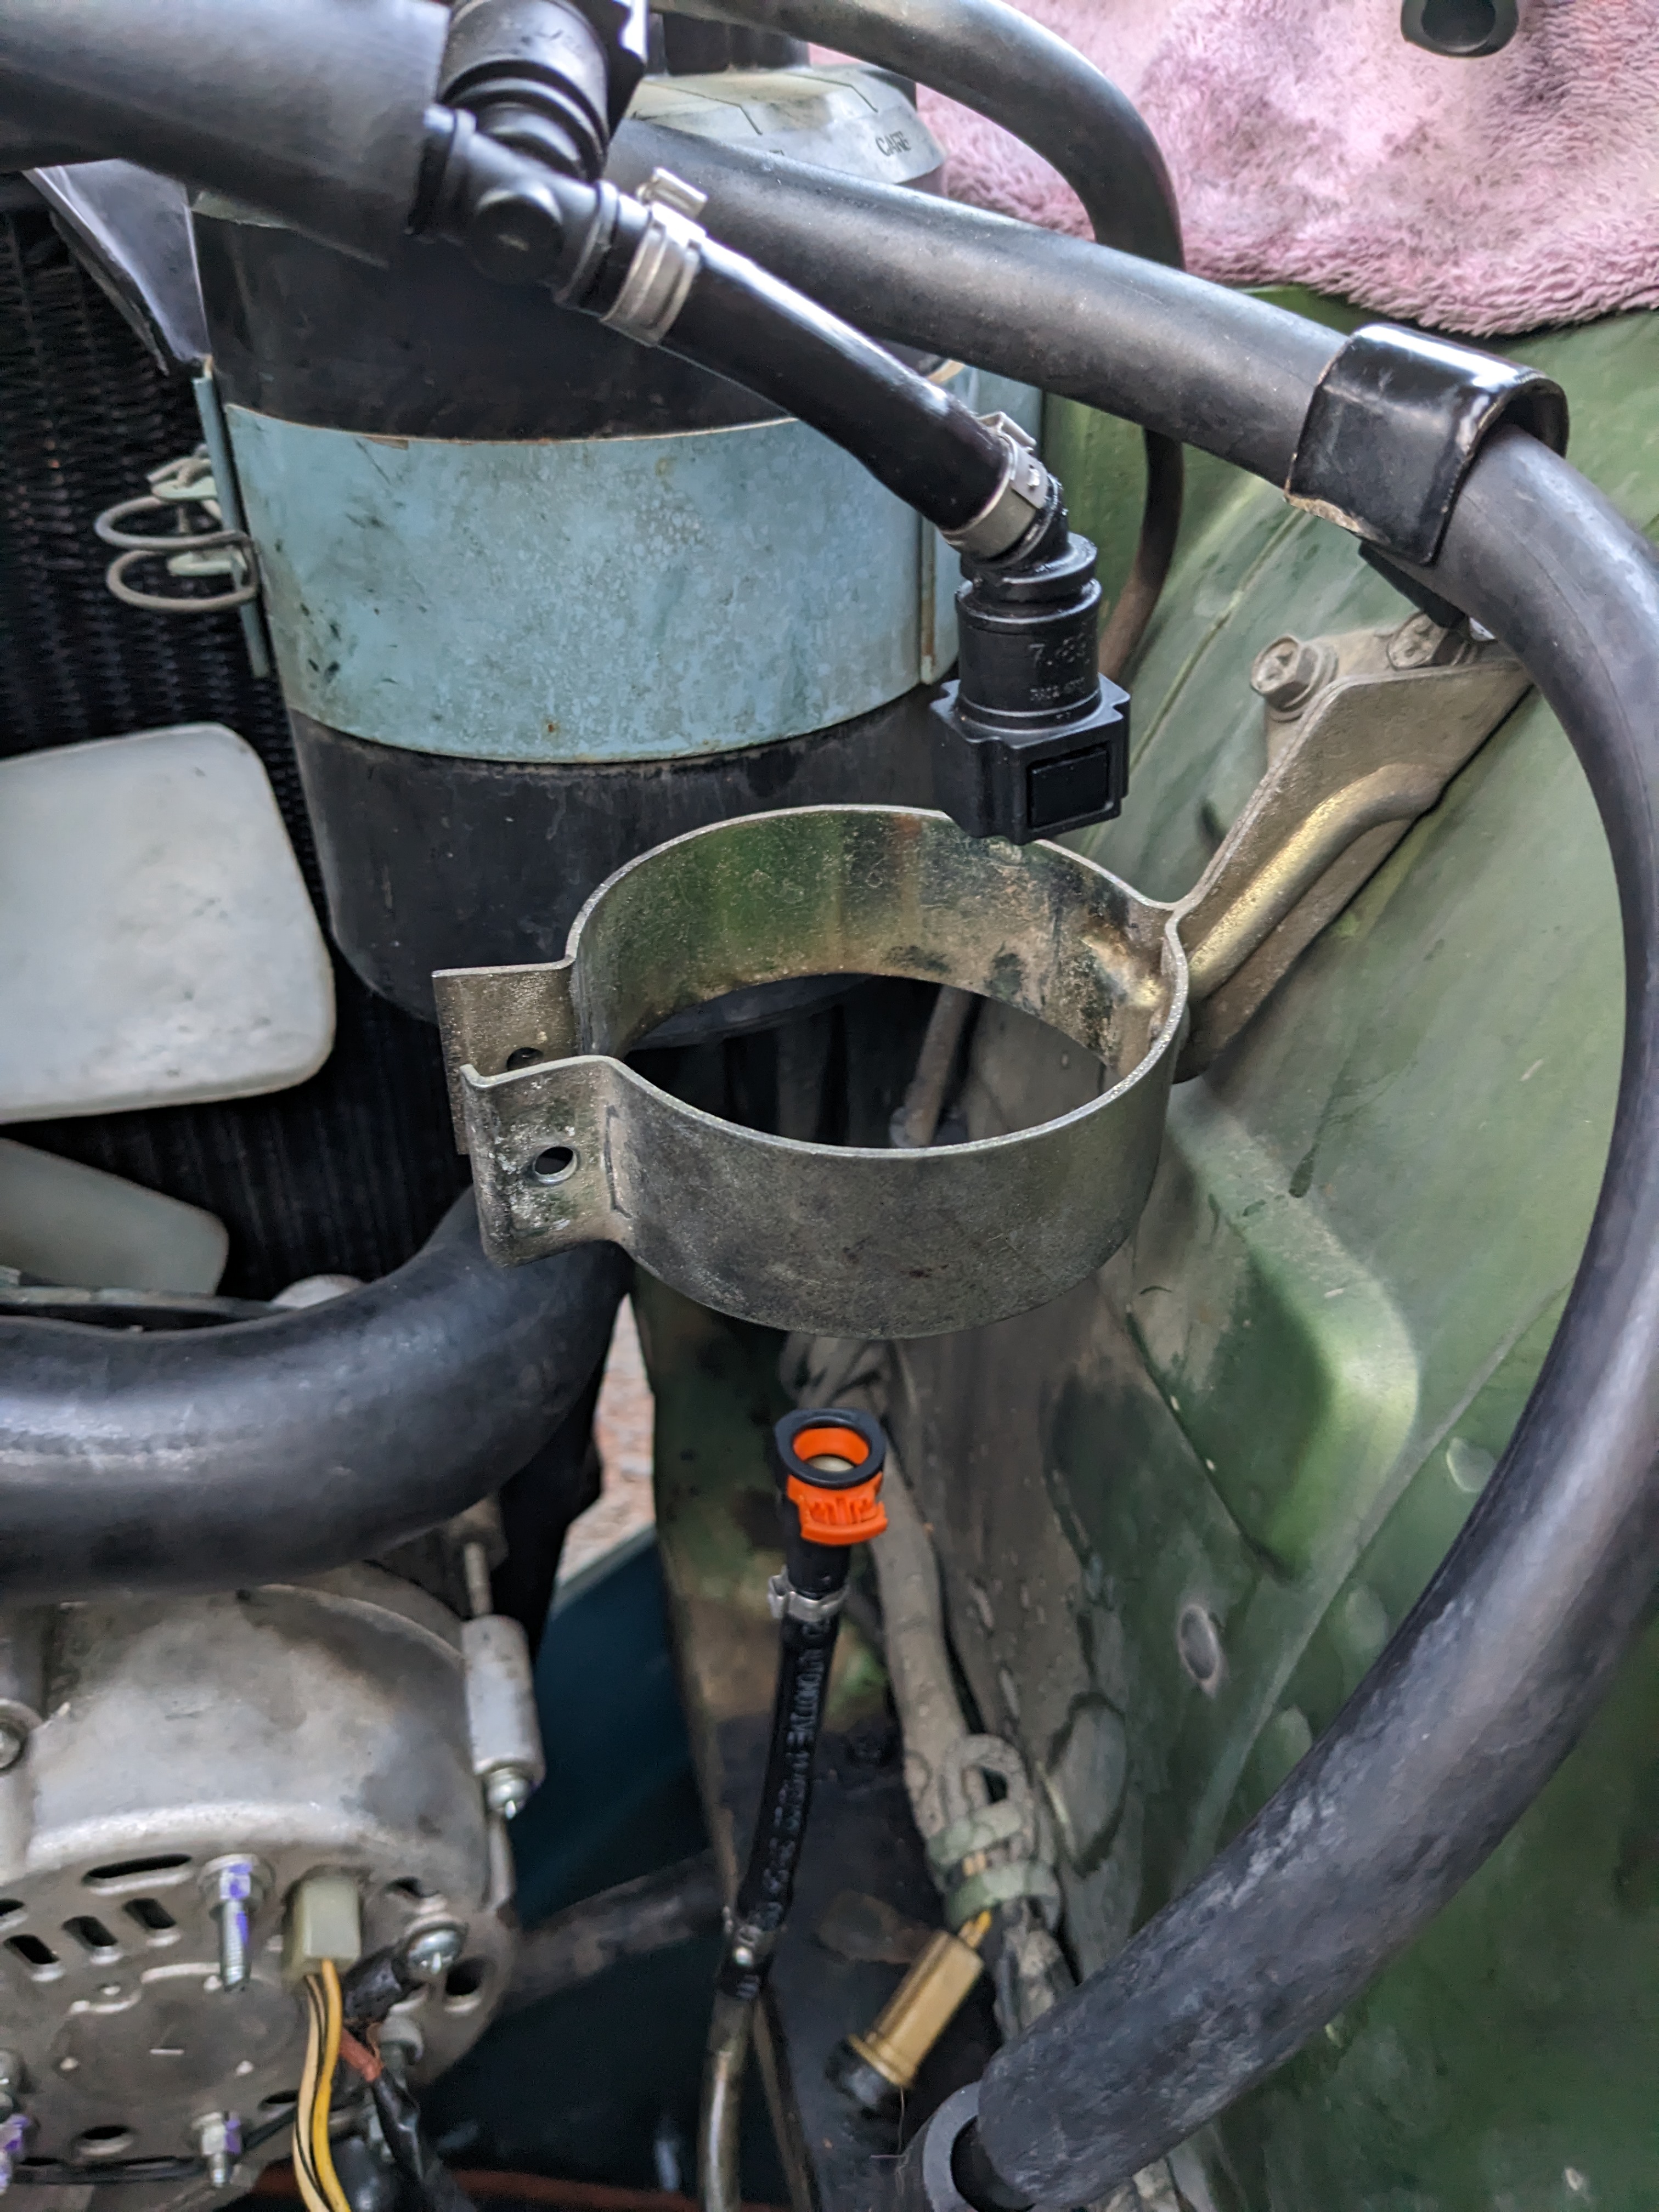
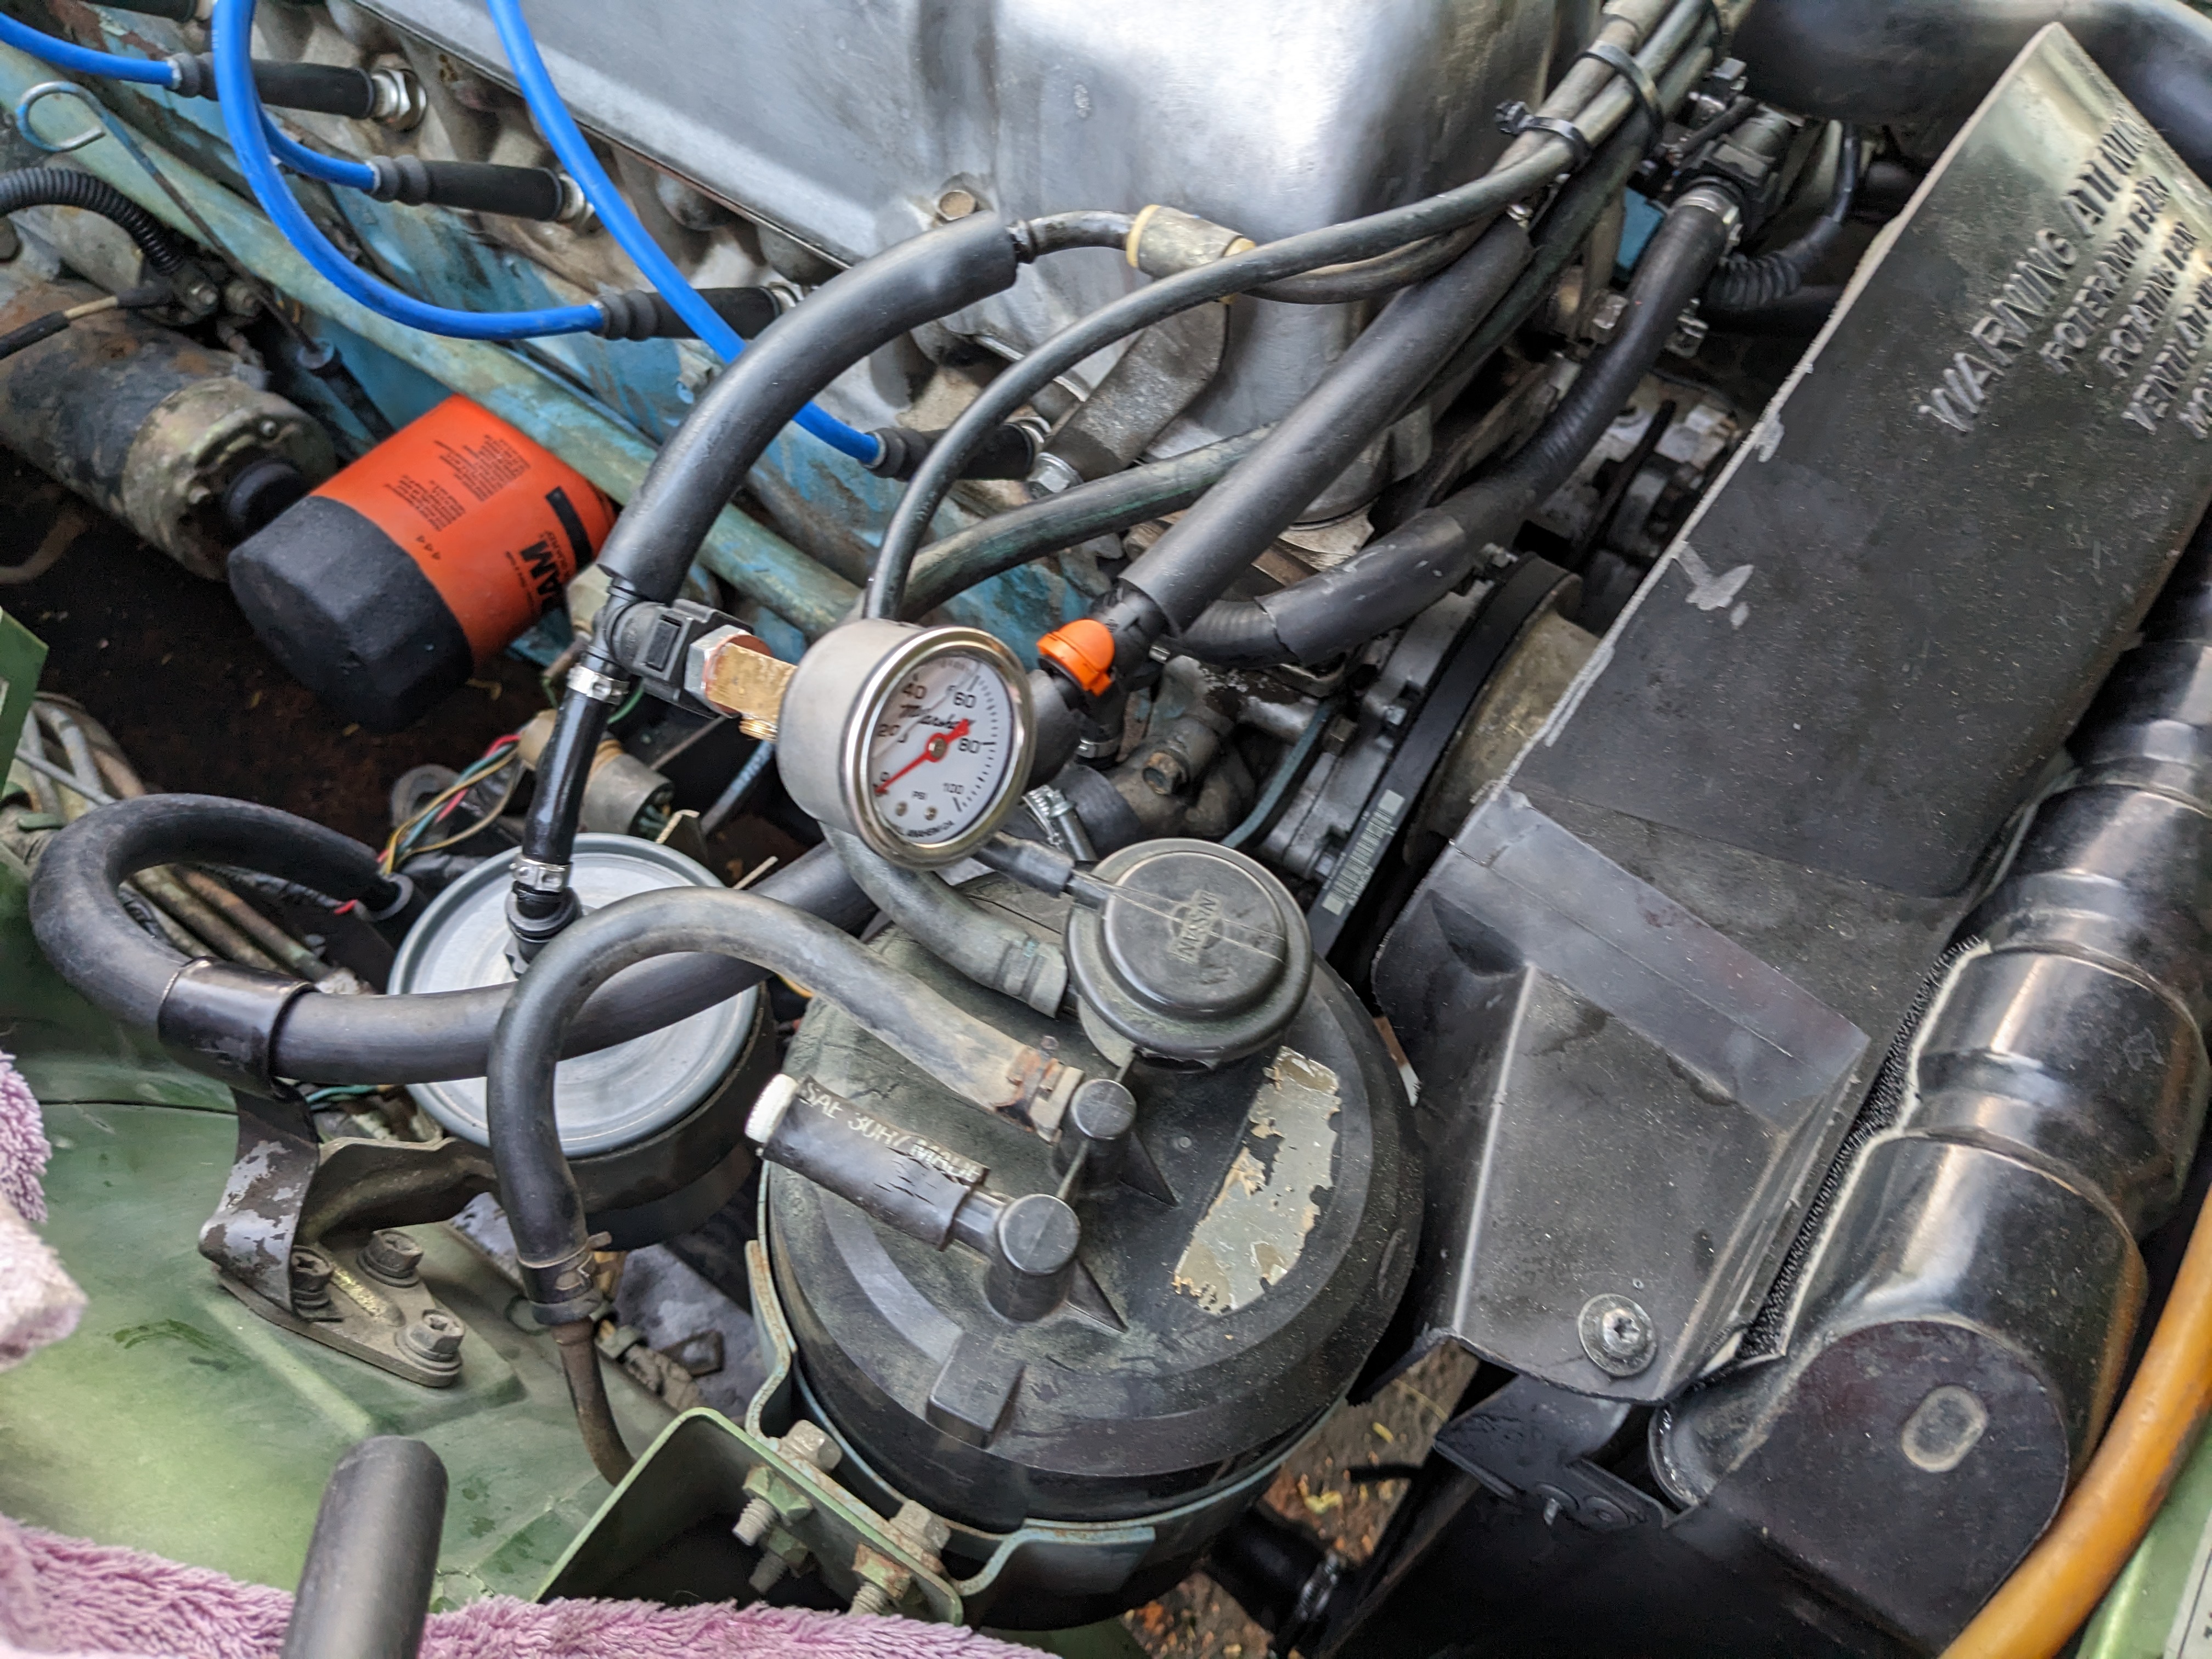
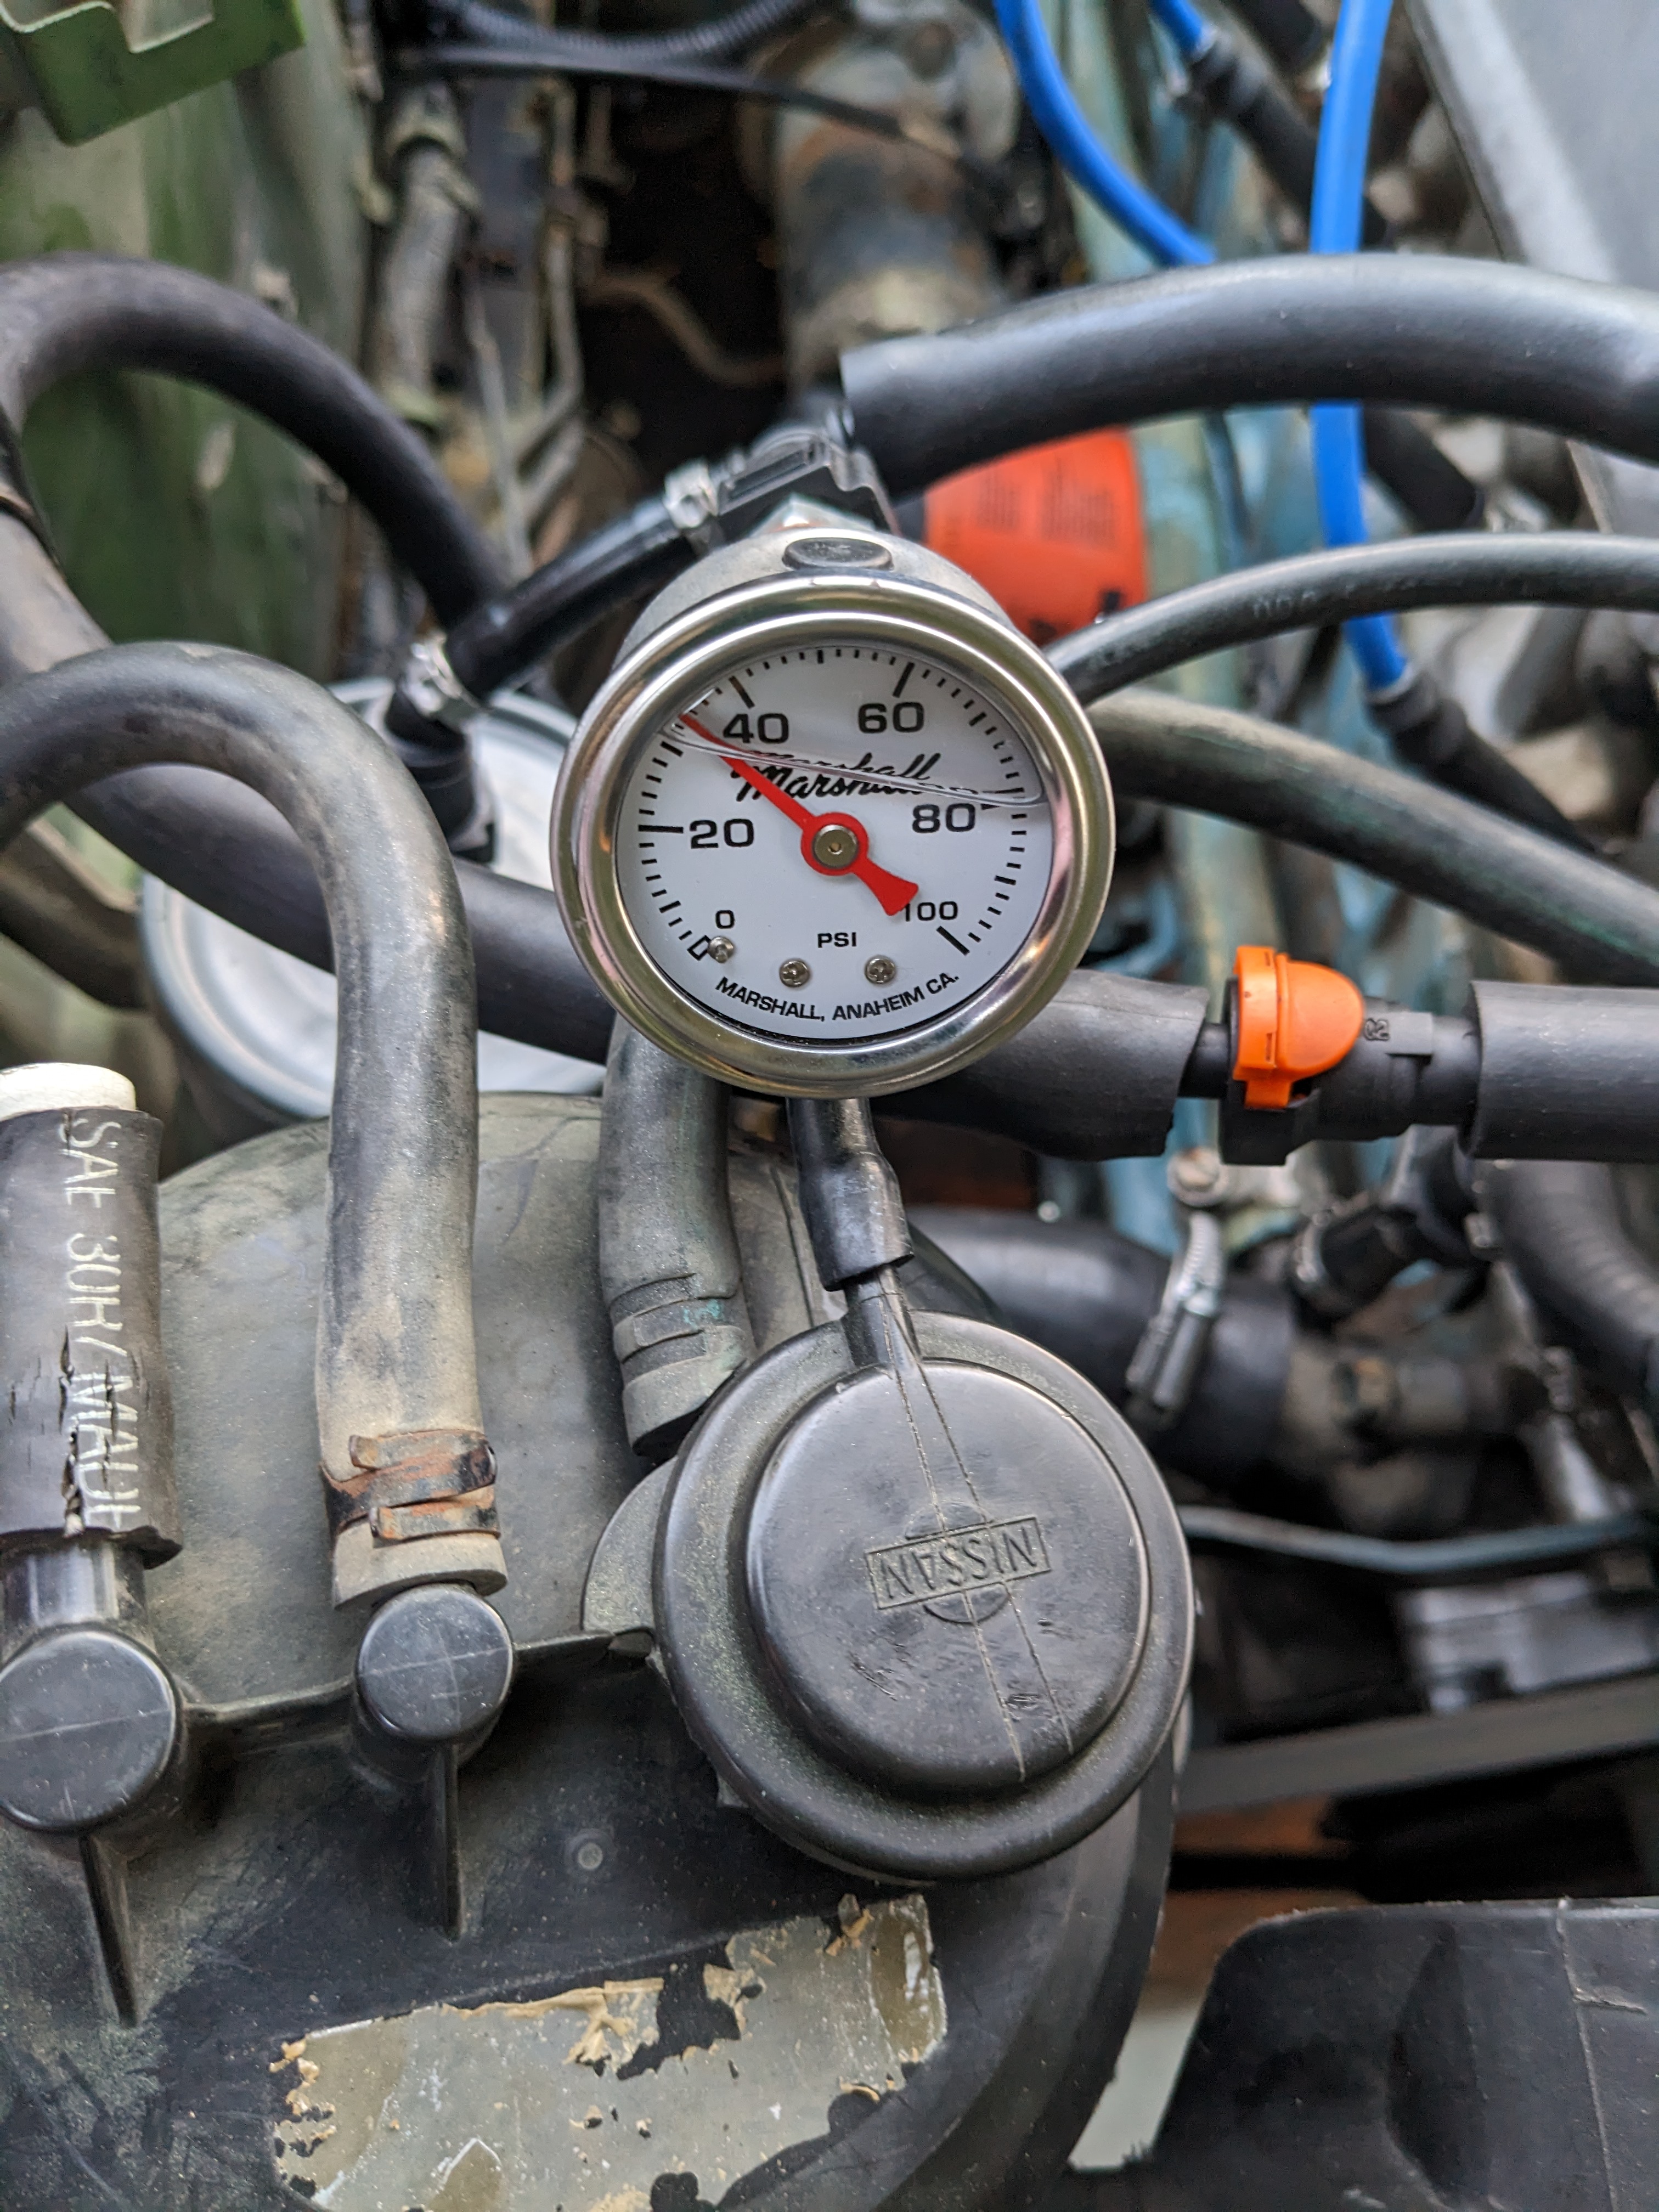
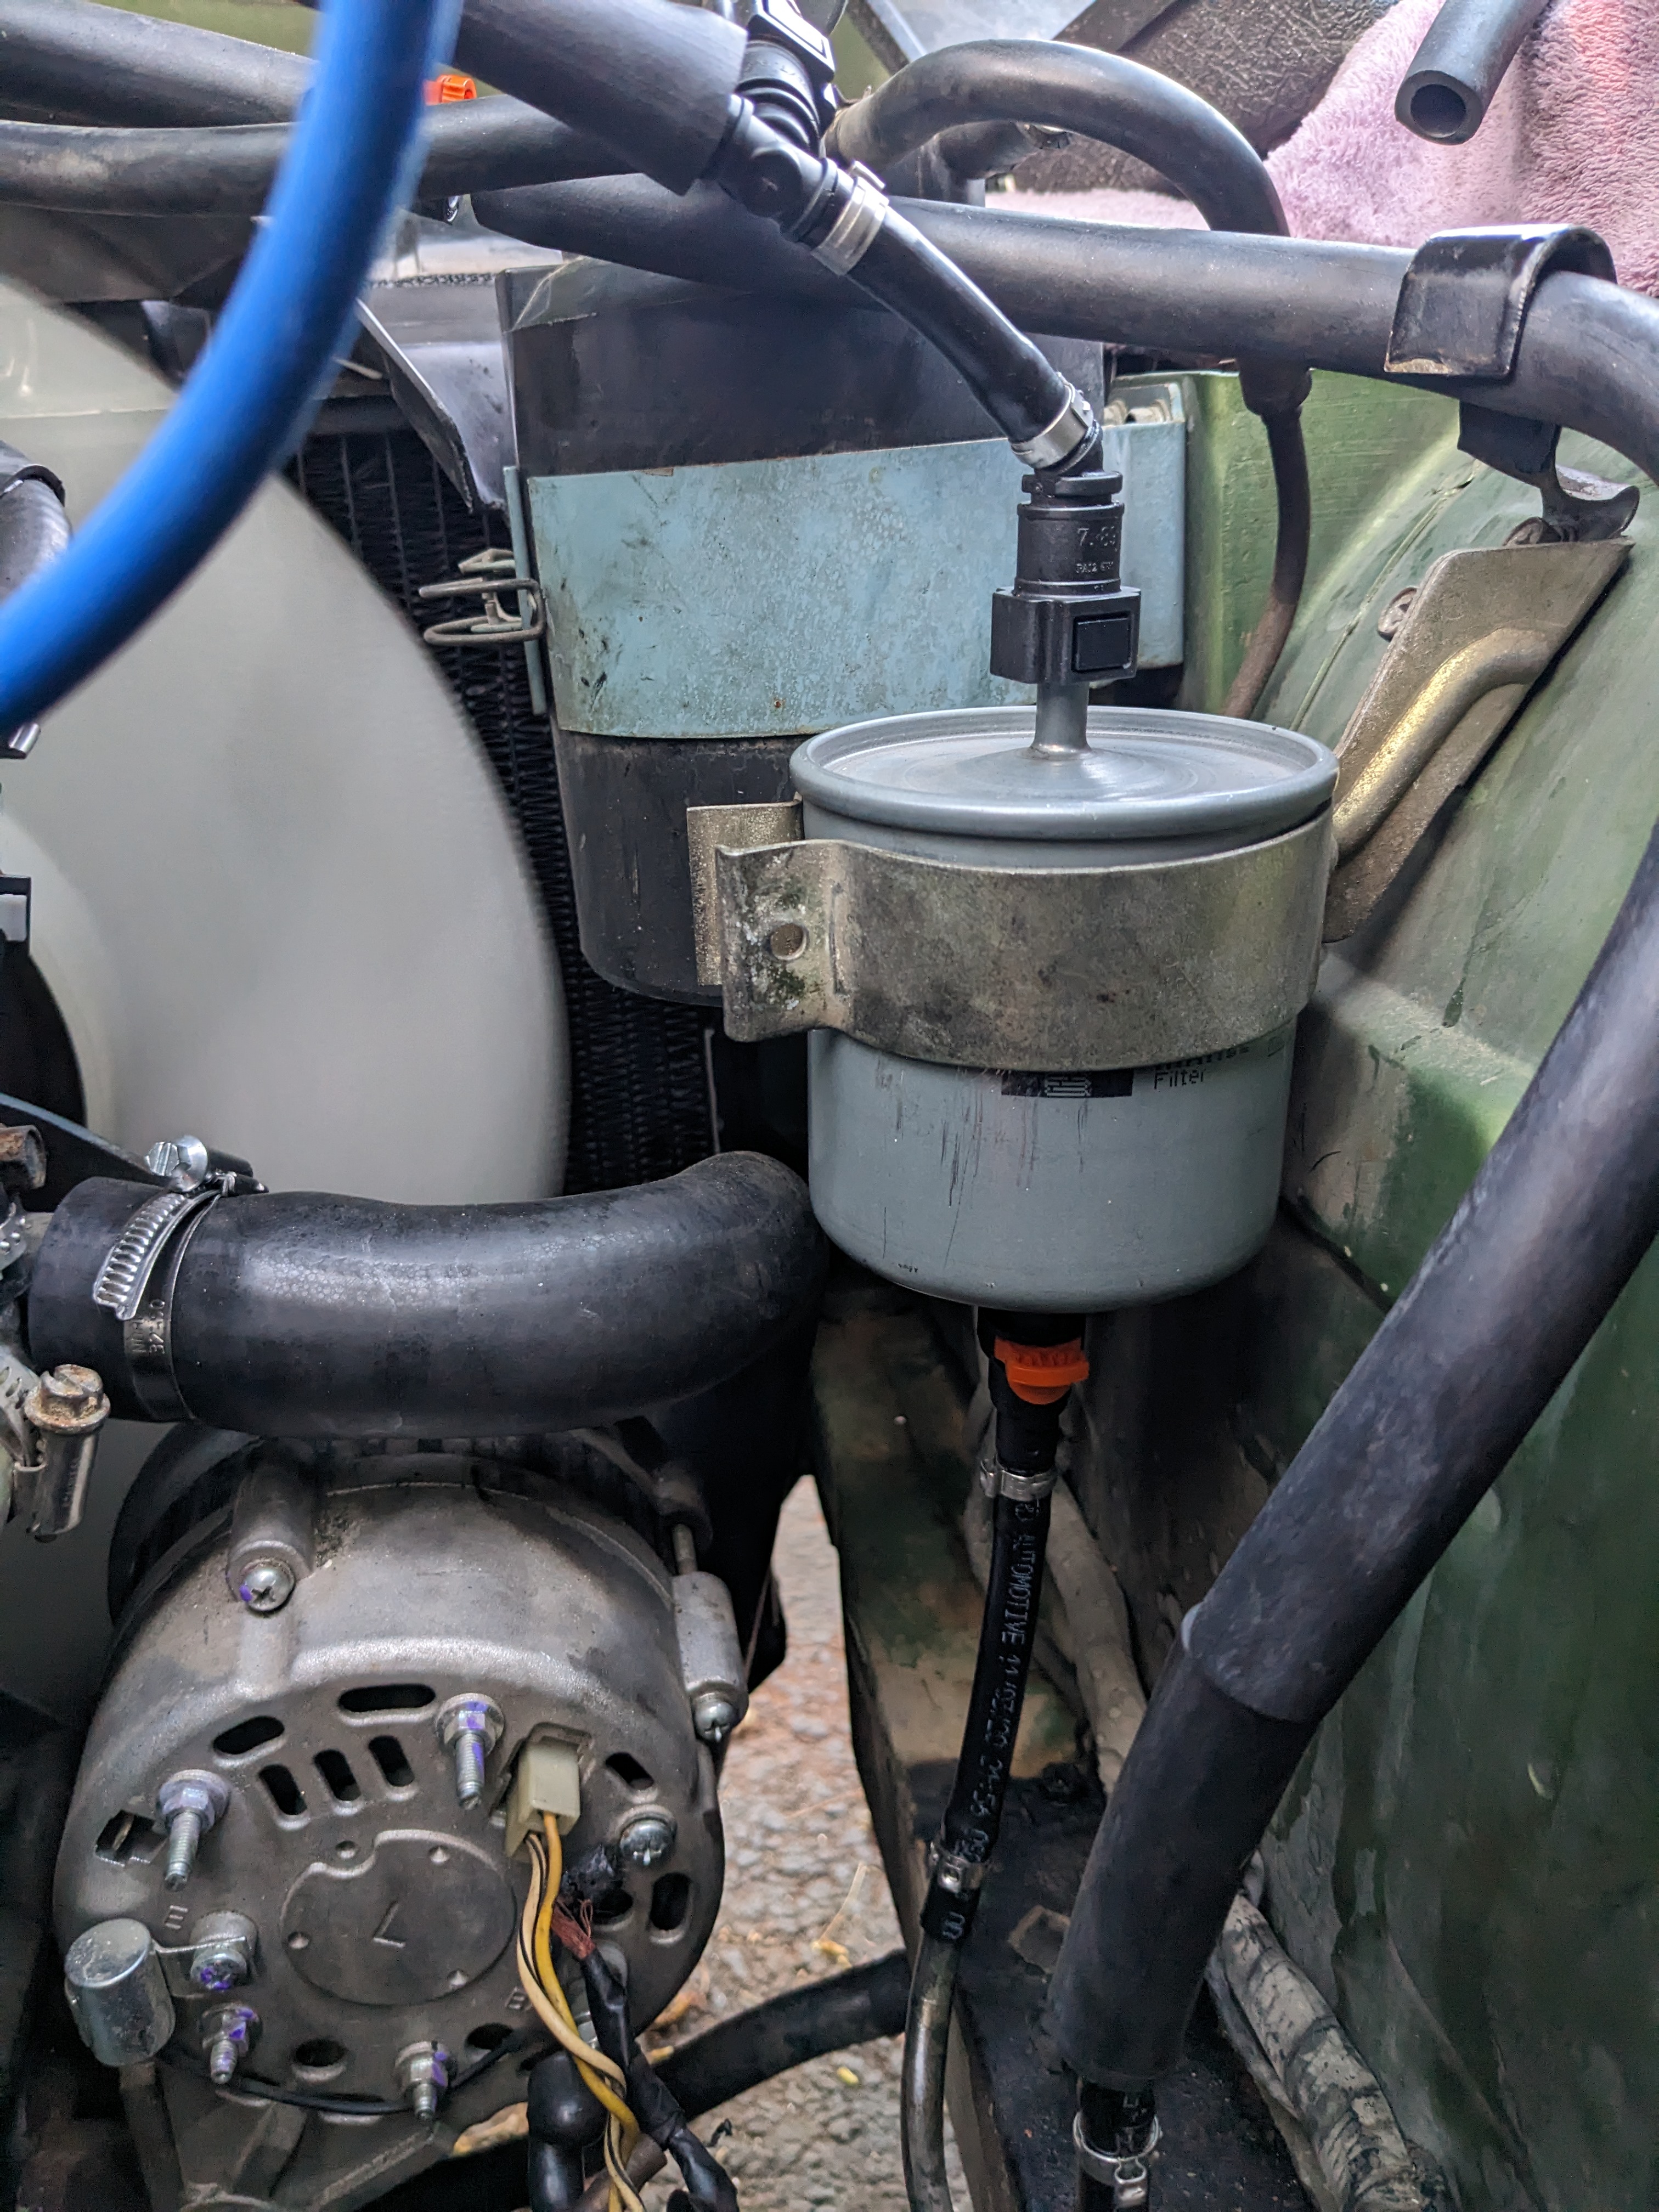
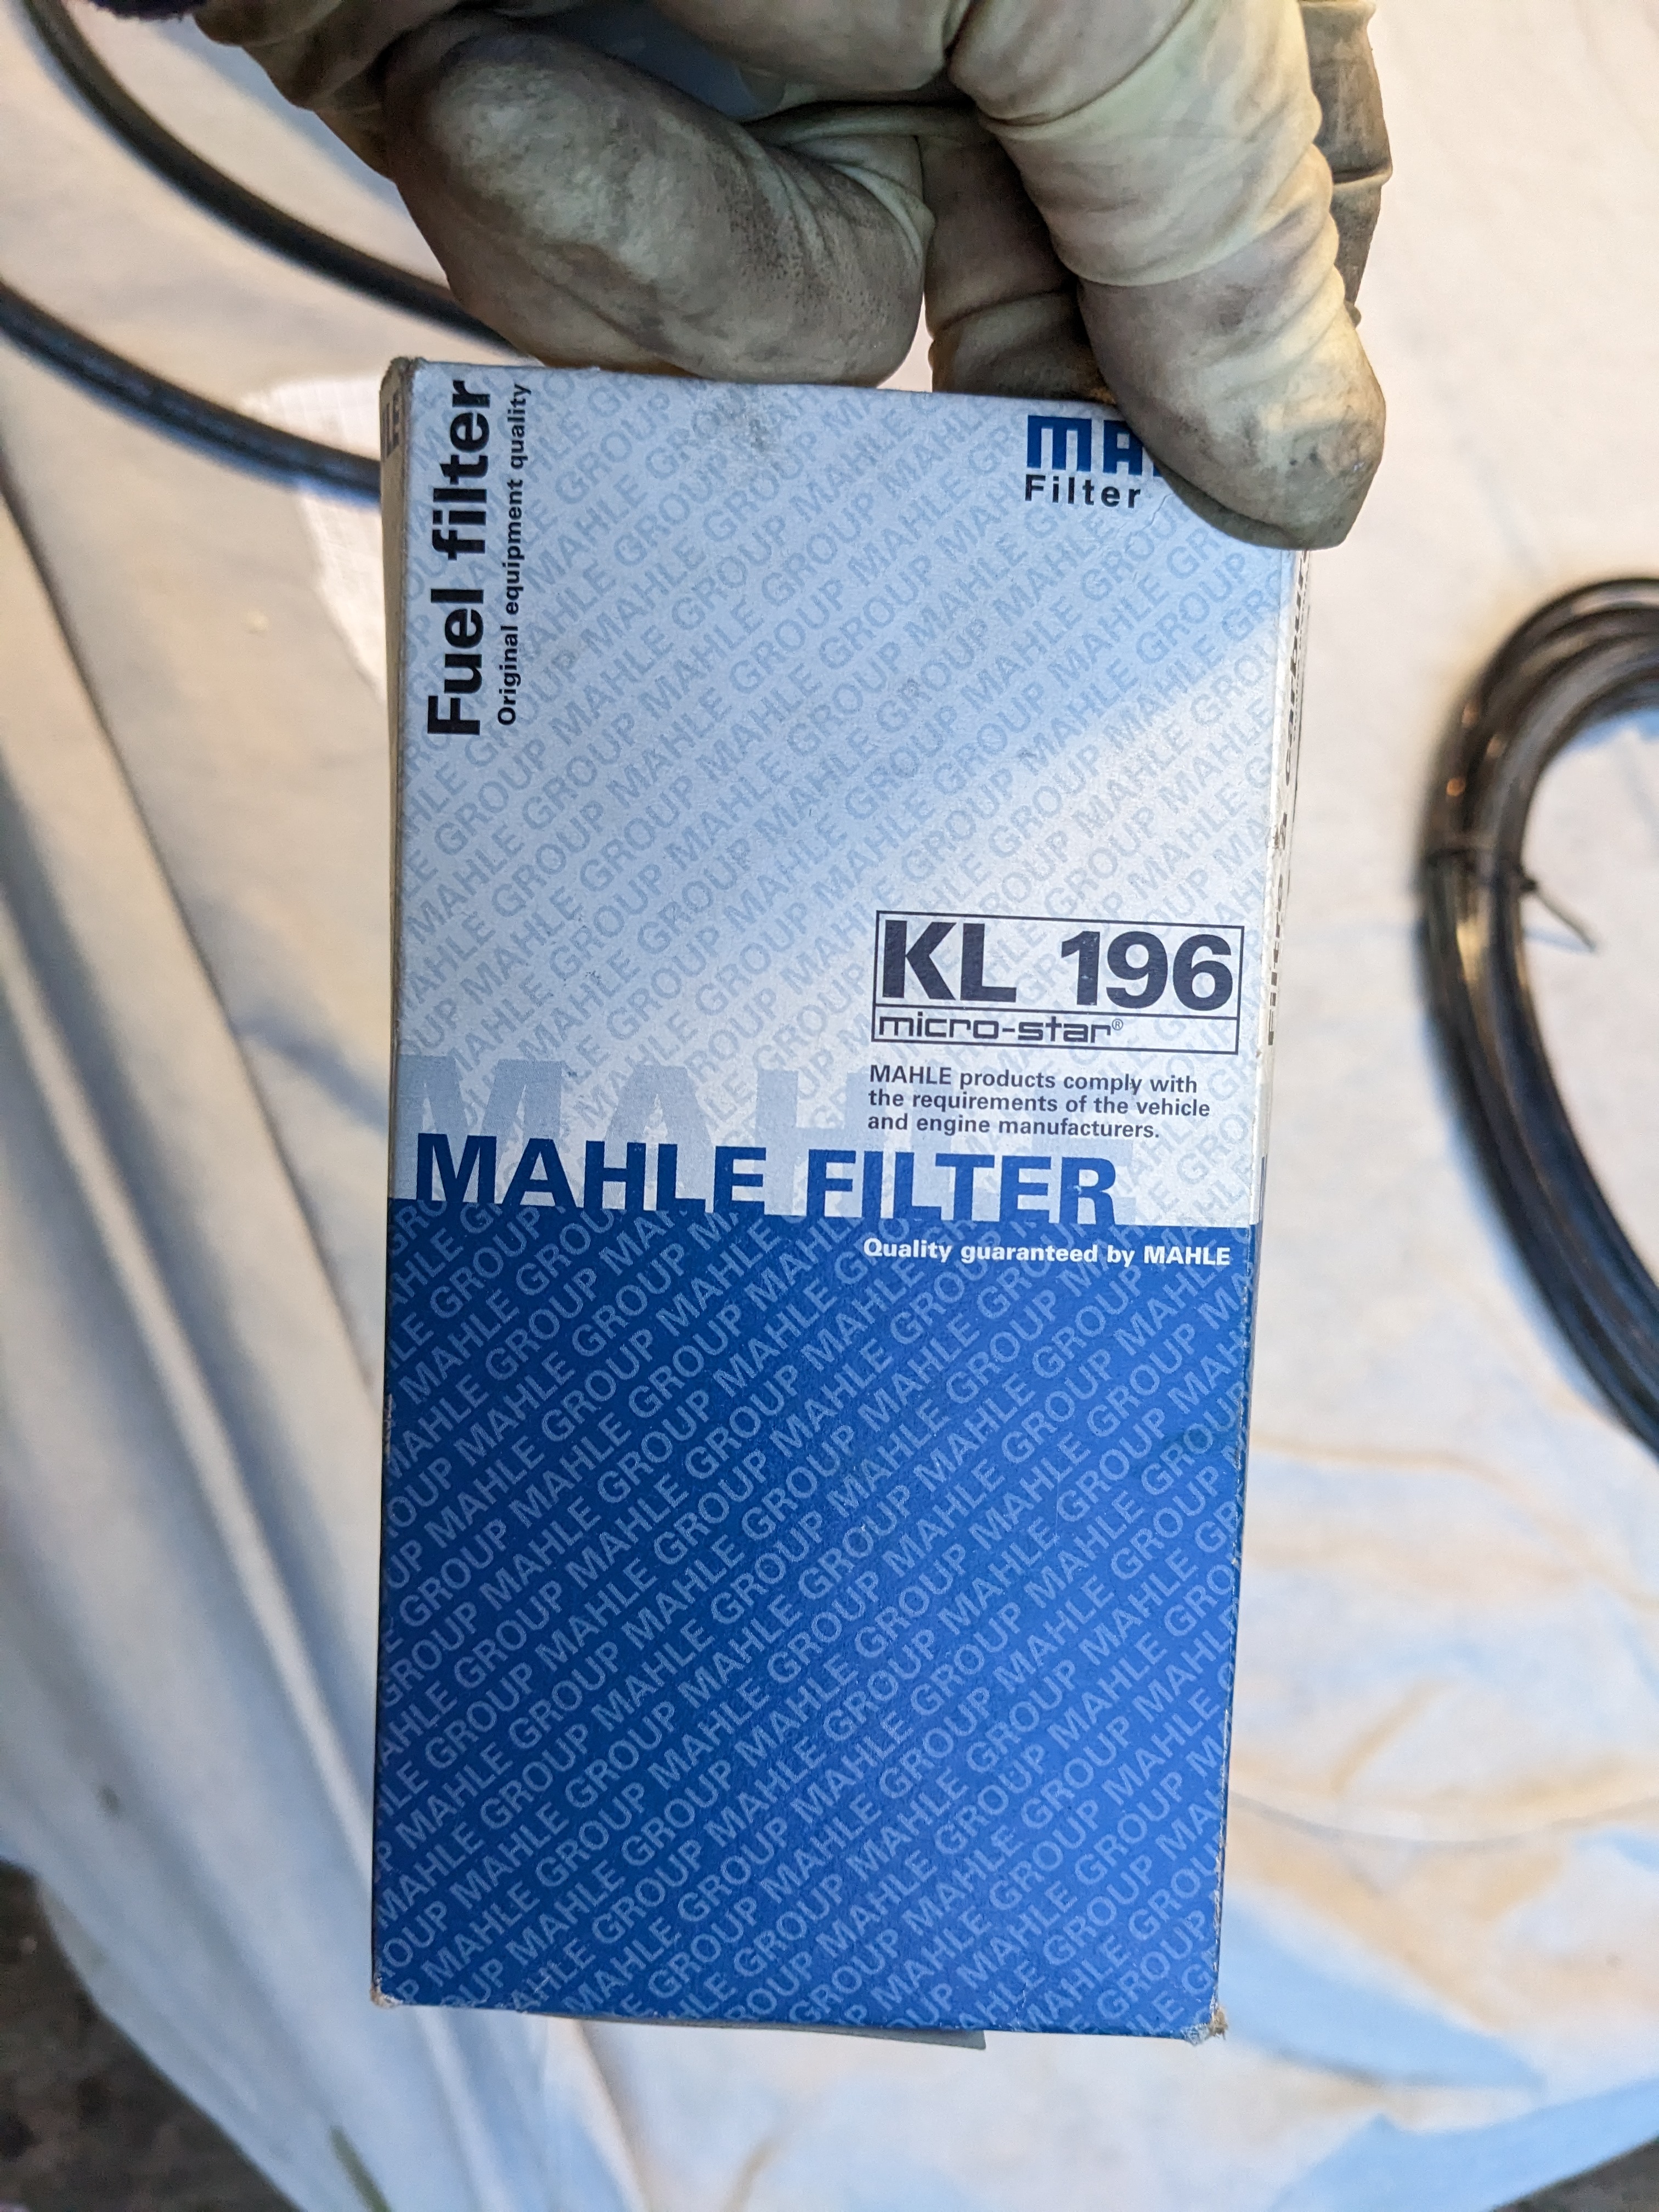
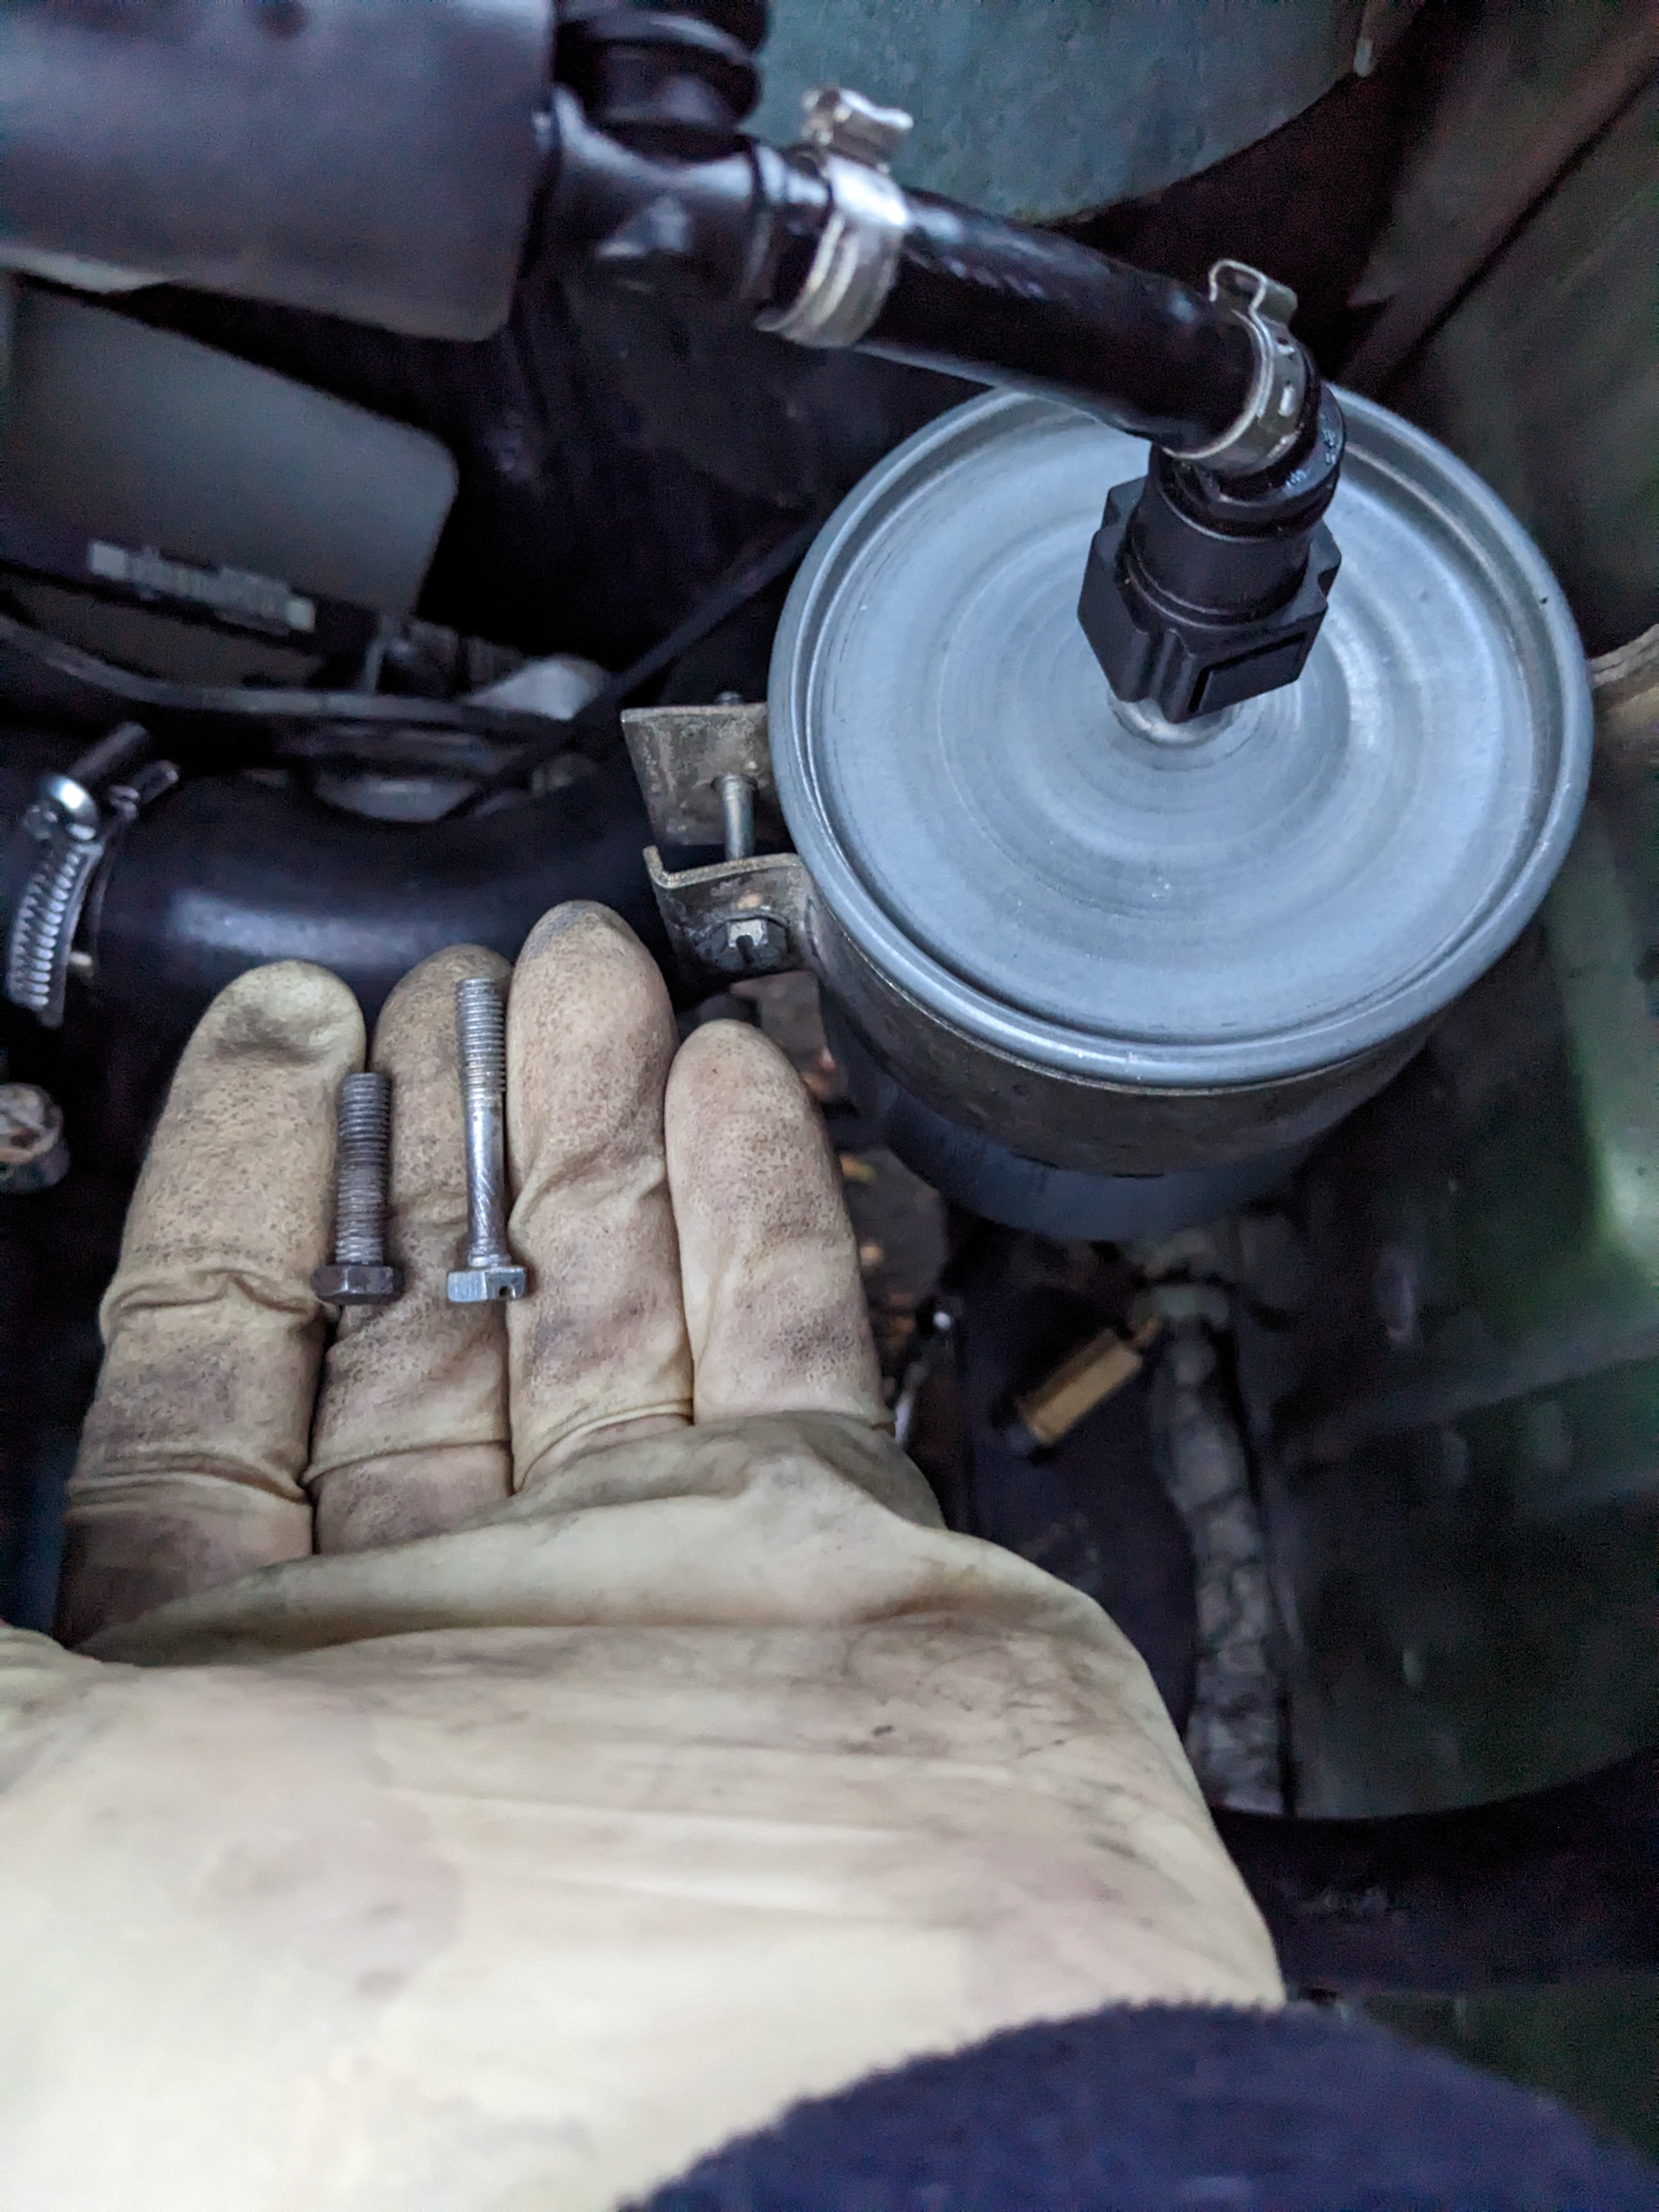
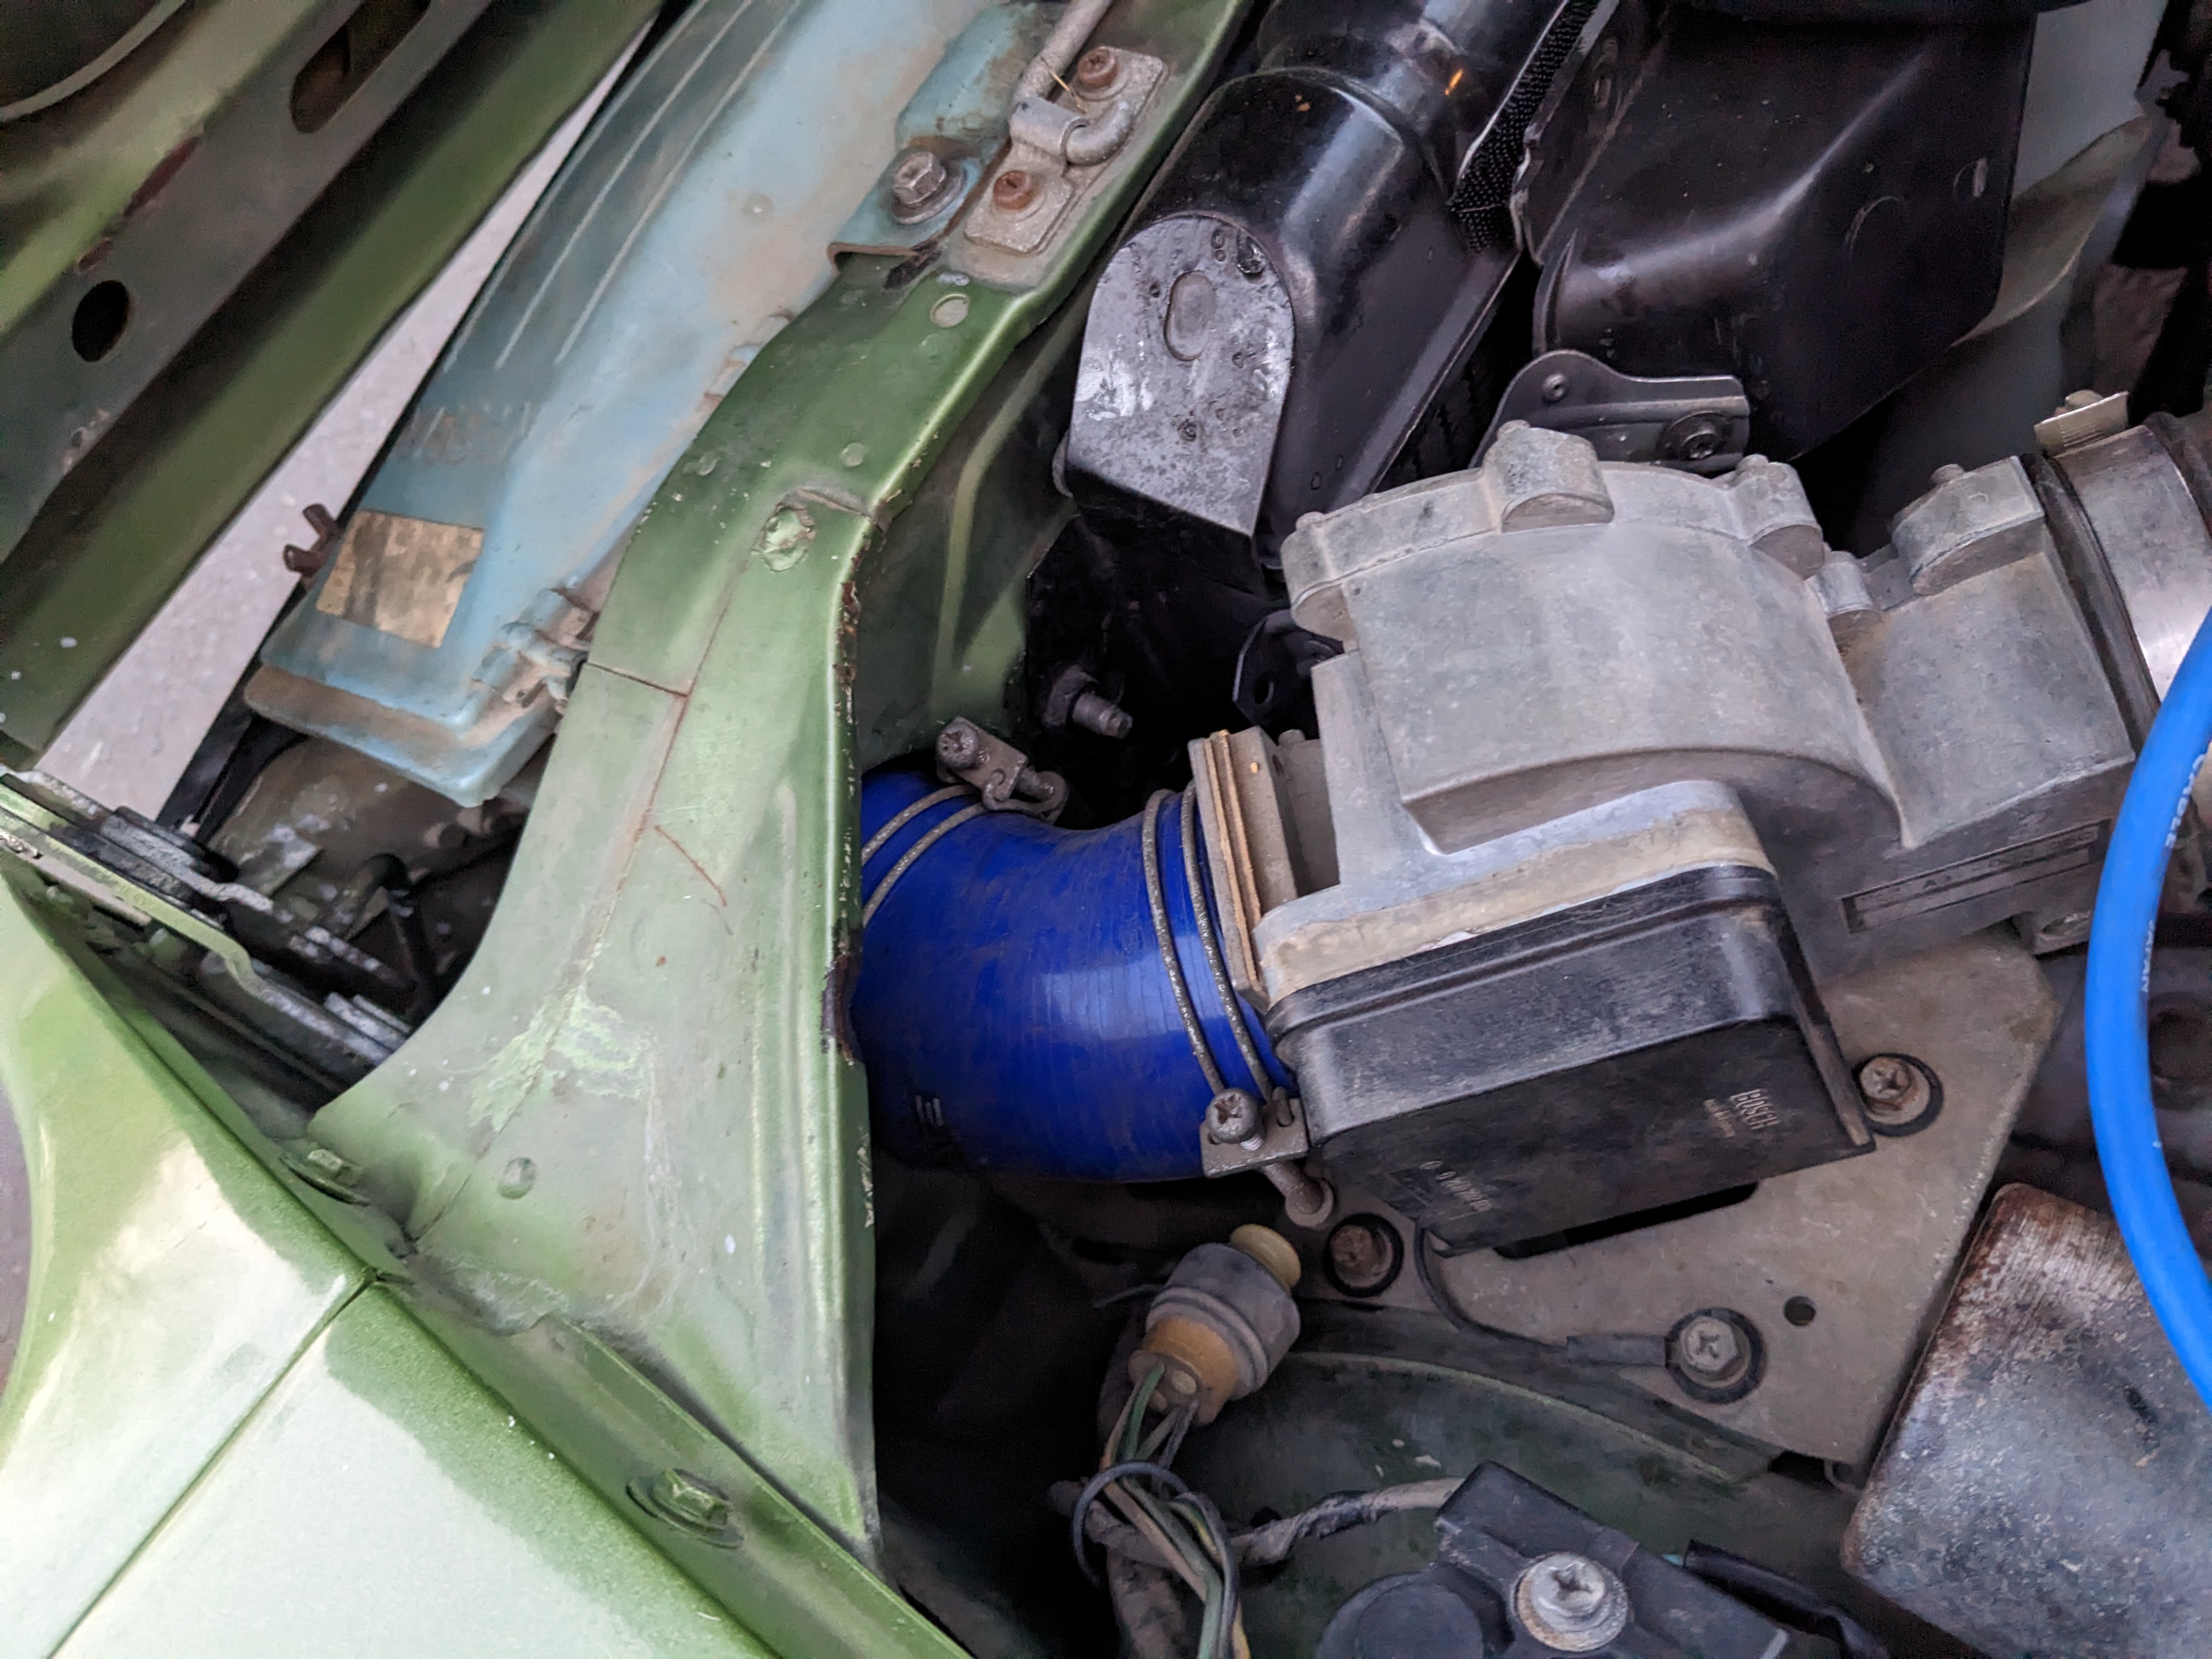
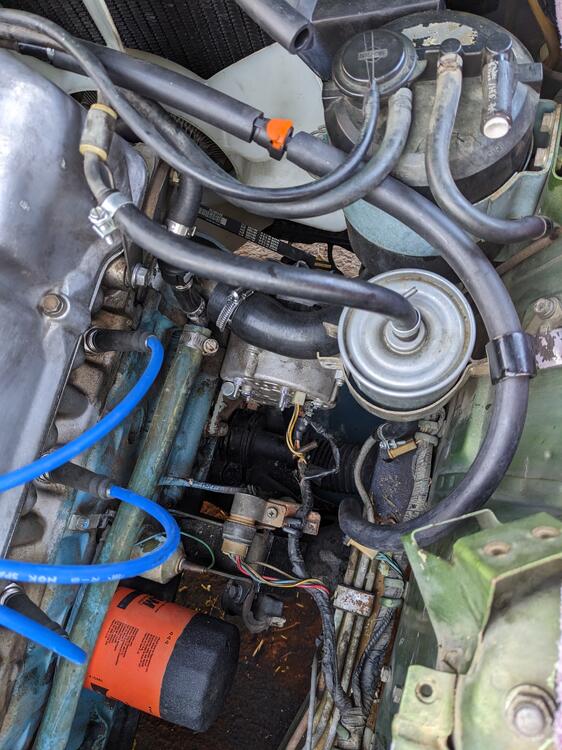
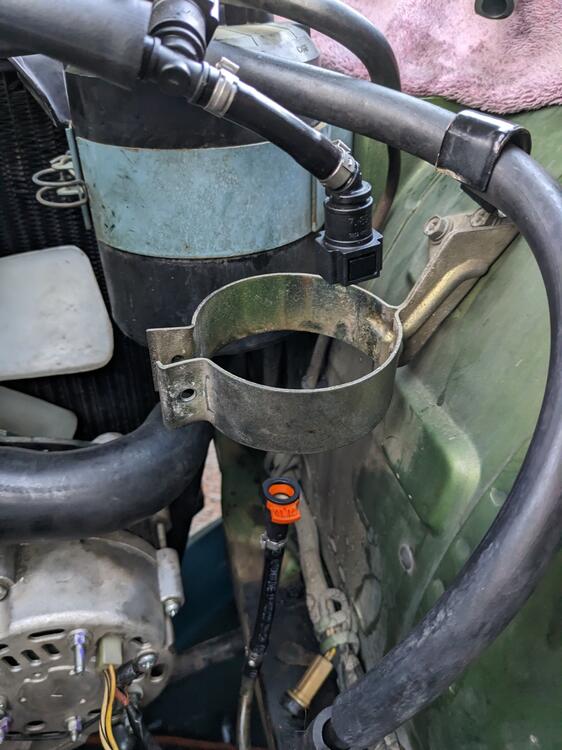
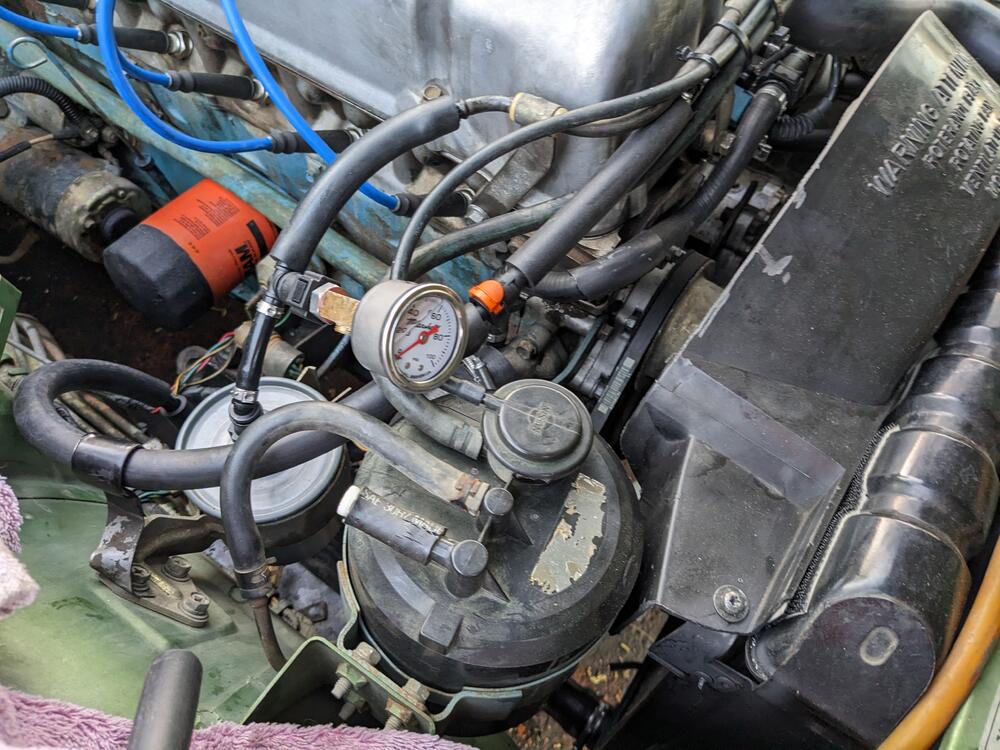
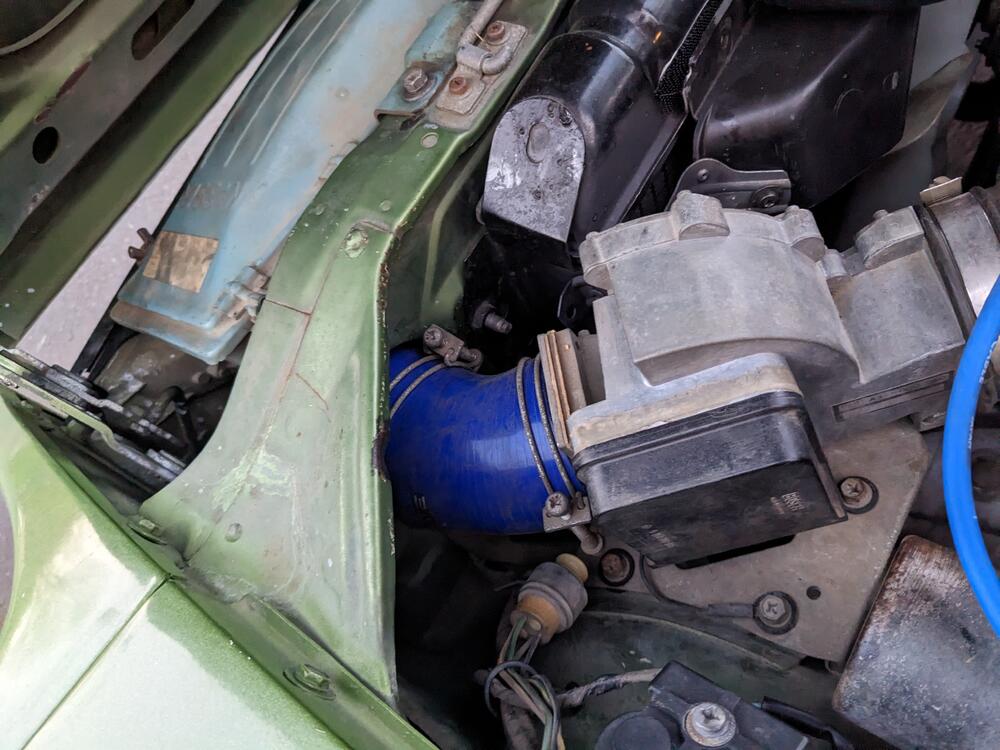
I made a start on redoing the fuel lines. I used sleeved 10mm nitrile line with quick-connect fittings. The ends are clamped to the hard lines, and are not intended to be removed moving forward. The quick connect fittings allow you to disconnect the rail from the feed & return. Did the return first. Rerouted behind the filter to get it away from the motor. Support bracket previously attached to the filter clamp is now secured it at the inner fender QC fittings for the (Volvo application, Mahle KL 196) filter needed a longer M5 bolt while I was there I added a branch to allow me to add the fuel pressure gauge (M10x1 w/QC, 1/8" NPT) Used a left over silicone elbow from my C30 turbo upgrade, perfect fit for the torn filter-AFM elbow
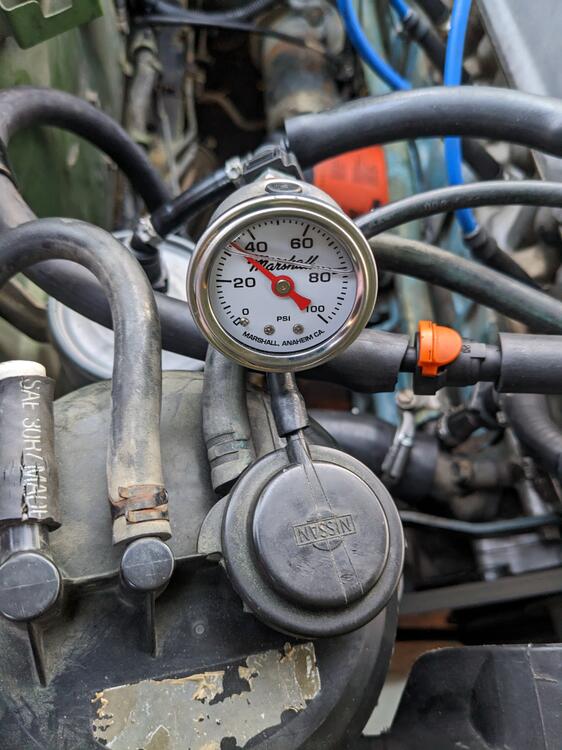
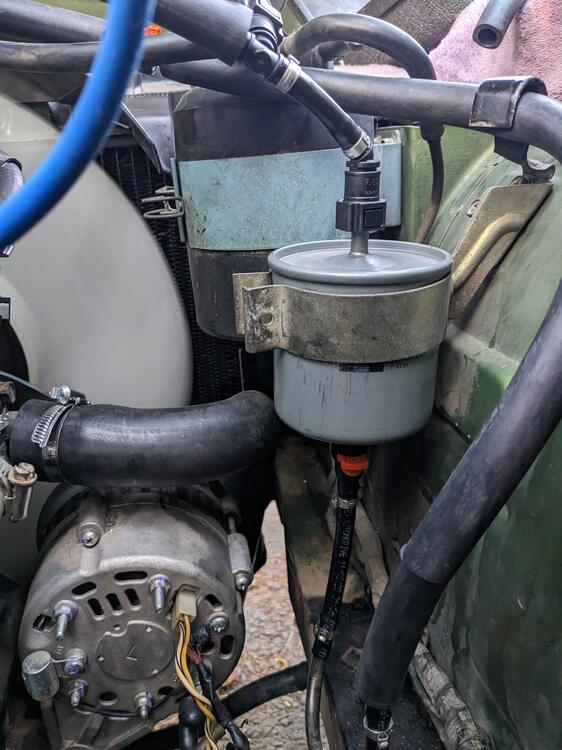
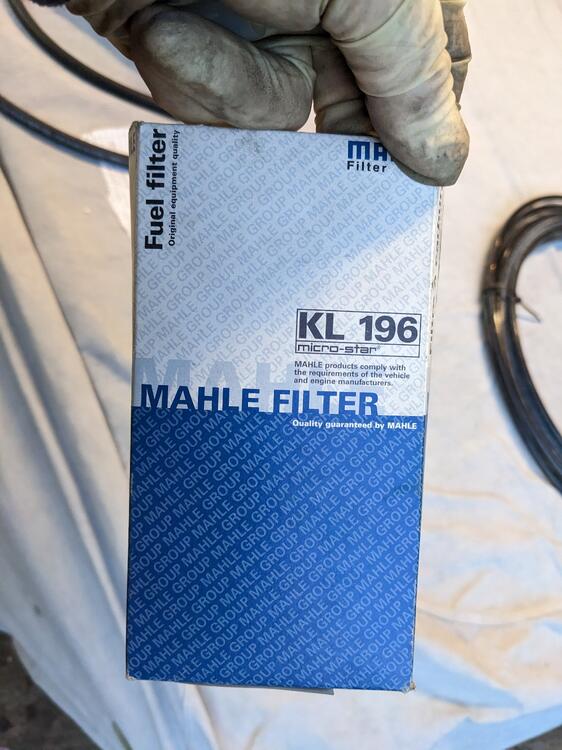
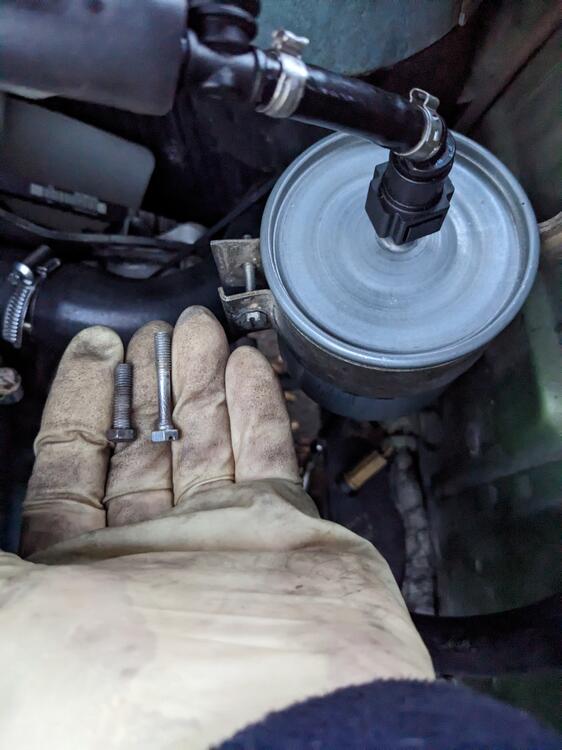
-
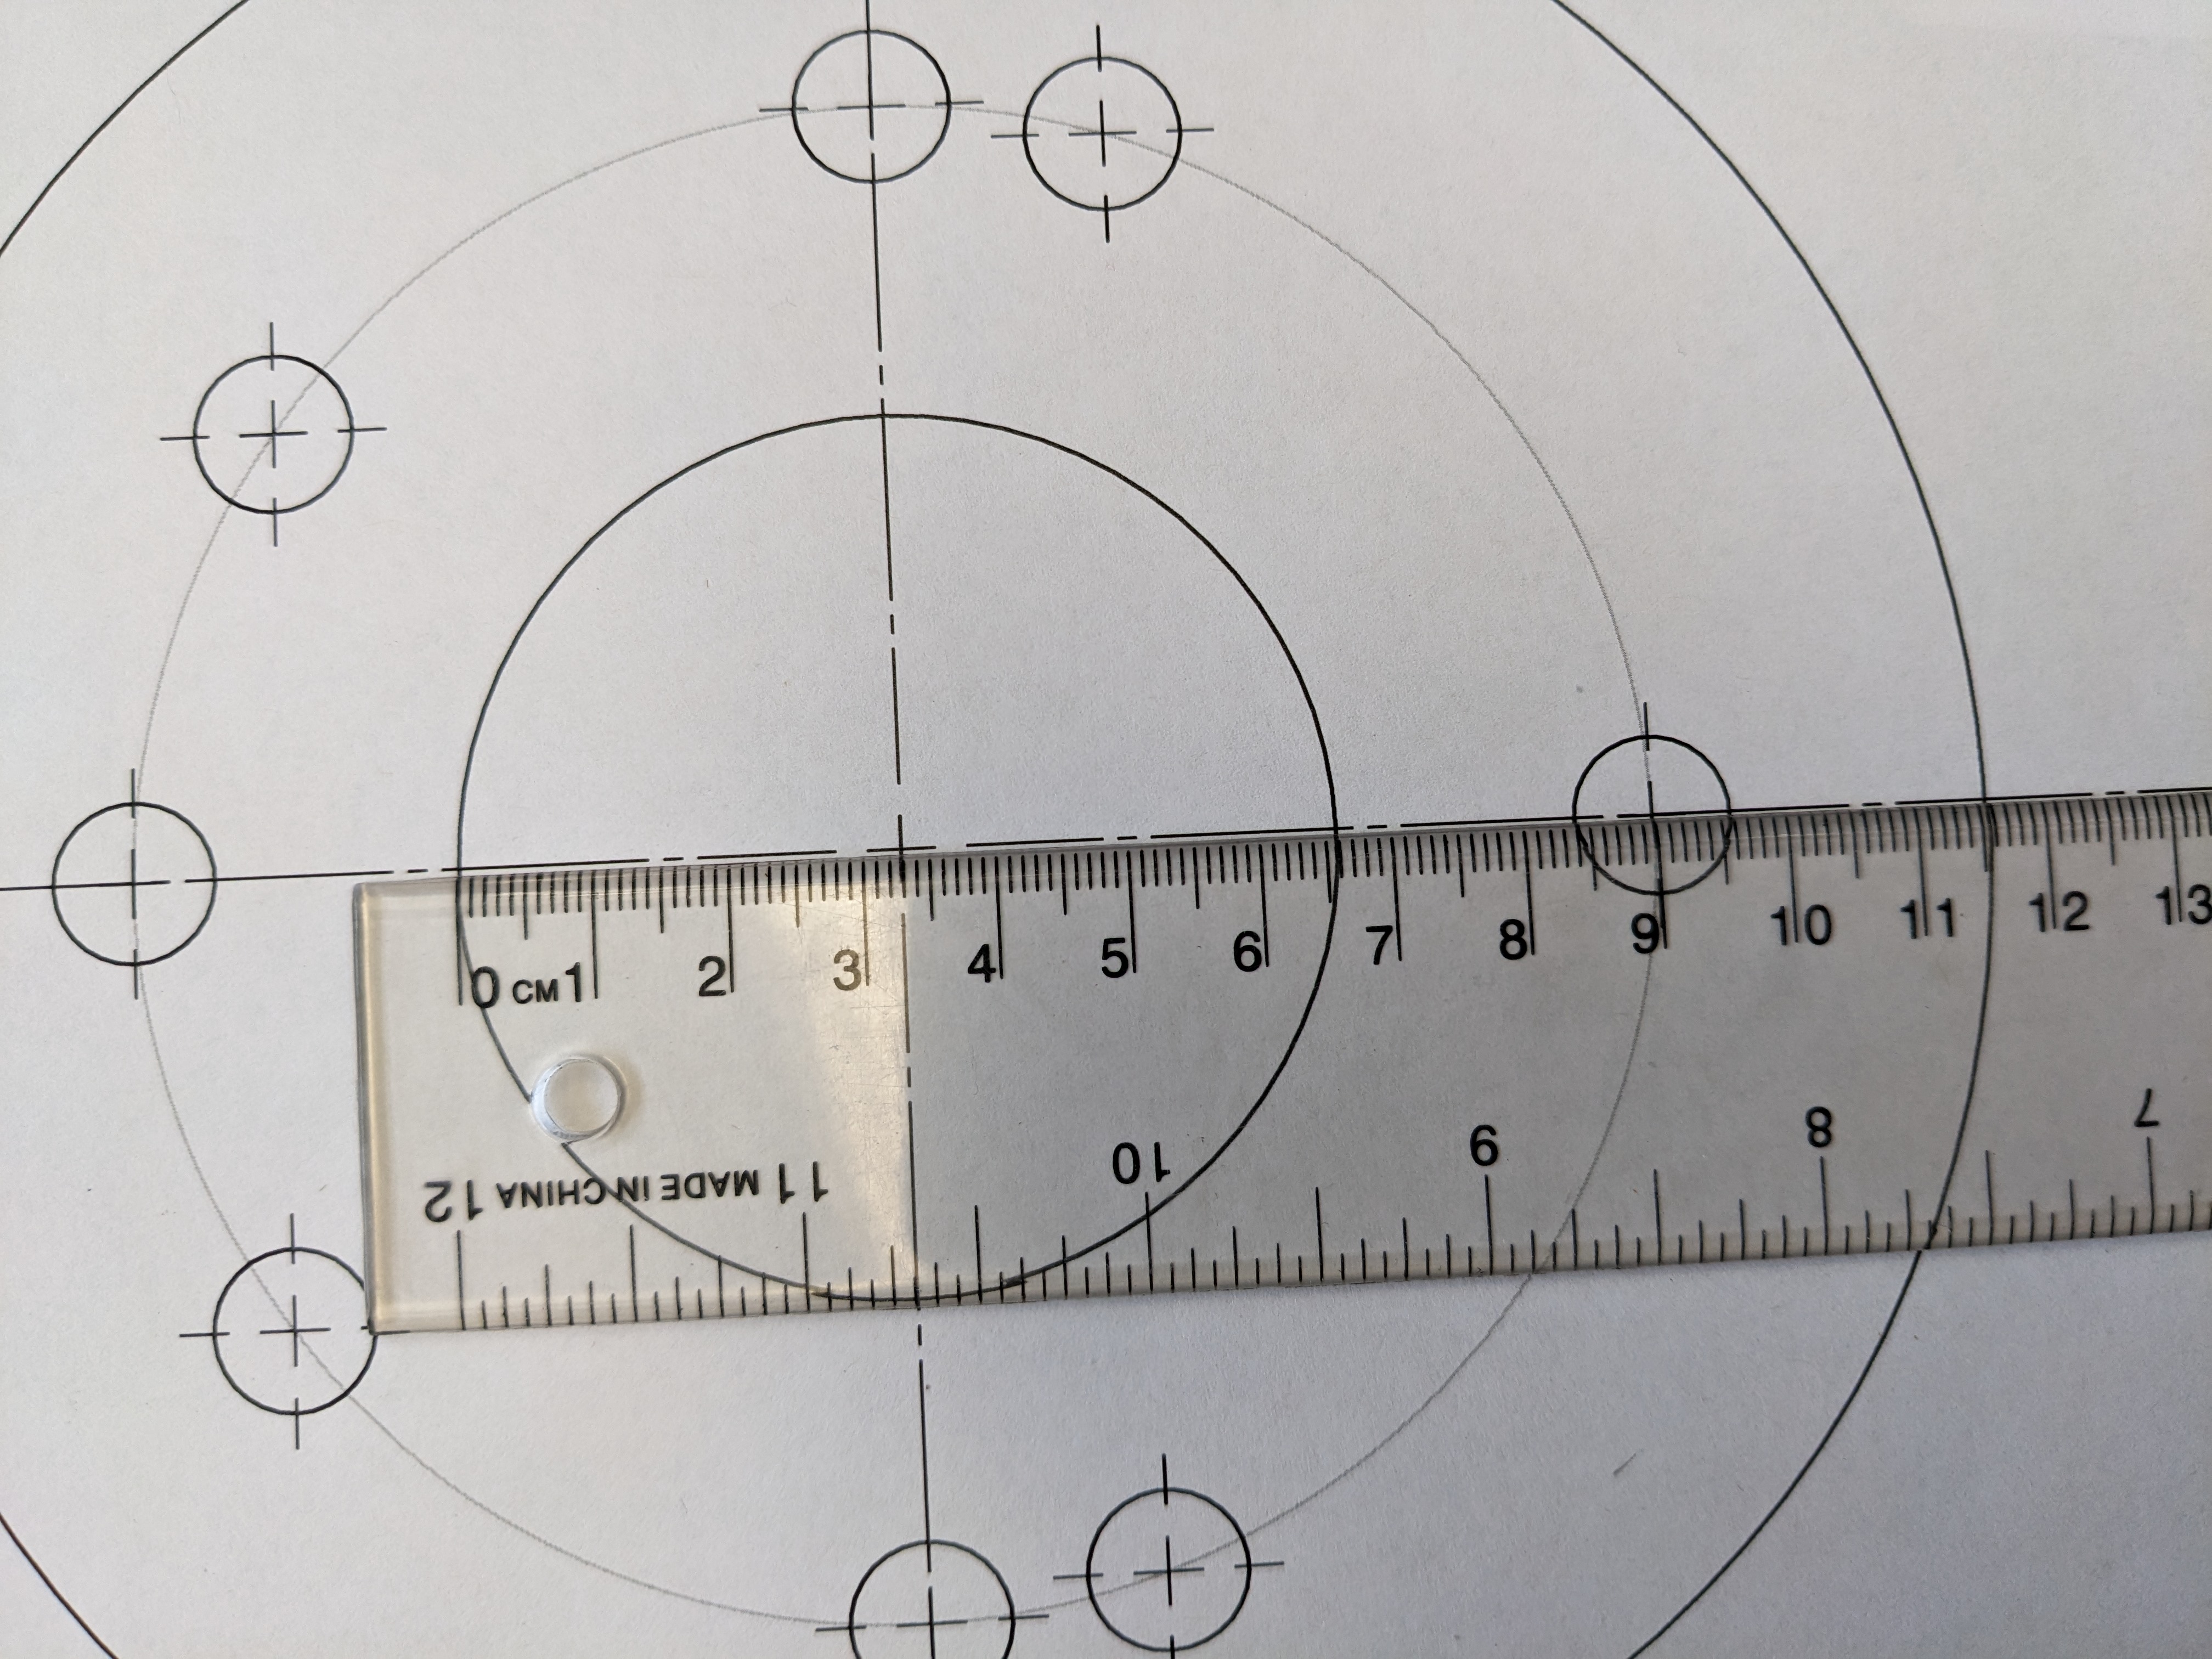
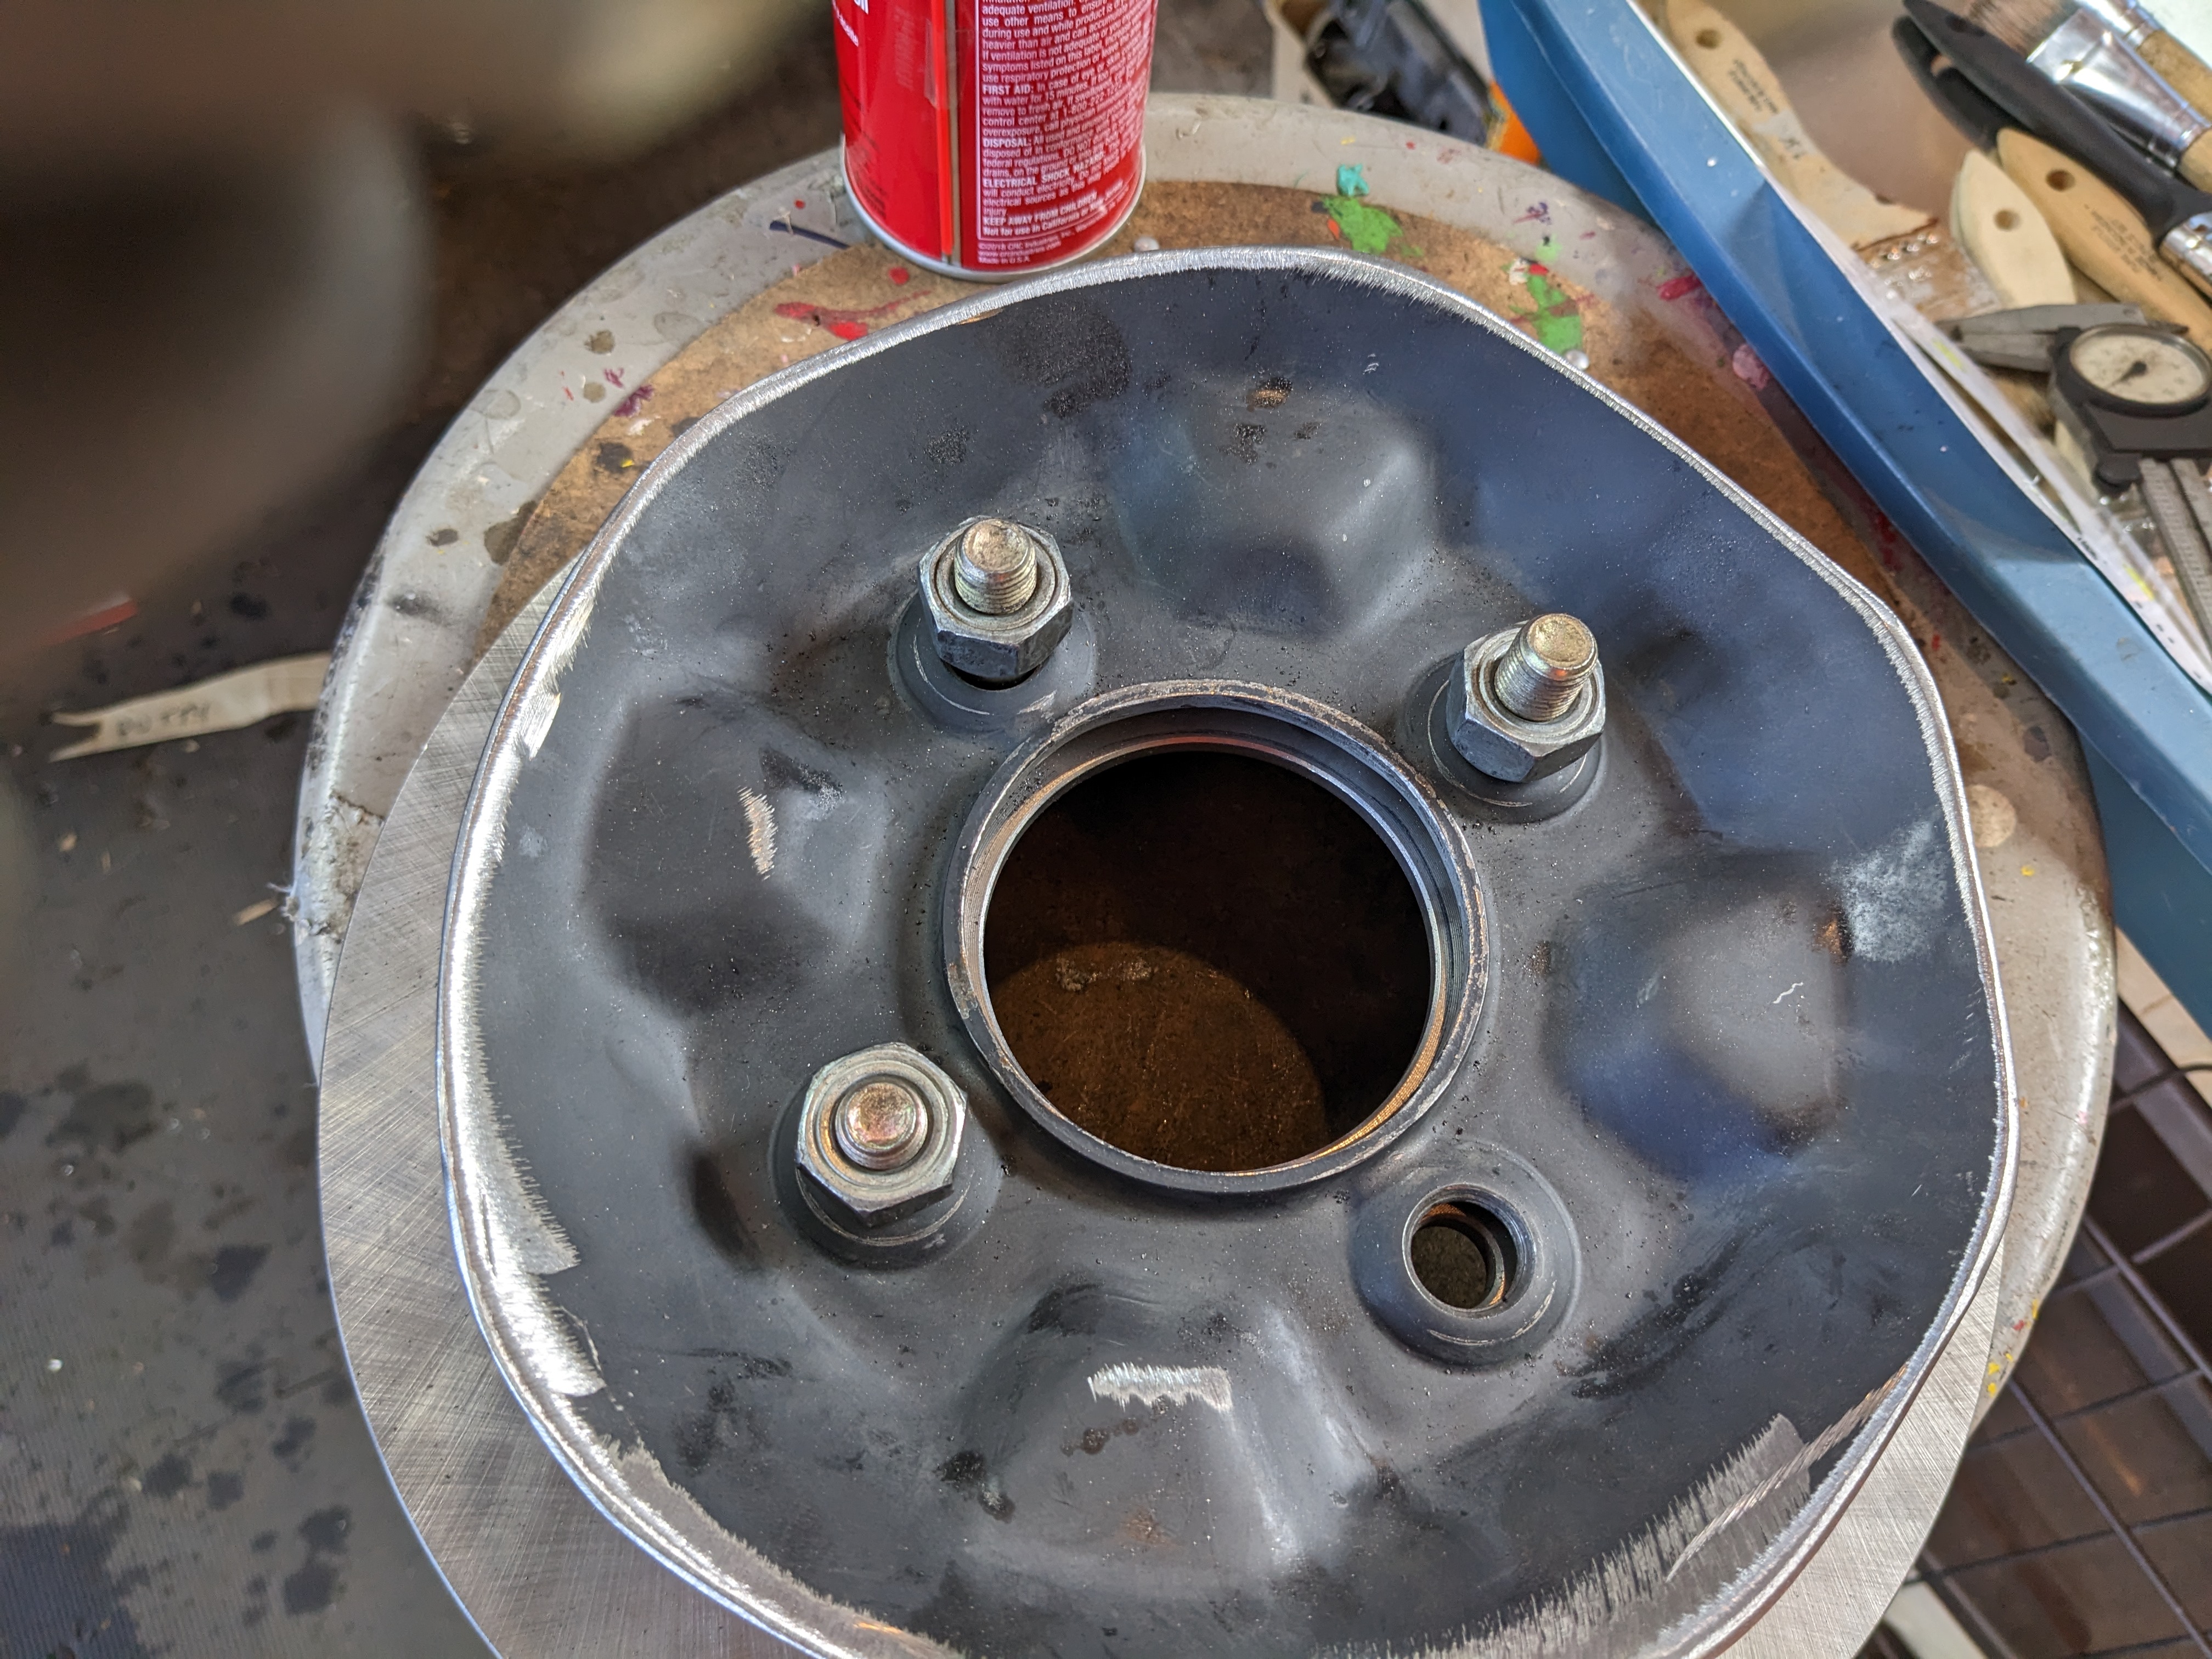
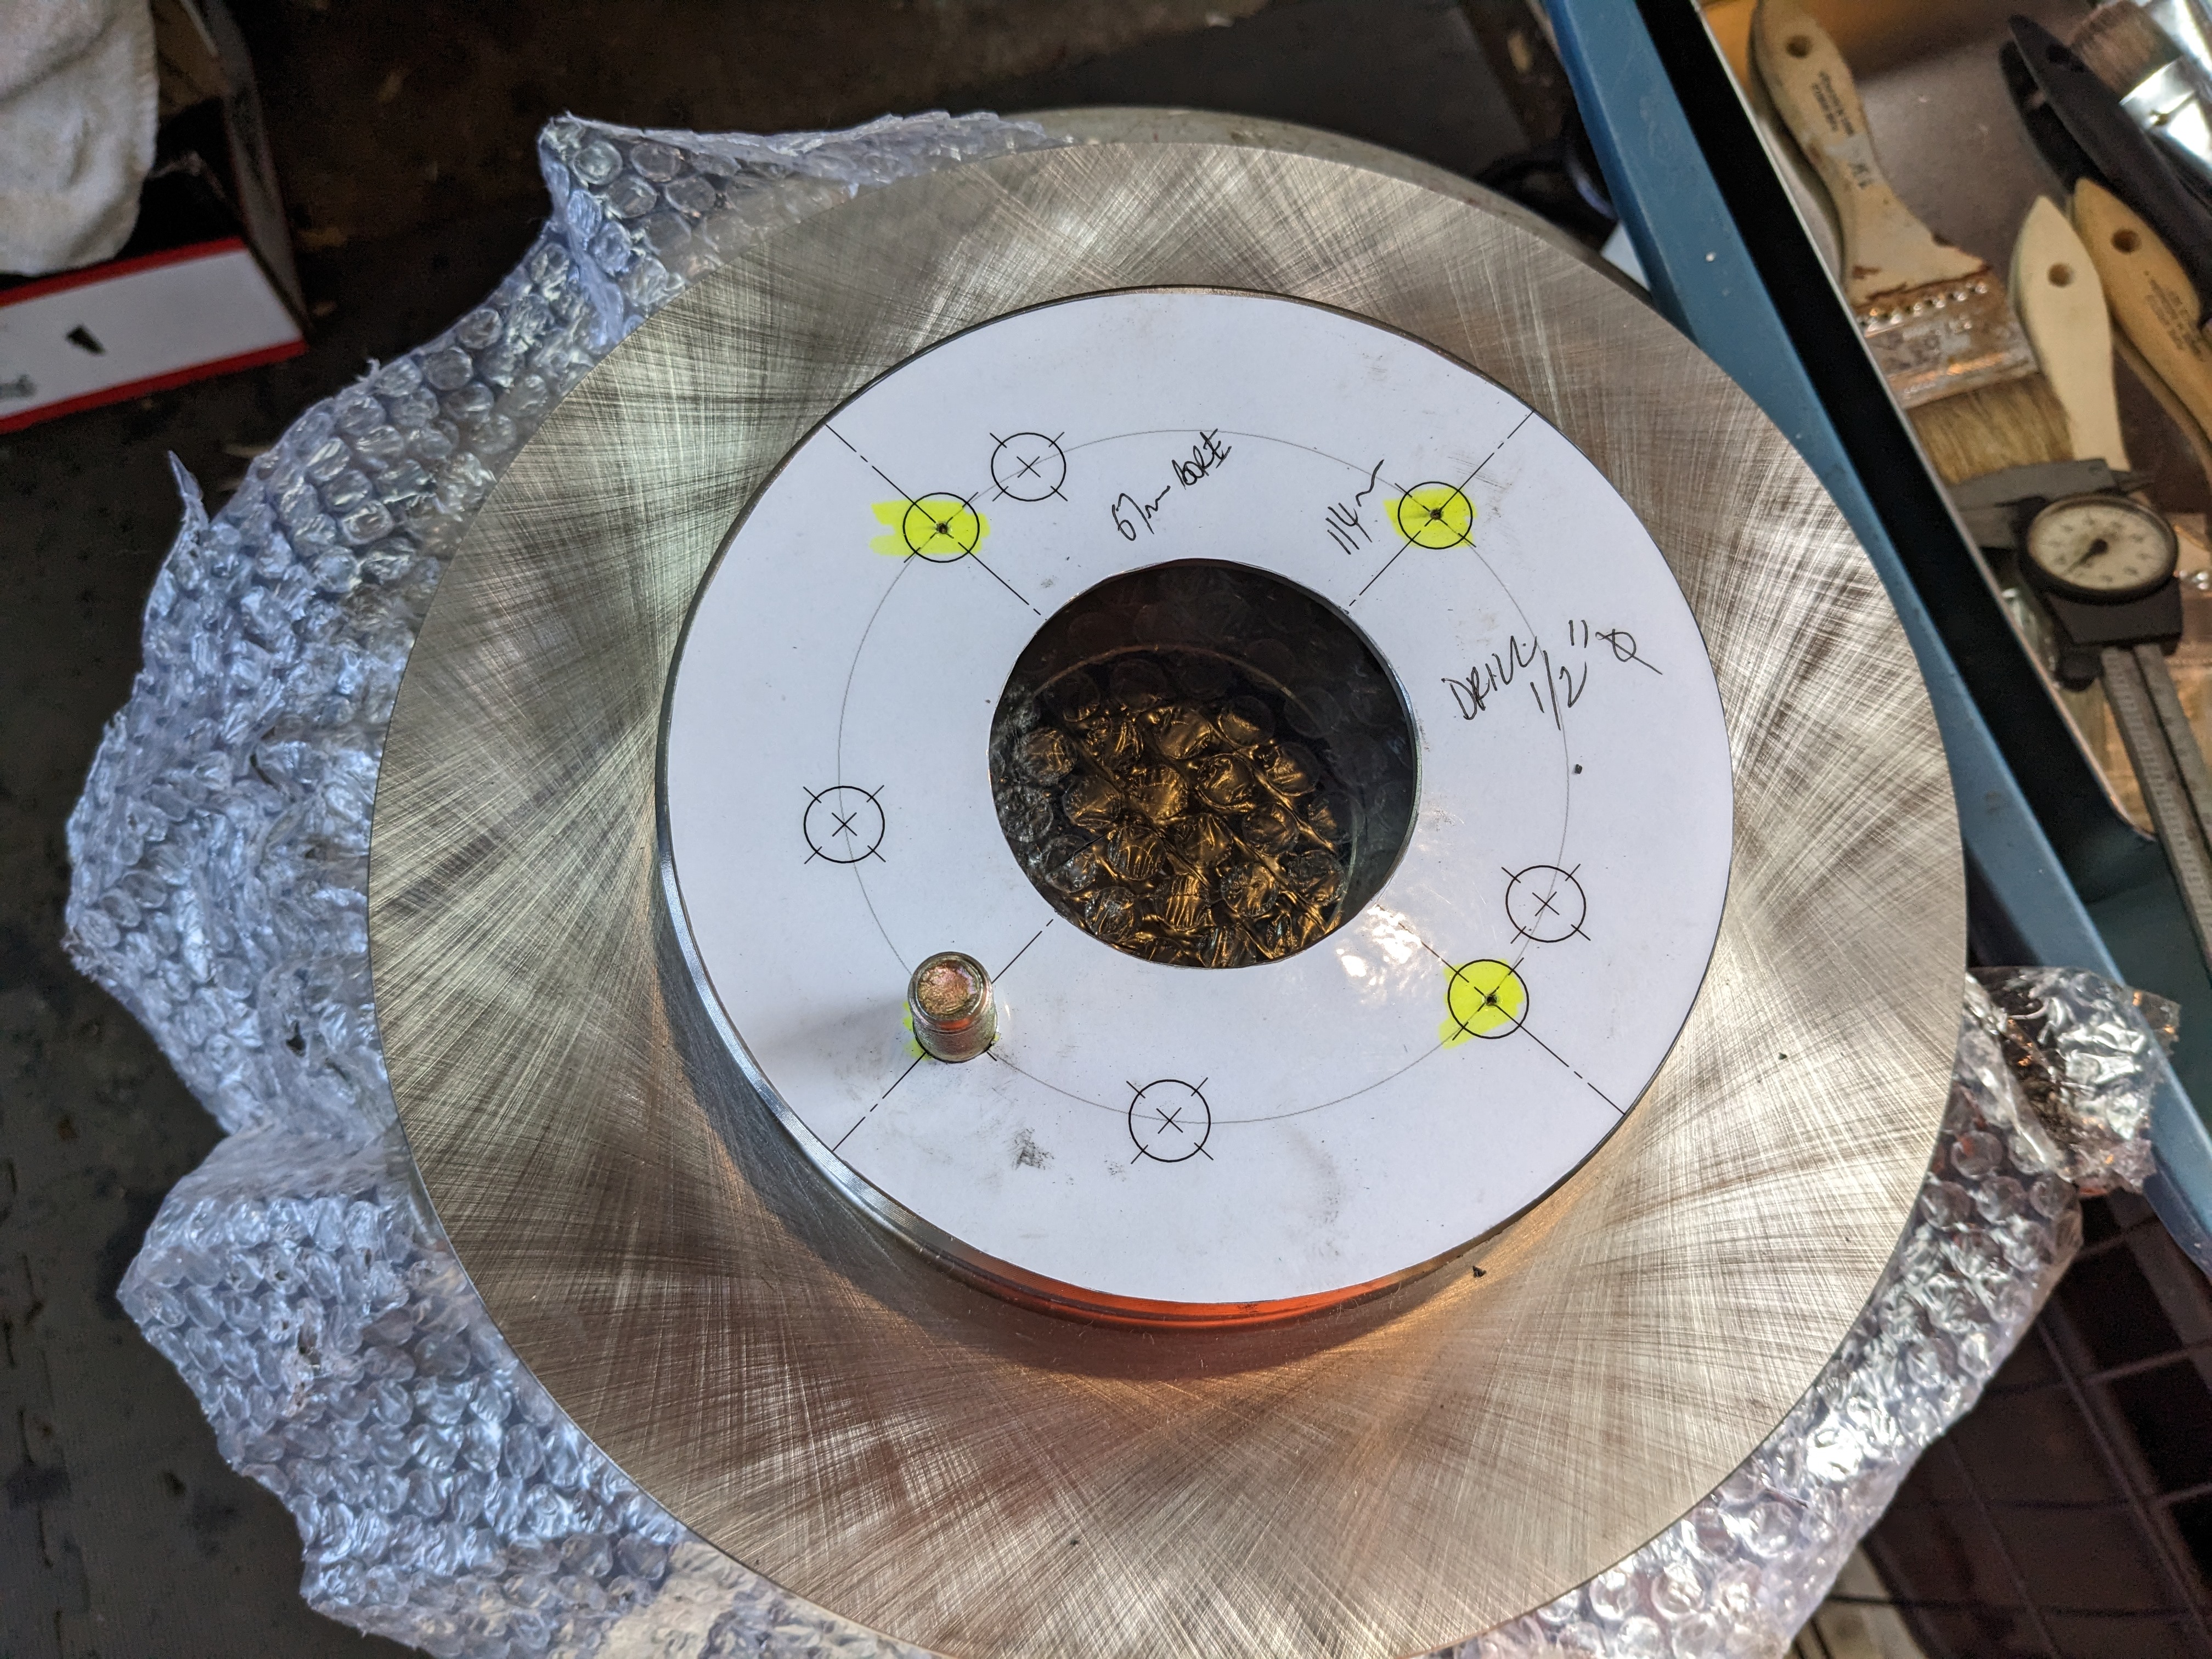
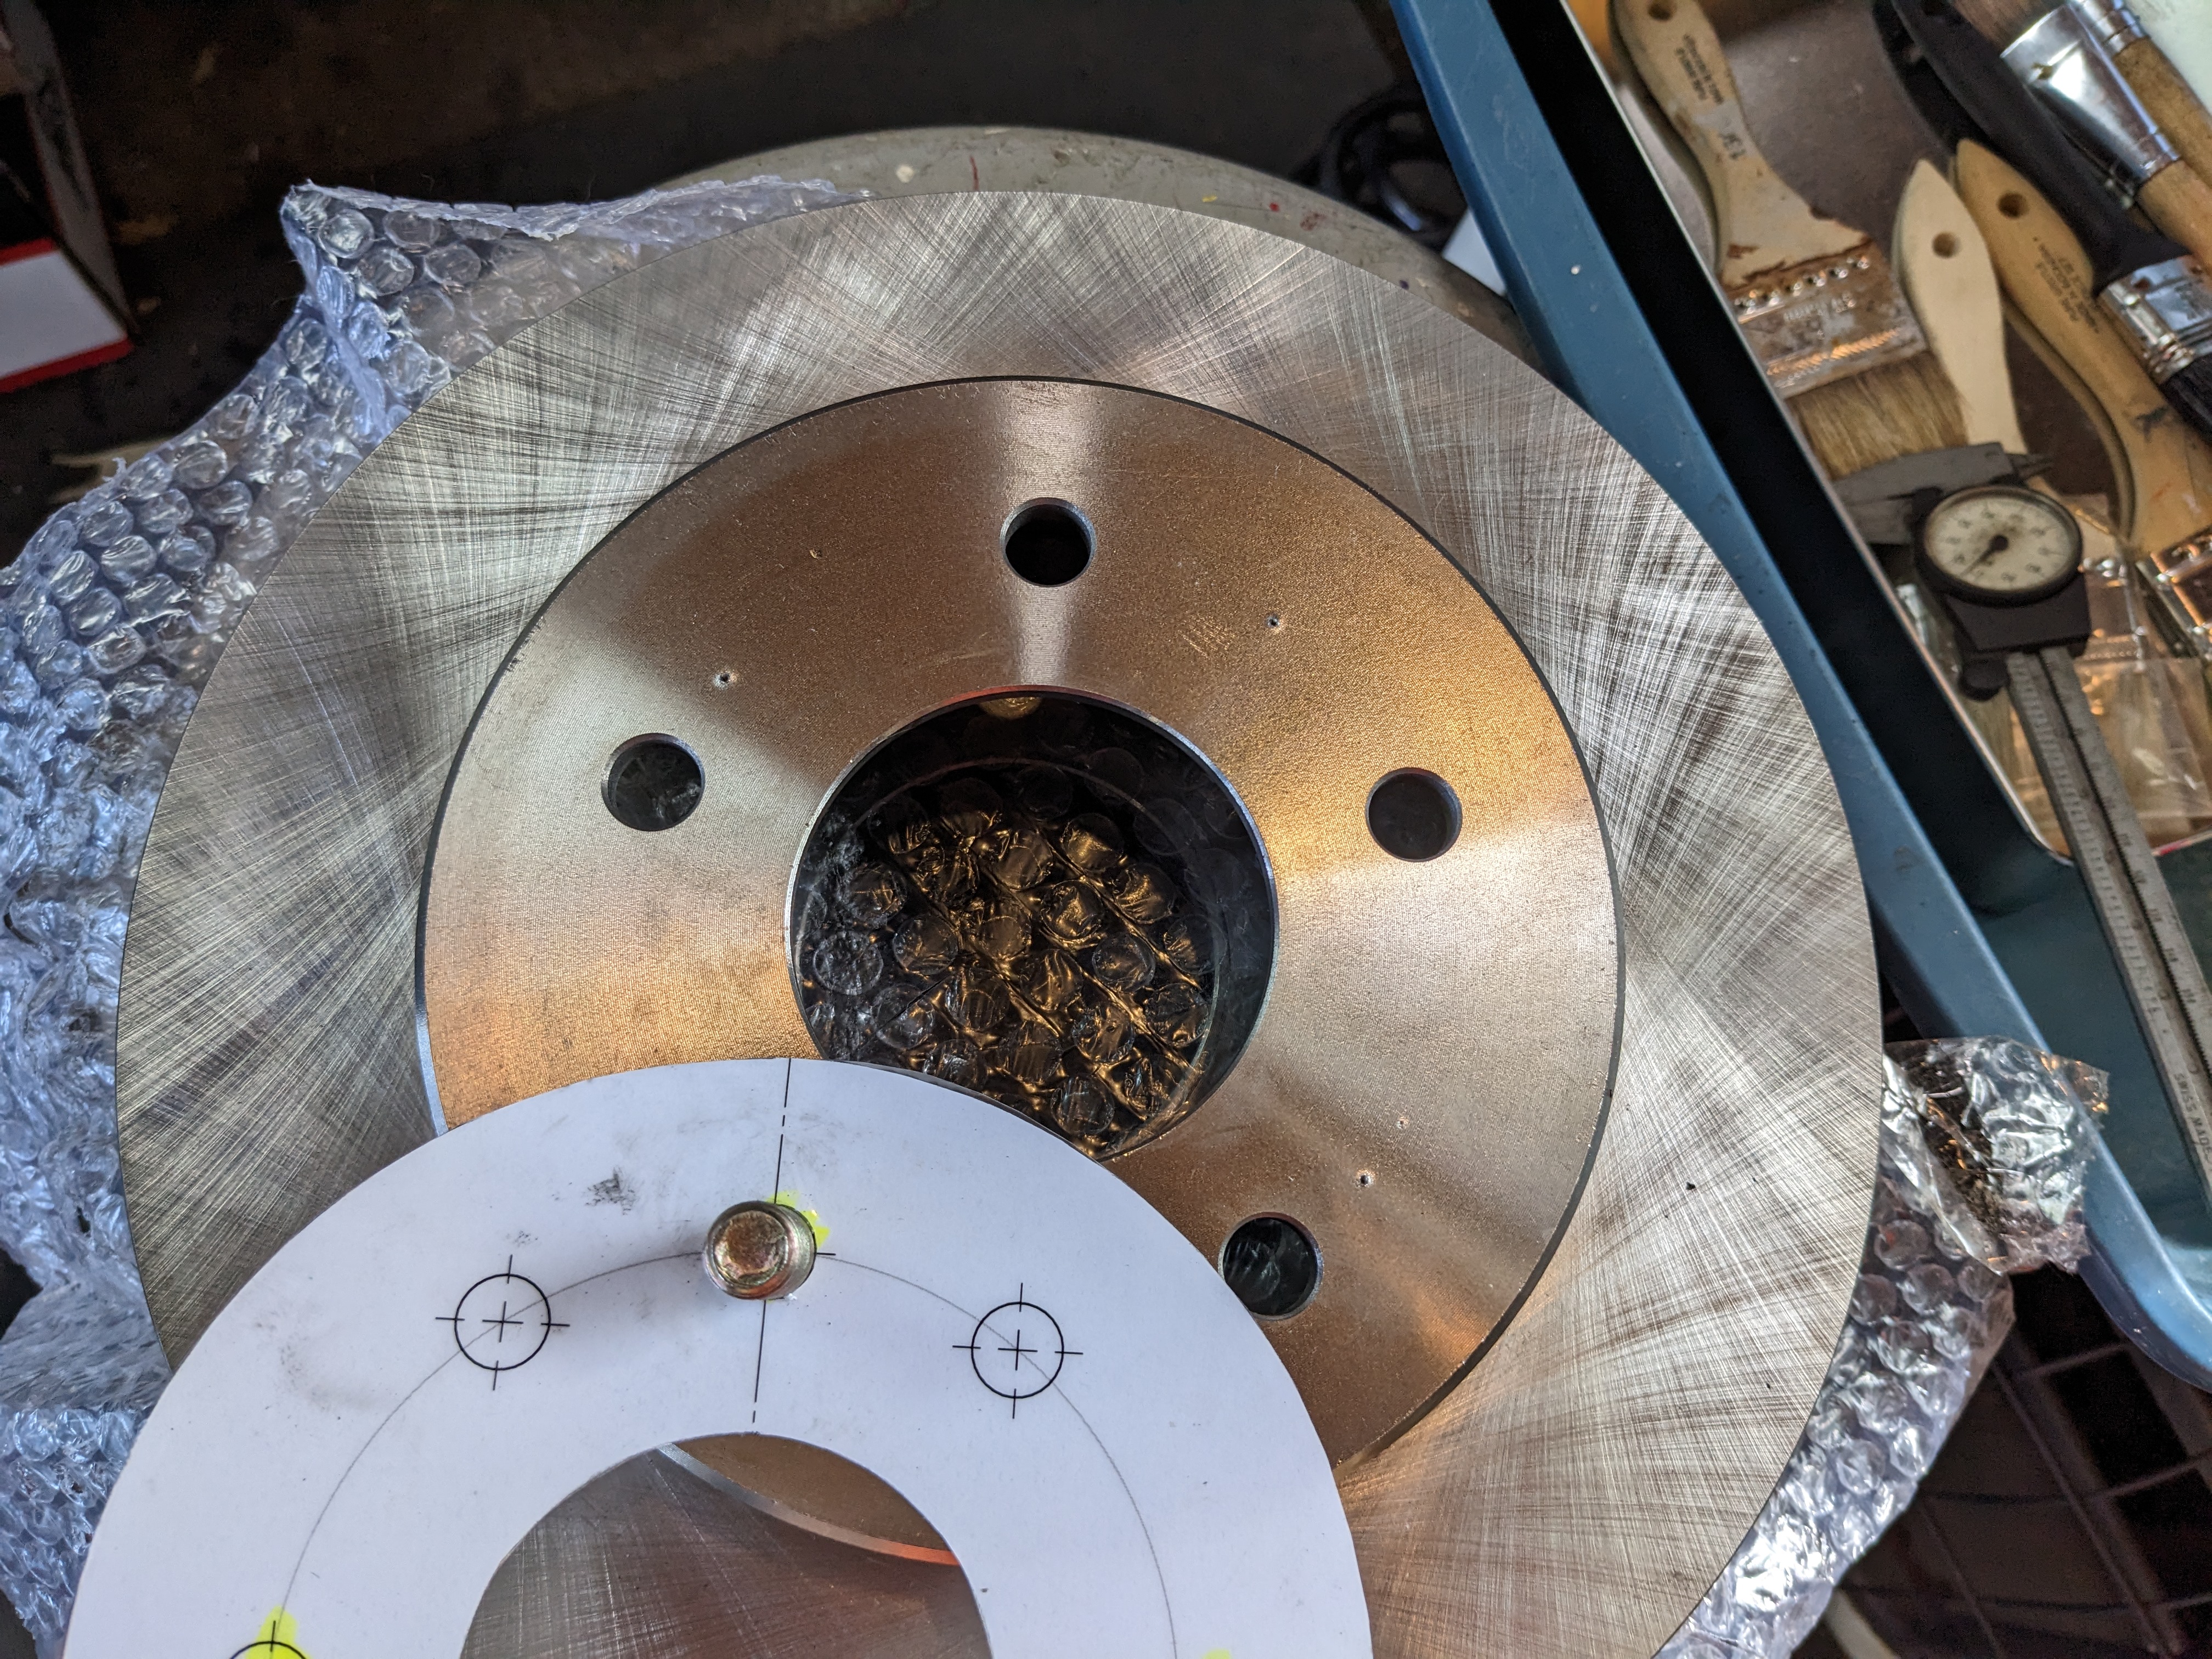
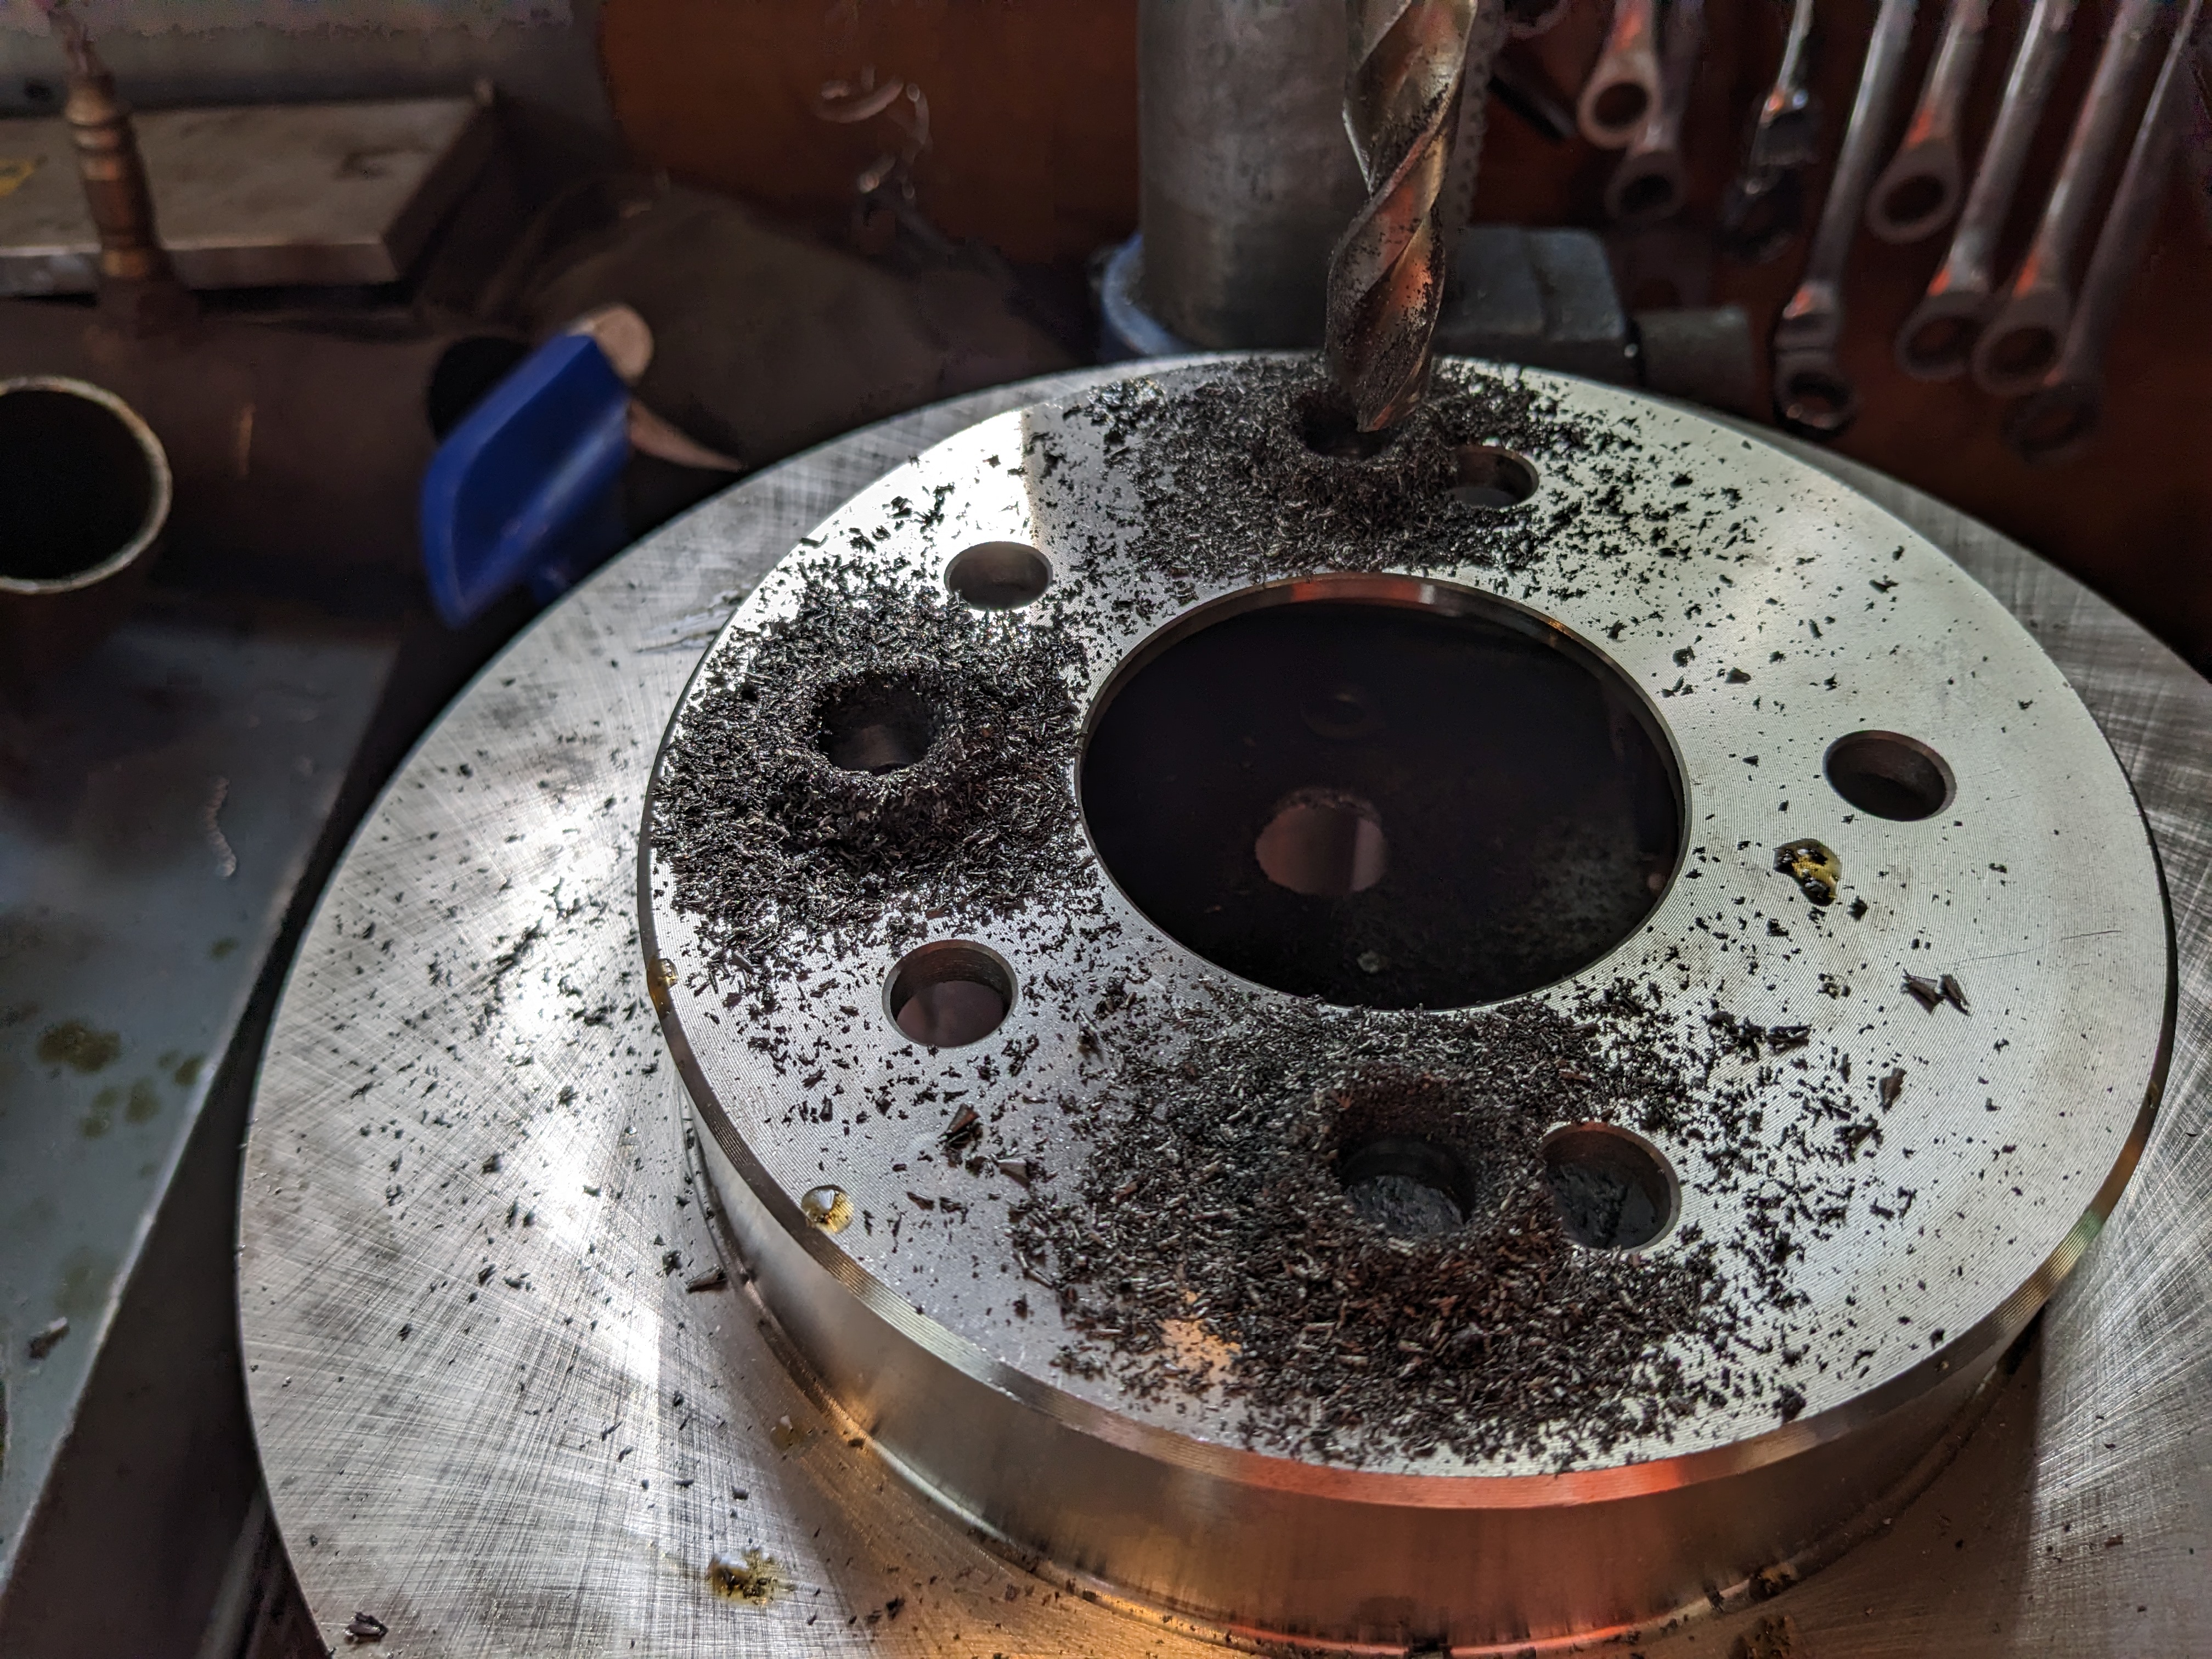
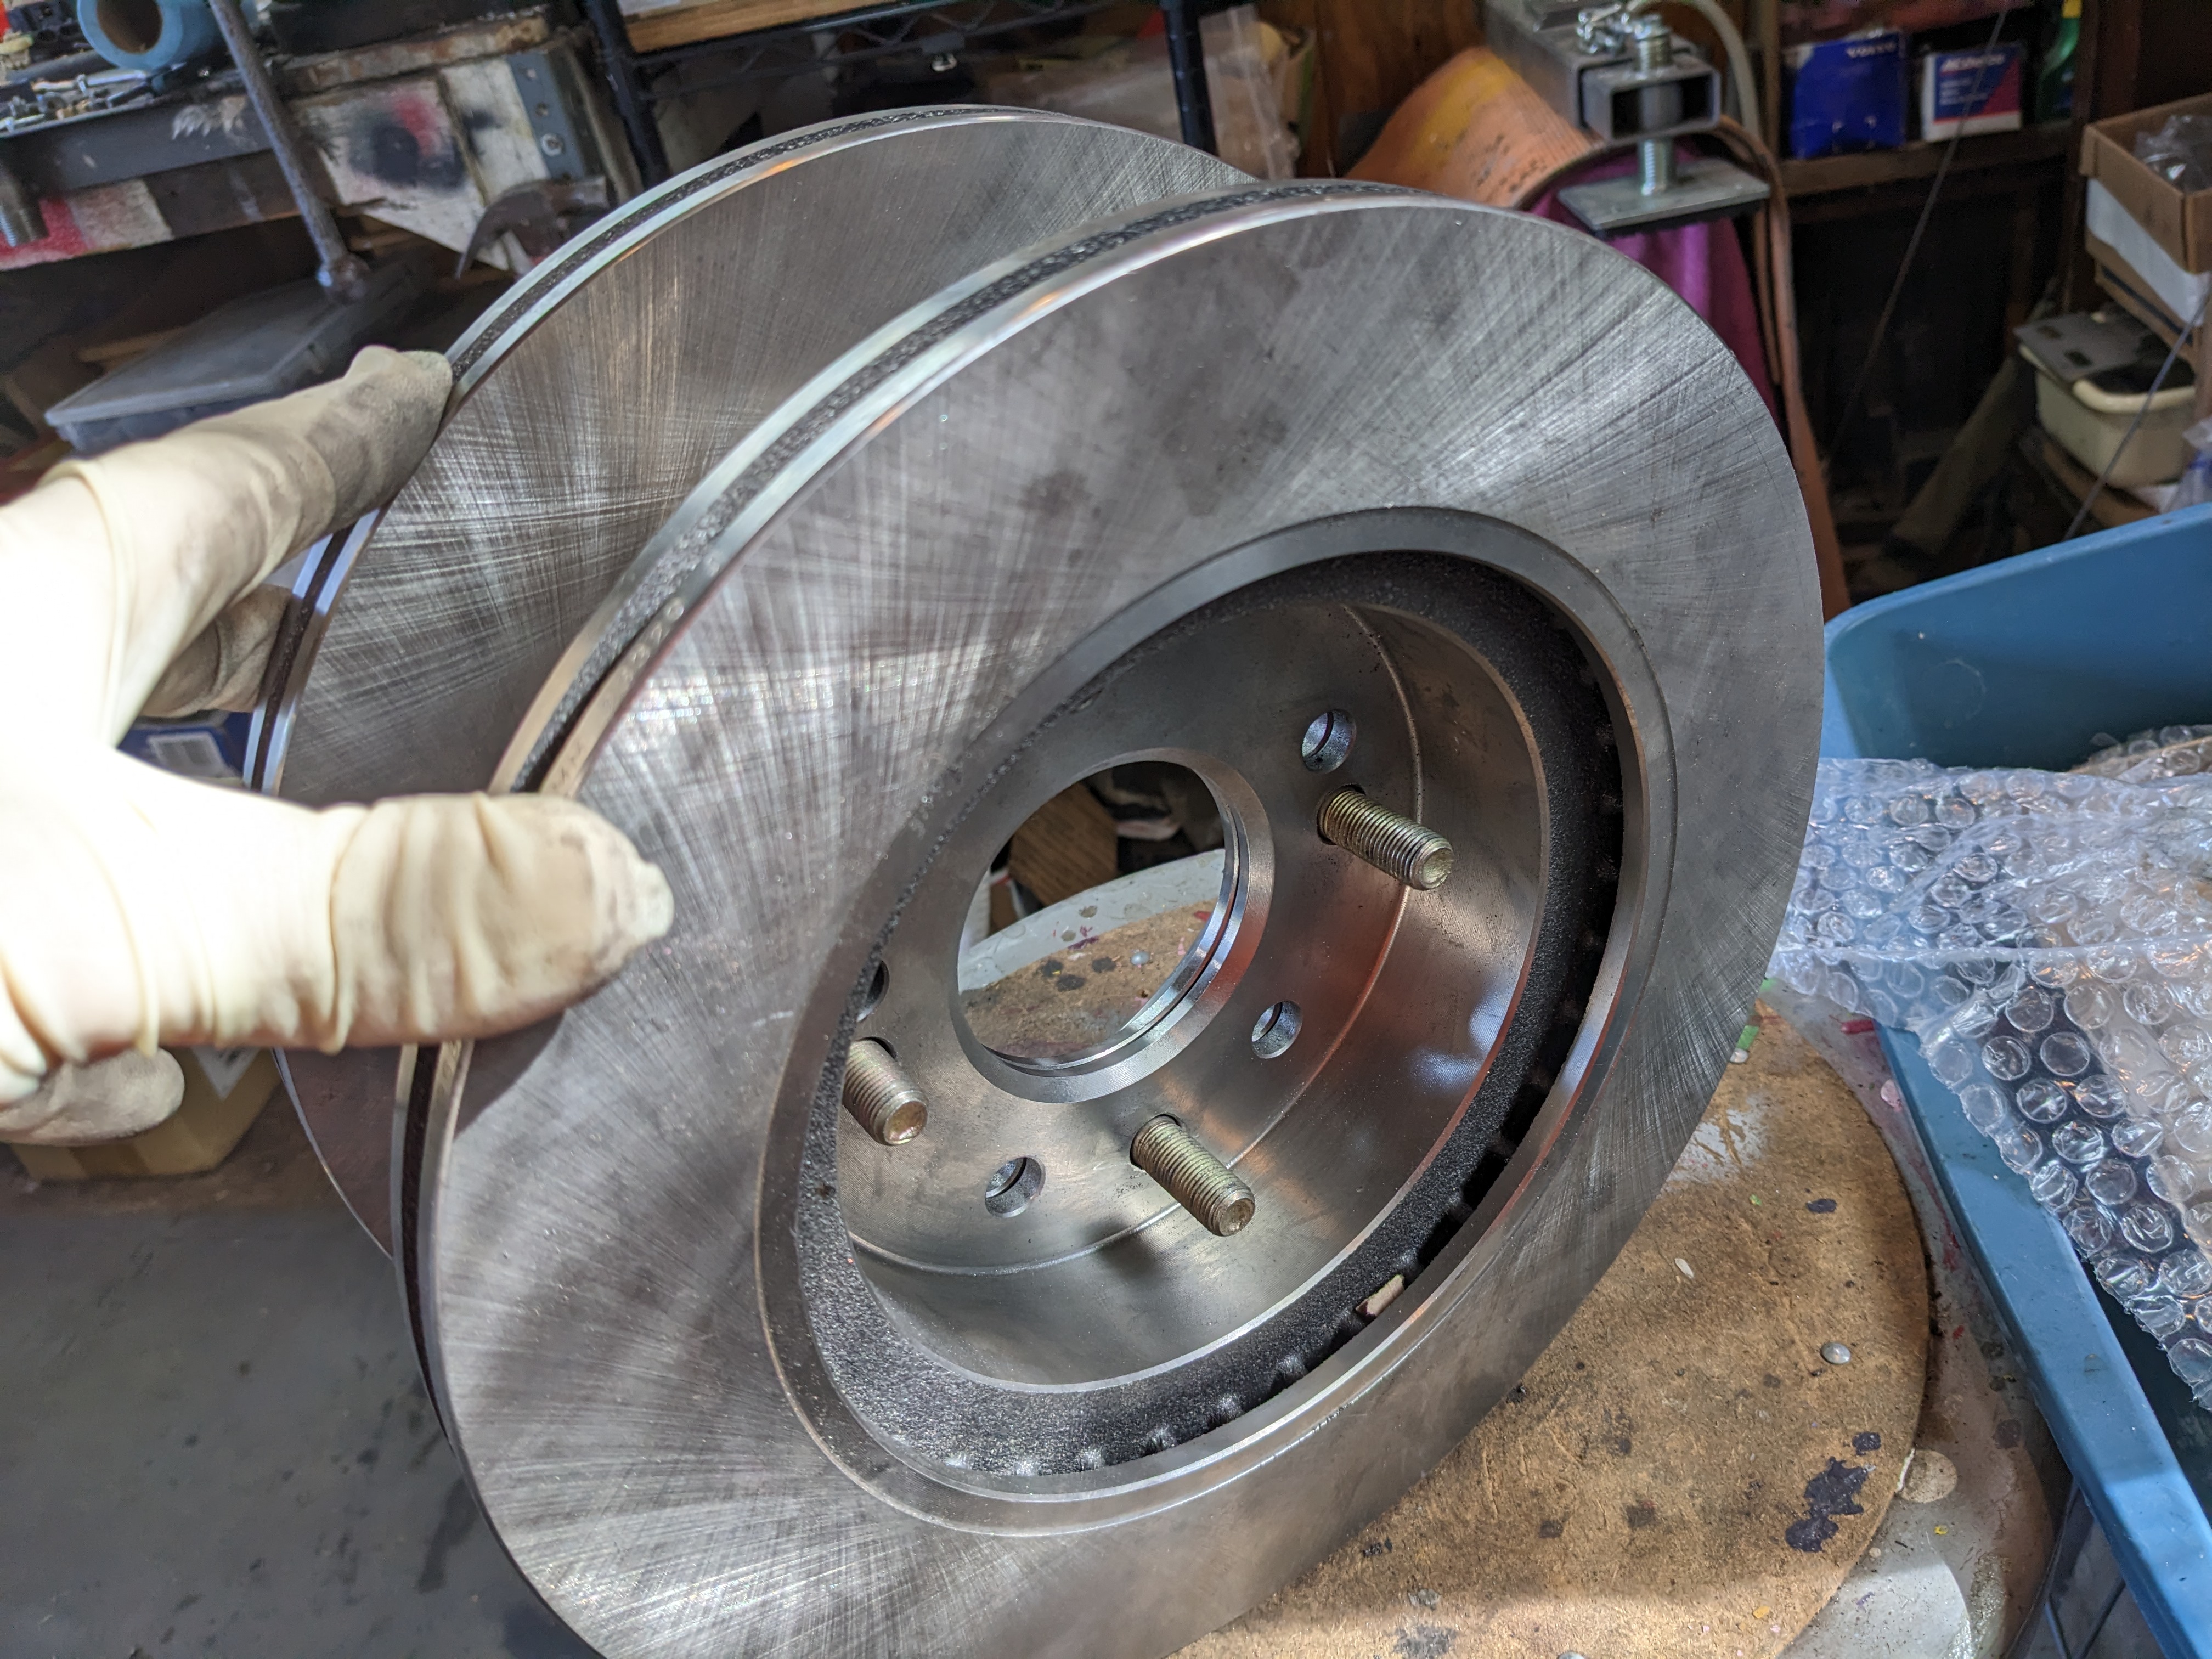
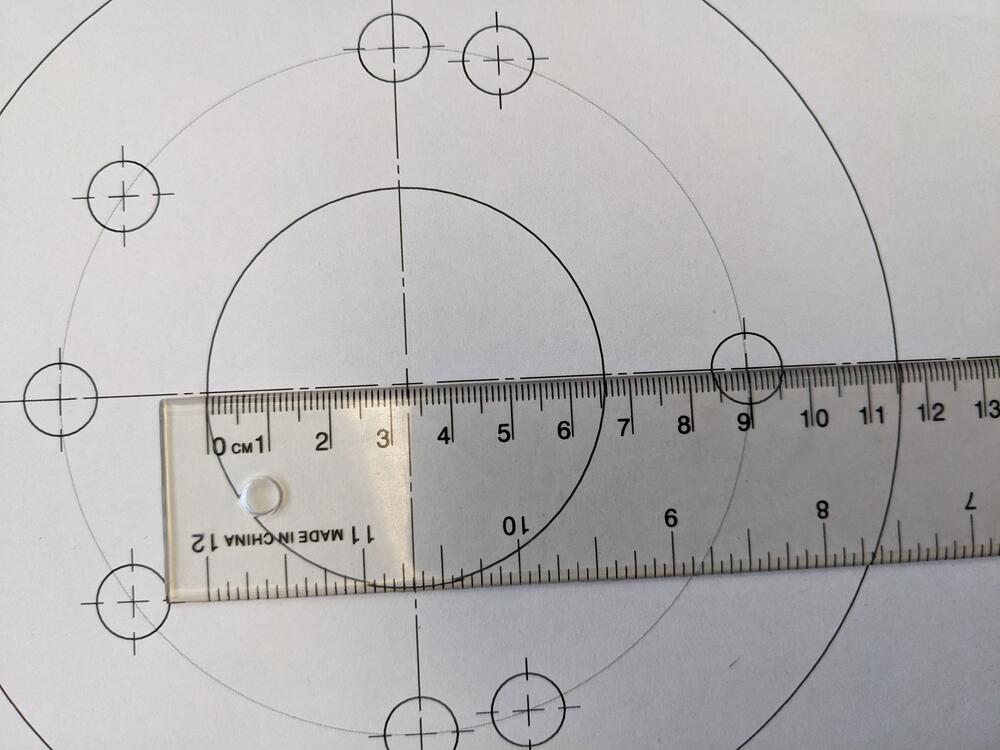
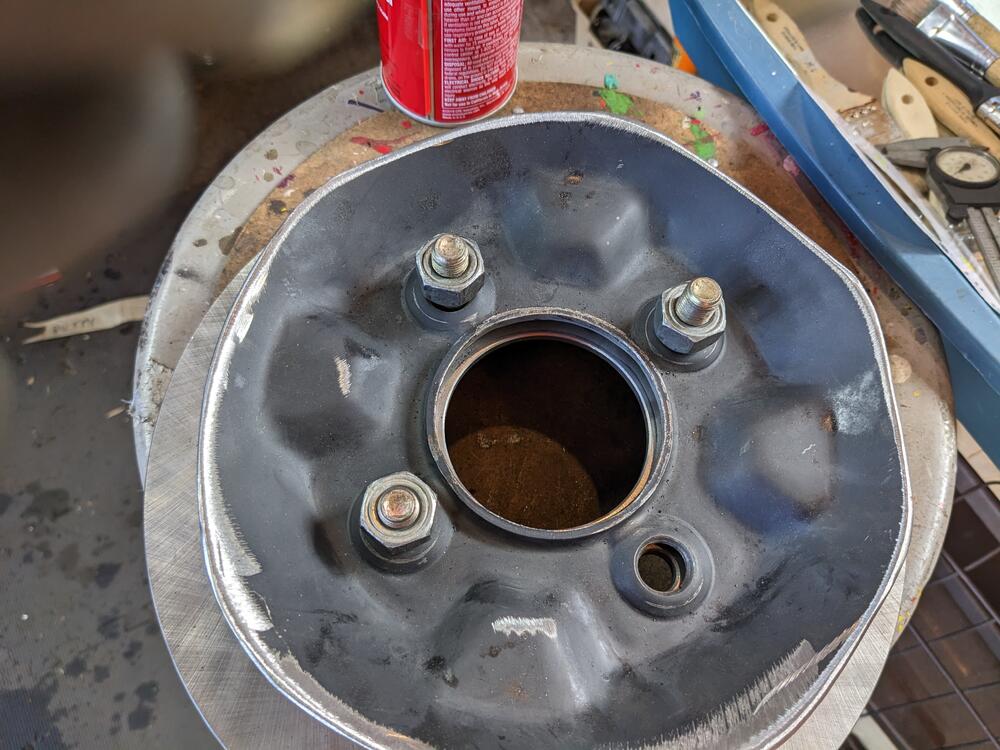
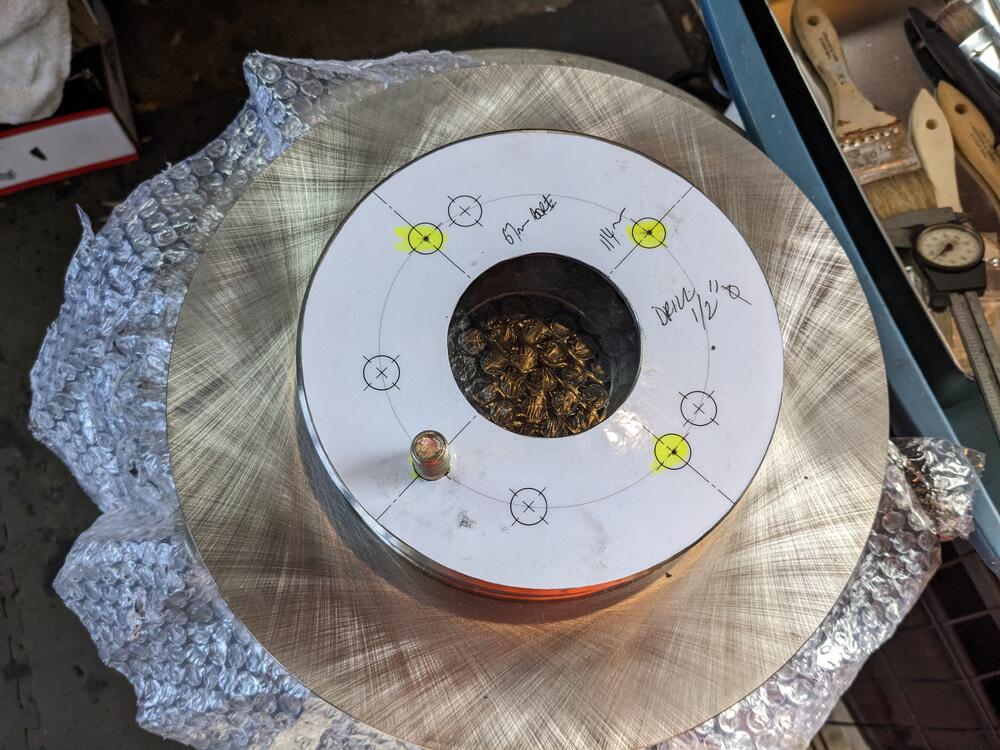
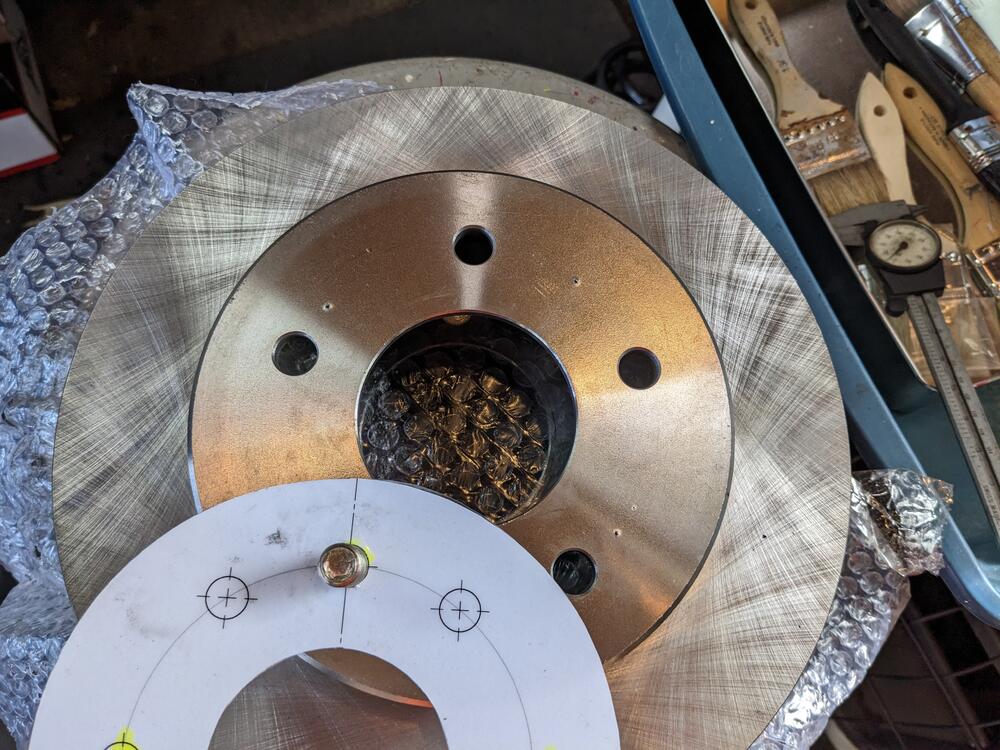
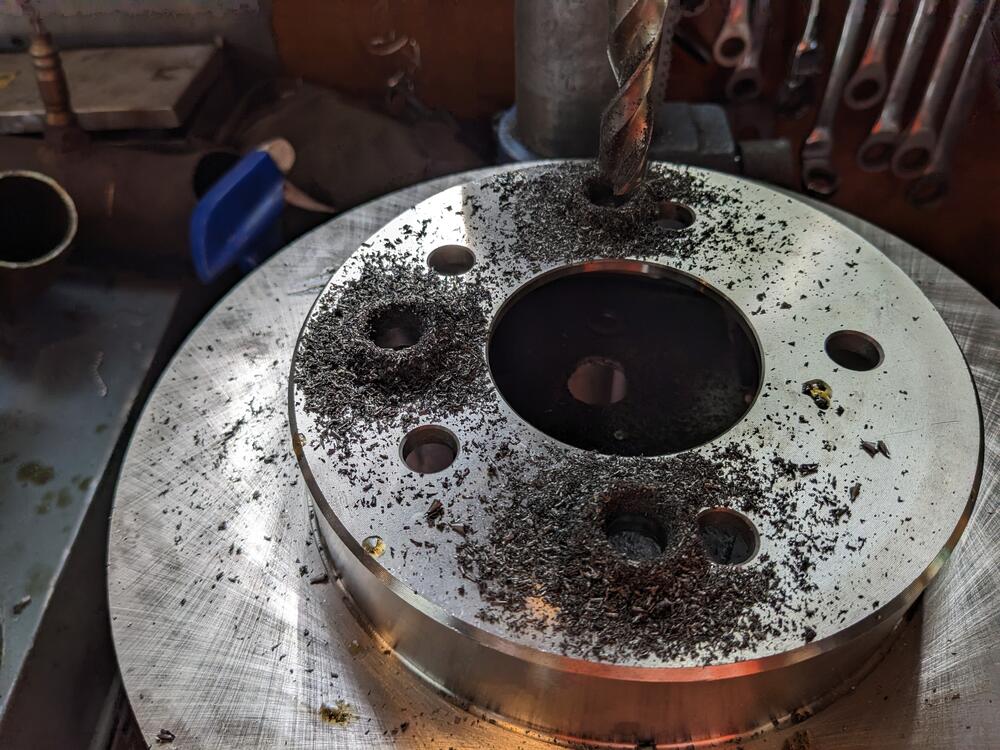
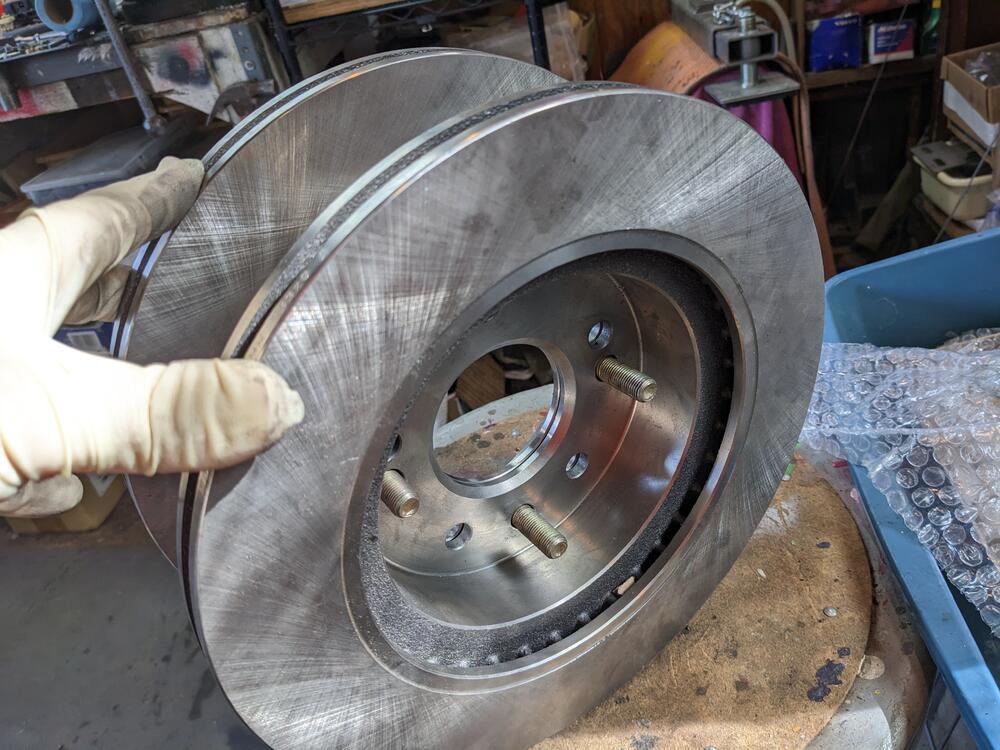
I'll get a better sense of what I'm facing with the wheel/hub concern once I pull all the suspension apart. In the meantime, I did get the 300ZX T rear rotors redrilled to 4x114.3 using the Milkfab template. I had to redraw the center to 67mm, as the printed version they send was only 66mm ID. I used an xacto to carefully cut out one locating hole so that it is a snug fit on a stud, then center-punched the other 3. I also used the steel wheel center I cut off the spare wheel to test fit the rotor. as provided: laminated the template to make it rigid enough to be useful Checked the spacing & offset on each relative to each other and the inner & outer hub lips before drilling All done
-
I guess I'm just used to cars (such as Volvo) that utilize wheels that are (obviously) lug-centric with cone-seated nuts or lugs to ensure proper seating, that also combine hub-centricity in their design. All the hubs on the cars have a wheel centering lip. I may just be assuming that wheels I've bought are lug & hub centric. The only aftermarket wheels I ever bought that were only lug centric were those American Standard wheels of the 70-80's that were in many cases slotted to allow fitment to a couple of close bolt patterns. Those do not use a cone seat. I had definite balance issues with that style - one had to torque the lugs with the wheel unloaded to avoid vibration. I'll take a read of the article.
-
There is a significant difference between lug-centricity & hub centricity, I'm sure you understand. Relying solely on lug centricity brings in greater likelihood of wobble or out-of-round. I guess I'll have to figure it out. I'm just surprised that no one has either encountered this or commented on it using aftermarket wheels.
-
Not the same OD F & R
-
Andrew from Milkfab got back to me with some info: "The factory hub diameter on the rear is ~67mm. Most aftermarket rotors and factory drums have a center bore ID between 67mm and 68mm to center the rotor to the hub. The wheel itself centers on the studs in the rear so the 73mm inside diameter is for clearing the front hub only." Having wheels not hubcentric seems like such a bad idea, especially when increasing the rotating mass with larger wheels / tires. I'm going to get hubcentric spacers for the rear - 67.1 - 73.1. Anyone have experience with this?
-
I would use a Volvo part on my Datsun, however I would NEVER use a part designed for any British car. I used to have MGB's back in the late 70's early 80's. The quality of the factory parts was always less than stellar 😂 I'm sure you've heard the joke about why Brits drink warm beer?
-
Searching has not brought me any definitive answers. It appears the front and rear hubs are not uniform size? I'm asking for two reasons - 1) because I'm converting the rear brakes to disc, and the Milkfab kit uses 300ZX Turbo rotors which have a 67mm bore. 2) I bought Konig Rewind 15x7 4x114.3, 73.1 bore 0 offset - So now I'm assuming I will need hub centric spacers for the rear wheels, but not for the fronts? Can anyone advise?