HusseinHolland
Community Member
-
Joined
-
Last visited
Everything posted by HusseinHolland
-
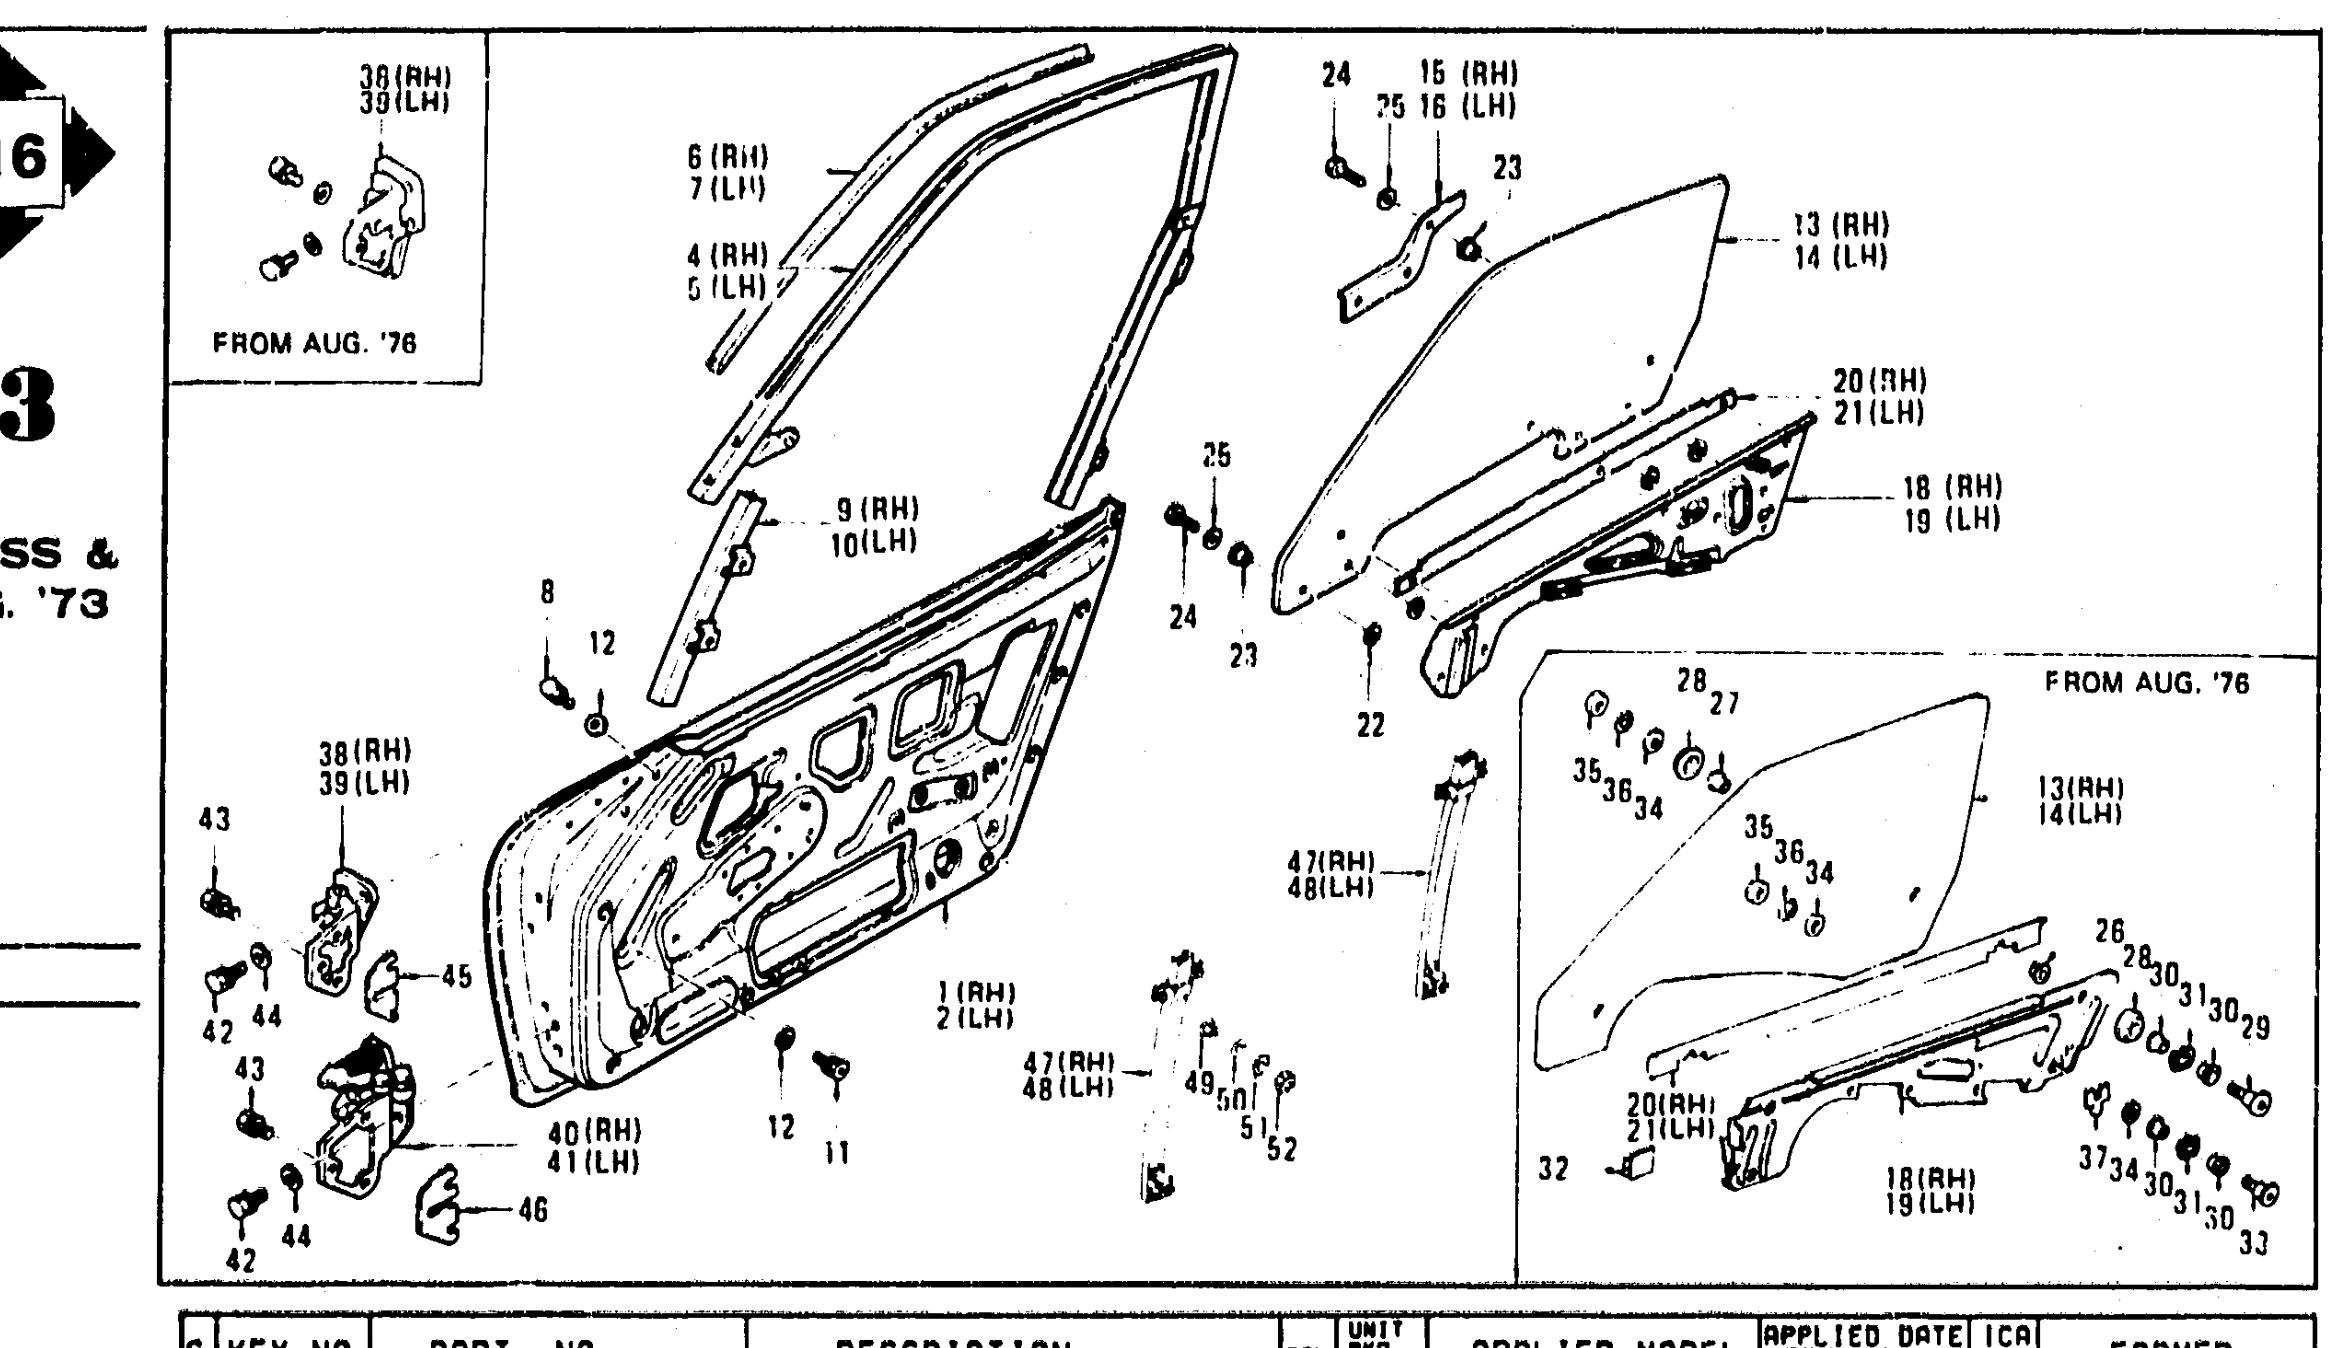
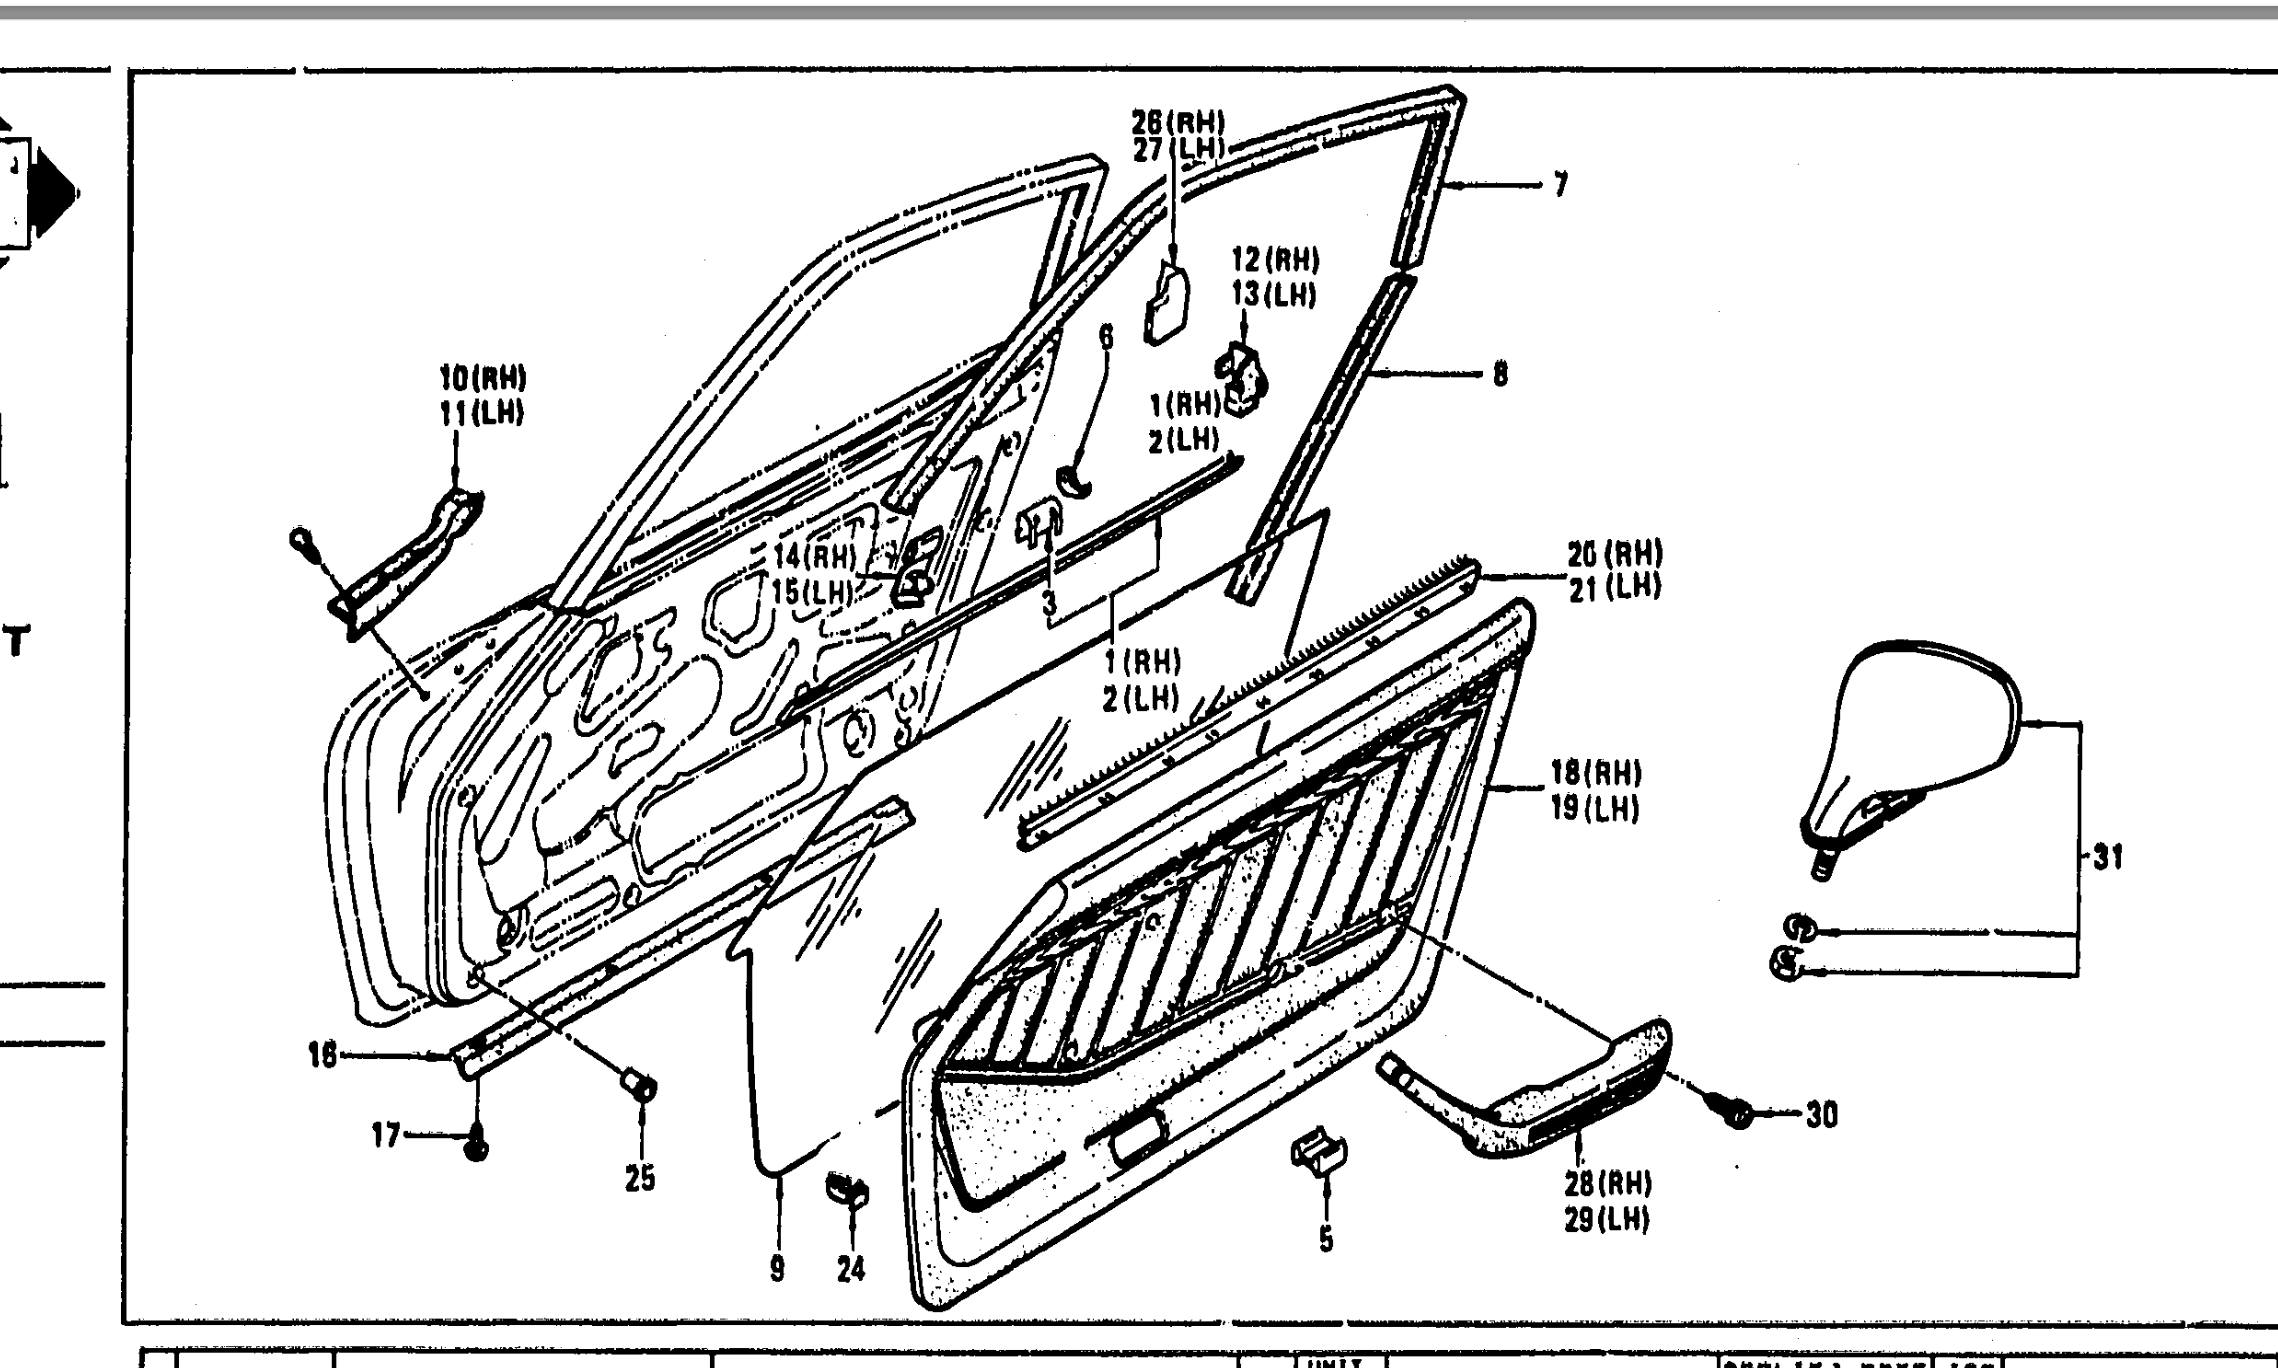
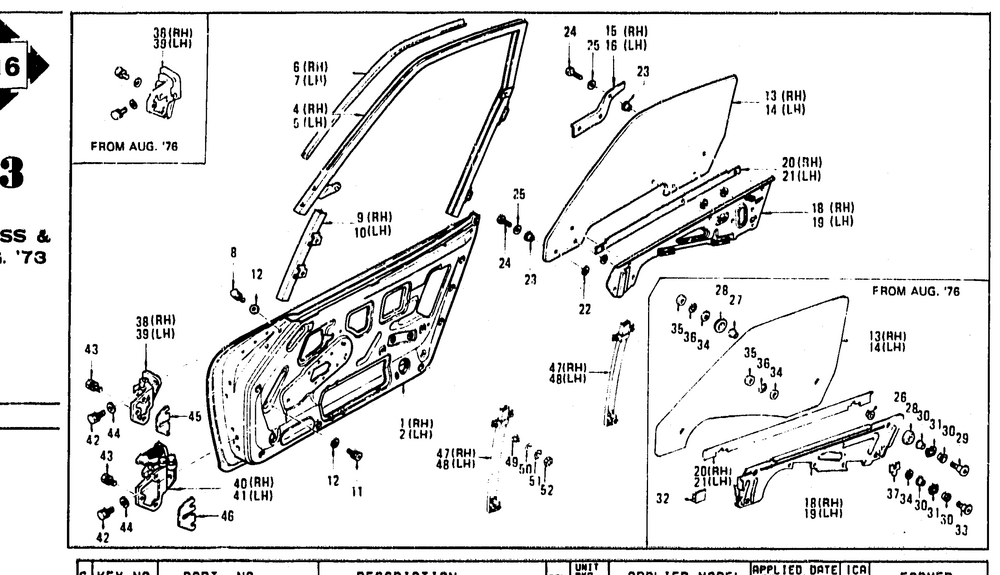
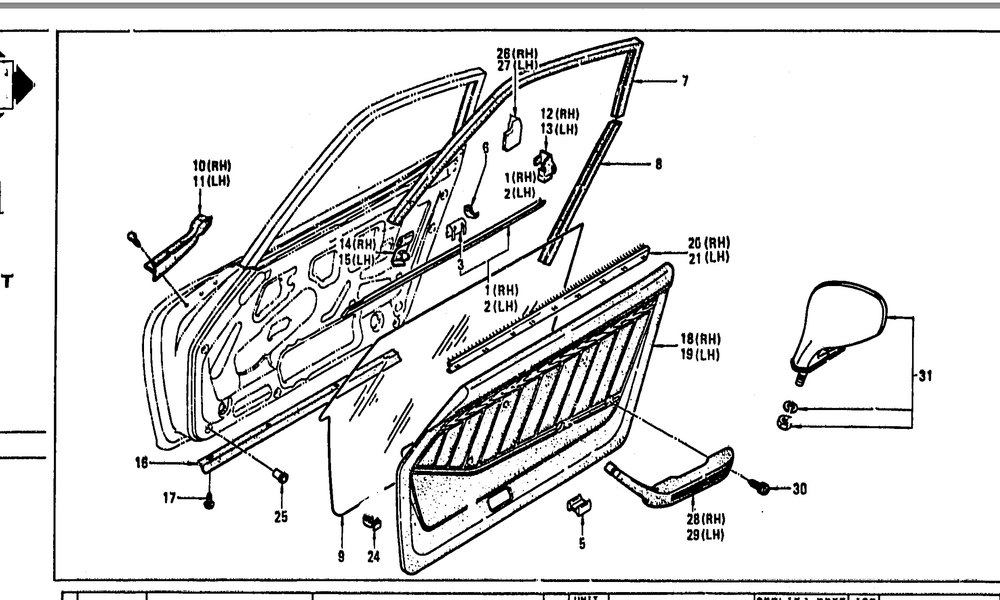
Question for those with more experience on these - I ordered what I thought were the door glass channel seals (6 & 7 in the catalog) - 80810-N4500 80811-N4500 but.... those are not glass seals, & I can't figure out where they actually go. Are they supposed to attach to the outside of the door frame? I don't think there is a ridge in mine that these would fit into. The actual channel seals seem to be in 2 parts (7 & 8), but I didn't see 2 parts in the listings I've found - 80335-N4520 is what I have ordered, looks like I also need to find 80336-N4600, not having much luck with that
-
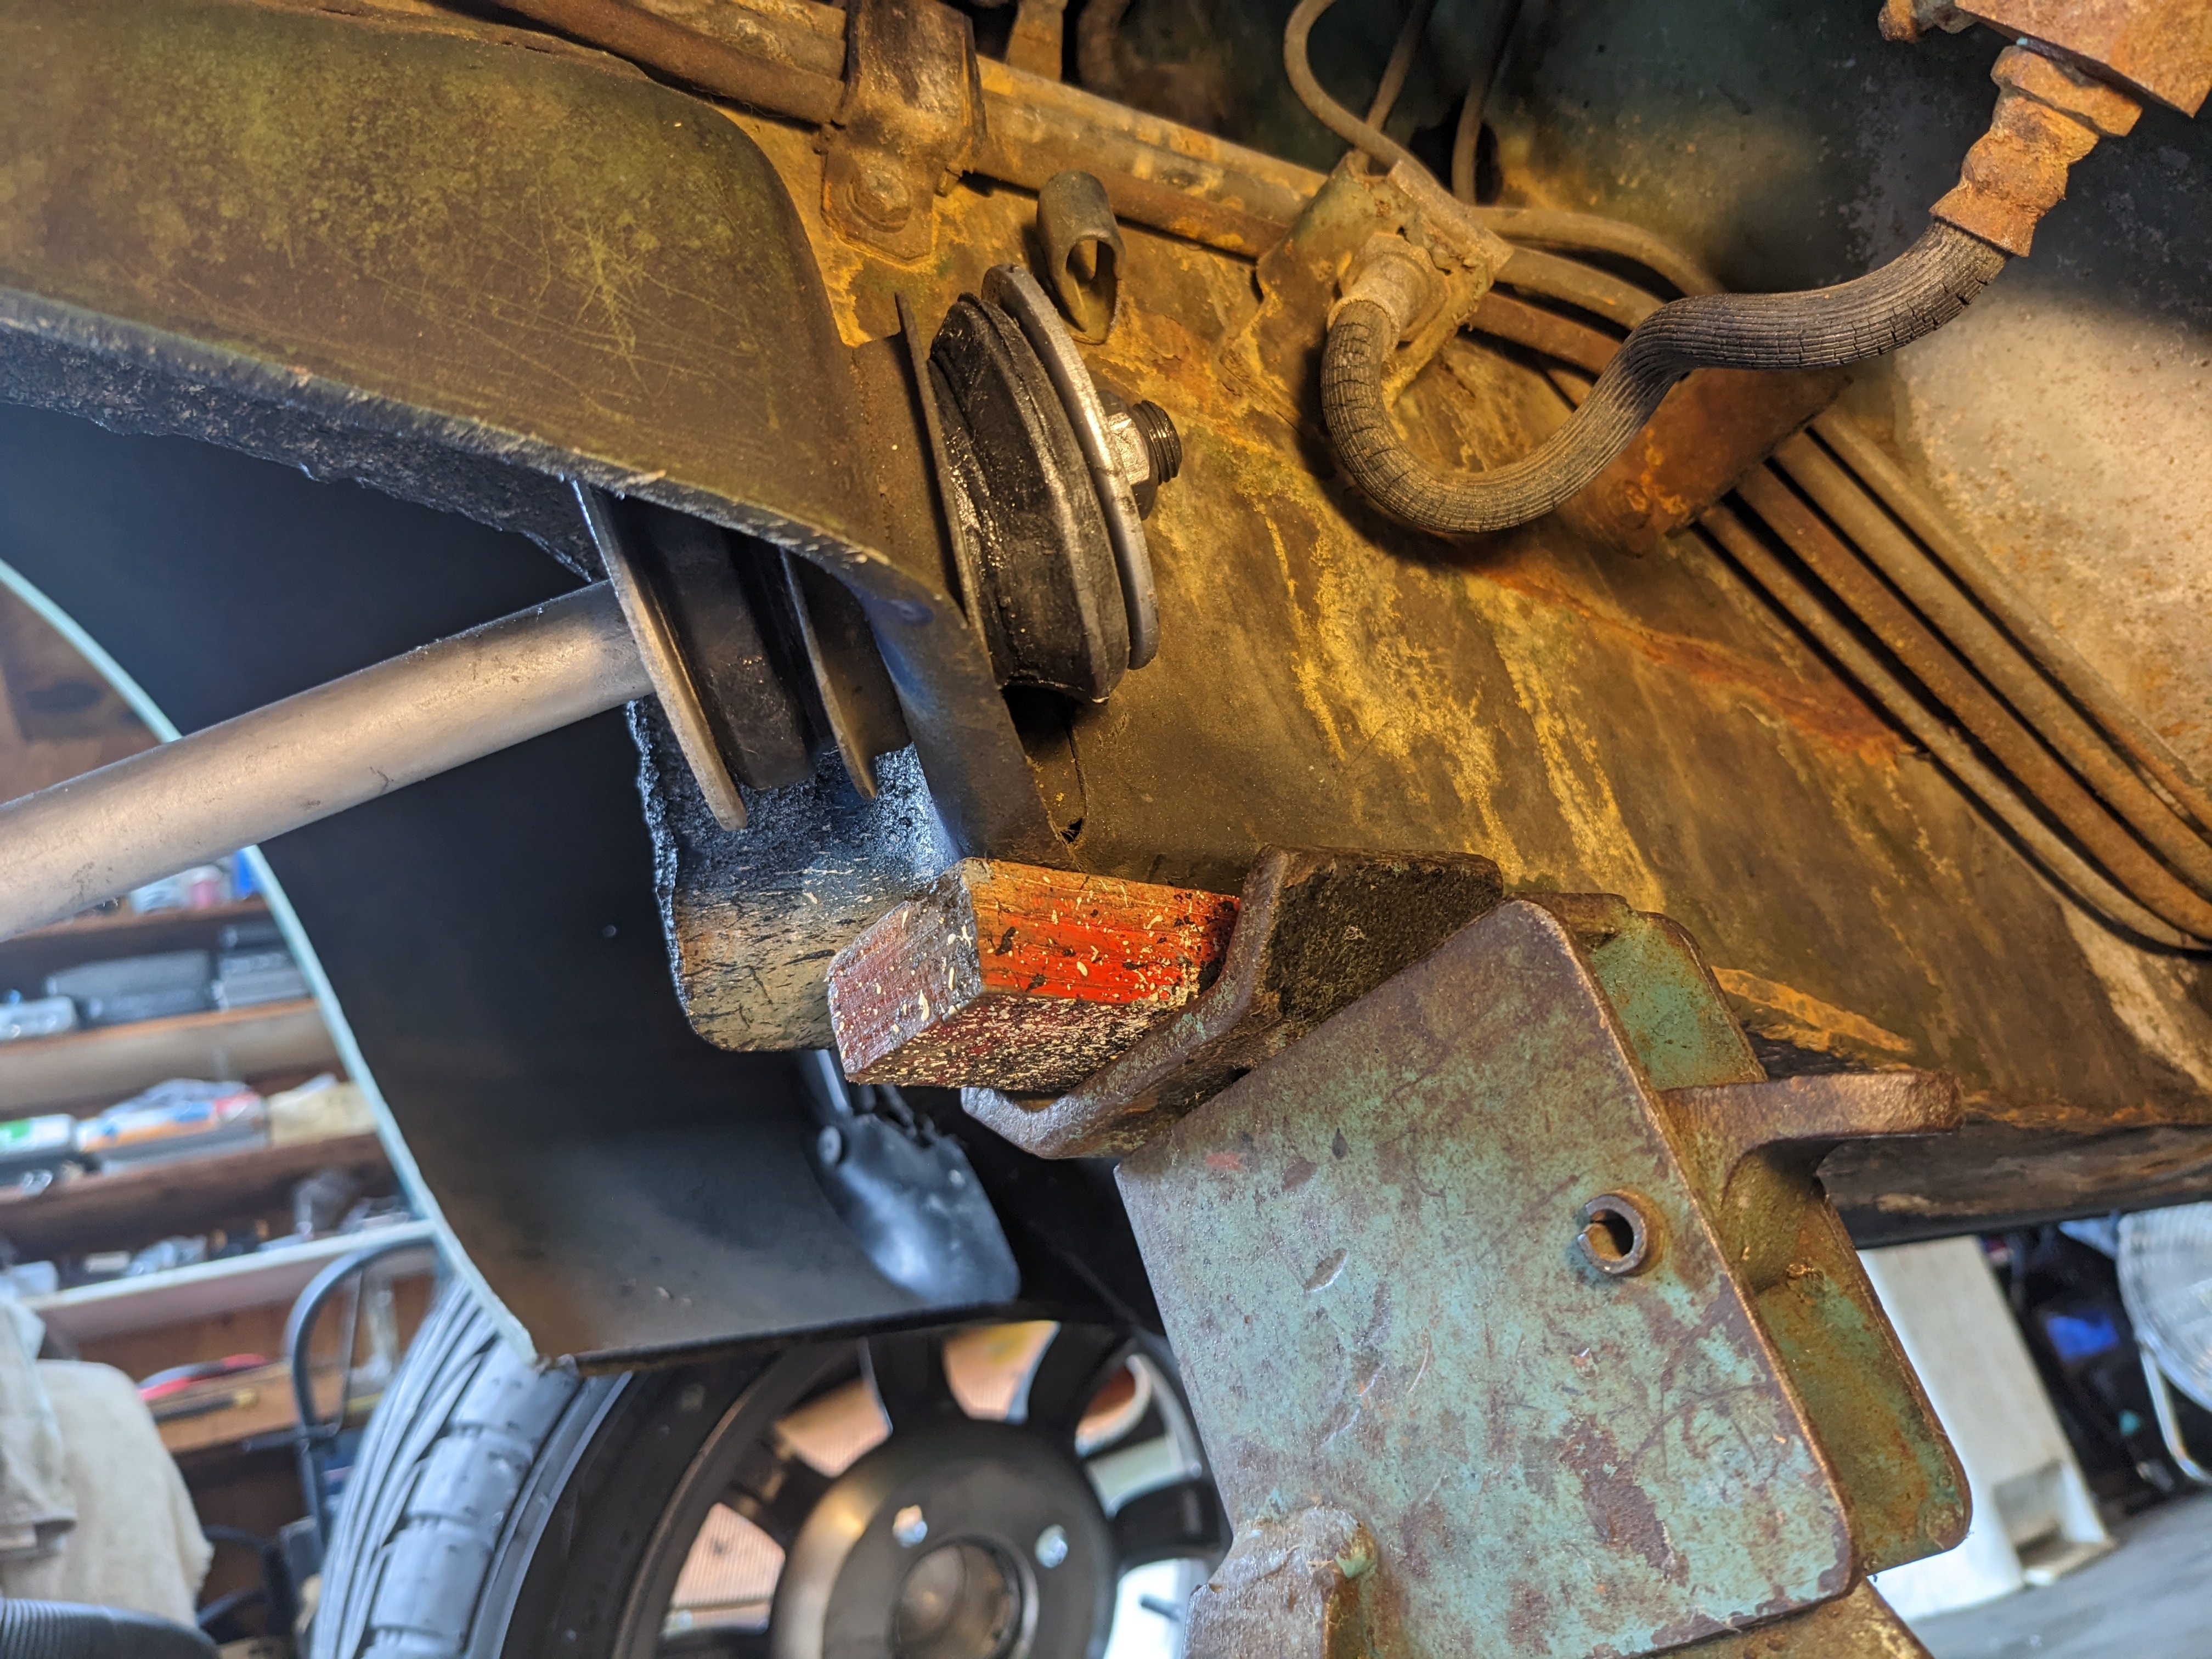
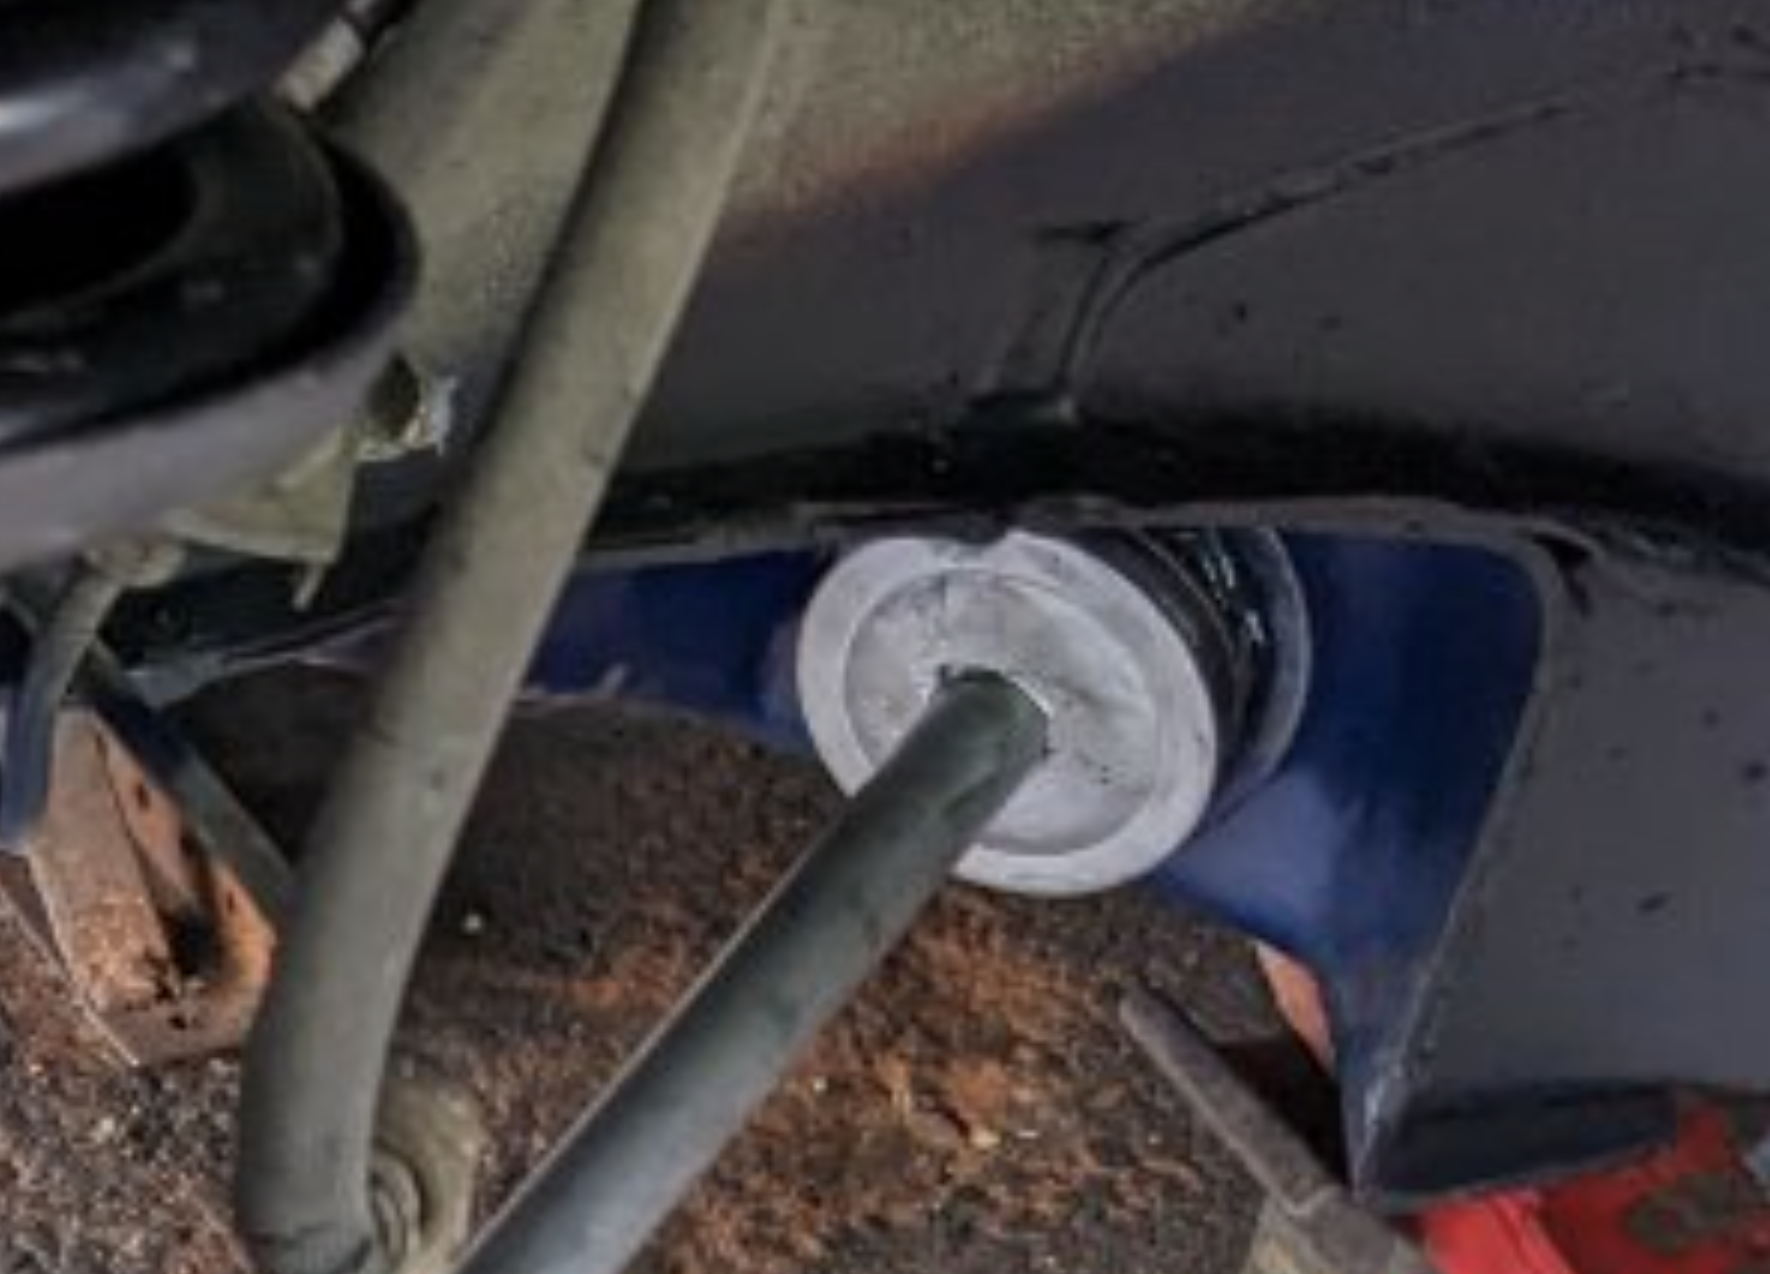
Not sure where I picked up the 'torsion' rod description, I assumed it was from somewhere in the FSM, however I see they call it a compression rod in the 75 manual I have in my possession. Volvo used a similar design, they called them caster rods. Indeed!! I have the parts, I was going to do it last week, however I couldn't get the clutch master reservoir cap off, and was not about to apply excessive force to that. I'm changing it in part because it was clearly improperly installed. I do understand how to properly install a hydraulic flex hose to ensure the line is not under tension as seen in my pic , but thanks for the concern 🙂
-
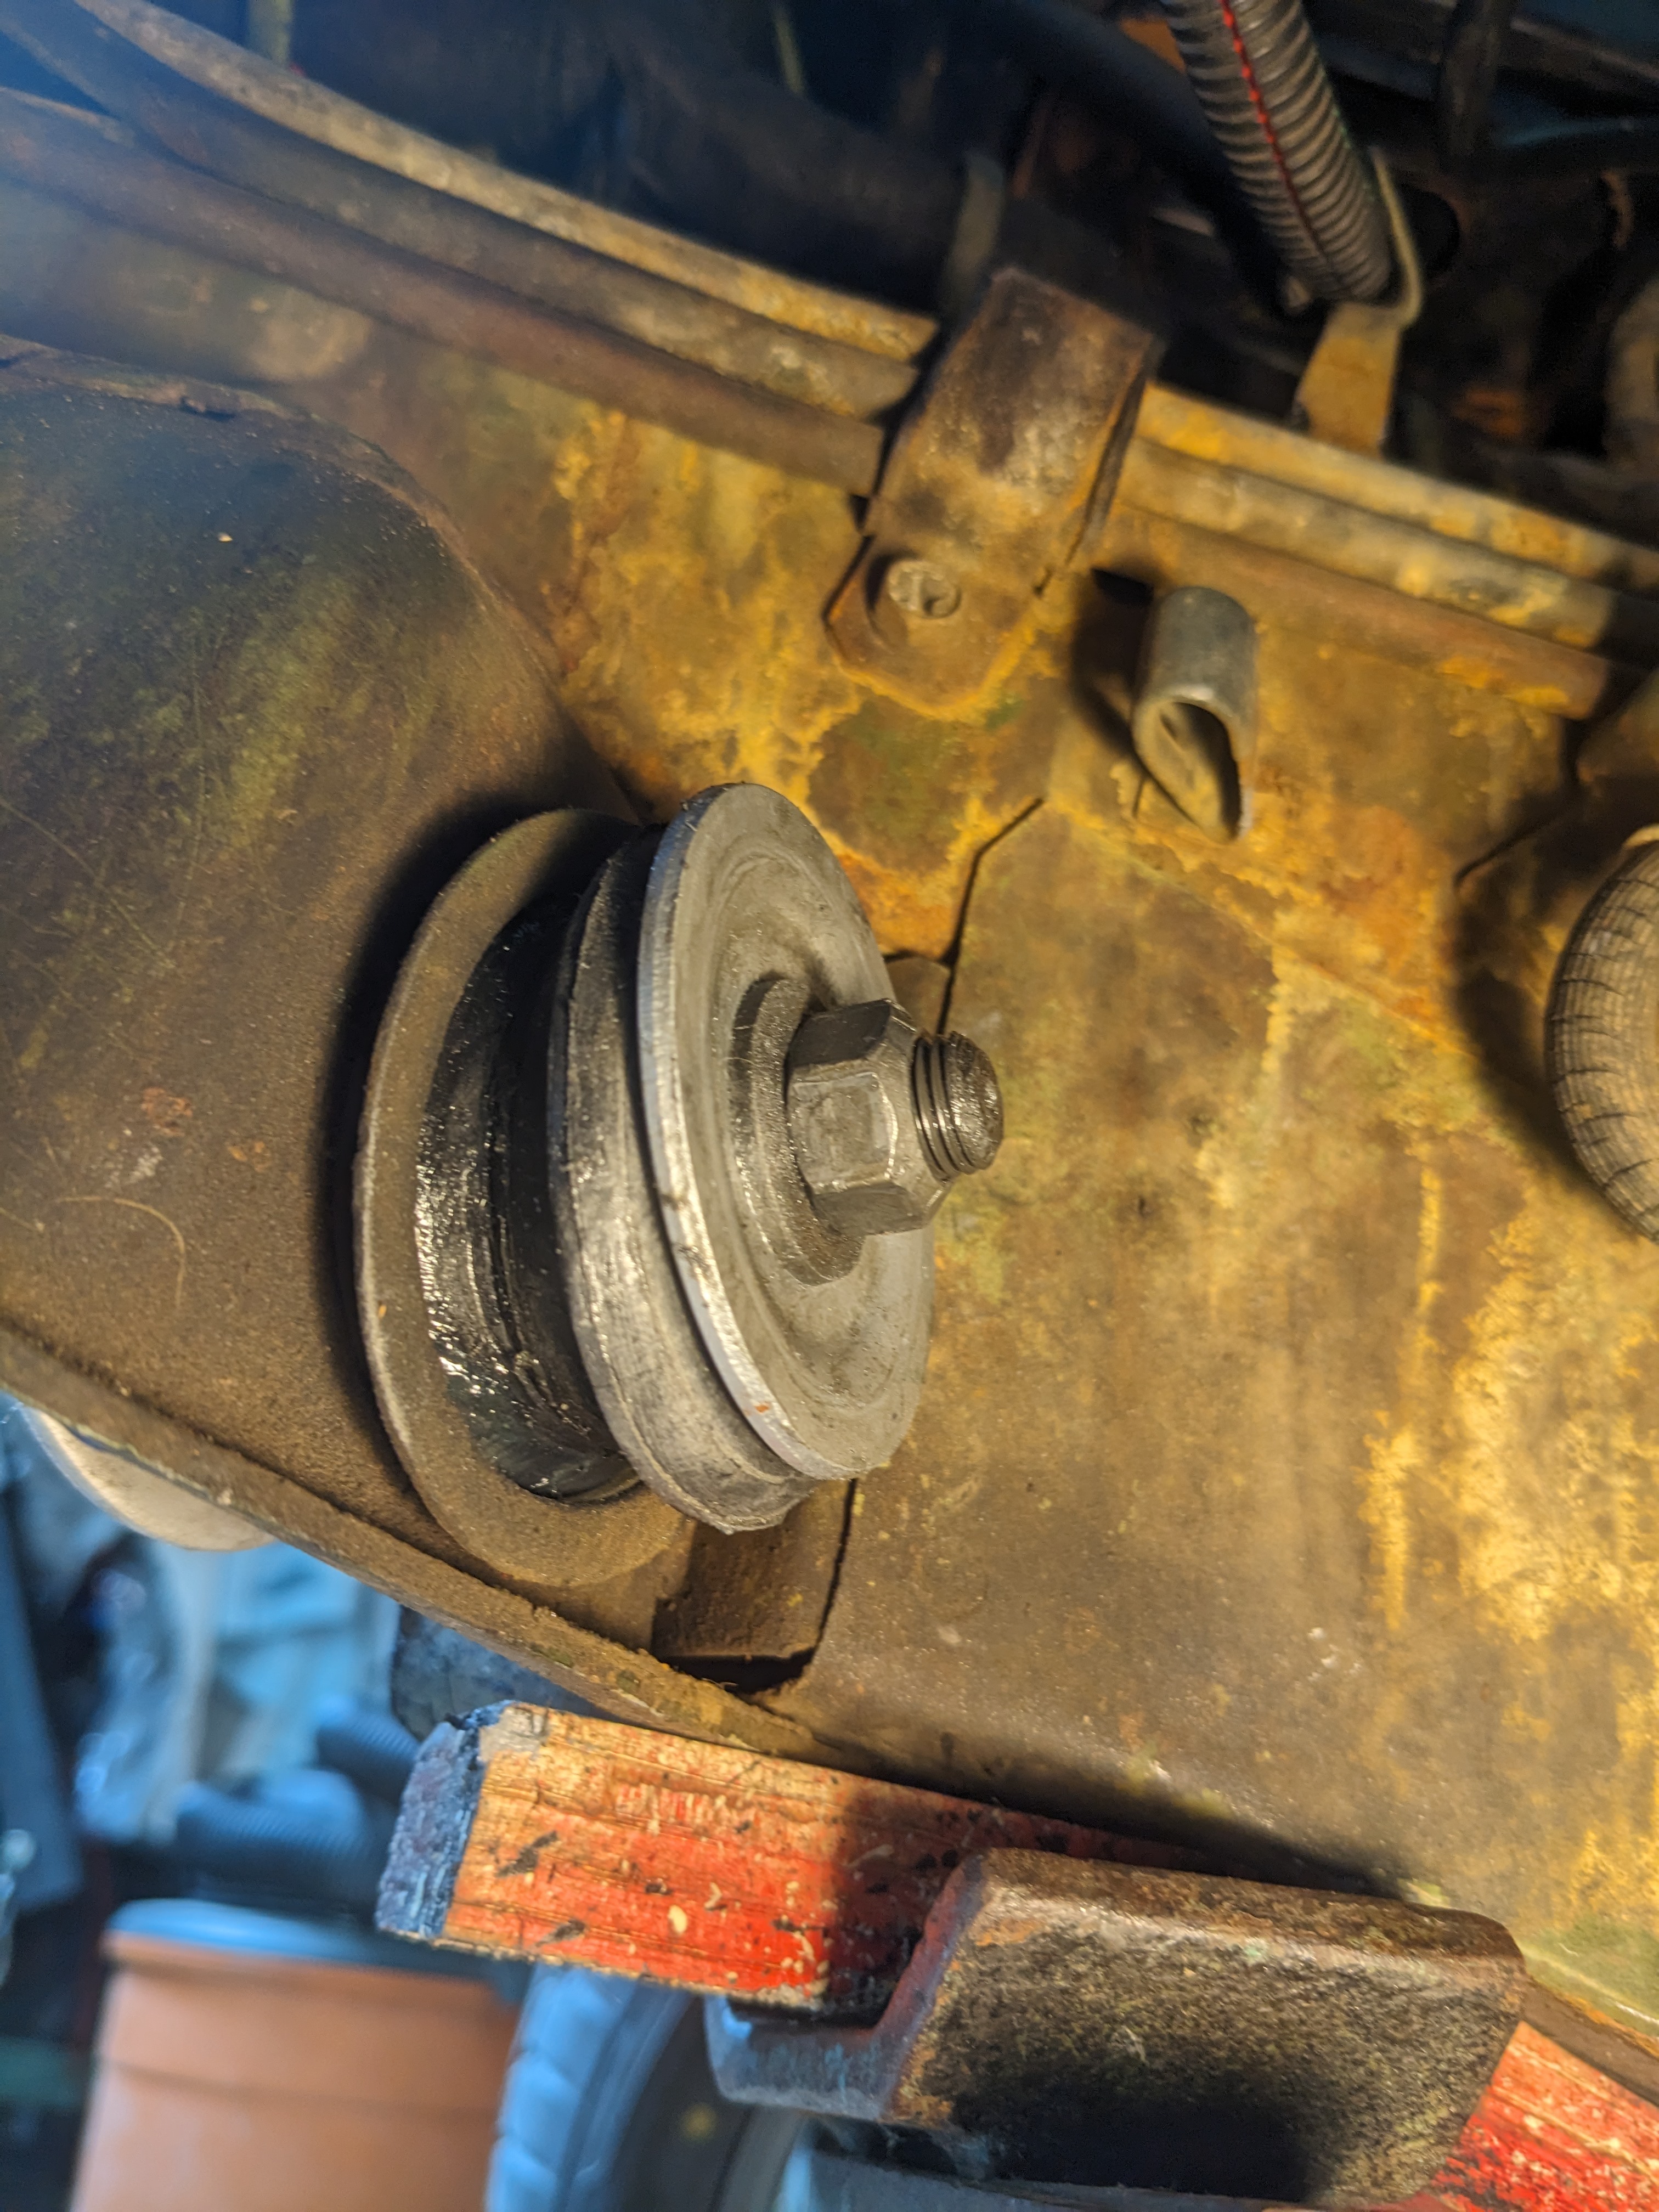
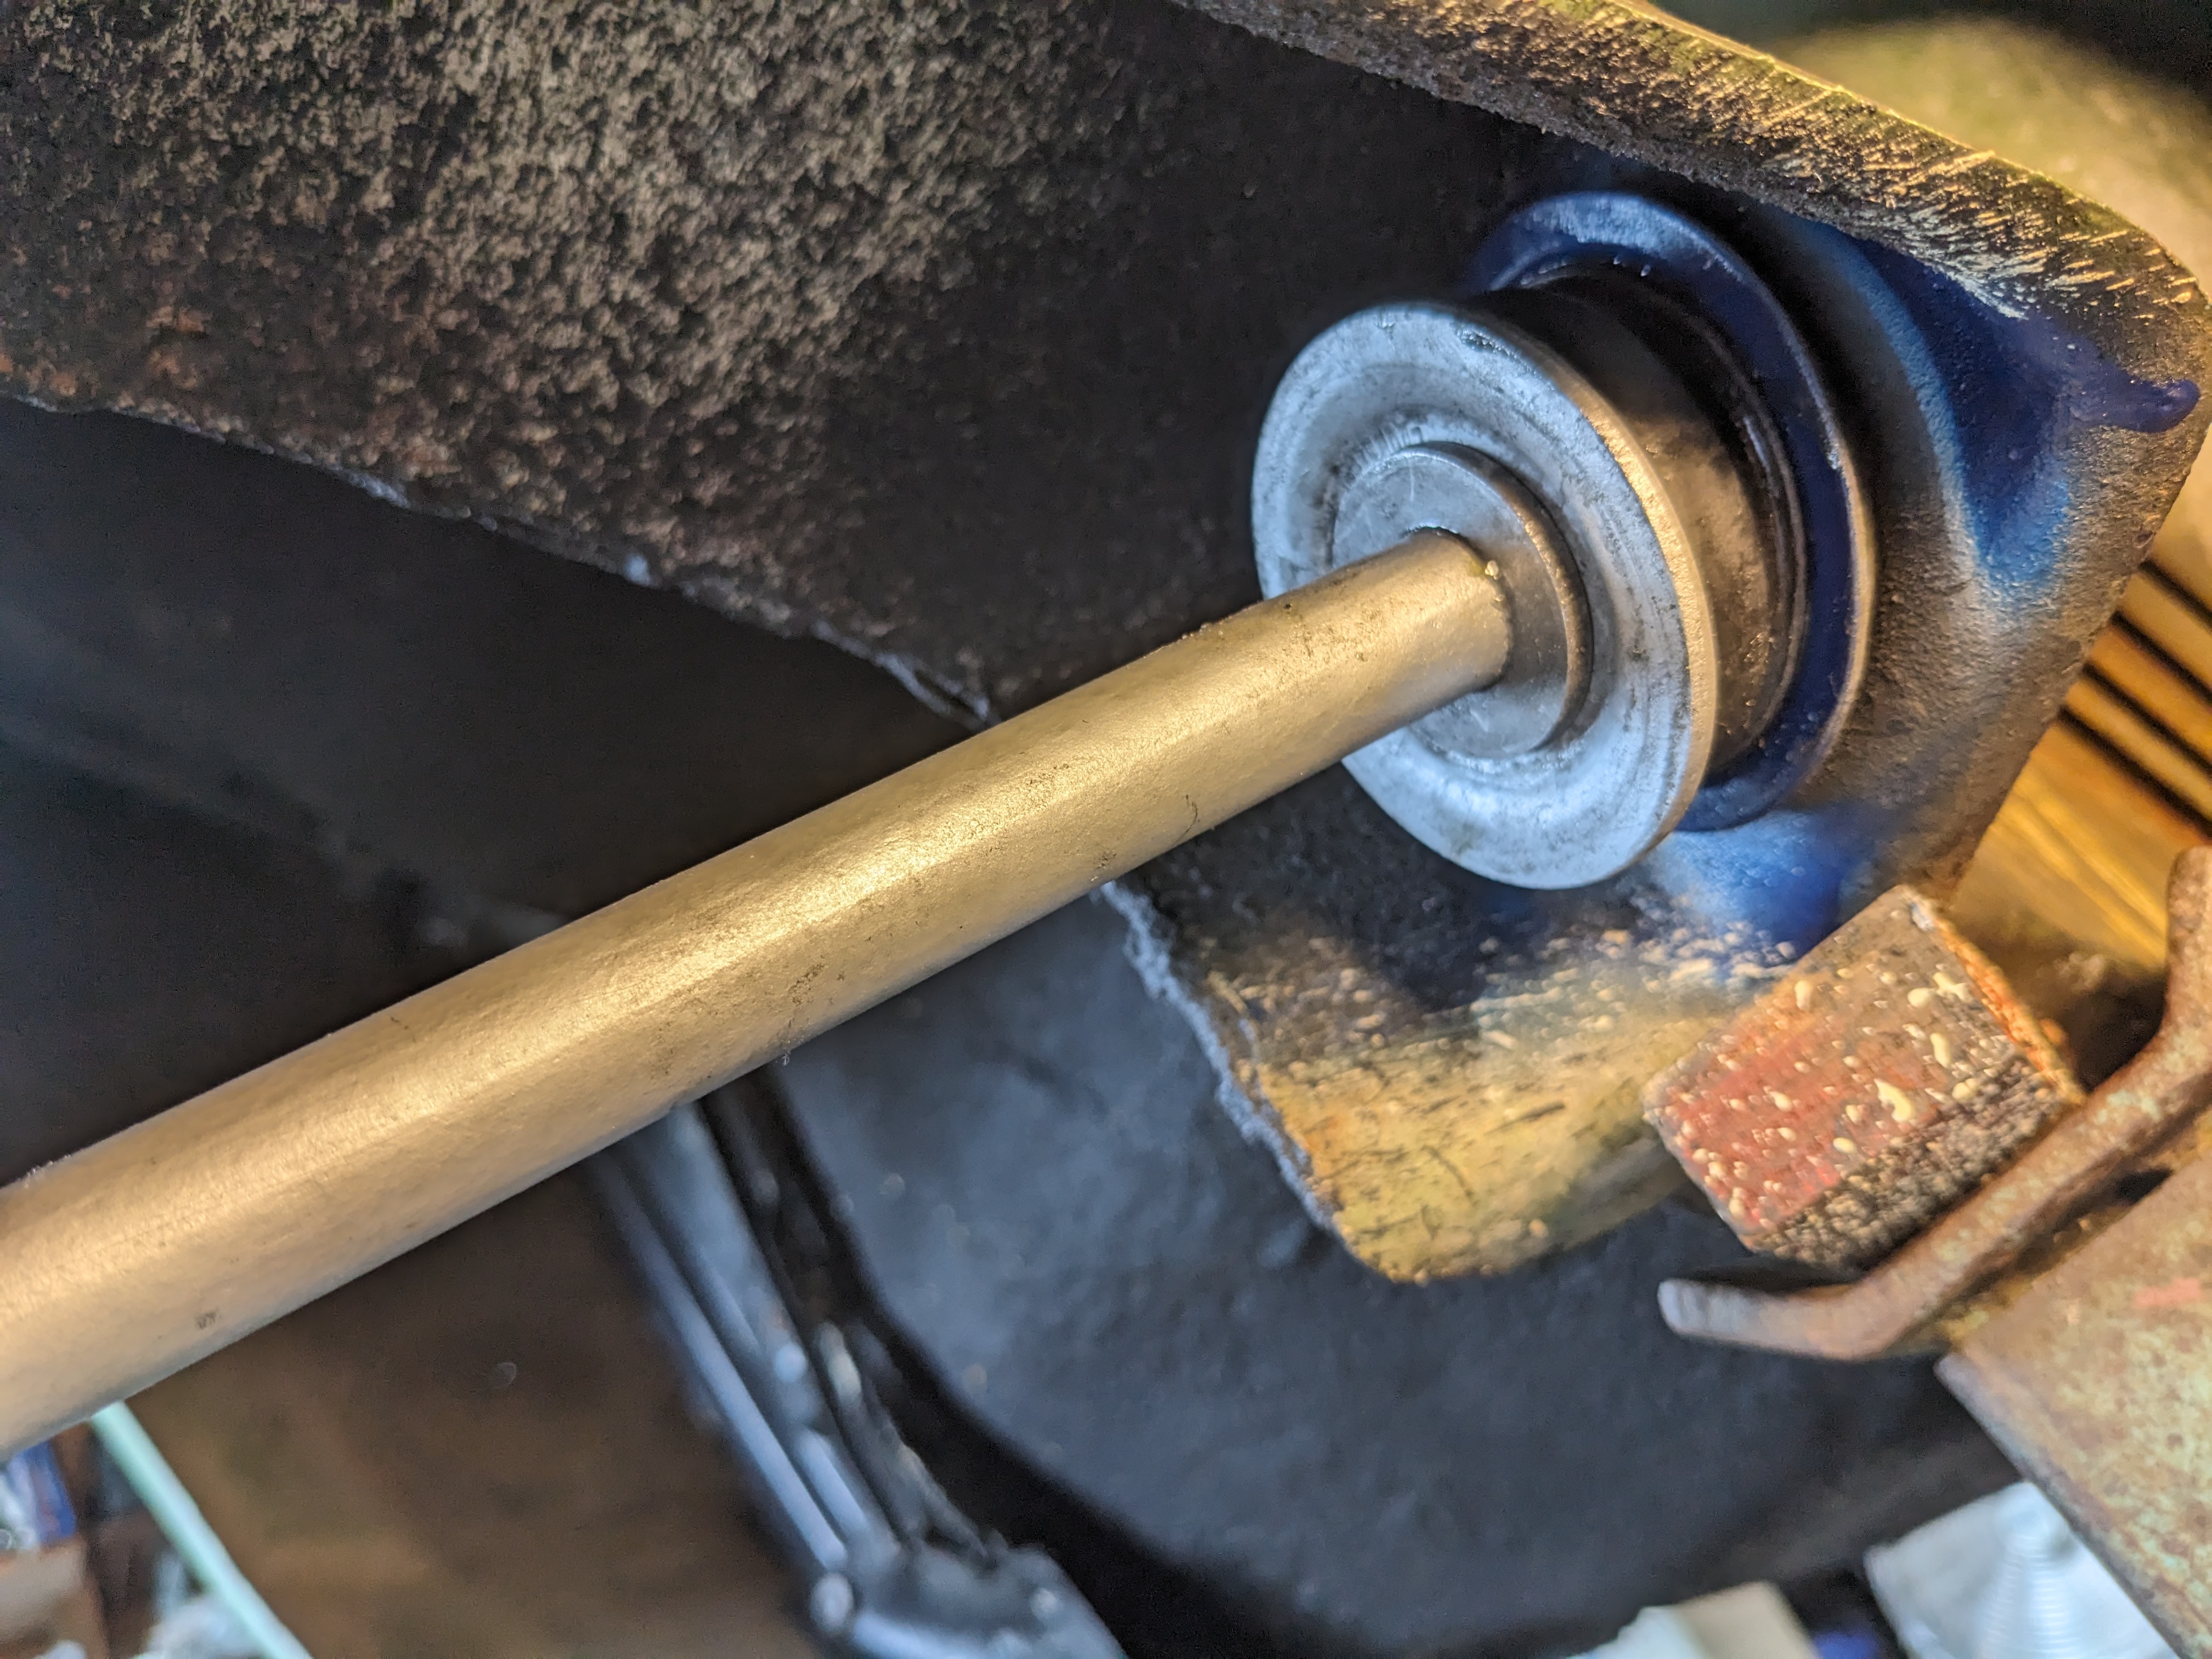
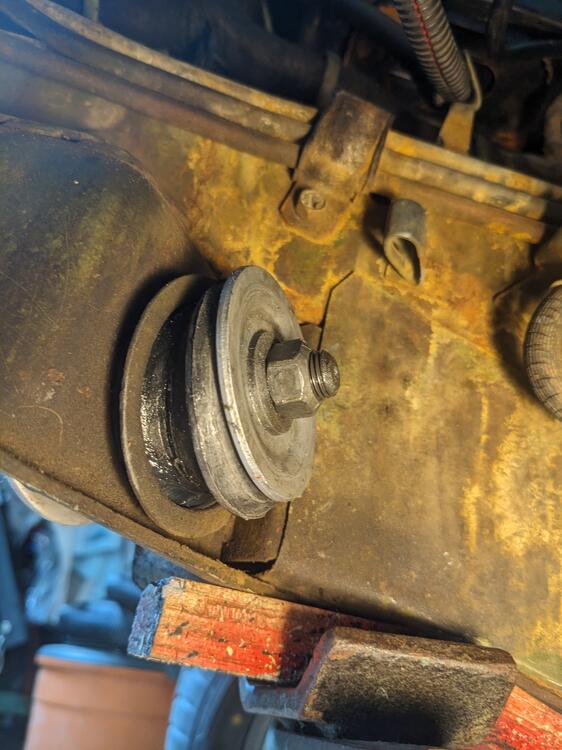
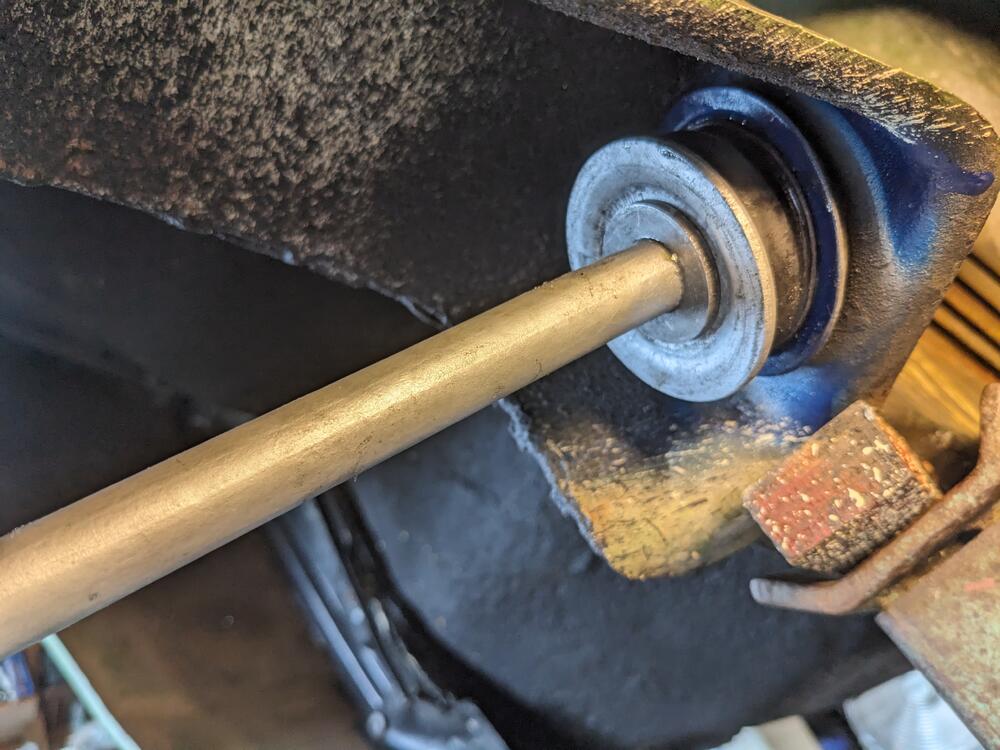
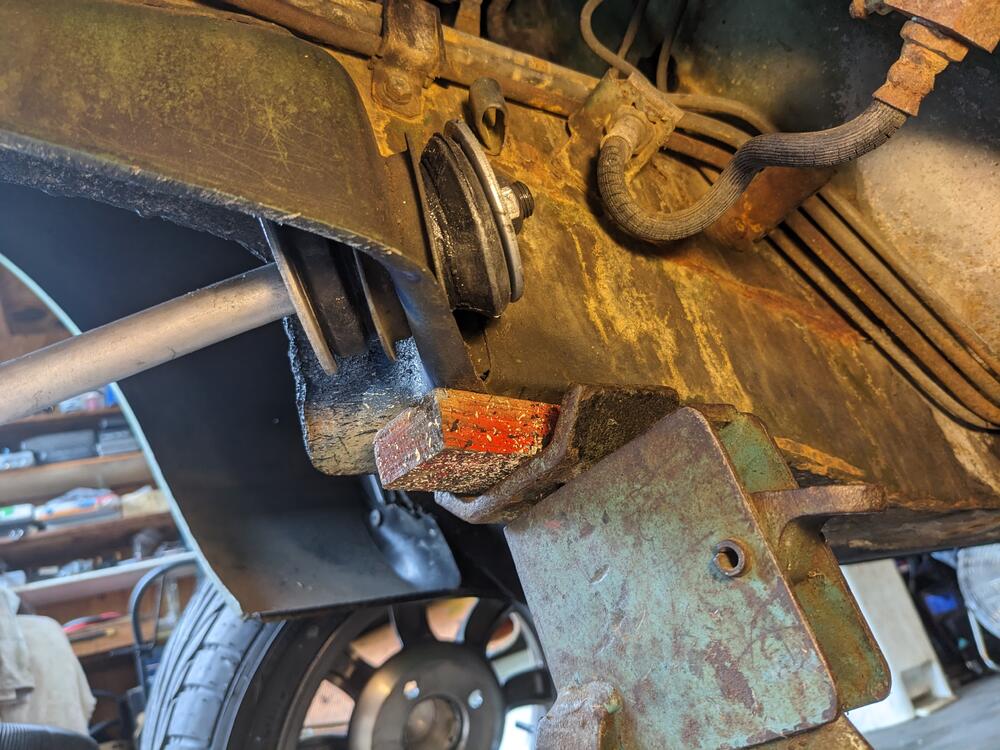
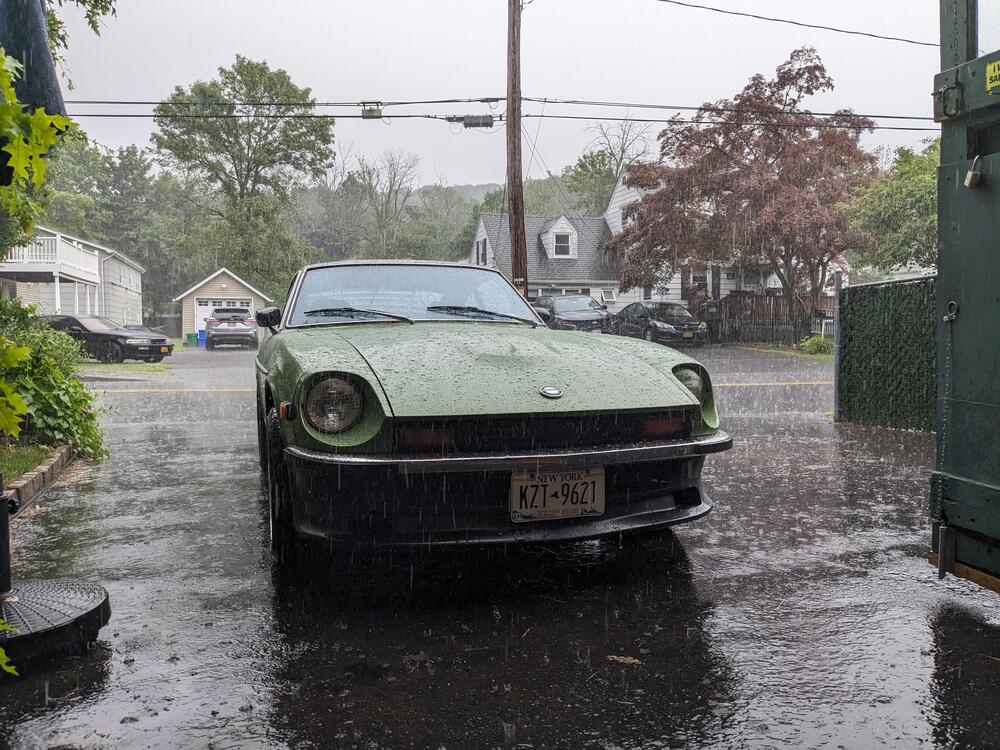
Finally got back to the front end - removed the torsion rods & flipped the cone washers, moved the flat washer to the front side, installed one poly bush on the forward face, added a hardened washer under the nut I used the insert tube from the poly kit, it is slightly longer than the stock version used with only rubber. Torqued to 44ft/lbs. Didn't get to drive it, the rain is coming down too hard. I'll find out if that resolved it
-
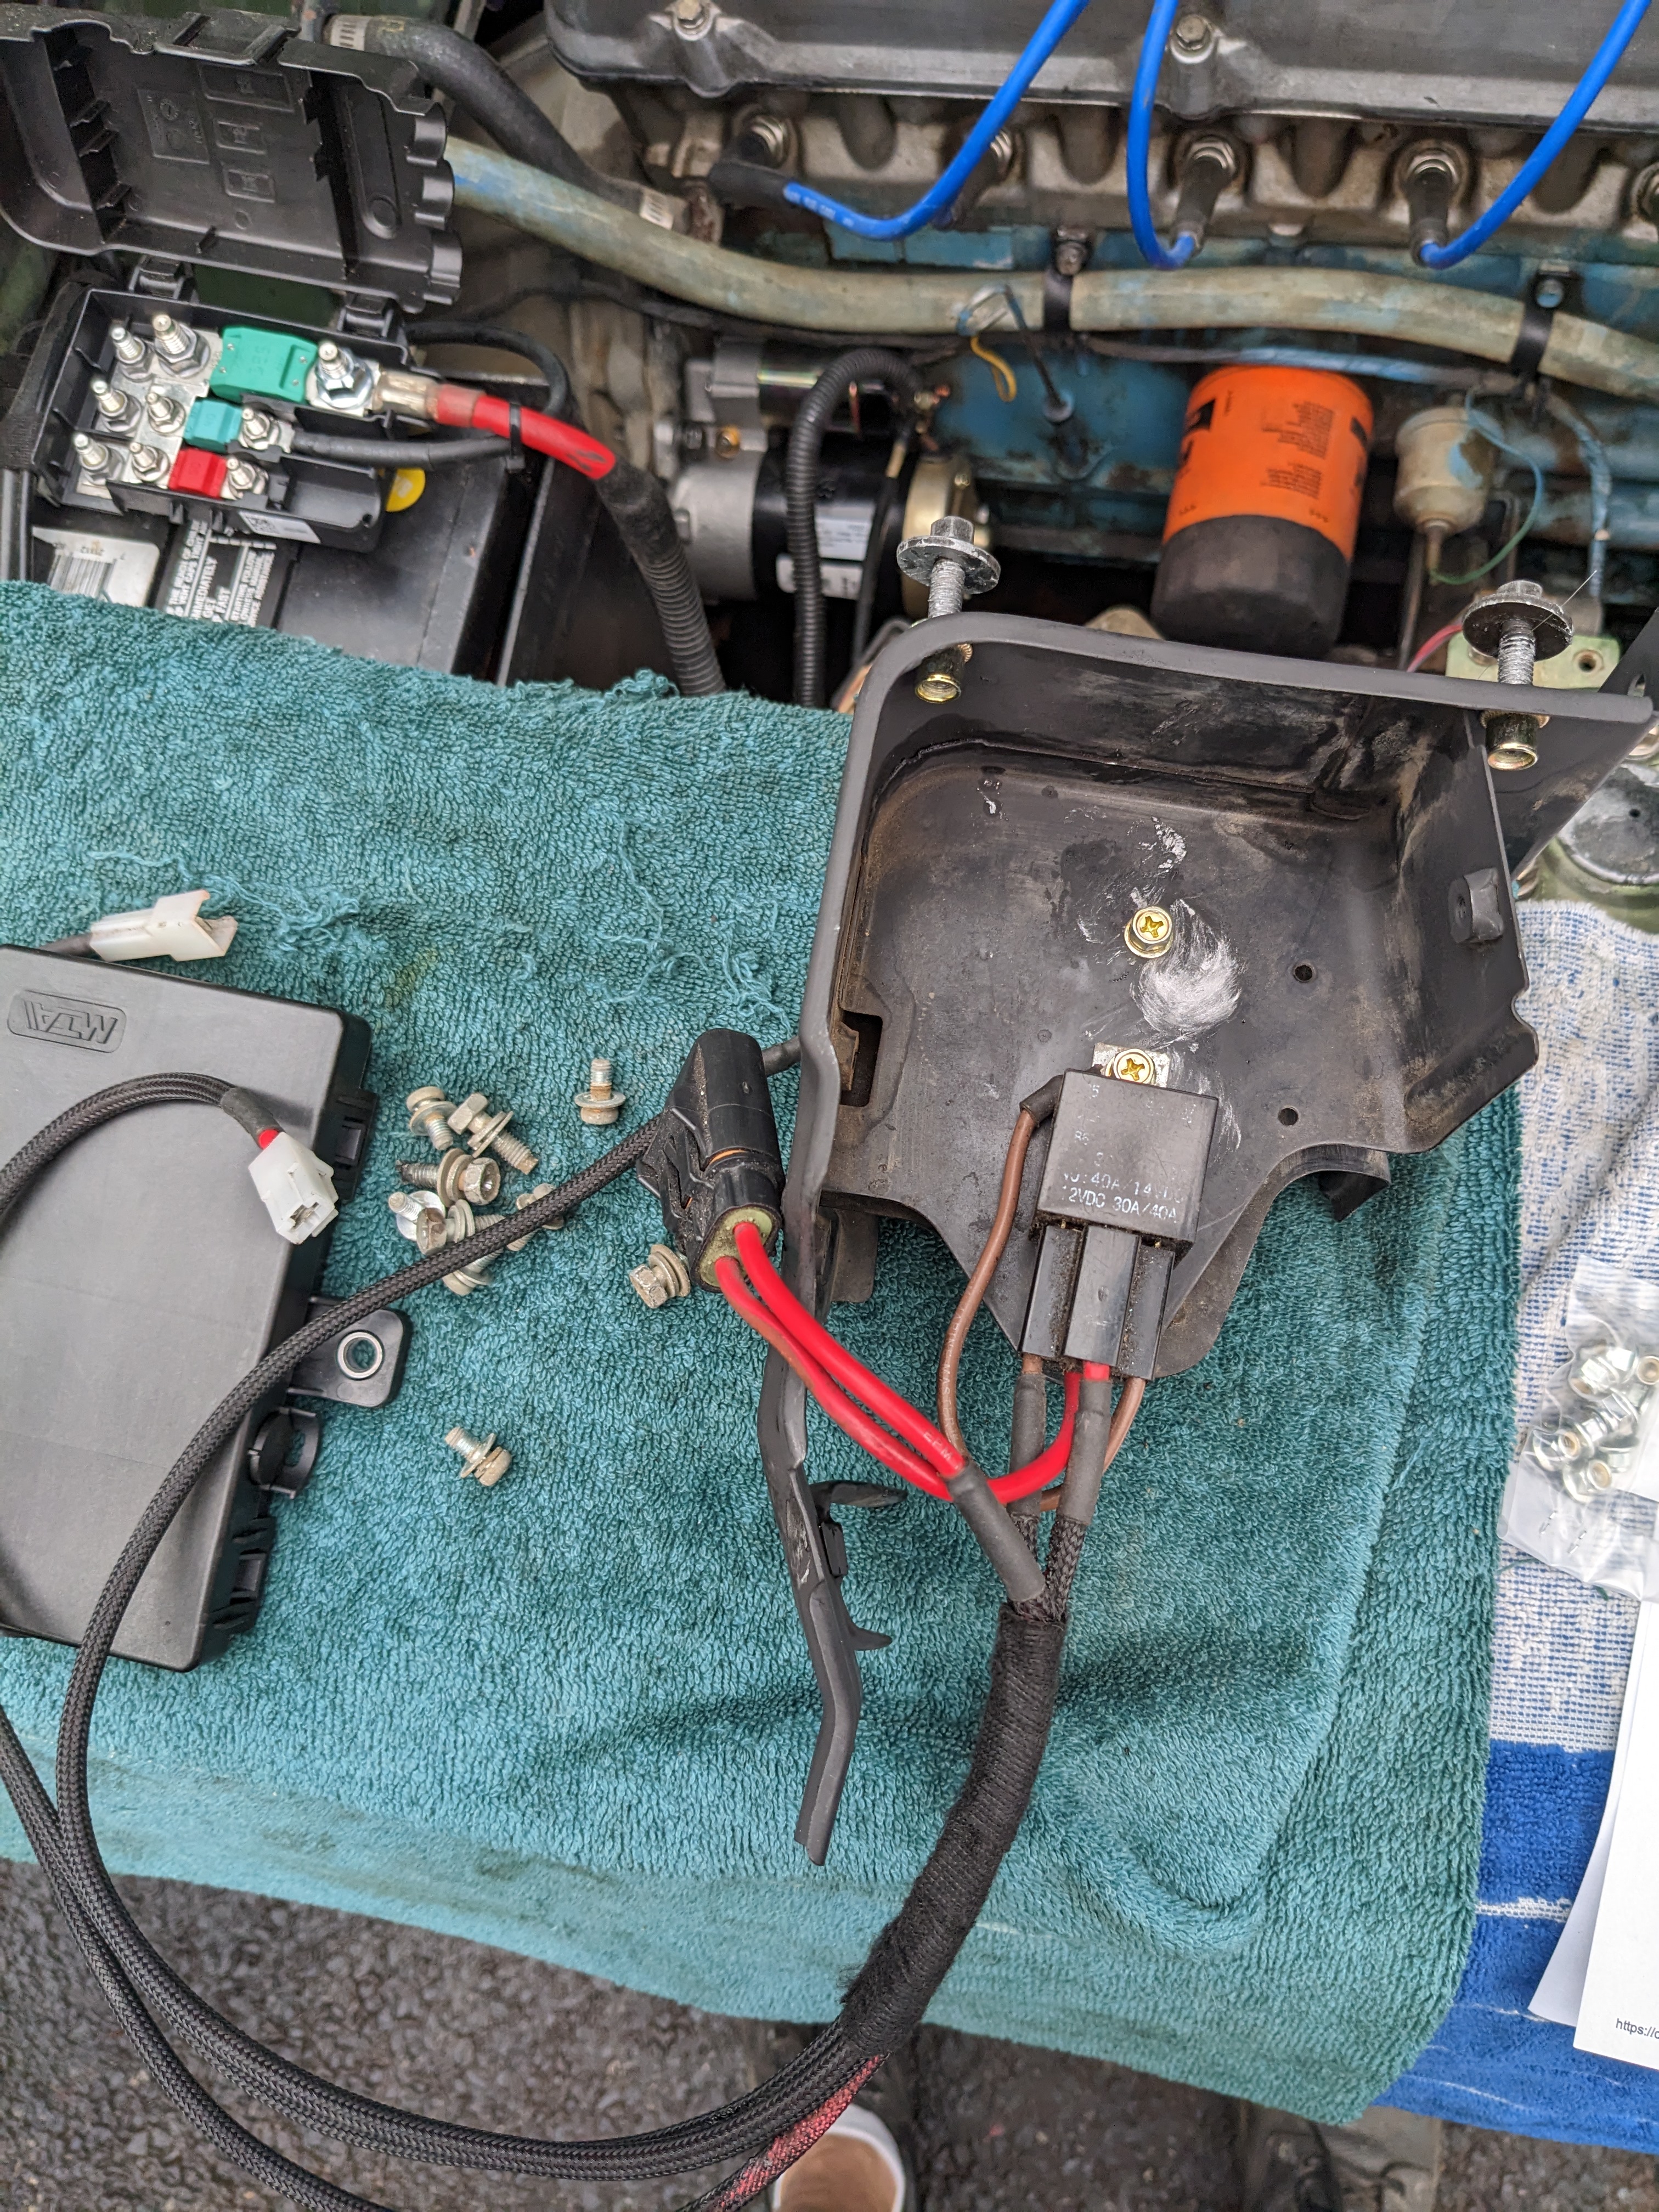
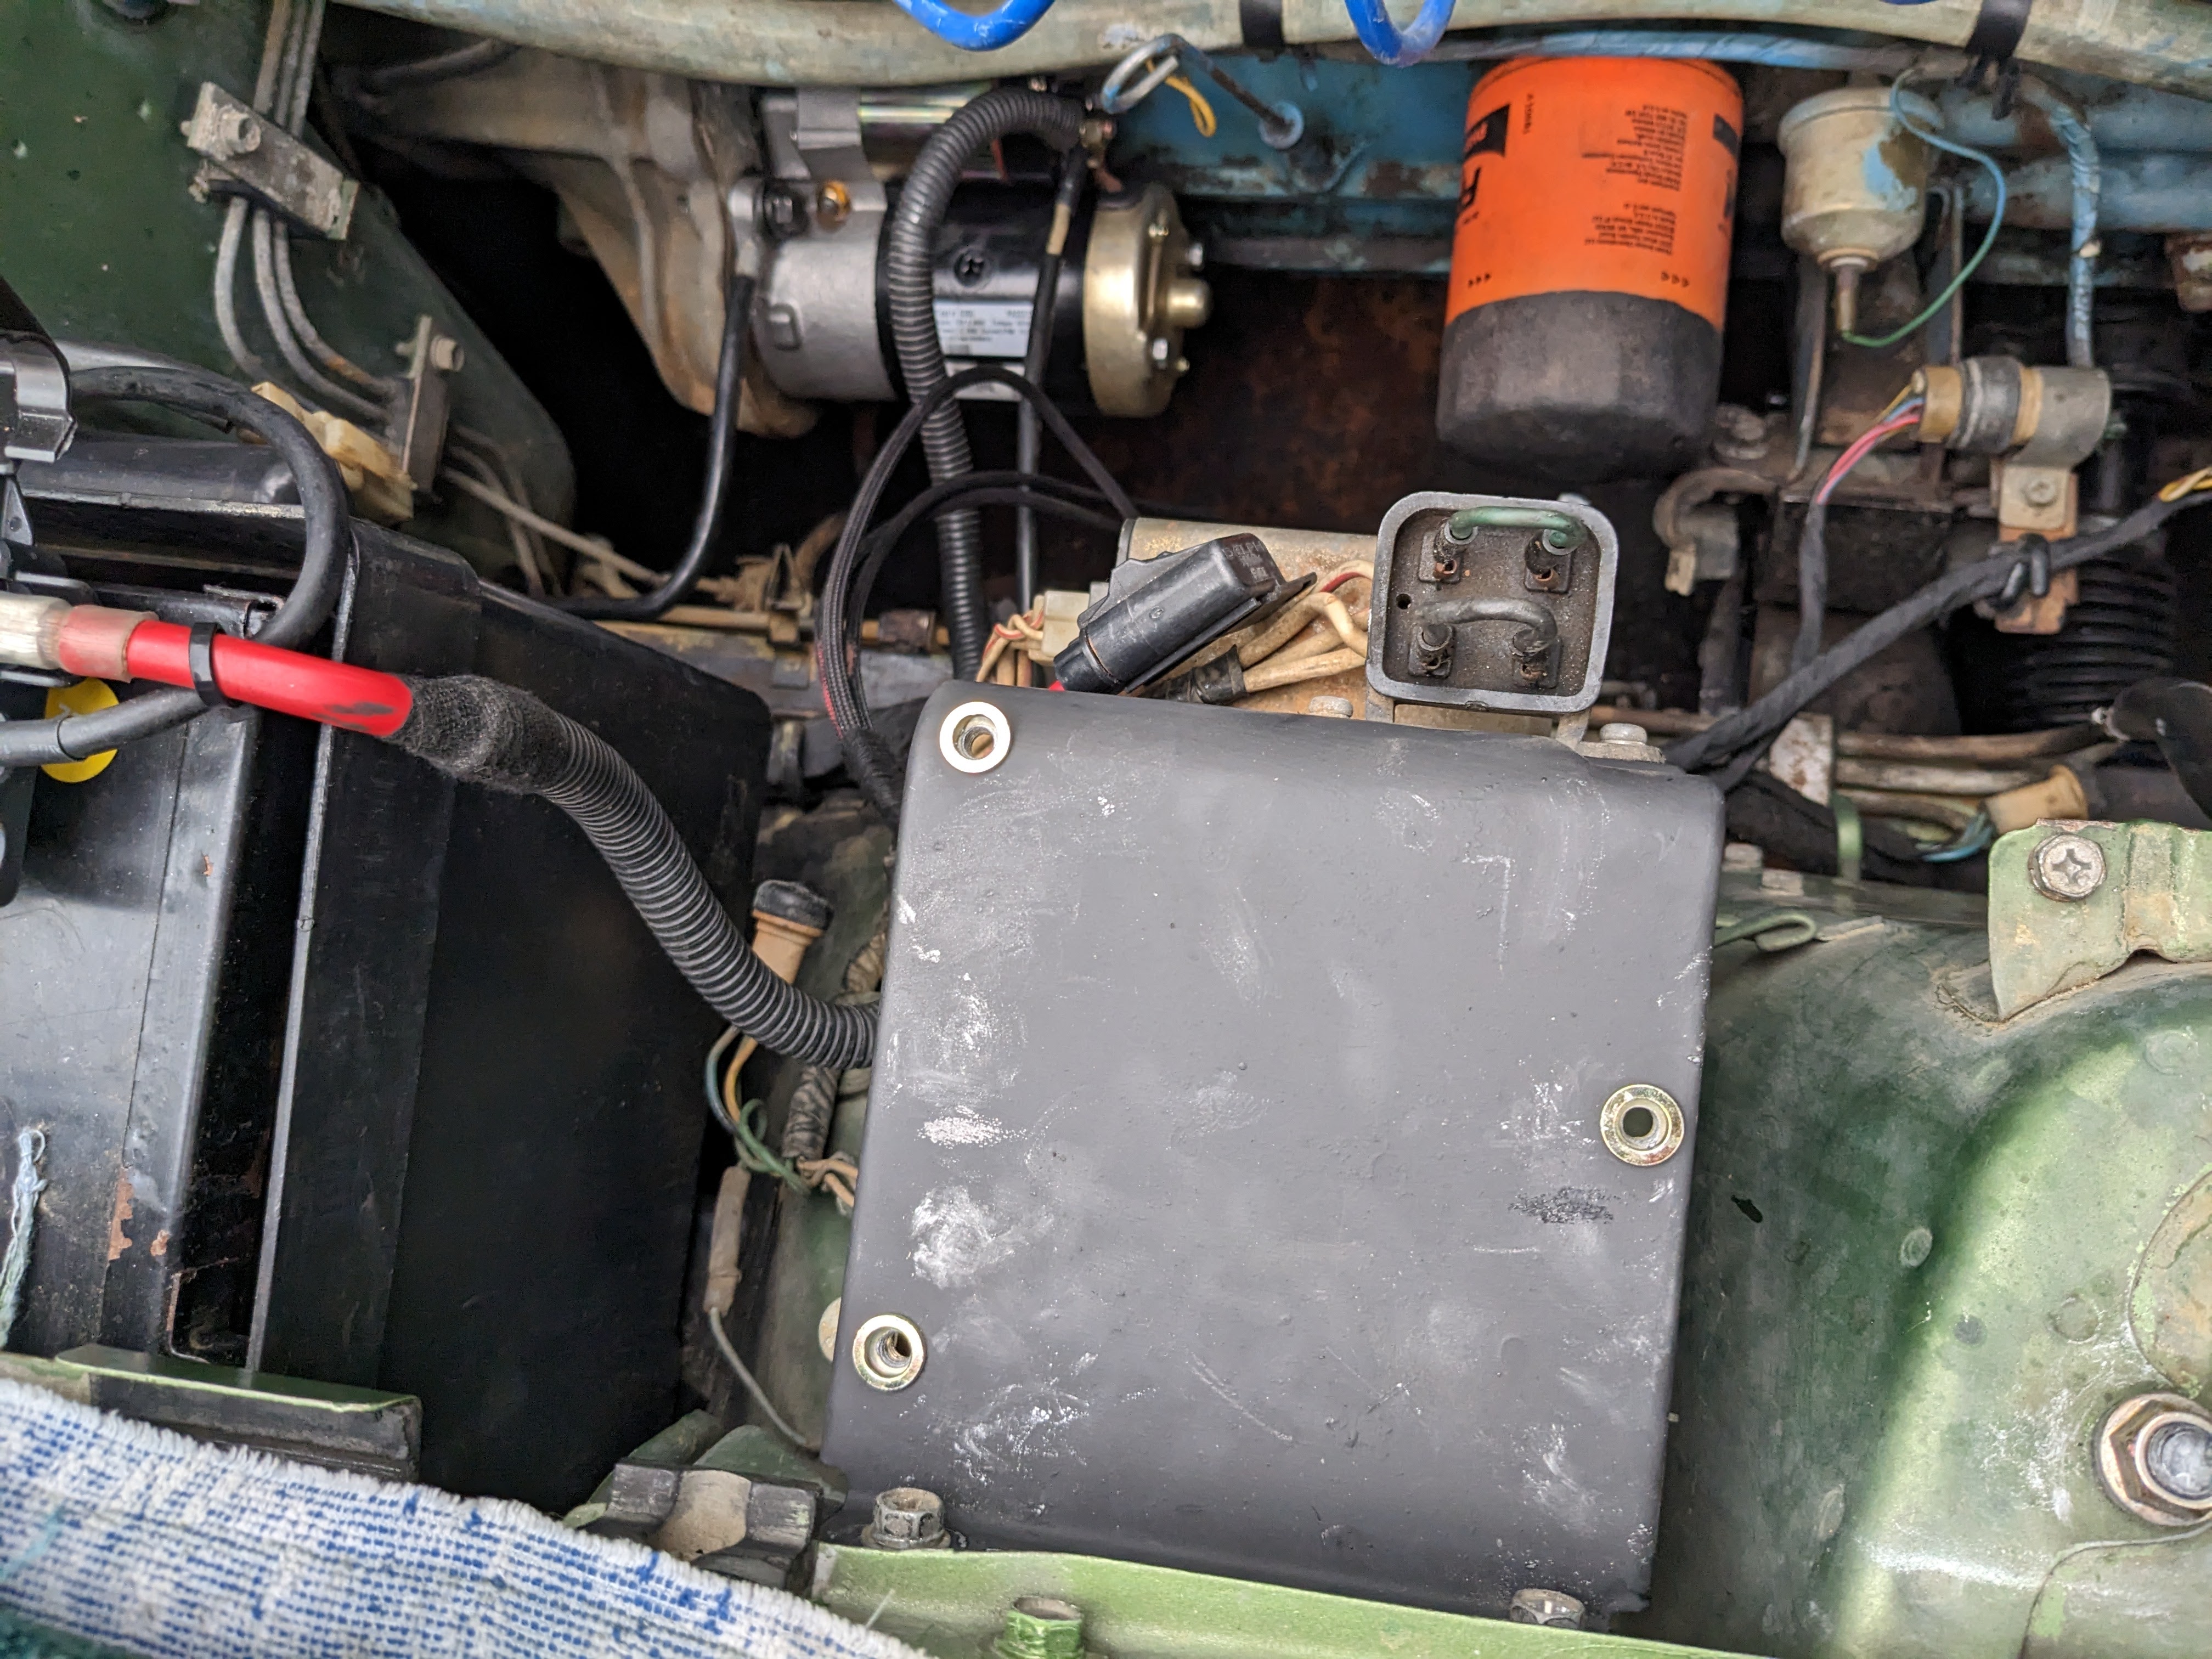
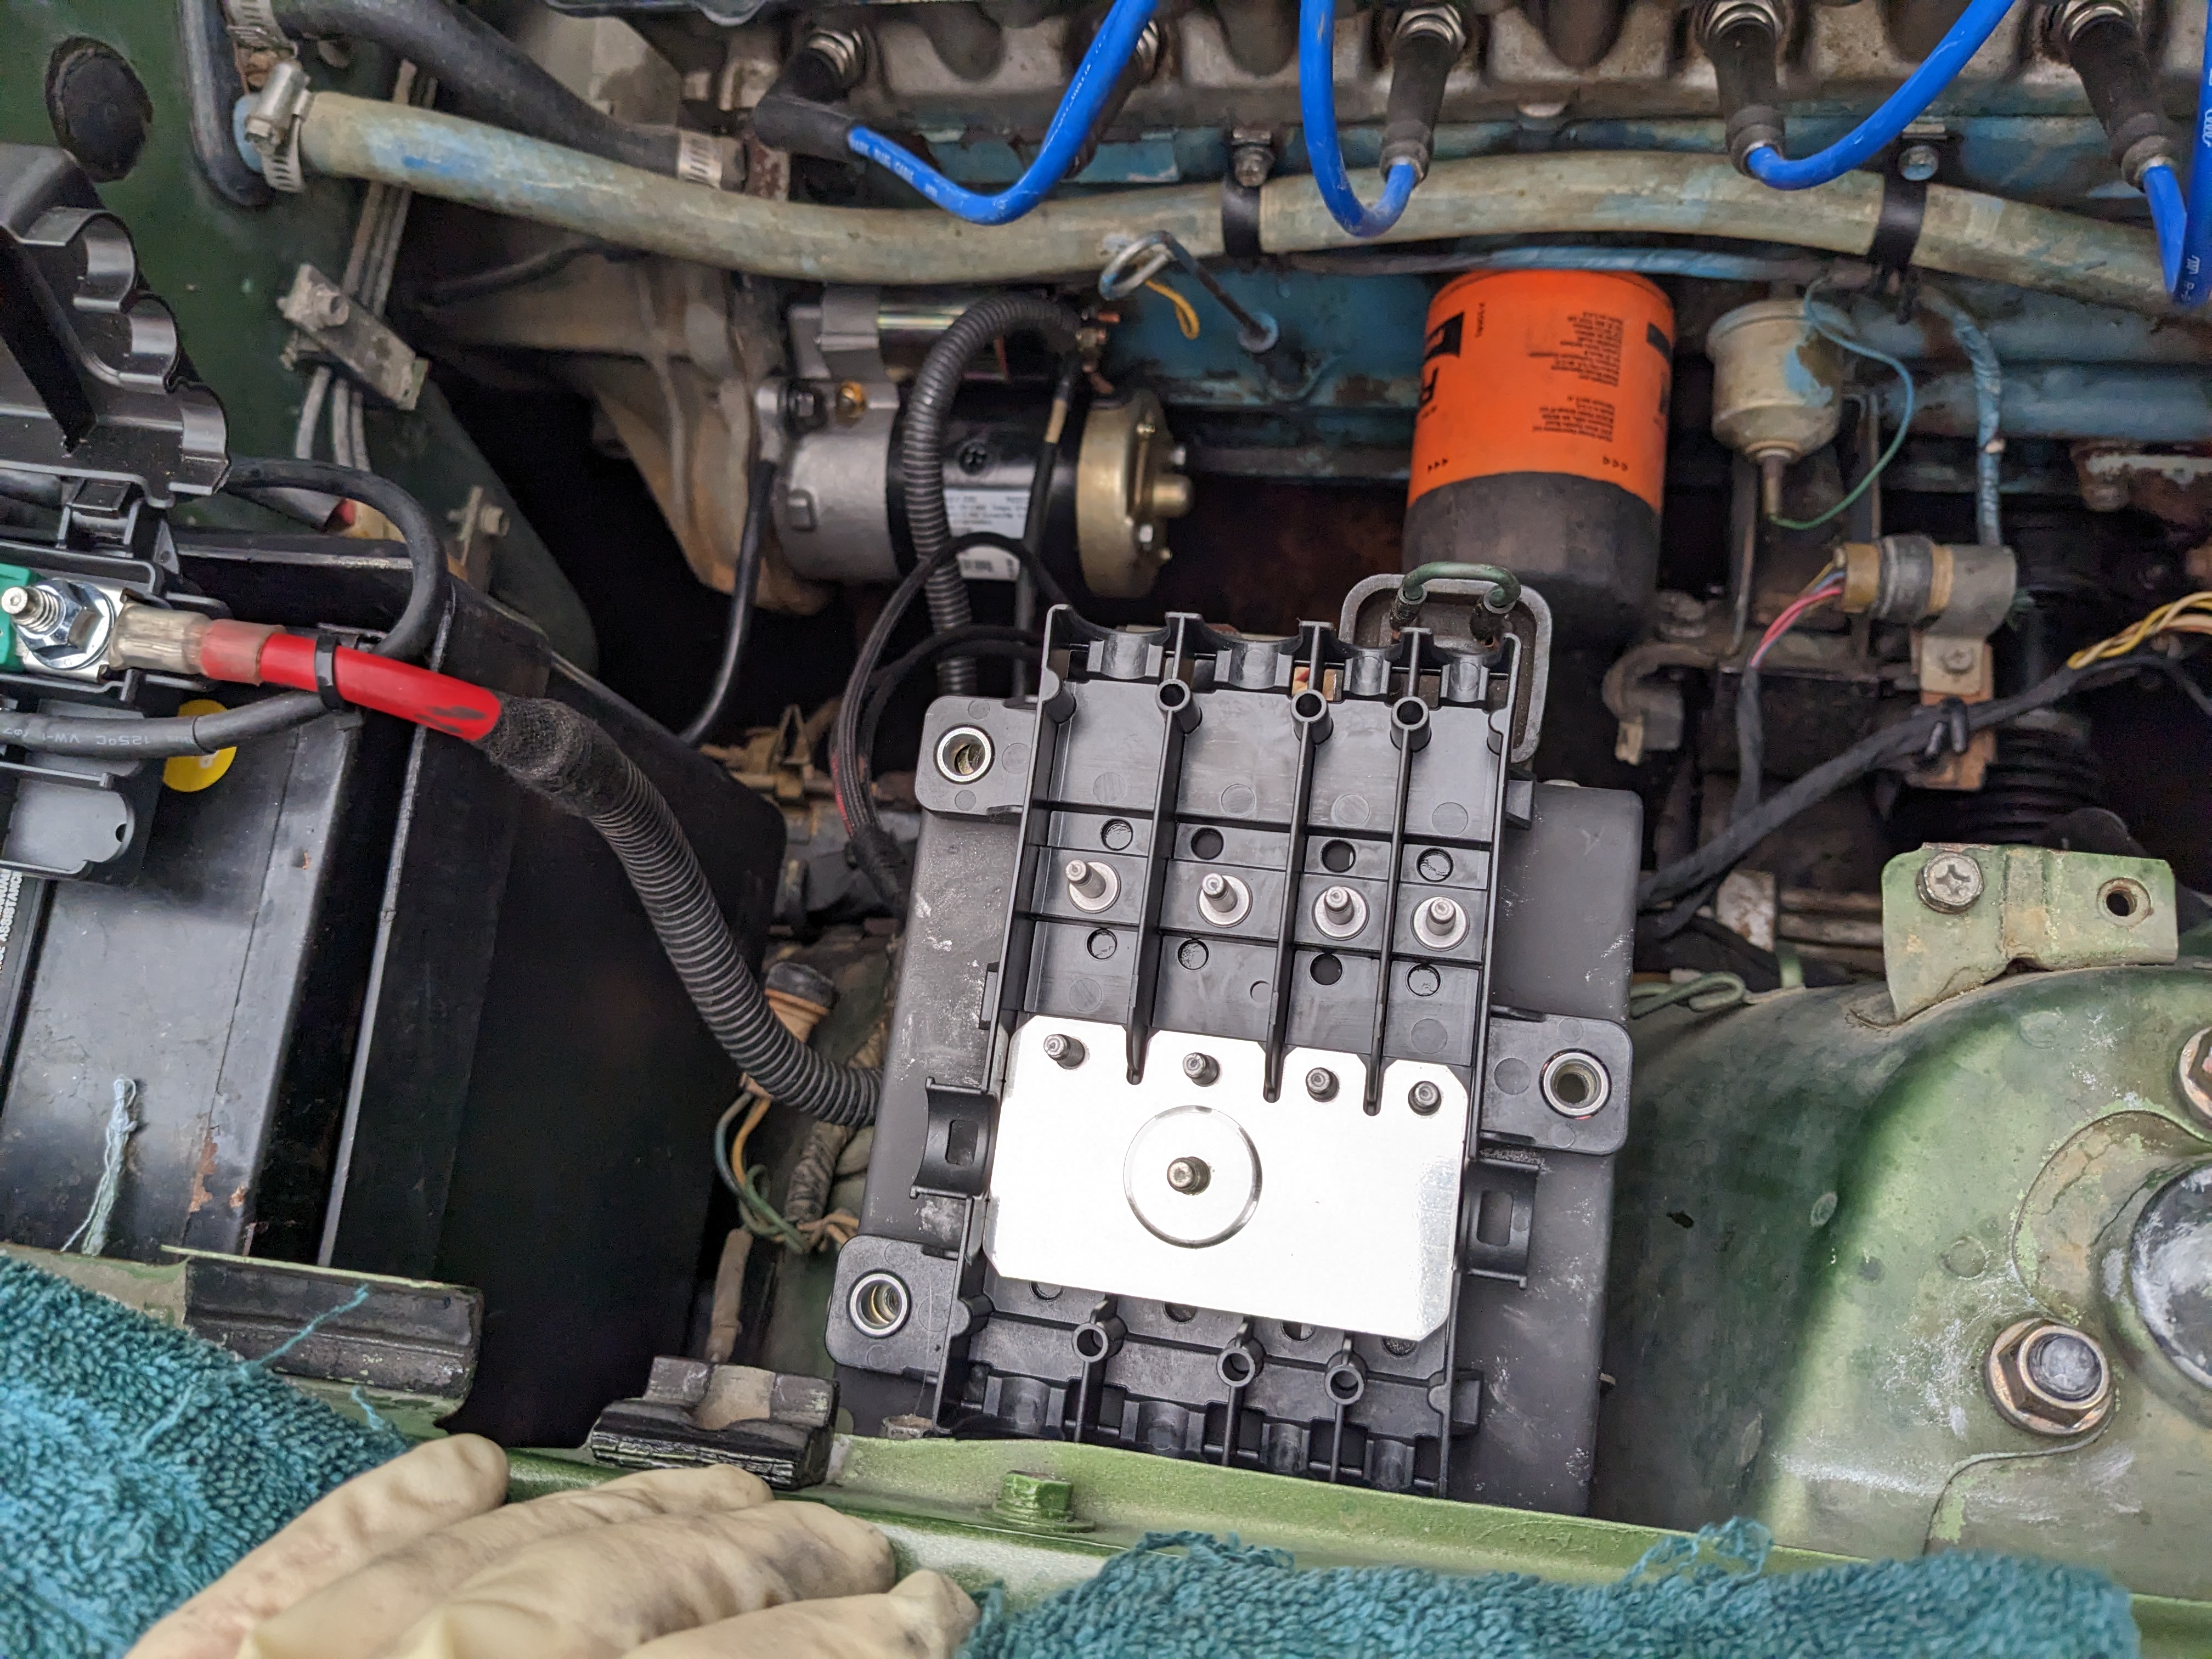
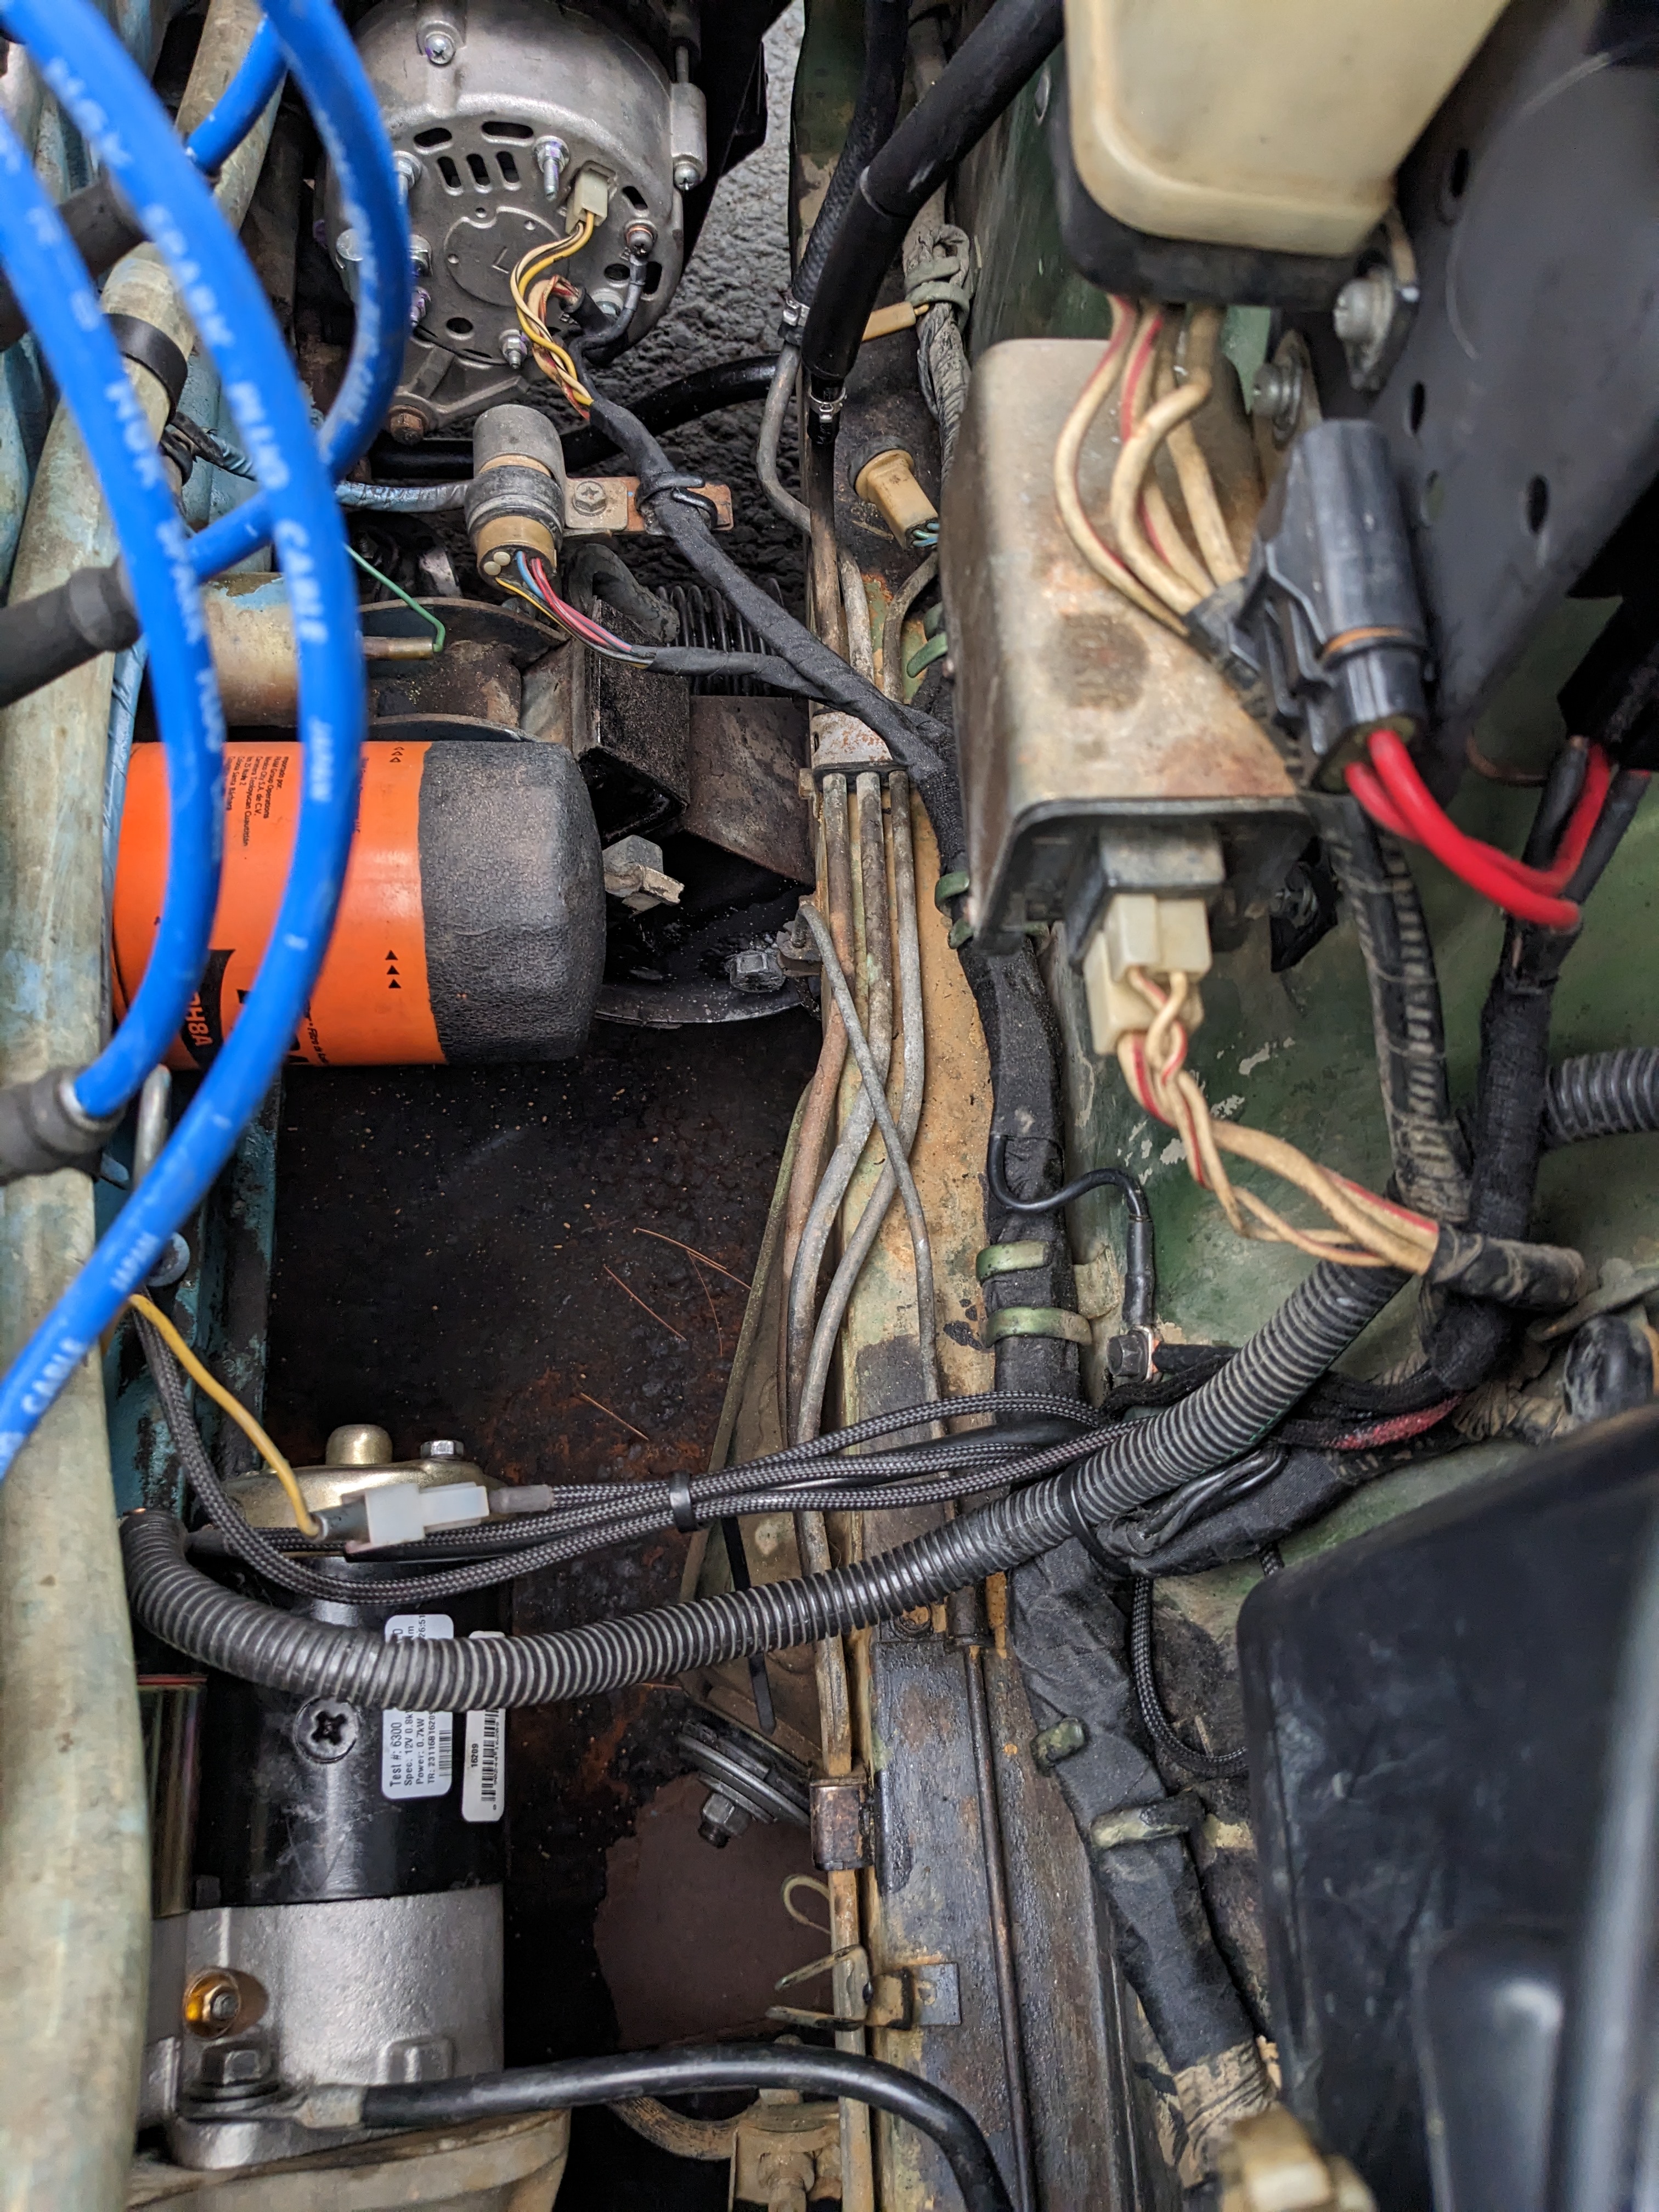
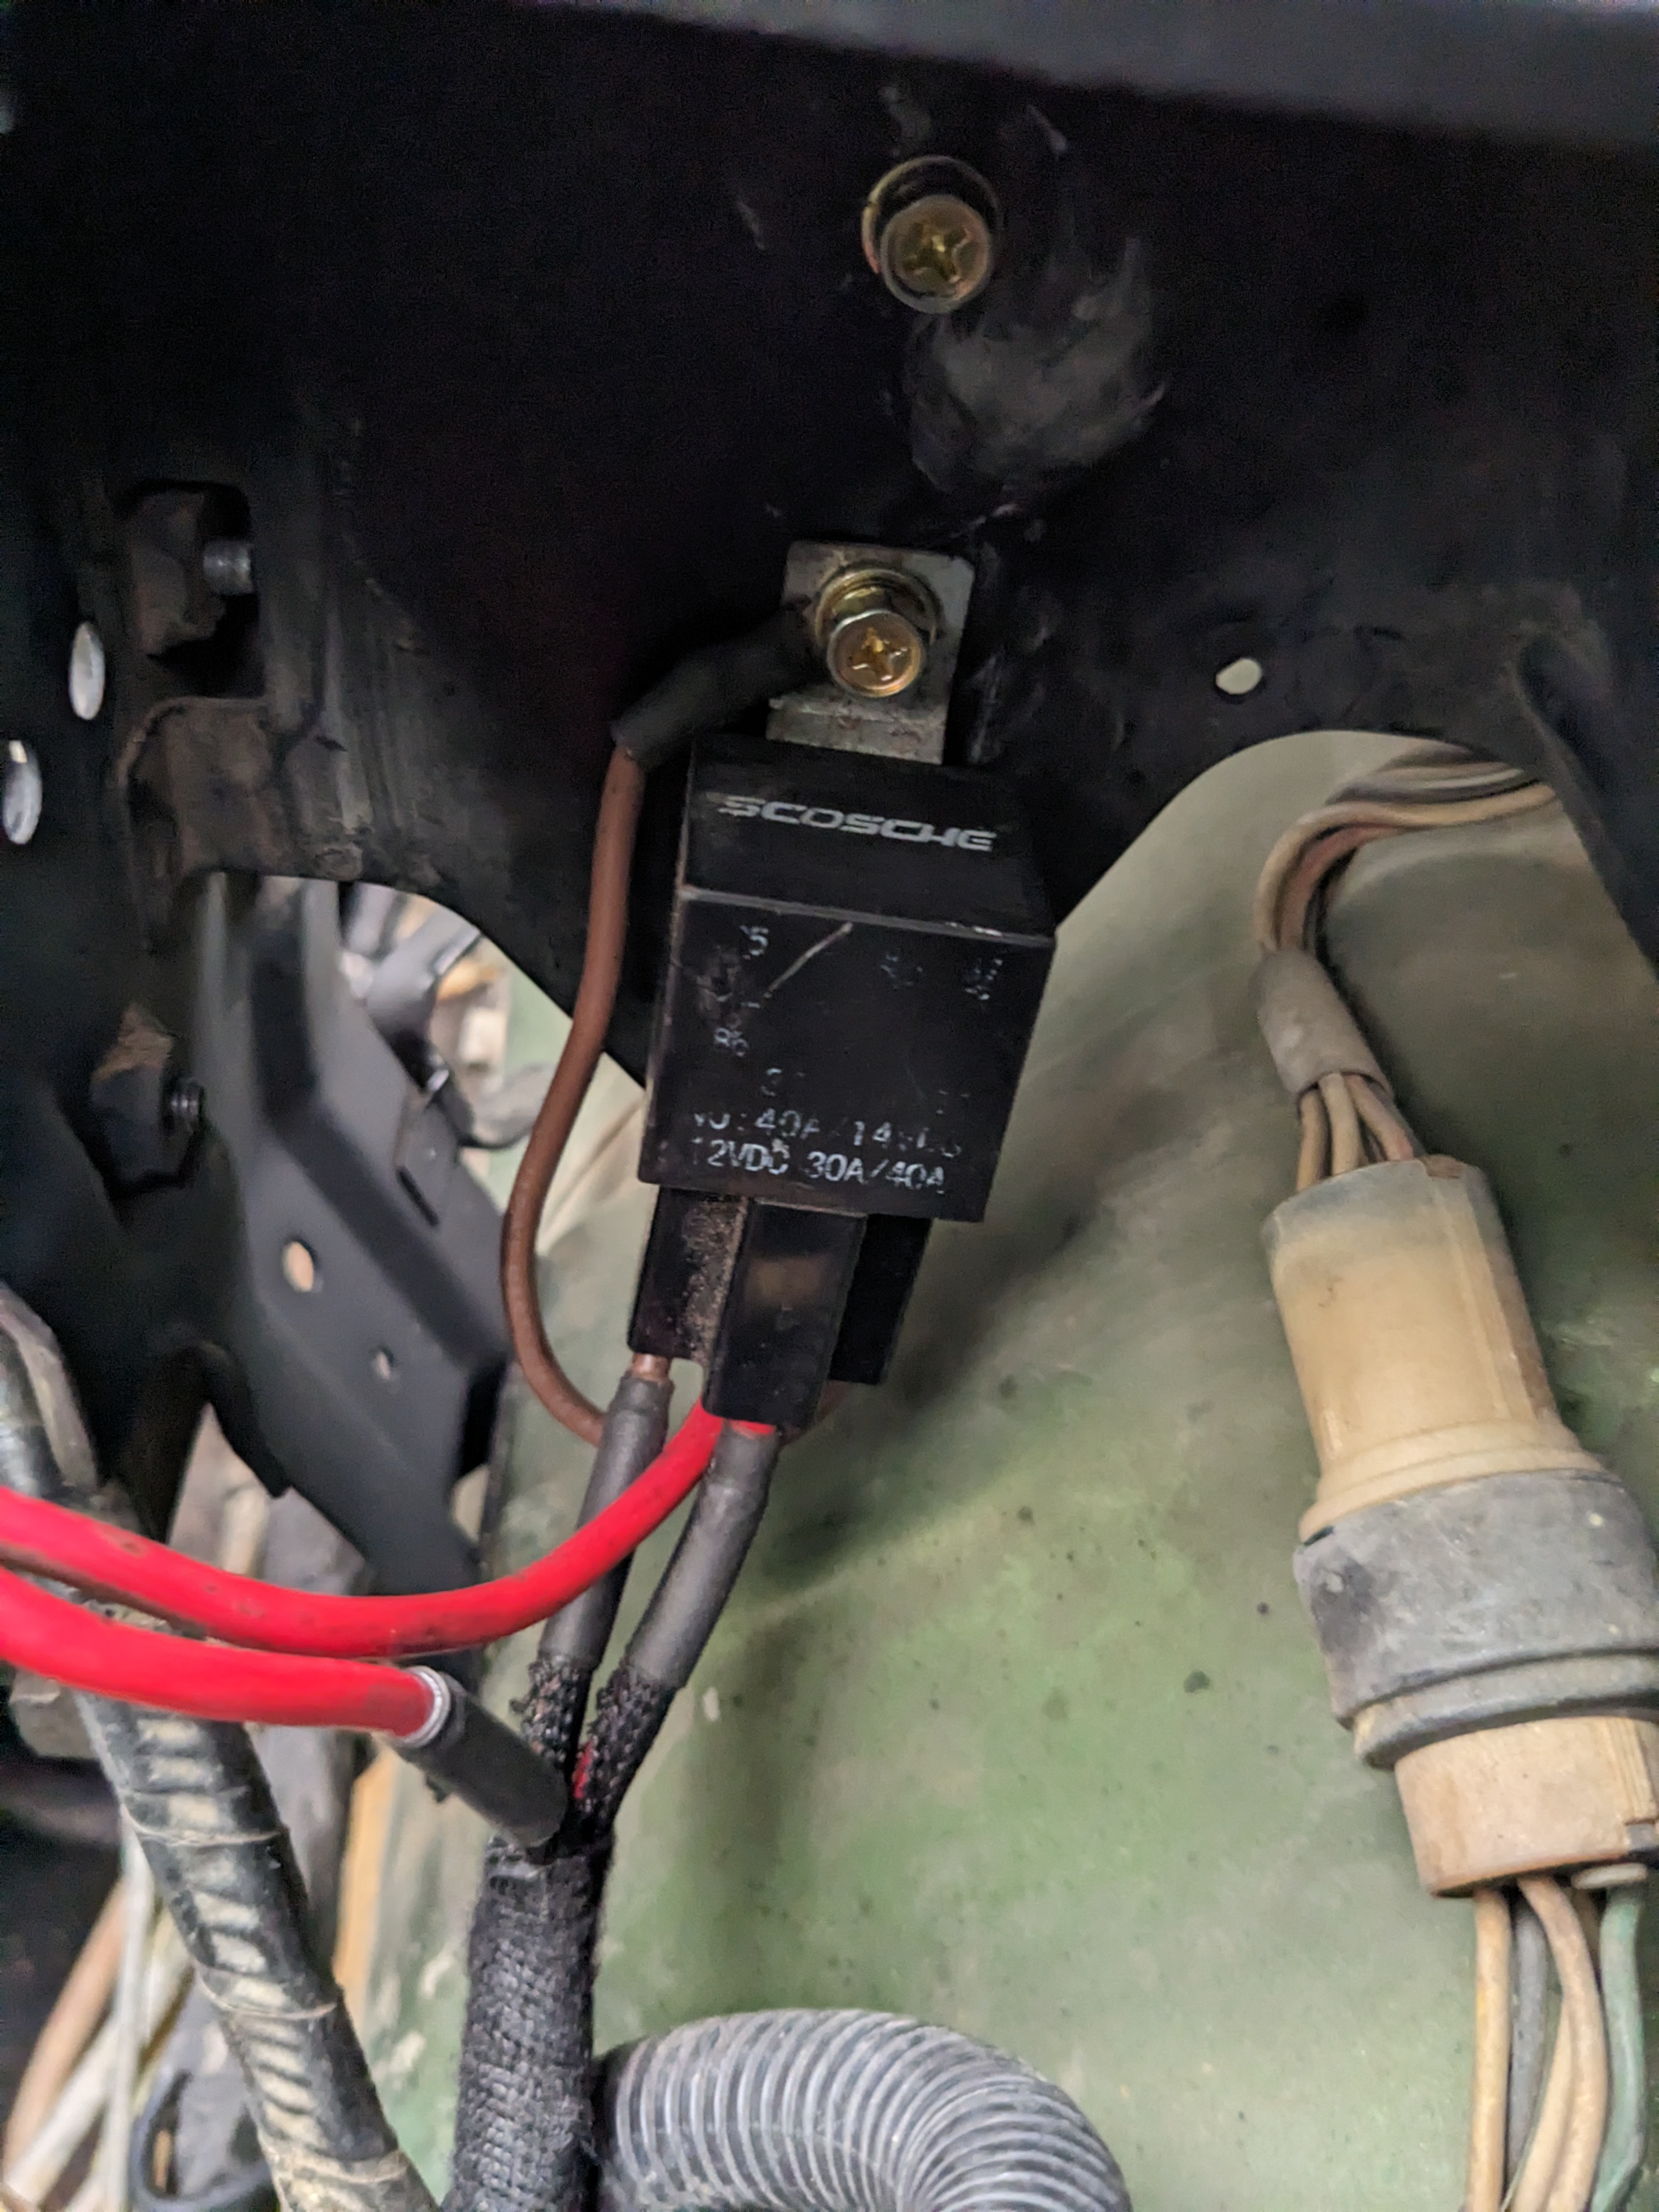
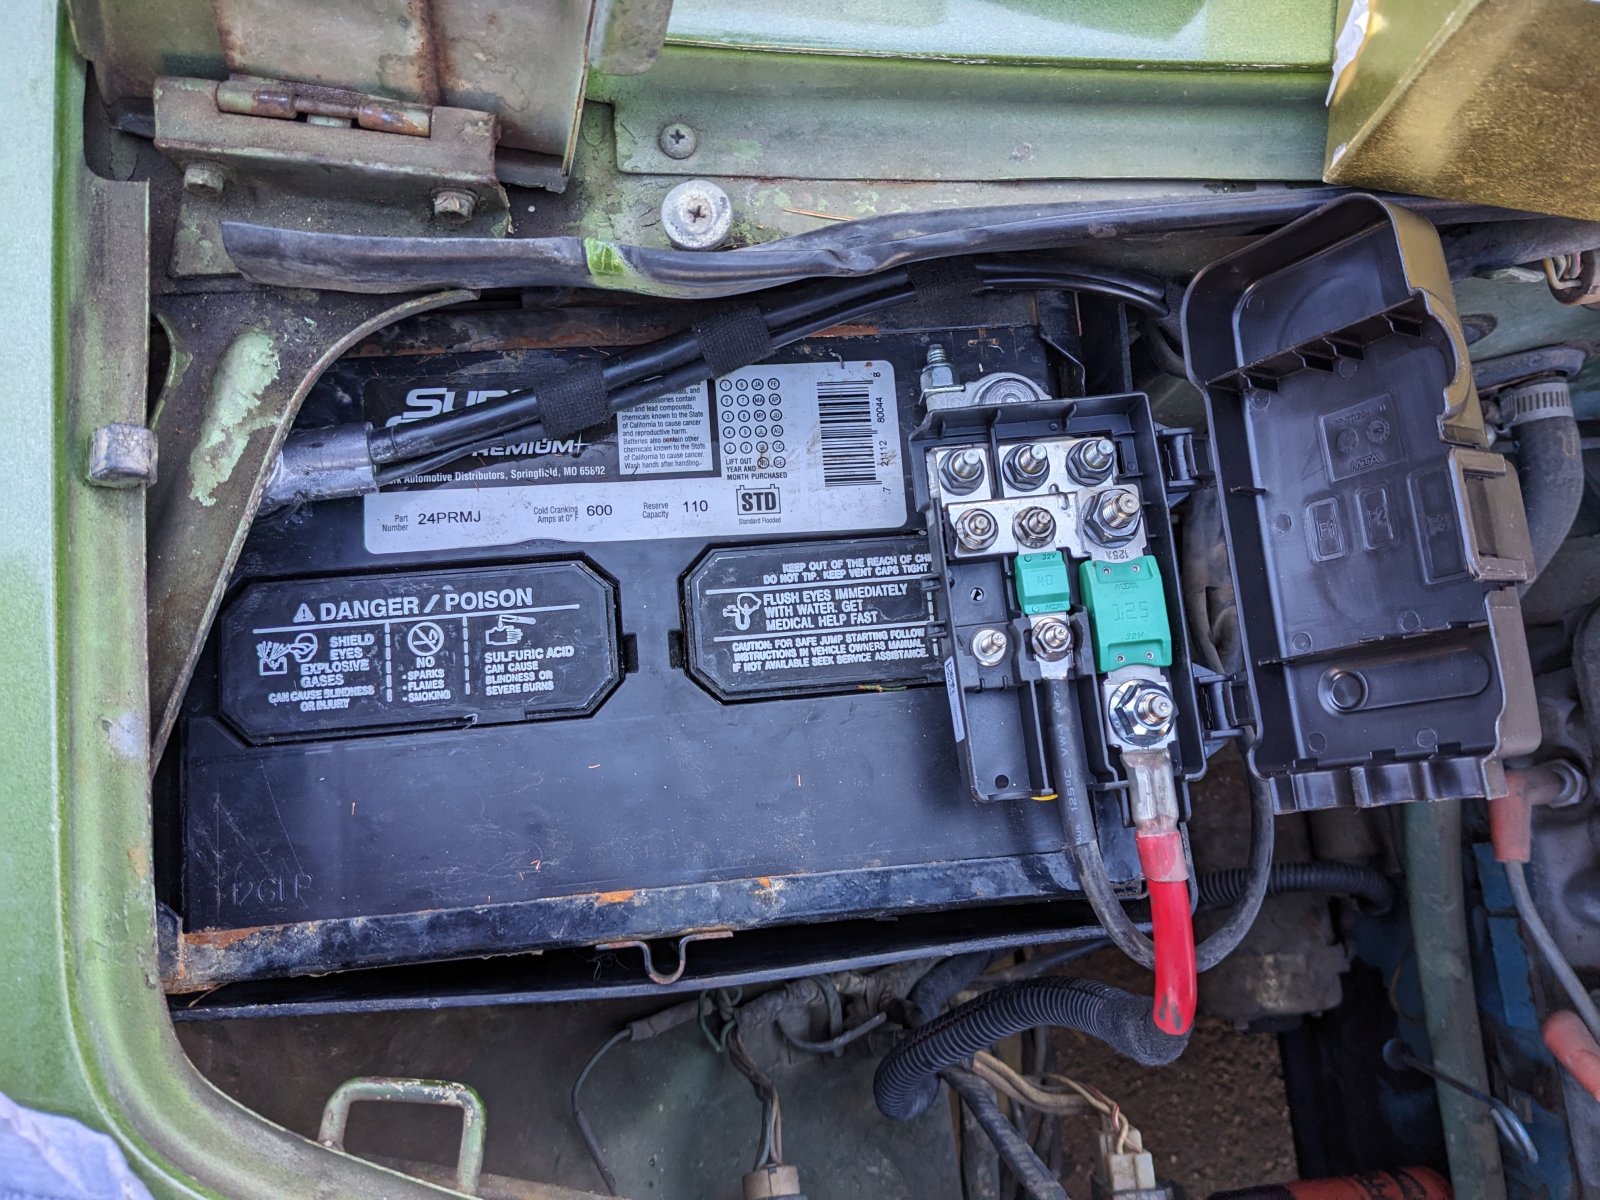
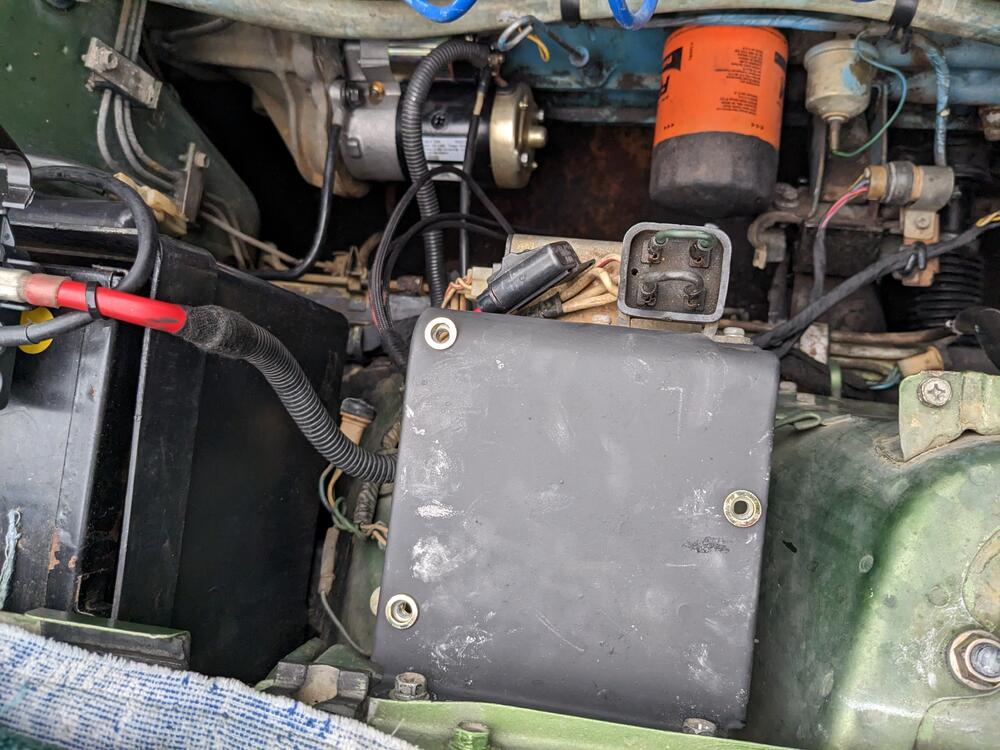
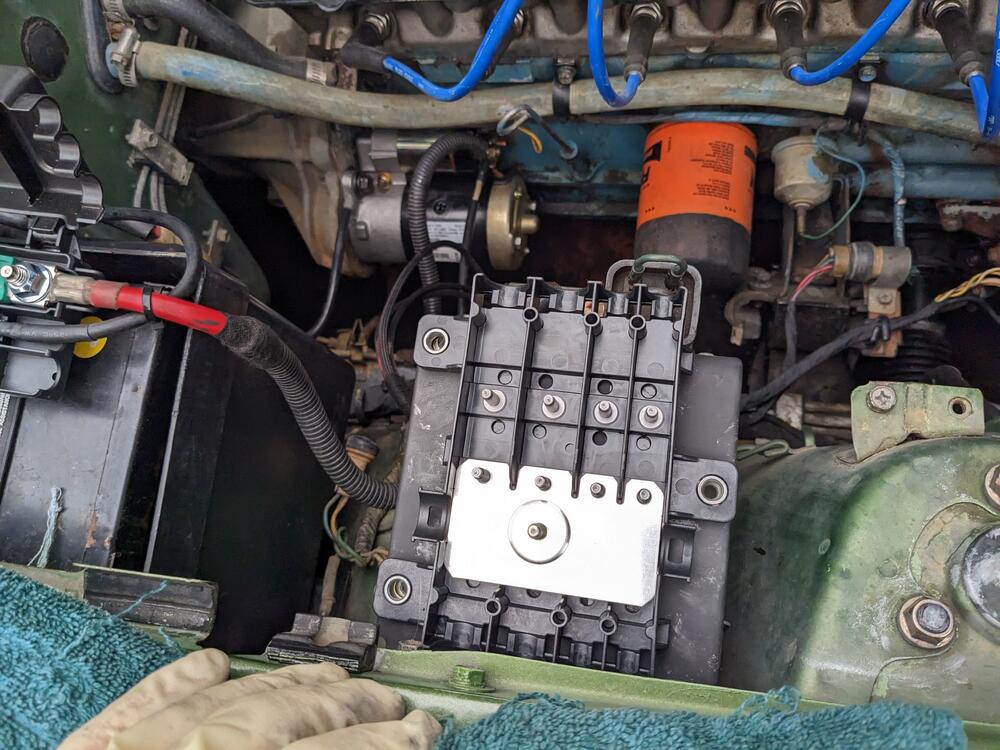
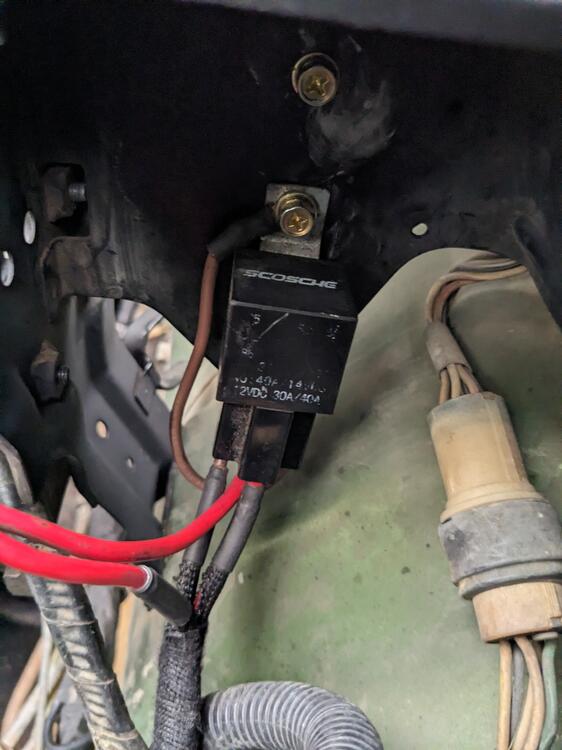
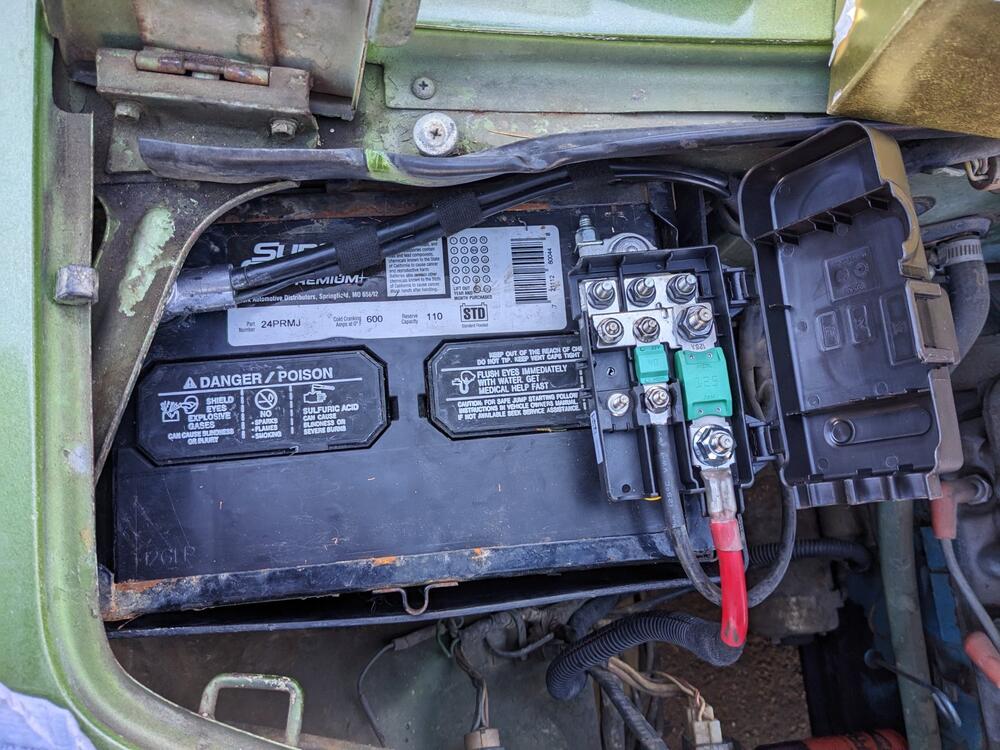
Today I removed the fusible links, and rewired the two circuits. The first link was fed directly from the starter, then that one goes to the shunt, then that feeds a connection somewhere under the dash, that then comes back & goes through the 2nd link. So, I eliminated the feed from the starter to the fusible link #1. Ran a new feed from the battery to the secondary panel, then added the output from the fusible link to a fused connection. Added a Maxi fuse to replace the second fusible link secured the Maxi fuse holder to the cover. While I had the harness open, I decided to add the H/L relays. The high beams didn't work at all, until I futzed with the connectors under the column - the withe one on the bottom left, and the black spade. Offloading this circuits seems like a very good idea Cut 4 wire circuit to headlights - Red: R/S +, Red-Yellow: L/S +, Red-White: High Beam, Red-Black: Low Beam relays fitted under relay box Harness spliced - original bulb feeds now feed relay coils for H & l added the fused relay feed (30) - need to get more lower amp fuses though, all I have left are 50Amp, so I'll swap that out later function test before wrapping wrapped cleaned up starter connections, just main cable & (30) to starter relay
-
-
I didn't note there being any flat washers in with the domed washers when I took it apart - I think I saw the ones that came with the Energy suspension having smaller washers as you have pictured though. I do have another pair of the larger flat washers, so perhaps that is where they originated. Again the FSM doesn't show the parts breakdown that would indicate the presence of the flat washer in addition to the 'cup' washer... I'm a public school teacher - there are sick teenagers all the time. Since we are now in Testing mode, they are packed into small classrooms with poor ventilation, and we have to proctor them for 3 hour intervals. That's how I got it this time. Last year, I got it within a week of the mask requirement being lifted for public schools.
-
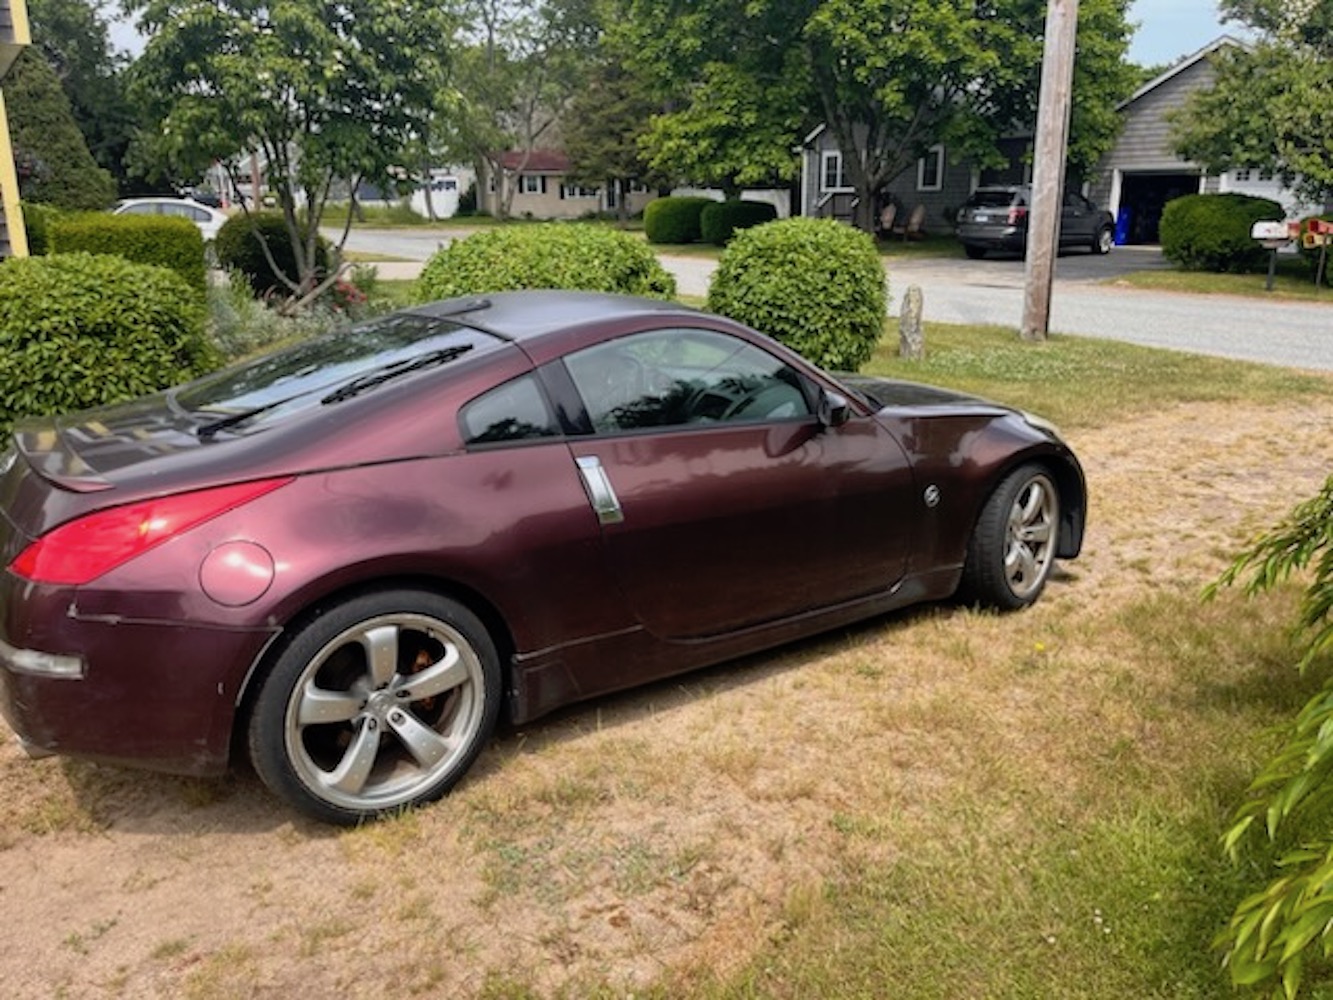
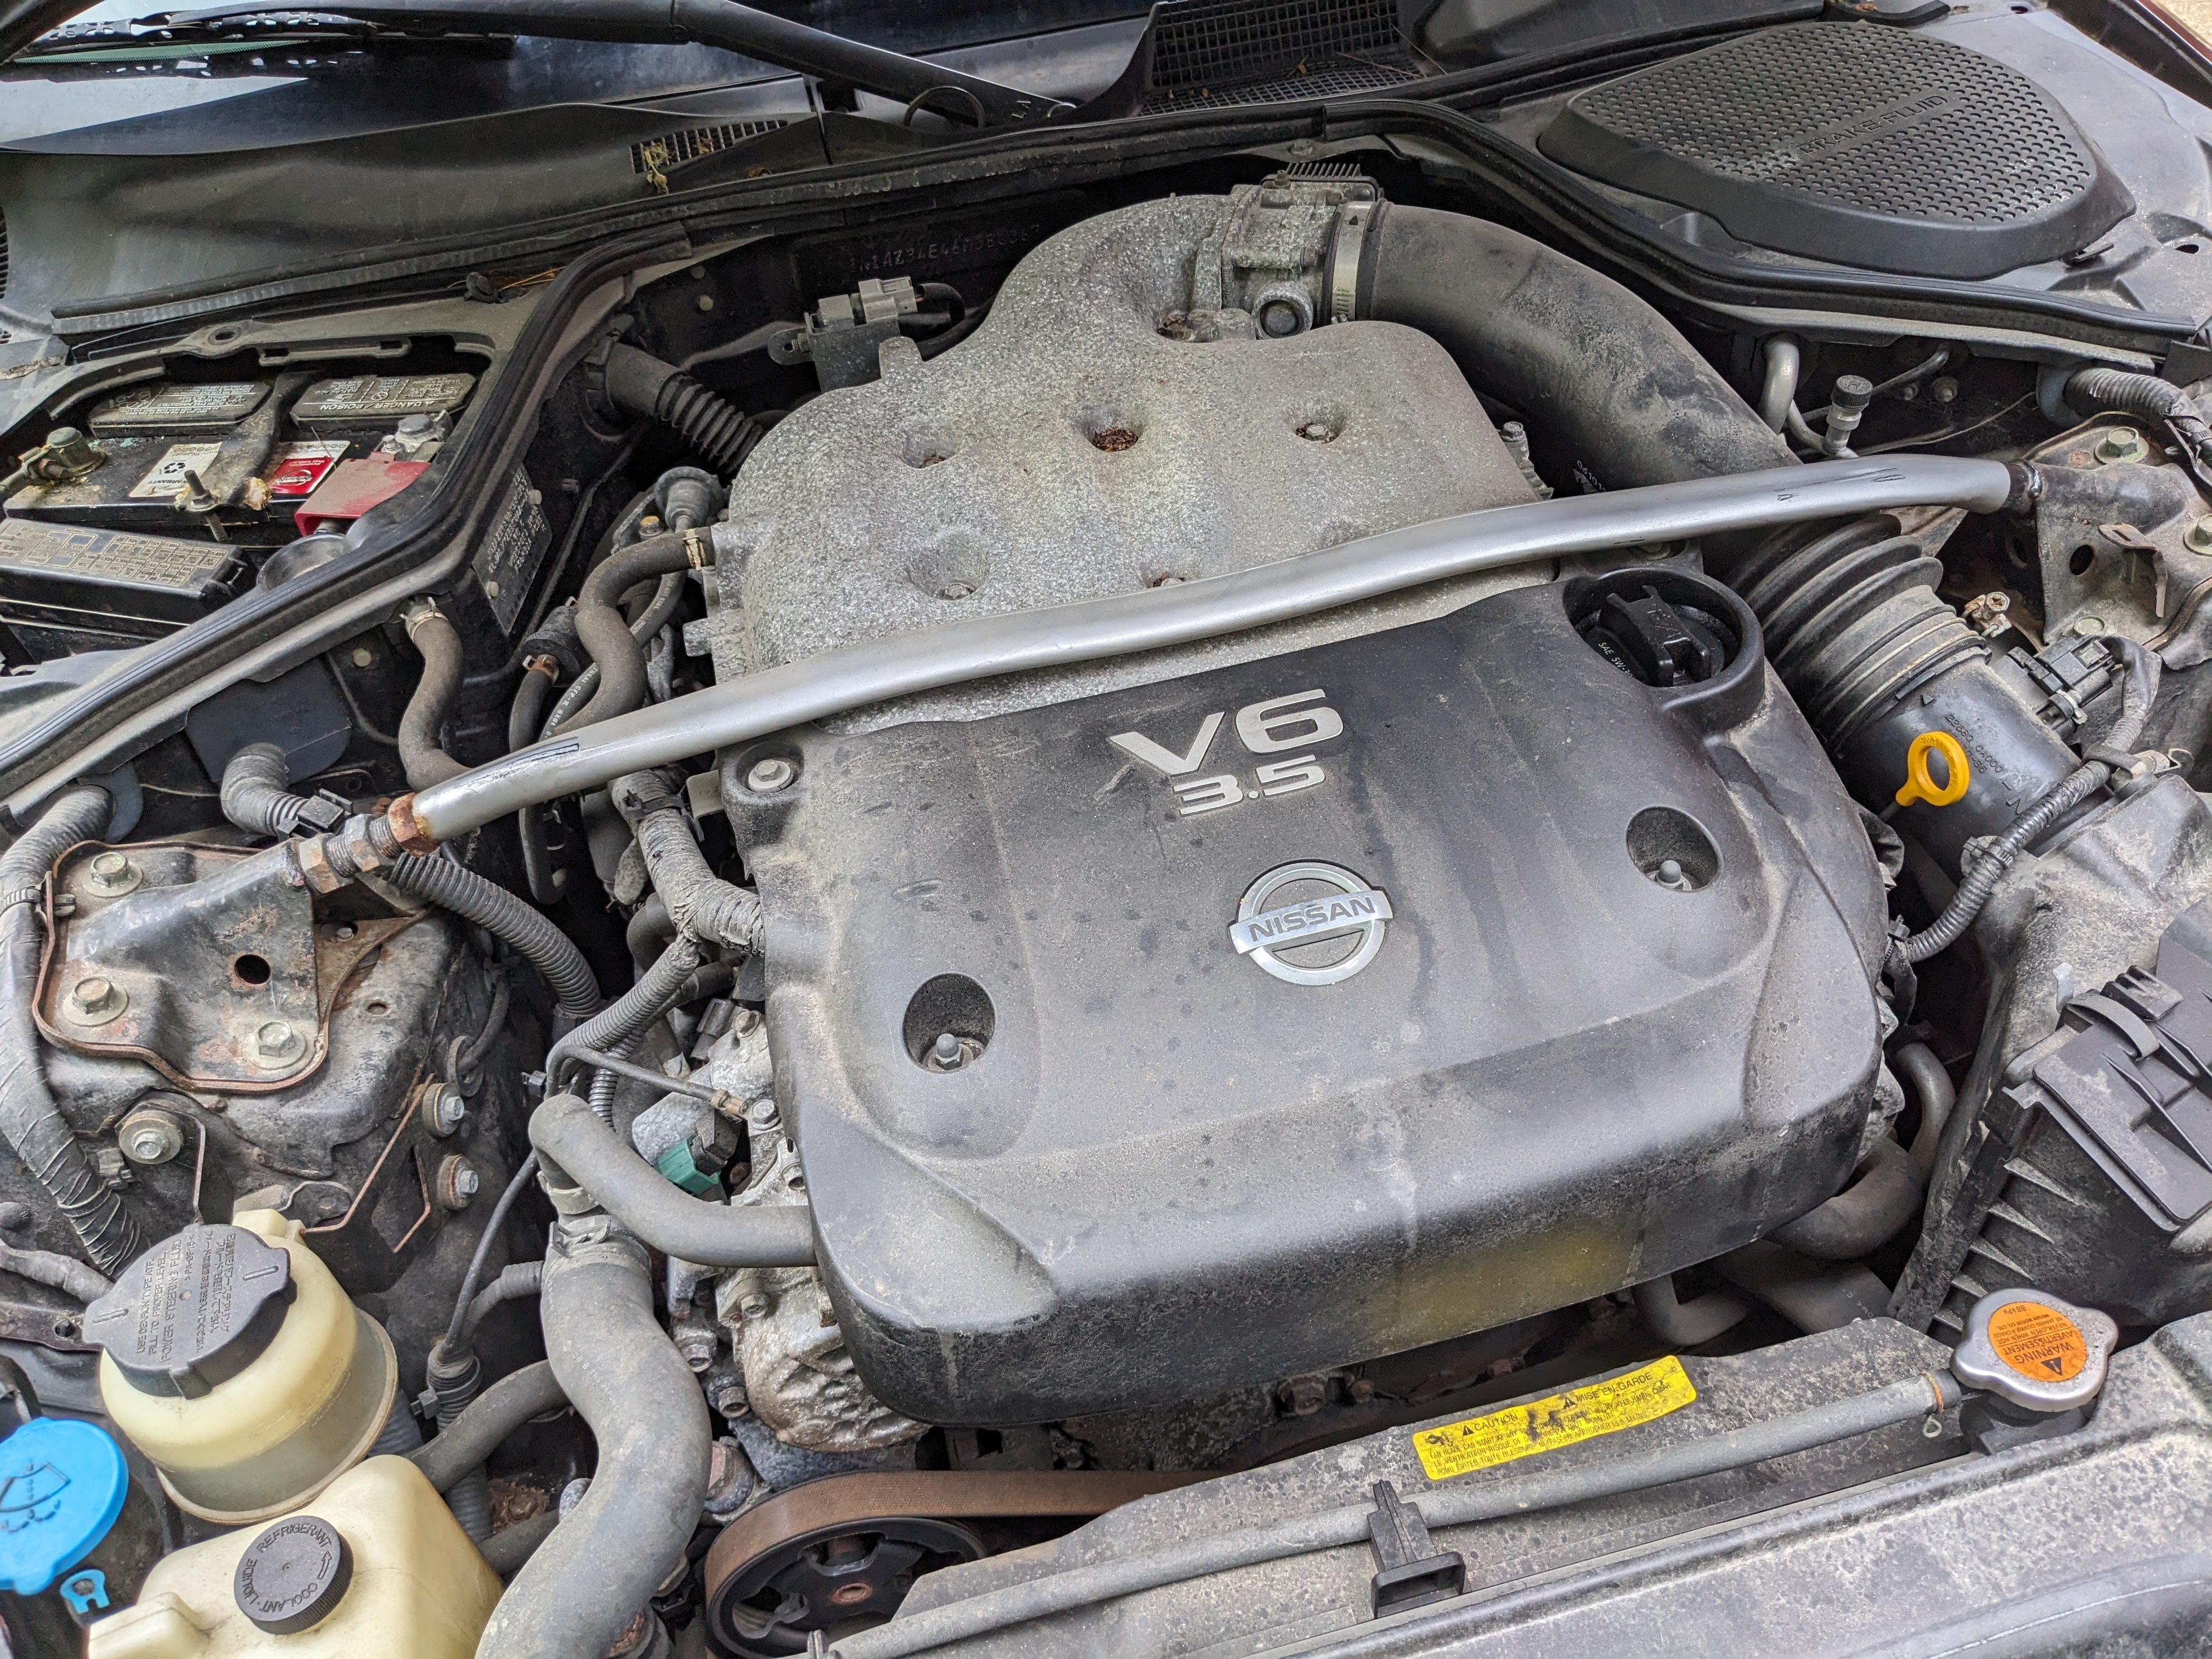
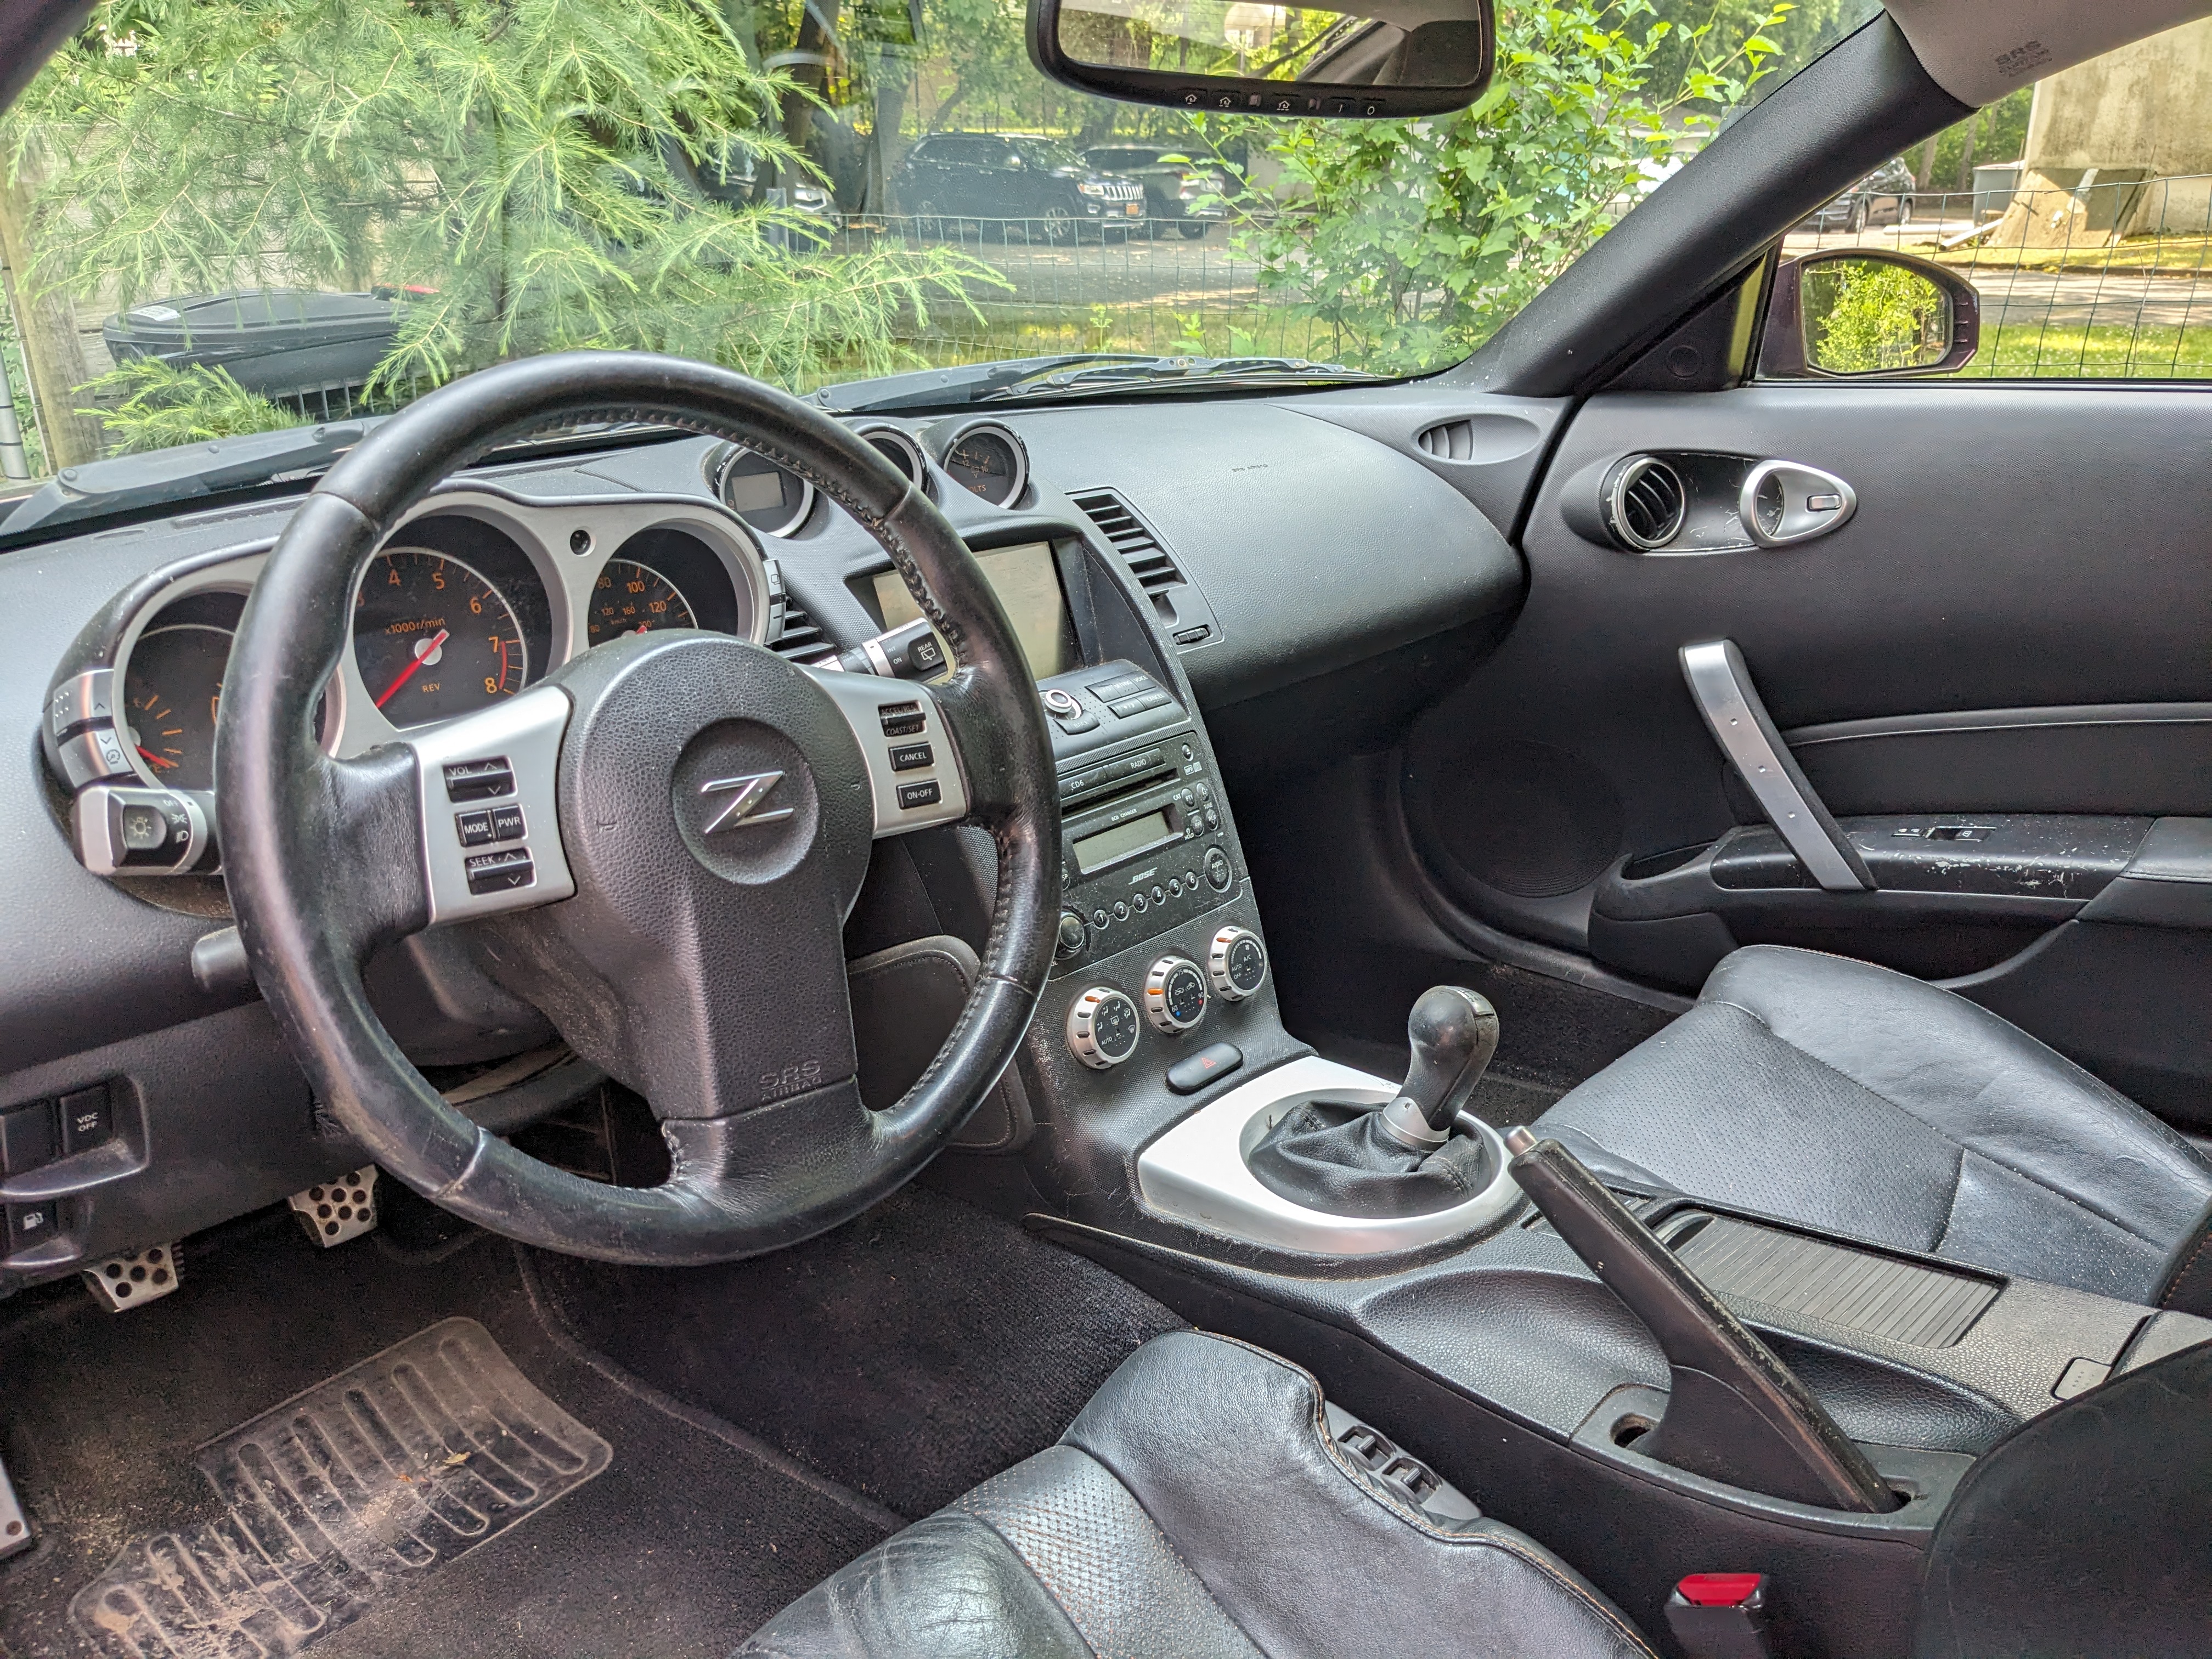
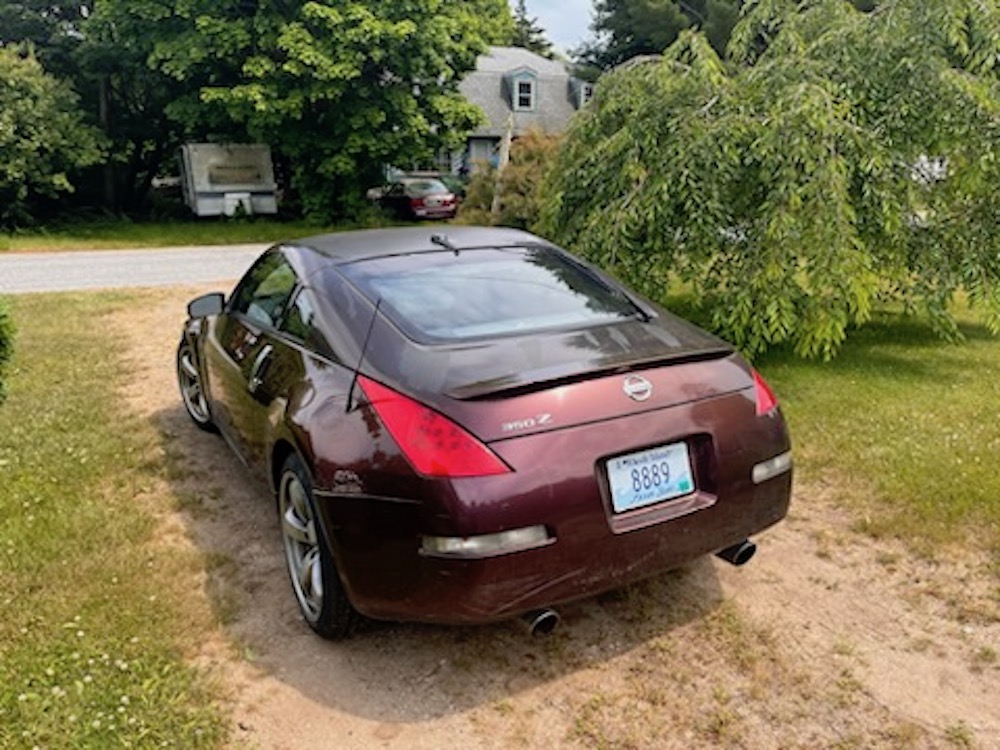
I don't see any other threads like this on here, so I hope this is not inappropriate. Honestly I don't care for the HybridZ website, so I don't feel inclined to post there much. This is my long term plan for the 280Z. A neighbor who is also an old car buff stopped by about a month ago, he told me his wife's uncle had an '06 350Z that wouldn't pass inspection in RI ( I had told him earlier that I was considering a drivetrain conversion at some point in the future). The car is mechanically sound, so having the entire vehicle for the cost of an used engine & CD009 trans of unknown pedigree made sense to me. My personal experience with buying JDM drivetrains has not been pleasant. I'm going to look into adding ABS as well. I always forgot I have to manually modulate the brakes in my Fiat, and with a large increase in HP, it is more of a concern. I may transfer the seats also, not a fan of the flat 280Z seats.


-
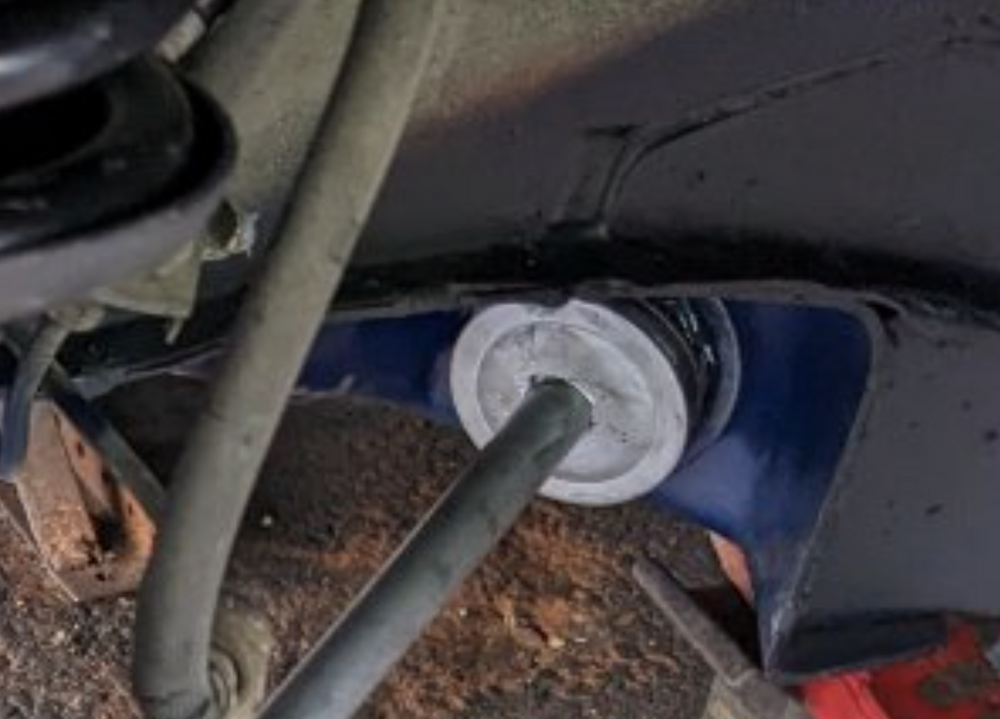
I am. Many thanks for the clarification. I do indeed have the conical washers set to 'cup' the bushing, so I will take it apart & properly torque them. Makes sense the bottom it against the sleeve. Hopefully that accounts for my vibrations - I must have excess fore/aft movement as it is. EDIT - putting it together with the suspension hanging at a pretty acute angle, the bushings don't seem nicely aligned with the seats, so I think I'll wait to torque them when it's on the ground, where the angle is in it's rest state. I think I'll also switch out the forward one for the poly, as you have in your pic. I tested positive for COvid yesterday, symptoms are pretty harsh this time. Figured I better reply while I have a window of clarity. Presumably the nut icon labelled A - H are the indicators of torque spec - I didn't get it as the legend at the bottom has gibberish inserted

-
Drove the car to work again the past couple days. It has a vibration in the front end that varies, in other words it doesn't always come on at the same road speed, and will go away when the stars align (it seems). The only thing I haven't replaced are the inner tie rods, however there was no discernible play in them. When it happens, the steering wheel vibrates pretty harshly, and there is a 'chatter' in the steering column, it seems. The only thing that I couldn't find a spec on is the torsion rod bushing end nut - I just made them 'snug' - about 4-5 exposed threads outside the nut. Does anyone have a spec for that? I didn't find it in the FSM/Front Suspension section . Any other tips? Obviously I'm going to have to recheck the inner tie rods. Also wondering if just increasing the wheel & tire sizing has made it more susceptible. I did much the same on my '80's Fiat (with similar suspension design/layout) with no adverse effects, so that doesn't really seem to make sense.
-
@SteveJ - thanks for the reference pic. My 75 doesn't have a manifold ground. I do have the dedicated alternator ground - I replaced it recently- the original was fried, probably due to poor grounding in the original main battery cable if I had to guess. I'm going to add a block-to-chassis ground to make sure there is abundant path to ground.
-
Yeah - that would definitely make the EFI ground back to the battery less critical, I want a ground from battery to chassis, and chassis to block. Every Volvo & Fiat I've owned has that setup. This is what I used on the Fiat w/Honda drivetrain&EMS: AC Delco EGS18 Any idea where that grouped ground is located? I'm assuming inside the cabin under the dash somewhere...
-
A related question - looking at the motor I don't see a chassis ground strap from the block. Since the main ground cable goes from the starter to the battery, there must be a ground somewhere, besides the EFI leg going back to the battery (page EF-45-48 in FSM). Everything works as is, it just seems odd as one would imagine the drivetrain is pretty much isolated from the chassis through all the mounts.
-
I will have to cut the stem where the pivot is attached to allow the mirror head to angle. Moving the mirror forward will not make any difference, as the mirror head angle is too far off for that to compensate. I still haven't had a reply from ZcarDepot. Basically, the mirror is junk since it is not fit for purpose.
-
Thank you, gentlemen. The PO said that it has had the hot start/no start condition for quite some time (years). His mechanic suggested a new solenoid to solve it, after he installed the reman (I removed) some years back. I have not tested the new reman. The car has started every time so far with the relay in place. I'm going to a Fiat Club gathering in NH tomorrow, so it will be a few days before I can do further testing.
-
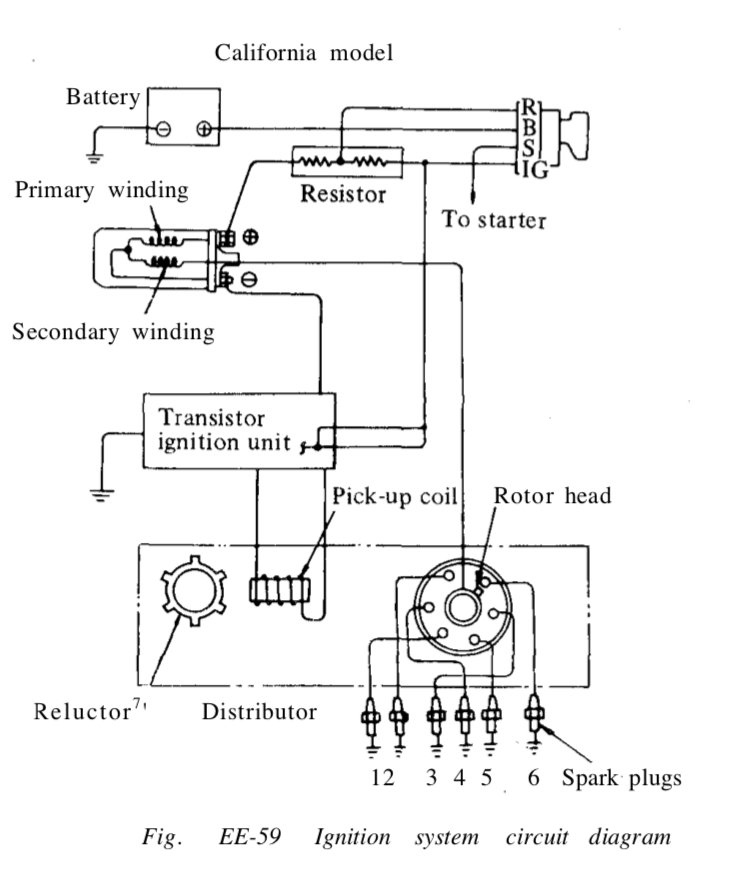
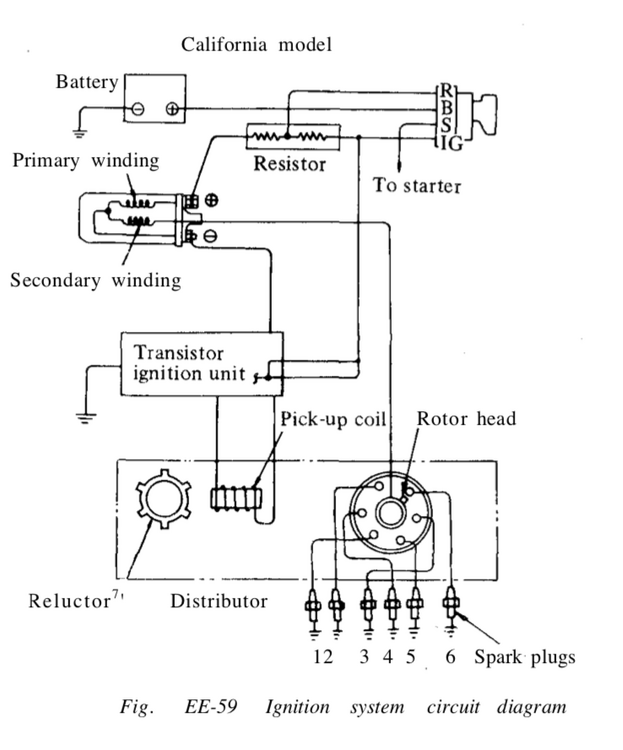
Unless I'm mistaken, that resistor's only purpose is to drop the voltage to the ignition coil. Mine is wired slightly differently further down the road, but the resistor itself is the same for CA versions. I'll check the relays & panel. There is no evidence of any water ingress on the passenger side, I have all the carpeting out. Also, the car was never driven or left in the rain for the first 46 years of its life. One of the reasons he never bothered to fix the wiper pivot when it seized 30+ years ago. He did say it saw a little snow when he used to ski, but that was also in the first 15 years of its existence.
-
Yeah, It doesn't. I nearly sideswiped someone because I instinctively went with the mirror view as accurate. It's WAAAYY off. The ball on the back of the mirror head is too shallow to allow the head to pivot inward to the point where it will cover the blindspot 😞
-
The driver's side covers up the original mount holes of the factory mirror. The pass side is aligned with that. The problem is that the mirror cannot pivot further inward. I understand your point, and ideally I would like them further forward, however that would not change the visibility, as it is so far off.
-
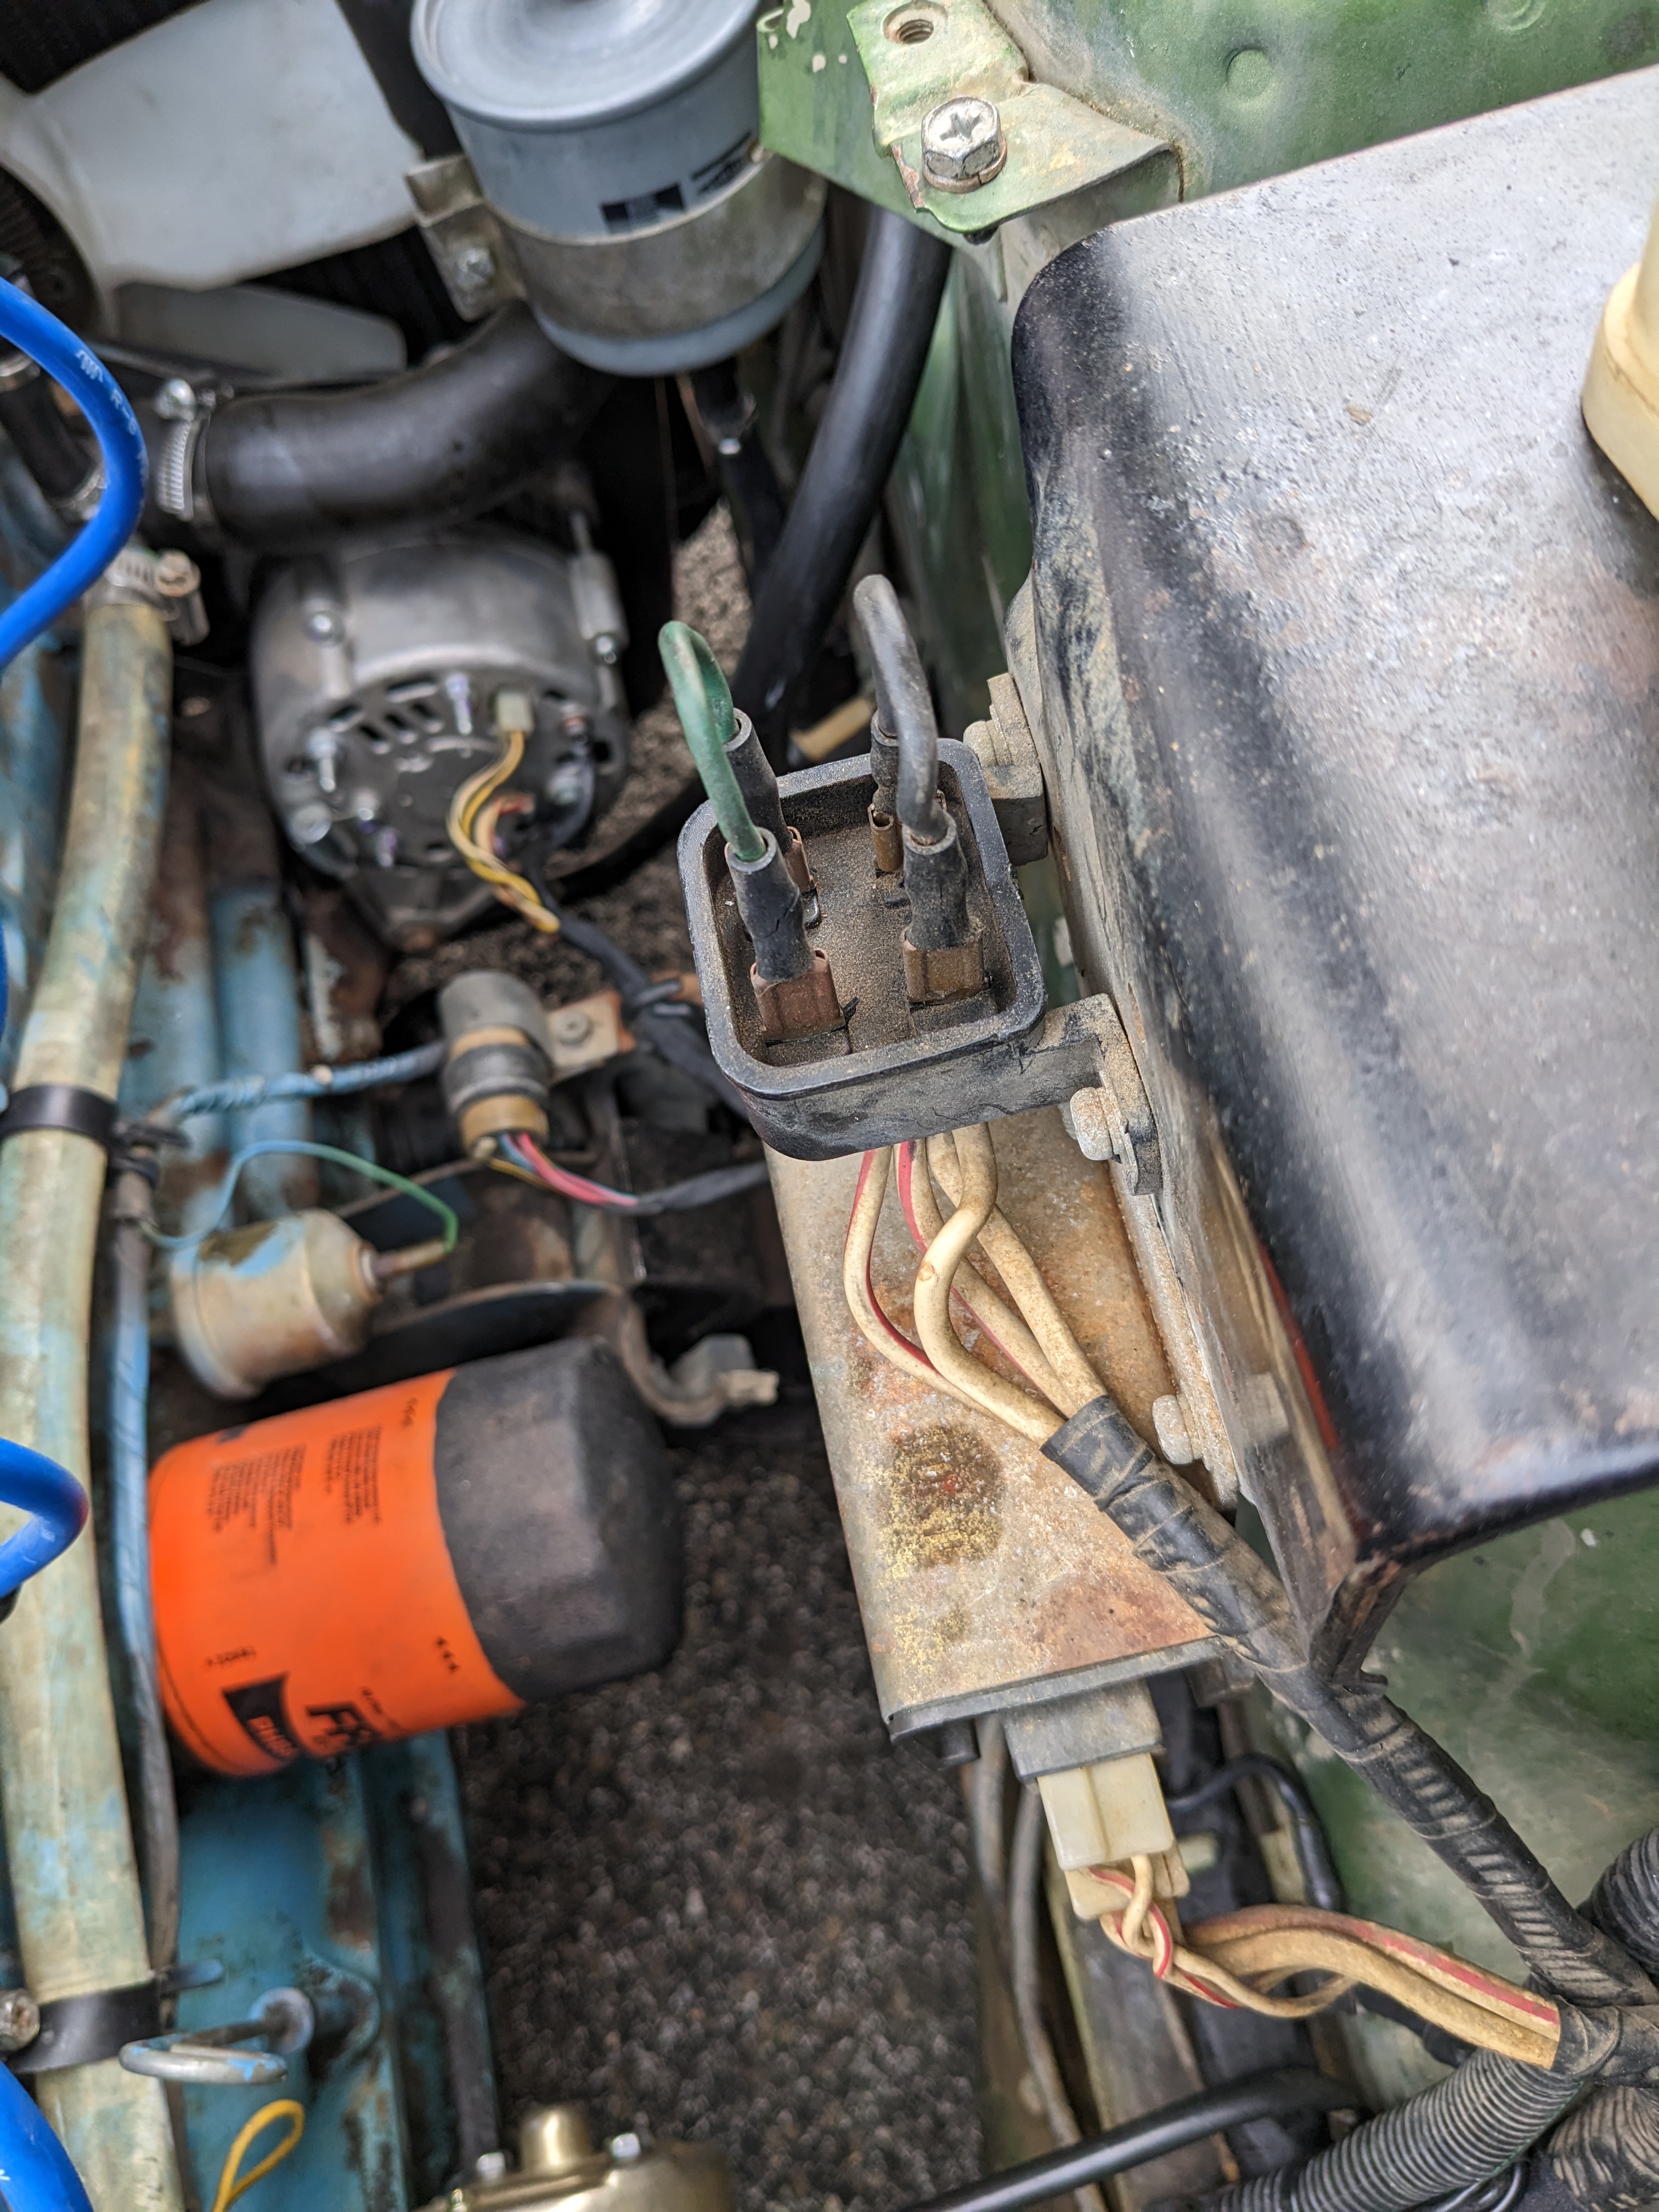
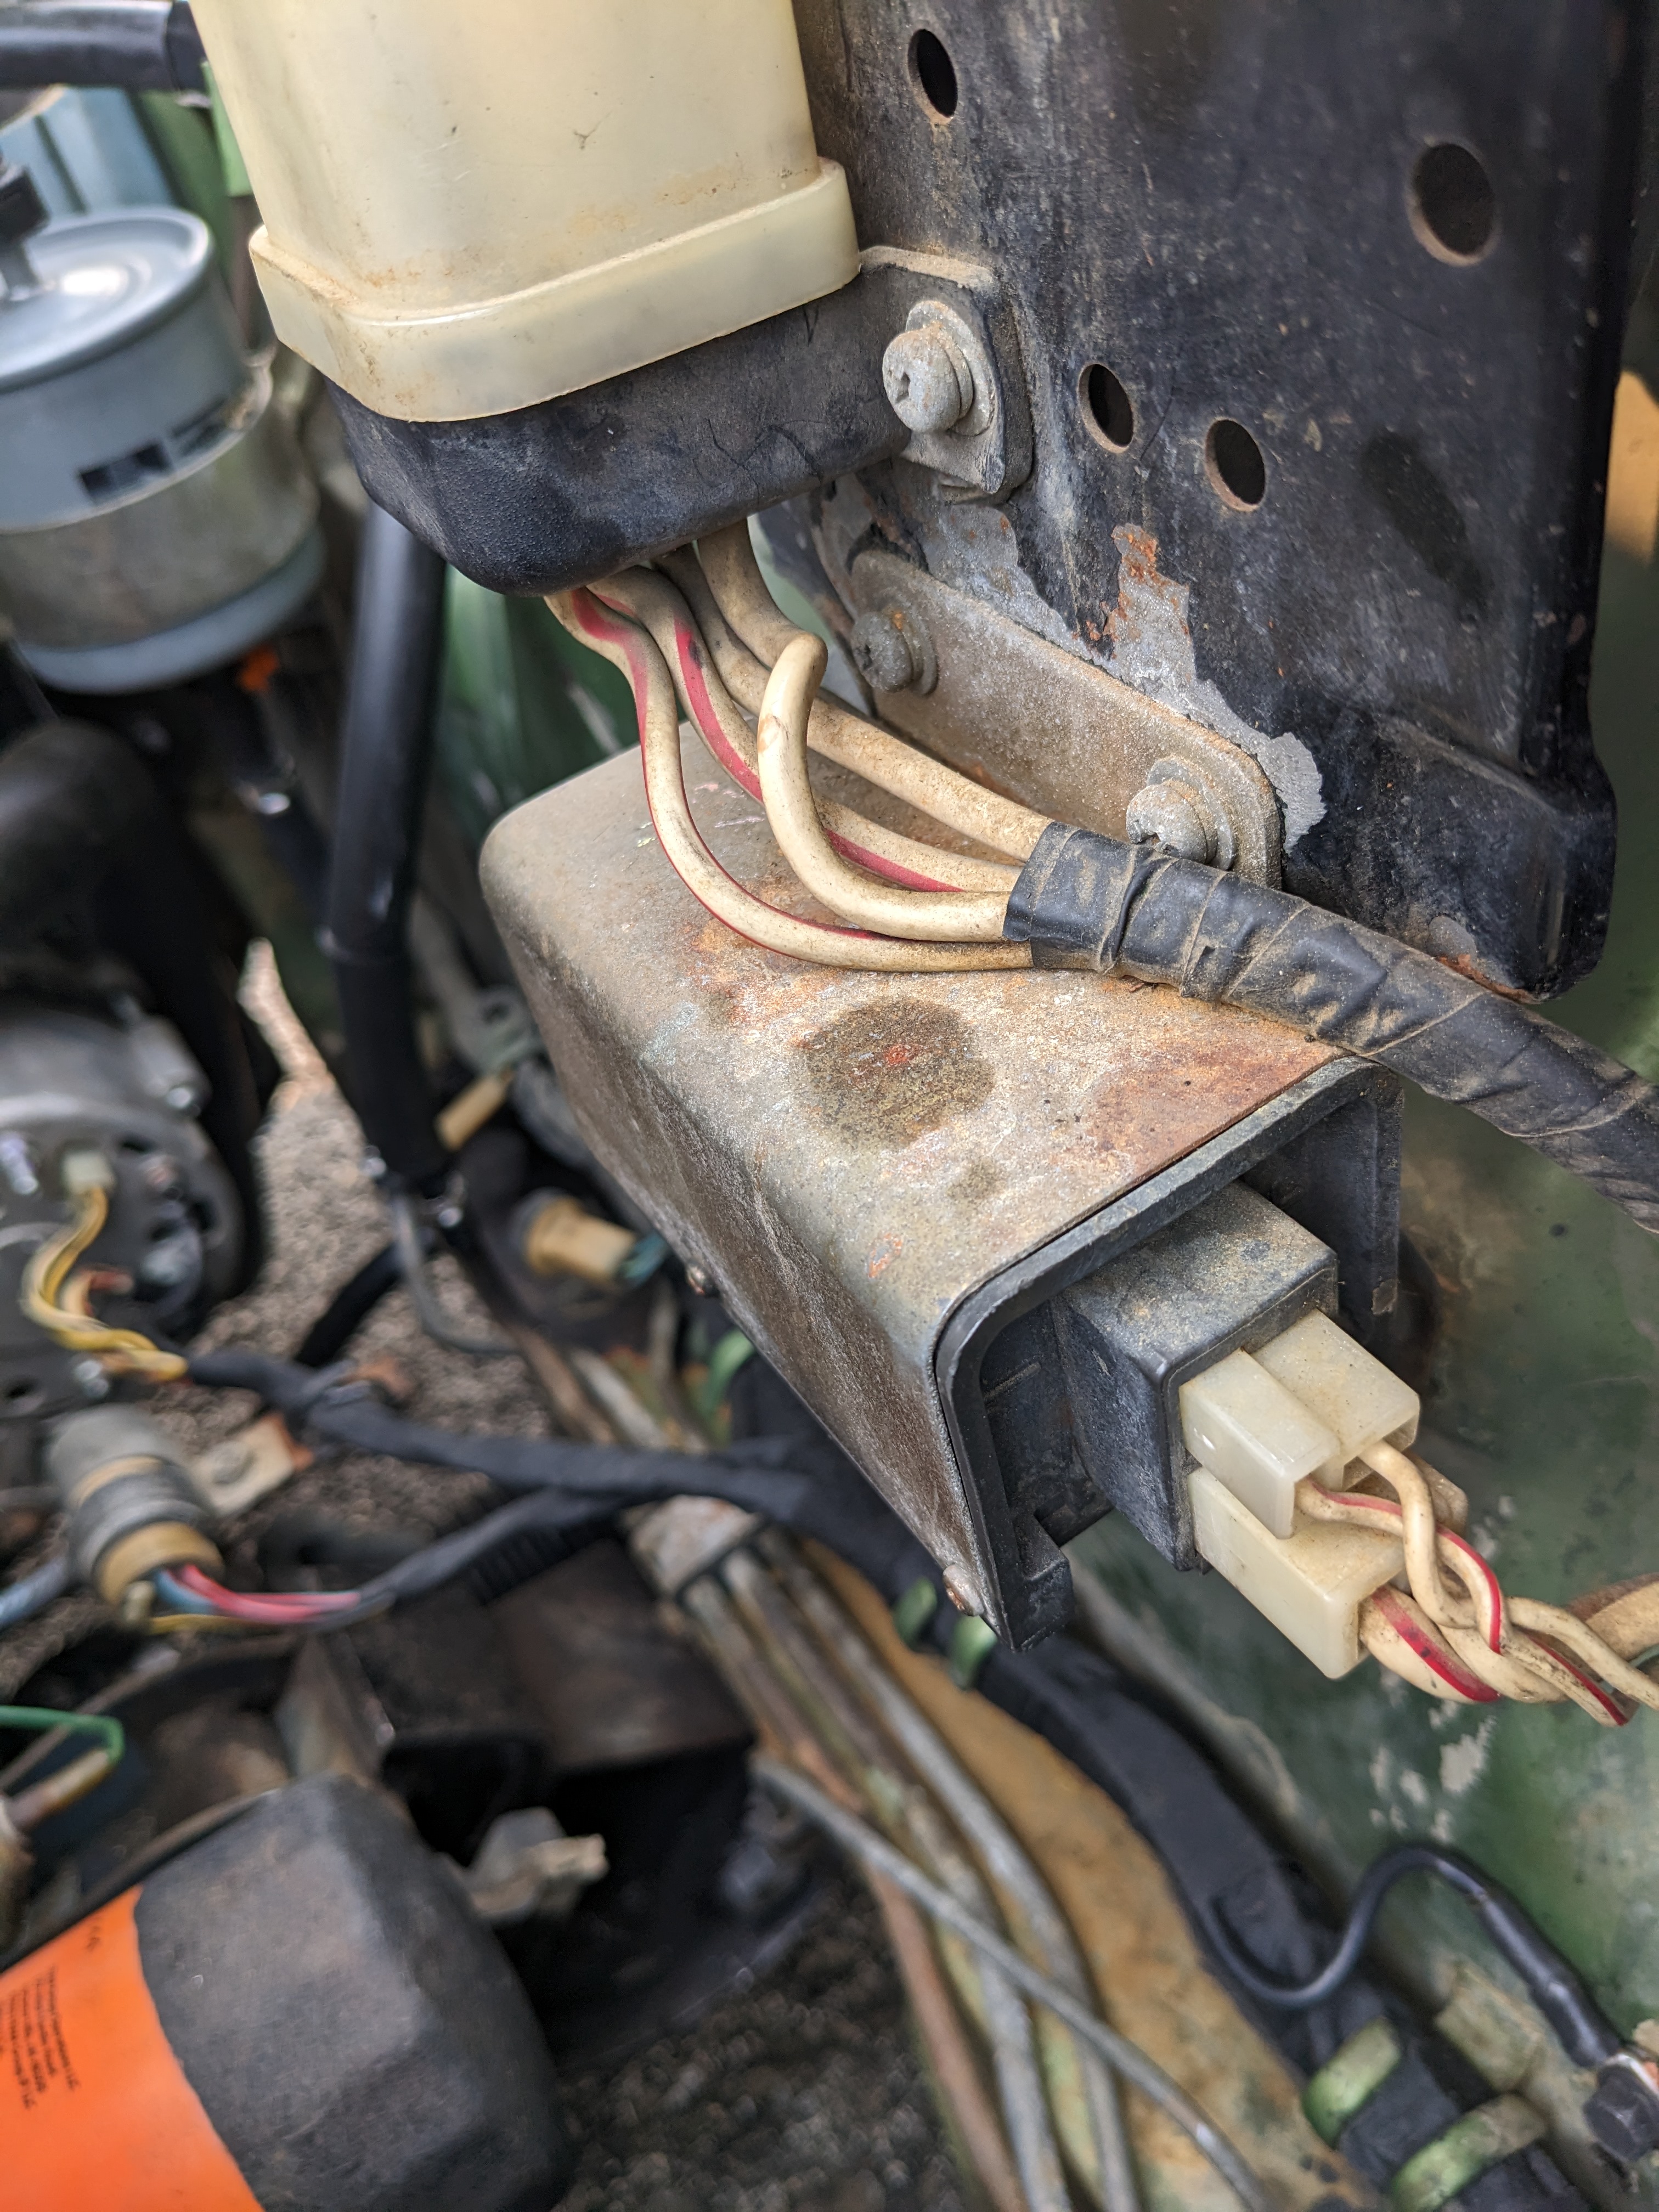
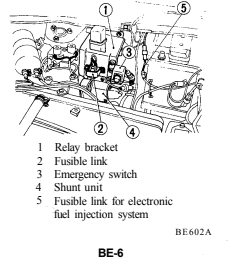
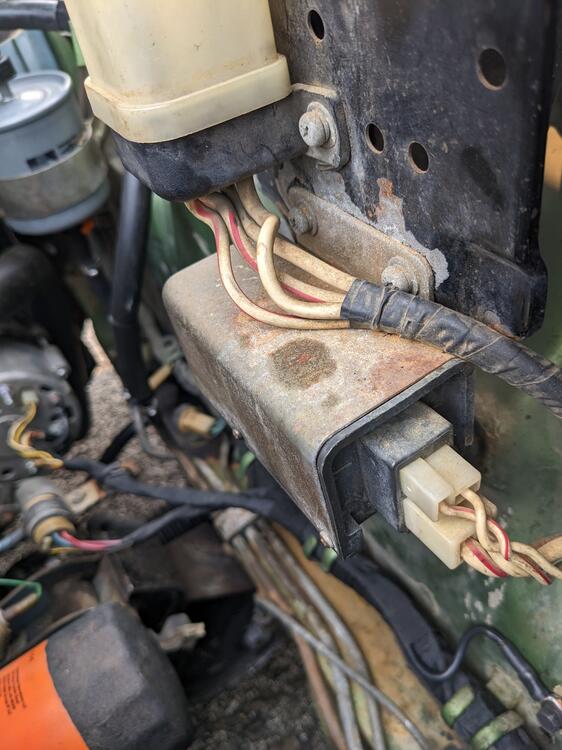
Another question - mounted on the relay bracket is a rectangular unit (#4) described as a "shunt unit" I'm not seeing what the purpose of this unit is. Any input on that?
-
Yeah - I edited out the F U C K at the end of the clip 😆 maybe the click is just the various relays that are powered on start. Perhaps that draw is reasonable. When it starts normally, the draw is so brief it's hard to gauge whether it's pulling that much. I'll update with results after I've driven it awhile in warmed up stop & start conditions. This is an original manual trans, 4 speed California spec car - has the cat, floor temp warning circuit, etc., I bought it from the original owner in California, and everything on the car is pretty much original (and worn out). Besides the dealer-added AC, and the more recent EFI harness hack, I haven't found any evidence of ****ery on the car
-
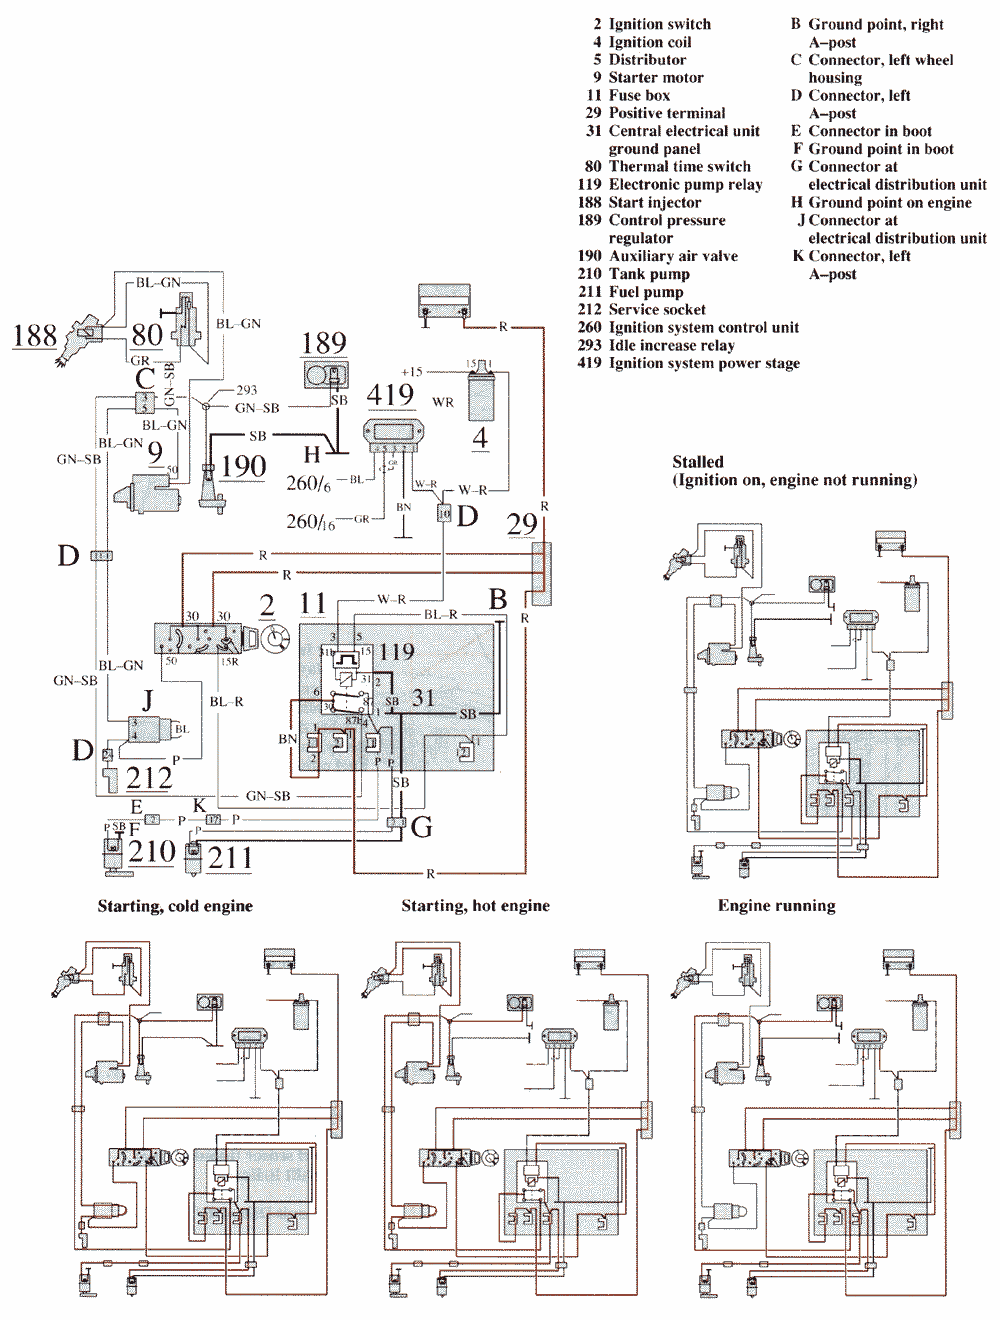
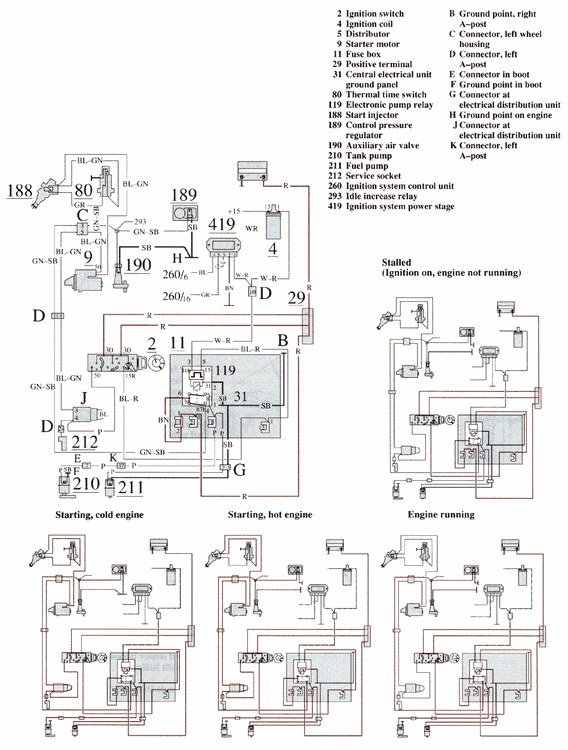
The buzzer comes on with the key in the ignition, door open it will stay on, otherwise it goes off as soon as the engine starts. Partly because I hate those whole car diagrams that have no color coding. I can't read them easily & tend to cross circuits in my head. The best ones I've ever dealt with are Volvo. They show every individual circuit, but include ANY associated junctions that overlap, so they is no question of what you are looking at. They also show current flow in each case. example: Beyond that, I am totally unfamiliar with the Datsun wiring conventions & I really don't want to spend hours on visualizing the overall path of the given circuit in my head; I have to do that when fault tracing. Given that the issue is in the starter circuit I'd rather just do what I can with things like the starter relay, which if the issue with load on the factory circuit, will now be completely negated. I'm going to do a drivetrain conversion on this, so I also don't want to go too nuts with the stock engine management either. That's another reason I'm adding the additional power management in the bay.
-
On my lunch 1/2 hour I swapped out the bullet mirrors (that were wobbly) for these chrome ones - I think they look more appropriate, however the pass side doesn't have the range of adjustment to make the rear quarter visible form the driver's seat. These came from ZcarDepot. These were inexpensive, but... pass side is USELESS. Anyone else dealt with this? Also laminated the original cold start notice I found in the sun visor
-
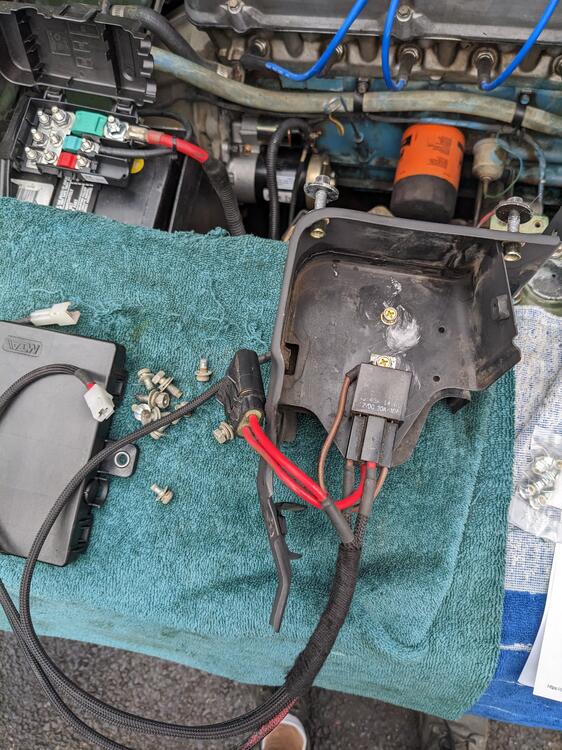
Video of the click/ammeter draw. This happened when I was sitting in queue for the pharmacy to pickup my Mum's prescription 😞 YT Video So, I added the starter relay when I got home. I'll see if that resolves the symptom. I didn't eliminate the fusible links yet, I want to do one thing at a time added riv-nuts to the top to secure the fuse panel that will replace the fusible links, and supply current for the headlamp relays, etc., moving forward bridge wires routed @Zed Head- thank you for the wiring diagram link I don't think there is an interlock relay on the car

-
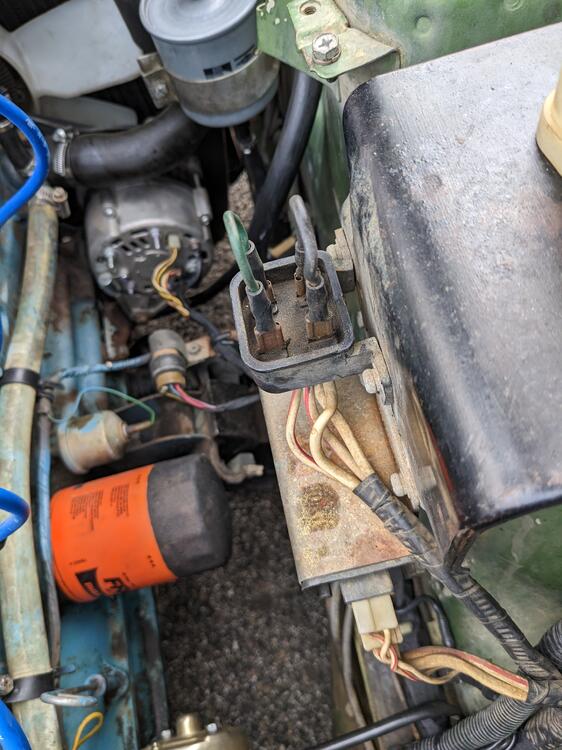
Thanks for the schematic - I was wondering if the starter solenoid trigger came through a fusible link - I couldn't ascertain that from the manual. I'm wondering if the link is contributing - one common denominator is that I typically dislodge the links/cover when I'm leaning over to check this stuff. I was wondering if I'm loosing current via the link under load. The green one does feel pretty warm to the touch. I was going to remove these & run the circuits via the fuses on the fused battery supply I added
-
Good to note. I was going to remove the solenoid from the one I took out & see if there is anything obvious with it. I don't really want to invest in expensive new parts for this drivetrain, since it will be going away in the next year or two.
-
I can see if my neighbor can help out later. The annoying thing is that it is not predictable or specifically repeatable under fixed conditions, which doesn't help in diagnosis 😞 I'm going to add a starter relay (temporarily, I have a VW kit from my X1/9 ) & see if the issue still arises.