



cgsheen1
Community Member
-
Joined
-
Last visited
Everything posted by cgsheen1
-
Only in the rear? (oh, paid attention to the video, so never mind... In the sequential mode the flasher must be ignored - so those lights require a constant positive source for controller and lights.) The Z will have a ground to frame connection in the rear - Wire with eyelet bolted to the sheet metal on the right side I think. But most of the wiring back there including the fuel pump should use that ground I believe... I still don't see why any of that would cause the problem. Zed Head has a point. Many of the new controllers use 3.3 to 5 volts (most 3.3) and generally are tolerant of higher voltage only up to a certain point. But that wouldn't explain why it behaves normally everywhere but the left side. Both voltage and ground hit the back on the right side of the chassis and travel to the left - meaning that is how the harness is laid out - It starts in back of the glove box -> passenger floor right side -> into the right quarter panel and over the wheel well -> along side the evap tank and fuel filler -> to the right side tail lights -> license plate lighting -> left side lighting -> radio speaker and antenna. As he said, a hank of wire to temporarily provide a new ground straight from the battery to the light - good test. If not that, logic dictates that the only change between connecting it to the right side and left side would be the wiring between the two... And you're aware that there are two separate flasher units - one for the turn signals, a different one for the emergency flashers. Weird problem...
-
Looking at what you've tested already it certainly does seem like a wiring harness problem. I've recently been making some changes on my Early 260Z during which I discovered some MAJOR oxidation in my GROUND wiring. It surprised me greatly AND led me to completely rewiring the engine bay harness. Unfortunately (or fortunately), that's not where I stopped but that has nothing to do with this tale. My 260Z has lived it's entire life in Arizona where we don't see much moisture so the condition of the ground wires really surprised me - they were much more oxidized that the power or signal wiring in my harness. Continuity is one thing but amperage is key. I used to say this all the time - though usually I was talking about EFI engine harnesses - CLEAN all your connectors and check the condition of your wire. Starting with the 260Z, Nissan was using more (better) weather-tight connectors than they did in the 240's (which were not at all) but the ground wiring has many open barrel crimp connections inside the harnesses that are merely tape wrapped. I would check connector pins and sockets for corrosion first. Next thing (and perhaps the first thing) might be the turn signal switch itself. LEFT is usually the thing that goes wonky first in the switch since the lever moves the switch UP and against the gravity force. As the parts inside the switch age they don't move as positively into position. And - at this age - there is generally a lot of wear on the contact points in the switch which means deterioration and/or carbon build up. I have no idea how that would cause the stated issue but with the experience I've had dealing with Z cars I never say never...
-
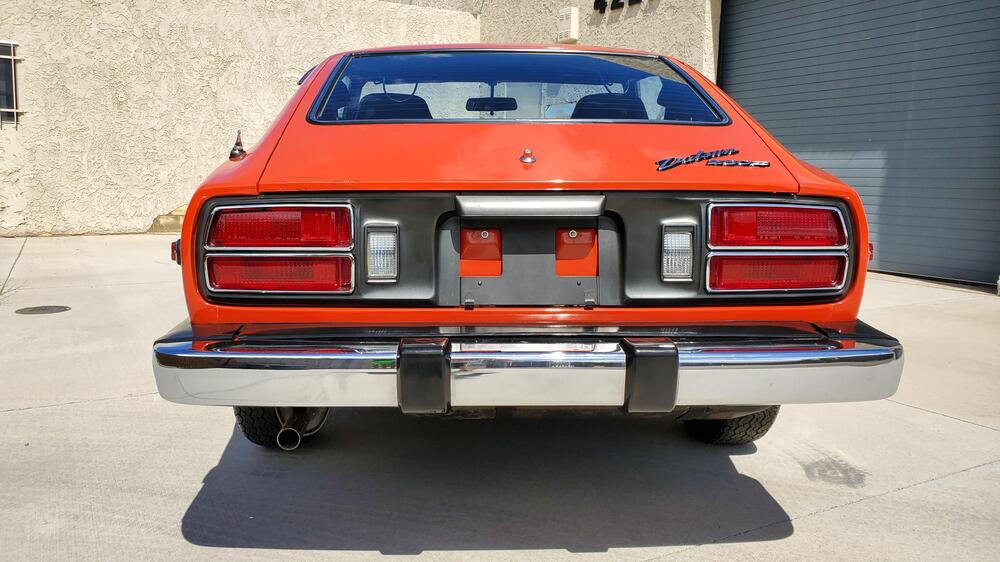
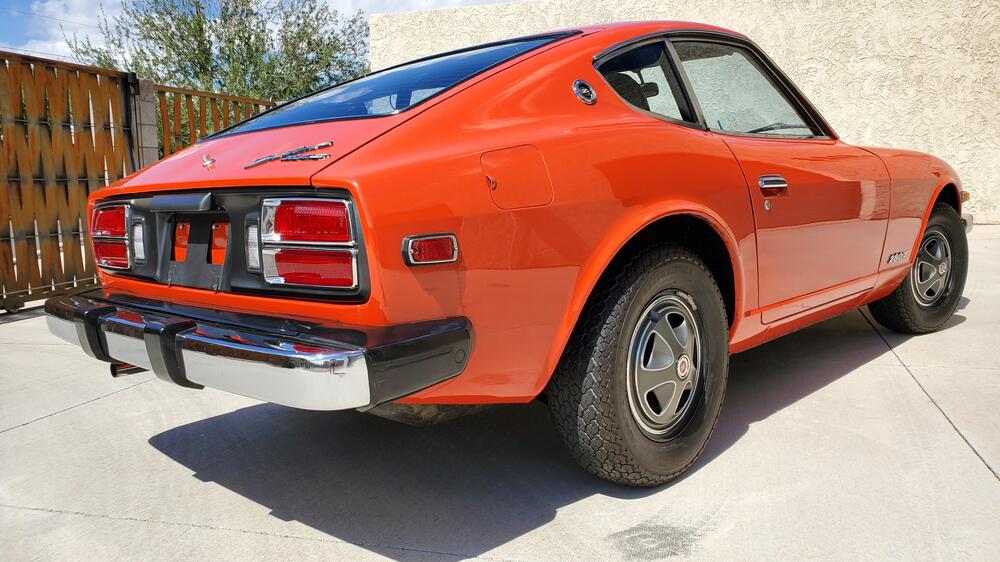
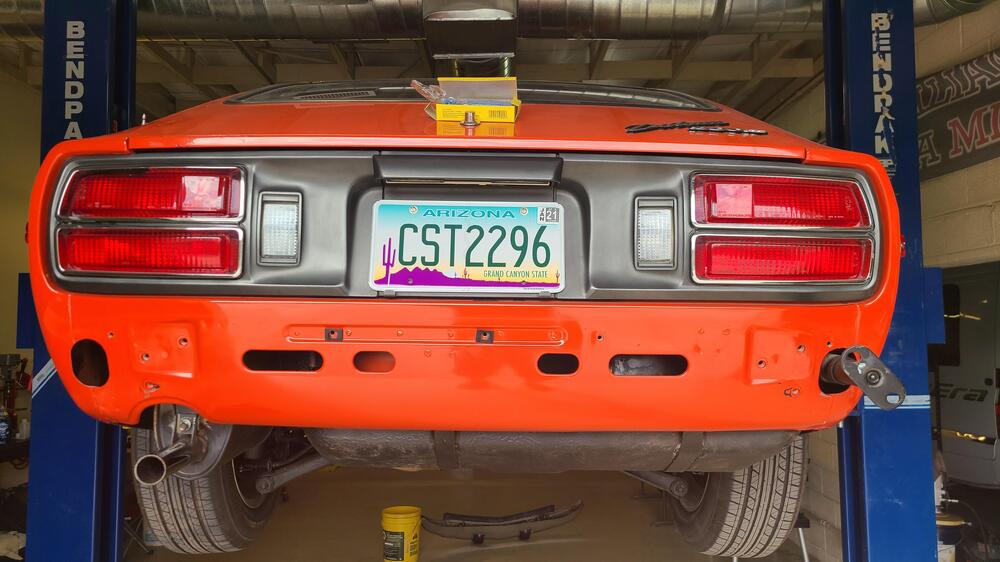
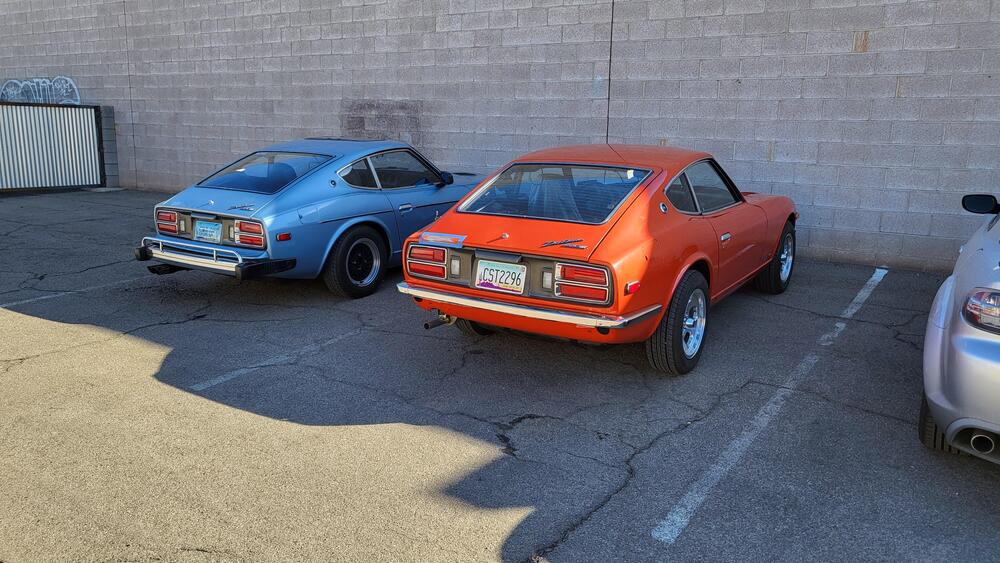
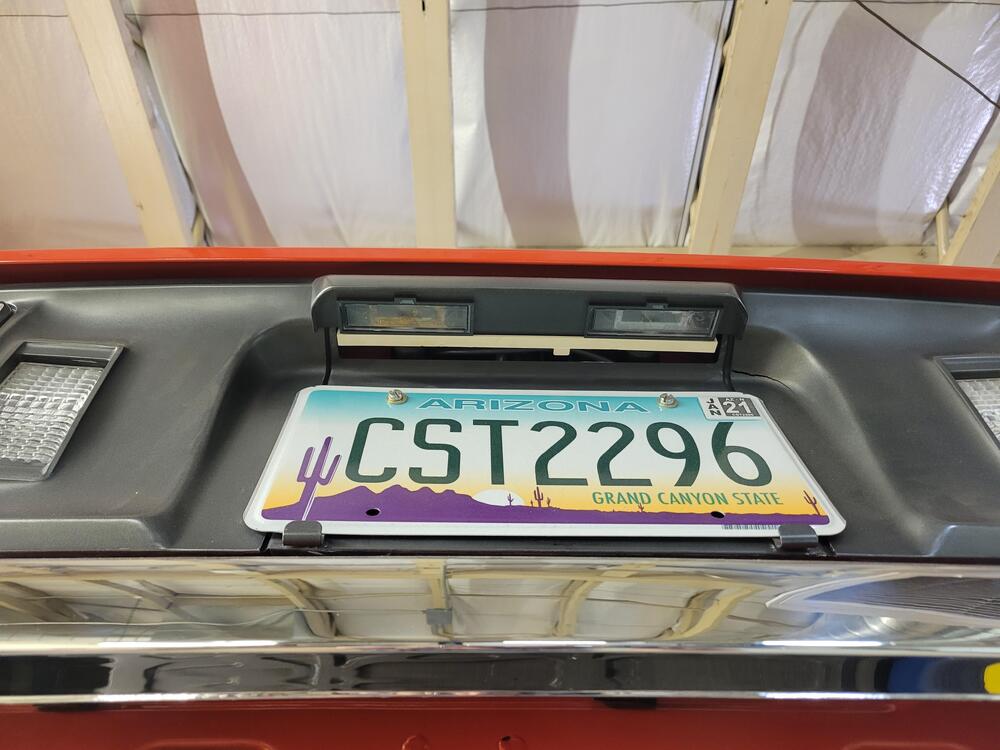
Lots. Interesting thing about that paint is it's character. It can look very darkish in the shade - gunmetal-ish AND and fairly bright silver in the sun. I think that's why most people can't get it correct - they see it light and paint their panels light-gray. They see it dark and paint it something close to that. It's a metallic color and "pops" in the light and shows it's darker character in the shade. Outside in full Arizona sun. Except for the glare the true color is shown on the plate light and the lower tail light surrounds. Much lighter than many people think - due to the silver metallic. Notice how the tone shifts with the angle of the shot in the very next photo: Honestly it's very difficult to capture the true color with a photo. Looks dark, huh? Not in real life... This is MUCH closer to real life. This is in the shop, with the bay door open, and the rear end exposed to natural light from outside. Fairly close to what you actually see with your eye balls... Not so dark now. Notice how the repainted surrounds on the blue 280 are just a touch darker (and probably don't have the same metallic as stock). Don't you wish your plate light looked this good? (okay, never noticed before that the right surround was cracked!)
-
The stock color matched the rear panels for license and tail light surrounds. Many don't get that right. It wasn't until we got the "museum car" in the shop that we understood what the correct color (paint) should be. Of course that's an individual choice but there are few surviving examples of the actual paint used 50 or more years ago. We thought many of the restoration examples here in Arizona ( a place notoriously hard on paint, plastic, and rubber ) were correct until we saw the panels from a car that had very little real world exposure (less than 4K miles) and was stored in a Pennsylvania Toyota dealership automobile collection for most of it's life. You would also be blown away by the original Nissan weatherstrip - we were - and it was actually awesome compared to most new offerings...
-
And it looks like the correct color.
-
They're less than ten bucks - buy some and let the rest of us know if they can be used with all the original hardware.
-
-
I'd really like to know the answer to that myself. Unfortunately I don't have any old blades to peal the rubber off of. I'd like to try that though. Send me your old ones! 🤪
-
Extremely common!
-
Not electrically - can't be - as the screws that hold the two halves together are not electrically isolated.
-
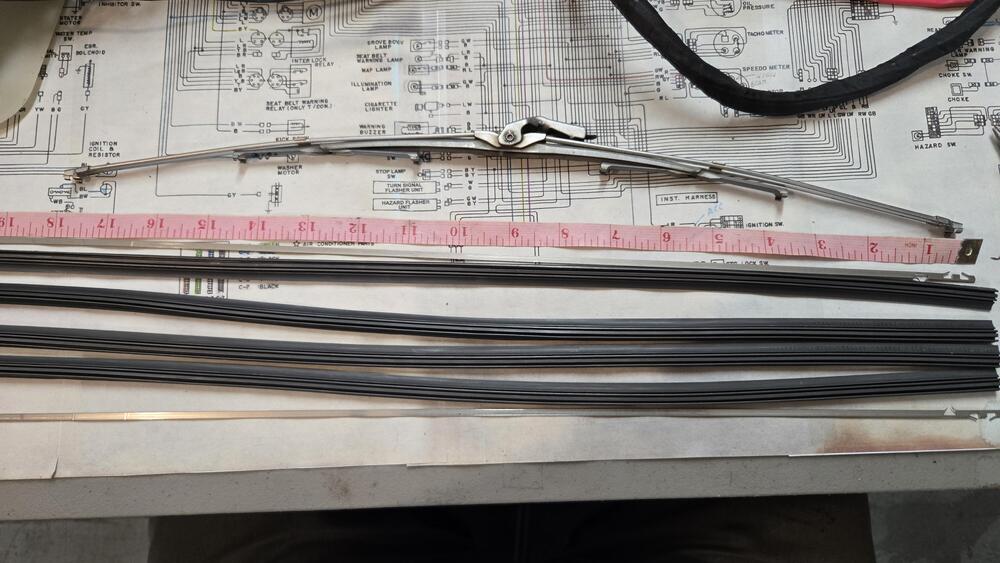
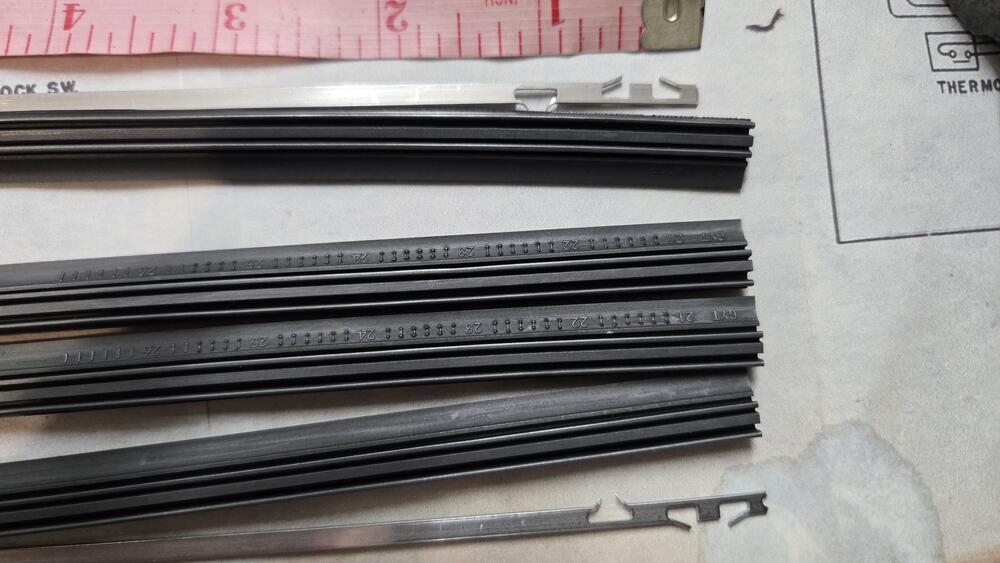
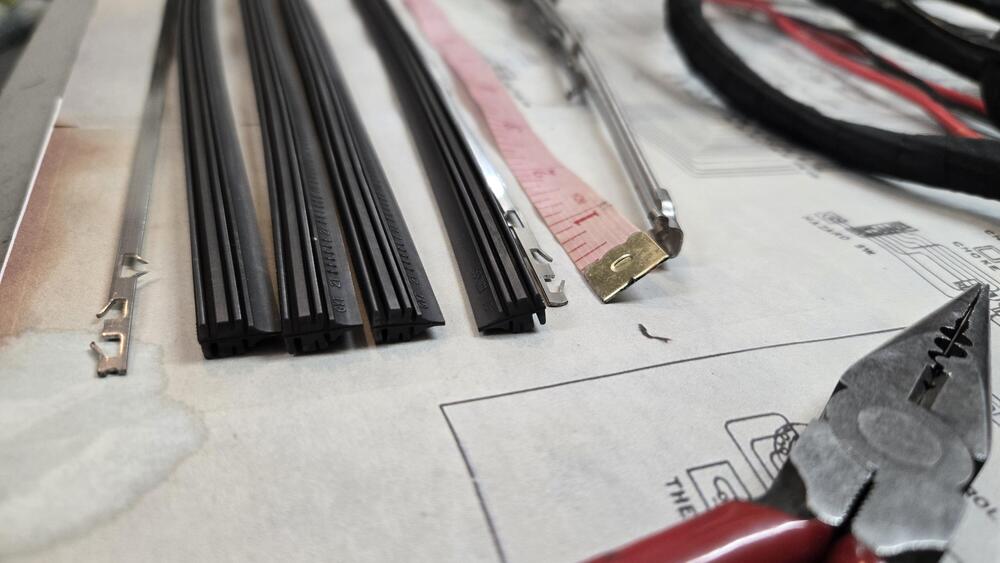
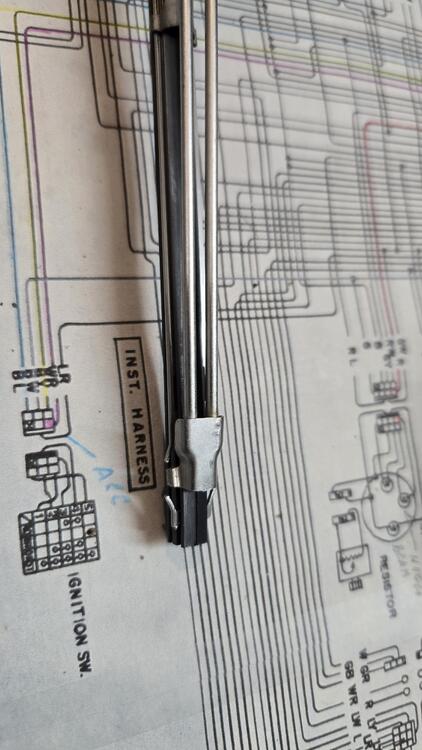
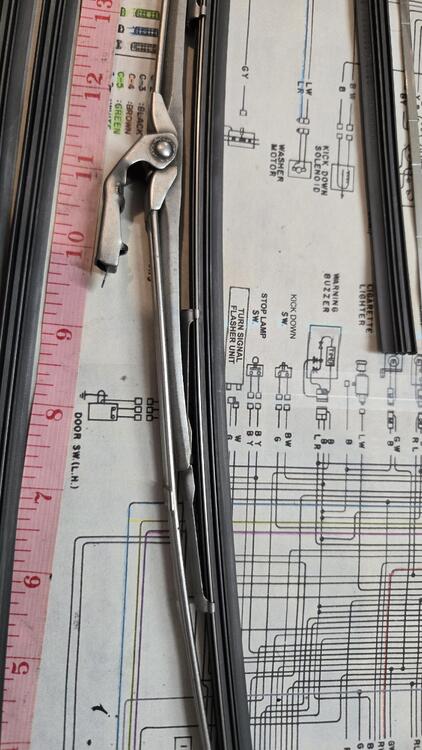
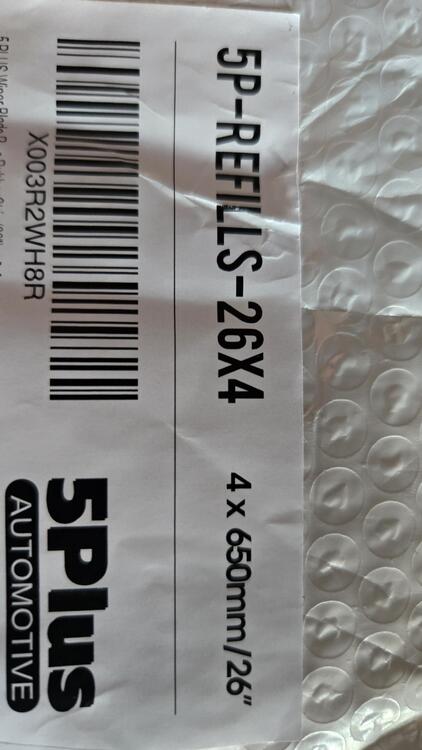
Inspired by a recent wiper blade refill conversation, I thought I share something I found: The refill rubber I found on Amazon and seems to be a common size. The FOUR 26" blades cost me $5.60 - or $1.40 each - they are obviously Chinese. https://www.amazon.com/PLUS-Windshield-Automotive-Replacement-Adjustable/dp/B0BYJC45QS/ref=sr_1_3?nsdOptOutParam=true&s=automotive&sr=1-3 These stainless steel "ribs" are from a Trico 47-800 "Break To Fit" blade refill kit I bought some time ago. I never used it (until now) because the rubber didn't fit the Z blades. (Trico also makes a 6mm 47-600 that looks to have similar ribs and may entirely fit - but - I only know that these ribs work with the refill rubber shown below.) Once you have the stainless steel ribs you should be able to replace the rubber indefinitely. I have 4, gonna buy 4 more at that price. They obviously can be trimmed in length a little better - I just used one of the standard break marks of the Trico steel. They fit snuggly and move freely as you flex the blade. If it ever rained here in Arizona, and if I actually took my 260Z OUT IN THE RAIN (which I generally avoid!) I could tell you how they perform in the wet... Maybe someday it'll happen.
-
50 years. Stock electrical connectors and wire. But, most likely, that shouldn't make the gauge not work at all - skew the reading maybe. Their are adjusters (trim pots) on the back of the gauge to set and/or correct needle travel. To me it sounds like your problem is in the wiring. Are you sure the sender has a good ground connection? The "signal" the yellow wiring is sending the gauge is a variable resistance from the fuel level sender and it's ground connection. It actually heats up a bimetal strip in the gauge that causes the needle to move. If you ground the yellow wire and the gauge needle goes to full, the problem is probably not in the gauge (if the gauge and it's trim pots have not been modified). What I initially meant was: 50+ years and stock wiring means increased resistance in wiring and connectors. The gauge displays electrical resistance - so adding more resistance skews the reading (needle position). But doesn't normally kill the reading altogether - unless the Ohm value (resistance) provided is out of the range that the gauge will display .
-
The window regulators are different between the two models. I also seem to remember that there's some difference in the length and/or position of a channel that the rollers of the regulator sit in. I made an early regulator work in my 260Z drivers door but it required some sheet metal modification and a change of channel (else the roller would fall out of the channel on one extreme of the up/down movement). That was years ago and I don't exactly remember all that I had to do. Eventually I went back to actual 260/280 window and regulator hardware - just know there is a difference between the 240 and the 260/280 when it comes to window and door hardware...
-
Well, here is the AI generated answer: "When swapping a 280Z L28E intake manifold for one used with twin SU carburetors, such as the 240Z manifold, the correct intake/exhaust manifold gasket to use is the one designed for the carbureted 240Z/260Z models from 1970–1974. This is because the 280Z L28E manifold is designed for fuel injection and features notches for injectors, while the SU carburetor setup requires a gasket without these notches to prevent air leaks. Using an EFI-specific gasket with a carbureted manifold can result in air leaks and poor engine performance, as the gasket's sealing surface does not align properly with the carburetor ports. The 240Z/260Z gasket matches the round intake ports and square exhaust ports typical of carbureted setups and is recommended for compatibility and sealing integrity. Additionally, if headers are used, stepped washers may be necessary to ensure even clamping force between the manifold and cylinder head, especially when the flange thicknesses differ." I would have said use the gasket that matches the head (and thus the injector notches) but I don't have a 240Z intake to test that on... Or a 240Z gasket to check on an L28E head.
-
The fuel pump doesn't prime in the early EFI. I don't think that came until the ECCS system of the 280ZX Turbo. In the 280Z the AFM has a switch that "senses" air flow and enables the fuel pump - no air flow, no pump, so the engine has to be making vacuum and sucking air through the AFM. Safely First.
-
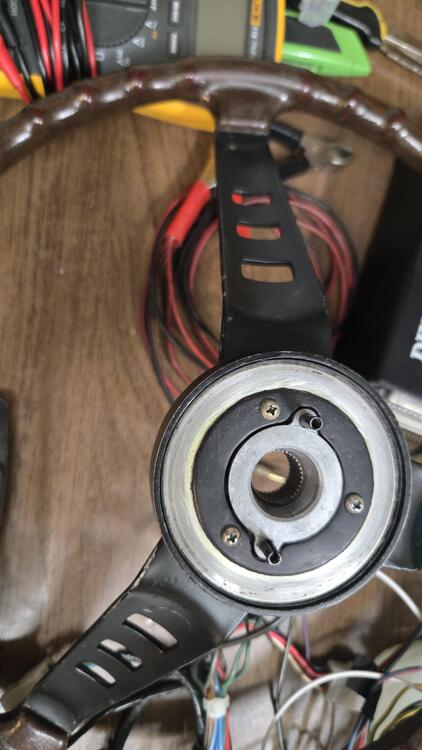
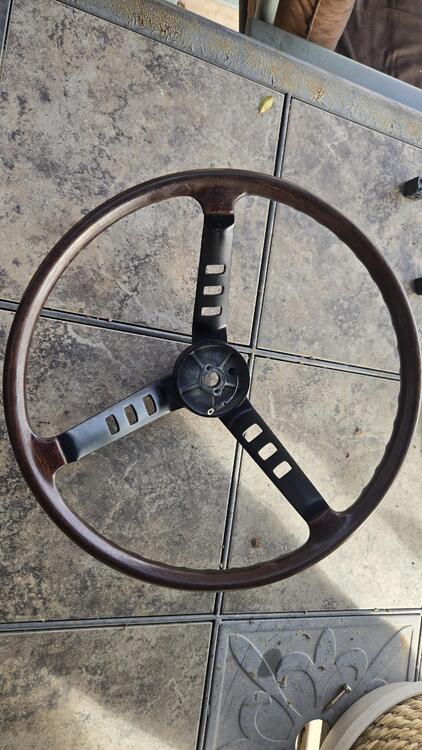
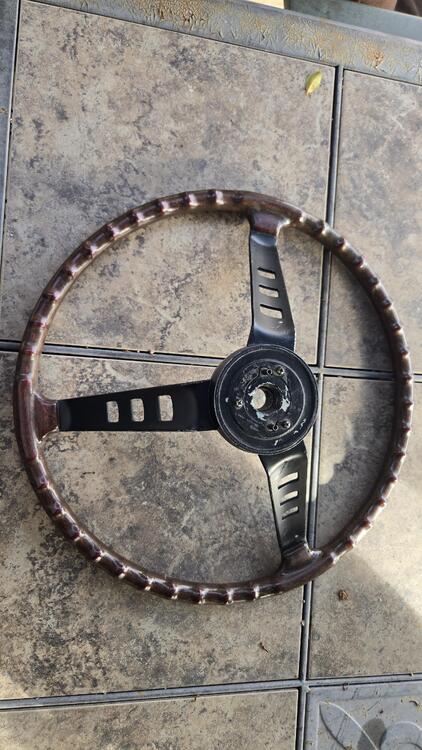
I actually dug this wheel out to measure it for a leather wrap kit. Has anyone leather wrapped their early steering wheel with a DIY stitch kit? What did you use?
-
That's a little better.
-
240Z alternator? External voltage regulator? The earlies don't use a shunt (like the 260-280) to the ammeter. So power to/from the battery goes directly through the ammeter (via large wire). The ammeter measures current flow, not voltage - even though it's important to have a proper and stable voltage from the alternator and regulator. What could be causing disruption or variation of current flow? Does it stay in the positive, or is it swinging from positive to negative current flow? The battery discharges at start cranking and then is recharged by a properly working alternator. This recharge should show on the ammeter as a significant flow in the positive direction at first, but taper off as the battery is charged, ending with the ammeter showing a slightly positive value for the rest of the drive (or engine operation). The ammeter should also show changes in electrical use - like lighting, headlights, A/C compressor, electric fan, and etc. being turned on and off as more (or less) current is being drawn during their use. (Ya, I blabbed on for all those youngsters who didn't grow up with an ammeter...)
-
He said: "Will you trade me? I refurbished my steering wheel and now the horn doesn't work..."
-
I didn't do mine in a kit, but the Toyota 4-piston caliper upgrade using the 300ZX vented rotor is a nice, easy upgrade from the stock caliper and rotor. Upgraded friction front and rear makes it even better. There are literally hundreds of posts about this particular upgrade (for more than a decade) and the kit shown above looks to have all the needed parts. The early hub on 240's and my early 260Z needs a thicker spacer than does the late 260 and 280Z's to center the rotor in the caliper properly. The upgrade also works well with the stock master cylinder. Many people also upgrade to a 15/16" 280ZX master cylinder... I use the stock 7/8" in my 260, my son uses the ZX master in his (also Turbo-swapped) 280Z.
-
From the 1972 FSM. I Believe this is the first mention in an FSM of coolant to the intake manifold and/or carburetor. I also believe this explains the purpose well. I don't see anything about cold or warm weather START in relation to carburetor temperature control - and why would there be when coolant is likely to be ambient temp when first cranking the engine. I also don't know if its required to circulate coolant between the water pump to the thermostat housing if you're not going to utilize the "try to keep the carbs a semi-consistent temperature" feature. That plumbing seems to be absent in the earlier year versions. That plumbing and the "Temperature control of SU-type carburetor by engine coolant" paragraphs seem to be absent from the 1970 FSM and the 1971 Supplement. The companion "Datsun L20A, L24 Series Engine Factory Service Manual" does not contain this information either.

-
When I finally read this I was immediately - NO - what are they thinking?? Didn't they learn from the last Zcon they held in Phoenix - IN THE HEAT OF SUMMER?? So I had to go to the website. Thankfully they did learn a bit. September 21-26. That's a little smarter. Most people don't realize this but the heat holds on a bit longer than you'd expect generally. It takes a major climate event (RAIN) to break the back of the heat. Water - it's so underrated. So even at the end of September it can be warm here - but it's usually not in the above 100's - only the (above) 90's... You'll still be using A/C in the car. Beautiful weather doesn't normally happen until October and November. Right now is perfect for an Idaho raised boy and most Arizonans are cold and in jackets or sweats if they're not in the sun. Mexicans are in Parkas... When you get to Phoenix hit me up. I may be in Snowflake but I'll head down to the valley for the event. Chuck (rarely Charles, Never Charlie...)
-
Had a Champion, worked a bit better than stock I think but found a much better solution with a 240Z KOYO radiator. Been using the KOYO with my intercooled, turbo-swapped, (early) 260Z with factory A/C, here in PHOENIX, Arizona (not name dropping, just emphasizing the HEAT factor...) for a few years. In my estimation it's much better than the Champion I had - or Mishimoto radiators I've seen in some Z's here in Phoenix...
-
Grab a torch - propane will do - and melt the body lead out of that section. That'll give you a better idea of how that sheet metal is shaped and spot welded together. There will be body lead in various places all up and down that pillar. The lead will probably have saved the sheet metal up near the window flange - and may give you a good clean section to weld to at that end.
-
But if you look at the diagram, the G/W gets Battery Voltage in the START position of the IGN Switch. (The circuit provides a bypass of the Ballast Resistor when cranking the engine for start - once started the juice goes through the Ballast Resistor for normal running operation) SO - don't leave the G/W dangling where it could cause a short... could have done that in one post - but I'm old...









