cgsheen1
Community Member
-
Joined
-
Last visited
Everything posted by cgsheen1
-
We just use our buffing compound and orbital buffer with a foam pad for plastic lenses. No prep and they polish right up... For rubber, vinyl, and plastic - Mequiar's Hyper Dressing.
-
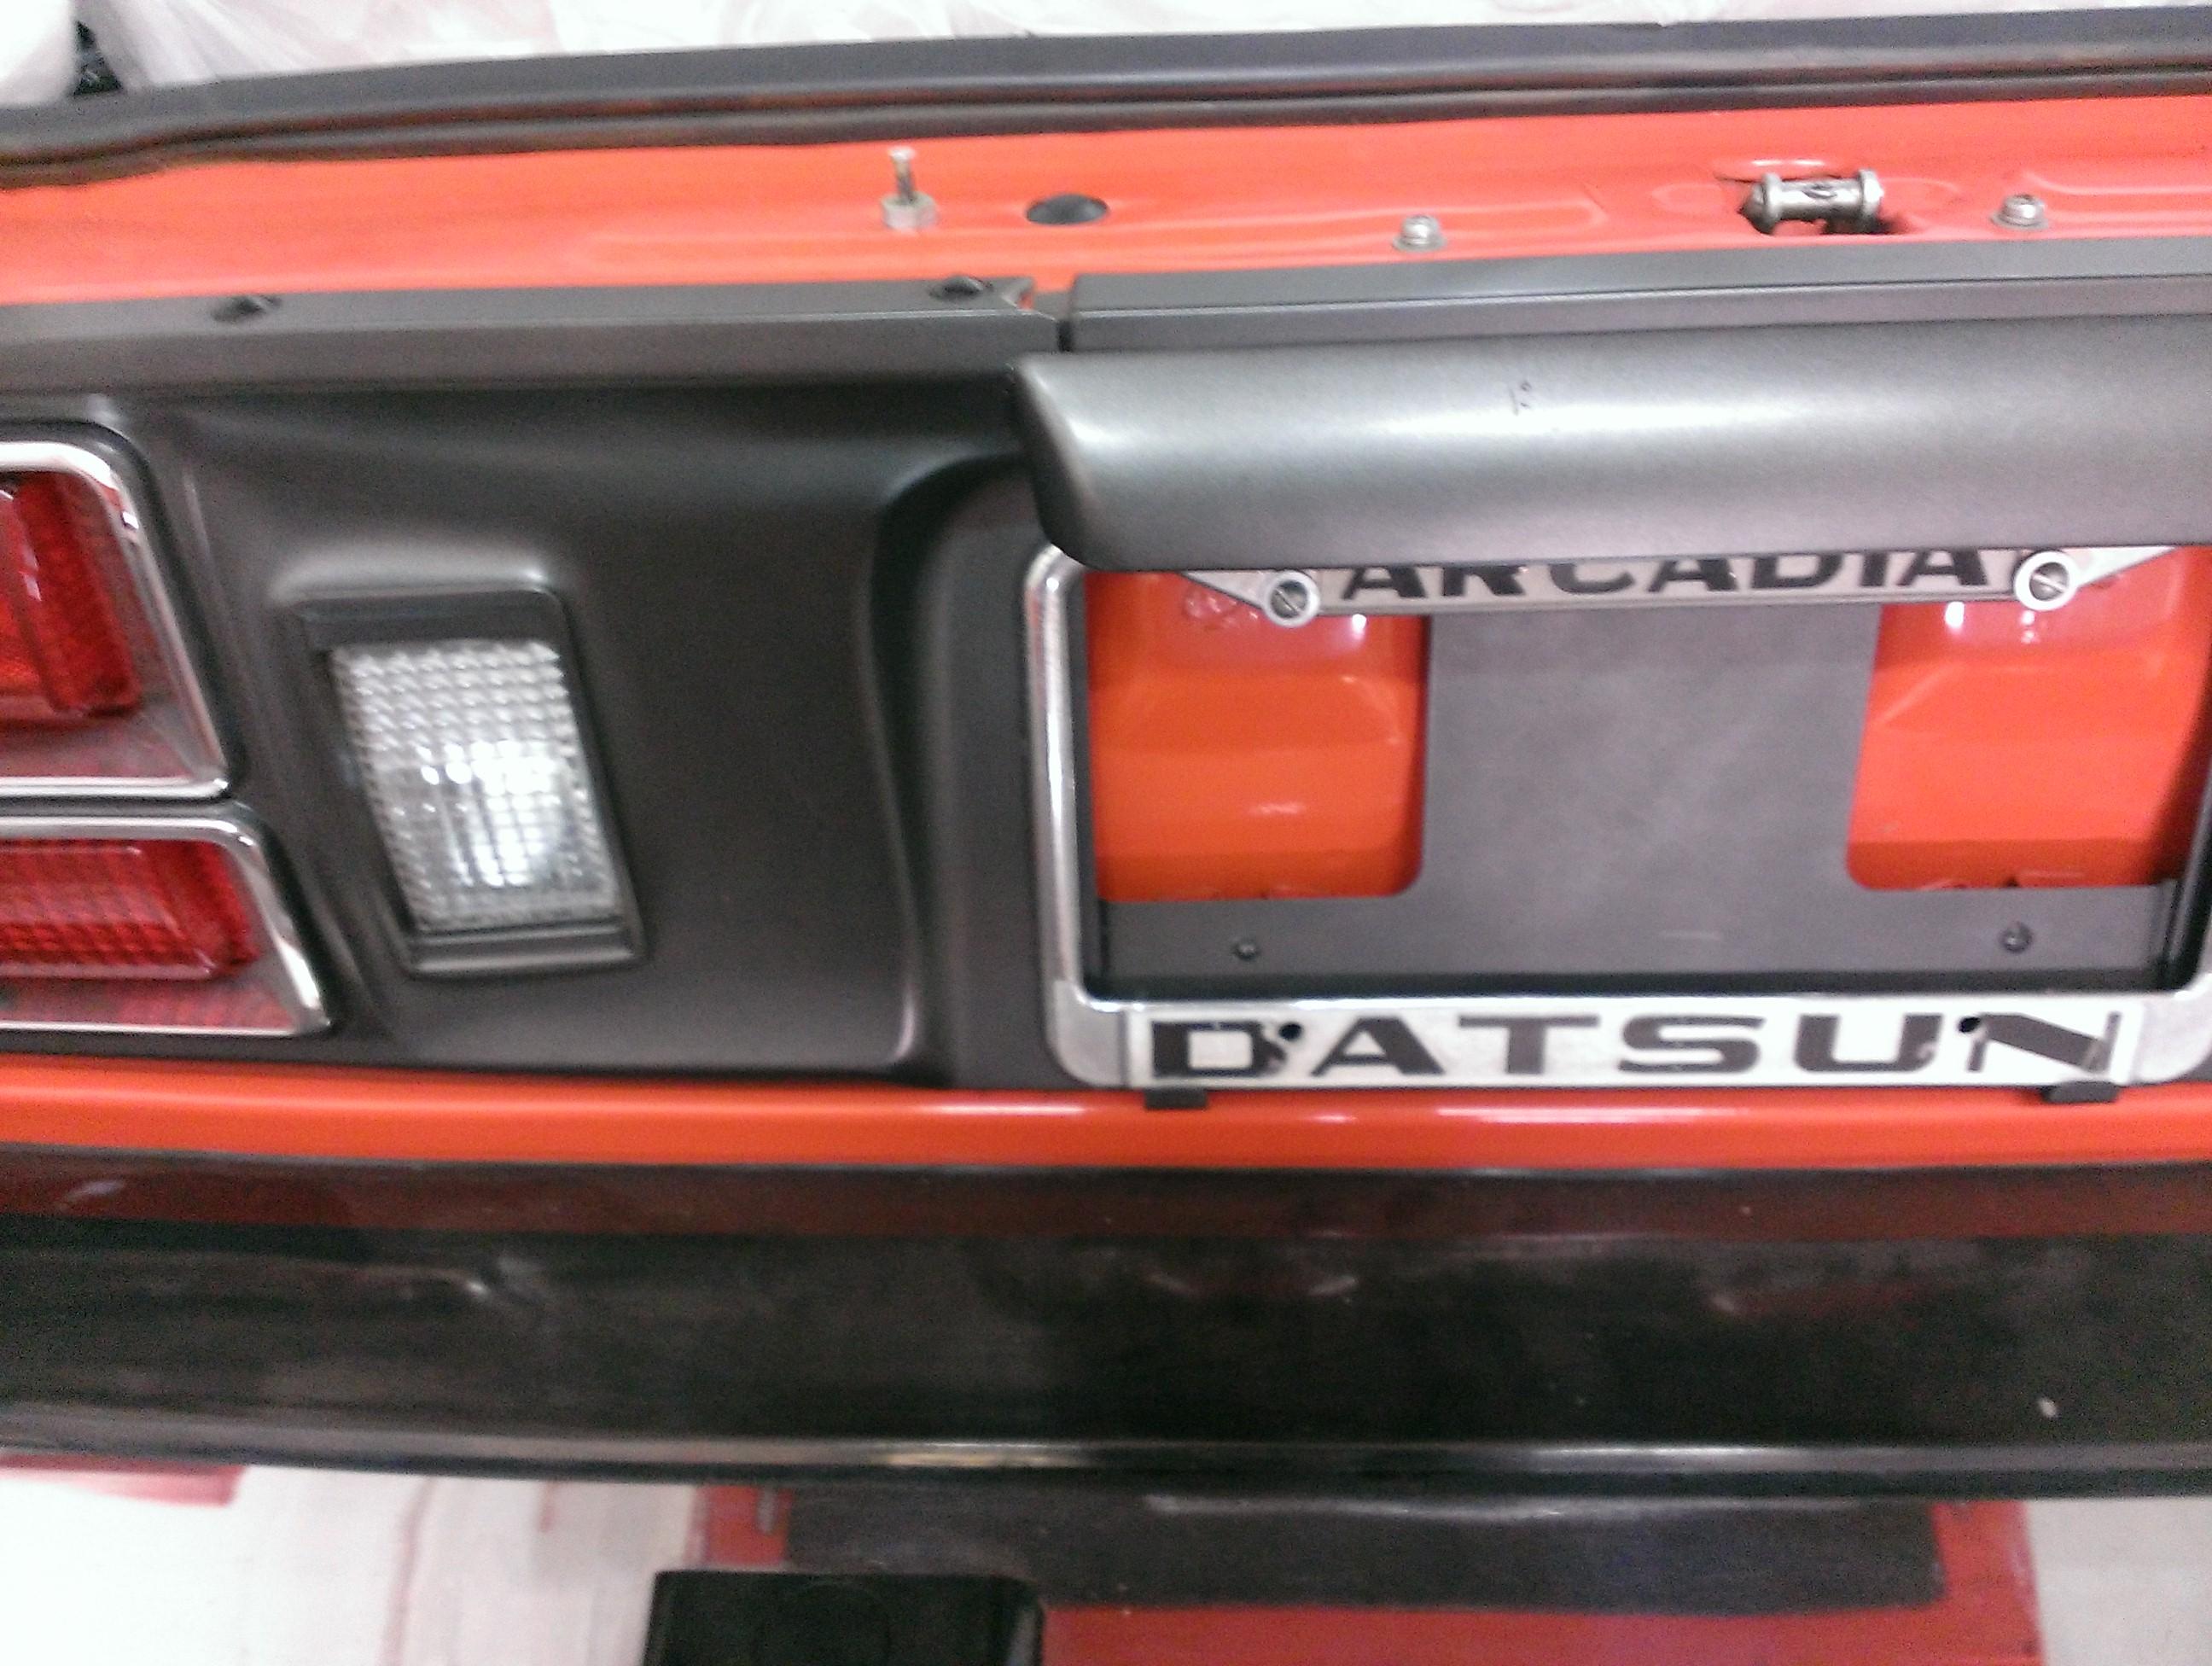
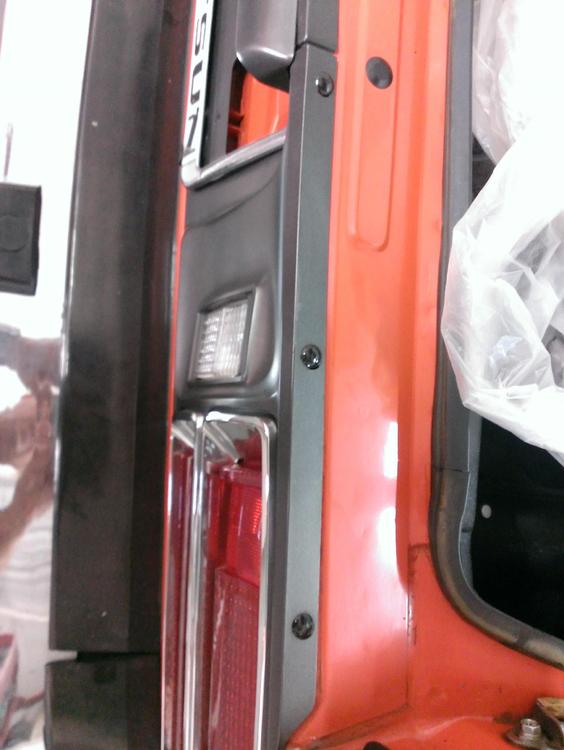
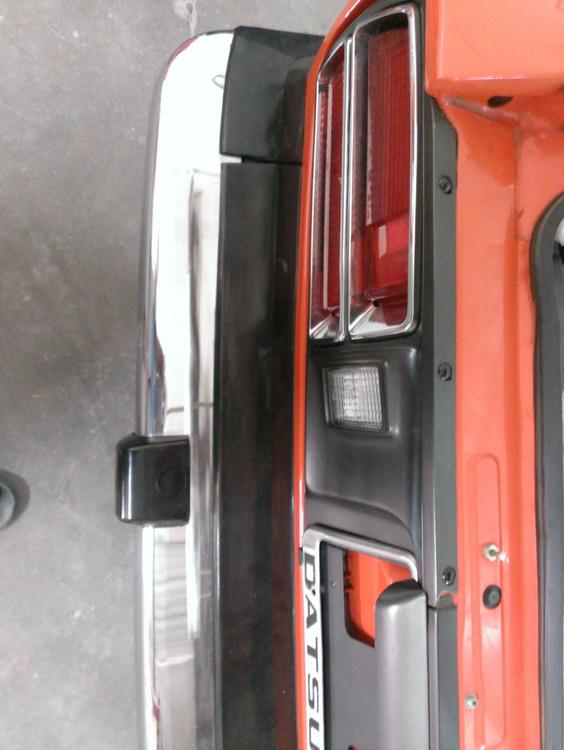
We had a 1975 280Z "Museum Car" in the shop for a few weeks a few years ago (4500 original miles, then kept in an auto museum in PA - shipped from the museum to our shop...). The color was actually much lighter than I thought the original color would be (it shows a tad darker in these pics than IRL- the top of the license plate light actually shows the color best - that's not merely "light flare"). Here are some crappy pics I took of it:

-
When the grommet is still black it's a lot easier to see. :) Who made that harness for you Q?
-
I had to look at that link - I was sitting in the auction hall when the '76 2+2 was on the block. I also had a chance to see it on the paddock before it went in. The engine bay that I saw today looked nothing like the pictures on the site - it was, well, less cared for... The car ran quite poorly - just as I've seen with other stock early EFI Z's that haven't been gone through. The interior was complete and quite nice, as was the paint. The final bid was $40,000. We also saw the Orange 1973 on the block just a few cars before the 2+2 and were quite amazed at the $37,000 final bid... It was a nice example of a '73 with original engine (with SU's). The interior and exterior looked much better than the engine bay. The hatch glass had vertical defogger lines. Radio was not original IIRC. An Auto Transmission car like the 2+2... Personally I was surprised by the two Z's I saw at auction today.
-
We came upon a well preserved part that we took to a local paint supplier and had them match the color. We ended up with a quart can (from which we've done probably 5 blocks over the years and still have more than half) and eventually a couple of spray cans they made using that formula. We discovered that it's much easier to brush on than spray the block itself... Easier to spray the brackets and pulleys. We also learned from the 1975 Museum car we had in the shop that if you're going for authentic factory look when spraying, you have to overspray the bottom of the head about an inch or so...
-
-
No, the needle sits at the center point without voltage or current. I have one in my hand (and I'm not sitting in a Z...).
-
No. I think you need to adjust the forward channel - the vertical channel that the nose of the window travels in at the front part of the door. That's assuming that you've already cleaned and re-lubed it (and all your other channels). You might also check the nylon guide at the nose of the window frame to make sure it's not cracked or broken and is still properly attached. If the window doesn't stay level while you're rolling it up (tilts forward or tilts backward), that's the small channel near the rear of the door. The FSM shows how to properly adjust. The trick is to get both of those channels adjusted in the correct position so that the window moves smoothly and stays level as it moves up and down...
-
Oh, I wouldn't use tar to plug off that water port to the carbs... ? ? (How much tar can you get for a "Ha'penny"? - wait, where can you get a Ha'penny...) And it's probably BPT but over here, we just stuff an American NPT plug in holes like that.
-
No, It came with the change of interior style between the 240 and 260. My early 260Z has the same regulator used in the lates and '75-'76 280Z. Then there was another door change with the '77-'78 and the regulator changed again...
-
Ya. Jeff, pop by my place - I have one for you...
-
Right? It has also amazed my son and I as Z cars passed through our shop how different each one was to another. They all have different "personalities" - rather than: "a Z is a Z is a Z"... It's definitely a car you can make your own.
-
Just posted this on HybridZ - not to double up, but I thought I'd add to what these brilliant Gentlemen are saying: Jeff, hate to keep harping on the transmission slave cylinder, clutch fork, collar, and throw-out bearing... BUT... I strongly recommend that you get the correct length collar and use the stock throw-out bearing. When all that is correct inside the bell housing, the fork should be pushed forward far enough that there is virtually no play between the fork and the stock slave push rod. In it's current configuration I believe you may well have trouble with the collar moving too far forward and slipping off the tube that it should glide back and forth on. If it does that while driving you'll be in trouble... The collar length needs to match the pressure plate thickness (not necessarily the type transmission you have but the clutch package). I have 3 different length collars in my collection. I also have fear and trepidation about that mustache bar. You definitely have an R180 diff and you need an R180 mustache bar that's mounted properly. The Z differential has a tendency to move - a lot - in it's factory fresh condition and I always want those bolt holes to fit nice and tight because the nuts will NOT hold the differential to the bar (without moving) by themselves. +1 on the starter relay - The start signal is one of the most common Z deficiencies. The solution many people use is to connect the start signal to a relay coil and use power straight from the battery to engage the starter solenoid.
-
The S30 chassis continued using the same side vents throughout the rest of the run (240, 260, 280). If you're concerned only about originality of your internal panels you need the panel with the holes. If you're only concerned about venting, any panel will do. The Z interior is plenty porous - if not, why would they dispense with the perforations on the later years... Interior air has many paths to the side vents.
-
I agree. (and, 110 oxidizes toward orange over the years - even so, it's always completely different than 918 which is definitely a "burnt orange" without any apparent red in the tint - and 918 would never oxidize toward red) The engine bay is probably not the place to look for original color. Best to look for the factory overspray on the interior of the car. Check the spare tire well first, but it may have been shot over as well. Definitive proof is usually under the vinyl on the pillars... If it's 110 - oxidized 110 - the color you get from a supplier from their stock formula will never match the oxidized paint. It will be a deeper red. Remove one of your side maker lights and look at the paint underneath. You may see that it's darker, more red. If so, it isn't stained - that's the original unoxidized color.
-
Sounds like an old plumber talking! I have actually done that in the past to make a hole punch. I have copper pipe and tube AND I have a proper pipe reaming tool (because I am a Journeyman Plumber). If you "over use" the reaming tool, you can get quite a sharp edge on the end of the tube!
-
Be safe. Be smart. Take the engine out and put it on a stand and you'll have the cross member and suspension free and clear to work on. The "extra work" would come from trying to work around the situation you're trying to create to avoid the extra work...
-
As much vacuum as your engine makes. (Make sure that check valve is working.)
-
Oh, so there was a rubber piece on the end of the bumper - that covered the notch-out.
-
You may already know this, the 2-bolt hole flat "faces" of the pistons (bumper shocks) will rotate - so if the bolt holes don't line up...
-
I believe that would push the ends back into / over the front wheel arch. IIRC, the front bumper "sides" are longer to compensate for the amount the bumper has been brought forward. It's been a few years since I abandoned my early 260 bumpers in favor of 240Z bumpers so I may be mis-remembering, but I think that's the case...
-
They look similar, but they're not the same. They are shaped differently because they were pushed farther forward and mounted on pistons to meet the new US crash standards. They should mount on a 280 much like they do a 260, but they will remain pushed away from the front of the car. The early 260 had various "filler" pieces to cover the newly increased gap between the bumper and body (and grill). I doubt you could get the early 260Z front bumper to fit tight to the body like a 240 bumper.
-
Yes, it mounts on top of the control arm.
-
Right, the Tach in the earlies is "current sensing" so the wiring path to the ballast and coil is very specific and it requires a coil with the same value as stock. There are two B/W - one that goes to the ballast and one that goes to the coil. Be sure to reference the full circuit diagram because there are simplified diagrams in the BE and EE sections that don't show all the wiring involved in the ignition and Tach circuit...
-
? I love to see pics of 280's - with super long tail pipe extensions! cough, cough...