Patcon
Supporting Member
-
Joined
-
Last visited
Everything posted by Patcon
-
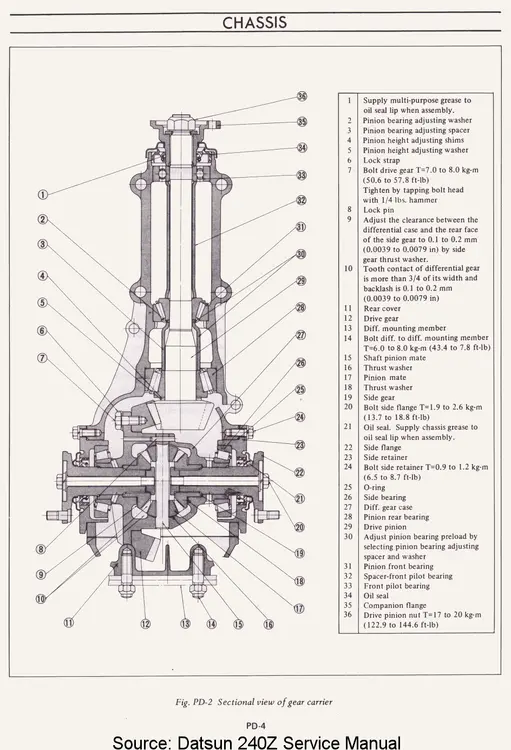
So the shims your are changing on the pinion are #4 on this diagram? The side shims are #9 & #18? If so adding shims is going to reduce lash because the pinion gear is conical and as it moves further back in the case lash is going to go down, but that's going to move the contact pattern on the ring. I'm not sure that I would hold to this instruction about overall thickness. You've got a new center section and new bearings. It's possible that a minor manufacturing tolerance has changed the overall thickness needed. I would be passionate about keeping the original contact patch in the same place though.
-
So you checking sounds correct. Just make sure your indicator is set at the very outside and tangential to the ring. So, from the sound of post #70 you changed two things at once and you are currently focusing on the shims at the front of the case? I had a thought, so I did some research to see if I was on the right track. I have never done a differential, so I wasn't confident in my thought process. I thought you need to set the depth of the pinion in the case and then adjust for backlash. I forgot about preload. That would be second. So it's my understanding that the shims at the front will mainly change patterning. While this will affect backlash, that's not the main purpose. The side shims are used to adjust backlash. Move the ring closer for less backlash further away for more. Here are some things I found. Take all of these with a grain of salt because alot of these are solid axles but most of the info aught to transpose. https://www.randysworldwide.com/blogs/gear-backlash https://www.yukongear.com/blogs/12-tech-tips-for-differential-assembly-setup_1 One of the main things I took away from this thread, was if you move the wear pattern, it can "sing". https://www.garagejournal.com/forum/threads/adjusting-an-old-ring-and-pinion.447201/ So I would try to keep the wear pattern as close to the original as possible. I believe as the lash goes down the heel/toe drive/coast patches will move towards the center of the tooth. Did that make sense?
-
@inline6 So a question? Quickly, what is your method for checking lash?
-
Artemis mission, super cool!!! We would love a lake house but Im not sure we'd make time to enjoy it. Just too many other things taking time
-
Yes, post that in the resources section
-
No, you could separate the halves of the glove box door and install it like the factory did
-
I wouldn't cap them off on concern of pressurizing the crankcase and causing oil leaks
-
There are plenty of people out there where $100k is a nice night on the town. At some level of wealth, time is more valuable than money. Maybe he didn't want to look for another car or it ticked all the right boxes? We'll probably never know unless Alan's suspicions supply feedback at some point.
-
Yeah, I don't really know either but the guy telling me this has helped me for a number of years and paints cars on the side. Along the same lines, it seems like letting primer coats shrink for an extended period of time would have the same effect to prevent urethane wave
-
My paint supply told me I should cut and buff within 24hrs. That I would get better results before I let it get too hard. I don't always do that but I have found it easier to get good results that way
-
-
They're proud of that. I googled the part number for the 280z and found sources claiming they were in stock for about $95. I didn't check the 240 part number Just checked that part number. Pretty much everybody I saw was cheaper than $308 Courtesy was $254 Amazon was $220 Plenty on ebay from $150- 170
-
Yes, it's a Z432. Not really comparable to any other S30
-
Looks like 17312-N4700 & 17208-N4500 are available
-
Looks good
-
Either the market has really gotten soft or that was the wrong venue
-
Yeah, that was my process too. It just didn't work out...
-
That seems cheap unless it was unfinished
-
No, my windshield gasket is from Zcardepot Once the windshield is in the car it sort of locks the trim in. So doing it in the car is even harder. @grannyknot Tips and tricks for putting the rubber on the glass with the trim in it?
-
Thanks The outer jacket has continuity and is isolated from the inner but the inner has no continuity. I will look for a new cable...
-
I dont know. These original Japanese bearings are made of really good stuff... I once replaced a transmission seal on a BMW z3 when I did the clutch. I later discovered nobody does that. It's too easy to cause a leak with the new seal where one didn't exist before. I did cause a new leak with my seal and roasted the transmission. Lesson learned! 😡
-
I figured it would be too difficult to do it that way. 😒 I'm going to try to use this seal for now. I can redo it later if I feel like it but it's between me and Tampa right now. So it will have to wait
-
It is interesting that Troy doesn't attempt that. He is very capable...
-
So the pins broke off the back of the emblem. I wouldn't use super glue. I would probably use epoxy if I wasn't going to try to find an emblem that's not damaged
-
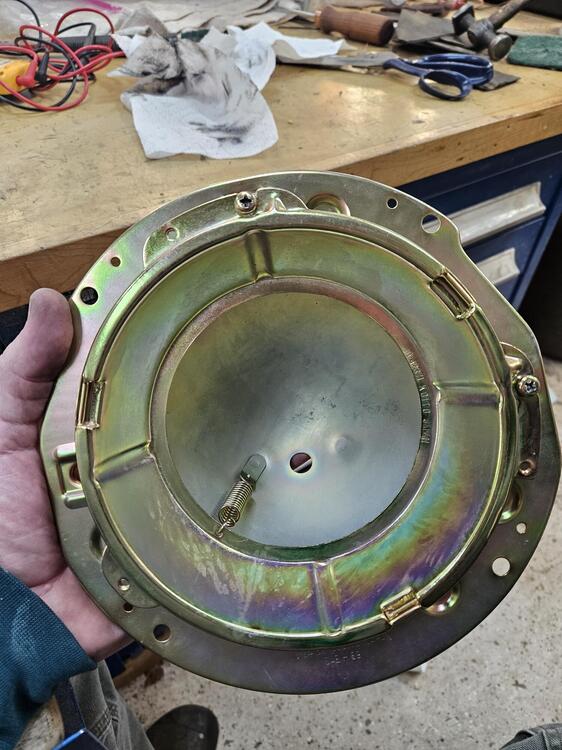
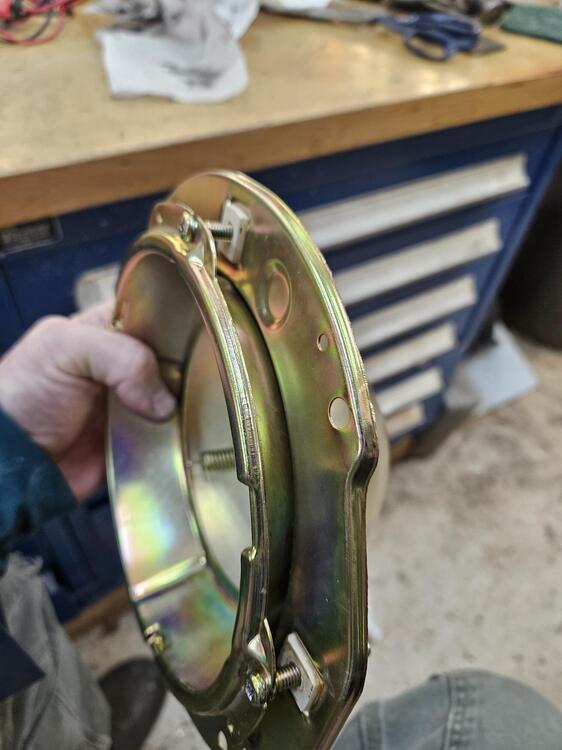
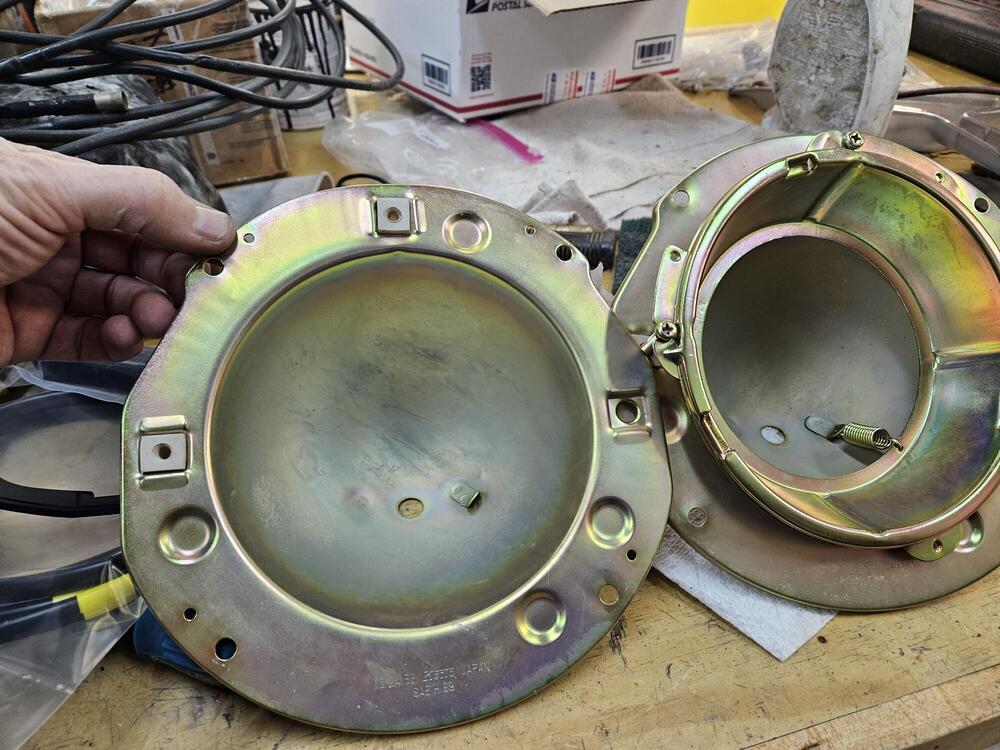
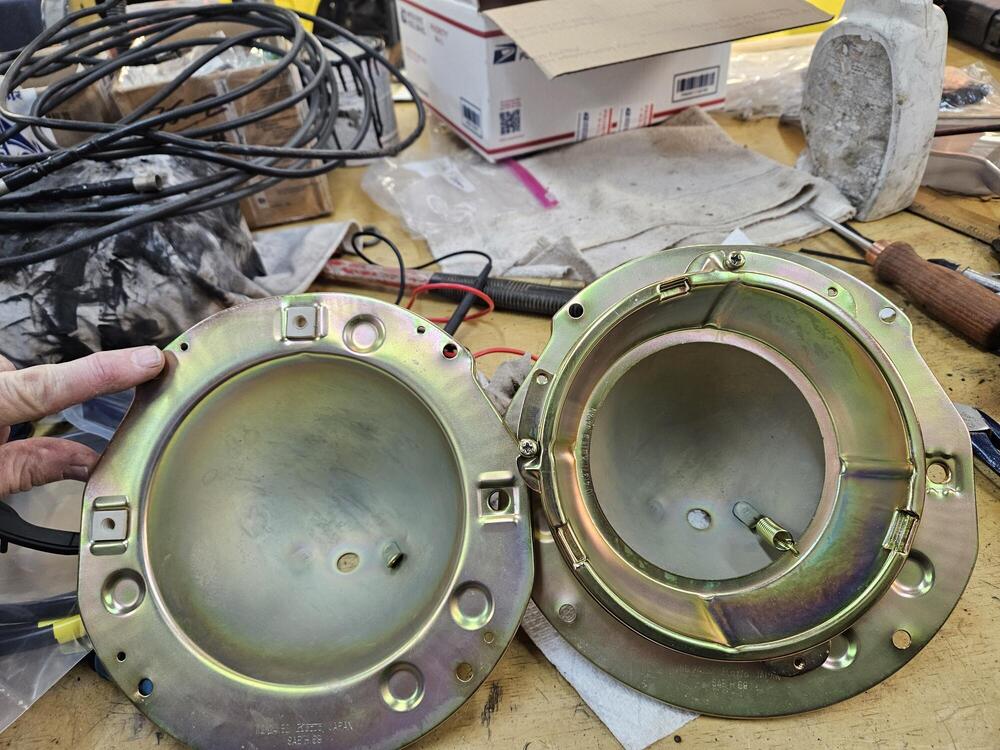
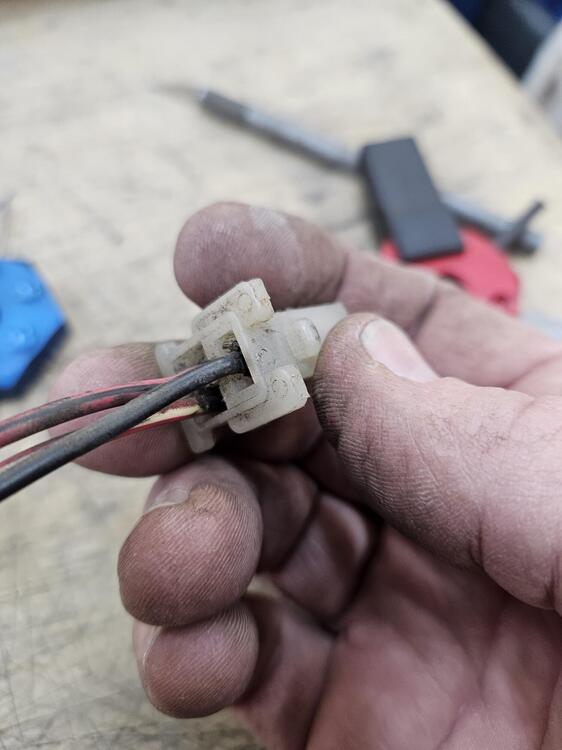
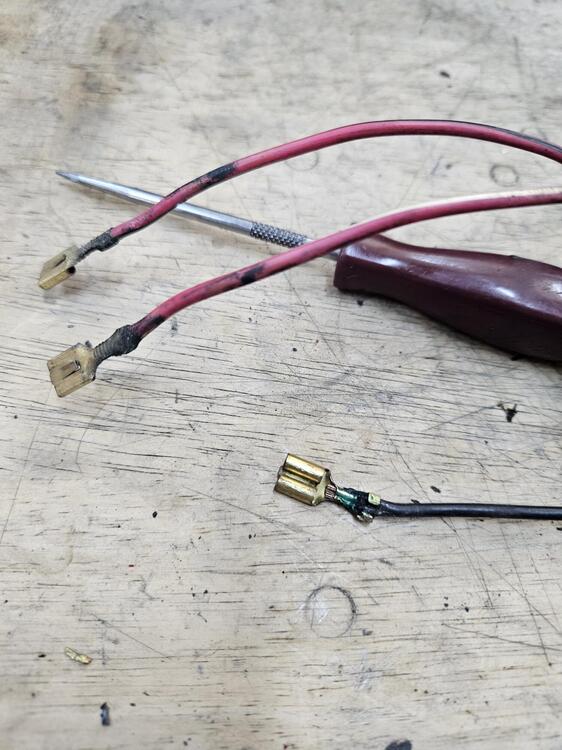
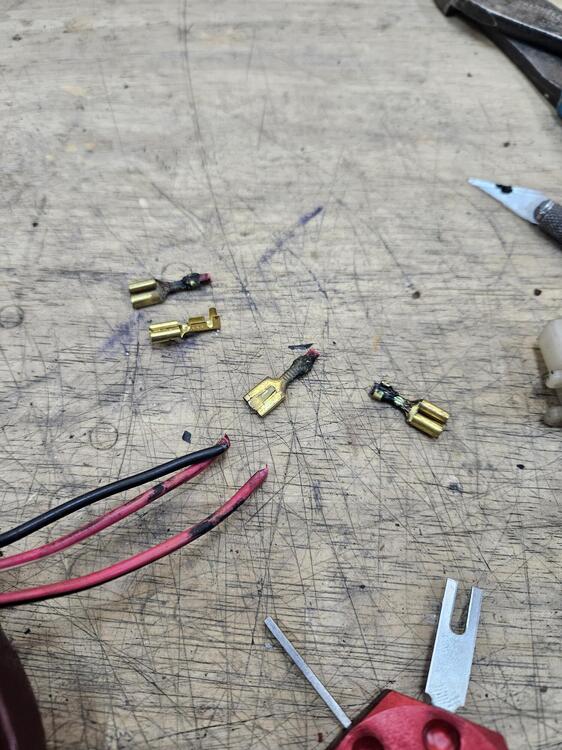
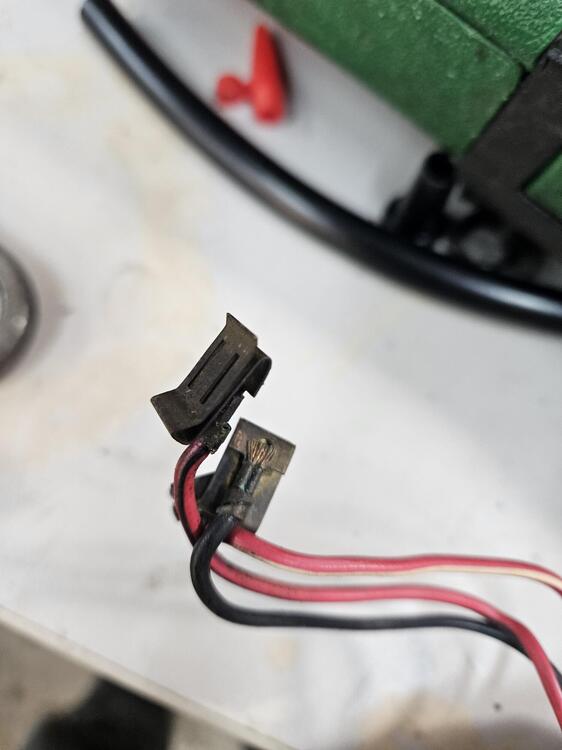
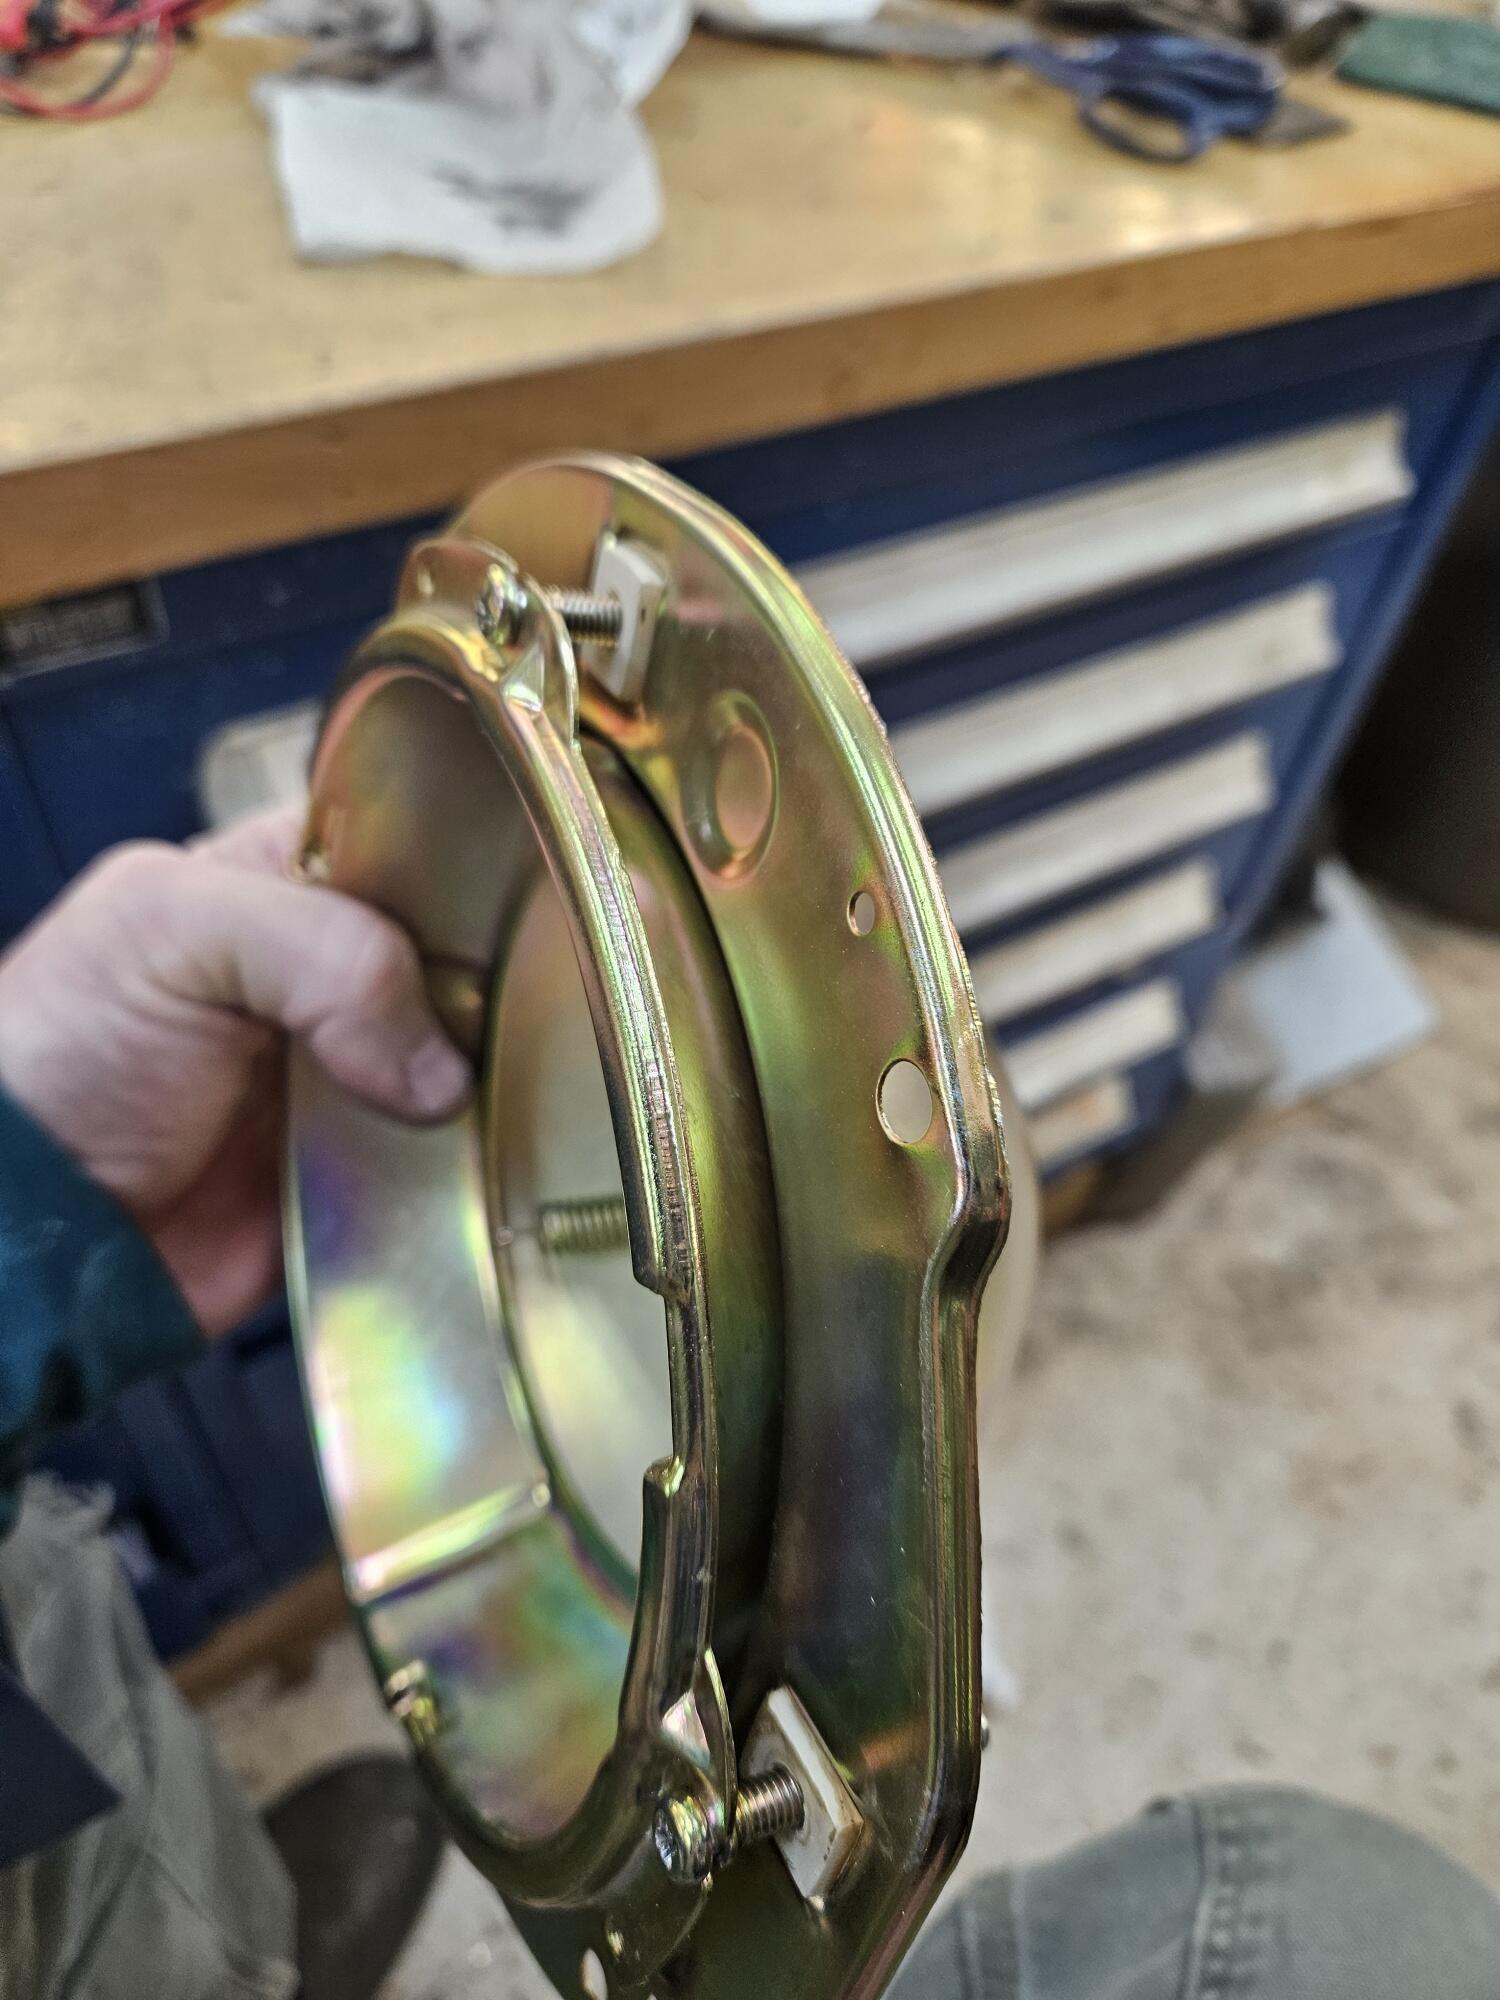
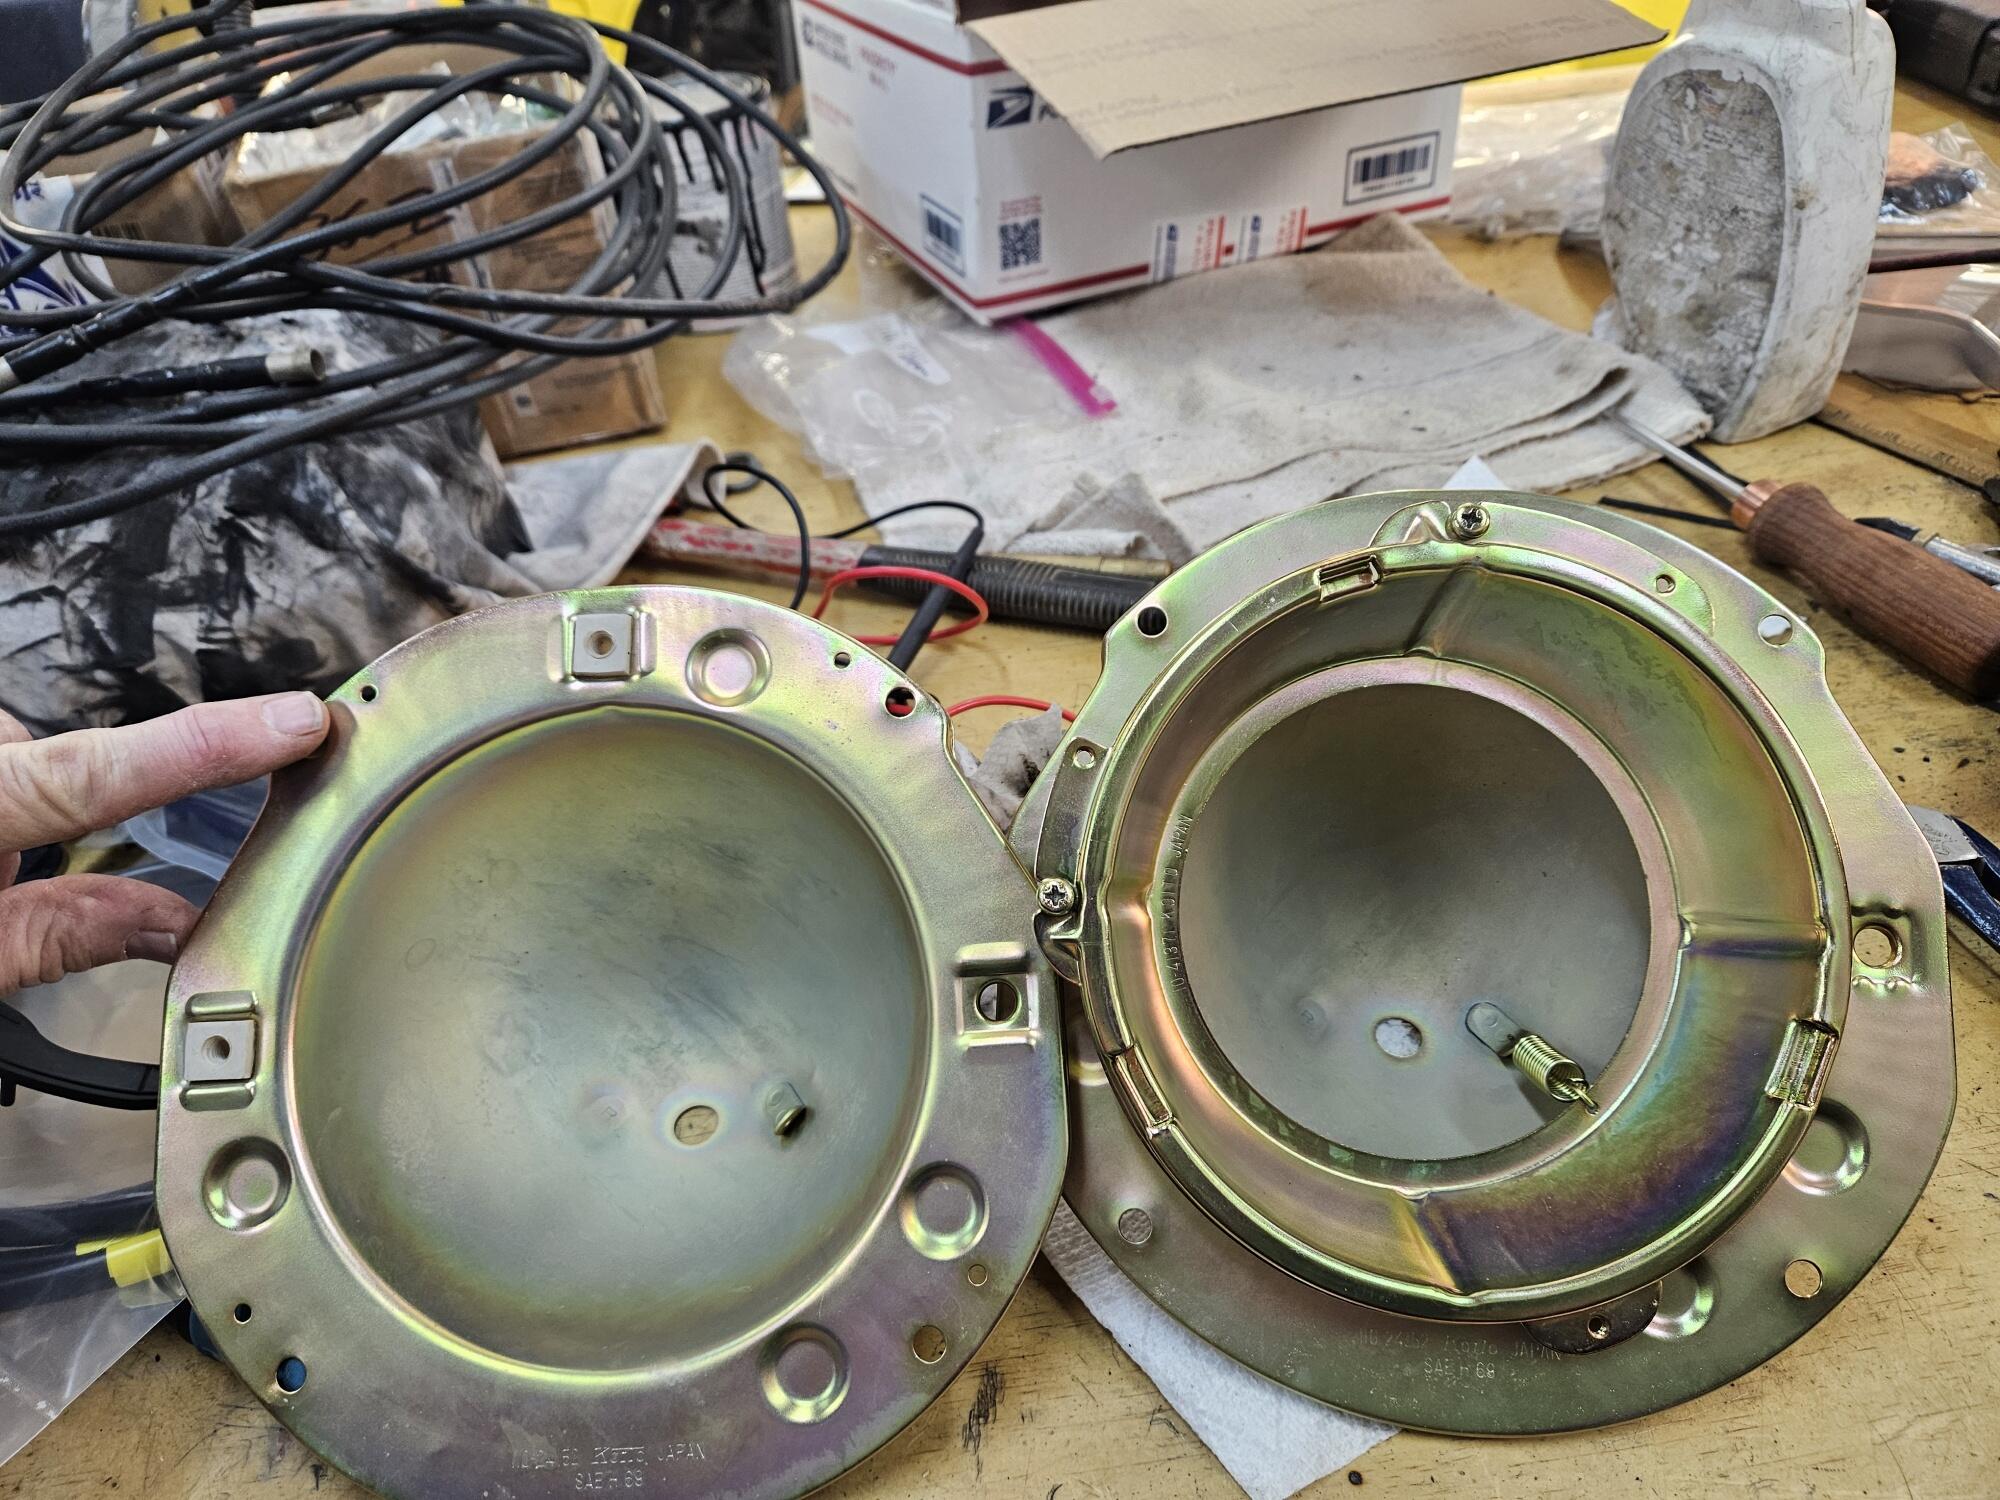
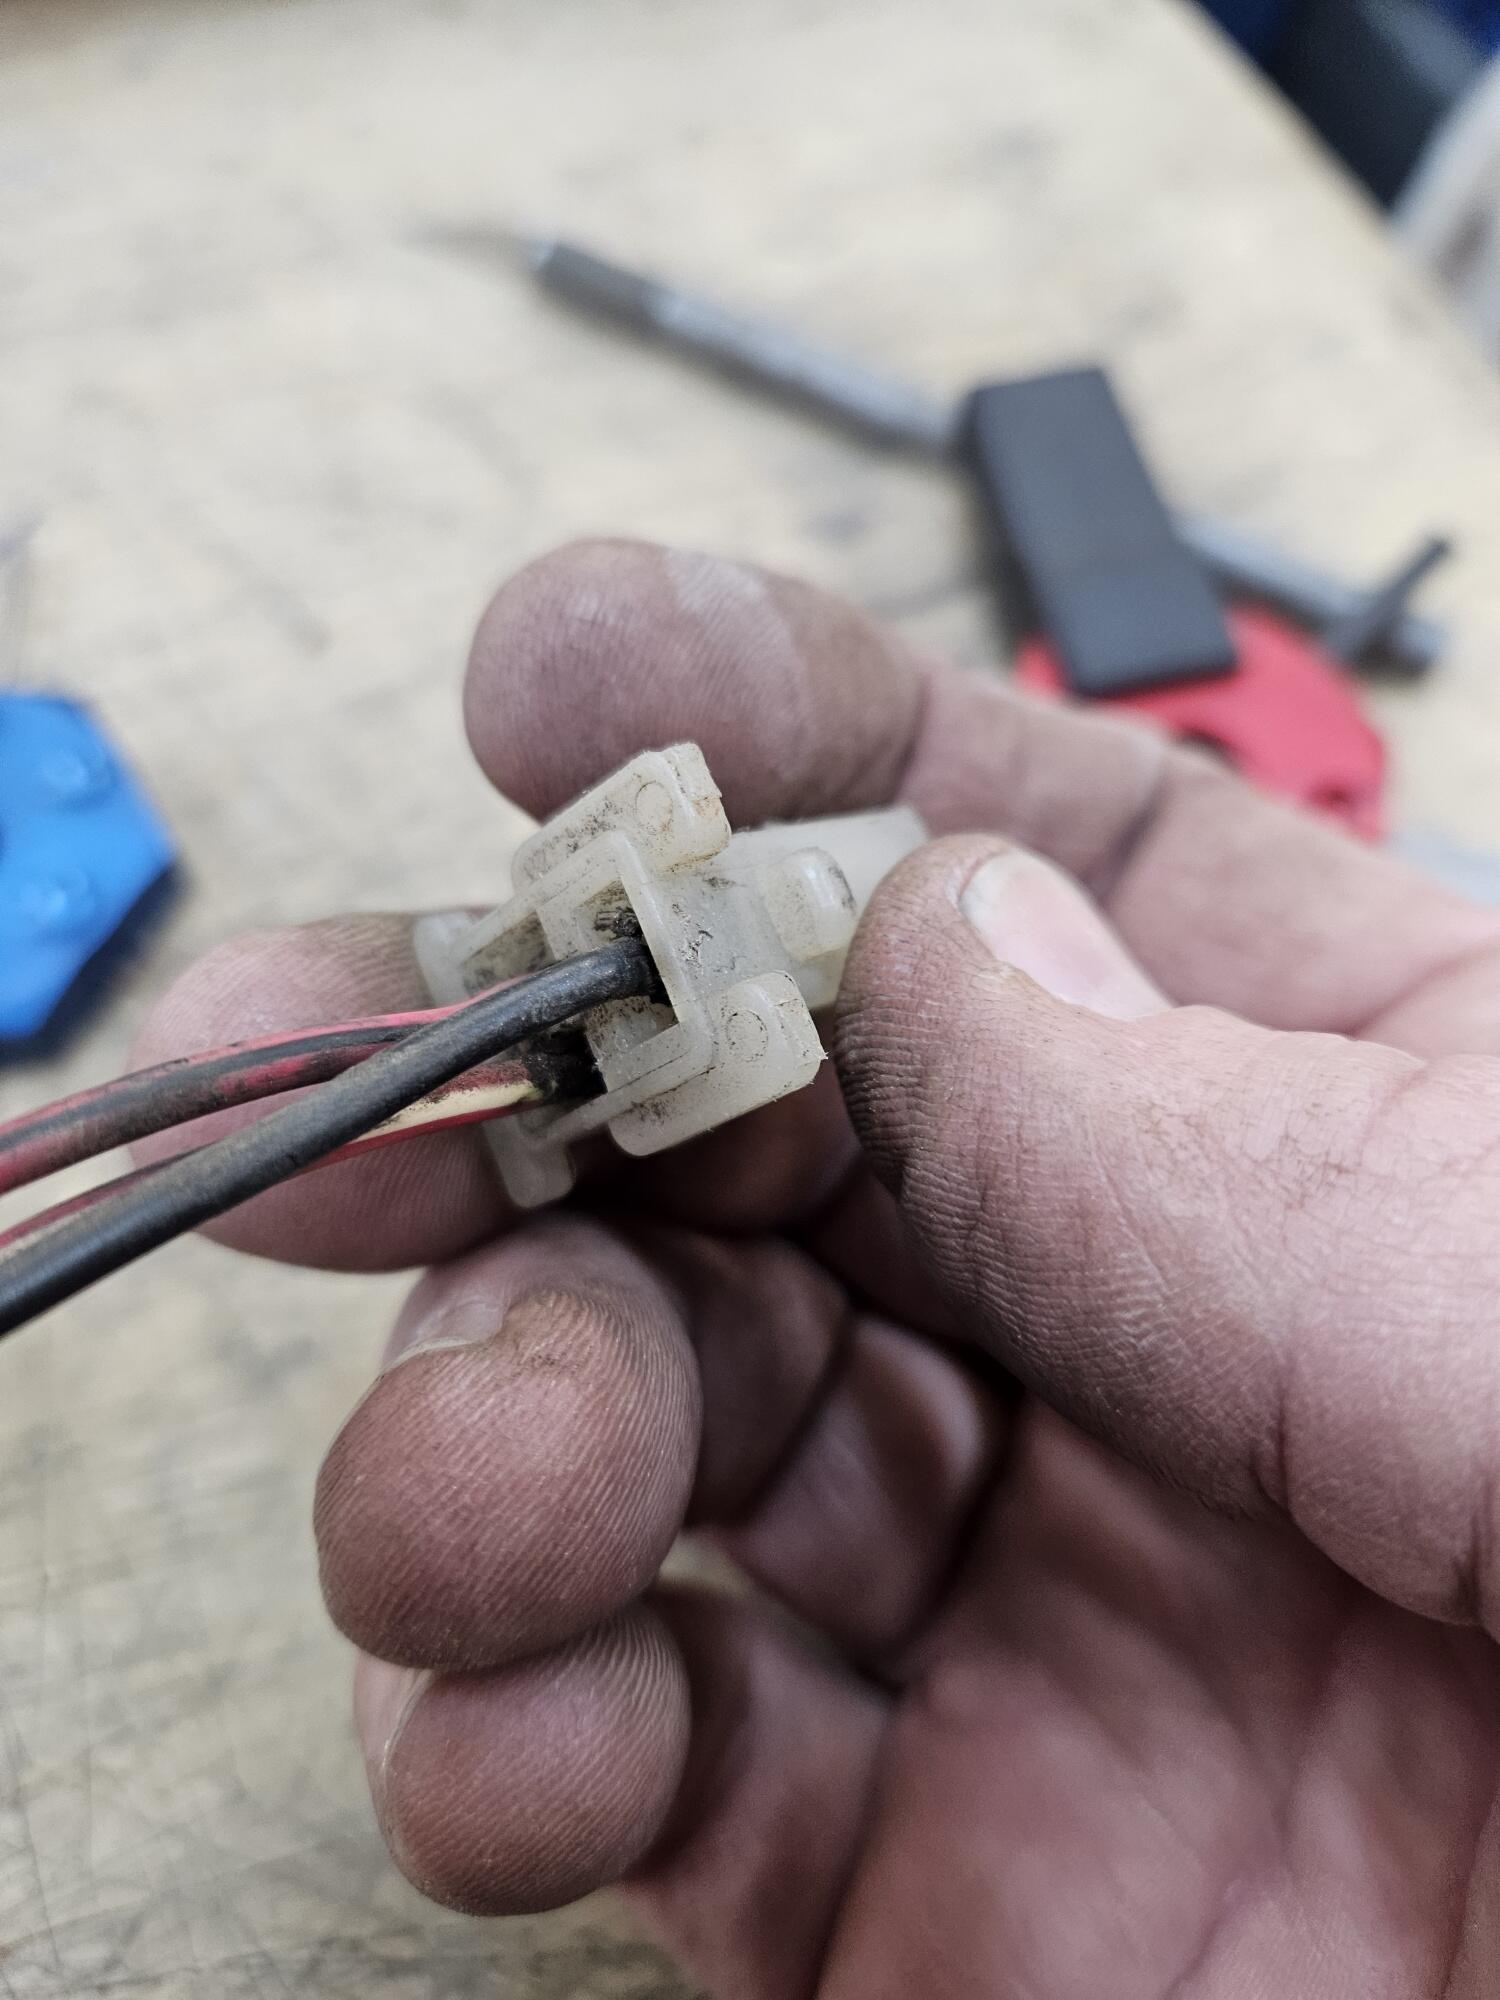
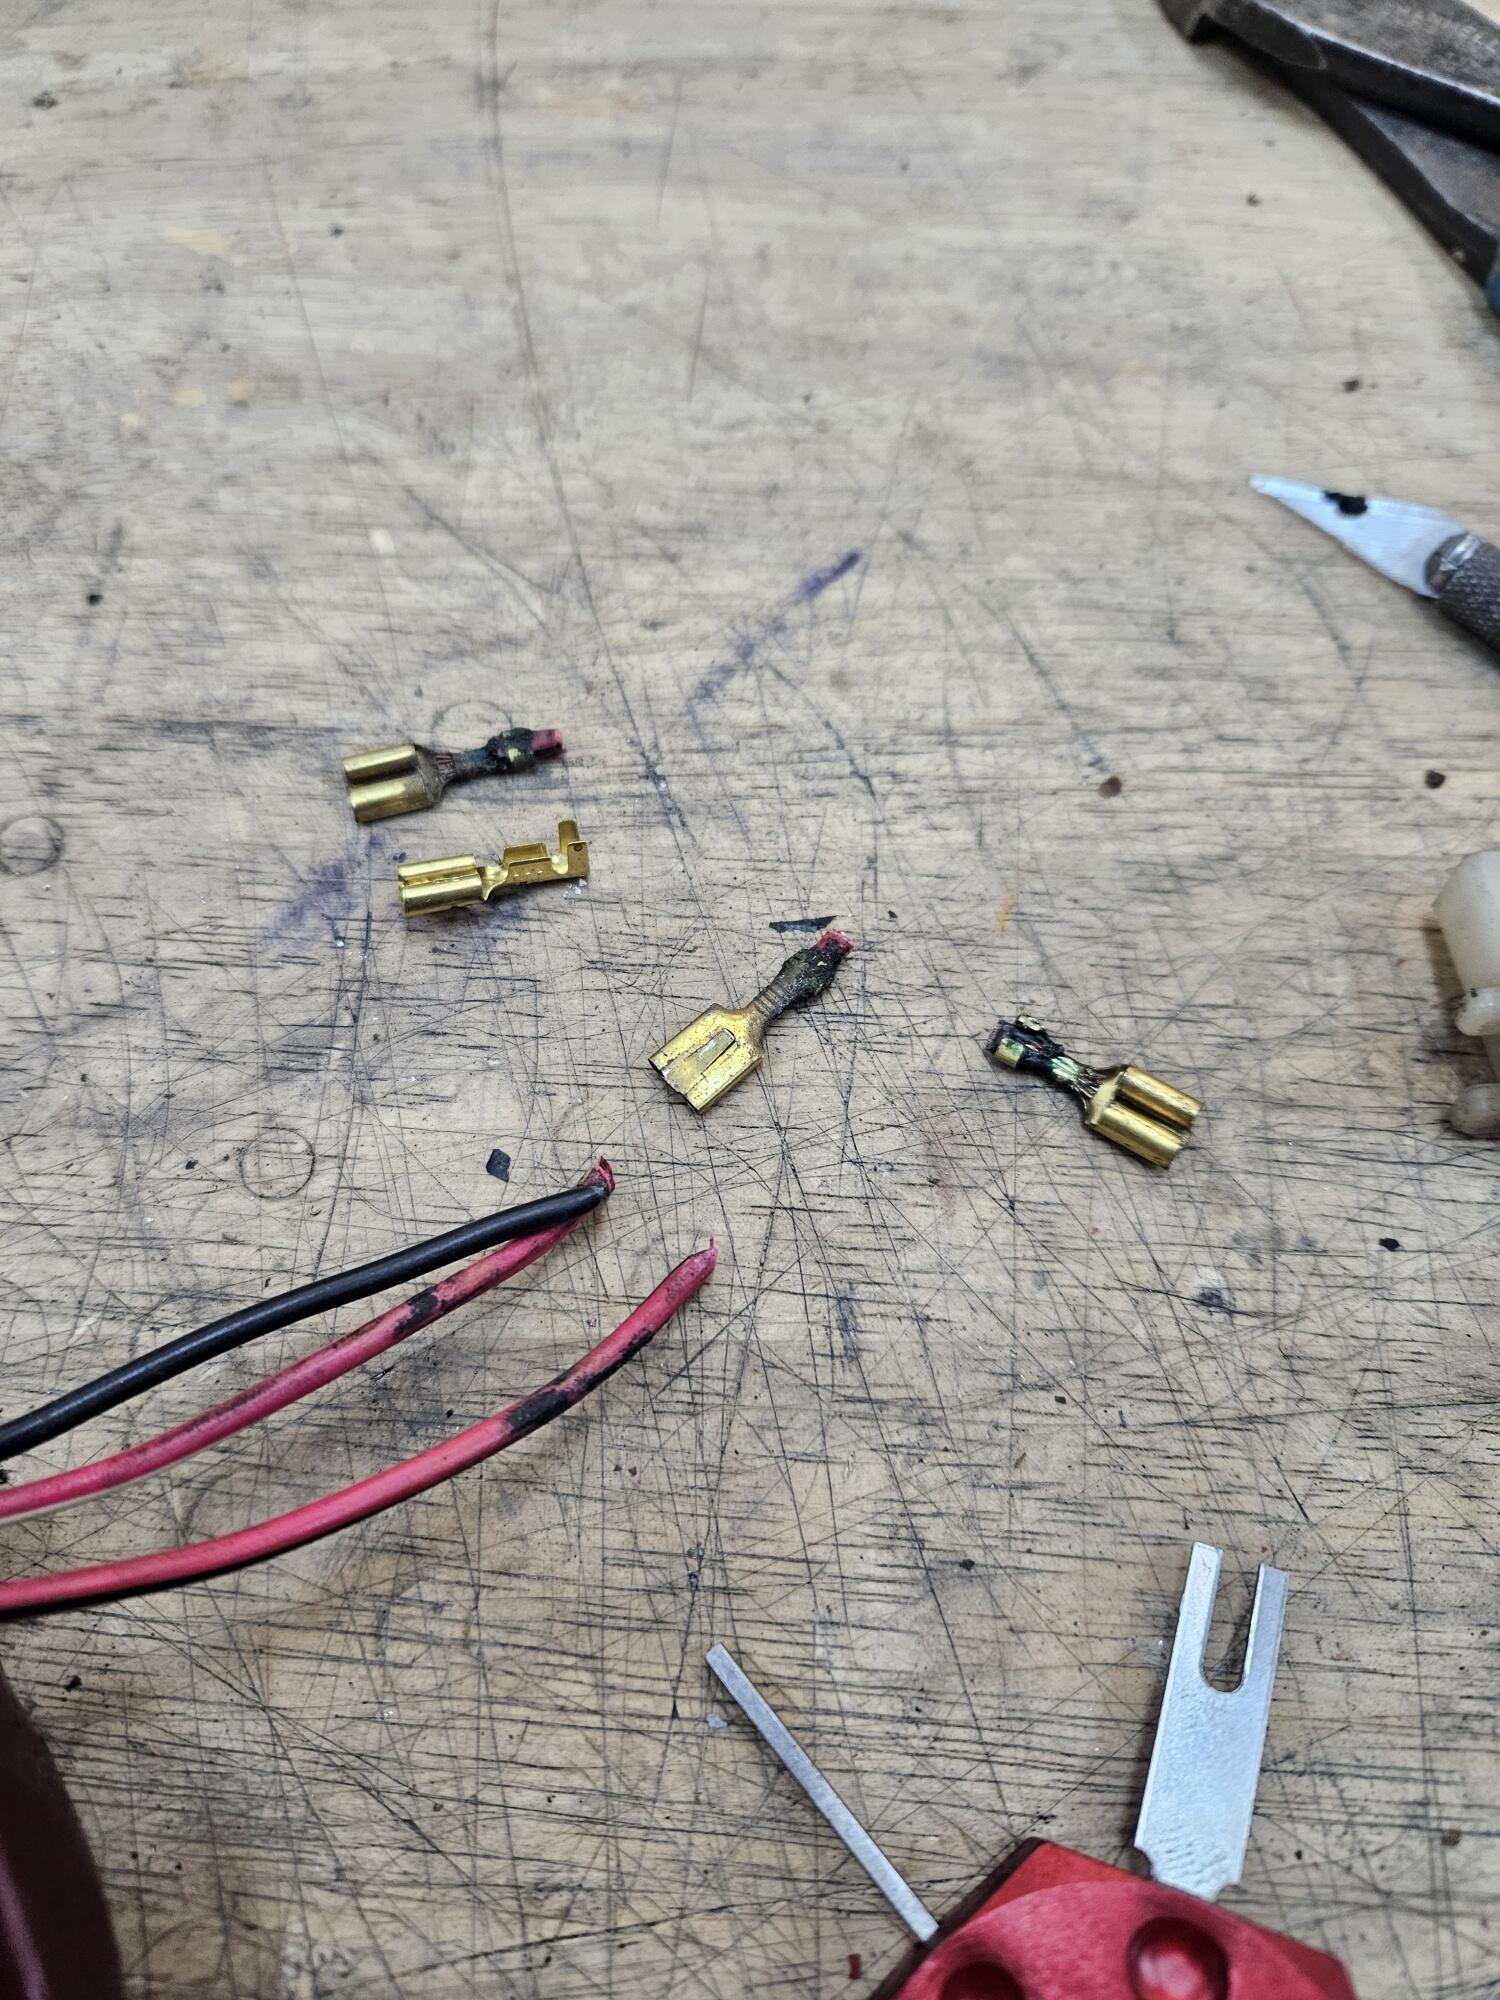
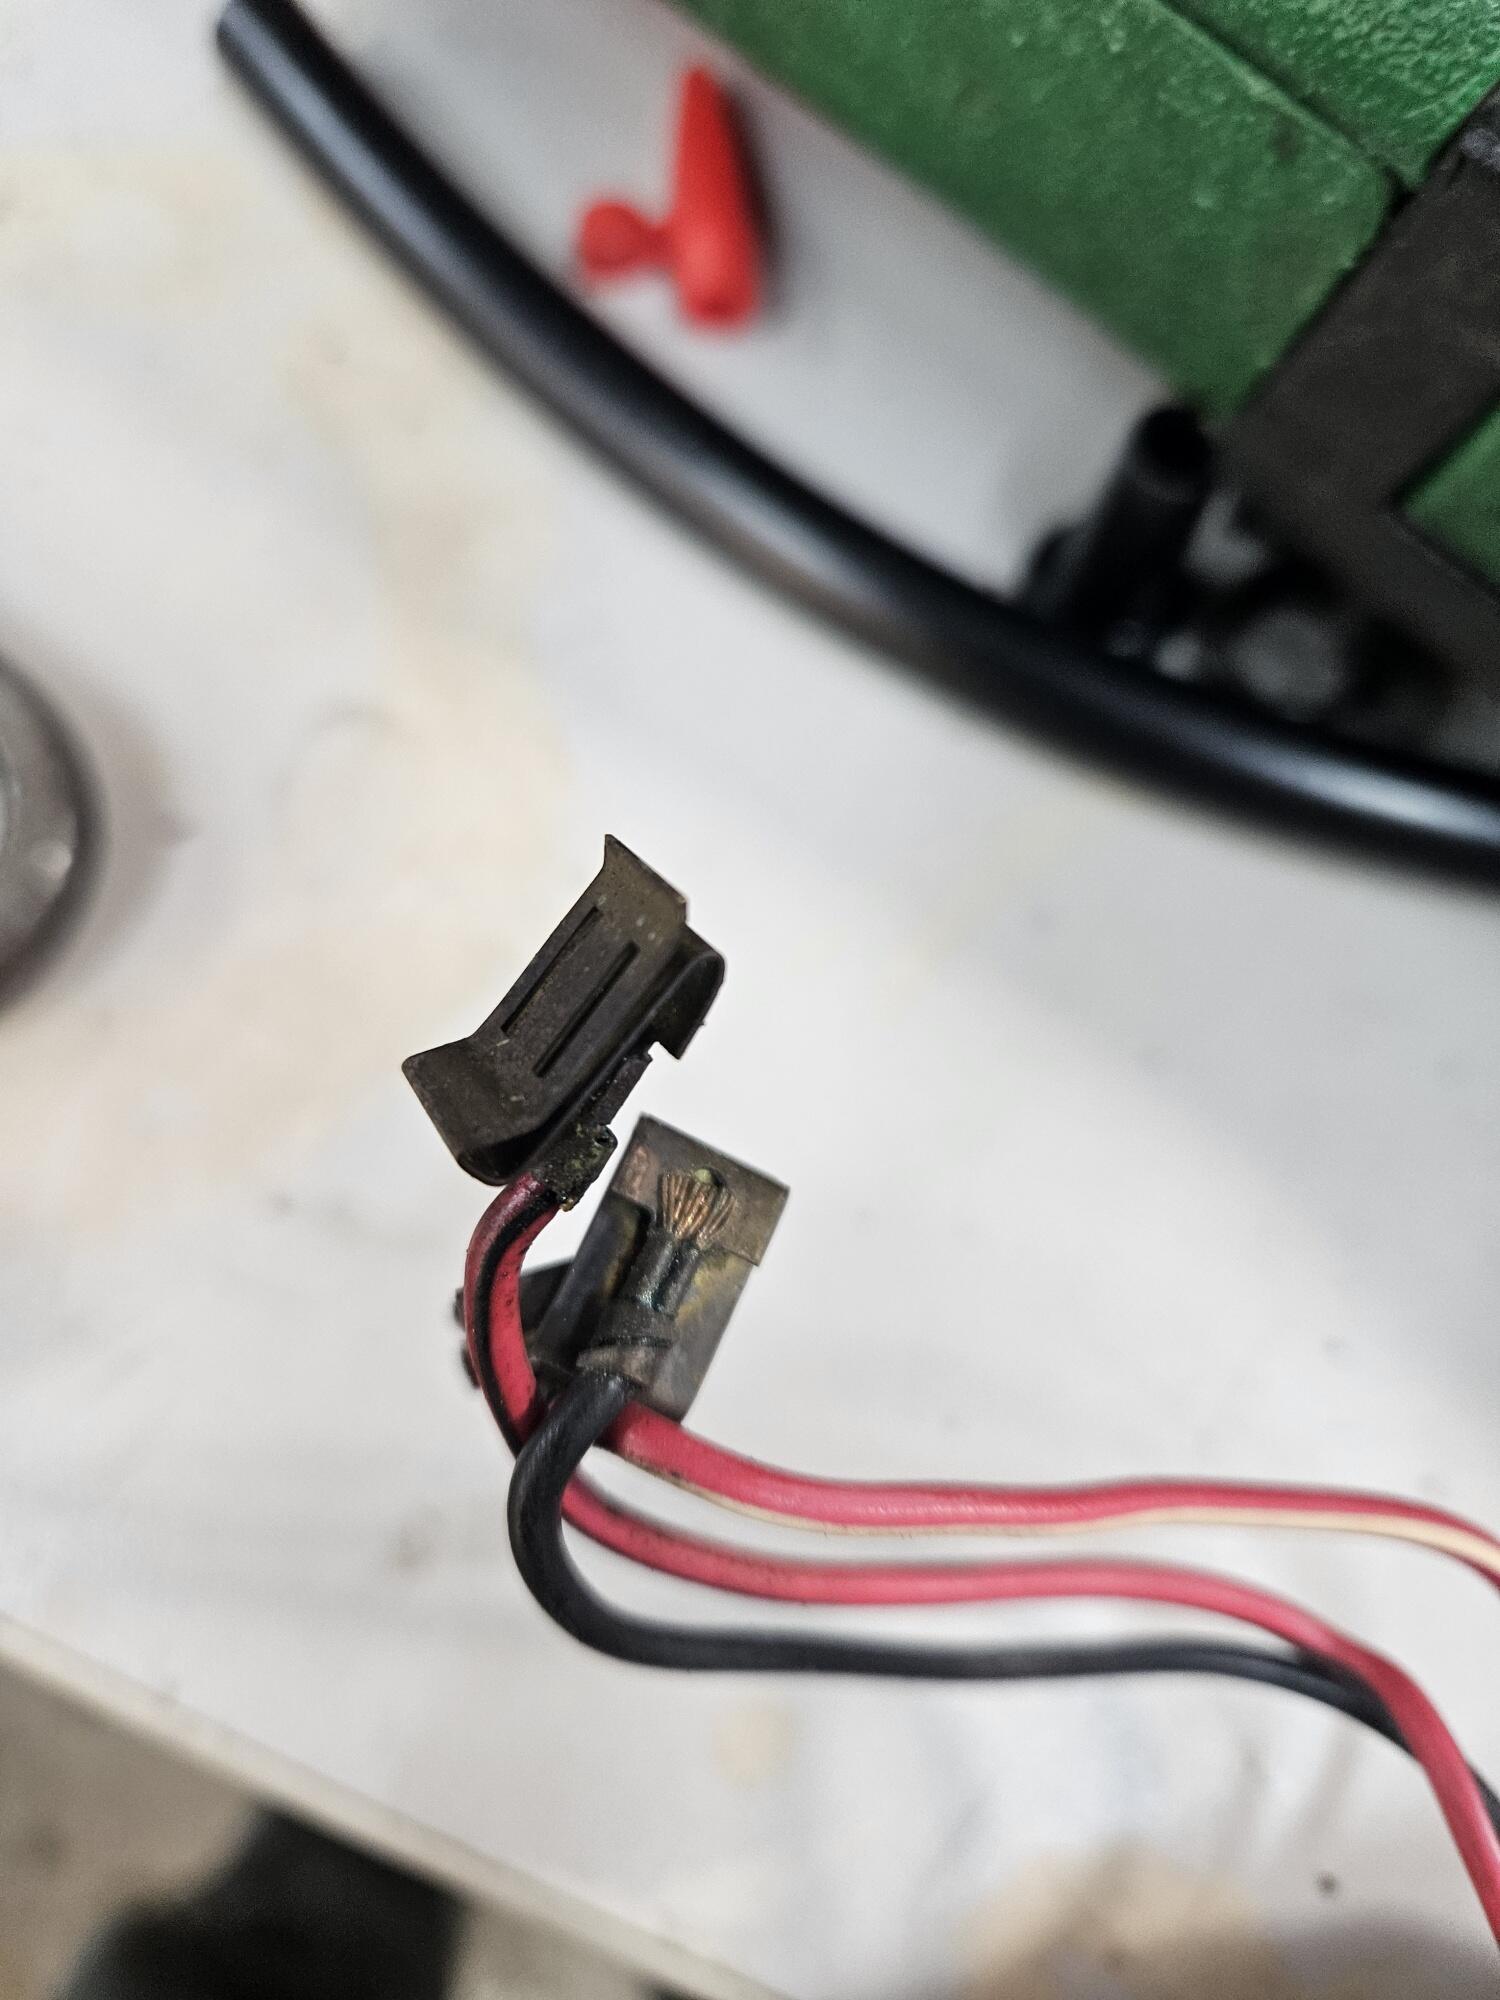
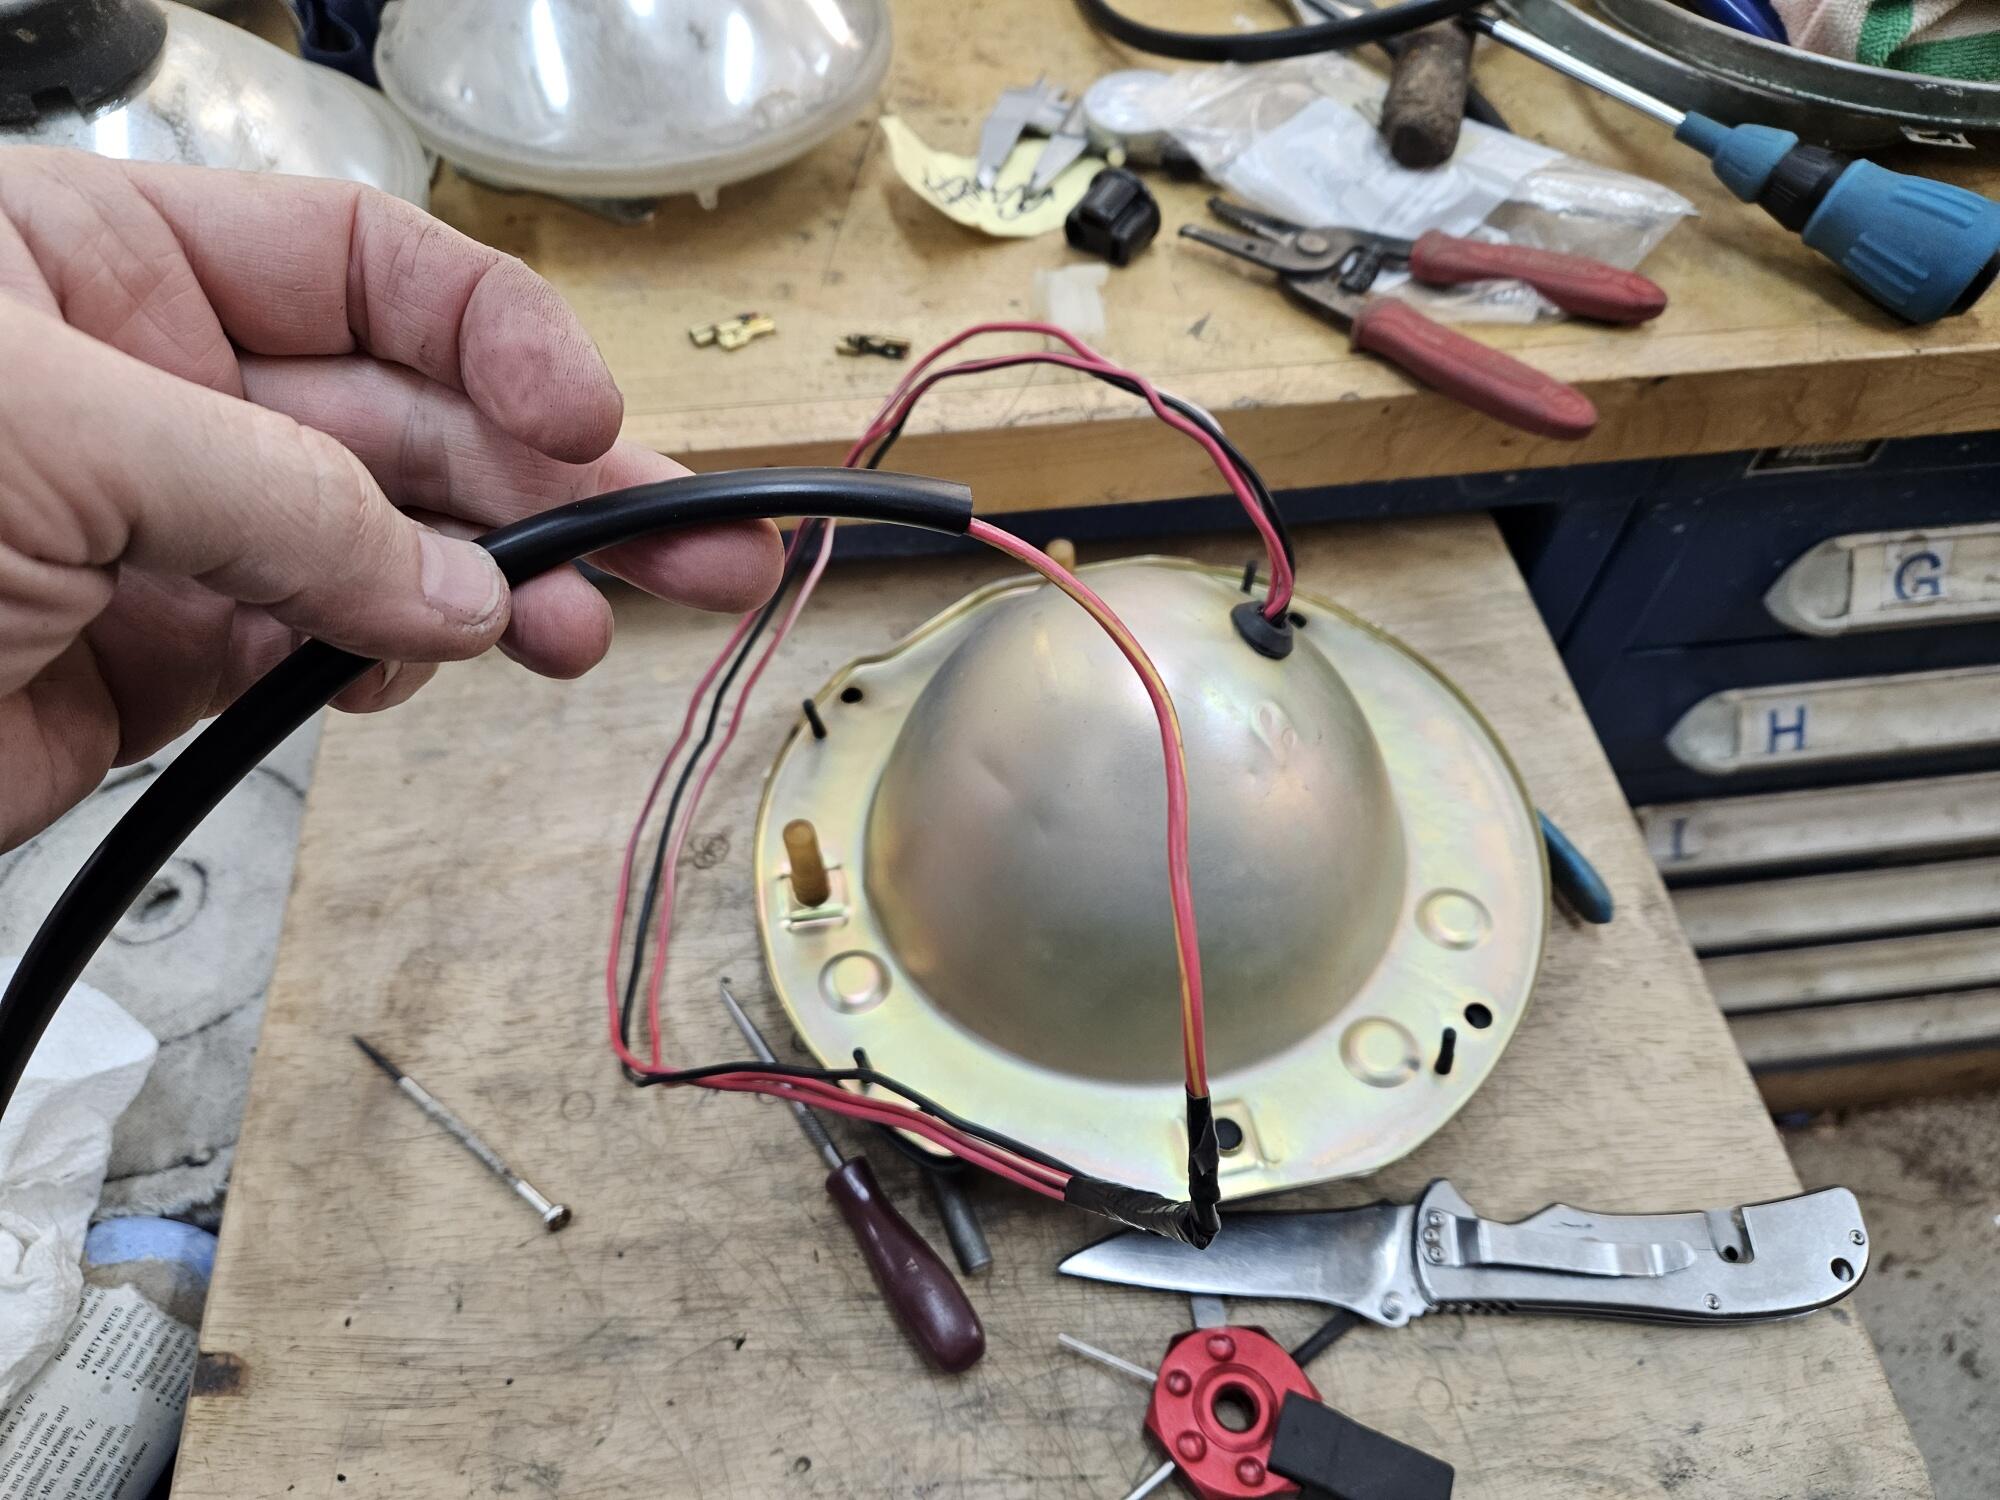
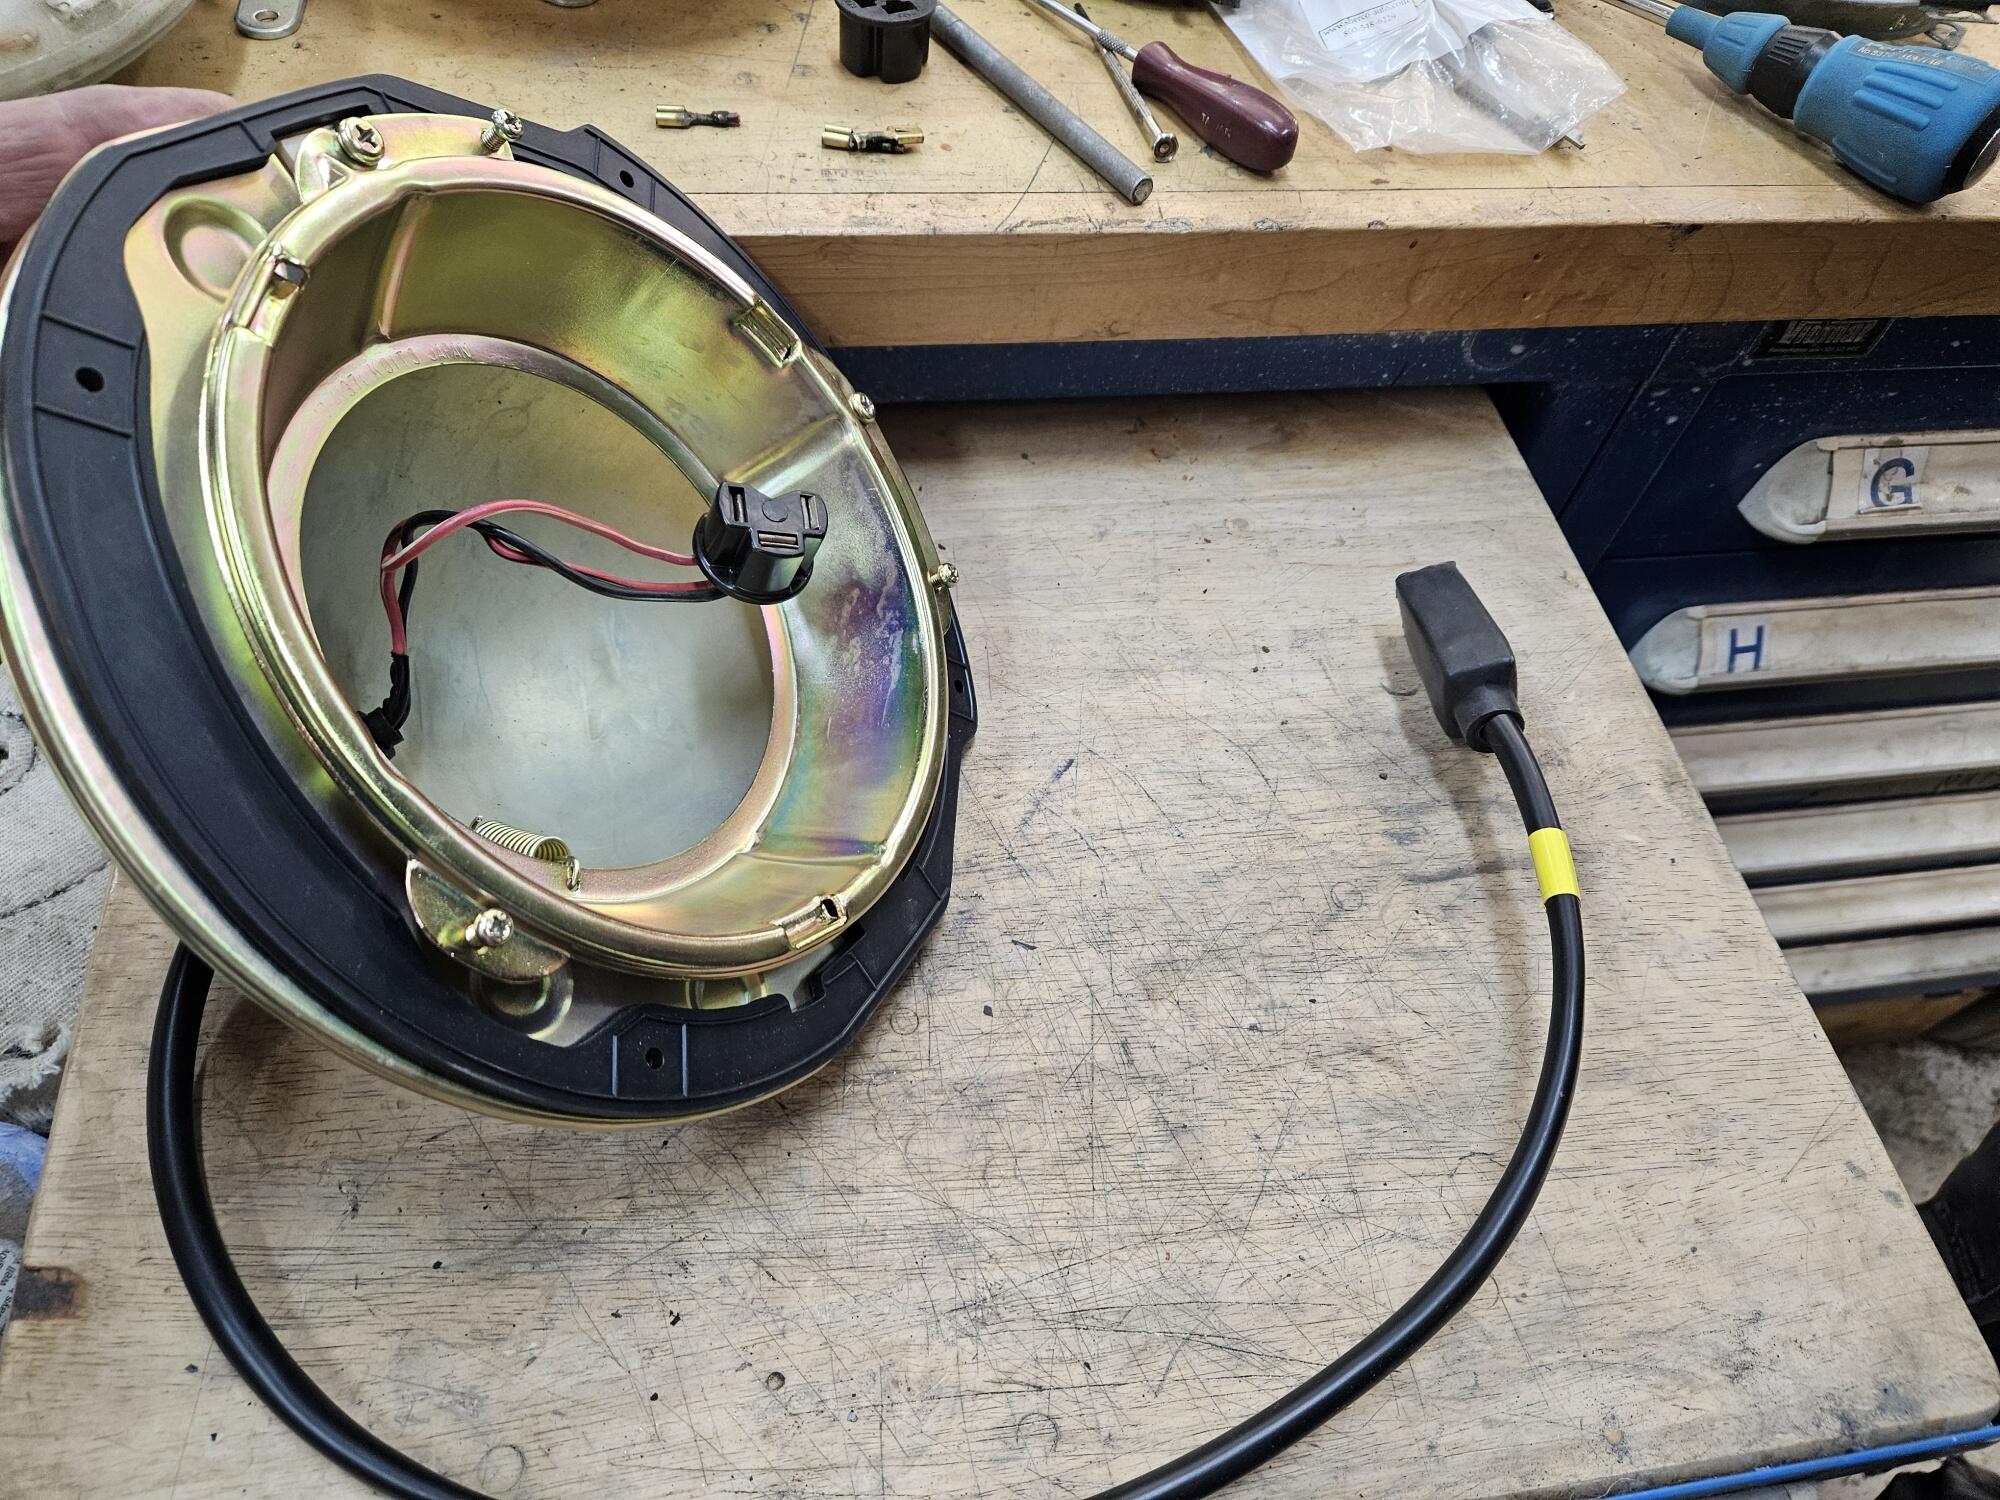
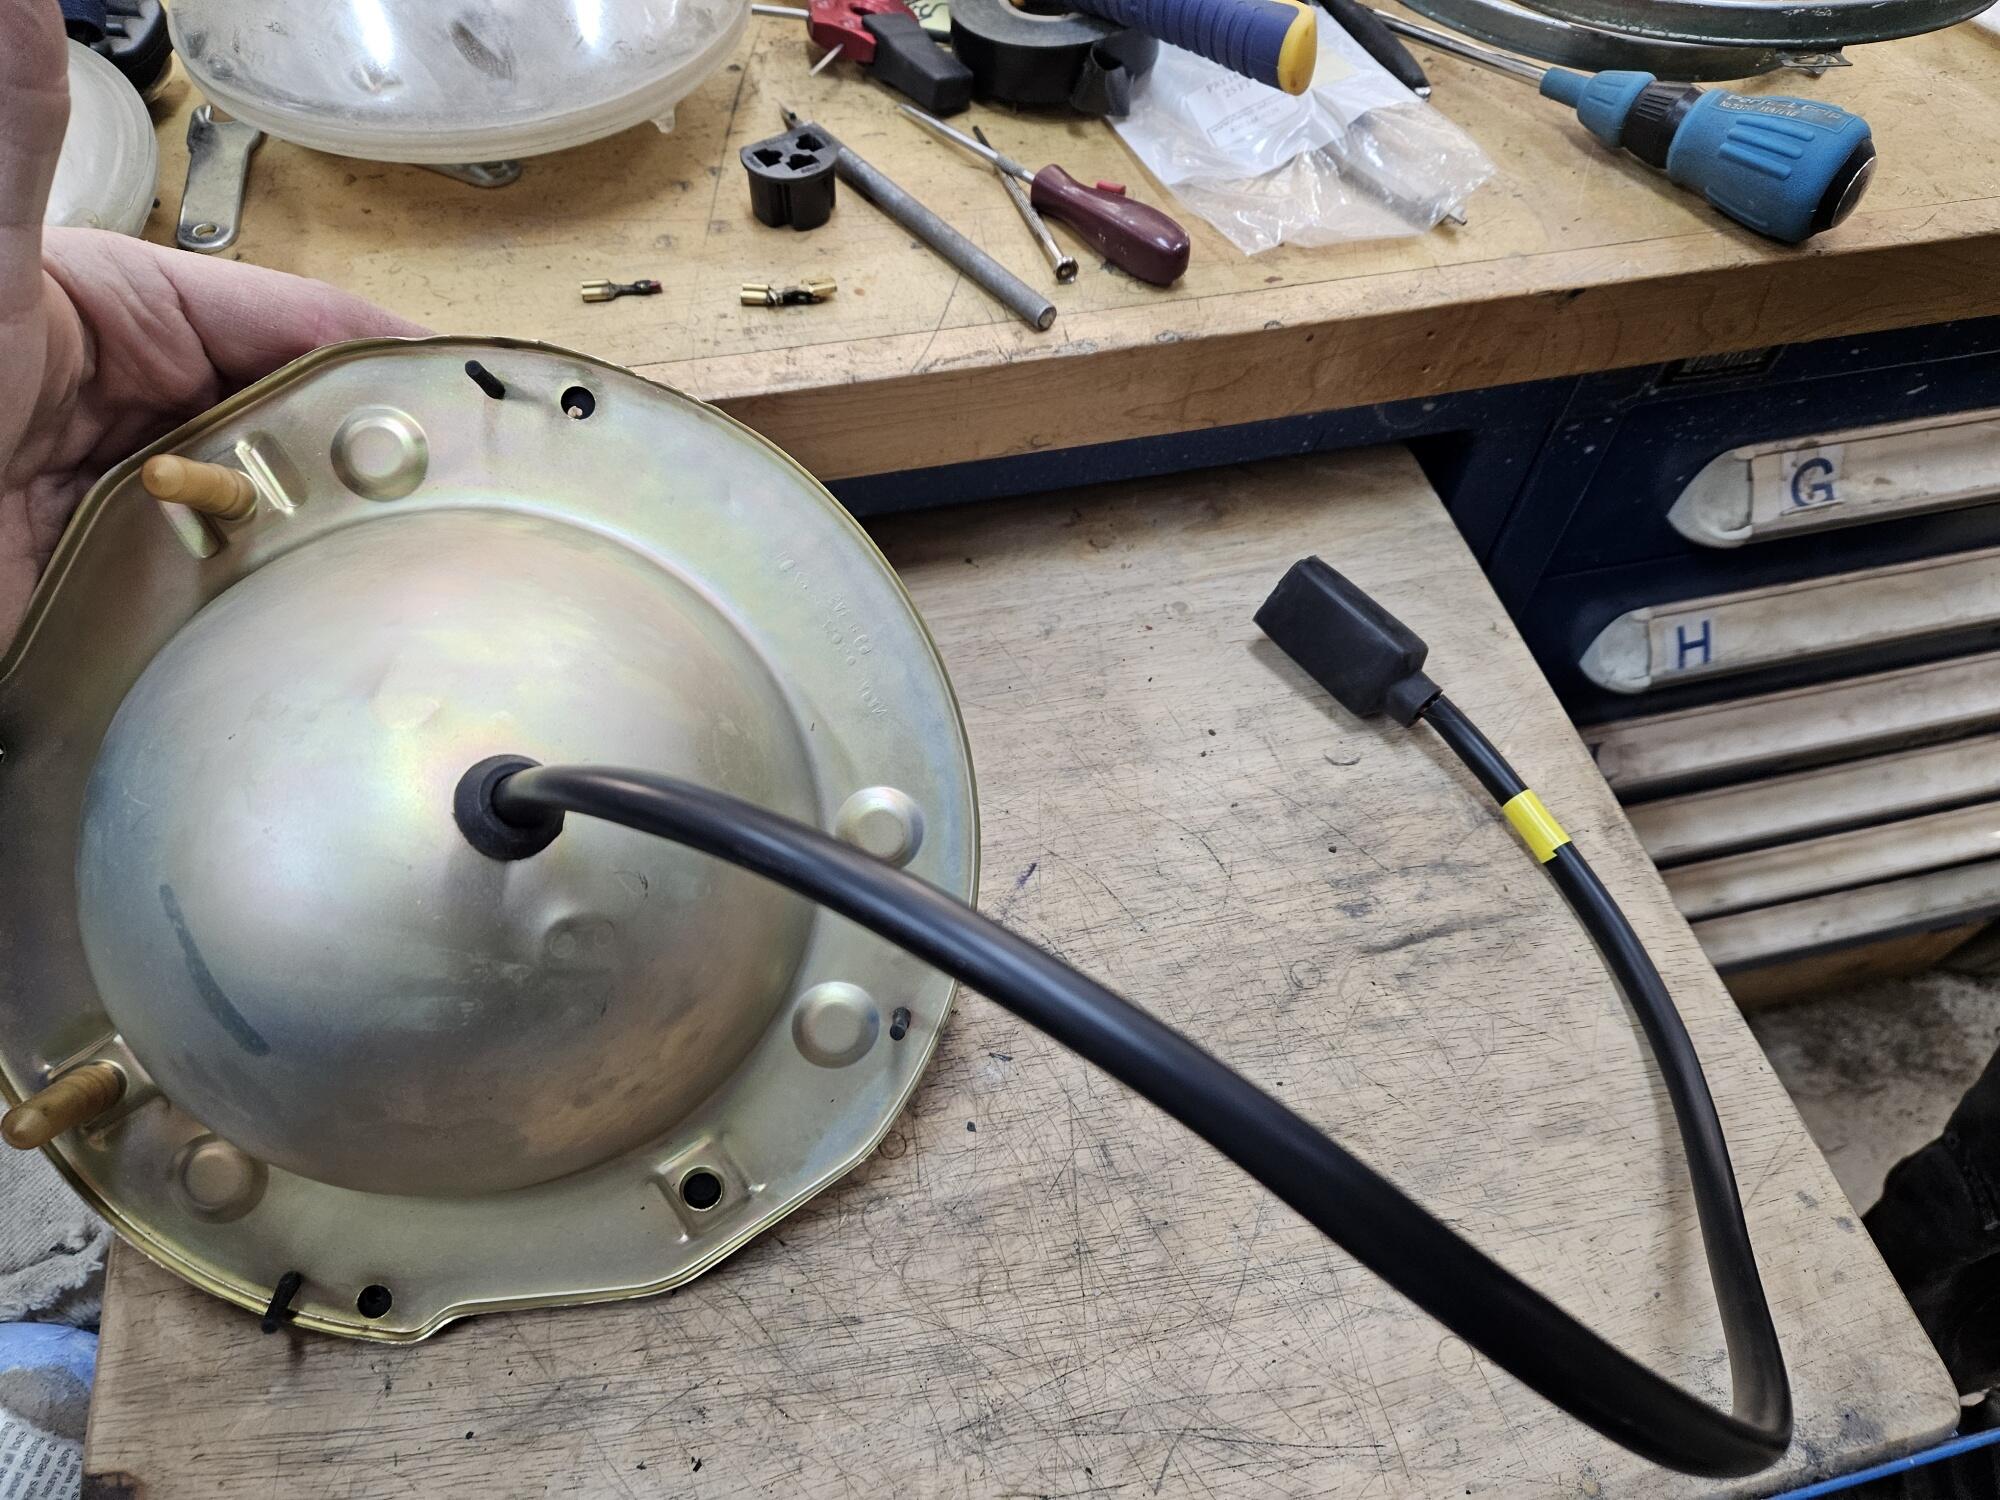
So I switched gears, patience was gone on that one So I started putting freshly plated headlights back together with Steve Nixon's parts Then I hit a snag. The buckets are different. I was trying to figure out how the headlight seals from precision went on. Then I realized that one set of buckets didn't have the 4 little holes like the one at my thumb. The seals have for posts that pull through these holes So I had to reselect my buckets so I had 2 that both had the 4 little post holes Then I tried to figure out a way to feed the wires through the new wire jacket I got from Steve. I took the terminals out of this plug but even staggering them they weren't going to go through the jacket. So I tried to uncrimp this one but that wasn't happening and then I remembered that I had some new Vintage connections terminals. So I cut them off I still couldn't get them to feed through the jacket. So I had to feed a different single wire through the jacket from the other end and use it as a pull wire to pull the wires back into the jacket I got one bucket all the way redone! I love clean new parts!!!