Patcon
Supporting Member
-
Joined
-
Last visited
Everything posted by Patcon
-
I am thinking of the single roller that snaps over the weld flange at the top of the door on the outside edge of the window slot. It helps keep the glass from tipping out like this: https://www.google.com/url?sa=t&rct=j&q=&esrc=s&source=web&cd=&cad=rja&uact=8&ved=2ahUKEwiL5dOcwIqCAxW7IUQIHe0tDTUQFnoECA4QAQ&url=https%3A%2F%2Fzcardepot.com%2Fproducts%2Fwindow-glass-roller-bumper-guide-240z-260z-280z&usg=AOvVaw26J0DVuFr-nNenUUkUe5NR&opi=89978449
-
is the roller inside the door just below the window chrome trim?
-
Have you considered contacting a shop that rebuilds differentials and see if you can source the shims through them?
-
He is what I think I would do: I love the idea of shipping the carbs and intake states side and have them fully sorted and tuned! Maybe somebody like Zcargarage. preferably using a wideband to tune them. They come back ready to bolt on. That will eliminate fueling as a possibility once and for all. That shouldn't be cost prohibitive Secondly I would ditch the pertronix and the coil! Either buy a 280zx match box dizzy (would be used so might be worn out) and a new coil or ideally buy a 123 dizzy and the appropriate coil. This would be an upgrade from what you have and is also more tunable if needed. Run that for a little while. If the problem's solved then great; if not I would probably pull the engine and re-ring it and go through the head provided the cross hatching looks good. Edit: One of the few things we haven't touched in this whole episode is the Pertronix
-
Since its in a stamped portion of the firewall I'm guessing it was an addition from a PO
-
Do you have a source for the clutches? If you do then rebuilding is an option. I didn't go that route. I installed the CLSD I have. I will run it and see how it performs first. Then rebuild it if necessary.
-
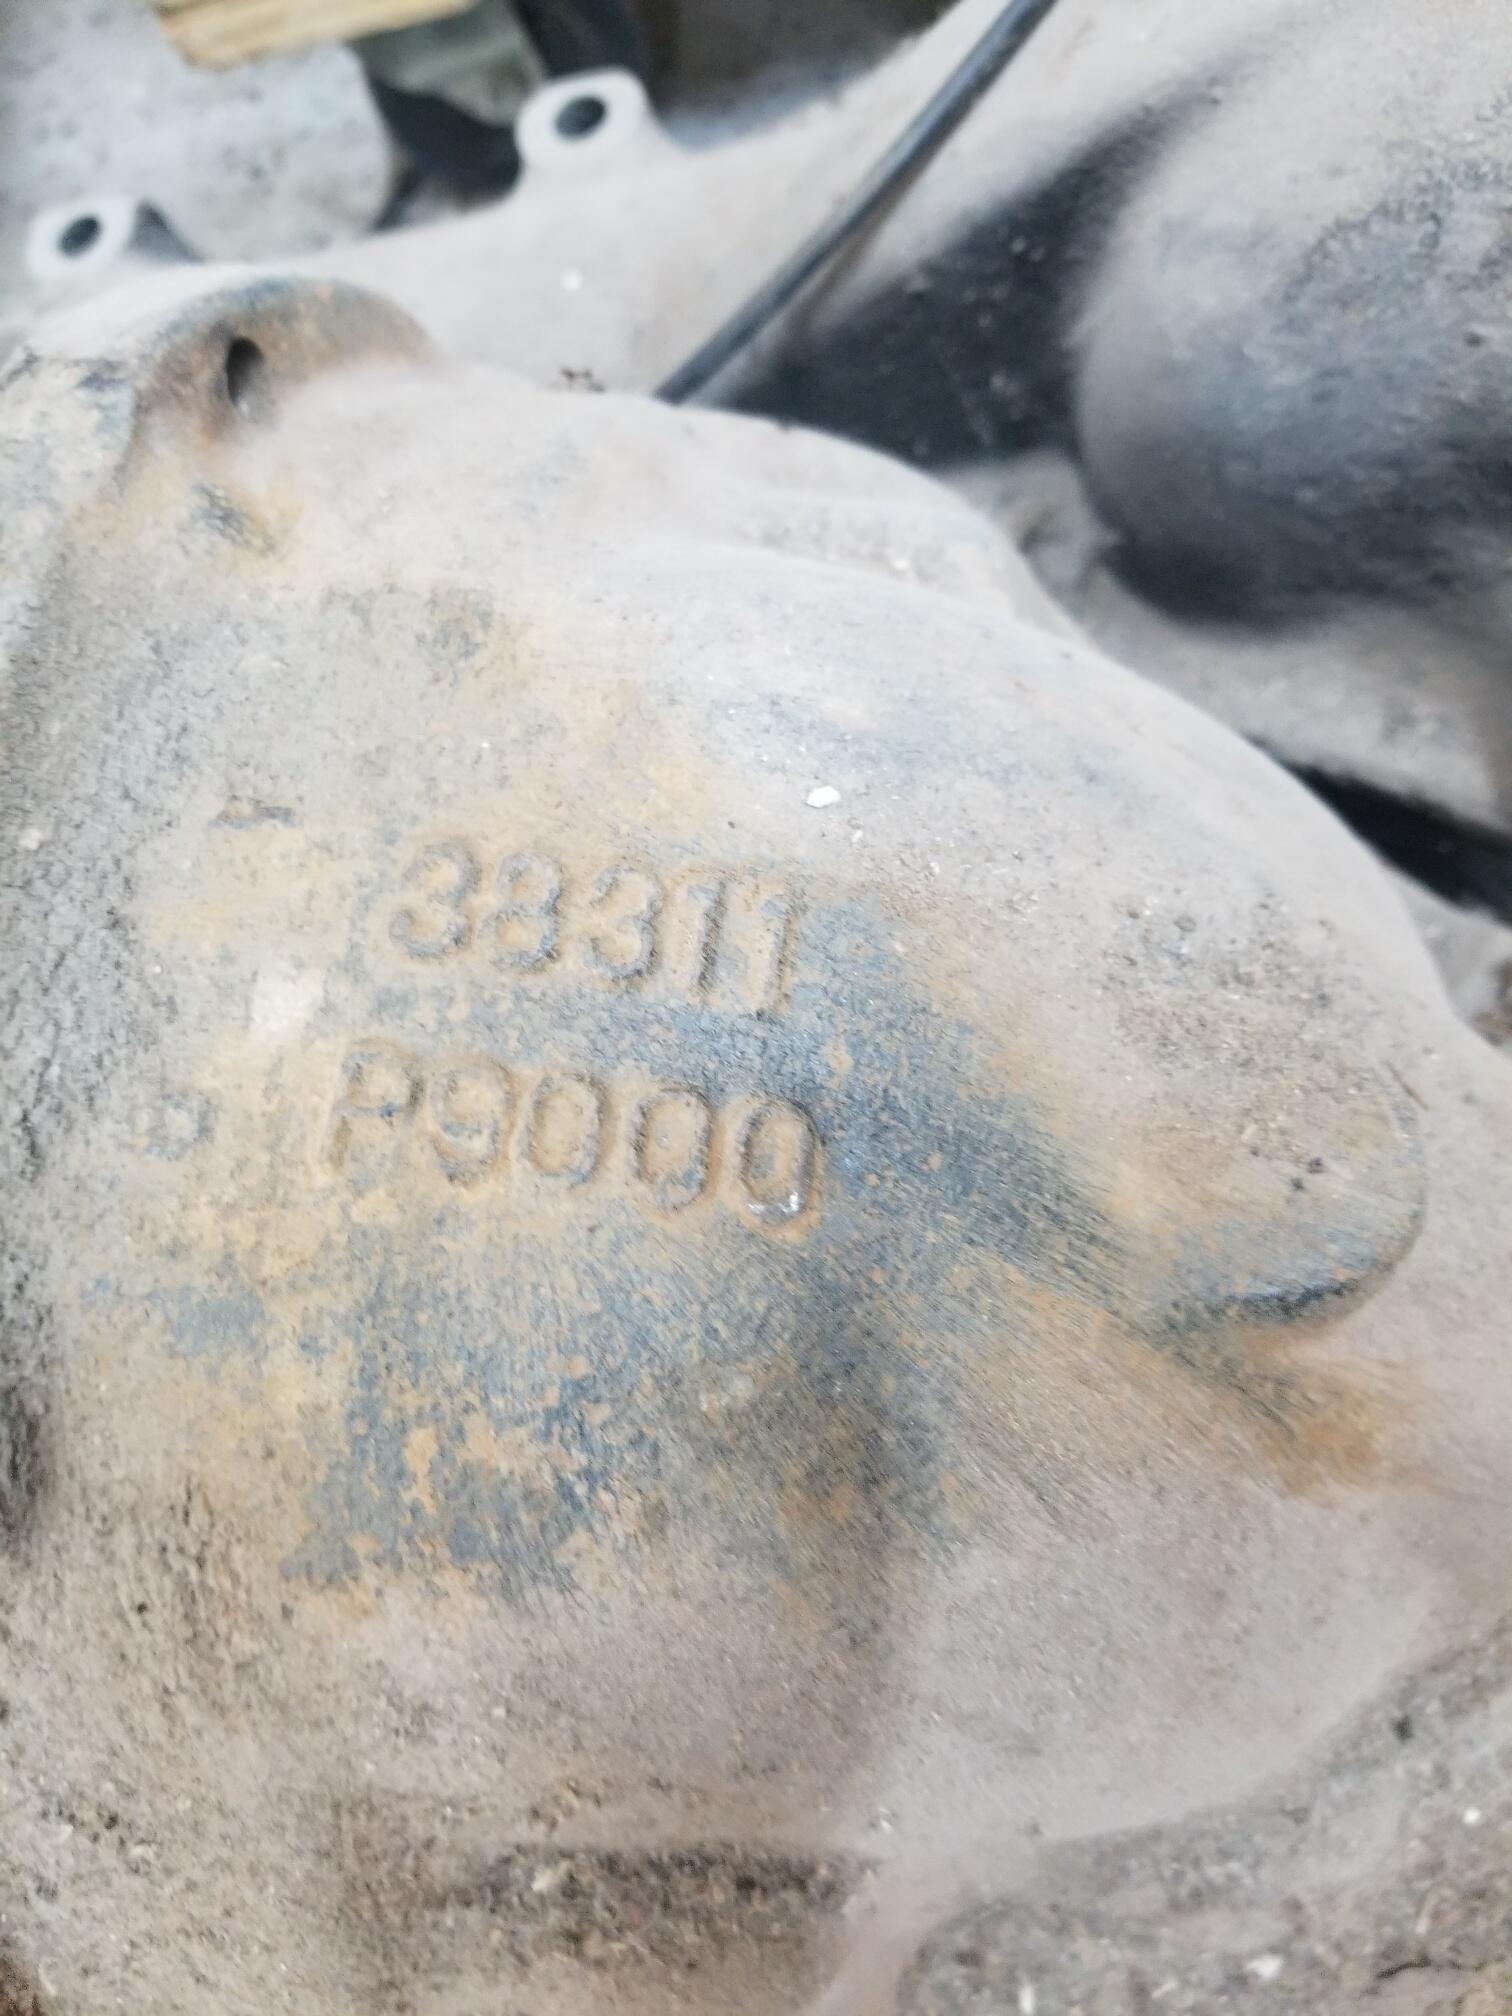
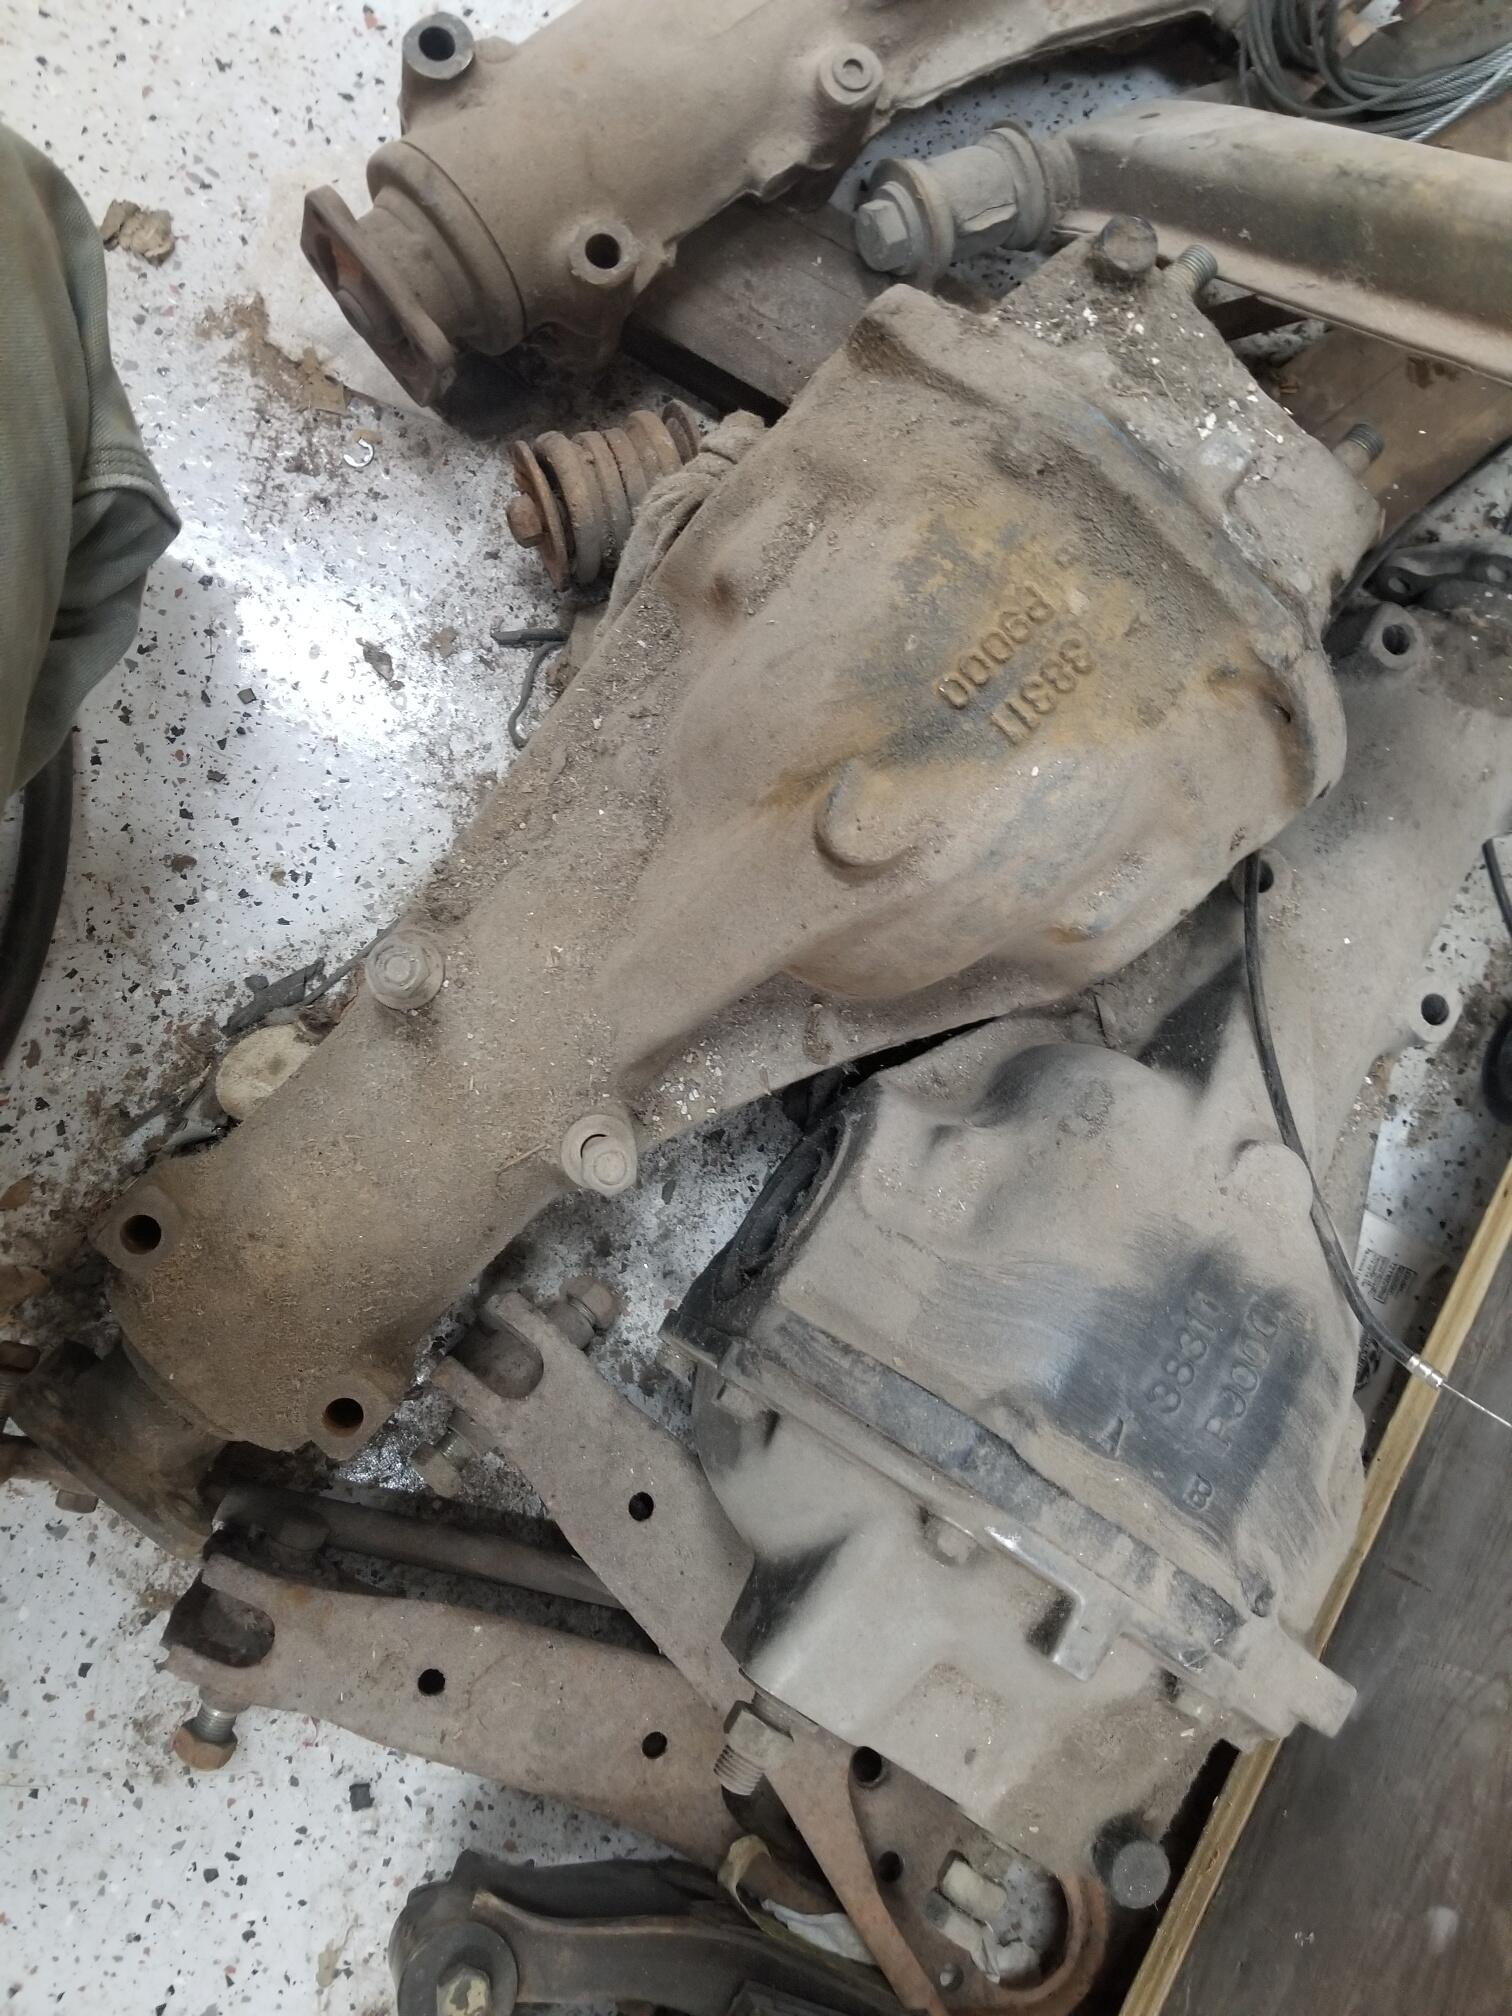
That was sort of my point. If all the castings are some same over a 15 year period or so, then the only way to know what it is, is by looking inside. Output flanges and covers can change over time. I'm not even sure how definite that is but atleast it would confirm ratios and open or LS
-
Super!
-
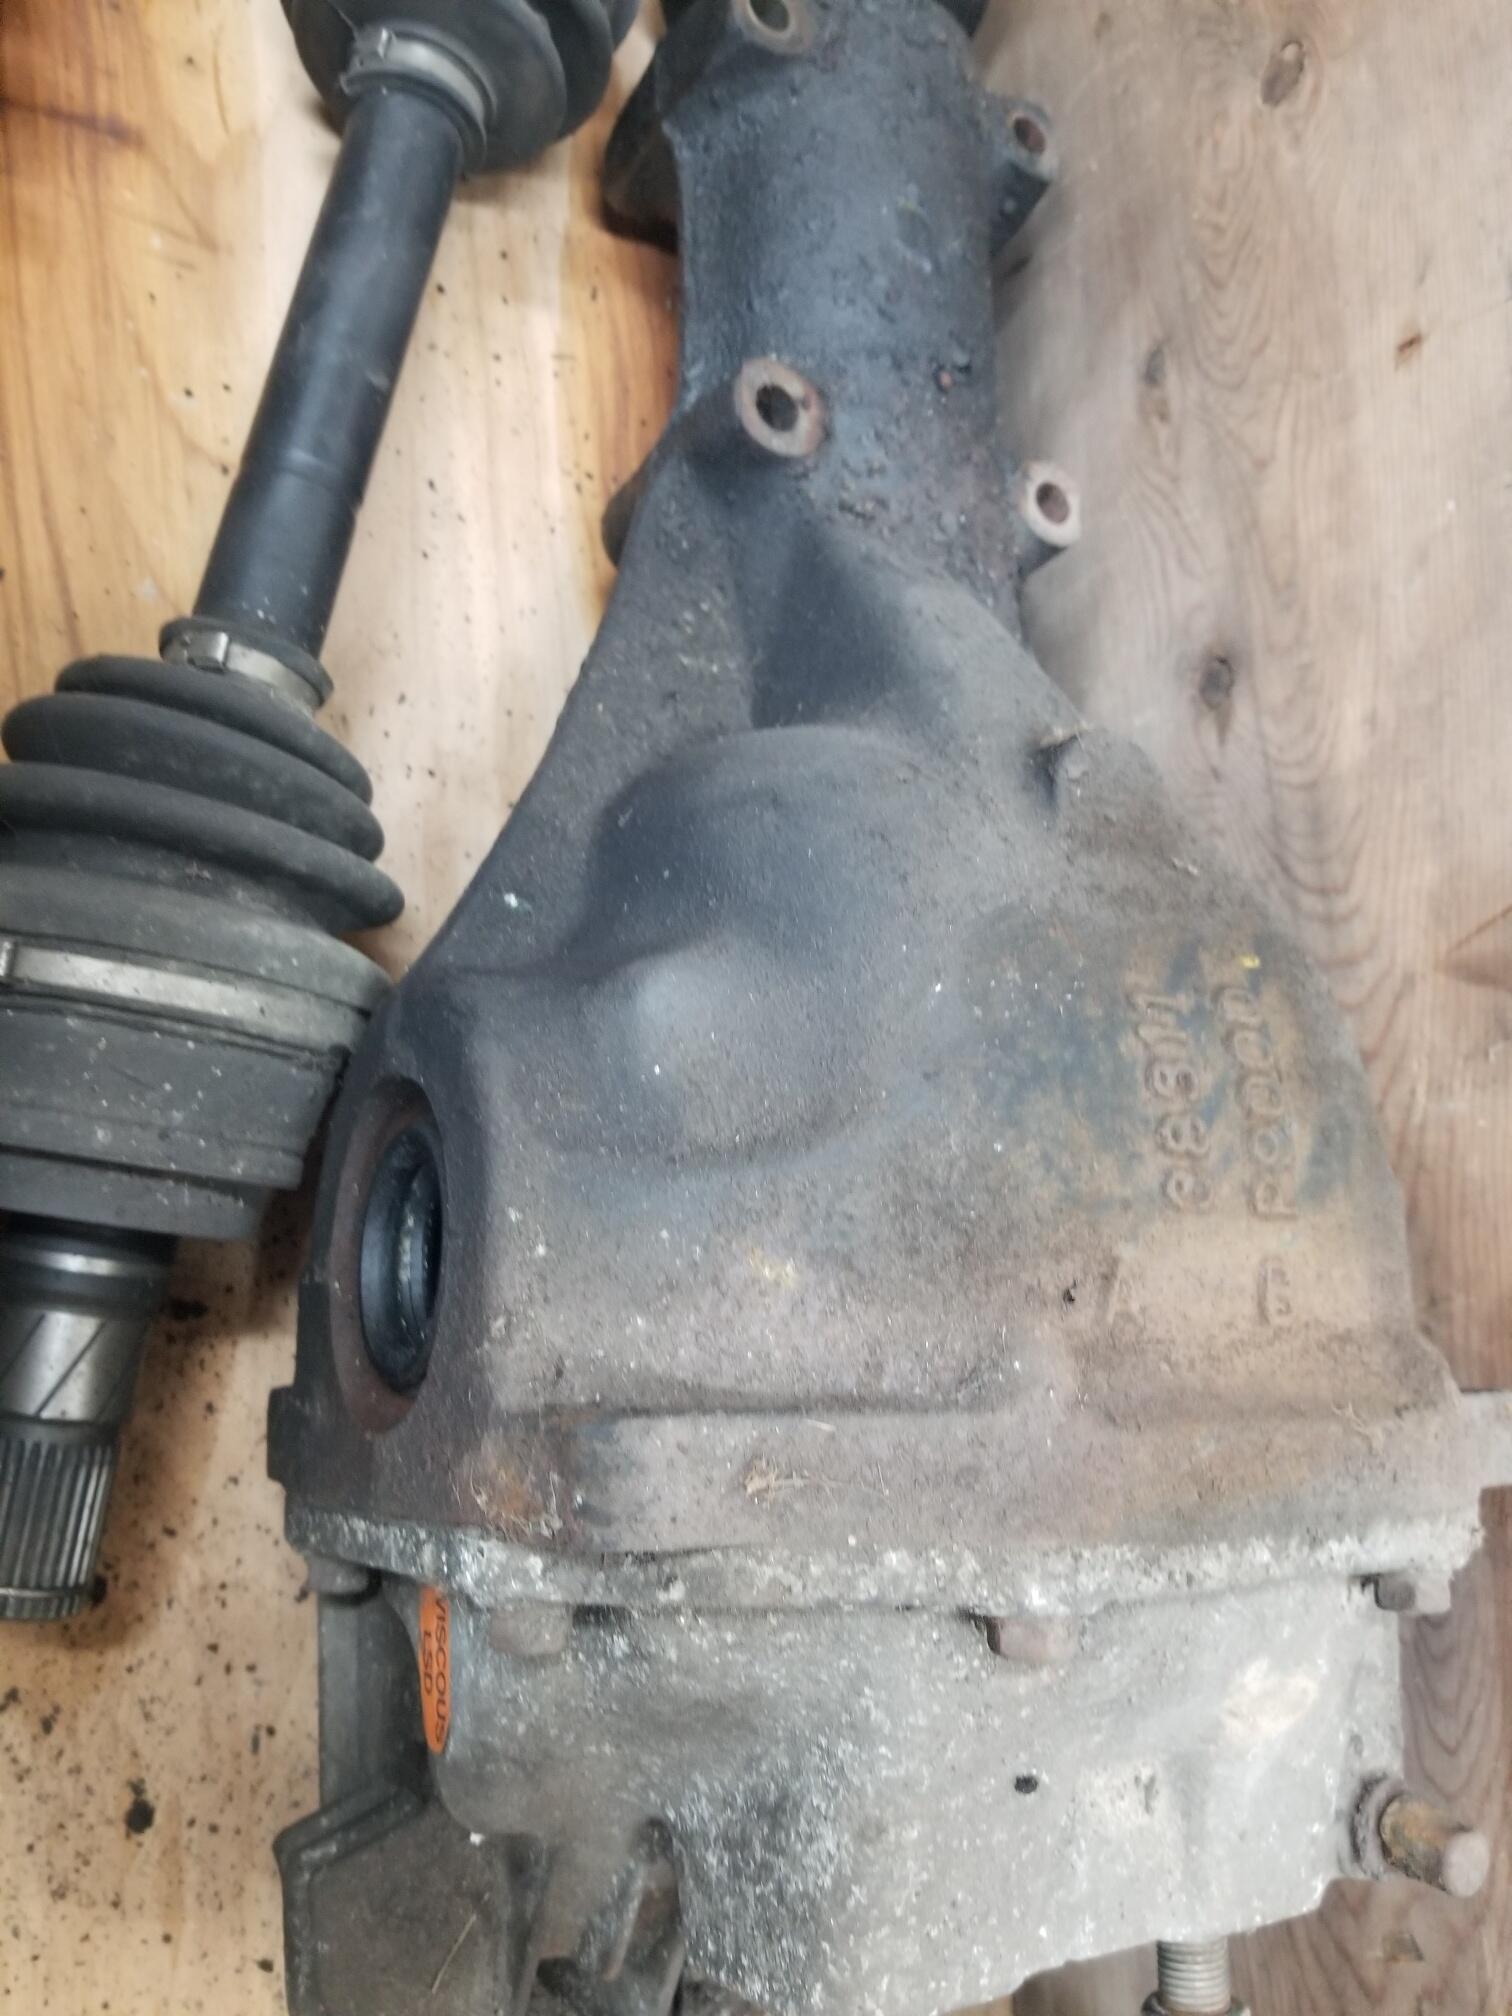
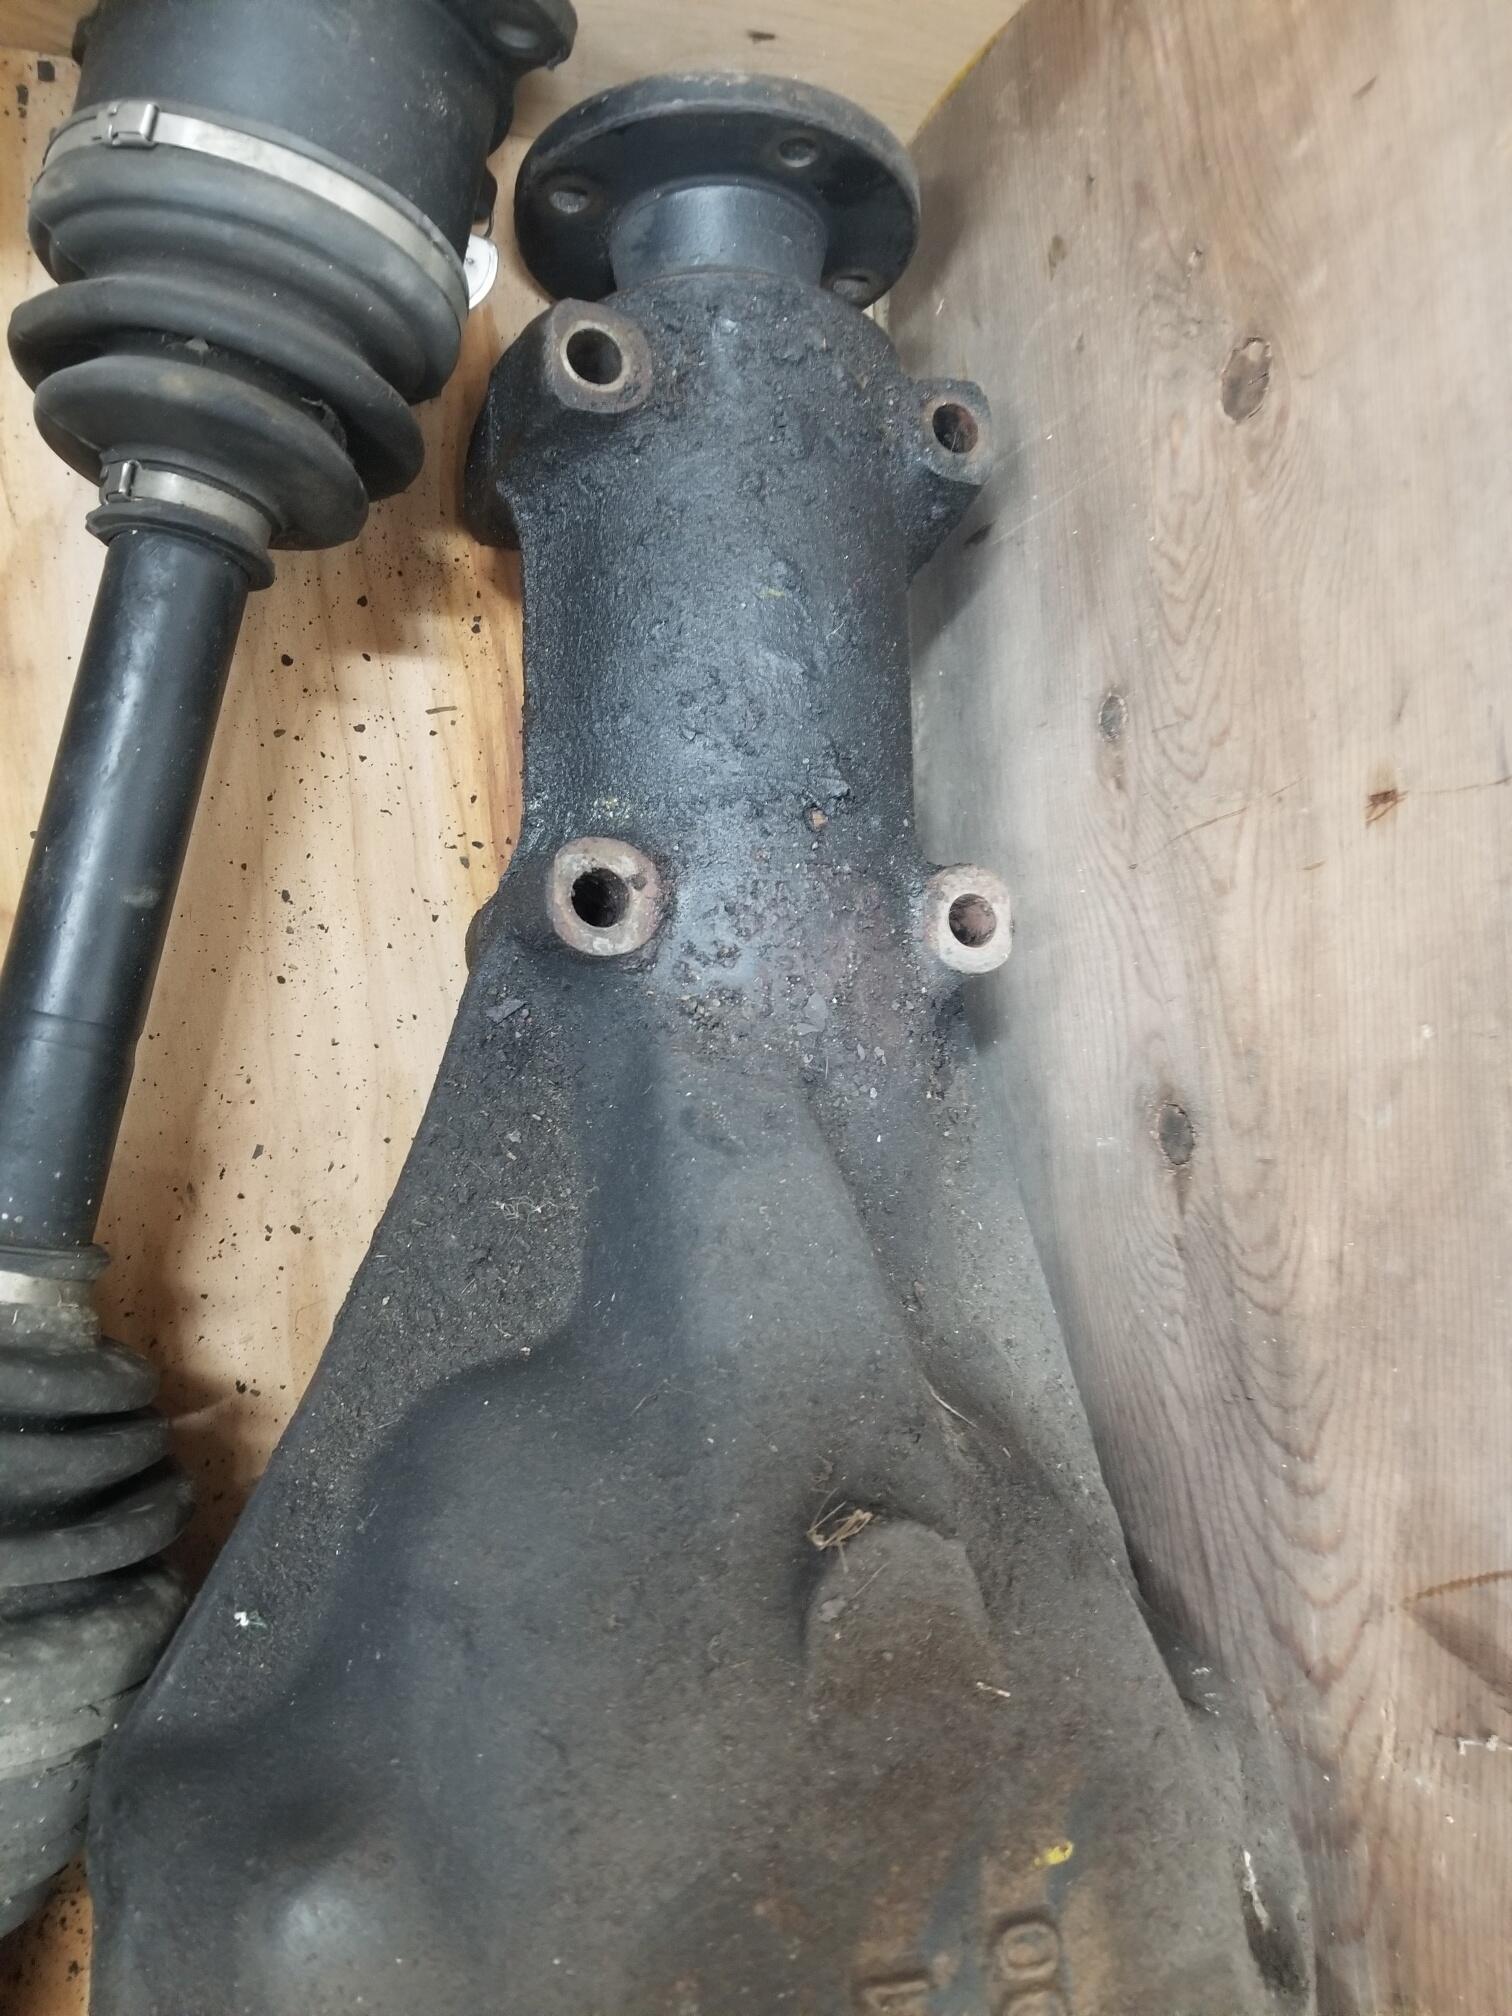
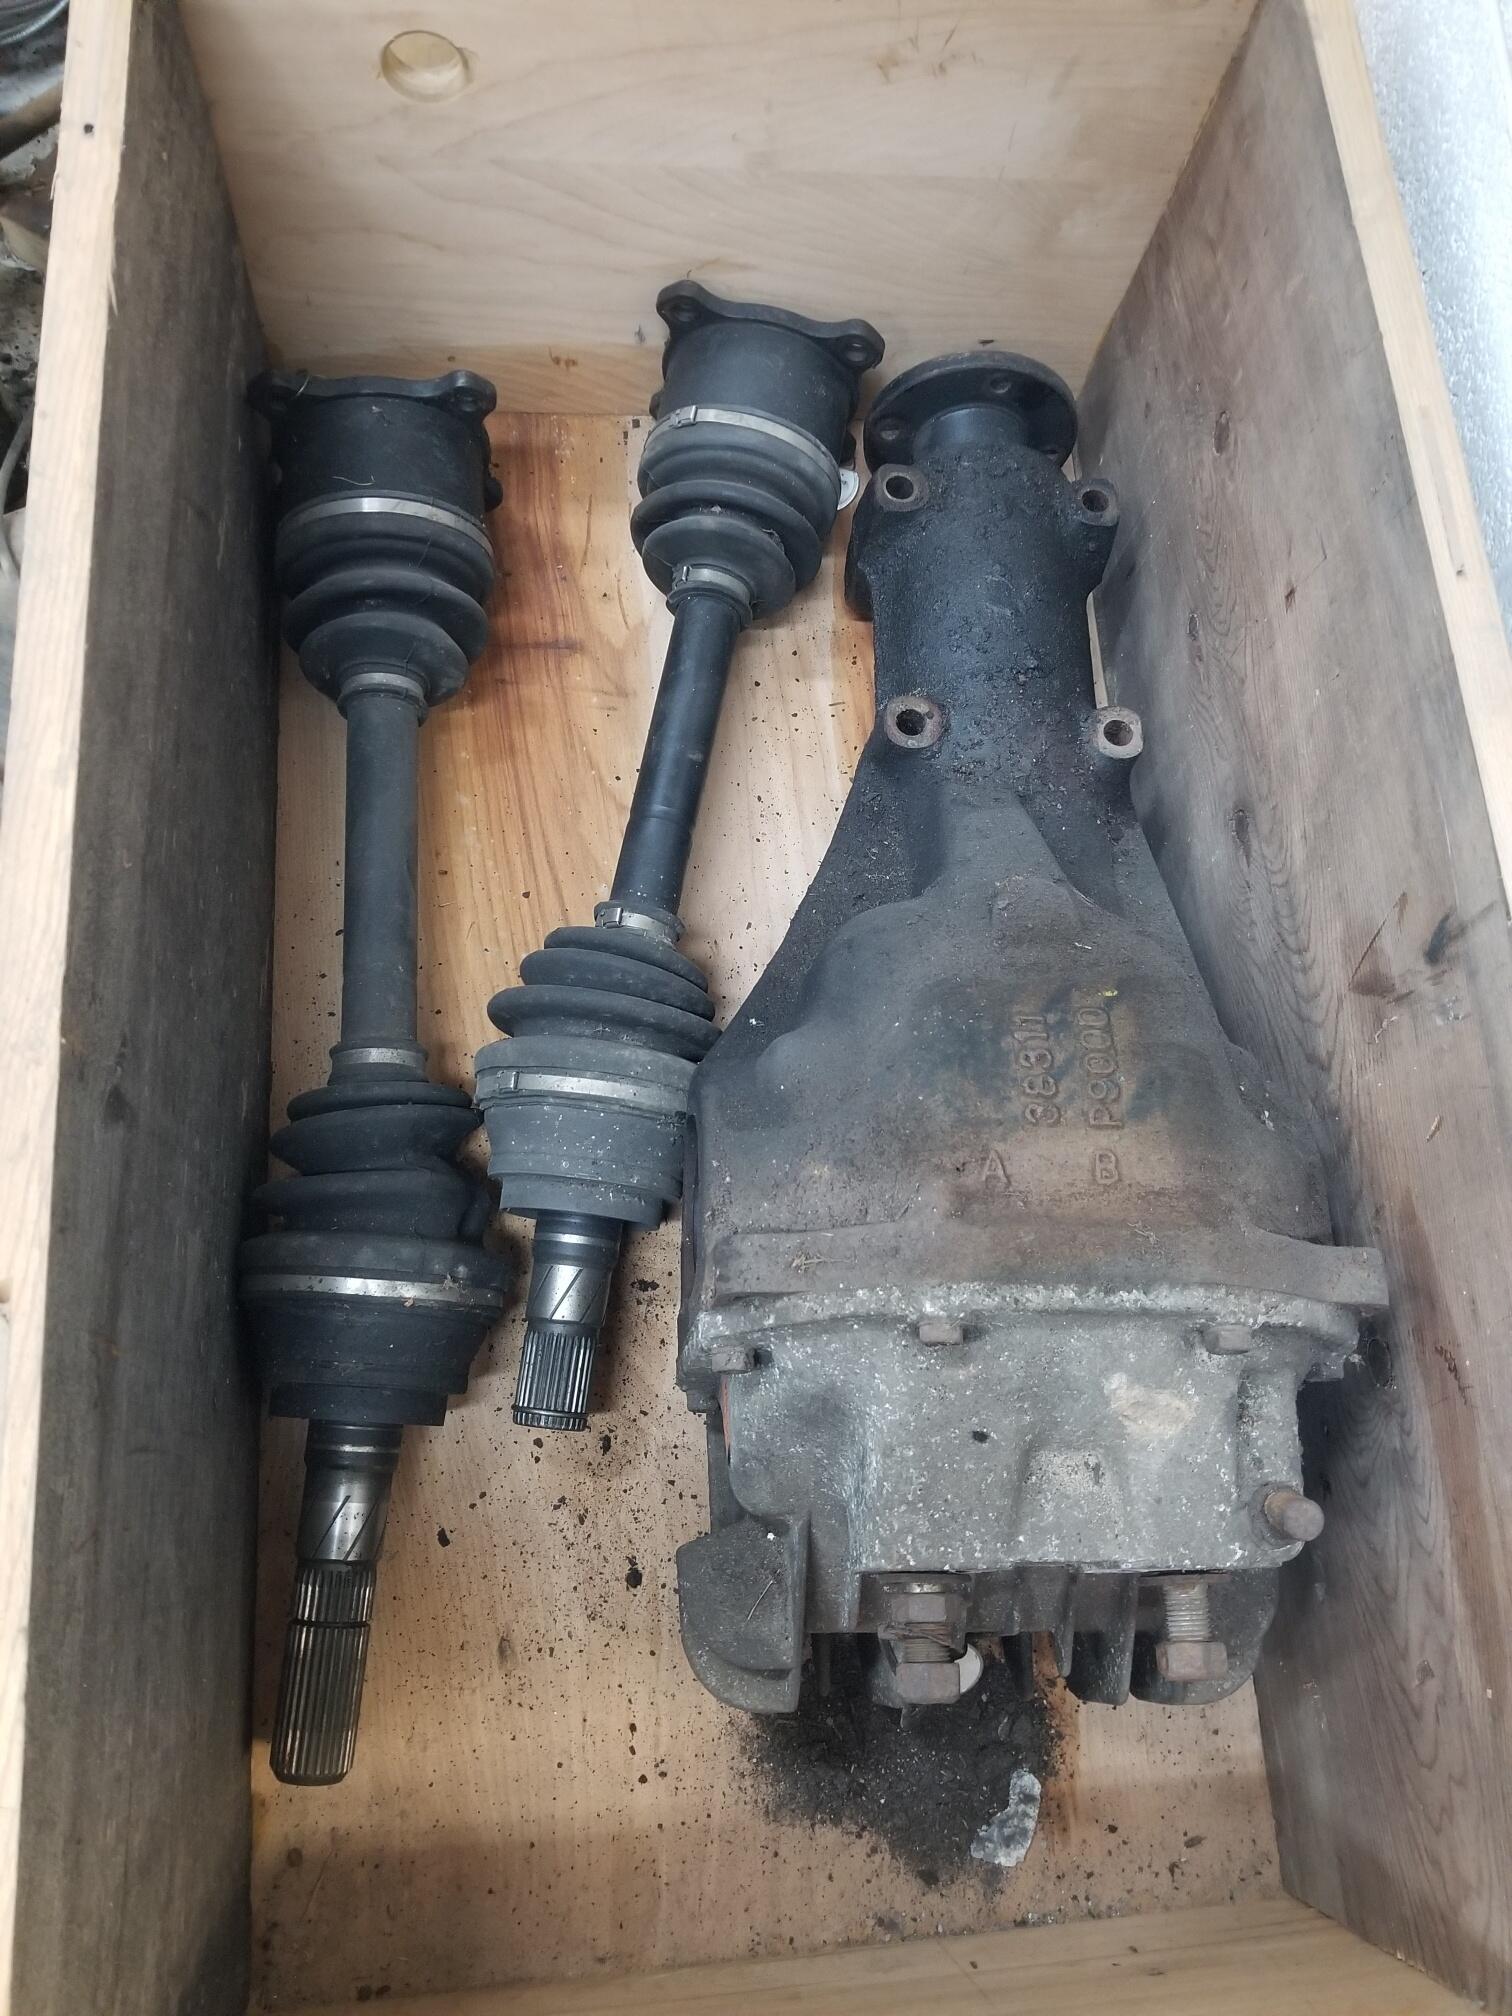
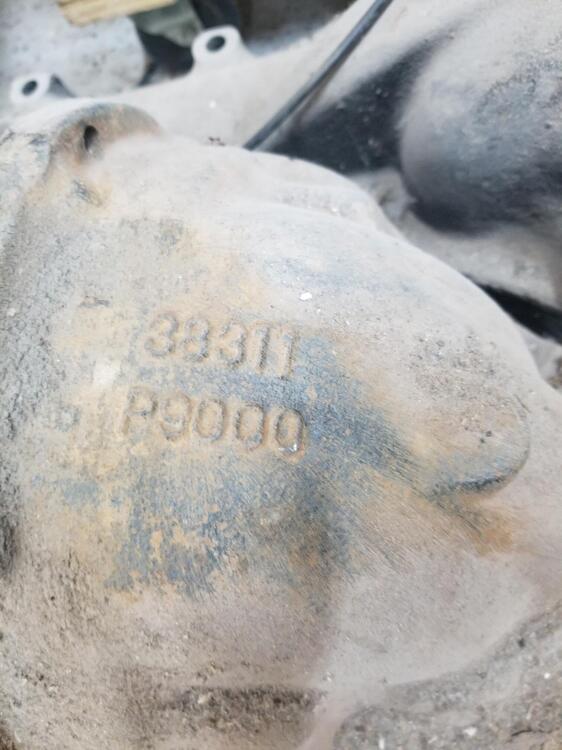
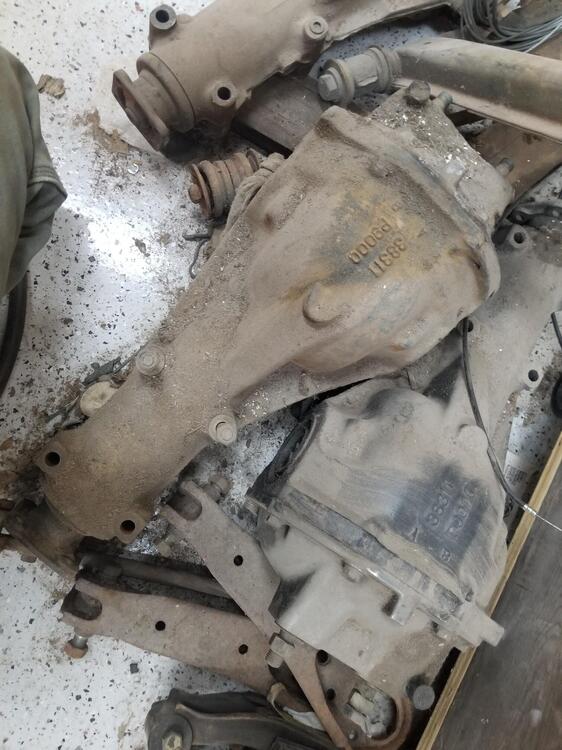
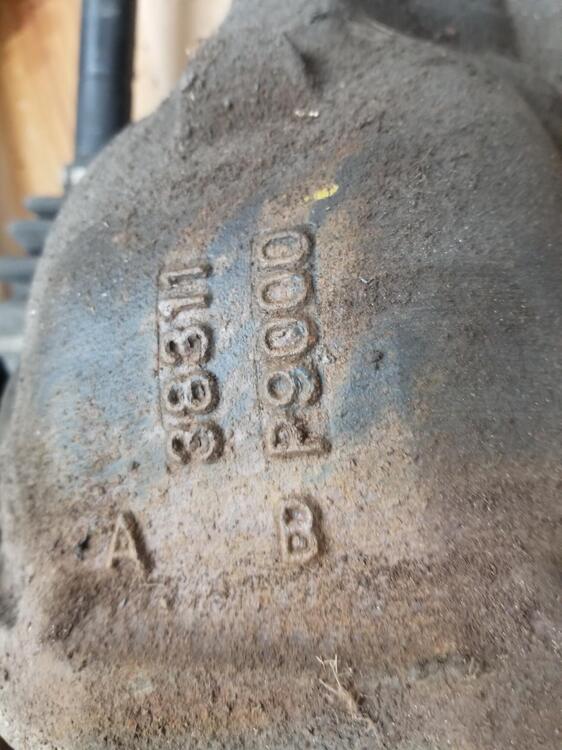
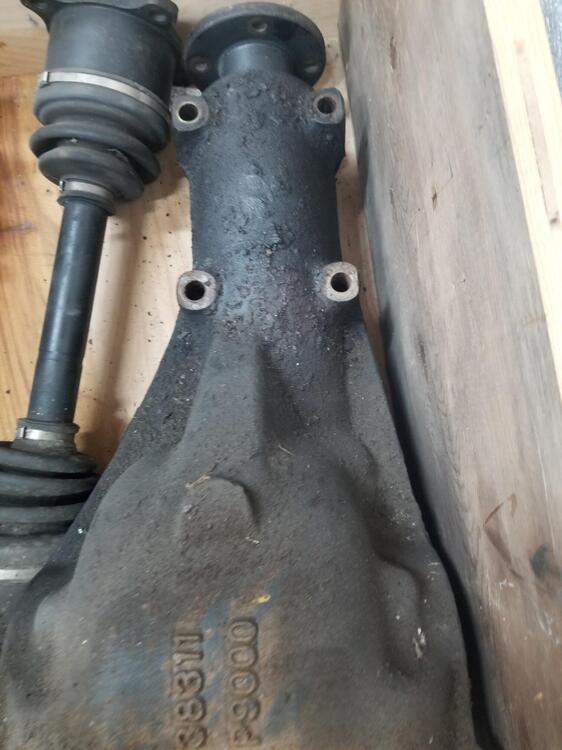
I made some pictures in the shop today. So here are two open R200's. Have the same casting number. I believe these are both 3.9's Here is a Viscous LS from an 88 Shiro Same casting numbers. The two limited slips I've had didn't have output flanges, since they use snap in CV axles. Rear covers vary depending on the application. Many people ditch the finned LSD cover because it requires more parts or work to fit. Would be interesting to know if the diffs you've had used the same casting...


-
Good for you!
-
I have one but it will only work about half the time. The ears are too large sometimes especially if the bushing is set in deeply. Then there is no room to hook the rear edge of the bushing
-
Just because they are refurbished does not mean they are set up properly. If the float levels, mixture and balance aren't right it's gonna foul plugs. It might be interesting to try to get a matchbox dizzy and dump the Pertronix. I have had mixed results with Pertronix. I wouldn't use one on my car anymore.
-
Does anyone have thoughts on this? Should the factory pump setup self prime without cracking lines?
-
Are those cases different to the 300zx LSD cases? Edit: from to 280 to 300zx
-
The later doors have a number of differences. The latching and strike mechanism is totally different. I think the crash bars are heavier as well as things like the rubber across the top of the door frame. I guess the biggest thing would be if the mounting points are all the same. I would expect so but I'm not certain
-
What details suggest this? I don't have any pictures currently of the R200 LSD's I have to compare to
-
I set them at the back edge of the chamfer. I have always lightly greased the tip of the input shaft. I didn't think it would hurt...
-
Depends on if you can find one in a junkyard or maybe a member might have a good candidate. Most anything you find will have to be gone through...
-
Yes, what Mark said. Float levels are super important on SU carbs! And yes the dial on the bottom adjusts the mixture by lowering or raising the the nozzle (the black stem connected to the fuel line). Once you have them balanced at idle. You need to raise the idle to 1800 or so and adjust them at fast idle. Also there shouldn't be fuel coming out of the float bowl overflows. If there is, that's a problem. Too much fuel in the bowl will make it run rich Maybe @siteunseen will find you a good thread on carb adjustment. He's the local librarian! 😉
-
The shape of the Z causes a low pressure are at the rear of the car, especially with the windows down. Any opening at the back of the car will introduce fumes, Power antenna drain, vent line grommets, taillight harness grommet, tail lights, hatch panel and latch, etc
-
@Richie G Those are excellent pictures! Very helpful for the corner seals. Thanks. I have been procrastinating on this too.
-
Very cool! Just ordered one
-
All kinds of possibilities. It's really unfortunate we haven't been able to sort this yet. I cant tell from the plugs if it's carbon or oil. Mark might be right on it being fueling or spark. It could also be valve seals or oil rings. Even with good compression you can have blow by. I think more compression testing is a waste of time. If the valve guides are badly worn the seals may not seal. This is a California Datsun engine after all! I guess Jalex needs to pick a direction. Fueling and ignition or Short block and head. It's hard to know which way to go from such a long distance. Also there is the issue of finding competent people to help him. Maybe you start with the cheapest option???? Maybe you just pull the head and have it gone through??? Valves, guides, seals, proper geometry... It's problematic that the cars are so rare where he's at. Otherwise he could try different parts to help diagnose..
-
I think starting with fuel pressure and vacuum gauge is the first step
-
I thonk I would look to copy the original rally size tire for the proper look. Maybe one of the forum members with more knowledge of that will chime in.