240dkw
Community Member
-
Joined
-
Last visited
Everything posted by 240dkw
-
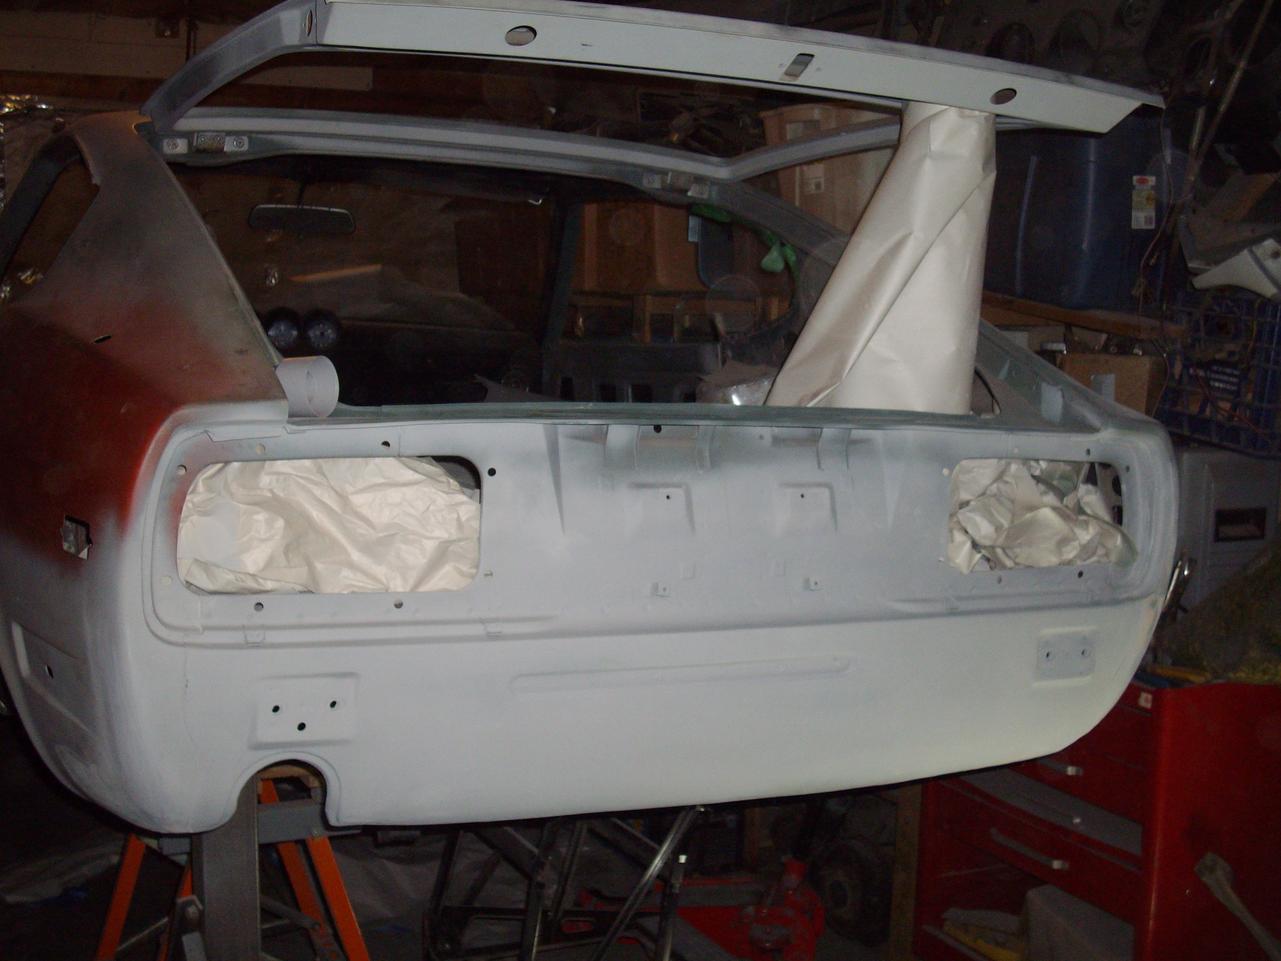
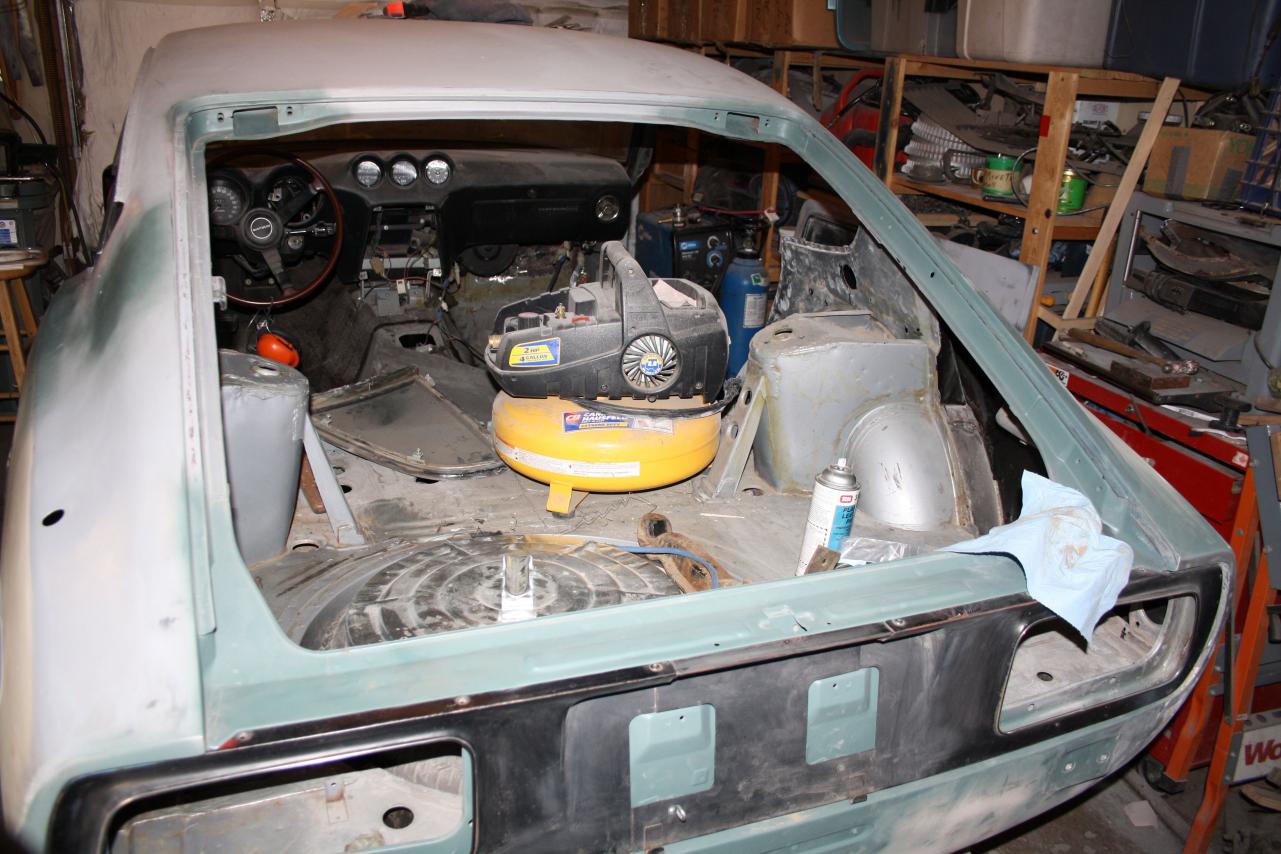
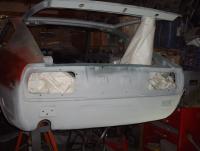
Finished the back end, looks like it will be going to the painters in a couple of weeks. Had to see what putting something back on the car felt like. I am going to spend the next while putting the suspension back on and letting the old girl stand on her own feet.
-
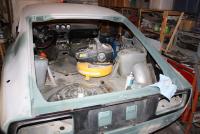
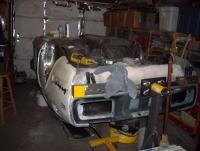
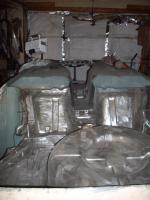
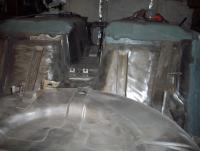
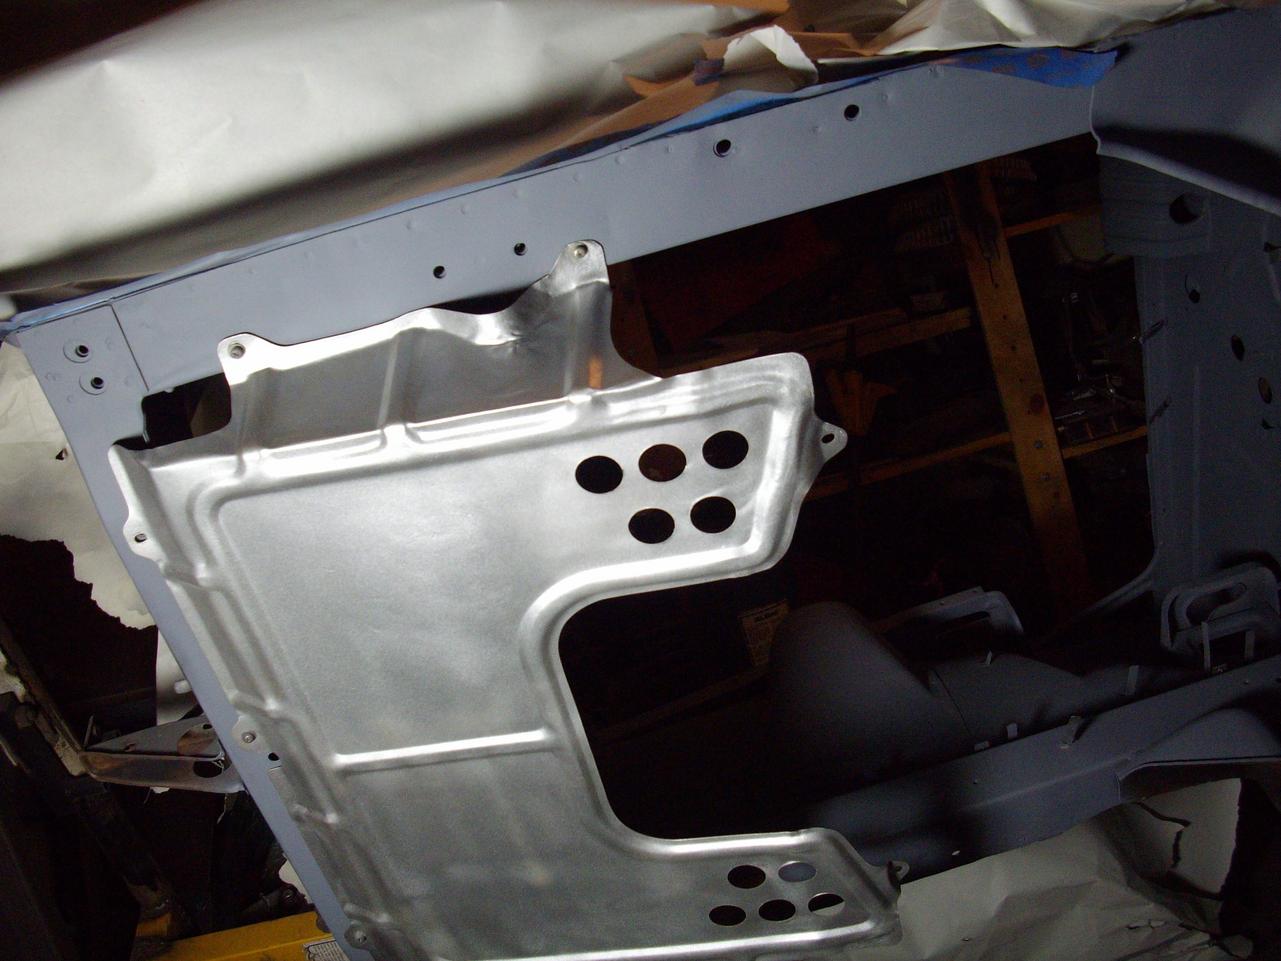
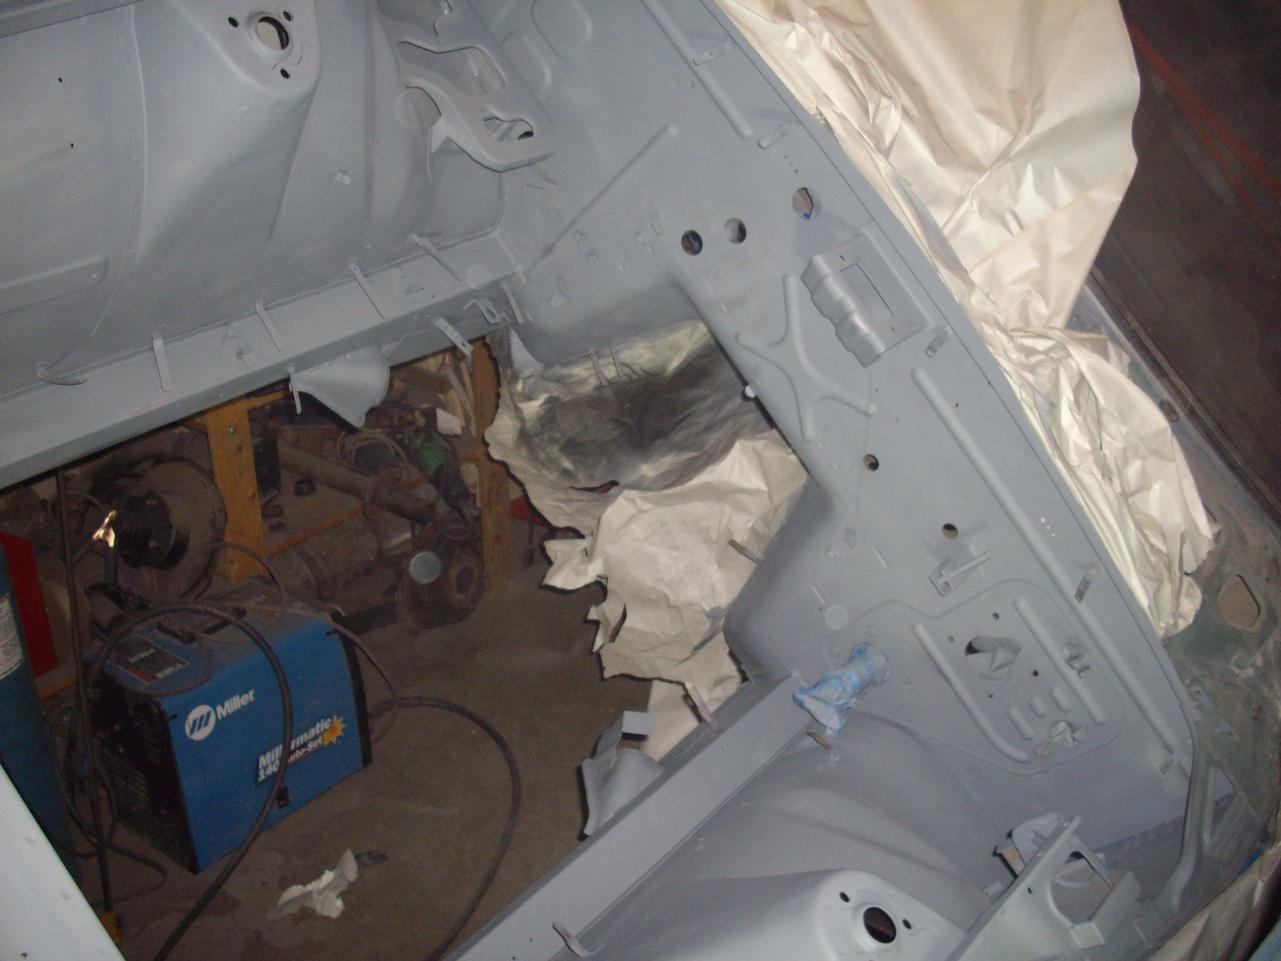
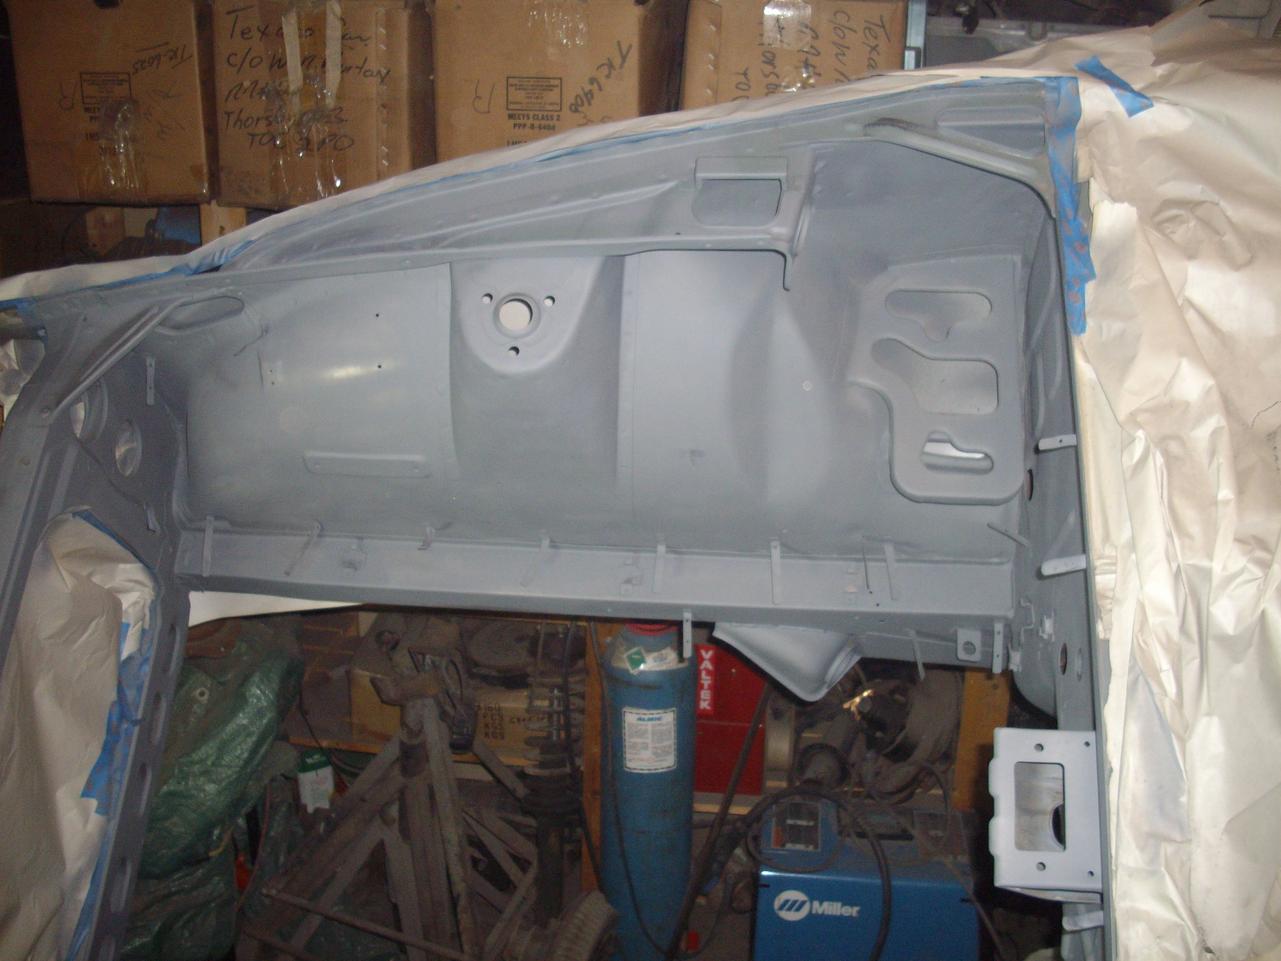
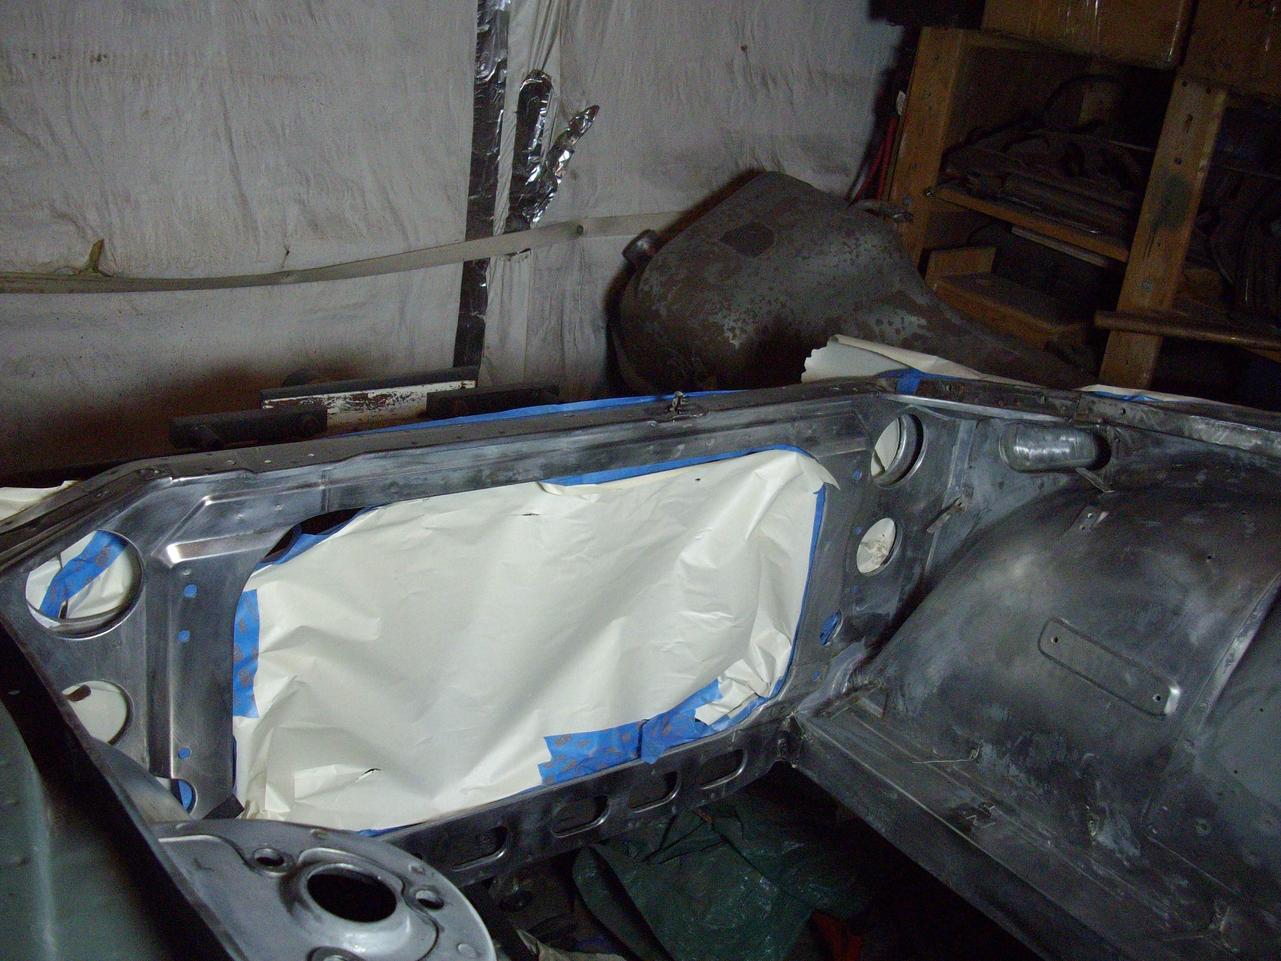
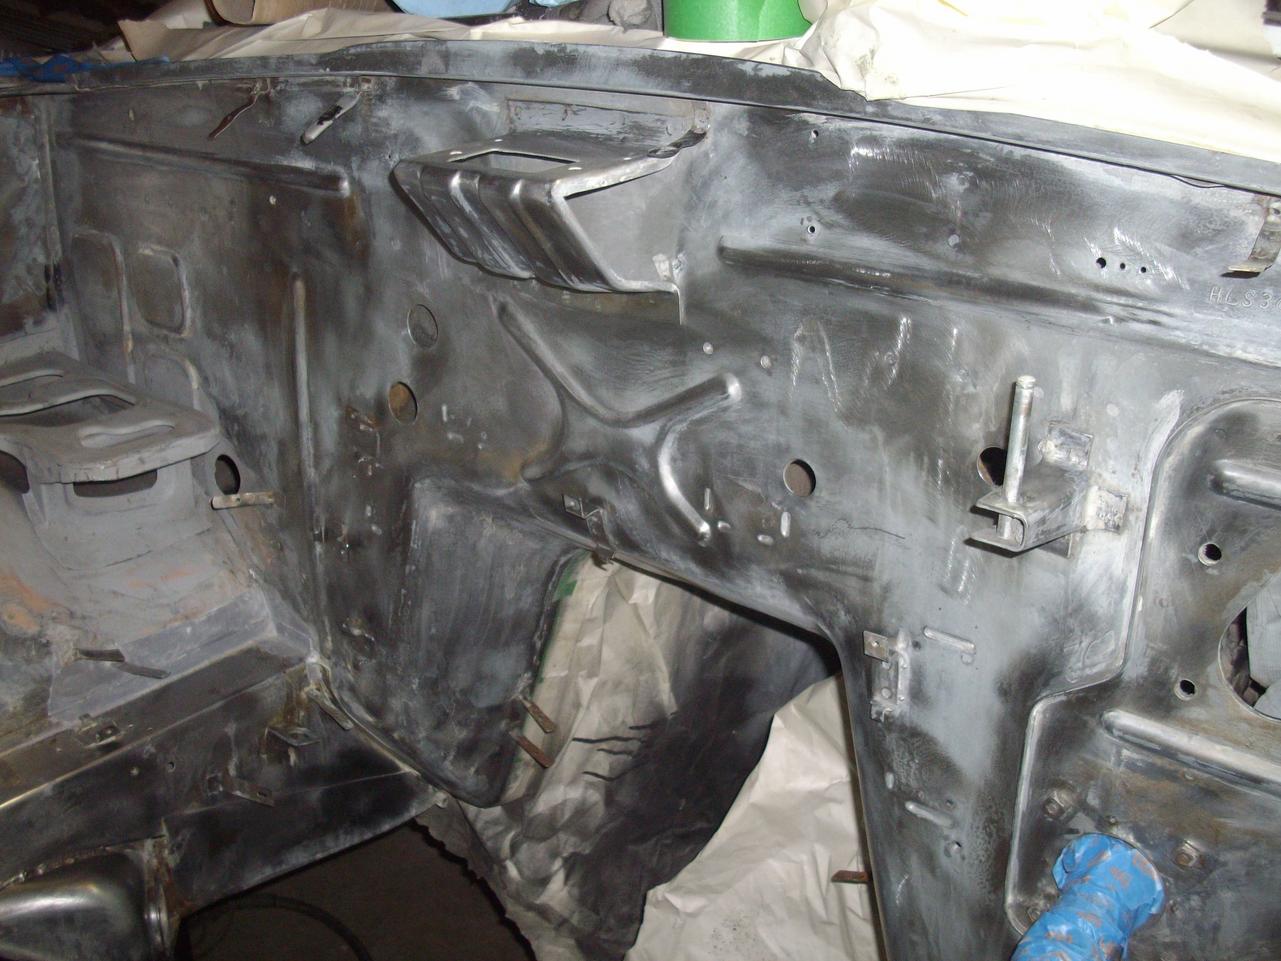
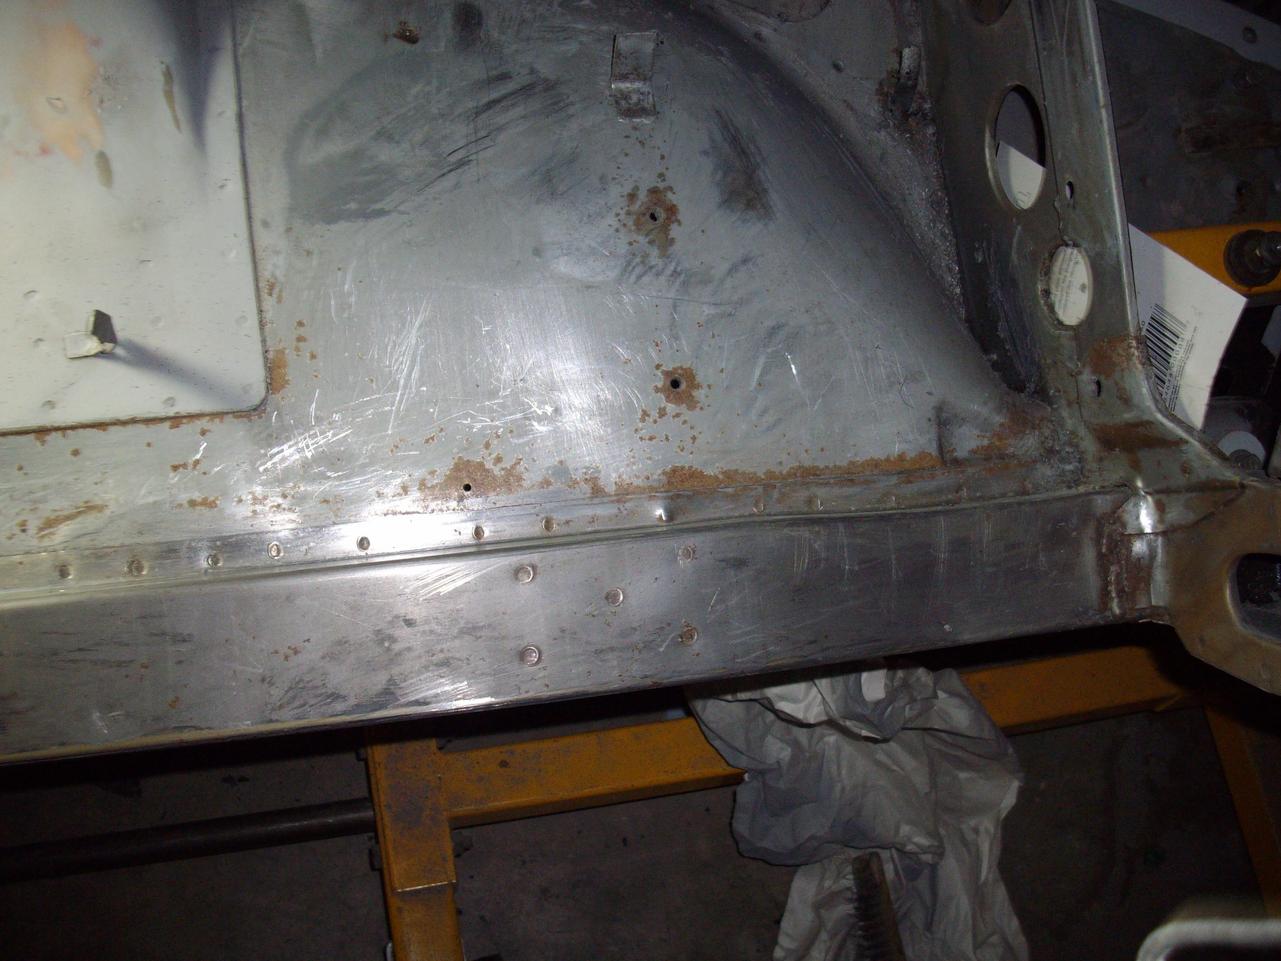
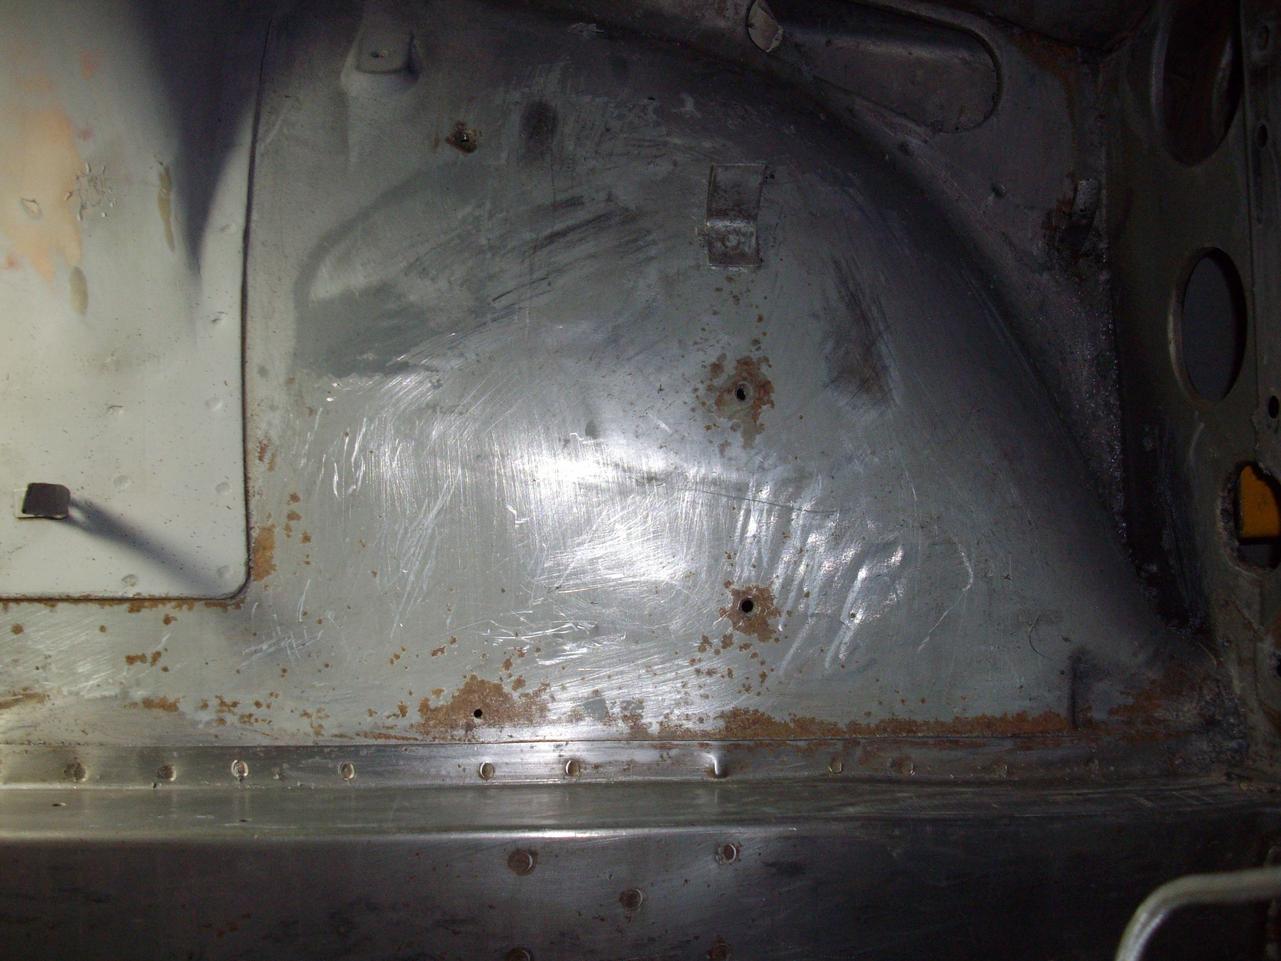
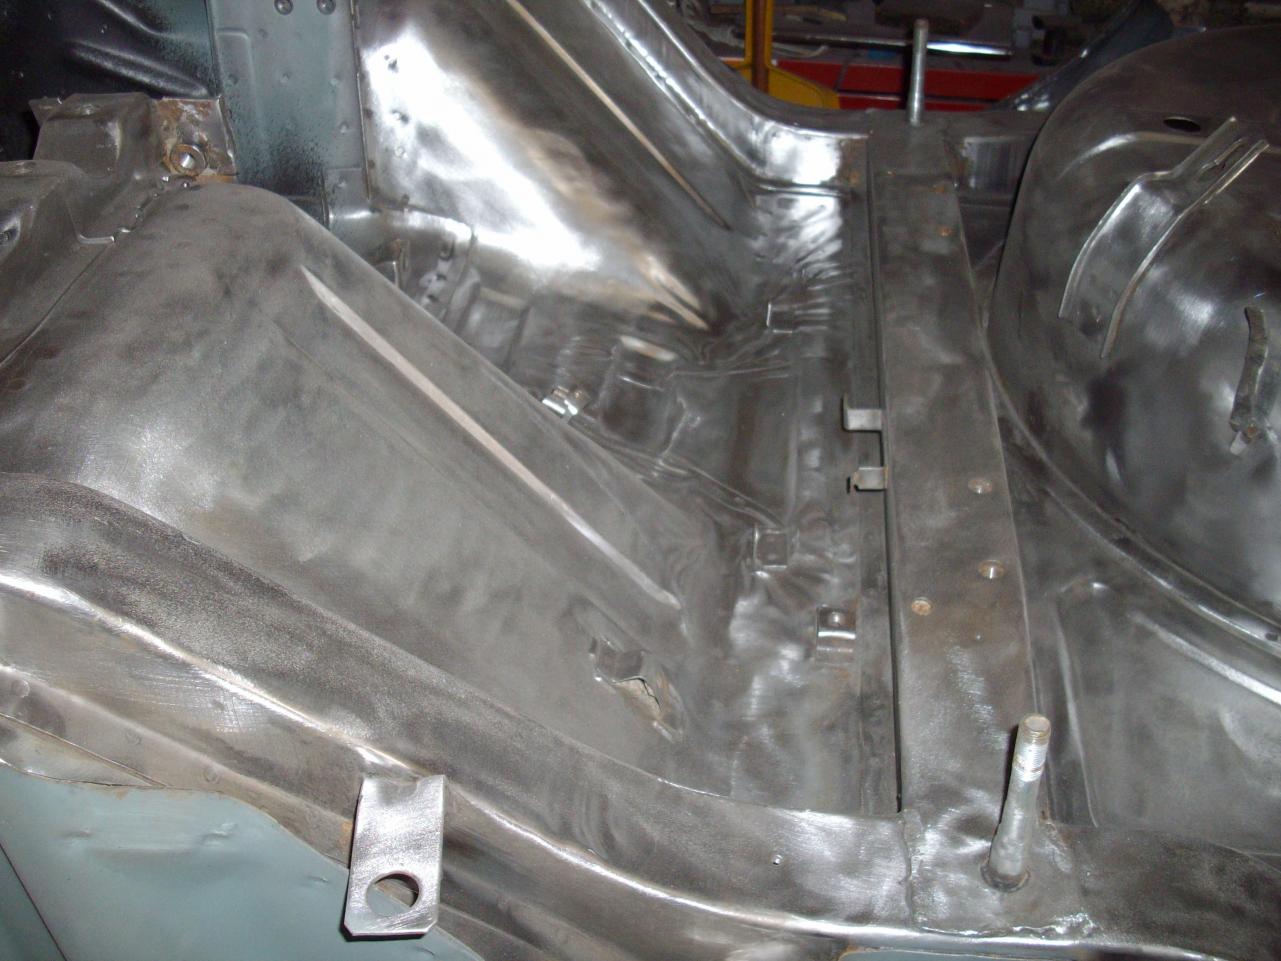
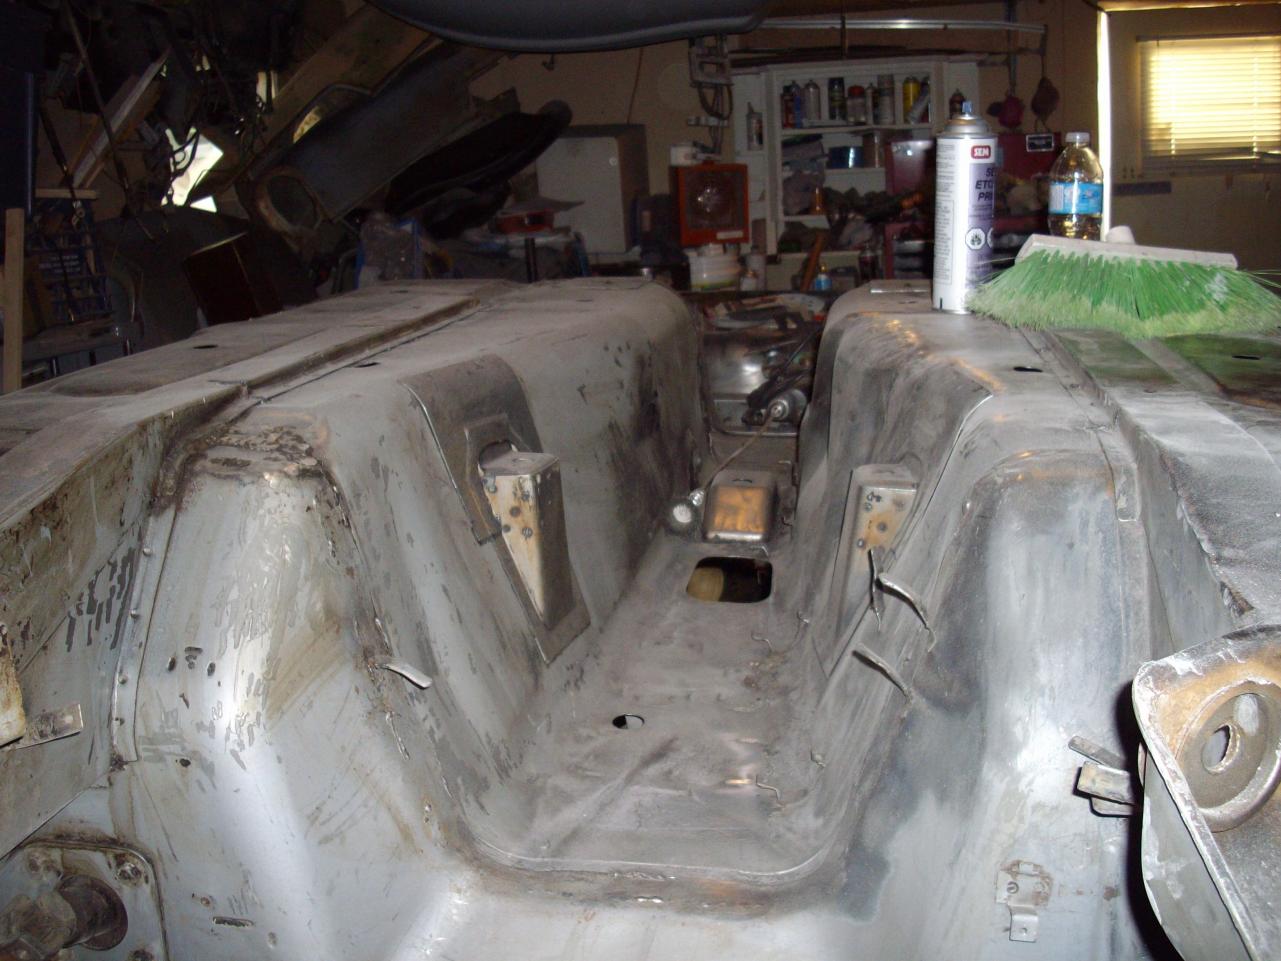
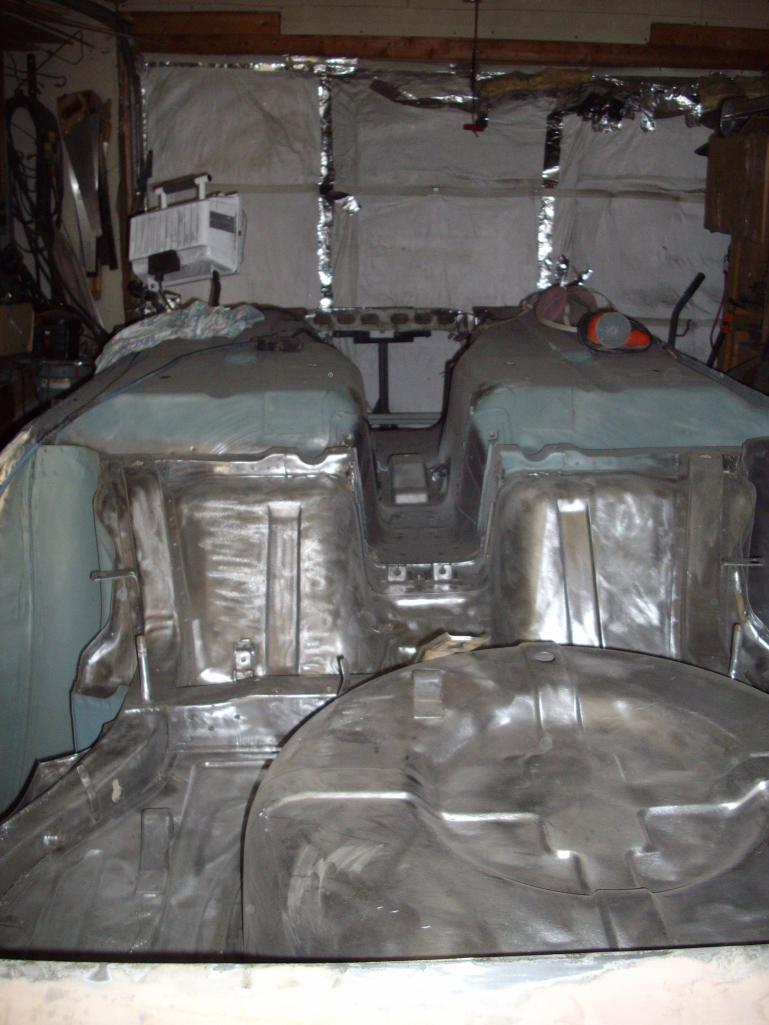
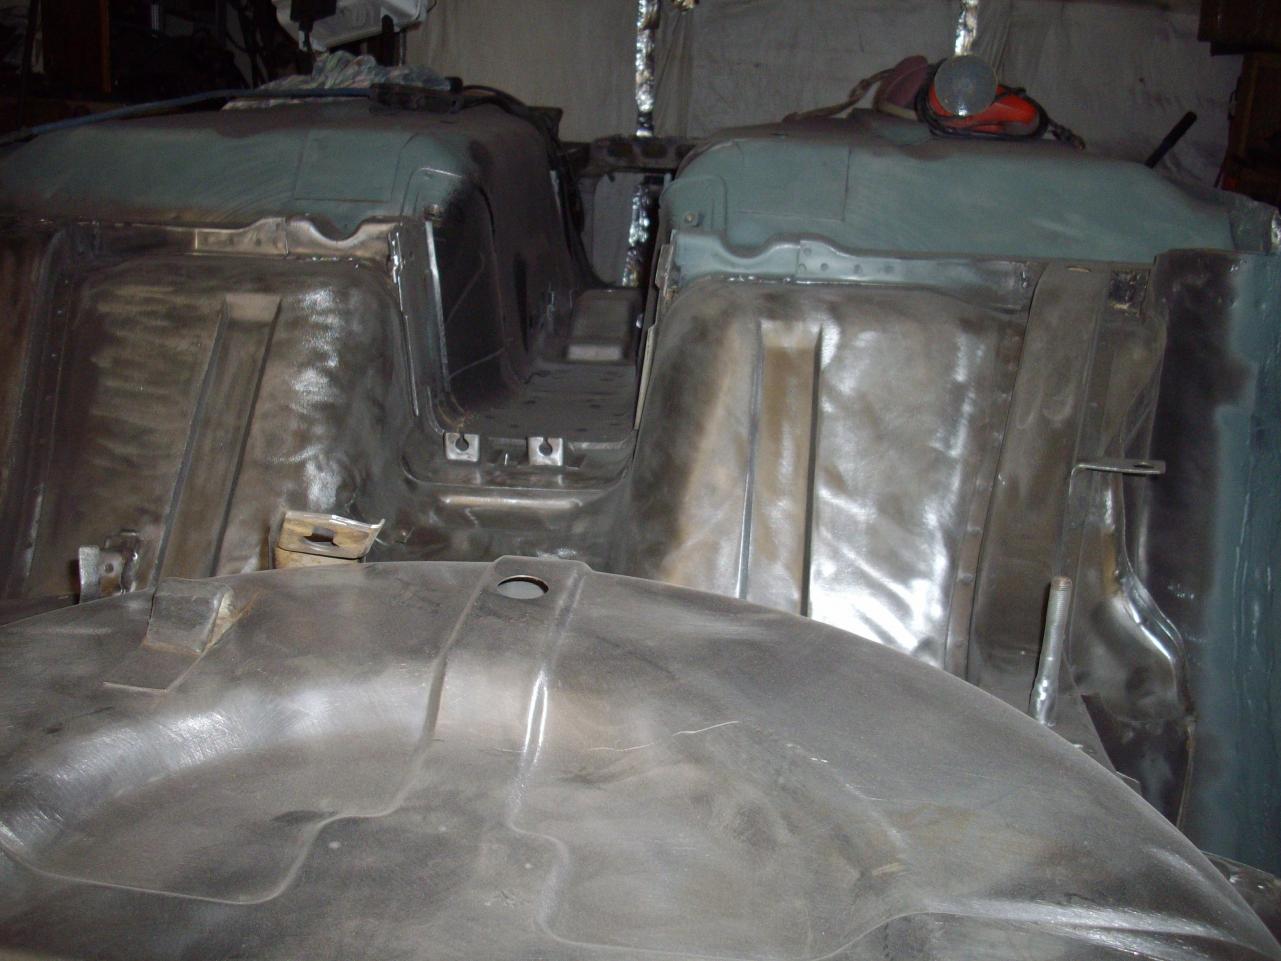
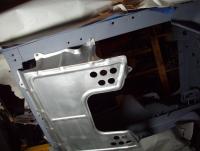
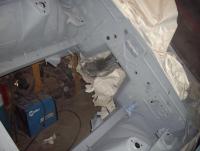
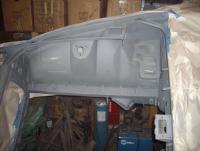
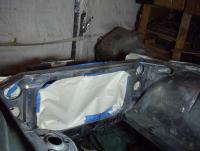
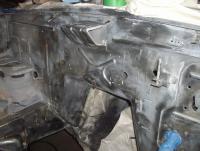
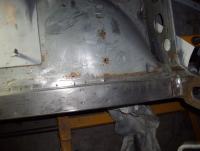
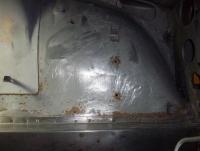
When I was sanding the engine bay what I thought was rock chips that had rusted turned out to be a lot of rust hiding under a repaint. So had to strip it all and treat the surface rust. The first two are what the rust looked like, the next two are after all of the stripping and then after the first coat of etching primer. Some day this will all come to a end.
-
Richard: I agree with LeonV it sounds like the outer sleeve is still in the arm. If not bring it back and we will dig another one out of the pile. Dan
-
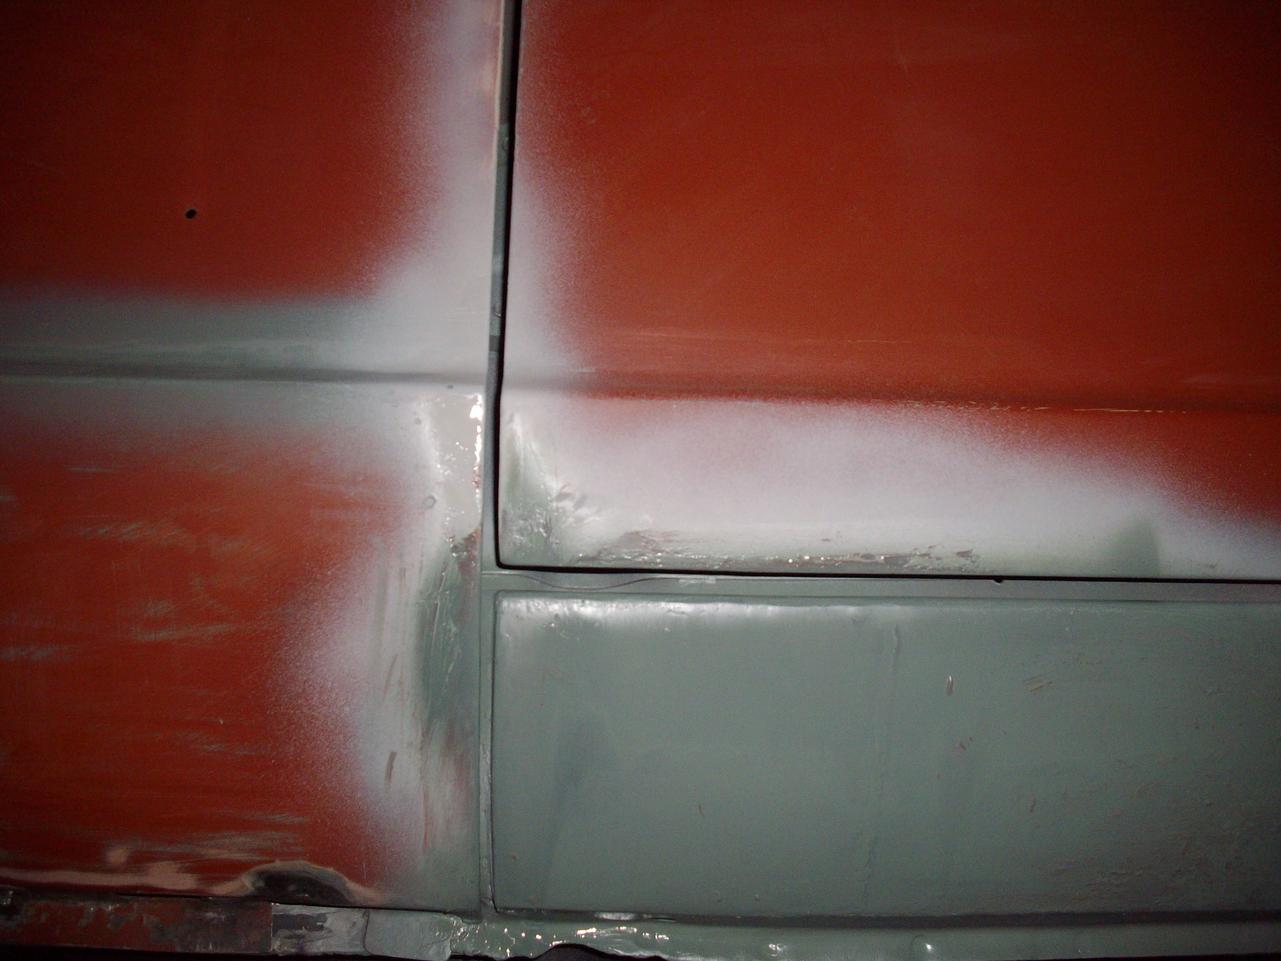
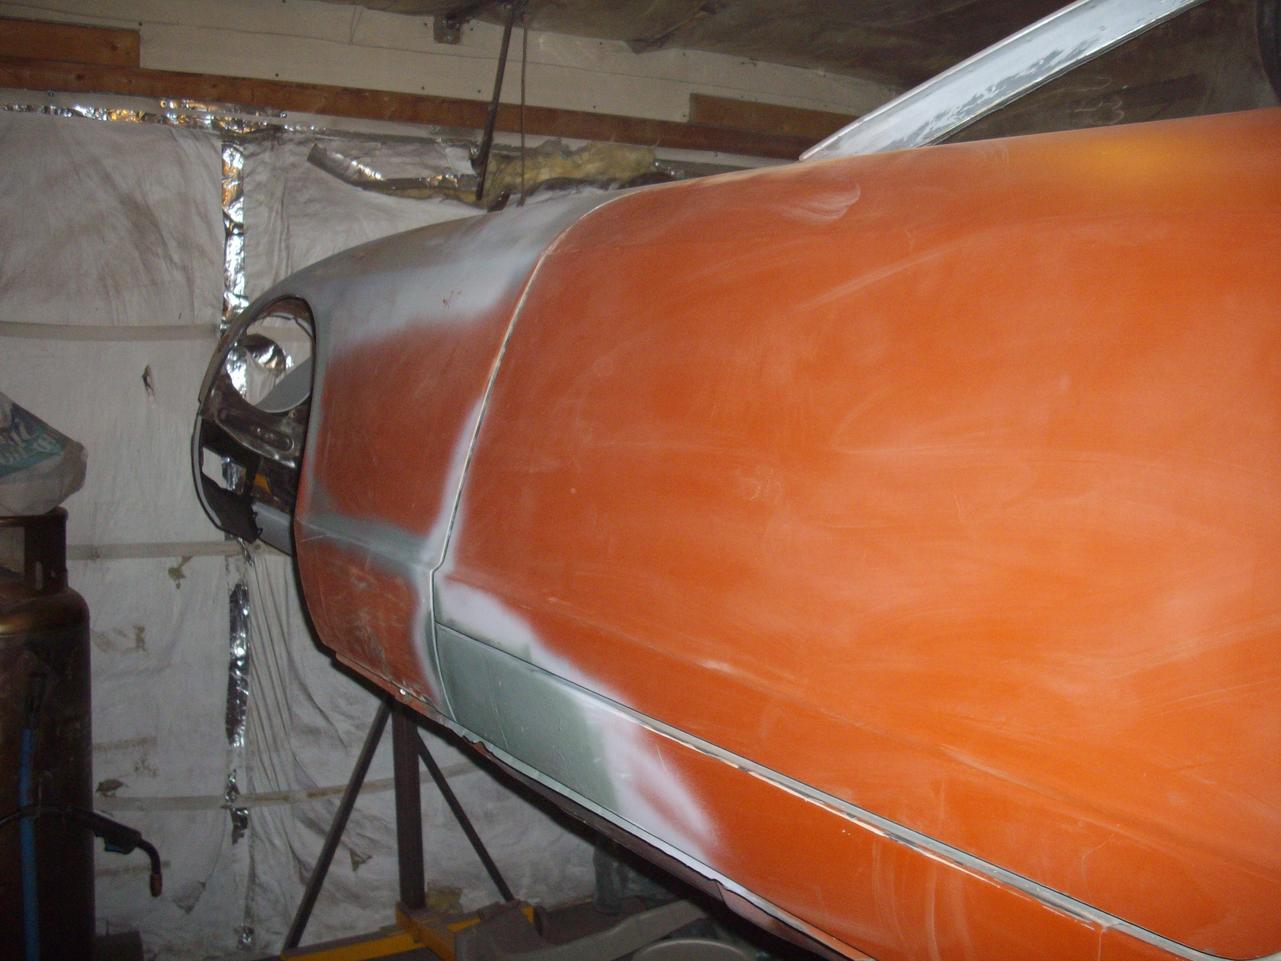
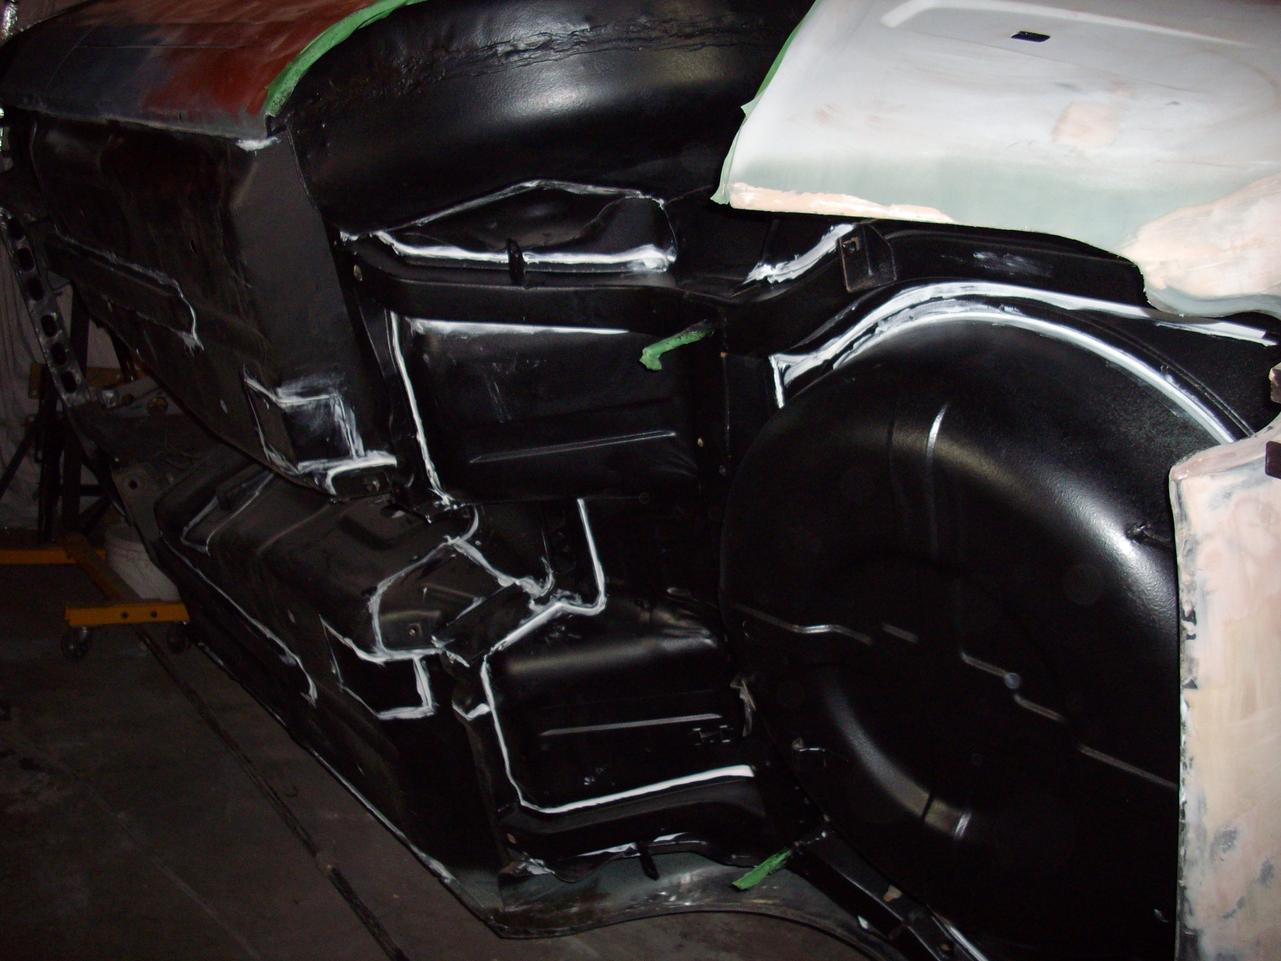
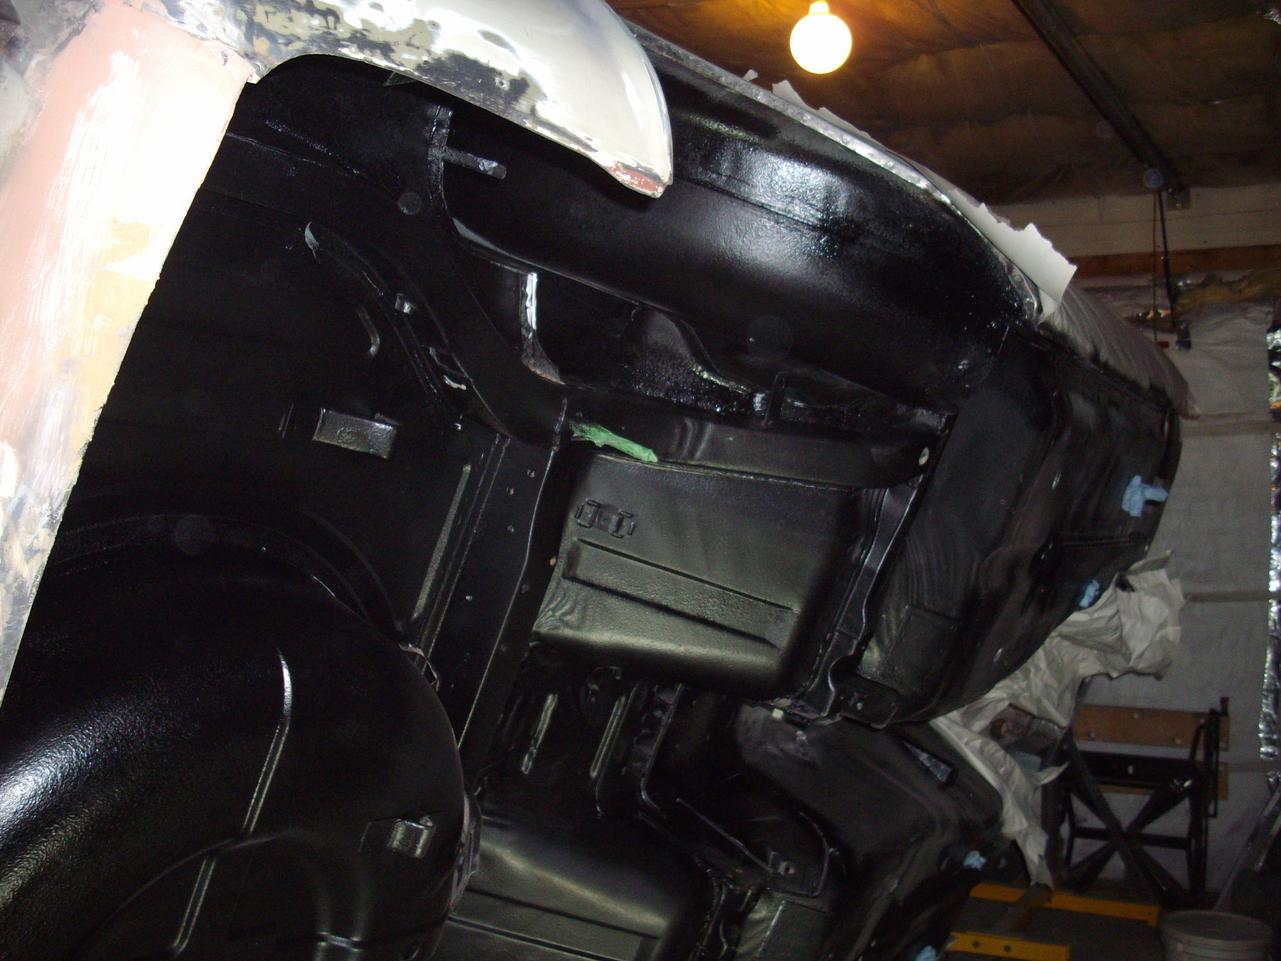
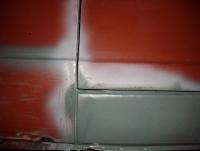
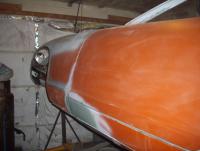
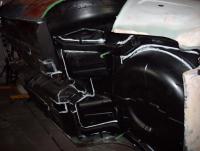
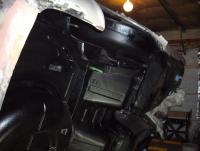
Well, had a small setback, while trying to fit the front fenders, I did not like how everything was lining up. I did a poor job of welding the rockers where they met the back of the front fenders. So out came the cut-off wheel and the welder. After a while everything lines up a lot nicer. Next I went over all of the seams under the car with a sealer and then did another coat of undercoating. Not sure if I am going to leave it like this or give it a coat of paint.
-
Its coming along nicely, I spent all day sitting on a stool inside my engine bay sanding as well. So I know what you mean. It is starting to look like you are going to pass me. Dan
-
See, I told you they would come in handy. Very nice work, you need to take a break and come out here and finish mine for me. Dan
-
I too had the pleasure to converse with E through this site, and he was always had time for my questions on body work. He will be very much missed here. Dan
-
Mike: no need to apologize. http://www.classiczcars.com/forums/body-paint-s30/39374-progress-rust-repairs.html Dan
-
Both Black Dragon and Motorsport Auto are resellers of the Tabco body parts and Zedfindings floor pans. I would save some money and buy right from the suppliers.
-
Steve I think that the bar is different, it is bent to move the diff back. You will need the longer driveshaft to make up the different lengths. As well, the arrestor bracket, the back transfer brace and front diff bracket are all different. Dan
-
Rockers, patch panels - tabco Floors - zed findings Hatch sill - motorsports Seat mounts - donor car, eBay, possibly someone here might have some
-
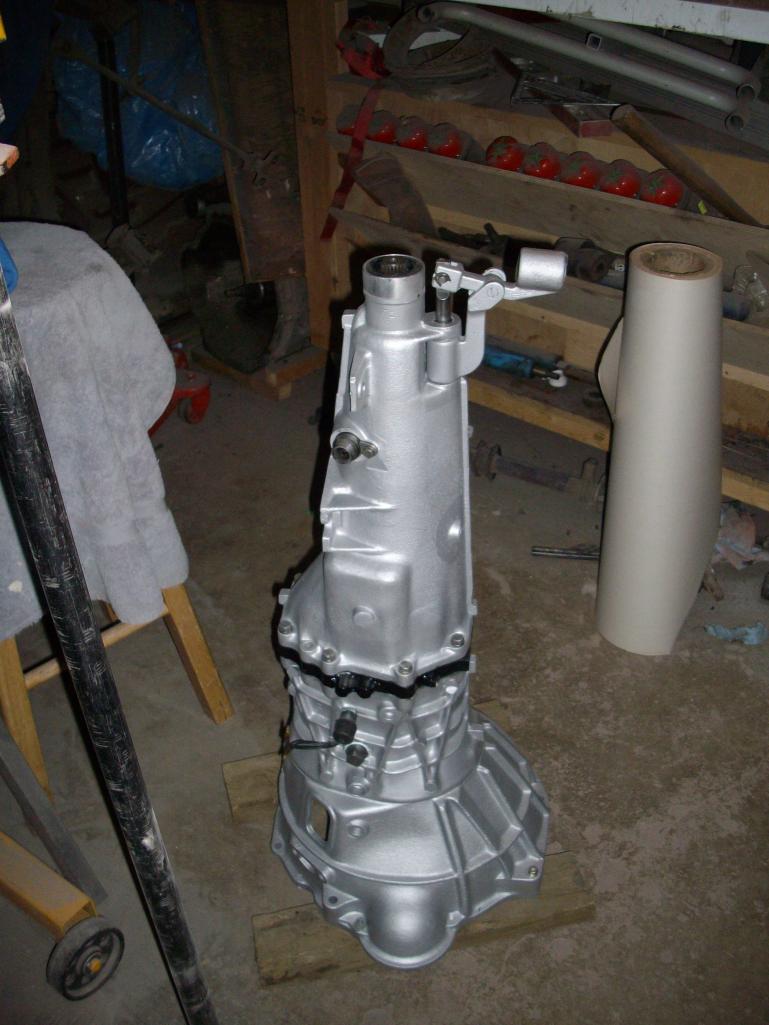
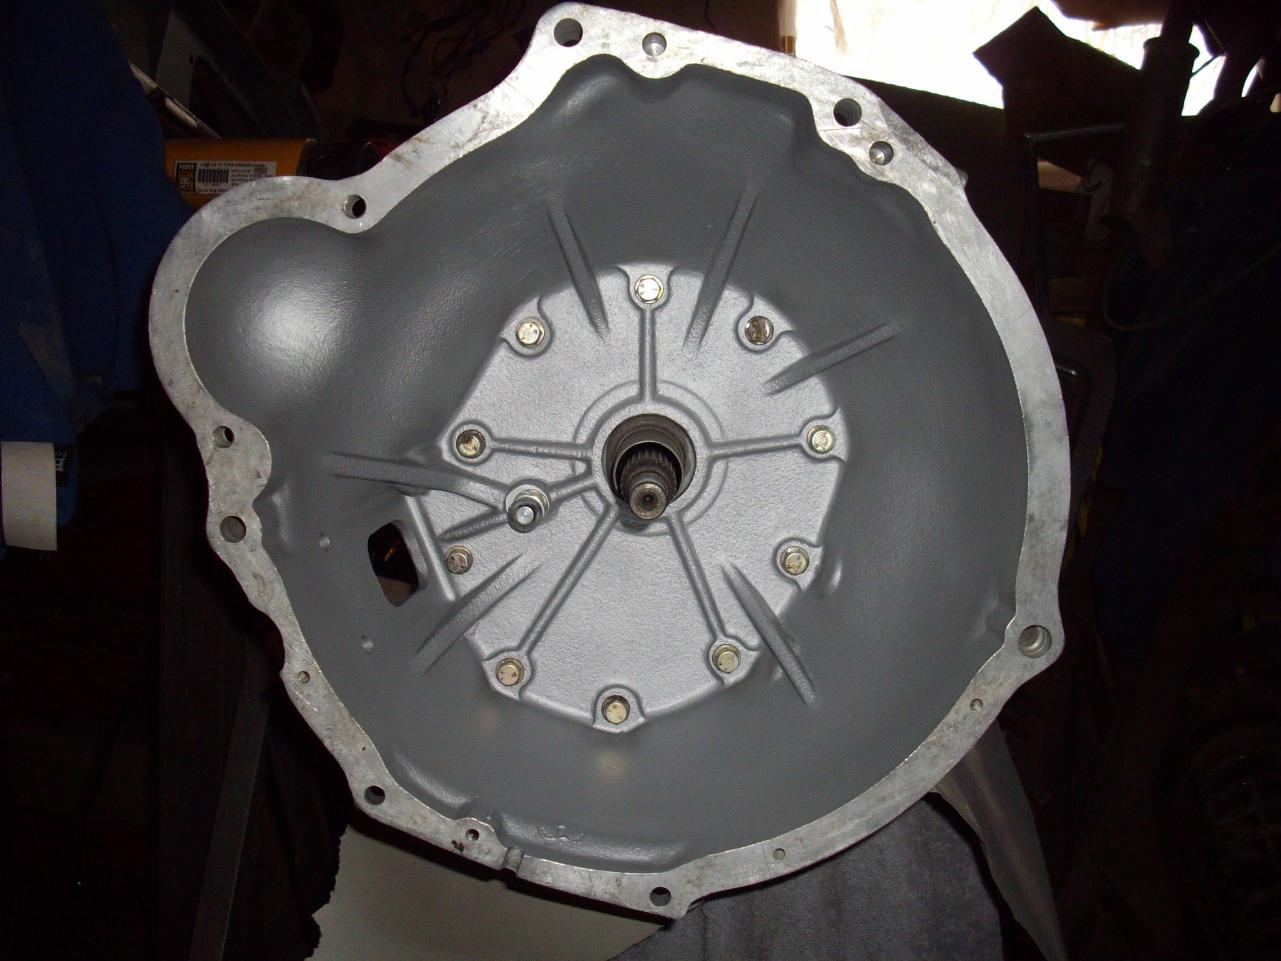
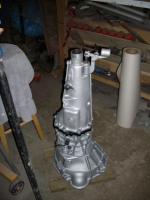
Decided to have a change of pace from the body work. Took the tranny apart, everything looked good inside, changed the gaskets and seals. Sandblasted all the body and painted with the High temp alum paint. Quite happy with how it turned out.

-
datsunnyit: try this thread starting with post #68. http://www.classiczcars.com/forums/thread37900-3.html . all of the condenser/capacitors are the same on the car. The one at the coil is the noise suppression one for the radio. Most newer DVM's will have a setting to measure capacitors, but that will not always be a true indication of one failing. As far as your other questions, there is no link to the photos in your post.
-
I use a Millermatic 140 with the automatic setting. The wire is .024 E-Z grind. Is 25-30 CFH or PSI, my gas setting is about 5 PSI as I do not have a flow meter, but even 25 CFH seems high. As far a welding , patience, patience, patience. Do not try to lay down a bead, just a whole bunch of tacks. I use five or six tacks and then move to the other end of the panel and do the same while the first one cools. I jump back and forth and keep checking the whole panel for temp and if it starts to feel too warm take a break and let it cool. Same goes for if you blow through, STOP and let it cool right down before trying to fill in the hole with more little tacks. This link might help, http://www.mig-welding.co.uk/thin-metal.htm
-
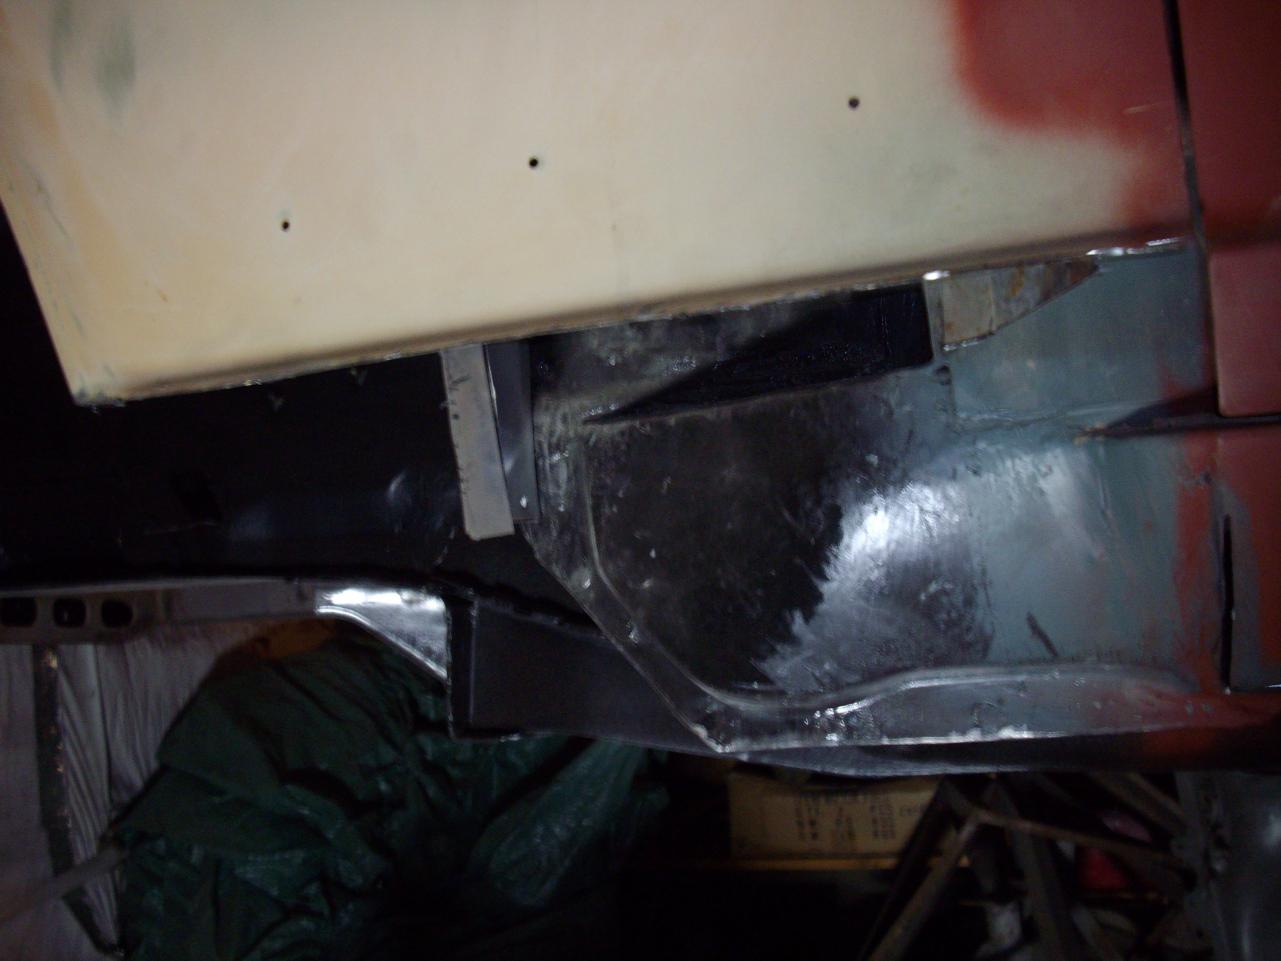
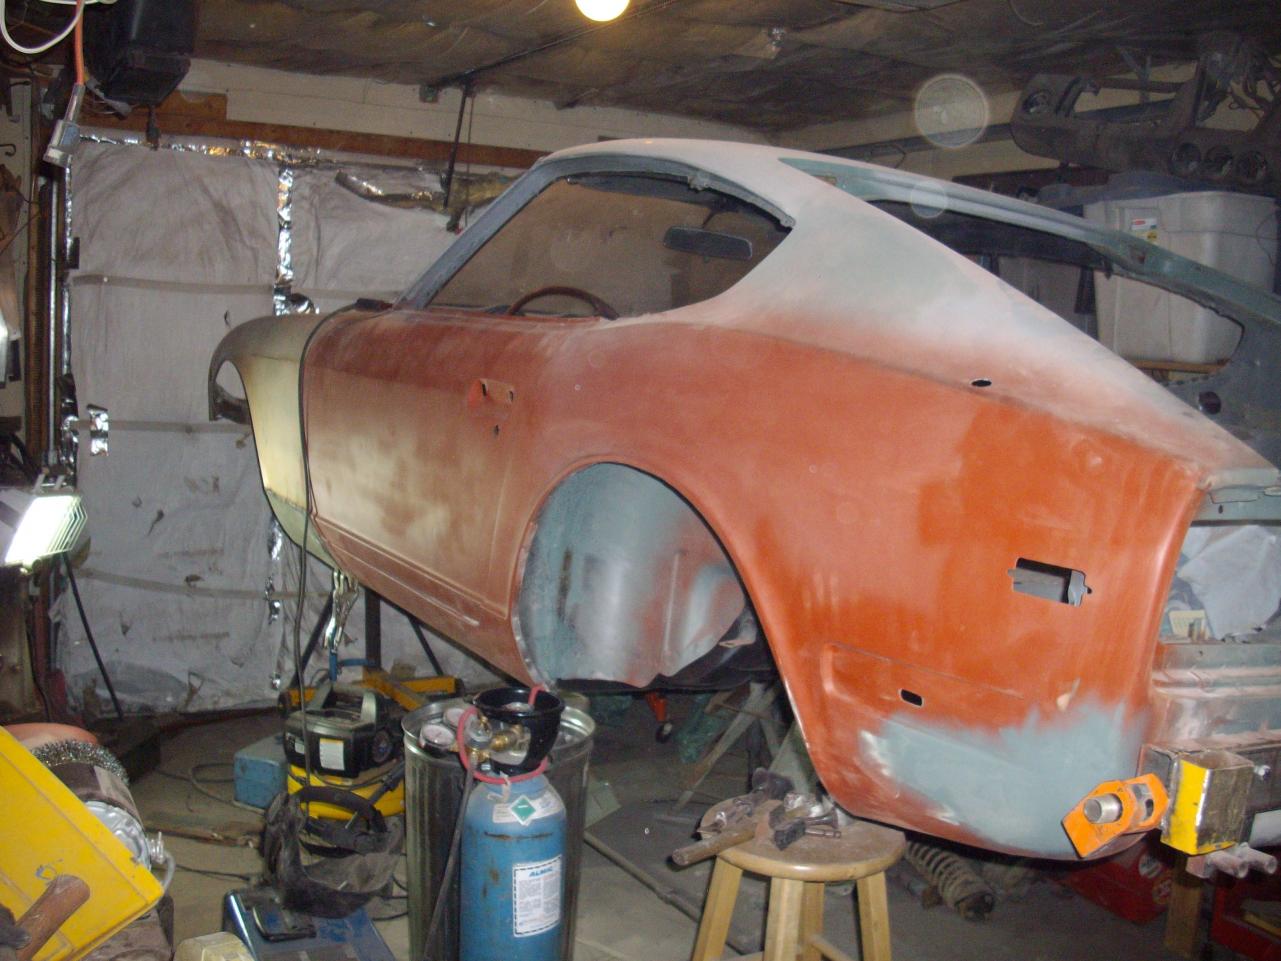
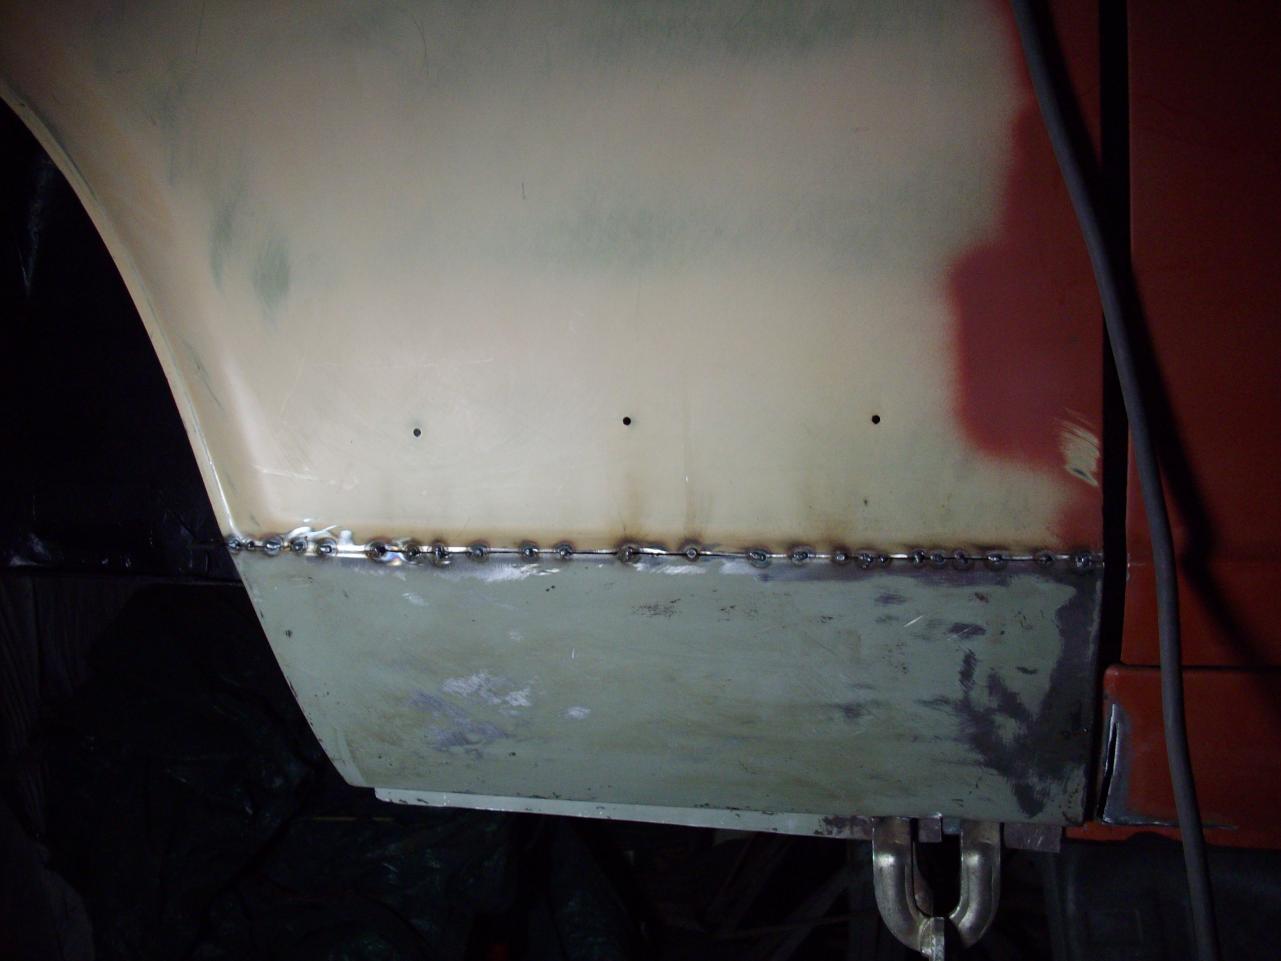
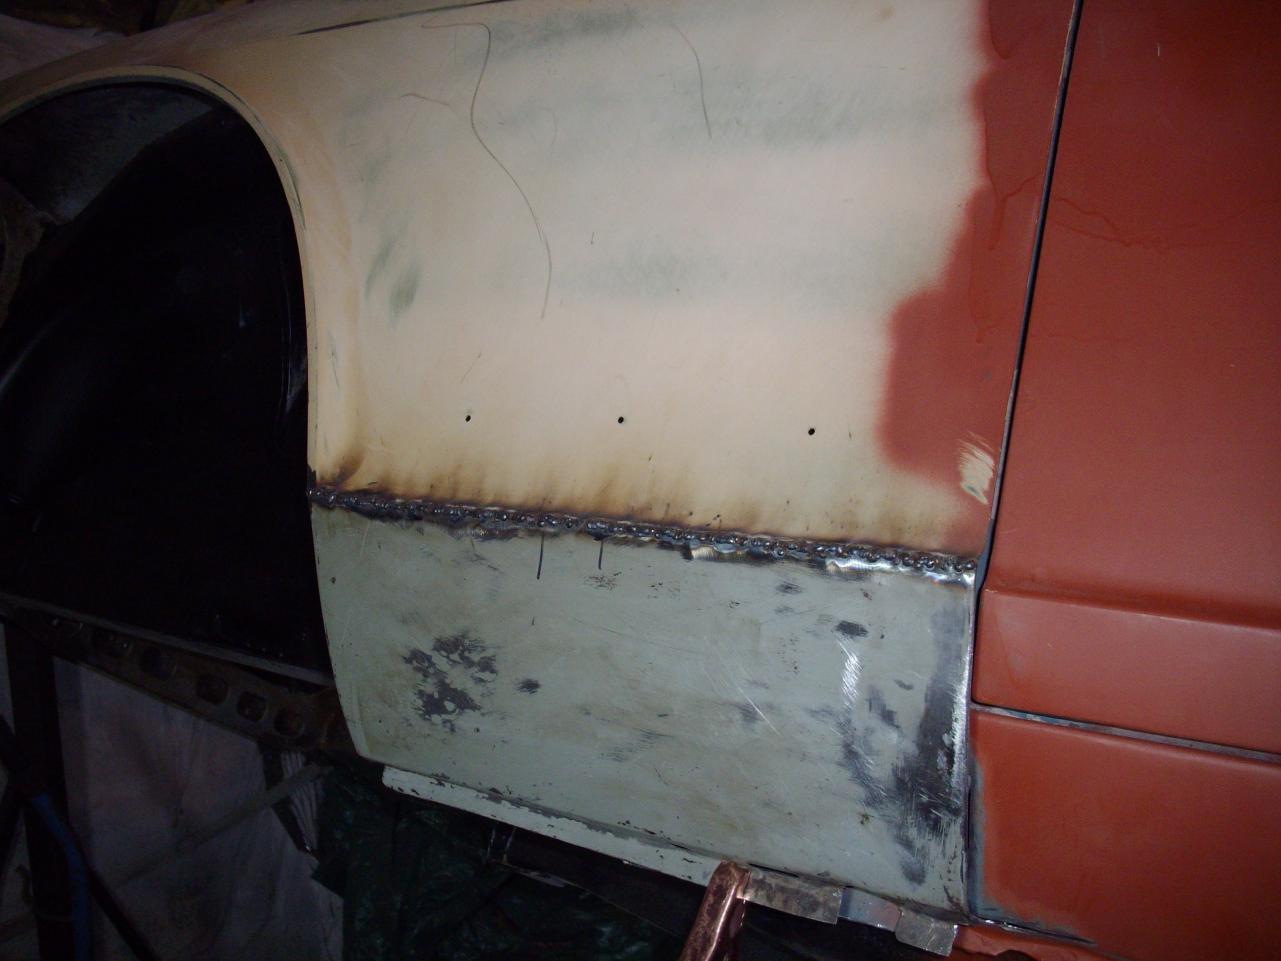
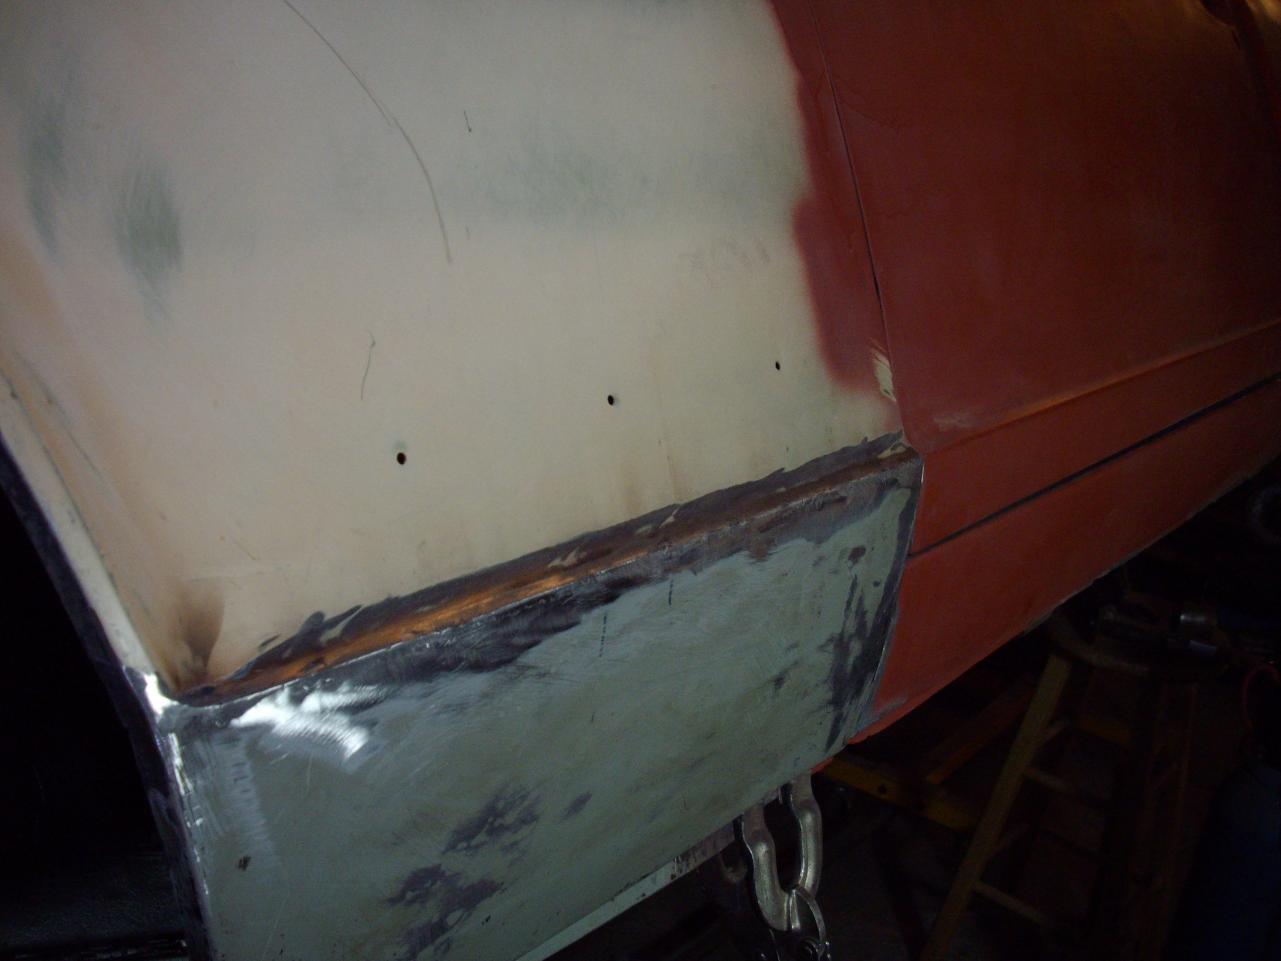
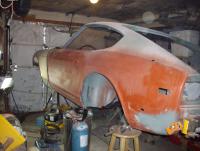
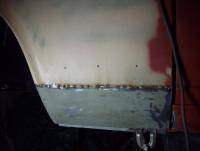
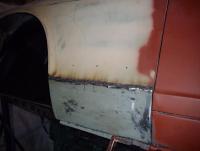
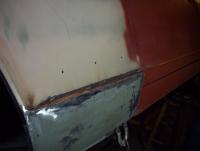
Time for an update. So I thought I was done with the rust until I pulled the fenders out of the pile in the corner. Lower panel behind the front tire not so good. Cut it out and welded a new one one. Photo one is the bad cut of, two is the new panel tacked on, three is the panel all welded up and four the finished job. As well here is a pic of the car so far.

-
Yes Tabco is the company name. here is the link to their site. http://www.tabcobodyparts.com/
-
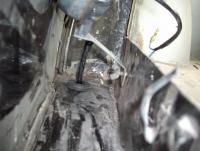
madkaw: here is the bracket on mine, and how it goes in the car. Dan

-
I think this was a good option http://www.classiczcars.com/forums/showthread.php?t=42445
-
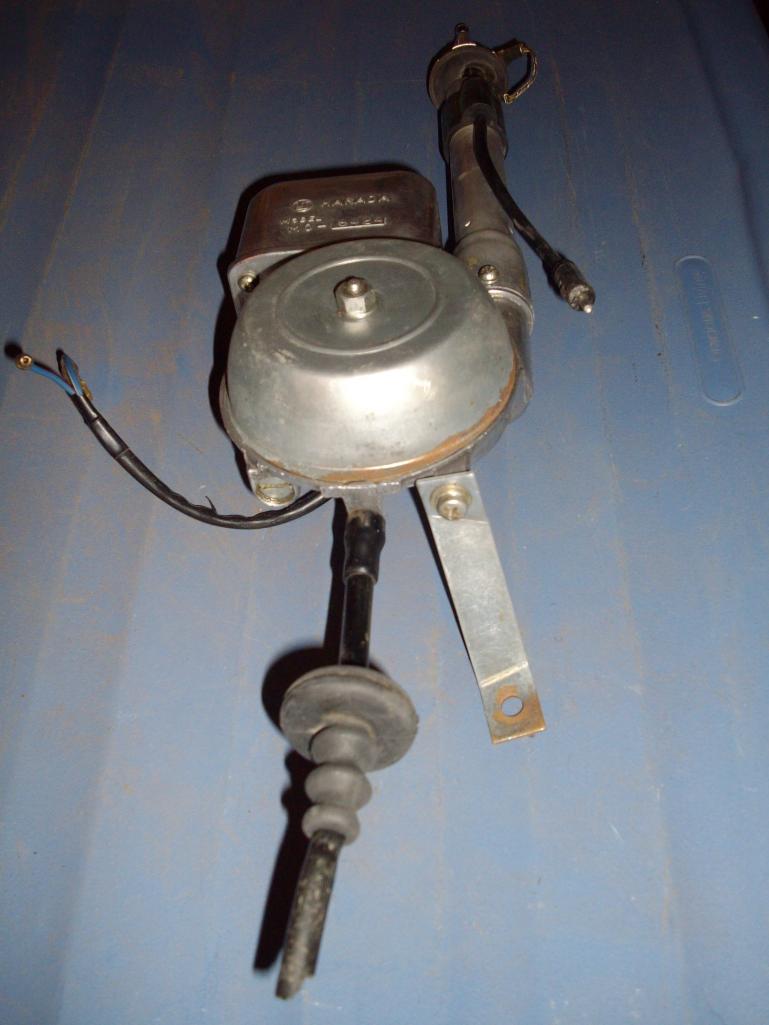
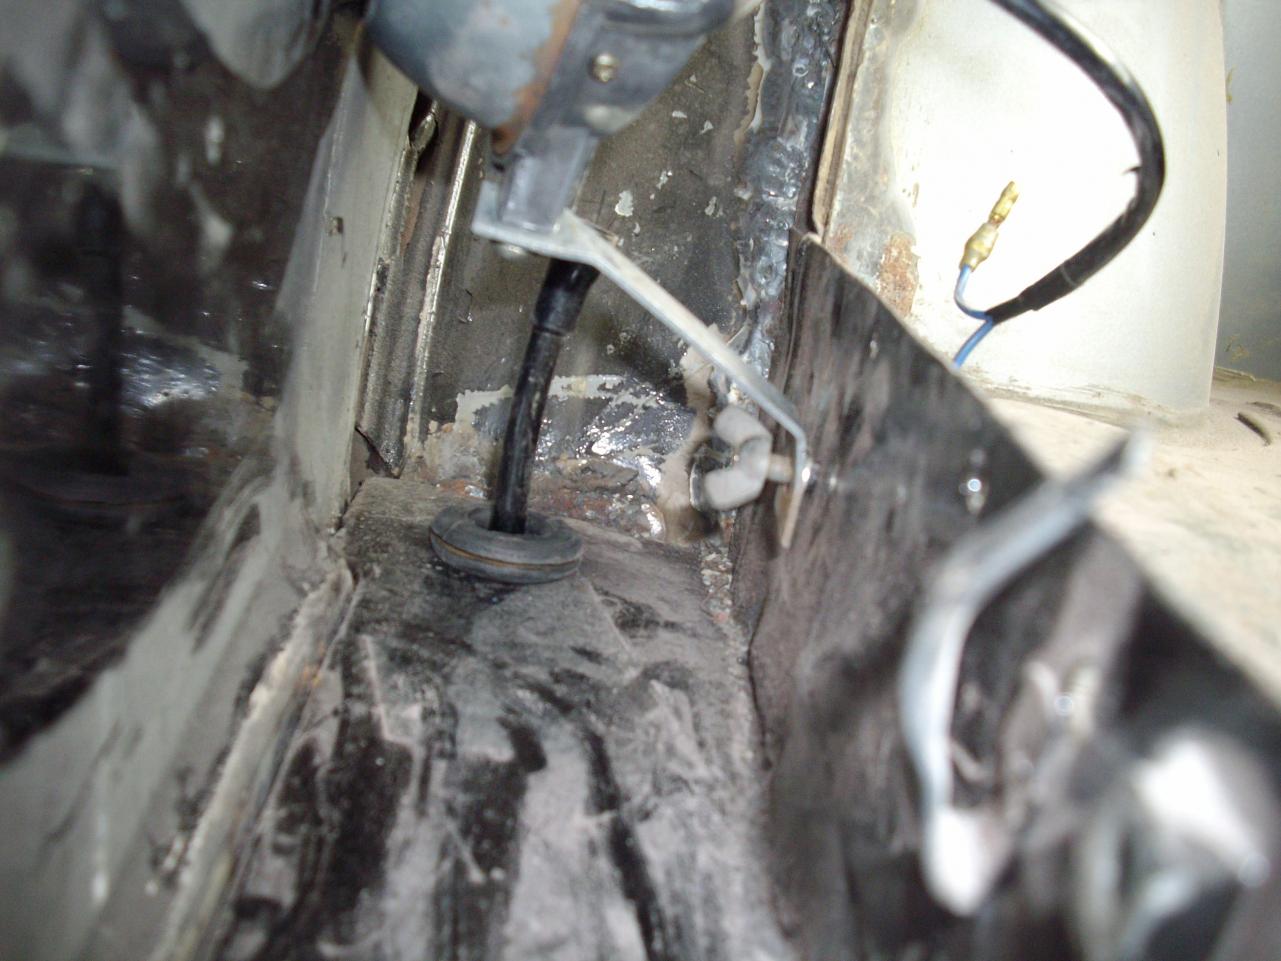
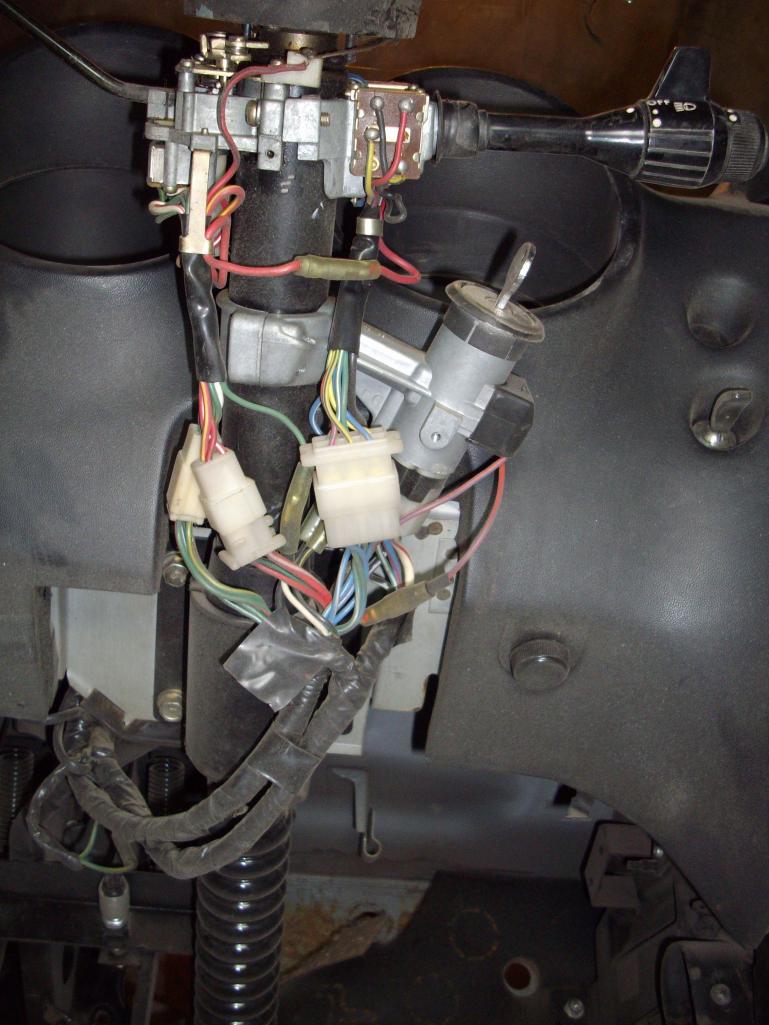
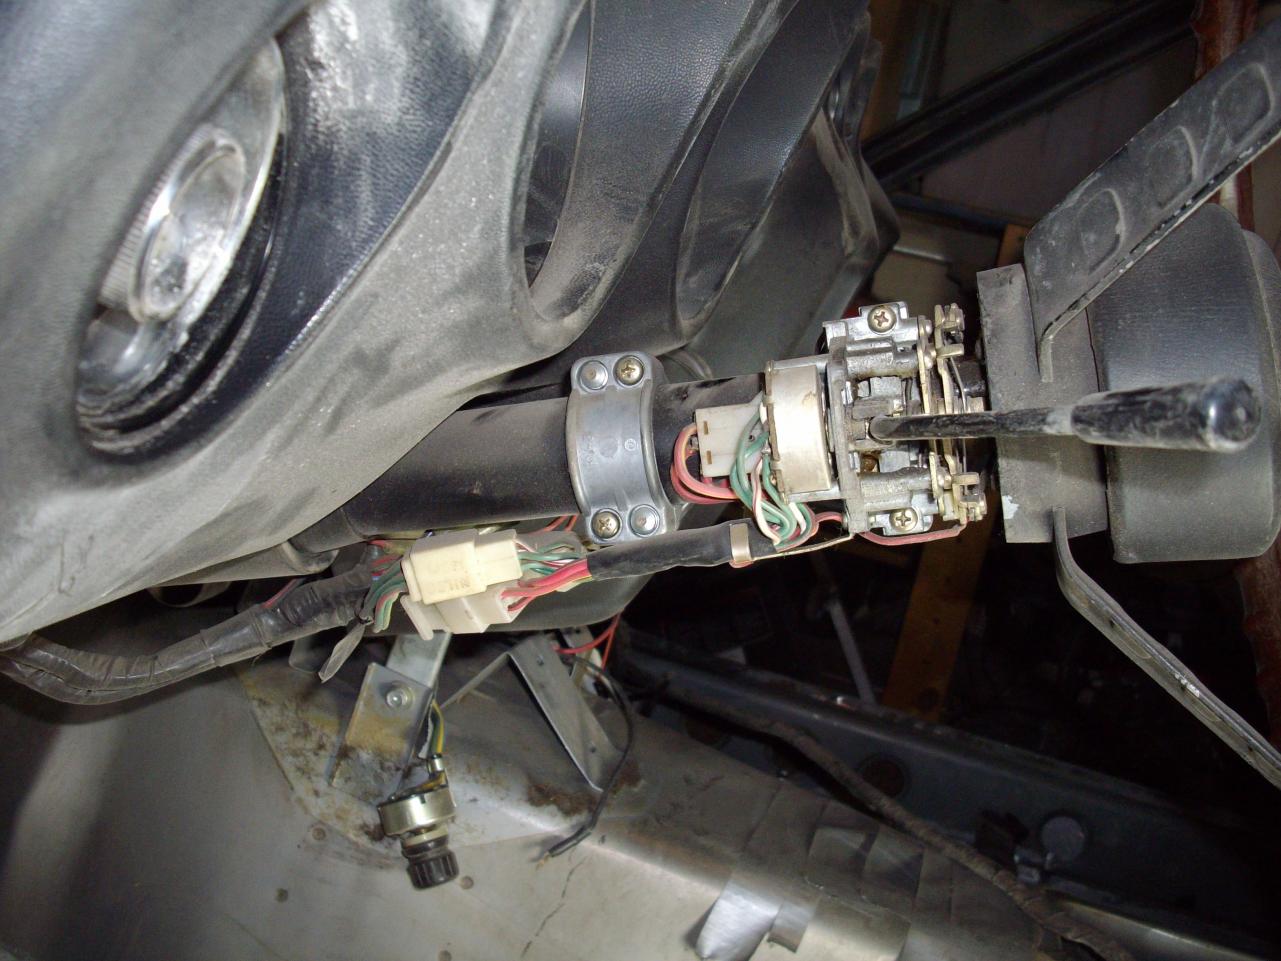
Here are a couple of photos of my unmolested steering column. Hope they help.
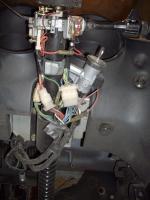
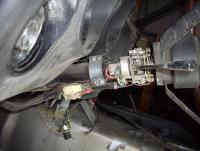
-
e-tek: It looks like you are putting the panels to good use. Keep up the updates. Dan
-
oranngetang: I have a few laying around that you can have, but I will not be able to get them to you until after Oct 7 or as Blue said, I can bring the ones he offered back with me.
-
I decided to go with POR 15 for all of the inner surfaces and a etching primer, light coat of paintable rubberized undercoating and then a coat of the same color as the car will be for the underneath the body, inside fender area, and frame rails. I had concerns as to anything else sticking to the POR and the reported fading due to UV. I decided on this while I was scraping all of the old undercoating off the car. Everywhere on the car that still the primer/undercoating/paint intact the steel was just like new. So if it worked after 40+ years I think it will last until the next owner does a restore in 40 or so years.
-
Blue: Are you saying that if I bring it out you will finish it for me? Chris: Thanks, I used a spot weld drill (OK I went through four or five before I was done).
-
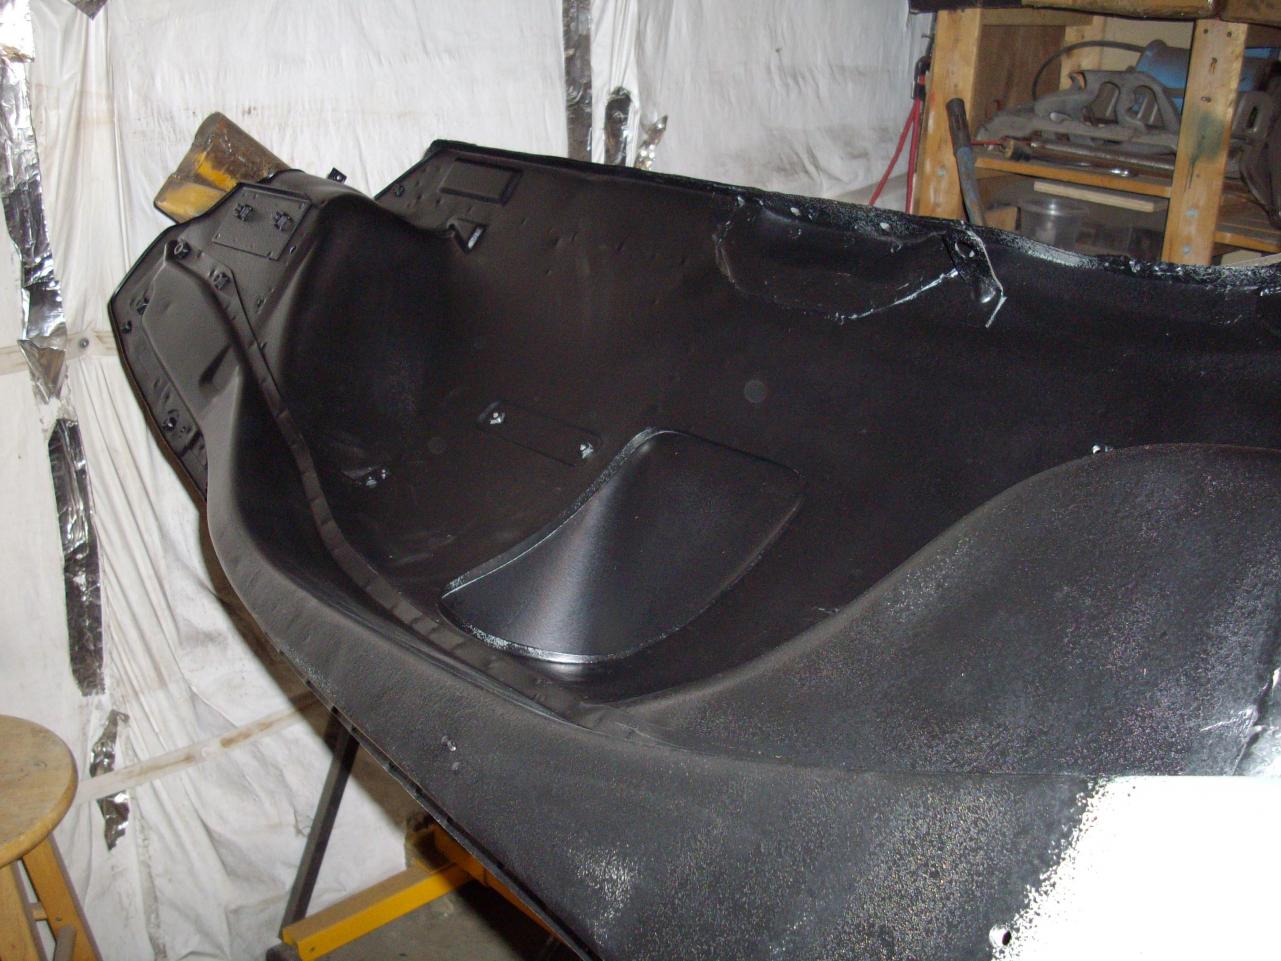
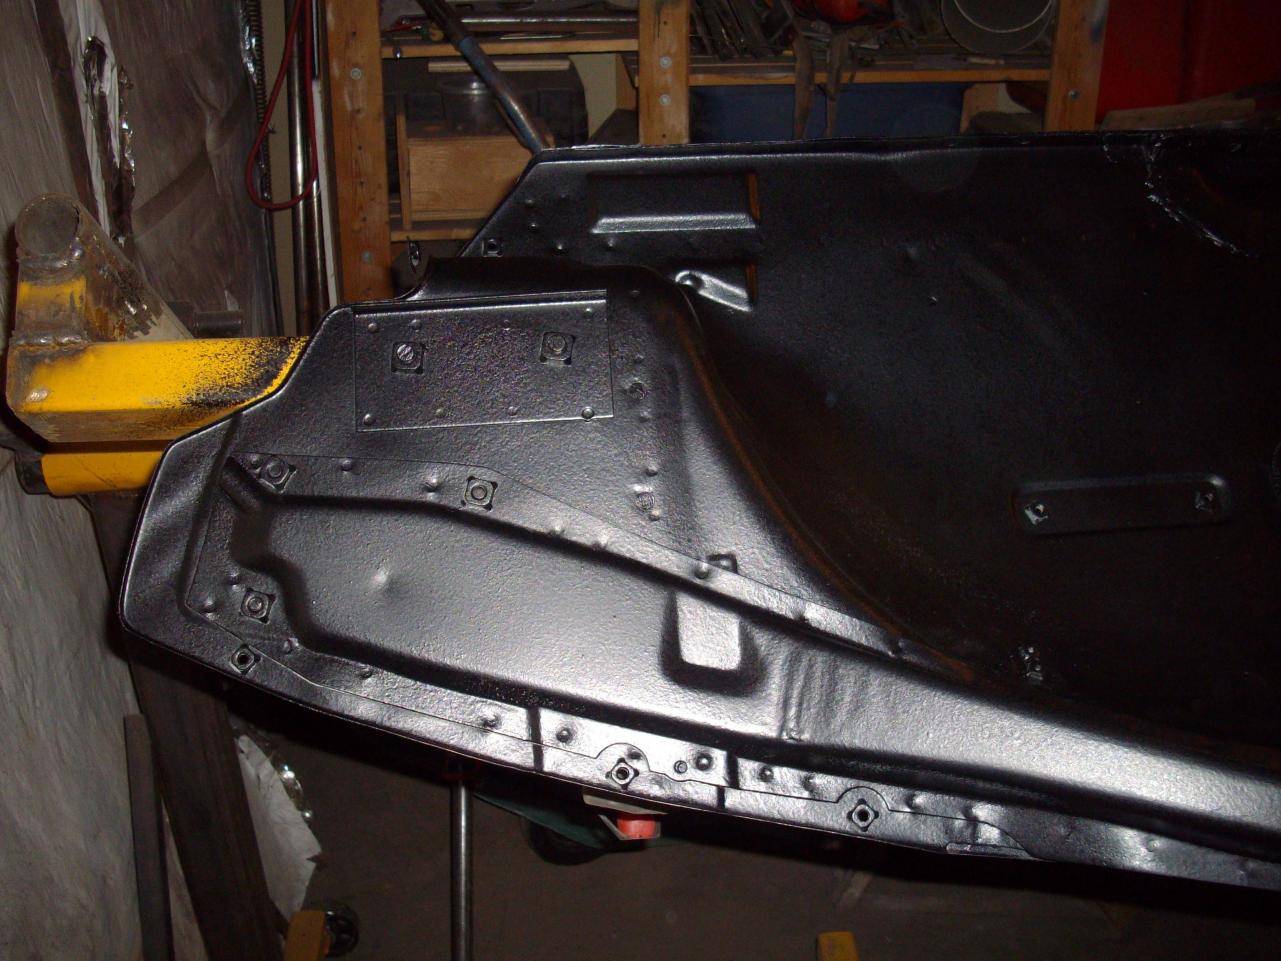
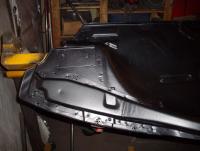
I have decided to go with a etching primer and paintable spray on undercoating. It seems to have about the right texture. Here is how it looks on car. I will paint it with the same color as the car before I flip it back on its feet
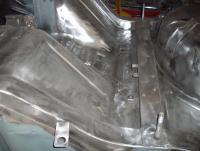
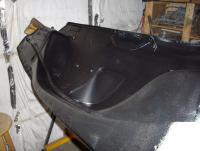
-
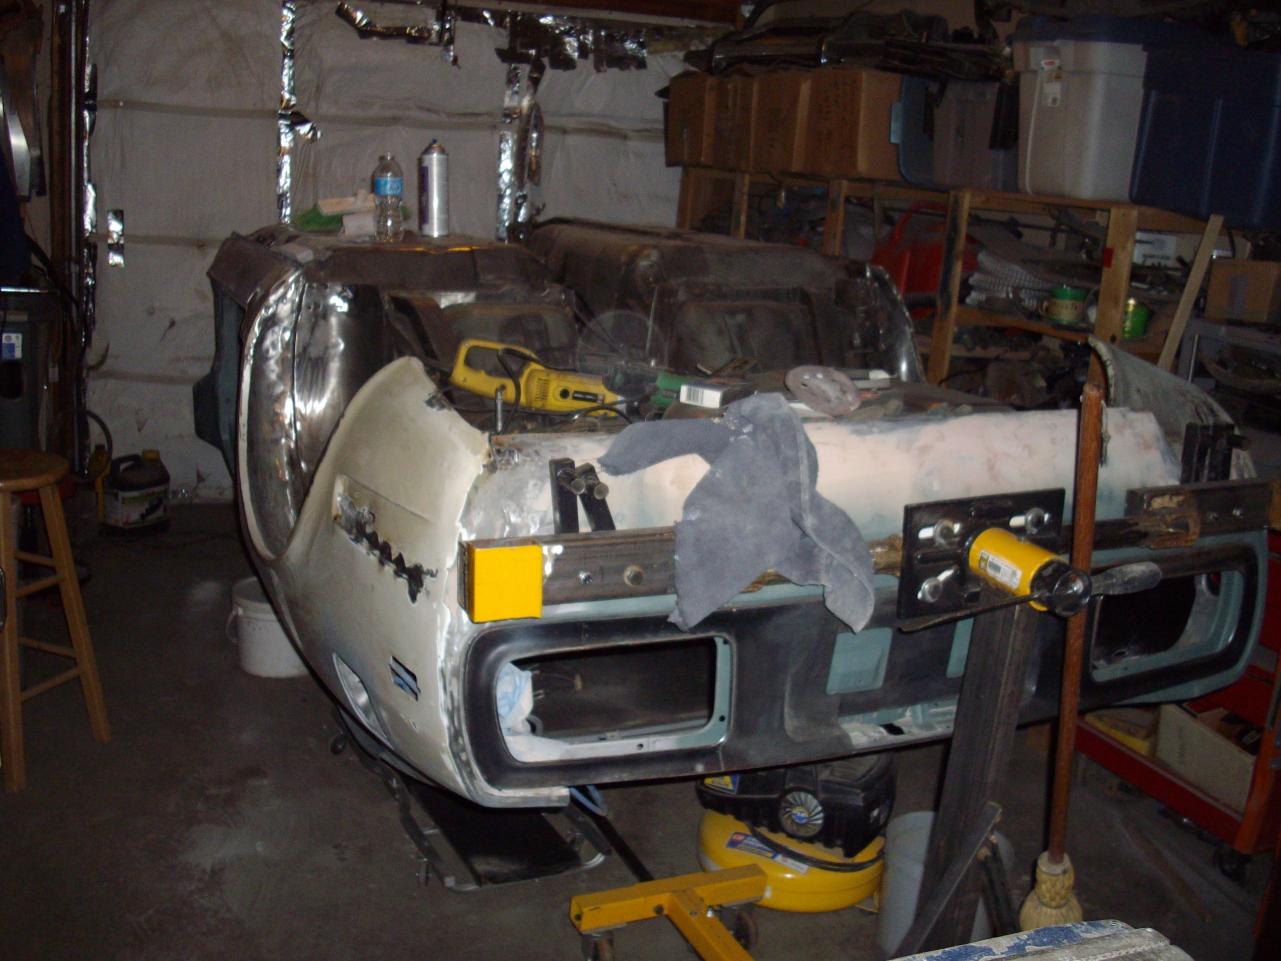
So, I finished the work on the hatch/tail light area and decided to clean all of the old undercoating off the bottom of the car. After getting tired of laying on my back and the stuff falling in my face, I put the car on the rotisserie and flipped it over. The job went better after that.