zKars
Supporting Member
-
Joined
-
Last visited
Everything posted by zKars
-
I may have mentioned this before, but I'm a huge fan of the Cunifer (Knickle Kopper alloy) lines. So easy to bend and flare. You know that tight little S shaped front caliper hard line? You can ALMOST bend it by hand into that shape. POC with a simple bending plier. And they shine up real purdy. I got my stock from fedhillusa.com, best price I found anywhere. I also bought their flare tool and various fittings from them as well. Their flare tool is top quality. BrakeQuip also has the alloy line and great flare tools as well.
-
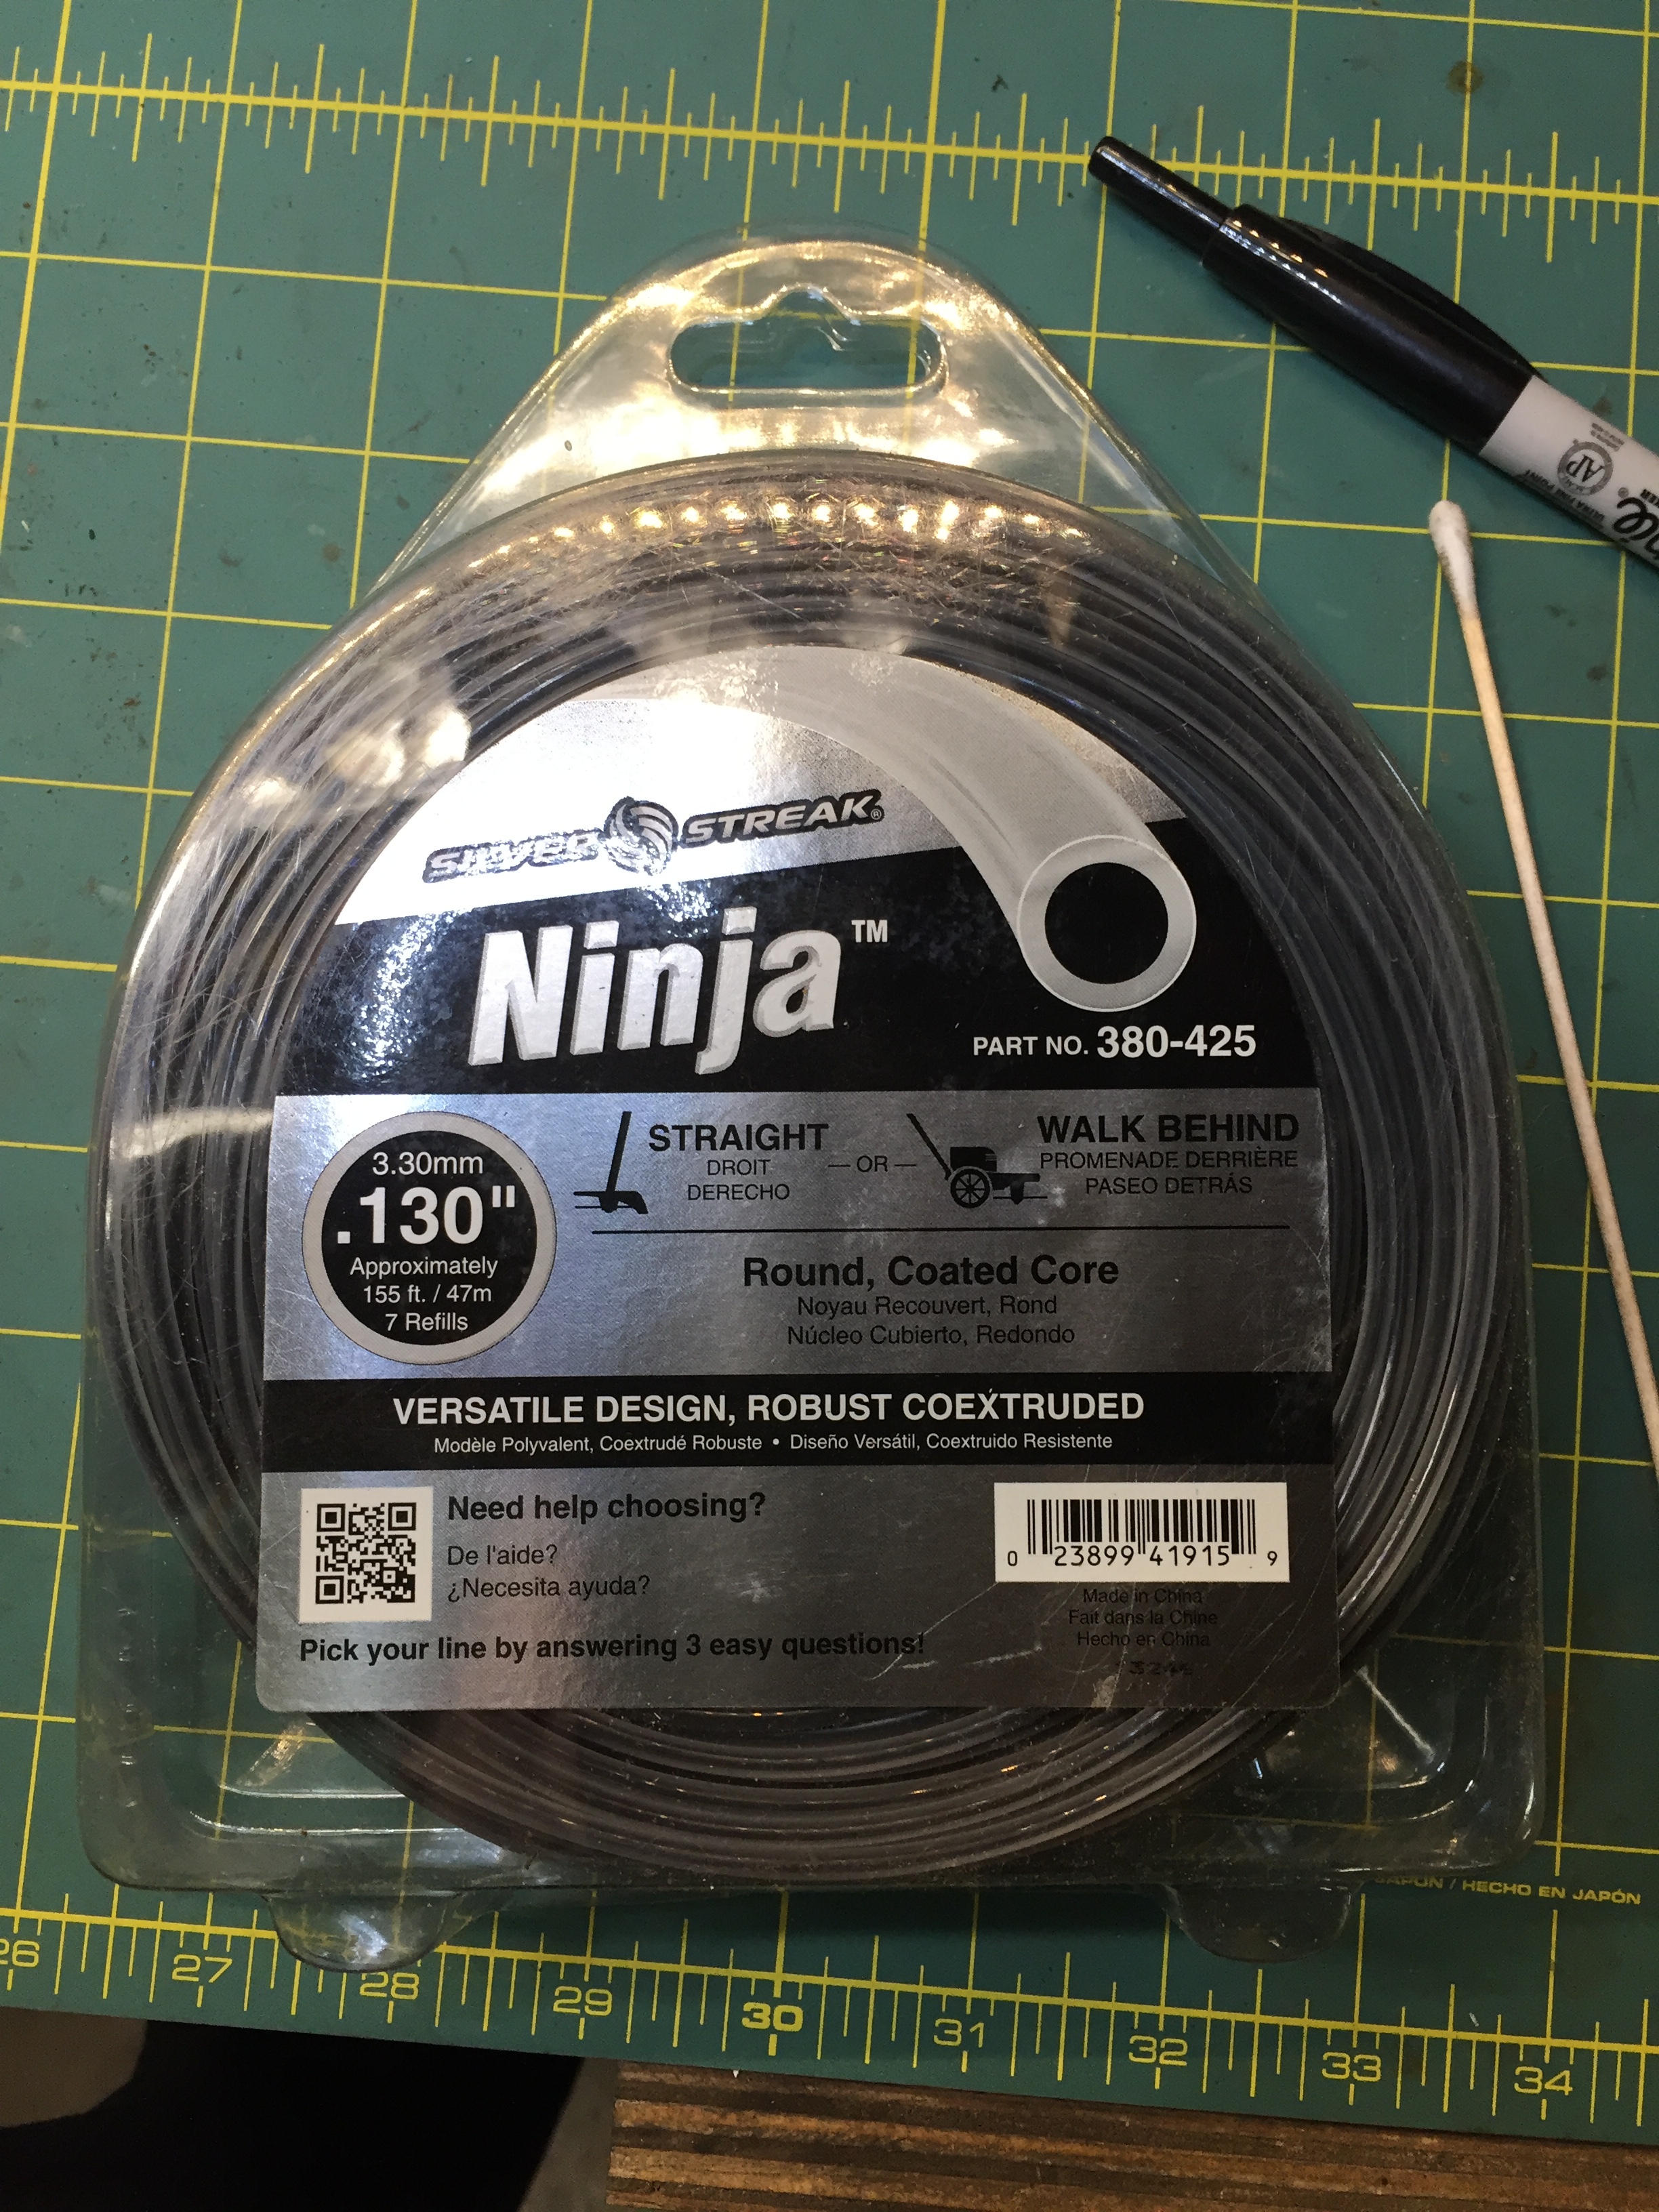
Well I just want to thank all that came before me in the antenna mast plastic pusher piece part thingy department. After receiving my 155 ft of 0.13 string, the repair took less than 60 minutes given what was previously divulged above. Now I'm the one with 151 ft of 0.13 trimmer sting if anyone needs some.... My poor plastic string was busted in two places
-
How co-incidental is this. I spent this week resurrecting the 10-15 year dormant fuel system on a 78. Every section of the hardlines, including the fuel rail, was plugged including the fuel pump. A lot of the old fuel sludge blew out with compressed air, but no such luck on the fuel tank itself. The tank had 40 litres of the smelliest grossest sludgy crap I've ever dealt with. I tried the poke it with a wire method with no luck, then I resorted to petro-chemicals (I used Laquer thinner) to melt the stubborn blockage in the return line. I hooked up a 3-4 foot chuck of 5/16 rubber fuel line to the return tube, and hung it vertically up beside the rear fender to get it higher than the tank. I then filled the hose with laquer thinner and gave it a couple of hours to work on the crud it was now in contact with. I tipped the hose down into a low pan and out poured first clear laquer thinner then browner and browner then dark rust/crud/sludge. I repeated this process one more time, got more crap out, then applied compressed air the line and PHOOOMMM blew out the last of the crap. The old Z now purrs like a kitten. Required a new fuel pump too.
-
It's not that O'rielly's has lash pads, its the Sealed Power makes them and O'Rielly's (and others) are suppliers. http://www.jegs.com/i/Sealed-Power/844/MR1895/10002/-1 Also the stock thickness is 0.016, but not really. Note the bottom of stockers have an indent where the valves sit, recessed into the pad. Aftermarket thicker ones do not have this recess. You have measure the depth of the recess and subtract that from the overall thickness. I think they are closer to 0.12.
-
Oh, just put a long strip of LED's on the hood lip that turns on when you open it, and leave that poor little light alone. That light has more period character than any other Datsun part.
-
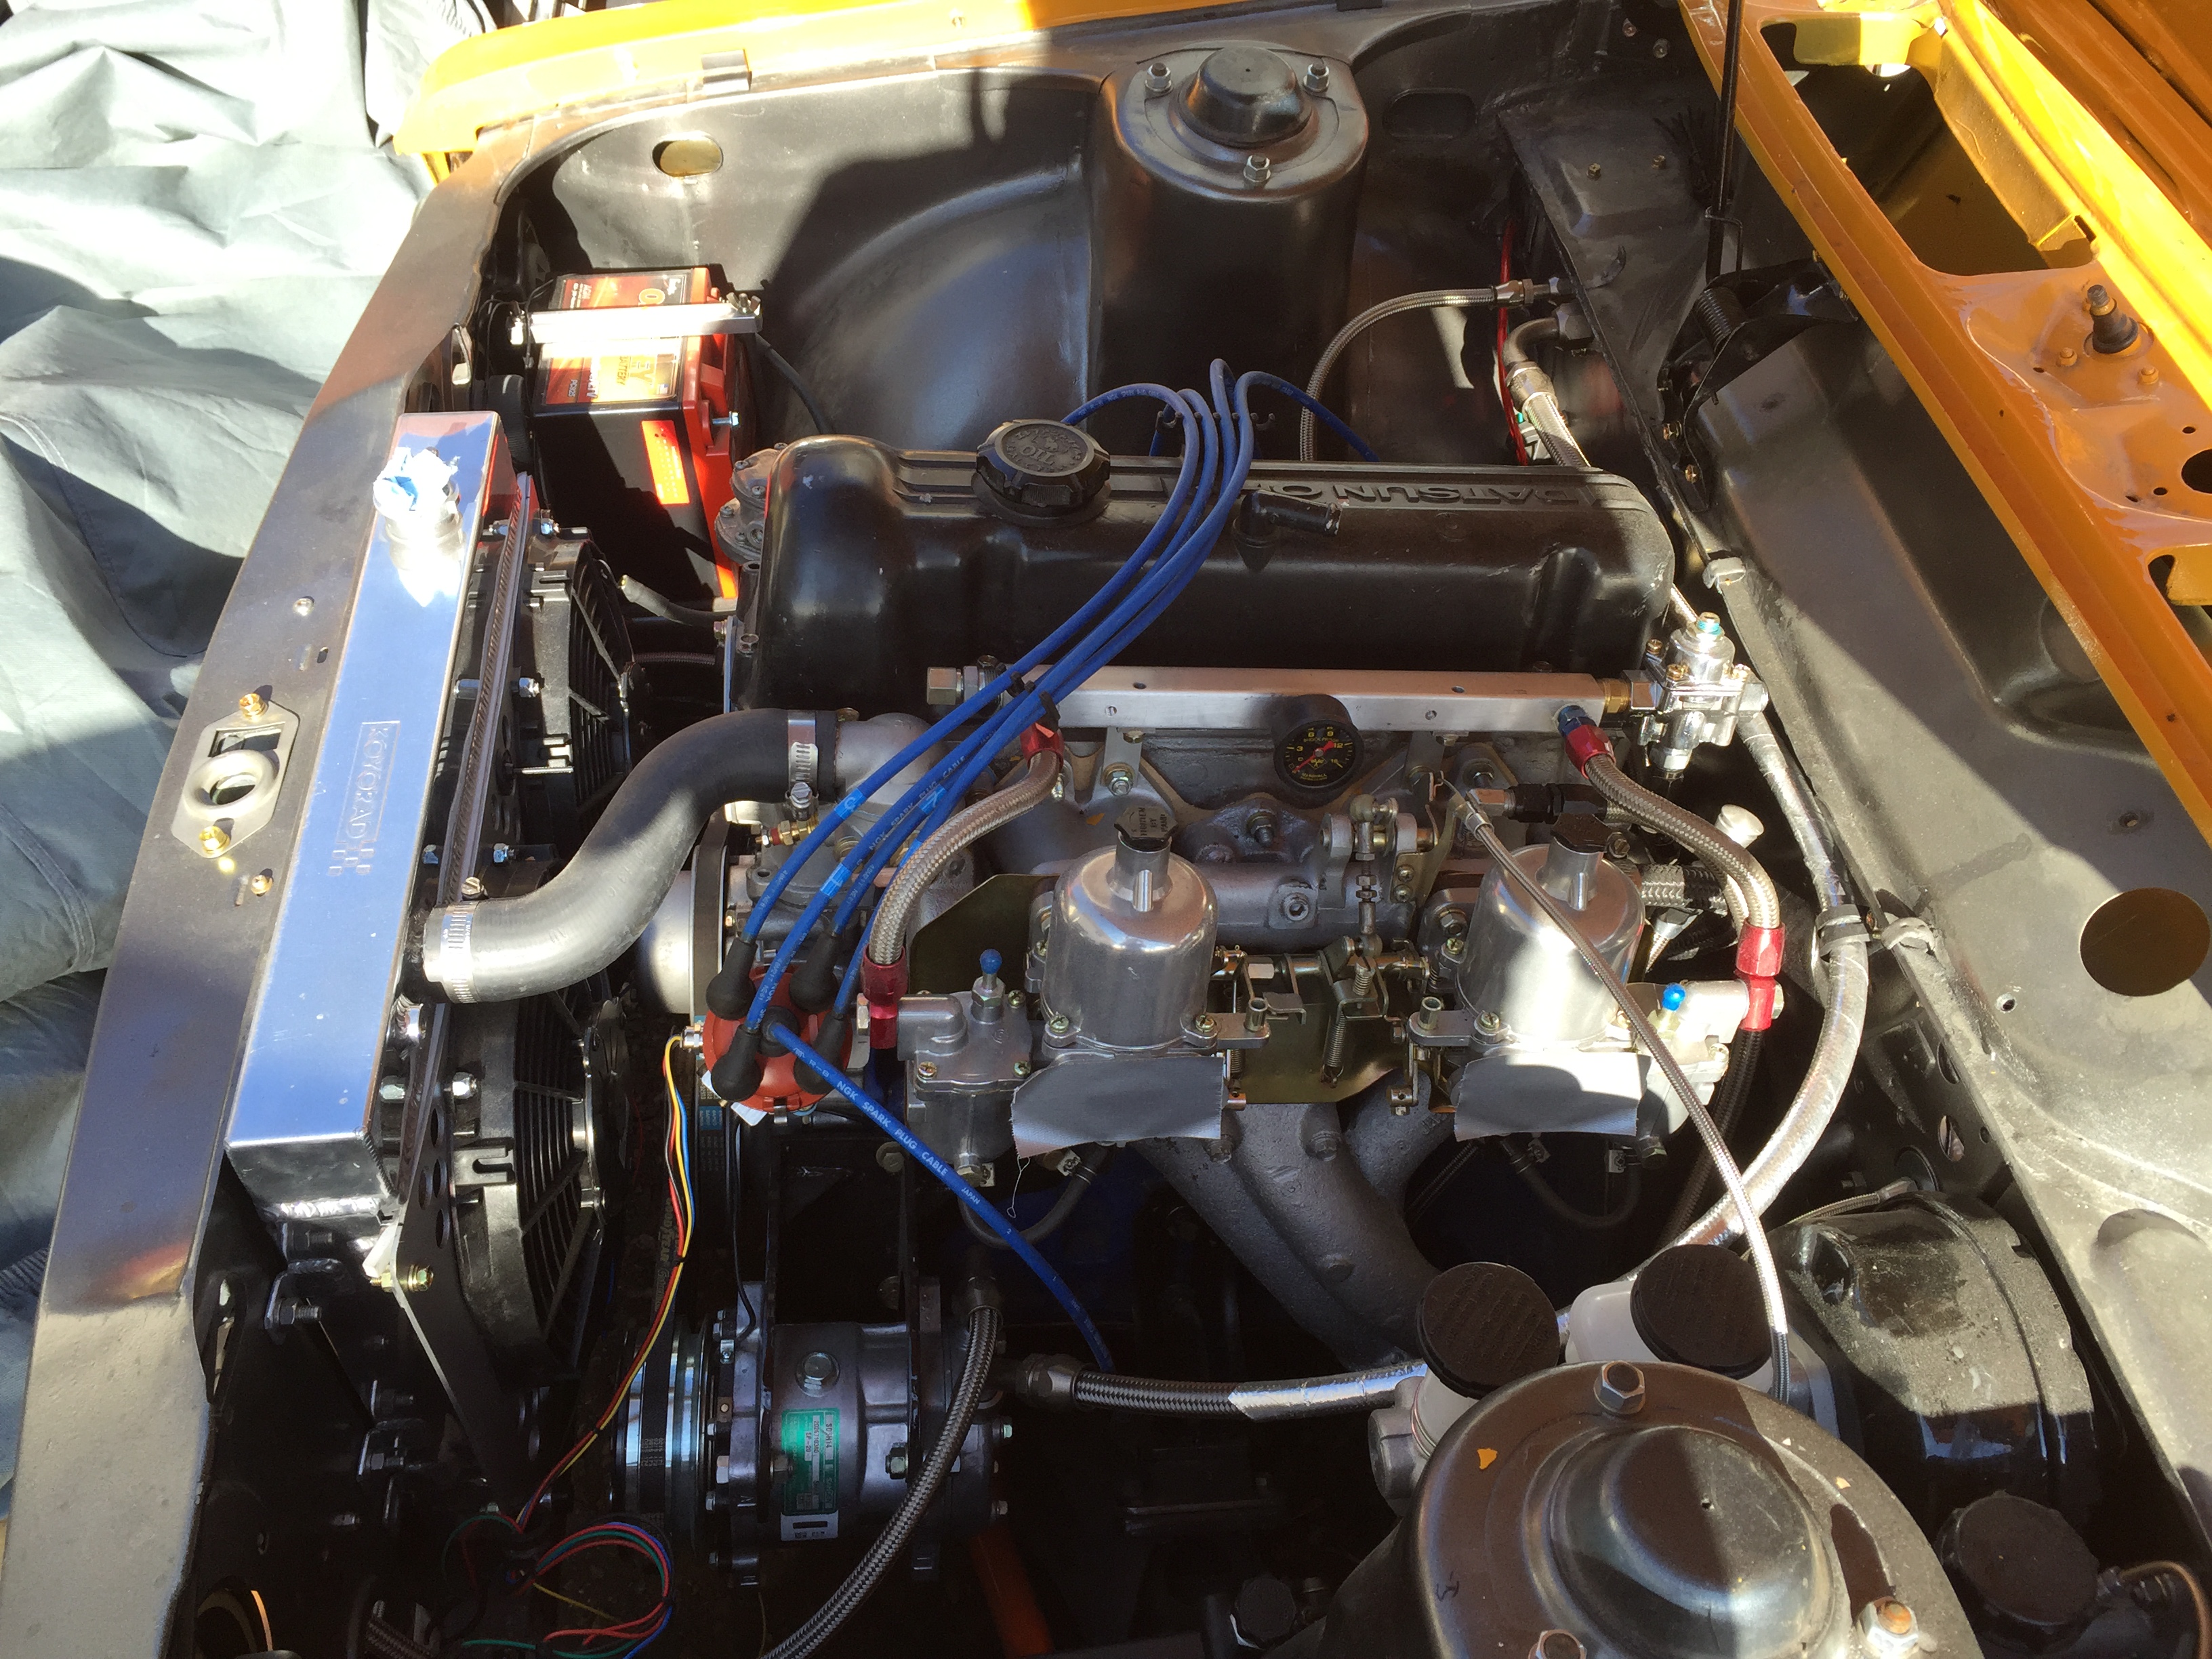
I purchased the engine for less than the original Rebello cost (second owner) but was still $3500. The head is a typical Datsun 2L head with large valves and some kinda nasty cam. Externally oiled. Chokes will have to be a dual cable system unless I get inventive. Had to invent many things on this car.
-
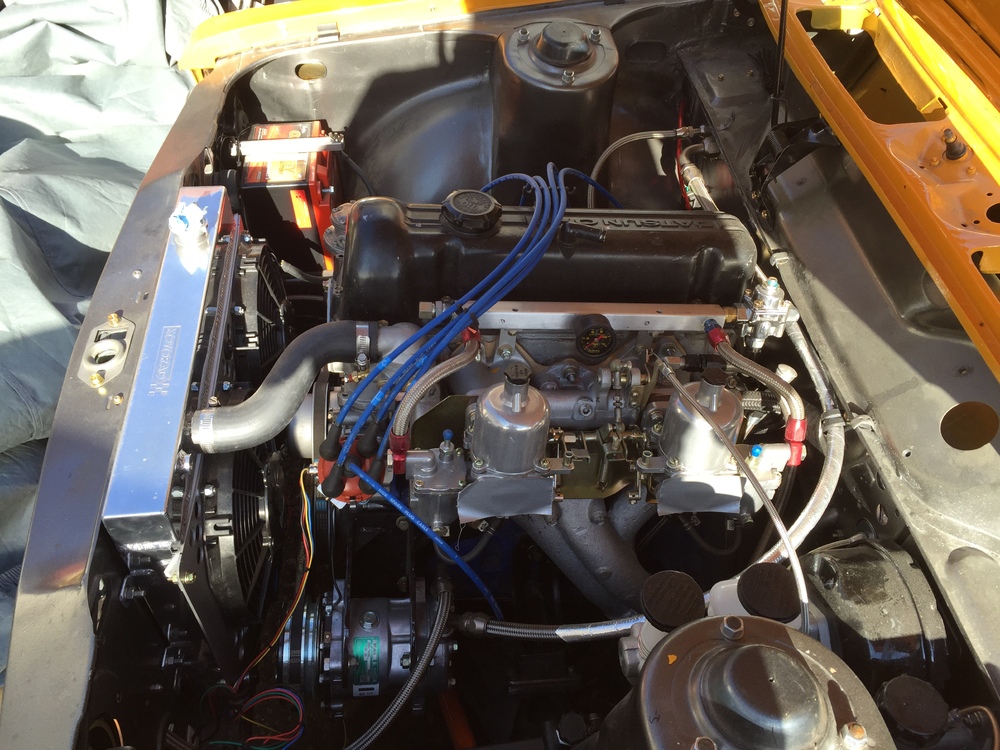
Here is a more recent picture of the engine bay.
-
Clever use of a non-Z forum so as not upset anyone. I like it. This is a hybrid engine. The bottom end is an LZ 2.4 block, and the head is a warmed up L20B. The carbs are fresh Ztherapy 46mm Z carbs. The engine was built by Rebello. 200HP dyno sheet. Only one as of yet not quite solved issue. The dang valve cover currently JUST touches the hood. Some action has already been taken to lower this extra tall bad boy, but I may have to shave a little off the top/front of that valve cover.... No way I want to put a hood scoop on this thing and hint at what lies below. Very interested to experience this sort of 2400 engine. Many of the interior control items are Z related. Likley the choke cables as well, That was a fairly early picture. I'll get some fresher ones once it gets back in the shop this weekend.
-
I really appreciate all the feedback. It seems that while Stihl 0.13 line may be no longer available, it seems there are plenty of other brands that fill the need. These links were sleuthed by 240260280 for me. Thankyou. I have exercised one of them on my busy Amazon account. https://www.amazon.ca/Stens-380-624-Trimmer-155-Foot-130-Inch/dp/B004HSA9Q6/ref=sr_1_fkmr0_2?s=lawn-garden&ie=UTF8&qid=1478866877&sr=1-2-fkmr0&keywords=stihl+0.130 https://www.amazon.ca/Arnold-Twisted-Trimmer-Line-0-130/dp/B00IU17G62/ref=sr_1_21?s=lawn-garden&ie=UTF8&qid=1478866939&sr=1-21&keywords=0.130+line https://www.amazon.ca/Oregon-21-330-Gatorline-0-130-Inch-Diameter/dp/B0018TY706/ref=sr_1_19?s=lawn-garden&ie=UTF8&qid=1478866939&sr=1-19&keywords=0.130+line https://www.amazon.ca/Stens-380-425-Silver-Streak-Trimmer/dp/B00FN0ERJM/ref=sr_1_27?s=lawn-garden&ie=UTF8&qid=1478867045&sr=1-27&keywords=0.130+line
-
510 indeed. Ask away. Unless you're asking if I'm crazy then I can just say absolutely.
-
One hates to jump to conclusions, but if this is as close to a new "z" as they can get, then I'm really going to get grumpy...
-
Well, I'm about to embark on this quest, and cannot find STihl 0.13 line in town or anywhere on line. It's part number is 0000 930 2577 but I'm beginning to think it's out of production. Anyone buy 100' and got 96' left over? Happily pay the freight.....
-
Oh for heaven's sake...

-
It's complicated. We'll see where the car actually ends up.
-
Not sure I want to admit what's next. It IS a Datsun, but not nearly as pretty...
-
Well I'm happy (and sad too..) to say this baby is history. She has been sold. Local buyer. On to the next project!
-
I've had a set of the billet ones on my 73 for 5+ years. No sign of wear or damage. Much tougher than the originals.
-
Here is a test you can do to determine if your current bushings are "ok" or need replacing. Clamp the cross member in a vise or to your work bench VERY solidly. Put as large a screw driver as you have through the hole in either bushing, or similar stiff rod, at least 12 in longer, longer is better. Put the tip of the bar in the hole, and leave as much handle length as you can out. Pry like mad on that bushing and make it flex. Inspect the stretched side for cracks in the rubber or separation from the center tube or outer shell. Do this in several directions. You might be amazed at the cracks you can't see with the bushing in its neutral position. I'm not a fan of the poly bushing in the trans mount. Noise transmission will be worse. Unfortunately if you remove the stock bushings and the outer shell to put the poly bushings in, then don't like the resulting noise, you can't go back to the stock bushings.... That said the series 1 cars had one cross member style that did not have bushings at all at the crossmember/body connection point (got it on my 71 right now) and I don't hear nothing from the trans... If I get a chance I'll drop by my local Nissan dealer and see if Canadian Nissan has access to those stock bushings too.
-
What is your objective? To get new bushing because yours are worn out, or are you restoring and want new bushings? I can get you a decent crossmember with good bushings if you are just want to improve things. It's just as important to get a new trans isolater mount as well if you haven't done so yet to get your drive line angles back to spec. I couldn't believe how much my old one had sagged when I was chasing a drive line vibration. Nearly 1/2 or 3/4 of an inch!
-
17813 has them too.
-
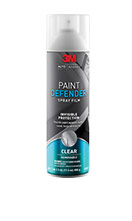
Dis is da stuff :http://www.autozone.com/landing/page.jsp?name=3m-paint-defender-spray-film
-
I love the fuse box cover protection idea, but I'm quite sure it would remove the lettering if peeled off. Depends on if the heat you need to melt the glue gets high enough to affect the lettering paint. It looks so clear I'd doubt you'd ever want to remove it. Just keep it waxed! I also love the battery tray area protection idea, definitely challenging to do using the film, but a breeze using the spray on stuff.
-
Oh yeah! I also peeled the aged, dirty, marked up, scratched protective films off my iphone and ipad screens that I spent WAY too much to get in the first place, and stuck on a nice chunk of this nice clear film. Spent about 30 cents and got nice fresh thick film. Looking through it right now while typing this. I can now safely duct tape my IPad to the front of car and do the Go-Pro thing and never worry about rock chips again.
-
When I had my 73 painted, WAY back in 2008 (9?), I decided to get the front facing surfaces "3M"'ed with that clear bra stuff. Found a good little local shop with a guy and his wife starting out, and they did a great job. Across the hood up to the hump, front edge of the head light scoops, on each headlight and behind each wheel to catch gravel spray. Cost me ~$400 bucks. I keep it waxed and it still looks good (ie I pretty much forget it exists) to this day. I had it applied to a new Nissan Altima right after by the dealship and that was more like $800. Ouch. I has intrigued me for a couple years on and off and I decided to go buy some of this stuff and see just how hard it is to apply. My application idea is actually to apply it below the master brake cylinder and over the frame rail down to bottom of the rail below the firewall to protect against brake fluid damage. Why is the topic for whole nother thread. Let's just say I'm getting good at applying white paint.... So there are two kinds of film. Solid color/pattern "vehicle wrap" vinyl and clear paint protection vinyl. The "Wrap your Ride" vinyl is thinner and more conformative, the clear paint protection stuff is thicker. So after some experimenting, I found that this stuff is not simple to install, but it's well within the skills I know most of you/us have. Find the local vinyl wholesaler and go buy some scraps, a few simple tools, some squeegee bottles and go after it. I've done a few parts of the white 71 that's on its way to finding a new owner. I hope. A great first project was cutting out two 6.5 inch circles of the clear and sticking it on the headlights. Easy peasy. They are not flat and need a little sqeeqee action and heat to make them disappear. Putting the piece on the frame rail was easy, its flat, just a bend over the edge. Now the chunk under the brake master is very very NOT FLAT, and it took some trial and error to learn how to do that with fancy heat and squeegee action, but I got it. I'd show pictures of it, but frankly you can't see it! There is another option. Spray-on clear paint protection from 3M. I bought a couple of cans of it about 5 years ago when it first came out (rather then the "dip" crap, although I'm sure it's gotten better). I applied it to the underside of the front valence, which was off along with the fender, It's drying tonight, after a second attempt. I think it will look great given what I've seen so far. Clearly it's a shorter term solution, its rated for a 2 year life. Stuff is cool, after the first attempt met with a couple of "issues" during application (I won't go into the nitty gritty details, cough cough...), I let it dry for all of about 3 hours, and most of it peeled right off like it was the clear vinyl stuff. Trick is to apply it thick enough so the resulting film is strong enough to withstand peeling later. The vinyl wrap and paint protection films are the best option for time, function and appearance. Watch a couple YouTube video's from the manufacturers to get the general methods, and give it a shot. You can buy pre cut paint protection kits from ebay for most modern cars and the simple tools to apply it, Then its just spray, position, squeegee, heat, pray, curse, lift, spray, stretch, sqeeqee, repeat, heat, done! Best thing is, if you screw up, peel it off, no harm done.
-
Another usage report. I had a large sheet of this stuff attached to a certain white fender that was off a certain white car for about 6 days. Put the fender back on tonight, and peeled the stuff right off. The tack was pretty/semi agressive, but it peeled off the paint no problem. No marks, no residue. still like it.