


Leaderboard
-
Captain Obvious
Free Member8Points10,081Posts -
conedodger
Free Member5Points12,513Posts -
Patcon
 Subscriber
 3Points11,142Posts
 -
zKars
Subscriber3Points3,770Posts


Popular Content
Showing content with the highest reputation on 07/12/2024 in all areas
-
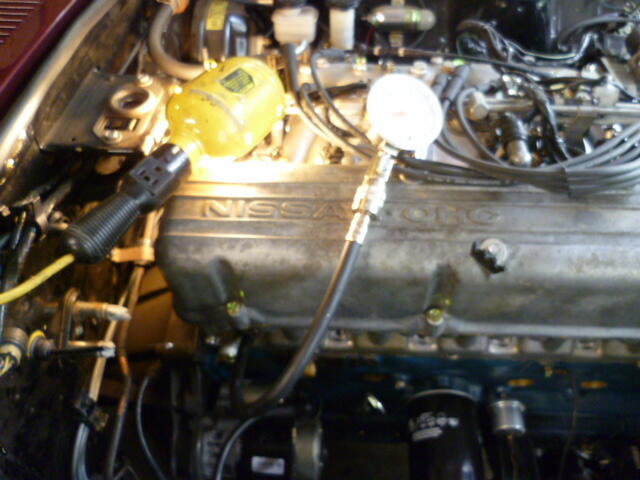
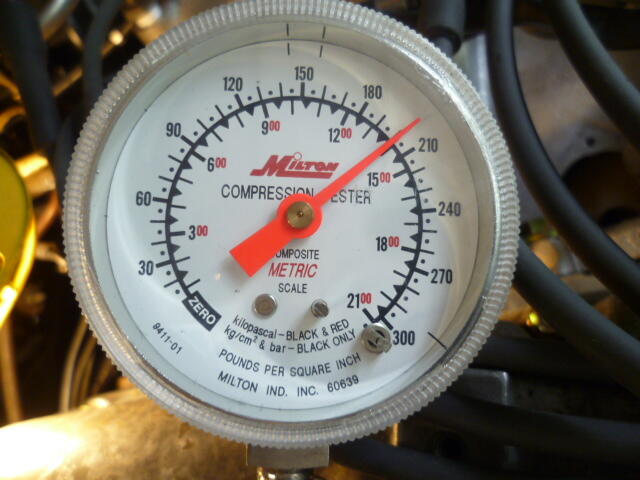
3 pointsYup. They are all 200-210, and I'm pretty happy with that. That's the motor I have been building (for way too long!) for my 77 280Z. It went around the big country block yesterday!! Then that compression test was when I got back. Looking good so far! I got one cylinder running cooler than the other five, and I'm not sure yet what's going on with that, but I'm pretty happy. I haven't opened it up WOT yet on the road yet. Want to give the rings time to seat without making anything angry.2 points2 pointsFWIW, I fitted a 185/70 to my OE steel spare wheel and it is an exact fit in the spare tire well, the spare tire cover fits nicely into it's original position. As an aside, for anyone running aftermarket wheels there is a possibility that that the lug nuts may not be a good fit against a OE steel wheel so place a bag with a set of OE lug nuts in with the spare tire.2 points2 pointsOf the two, only one works. And it looks pretty much new. It's here if you need it.

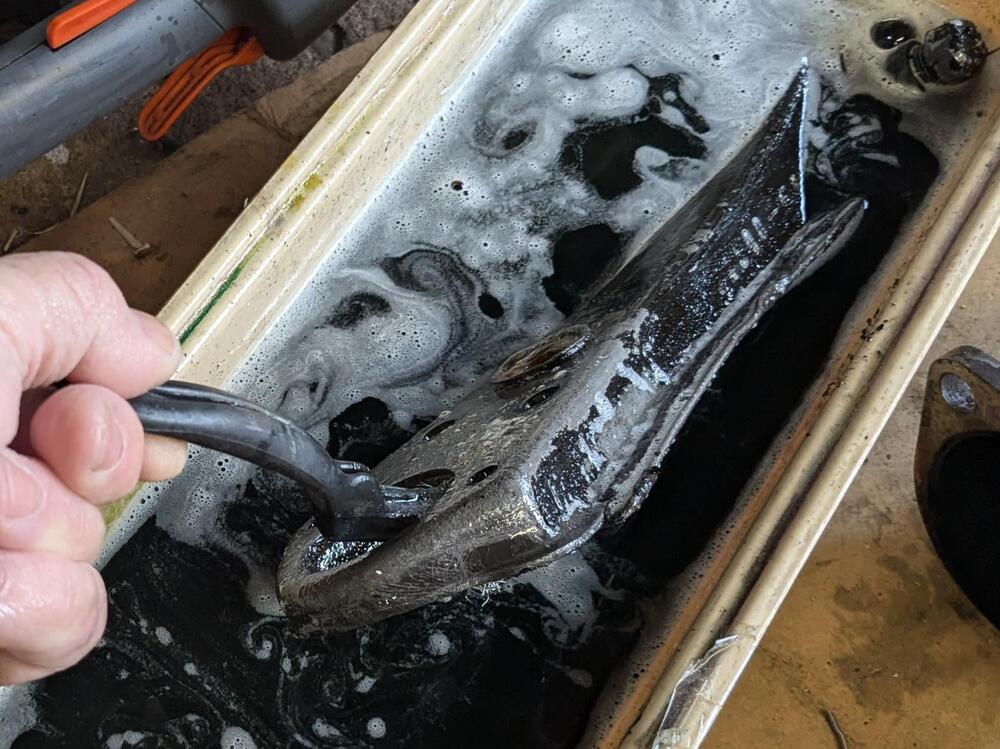
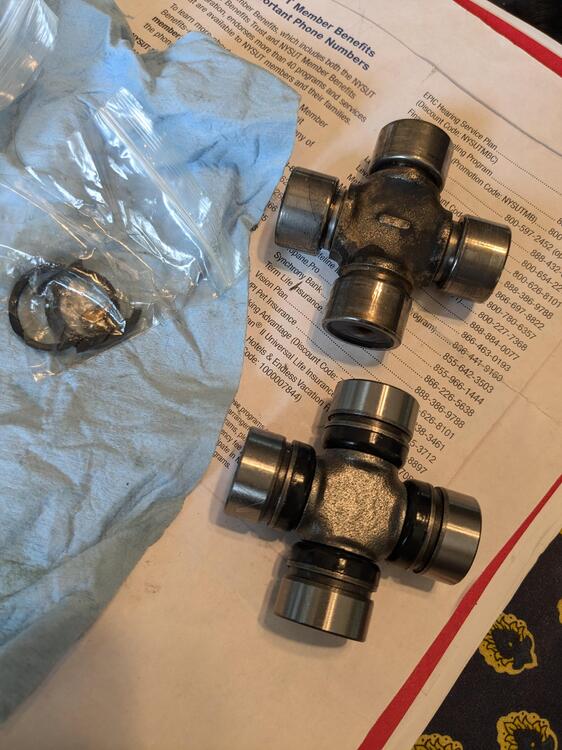
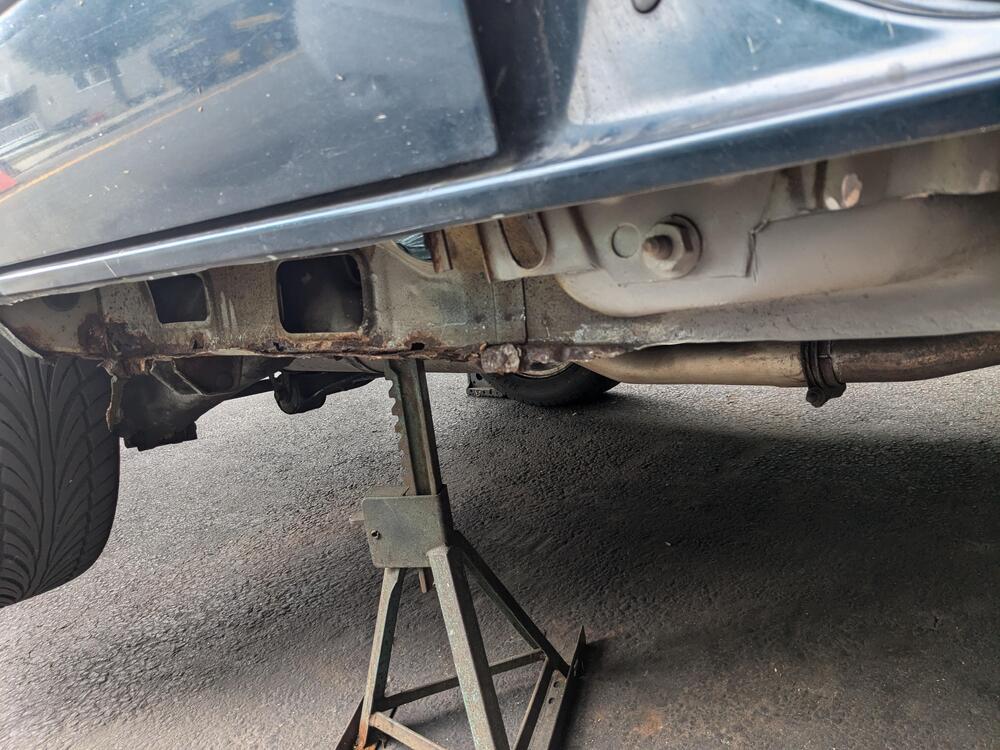
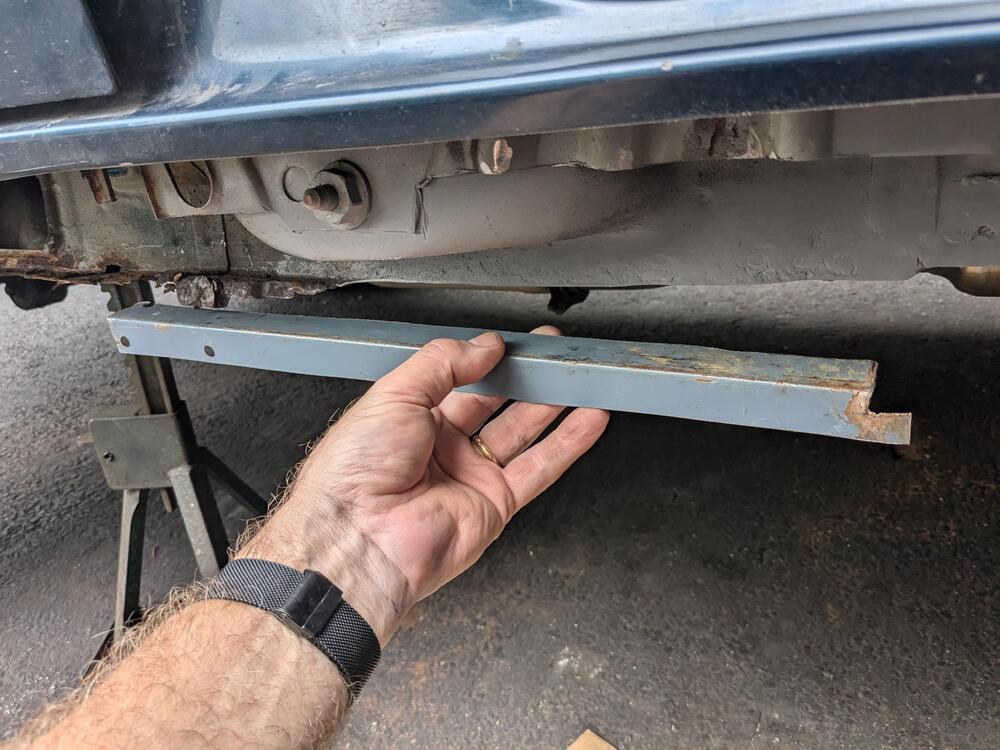
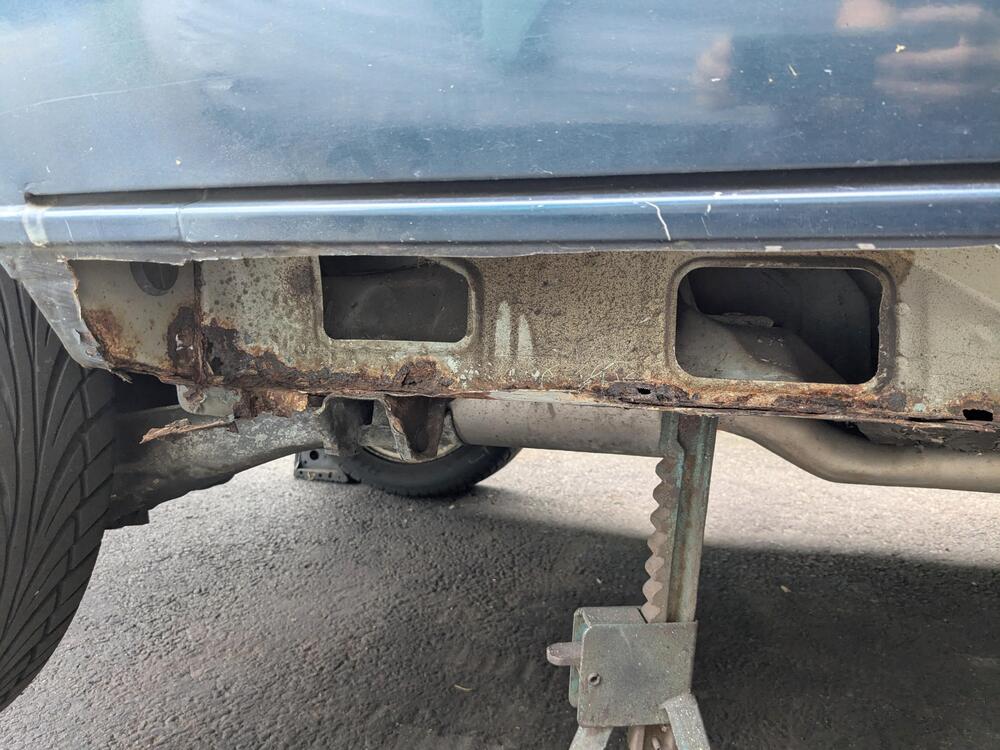
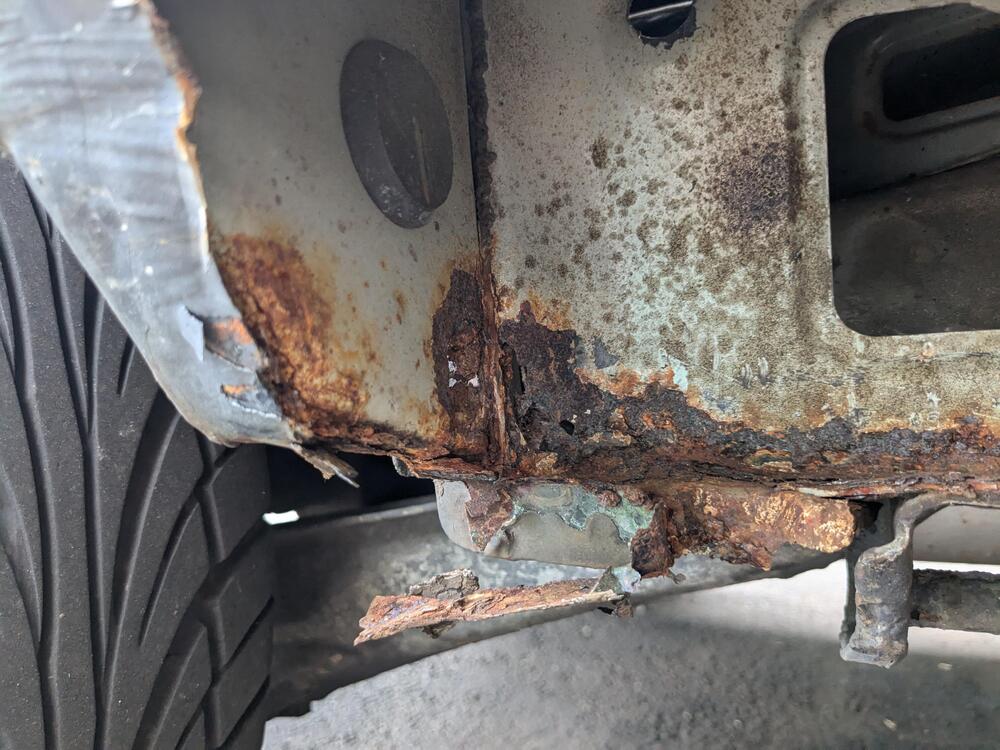
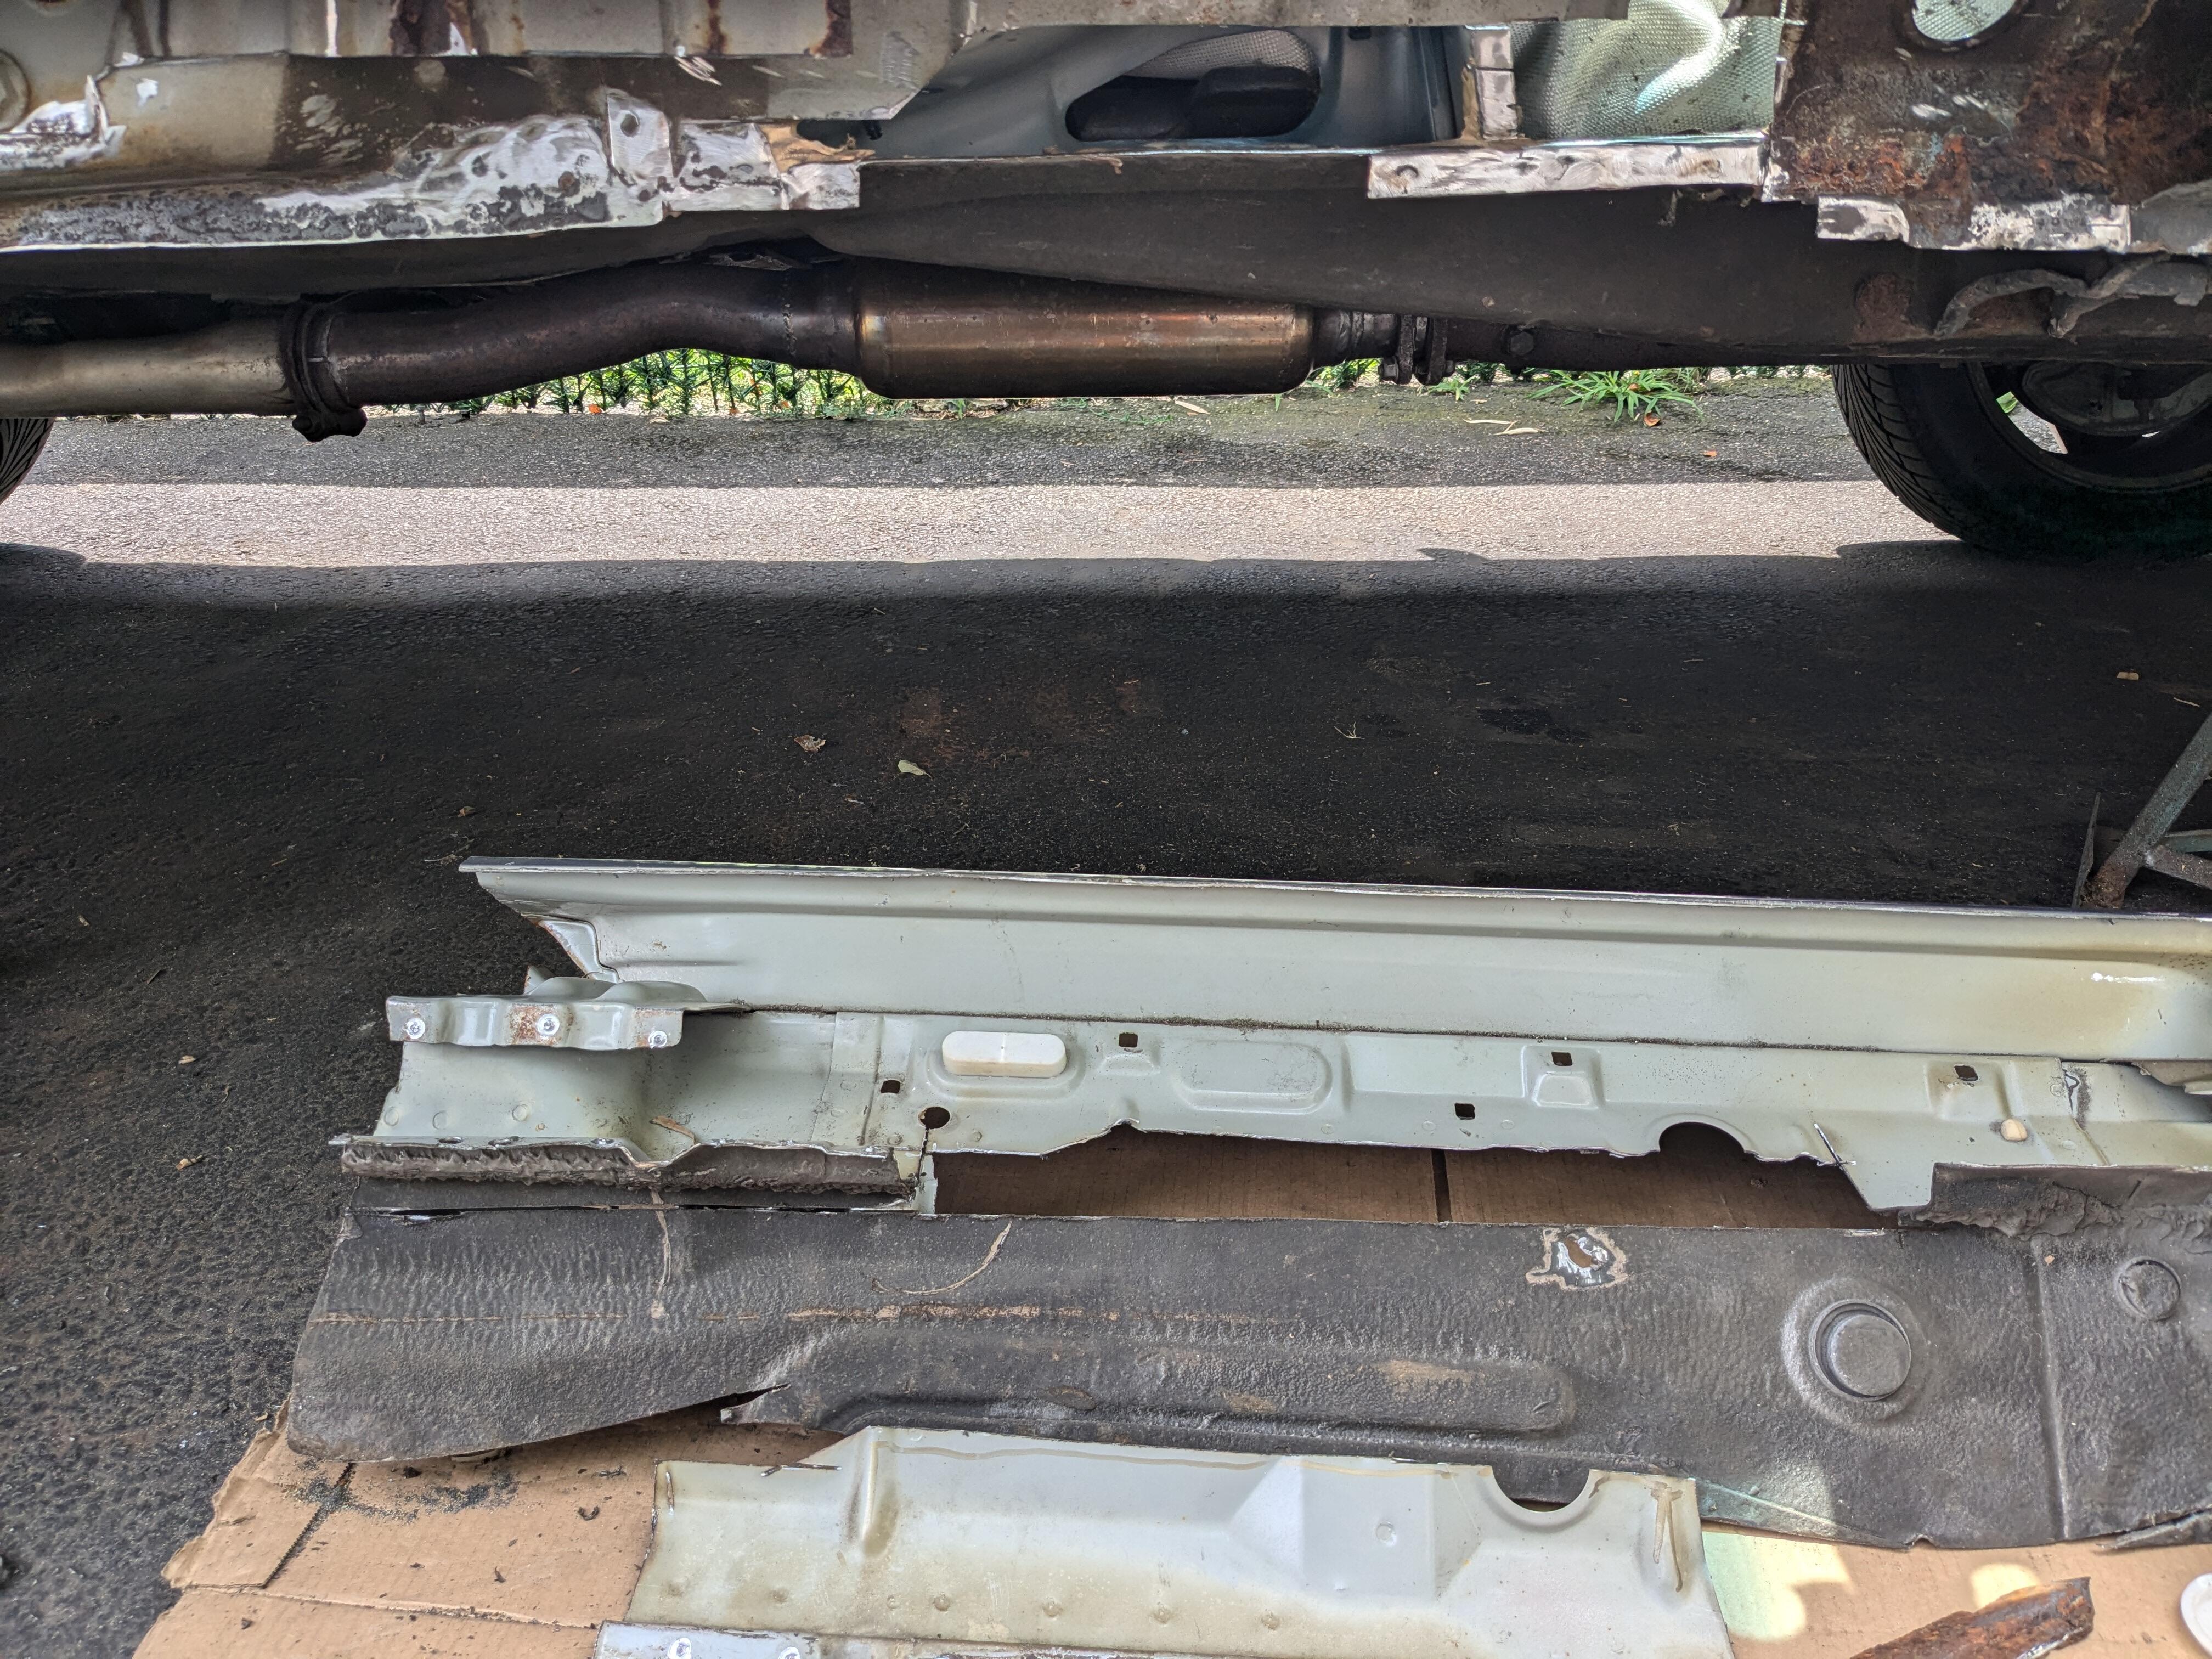
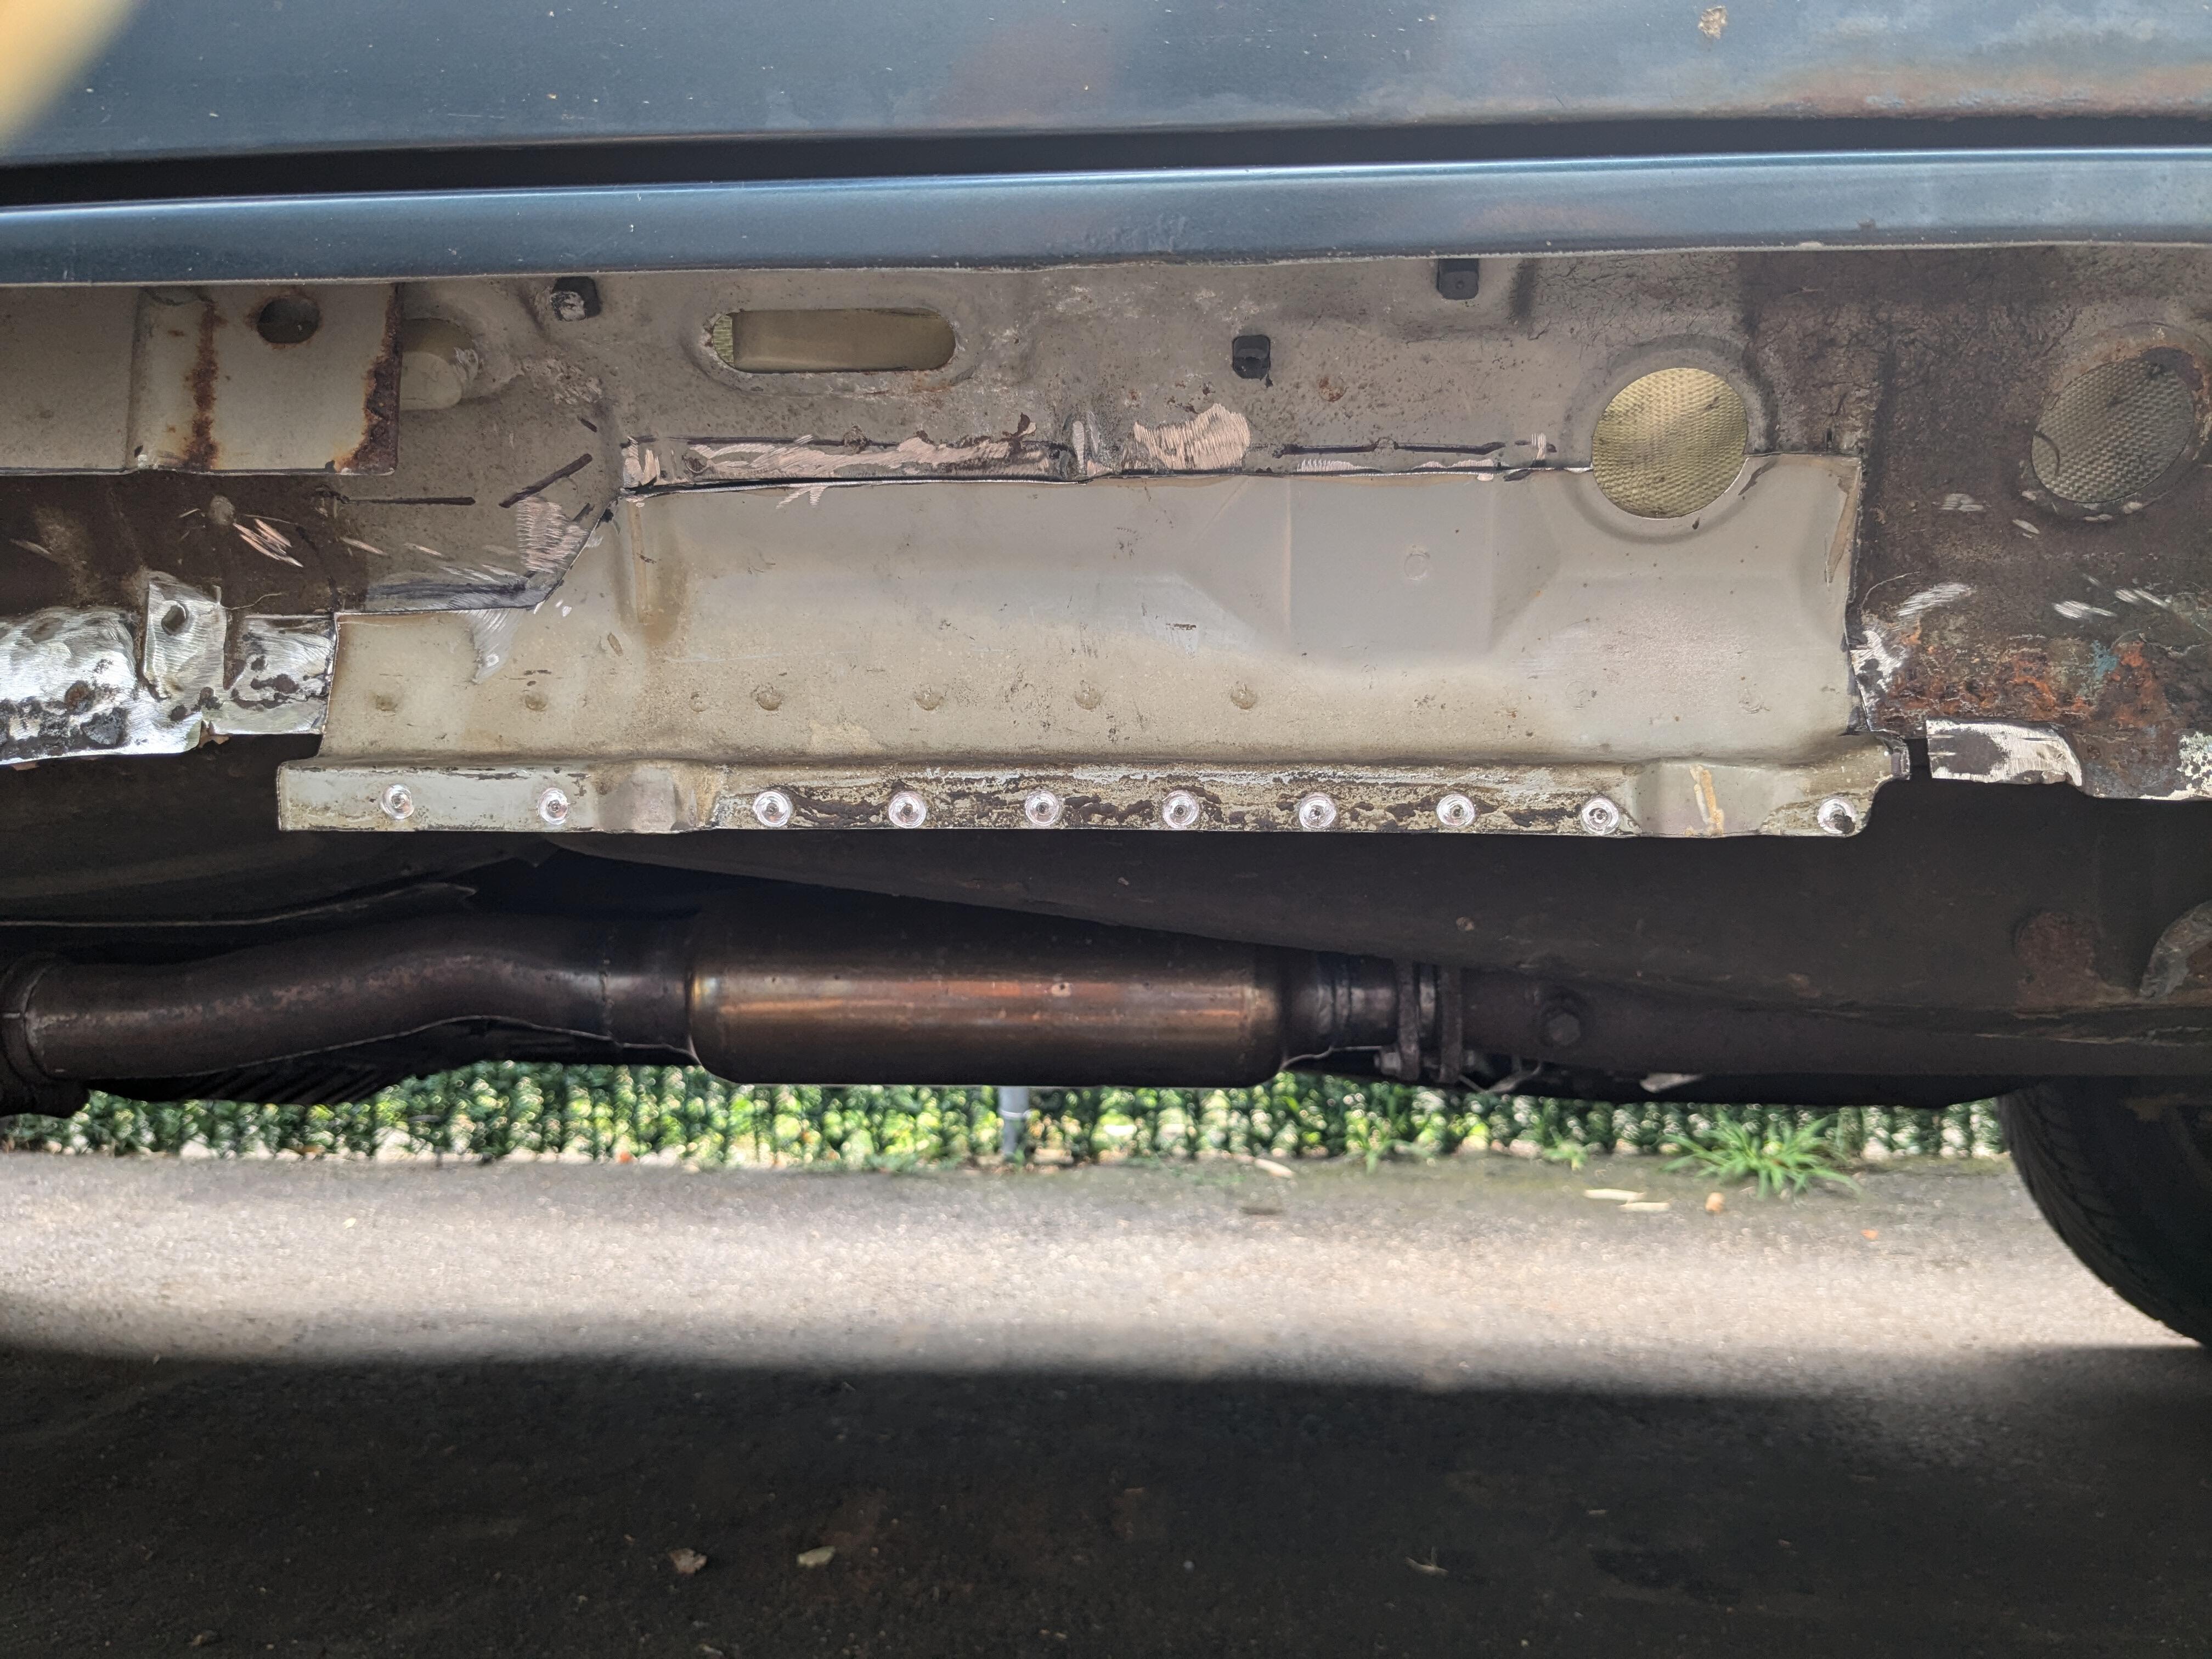
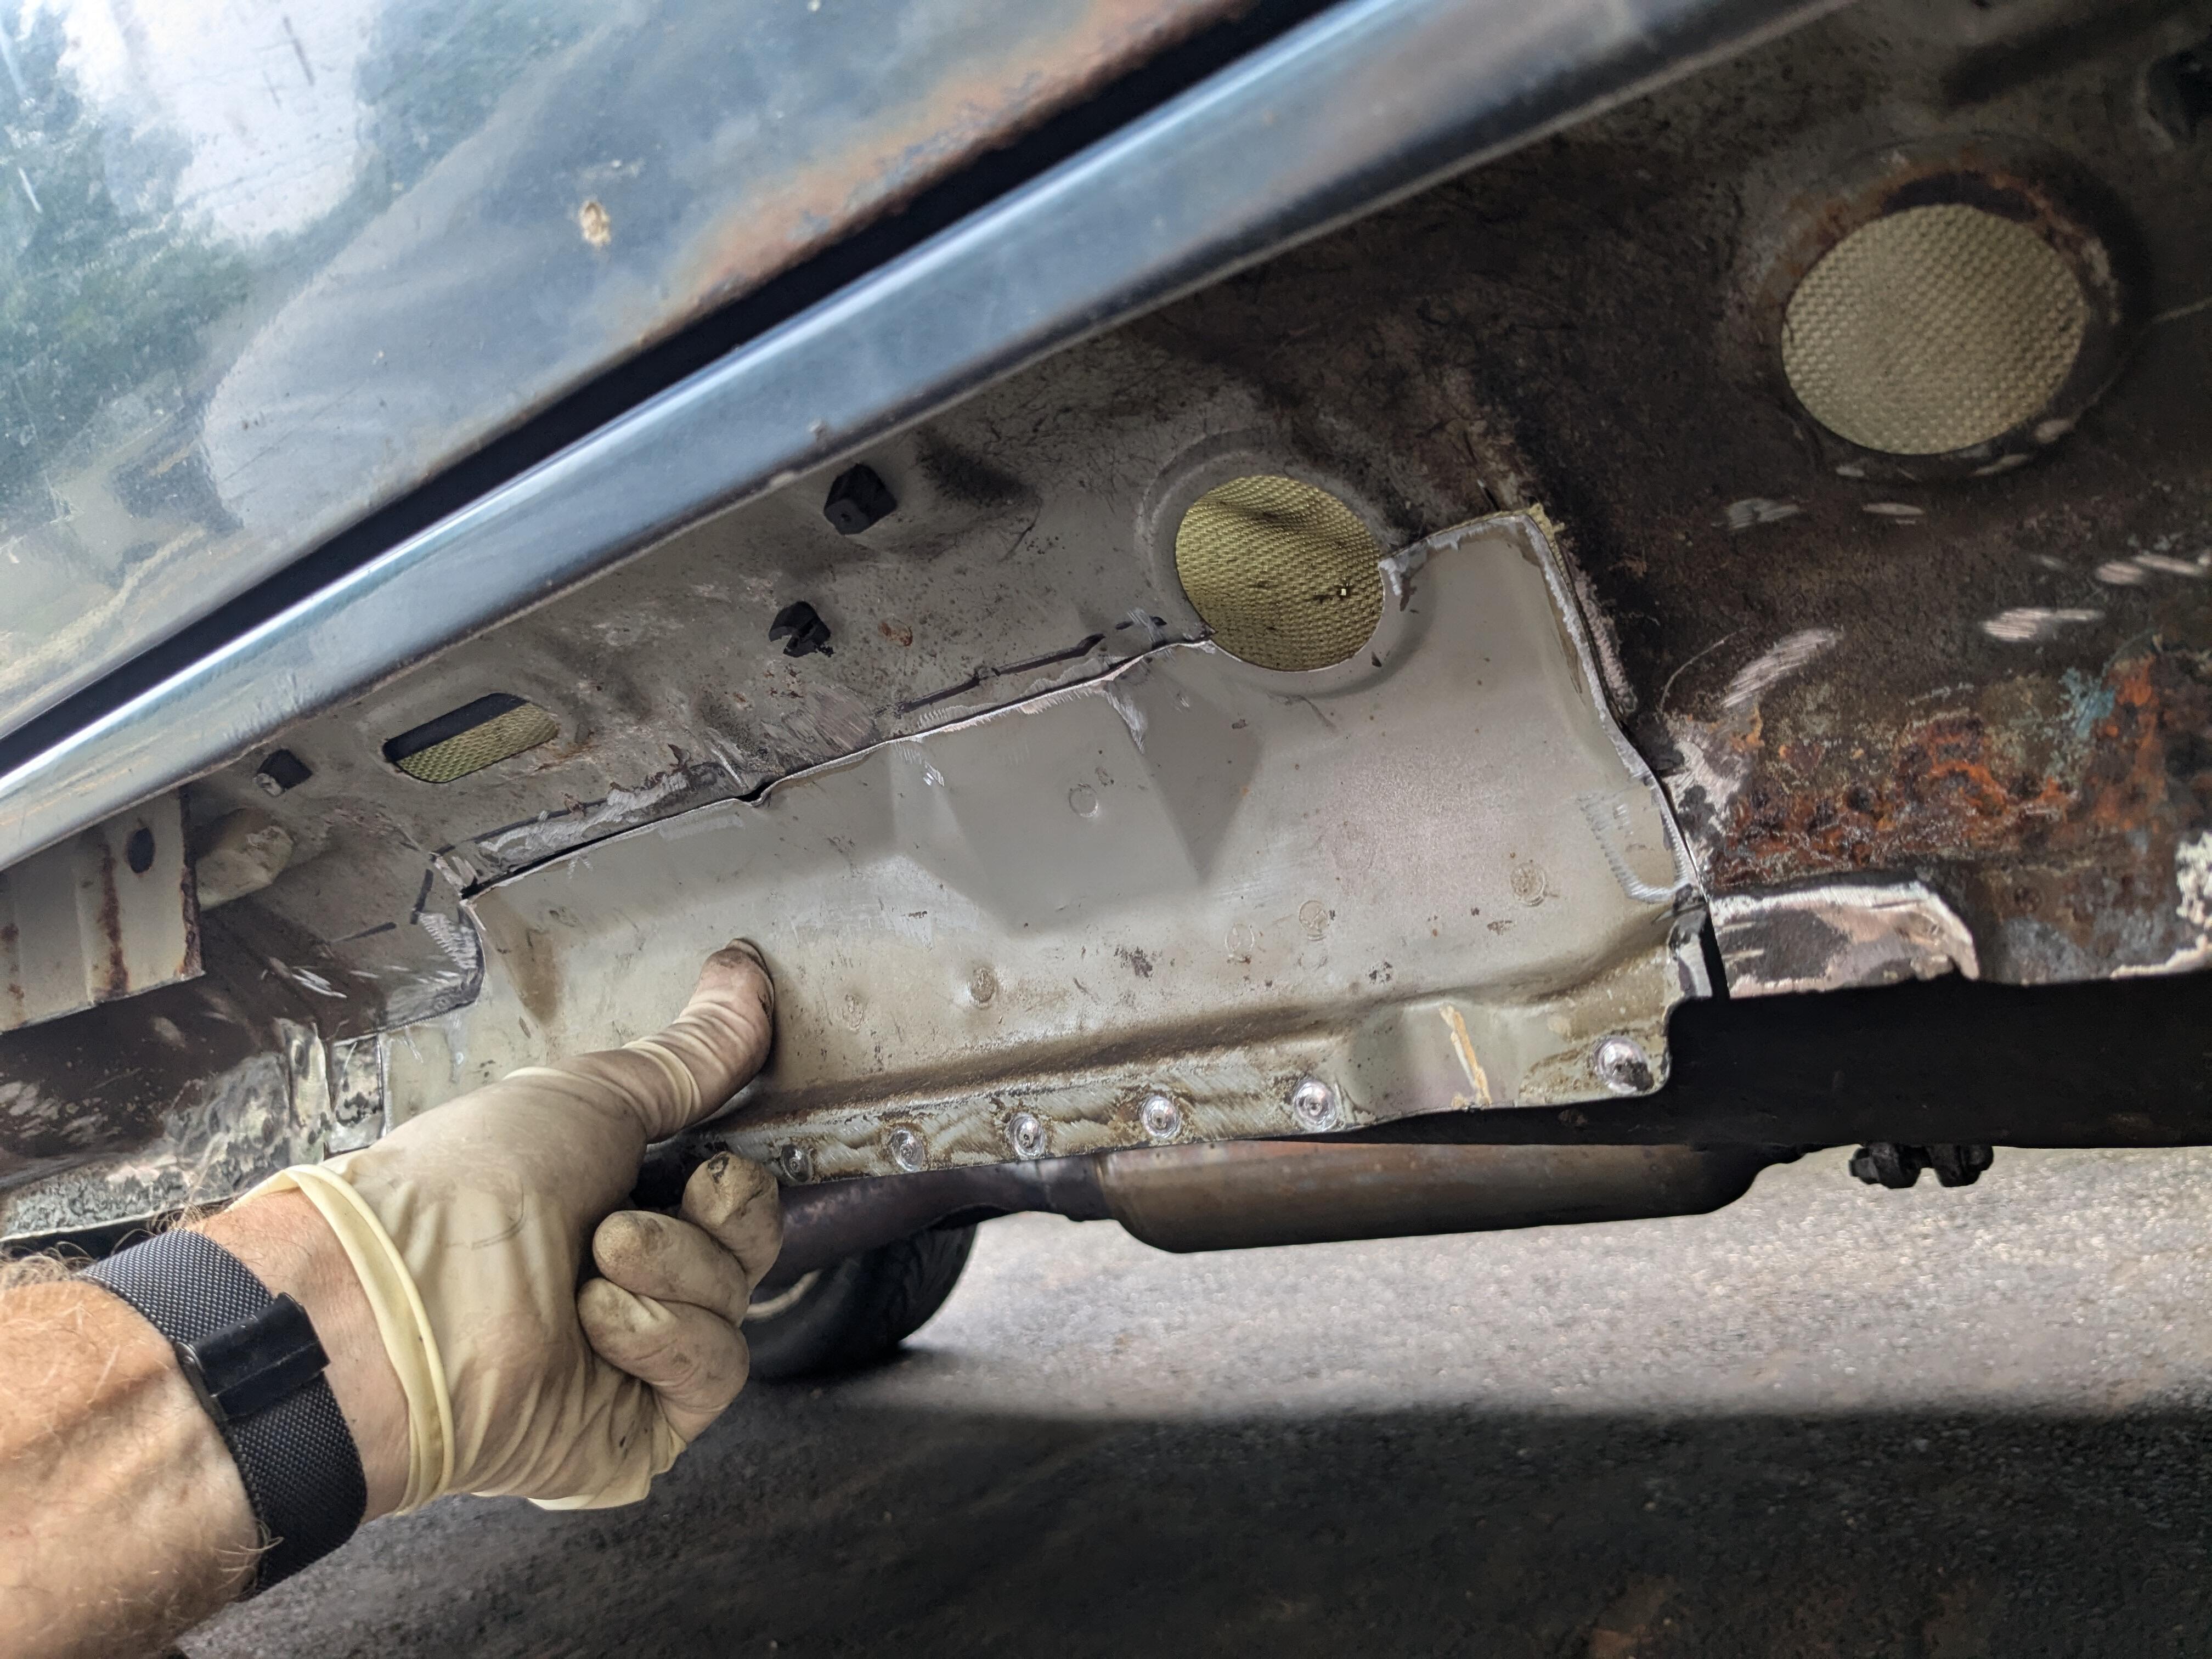
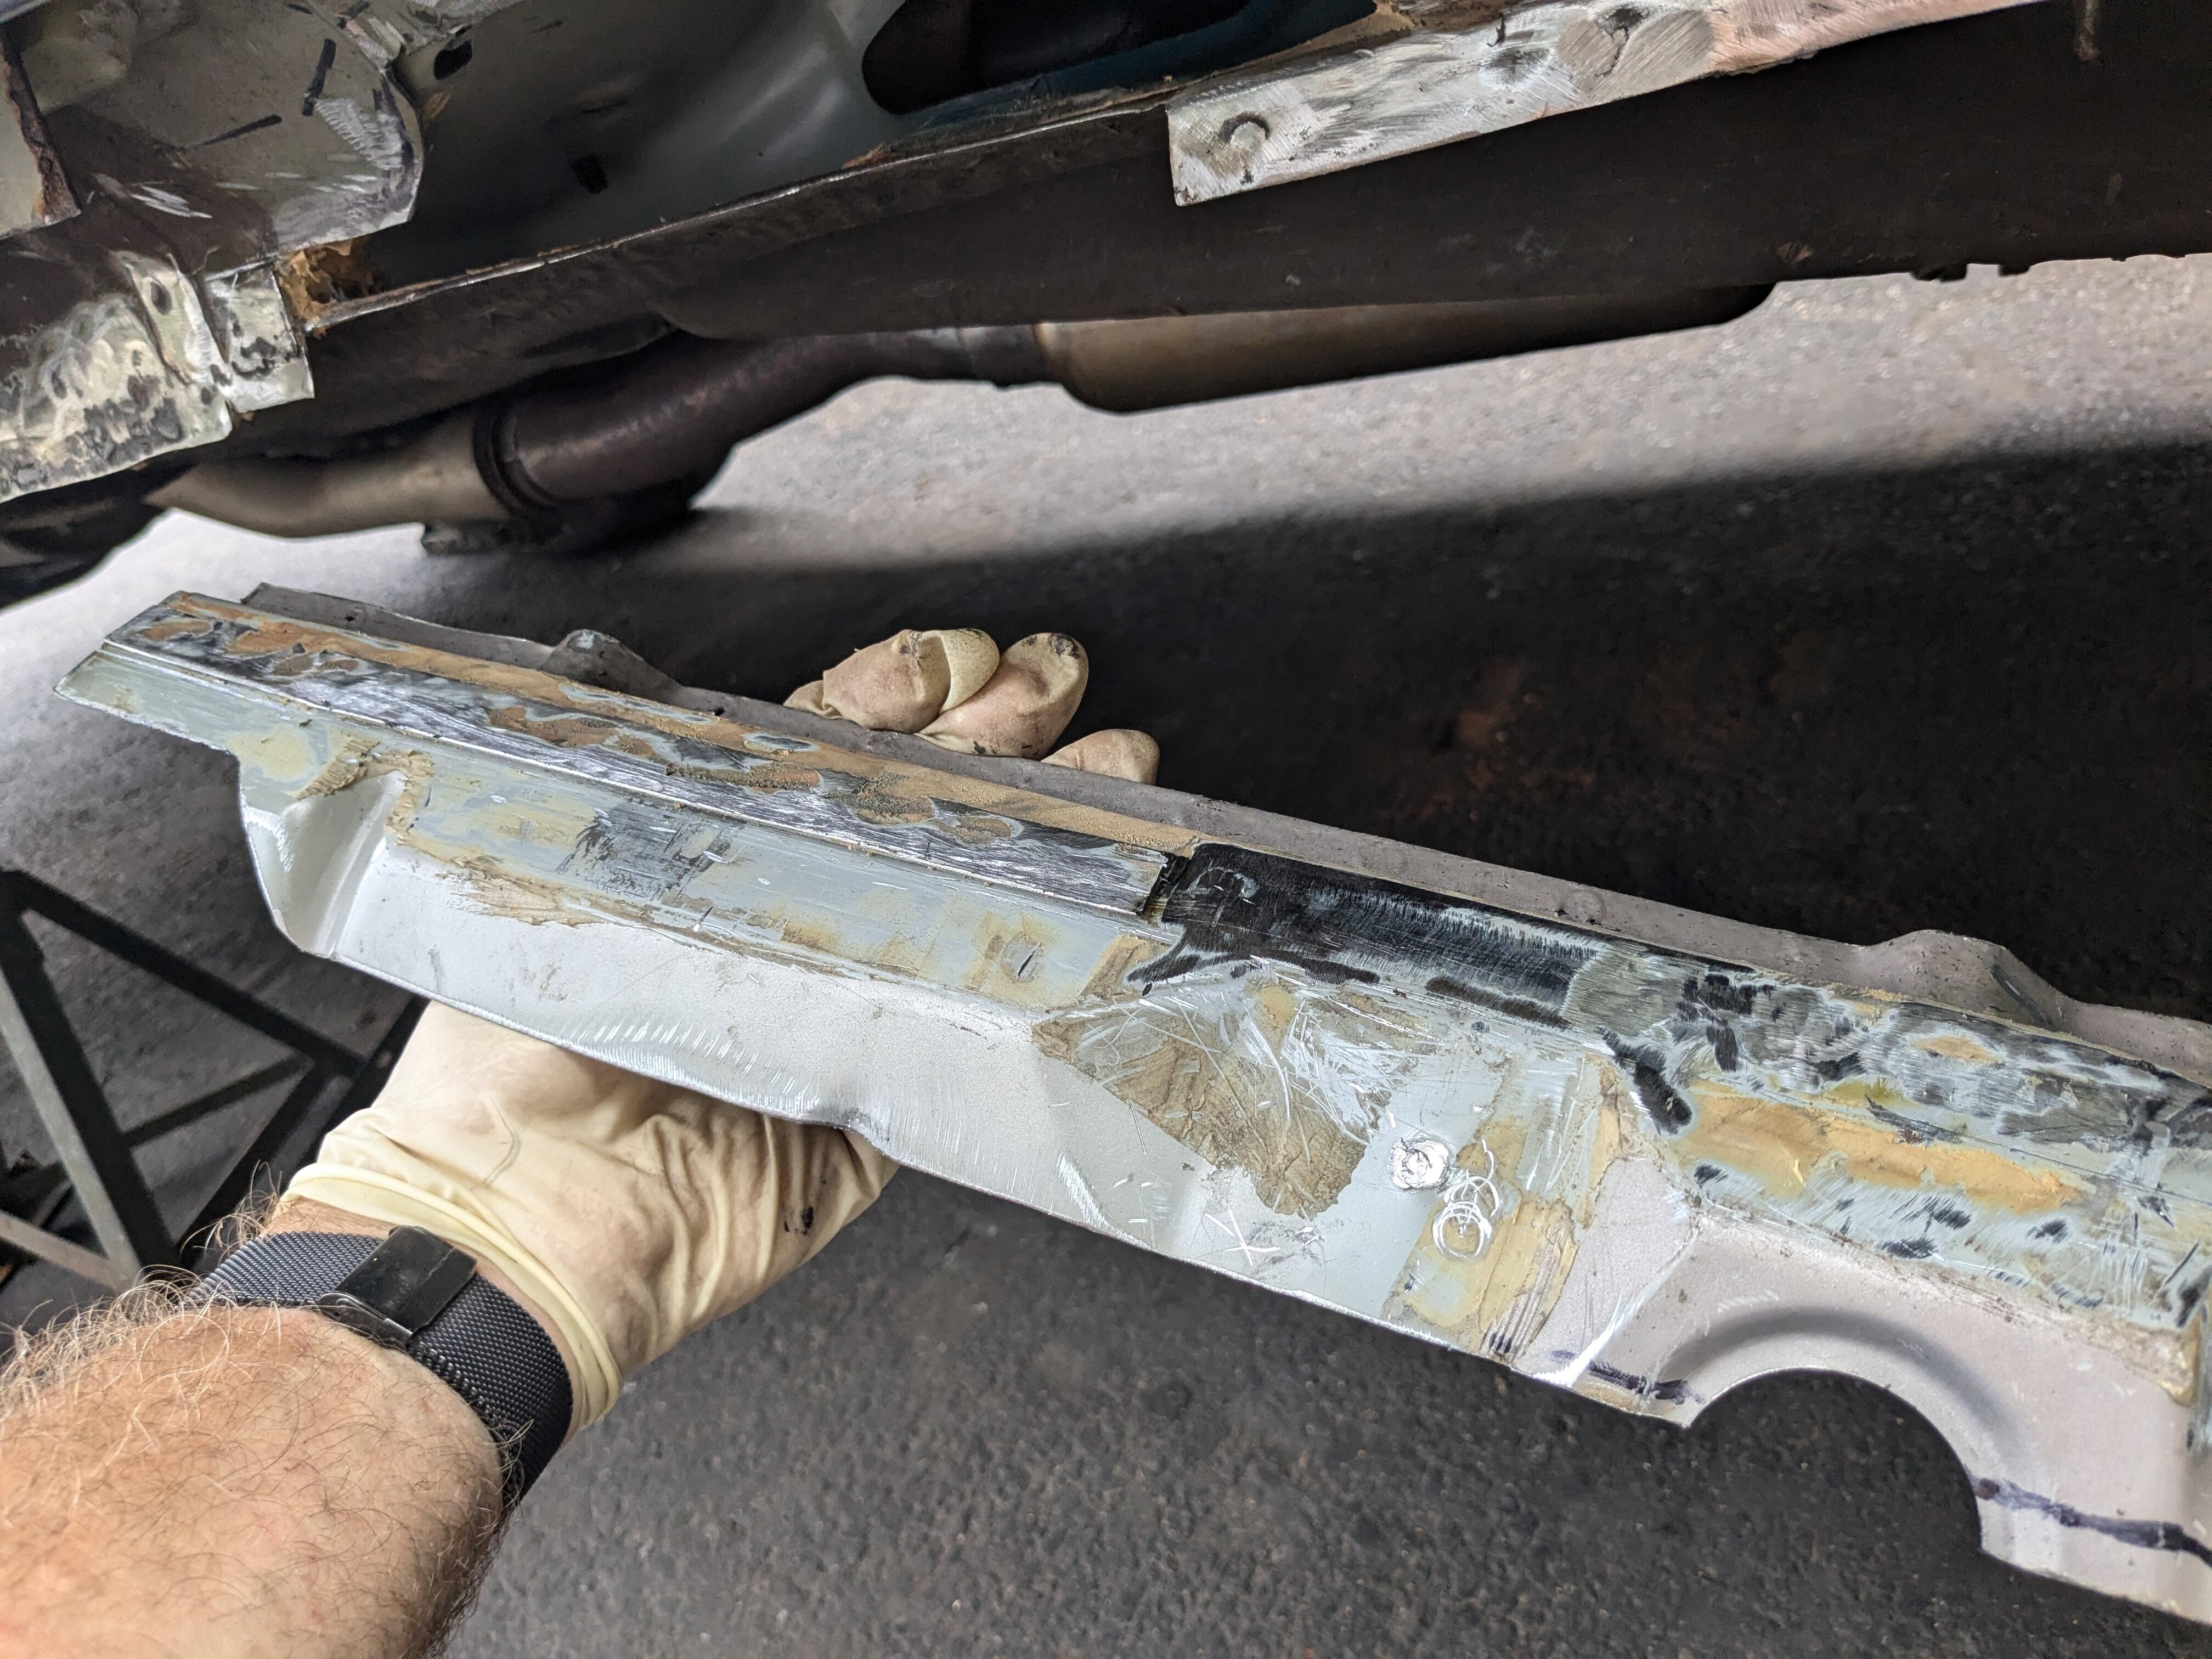
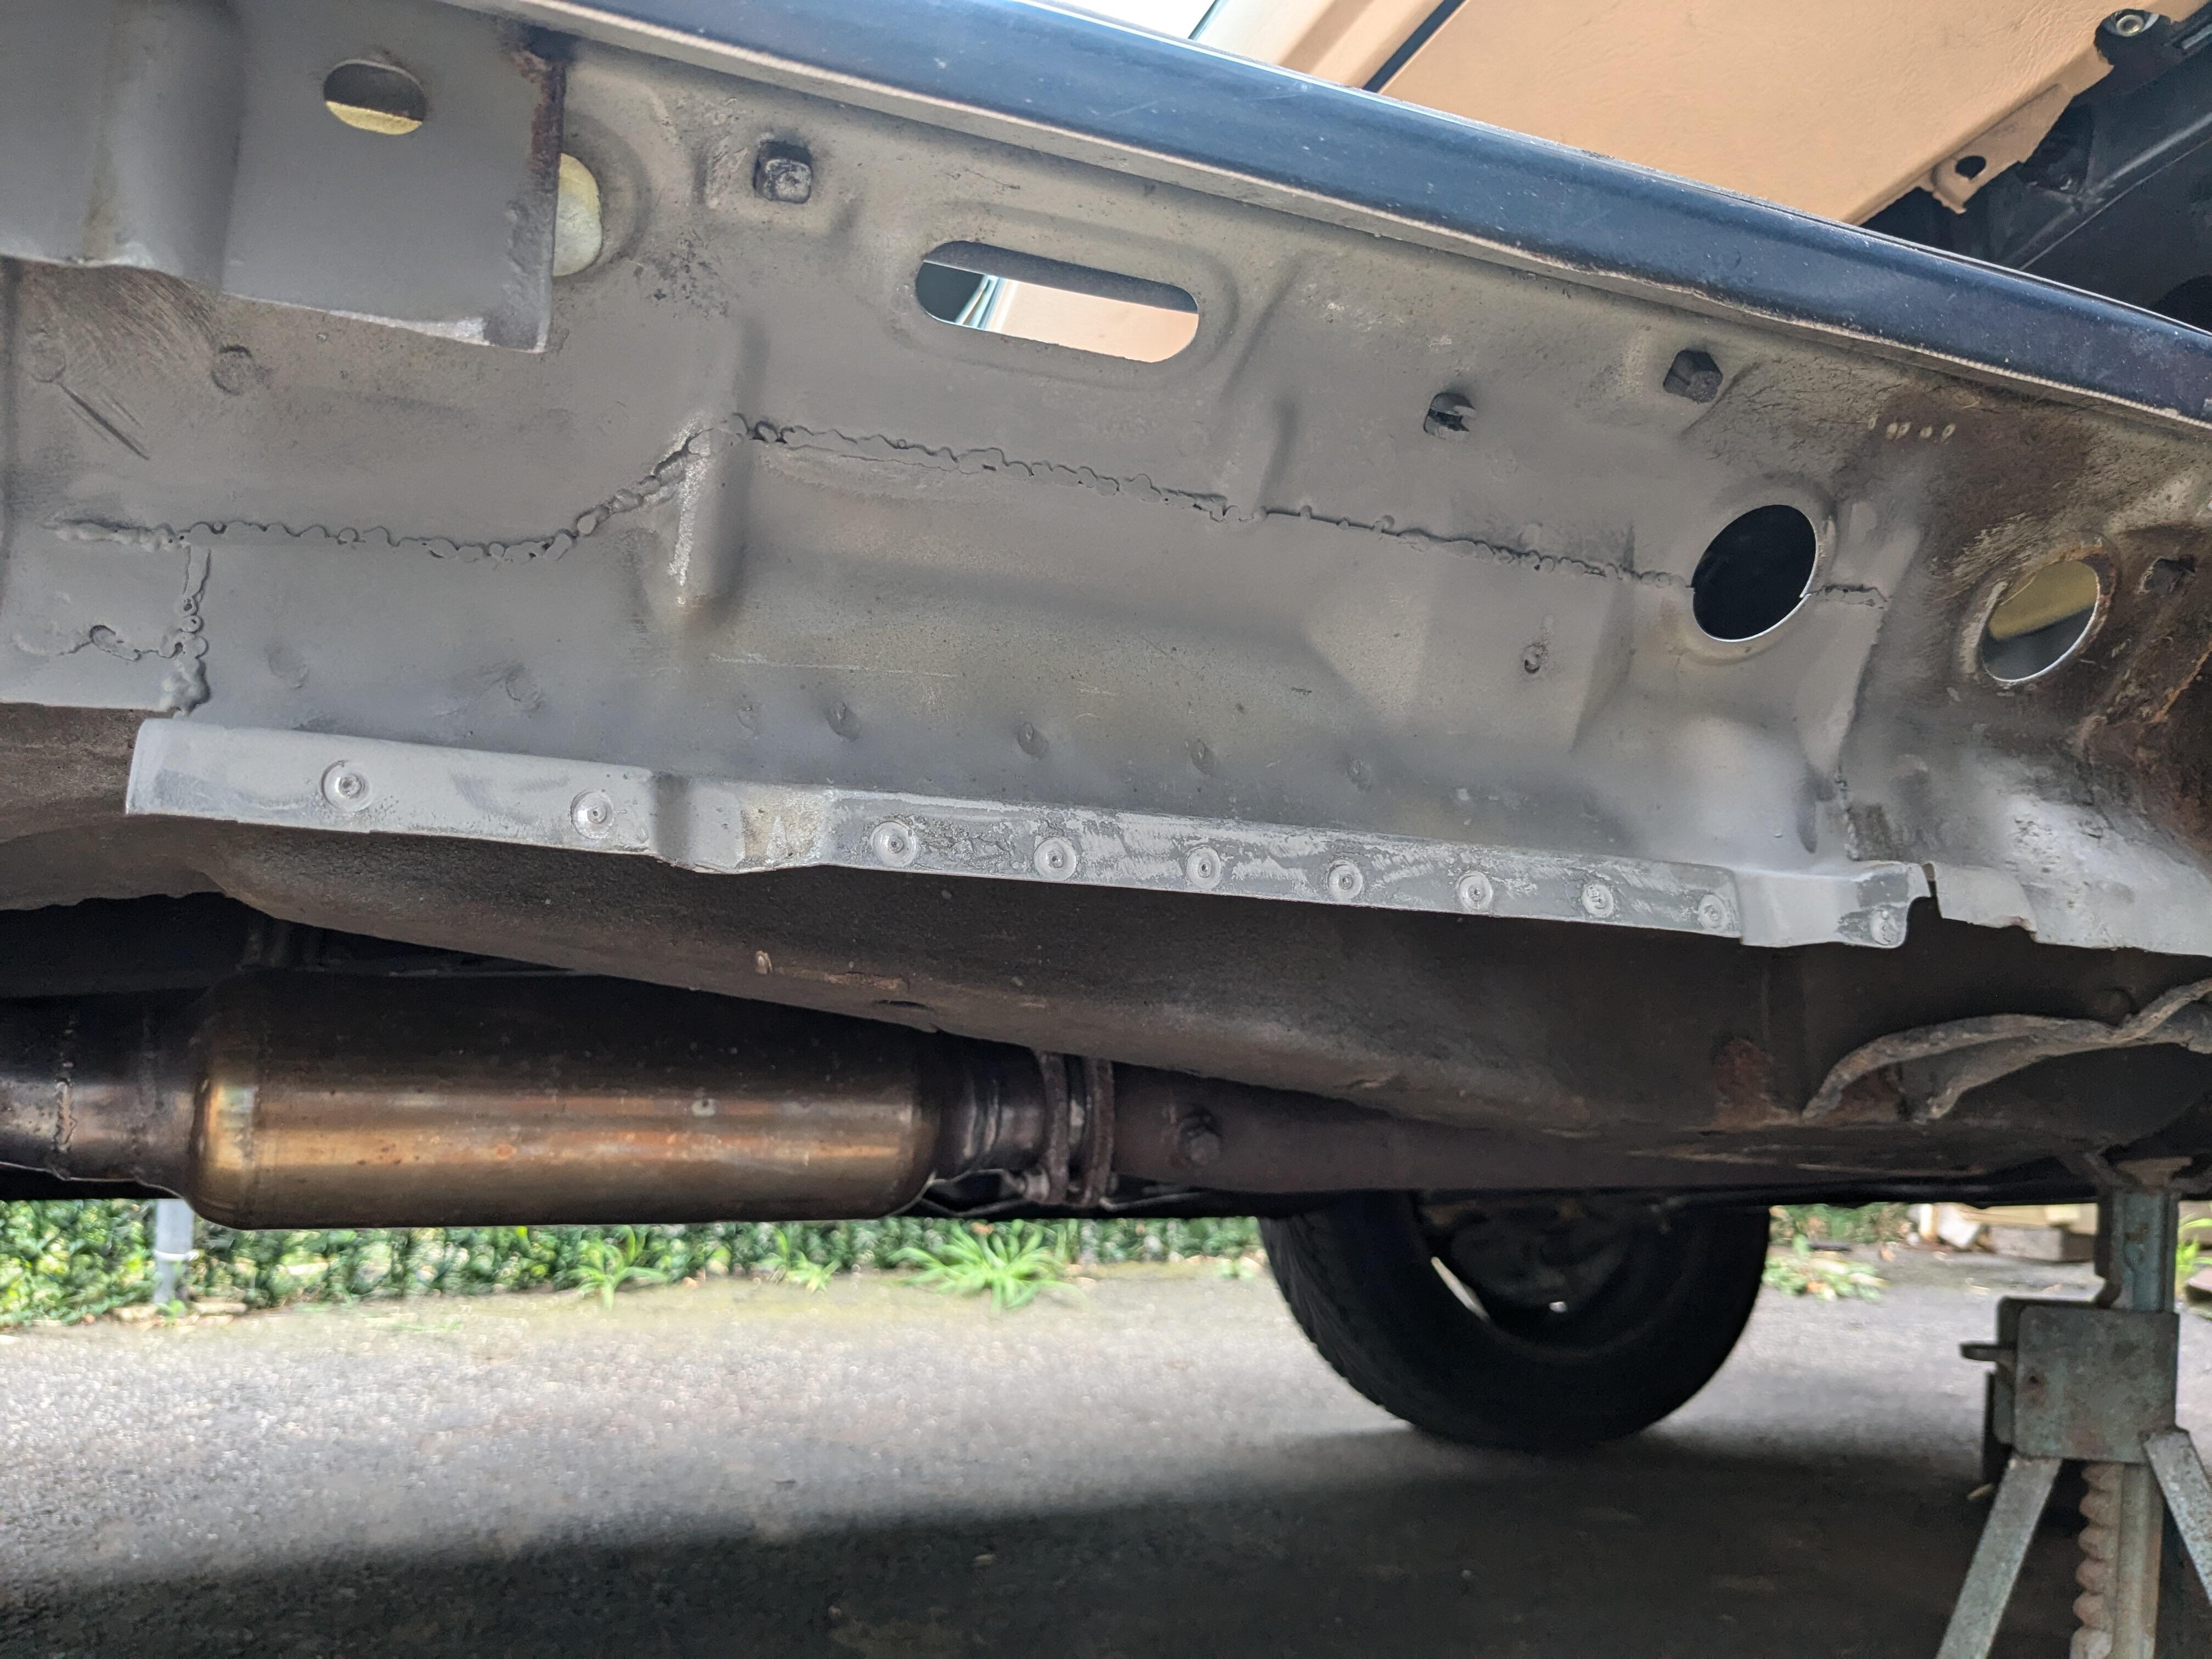
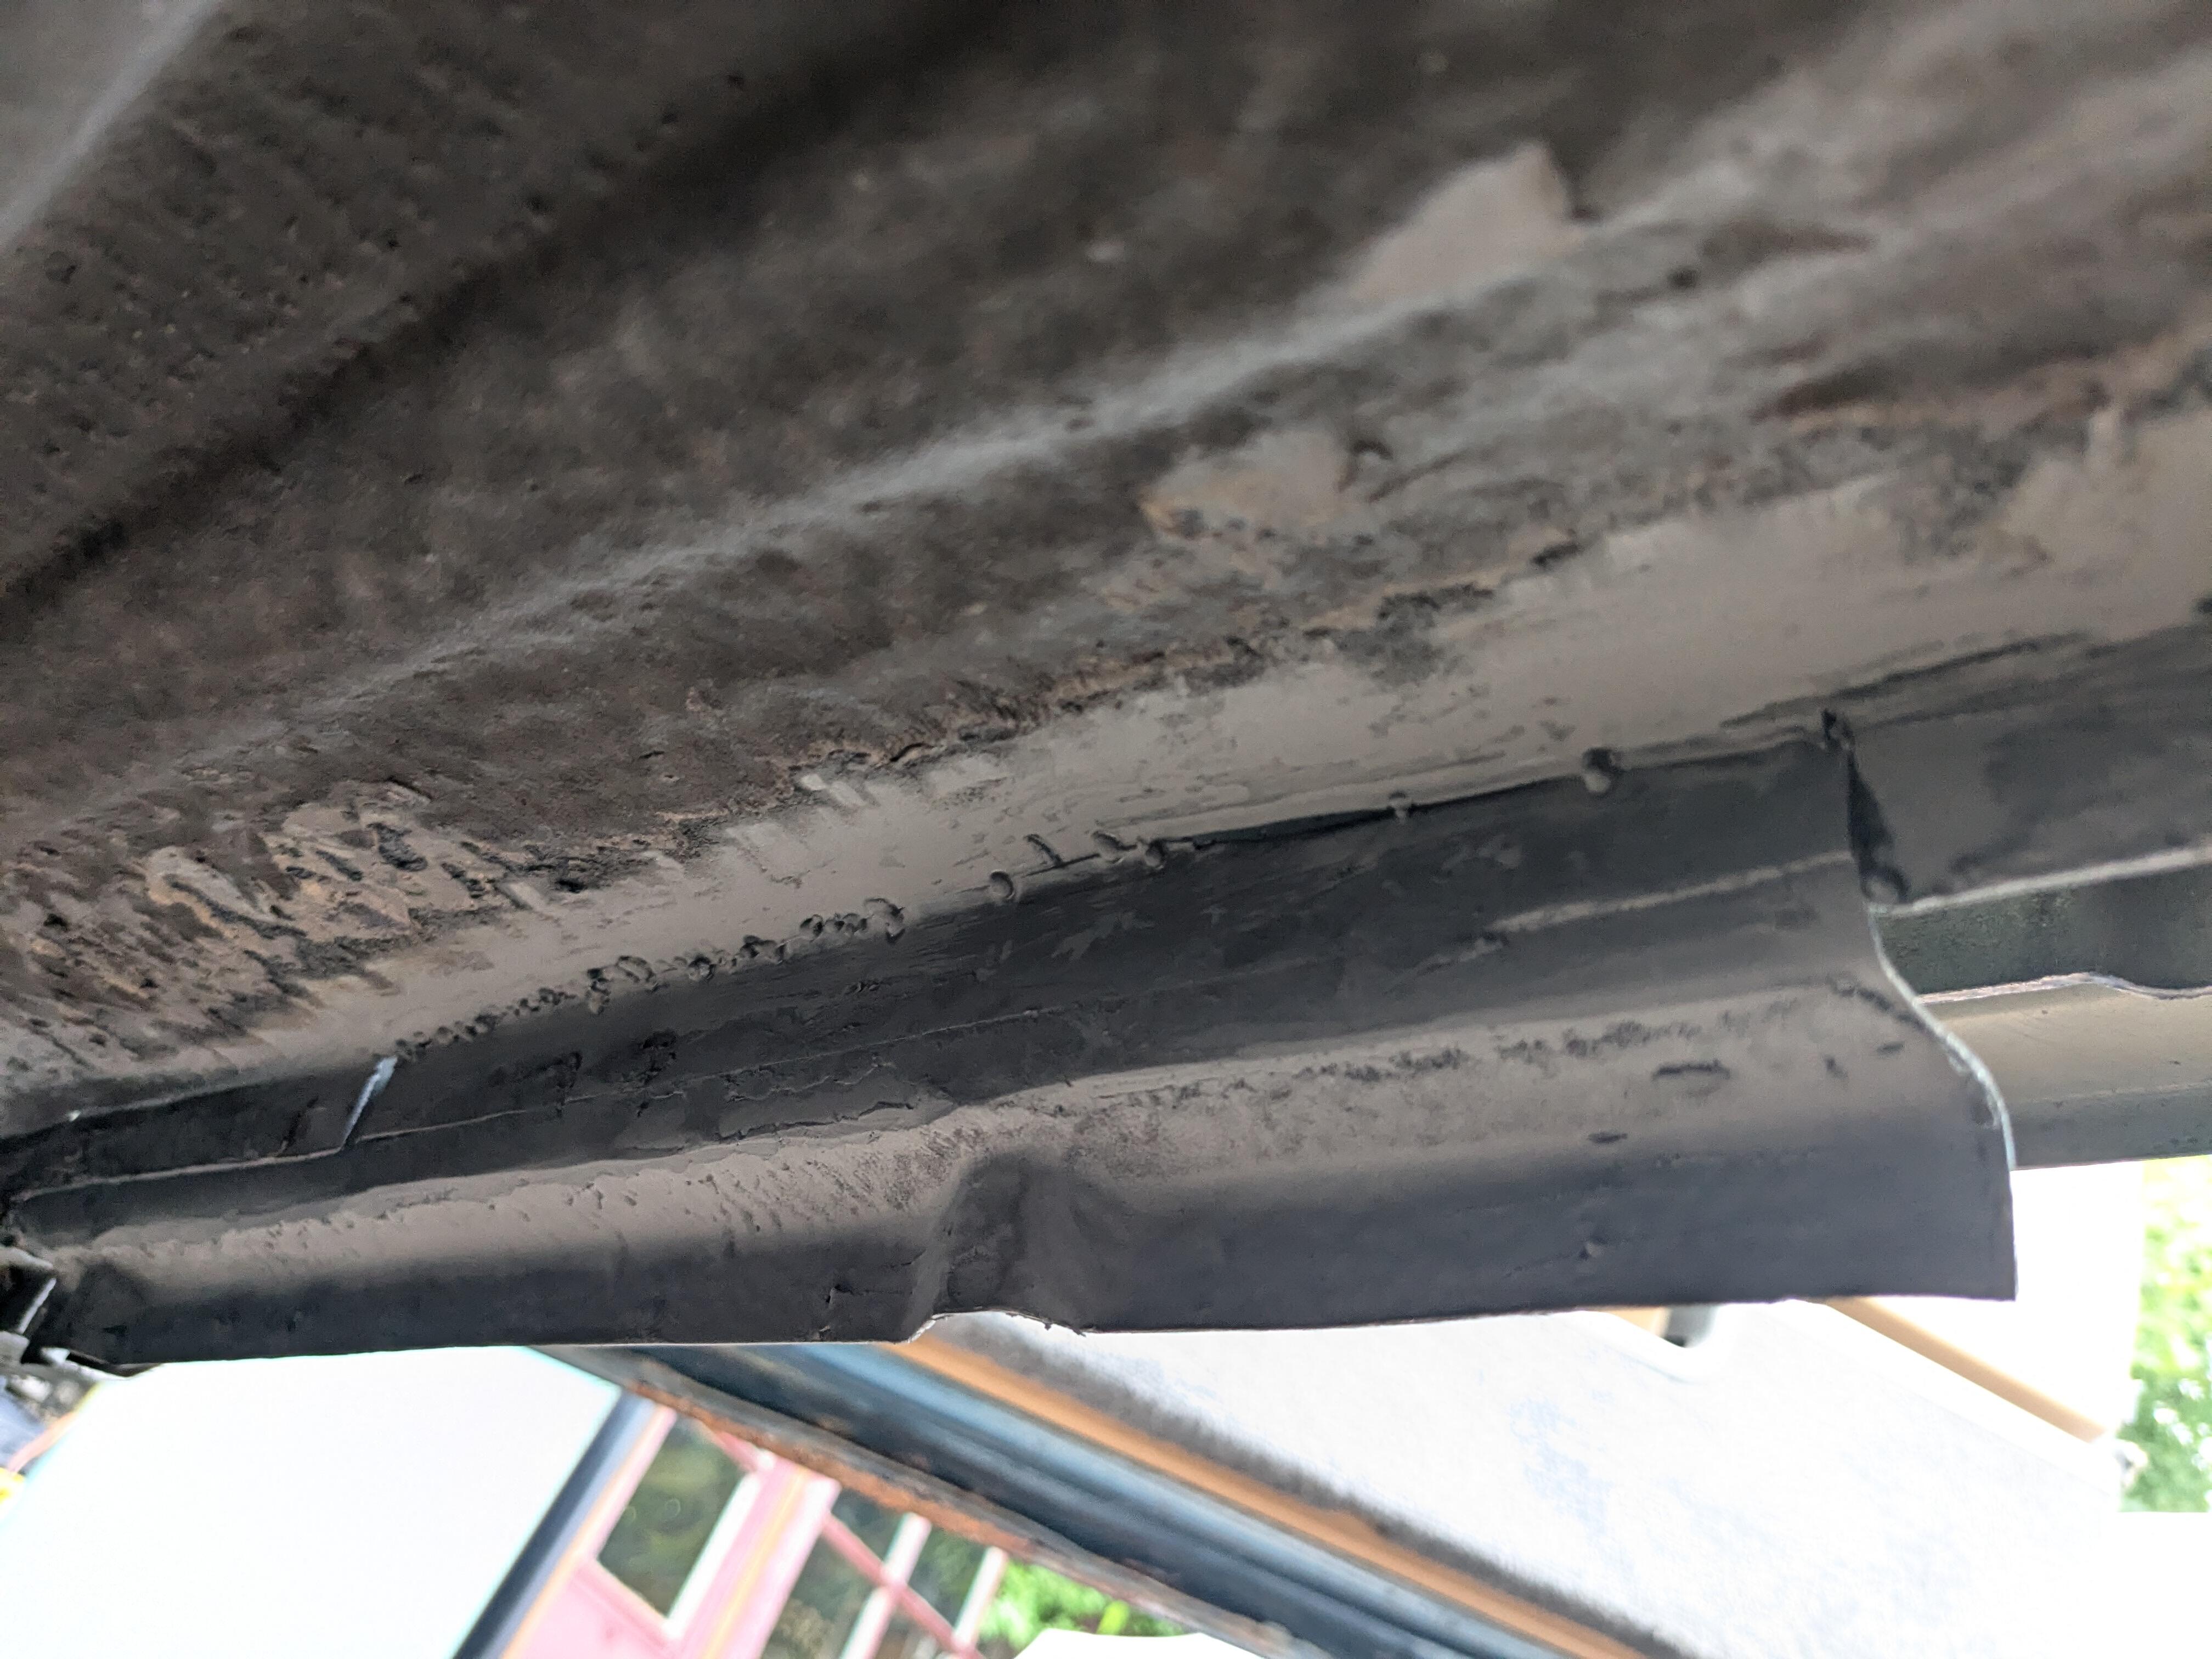
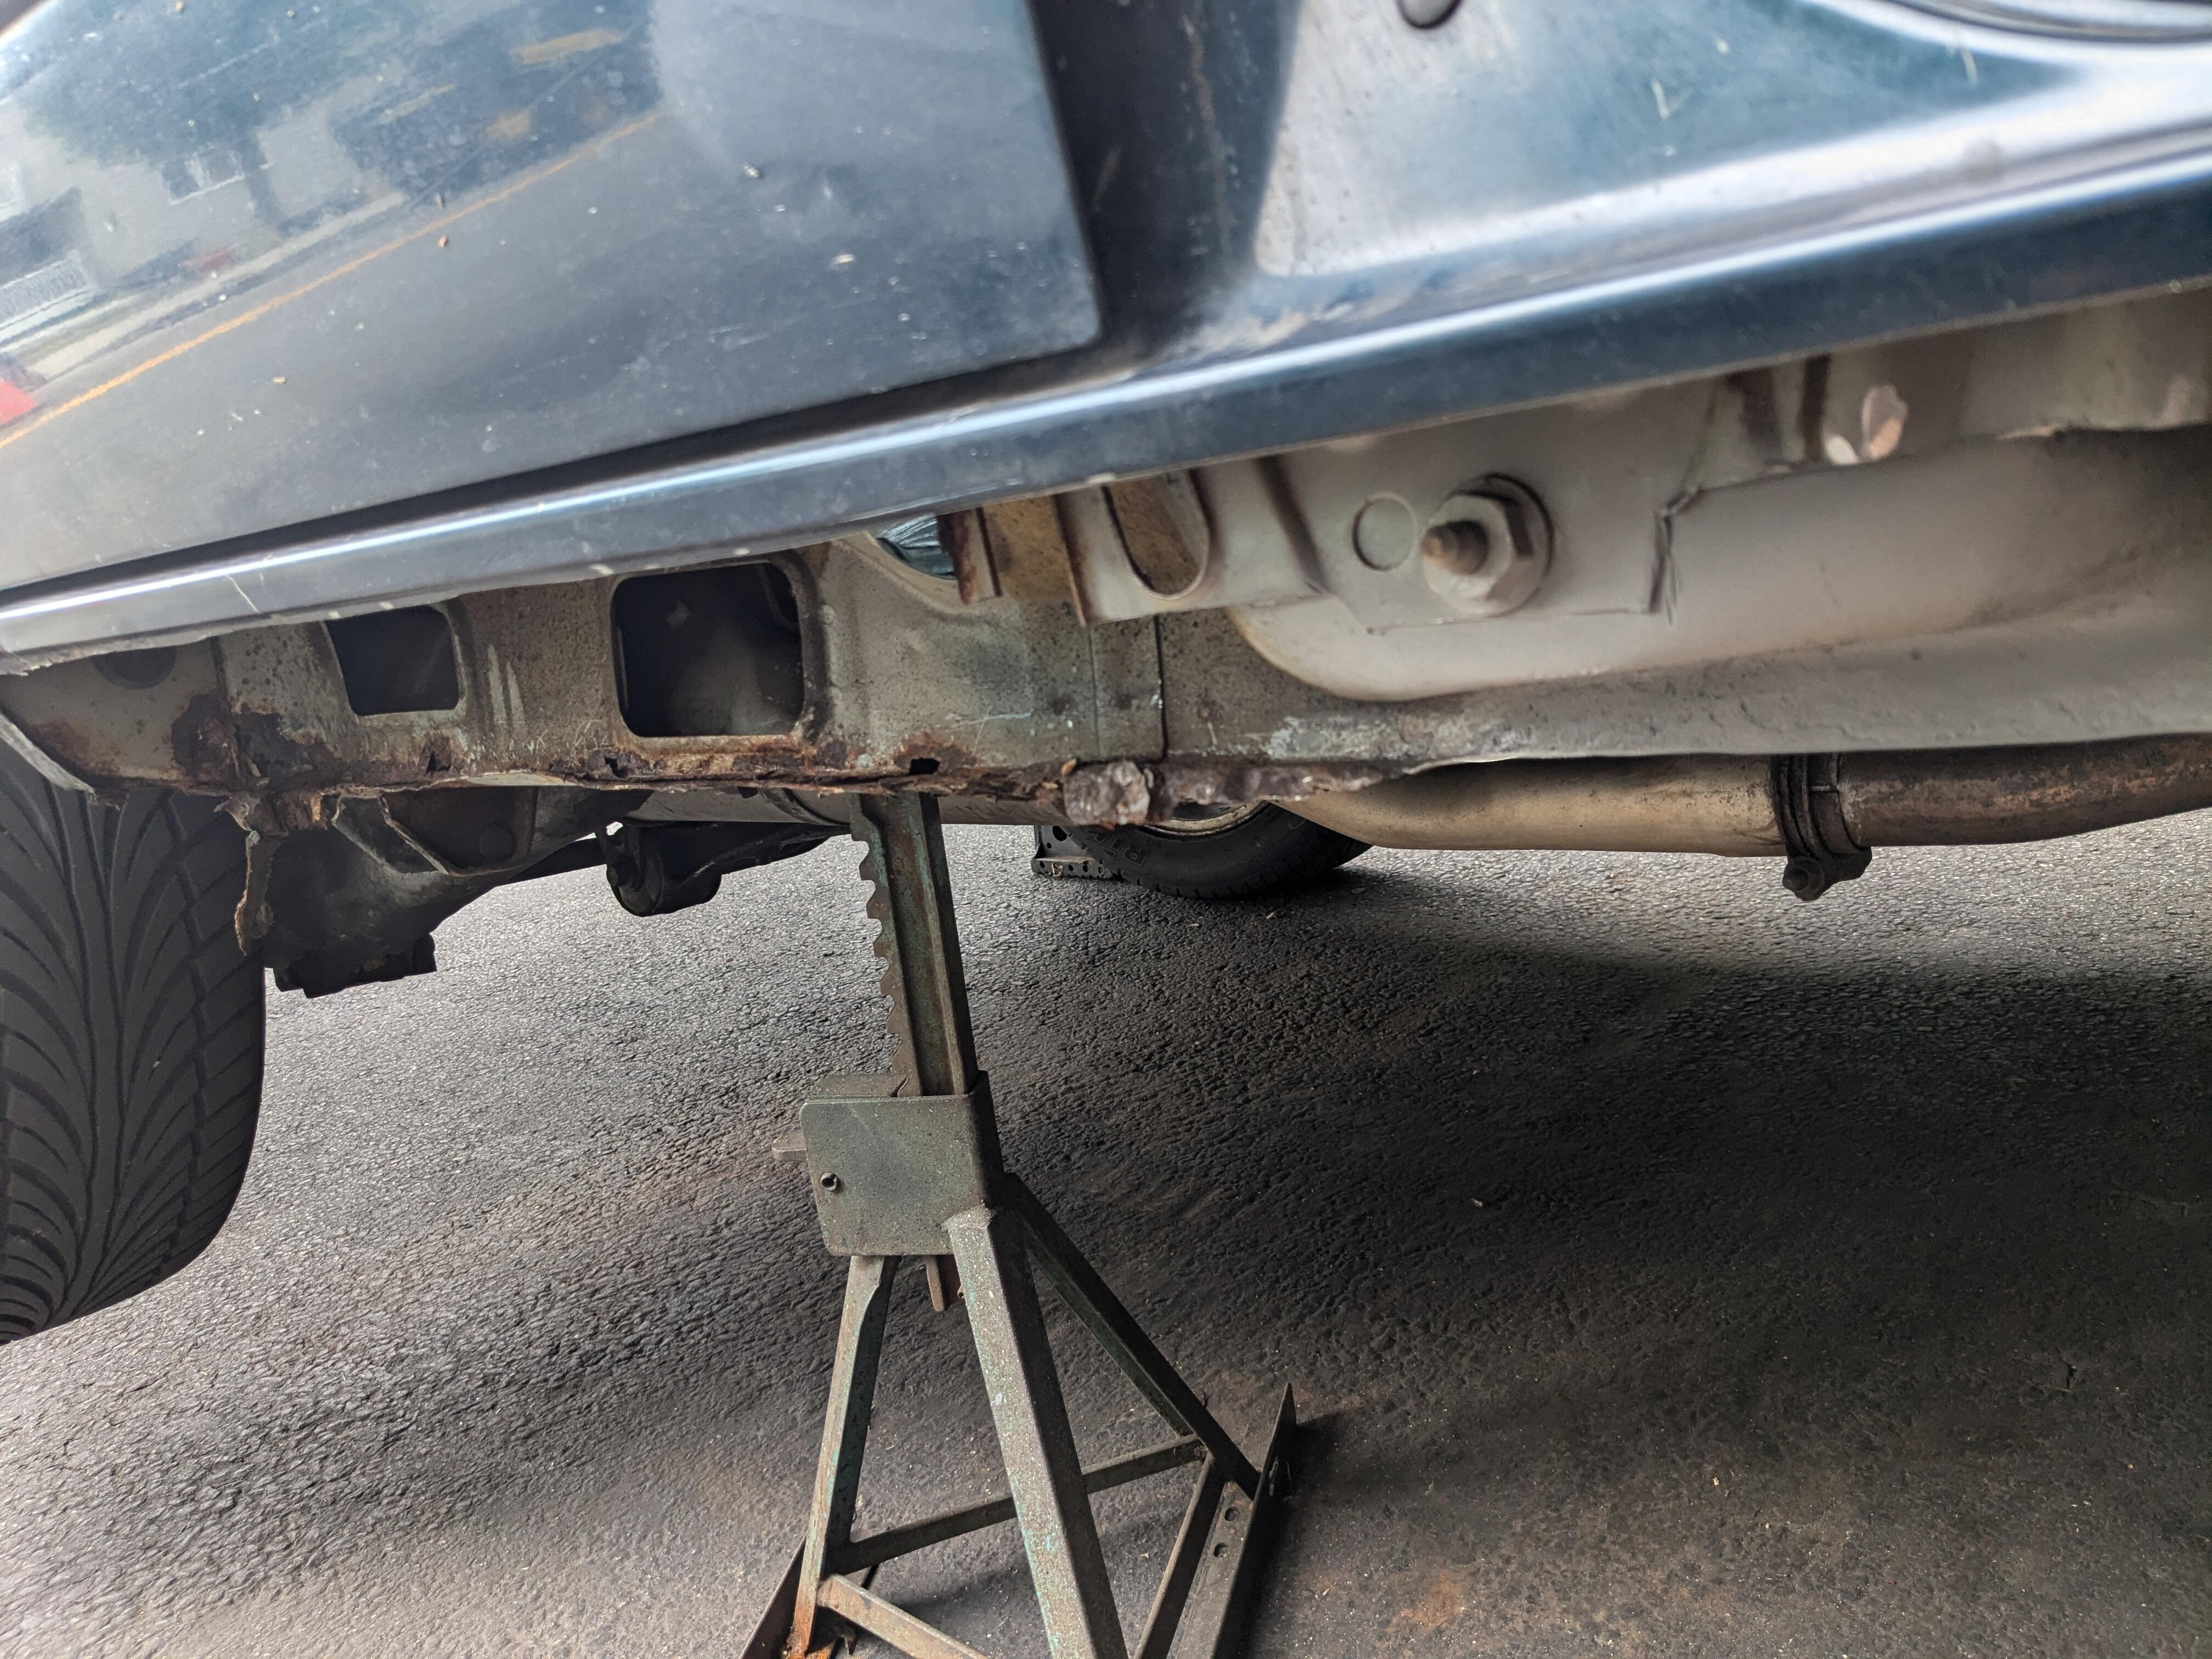
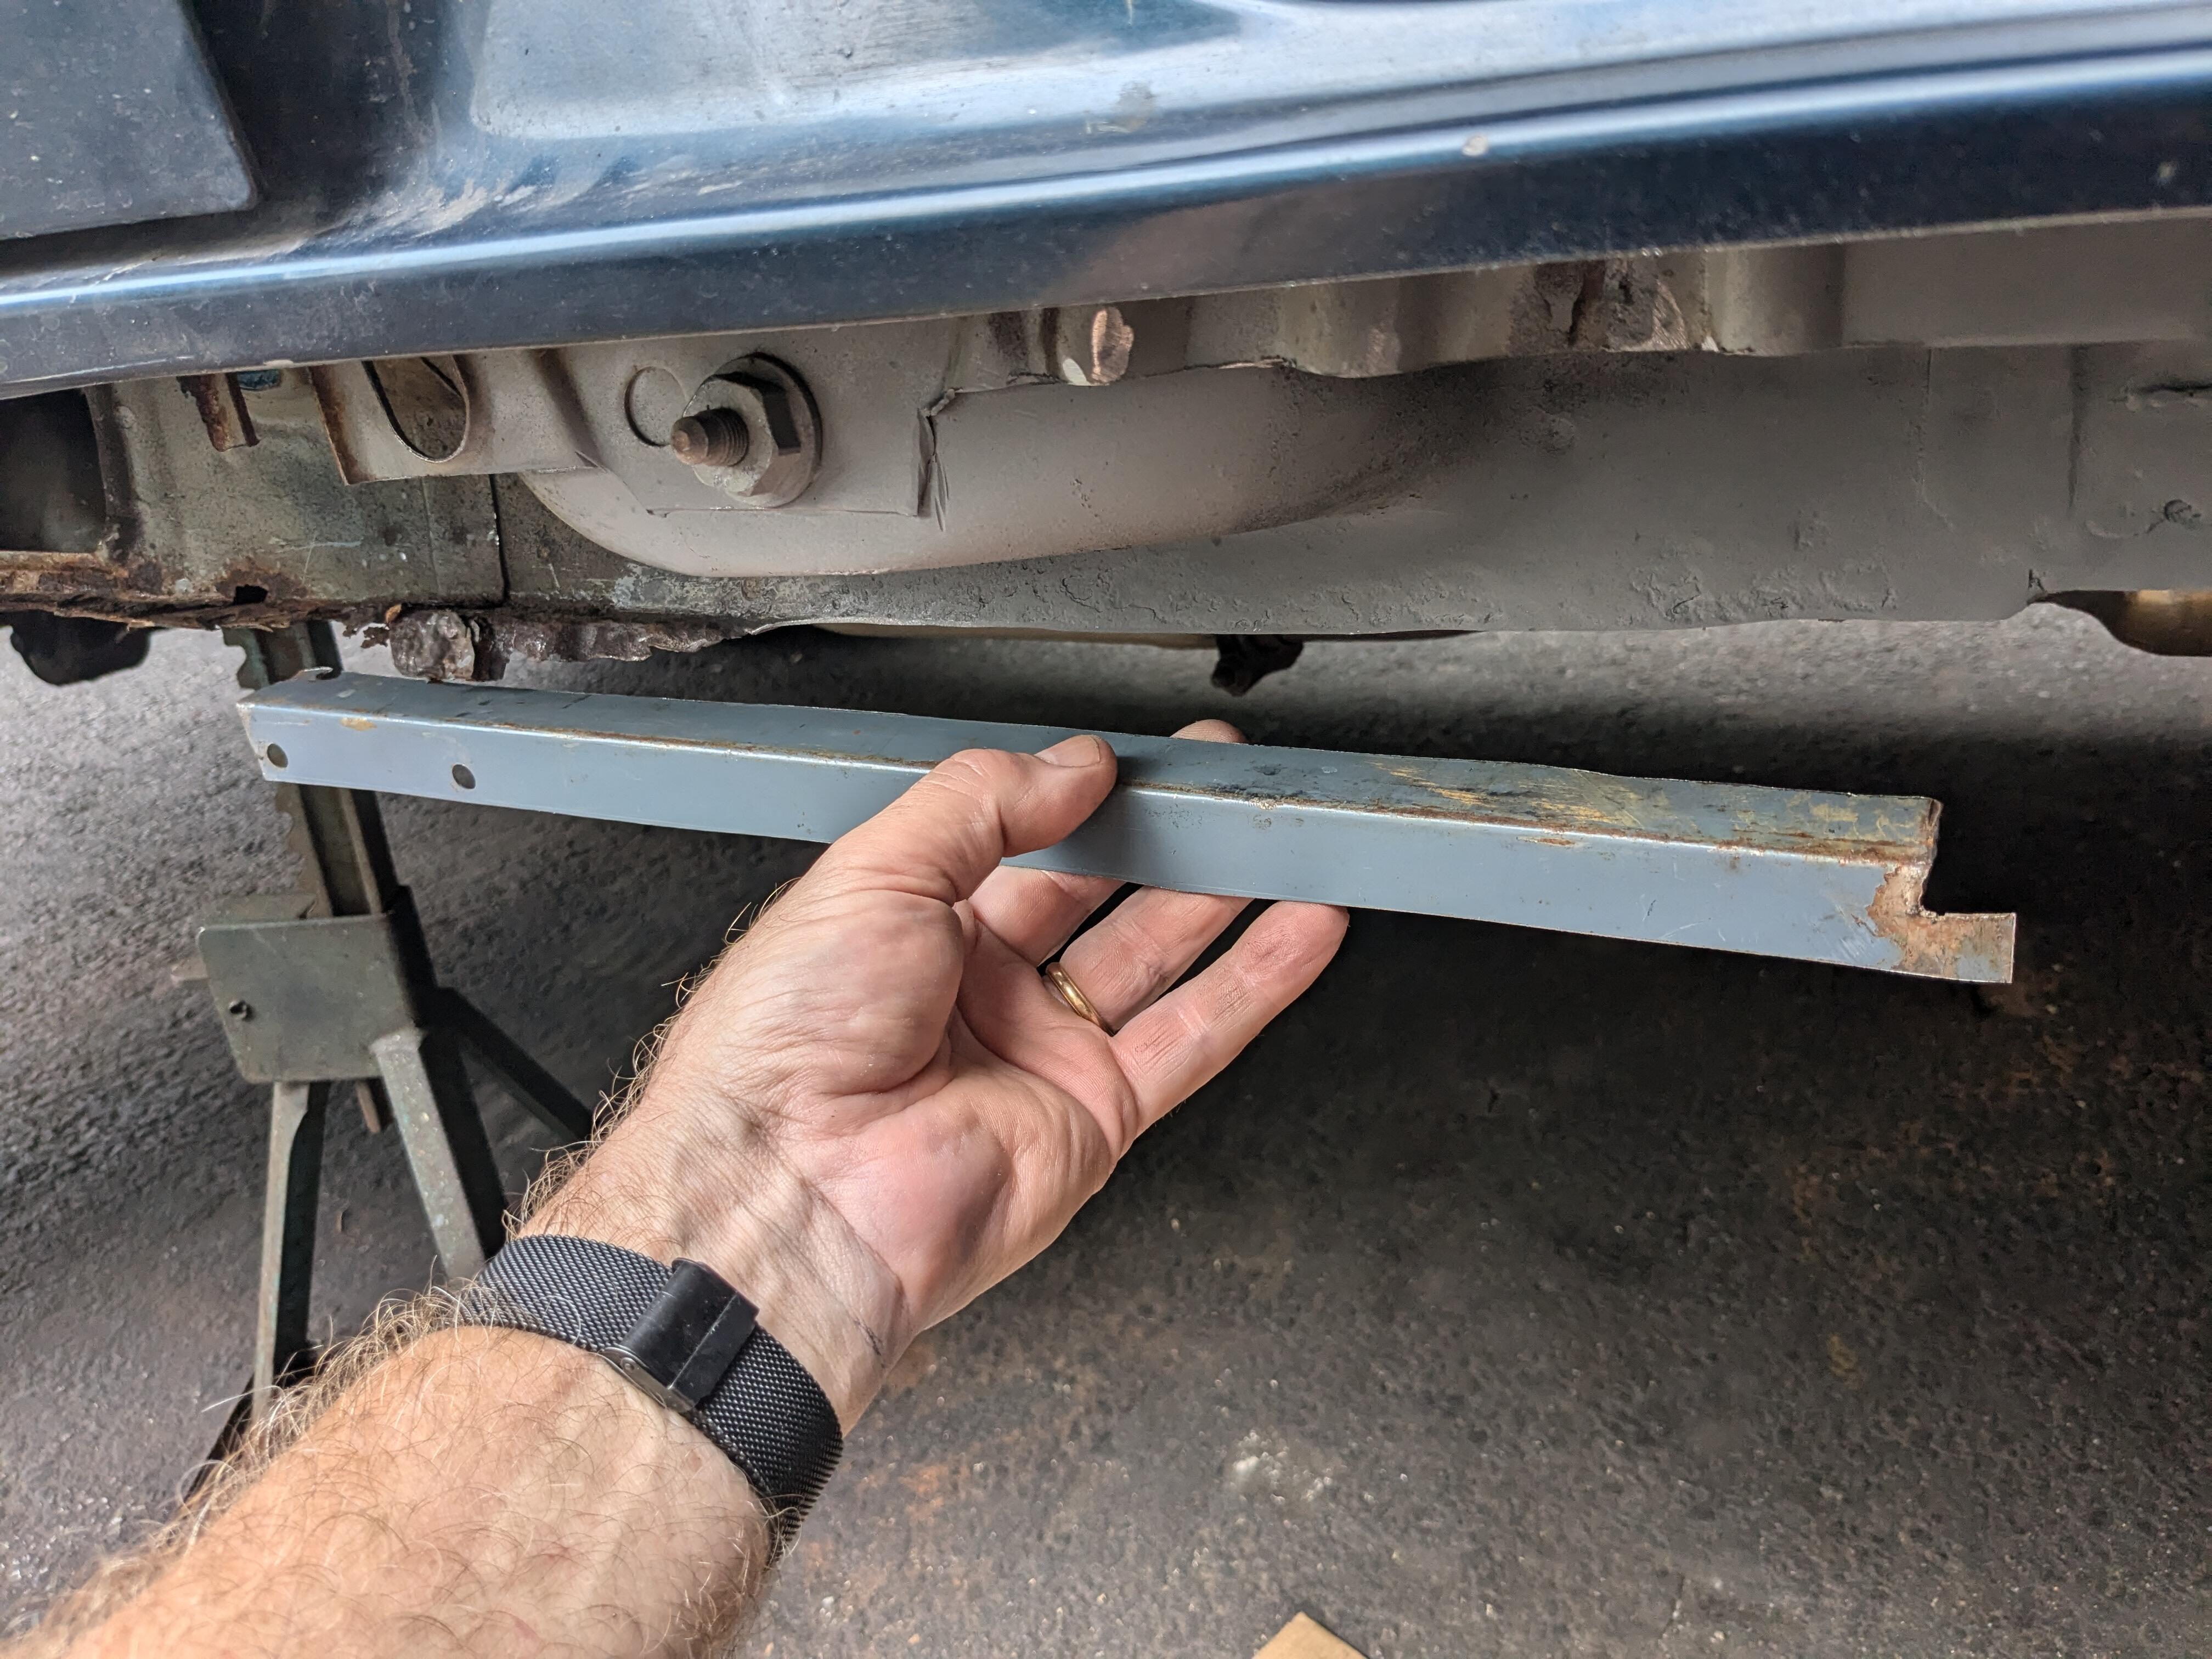
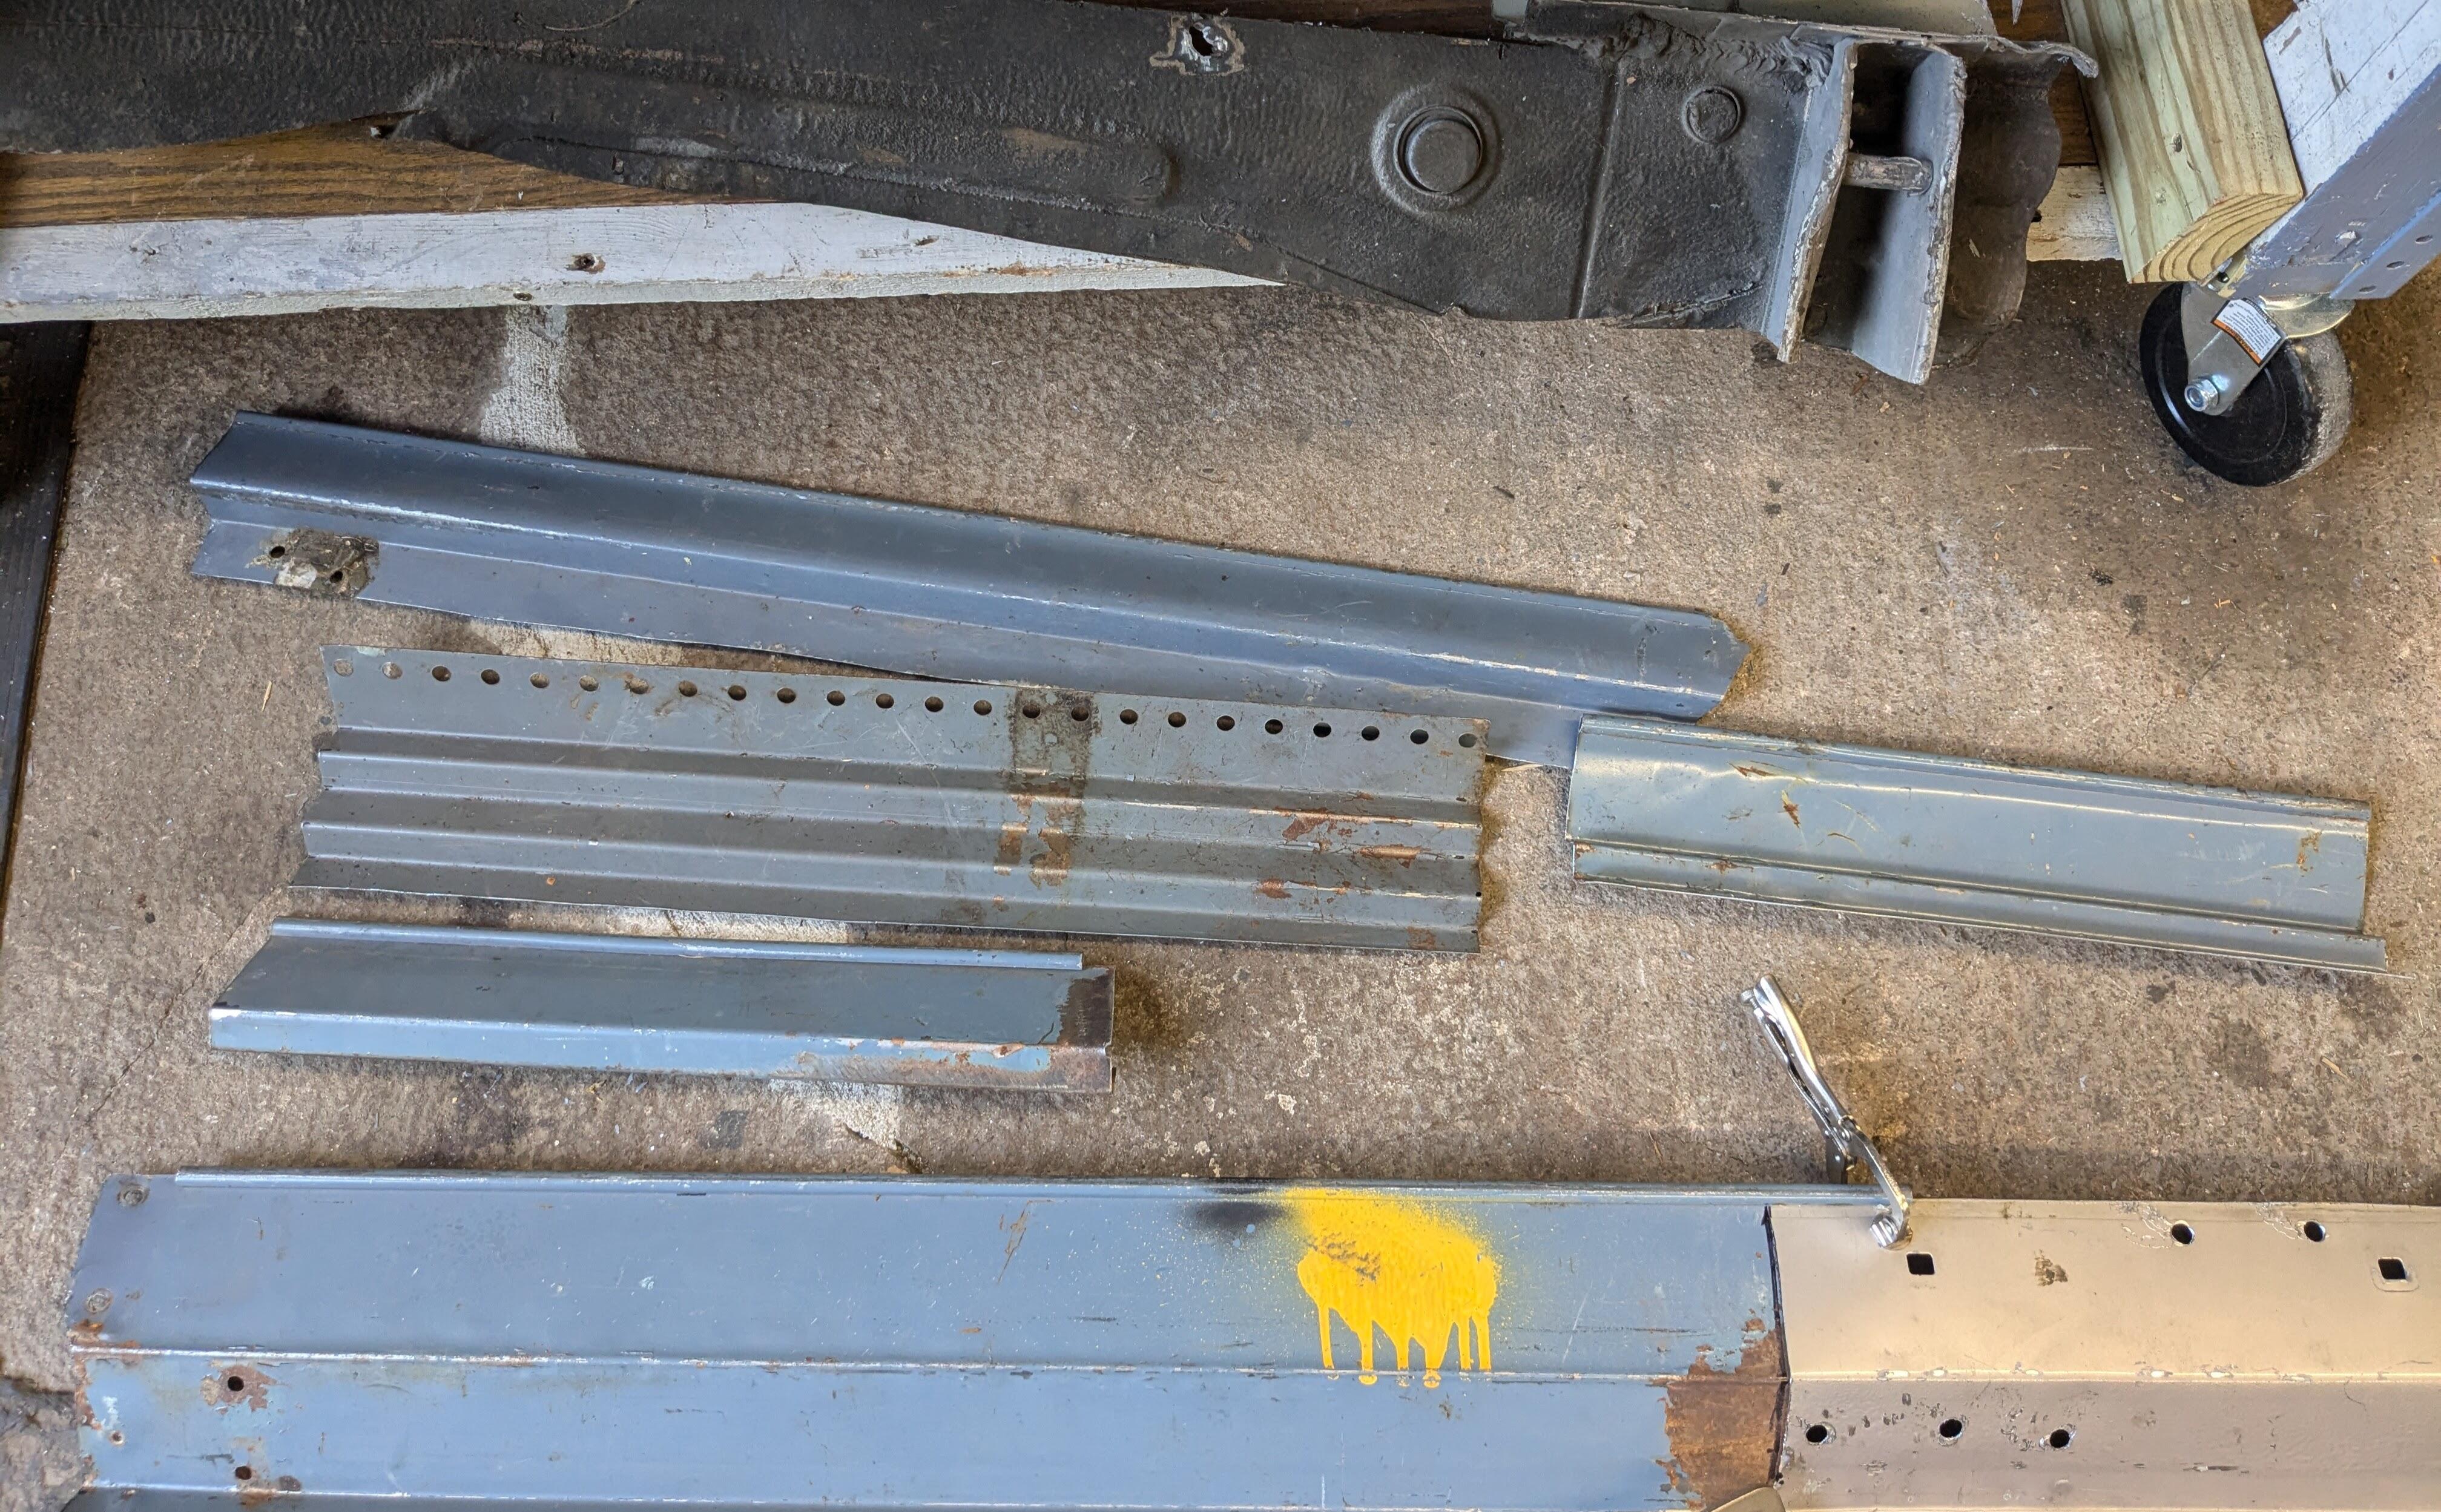
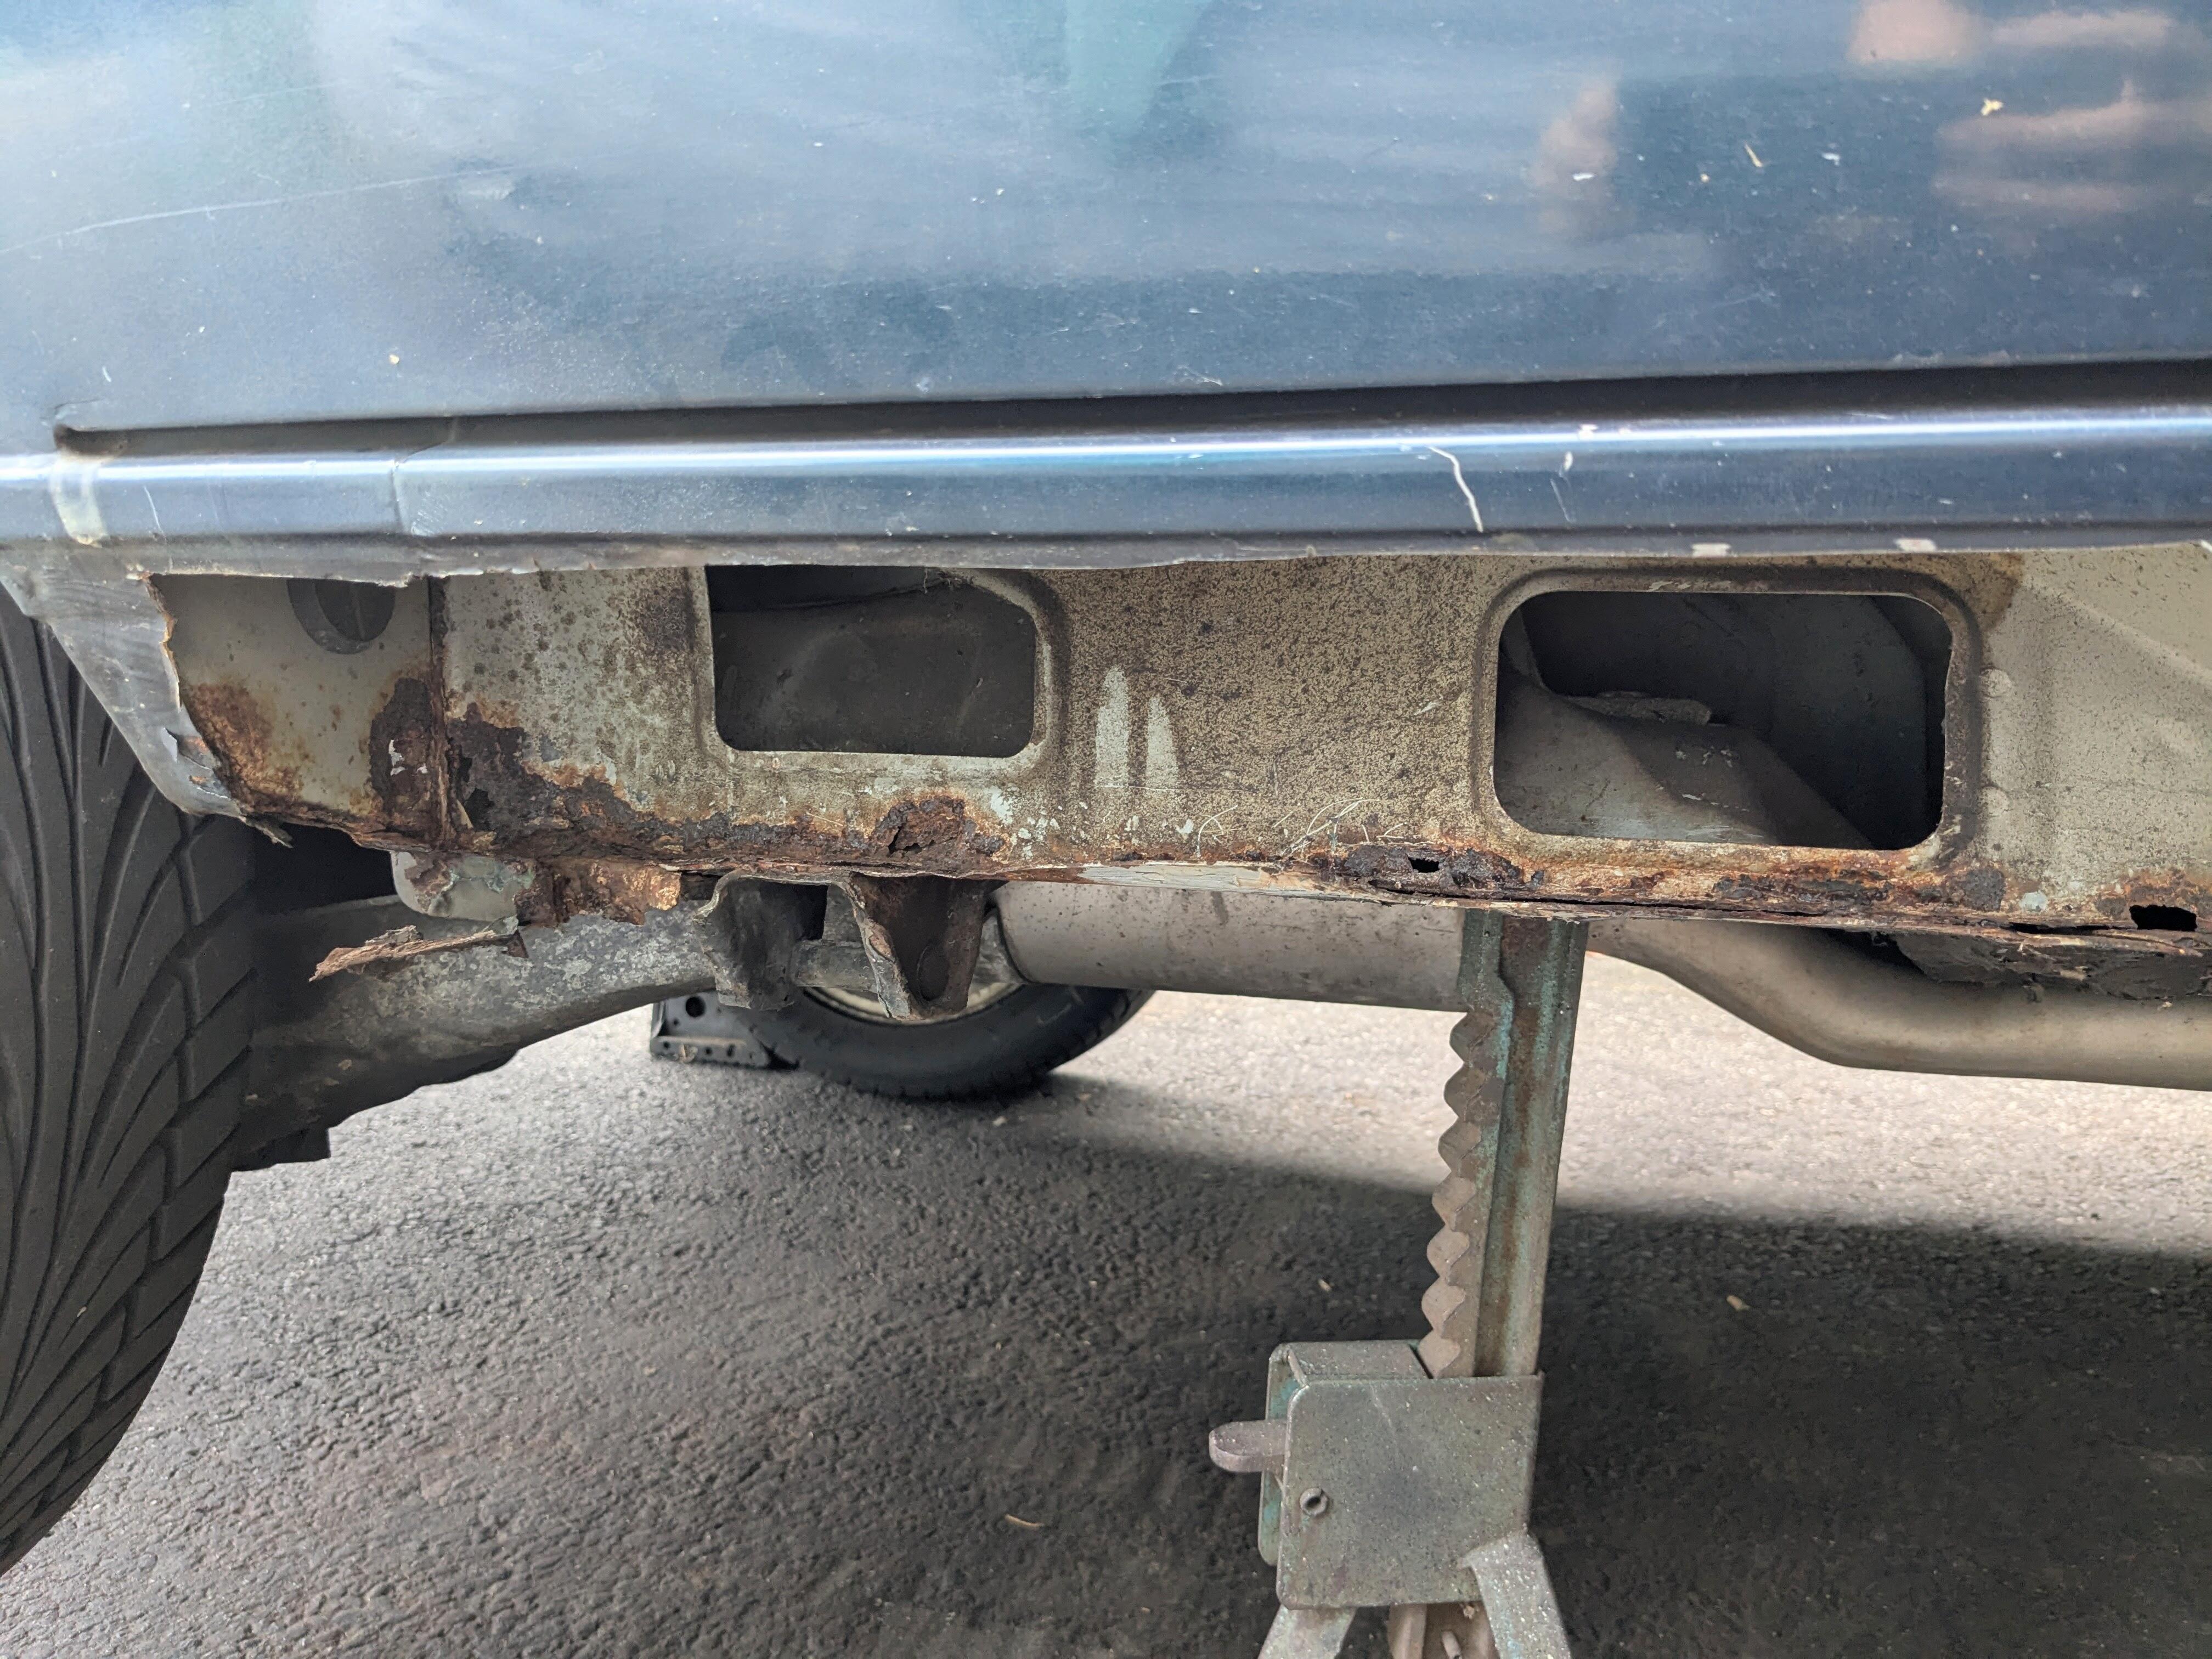
 2 points2 pointsFabricating coil springs is pretty easy. Find a drill bit of the appropriate diameter and use that as your former. Chuck it in your bench vise -- horizontally or vertically, whichever makes the wire-winding process easiest. You can use ordinary, hardware-store wire for the job (stainless steel preferably). Wrap the required number of coils around your former. Make sure you leave enough extra at the starting end to be able to form the bent-over tang afterwards. There's a bit of trial and error involved in finding the right drill bit diameter so that you end up with the desired coil diameter after you complete the wrap. It may help to temper the wire after you've got it fully formed -- but I suspect that it won't be necessary for the lock springs. As an example, the spring that I fabbed for the lid of my 70 Z's ashtray didn't need tempering.2 pointsYour place was a hammer farm back in the old days?2 points2 pointsThank you all for your suggestions and advice. Though the job looks to be nerve wracking, until at least the first cylinder is done there are enough suggested write ups and videos to give good direction, particularly as it doesn't need to be on the road the next morning. The small investment in seals and a spring compressing tool looks to be a great way to either solve the problem or eliminate one of the two most likely sources. Thanks again for the help. Great site.2 pointsScraping away at the underside where I will need to make a cut Shoulder gets wider towards the rear. It's been very hot & humid making it difficult to work outside Cross section of rocker/sill/B pillar reinforcement cut from a wreck Drilled out the sill welds on the spare section - I want to try & cut the inner repair piece from this Cut some sheet metal in preparation for bending Have to match the rocker section, and make some inner support sections Also put new handles on two sledge hammers I dug out of the yard many years back. Now I have 4 sizes - these two fall in the middle2 pointsWeather moved around - didn't rain all day as predicted - so, I was able to get started on fitting and welding in the first repair section of the inner rocker Cut out back to solid metal on th car- made Initial cut of filler piece Test fit. The drop in sill to rocker lip is perplexing - I don't see a stagger like this at the front of the driver's side after some back & forth - I left a section of the floor lip that coincides with the area I had to remove mostly welded - rain is coming back so I primed it all with weld-thru zinc primer. Lip alignment seems OK now. Just a slight step at the front Just tacked on the underside where the floor pan had to be welded The remaining rearward inner section should be possible with just plain "L" or possibly a dogleg section I bent a range of options on my friends metal brake. Lower piece will be the rear rocker section repair section I have that was cut from a parts car only goes as far as the pillar The rear section is a little hairy towards the jack point & behind were the tie-in to wheel arch happens. Once all this is addressed, the rocker skin can go back. Acid soaking a spare set of 280Z front control arms to remove excess rust. I need to modify these to fit the Apex Engineered front subframe. Didn't want to cut up the originals which are far too nice a condition to modify TUS-11a UJoints finally came - hopefully tomorrow I'll have time to install one.


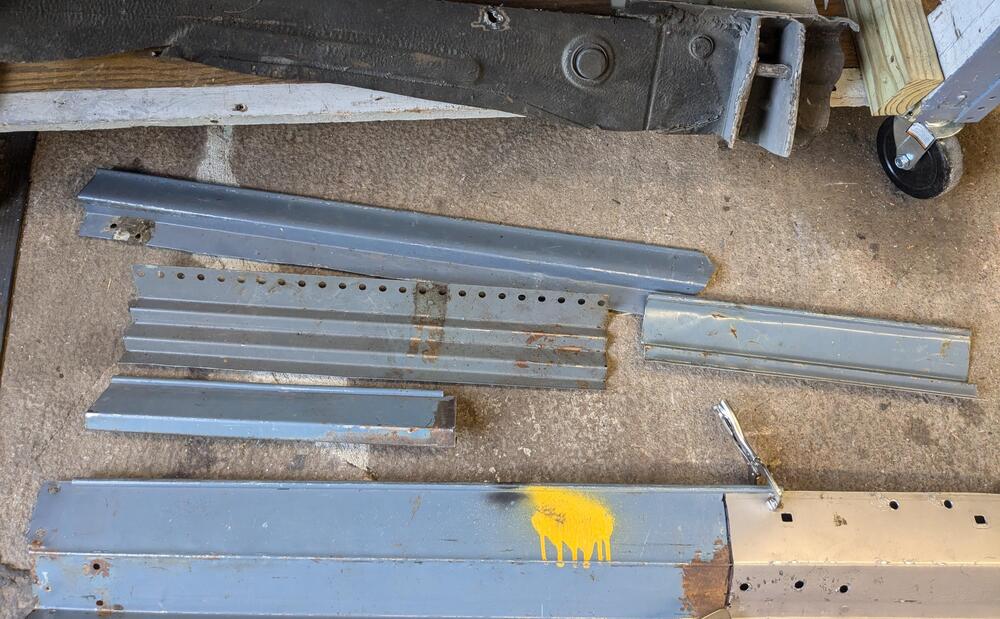
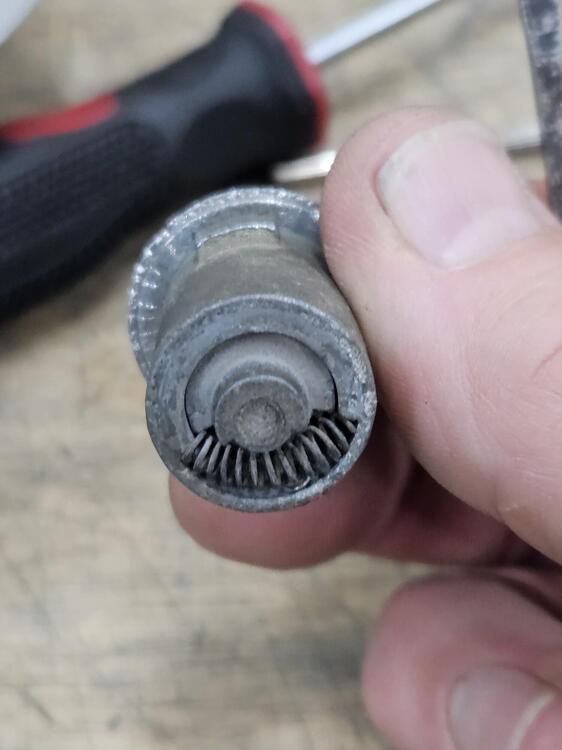
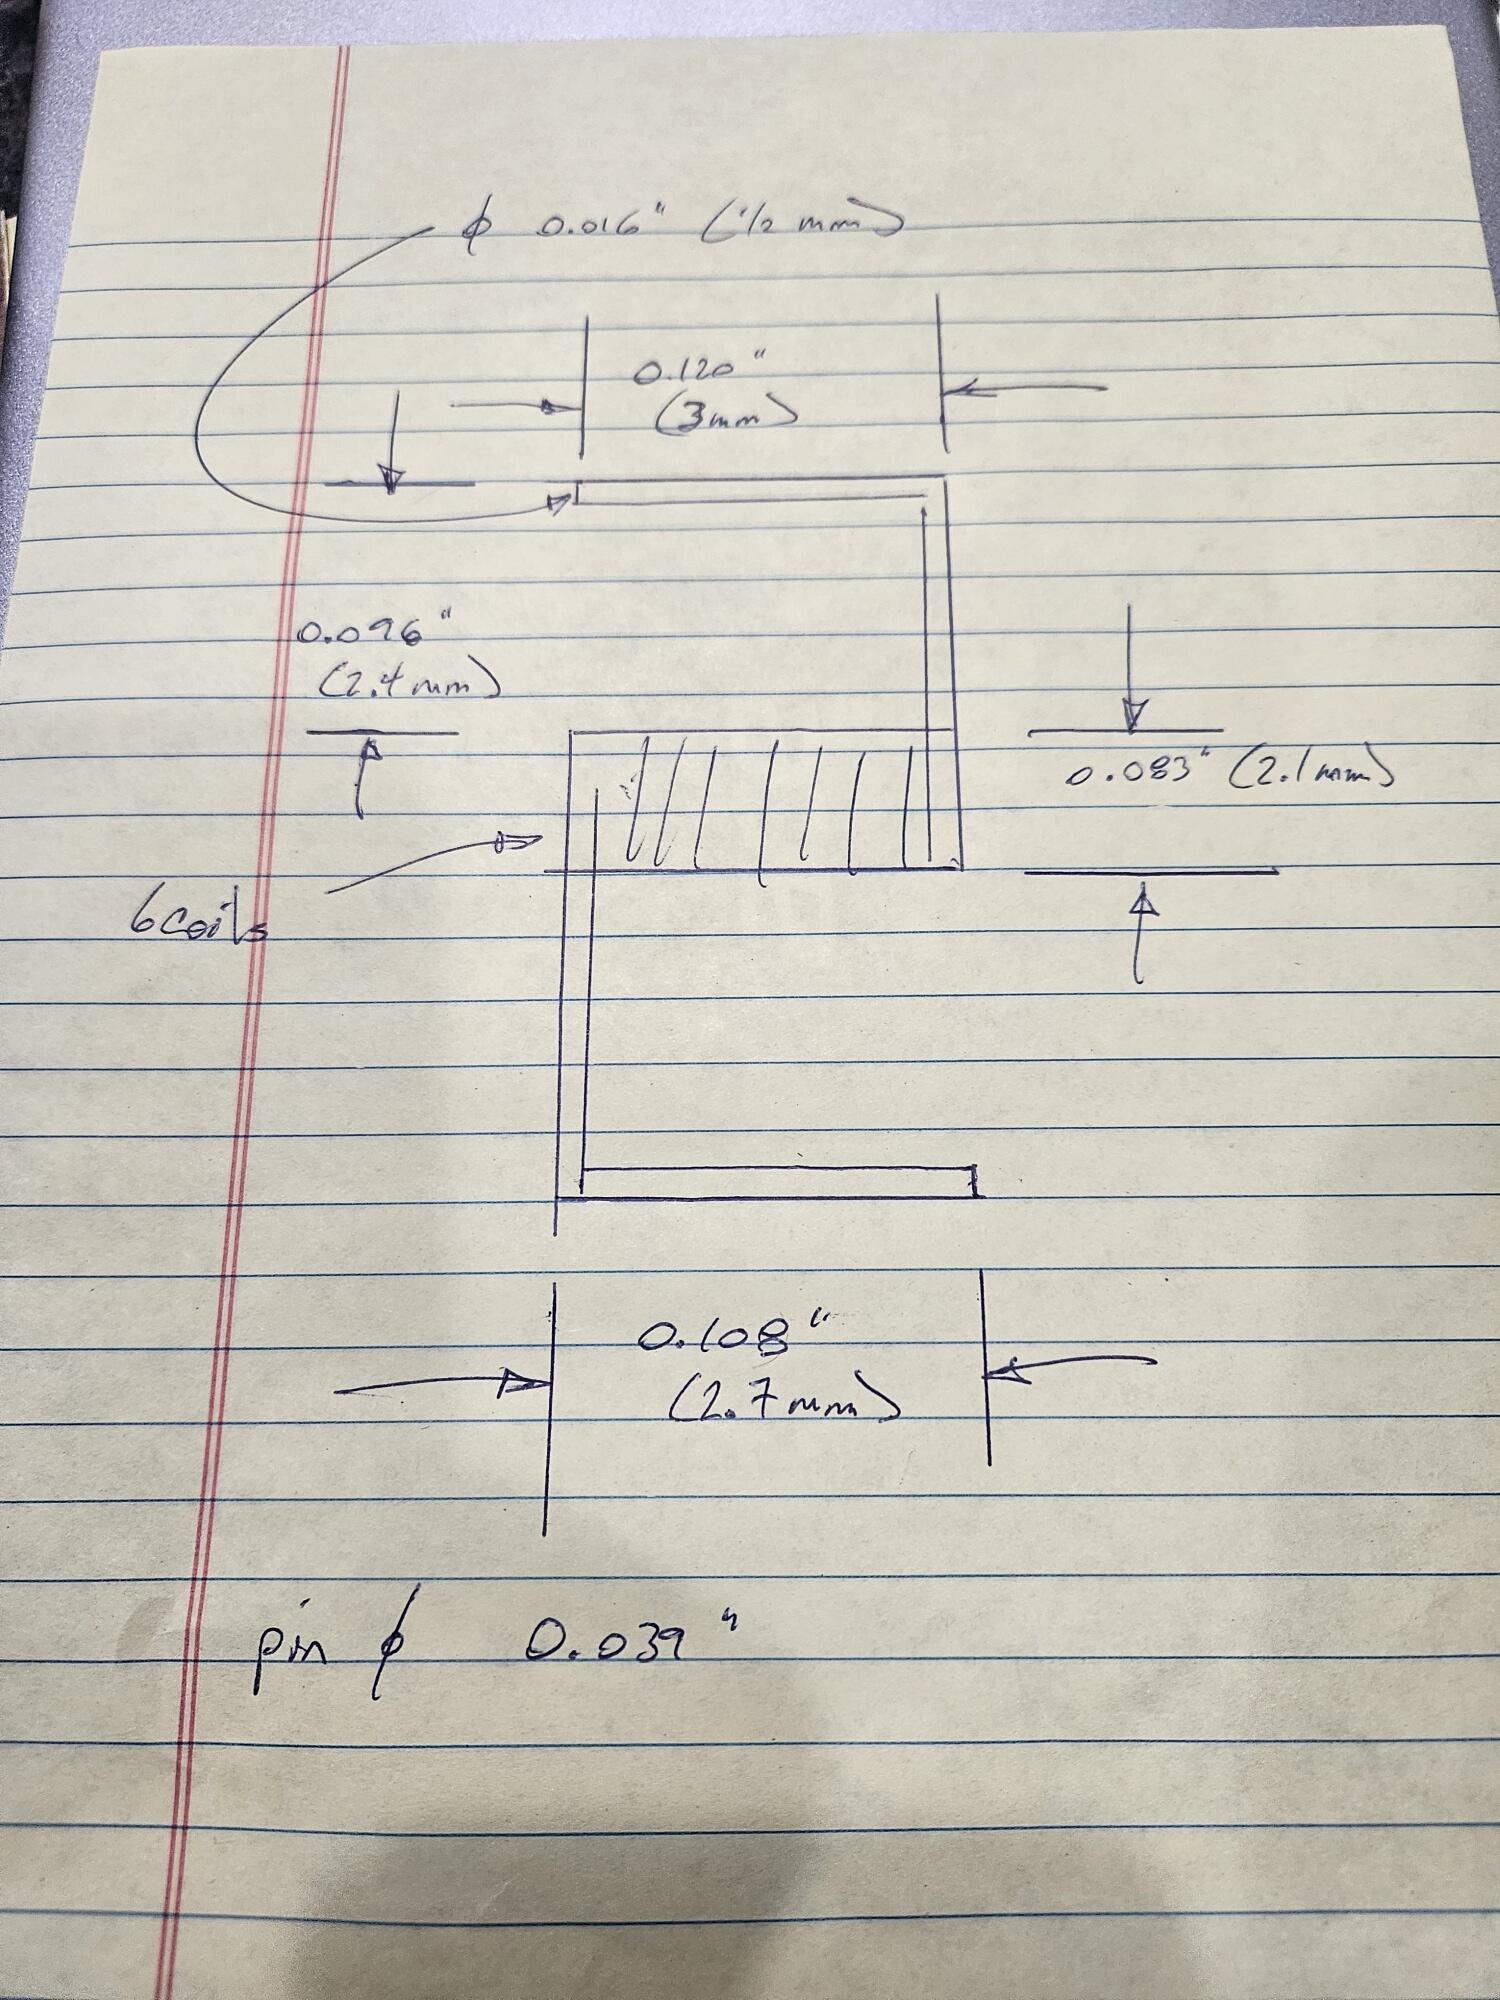
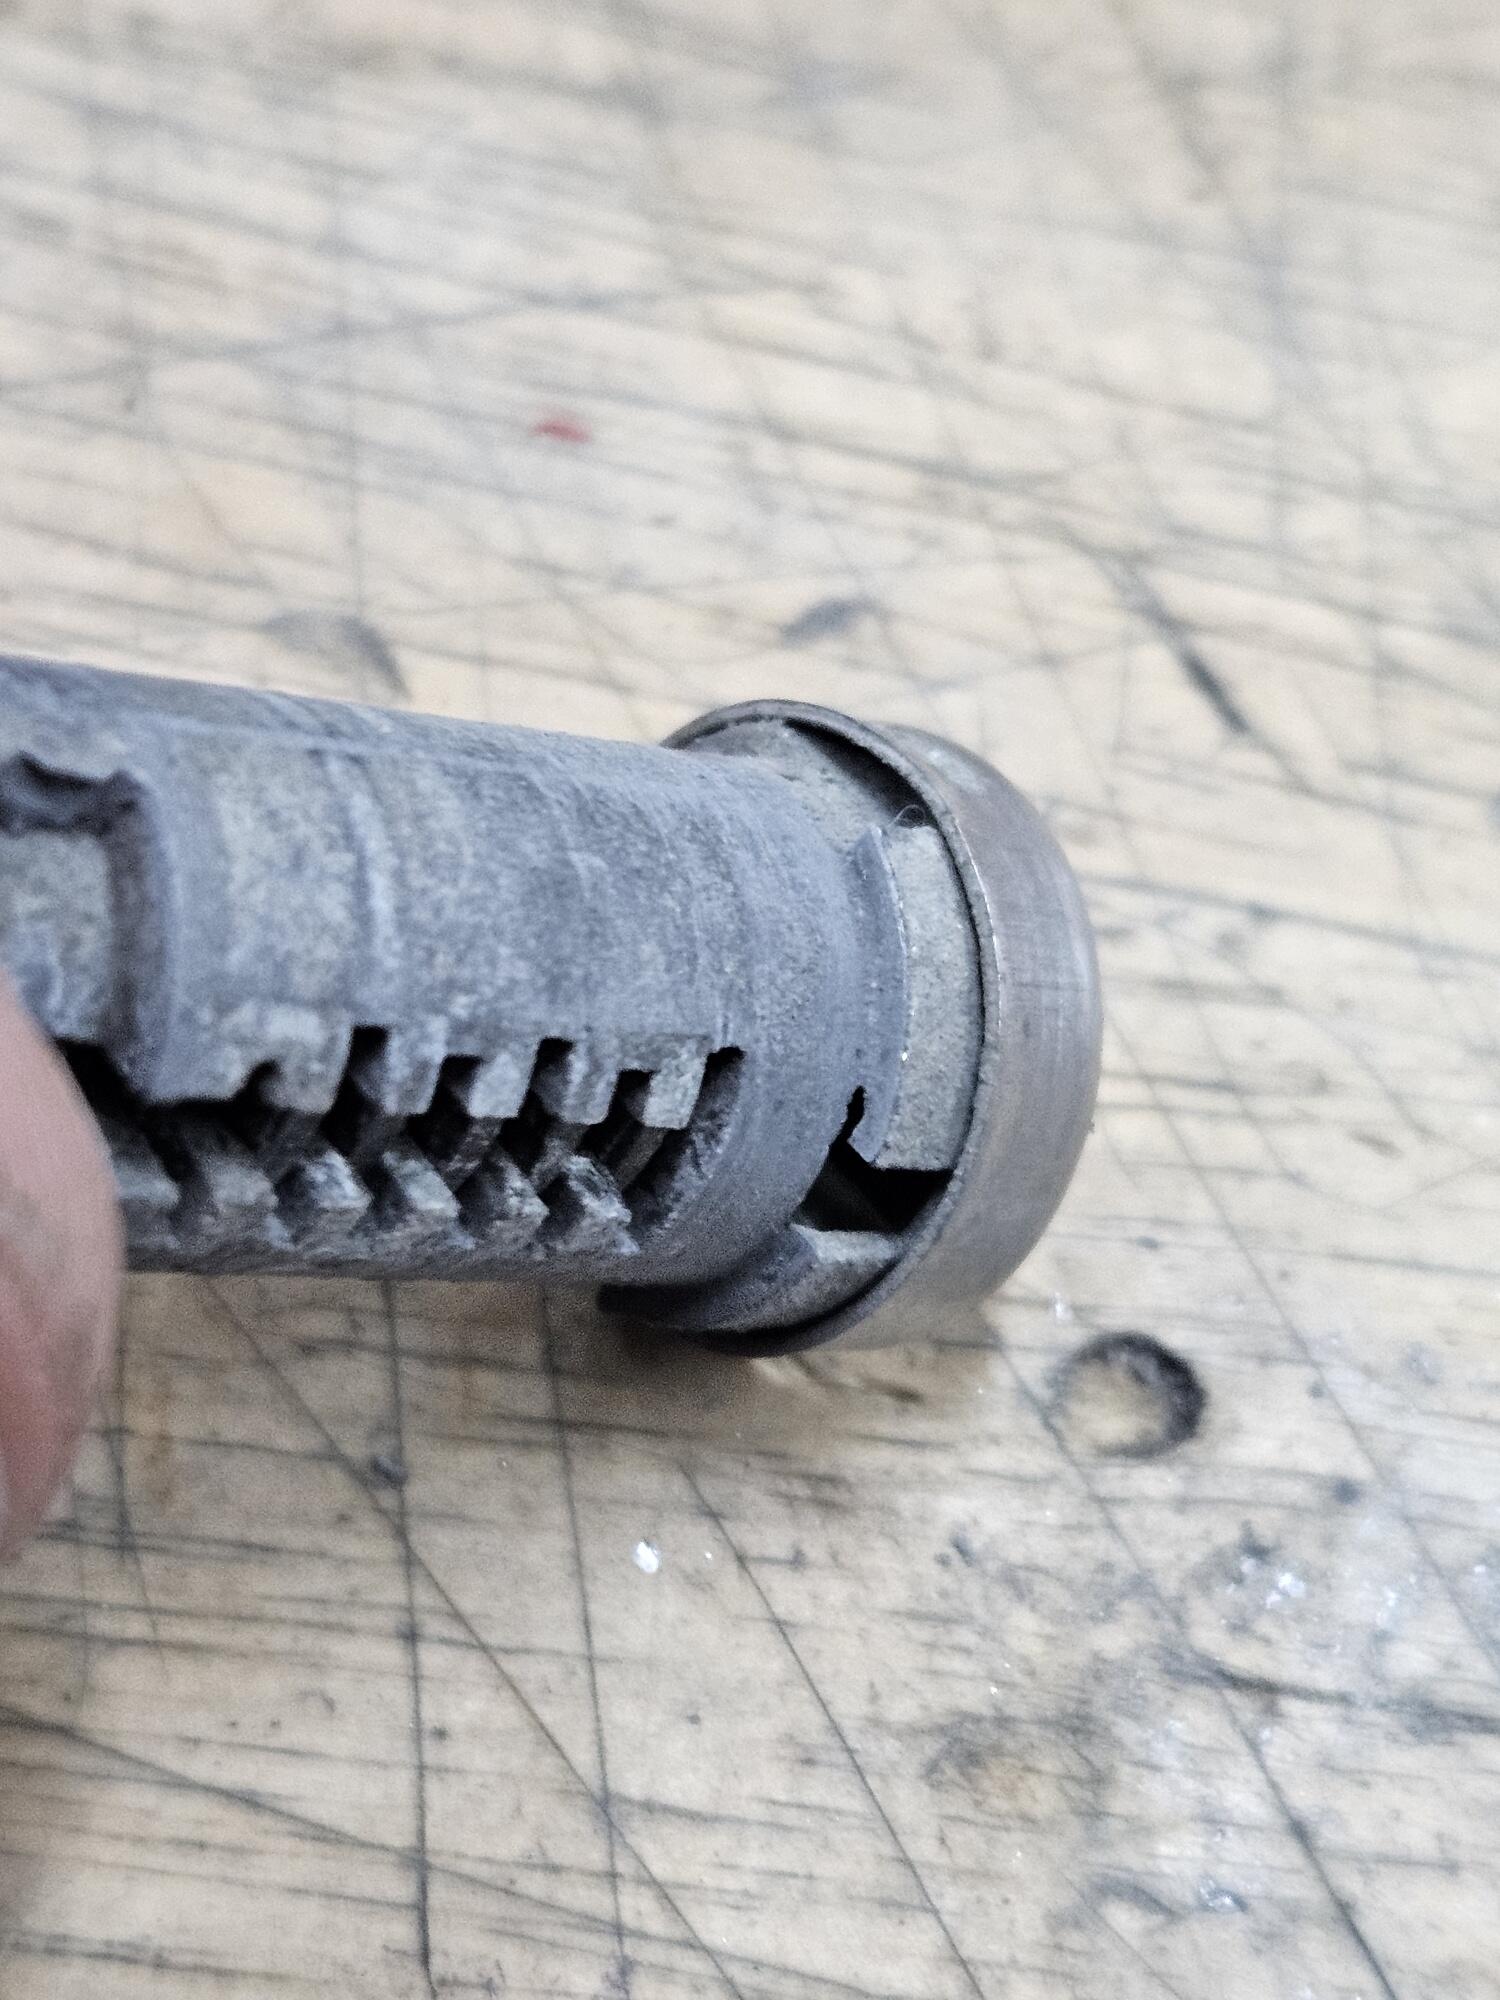
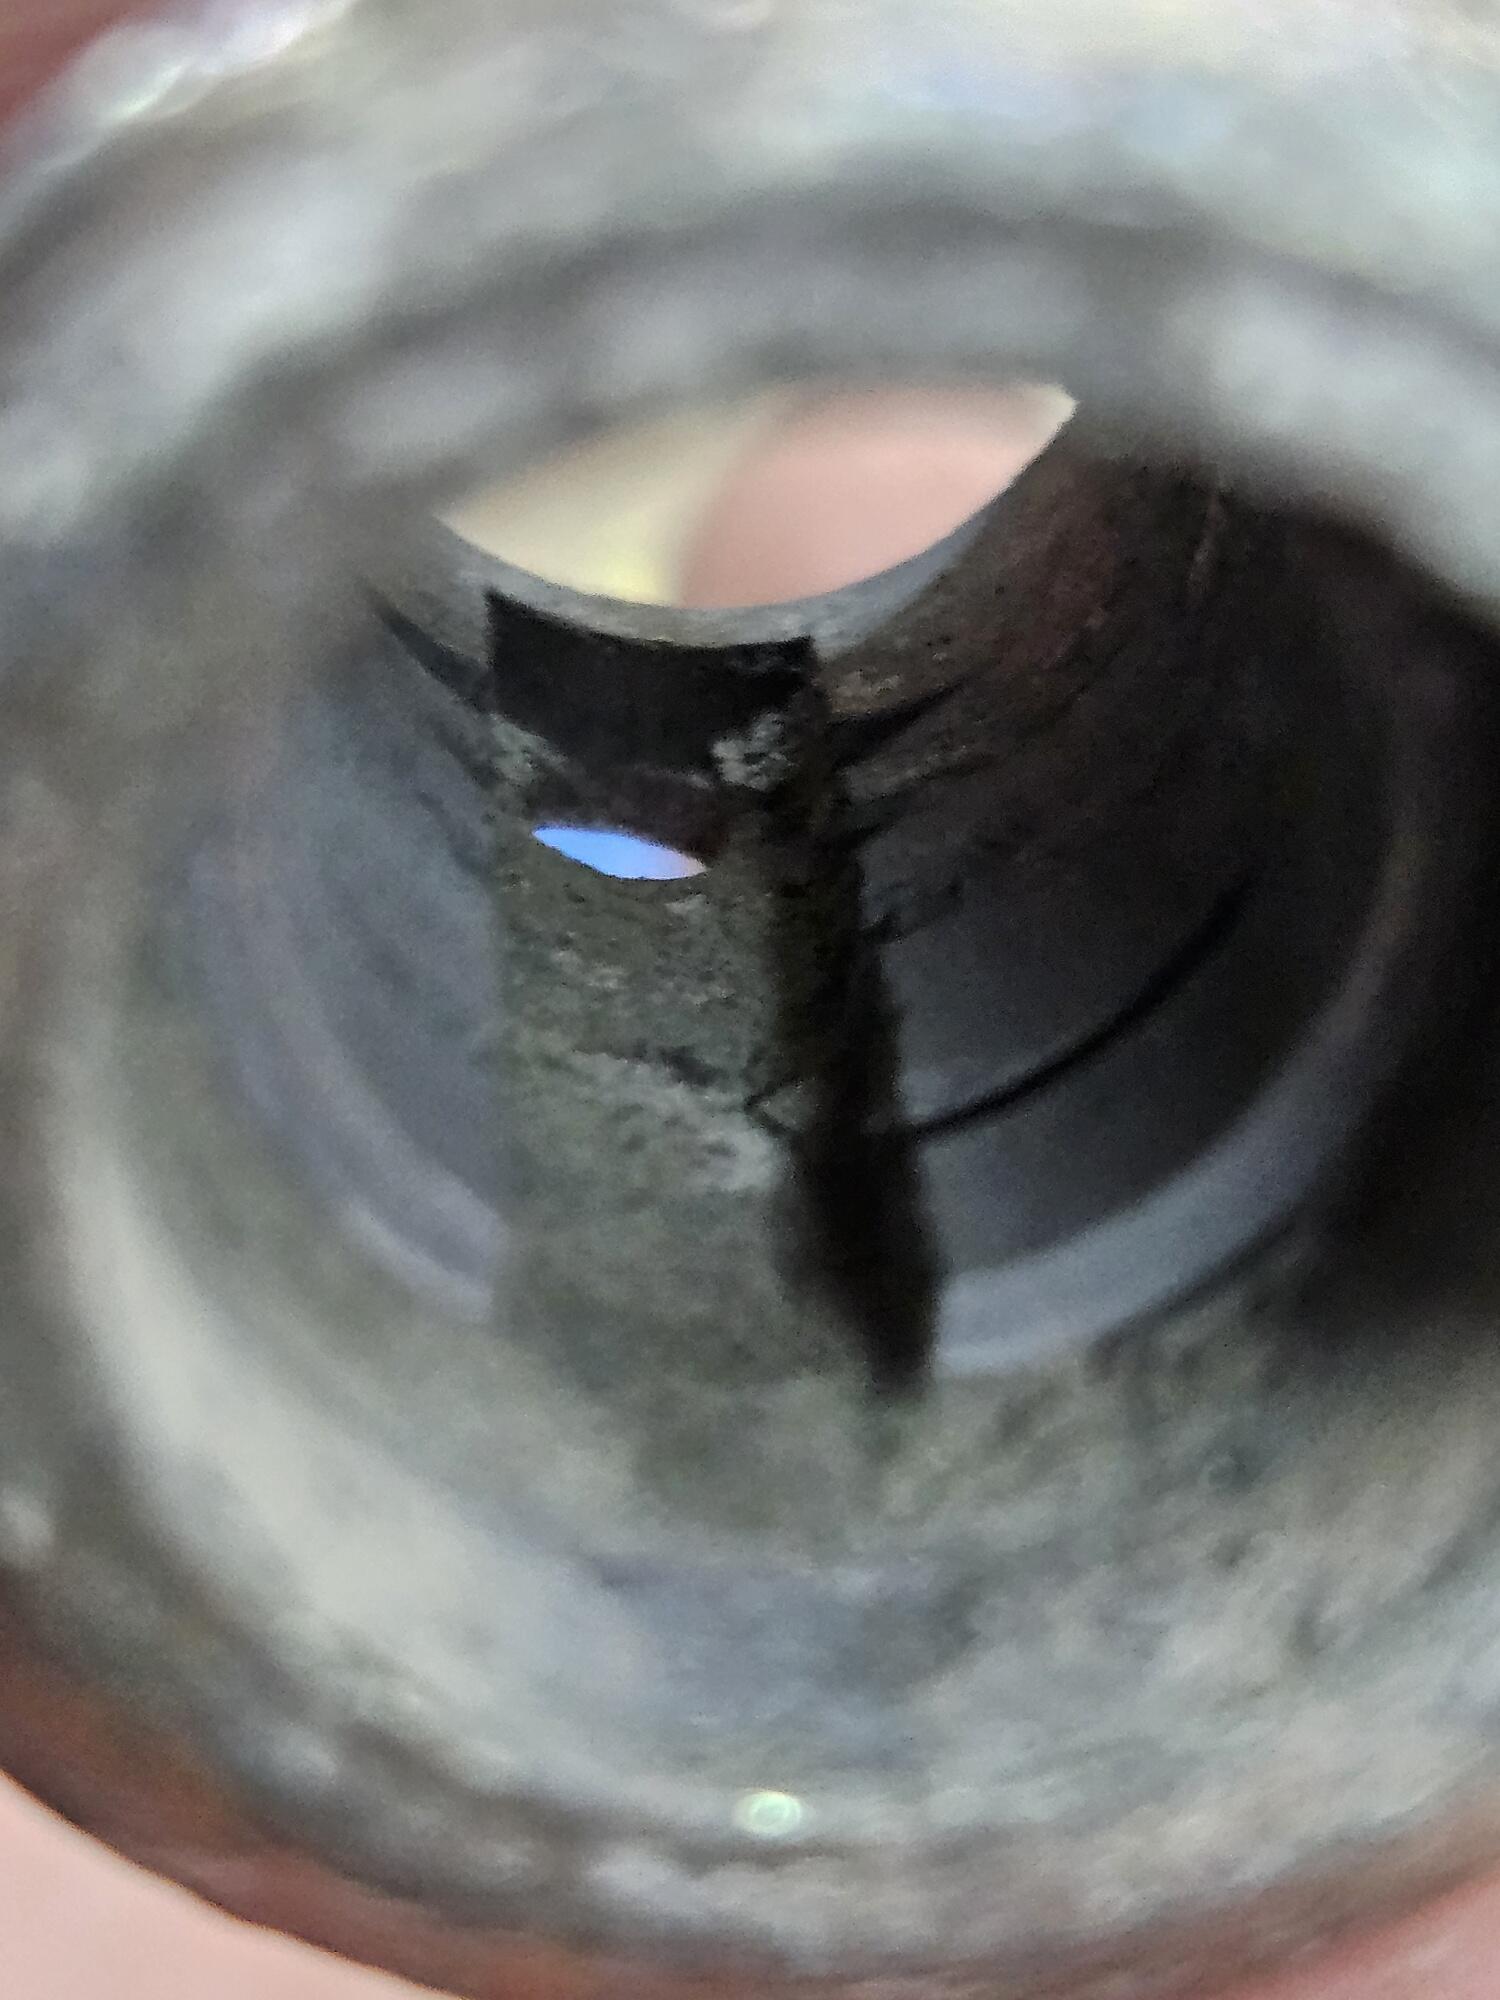
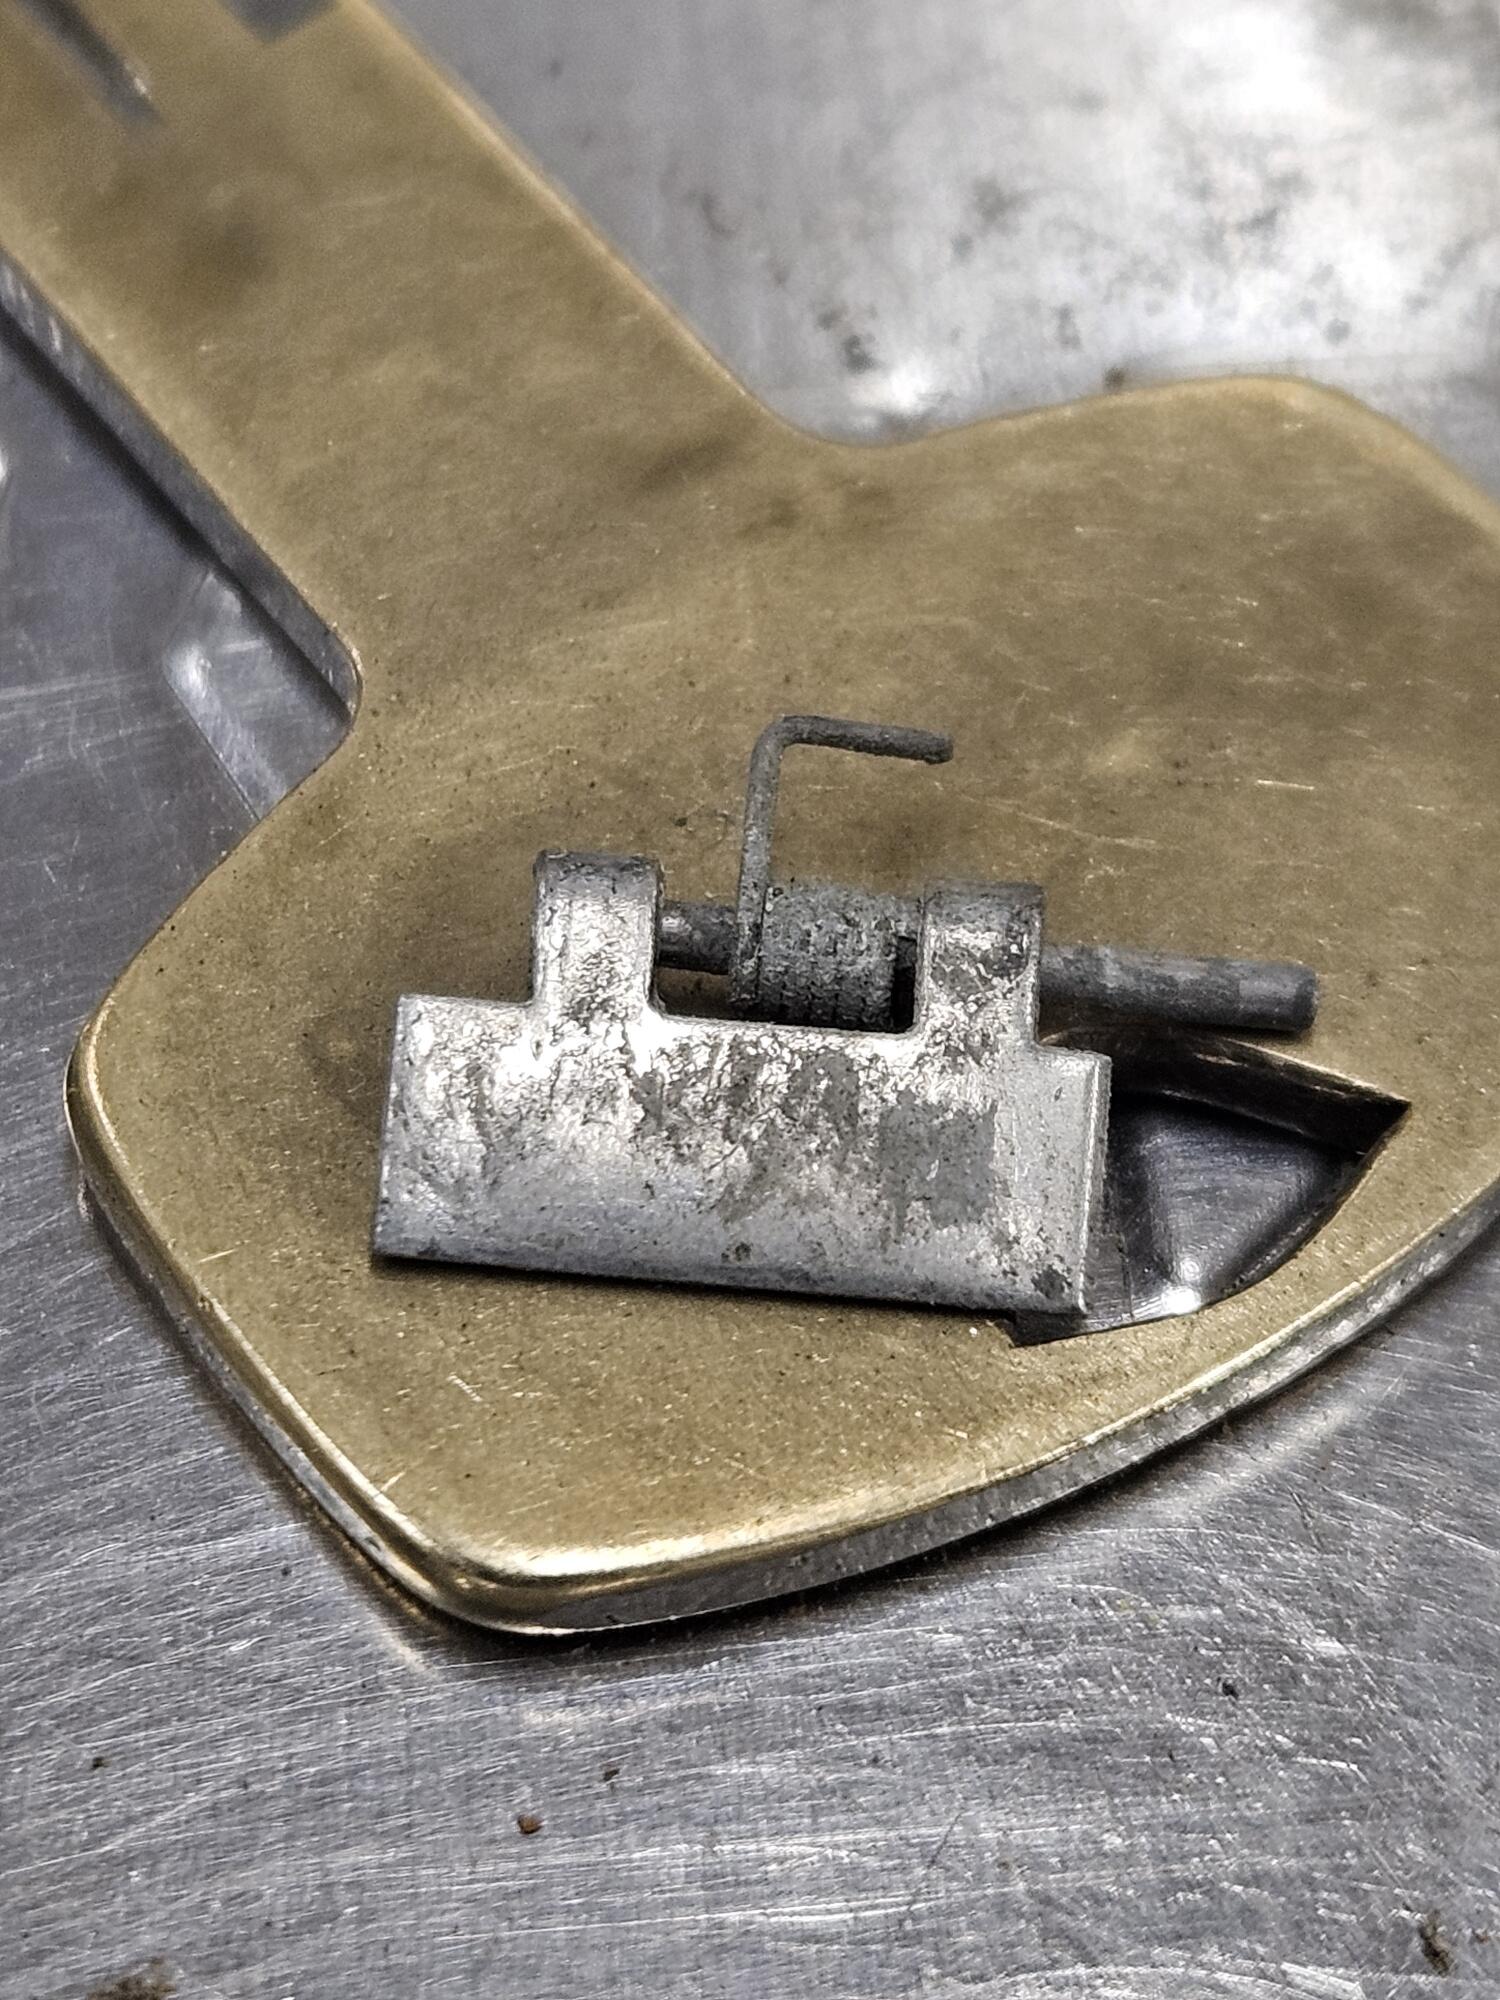
 1 pointJust to follow up and close this out, I followed this direction and everything is working great. Thanks everyone!1 point1 pointjust remember to make sure you stuff rags around the timing chain to prevent anything getting dropped down the hole. That would ruin your day.... give the valves a light tap with a plastic mallet after getting the keepers back in, just to make sure all is seated. A small magnet on a collapsible stick helps a lot when getting the keepers out. Lastly the biggest issue I had was keeping the valves from compressing when using the spring compressor. I did not have much luck with compressed air holding them closed, IIRC I used some nylon rope, or maybe it was some plastic tubing, I don't recall, maybe both were tried. again a slight rap with the plastic mallet before applying the spring compressor may help to "break" the hold the keepers have before applying the compressor. I think I may have had the piston a couple degrees before TDC, then after getting the nylon rope in good and tight, use a 27mm socket to turn the crank just enough to really jam the piston to TDC, compressing the rope enough to keep the valve from decending. It sounds complicated but its not really hard when you get into it.1 point1 point1 point.016 diameter wire? That is pretty small. I have plenty of 016 wire in various SS grades. If Cody is coming my way anytime soon send one with him and I bend one or mail you some wire.1 point1 pointIt is kind of freaky how you and I are traveling in parallel on so many Z restoration things. "I finally received this PVC tubing the other day. I bought it for the front markers lights but realized I needed a piece for the wiper motor too." - I bought some from Amazon just the other day for my from side markers. I went with the 1/4" diameter instead of the 3/8". I will be ready with the lacquer thinner when it is time to install it. "I can't upload the picture I want, but I the plug on the wiper was bad and instead of depinning it, I crushed it with a set of channel locks. Much faster!" - I did the same with one of the connectors for the steering column wires. It seems that the harness connectors are made out of a plastic which is not UV resistant. Sunlight makes them turn yellow in short order. I used Vise grips to bust mine to pieces. "I replaced the pins on the end of the wiring. Put a new jacket on the cable and reinstalled the wiper motor and bracket into the car using Steve Nixon's great little rubber pieces" - Same here. I seem to have an electrical issue with mine though. I tested the motor the other day and it kept running when I turned the wiper switch off. The fuse for the circuit blew shortly there after. I replaced the fuse and it blue again within seconds. Looks like others have beat me to the punch on the round head wiper screw. G1 point1 pointYou are correct. None of those marks on either side of the main groove are supposed to be there. And JB weld will fill in the grooves, but best case, I don't think it will last long. And worst case, as it wears away, it gums up the works. I would just do the best you can with what you have and pretend you never saw those small grooves in the first place. I mean... If someone wants to break into the car, that lock won't stop them, even if it's new.1 point1 pointSo I have been looking for the key hole shutter springs. They are the tiny springs Here are the dimensions I have found something close but they are almost $9 apiece!! Anyone have any ideas on where to find these?
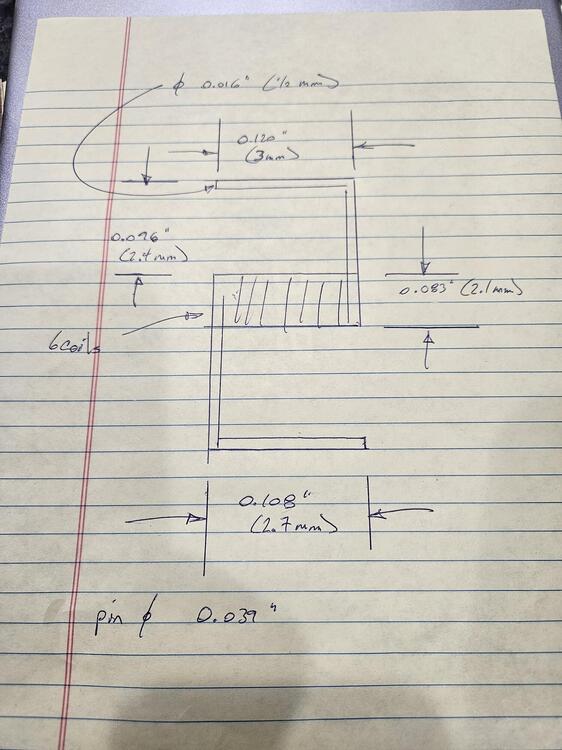
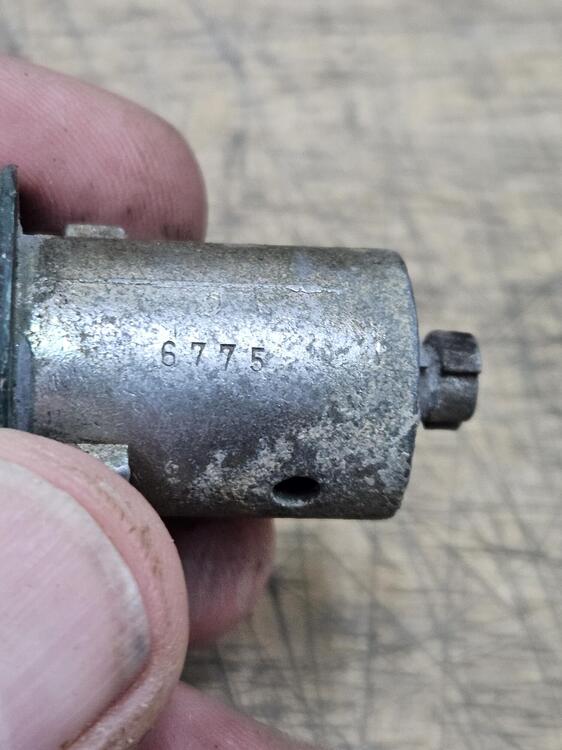
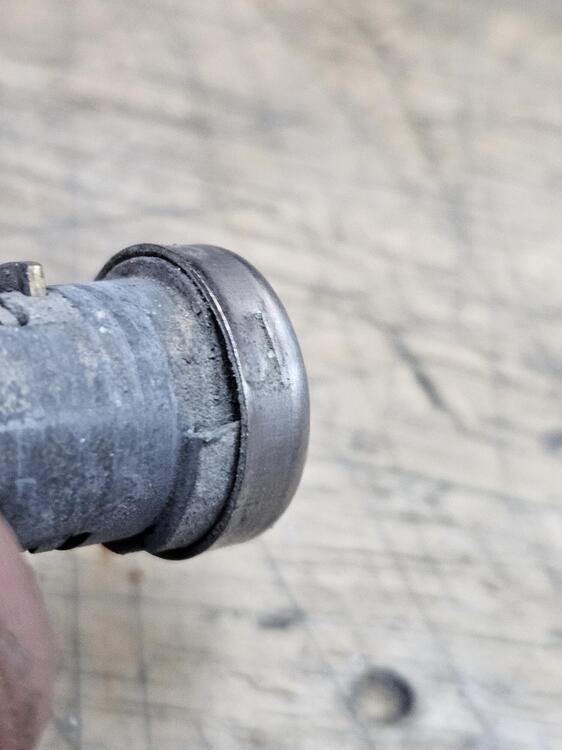
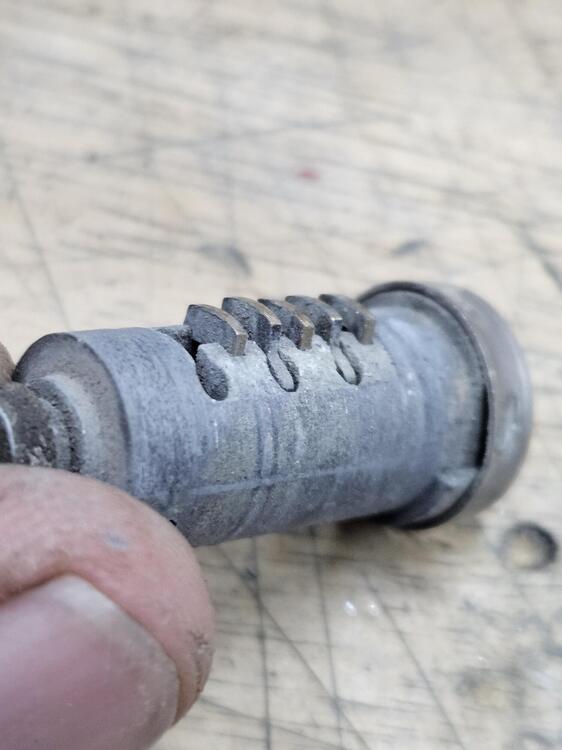
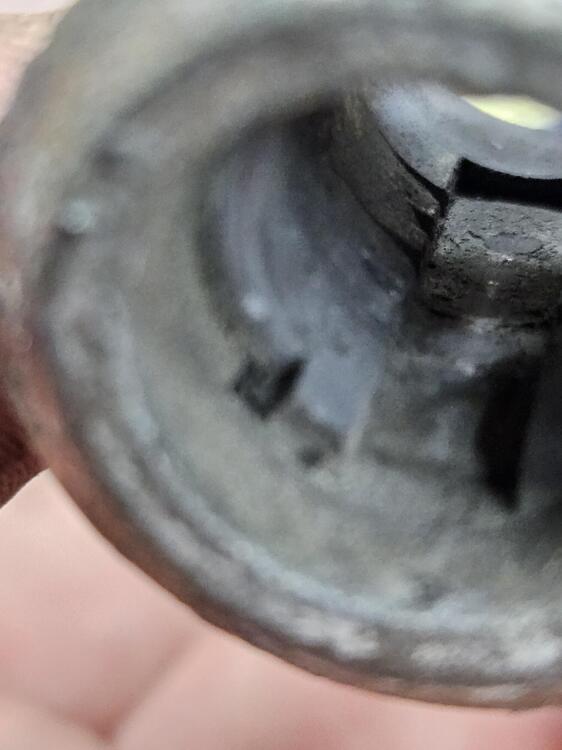
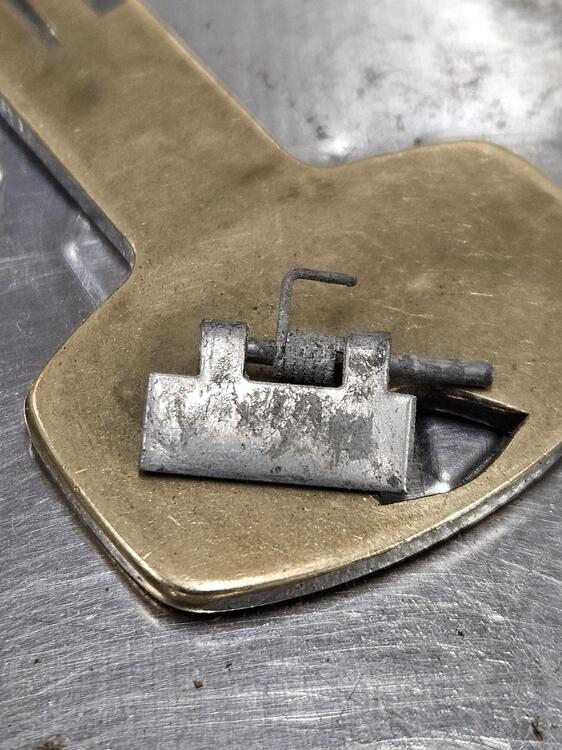
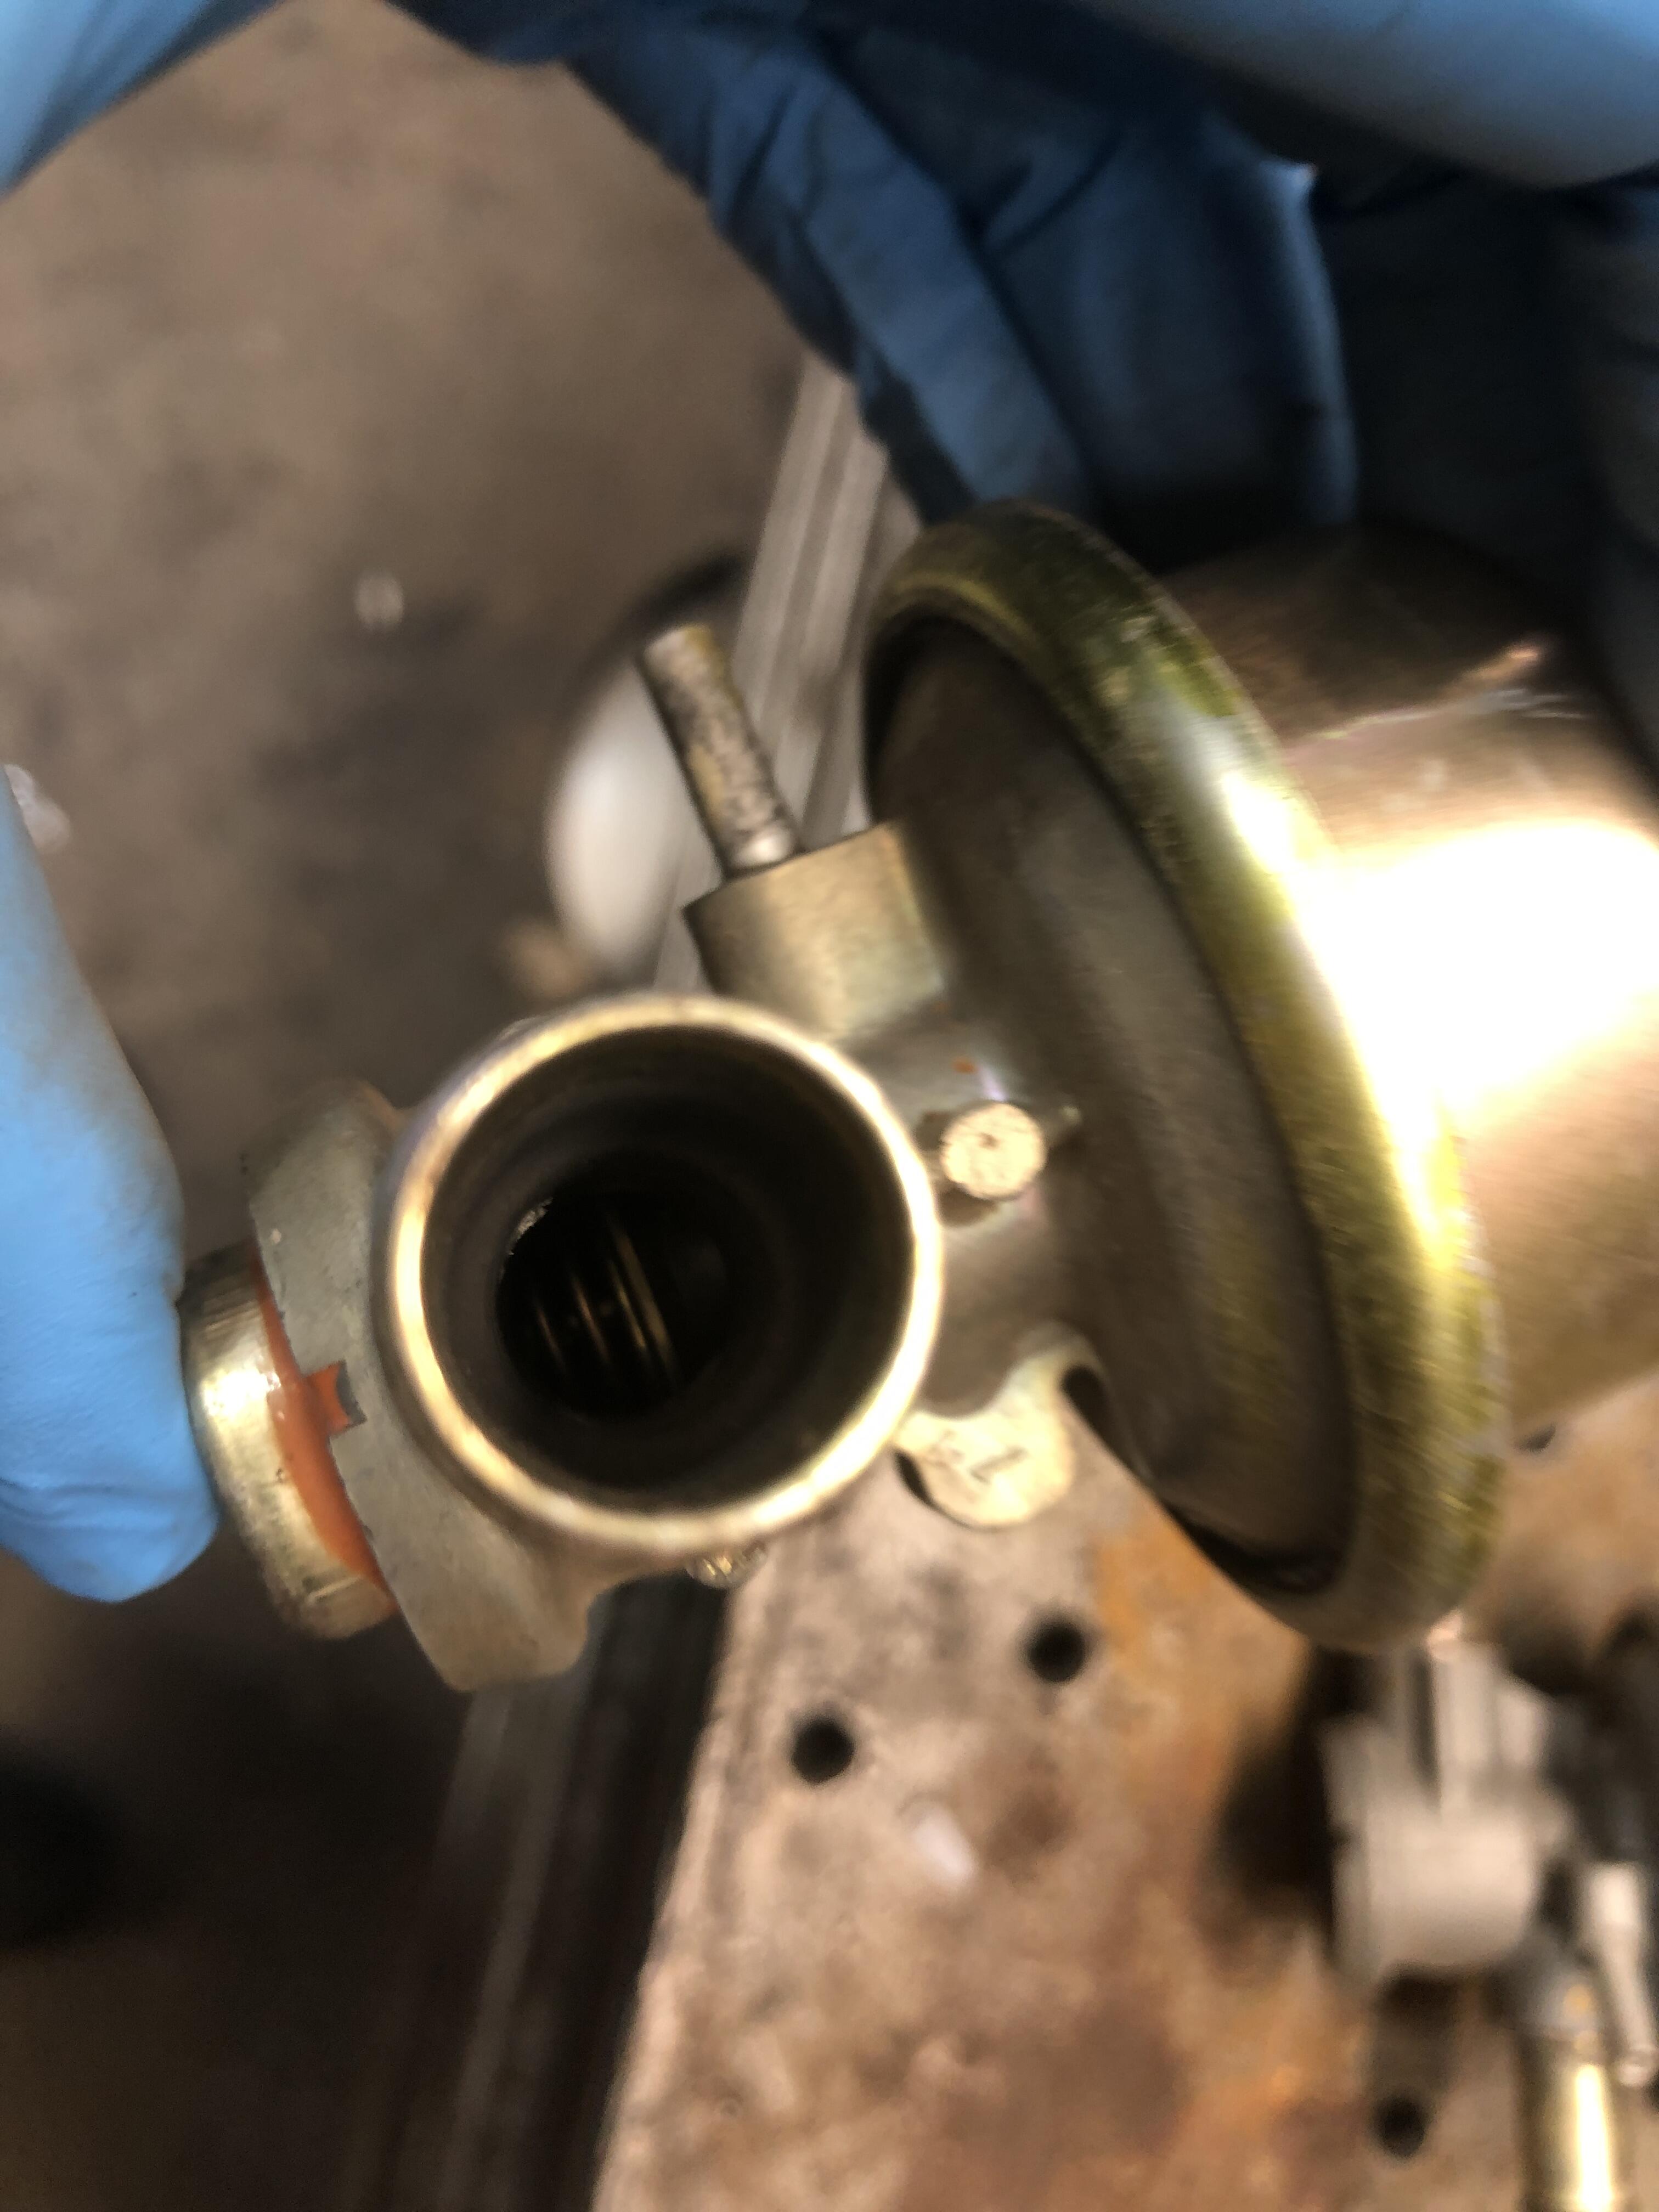
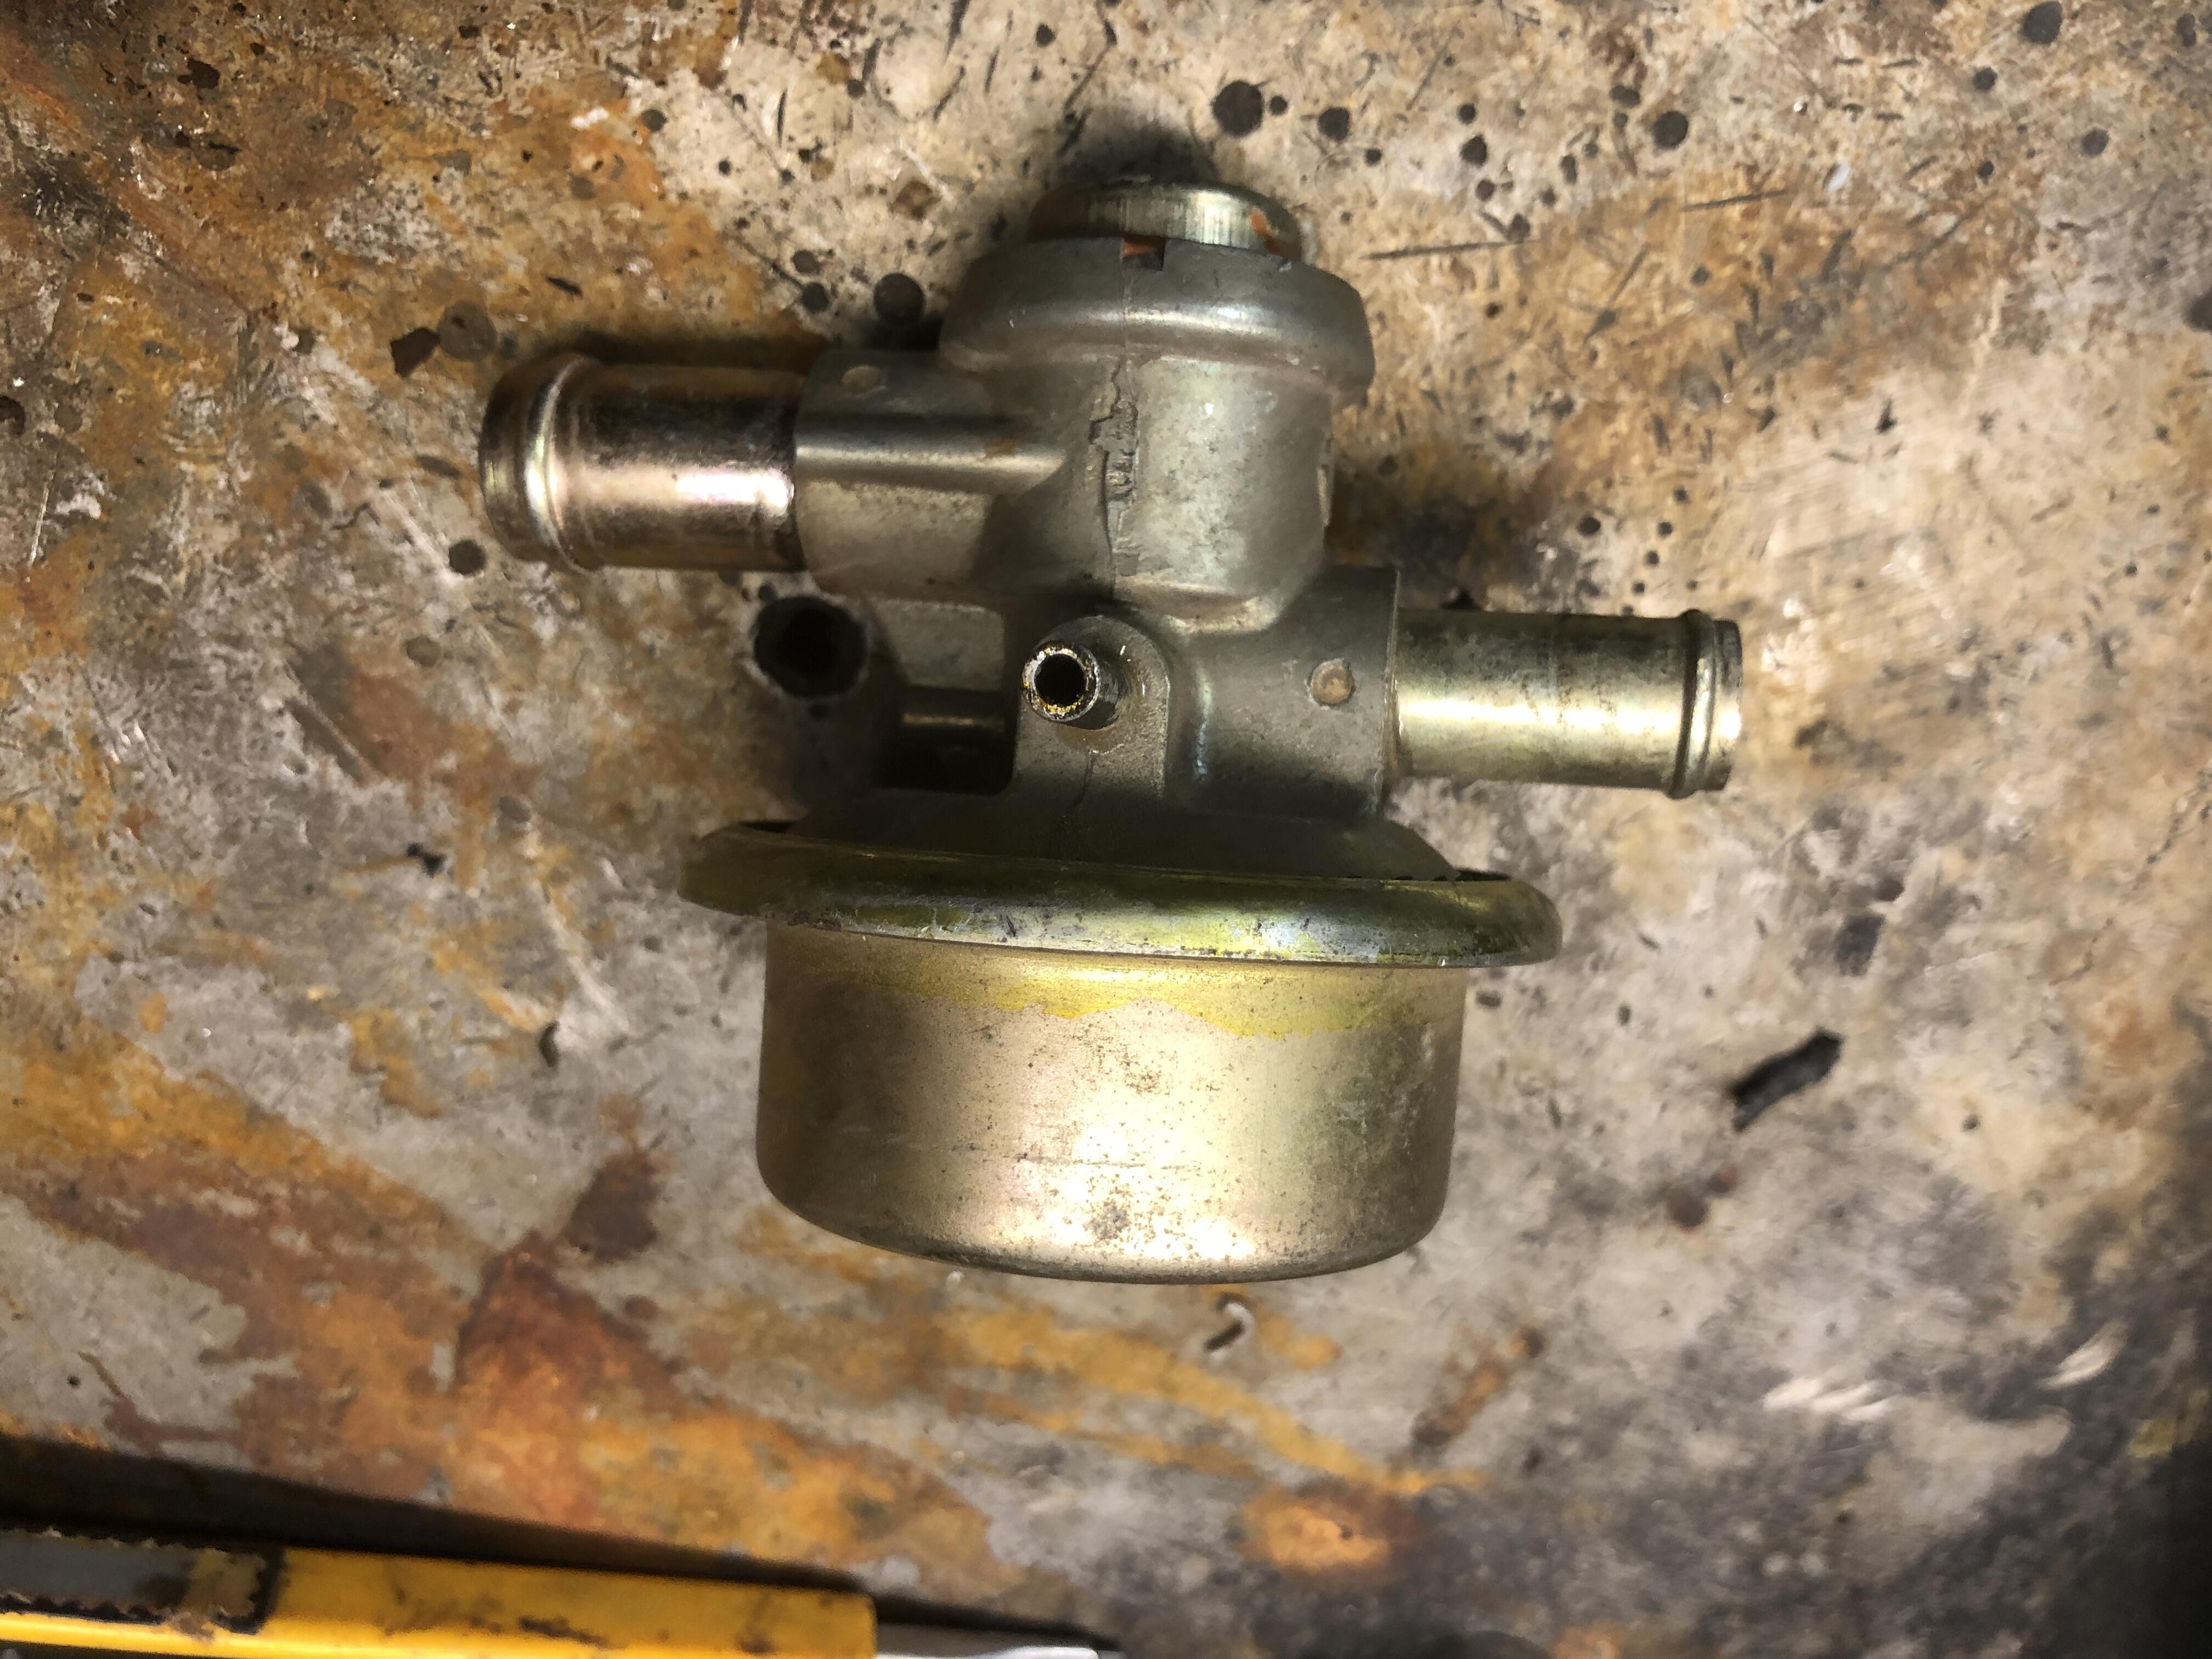
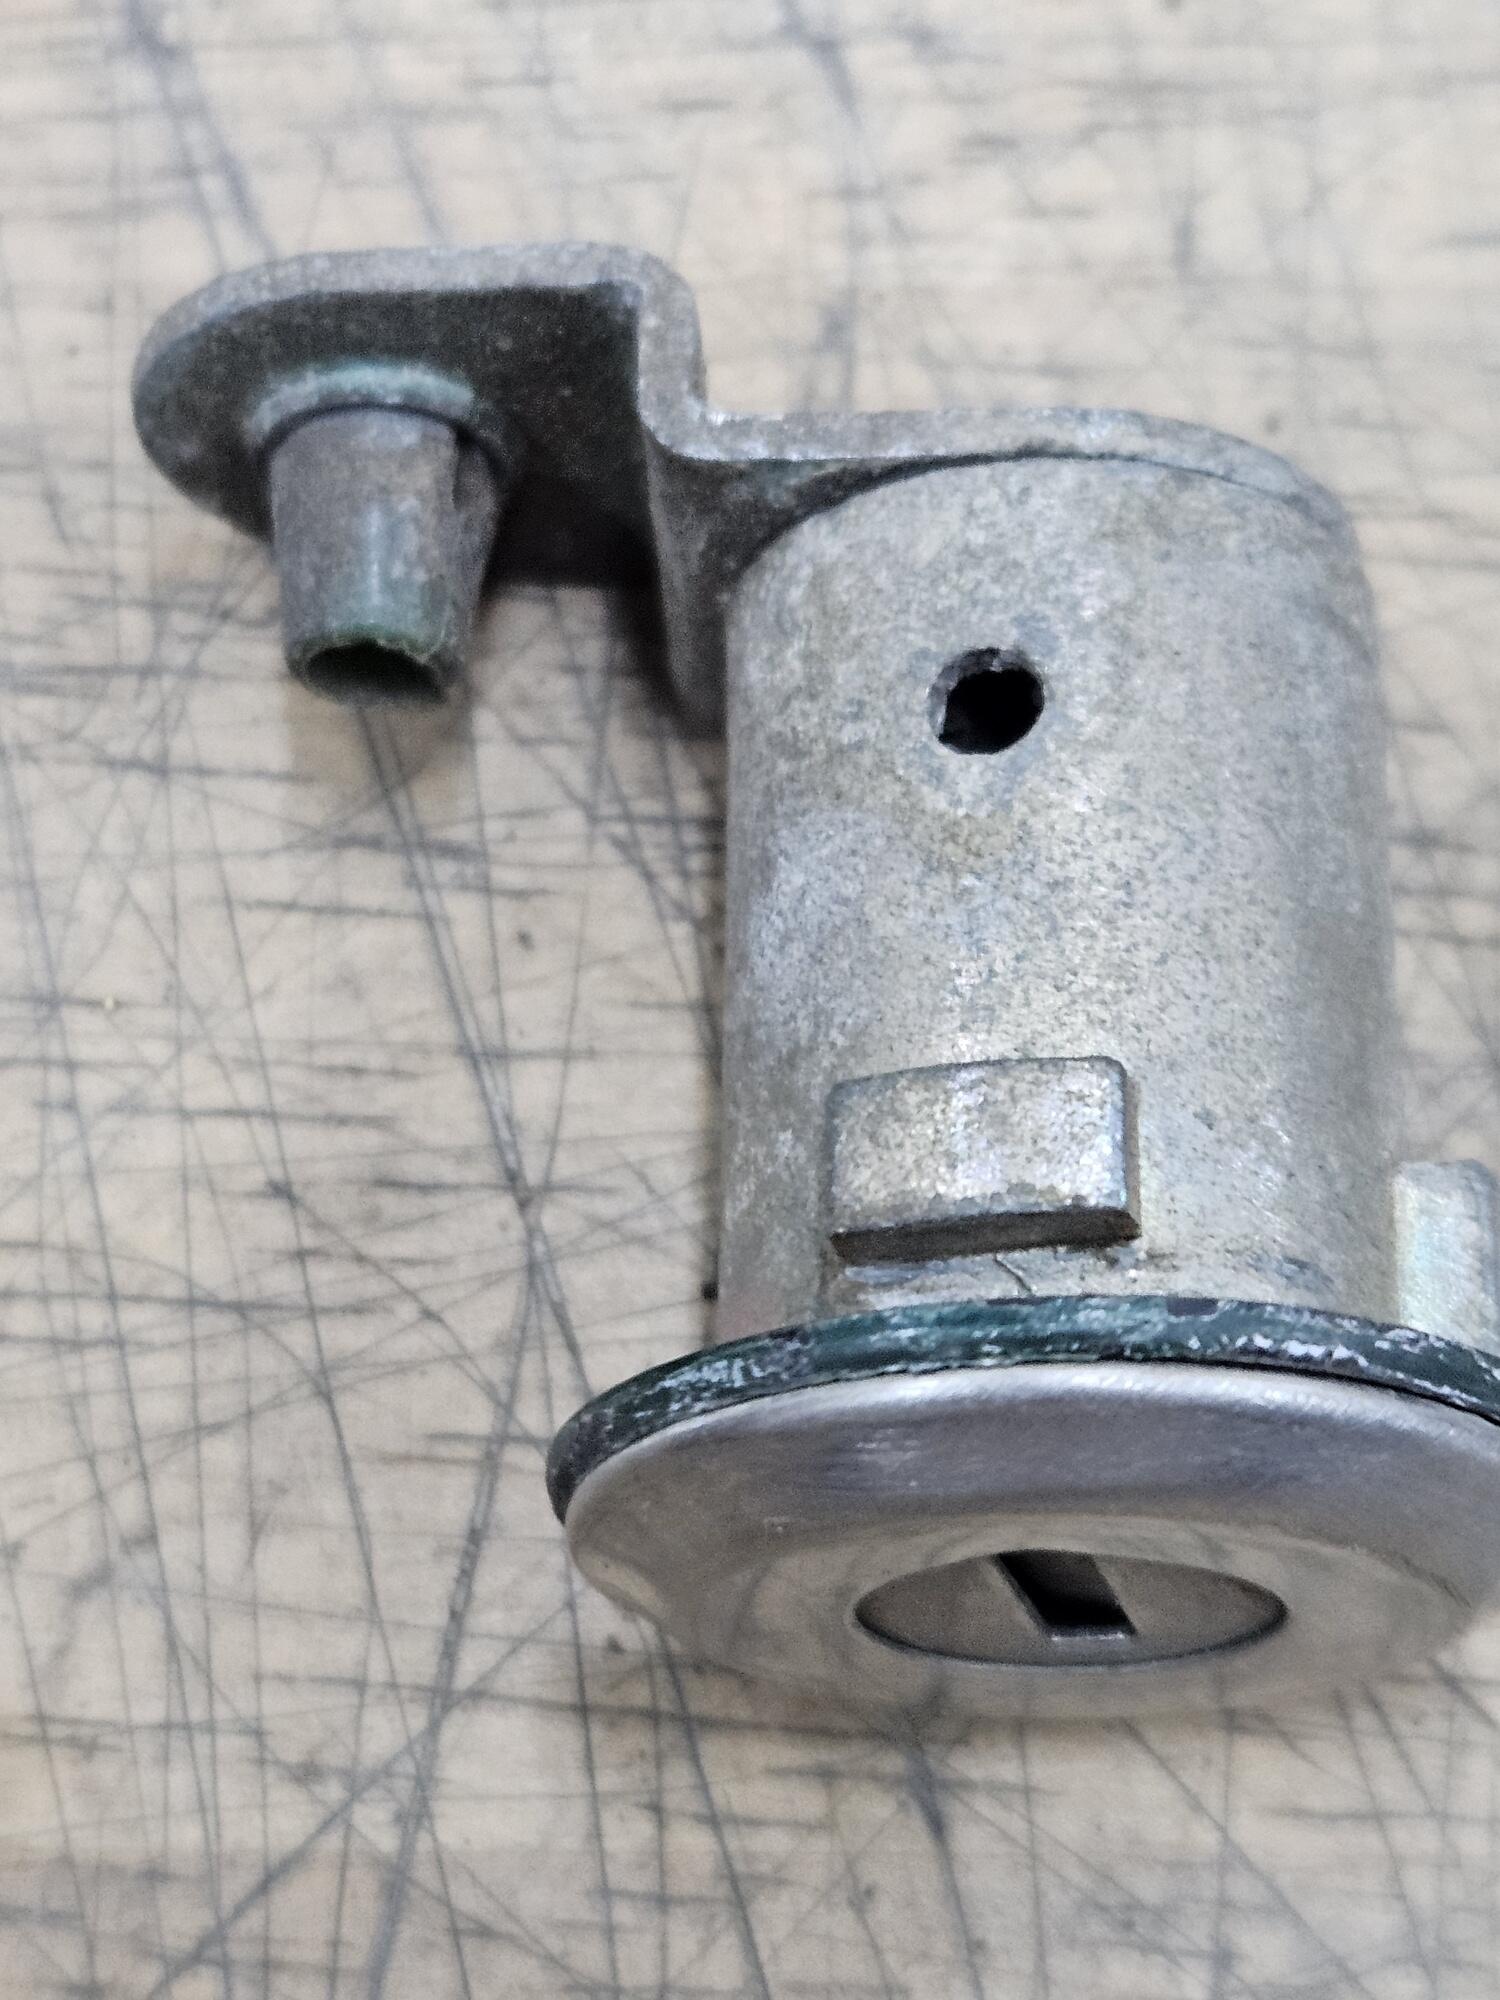
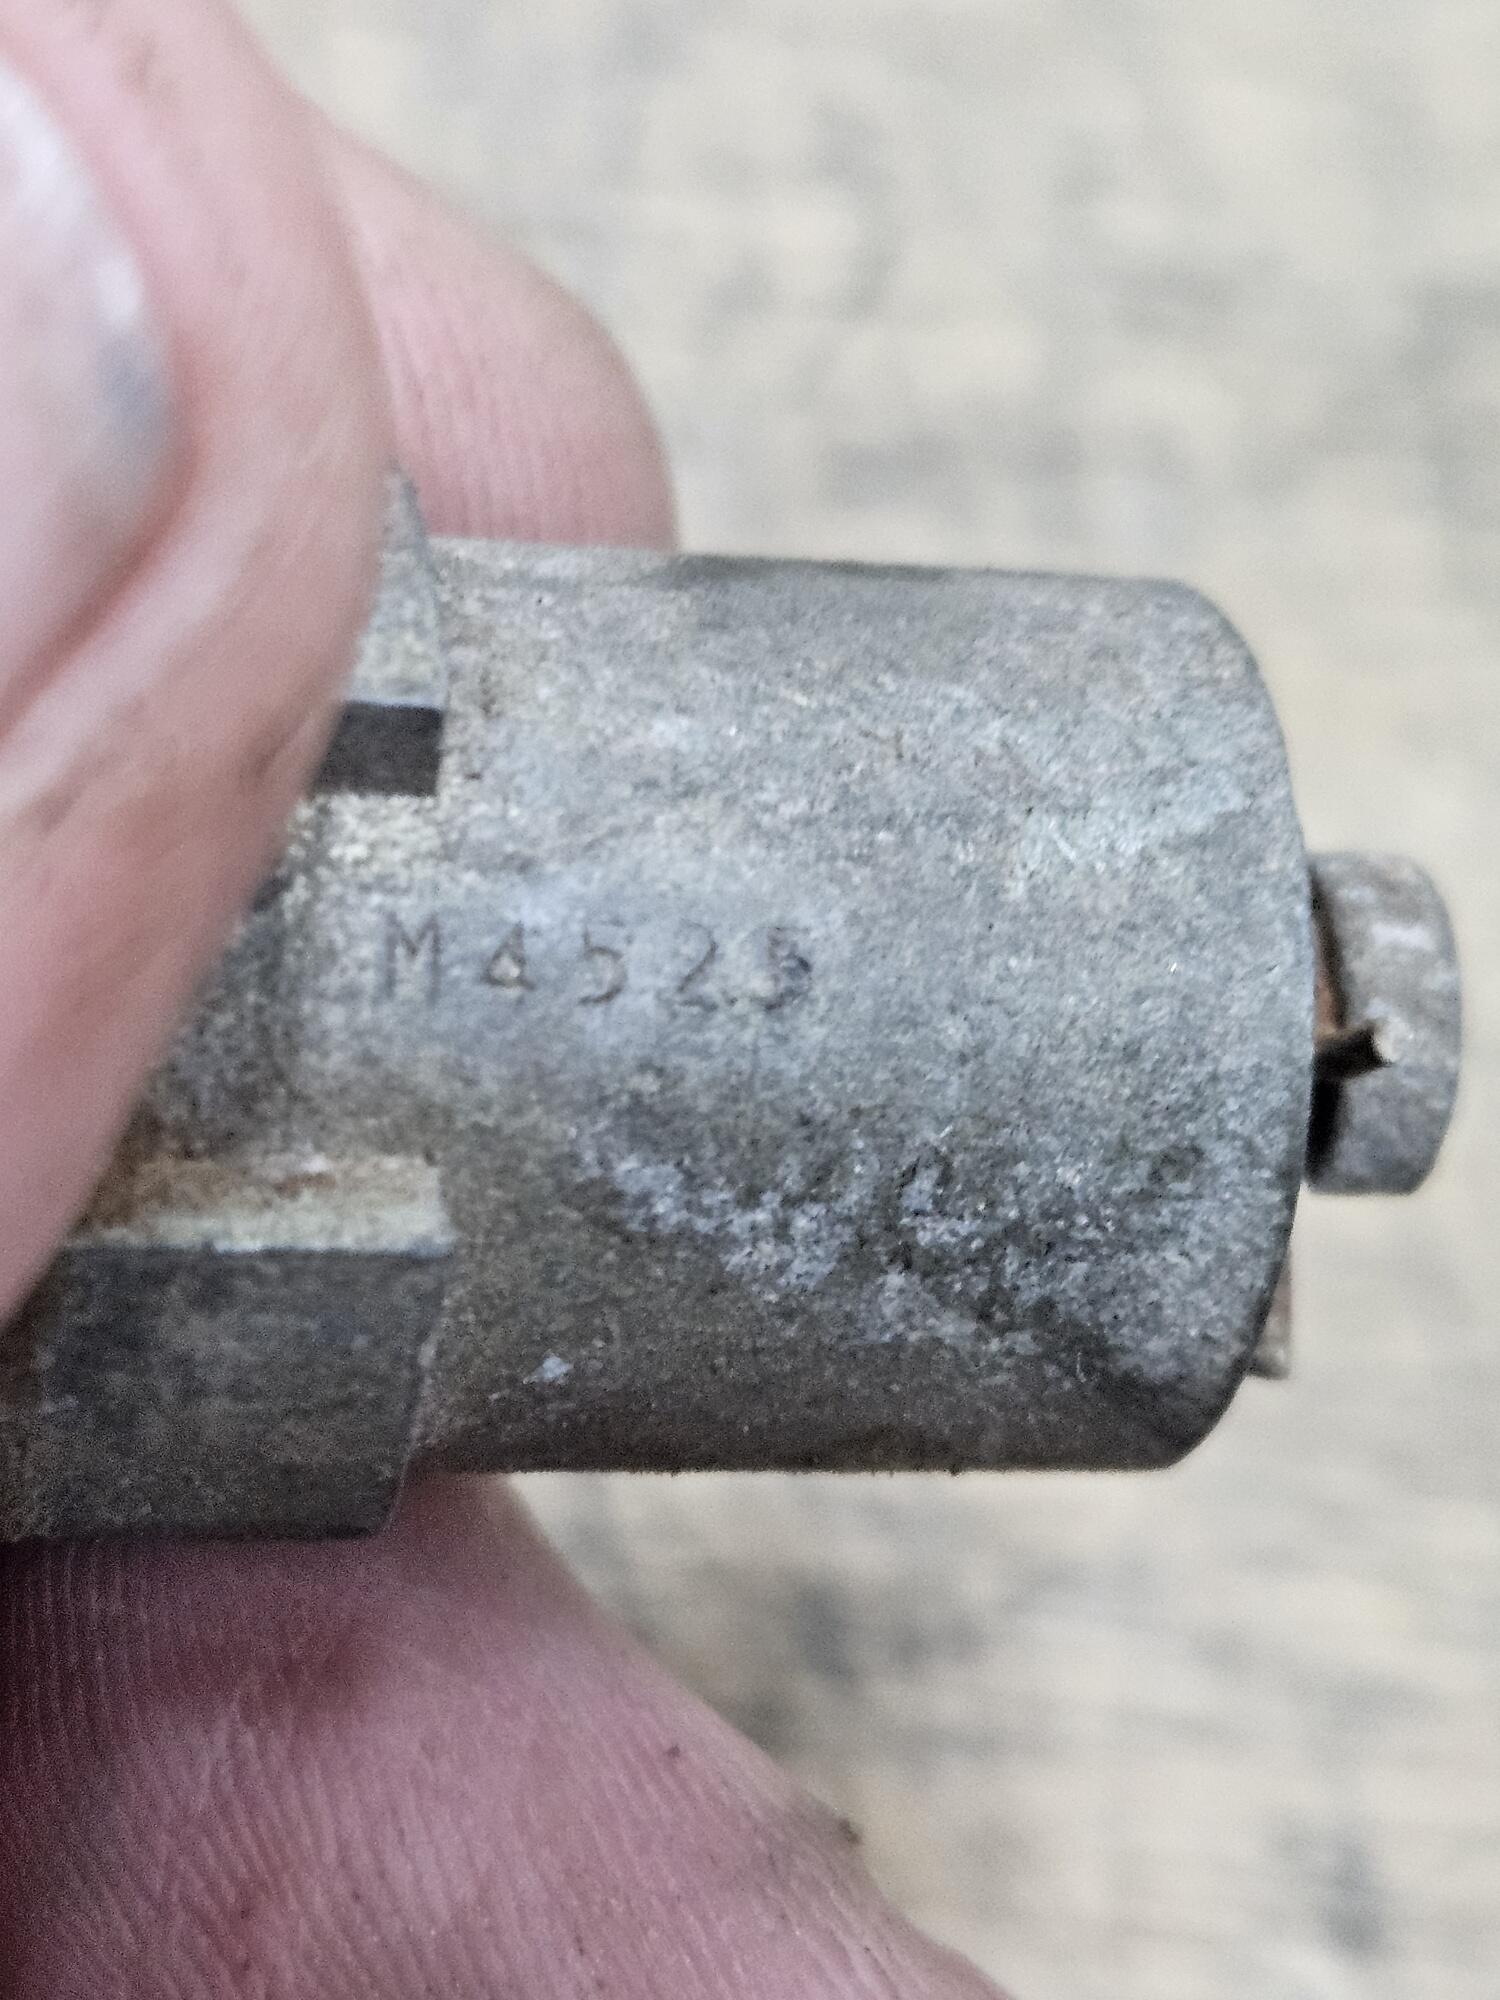
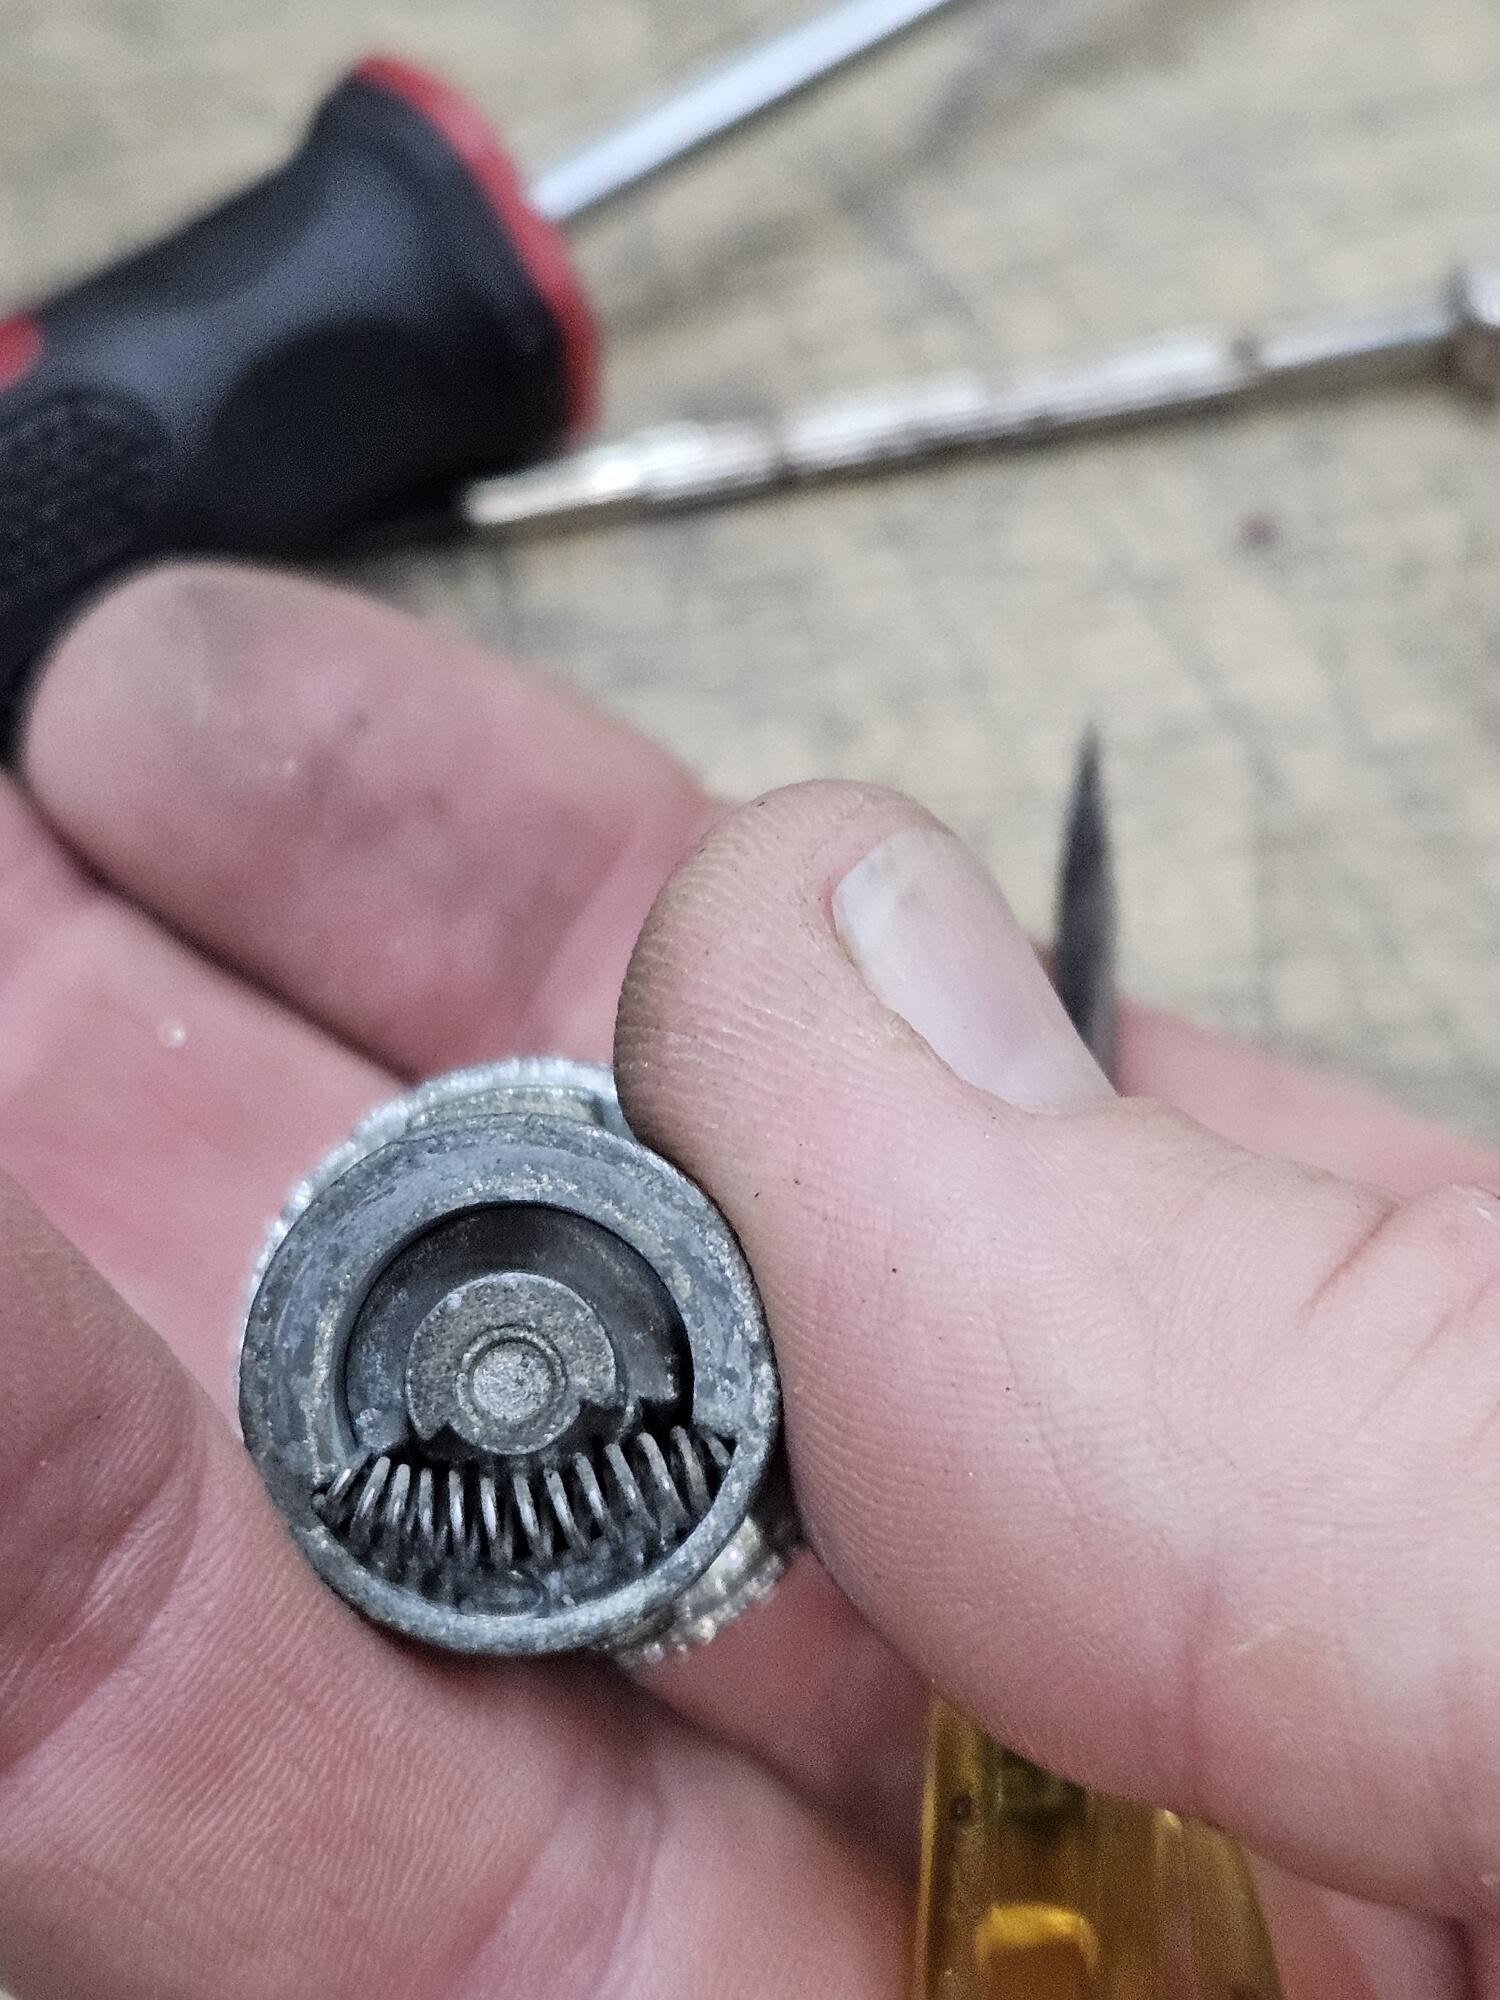
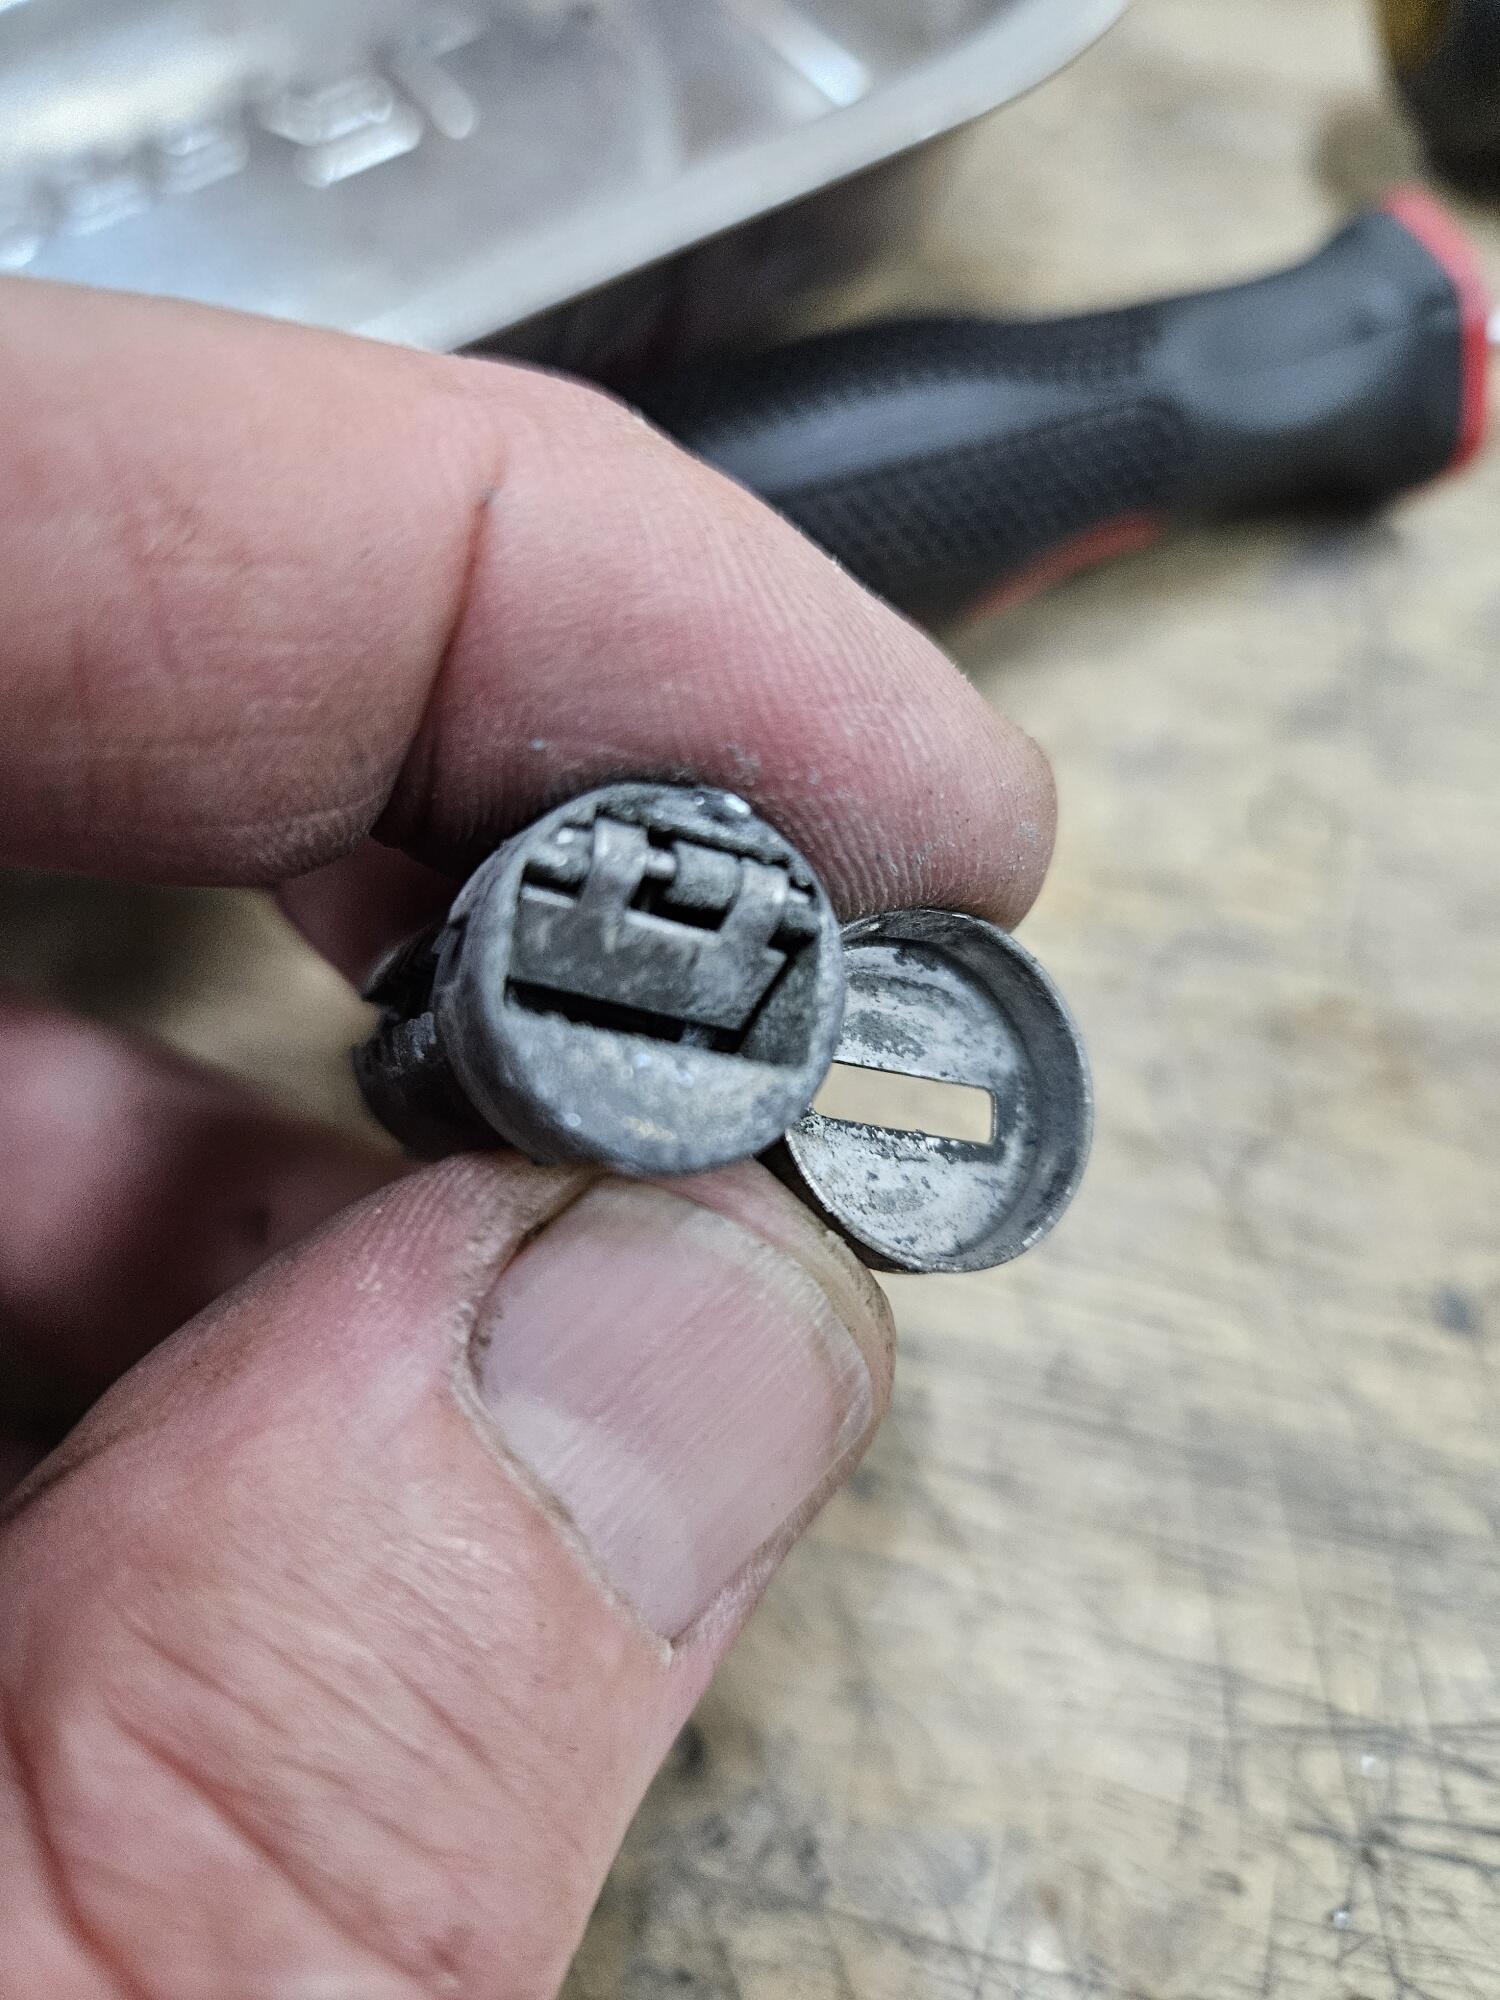
 1 point1 pointSo I worked on a door lock a few days ago. The covers are tough to get off. I have the proper pliers and that gets the lip started but getting it up the rest of the way is tough. It appears the lock bodies were yellow zinc when new. The lock codes on these bodies I suspect the letter prefix determines whether it's a VOSS ket or an X6/X7 key The clip is removed off the back of the body here Cylinder just pushed out to the front Face cap has the staked places on two sides. I drove a small flat head in there to open them up enough to get off Key shutter and spring. This spring is tiny!!! @Captain Obvious Thoughts on using JB weld to fix the grooving in this lock body? I am assuming that none of those marks to either side of the main groove are supposed to be there?
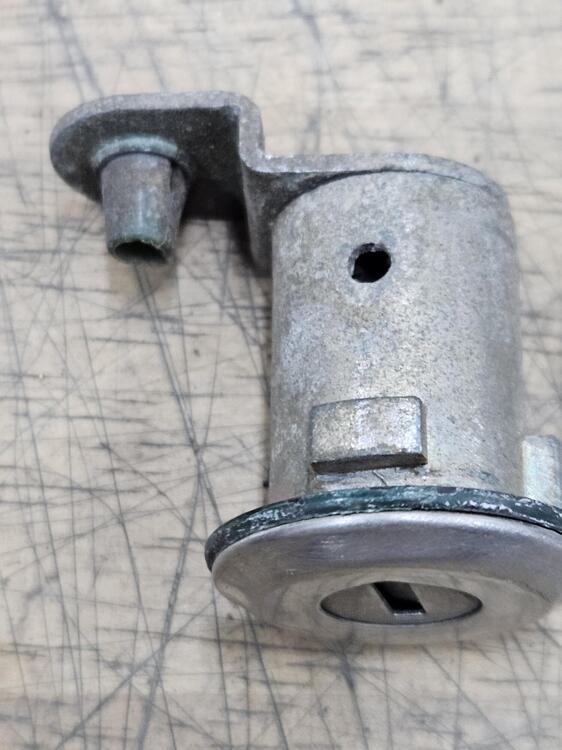


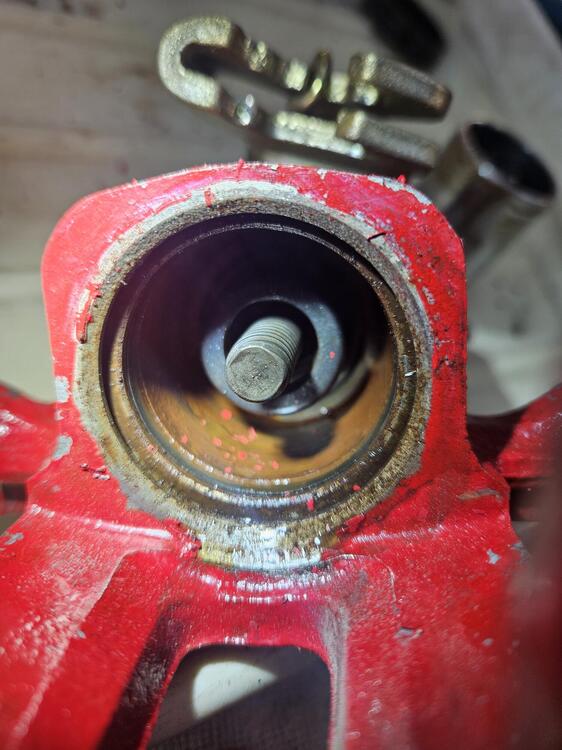
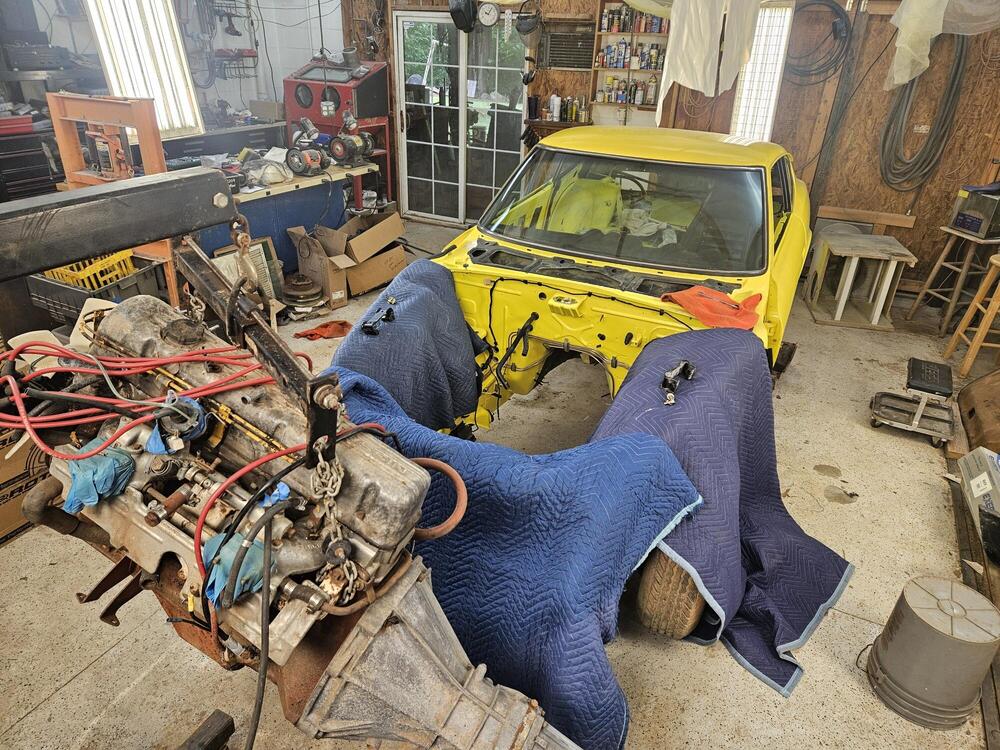
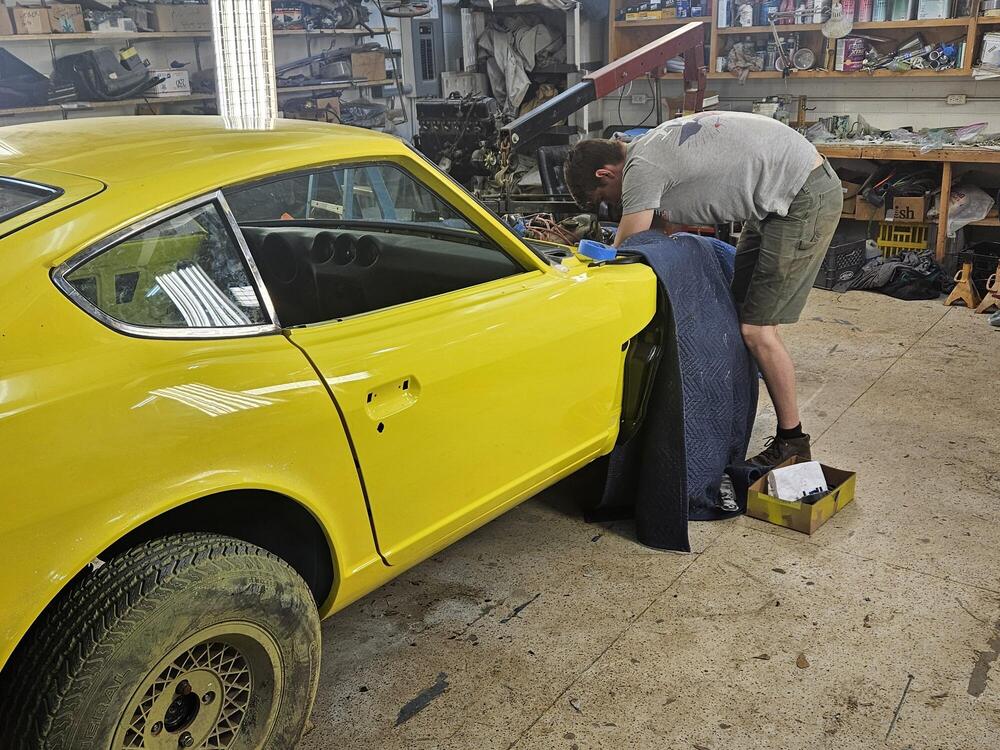
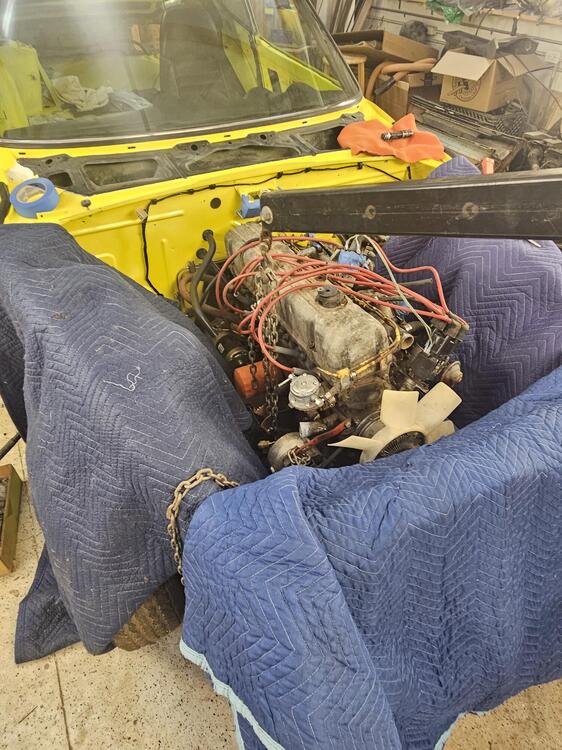
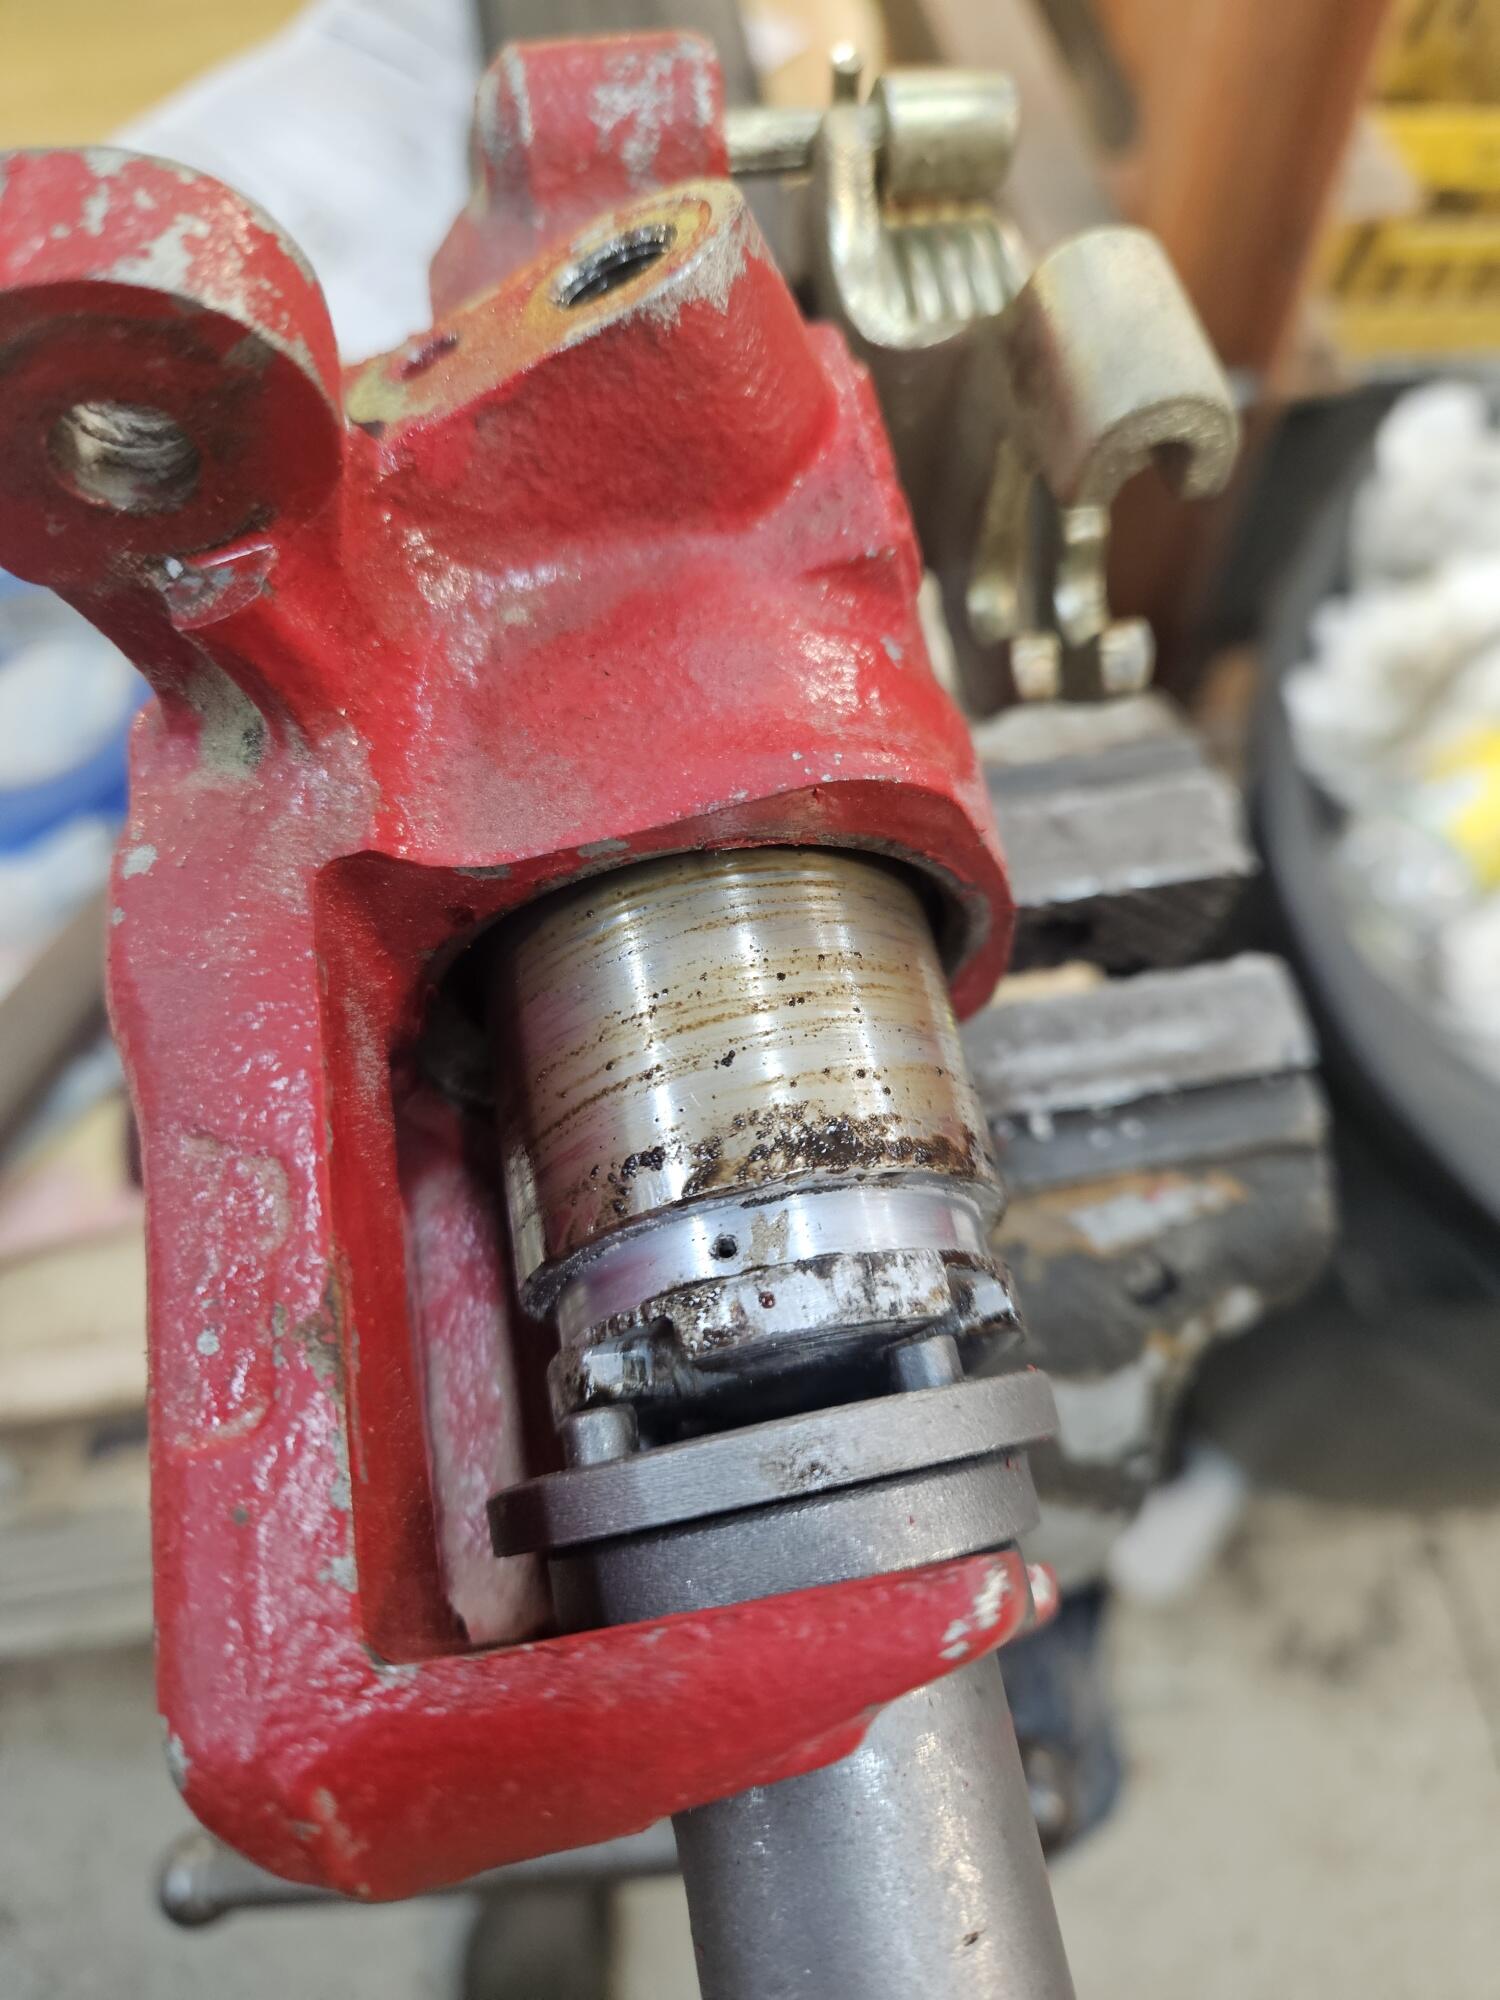
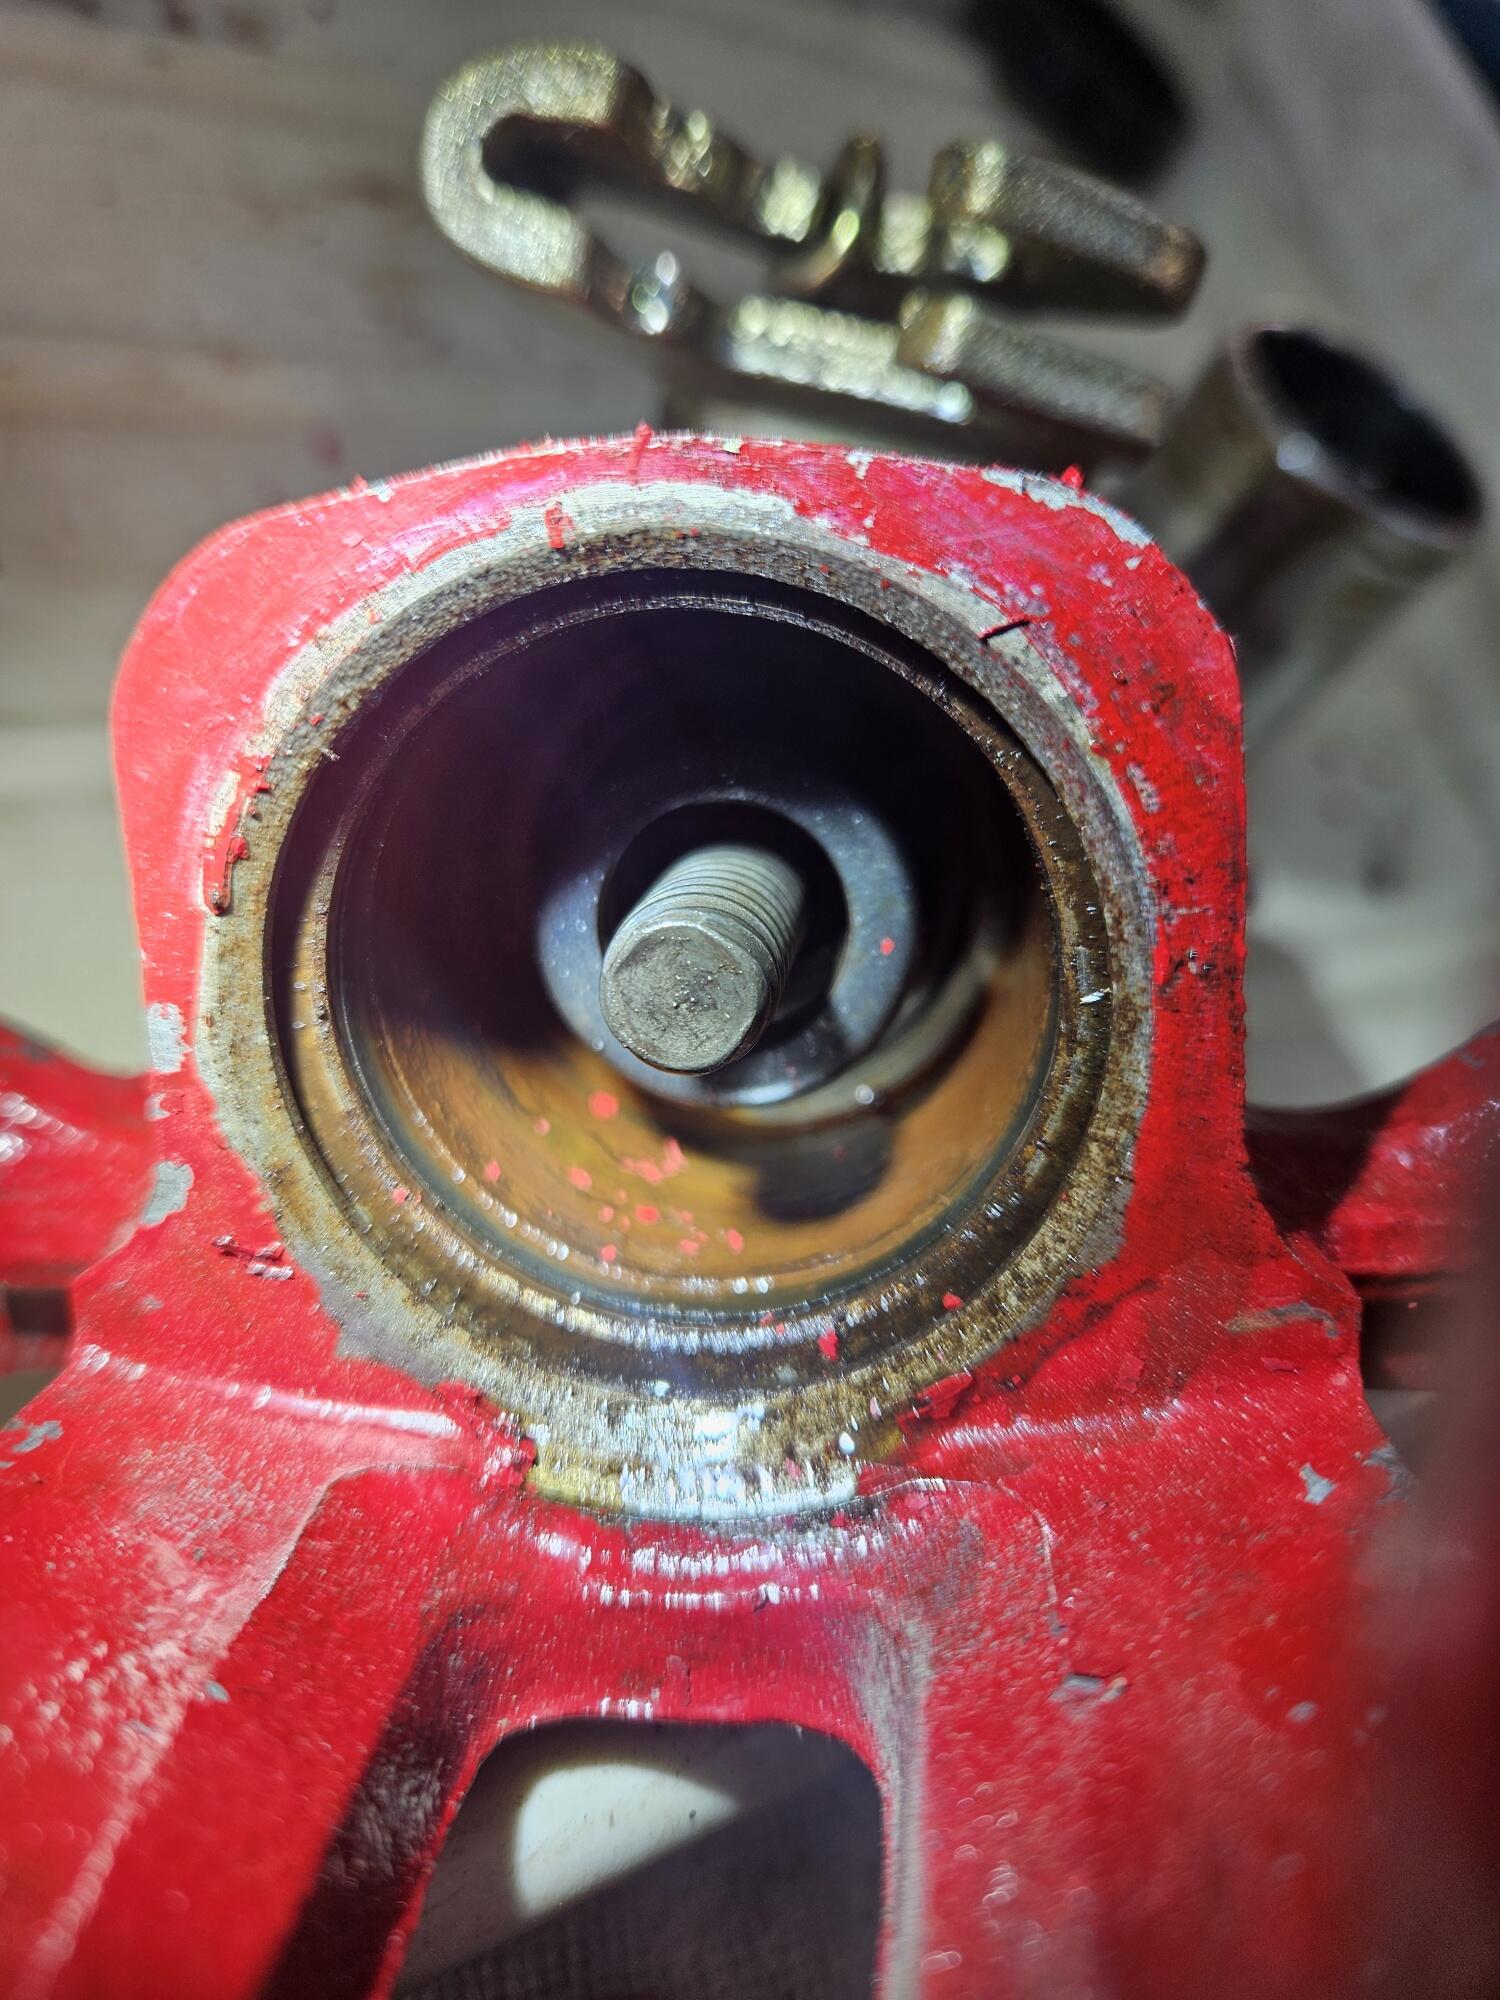
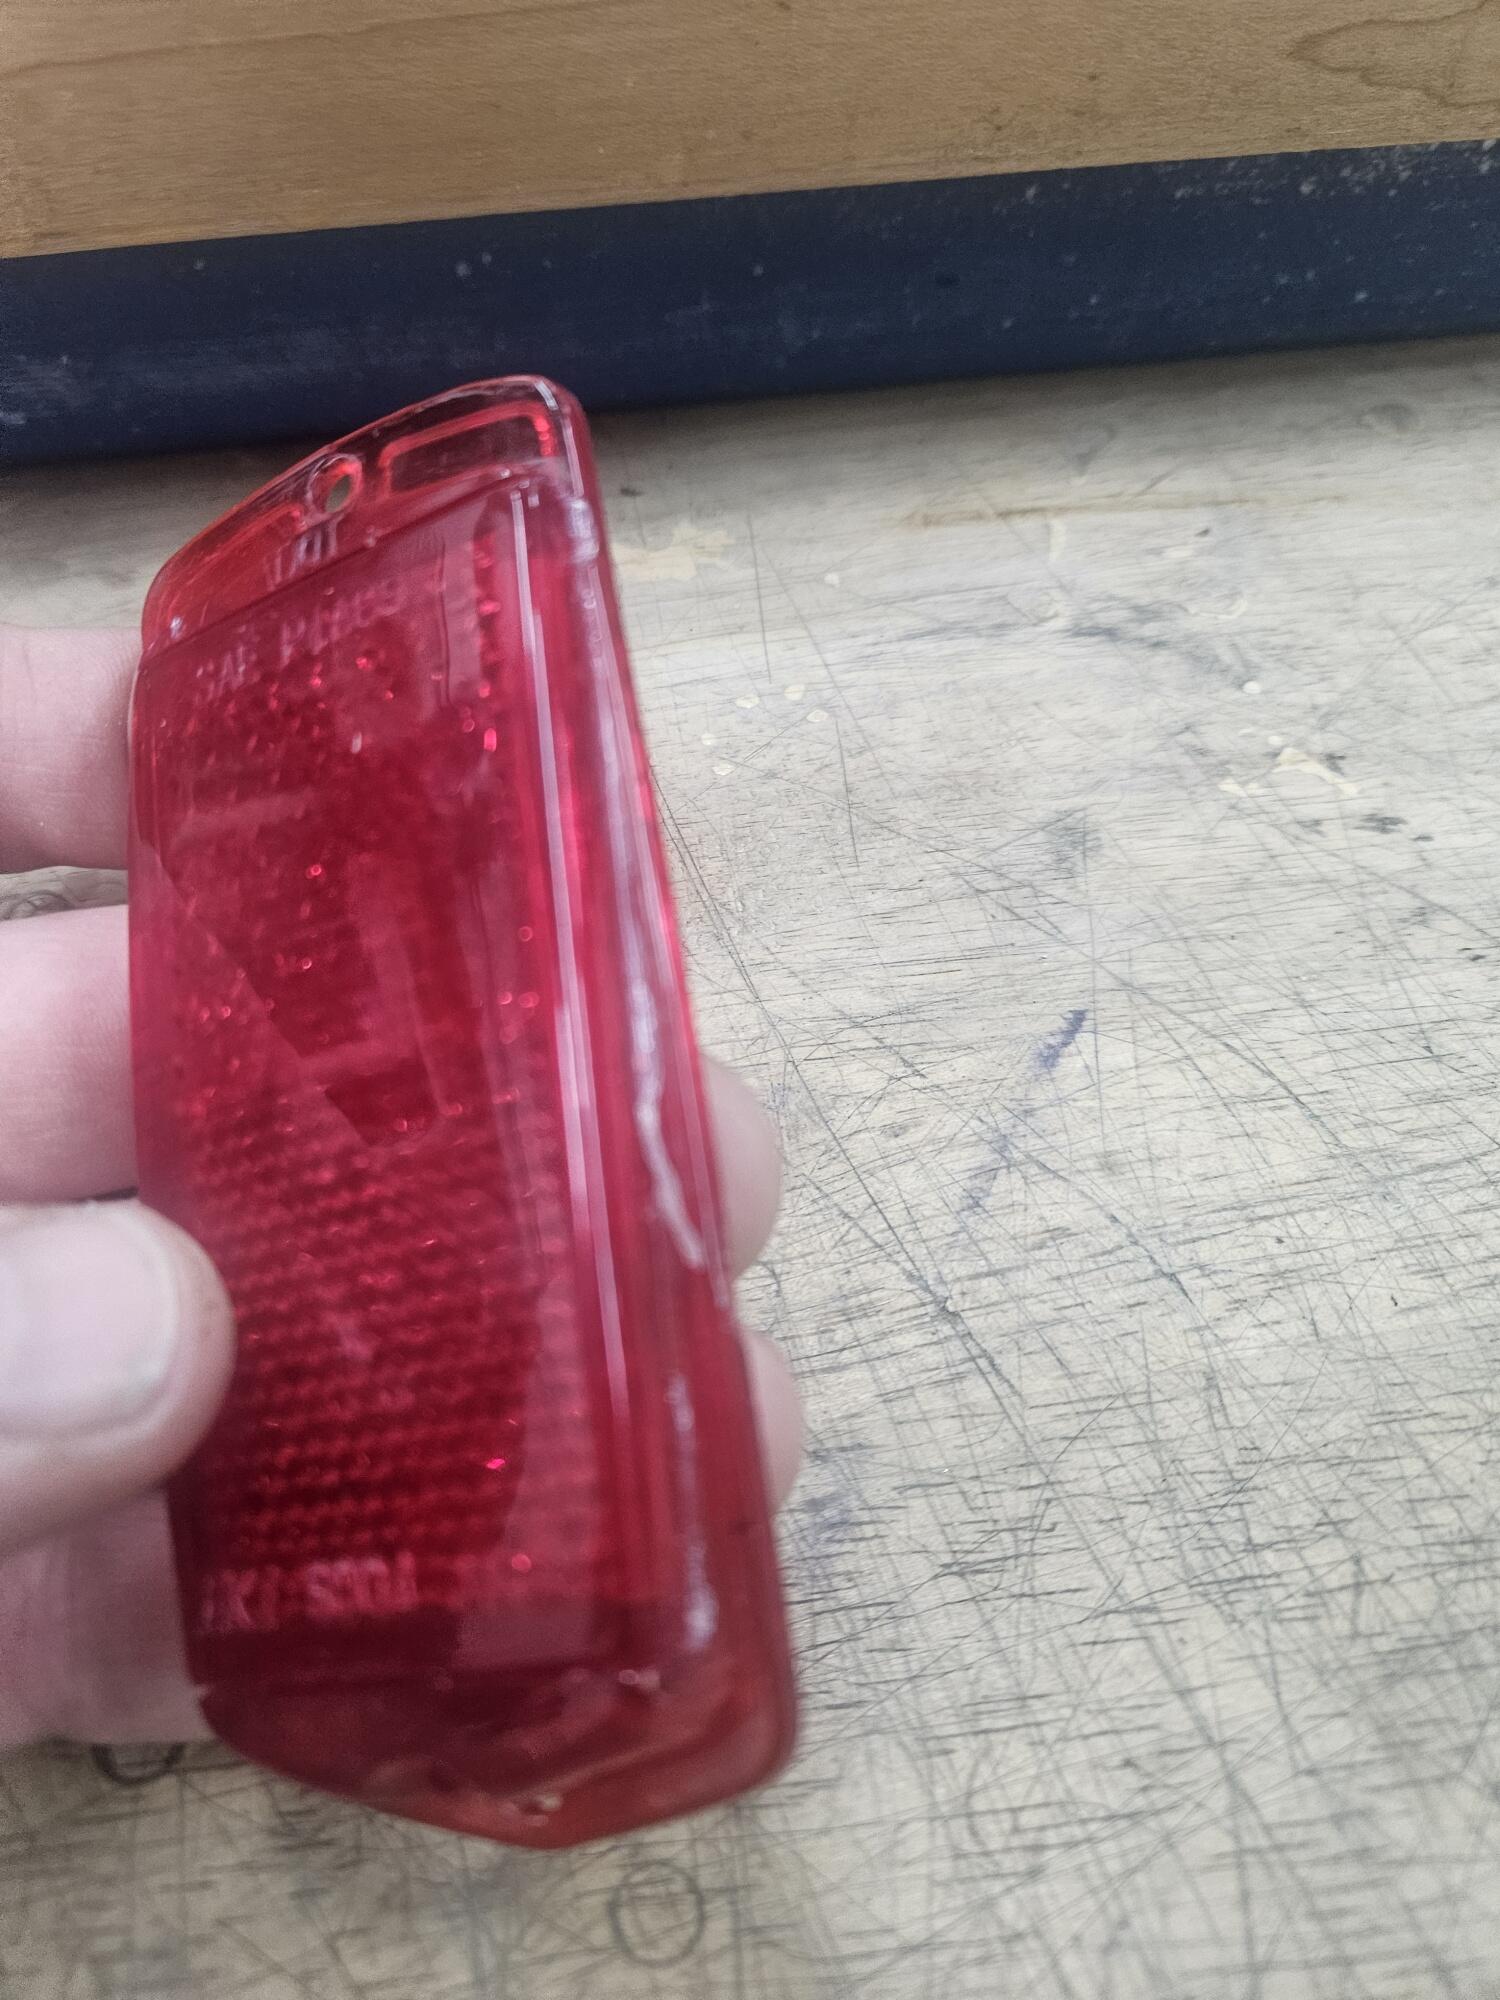
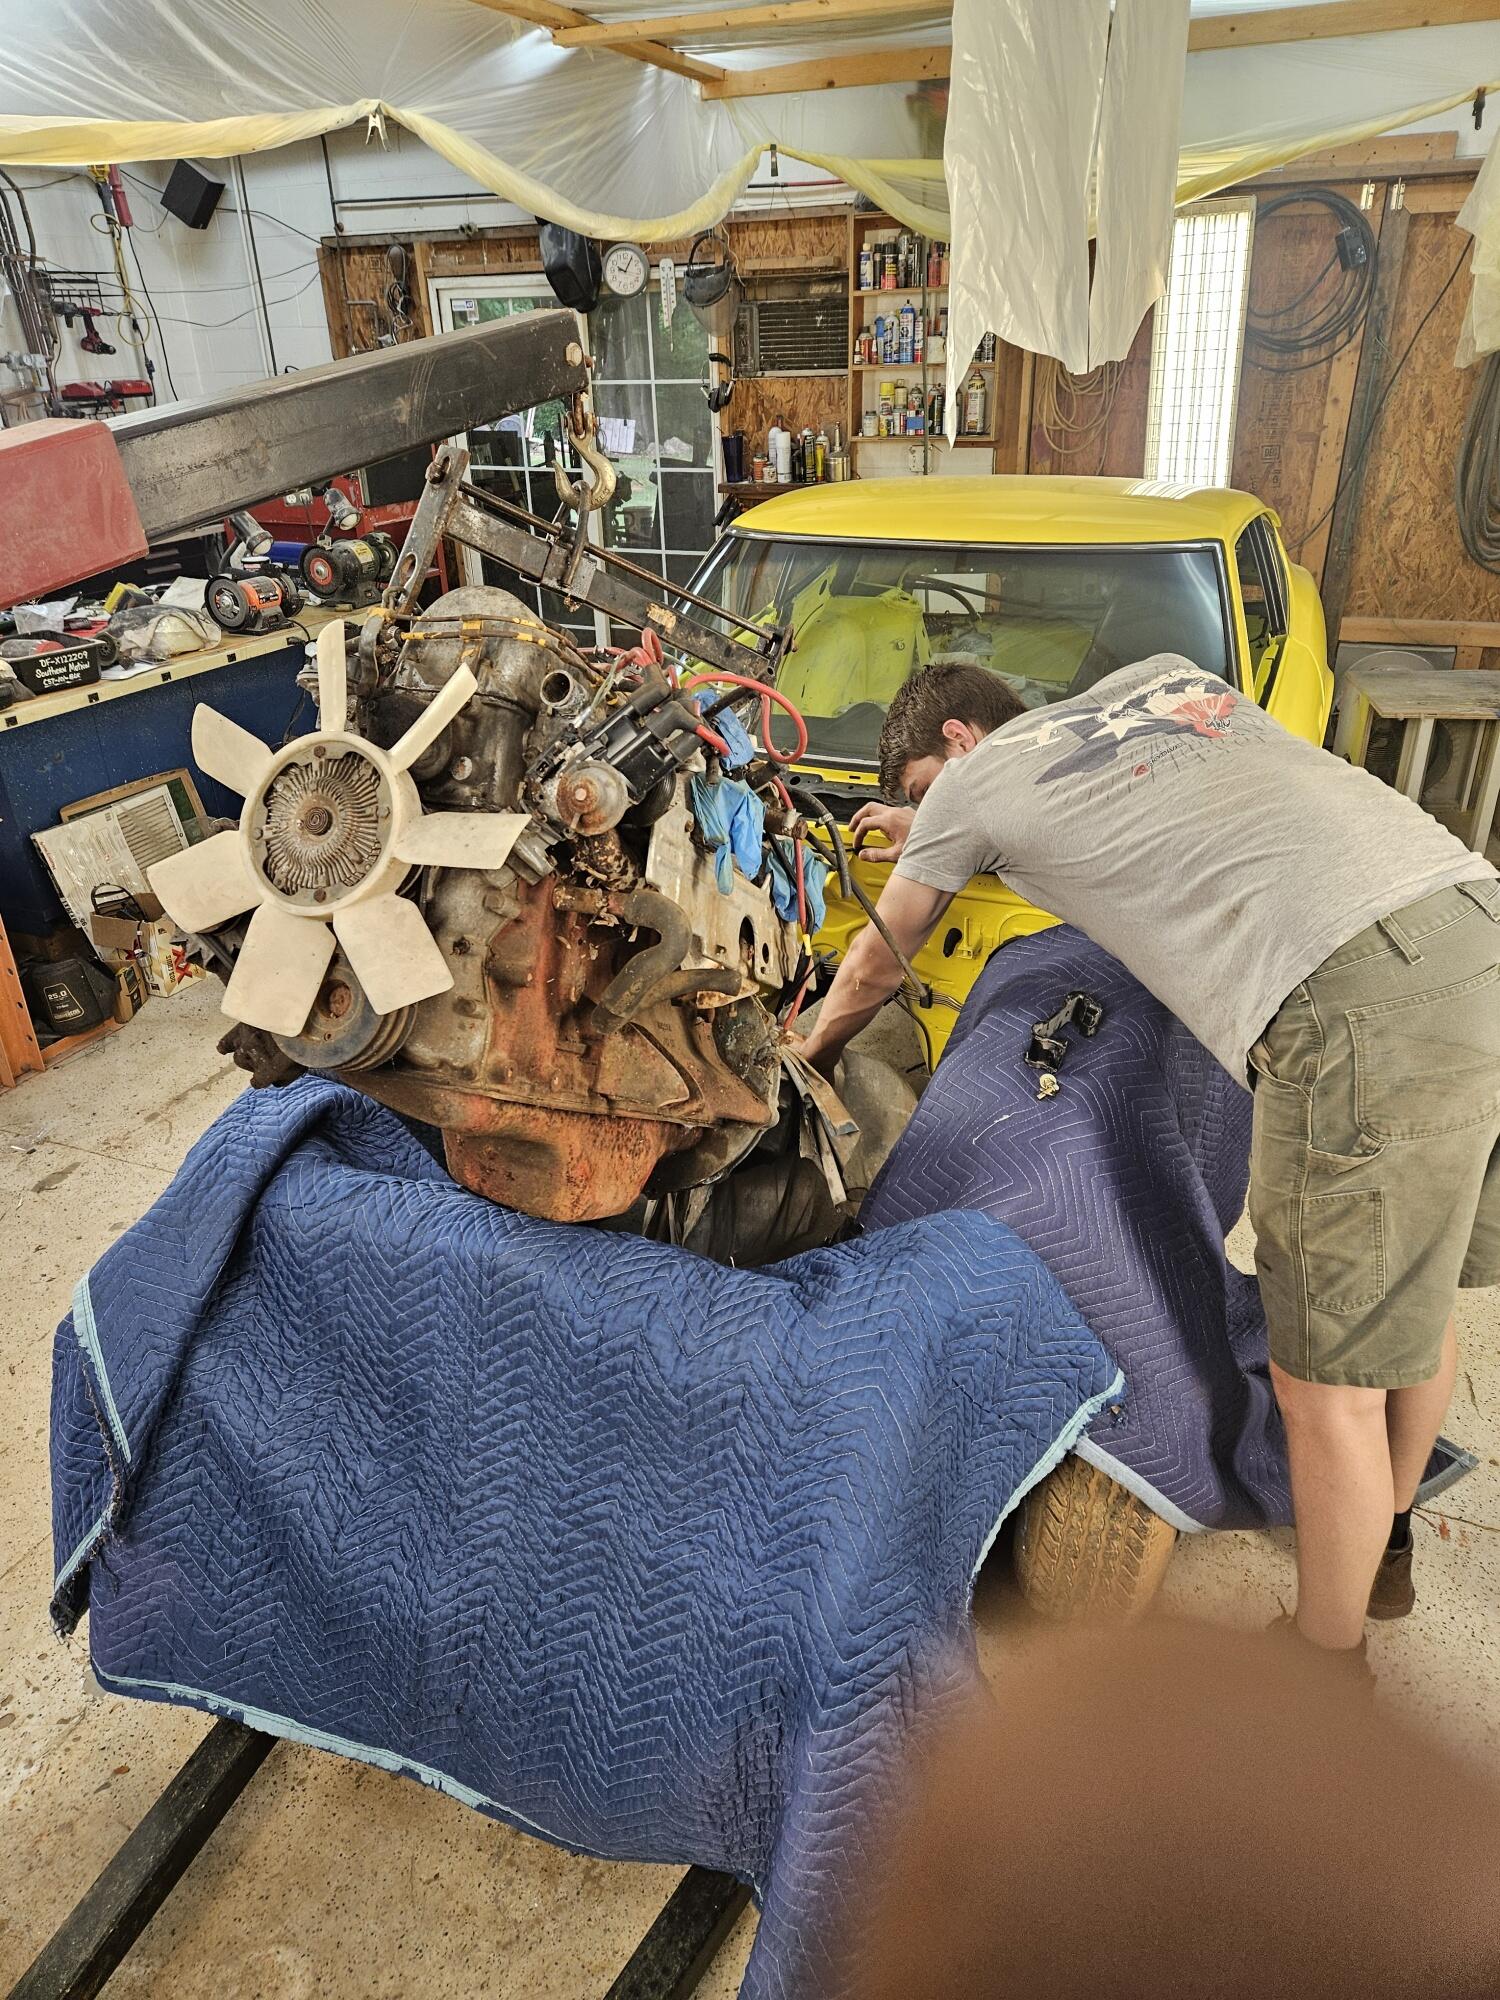
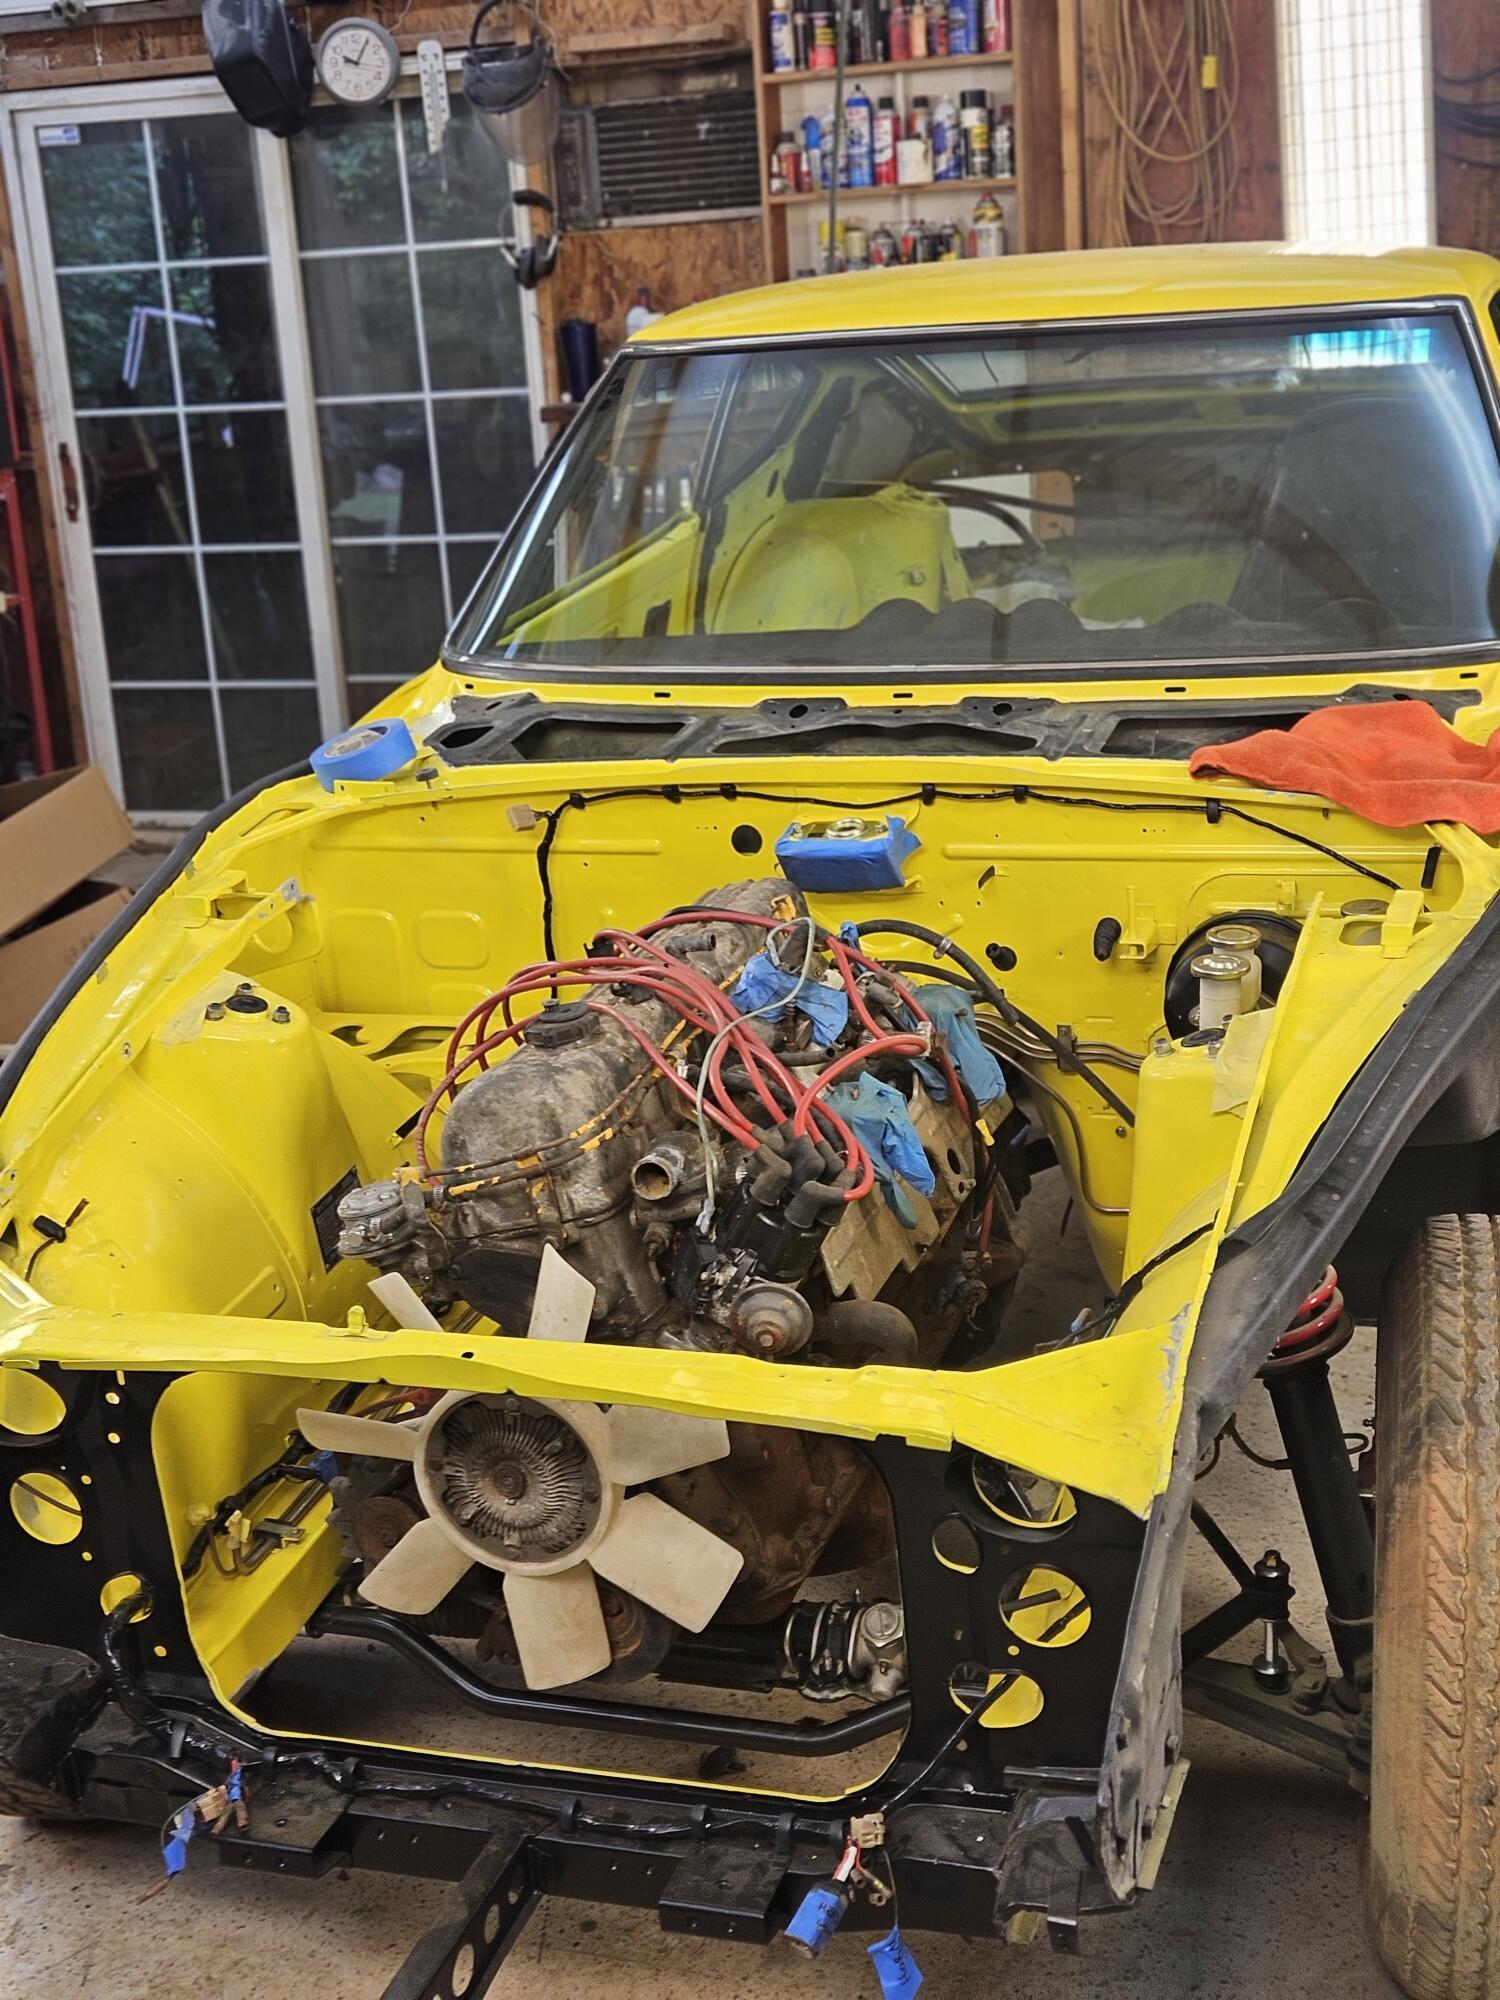
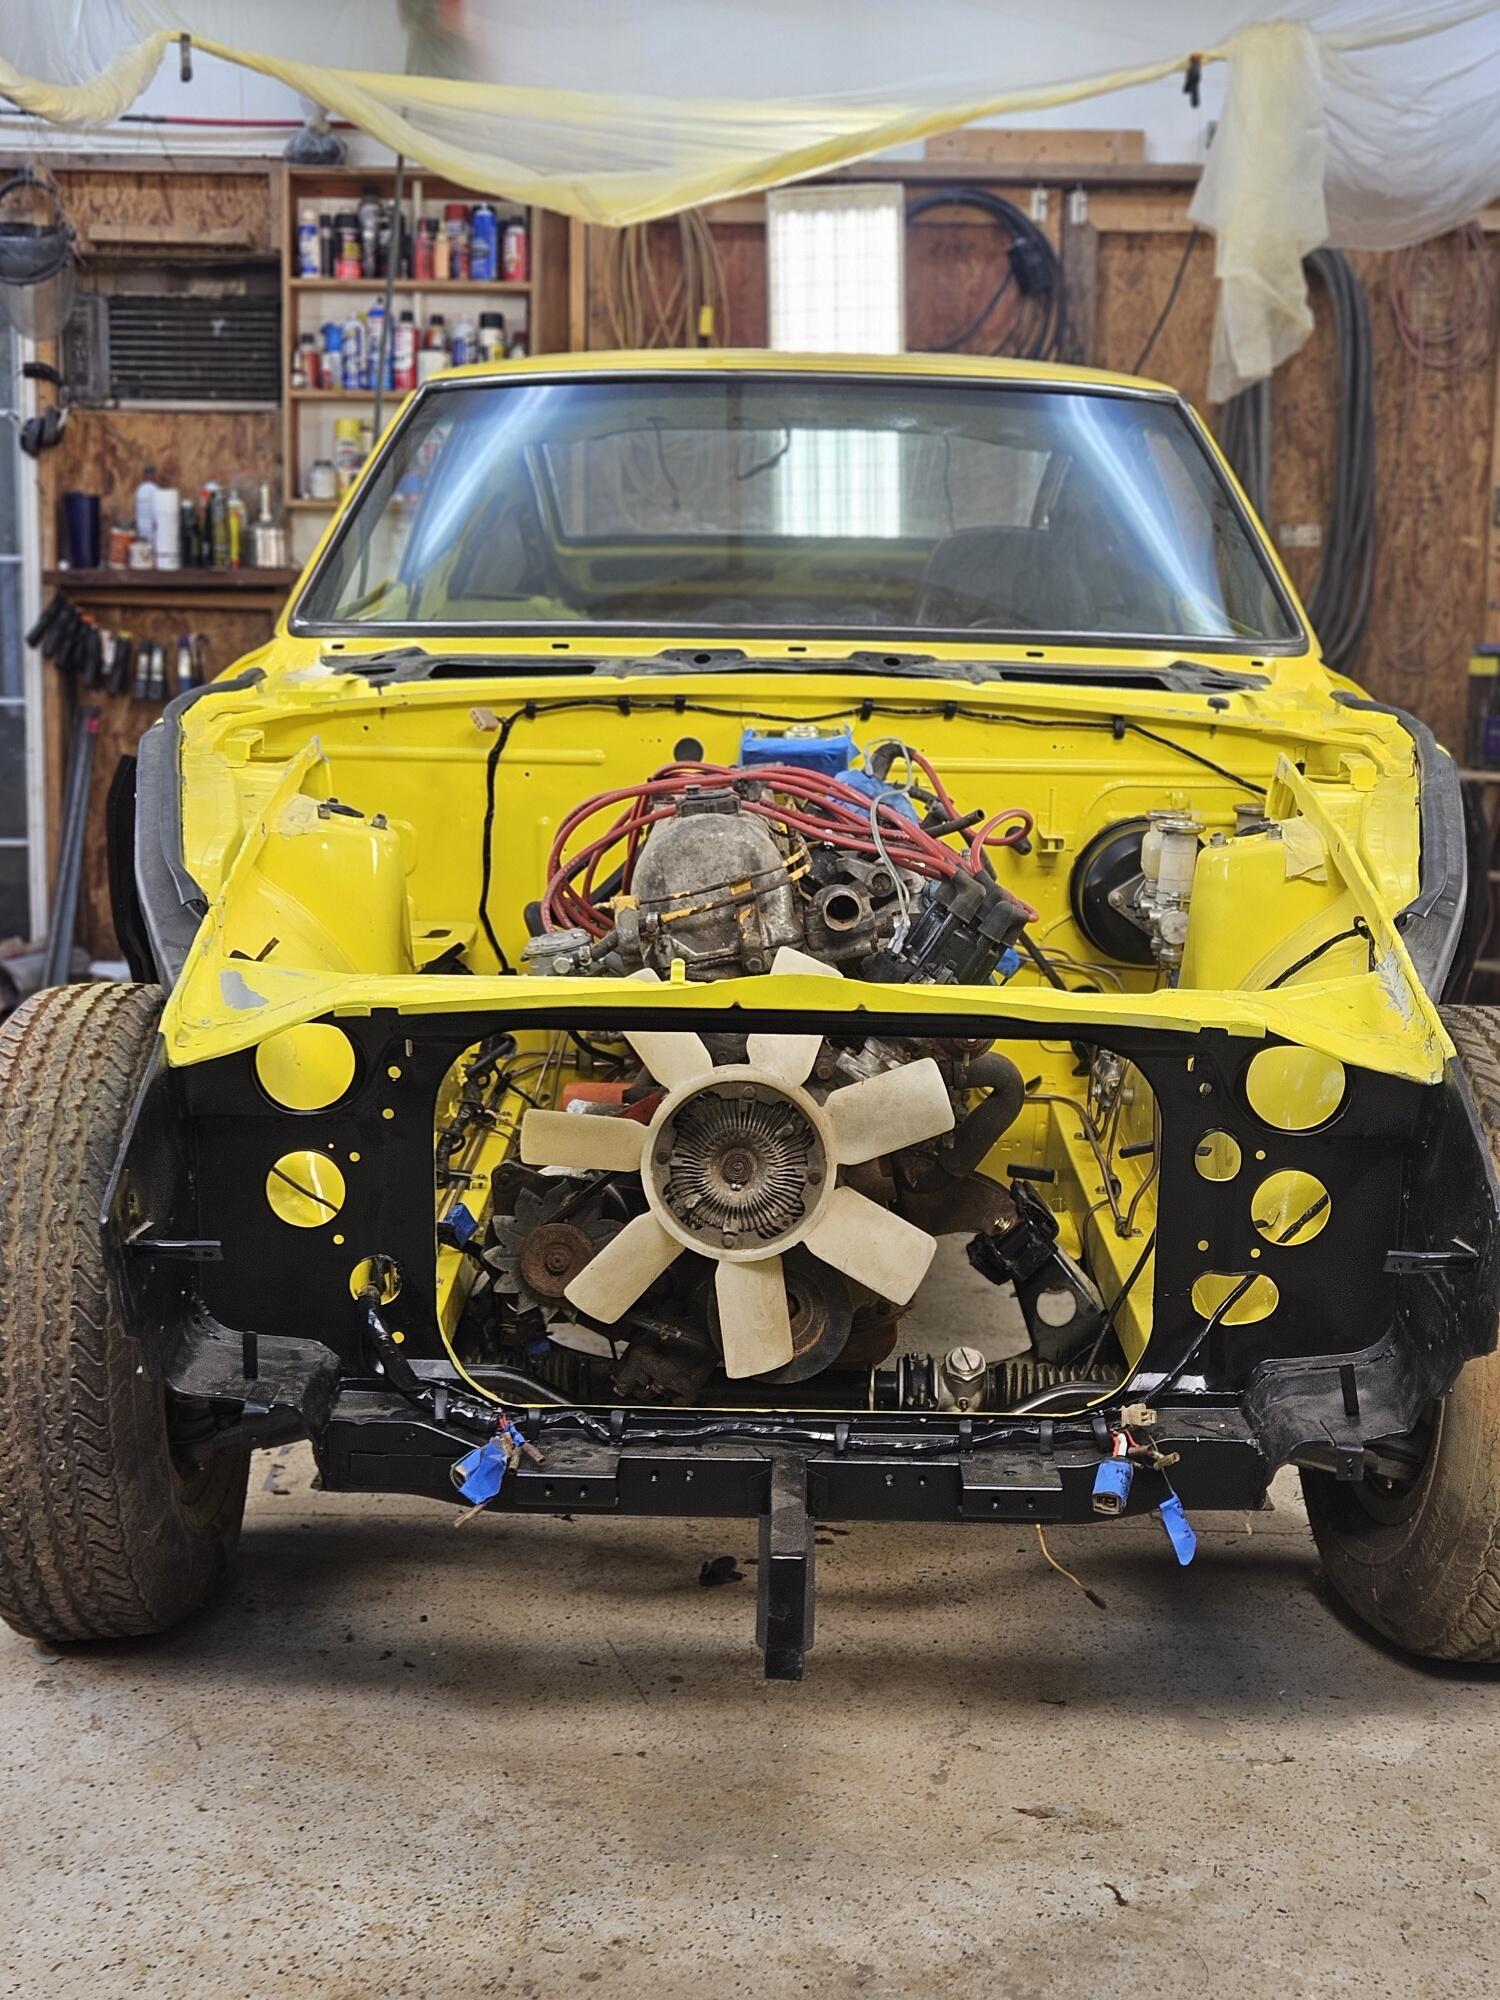
 1 pointI recommend you use thick pieces of plastic rather than wood to increase the battery height. Plastic will not retain moisture the way wood would. Keith1 pointLooks like a fantastic money pit, would love to get my hand on it.1 point1 pointSo I tore into one of the rear calipers today. They don't look good and I don't know how to get them apart. I'm also concerned if I get them apart I won't be able to get them back together. I'm going to see if O'Reillys can get me a pair. Here is a marker light after I used some silicone to reassemble them. I just left the squeeze out. It scrapes right off with a fingernail after it's dry. Today we worked on putting the ugly engine into Lily I separated the transmission yesterday and made sure the pressure plate wasn't rusted to the flywheel. It was a little crusty but I cleaned it up and Cody helped me get it back on the engine. It has a Centerforce clutch in it from the 90's probably!! The next step is cleaning the Ztherapy SU's that have been sitting for a decade or so.''


 1 point0 points


Important Information
By using this site, you agree to our Privacy Policy and Guidelines. We have placed cookies on your device to help make this website better. You can adjust your cookie settings, otherwise we'll assume you're okay to continue.