Leaderboard
-

CanTechZ
Free Member6Points1,311Posts -
Captain Obvious
Free Member6Points10,081Posts -
NocturnalEmber
Free Member4Points137Posts -
Mark Maras
Free Member3Points3,719Posts


Popular Content
Showing content with the highest reputation on 11/08/2023 in Posts
-
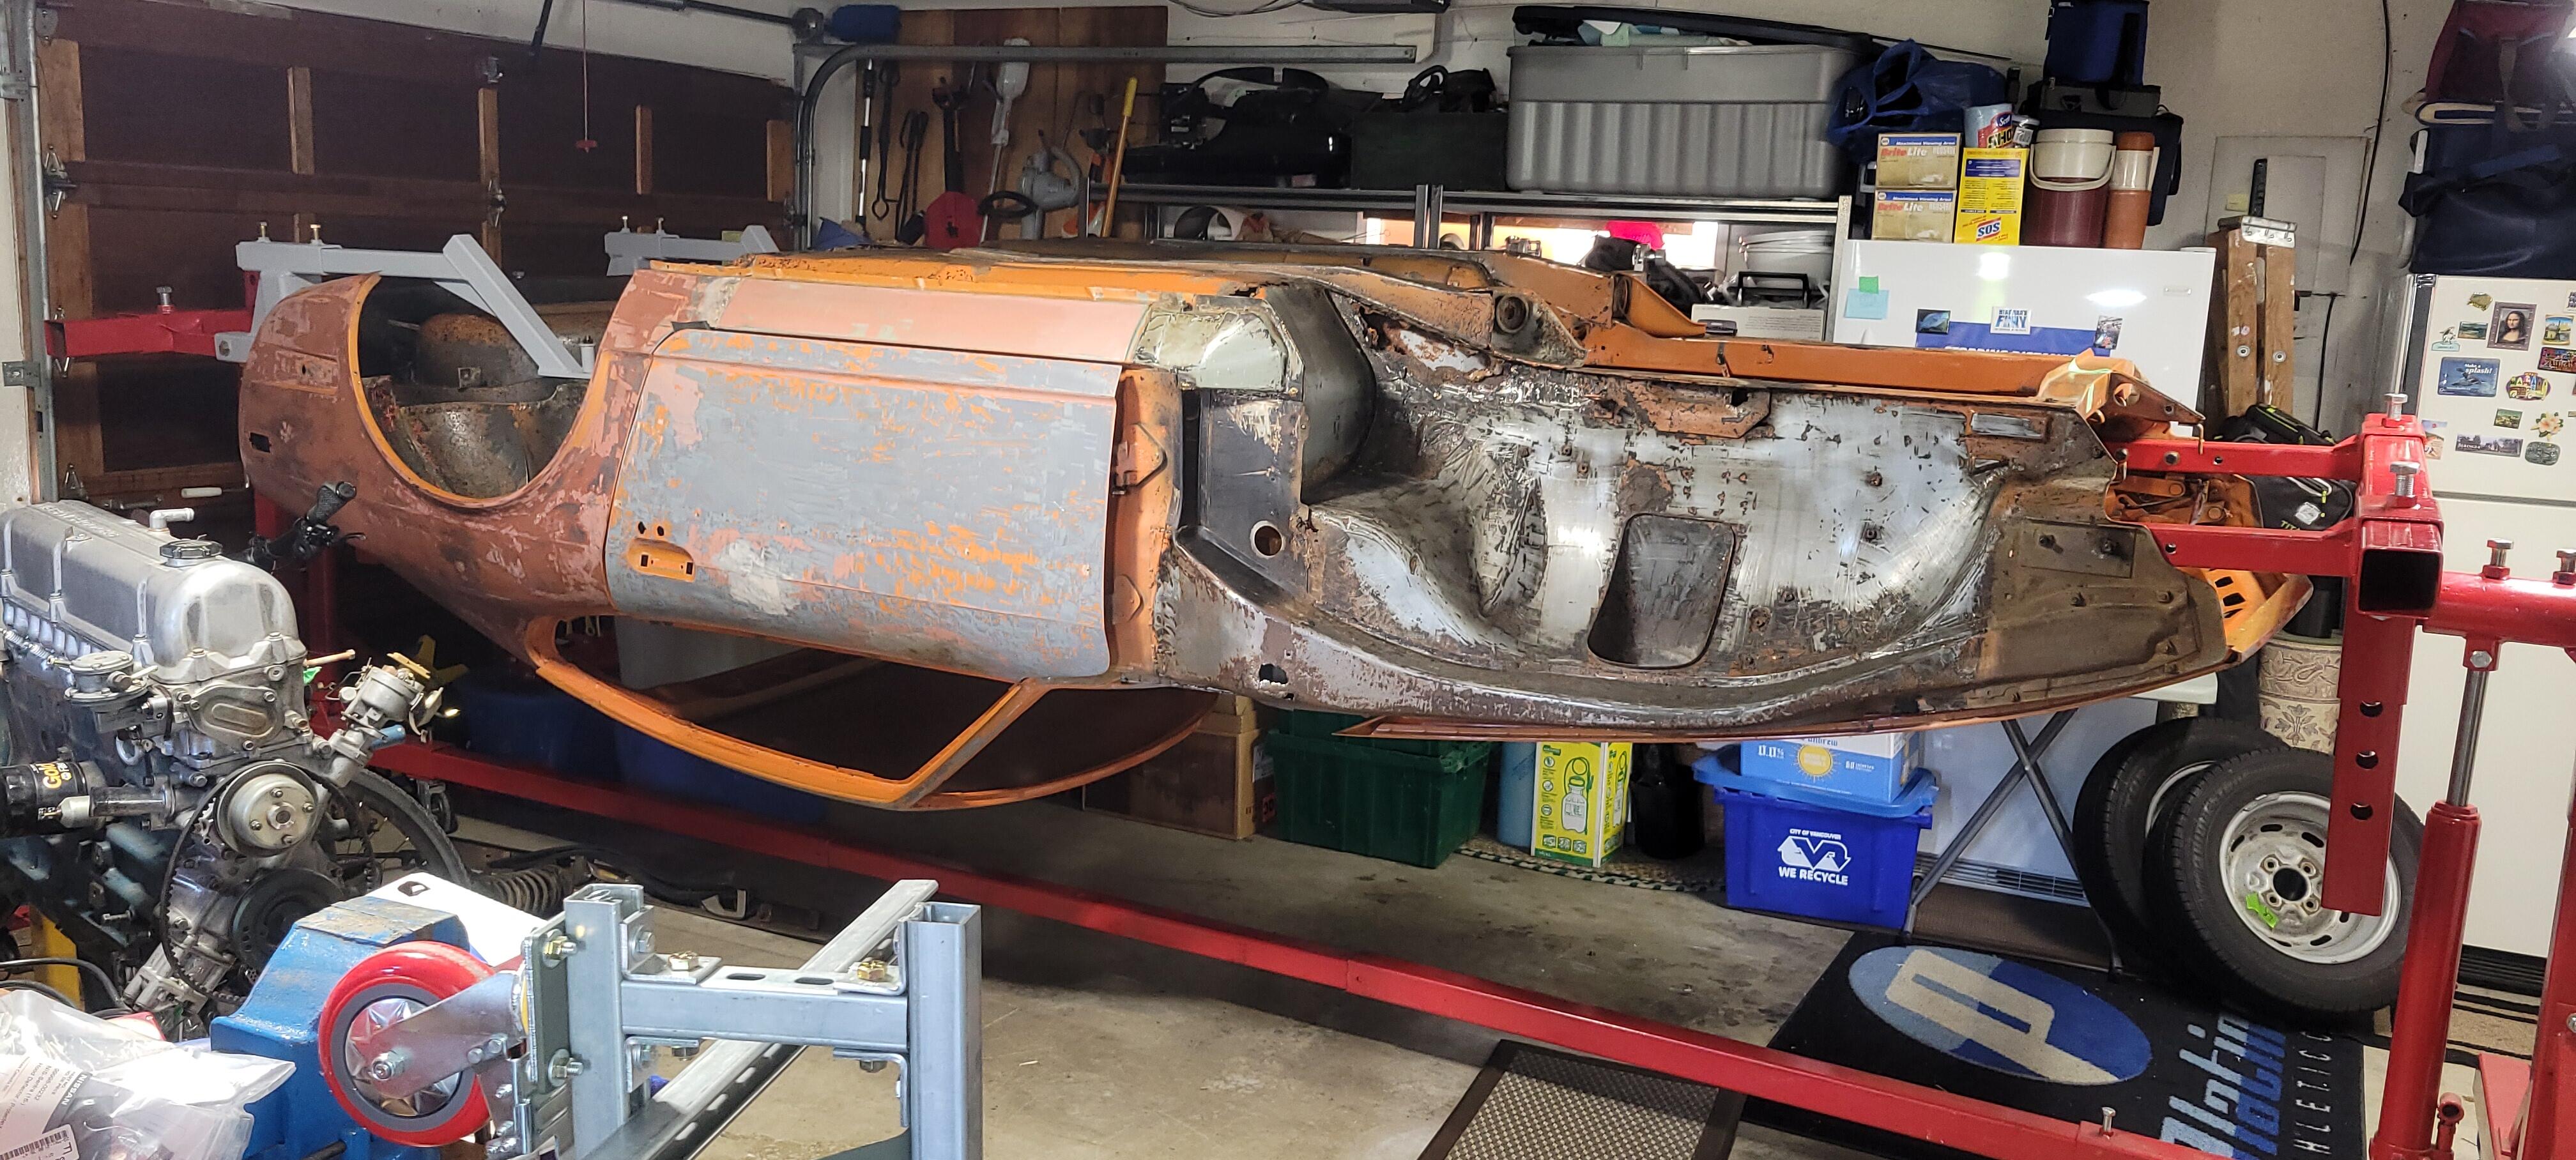
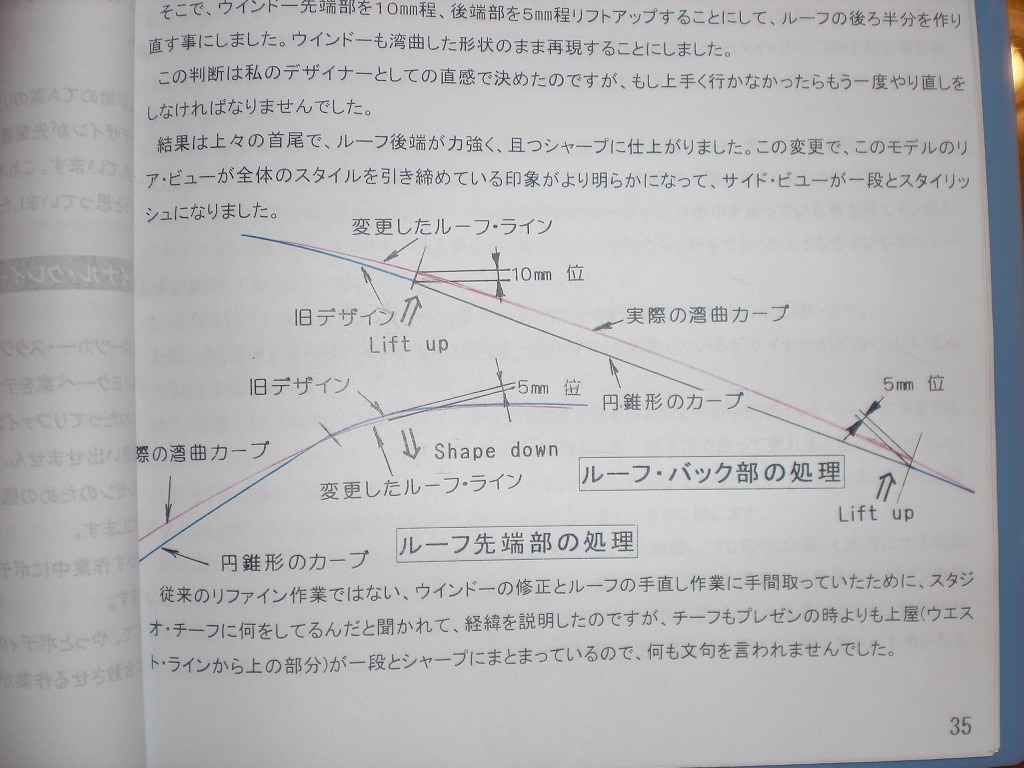
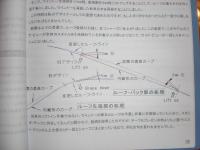
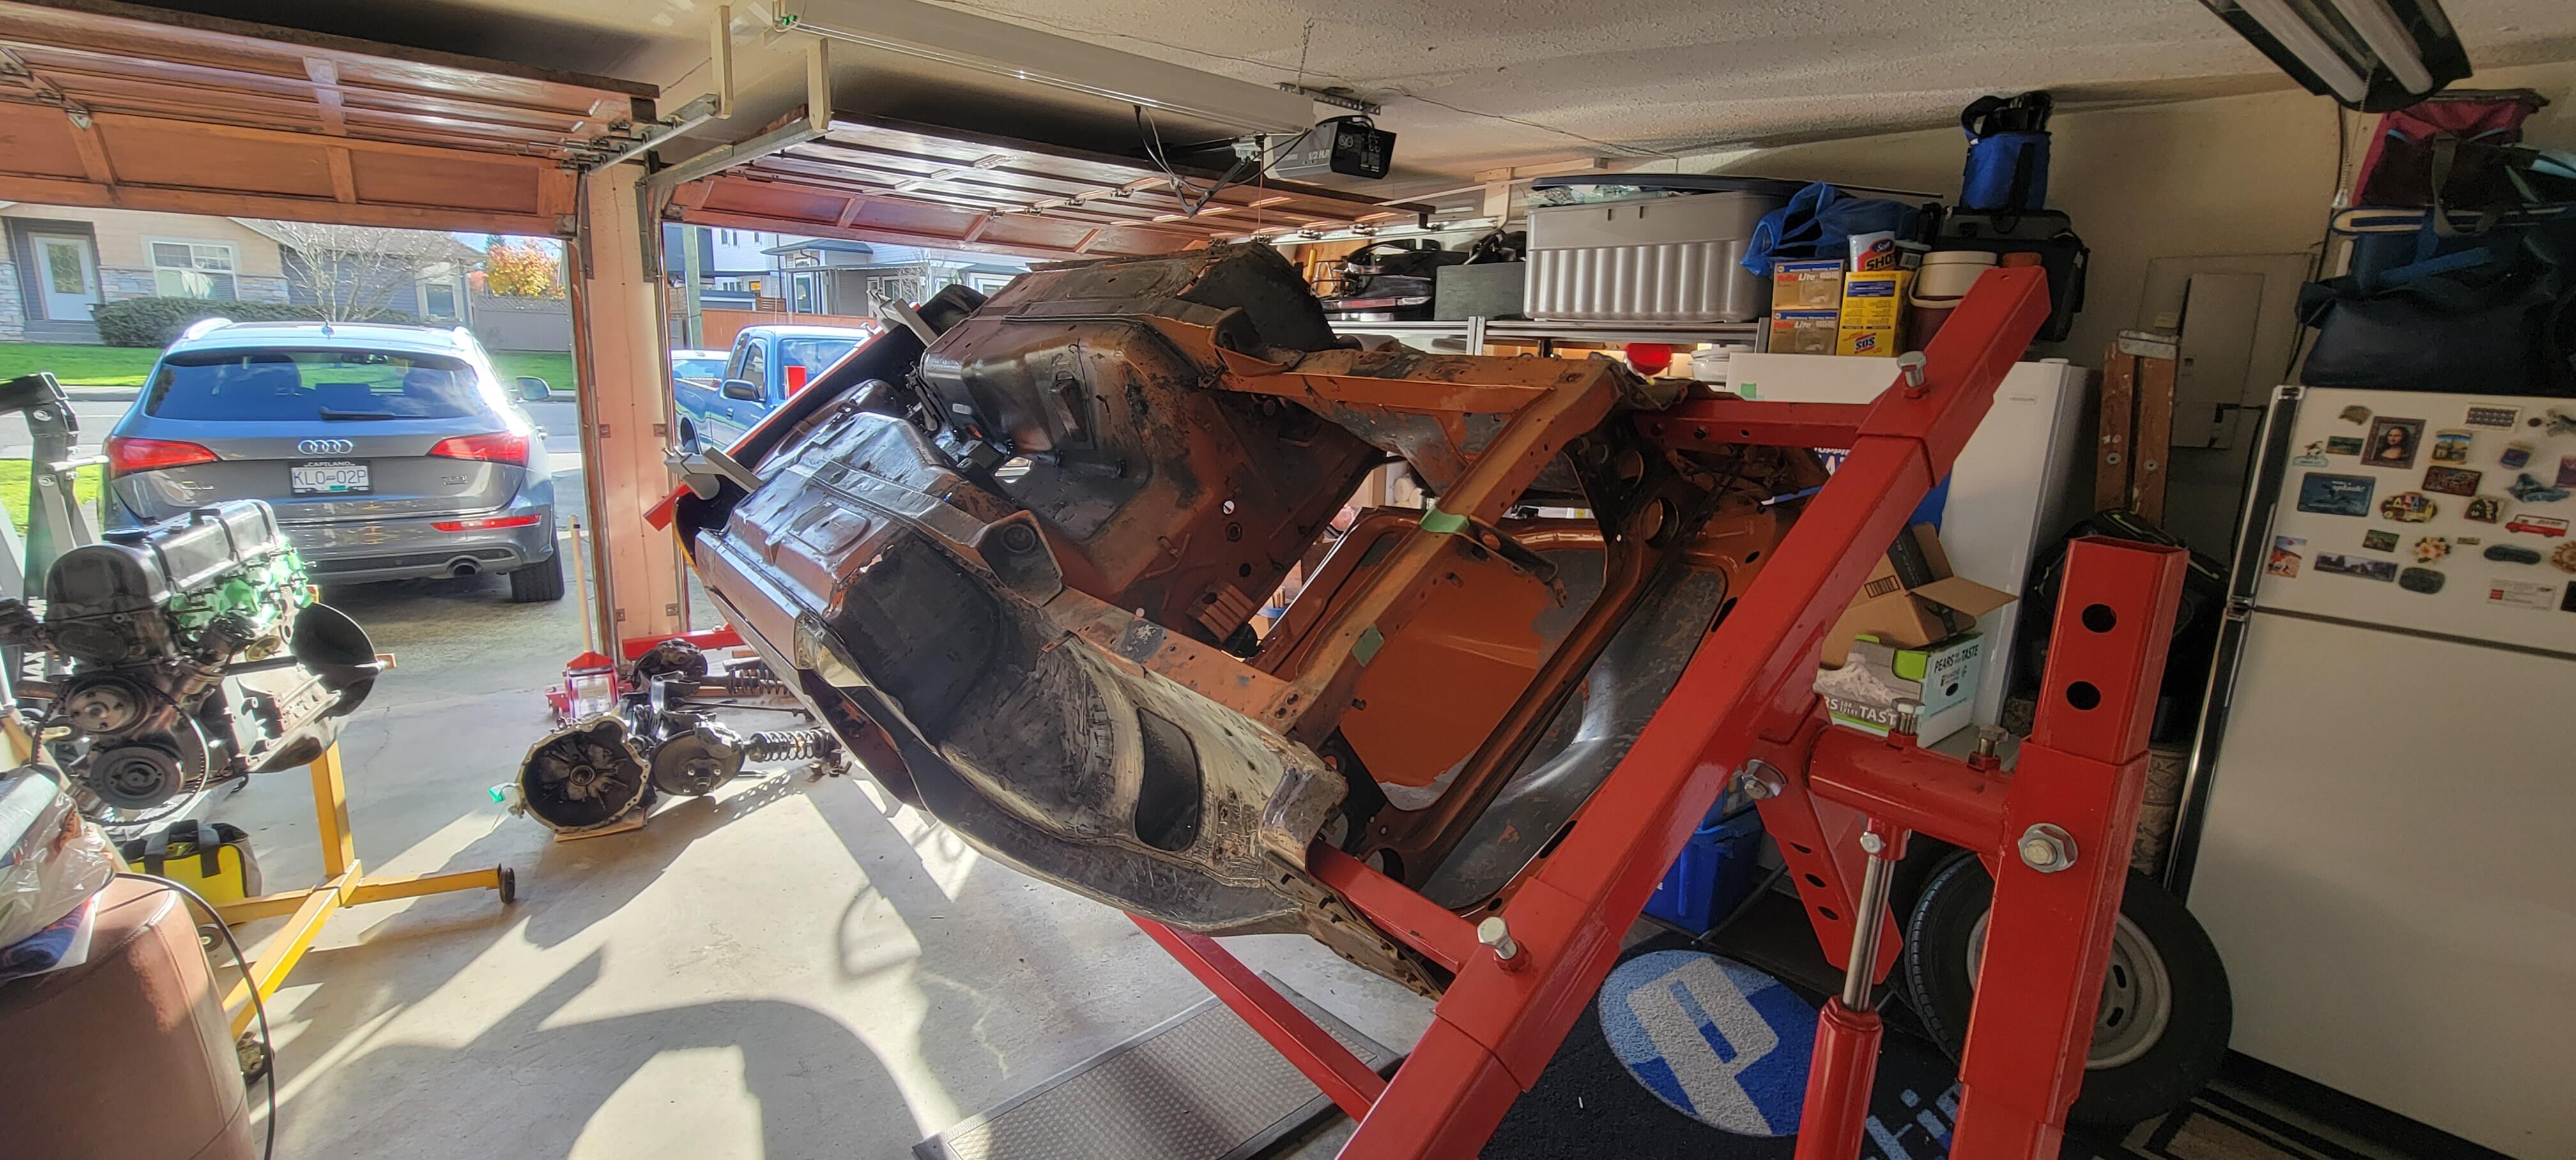
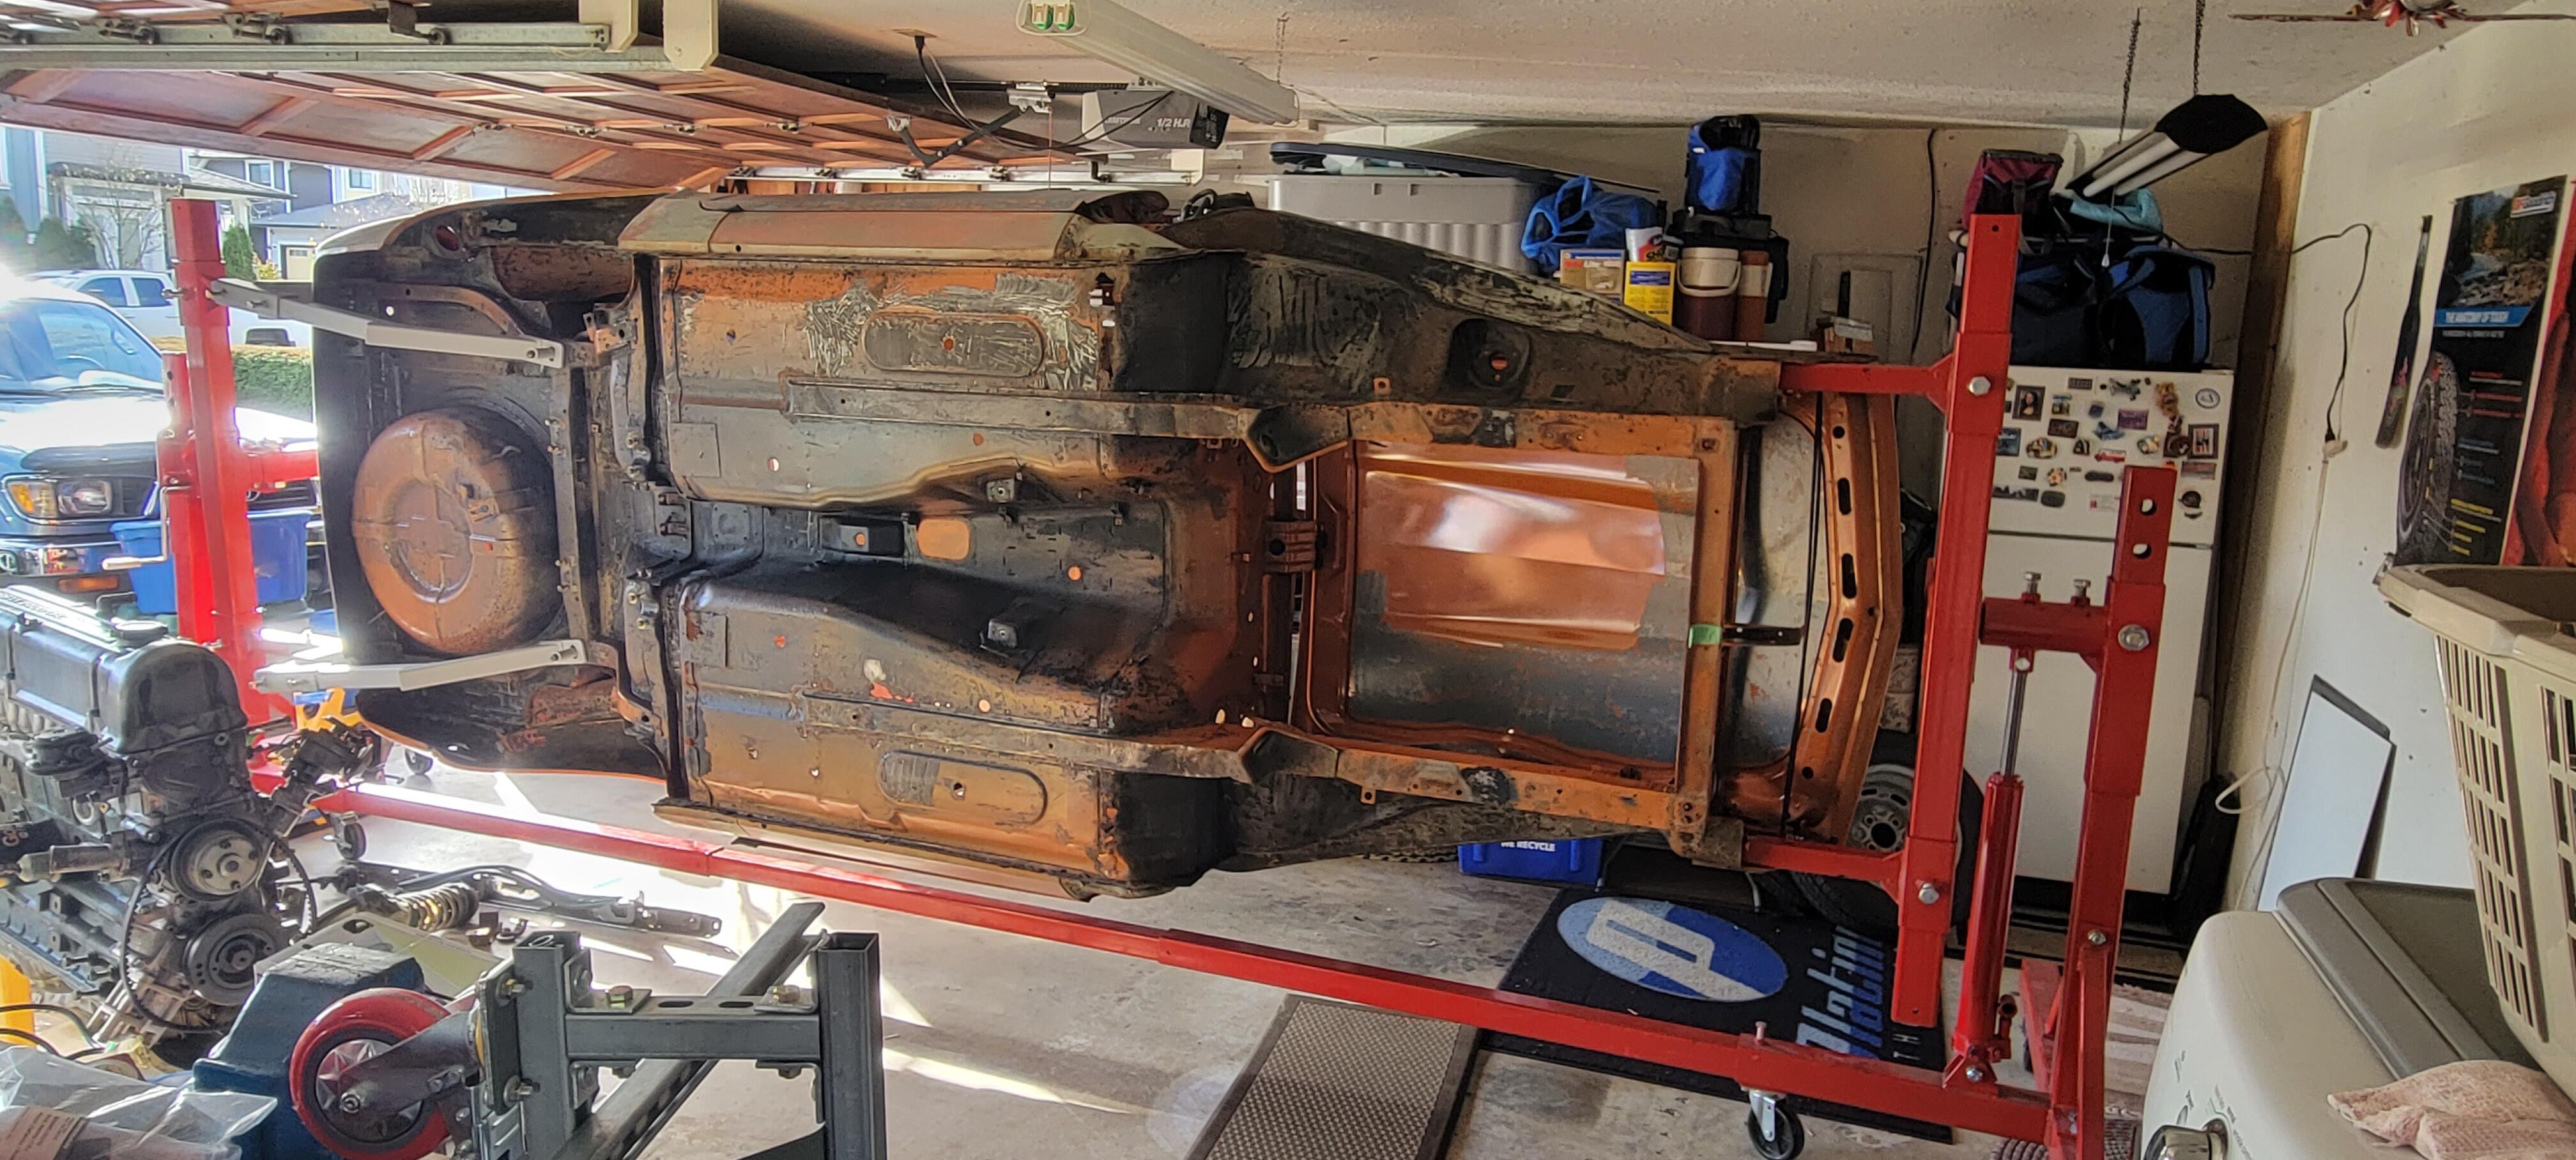
6 pointsI took a break today from work and emptied out the shell and made some room around it to do a test flip. The rotisserie has a worm gear reducer to do the turn, I counted 15 turns of the crank handle to rotate 180. The balance point appears to be quite good with the 5-1/2" drop from the rotation axis to the bumper mounts suggested by @grannyknot, thanks for that info. Although this is a bit subjective, as the 30:1 reducer makes it a little hard to judge. Here are a few pics and a short video.

.thumb.jpg.6520c60373fa3e79005e531752cb35fe.jpg)
 6 points
 -
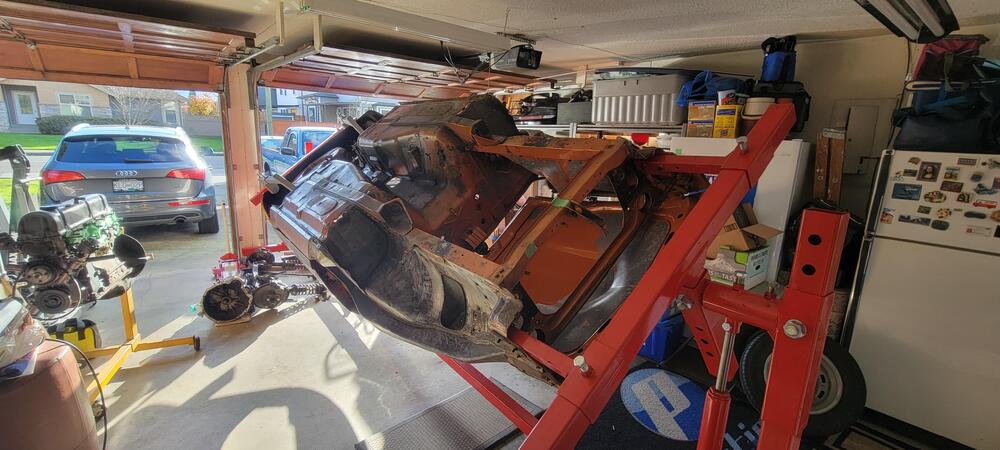
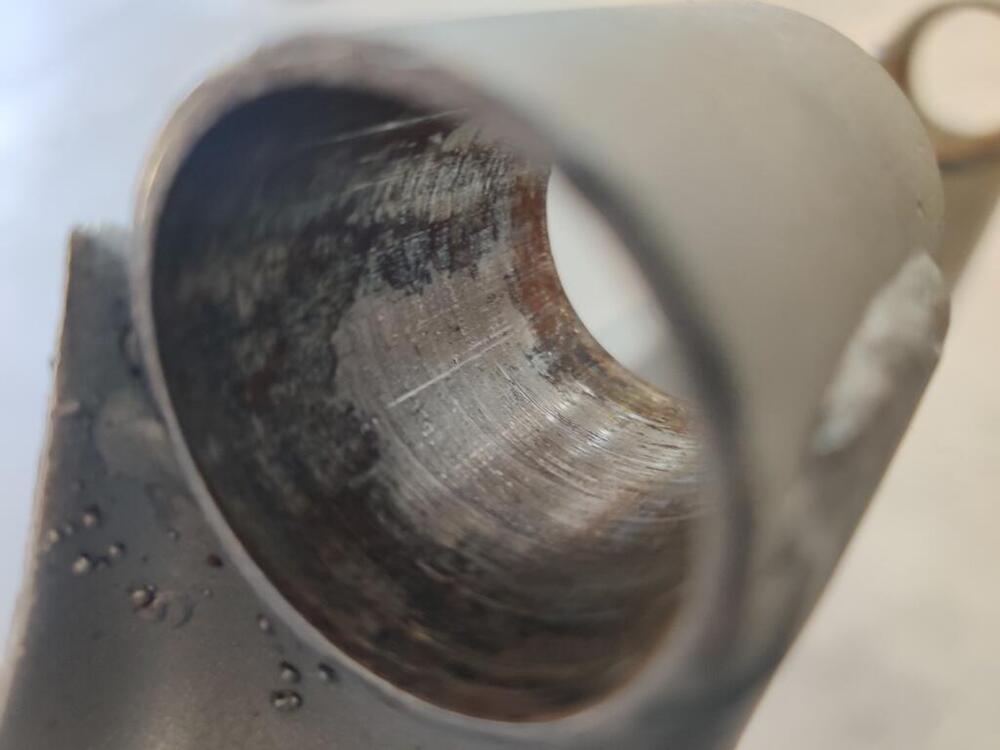
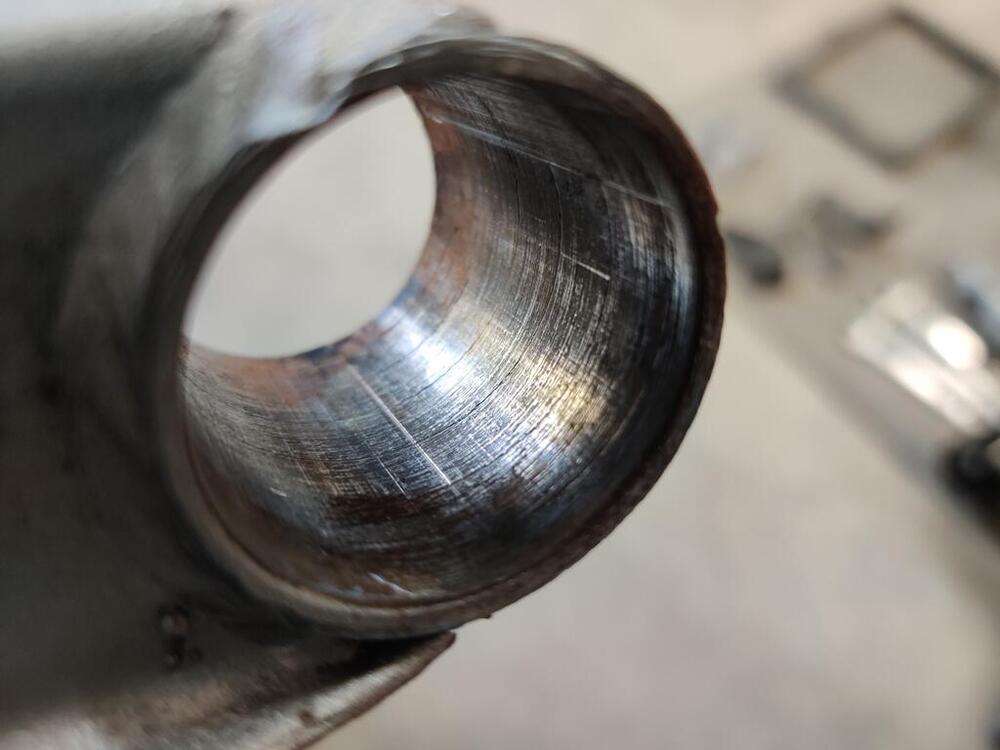
4 pointsWell, a huge positive update for anyone thats bothered to keep up with this thread for the past sixteen pages. I ordered a secondhand distributor from a known good running car (claimed by seller.) I can't say for sure if the reluctor wheel on my distributor that I pulled off was chipped before I took the wire wheel to the tips to clean it off a bit, but part of me thinks the reluctor wheel wouldn't be that weak to chip off like that with a wire wheel brush and minimal force, but again, I haven't worked on a distributor powered car in awhile, and I've never cleaned a reluctor wheel until now. So I installed the "new" distributor after cleaning it up a bit, installed the cap and rotor, reconnected plug wires, etc. I started the car and it fired up and the RPM's immediately shot to 1,500 and held there, which I assume would be characteristic of a cold engine, as thats typically where I've seen them hover. I gave it some gas, and the stumbling was gone, the car revved happily, with the tach reflecting that. At this point it was burning some oil though, blue smoke was filling the garage, so I shut it down. I'm not sure if that's just from how long it sat, or if theres an issue with valve seals or piston rings, but it's my goal to get the car out of the garage and into the driveway in the next week, change the plugs out, and just let it run and get up to temp and see how it works. I need to bleed the brakes and install new pads/rotors on the front (and a caliper, the right front was sticking I believe, but I bought two new ones, so that's going to happen as well.) At any rate, The main problem *Appears* to have been solved with the replacement of the distributor. Whether more issues will show their face now that the car is actually firing correctly remains to be seen, and I wouldn't be surprised if that were the case. I'll have a more full report to make once I can let it idle for a few minutes and get up to temp, but as of now, it starts and runs much more clean, I can give it throttle and let it rev as high as it wants, where before it would hit a wall at 700~ rpm and just refuse to rev no matter how much more throttle was applied, and adding throttle could even cause it to die. A minor victory, but a satisfying one! I still need to figure out the issue with the blower motor not working on any setting, and the turn signal only working on the right (slowly), not working on the left whatsoever, and the back lights not working all the time when the headlights are on, most likely the switches if I had to guess.4 points
-
4 pointsTo add a little more detail to what Zed Head mentioned... The gas cap (original cap) has a "real" check valve built into it such that it will allow air INTO the gas tank in the even that the tank is drawn down to a vacuum, but it will not allow anything to escape. Now, I'm not really sure why they thought they needed to build a second valve into that little check valve device in the EVAP system. Seems like they only needed one way for air to get into the tank and that was handled by the gas cap. but there are actually two ways for air to get into the tank... Through the gas cap valve, or through the carbon can and then through that in-line check valve device. I wasn't there when they designed it. The reason it got more difficult to blow through (from the engine side) each time was because you were pressurizing the fuel tank a little with each blow. When the pressure got to the point where your lungs couldn't do any more, it stopped and held. The system is designed to hold some pressure, but not enough to damage the tank. In normal operation, the fuel tank will most likely be running under positive pressure as you drive the car. Goes like this... When you start the car with a cold tank, everything should be pretty much at equilibrium. The tank pressure should be right around atmospheric. Then as you drive, you will heat the fuel in the tank... Exhaust pipes close. Warm rear diff close. Gas recirculating up the the warm fuel rail and back again. All that stuff and the fuel heats up and expands causing the tank pressure to go up. If (when?) the tank pressure increases to the point where it will open up* the "check valve" device in the vapor line, it will burp into the carbon can. By operating that way. the check valve allows the system to run at a positive pressure, but not high enough to damage the fuel tank. * known in valve terminology as "cracking pressure". The check valve has an asymmetric cracking pressure design. Lower cracking pressure pointed towards the tank and a higher cracking pressure pointed towards the carbon can.4 points
-
Just start with 2 turns down and slowly adjust where it runs real good. I cannot imagine why you would want more then 2-1/2 turns. When you like how it runs, stop. Don't worry about what a plug looks like. Just enjoy it. You want your car to run good in traffic like you want. If it does that, your good.3 points
-
It looks like my best option to control my car around the sharp Auto-X turns would be to install an LSD. I'm tabling my tire upgrade for now but if I go back to it, I can always buy a full set of 4 and car-top two of them. Documentation from the owner back in the early 1980's listed the front brakes as FIA Nissan Racing Calipers (4-pistons). I don't know how to differentiate this unit from a Toyota 4-piston so I'm assuming it is still the current unit. I'd like to keep my costs to around $500 +/- so if I go with an LSD it looks like it might have to be the OBX unit. I started looking at videos on its installation. I have access to some uber-gear-heads in my area for support if I get stuck (R&R Restoration & Repair in Kent, OH and Case Western Reserve University's [ThinkBox] machine shop, Cleveland, OH). I've been avoiding the Toledo auto-X because of its distance and my concern over the reliability of my car (see my initial post about break downs). I think I have issues sufficiently under control now and my daughter's family live 5 miles from the Toledo airport and could come to my aid if I get into trouble so I might risk it next season and see you there grazyZlair.
 2 points
 -
2 pointsThat 5.5" was with the hatch, hood and doors removed and I was free wheeling the spin, yours is probably bit top heavy but not a problem as the gears are taking the weight. Looks great.2 points
-
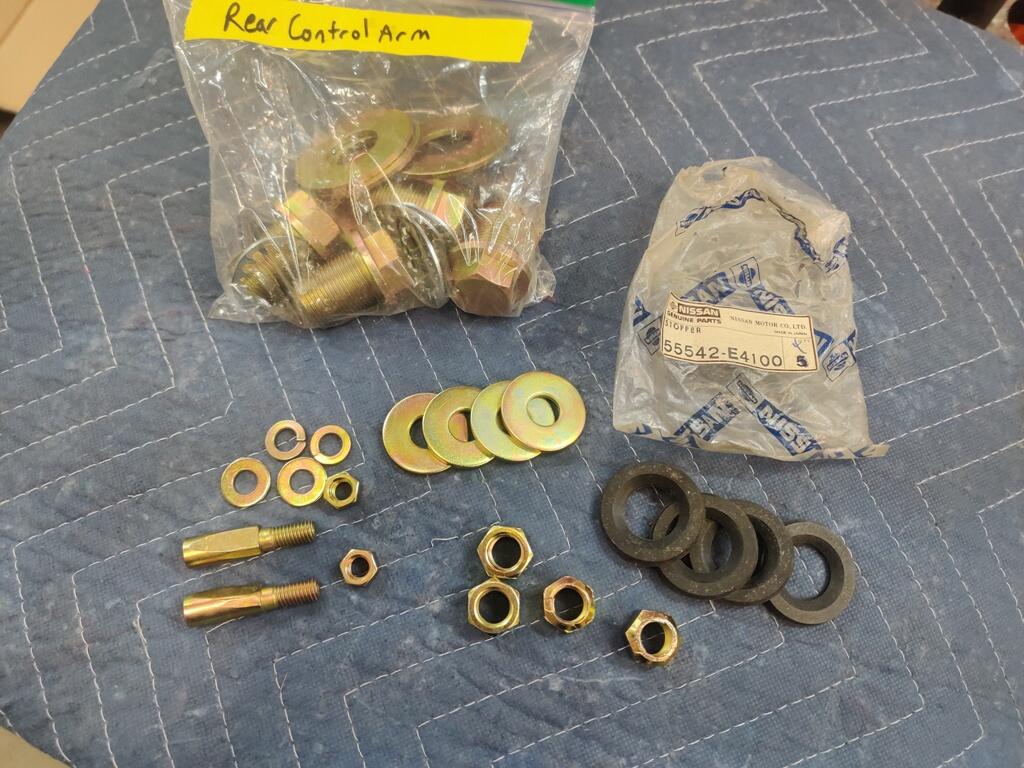
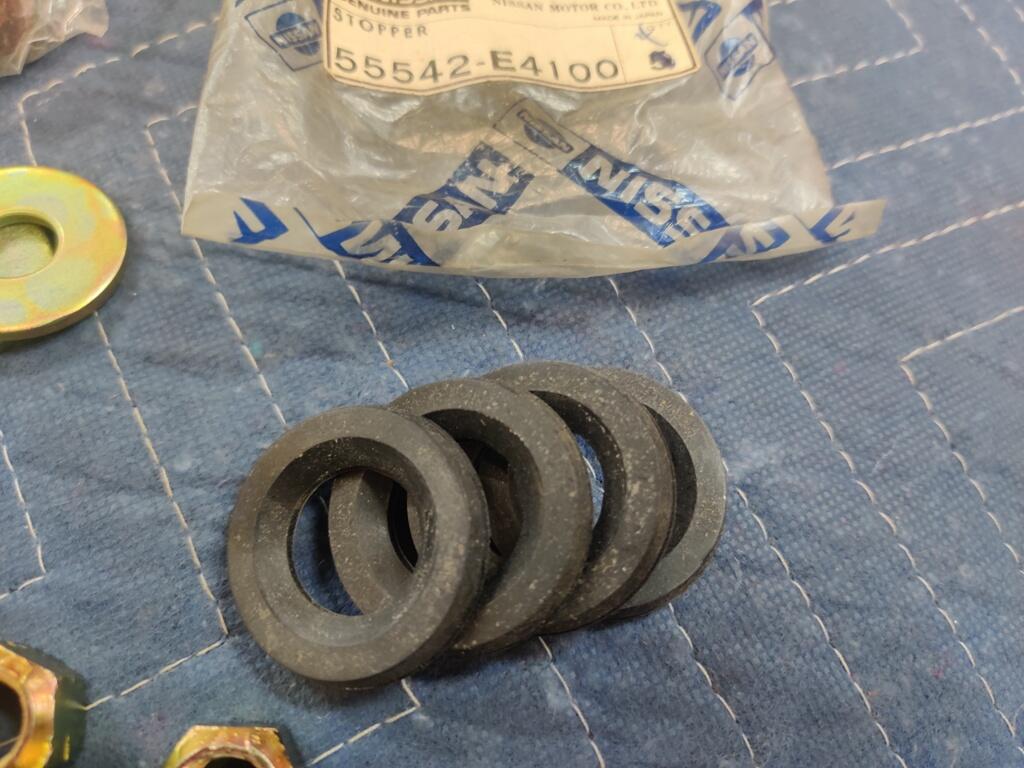
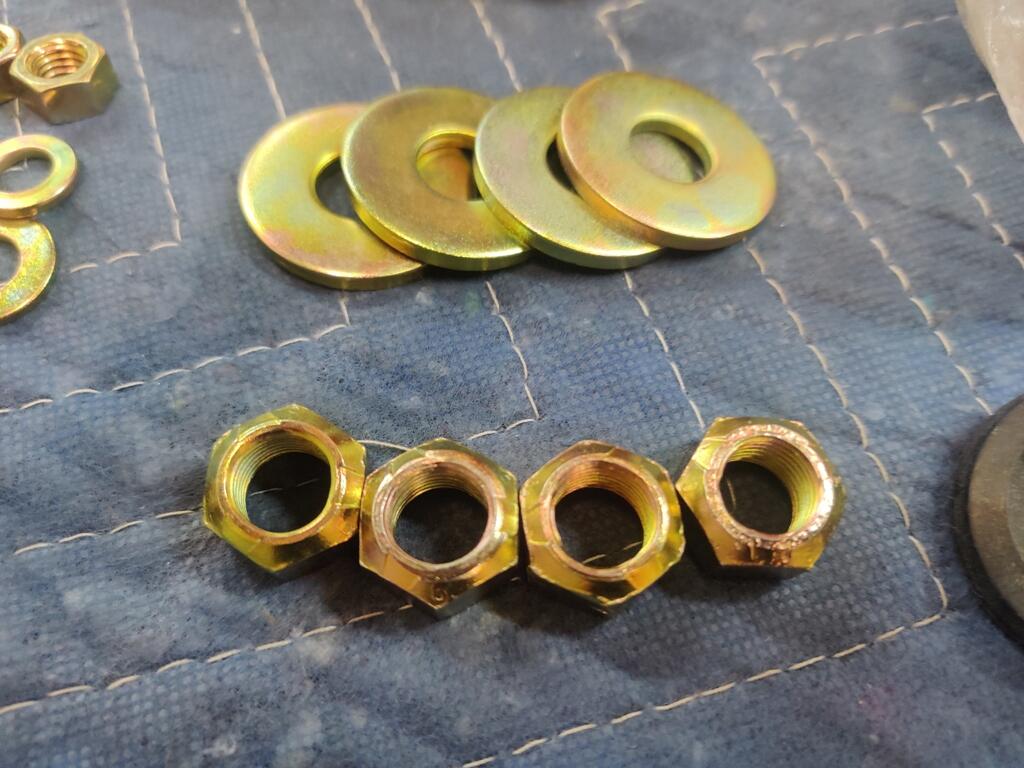
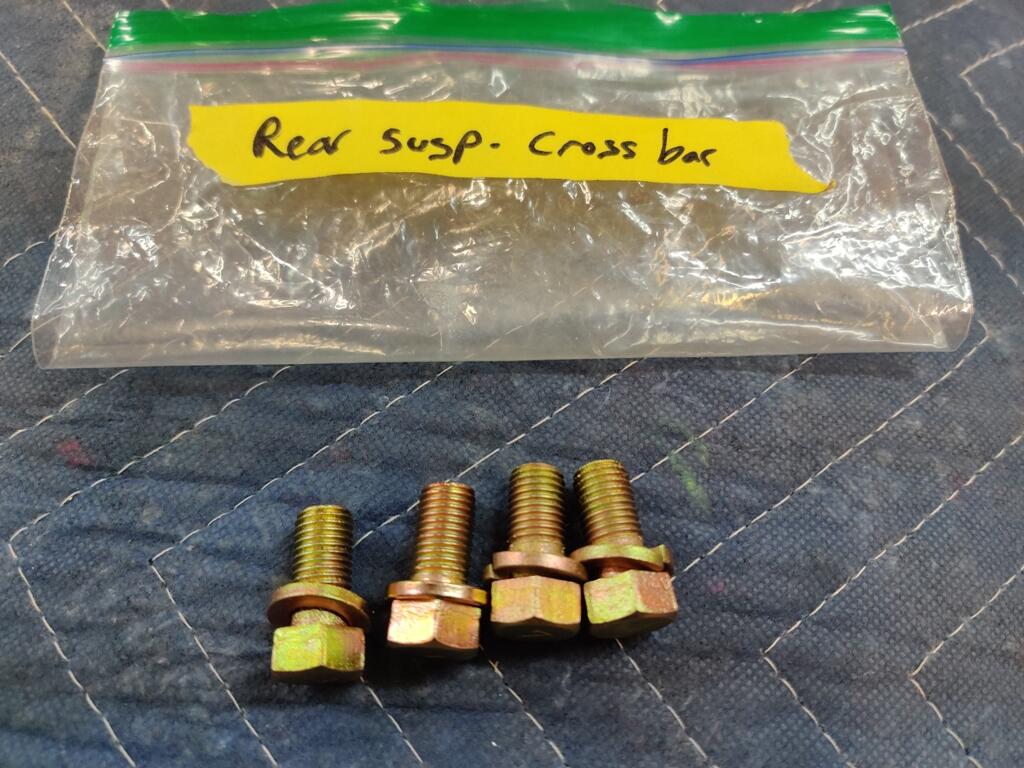
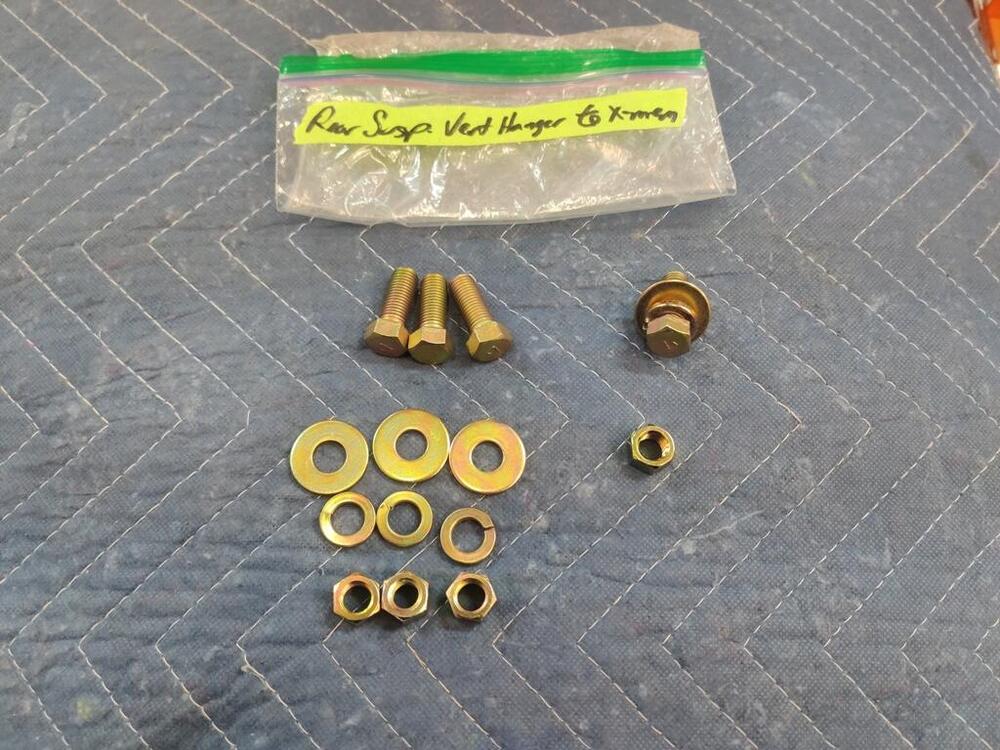
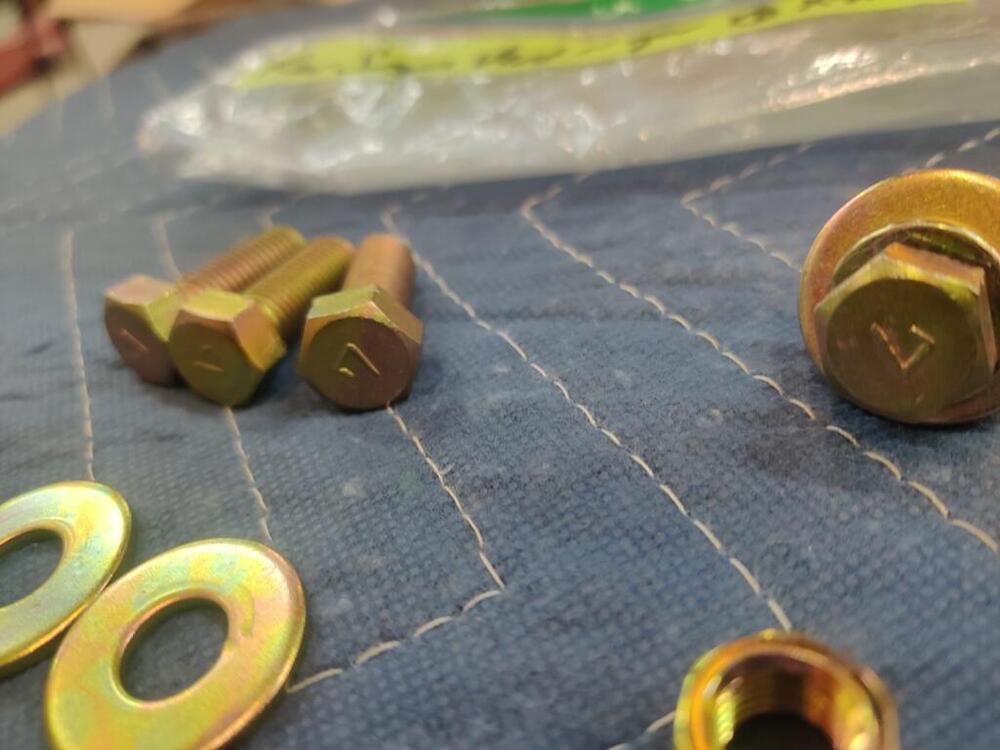
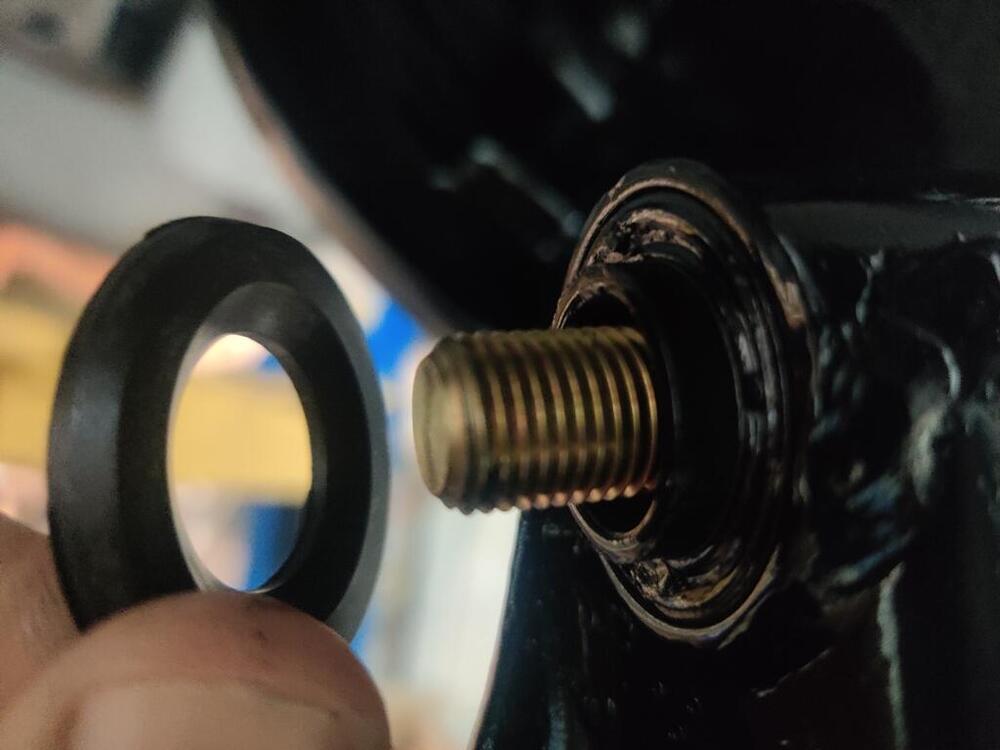
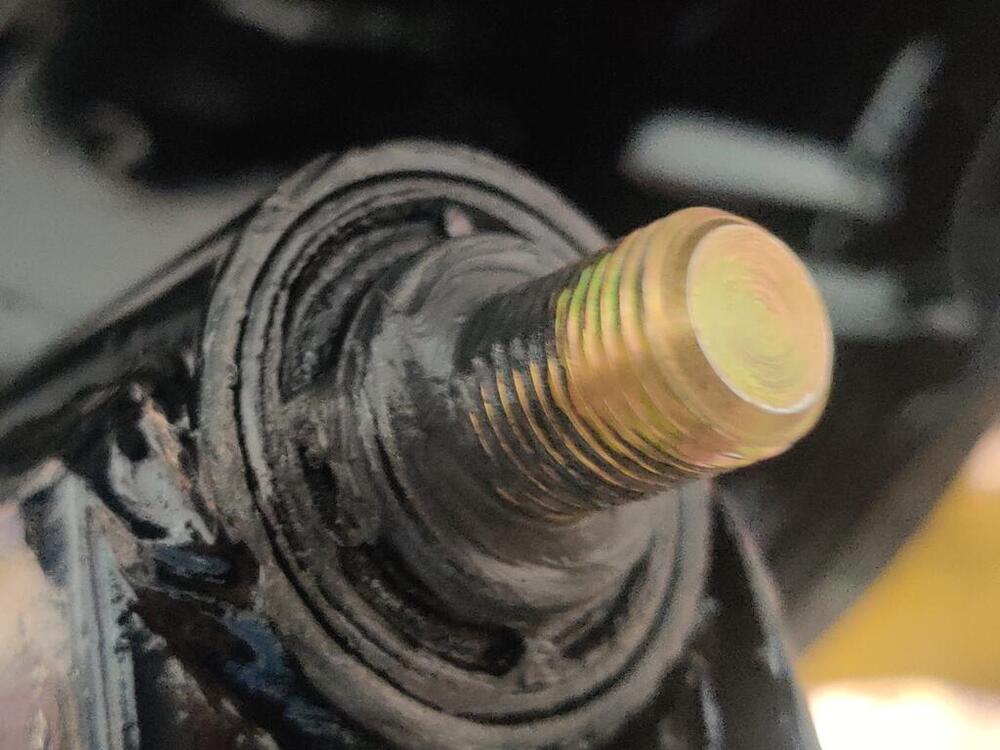
I revisited the job of getting the rear control arm bushings out and was able to accomplish it this time. The issue turned out to be that the socket I was using was a bit too big in diameter. On my first attempt many months ago, I must have had it slightly misaligned as well. This time, though I measured the socket to be about 3-4 thousandths smaller in diameter than the new bushings, I obviously got it aligned better, because I was able to get the bushing to move this time. And this, with the same 12 ton capacity press. However, as the bushing was nearly pushed out, the resistance did not lessen. Sure enough, as I got to the end pressing out the first bushing, I found that I had pressed the socket into the control arm. Clearly the socket varies in diameter a bit along its length. But I didn't bother checking that, I just used a different socket of a slightly smaller diameter for the rest of the bushings. To get the socket out of the arm, I used my bench vise and removed it without any difficulty. I didn't have any problems pressing the new bushing in - all went in the same. After the new bushings were installed, I epoxy primed, and then painted the rear control arms, the rear axles, the gas tank and a few other bits. Tonight, I only had about an hour to play, so I worked on partial installation of one of the control arms: As before, I put some silicone rubber in a few places to keep water from entering. This included both sides of each of the outer control arm bushings. With regard to the rubber washers, they fit best with the taper facing inwards, like in this first picture. Is that correct?


 2 points
 -
2 points
-
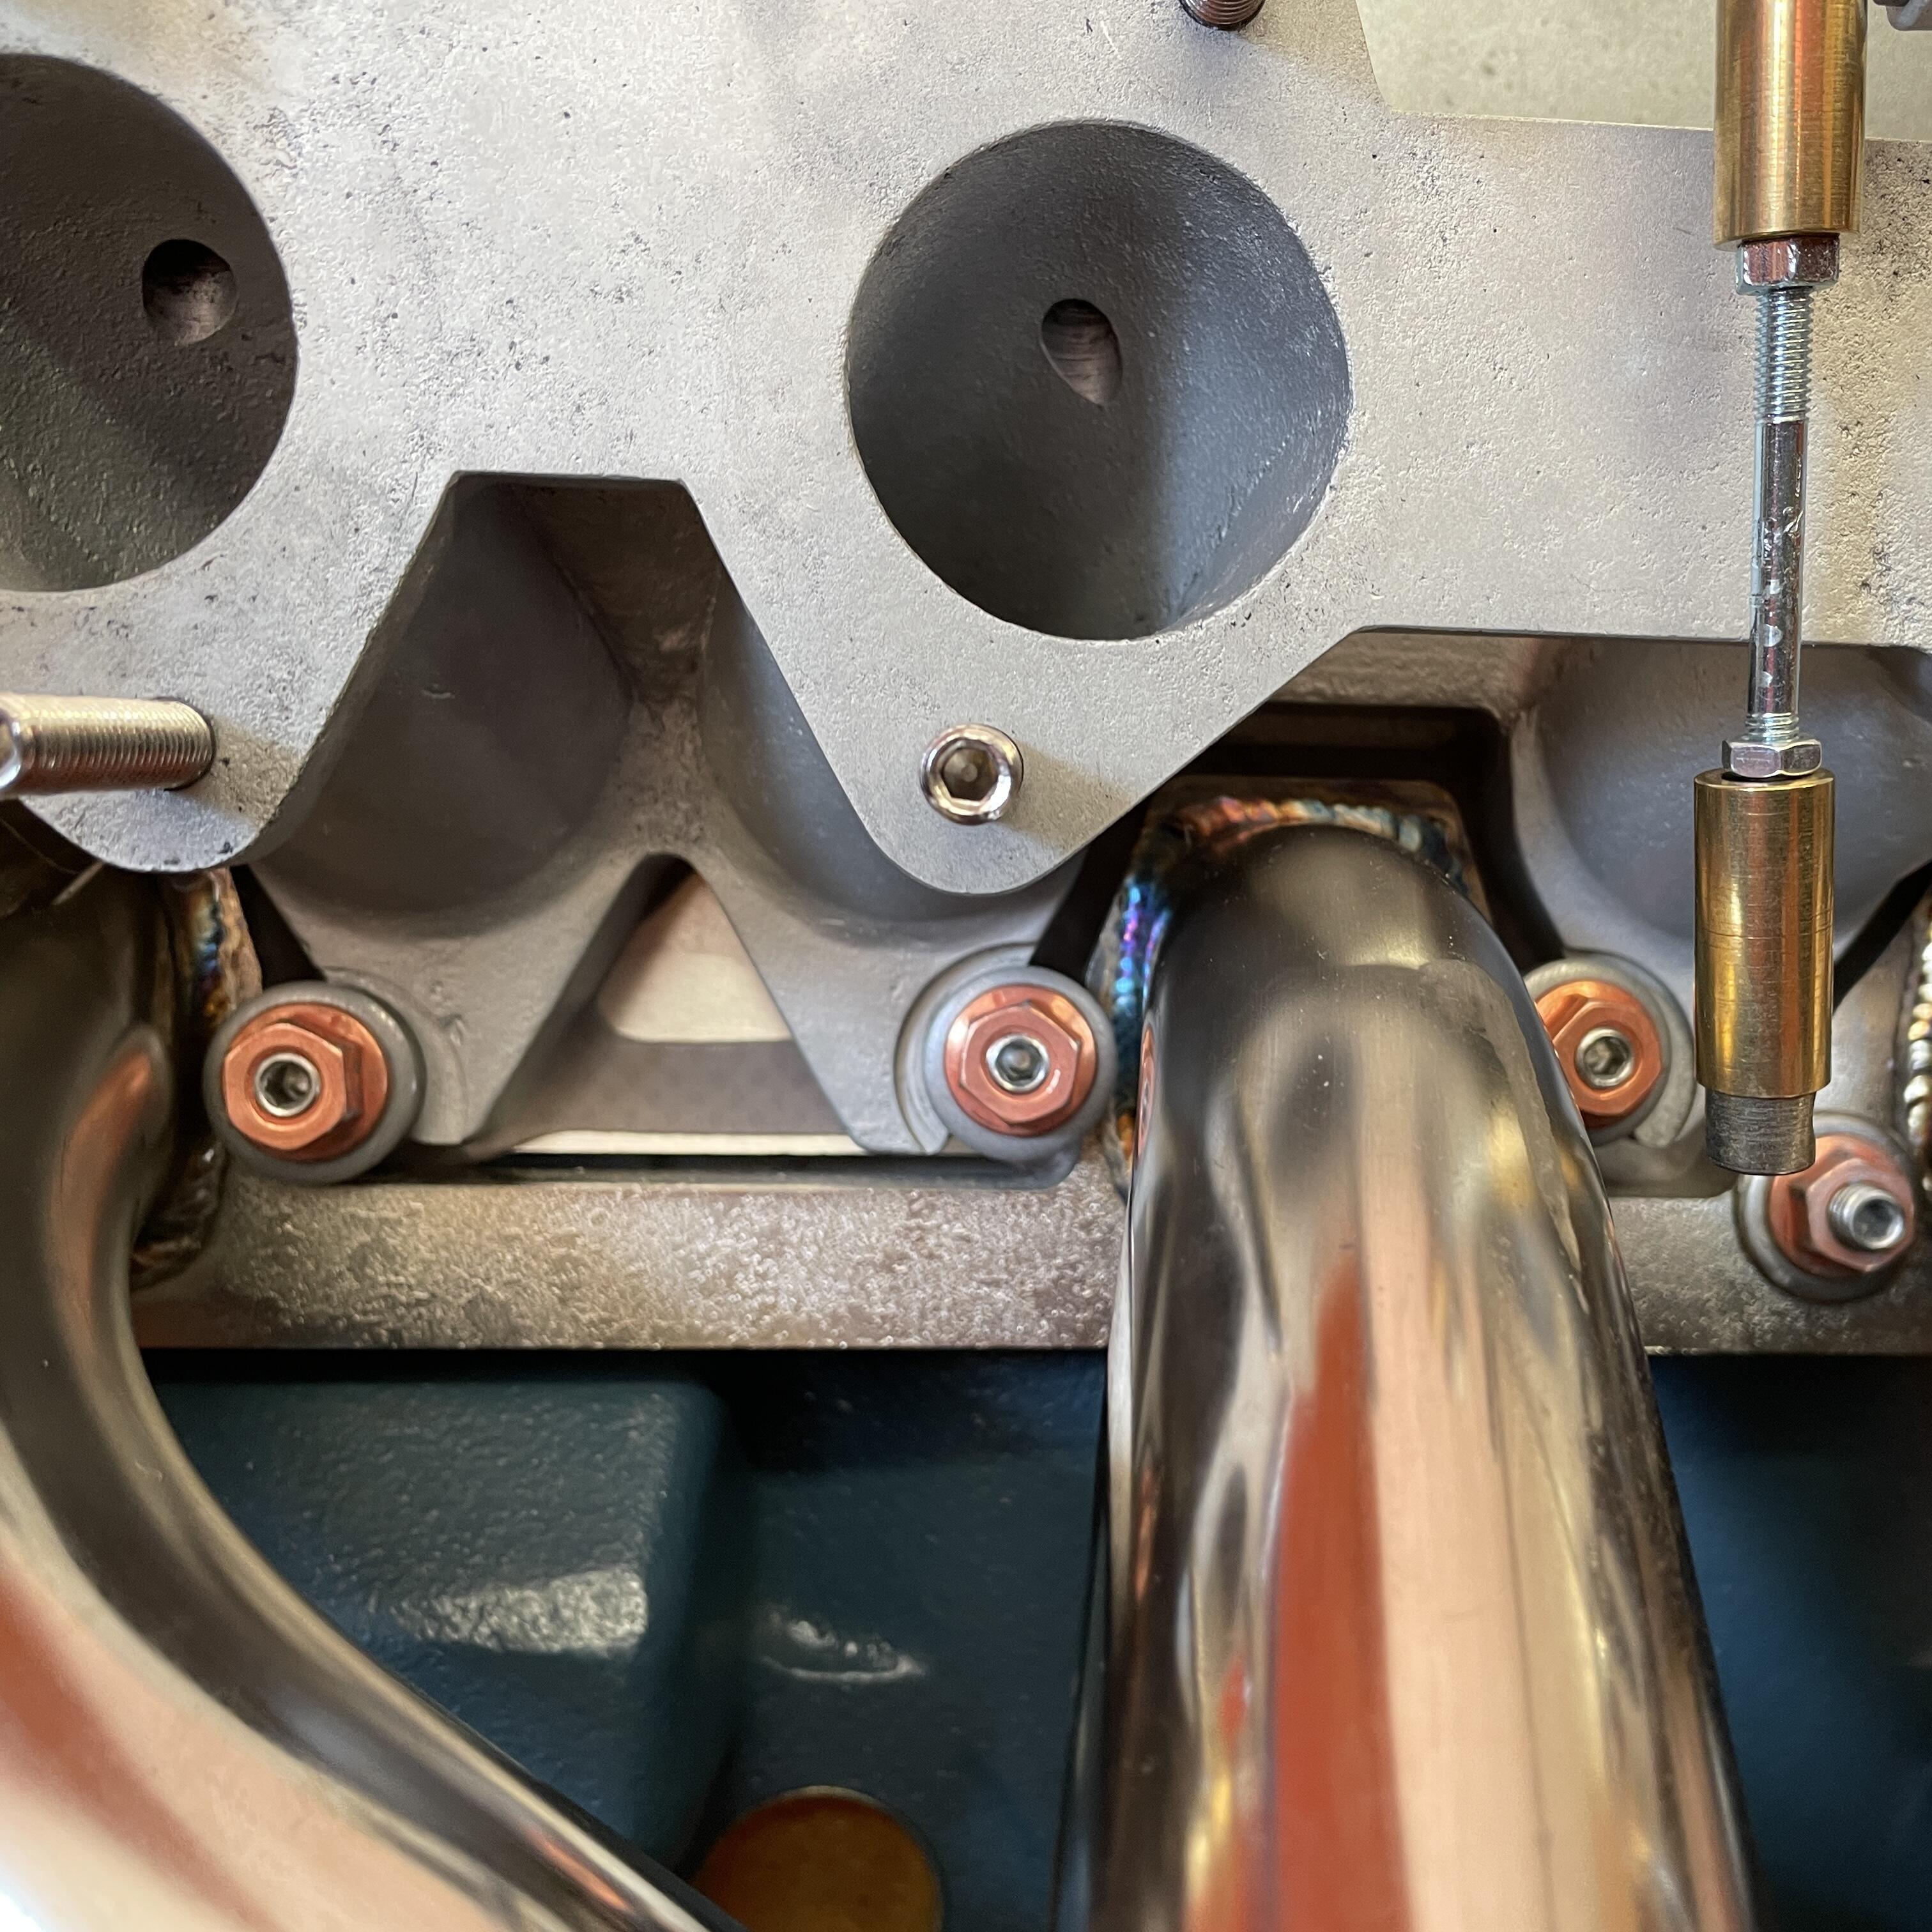
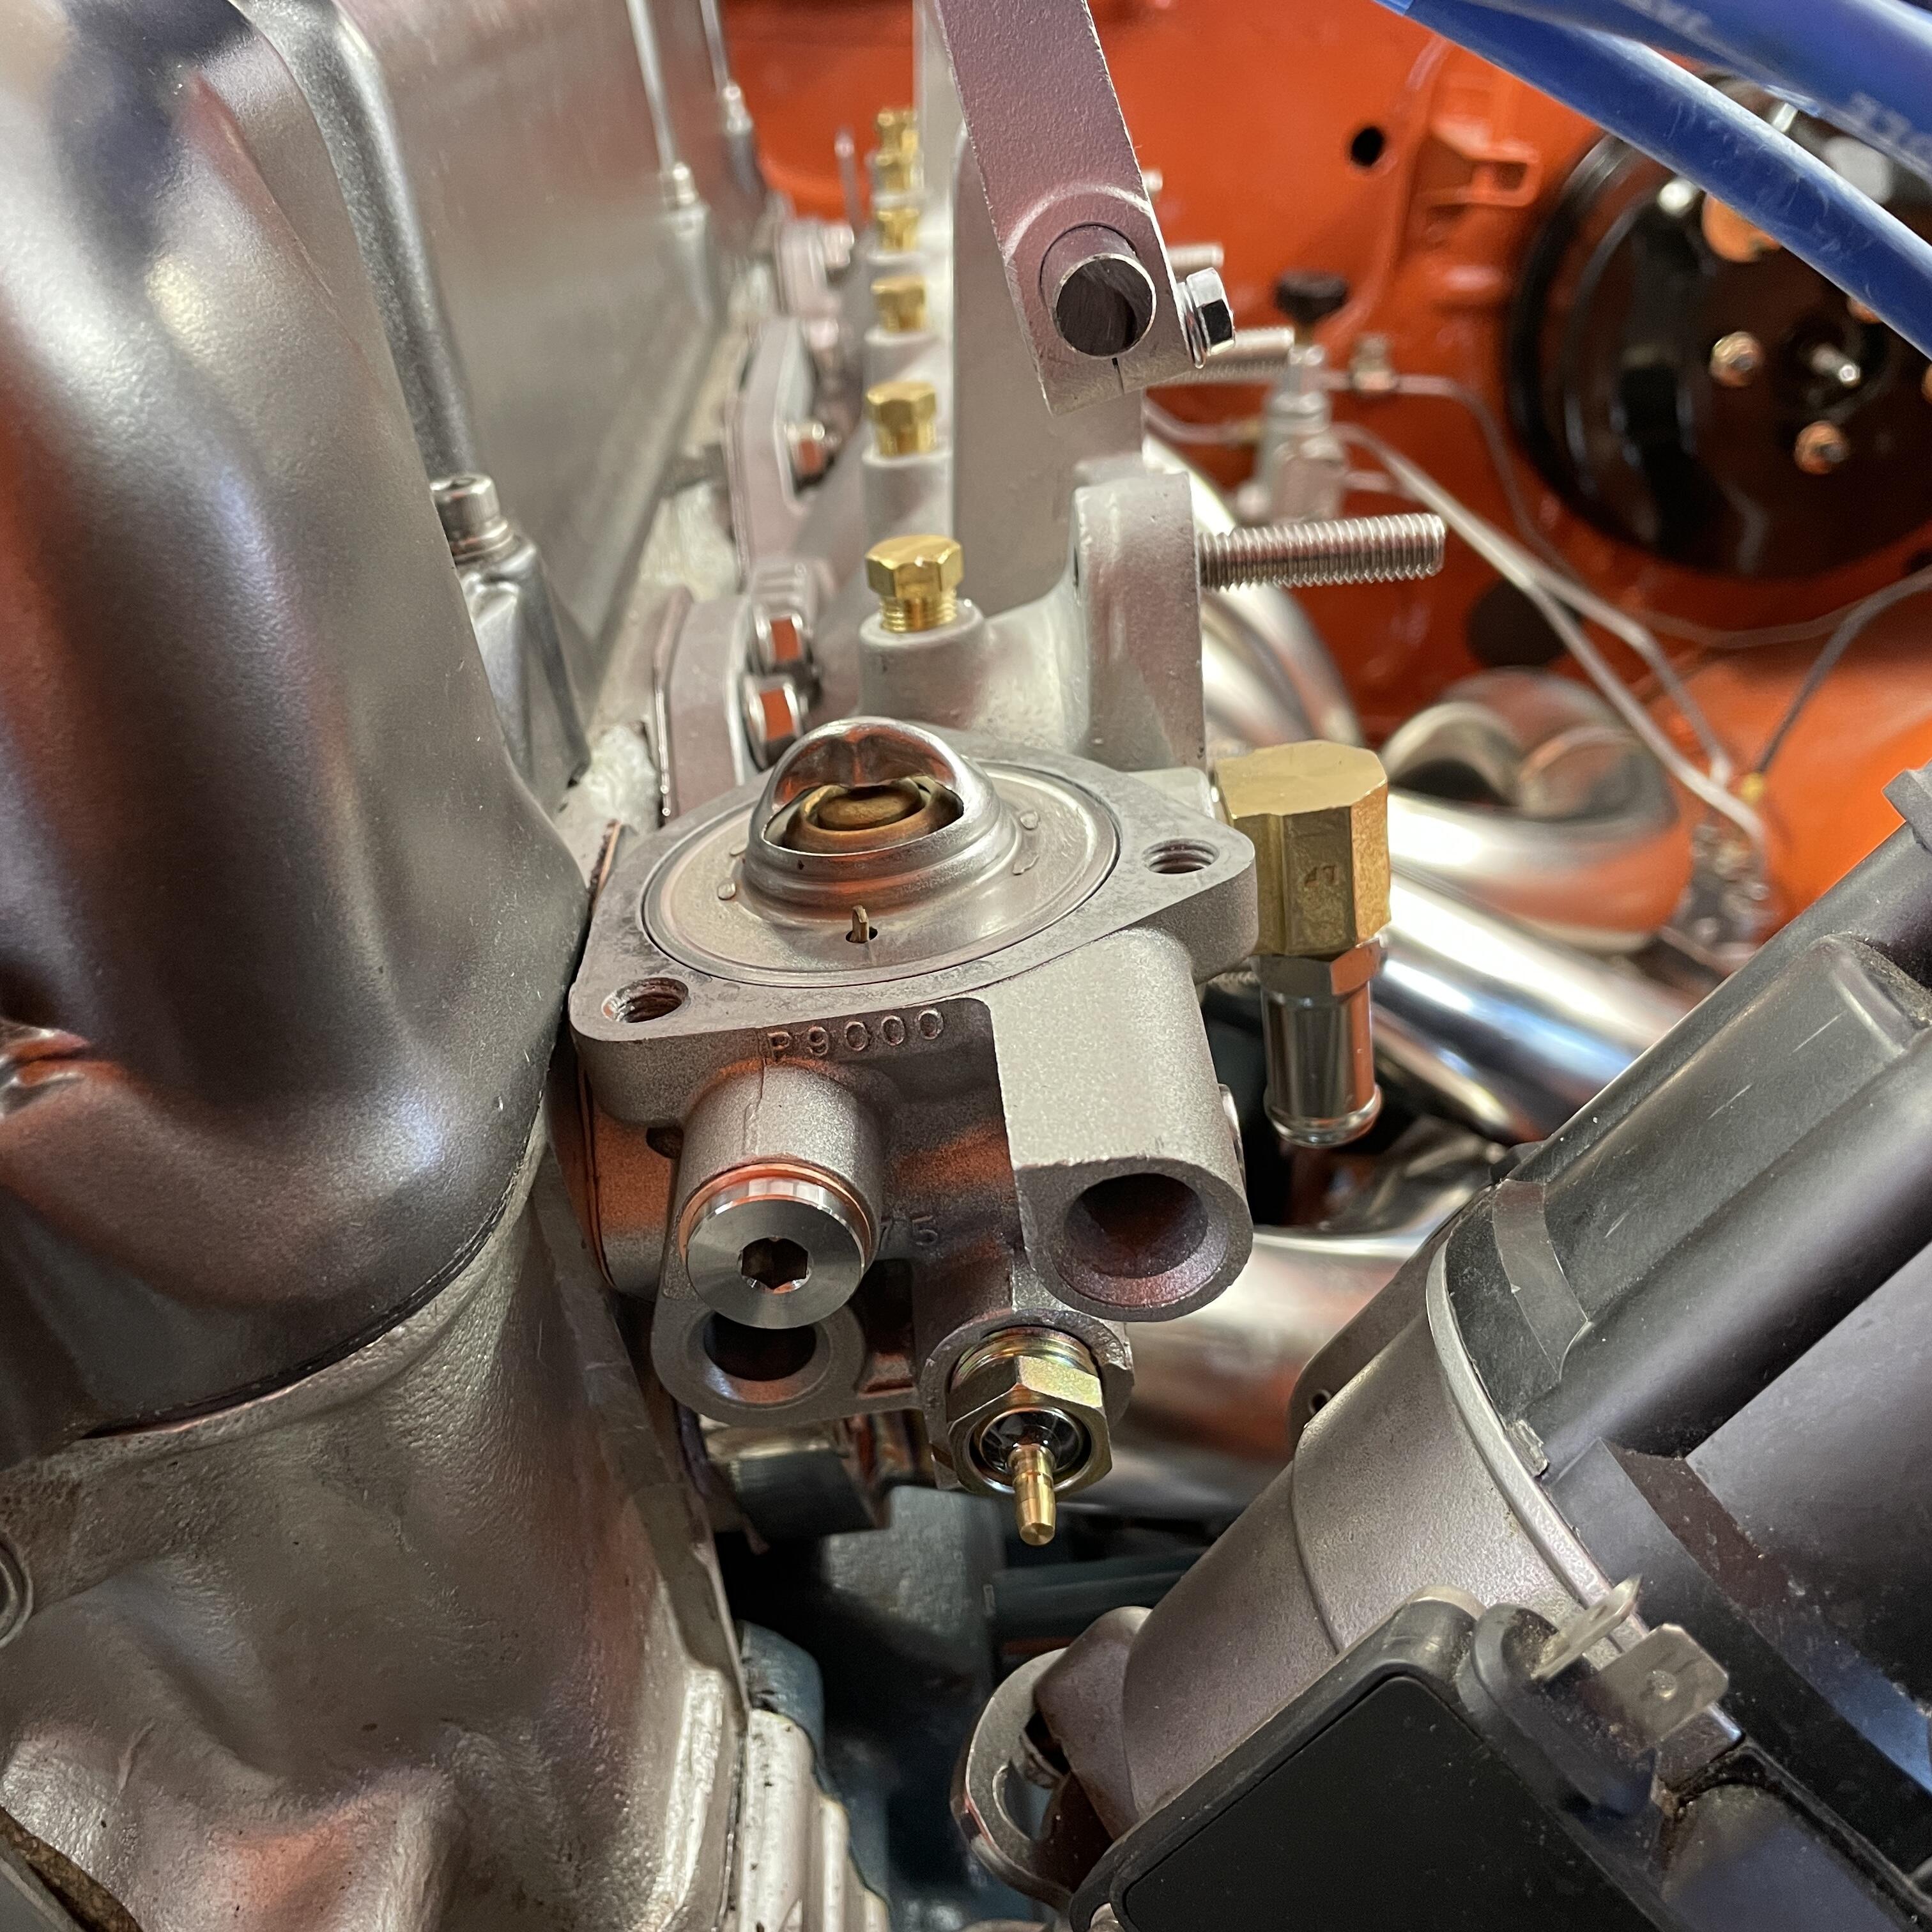
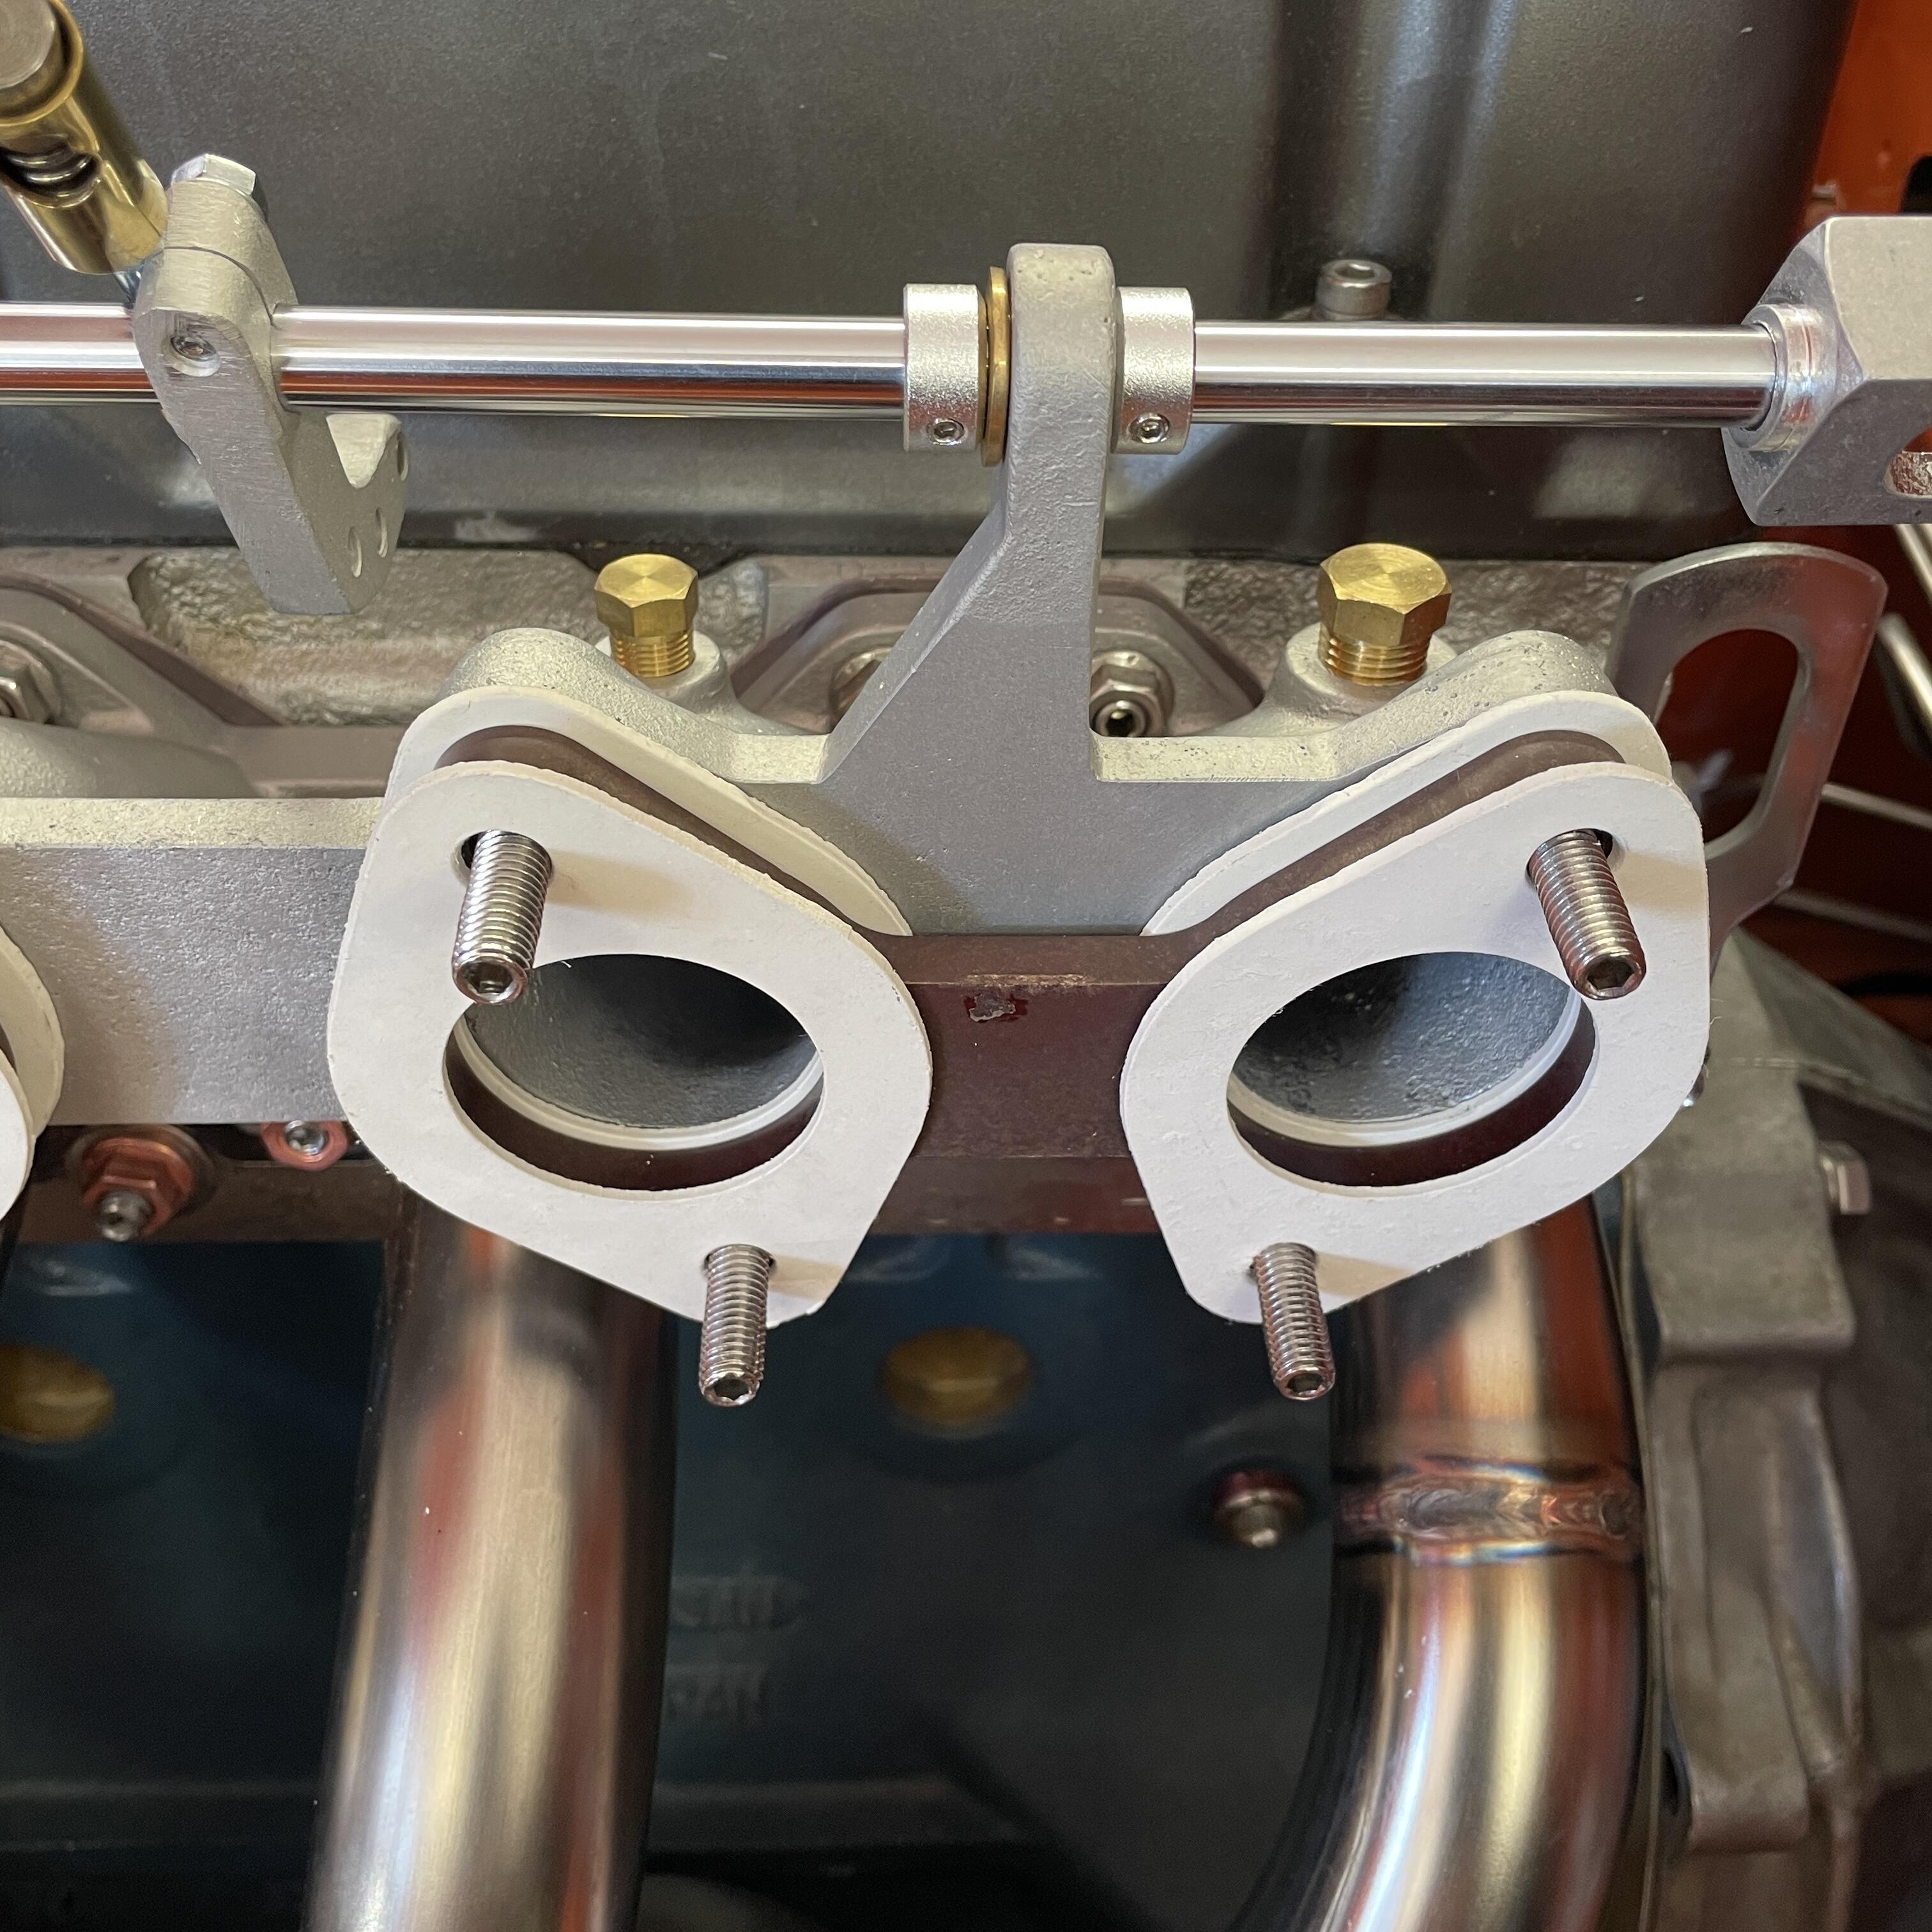
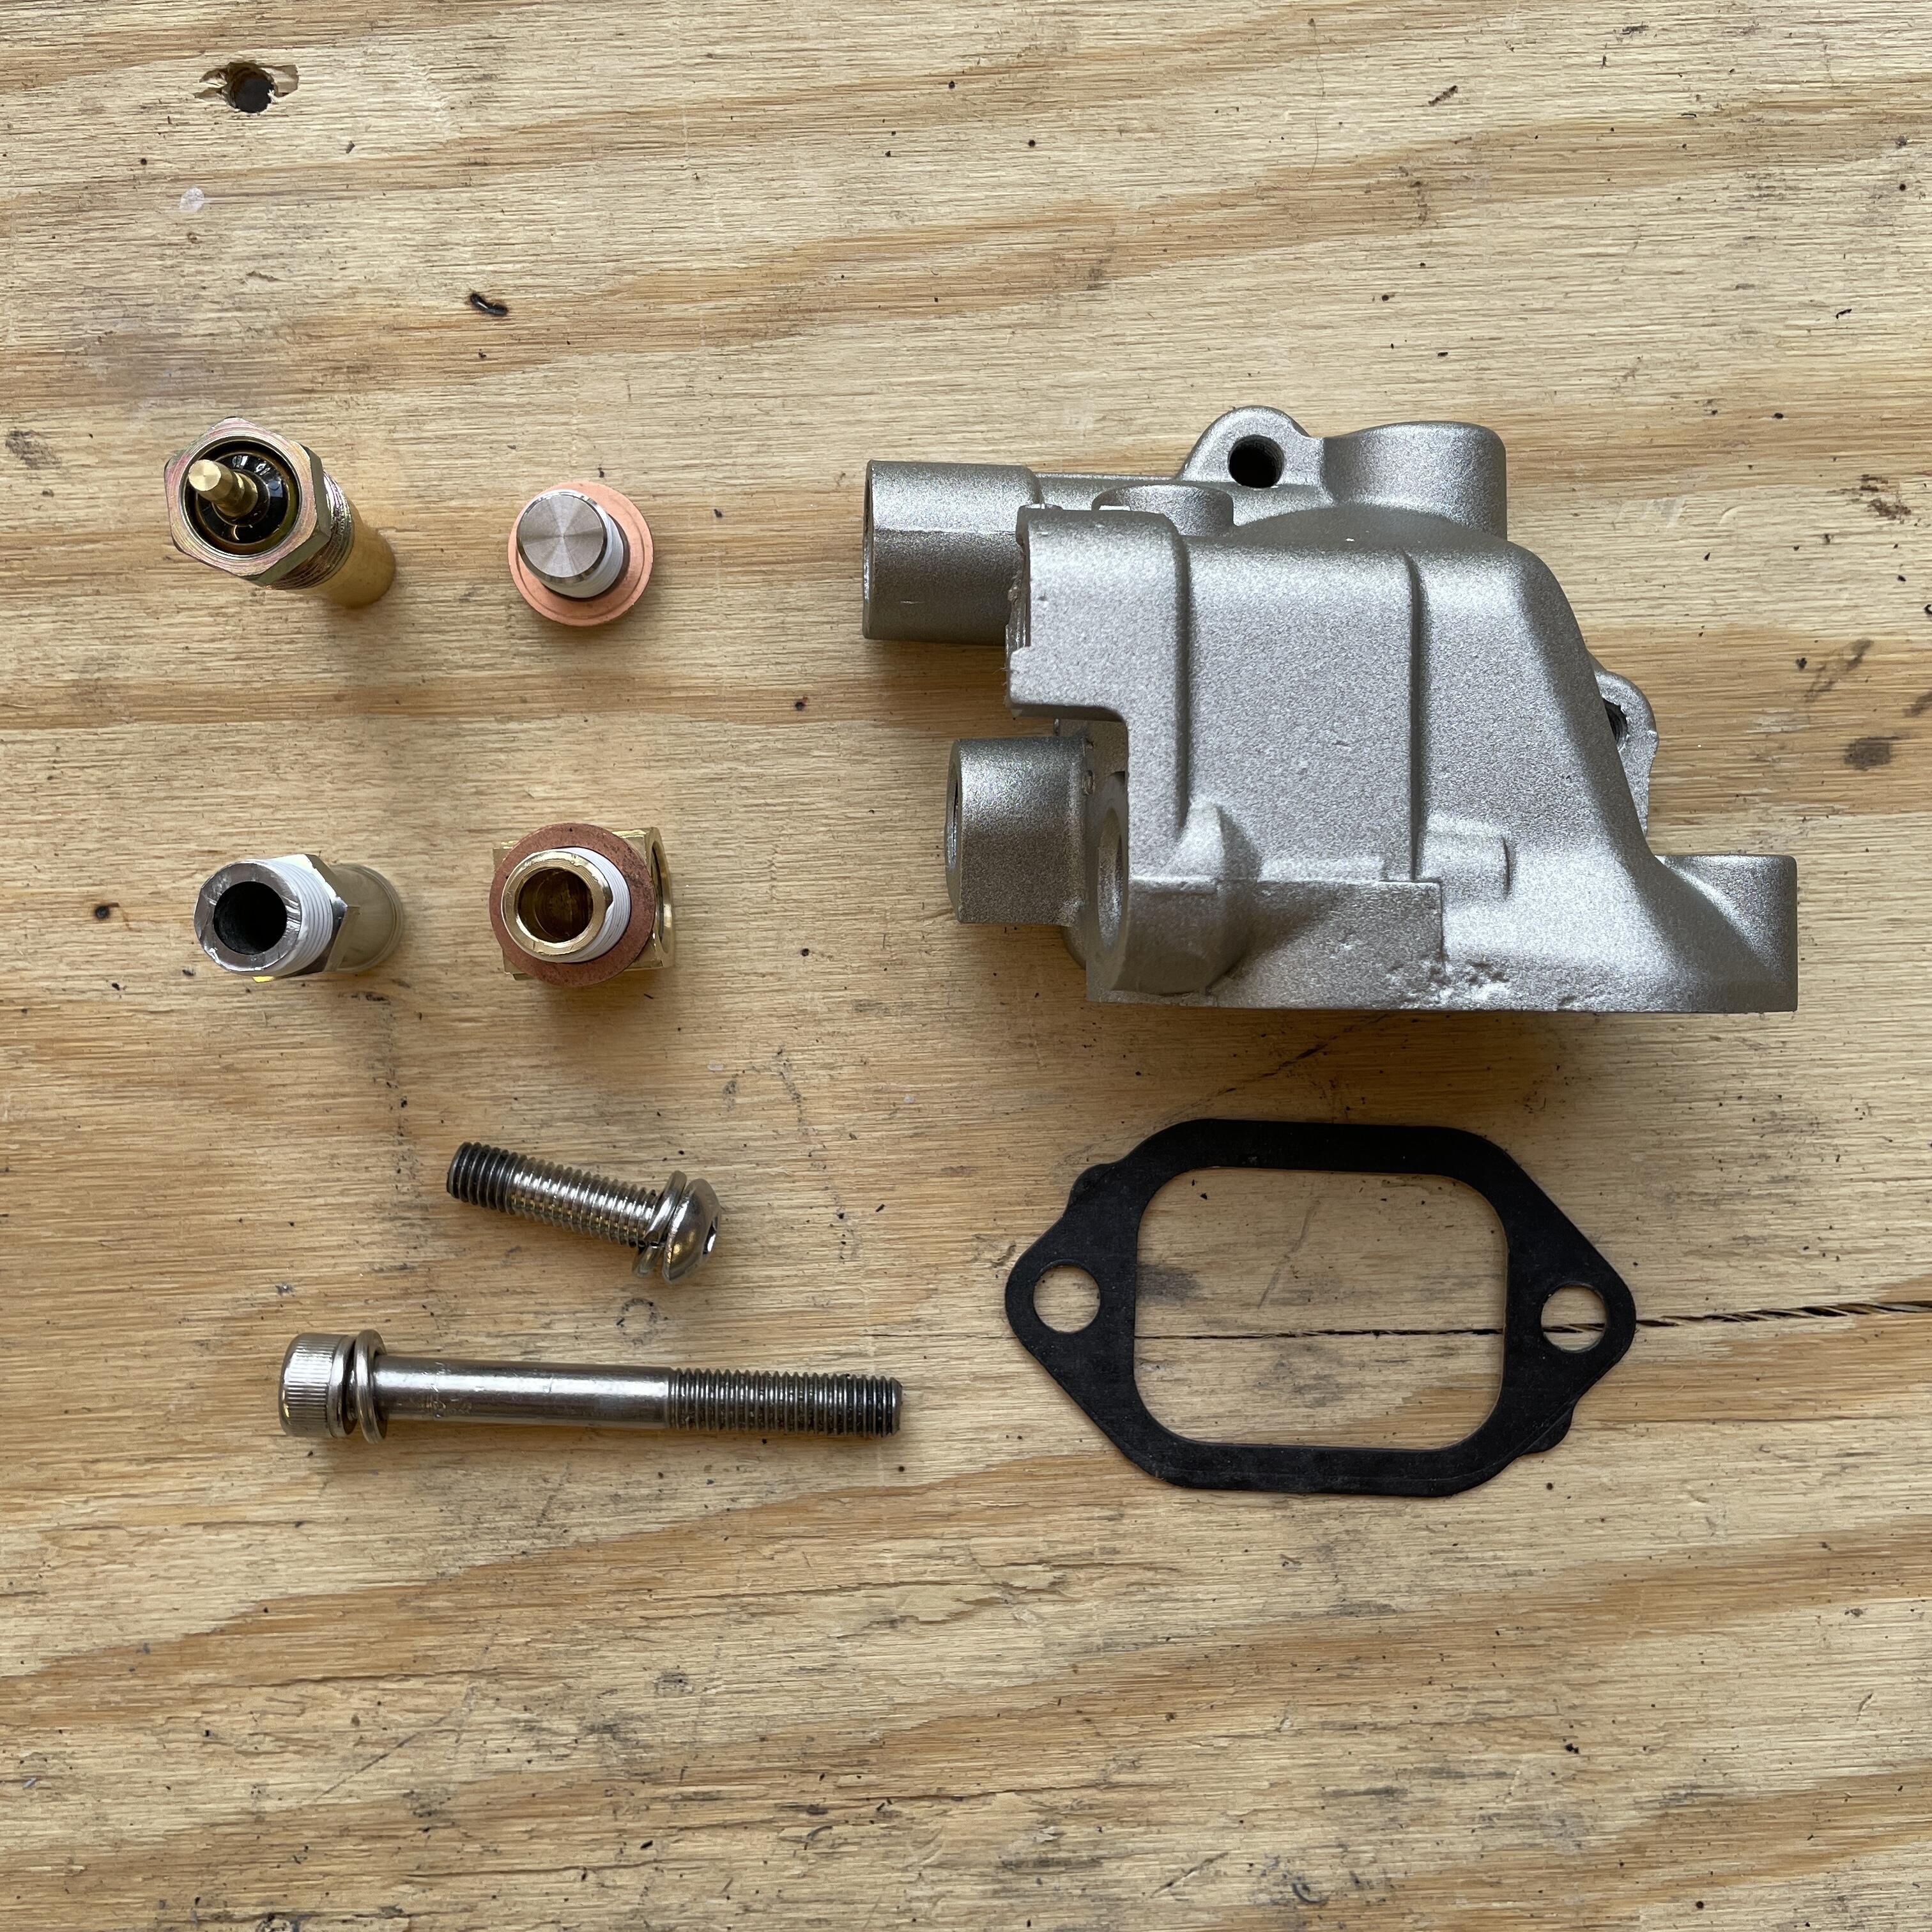
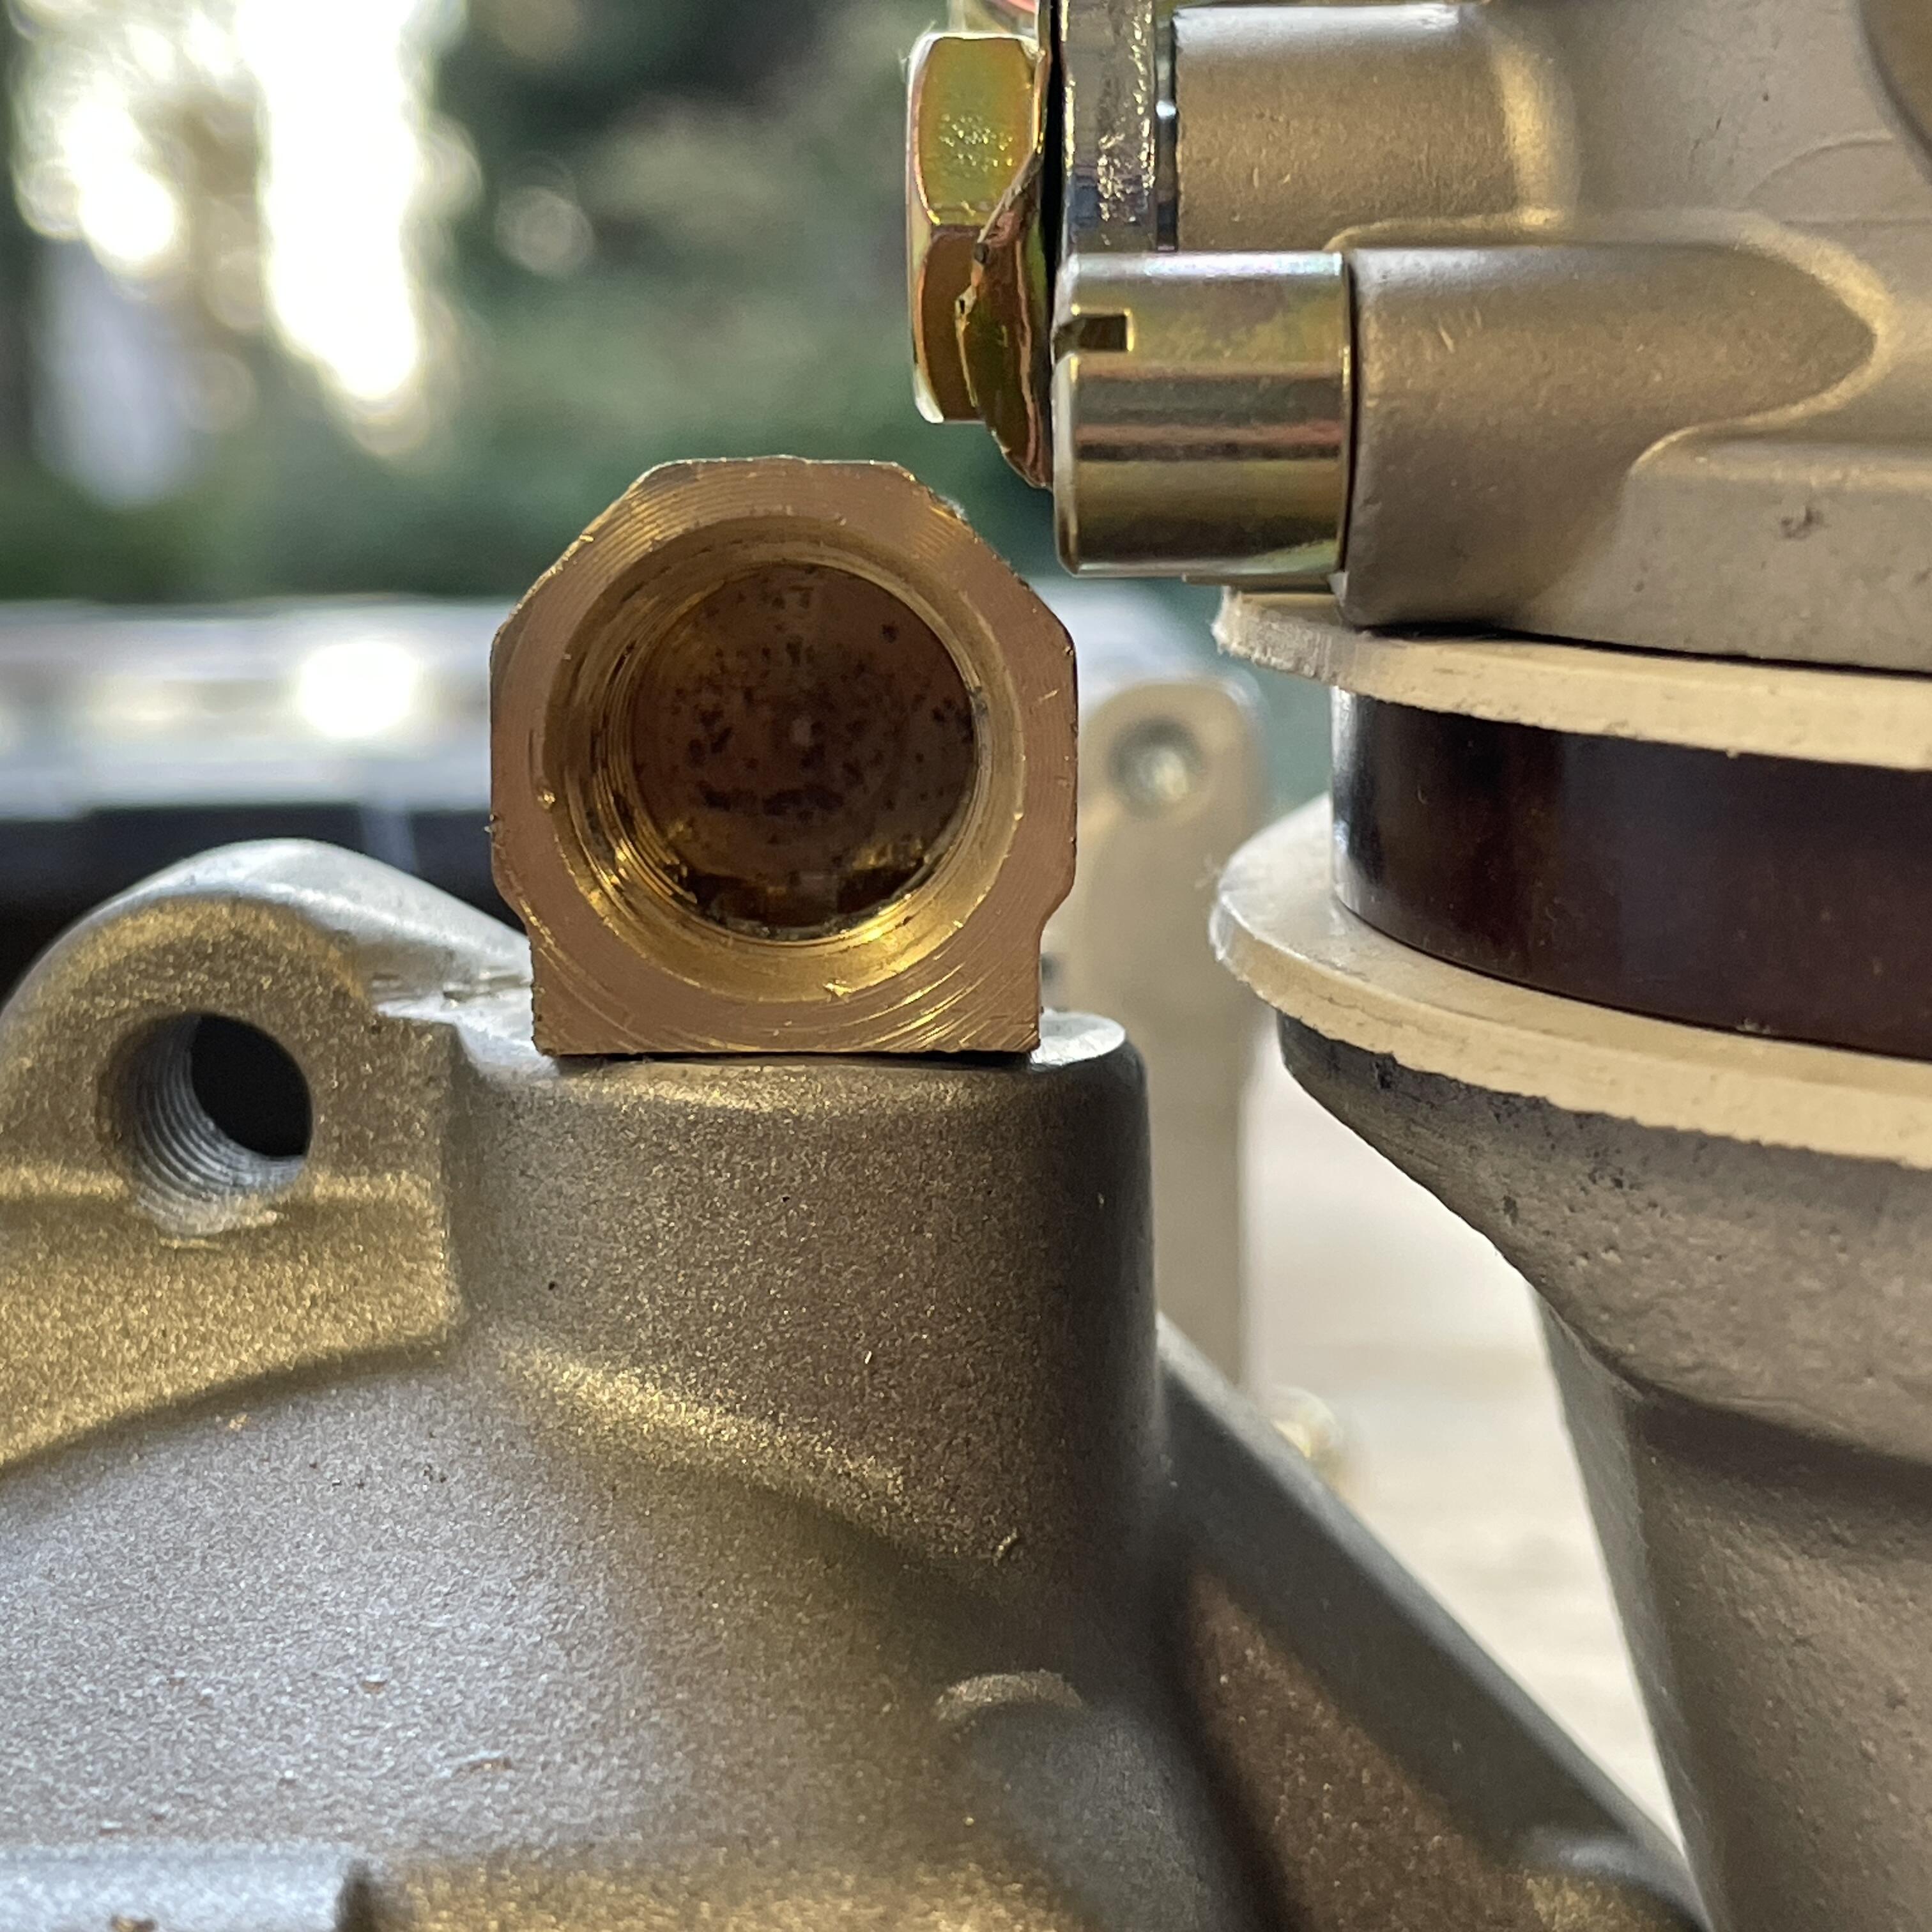
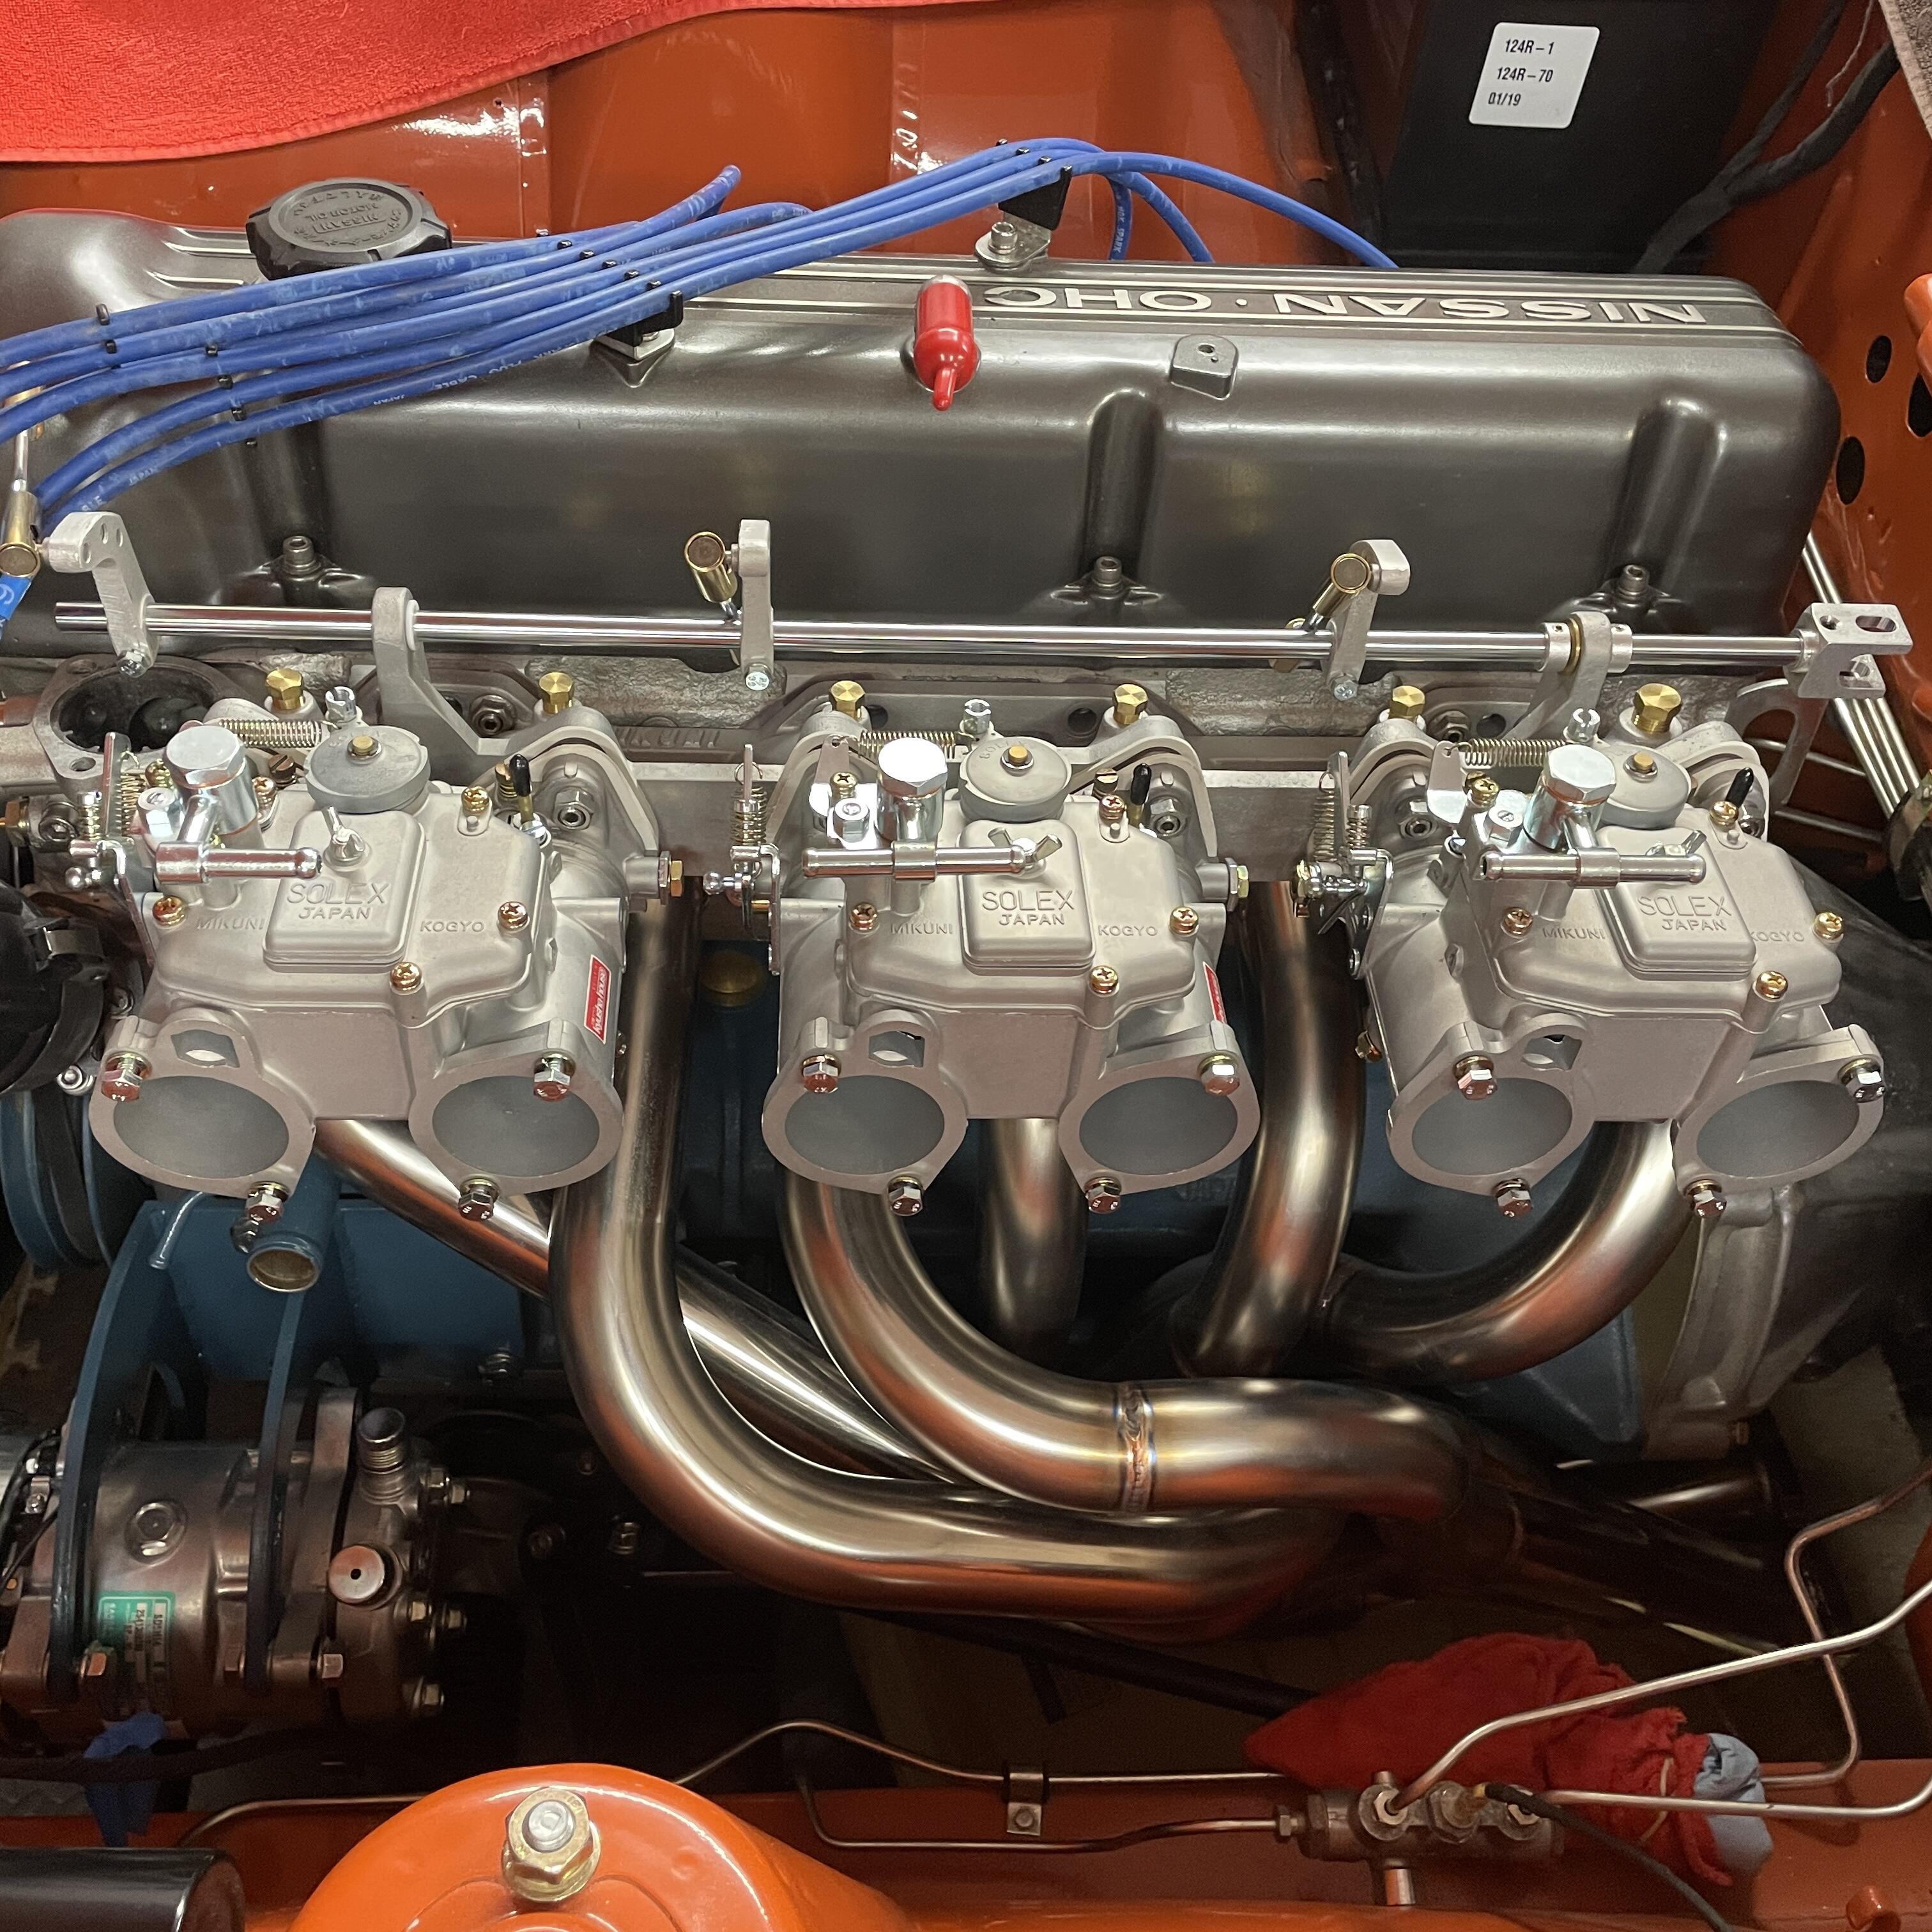
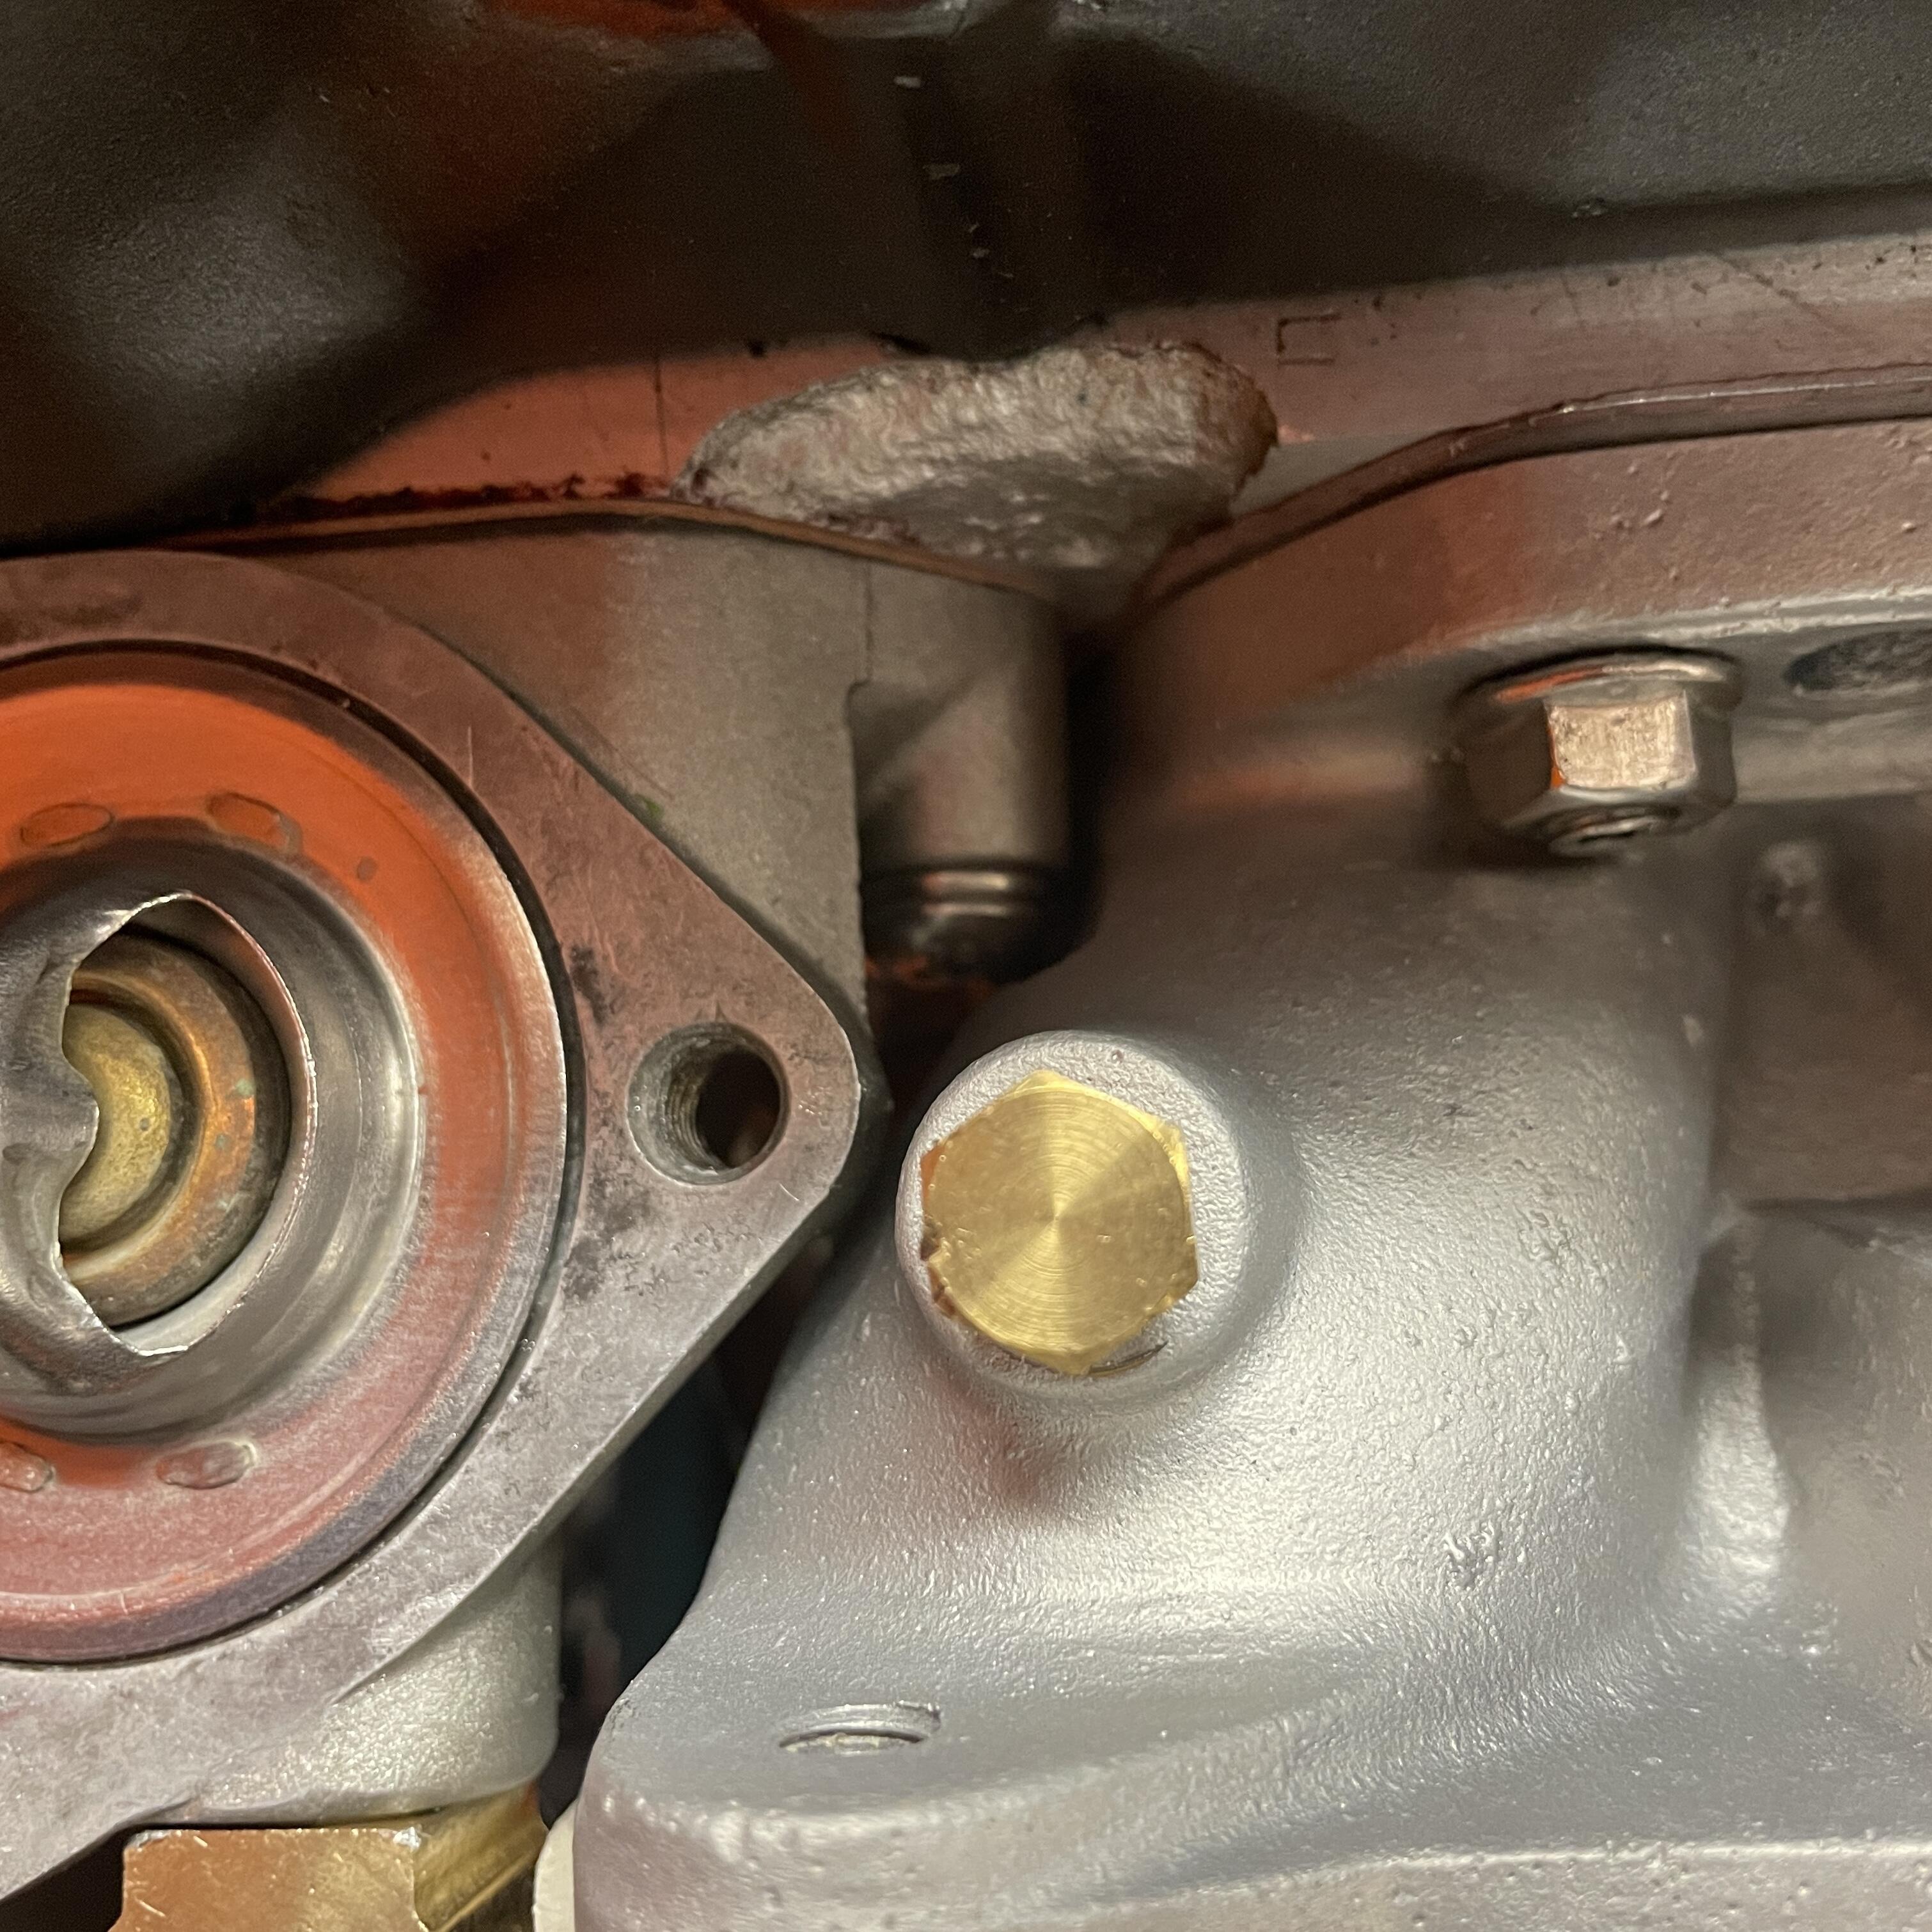
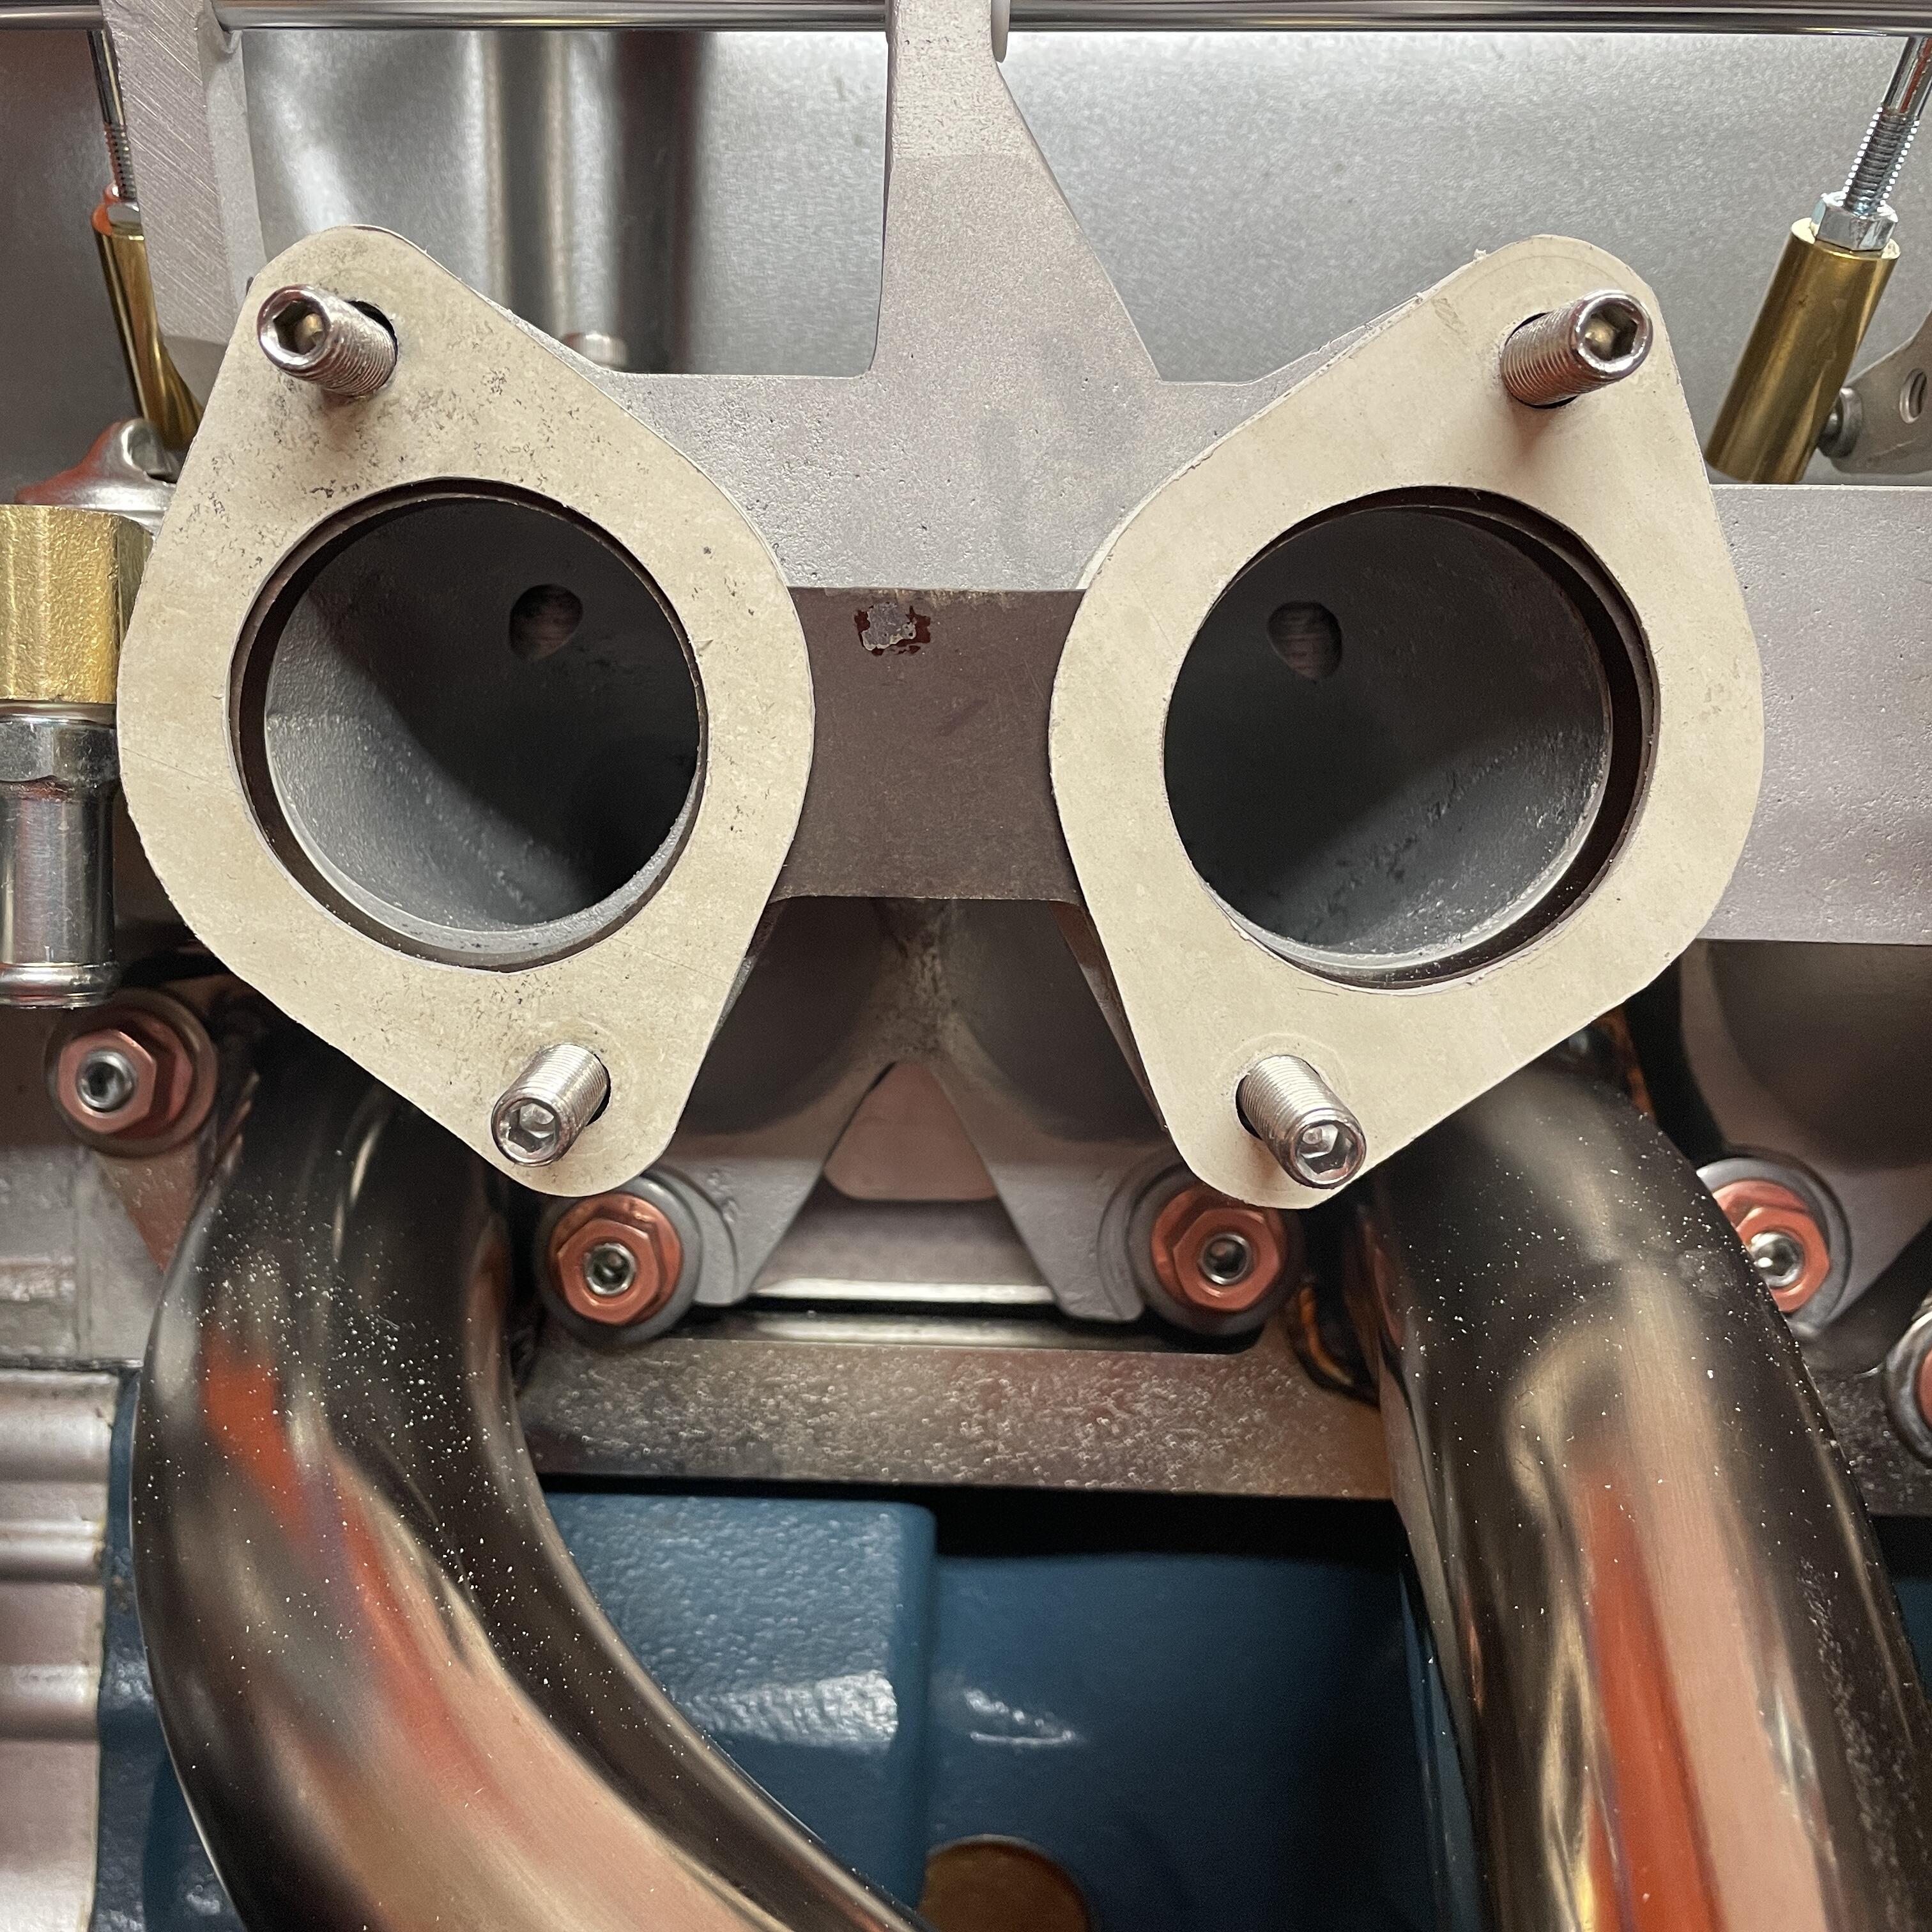
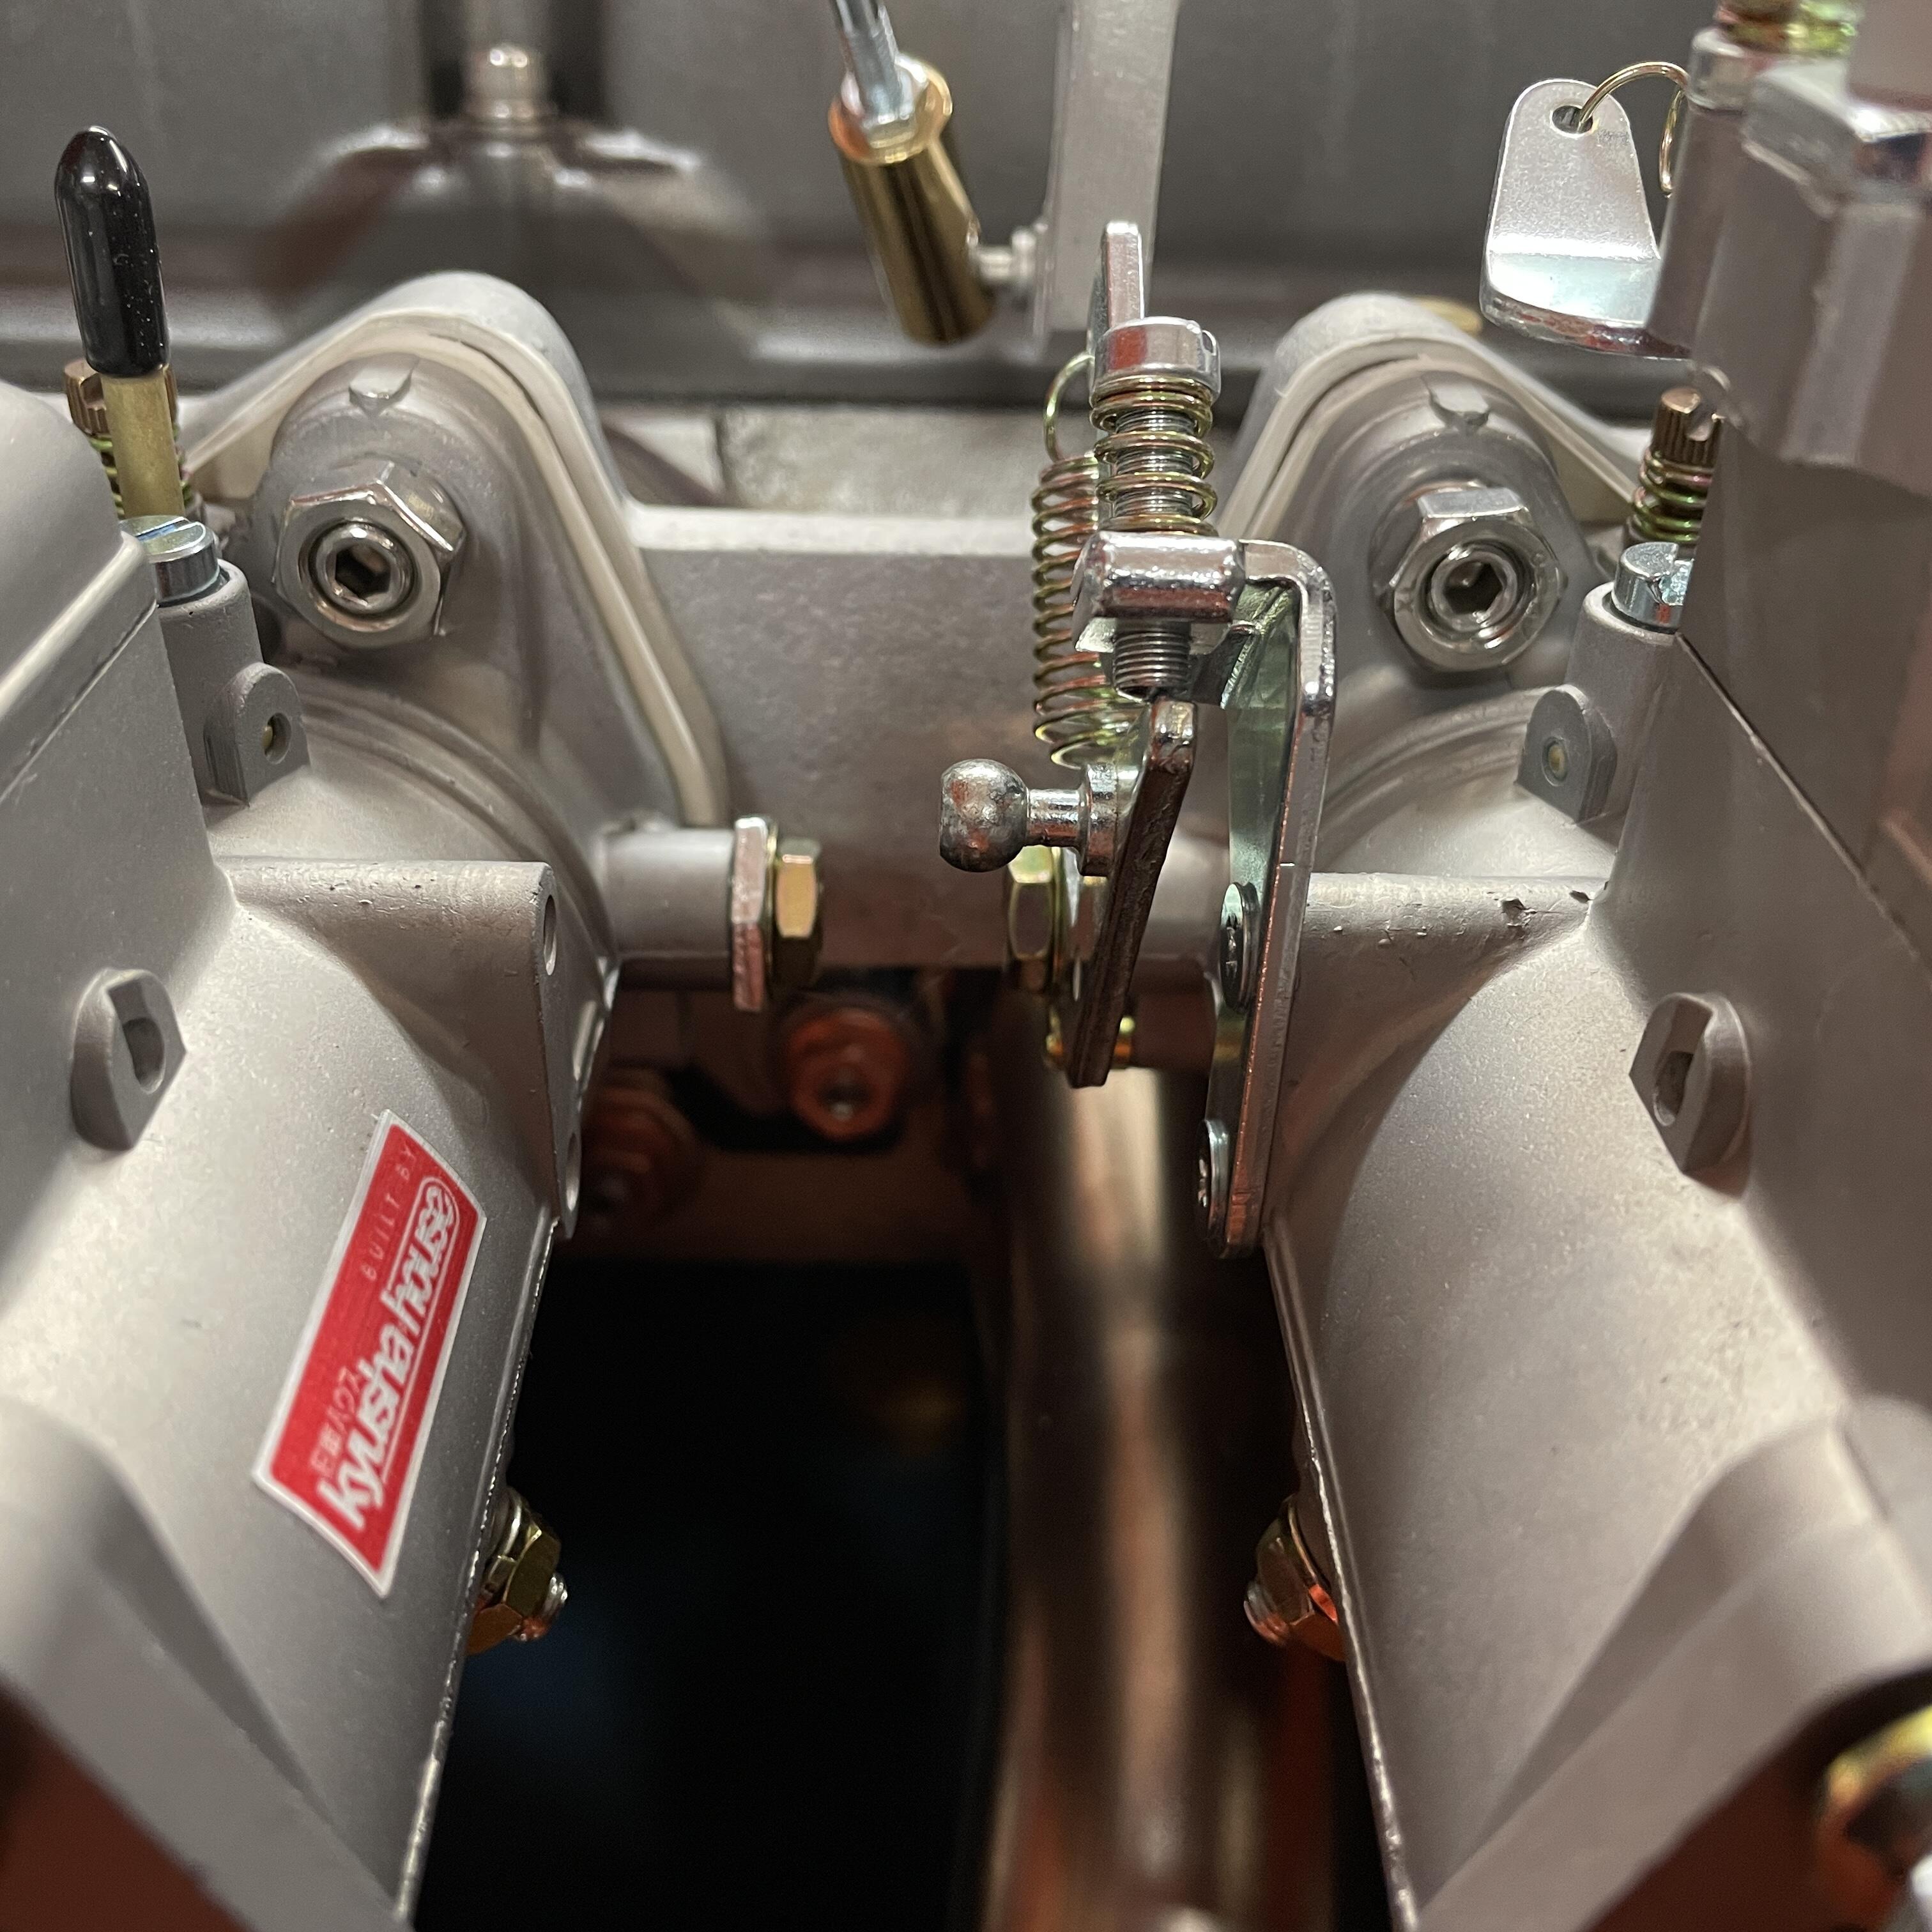
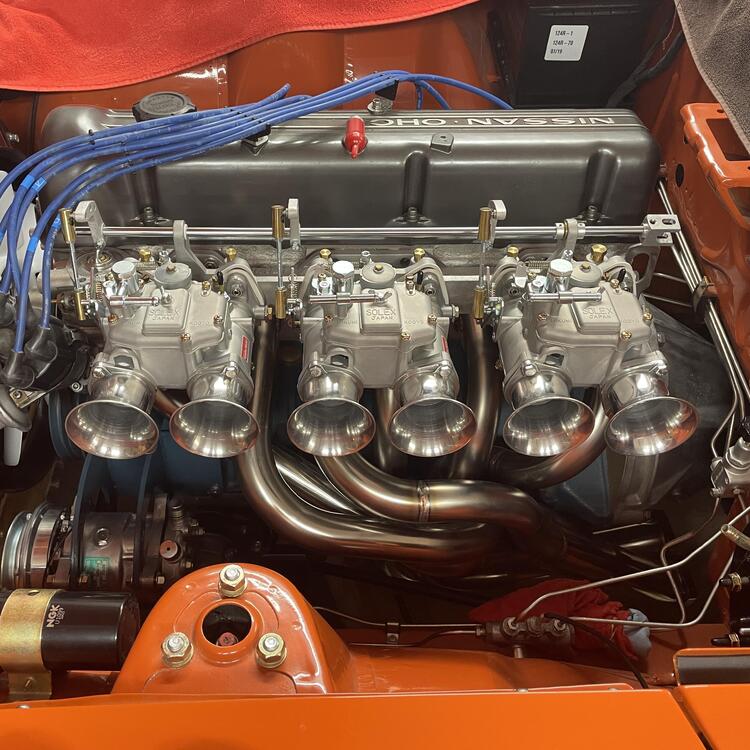
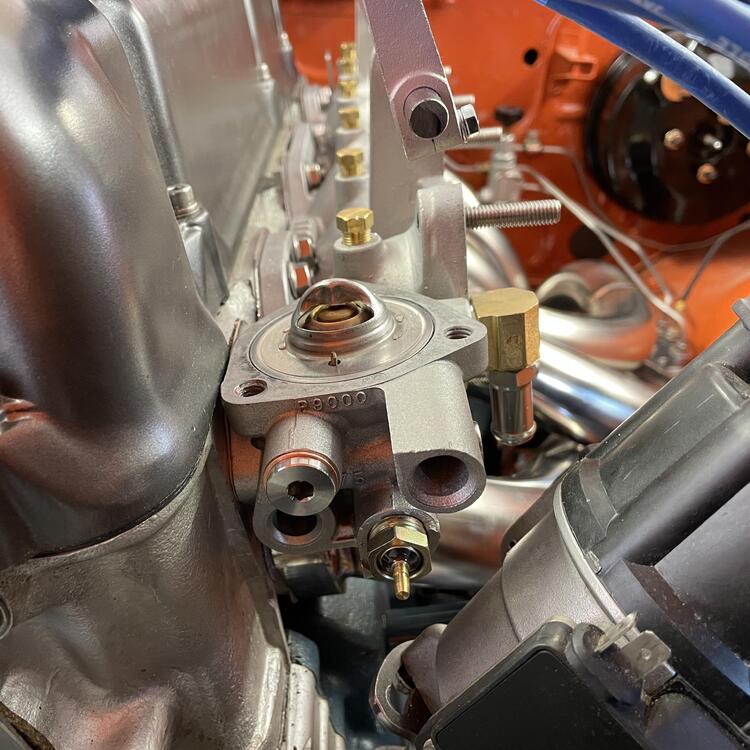
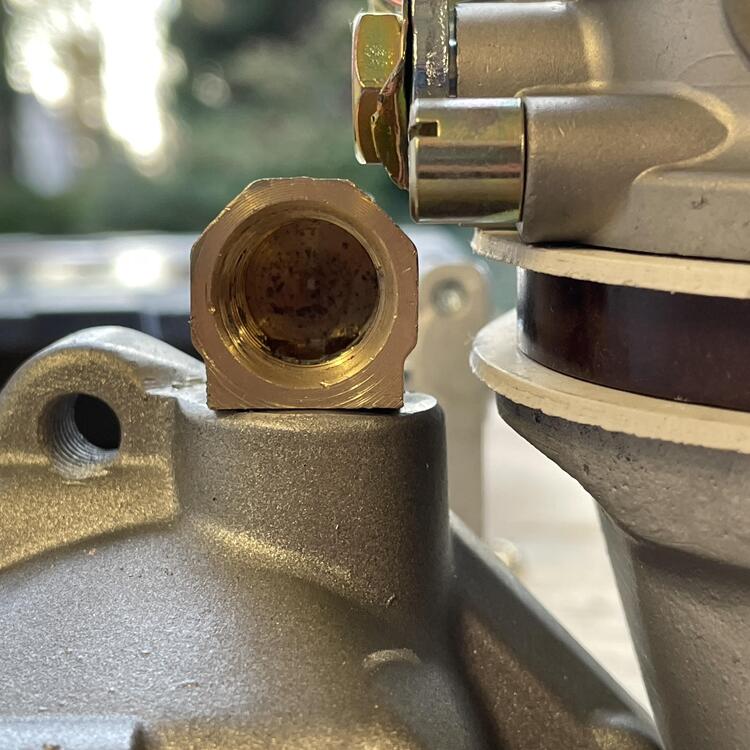
2 pointsMy Mikuni 44PHH carburetors are in. This. Took. Some. Work. They are fitted to a Mikuni short-runner intake manifold, which sounds all well and good until you try to fit it along side a 240z thermostat housing, which fouls the manifold. I had to switch back to the ZX housing. It doesn’t interfere with the manifold installation, but it’s cover sure does. Also, the water inlet for the coolant fouls the front carb and the throttle linkage. I want to retain a functioning heater, so I need that water pipe to work. I tried a bunch of stainless adapters, which were all much too big, but was saved by this little brass guy from Home Depot (a 90° 1/4 npt M to 1/4 npt F street / adapter). I still had to drill it out to increase the flow, as well as tap both the adapter and the thermostat housing and cut down the water inlet pipe to ensure a high rate of flow through the whole junction. I also replaced the thin black carburetor gaskets that came on them with VW carburetor base gaskets by EMPI from JBugs California Pacific. I was a little bummed to find out that they are white and not the grey in the photos, but I am pleased with how thick they are. That extra few millimeters helped push the carburetors away from the thermostat housing and gave me some much needed clearance. The gaskets are the perfect thickness for want I needed when it came to making clearance, but they aren’t an exact fit for the PHH carbs. They’re meant for VW solexes (so downdraft) and the bases are different, which meant I needed to trim them to no be sticking out a mile. They also needed to be opened up from 40mm to 44mm to not interfere with the airflow. On the left is one with the outline of the gaskets that came with the carburetors drawn in pencil. On the right is a trimmed gasket before final cleanup. In the next photo you can see that the holes are now the same size as the phenolic. They are slightly bigger than the carburetors and manifold, which I think is fine. If I have trouble I’ll make something from scratch that is custom to each port. The last photo just shows that they don’t stick out a mile anymore, even though I could probably trim them further. For the thermostat cover, I took a gamble on a NOS one for L20Bs and JDM C210 Skylines for $20 on Amayama. It looks like it uses the same gasket as the ZX, so hopefully it will fit. It looks just like the three-bolt ZX cover, except it doesn’t have the two extra bosses on the rear end, which hopefully means it won’t hit anything. We will find out when it arrives. Now on to the goodies: the carburetors are 44mm Mikuni PHH side drafts (I explained in an earlier post how I got them). They are on the previously mentioned Mikuni short intake manifold, held on with OEM manifold washers and copper flange nuts on the bottom and SS flange bits on top, and wearing 50mm Kameari velocity stacks. Next I plan to fit the heat shield and solve the water pipe routing problem. I have air filters but don’t expect to mount them until the brake and clutch master cylinders are in and the fuel routing is worked out.


 2 points
 -
When it starts to run out of power at 4k, step on the throttle, and ease the choke on. If it's lean you'll feel the improved performance. It will also verify the lack of power is a lean condition.1 point
-
1 pointWait. I did wash. I think?1 point
-
1 point
-
Thanks for the info. I had come across the info about the sleeve in the bushing being offset and installed all of mine so the longer part faces outward... both front and back. With the shorter part facing outward, the crush on the rubber washer would be greater. Glad I installed those correctly.1 point
-
1 pointStart 3 new threads. Blower motor Turn signals Parking lights They are 3 different circuits, and you don't need the great unwashed in the peanut gallery steering you down rabbit holes.1 point
-
1 pointI would be disappointed if there weren't. Congrats on moving forward. One step at a time!1 point
-
1 pointI don't have the original hose, I used a modded Volvo part - however it runs above all that - then drops to the water inlet / branch that my 75 has. I made an SS tube to go from there to the bulkhead
 1 point
 -
1 pointNo, it’s just a scratch. It’s shiny if you look at it from a different angle. There are a few of those. Thanks for looking out, though.1 point
-
+1 on the LSD, I've heard good things about MFactory LSDs, there was also an "OBX" LSD that was a more "affordable" option, if you go the OBX route, it required modifications to the hardware. There are threads on HybridZ... How are the gear ratio of the rear end treating you? Do you plan to make changes to the brake system? 1. IDK, test it out and see what happens. 🙂 Report back.... 2. Check Craigslist too 🙂1 point
-
@jalexquijano I wouldn't adjust the floats yet. IMO the plugs should be a bit lighter colored. I'd reduce the number of turns down (raise the nozzles) in 1/4 turn increments and drive it for a few days then look at the plugs again. If and when you reach a point when the engine isn't pulling as strong as it did before the previous nozzle adjustment, accelerate up a hill, and ease the choke on, If the engine is running lean you'll feel the instant power surge with the added choke. The choke is just lowering the nozzle the same as the mixture adjustment screw.1 point
-
I think I would consider adding a trailer hitch and a small enclosed utility trailer. Haul the tires, a floor jack, spare fluids a few tools in the trailer. I can't help with the tires. Do you have a limited slip differential?1 point
-
1 pointI believe it may have been used until mid 1972 when they changed to a version with a shorter round section.1 point
-
I shudder when I think of the number of spark plugs you've bought over the last eight years but unless you can get them clean (snow-white porcelain) a new set will get a fresh reading (Deja Vu) and hopefully narrow this down to the fuel-air mixture or oil. Did the plugs start to load up when you were waiting for your roasted chicken lunch?1 point
-
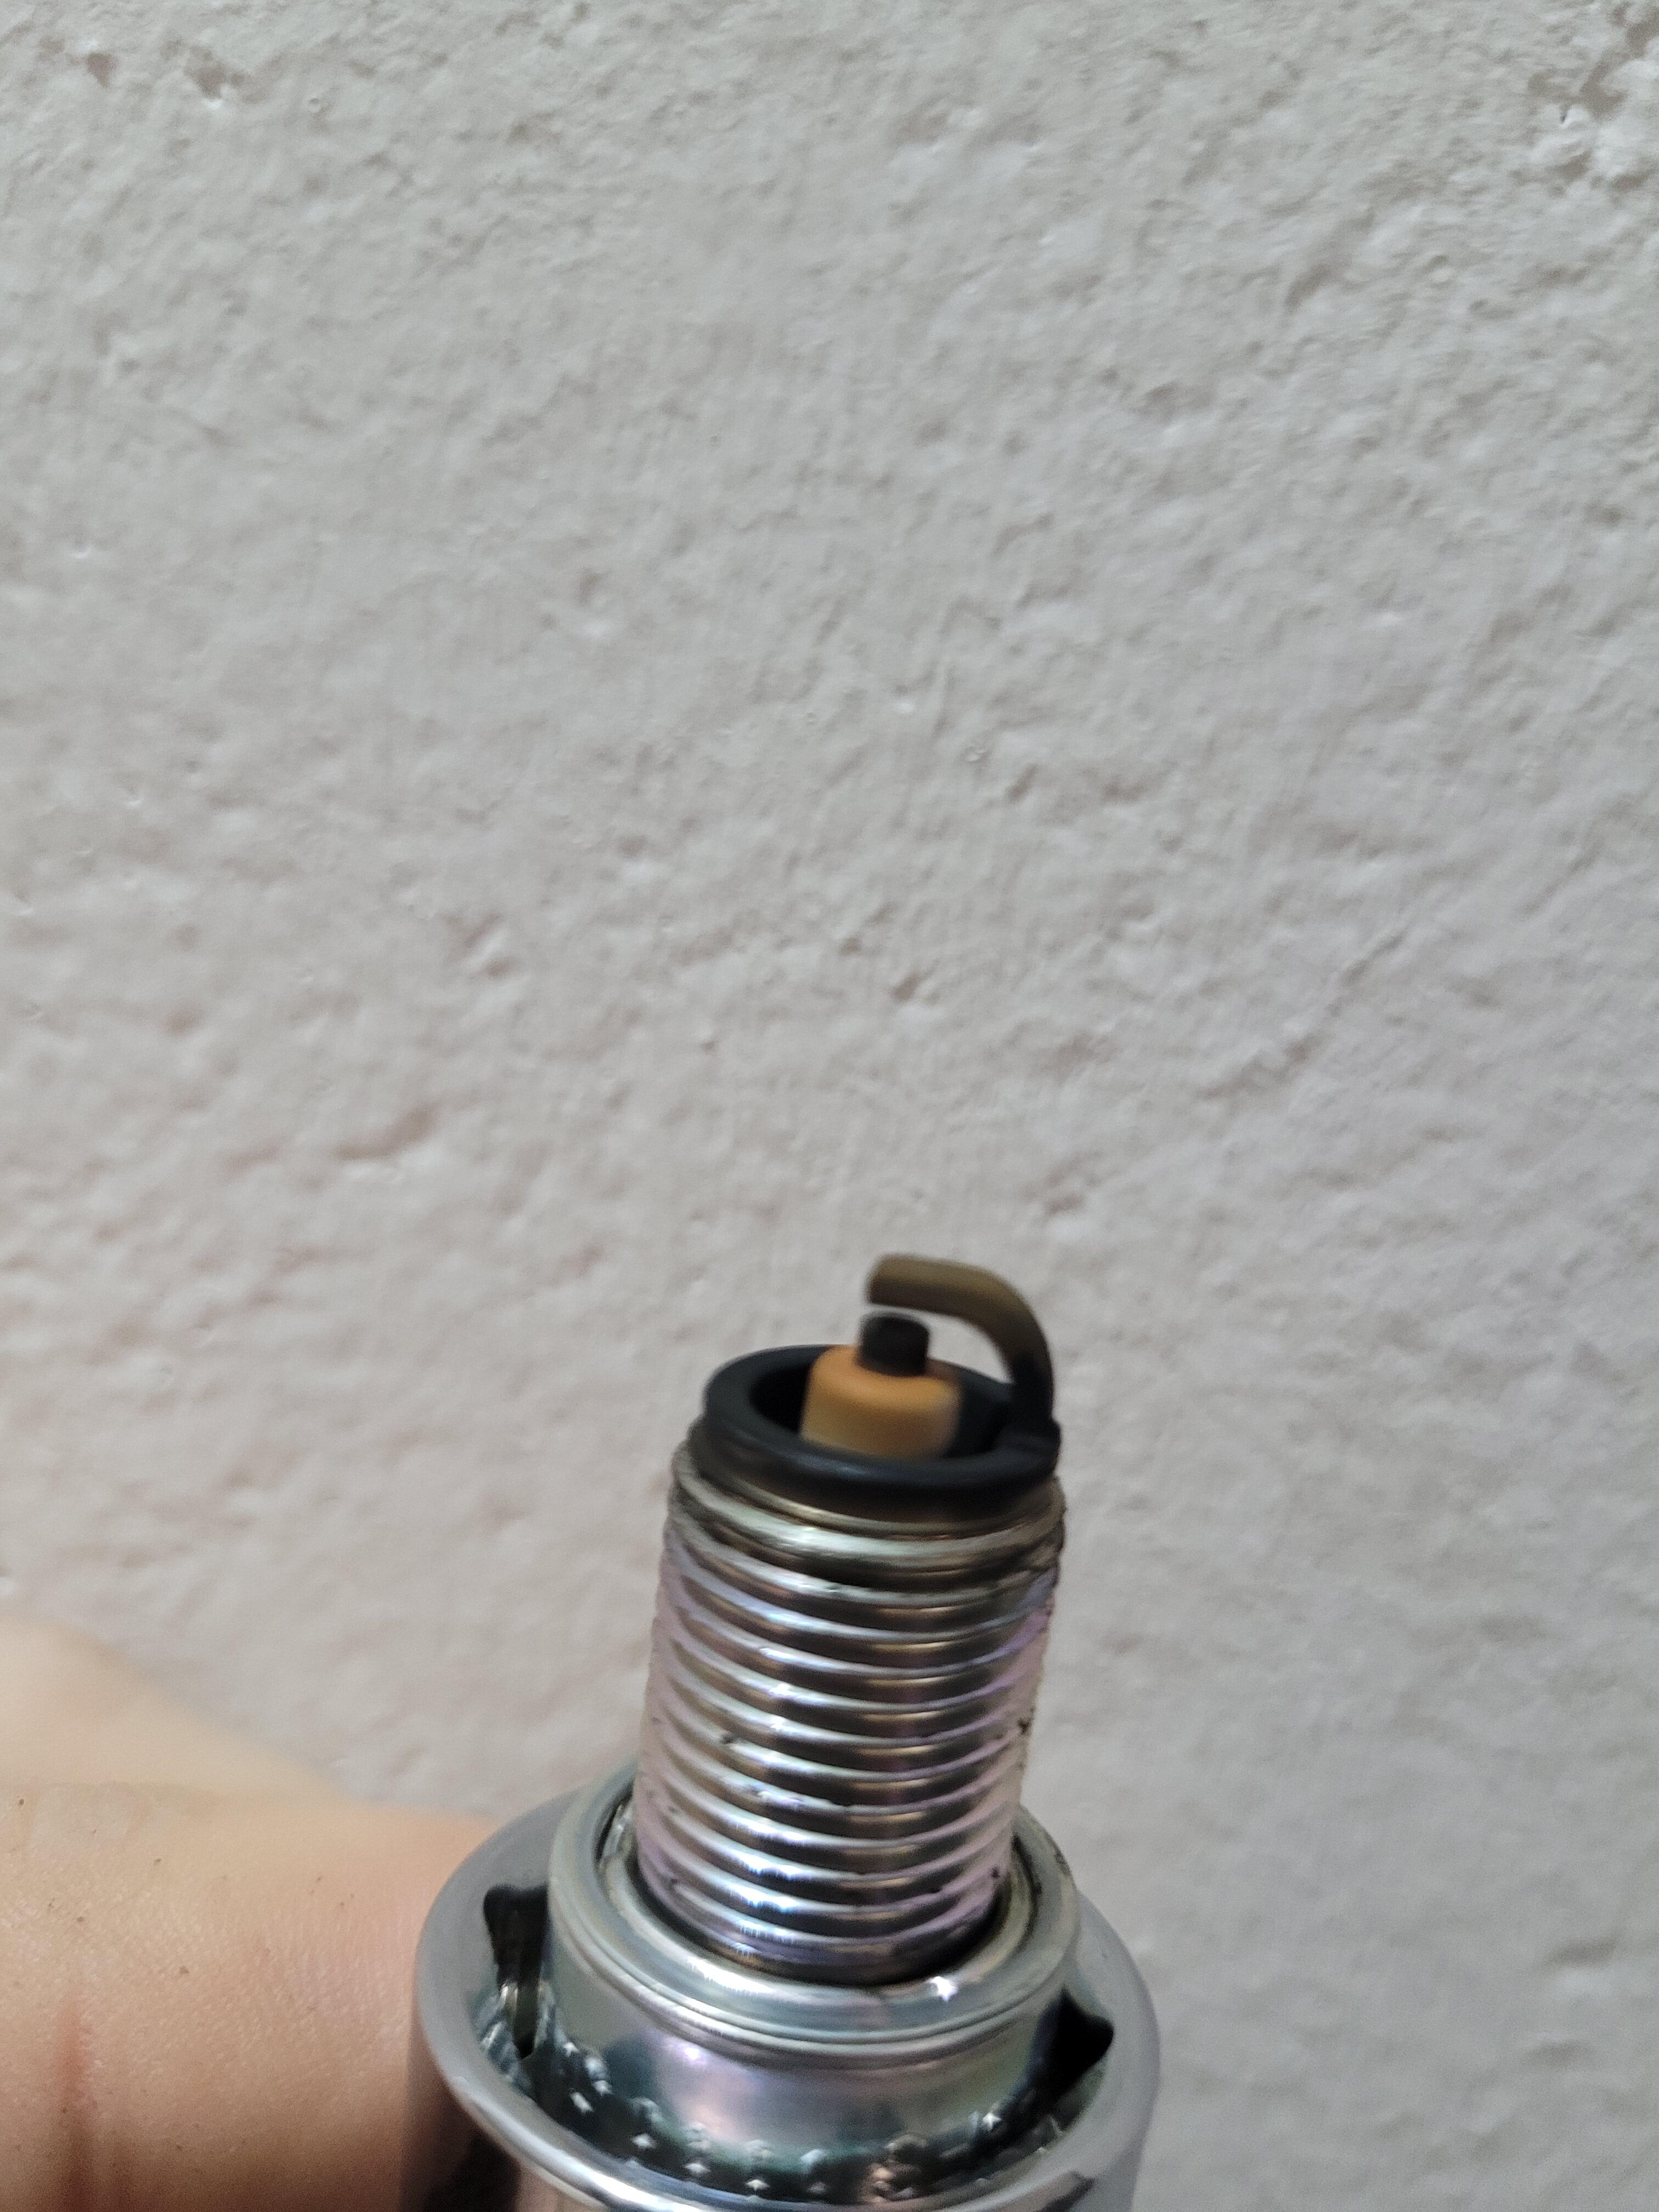
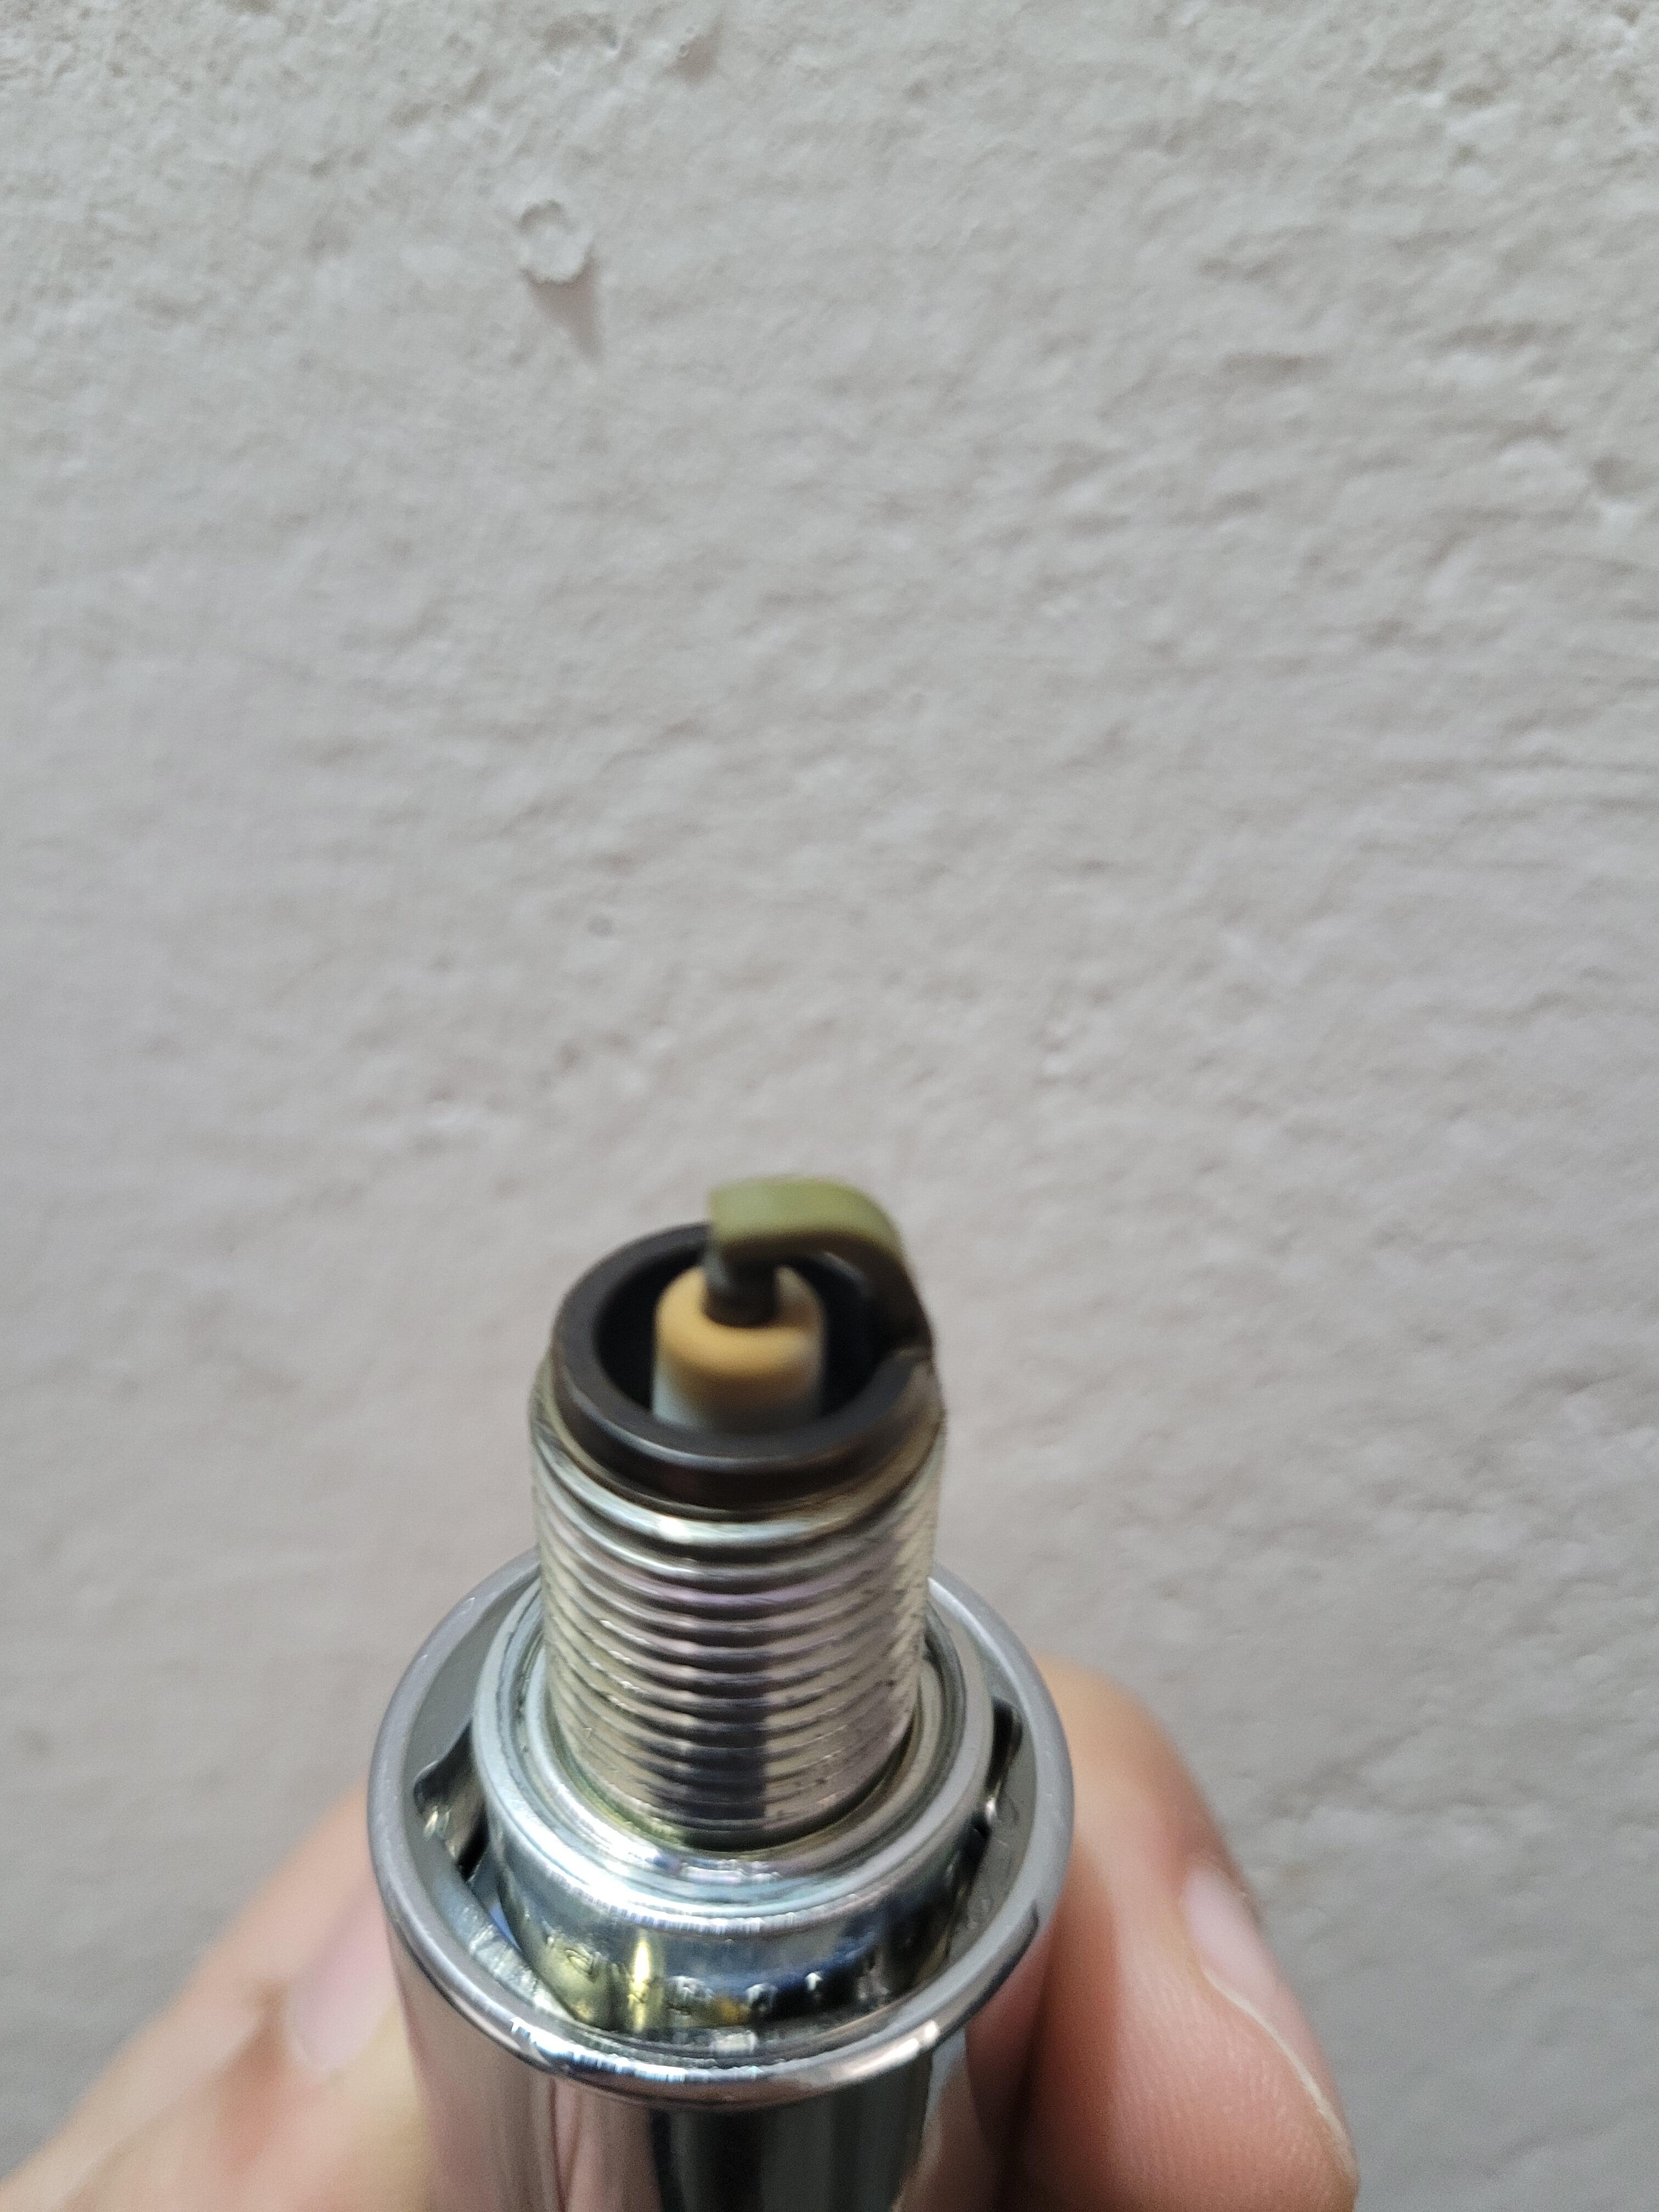
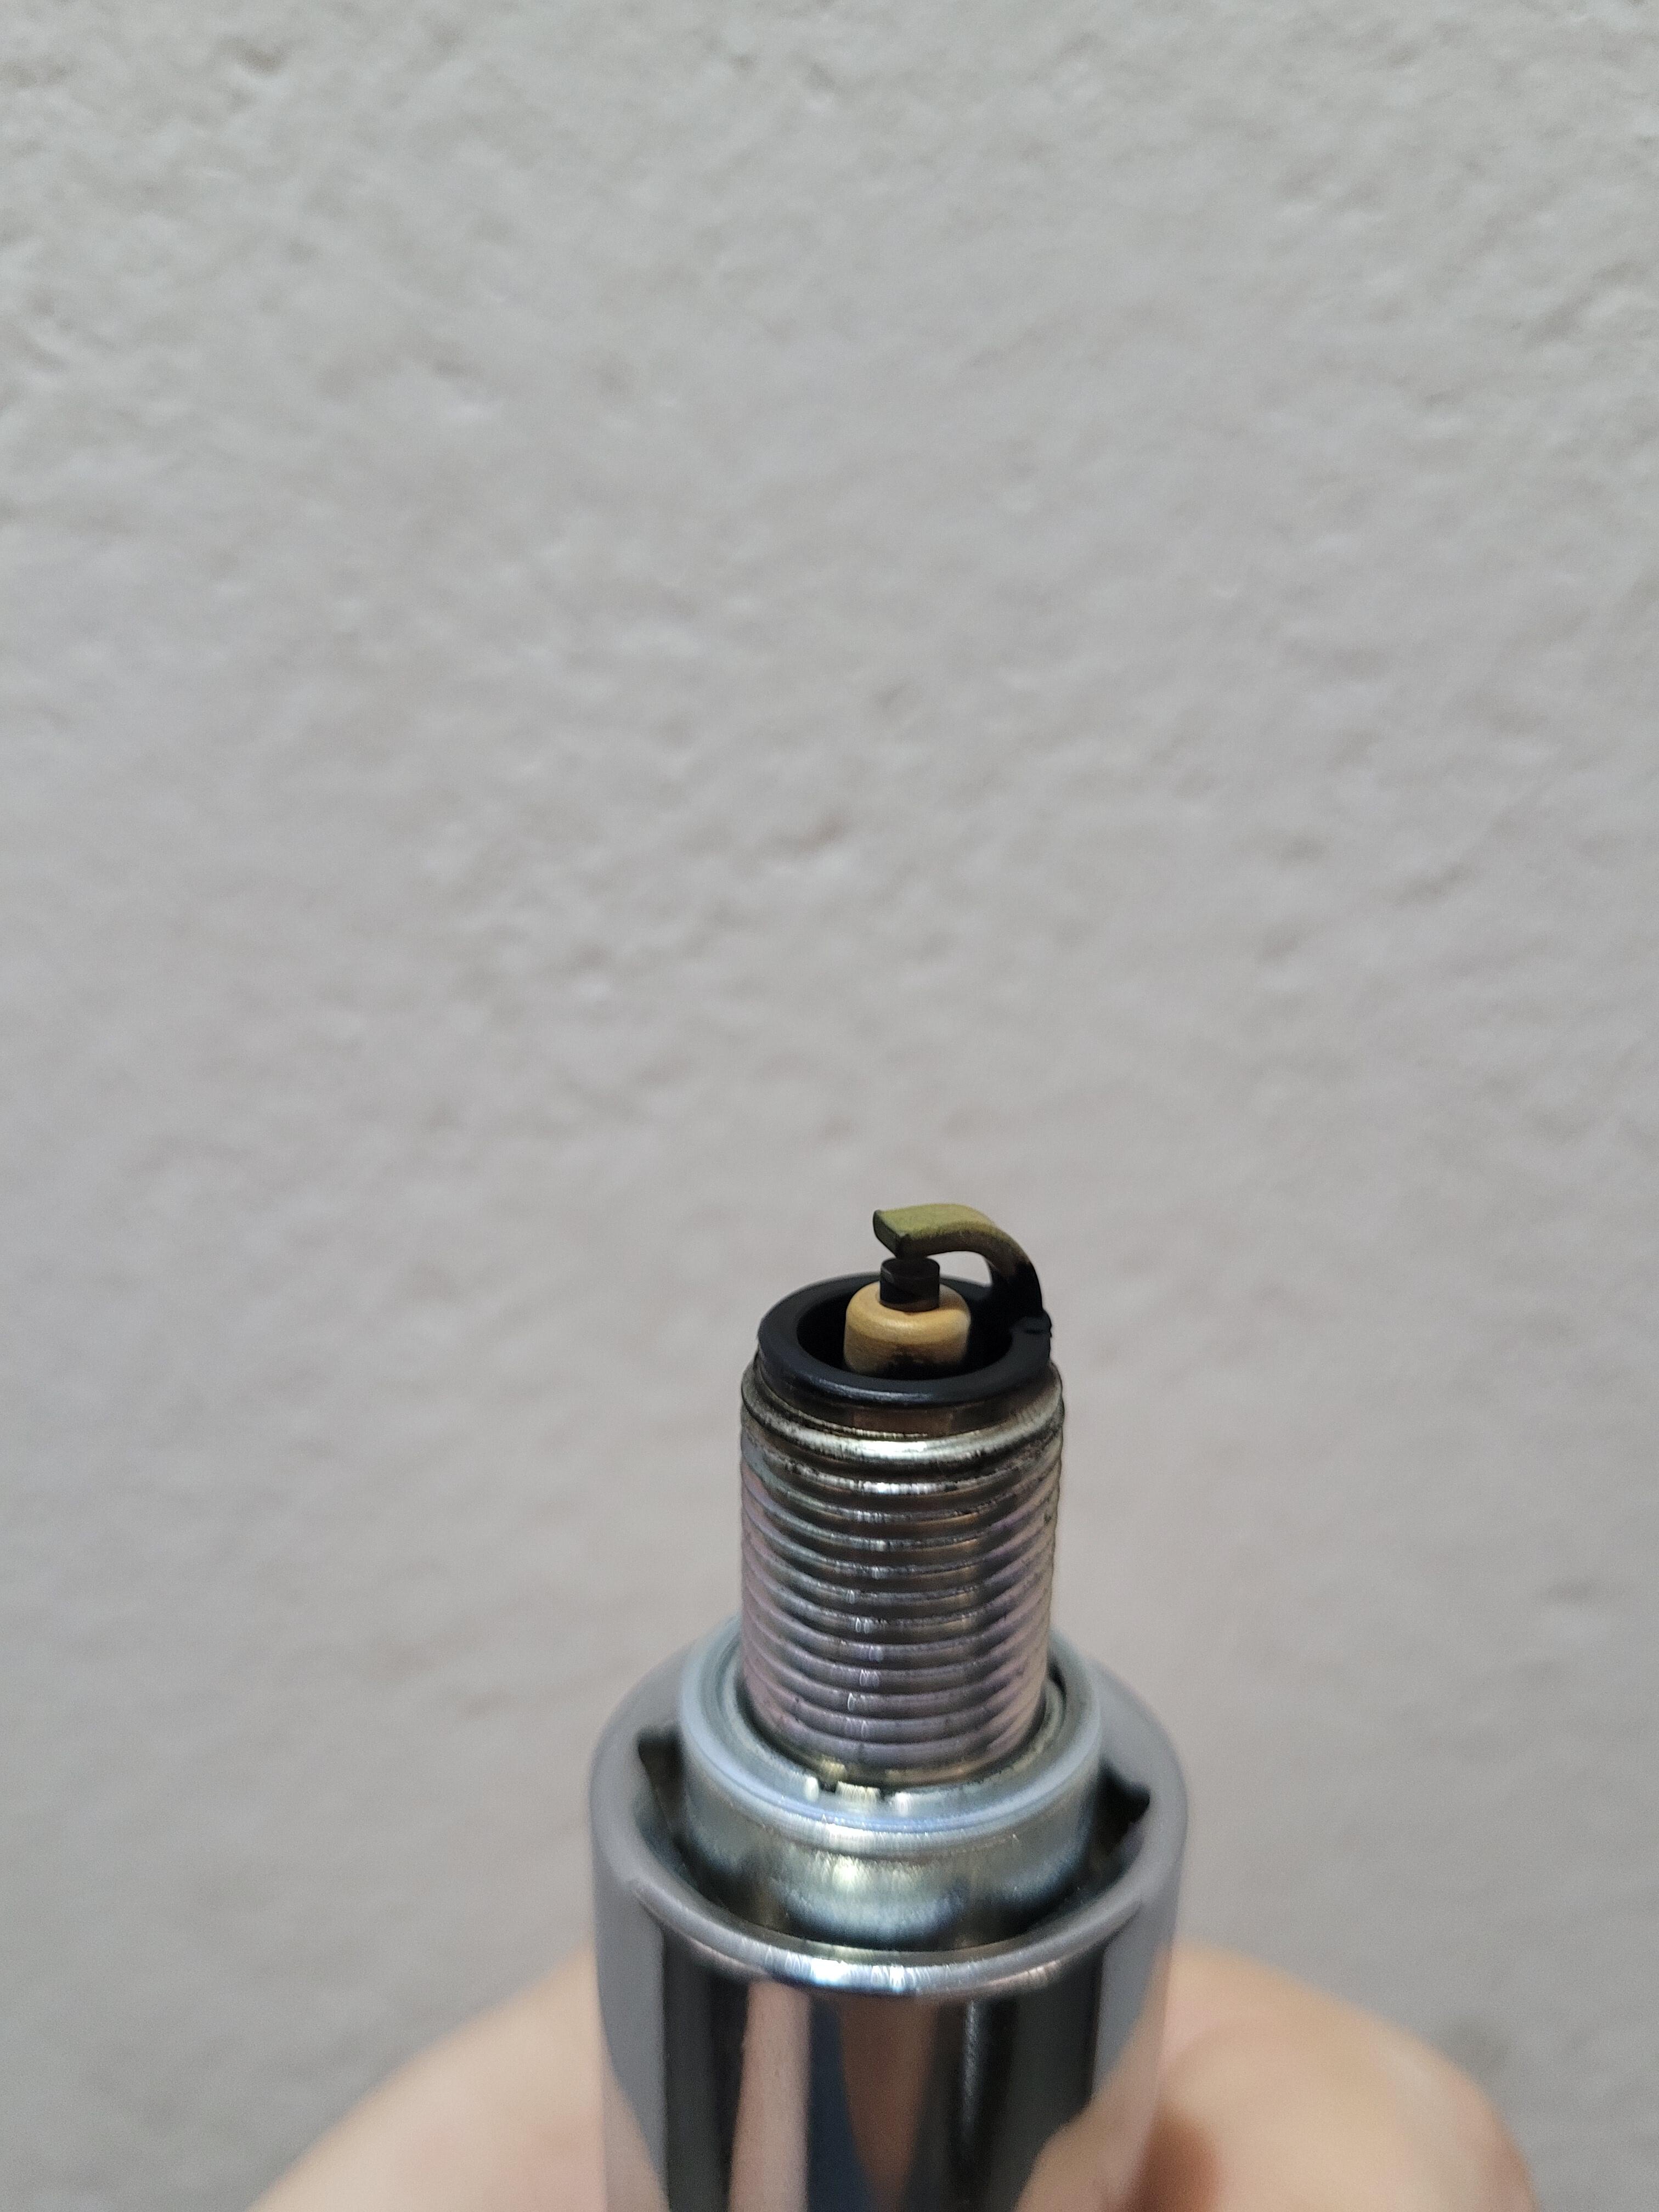
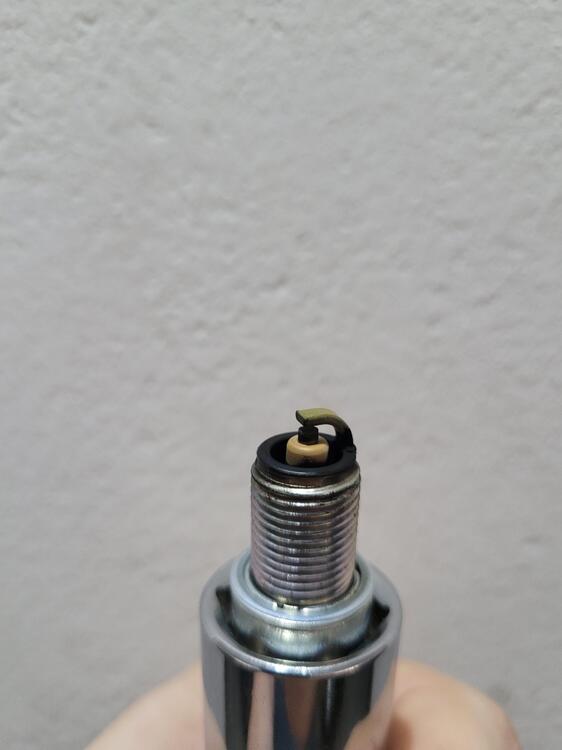
Plugs 4, 5 and 6 rear carb at 3.5 turns clockwise


 1 point
 -
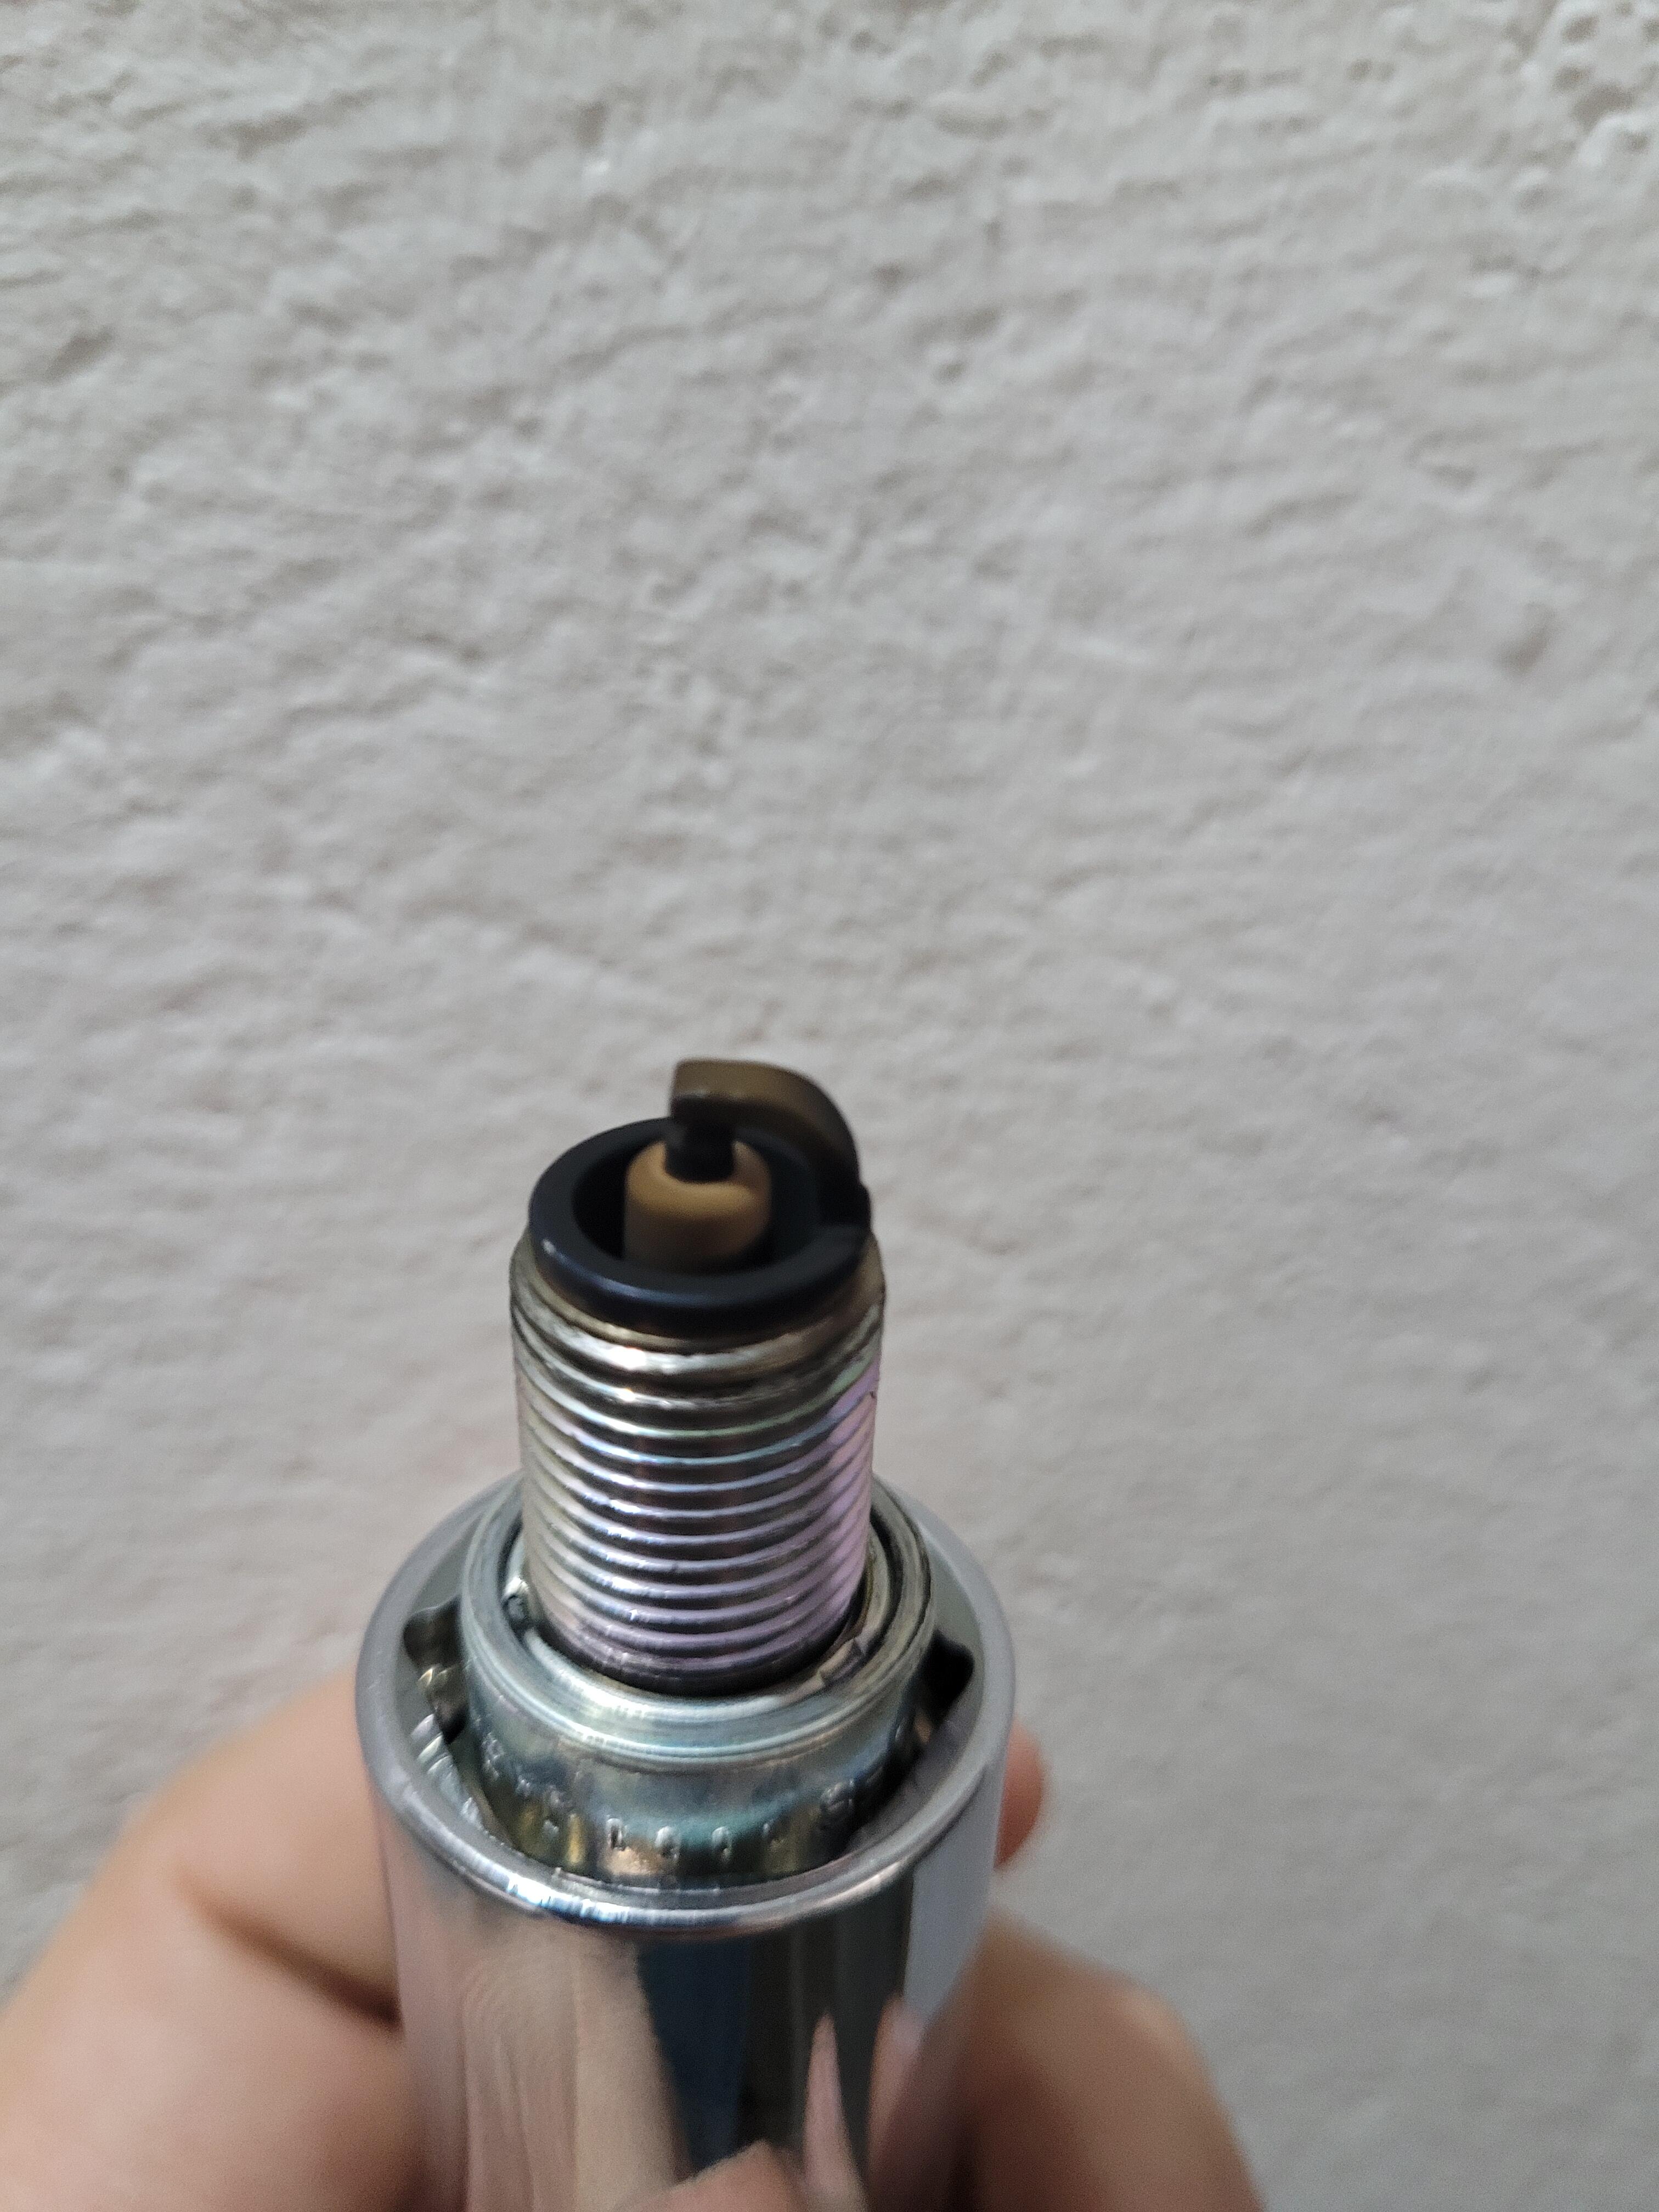
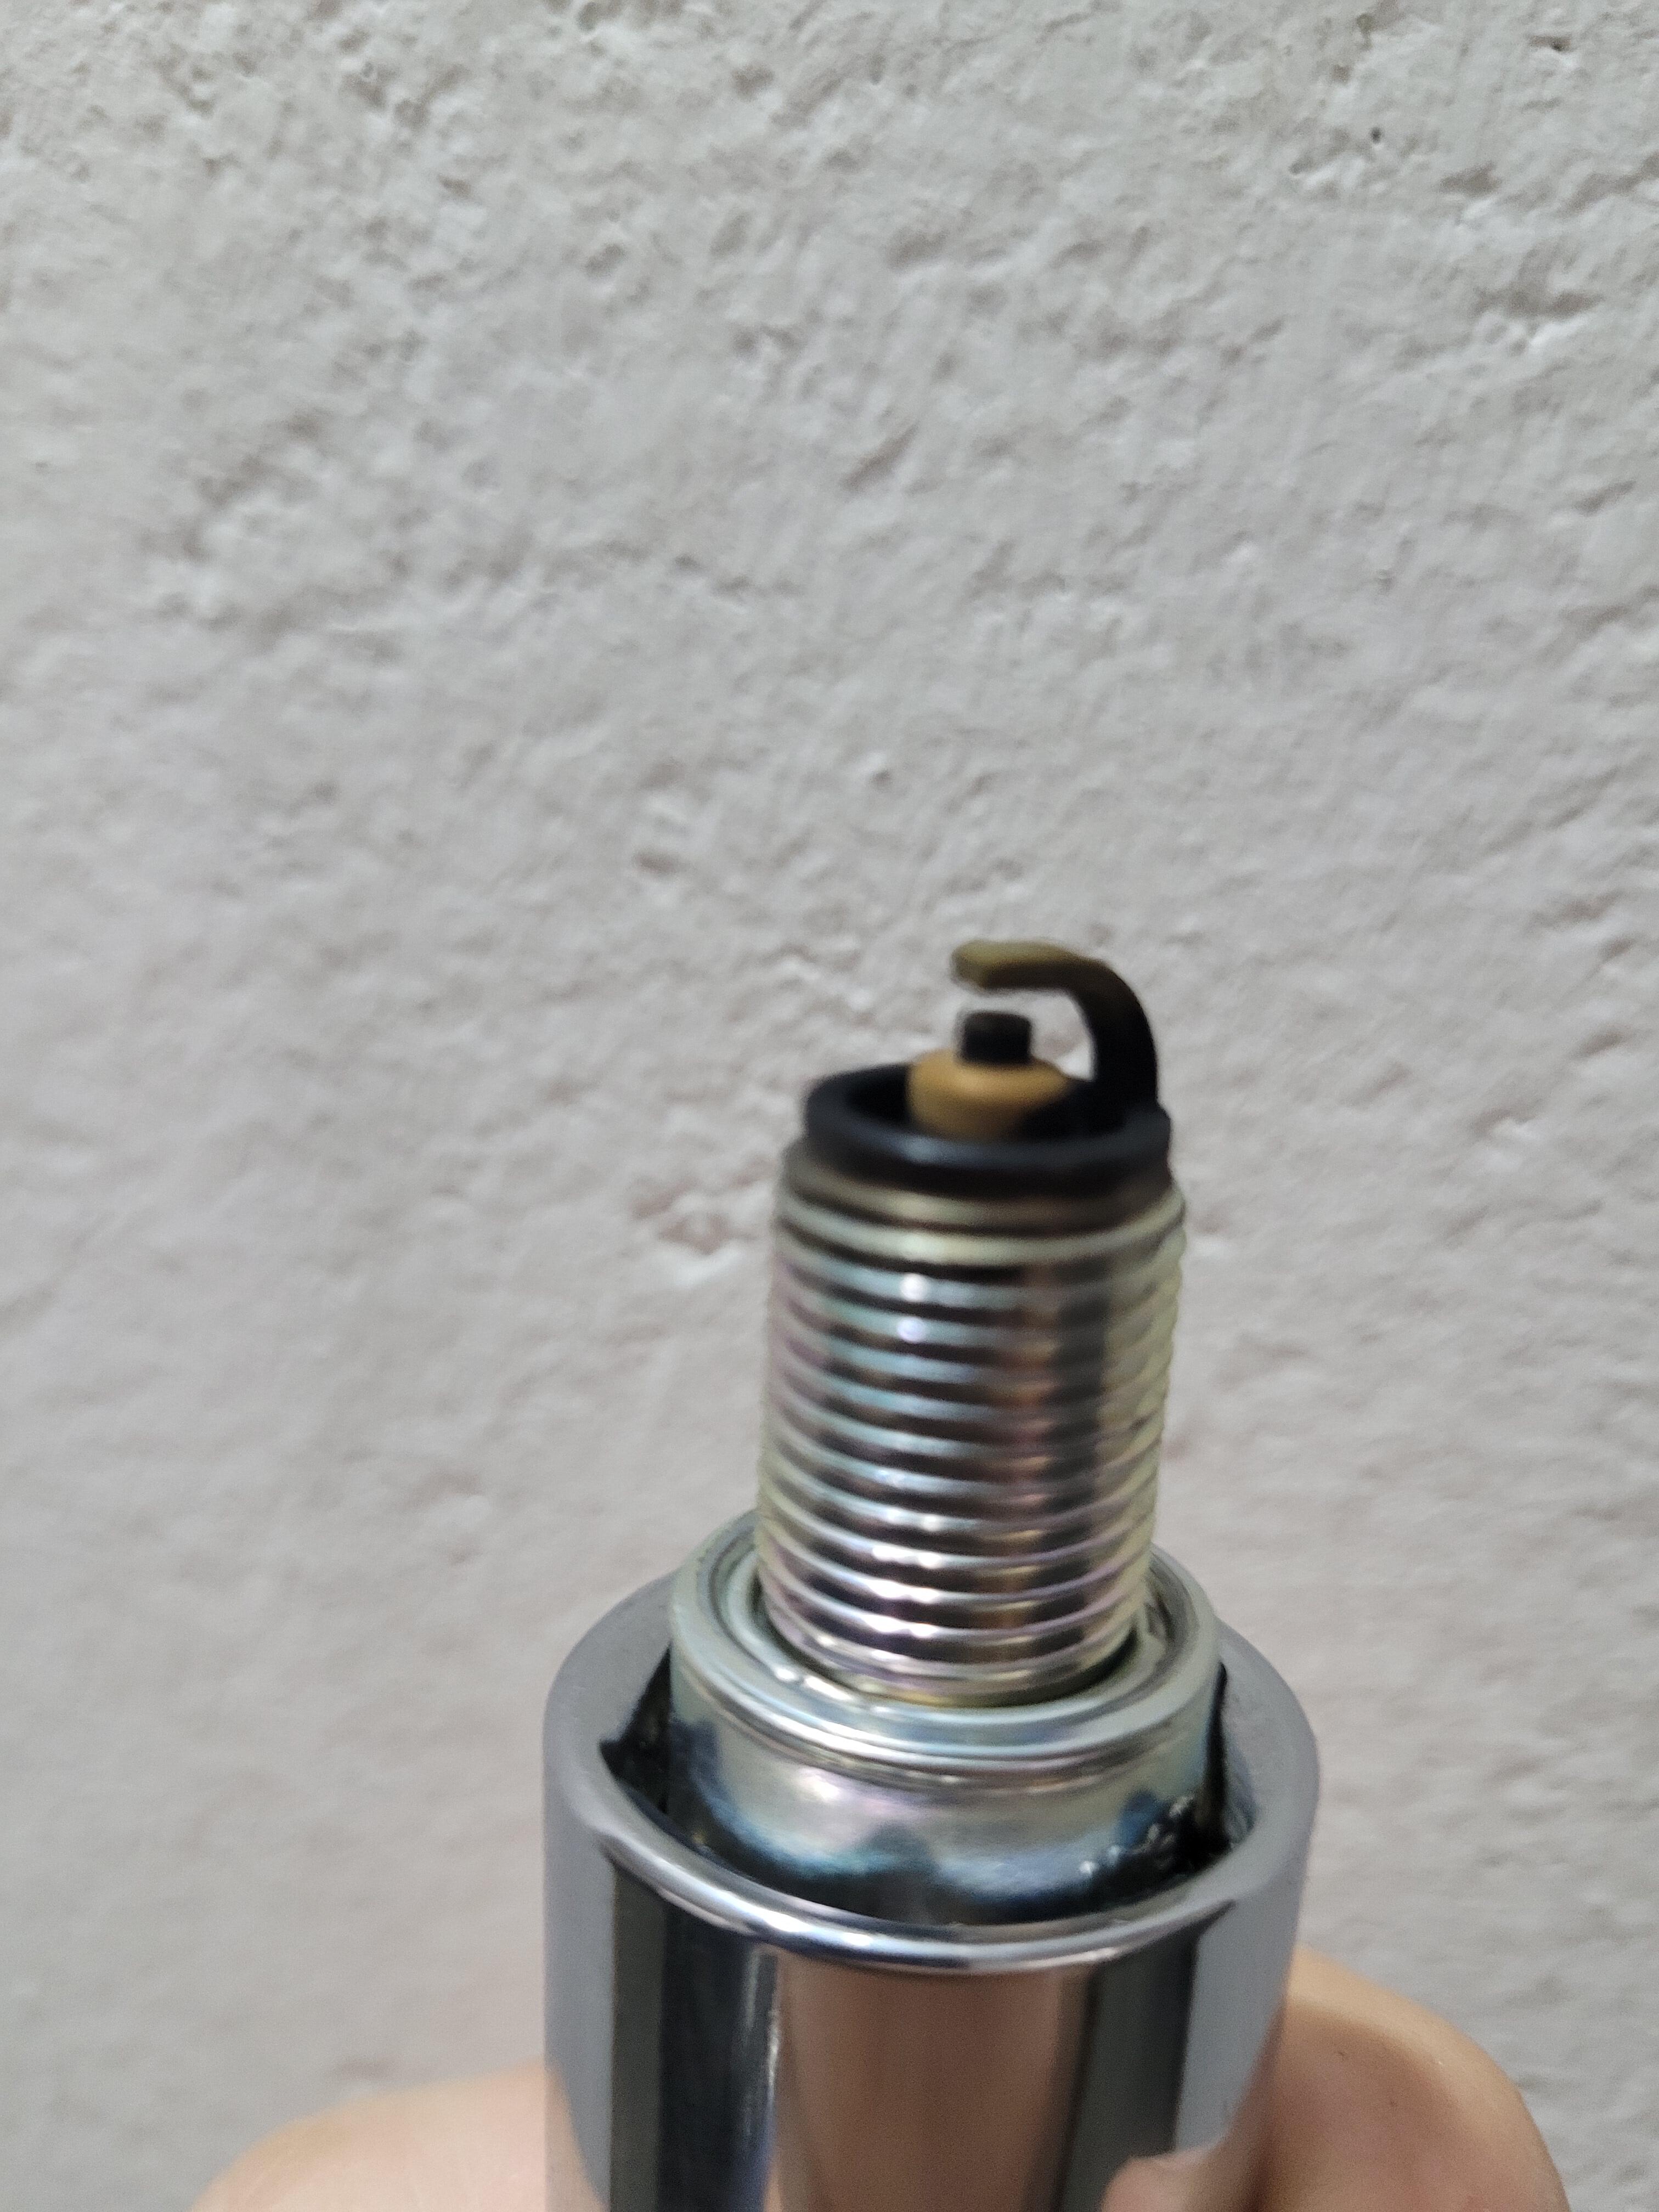
All plugs cleaned. Took the car for a nice long spin, some time idling during parking waiting to pick up my roasted chicken lunch and then back home. Plugs 1, 2 and 3 results:
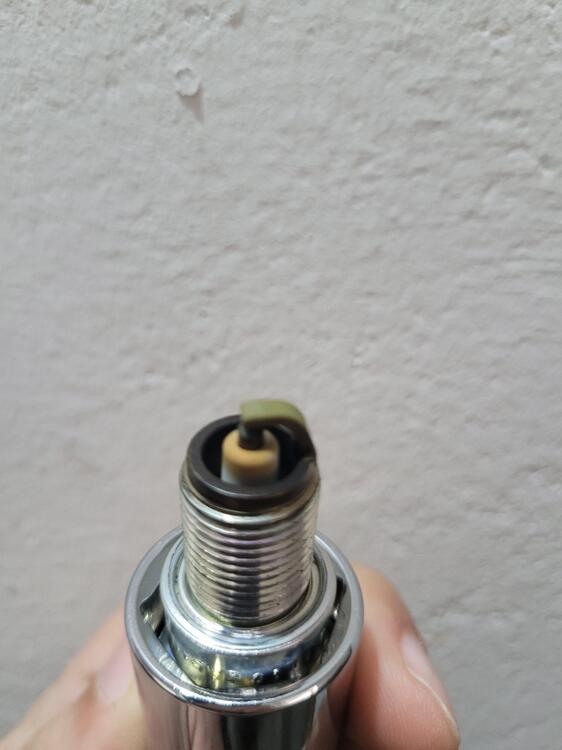
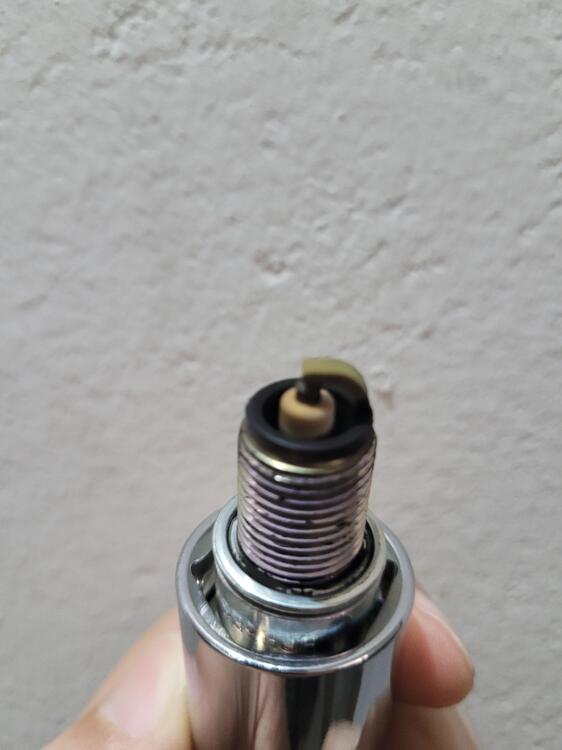 1 point
 -
The washer with the holes in it came off the outer steering tie rod. It goes over the threaded bolt to restrict the amount of grease that goes into the dust cap. The Stubby bolt fits in place of the grease nipple once the fitting has been lubricated.1 point
-
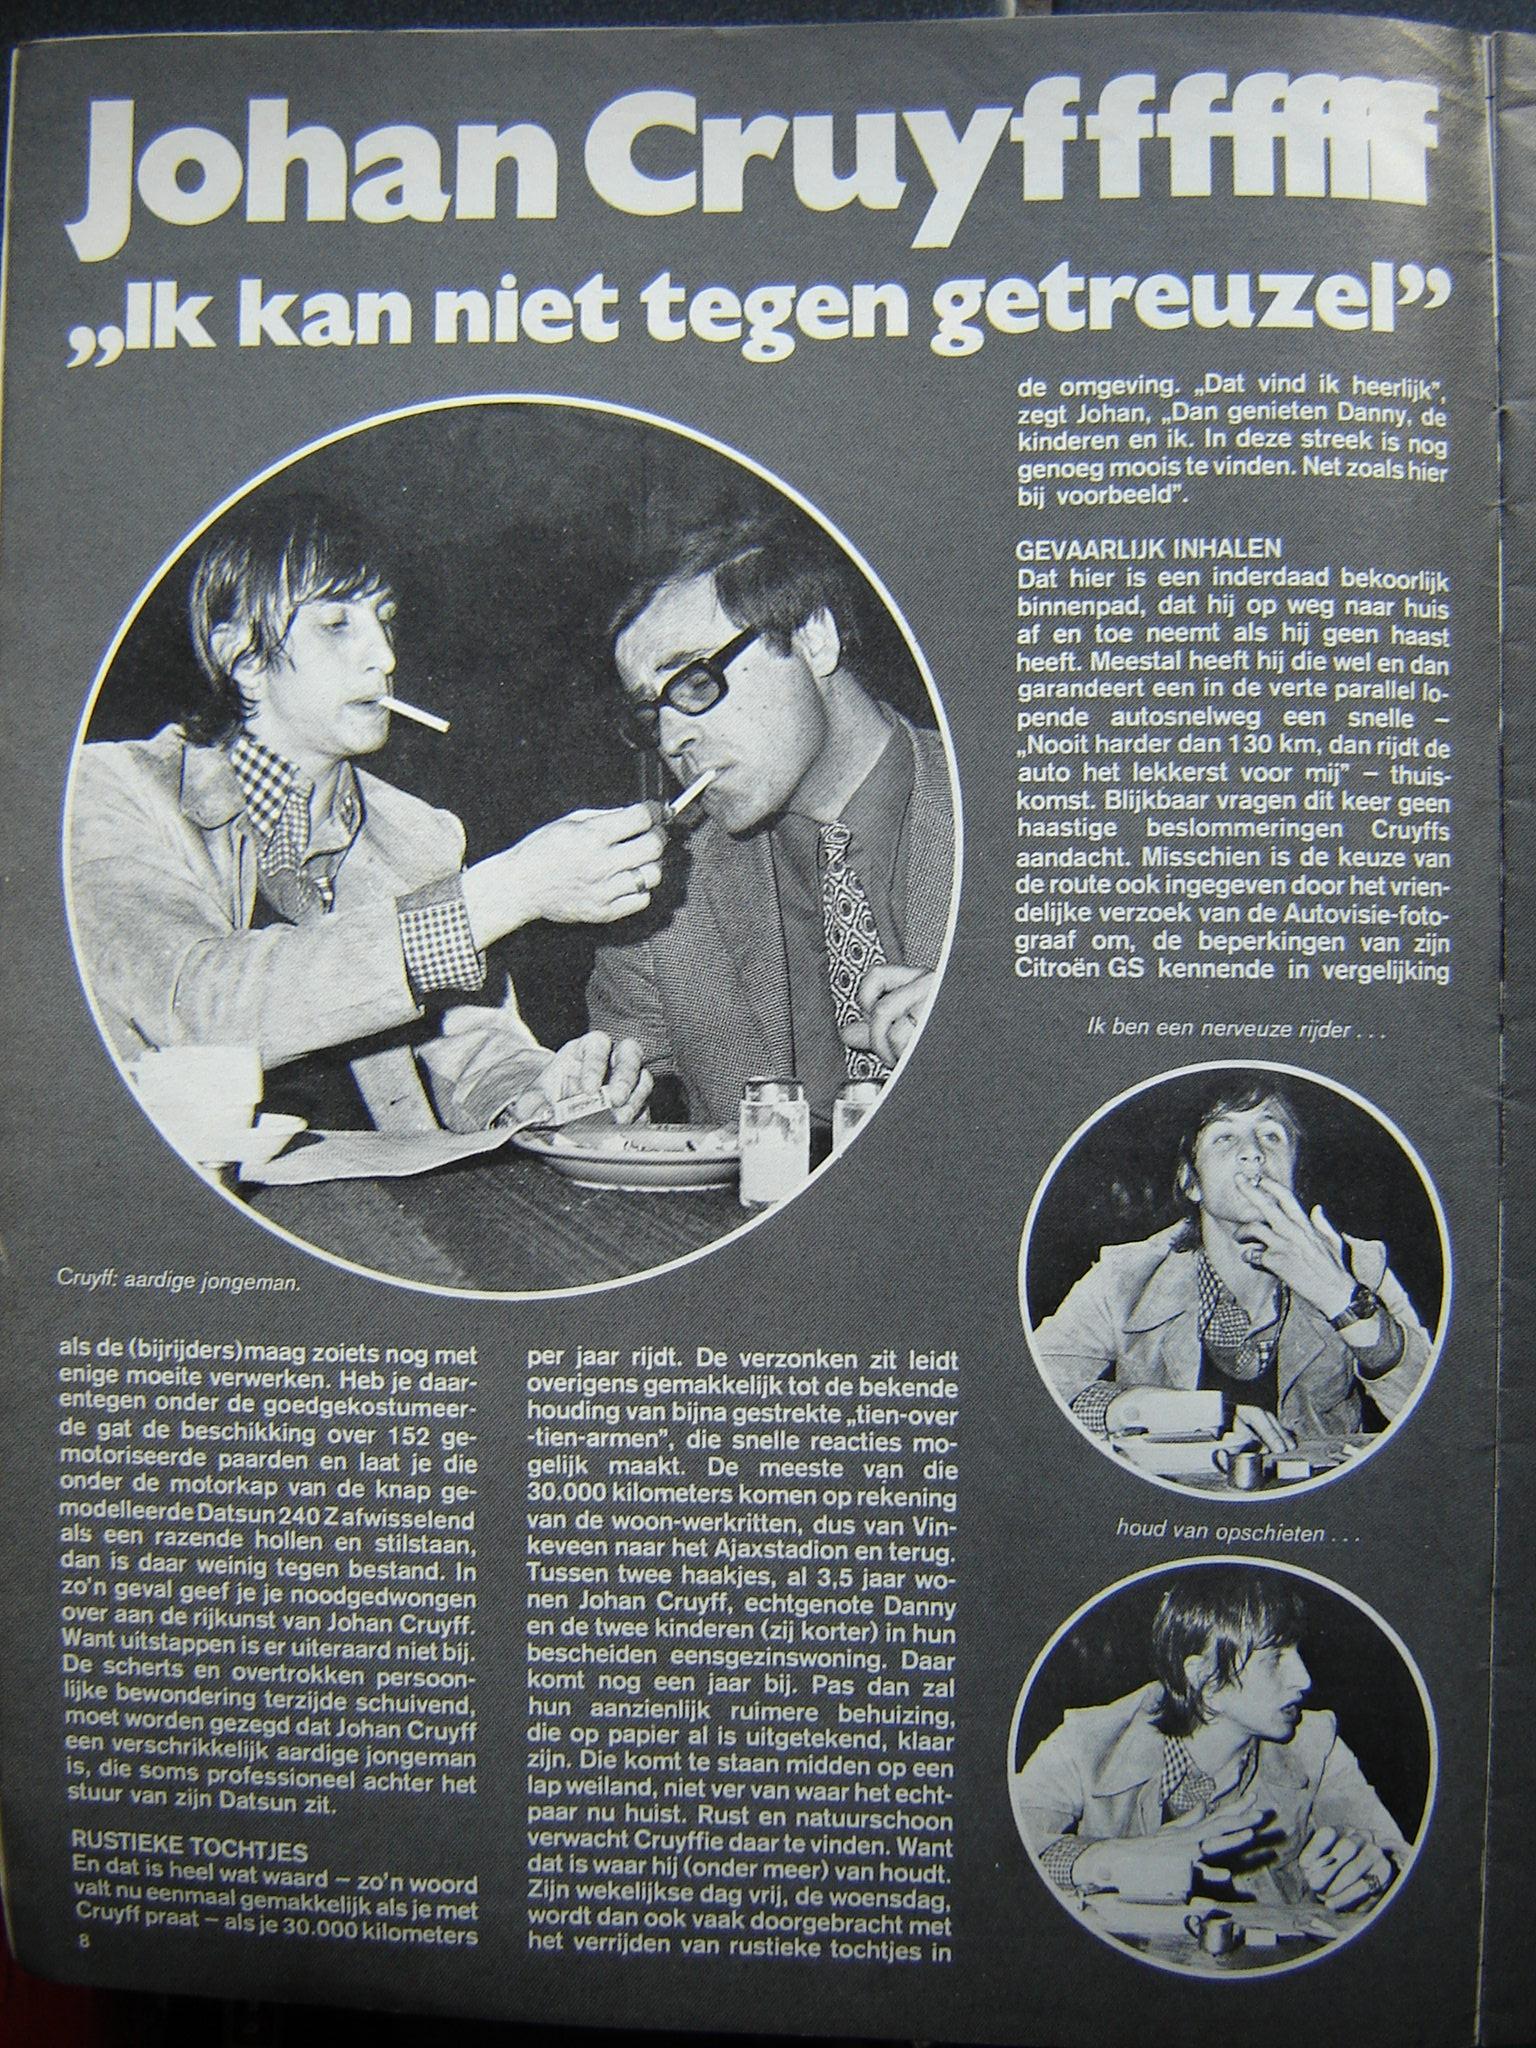
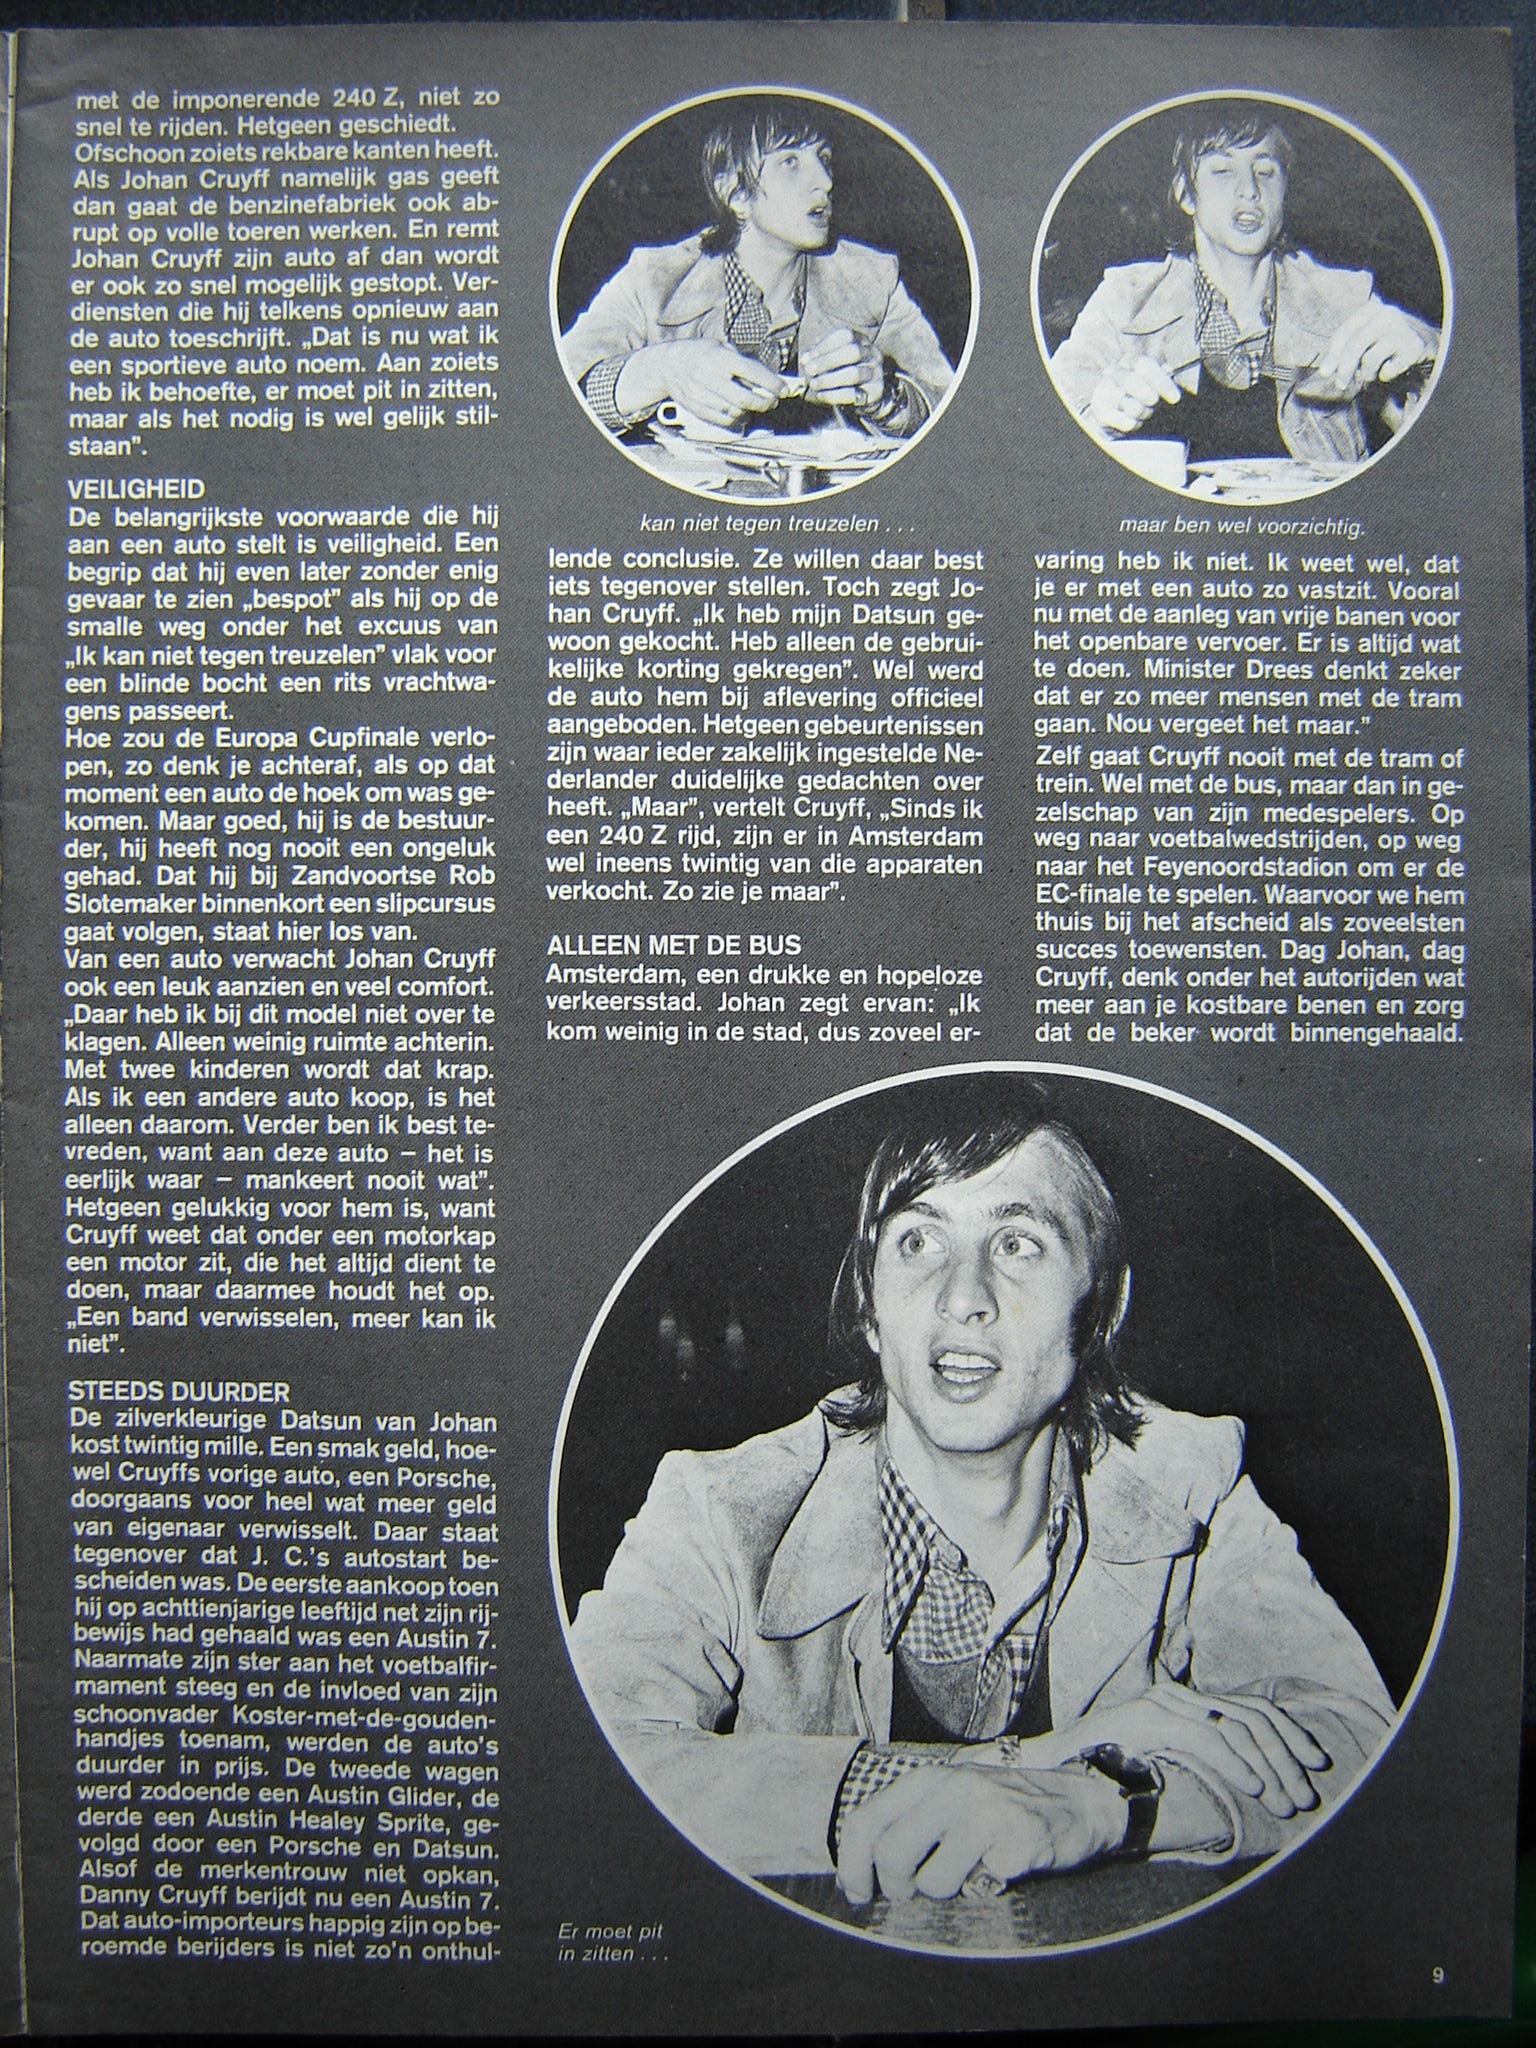
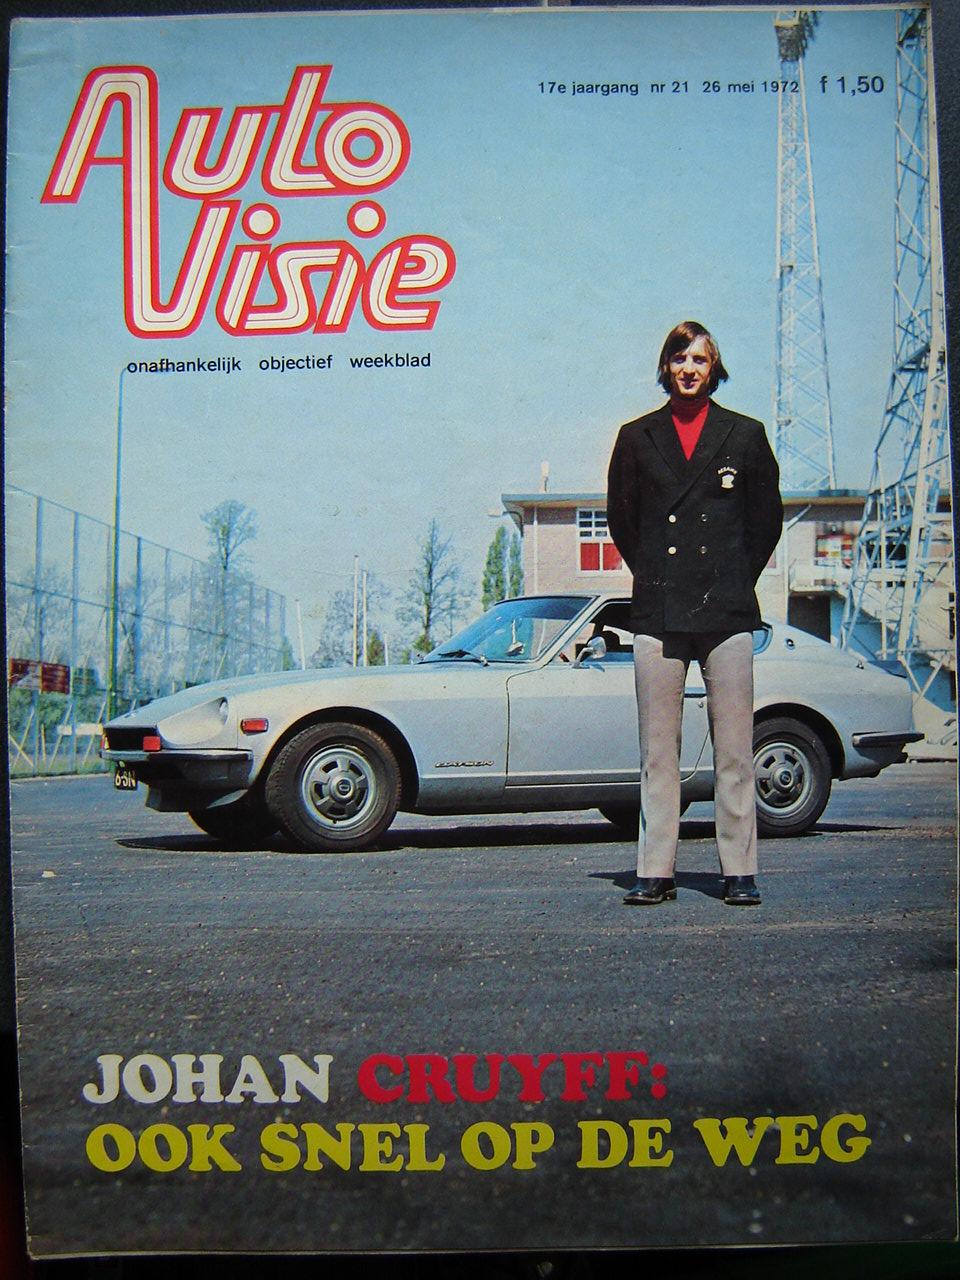
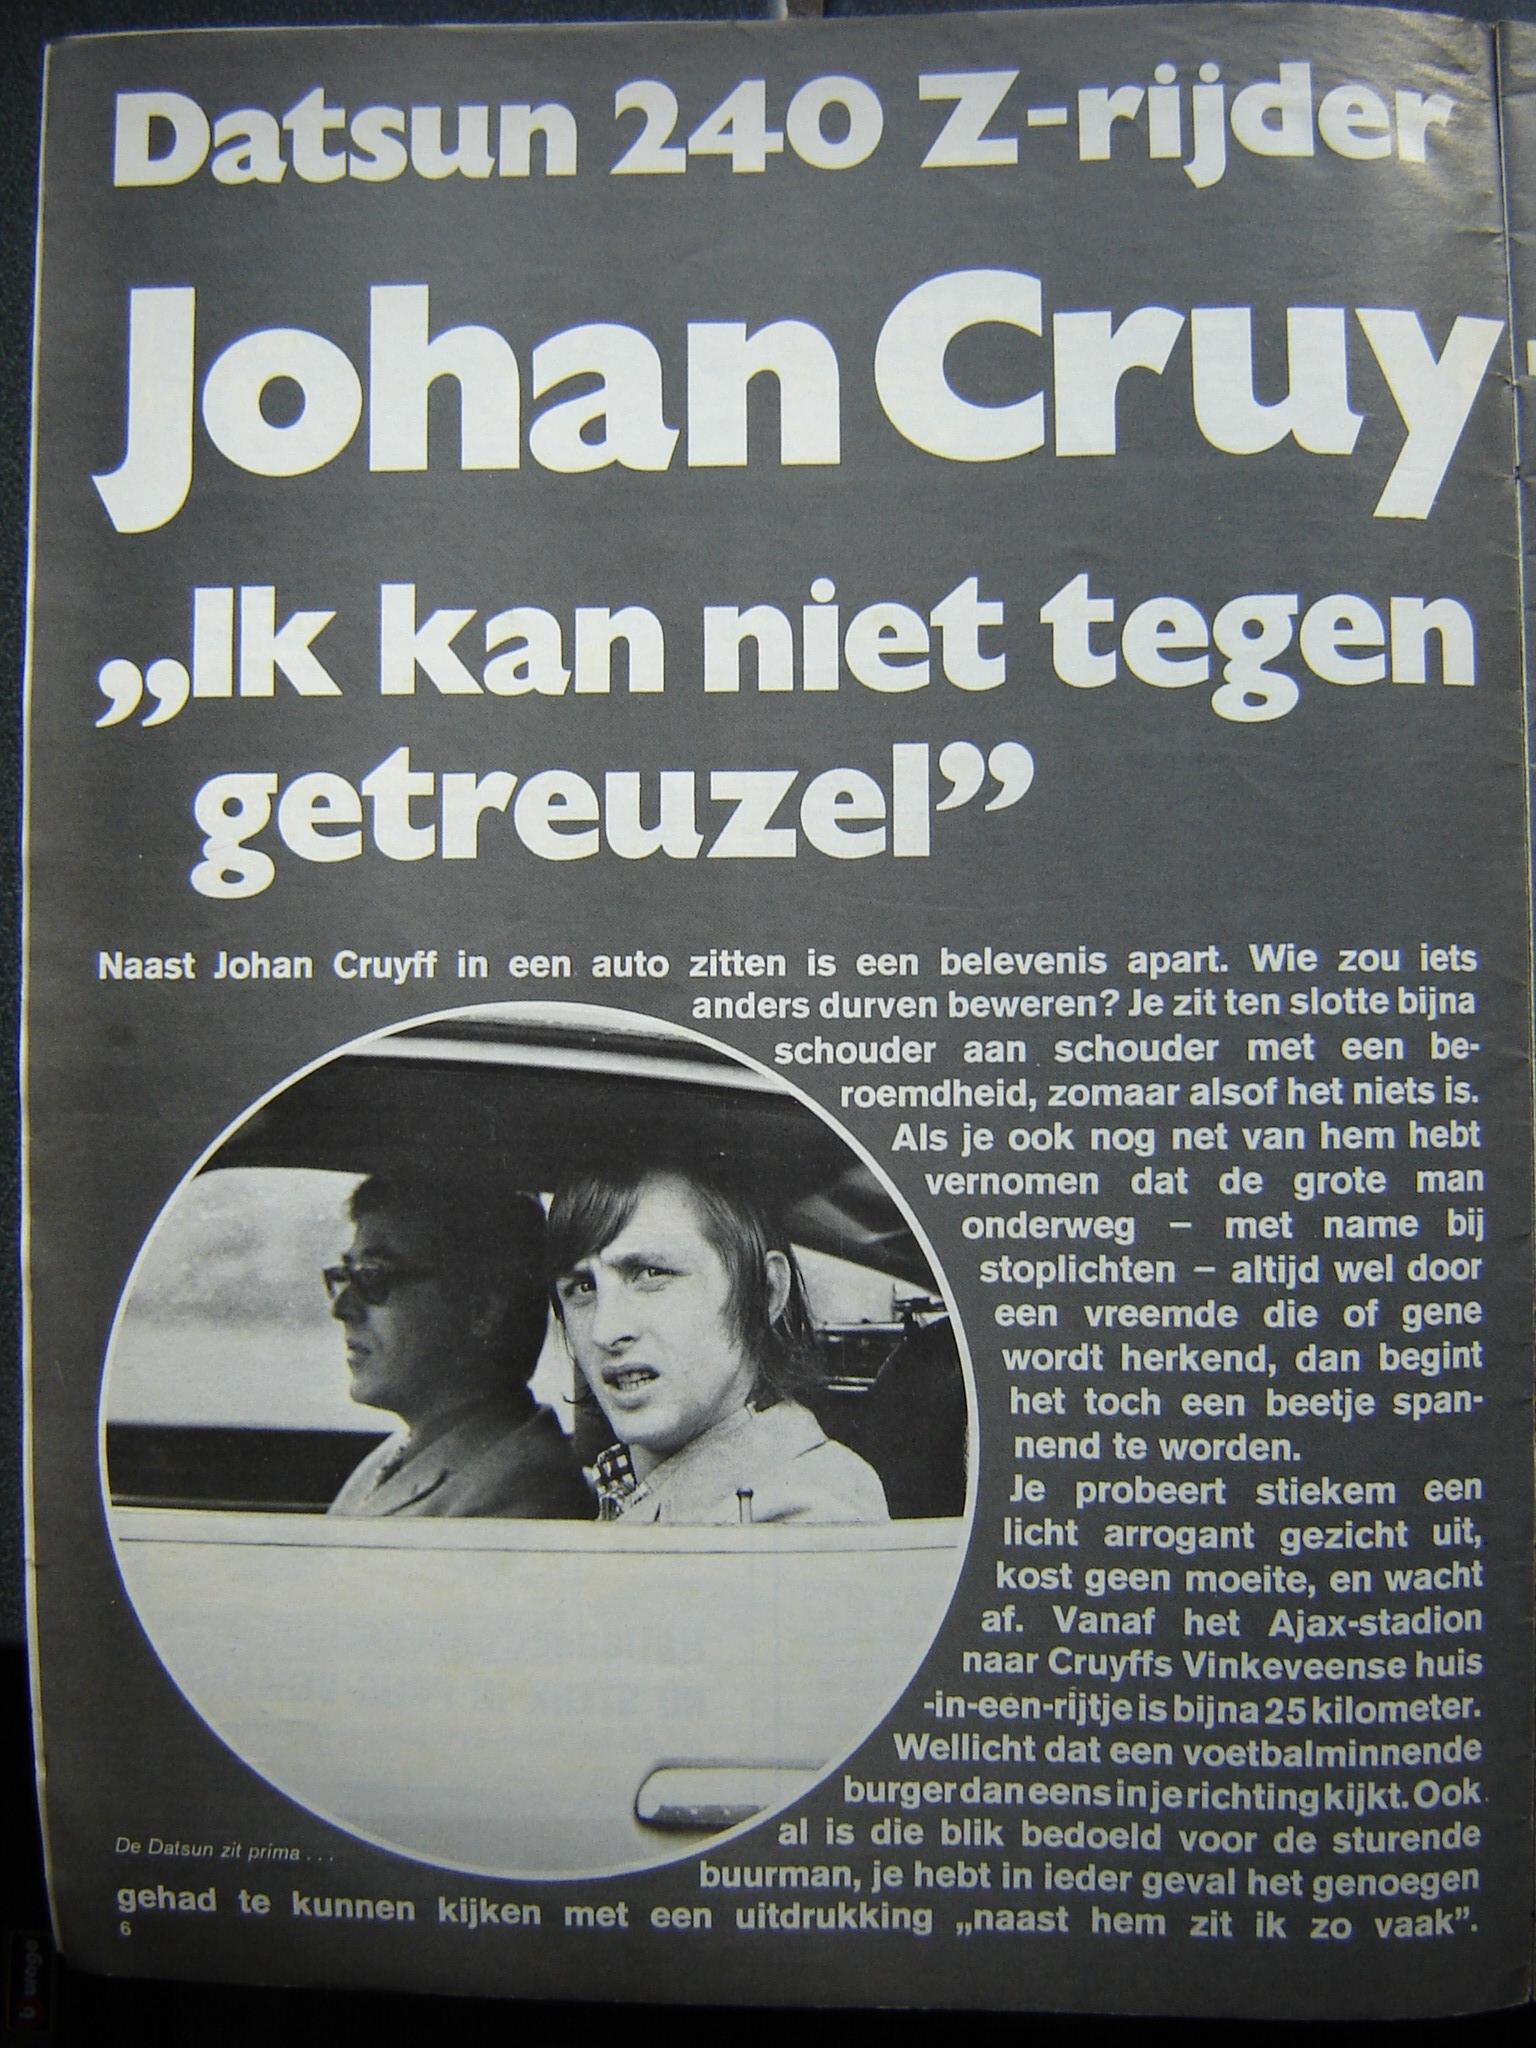
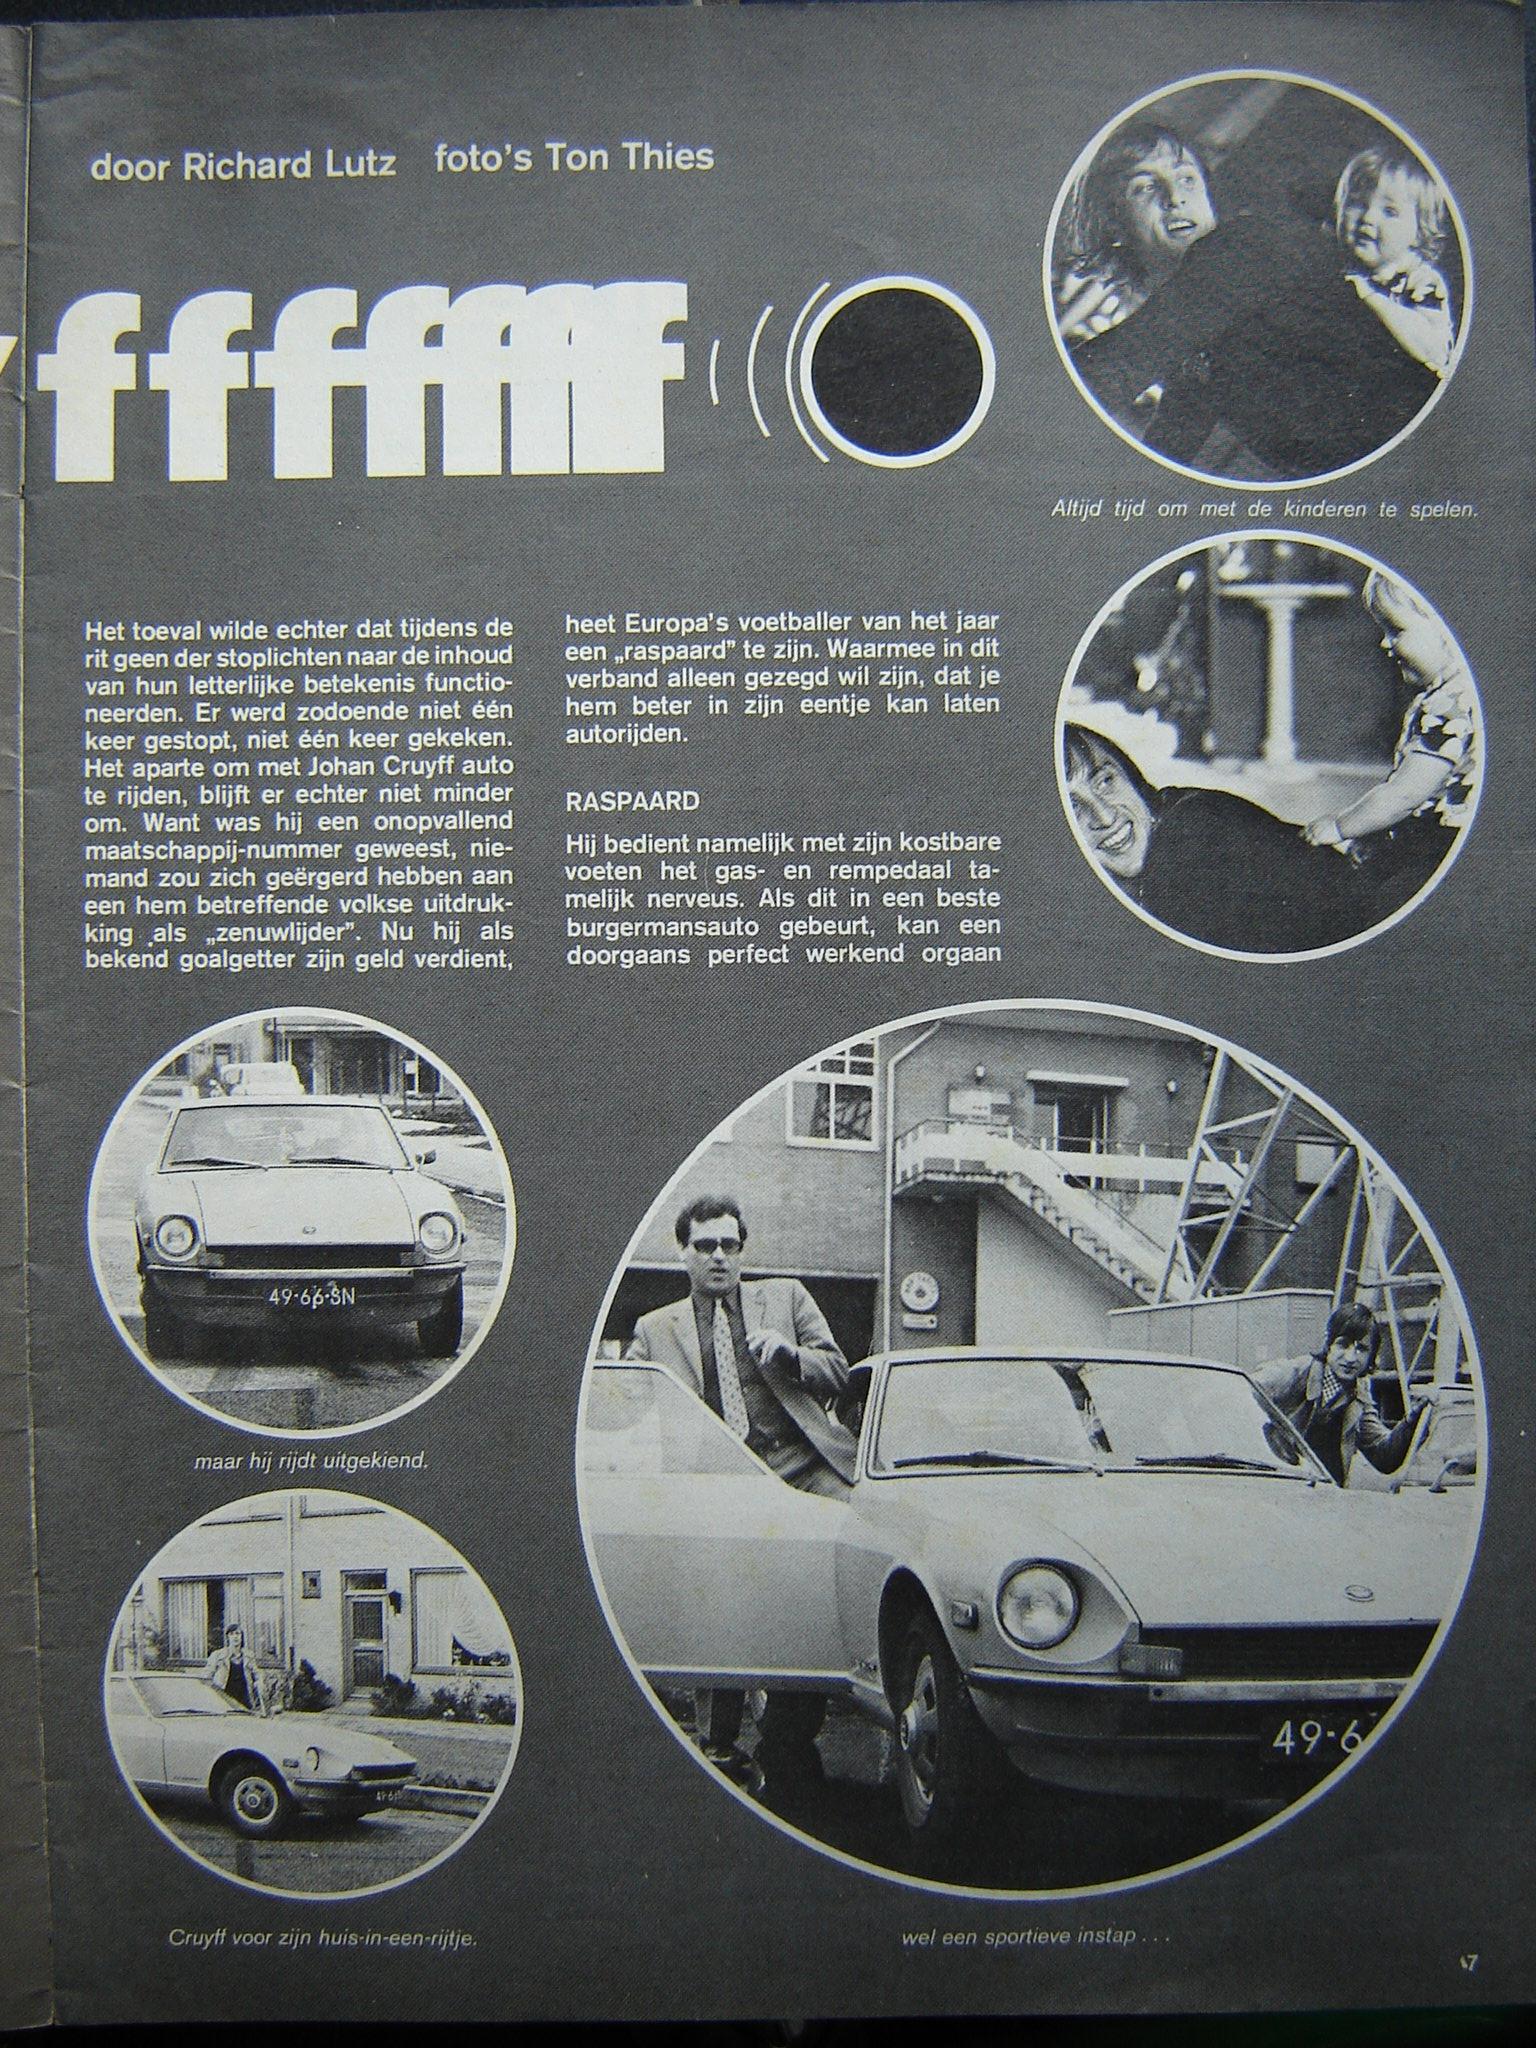
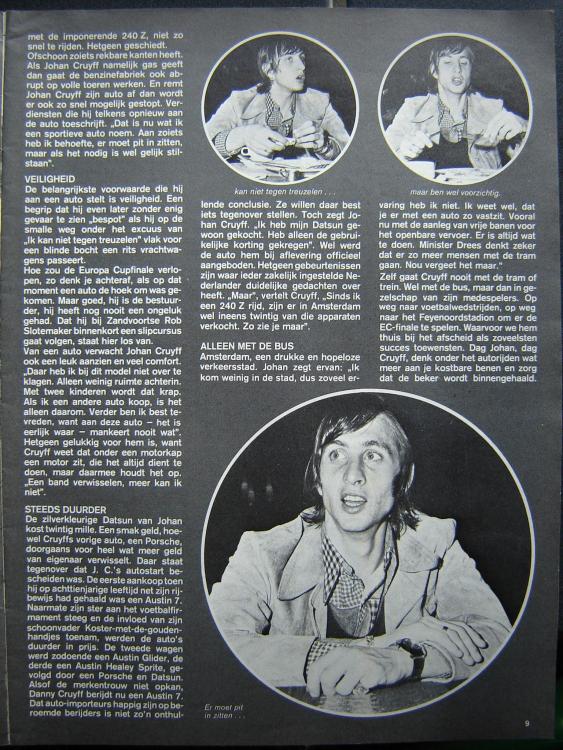
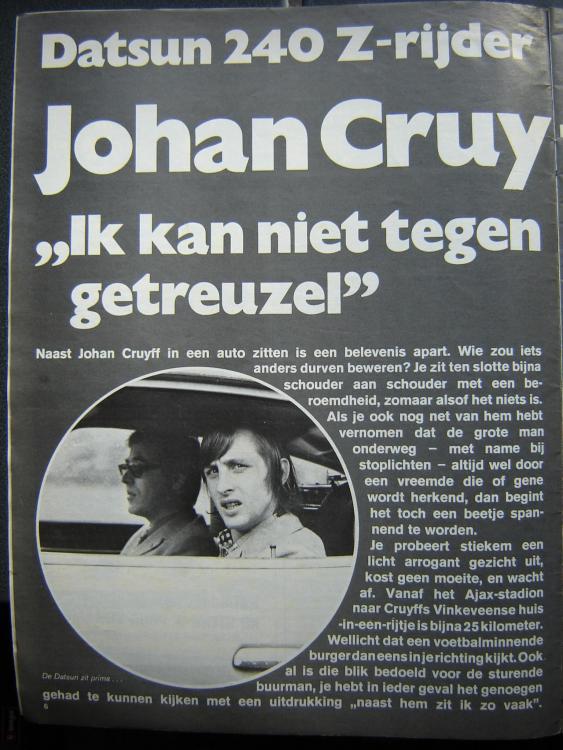
1 pointTake a good look.. a spoiler was standard on a 240z in the Netherlands for as far i know. I still got one laying around on my attick from my 1972 240z Orig. Dutch car. In this pic a story of Johan Cruyff our famous eh ... football ? uh soccer! player.. (I don't give a damn about that, In fact i BLOODY HATE IT!!! ) Here some of the rest of the pages i stumbled upon haha.. Good luck with your translations hihi...😁
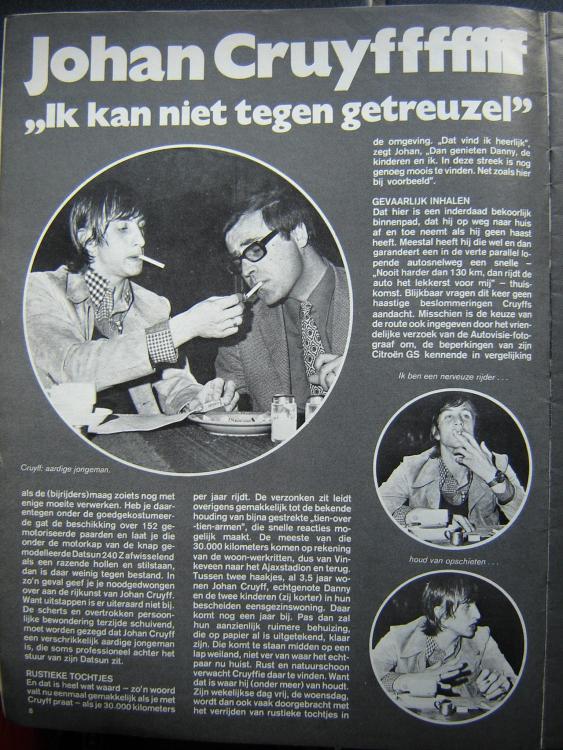

 1 point
 -
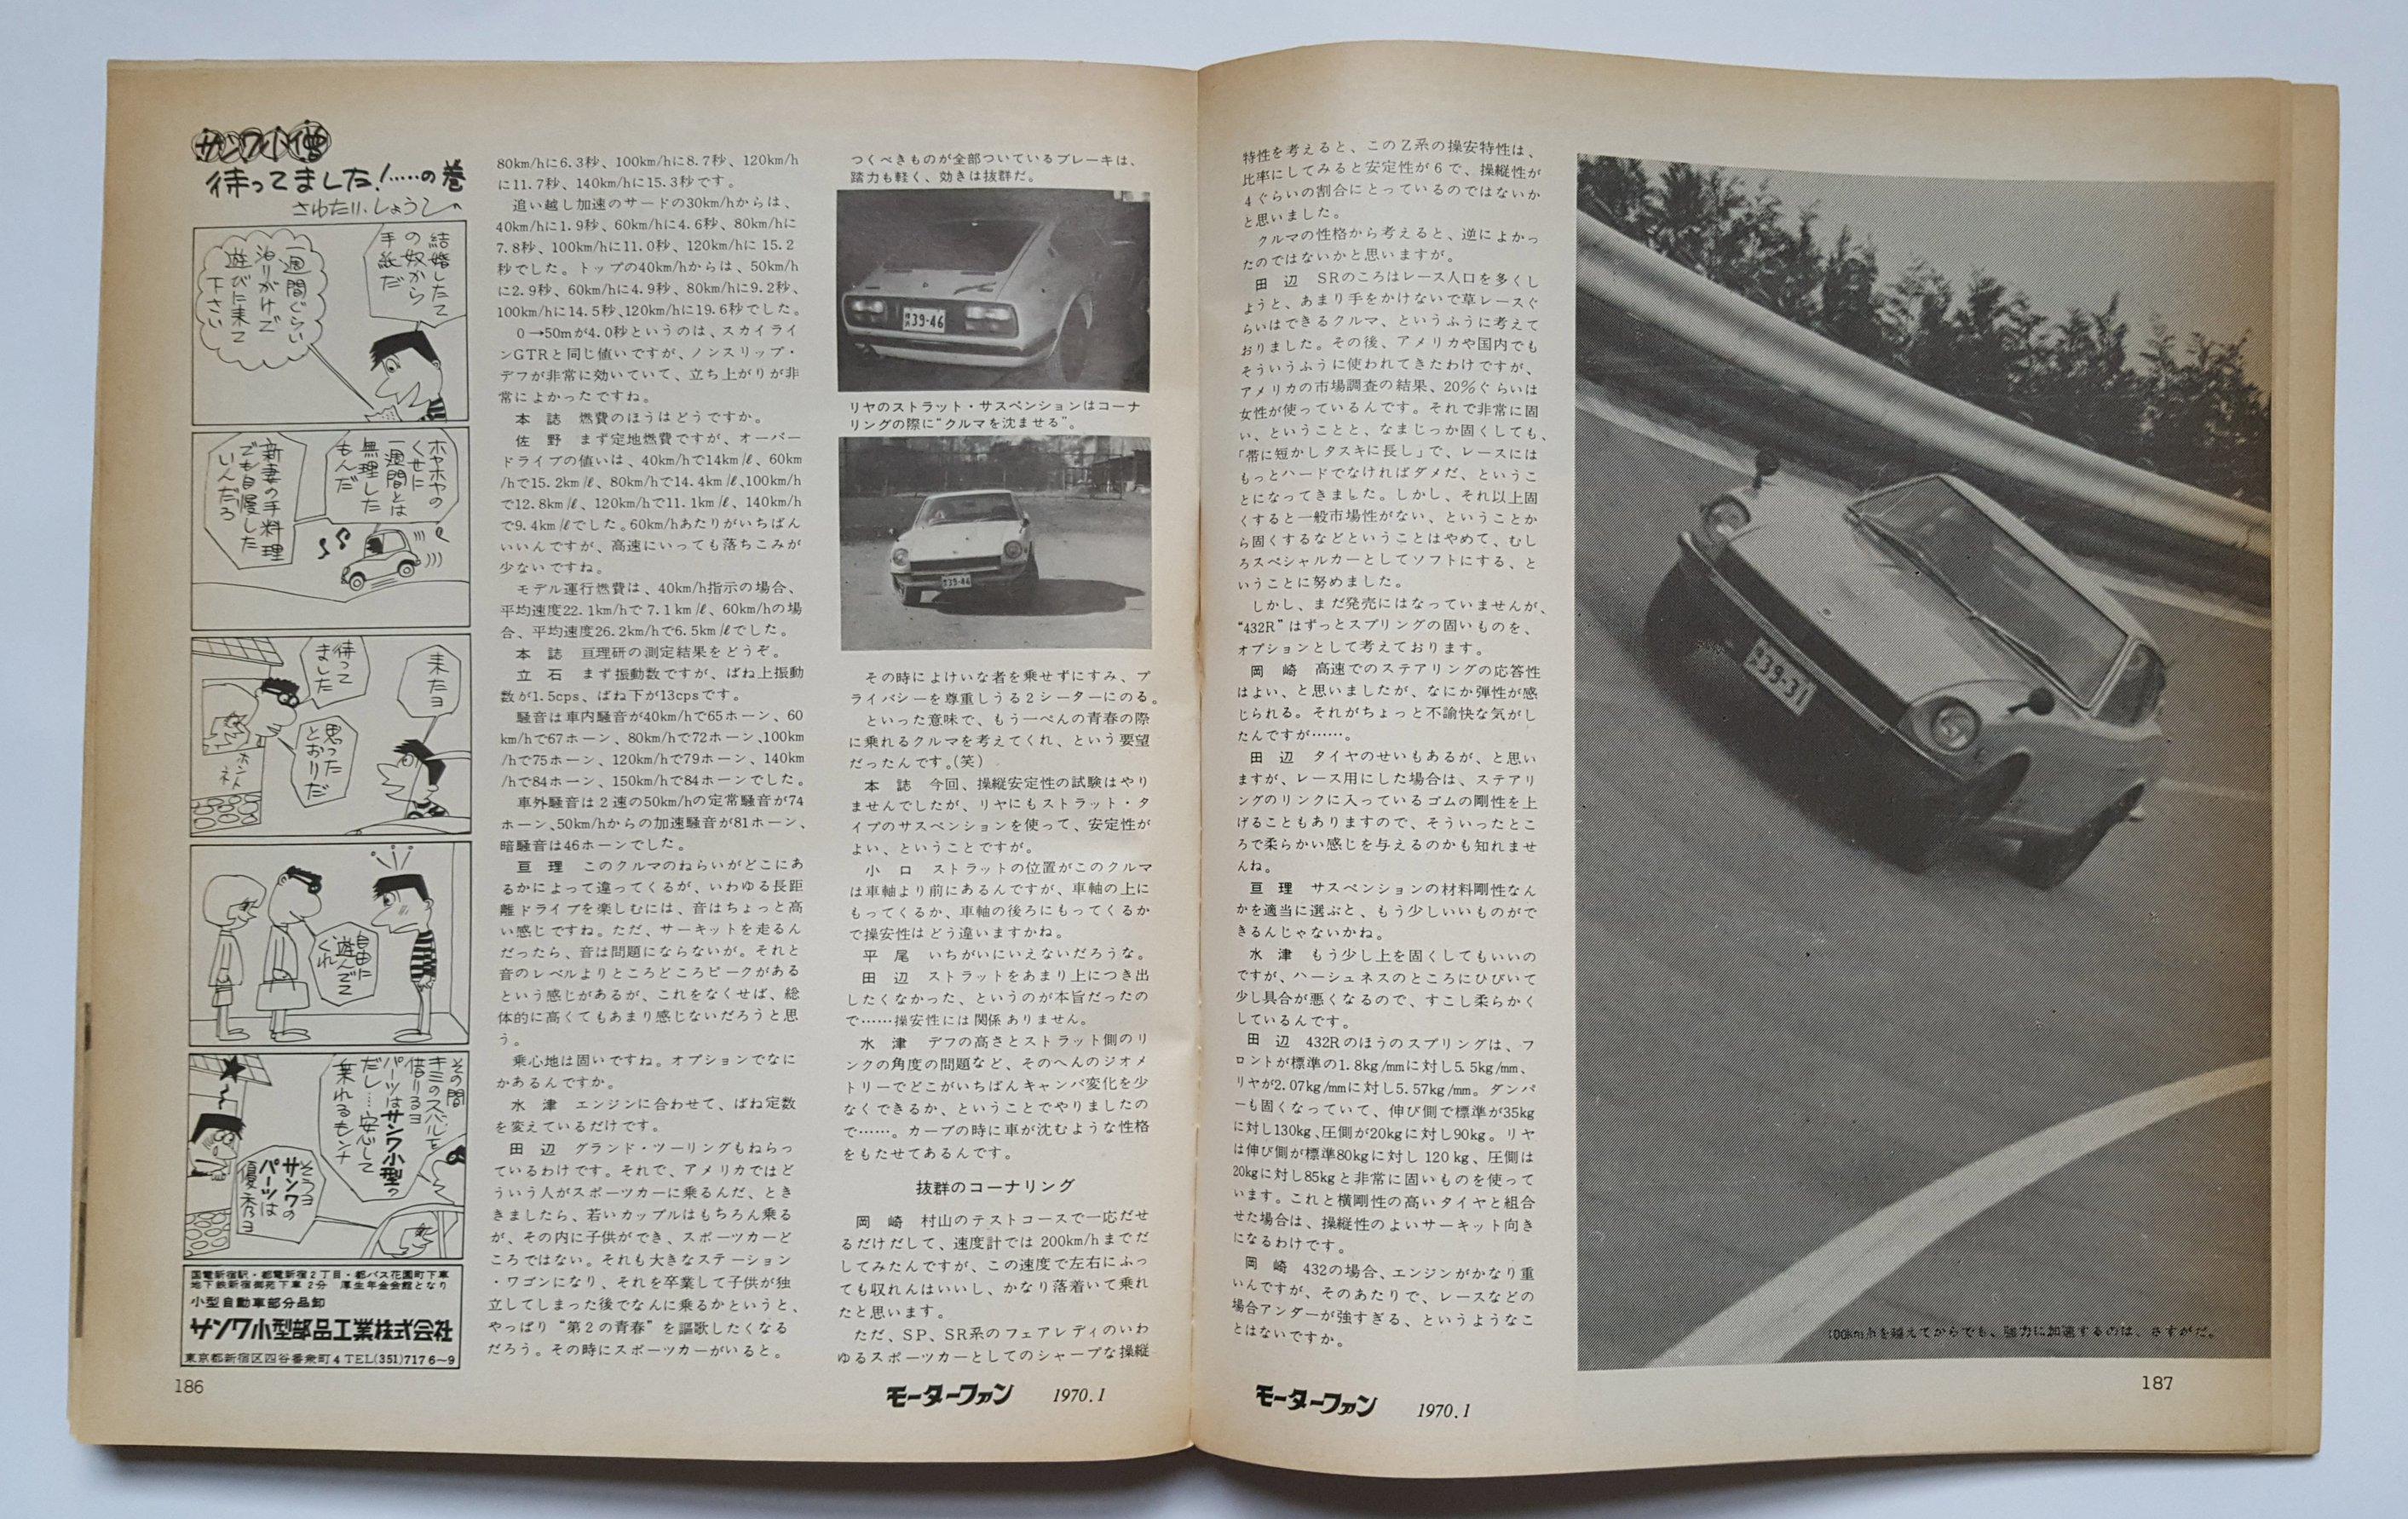
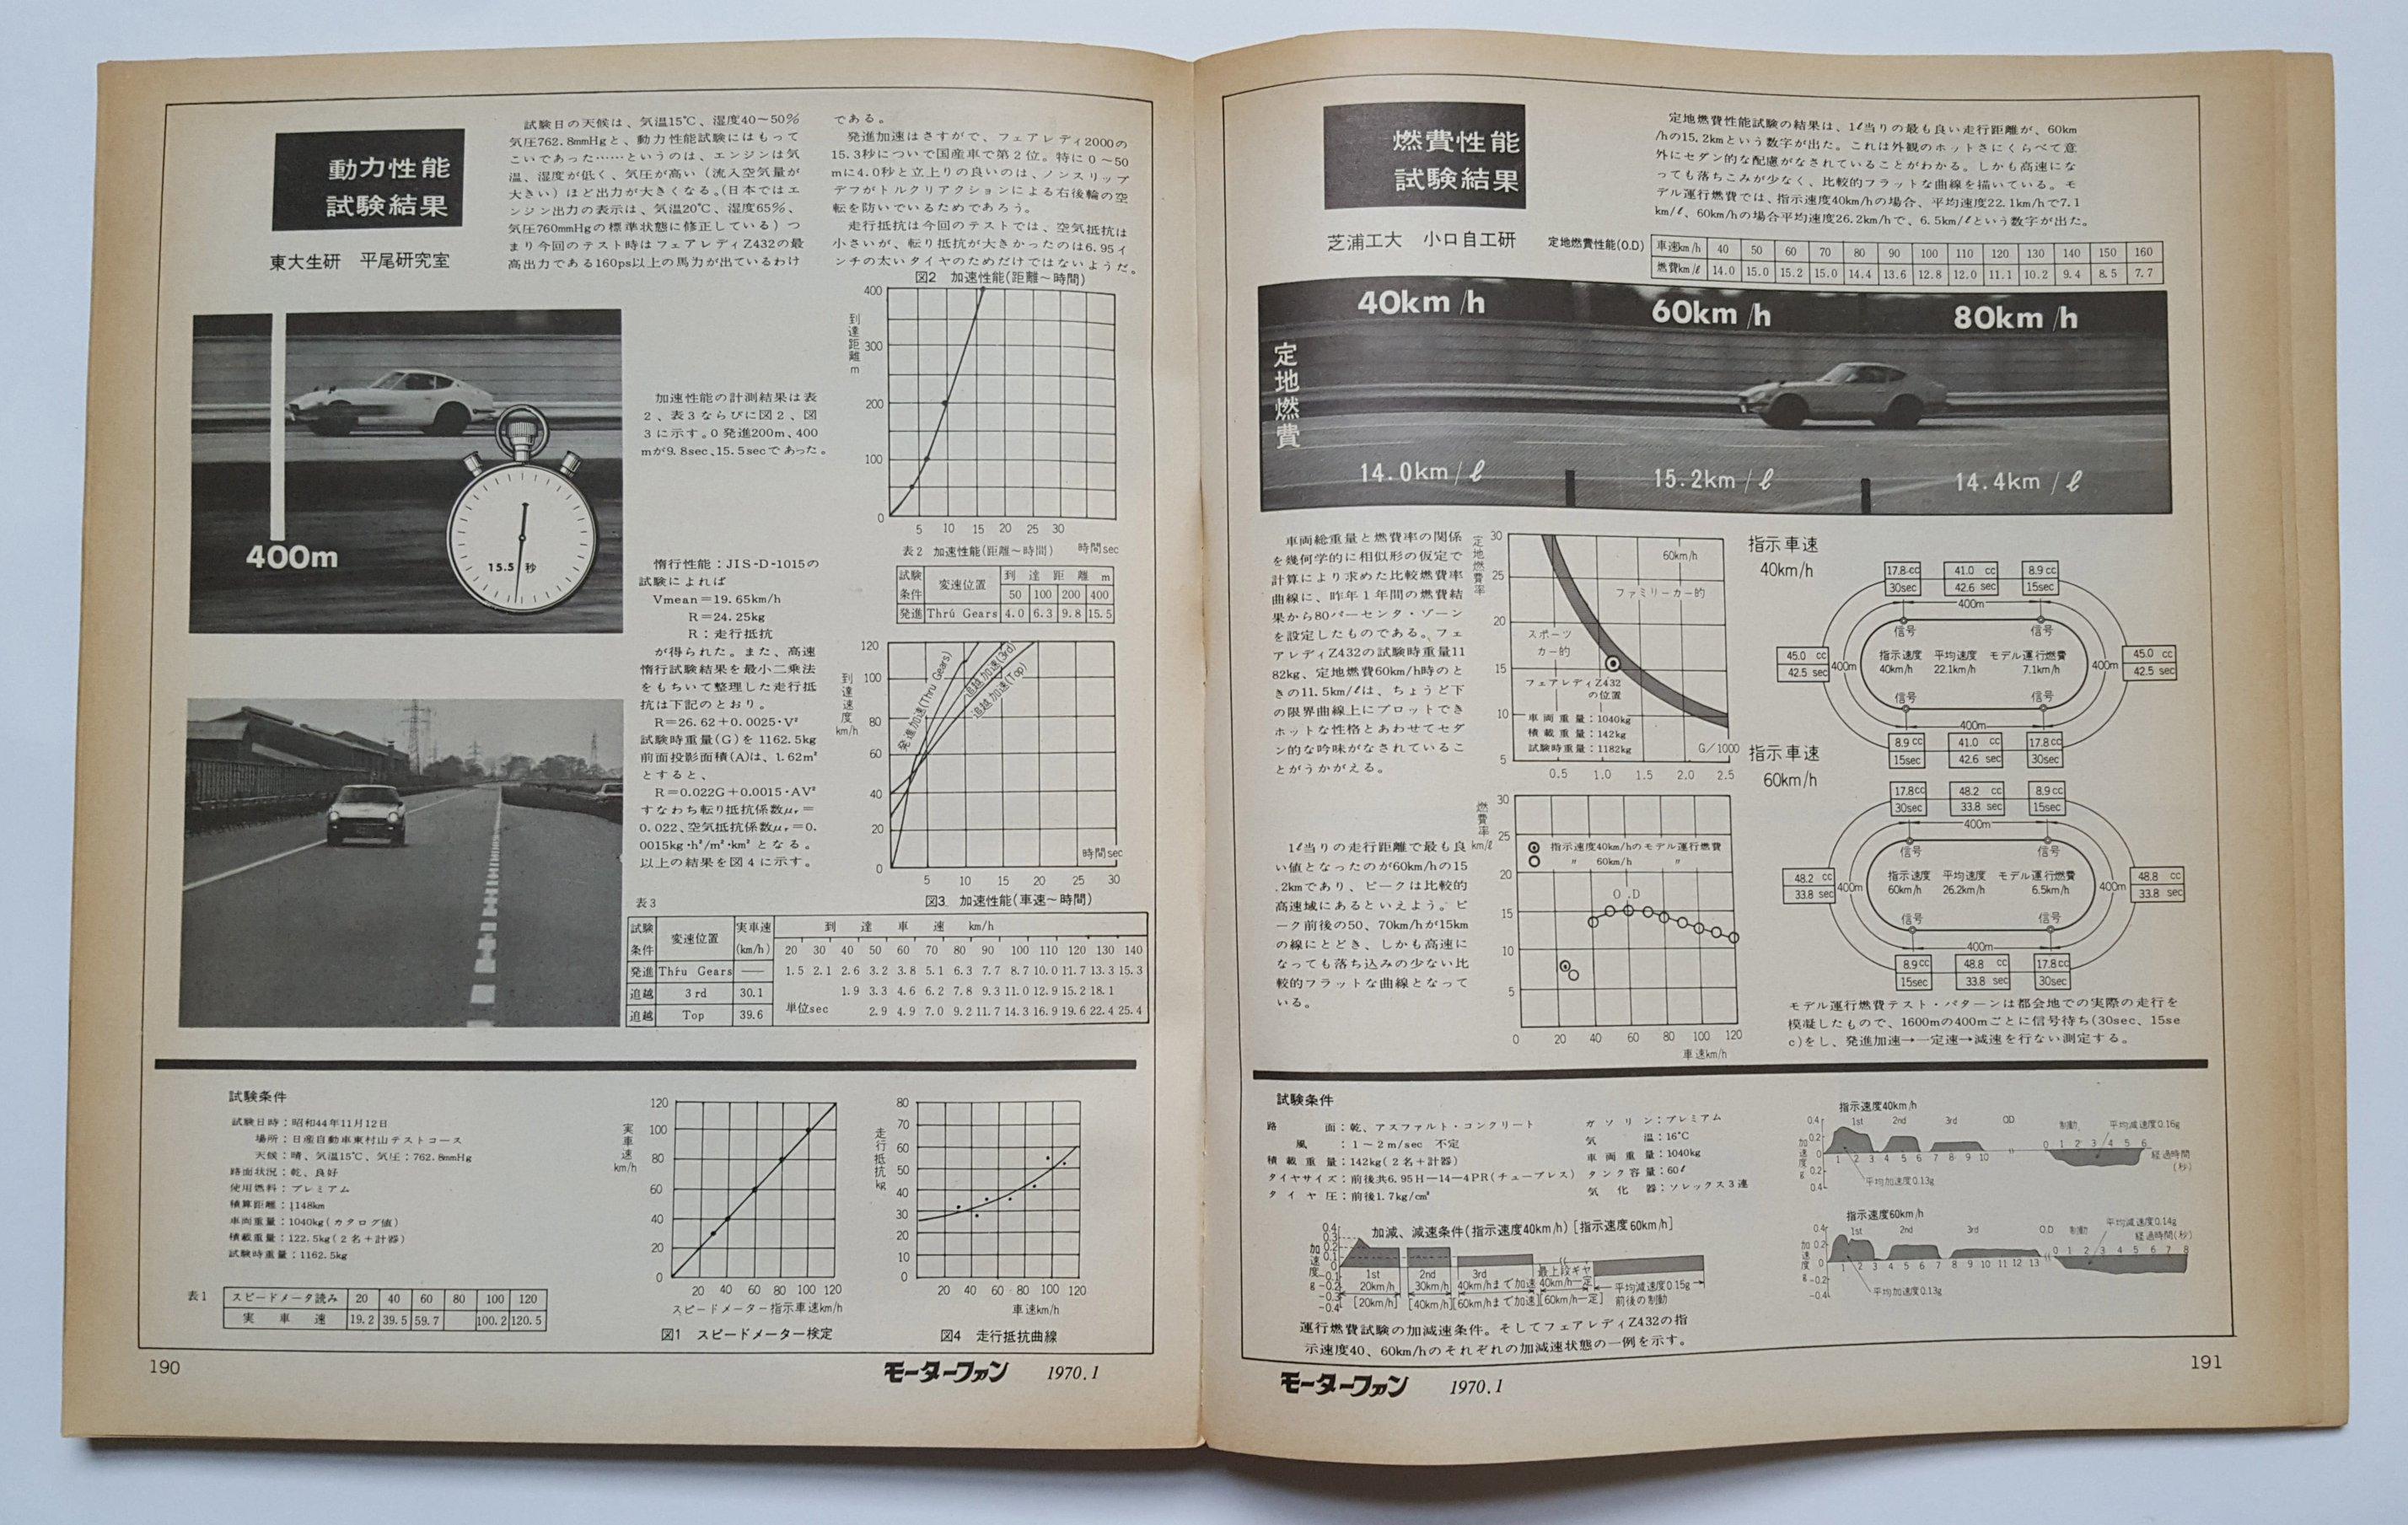
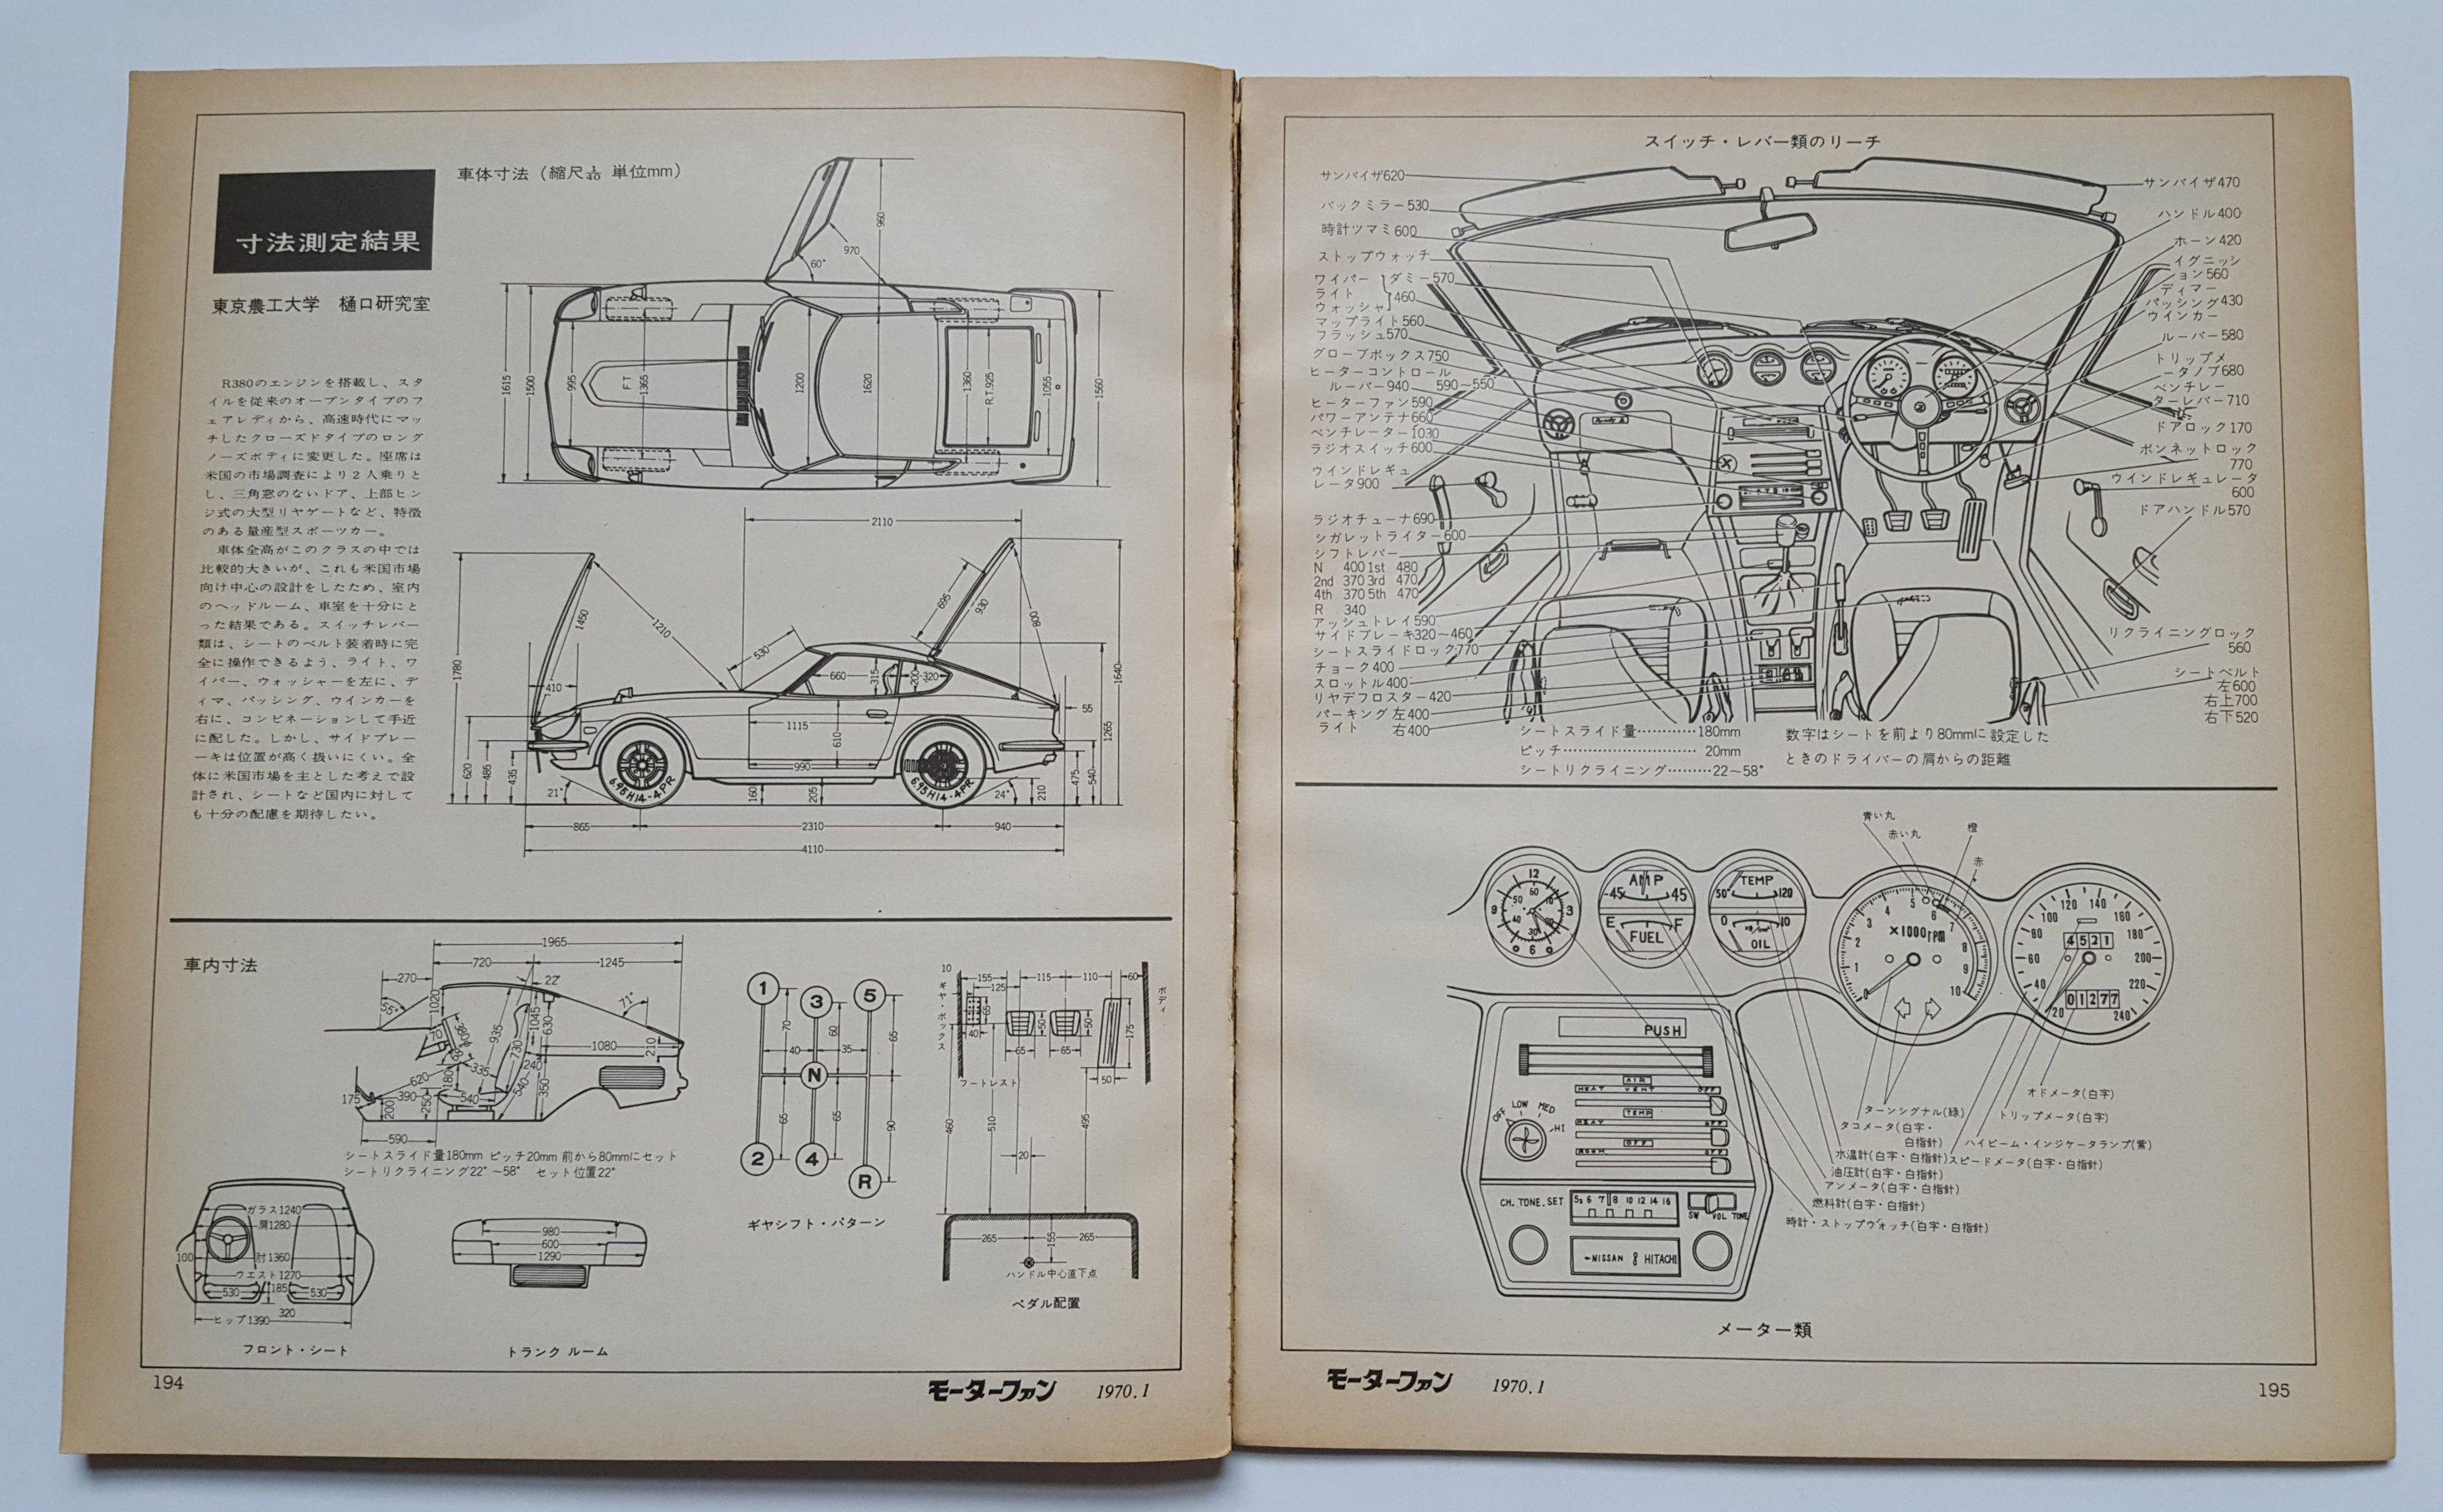
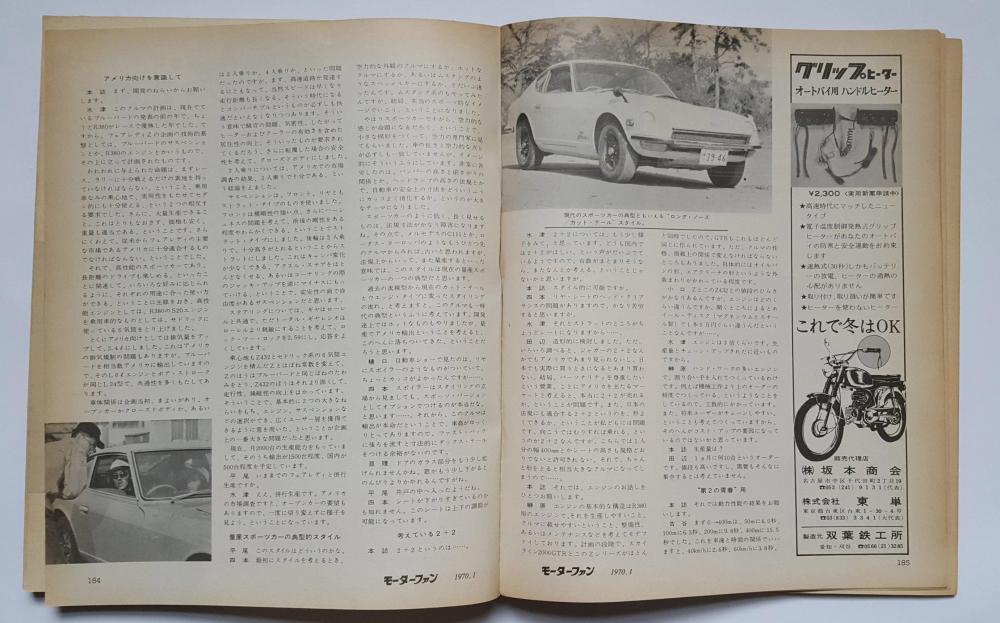
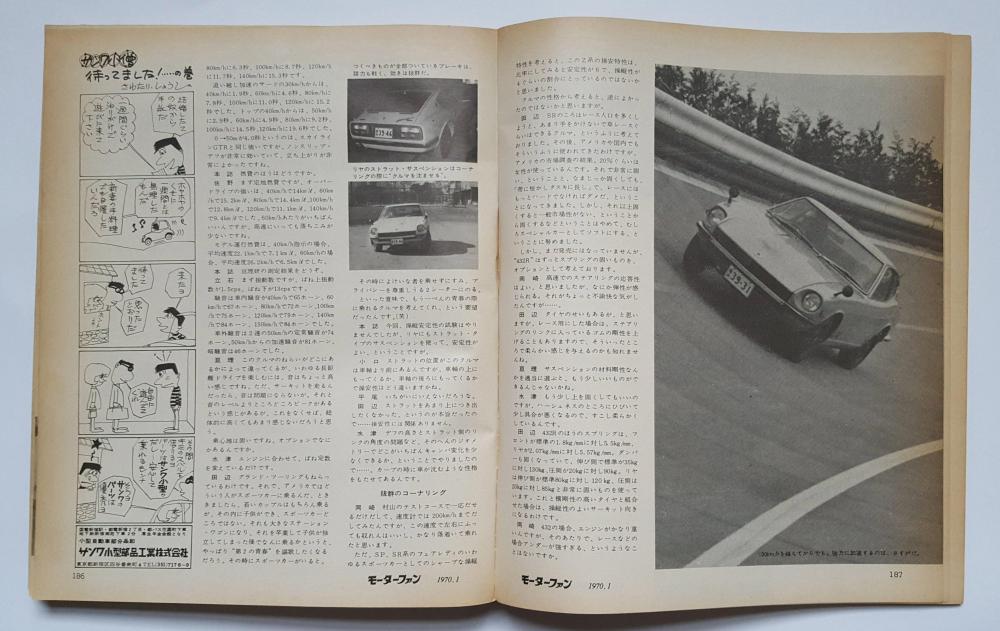
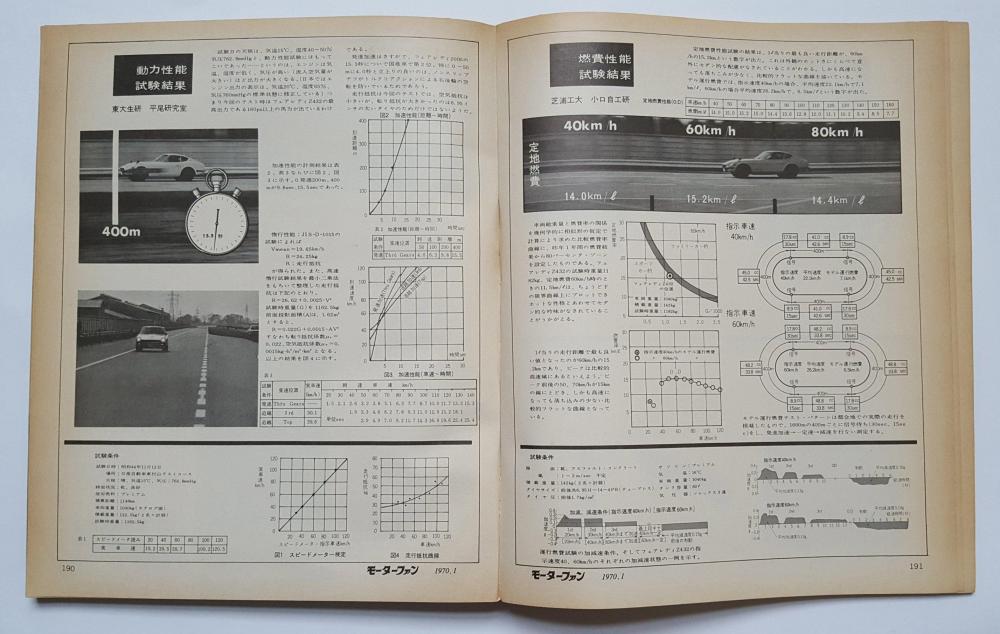
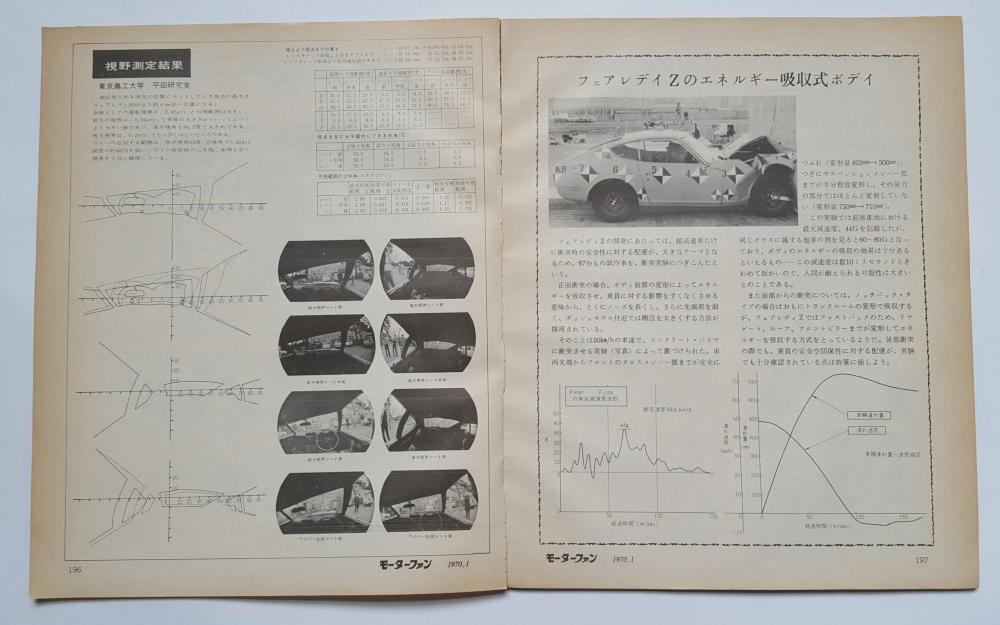
1 pointI just think it would have been a little late to be developing parts like that. After all, this was taking place a matter of weeks before the 432-R would go on show as a finished product - available to buy - with the rear spoiler as standard equipment. I think you're talking about the January 1970 issue of MOTOR FAN magazine, which featured a 432 in one of their comprehensive road tests. Being a stock 432, it didn't have a rear spoiler fitted as standard equipment (it was an extra cost showroom option, so the car had to be ordered with one) and was tested as such. Here are a few pages from the article:


 1 point
 -
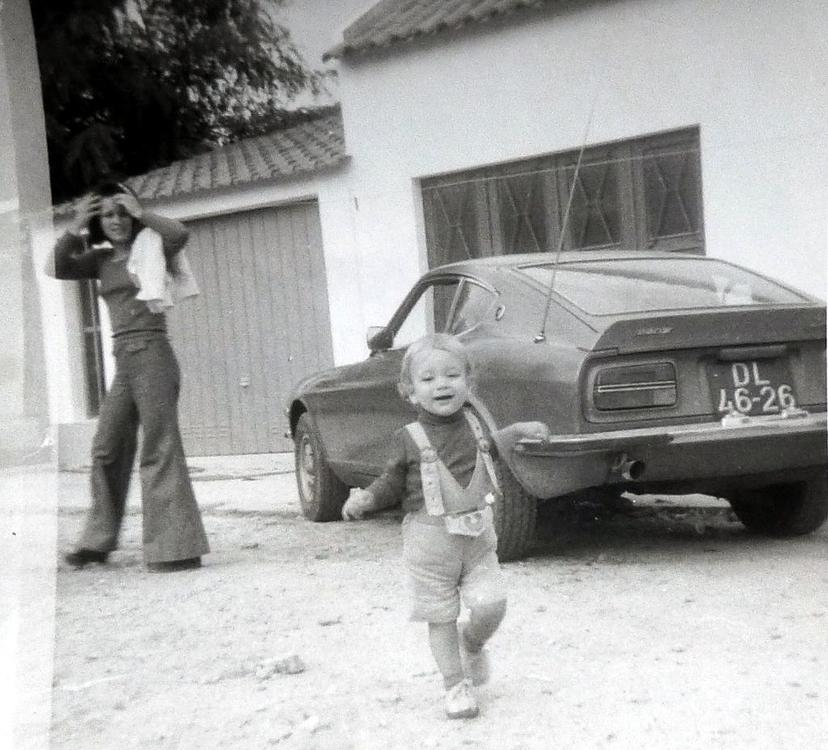
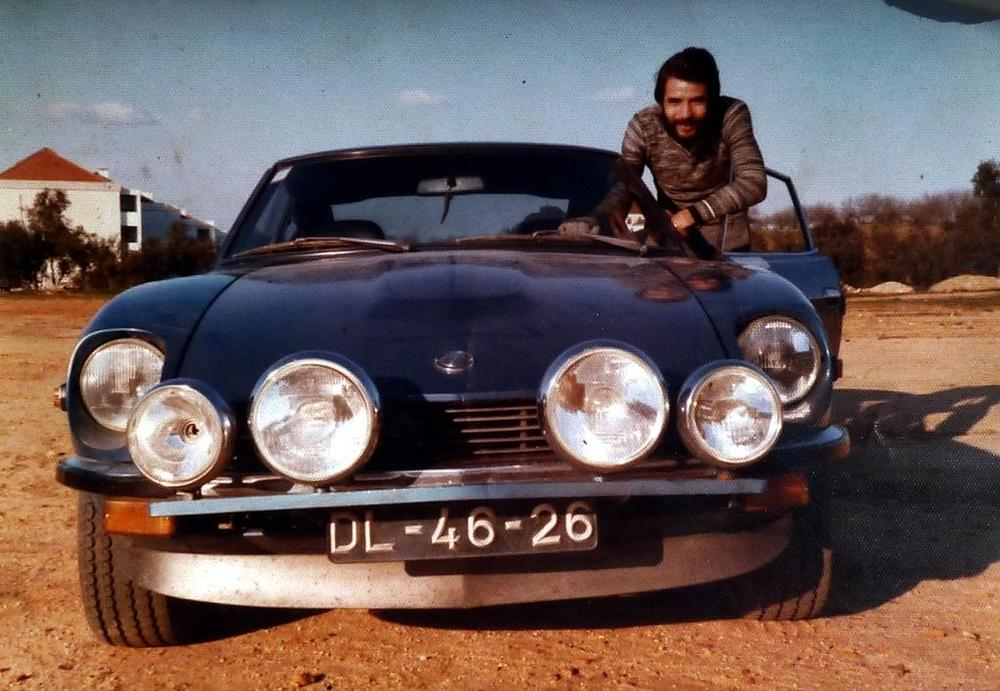
I was in Lisbon in 2018 and bought some NOS parts from a nice previous z owner. It was a 1974. He shared these photos:
 1 point
 -
Page1 Title :HLS30Q (Z Europe model) countermeasures High speed stability test Objective: countermeasure S30 crosswind stability and set spec of Europe export model Date : from February 1970 to 27th March 1971 1 Outline Soon after S30 went on sale, poor cross wind stability was heard. To export S30 to Europe market , we knew it was a very important key to develop and raise its stability at high speed and in cross wind situation to the level of satisfied. K42( car / chassis test ) had started basic study and development about crosswind stability using domestic S30 well before this program began . From May 1970, that activity succeeded to this program, and continued testing, developing Europe model. Finally, the difference from North American model (HLS30U) is, a) style element Front spoiler and rear spoiler added b ) suspension element strengthening sping rate and stabilizer front and rear front and rear shock absorber's damping force up applied 5J -14 rim and 175-HR14, applied C30 rack mounting insulator (Replaced from SUGURI type) Kats1 point
-
Thank you cbudvet,Mr.Tamura will be very pleased for your word. Hi esprist! I will be L.A. next month:) thank you for watching. Chris,I have got these images and letters from Mr.Tamura.Fellow my Japanese club member happened to see him in a car wash stand last year, Mr.Tamura walked towad fellow's S30,then introduced himself as a finalist of S30 body styling. Mr.Tamura joined our club,and he described very details and even he showed drawings by his hand.He sent us a few letters,and he has been keeping us update information from his memory. I would like to know who is the hero (most valuable person) in S30's styling for the people? It could be a man who showed the concept of the car? or a man who sketched S30's body style first? or executives who said "GO this project" in the conference? or members who involved S30's styling? Most of us say Mr.Matsuo , because he is the chief designer of S30. "Type A" cray model is the begining of the styling study,that was a open car(roadster). Mr.Matsuo began to study from SP/SR311 seeking a new sports car in 1965. Type A has suger scoop head lights. Some of us who have red books really carefully may say Mr.Yoshida because he did great job with Mr.Matsuo from the begining.He did Type C which has pop up head lights and nice roof and side and rear section, you will be surprised how this Type C is so cool! To say to make it vaery short, S30's styling is oriented by mixing of Type A front section and Type C side and rear section.This was in early 1967. I think Mr.Matsuo is the chief,but also he is the manager of the project. Mr.Matsuo had the contorl of the new sports car project(I mean within his own territory) also had to do manythings you know,such as negotiation with his boss,other sections,arrangement for presentation for executive,desk work,etc. Mr.Matsuo had not been able to have enough time to touch the clay models like the early stage gradually toward when S30's styling was almost settled down, in early 1967. Those time was corresponding to Mr.Tamura joined the team.Mr.Tamura did so hard on finalizing S30's body surface, he told me he still has feelings in his hand every surface of her(S30),in his word,he had spent very hot and hard time with her every day and night. Every time he touched her, she told him that places where she wanted to be more beautiful! Mr.Tamura said it is like an old craftsman of Buddha statue,he did not creat it, Buddha itself... Mr.Tamura involved nearly one year for finalizing S30 styling.His boss Mr.Matsuo checked Mr.Tamura's work time to time,Mr.Tamura told me he had never got "NO" nor "do it again,make it more nicer" words from Mr.Matsuo. His work was always perfect,I can see it.And everybody agree it. kats PS:I think here in this club,nobody will say Mr.Albrecht Goertz is the hero. He did not touch/mention/teach anything about S30's styling.He was a consultant and visited Nissan for 2 weeks every 3 months mid 1963 to 1965. No-way to be involved with S30 body styling. Many of old Nissan designers are saying Mr.Goertz only brought a styling method of clay model,that is all.Nothing more than that.
 1 point
.jpg.45c57f9704118f985a3d3aa9fca56e71.jpg)