Leaderboard


 Subscriber
.JPG.cfcada9cf1c1b502df3f5f2f2ca3ff36.JPG)


Popular Content
Showing content with the highest reputation on 09/29/2023 in all areas
-
4 points
-
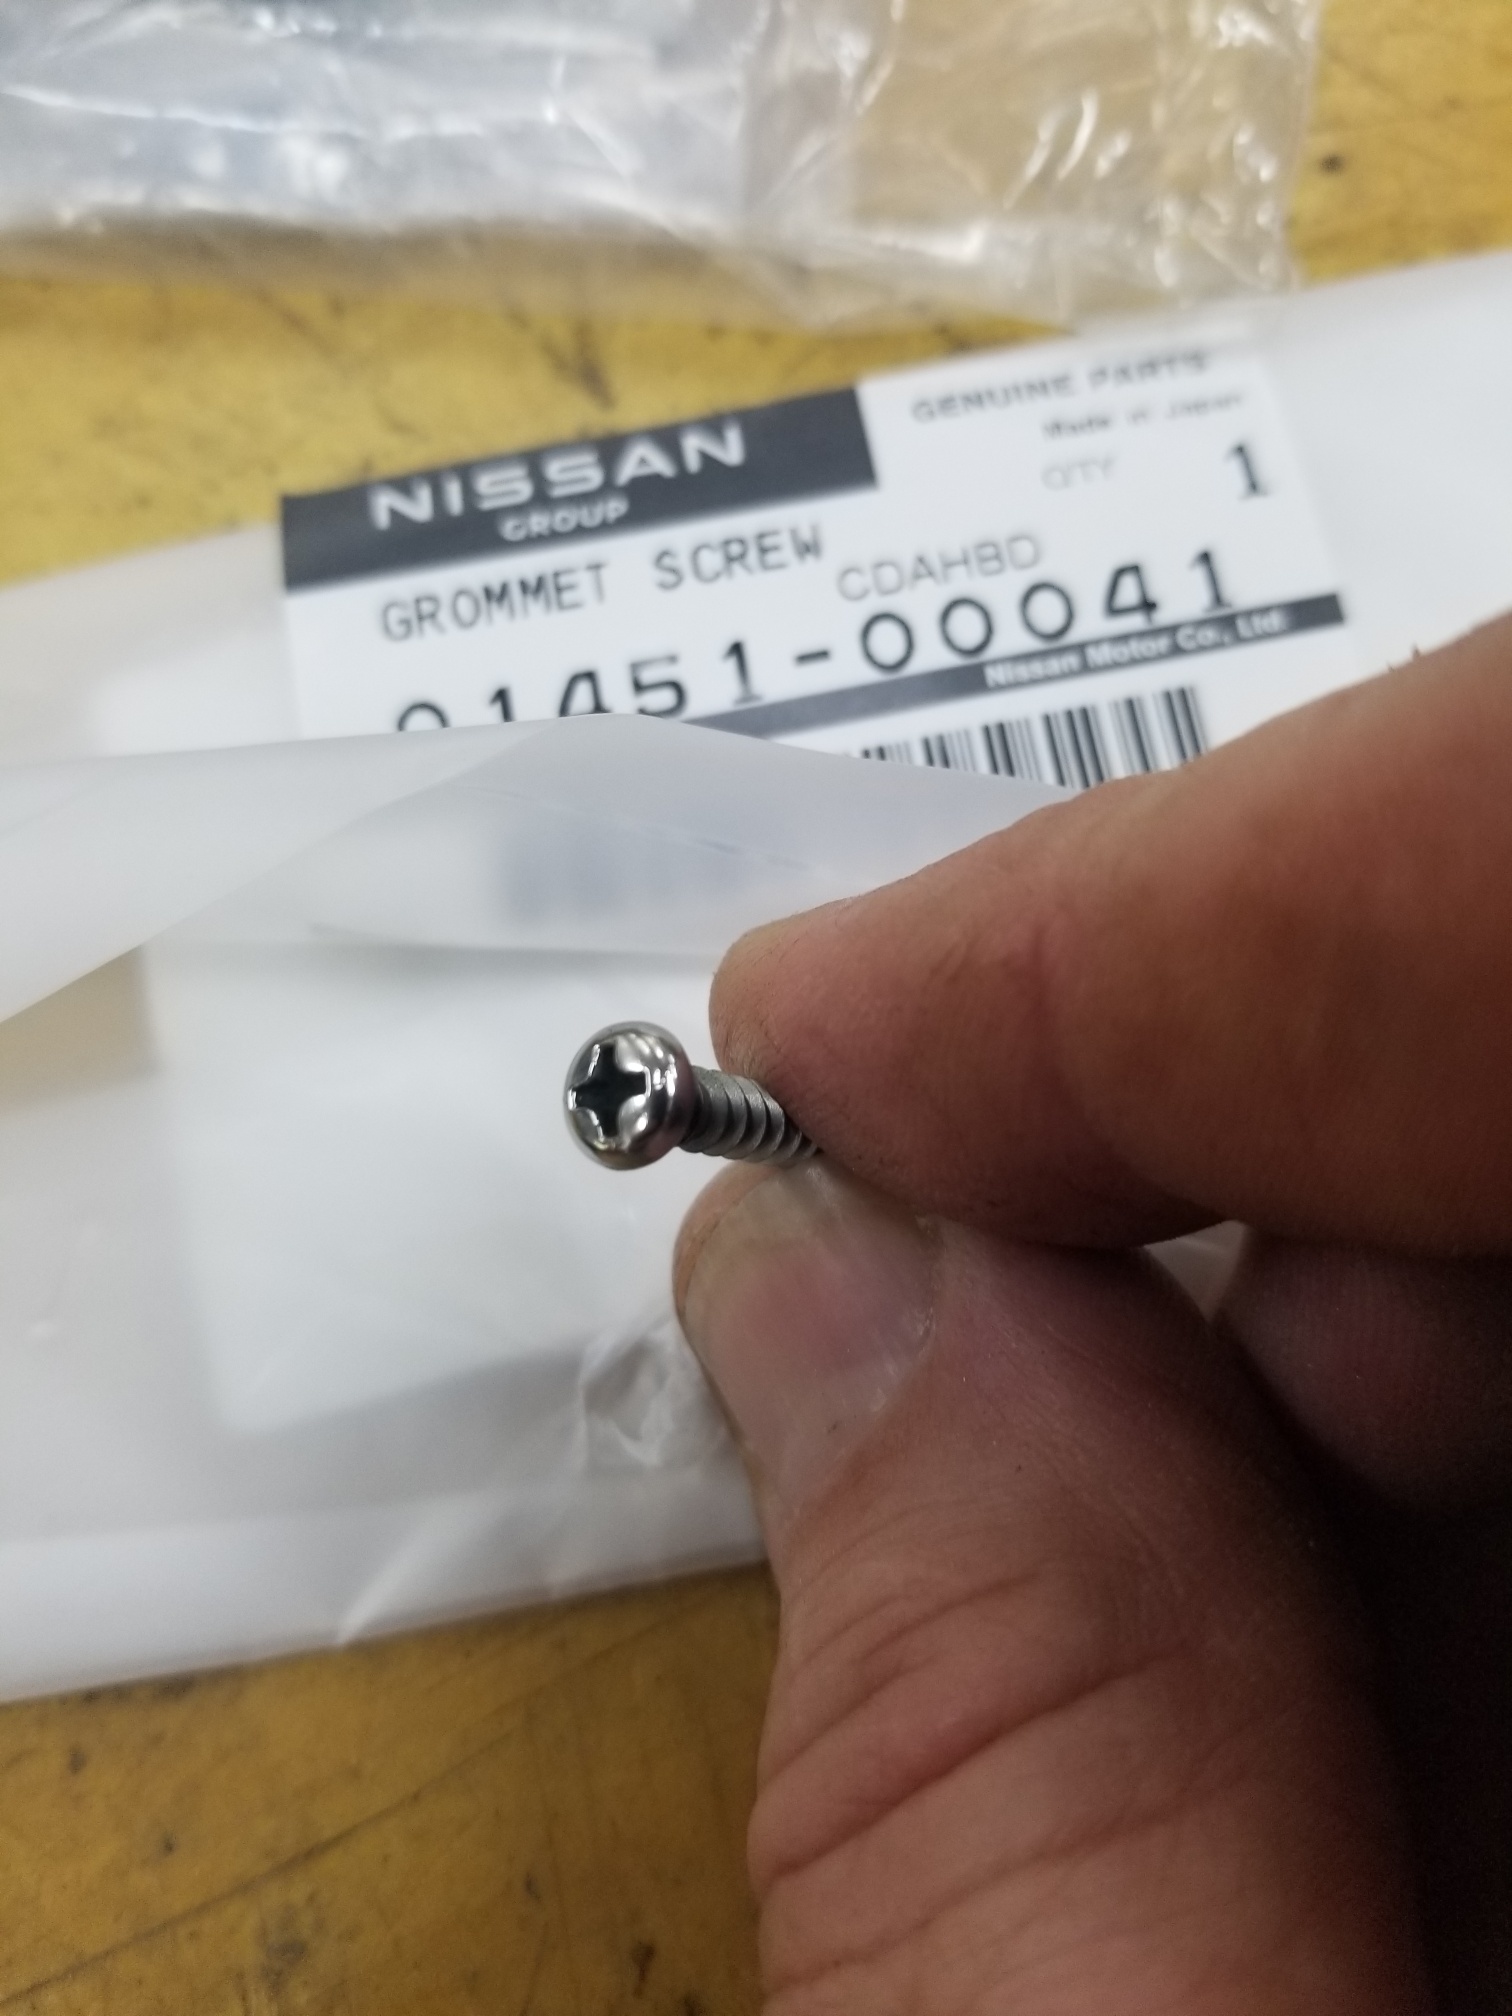
3 pointsWhenever I do body work on a panel that has holes in it to accommodate the pins on the back of the emblems, I usually cover over then with body filler. Often times these holes are a starting point for rust. I usually cut the pins off the back of the badge and attach them to the body using 3M autobody trim tape. With the holes covered and the pins removed it's hard to determine the exact location of the badge. Attached is a template I made for proper location of the emblems on the rear hatch . You can print it off, cut it out, place it on the right rear corner of the hatch and mark the exact location of the badges. The dots on the template are the exact location of where the pins were on the badge. These were for the rear hatch on my 73 240Z, not sure if it's the same on other model years 240Z hatch badges.pdf3 points
-
Here's how you should check the voltage. Make sure the 6 pin connector is plugged in. Unplug the connector from the alternator. Measure voltage to ground at the red wire and green wire. The red wire should have battery voltage. The green wire should not. If the first test passes, put the key in ON. Measure voltage to ground at both wires again. This time both should have battery voltage. The starter you linked was the one I was referring to. It's difficult to find parts not made in China. After you fix your starter and get ready to run your car again, make sure you measure the voltage while the car is running at the alternator and then check at the battery. I'm starting to think there are some problems lurking in your car that you may need to address. If the voltages are significantly different, that would confirm my suspicions.2 points
-
2 pointsThat's an interesting method for dealing with water intrusion. I also think it's great you shared the template. Please don't take what follows as criticism! I will counter by saying Ive seen a good many rusty Zs. I dont recall any being rotten around the emblem pins or having damage from water intrusion from the emblem pins. It's almost always something else. I also suspect most restored cars aren't subject to the elements on a regular basis. Though your method might help the paint last and not bubble near the emblems . A little silicone at each pin hole might accomplish a similar result2 points
-
2 pointsClockwise and counterclockwise adjustments are made imagining you're viewing the bottom of the carb. Try reversing the adjustment directions.2 points
-
2 points
-
2 pointsI did clean it. When I removed it, it fell apart. All I had to do is clean it and reassemble it. Thank you. Been driving the z with all the new electrical upgrades. I ordered the Alternator also Sent from my iPhone using Tapatalk2 points
-
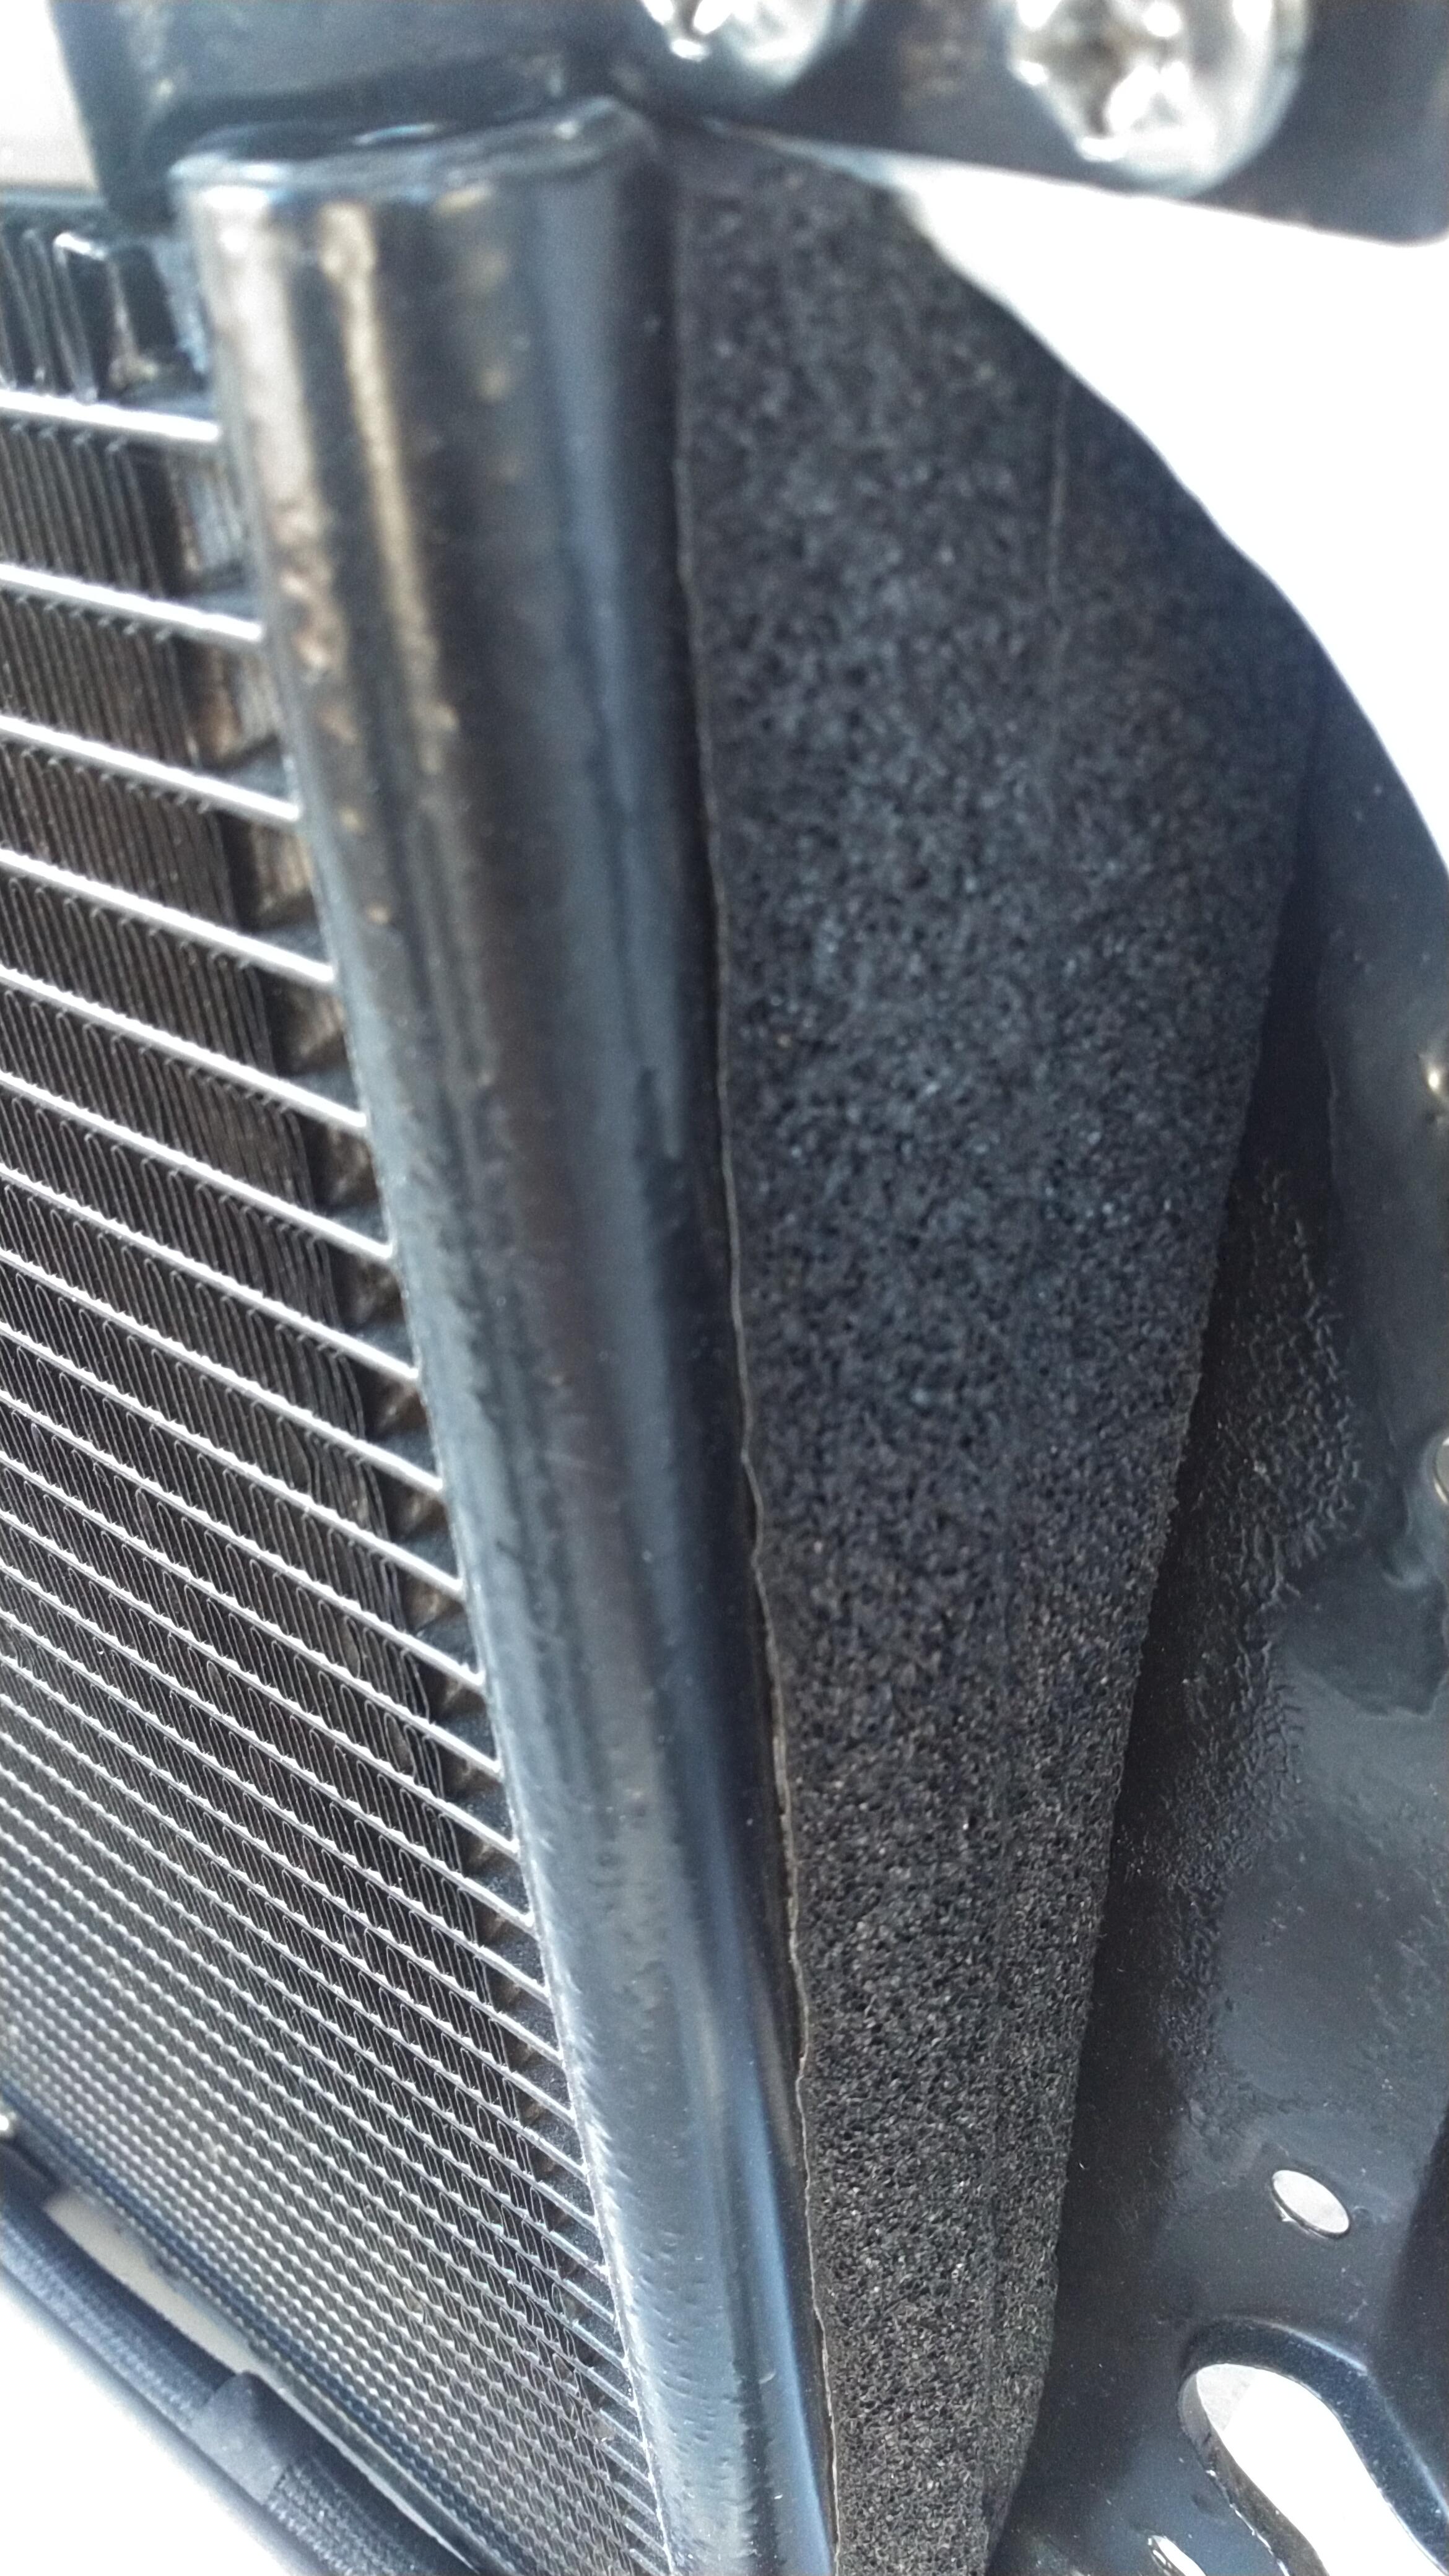
1 pointIf you decide to use the hard lines from Vintage air do not use cheap tube benders purchase Imperial benders that are far better. I purchased mine from e bay at appox $40 (used). Another trick with using tube benders is to put a little grease on tool helps making a smooth bend. I was use dense foam between condenser and core support. This keeps all the air pulling though it and not from the sides. I do same with my radiator
 1 point
 -
It’s a VW colour, code LD5Q (P1P1) Shadow Blau. In early 2000s it was a rare colour reserved for the high end models but now it’s very readily available on much of the VW line up. The previous owner sprayed it and I have to say, the car does look great in this shade. It really brings out the lines and the bright work. But being a darker colour, it’s a total PITA for showing any small scratch or dink or dust particle ;) Looking forward to seeing the finished product in your car!1 point
-
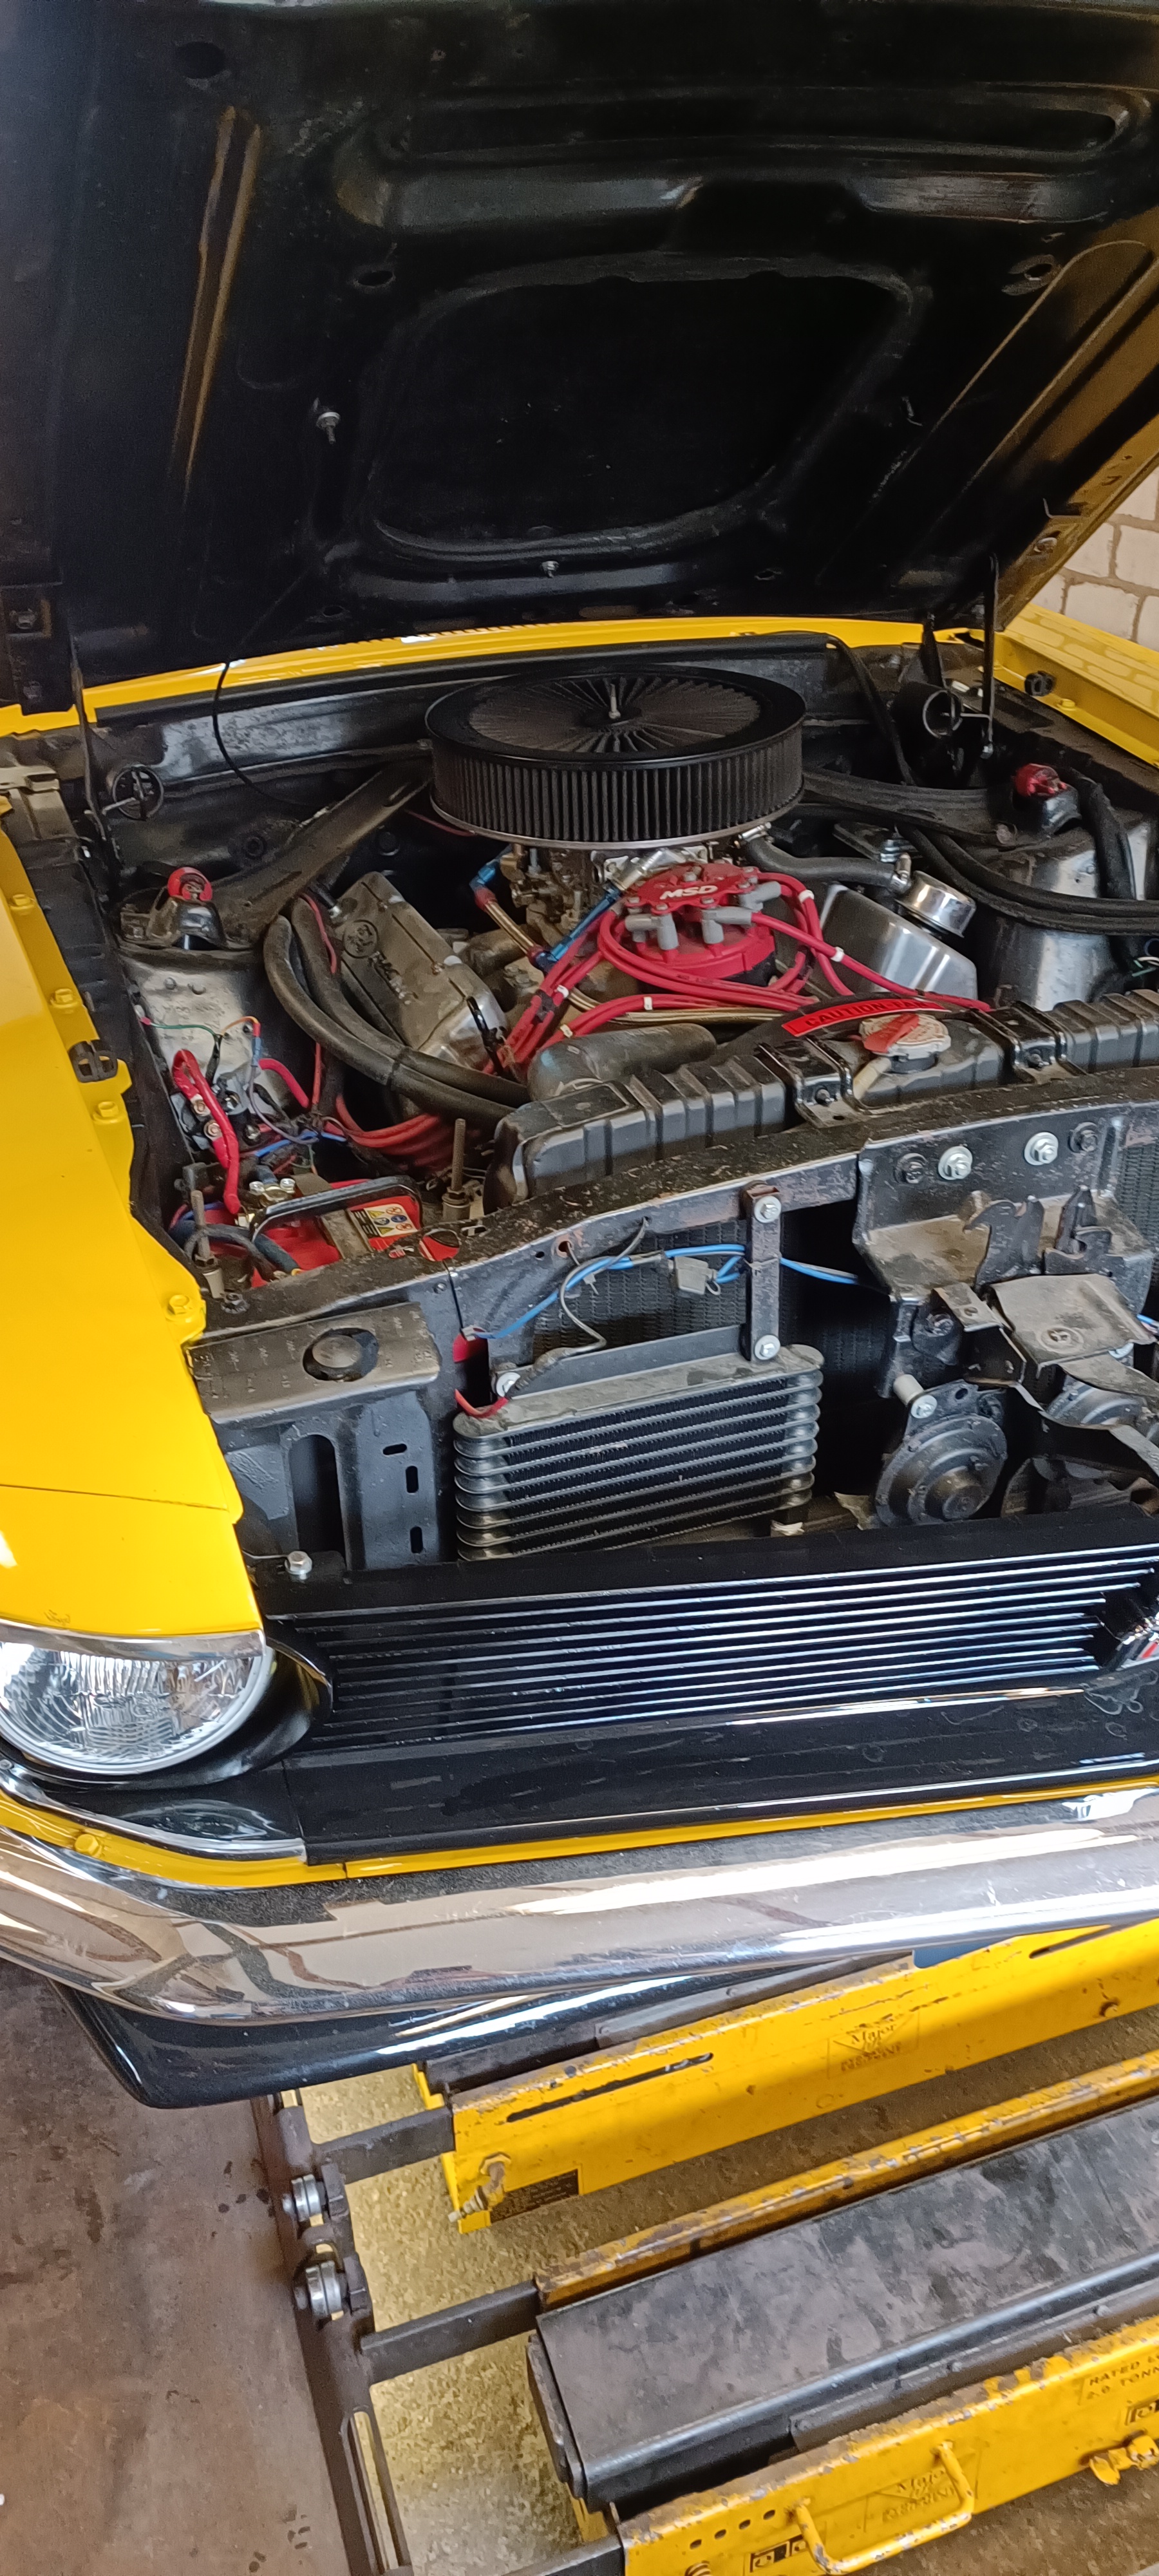
What color is your car? Is that a Range Rover paint code. Looks very similar to what I’m respraying my car with. Engine bay is done. Replacing all the lines and upgrading the wiring before I drop the new motor in.1 point
-
1 pointYes, the threading is standard righty tighty but looking from the bottom. So from above, everything is backards. If you can't adjust it out with the mixture nuts then it's a float level issue1 point
-
OK don't hate me, but cheapo ebay one for £129GBP - had other UK club members have good experiences with them so for the price it was worth a try as the original 2 row rad had started weeping. https://www.ebay.co.uk/itm/394847457594 (Price has gone up since I bought it, but not by much) Two of the 4 holes didn't quite line up so I had to gently modify them on the rad to fit. The fan shroud is a standard one, but again, I had to modify the mounting points for it to fit. In fact, I drilled and tapped the tabs where the shroud hangs so that I could screw the shroud on at those points. I'll log on from my phone in a moment and upload some photos. As with any job on the Z, the moment you take something off, you have a) better access to something else to deal with, find surface rust to treat, c) start re-doing all sorts of other stuff and before you know it your 1 hour job turned into 9.5 hours! So I gave it a quick test in the driveway with a 10 mins fast idle at 2.5K rpm with ambient temps of somewhere between 20-25 degrees C and bonnet shut. With mech fan only, the temps only went ever so slightly over halfway. Proper test run this weekend once I re-wrap the loom I unwrapped to do neatly (because that was vital to my cooling project, right?). Hole mods - see sharpie marking before I drilled / filed it. Modifying rad and fan shroud Had to protect the fins during install as they are more delicate than the copper / Nickel ones on the original rad1 point
-
Details please Sir. Sourced, How the fan shroud fits etc…. thanks1 point
-
1 pointYes, They even include directions on how to 'bed in' the brakes. Very thorough.1 point
-
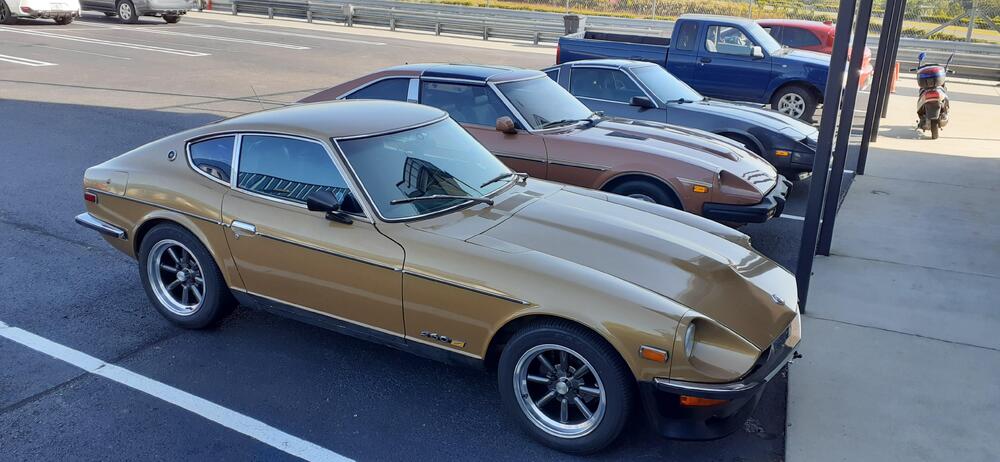
Hanging out at Atlanta Motorsports Park north of Atlanta for ZNationals Track Day.
 1 point
 -
1 pointSteve, I've done the continuity test, 1.6 ohms between the positive tab and the far side of the contact. The only thing I haven't done is install the thin paper gaskets. MVI_2384.MP41 point
-
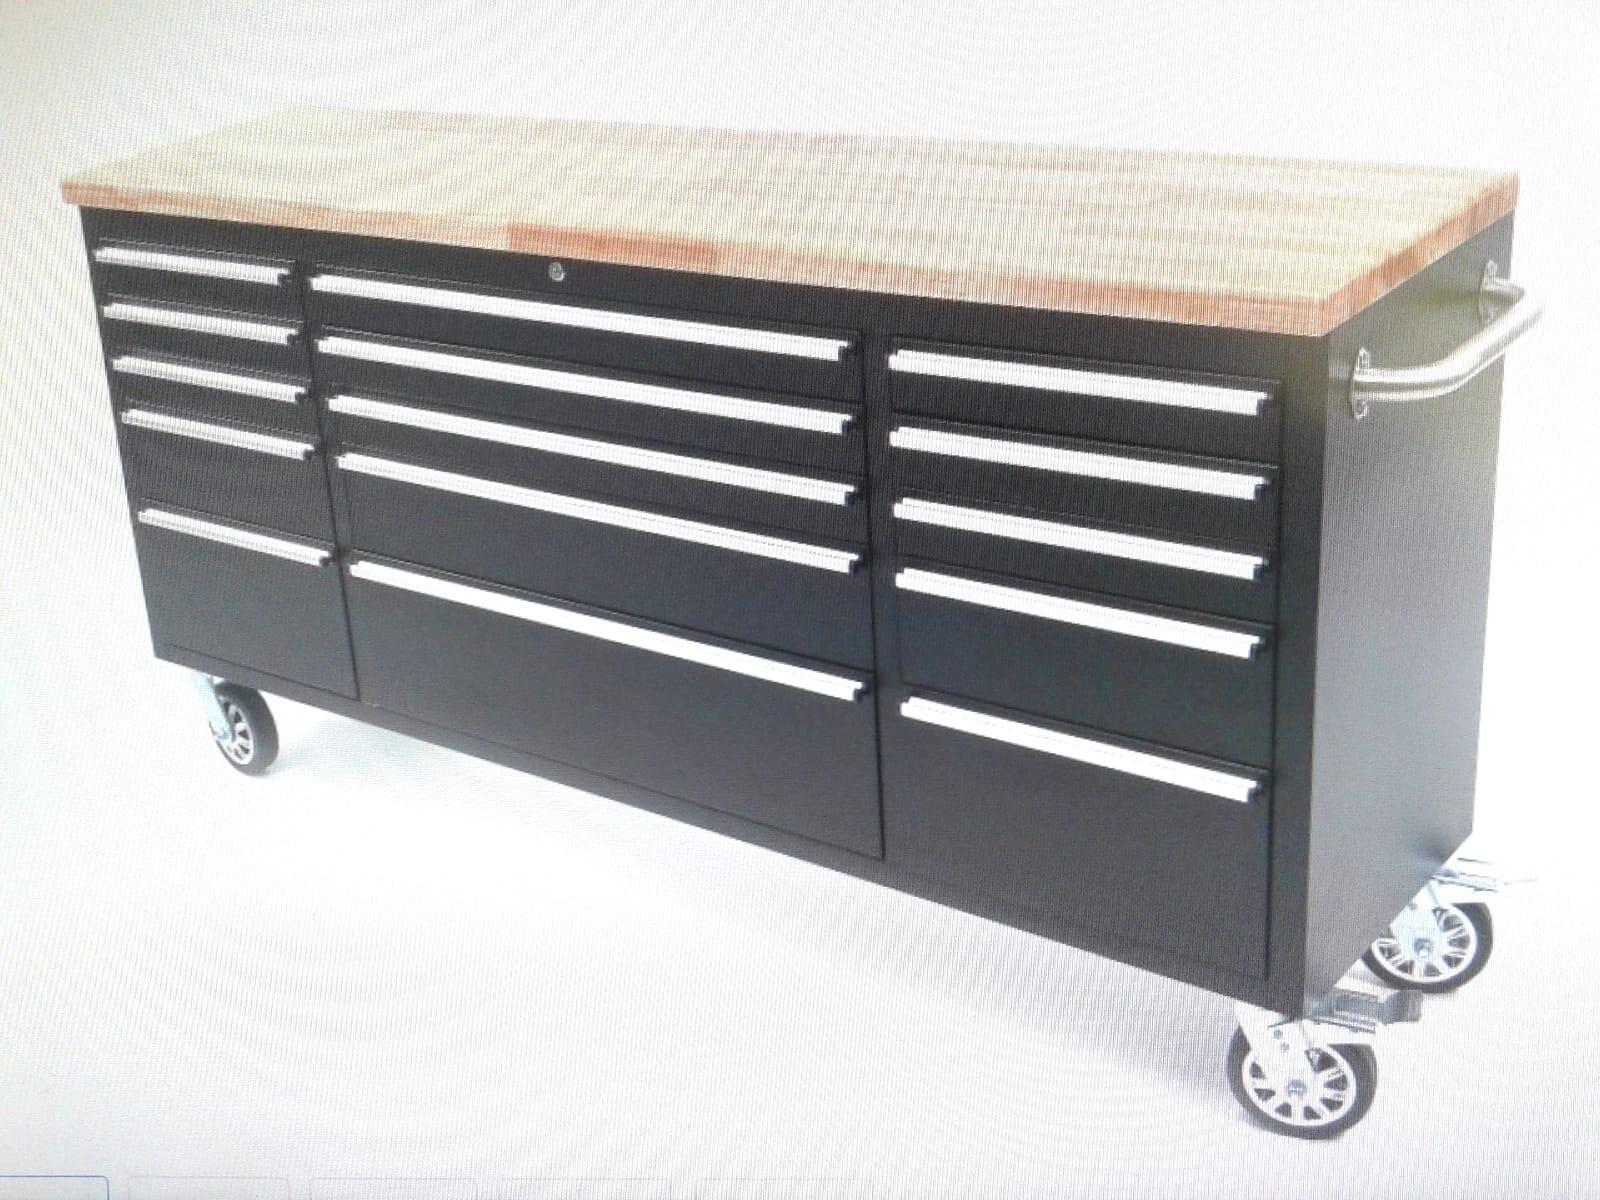
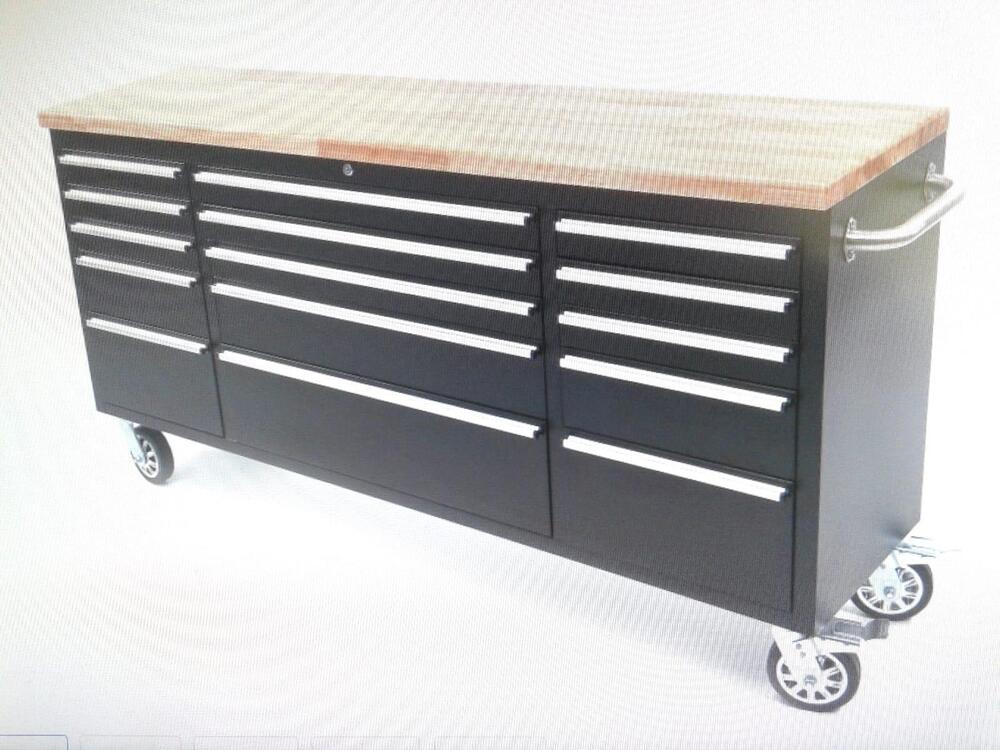
1 pointI sometimes buy from HBM. Few month's ago bought this bench/tool box, a bit expensive but a good quality product.. (I removed the HBM sticker though!)
 1 point
 -
1 pointAlso to update on marker light screws Yes, the come black and they are stainless So I bead blasted it Then I buffed it for about 5 seconds That should work...

 1 point
 -
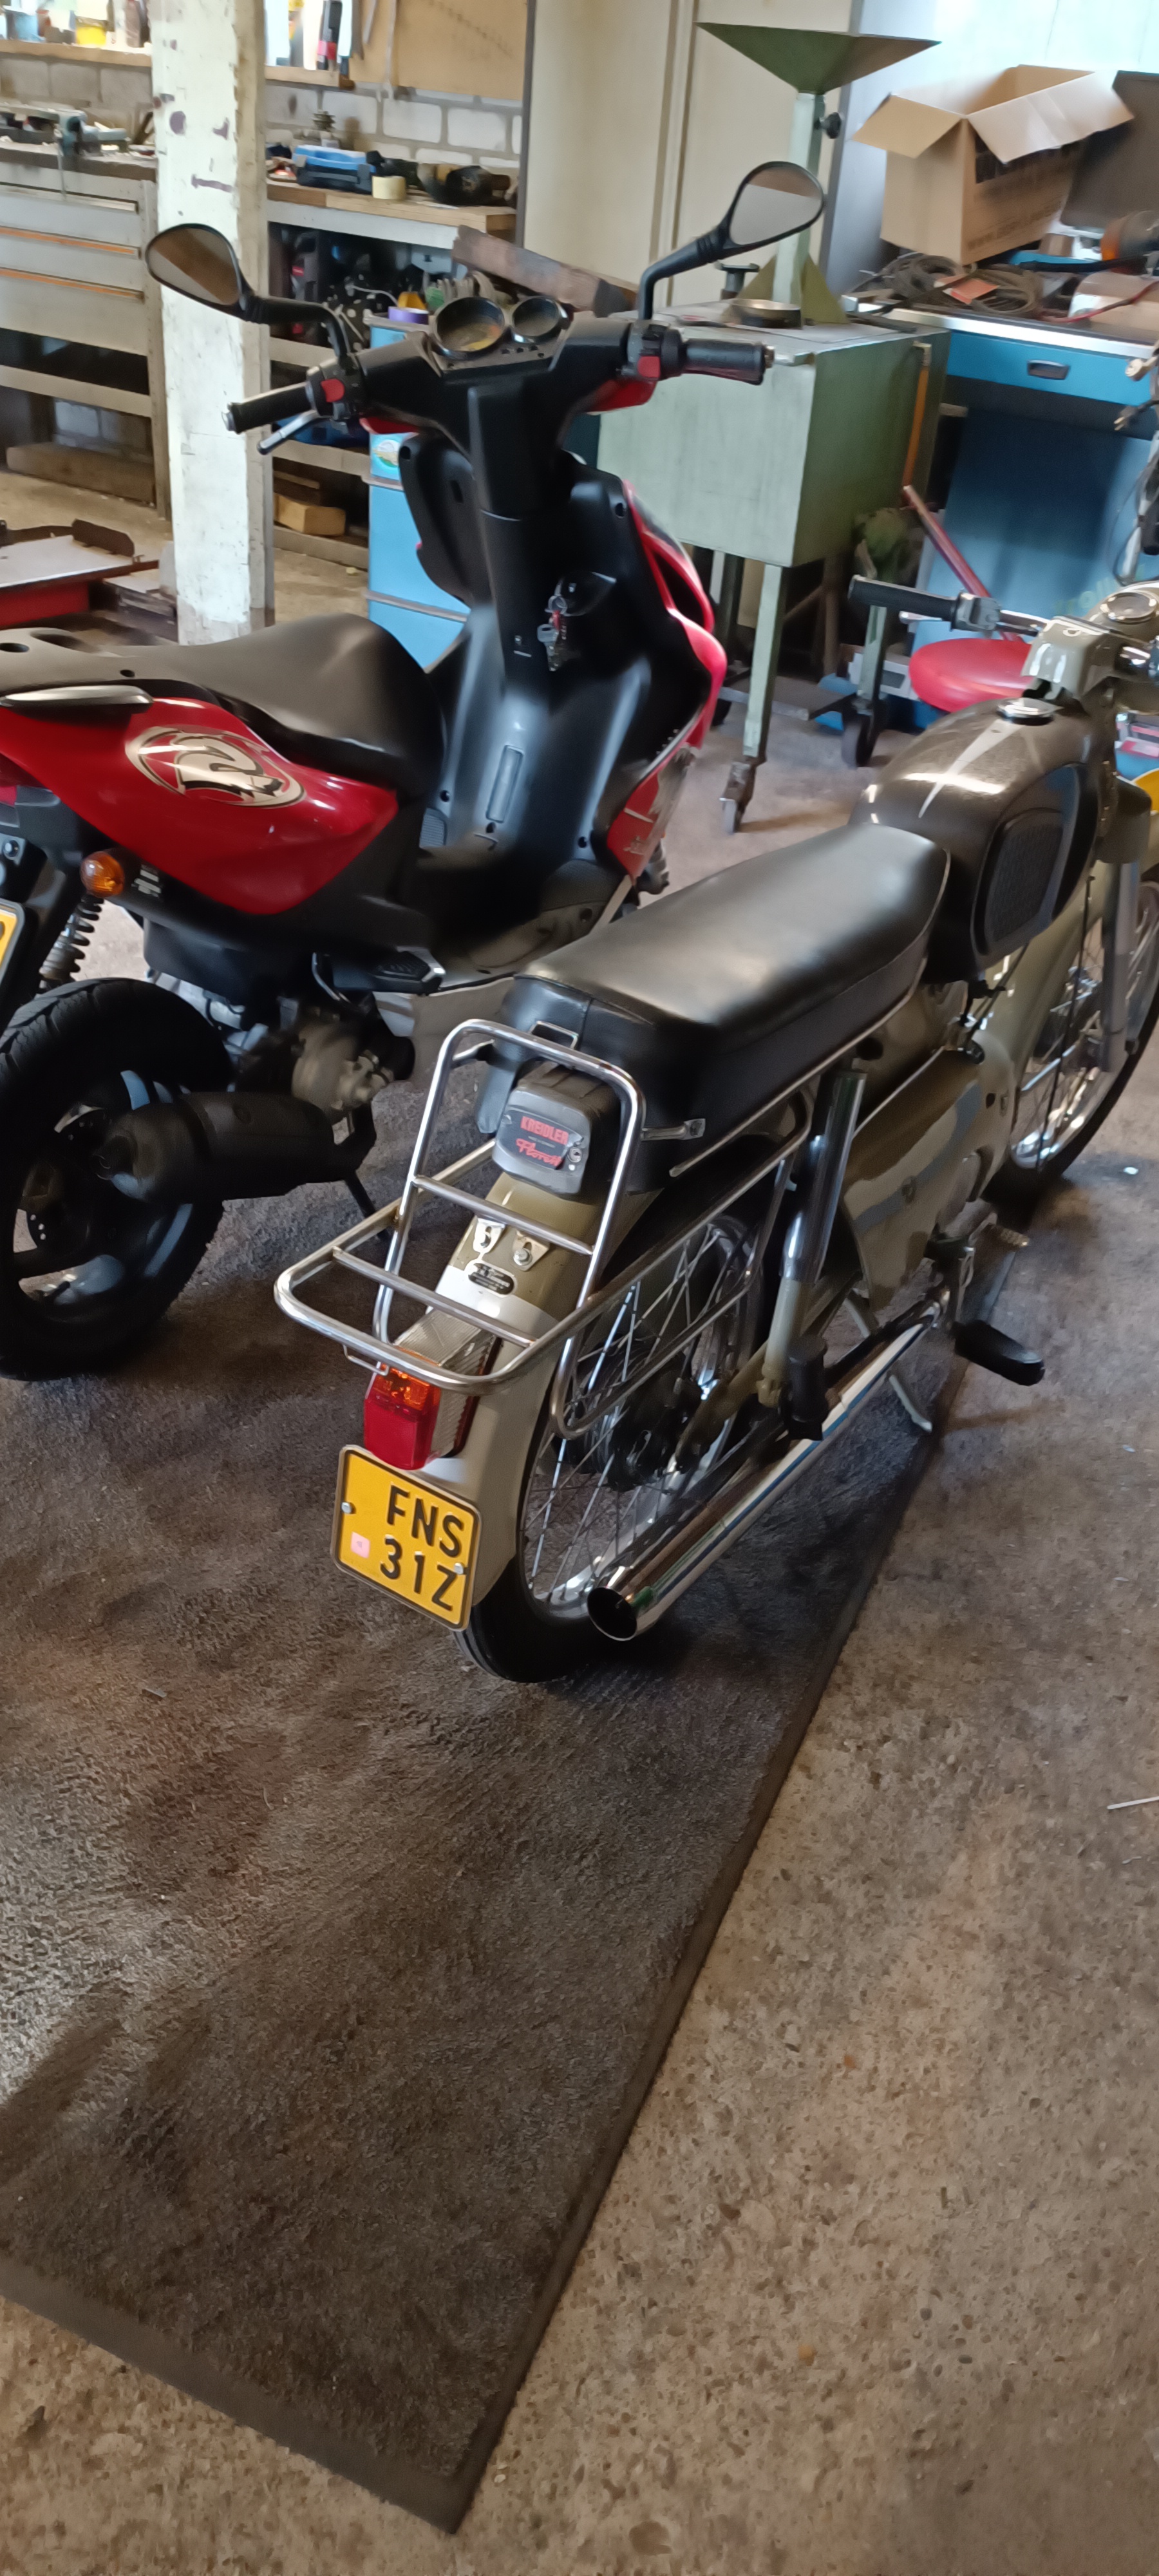
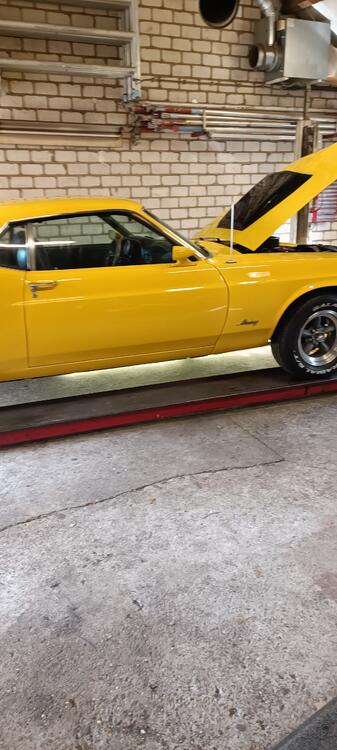
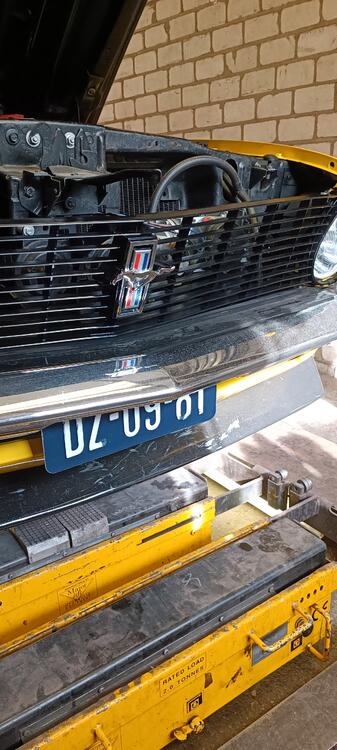
1 pointHi Mart, Matte finish i read somewhere is original the tailpanel,not clear coated. Yes this is 2k paint but not shiny. The rear deck lid i put clear coat yes.. These are my other classics, the Mustang just got new paint.. . The Kreidler 50cc is from 70 the Yamaha scooter from 1998, but these are getting classics slowly, and i wanted an original one, since i had that scooter when i was 16😄. Currently putting together a 65 zundapp 50cc to. This will be the last project so far..

 1 point
 -
Finished replacing the front marker lamps and front signals with LED bulbs, that circuit is now the same temp. as the rest of them, at least as far as my finger can tell. Thank you gentlemen.1 point
-
I'll take a look sometime, but I hadn't registered any issues. Maybe I've just been of the mindset that I enjoy seeing the gauges at night.1 point
-
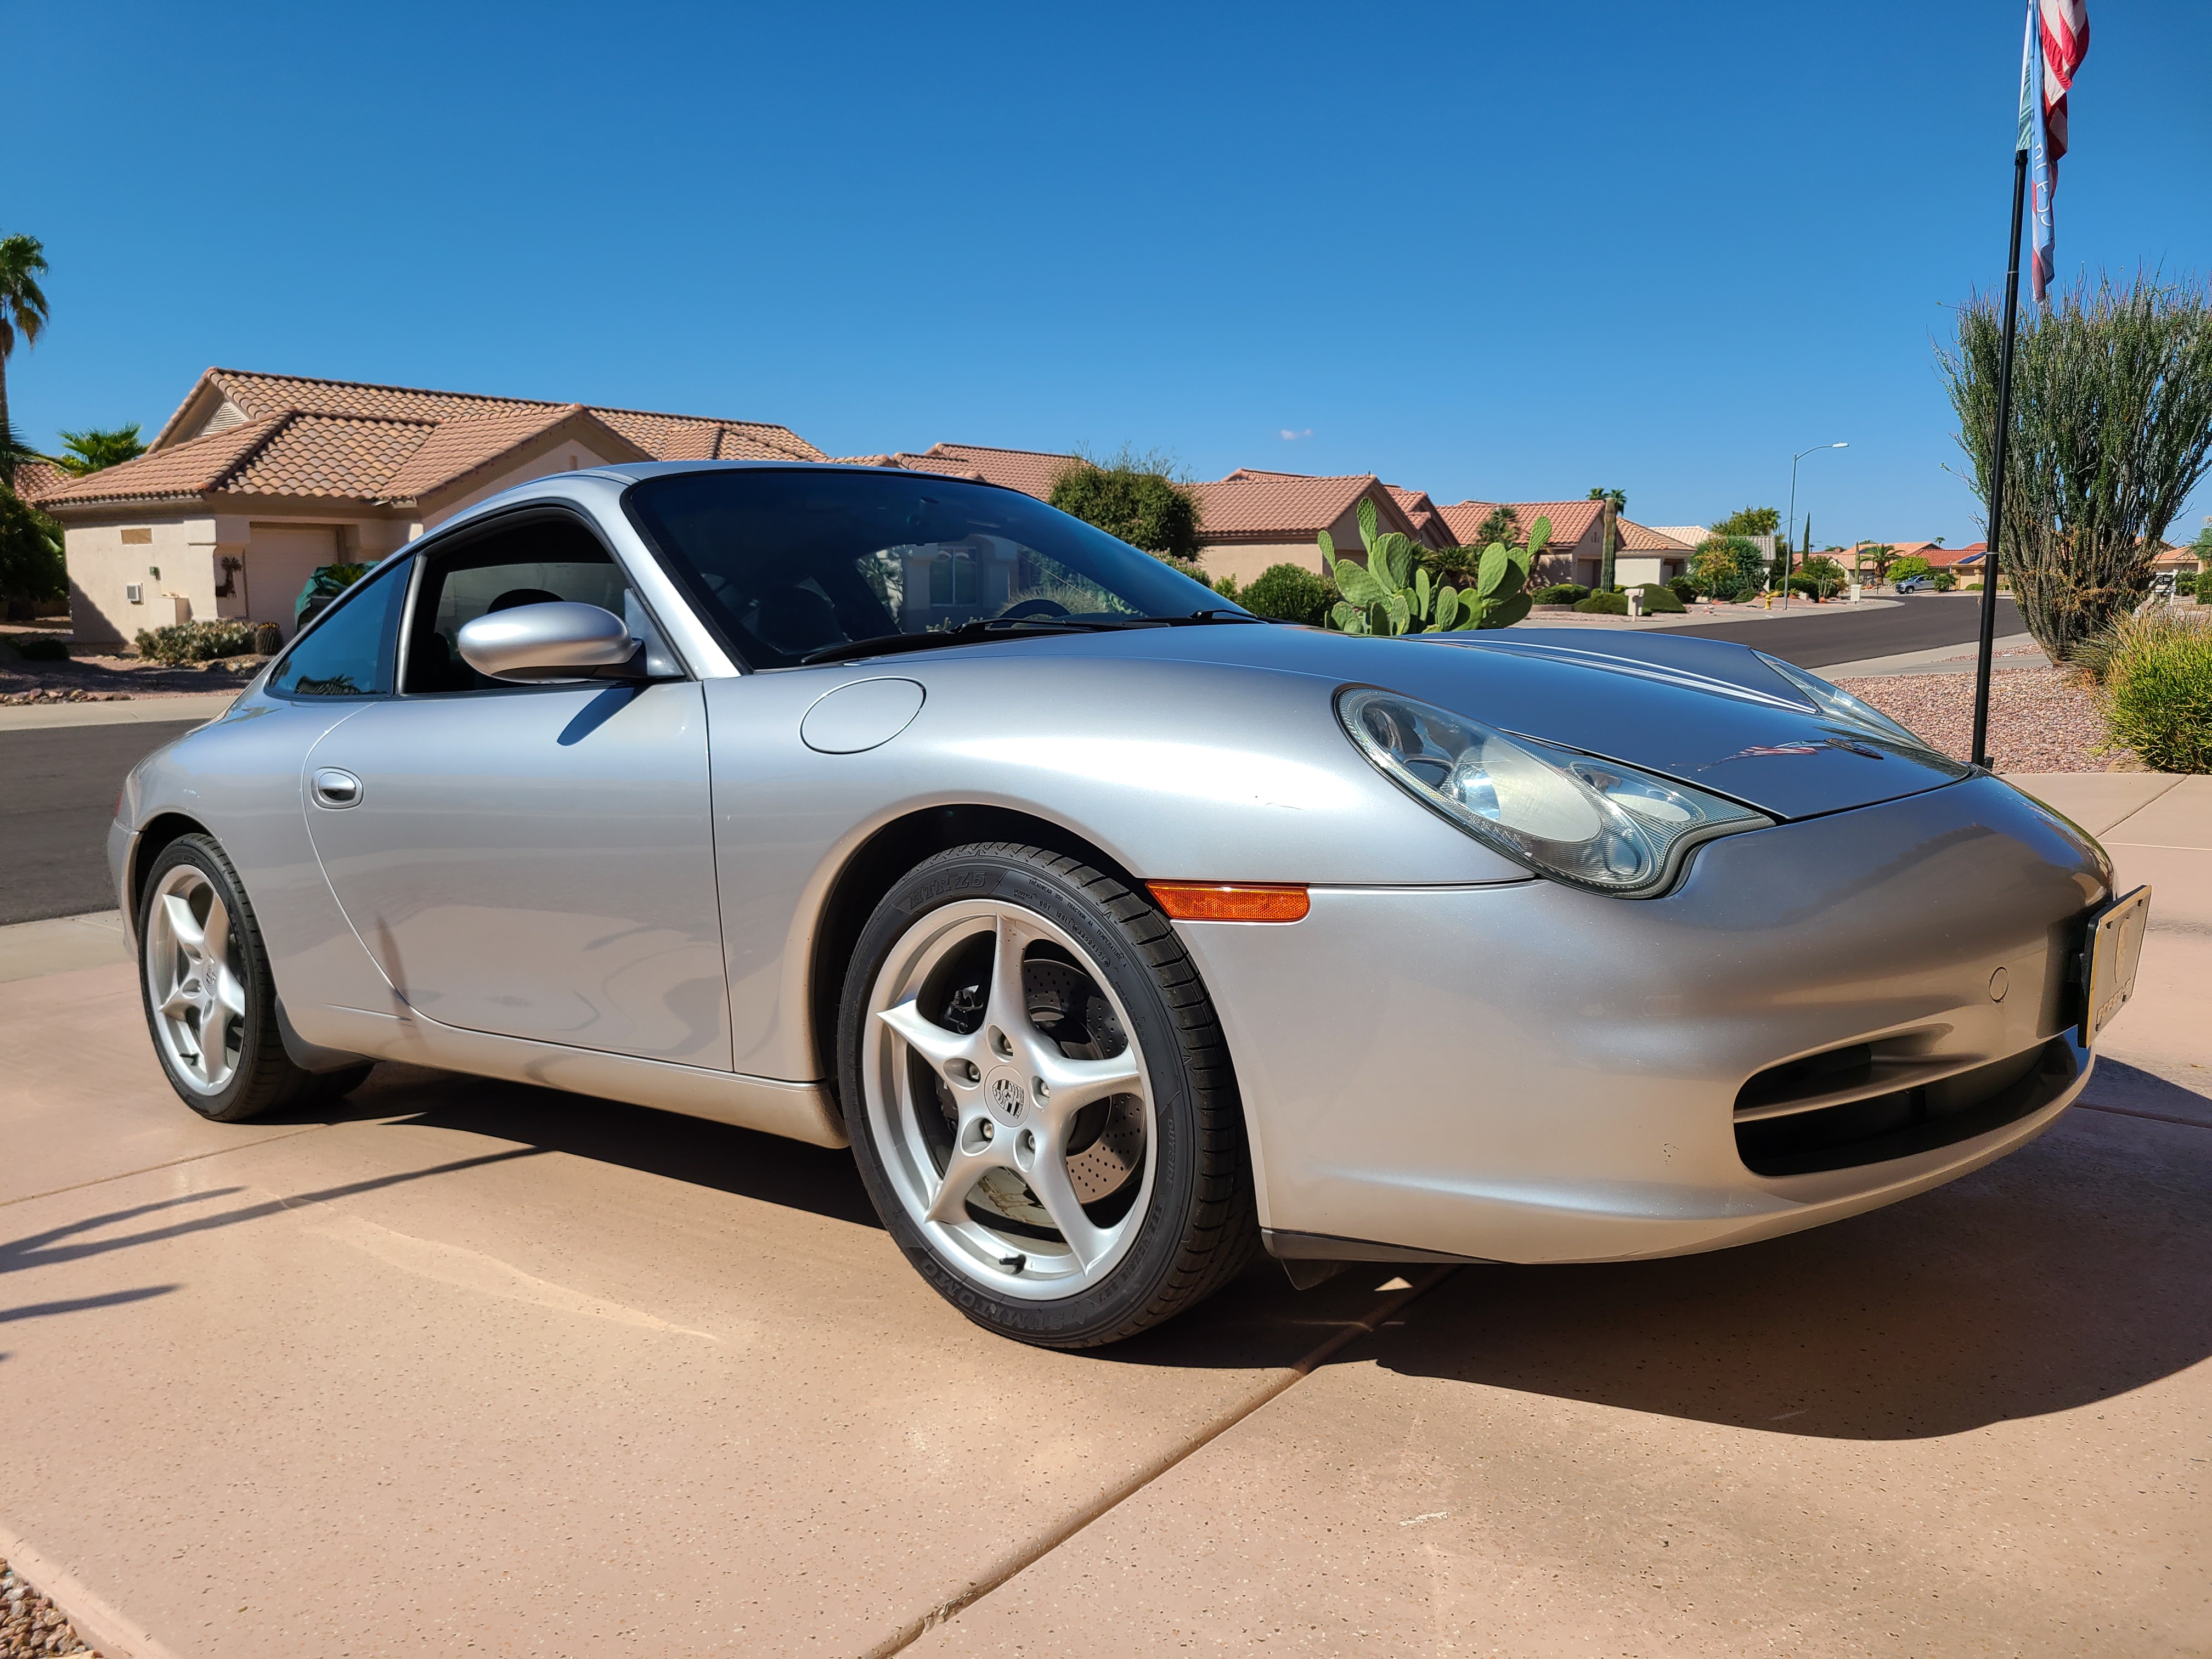
The orange is a special edition and they are impossible to find. Dealers think they are made of gold. I can't afford a new Z, and frankly, I'm not sure I'd want one. The GR86 weighs 800 lbs. less than the Z which makes it more playful. The Z is a nice car, but it's just too big for me. I am sad to see the 996 go, but at nearly 150,000 miles, it should be a weekend car now and not a daily driver. I don't have the garage space, or money to keep it and buy another car.
 1 point
 -
1 pointI told the painter to fit the fiberglass (aftermarket ) headlight scoops. He didn't and they fit like crap. Best case only they will need to be redone. I wonder what people that have zero mechanical ability do with their free time? 🤣1 point