Leaderboard


 Subscriber

.JPG.cfcada9cf1c1b502df3f5f2f2ca3ff36.JPG)

Popular Content
Showing content with the highest reputation on 09/25/2023 in all areas
-
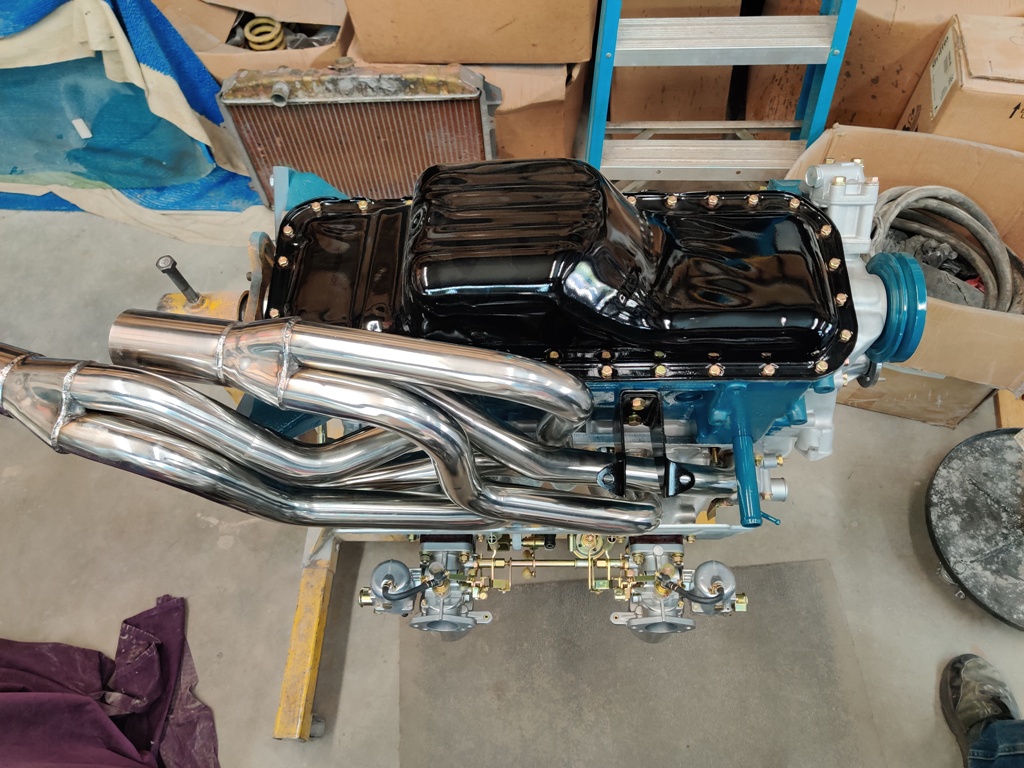
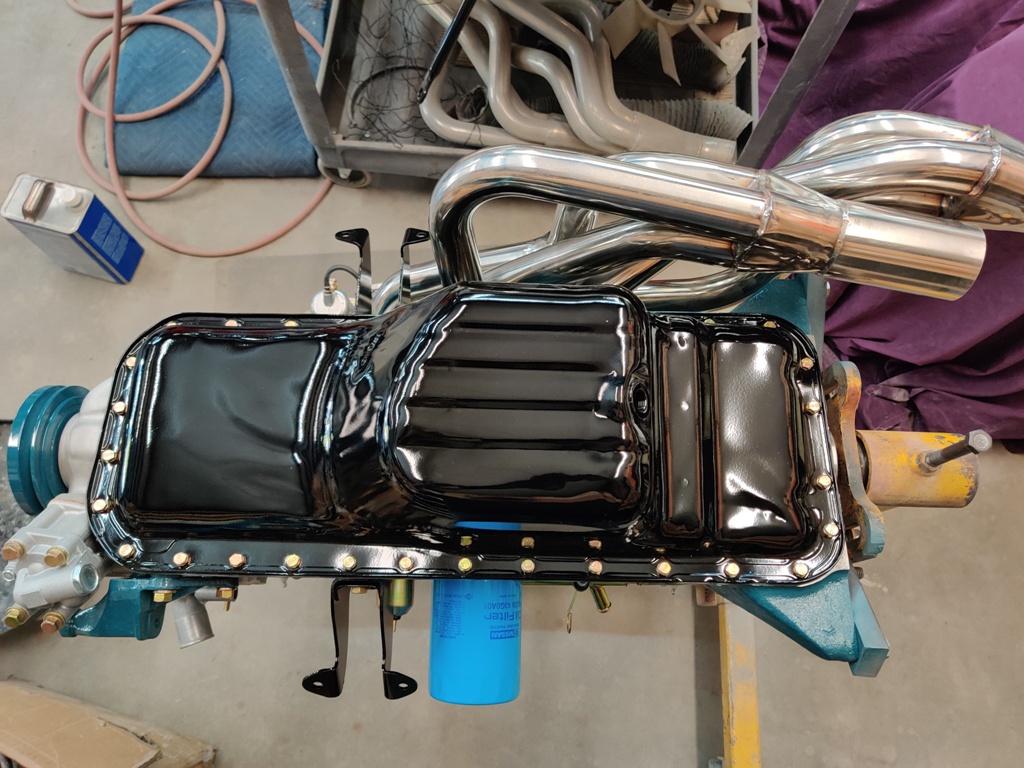
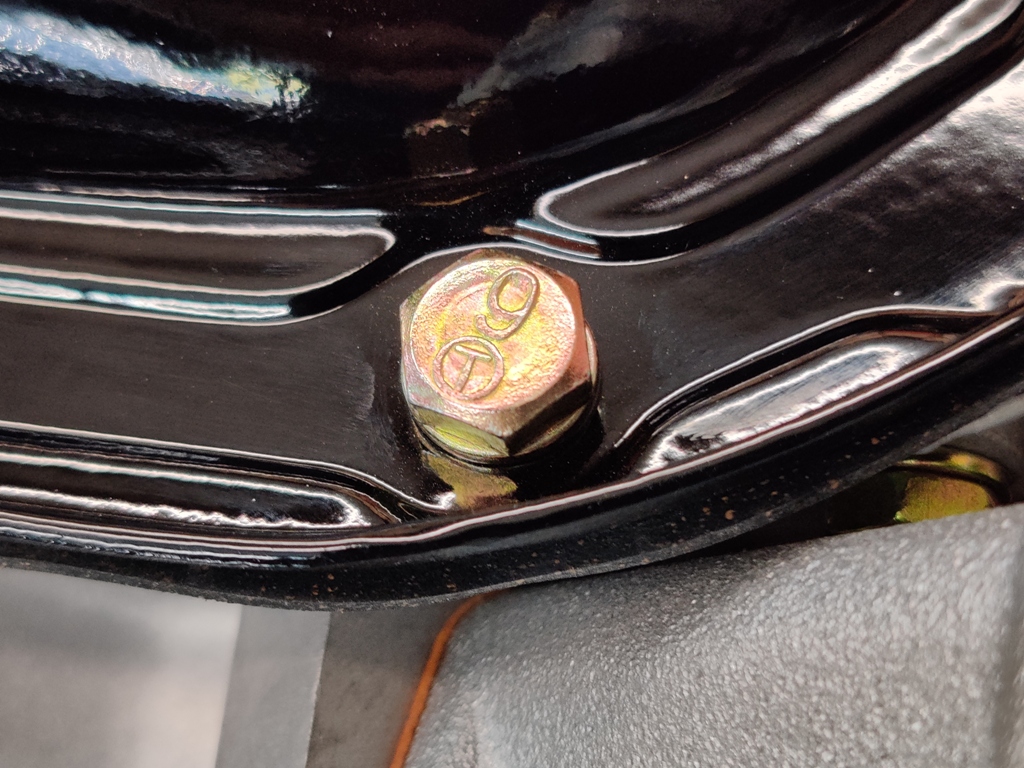
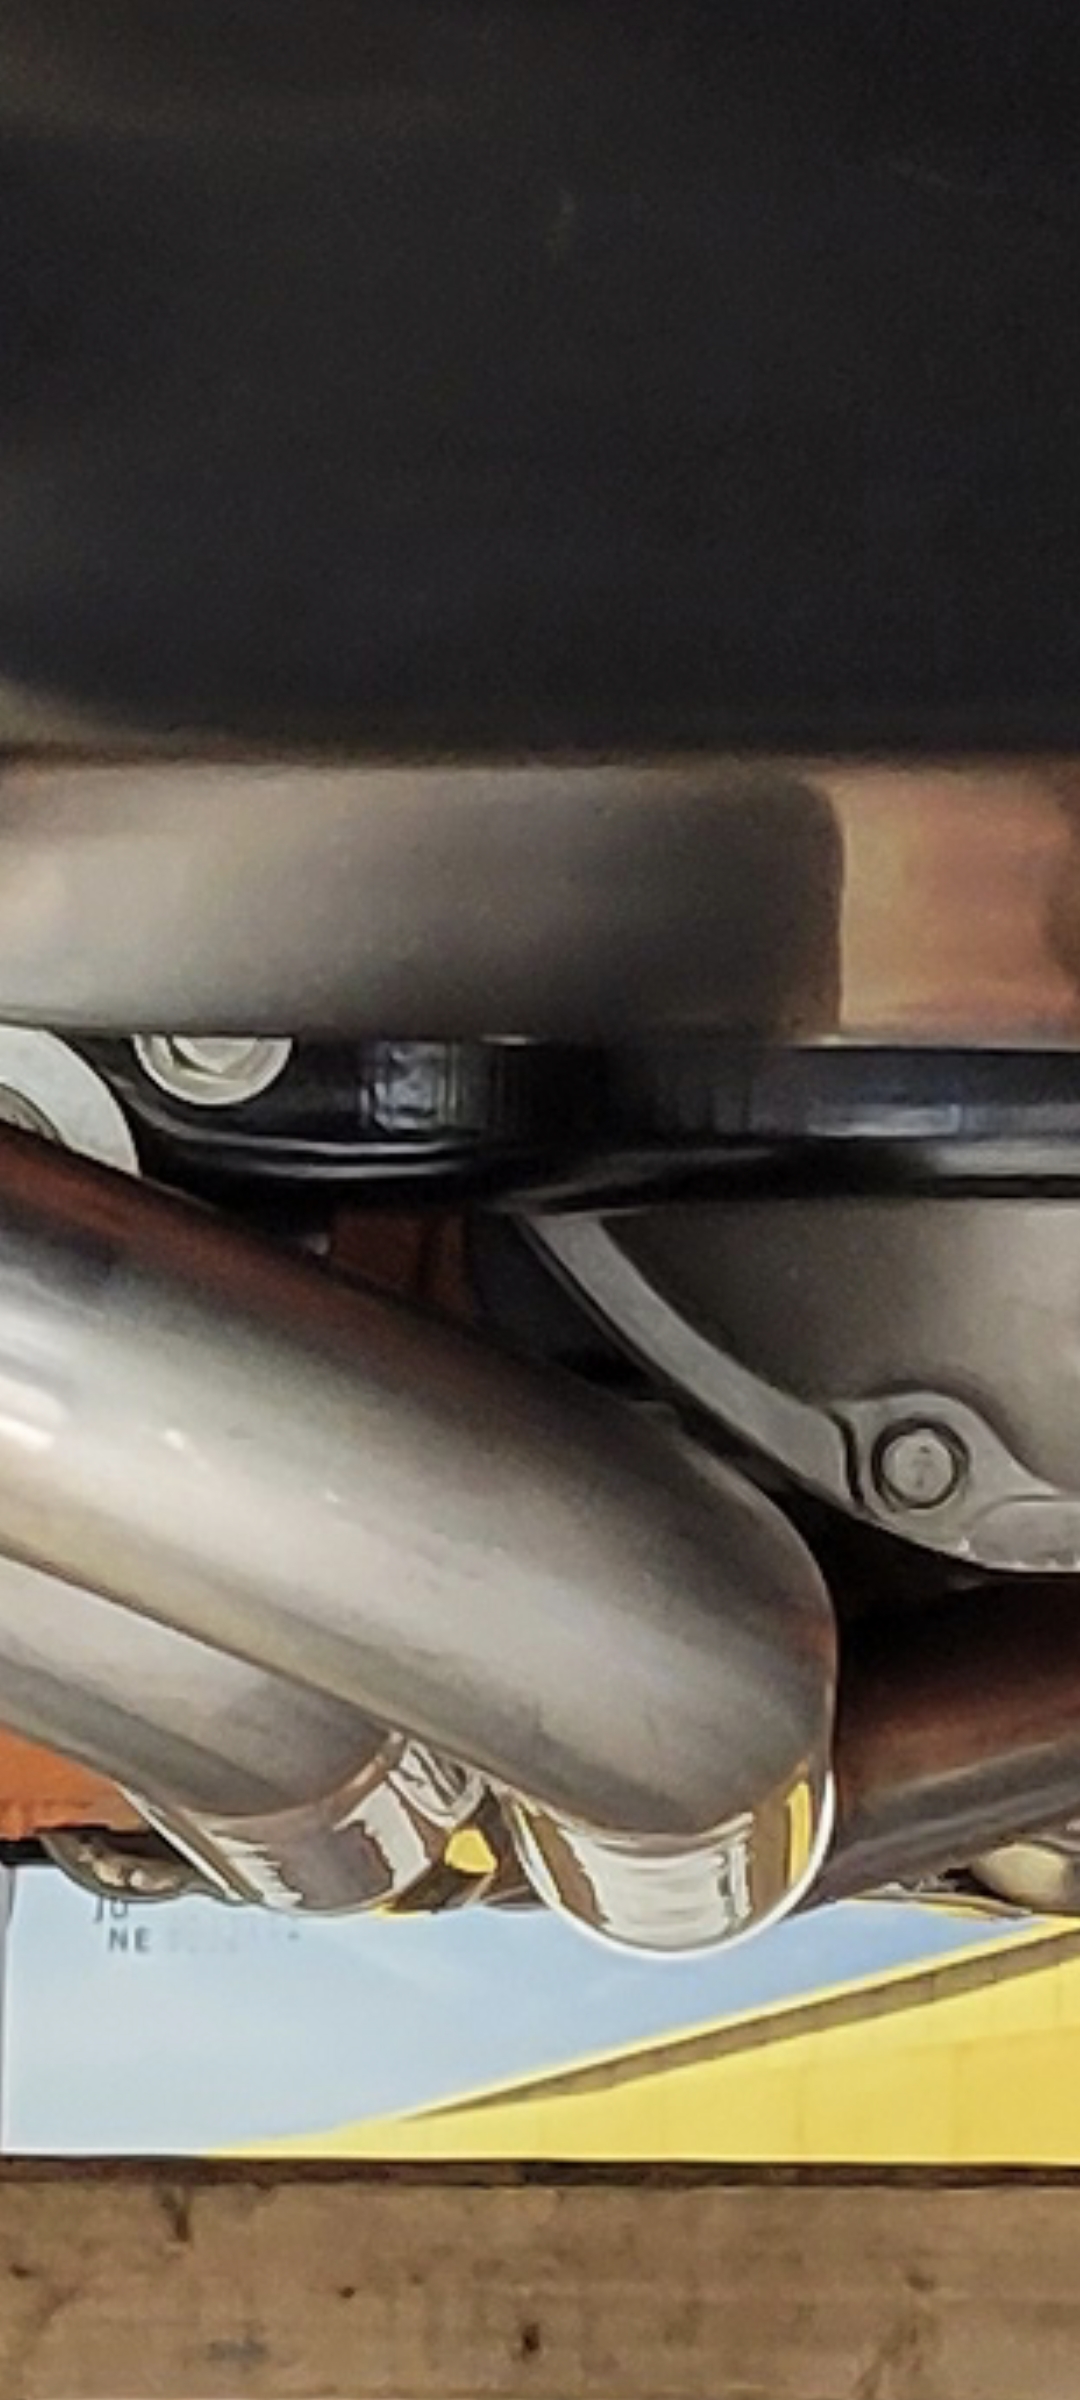
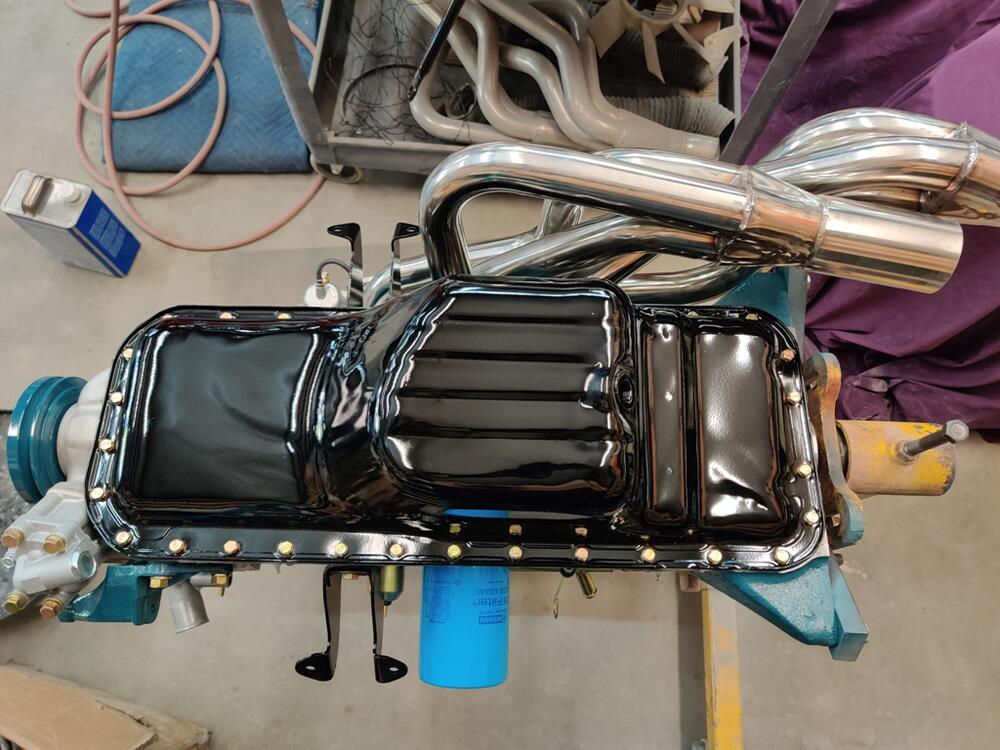
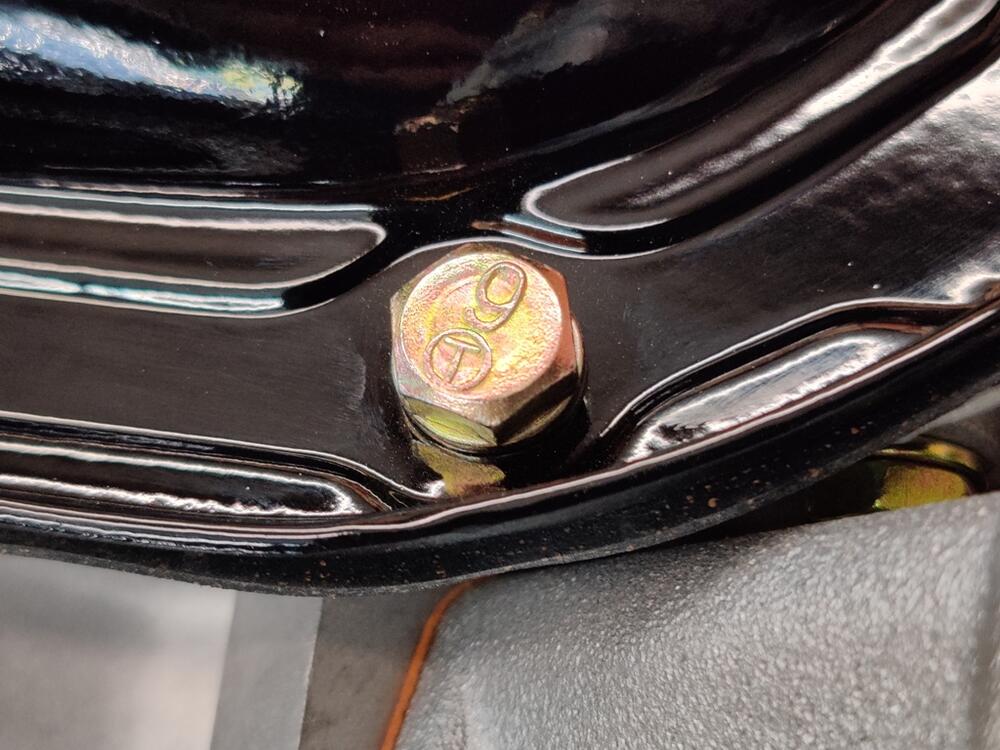
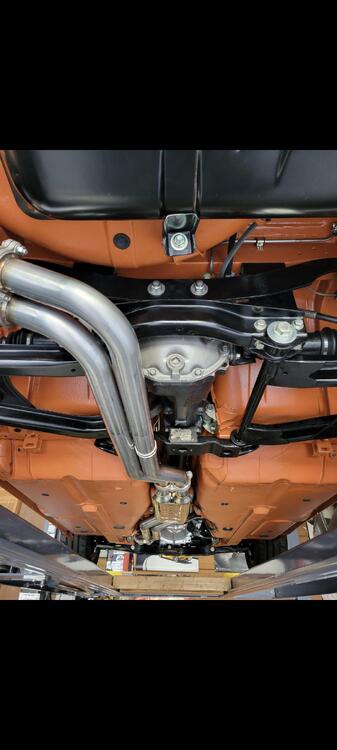
Over the weekend, I worked on the engine a bit more. The oil pickup tube gasket was missing, so I wasn't able to put on the oil pan until that arrived Saturday. All of the oil pan bolts are original. I torqued them to 42 inch lbs - a little under 4 ft-lbs. I used a Nissan competition rubber oil pan gasket. These are better than the cork ones that are typically available. The header is some kind of sexy with the engine flipped over:

 5 points
 -
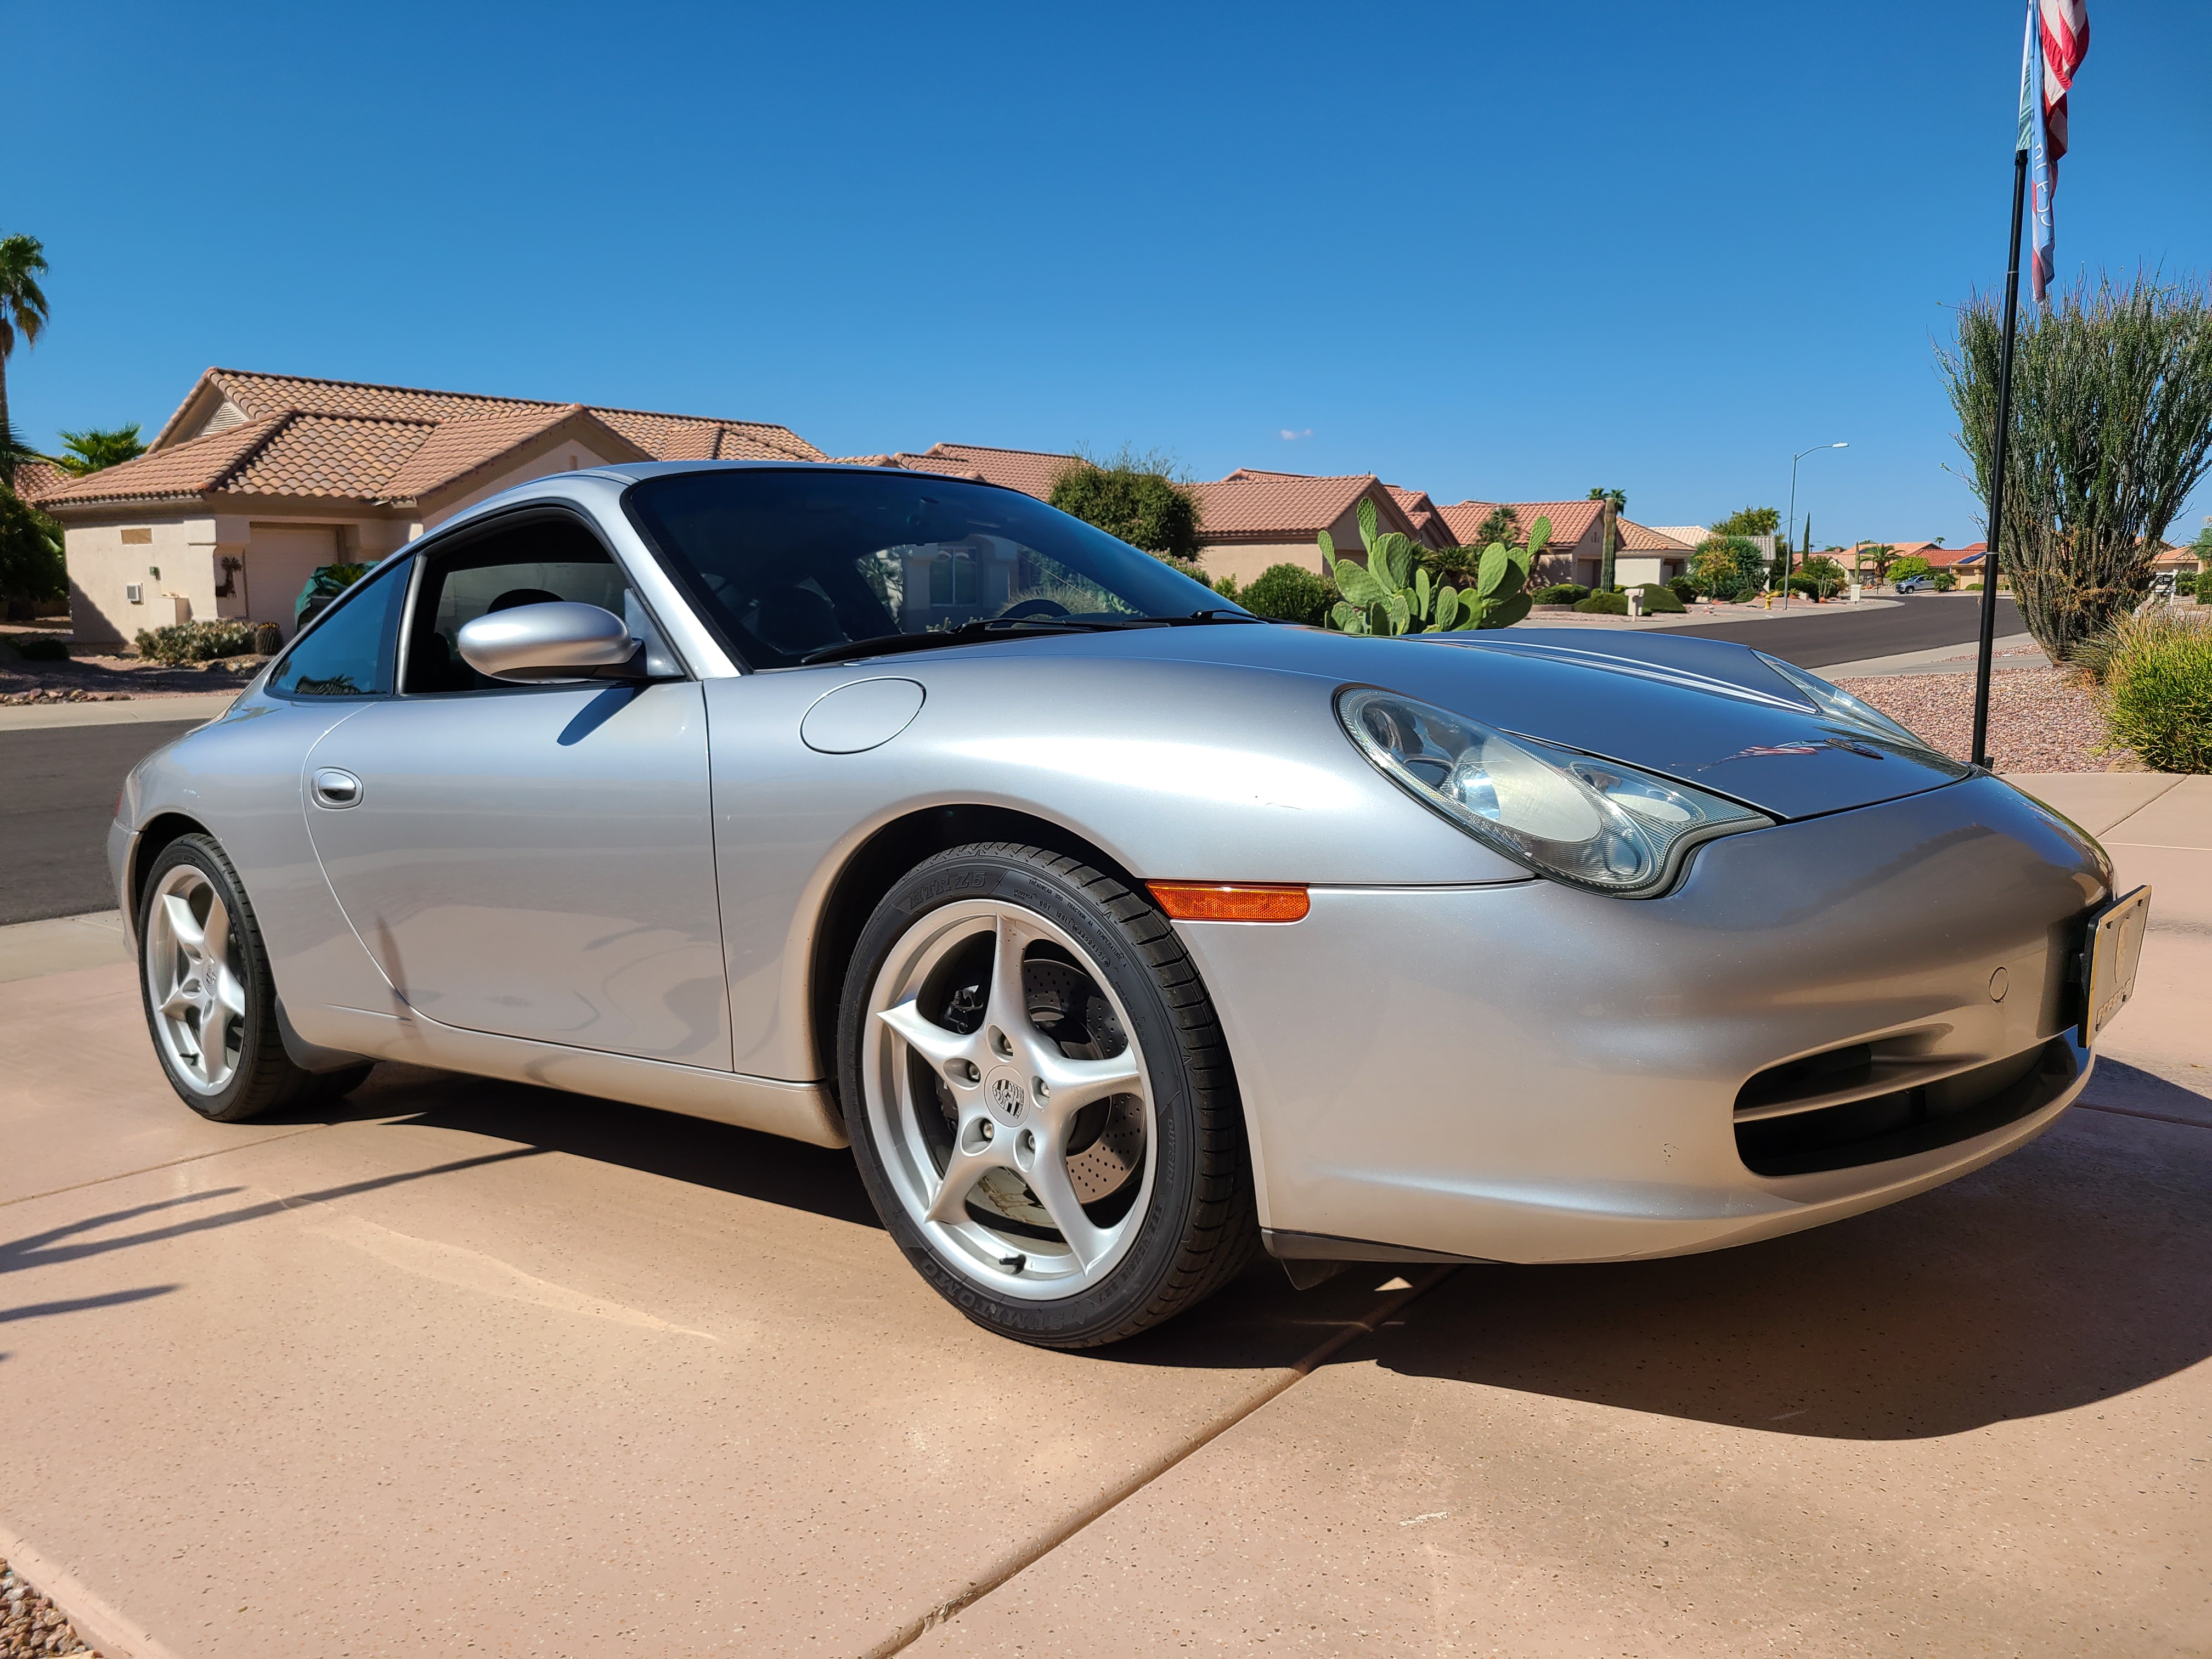
The orange is a special edition and they are impossible to find. Dealers think they are made of gold. I can't afford a new Z, and frankly, I'm not sure I'd want one. The GR86 weighs 800 lbs. less than the Z which makes it more playful. The Z is a nice car, but it's just too big for me. I am sad to see the 996 go, but at nearly 150,000 miles, it should be a weekend car now and not a daily driver. I don't have the garage space, or money to keep it and buy another car.
 4 points
 -
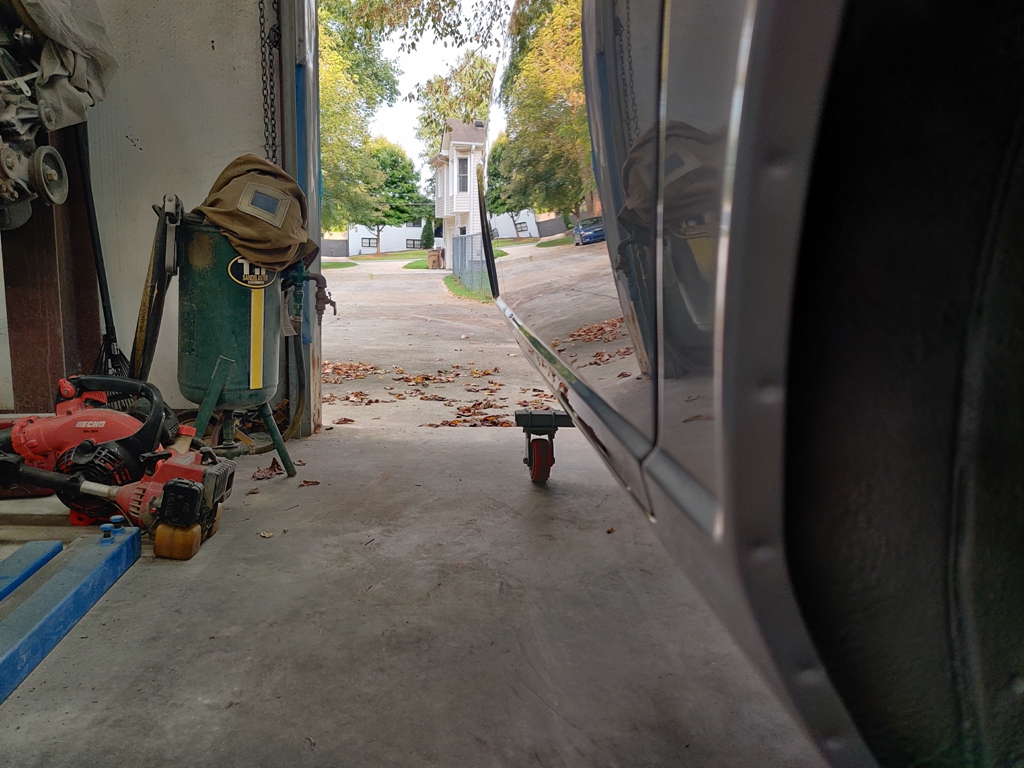
I made good progress today in my effort to get the 280Z back on the road after a long nap. I pulled the trans and replaced the rear main seal, the trans output shaft seal, clutch release arm boot, replaced the speedo pinion and replaced the O ring, and got the trans back in. Working alone on jack stands sucks. 30 years ago, I could just pull the trans by hand and drop it on my chest, but I'm older and weaker now, so I just used a floor jack to lower the trans. I thought installing it would be much worse, but I made two alignment dowels which worked great. I cut the heads off two long hardware store bolts, cut a slot in the end and rounded the edges. I made one bolt longer than the other and I screwed them into the two lower block holes. I put the longer one in the hole with the dowel. With the two alignments pins in place, I could get the trans started over the long pin and then rotate the trans to match the second pin. Once lined up, I slid the trans right in. It was the easiest trans install I've ever done. I'm taking Monday off work, so I will install the starter, driveshaft, shifter, console, speedo cable, and add MT90. From there I just have to wait for an order to show up from Jegs with the 2-1/2" 3-bolt flange collector so I can finish the exhaust install. My daily driver 911 is sold and ships to Georgia in a few days. I bought a new GR86, but it won't arrive until mid-November. I'll be borrowing cars until the Z is on the road and once it is, it will be my DD for at least 6 weeks. Hopefully, I don't find a bunch of other things that need attention. I briefly considered getting a few year old 370Z, but The GR86 is more like the original 240Z. It weighs about the same as a 280Z and has 228hp, so it should be a fun DD. The 1st gen didn't do anything for me, but the 2nd gen is better in every way.4 points
-
Well, it appears that the problem was the coil. I replaced it, and took several rides and problem appears to be gone. I also took your advice and ordered new NGK one piece plugs, but haven't got them yet. The finish line is in sight. Thanks guys.3 points
-
Here's one that looks more like the 2023 Z. I really like these and have had good luck with Toyotas. Jeff you are my hero, well you and Guy...many more too.
 3 points
 -
Here is a random pic off the interwebz. I got a red premium manual trans. Dealers in AZ want $10k over sticker, so I found one in Ohio for sticker and I'll have it shipped out to AZ. The new Z and the Supra are $15k - $20k more than the GR86 and they weigh much more.3 points
-
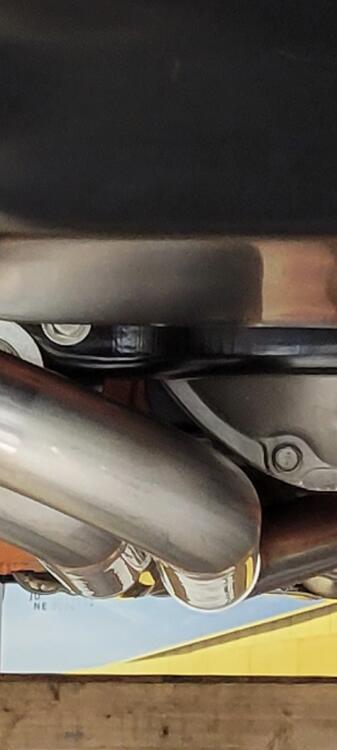
Exhaust is on, zero clearance issue around my r200. Fit ls perfect and sounds great. No need for a revised diff section for my 73 with an r200 at all. I went looking for rougher roads too no contact at all. You definitely need the Nissan rubber hangers but easy install and I'm way happier than with the Spirit Garage exhaust. I like flange vs slip fit you just need a helper to make sure the flanges are mated true, and don't over torque the hardware.
 3 points
 -
3 pointsVery good! I'm not supprised that the caps were out of tollerance. I've found so many lately that I check everything. Make sure you start and stop the clock 10 or 15 times to make sure everything is good. Ron3 points
-
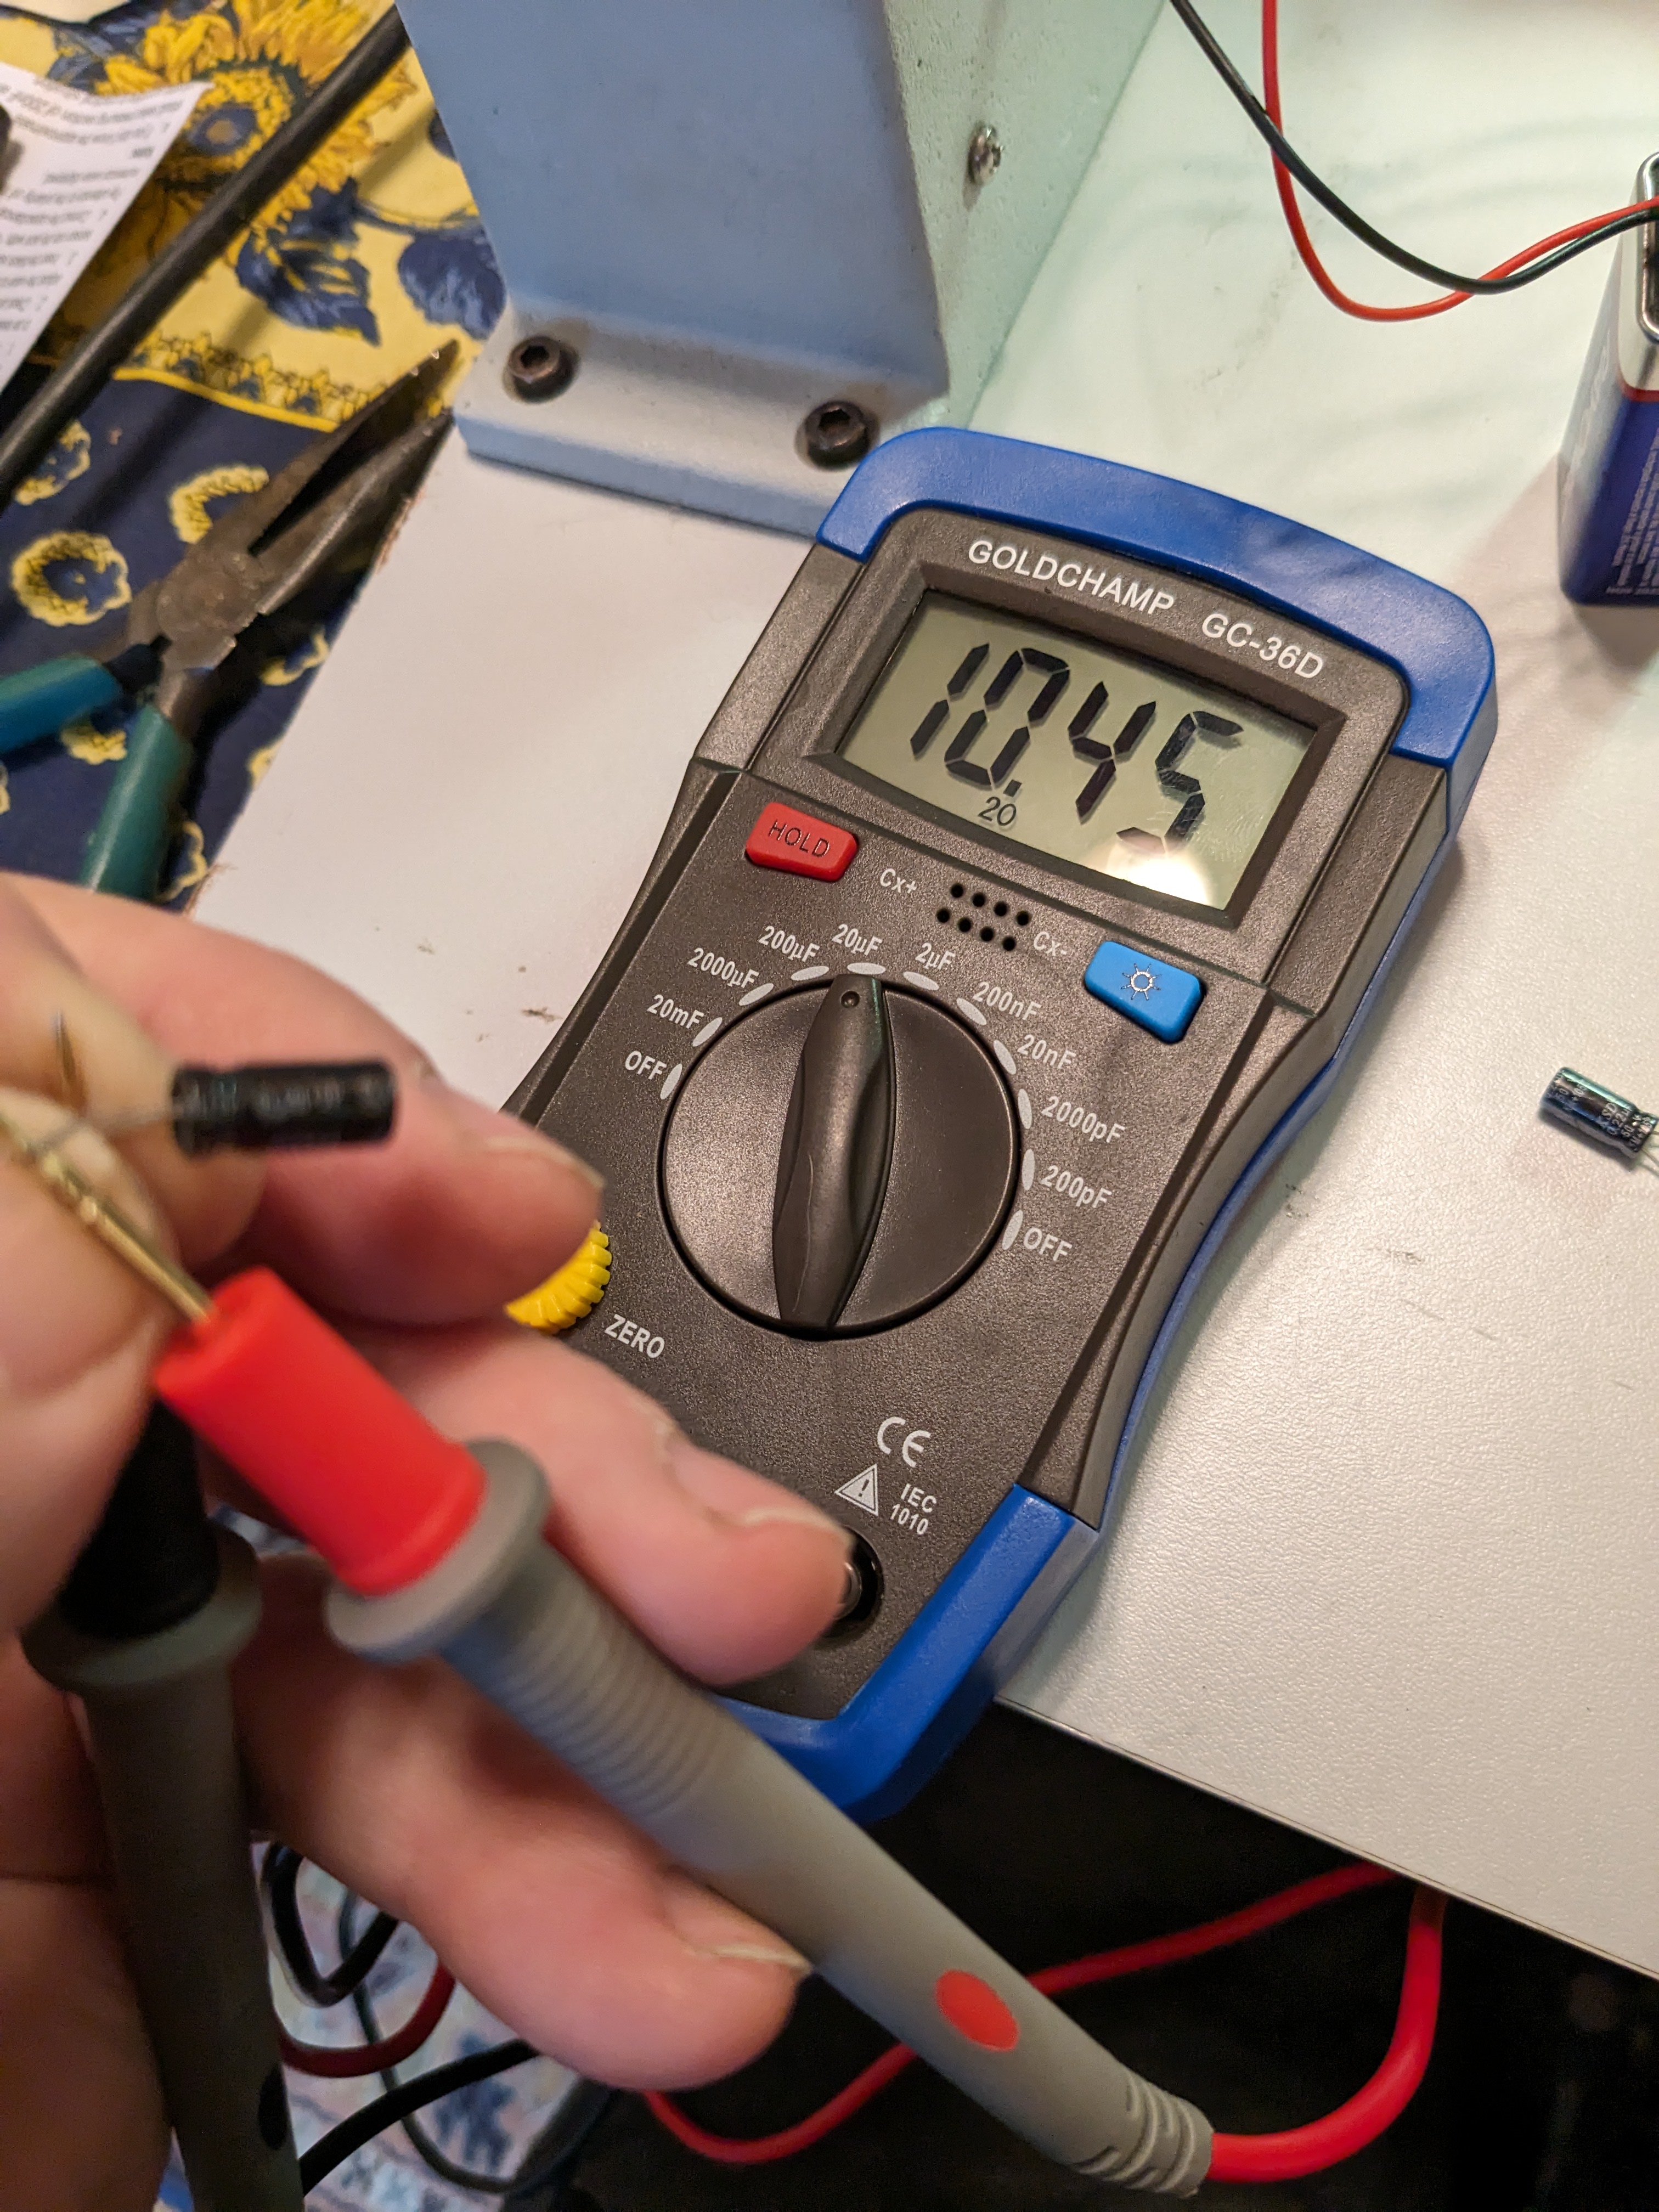
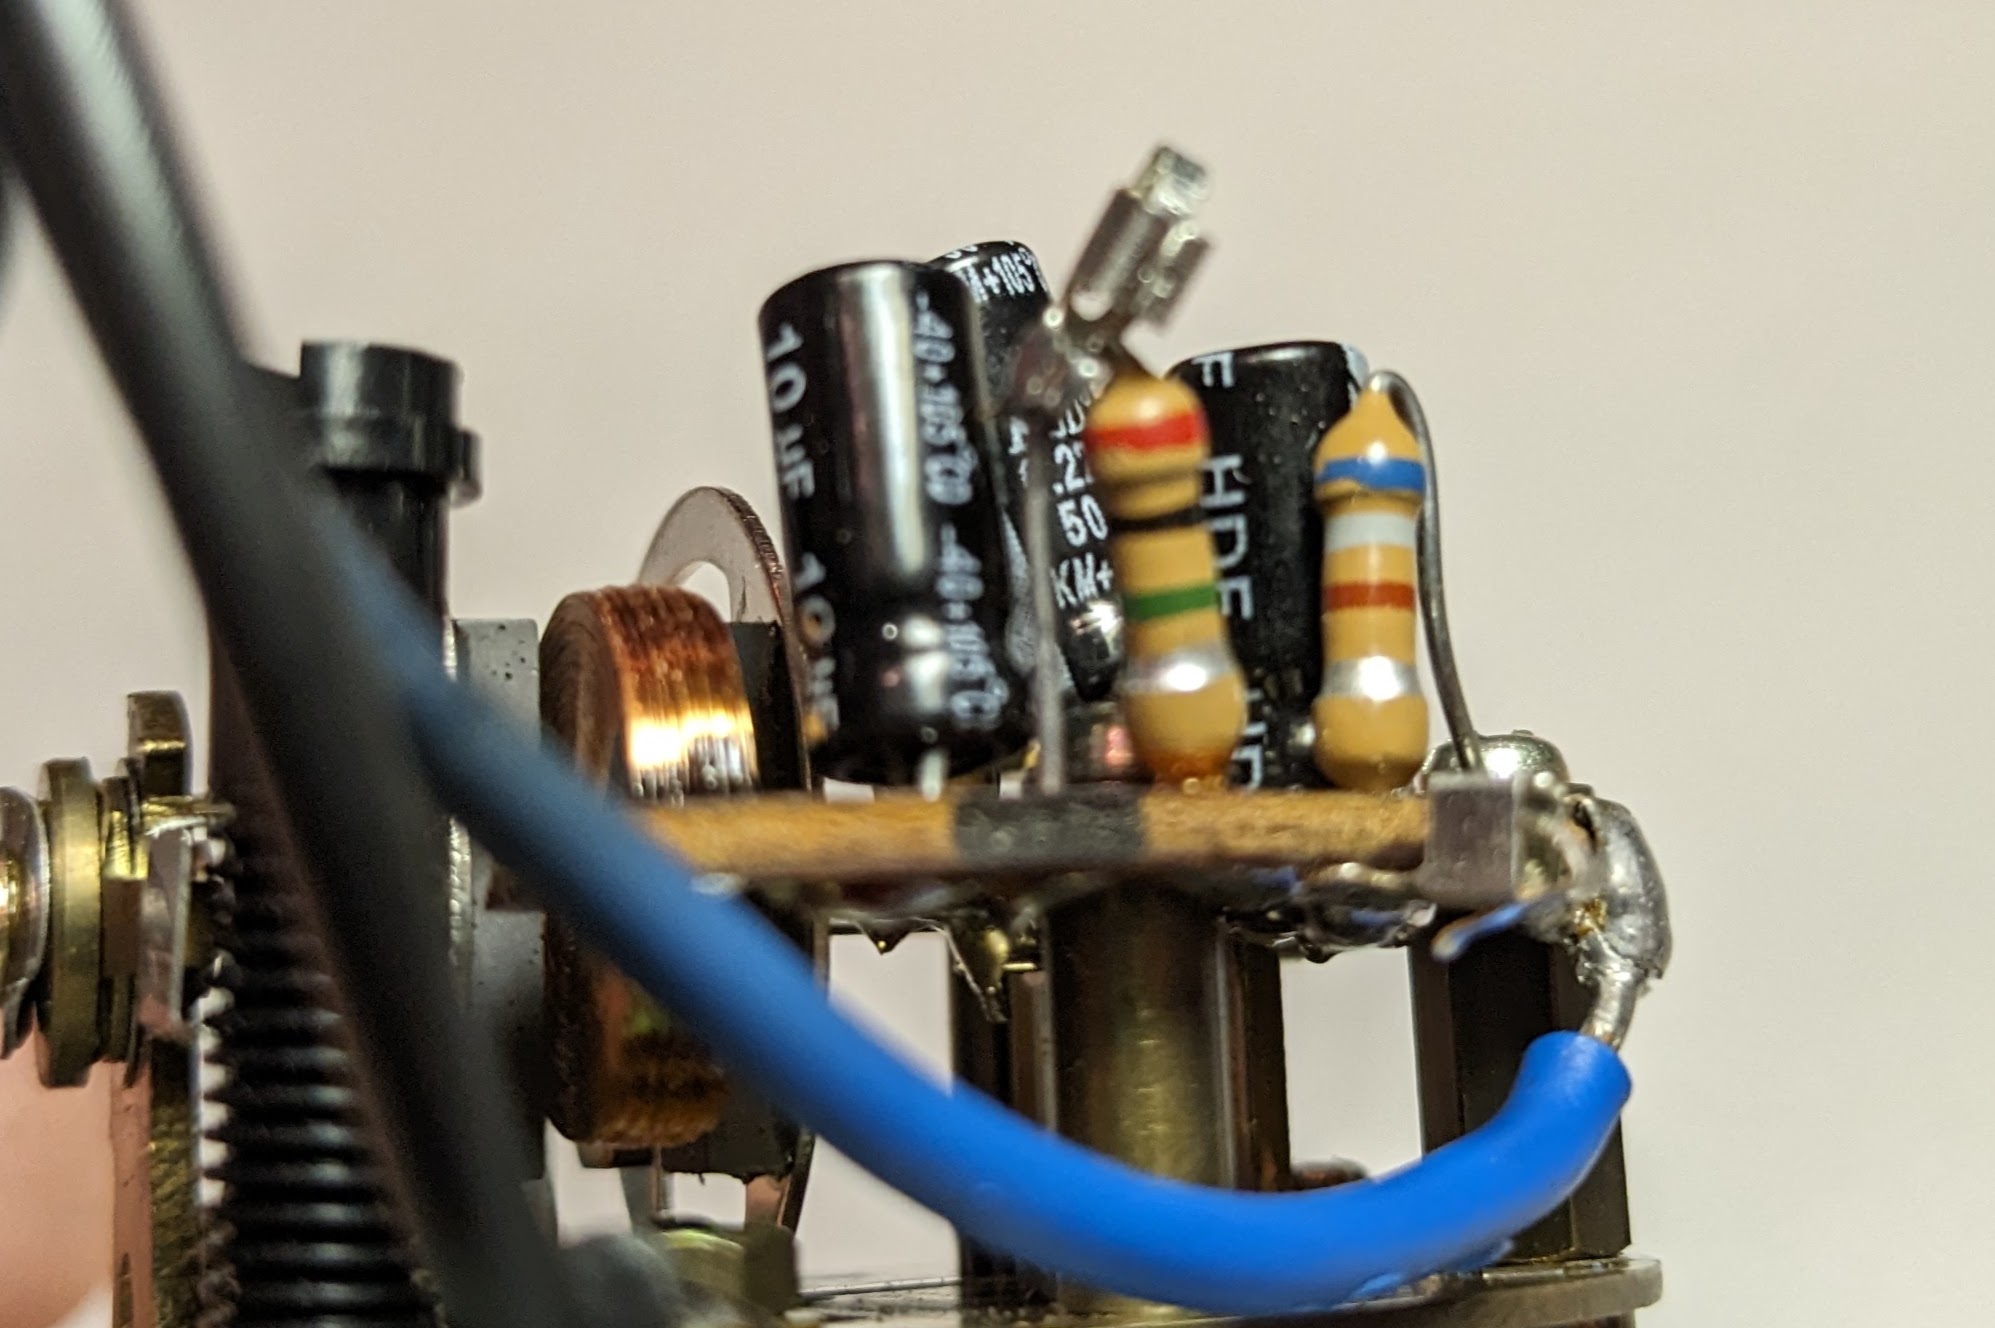
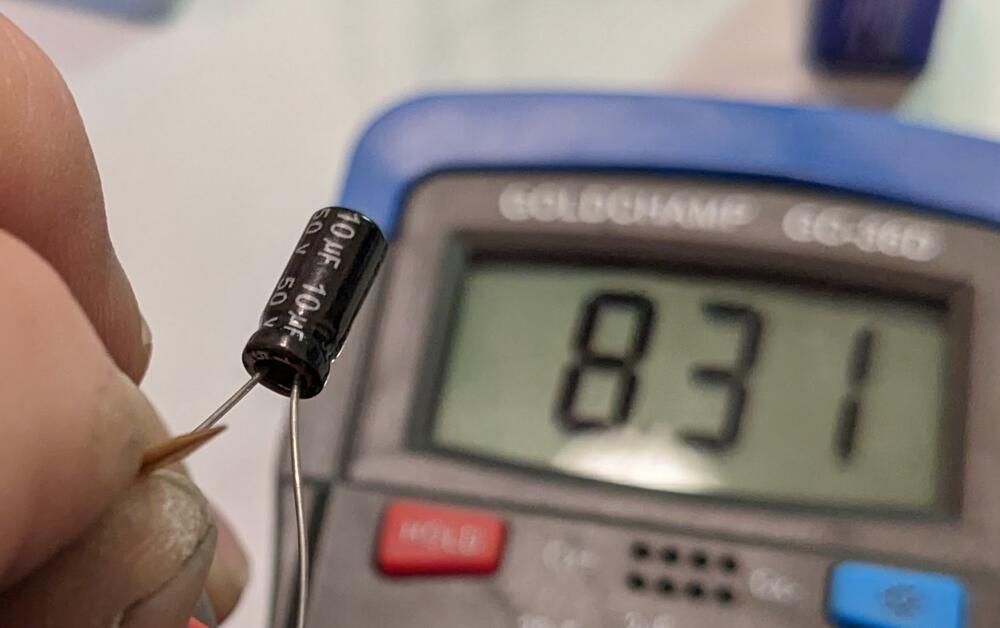
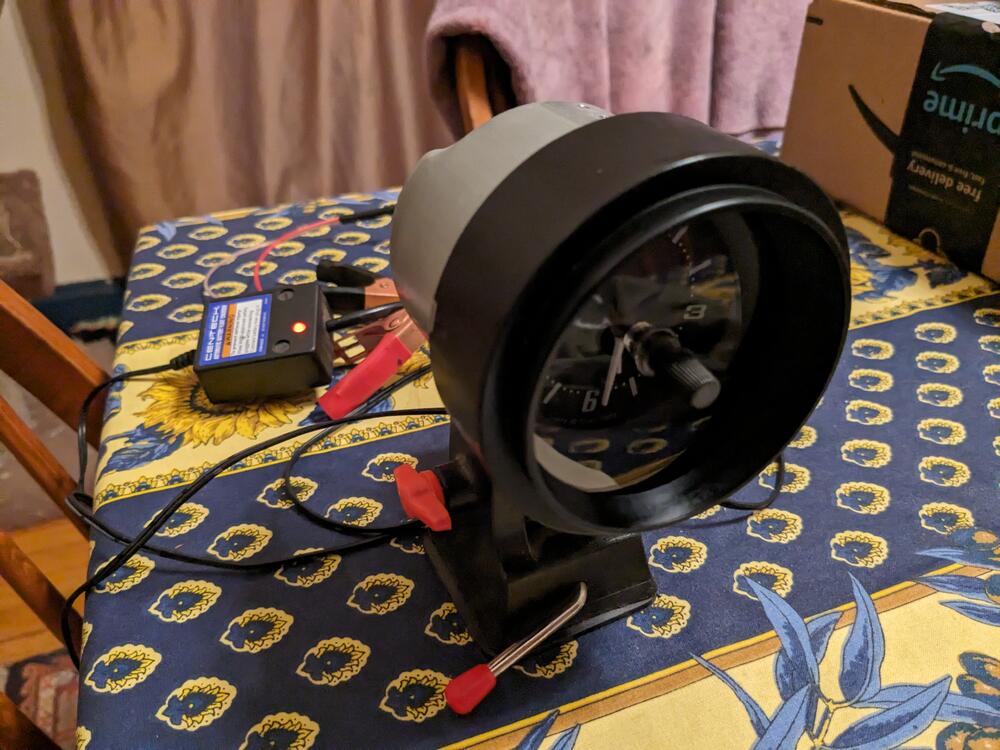
3 pointsBeen raining all weekend. Since I can't work outside, I got back on the clock repair. First, I checked some of the remaining caps rated at 10uf. Most of them were 8-8.3uf (!) , others were 10.5 or higher. The .22uf caps were all under 2.1, most were .2 or below. I removed the .22uf (read as .20) and one of the 10uf (read at 10.45) from the circuit board. The other 10uf read at 10.3, which was closer than most. I found one .215uf and one 10.1uf cap, so I installed them.I also added 2 sockets (not in focus, sorry) to allow me to plug in various resistors if needed to adjust the resistance of the 2M resistor Turns out, I didn't need that - with the replaced caps, the wheel was triggered & the clock runs. It's been keeping time since 2pm, so I'm hopeful that's that.


 3 points
 -
2 pointsThe gauge illumination and brake light sockets are next to each other. On the top, the high beam light and gauge illumination are next to each other. The brake light bulb has 2 wires, and the gauge illumination has 1 wire, grounding on the speedometer.
 2 points
 -
From that pic it looks like it may be a bit shorter than the Z. Pretty cool.2 points
-
Looks incredibly straight! Keep posting those motivating pictures2 points
-
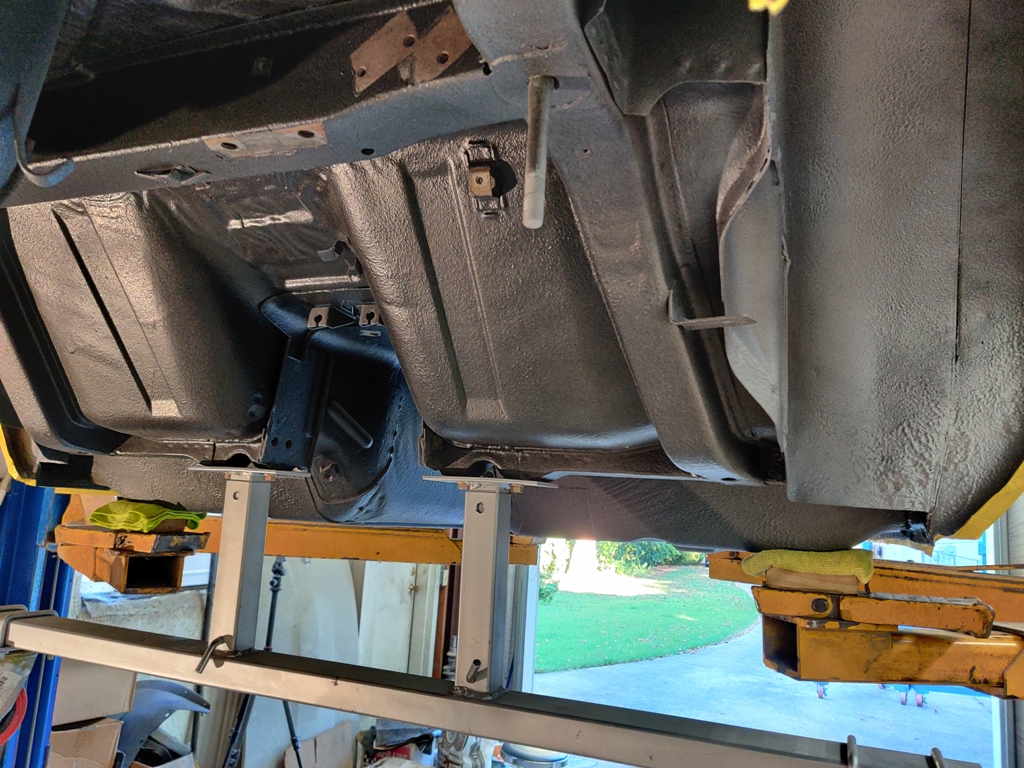
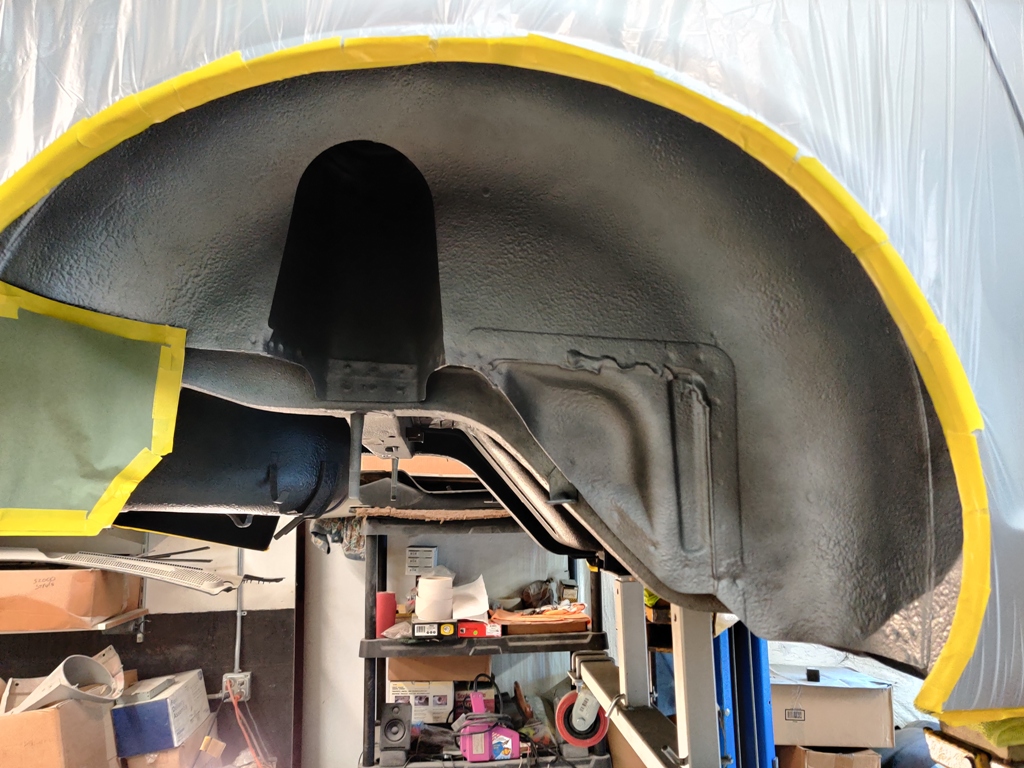
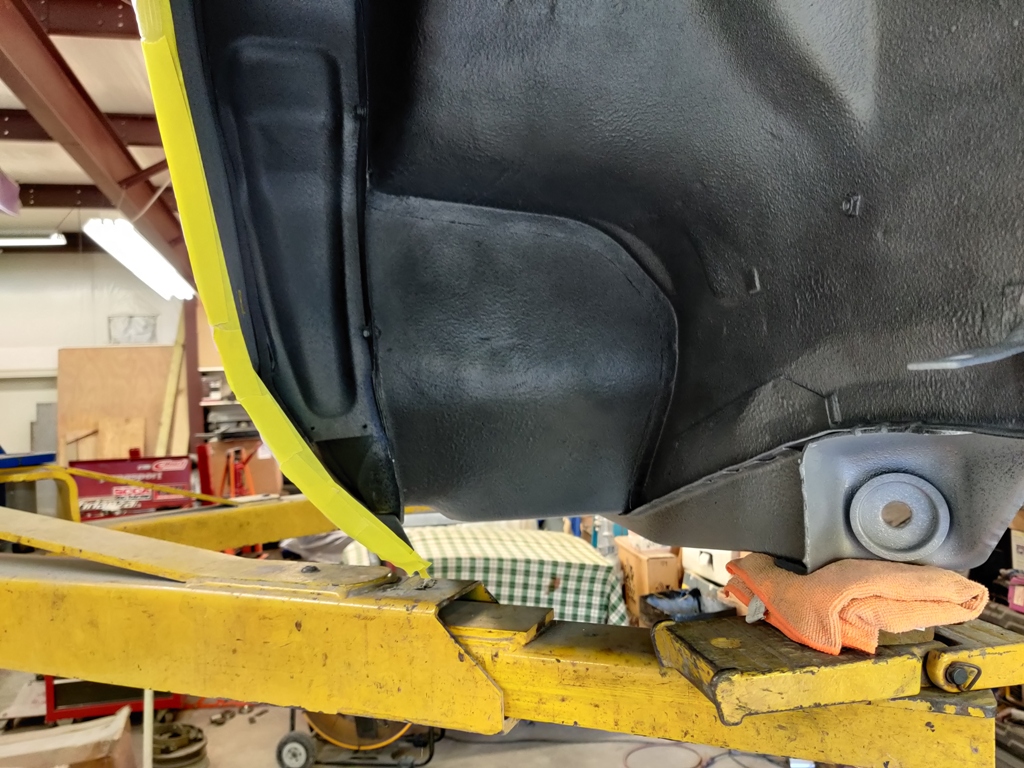
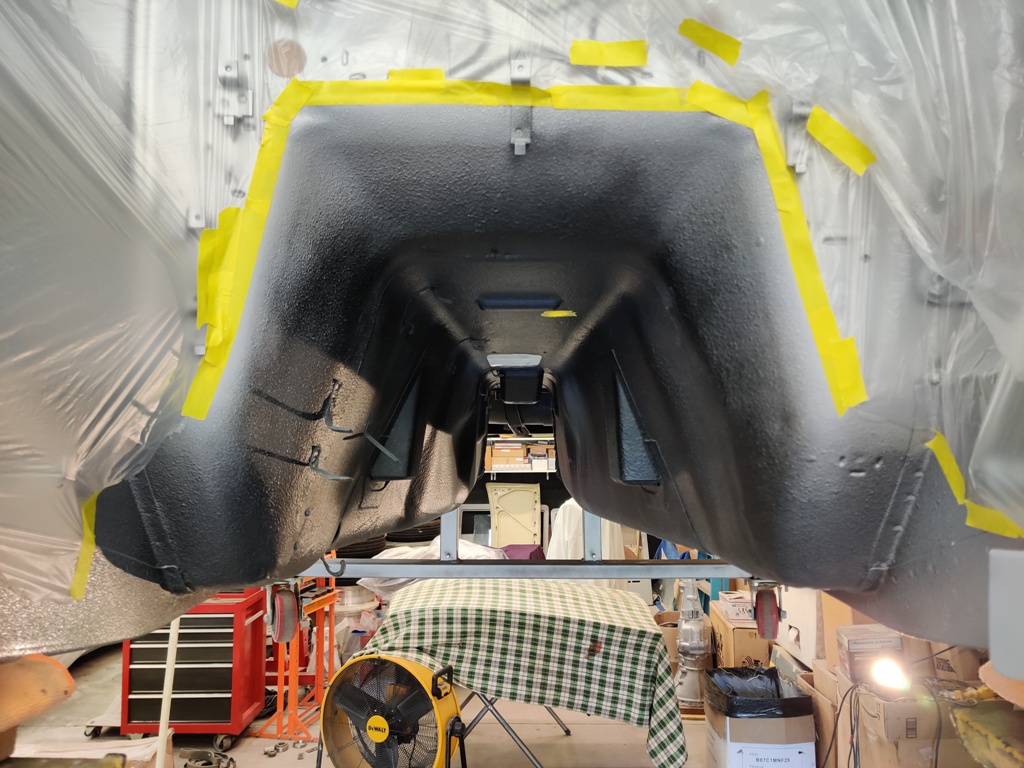
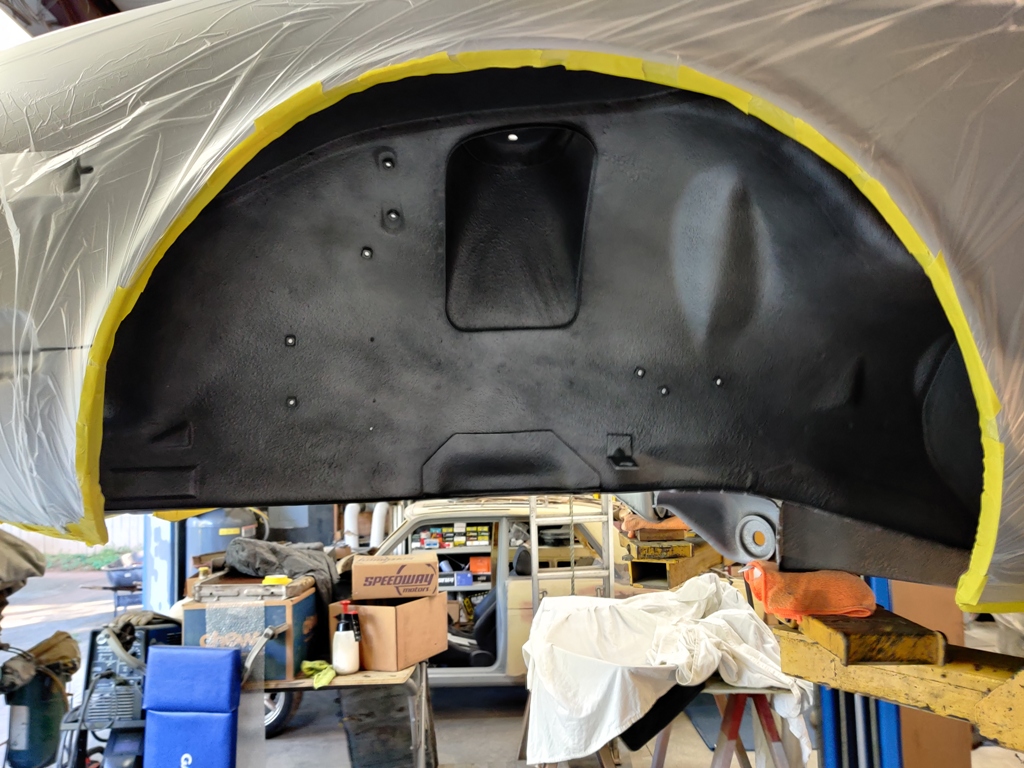
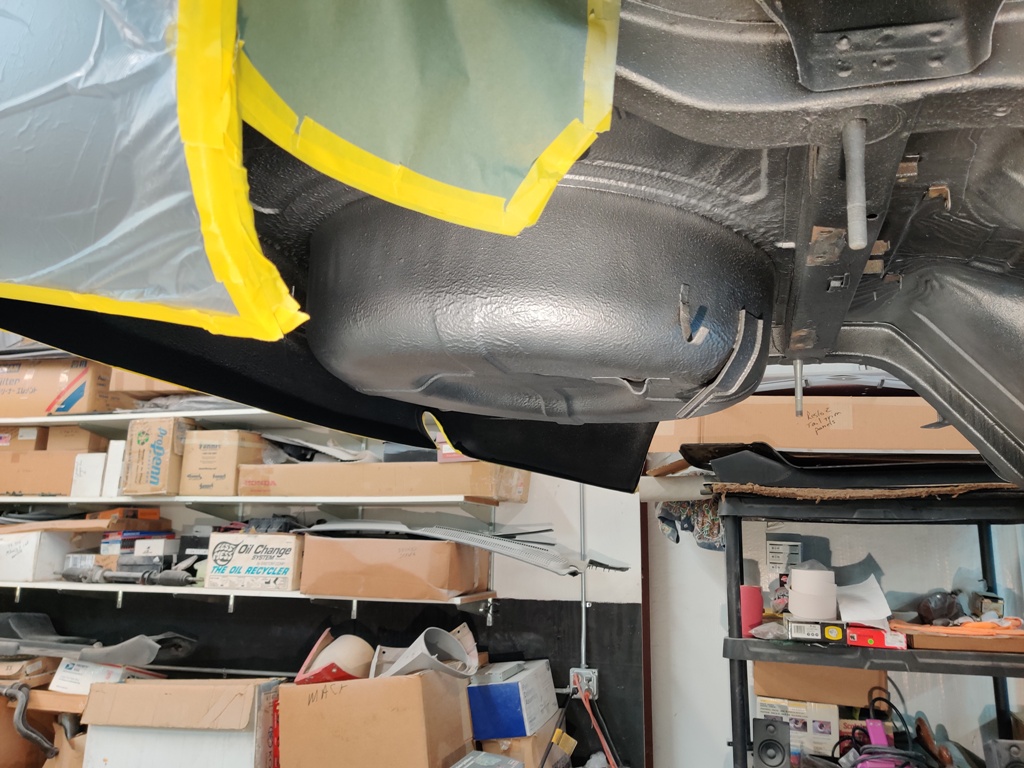
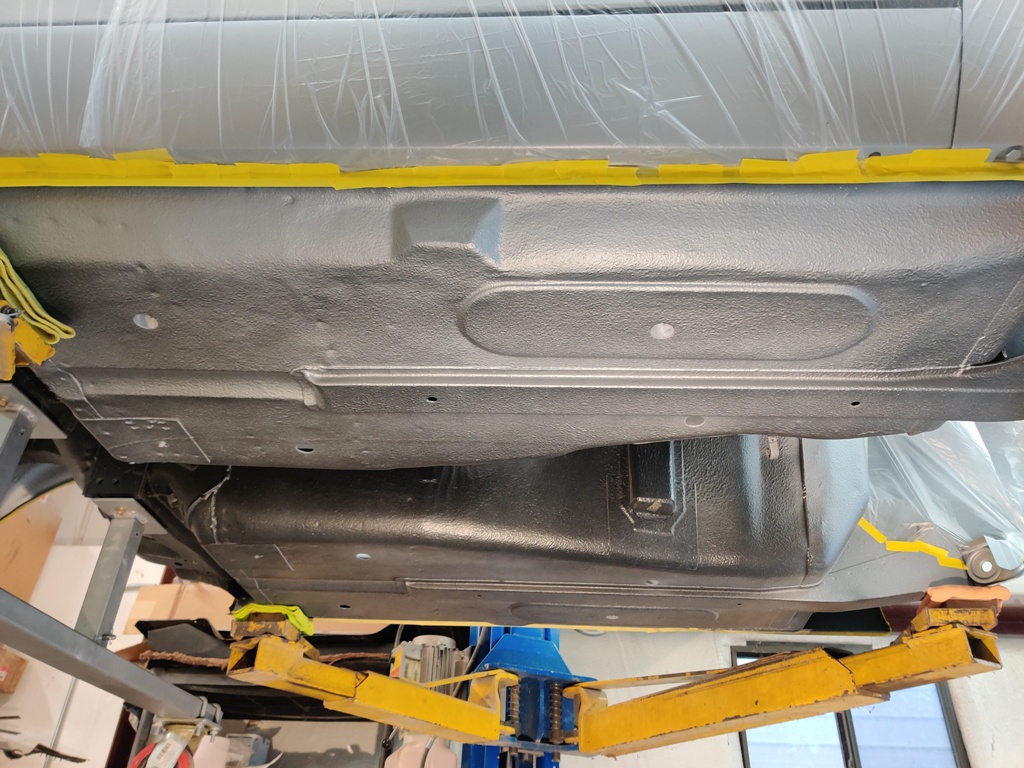
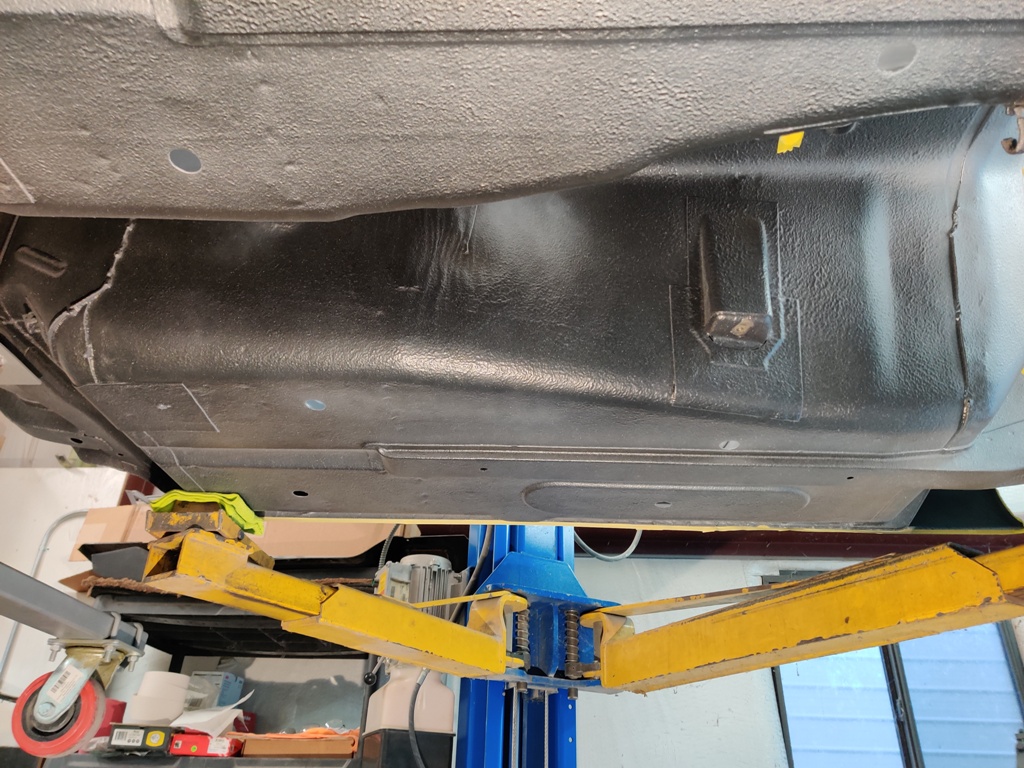
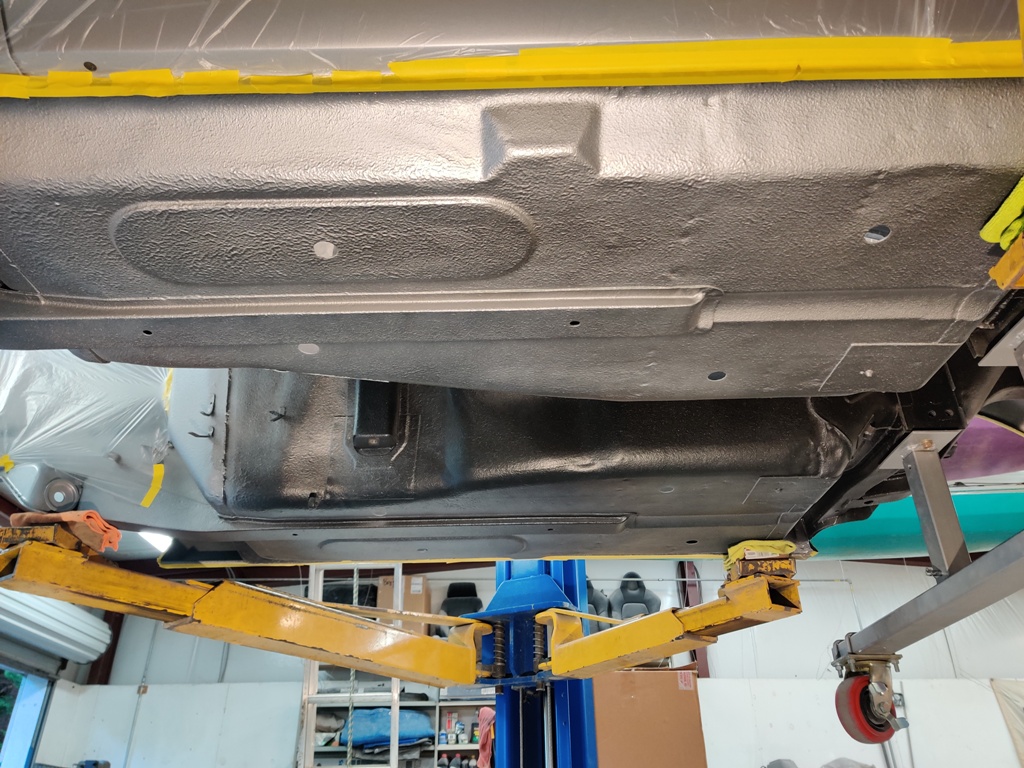
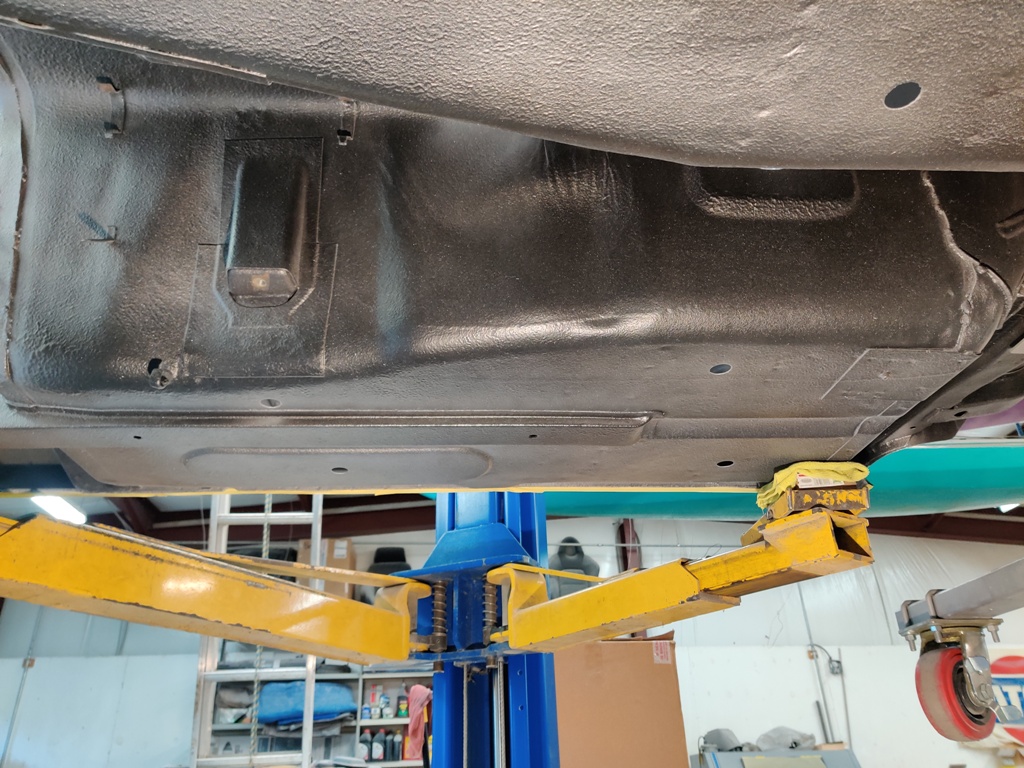
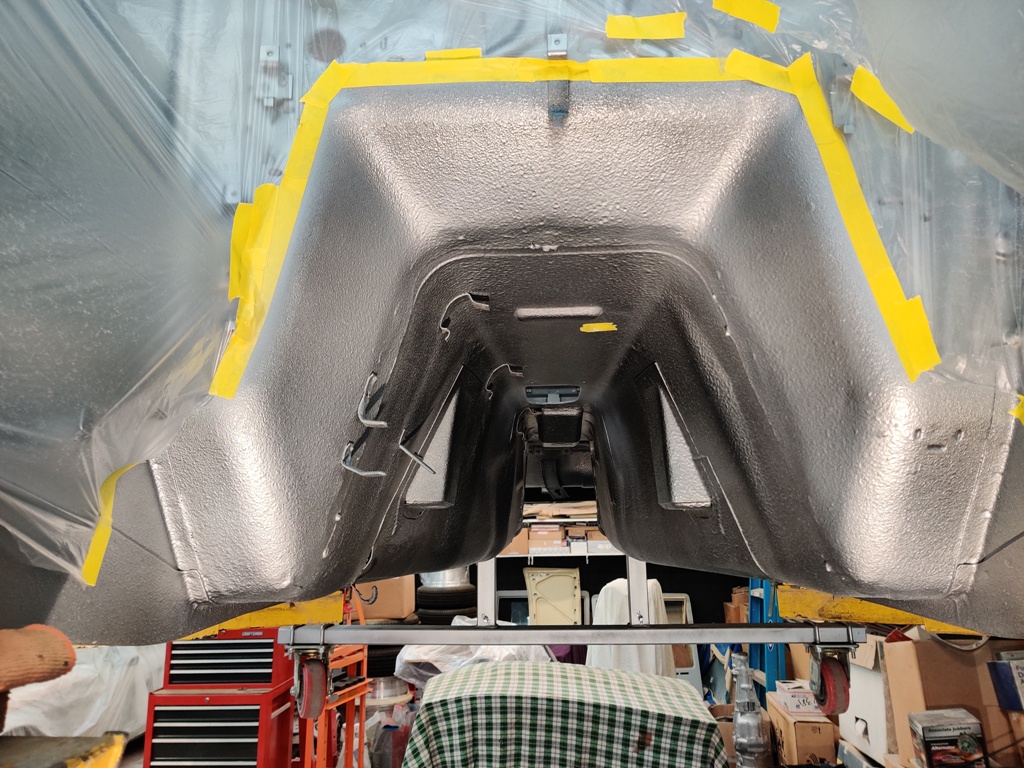
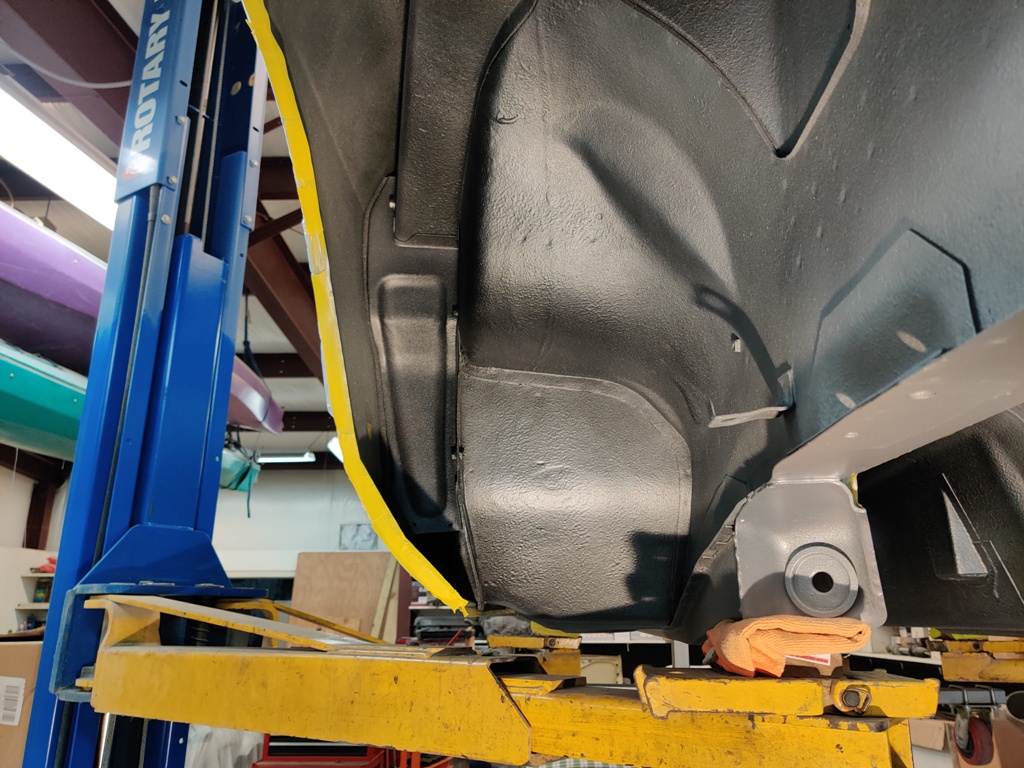
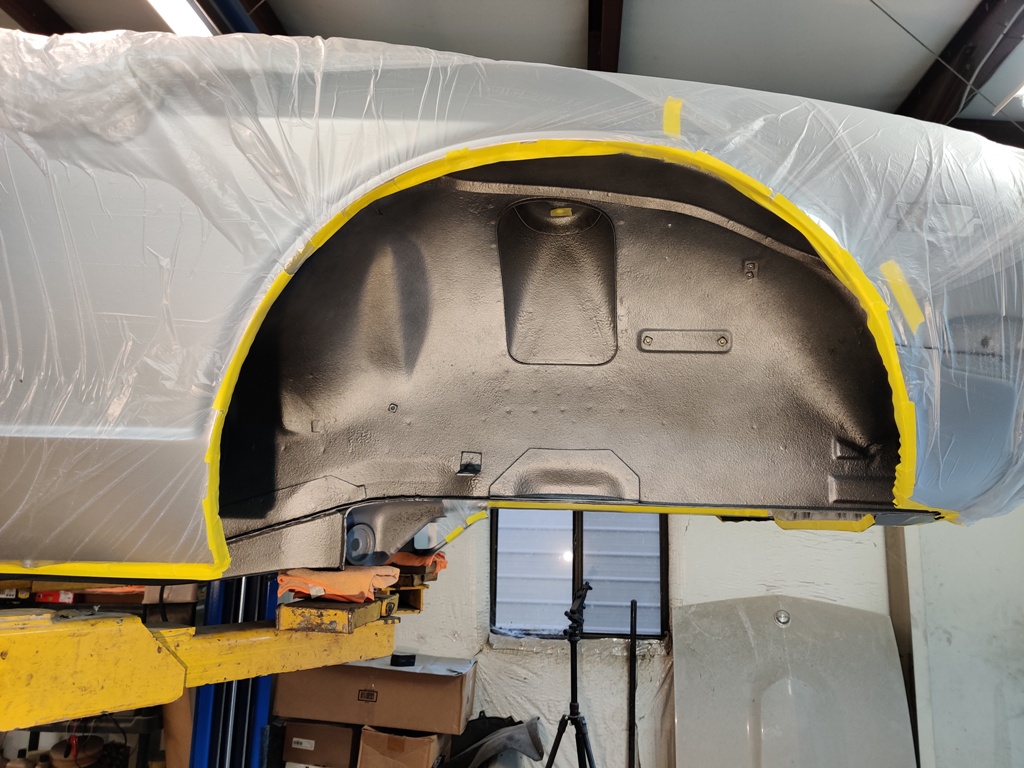
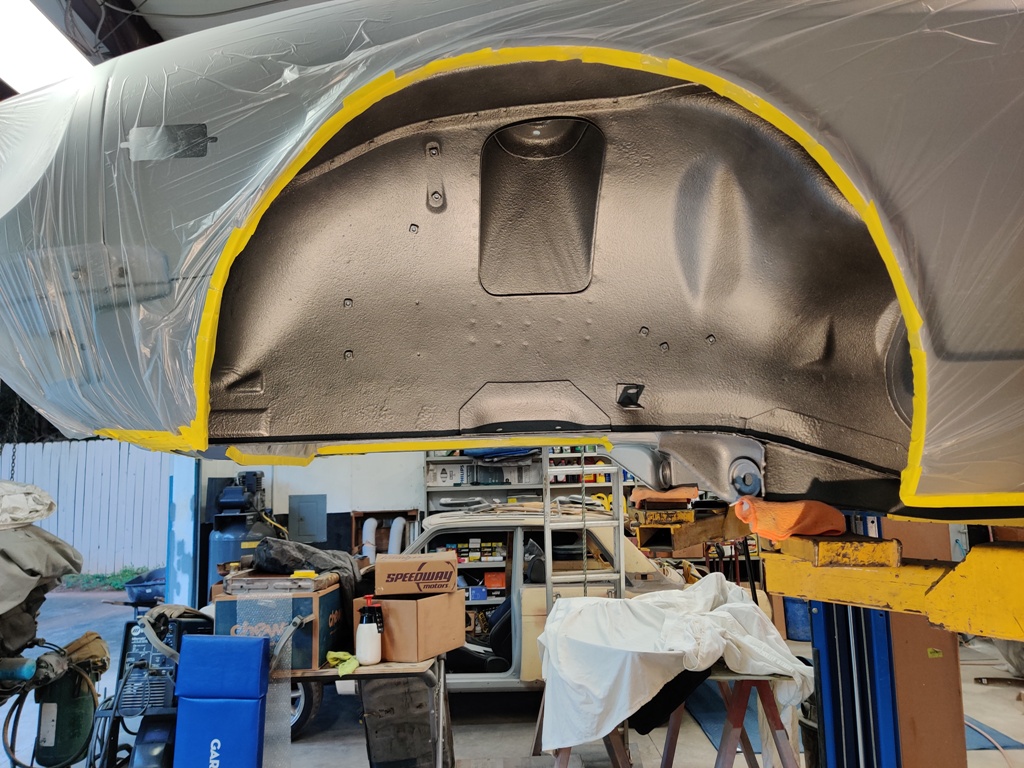
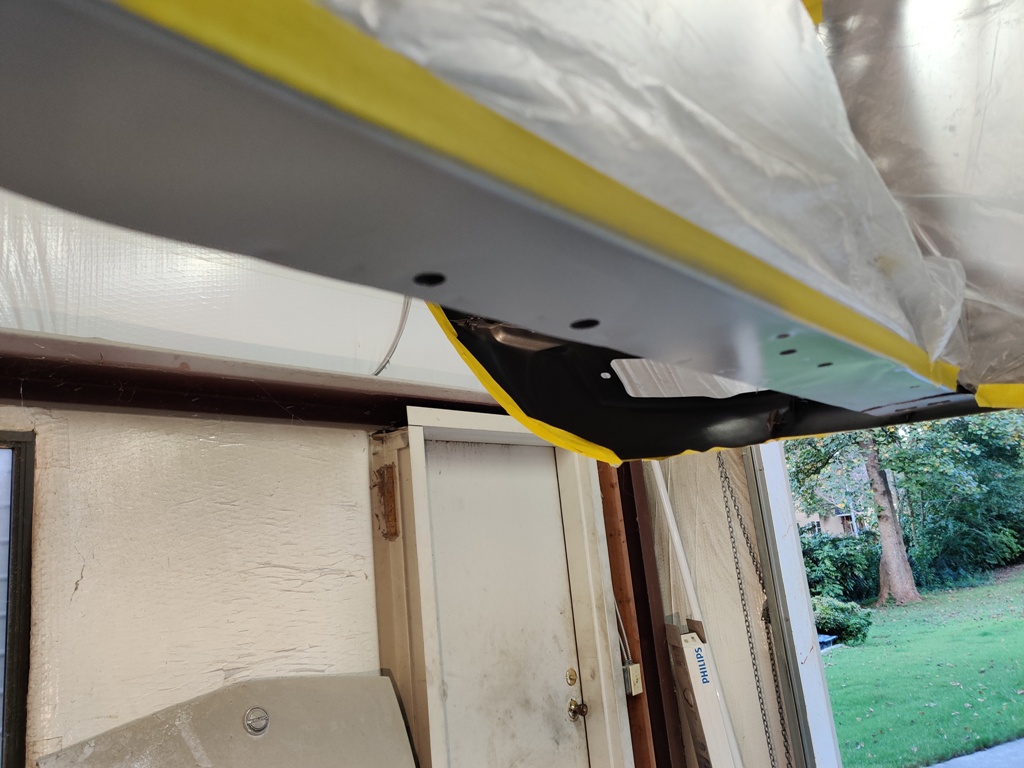
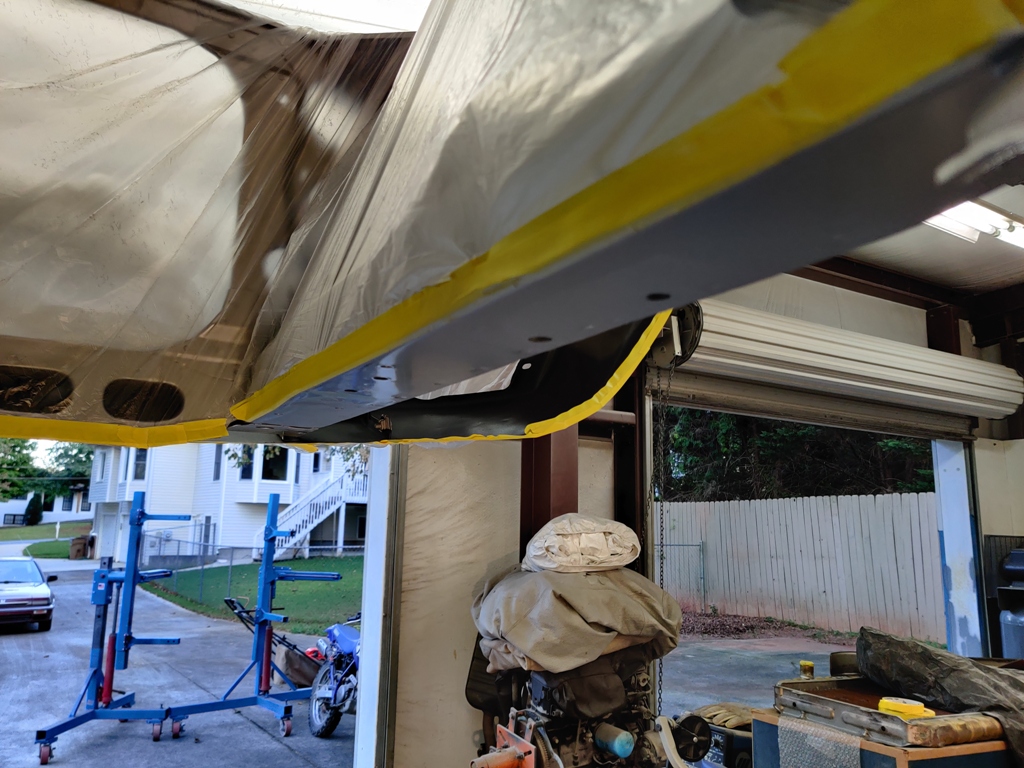
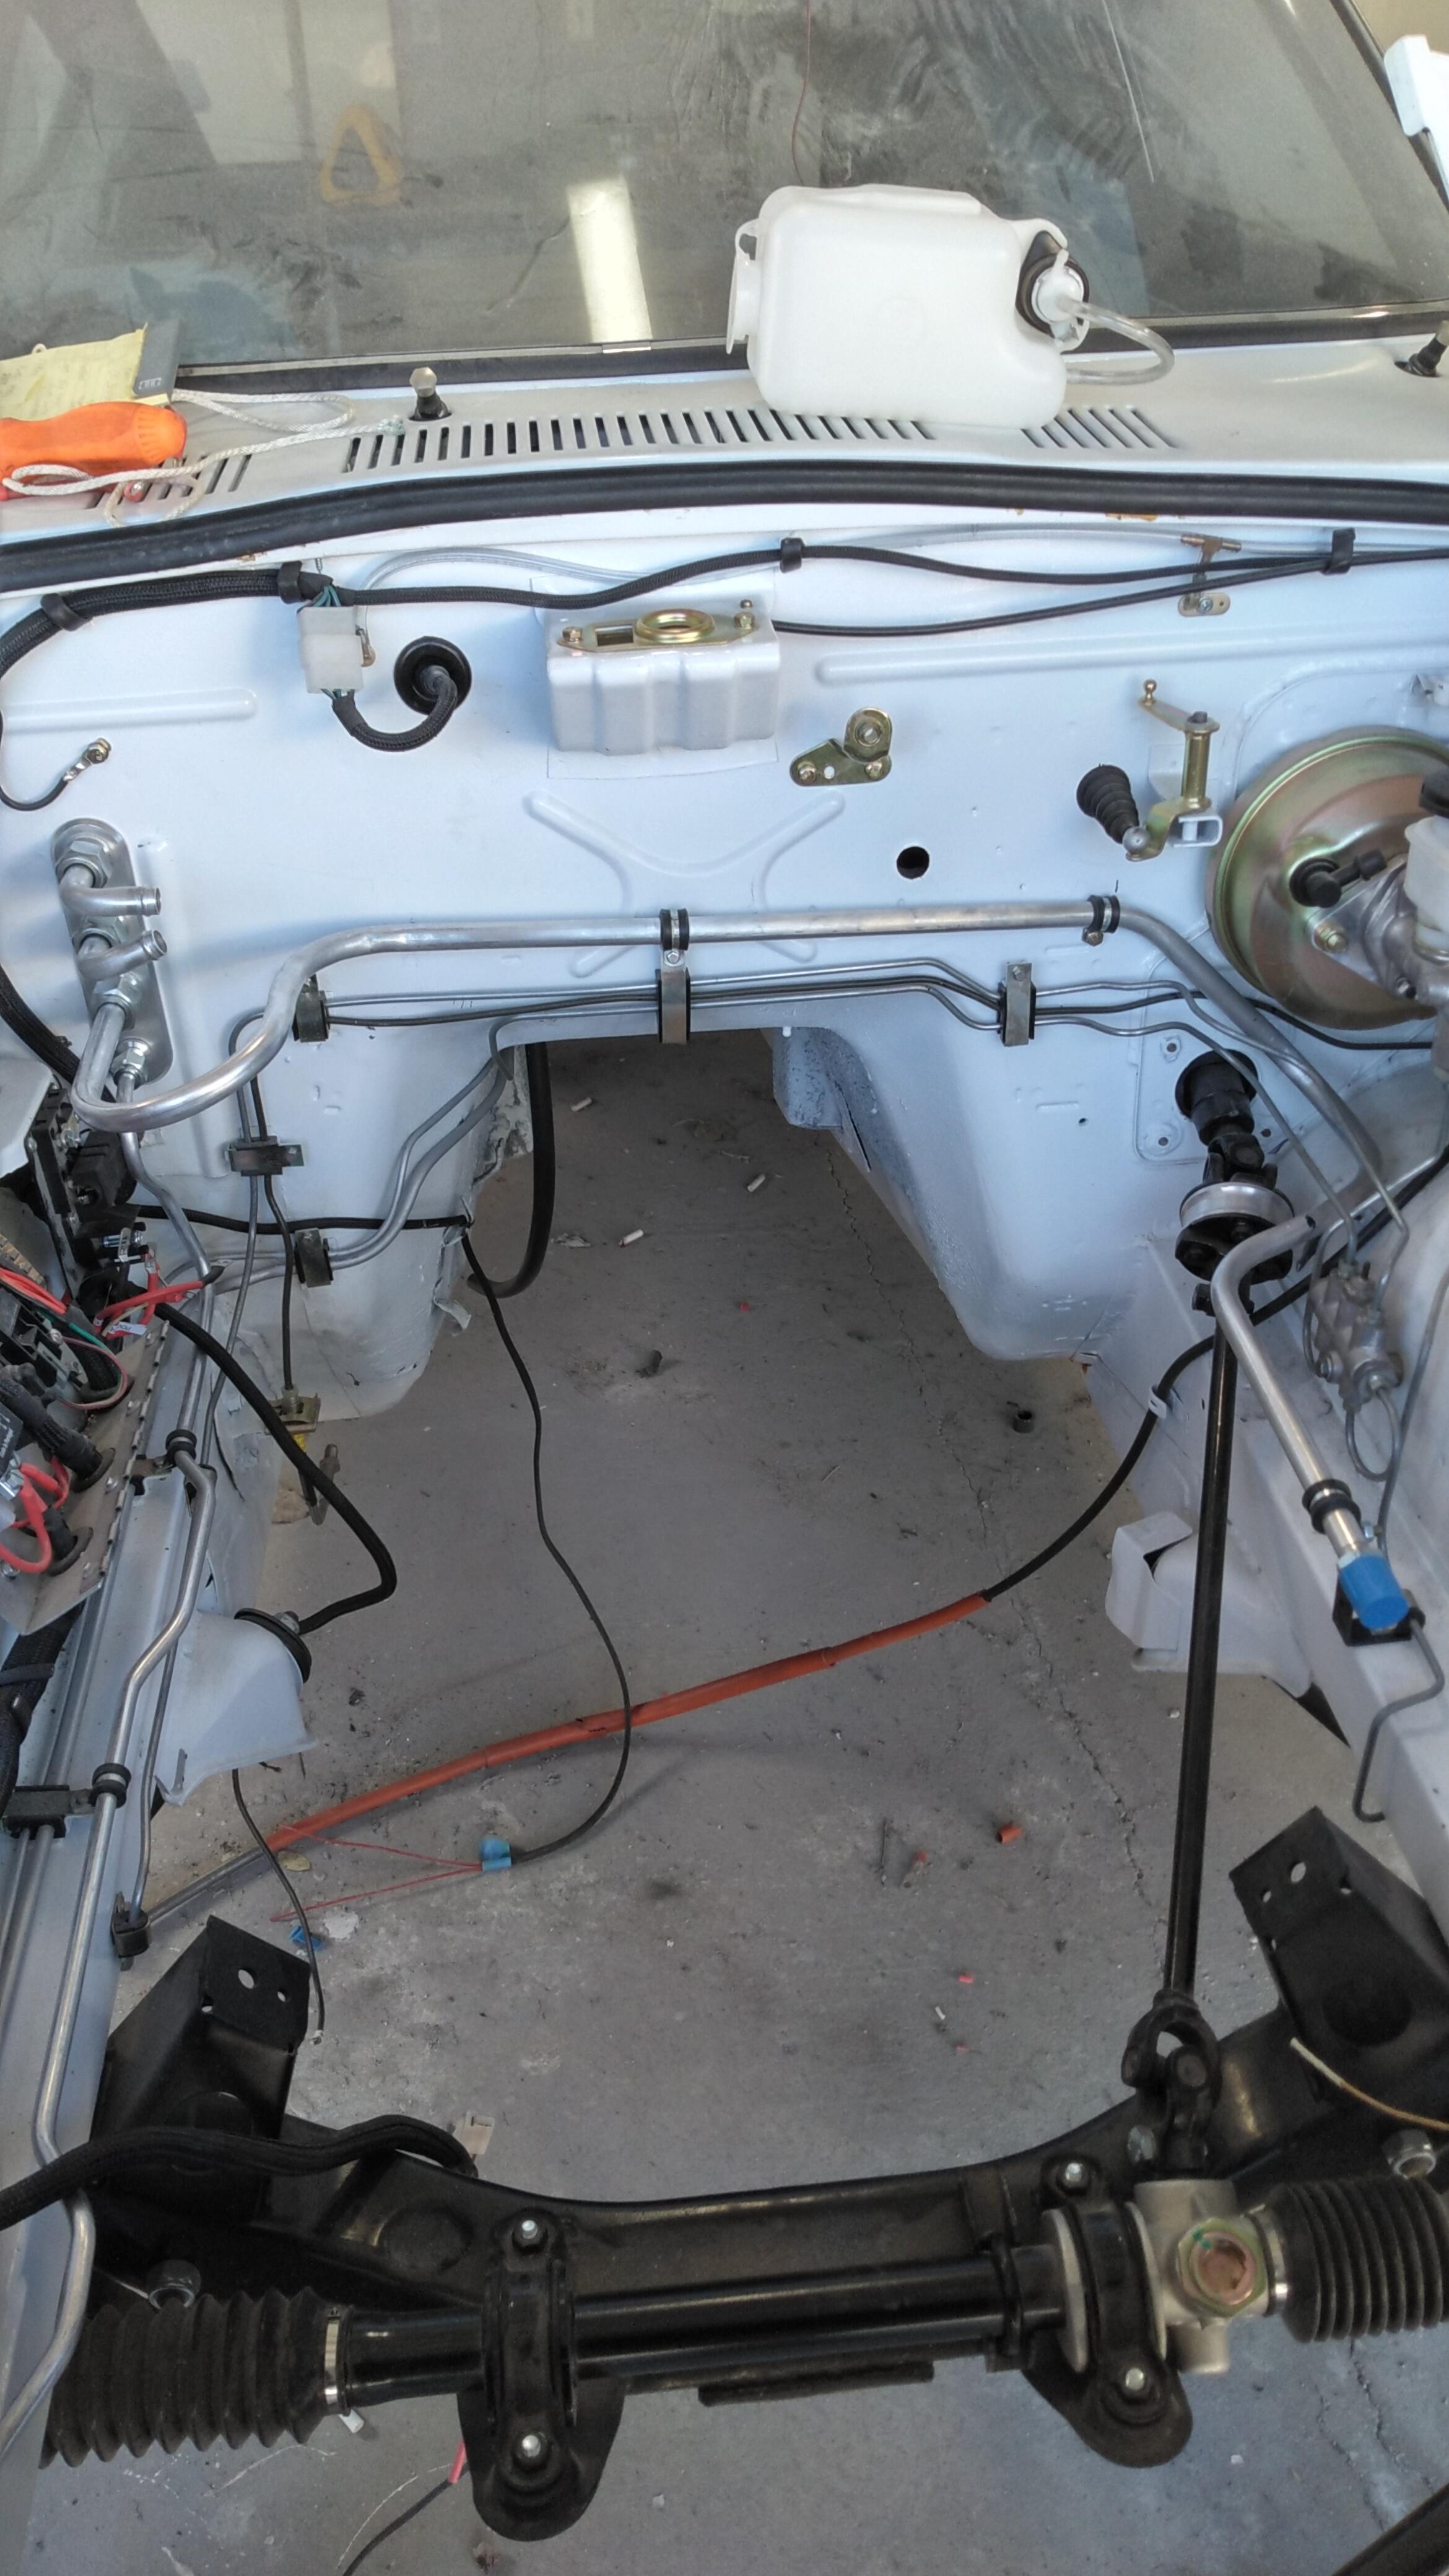
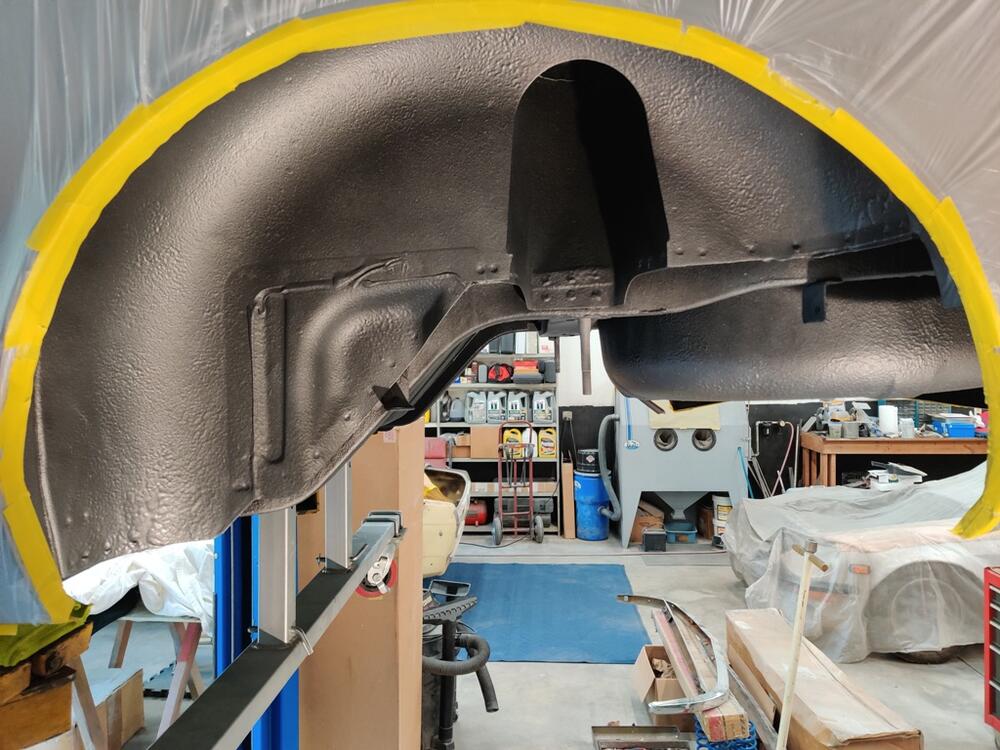
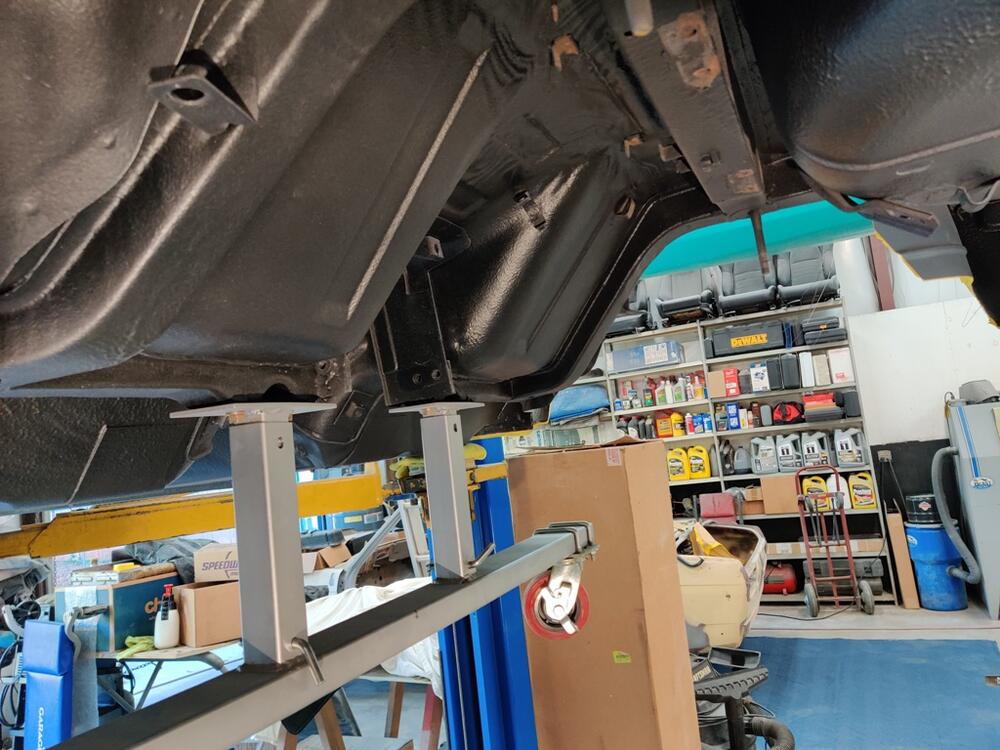
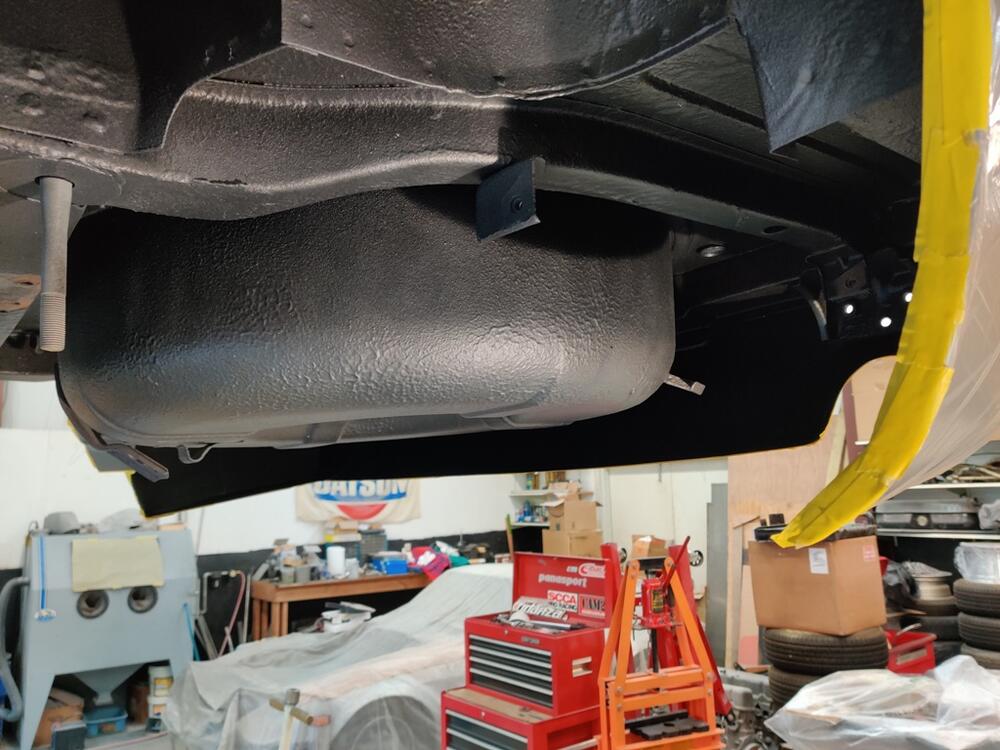
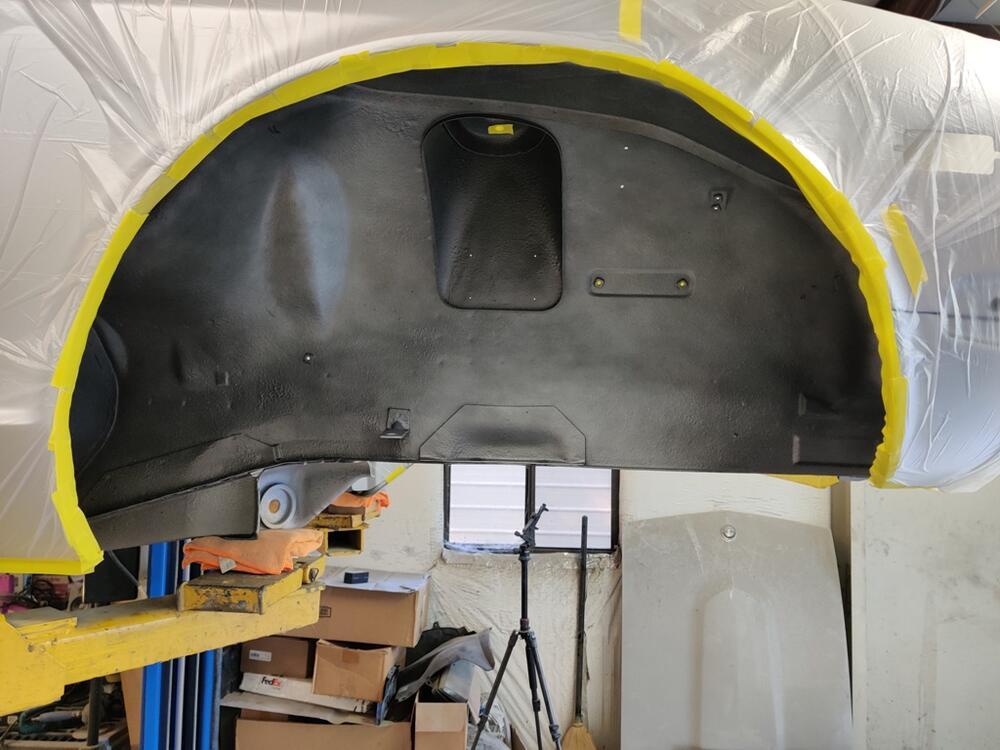
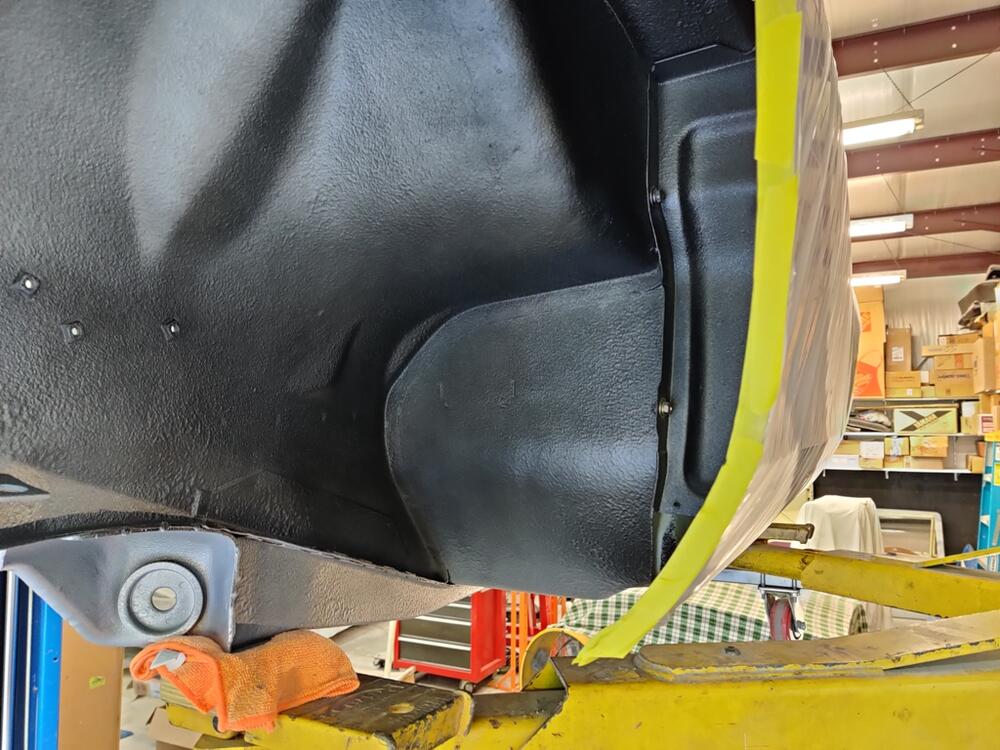
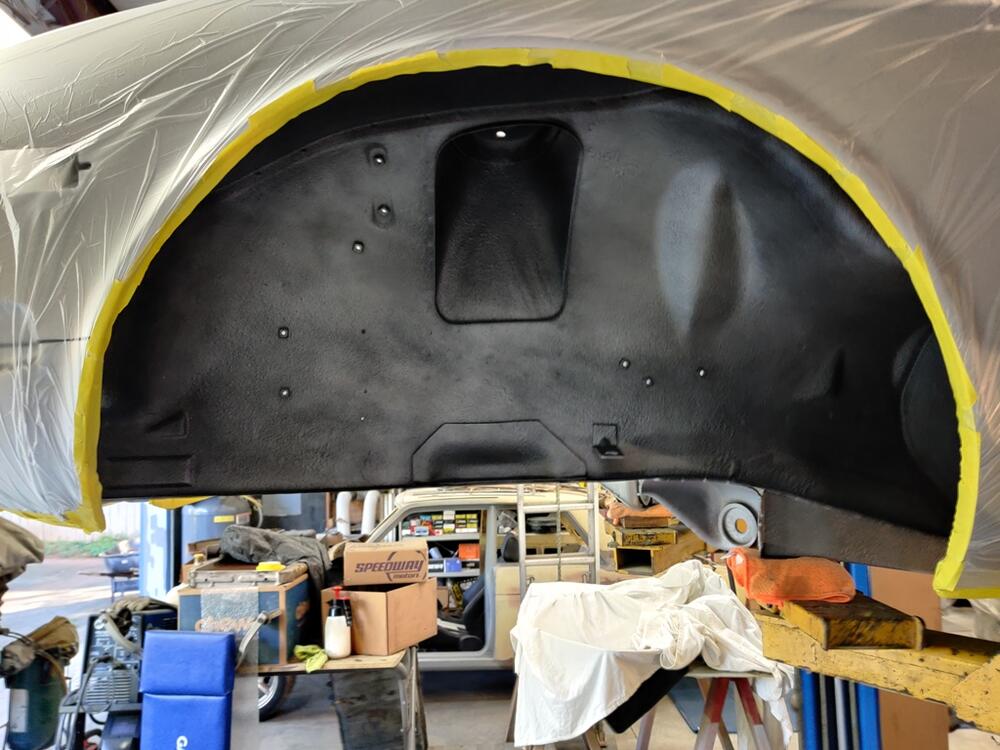
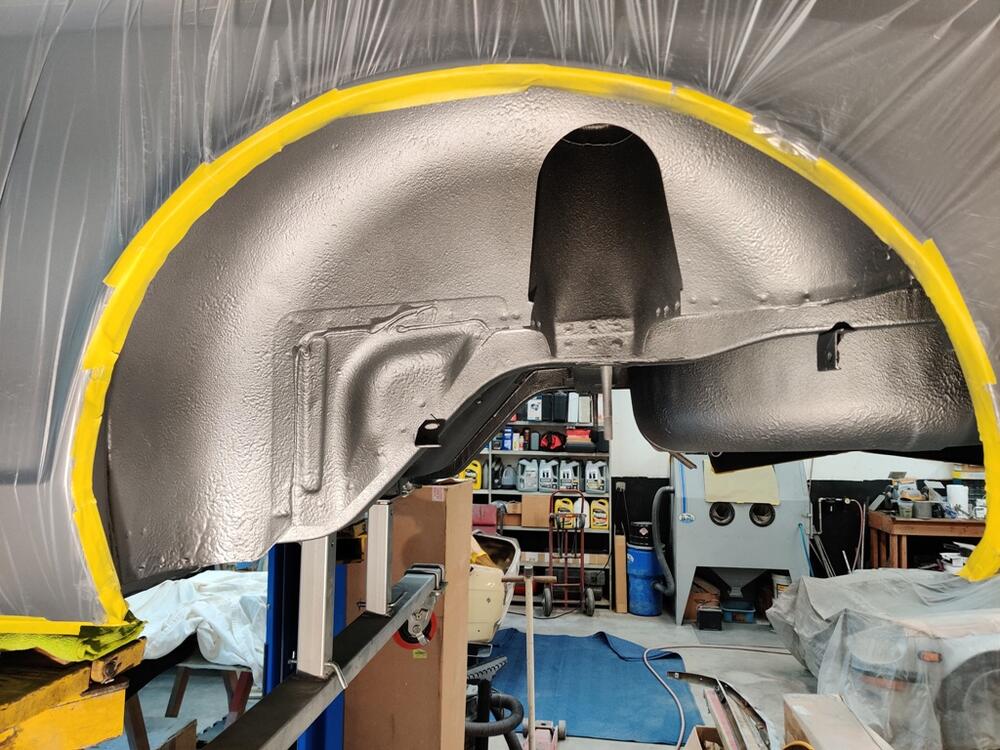
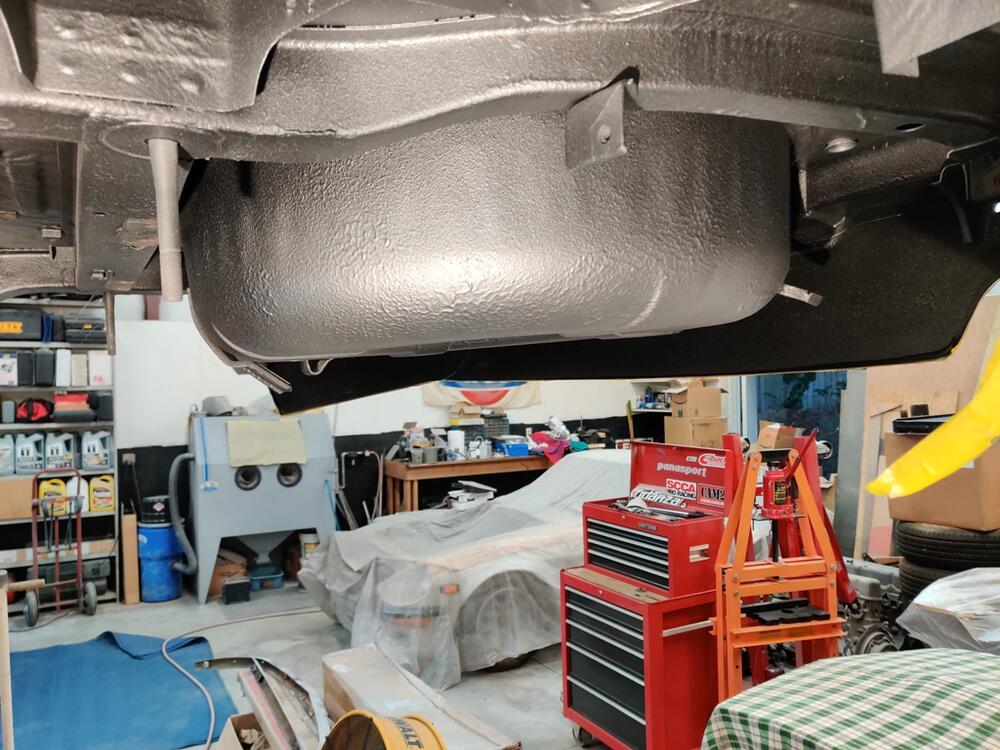
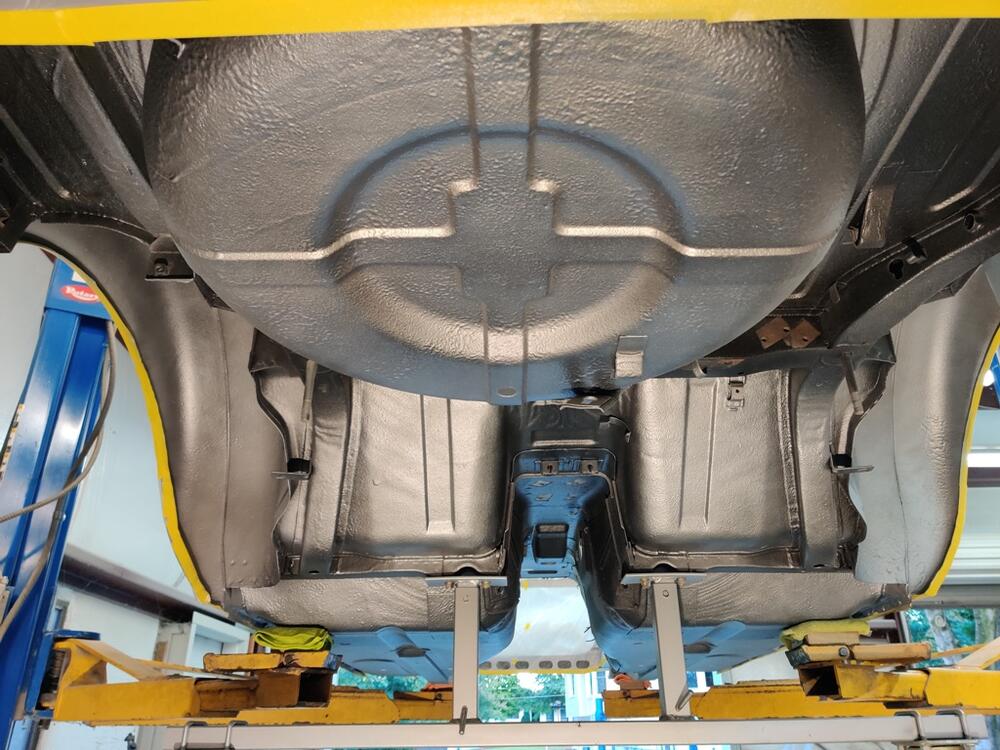
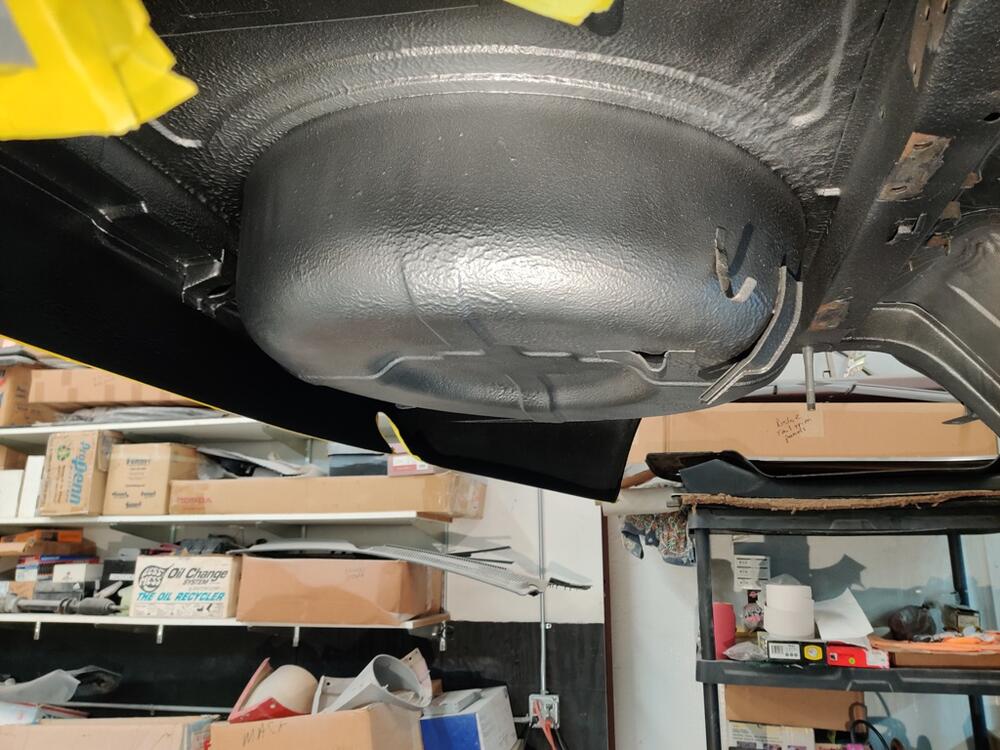
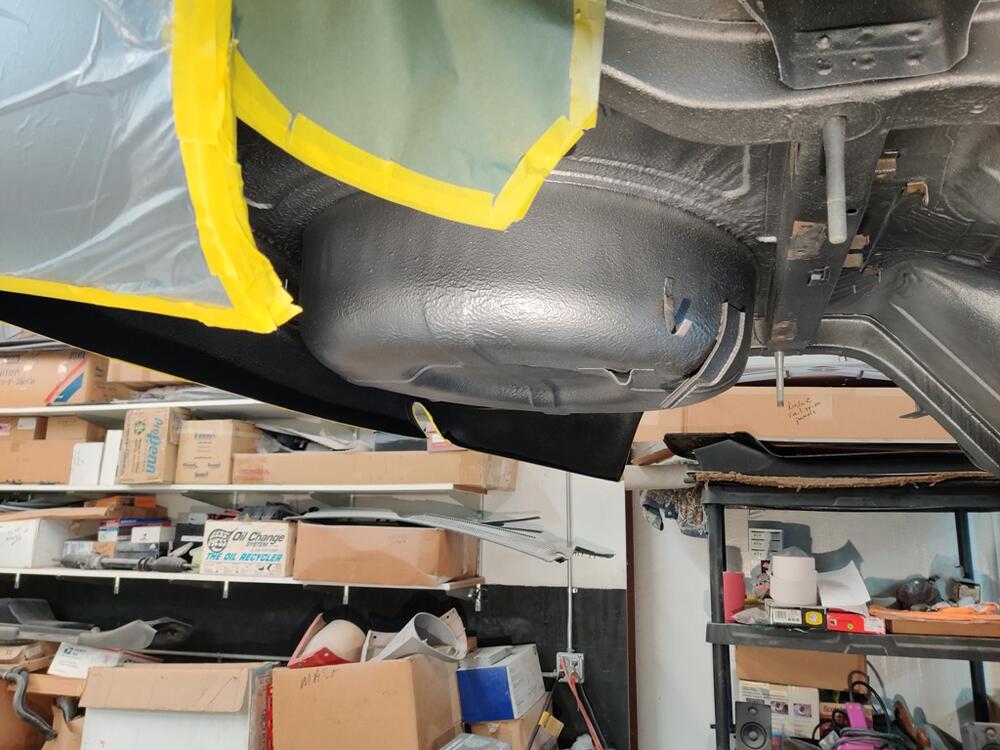
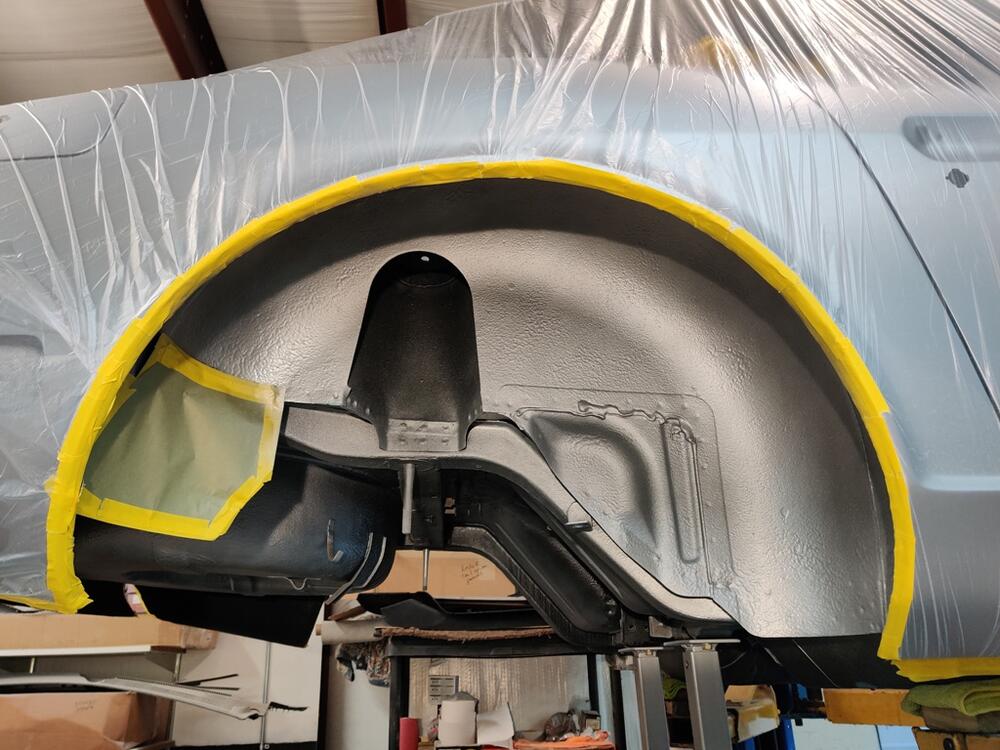
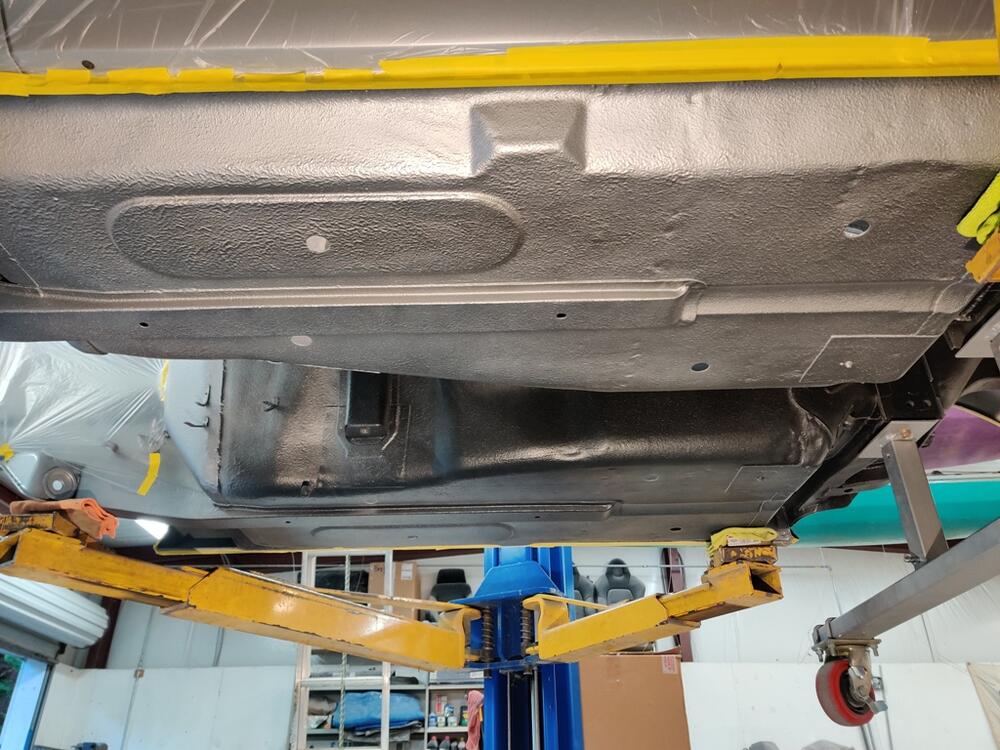
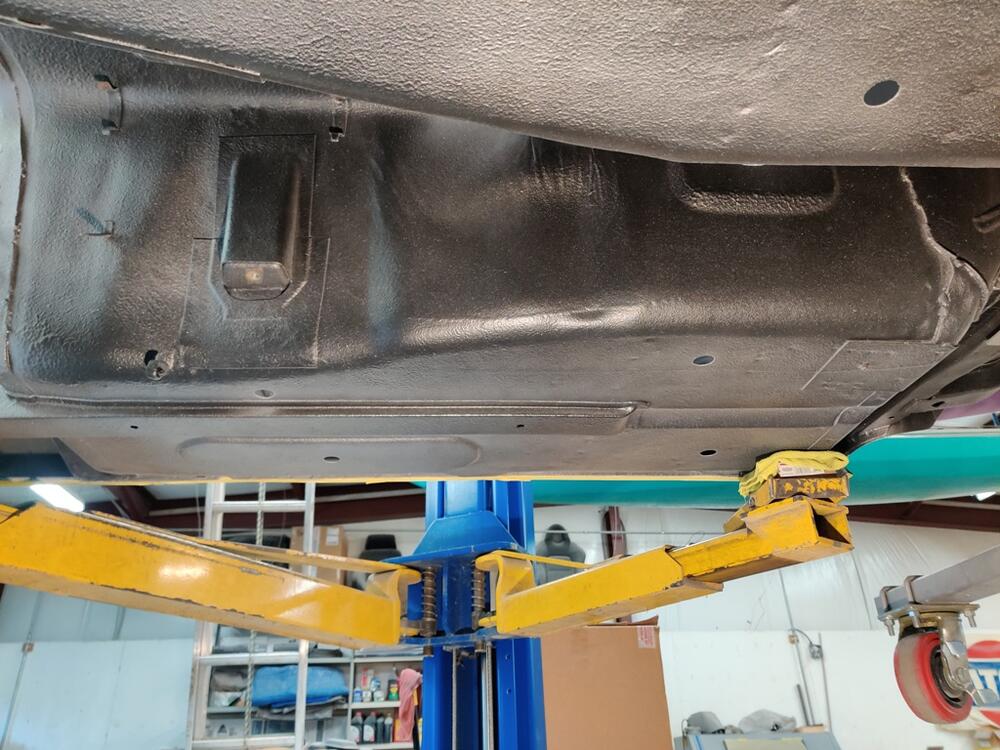
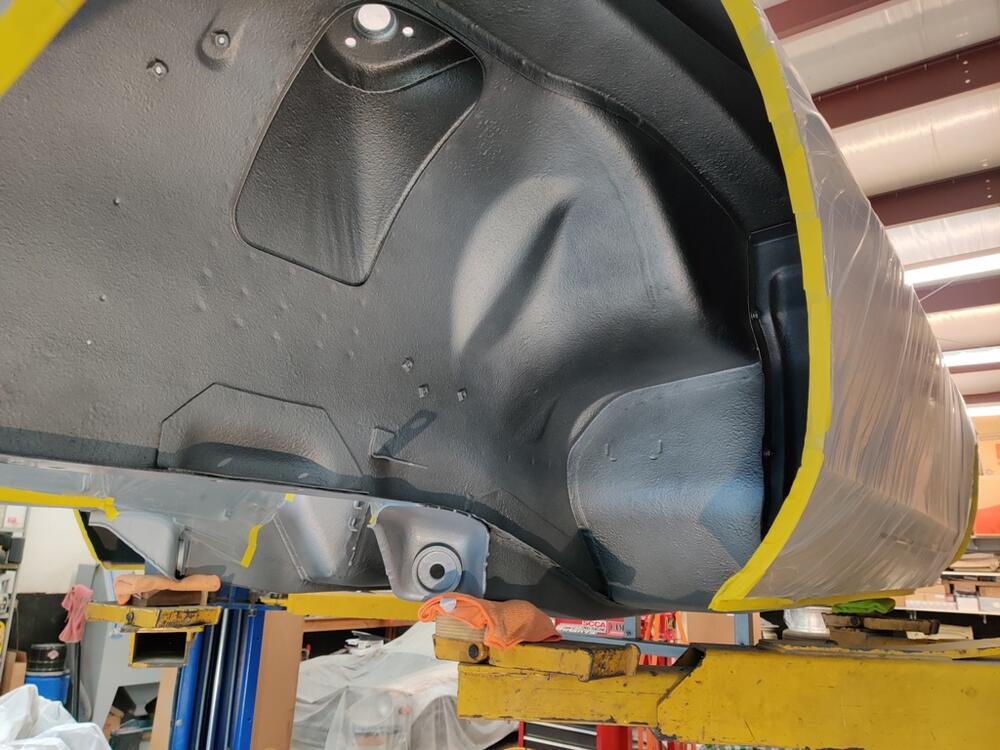
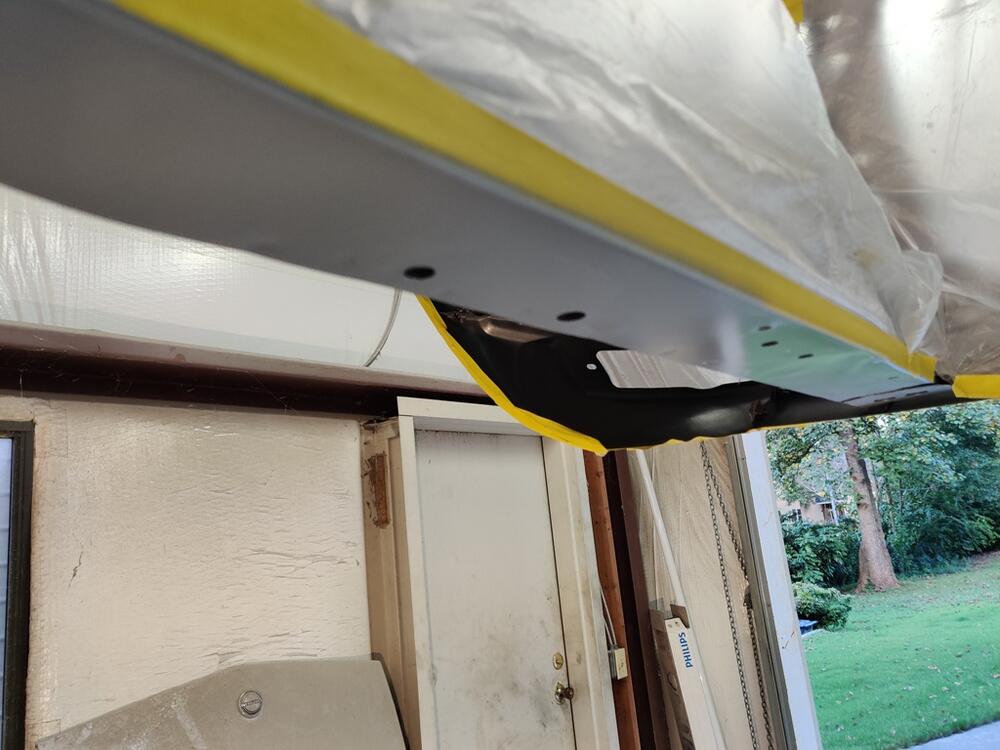
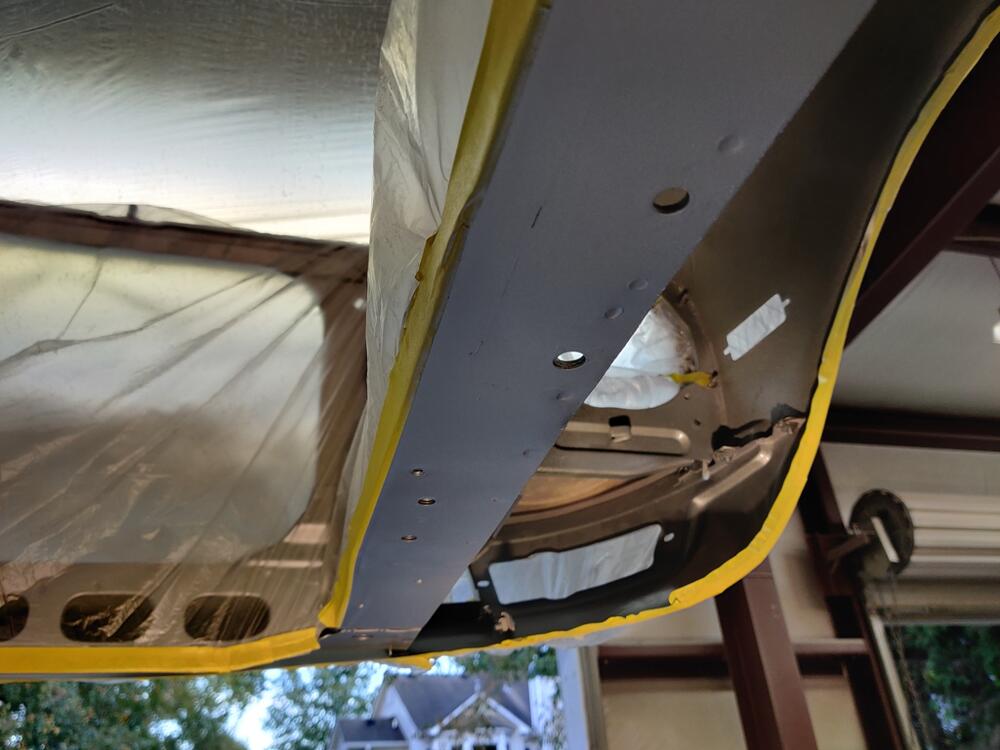
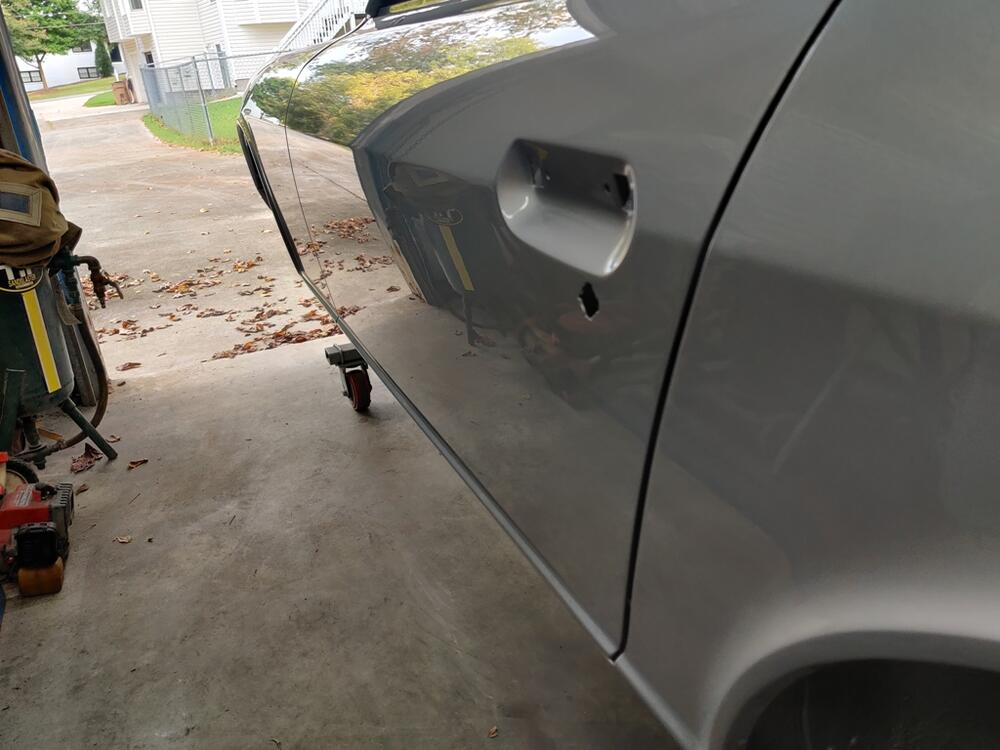
In my 21 pages of instructions to the painter (yeah, I know... it is silly - that's why I keep referencing it!), I provided a bunch of pictures of the original paint on the undersides and in the wheel wells. My thought was that while they were spraying the car, they could attempt to replicate the factory overspray. They did not, but provided me with a pint of mixed and pre-reduced paint so I could do so. Here is the before with pics taken a few hours ago. Note that most of the underside of the car is black. Along with one more pic of before, here are all of the after pictures. I replicated what I found on my car with regard to silver color - wheel wells and spare tire well mostly painted, inner part of the floors and transmission tunnel - not so much. Car dolly wasn't removed for color and clear application by the painter. So, I did remove the front dolly and touched up the bottom of the frame rail where that was bolted to the chassis.


 2 points
 -
I posted in a separate thread, but will include this in the build thread here also, along with a couple of nice pics:
 2 points
 -
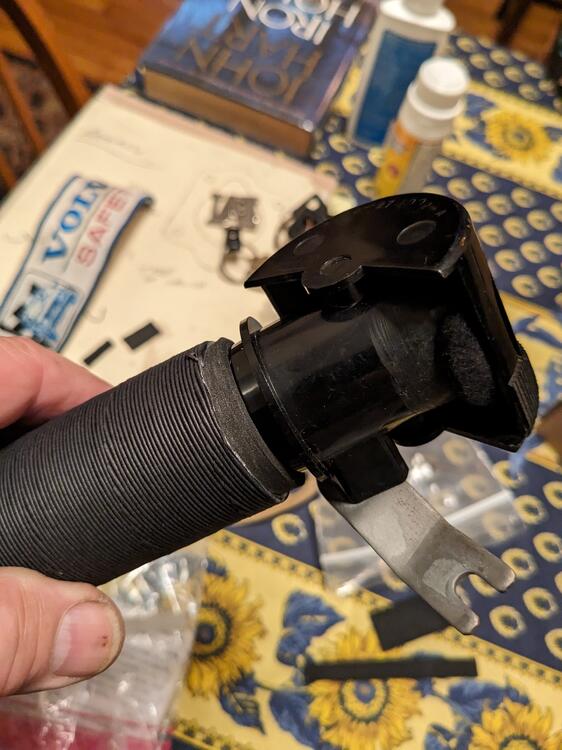
2 pointsPretty impressive this hatch strut still works after 51 years. Just dont make those things like that anymore. 20230924_170332.mp42 points
-
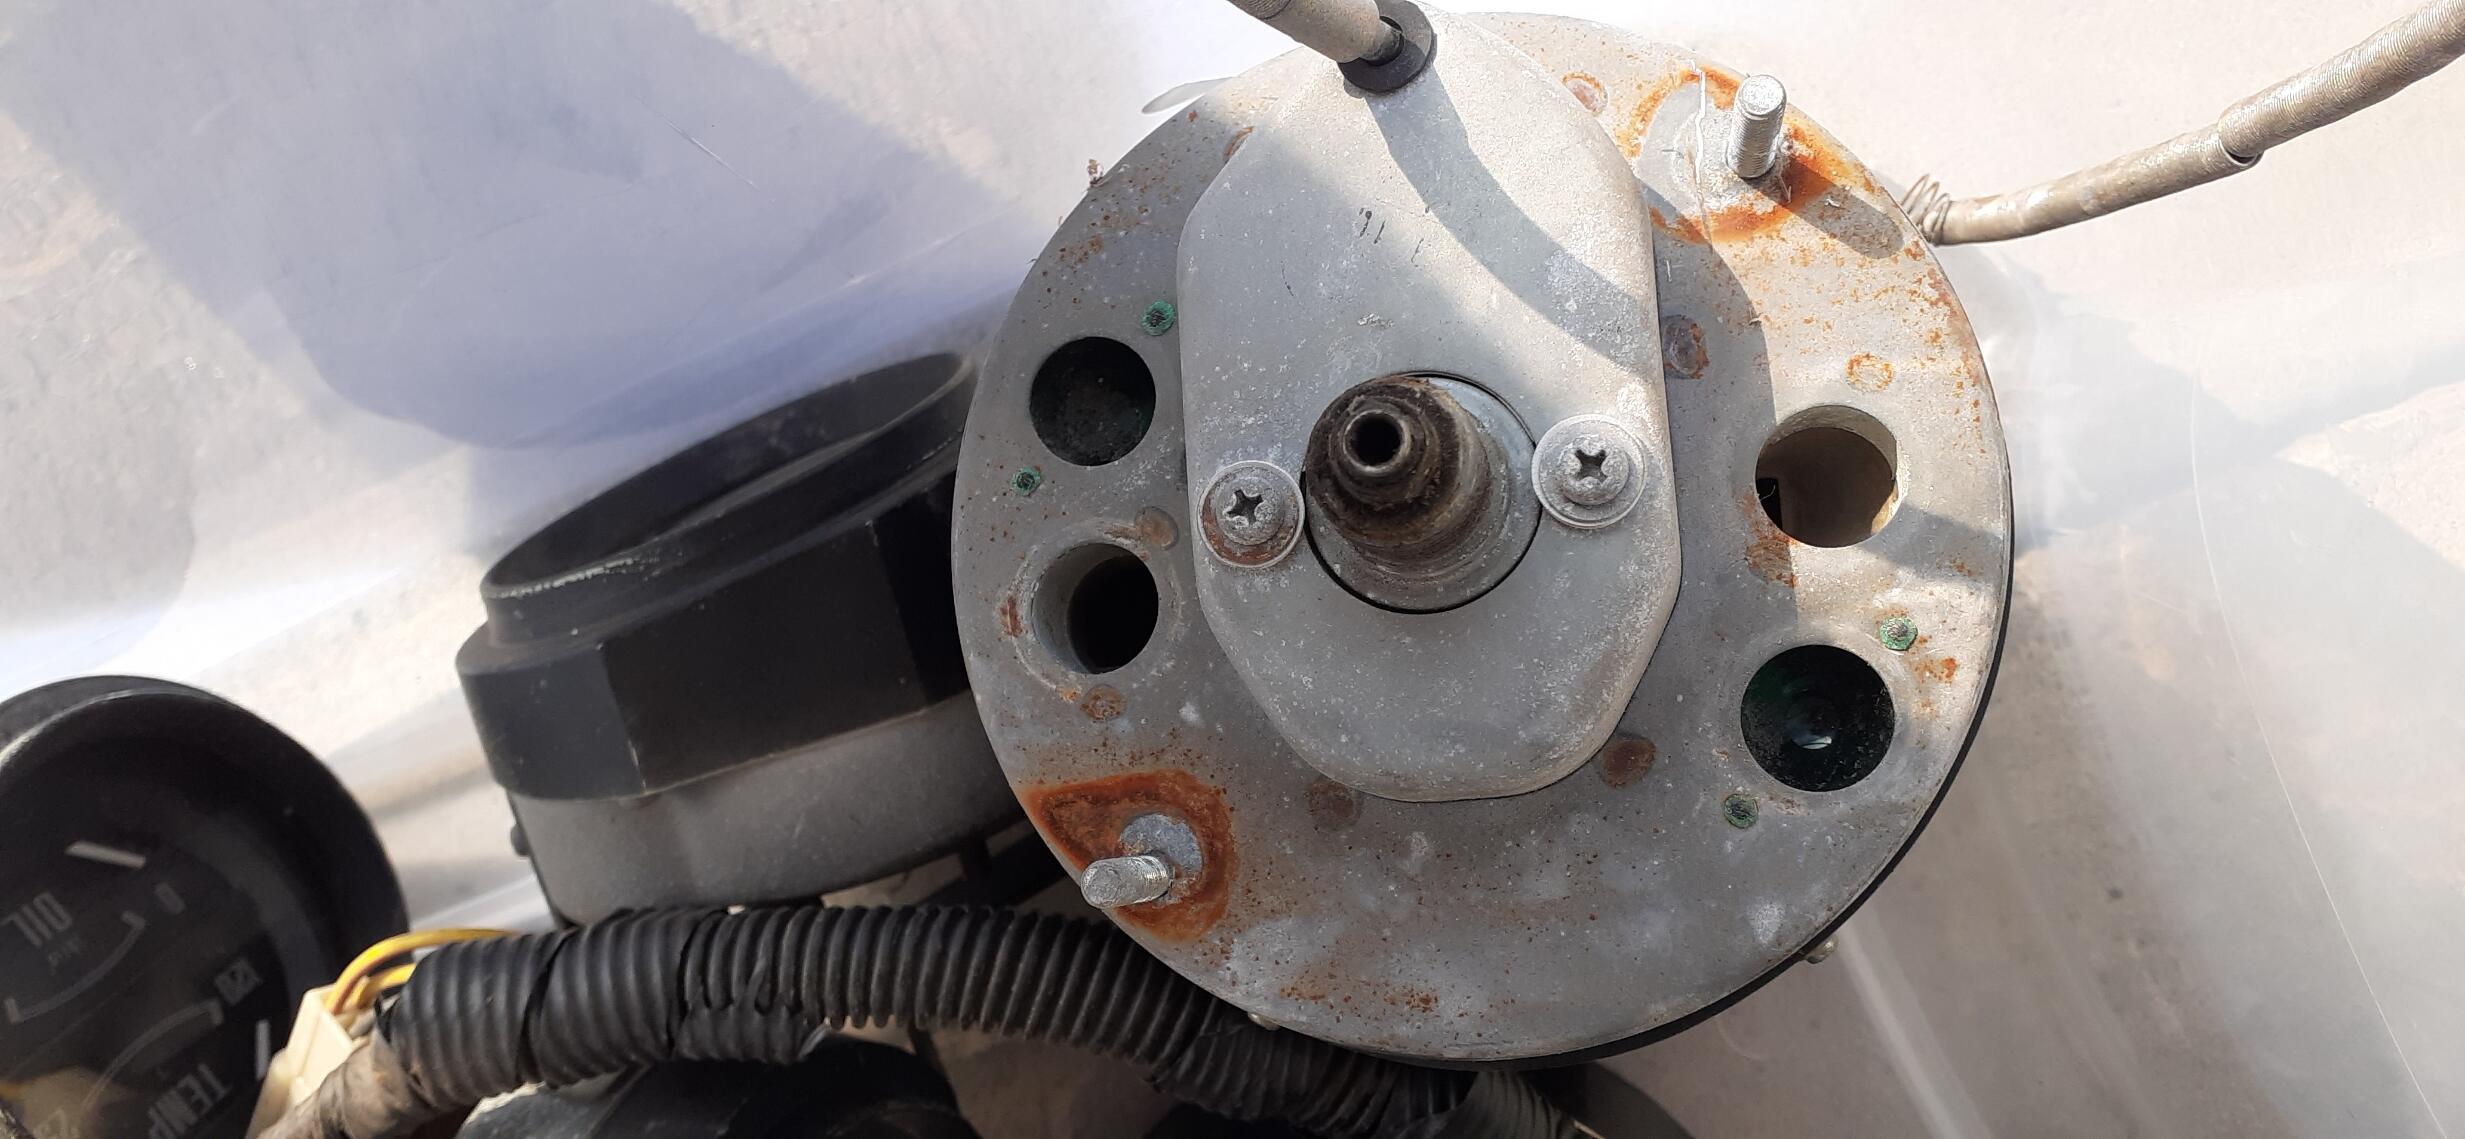
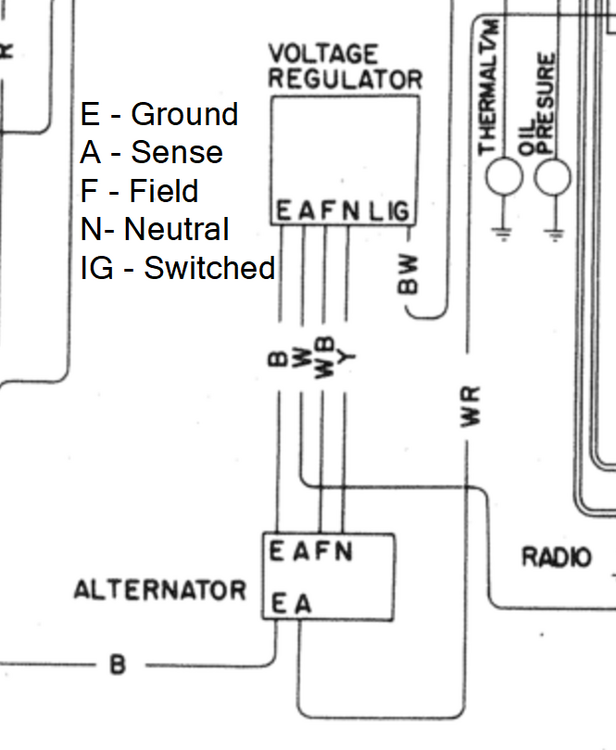
2 pointsYou don't have a stock voltage regulator. The wiring diagram shows 5 wires. Sense means it is reading battery voltage. Field is the wire that it uses to excite the field of the alternator. Neutral is the neutral of the alternator. The L terminal isn't used, but it would be for the Lamp signal. If it was used, it would connect to a bulb in the dash, and the other side would have a switched source. If the alternator wasn't charging, the bulb would light up. It's a shame they didn't use it. The BW wire with the bullet connector is for a condensor that isn't shown in the wiring diagram. It resides around the VR.
 2 points
 -
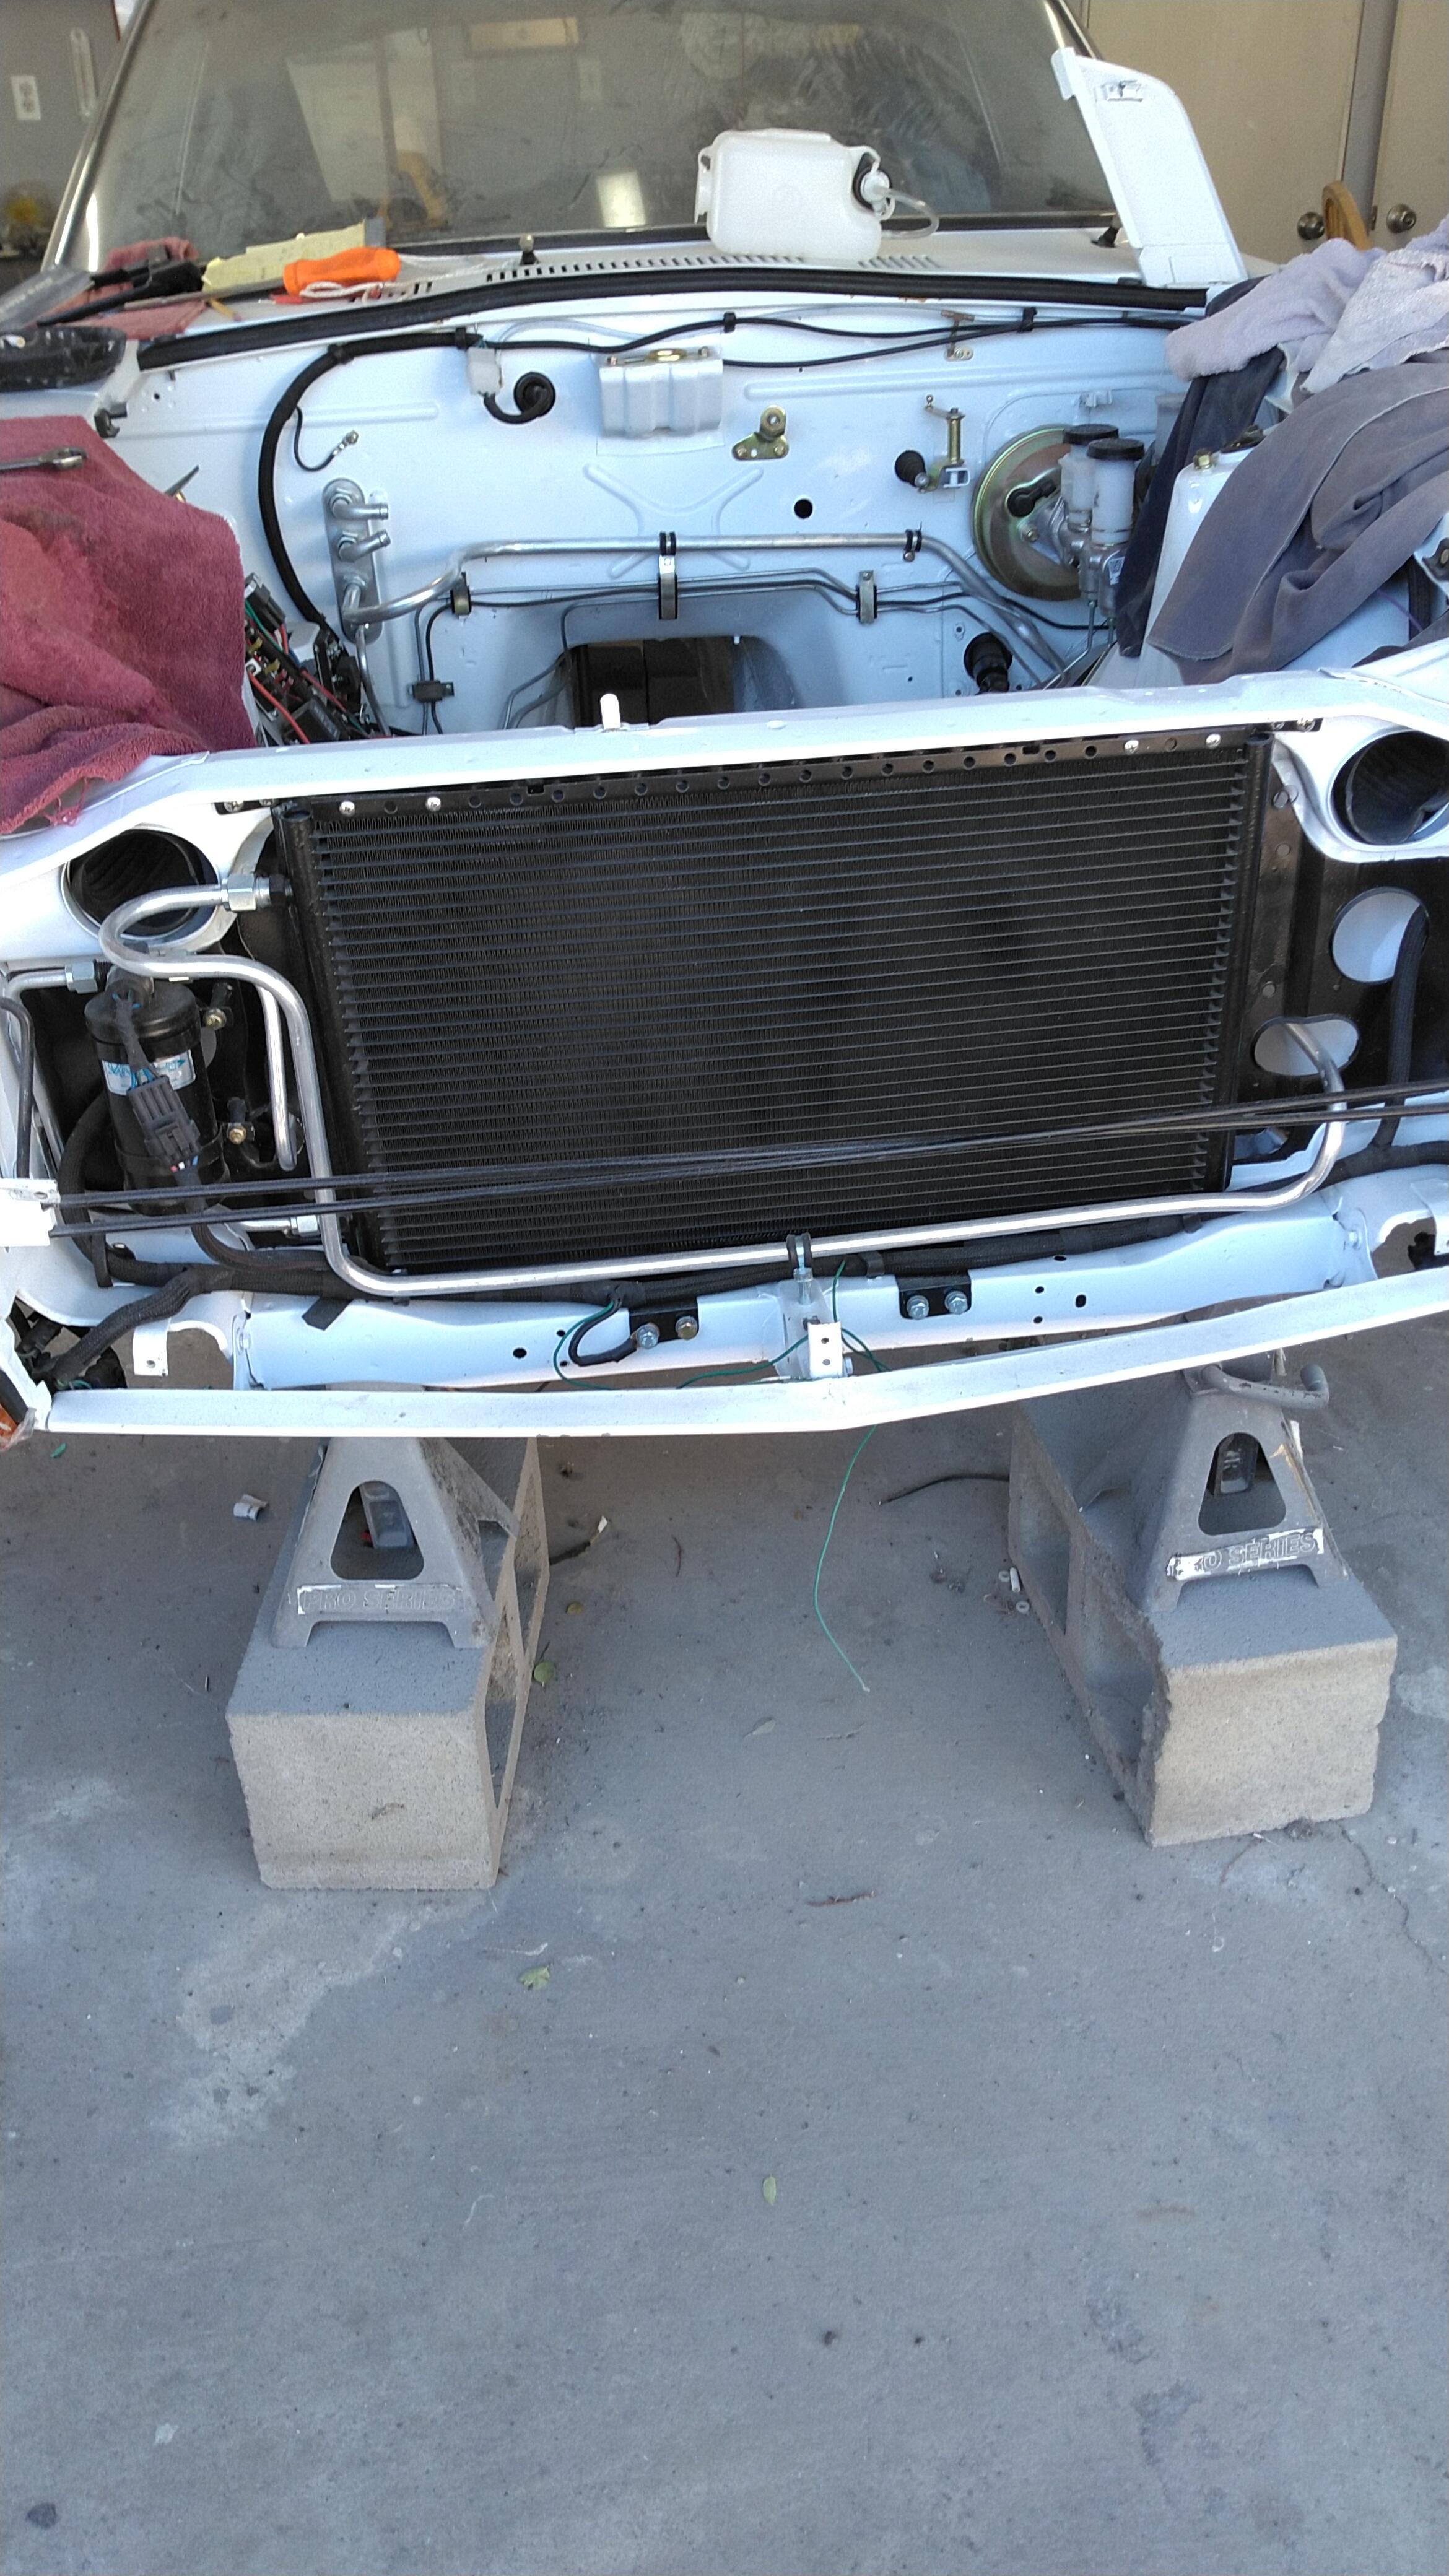
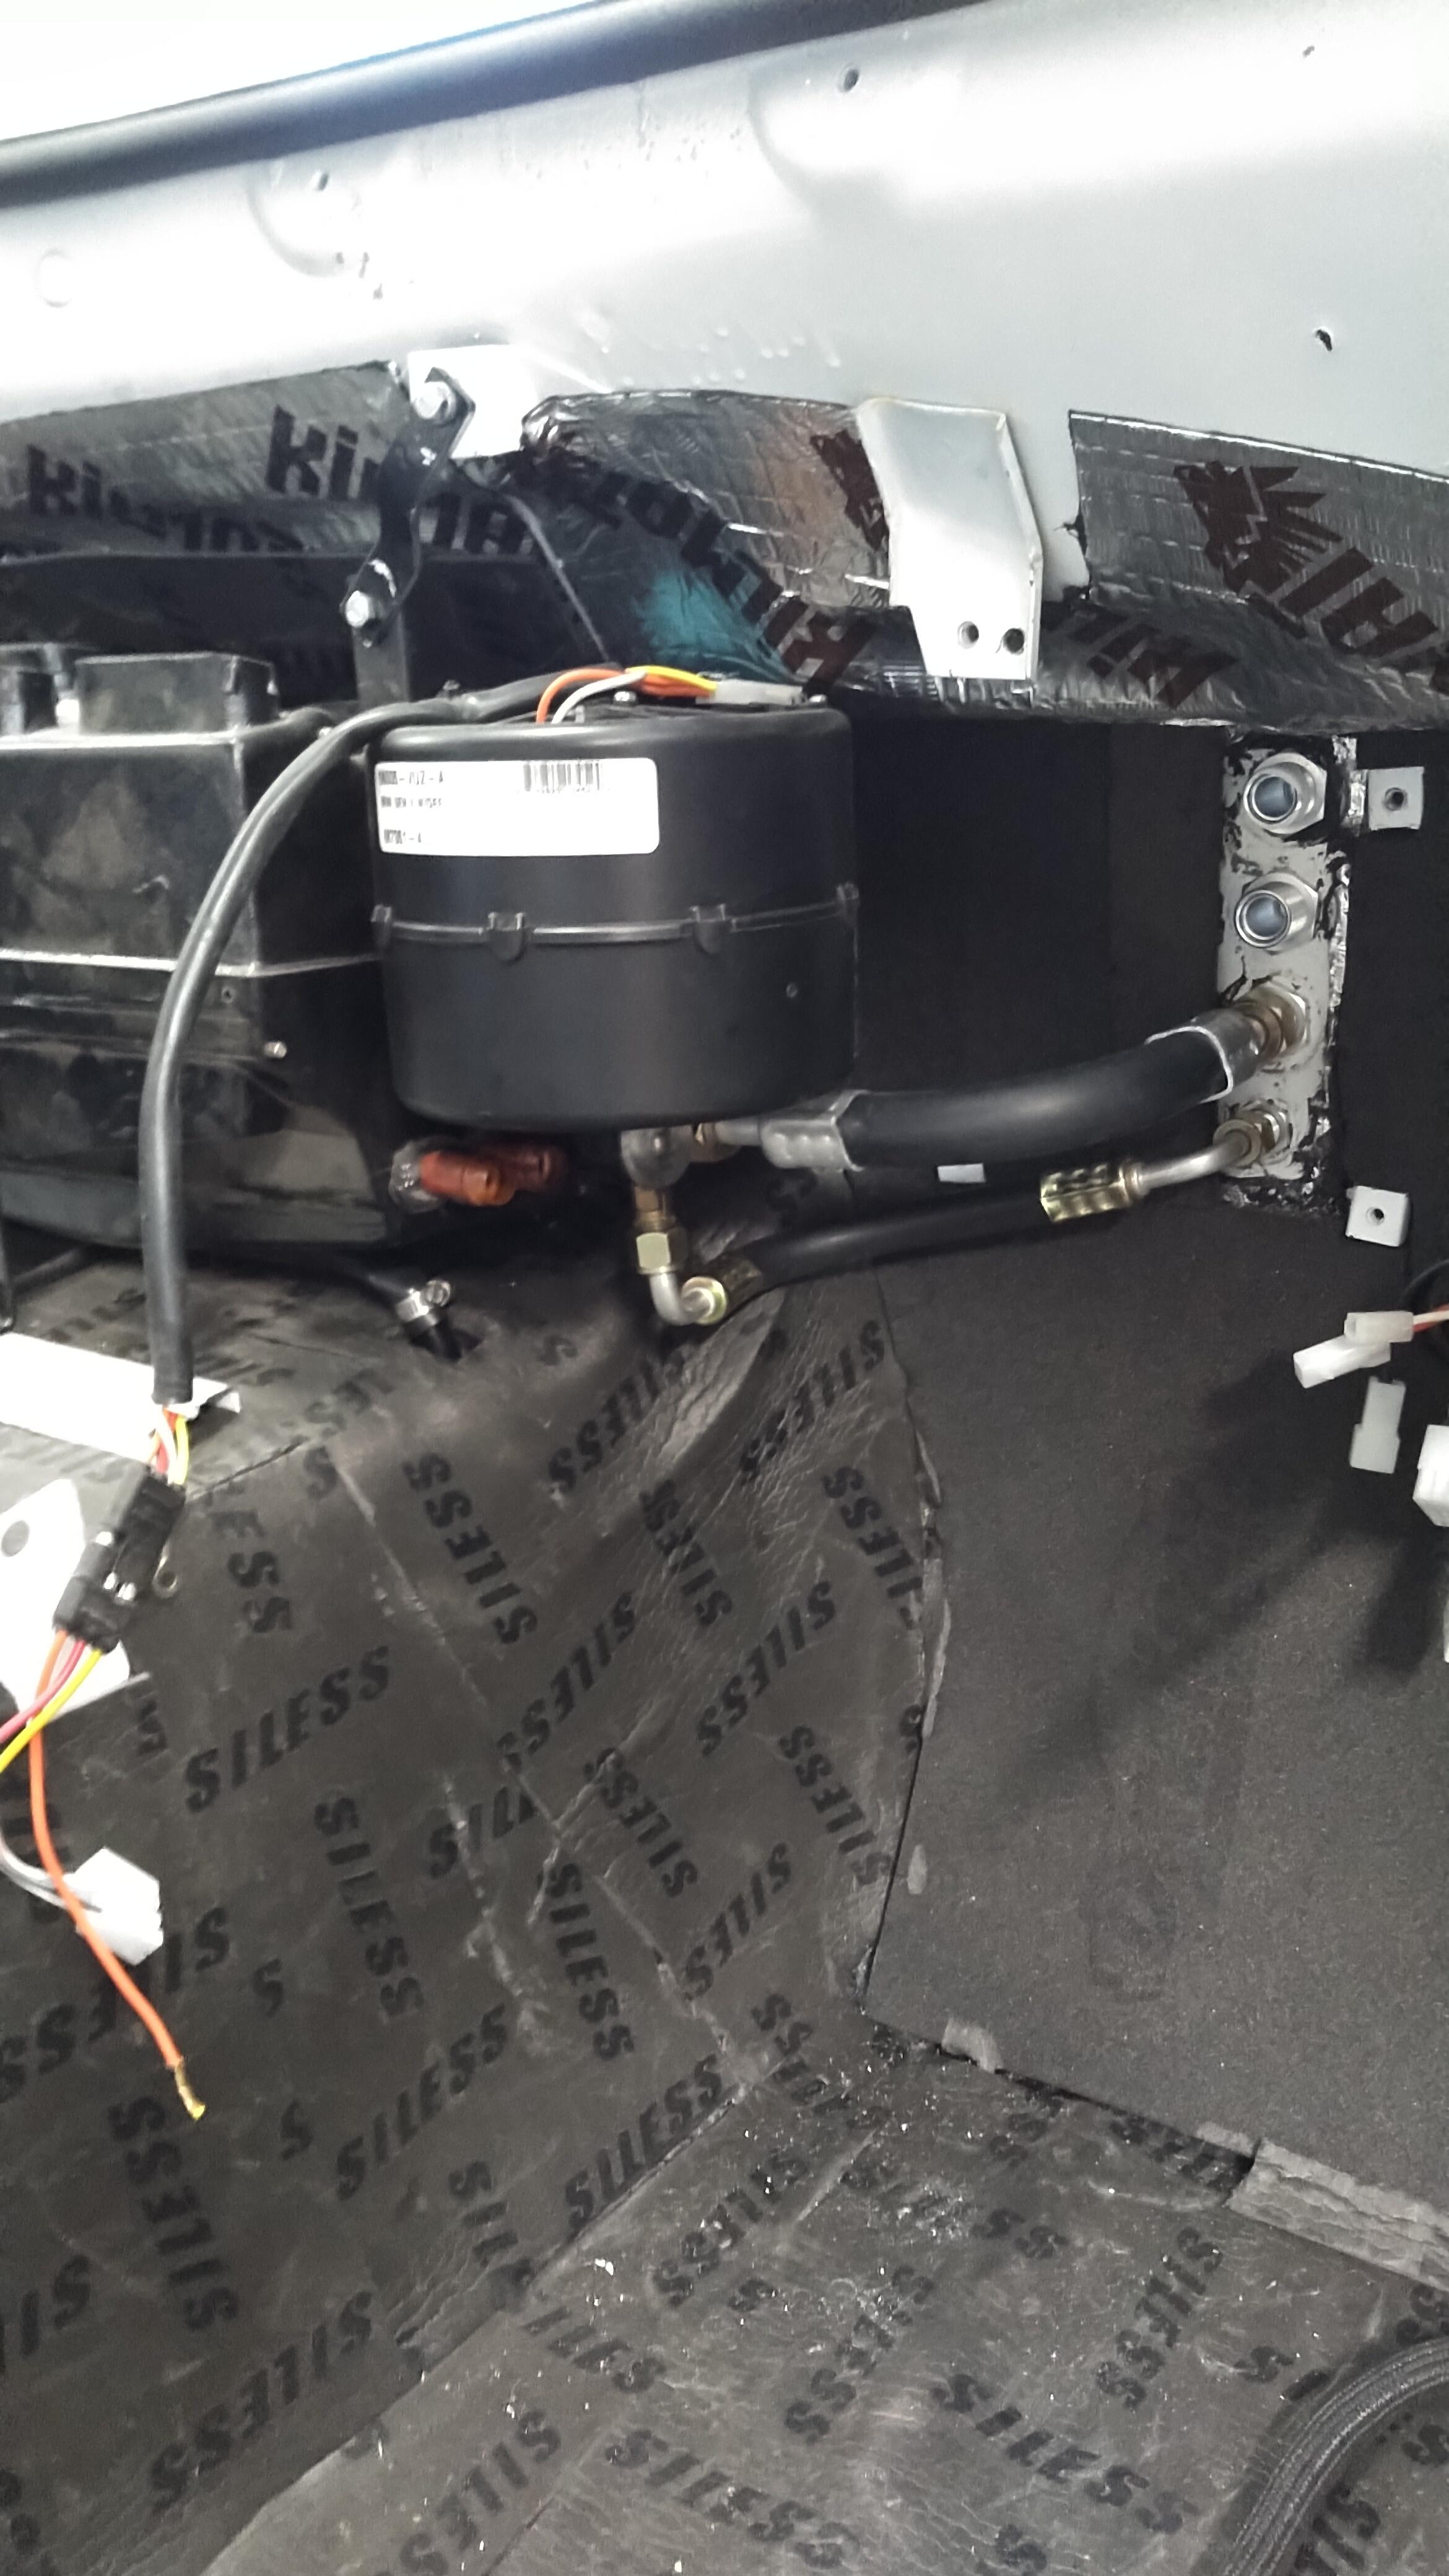
1 pointAlmost done installing Vintage in my Z car. QZ16 has a good thread and it helped with some of my install. I had to use a bulkhead fitting because we had that side of firewall repaired due to a boom box or large speakers. A lot of holes, I also decide on using hardlines instead of rubber hoses. I like the look and less room. I installed the Vintage air controls into the original heat vent con


 1 point
 -
1 point%Oh yes, nichicon are the best, and get the 105c. I suppose modern caps are tighter tolerances as well so 20% was probably bad too. I was thinking of the old caps I used to run into on vintage electronics, they would often be like 100%+ 50%- rated, really wide ranges. This is stuff from the 1950's and 1960's. Tech has come a long way since then so I was off base on that 20%+-1 point
-
1 pointShanghai Auto Museum is nothing to do with Nissan. It's in China, for a start... Clearly an exhibit that they sourced themselves, of unknown provenance and with some decidedly custom details. So I wouldn't use any detail of that car as a reference point if I were you.1 point
-
1 point280 nos belt is on. Seems fine to me... Removed the taillight panel to get that original look and treat surface rust beneath the rear panel... Fun thing is i found a photo of one in the edit: Shanghai museum that is glossy? 😂1 point
-
Yup, there are a lot of moving parts in the front end. Probably not going to find one thing that makes all the difference. Might be a few small things that get you to where you want to be1 point
-
1 pointWhat happens to that in tank screen if you coat a tank? It seems like it would become a solid brick...1 point
-
1 pointAnother case of new parts not really being what you expect. Imagine how we could go around in circles because some part is "new" even though it's bad out of the box! Super of Ron to help point the right way!1 point
-
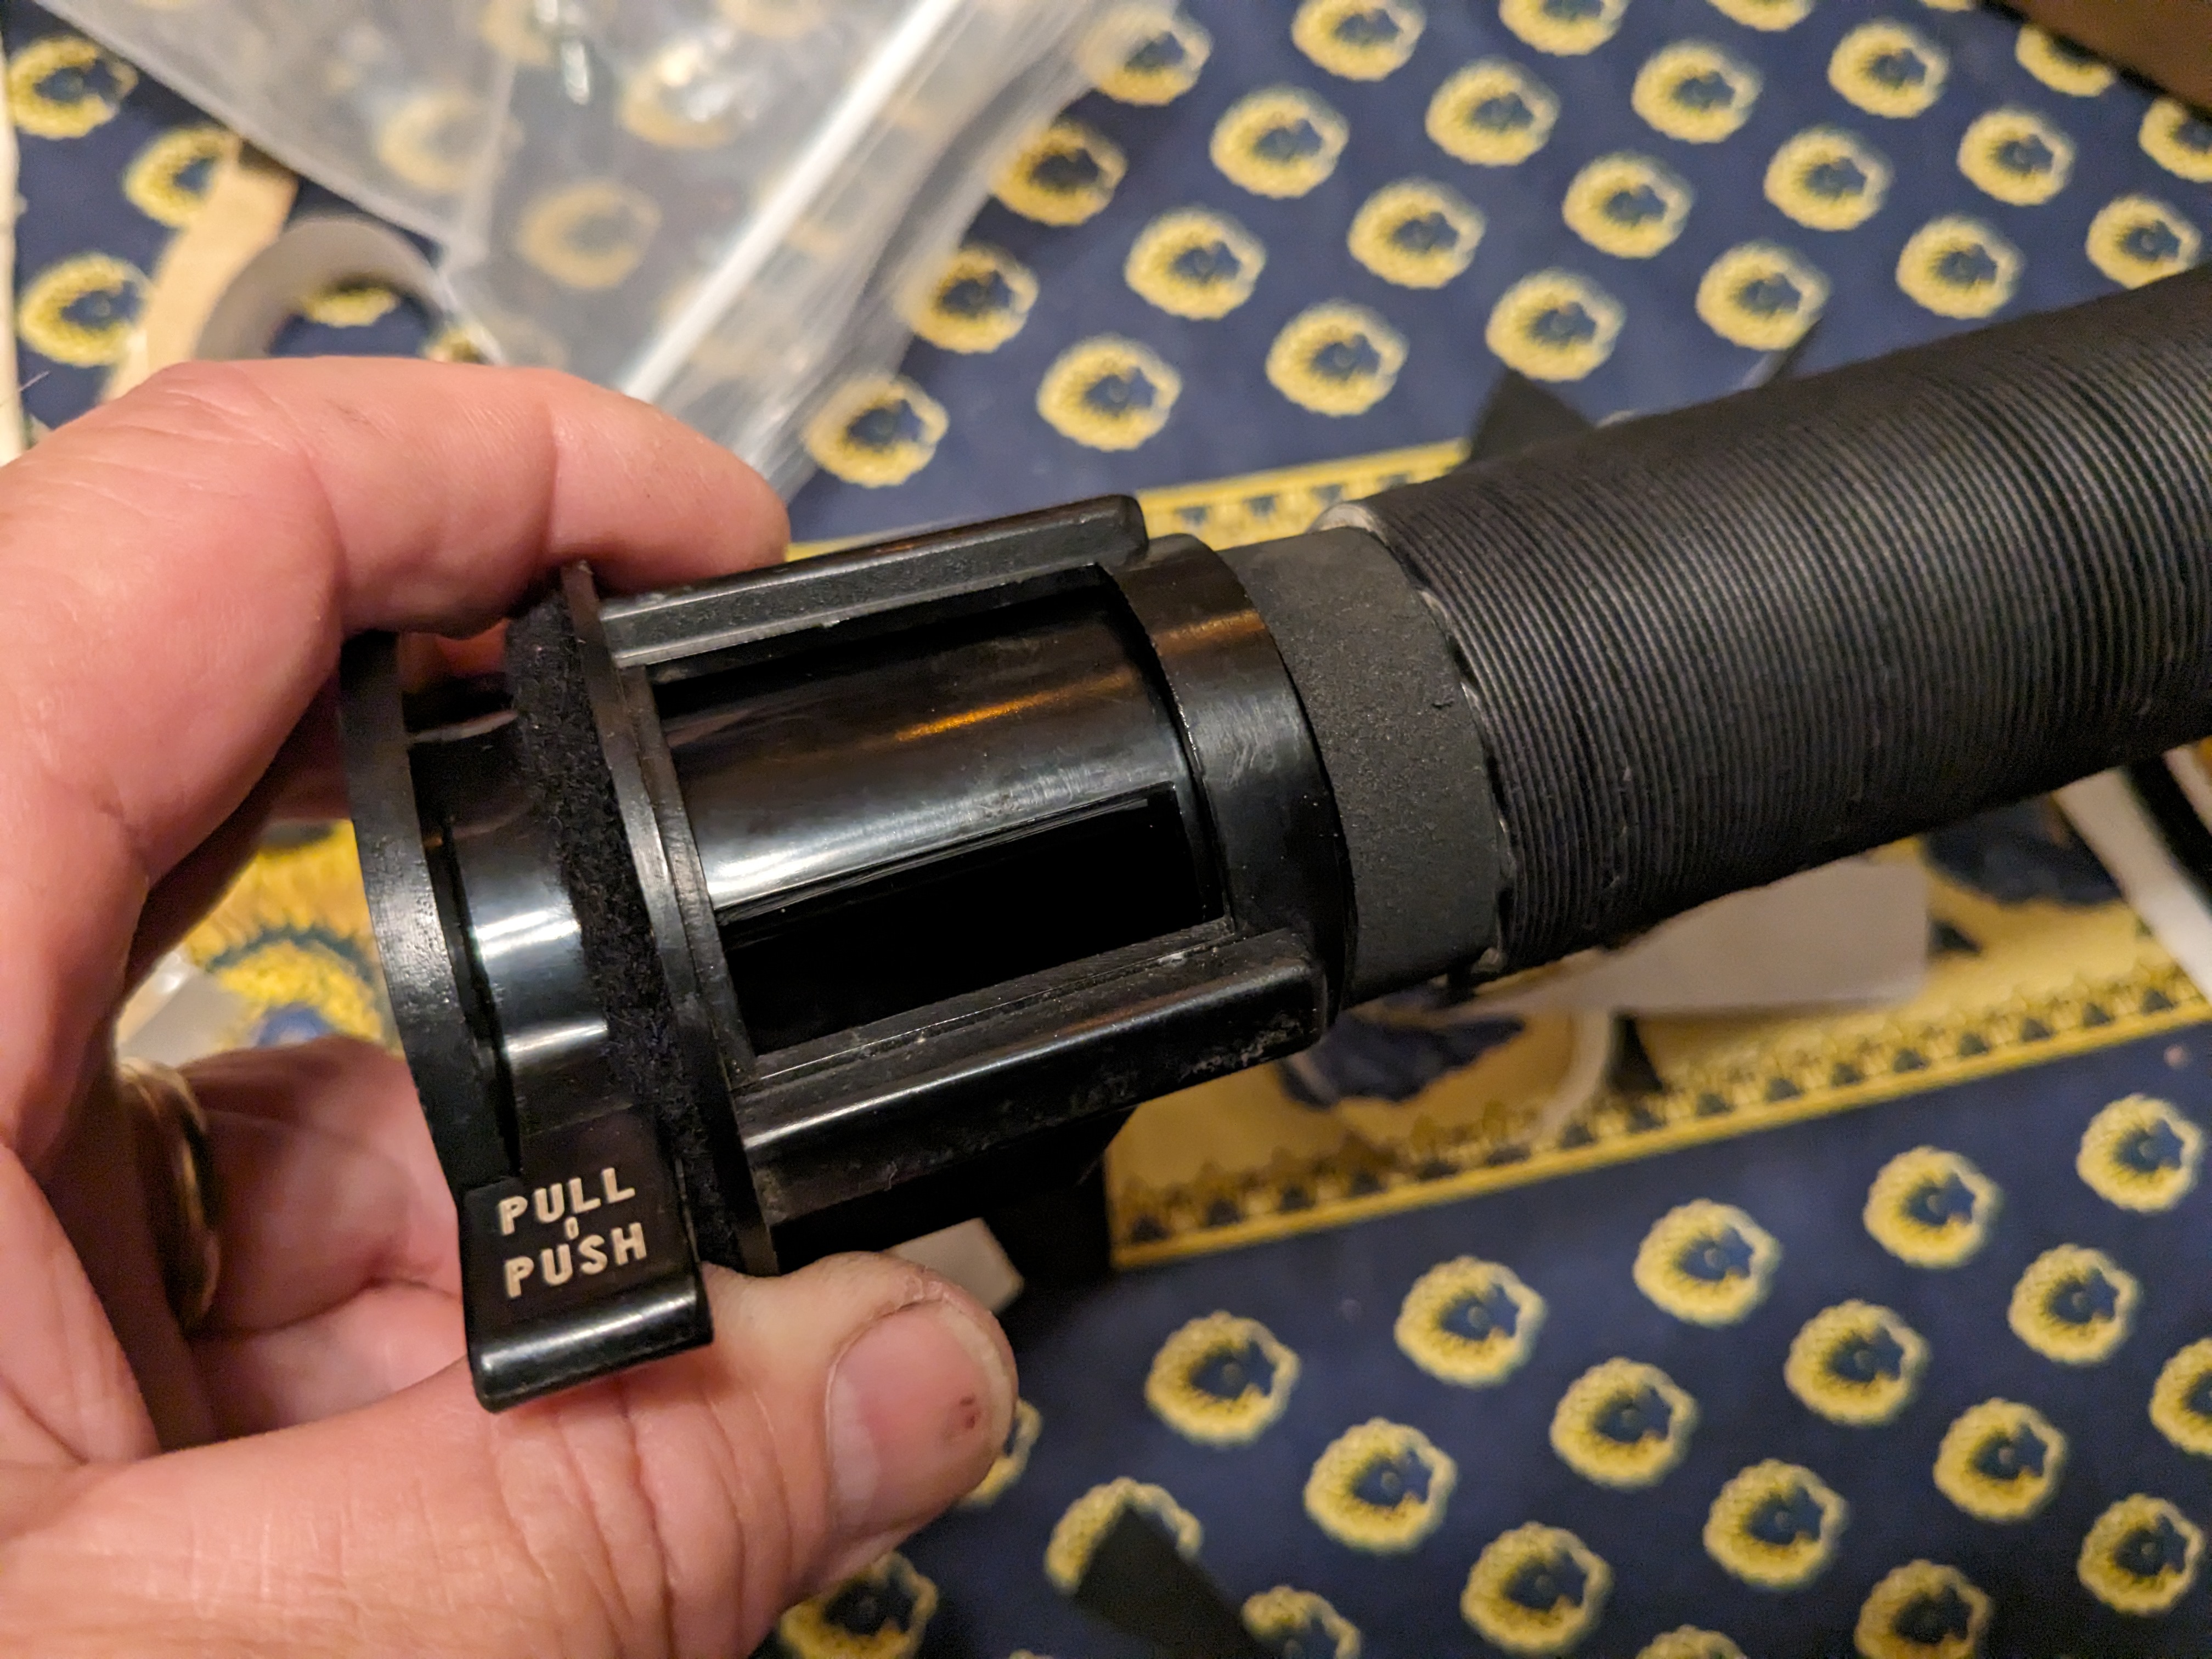
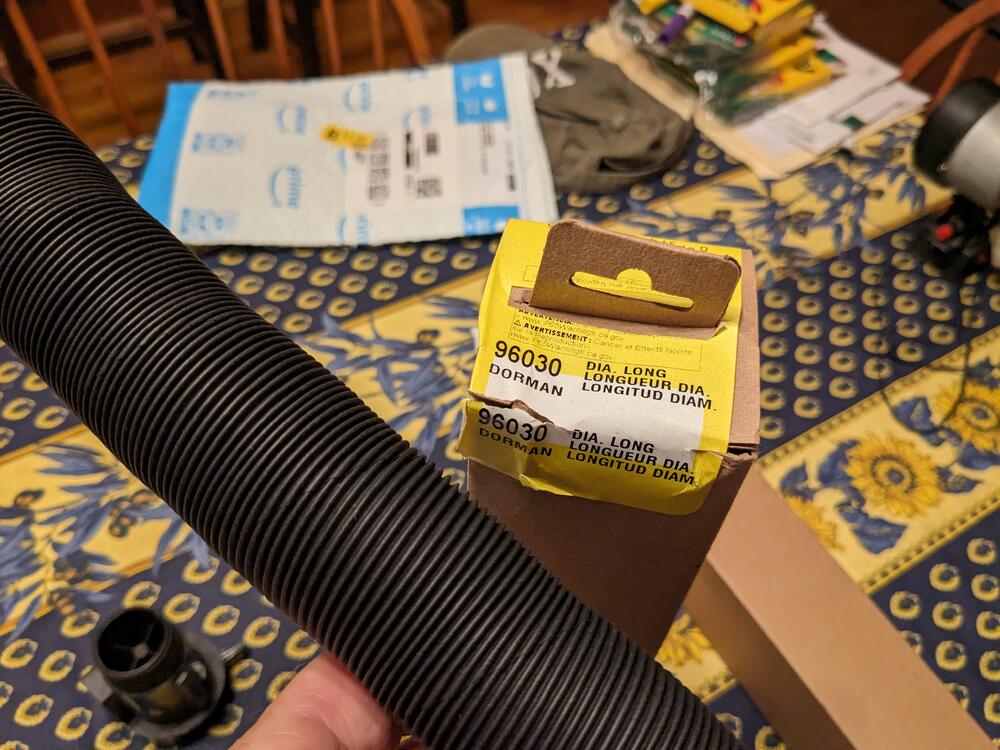
1 pointDorman 96030 works. Had to add a thin layer of foam to make it snug - 1/8" on DS vent, 1/16" on other 3 fittings


 1 point
 -
1 point
-
1 pointI just got an email from Just Dashes, they have my VIN tag and are mailing it back with some rivets. That was lucky.1 point
-
Cool! I had looked for a Schrader valve at various auto parts stores, and the folks all stared at me like I was dressed like a Viking and speaking Portugese. All I wanted was an easy means of checking fuel pressure, so I simply installed an inline fuel pressure gauge. I've described it elsewhere, but I'll also describe it here in this thread as an alternative that someone might like. The gauge ran me $5 at my local True Value hardware store. It's made in China -- 100 psi max, about 1.5" in diameter, with a 1/8" NPT thread on it. I screwed that into a "T" fitting with 3 1/8" NPT threaded holes. I screwed 5/16" nipples into the other two holes. The entire assembly was under $10. The "T" is oriented with its "bottom" (the stem at the bottom of the letter "T") pointed downwards and connected to the top of my fuel filter via a very short length of hose. One of the "arms" of the "T" has a 5/16" nipple that points directly towards the fuel rail and is connected to it via a short length of hose. The other "arm" of the "T" holds the gauge, whose face points straight upwards for easy viewing. No brackets are necessary, as the gauge is held quite steadily on the ends of the short hoses. The installation looks very neat, and the gauge has held up fine in the summer heat. (I was worried about the possibility of softening solder joints.) Also my car is a daily driver, and I've noted no corrosion or deterioration in the gauge so far. Finally, the gauge is surprisingly accurate for a $5 item out of China.1 point