Leaderboard
-
Patcon
 Subscriber
 9Points11,142Posts
 -
.JPG.cfcada9cf1c1b502df3f5f2f2ca3ff36.JPG)
SteveJ
Free Member4Points9,646Posts -

siteunseen
Free Member4Points15,115Posts -
240Znomad
Free Member3Points32Posts


Popular Content
Showing content with the highest reputation on 07/17/2022 in all areas
-
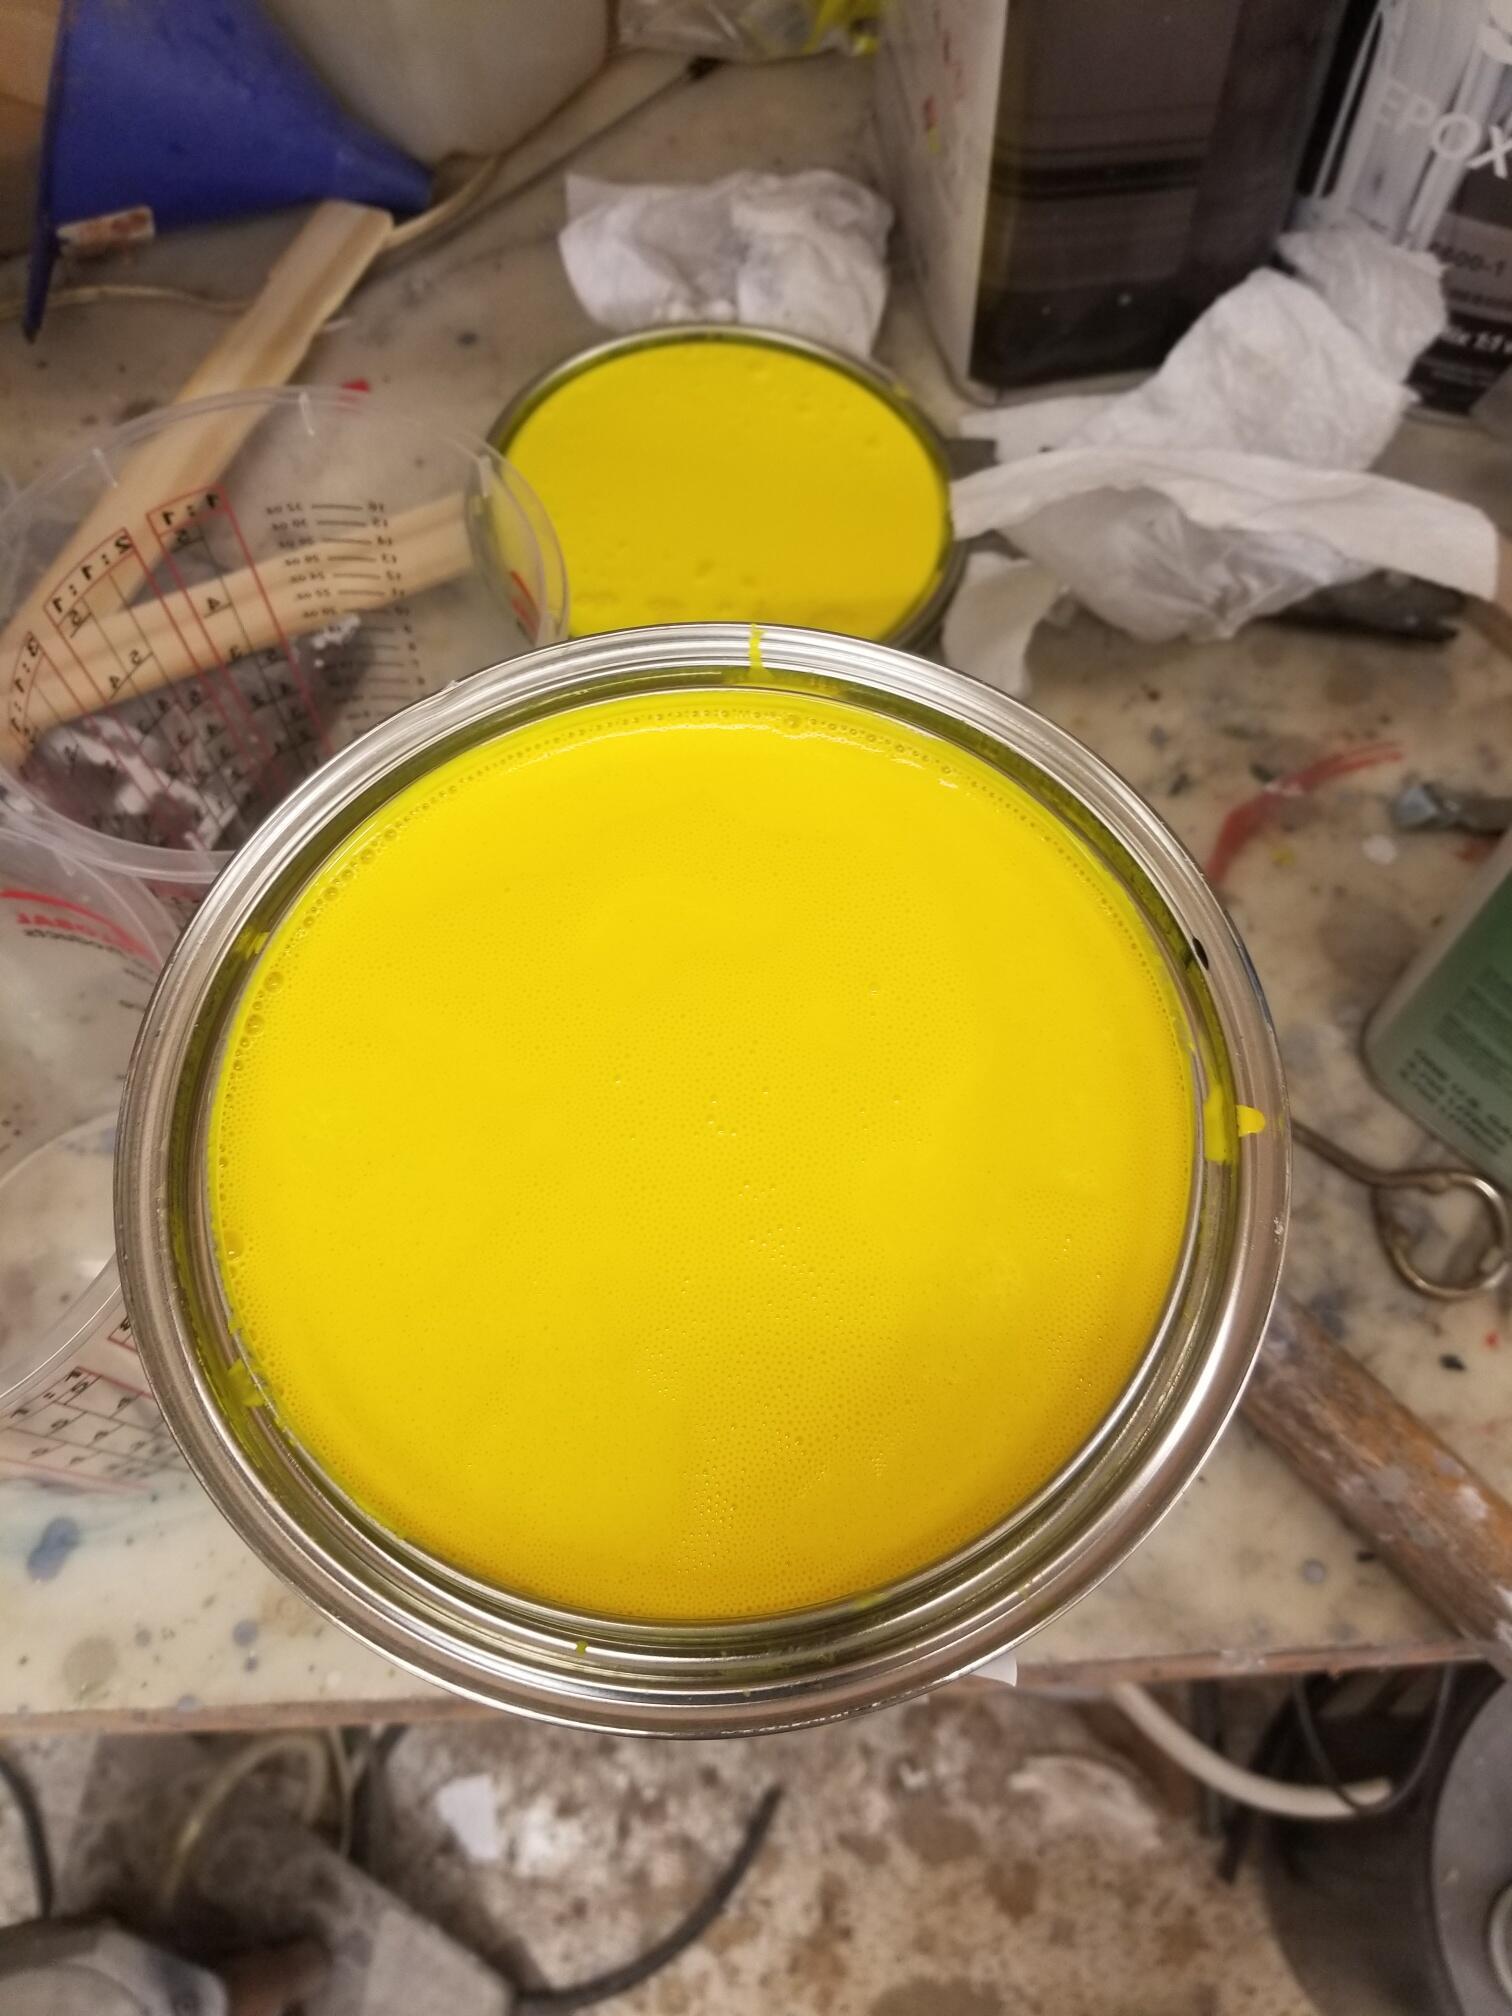
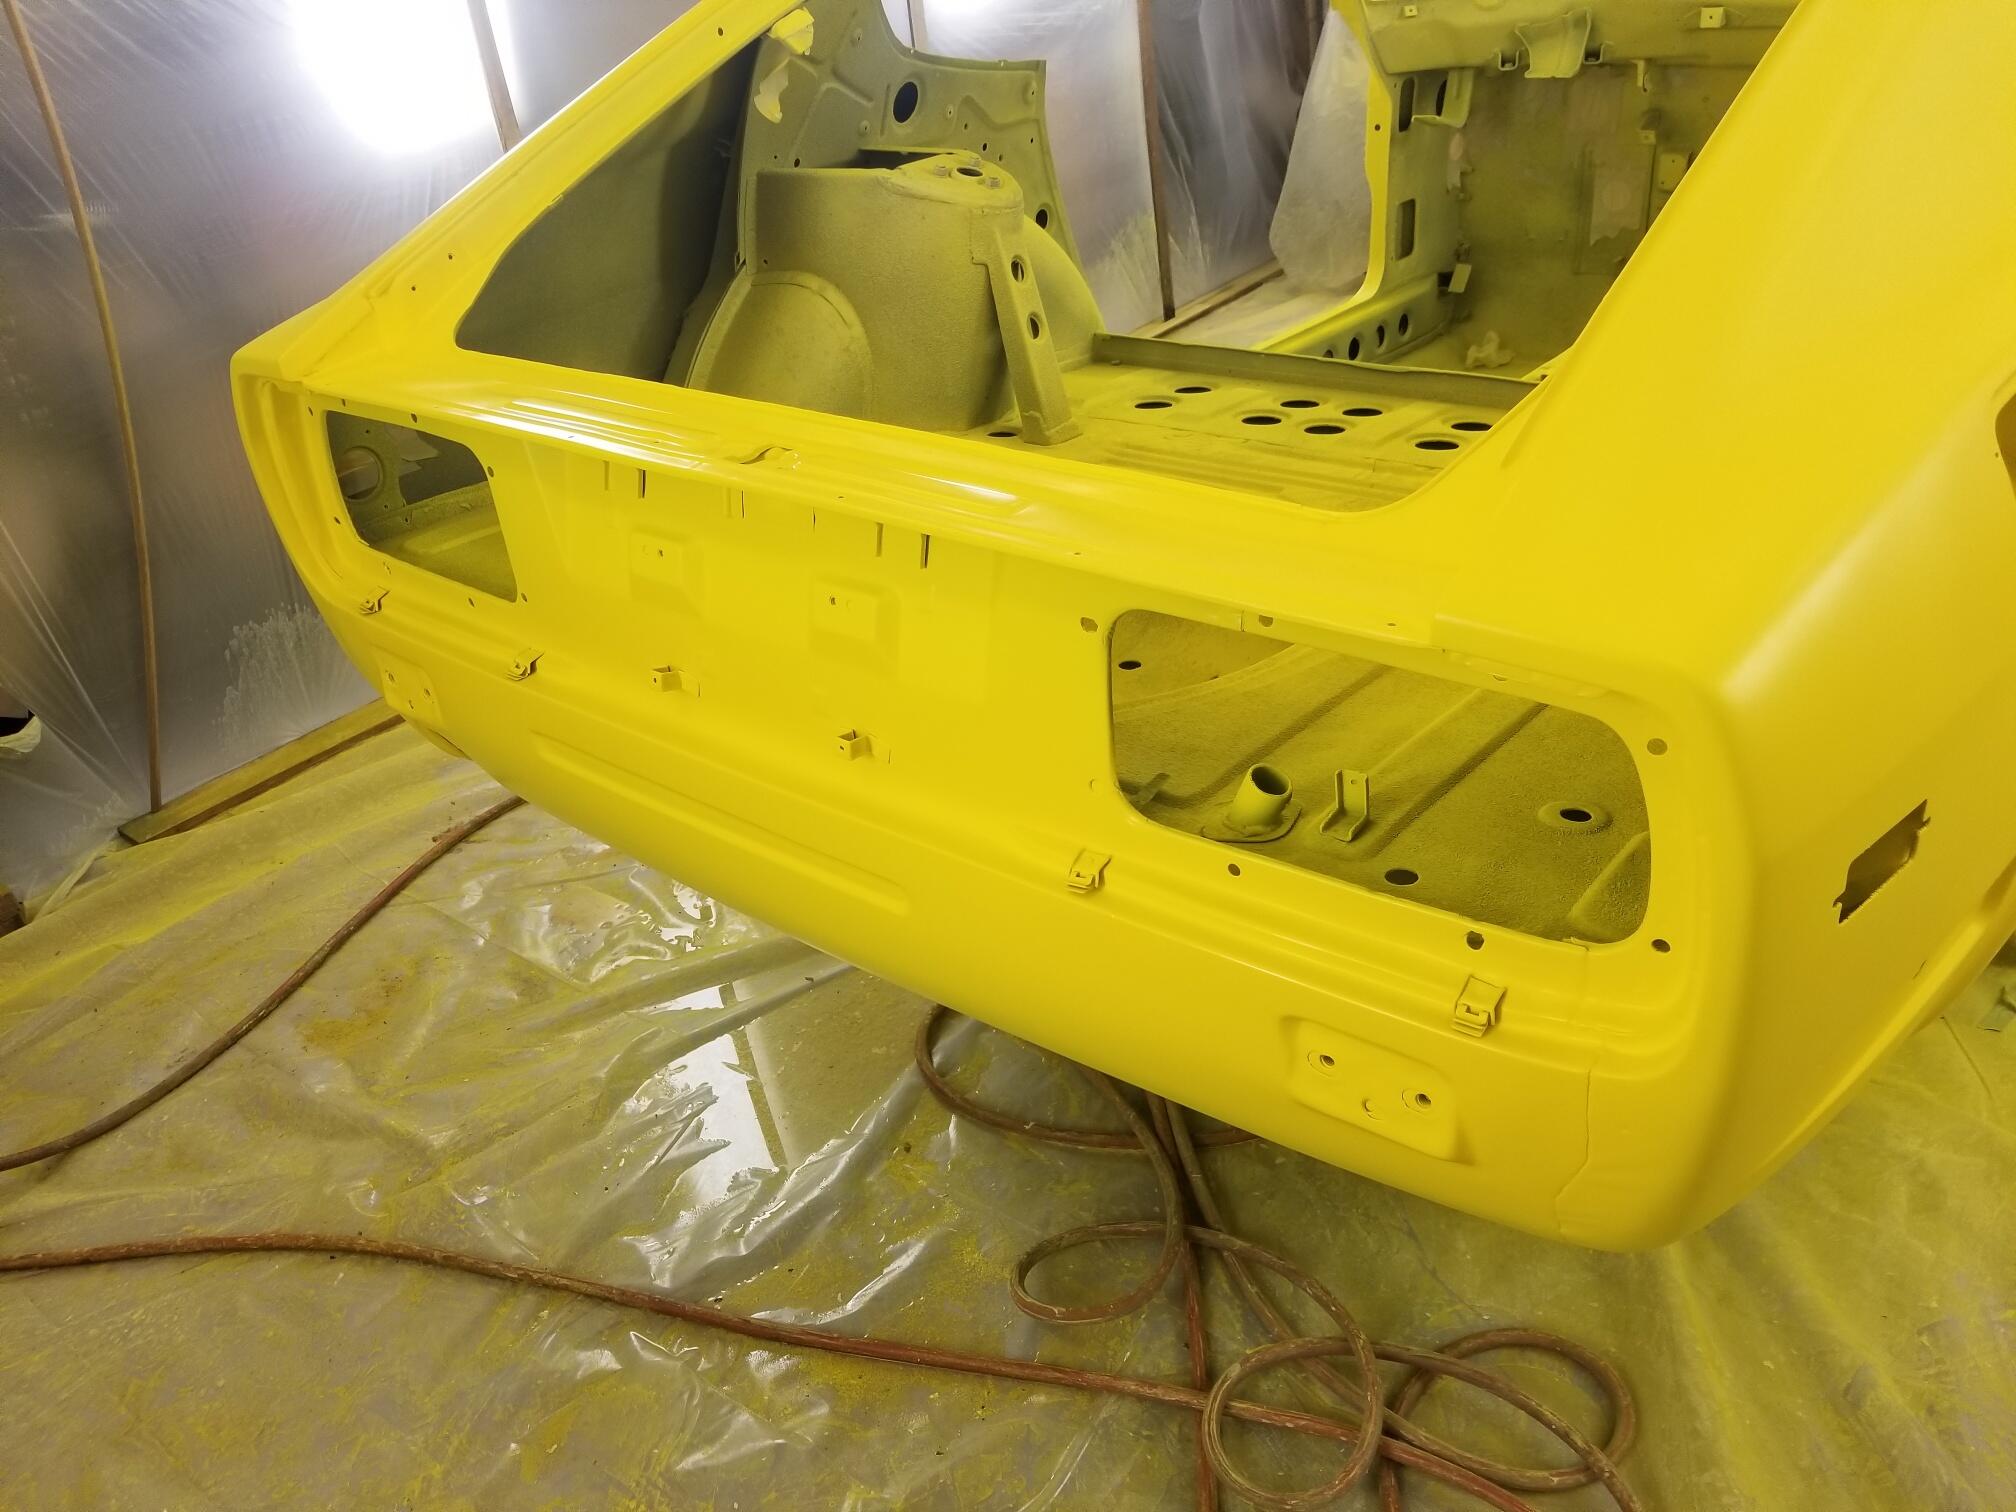
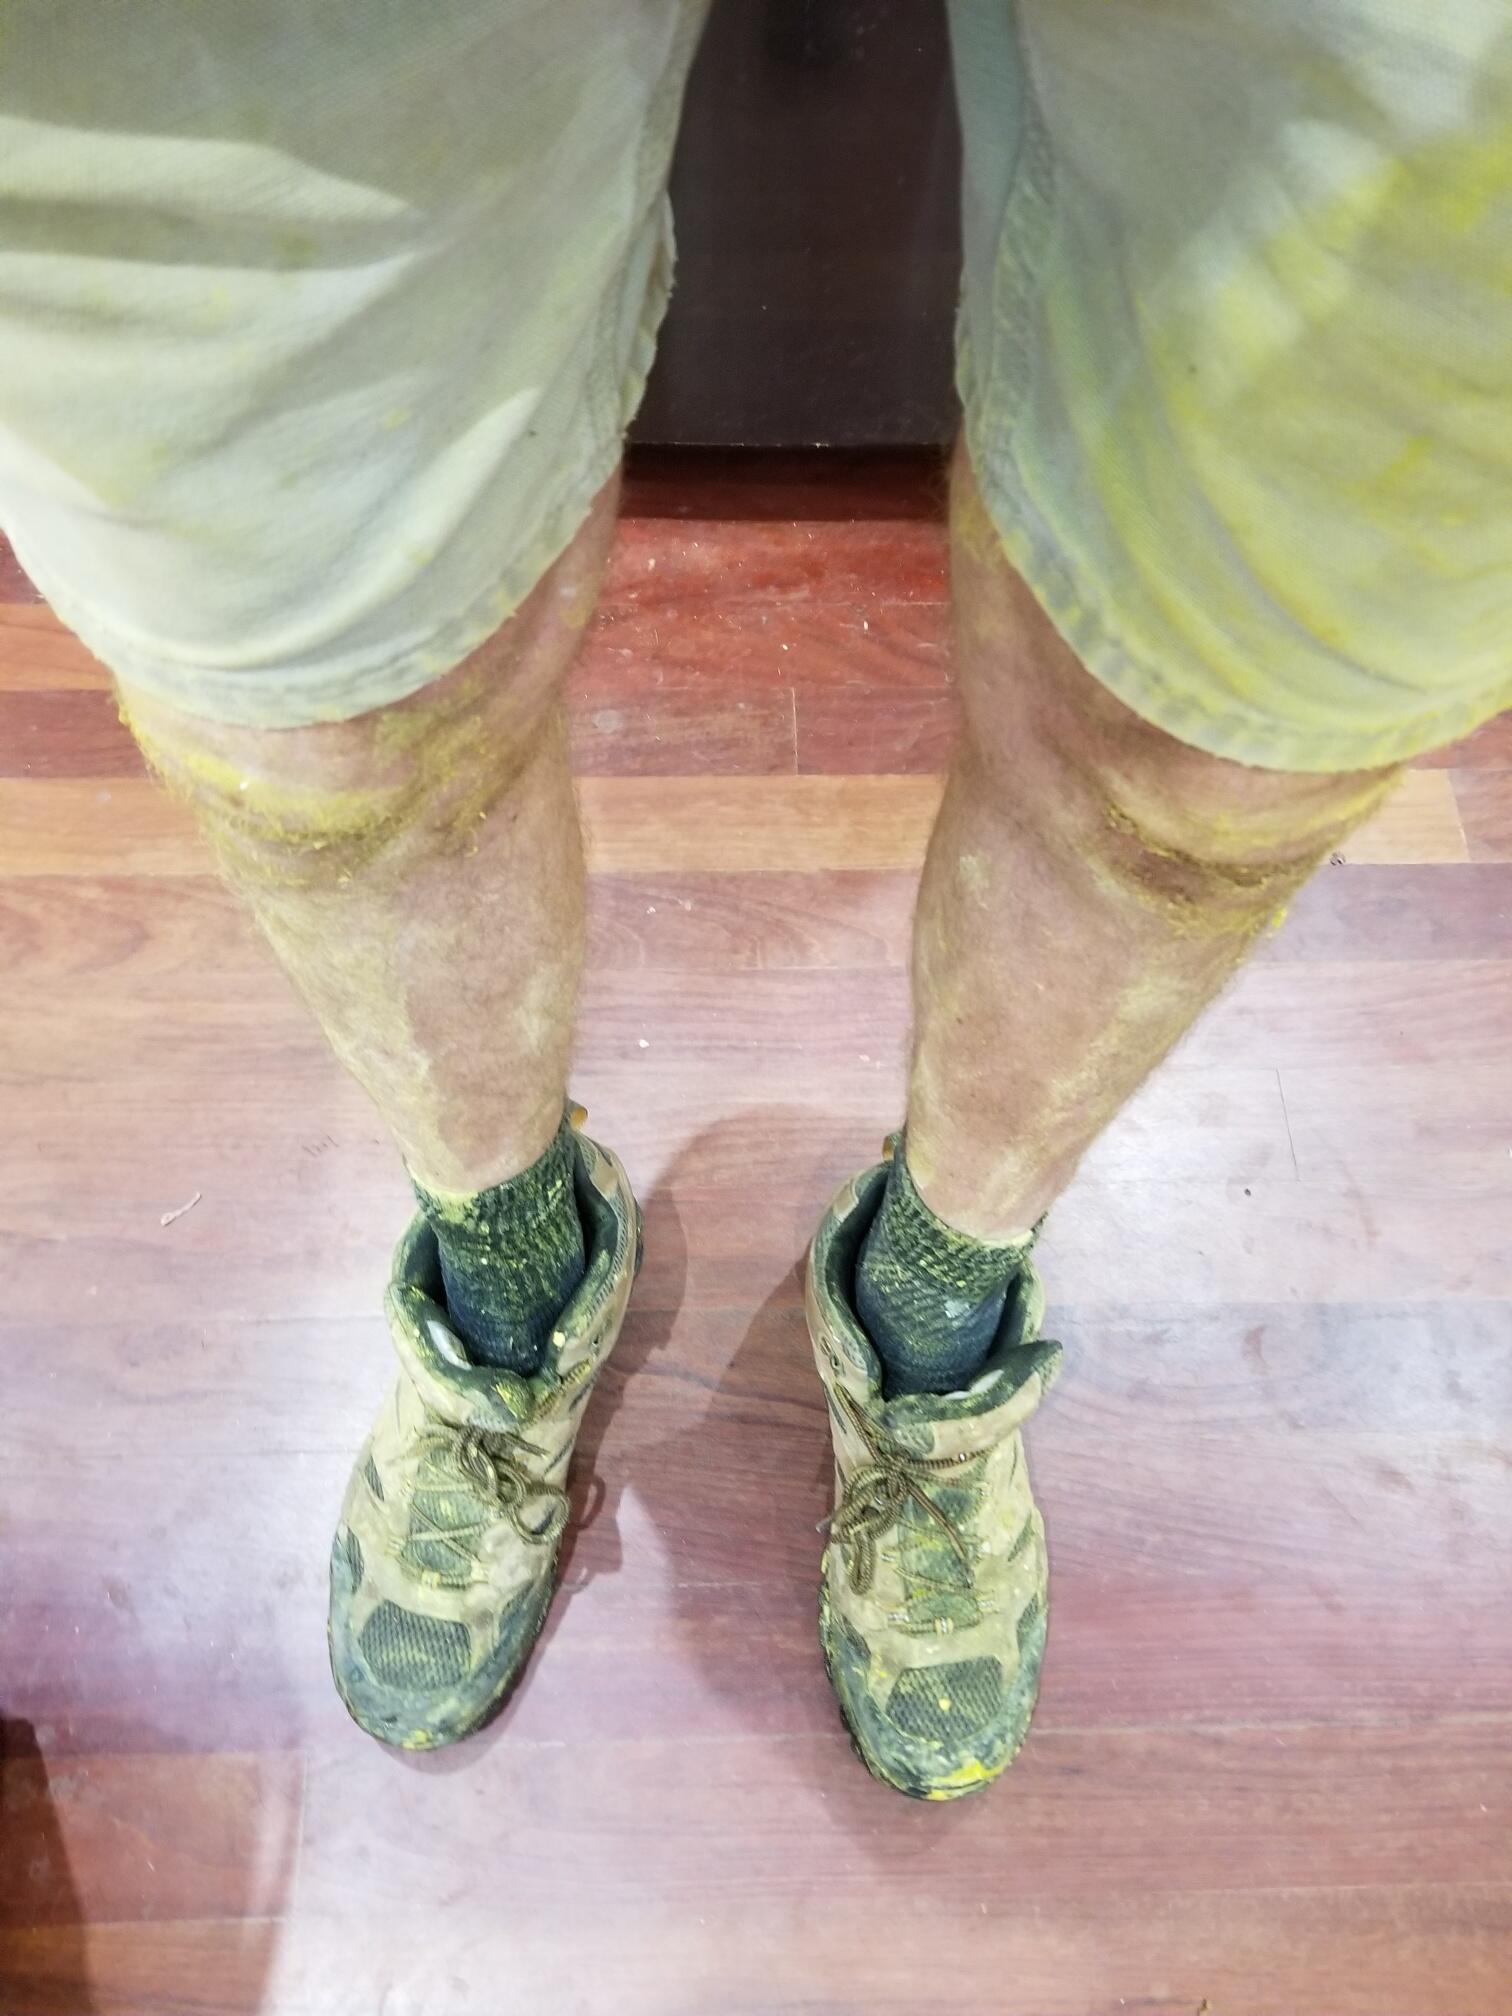
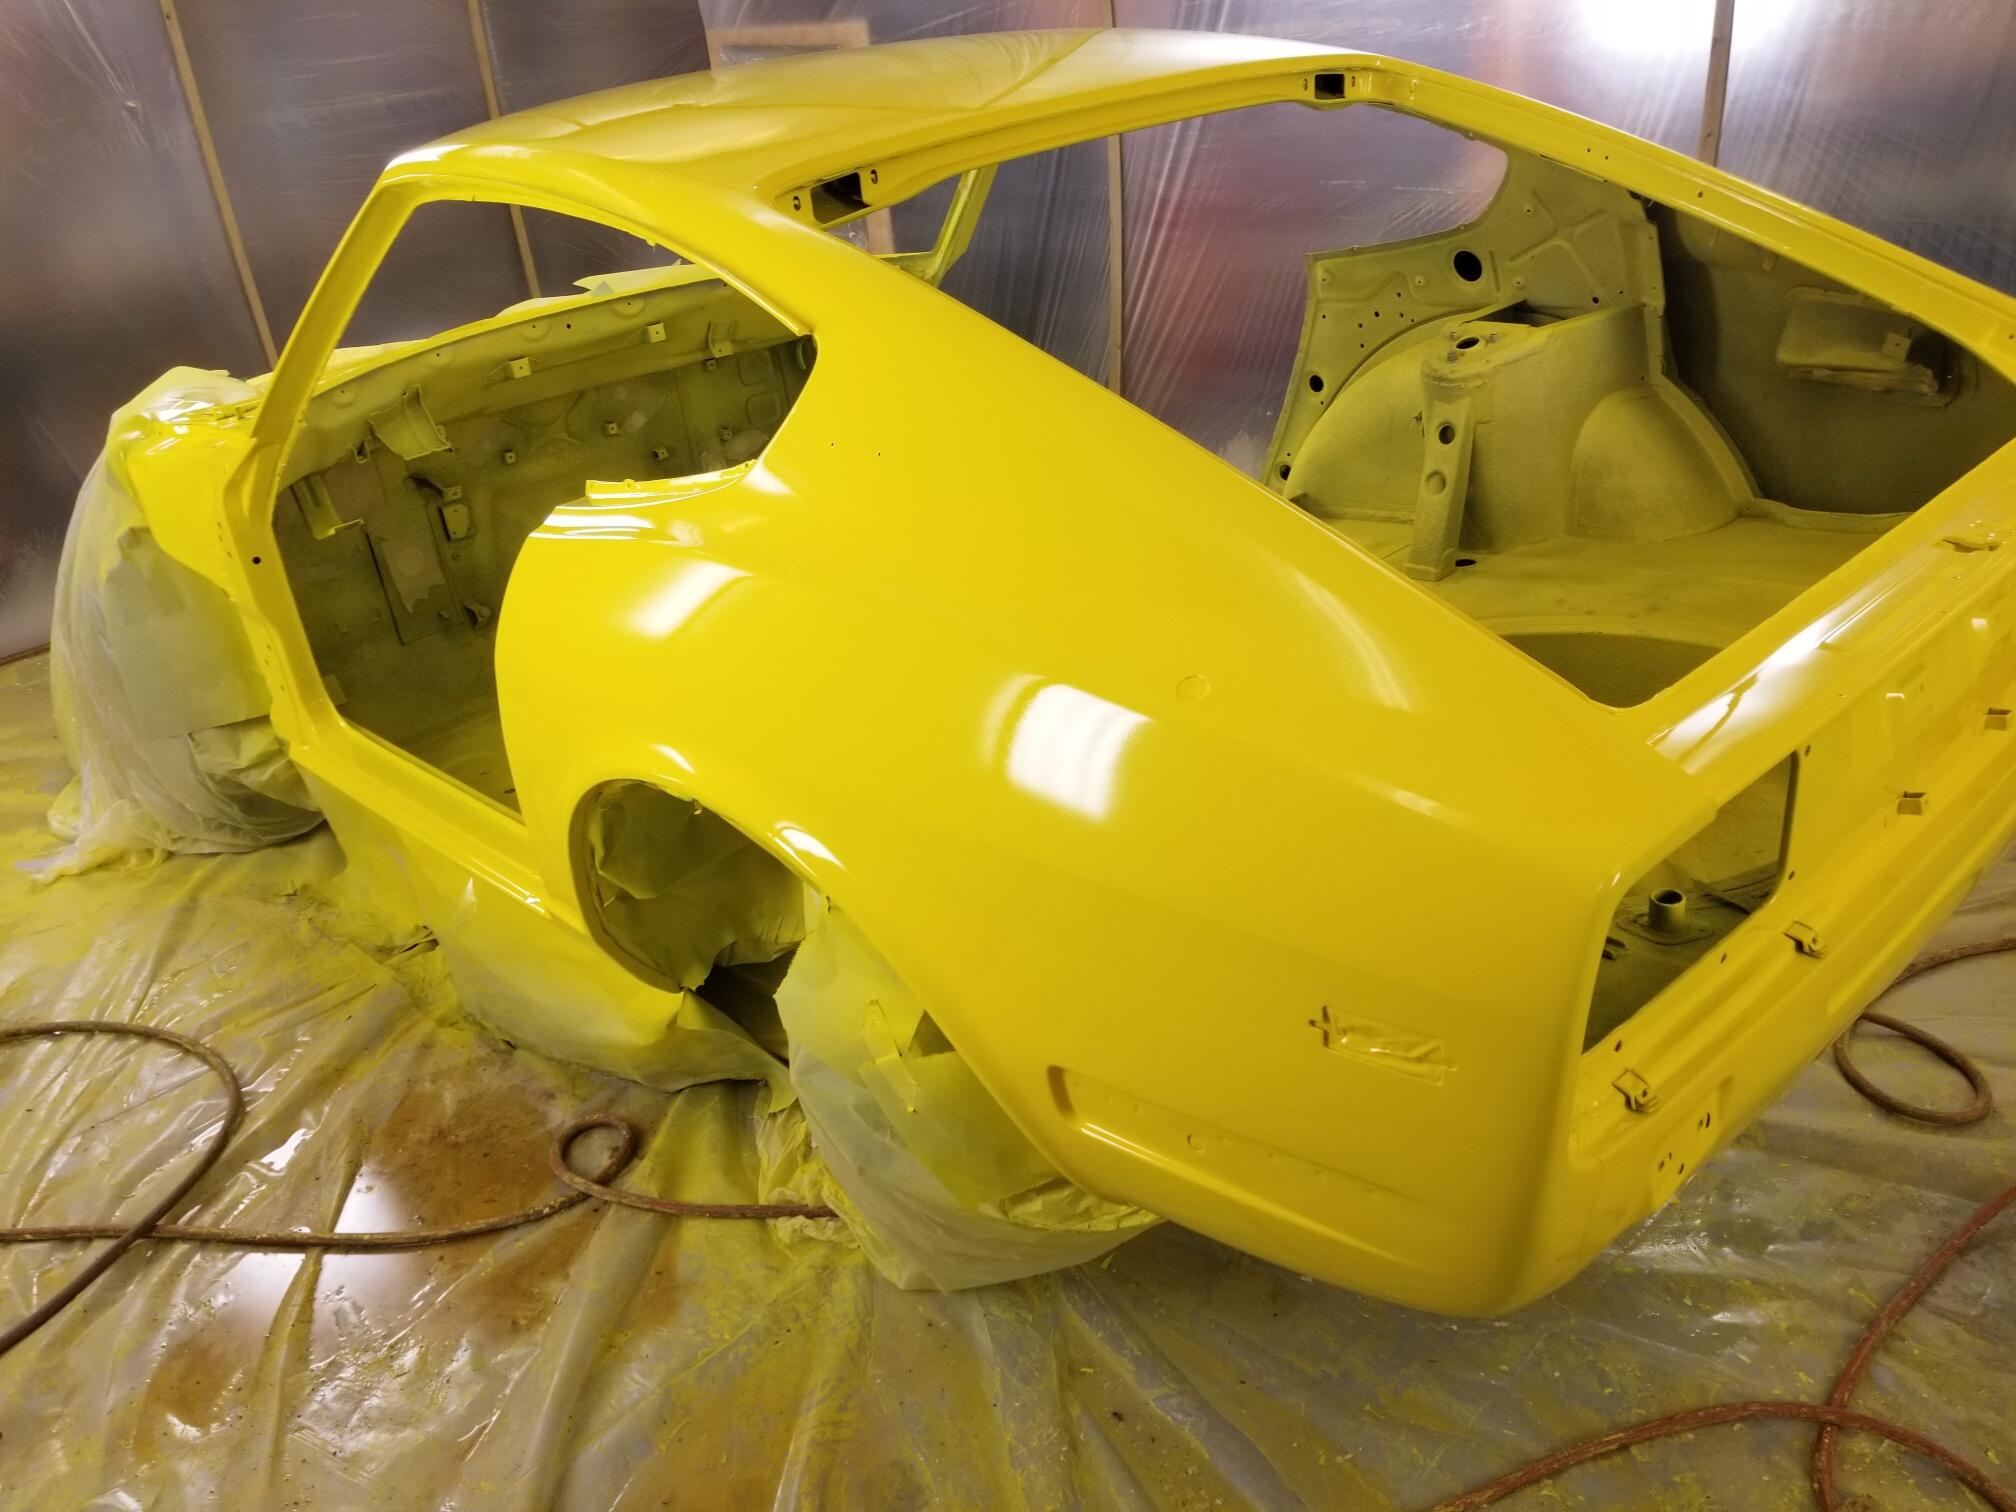
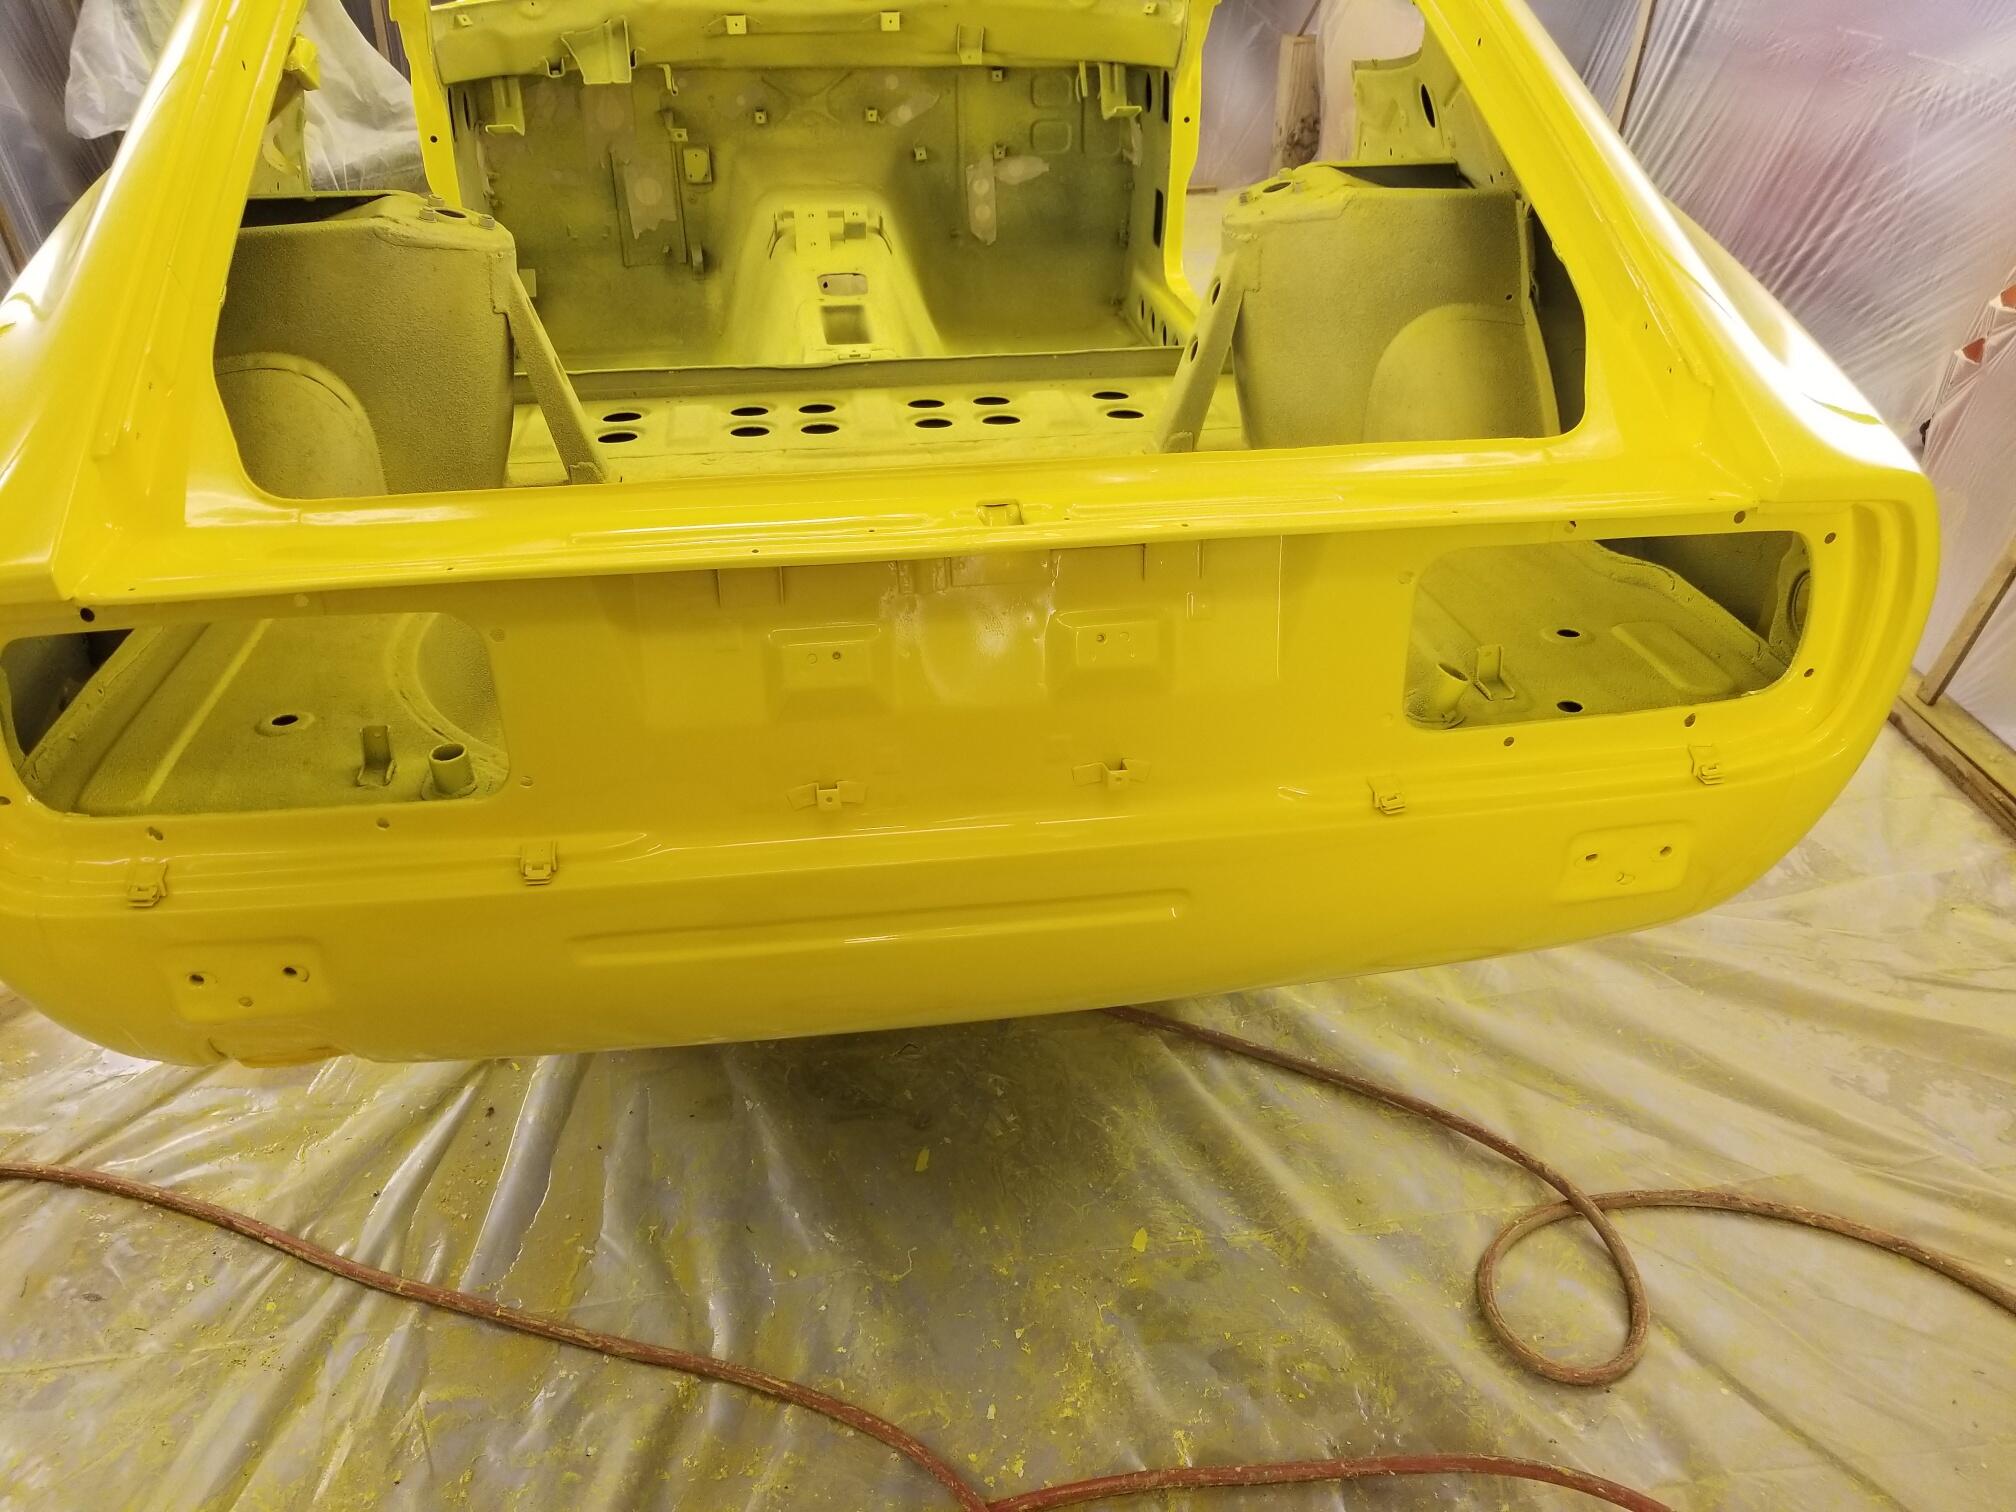
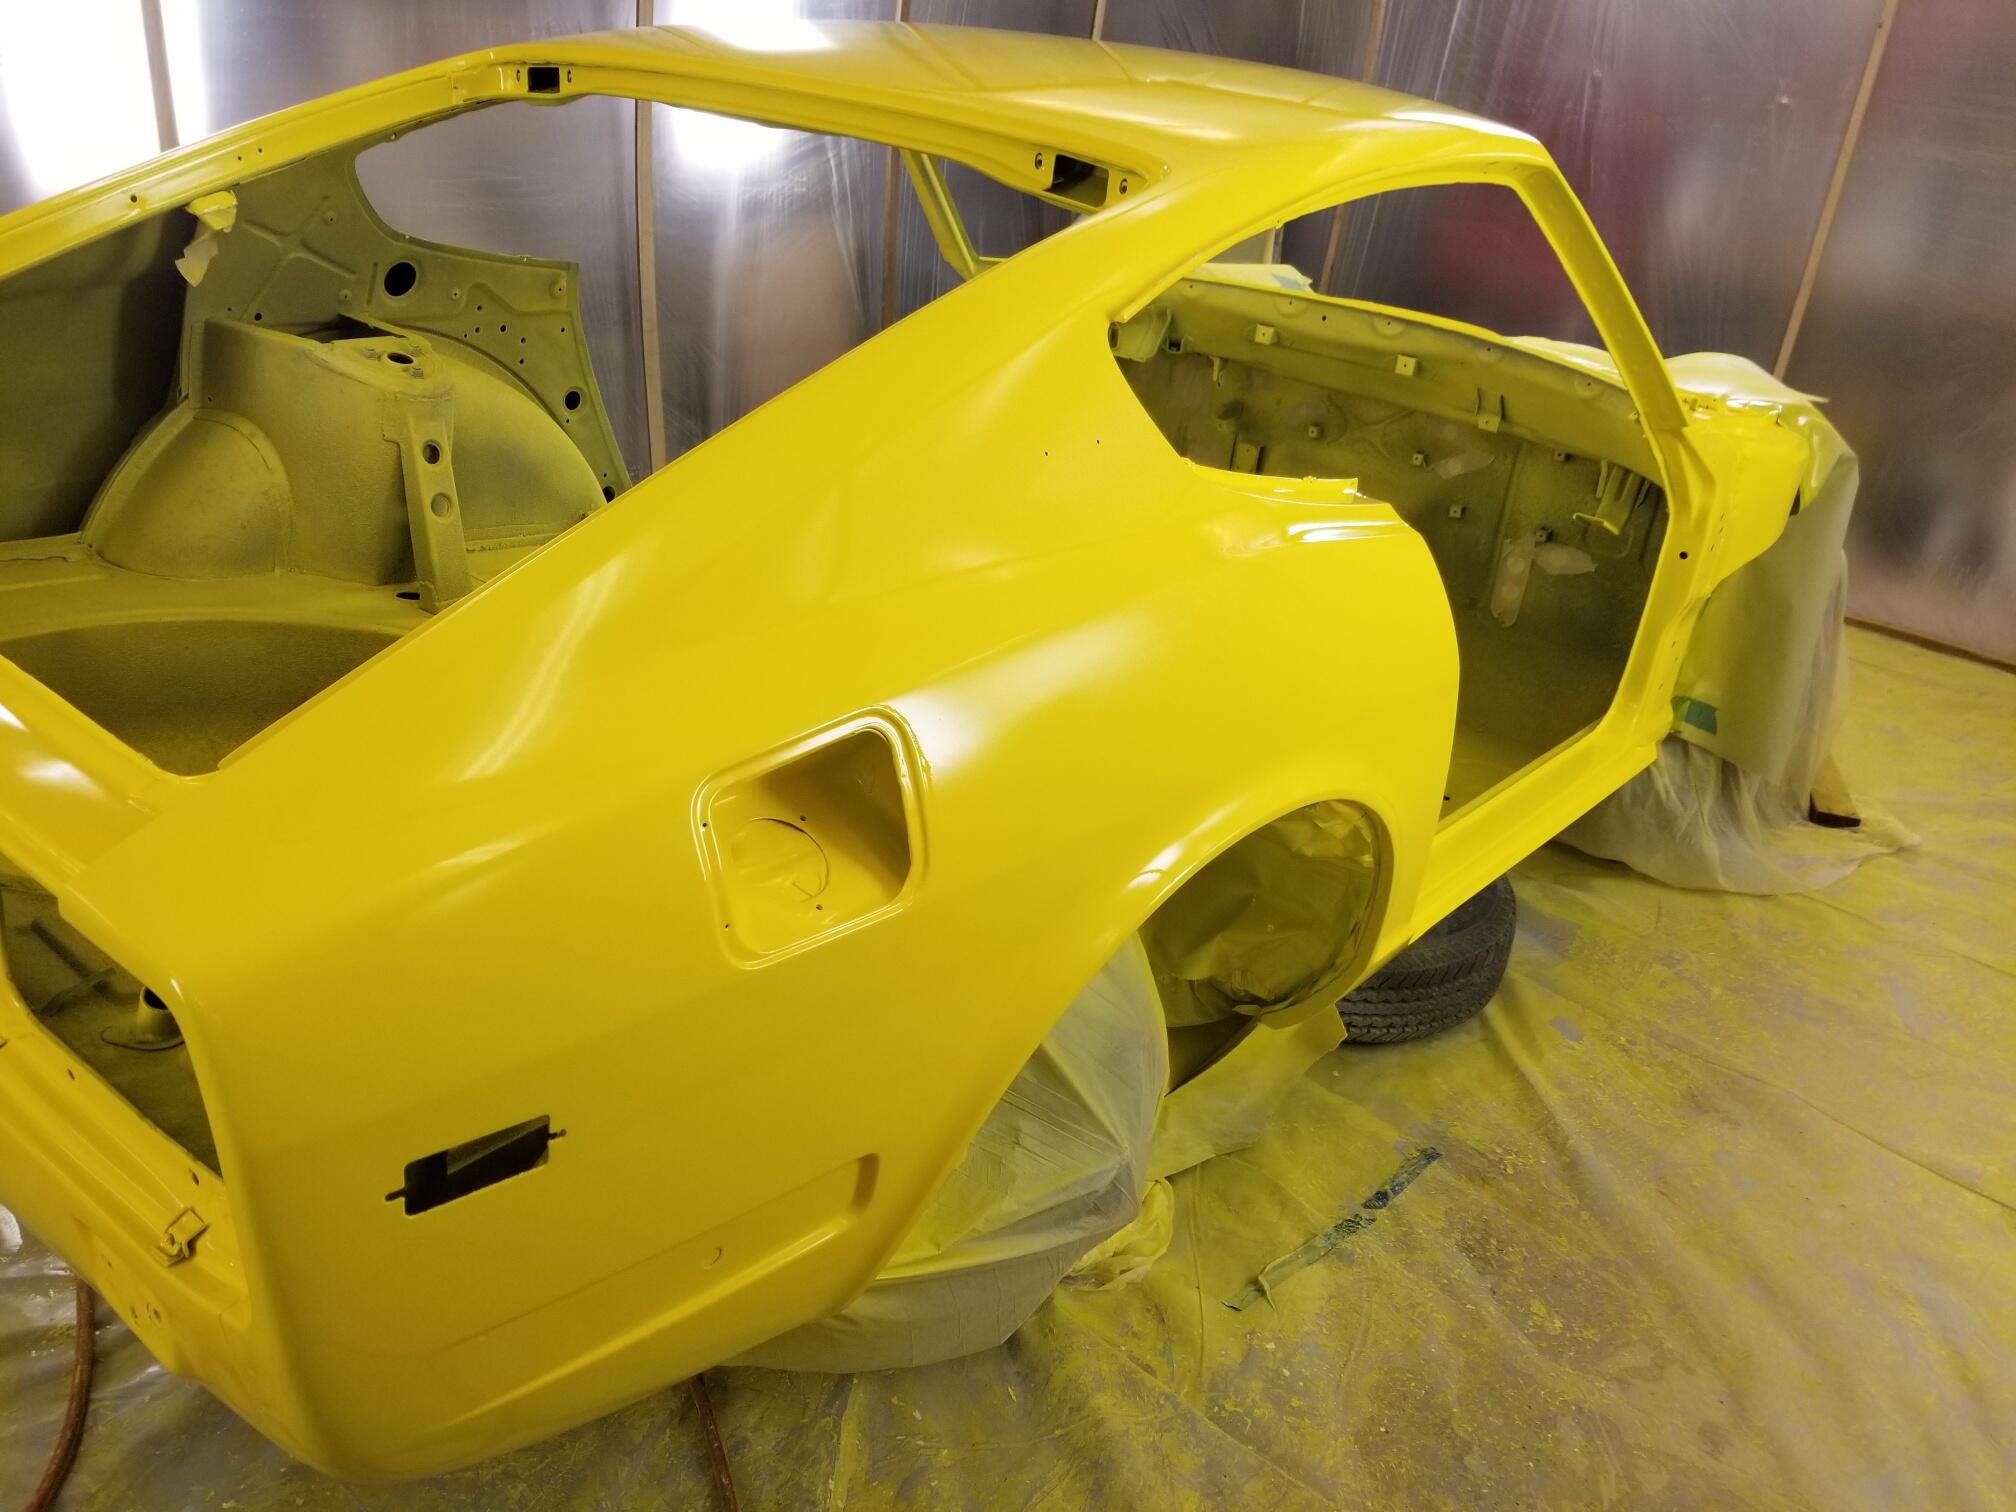
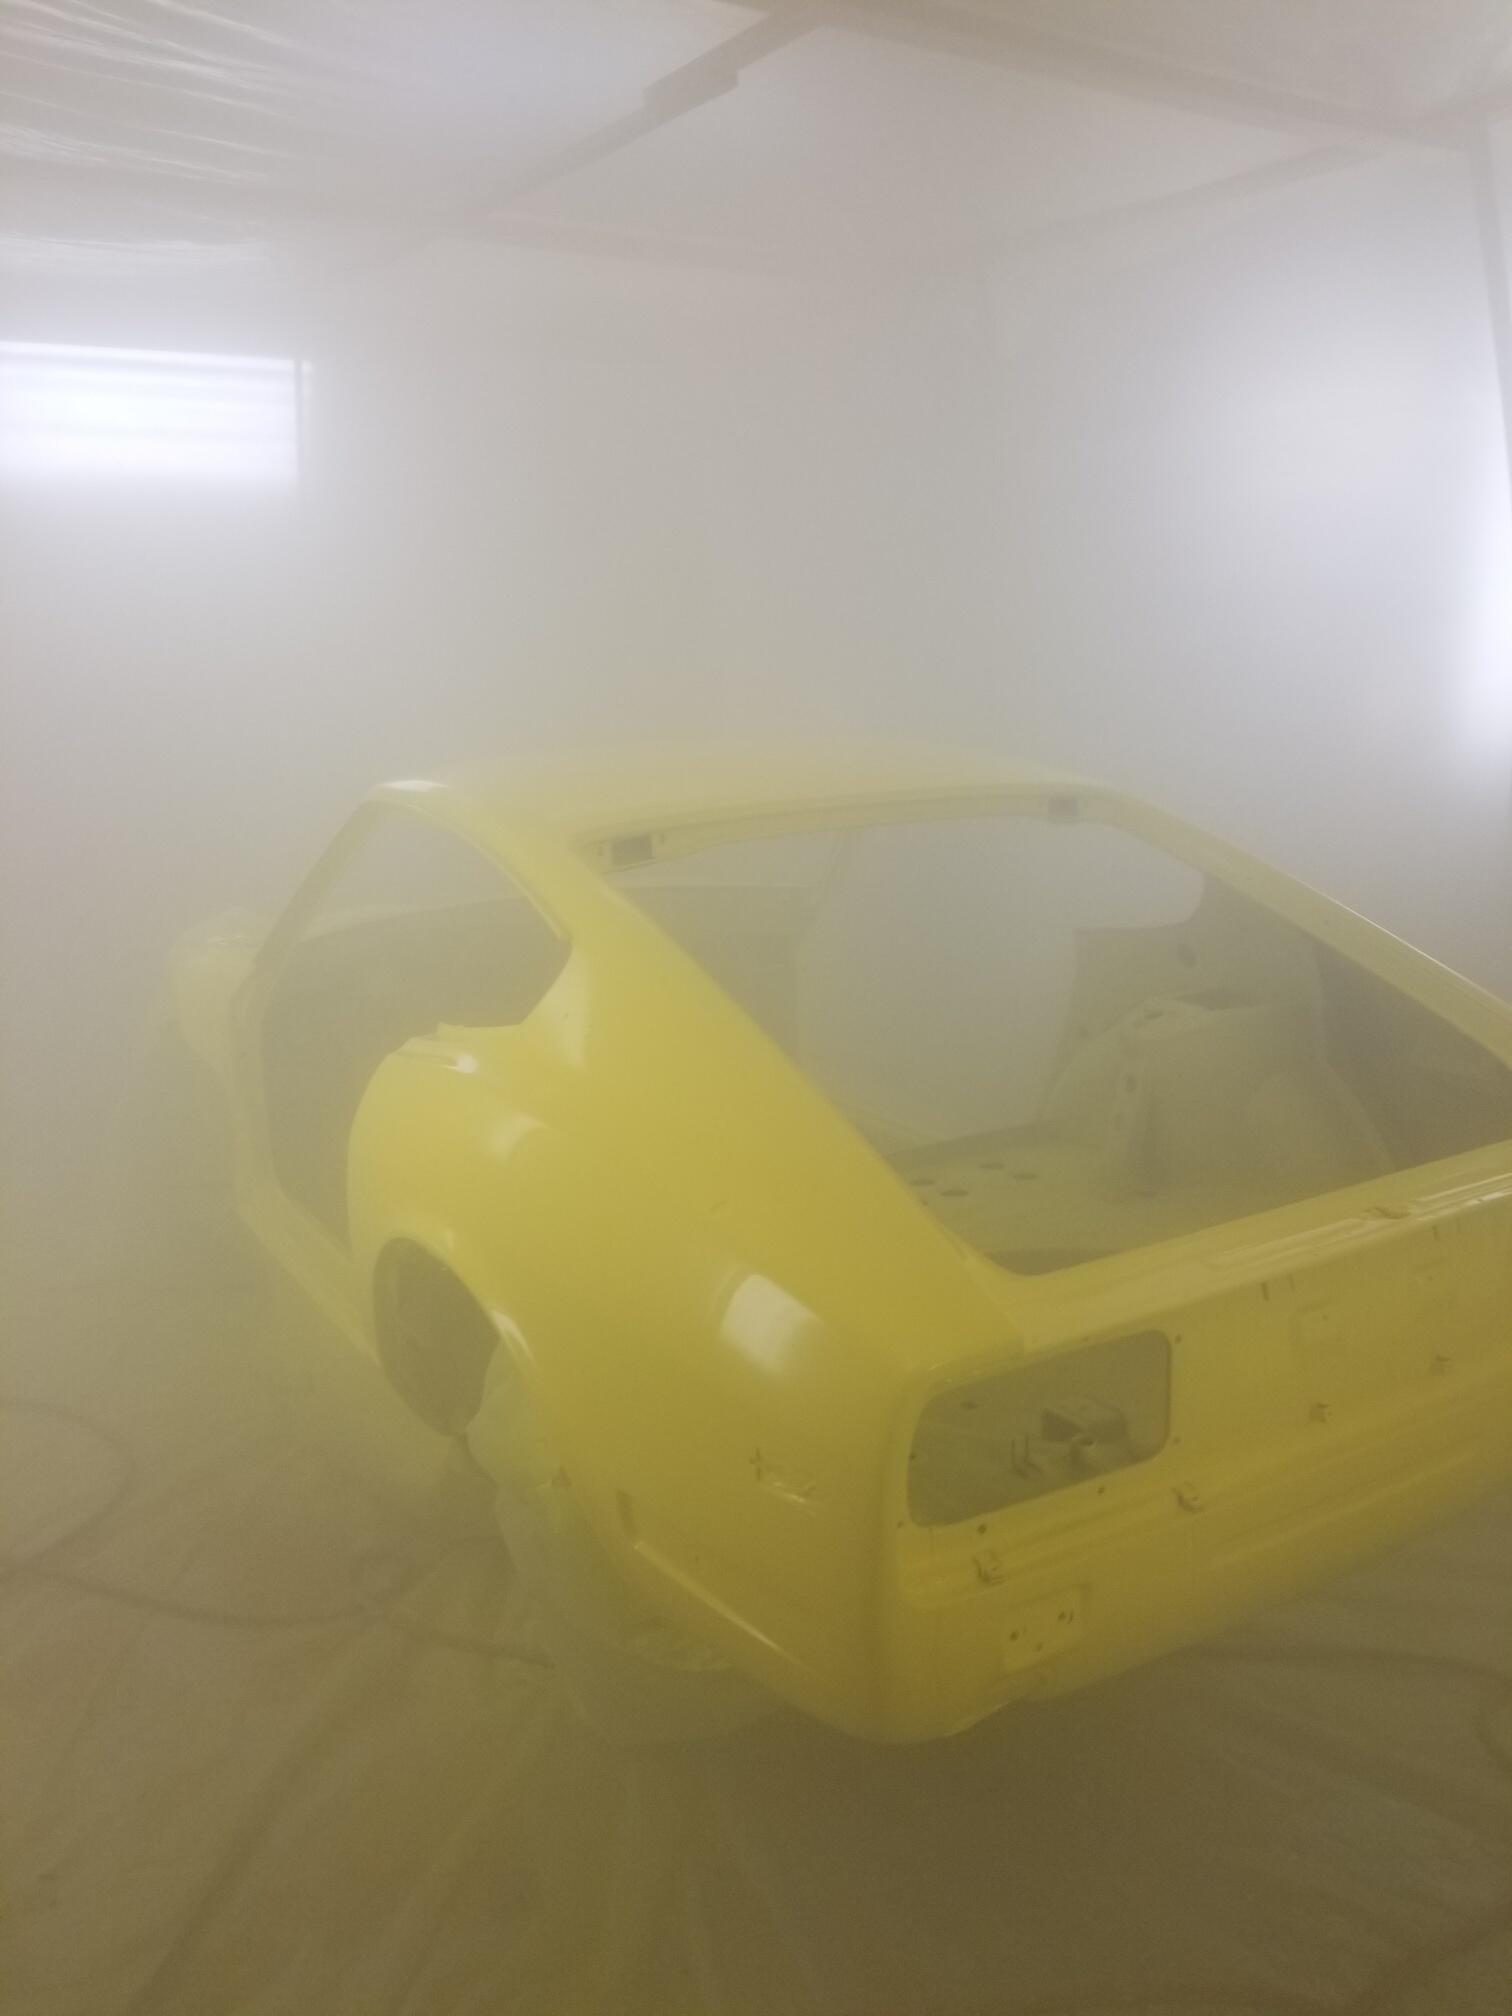
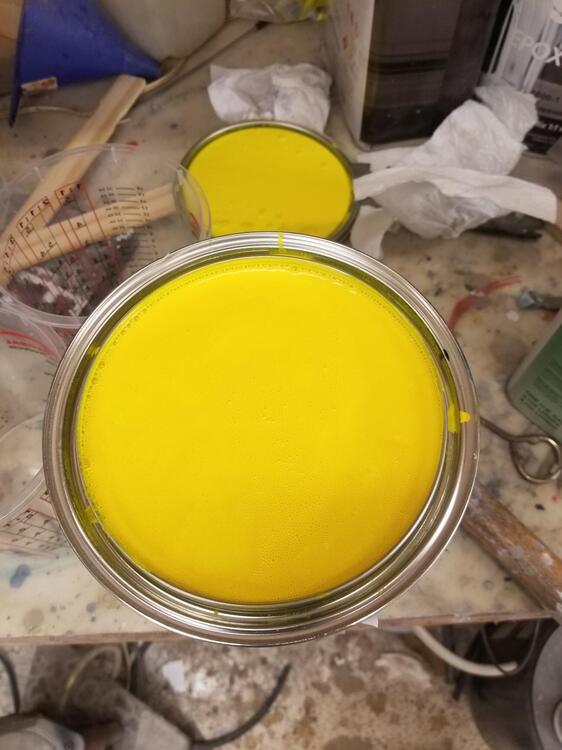
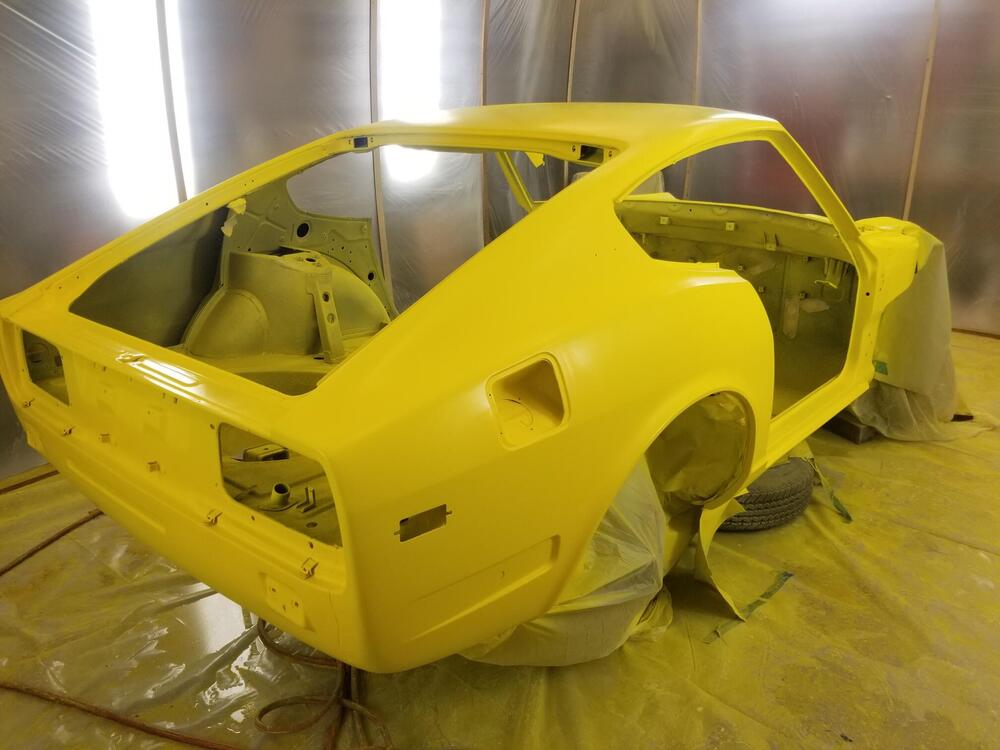
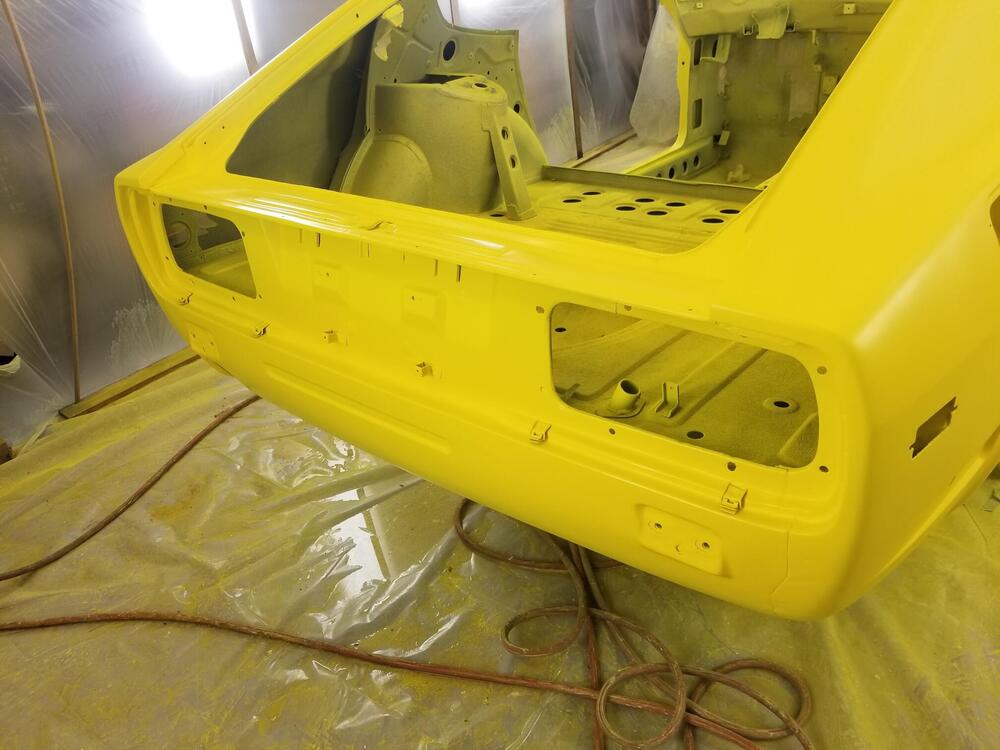
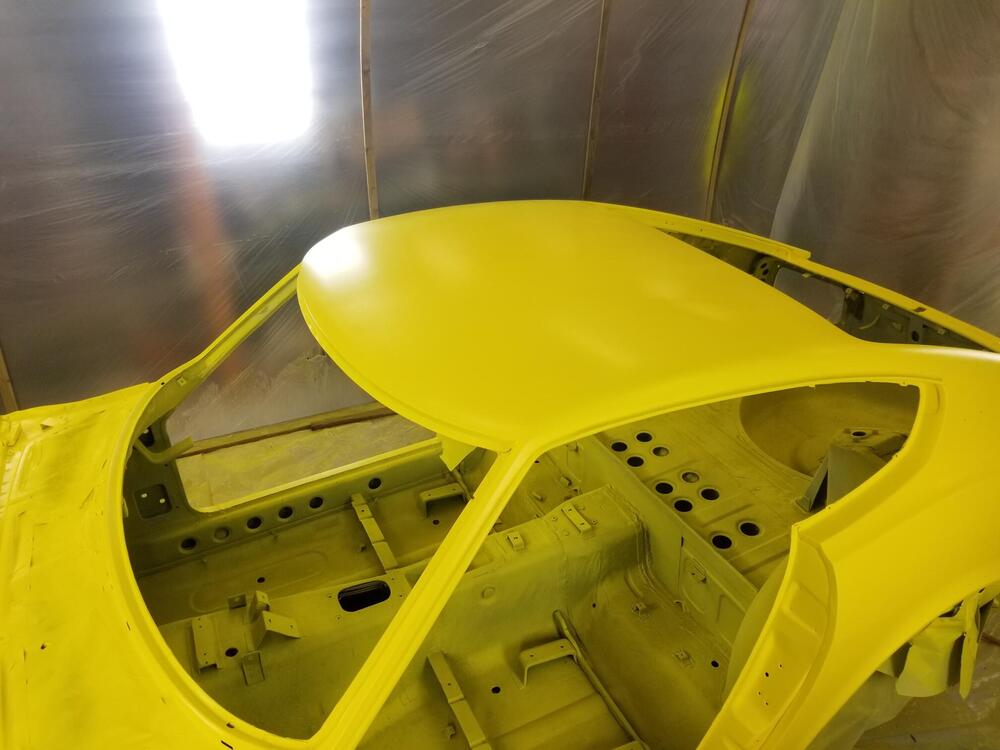
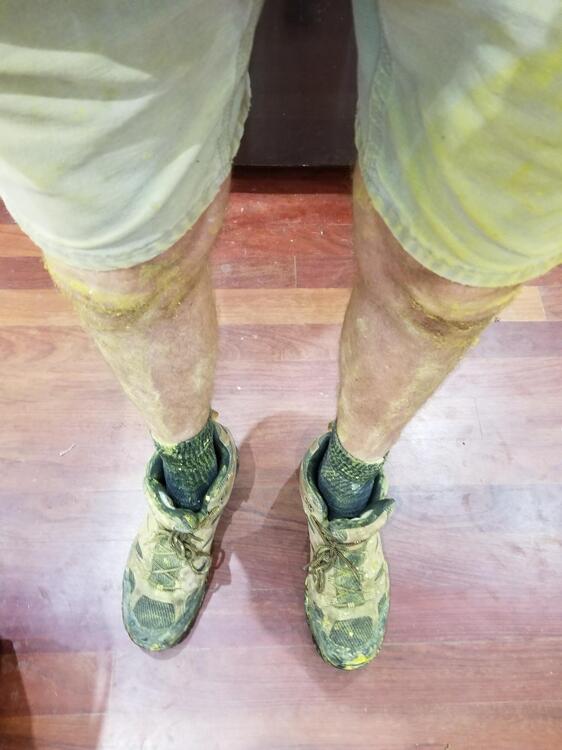
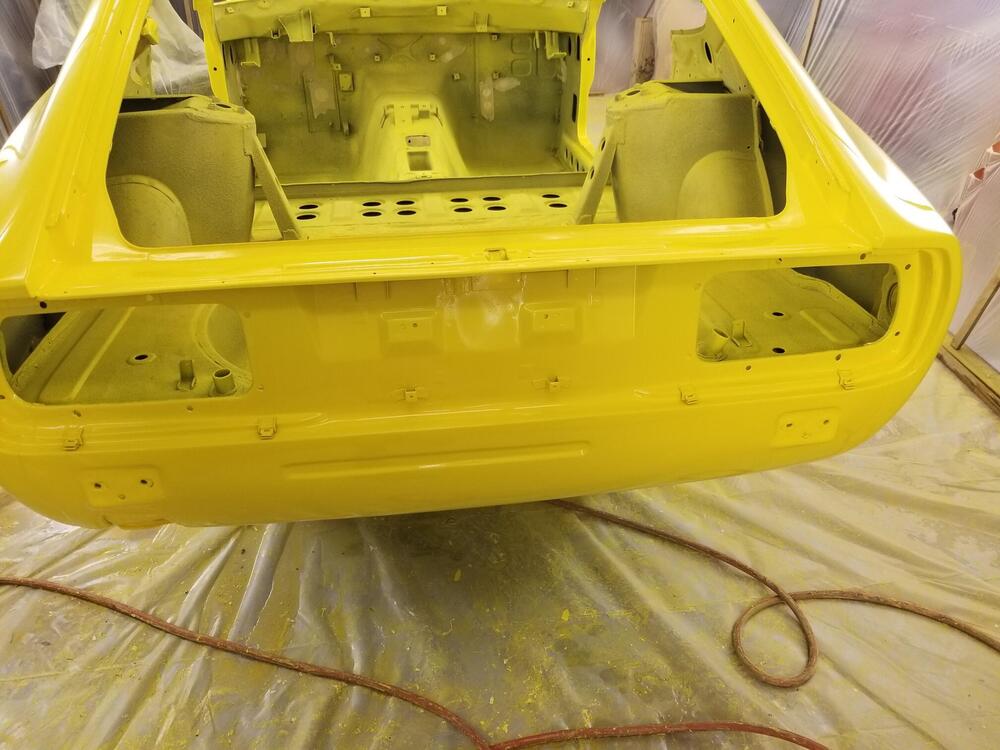
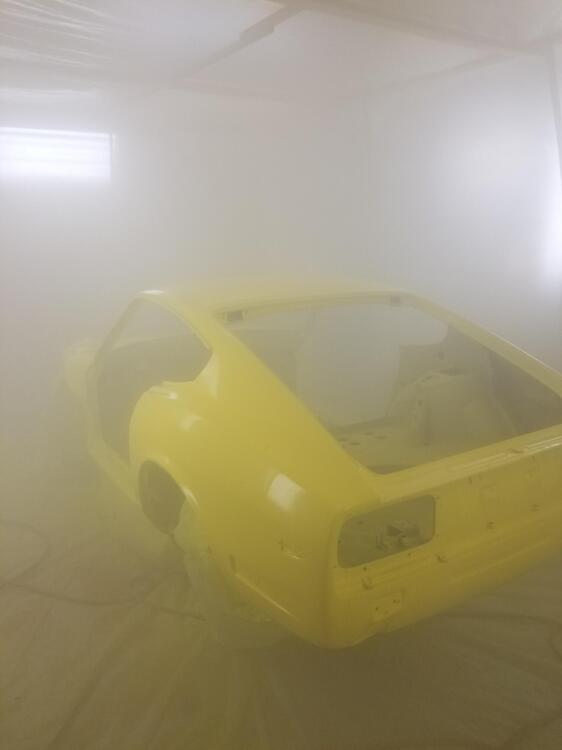
7 pointsToday A bright gallon Here is the yellow basecoat I think that was 3 coats of base. There were some areas that had a little gray show through and they were super hard to get covered with the yellow. It's just so transparent! 3 coats of clear. Overall, not too bad but one of my cans of clear had a little rust on it and it ended up in the mixing cup. the paint screens didn't get it all. So there are a few brown specs in the clear. I will have to cut them out. Hopefully I won't have to reclear. It's progress though. My booth didn't totally work the way I wanted. My intake fan filter ended up clogging with exhaust paint overspray coming back in another door of the shop. At the end the booth was pretty foggy! Don't light a match!! I probably should have worn my Tyveck suit but it was already hot in the booth... Colour!!!!


 7 points
 -
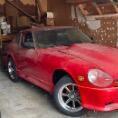
69F this morning so I uncovered the 240Z. Two hours driving around here, ran perfect. It had 72,xxx when I bought it in 2015 now it has 78,855.4 points
-
And a hint about doing glass installs. Many say they use soapy water or even spray can glass cleaner to help lube things as they get the glass in the WS and to get the rubber to seat well in the car, but I never use it. I find it dries out too fast and doesn't really make it any easier. I have no trouble doing it dry. But, couple areas are a bit sticky, like roping around the top corners and getting the SS trim in place. I'm going to use Corn starch this time around for lube. Tried on the door weather stripping miter corners of the 510 (if you know you know) and man, it totally removed the tackiness and its dry and blows away. No mess. Baby powder is the same stuff just smellier and 100x the price. I'll let you know2 points
-
2 pointsIn my experience, with the idle adjust screws completely unscrewed the engine should barely if not even idle(ie. the throttle plates are basically fully closed and there isn't enough air/fuel mixture to run the engine). It seems to me that that front carburetor is letting a ton of air (and fuel) into the engine which suggest that the throttle plate at the back of the front carb has a problem (bent, wrong part, installed incorrectly, who knows) or that something in the linkage is holding the throttle partially open (bent part, incorrect installation). I think I'd start by removing that front carb and checking the throttle plate to make sure it's installed correctly and closing fully. It's easy to take off, just remove the choke cable, fuel line, and 4 screws that hold it to the intake manifold. If that looks ok, I'd start looking at the throttle linkage. You should be able to remove the dashpot on the front carb and with a flashlight and maybe small mirror you could make sure that the throttle plate on the front carb is closing completely in the "no throttle" position.2 points
-
I've installed a dozen or so windshields between 510's and Z's in the last few years, I find it pretty easy now. But today I'm about to do it again (510), and something popped into my head. There is, after all a fairly big vacuum in there that allows things to slip in pretty easily.. Why not put the gasket in the car over the pinch weld FIRST, THEN put the glass in the gasket. Put the rope in the glass channel rather than the pinch weld channel and pull it over the glass? Any one else try this before? What madness makes me think this might be a tad easier since your pulling rope on the outside rather than cramped in the car, and I can push down with one hand while pulling rope up against that force with the other? Maybe once I actually try this it will be mind numbingly obvious why you would never do it that way. Maybe the pointy corners mean you have to pull out a lot of rubber at once and risk tearing it. Maybe you still need two people at the very least to get started since you have that free hunk of glass sliding around until it get it started. Yeah, I'm crazy for sure. But I'm not sure I can rest until I try. Anyone want to convince me one way or the other?1 point
-
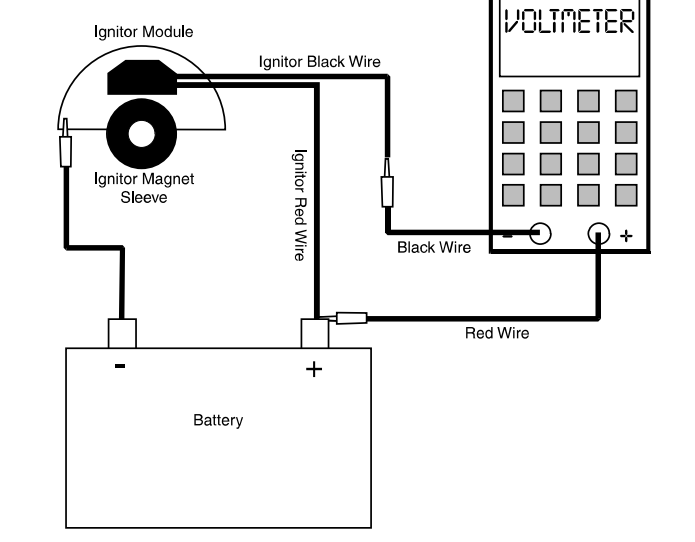
1 pointYou can see by their diagram that the module grounds through the distributor body and the mounting screws to get to the engine block and complete the circuit . Might be that by loosening all of the various mounting bolts you lost your ground. Attach a wire directly from the distributor body if you want to be sure the module has a good ground. It's actually the most important one for spark strength.
 1 point
 -
1 pointI found a test method for the module itself on Summit Racing's site. Worth reading... https://static.summitracing.com/global/images/instructions/pnx ignitor i tests.pdf1 point
-
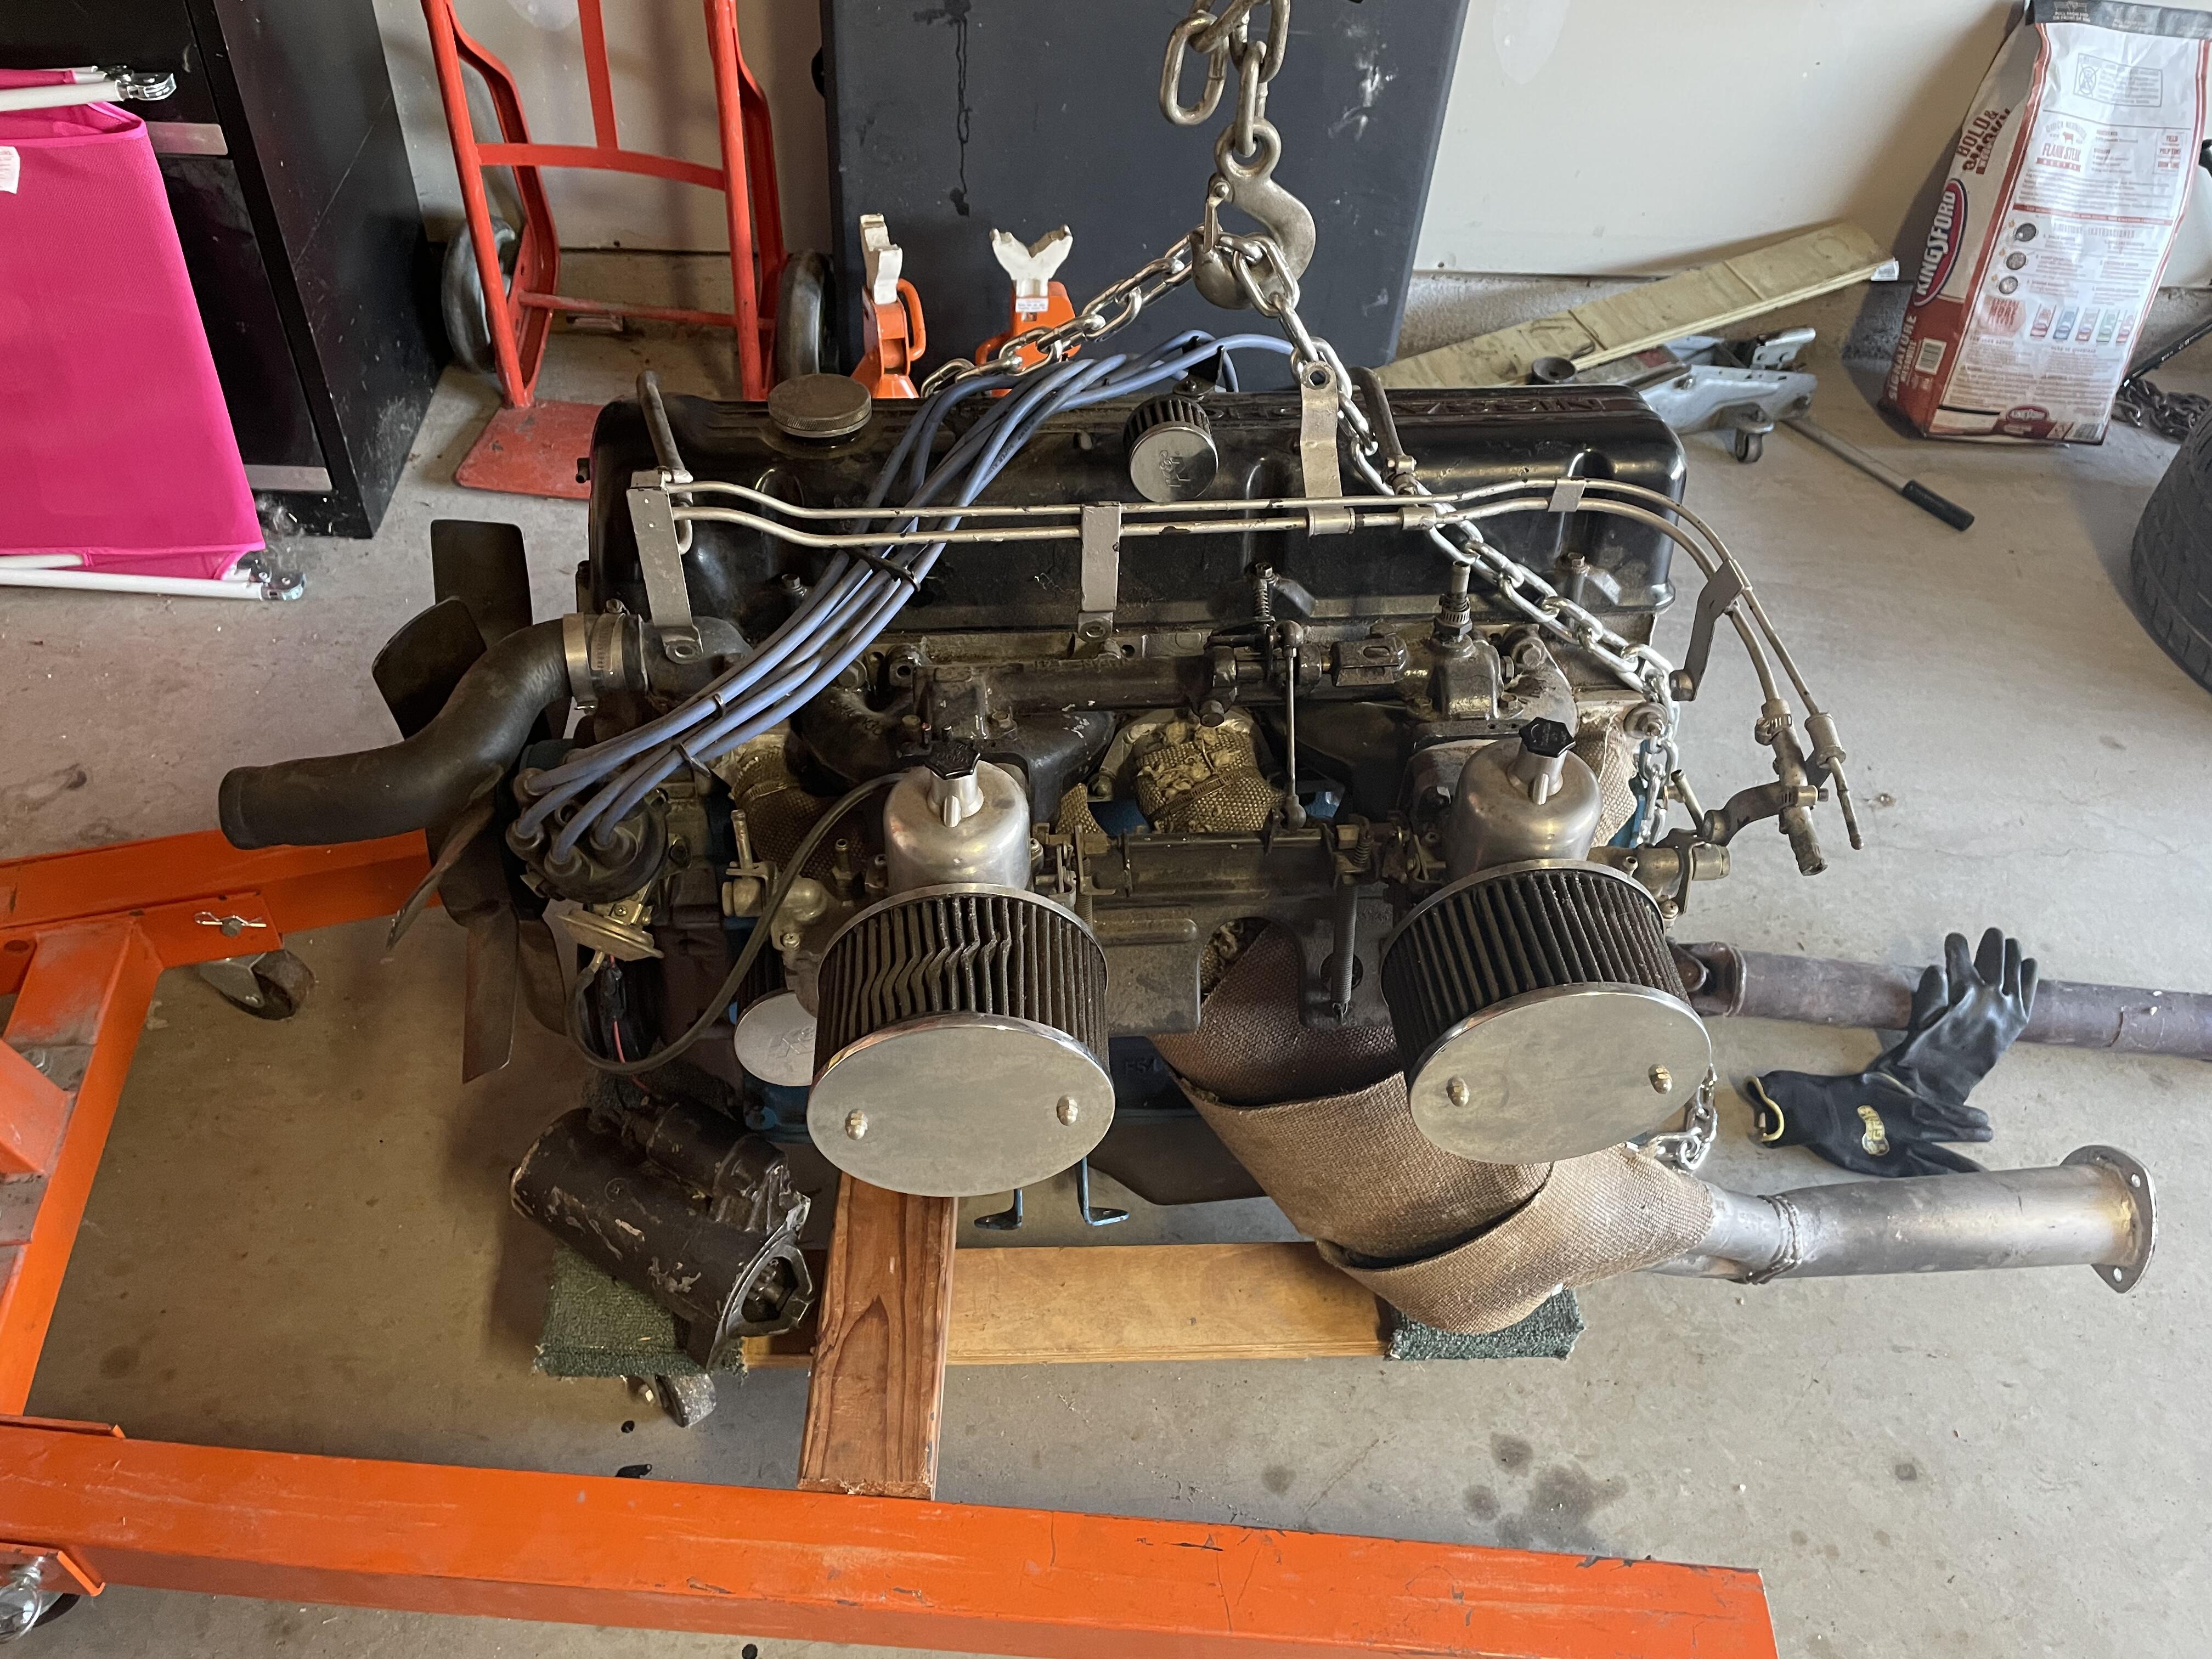
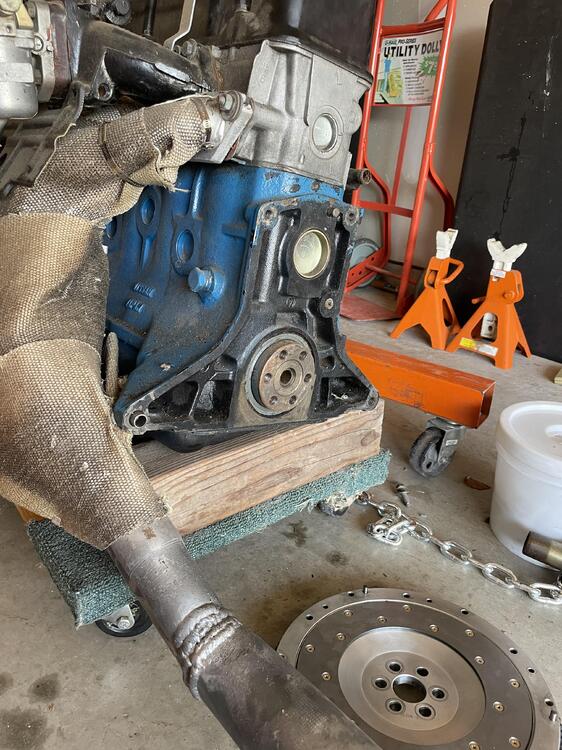
1 pointThe rebello has been moved from Dad’s house to my house for prep to be dropped in. currently working on mating the transmission to the engine. More fun to be had.


 1 point
 -
1 pointGenerally speaking, adding more fuel rarely increases the rpms unless the mixture is way too lean. Air is the most common cause of increased rpms.1 point
-
1 pointNo, it is not normal to build pressure. Make sure the vent line is not capped off.1 point
-
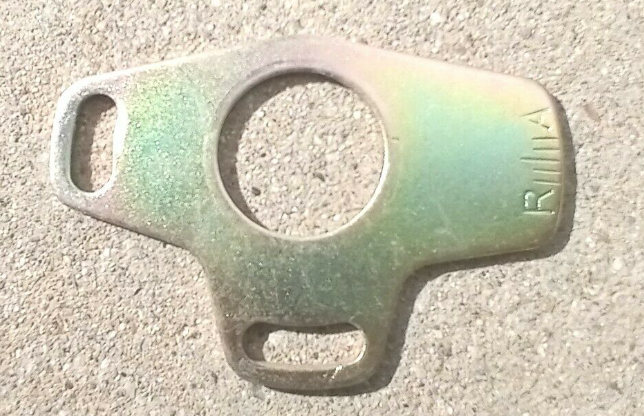
1 pointEdit: Some things got clipped out by mistake. Does your distributor still have a plate like this? Here is how it's lined up on my 240Z. Here's what you might try to do before messing with the oil pump. (Minimize jumping around.) Set the car at TDC. Align the mark on the plate to the middle. Verify that the rotor is at the #1 plug. From there, you'll have a better idea of what way you need to go.
 1 point
 -
1 point
-
1 pointTools from this kit may be more gentle on the paint than an old screwdriver. https://www.harborfreight.com/automotive/auto-body-trim/trim-and-molding-tool-set-5-pc-64126.html1 point
-
I went with leather from Interior Innovations and new foam from MSA. I also did matching leather for the shifter and ebrake boots. Here's my thread; Leather Seats - Interior - The Classic Zcar Club (classiczcars.com)1 point
-
1 pointGood call on the metal trim. I didn’t realize it needed to go in before the window was installed because the several videos I watched of people doing this didn’t do that. I got the seal from Z Car Depot a while ago and threw out the bag with the house trays on Friday, so I don’t know which one it is. I pulled the window out this morning and have a tube of silicone lubricant coming in the mail tomorrow. I’ll put the metal trim on first and try again when I’m better prepared.1 point
-
1 point
-
My only advice on upgrading is choose wisely. This original brake set-up, although primative, worked well. In its time it was regarded as a good set-up. Building your own system and taking a couple of runs up and down the local supermarket parking lot doesn't add up to the R&D that went into this set-up. Power booster and MC is not the issue here. They only determine the force needed and brake pedal travel. The biggest issue I have is getting the balance between the front and rear set-up. I often read threads where people have made their own combination and having trouble with balance. A lot of aftermarket setups available out there, but it would pay to research them and read what others have experienced before taking the plunge. My system is standard with Porterfield pads and shoes. I just visited their website and wow they certainly are pricey these days. Mine have less than 20k km so they will last for a while yet. I was thinking of upgrading to slotted/drilled discs when I need to replace the pads. The garage that does the roadworthy test commented on the brake test. You don't see that very much on these old cars. @Patcon Understandable in your country, but I live in a "flat as a pancake" country called The Netherlands. Smelling brakes in a street car is not on my bucket list. My only hill climbs are the highway overpasses
 1 point
 -
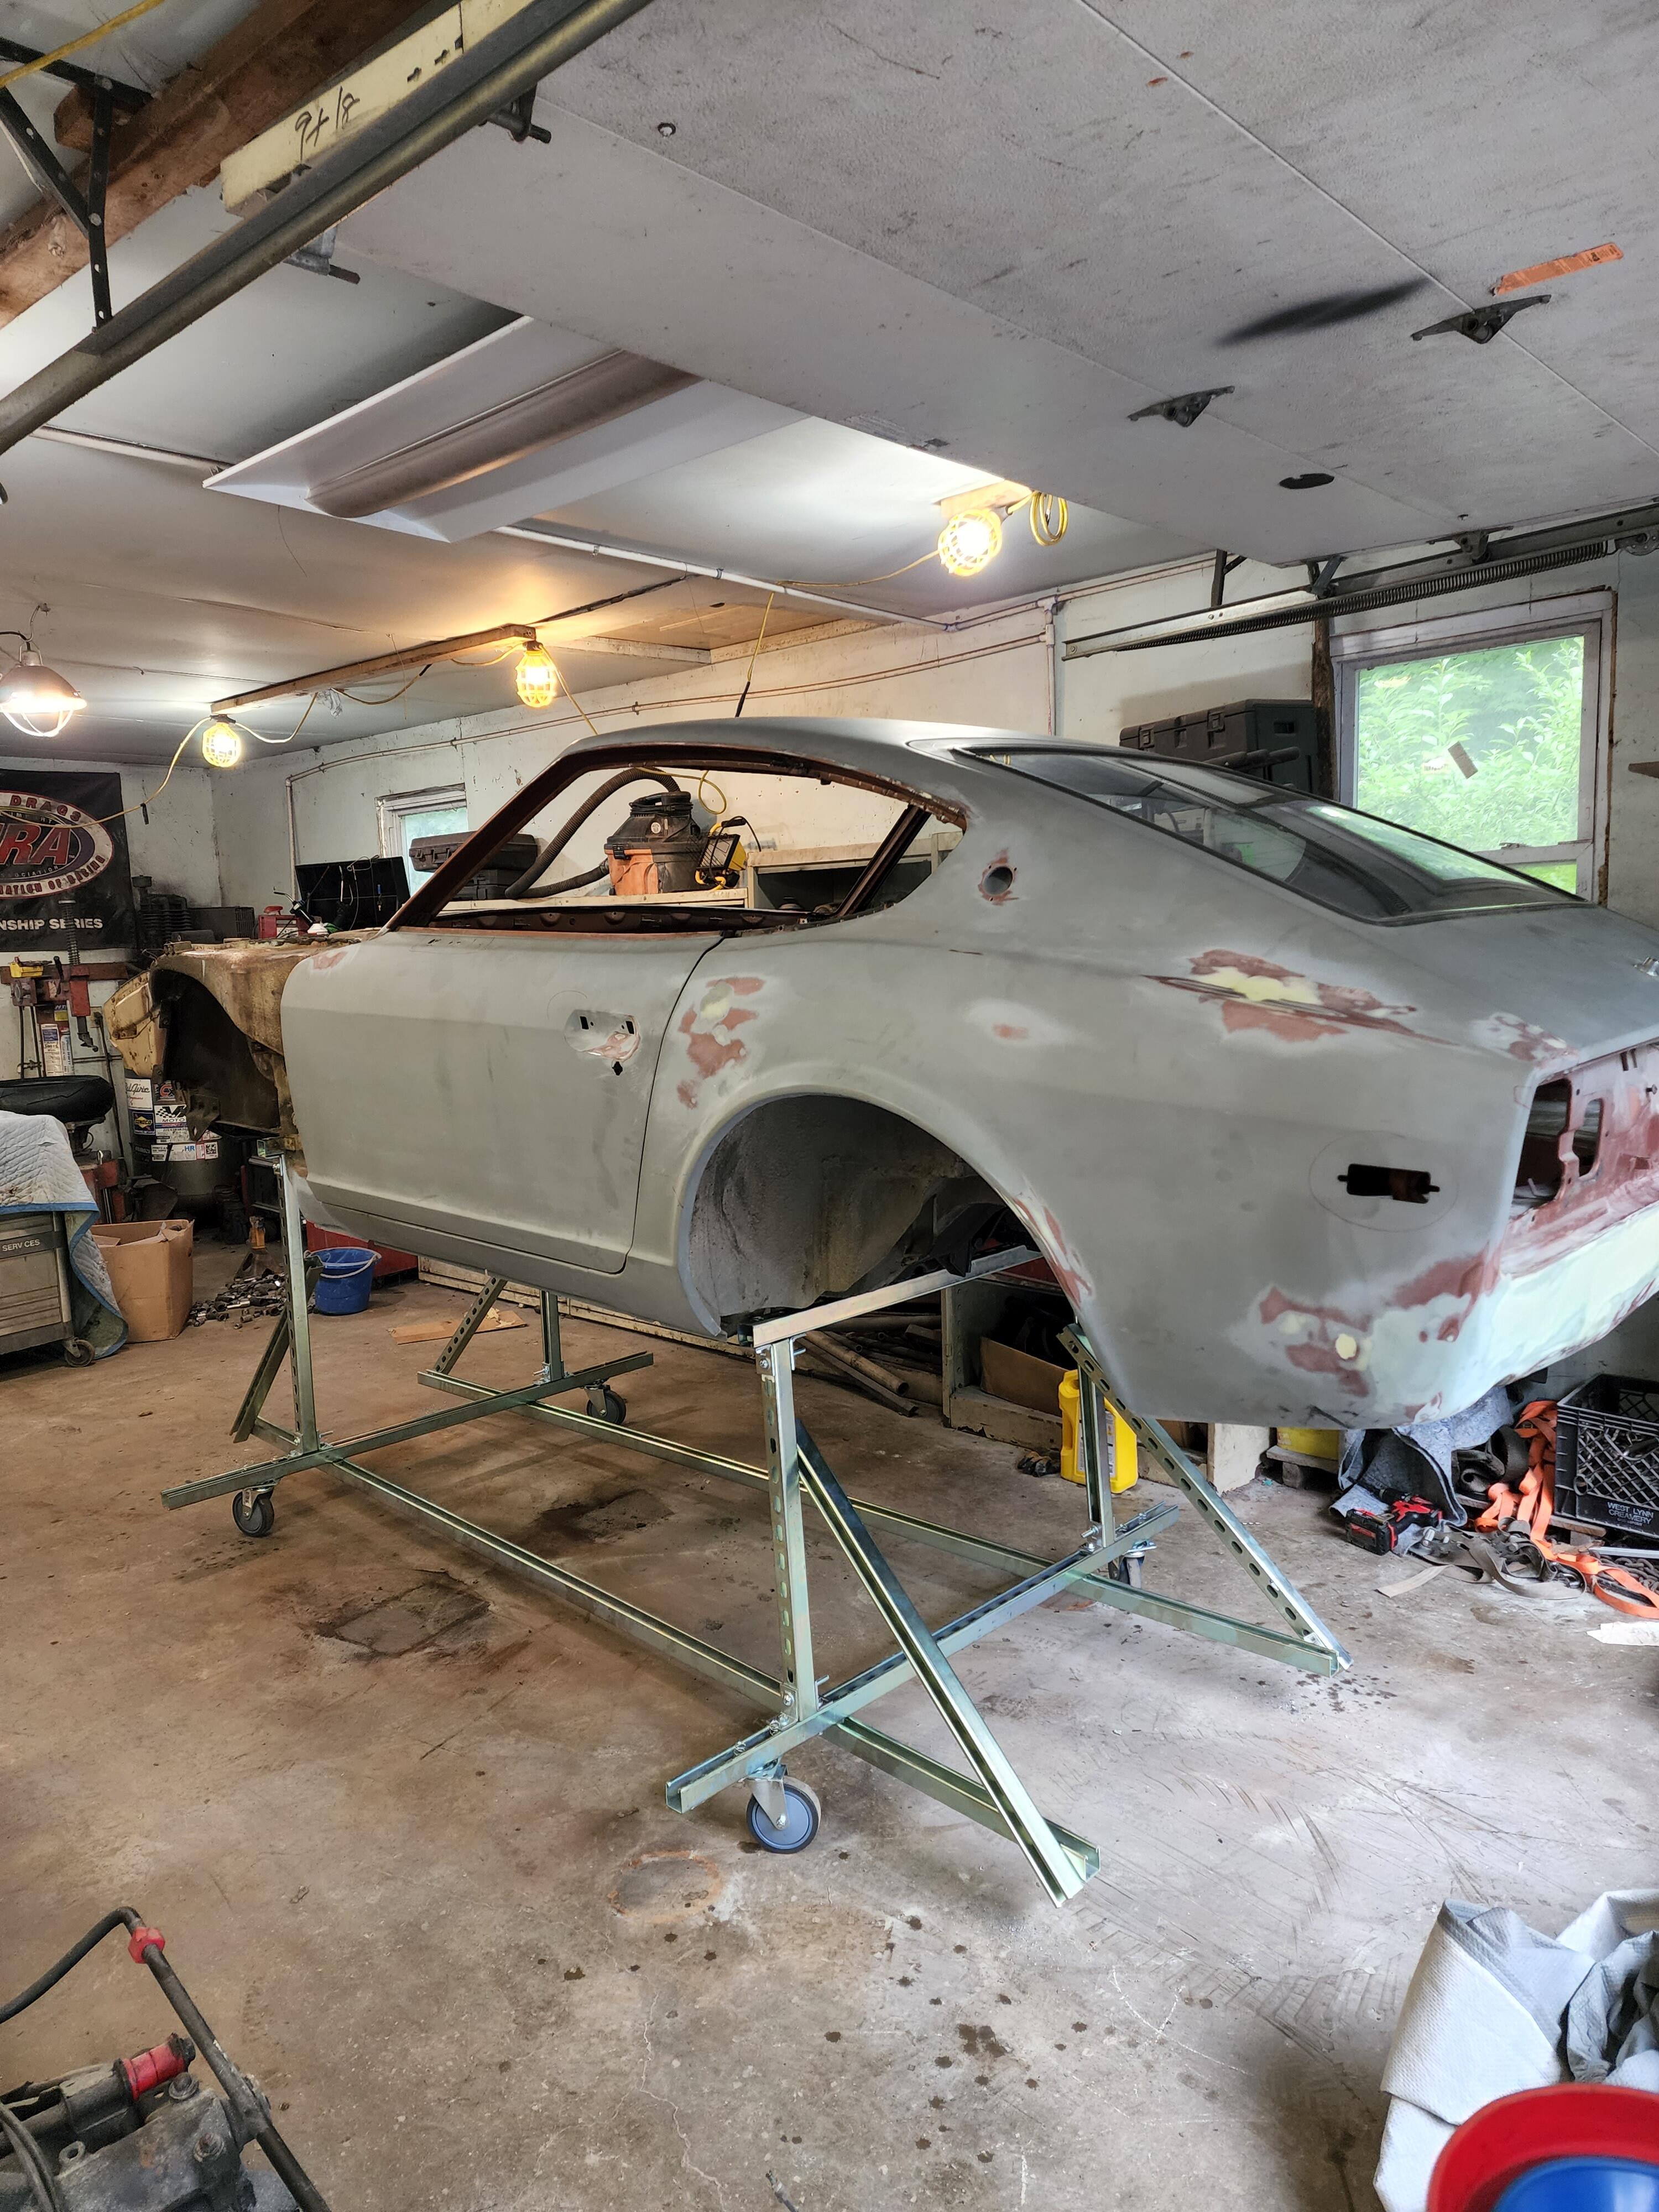
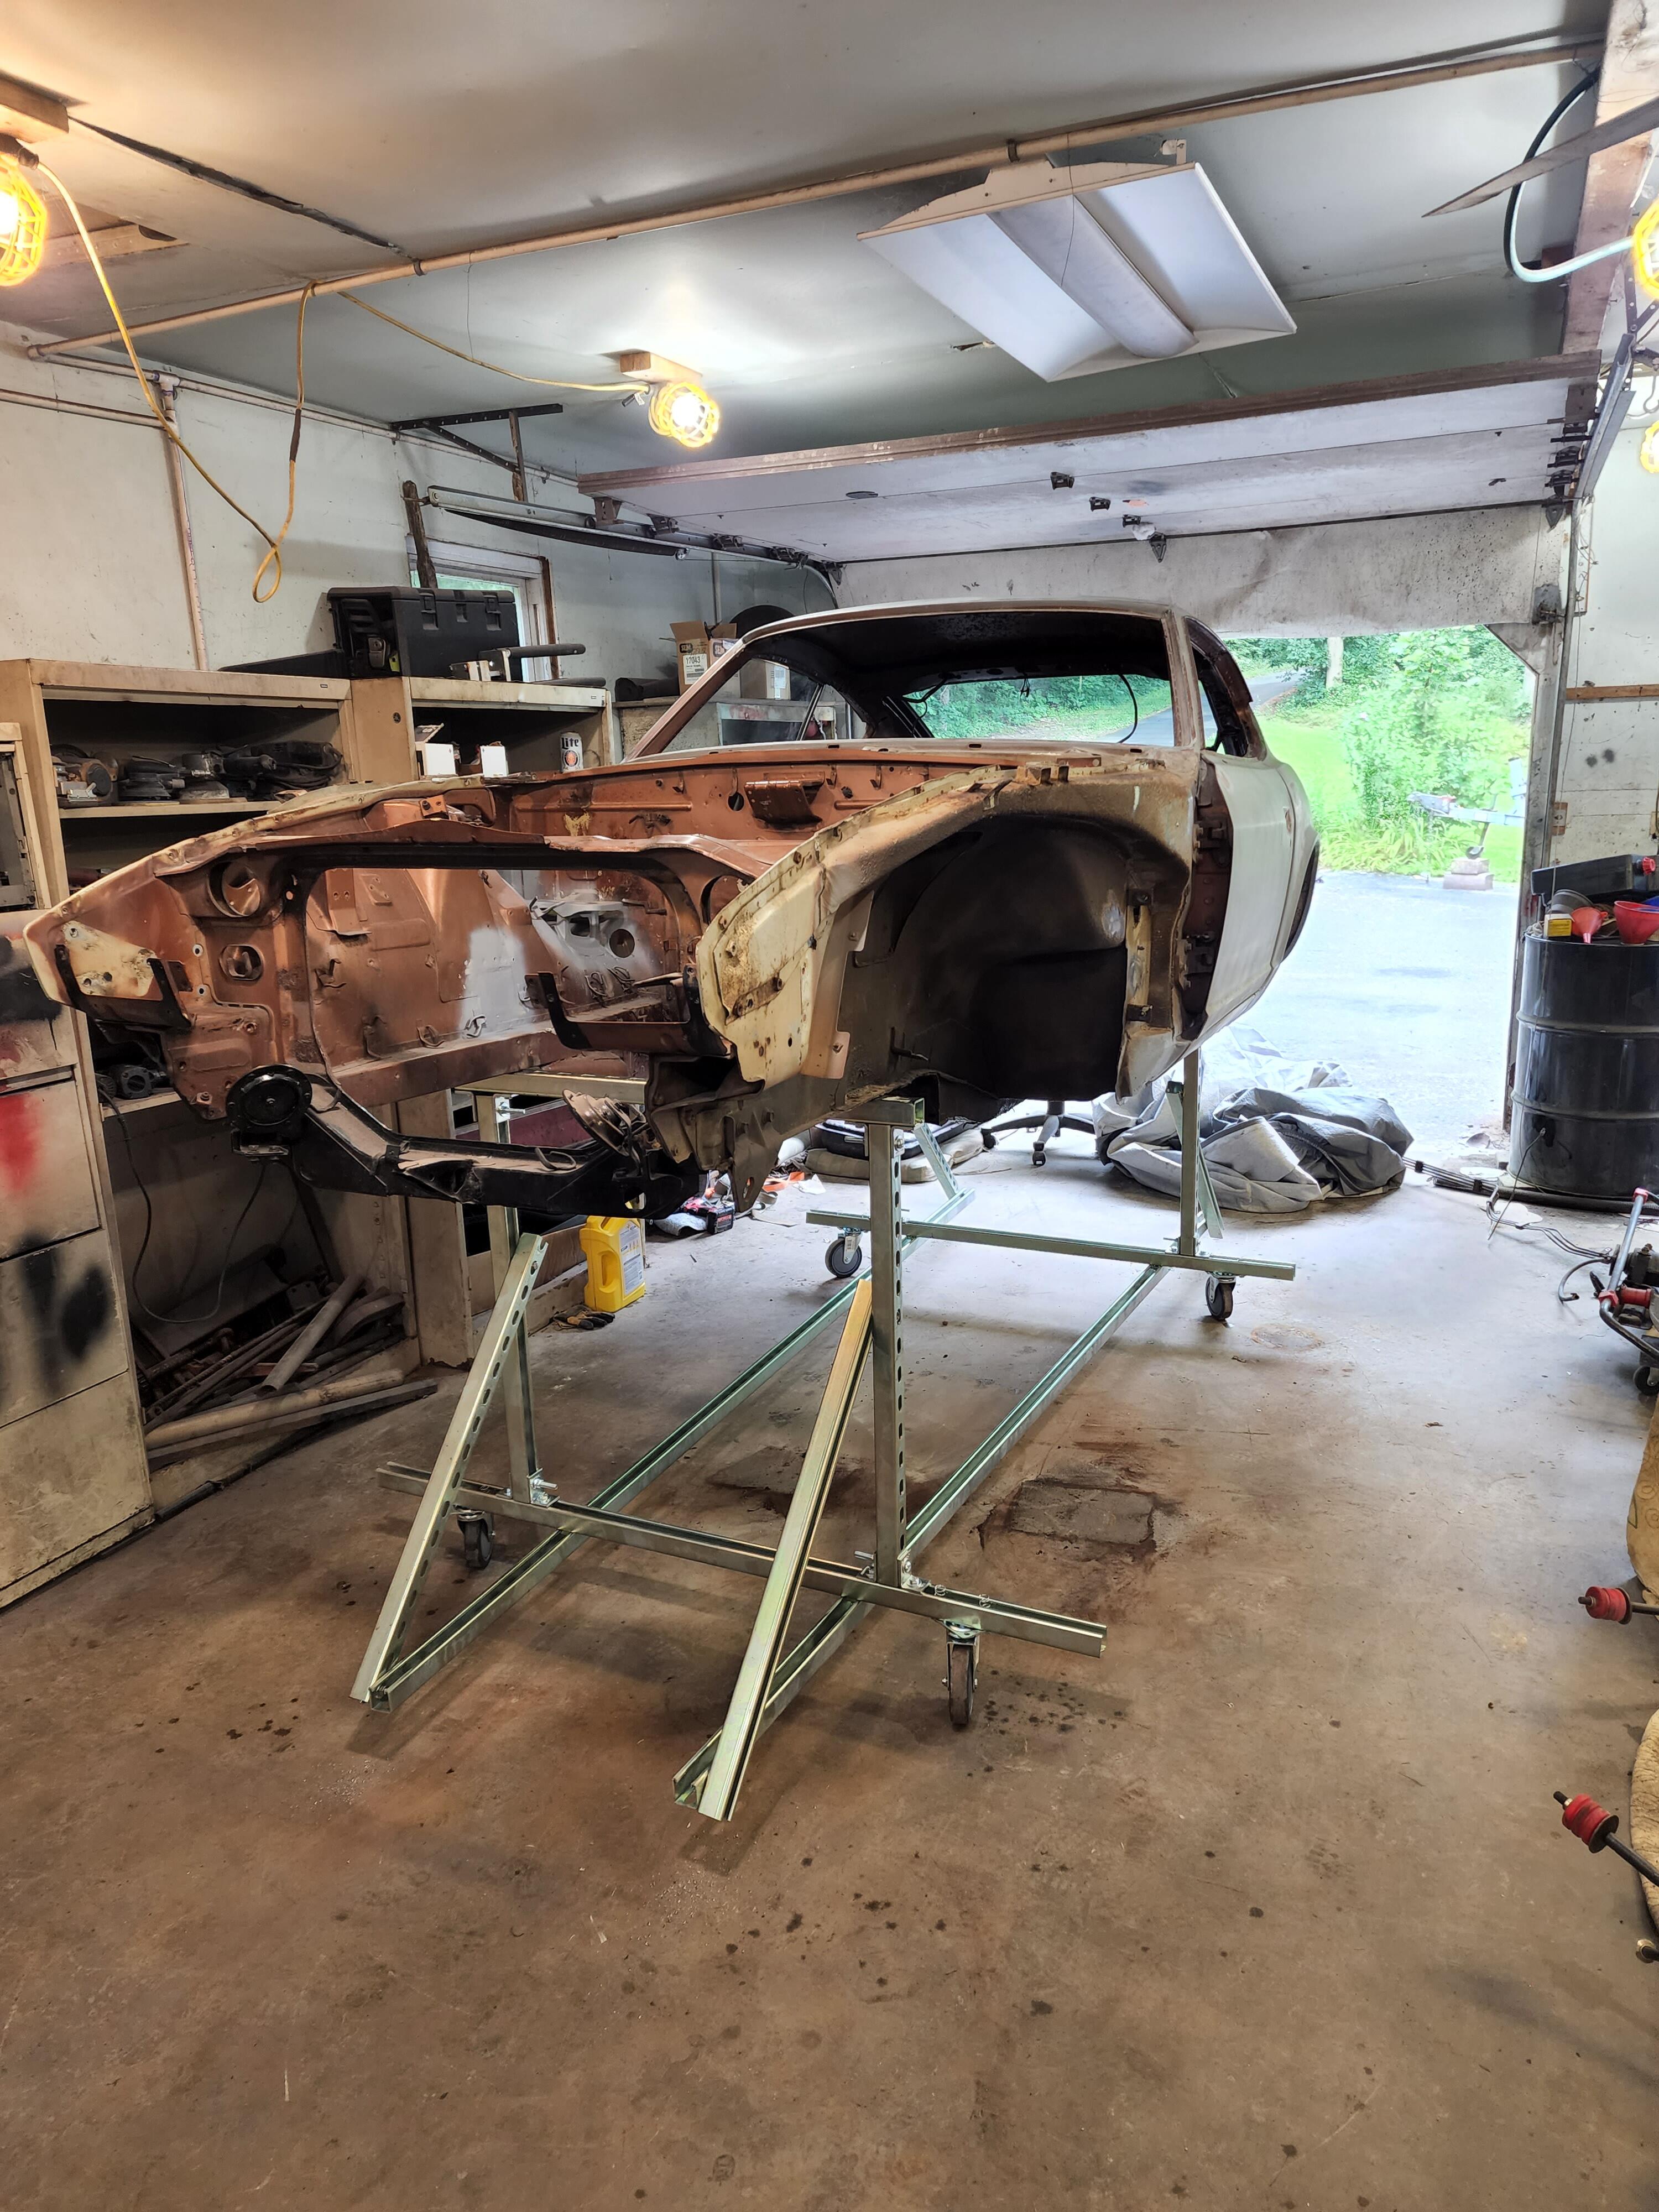
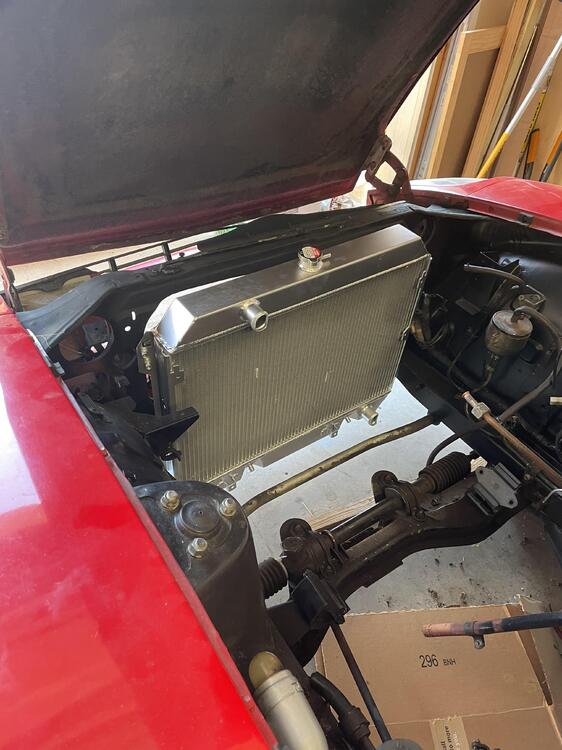
1 pointDecided to go a safer route based on the content of another user on the forum, thanks for the inspiration… this gives me quite a bit of room to get under the car with a roller board. Definitely money well worth spent. I’ll be able to pressure wash and then put on my undercoat outside of the garage.

 1 point
 -
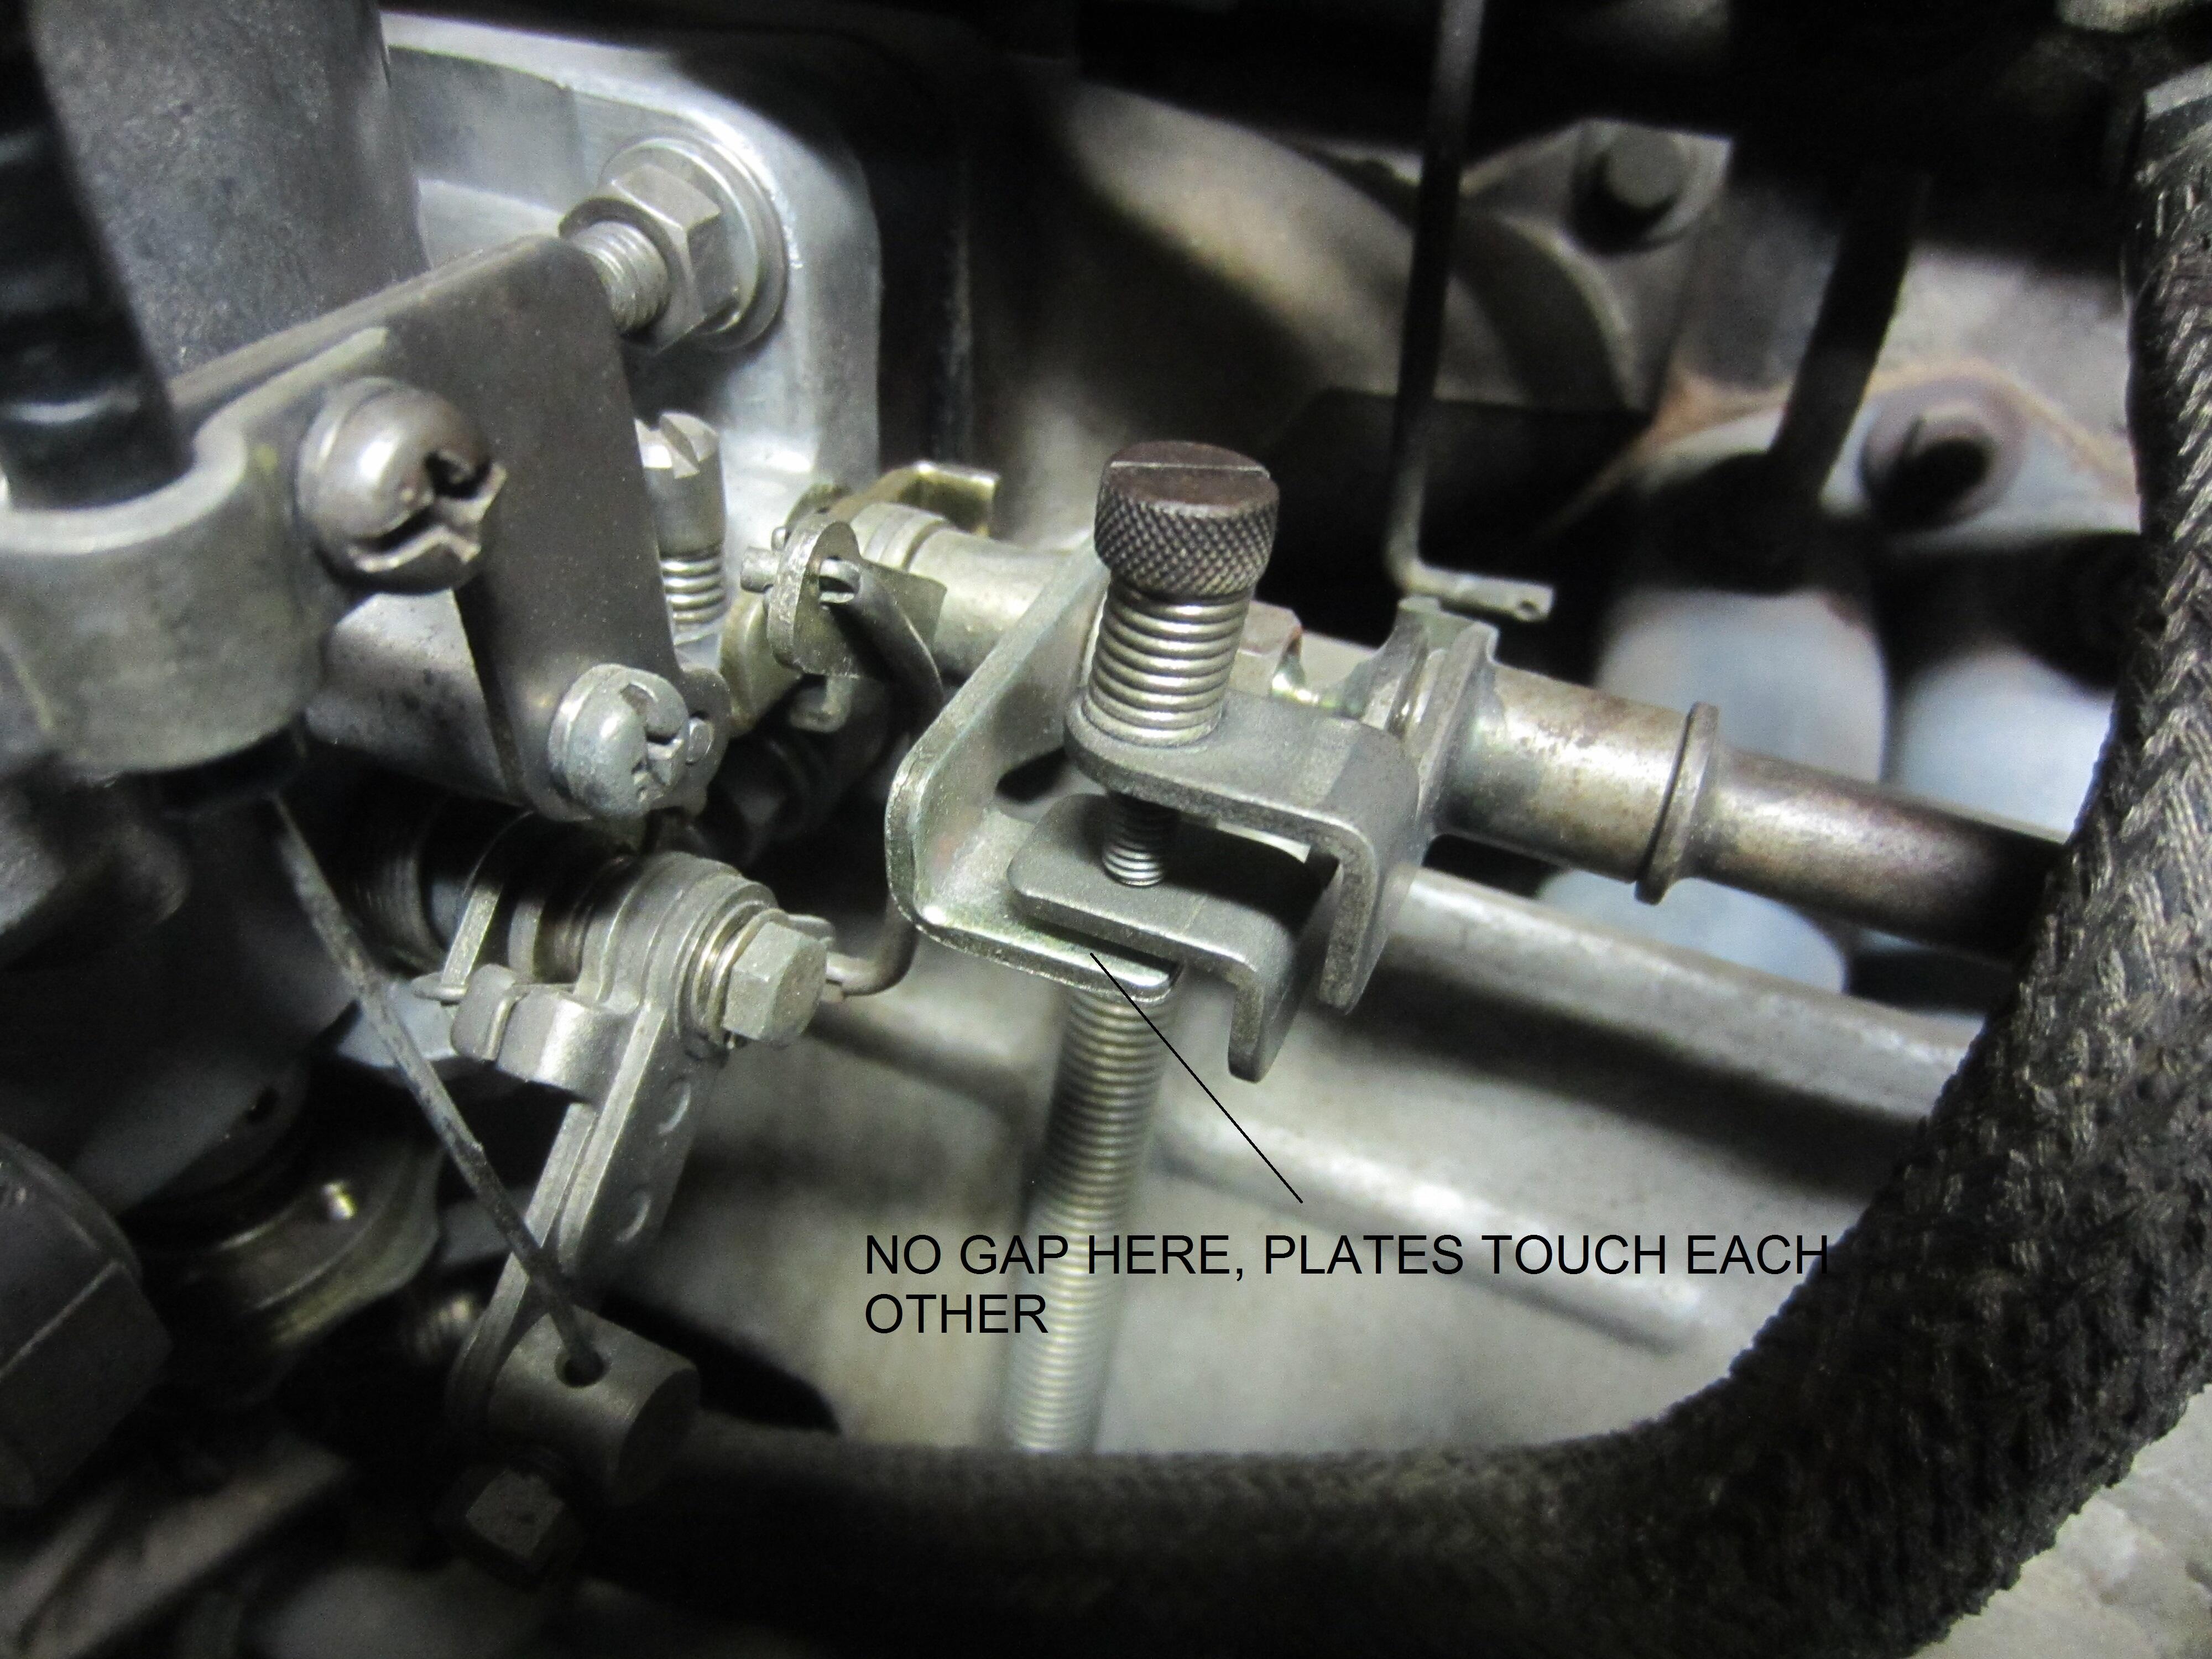
1 pointIf both throttle plates are fully closing and operating correctly then something must be opening the front one when the car is supposed to be idling. I'd start looking at the throttle linkage as Captain Obvious just mentioned. Try helping the throttle close completely. It's really hard to tell from pictures, but to me it looks like there might be a gap in the front linkage where the main throttle bar connects to the front carb. I have attached a picture of that part on my '71 240Z (same carbs as yours) showing what mine looks like and as you can see there is no space between the 2 small plates. On your video it looks to me like there might be space in there suggesting the front carb throttle plate is partially open.
 1 point
 -
1 pointMost people use 20wt oil in the dampers. You should check the level in the carburetors. Also, with the car off, try to lift the piston in each carburetor. The damper oil should provide a fair amount of resistance. I'm wondering if the front carb has enough resistance. Ace Hardware stores typically carry 3-in-One brand oil that is 20wt.1 point
-
1 pointWoo Hoo!!! Man, I would have been puckering the entire time! And I hope you were wearing a really good mask!!1 point
-
1 pointOr use a little harbor freight aquarium pump with tubes to either end of the block1 point
-
We have some mountainous areas near us and I have found the stock brakes to have a lot of fade on long downgrades. I hate the idea and smell of burning brakes. That's where the brake upgrades appeal to me1 point