Leaderboard
-

Diseazd
Free Member5Points3,362Posts -
.JPG.cfcada9cf1c1b502df3f5f2f2ca3ff36.JPG)
SteveJ
Free Member4Points9,646Posts -

siteunseen
Free Member4Points15,115Posts -

kats
Free Member3Points2,215Posts


Popular Content
Showing content with the highest reputation on 05/29/2022 in all areas
-
Watching my grandson learn the lines at the local gocart track!!!! Kid’s gonna be another John Morton!!!! IMG_3534.MOV


 5 points
 -
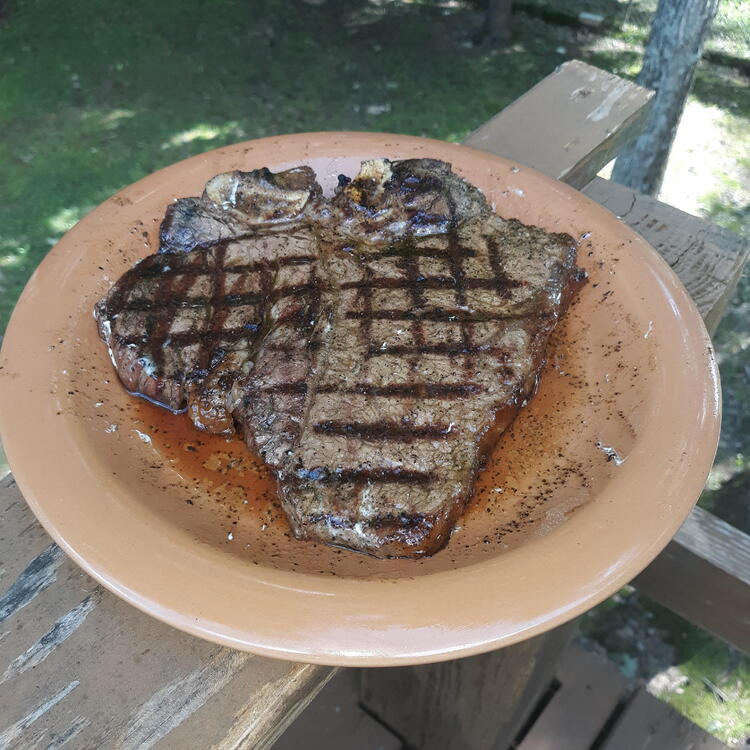
I took my 280 to the local grocery store where I found a Porterhouse for $10.99lb and that's cheap around here. 240 gets it's turn Sunday morning to de glaze the brake pads.
 3 points
 -
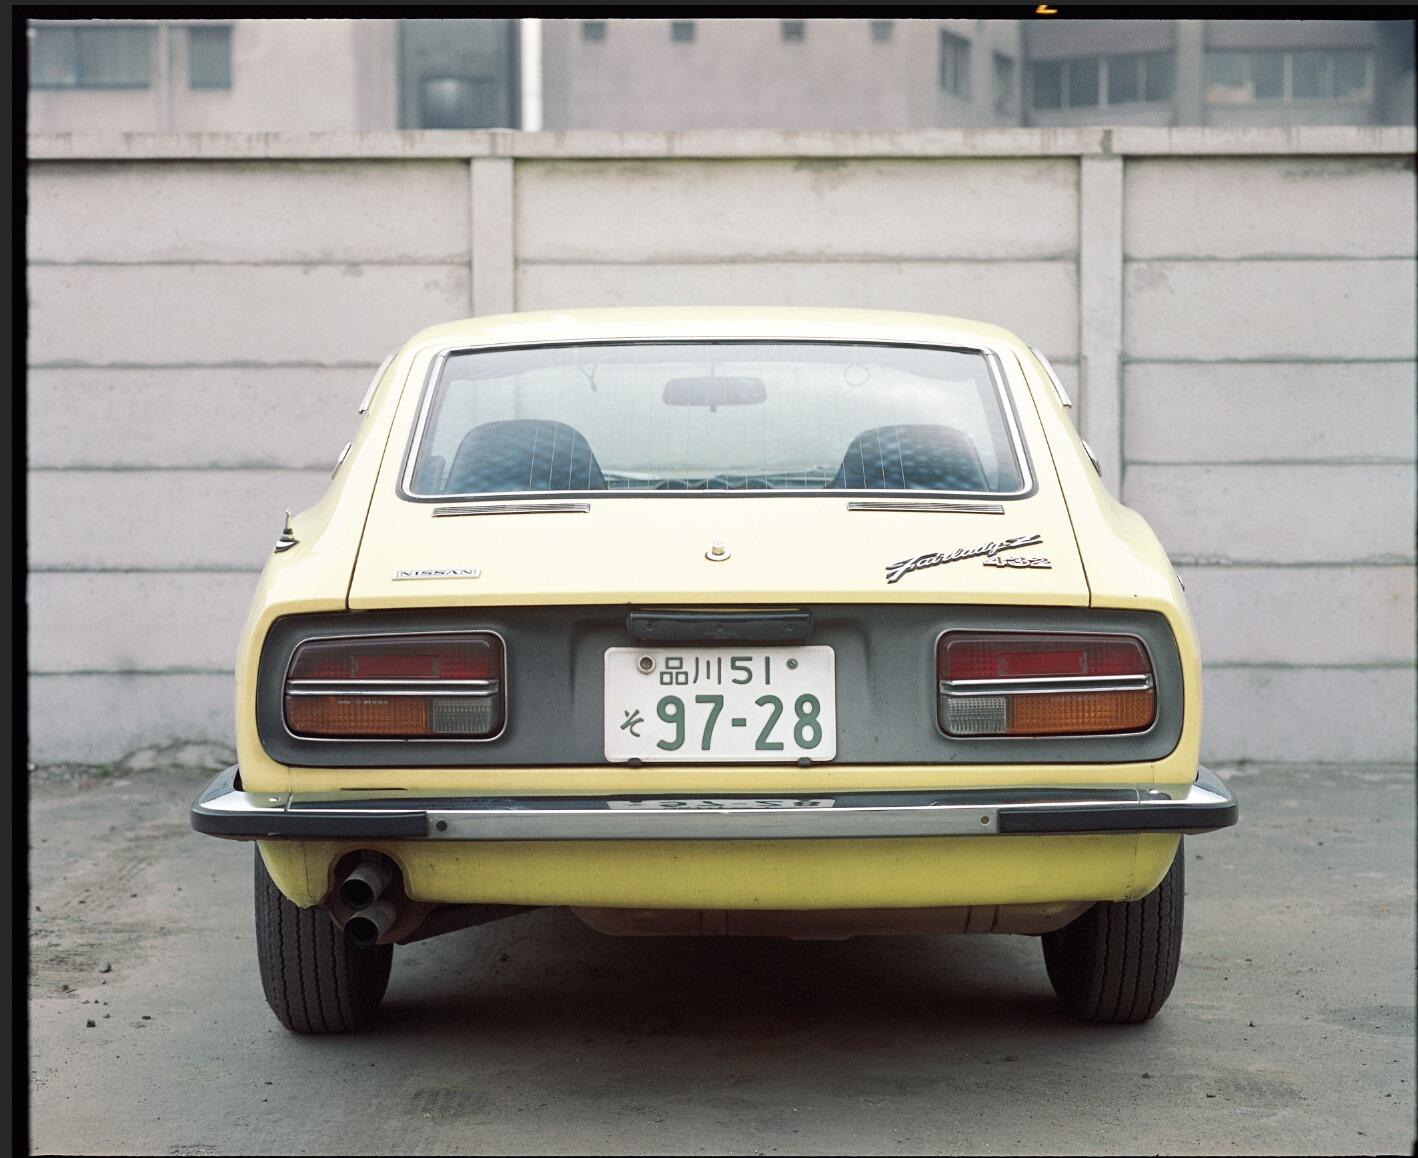
Found a Japanese registration plate and put it on the front bumper. I don't think it's real. I won't run it because it's not a real Japanese market car but it does look a bit more natural than the American state plate that usually sits in its place.2 points
-
Thank you for being willing to reconsider the inhibitor switch. I had a feeling it could be your culprit after what I saw on my friend's car. Starting on page AT-49 in the FSM (page 314 of the huge PDF), you'll see the procedure for testing/adjusting the inhibitor switch.2 points
-
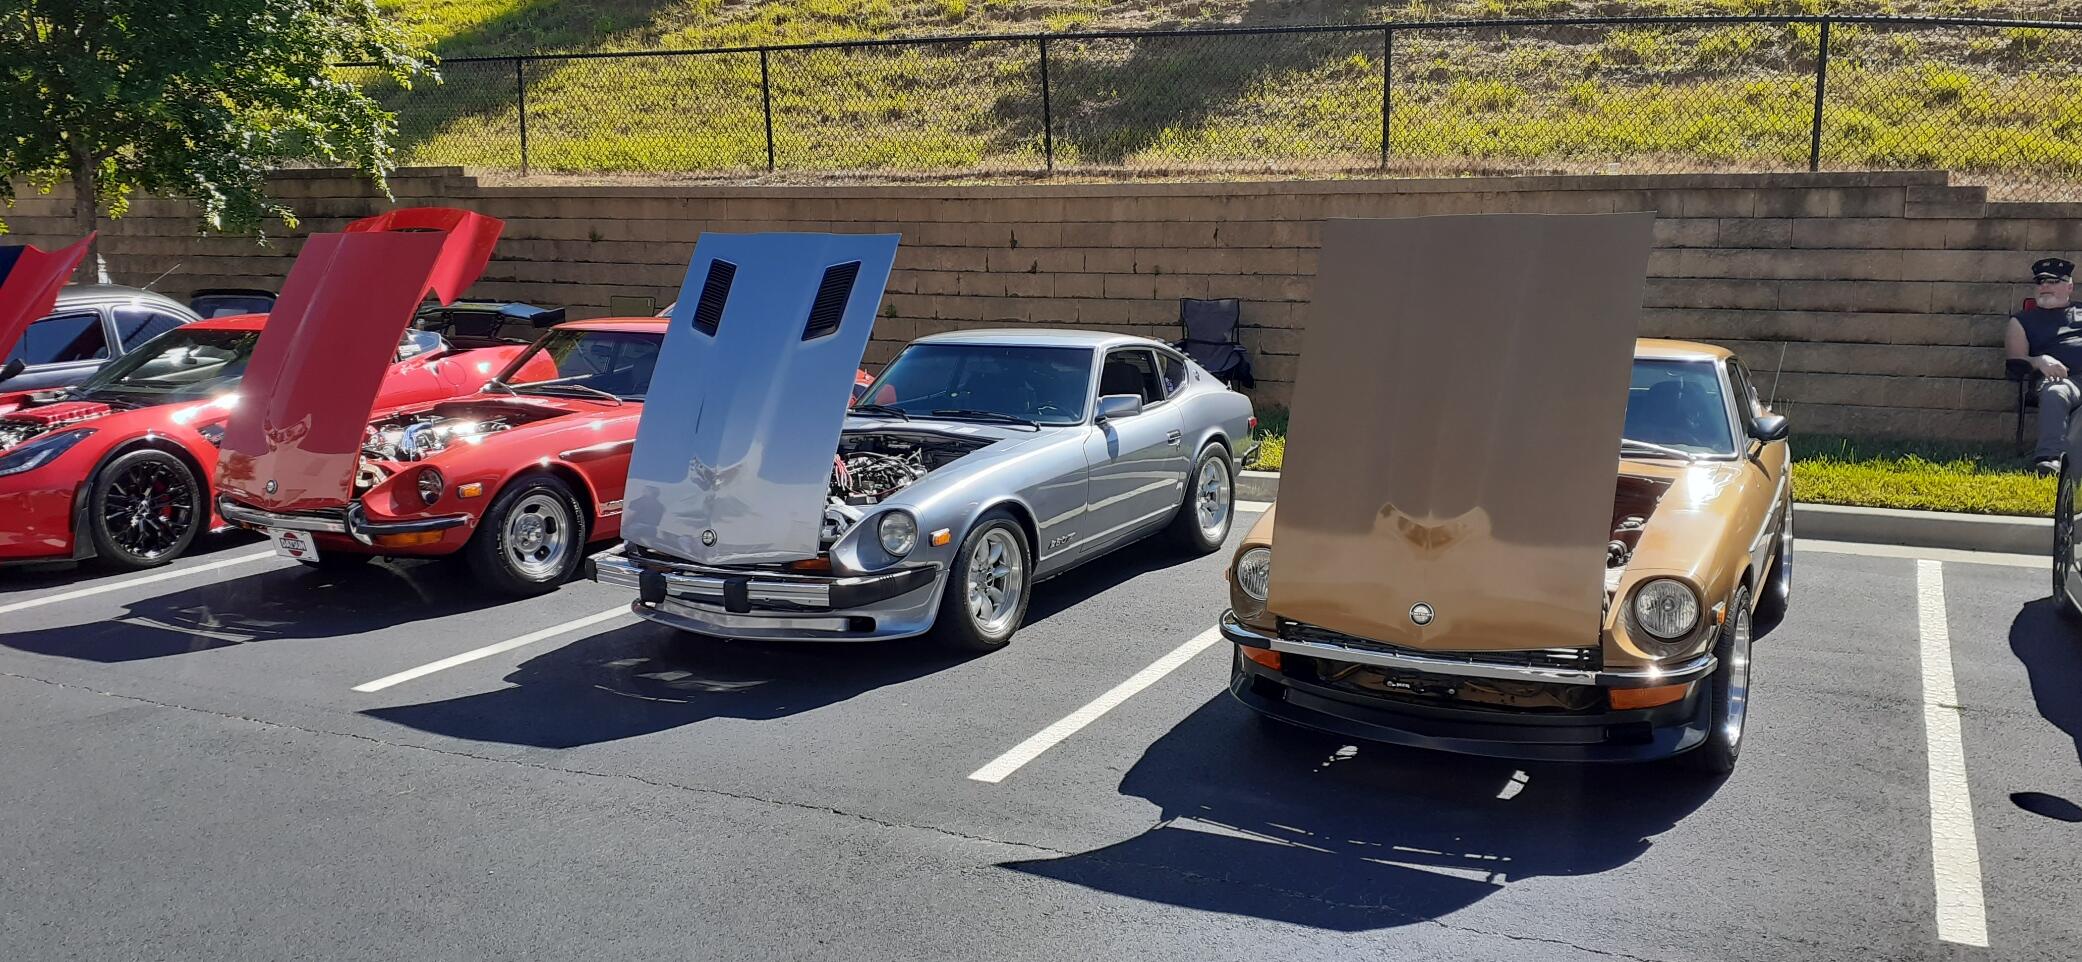
I got new tires for the 260Z in preparation for ZCON. After that, I drove over to meet a couple of friends at Caffeine and Chrome. It's nice when you can get a 240Z, 260Z, and 280Z together at a meet.
 2 points
 -
1 point
-
Yes sir it is. The ZXs weighed a good bit more with all the added creature comforts for the female market they hadn't broken into yet, or so I've read.1 point
-
When i prepared the doors for the Bodyshop, i realized that some of the hinges were worn out pretty much. So i decided to give my spare set an overhaul. it took me a while to figure out how to get the old pins out. but now i got a solution and also finally a use for my new press 🙂 The pin got a bit bent during the process, but shouldn't be a problem: Here's a comparison of the old vs new pin you can clearly see some heavy wear on t he old pin: The sleeve things were pretty worn out too and basicalyl fell apart once i touched it: The inside was easy to get out with the right tools and a hammer: Here we go, everything out and new ones ready to go in: During the process i also wanted to snadblast the old hinges, but realized my compressor is way to small. Luckily my father-in-law offered me to swap mine with his bigger one: Still could be bigger, but it works ok for small parts: Here's one of the door hinge parts freshly blasted: Next? i still need to find out how i can remove the springs on the upper hinge to get the same job done there. and if i should paint the hinges first before assembly, or do it the opposite way? no hurry 🙂 And i got an update from the bodyshop too, they got the fender and door installed for alignment. and realized that one of the previous owners had the brilliant idea of smoothing (cleaning) out the body lines in the front fender, as you can see: Sommething i didn't notice so far... damnit another thing to rectify again. well 🙂 at lest there is already a first progress.. Hope for some news again soon.1 point
-
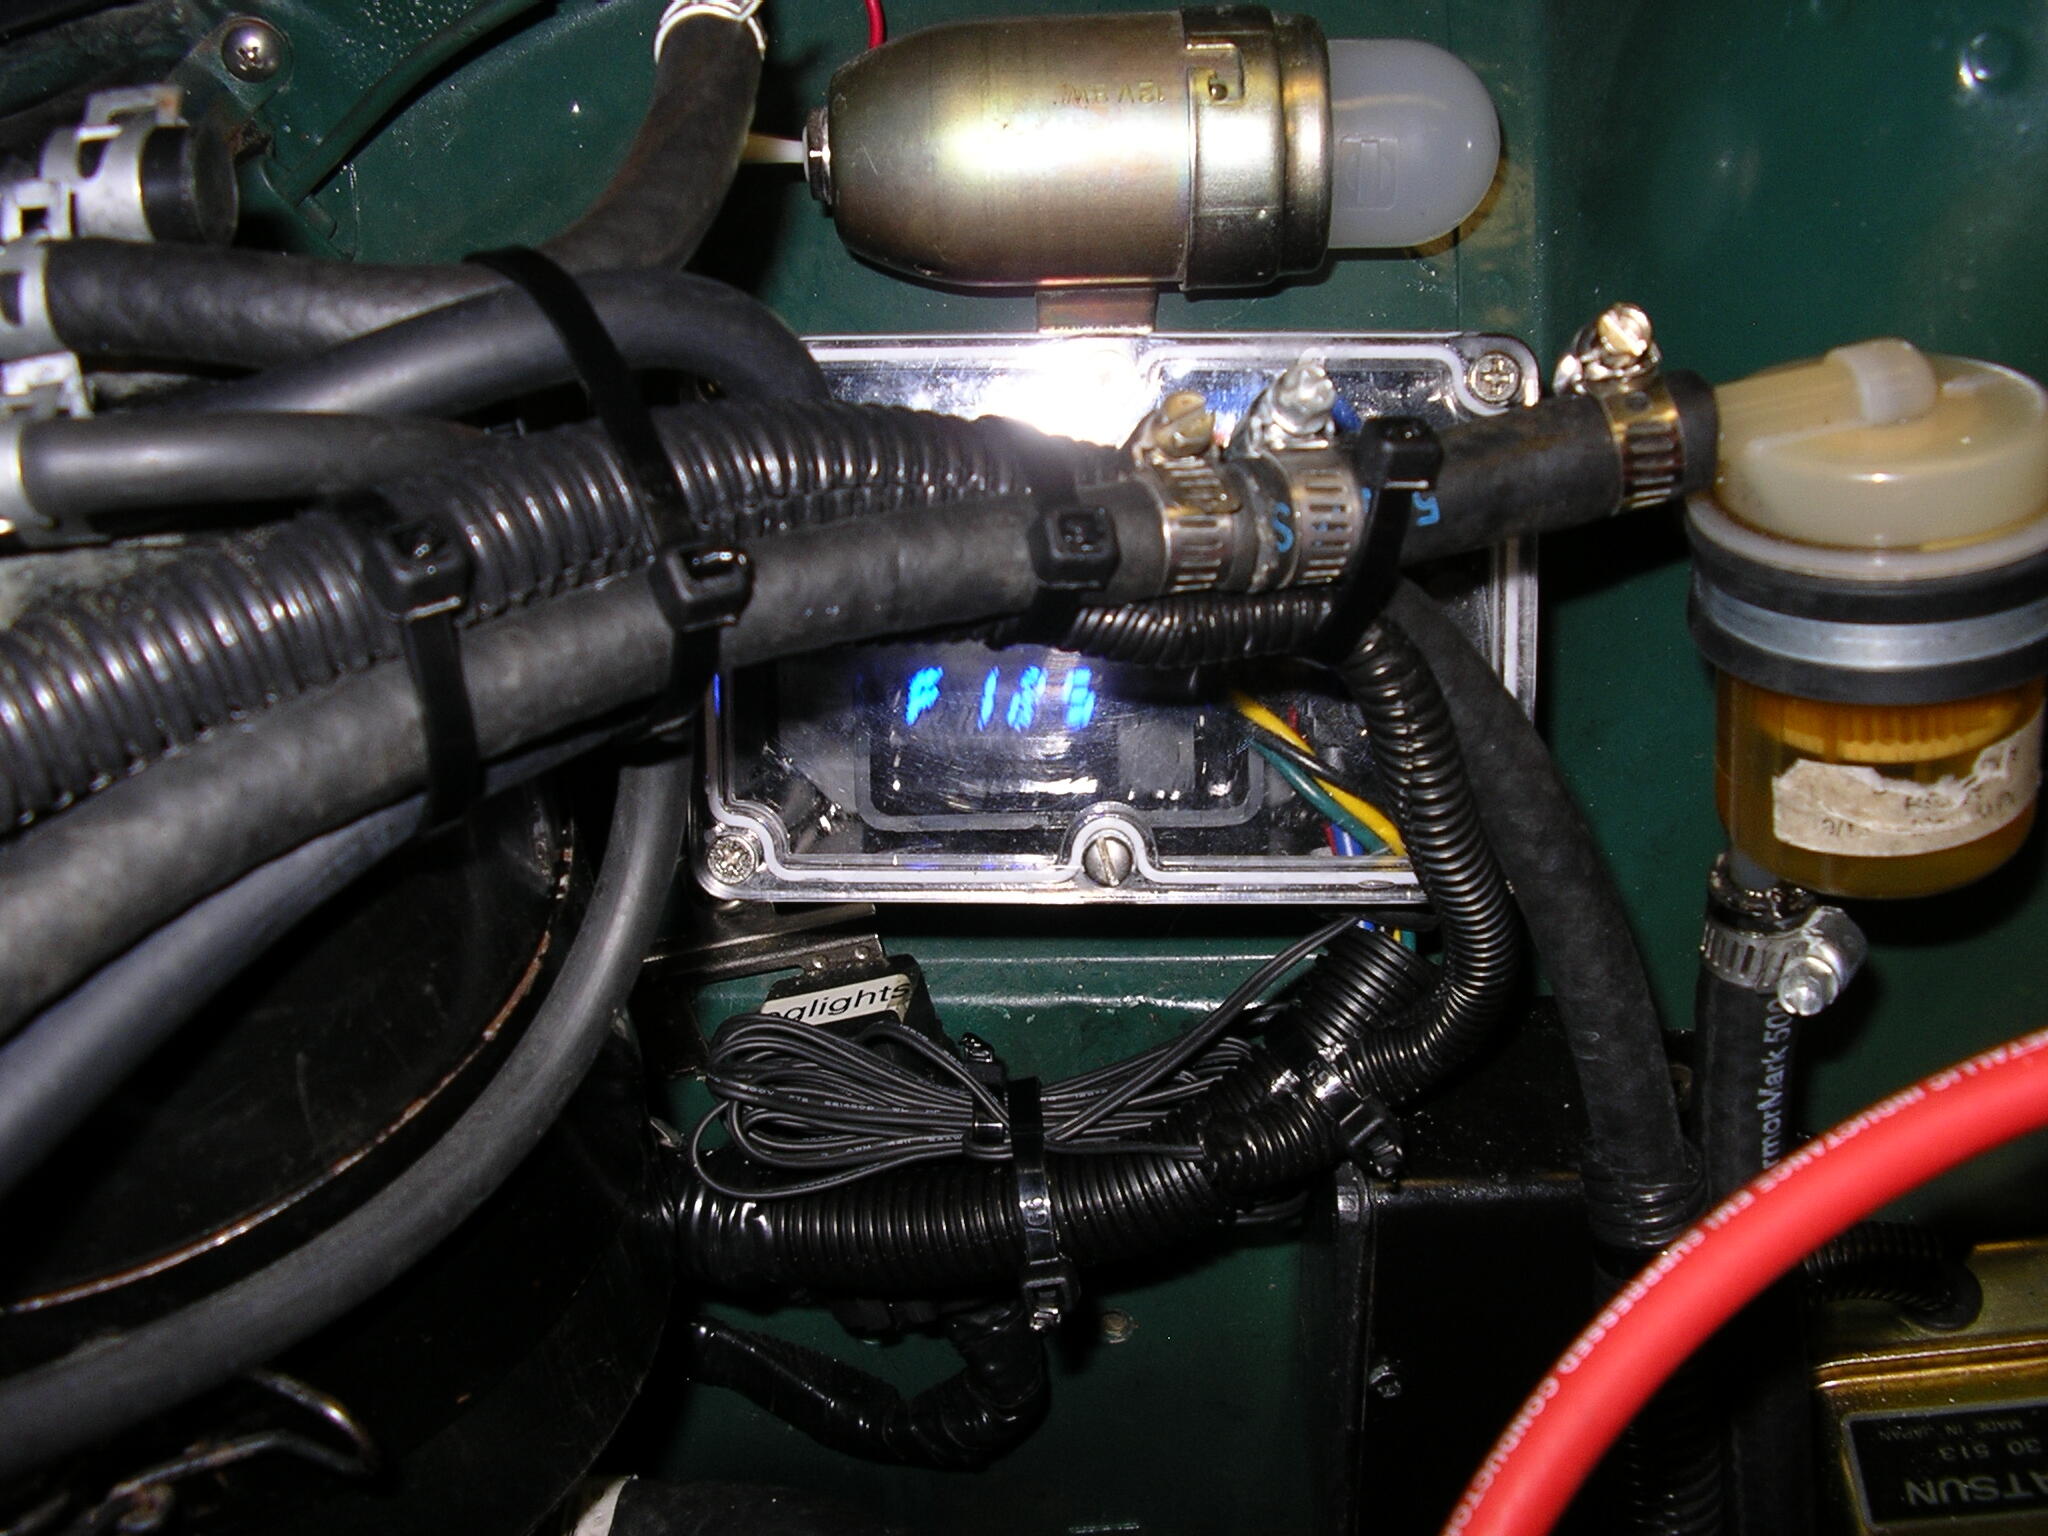
1 pointI just installed this controller today and works great with the electric fan. I installed the sensor in the thermostat cover, I did install the controller in a weatherproof plastic box in the engine compartment. this model came with the 1/4" npt sensor and also the radiator probe sensor. I only used the 1/4" npt sensor. it will turn on at your set temp and then off 5 degrees lower.it does seem off by 6 degrees, as I have it set at 183 degrees for on and off is 178 degrees. that is comparing with a digital thermometer in the top of the radiator. it can be adjusted from 110 degrees to 230 degrees by 1 degree increments. I can see when the water pump is at full flow in the top of the radiator and that seems to be 183 degrees with a 180 Nissan thermostat. I also install the override switch to manual turn on the fan. it seems to have the same ratings but more user reviews then digital dakota . it is also made down under . I drove the car today and the temps were in the lower 70s and the fan never turn on unless I sat idling for 3-4 minutes after a long drive. it seems to be doing what it was designed to do. hopes this help anybody looking for a decent fan controller.


 1 point
 -
1 pointCO's comment about the reservoir is the most important one to focus on at this point. Apparently, you've been running with a low coolant level for quite a while. That's not good. Get the system back to the way it is designed to be and see what happens. If you lose coolant, there's a leak, as the FSM says. If you determine that you have a leak there are ways to find it. You can also verify a leak by pressurizing the coolant system. And, don't overlook that the coolant system is designed to use a certain type of radiator cap. The cap releases pressure but also holds vacuum. So that the coolant can pass between the radiator and the reservoir as it is designed to do. As far as looking for bubbles, the chemical test was developed and is widespread because the bubble method is not reliable.1 point
-
1 pointIf everything is working as intended, then pushing coolant out into the overflow bottle is not only "not a problem", but it is actually a good thing. There should always be some coolant in the overflow bottle and the level should actually change as the engine heats up and cools back down. When the engine heats up, it pushes coolant out into the bottle, and then when the engine cools back down, it should suck the same amount of coolant back into the engine. I'm actually more concerned that your bottle was ever completely dry. That should not be the case.1 point
-
The U.S. market got the F54 block with flat tops in 1981. http://www.xenonzcar.com/s30/engines.html1 point
-
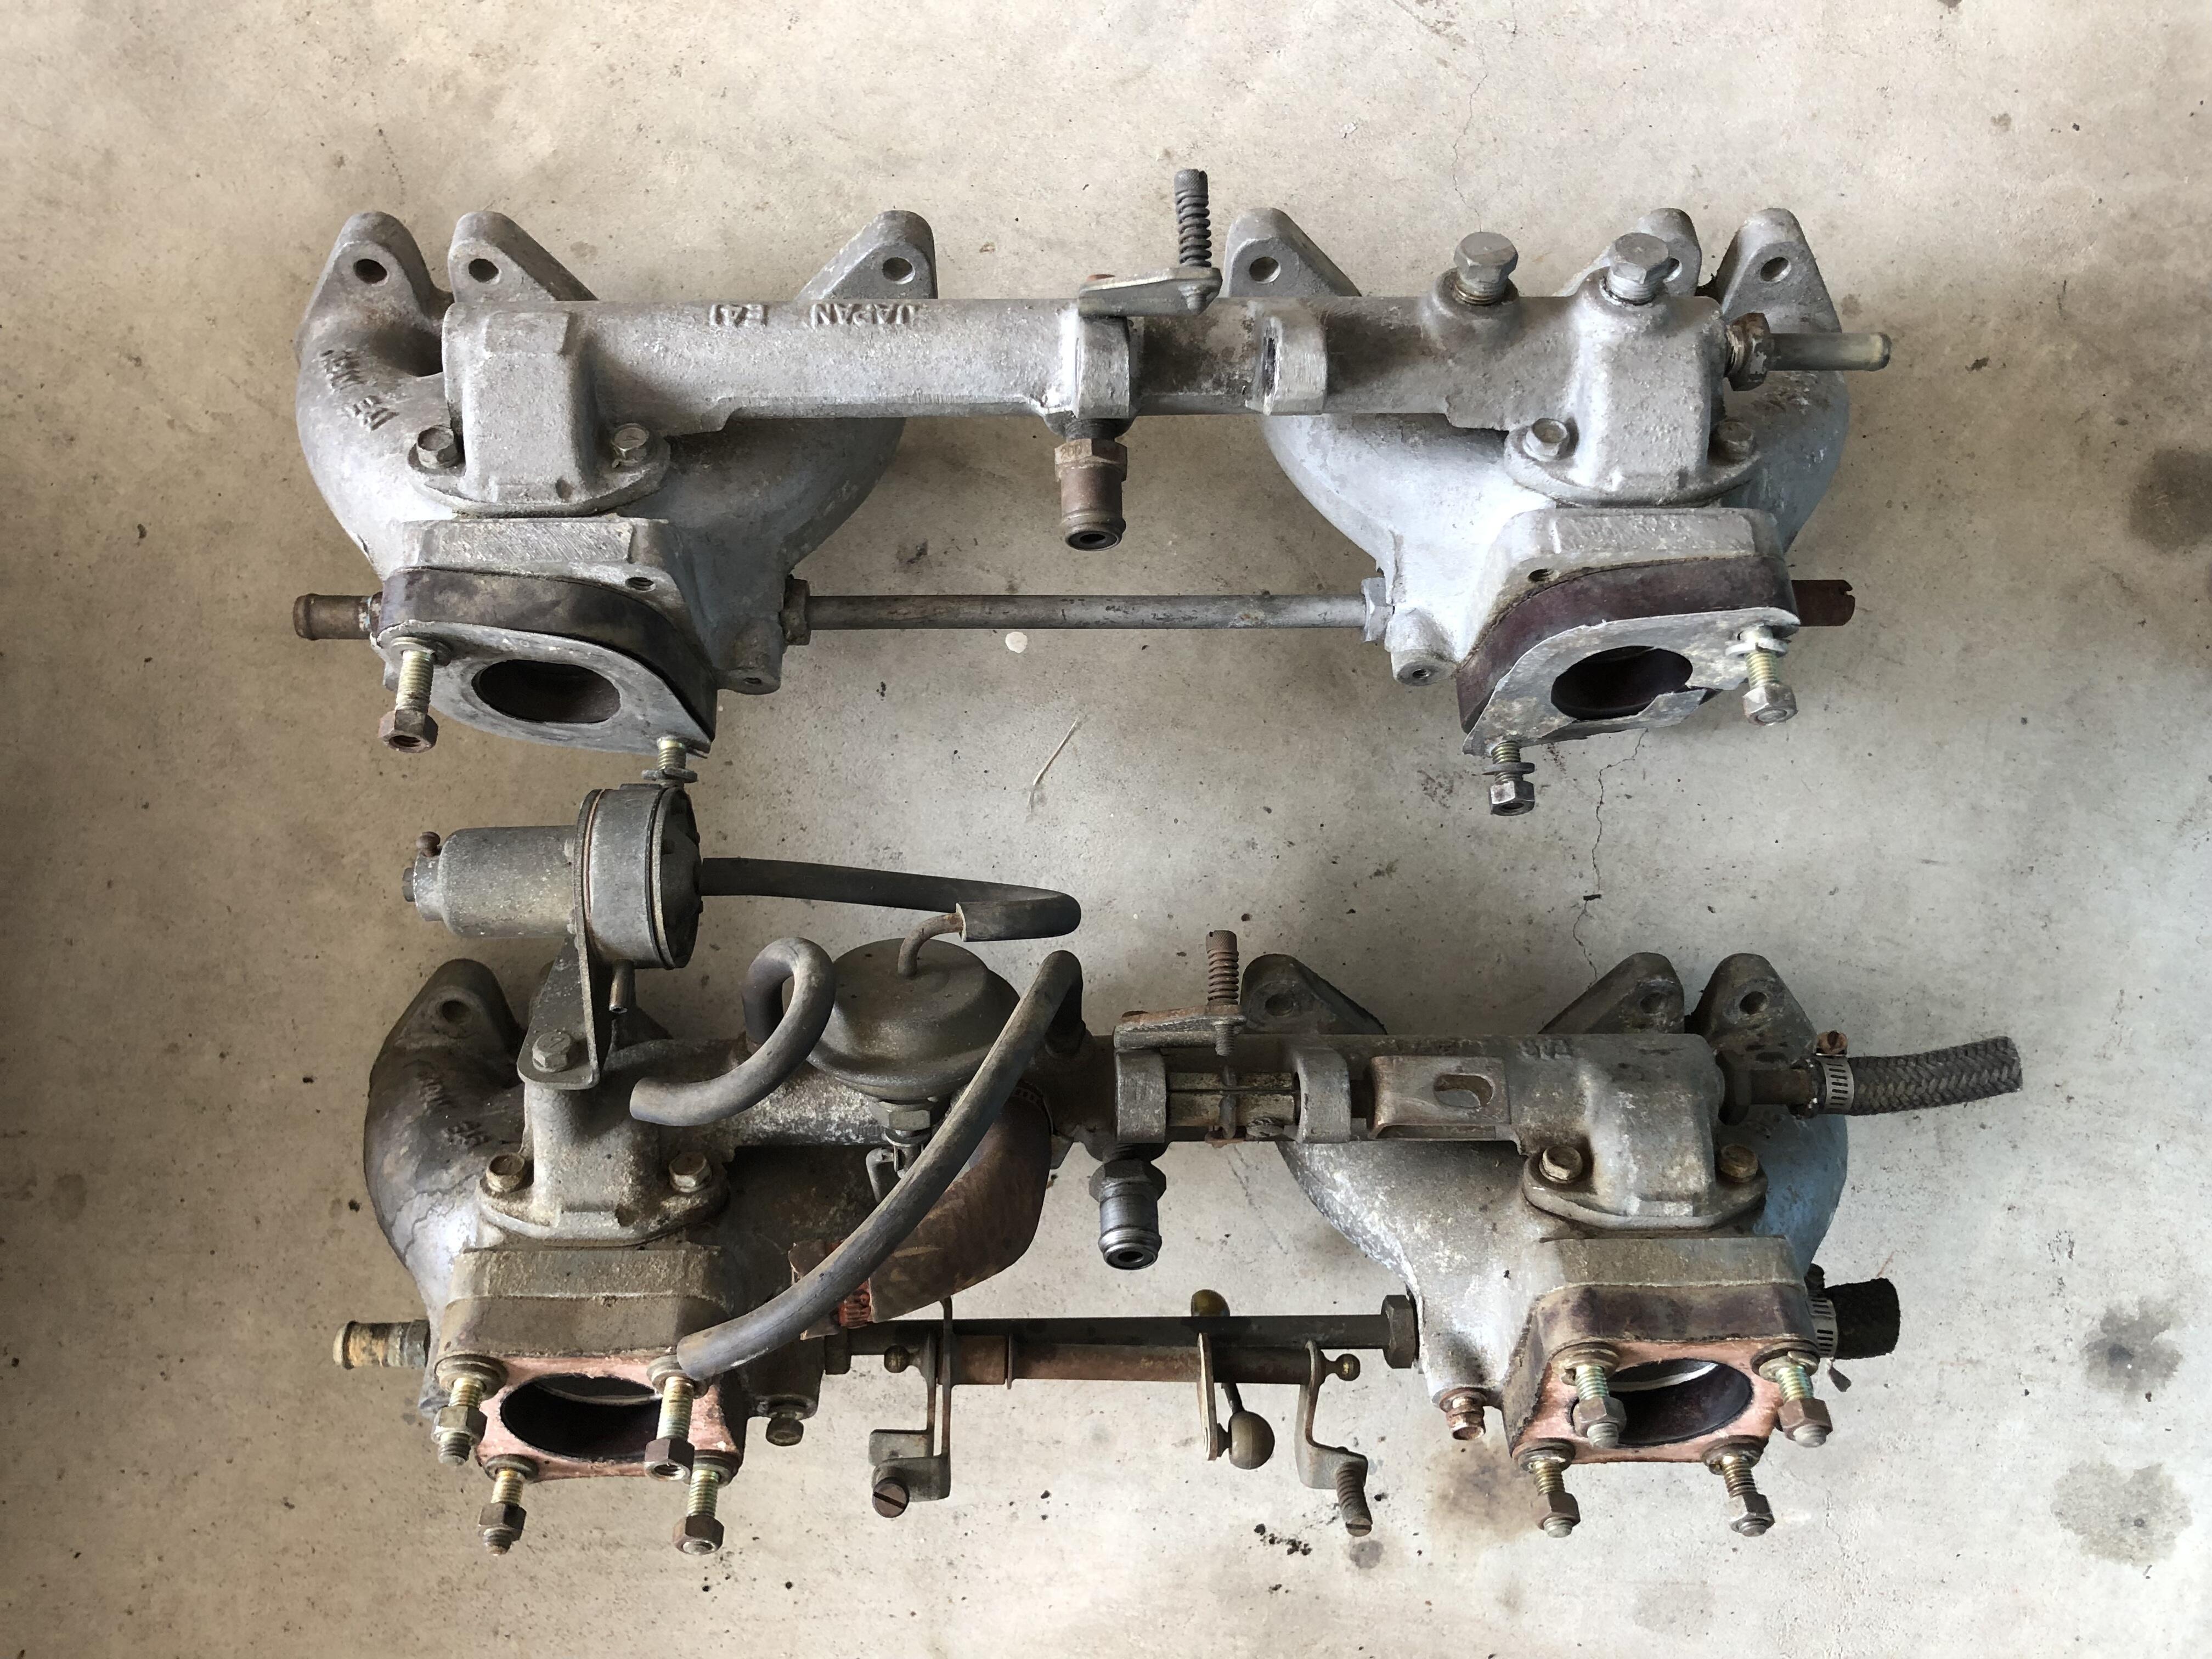
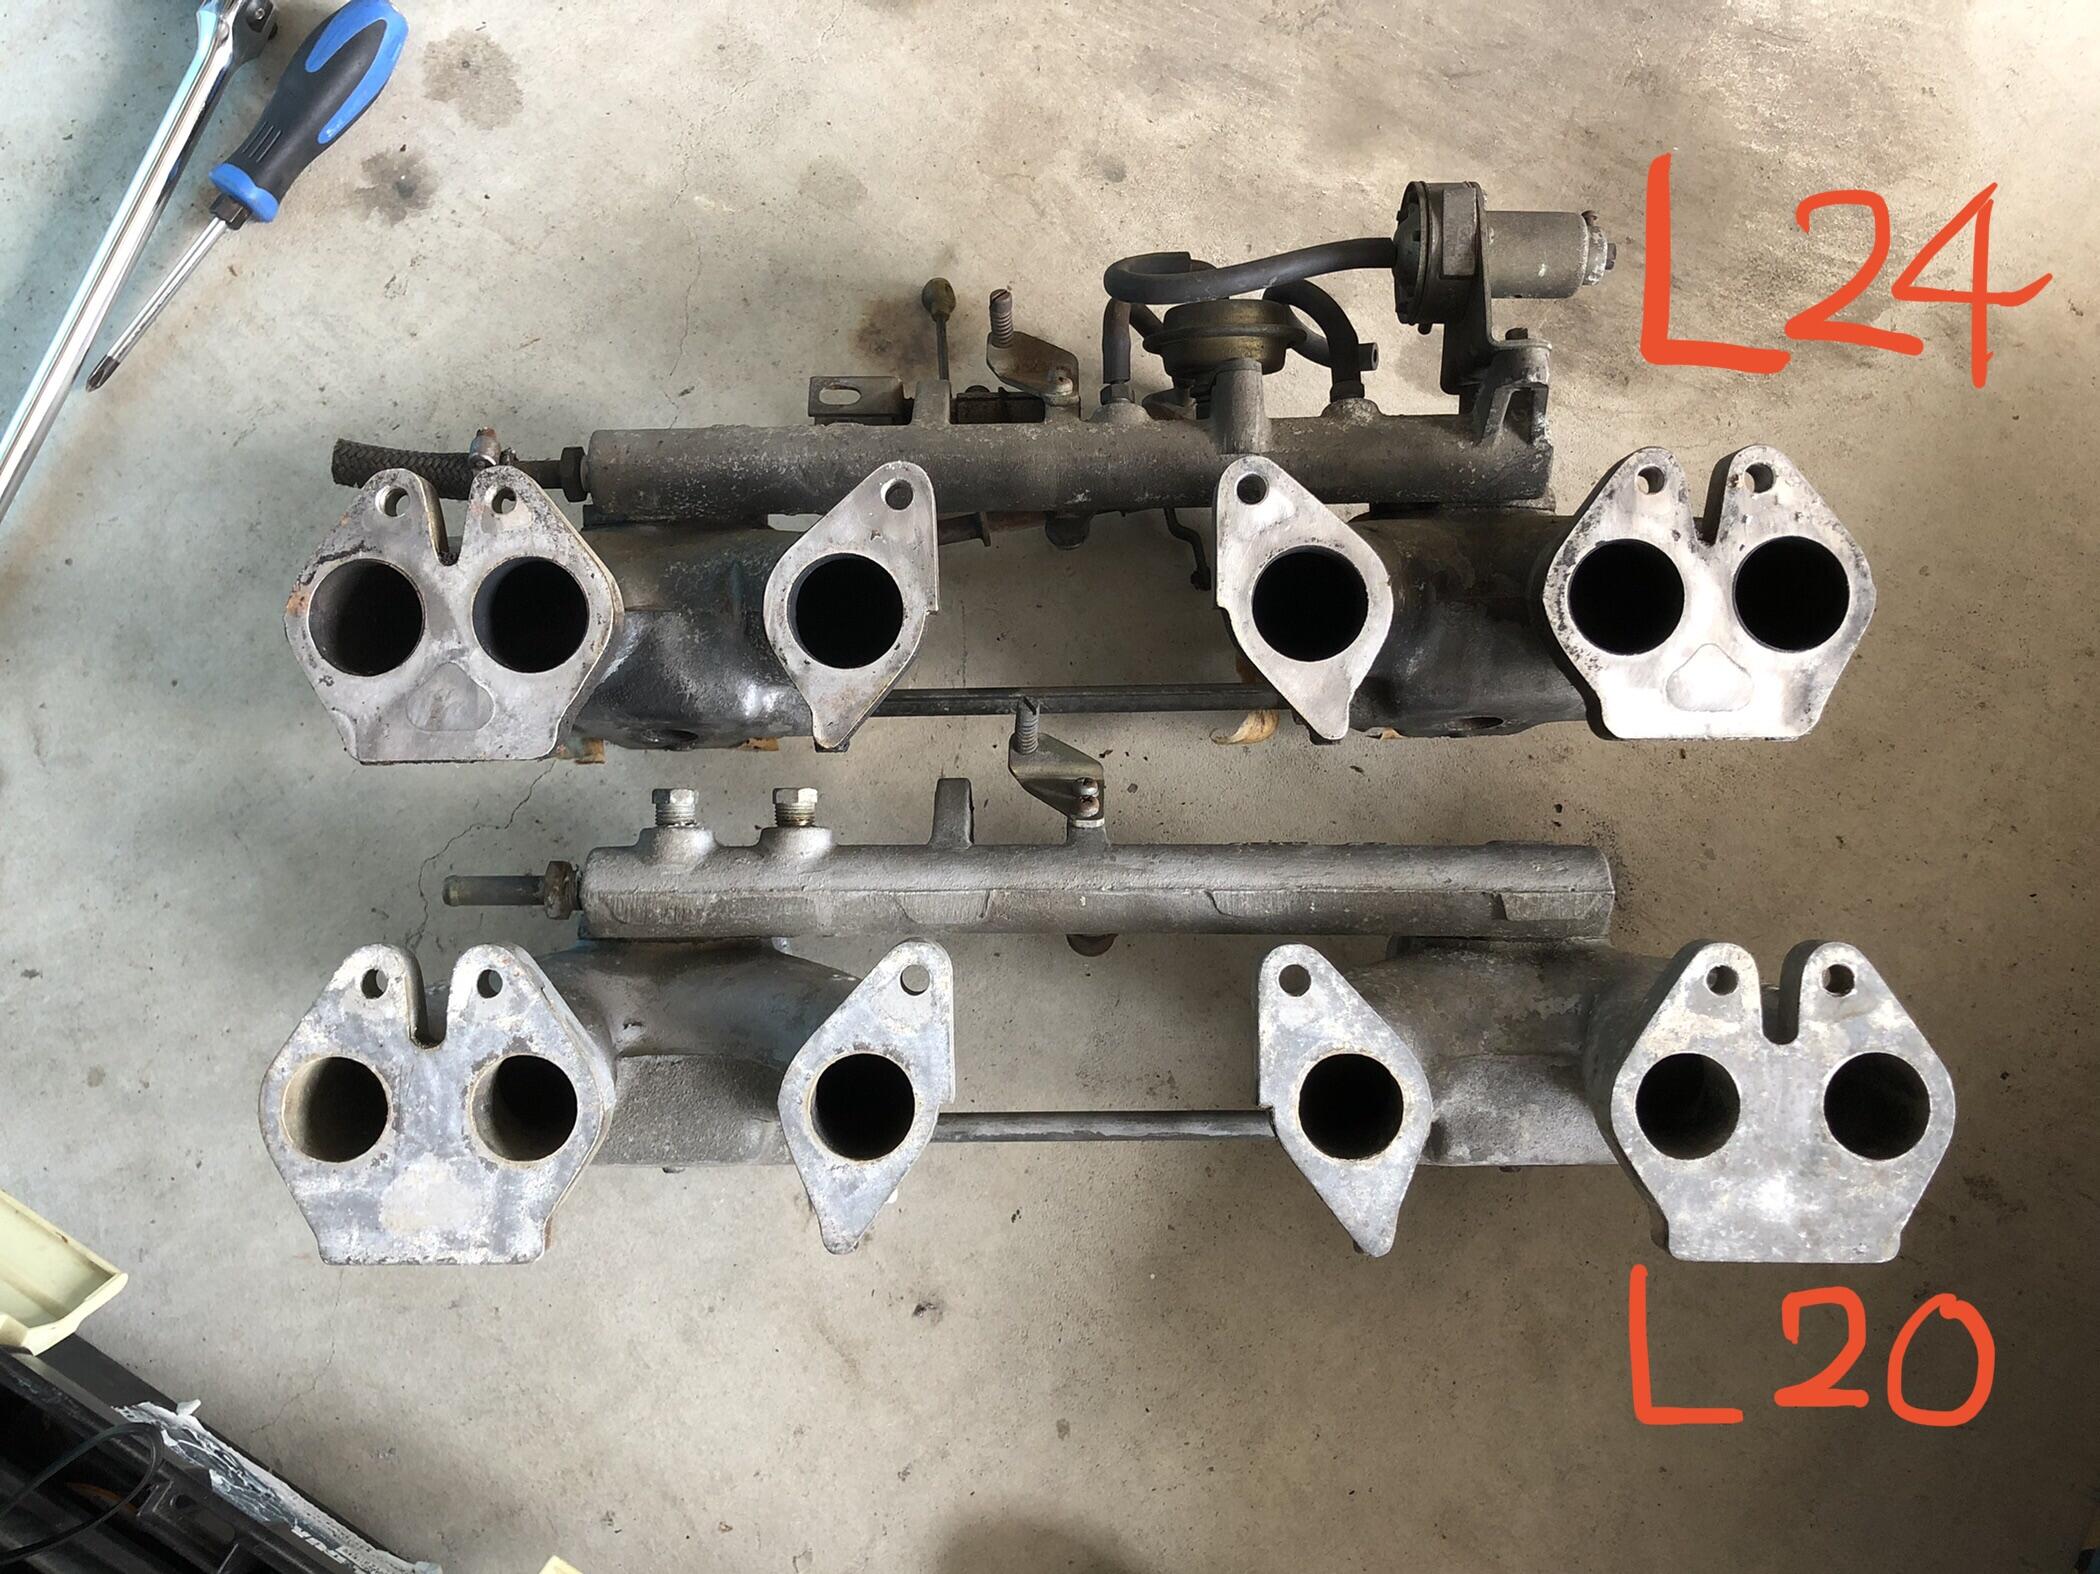
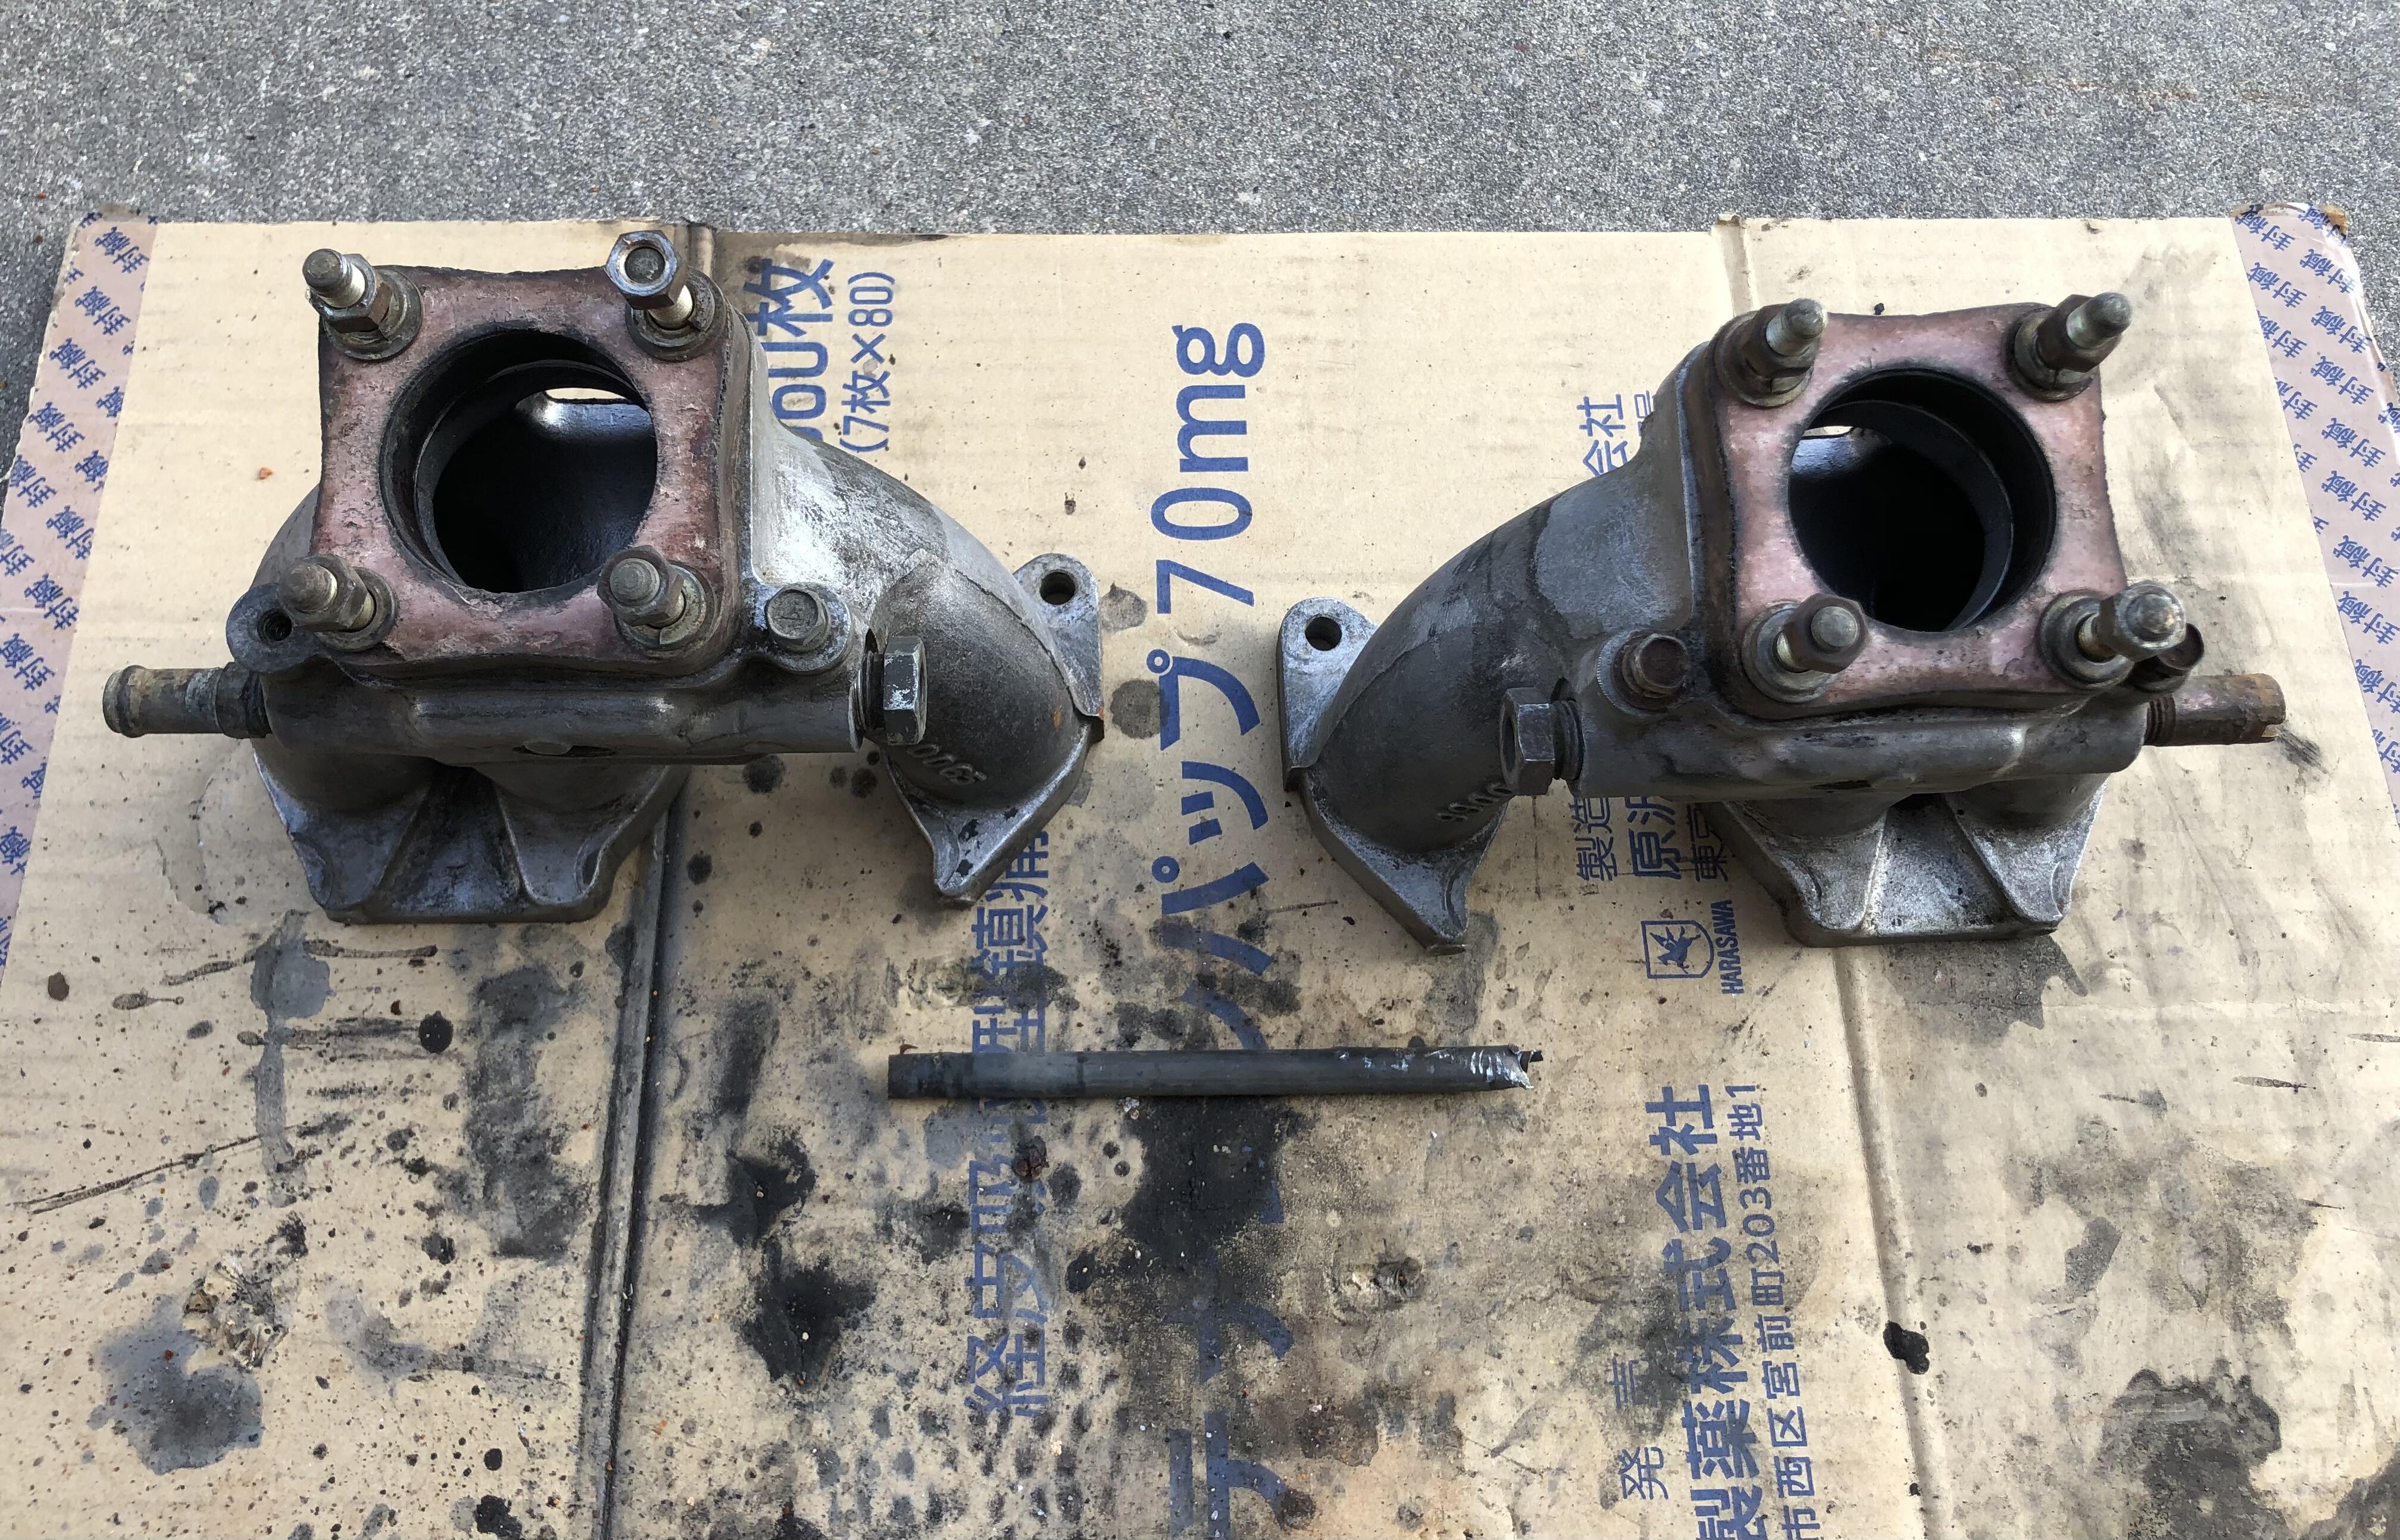
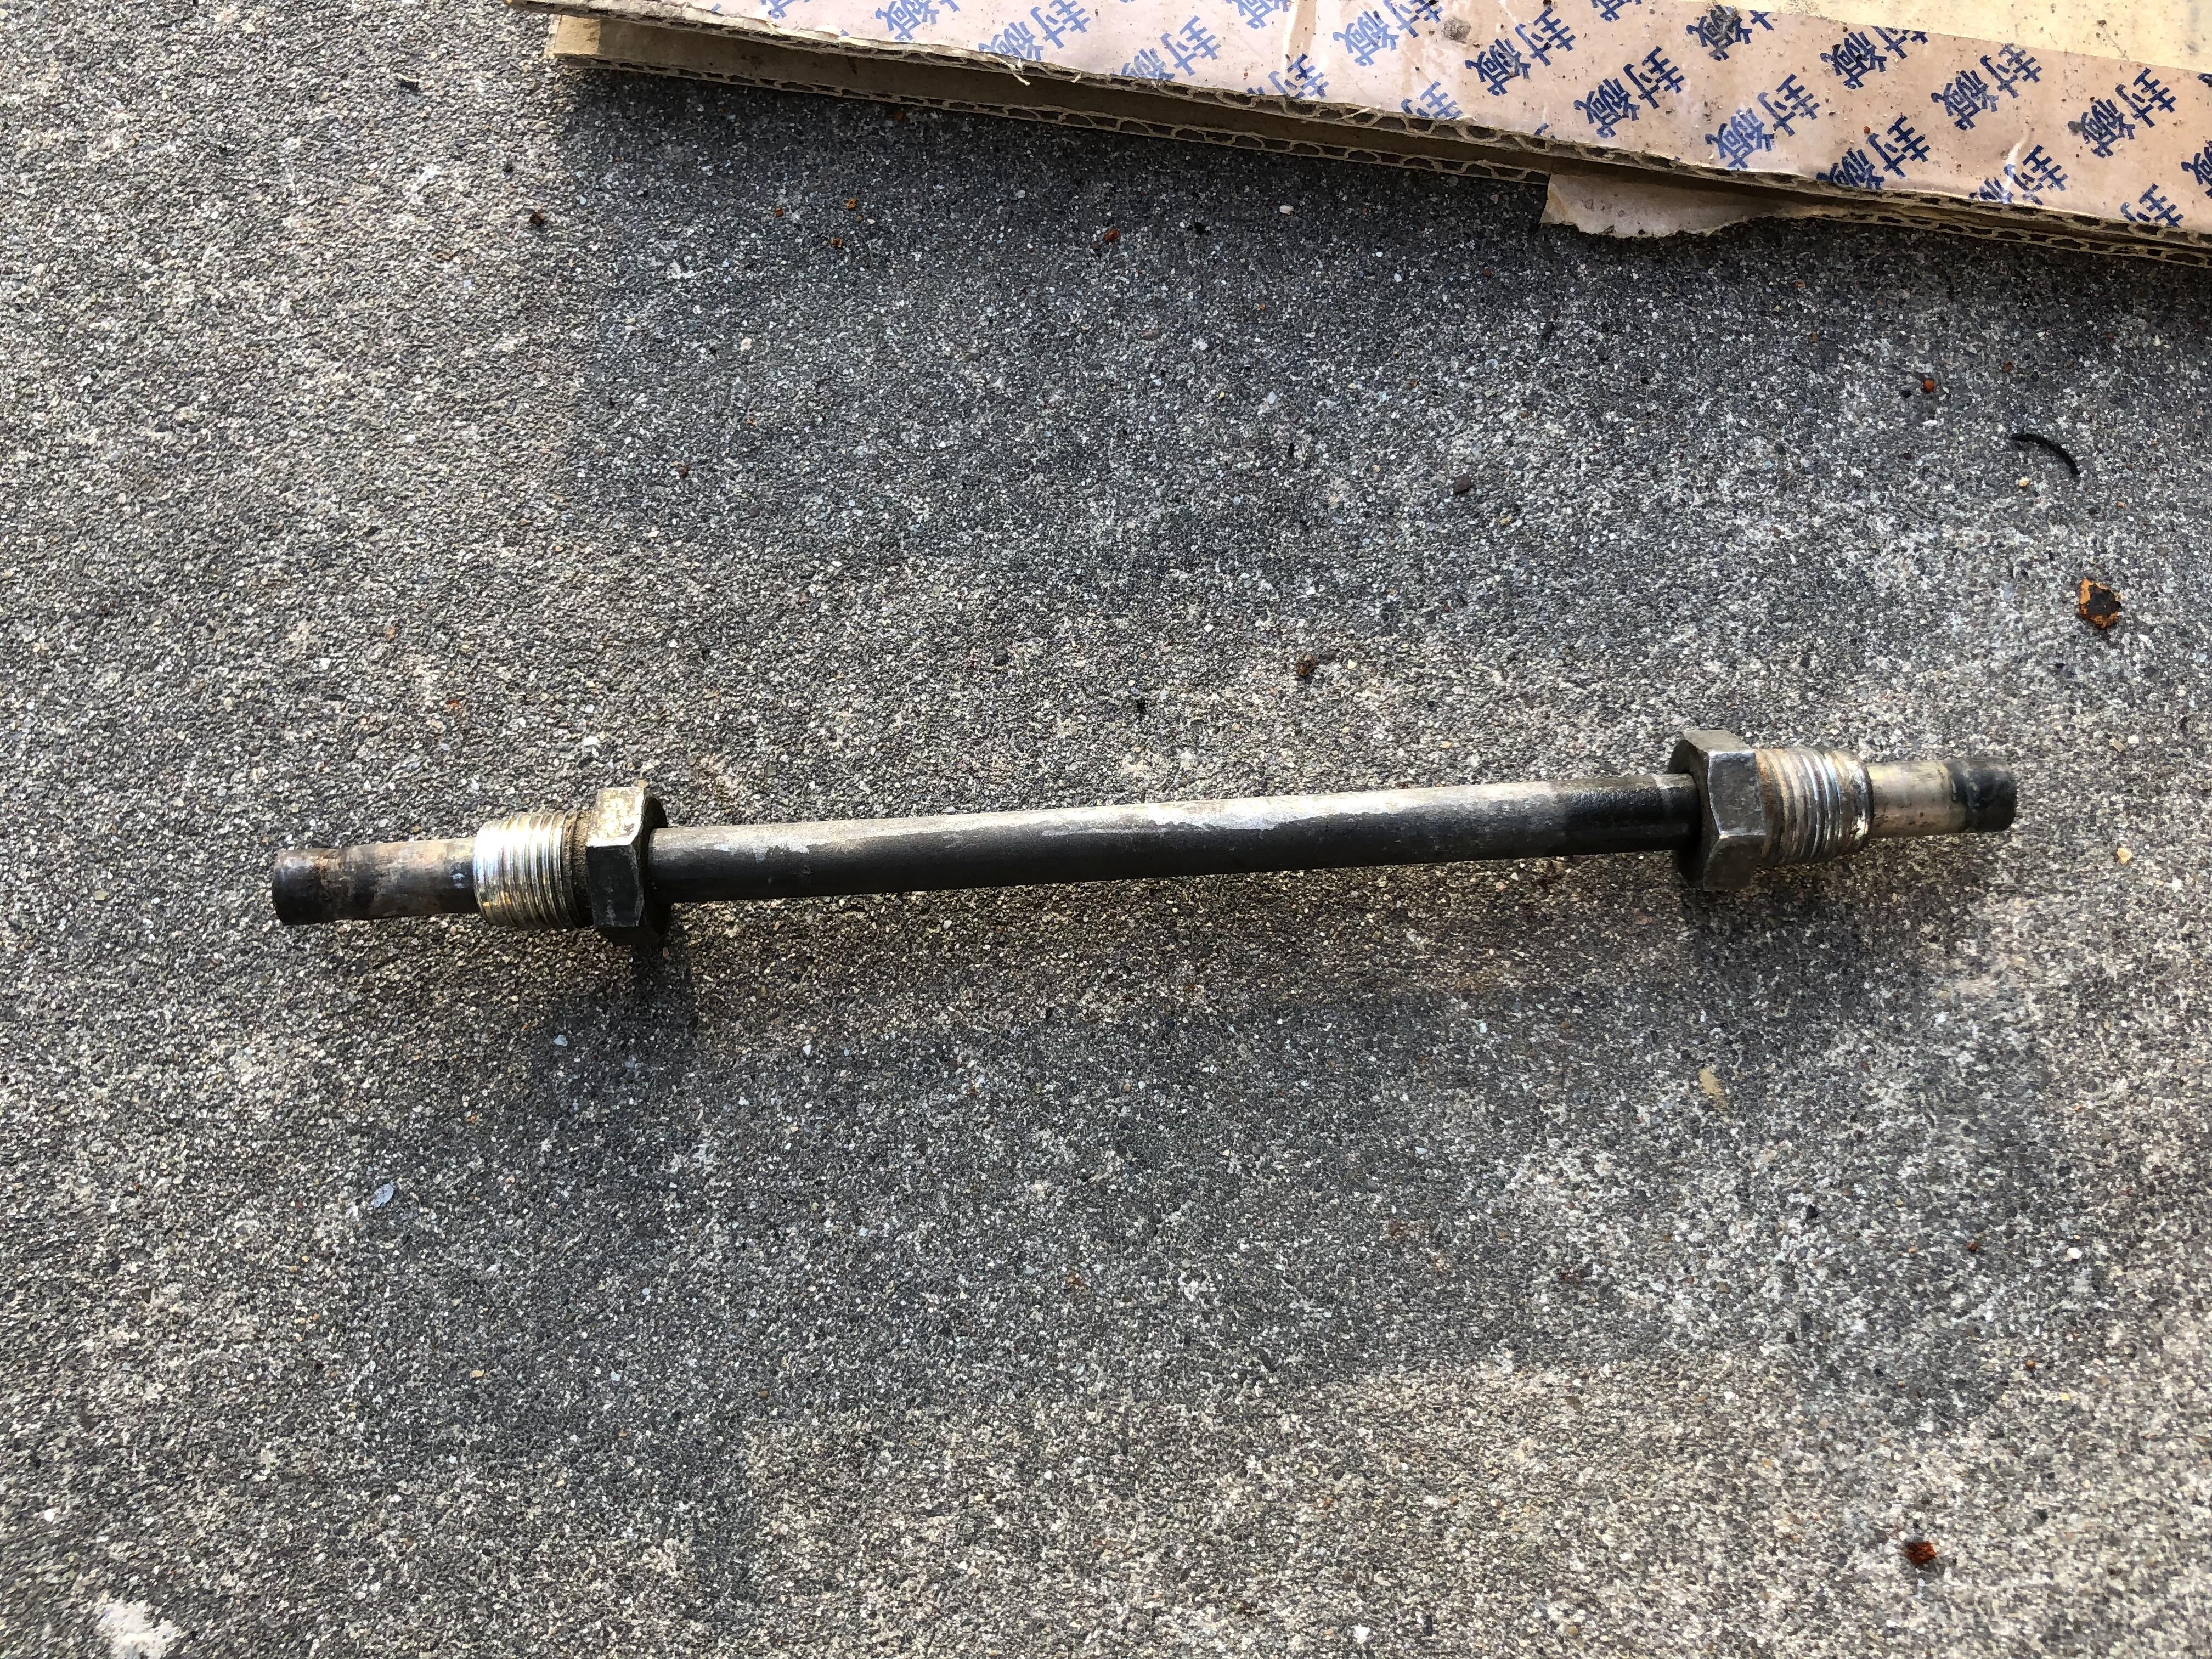
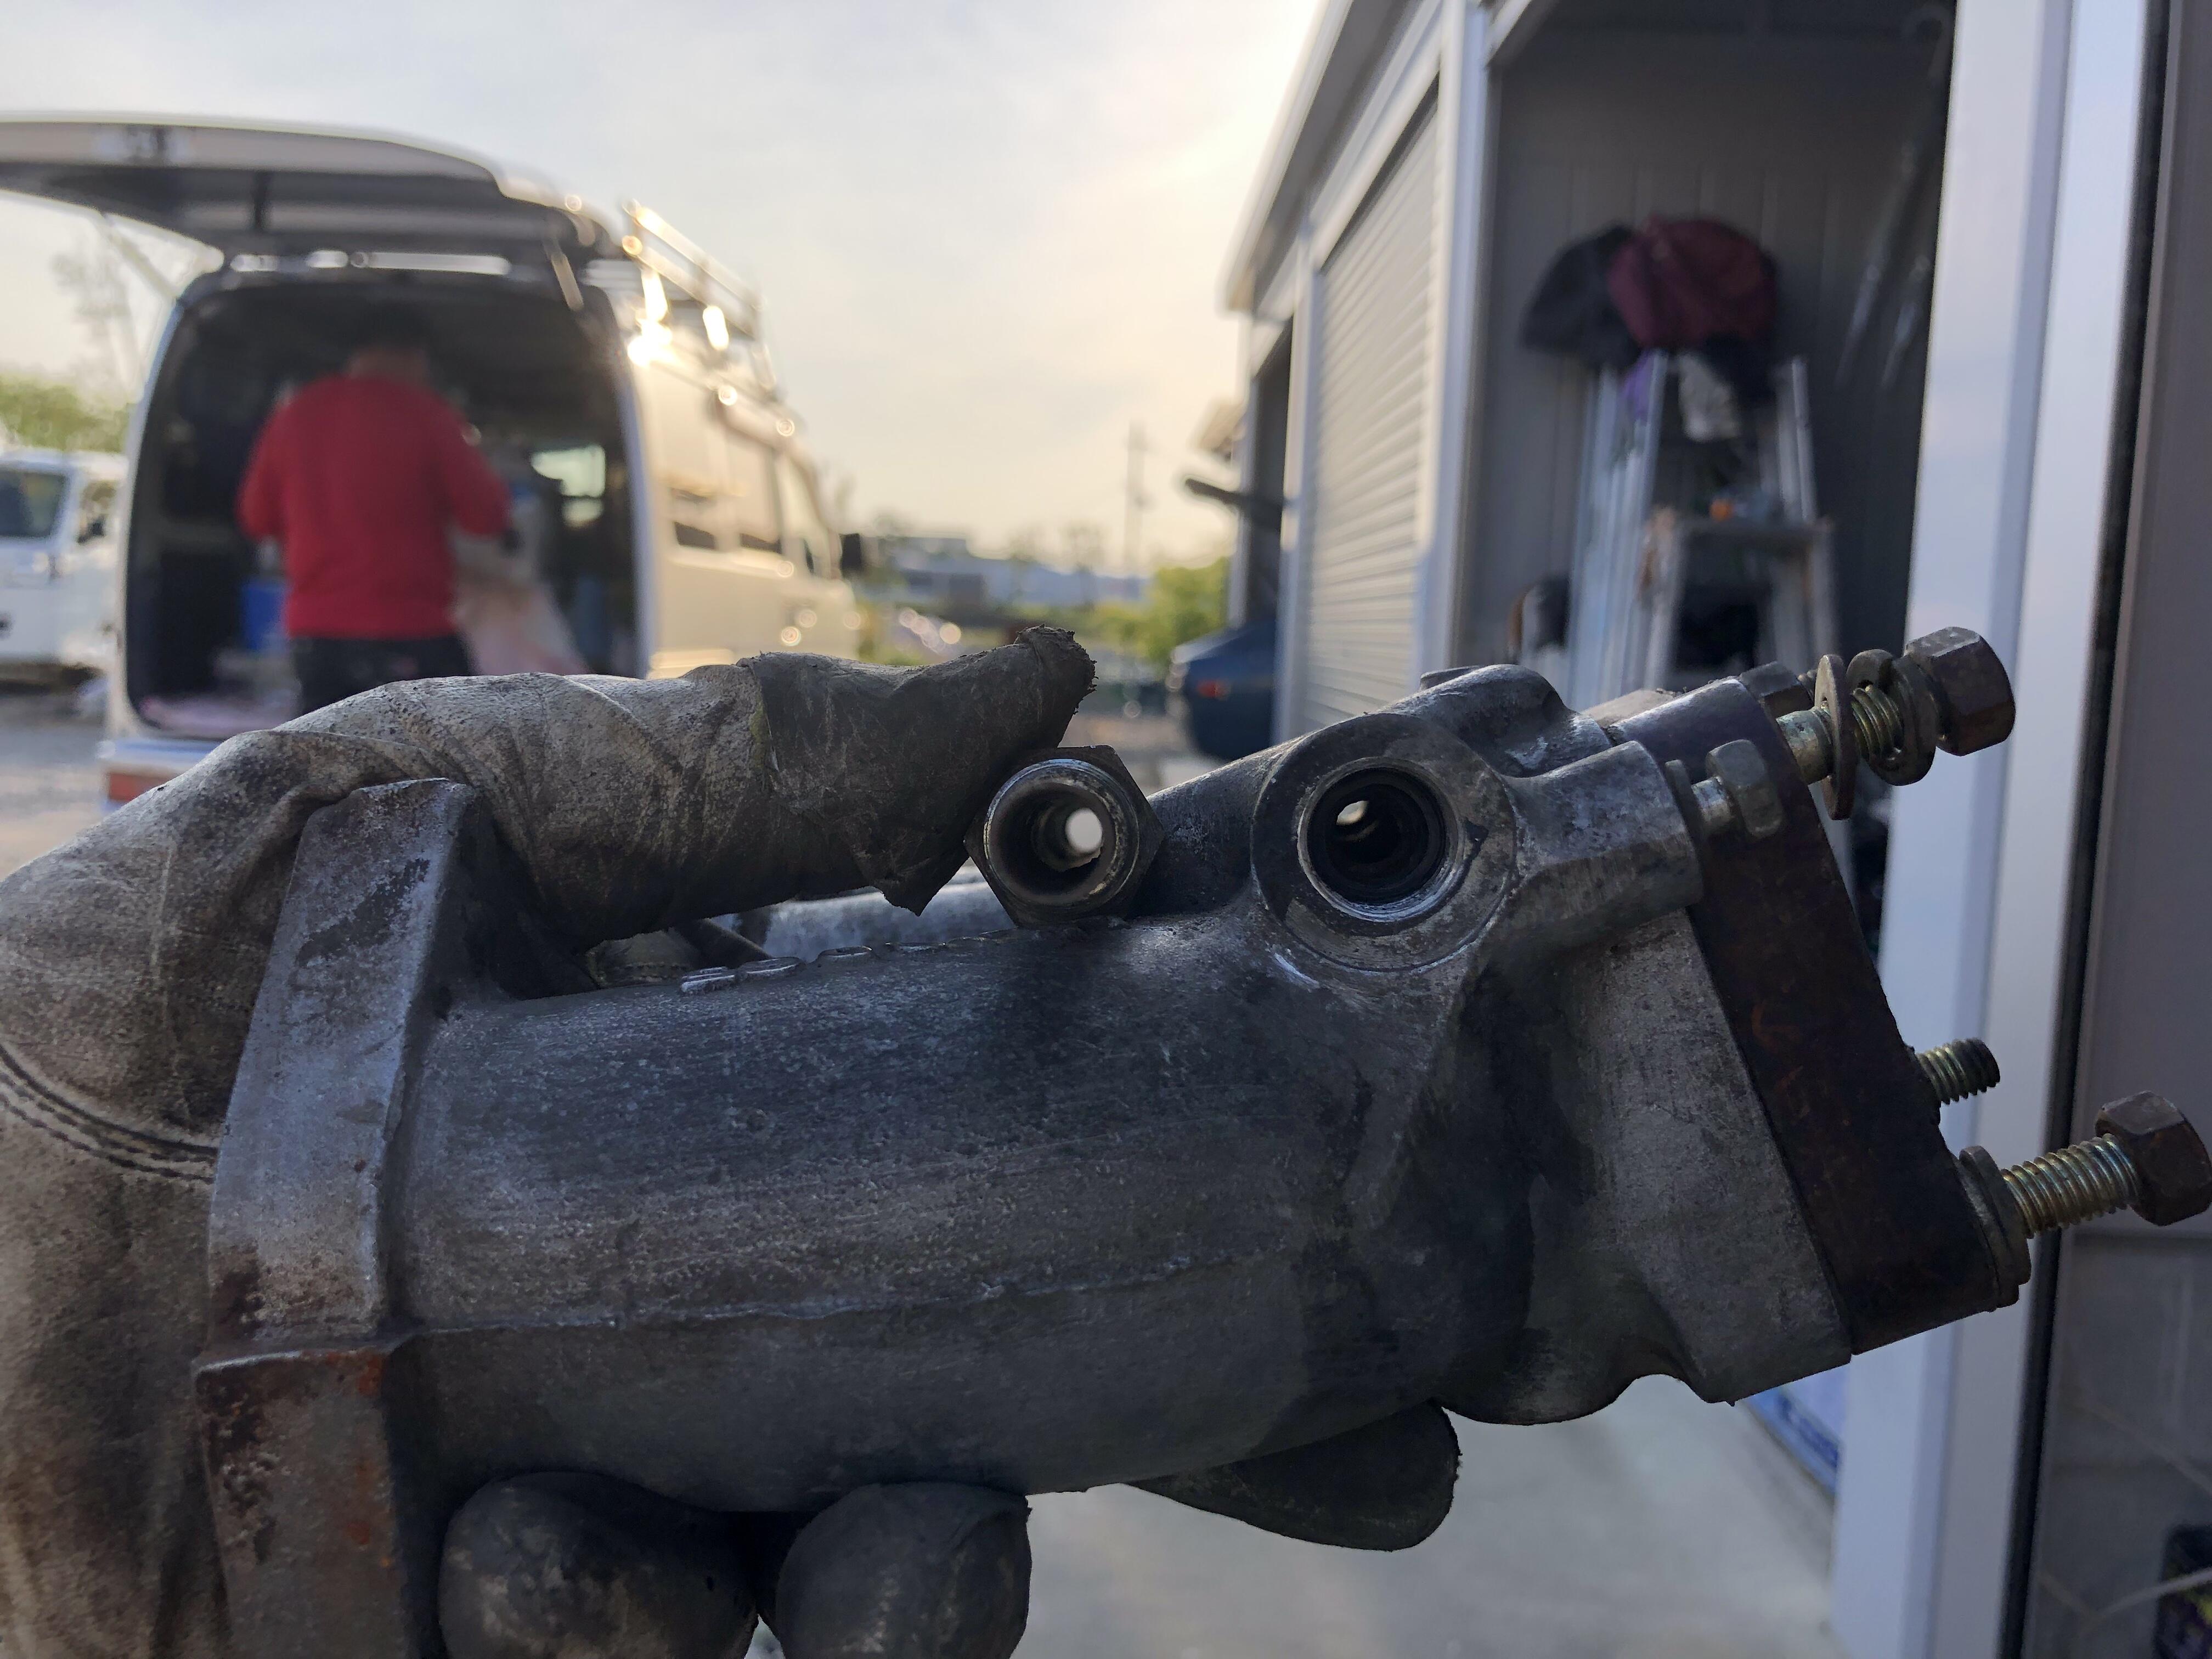
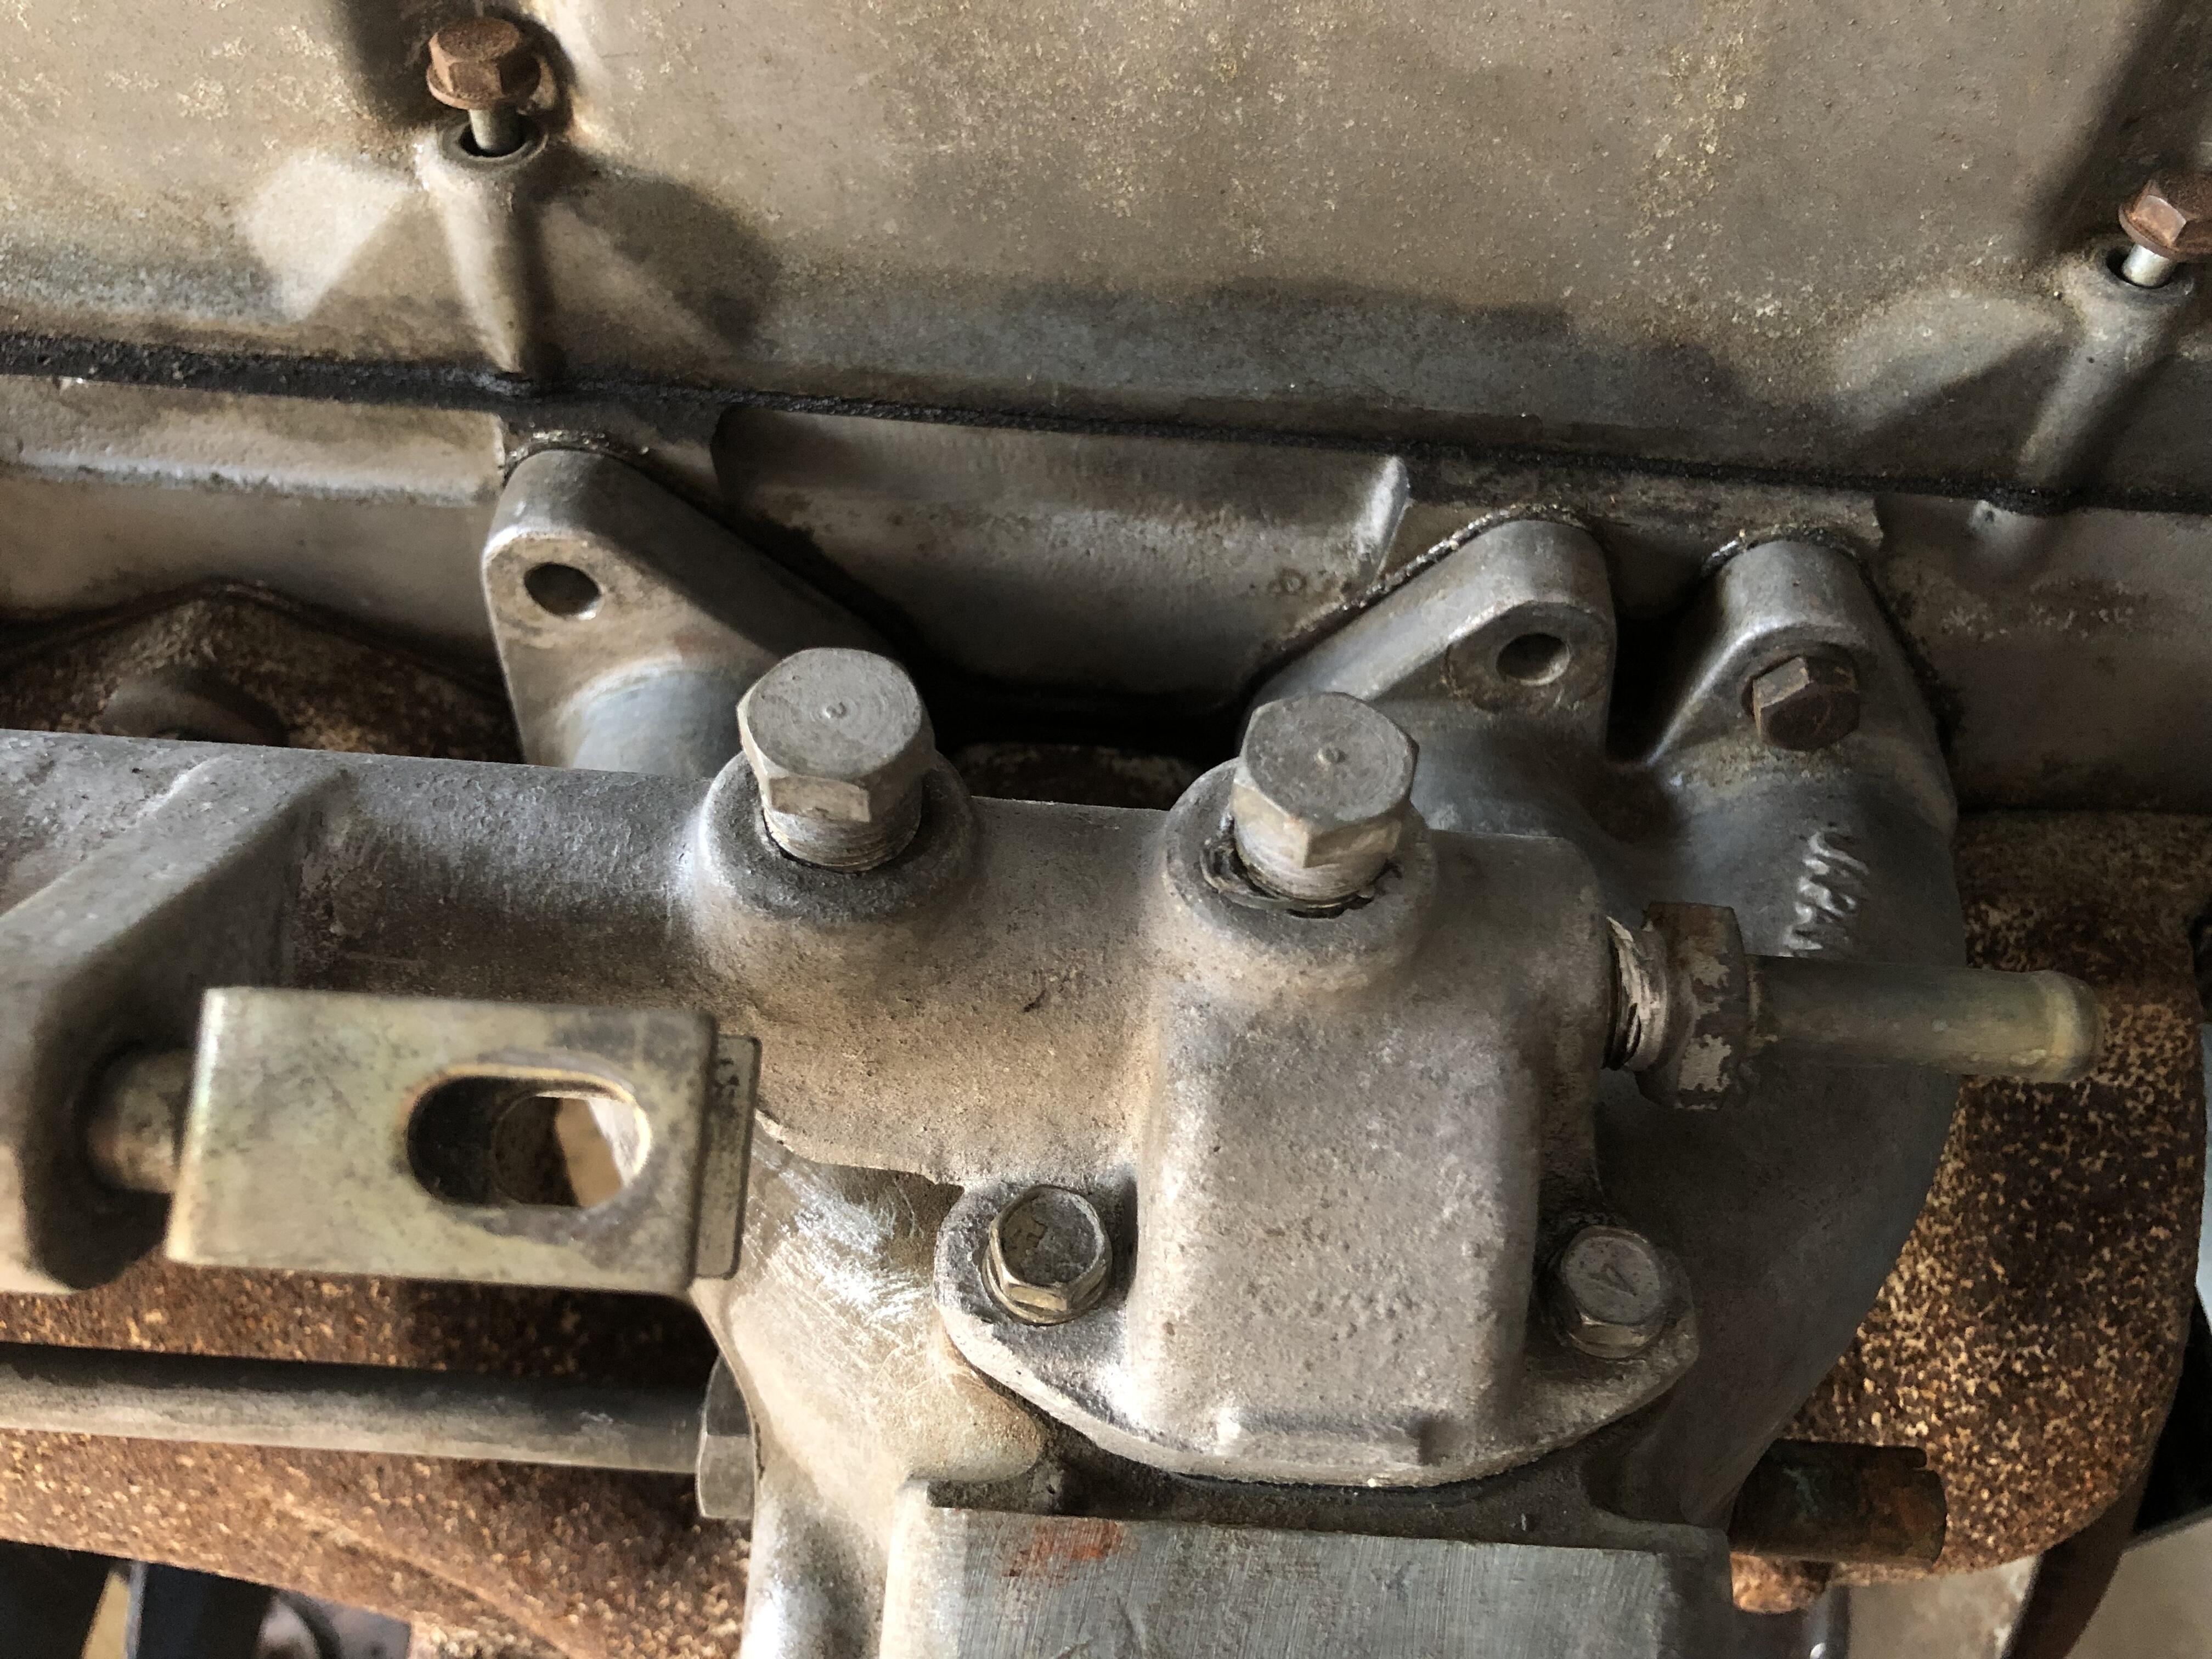
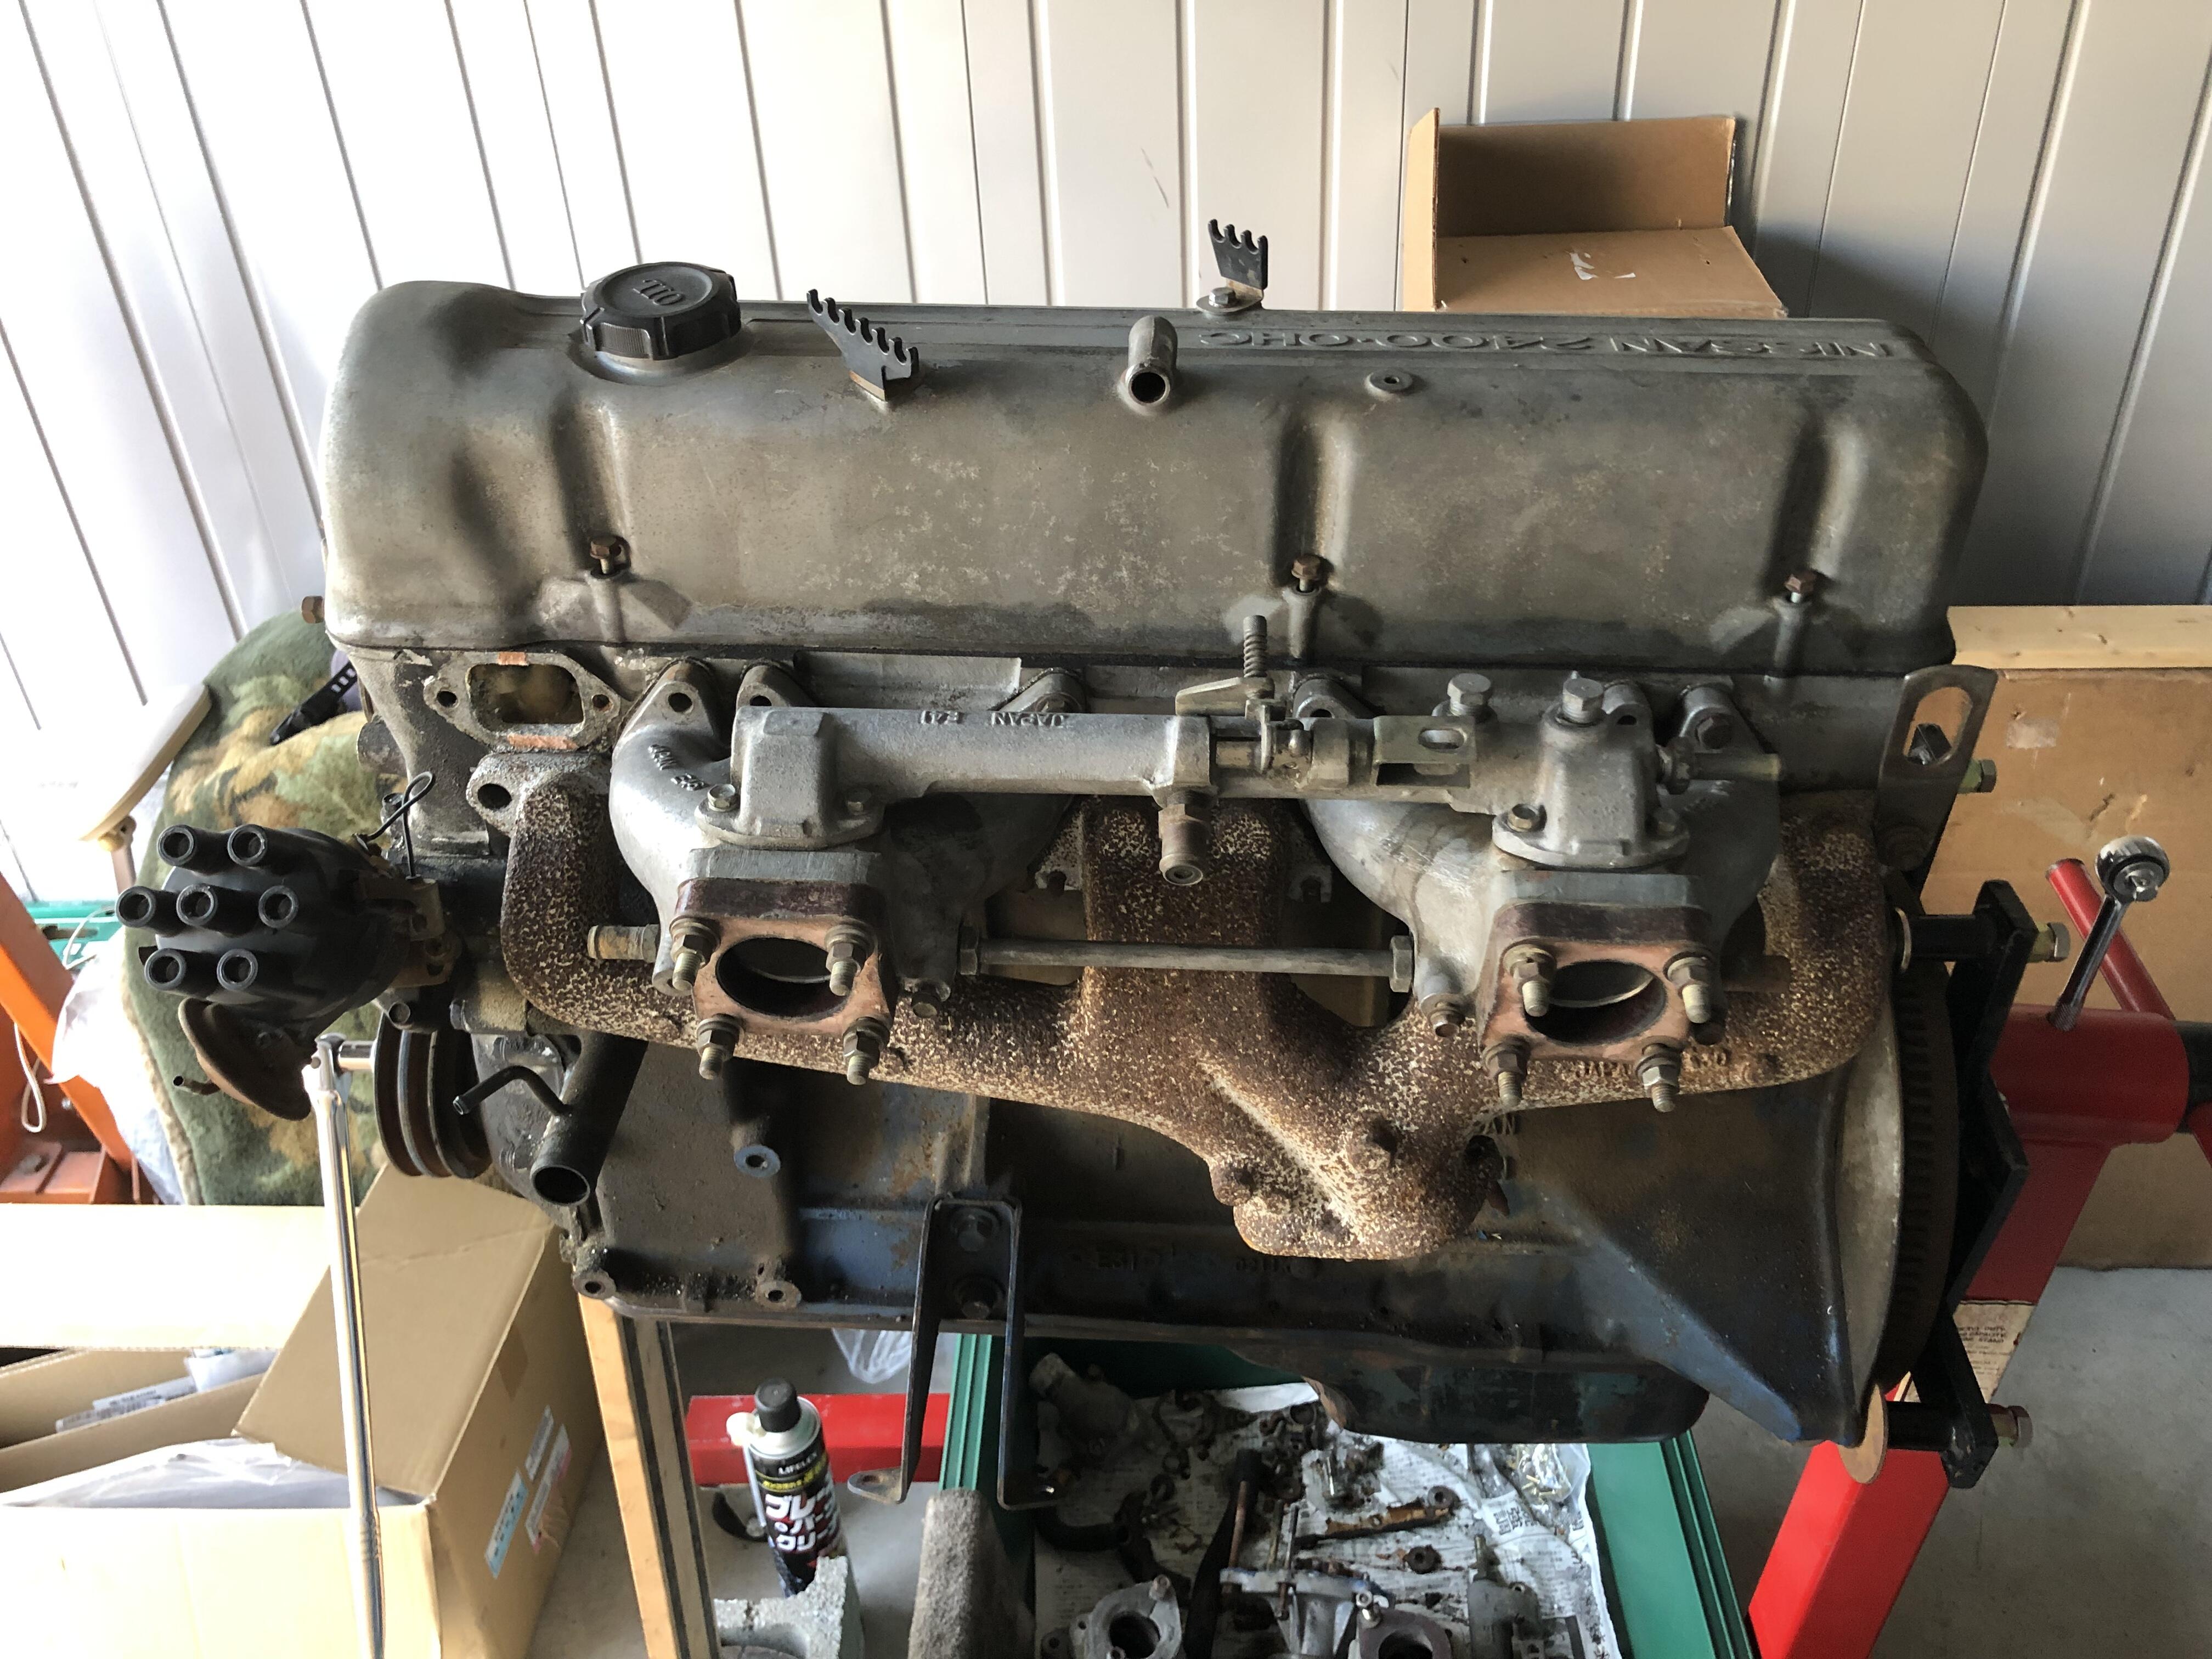
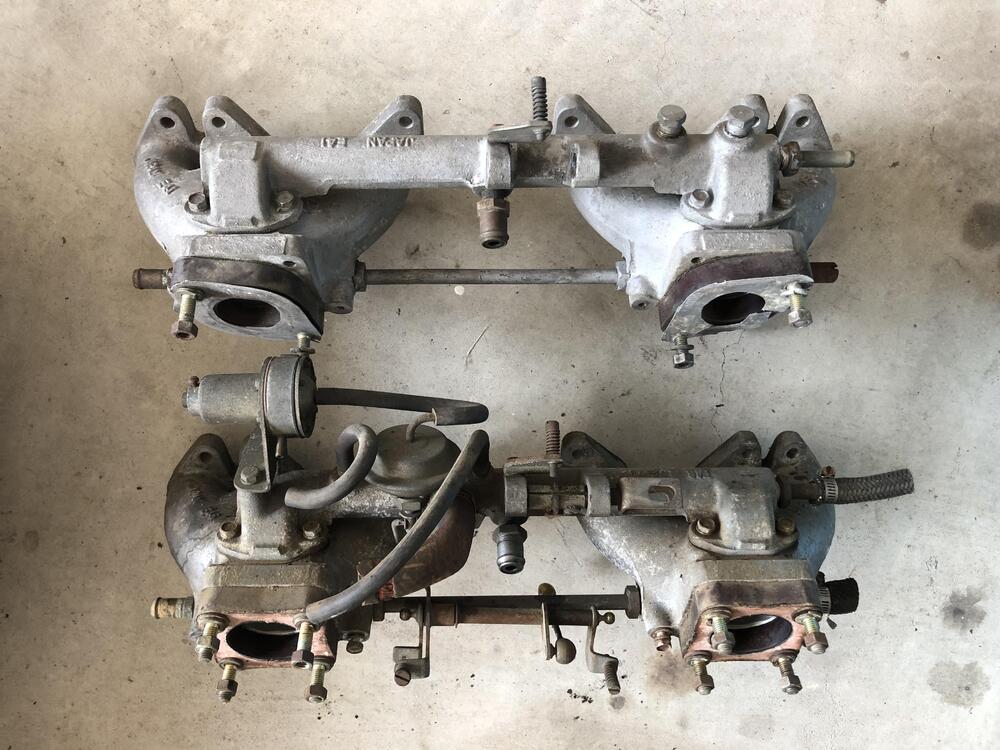
1 pointTransition to the non-US intake manifold, I have a donor system which was pulled from a 1972 Fairlady Z (L20 engine model) . I was expecting I only need the balance tube but the water tube of between the two manifolds was so rusty. I decided to replace it with the one from the donor. I snapped the rusty tube , I was lucky the donor is very good. Today I have learned that when assembling the intake manifold, I have to wait final tightening the bolts on the balance tube until the two manifolds are secured . Also I tightened the two nuts for the water tube after the balance tube was secured . As some of you are wondering about the two plugs on the balance tube which are not welcome for my 03/1970 car. I am thinking about it to look just like an early L-series balance tube. Kats


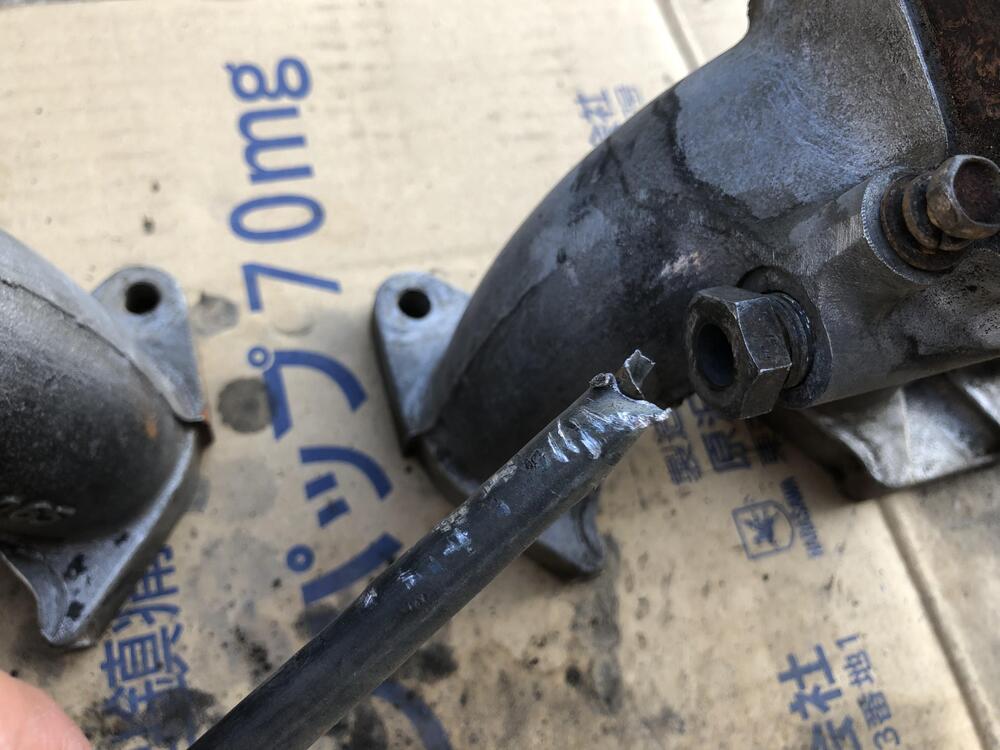


 1 point
 -
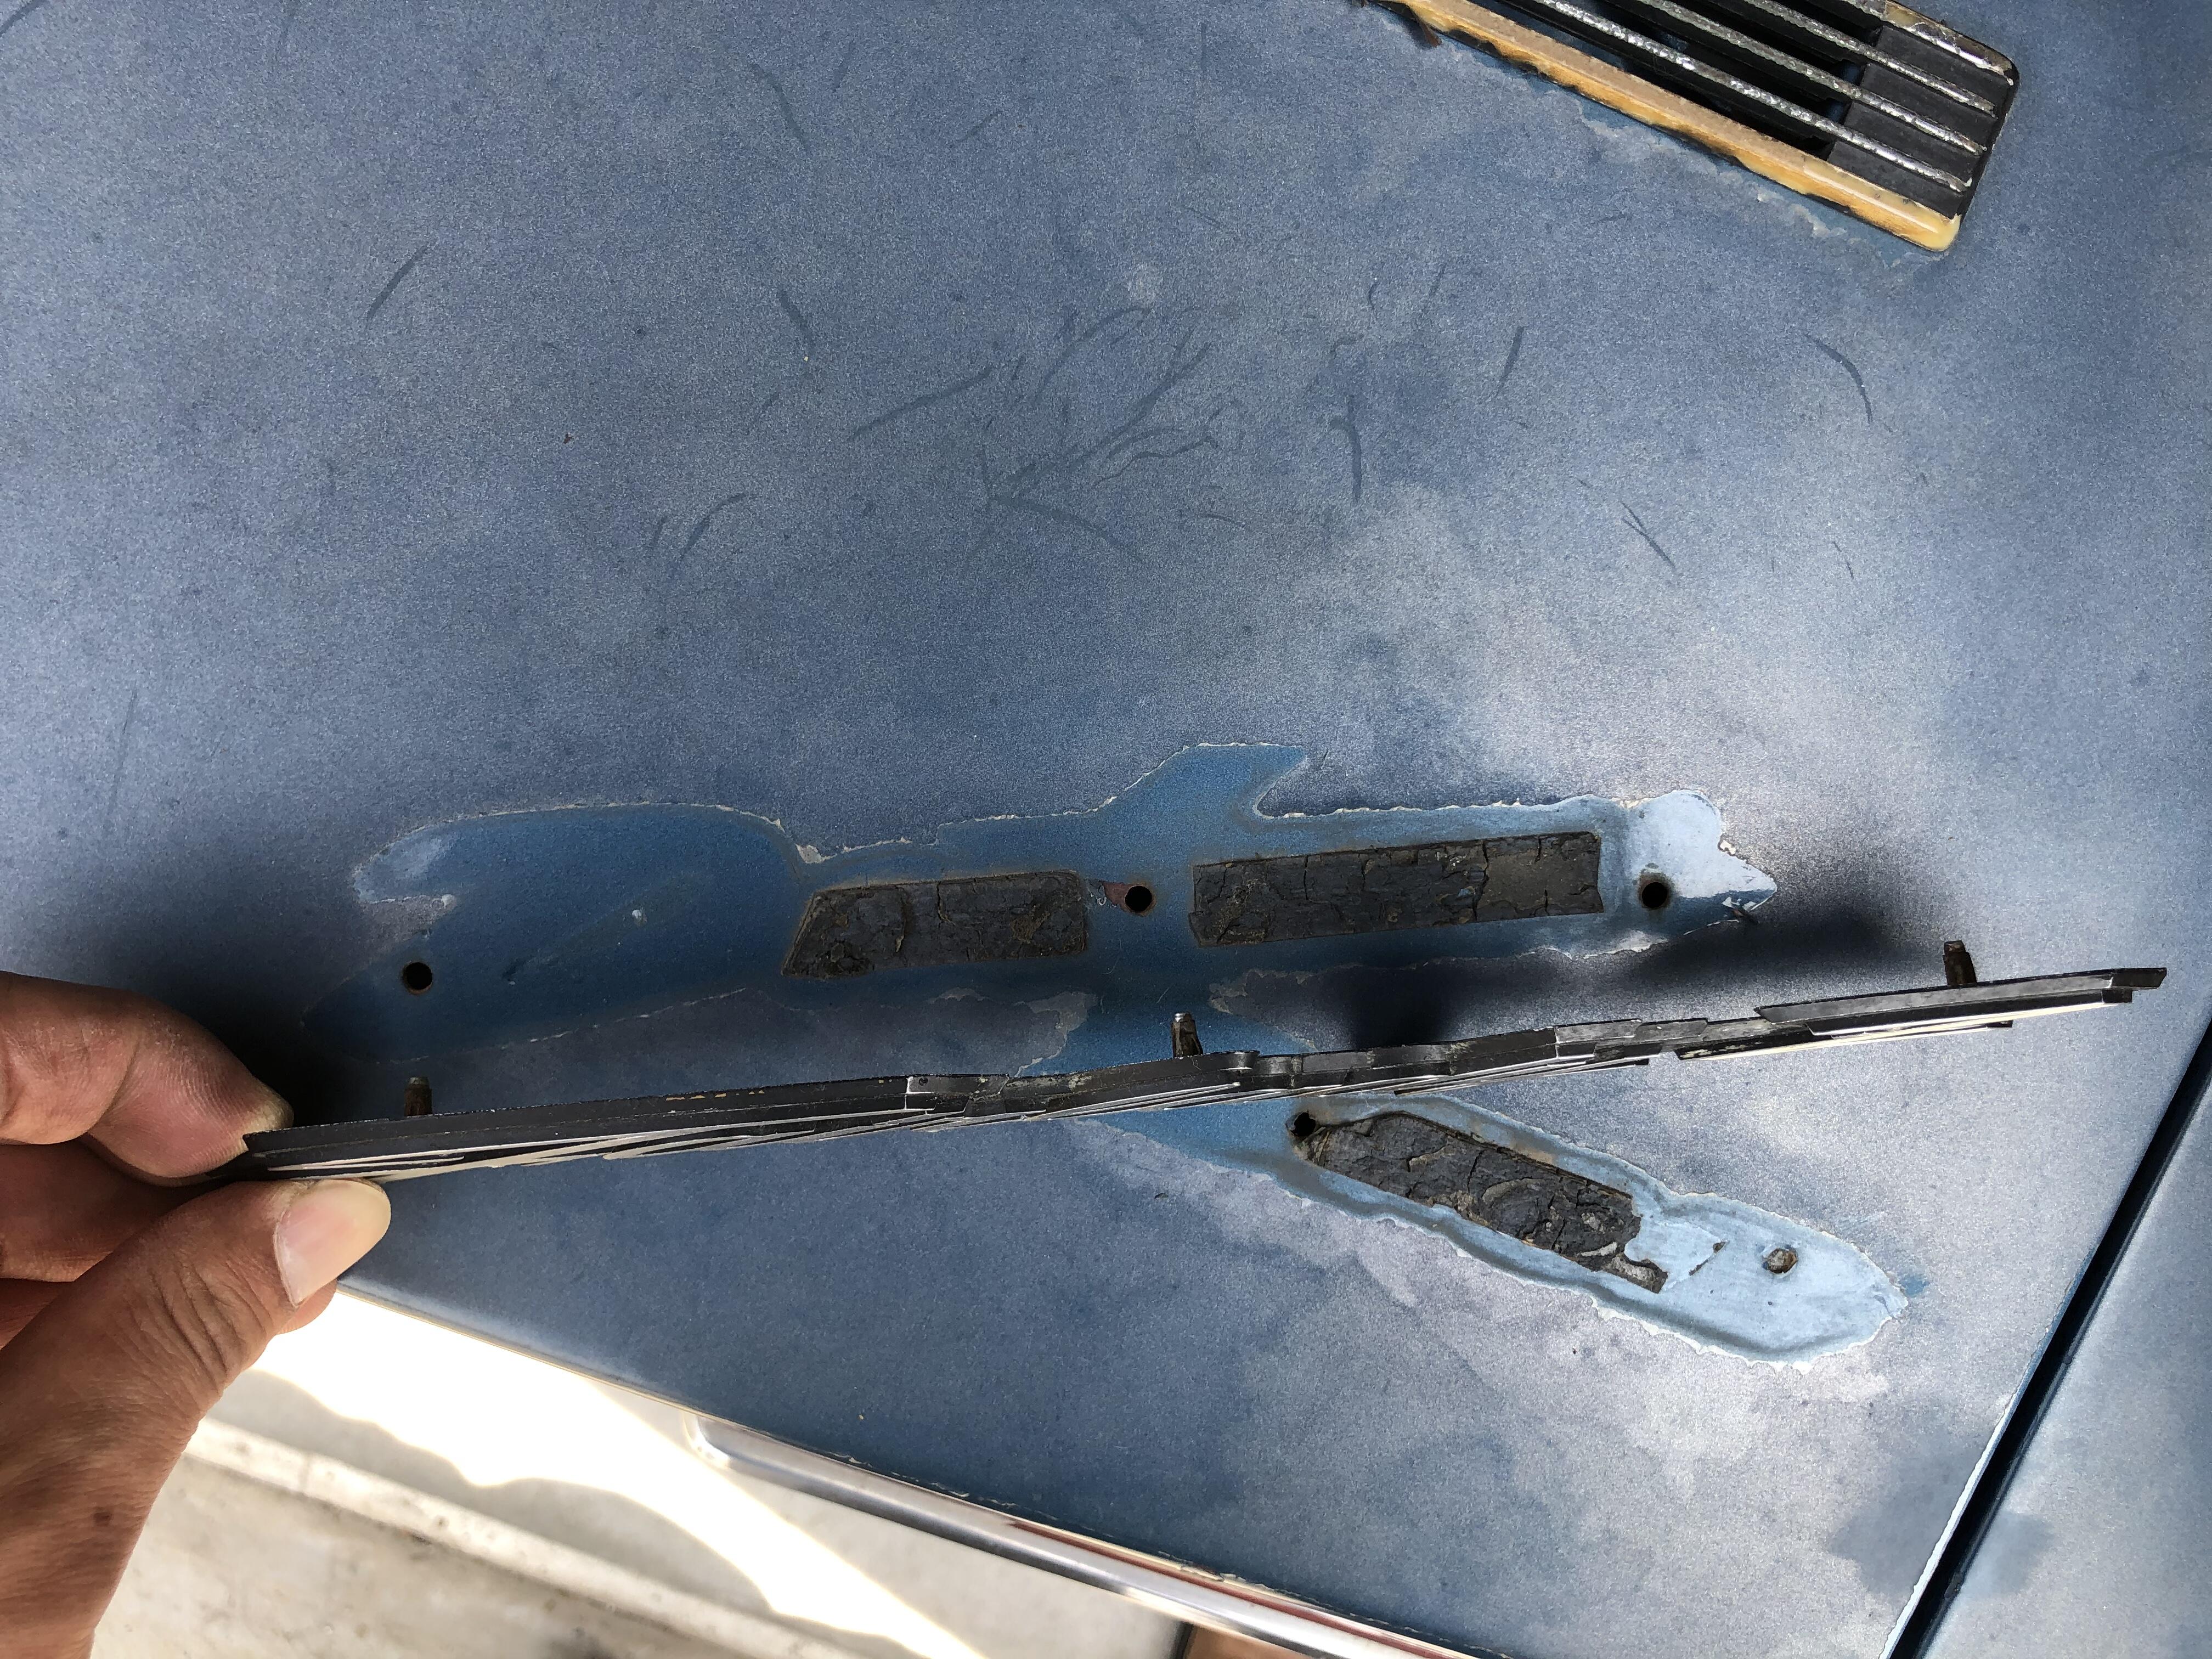
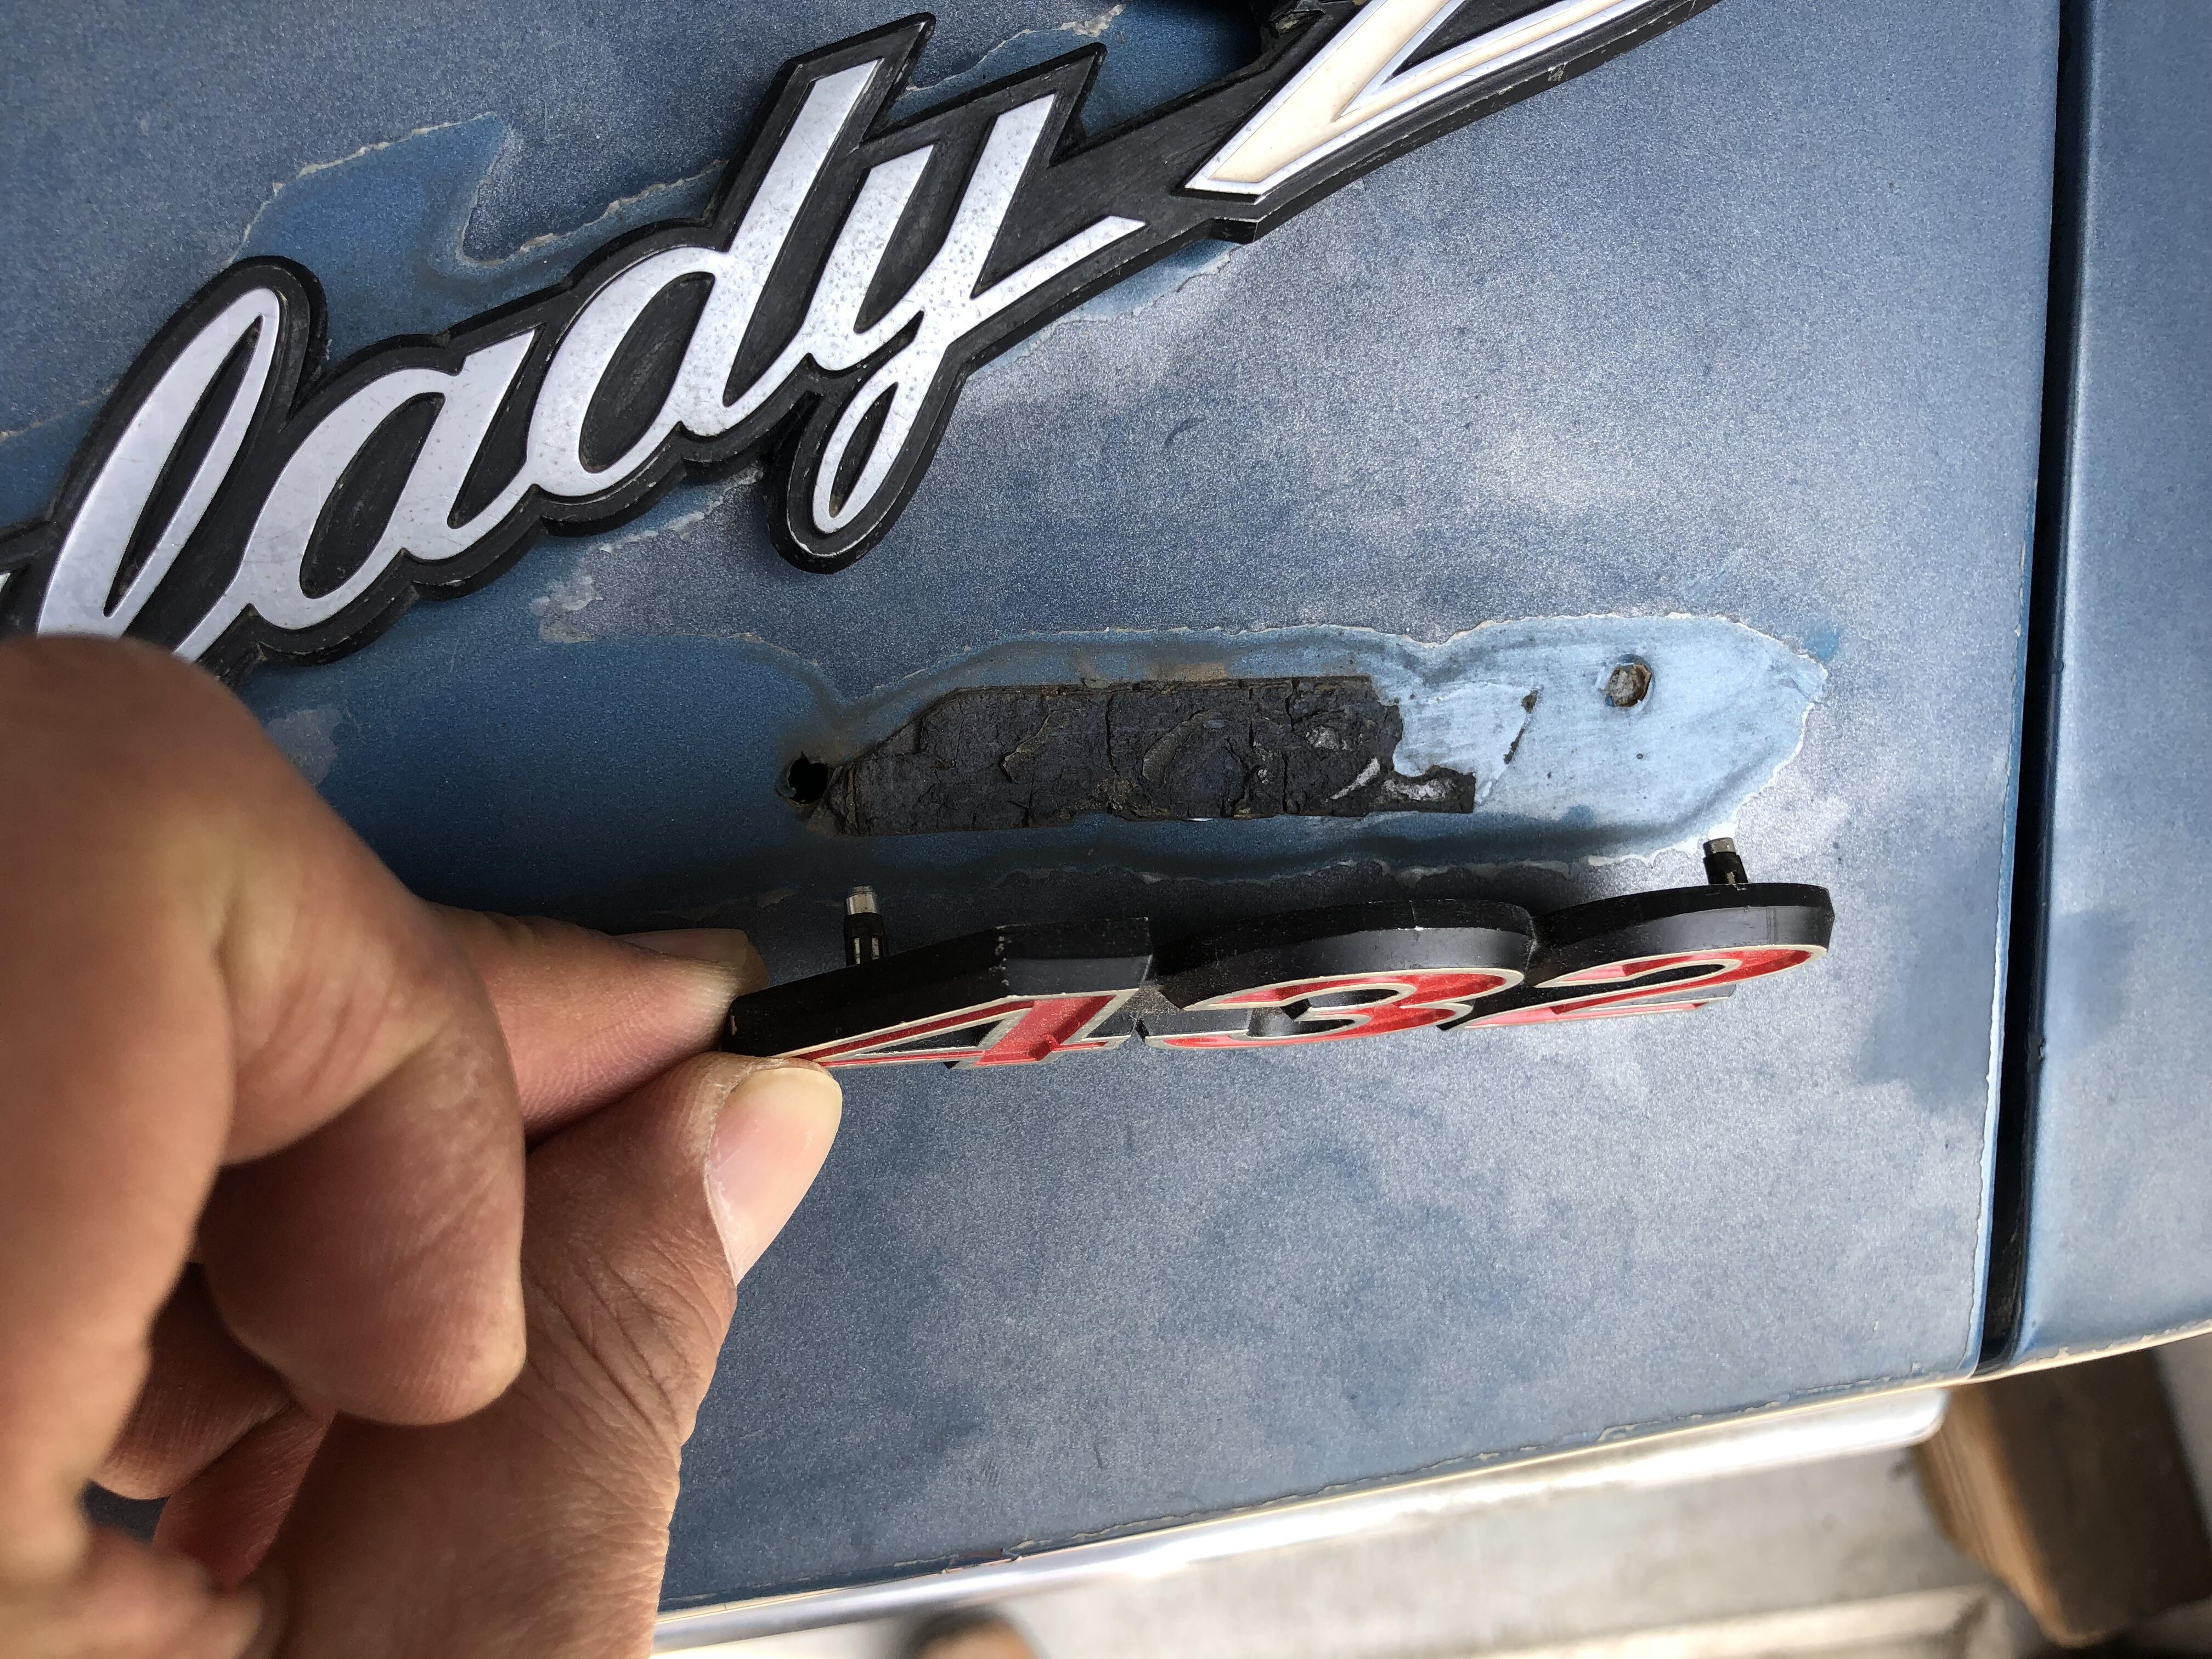
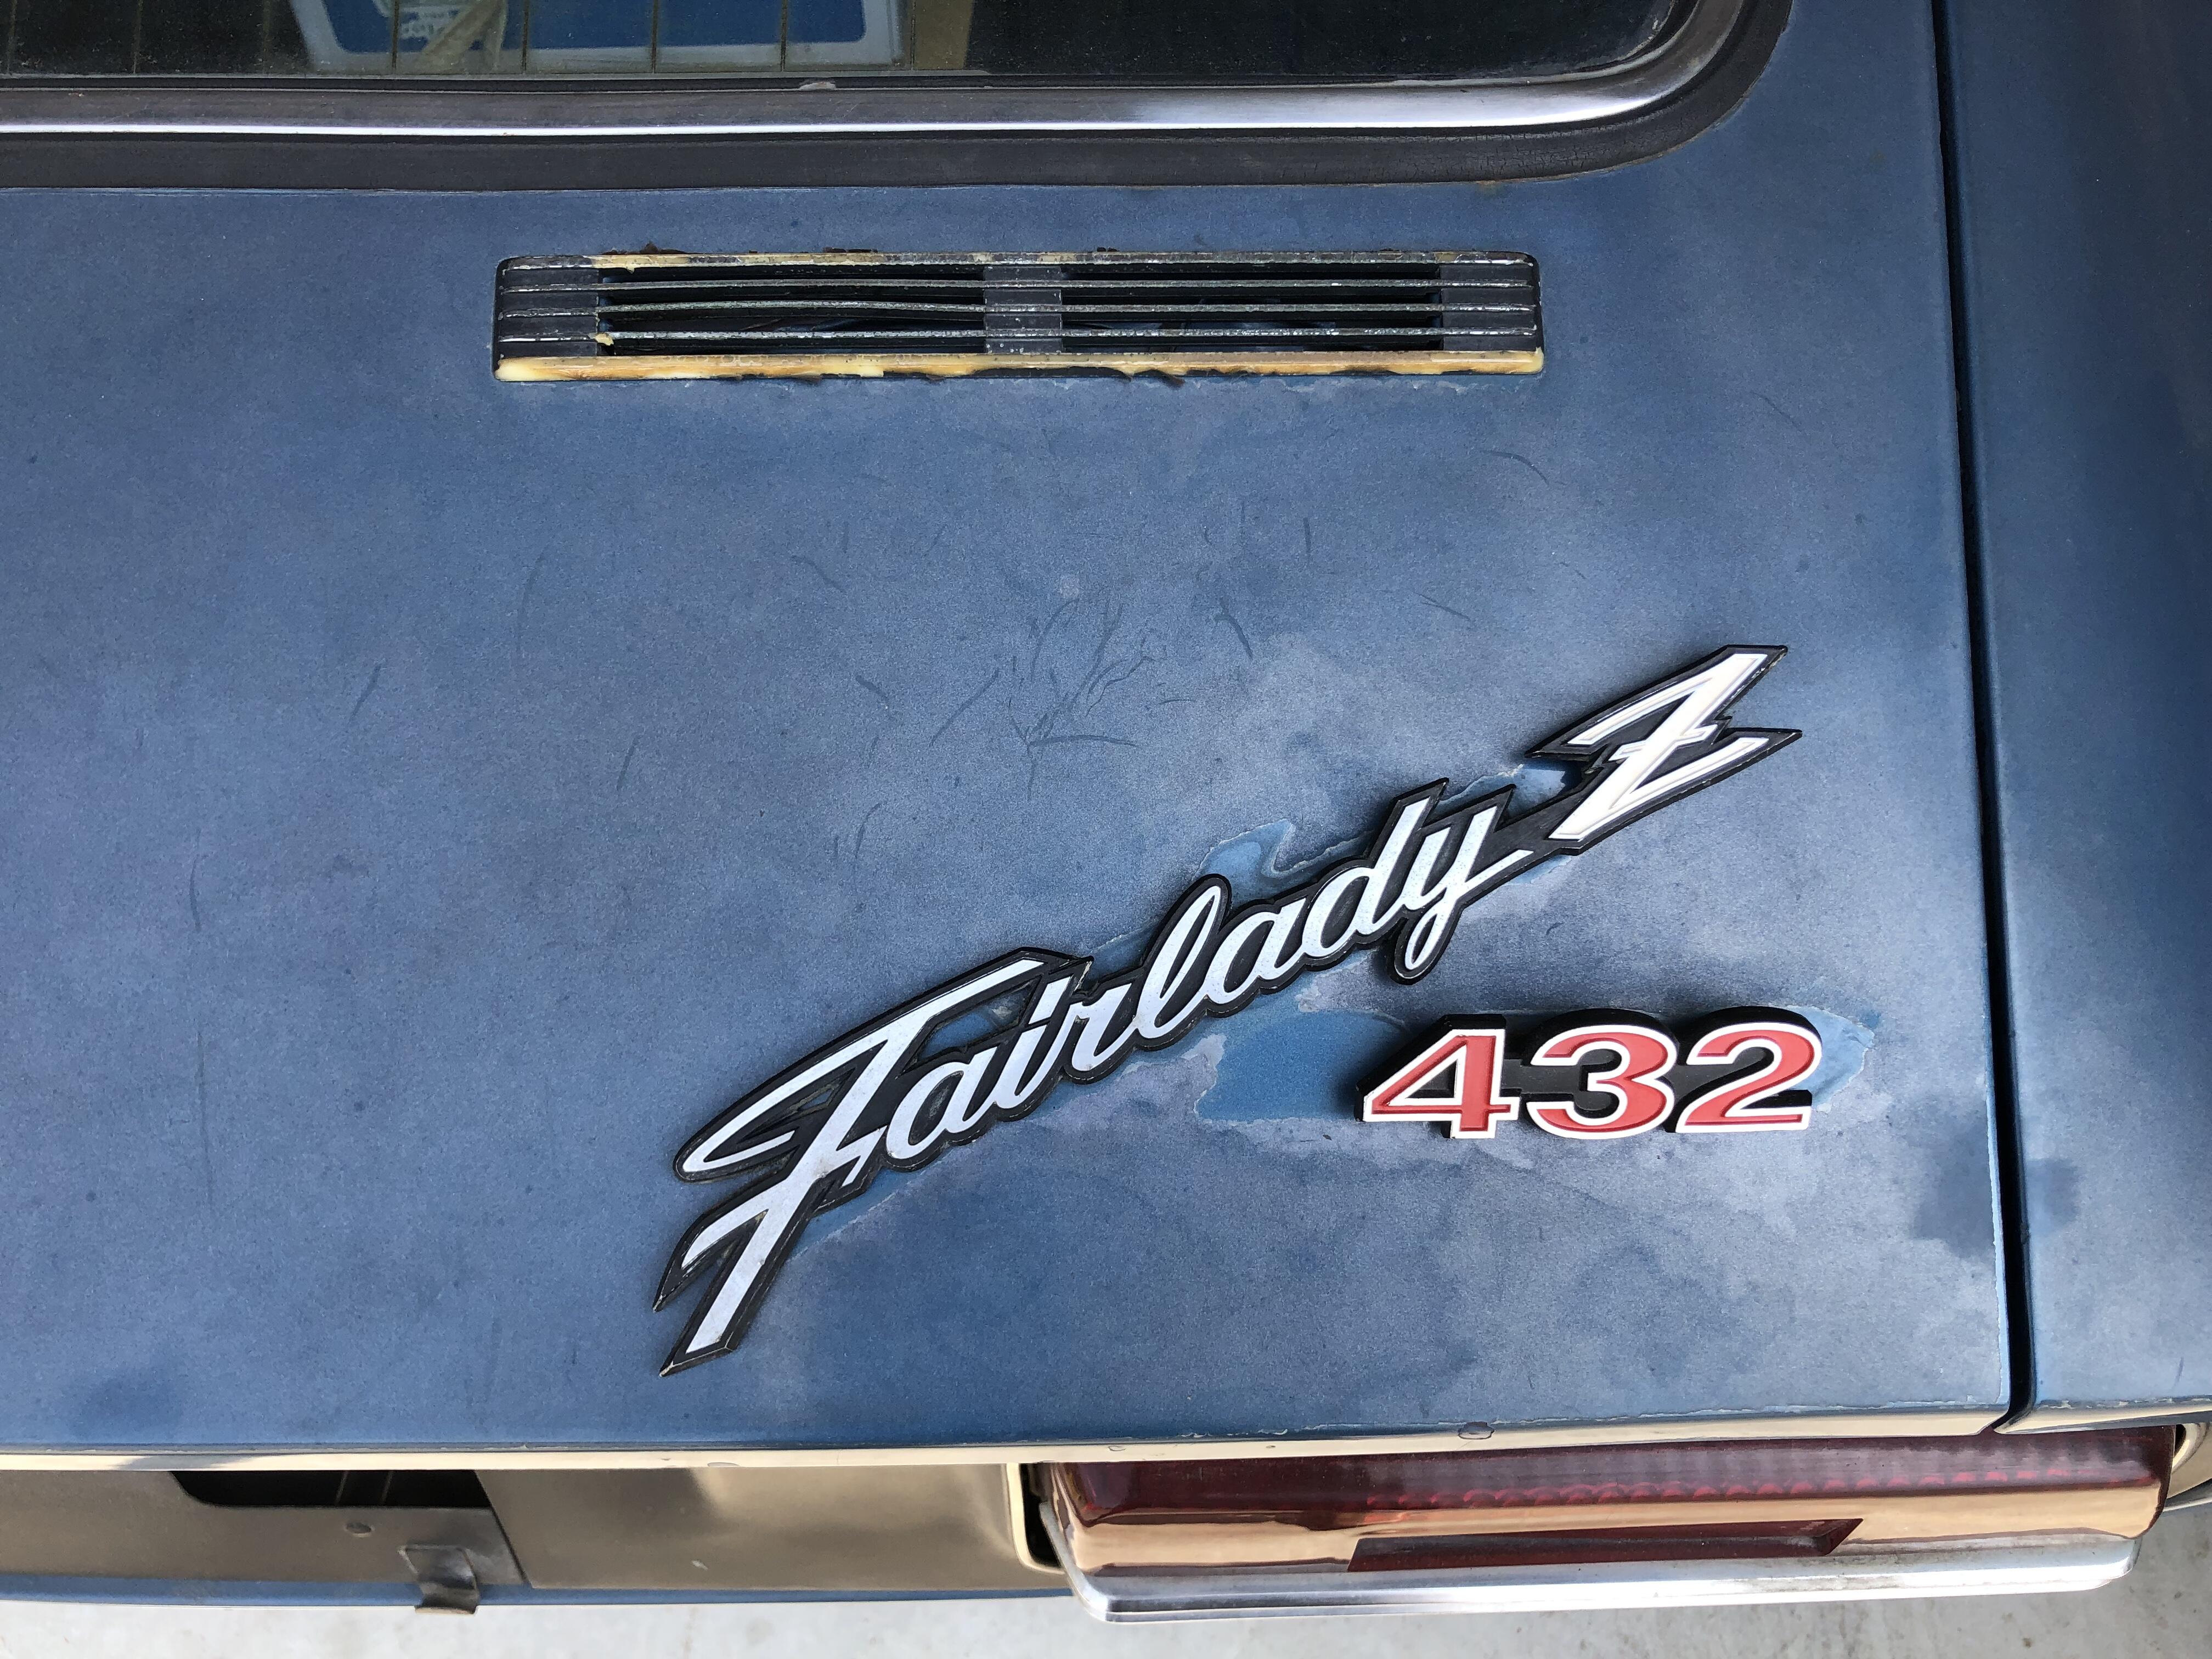
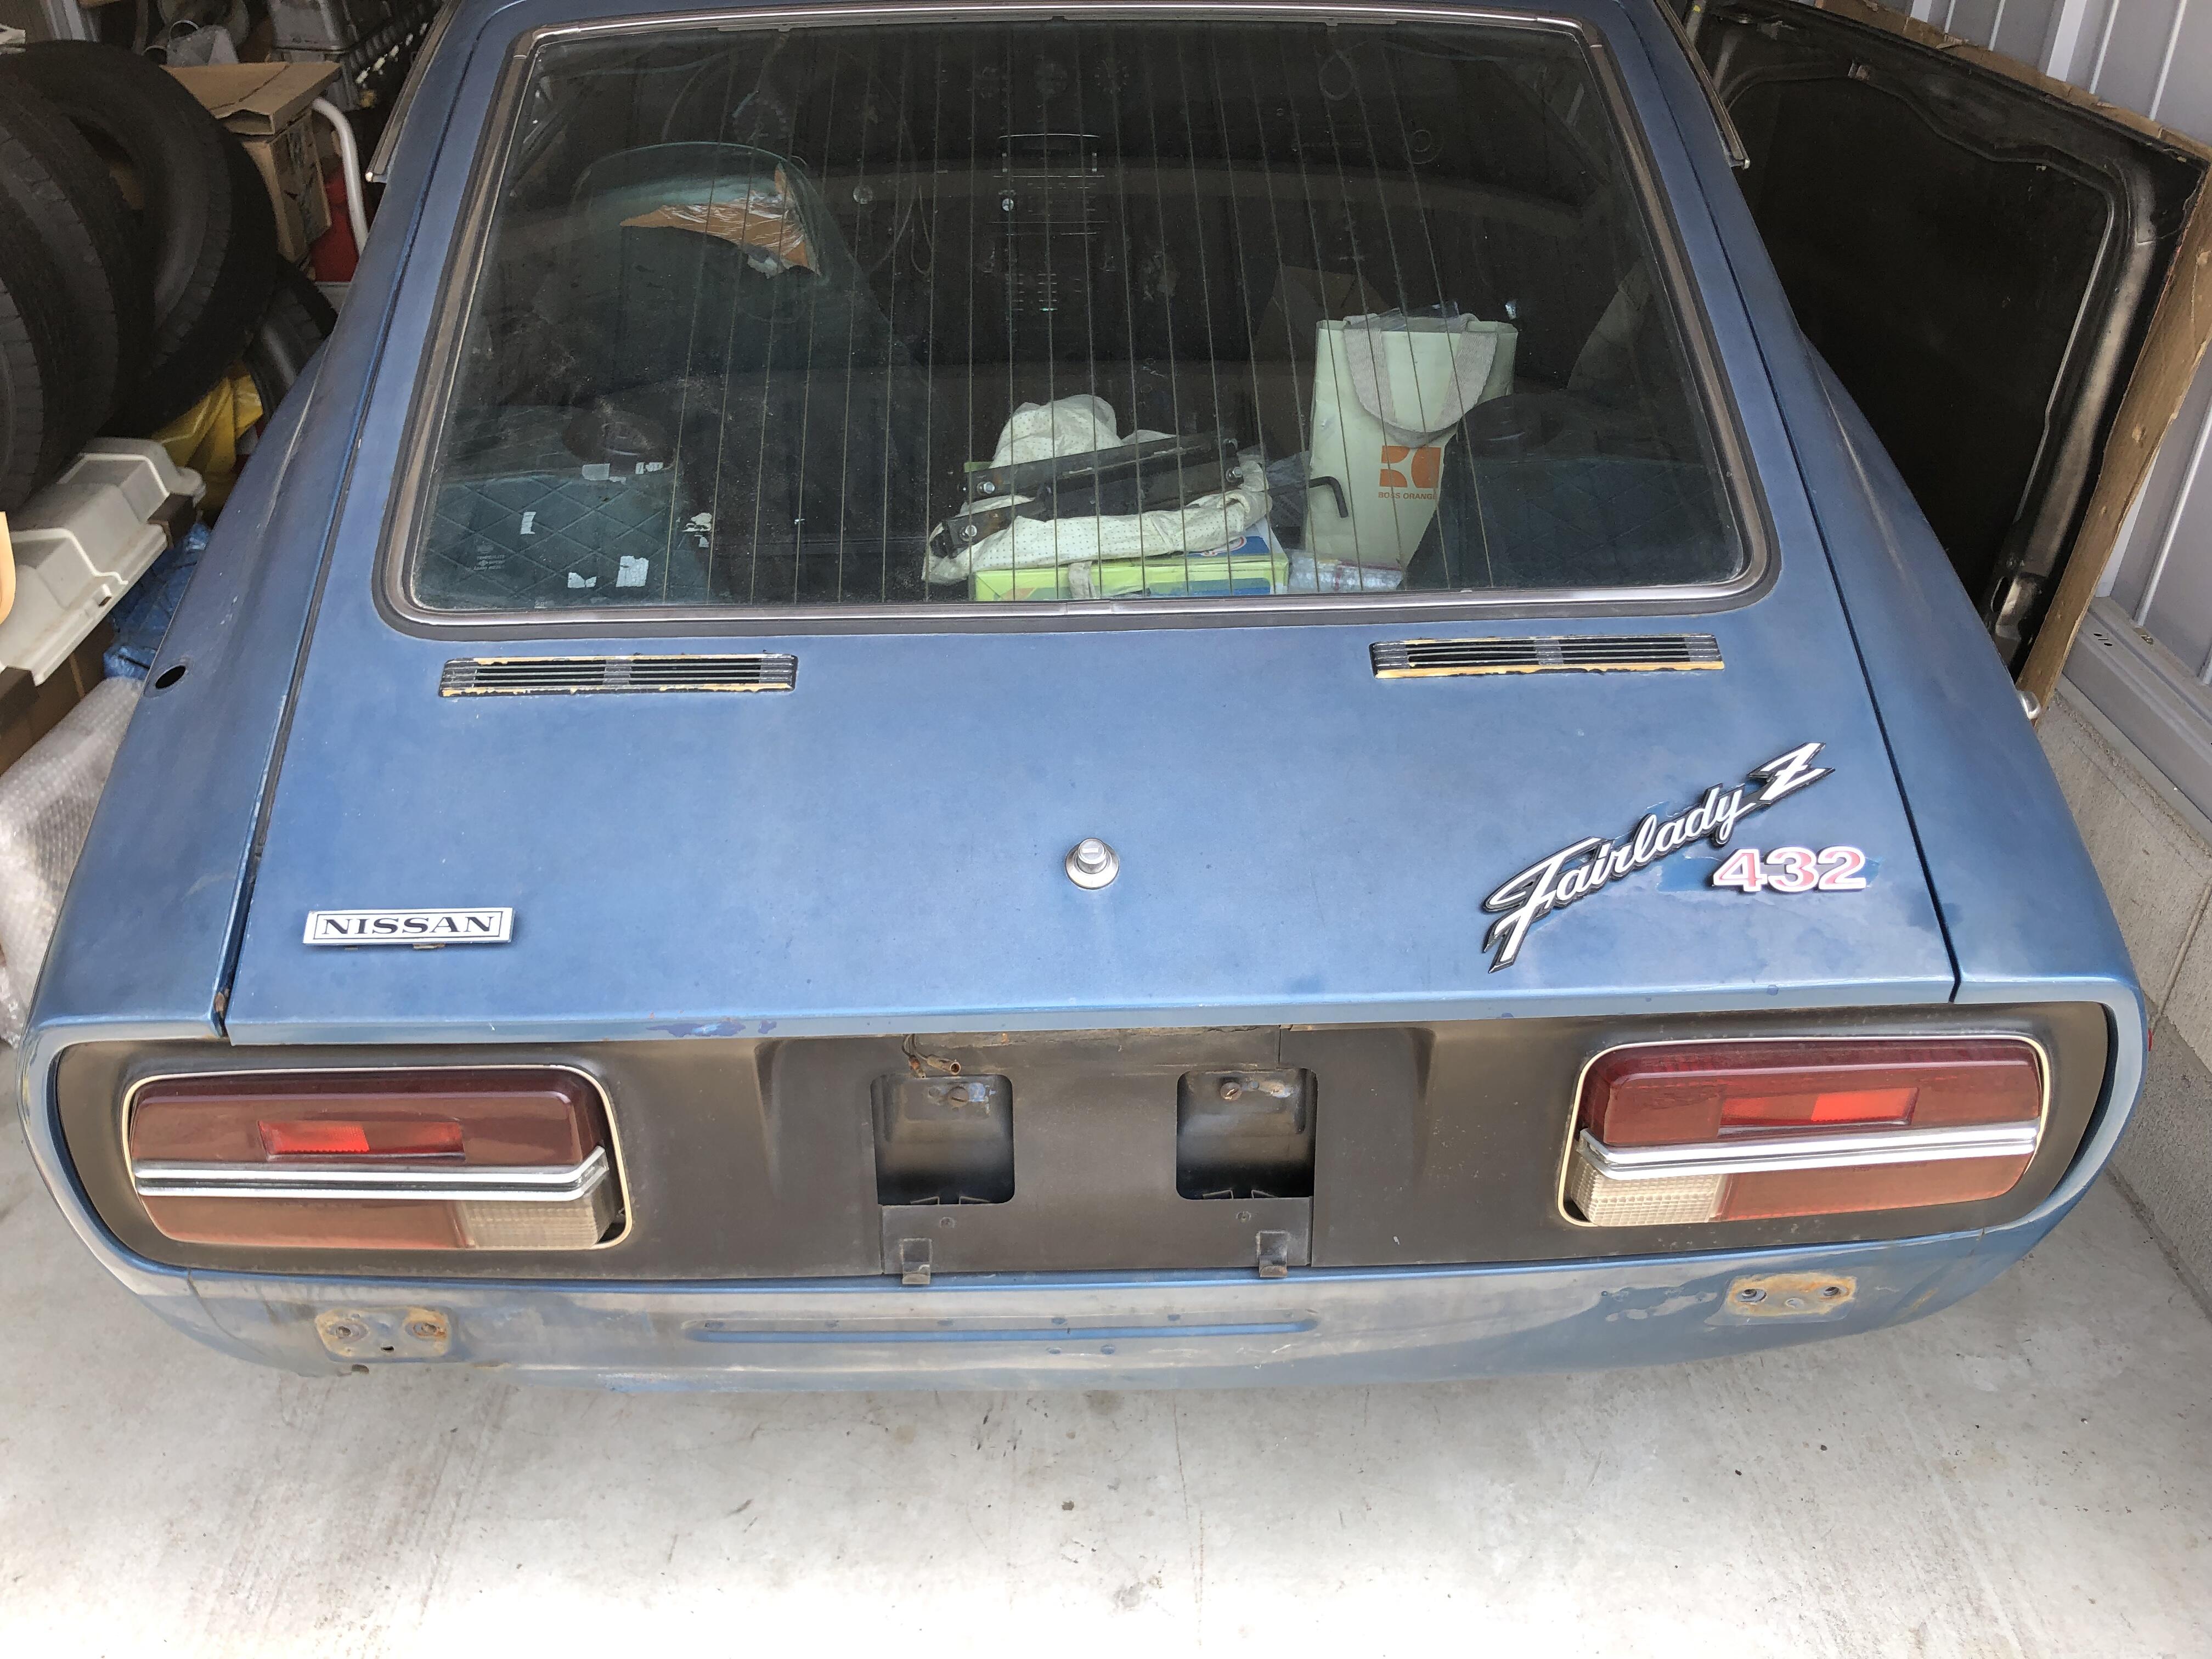
1 pointSome work for my second blue 240Z. I wanted to see if Datsun 240Z has the same pin hole for the rear gate emblems . I found three holes for “Datsun “ is almost the same , only the one on far right needs to be more outside for “ Fairlady Z “ . “ 240Z “ pin holes position is exactly the same for the “ 432 “ . Datsun 240Z doesn’t have “ NISSAN “ on the rear gate, so if someone wants to have it , he /she have to measure the original positions then drill the holes. I am not going to put them on , just checked it for my curiosity. Kats
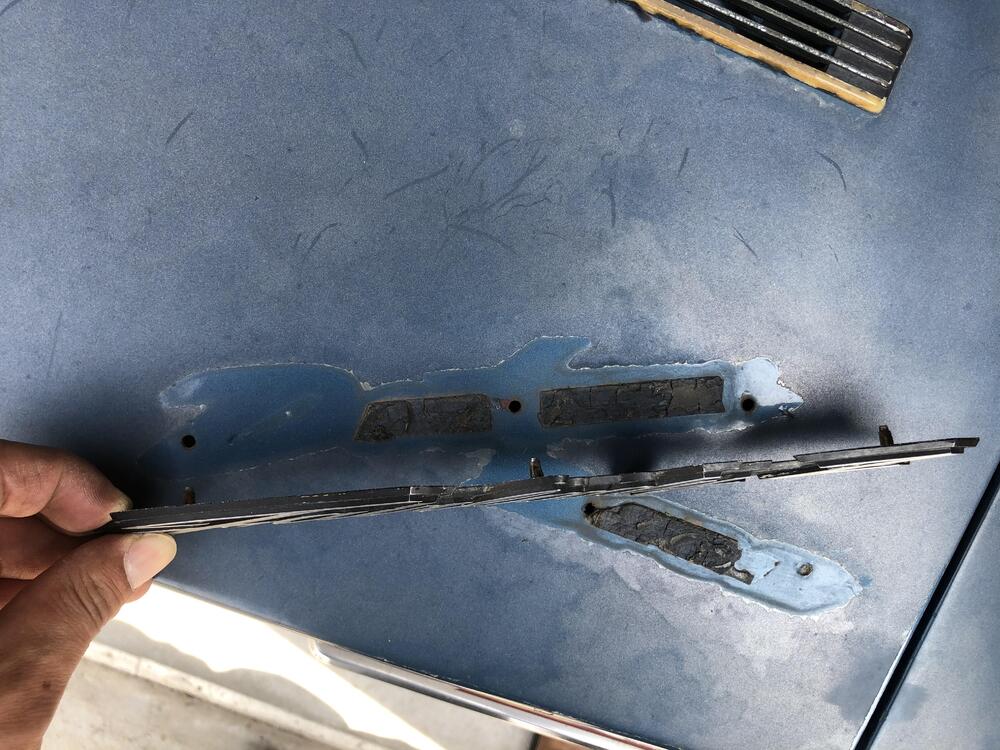
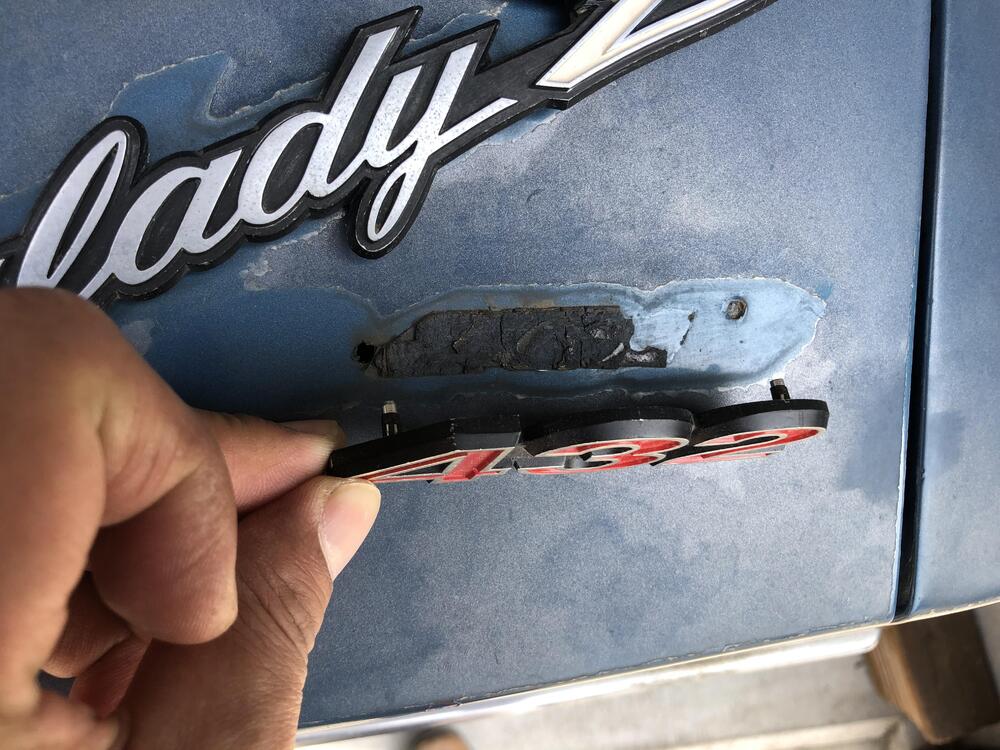

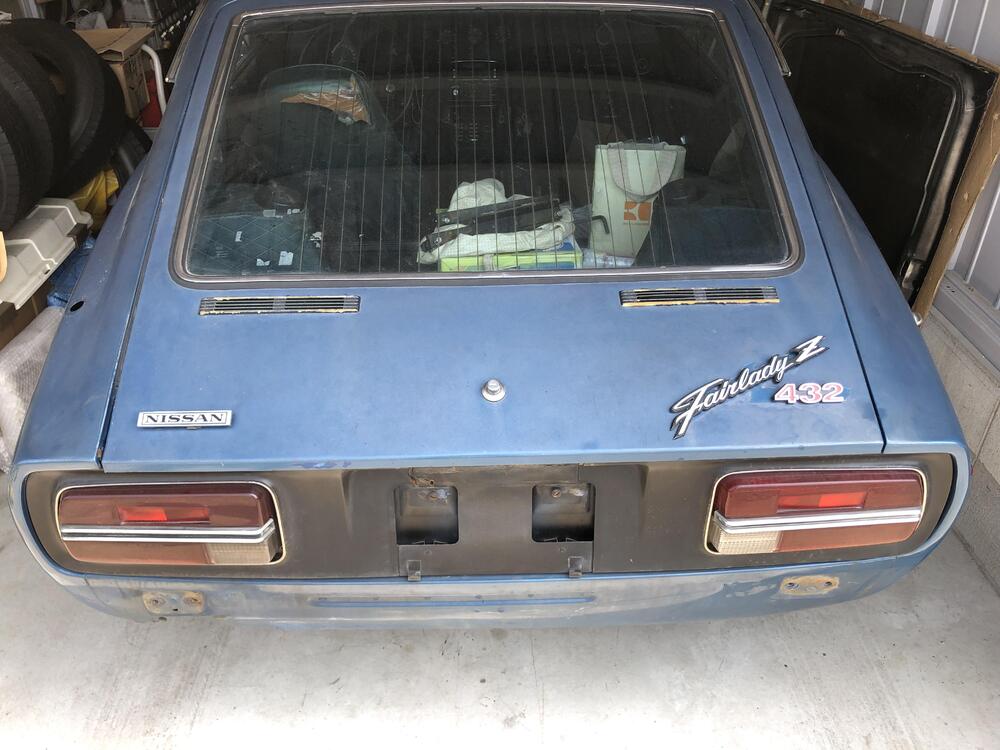
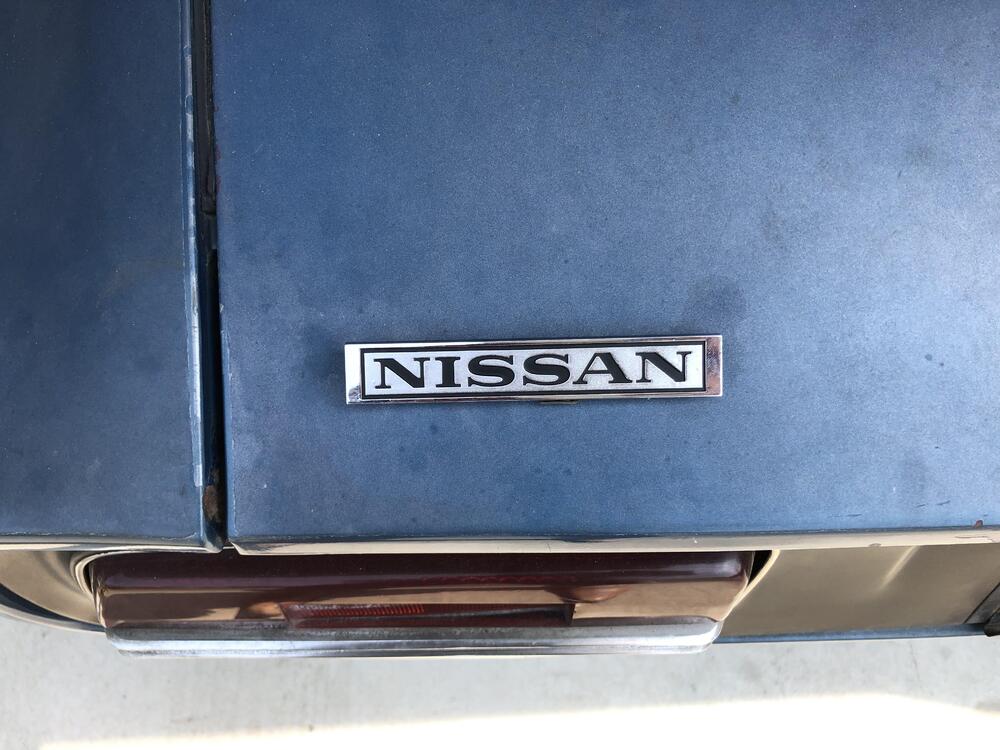
 1 point
 -
1 pointHi Gavin, you scored nice original radios and clocks, I am so surprised that the average price of them are skyrocketing. I was hoping to get one for my second blue 240Z , but I will never be able to get one . Fairlady Z series didn’t have an automatic seeking system for the early radio . So I cannot look for the one in Japan . Maybe I will put my 8 track audio system or just a pocket for my second blue 240Z . Kats1 point
-
A cool narration of Donald Osborne driving a 1970 240z in Rhode Island.1 point
-
1 point
-
1 pointhere is a short video describing how the shift insert should look and how the 5th should go in and out of gear.1 point