


Leaderboard
-
conedodger
Free Member4Points12,516Posts -
.JPG.cfcada9cf1c1b502df3f5f2f2ca3ff36.JPG)
SteveJ
Free Member4Points9,646Posts -

siteunseen
Free Member3Points15,115Posts -
ETI4K
 Subscriber
 2Points383Posts


Popular Content
Showing content with the highest reputation on 09/24/2021 in all areas
-
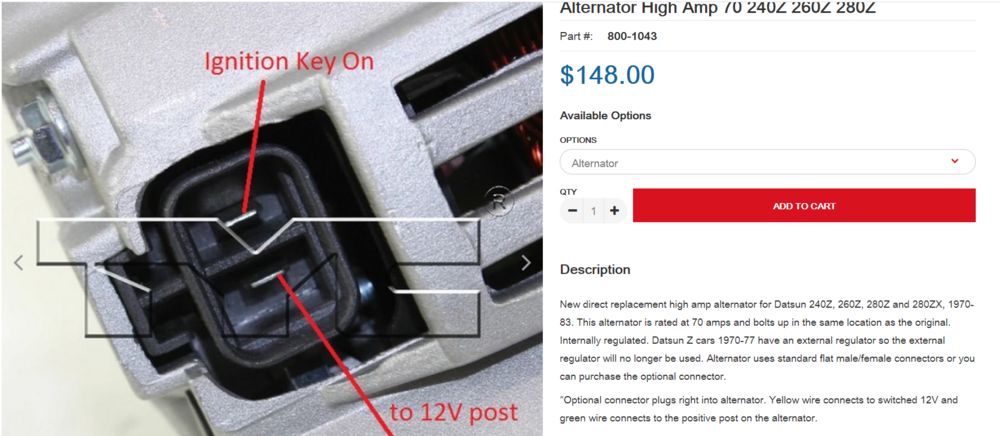
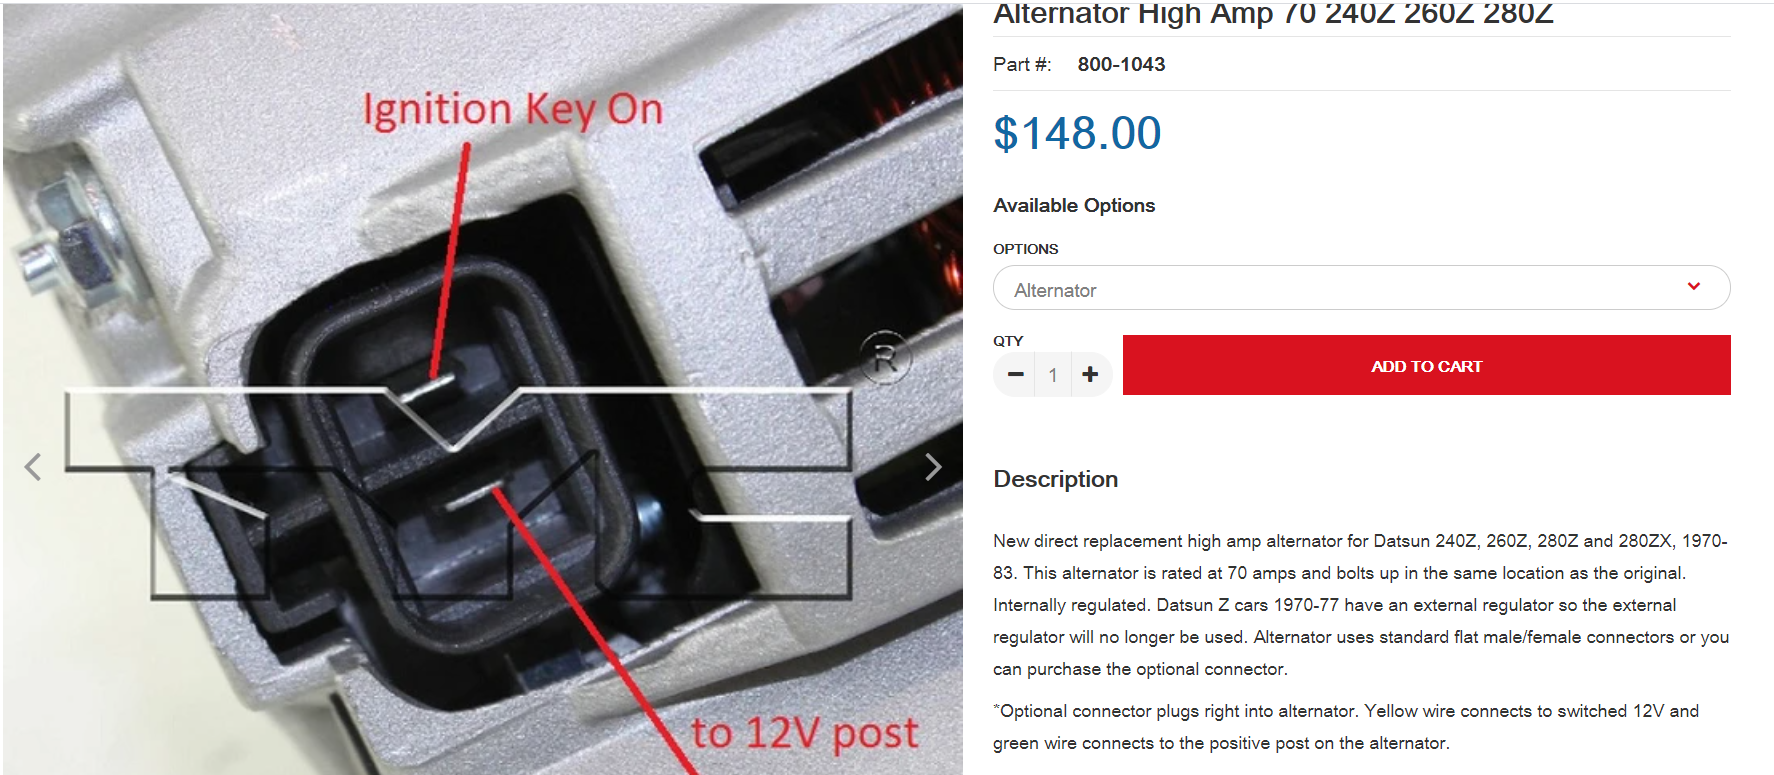
Have you jumpered out the external VR? For the switched wired, you may want to get a 6.3mm 2 pin connector from http://vintageconnections.com/Products/Connectors On the wiring harness T connector, the vertical part of the T is the switched wire. As @Zed Head said, you will probably need a diode on the switched wire, otherwise, you may backfeed the ignition circuit. The arrow (line) on the diode points toward the alternator. The diode can go between the green wire and the connector, or it can be integrated into the jumper for remove the external VR from the circuit.2 points
-
2 pointsThe current plan is to just port match the intakes, deflash and mildly smooth the intake runners and polish the exhaust runners. No plan to work the chambers. I'm having a discussion with the guys at Top-End Performance today about this topic. I sent them the specs and plans for the car by email, and they've asked me to call - sounds like I've missed a couple things. I'll provide an update here after talking with them.2 points
-
2 pointsCliff, exactly the same here... it's only that other people want money.. 😂haha... that's why i need money.. but i always sayd: fun on the job is MUCH more important than the money.. As a service engineer in security systems i came EVERYWHERE. From smallest house to the biggest villa and any businesses.. It was a job that i liked to get out of bed for almost every day haha.. But after 12 years i had an accident at work and i'm glad that i had a insurance for job loss due to incapacity for work.. I'm retired now you could say.. (this was around 2000) Around 2006 i had a small job just for a few hours but after i drove my fireblade (fast motorbike) against a big oak that job was ended also.. 😞 So what i wanted to say is: making less money is not bad but save yourself enough to get through life and have fun.. Mart2 points
-
1 point
-
1 pointI had been talking to Todd prior to his passing and have always wondered who might take up the Mikuni support baton in the U.S. I've dealt with FutoFab in the past so it seems what my next step needs to be. Thanks.1 point
-
1 pointPatcon: It isn't that I think the Cannon manifold is insufficient. Heaven knows enough guys have used them over the years. It's just that it may be too long for me to also fit an air box onto the carbs. It's 252 mm from the manifold/head surface to the outside carb flange where an airbox would be mounted for the Cannon/Webers whereas it's 190 mm for the Mikuni/Mikuni combo.1 point
-
1 pointThere's a handy online calculator for DCOEs that's built by input from users and suppliers. It splits between 40s and 45s on a 2.8L on conservative or spirited driving. Extrapolating, I'd say pick up a bit extra for the 3.1L. https://www.carbparts.eu/calc1 point
-
1 point
-
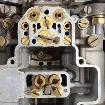
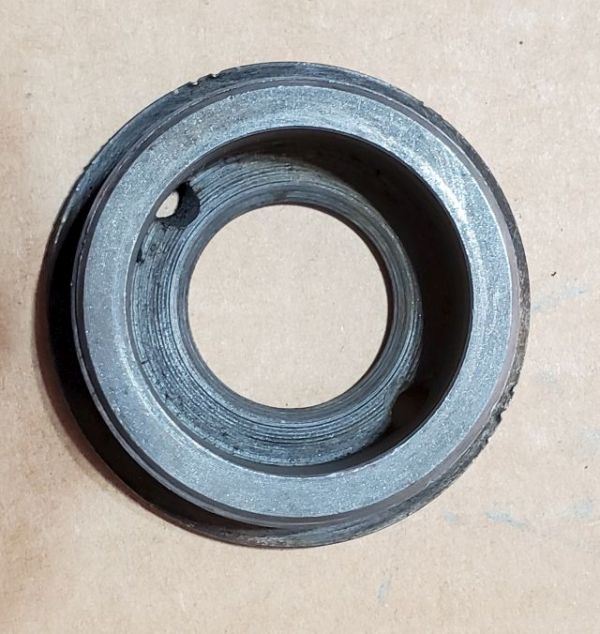
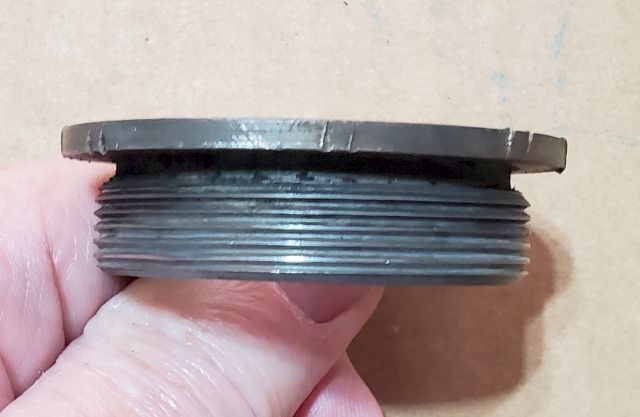
This is why I asked @RJK to post photos. What @Zed Headposted is 100% correct for a 280ZX alternator. HOWEVER, I believe @RJK could conflating the 280ZX alternator with another 70 Amp alternator sold by ZCarDepot. This is the other alternator that is explicitly listed at ZCarDepot.
 1 point
 -
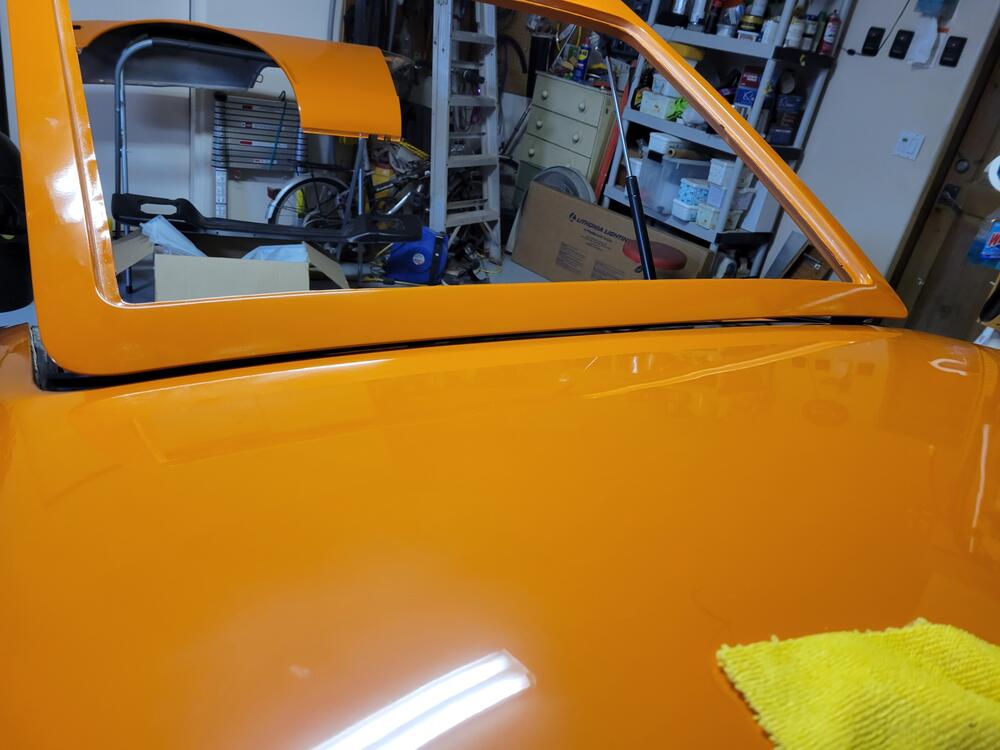
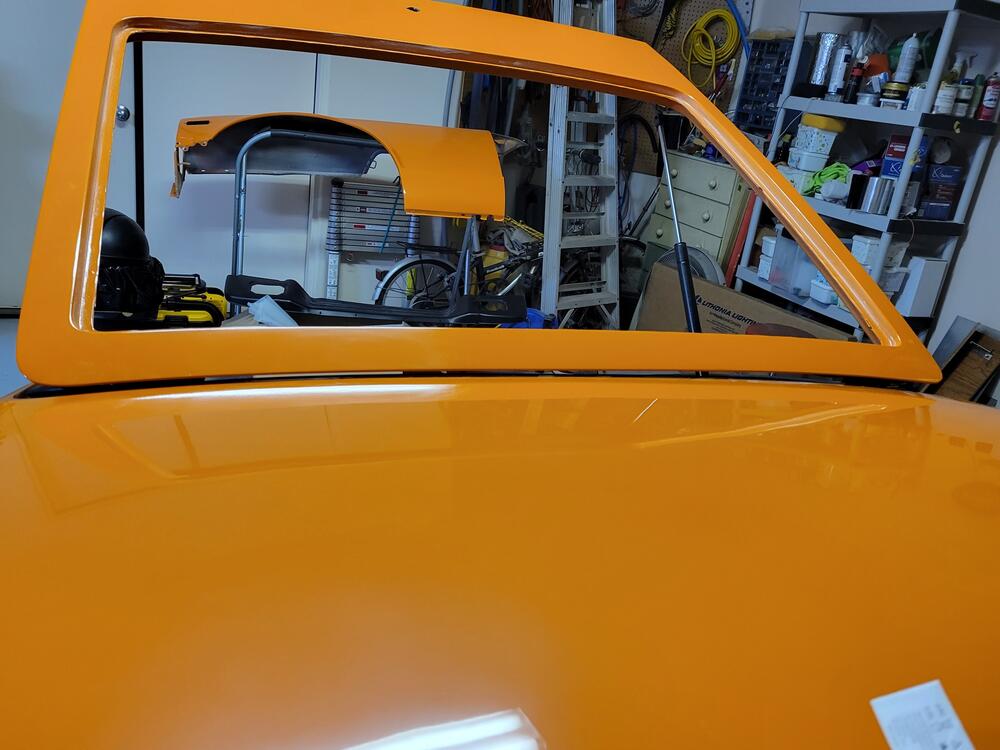
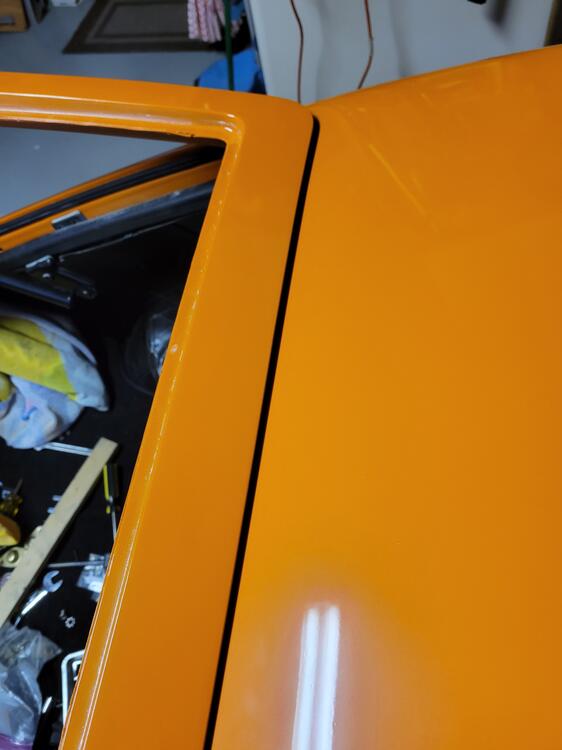
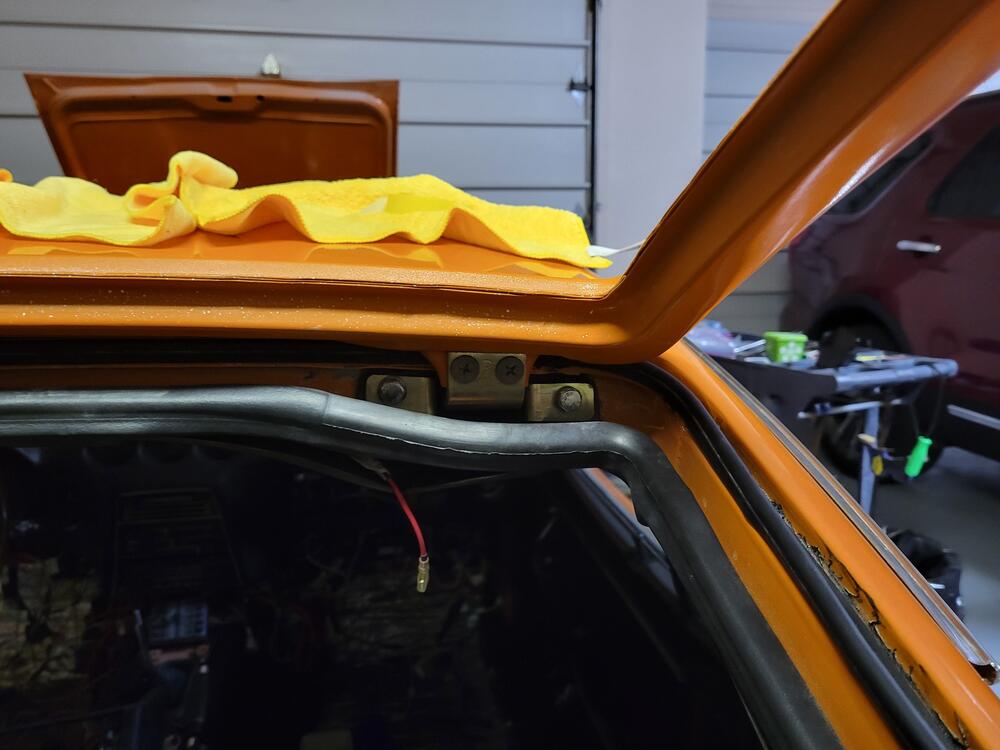
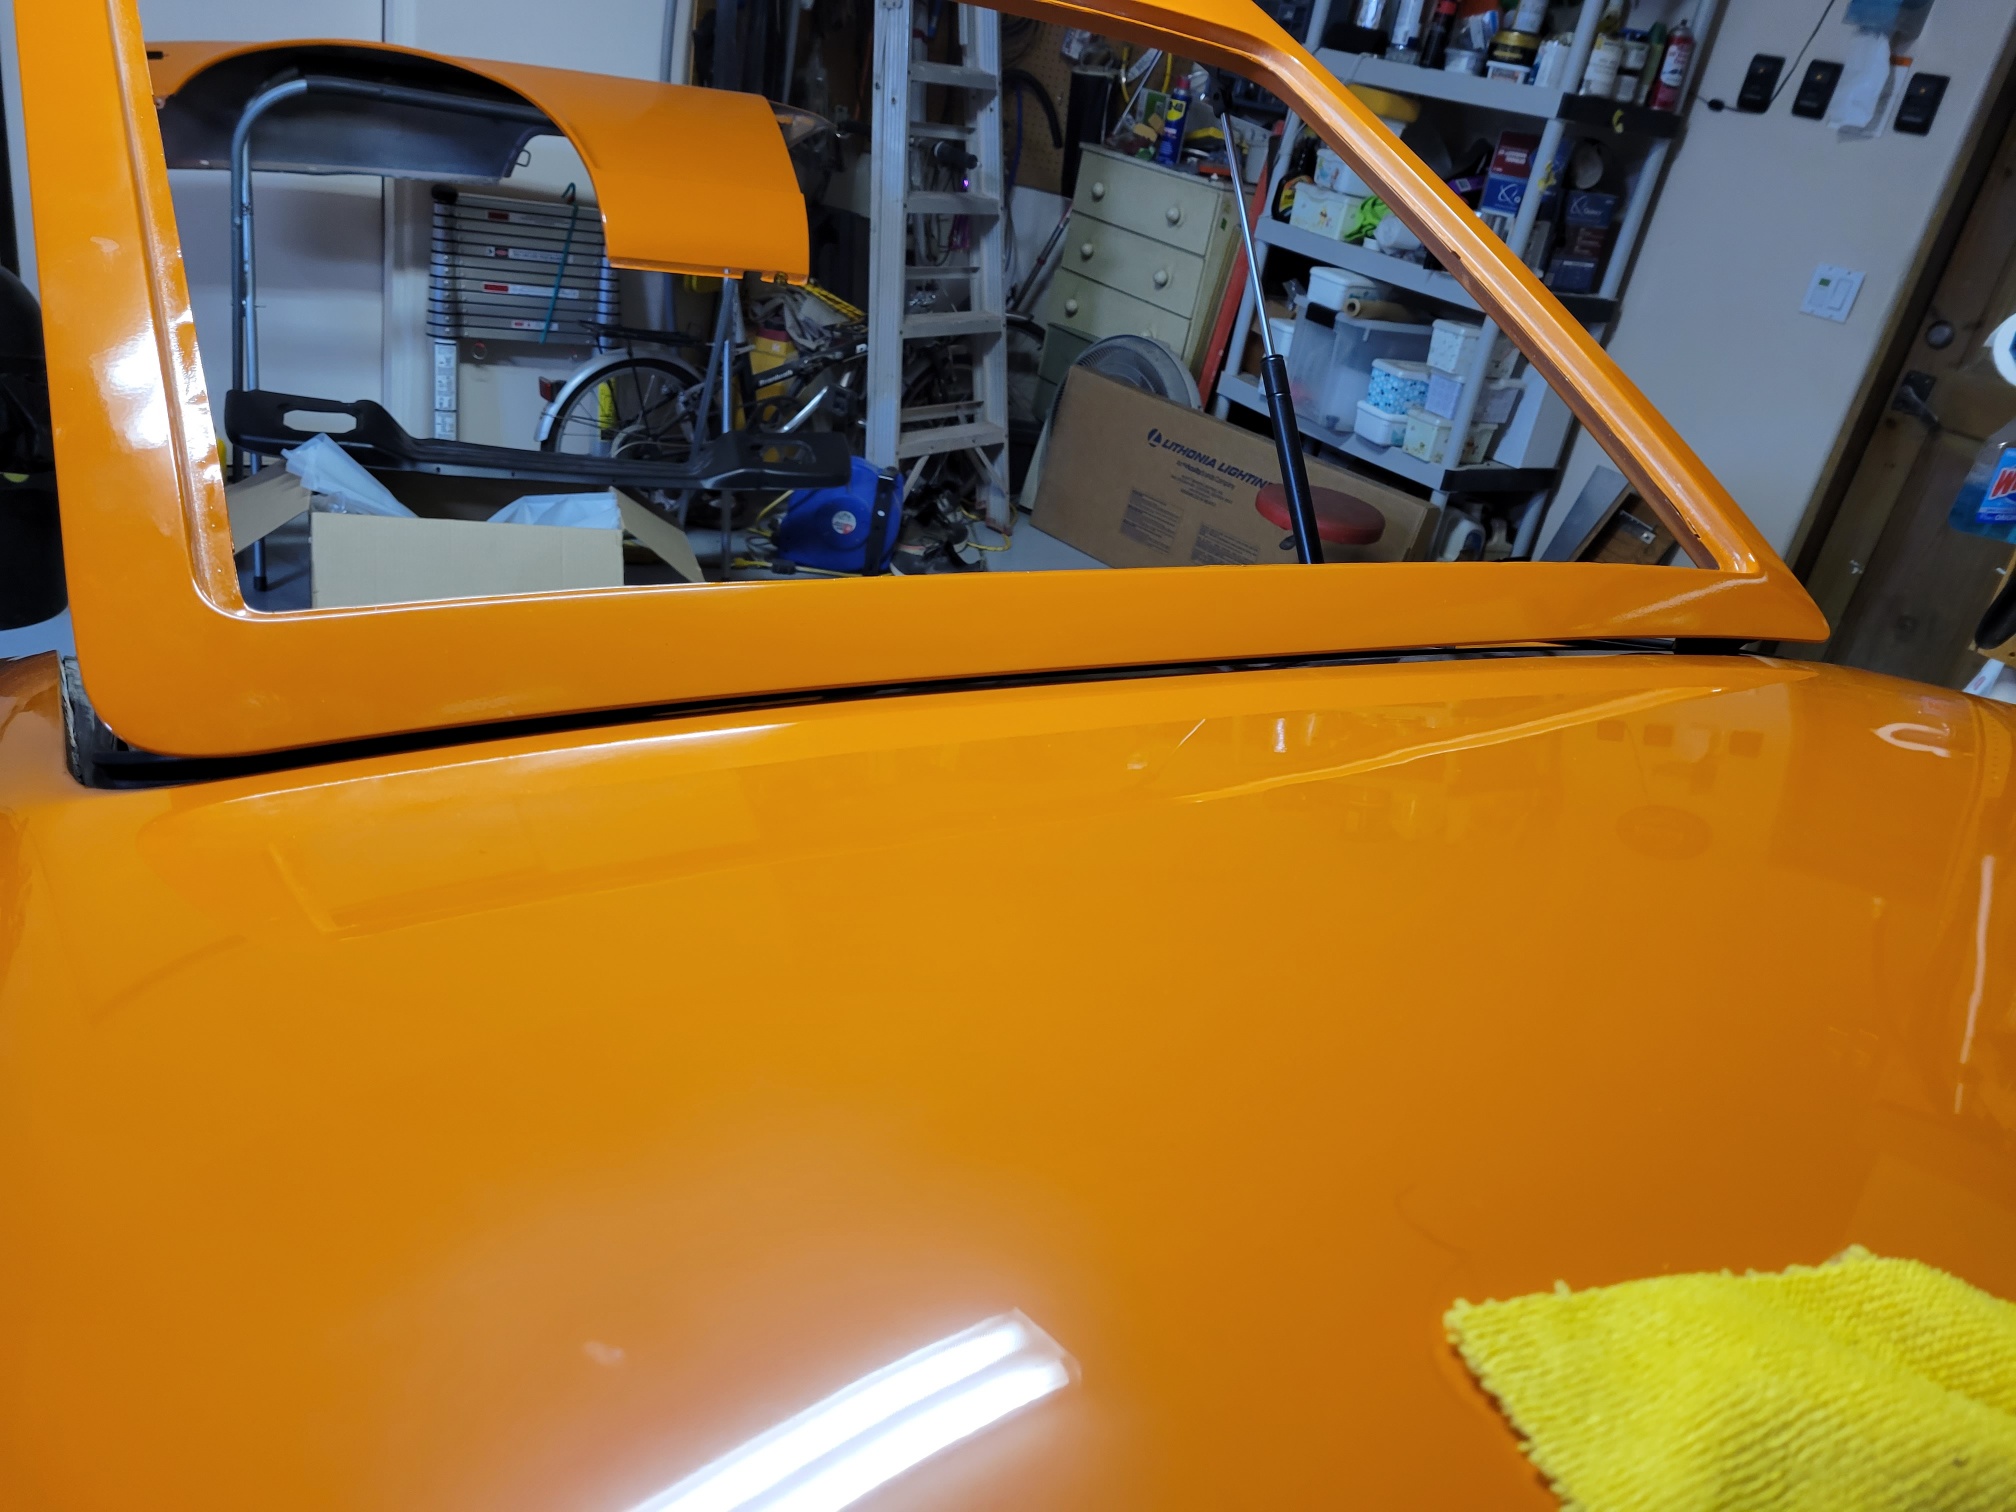
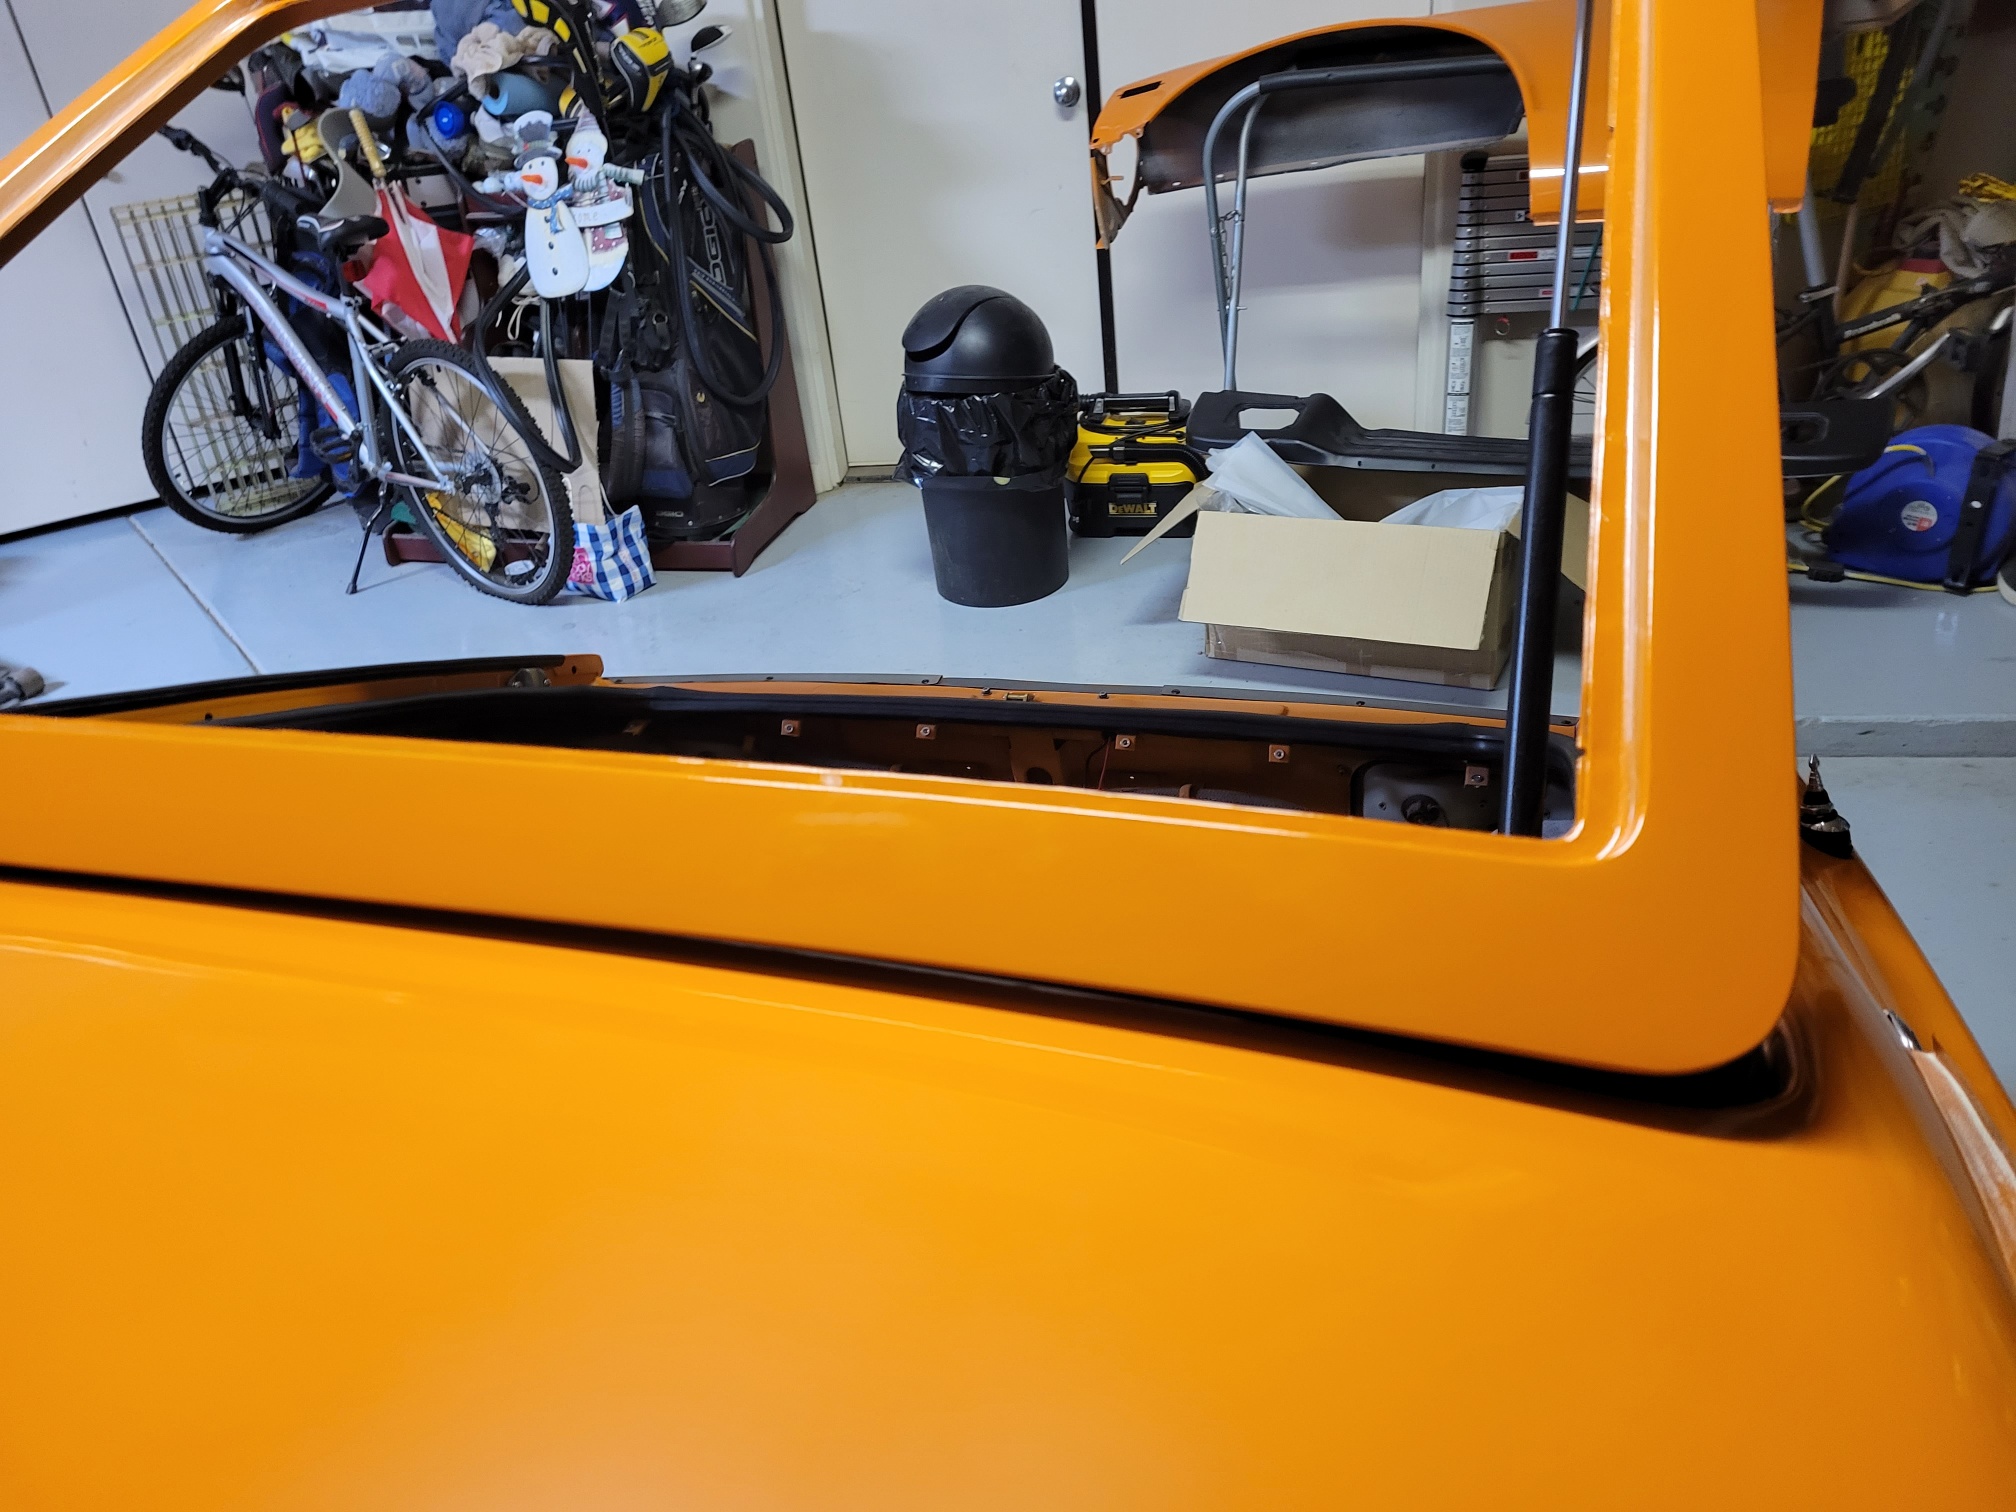
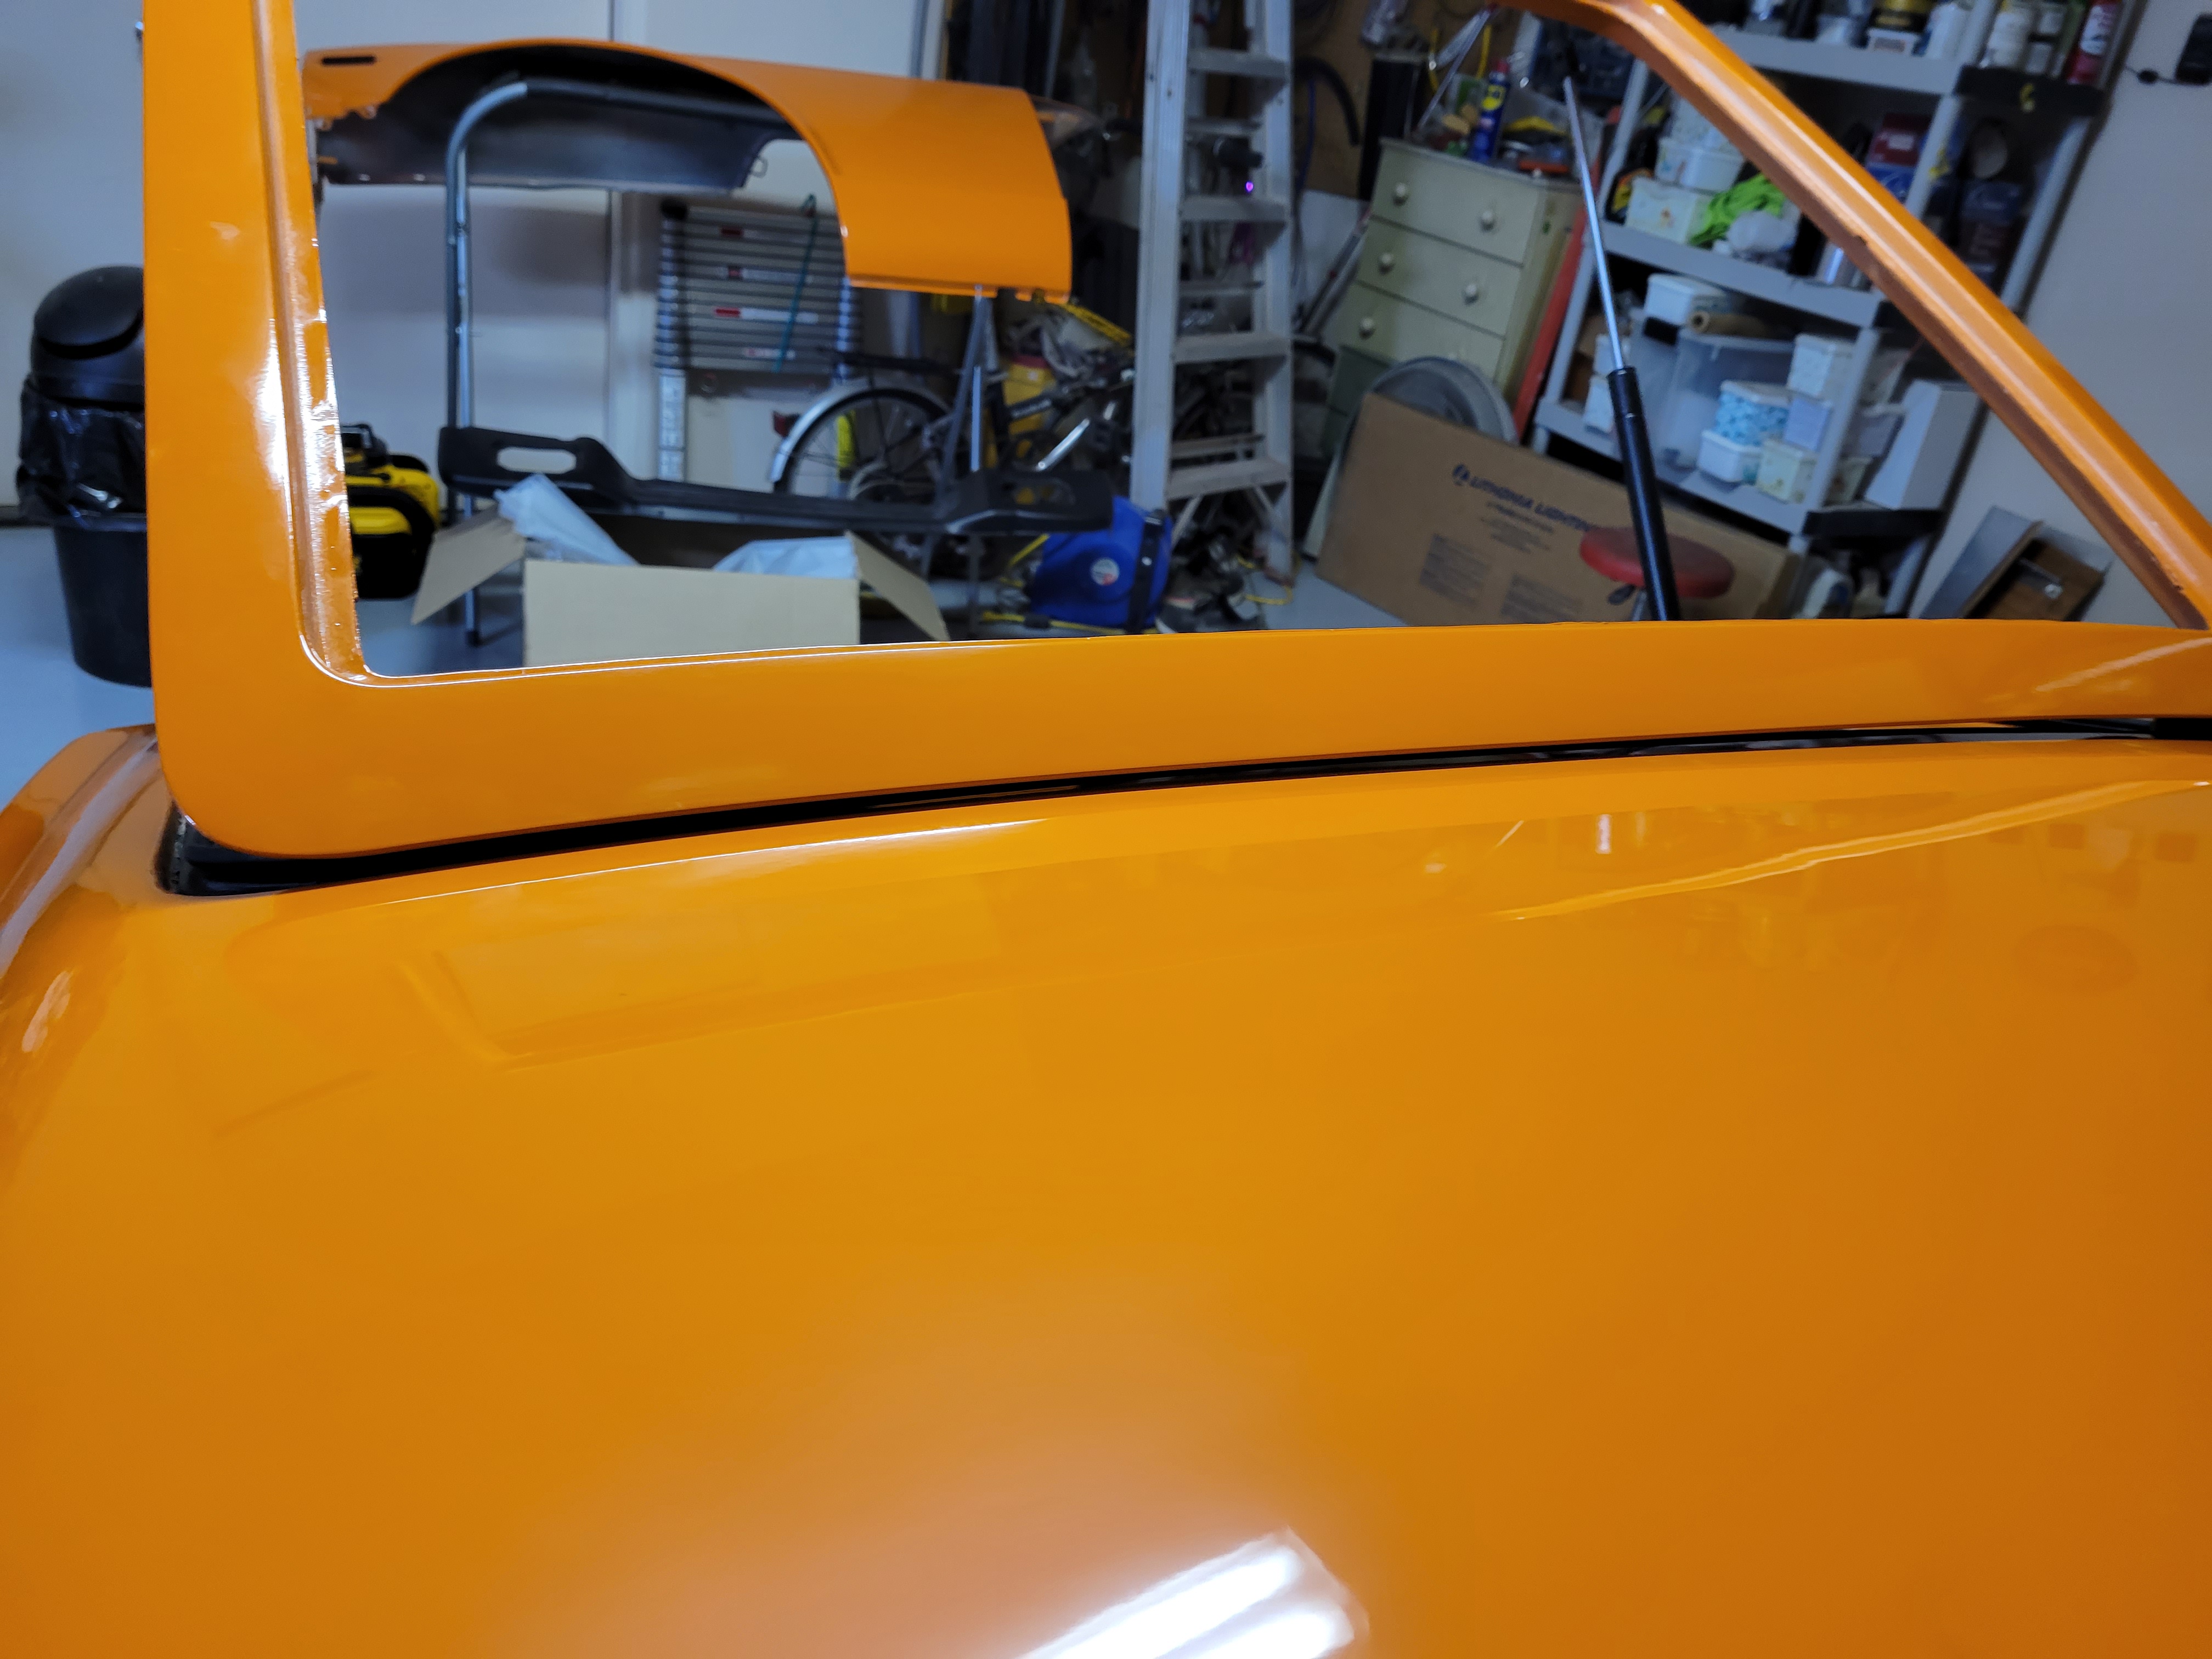
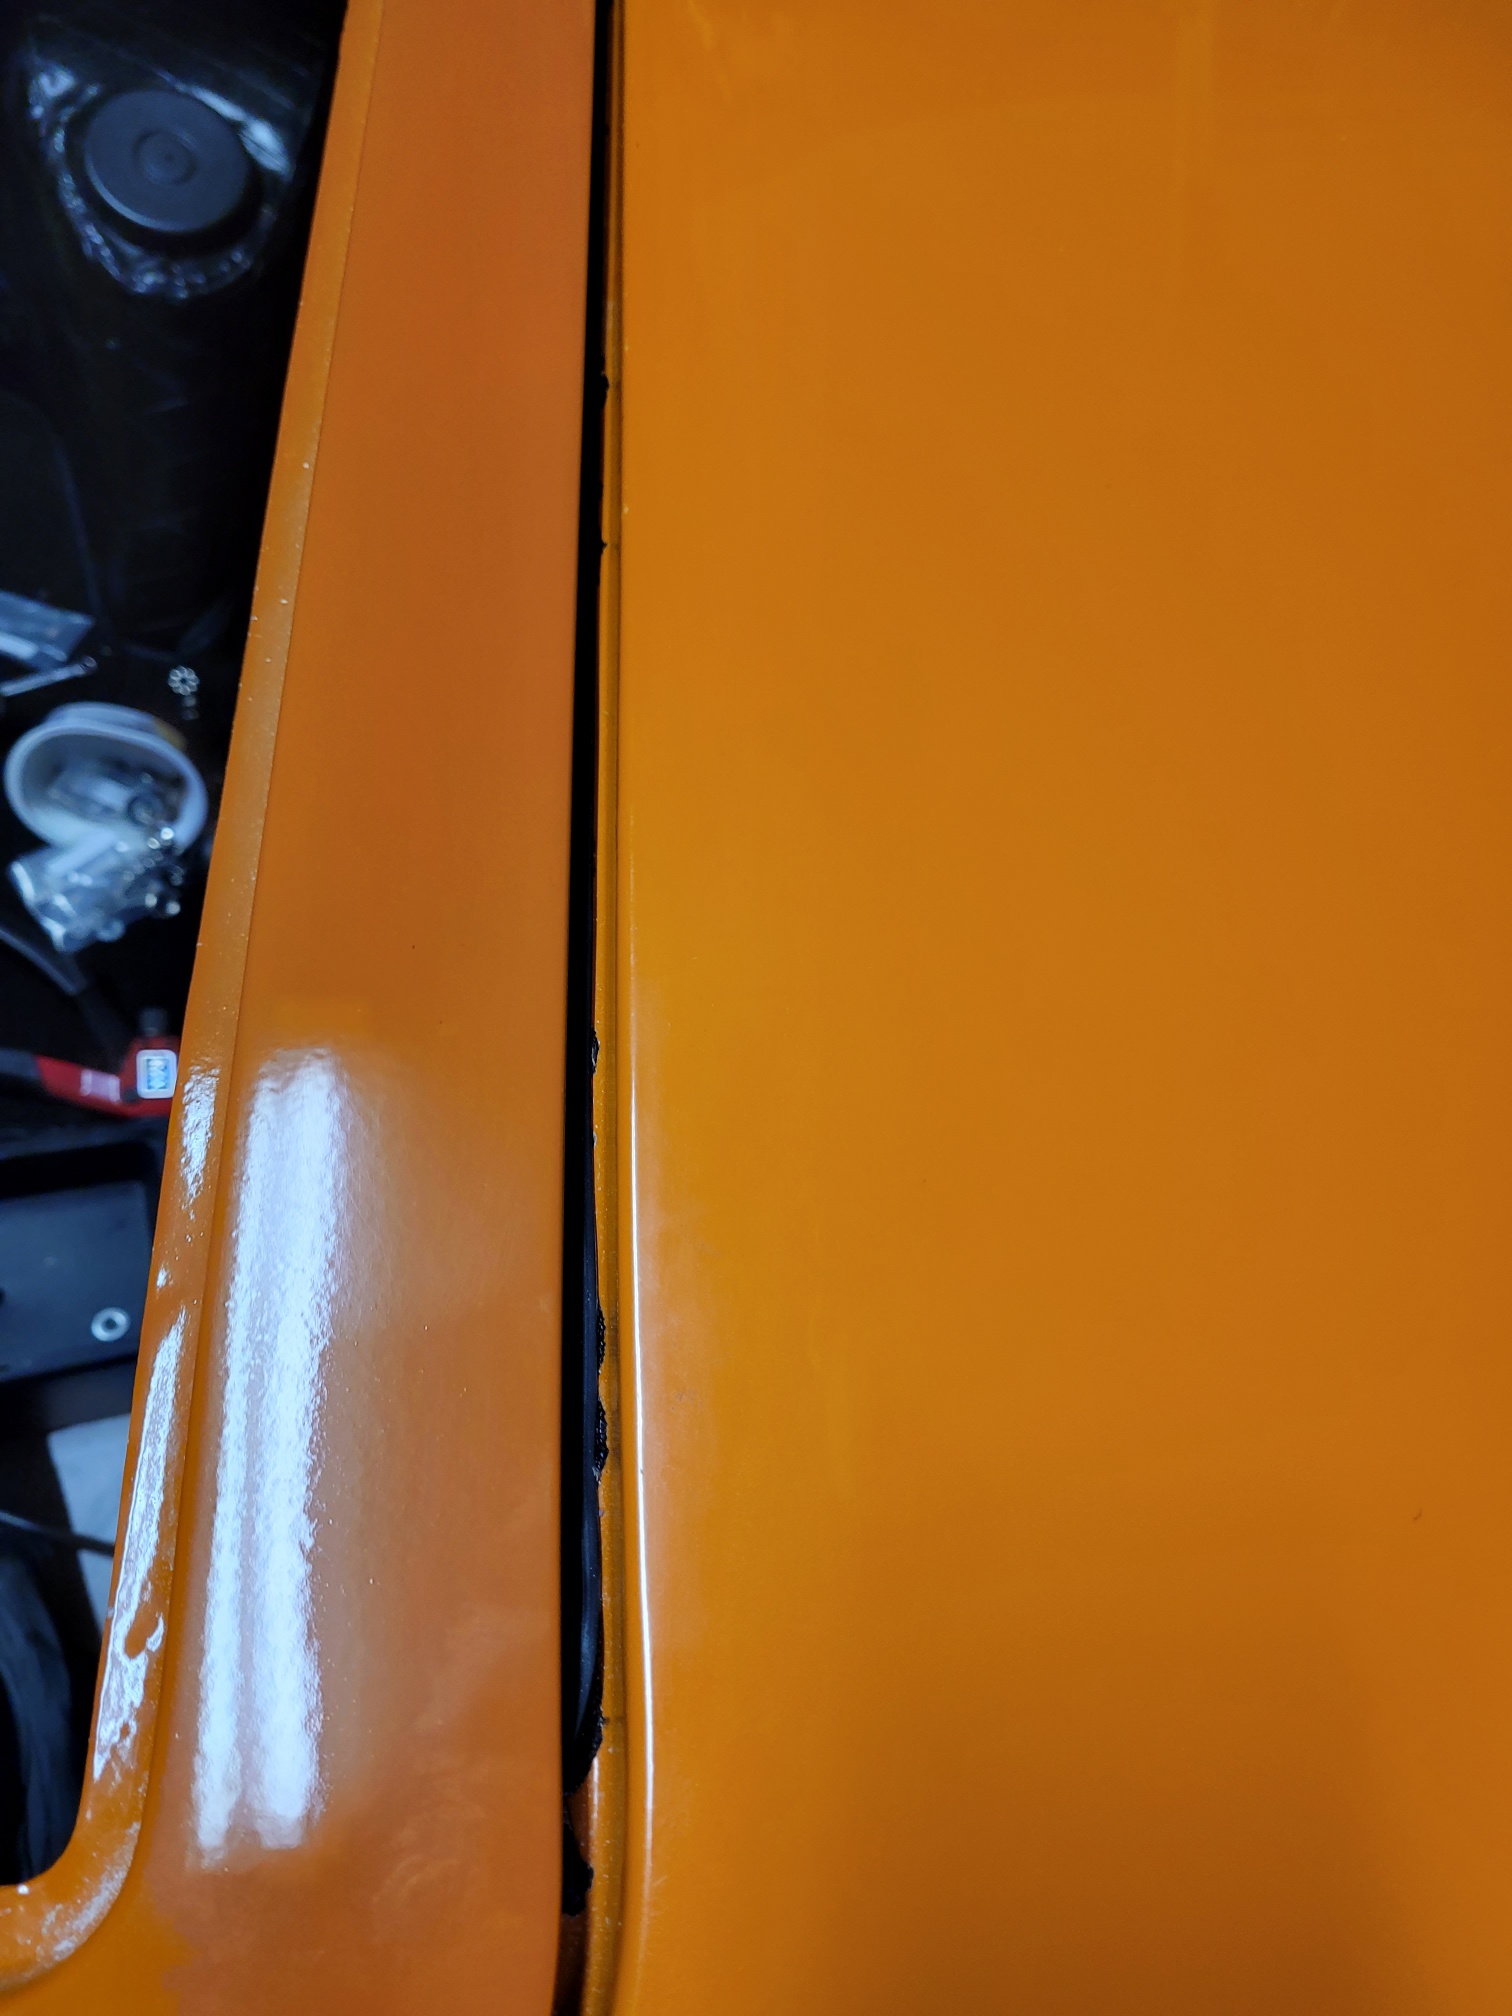
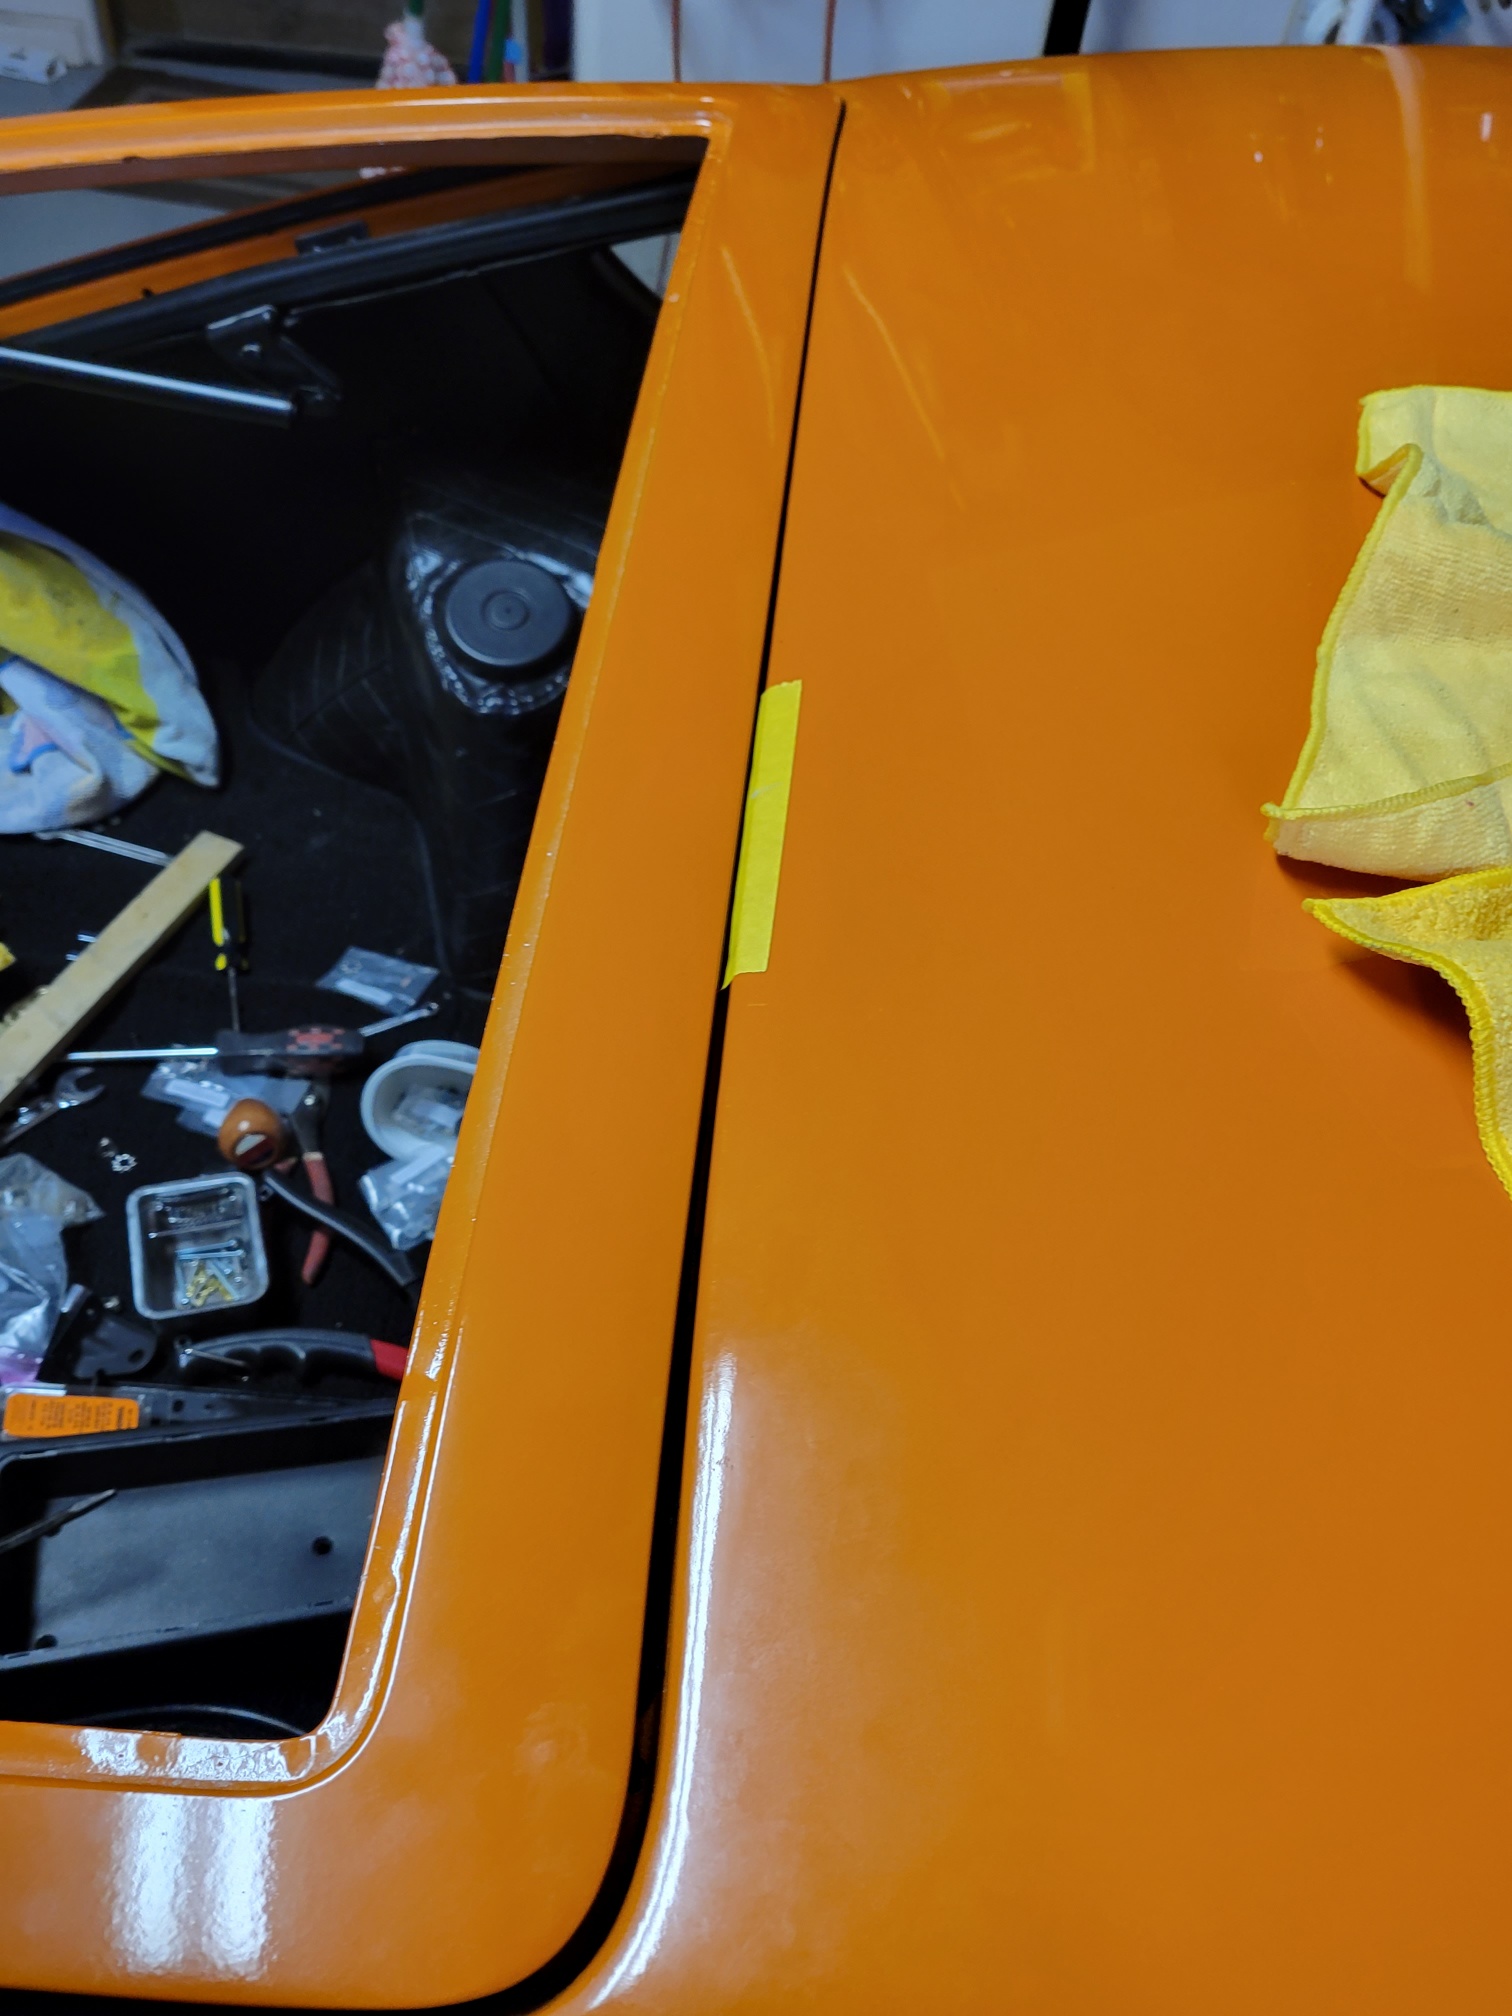
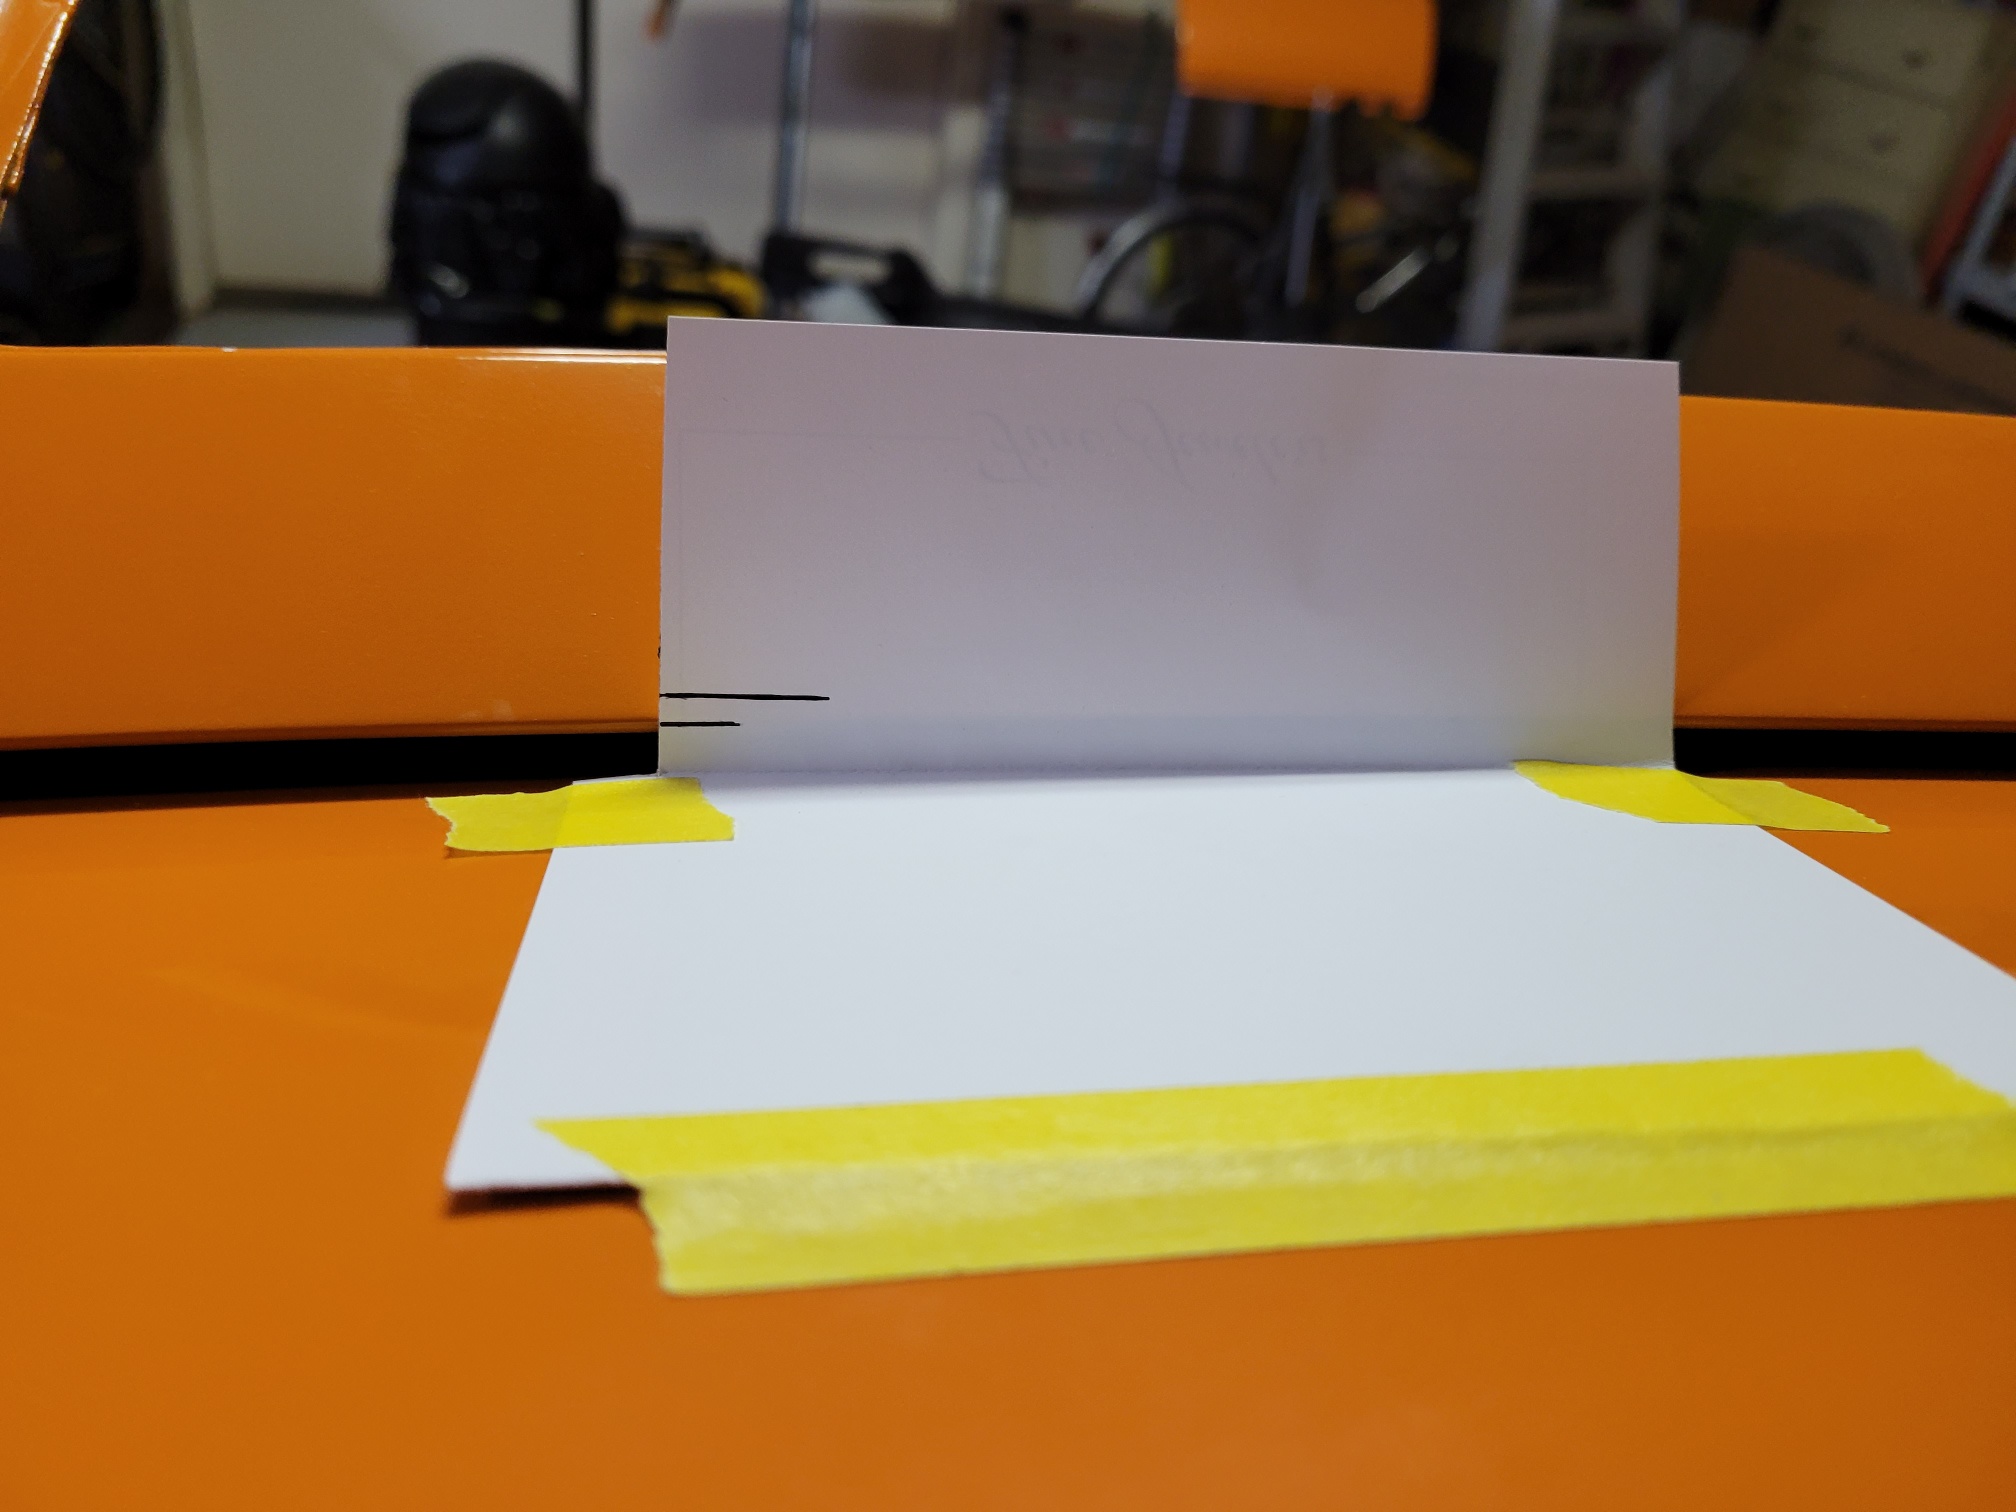
1 pointUm, that would not be caused by an MSD ignition. That would be caused by some combination of old battery, bad alternator, and bad voltage regulator. Post pictures of what you're talking about with regard to the new alternator.1 point1 pointThere's 3 kinds of jobs in my experience. 1. Wash your after the restroom. 2. Wash your hands before the restroom. 3. Wash before AND after. I've always washed mine beforehand. That's because I hated school and wound up working in the service businesses. I'm a hands on type guy that gets a good feeling helping those that can't help themselves. The pay sucks but money has never been a priority in my life. My parents always gave me a good life and i loved them for that. I'm so thankful for you guys positive comments on my ife decision to go to less stress/less money. I do not care about money. I want to sleep good.1 pointToday, I cleaned the connections to the starter, put the VR back in, and everything seems to work ok. Getting 4.3 volts to the battery. Maybe a bad connection there was the problem all along. Thanks for Zed Head for the suggestion. Tomorrow, I'll check for current draw. Hopefully, it no longer exists. I'd have been really lost without the advice of you guys. Thanks for sharing your knowledge. Joe1 point1 pointBig congrats on the move! Now about retirement... Been there since 2009 and still love it. Still have a boss, but she treats me pretty good most of the time.1 point1 pointCharles, Good suggestion - thanks for the interest. I took a lot of shots of the hatch, but realized that your starting point and mine may be different. To clarify I am not really concerned at this point with the gaps when the hatch is closed. My first concern is to successfully close the hatch without damaging the paint at the roof line. I did take snaps of the gaps in case I am missing something that they might reveal. I do not have the latch hardware installed so the hatch is not shown fully closed. In this image everything looks fairly good, but as the hatch closes the available space between the roof line and the hatch is reduced to the point where it just barely scrapes the roof, this is the area of concern in the photo that follows later on. So, with the hatch shock absorber installed (on the left side (standard for a 240z) the hatch is pushed upward with enough force to raise the hatch within the hinge. This is actually helpful, I think, on the left side because it creates more clearance to pass over the roof line. Unfortunately it does not affect the right side and so the clearance is less on the right side. You can prove this by lifting the right corner up . It rises approximately 3/16 of an inch, when lifted by hand. The taped area is the concern. This is where the roof line is scraped as you close the hatch. There are no shims installed on either hinge at this point. The image above shows the hatch open all the way. I marked a line (bottom-short line) to indicate the height of the hatch. I lifted the hatch and marked a second line (top-longer) to indicate the height of the hatch when lifted. The difference is about 3/16 of an inch. So, here is my thinking. 1. The shims behind the hinge single bolt head either side of each hinge move the hatch toward the rear of the car and away from the roof line. 2. Shims placed between the phillips head screws and the hatch move the hatch toward the front of the car. 3. The two larger head bolts on either side of each hinge adjust the resting position of the hatch, mostly up and down, and only slightly left or right if at all. 4. Raising the hatch (vertically) when it is in the open position is helpful because it creates clearance to avoid interference with the roof as it is closed. 5. the shock absorber(lift support piston) is stronger enough to lift the hatch vertically. With only one piston on the left side only one side is lifted and the right side is driven downward. The right side can't really move downward because it is at the bottom of the vertical travel of the hinge. Obviously I have no facts to offer as the reason for Nissan adding a 2nd piston to lift the hatch on the 260z and beyond, but since the body of the 260z and the 240z are very similar in this area it seems worthwhile to try adding a 2nd piston to raise the open resting position of the hatch. 6. I was lucky enough to find a pair of 260z hatch lift support brackets and they should be delivered in the near future. 7. While waiting for the 260z brackets I will attempt to align the hatch in minimize the gaps in the closed position Please do not worry about offending me. If you have a better or more elegant solution, or experience that indicates the above thoughts are foolish please advise as soon as possible. I am getting older by the minute and need to get the bucket on the road. Thanks again, to all for your help. regards, ron


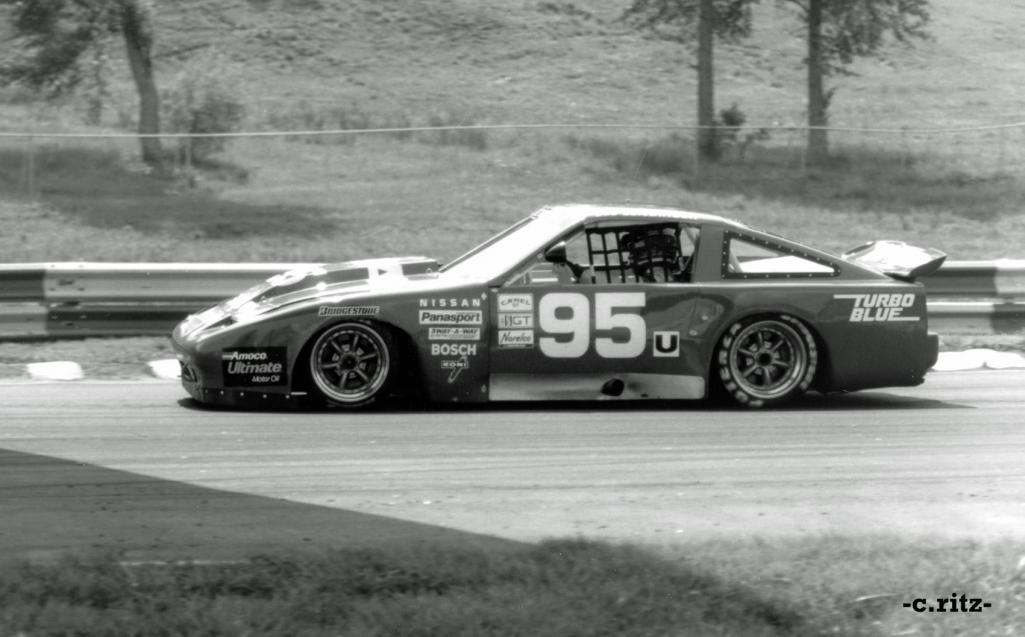
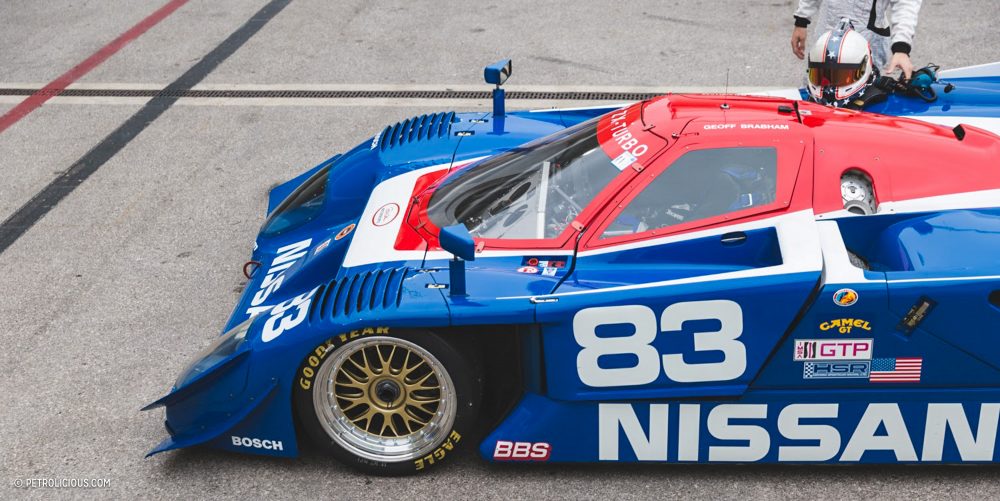
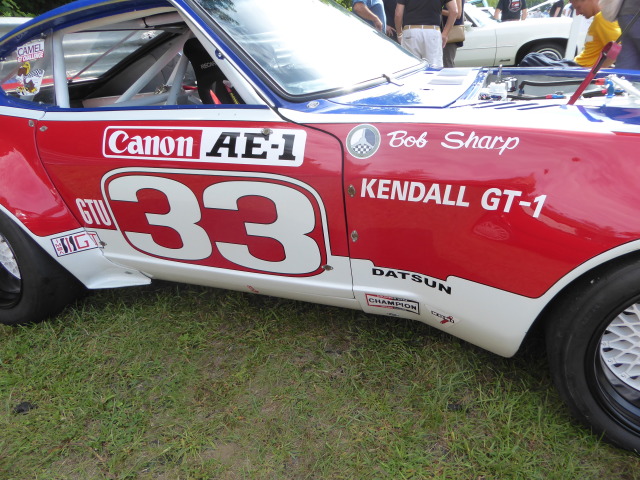
 1 pointAnd no for something a bit off the racing path, but fun none the less…
 1 point1 point1 point


Important Information
By using this site, you agree to our Privacy Policy and Guidelines. We have placed cookies on your device to help make this website better. You can adjust your cookie settings, otherwise we'll assume you're okay to continue.