Leaderboard
-
.JPG.cfcada9cf1c1b502df3f5f2f2ca3ff36.JPG)
SteveJ
Free Member5Points9,646Posts -
conedodger
Free Member5Points12,517Posts -

siteunseen
Free Member5Points15,115Posts -
grannyknot
Free Member4Points5,158Posts


Popular Content
Showing content with the highest reputation on 09/19/2021 in Posts
-
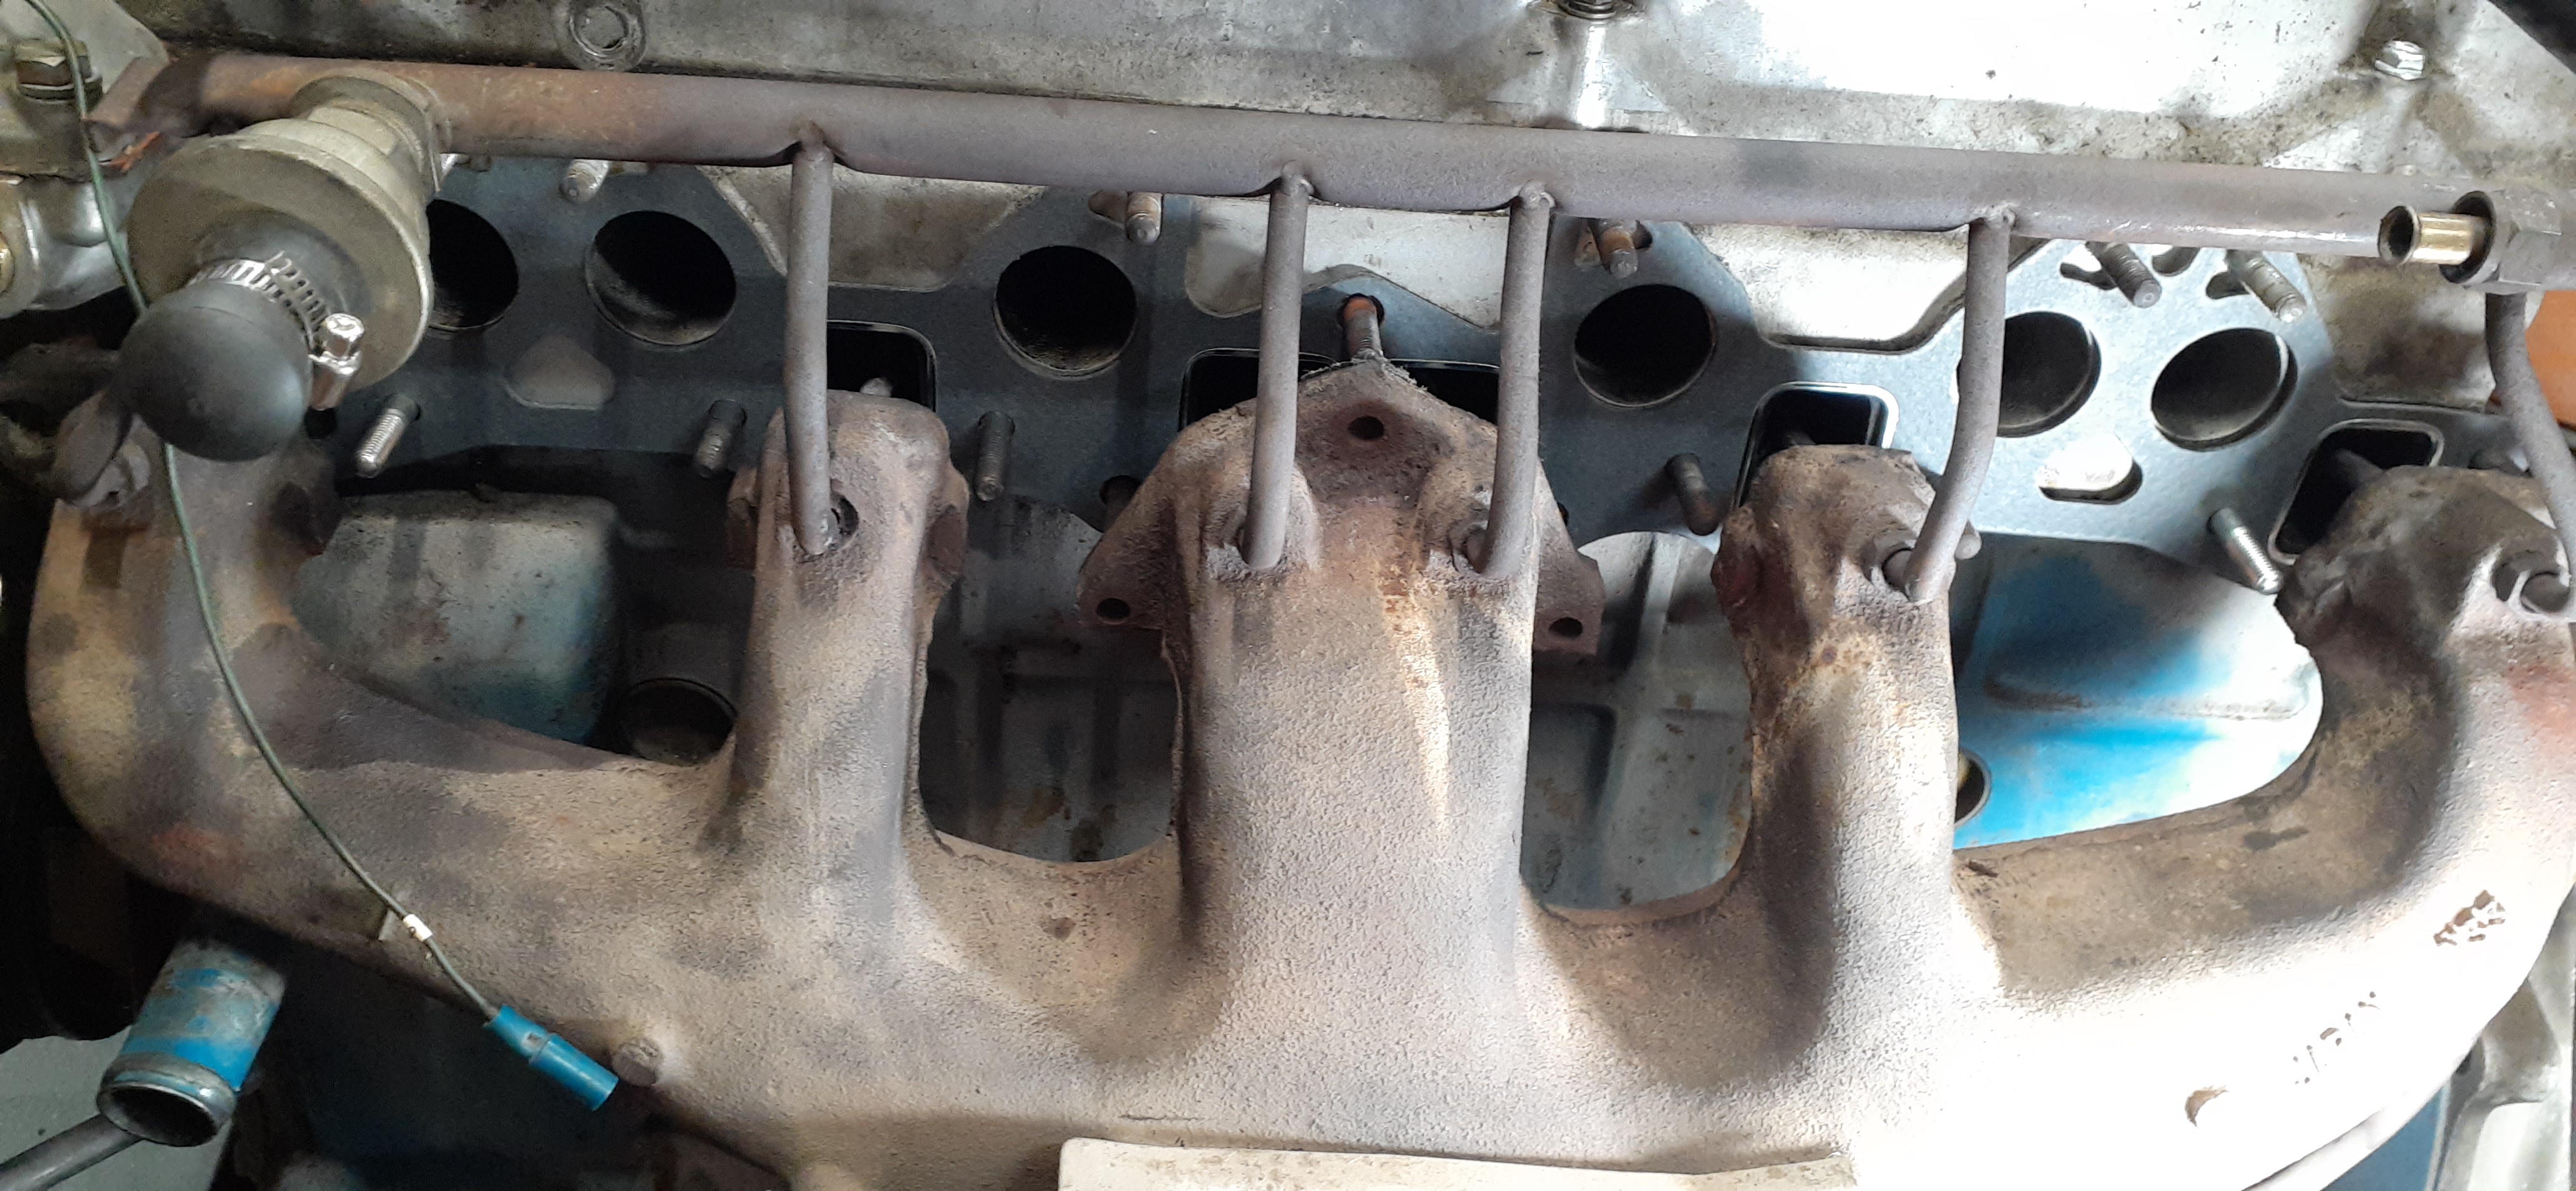
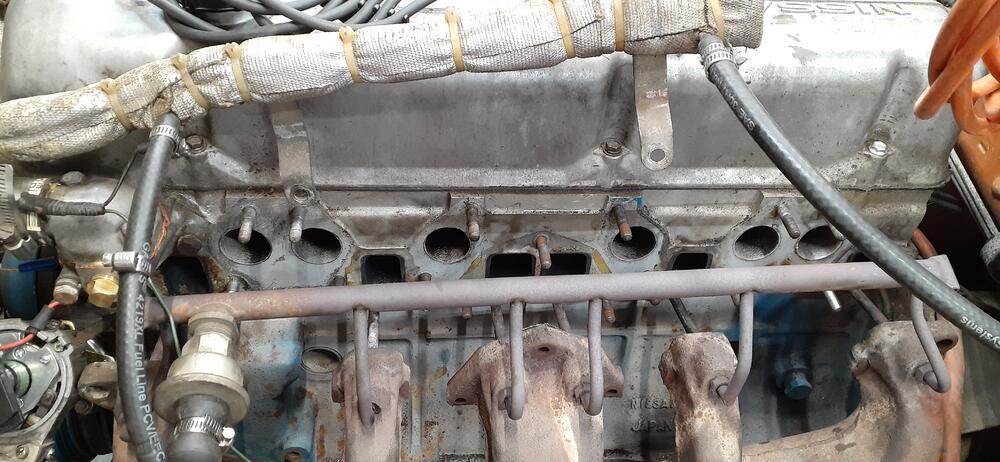
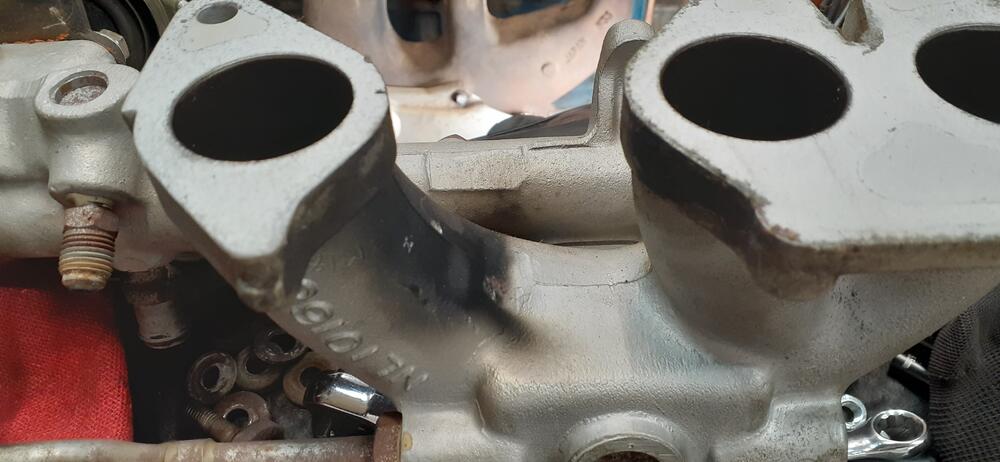
4 pointsI finally decided to replace the gasket for the intake & exhaust manifold today. I also found some clues as to why my previous effort to tighten the intake didn't work. Among other things, I got a really good view of where about 17 years ago I found that a stud was missing near the #6 exhaust. I just didn't have the skills back then to take things apart and put in a new stud. I also found the nut was missing under the #5/#6 intake runners. More on that later. I also had one stud around the exhaust come out with the nut attached. Fortunately, I had spare studs already on hand. After working everything loose, I removed most of the old gasket. I had to scrape off only a little remaining material. I thought it was clean enough for the new gasket. I worked the new gasket into place relatively easily. Before putting the intake back in place, I took a quick look at it. There was definitely an exhaust leak at #2. Also, there were signs of a leak below the #5/#6 intake runners. I did wipe it down a little. You can see the smears below the intake. Anyway, I got the intake and exhaust cinched down nicely, and the carburetors are back in place. Tomorrow, I will re-balance the carburetors since I hope I have rid myself of all of the leaks around the intake and exhaust.


 4 points
 -
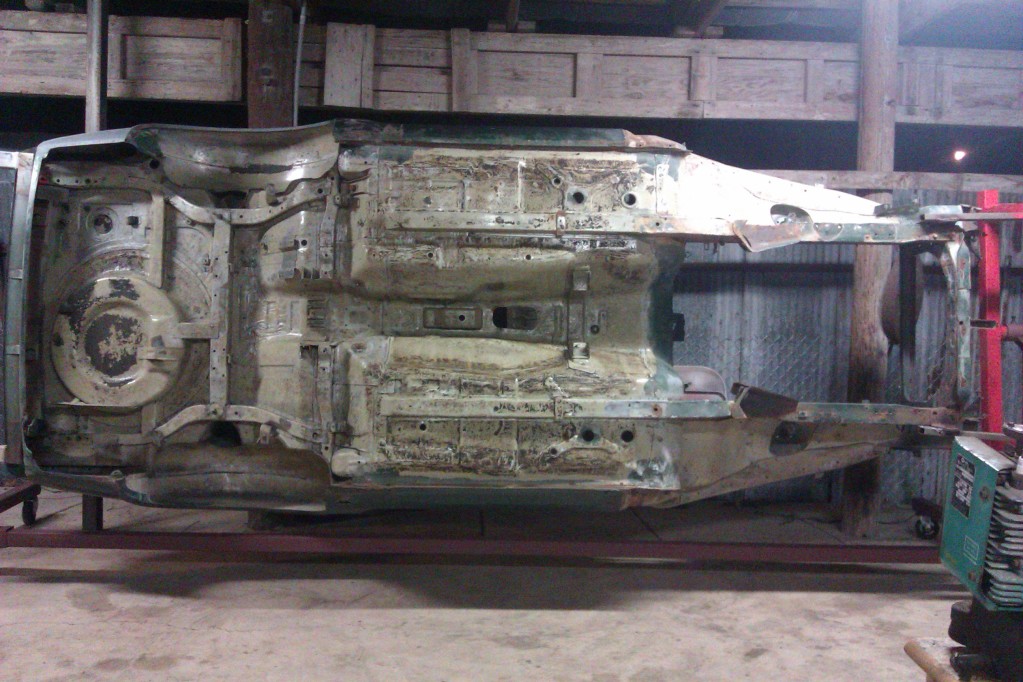
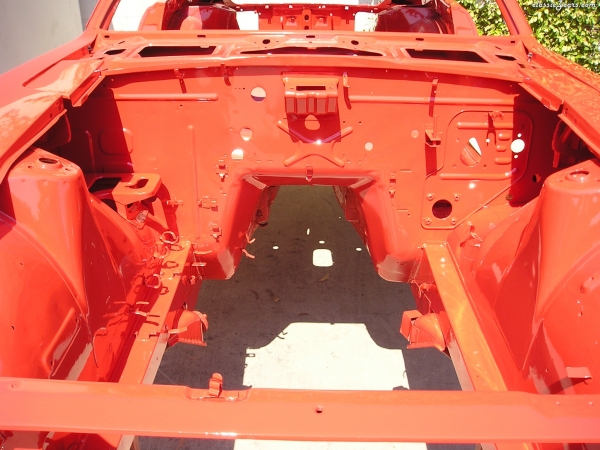
4 pointsBecause it's a unibody the A pillars flow down into the uprights that the door hinges attach to on either side of the car then that flows into the rockers, on the inside of the floor pan/firewall is the transmission tunnel that ties it all together. You could also add a direct connection between the two and some triangulation.
 4 points
 -
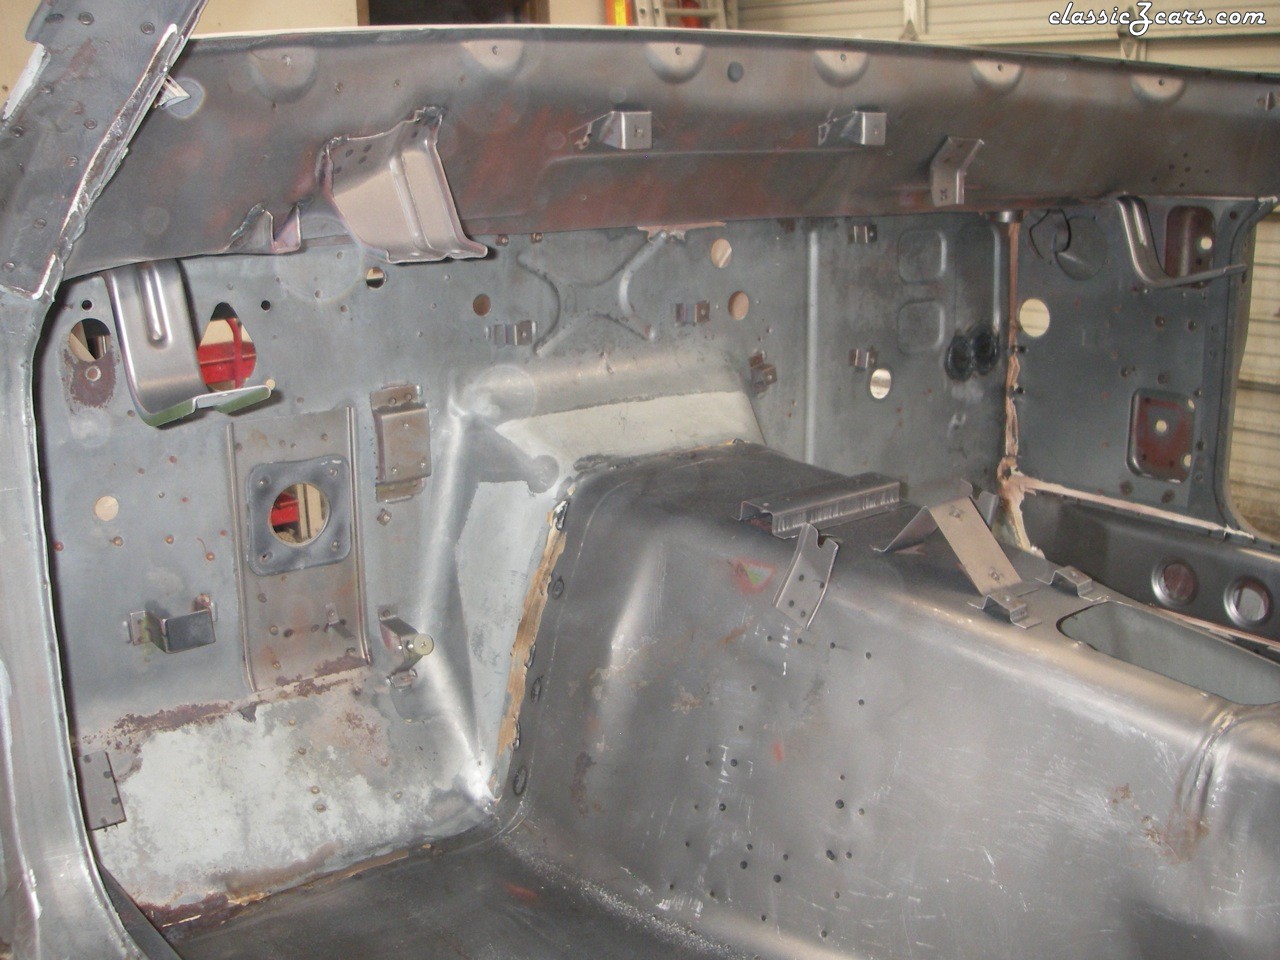
3 pointsGrannyknot's explanation is on the right path and identifies a key part of the S30's structure whose importance is often overlooked: the transmission tunnel. Your question seems to be focused on braking loads (i.e. rear-directed loads that occur in the horizontal plane) and your supposition is that the rocker structures are the only elements of the structure available to absorb these loads. Were that true, than the braking loads would, indeed, need to be transferred to the rockers by the firewall panel. Not an ideal situation, as you've guessed. In fact, the braking loads are largely absorbed into the transmission tunnel (note: 'largely', not 'entirely'), which then distributes some of those loads out into the floor pans. The pictures below will, hopefully, help you to see this... The rocker structures may eventually take up some of the braking loads, too, but I don't think it's a very large component. The rocker panels' job in the structure ure that everything was kosher.

 3 points
 -
2 pointsIf you continue searching this forum you will see it has been covered before . You can search this forum using google also. It’s ok just be nice and you will get more help. You are new here and you have been getting into it with people but just chill out By the way, I got my gasket at Z Car Depot. https://zcardepot.com/products/power-brake-booster-gasket-240z-70-73?_pos=1&_sid=a87c129e3&_ss=r And it worked great on my new 8.5" booster for my 240Z with this adapter (the one I mentioned above). https://zcardepot.com/products/power-brake-booster-7-240z-70-73-new?variant=29688152359025¤cy=USD&utm_source=google&utm_medium=cpc&utm_campaign=google+shopping&gclid=Cj0KCQiA0MD_BRCTARIsADXoopa0Kt5nGMc-Hi_GfRzjOkysLppxy9-0NLqie2PblZqFrMIS1kUwYOgaAr3dEALw_wcB2 points
-
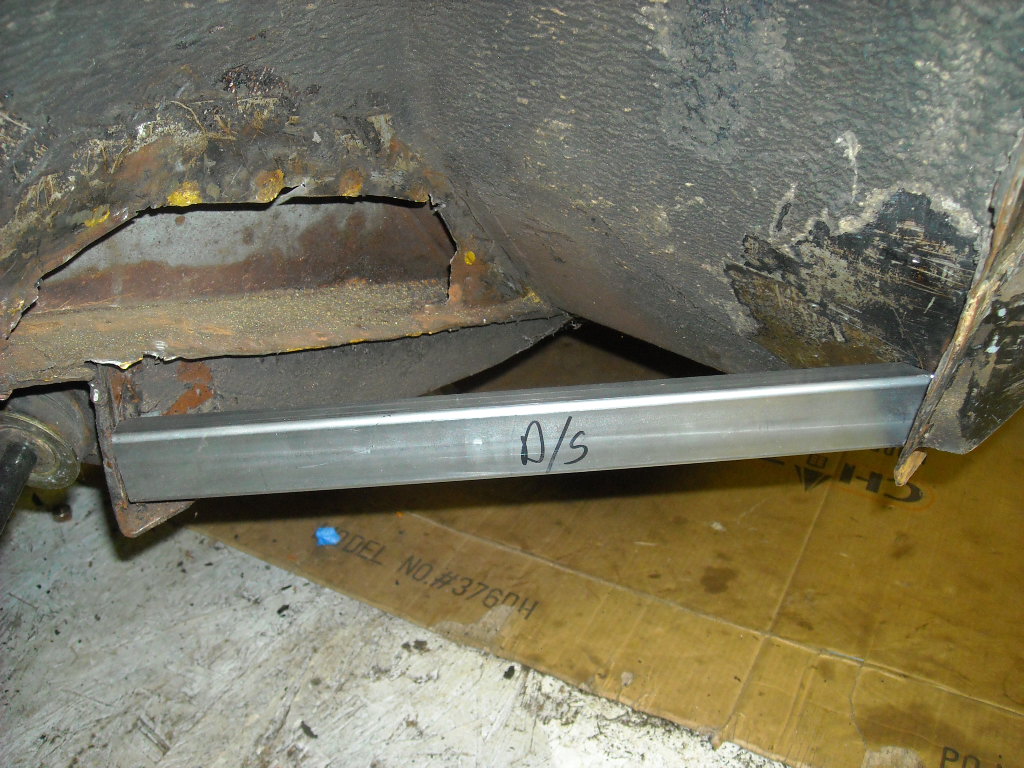
2 pointsI prefer flux-core for welding rusty, crusty or plated thicker steel. This paper thin sheet metal, if properly cleaned and has minimal gaps is best welded with a MIG using Argon or a Argon-CO2 mix if TIG is not an option.2 points
-
2 pointsFlux core is not the way to make this repair in my opinion. You need gas and mig with a decent duty cycle. If you're burning holes, then your current is too high or the metal is too thin. A welder with too low a duty cycle can also do this when overworked2 points
-
2 pointsI swear I must have jinxed myself...Why would the orange connector go to the grey sensor?! Anyways...30 seconds at the ecu terminal lead me to no readings for the water temp sensor. I saw I chose the wrong connector 😅 Now we have accurate resistance for ambient temp! This is likely my issue but I'll need to wait a couple hours before I fire her up as I am waiting for a gasket to dry. While out there I saw your comment @Zed Head and popped open the TPS cover. I do get contact at idle with the right pin and giving slight throttle moves to the middle. Tested at the ecu terminal to be sure as well. Thanks for the tip!2 points
-
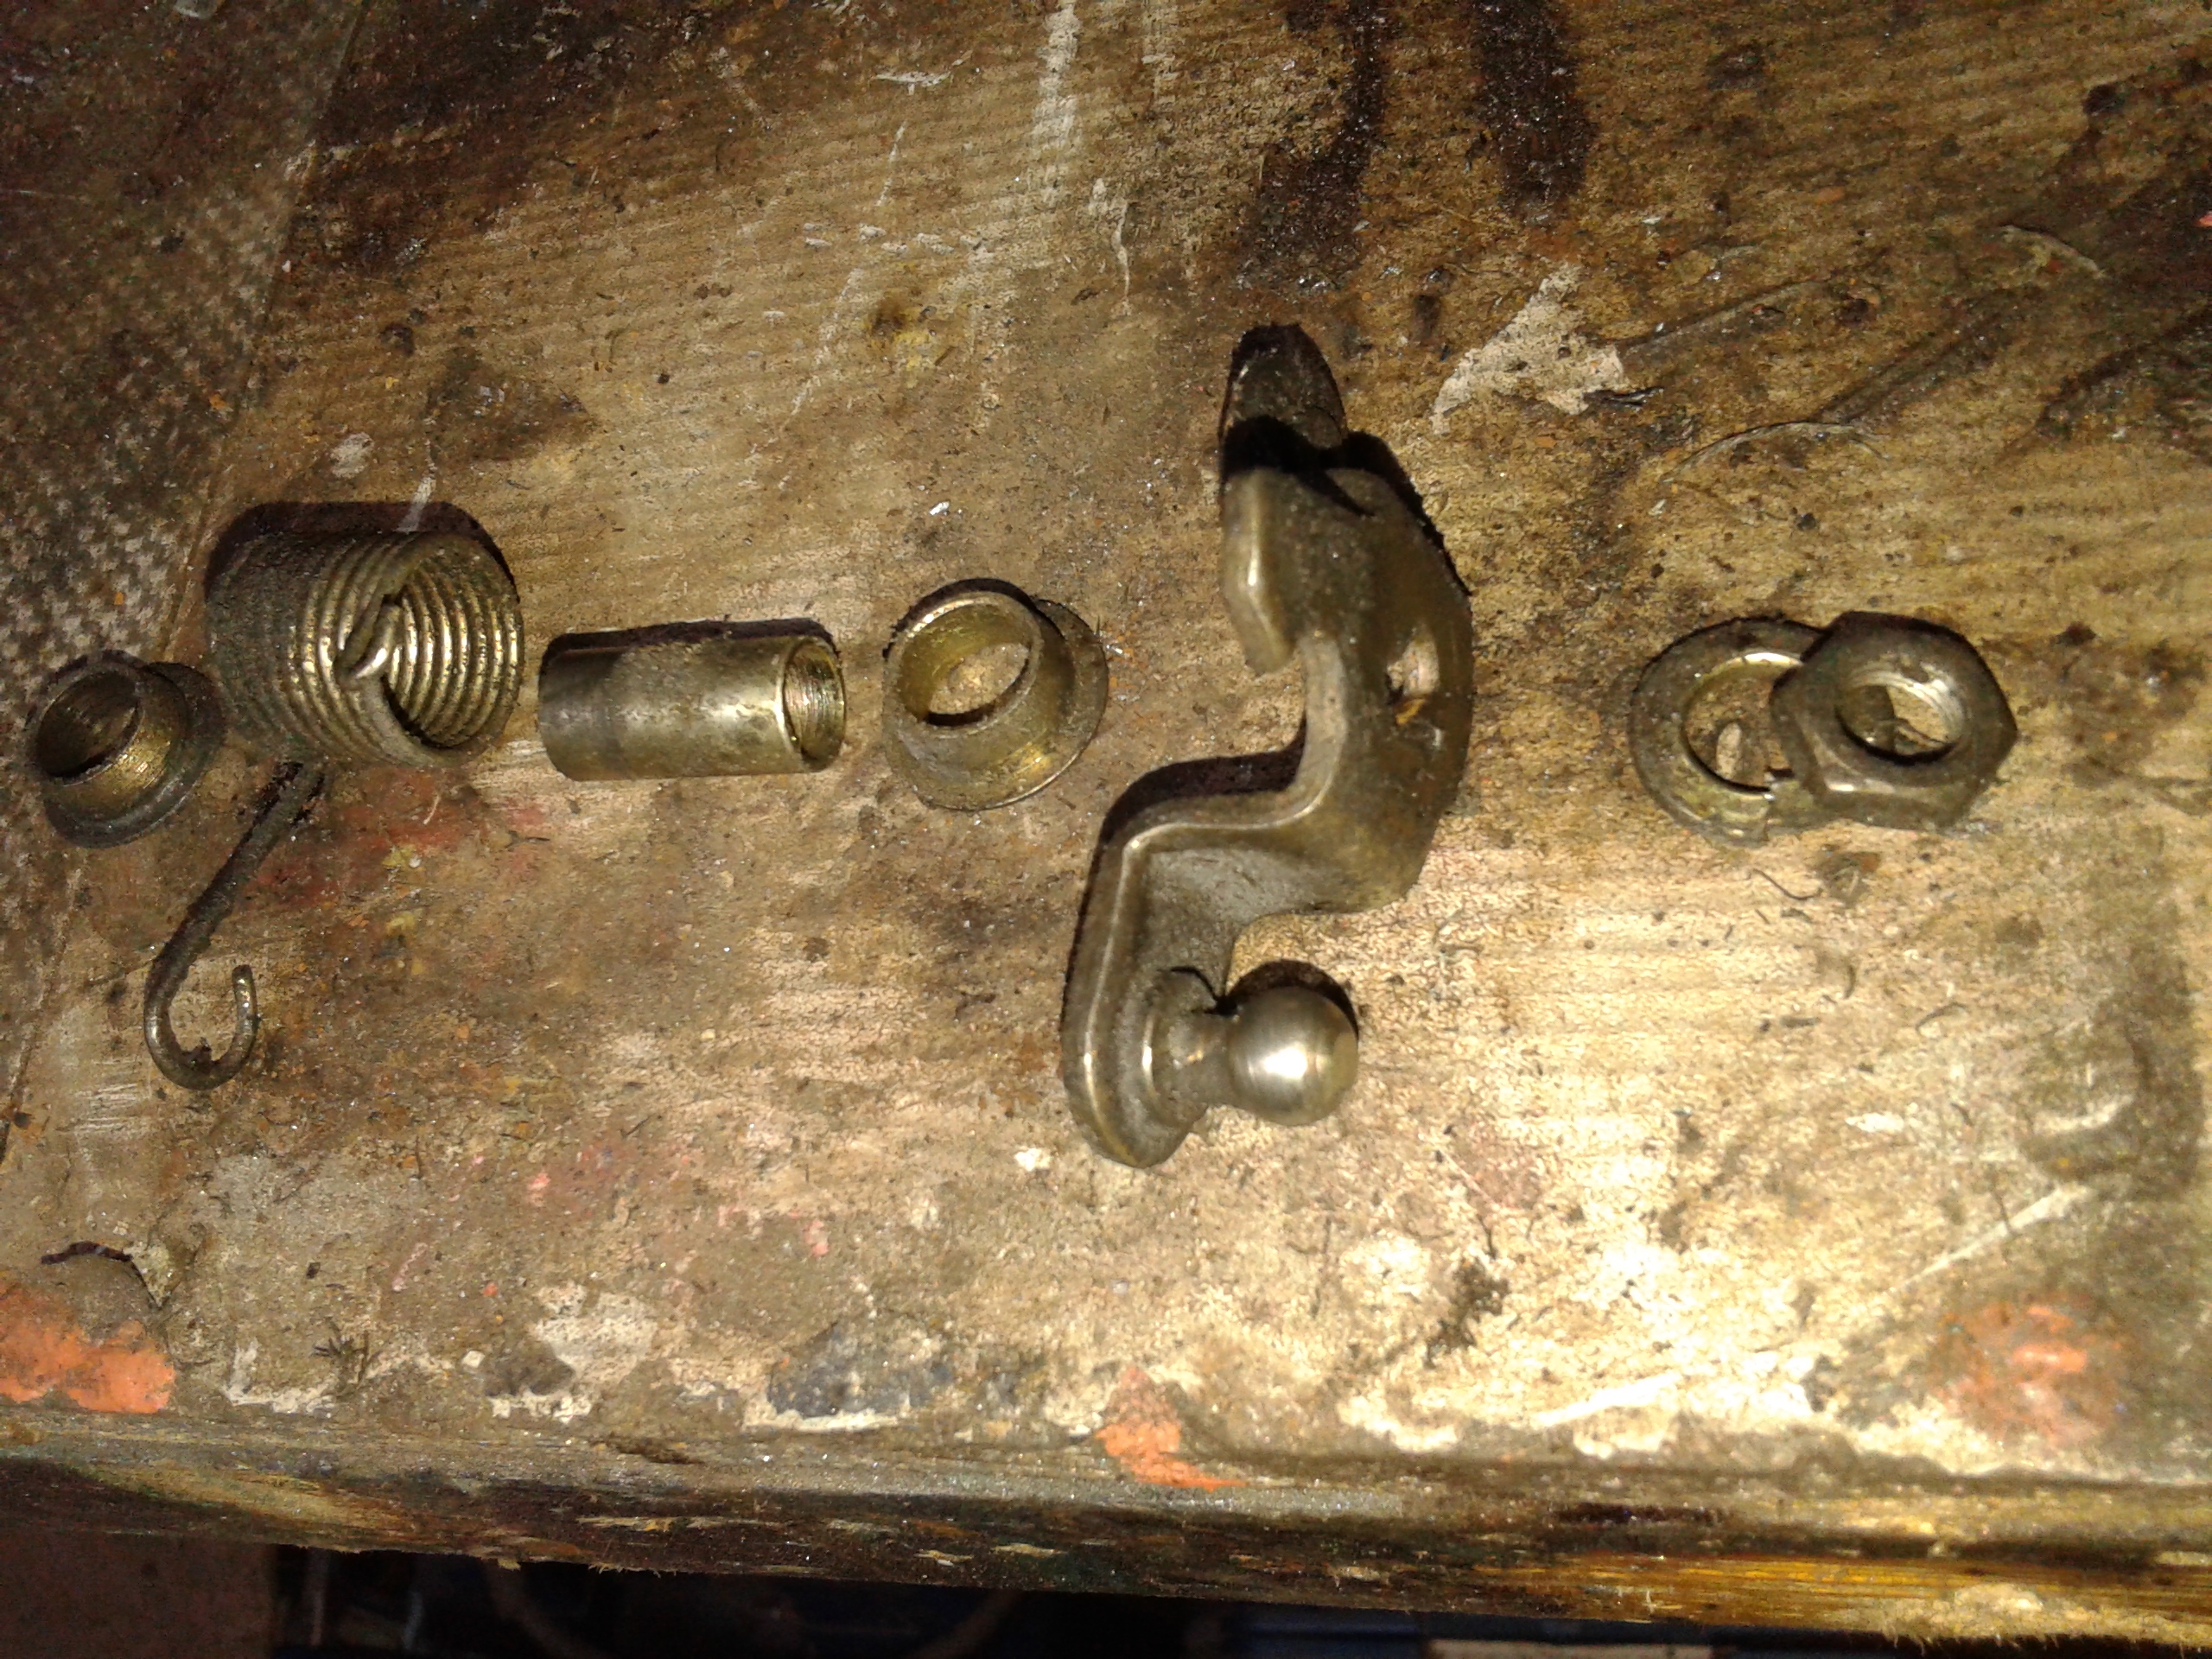
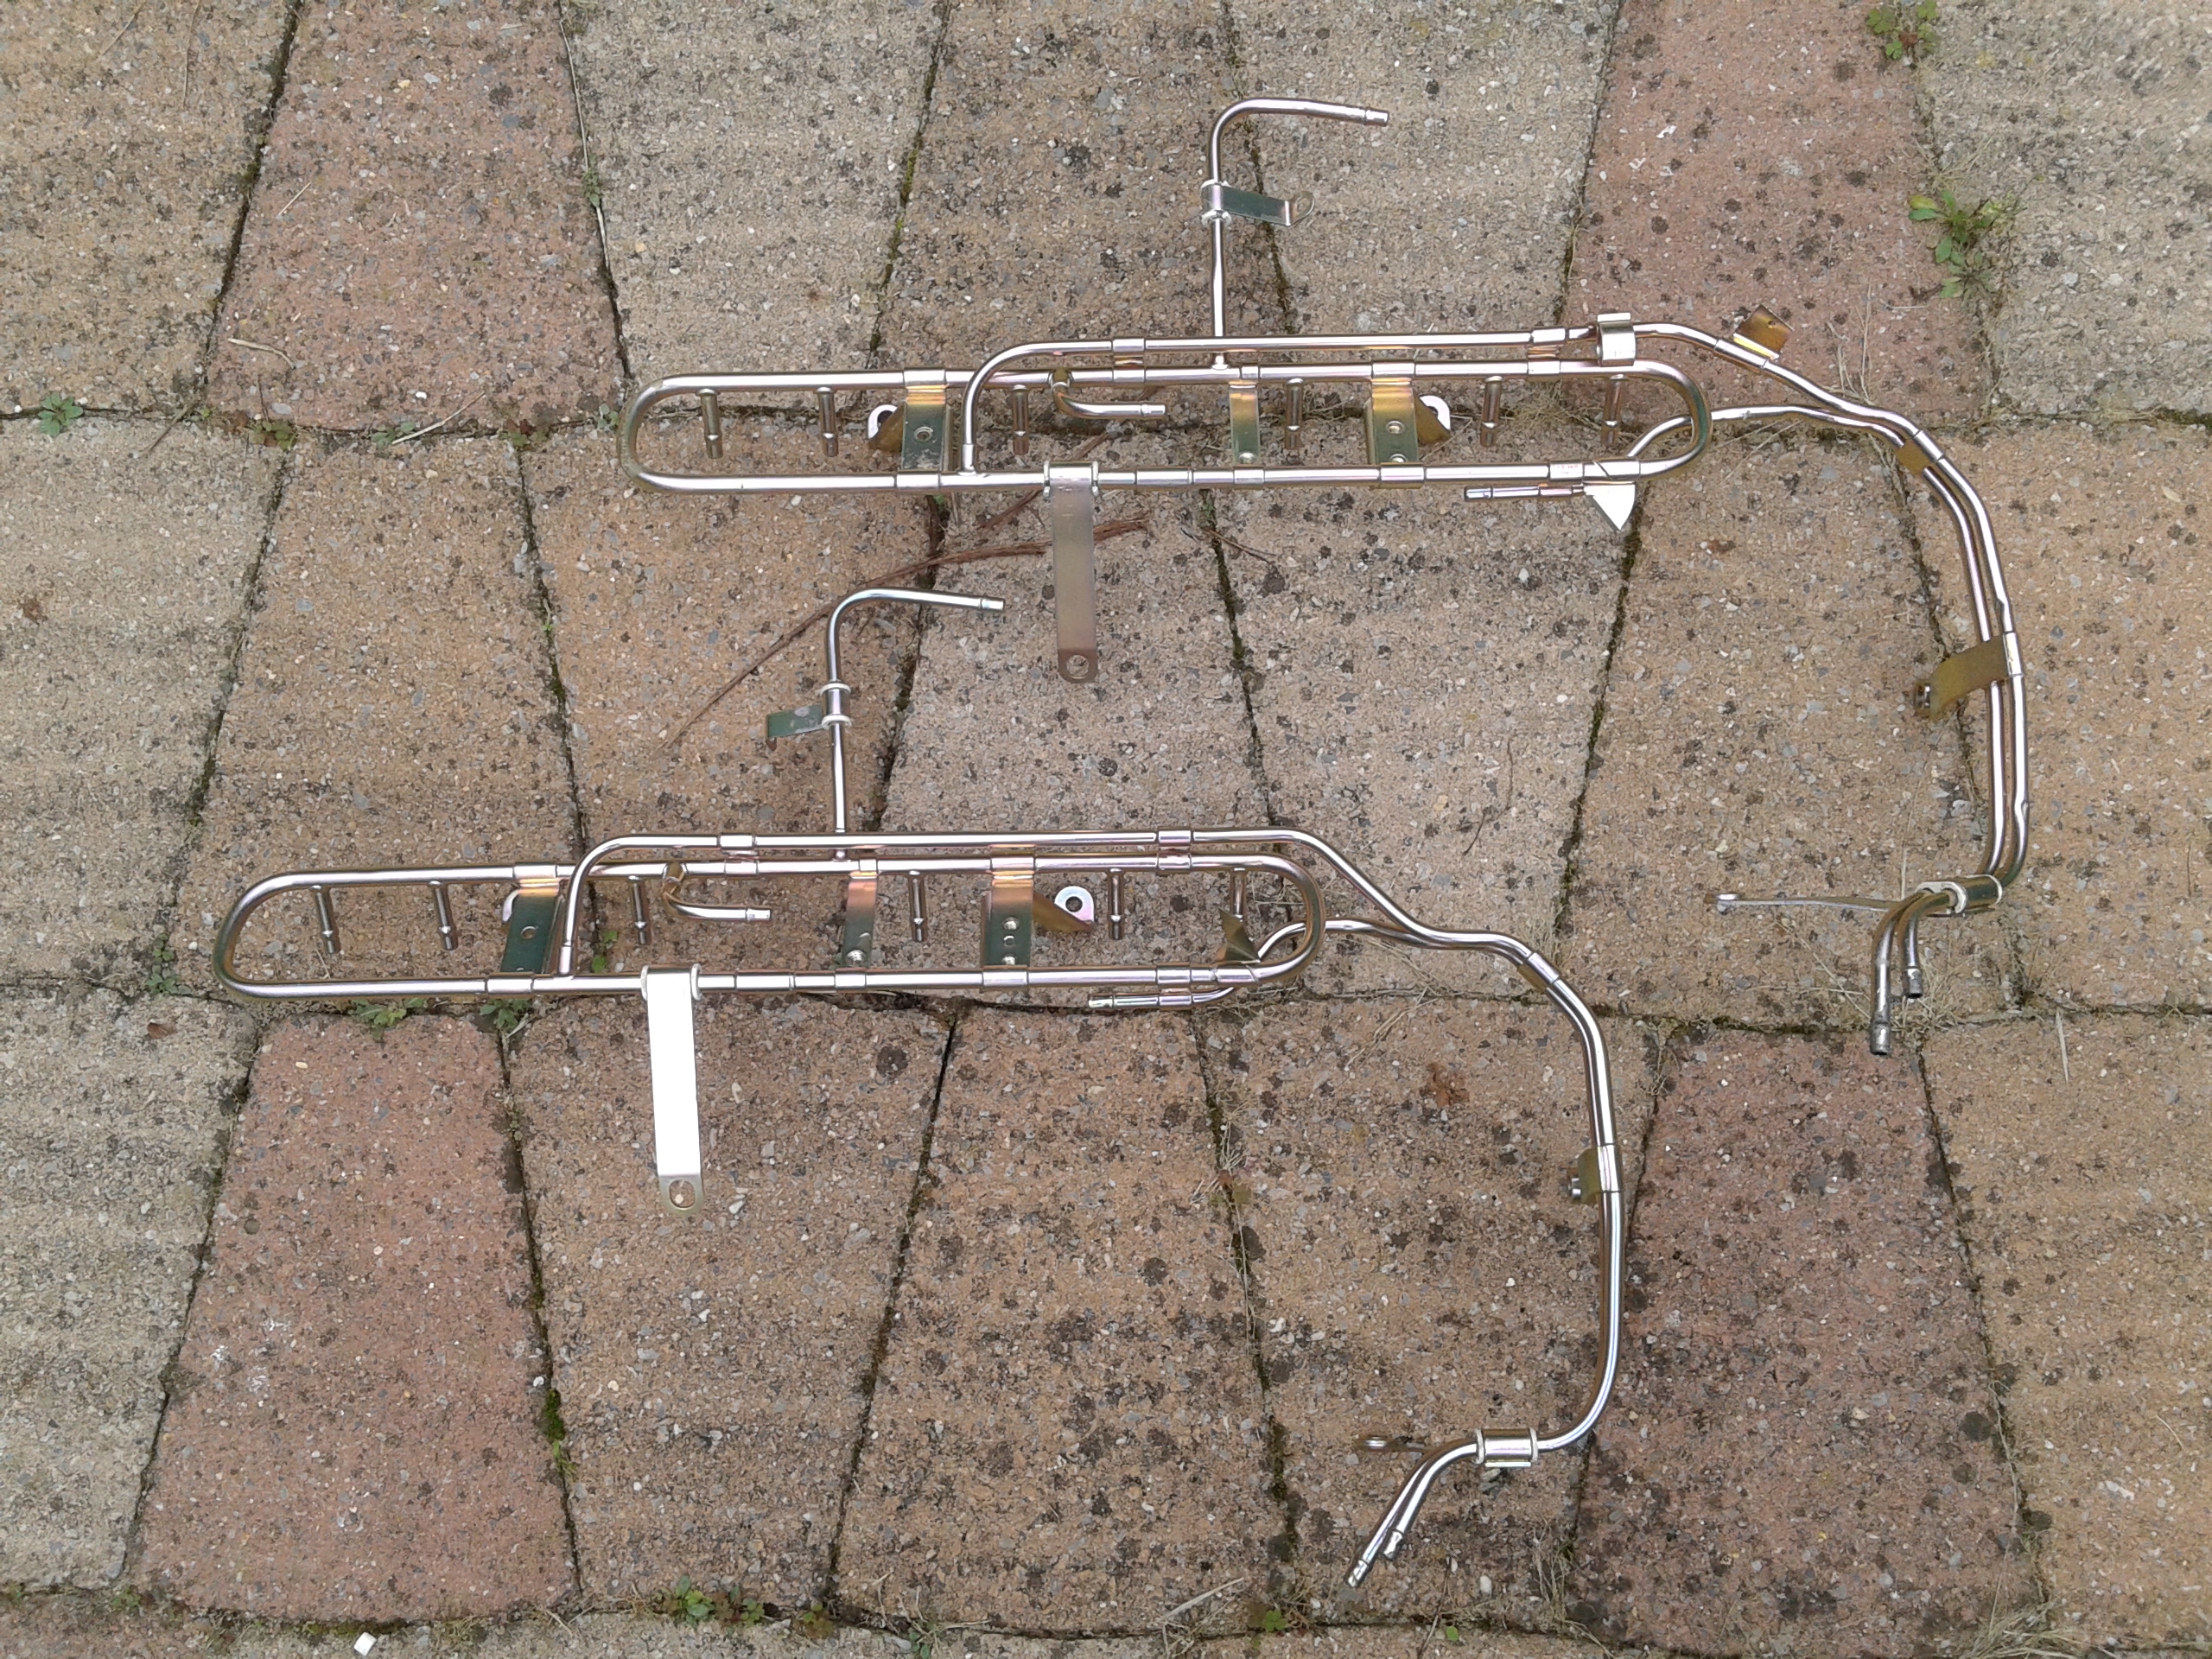
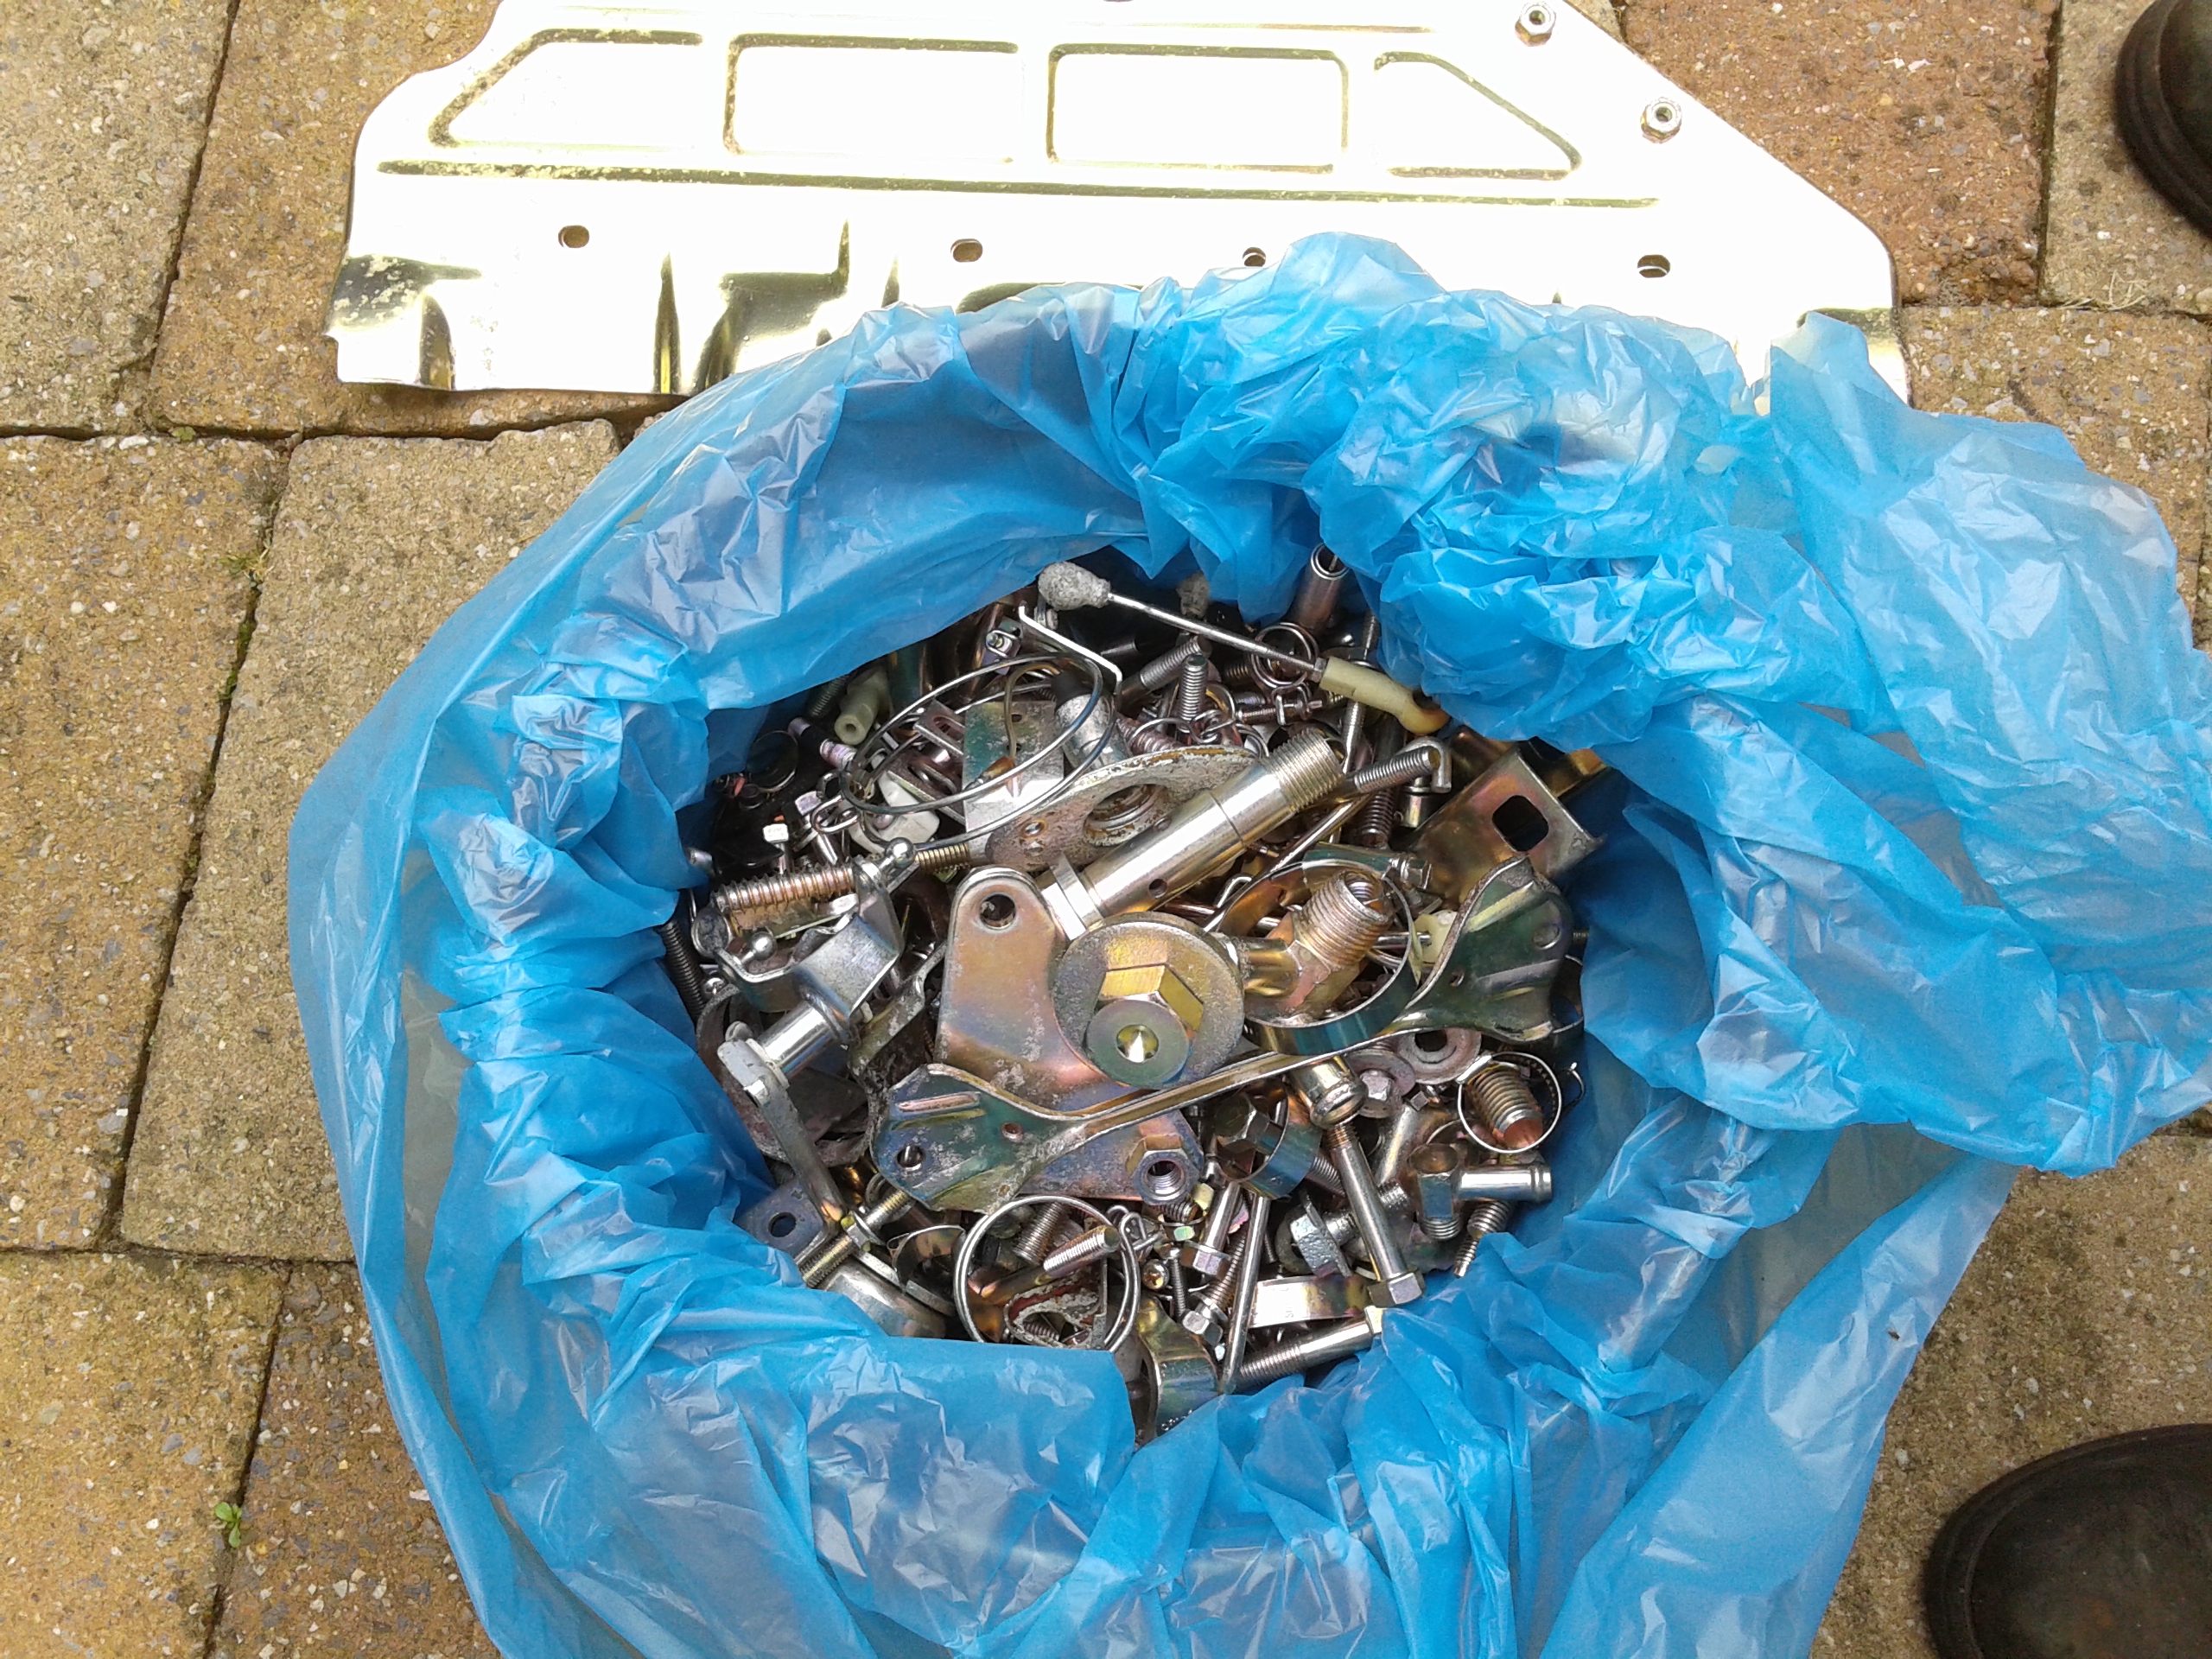
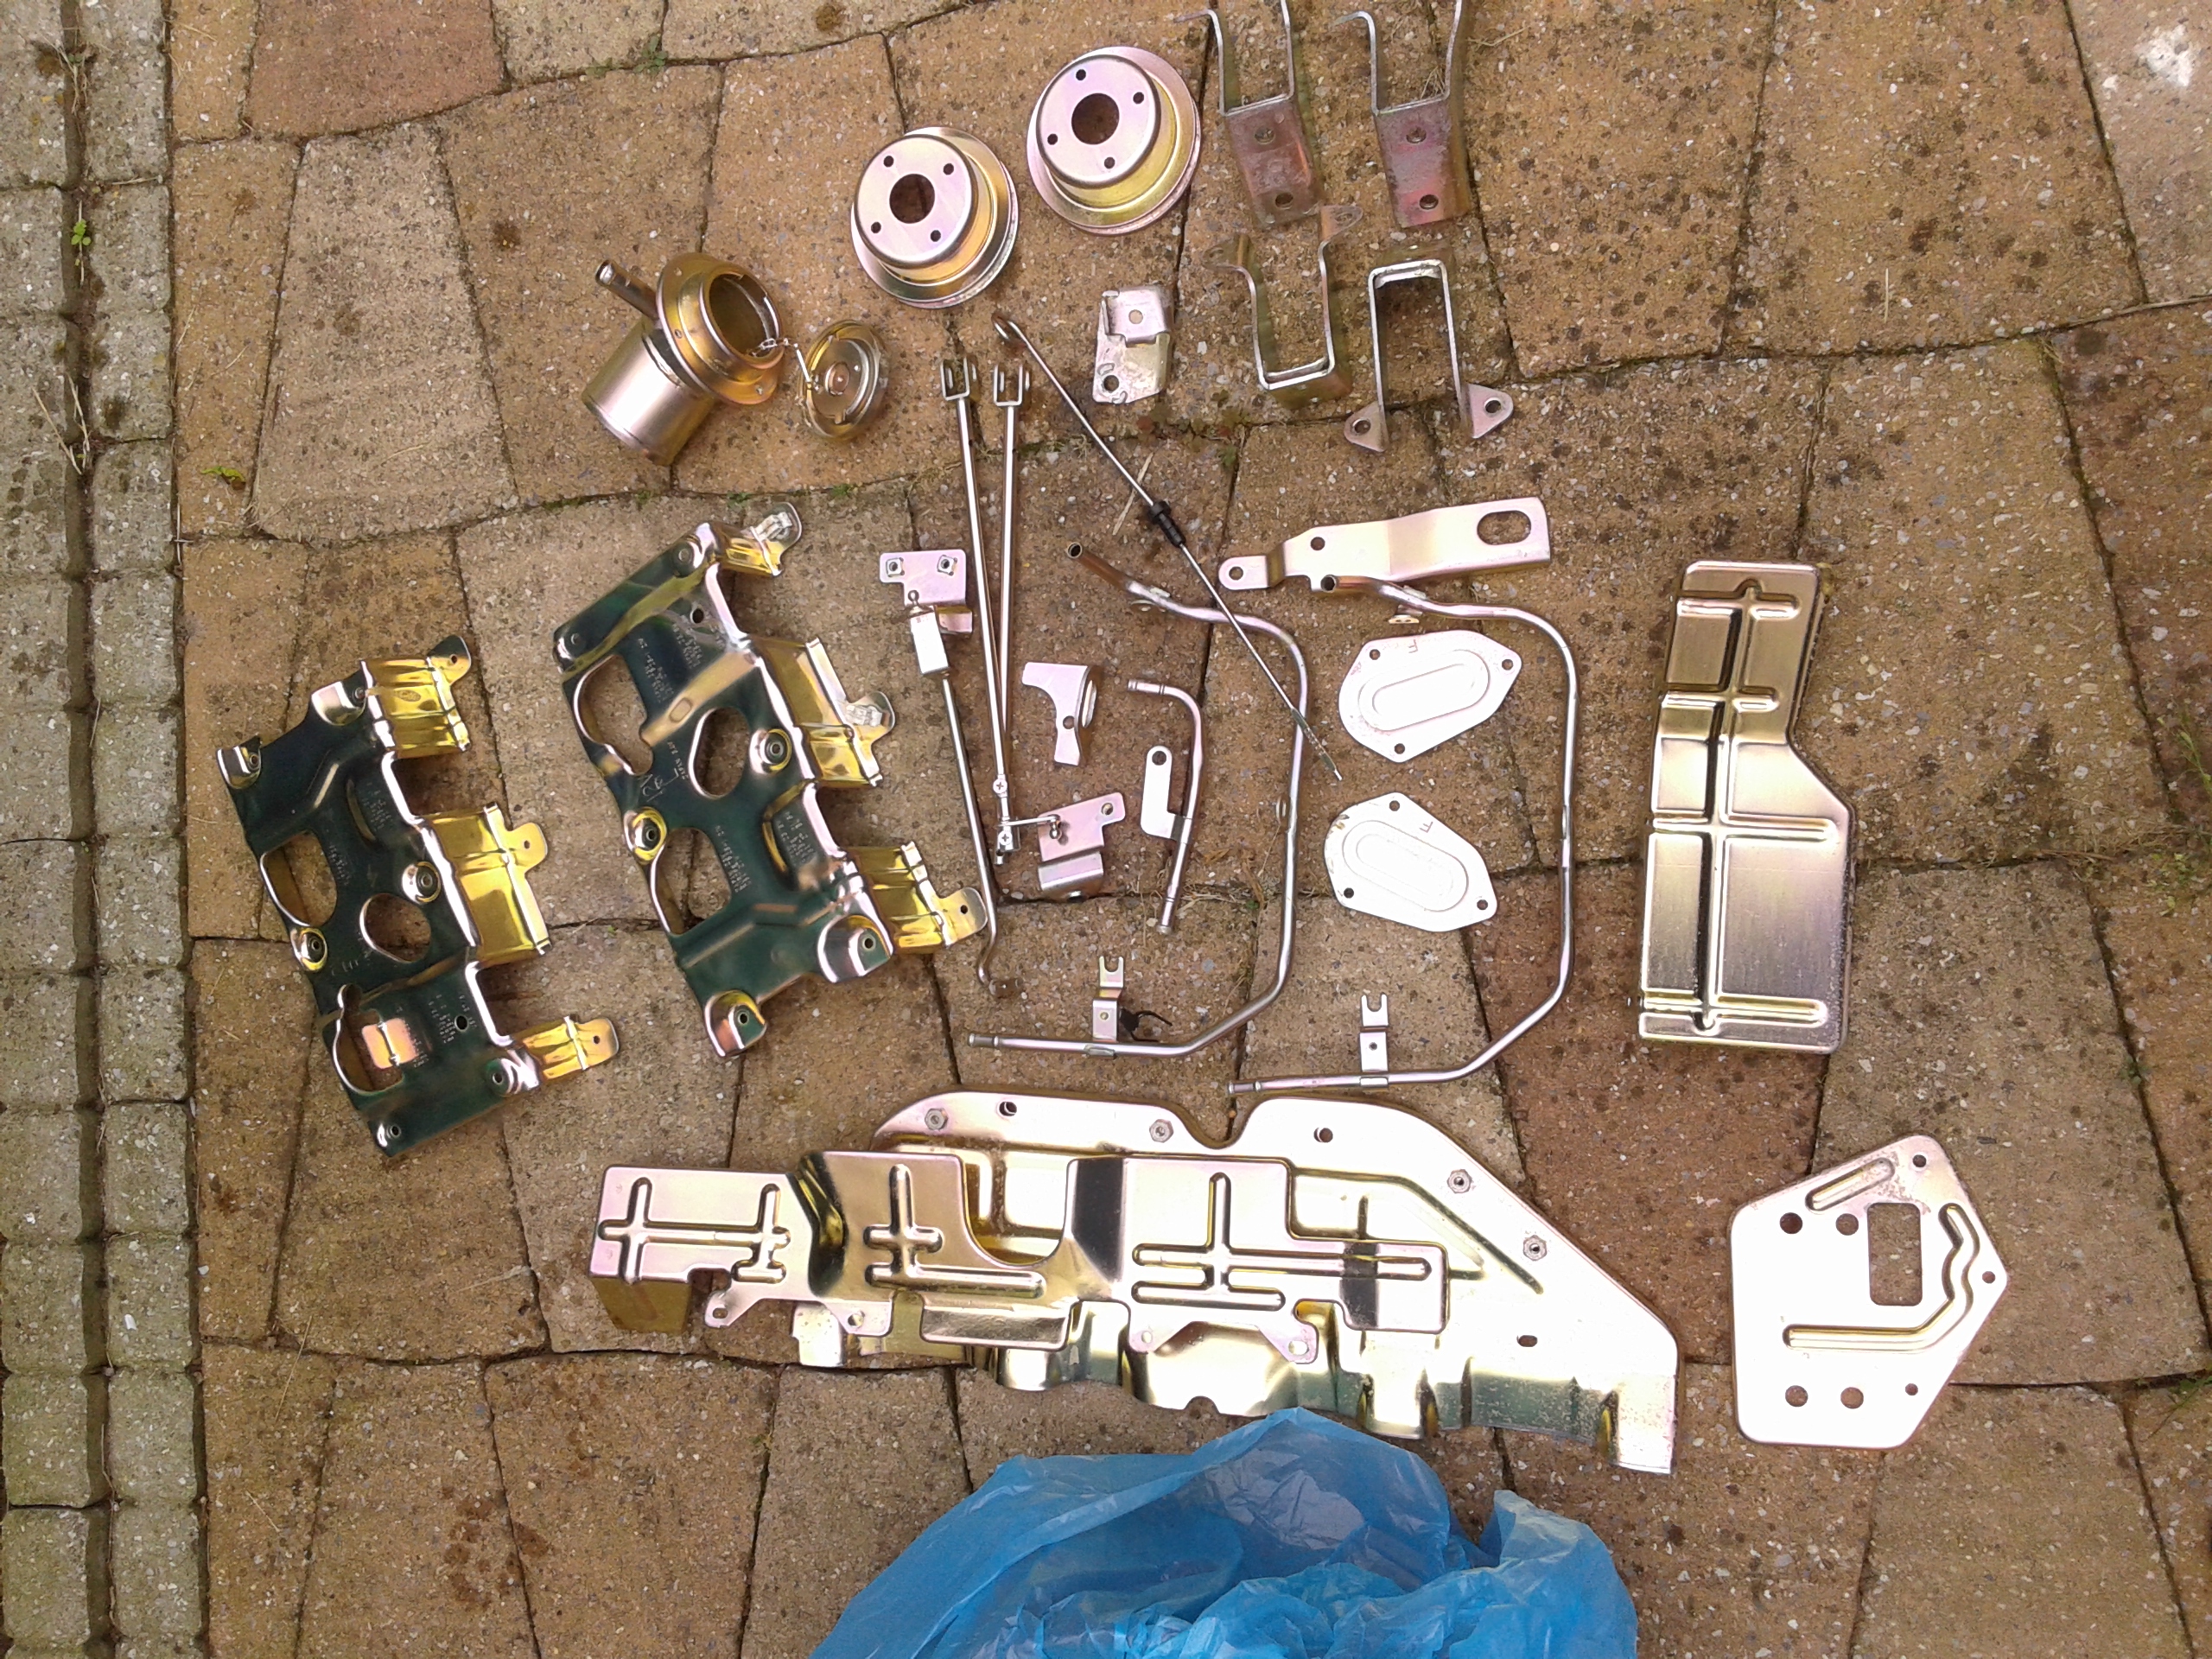
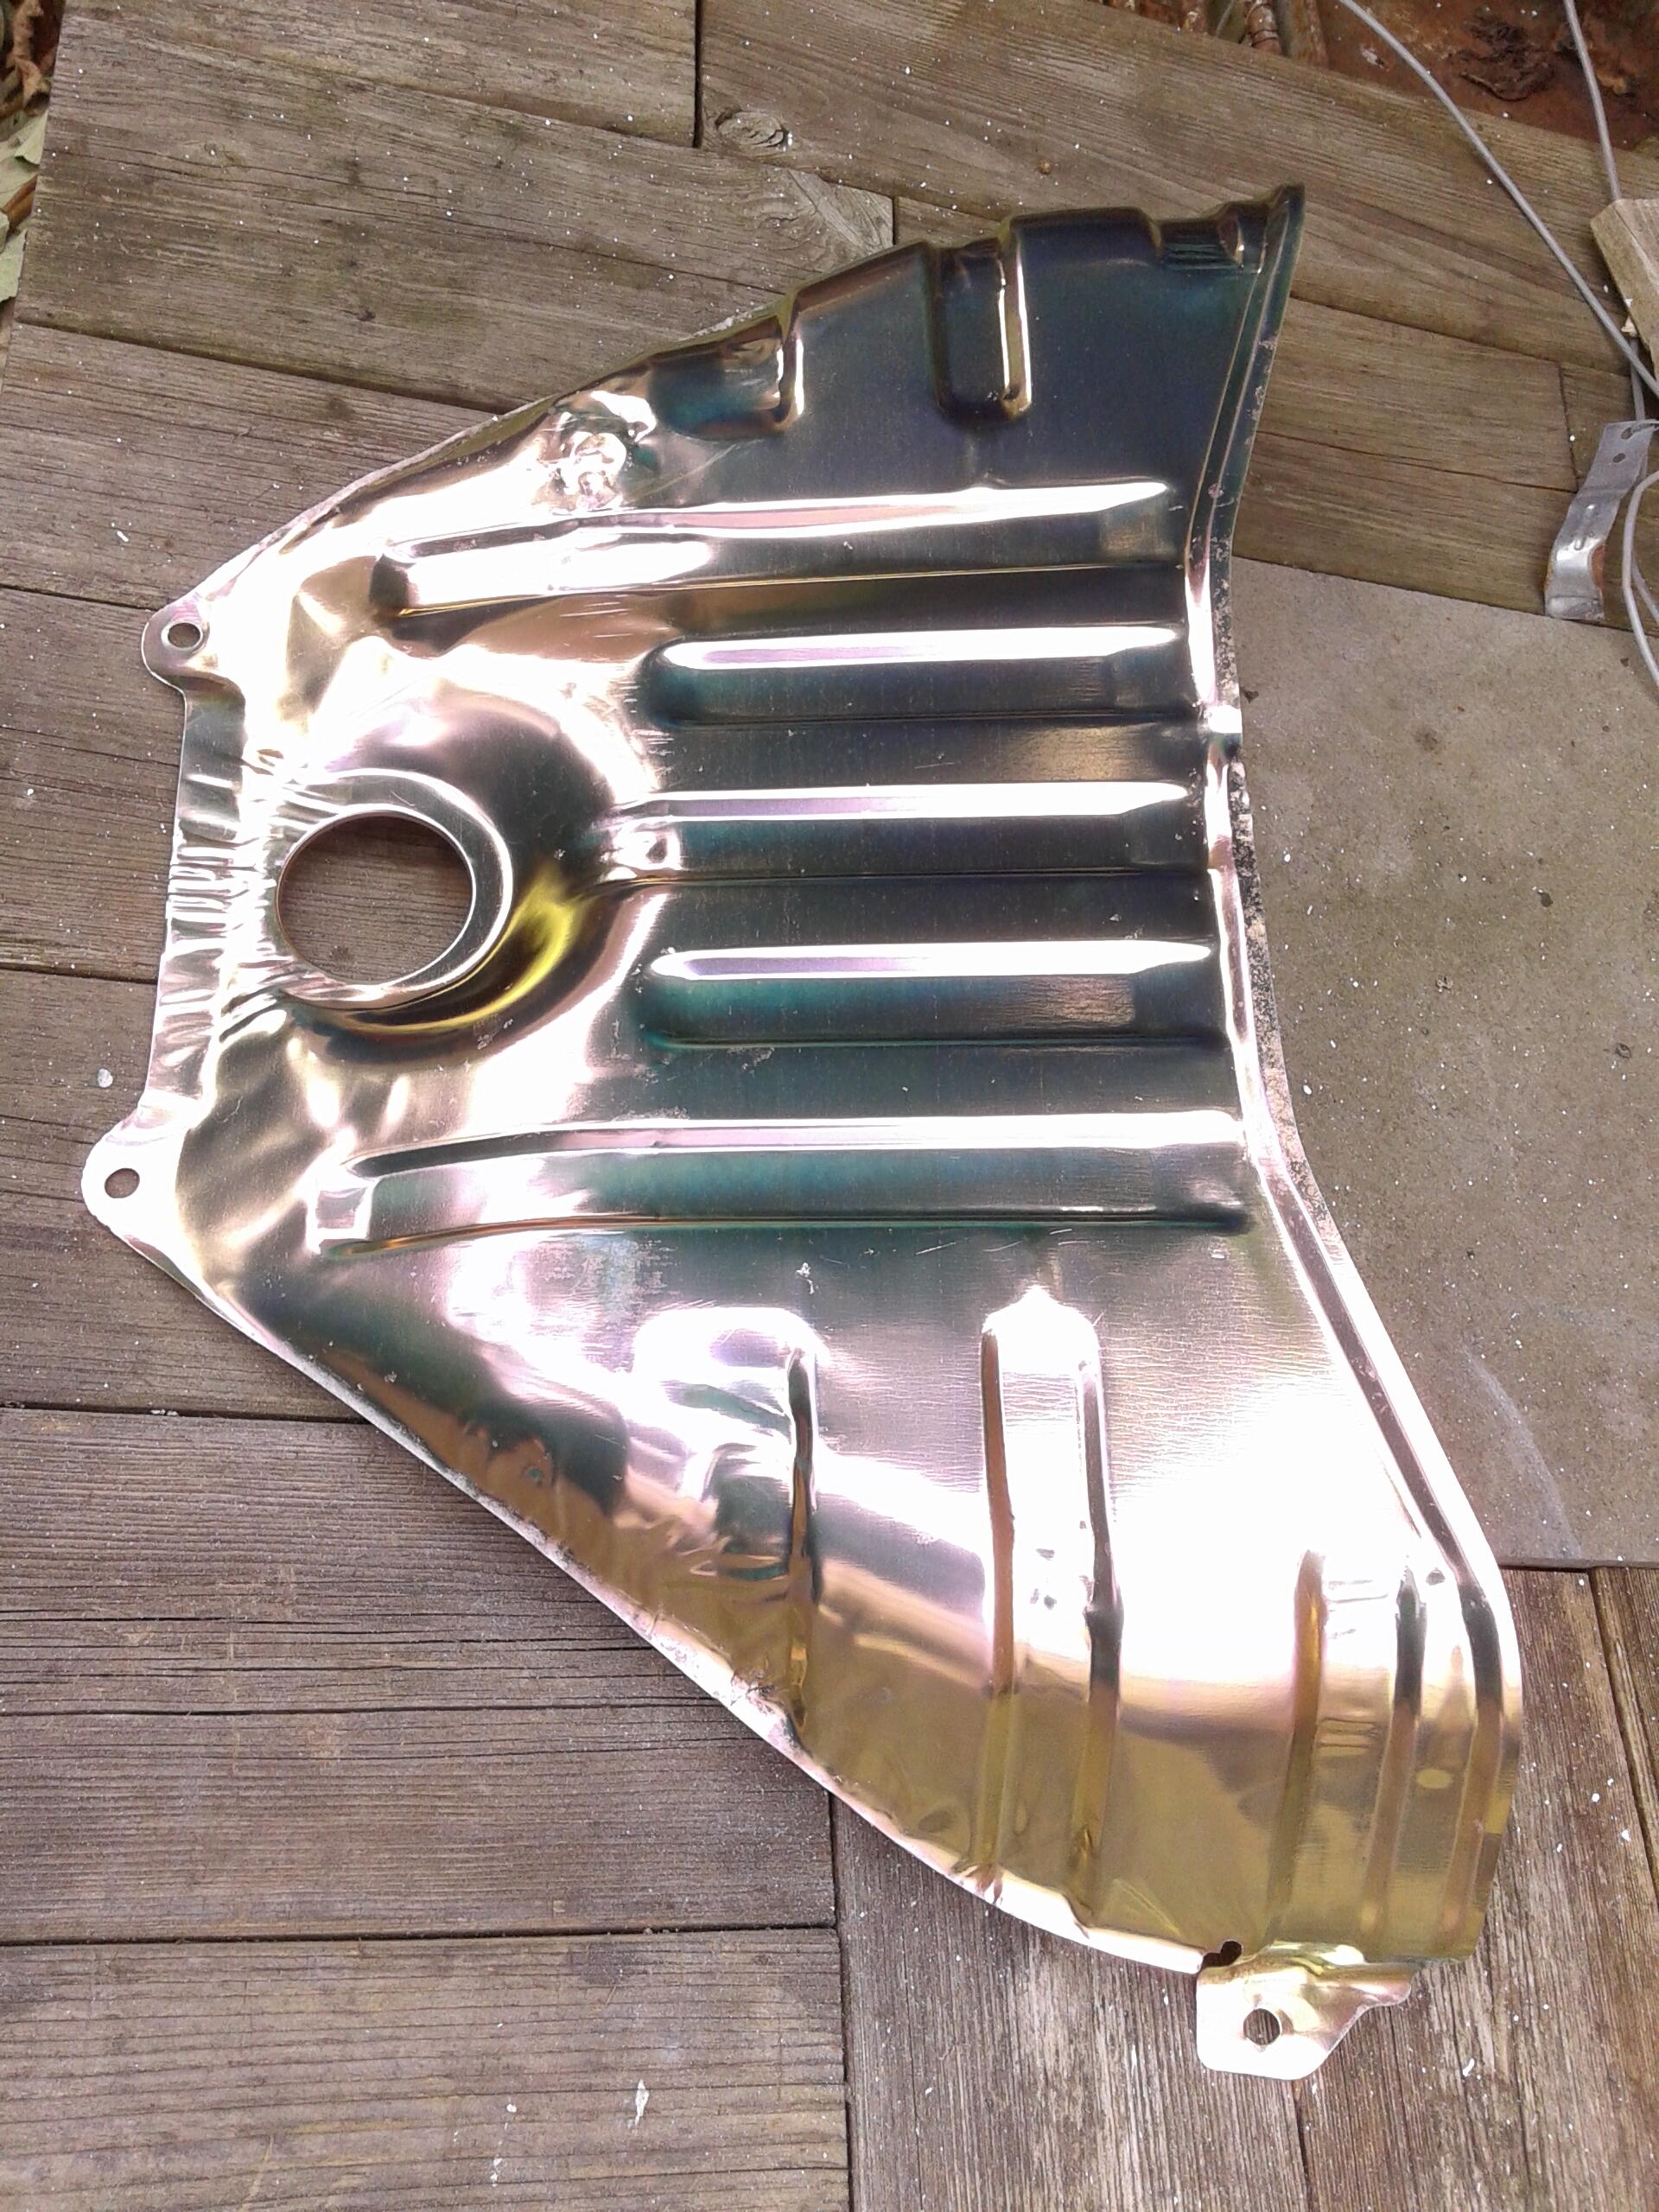
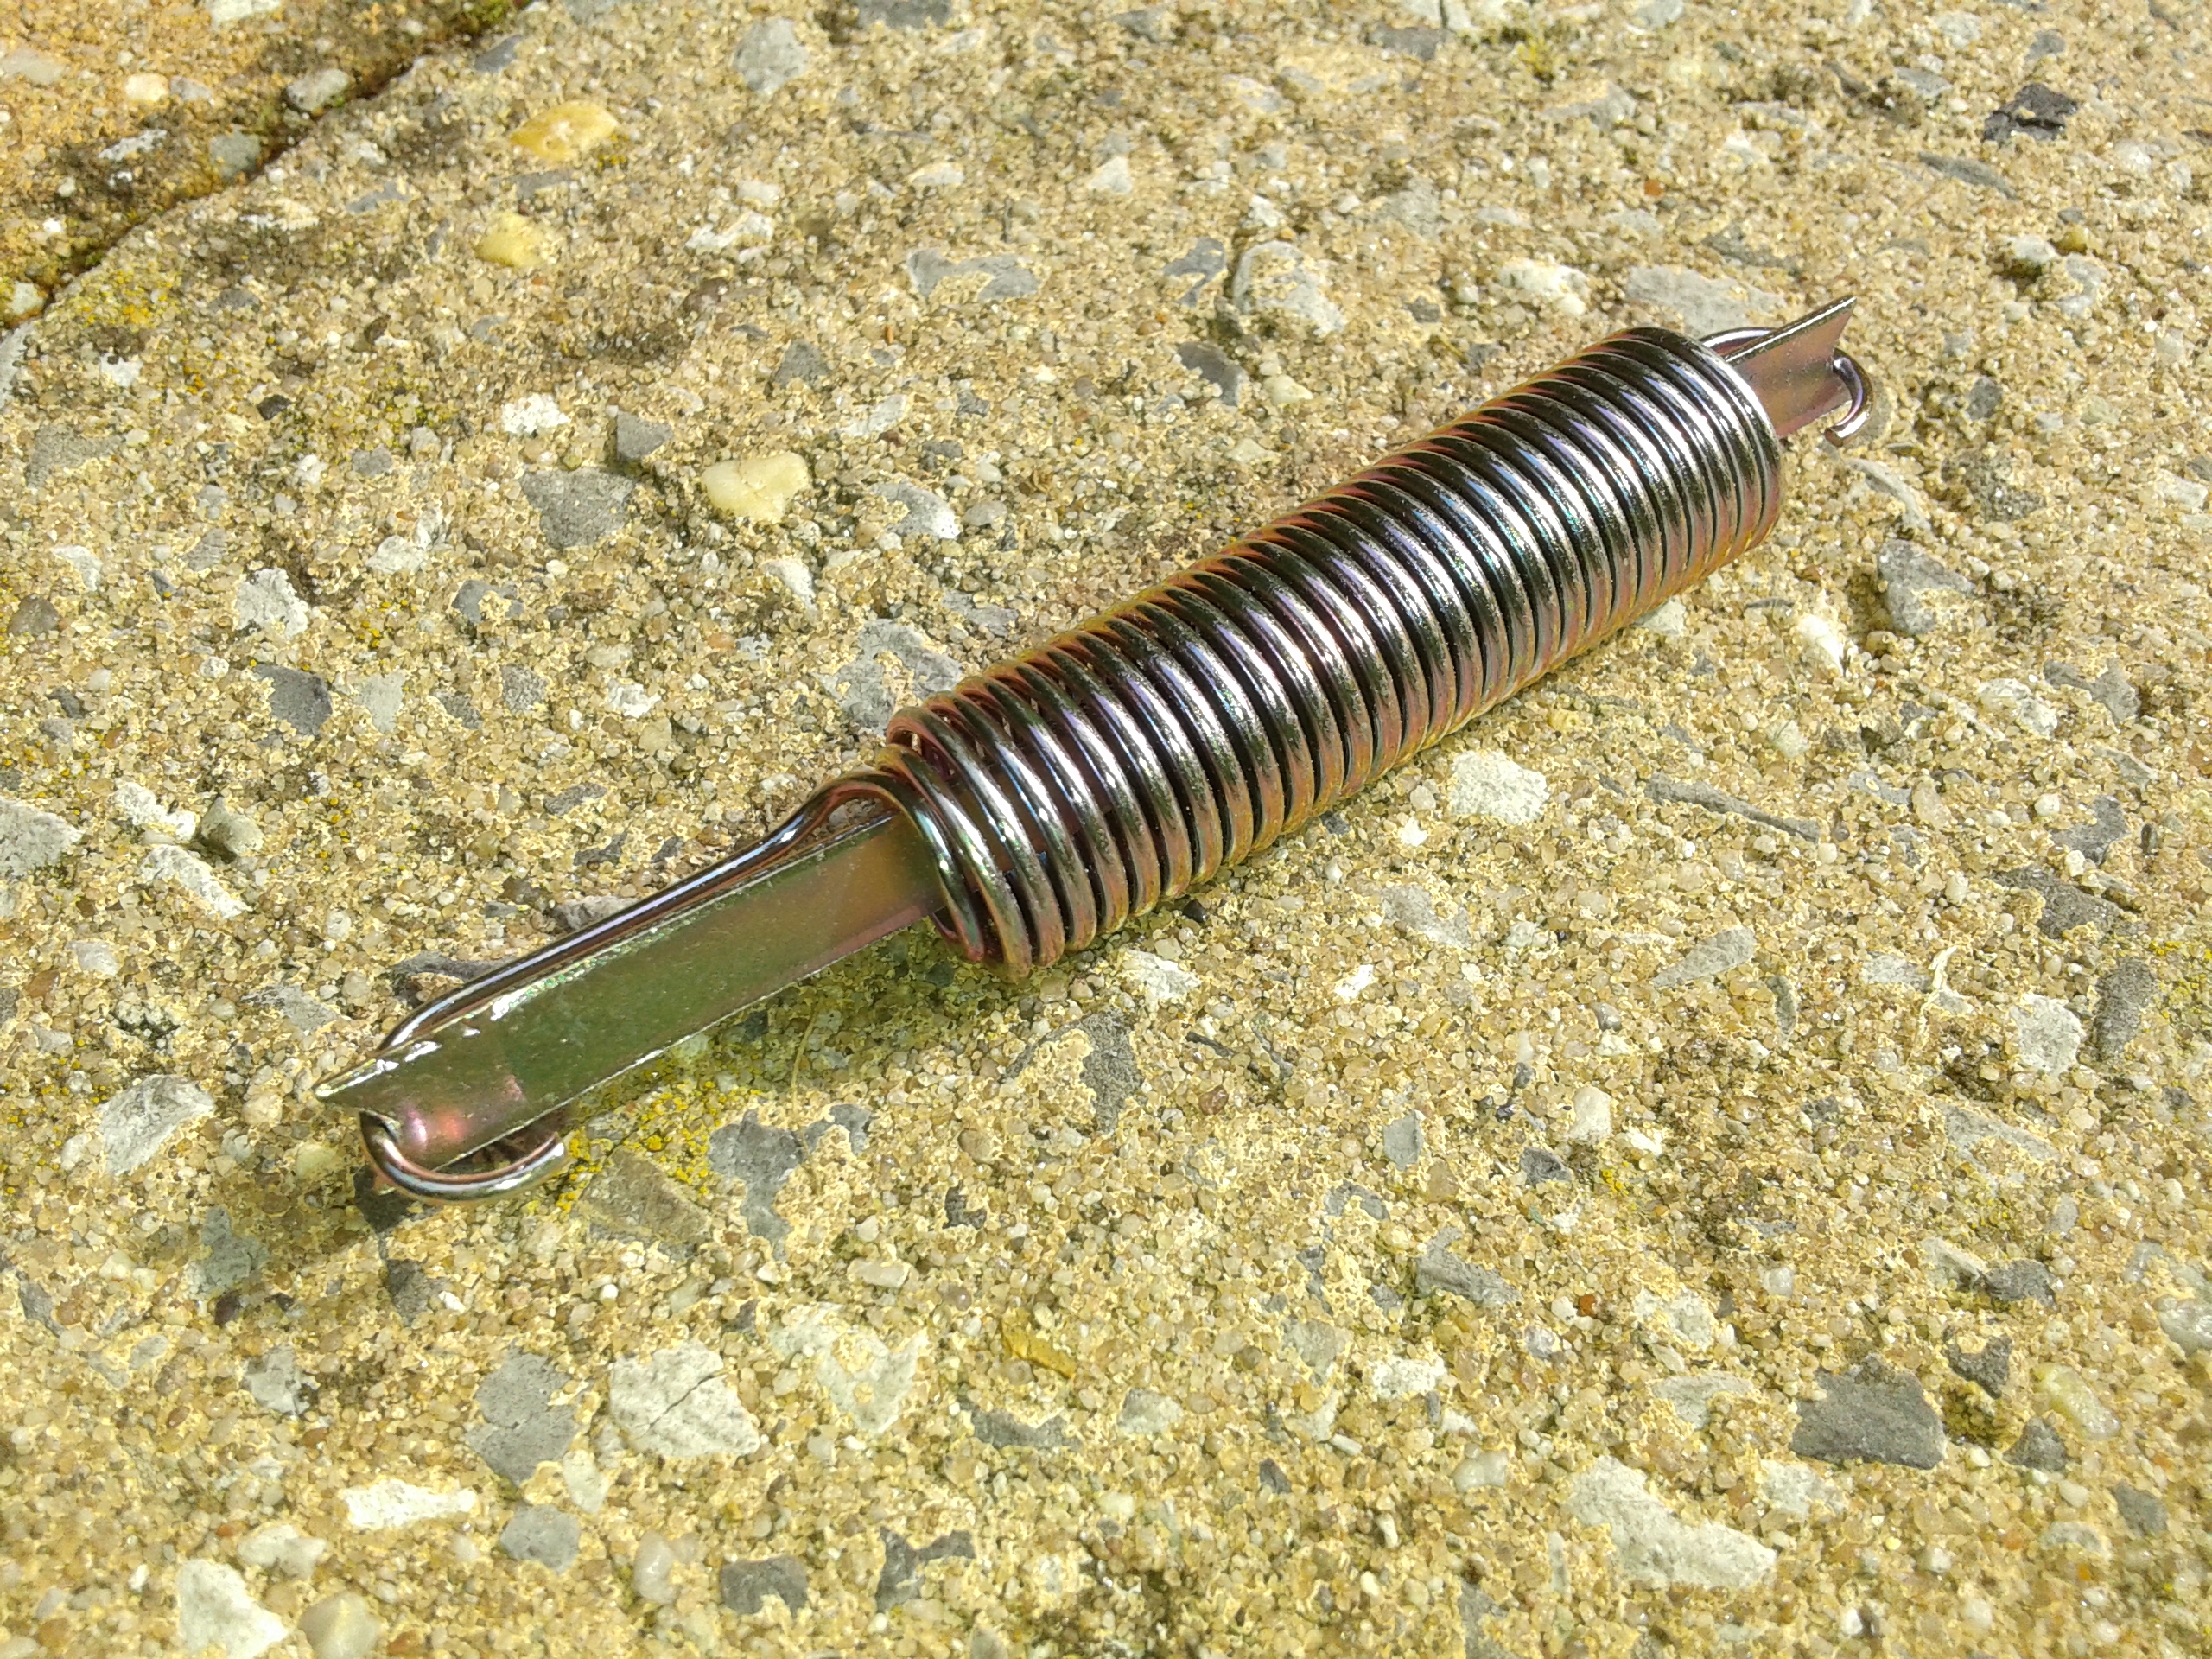
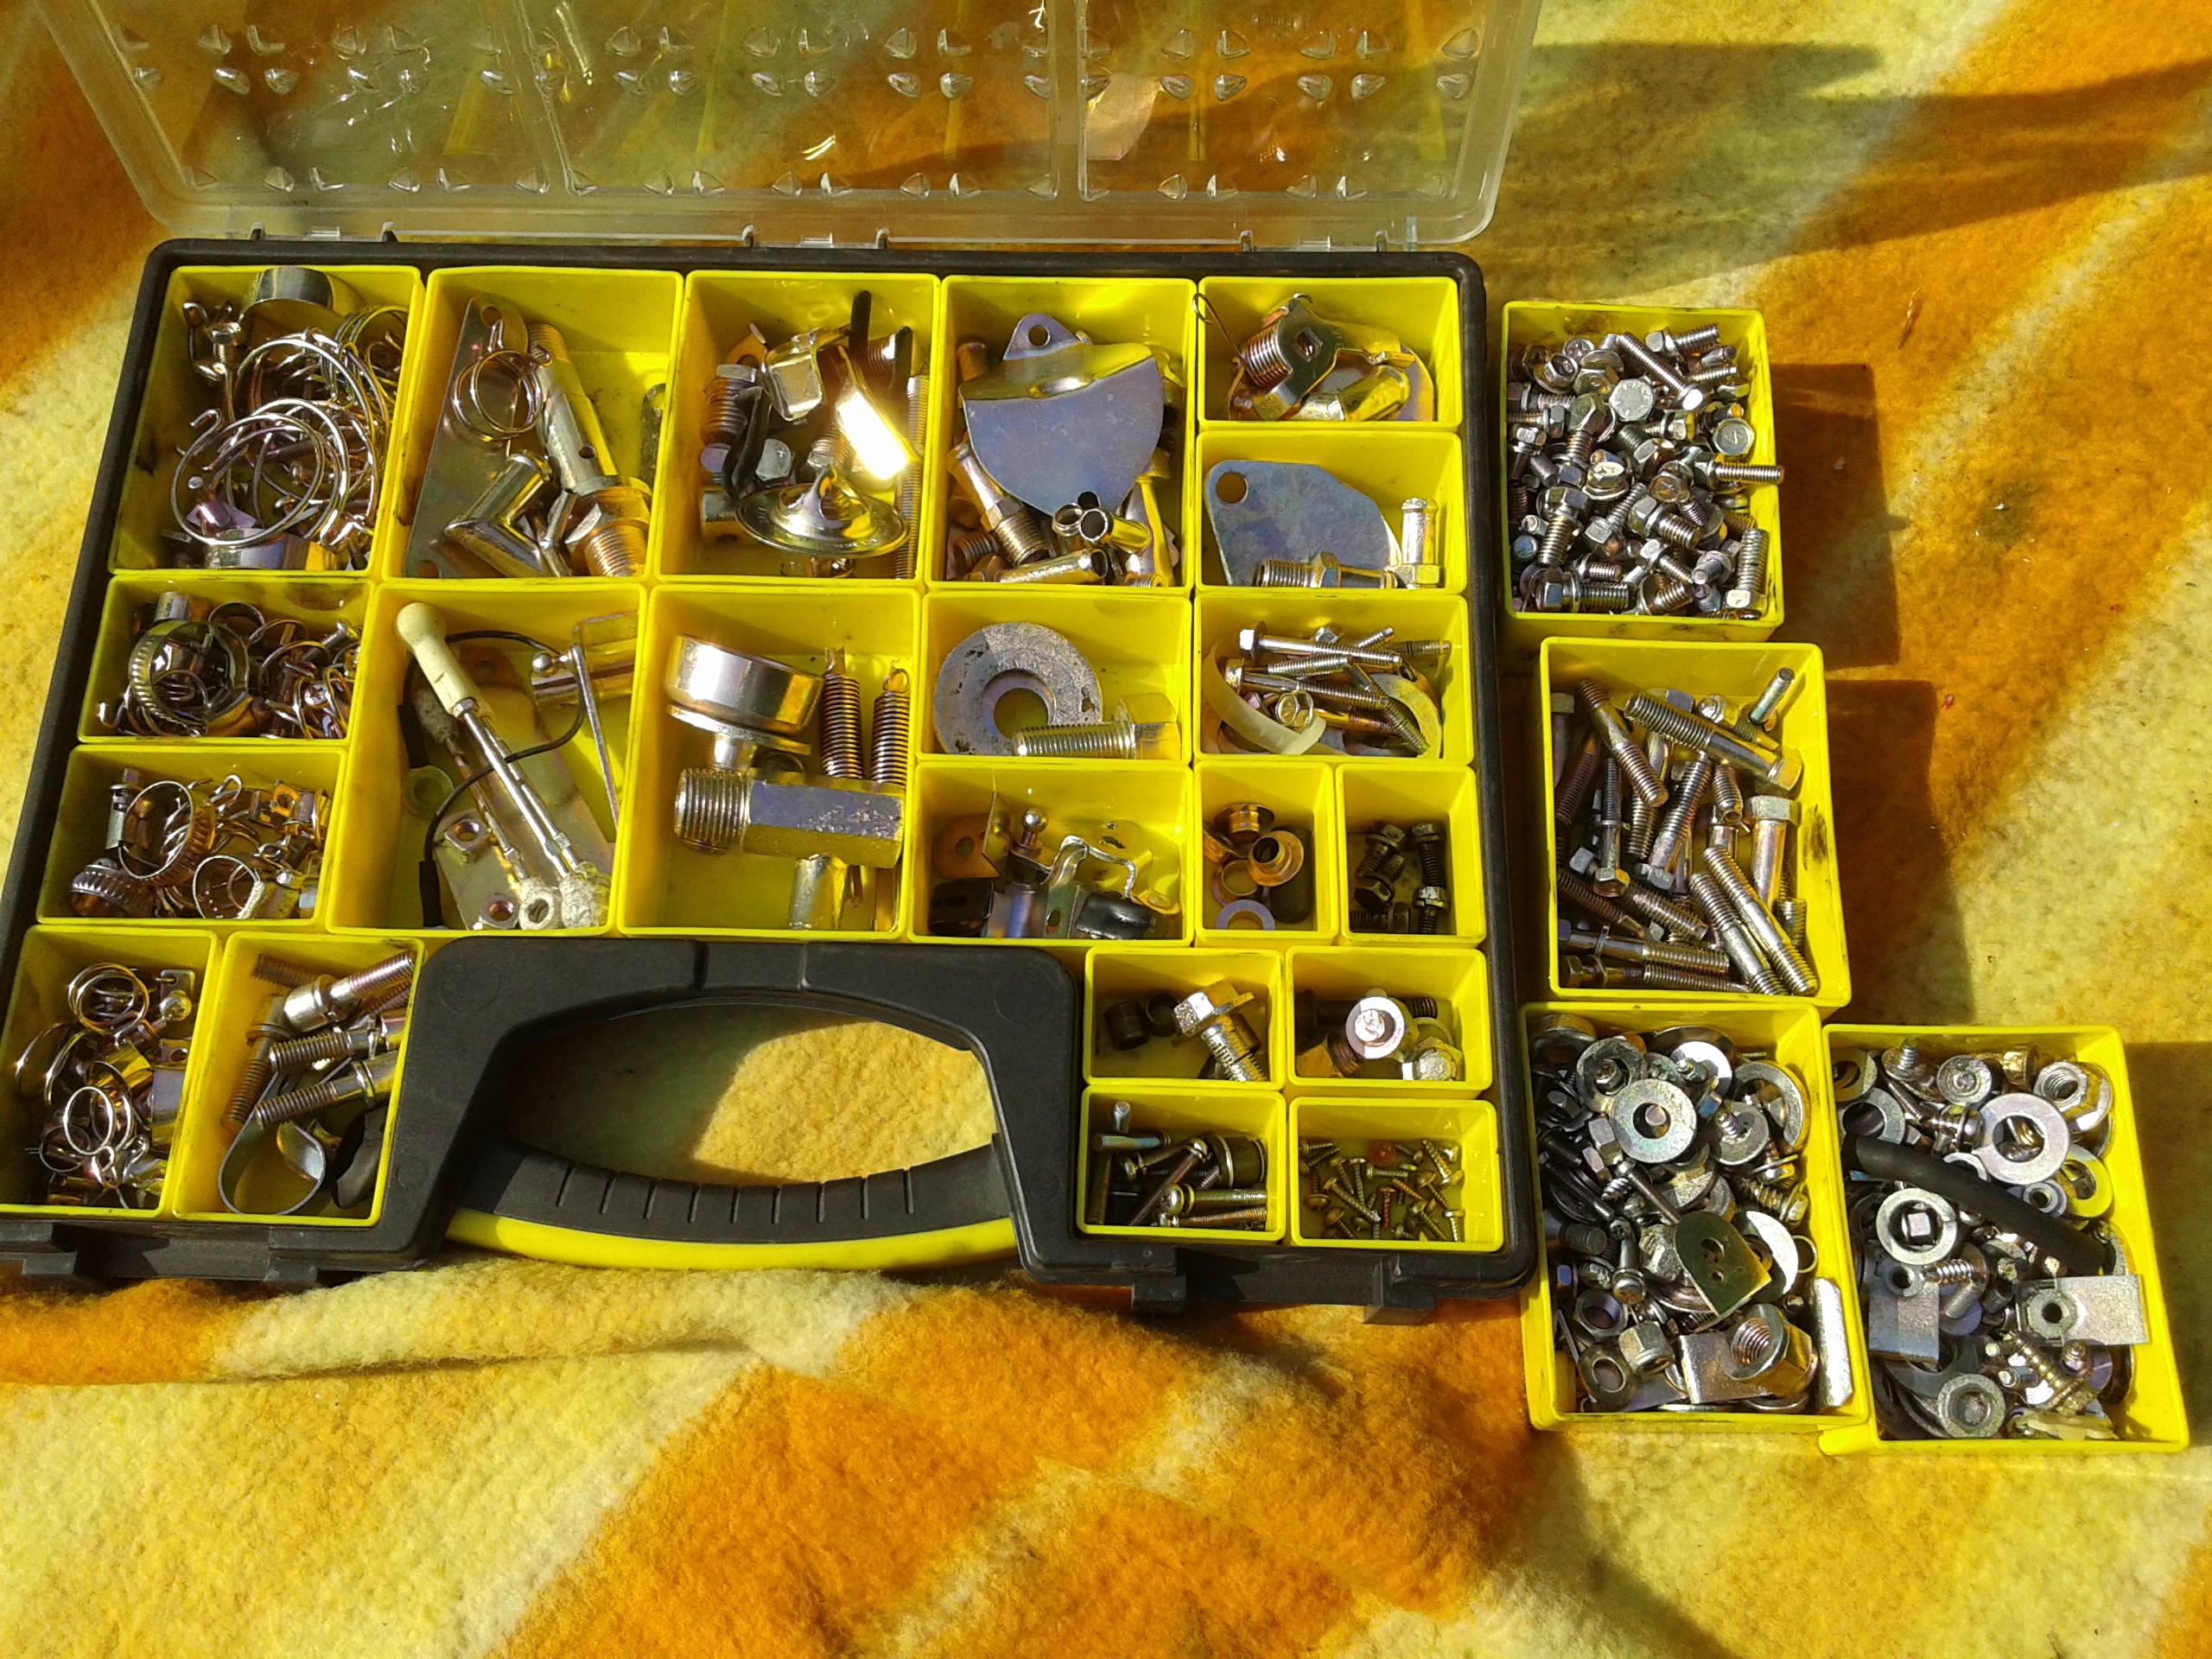
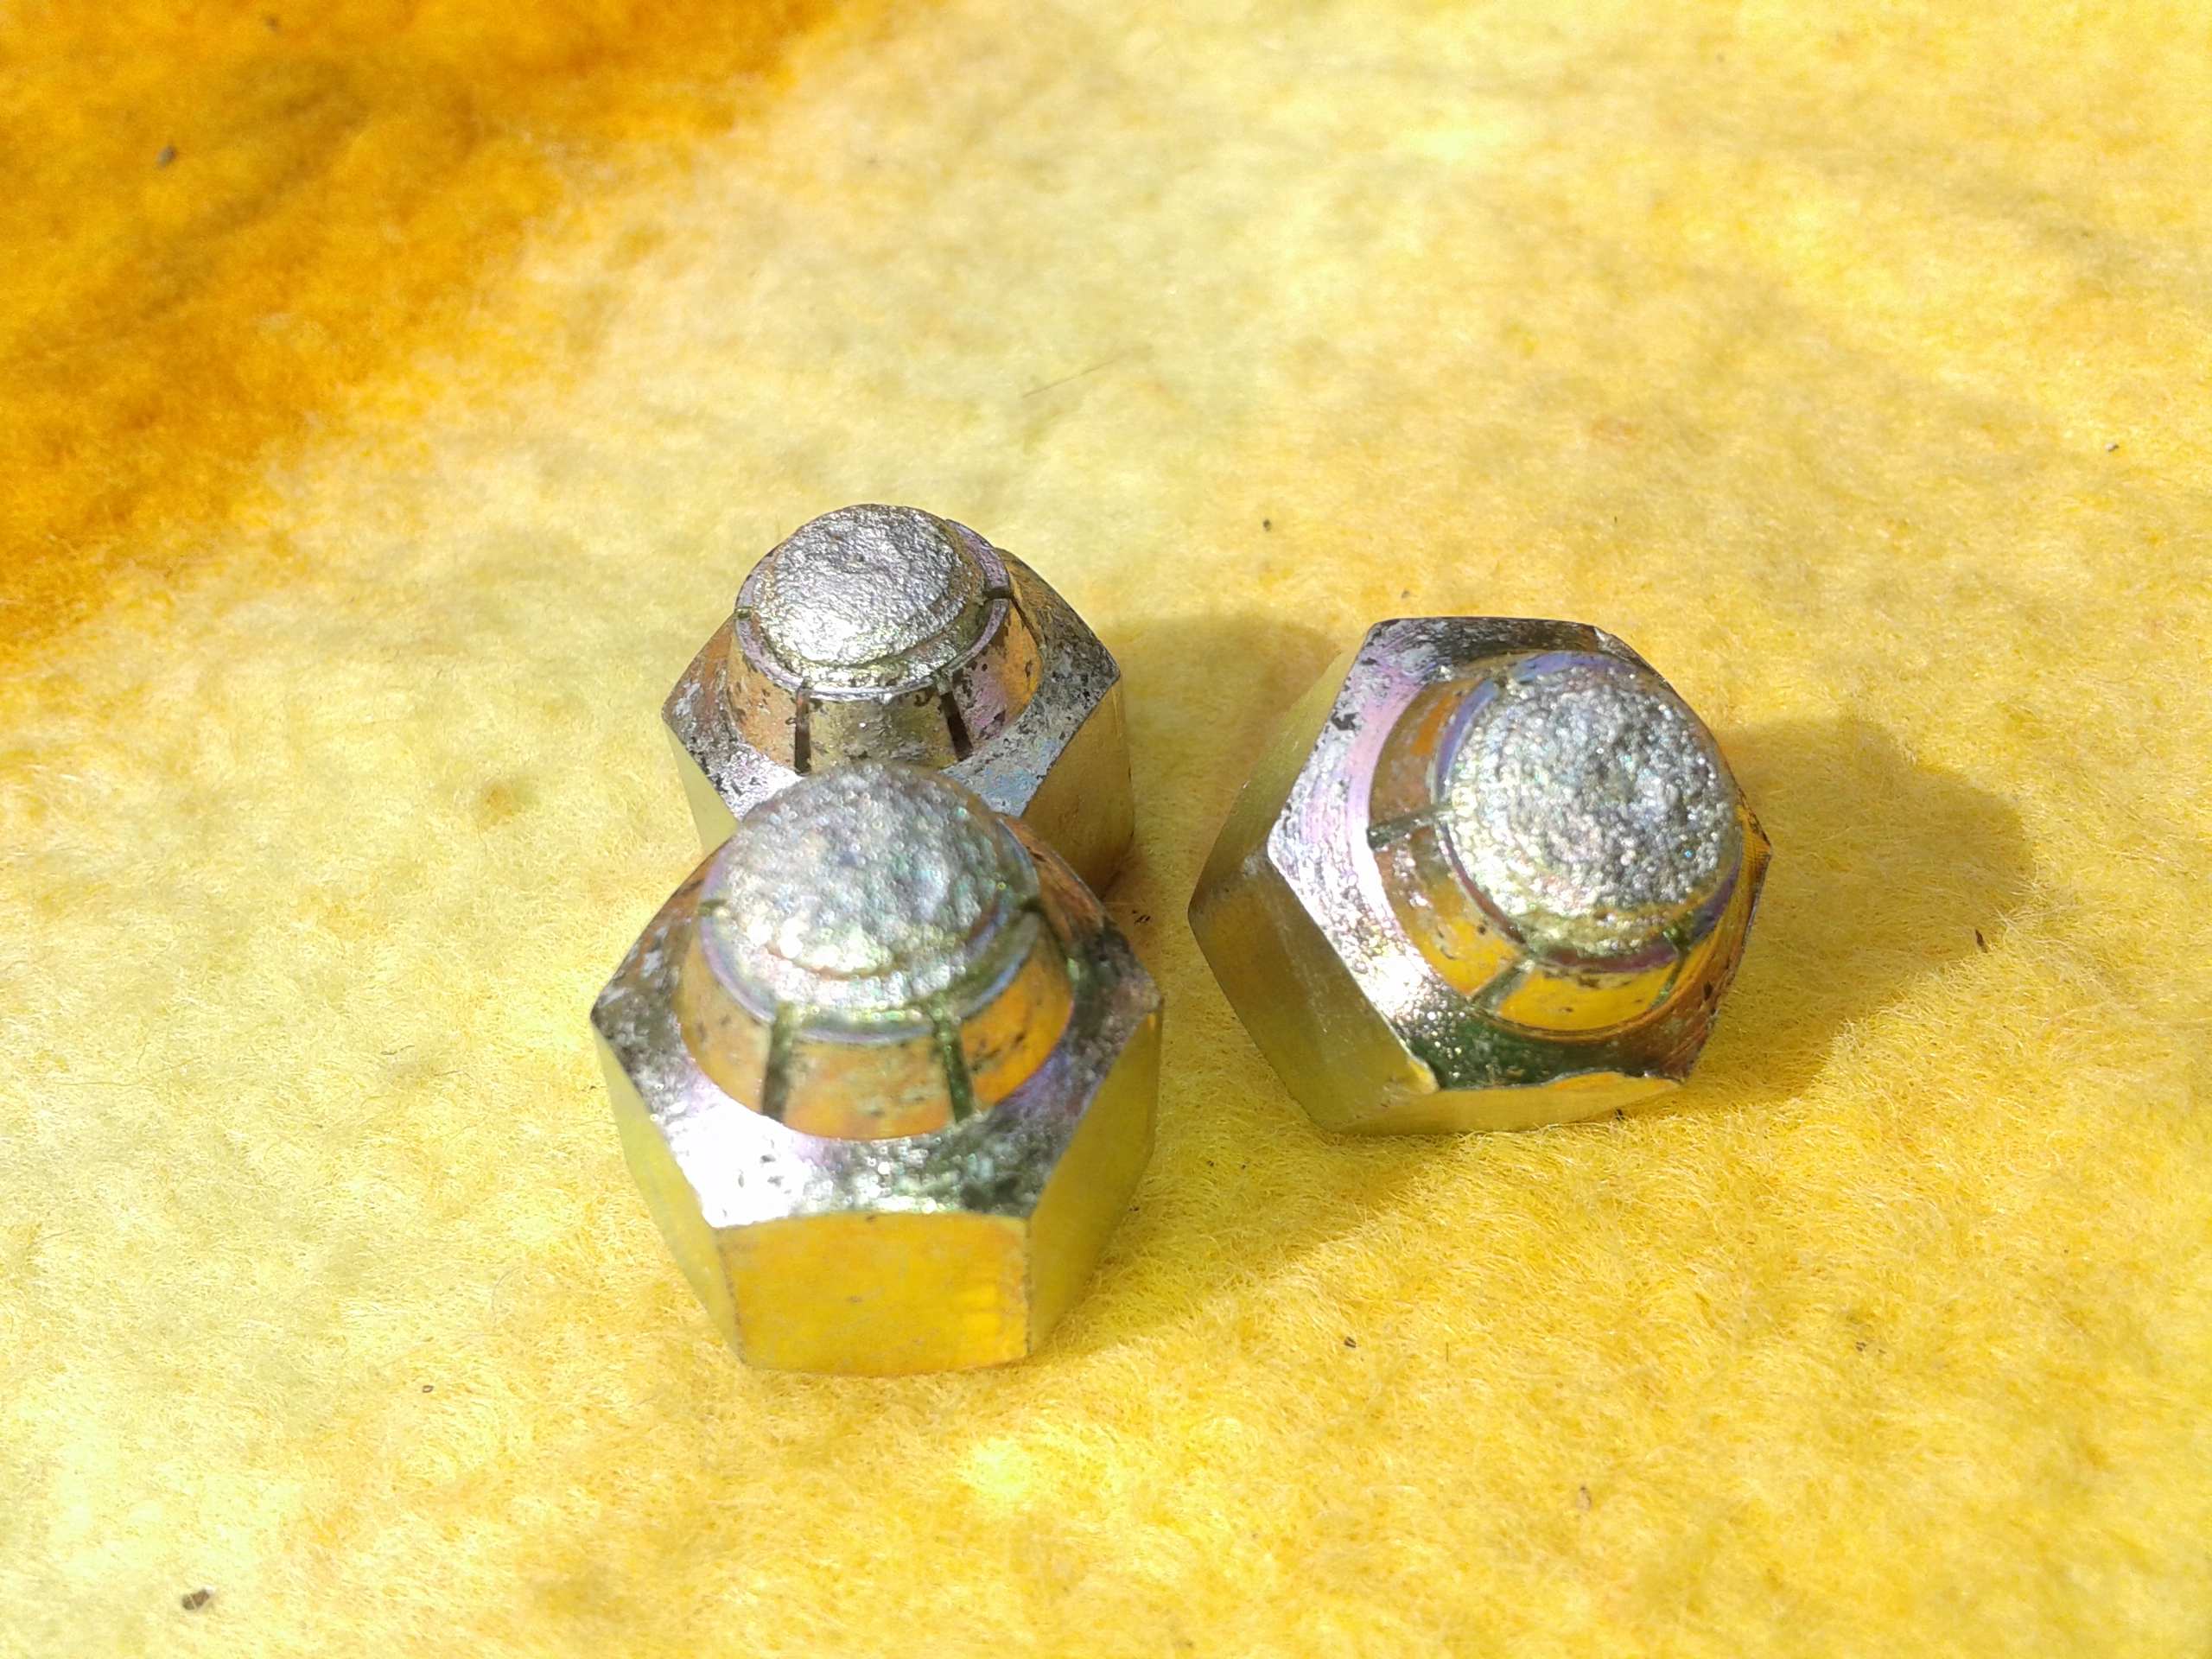
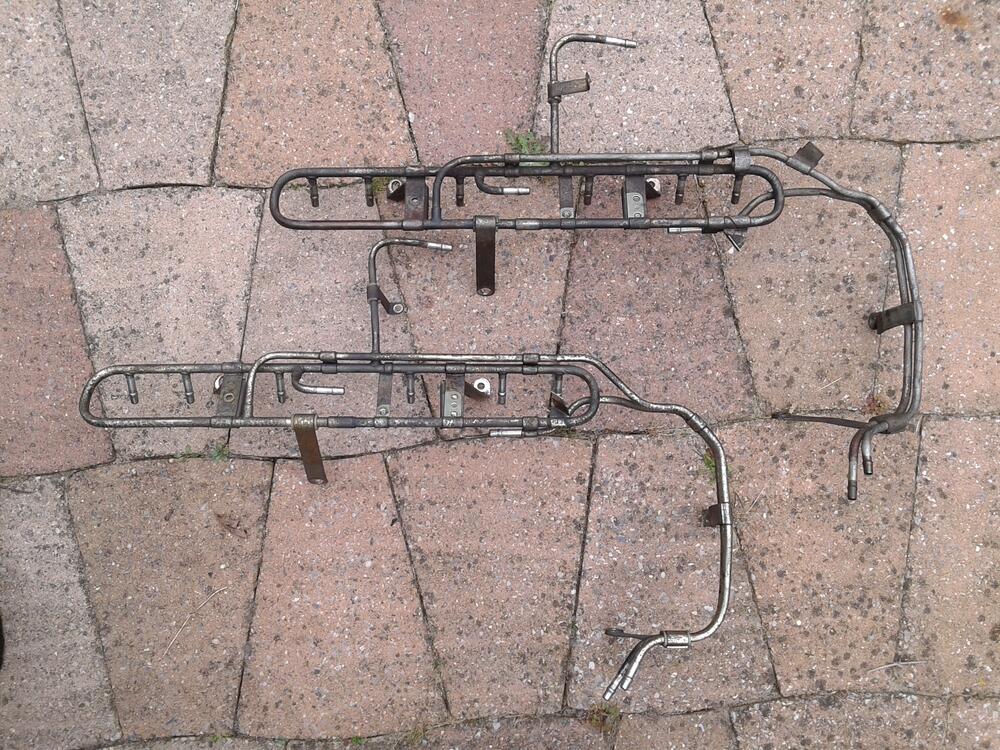
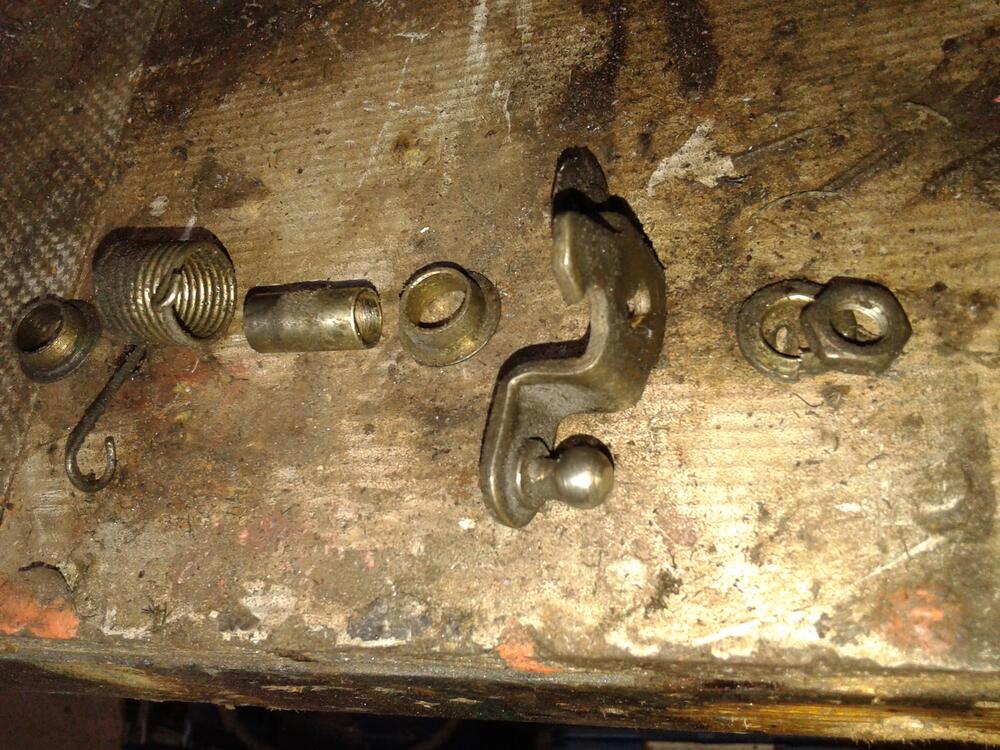
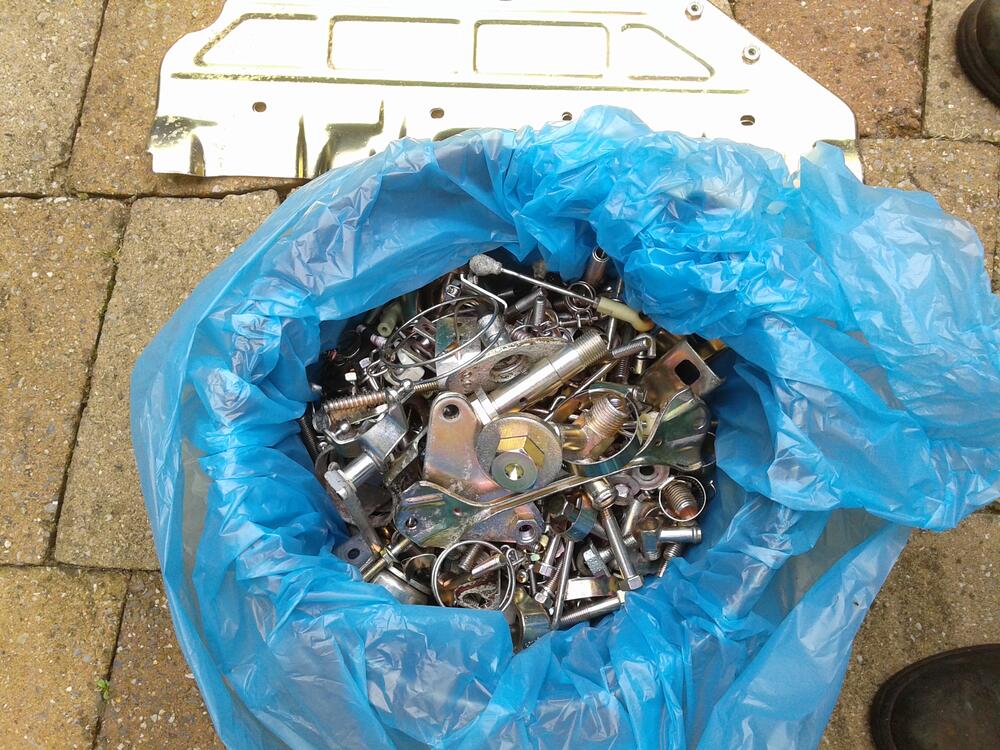
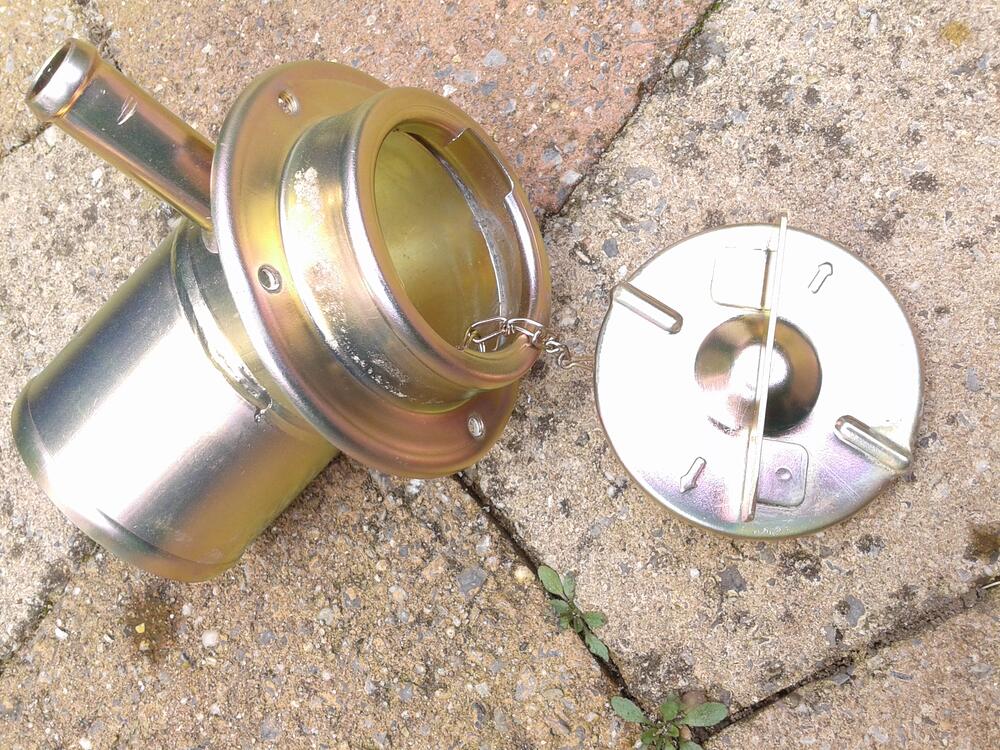
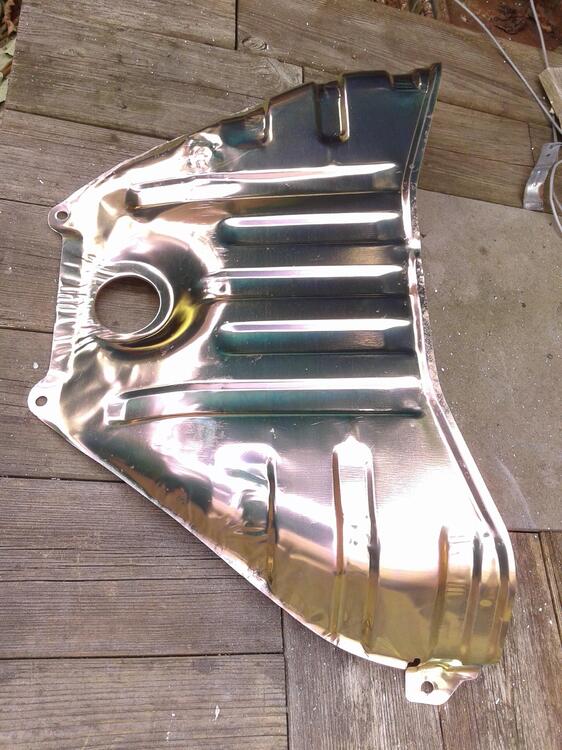
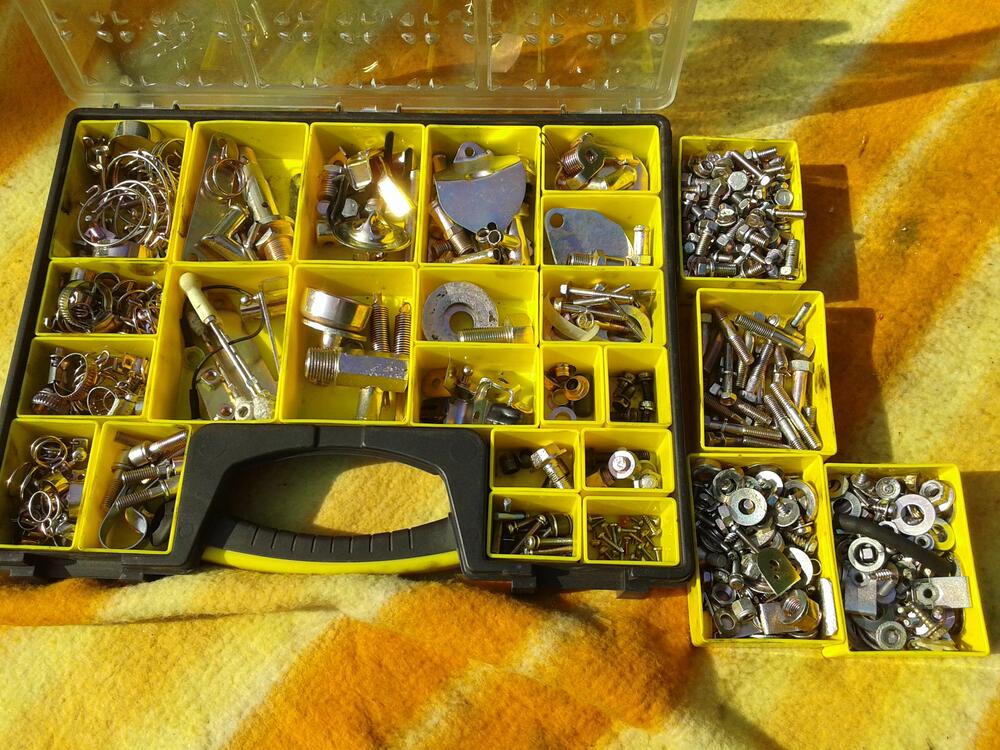
This week i got my parts back from the galvano company.. Nice to see that old parts so dirty come back like new.. Here the passified nuts of the exhaust manifold.. have to drill them out and make new threads in them.. Old and new from the fuel rails (lower is '79 and upper is 82-83 rail.. Look and find the differences!) came back like new.. Lots of parts for zx.. (not only for my own..) Rare engine lower front cover for a 280zx.. Look at the old spring few pics back and this is the same one.. A pic for myself to see how it go's together again.. (the throttlebody linkage.) one of the thausands of pics in this resto.. sorted parts ...


 2 points
 -
2 pointsRead through this and see if it answers some questions. I'm about to leave out for the night but will check back in the morning. https://www.atlanticz.ca/zclub/techtips/tempsensorpot/index.html2 points
-
2 pointsSorry I can't help with the question but I sure am glad you're okay and checking in on us Bob! Cliif2 points
-
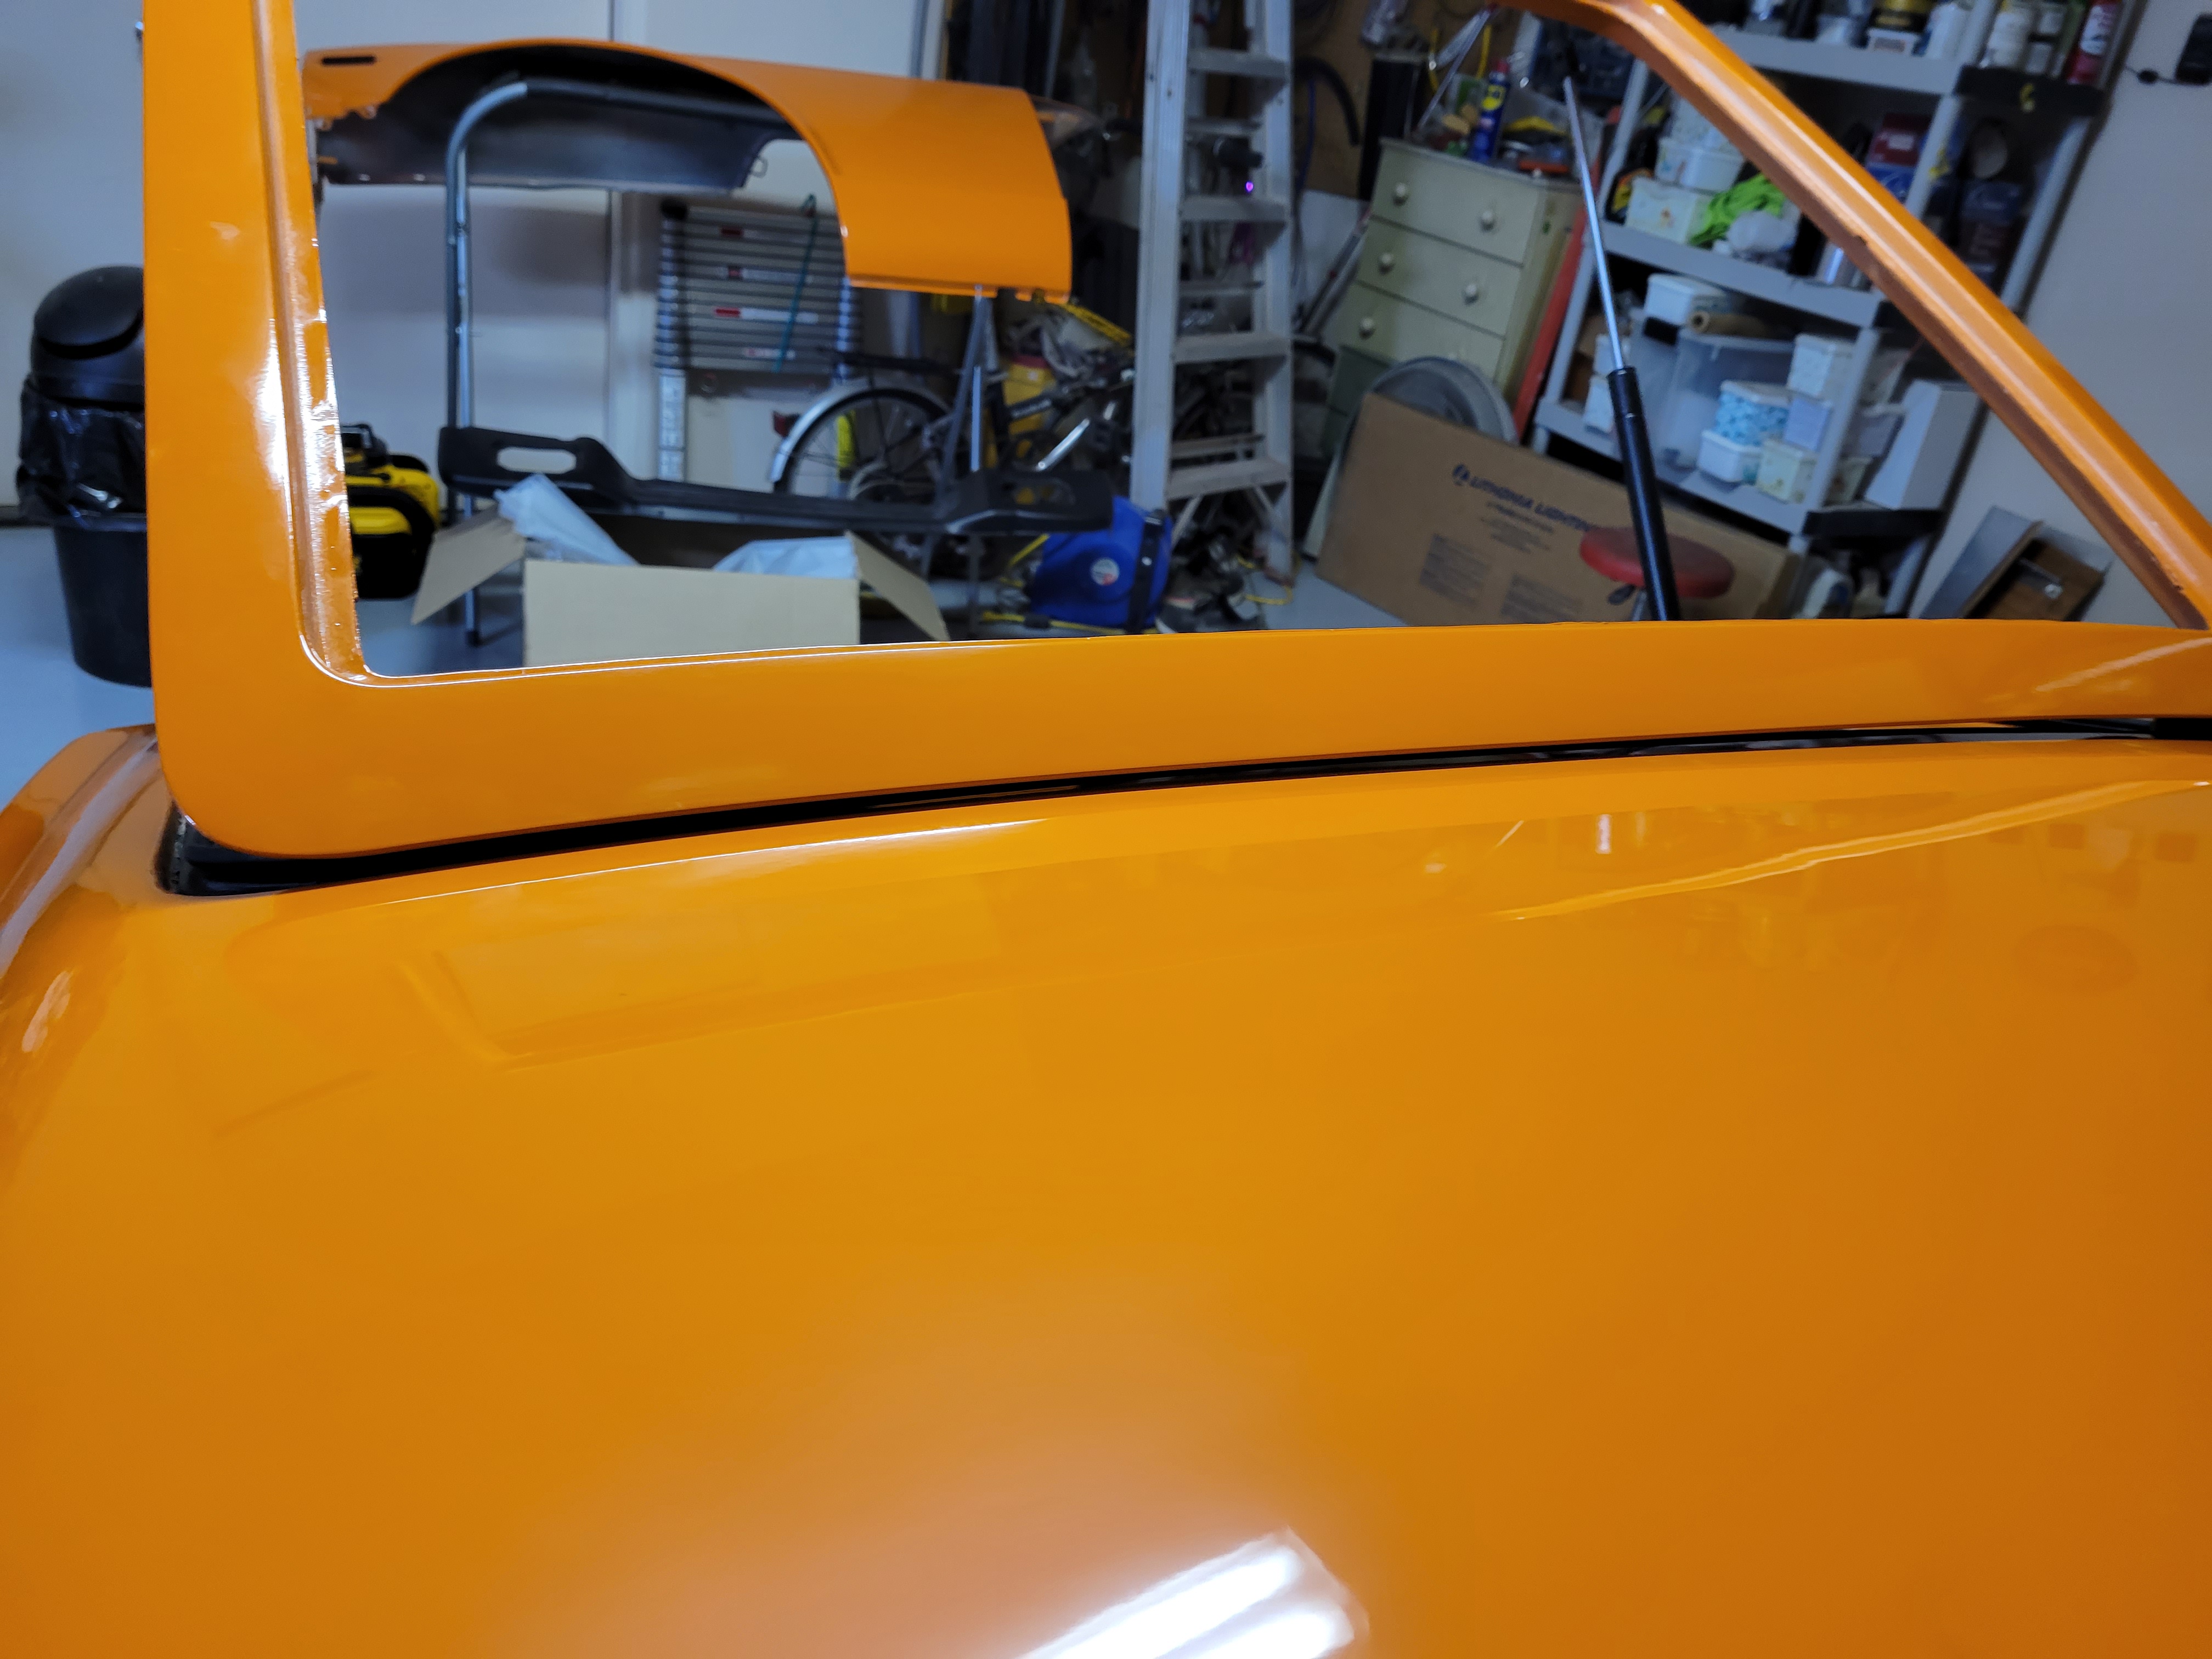
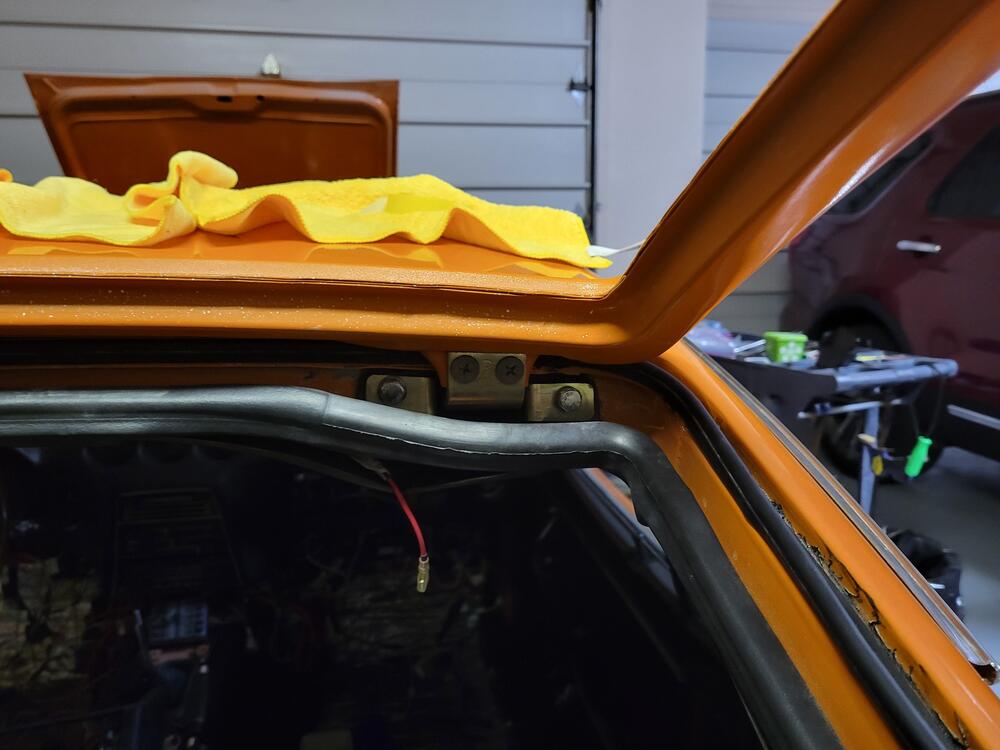
1 pointOur project has dragged on way longer than I intended. It is a 1973 240Z that we call "the bucket". The car was completely stripped and has undergone a color change, and there was a fair amount of rust that had to be dealt with, so it should not come as too big a surprise that I am having trouble aligning the hatch. I have new hinges. The 240z had a single (shock absorber) lift support on the left side. The alignment of hatch at the roof line is very close, but I need more clearance to close the hatch without damaging the paint. The problem as I see it is that the hinges have a great deal of vertical play. Because the original design call for a single shock absorber to lift the hatch the left side sits much higher than the right side when the hatch is open. The result is that the hatch is actually tilted down toward the right (passenger) side. I do not have any adjustment left on the right side. Years ago I remember reading that someone added a second shock on the right side to prevent the hatch from twisting. I have since found out that the 260z and 280z both had two lift supports, one on each side. This makes perfect sense to me, given the issue that I am having in that the right side shock absorber will raise the hatch using the play inherent in the hinge. I am hoping that it will give me enough clearance to clear the roof and then the weight of the glass will force the hinge play to be reduced when the hatch is closed. So, my plan is to add a second shock absorber to the right side. In order to do this I need the bracket that attaches to the body that holds the shock absorber. The original shock has a bracket attached to it with a rivet type pin. This end attaches to the hatch. So, If you have experience that indicates that my plan will not work - please share your thoughts, so I can move on to my next plan which I have as yet not thought up. If you a 260z/280z RIGHT side bracket that you want to sell please contact me. I only need the right side bracket, but would buy the whole setup if necessary. The image below is of a left side bracket - I need the mirror image. Thanks for your help.
 1 point
 -
Maybe your future son-in-law has a gas welder you can use for this... I wonder if changing the thickness for the flux core wire would allow you to reduce the heat going into the metal. Another thing you can try to do is make a heat sink of out of copper, I beat a copper pipe into a flat section that i clamp to the back of the metal, this allows some of the heat to be absorbed into the copper. How much more welding do you have left? I assume the rest of the car? Might be worth while to pickup a gas-compatible welder. Checkout the panels after i ground them down, I used a finger sander from harbor freight, great for the tight spots. Also imma just say it now, **** Airgas, go to a Praxair, or even better a mom and pop shop. My local Airgas has a bunch of shady sales people, overcharging for gas. This 80 CFM tank should get you around 4 hours of trigger time, https://store.cyberweld.com/shielgascyl8.html the refill for me is ~60-70 bucks at Praxair, I bought the tank locally because I dont want praxair to go out of business and ill be stuck with airgas.... That cyberweld tank with the fill is probably the cheapest thing you'll find, but call local and see... if you do go down that route.1 point
-
1 pointIf you can get the hatch closed without paint damage, post a picture of how the lower edge lines up with the rear of the car Also inspect the hinge tabs that are welded to the hatch. The welds can fail and the tabs can move, making adjustment more difficult1 point
-
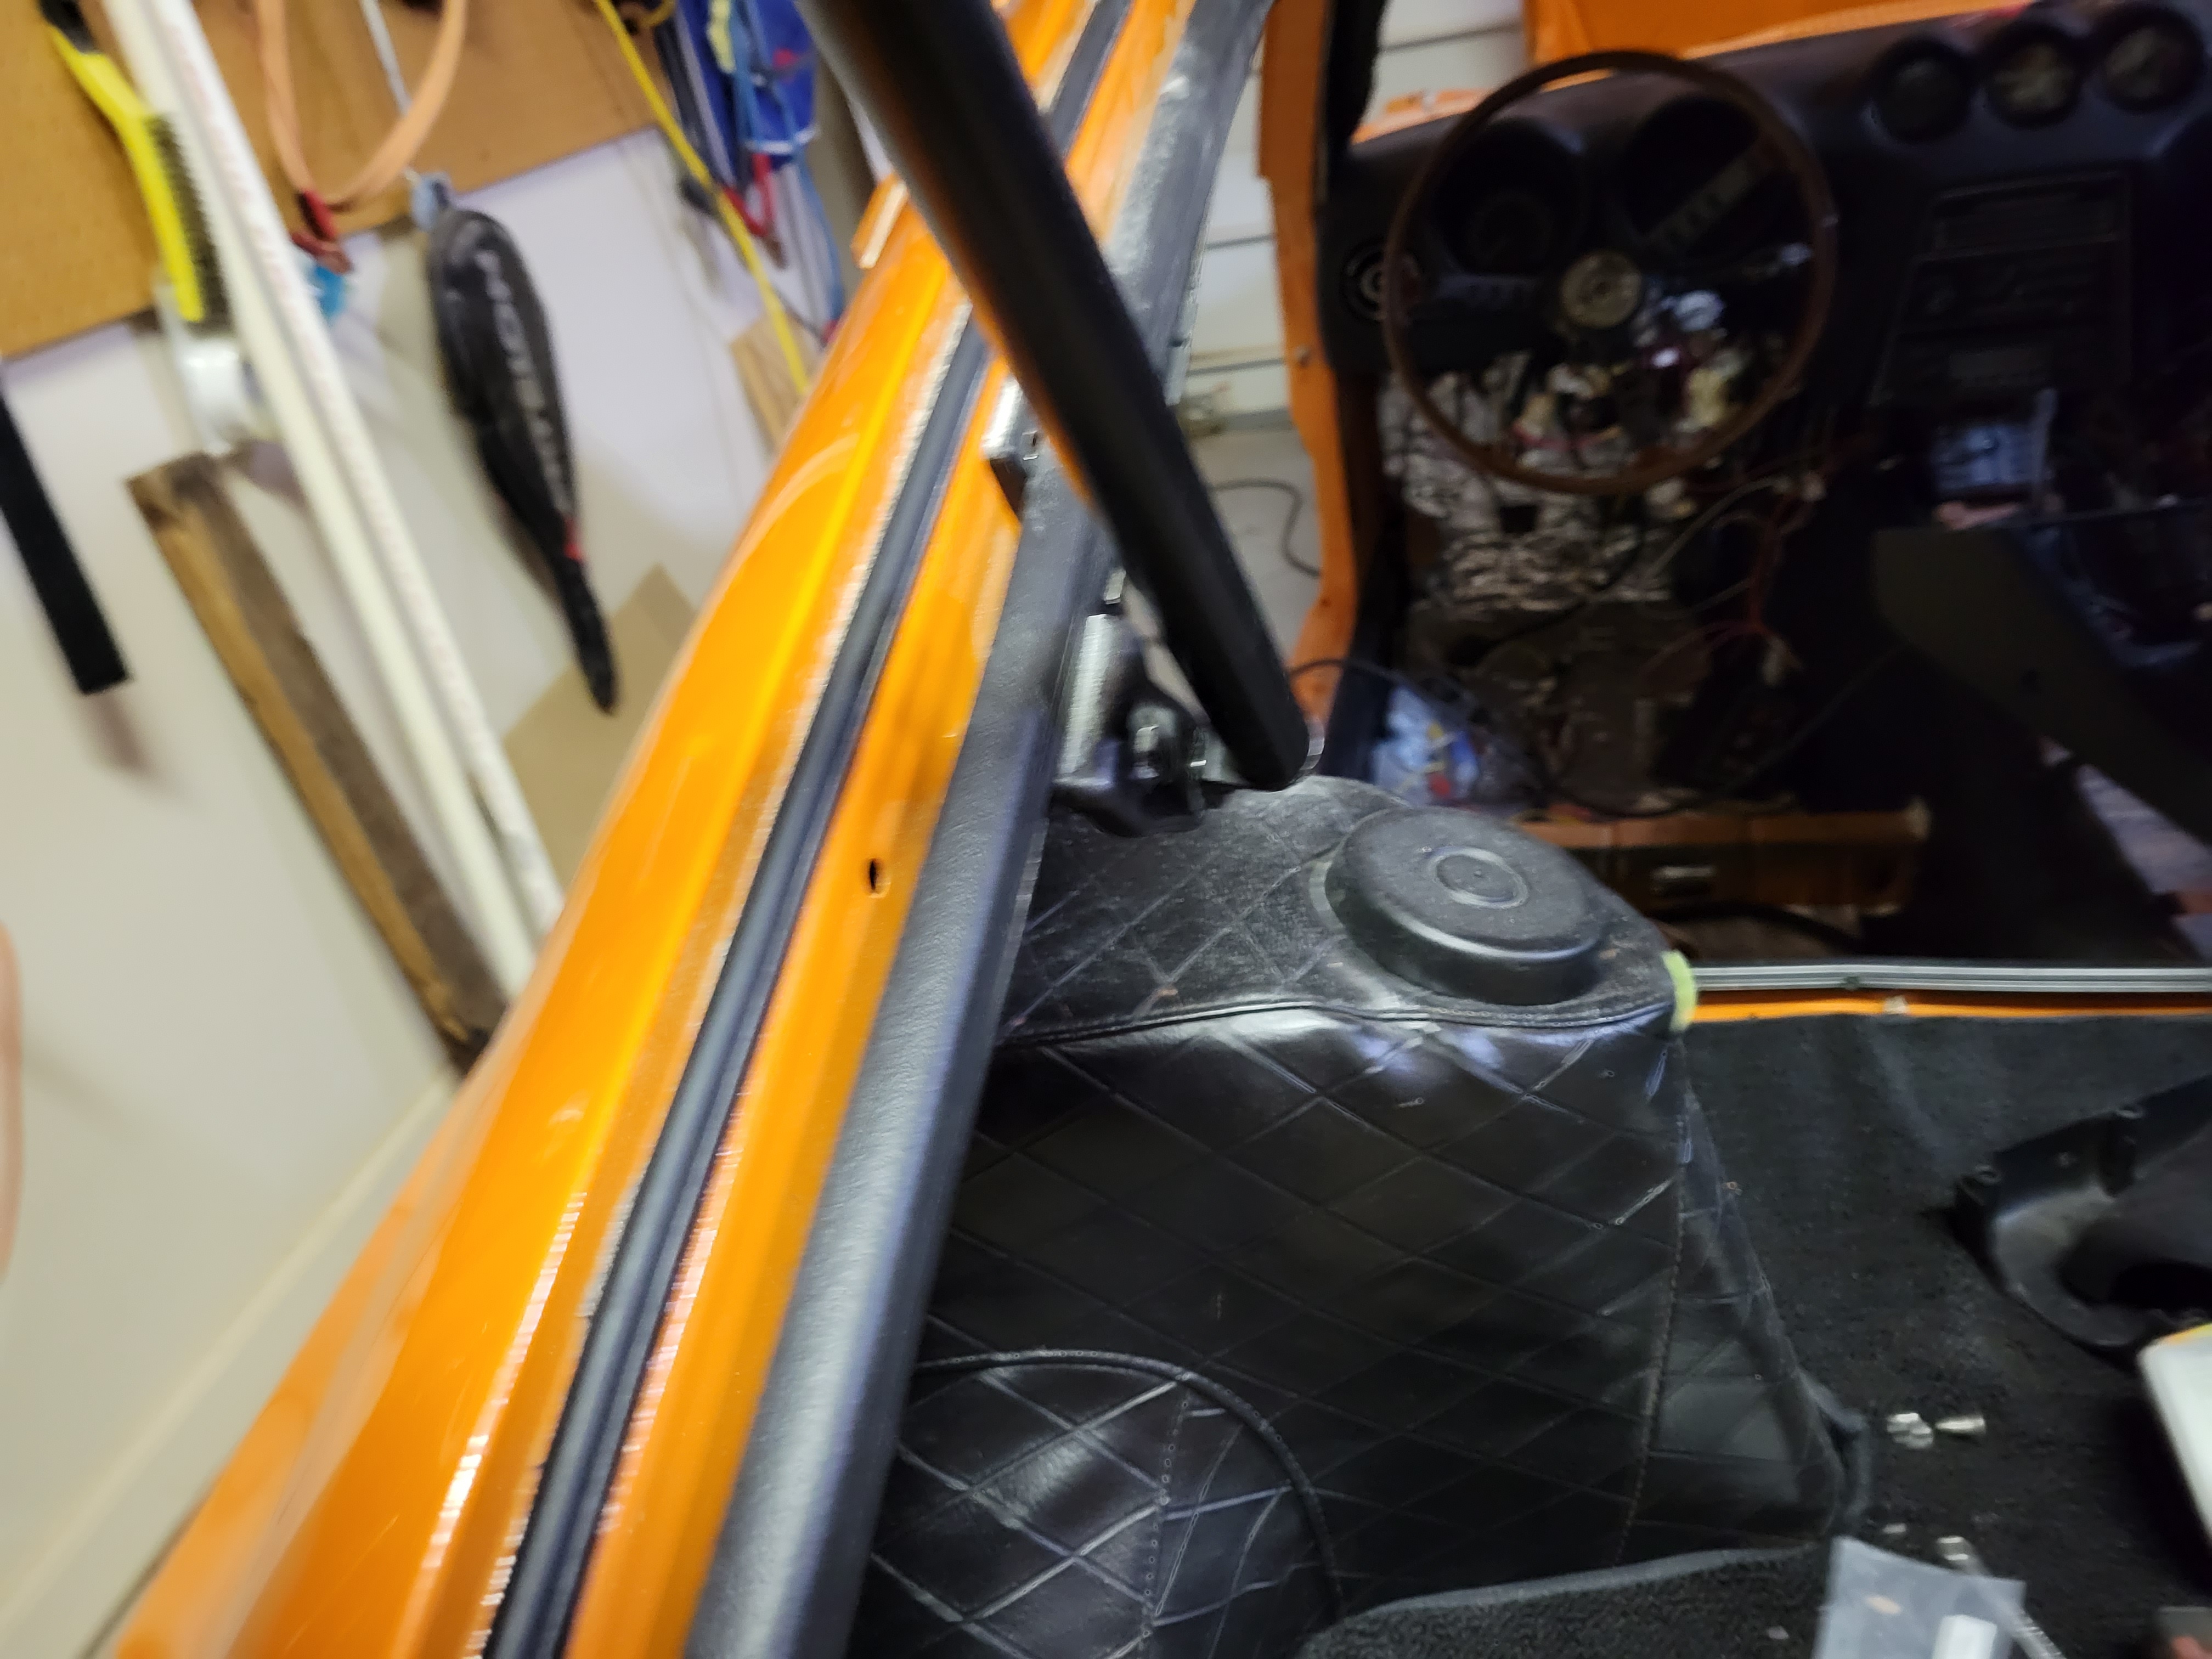
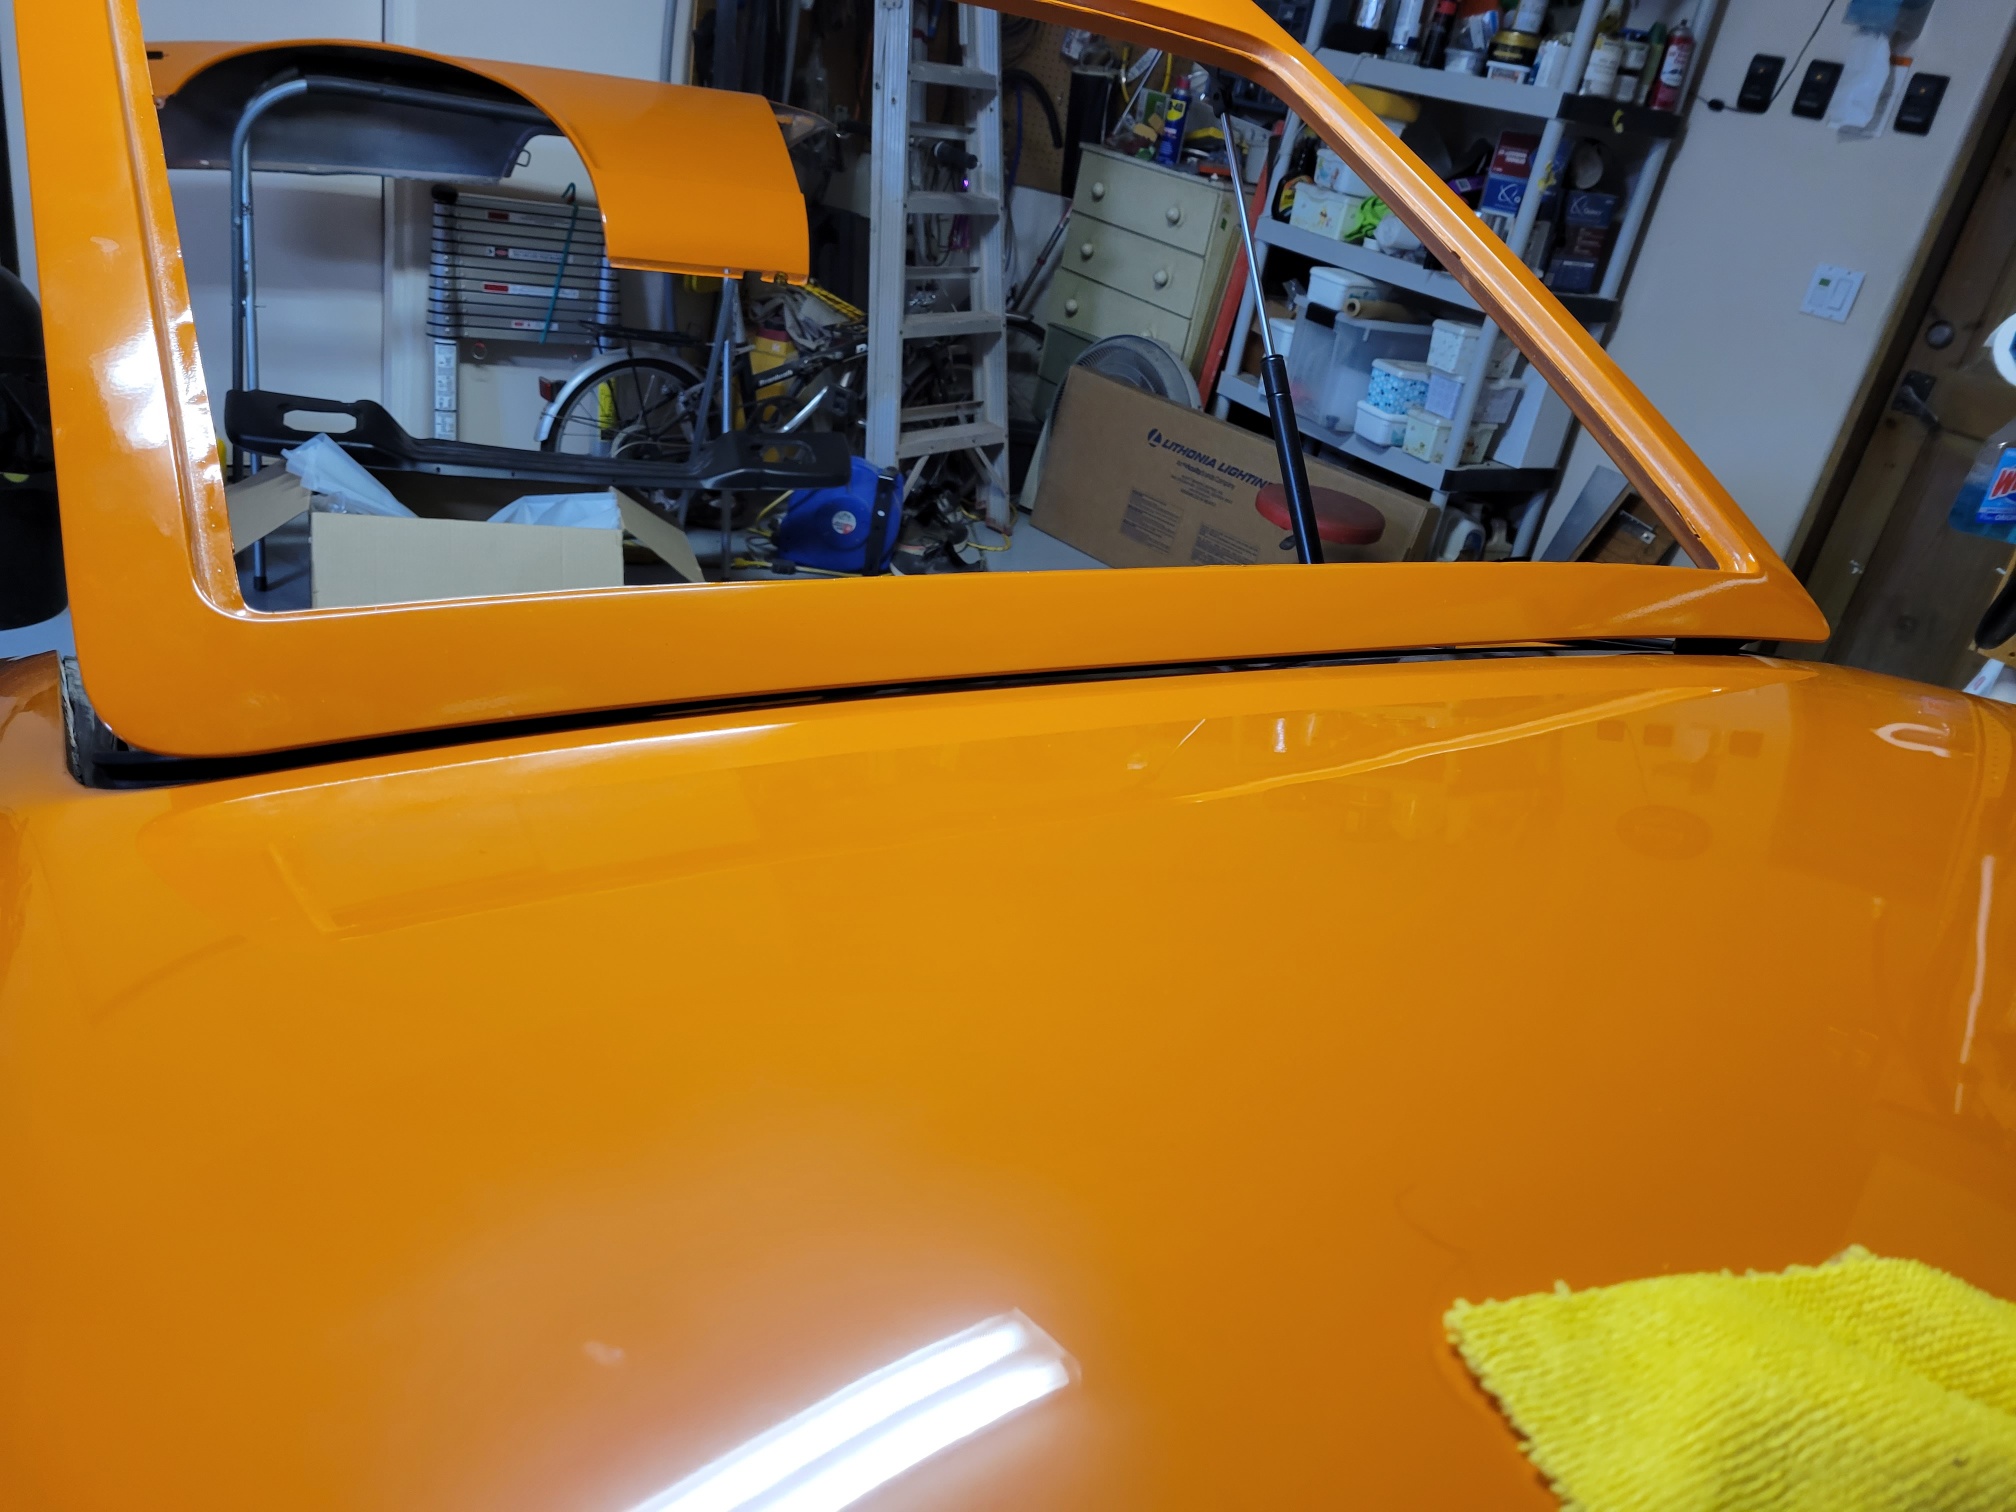
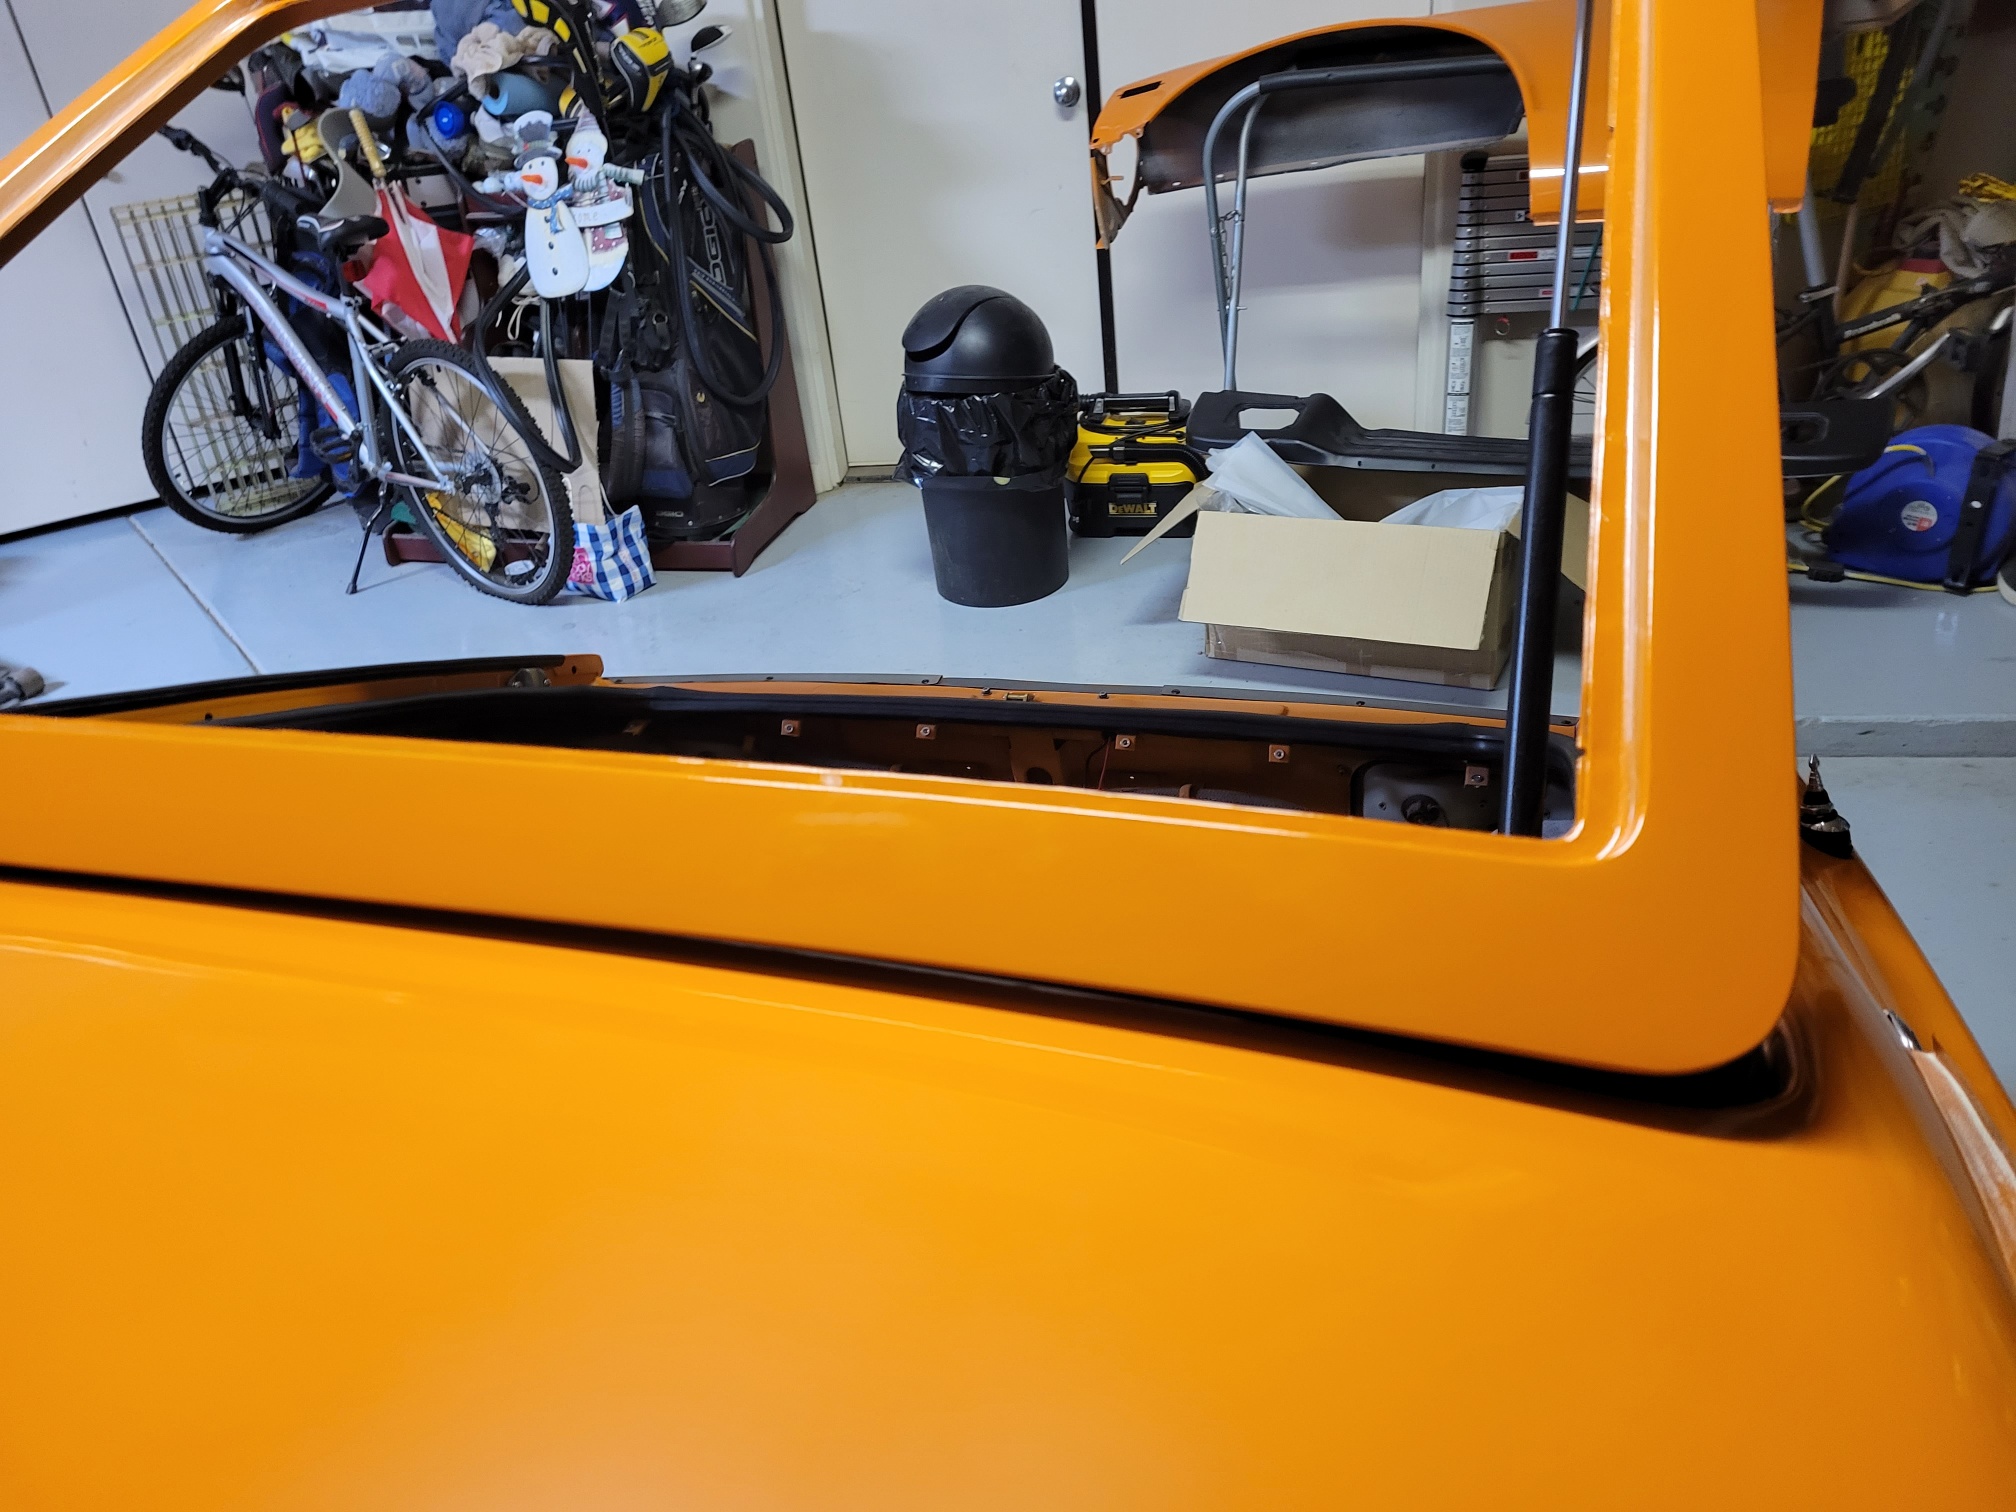
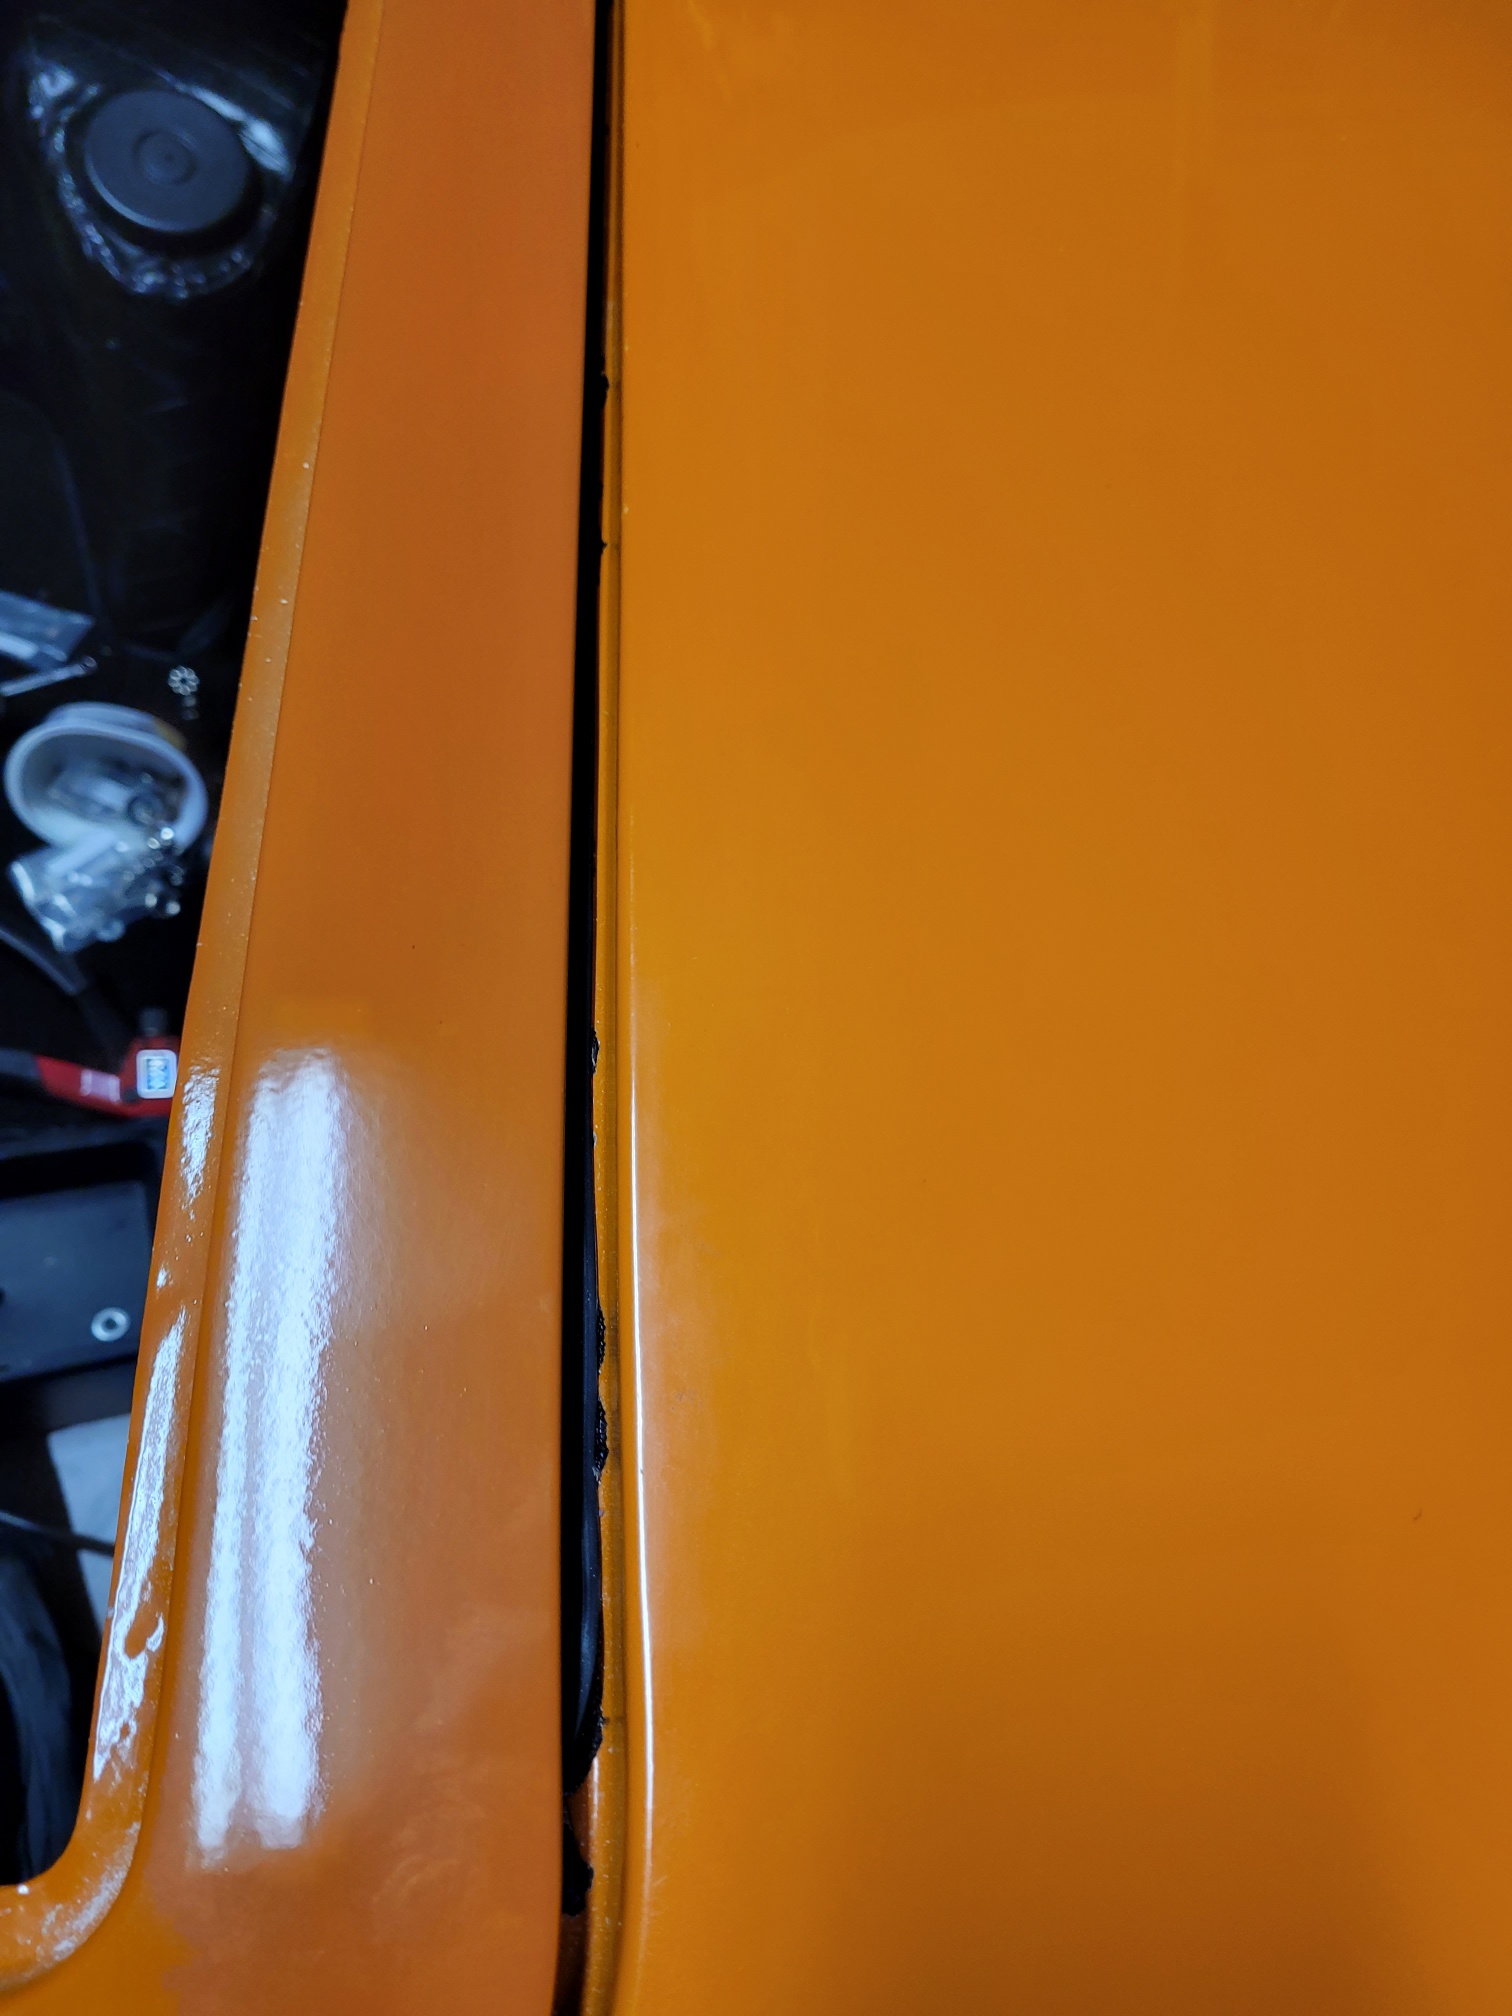
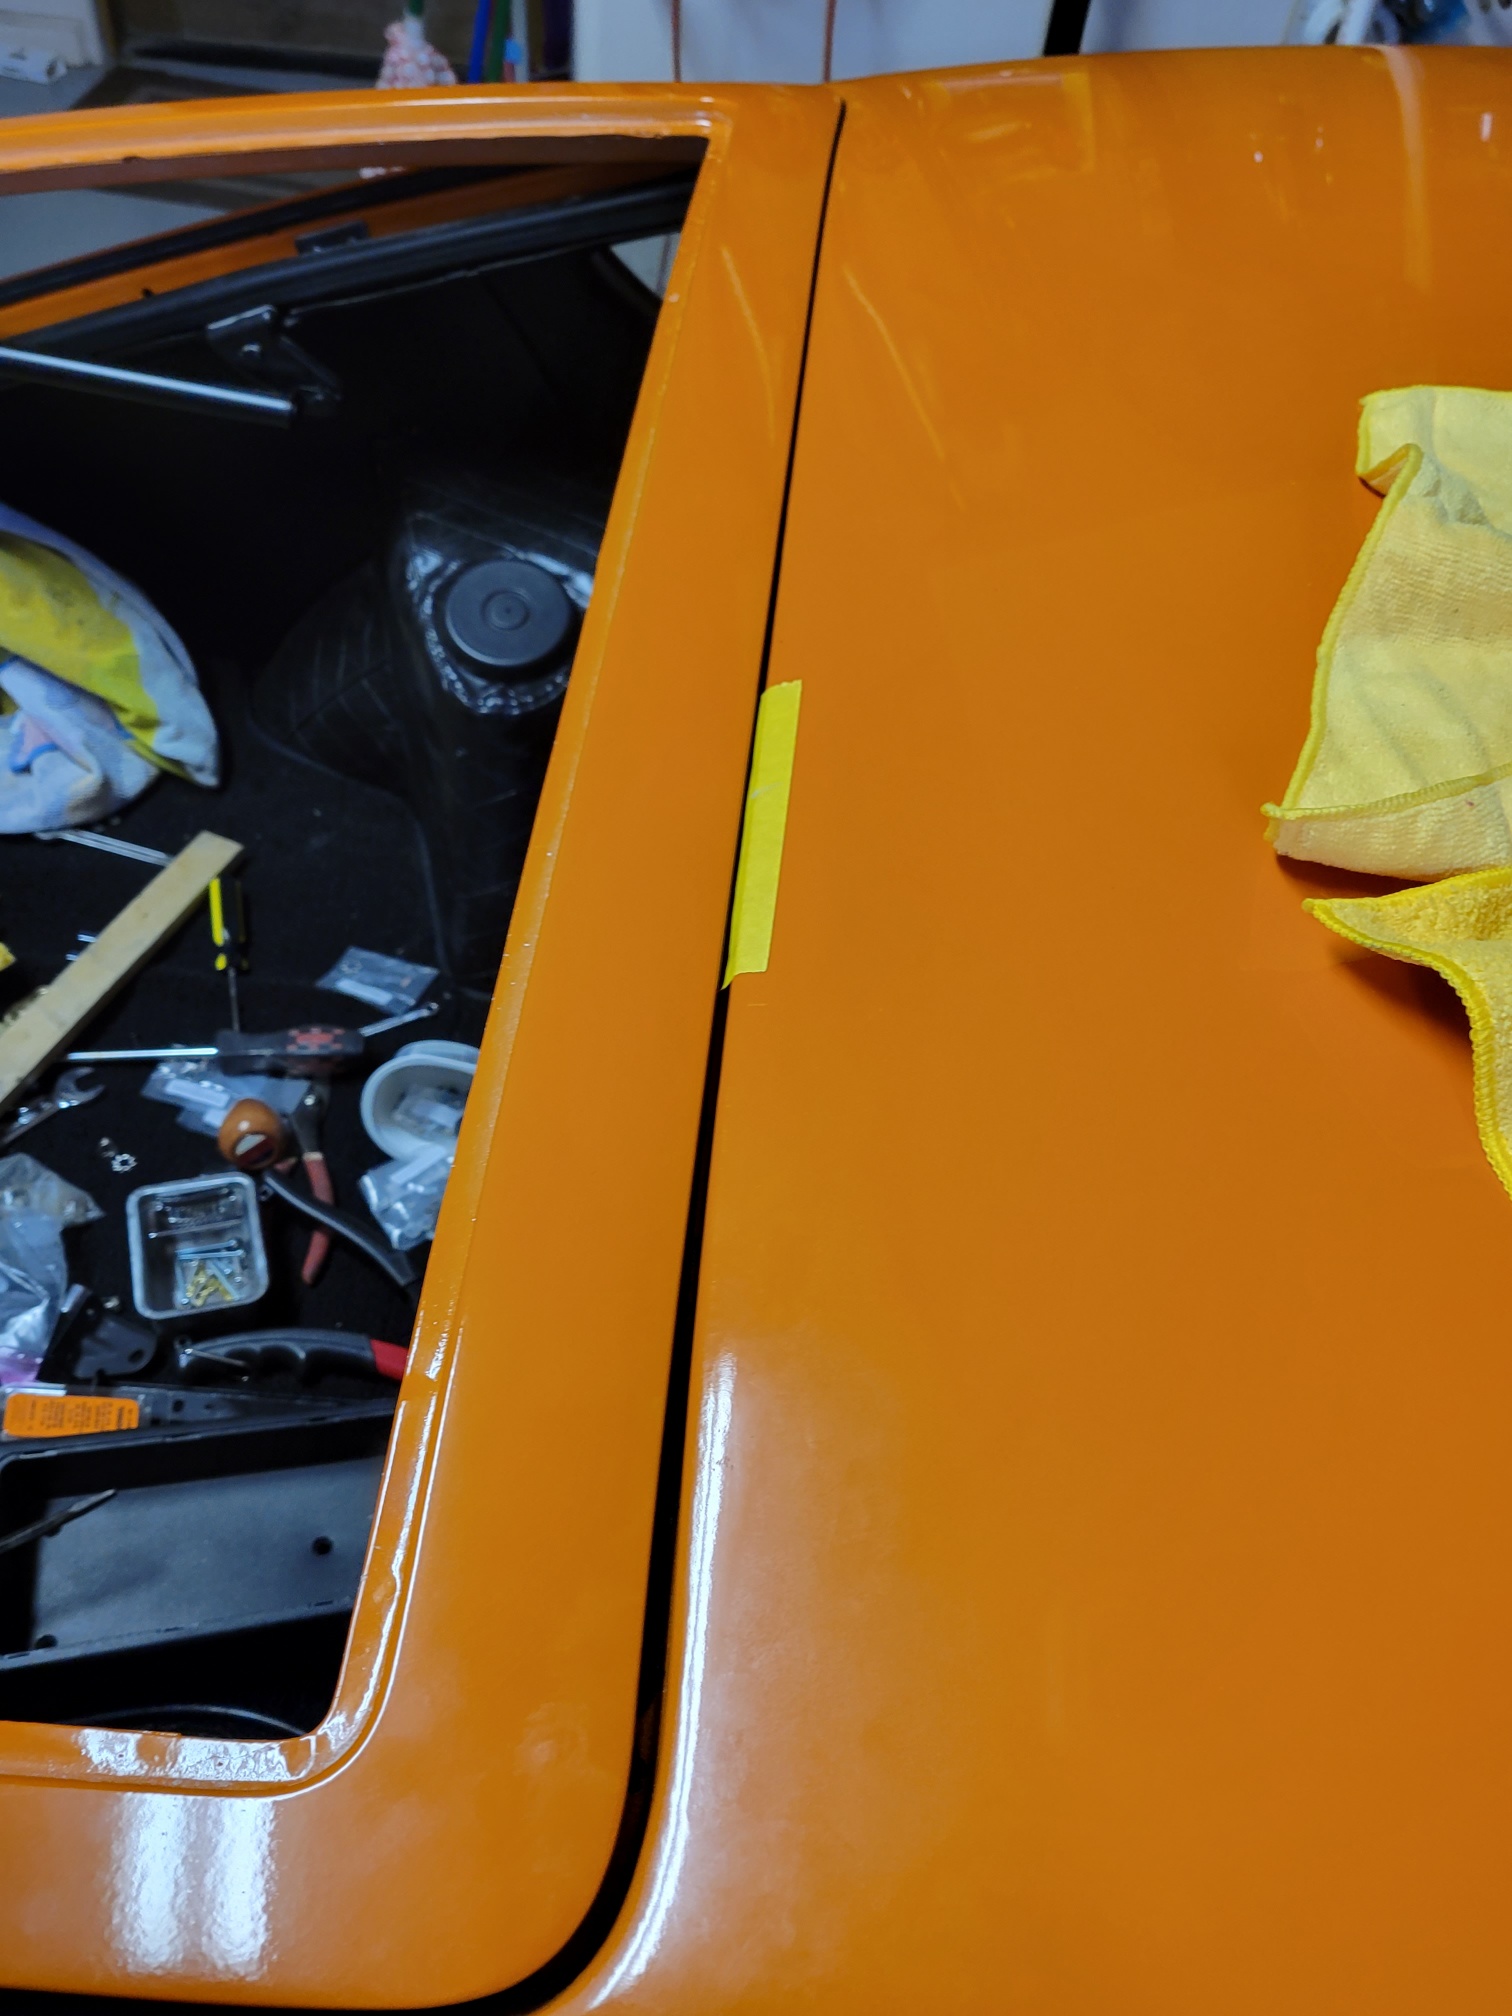
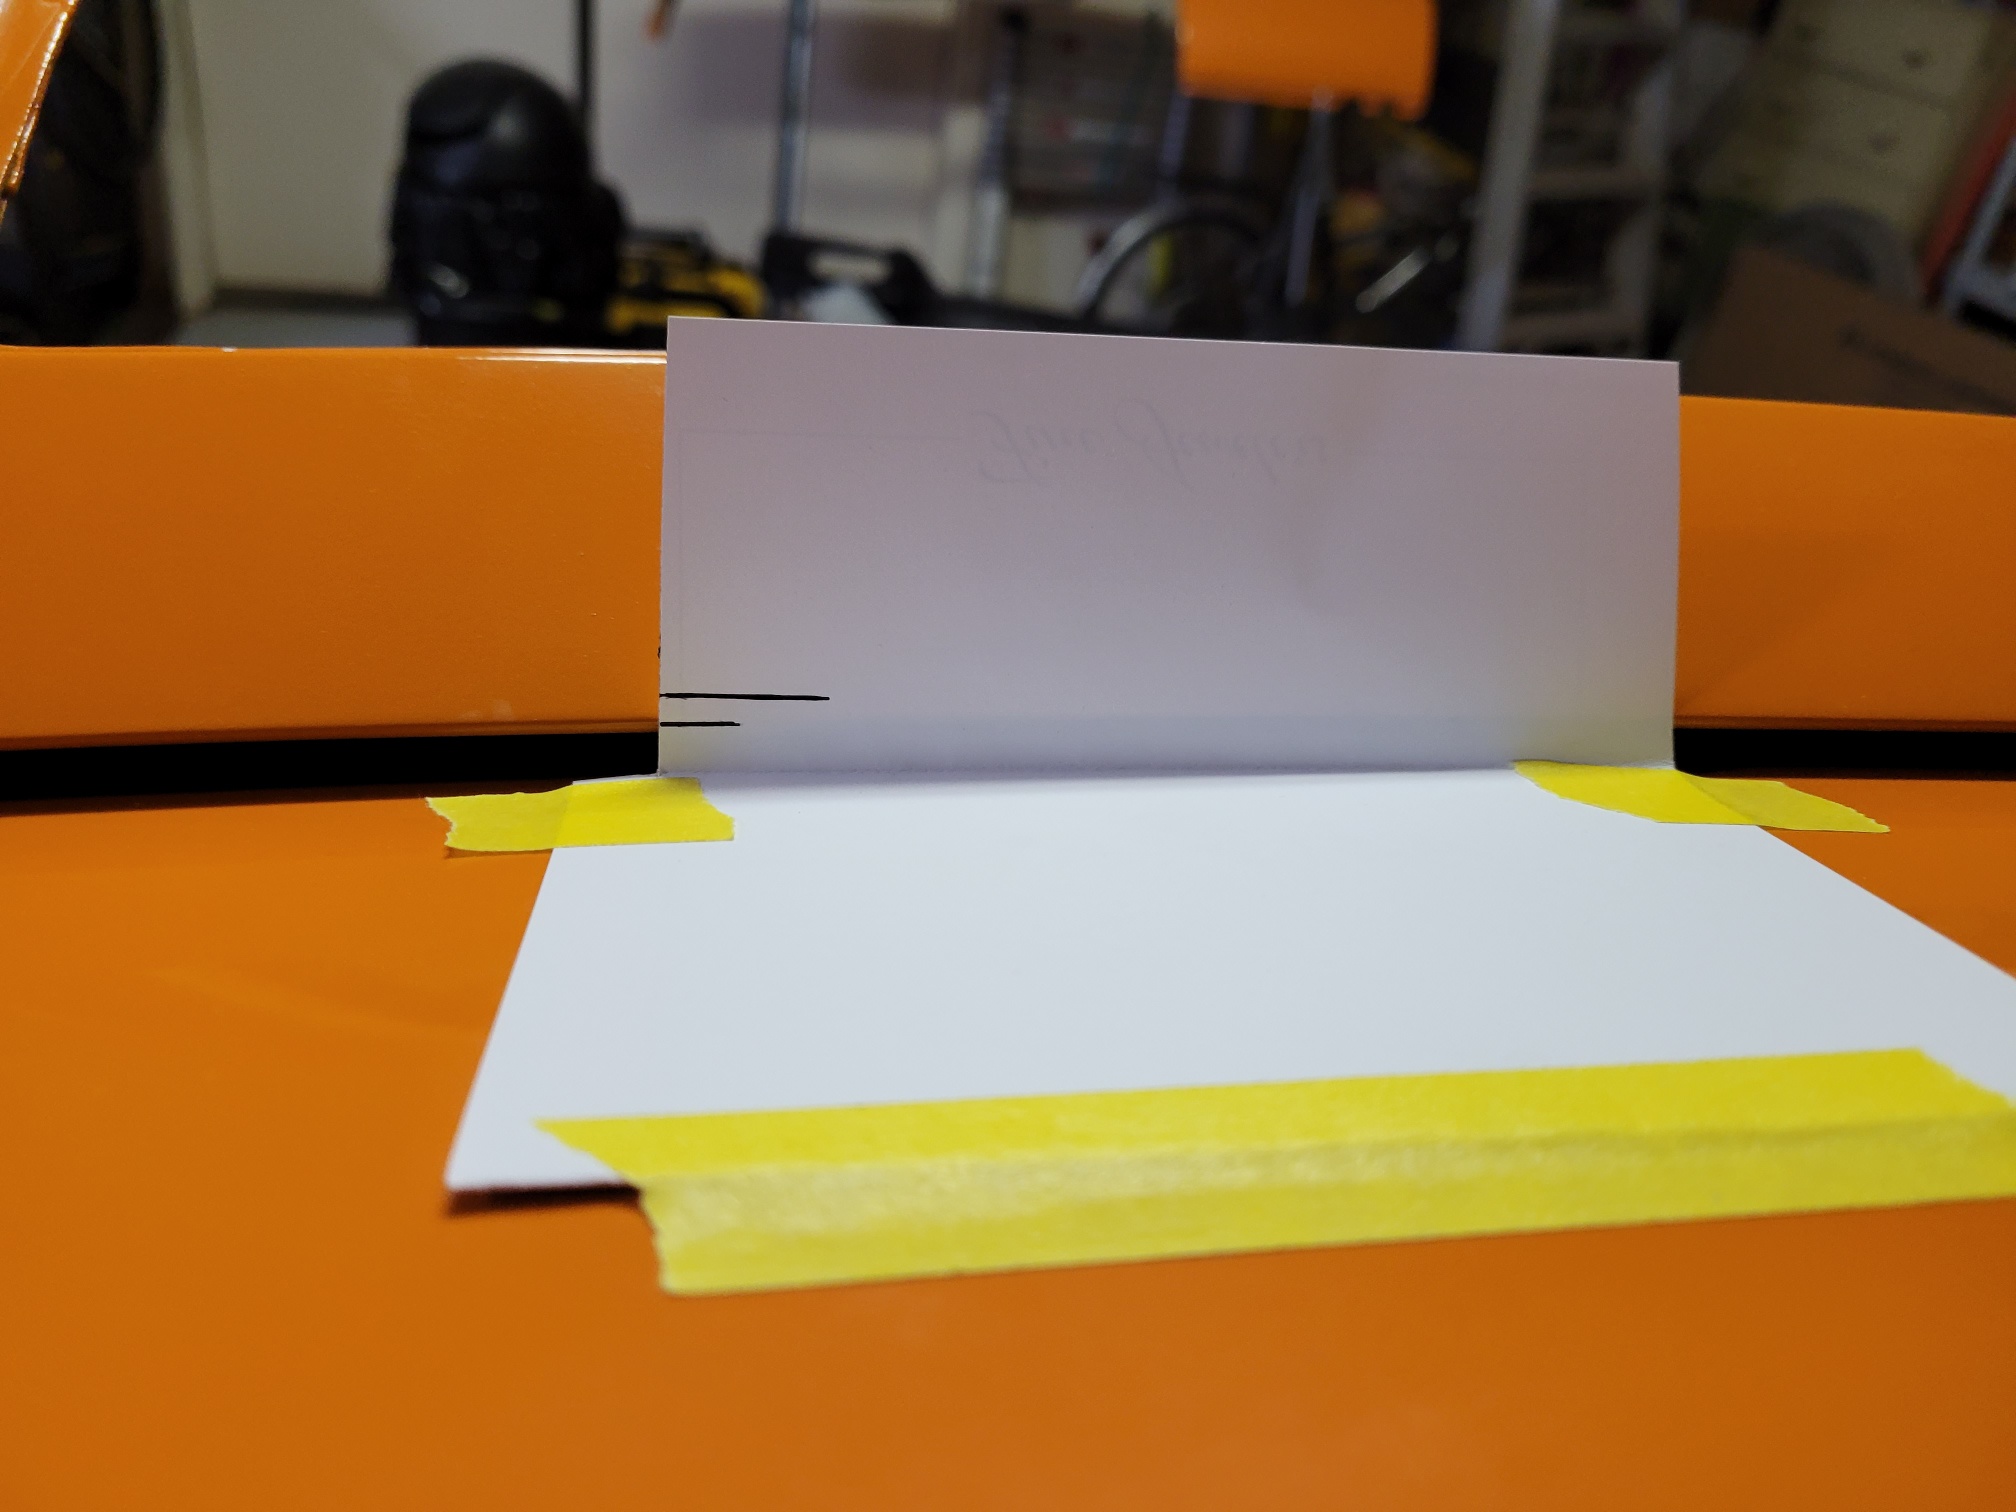
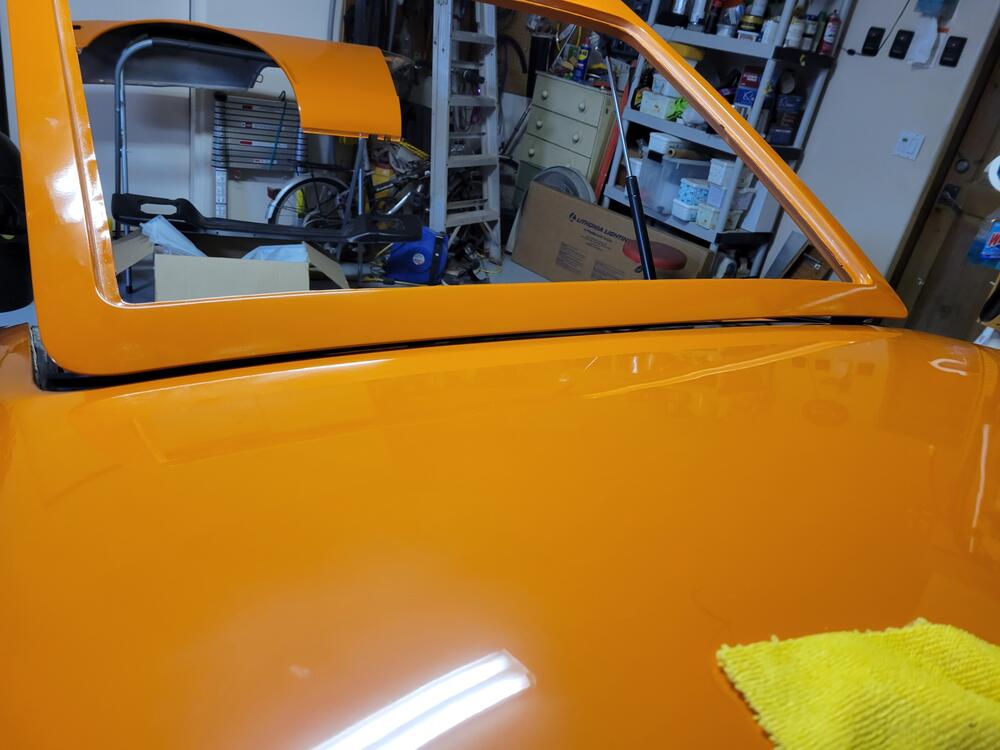
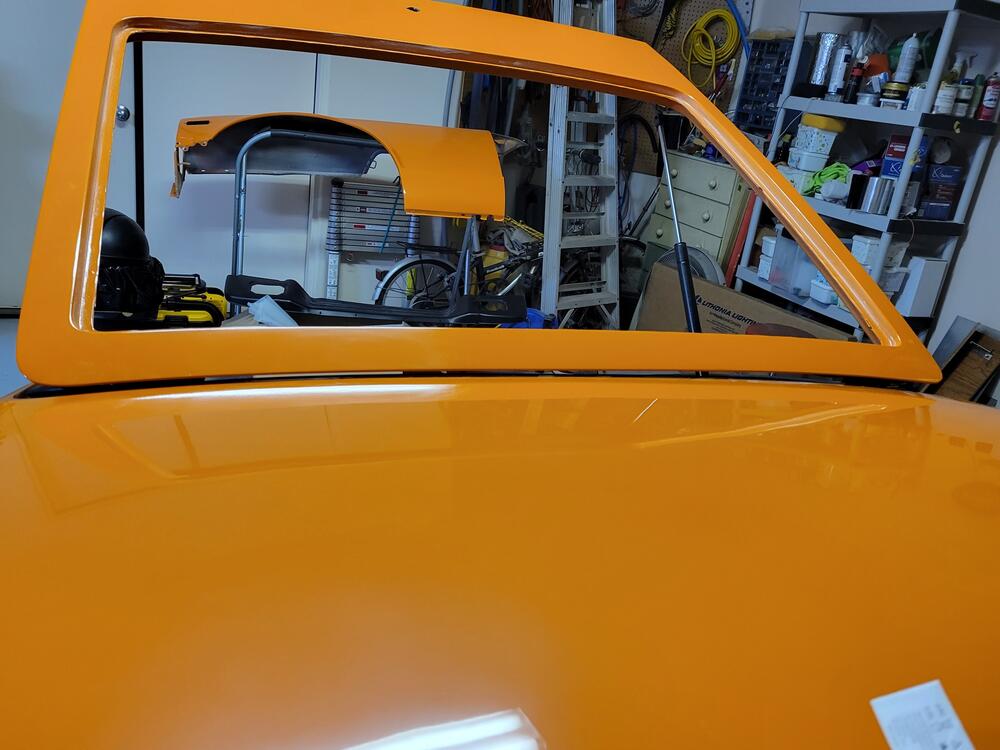
1 pointCharles, Good suggestion - thanks for the interest. I took a lot of shots of the hatch, but realized that your starting point and mine may be different. To clarify I am not really concerned at this point with the gaps when the hatch is closed. My first concern is to successfully close the hatch without damaging the paint at the roof line. I did take snaps of the gaps in case I am missing something that they might reveal. I do not have the latch hardware installed so the hatch is not shown fully closed. In this image everything looks fairly good, but as the hatch closes the available space between the roof line and the hatch is reduced to the point where it just barely scrapes the roof, this is the area of concern in the photo that follows later on. So, with the hatch shock absorber installed (on the left side (standard for a 240z) the hatch is pushed upward with enough force to raise the hatch within the hinge. This is actually helpful, I think, on the left side because it creates more clearance to pass over the roof line. Unfortunately it does not affect the right side and so the clearance is less on the right side. You can prove this by lifting the right corner up . It rises approximately 3/16 of an inch, when lifted by hand. The taped area is the concern. This is where the roof line is scraped as you close the hatch. There are no shims installed on either hinge at this point. The image above shows the hatch open all the way. I marked a line (bottom-short line) to indicate the height of the hatch. I lifted the hatch and marked a second line (top-longer) to indicate the height of the hatch when lifted. The difference is about 3/16 of an inch. So, here is my thinking. 1. The shims behind the hinge single bolt head either side of each hinge move the hatch toward the rear of the car and away from the roof line. 2. Shims placed between the phillips head screws and the hatch move the hatch toward the front of the car. 3. The two larger head bolts on either side of each hinge adjust the resting position of the hatch, mostly up and down, and only slightly left or right if at all. 4. Raising the hatch (vertically) when it is in the open position is helpful because it creates clearance to avoid interference with the roof as it is closed. 5. the shock absorber(lift support piston) is stronger enough to lift the hatch vertically. With only one piston on the left side only one side is lifted and the right side is driven downward. The right side can't really move downward because it is at the bottom of the vertical travel of the hinge. Obviously I have no facts to offer as the reason for Nissan adding a 2nd piston to lift the hatch on the 260z and beyond, but since the body of the 260z and the 240z are very similar in this area it seems worthwhile to try adding a 2nd piston to raise the open resting position of the hatch. 6. I was lucky enough to find a pair of 260z hatch lift support brackets and they should be delivered in the near future. 7. While waiting for the 260z brackets I will attempt to align the hatch in minimize the gaps in the closed position Please do not worry about offending me. If you have a better or more elegant solution, or experience that indicates the above thoughts are foolish please advise as soon as possible. I am getting older by the minute and need to get the bucket on the road. Thanks again, to all for your help. regards, ron


 1 point
 -
I don’t use a spot welder (although I’m open to buying one) rather I drill holes in the plate then use shielded mig welding to “spot” weld it into place. What kind of welder do you have? Does it support adding shielding gas? Your welds will come out cleaner. Someone on this site convinced me to switchwhen I was working on my floor pans, and I never went back to flux. I think it was Grannyknot. watch how this guy works, he has some Japanese cars he’s working on. https://youtube.com/channel/UC6JPmJ_aicru8XPWr3EvJnw1 point
-
1 pointKind of vague. "Etc." and "nothing" implies that you did not find a single 280Z part on rockauto. Rockauto is full of 280Z parts. Even one of the ones you asked about specifically. https://www.rockauto.com/en/catalog/nissan,1978,280z,2.8l+l6,1209260,suspension,control+arm+bushing,75321 point
-
1 pointThanks to both of you for responding. Charles, The hinges are new, but they have a fair amount of vertical rise. It may not be excessive and I do believe that the hatch may be warped/twisted, so I do not believe that it is the fault of the hinge. With the piston install as possible, but in the middle of the hatch it is just too close to clear the roof. grannyknot, I do not have the long shims but I have used half shims ranging from 1/32 to 6/32 to no avail. the issue is always the same, a couple of 32nds to close to the roof line. When the hatch is closed, with the shims the gap between the top of the hatch and the roof is huge. I know I could bring it in a bit with a shim behind the phillips head screws that hold the hatch to the hinge, but the issue is that I can not clear the roof to close the hatch without scuffing the roof paint. I can't even begin to figure out how to delicately take any warpage out of the hatch and who knows what will happen when the glass goes back into the hatch. regards, ron1 point
-
1 pointI'm thinking the coolant temp sensor not being in play has your ecu thinking it's cold all the time and adding more fuel.1 point
-
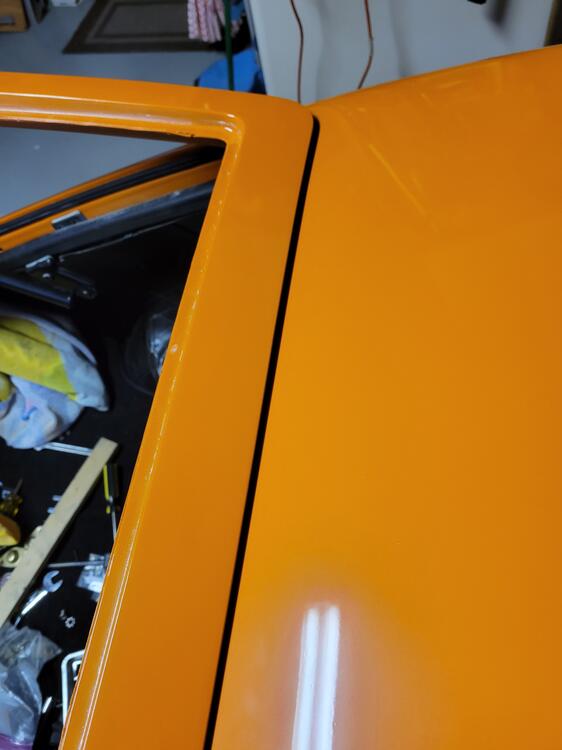
1 pointDoors and hatch are fitting much better. Still some adjustments to make.1 point
-
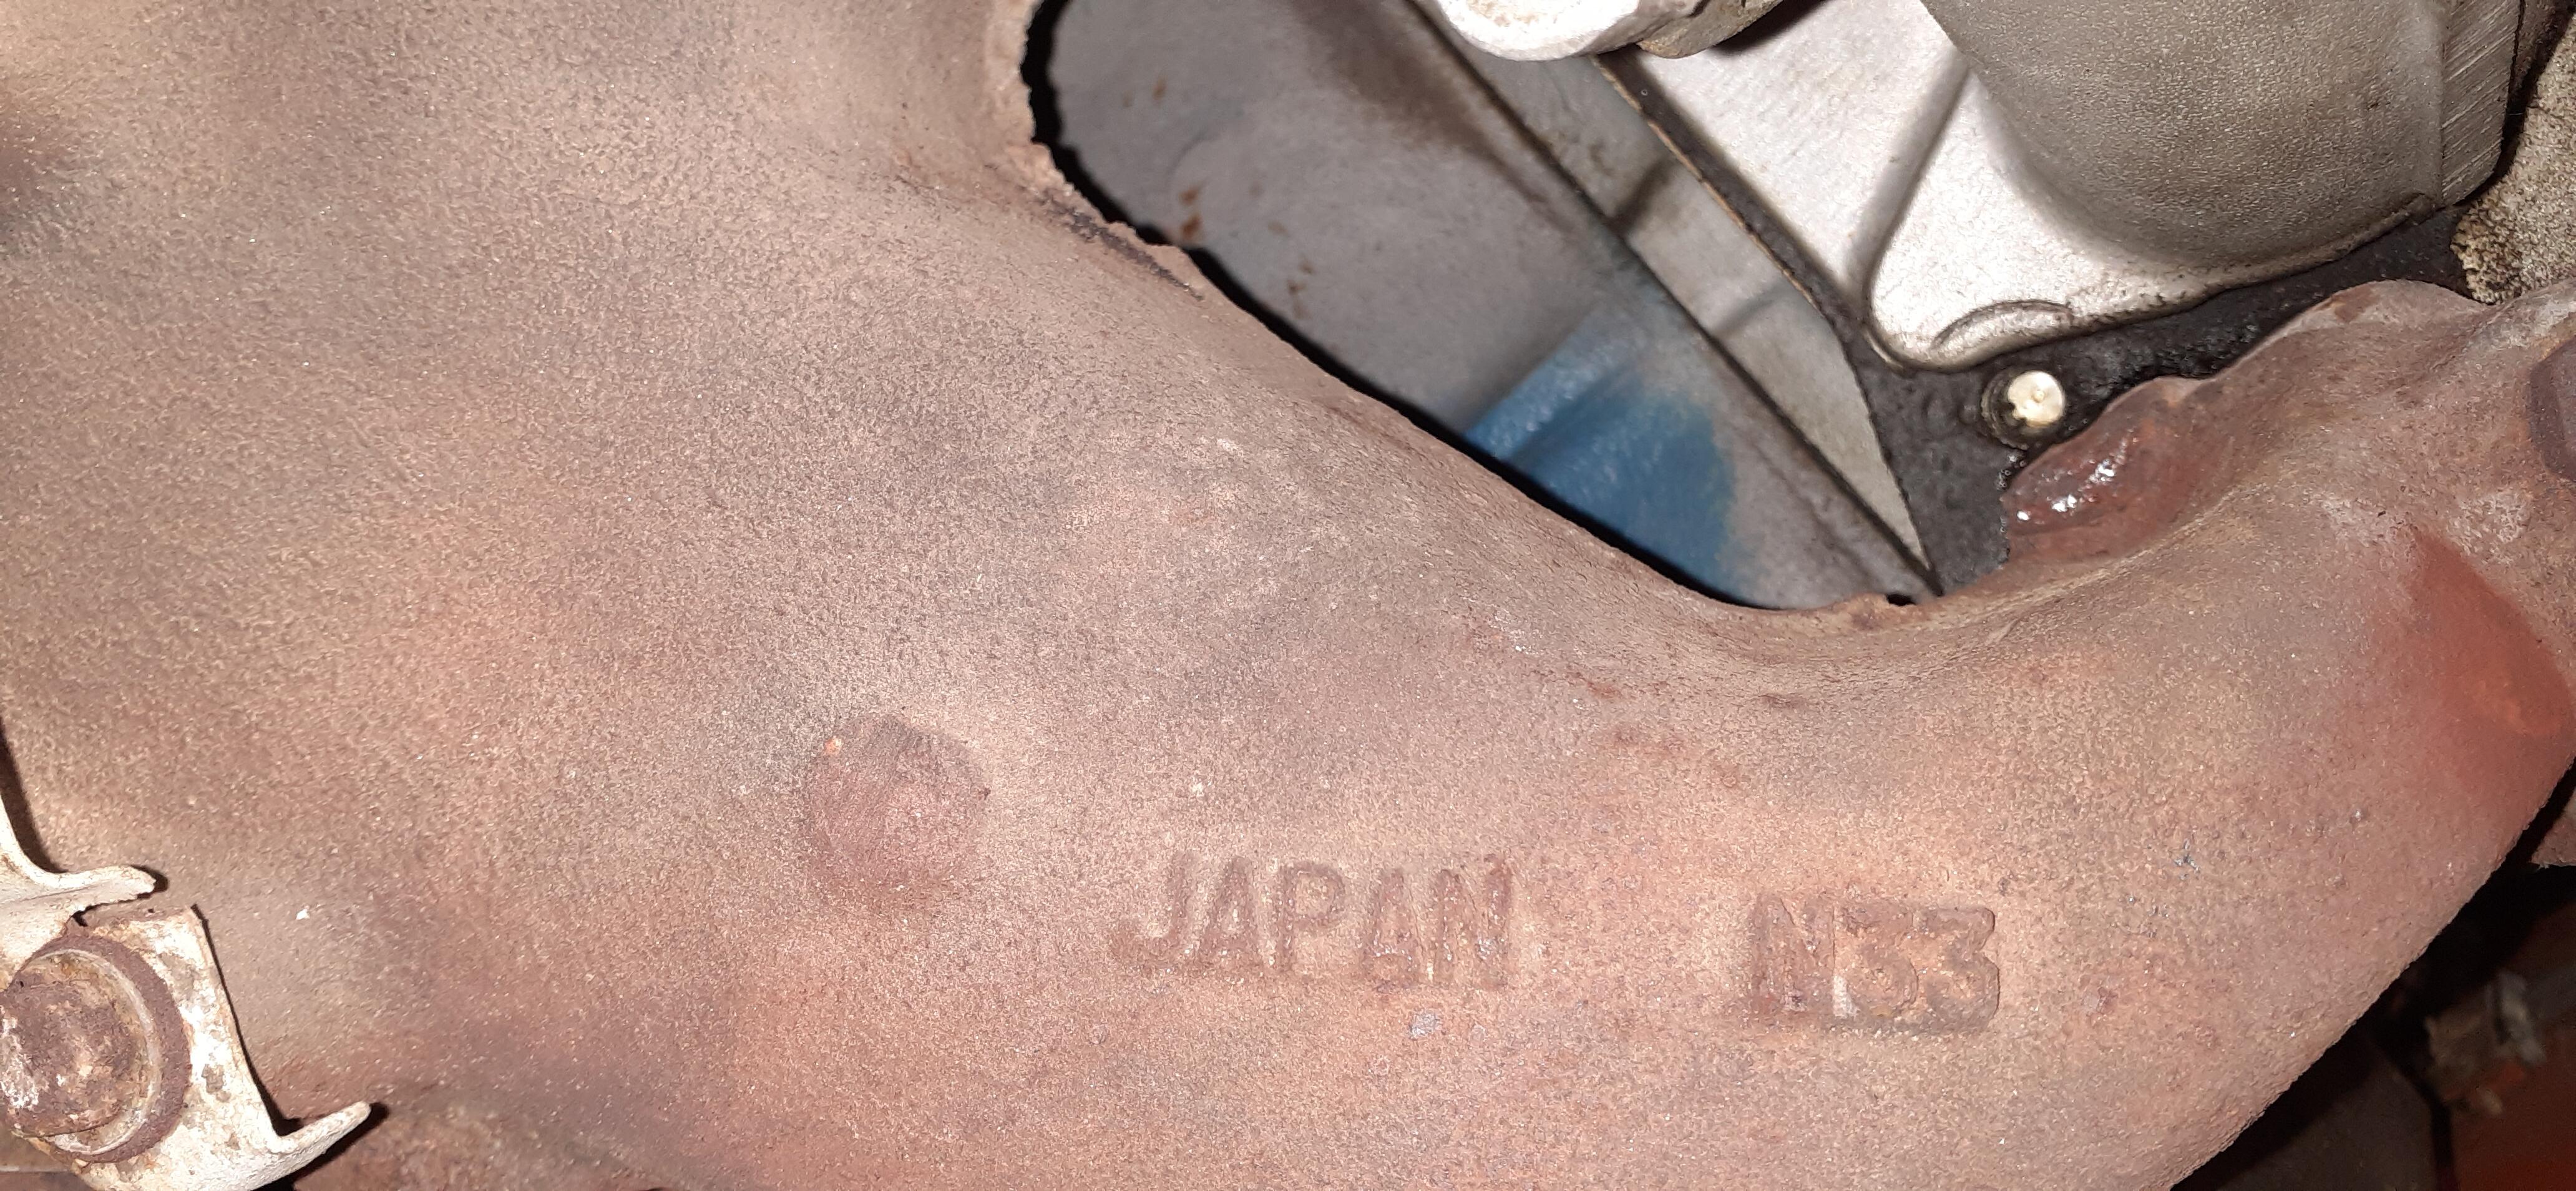
1 pointCool. Is that a Prince/Nissan cap? Edit: Maybe not, I read something about Nissan having their own oil brand at one time. Sent from my iPhone using Tapatalk1 point
-
1 point
-
1 pointI decided there was enough time in the day to do a few more little things to the Z. I changed the oil, inspected the reverse switch (no continuity in reverse), and changed out the sending unit at the gas tank. Since I knew I replaced the reverse light switch many years ago, I decided to figure out if it might be a part number issue. I searched CarPartsManual.com for the reverse switches for the 4 speed and the 5 speed. A previous owner swapped in an early 5 speed. It's the same part number. I ordered the switch from Courtesy Nissan. I'm hoping that the aftermarket part I tried 24 years ago was just not made correctly. I'll find out in about a week or so. Aside from trying the new switch when I get it and replacing the intake manifold gasket next Saturday, I'd say my odyssey of getting the 240Z back on the road is pretty much complete. I owe a lot to my local friend, Tim McGovern, and all of the people who have posted here over the years, especially Philip @240260280, for all that I have learned. It's simply amazing all of the knowledge I have accumulated over the last 10 years.1 point
-
0 pointsNot angry at all Azdatsun. Dont try to stir up stuff because you are embarrassed. And the google search only brought up 240z gaskets.. i need both for a 280.0 points