Built by enthusiasts
Keeping Classic Z knowledge on the road
Explore technical guides, restoration references, wiring information, and decades of practical experience contributed by the Classic Z Car Club community.
Also check out our Downloads and Microfiche!
- Technical Guides Clear procedures, specifications, and troubleshooting help.
- Restoration Reference Factory details, parts knowledge, and proven restoration practices.
- Community Knowledge Experience preserved and shared by Z owners around the world.
Electrical
16 articles in this category
-
For anyone still running a points ignition (other than me!), here are instructions on the use of a tach-dwell meter to fine tune evewrything. I spotted this instruction paper in the lid of my tool box and realized that over 50 years old it could be disintegrated into dust and lost forever unless I took steps to preserve it. I scanned it into a PDF and then slipped the document into a protective sleeve to get it properly filed away. Tach-Dwell Test Instructions.pdf
-
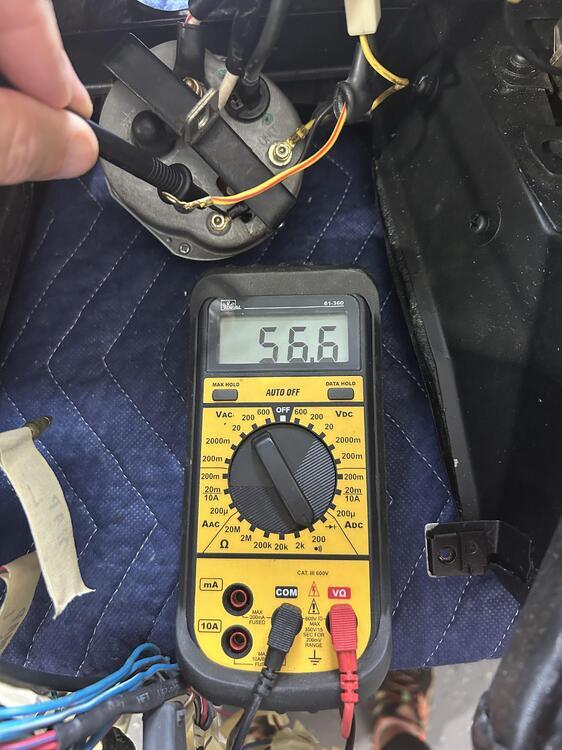
Chasing a ground on 72 240z (99963) on the Dome lamp/ Instrument circuit. Blowing fuse every time, removed dash and located to Ampmeter/Fuel gauge (YR wire). Buzzed it out on multimeter. Attachments 1. shows 29 ohms from fuse block connector (RL) to gauge (YR). Wires attached. Attachment 2. shows 56 ohms from fuse block connector (RL) to gauge (B). YR wire removed. Attachment 3. shows 0 ohms from fuse block connector (RL) to gauge (YR) disconnected. YR wire removed
-
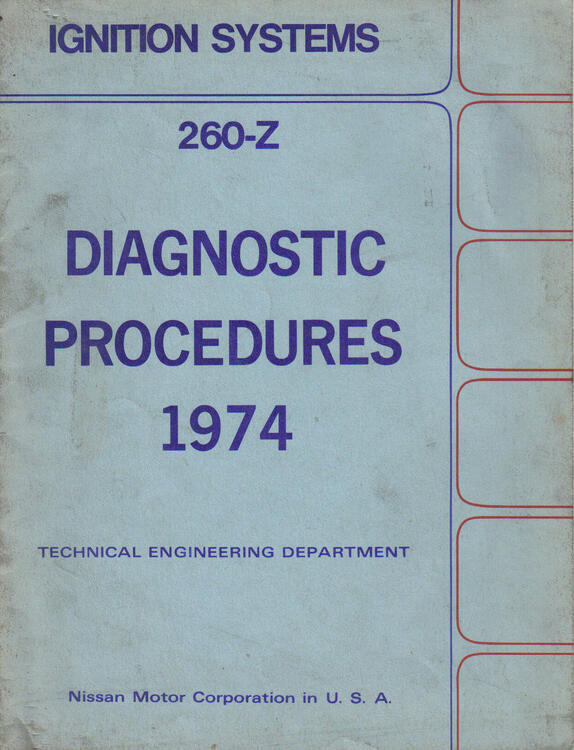
Here is a copy of the Datsun Training manual for troubleshooting the 260 ignition system. 260Z Ignition .pdf
-
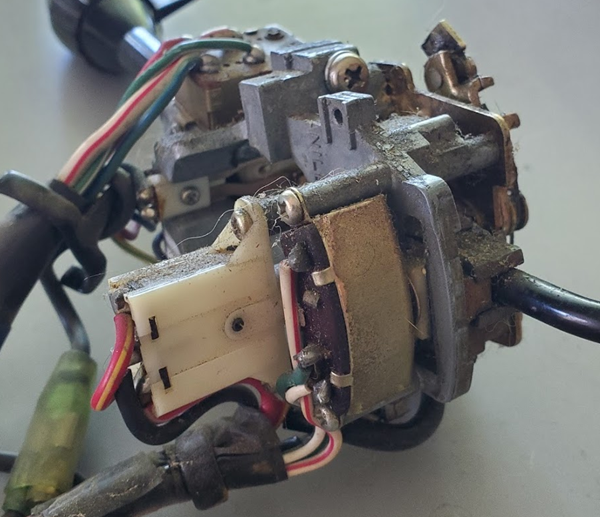
1976 280Z Combination Switch Teardown Problems to be remedied: 1) The turn signal self – canceling pawls won’t return by their own spring force; 2) The turn signal lever is slow to return from the R or L position after being released; 3) The selector detents (headlights, signals, wipers) feel sticky and imprecise; and 4) Headlight and turn signal switch contact resistance is high and inconsistent. In addition to needing these repairs
-
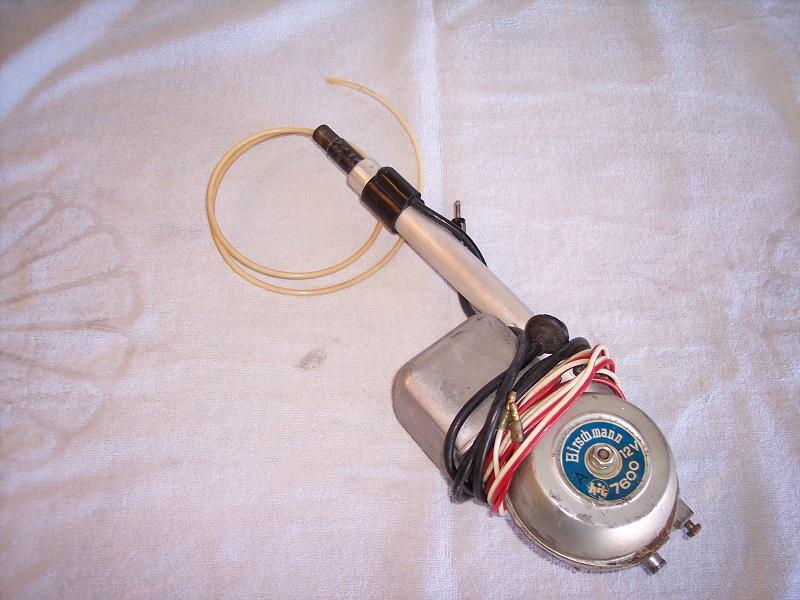
I found myself in need of a power antenna to bench-test a couple of OE radios with antenna switches. I bought one of the aftermarket antennas only to find they are designed for aftermarket radios with the antenna power functions tied to the on-off switch. At least the return was painless! Back to ebay and I located an OE antenna in need of a mast but having a working motor, this antenna had the stub of the first section buried in the mast housing. Next up was locating a replace
-
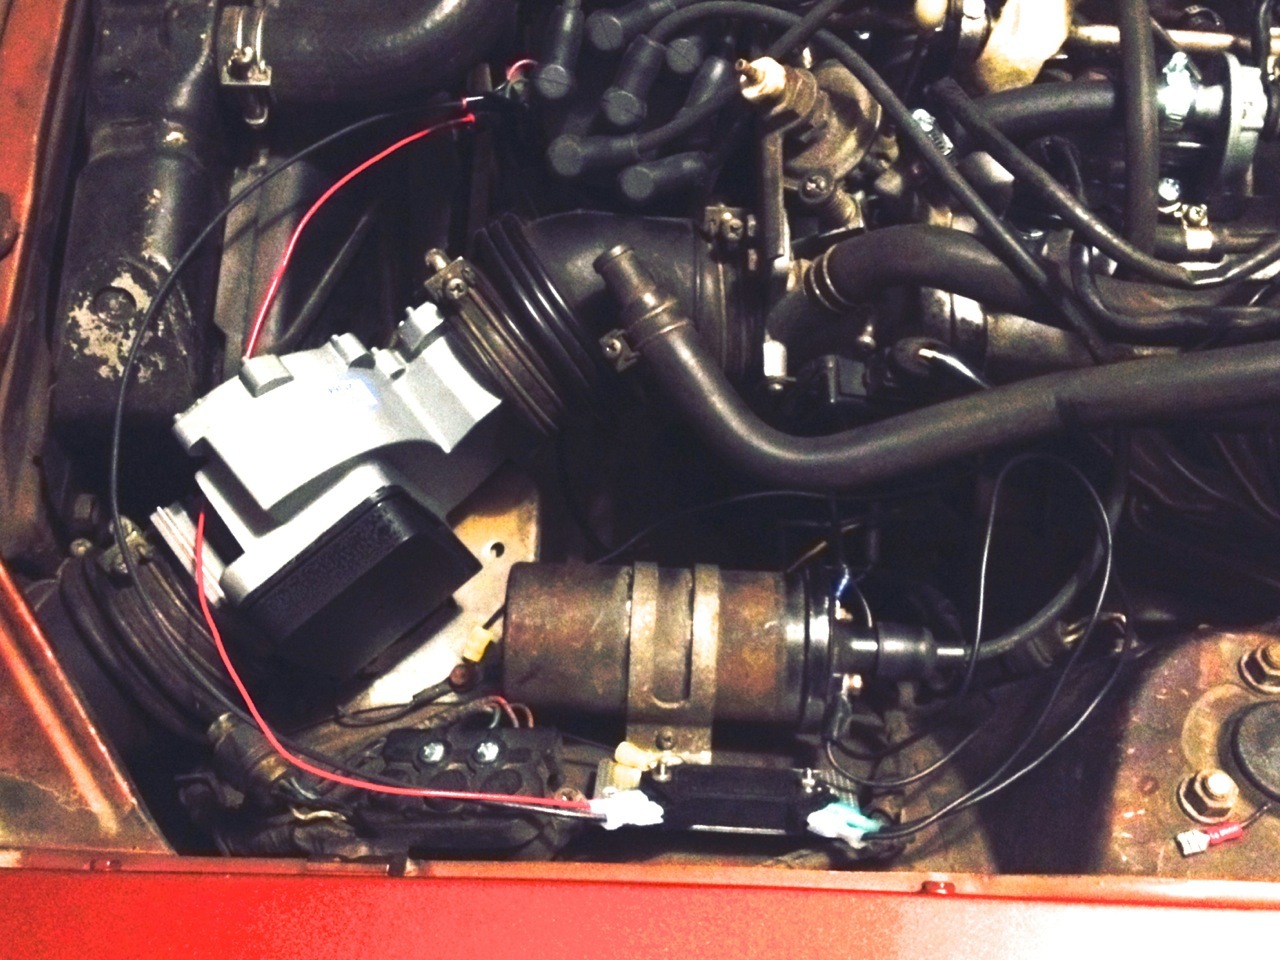
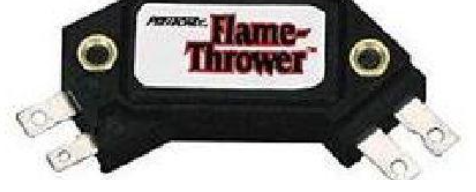
Installing a GM HEI Ignition Module into a 1976 280Z (which already had a ZX ignition) This article describes how to upgrade a ZX ignition module to a GM HEI module. In this particular case, the ZX ignition module happened to be installed in a 1976 280Z which had been upgraded to a ZX distributor/ignition module using the Atlantic Z Club instructions. The purpose of the HEI install was to fix a sudden engine cut-out problem and a jumpy tach problem.
-
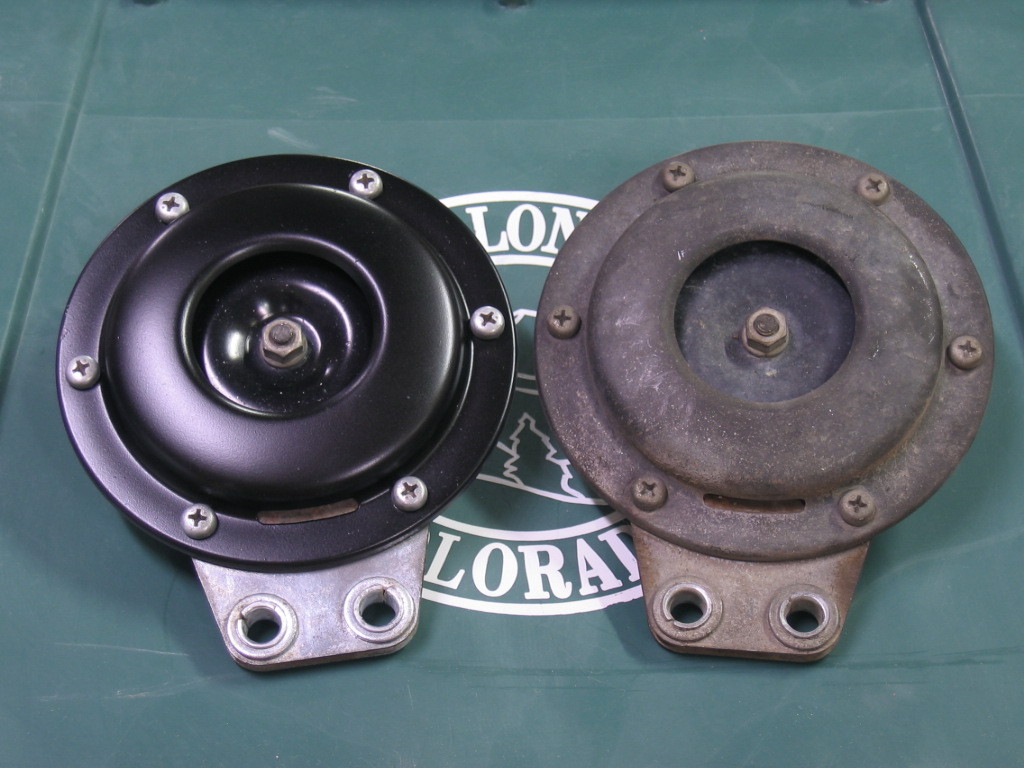
I have methodically been "refreshing" my '73 240Z a bit at a time. I've repainted the car, rebuilt the front & rear suspension, installed new carpets, a headliner and a dash cap, refinished the engine bay and just recently had the engine rebuilt. :knockedou One of the last detail items I had left to tackle was the horns. They were pretty cruddy looking after 30 plus years of service. :sick: First of all, here is a list of items that I used to refinish the horns:
-
I did this modification in July 2014, it's now November 2015 and it's still running strong. The modification is totally concealed in the TIU so the original harness is unchanged. To revert back to original is simple as changing the TIU. The instruction is based on a 1977 280Z, but it can also be used for the 1978 280Z TIU with the terminal block connector. You will need to cut the metal strips that connect the terminals in the terminal block to the circuits. Be sure to leave enough to
-
This came from the Mail List some time back and is due to be included at Z Home's articles. I've added a couple of notes and am posting it here due to it's relevance to recent discussions. Going through some old e-mails and noticed this one. Saw one answer, but felt that there was a bit more information that should be included.
-
At the front of the radiator you'll find two pairs of wires both Red and Black. Typically they're taped to the harness with Blue electric tape. Those are the connections for the Fog Lamps in parallel (that means they are both powered off the same circuit, but not dependent on one another to work). Inside the vehicle, typically behind the Fuse Box or Hazard Switch, (depending on whether the bundle has been moved or not) you'll find two sets of 2-wire connectors. In my car they were connected
-
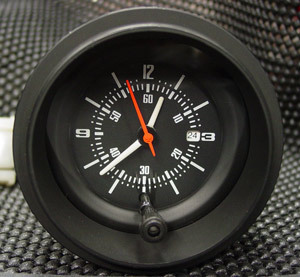
This comes up often enough that it should be posted as a tech article. This is taken from a different posting where Heater Control Panel Illumination was the topic. In case that is what you were looking for: (Original Thread: http://www.classiczcars.com/forums/showthread.php?p=141090#post141090) The Clock not working in the Z's is such an endemic characteristic that it almost seems a basic requirement of the car. If your clock works....it's not a Z. Fortunately, with a little
-
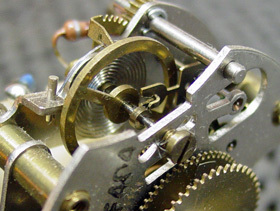
I'm fairly new to this web site and have seen several articles on clocks. This is of particular interest to me as I do have some experience with total clock reconditioning. I've been repairing, refurbishing and specializing in 70-83 Datsun /Nissan clocks for the last 8 years and thought I would pass on several bits of trivia and technical information. I never really thought about NOT using oil on a clock as that seems to be common knowledge until a friend came to me years ago with a 240Z cl
-
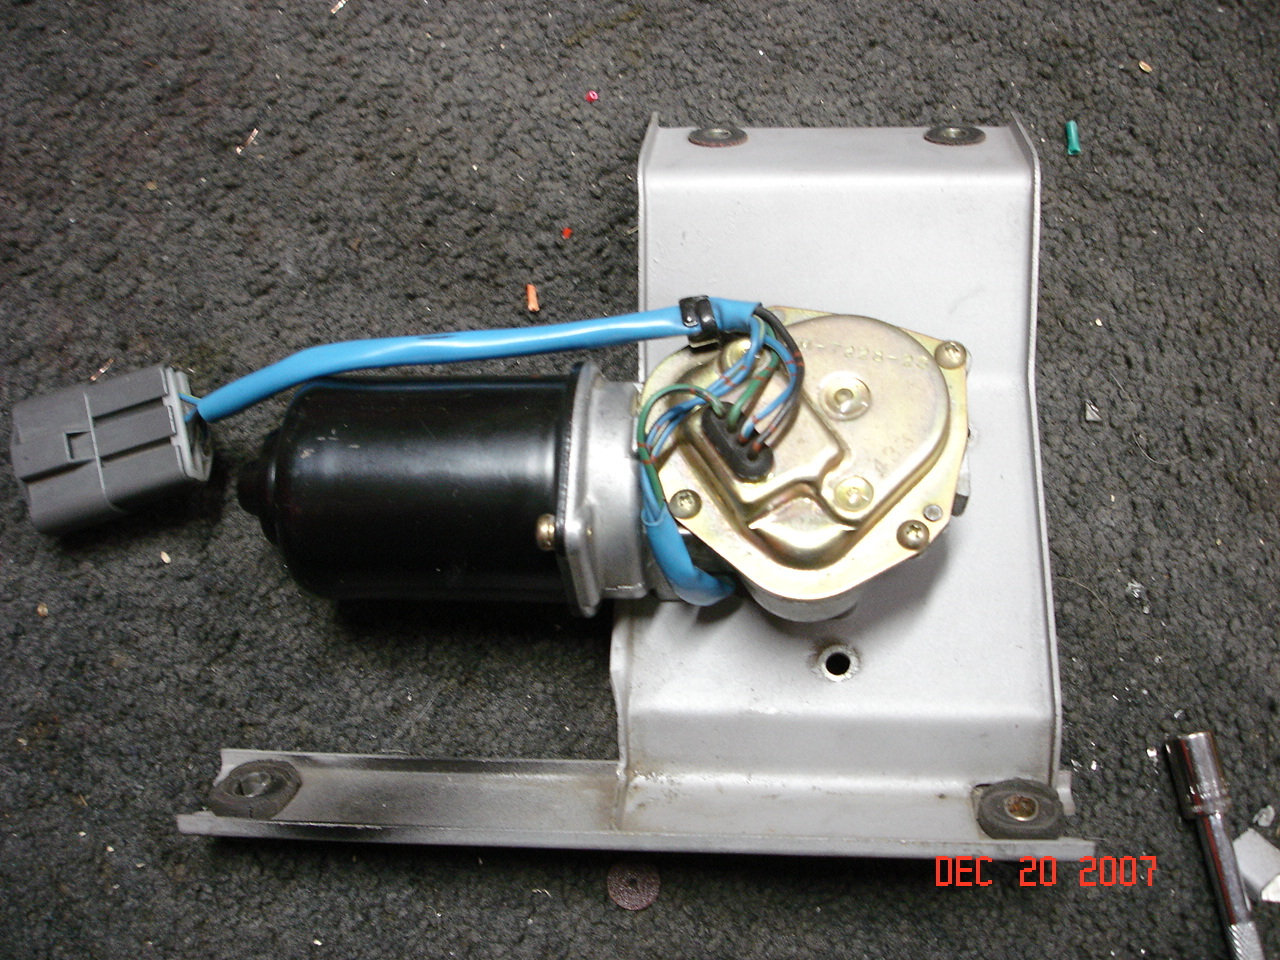
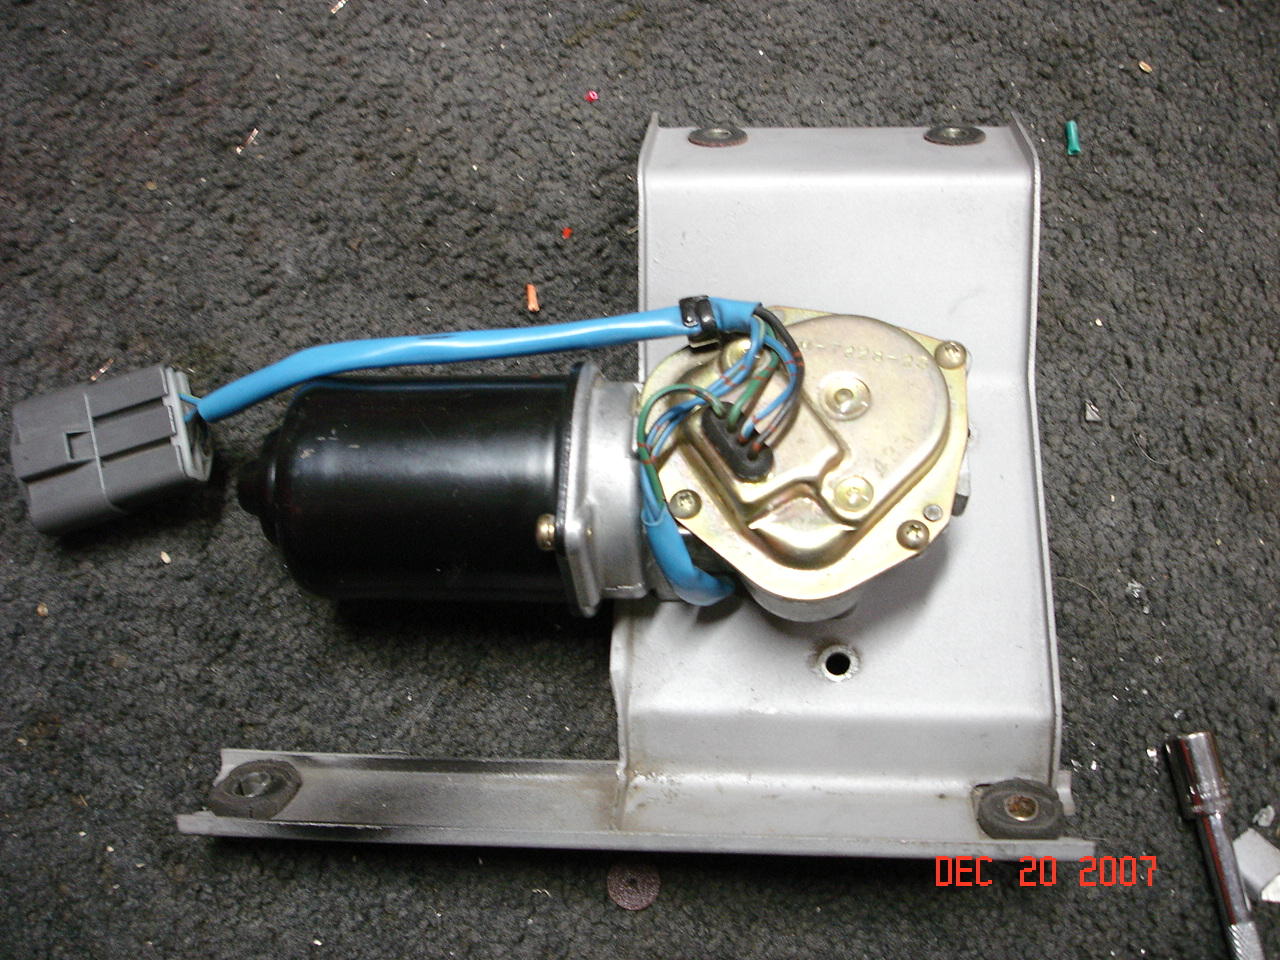
Tired of the old SLOW and Tired wipers on your 240Z? Ya, Me too. SO I did some research on the subject over at HybridZ and found that for a few years now, people have been trying to use the 94' Accord and 91' Civic wiper motors as a replacement to the Datsun wiper motor that ONLY like to move if the window is WET... So I read every thread and post on the subject to find out as much as possible. All I found was pictures and posts by people saying that "it works great BUT..... The wiper does'
-
Tired of the old SLOW and Tired wipers on your 240Z? Ya, Me too. SO I did some research on the subject over at HybridZ and found that for a few years now, people have been trying to use the 94' Accord and 91' Civic wiper motors as a replacement to the Datsun wiper motor that ONLY like to move if the window is WET... So I read every thread and post on the subject to find out as much as possible. All I found was pictures and posts by people saying that "it works great BUT..... The wiper does'
-
Hi all, The map light in my 240Z got stuck so that when the switch was pushed in to make it turn on or off it would push in and wouldn't pop back out. This was partly due to the top and bottom of the assembly pushing in on the clear plastic switch cover causing the clear plastic to drag. To cure this I glued in a sawed off ordinary lead pencil to bow out the top and bottom of the assembly reducing the friction on the clear plastic switch. I experimented with different sawed off lengths of p
-
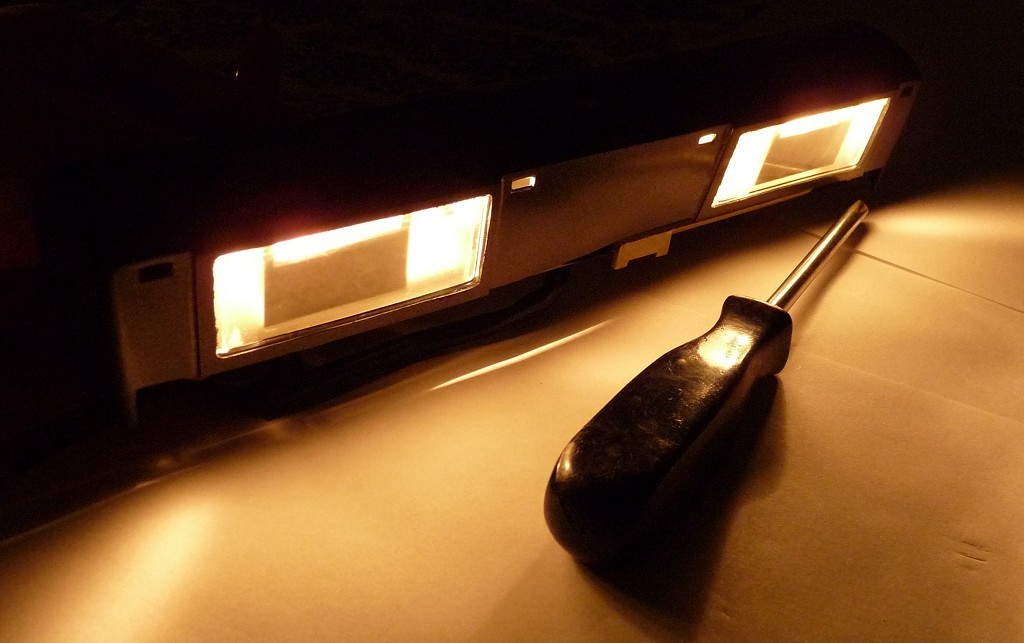
I am posting some photos of part details as I restore. Hopefully they can be of use in the future.I painted the light compartment white to improve output.Heat Shield (seems like engineering correction to alleviate melting plastic)7.5WRetaining nut in place.Light leak at top edge. Gasket does not seal.