Built by enthusiasts
Keeping Classic Z knowledge on the road
Explore technical guides, restoration references, wiring information, and decades of practical experience contributed by the Classic Z Car Club community.
Also check out our Downloads and Microfiche!
- Technical Guides Clear procedures, specifications, and troubleshooting help.
- Restoration Reference Factory details, parts knowledge, and proven restoration practices.
- Community Knowledge Experience preserved and shared by Z owners around the world.
Exterior
10 articles in this category
-
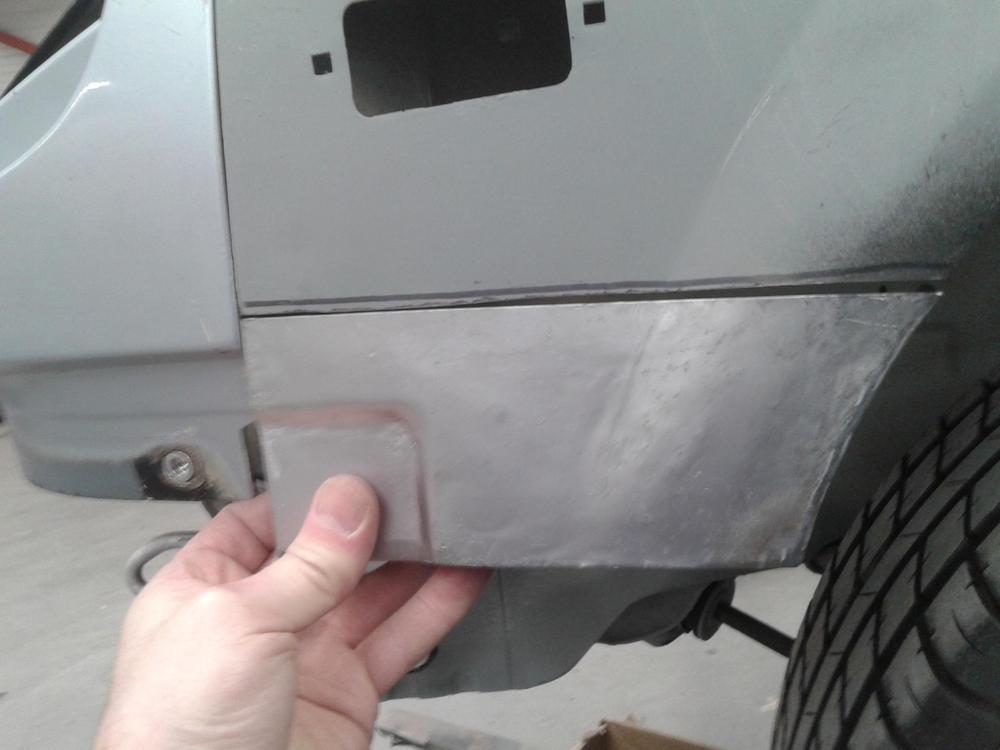
Here you can put all your answers to how to make a piece of (complicated or not) sheet metall for that rusty car your restoring! Also refers to pages in your restoration can be placed here please! THE man i learned a lot of is this ( a little bit mad) guy! He is a good teacher and knows his stuff!
-
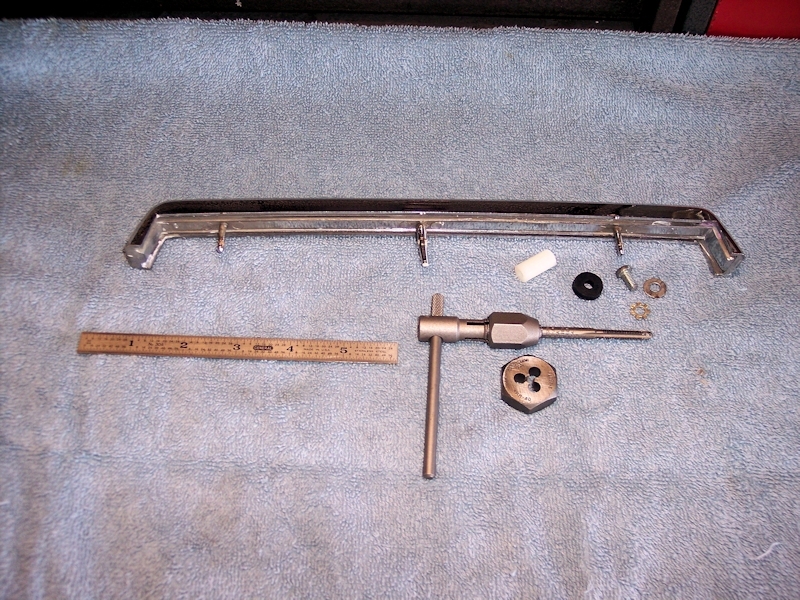
I decided to refurbish a set of 240Z tail lights that came off a parts car and quickly hit the problem of removing the push locks on the back of the lights. Suffice to say, the pin snapped off flush with the back on each unit as I worked on them. Once the lens was separated from the back, removing the push locks from the other pins was pretty straightforward and nothing else broke. After the cleanup was done, it was time to figure out how to re-attach the chrome strip to the lens - including
-
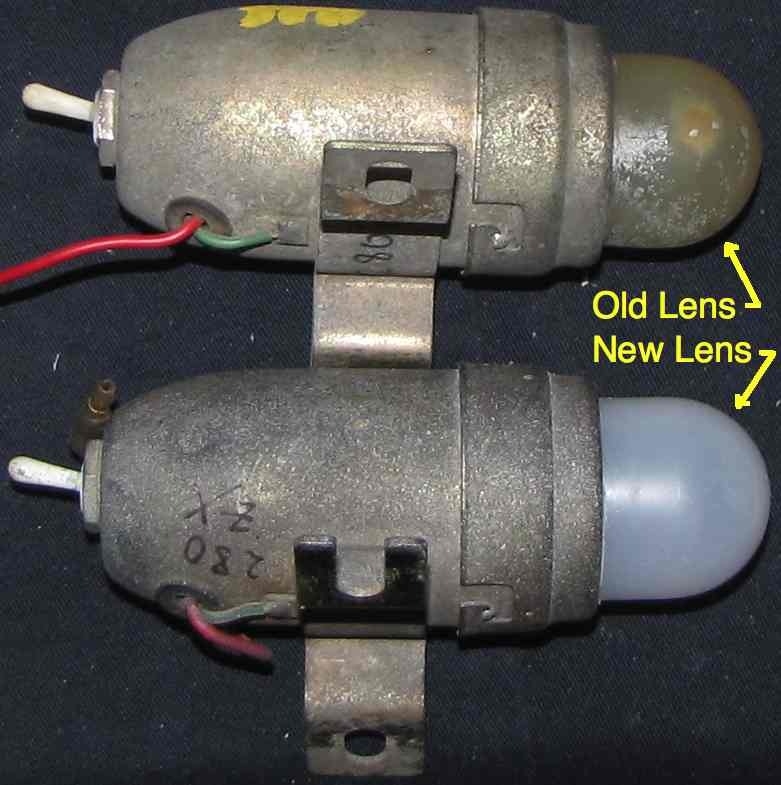
My 280Z was due for a roadworthy inspection so I was checking the lights and noticed the front indicators were not very bright. I never paid much attention to them before because I was planning to switch to 240Z lights when the 240z bumper and air dam were fitted. I still have not decided on the type of air dam yet so these turn signals will be around for a while. After dismantling them it was clear why they didn’t shine very bright. 1. The chrome reflector was so badly corroded. The chro
-
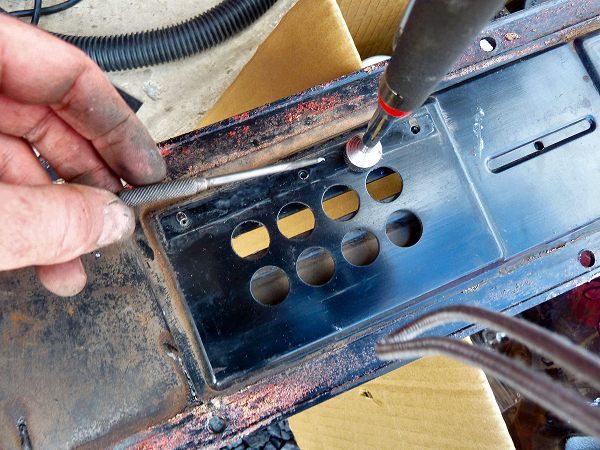
Found this on ODOT regarding Auto License Plates: 803.525 Number of plates issued. The Department of Transportation shall issue two registration plates for every vehicle that is registered by the department except as otherwise provided in this section. Upon renewal or when otherwise provided under ORS 803.555, the department may issue stickers in lieu of or in addition to registration plates. The following shall be issued plates as described: (1) Only one registration plate shall be is
-
Hi all, I made a new engine bay light lens out of an empty nutrition drink tube that looks like a large translucent white test tube with a tube DIA of 33.8 MM, though it does not have to be exactly that to work. The nutrition drink is called Energize and has the words "Hardcore Energize bullet" on it with the word "Energize" much larger than the other words (Thank you to SteveJ for identifying the brand of drink for me since I had thrown away the wrapper). It is sold by Wall Mart here and I
-
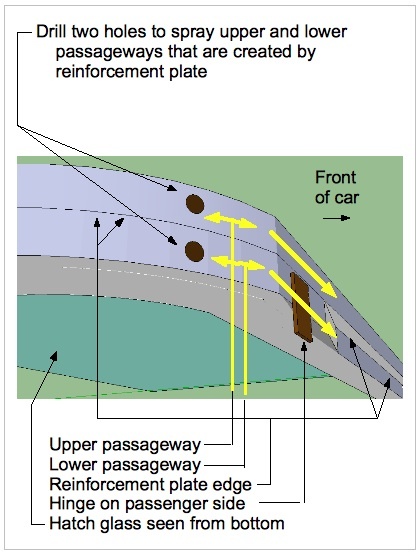
Hi all, I went to spray the interior metal passageways of my 240Z hatch with a Transtar Amber anti corrosion spray can and noticed there is a reinforcement plate on both sides and top of the hatch. To spray the two passageways on the sides was easy as I just had to guide with my hand the 3 foot long spray wand above and then below the reinforcement plate as you can feel the end of the plate with your hand. See drawings. After I did this on both sides I drilled a couple of holes at the top m
-
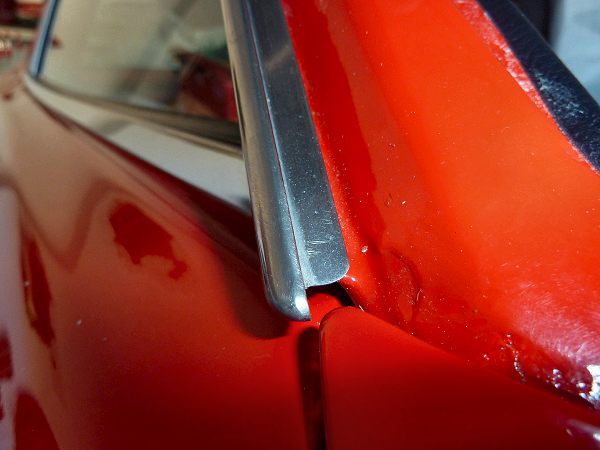
Some photos for reference.For installing and removing simply pick an end then start rolling with fingers. I found that removing works best starting from the rear and installing works best starting from the front.They clean up well with fine steel wool.*****Addendum by Enrique Scanlo ******Excellent post.A couple of notes to add, having done a few of these.Sometimes due to grime and other schmootz that creeps in underneath, you'll need more help than simply rolling the trim with your fingers. In
-
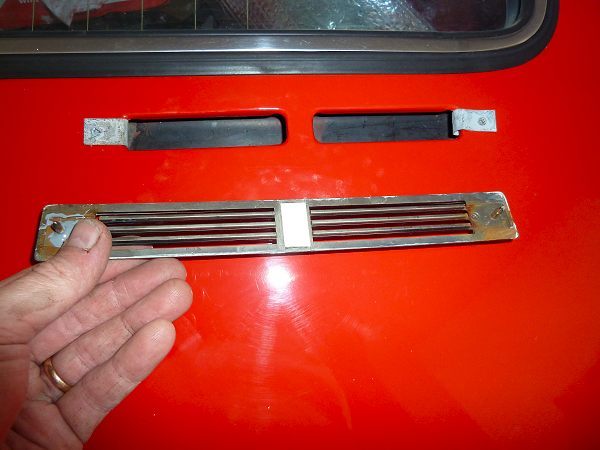
Jan 1971 240z.I decided to refresh the stock vent system and at the same time, bag the interior so that all possible leaks were sealed. I used a thick vapor barrier from the home insulation industry as well as a special sealing tape to close all holes (grommets,rust holes, panel holes, empty bolt holes) and panels from front to back.Here is what I did to refresh the vent in the hatch:The original hatch had long lost the perimeter seal. It was just globs of an seemingly old acrylic caulking or a
-
The plastic trim has a barrel-shaped retaining clip that rusts. This fastens into a speed-nut like clip on the bodyHere is the body clip with the retaining clip installed. Both were acid dipped and primed.On this 240z, there were two different width body clips. One hatch vent used wide and one used narrower.I seem to have misplaced the photos of the door interior parts of the vent system. Here is one that I have. It shows the plastic part that attaches to the inside of the vent hole. It original
-
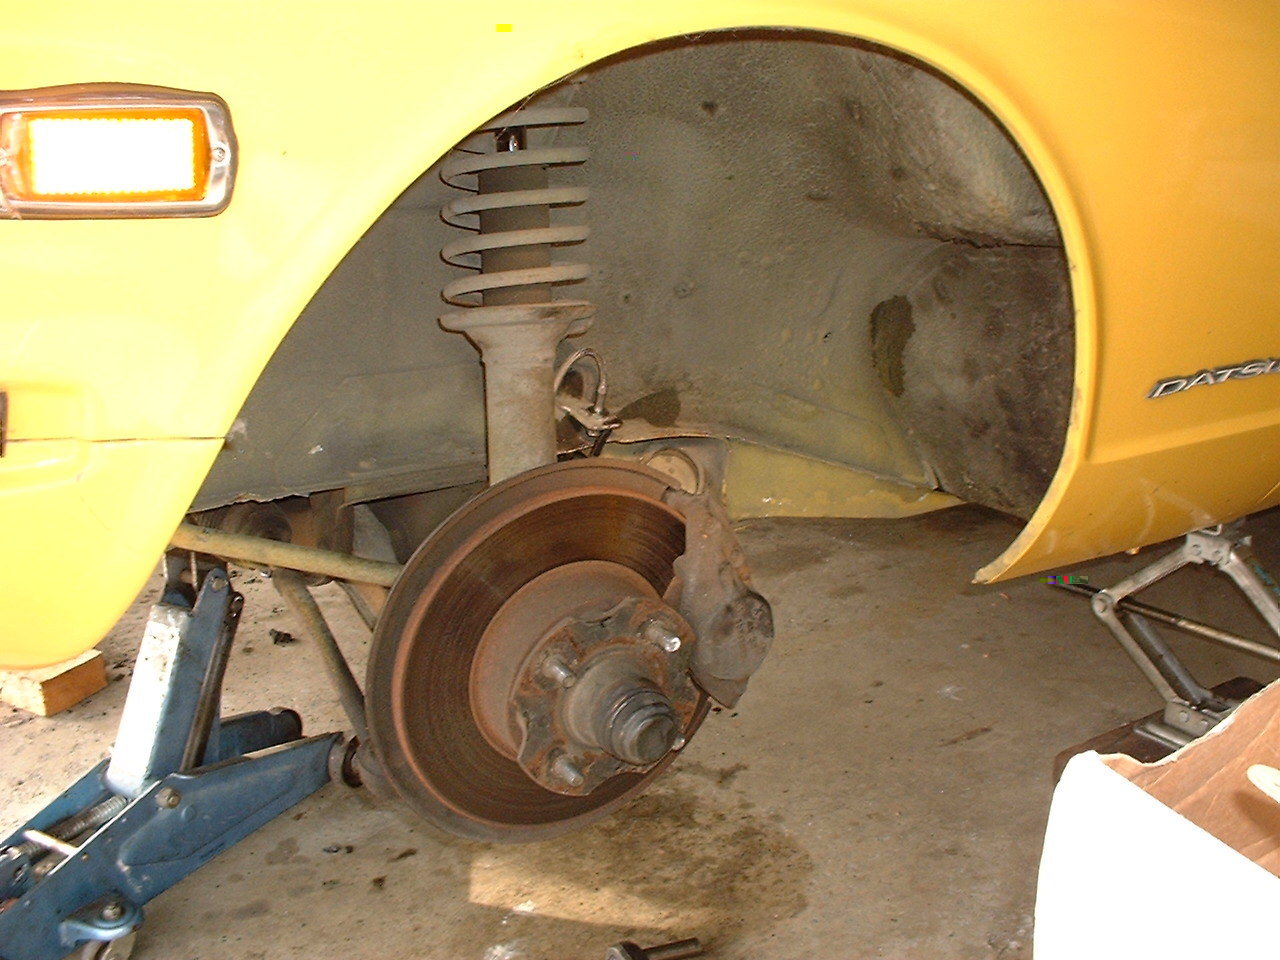
Wheel well Frame Repair One of the common rust areas on the 240Z is in the front wheel wells just aft of the torsion rod fitting on the frame. There is a doubler / stiffener spot welded to the inner wheel well that traps water between the two pieces of metal and rusts from the inside out. When I first looked at the wheel well I saw this image: As I started cleaning the inner fender well getting ready to repaint and seal the fender well. I find that the doubler had failed and