


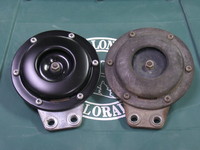
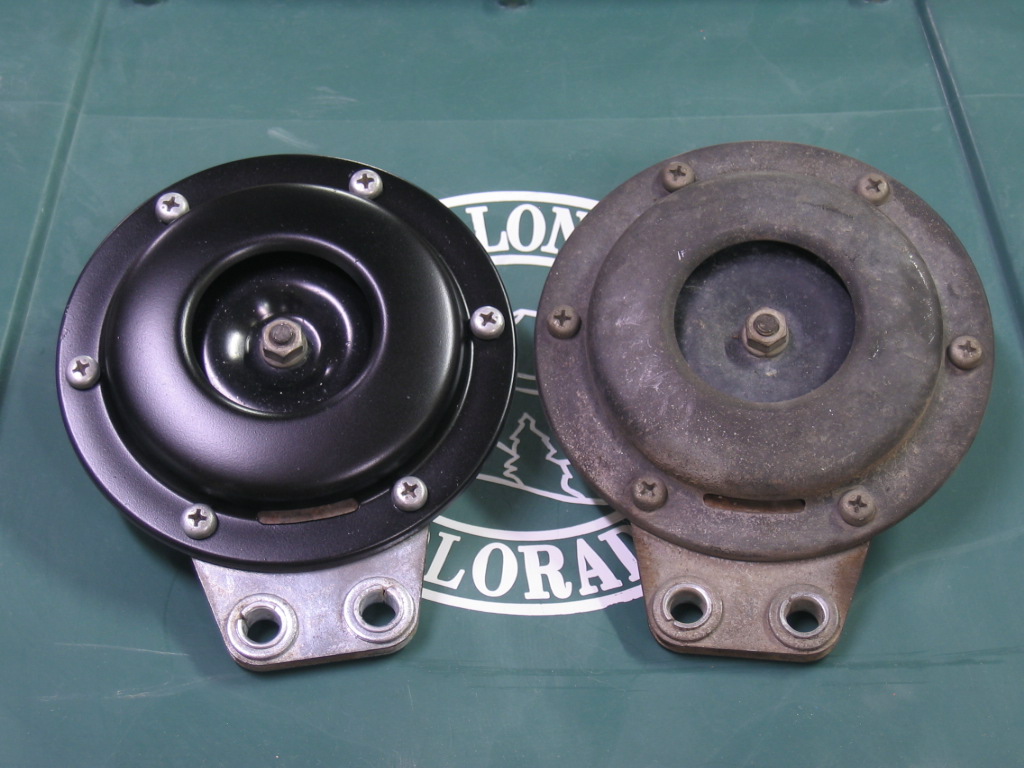
I have methodically been "refreshing" my '73 240Z a bit at a time. I've repainted the car, rebuilt the front & rear suspension, installed new carpets, a headliner and a dash cap, refinished the engine bay and just recently had the engine rebuilt. :knockedou One of the last detail items I had left to tackle was the horns. They were pretty cruddy looking after 30 plus years of service. :sick:
First of all, here is a list of items that I used to refinish the horns:

Phillips screw driver
5/16" nut driver
1 Scotchbrite pad
#0000 Steel wool
3M rubbing compound
PPG wax & grease remover
Satin black enamel paint
Wire brush
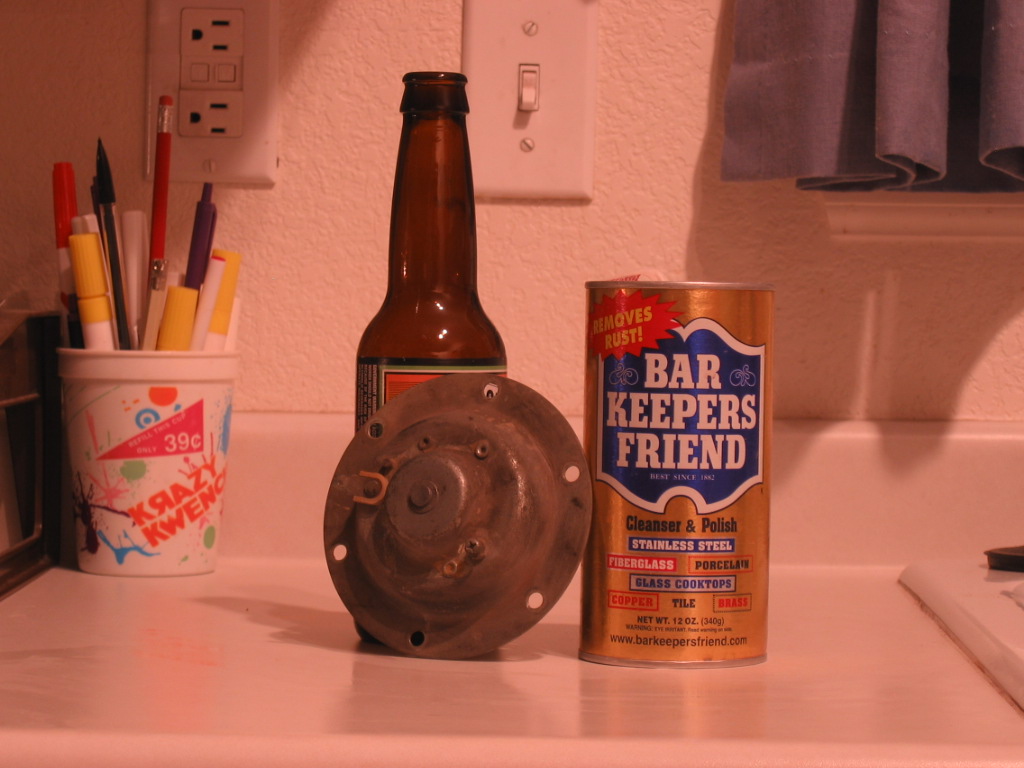
Barkeepers friend
an old tooth brush
an few old socks
Here are the steps I followed:
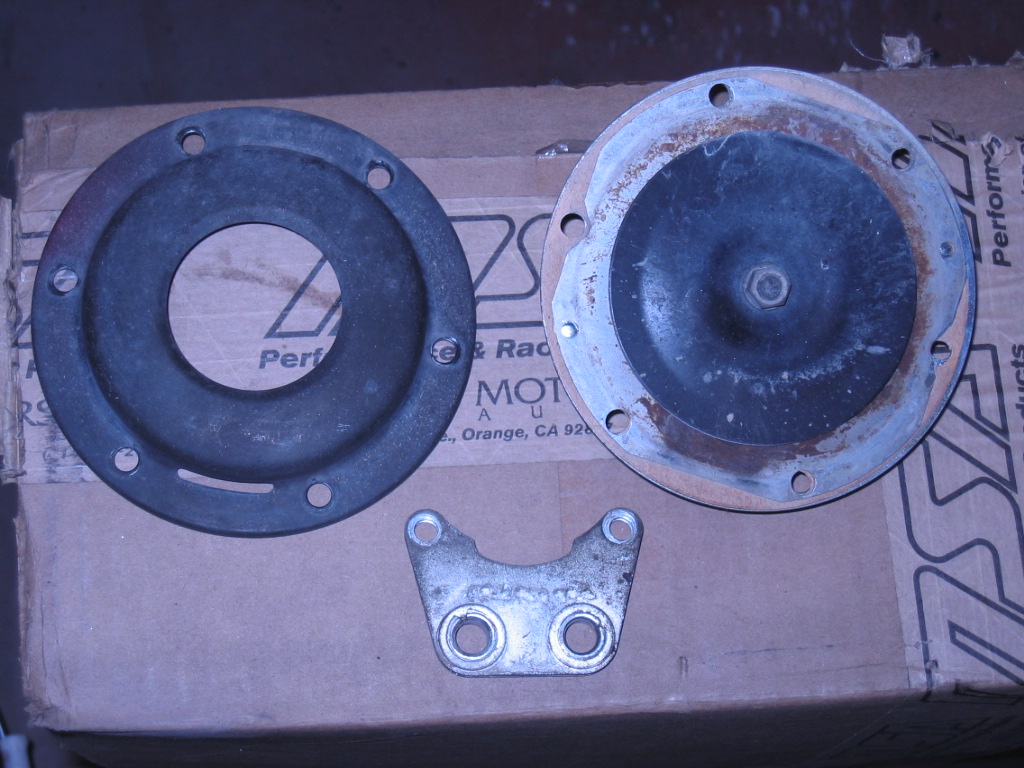
1. Use the screw driver and nut driver to remove the six screws that hold the horn together. Notice that the two screws that secure the mounting bracket to the horn are longer than the rest. Also, note that there is a lock washer sandwiched between the horn and the mounting bracket, as well as another lockwasher between the mounting bracket and the nut. Also, there are two little metal spacers that fit in the mounting bracket. Don't lose any of these small items! ![]() Once all six screws are removed the horn can be separated into the front cover, diaphragm, and rear cover.
Once all six screws are removed the horn can be separated into the front cover, diaphragm, and rear cover.
2. Clean the screw heads with the Scotchbrite pad. Place the pad on a hard surface, such as a workbench, and grip a screw by the threads. Rub the screw over the Scotchbrite pad until it is nice and clean. Repeat this process with the remaining screws. Once all the screw heads are clean polish them up with the steel wool. It should make them fairly shiny. :knockedou
3. Use a wire brush to clean the nuts. I used a cup brush on an angle grinder. A bench grinder with a wire wheel could be used, or you could use a hand held wire brush. If you use a wire brush on a power tool, BE VERY CAREFUL! WEAR EYE PROTECTION! WEAR GLOVES! A wire brush on a power tool can easily launch the nut into space. If that happens, consider yourself lucky if it doesn't hit you :hurt: , hit & nick something around you (like your Z!  ), or end up lost
 ![]() .
.
4. Clean and polish the black metal disc on the front of the diaphragm. Use an old sock, or other cotton cloth, damp it with water, and apply a bit of the rubbing compound to the sock. Use small, circular motions to polish the disc. Wipe clean with a clean, dry portion of the sock.
5. Clean the front cover with warm soap and water. Dry thoroughly. Clean the surface with a bit of wax & grease remover on another old (clean, please!) sock. Scuff the surface with the Scotchbrite pad (note - be sure all heavy dirt, oil & grime deposits are removed BEFORE scuffing the surface with the Scotchbrite pad!). Wipe the surface clean with a bit of wax & grease remover in preparation for painting. Allow the cover to dry thoroughly.
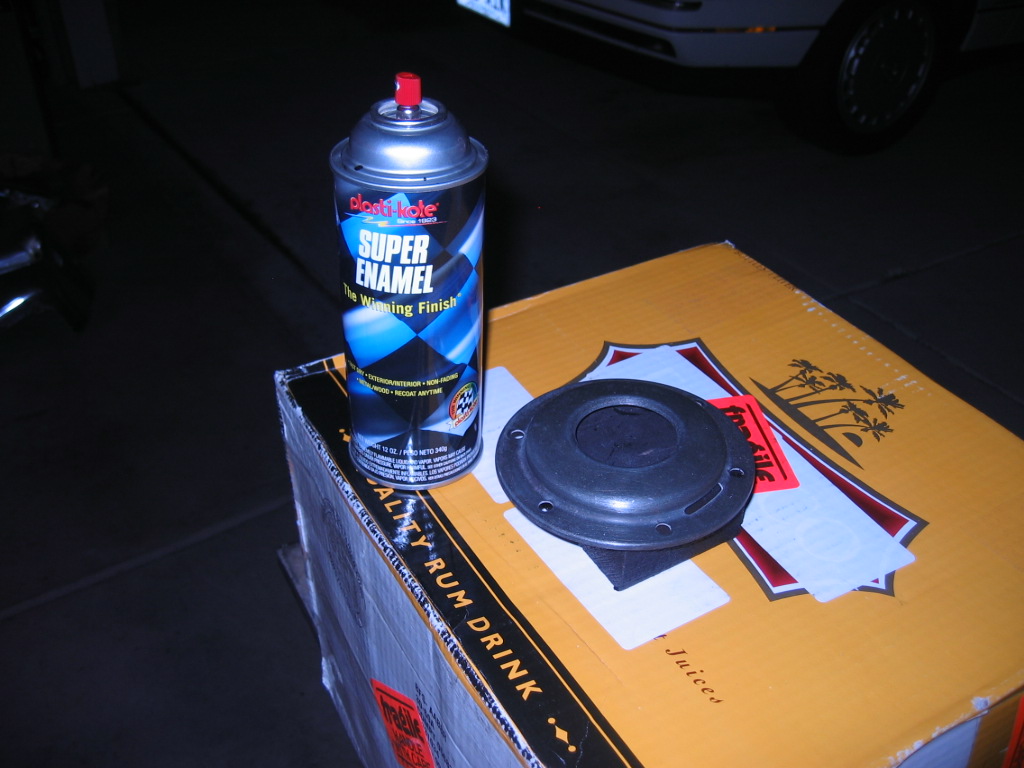
6. In a well ventilated area, spray a couple of light coats of the satin-black enamel on the front cover. I placed the cover on a block of wood, up on a box on top a small, portable work bench in my garage. Once the cover has been painted, hang it up with a bit of wire and let it dry.
7. Clean the back cover with Barkeepers friend, or similar cleaner. Be careful when cleaning the back cover, as it contains the coil & other electrical parts. DO NOT SUBMERGE IT IN WATER! I used another old sock, damped it with water, and then applied a bit of the cleaner to the sock. Then, I used it to clean the larger areas of the back cover. For the nooks & crannies I used the toothbrush. I damped the bristles with a little water, applied a small amount of the cleaner to the tooth brush, then cleaned the tight spots. I used a damp rag to wipe the surface clean. Don't tell my wife, I cleaned the back cover at the kitchen sink while she was away at work! :paranoid:
8. Clean the mounting bracket using the same method as for the back cover.
9. When the paint on the front cover has dried, reassemble the horn. Notice that there are 2 dimples on the perimeter of the back cover, located 180 degrees apart. Also notice that the diaphragm has 2 small holes (conveniently located 180 degrees apart, see the connection here?), in addition to the 6 mounting holes. These 2 small holes fit over the dimples, insuring that the diaphragm lines up correctly with the coil in the back cover. The front cover has 2 slots around the perimeter, located 180 degrees apart. Place the front cover over the diaphragm and align the bolt holes so that one slot is at the top of the horn, and the other is at the bottom.
10. Install the mounting bracket to the bottom 2 mounting holes using the 2 longer screws. Don't forget to install the lockwashers! Each of these screws should have a lockwasher between the rear cover and the mounting bracket, and another lockwasher between the bracket and the nut. Install the 4 short screws in the remaining holes, put a nut on the back of each screw and tighten them all down. Use the screw driver and nut driver to complete this step.
11. Reinstall your "new" horns back on your Z!
They may not be show quality, they may not be totally authentic in appearance, but they sure as heck look a lot better that they used to! :classic:


Recommended Comments
There are no comments to display.
Create an account or sign in to comment
You need to be a member in order to leave a comment
Create an account
Sign up for a new account in our community. It's easy!
Register a new accountSign in
Already have an account? Sign in here.
Sign In Now