


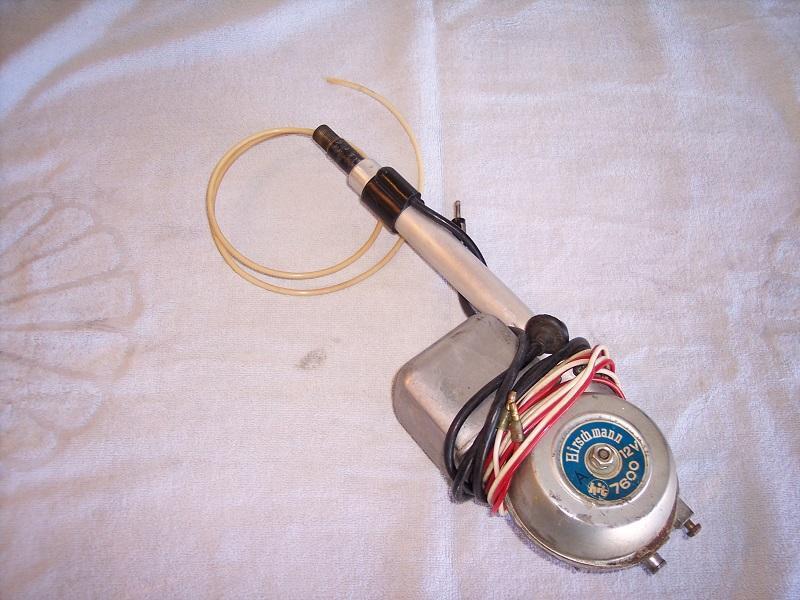

I found myself in need of a power antenna to bench-test a couple of OE radios with antenna switches. I bought one of the aftermarket antennas only to find they are designed for aftermarket radios with the antenna power functions tied to the on-off switch. At least the return was painless! Back to ebay and I located an OE antenna in need of a mast but having a working motor, this antenna had the stub of the first section buried in the mast housing.
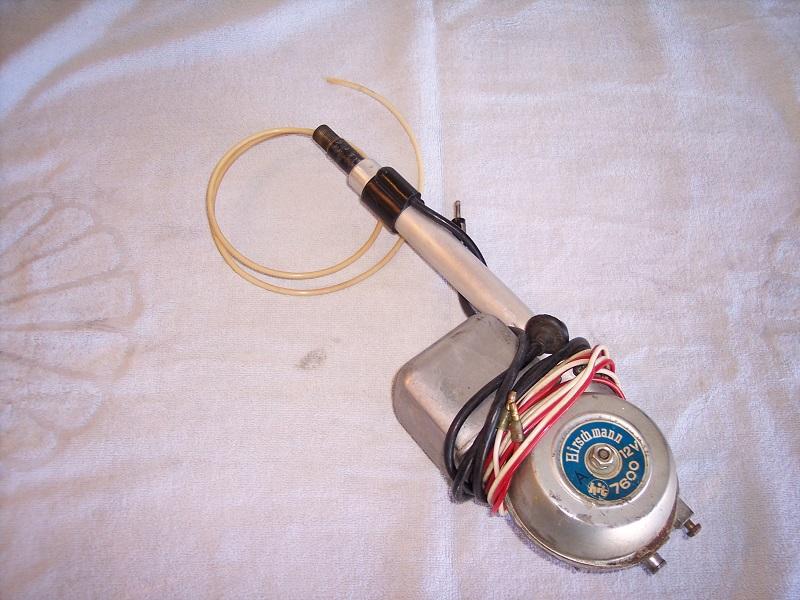
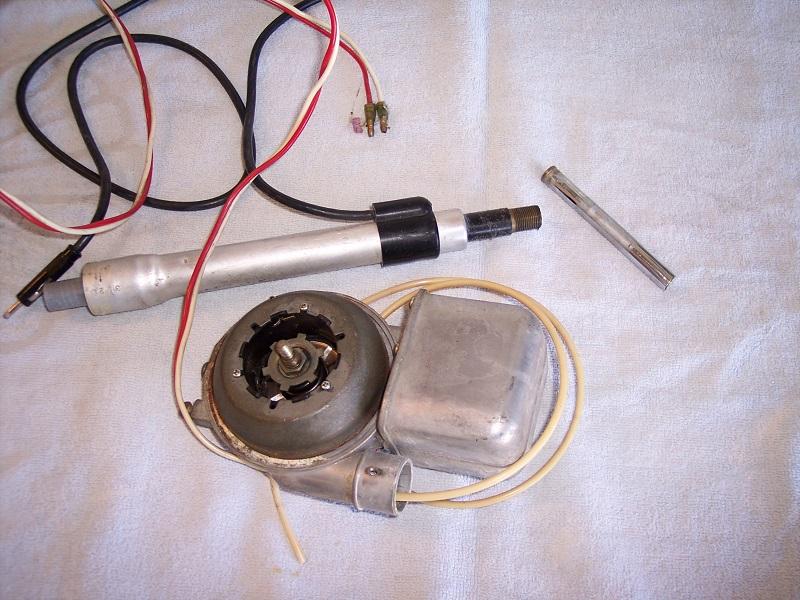
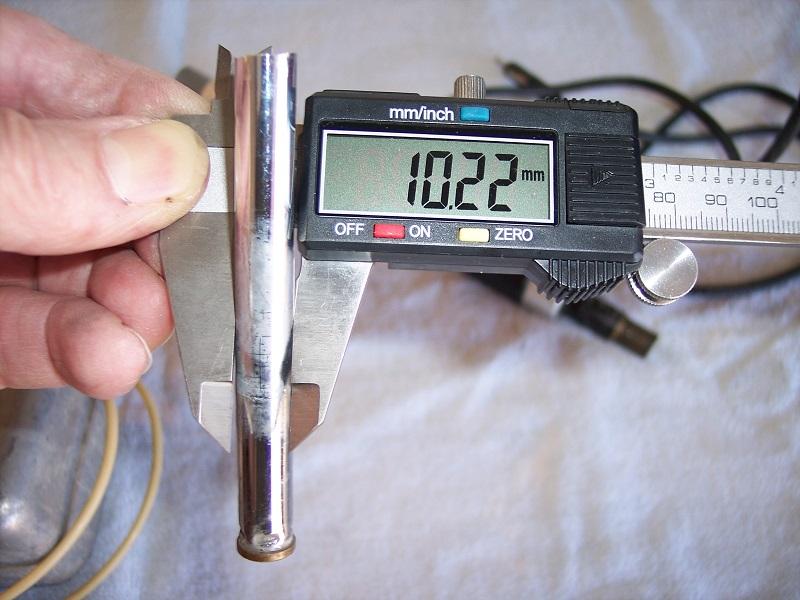
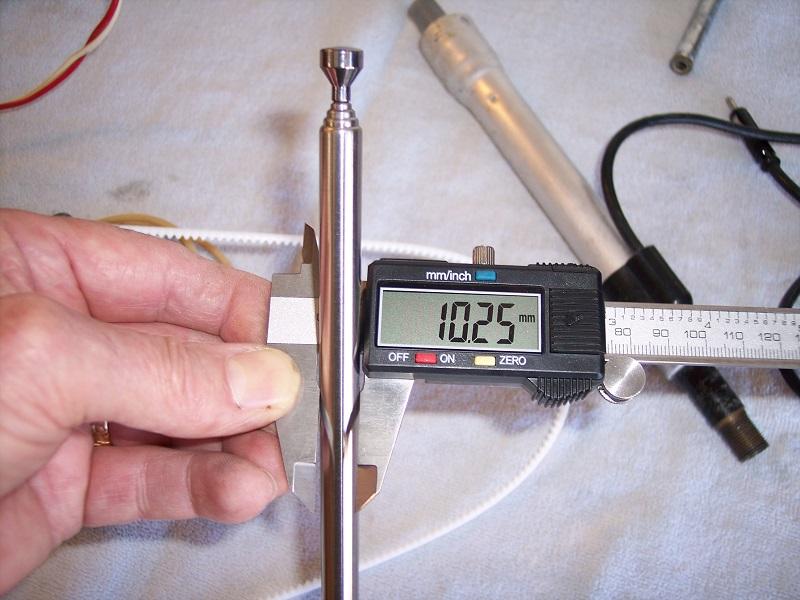
Next up was locating a replacement mast and again back to ebay. I had previously spotted this unit and filed it away for future reference. Critical specification: the diameter of the first section is the same as an OE mast. Another ebay purchase.
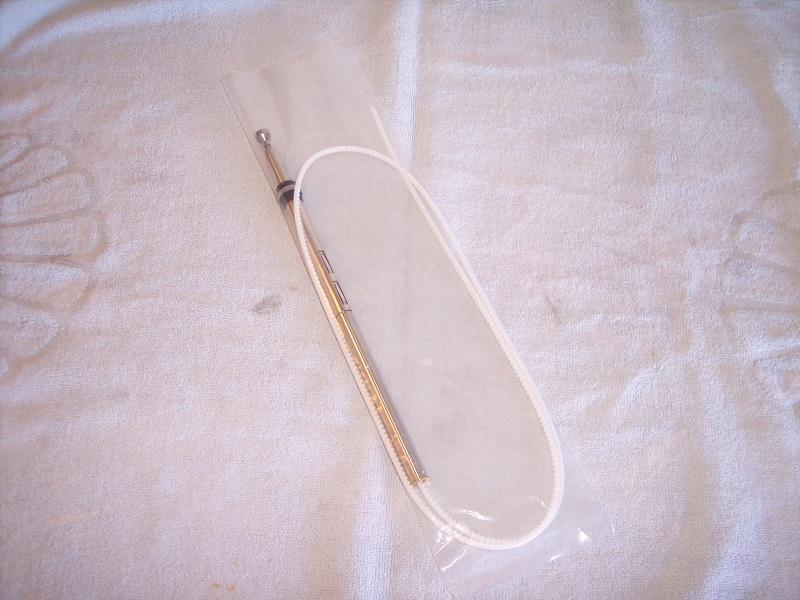
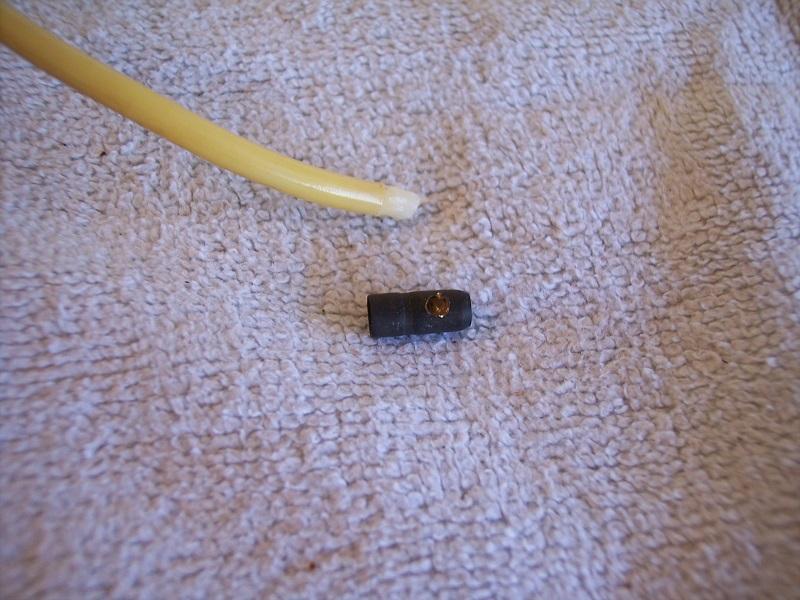
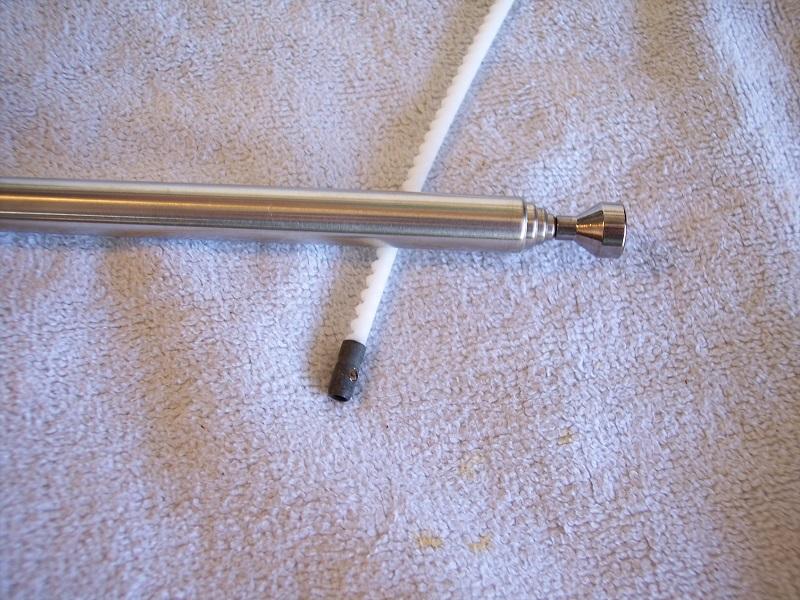
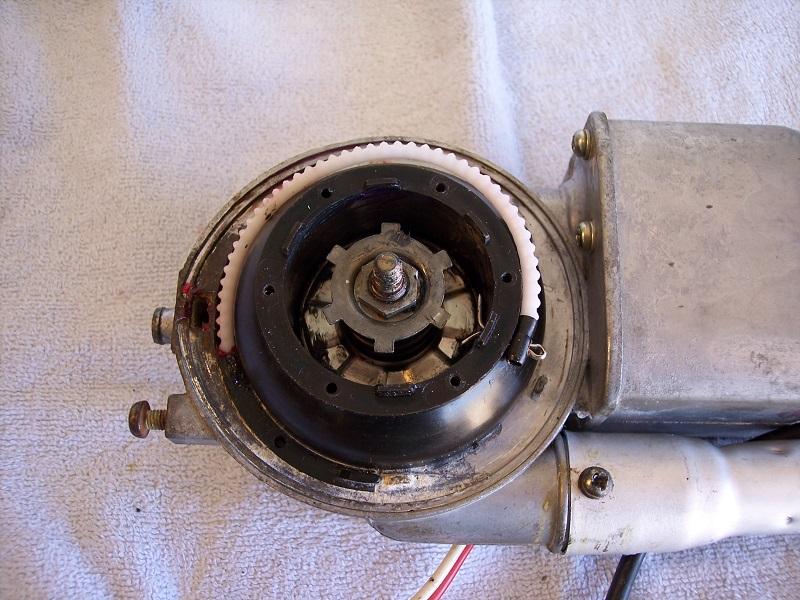
Switching out the cable is pretty straightforward: open the cable spool and remove the cotter key holding the ferrule in place, strip out the old cable, Next, heat the ferrule to get it off the old cable and heat it again to install it on the new cable.
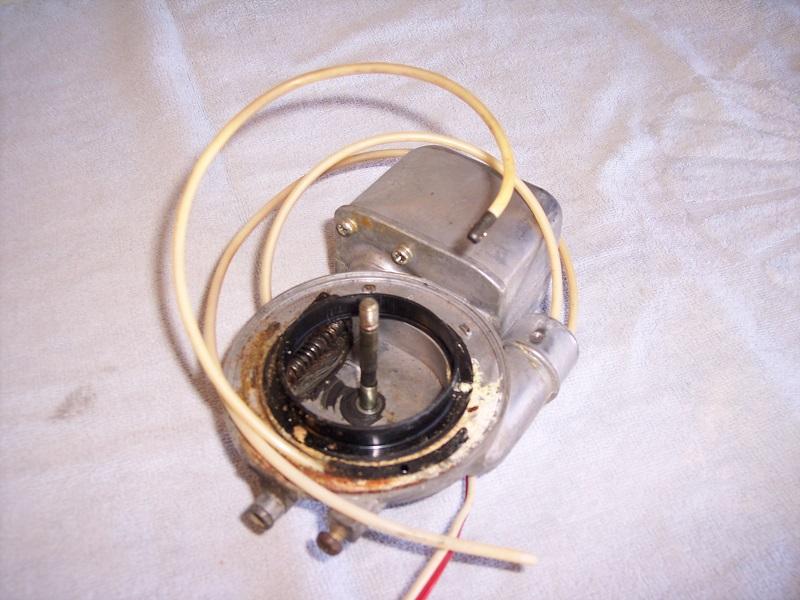
While in here, disassemble the spool to clean and lube the clutch. When reassembling, check the clutch tension by hand to ensure it will easily release. The clutch on my unit was so tight it would never slip! Also lube the drive screw.
At only 10” long when compressed, this antenna mast is designed to drop flush into a fender, not protrude like on our Z’s. Even though I only intend to use this one for bench-testing, I still wanted to determine what it would take to make it resemble the OE style. Clearly a spacer was called for to hold the mast higher in the housing. I took some measurements from my car and cut a section off the leftover mast tube about 40mm long.

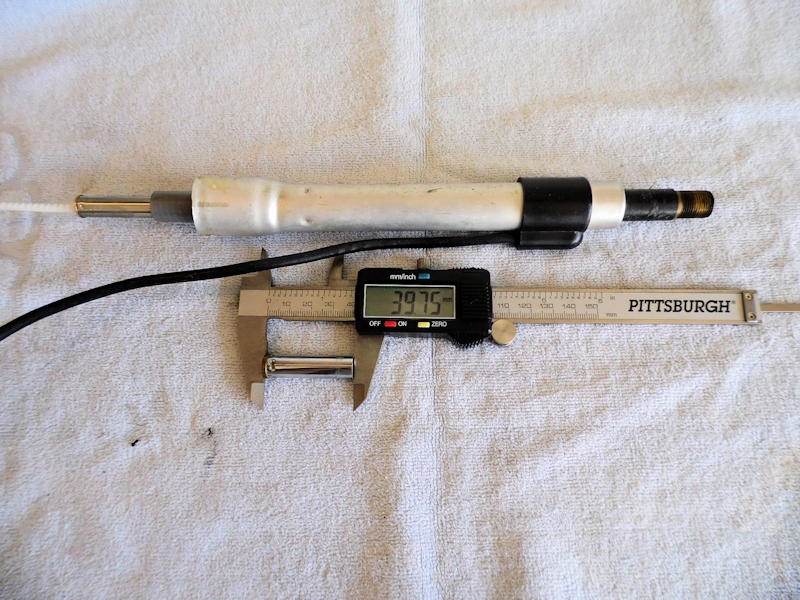
Next I added the spacer to the cable and reassembled the unit.
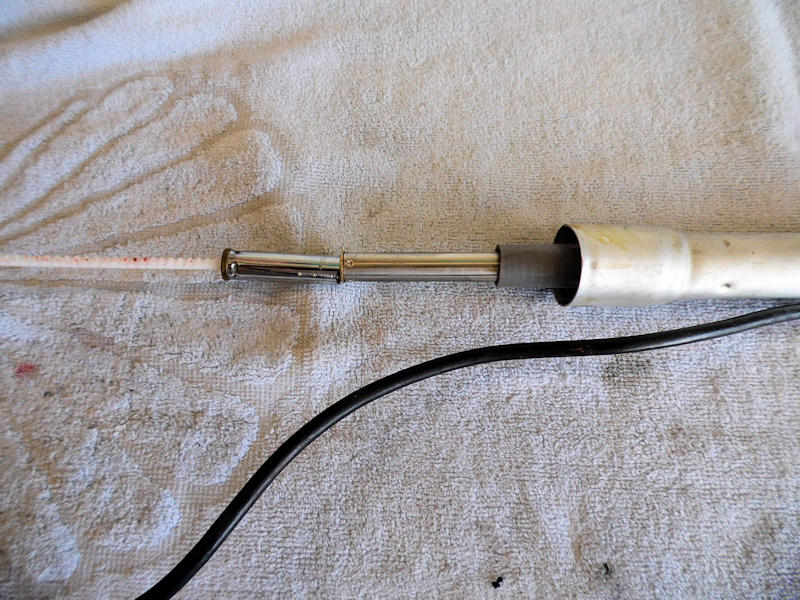
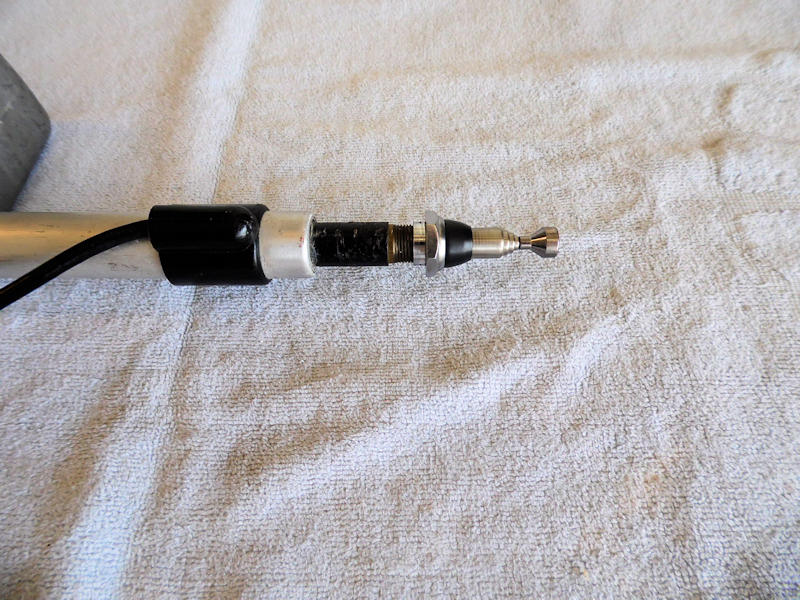
Finally, I borrowed the finisher nut from my car to check how the finished product might look if installed on a Z and ran it through its extend/retract paces. Everything runs super smooth and looks pretty good. For anyone needing a replacement mast and not overly concerned about an OE look, this can be a workable solution.
-
 3
Recommended Comments
Create an account or sign in to comment