


Installing a GM HEI Ignition Module into a 1976 280Z (which already had a ZX ignition)
This article describes how to upgrade a ZX ignition module to a GM HEI module. In this particular case, the ZX ignition module happened to be installed in a 1976 280Z which had been upgraded to a ZX distributor/ignition module using the Atlantic Z Club instructions. The purpose of the HEI install was to fix a sudden engine cut-out problem and a jumpy tach problem.

Heat Sink
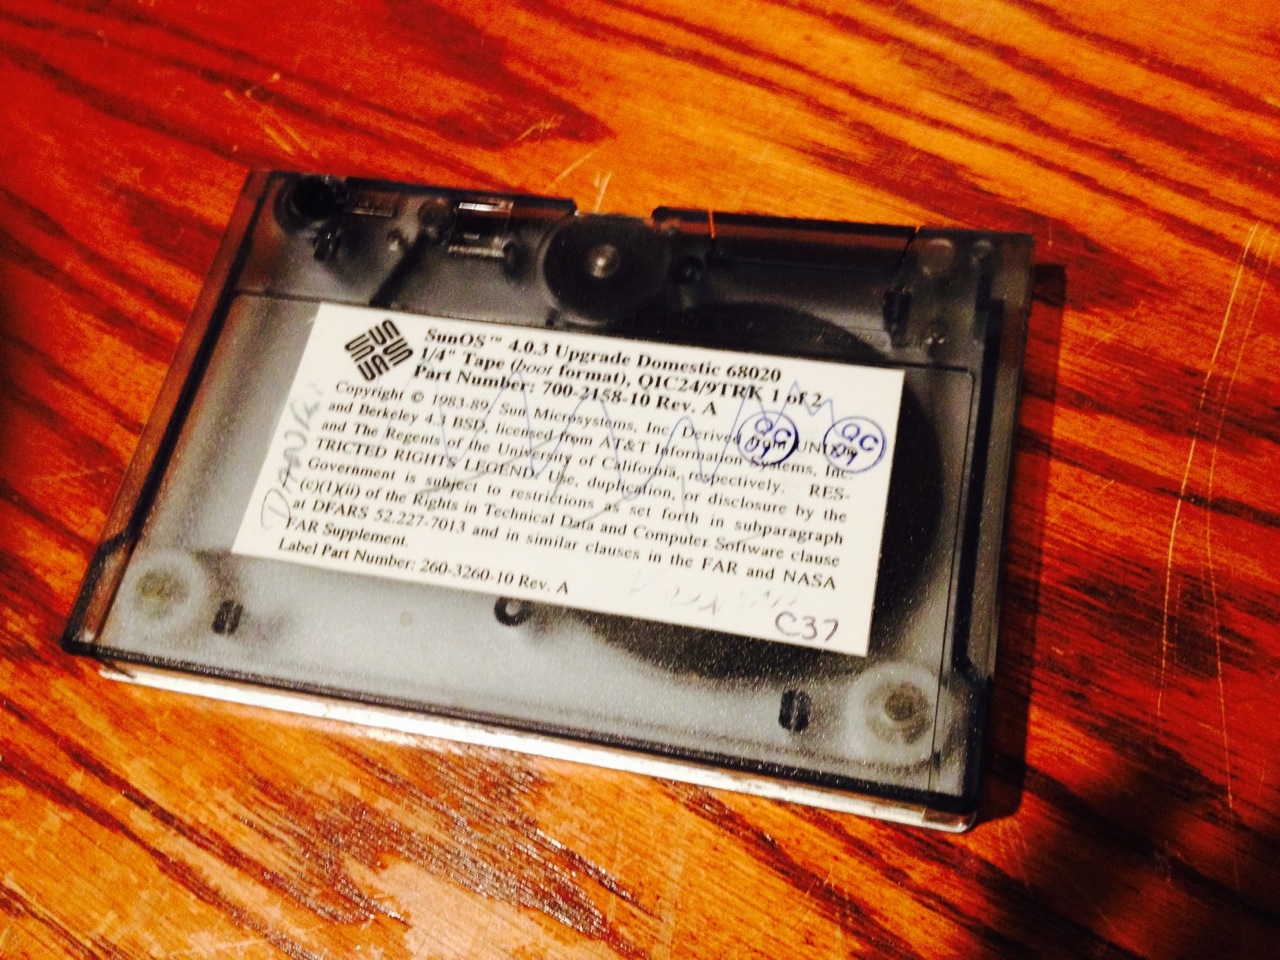
The first thing I needed was a nice heat sink and, afters scouring the basement and considering attacking an old Western Electric telegraph test set with a hack saw, I laid eyes on a stack of these:
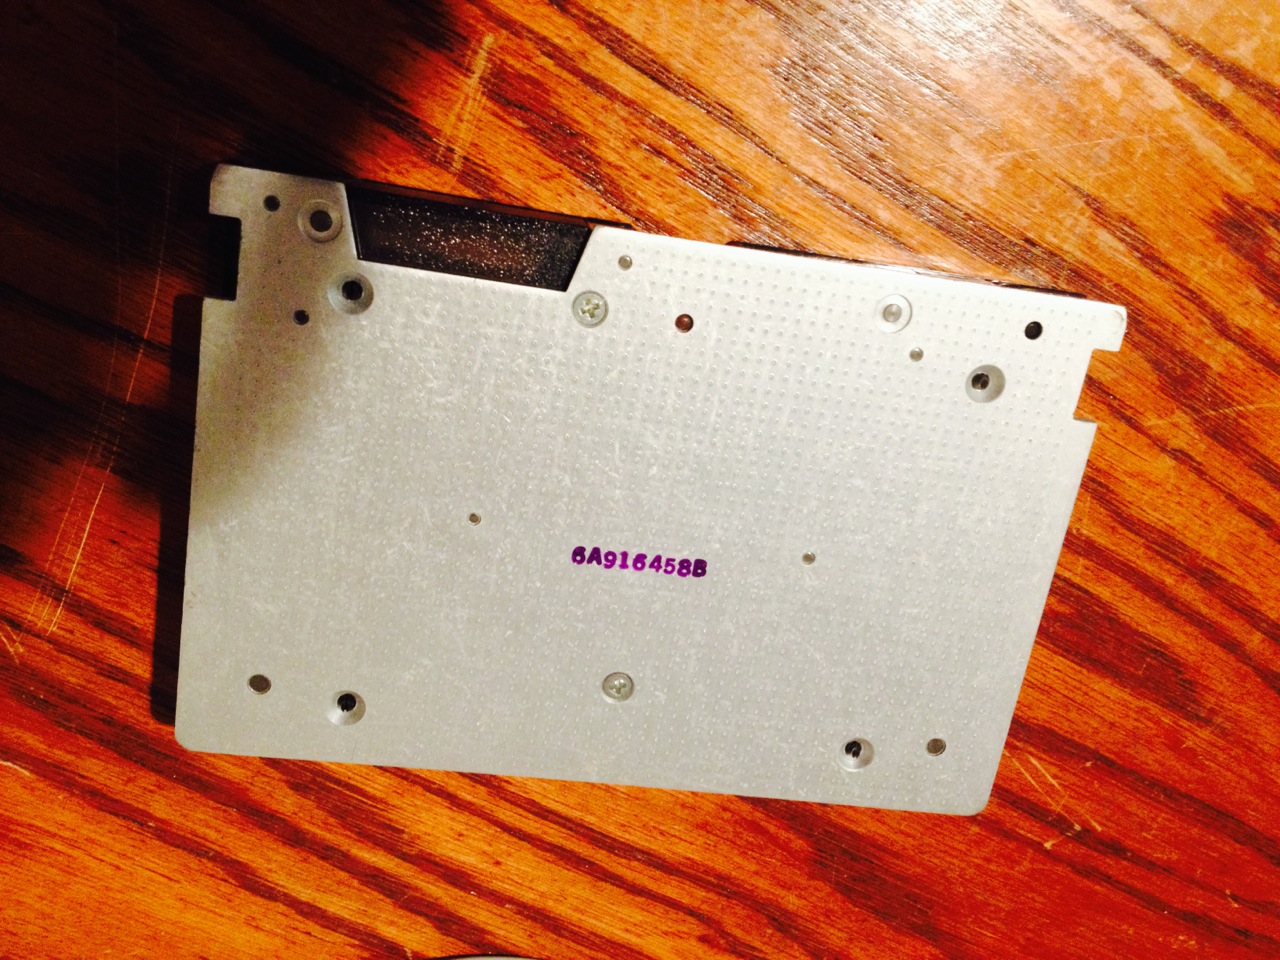
Which is an old tape format from the 80's/90's (we called the streamer tapes back in the day). I still have a SCSI drive that can read/write these things (but haven't tried in at least 10 years)... Anyway, these tapes are build like tanks, the back plate is .1 aluminum - I knew I saved them for a reason. The following pictures illustrate the transformation of one of these tapes into a nice heat sink for this HEI conversion project.
Add some quality time with a hack saw and drill to get a nice heat sink...
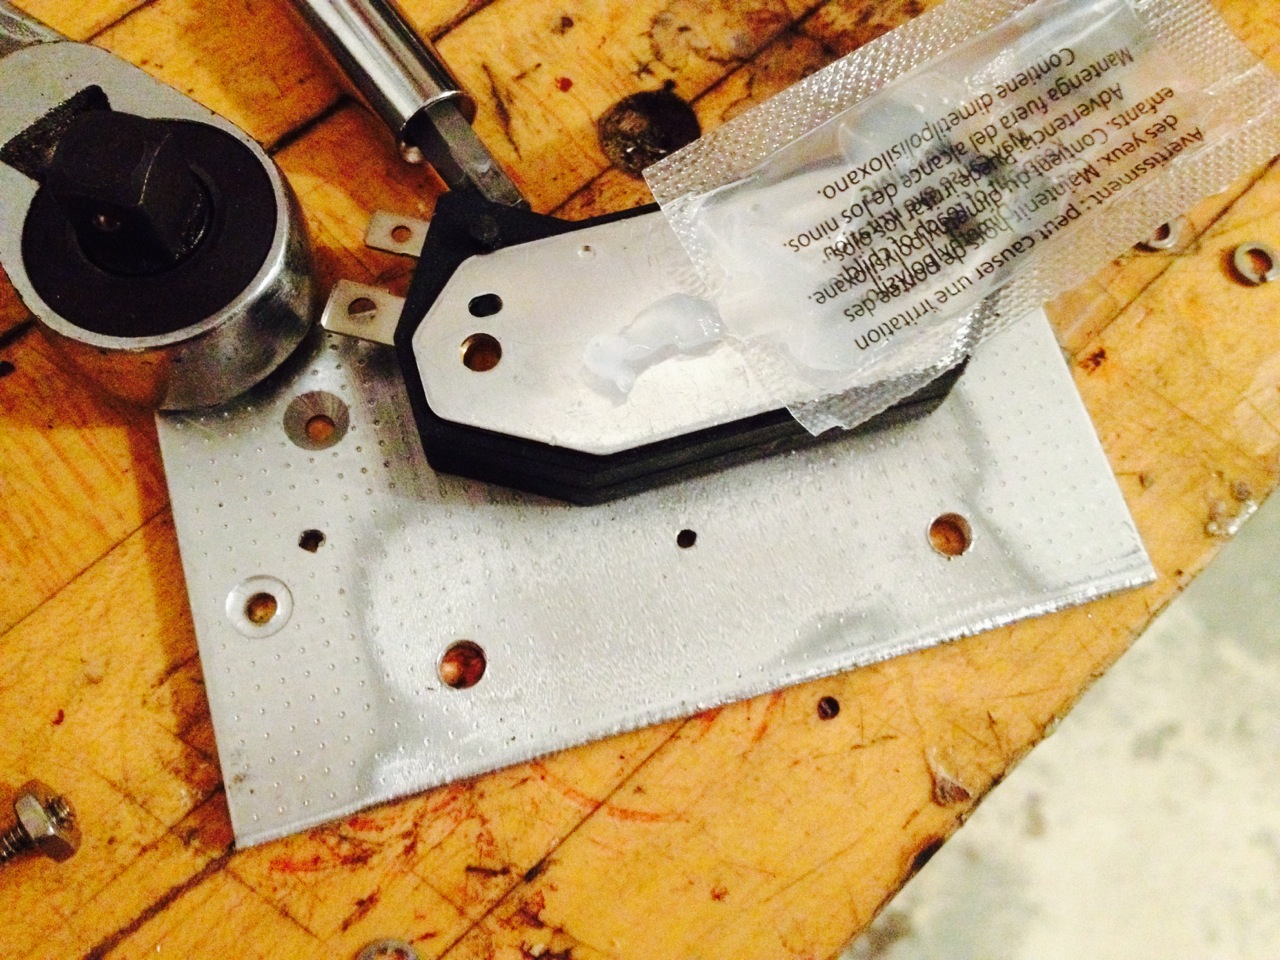
Don't forget to use heat sink compound (I used the stuff my module came with). Note to self: add part numbers here.
Disconnect the old Ignition Module
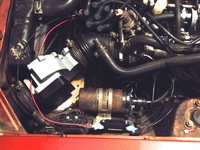
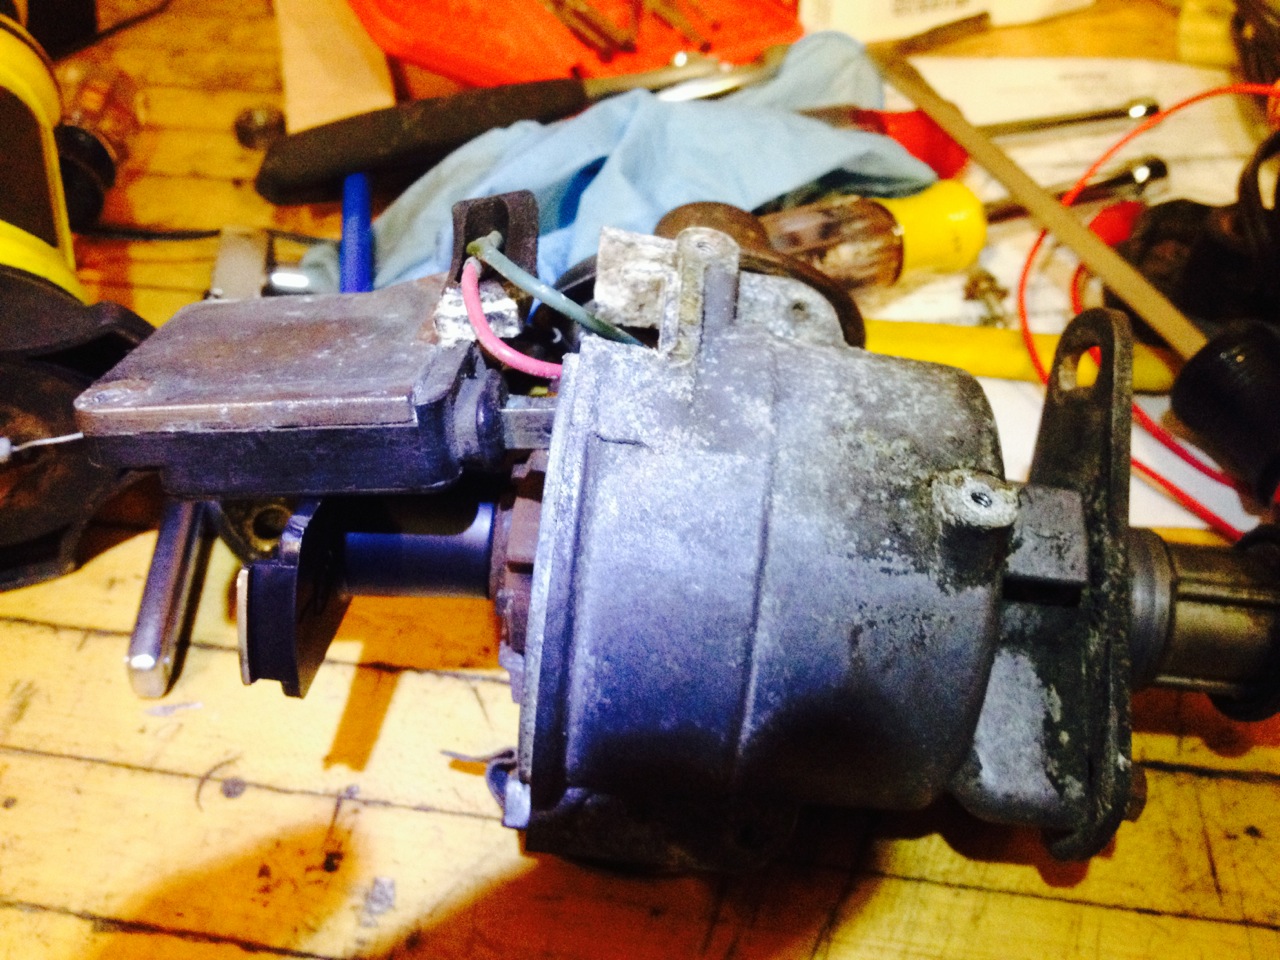
Pull the distributor and yank the old ZX module (this 76 280Z had been given a ZX upgrade by PO). I figured the neatest way to do the job was to open the old ignition module case, cut the connections, and jumper the distributor wires to the external connections (note that I misapplied some opening force to the old module and had to glue it back together - this was not necessary - observe that access to the guts is not at the bottom but at the top - see photos).
Pull the distributor then disconnect the distributor wires from the old ignition module: two spade connectors - a gentle yank with some plyers should do it - clean the connectors/terminals while you are there - I sprayed a little DeoxIT and worked them on/off a few times. Pay attention to which side the wires go to (but the rubber boot they plug into is marked red/green if you forget). Remove the two screws that hold it to the distributor.
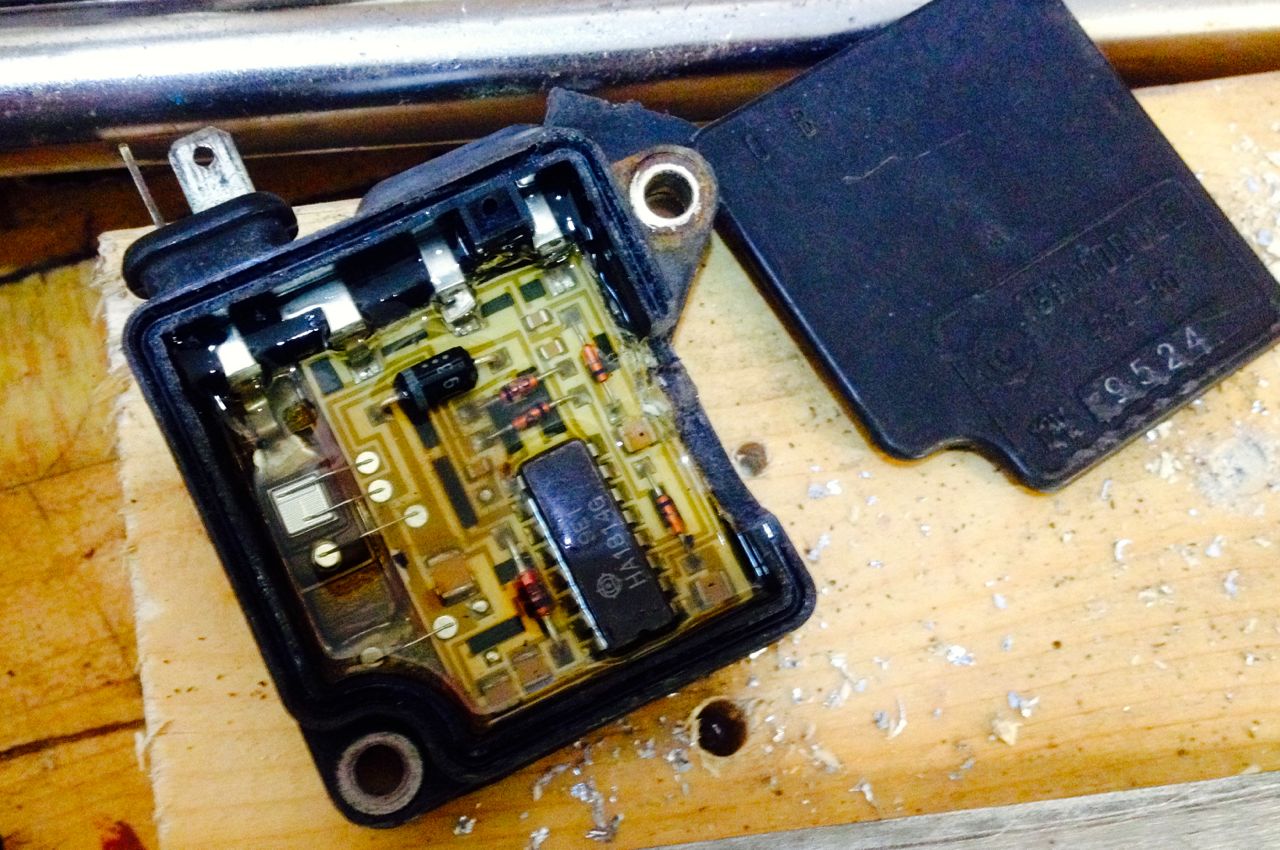
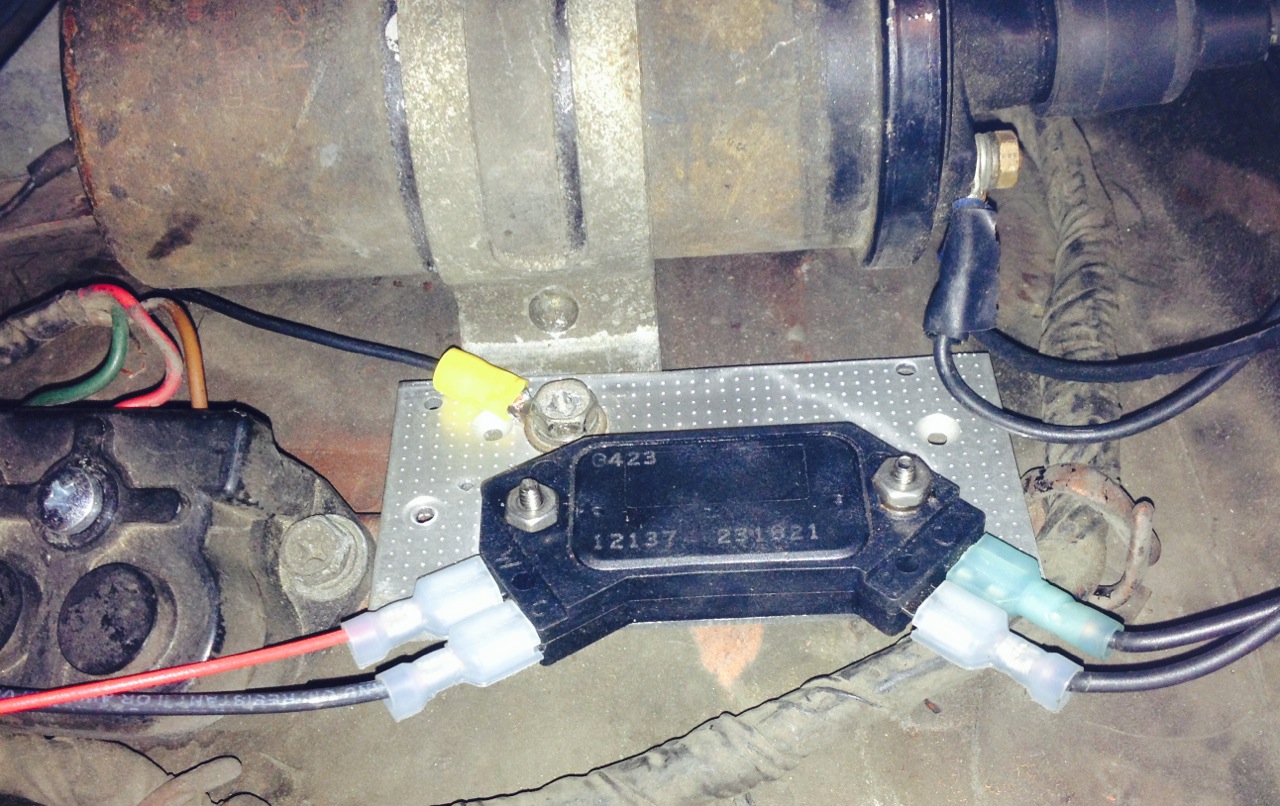
Disconnect the old module and crack it open (I did this a little too literally)
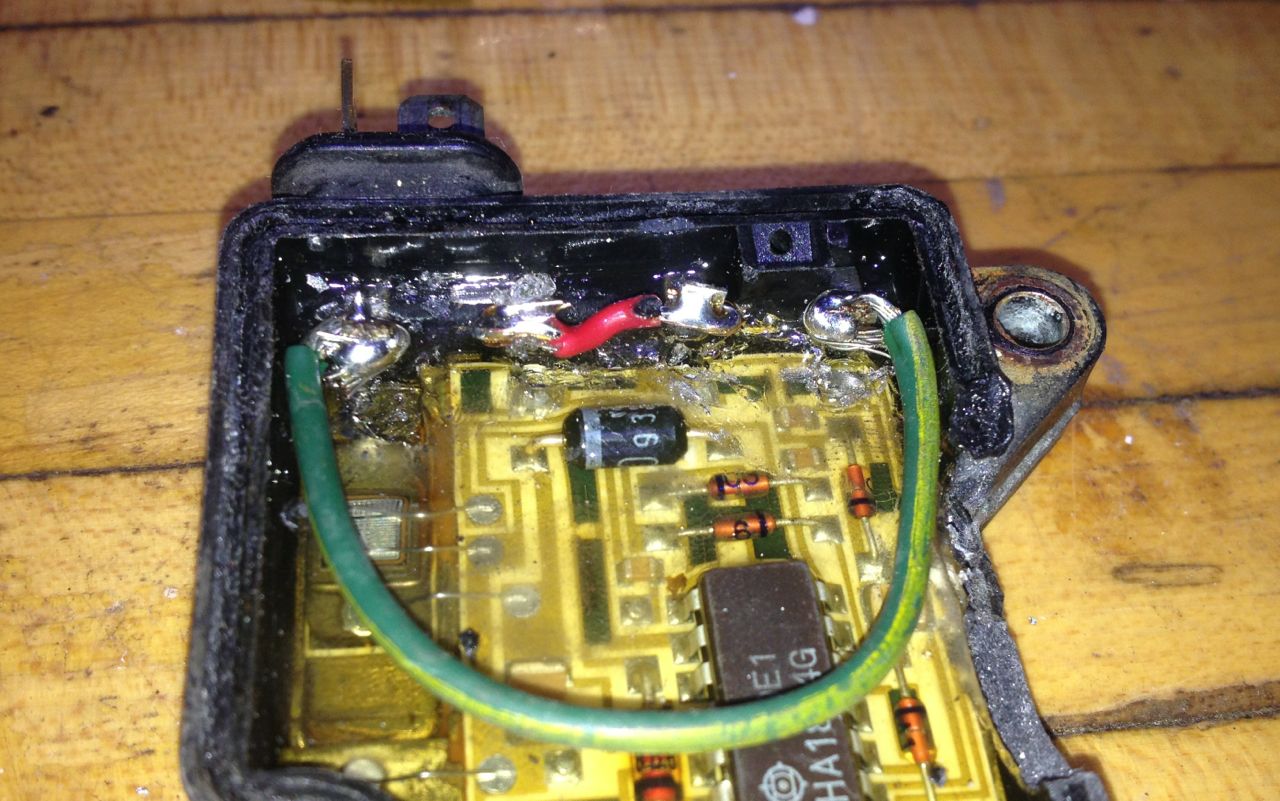
Clip off the connections to the board, then jumper the posts as shown. Clean the posts then you will need a lot of heat (I used an 800 deg F iron, nicely tinned and laid into the post and wire for a good 10 seconds before applying rosin core solder). What is that goop in there?
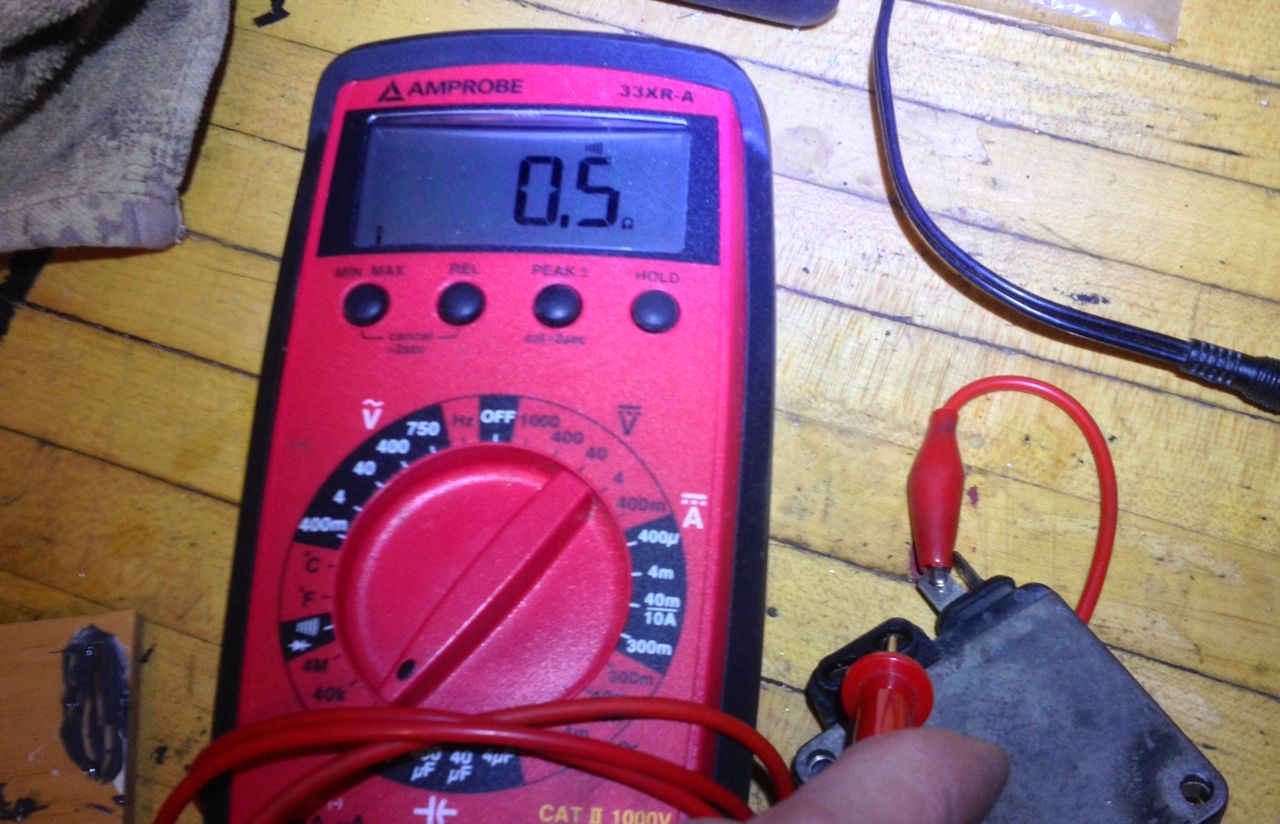
Don't forget to check your work. Make sure you have continuity where you should and that nothing is crossed.
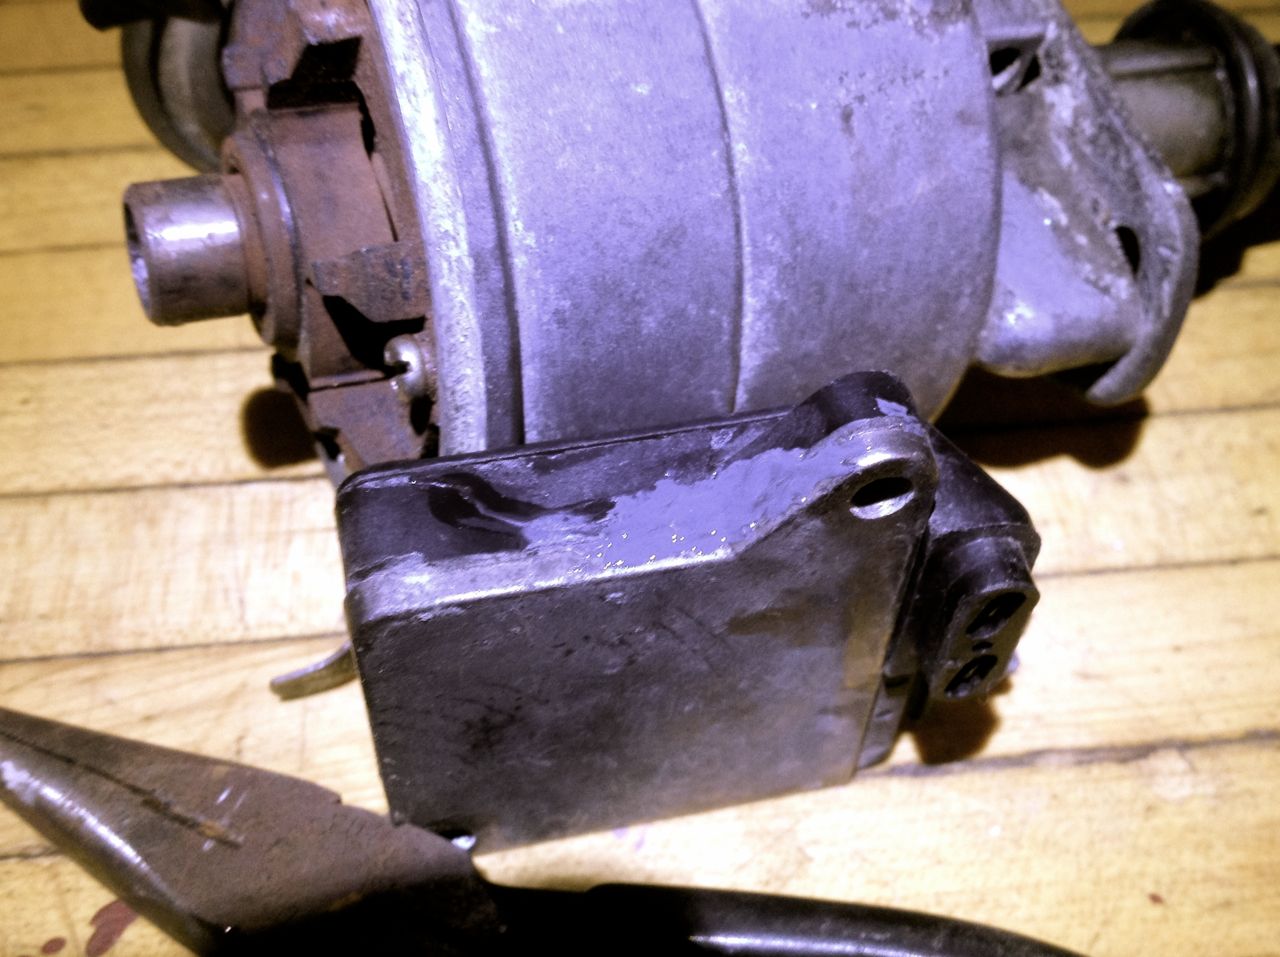
Fixed the case with some super glue and JB weld.
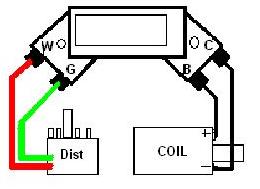
Wire it up
Wire up like this (note: the left image was stolen from another thread):
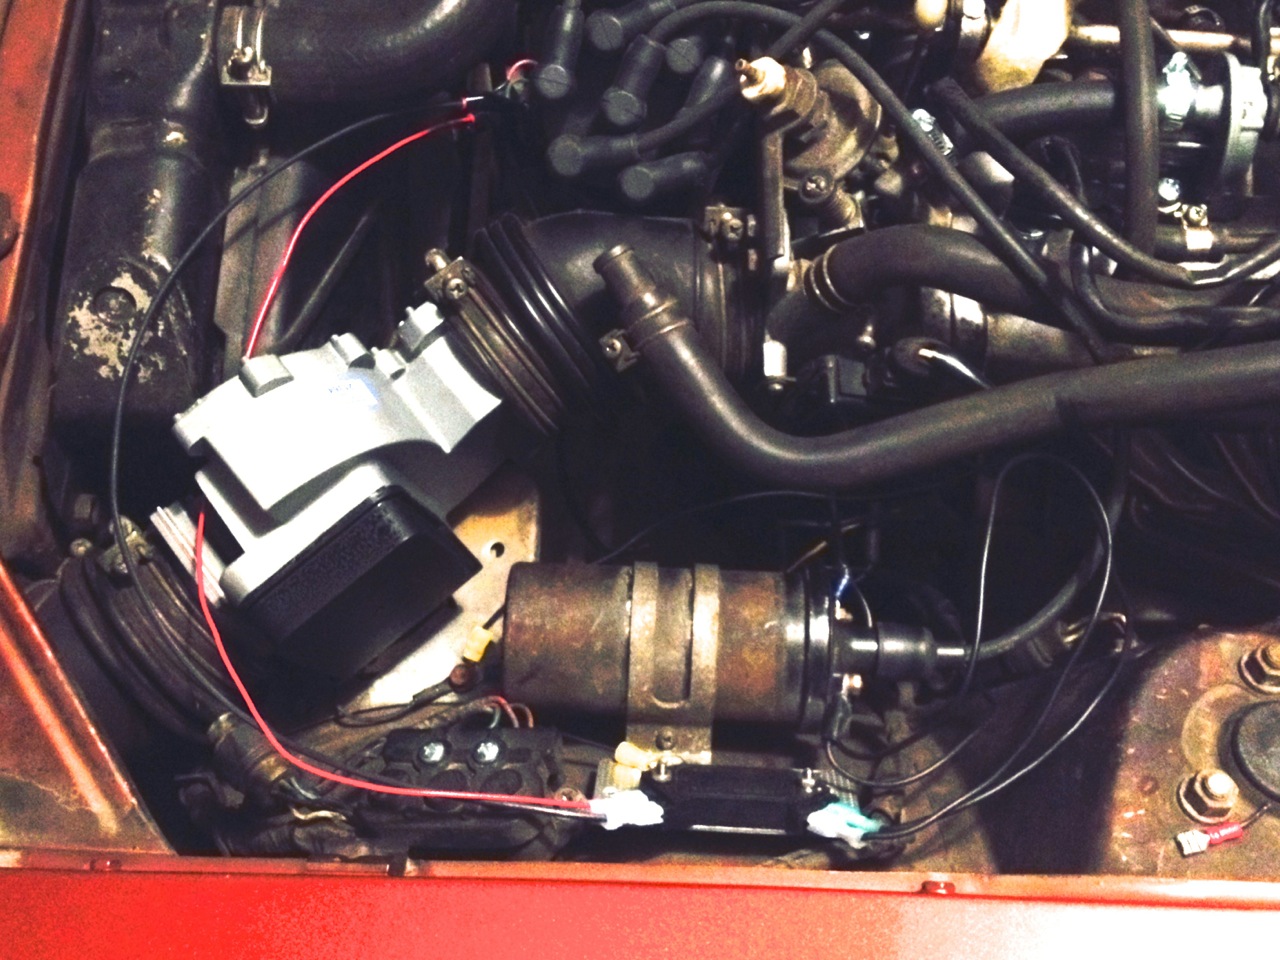
Profit!

Recommended Comments
There are no comments to display.
Create an account or sign in to comment
You need to be a member in order to leave a comment
Create an account
Sign up for a new account in our community. It's easy!
Register a new accountSign in
Already have an account? Sign in here.
Sign In Now