.JPG.cfcada9cf1c1b502df3f5f2f2ca3ff36.JPG)

SteveJ
Community Member
-
Joined
-
Last visited
Everything posted by SteveJ
-
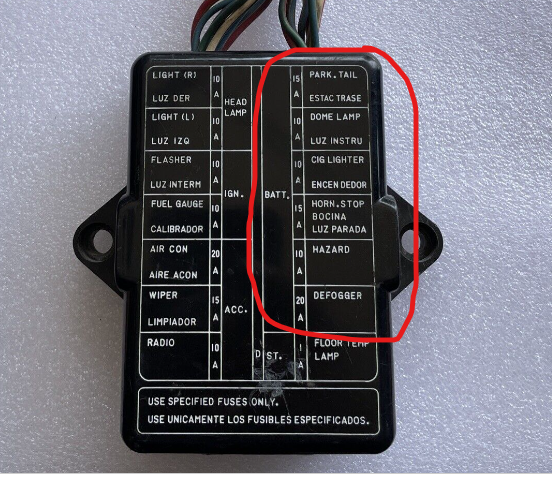
Check to see if you have voltage on both sides of the fuse for the circuits circled in red. If you don't, check your fusible links. Also post clear photos of the links where they plug into the engine harness. Let's see the condition of your links.
-
Do your hazard lights work with the ignition off? They should be on the same circuit as the voltmeter.
-
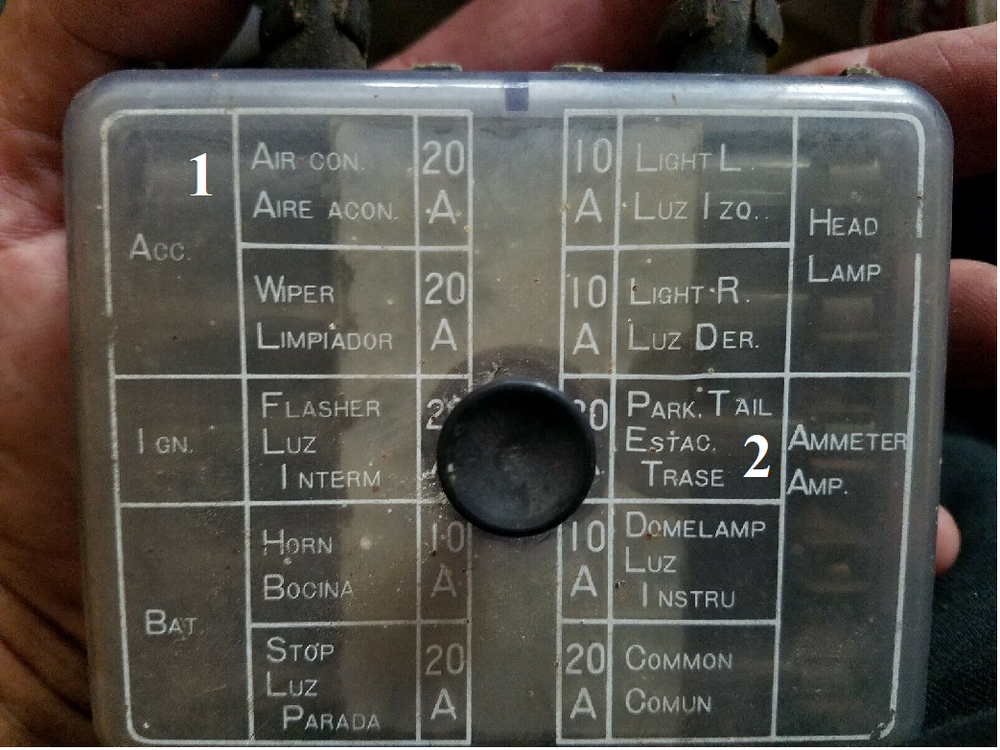
If it was backfeeding, it would have to be through the turn signals or brake lights or your dash isn't grounded. Those are the circuits where backfeeding could occur. As I asked before, are the side markers coming on when the gauge lights are on? Are any of the indicators/warnings coming on with the gauge lights (high beam indicator, turn signal indicator, brake light warning)? What happens if the AC fuse is pulled? (The fuse marked 1 below) Do the gauge lights come on? Do you have brake lights? Turn signals (with ignition on, of course)? Do you have voltage on each side of the Park Tail fuse (Marked 2 below) with the ignition off? What is the resistance between the dash frame and the chassis? What is the resistance between the dash frame and the negative terminal on the battery?
-
No, the rheostat ONLY controls brightness. The instrument lights go through the parking light circuit. They light up when you turn on your parking lights. For that matter, are your front/side/rear marker lights on when you're doing this test? Here is how the factory circuit is wired: Power comes off the 20A fuse through a green/blue wire. The wire goes to the combo switch. When you turn on the parking lights, it is connected to a green/white wire. The green/white wire runs out to all of the front/side/rear markers. It also goes to the rheostat. Power comes out of the rheostat through the red/blue wire and goes to the gauges. The gauges are all grounded for the return path. From this, I am guessing you have cross-connected something between the dash and body harness, possibly in this area: If not there, maybe you cross connected something in the engine bay, though I'm not sure what. Of course, if a previous owner hacked the wiring, that makes it more of a challenge to find the problem. Note: The connectors between the engine harness and body harness are color coded. Make sure the colors match.

-
I suspect something is cross-connected, possibly in the center stack. If you unplug the 9 pin connector on the combo switch, does that affect the lights? Are you looking closely at the BE section of the FSM to see if you have the connections correct? Does it look like a previous owner hacked the wiring?
-
Well, one of the teams had to stop 3 times so the navigator could throw up, and a lot of the conversation afterward was centered around husbands and wives ribbing each other for things that happened along the route. As long as we remember not to take it too seriously, it is fun. I had to tell my better half not to worry about trying to answer the questions. I told her that we aren't competing because I want to stay married.
-
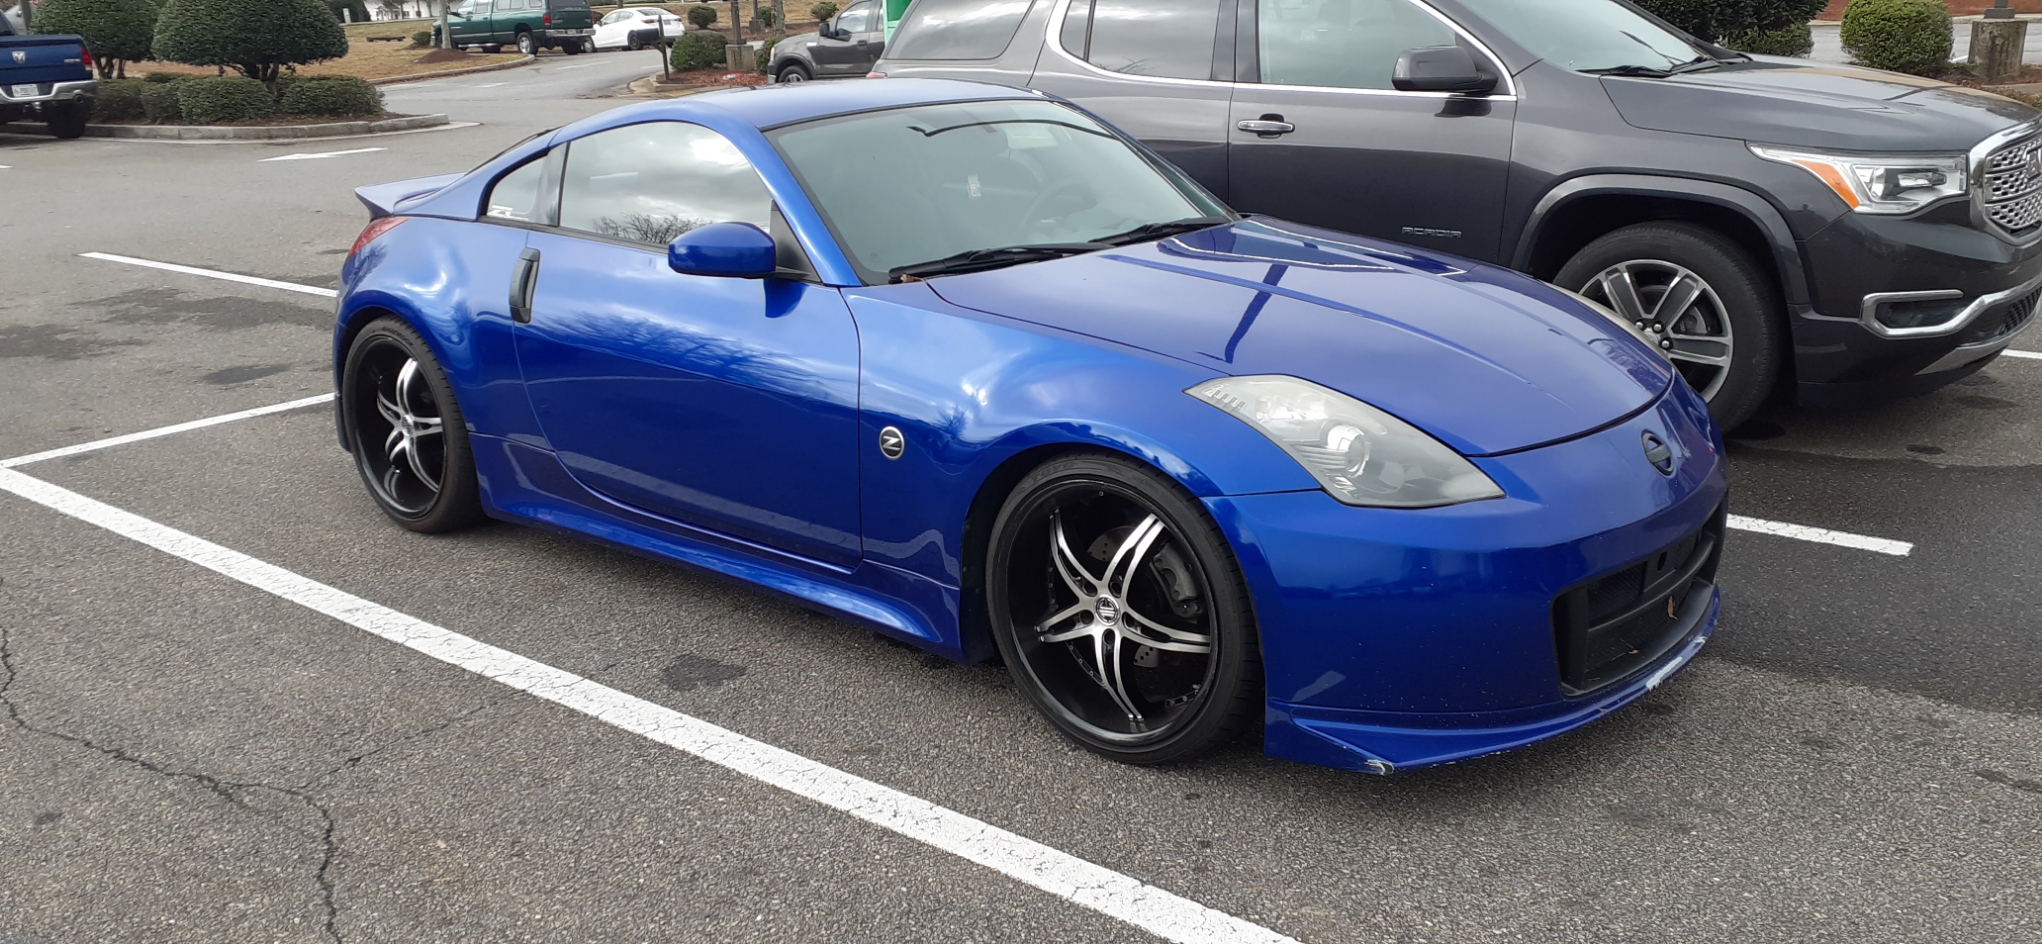
The Georgia Z Club had a Gumball Rally today. The grey weather left over from Nicole may have kept some people away, but we had seven Z cars and one Maxima show up to participate. Here are the typical rules for the GZC Gumball Rallies: Navigators are not mandatory, but they are VERY helpful. There will be trivia questions based upon various landmarks on the route. Directions will be confusing...but hopefully correct. A prize will be awarded to the team/person with the most correct answers. The tie breaker will be guessing the correct distance of the route. The club will not necessarily send out search teams for lost participants, but we may notify your next of kin. We have been known to put photos on milk cartons, too. All participants showed up at the destination. The Maxima team won, probably because the driver was smart enough not to be the navigator for her husband and doubled up to have both of her daughters as navigators. (Note: One of the 370Zs parked out of camera shot at the end.)


-
There are plenty of us around from the US & Canada. I'm not sure if we have any vets among the Brits, Aussies, Kiwis, or Japanese members.
-
Hey, guys! I found a low cost solution! https://www.amazon.com/gp/product/B01LJAGDOQ
-
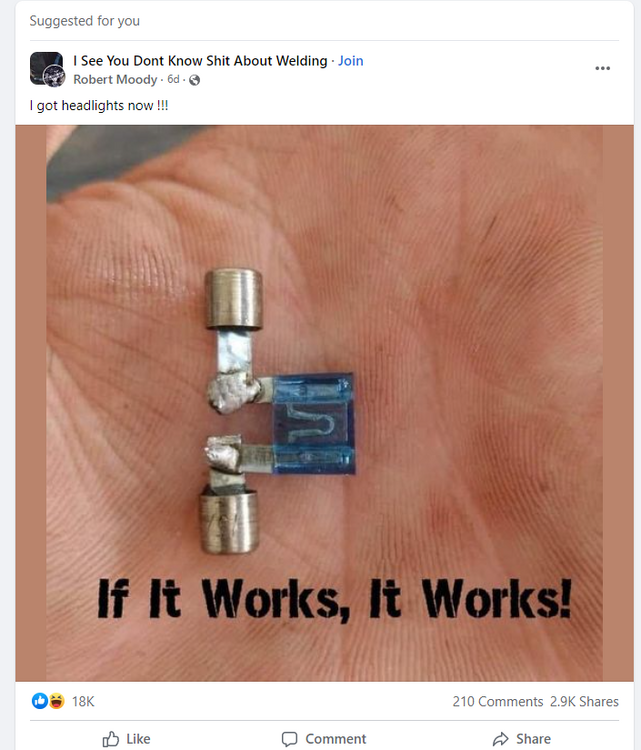
Okay, so this showed up in my FB feed today after looking at this thread yesterday... I was also using Google to search for different fuse mounts. I'm really missing the days of thumbing through paper catalogs.
-
Two things to keep in mind with the HEI: Ground it well. Use a heat sink with conductive paste for longevity. After that, you set the timing and go. You can bypass the ballast resistor with the HEI, theoretically getting a hotter spark. With the points, you have to set the gap and dwell. It's not a big deal as long as you have a good dwell meter, but those are harder to come by any more.
-
Let me know if you need any help/advice on wiring. I'm not that far from you.
-
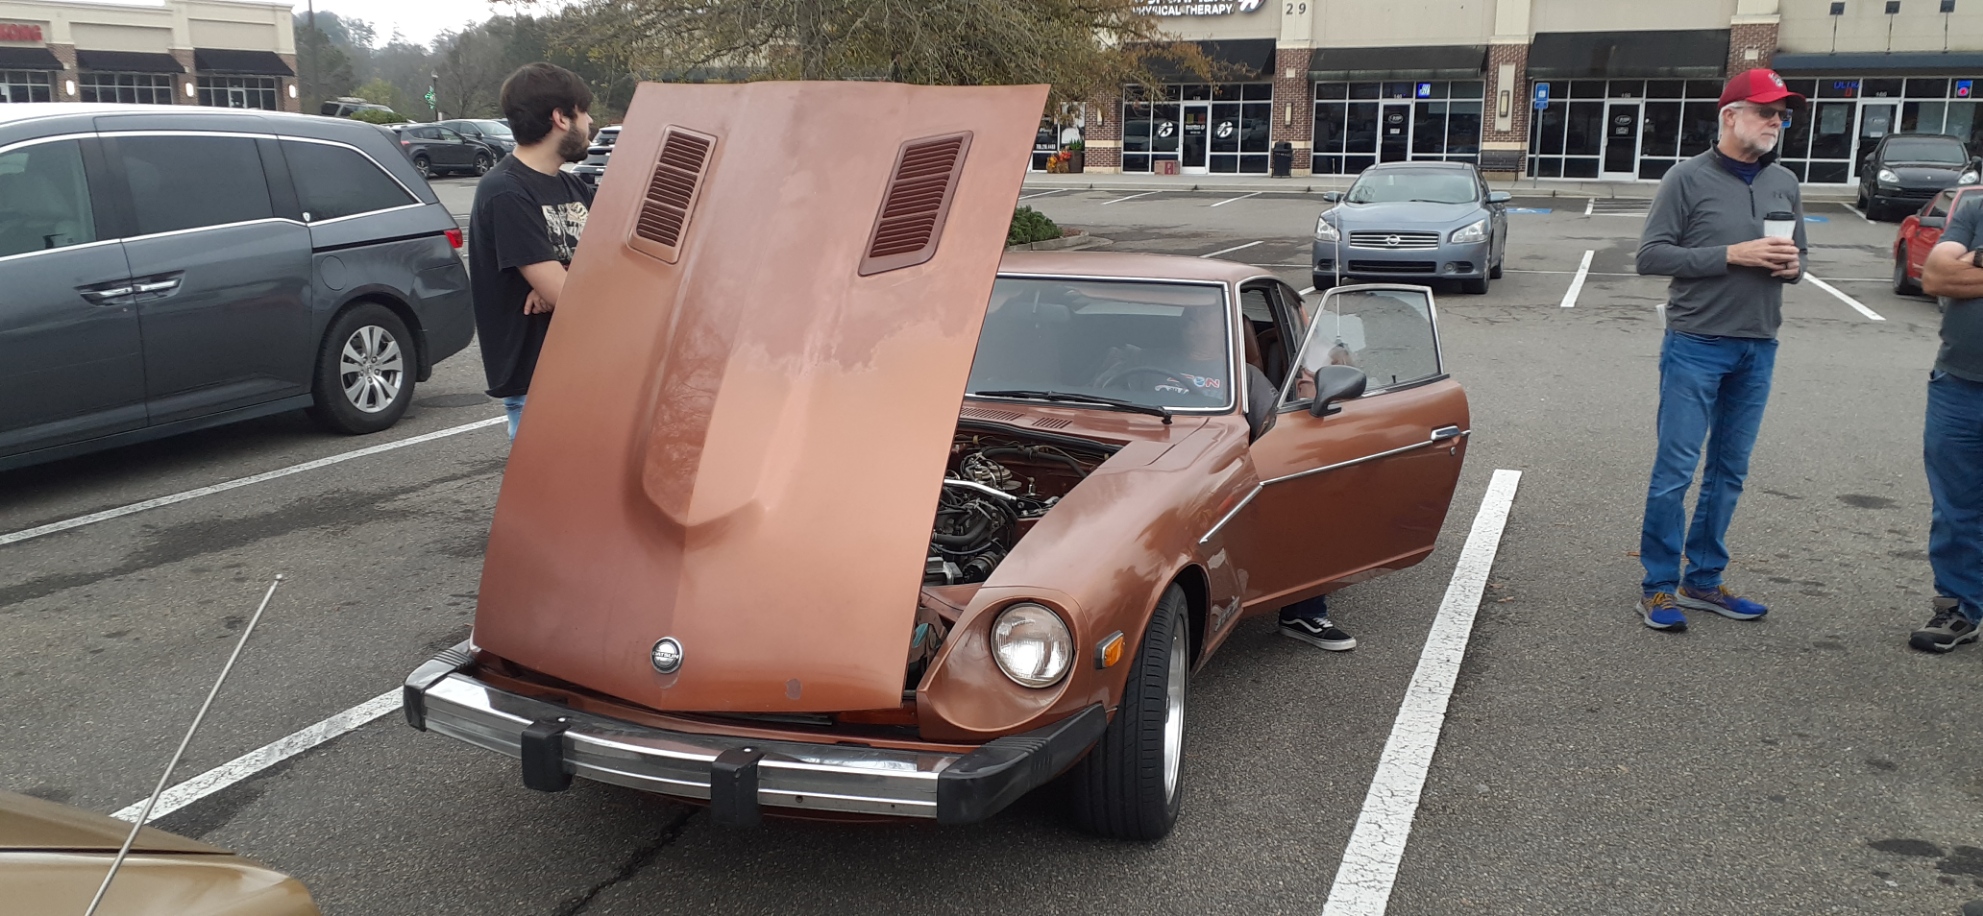
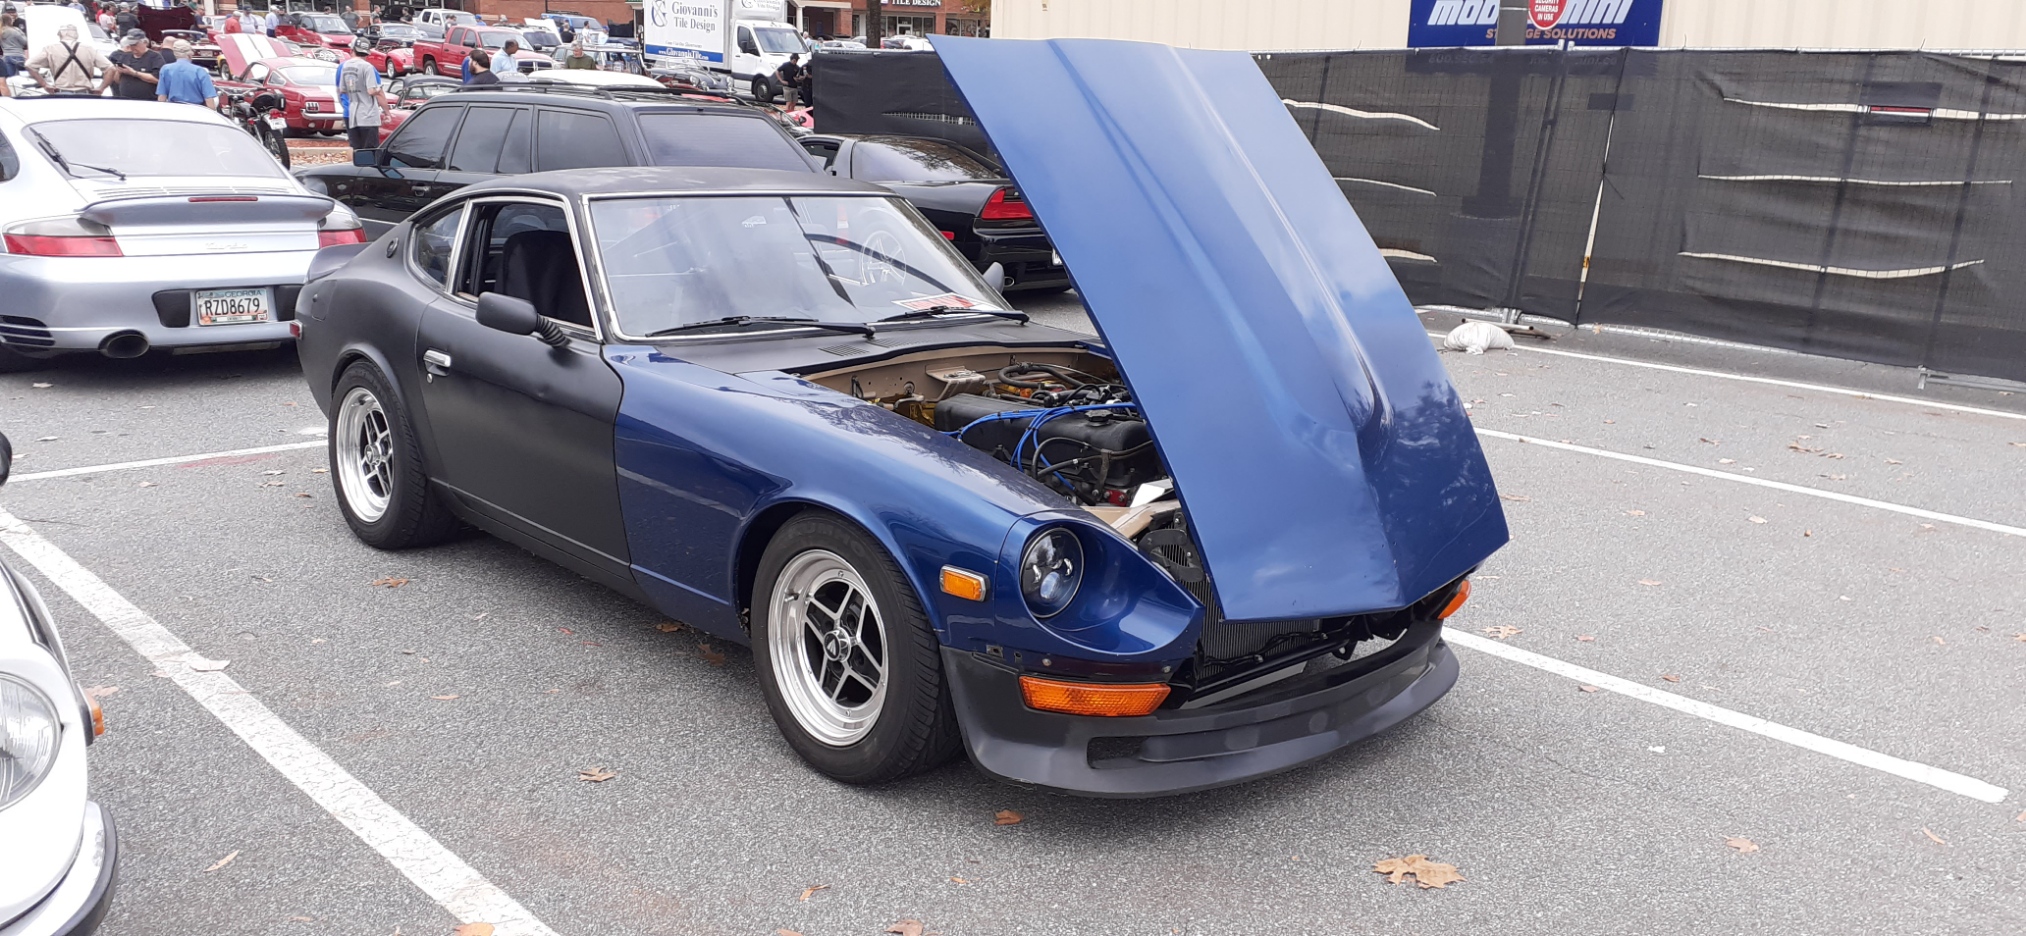
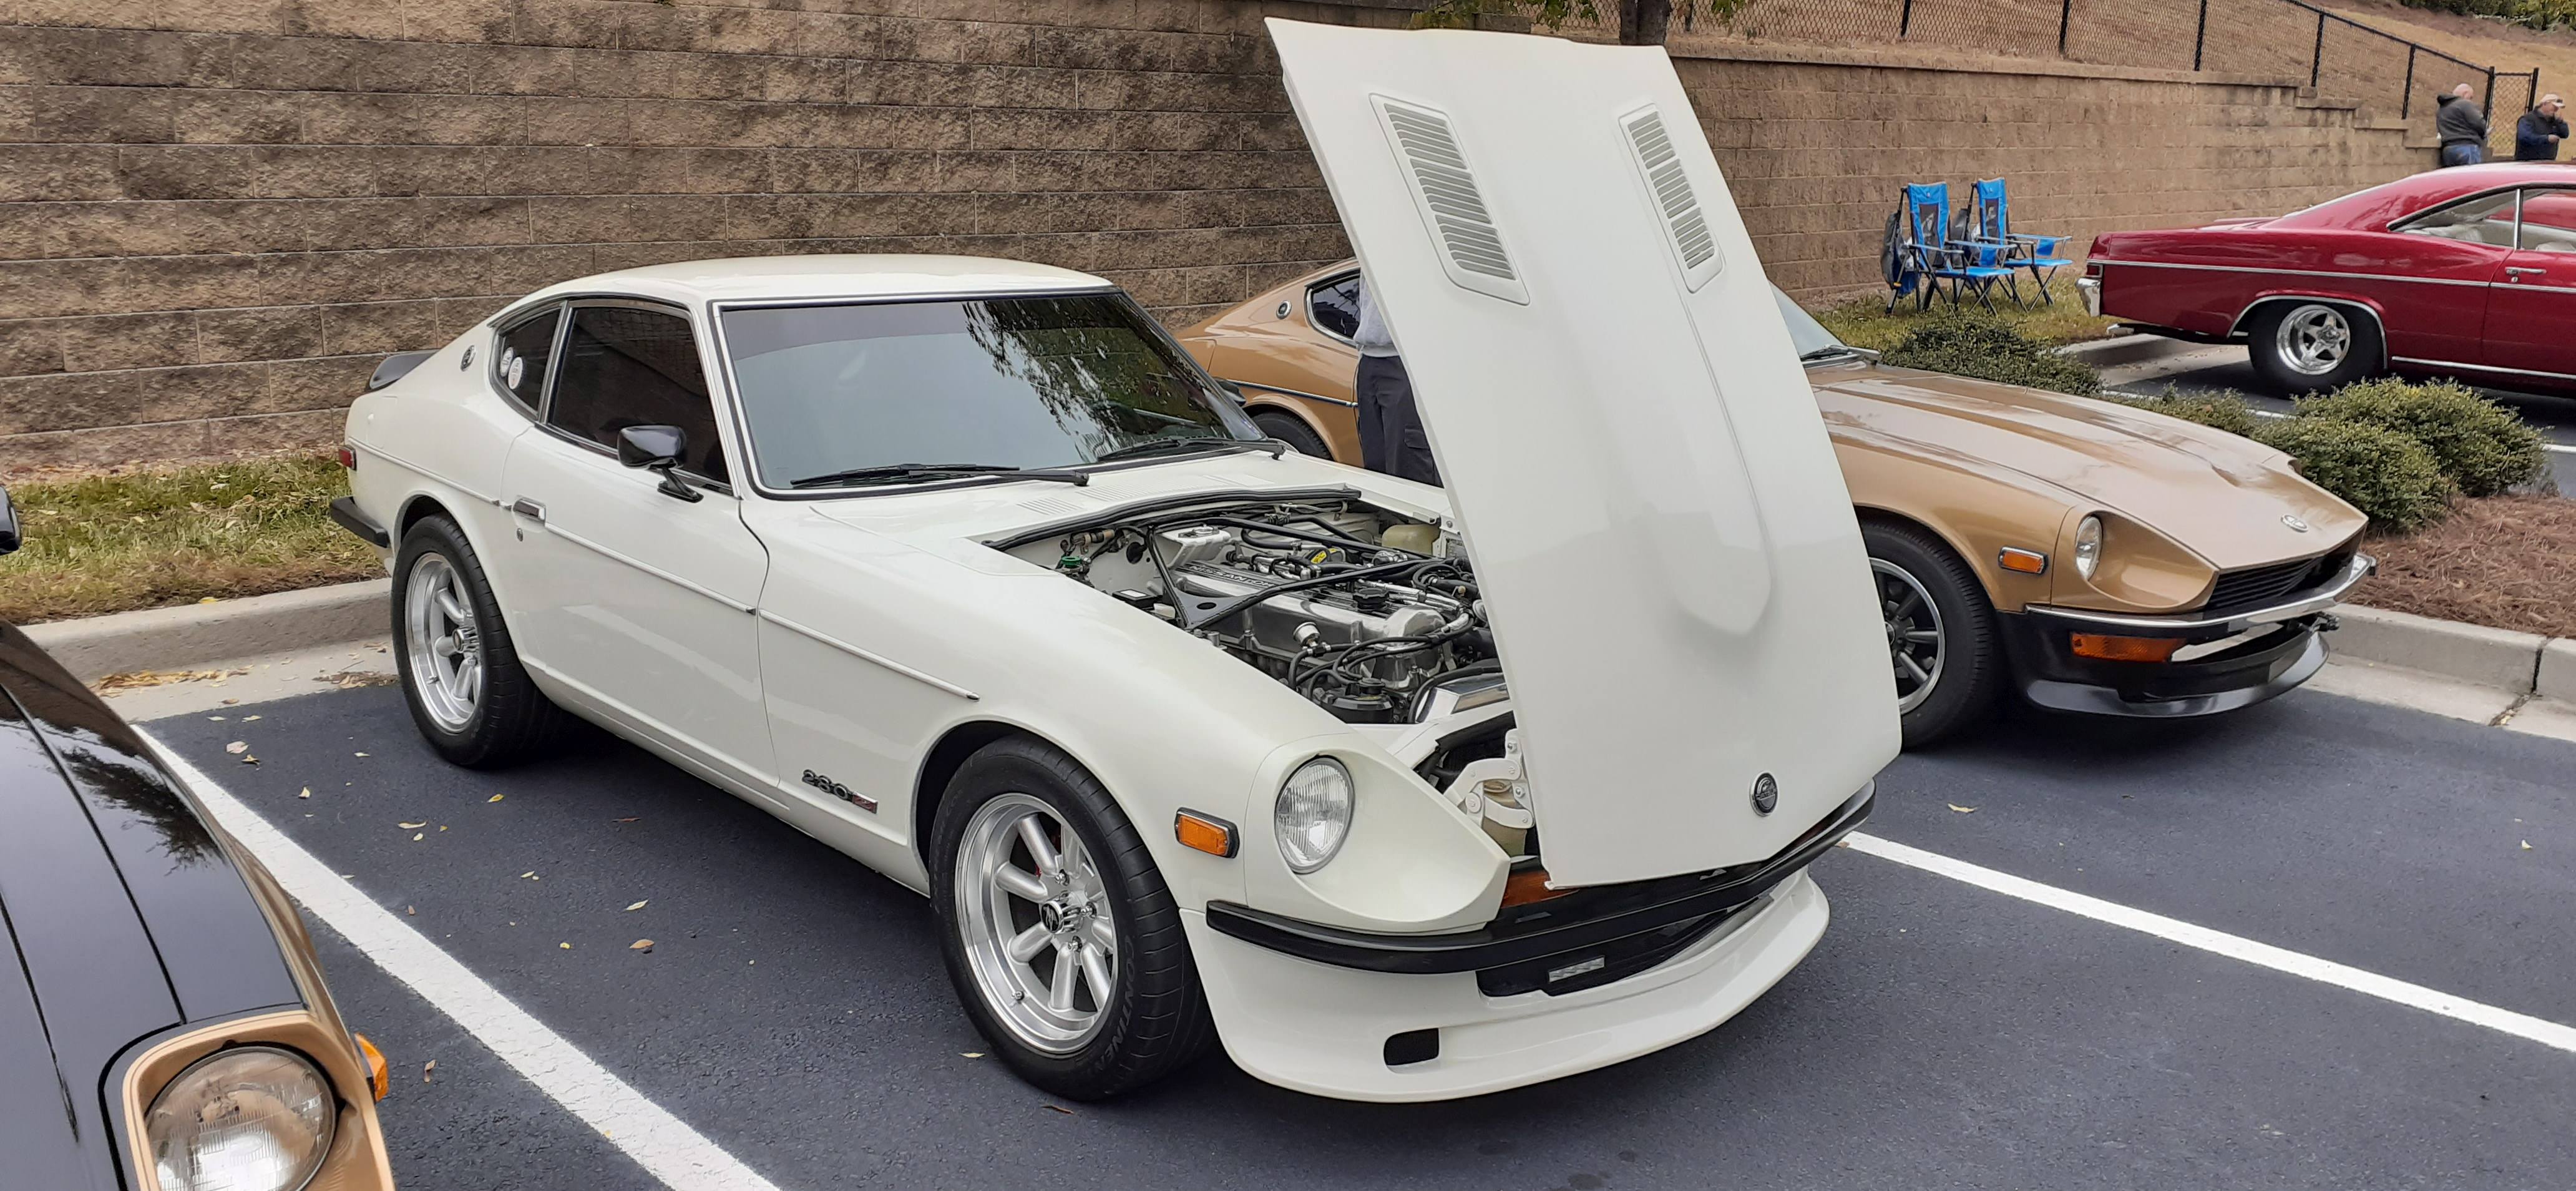
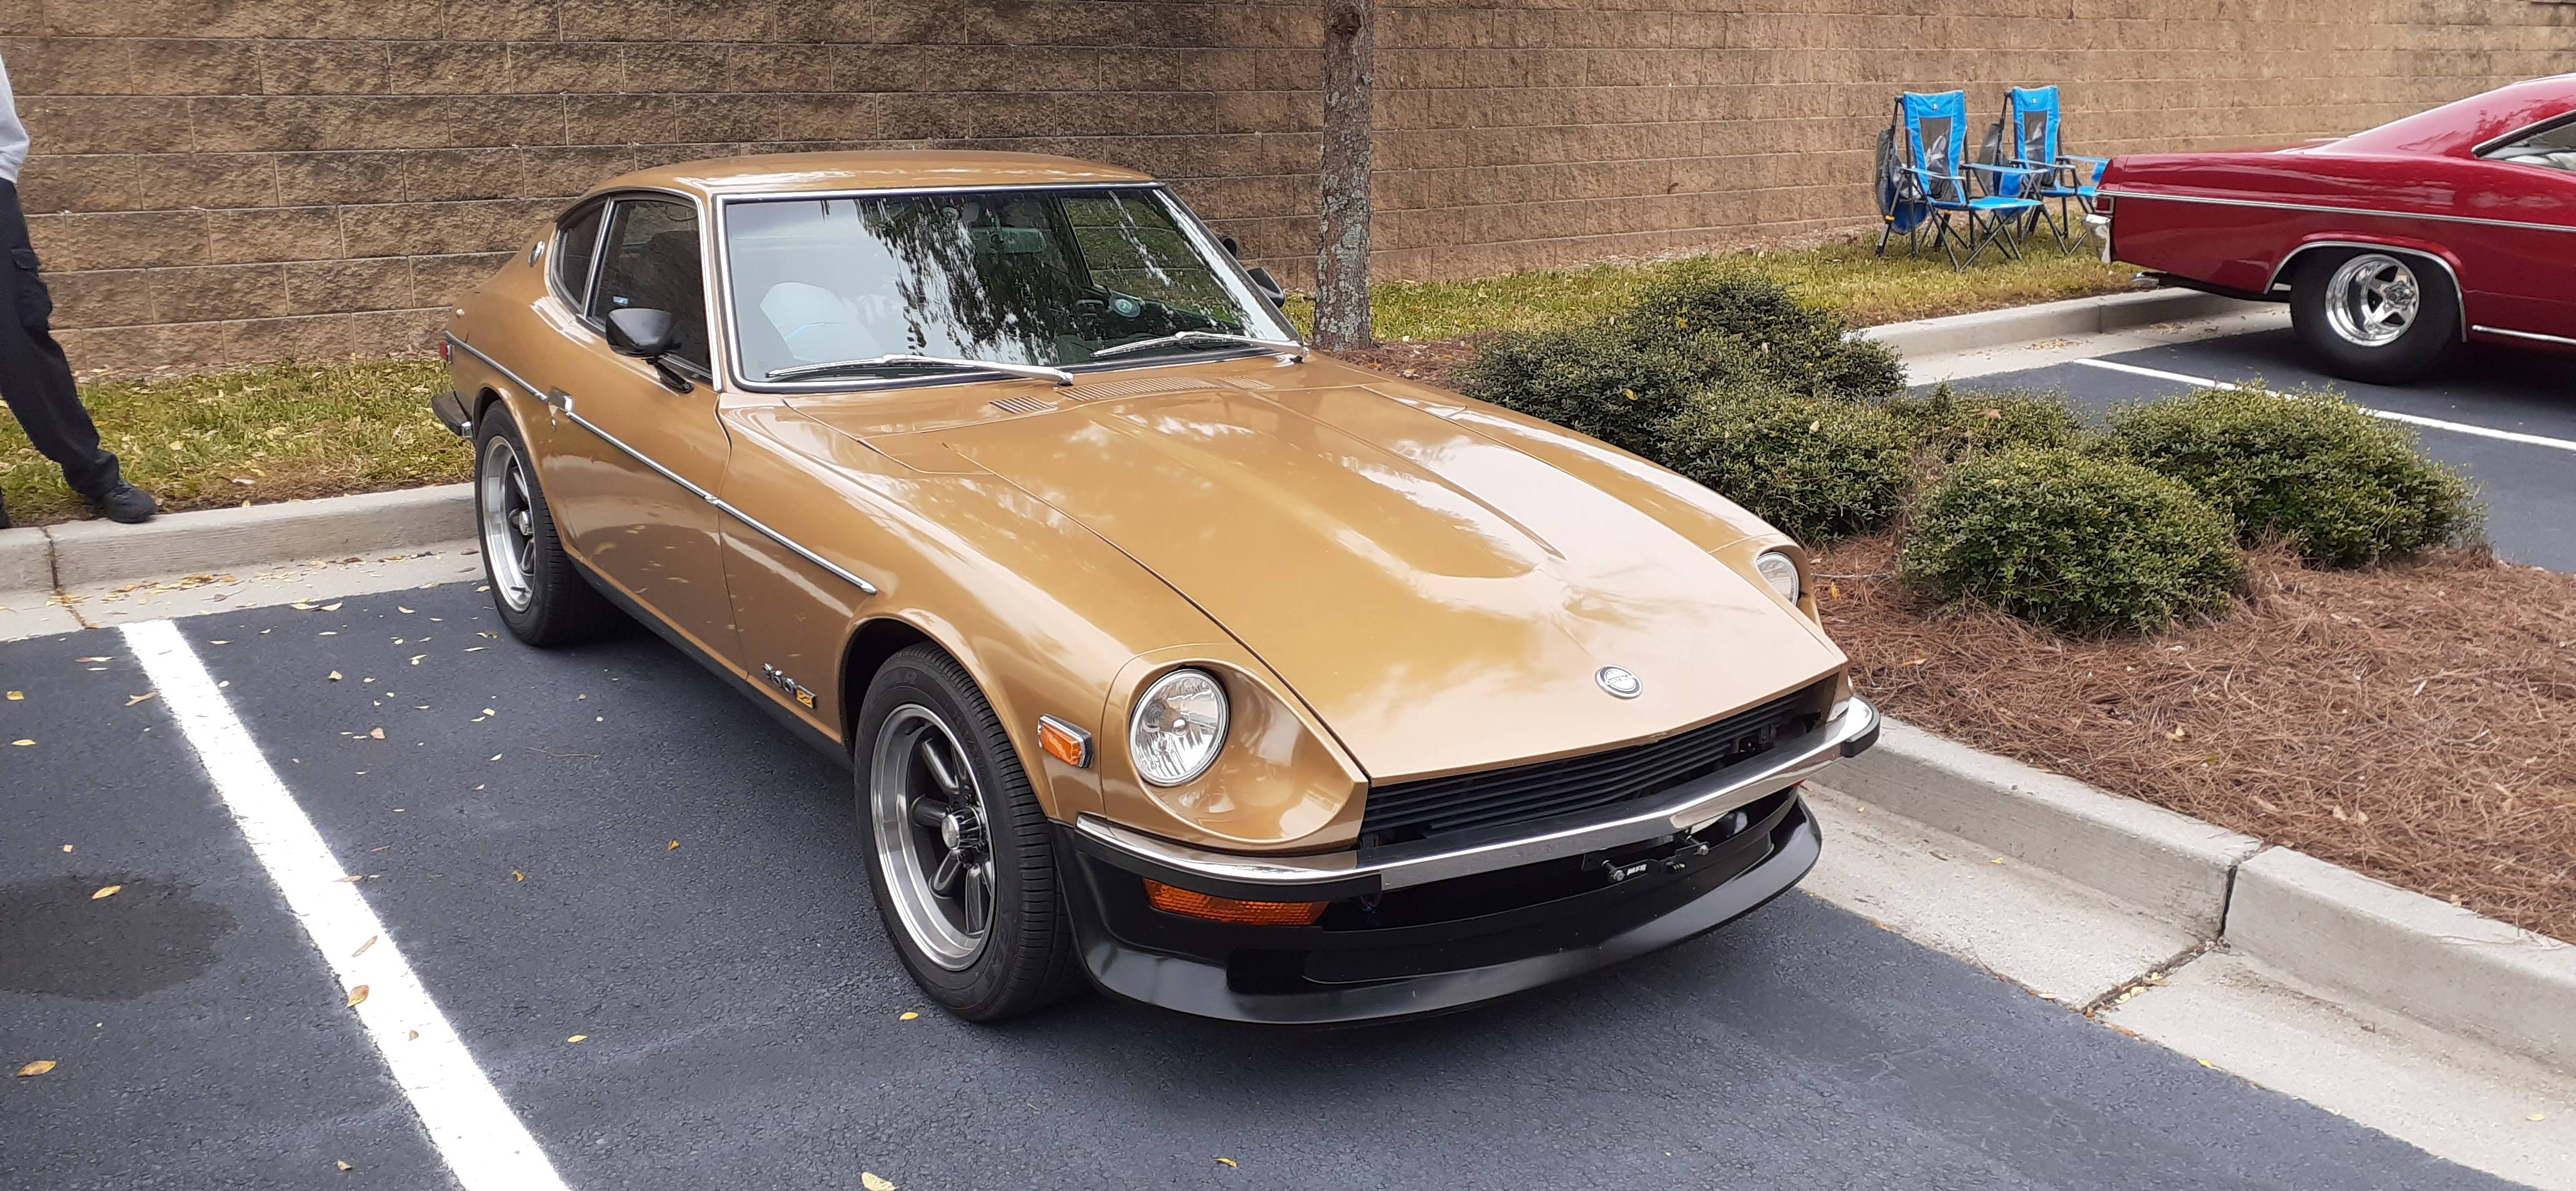
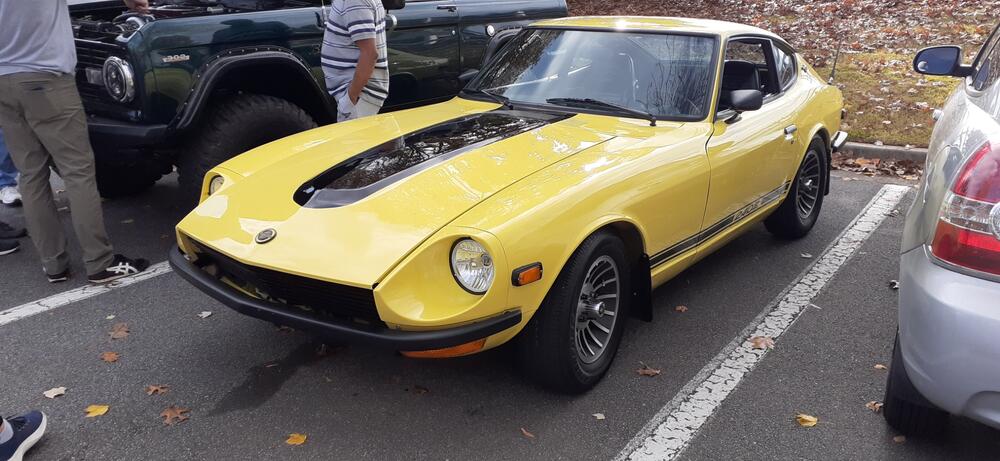
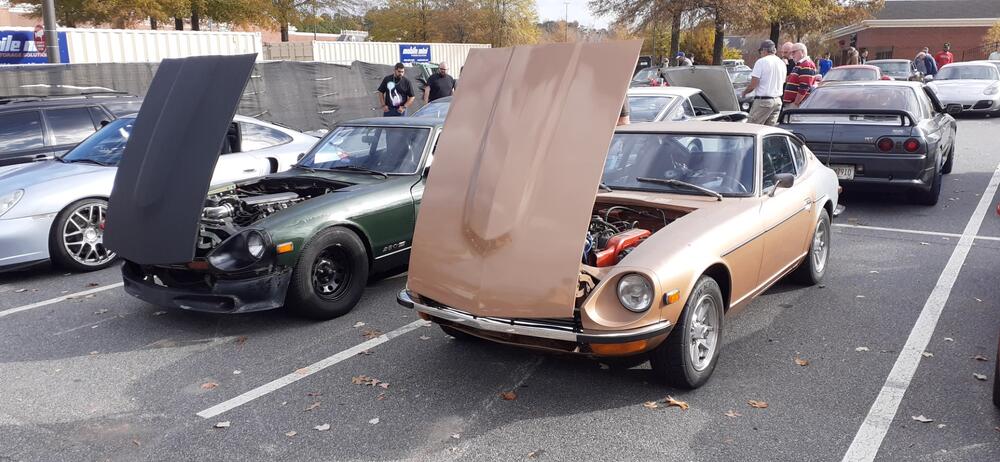
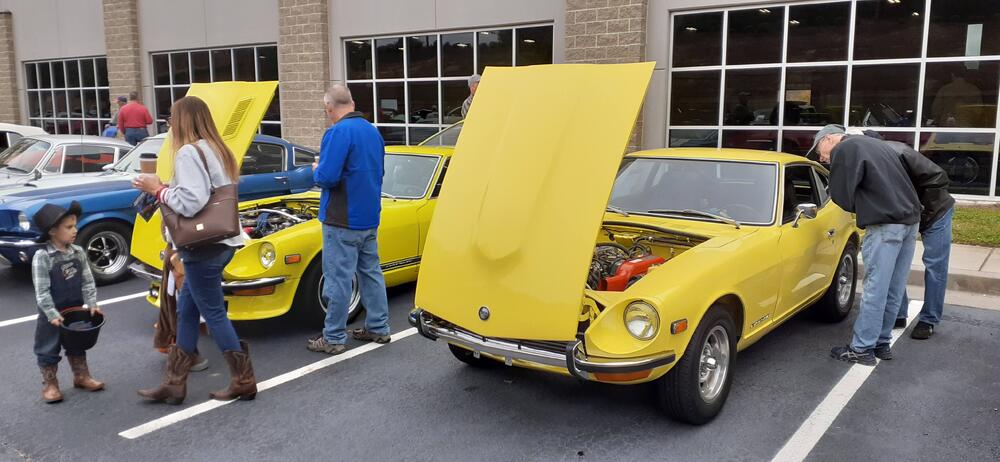
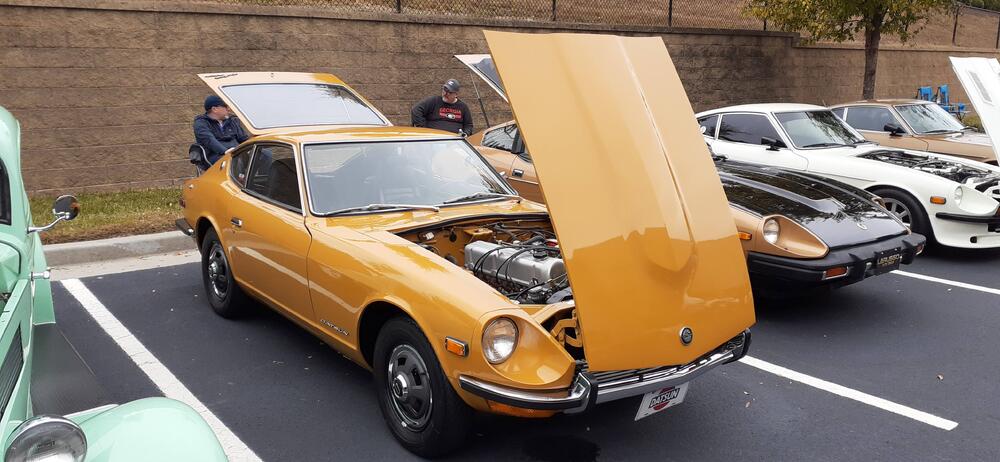
There was some light mist and a lot of clouds this morning, but I took the 240Z to a car show. There were a few other S30s and a Skyline that owners brought out to enjoy the unseasonably warm weather.


-
Yep, a local friend mentioned that in the GZC group on FB. I tagged John, too.
-
Stock is a single piston design. You can see that caliper in the FSM or parts manual. It sounds like your car may have had the Toyota calipers installed. http://www.zhome.com/ZCMnL/tech/Calipers/toyotaCalipers.html I'm not sure why they are called 4 piston in the Zhome article.
-
Finally, after dozens of orders, I struck gold (or yellow) with the magnet.

-
And I have seen a 240Z that no matter how much the gap and dwell were adjusted, it ran like crap. After the Pertronix was installed, the owner said he couldn't remember the last time the car ran so well. There are two sides to the coin.
-
Are you selling the ones with the trees growing through them, or are you parting those out? And congratulations on the upcoming retirement. I envision retiring in about 8 years and working more and more on Z cars myself.
-
What? You don't carry a back up Z with you?
-
Well, I had a chance to use the bench to work on the car today. I was about to take the 240Z to a car show, but it wouldn't start. I pulled the #1 plug and tried again. There was no spark. I got in the 260Z instead and went to the show. When I got back home, I hooked the voltmeter to the coil. No voltage in start or run. After just a moment to contemplate the test results, I determined that the tachometer must have become unplugged, probably when I was messing with the hazard light switch a week ago. No better time than the present to test the bench in real world conditions. I set it up, put the pad on it and scooted under the steering column. After groping around some behind the dash, I found the unplugged connector and put it back securely. I slid out from under the steering column and stood up with no strain on the back. I then folded up the legs and put the bench away. The car started right up. It's so nice to see a project work out so well.
-
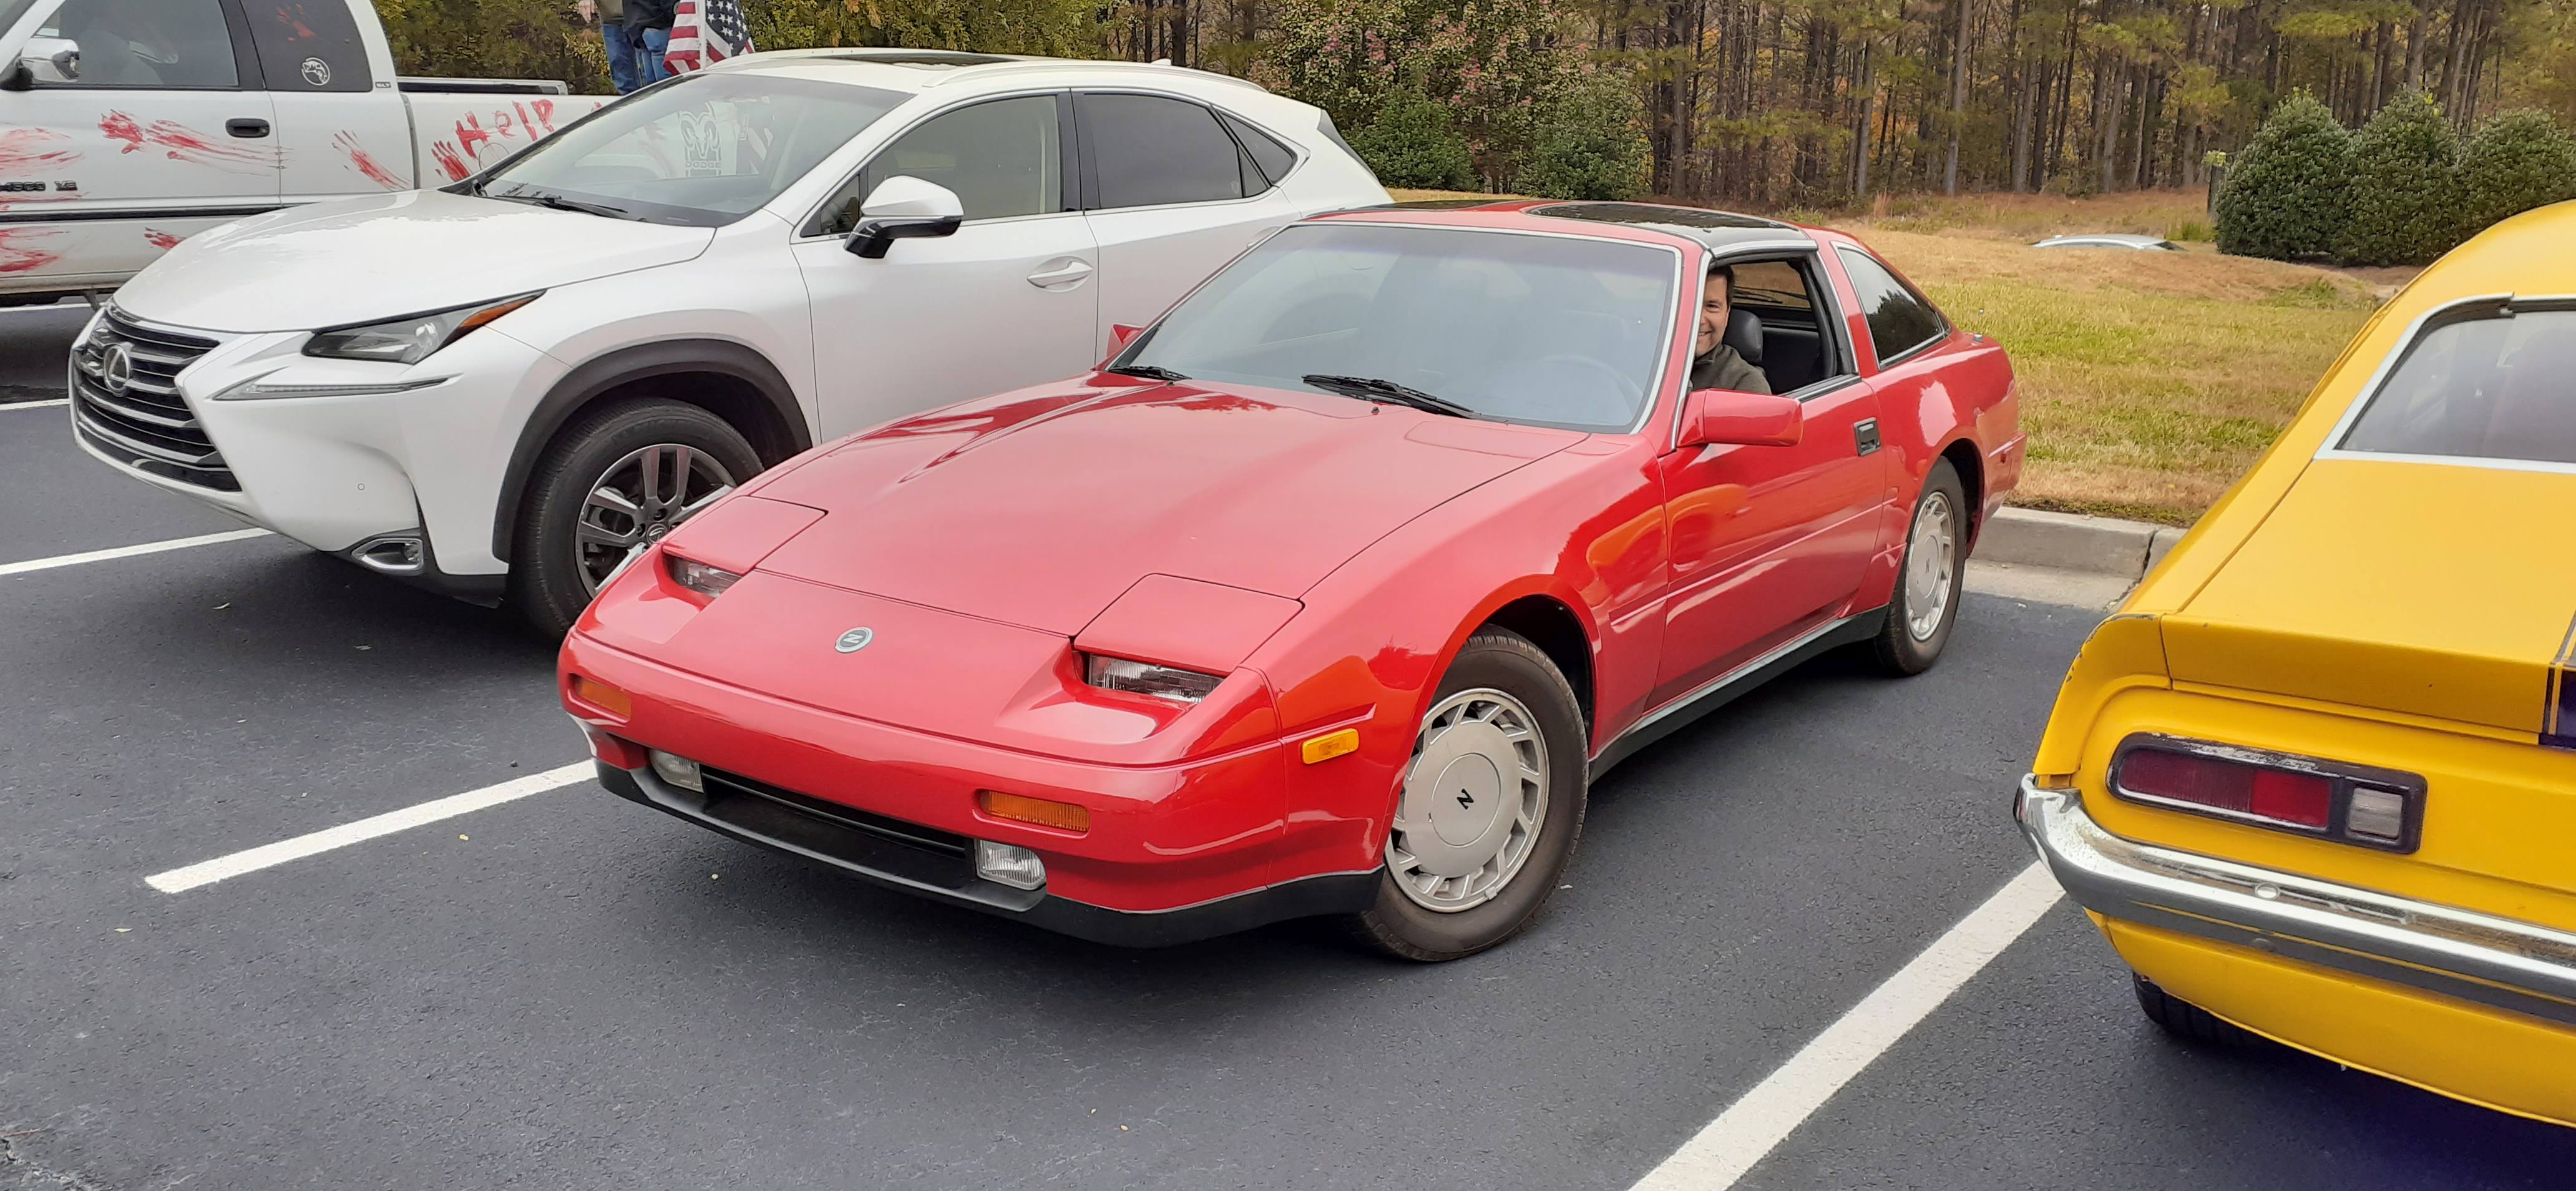
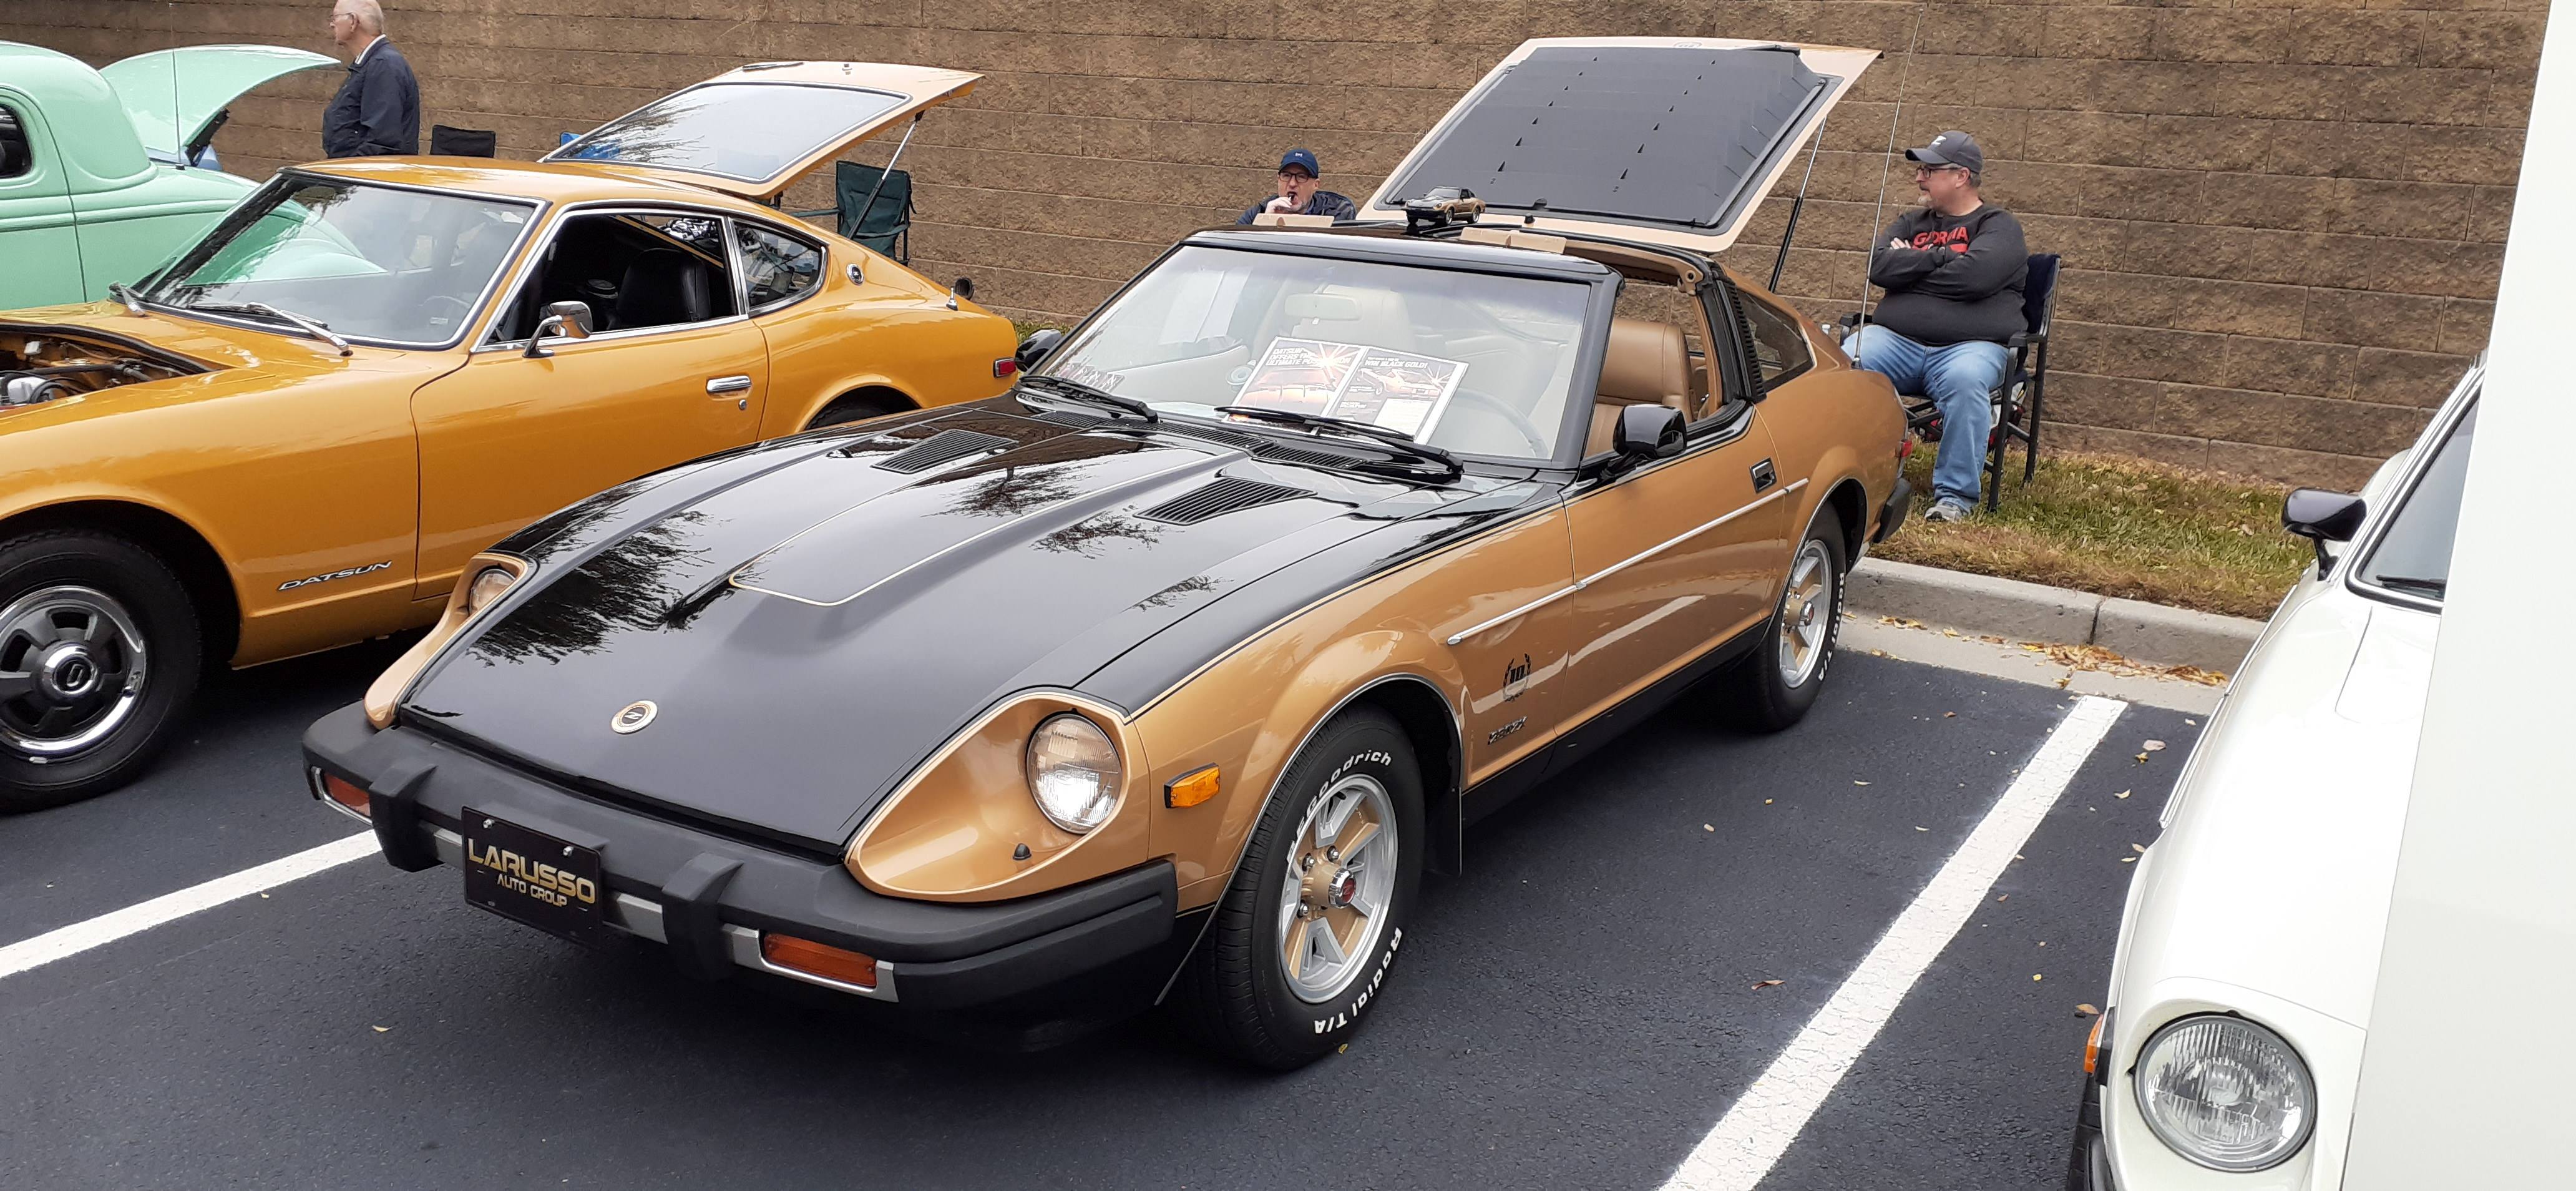
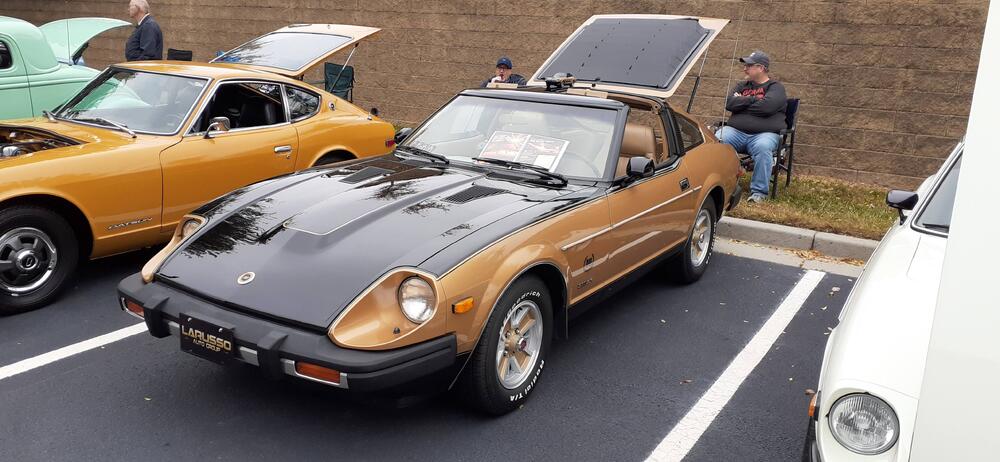
Okay, it was Caffeine and Chrome time again. The 240Z wouldn't start, so I jumped in the 260Z to meet my friend, Paul, who drove his Black-Gold 280ZX. (I still think he needs to do the 80s 'stashe and 'fro to complete the look.) The Georgia Z Club will be the featured club at the next Caffeine and Chrome, so I used that to coax a couple of people to come out this month to check it out. This month we had 2 240Zs, a 260Z, a 280Z, a 280ZX and a 300ZX (Z1). Next month I'm hoping the missing generations show up.


-
Back in the day, it wasn't bad to get a reman. As I mentioned before, the one I put in the 240Z was purchased many years ago. I'm not sure what happened between then and now, though I have my guesses. A friend was having issues with his 77 trying alternators and a voltage regulator. I tried to get him to do the upgrade to the Frontier alternator from the start. He spent more his way, though. The good news is that he's been happy with the alternator swap I did.
-
Or just go cheap with a DPDT switch...Yeah, I know. That's no fun.
-
Thank you. It wasn't my first effort. I made another bench many years ago, but it had fixed legs and a rectangular shape. It took up too much space, and it couldn't get as close to the door sill. Eventually, it got tossed. I was actually thinking of mounting a hook to the underside of the bench so I could hang it from my shelves to keep it more out of the way.
-
I did a quick search for the home made tool thread, but I didn't find it. (Of course, I didn't spend too much time looking for it.) I bought some folding table leg brackets from Amazon a while back for this project, and I finally made the time to execute. The video shows the door sill height benchtop I made for when I have to lie on my back to work in the footwell. I used 2x12 for the benchtop with 2x4 legs. I hope you find it useful.