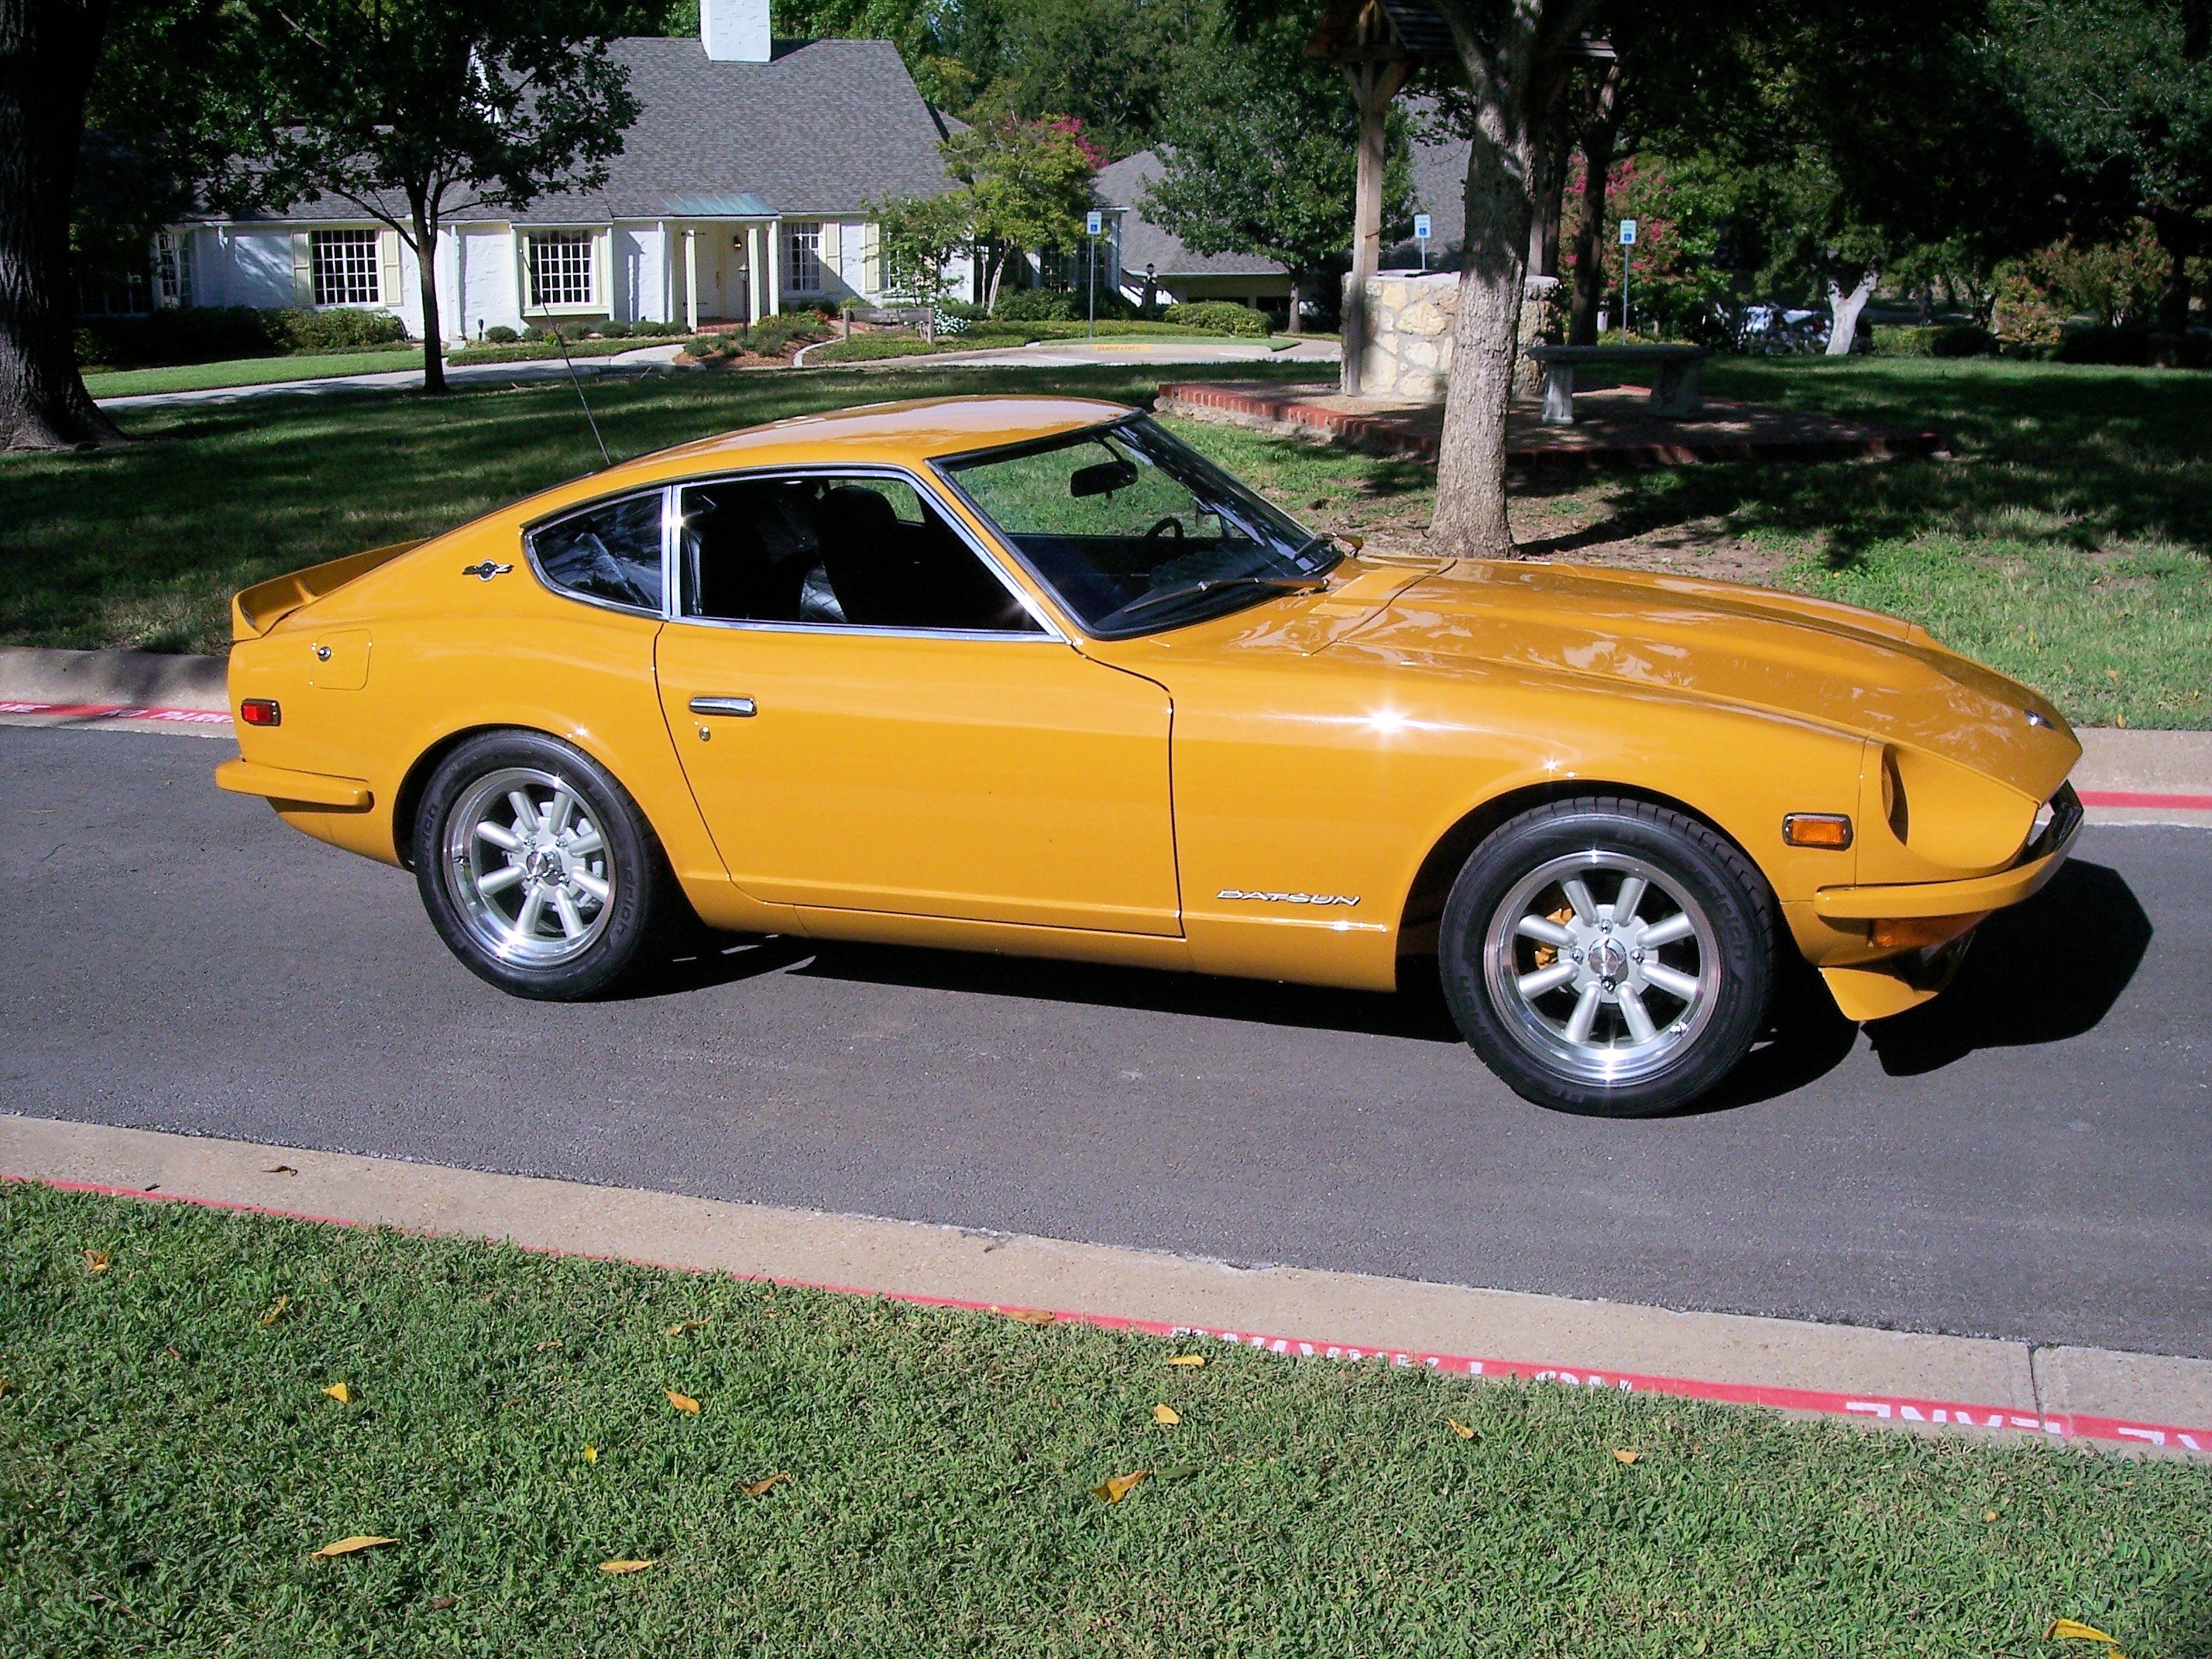
jfa.series1
Supporting Member
-
Joined
-
Last visited
Everything posted by jfa.series1
-
I highly recommend you visit the POR 15 website to educate yourself on products for your repairs. As @Patcon recommended, once you remove all of the affected metal you need to neutralize any remaining surface rust. The POR product "Metal Prep" is one of those products and it leaves a protective barrier coating that is ready for your primer or other product. Here is your starting point: https://por15.com/
-
+1 on the Roadster Retractable belt with the 11" sleeve.
-
The quick answer is no, I have not tried these replacement squeegee trims. Years ago I ordered replacements from Black Dragon and faced the same dilemma of paint damage when trying to warp the trim into shape. I ended up removing the rubber squeegee and transferring it to my OE trim. Now you have an alternative from the folks at PRP: replacment squeegee rubber to install to your OE trim. Check out the YouTube video. BTW, this info came to me via our fellow member @zed2
-
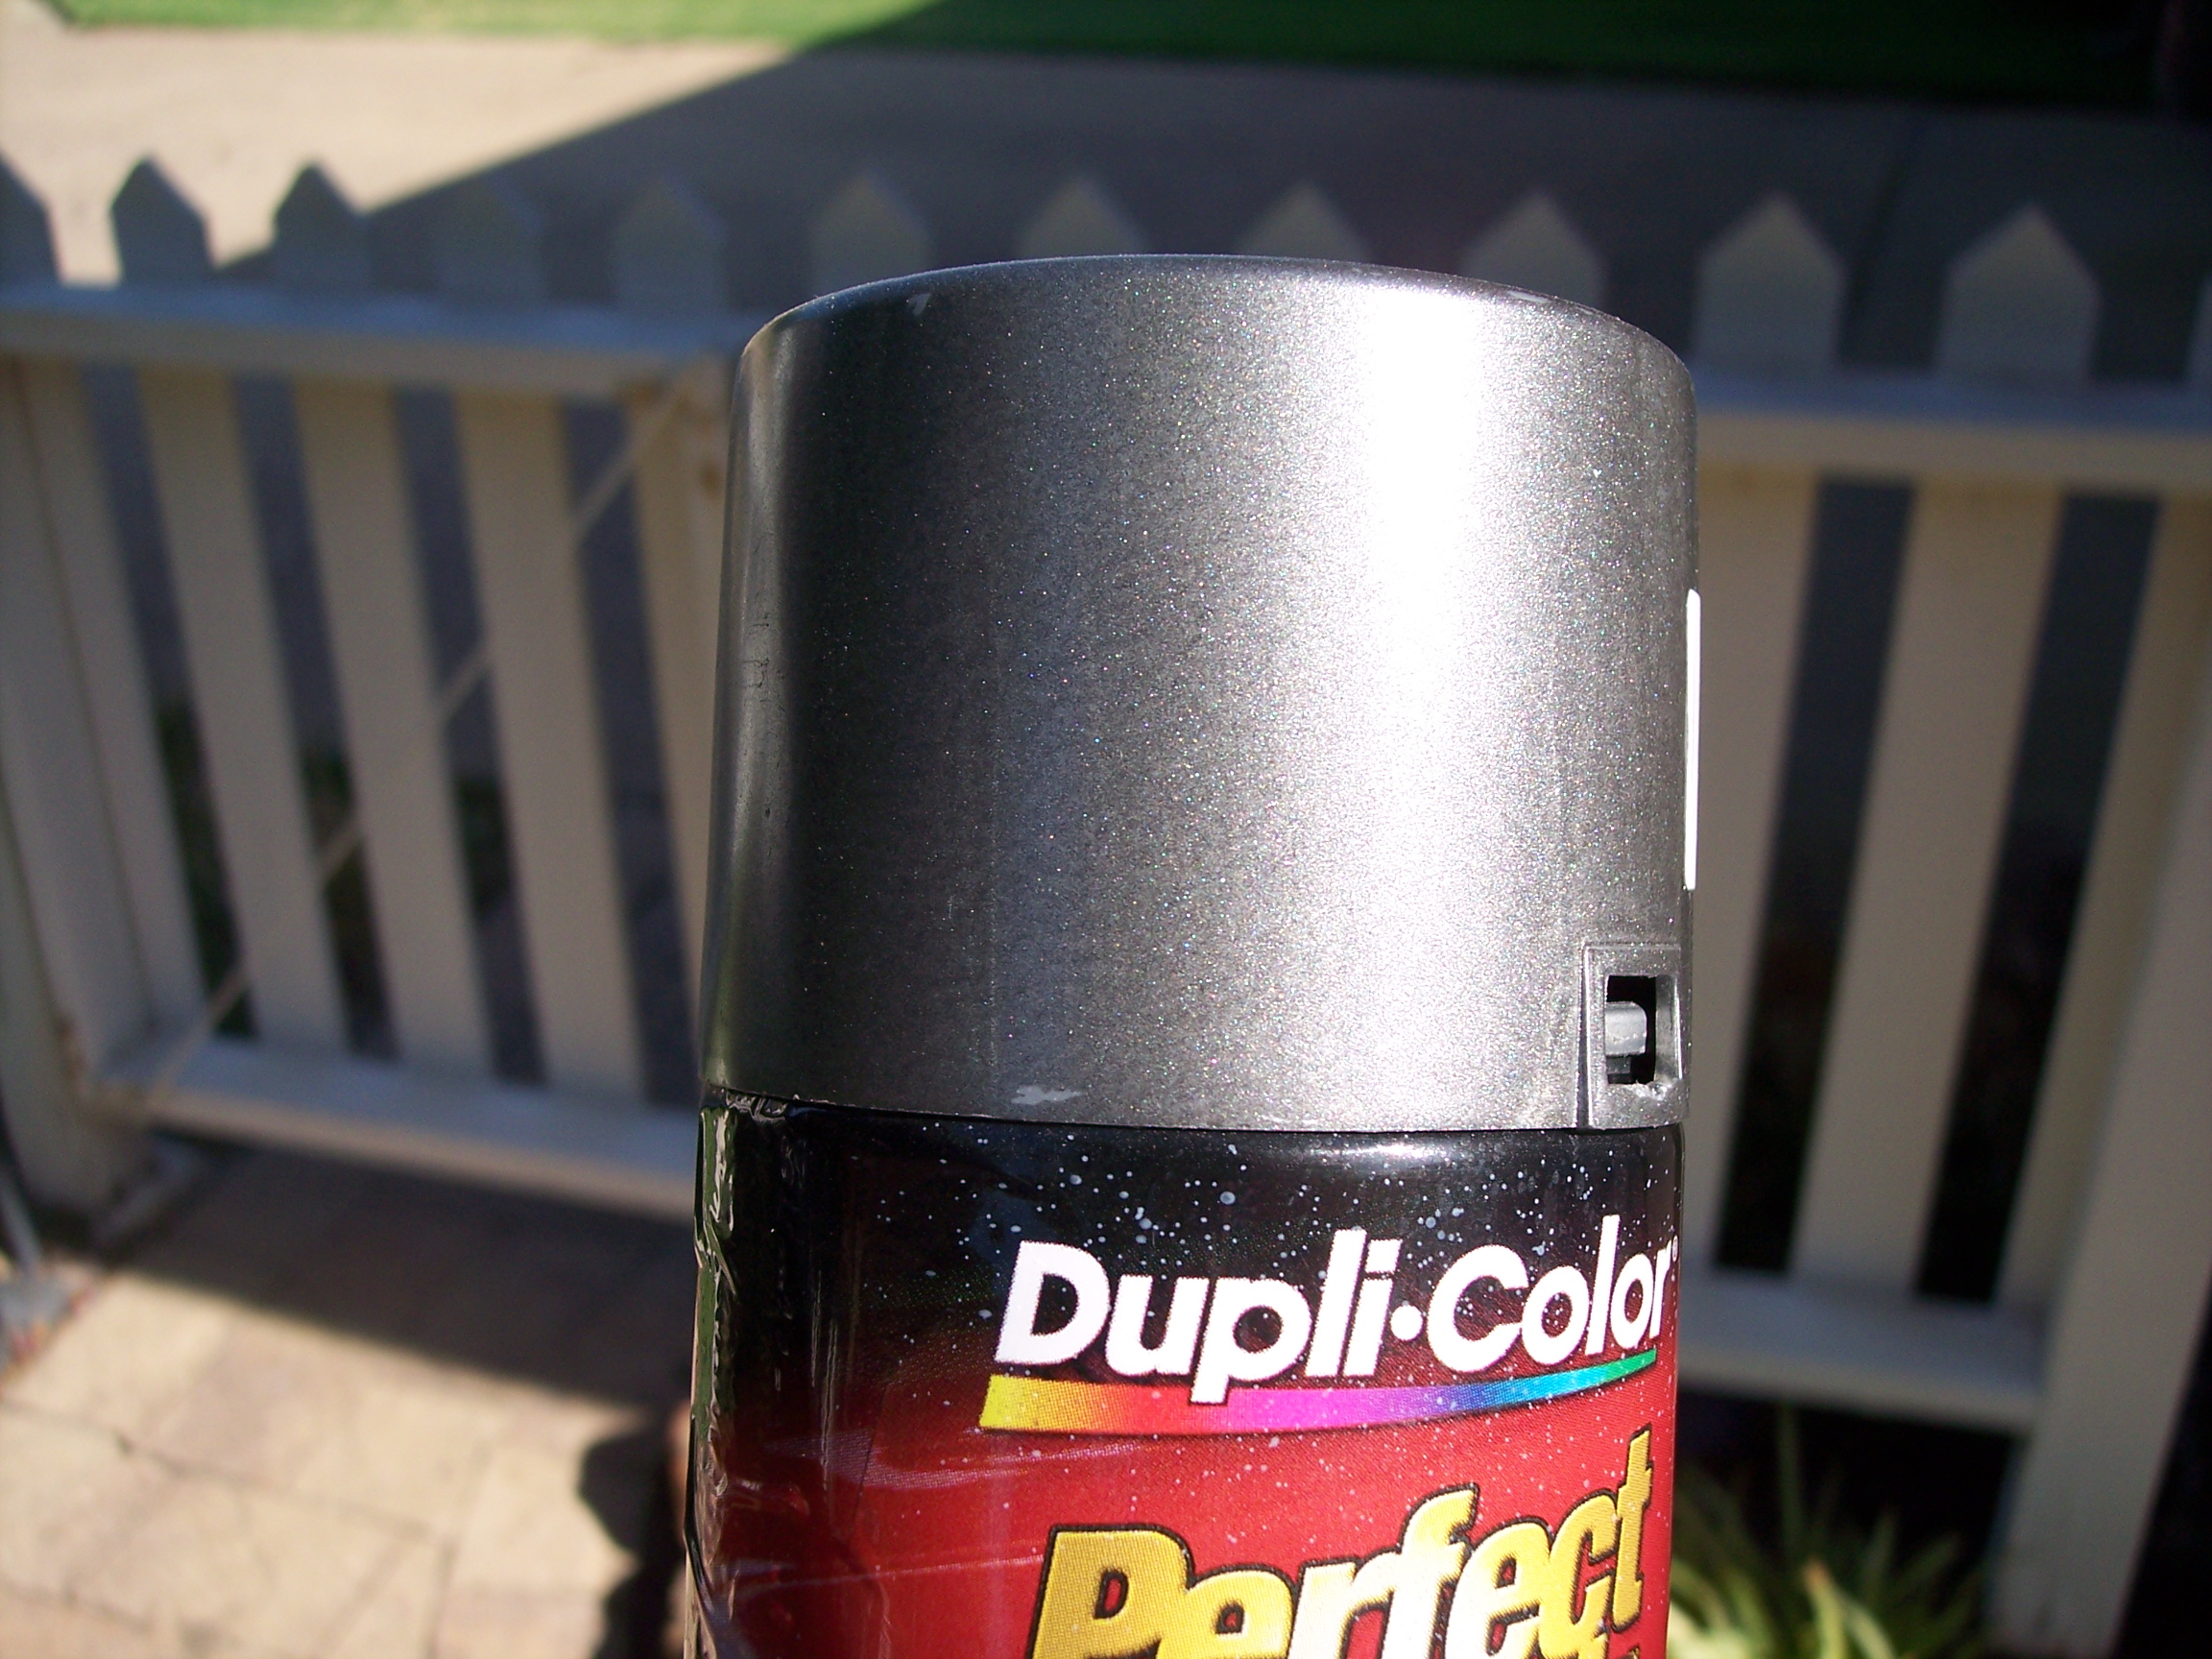
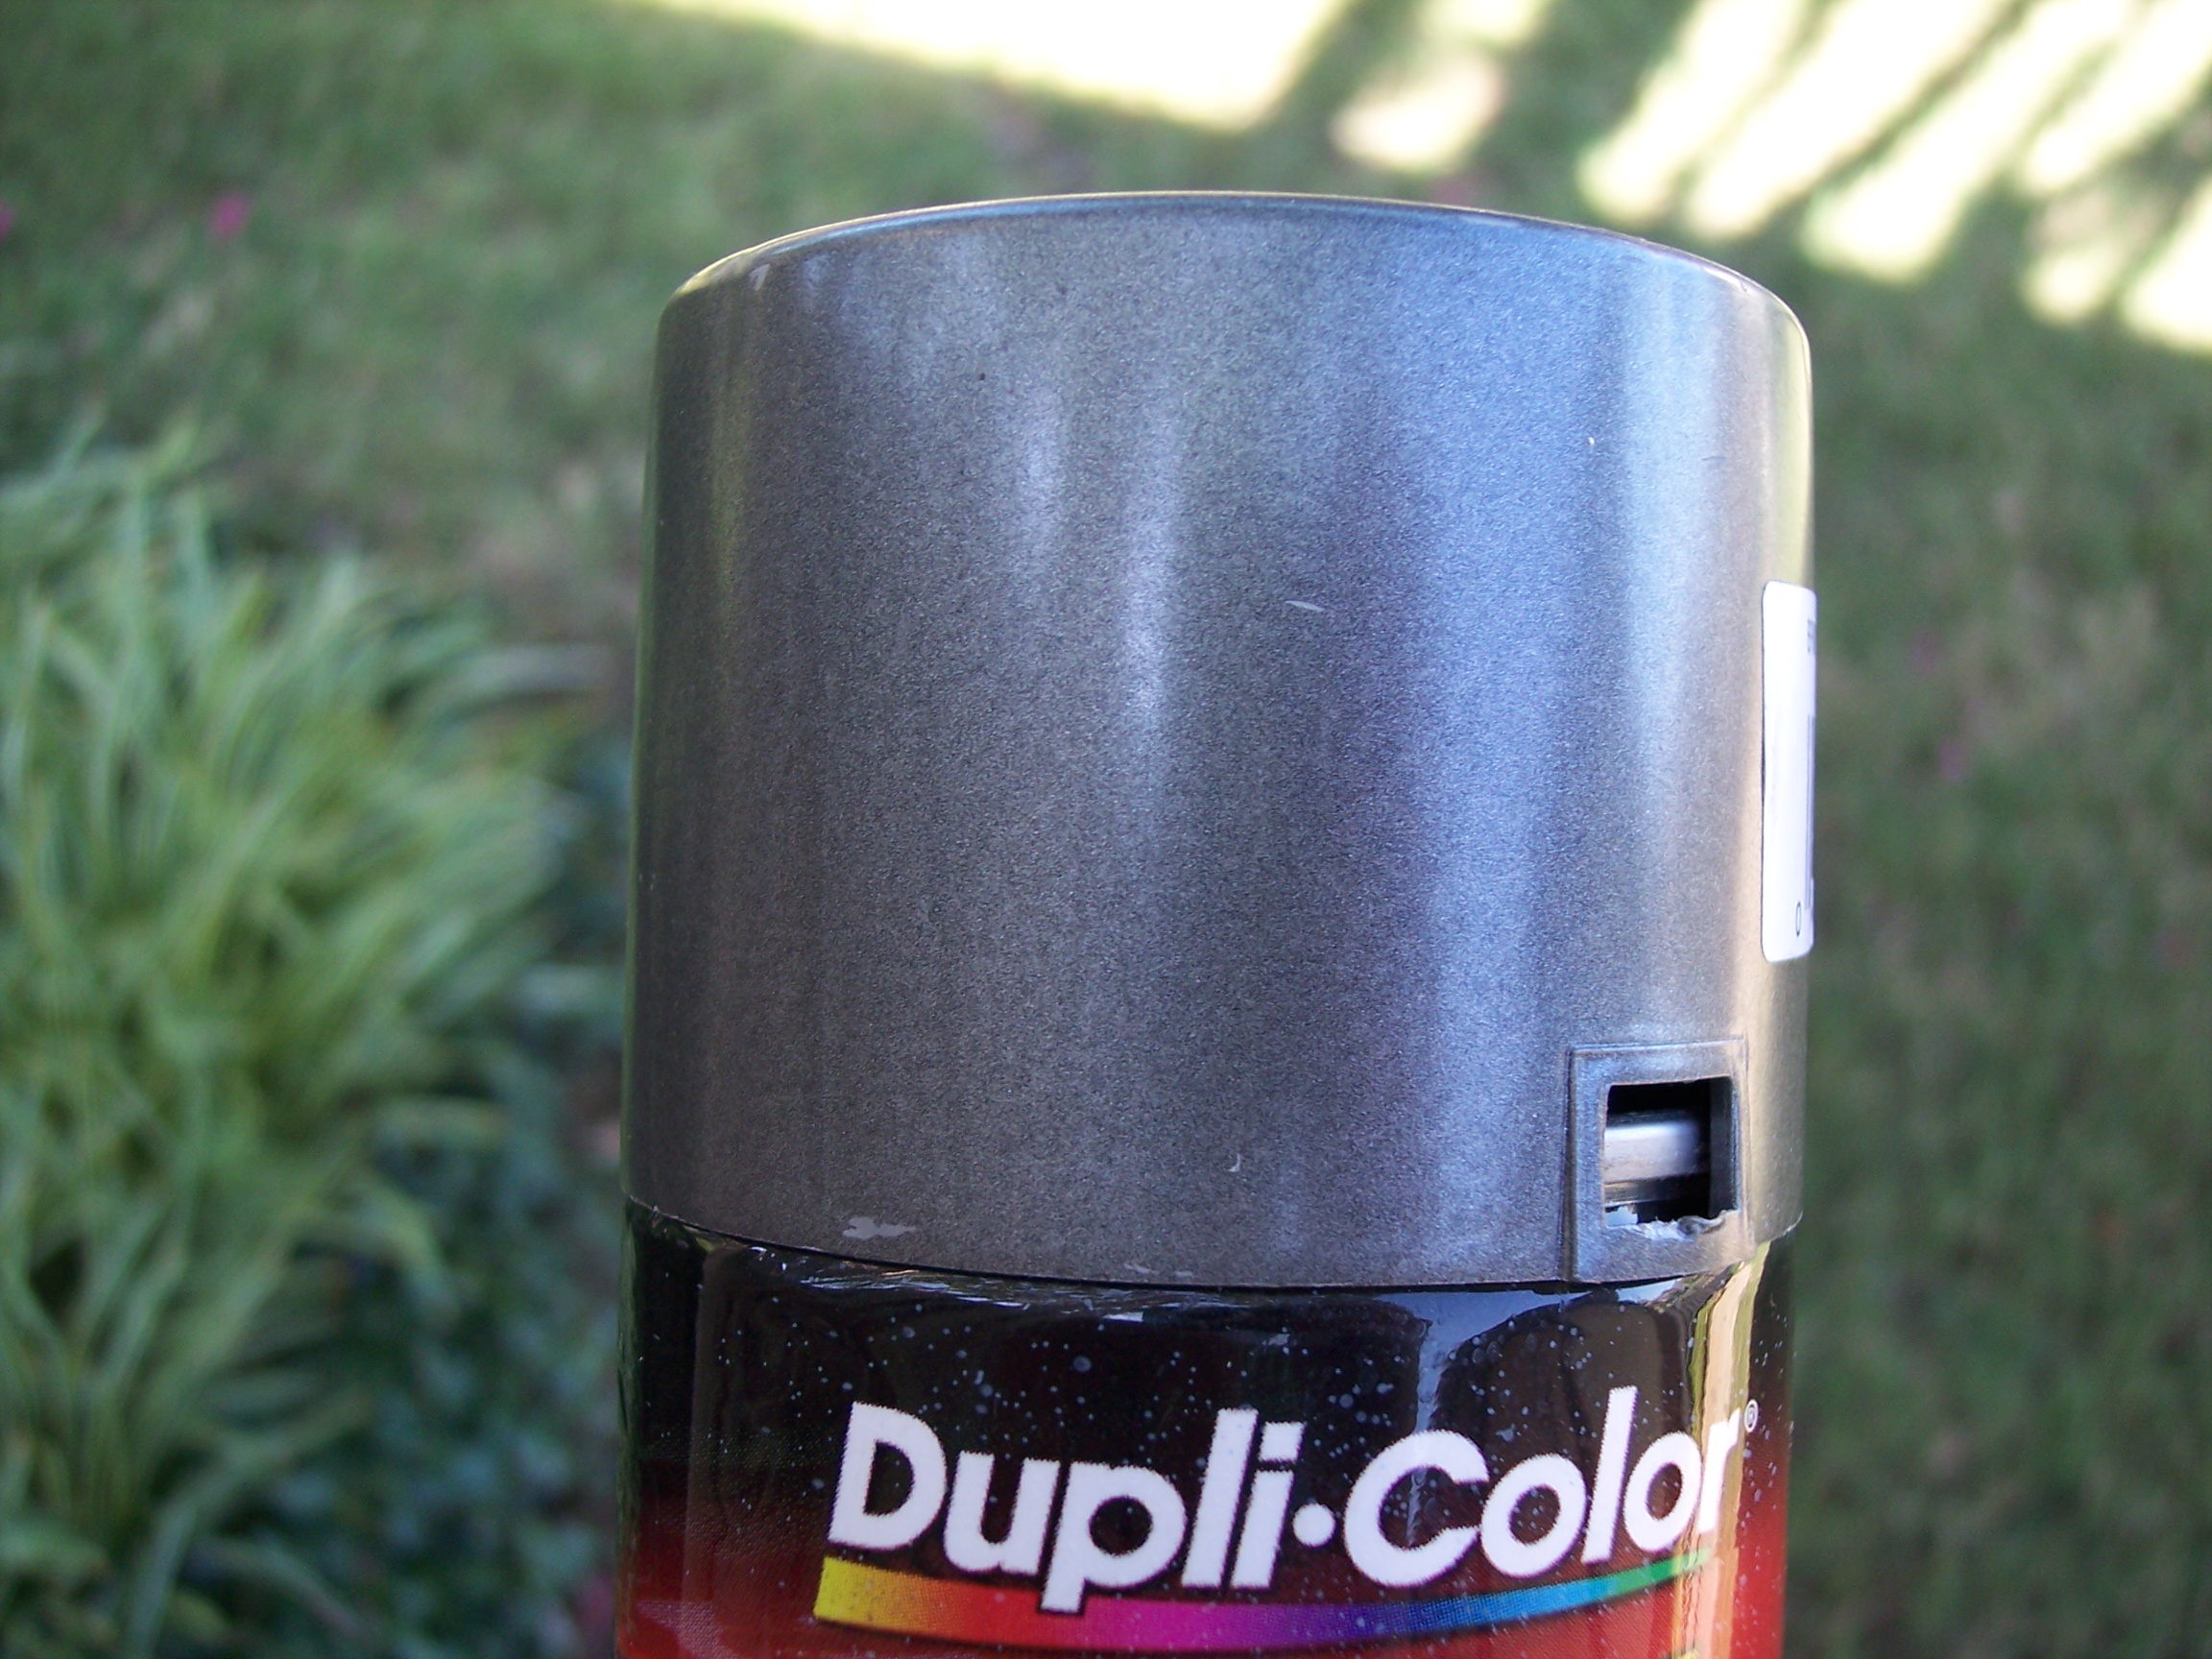
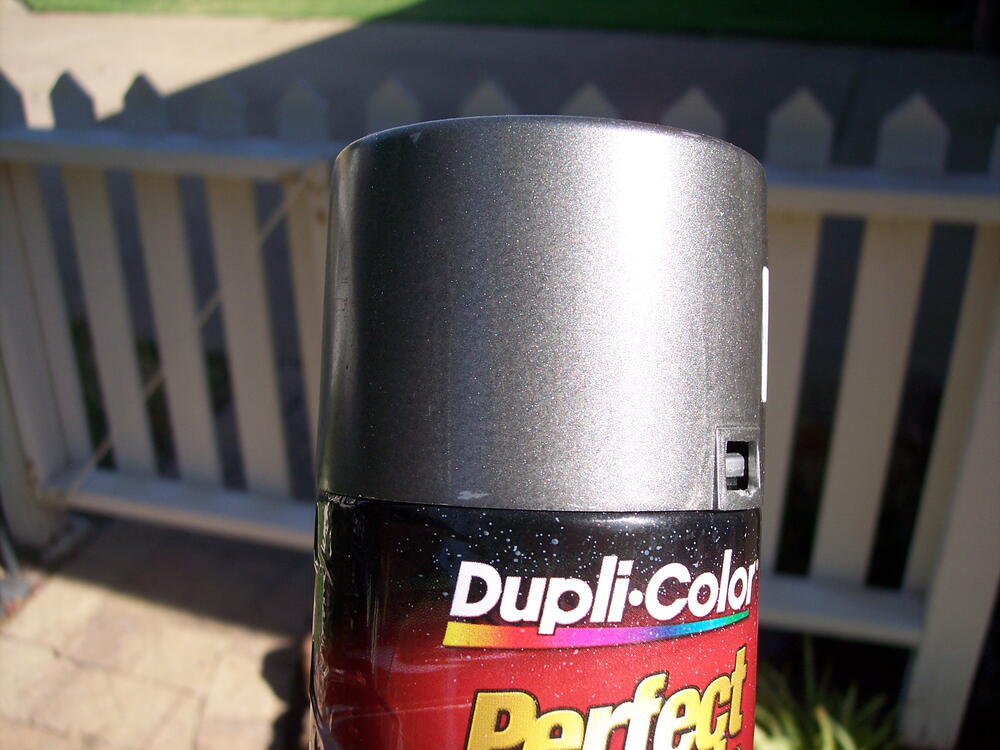
I was pretty sure you would not be able to get the same products since they are for North American market cars. But at least you would get an idea of the process. The paint in your link looks to be a bit darker than the one I use. The Ford color is more silvery and has a very fine metalflake. The matte clearcoat removes the shine from the metalflake. Here are two pics of the Ford color, one in the sun and one in the shade so you can compare to your available paints. Hope this helps.

-
Here you go:
-
It would also help if we knew the exact tire size you have mounted, 15" is not enough info.
-
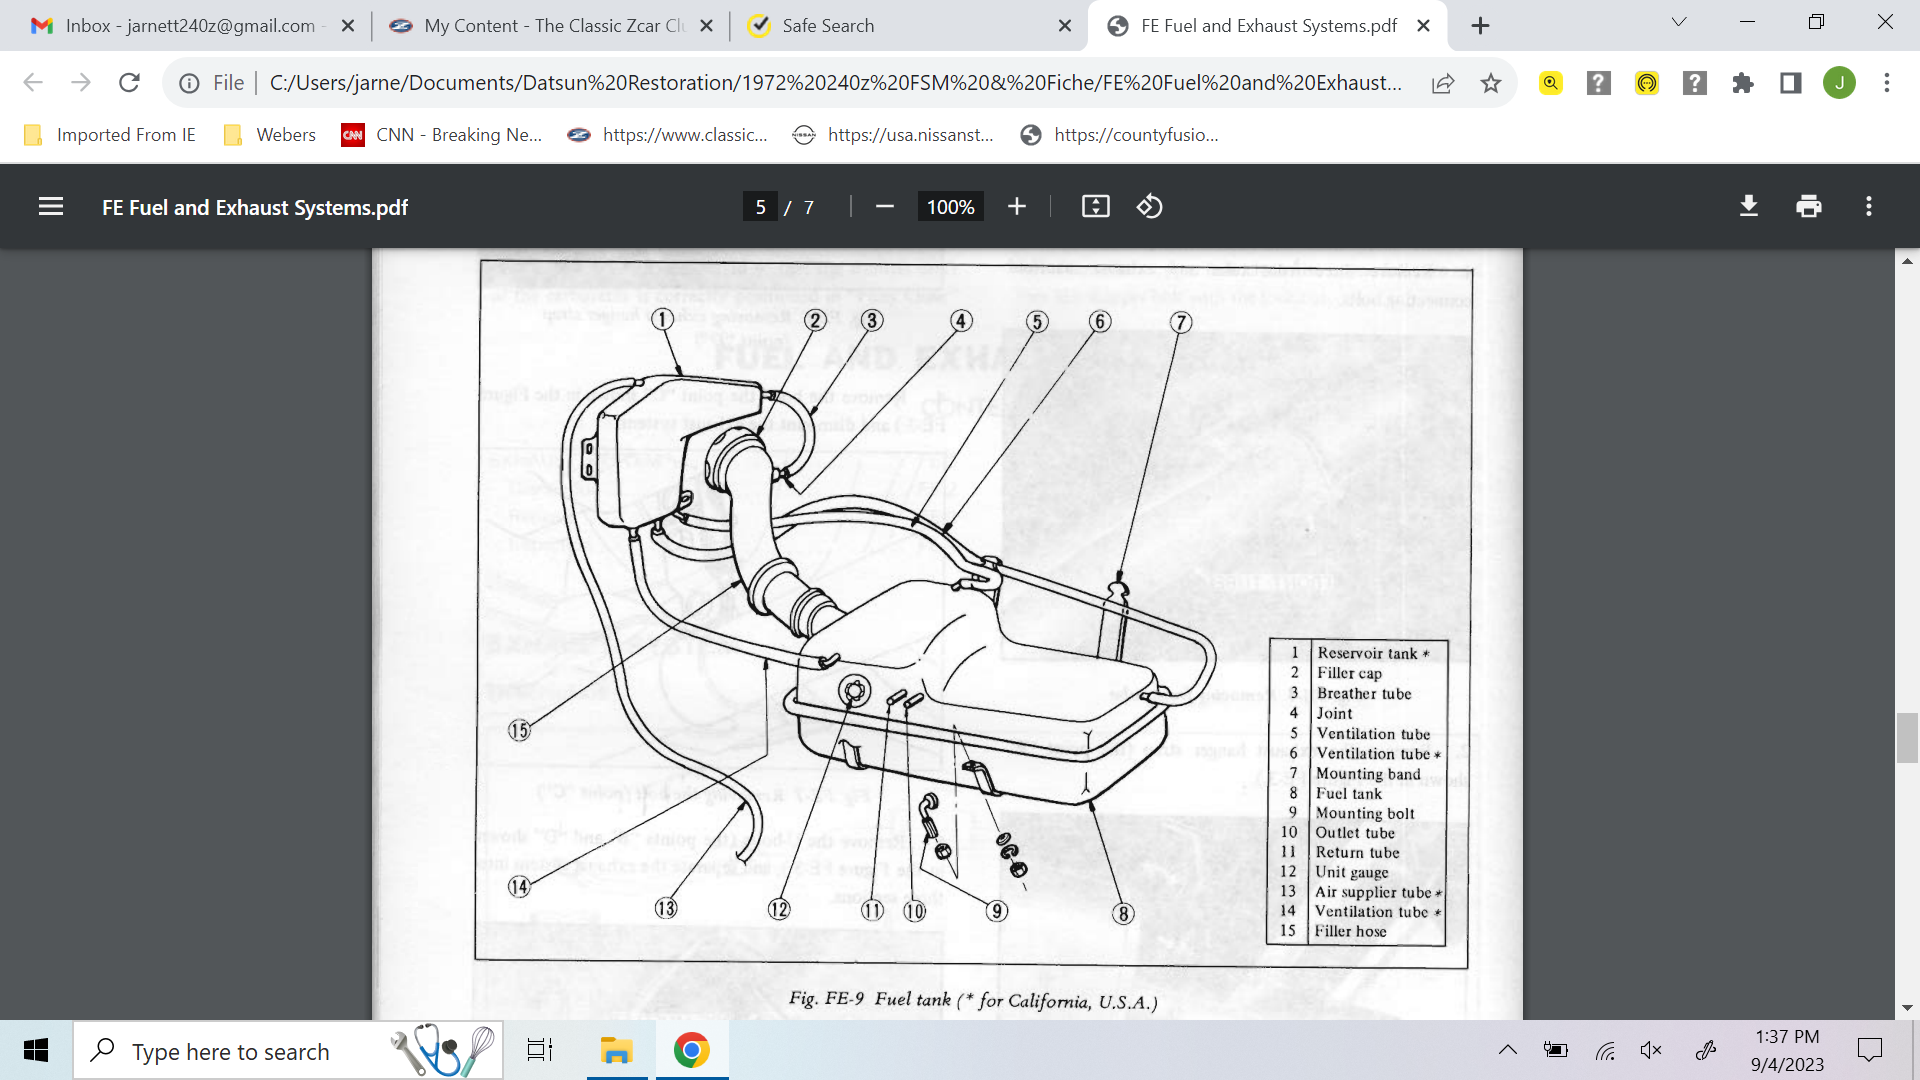
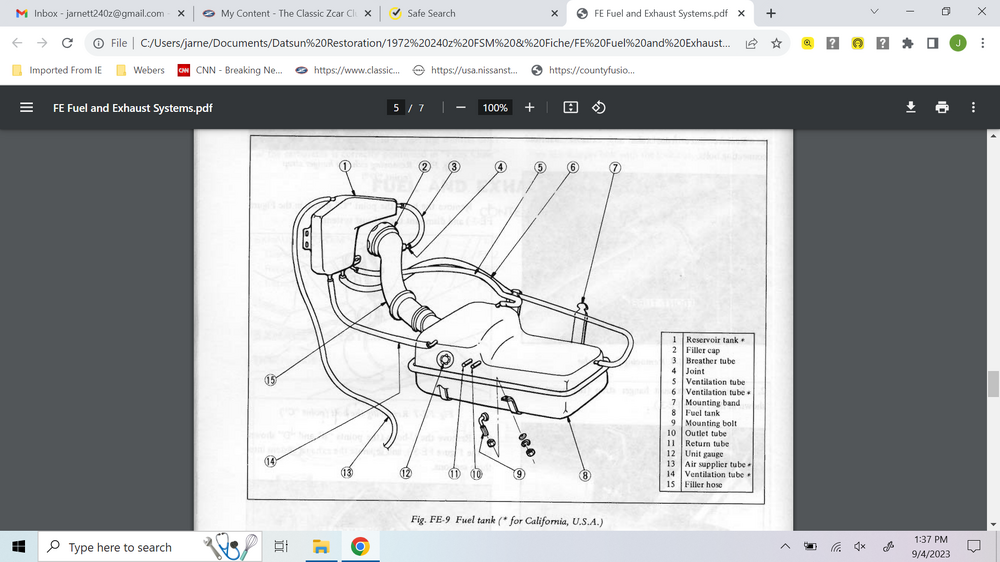
From the FSM:
-
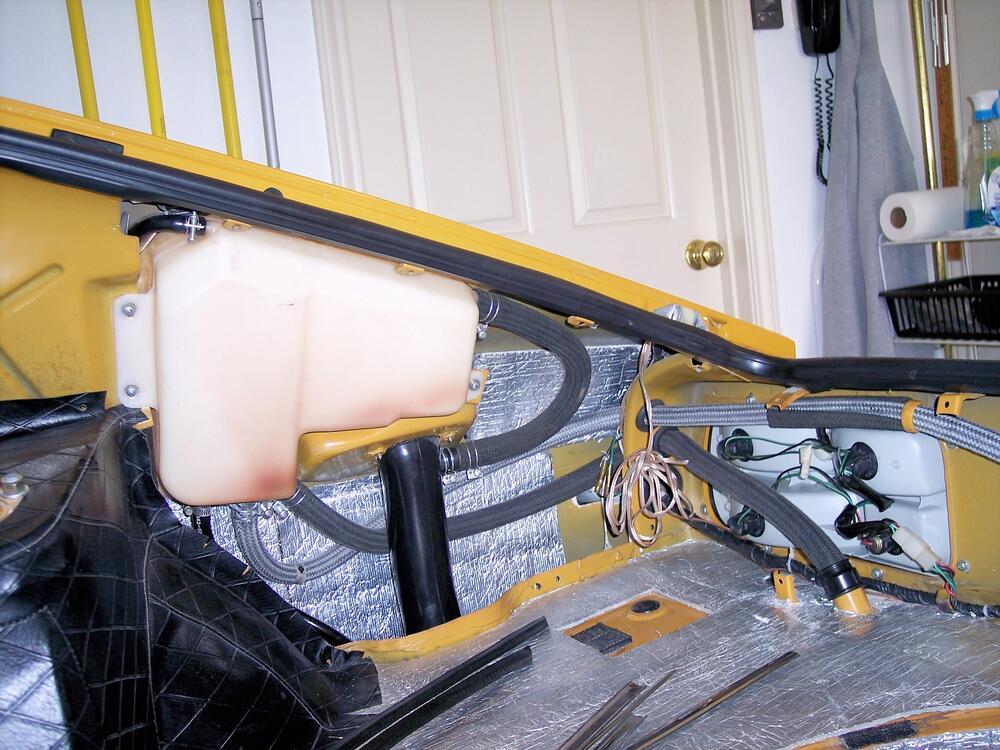
Charles, This may help in getting the lines routed. The small line at the top left does connect to the vapor line going to the engine bay.
-
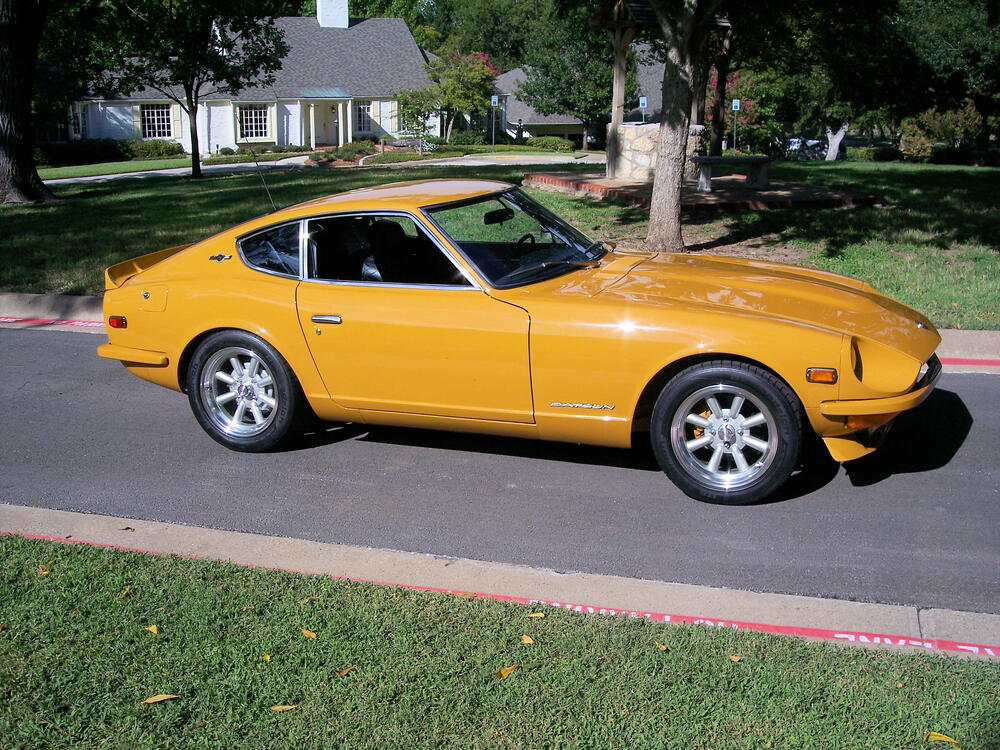
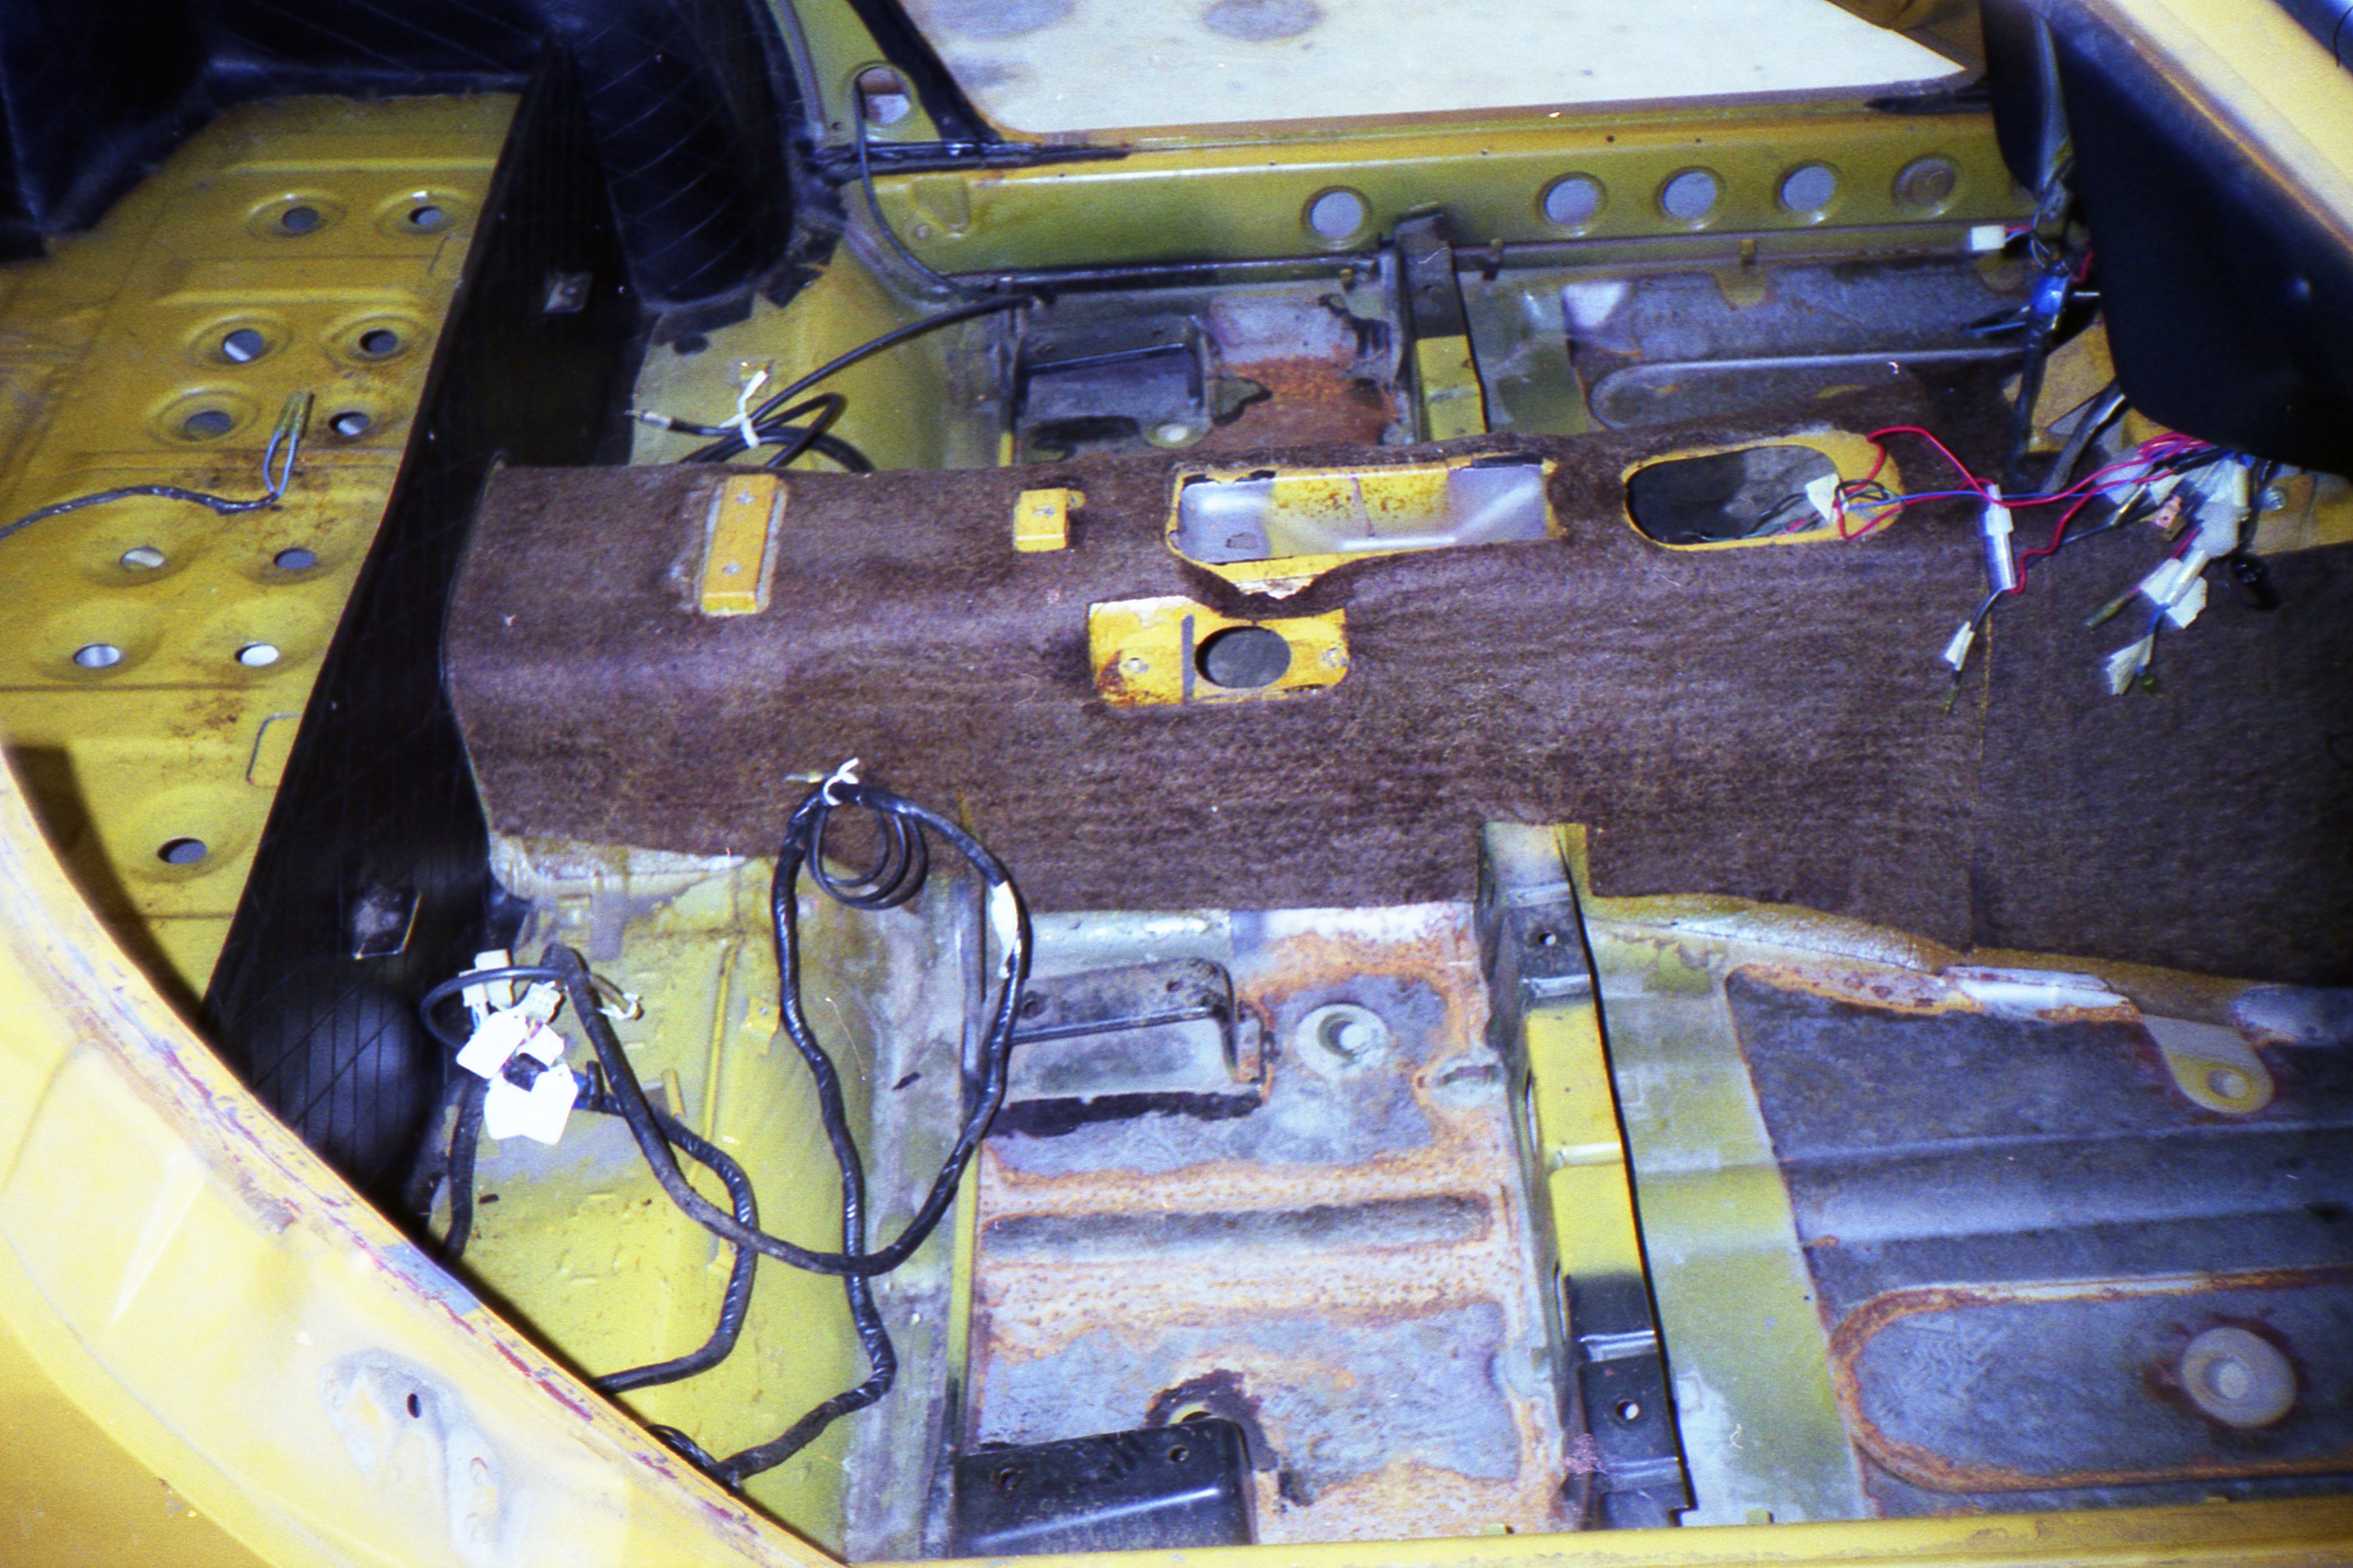
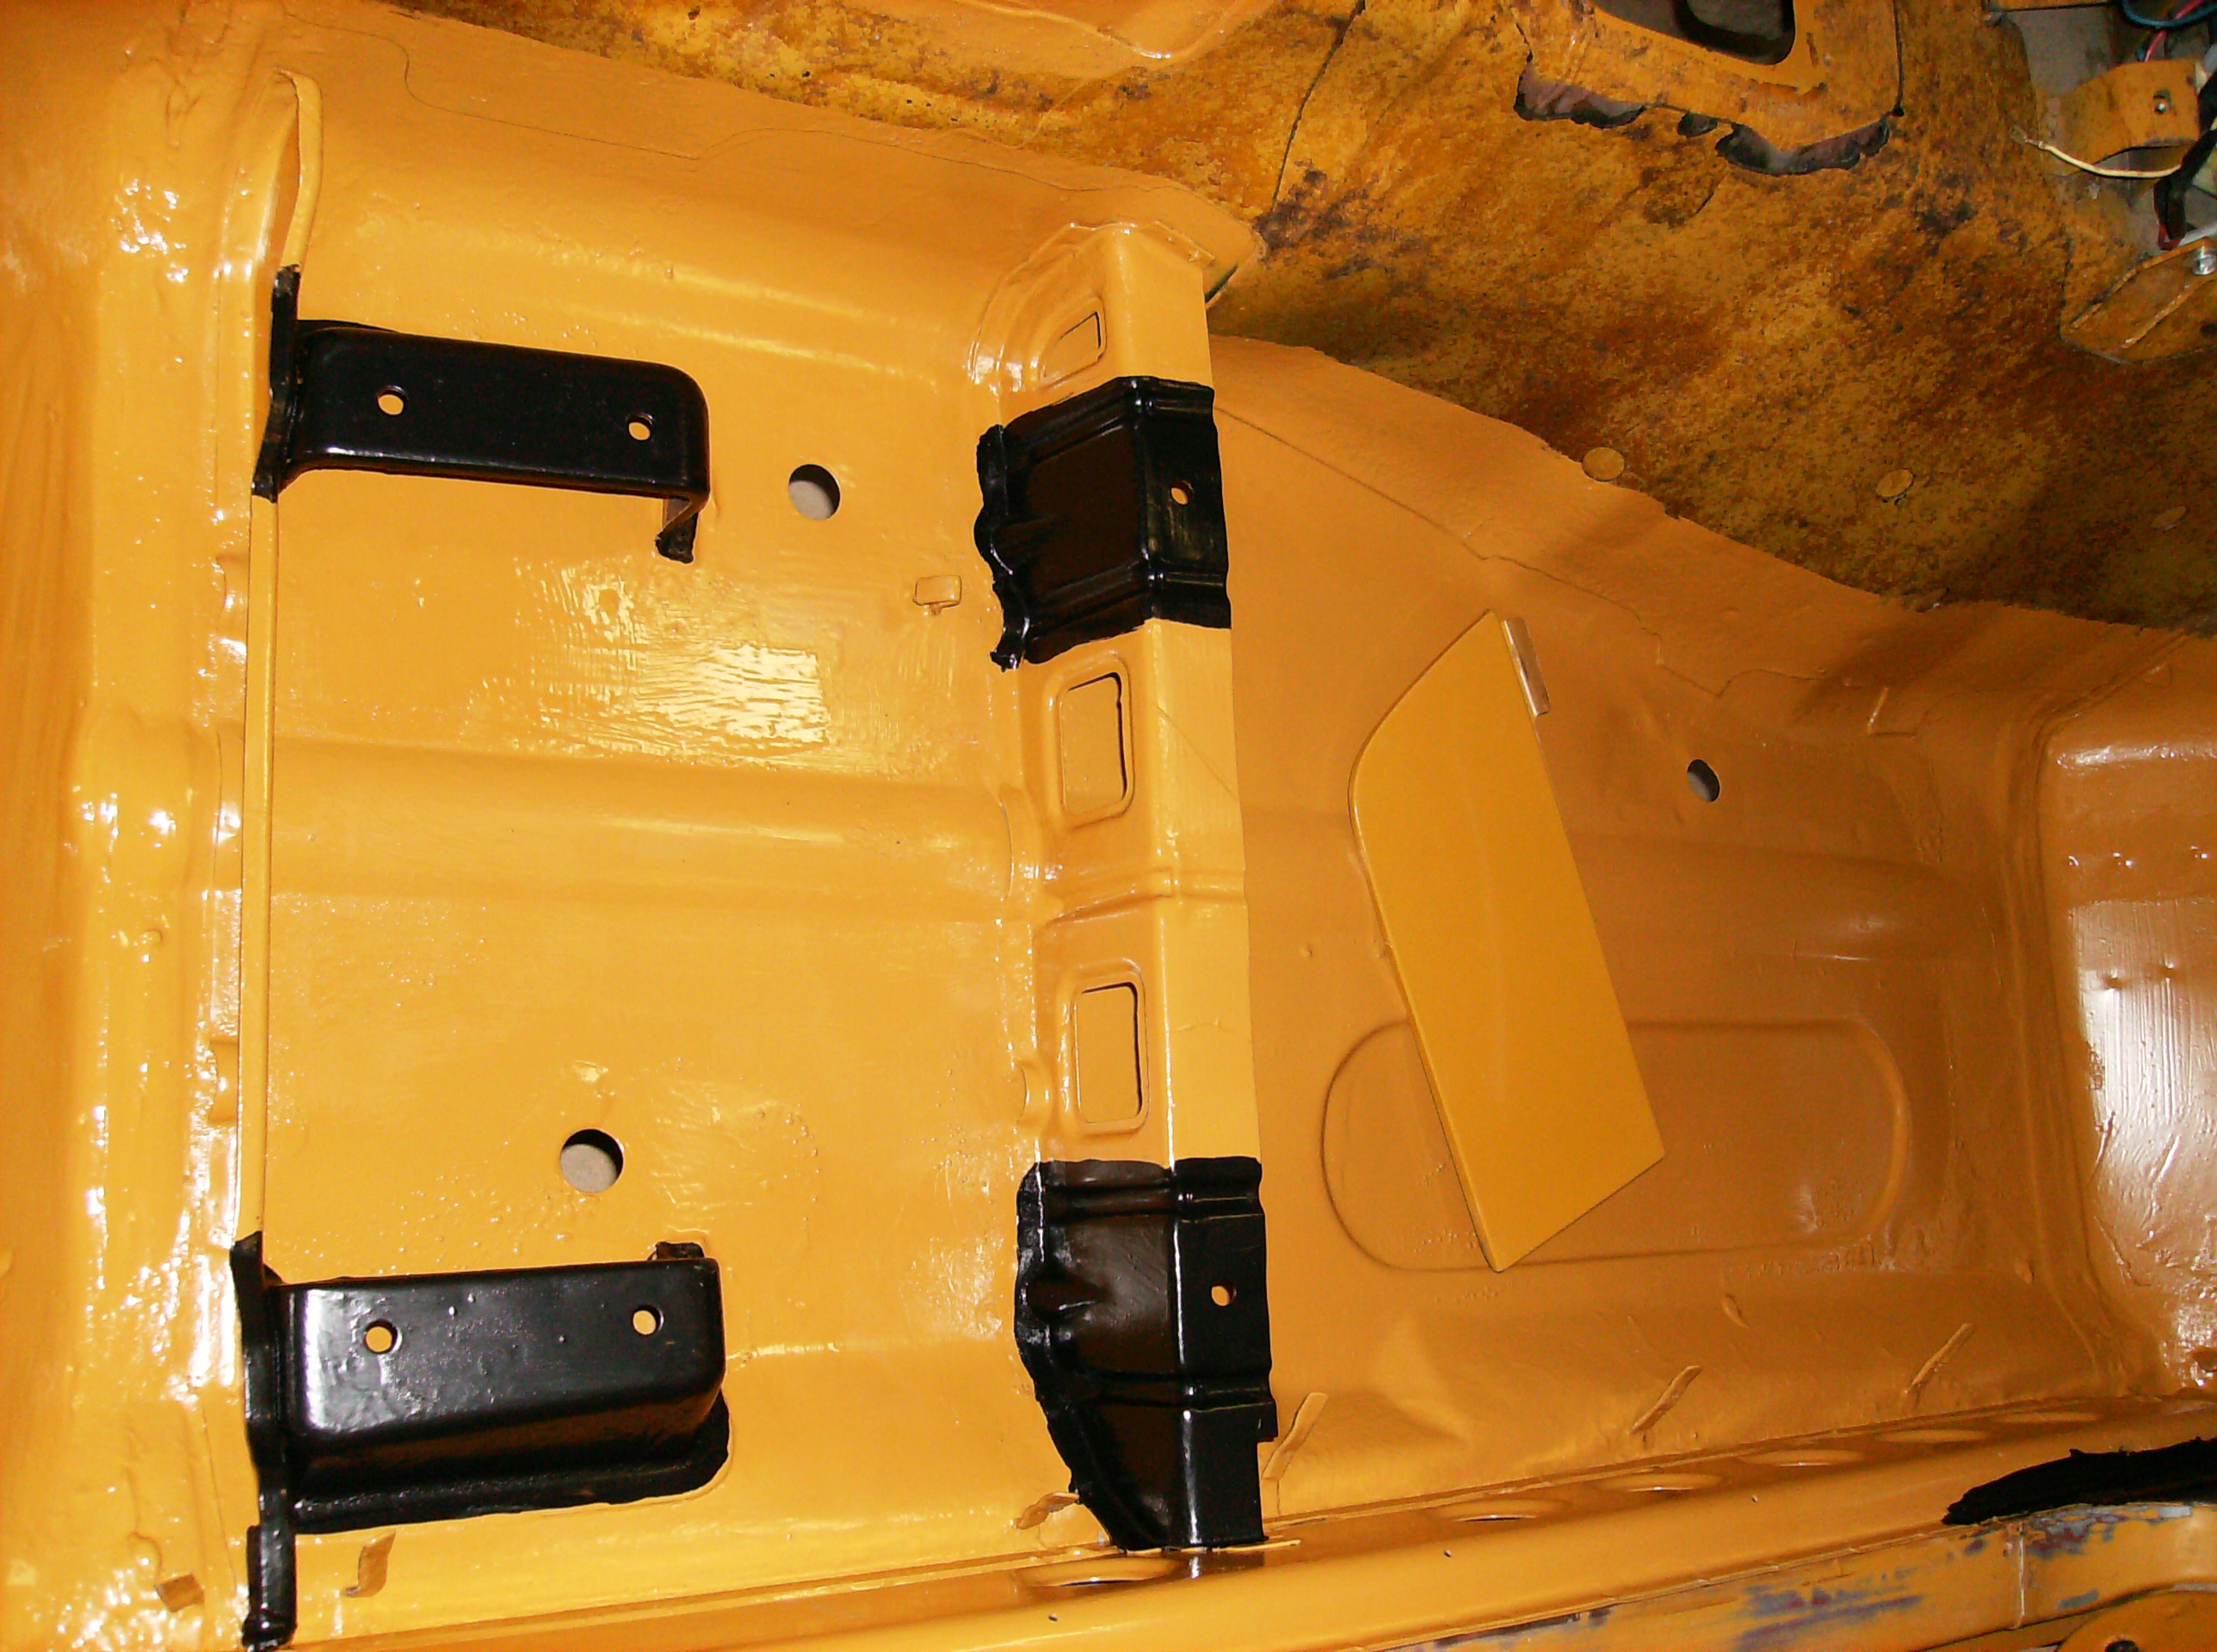
My car when I disassembled it in 1999 - the seat mount brackets look to have been spray painted as overspray is visible on the inner rocker.
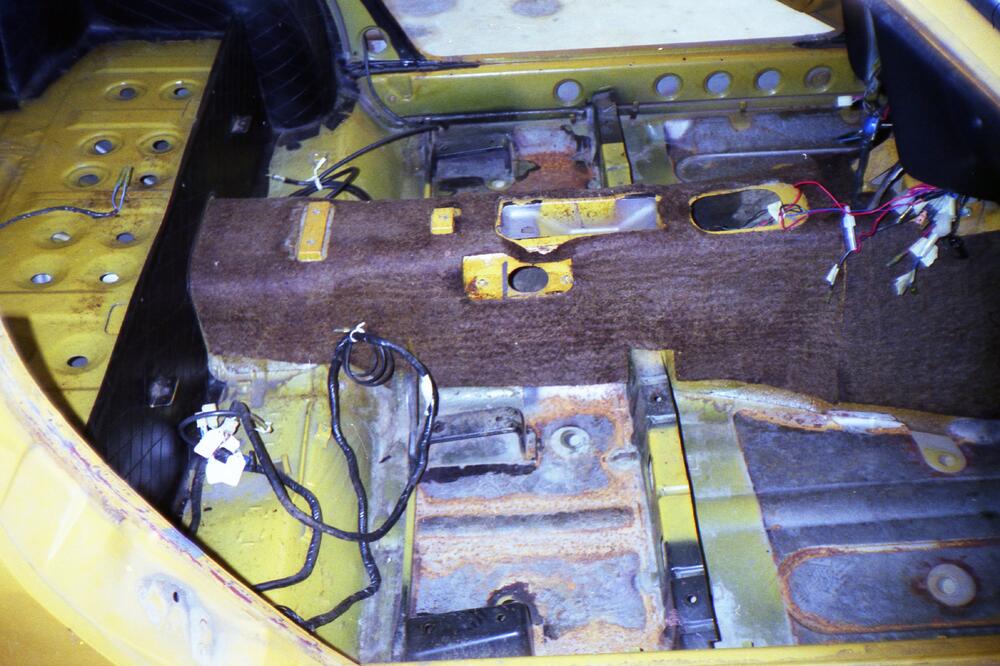
-
Those are looking exceptionally nice, the well-defined grain is awesome! I'm all of us will be looking forward to your comments a the time of final installation. How about a link to their website?
-
A final observation: the inboard mounting location for the retractor is going to result in constant rubbing of the lapbelt against the side of the seat. Good luck with your project.
-
Seat belt retractors were introduced with the '72 model cars. It is my understanding the many/most aftermarket retractors do not fit well into the recess.
-
One more vote for using the factory mounting points for any seatbelt option you choose. Don't gamble your life with a questionable install. The WESCO belts are an easy install with your OE bolts and comfortable in use.
-
Looking so very good Charles! You are clearly the bulldog clip king of your neighborhood!!!
-
Hey Matt, The OE paint was pretty cheap and slapped on with a brush, probably a cross between flat and satin. I would recommend satin as flat will hold dust and dirt. I used gloss on my radiator support just to make it easier to wipe down.
-
Thanks for the feedback, I passed it on to my friend.
-
-
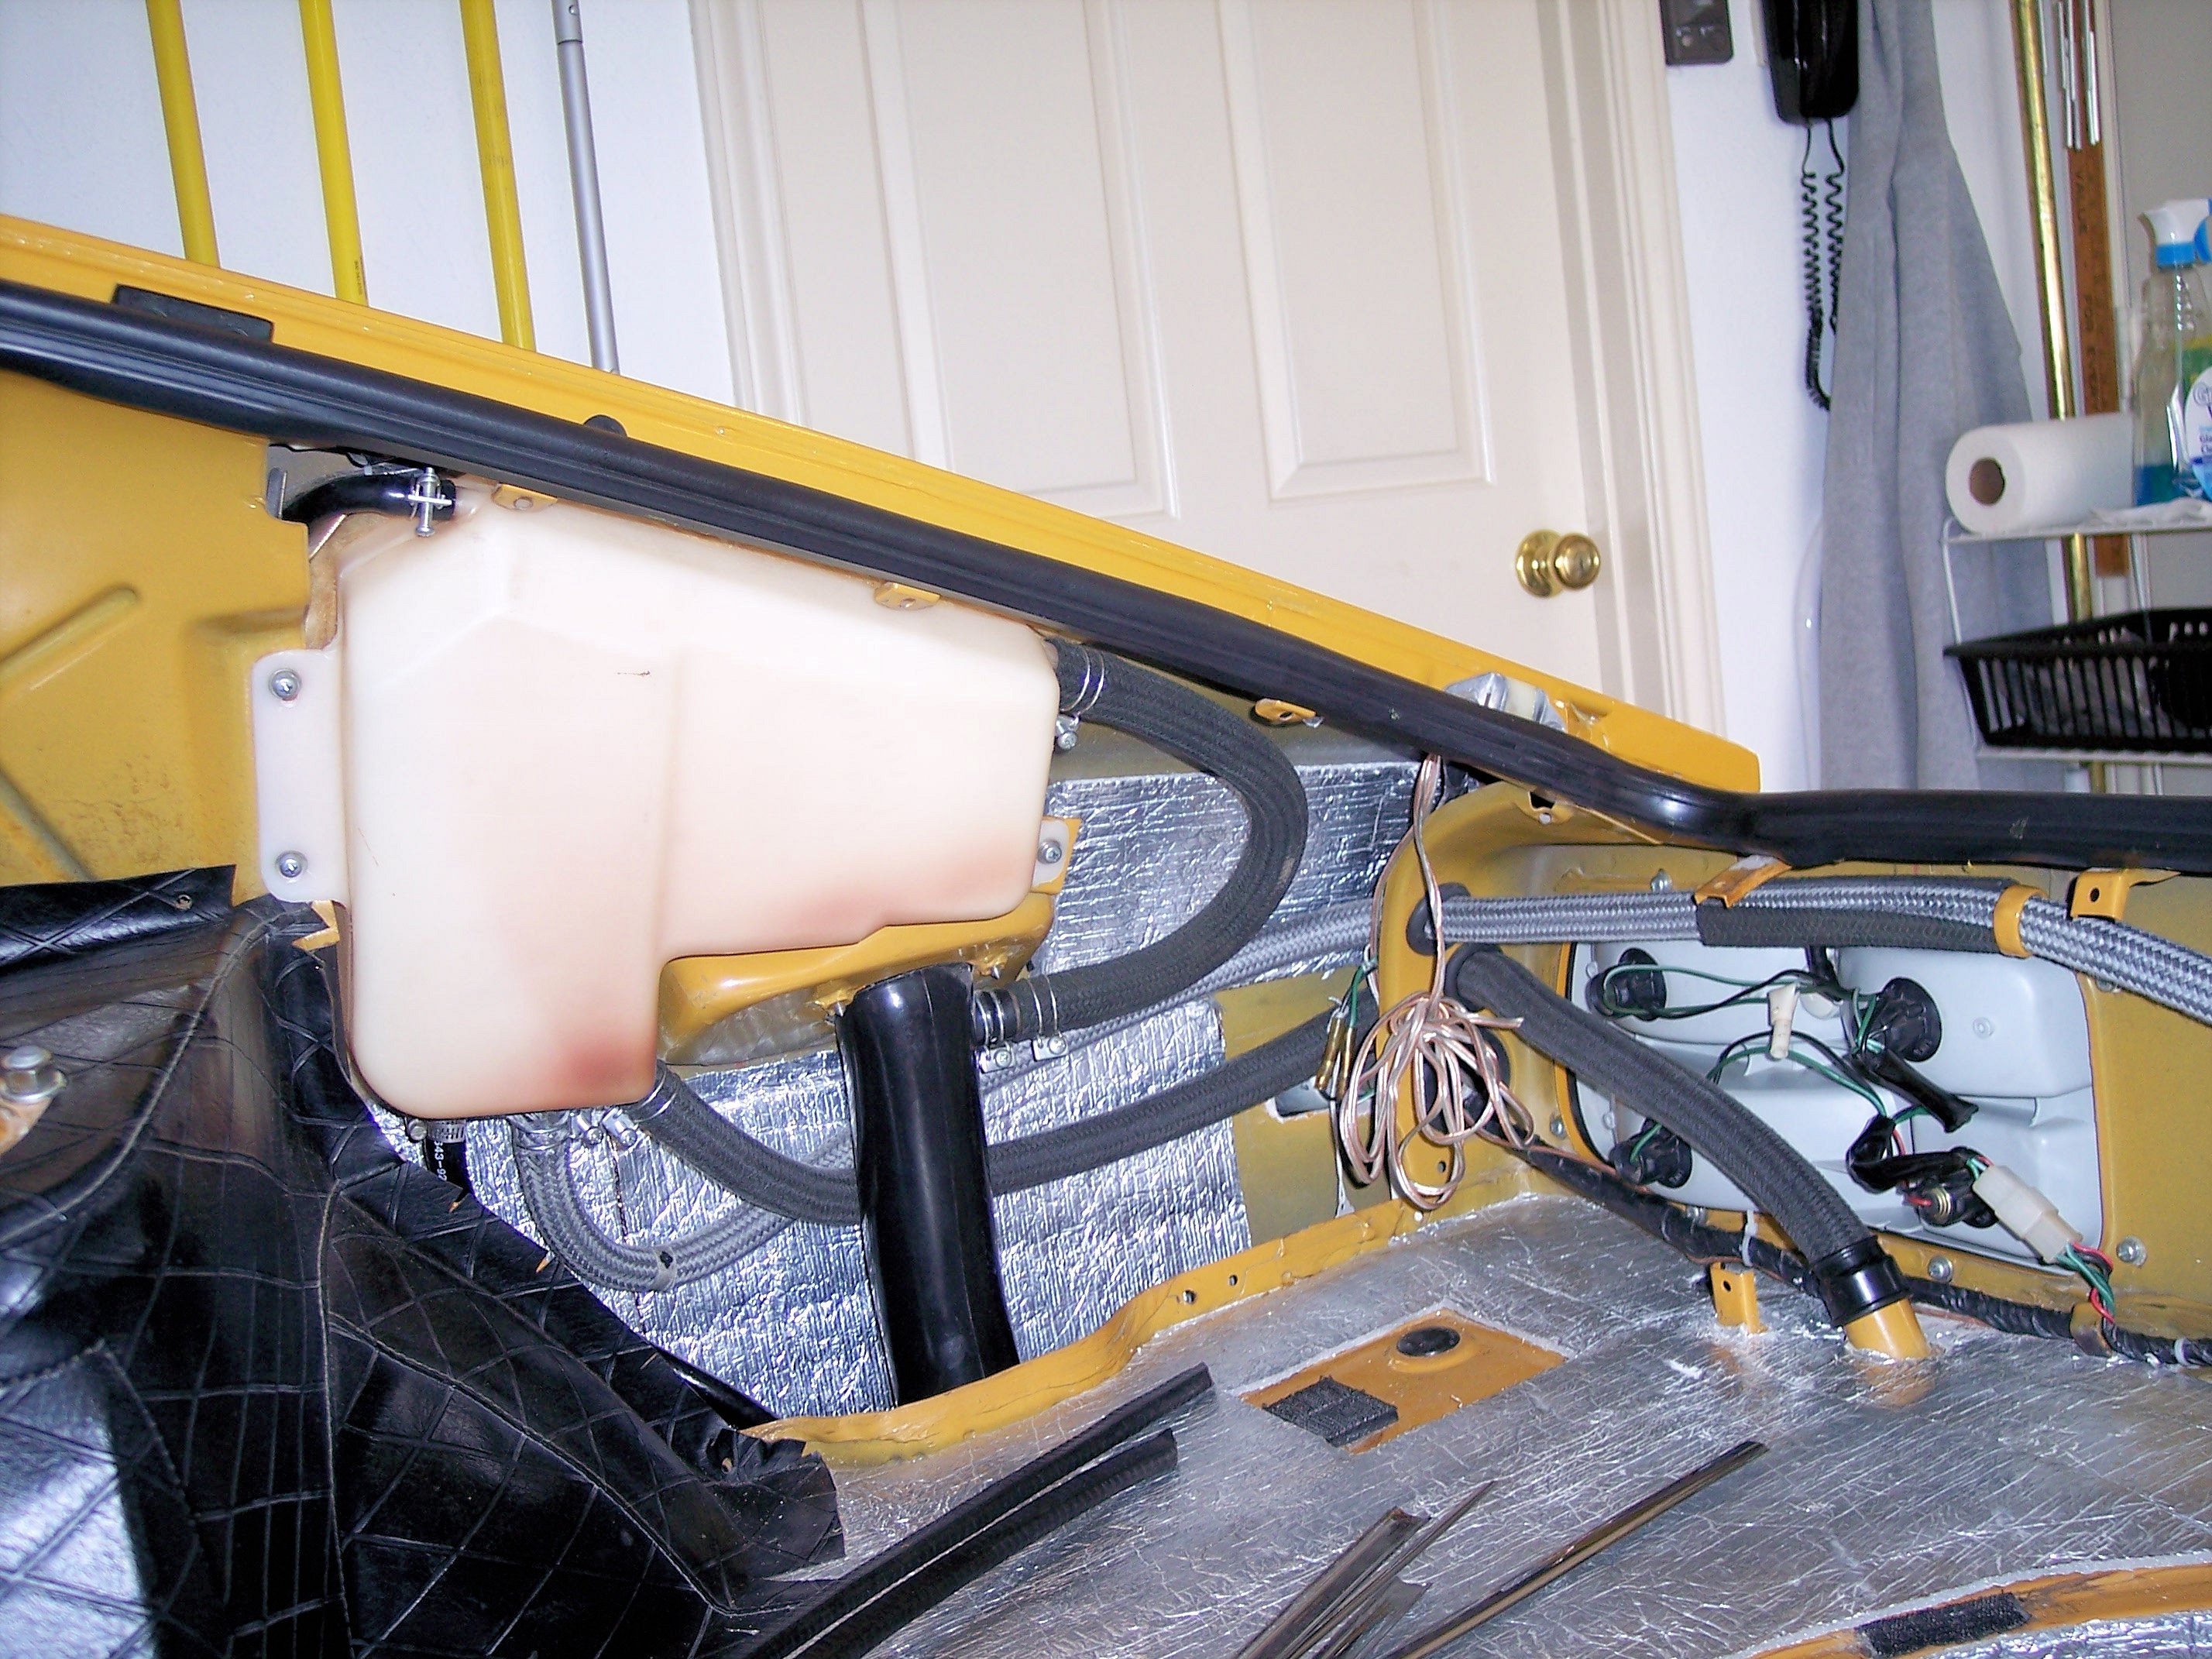
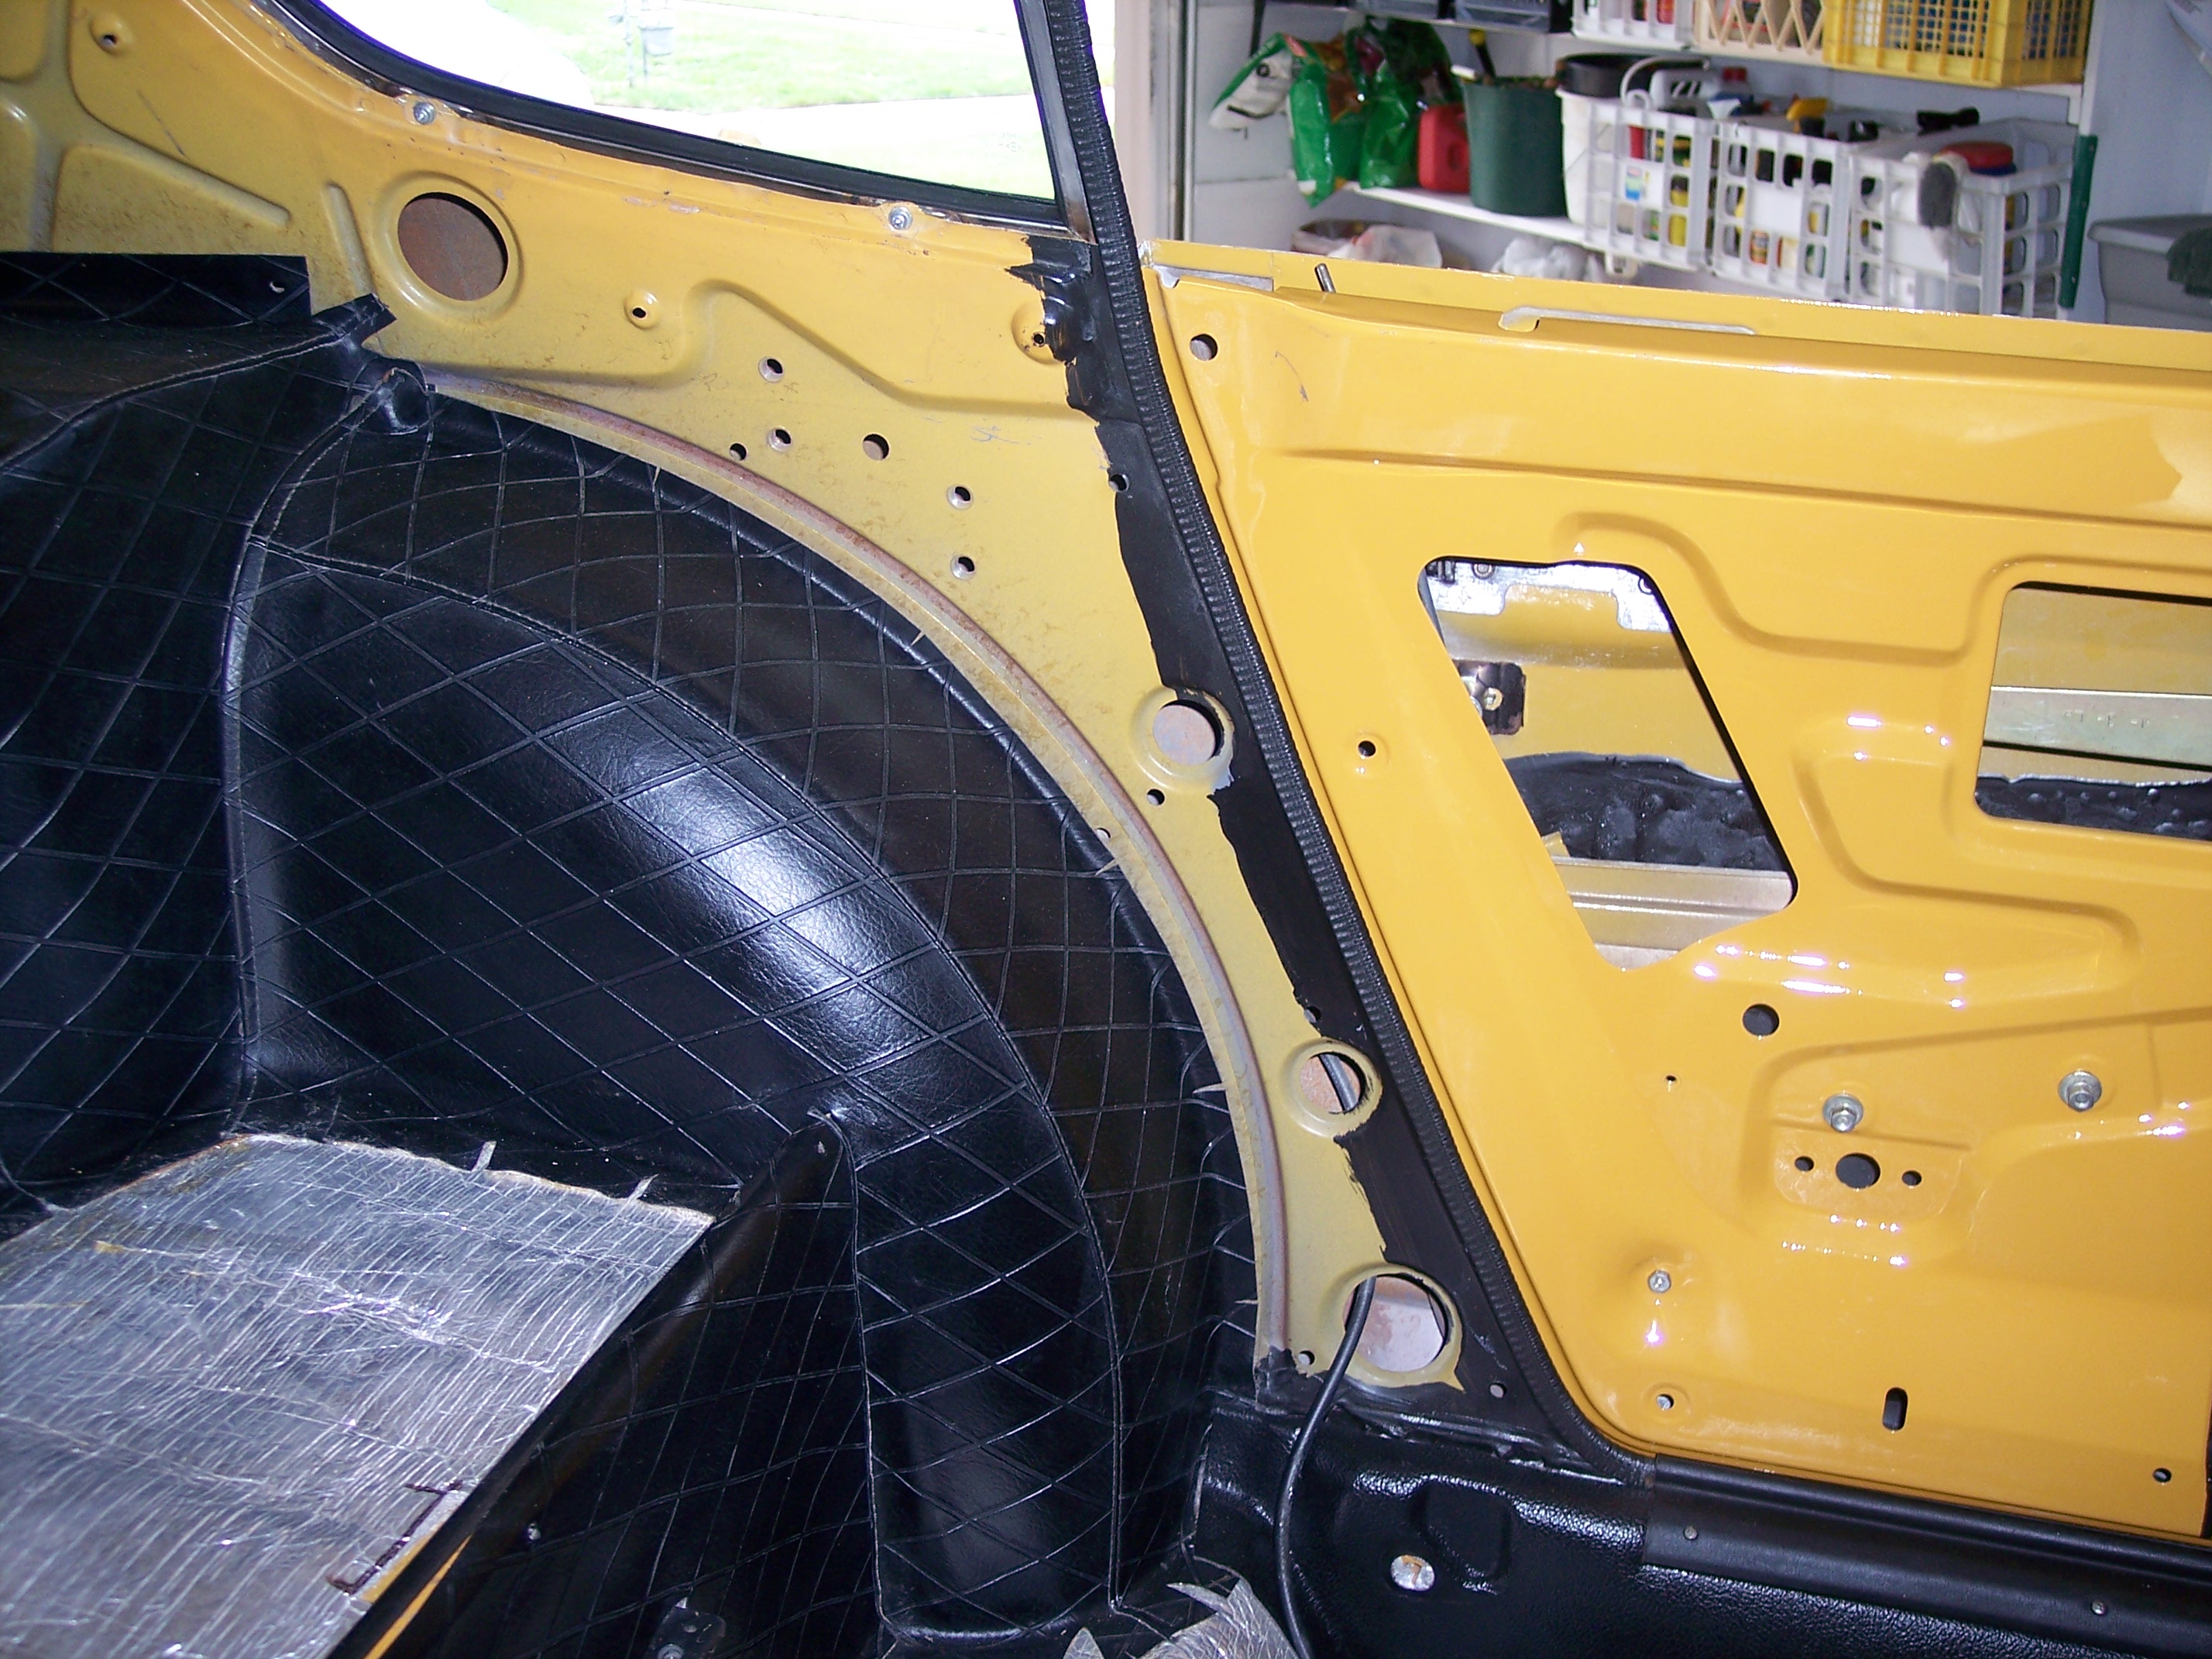
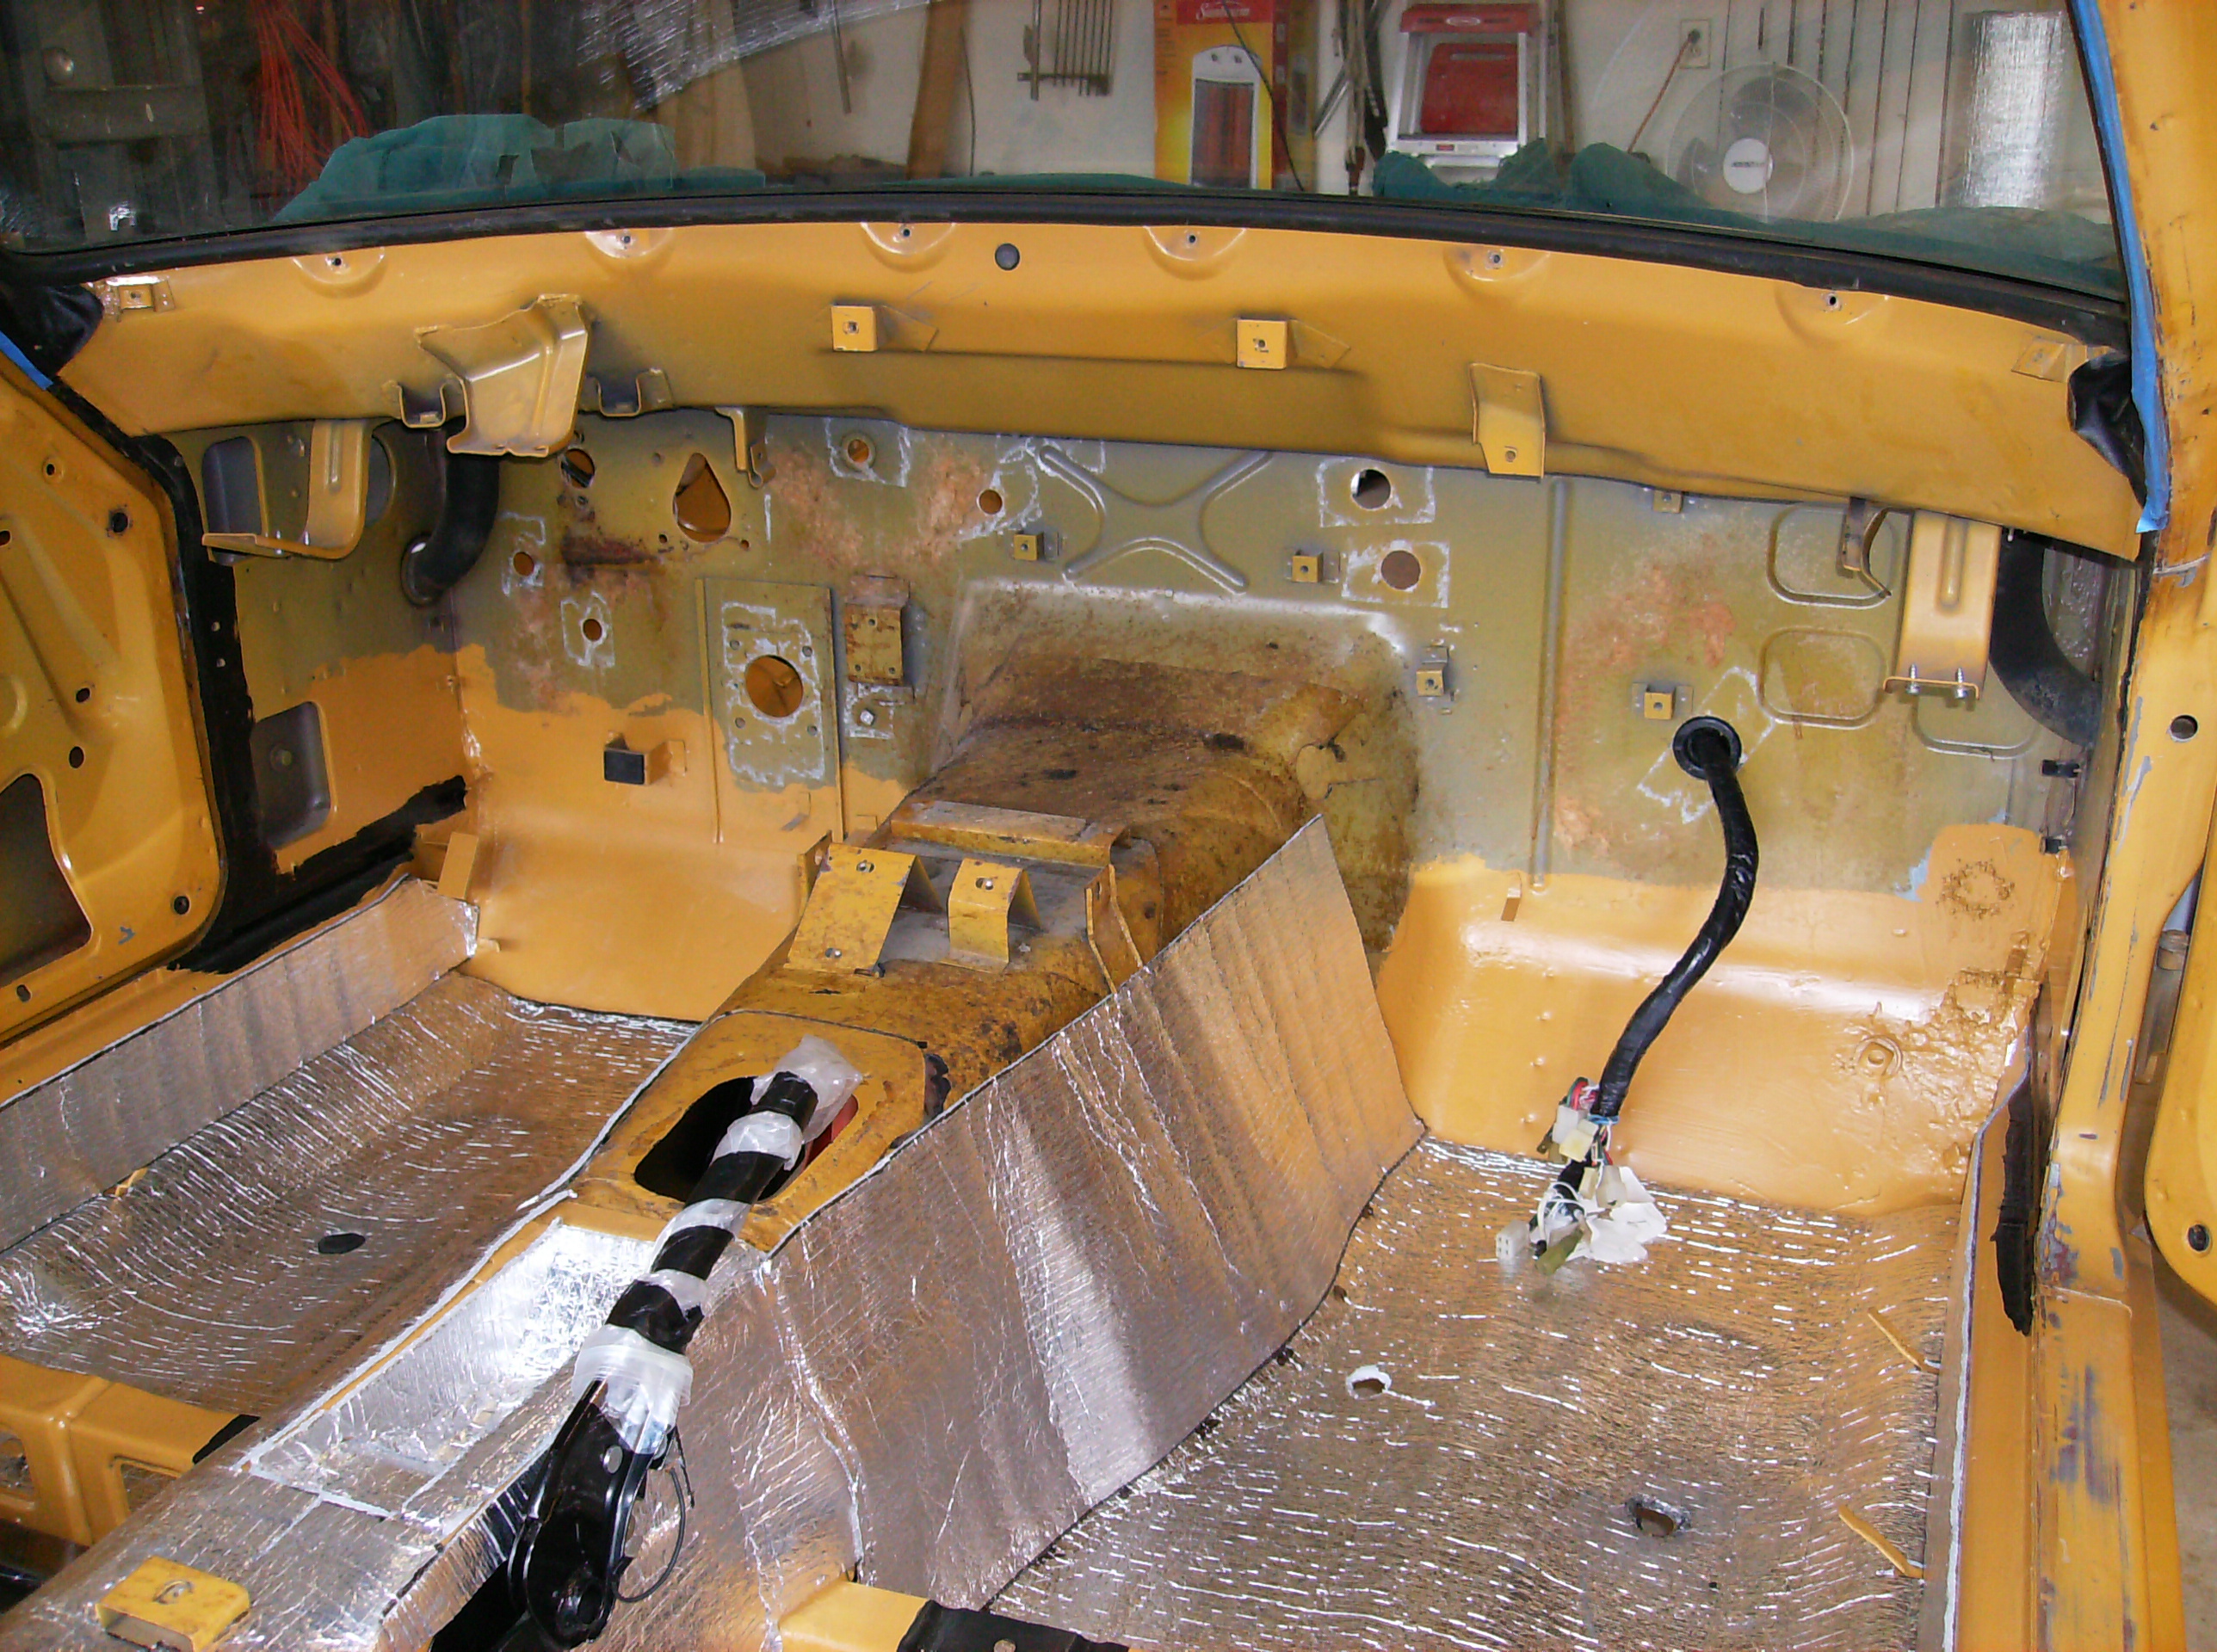
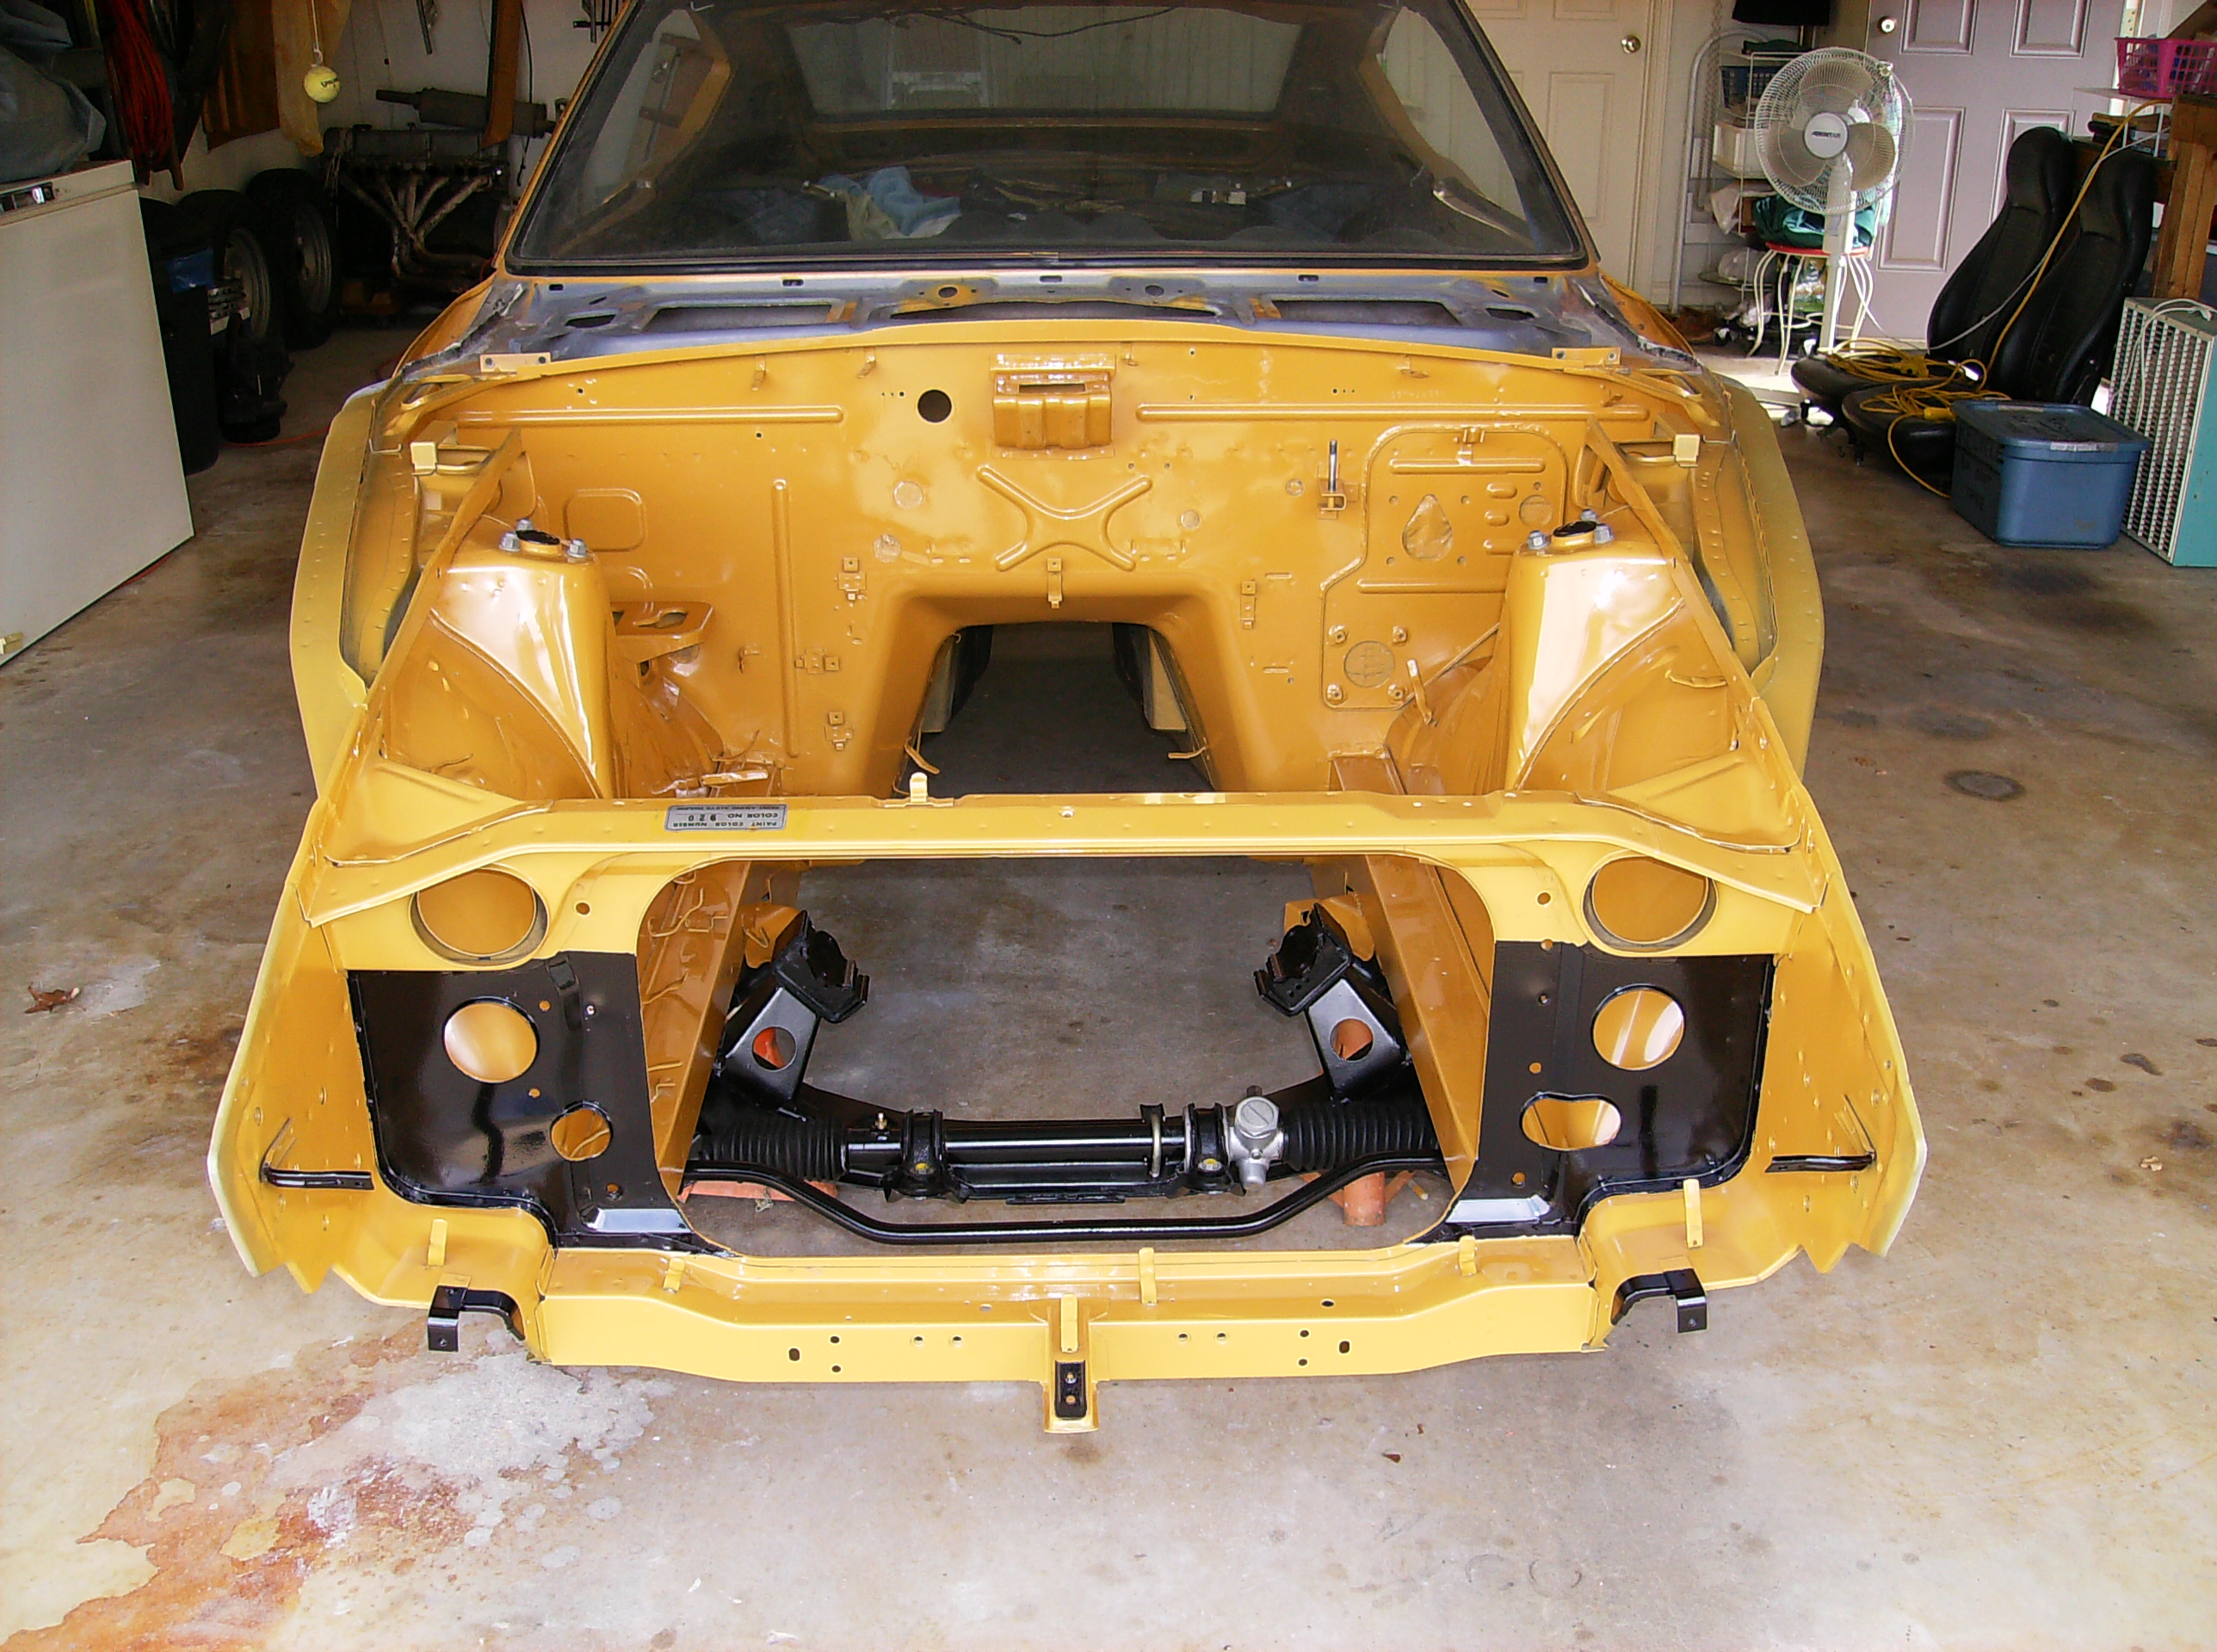
Here are some pics from my project, just a few VINs younger than Lily. No blackout around the quarter windows as the weather strip seal will cover everything. Blackout on the interior B-pillar at the leading edge of the dogleg panel: Blackout along the A-pillar and frame rail at the kick panel edges: Blackout on the front of the radiator support and the five mounting points for the grill: Also the seat mounting brackets: No blackout behind the speaker holes in the rear interior panel. Hope this helps.

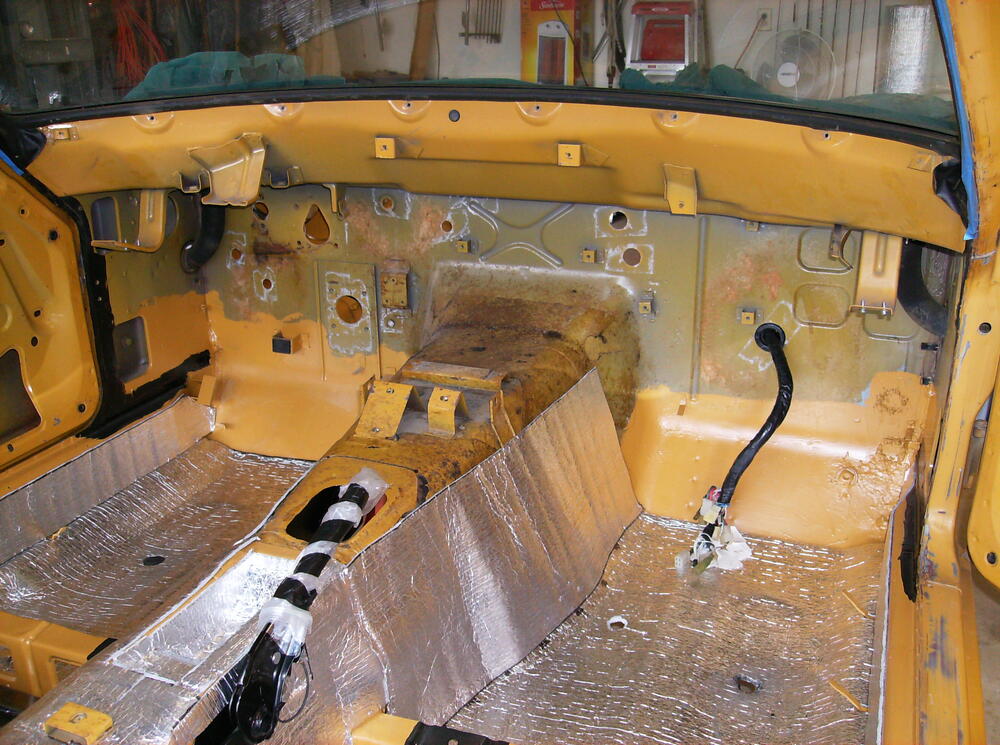
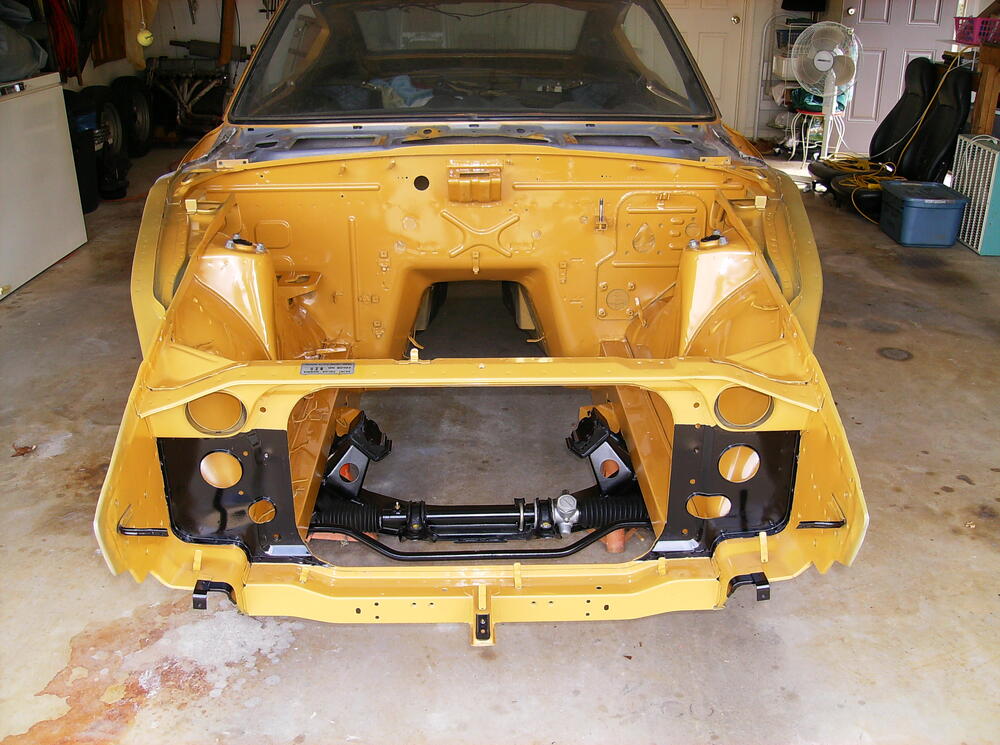
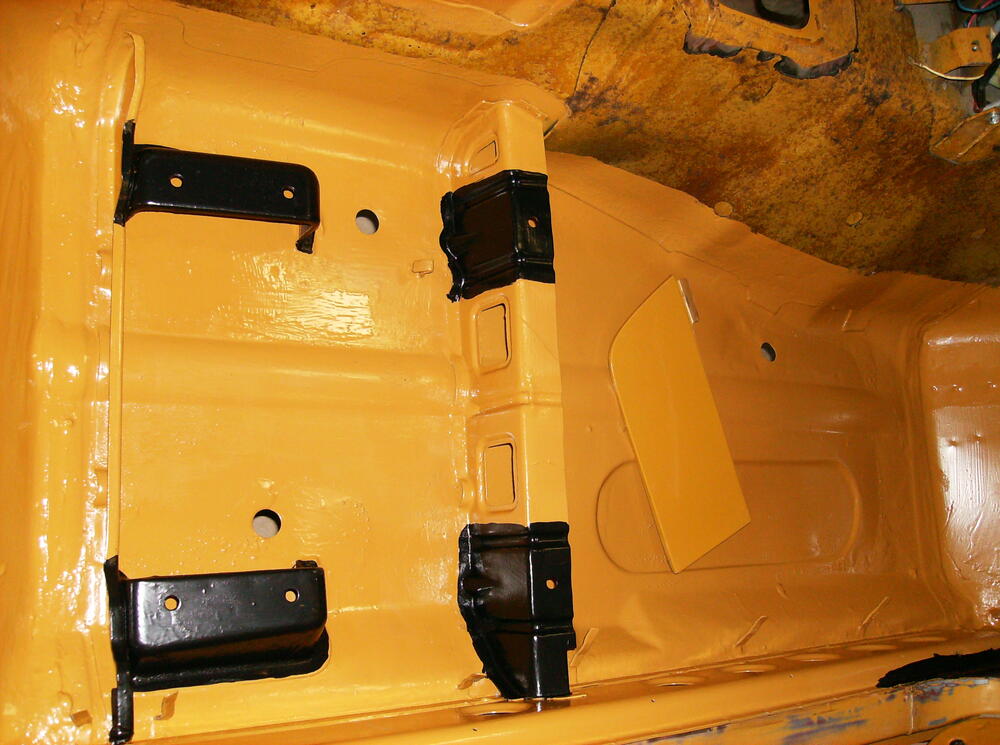
-
Don't overlook your clutch MC and slave in this process as it may have the same "vintage" hydraulic fluid. Change out the rubber line going into the slave just as you are changing out the brake lines.
-
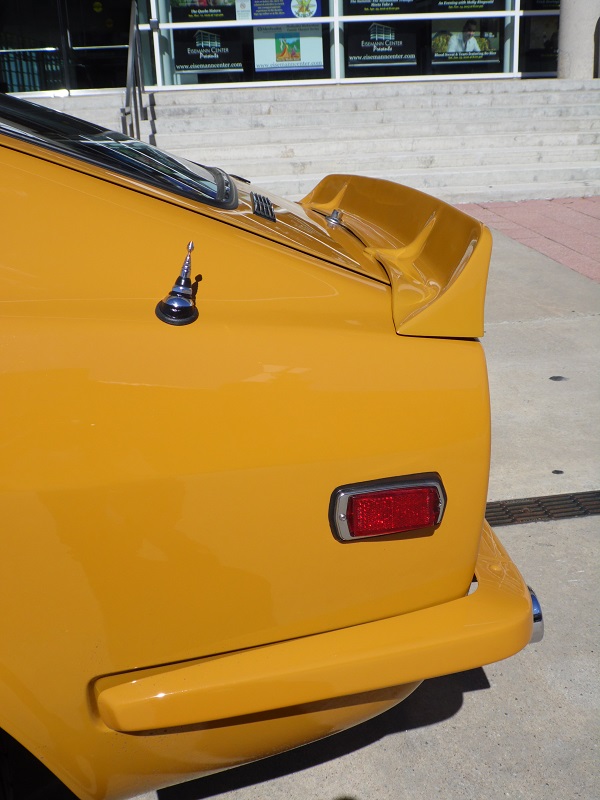
This is the spoiler used by BRE in the early 70's, as you can see it is a perfect fit for my 12/70 car. It is currently available from BRE. https://www.bre2.net/mm5/merchant.mvc?Screen=PROD&Store_Code=B&Product_Code=020B03&Category_Code=bre_datsun_body_parts


-
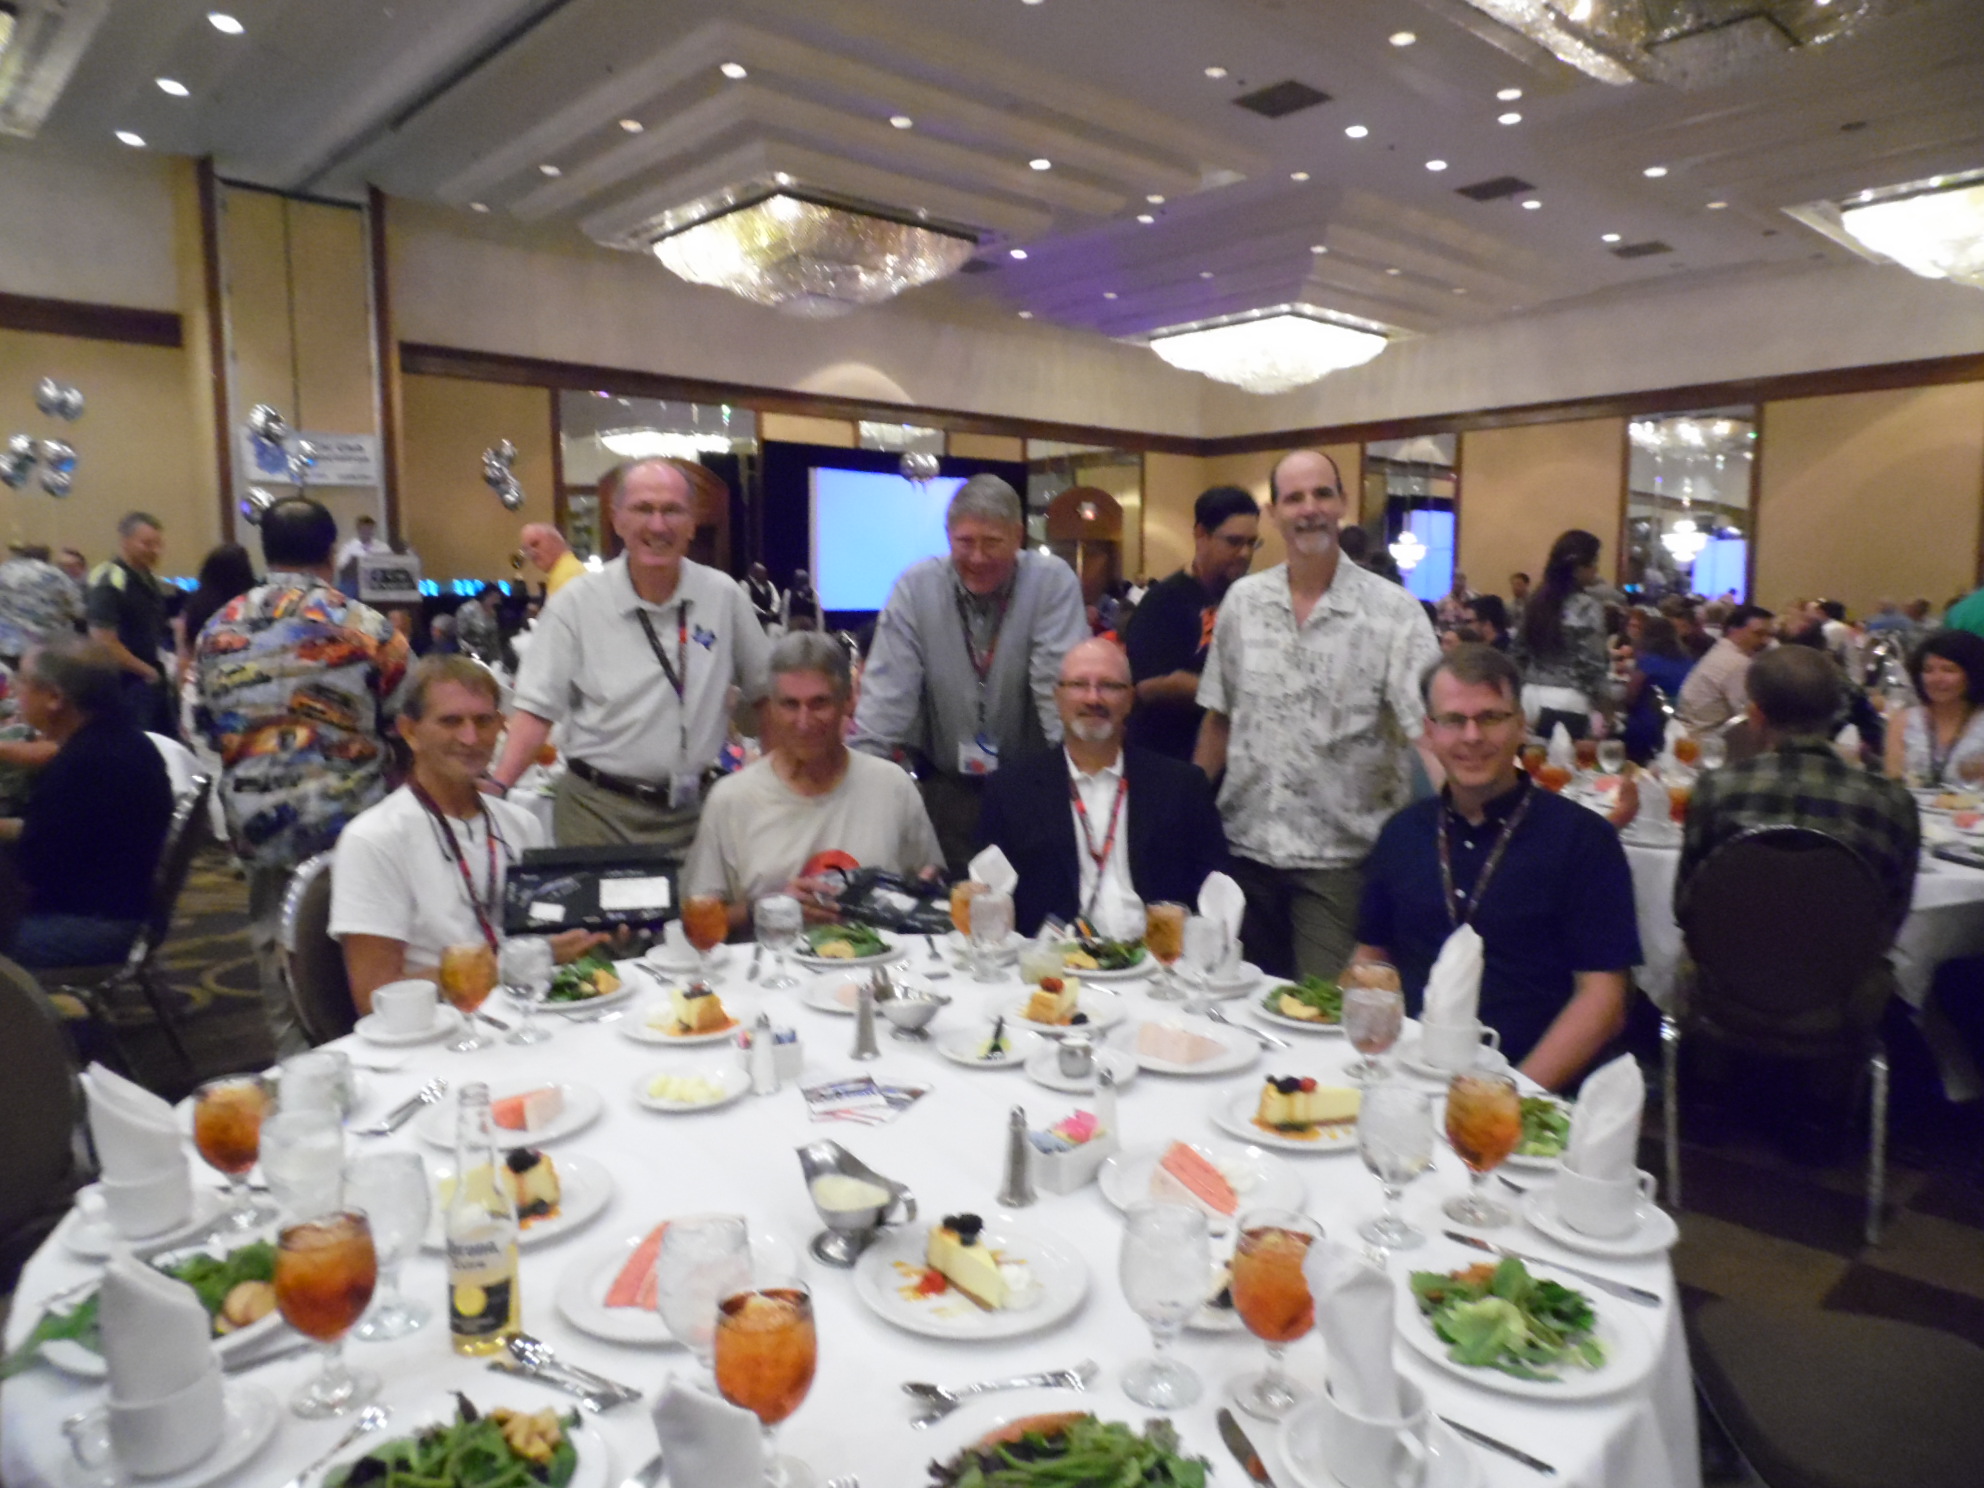
CZCC Rogues Gallery - Memphis style!
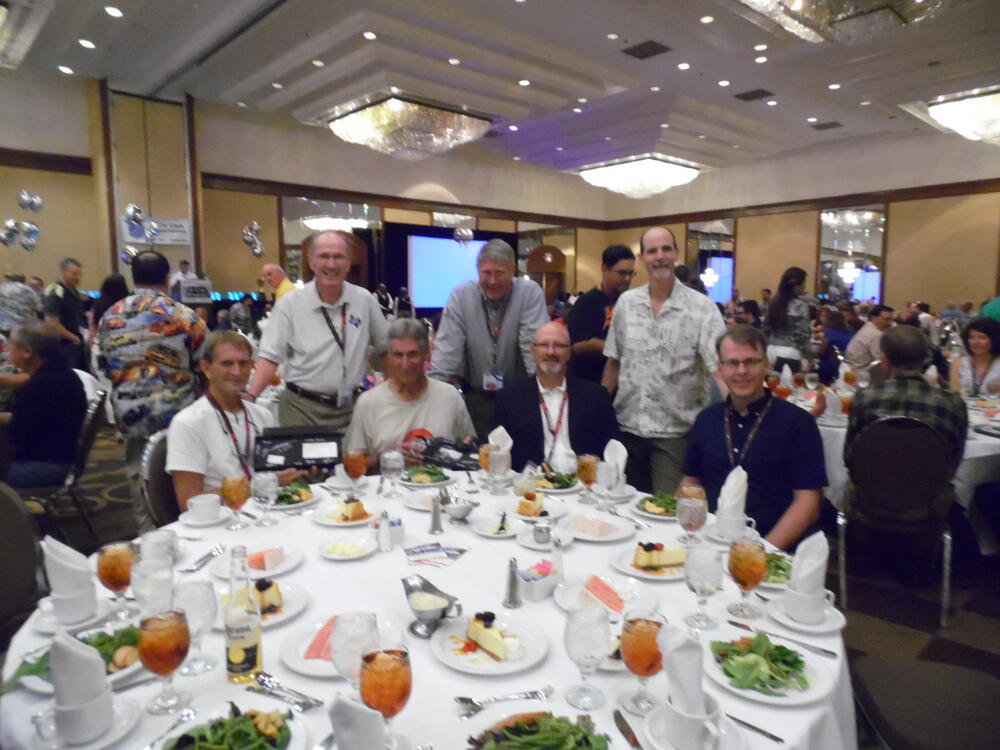
-
That's who I was looking for - seeking for a friend. Please do let me know your thoughts on their offerings. Thanks, Jim
-
Hey gang, I recall seeing recent posts of someone getting new or refurbed sail panel and/or other body emblems, can't recall the company doing them. Any help? Thanks, Jim
-
I've made it to two ZCON's - Memphis and Austin (brutally hot experiences) , missed two that that we really wanted to attend - Toronto and Nashville. No doubt the convention dates are influenced by the availability of nearby track dates. But one will always have to understand exactly WHY those dates are available - perhaps because others have the good sense to avoid them???
-
Not my car but very close with body-colored bumpers! Edit: the article is incorrect where it discusses the 240Z engine block number not matching the VIN. I sent a note to MotorTrend explaining the difference is intentional with pics of my engine bay data plate and warranty card. https://www.motortrend.com/how-to/where-is-the-vin-number-on-a-car/