Leaderboard
-
Patcon
 Subscriber
 4Points11,183Posts
 -
conedodger
Free Member4Points12,640Posts -
inline6
Subscriber3Points1,301Posts -
EuroDat
Free Member3Points3,312Posts


Popular Content
Showing content with the highest reputation on 07/07/2024 in all areas
-
3 pointsHi all, Just searching through my drawings on the 240Z wiring diagrams. I was buzy adding terminal blocks te the early 71. It also needs some update "thanks to @Namerow for his input back them" I was too slack to finish it. I could work on the "Terminal block version", but I would need help from you guys since I don't own a 240Z and like mentioned in the thread, the manuals have their issues. Here is where it was in 2015. I also had a request to add Line colour text for people that are colour blind. It's all possible, but I don't want to waste my time if no one is interested. My absence in the last 12 months is due to health issues in the family. ColorWiring240Z1971Early_TerminalBlockExample09-mar-2015.pdf3 points
-
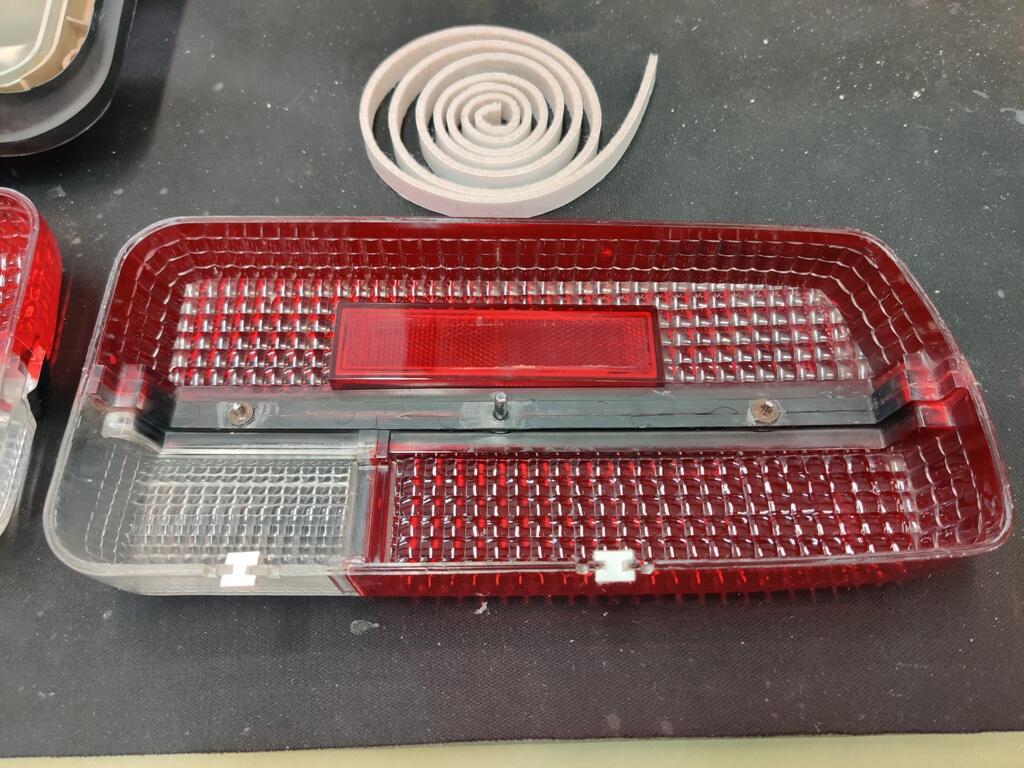
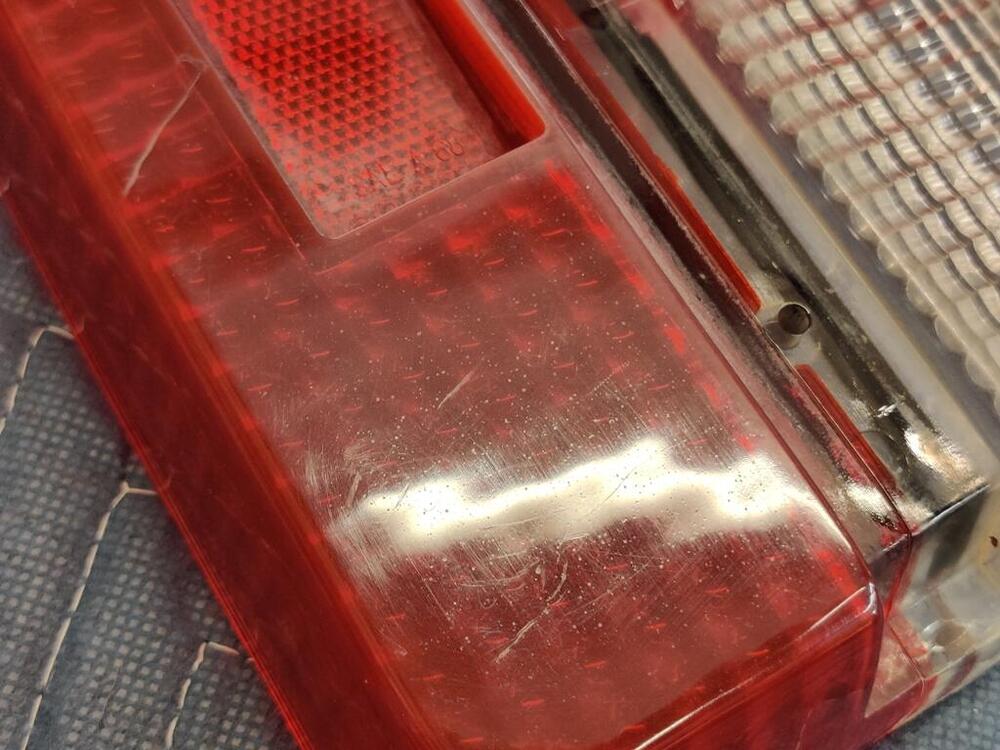
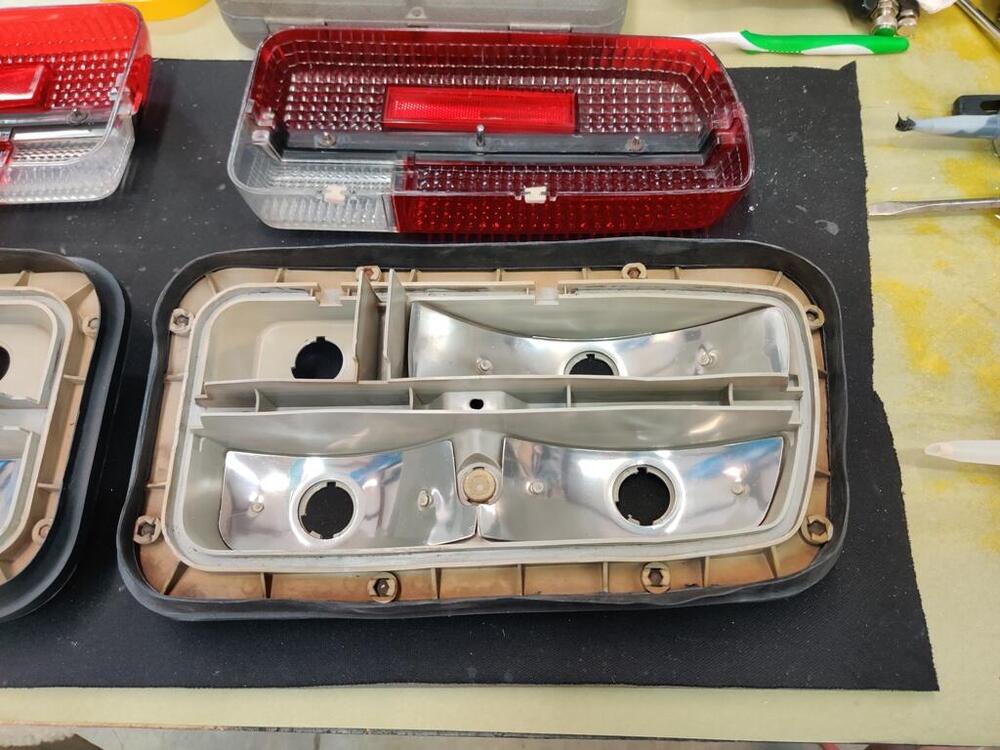
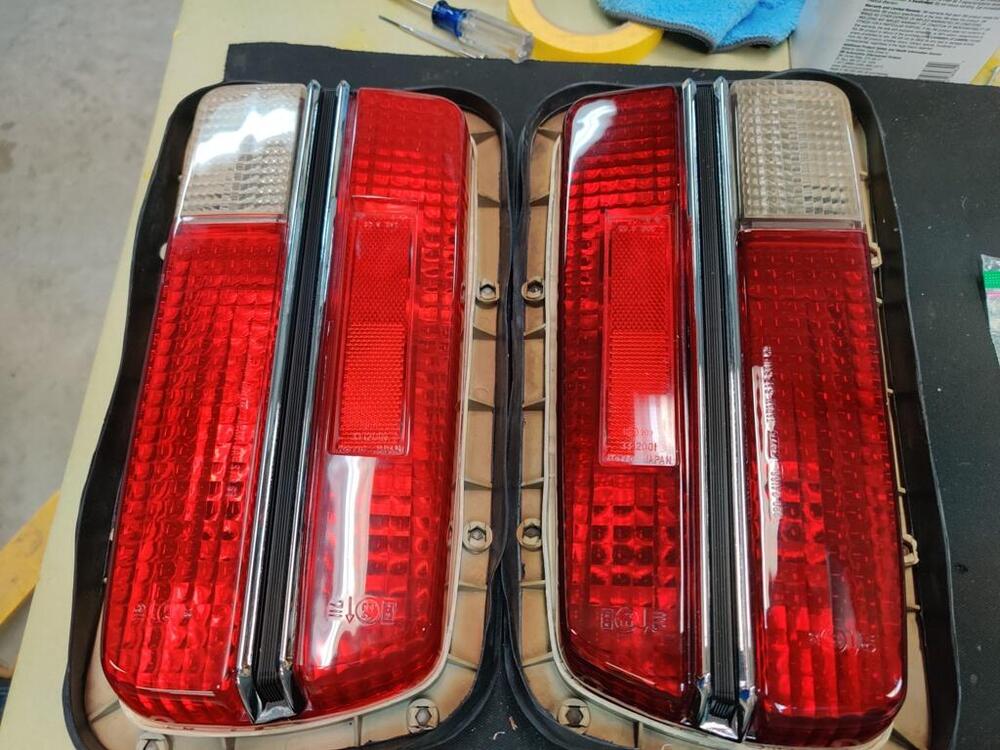
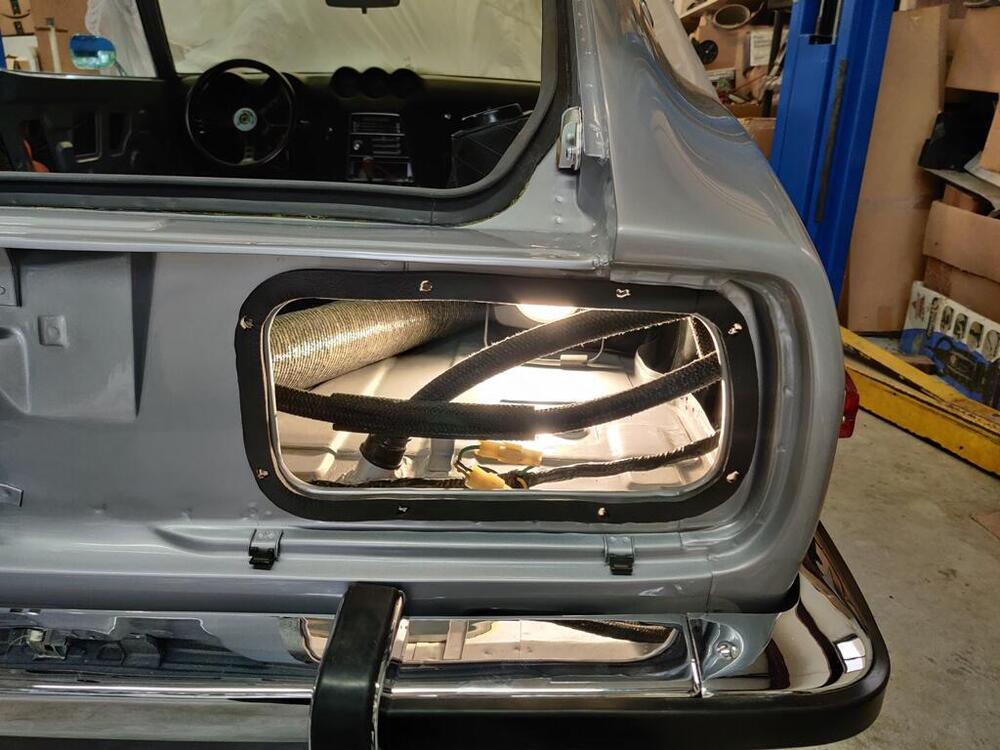
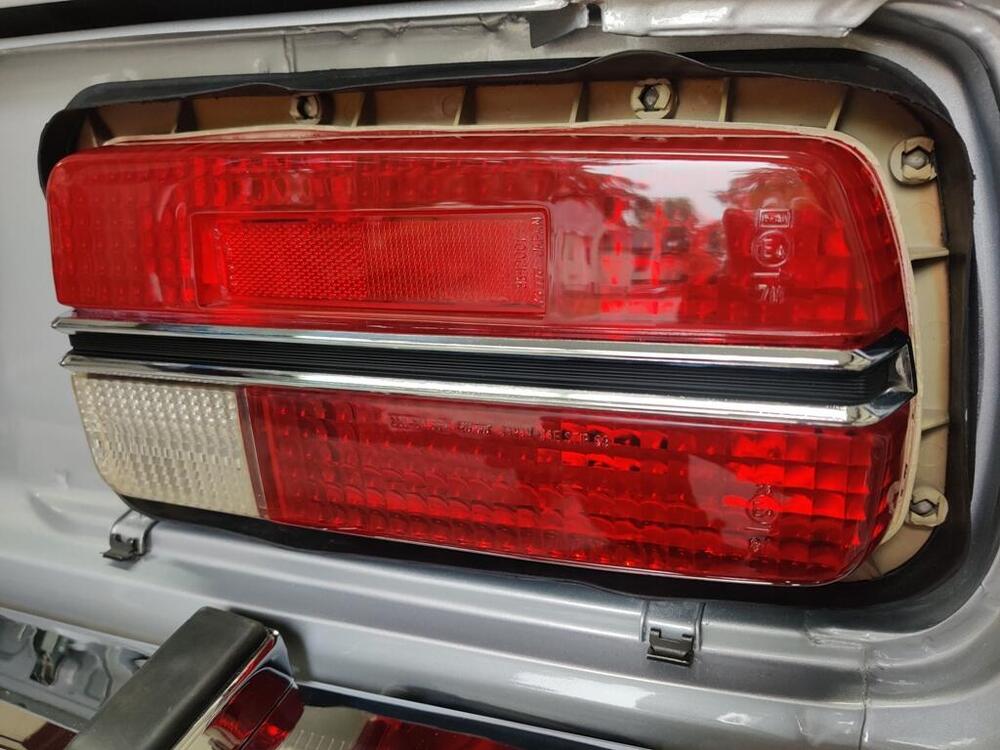
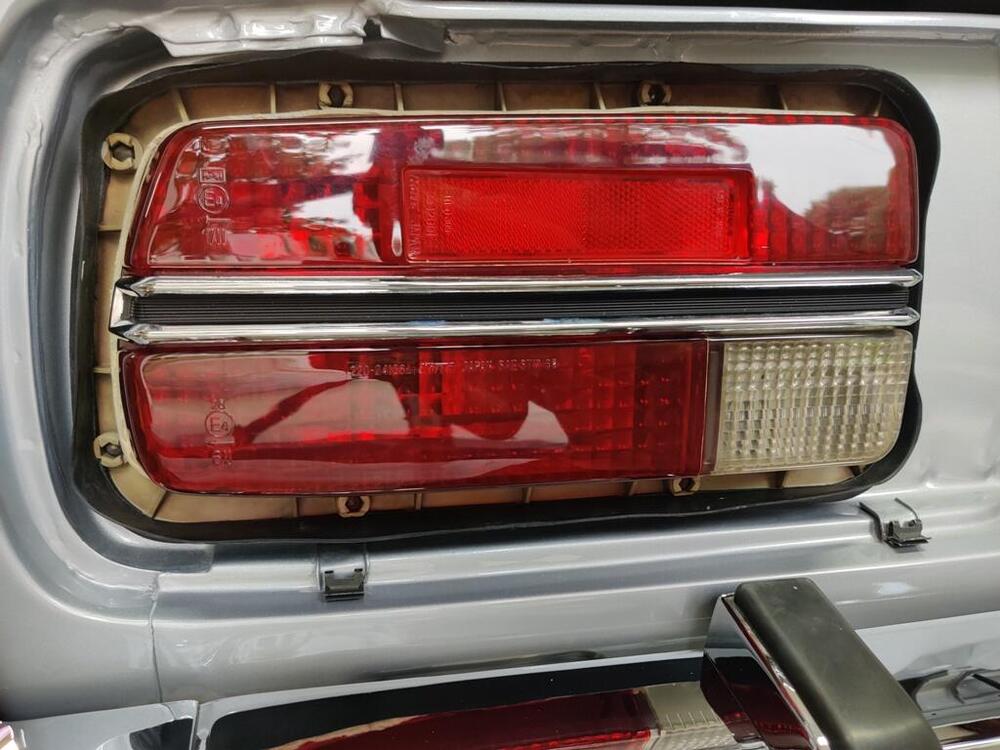
Correct, the tower and smaller rear wheel well are covered by one piece first. Then, you put on a second piece that covers the front wheel well. The "riser", behind the seats is installed last. Yesterday and today I worked on removing scratches from the replacement left door glass I got from @Patcon. I had to order some more discs and powder, so I set it aside for now. I went to install my tail lights and upon close inspection, determined that one of them needed more sanding and polishing to restore the proper shine to the lenses. After some more effort was expended there, I was able to glue the lenses onto the housings. For that job, I used auto body seam sealer. Seems like and odd thing to use, right? But, the old stuff that I removed from the housings when I pulled the lenses off looked like seam sealer. And, I had good luck with using it once before on the tail lights on my other 240z. My tail light lenses were in rough shape to start. Lots of pitting and scratches, some of them deep. I bought a small roll of felt from Home Depot and made little pieces to replace those that were originally in the bottom of the assemblies. I guess these are vents... to allow any moisture that finds its way into the assemblies to dry. While the housing were separate from the lenses, I used a heat gun to attempt to straighten the mounting flanges of the tail lights. These distort over time and prevent the stock rubber gaskets from sealing to the body of the car like they should. When "gluing" the lenses back to the assemblies, there is a need to use clamps (and boards and rags) to clamp the lenses to the housings, and let the sealant cure for 24 hours. Even with the housing flanges straightened somewhat, I used some self adhesive weather stripping (highly compressible) between the tail light assemblies and the body. These are now air tight - no exhaust fumes will be coming in through this notorious location. While not perfect, the lenses look very nice now.


 3 points
 -
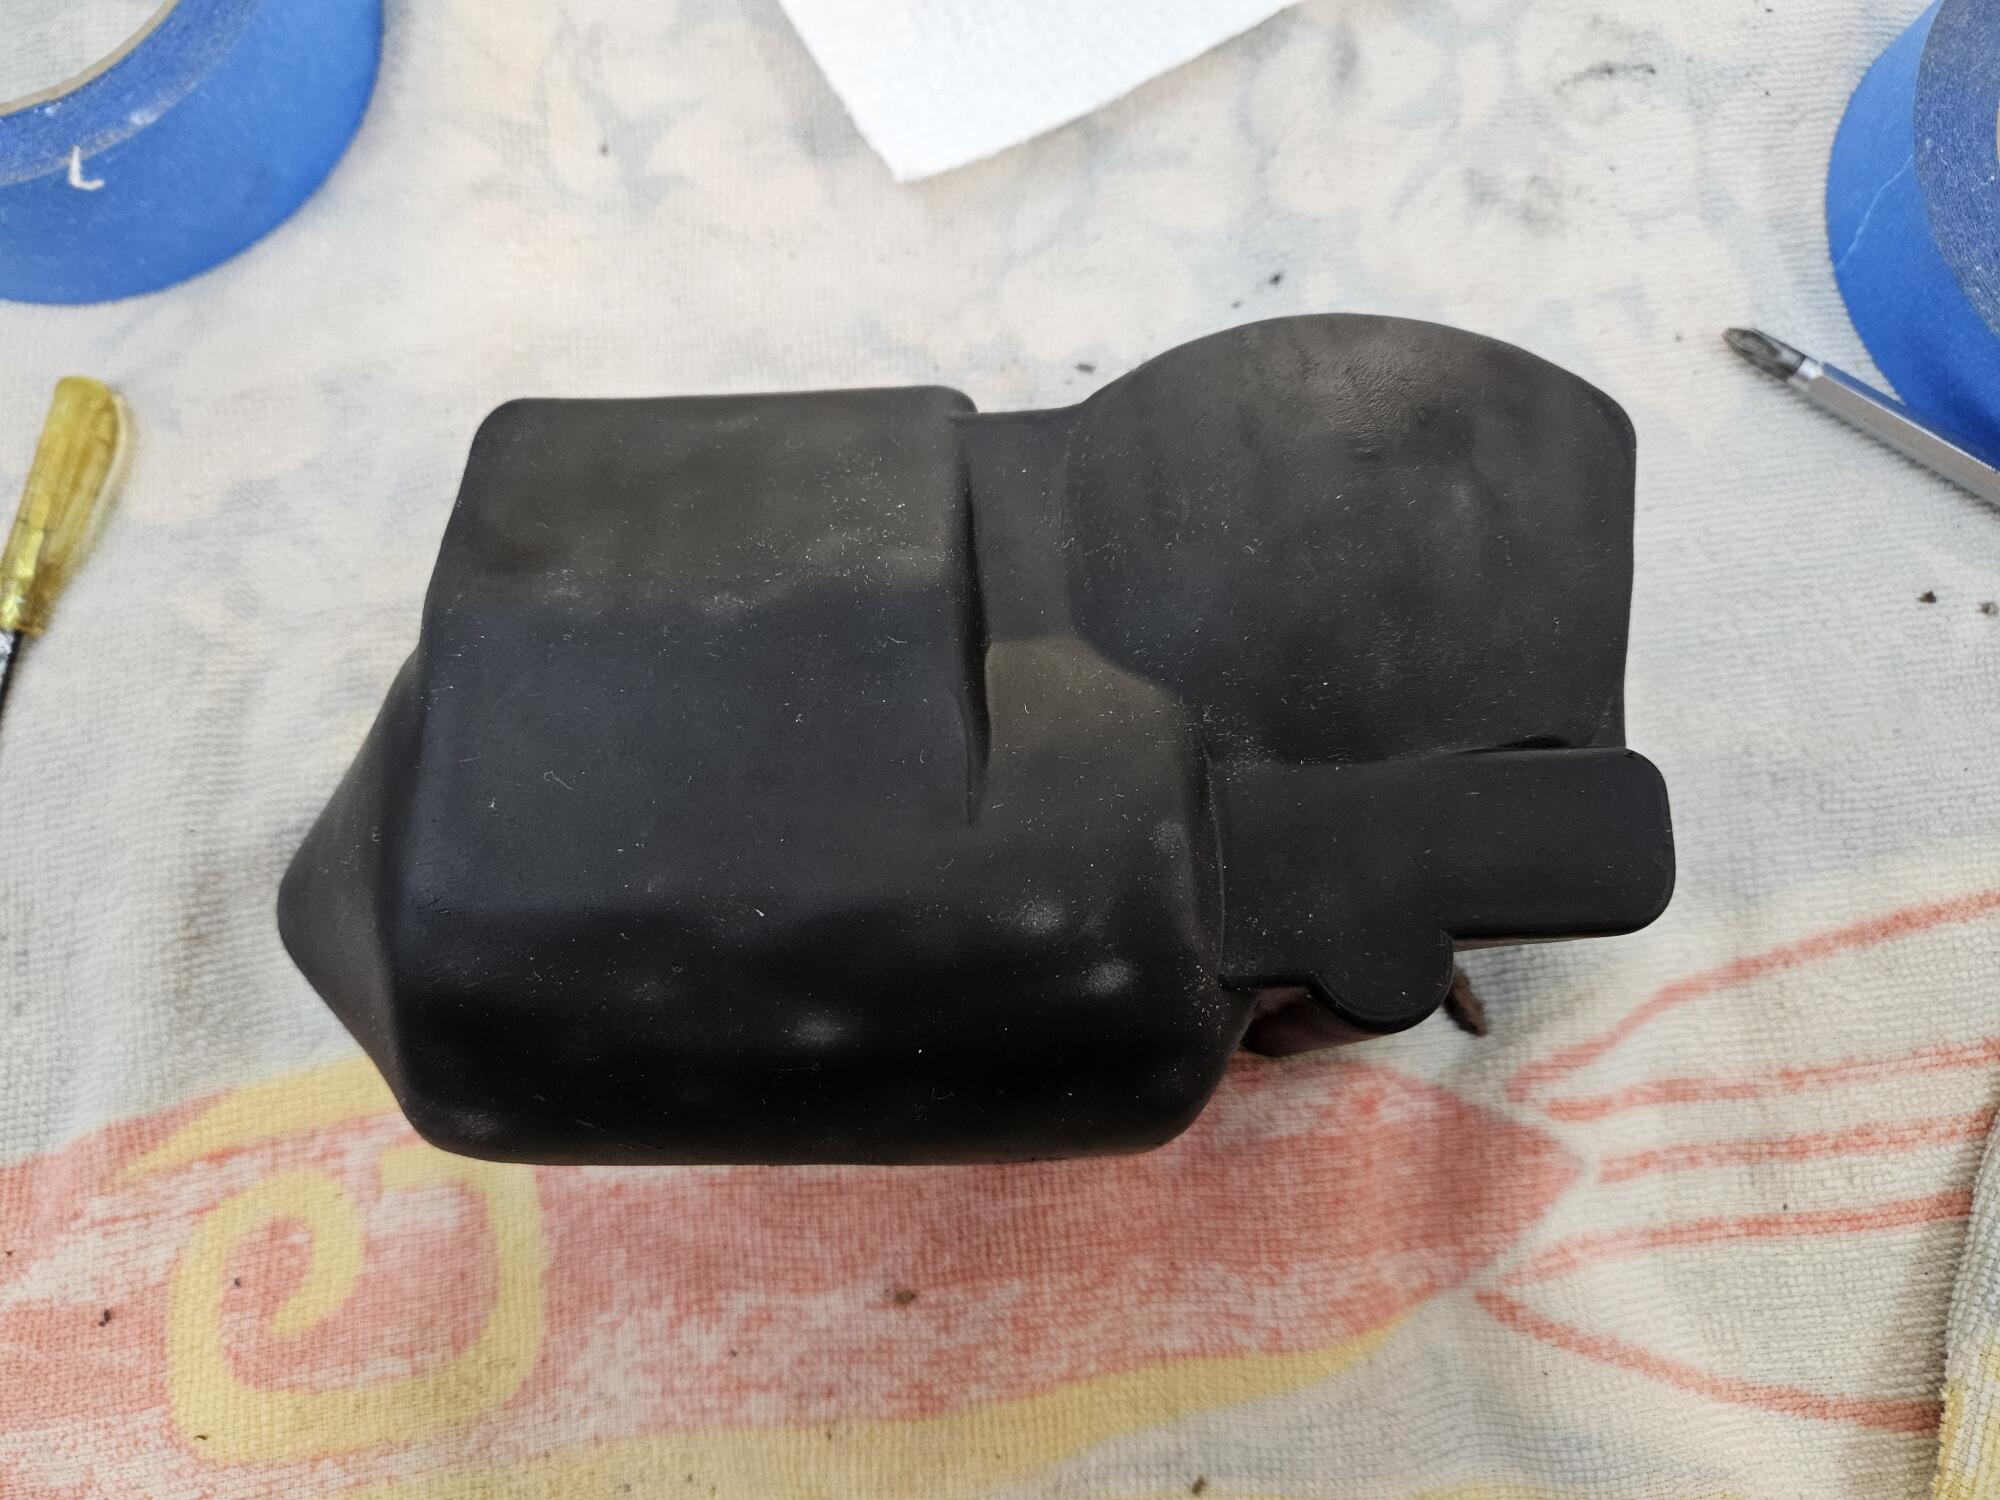
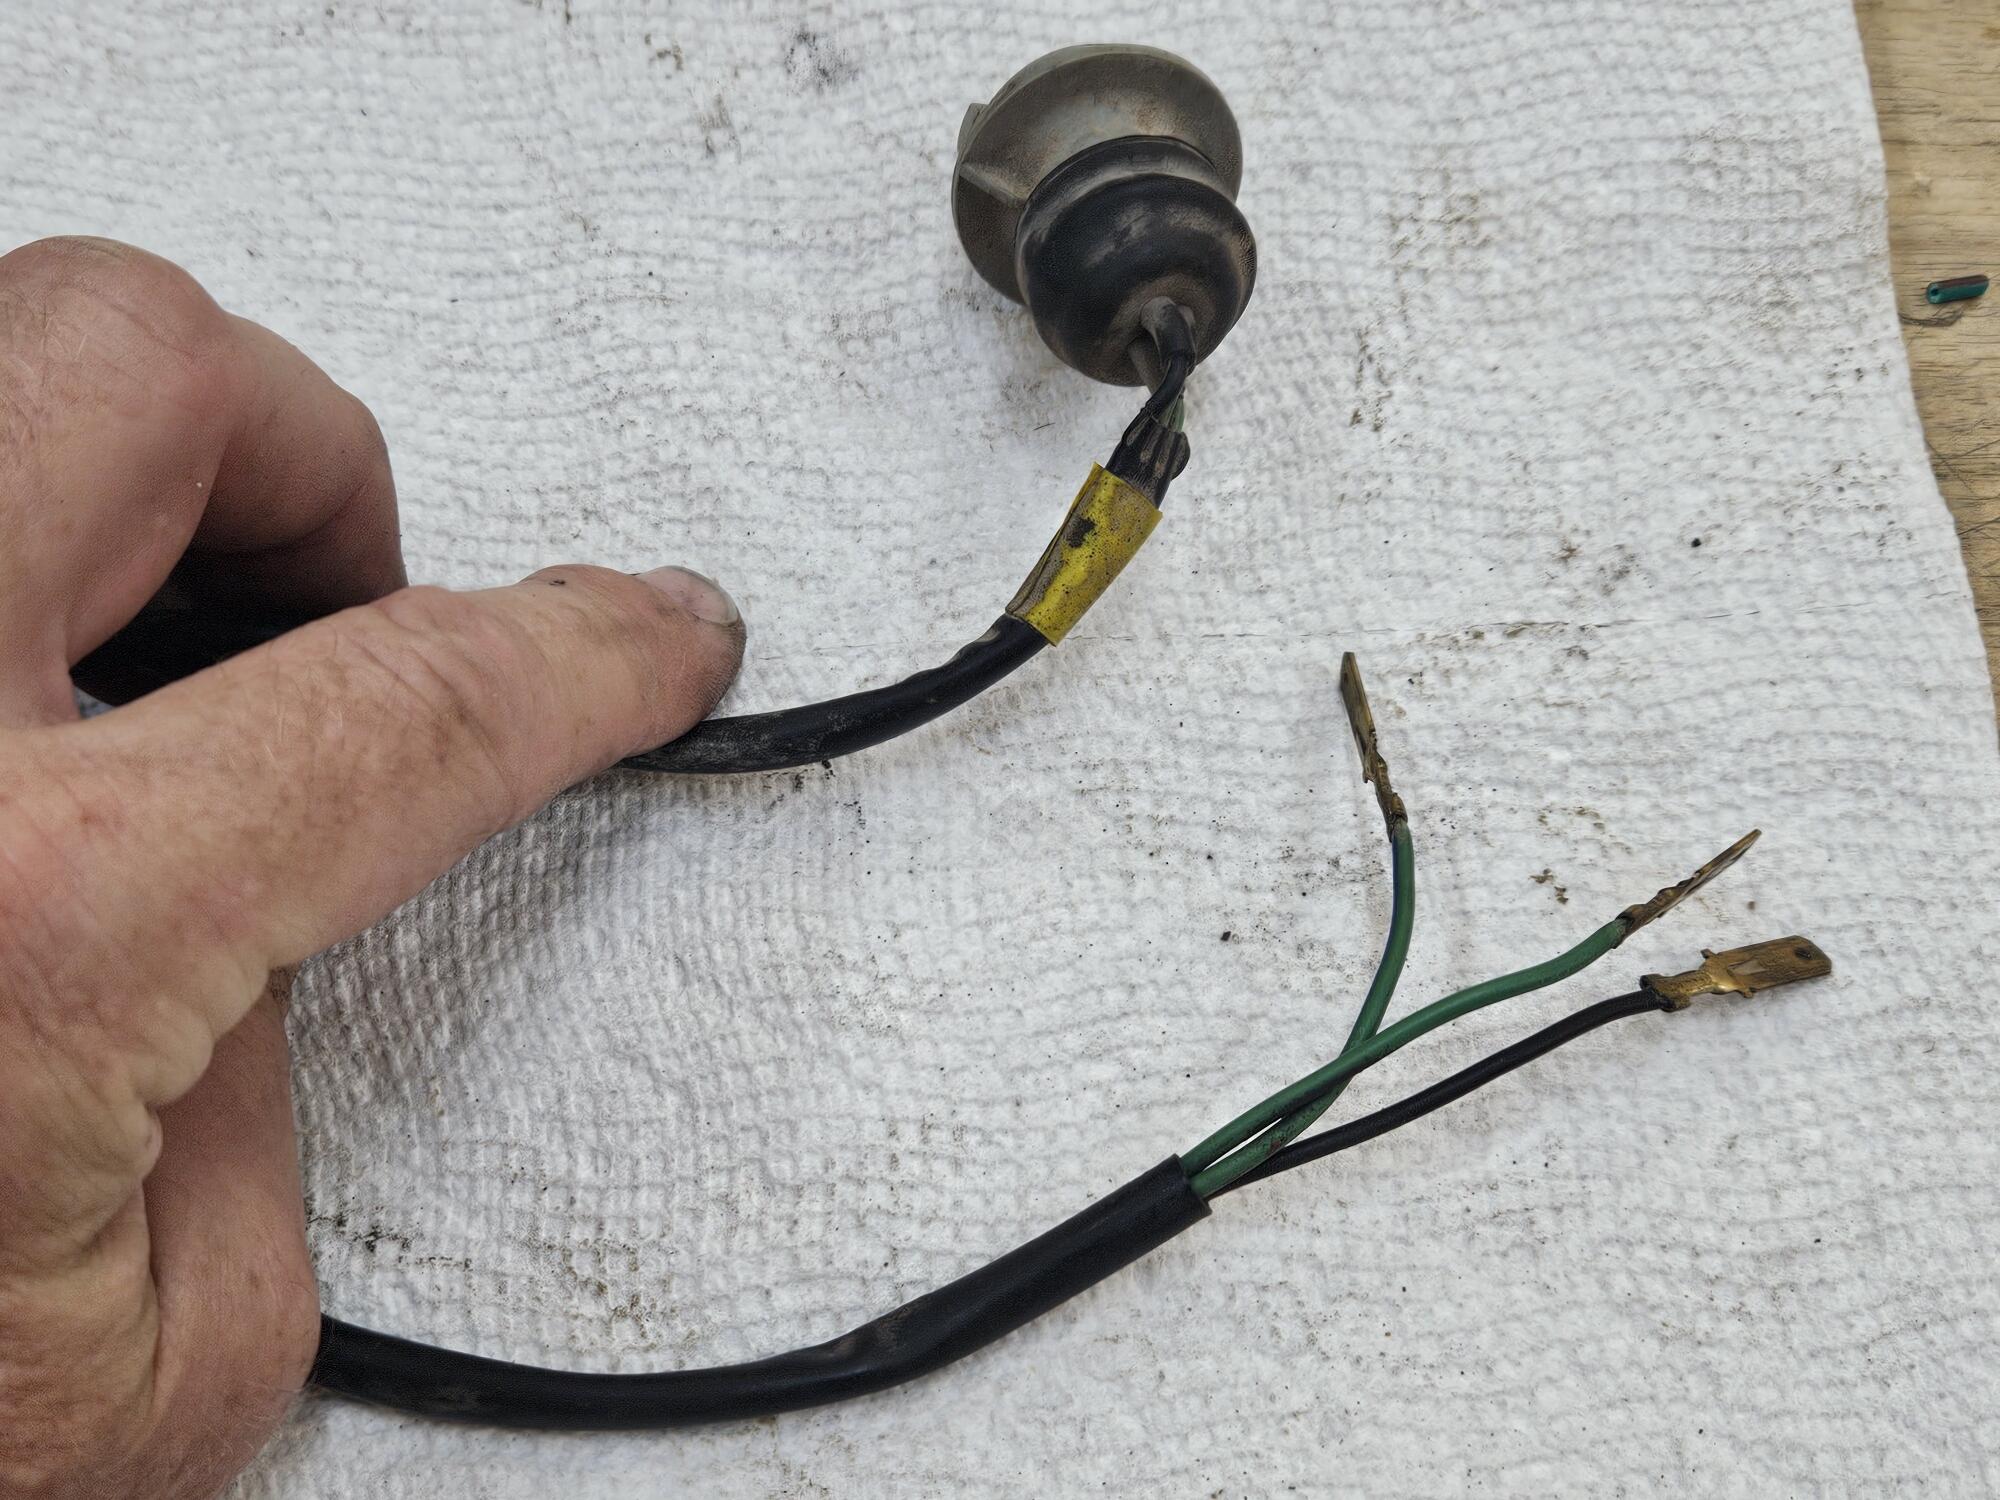
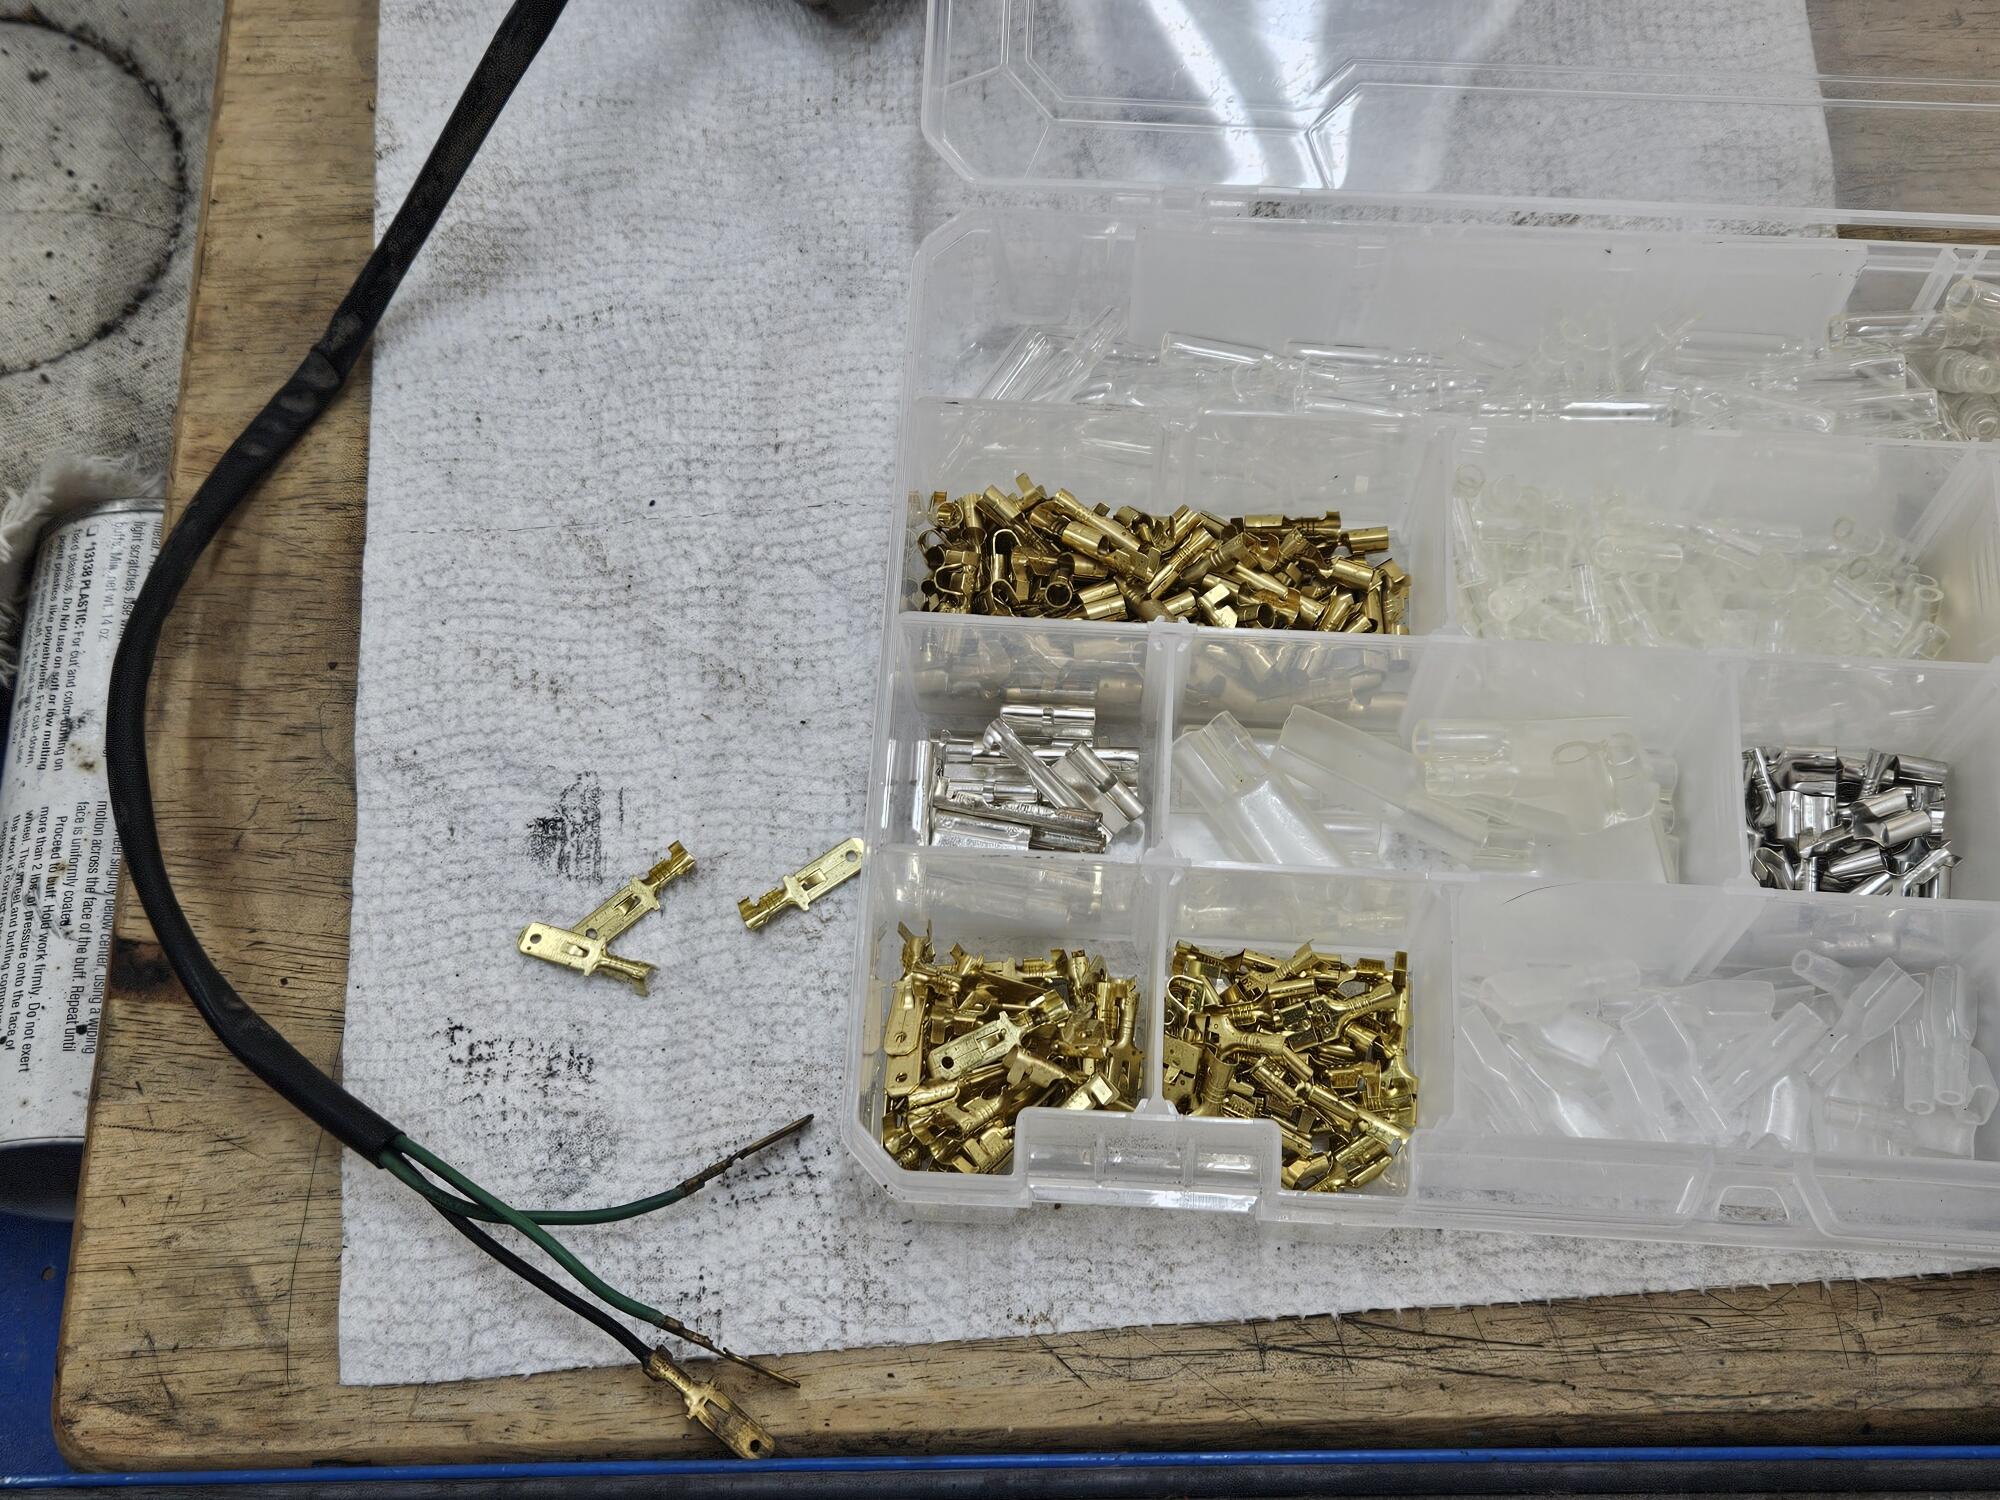
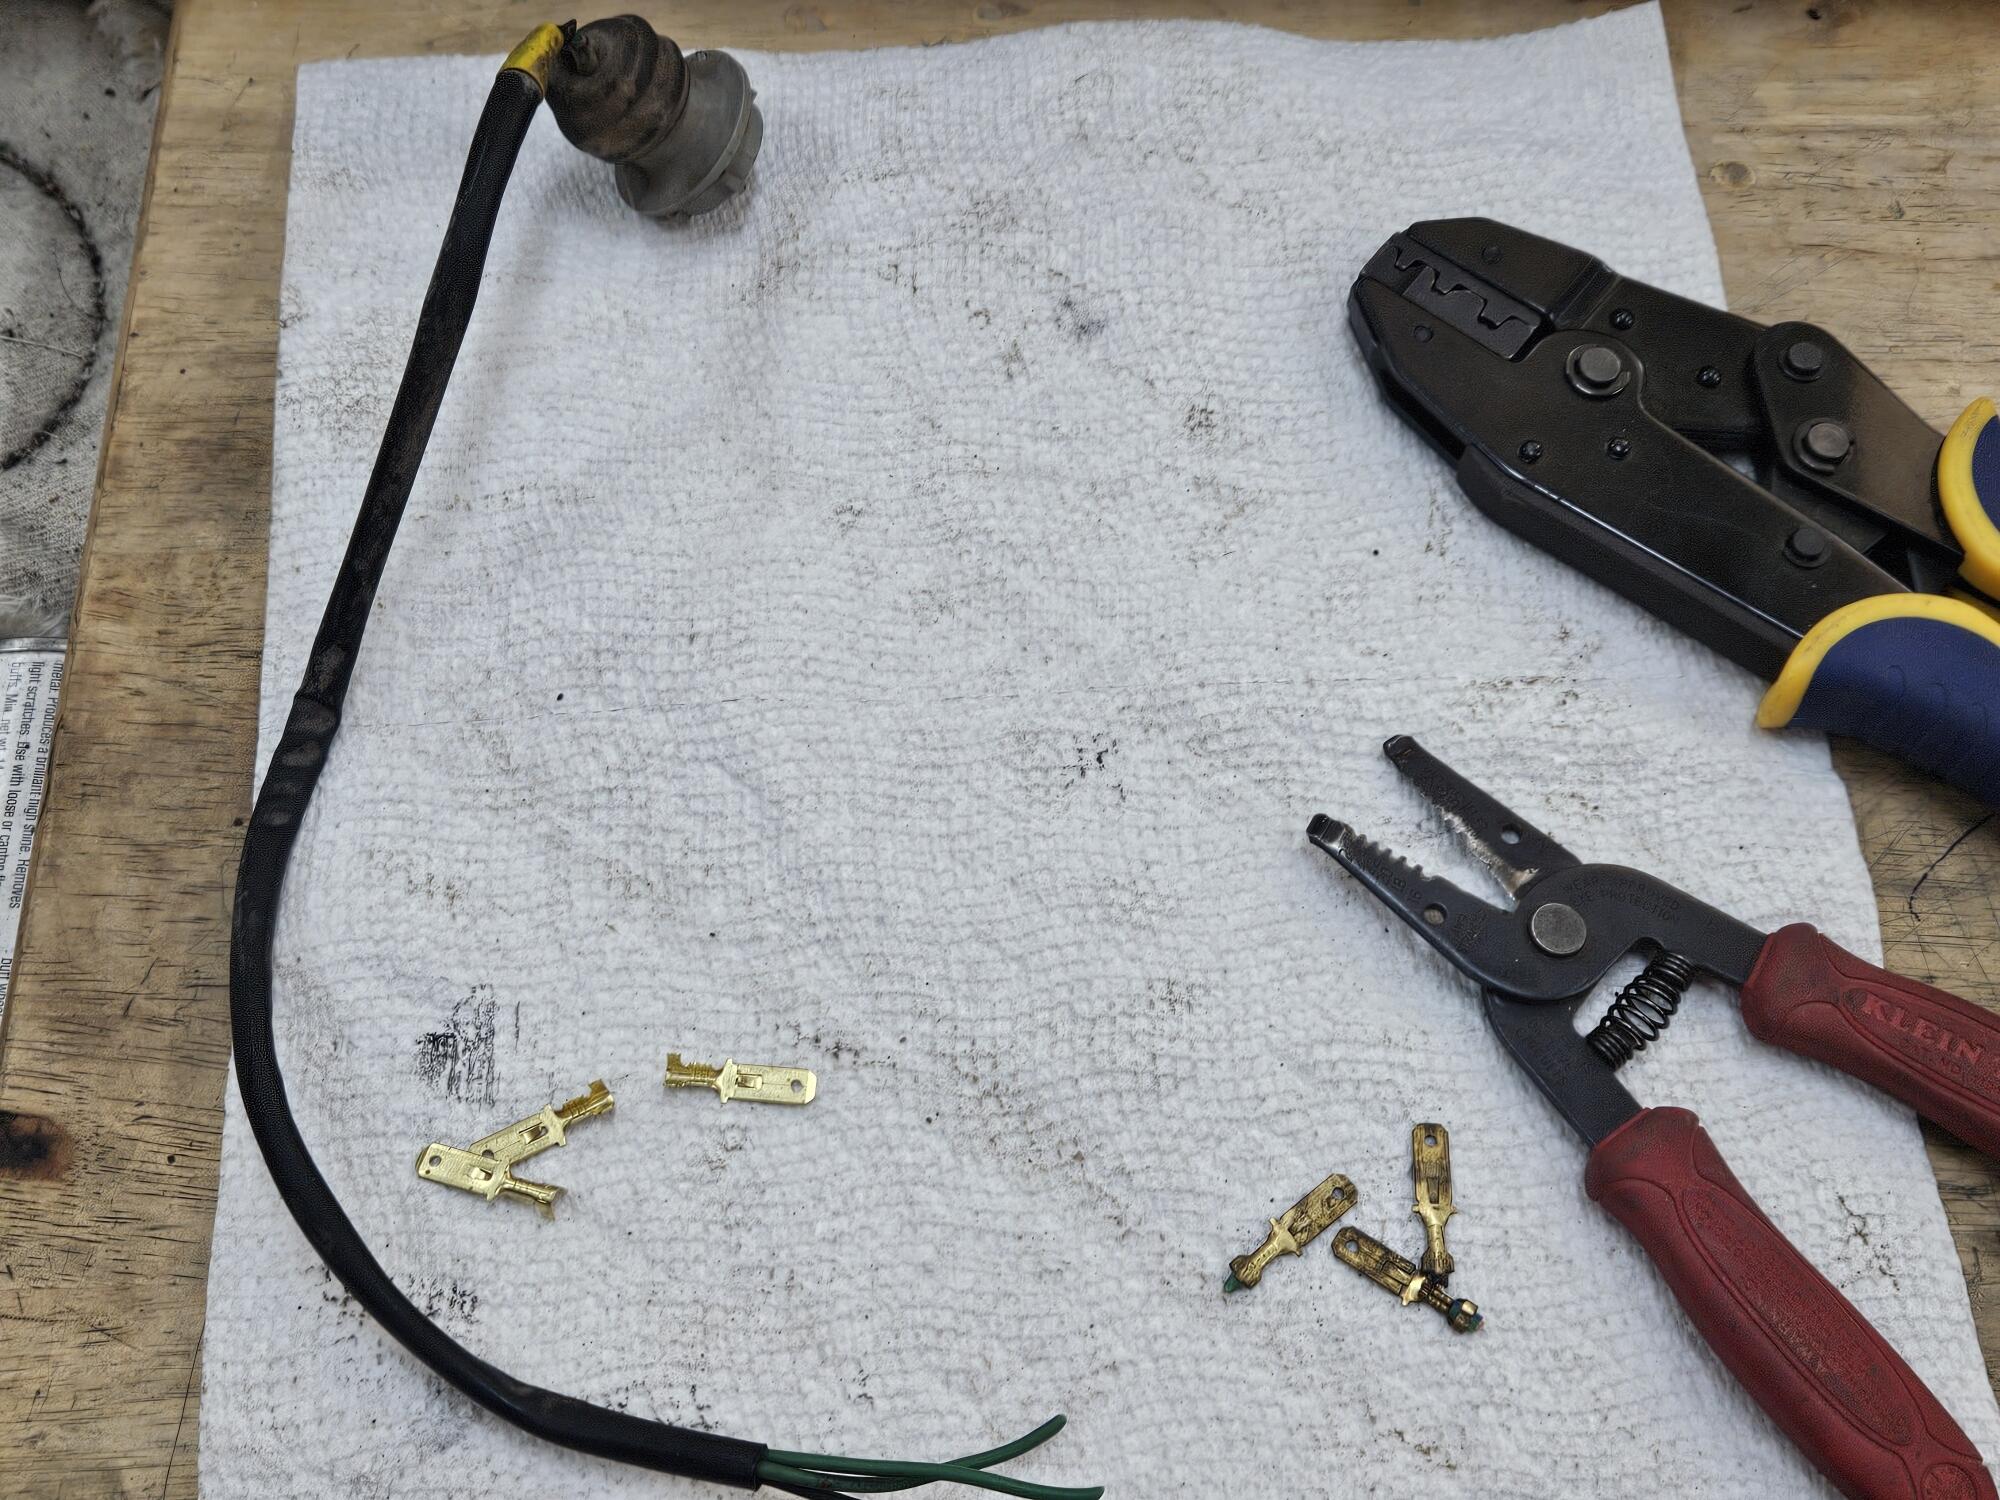
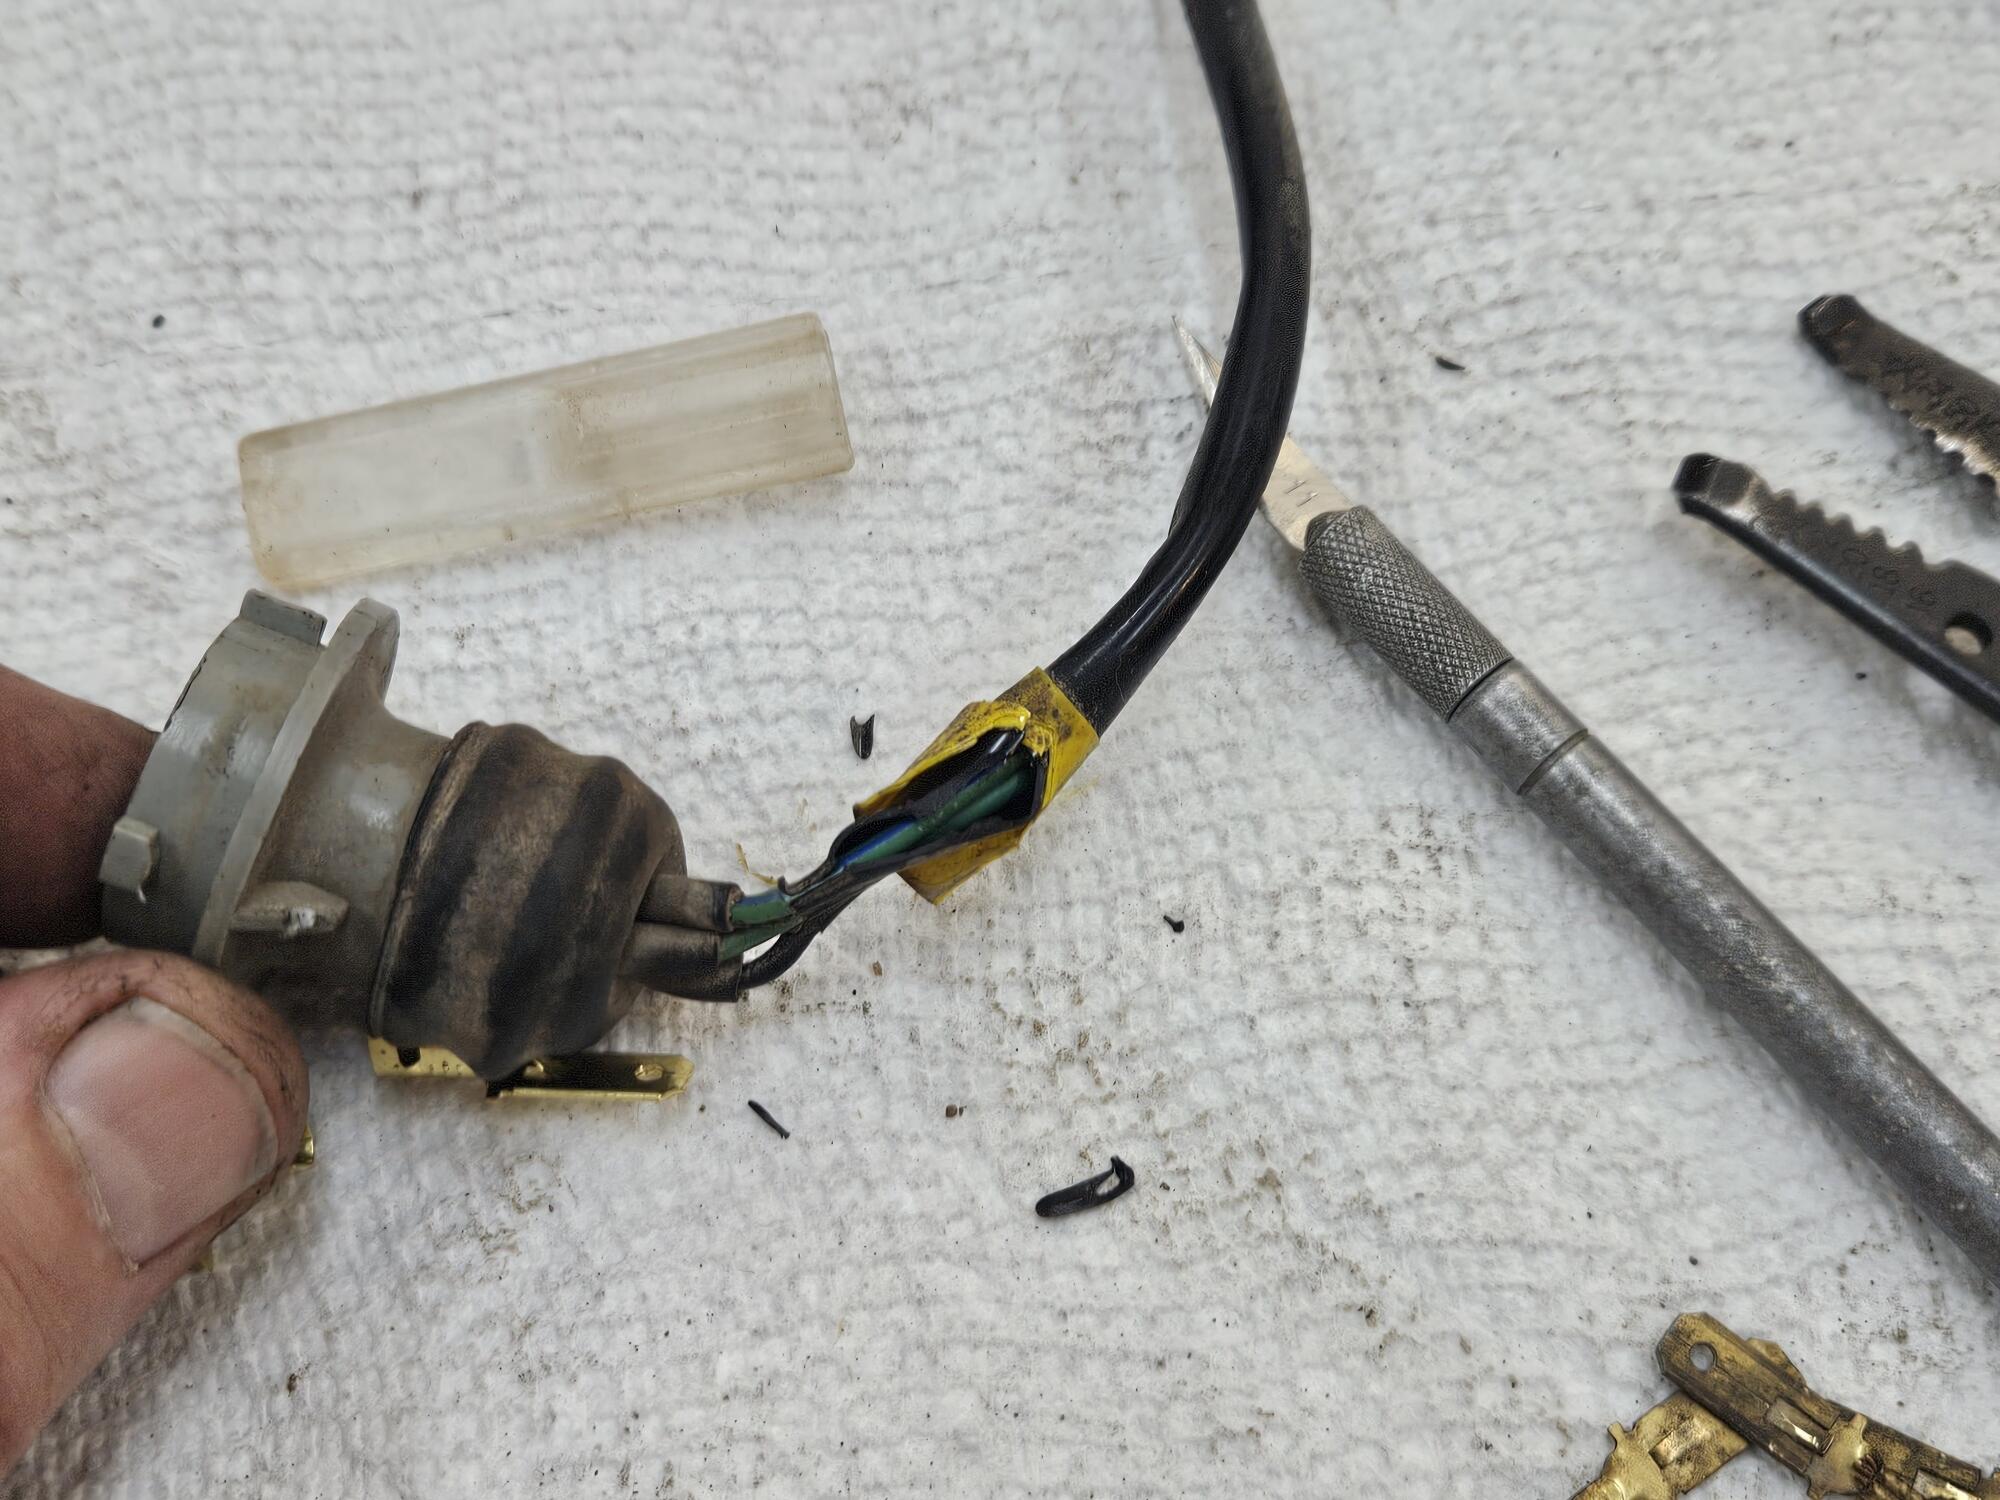
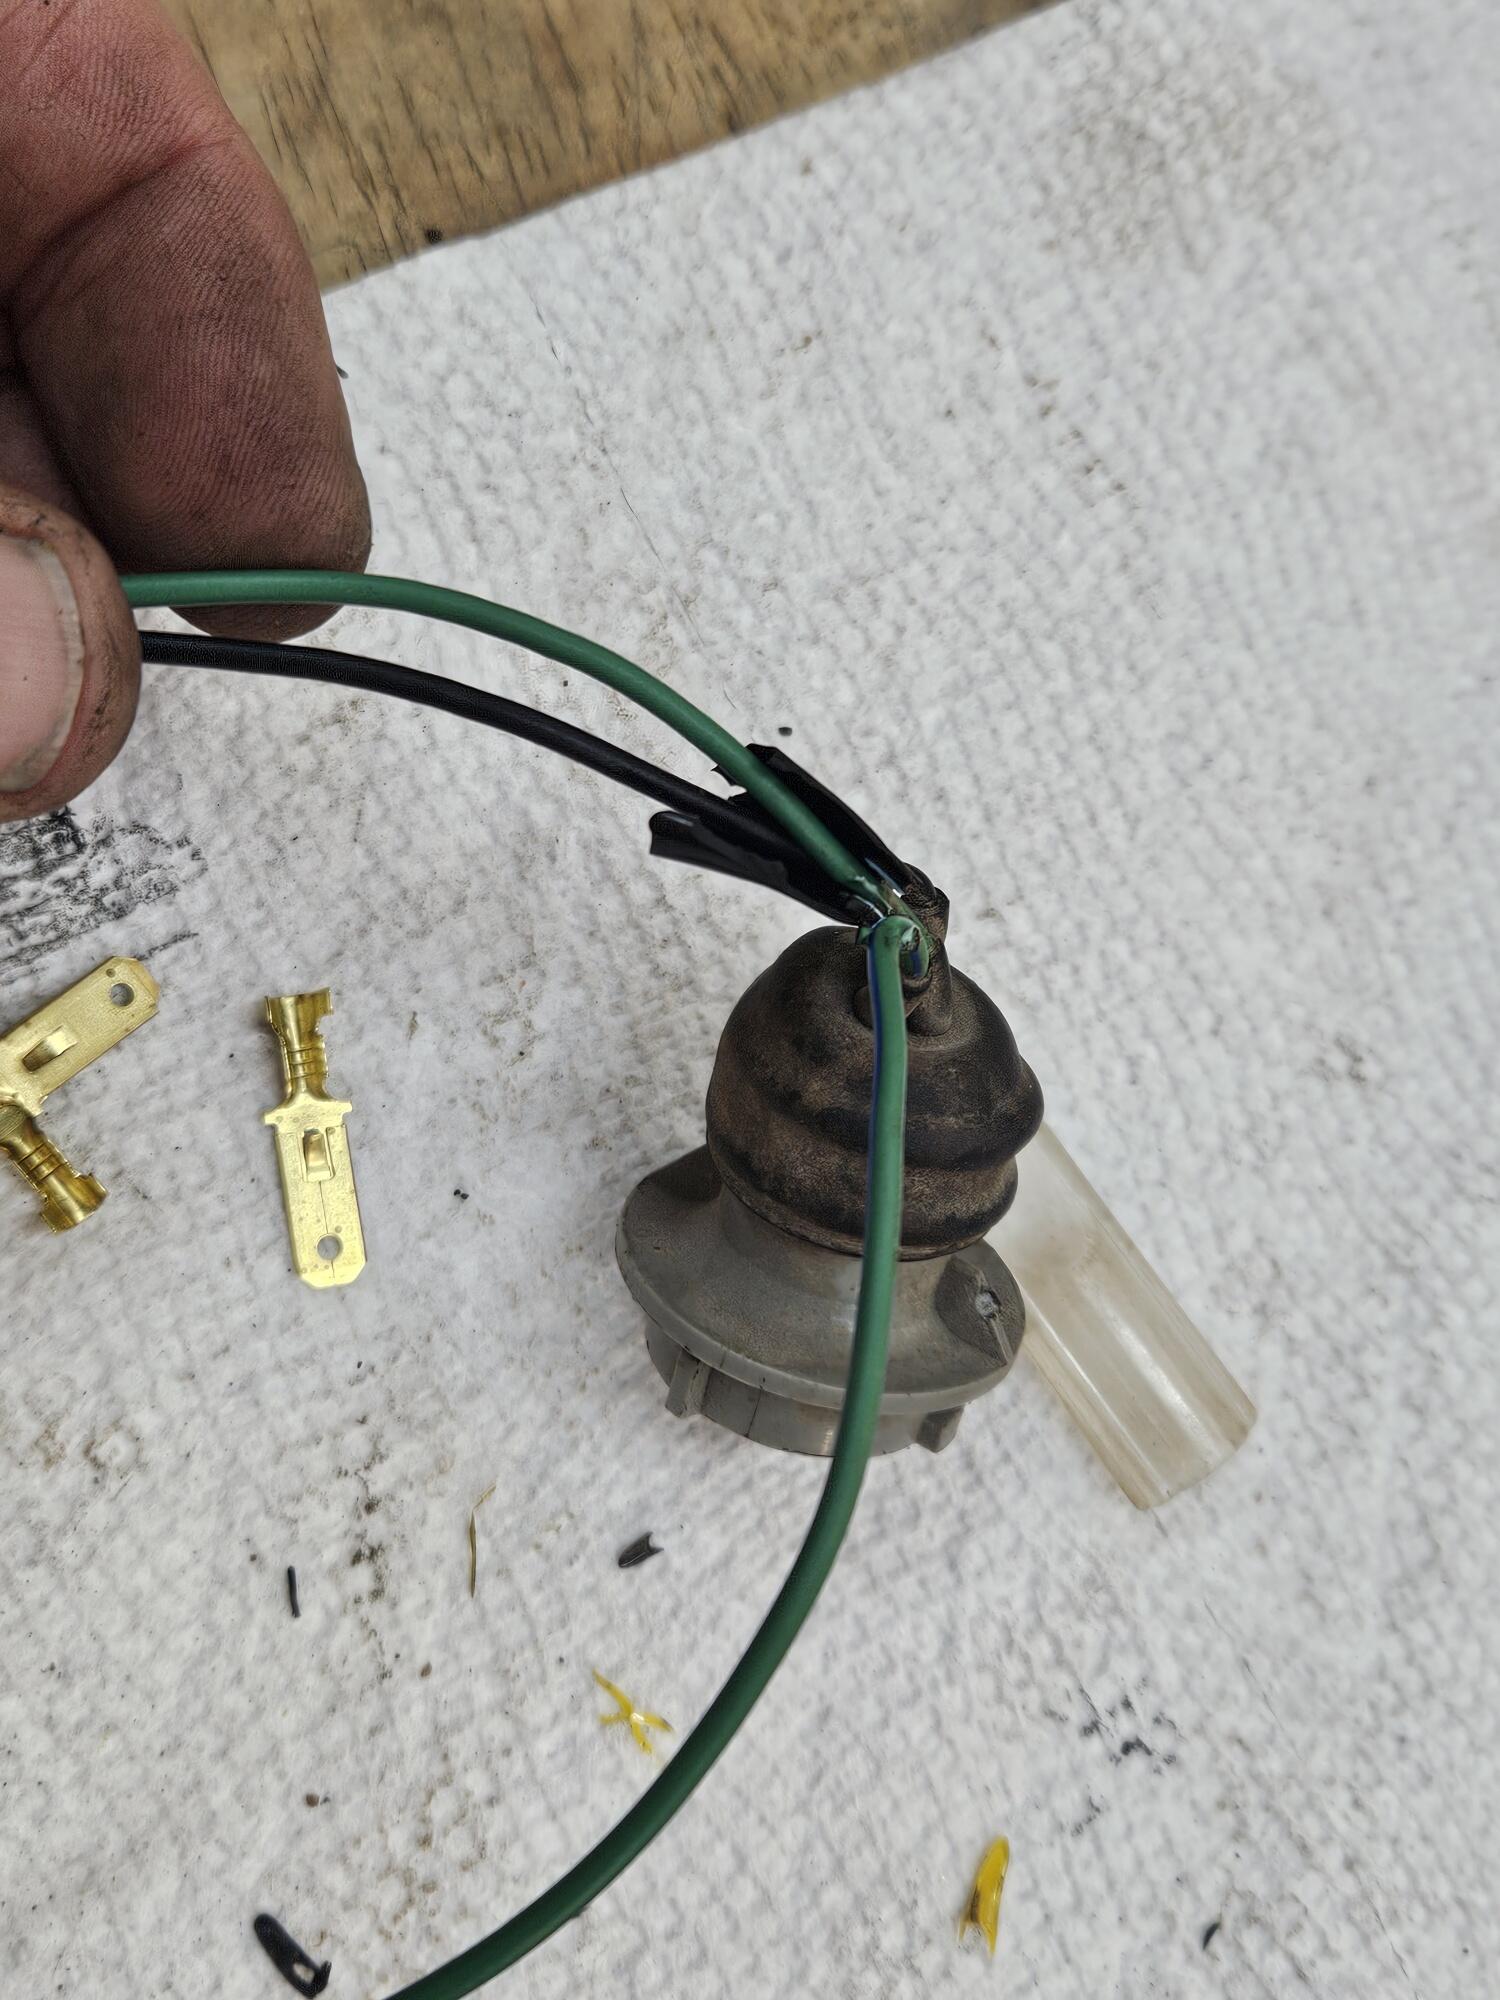
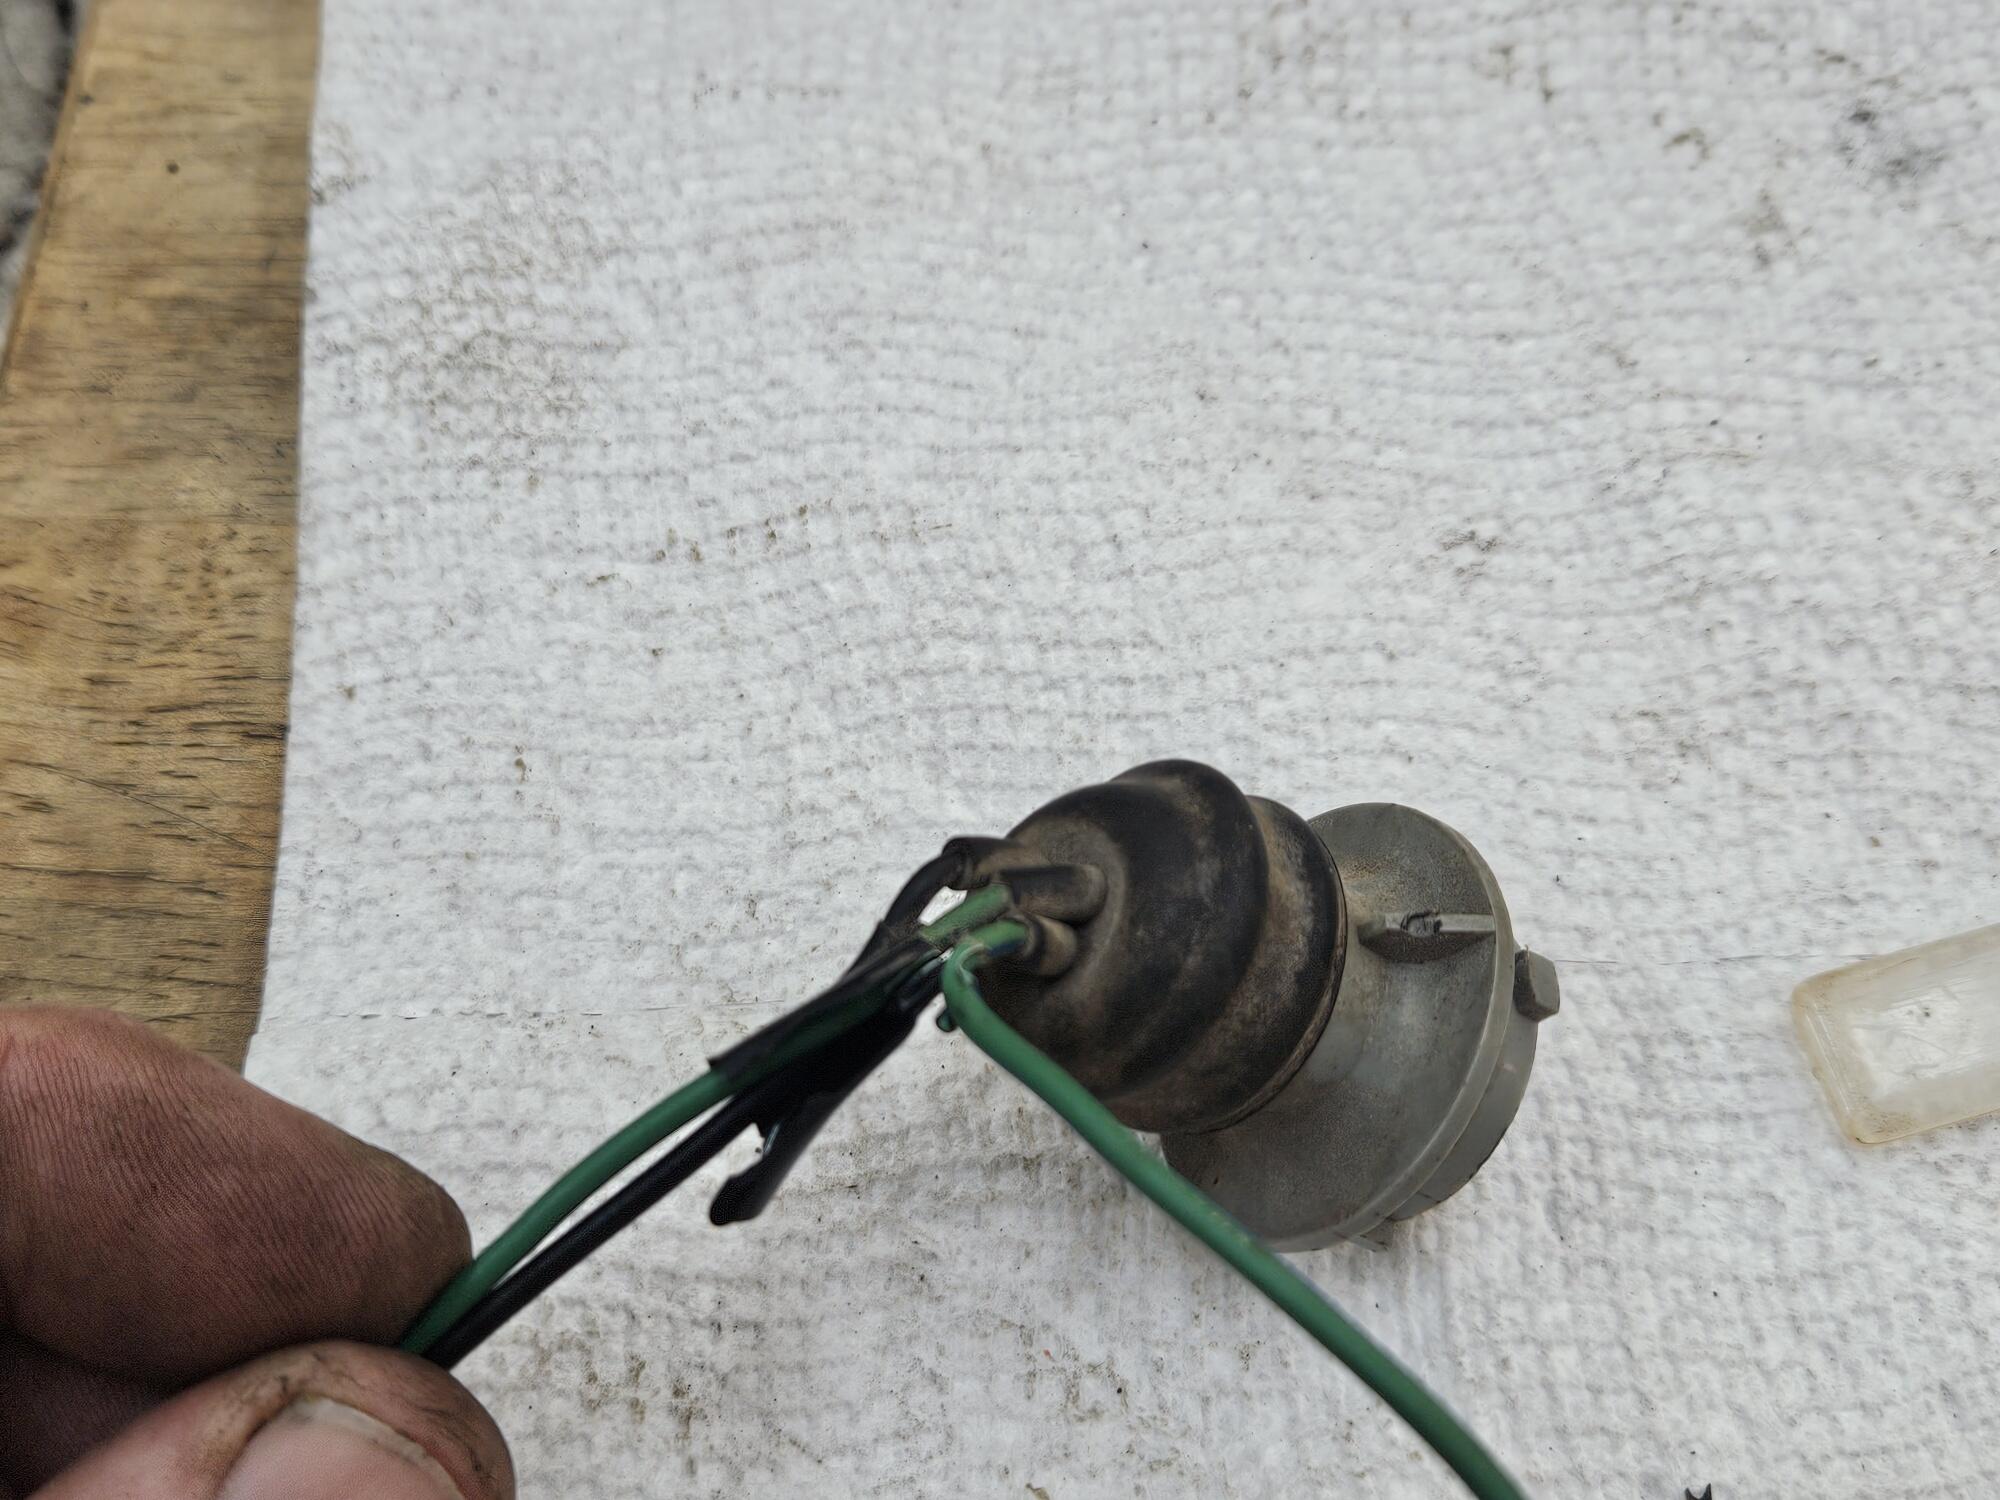
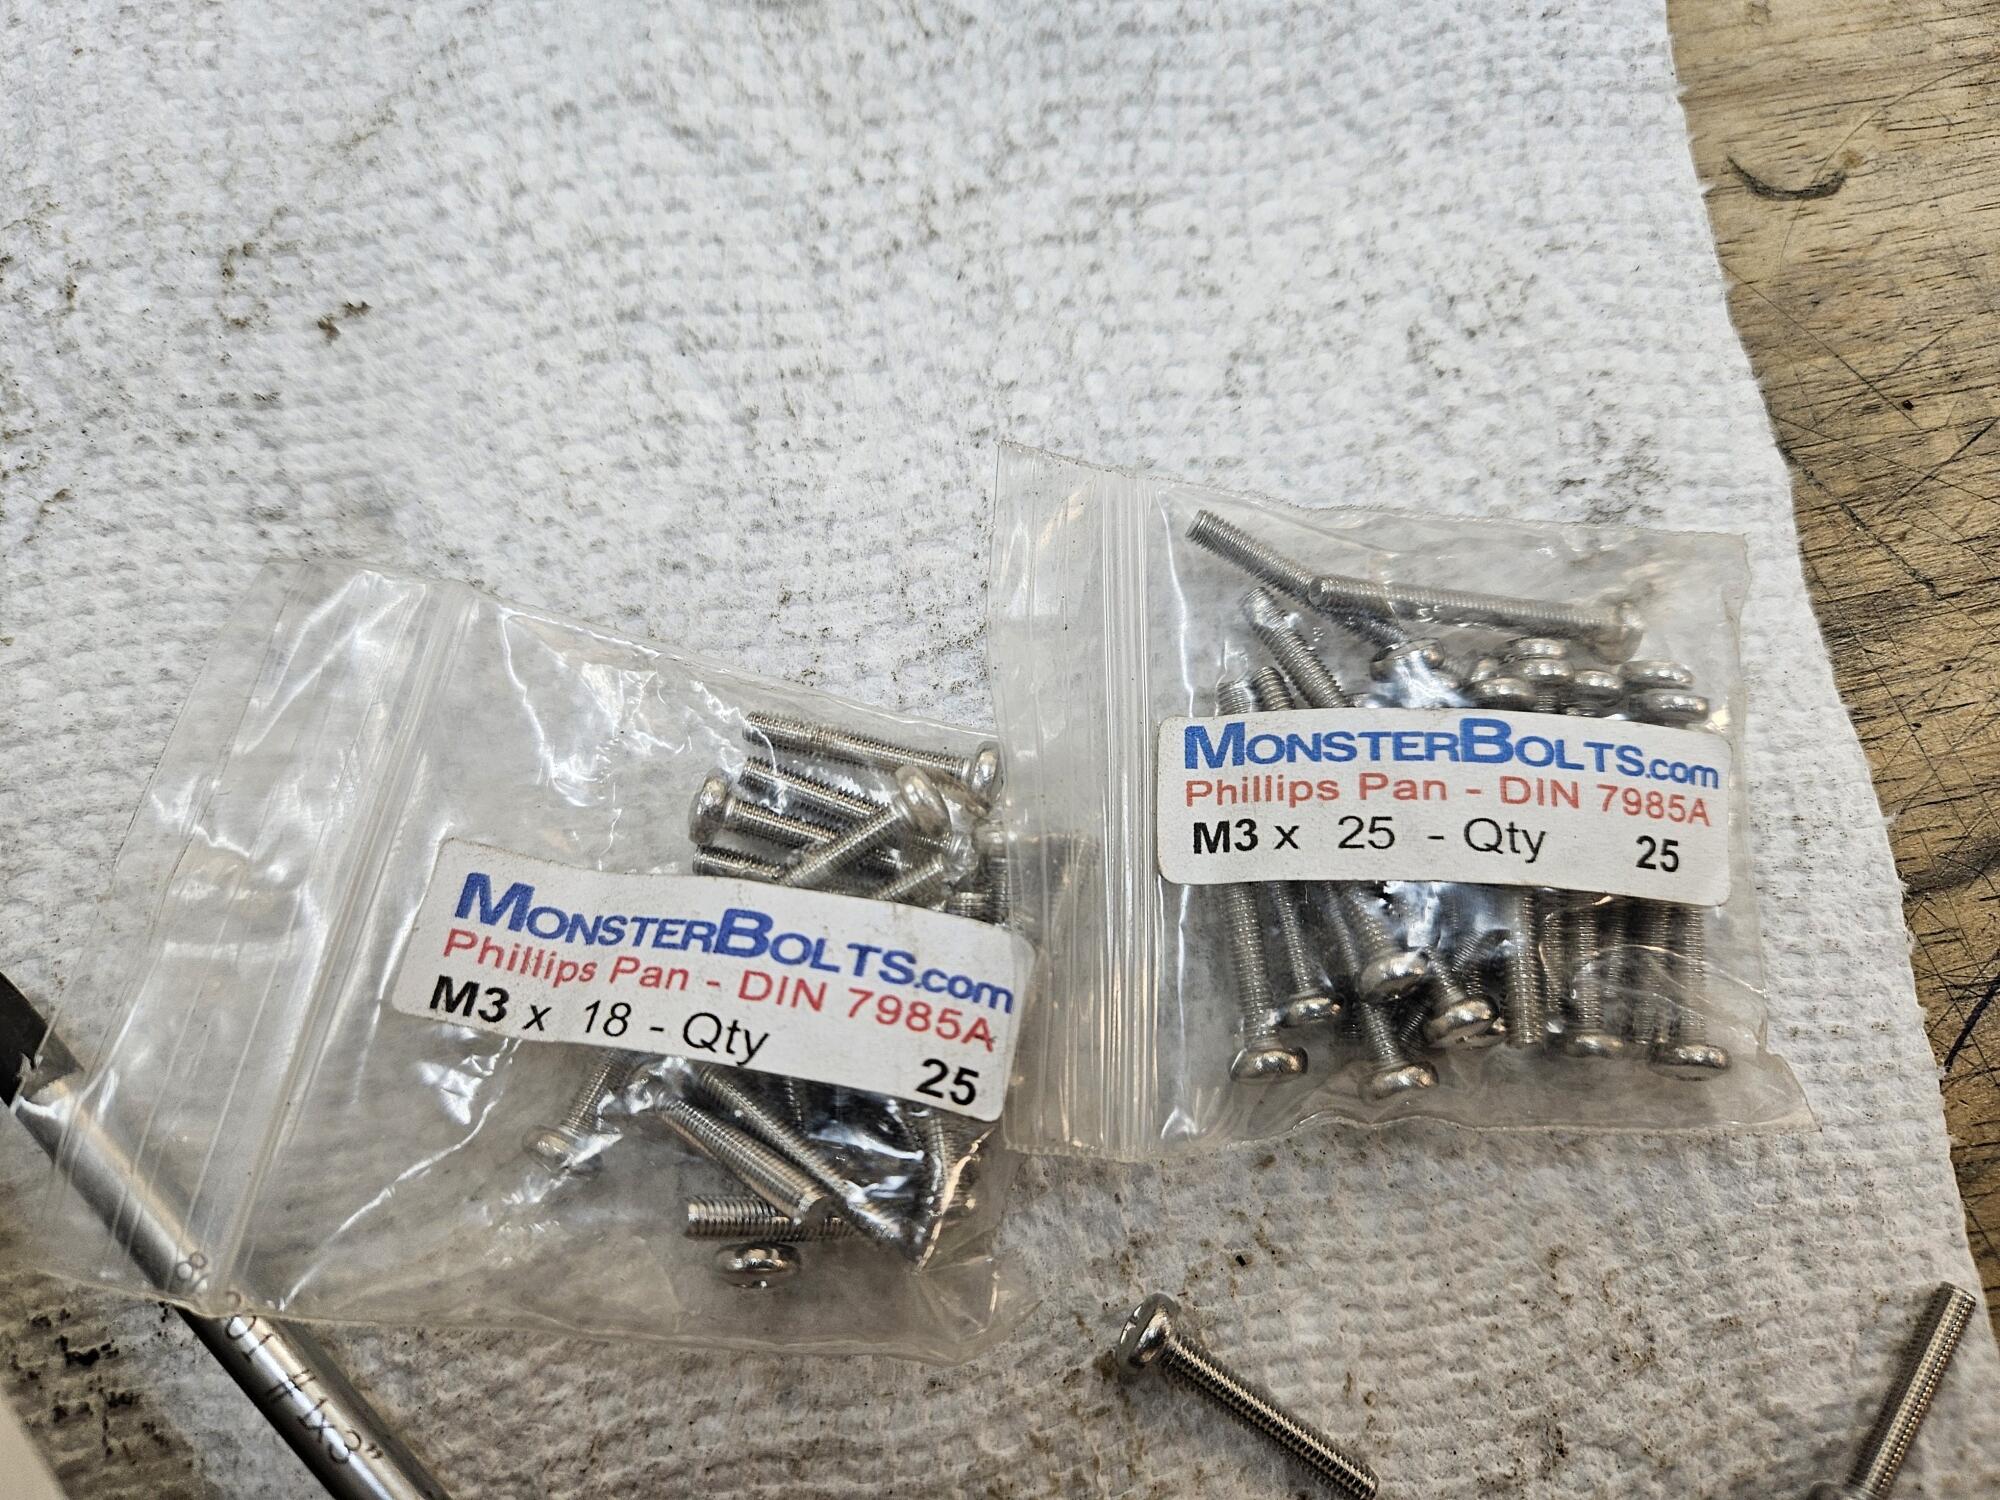
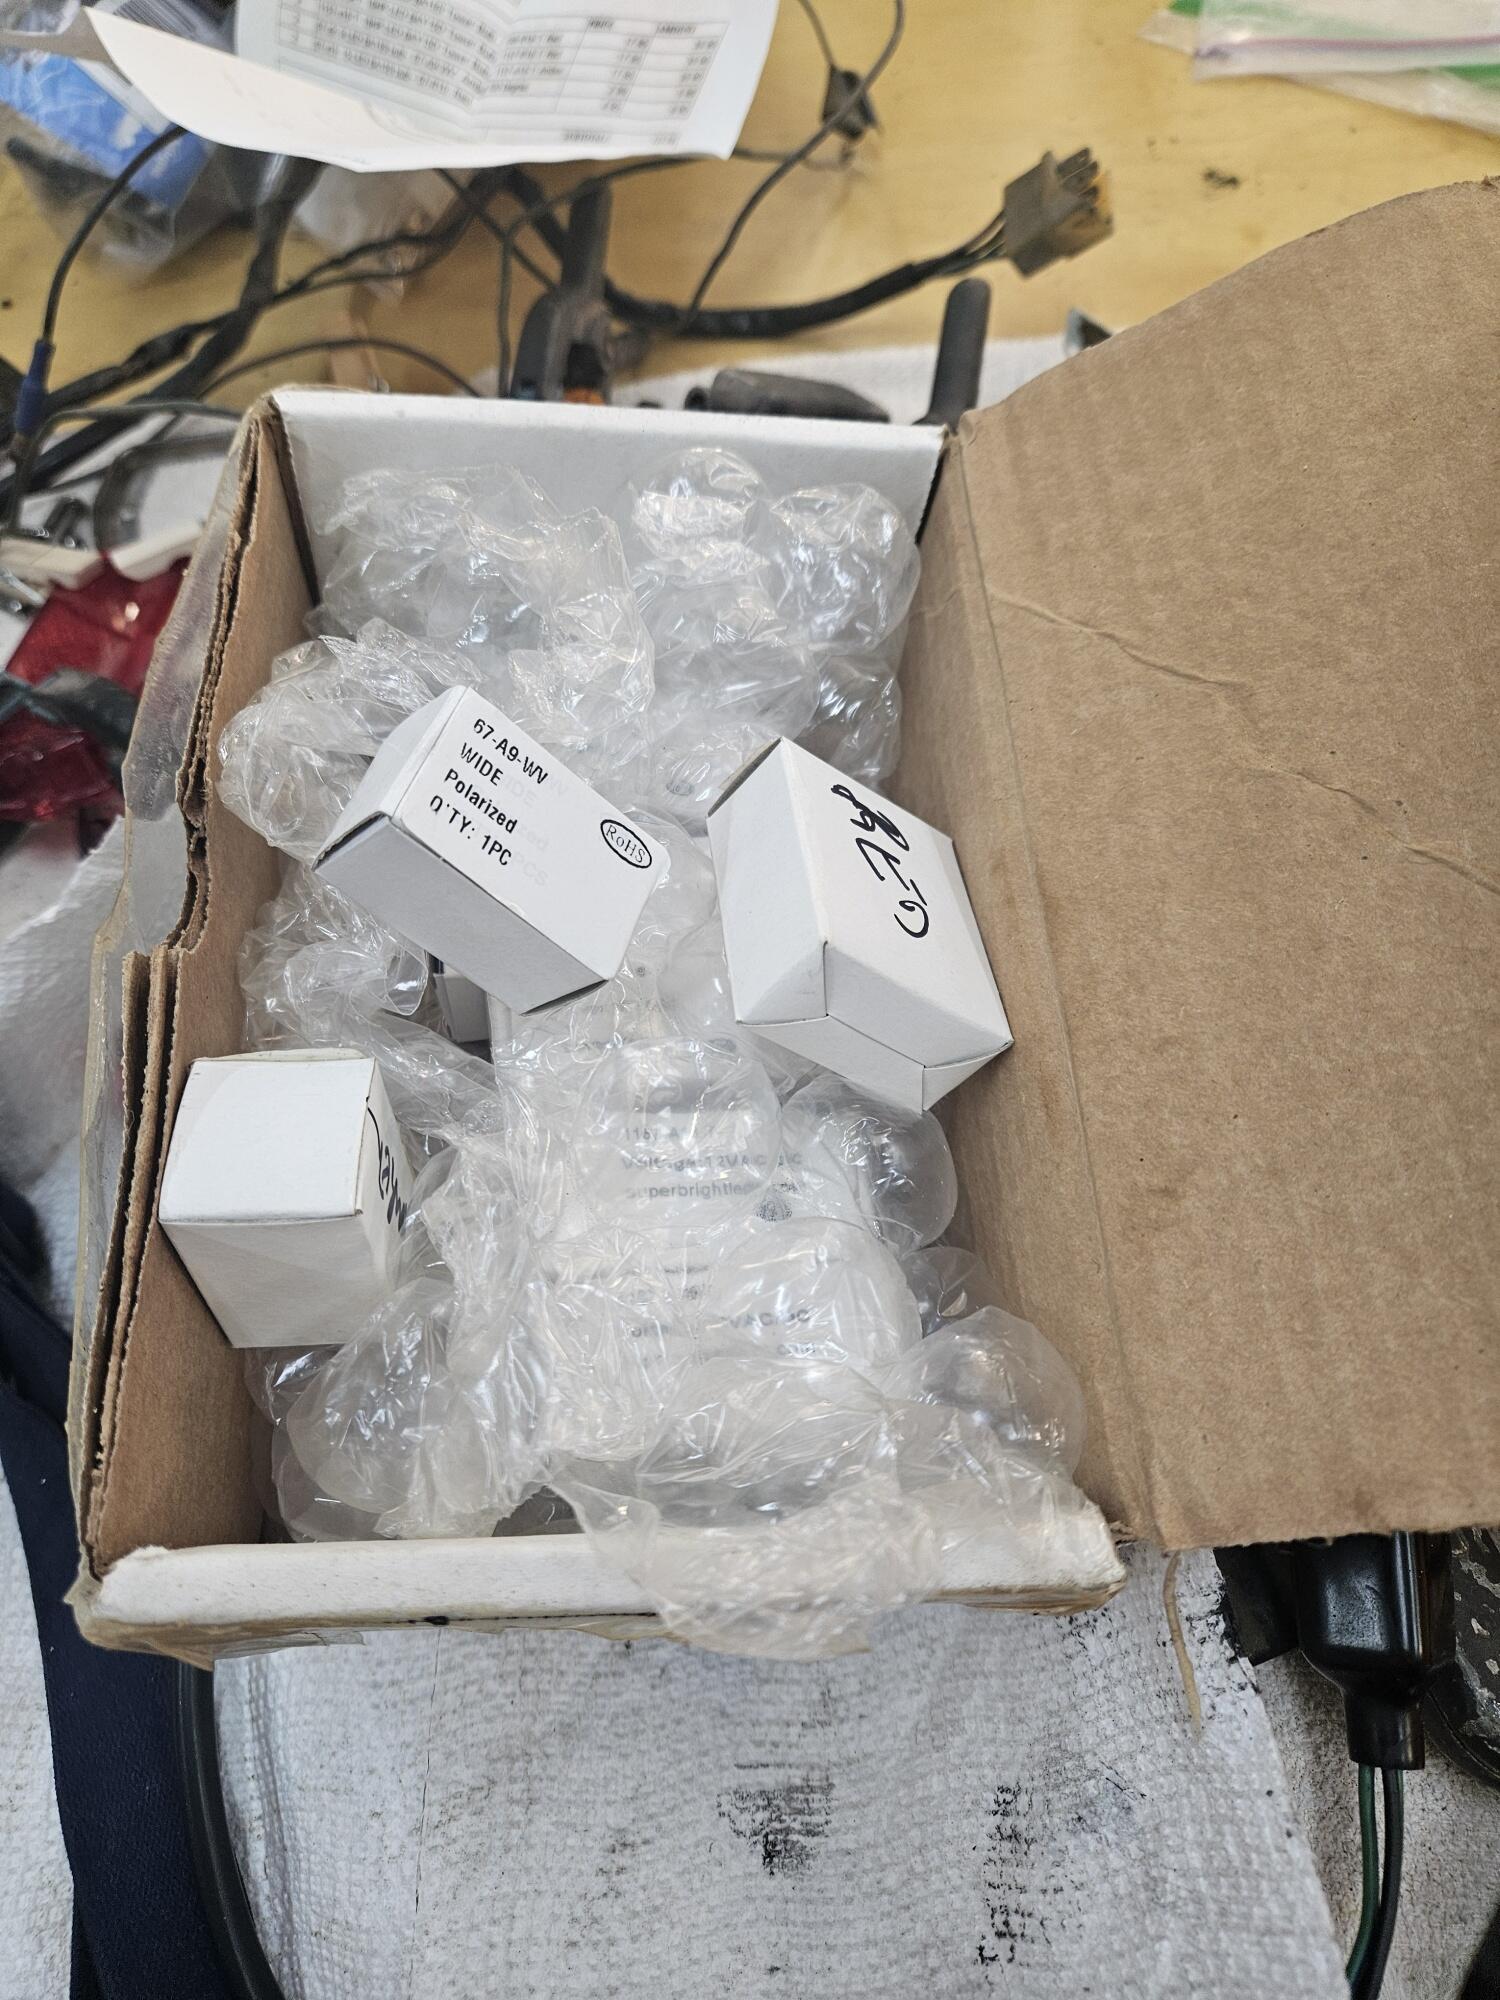
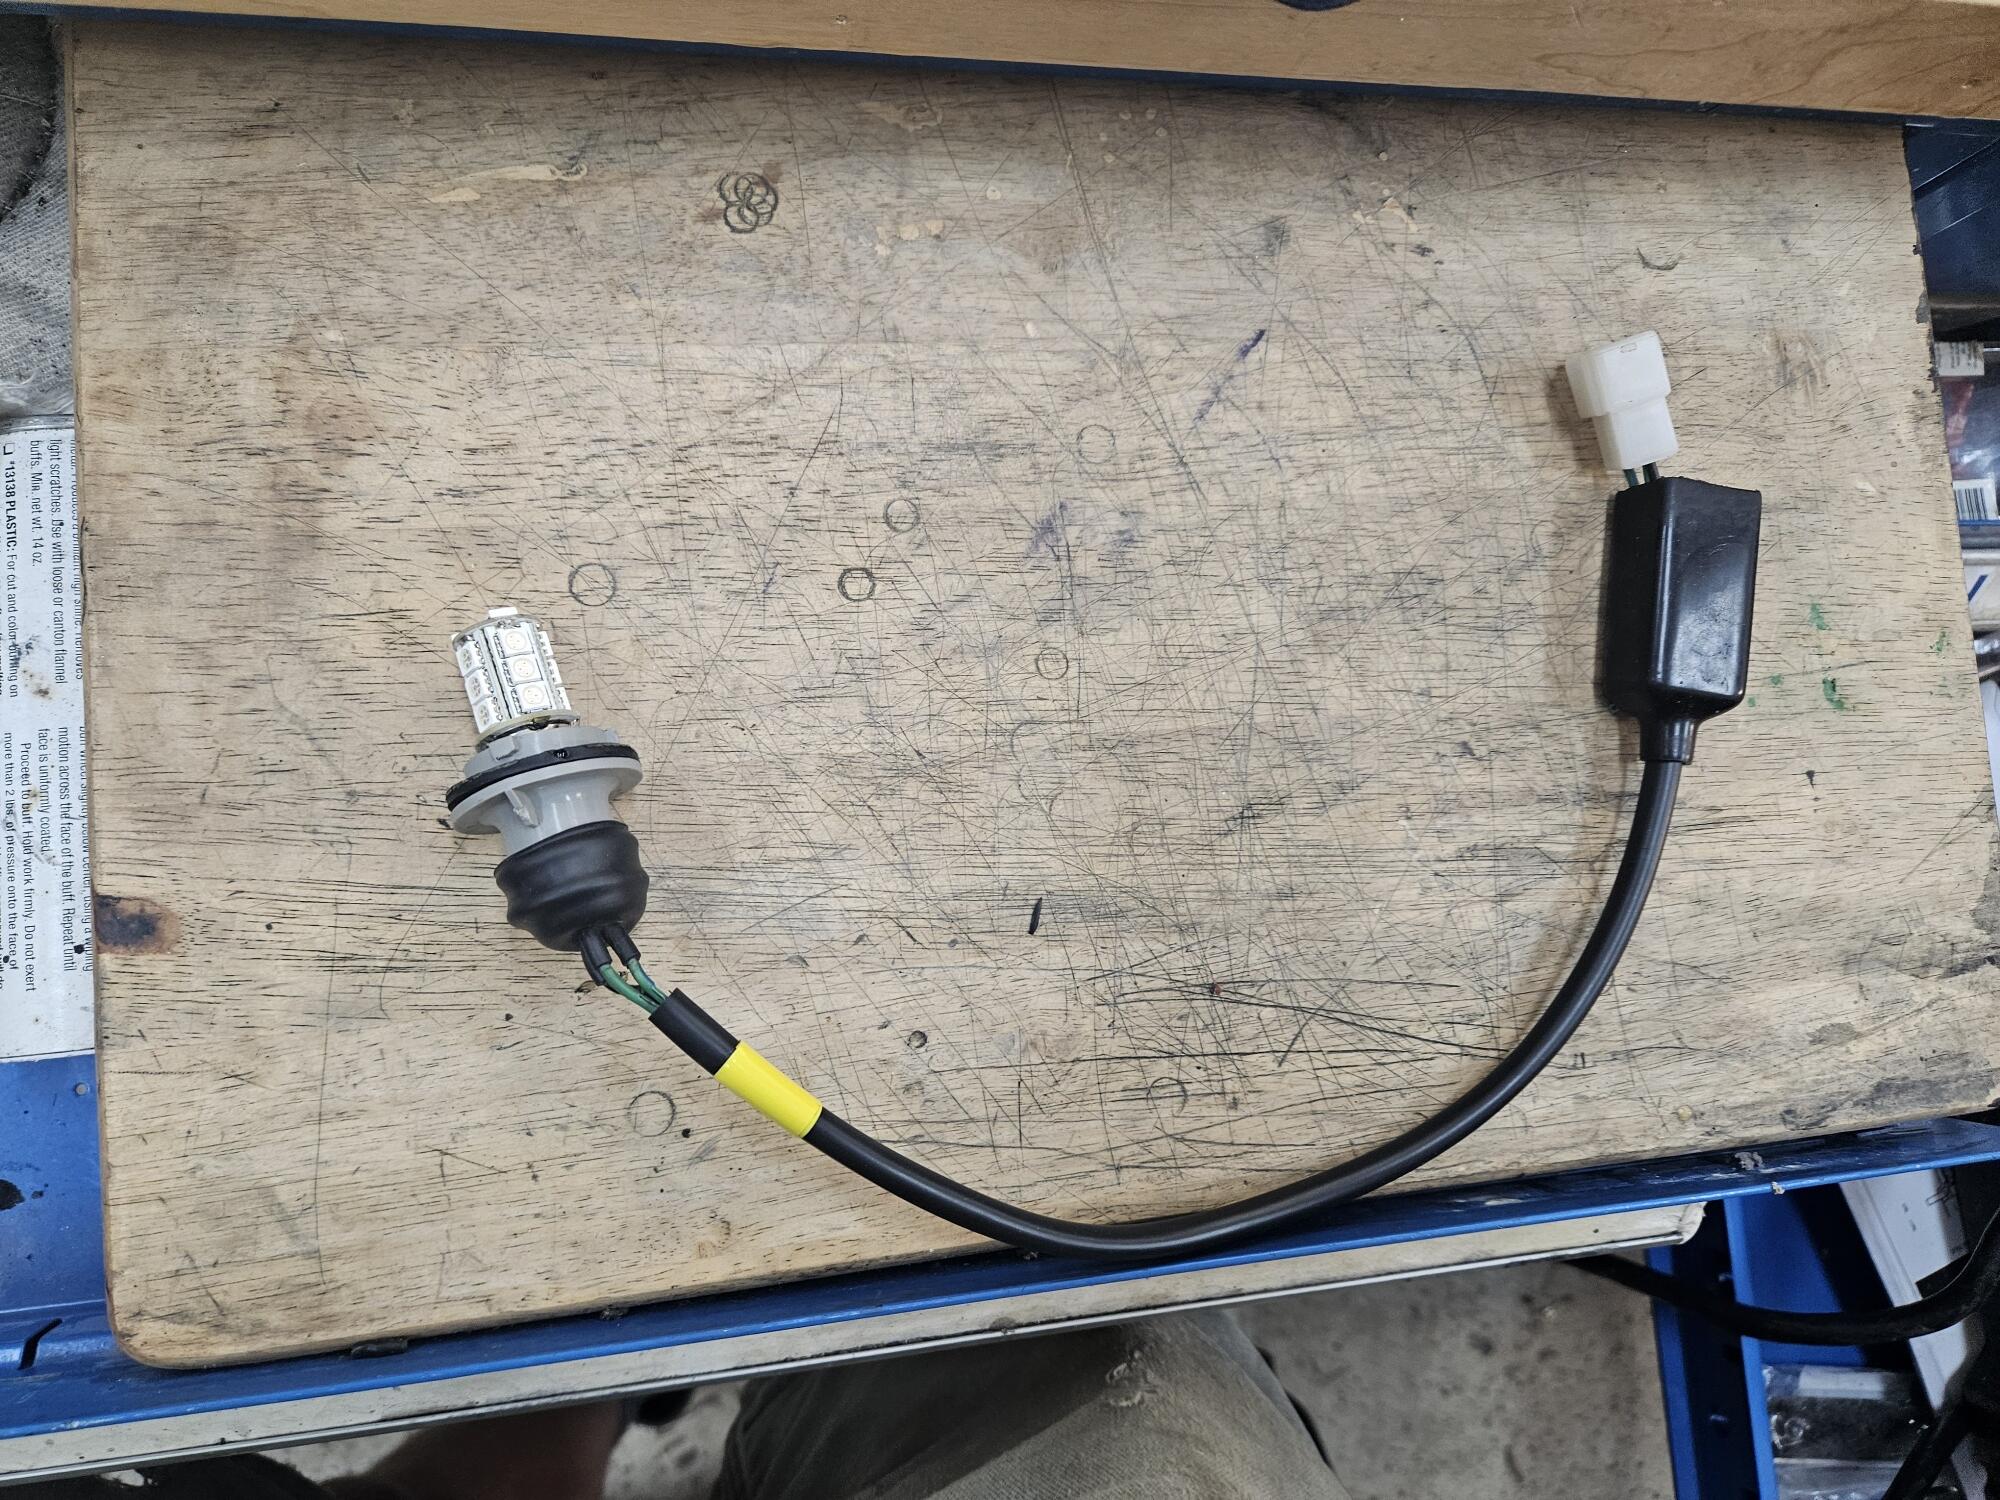
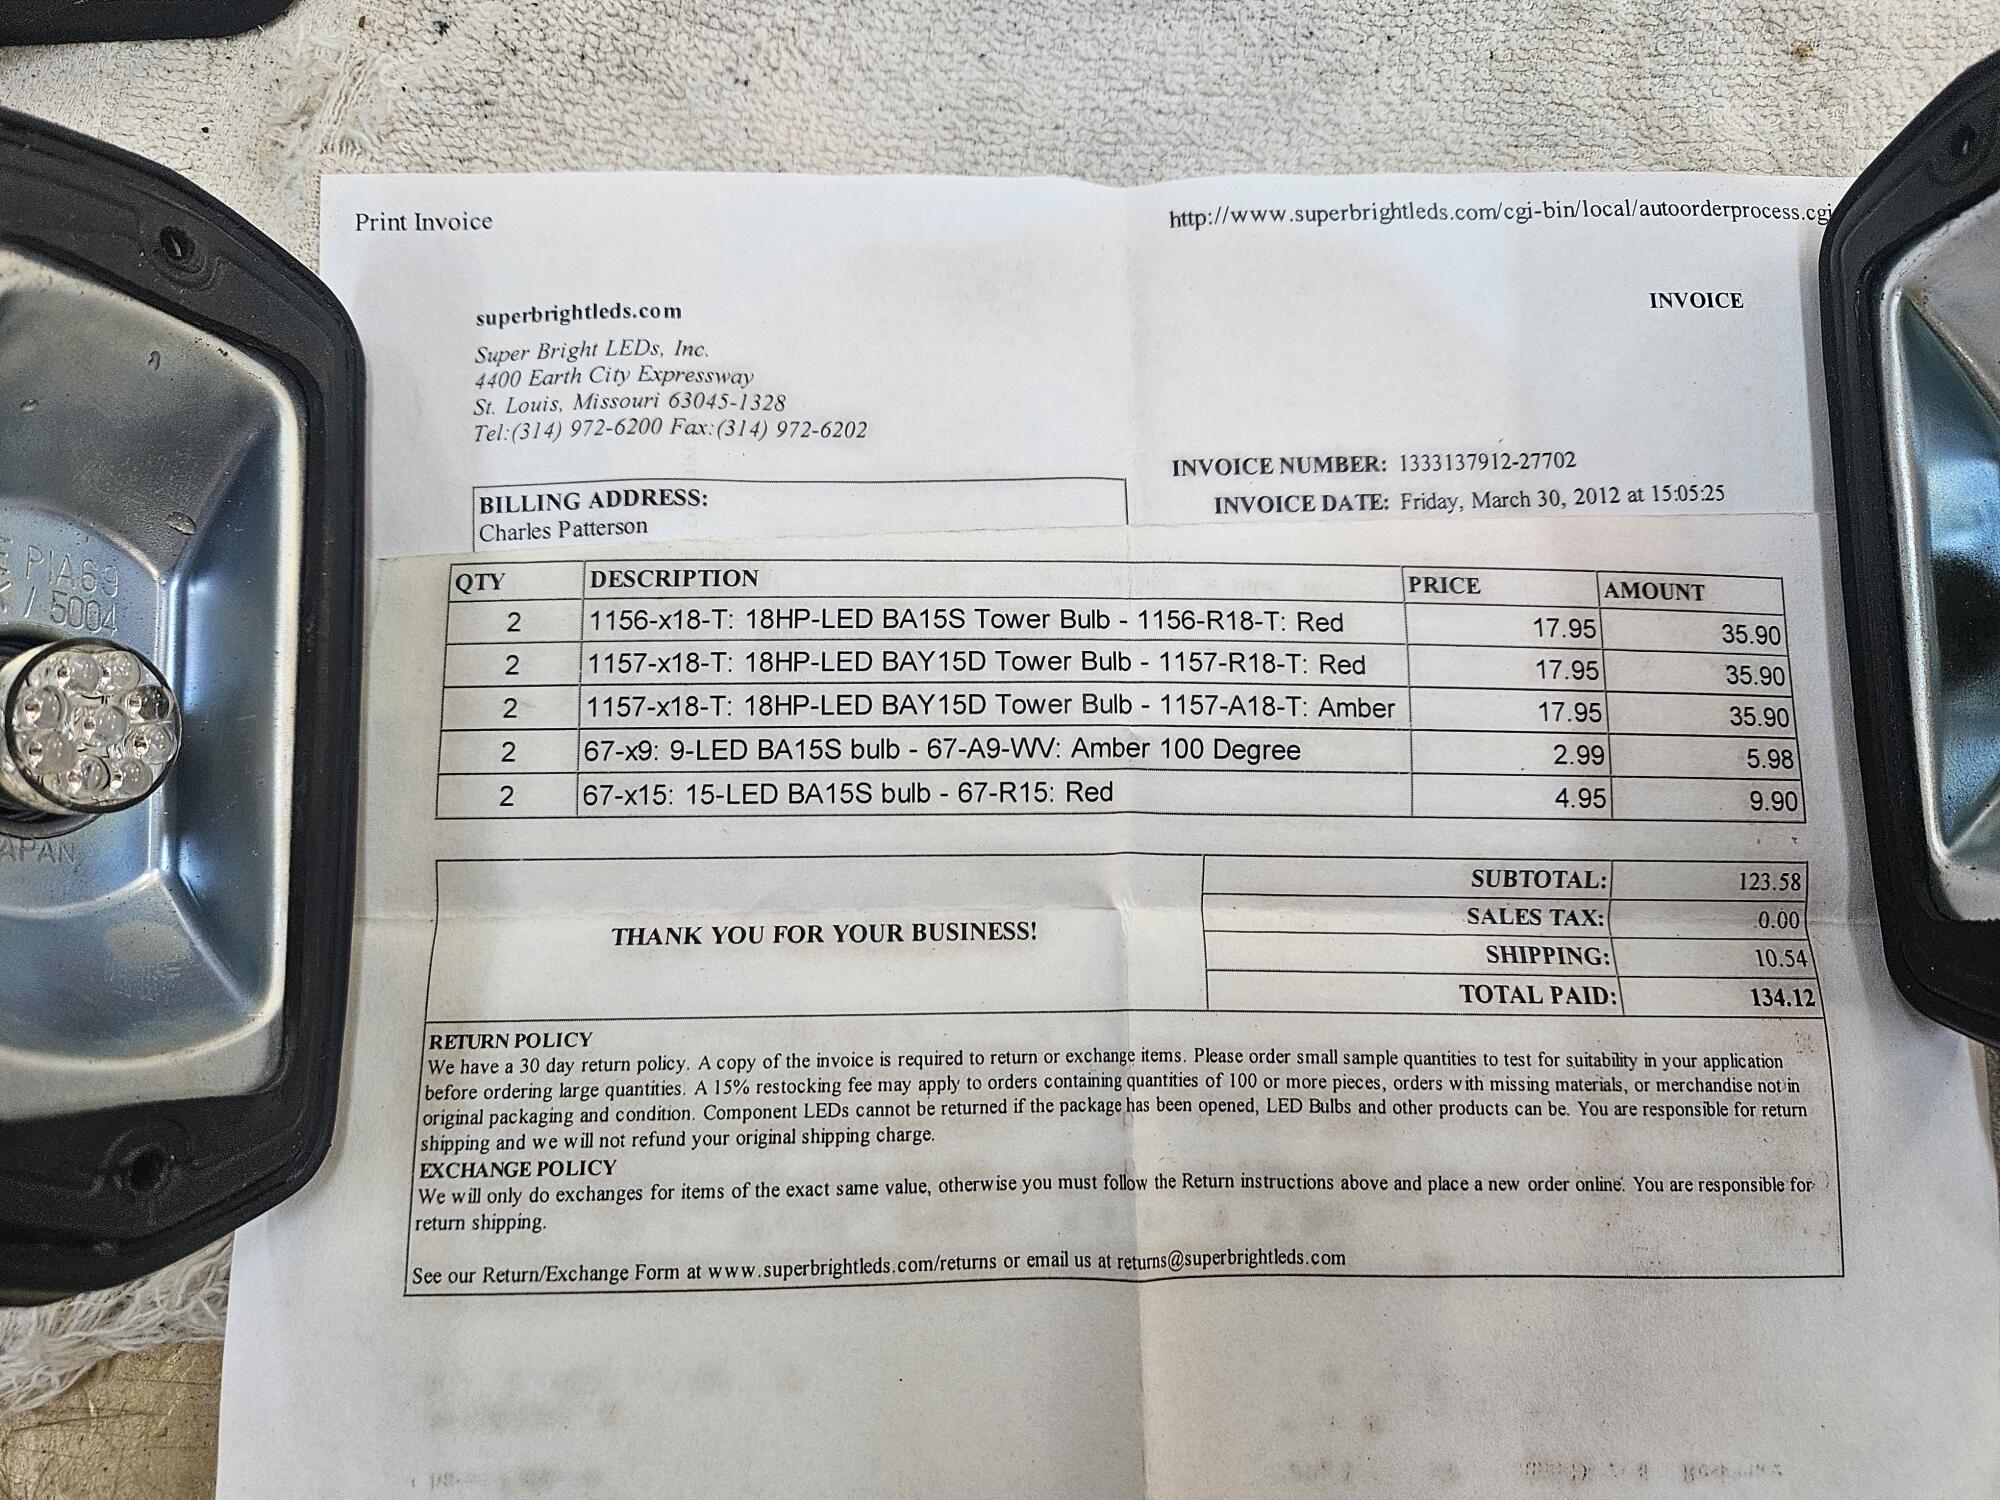
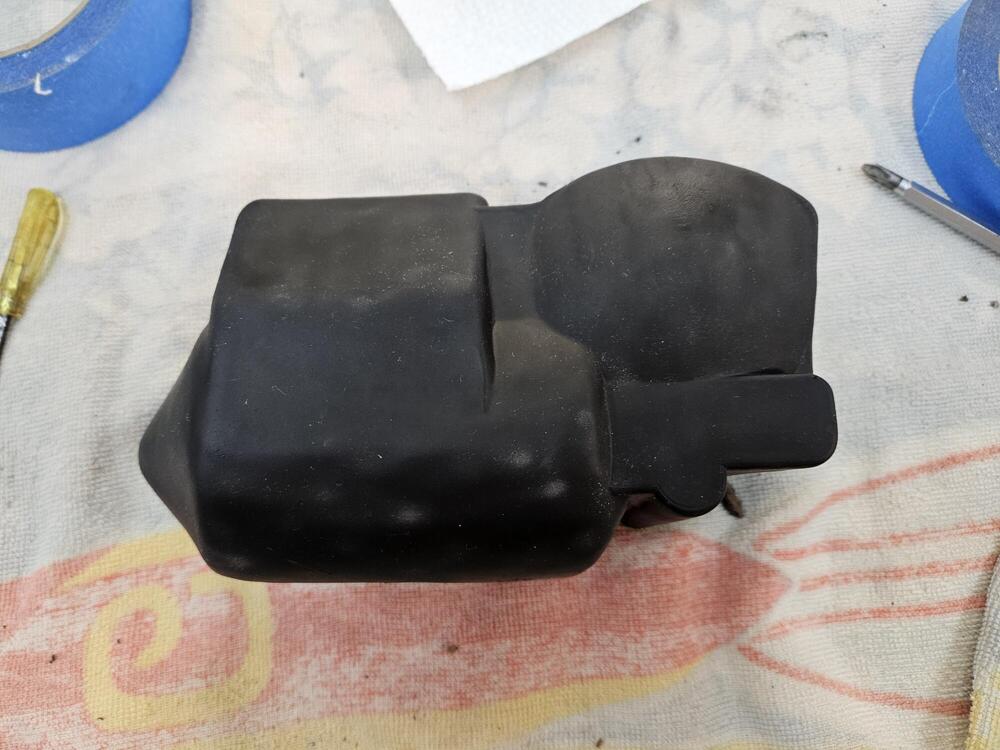
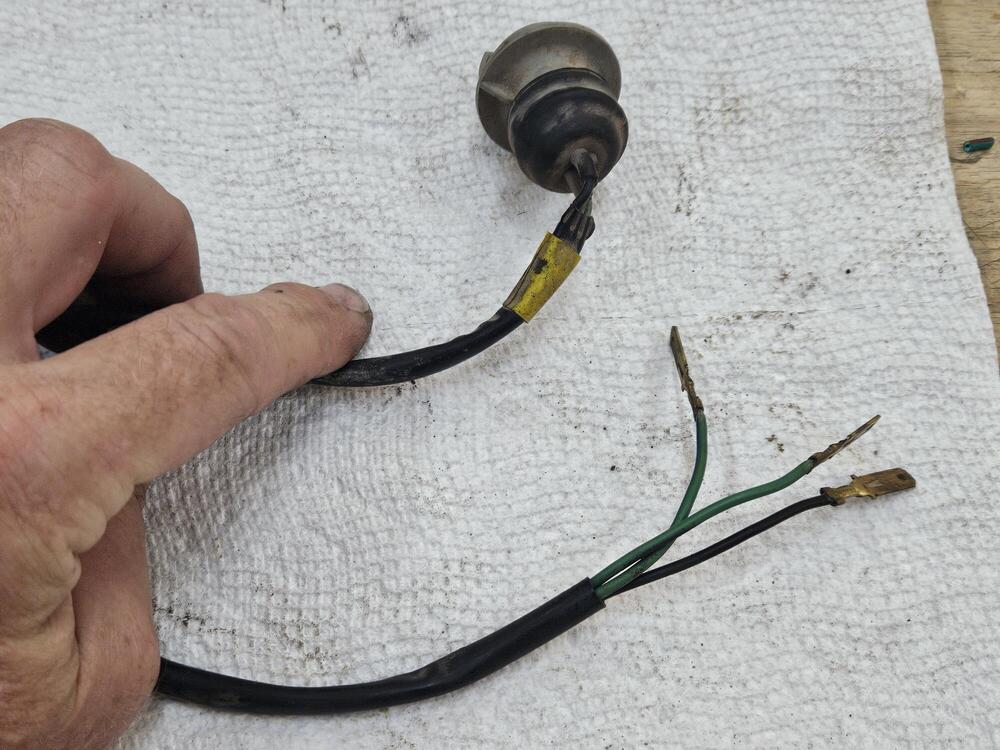
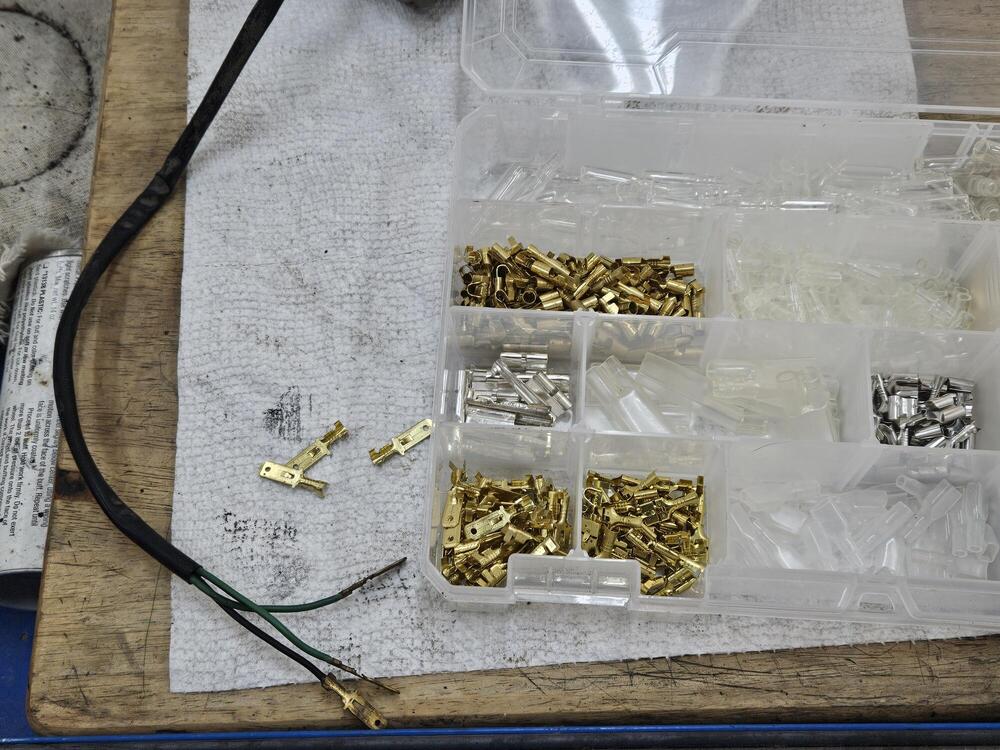
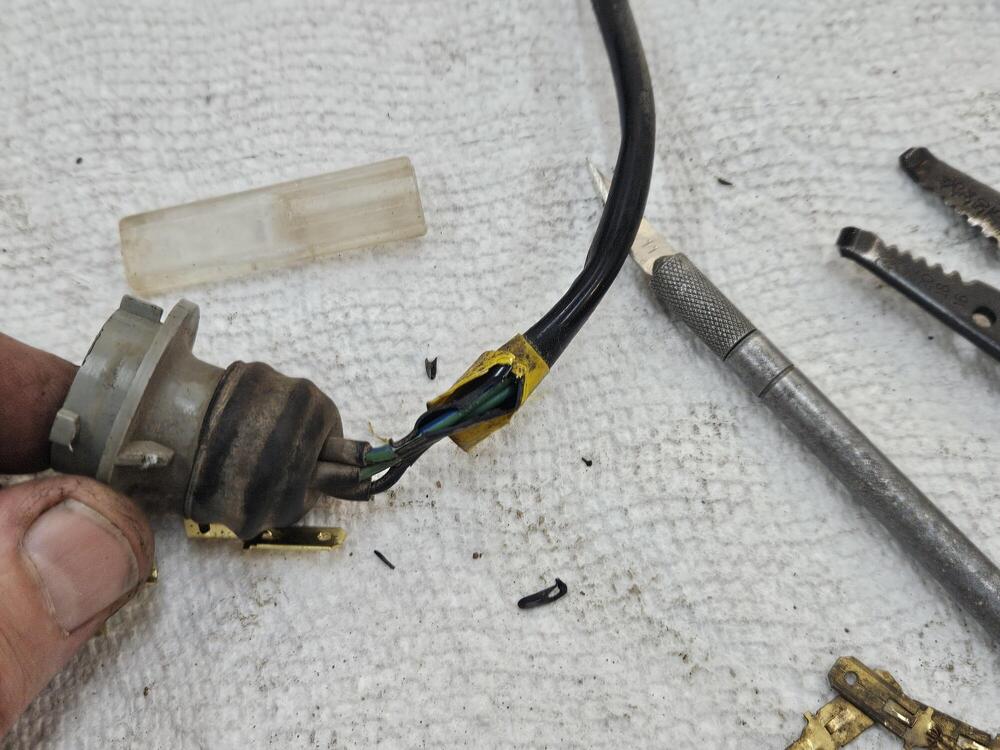
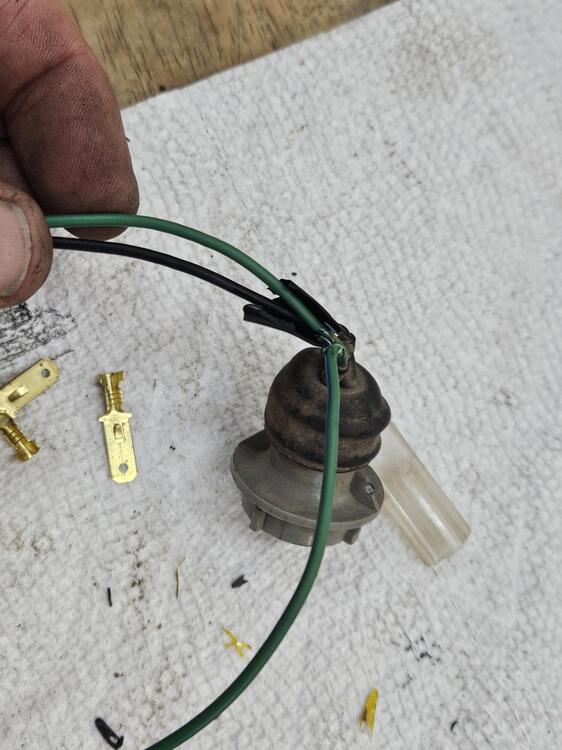
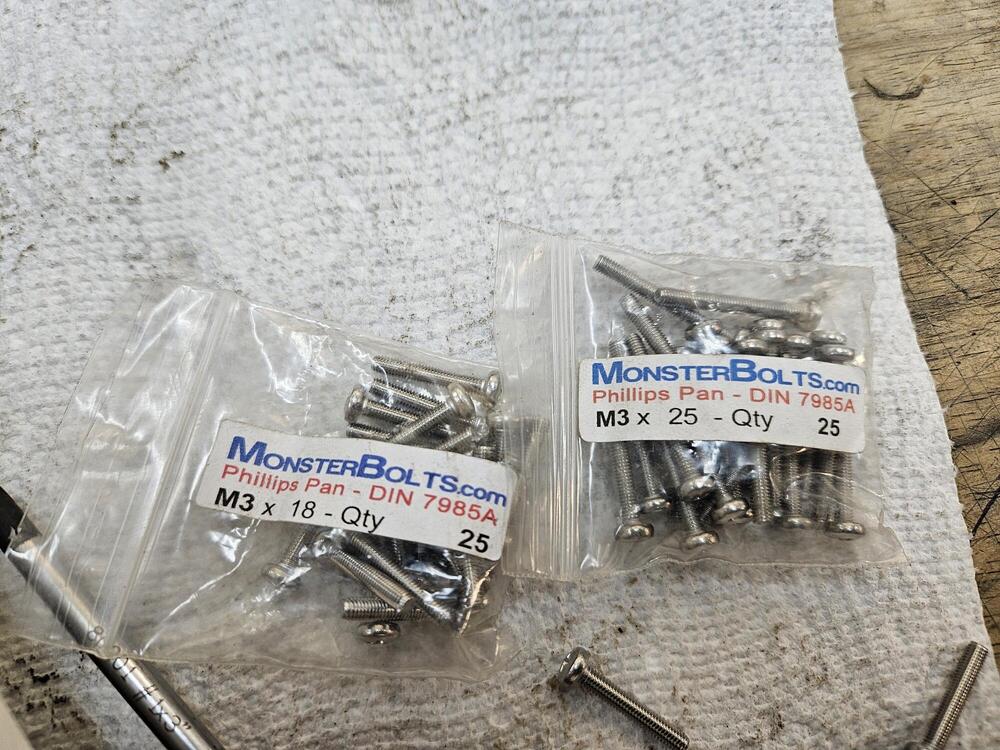
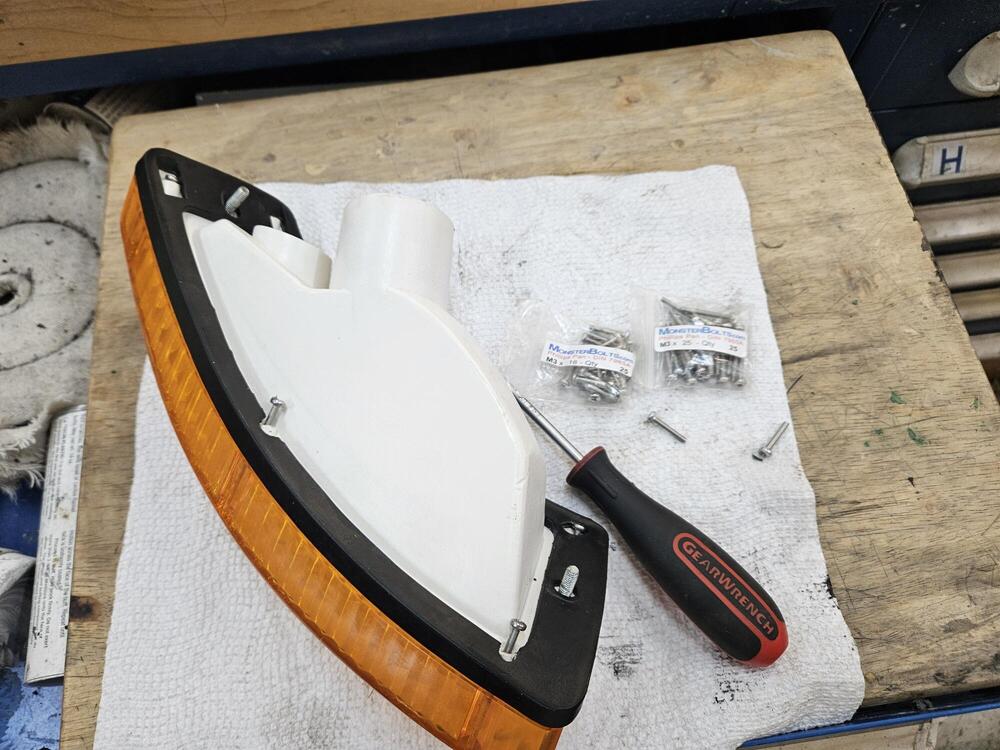
3 pointsHere is the wiper motor cover after some Meguiars So I've been chipping away at front turn signals Here is the factory bulb end Got the terminals out of the connector and cut the ends off. I have Vintage connections pieces to put it back together Here are the new screws I have for the lenses One lens together Here is one pigtail done I found a whole box of LED's in the BrownZ when we pirated it. I bought them from SuperBrightLED's in 2012!!


 3 points
 -
1 pointThis one. Whatever was going on that night with search also kept giving me a response that my post was missing required information so I might have hit submit a few times I tried to go back and edit and delete post but I guess only administrators can do that.1 point
-
Since I still have the complete 4 speed with fork & bearing/collar, I could measure the revised fork rest position & then observe the fork/collar contact over the 1.25" or so travel required to disengage the clutch. I might out of curiosity's sake. As long as it lasts a year or so, that's really all that matters. As the clutch wears the fingers will move rearward, reducing the fork throw anyway - but, I am unlikely to put enough miles on it for that to come into play before the whole mess comes out for the V6/CD009 swap.1 point
-
1 pointAnd which one of these 3 almost duplicate threads are you going to stick to??1 point
-
Not sure about mounting it that far forward upstream only for the reason Datsun did it for a reason and that was to solve a pulsating issue. Will that increase down the line I don’t know. Never have been one that might create another variable down the road IMO of course1 point
-
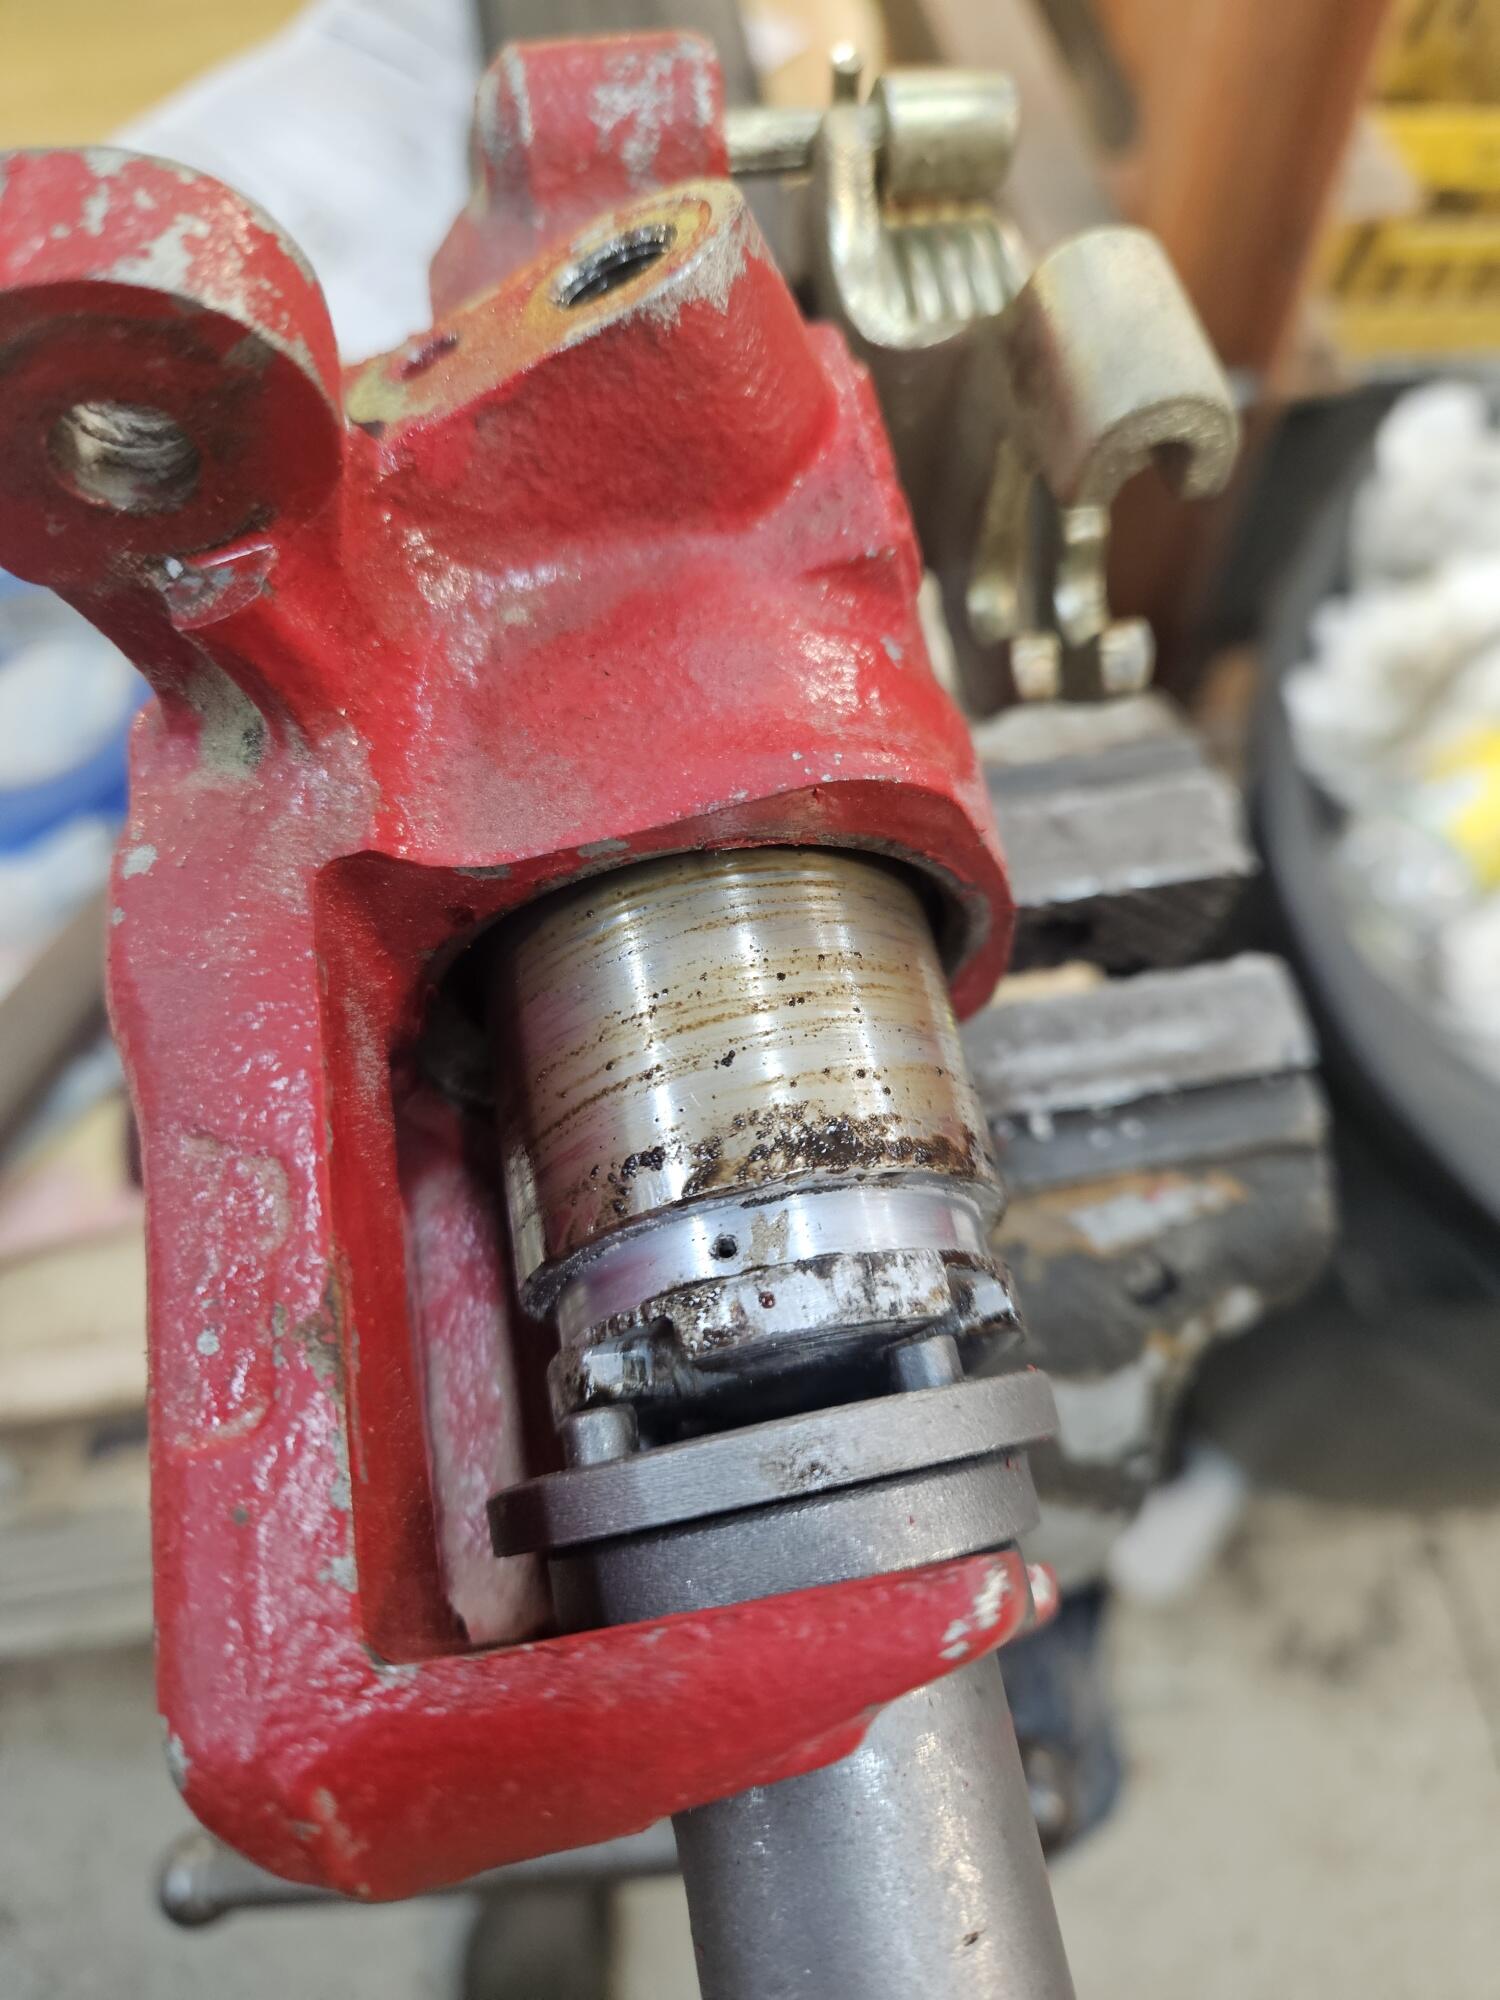
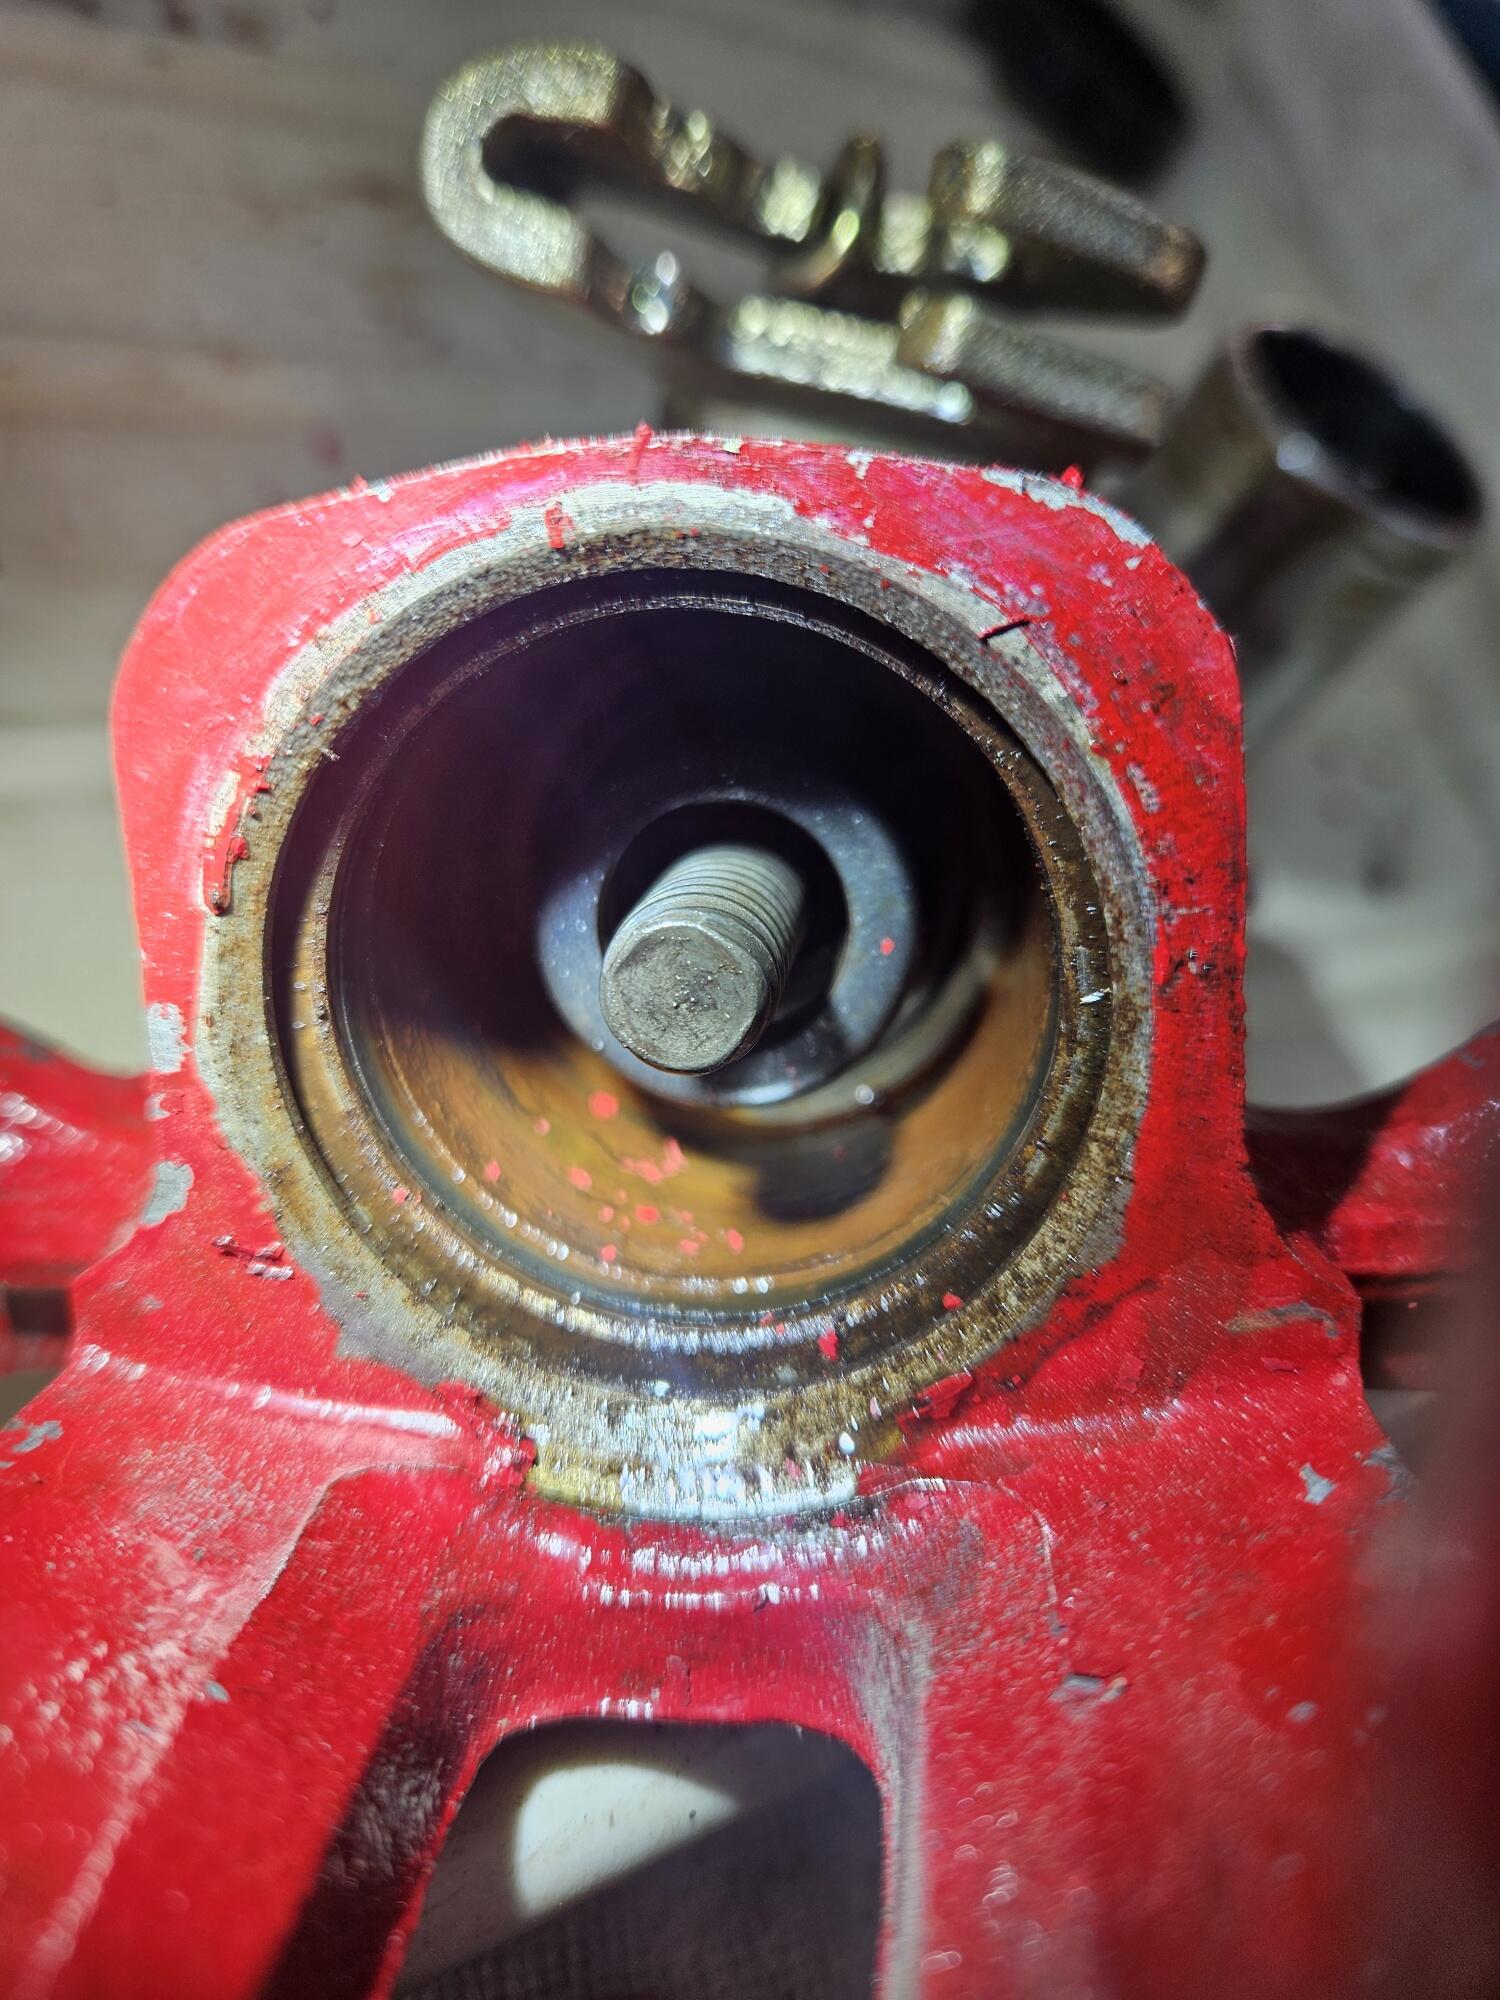
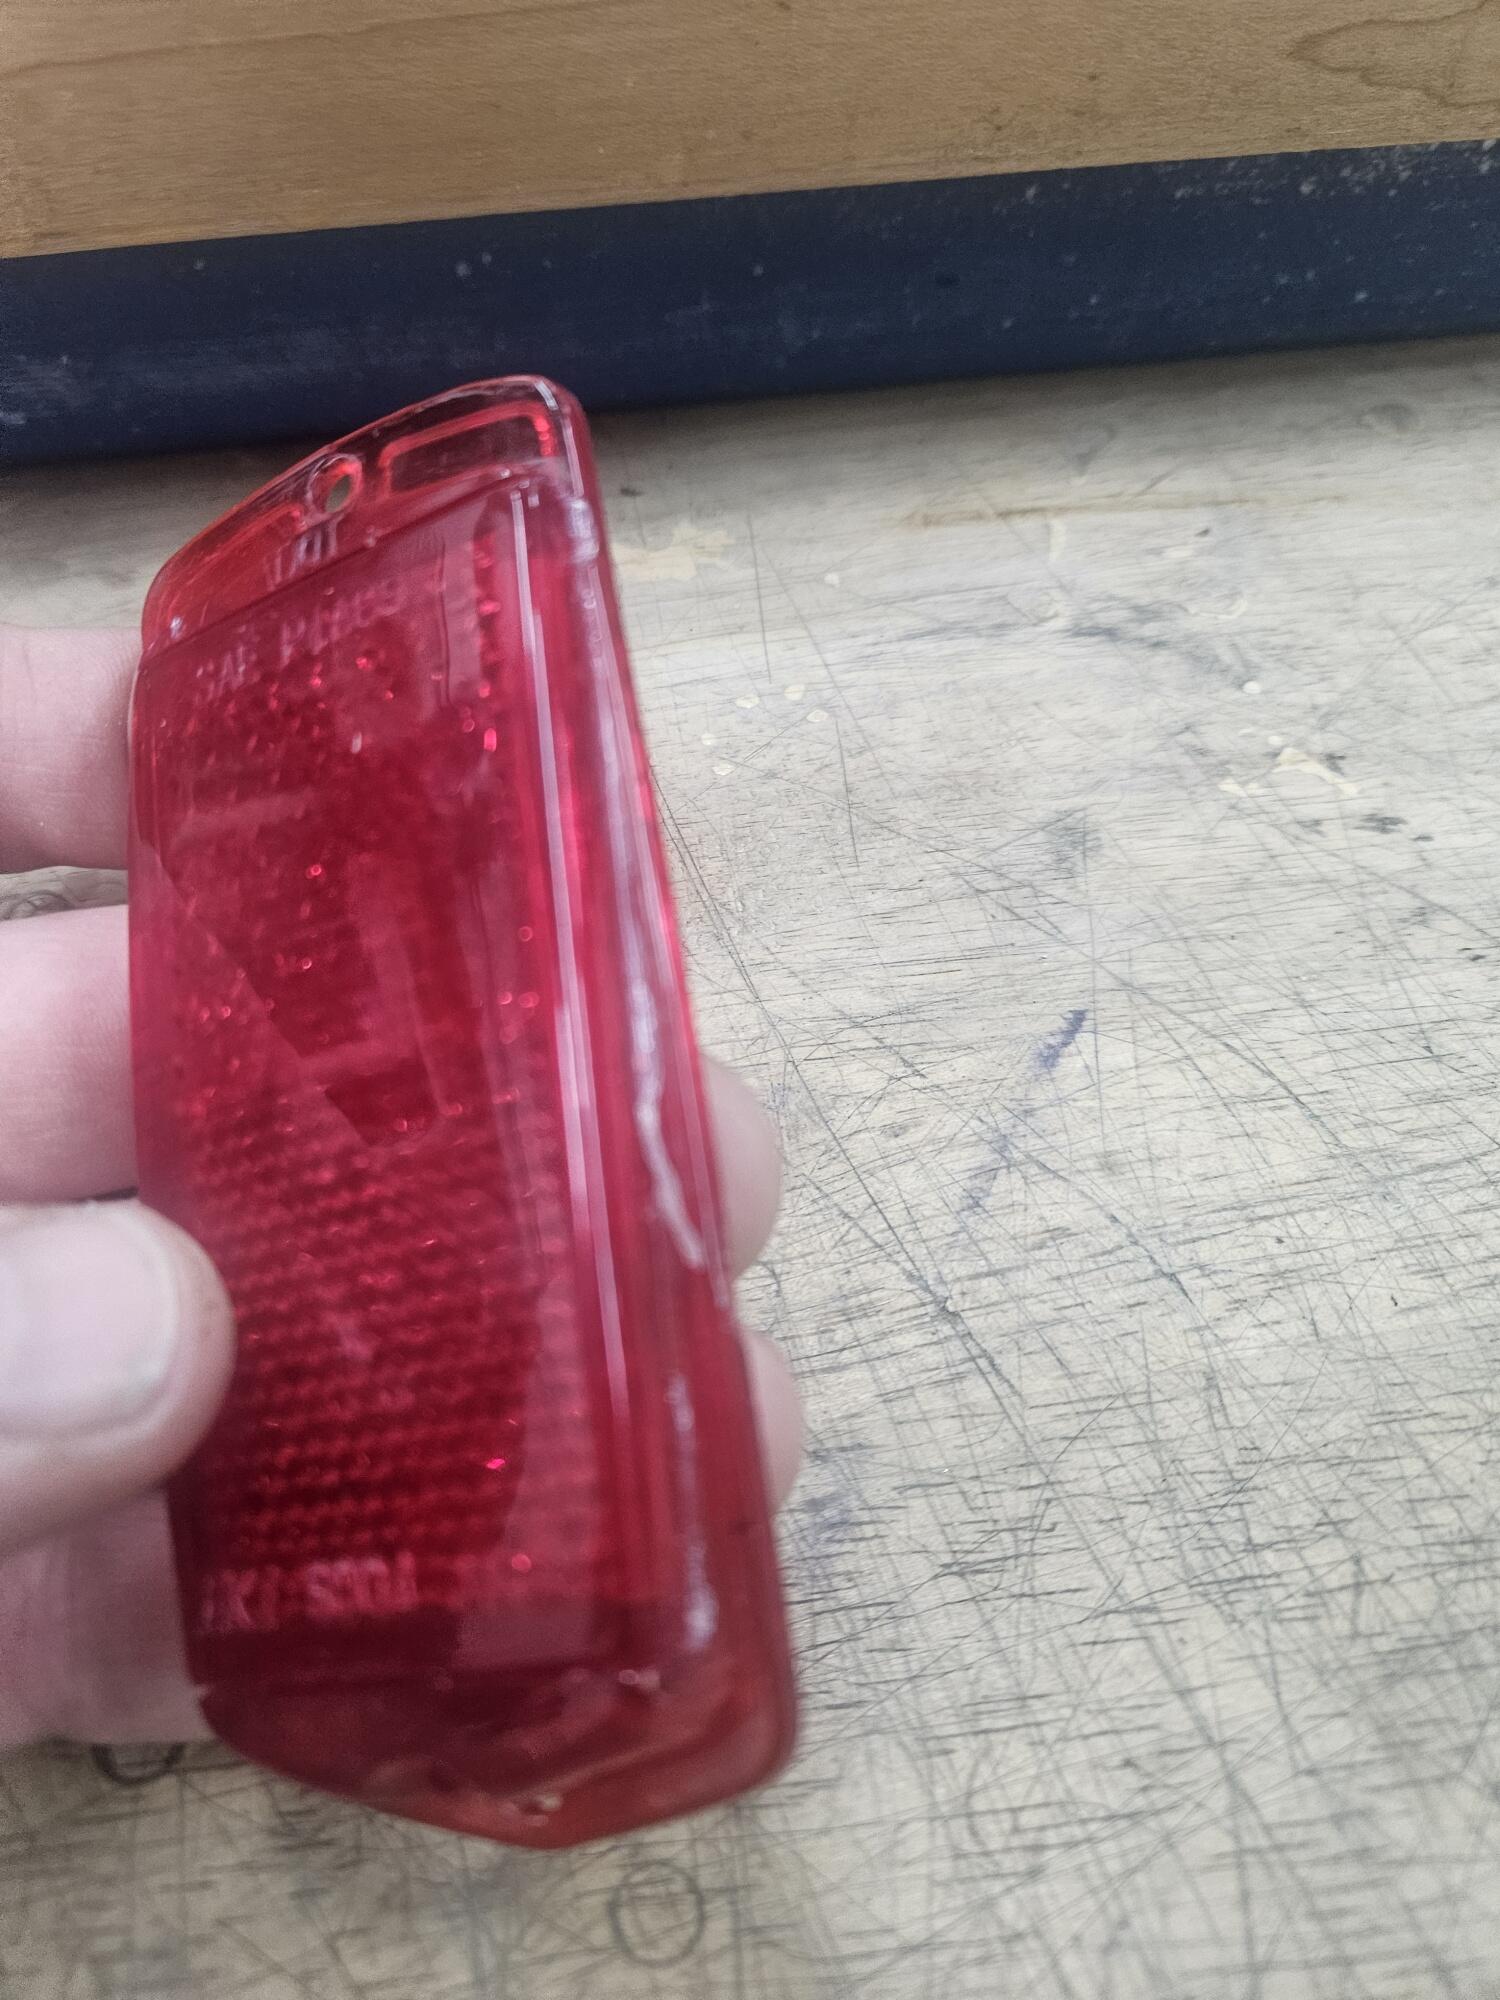
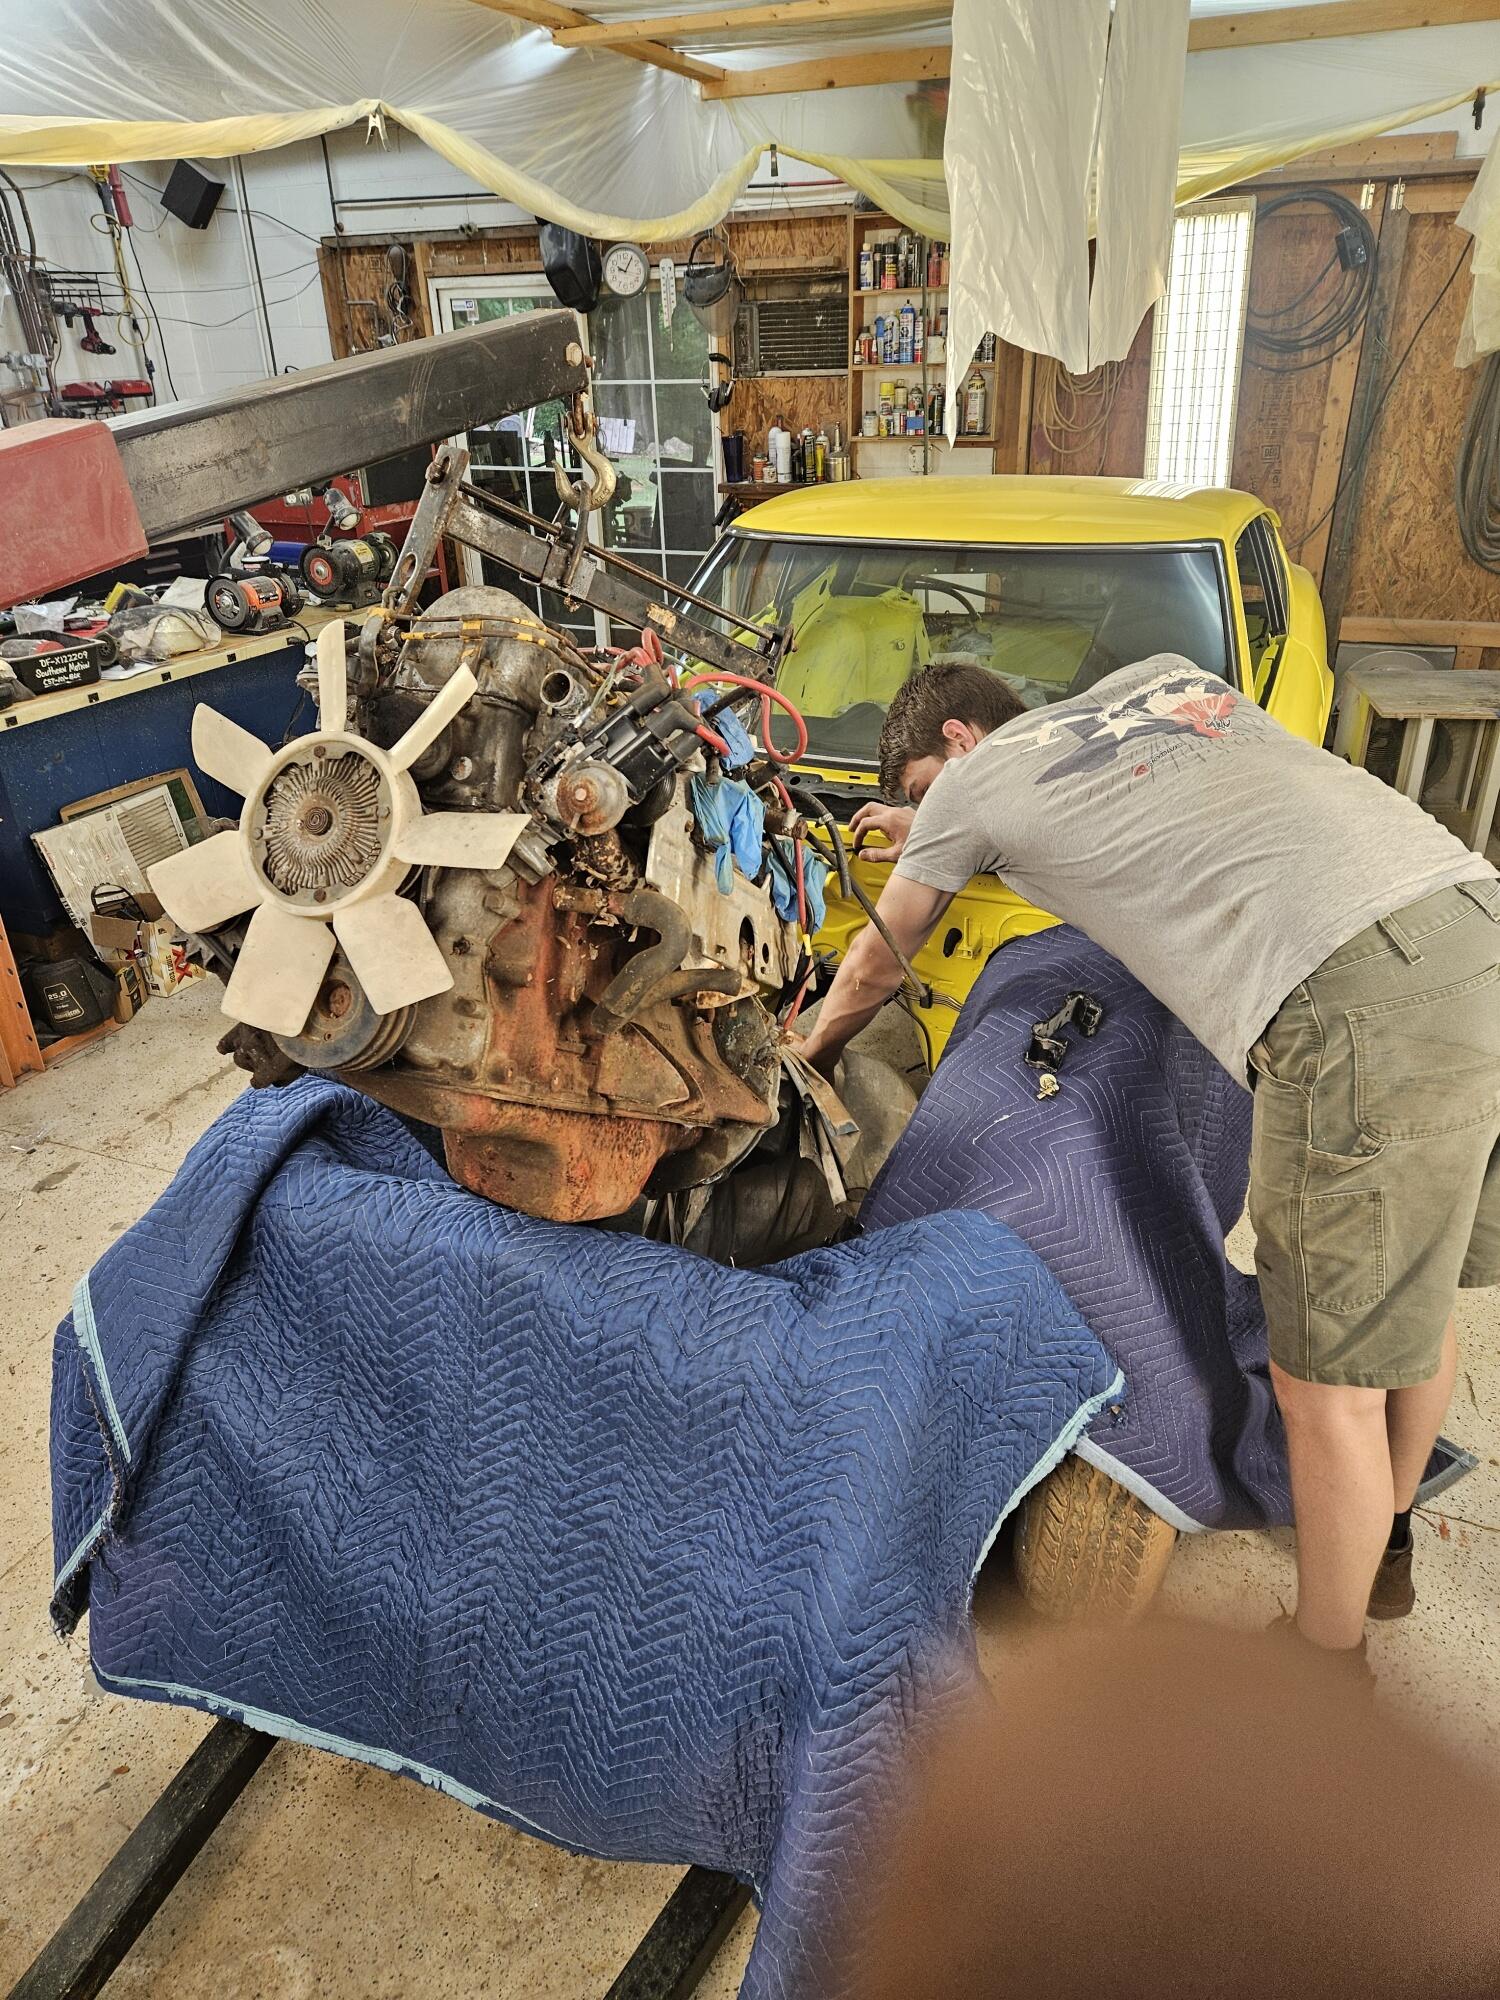
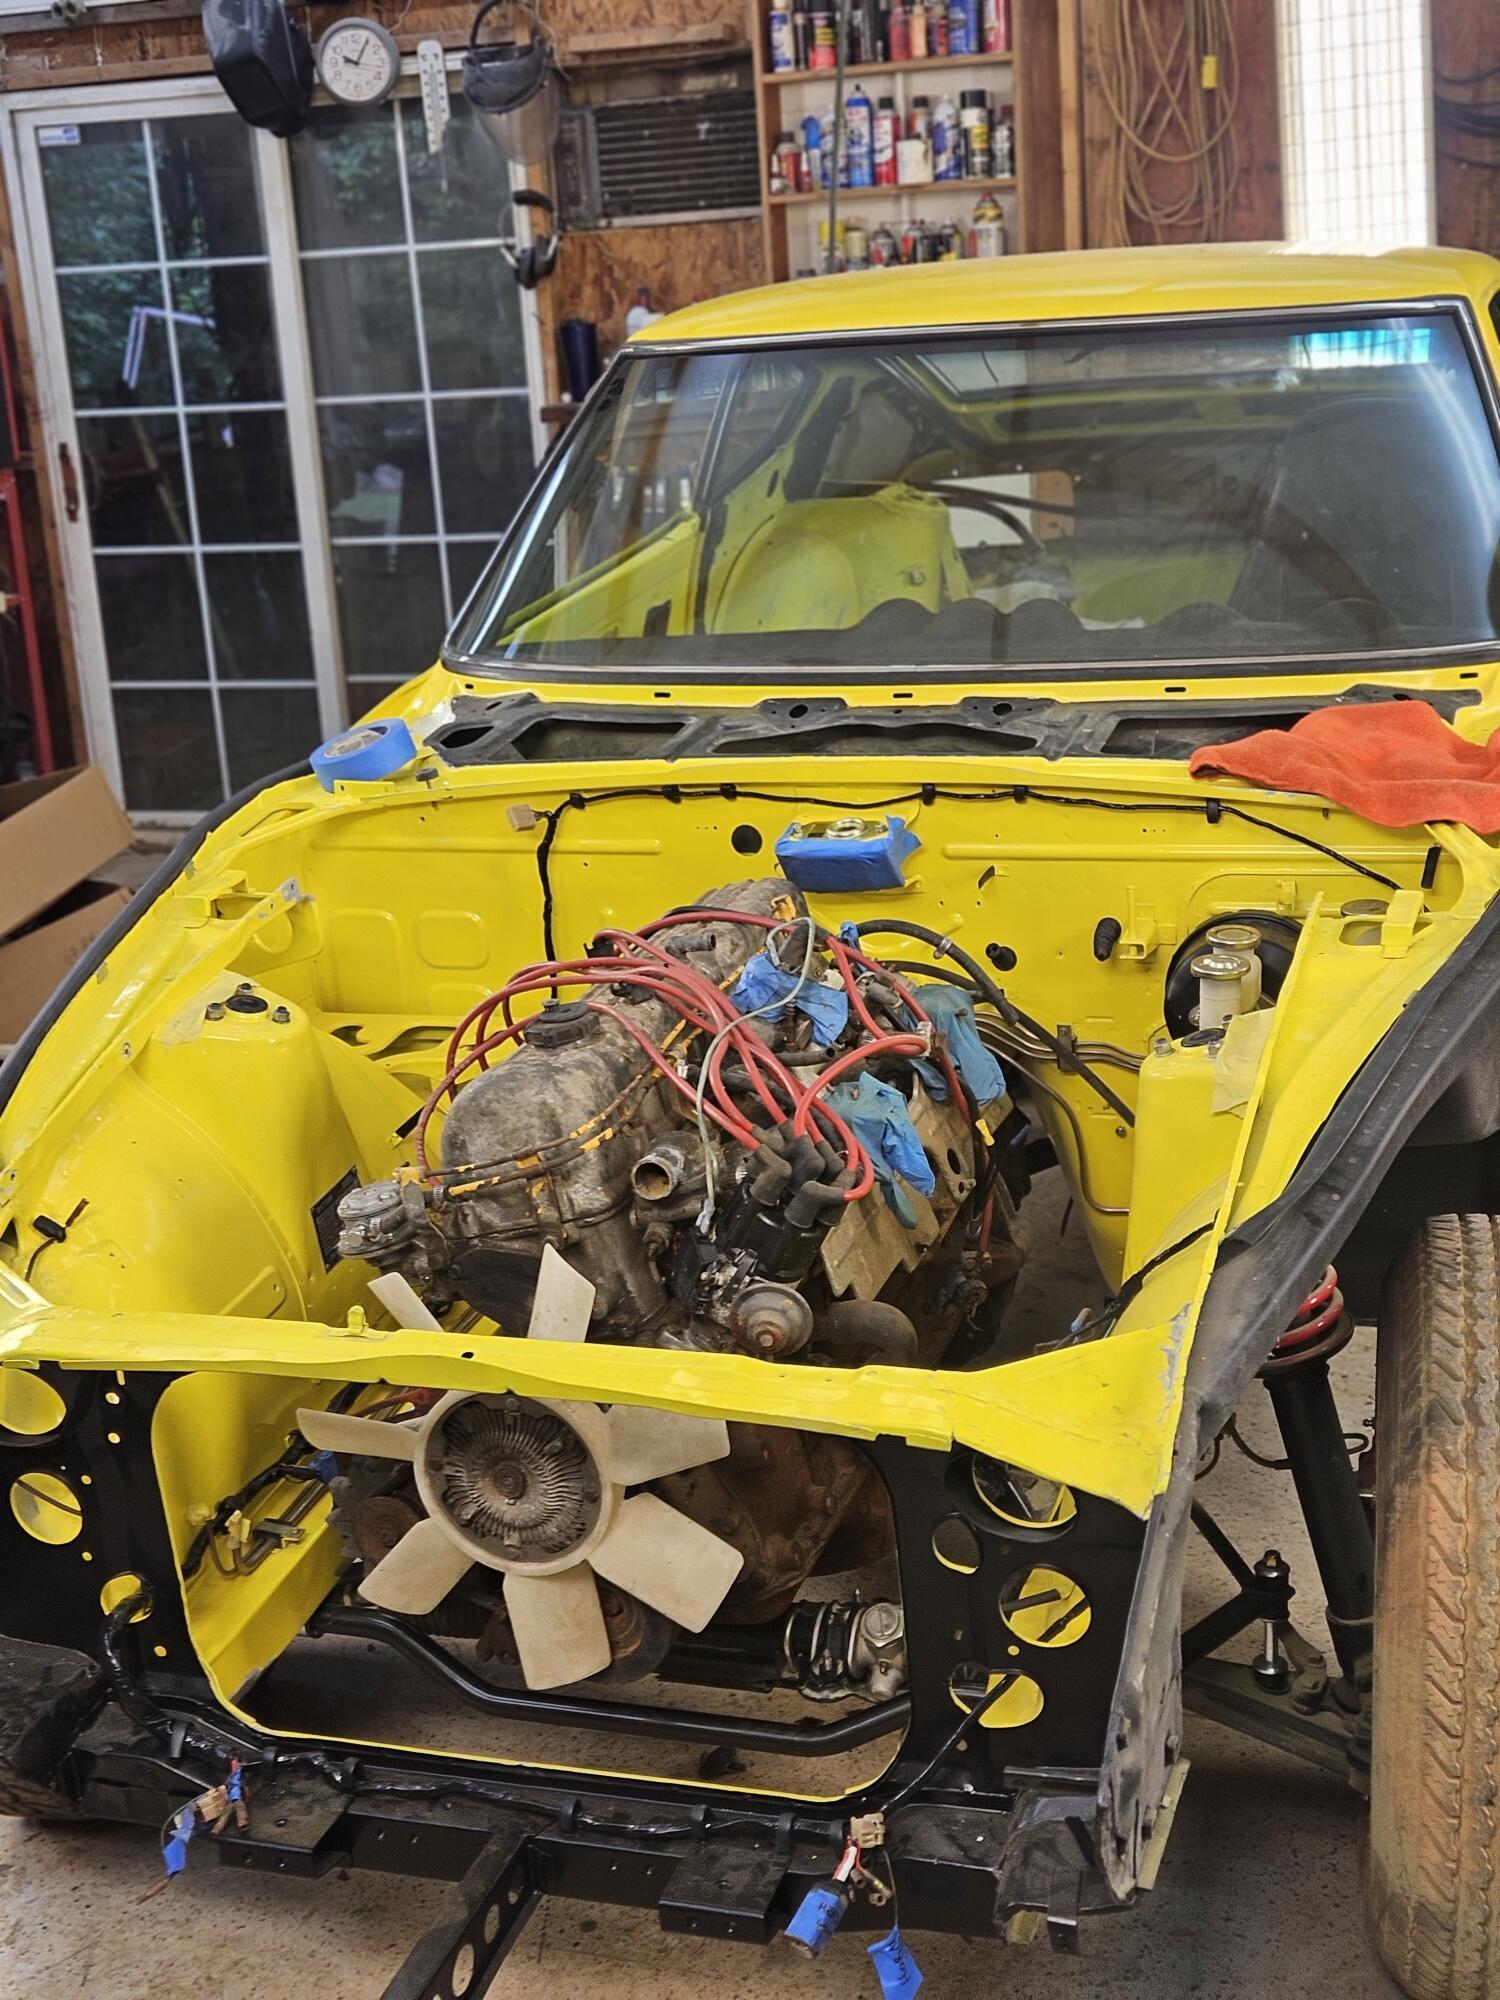
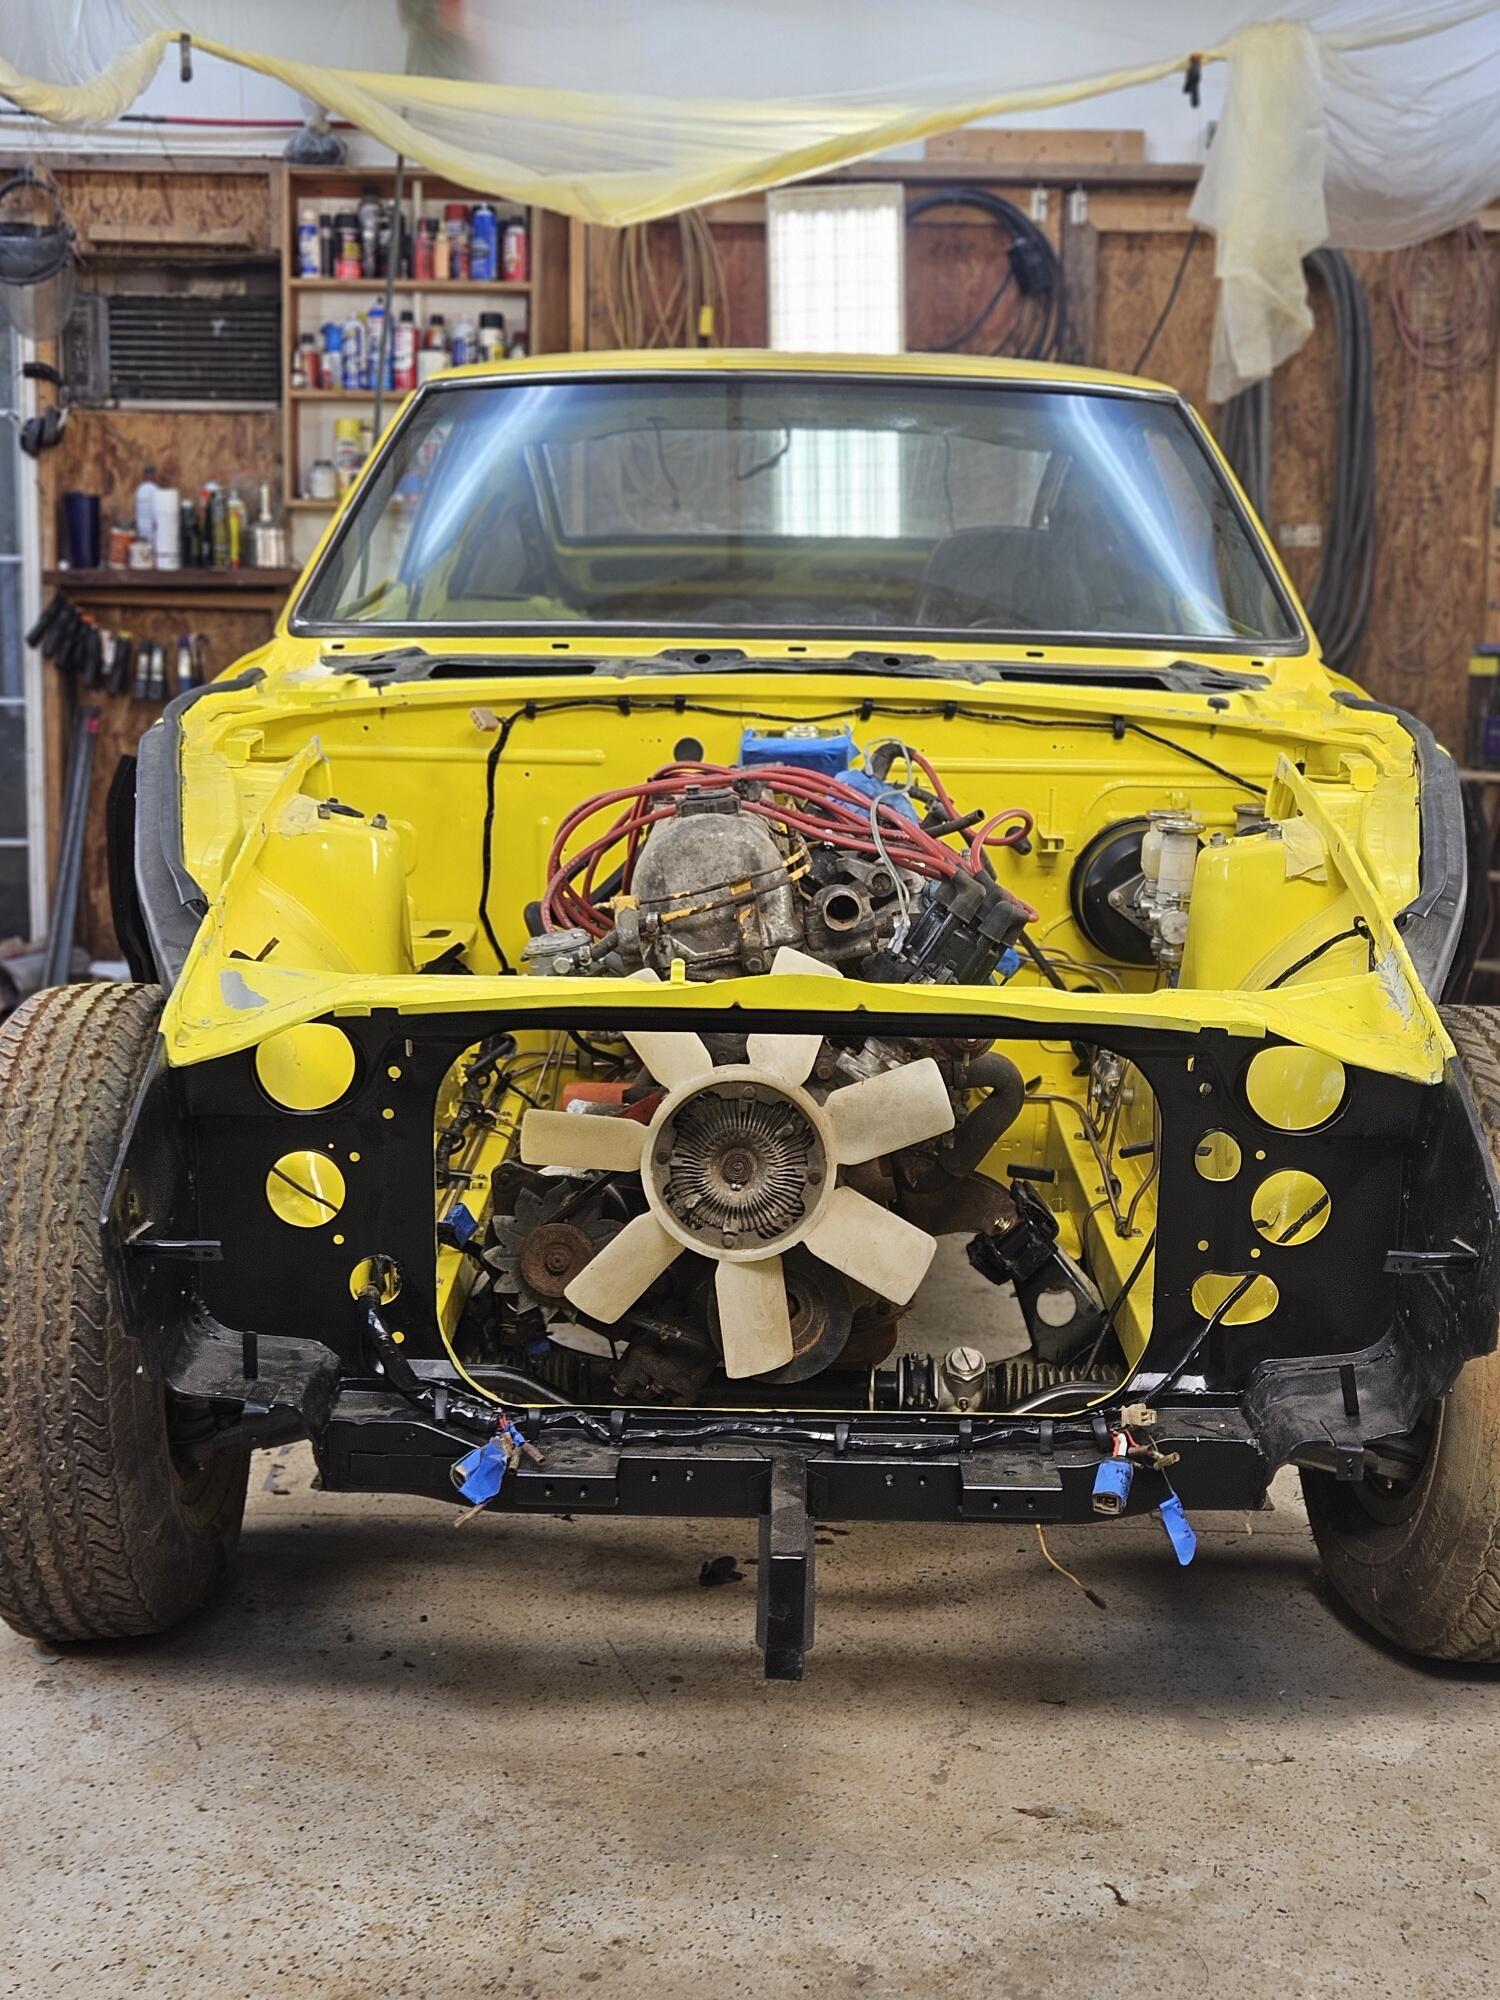
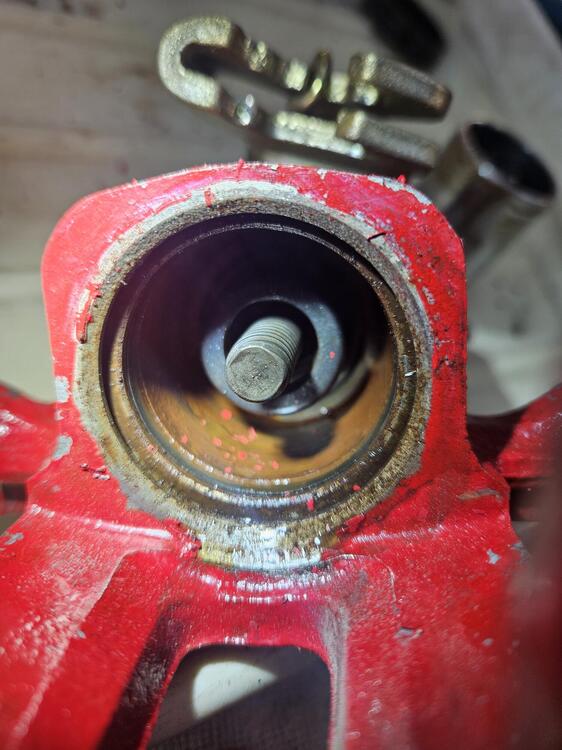
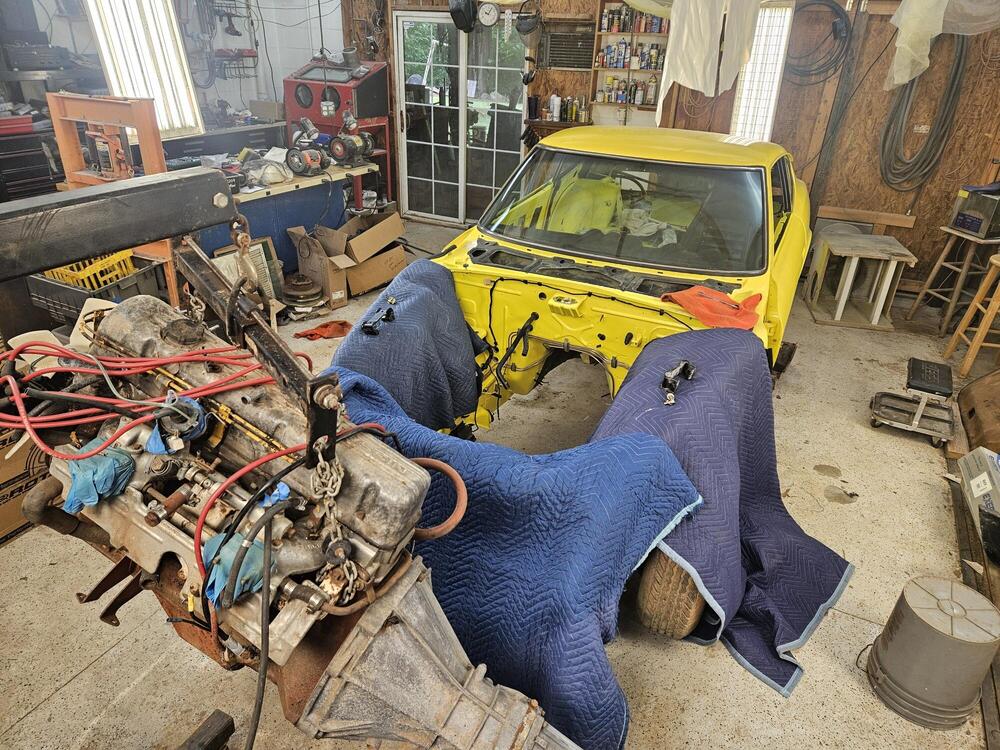
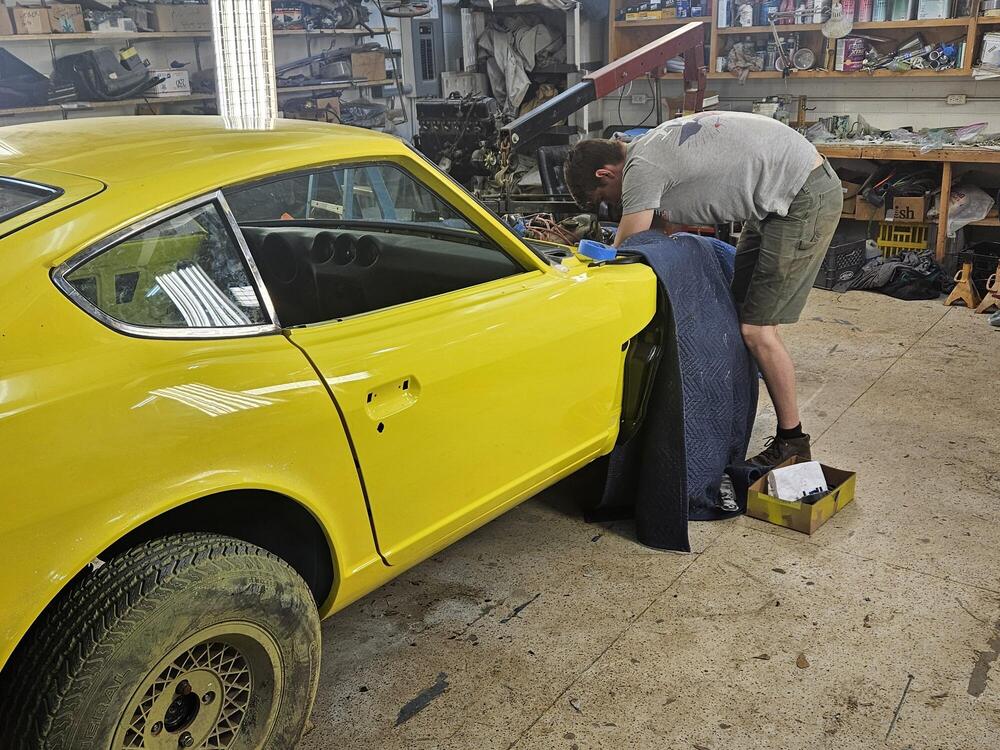
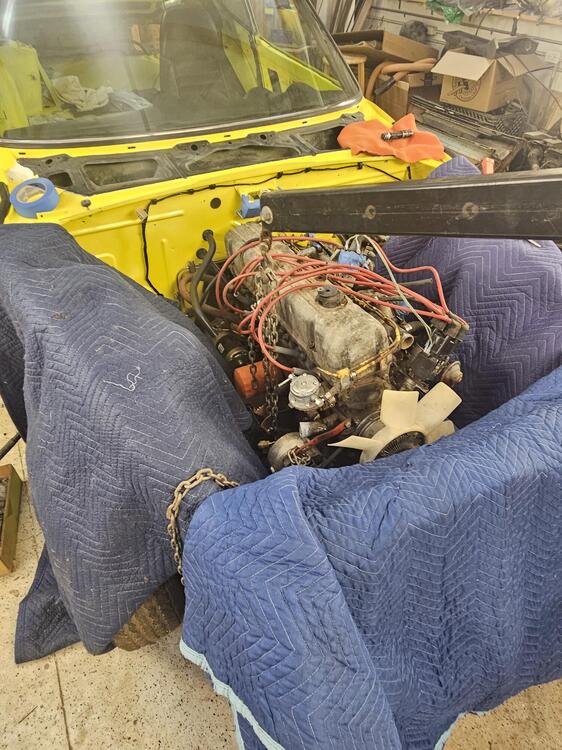
1 pointSo I tore into one of the rear calipers today. They don't look good and I don't know how to get them apart. I'm also concerned if I get them apart I won't be able to get them back together. I'm going to see if O'Reillys can get me a pair. Here is a marker light after I used some silicone to reassemble them. I just left the squeeze out. It scrapes right off with a fingernail after it's dry. Today we worked on putting the ugly engine into Lily I separated the transmission yesterday and made sure the pressure plate wasn't rusted to the flywheel. It was a little crusty but I cleaned it up and Cody helped me get it back on the engine. It has a Centerforce clutch in it from the 90's probably!! The next step is cleaning the Ztherapy SU's that have been sitting for a decade or so.''


 1 point
 -
1 pointProbably just me, but what the heck is an AB valve? Anti-backifire? Not seen one on an L6. Are you working on a different engine?1 point