Leaderboard
-
conedodger
Free Member9Points12,513Posts -
Captain Obvious
Free Member6Points10,081Posts -
Patcon
 Subscriber
 5Points11,142Posts
 -
inline6
Subscriber4Points1,282Posts


Popular Content
Showing content with the highest reputation on 05/06/2024 in all areas
-
Right. At the top of the pedal stroke, you need to assure that the master cylinder returns to it's "at rest" position where the plunger is not pushed in at all. There is a valve inside the master that needs to be actuated when you let the clutch pedal up. If you have things adjusted with the rod too long, you run the risk of having that valve not open when you take your foot off the clutch. You can also cause a clutch riding situation by having the push rod on the slave adjusted too long, but that is strictly mechanical and isn't caused by a hydraulic situation, just simple mechanical. So for clutch adjustment... 1) Set the pedal height with the master disconnected. 2) Adjust the master rod length such that the holes line up for the clevis pin and install the pin. 3) Adjust the slave rod to get engagement where it feels right. I'm no clutch expert, but after being inside a couple different master cylinders and understanding how they work, that's what I do.2 points
-
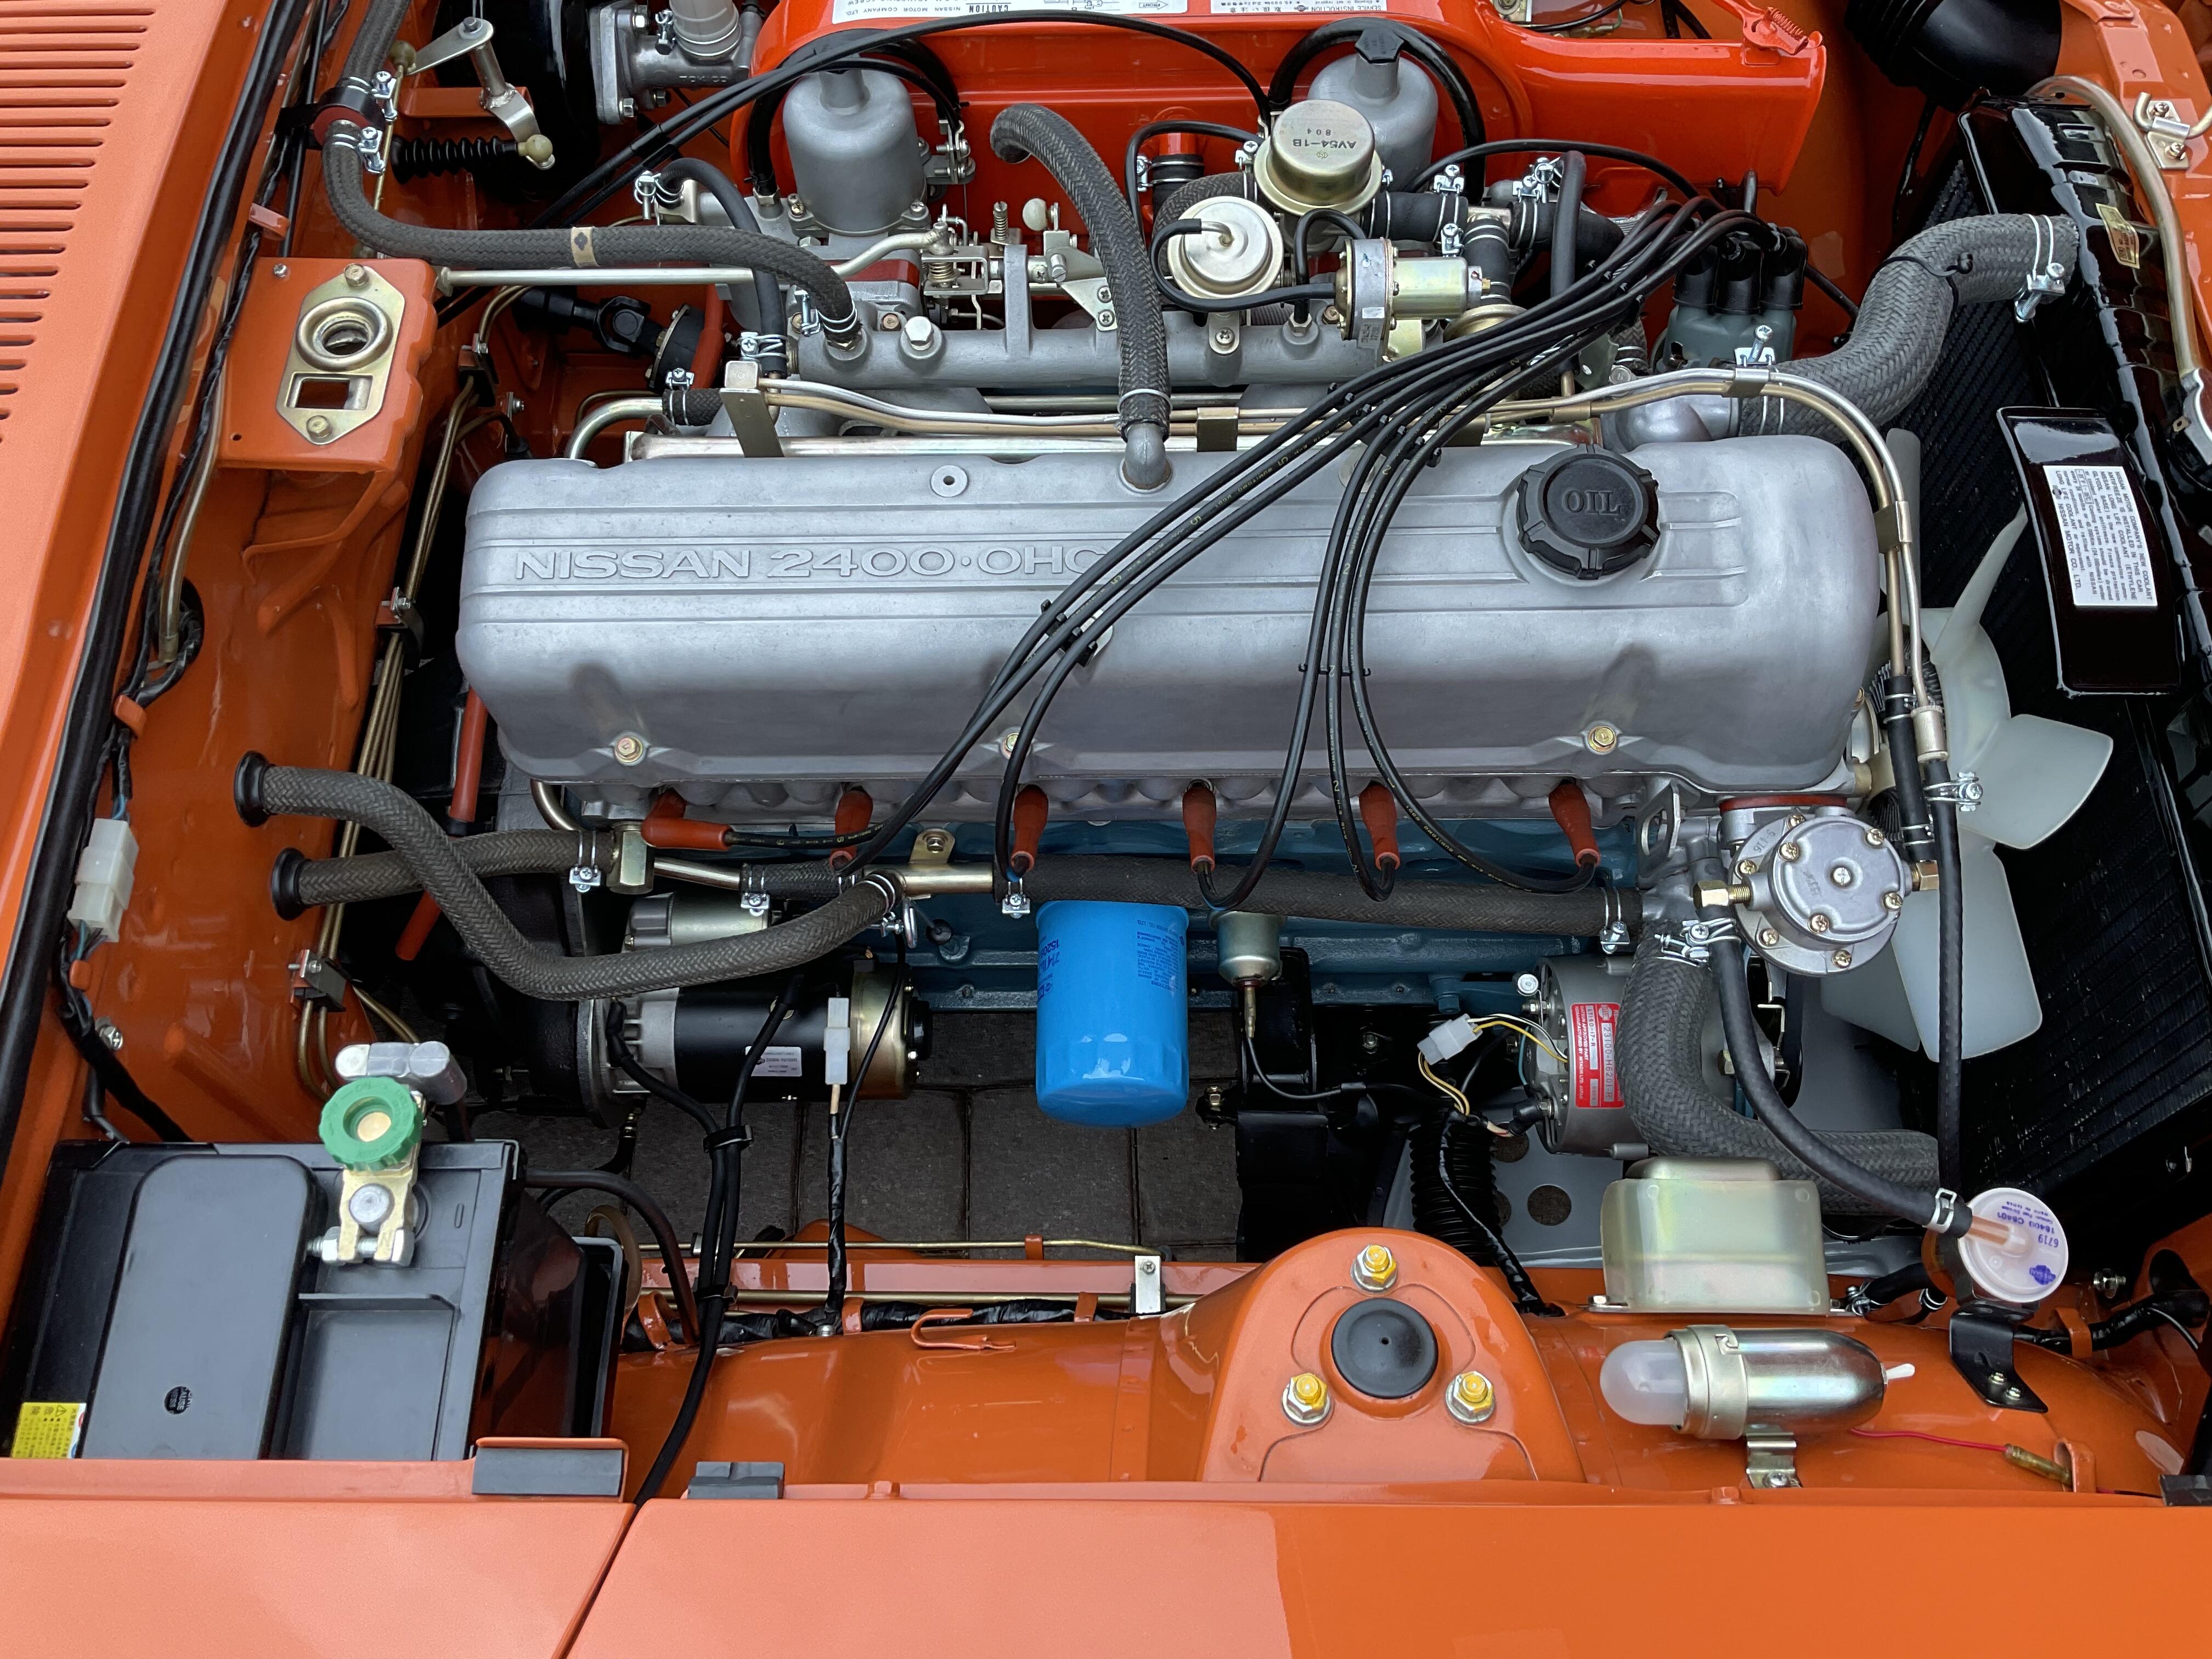
Thanks for this. That is the most accurate engine and engine compartment I have ever seen. I especially like the plating, and the finish on the SU domes and valve cover. While my plating is nice, I wish it was more authentic, like yours. Incredible.2 points
-
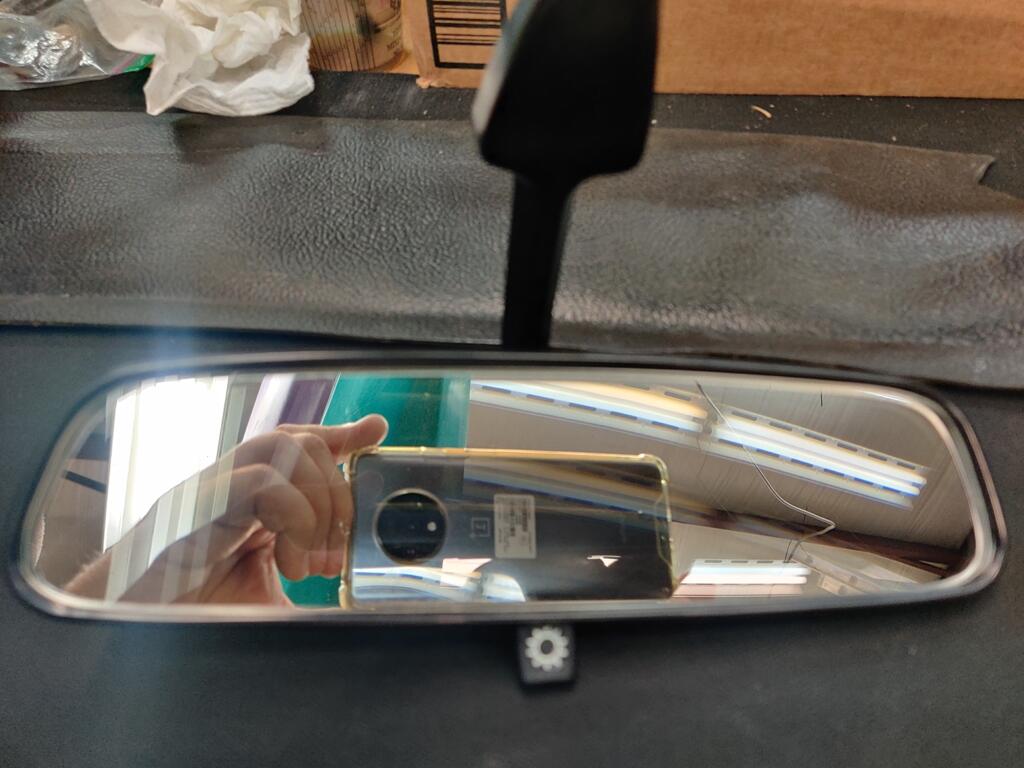
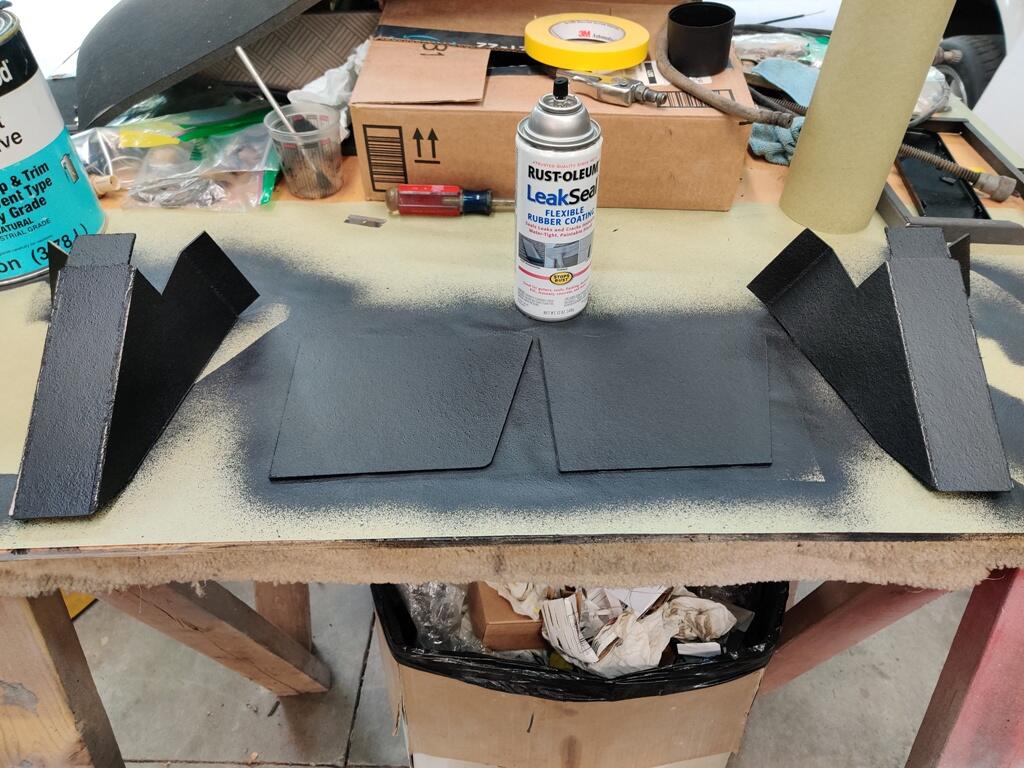
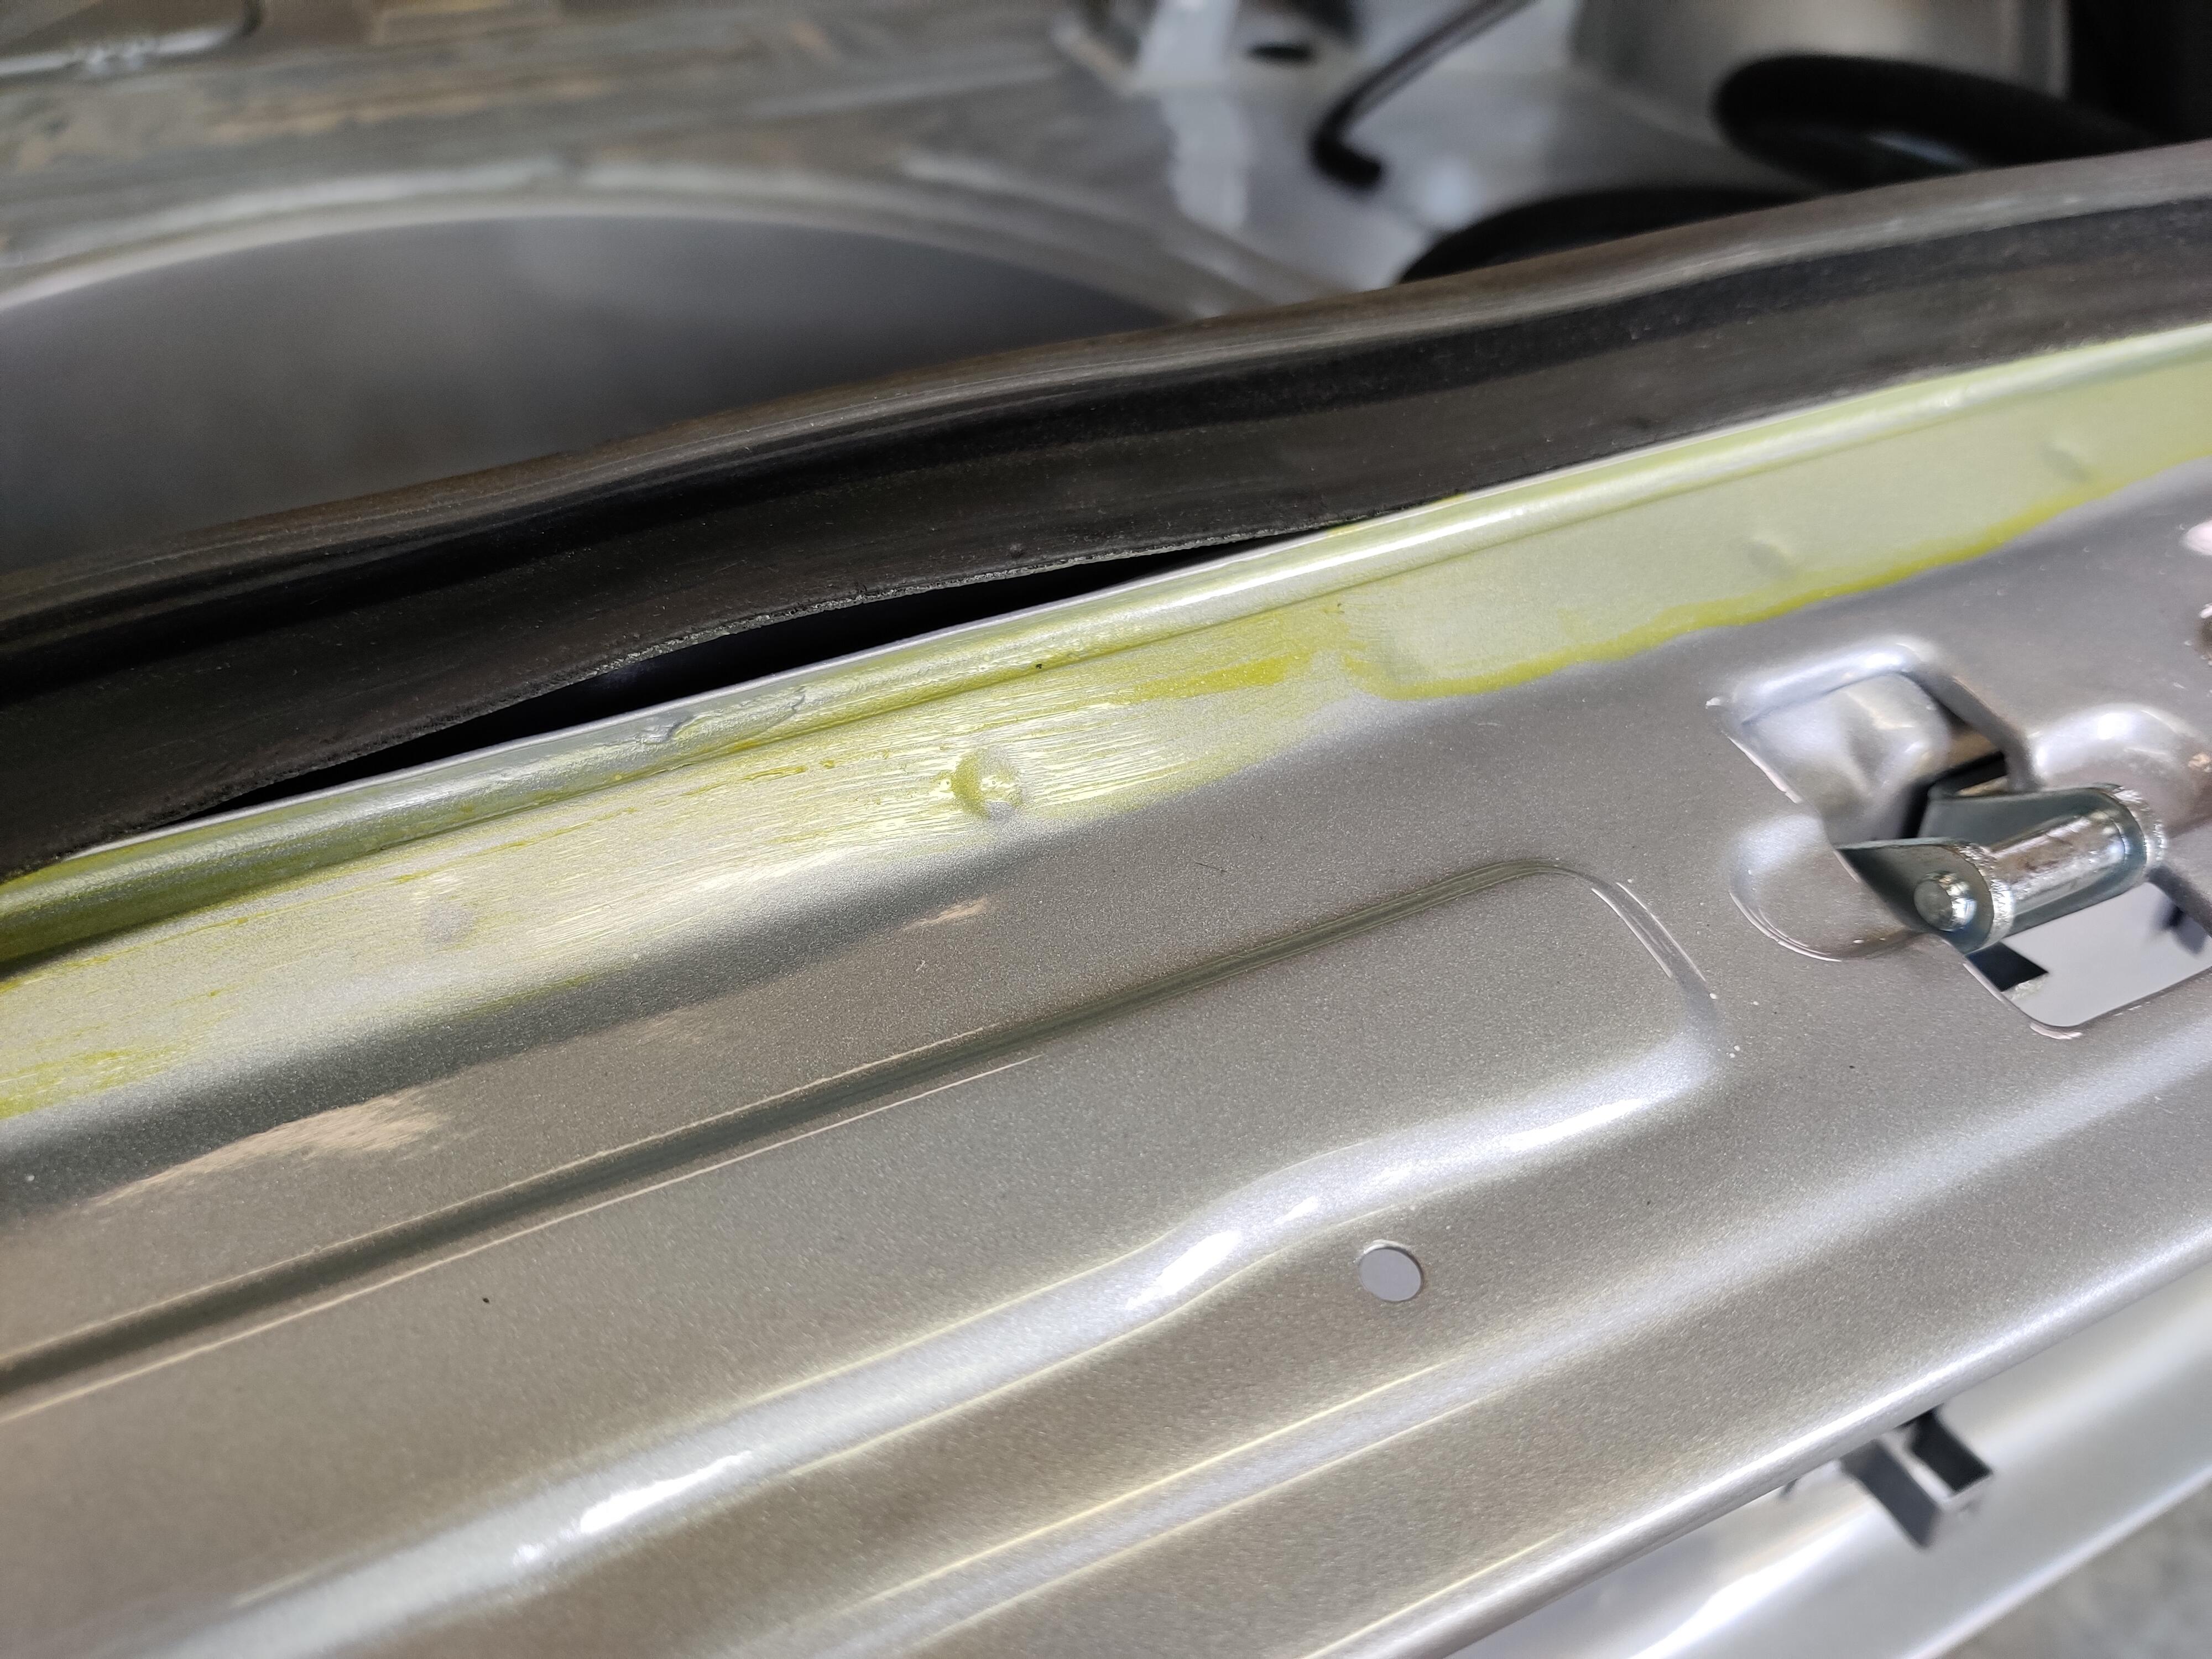
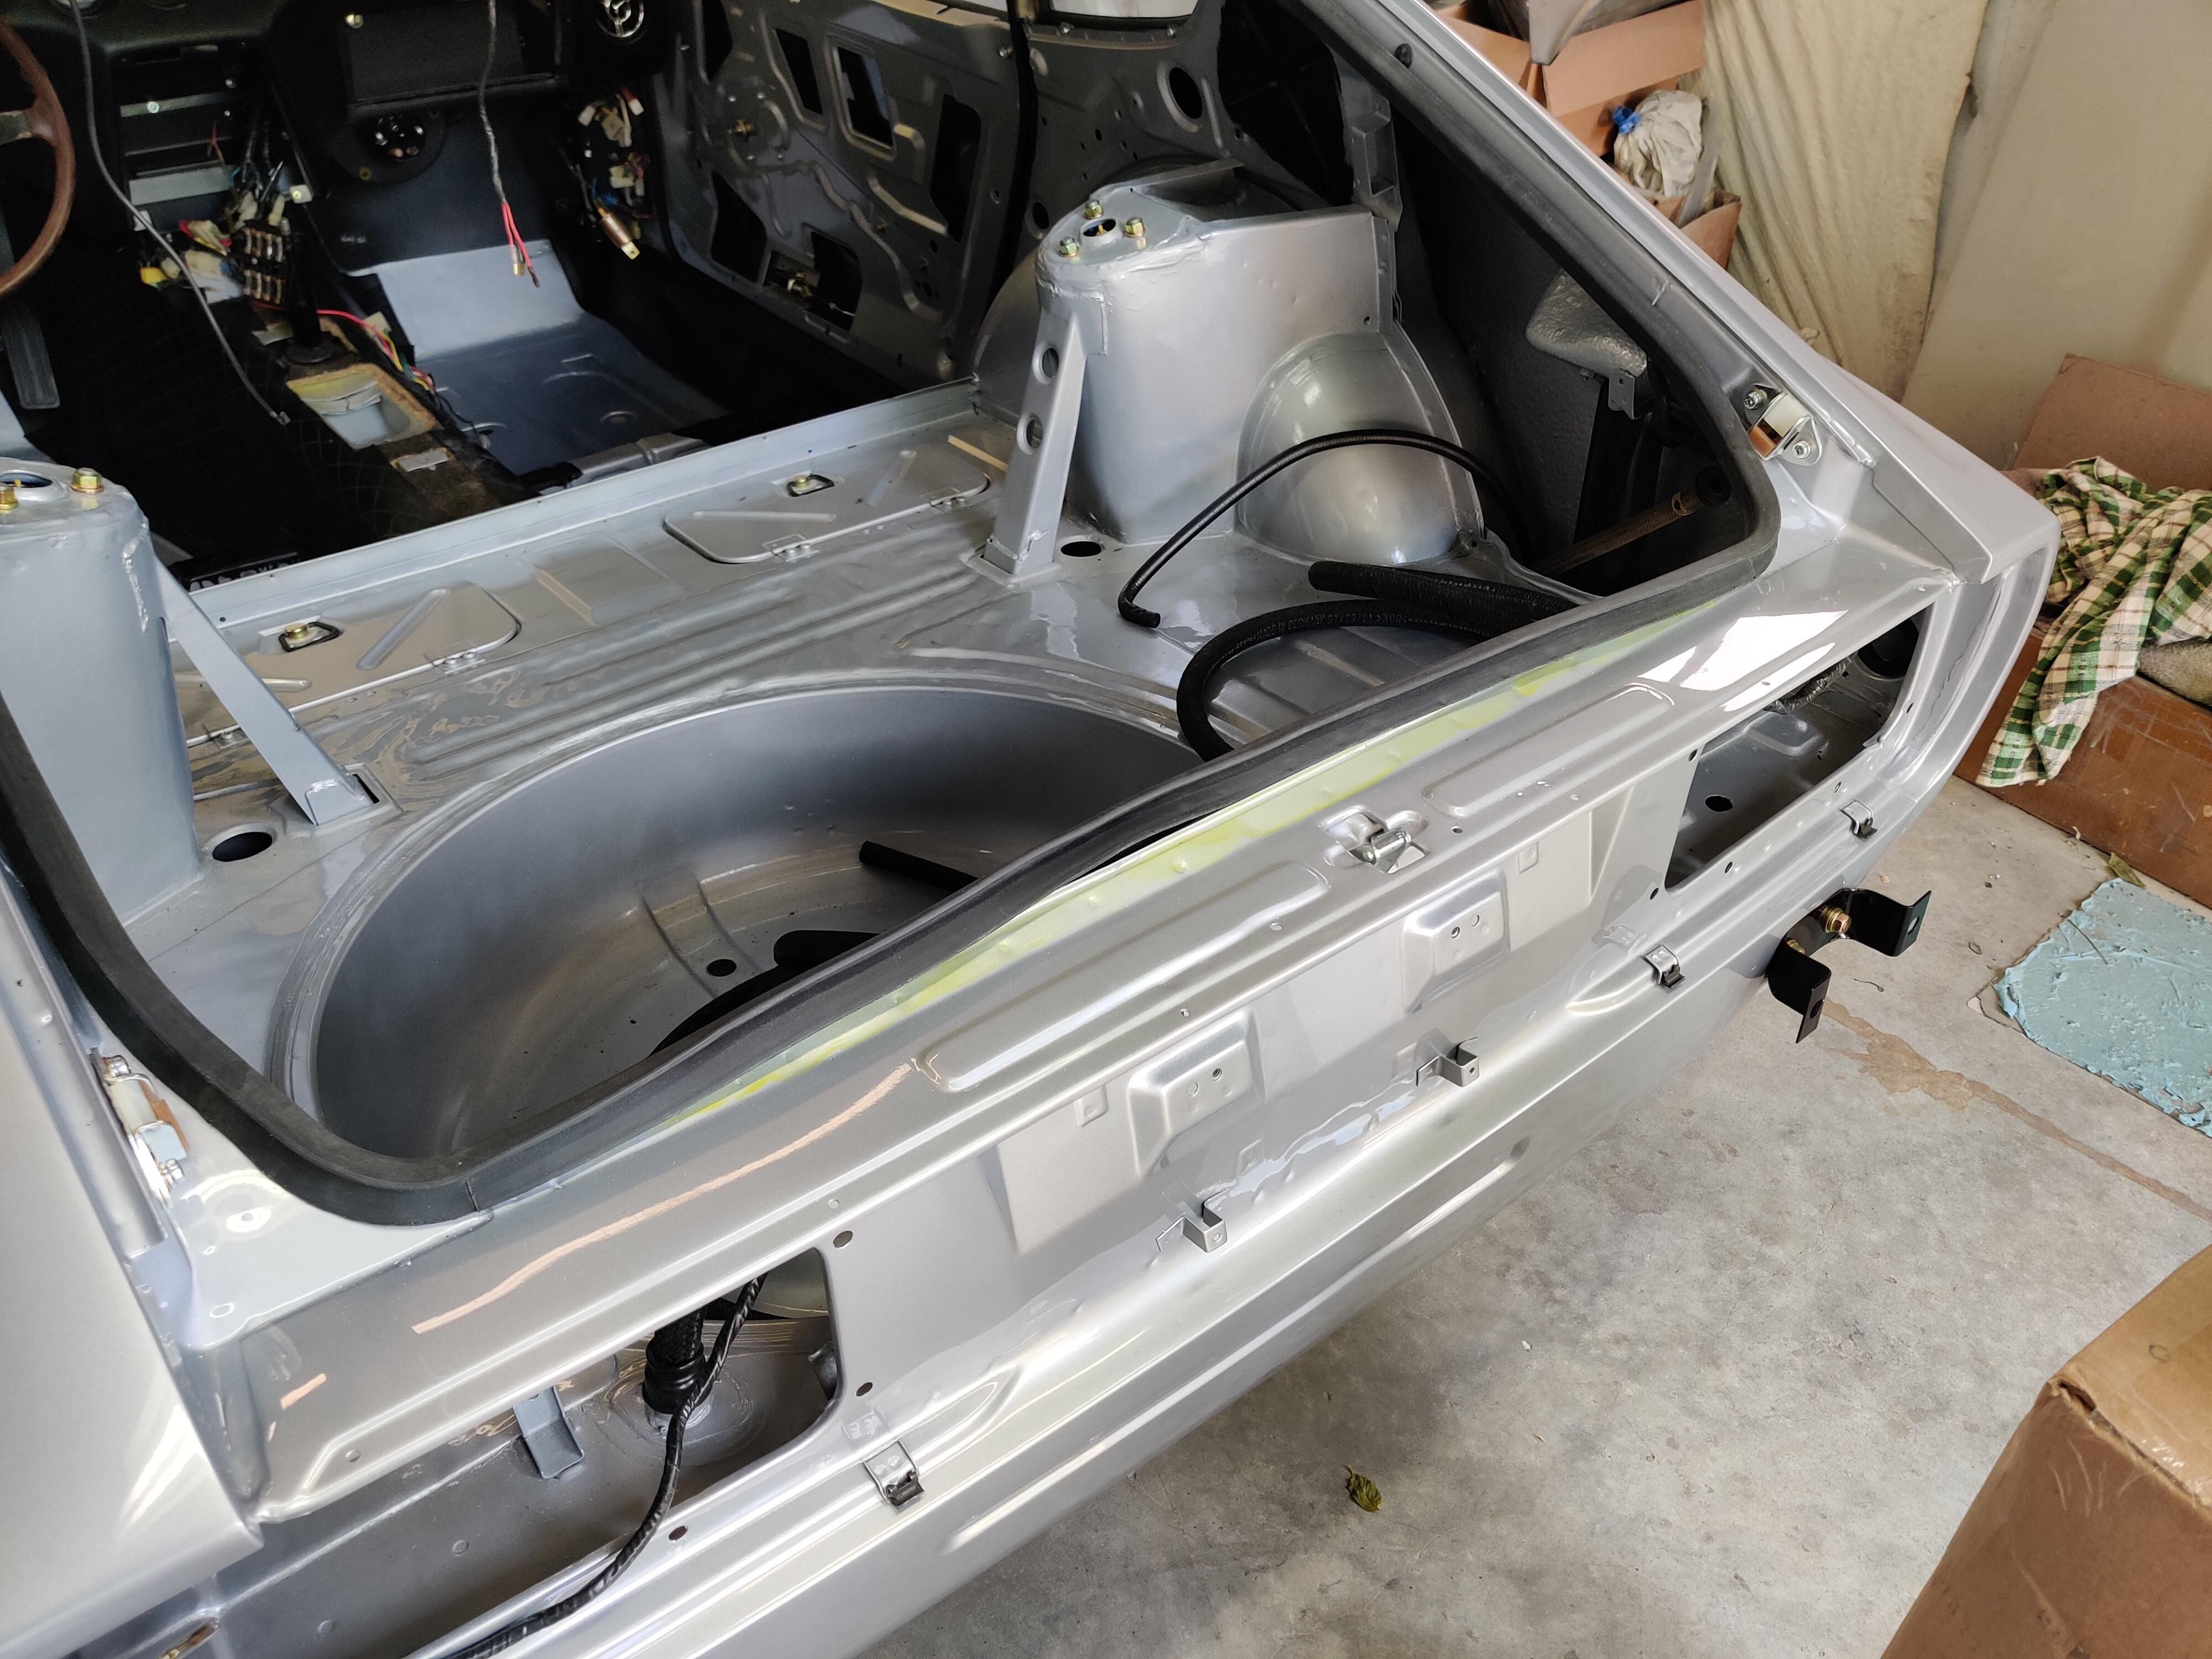
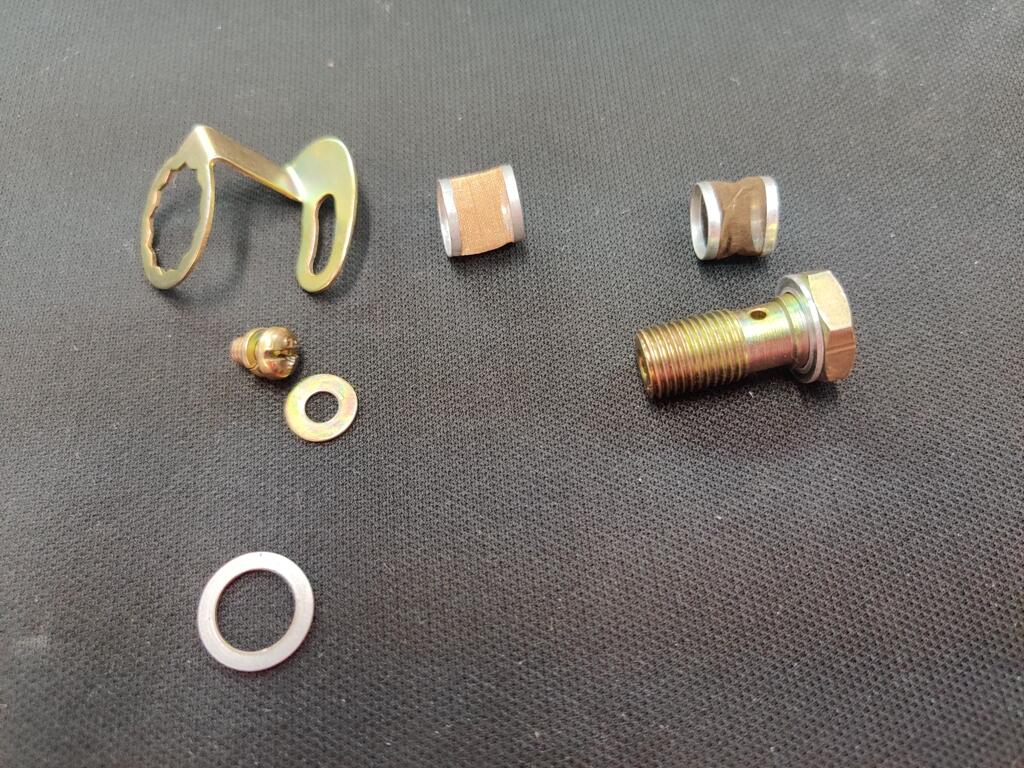
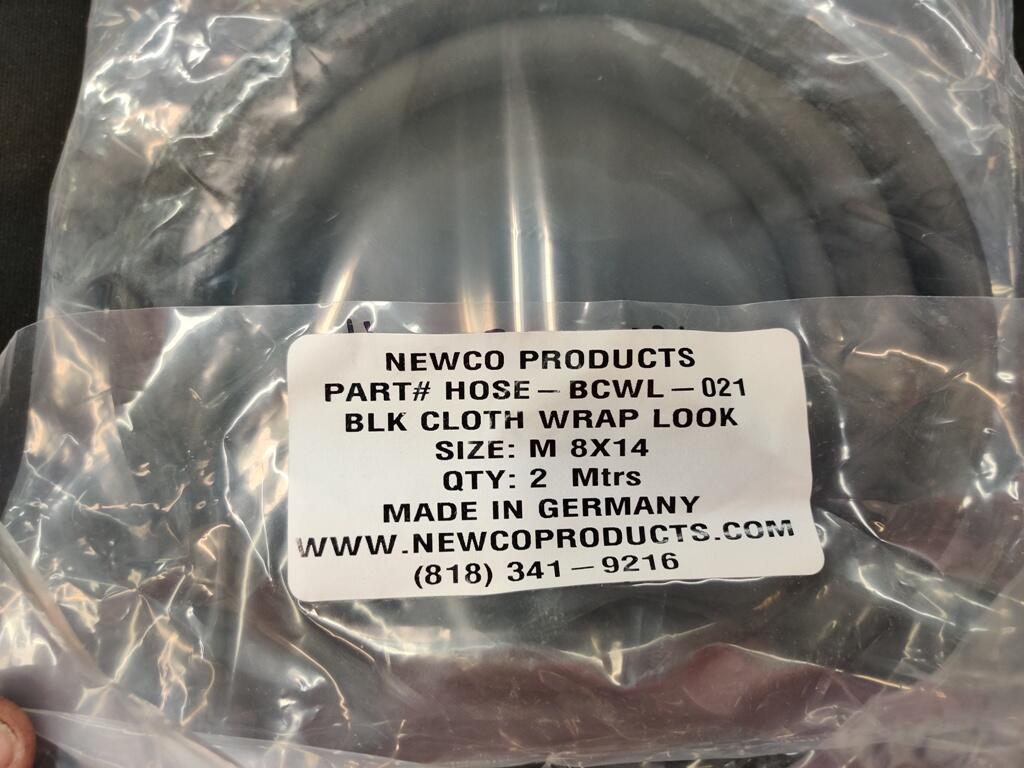
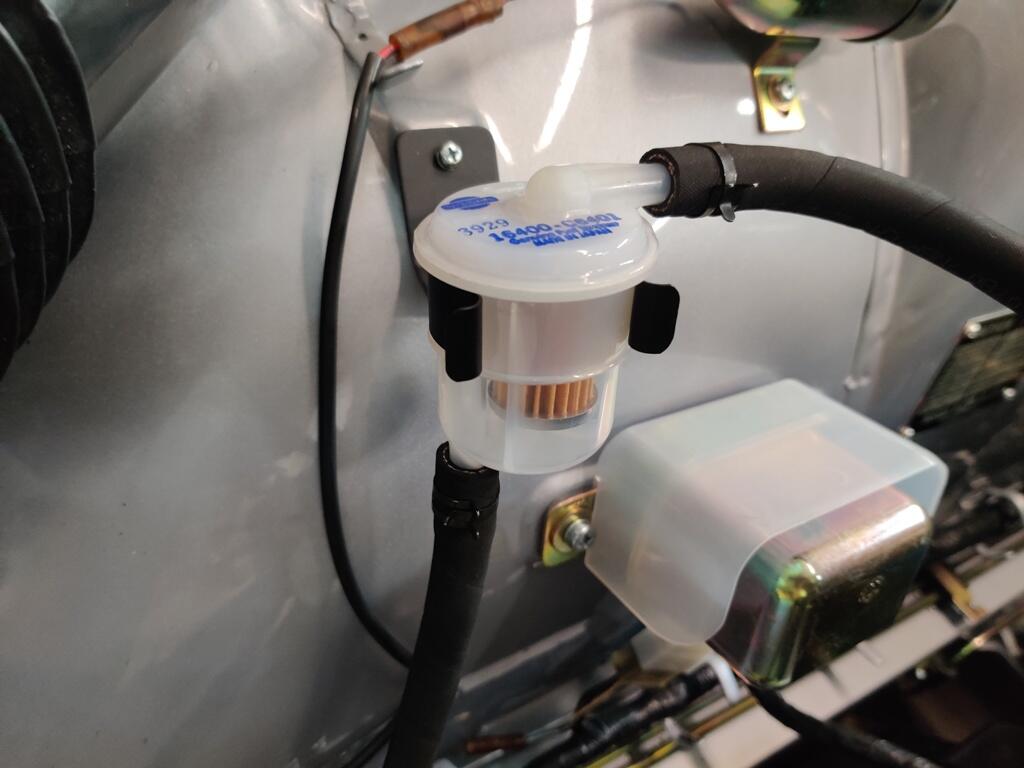
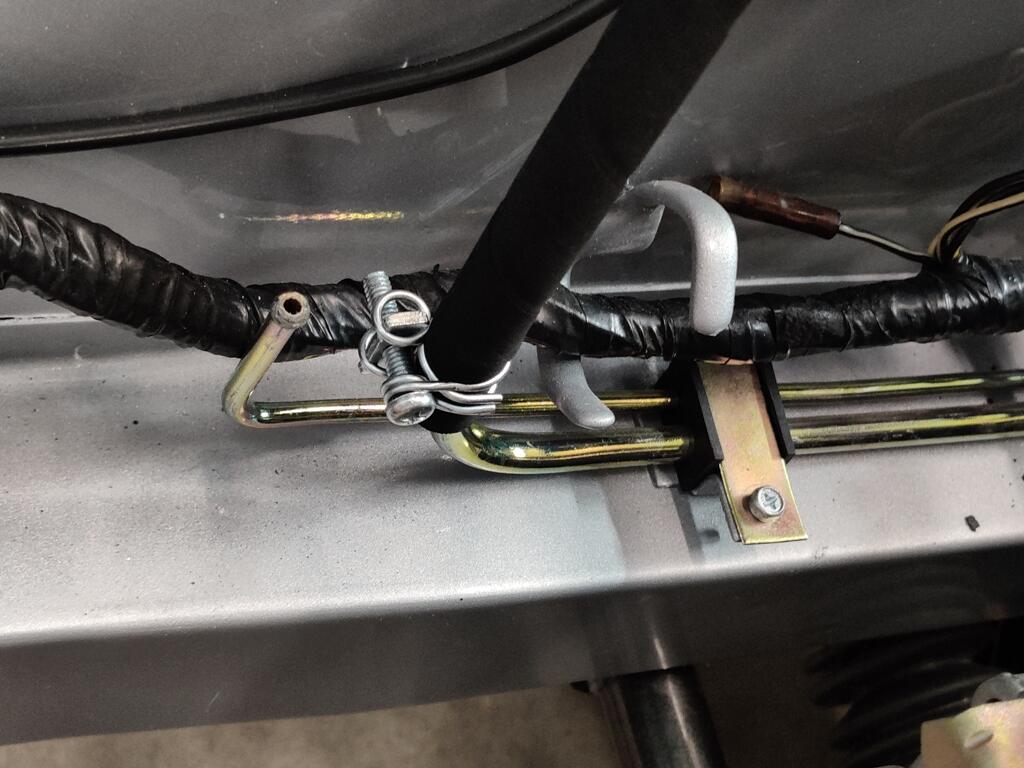
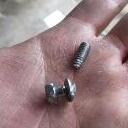
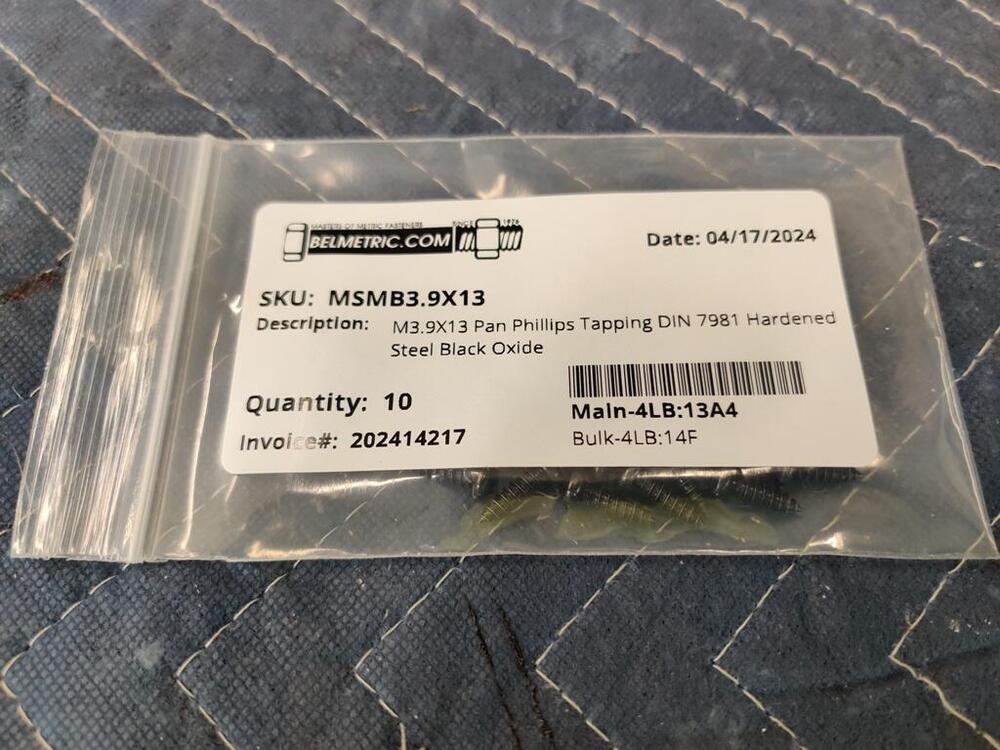
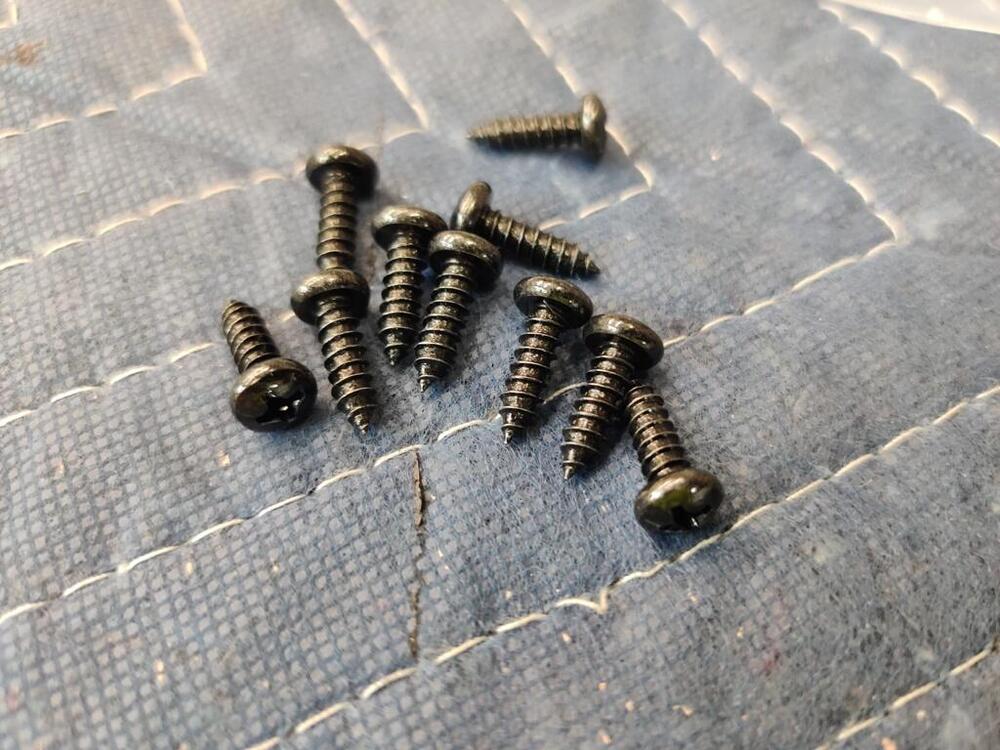
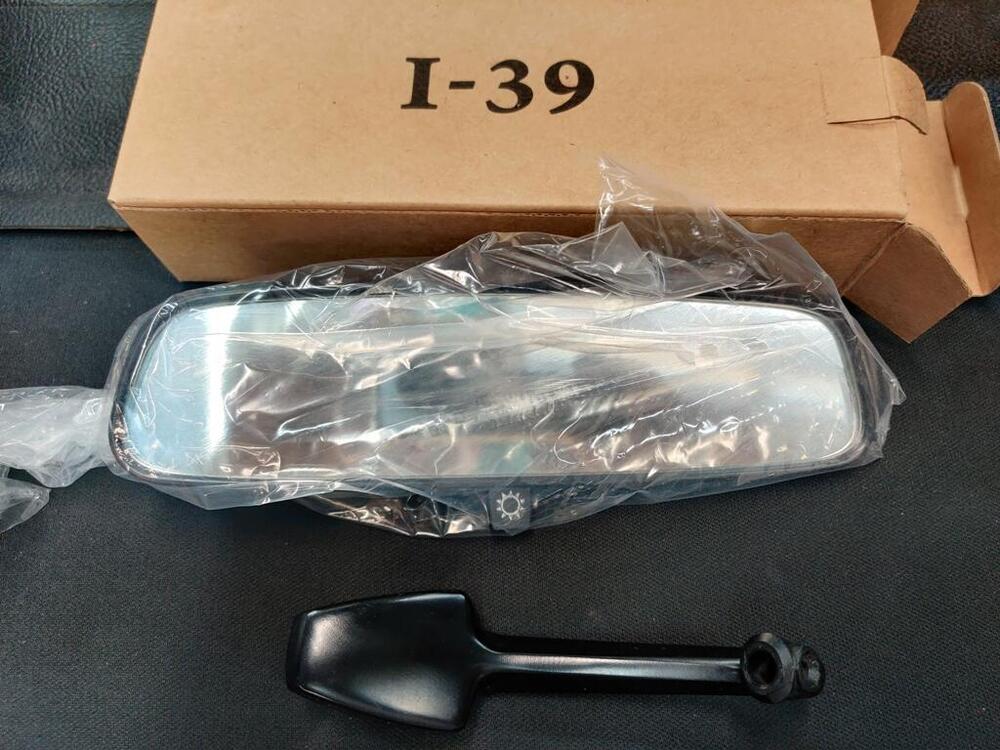
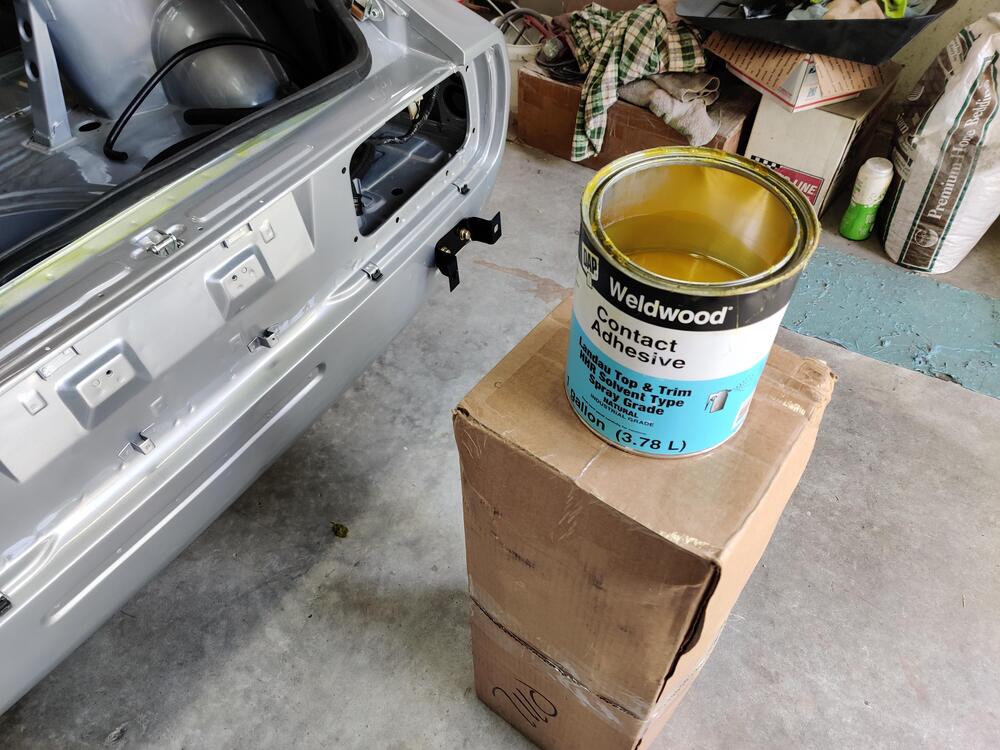
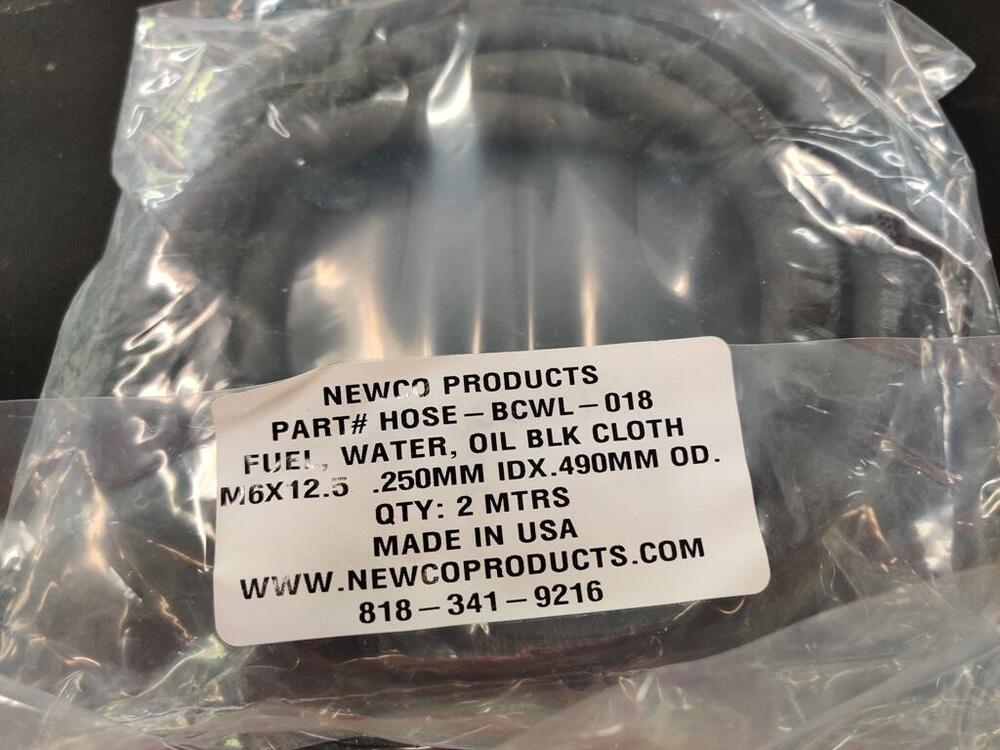
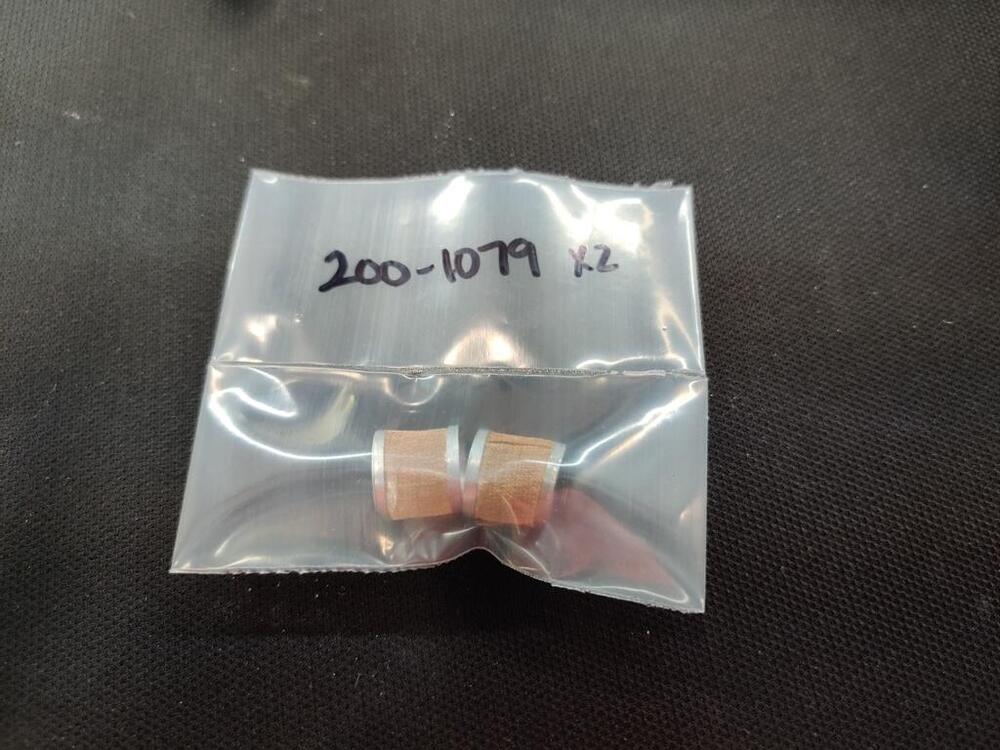
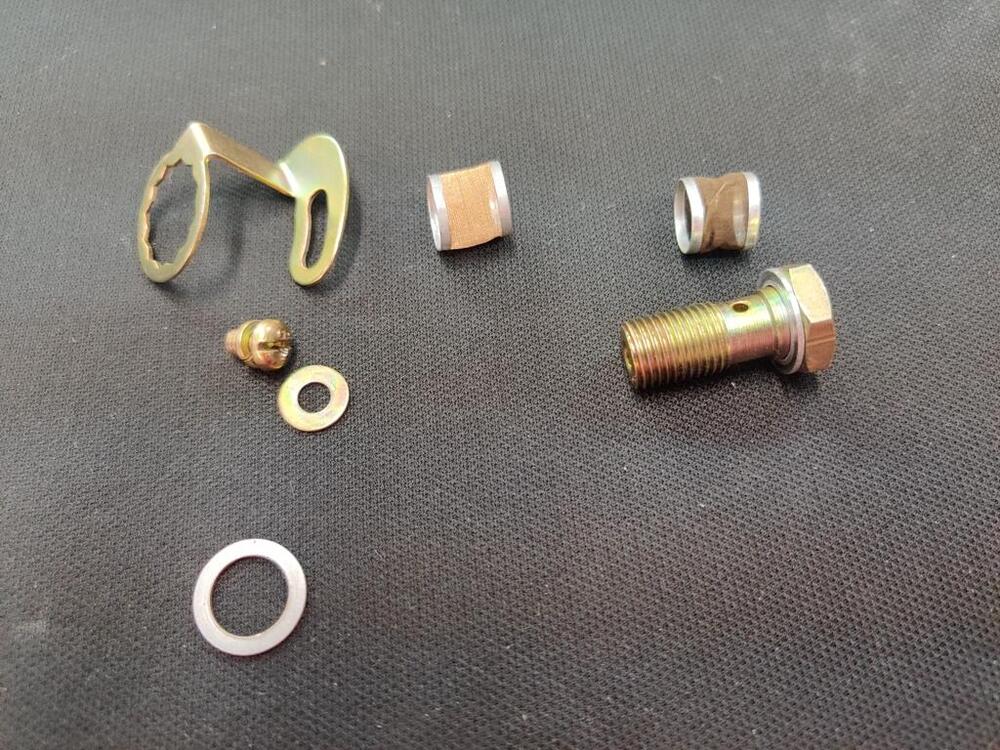
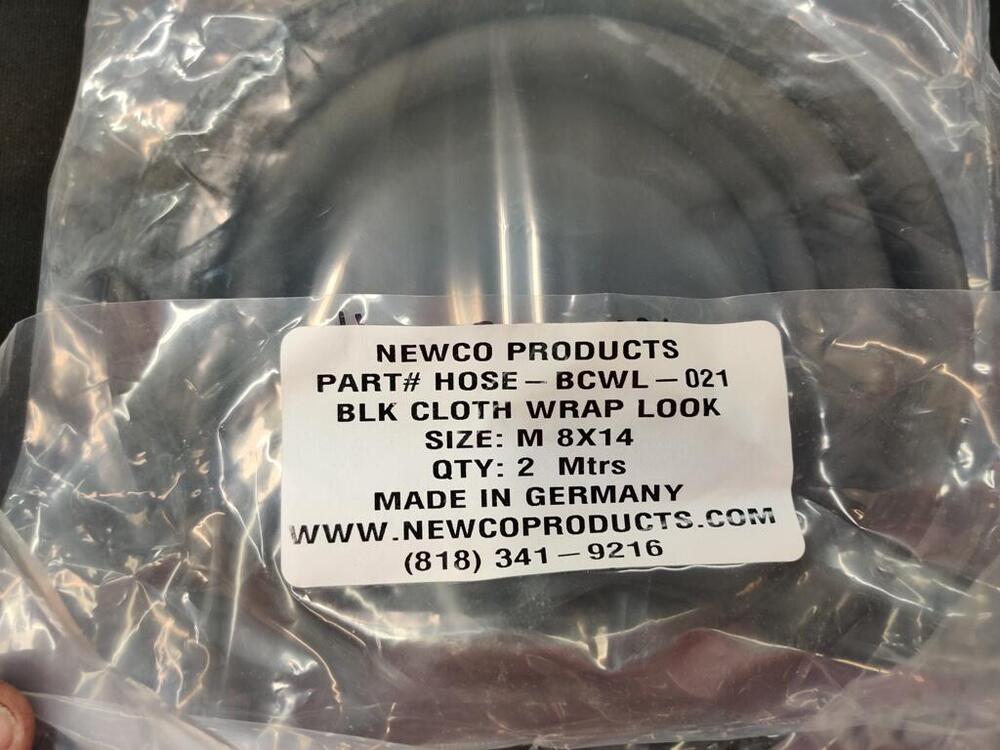
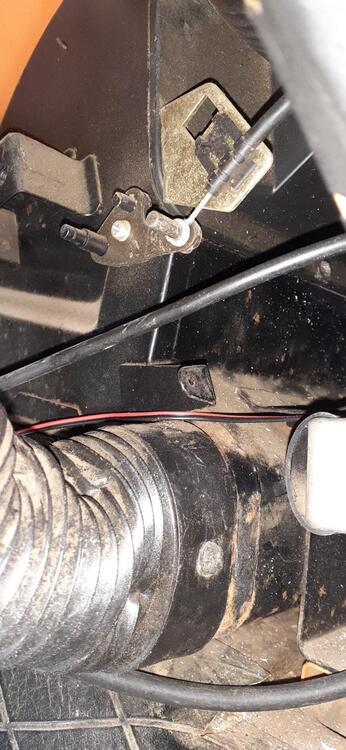
I couldn't find the original screws for the threshold plate, so I got these from Belmetric - some of the only non-original hardware anywhere on this car! 🙂 I have looked for many years for a 240z rear view mirror that doesn't show signs of corrosion on the edge of the glass, but haven't found any. I am thankful that @zspert sells an excellent reproduction: Next step for the upholstery cardboard was to coat it in a rubber coating to keep moisture from causing it to lose its rigidity over time. These are ready to glue into place now. Speaking of gluing, I finished gluing the rear hatch main seal in place this weekend. I again used the yellow "landau" contact adhesive. I glued the four corners in place first. This seal is a bit small for the opening and requires stretching. So, gluing the corners first allowed me to put sufficient stretch into the rest of the seal. Then, it was a matter of using the acid brush to apply the adhesive in the remaining areas. This adhesive sets up in under one minute, and is super strong. I found that it was best to work in sections that were only about 18" in length. I would apply adhesive with an acid brush on the weld flange as well as the backside of the weather strip, then wait about one minute. As soon as I put the two together, it sticks, and goes nowhere. Great stuff to work with. I started to install the fuel hose in the engine compartment. Before doing so, I checked to see if the carburetors had inline fuel filter screens. The front carb did not, and the back carb did. I installed new ones. I have to check that the floats are set correctly, so I elected to hold off on installing the hoses that go from the fuel rail to the float chambers. I did install the hose to and from the fuel filter. Hose is cloth covered; the closest thing I could find to original. Can anyone confirm the hose clamps I am using here are correct? I think that the clamps at the filter are supposed to be spring clip type... while the connections at the hard line and fuel pump inlet are supposed to be the zinc plated hose clamps as seen here: I also got all the bumper pieces packaged up. I will be sending them to Tri-City plating to get them redone.


 2 points
 -
Couple comments about the above... First comment is that the info you posted above (while all true) does not apply to what grannyknot is experiencing. He is experiencing a clutch engagement at too HIGH of a pedal position, not at too low of a pedal position. Granny is not running out of clutch throw, and in fact he's asking how he could effectively get LESS slave movement, not more. Other comment is I don't agree with the description of the use of the master adjusting rod. The rod is not supposed to adjust the pedal height... It's supposed to ACCOUNT for it. The up-stop bumper is supposed to set the pedal height and then the master rod length should be adjusted such that the holes in the clevis line up with the hole in the pedal. In other words... Set the pedal height first using the bumper, and then adjust the push rod length to account for the hole positions. Rod length should not set pedal height. Does that make sense?2 points
-
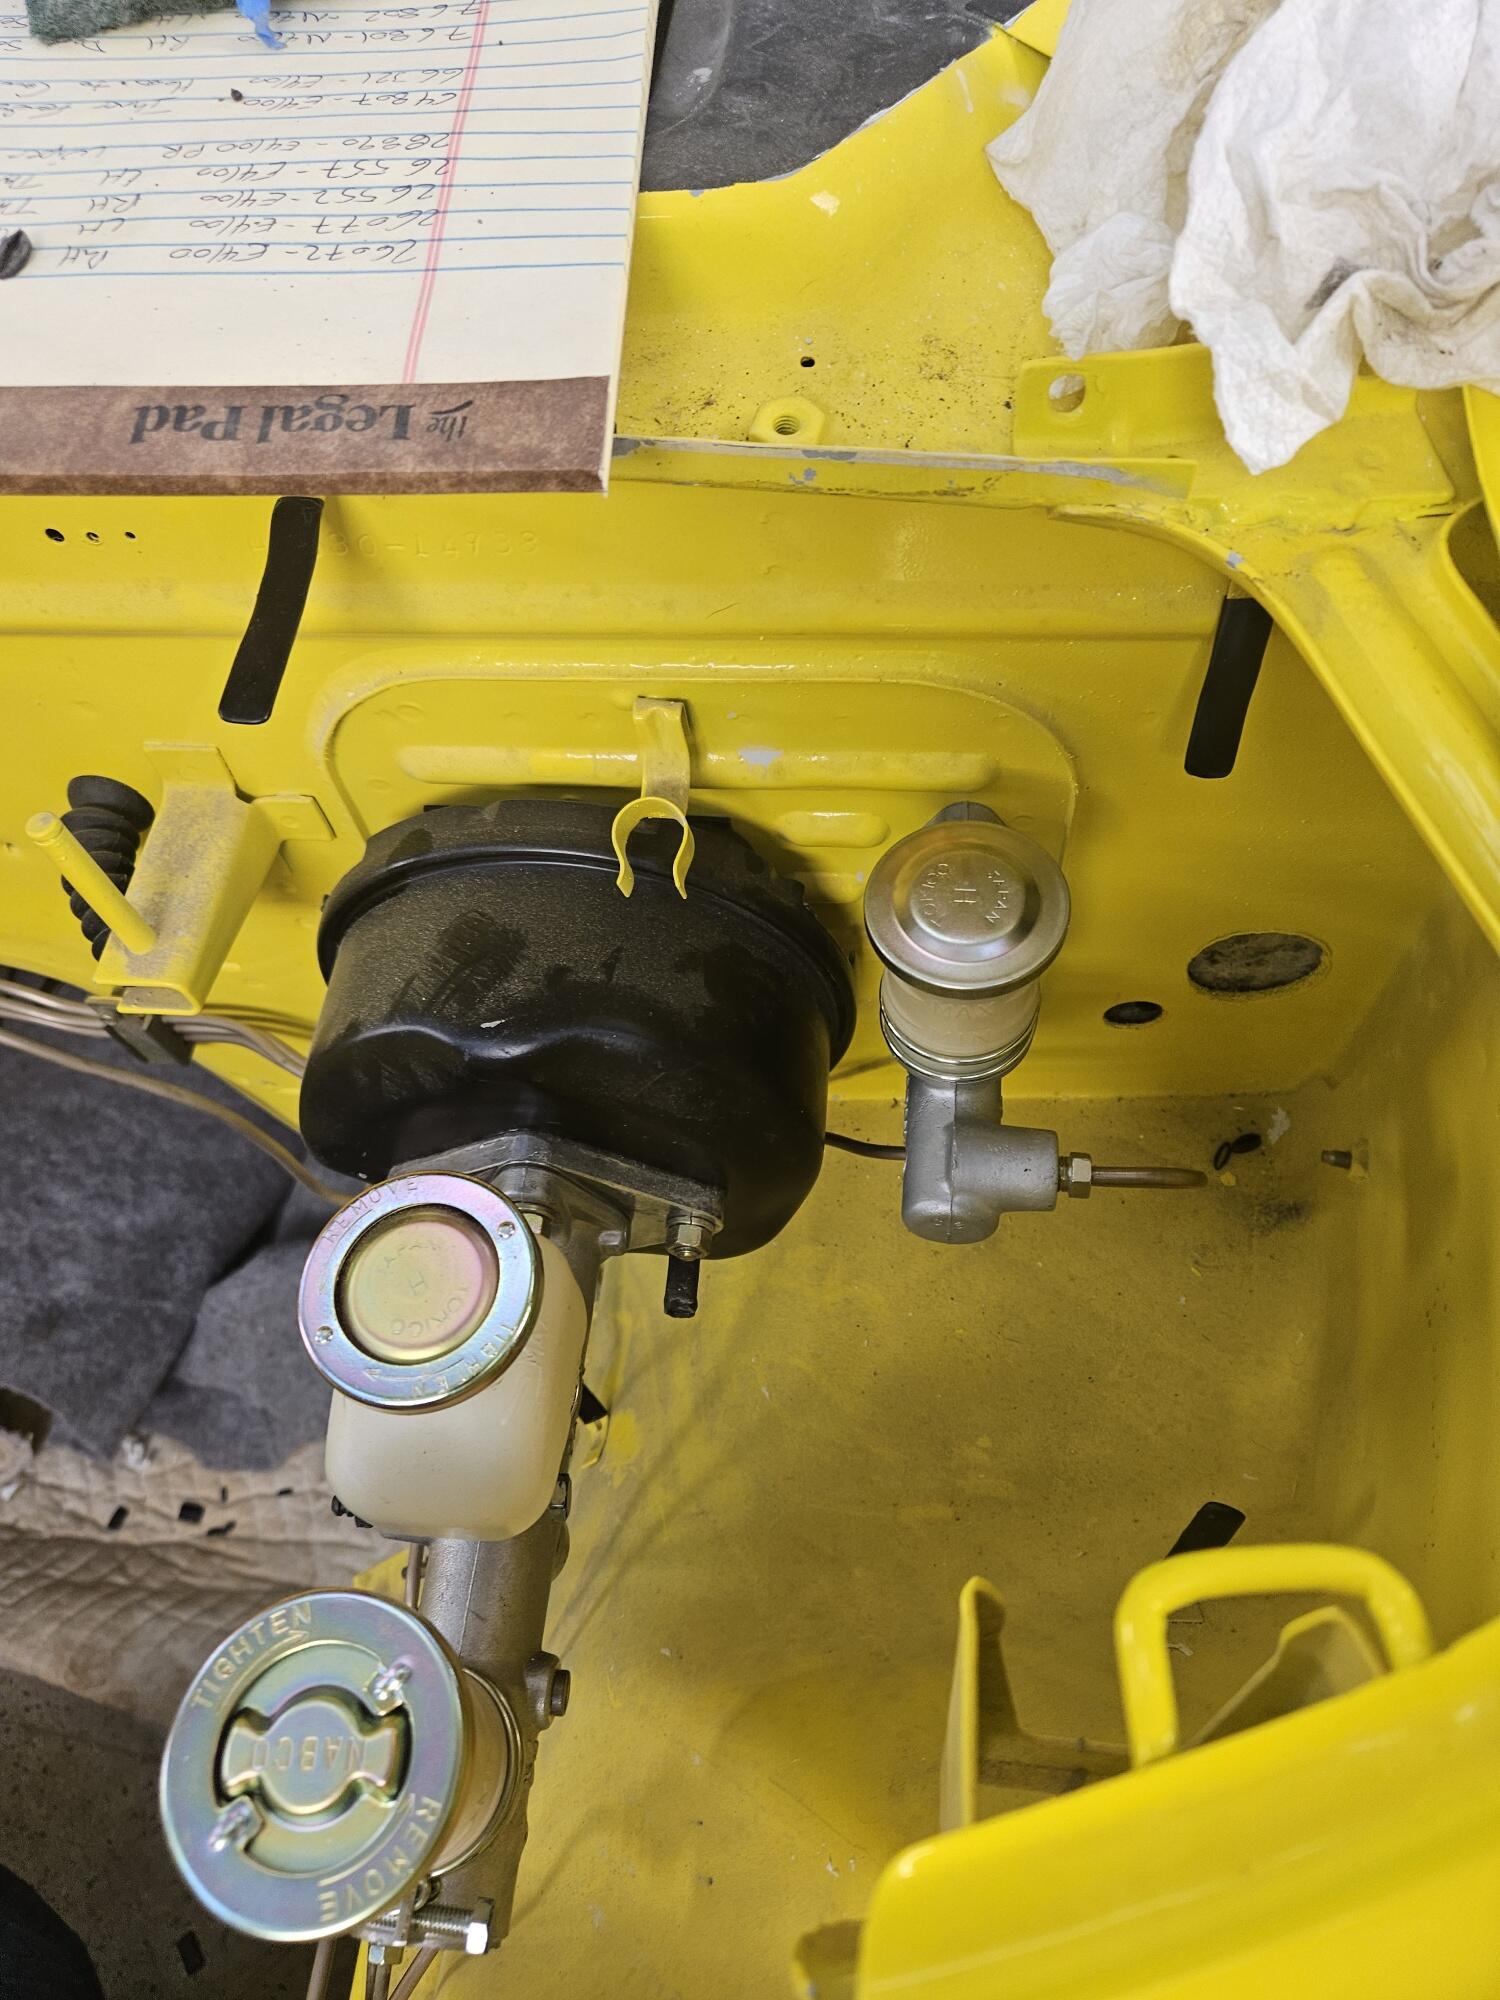
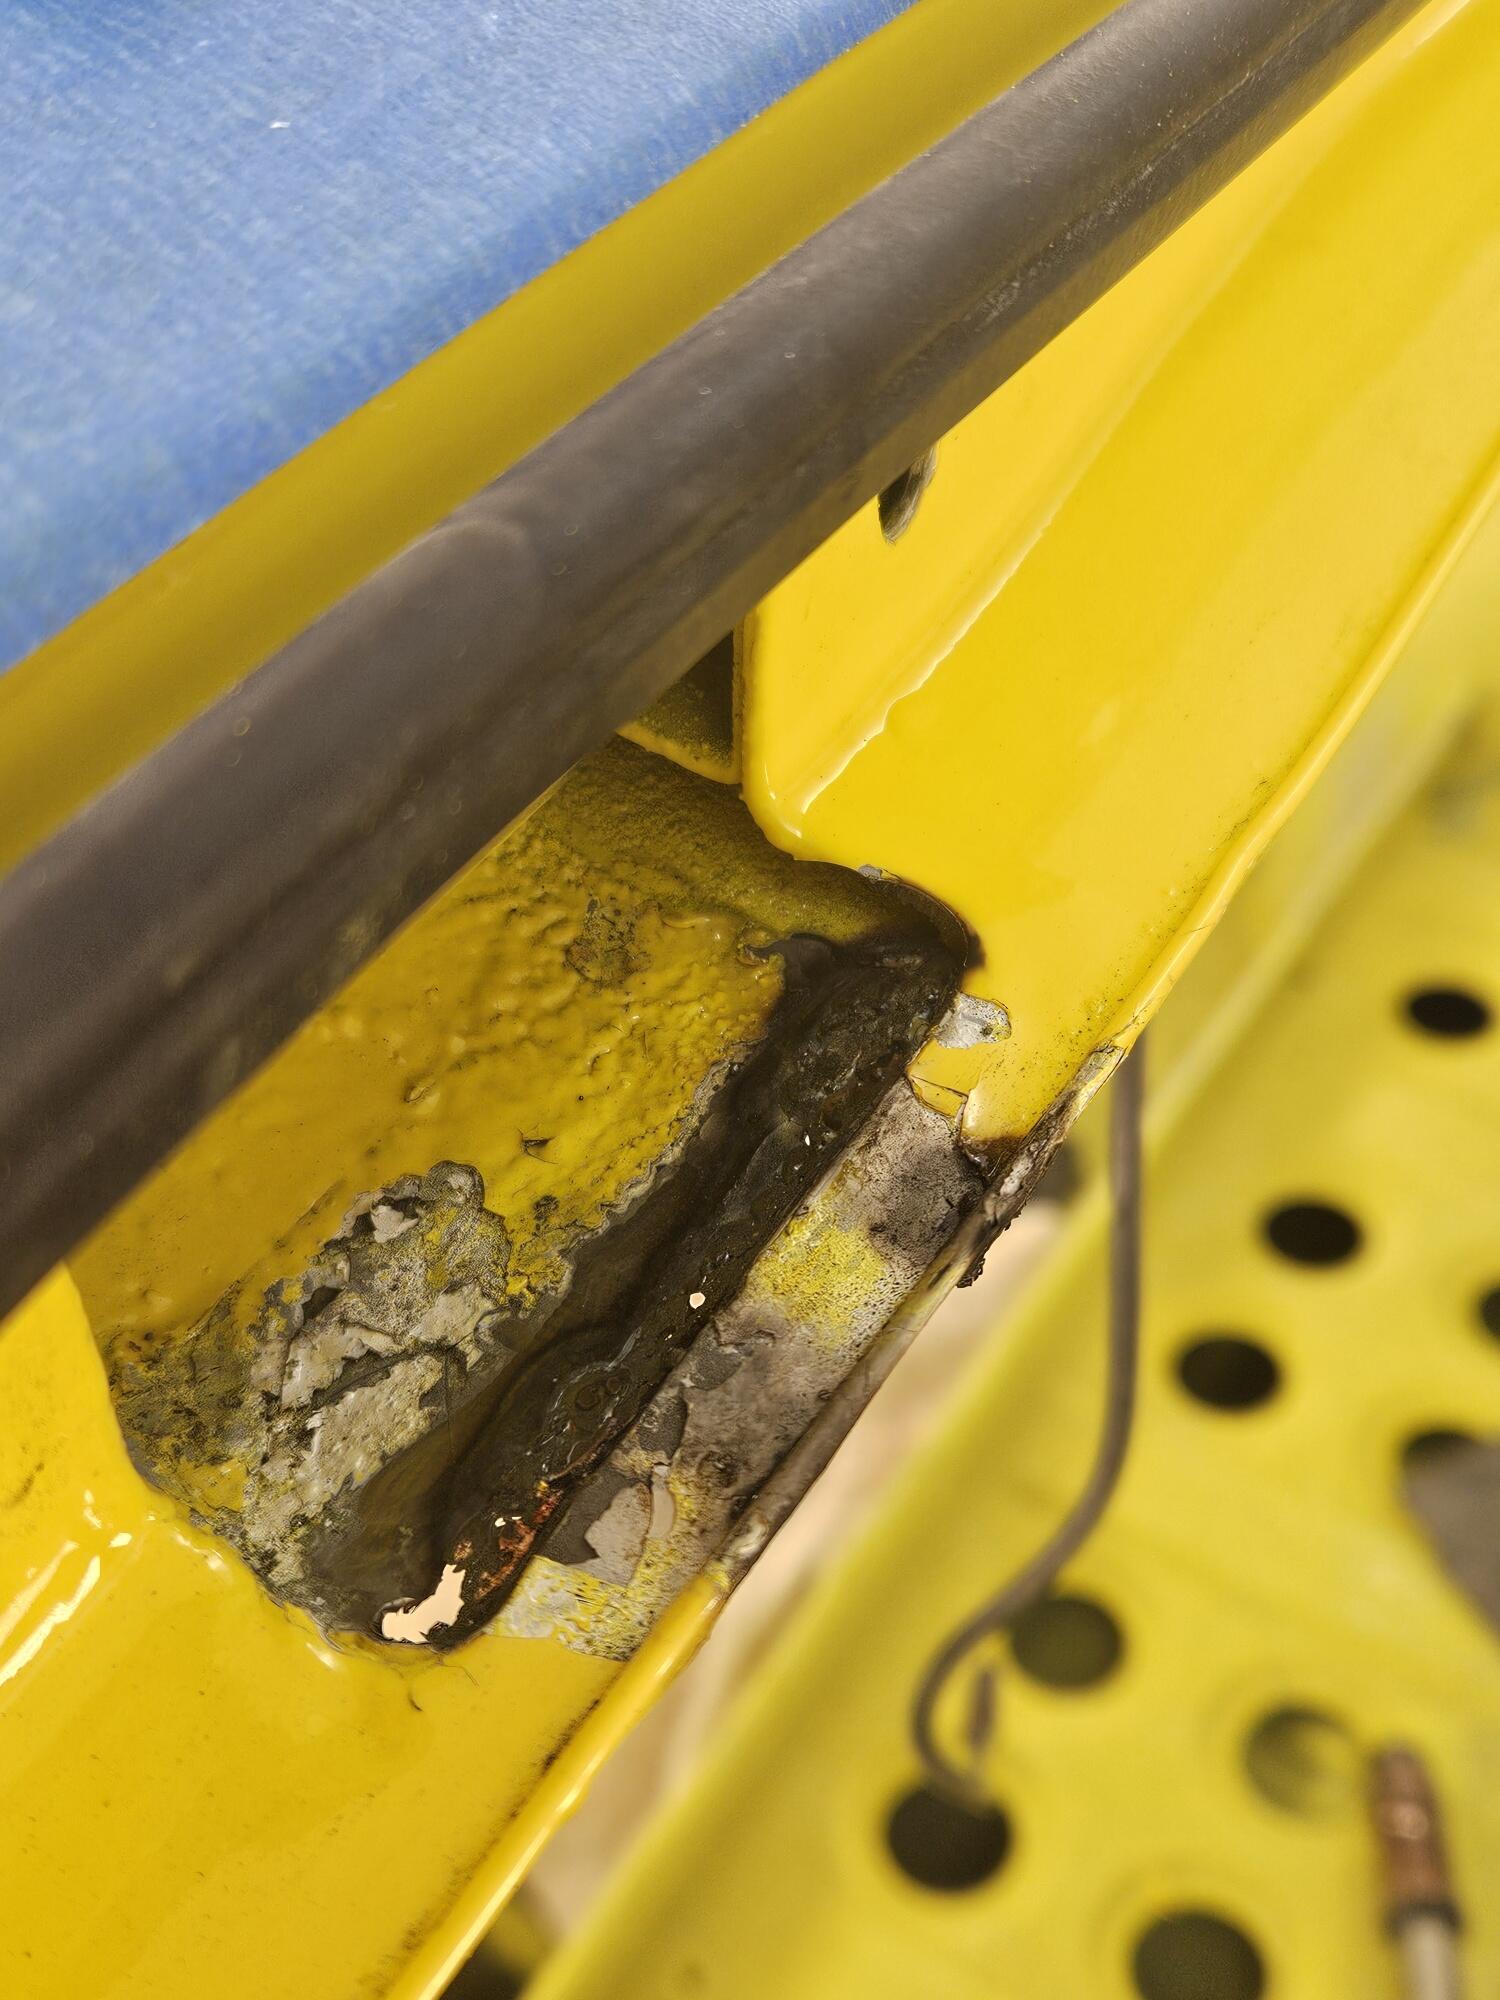
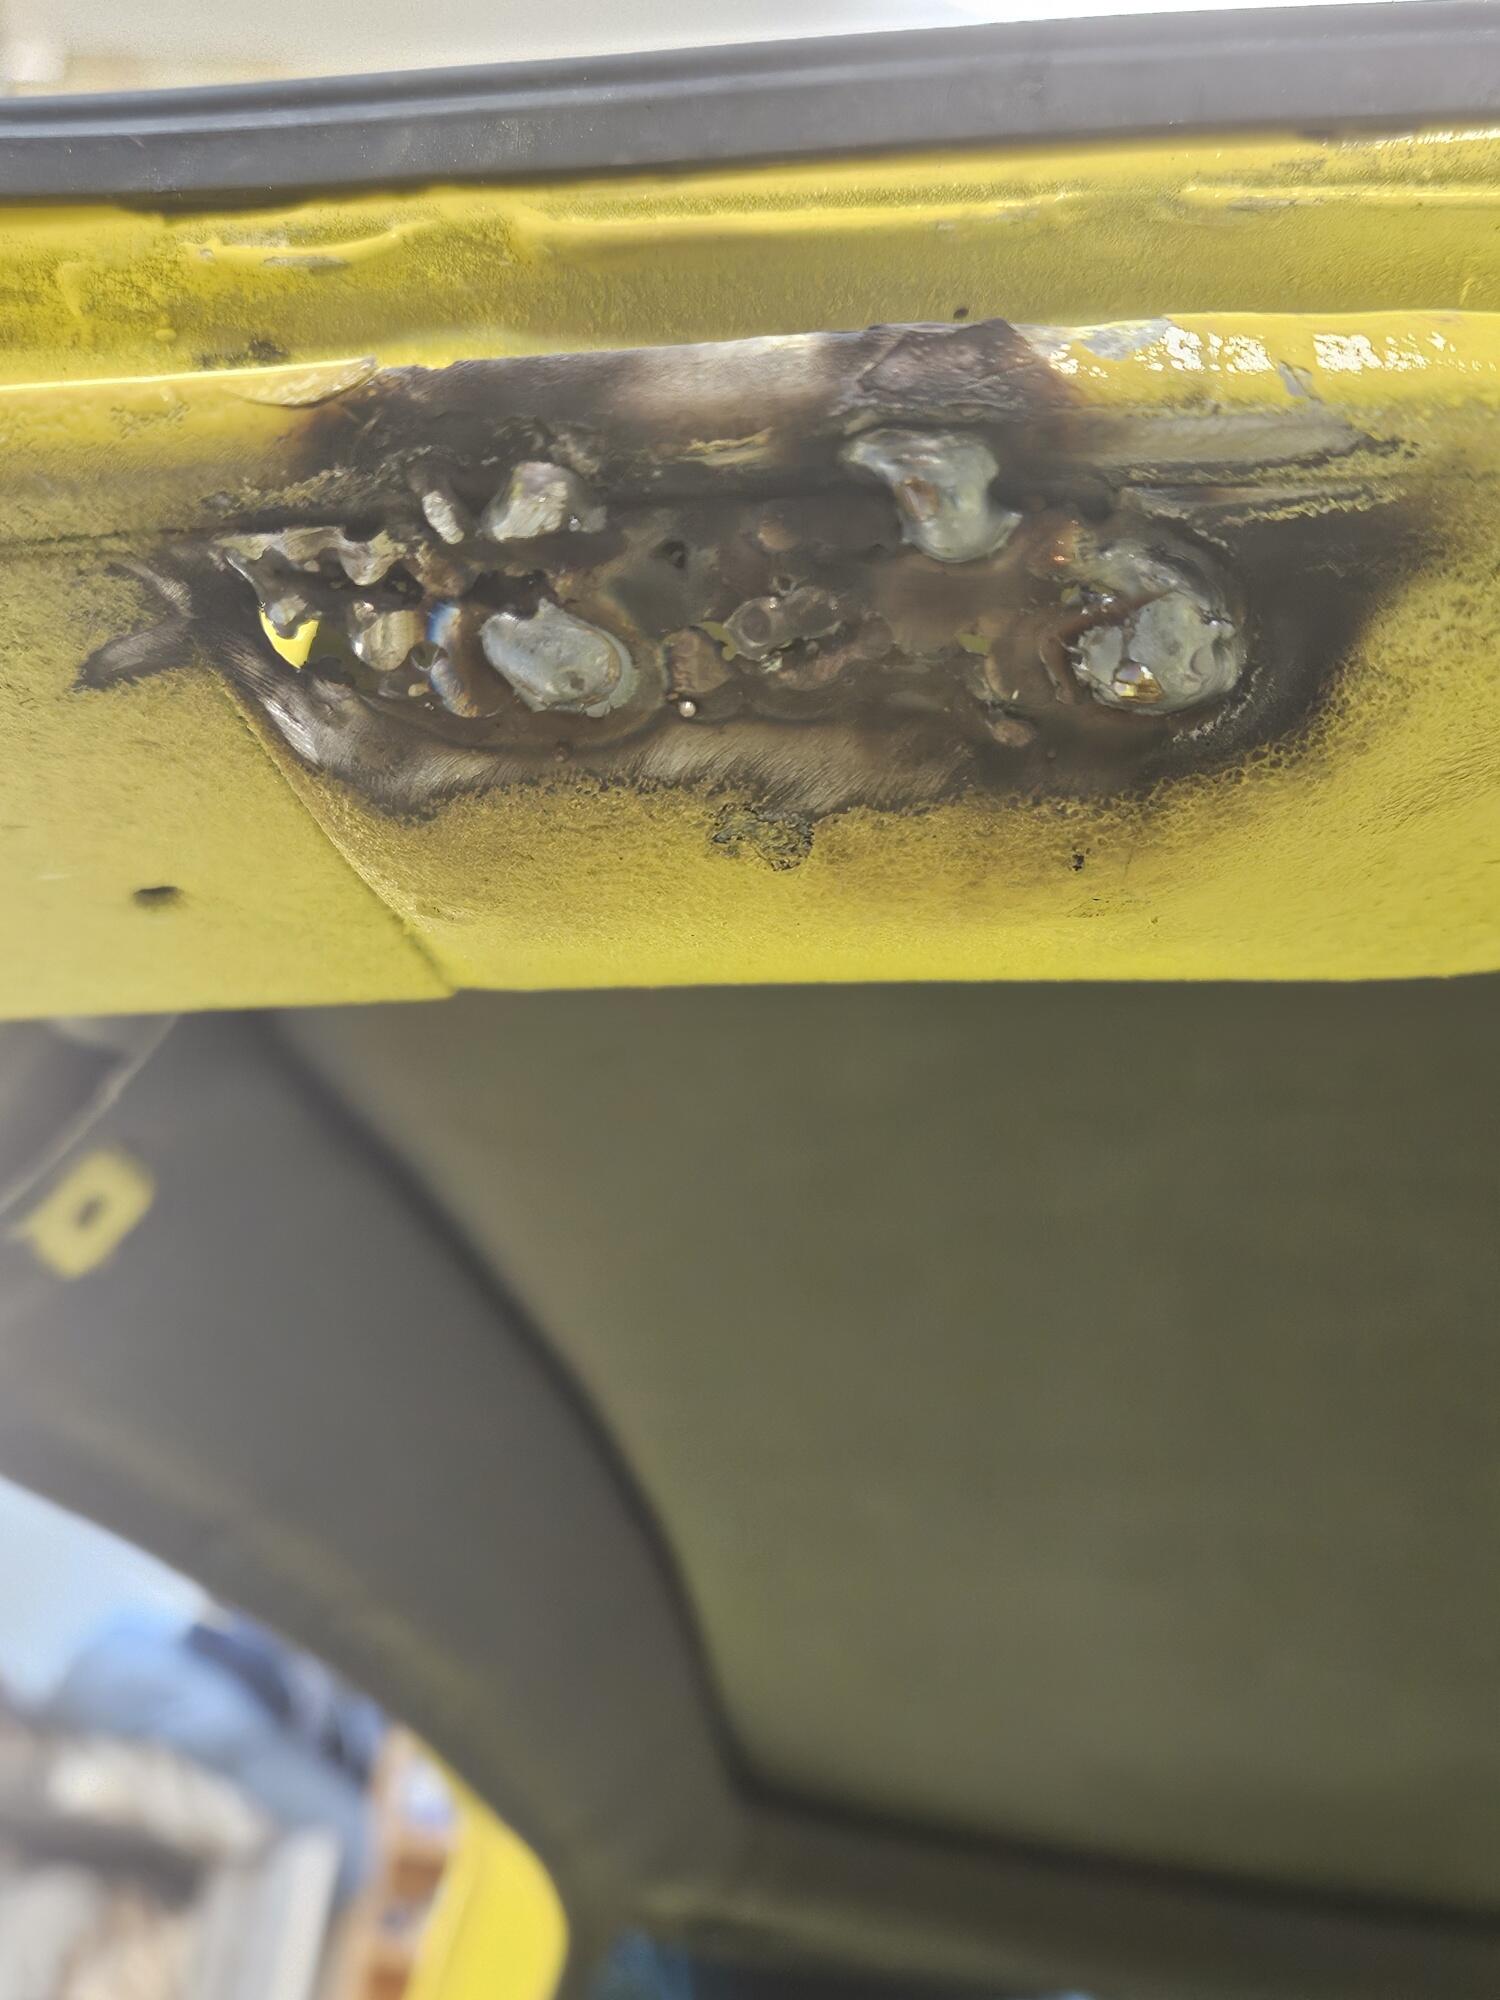
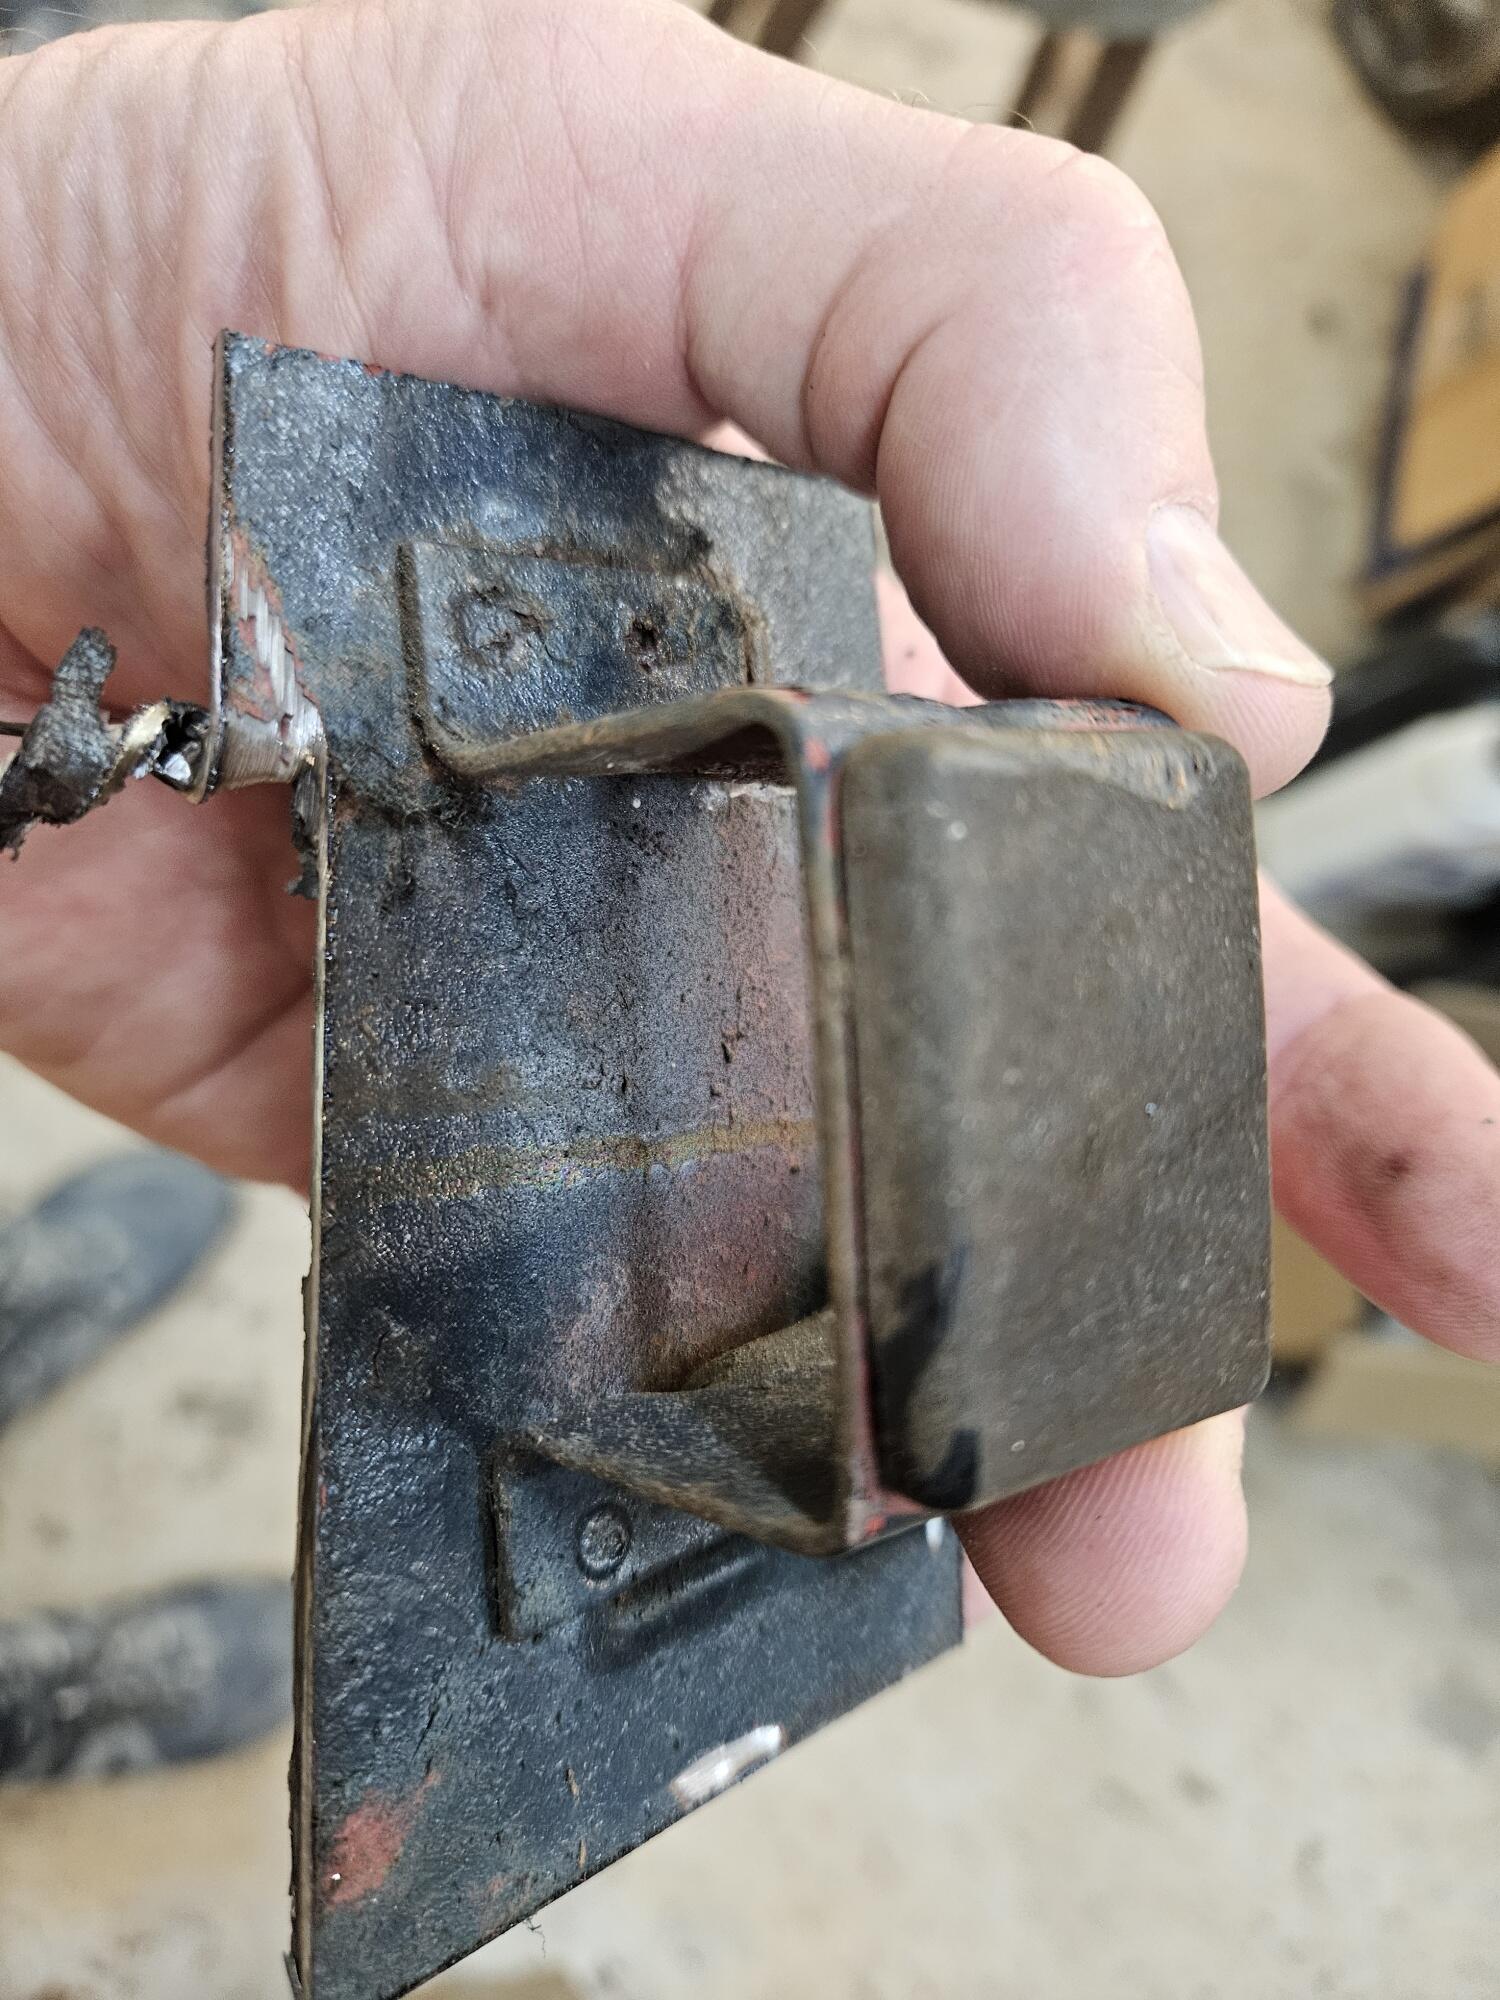
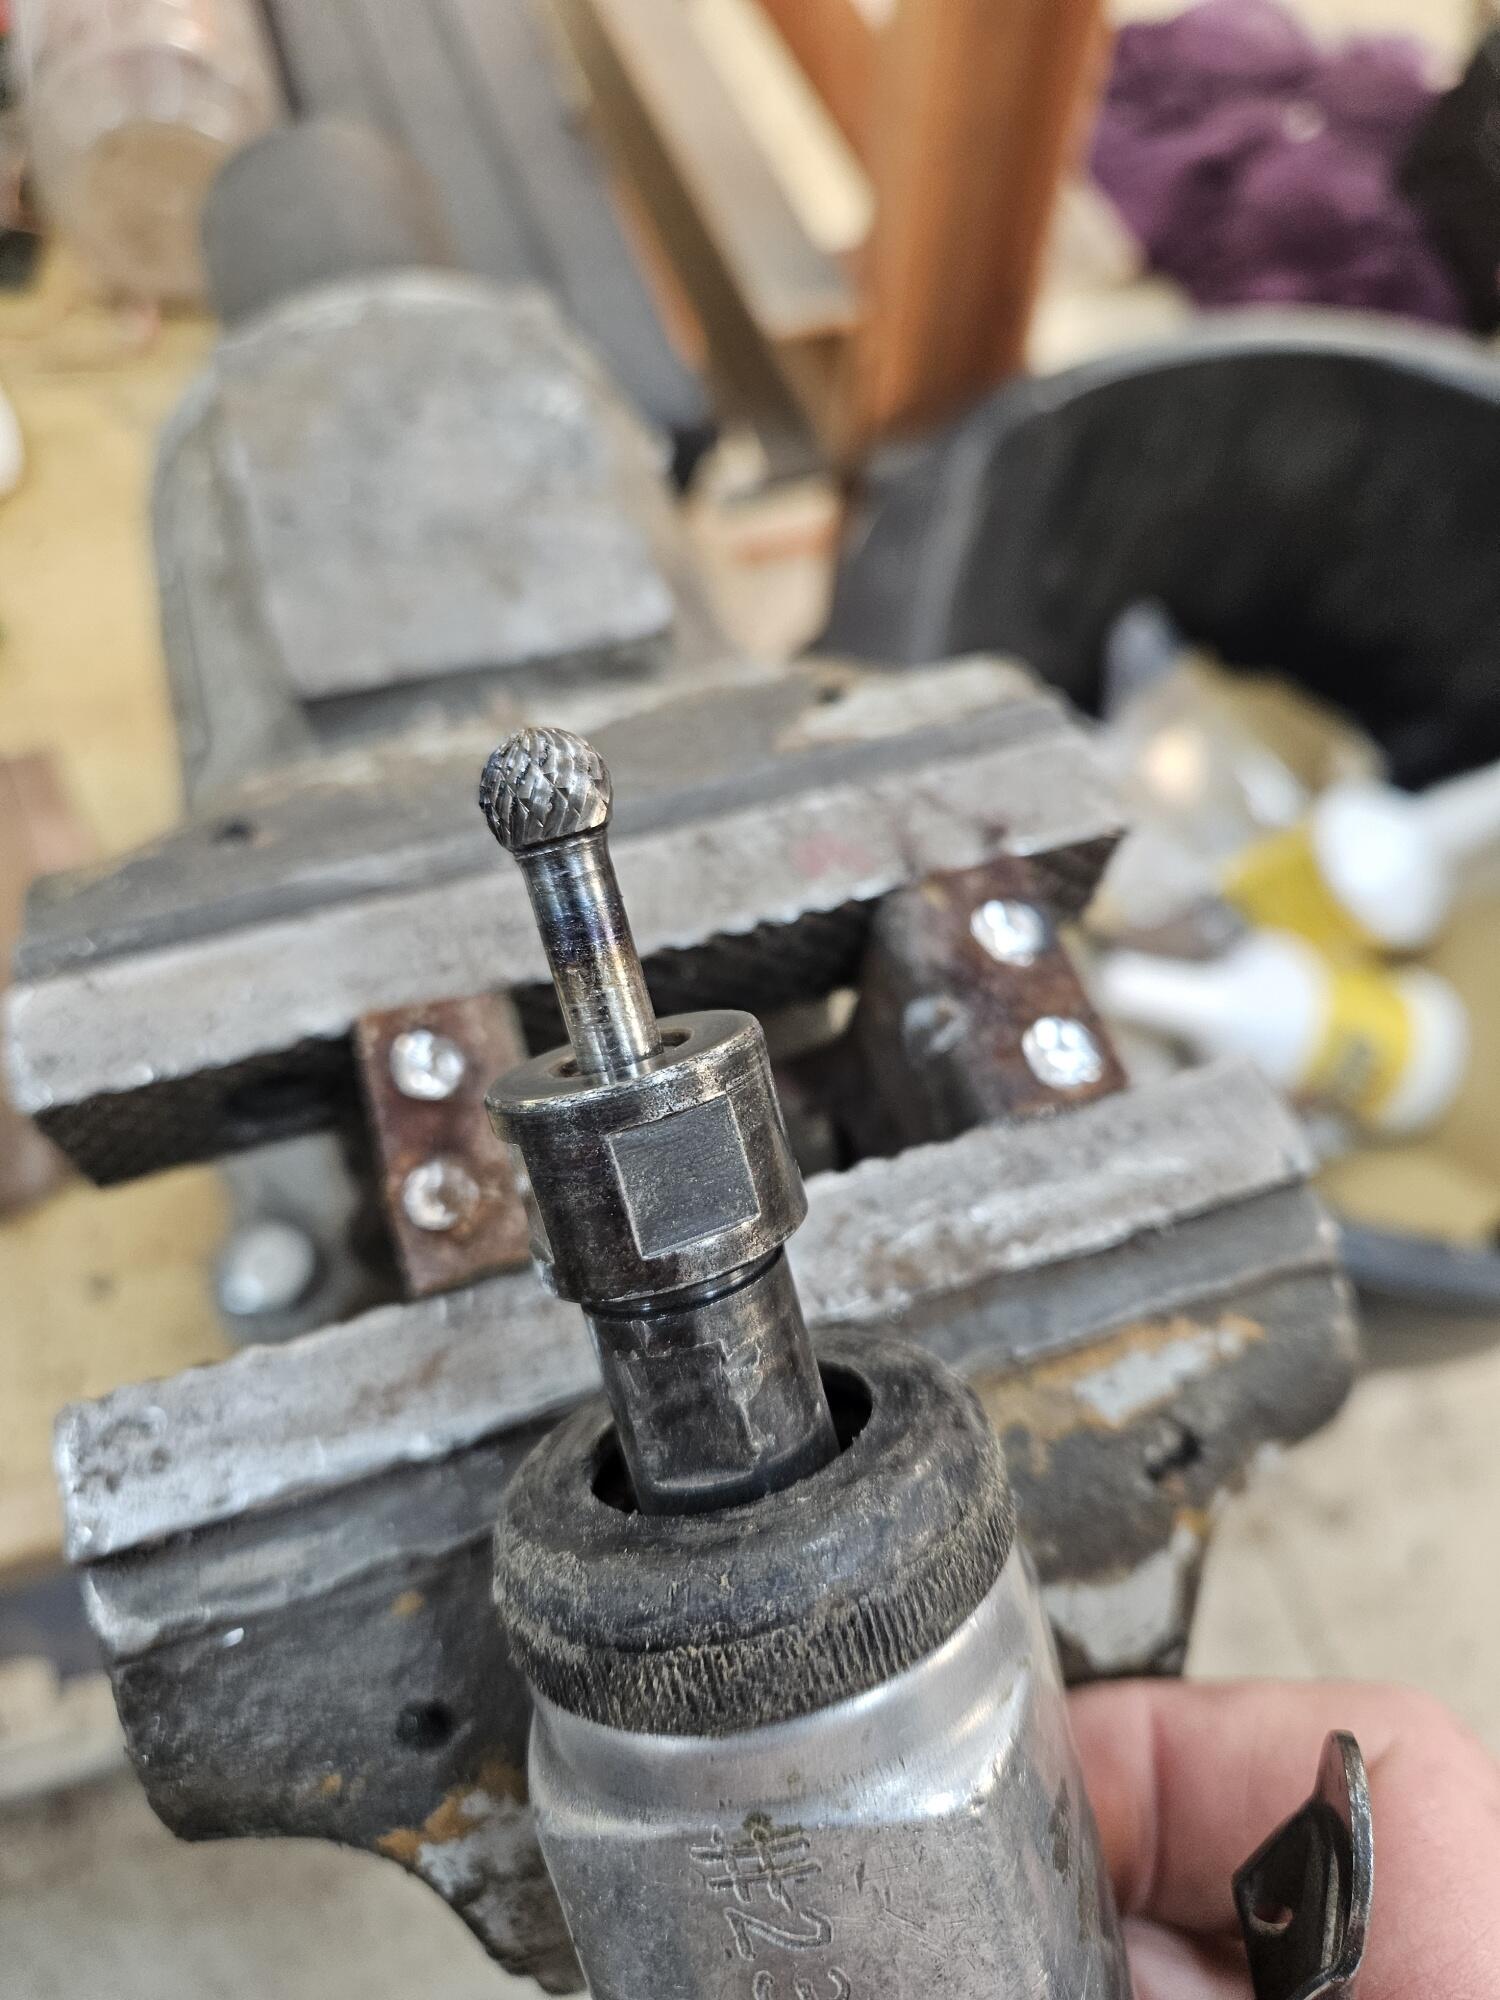
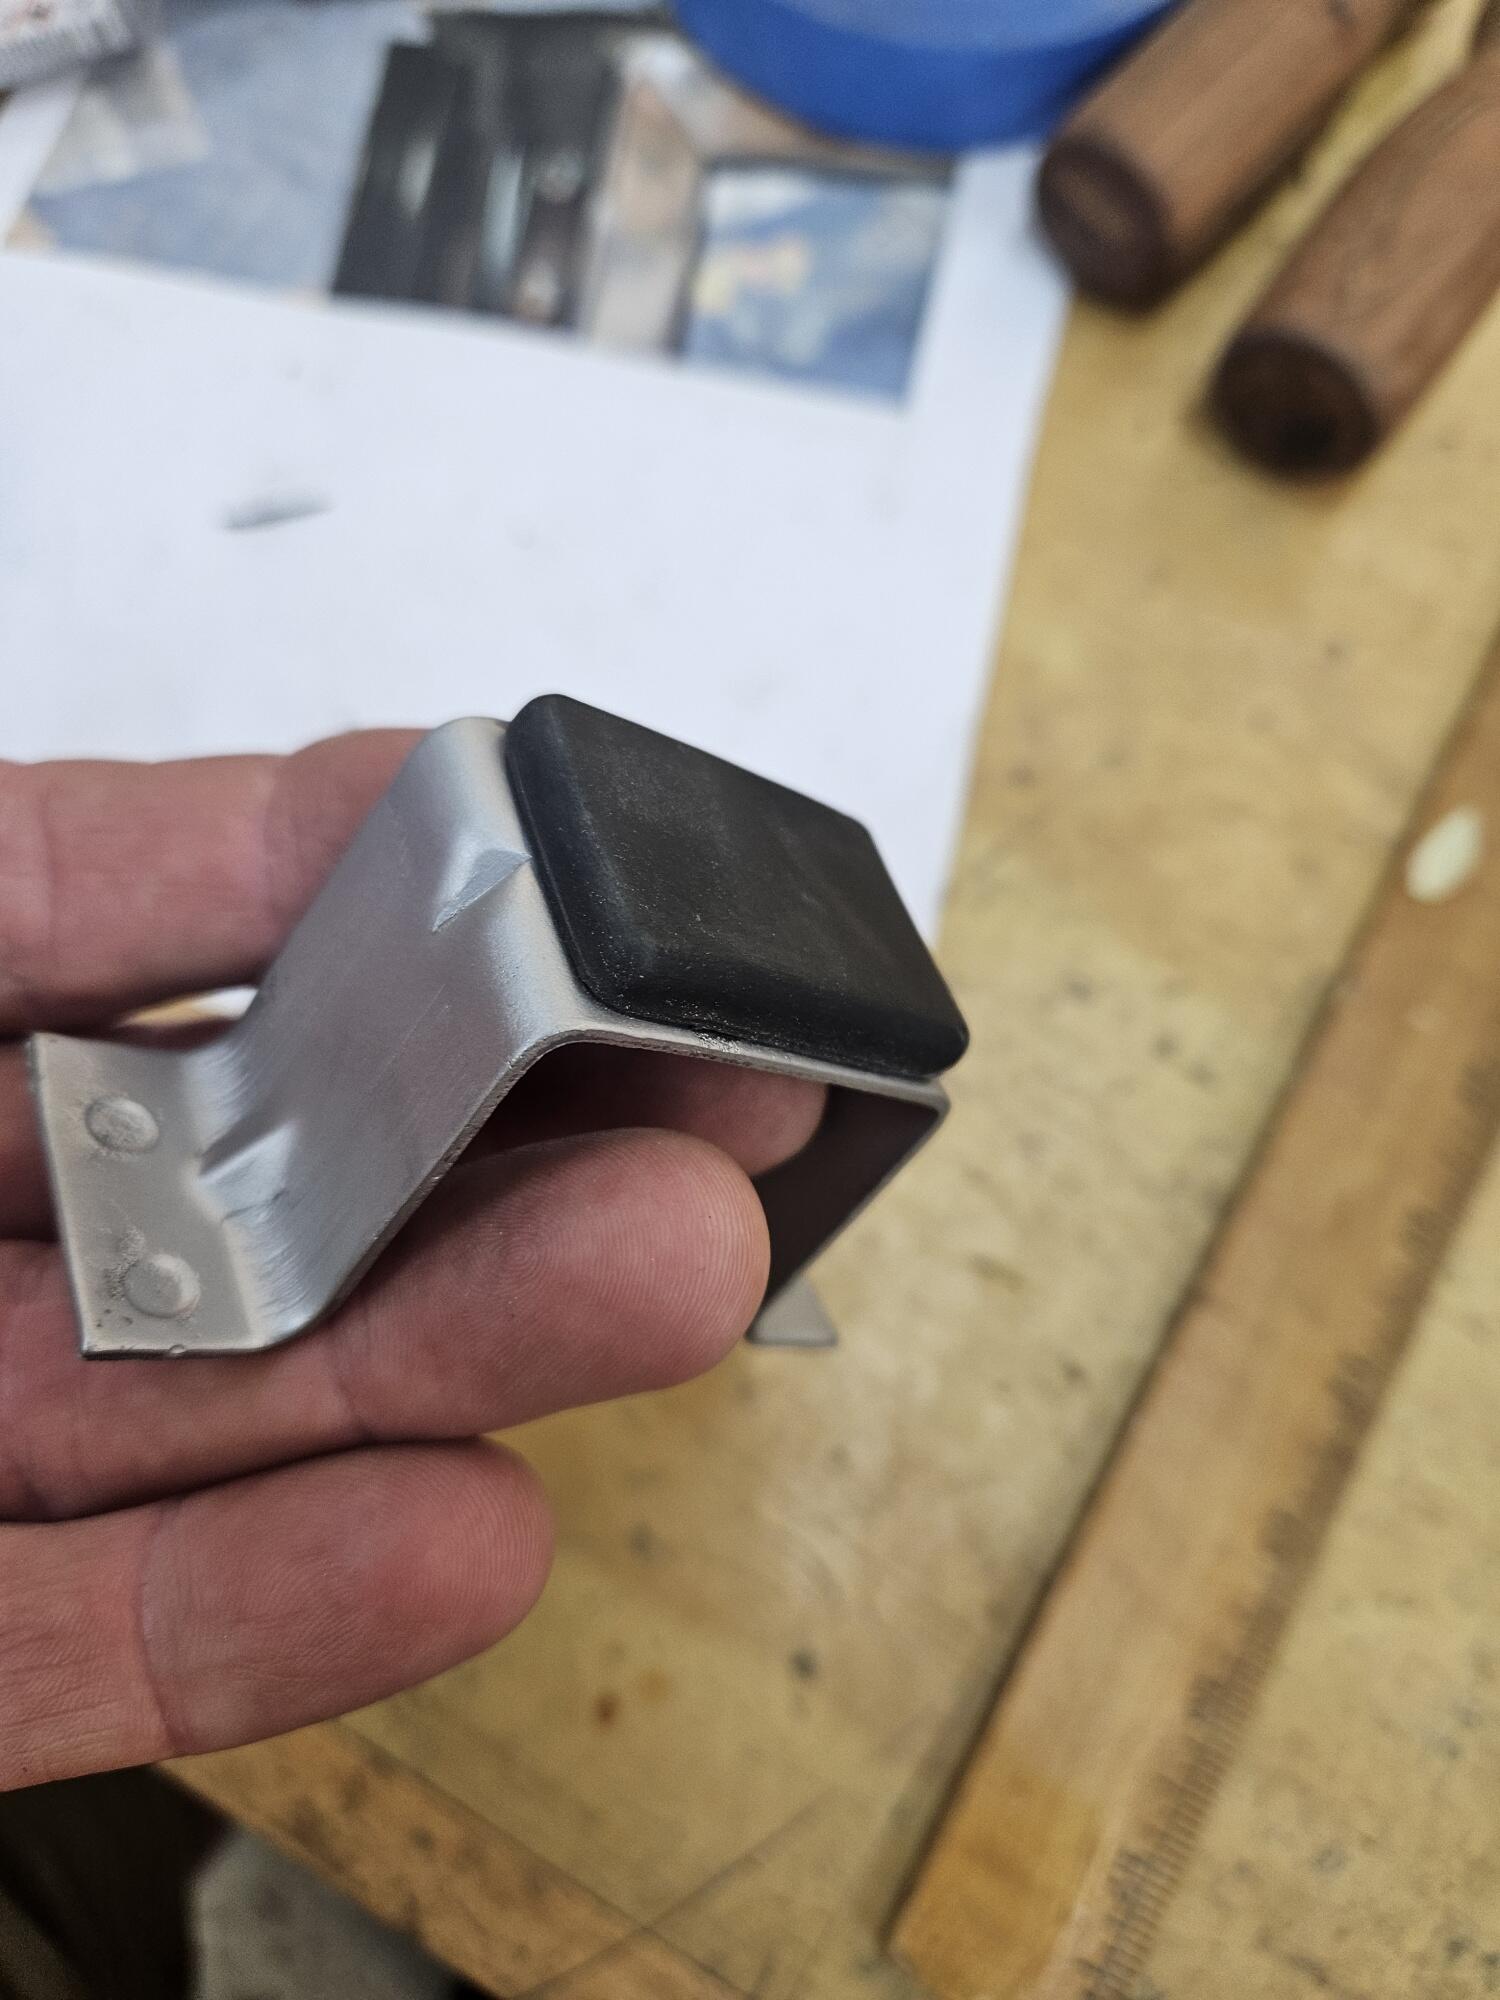
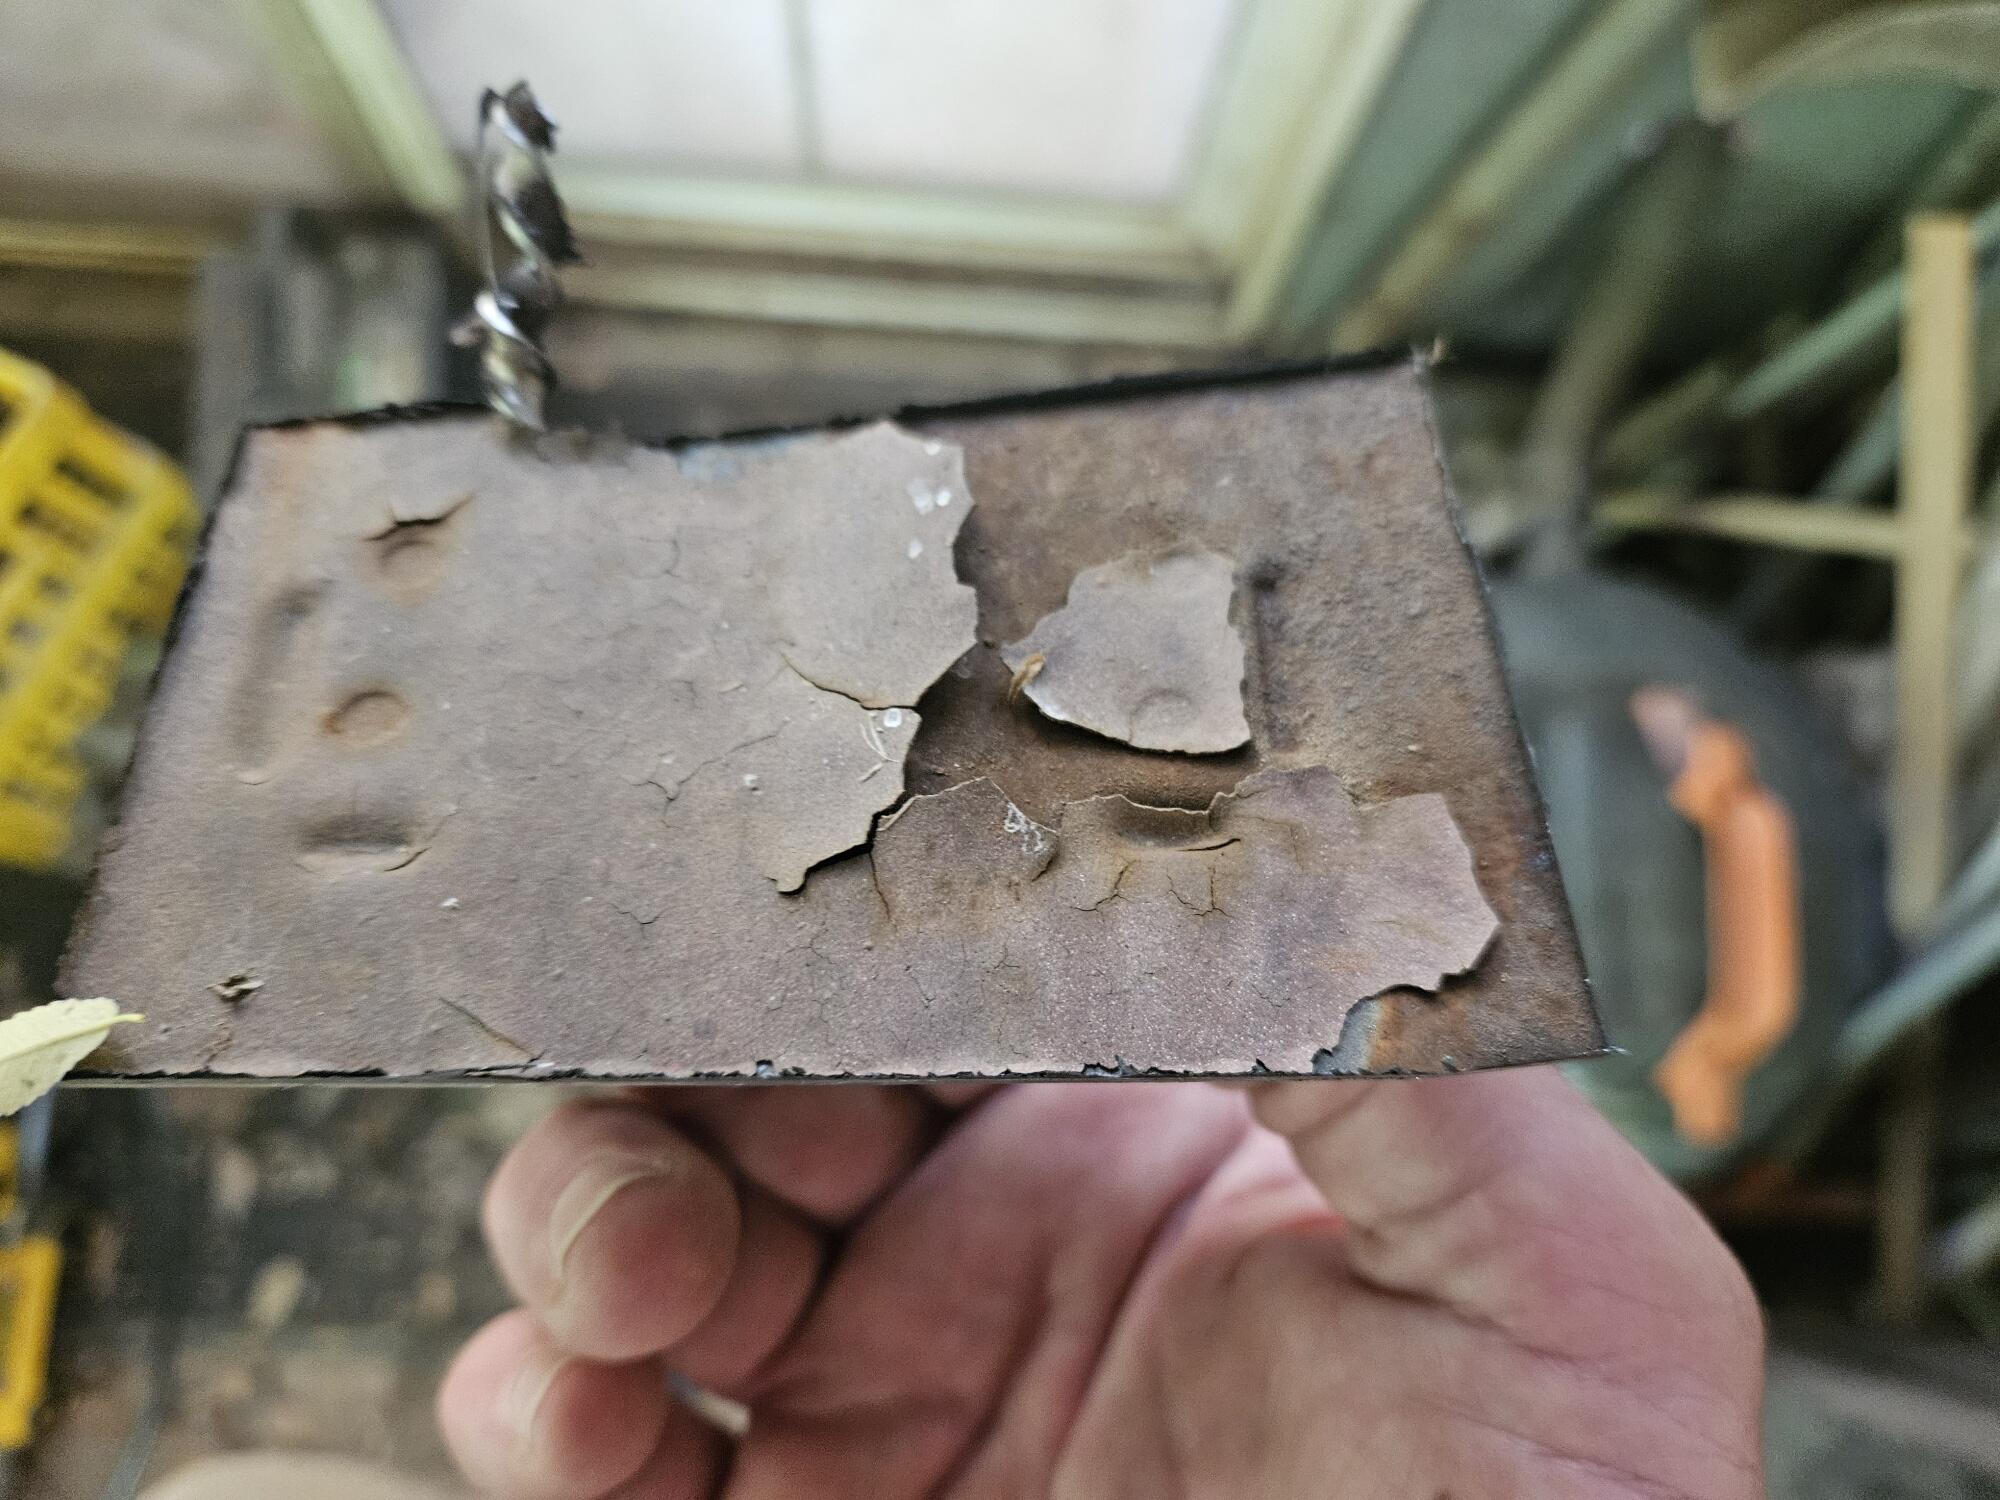
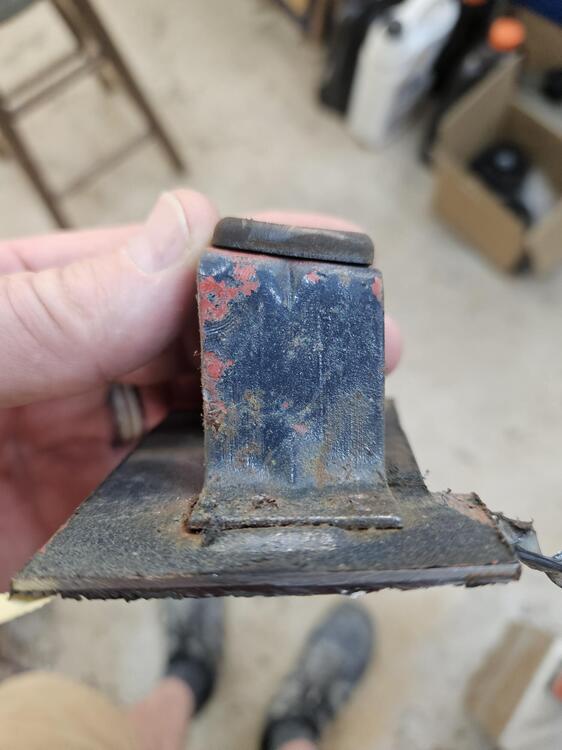
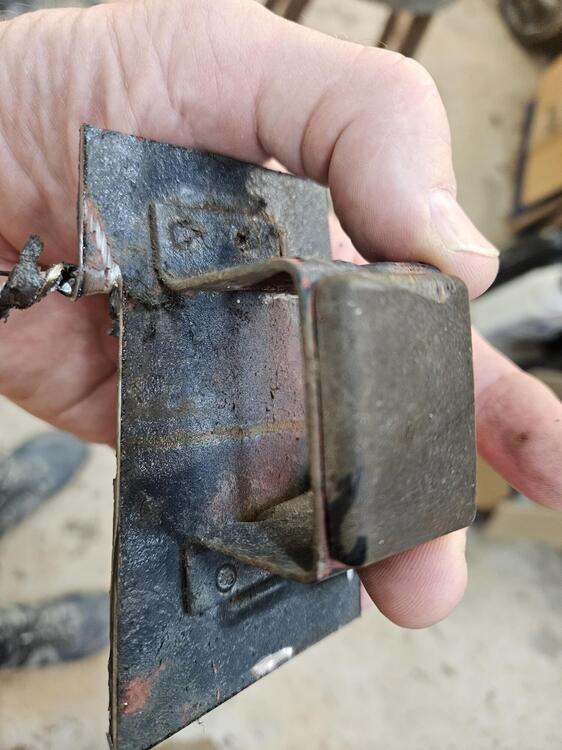
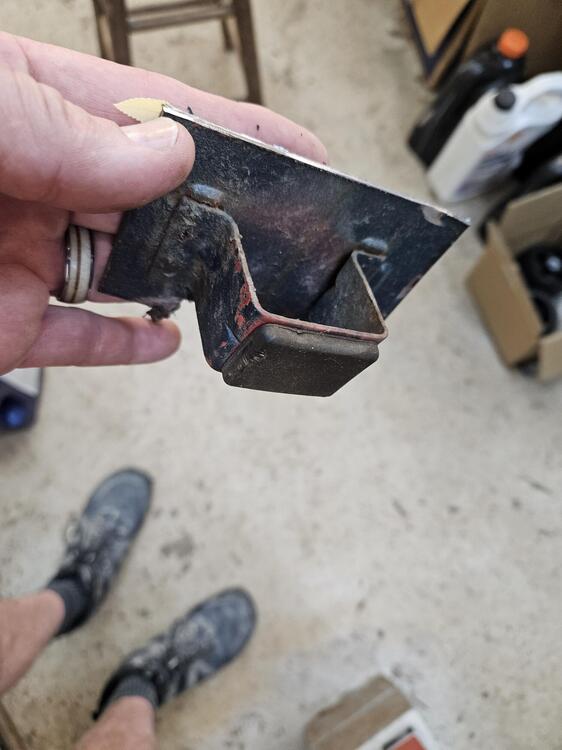
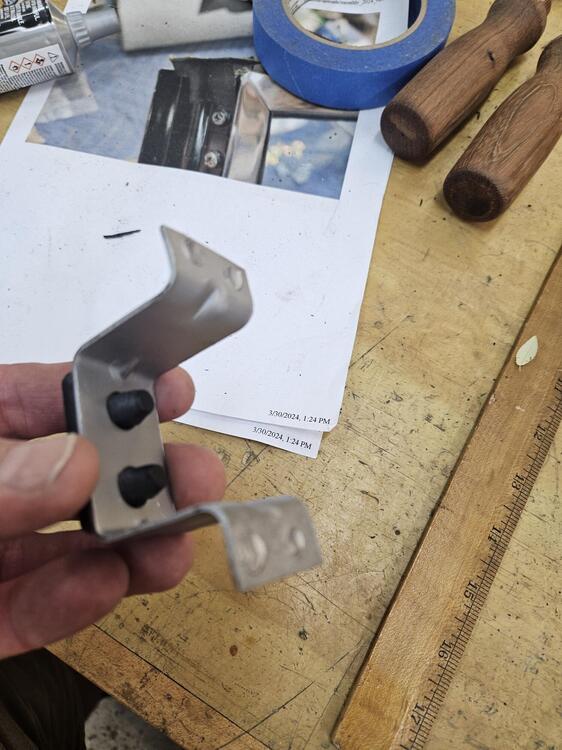
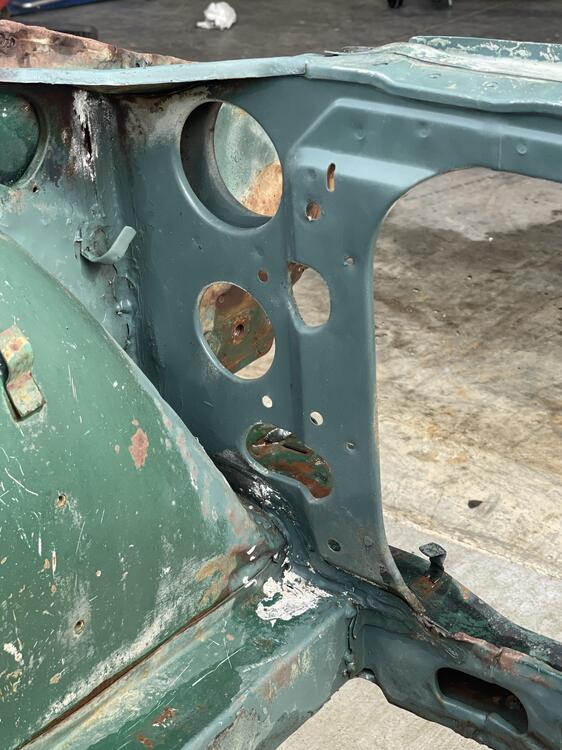
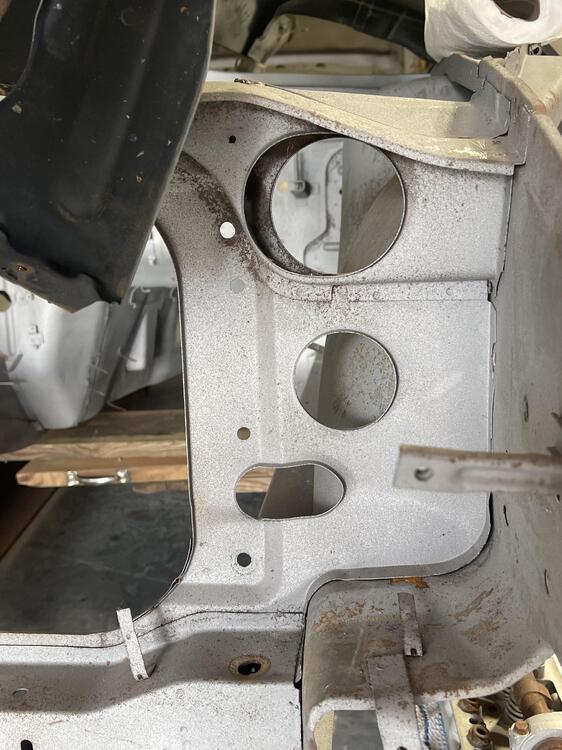
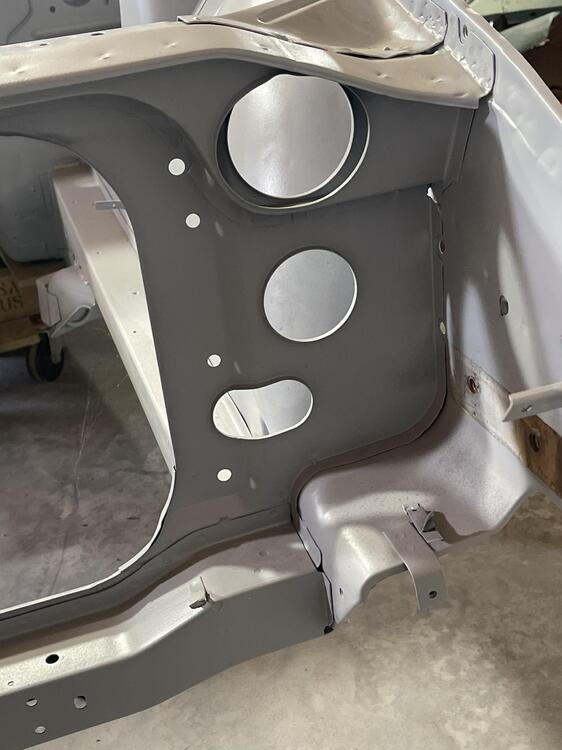
2 pointsI got the clutch master in today. I need to check pedal height... I went down to the parts yard and took a clutch pedal stopper off of "Rust in Pieces" \ There are locating dimples in the floor board to locate this part. You can see them from wheel well side. Short edge is the top My favorite tool for spots welds Bead blast Started welding up the hinge pocket


 2 points
 -
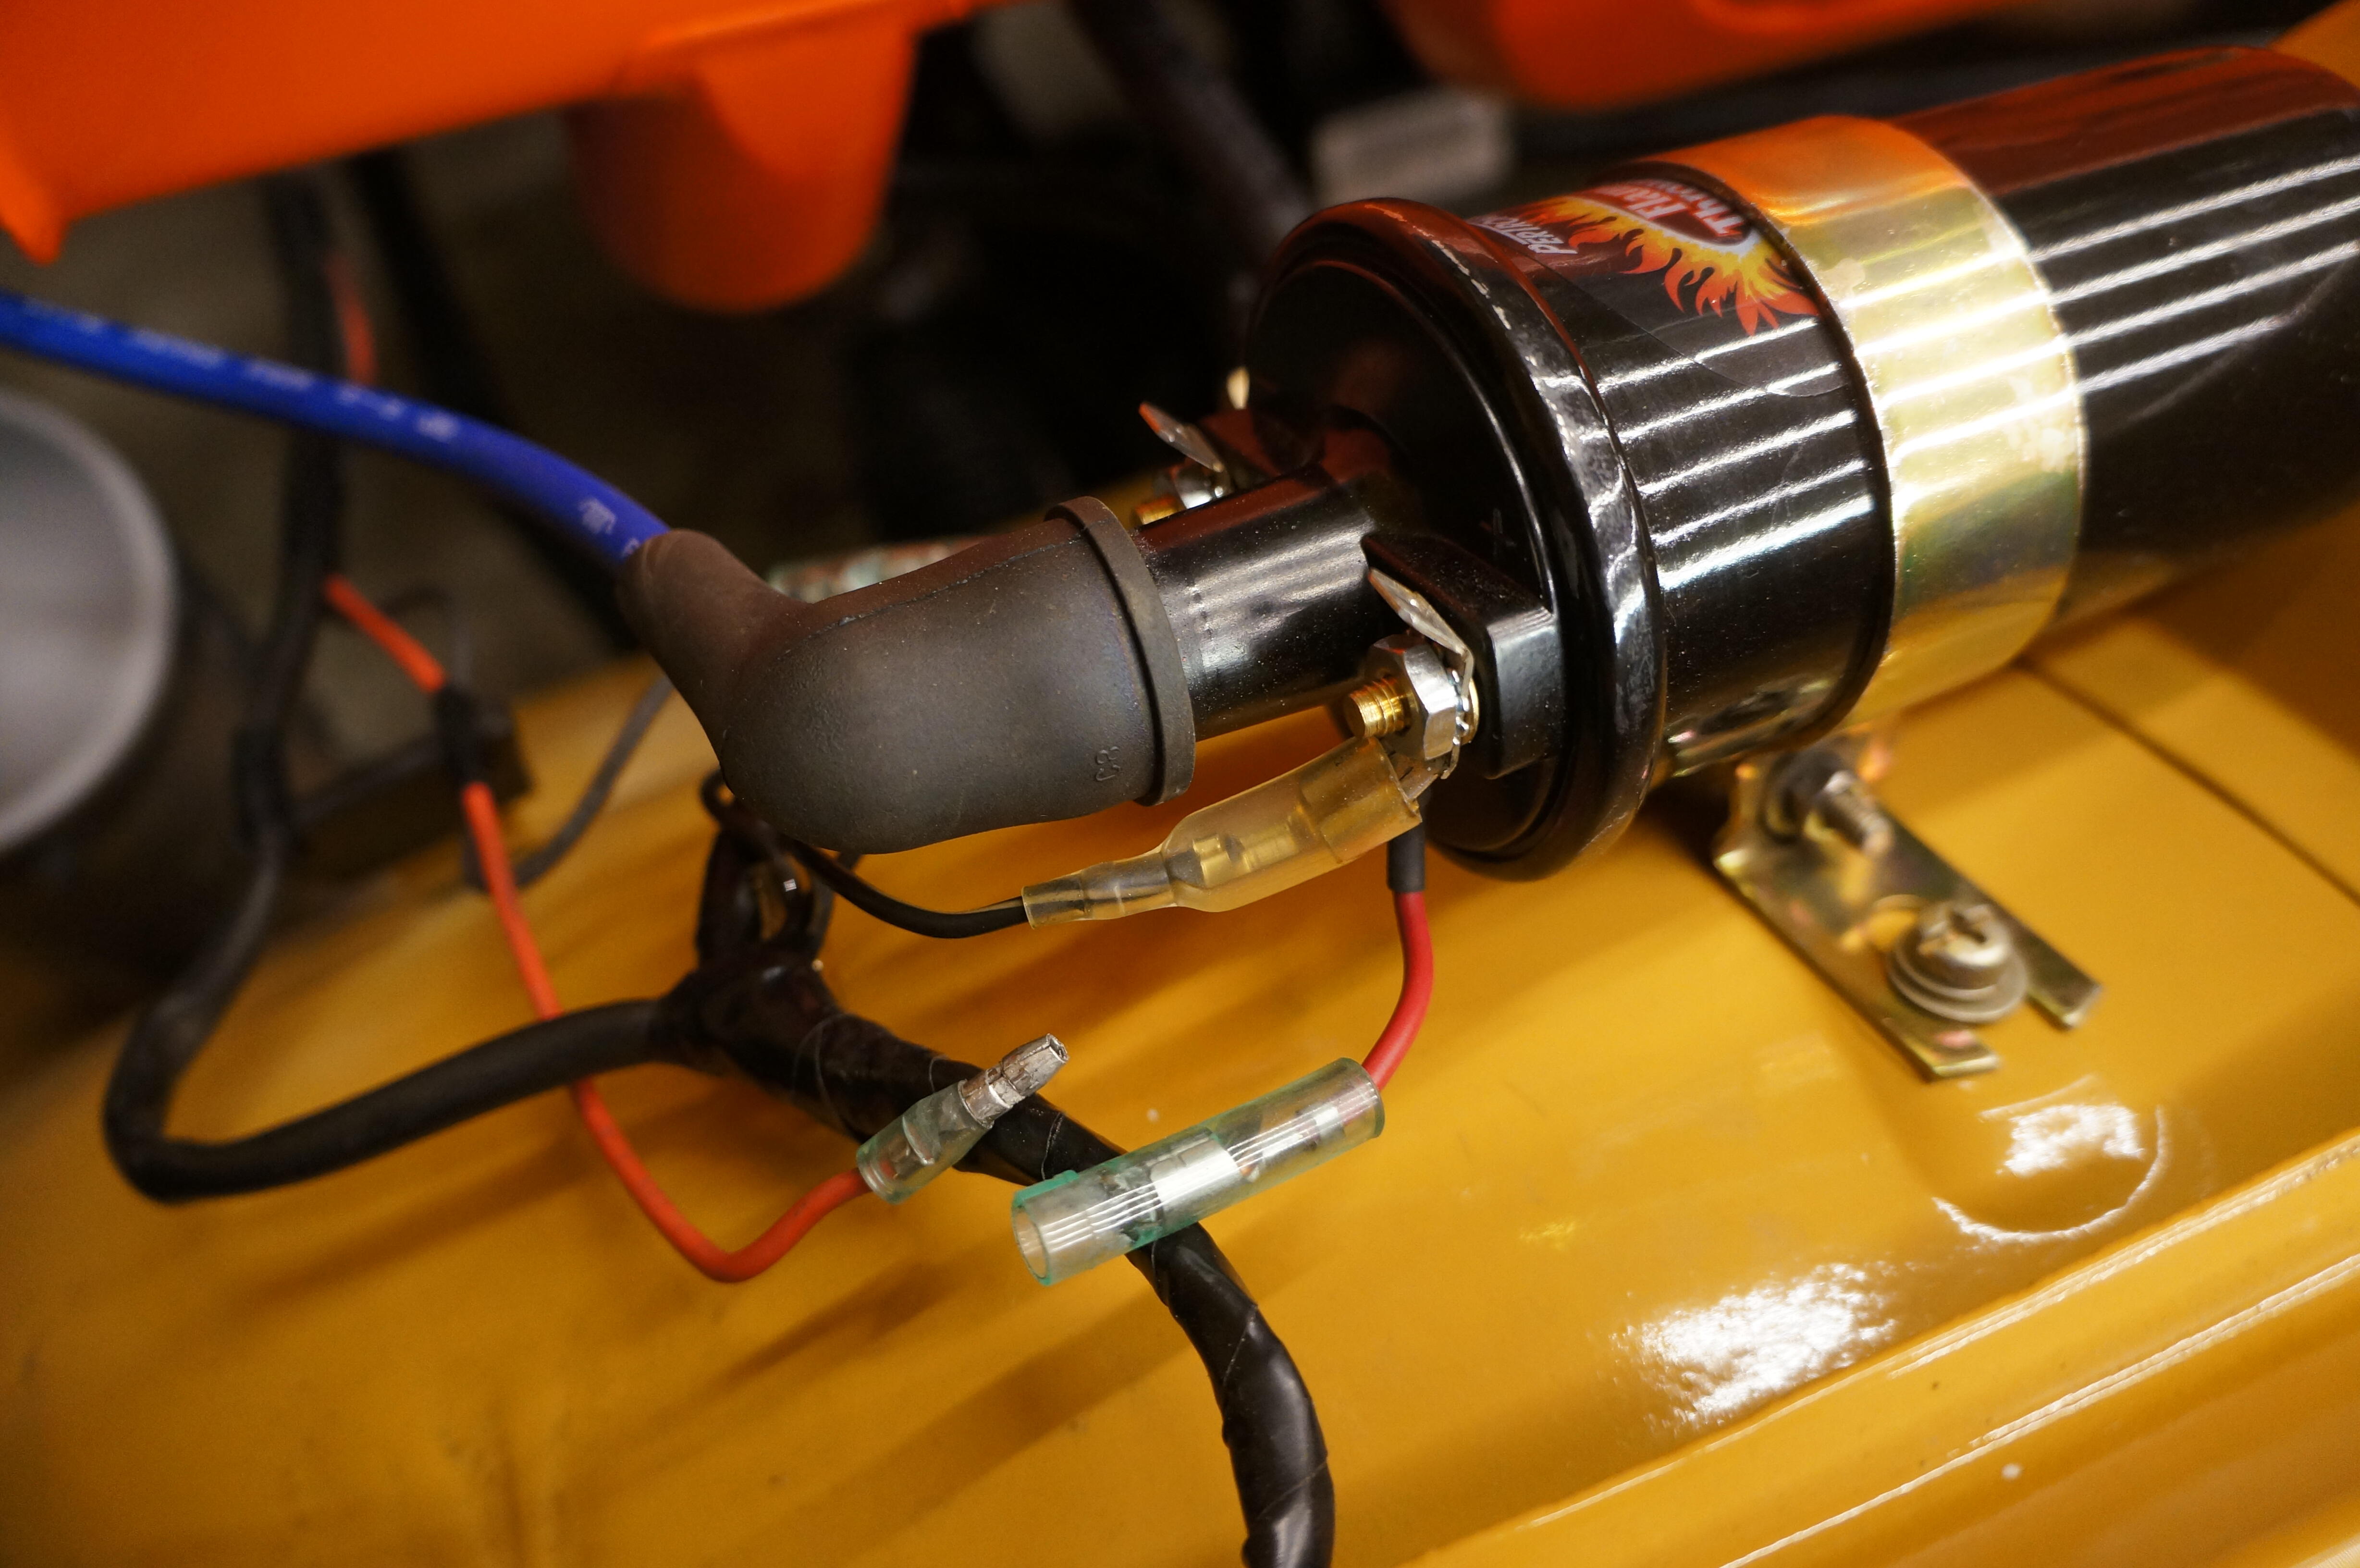
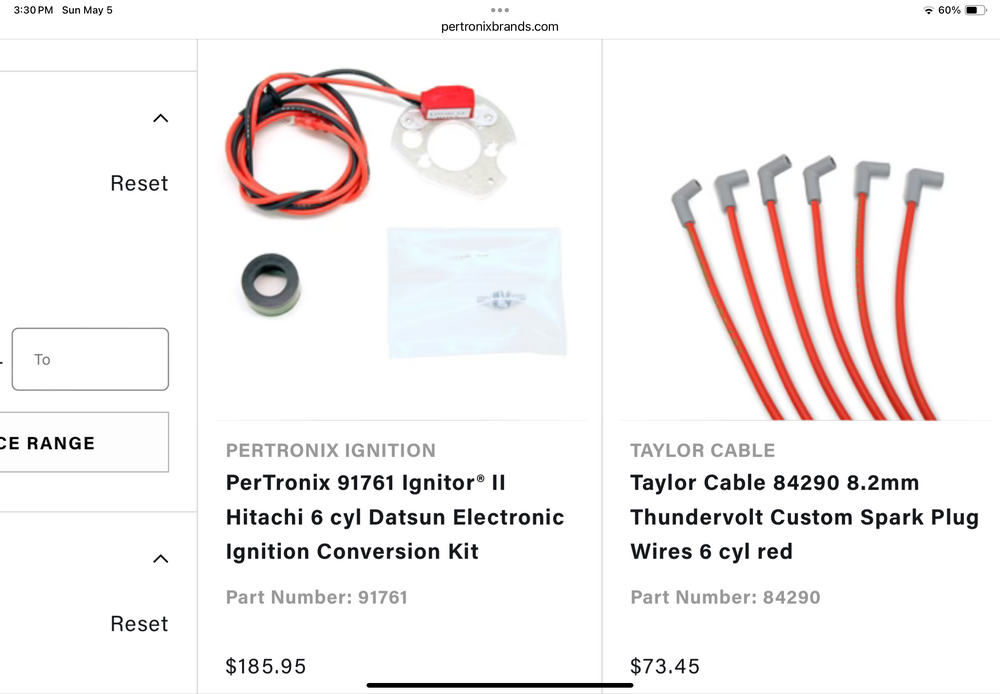
2 pointsI heard the rumor once that the “old” or initial Pertronix are prone to the burn out if left on issue, but the later models don’t have that problem. Pertronix I vs II. Searching I see lots of references to I vs II comparisons, but not Datsun 1761 related. Pertronix web site does however list a “II” for 240z. PN 91761. 1761 is the old version one. So I suggest we get the 9 version from now on. $185 vs $135 of course There is also the L4 equivalent, 91761 vs 1741. They also list replacement modules for both in case it does blow up so you don’t have to buy a whole new kit.
 2 points
 -
2 points
-
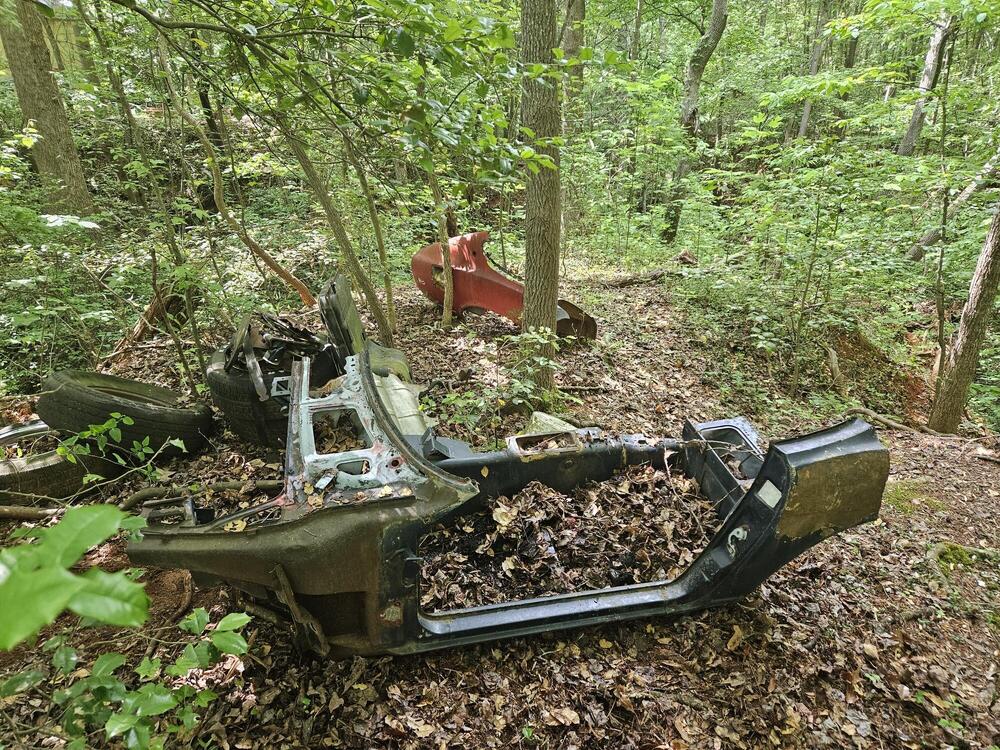
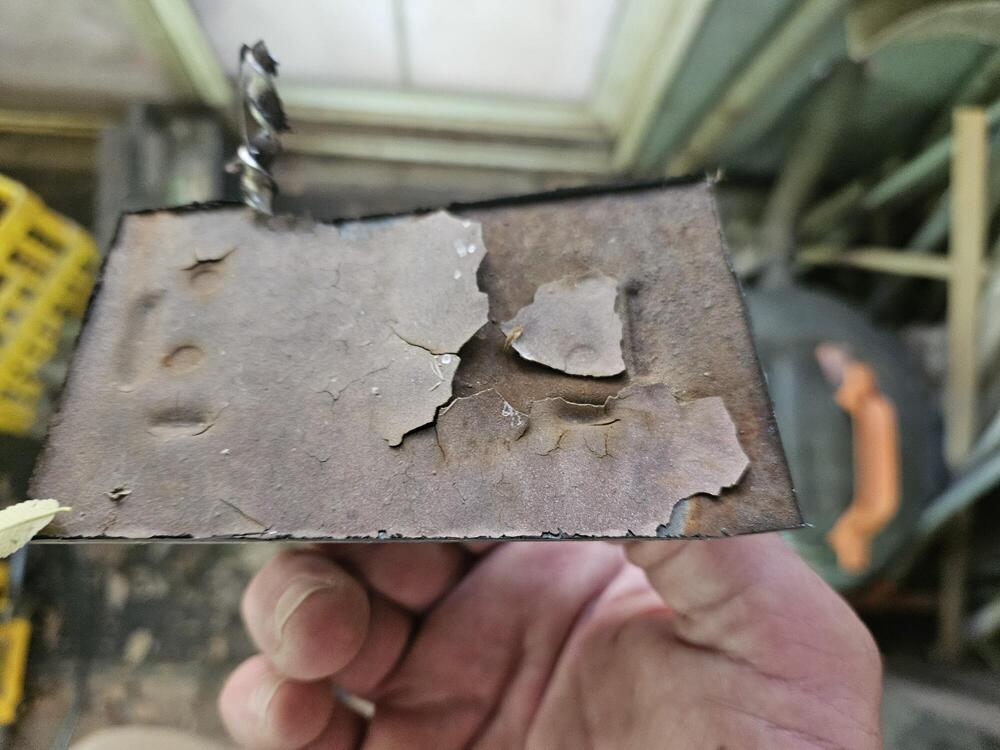
Surprise… Fenders off and removed engine block today, closer examination of radiator ore support area reveals a 73/74 z radiator core support. Lower support was reused. Quite a few differences from early to late supports. Most obvious being 3 large holes in early drivers side, versus 4 in later versions….. Honestly, I expected more surprises by now, The exploration continues….
 1 point
 -
1 pointThere should be power to the coil in both ON and START. During START, it is wired to bypass around the ballast resistor, and in RUN power is wired to go through the resistor.1 point
-
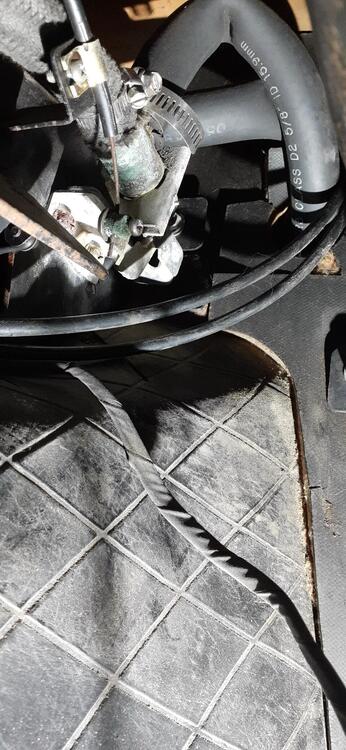
Hey inline6. Here are the clamps on my 1/71 series 1, and I’m pretty confident they are correct.
 1 point
 -
I agree. Moving the pivot ball towards the slave body should make it engage / disengage closer to the floor. So... A related question... What ID master and slave are you using? I think the masters are all 5/8, but I think slaves are available in 11/16 and 3/4. I think you should be running 11/16, but maybe you could change to 3/4 if you can't get satisfaction using just the adjustment on slave rod length.1 point
-
1 pointI'm 6'4" and he makes me feel like a midget. He's good help now. Strong and smart. He's a good mechanic and a good welder. Nice to have him close by1 point
-
I have burned out 2 of the P1's, now I add bullet connectors on the positive side so I can do electrical trouble shooting without risking damage.
 1 point
 -
1 point
-
1 pointI had one on my 4runner for years until I sold it. Held up great. I usually put a hose on it when doing an oil change, made things very tidy. I was always nervous about snagging it on something and opening it up on the trail or it vibrating open (irrational I know). That never happened. I did have the little plastic safety snapped on, and zip tied in place. Can't be too careful :).1 point
-
1 pointThe car was originally automatic. So it wasn't there. I thought I would use panel bond too or maybe epoxy. It's never going to really get pulled on, so it aught to be fine. For the clutch pedal stop? No I just bead blasted it all and let it ride. It has a fresh coat of satin black on it now.1 point
-
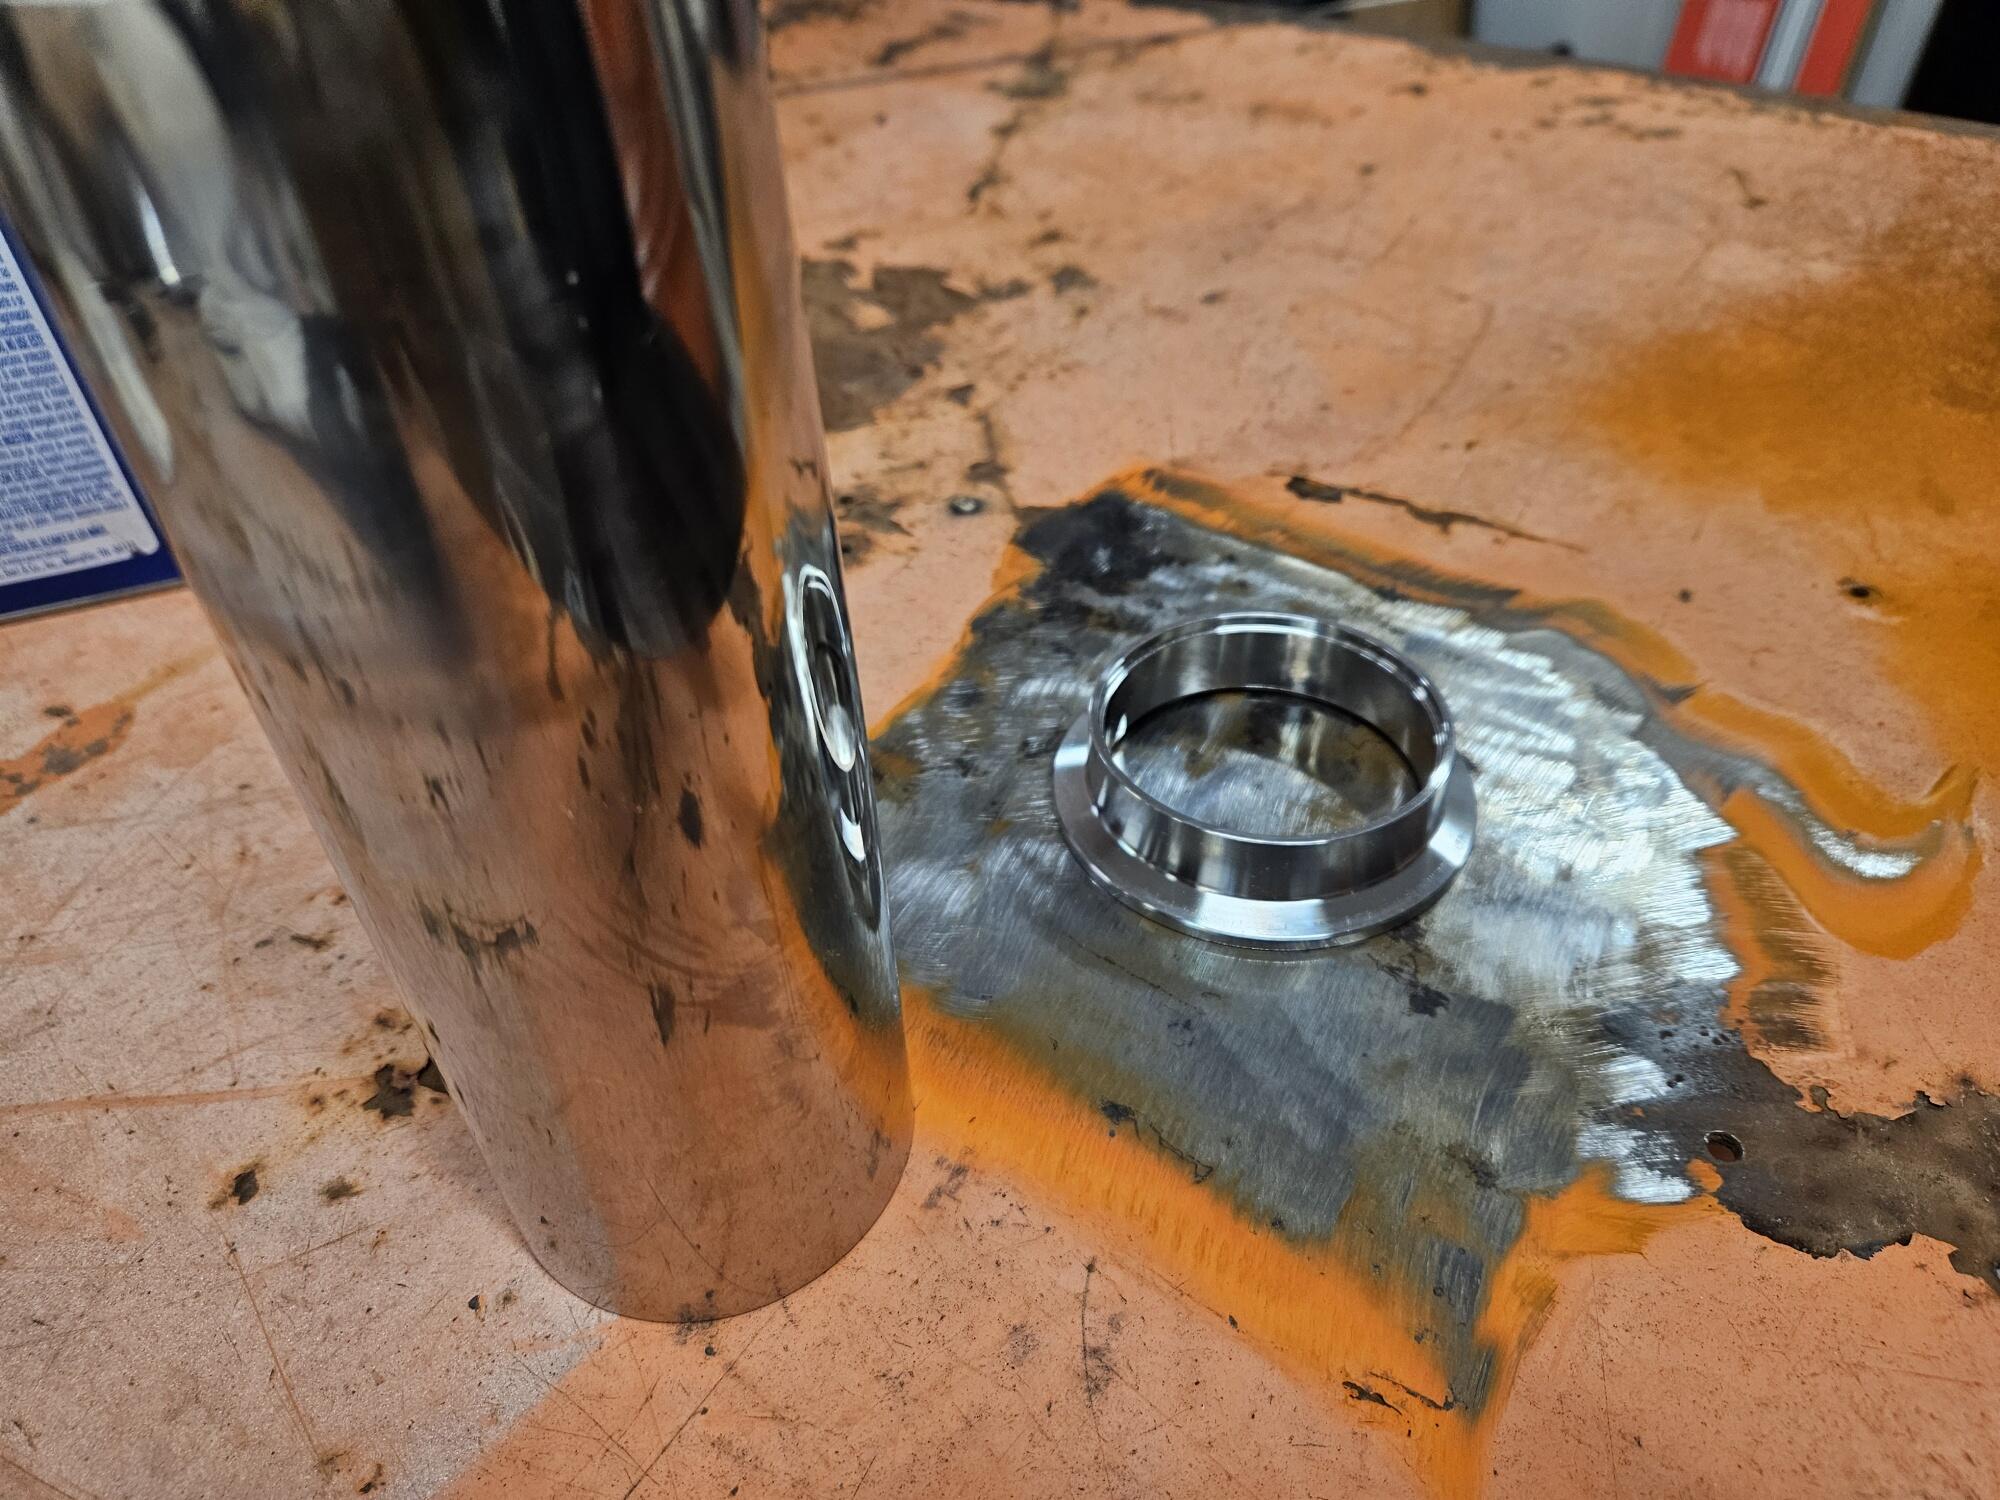
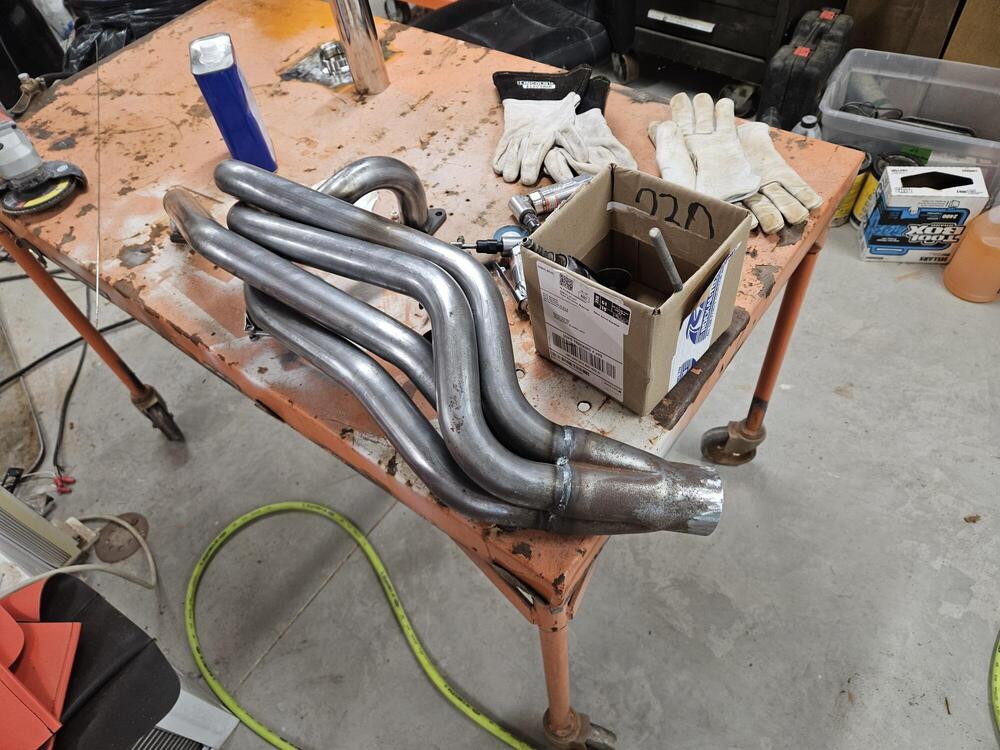
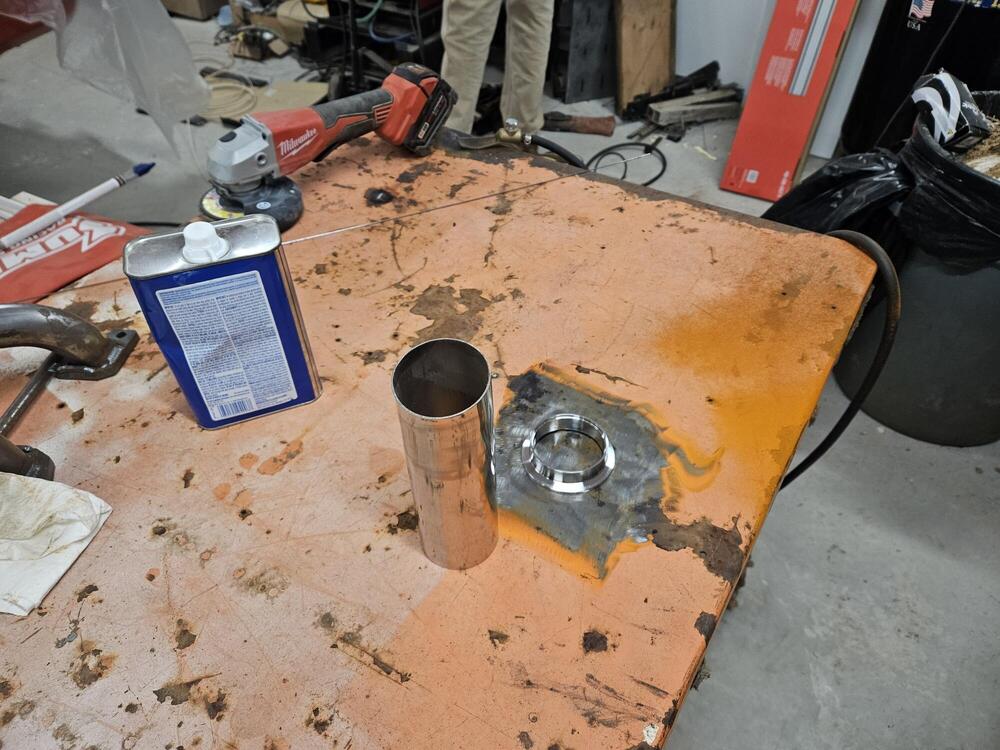
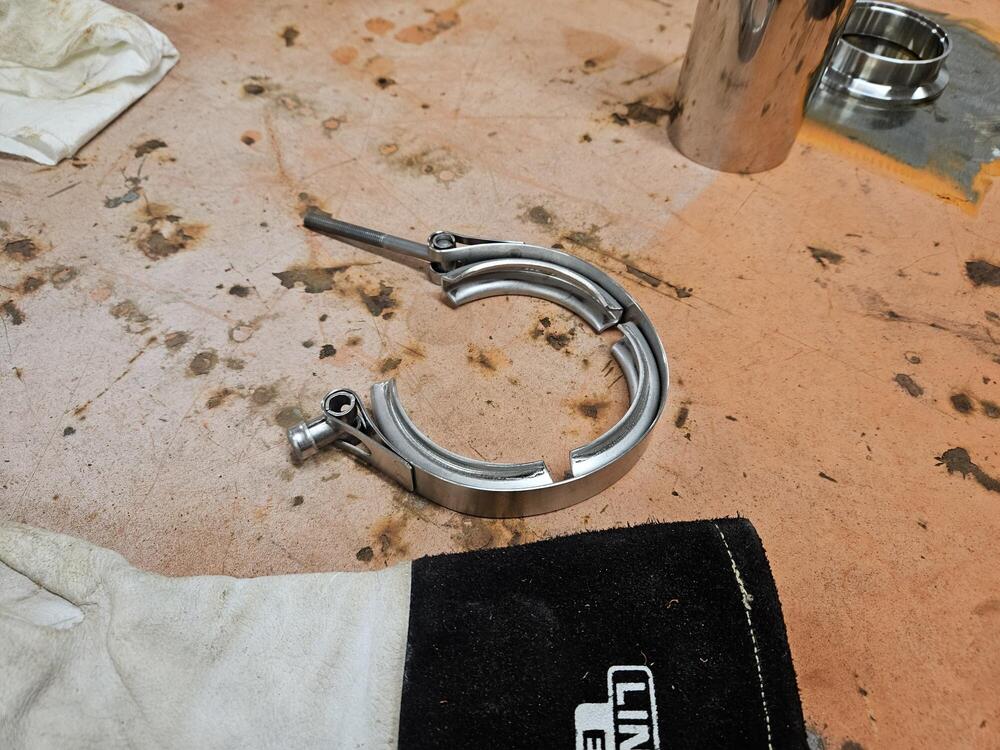
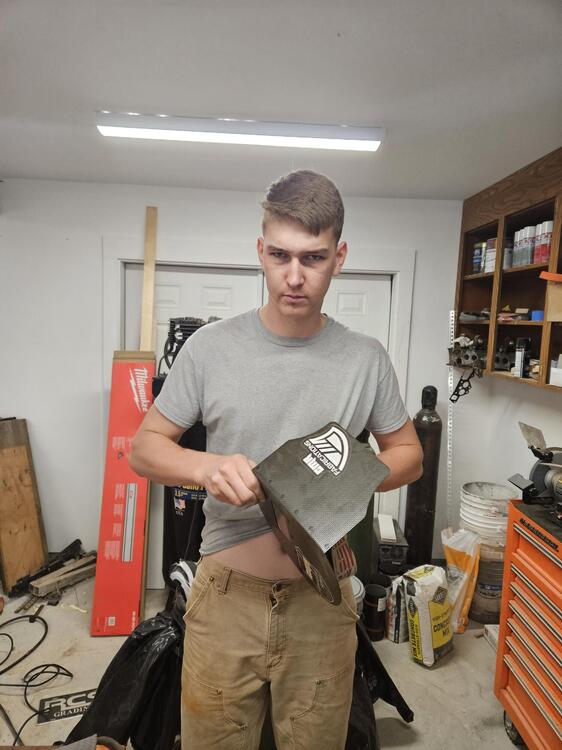
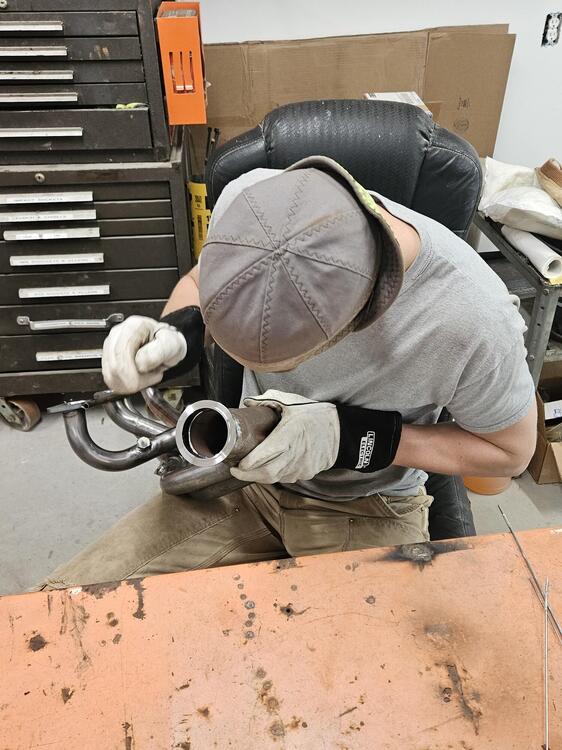
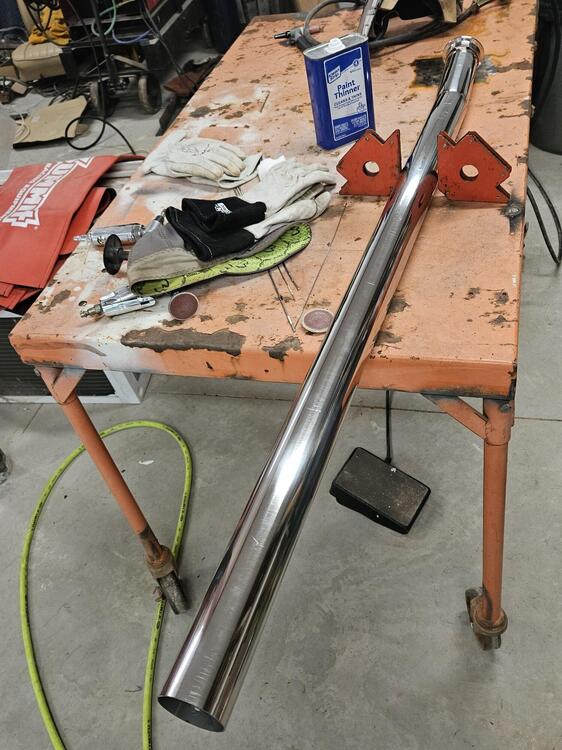
1 pointSo yesterday Cody and I started building an exhaust for his car. We're running 2 1/2" stainless. No one really offers an exhaust for a 510 wagon Running V Bands at the end of the header. We got this much of the pipe built. I need to order a muffler now. The muffler is actually up under the back seat. It's not at the back of the car. The plan is to tack up the exhaust and then take it to someone else to TIG it all up

 1 point
 -
1 pointCO had a good suggestion here. Stop messing around with that spaghetti-nest of wires. Confirm that you will be able to create spark with just the coil and distributor and coil and plug wires that you have. Disconnect ALL of the harness power wires to the coil. Let them hang, with the ends protected so that you don't have a short circuit. Start with a bare coil, no power or ground wires attached. Run a long wire from the battery positive to the coil positive post. Connect the wire from the distributor (the points inside the cap) to the coil negative post. Crank the engine over using the key or using a remote starter. You'll be doing what old-time car thieves do. Mess around with this setup until you get spark. The pictures of those nasty crusty wires and connections aren't helping at all. Simpify things down to the bare essentials. If you can't get spark with a single hot wire from the battery you'll never get it from any of those in that pile of wires.1 point
-
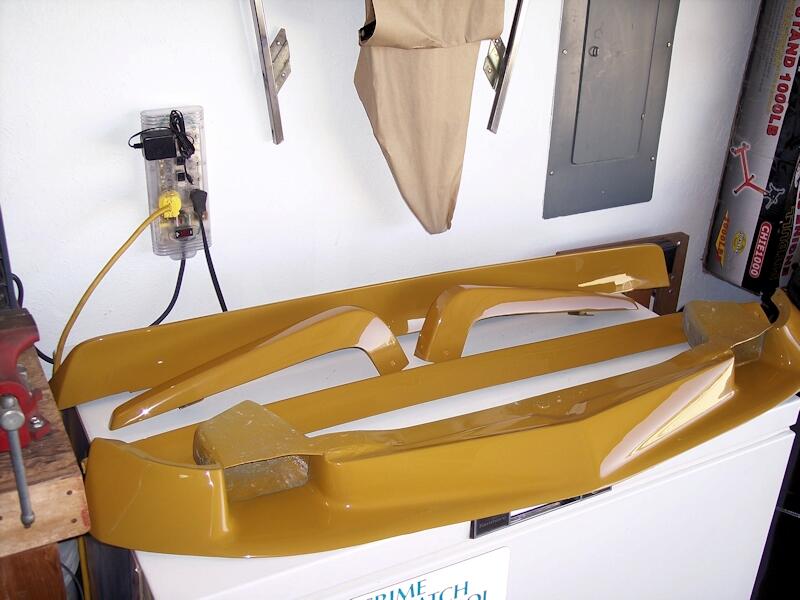
1 pointI got the chin spoiler primed yesterday and colour and clear on today, I'll give it a couple of days to cure before installation.

 1 point
 -
That's a nice-looking car. Like the wheels. Your leather seat covers with the contrasting stitching help to liven up the interior 🙂.1 point
-
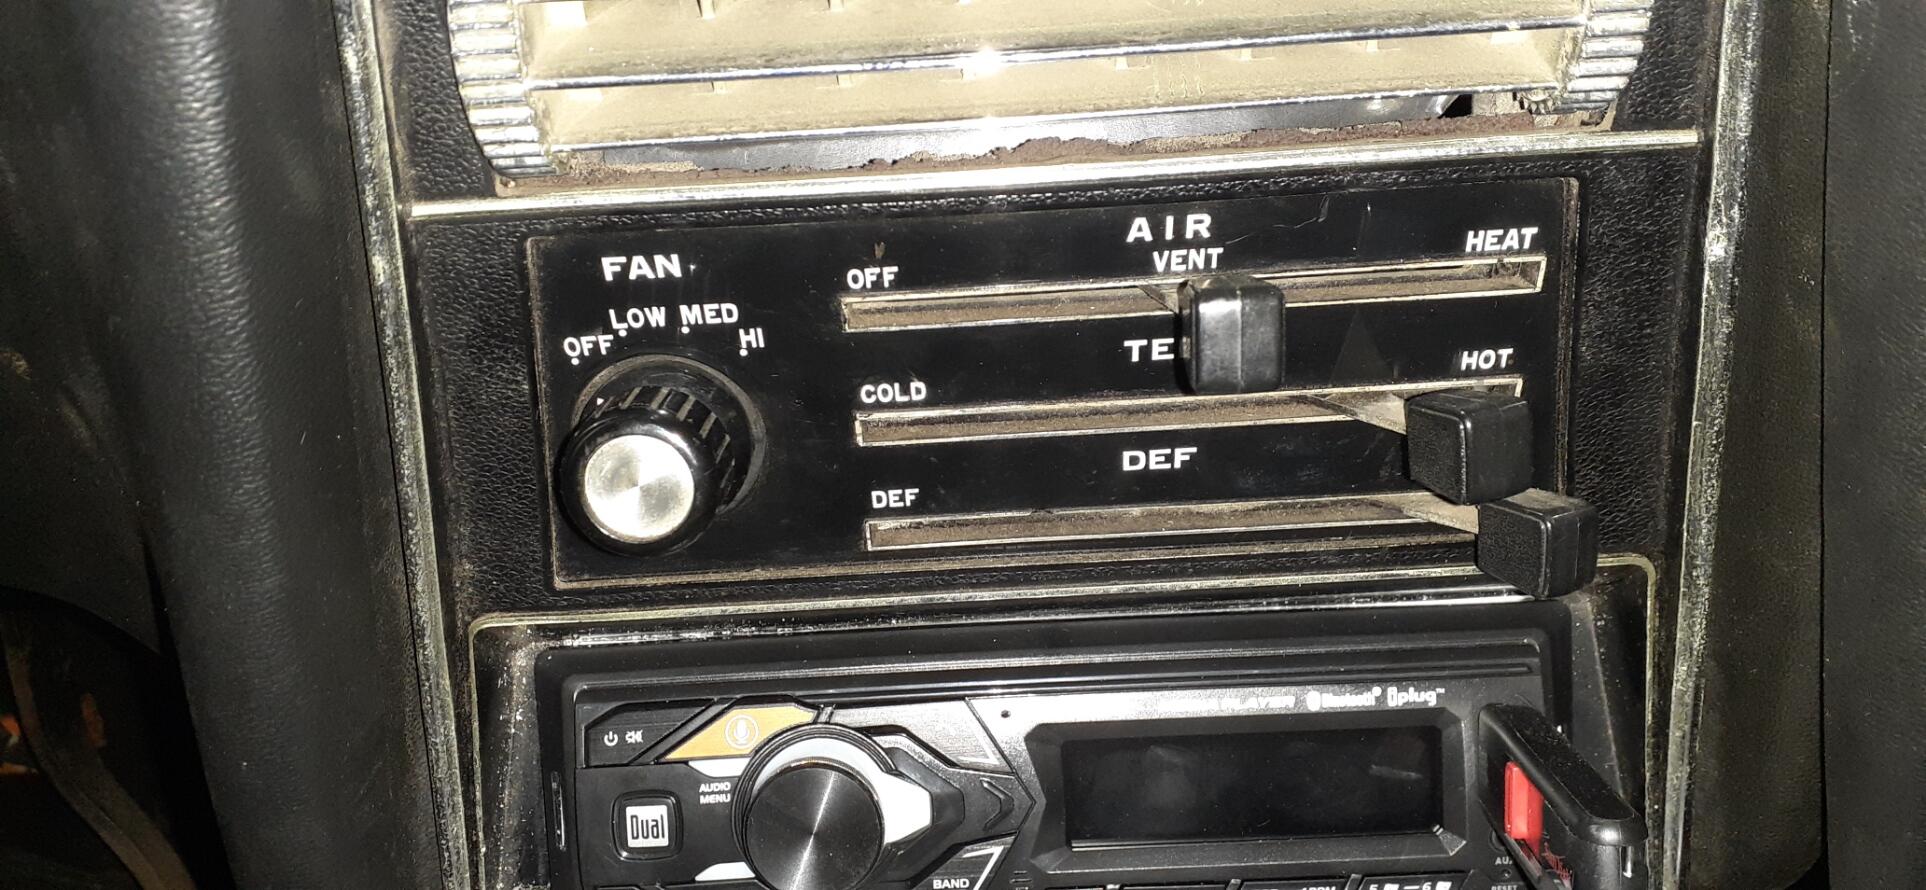
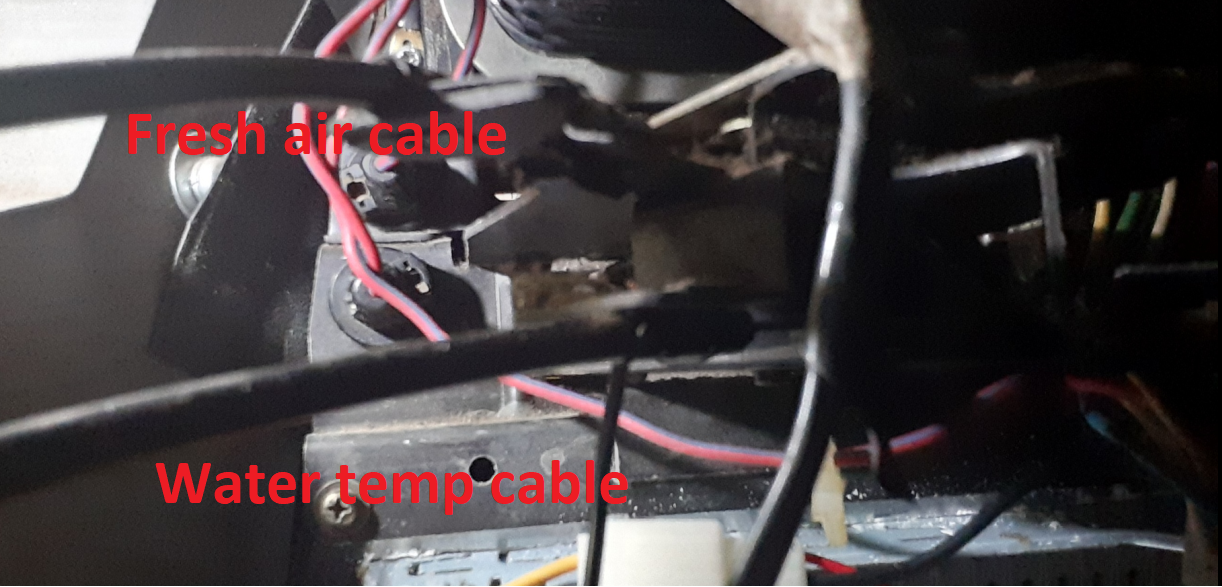
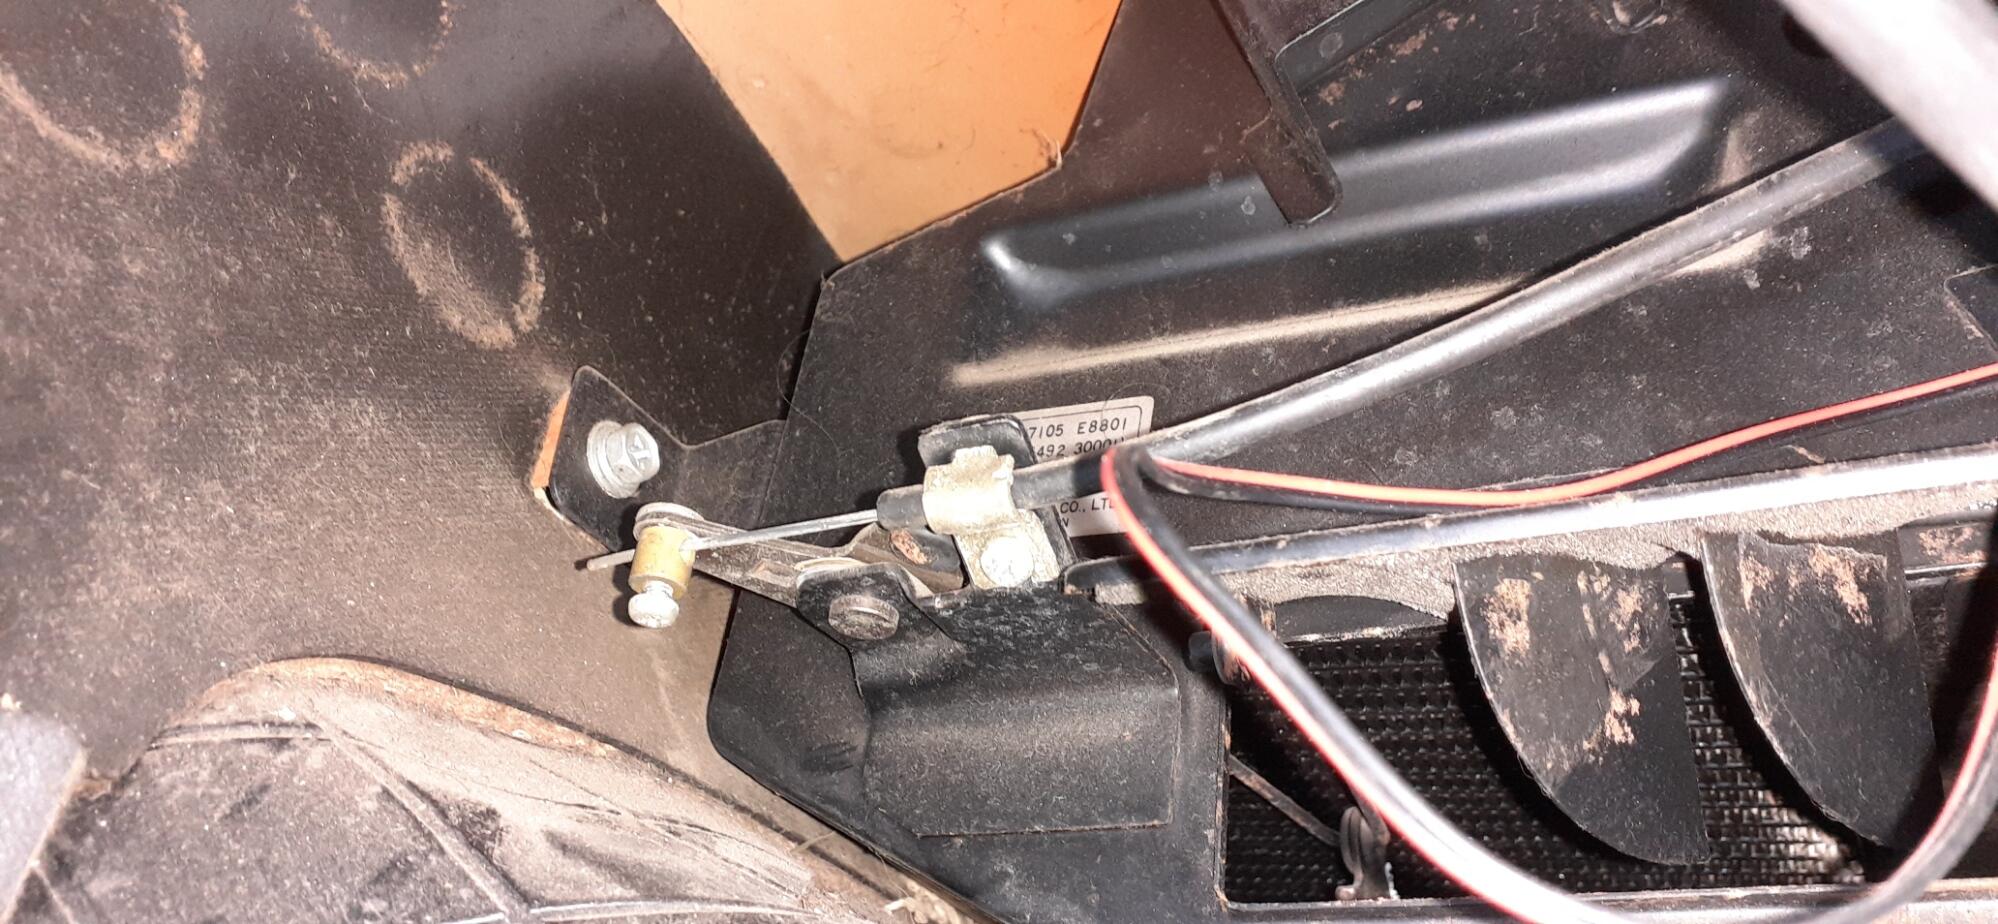
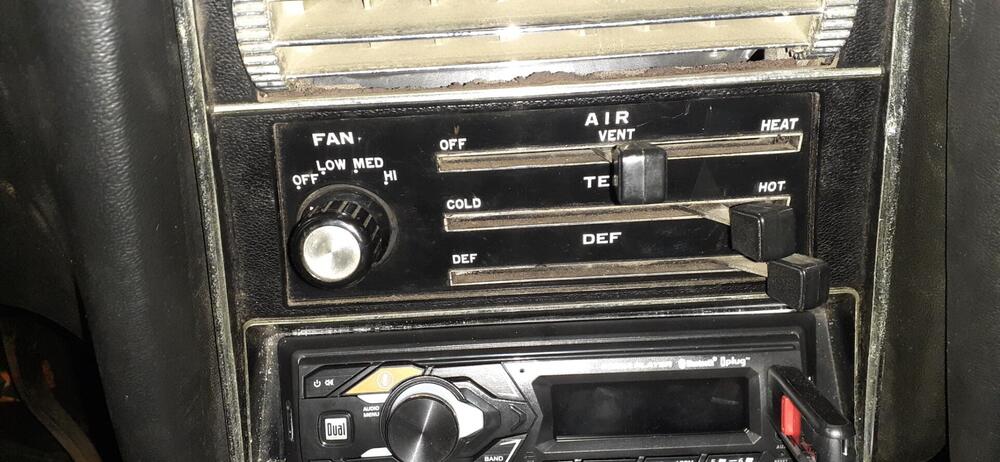
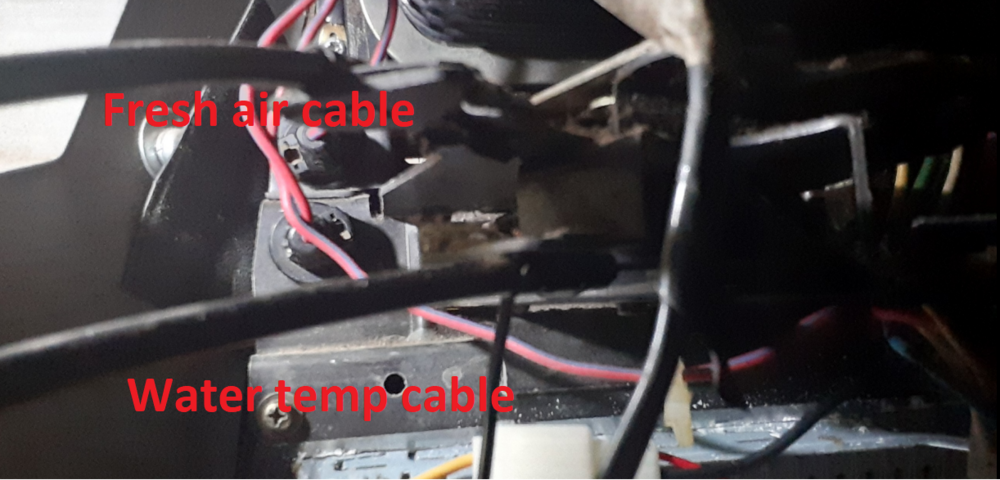
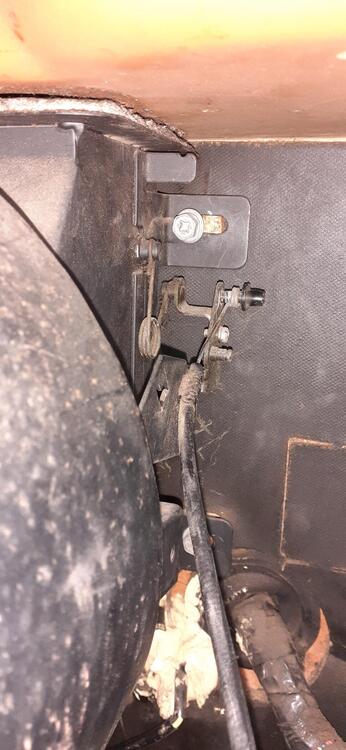
1 pointSo there are 3 control levers with 4 control cables. The top lever has two cables. One of the cables goes off to the right. It moves when moving the top lever between Off and Vent. The other cable goes off to the left and moves when moving the lever between Vent and Heat. The middle lever for the temperature control goes to the right and connects at the watercock at the heater core. The bottom lever goes over to the left and connects near the door that covers the footwell vent. It moves when you move the lever from Def to Heat. Here's a backside view of the control panel. Sorry I couldn't get a better photo. At least you can see a couple of the cables. Here is the fresh air (Off to Vent) connection. It's up near the firewall in back of the fan box and is probably obscured by the glove box. (I removed the glove box recently.) Here is the Vent to Heat actuator. It is on the drivers side above the hose that goes to the side vent. Here is the cable connection at the watercock. It is on the passenger side near where the heater hoses come through the fire wall. Finally, here is the cable connection for the Def to Heat lever. It is on the driver's side near the firewall where the door for the heated air vent is. Does this give you what you were looking for?
 1 point