Leaderboard
-
woof
Free Member4Points24Posts -
grannyknot
Free Member4Points5,158Posts -

Jeff Berk
Free Member4Points620Posts -
inline6
 Subscriber
 4Points1,282Posts


Popular Content
Showing content with the highest reputation on 01/14/2024 in all areas
-
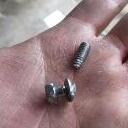
New member, first post! I fixed my windshield washers. Cleaned the reservoir, replaced the motor and all the lines, and cleaned the spray nozzles. It works now, for first time in 30+ years! In the process of yanking one of the old lines off, I stabbed myself with it. Who knew that 50 year old flexible tubing would harden enough to break skin!4 points
-
This is an amazing project I'm glad I didn't attempt. I have two potential avenues of assistance if you need either one. My fall back mechanic for my Z, Lanny Ritz in Kent, OH can handle just about any issue with a Nissan, except he doesn't do differentials. I can get you the contact information he ships his differentials to if you get into a real bind. If you need help cutting out a shim, I have access to a water jet. You would just have to ship me the stock.4 points
-
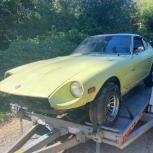
Parked up in the garage, big clunk, diff fell out!
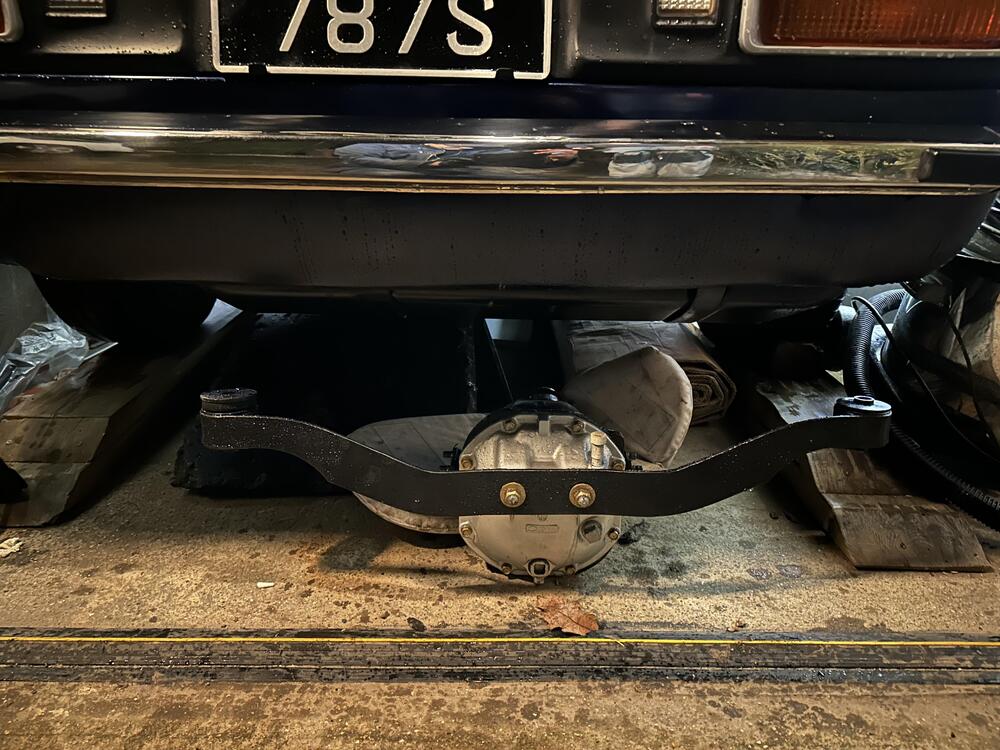 3 points
 -
2 pointsI just recently did mine few months ago had a very similar problem the WD-40 trick worked very well and it only took one overnight soaking2 points
-
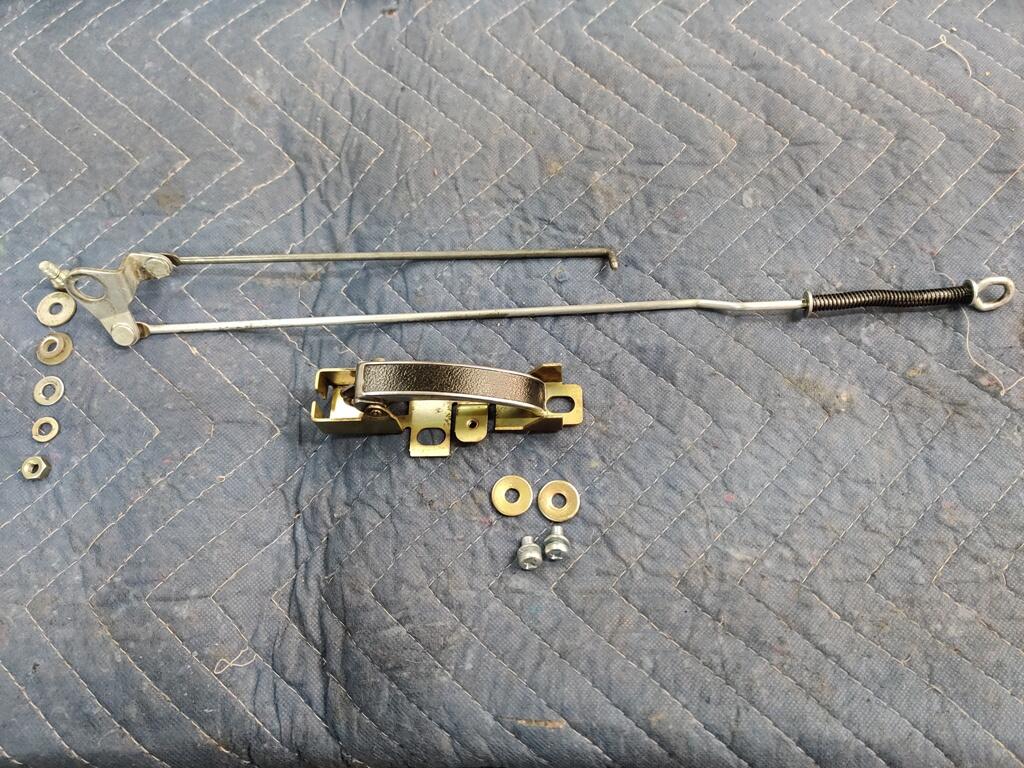
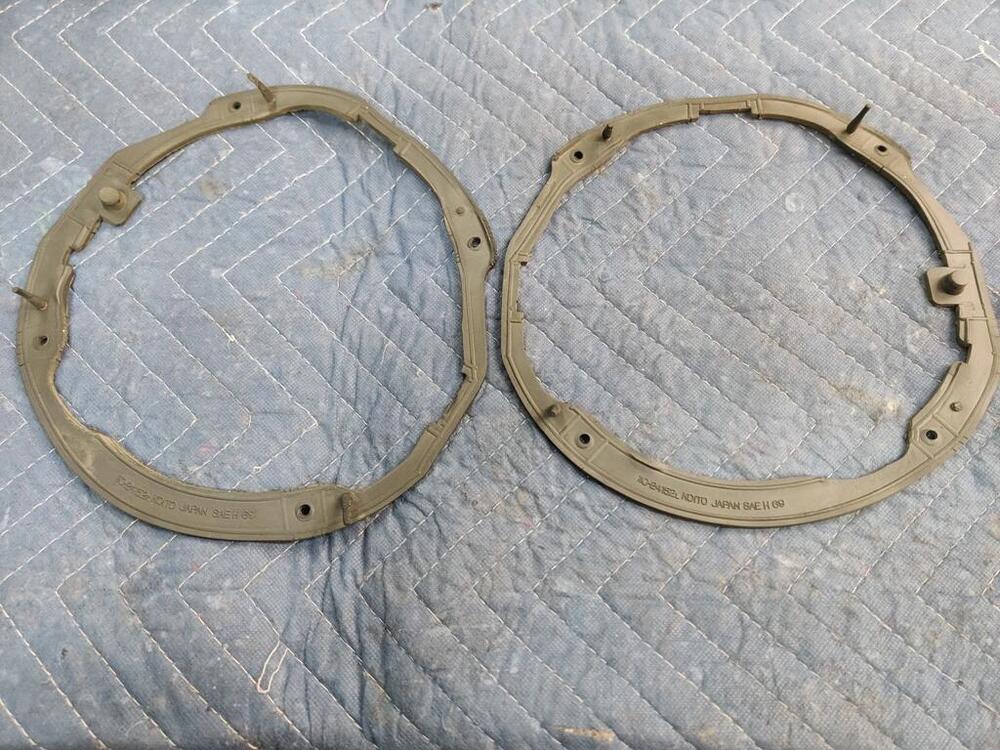
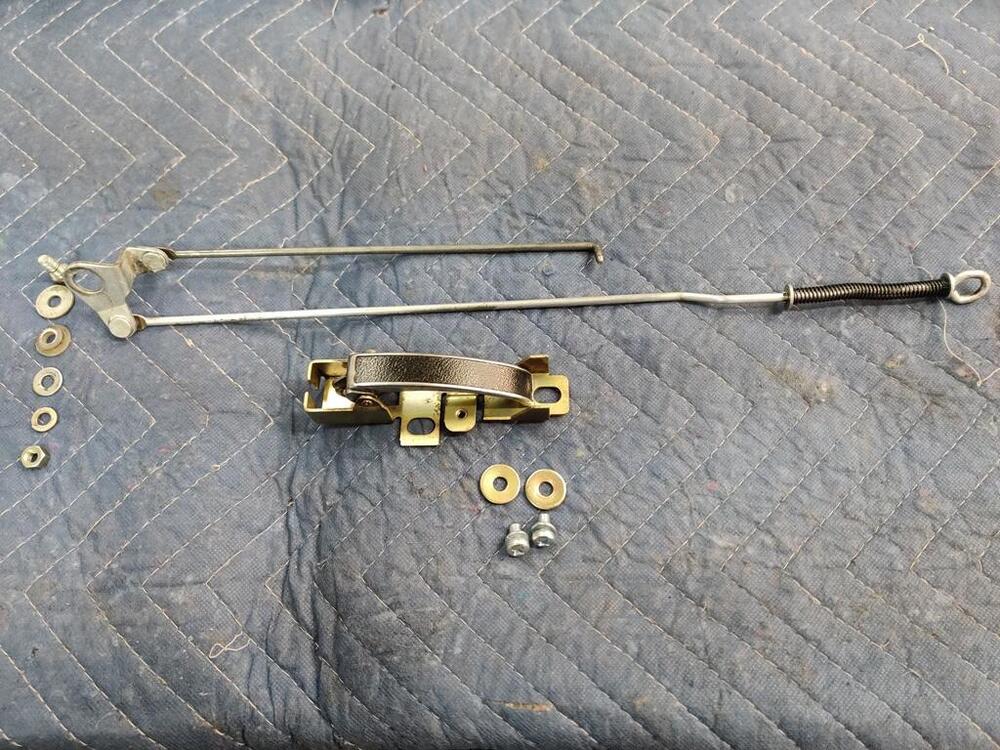
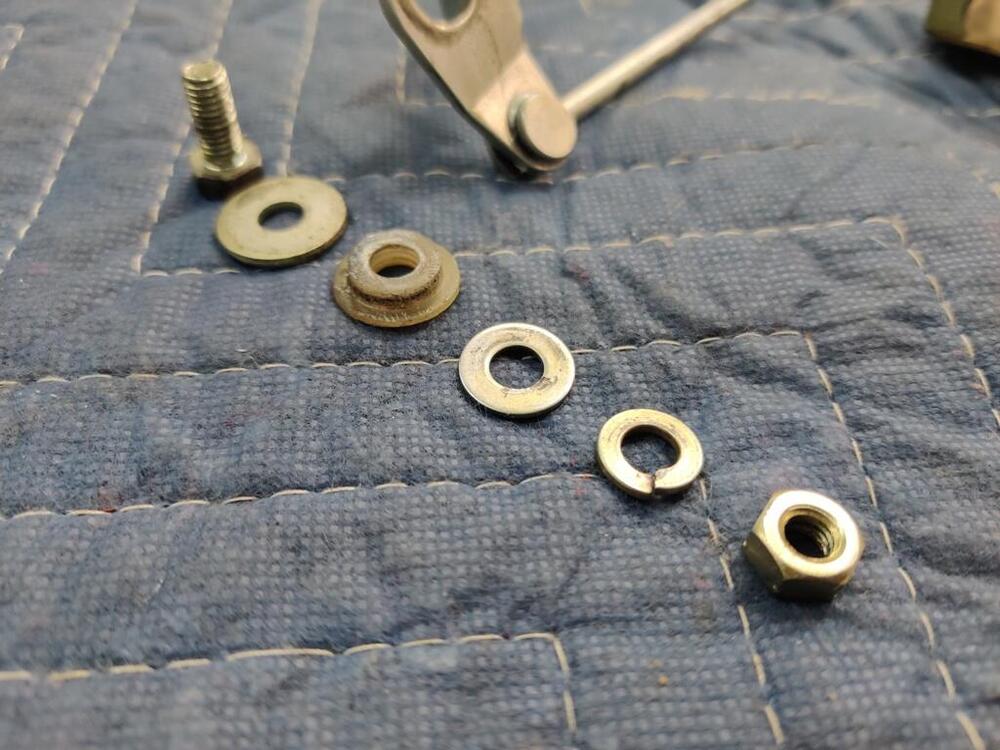
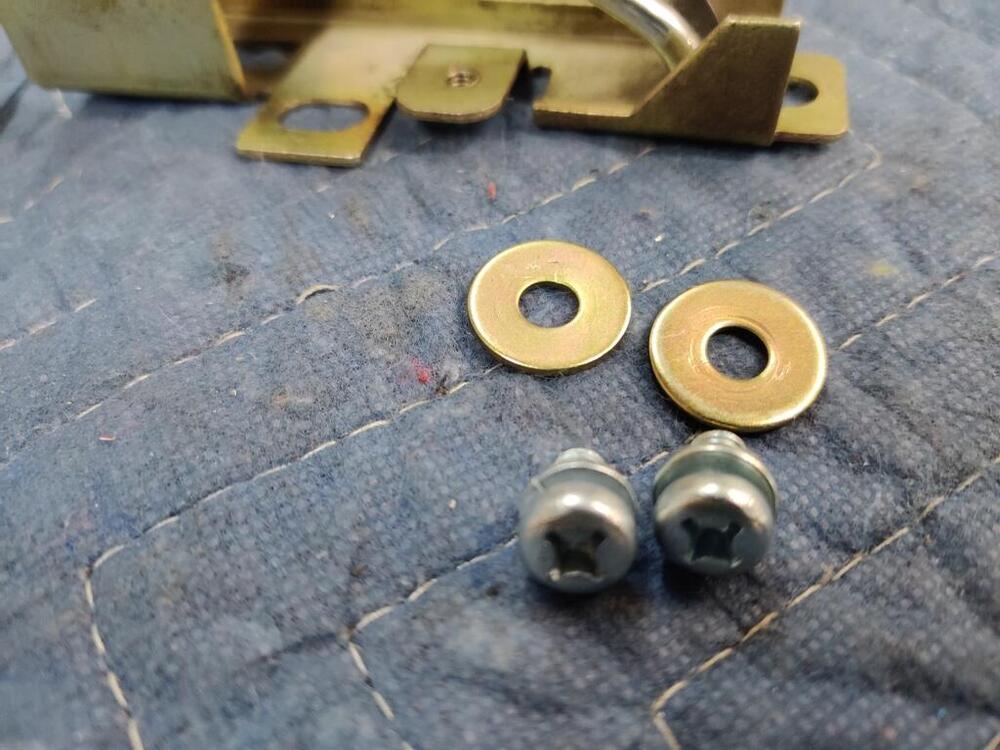
2 pointsIt is normal, the angle keeps the mounting bolt perpendicular to the curve of the bumper.2 points
-
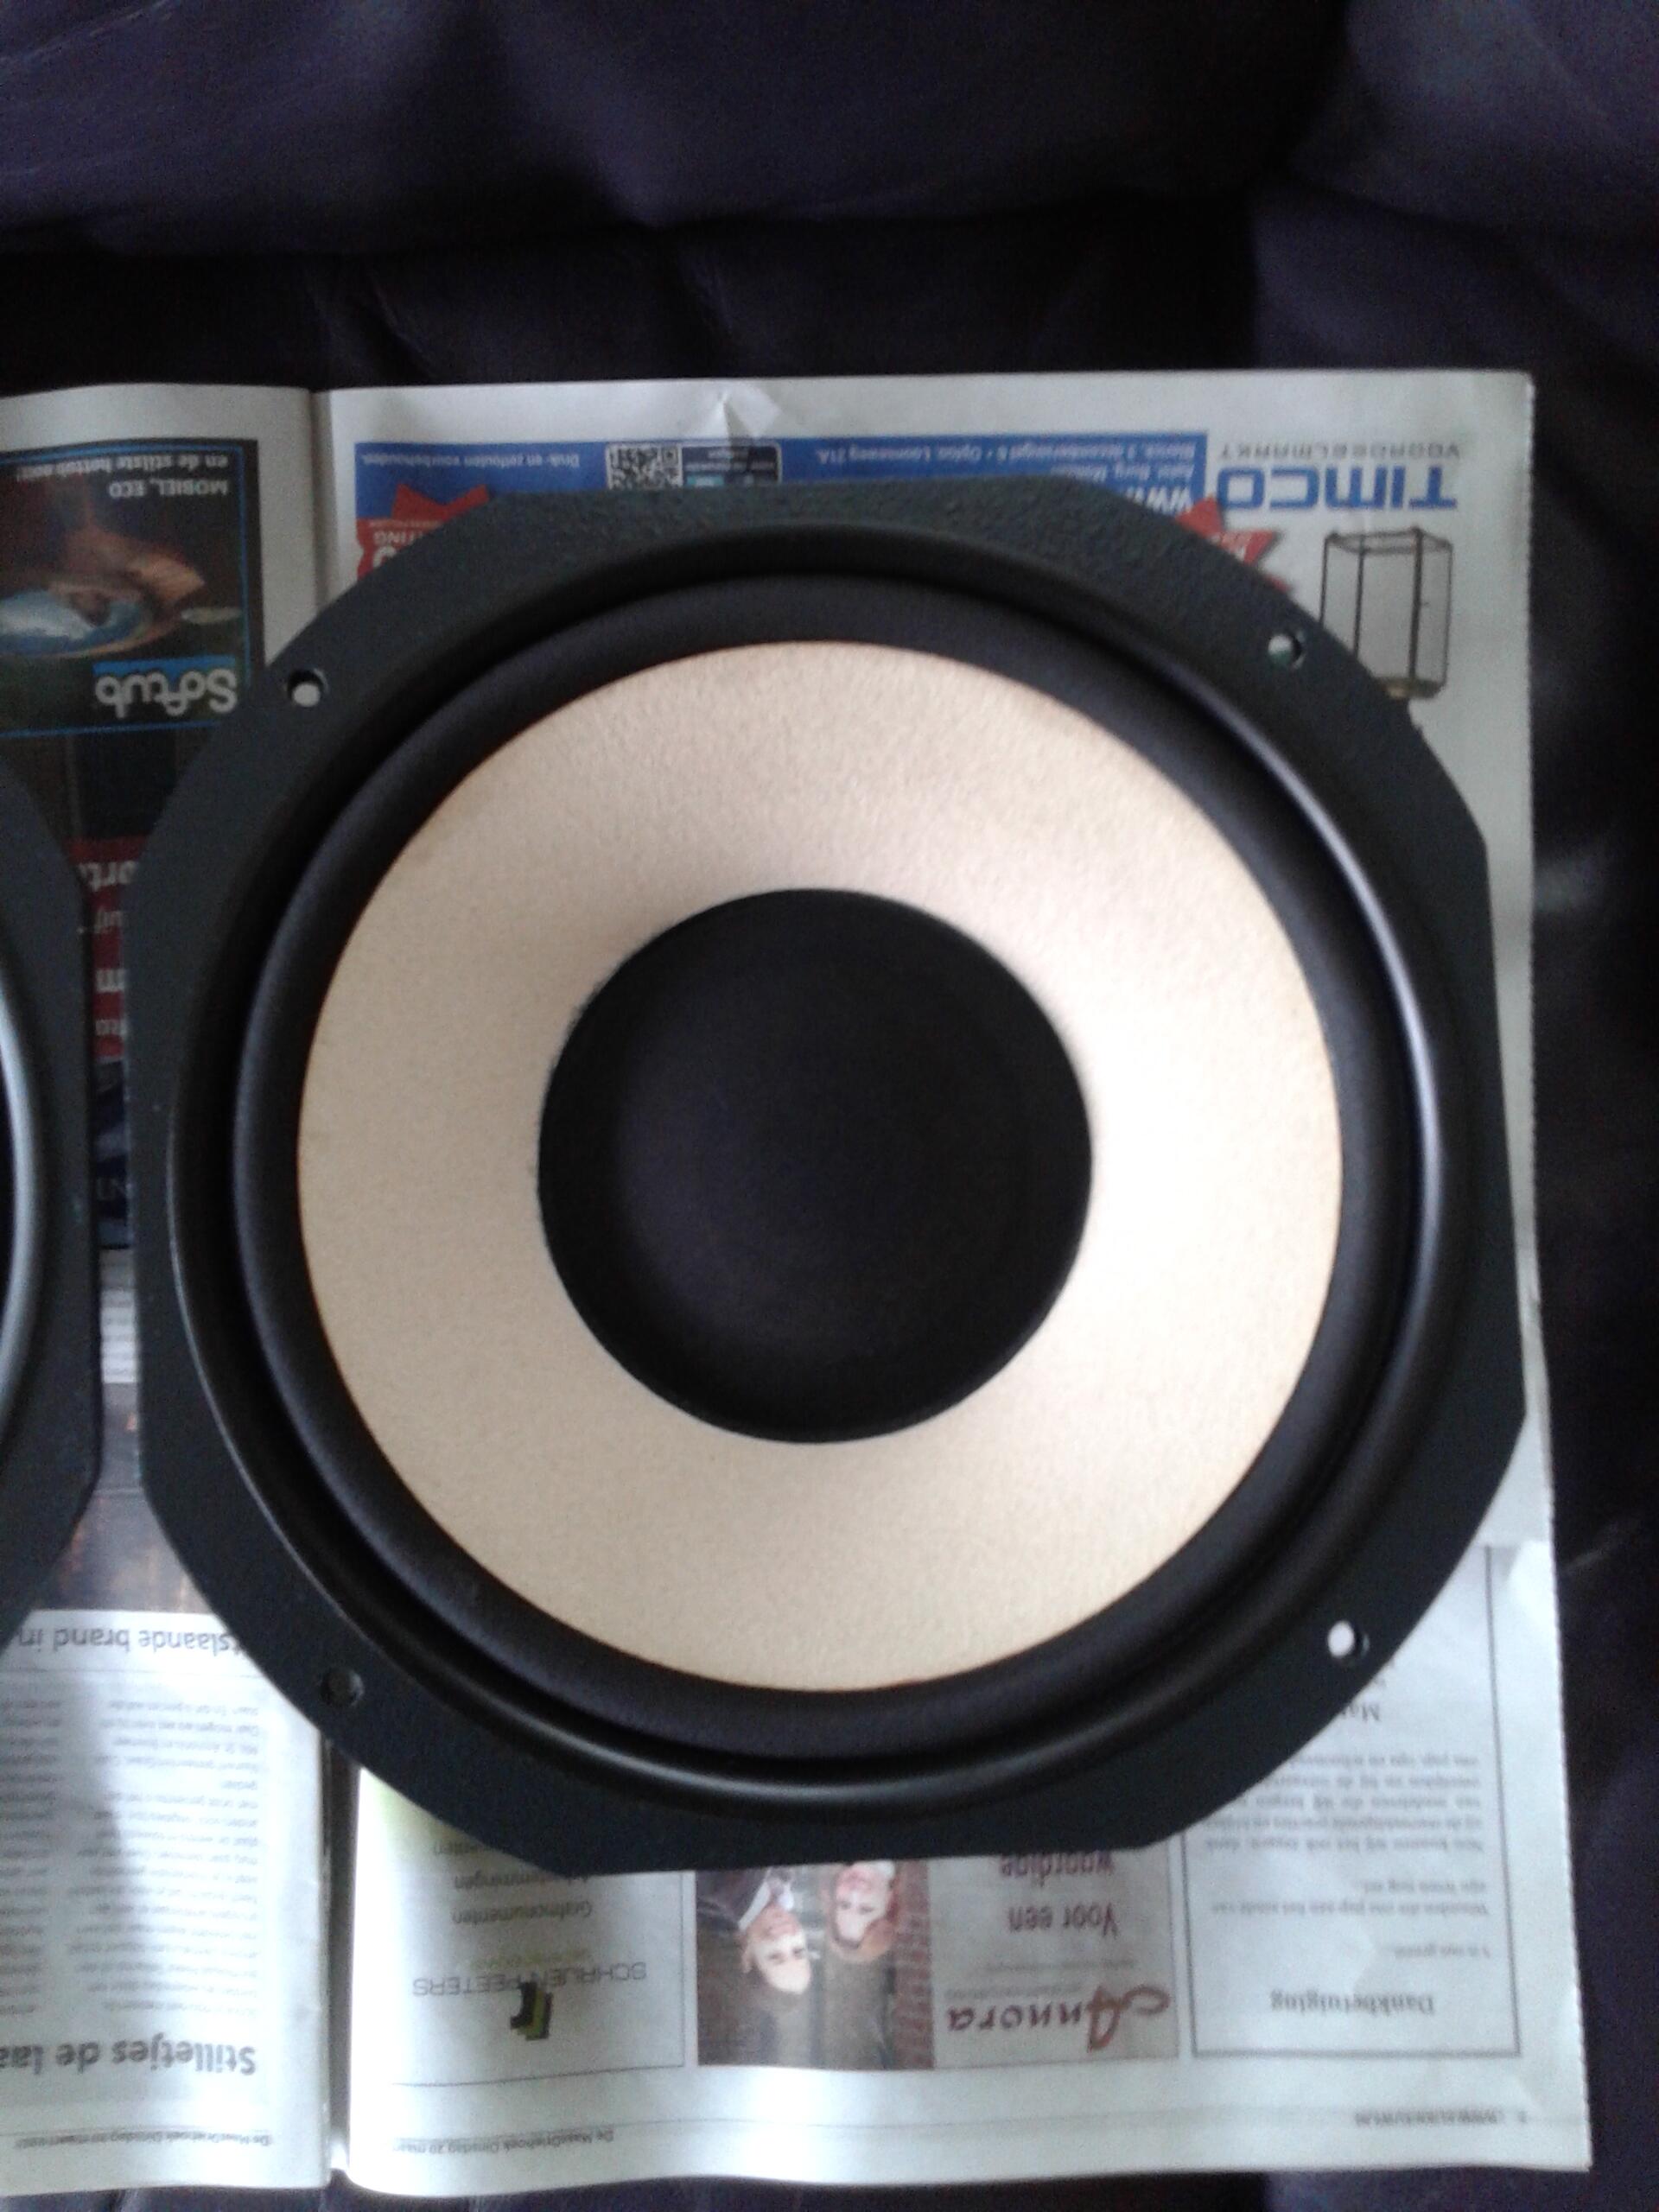
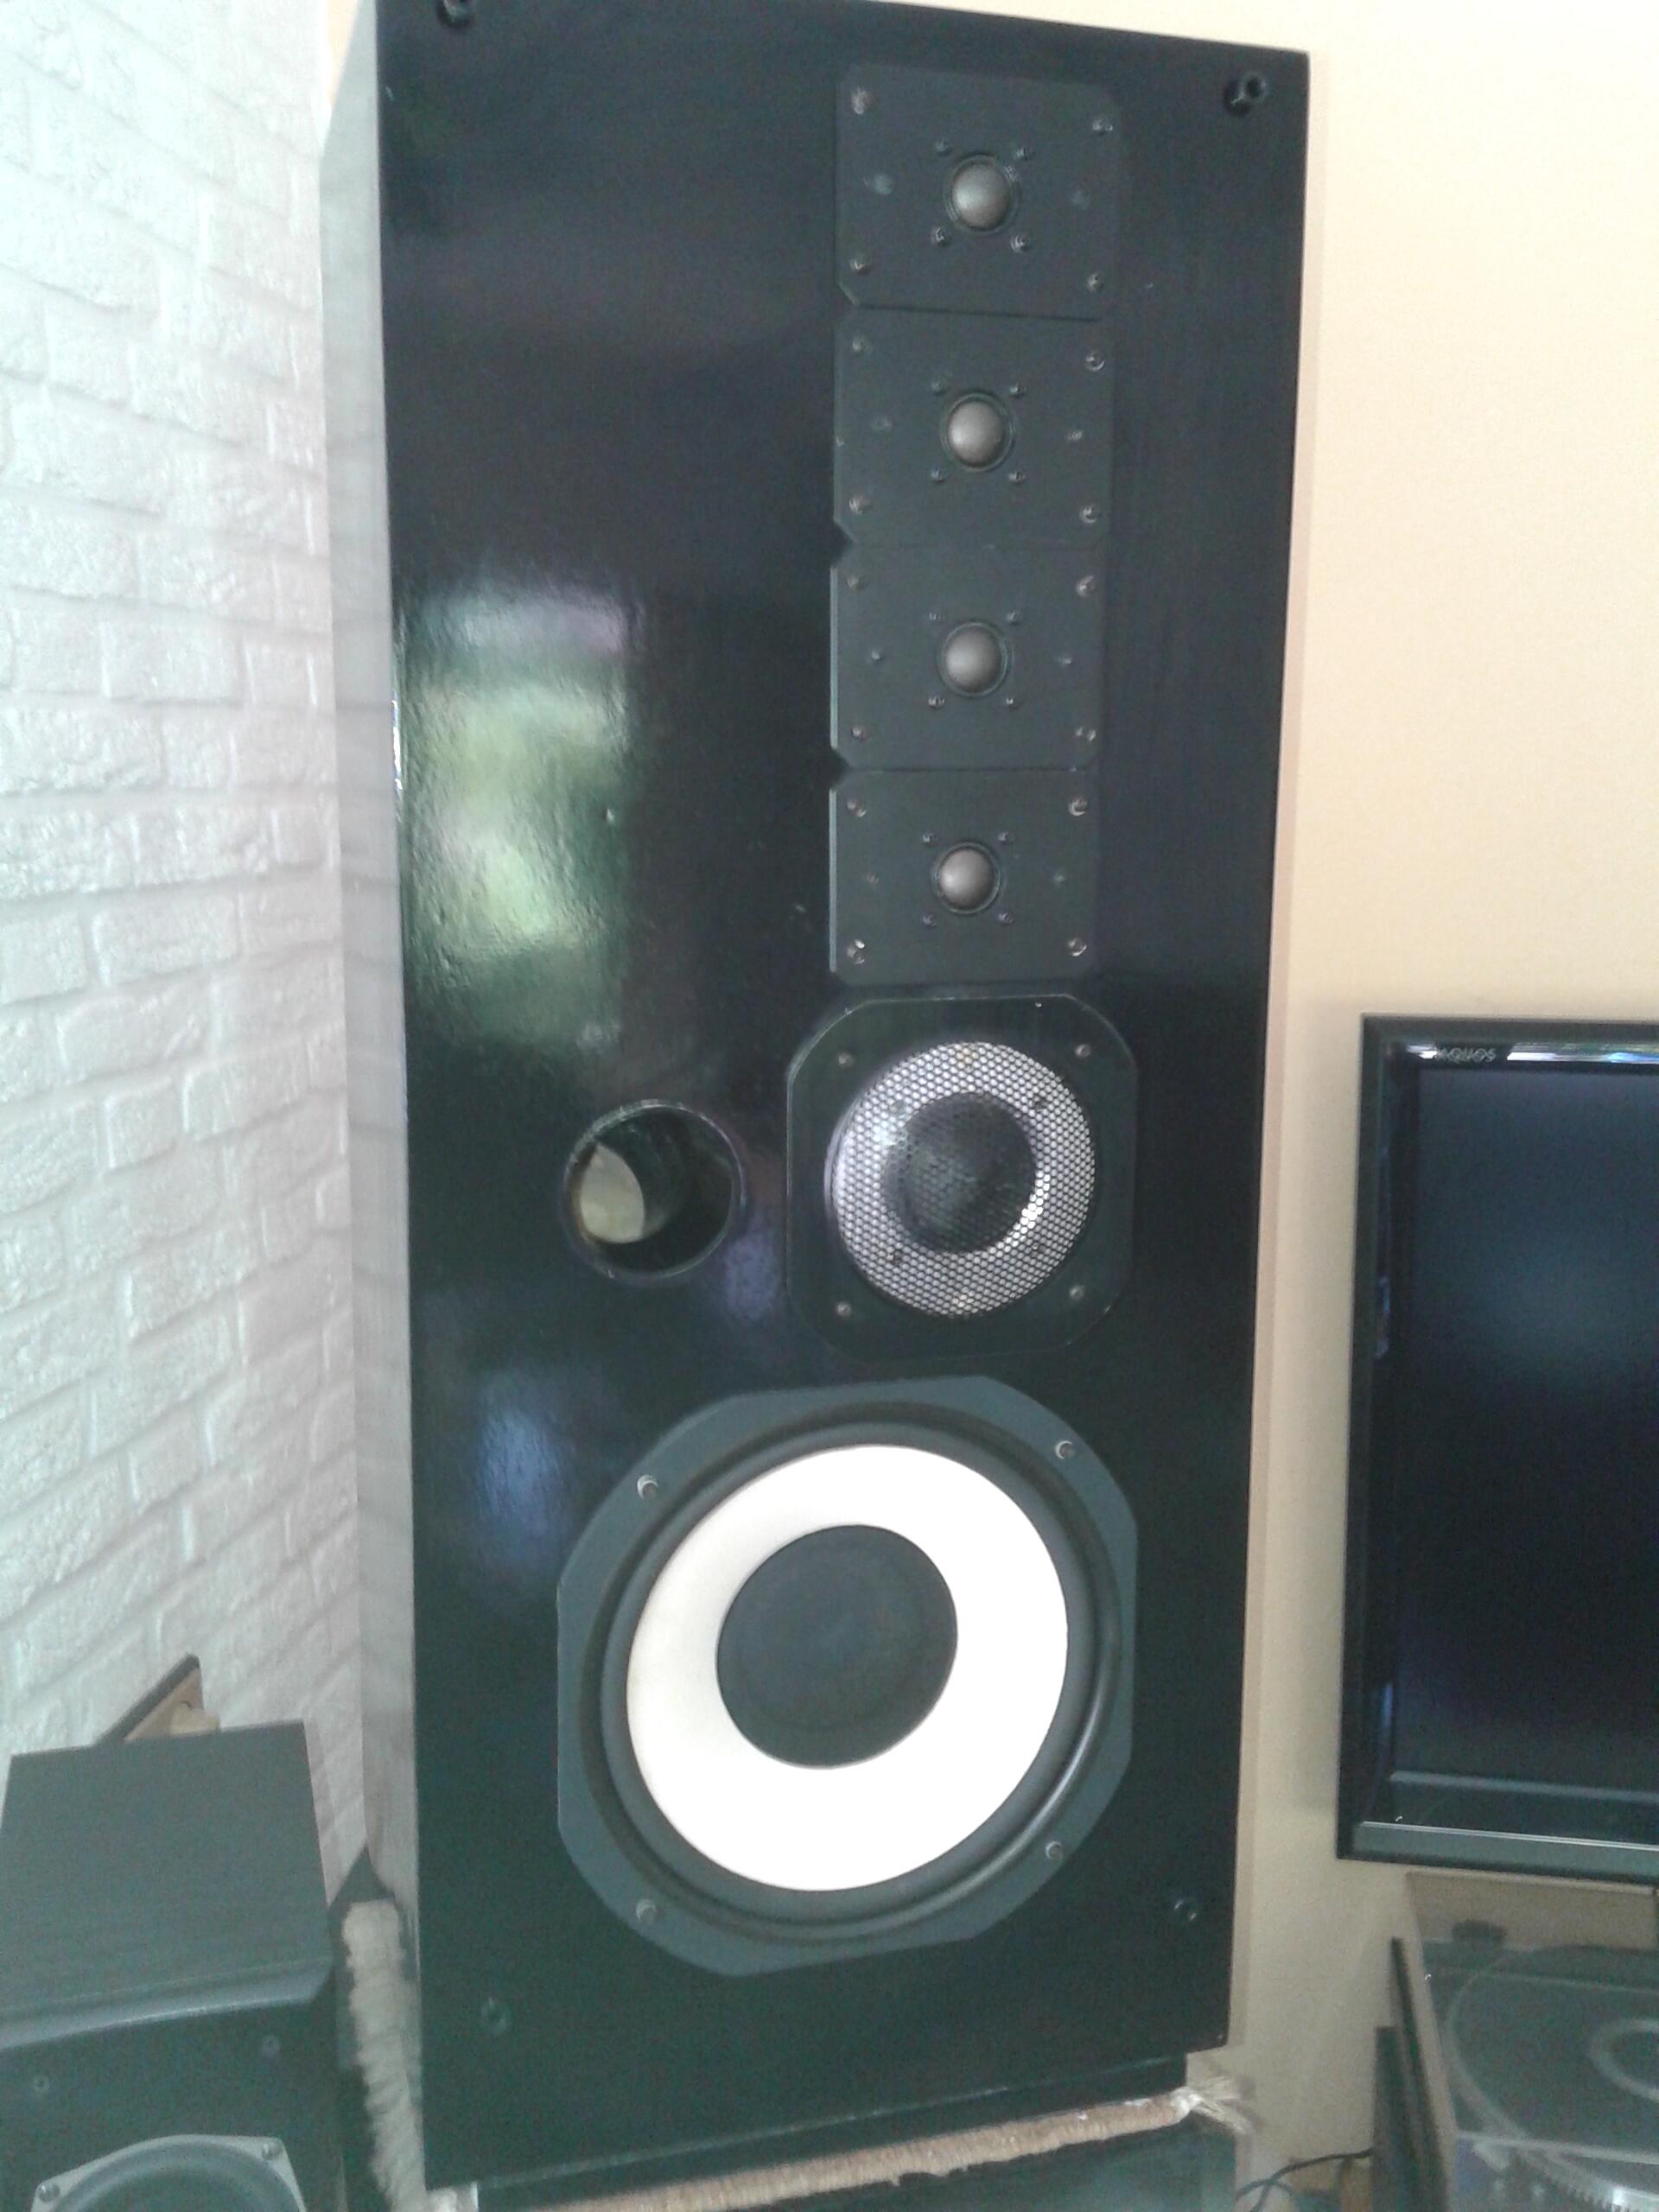
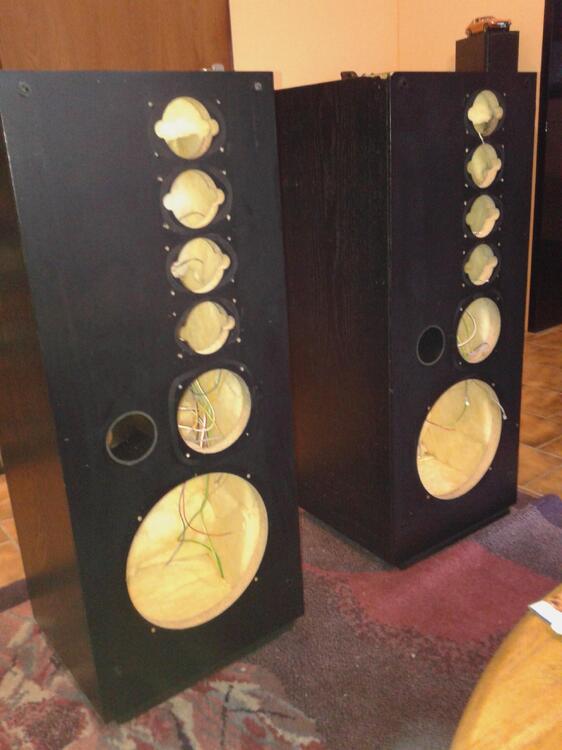
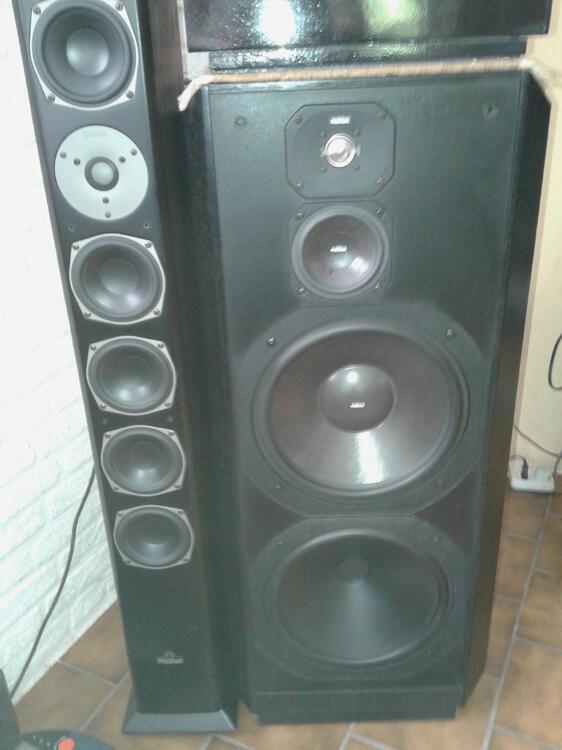
Yeah, a CD on the Hifi.. sounds much better than any thing like spotify can. If you ask me what's better vinyl or CD.. i go for the CD but it has to be a good recording as there are manny bad CD's. (I got a double CD from tina Turner, and it has a extra single CD in it, that sounds wonderfull) Pictures from a Zachry speaker restoration.. (Black laquer turned out like sh*t.. so need to redo them..) Bass speaker of this Zachry EM24 speaker Box completed.. they are on top of the ReVox speakers.. (Zachry EM24 much sought after 1970's speakers!) These are the best i ever seen/ heard.. they are from the late '80's when quality was made! hahaha... Studer ReVox Symbol MKII Loudspeakers.. (I bought then just as i stopped working at the importer of this brand.. they were the biggest at that time they sold of the brand.) On the left those are just something that i tested.. Magnat speaker..


 2 points
 -
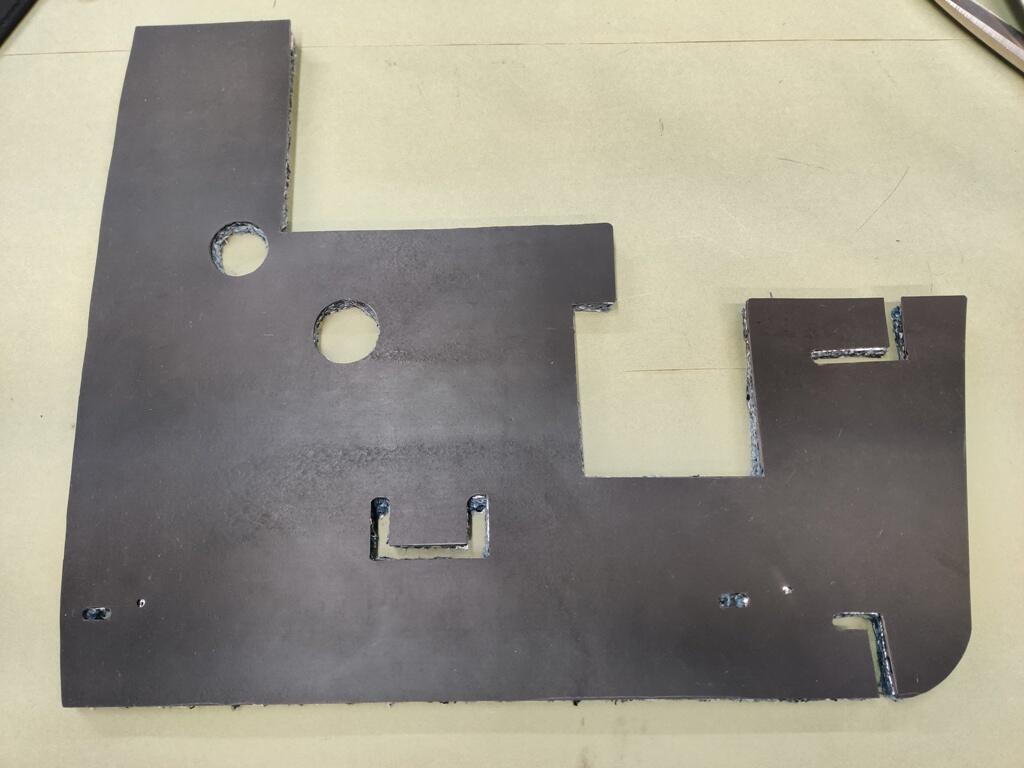
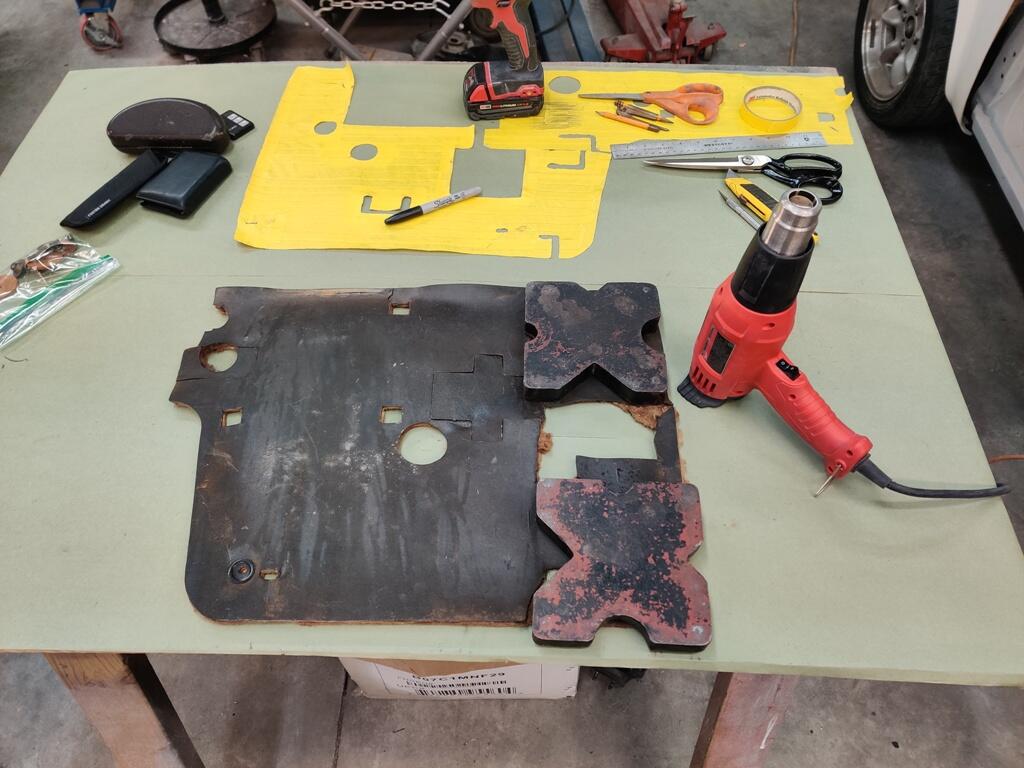
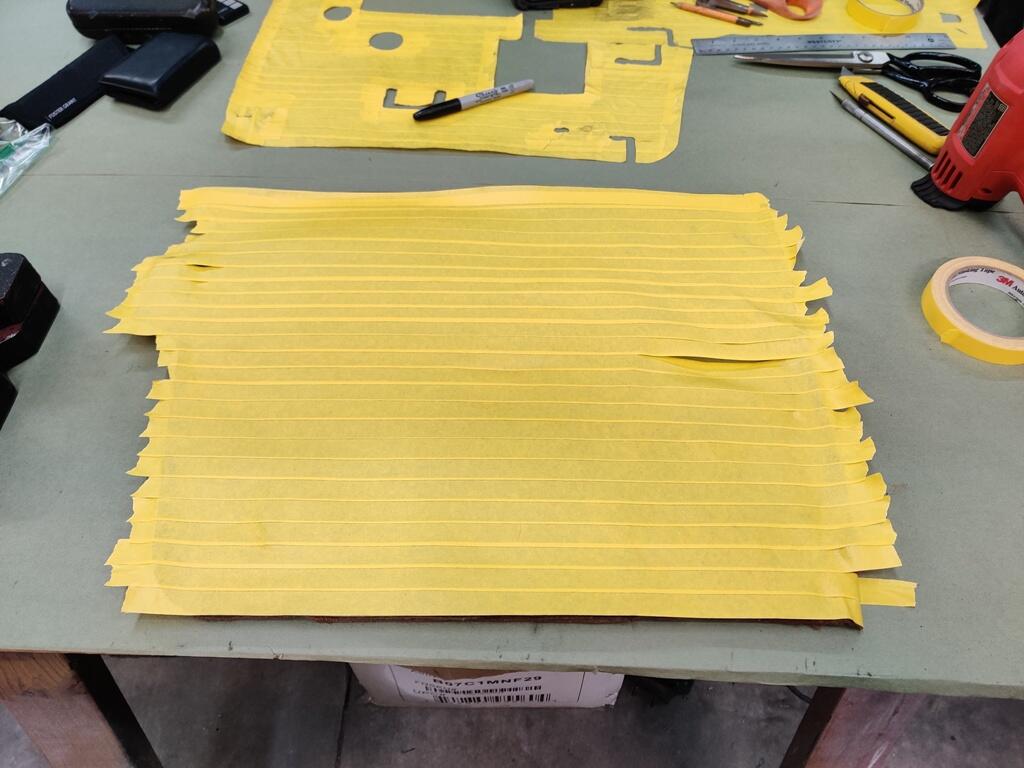
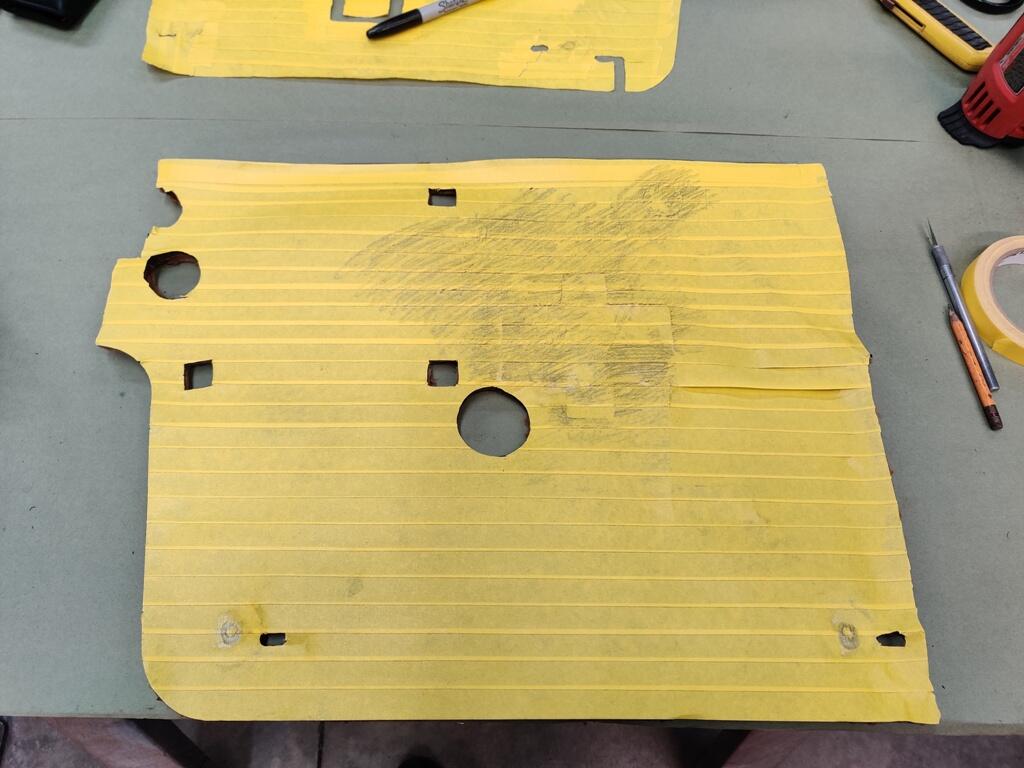
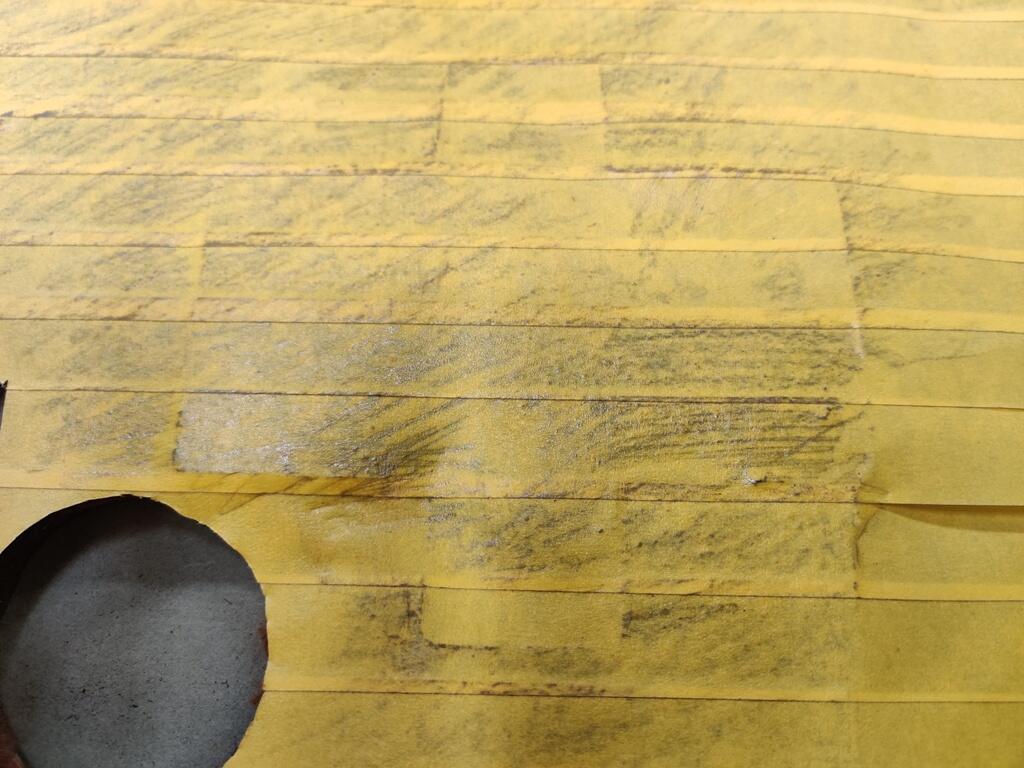
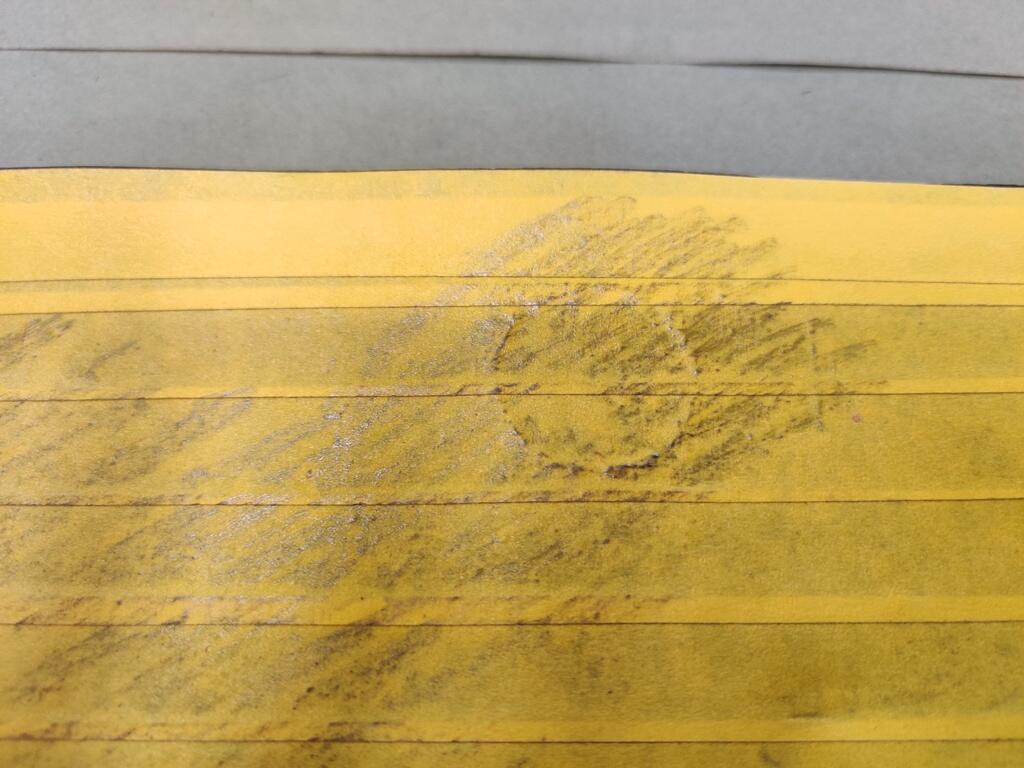
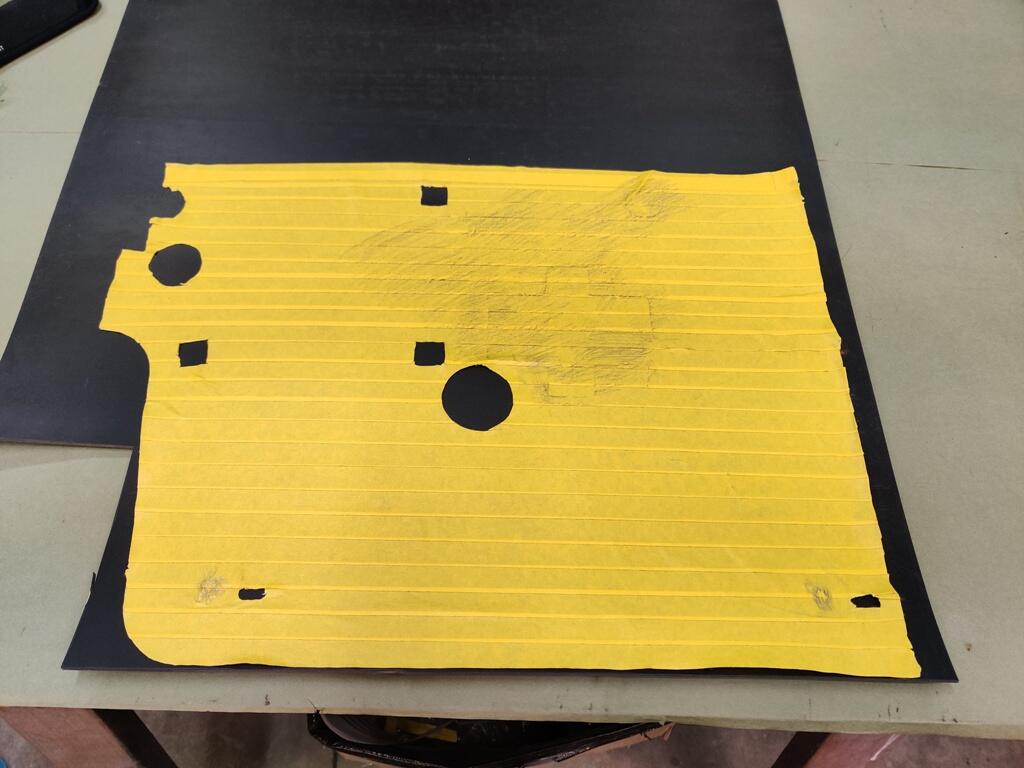
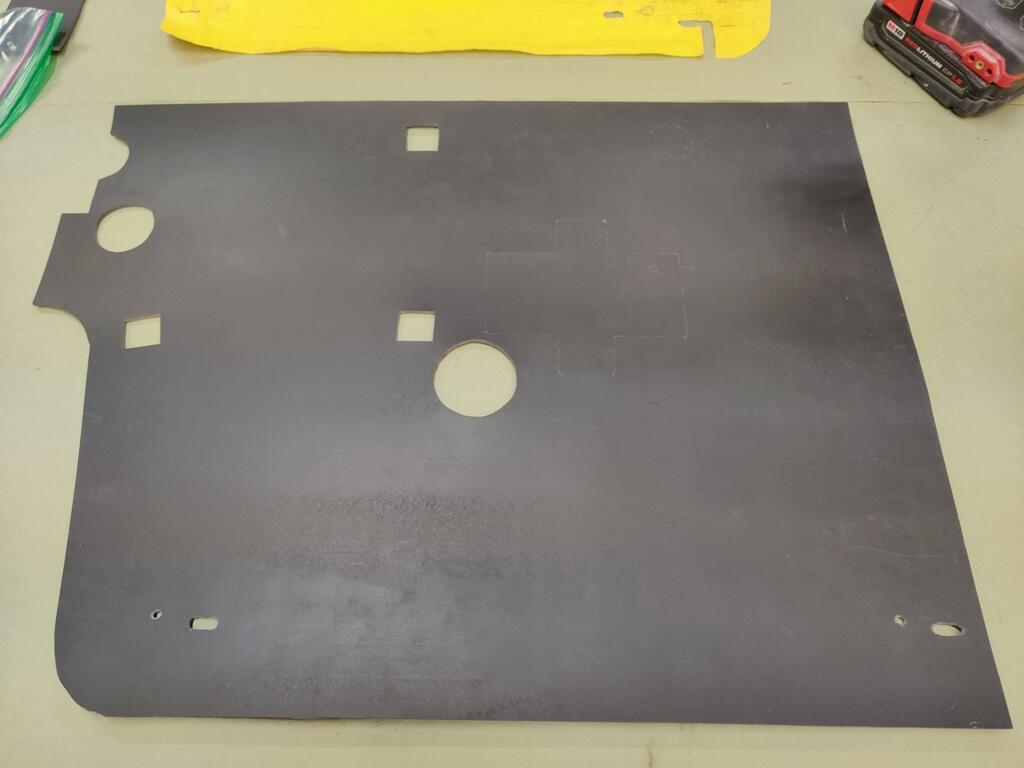
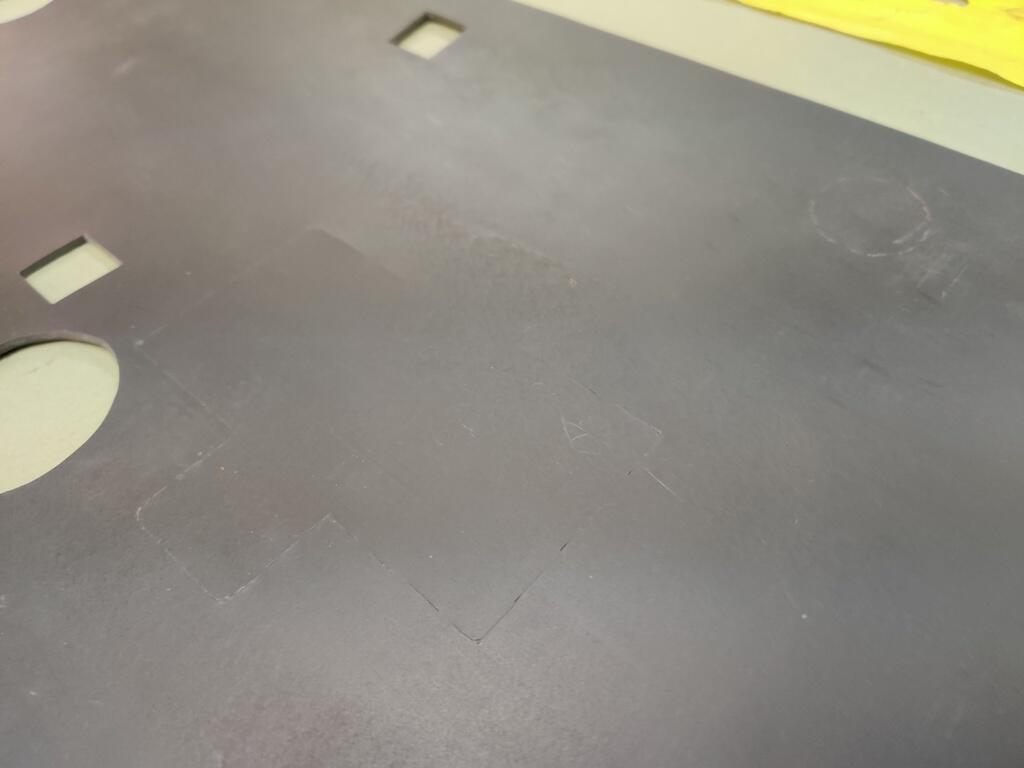
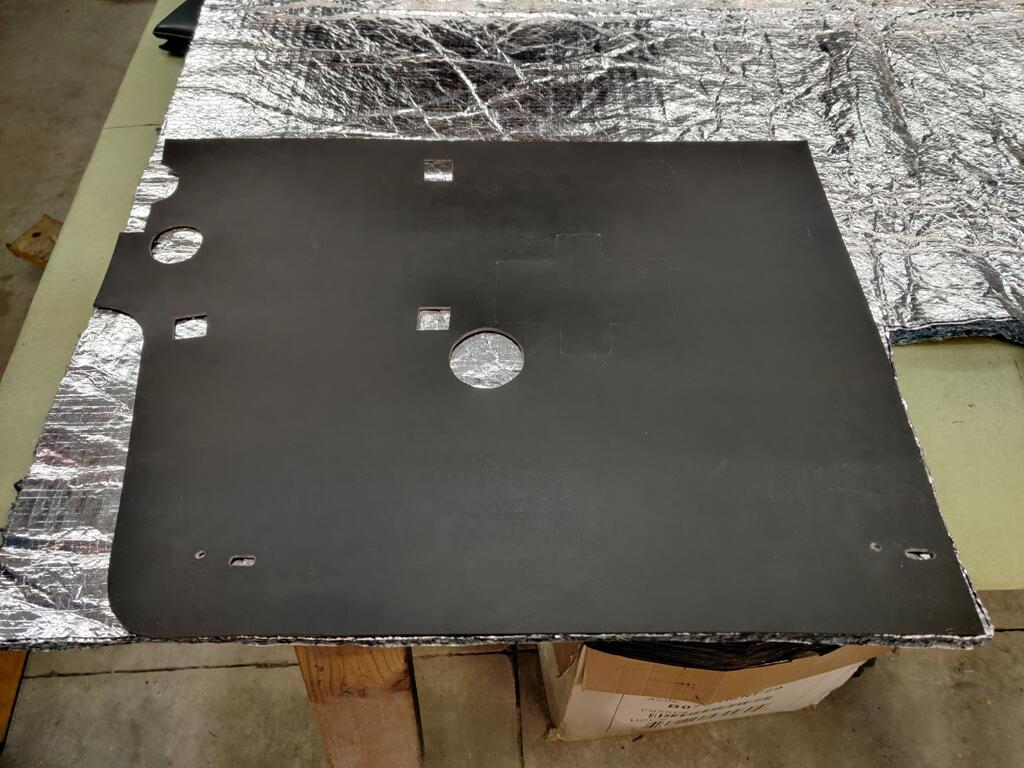
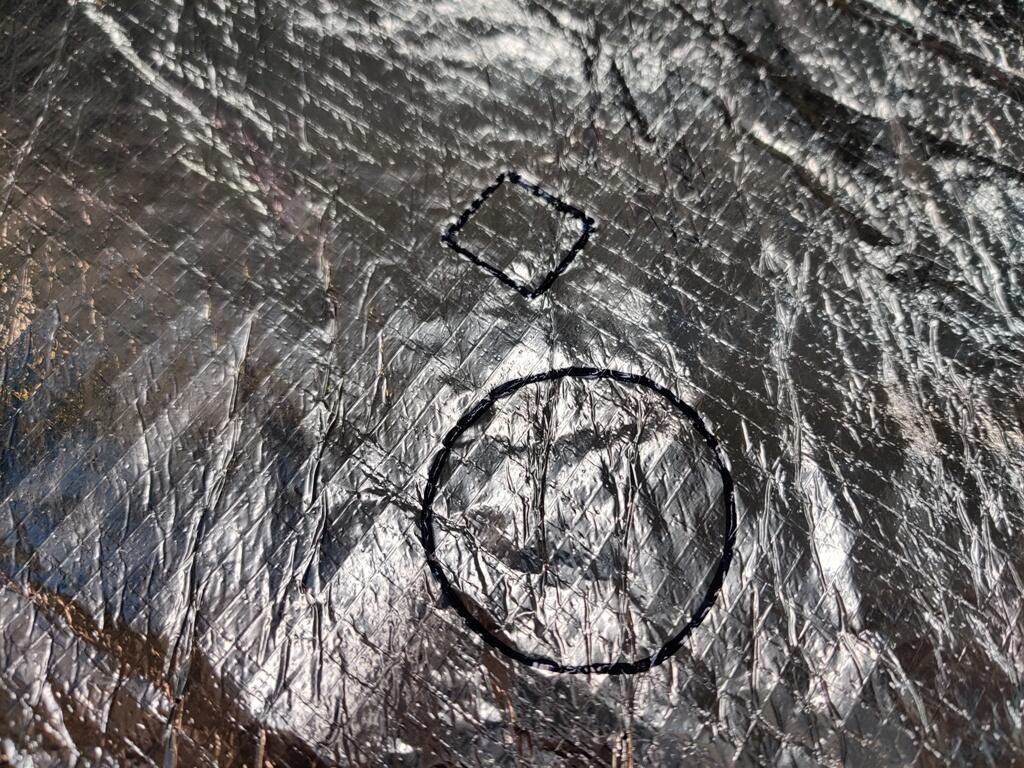
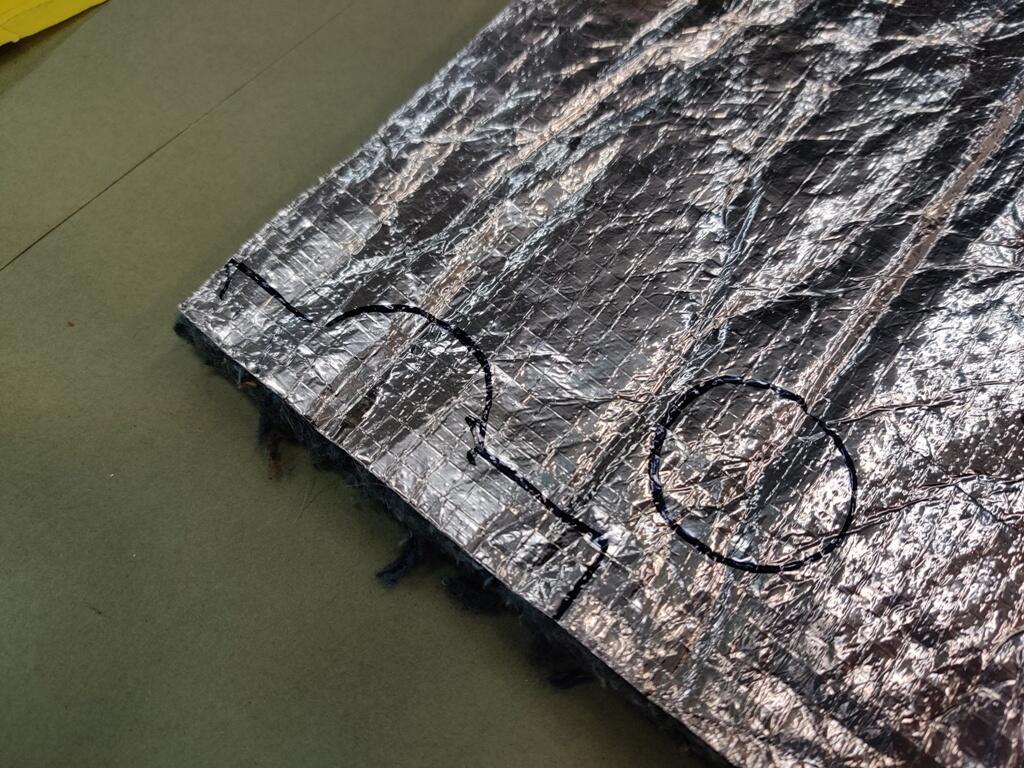
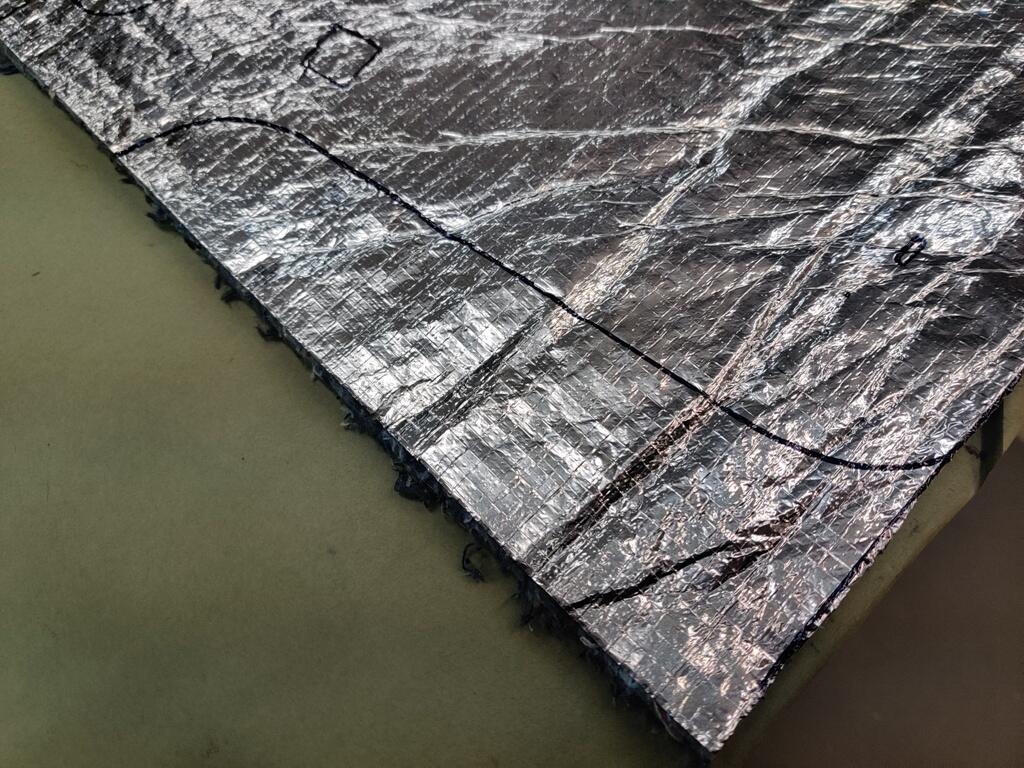
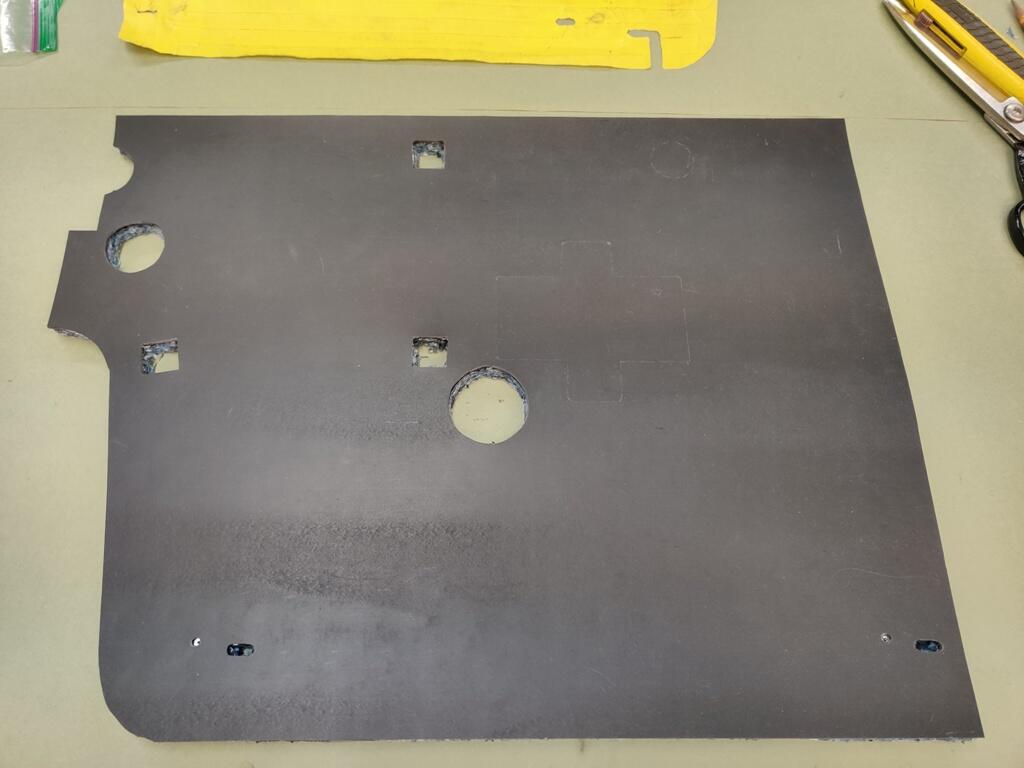
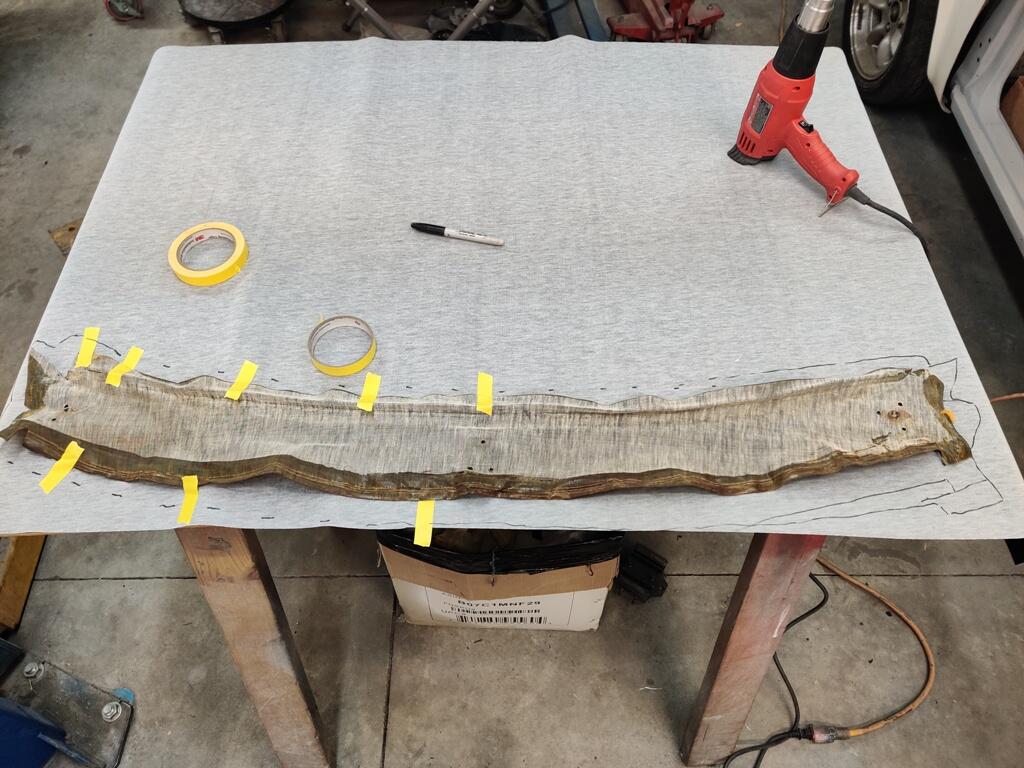
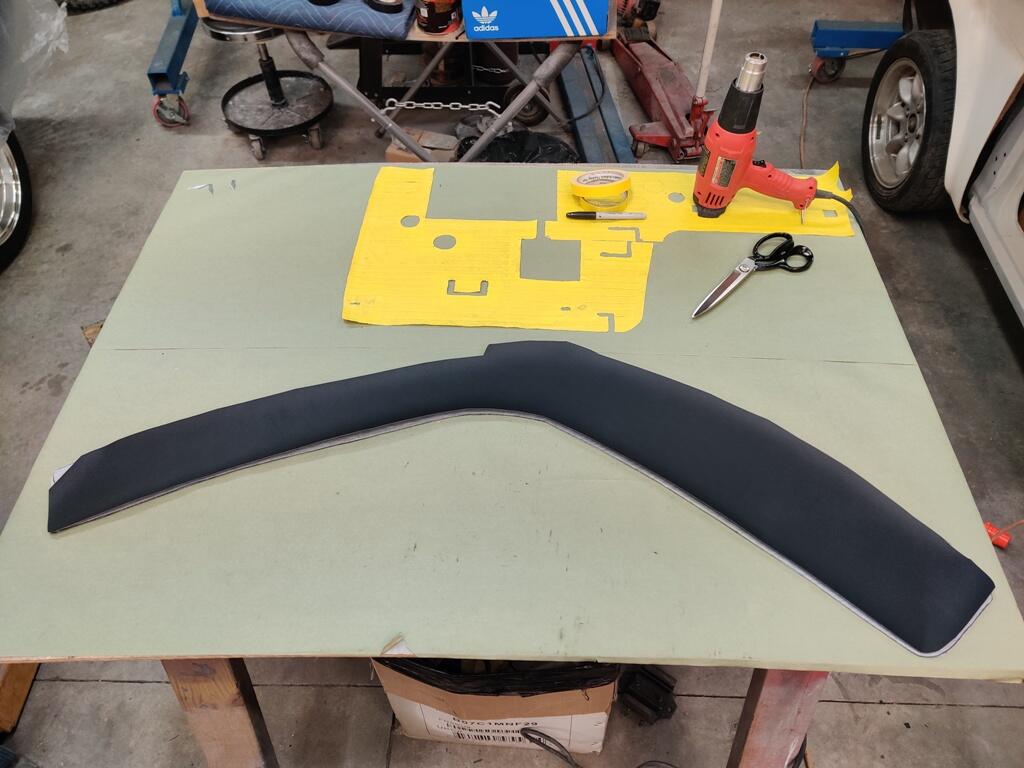
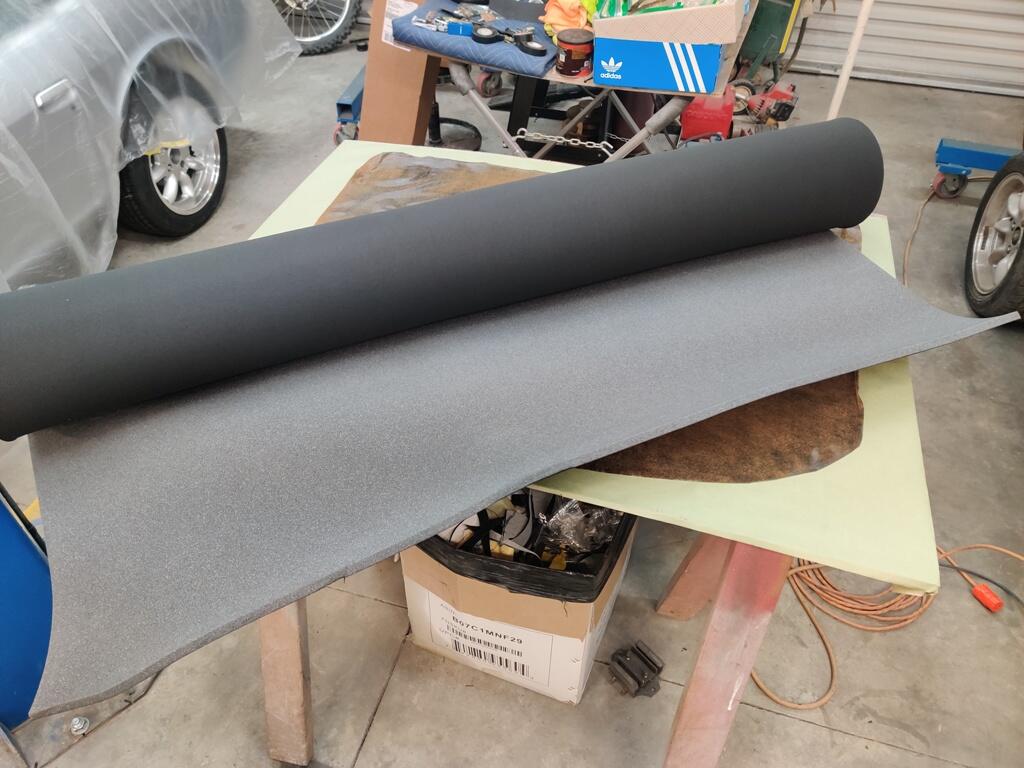
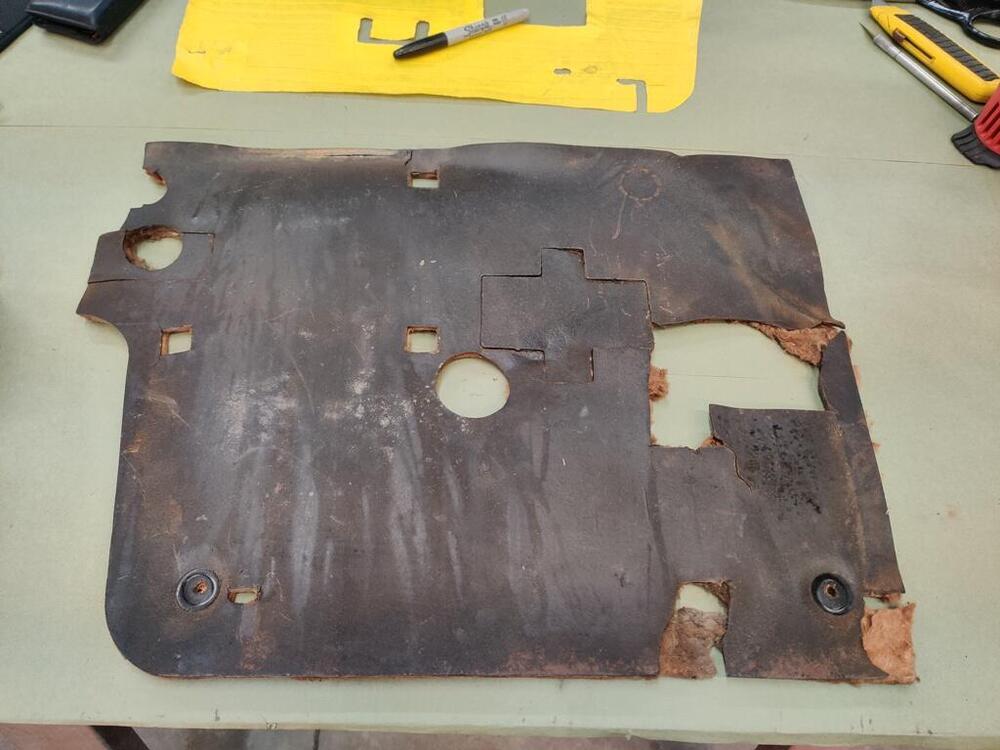
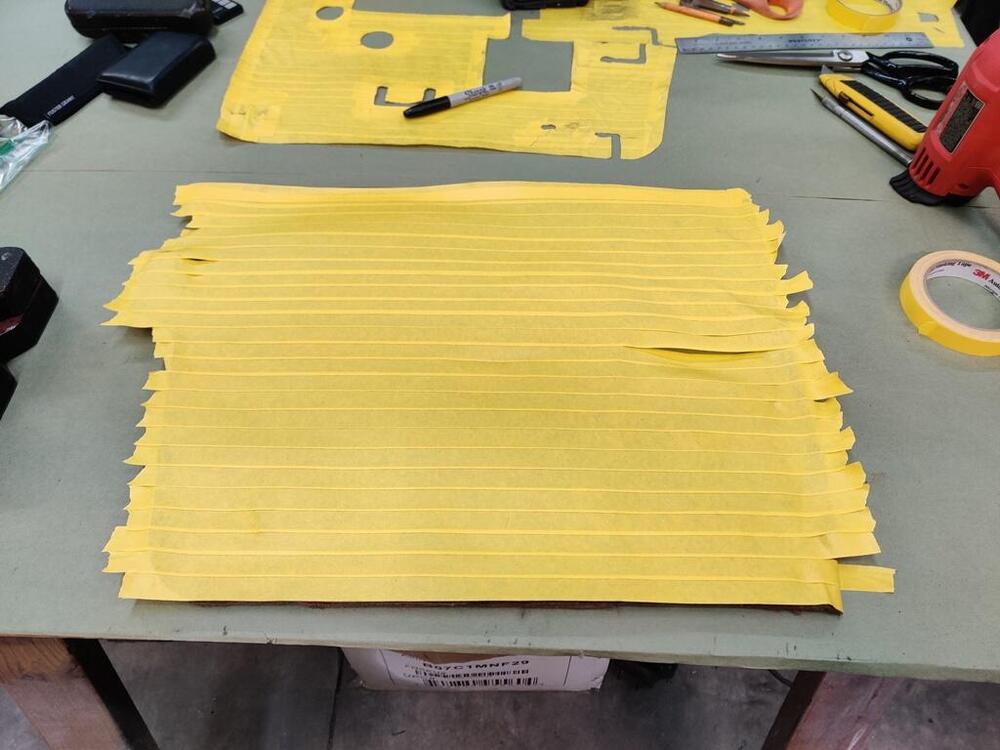
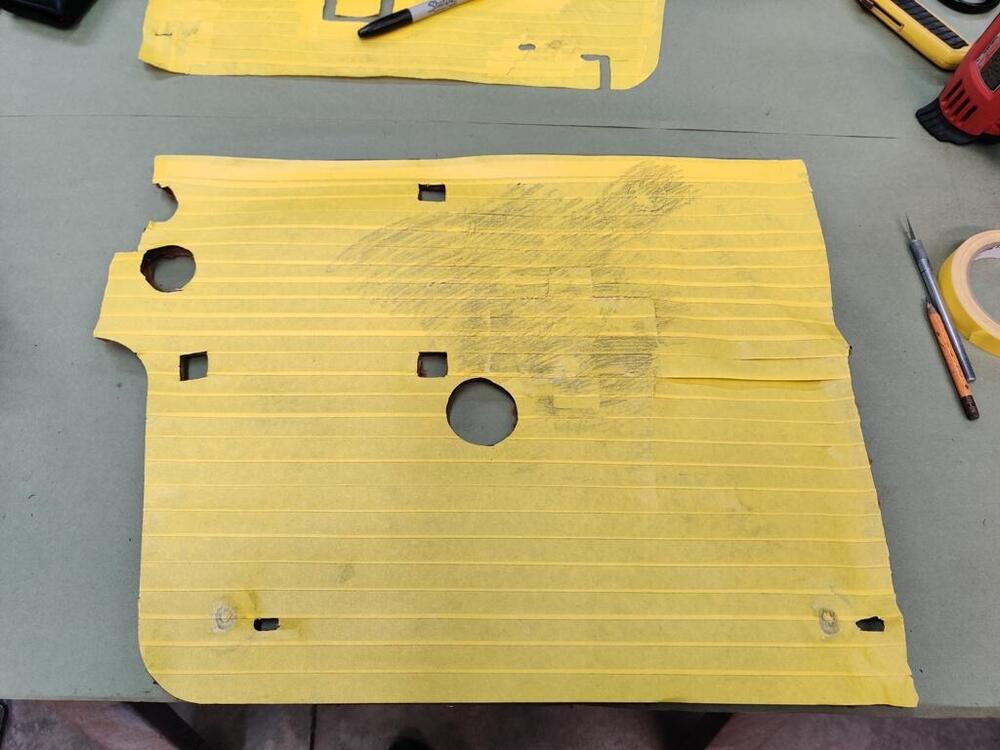
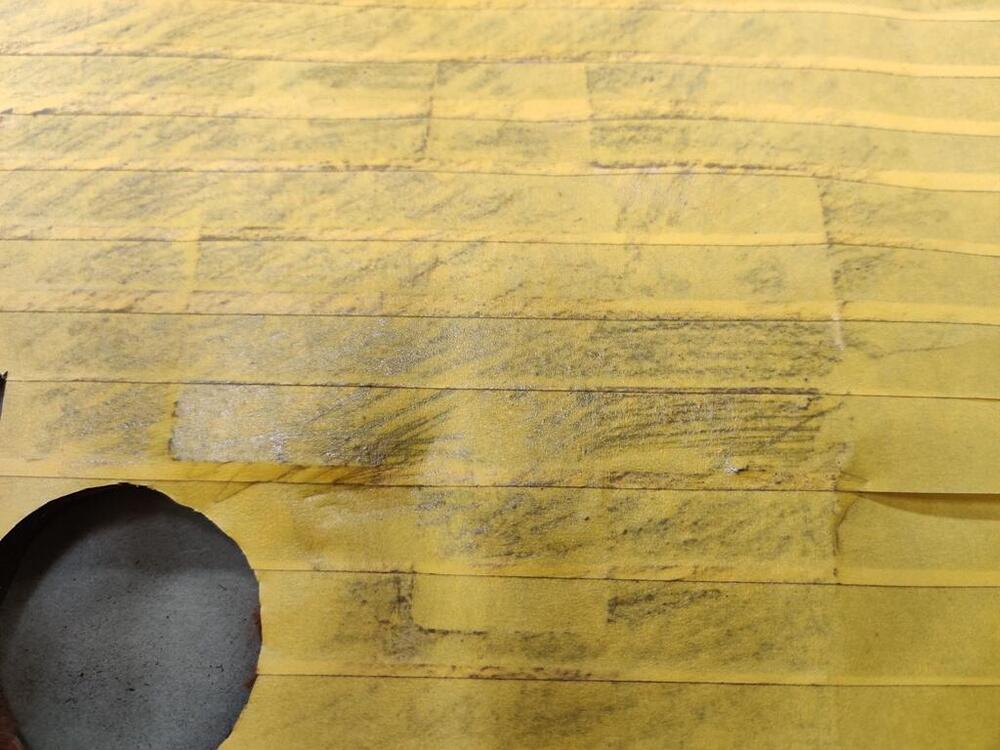
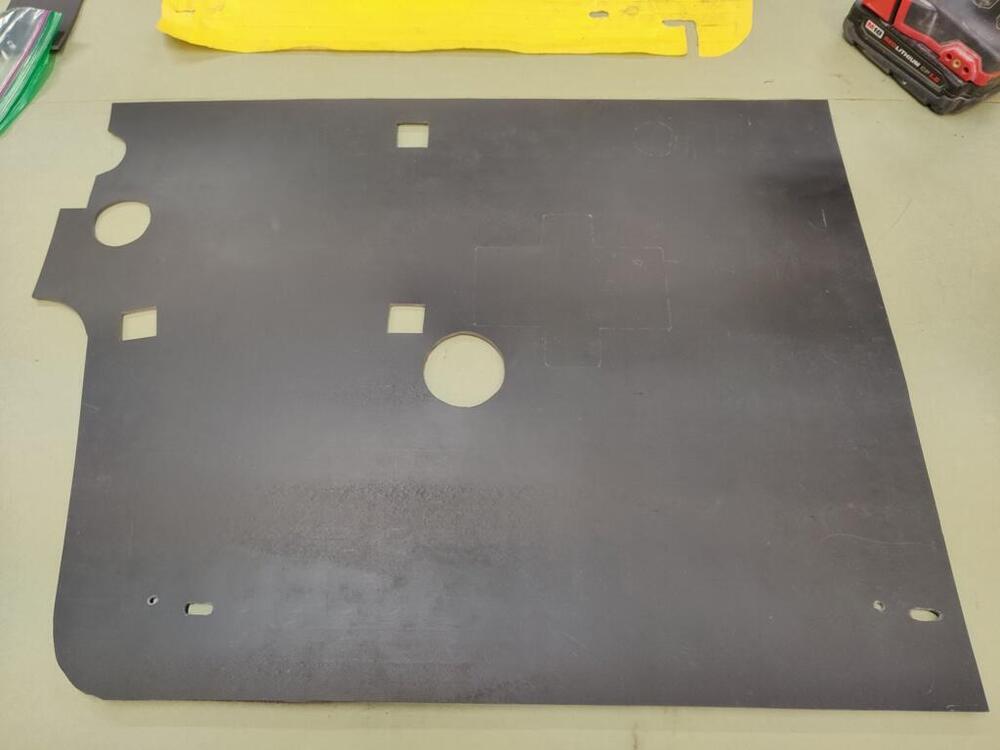
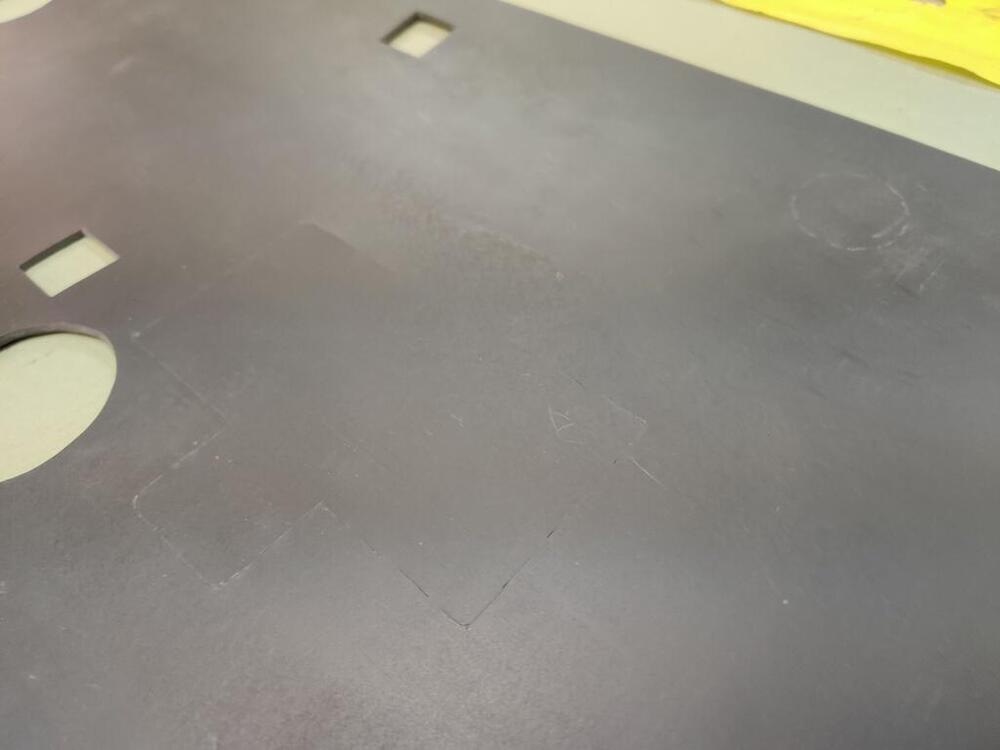
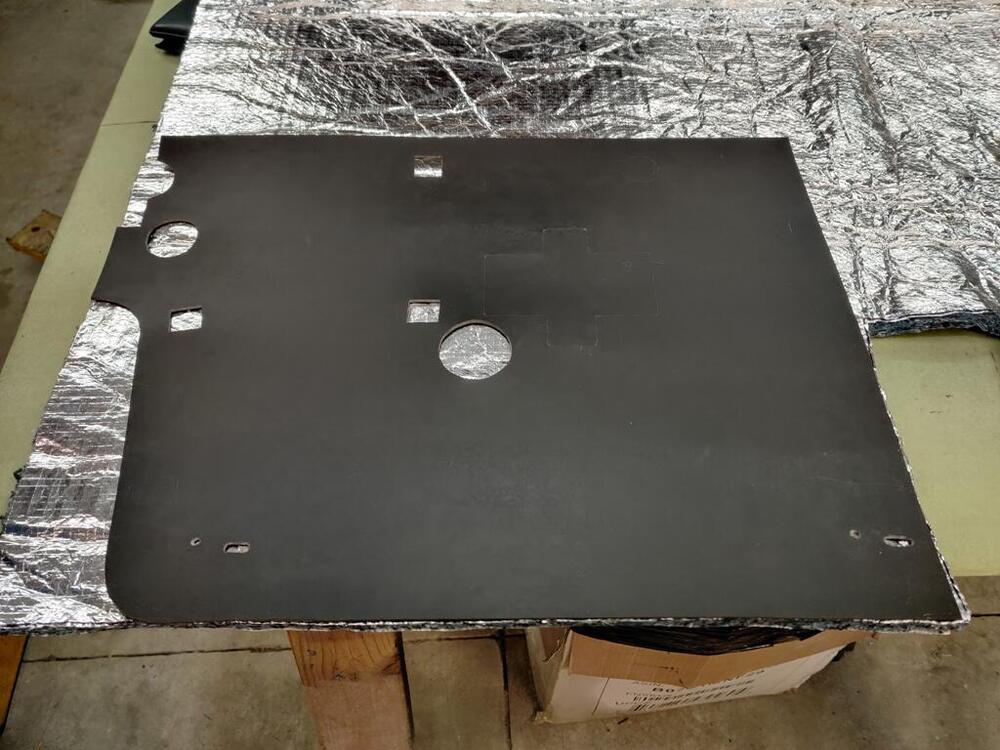
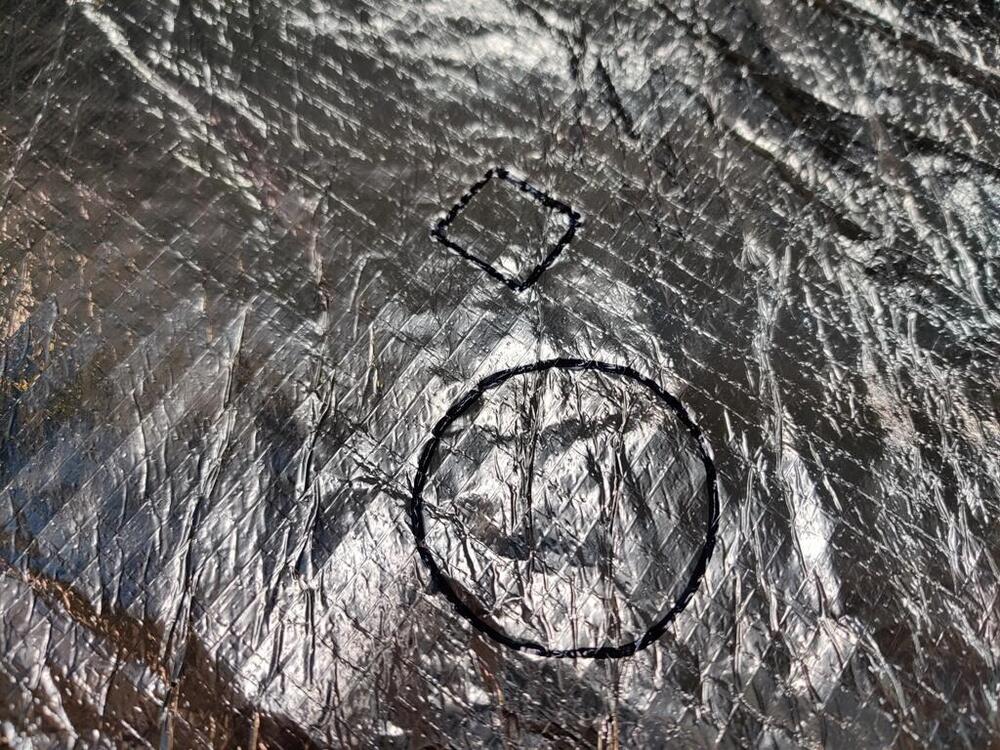
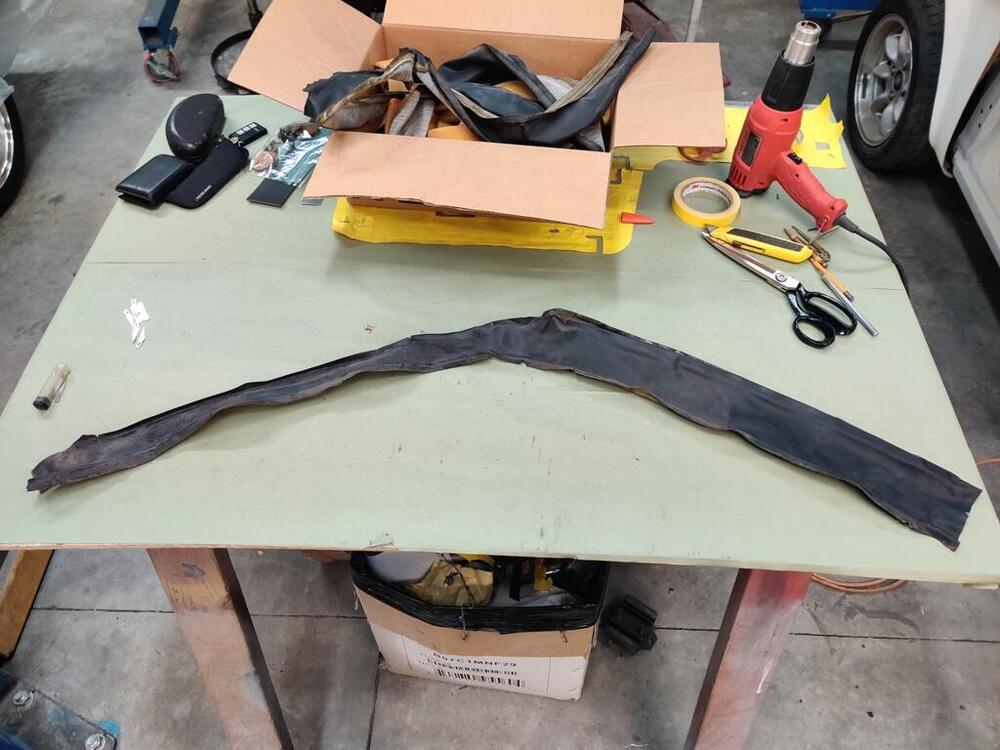
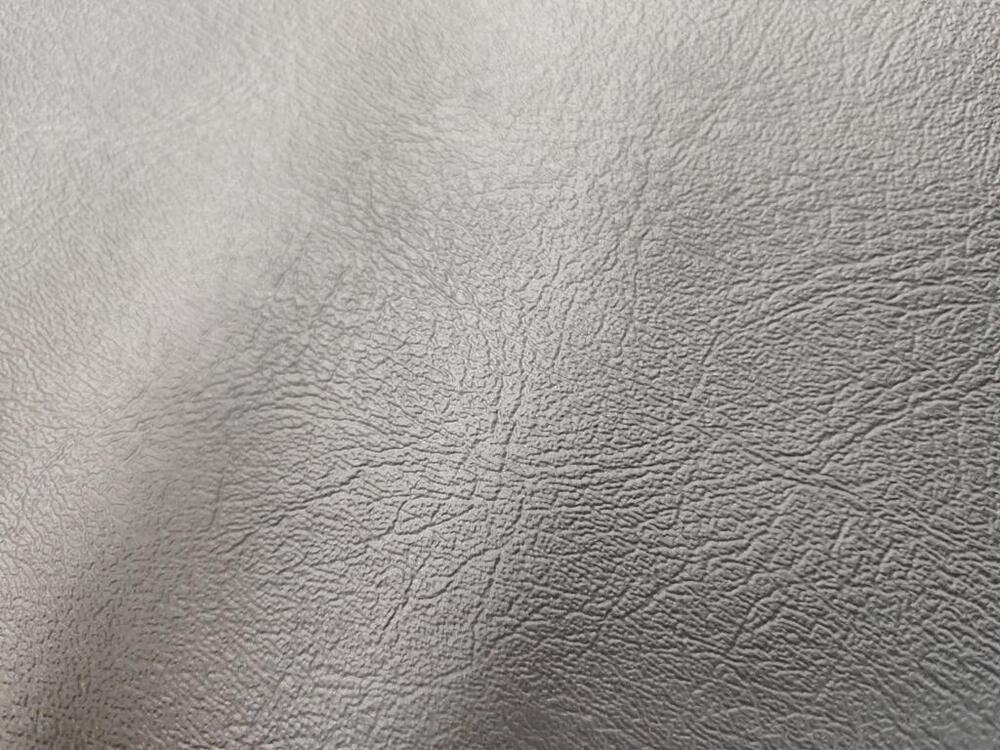
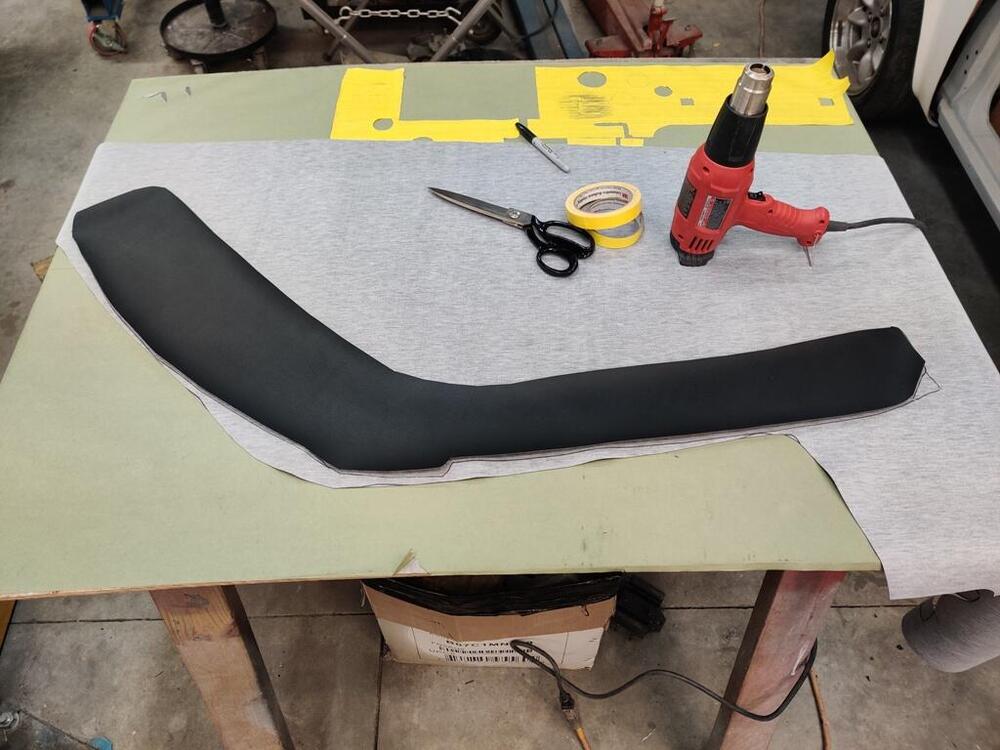
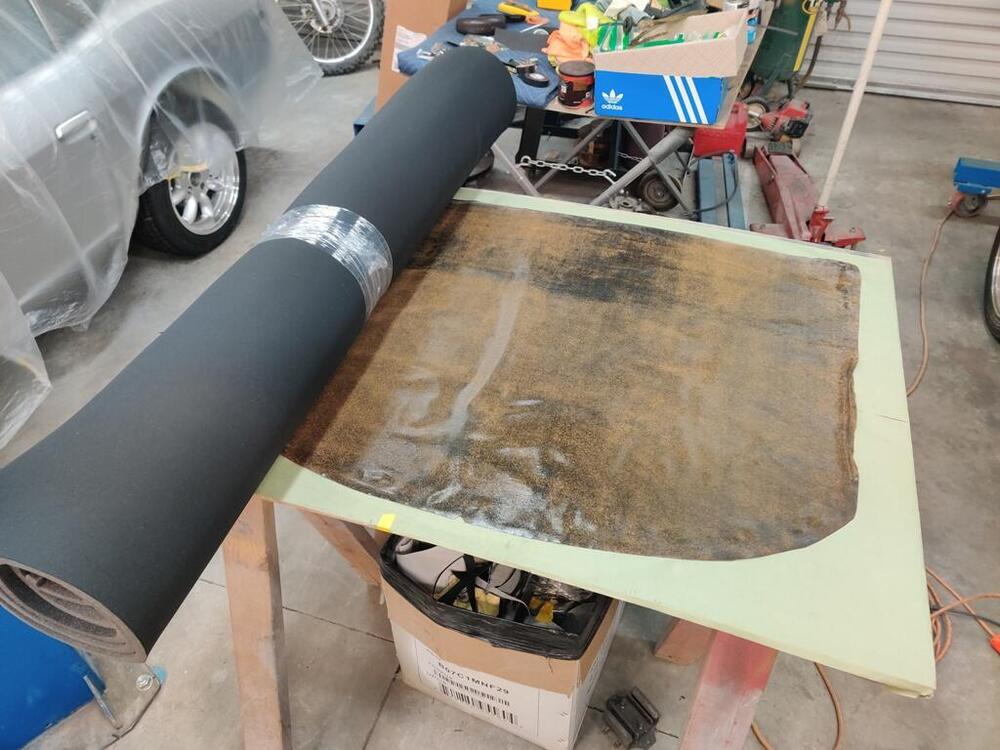
Today, I was able to finish cutting the materials for the left firewall pad, and complete fabrication of the parts to the right firewall pad as well. For the right pad, I started by heating it up with a heat gun to assist with flattening the bitumen - it had several wrinkles. I used my hydraulic press plates to flatten and cool the bitumen. They are heavy and also helped to cool the bitumen while holding it flat. After getting it reasonably flat, I applied tape and trimmed it so it could be used as a template. As before, I peeled it off of the old and stuck it to the new material. Then, I trimmed the new material to match the tape template. When the new pad was made out of butyl rubber, I laid it on top of the new insulation and marked the cutouts. I used a black Sharpie to mark the foil. I think it took about 3 and half hours to make this part. Then, I grabbed the old header and A-pillar vinyl. Unfortunately, it would be too difficult to reuse because of all the glue on it, and some tears on the left piece. I found some vinyl online that looks kind of similar. Before cutting the new piece, I used the heat gun again to get the old pieces as straight as reasonably possible. Then, I drew on the backside of the vinyl, providing a generous amount of extra on all sides. I cut the piece for the header out first, then one of the A-pillar pieces. Then I flipped over the new A-pillar piece and used it as a template for the other A-pillar piece. Lastly, I retrieved the old headliner vinyl (with foam stripped off of it) and the new foam piece I bought. I am going to attempt to glue the original headliner vinyl to a new piece of foam. I don't have high hopes that it will work well, but I will give it a try. I bought enough of the foam to make a second headliner. If I have to, I will attempt to find a new piece of vinyl that will be suitable for a headliner, and glue it to this foam.


 2 points
 -
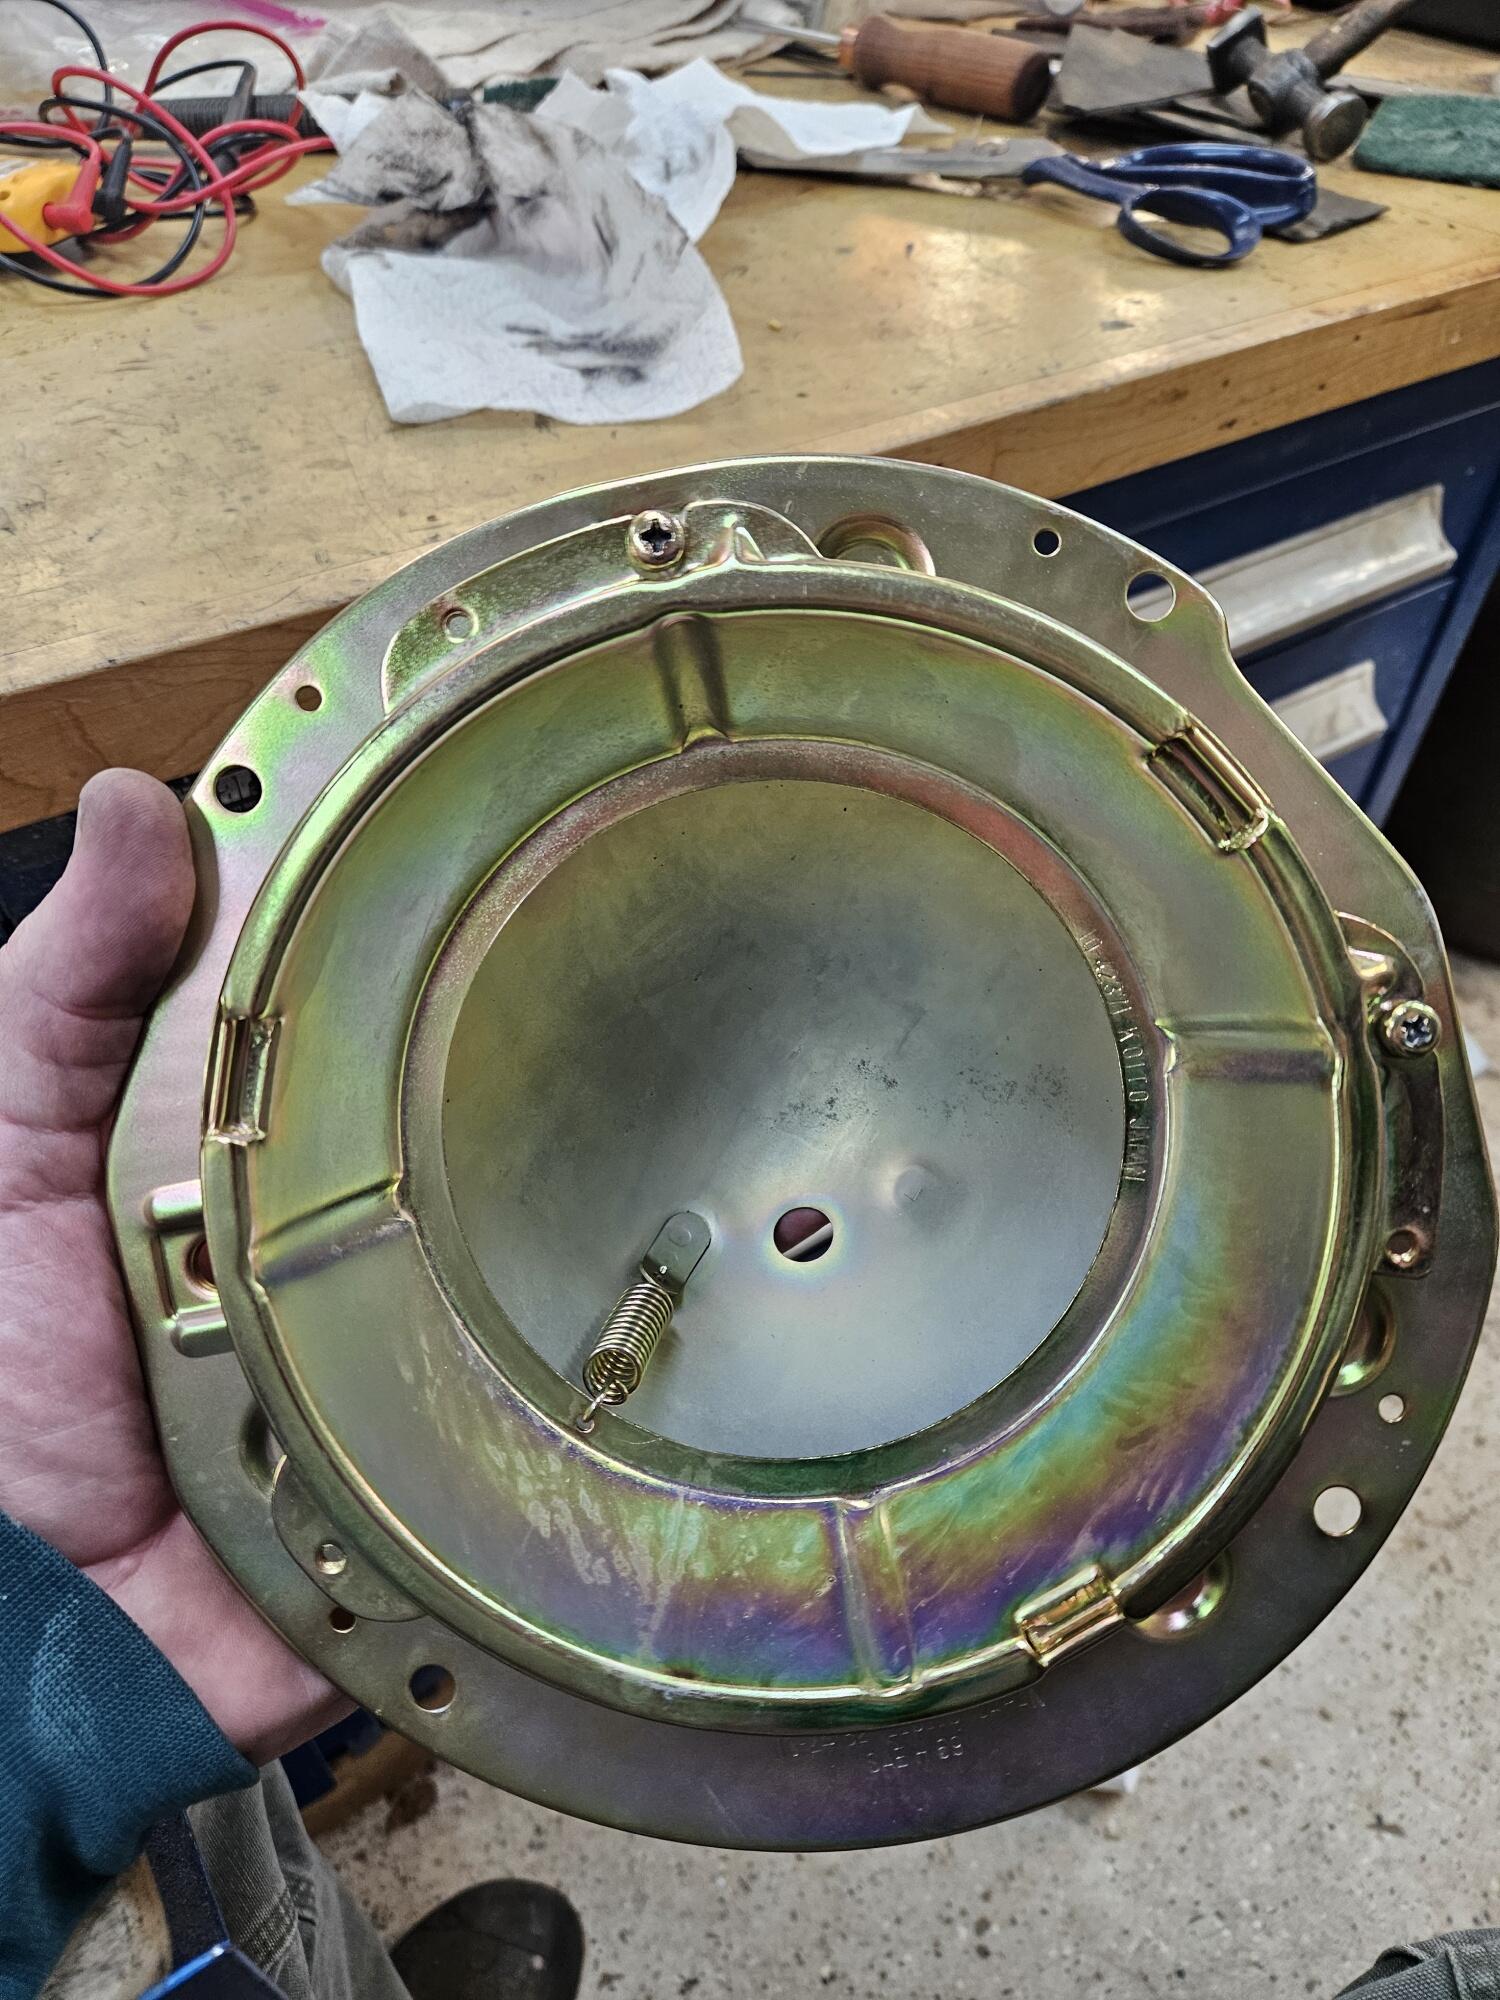
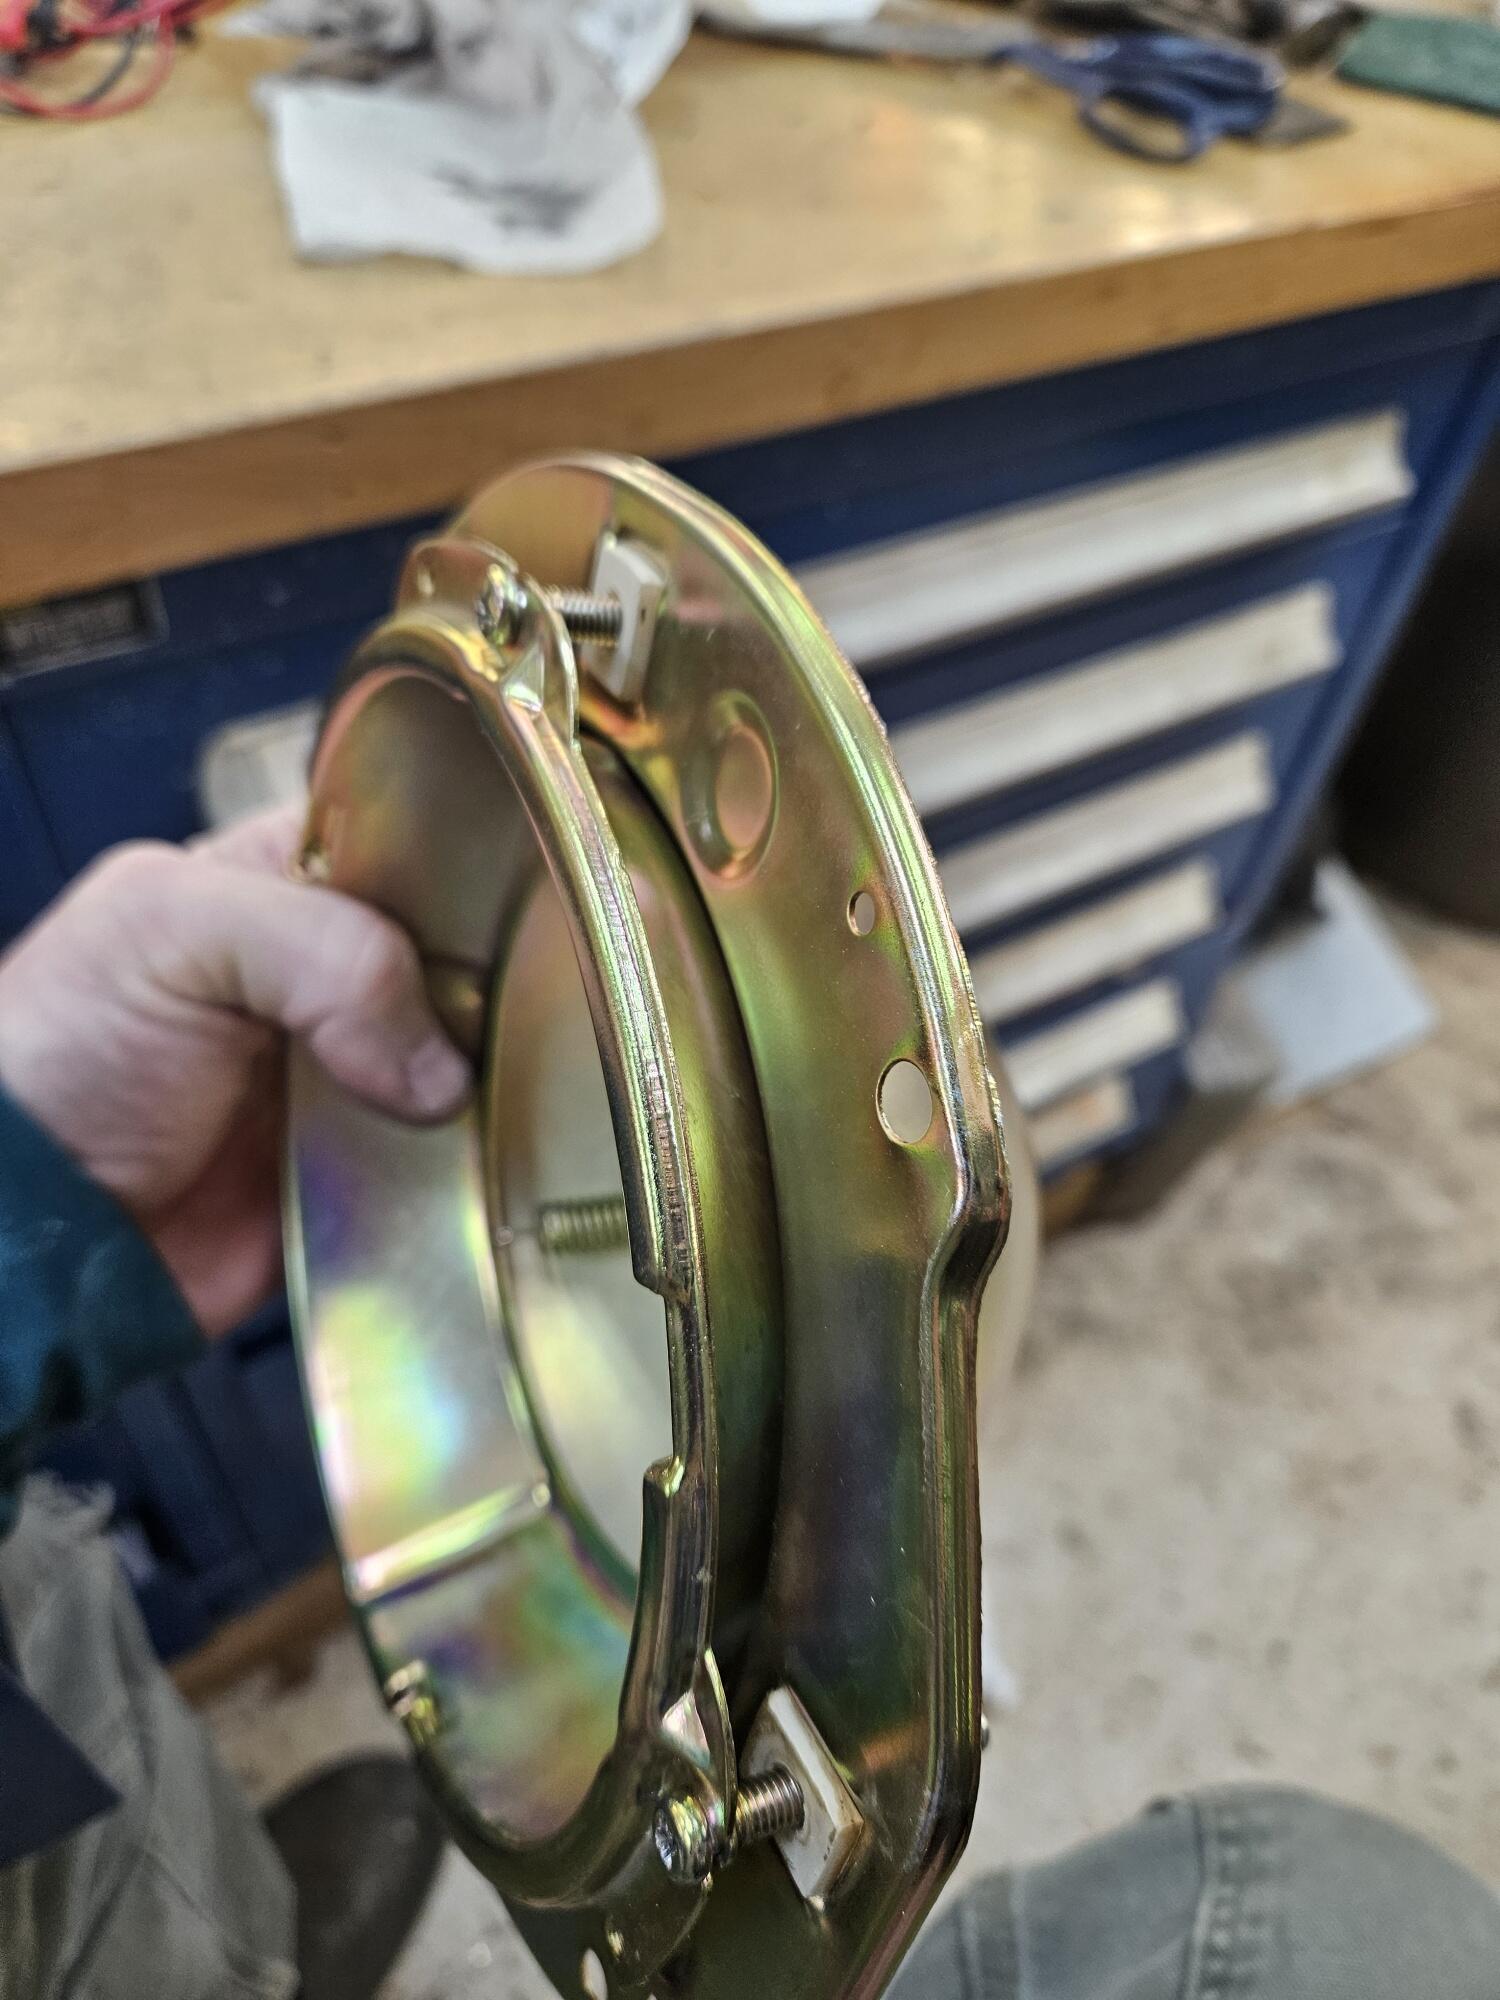
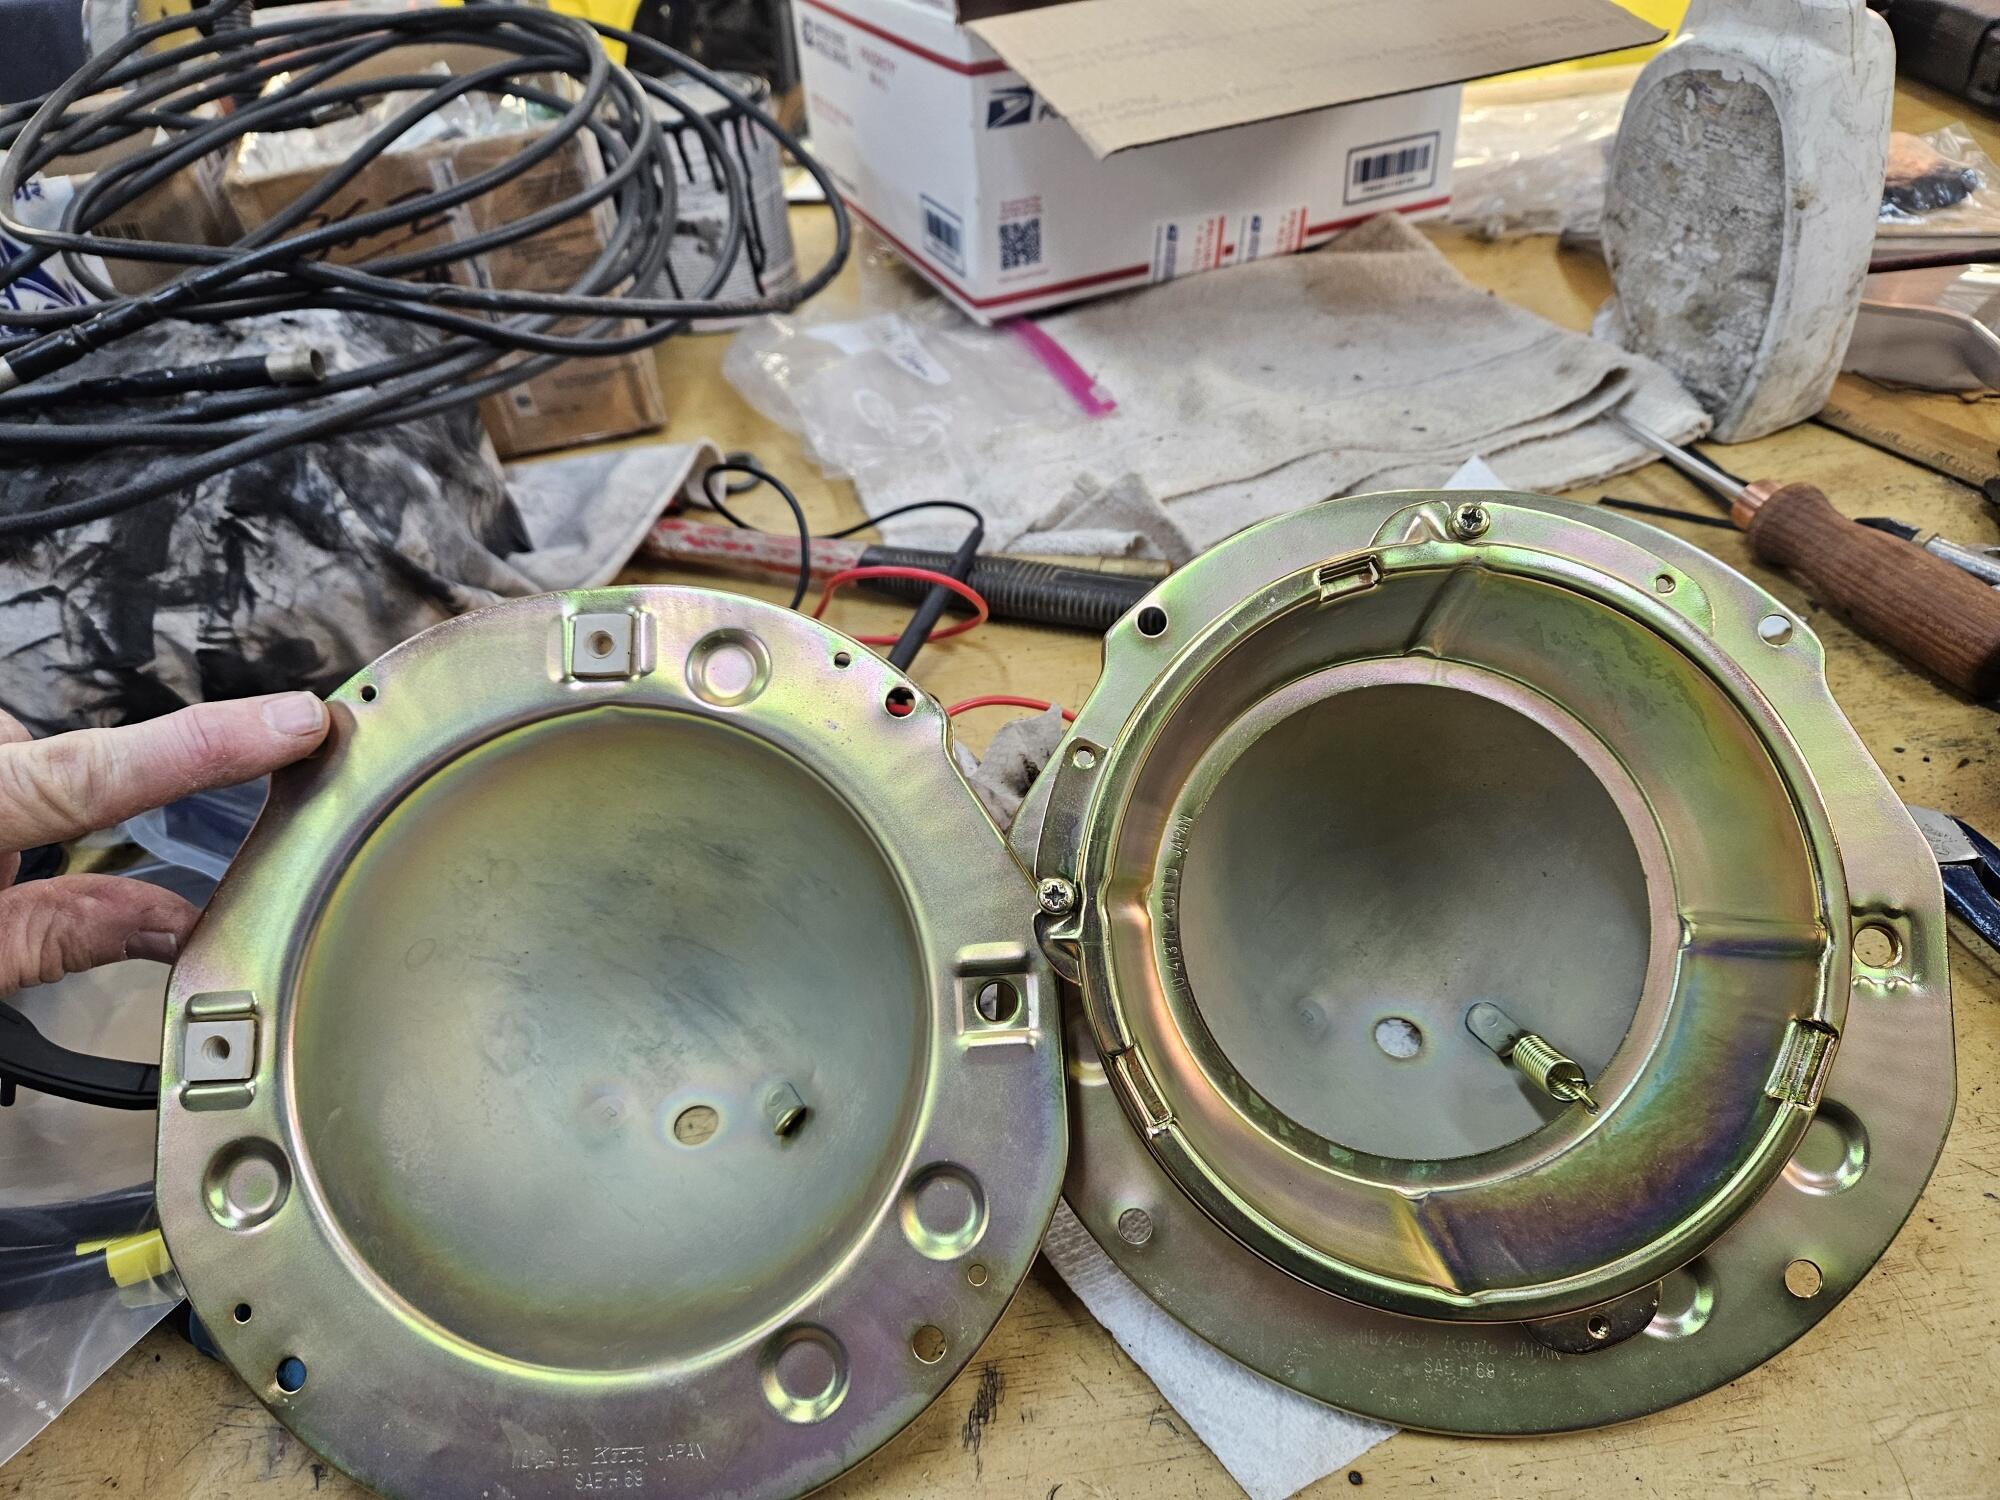
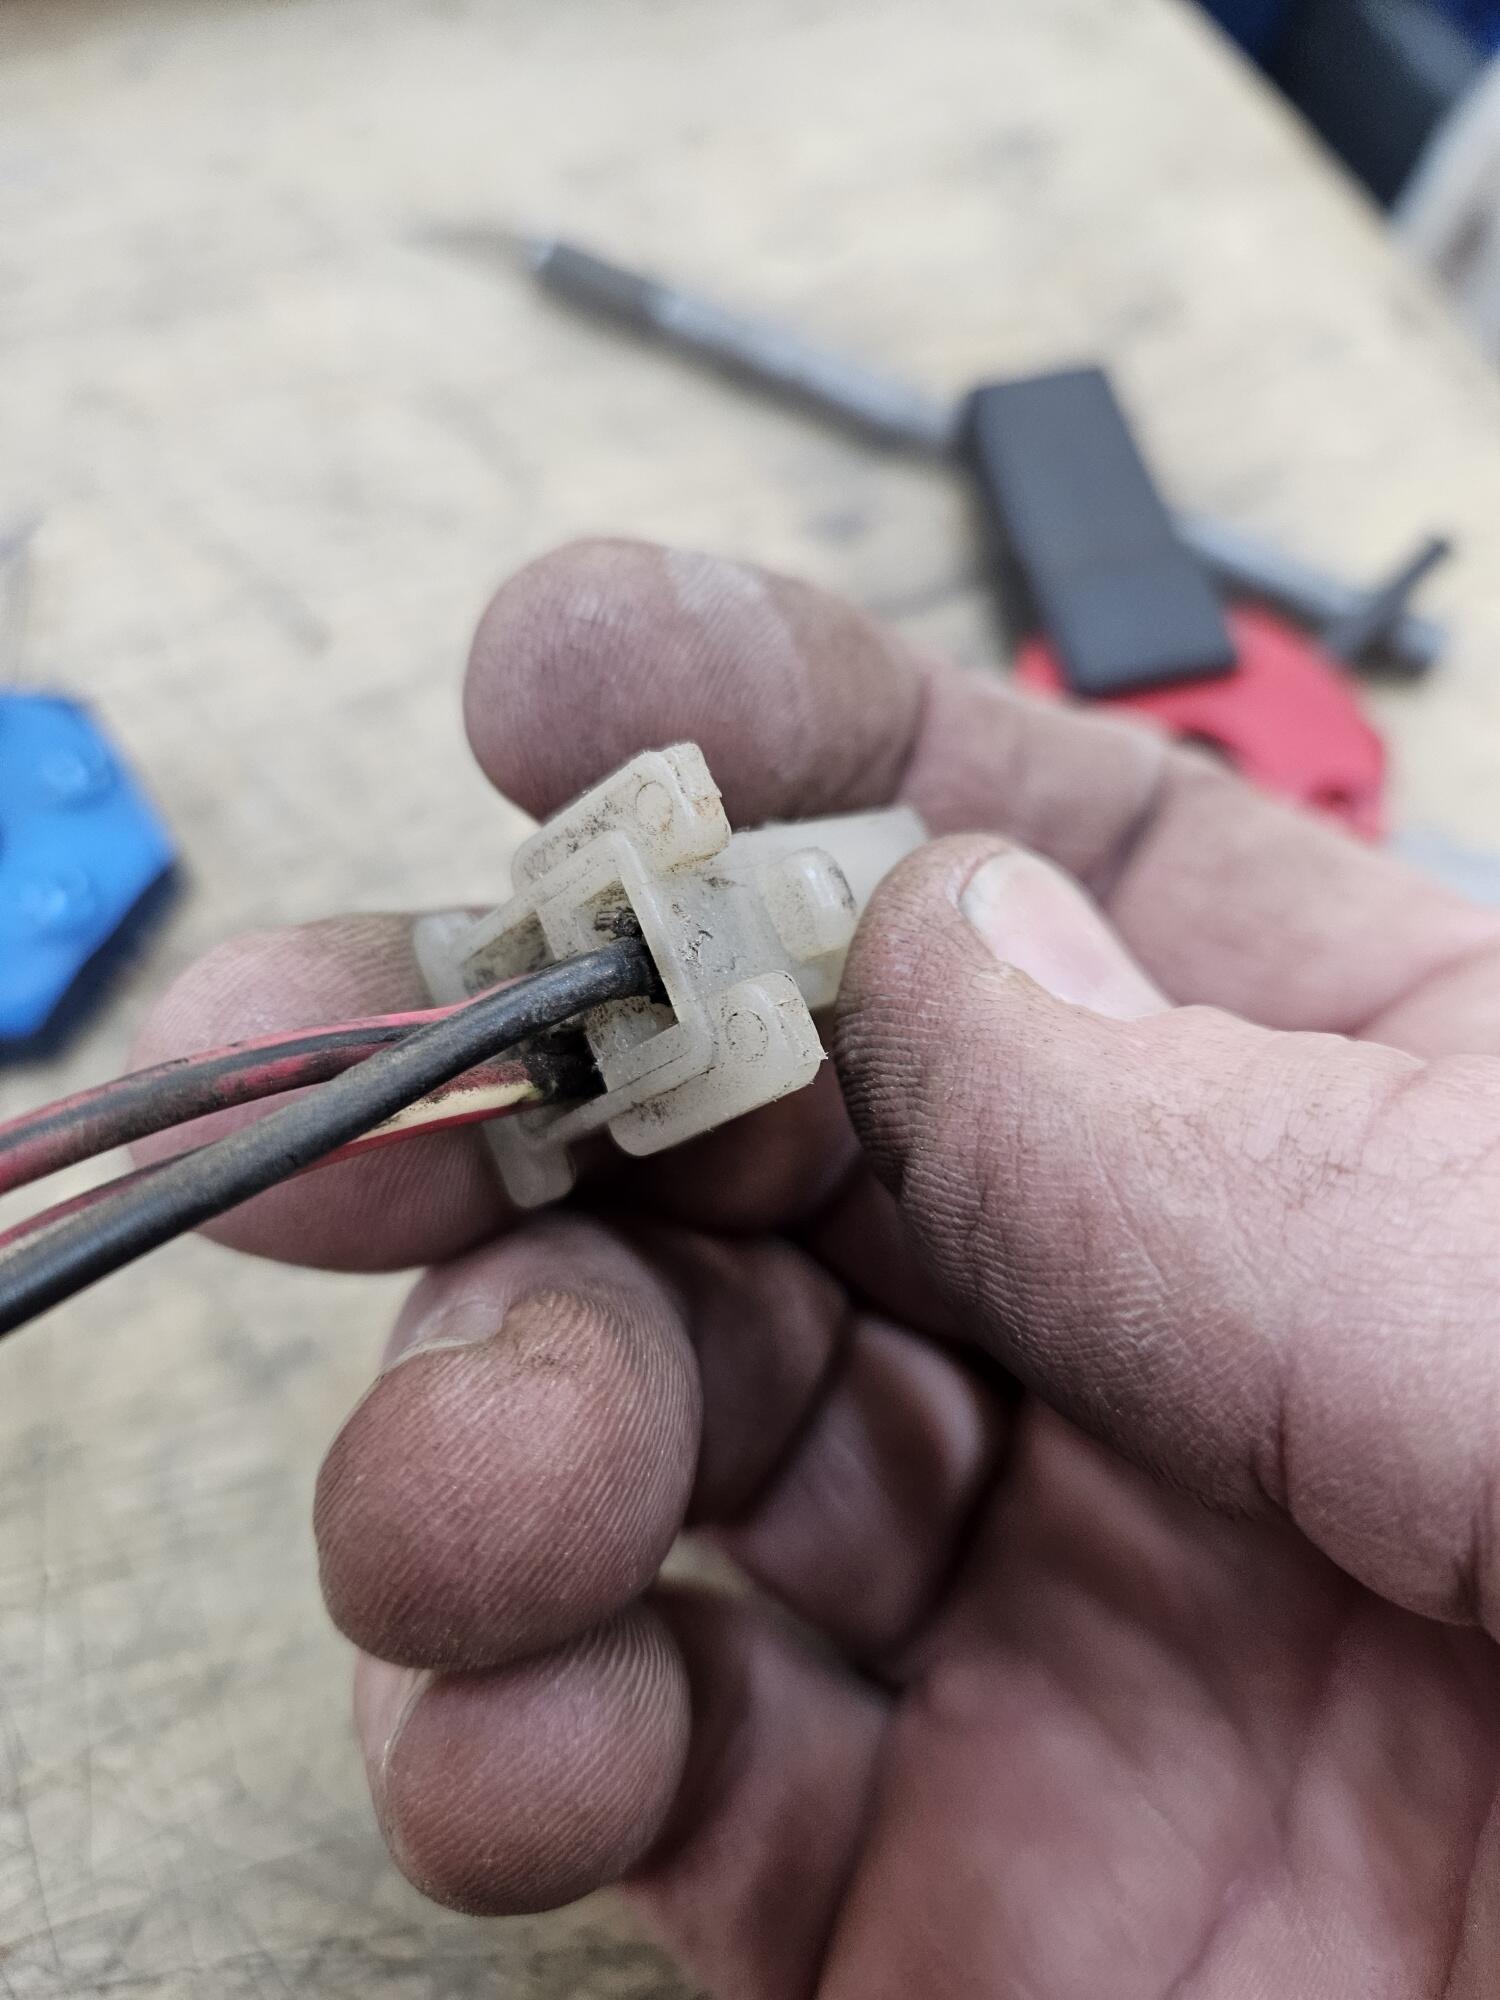
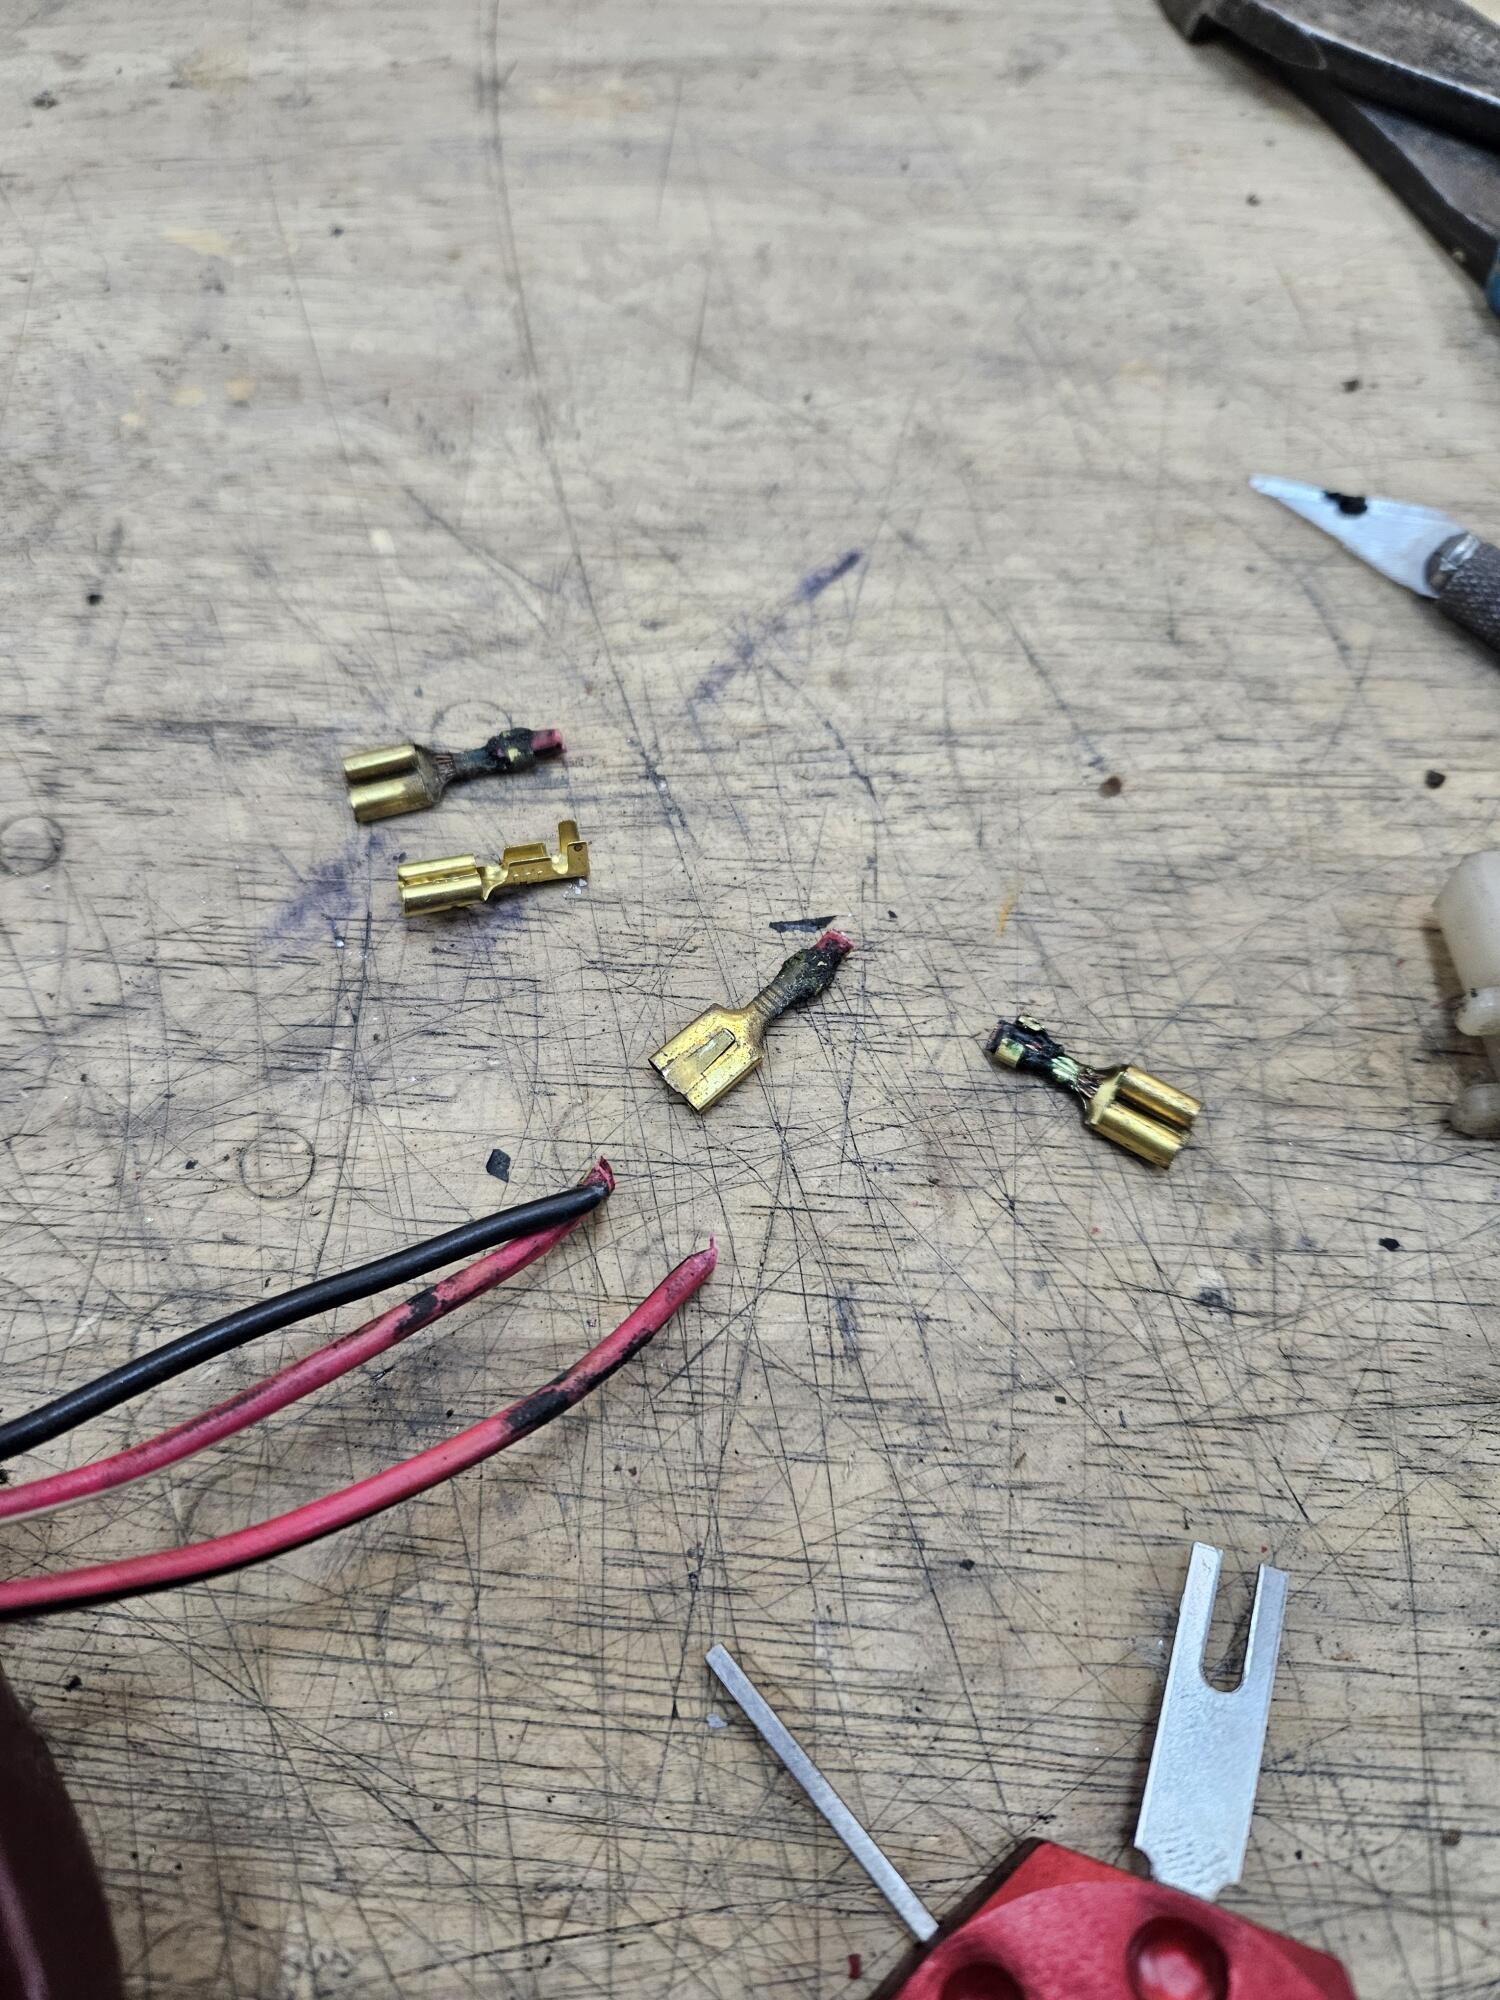
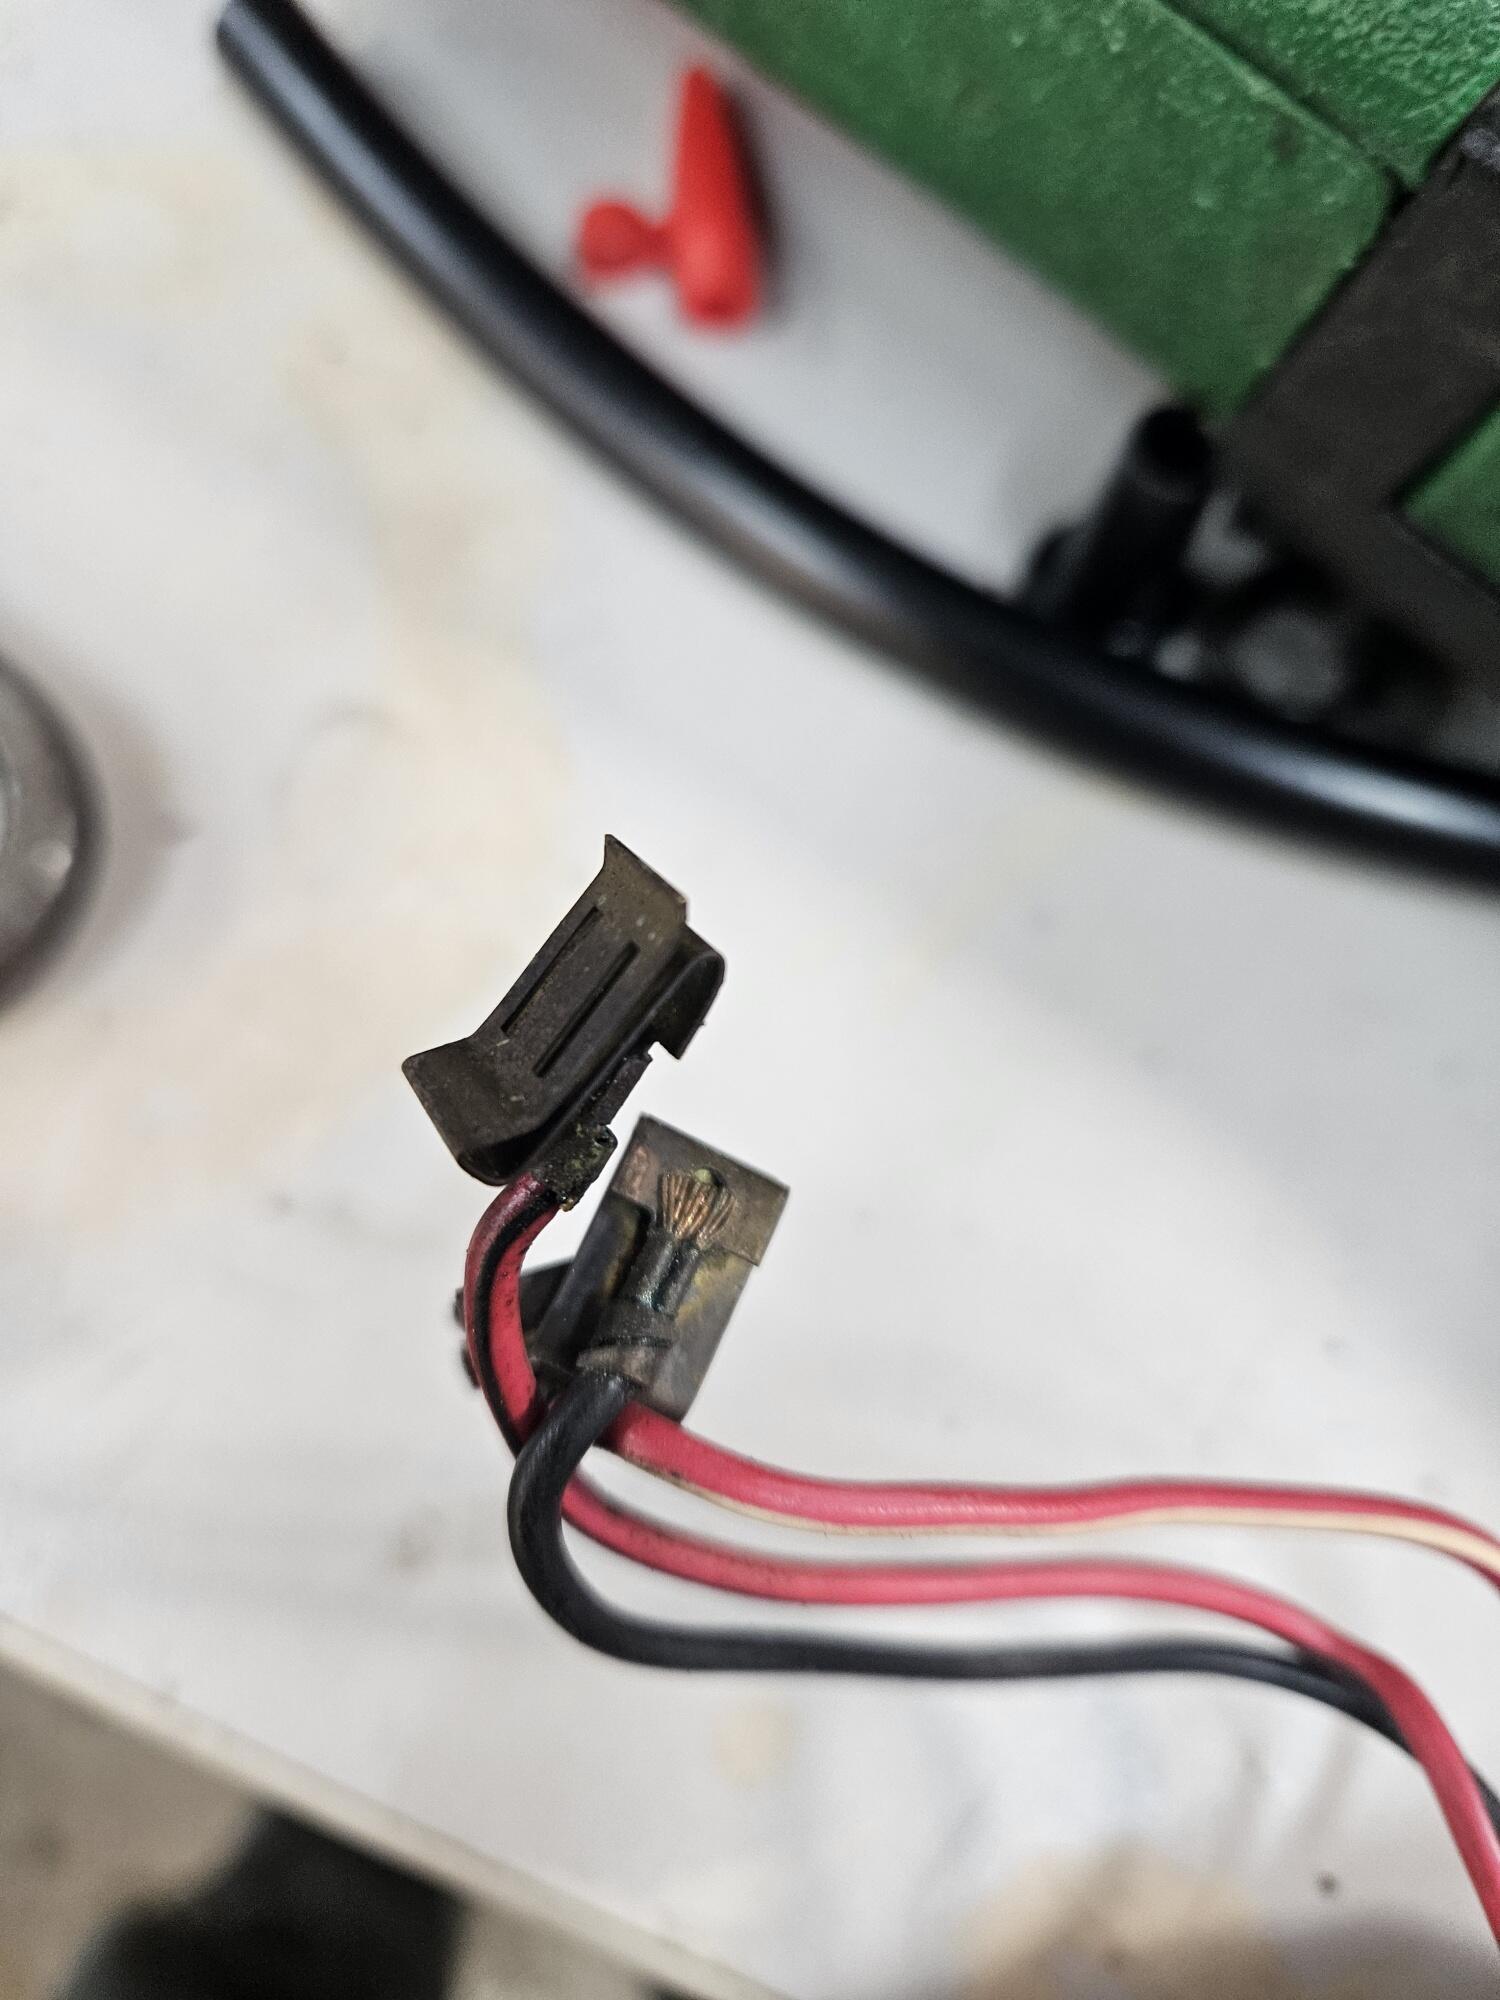
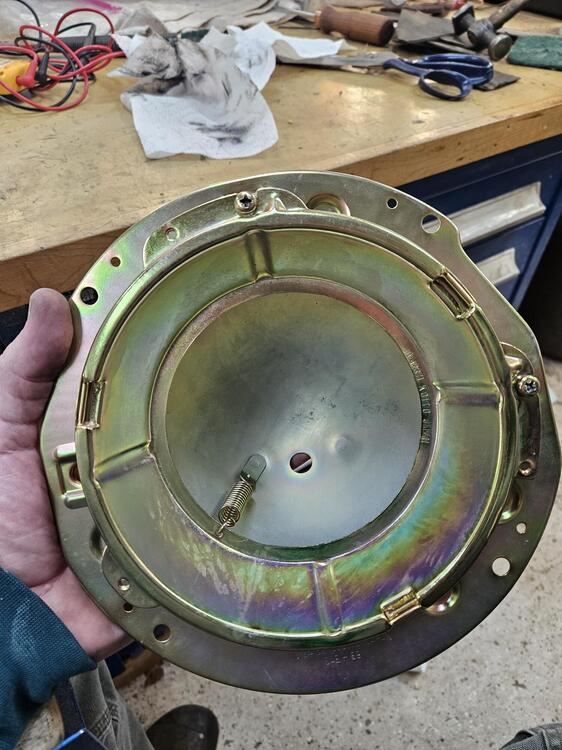
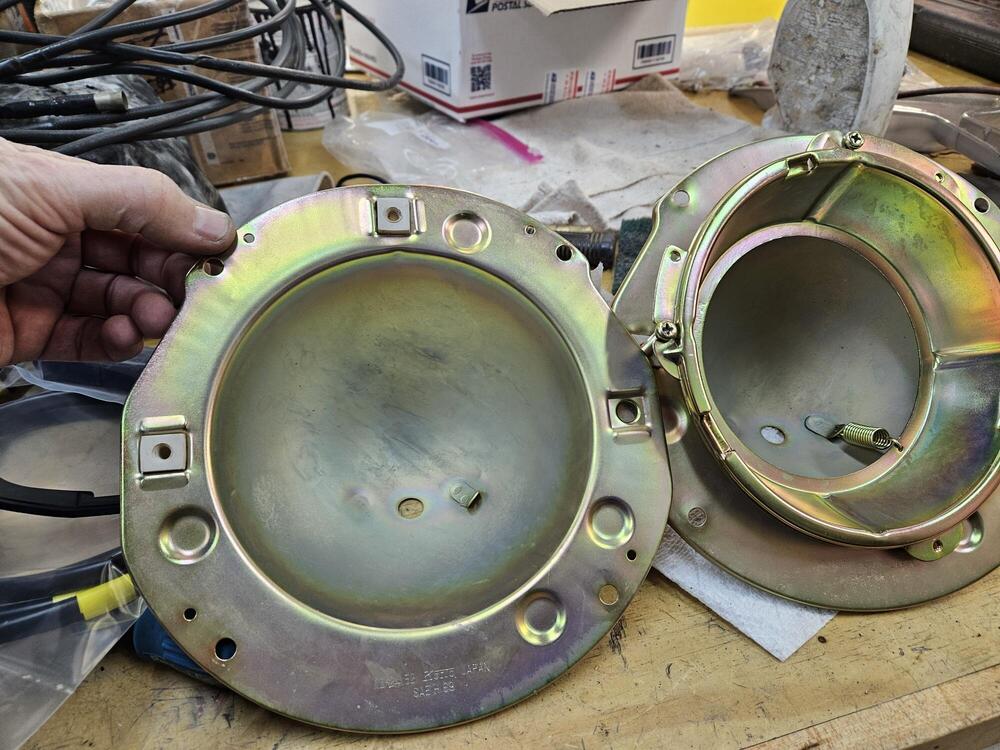
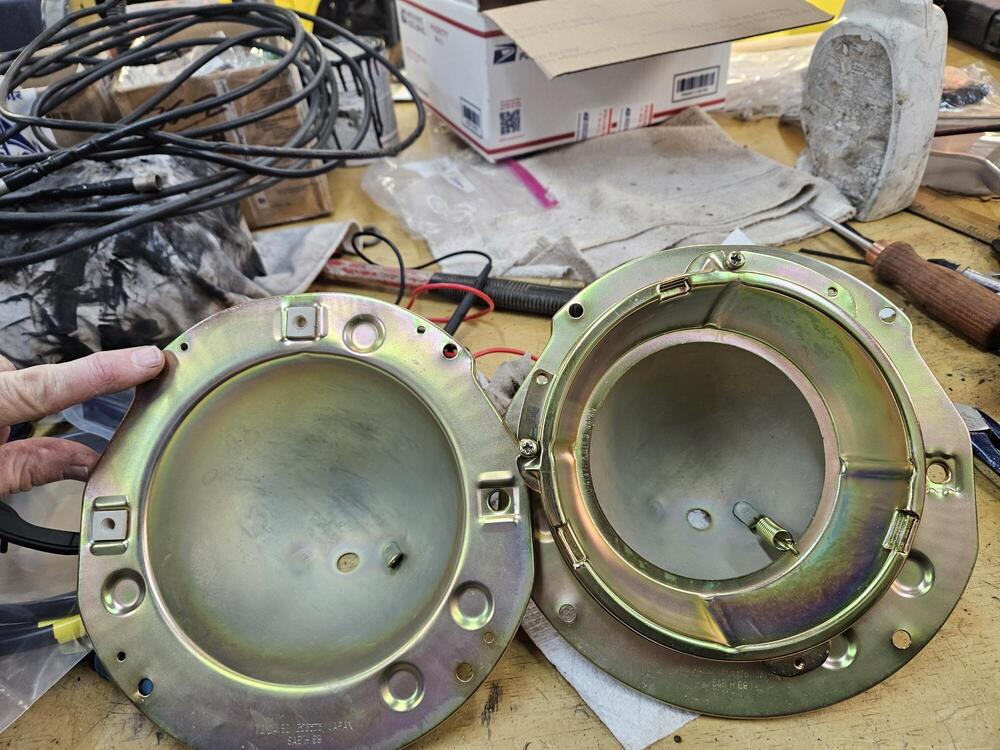
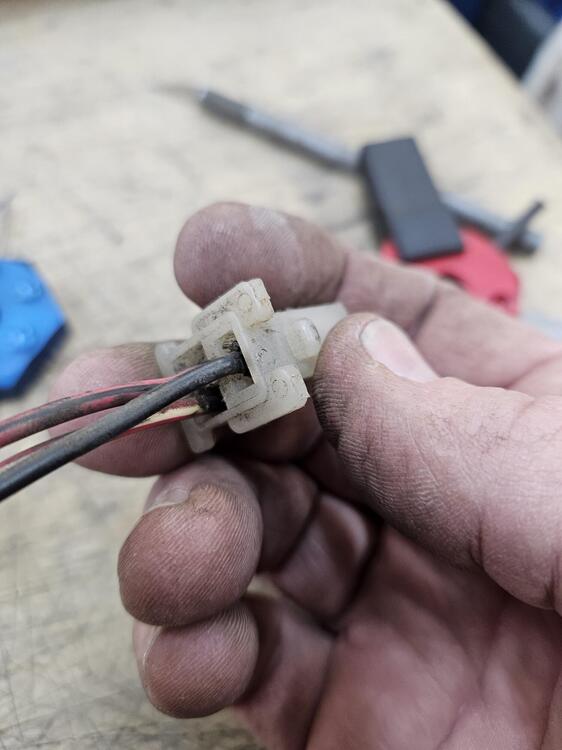
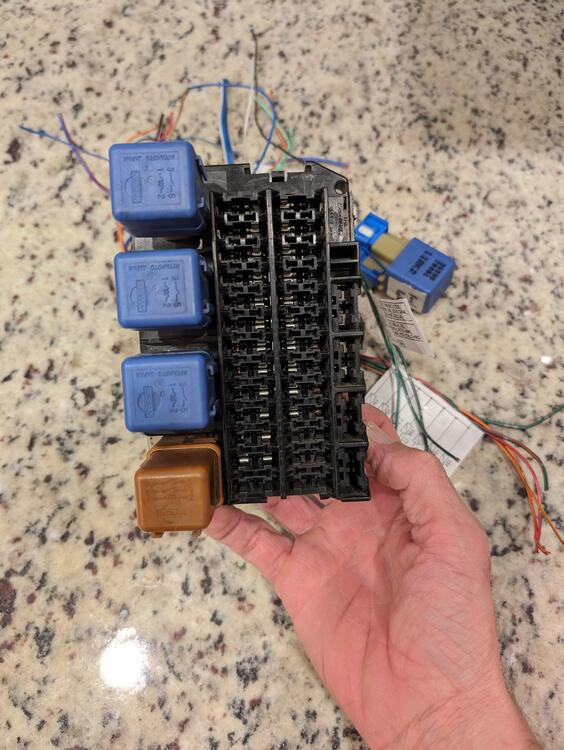
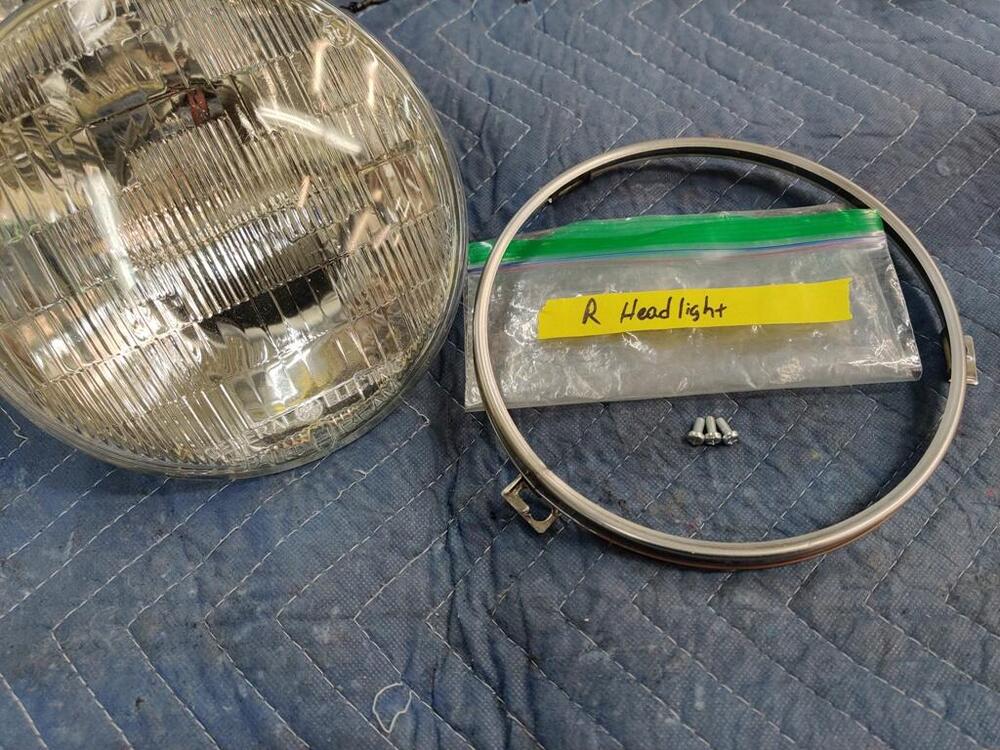
2 pointsSo I switched gears, patience was gone on that one So I started putting freshly plated headlights back together with Steve Nixon's parts Then I hit a snag. The buckets are different. I was trying to figure out how the headlight seals from precision went on. Then I realized that one set of buckets didn't have the 4 little holes like the one at my thumb. The seals have for posts that pull through these holes So I had to reselect my buckets so I had 2 that both had the 4 little post holes Then I tried to figure out a way to feed the wires through the new wire jacket I got from Steve. I took the terminals out of this plug but even staggering them they weren't going to go through the jacket. So I tried to uncrimp this one but that wasn't happening and then I remembered that I had some new Vintage connections terminals. So I cut them off I still couldn't get them to feed through the jacket. So I had to feed a different single wire through the jacket from the other end and use it as a pull wire to pull the wires back into the jacket I got one bucket all the way redone! I love clean new parts!!!


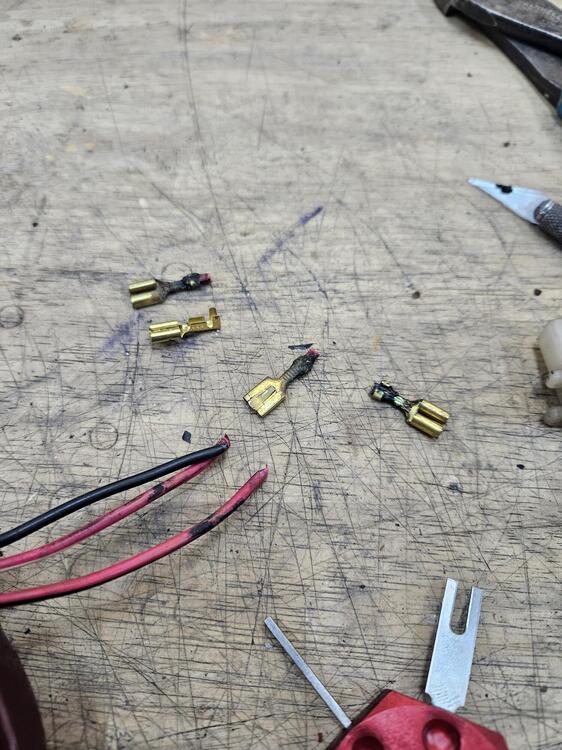

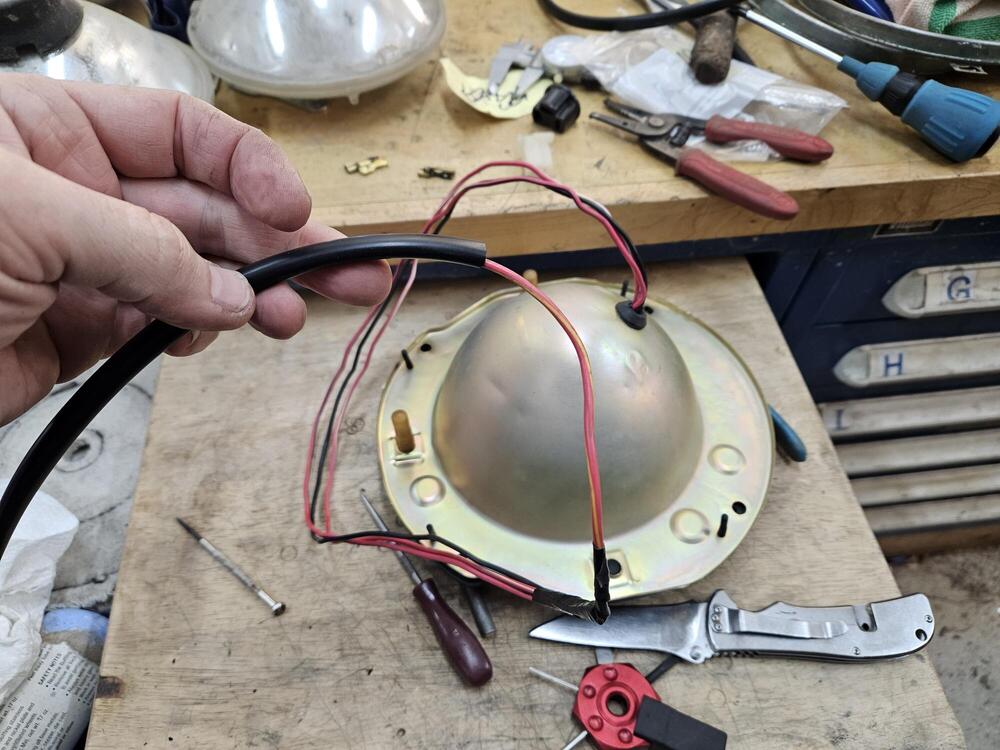
 2 points
 -
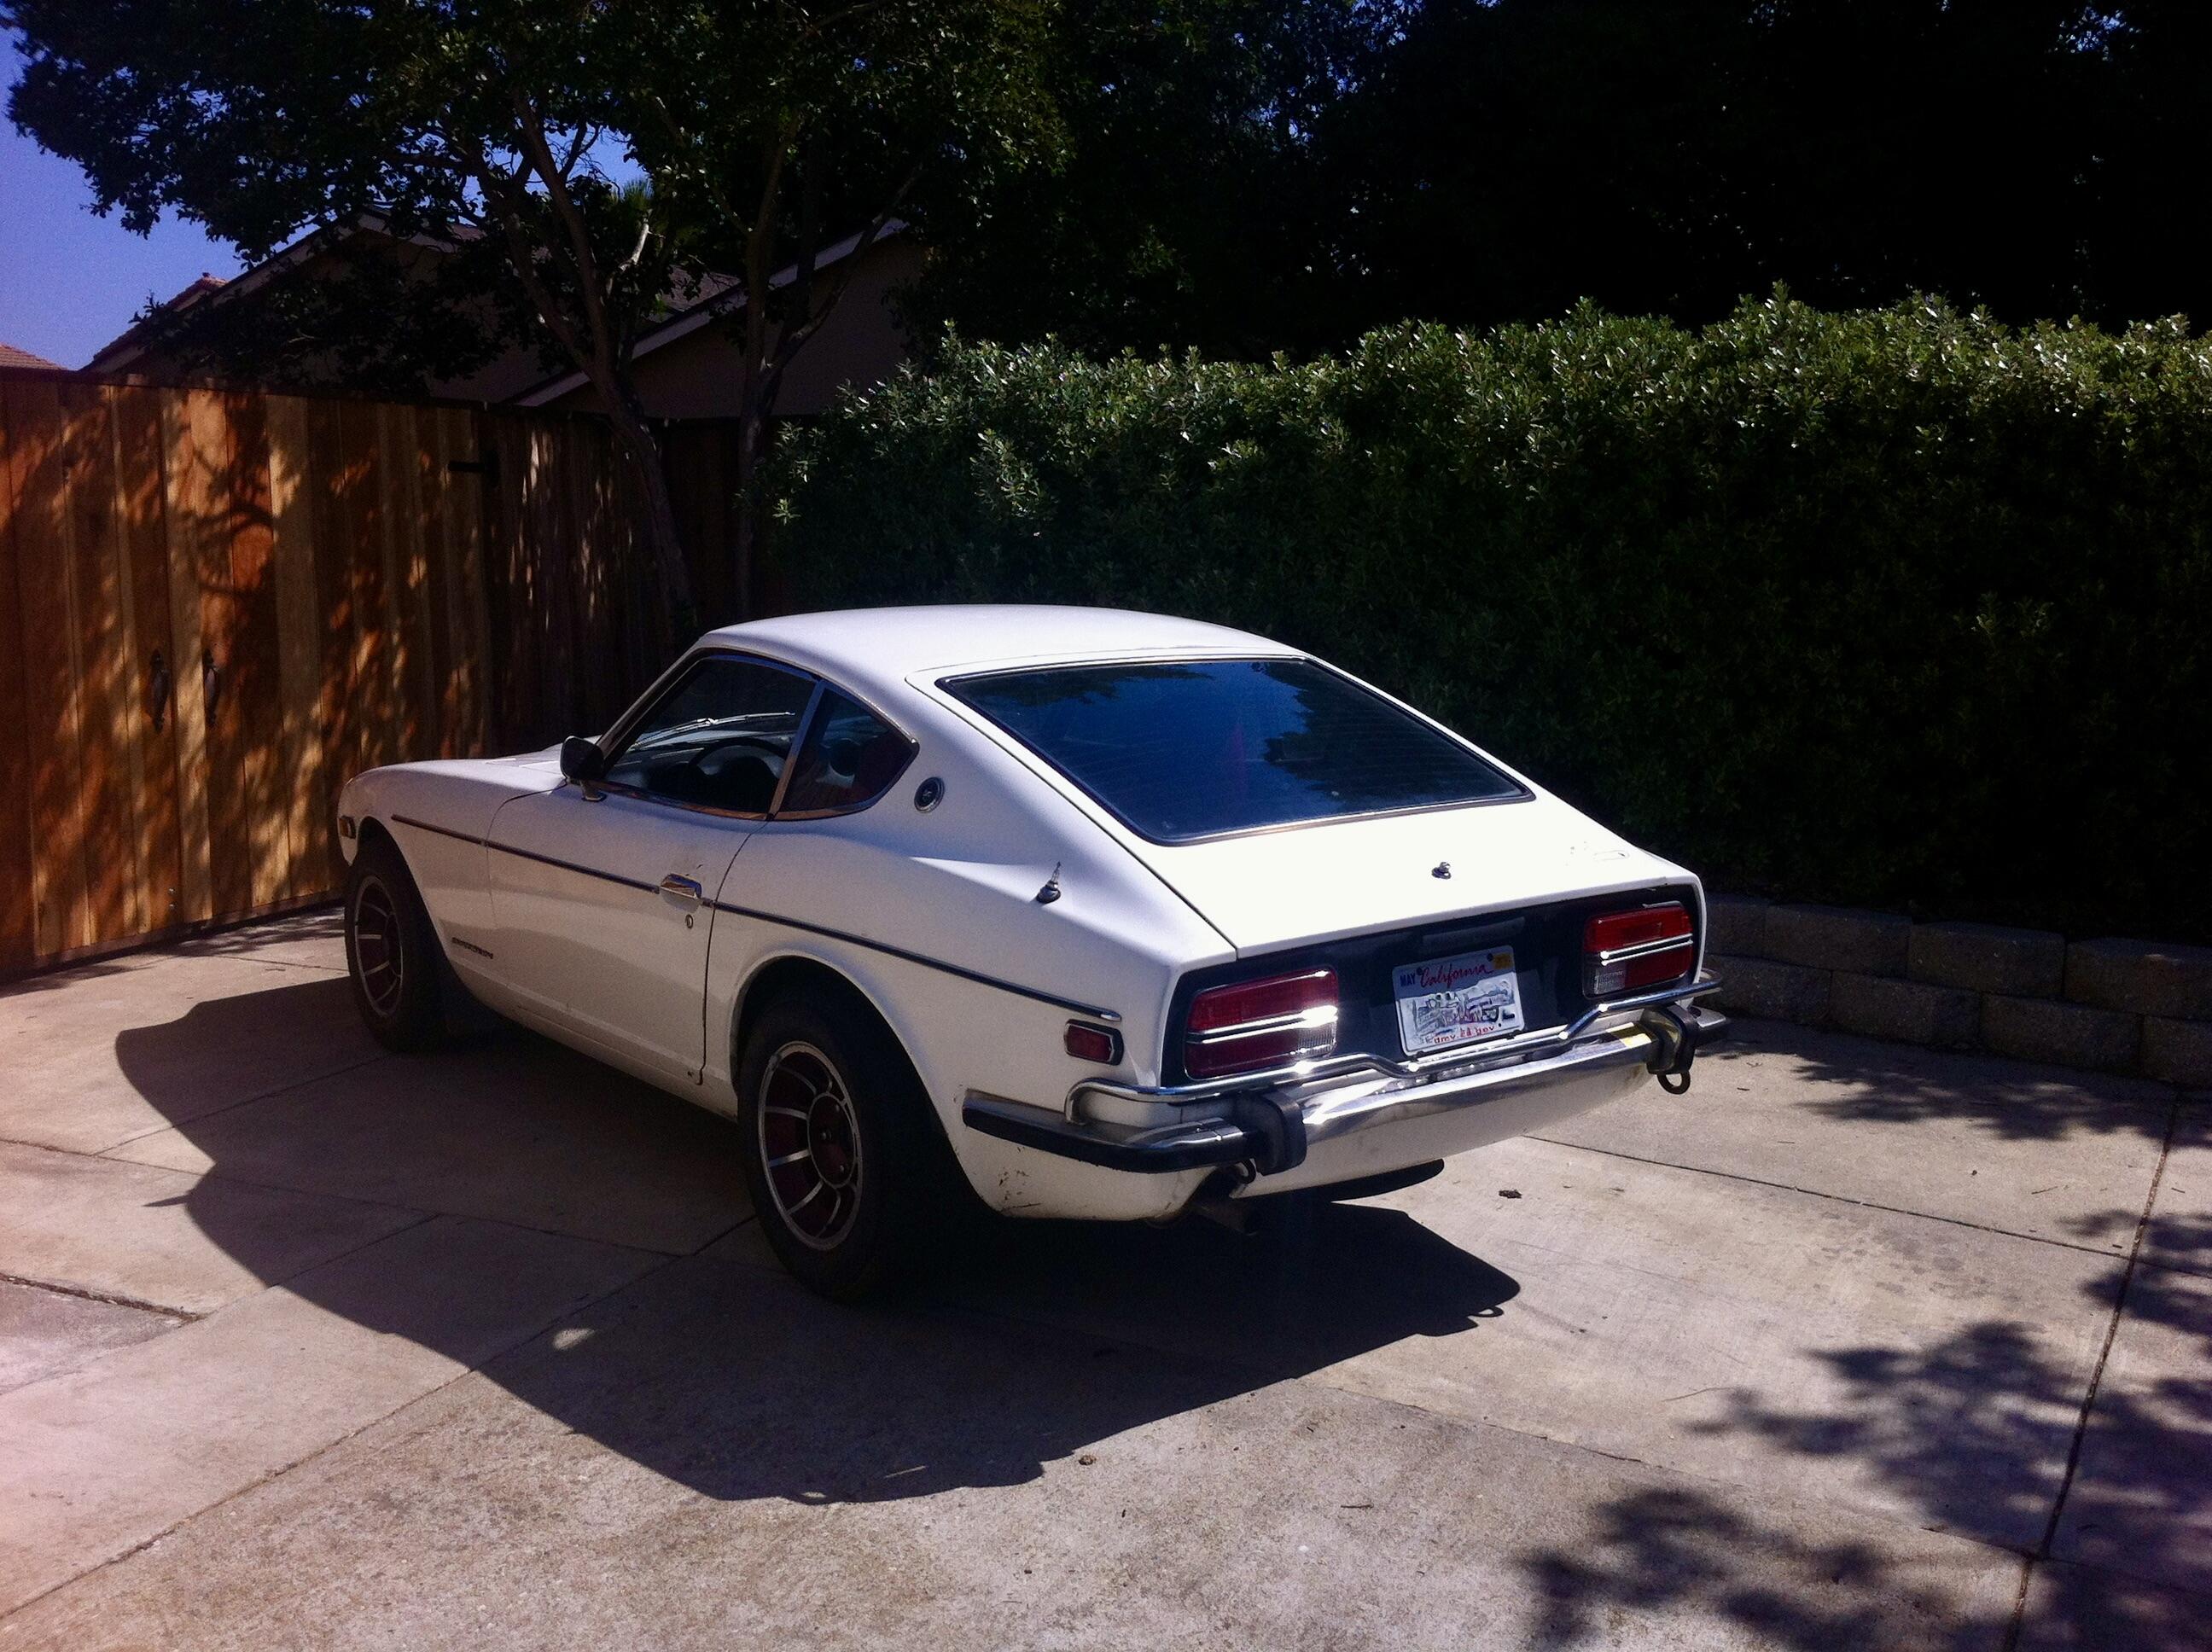
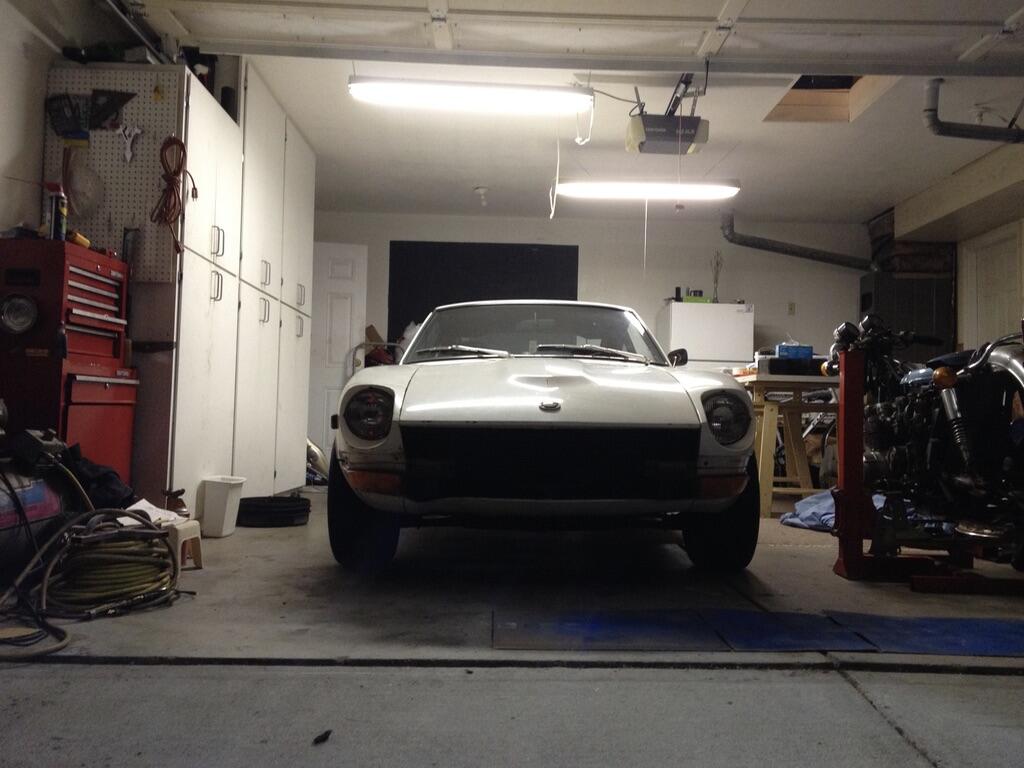
1 pointEm em em. The story goes that I got bit by the Z bug years ago, and made a really poor choice in buying a car online and having it shipped to me. After getting the car, I drove the car around for a few weeks... then parked it in the garage, where it sat waiting to be worked on... I then came up on another Z which I've partially documented in this thread (amongst other threads). The gold/brown? Z has been great, I've learned a lot about the various sub-systems on the car, and its at a point where I don't need to mess with it, I can get into it and drive around... I think (perhaps foolishly) that I'm ready to work on the one in the garage.... Jeez that last photo was from July 15, 2024 2014!. time flies... time to get to work..

 1 point
 -
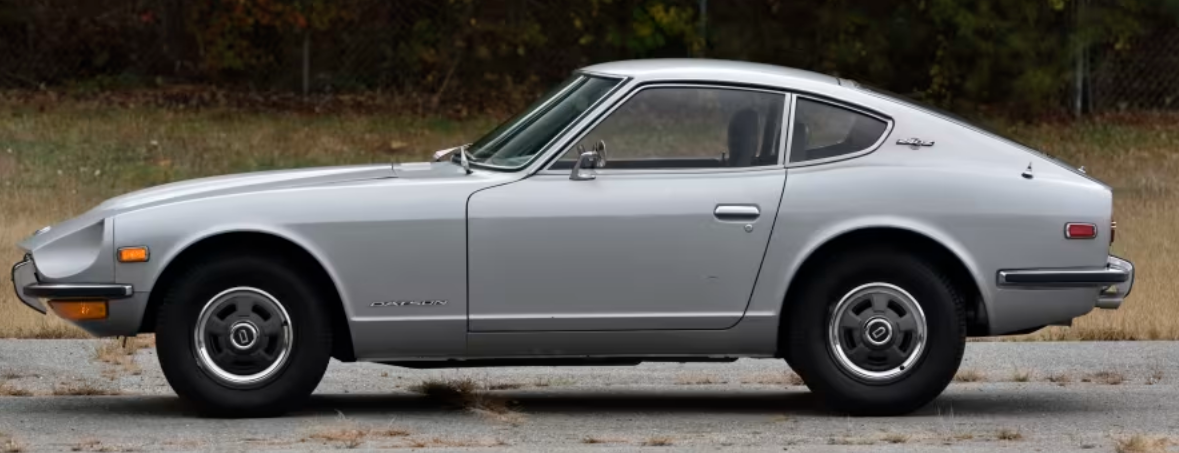
Mecum seems more like a muscle car nostalgia crowd. They should have put it on BaT. It a low miles low number car. Very clean looking, click the link. #199. It's even been restored by what looks like a pro shop. ODOMETER READS† 64,609 miles VIN / SERIAL HLS3000199 HIGHLIGHTS Early production car built in late 1969 (11/1969) Part of the St Yves Collection since 1981 Older 1980s restoration by St. Yves Motor Sales, with attention to factory details and specifications, using OEM parts when available Restored in original 901 Silver Original matching numbers DOHC 2.4L inline 6-cylinder engine 4-speed manual transmission Dual "round-top" SU carburetors Under hood work light Chrome bumpers with front and rear bumperettes
 1 point
 -
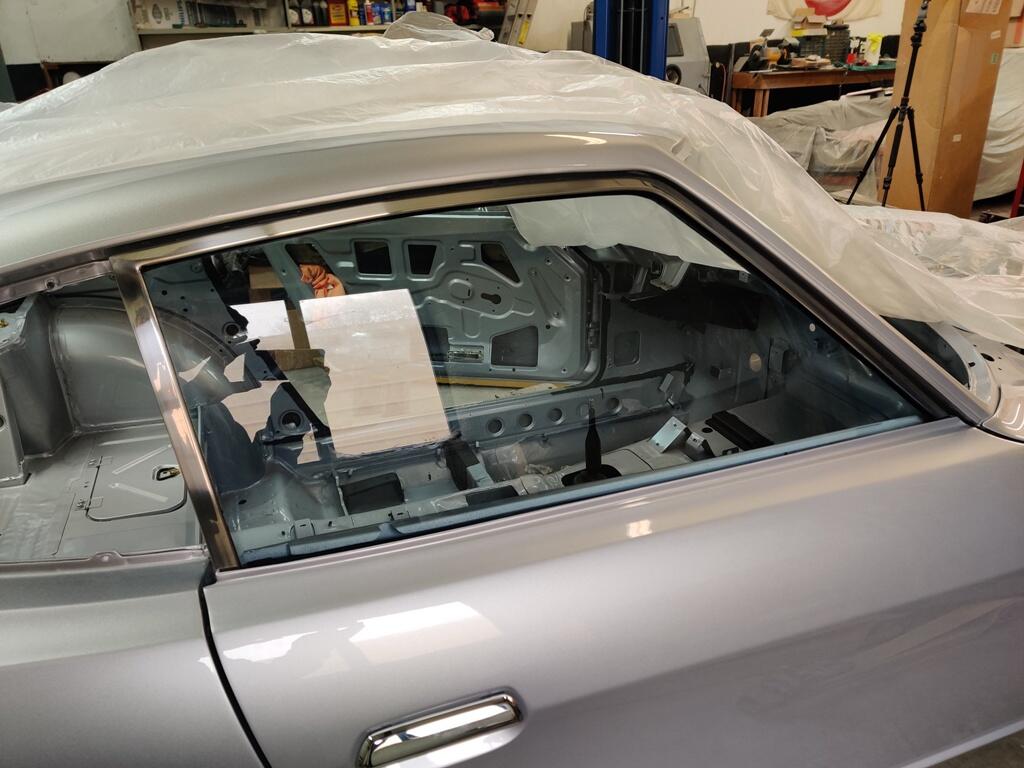
1 pointI should clarify, the warmed up gasket goes on the windshield, then the SS trim gets installed on the gasket so it looks like this. The SS trim goes in a lot easier because the gasket is still a bit loose. Then just before installing on the car, insert the trimmer filament line by rolling it into the fold where the pinch weld goes. Sometimes if the gasket isn't warm enough it will want to pull off the glass as you start working the gasket on opposite side, a second pair of hands at this point is a big help. Once the SS trim is installed there is no danger of the gasket pulling off the glass as the trim locks the gasket onto the windshield.
 1 point
 -
Thanks! I ended up doing it in the drivers side. Passengers side would have required extending quite a few of the wires, which didn't sound like fun. Thanks for the help!
 1 point
 -
Switching gears - I'm not driving /working on the Datsun now that snow has started this past week or so & roads have been salted, so I'm going back on my V8-into-Volvo project. Still have wiring & other elements to prepare before I pull the stock drivetrain & get moving on the physical conversion (I'm assuming late Feb/early Mar, depending on the weather) put a brand new rack (and saginaw PS pump) in it on Friday - the old rack has no assist at low speed anymore, so that was definitely not going to work once the V8 drivetrain is in. It's meant for the slightly newer 940 series (same chassis, slight mods all over), so a little tweaking of the (equalizing?) tubes to fit the older subframe was in order adjusted the toe in myself - my road is nice & flat, and a pretty quiet area. Took several adjustments to get it here - slightly under average (typical) toe -in value for this model, however thew wheel is straight & it feels good out on the main roadways.1 point
-
1 pointI stopped trying to install the SS trim after the seal was on the glass for same the reason that you found, now I insert the SS trim in the seal, then mount the seal on the glass. Much easier, I know, it doesn't help you much now but if you ever do it again.1 point
-
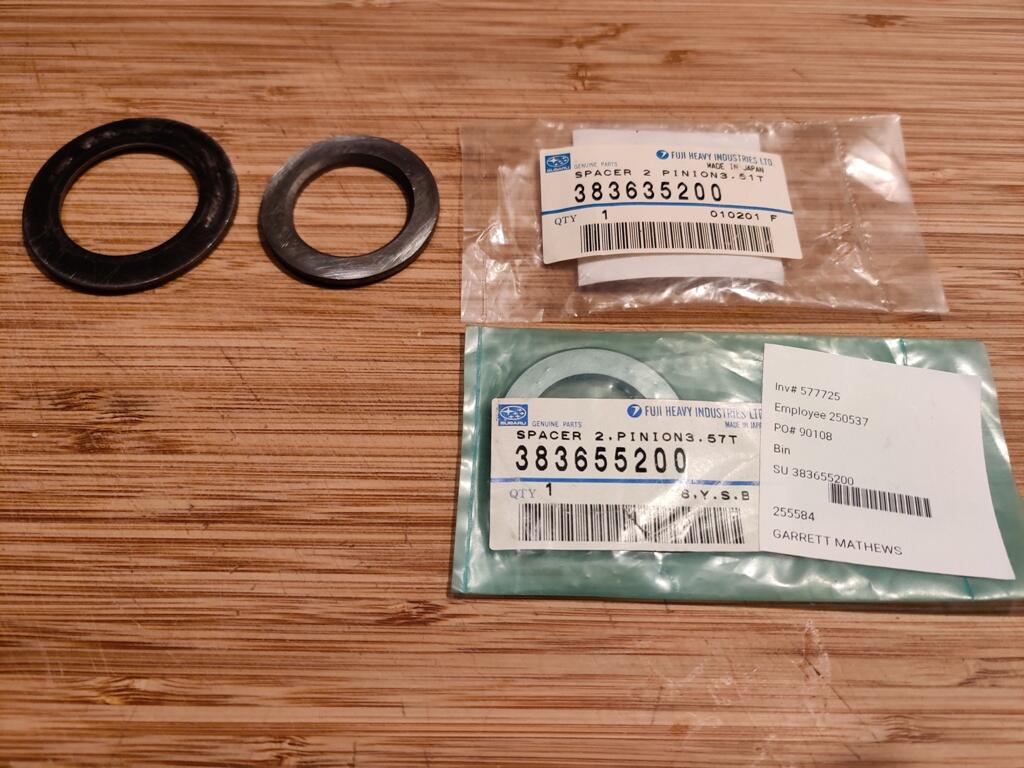
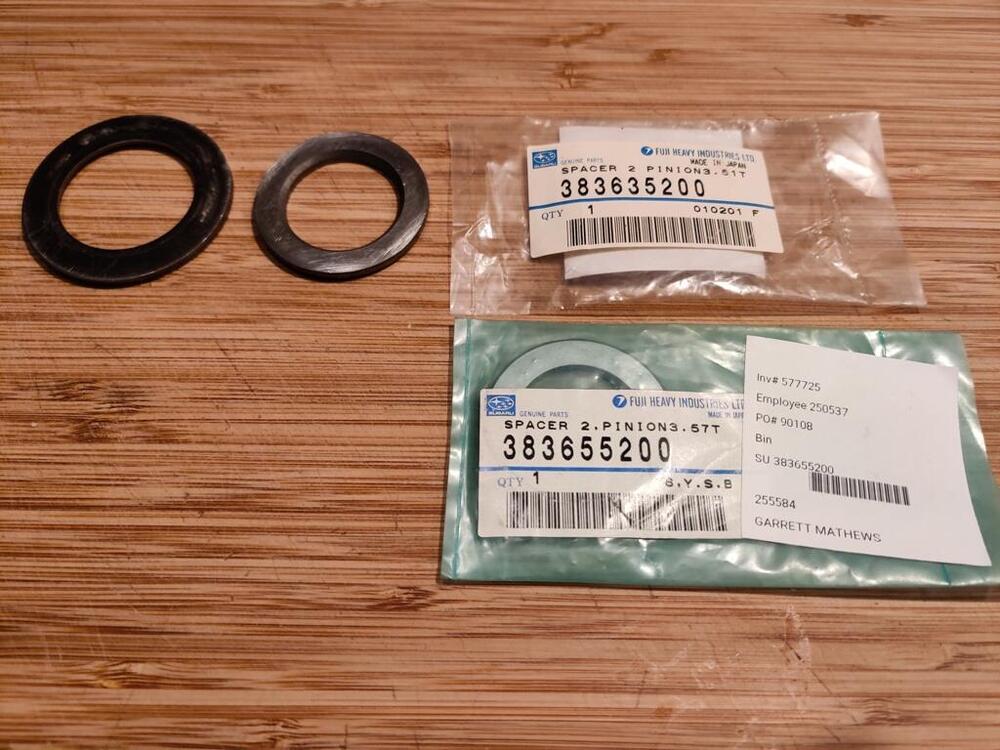
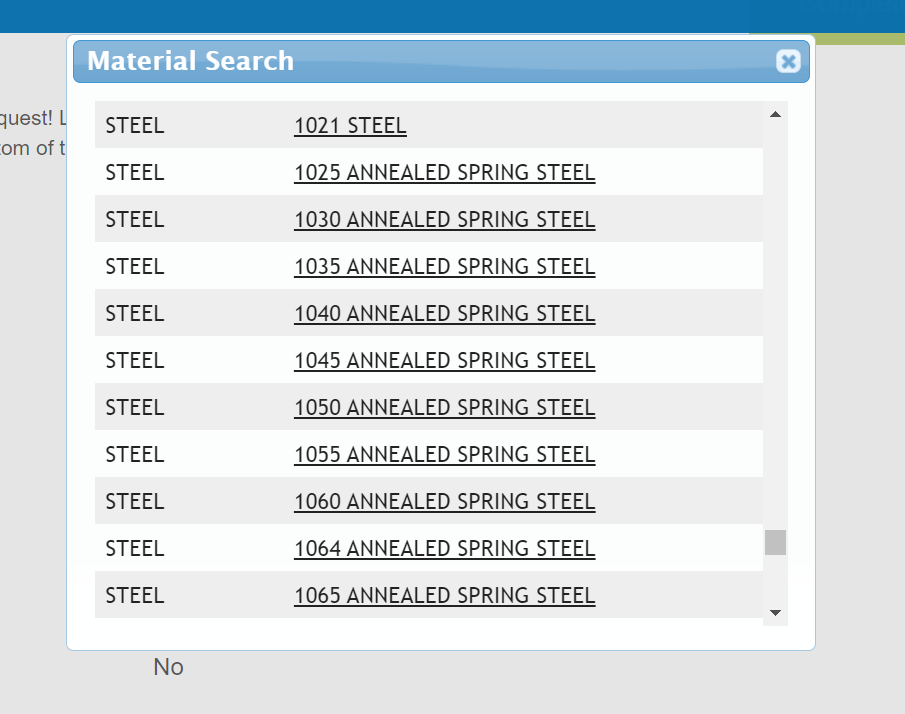
I received the two shims today. And, they are different than the one that came out of the differential. I checked the part numbers, and they are correct. I sourced all the differential bearings from Subaru, and they all fit perfectly. I used the same application - 04 Subaru STI for those and these shims, so I don't know what the issue here is. These new shims are likely for the R160 instead of the R180. After more searching online and coming up with dead ends, I remembered that I sold a 4.38 R180 to Troy Ermish not too long ago, so I pinged him on Facebook Messenger, asking him if he knew of a source for pinion shims. He responded within seconds, which was nice. He said "I never remove the pinion". In fact, he said that twice during the chat. He looked online a bit and couldn't find anything. He suggested looking for generic shims, and that I may be able to find something with a 35 mm ID (the original shim has a 35 mm ID and 54 OD). So, then we get back to some of the prior questions regarding "hardness"... and what thickness? I found this place online - they make custom shims: https://www.phoenixspecialtysales.com/. I am stepping through their online quote functionality, and they have many material options: I'd like to get a quote for one shim and see if this route is an option. @Captain Obvious, can you recommend a material option? I will also place an order for this, with the plan of making some .001" shims out of the material and then will proceed with trial and error to arrive at the thickness shim that I need: https://www.amazon.com/Stainless-Strips-Drillable-Cutble-Thickness/dp/B0C2YQW284/ref=sr_1_20?crid=1ER6Y6II7JTM&keywords=shim+steel&qid=1705200847&s=industrial&sprefix=shim+steel%2Cindustrial%2C102&sr=1-20
 1 point
 -
1 pointI would expect the center post would have continuity through the cable, but I could be wrong. You could always set up a test rig to test it out or just buy a new cable and run it through the car. You can get a 20 foot or 15 foot cable on Amazon.1 point
-
1 pointI think evaporust is much more predictable. It removes rust with out the really acidic pH levels1 point
-
1 point
-
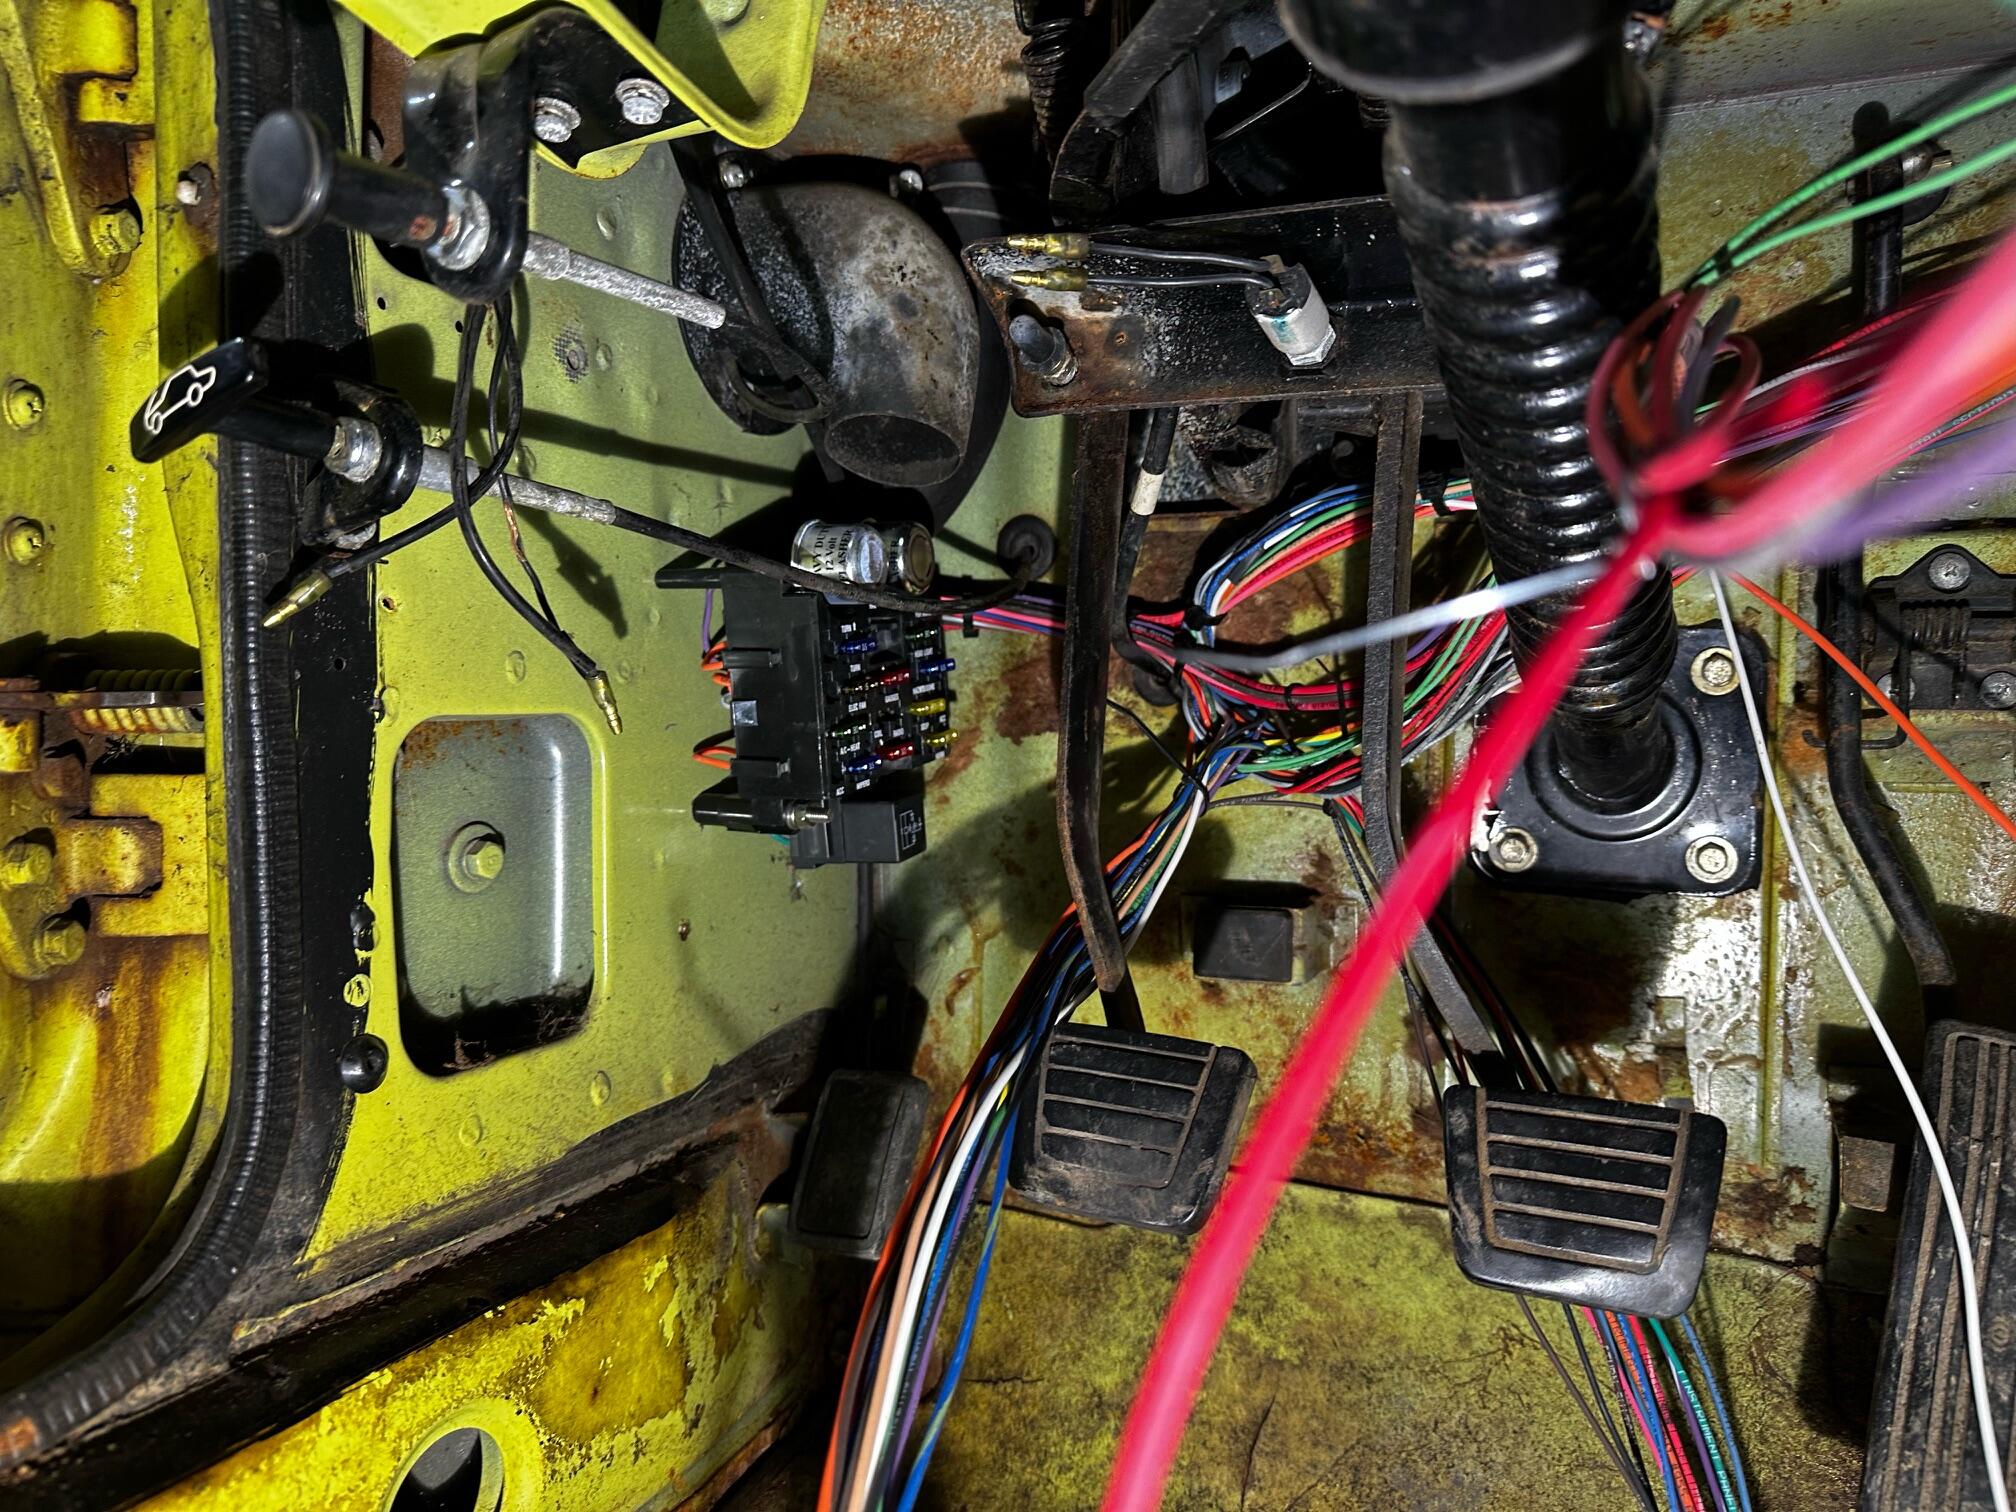
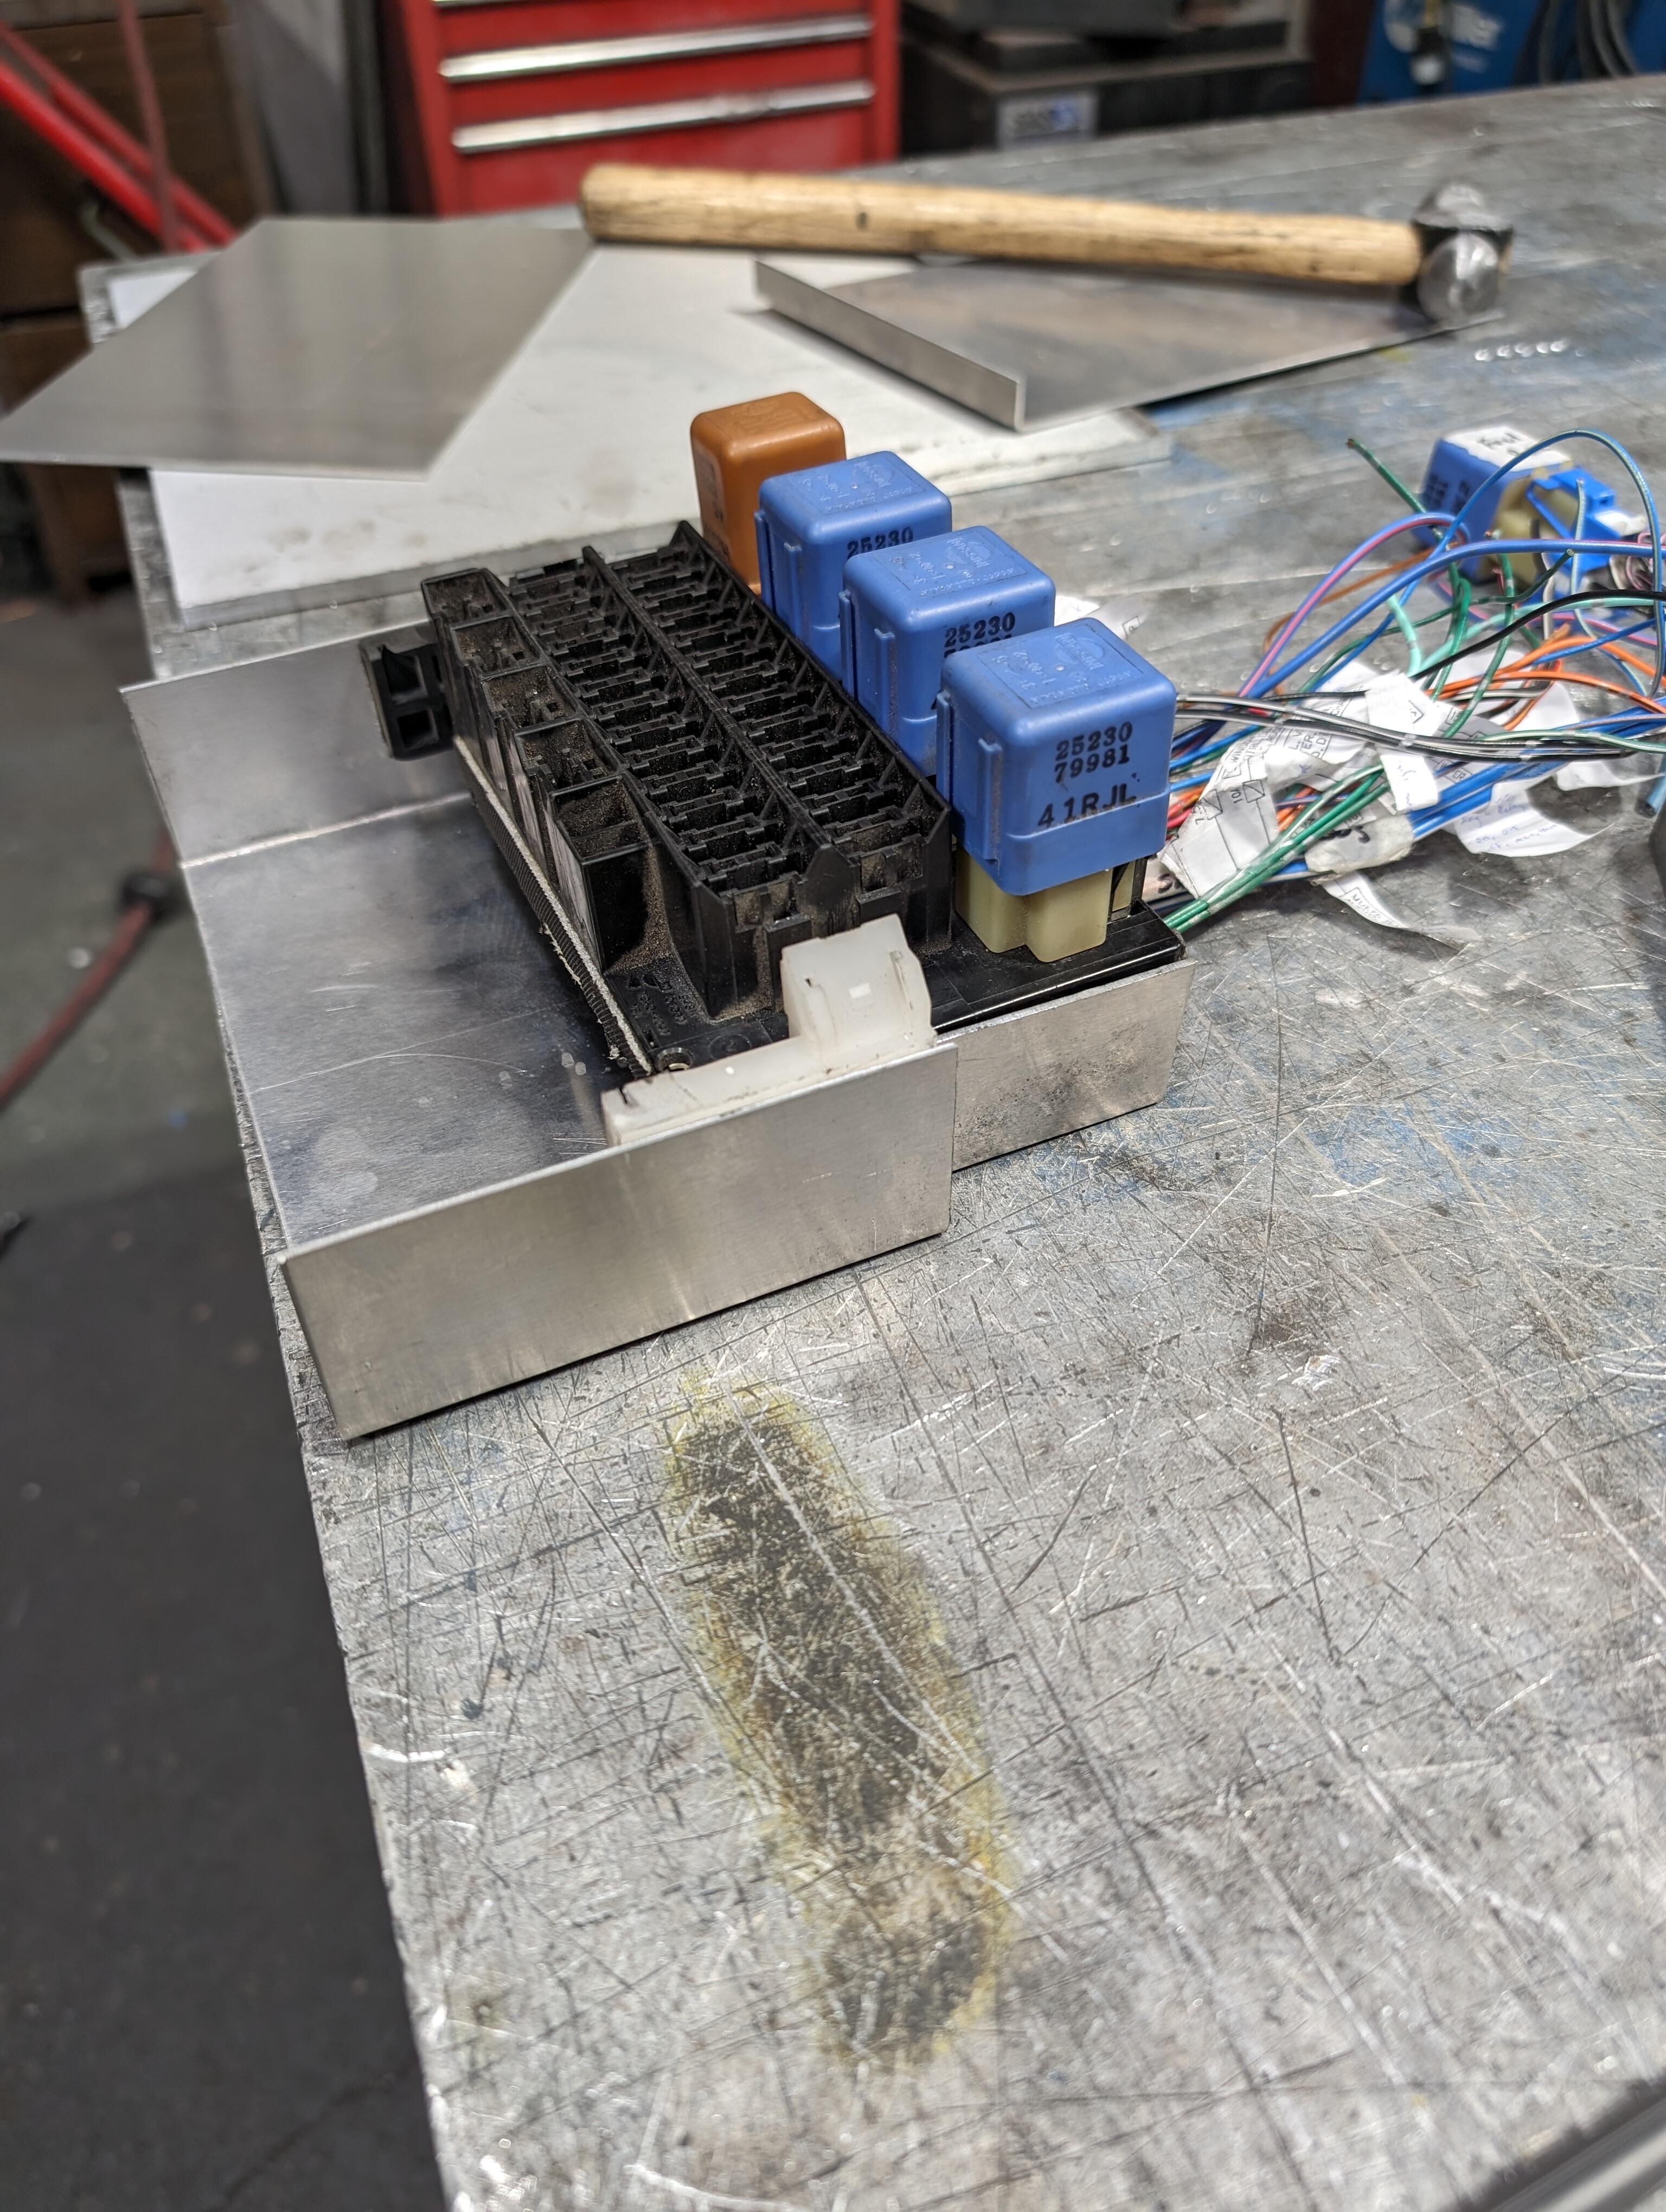
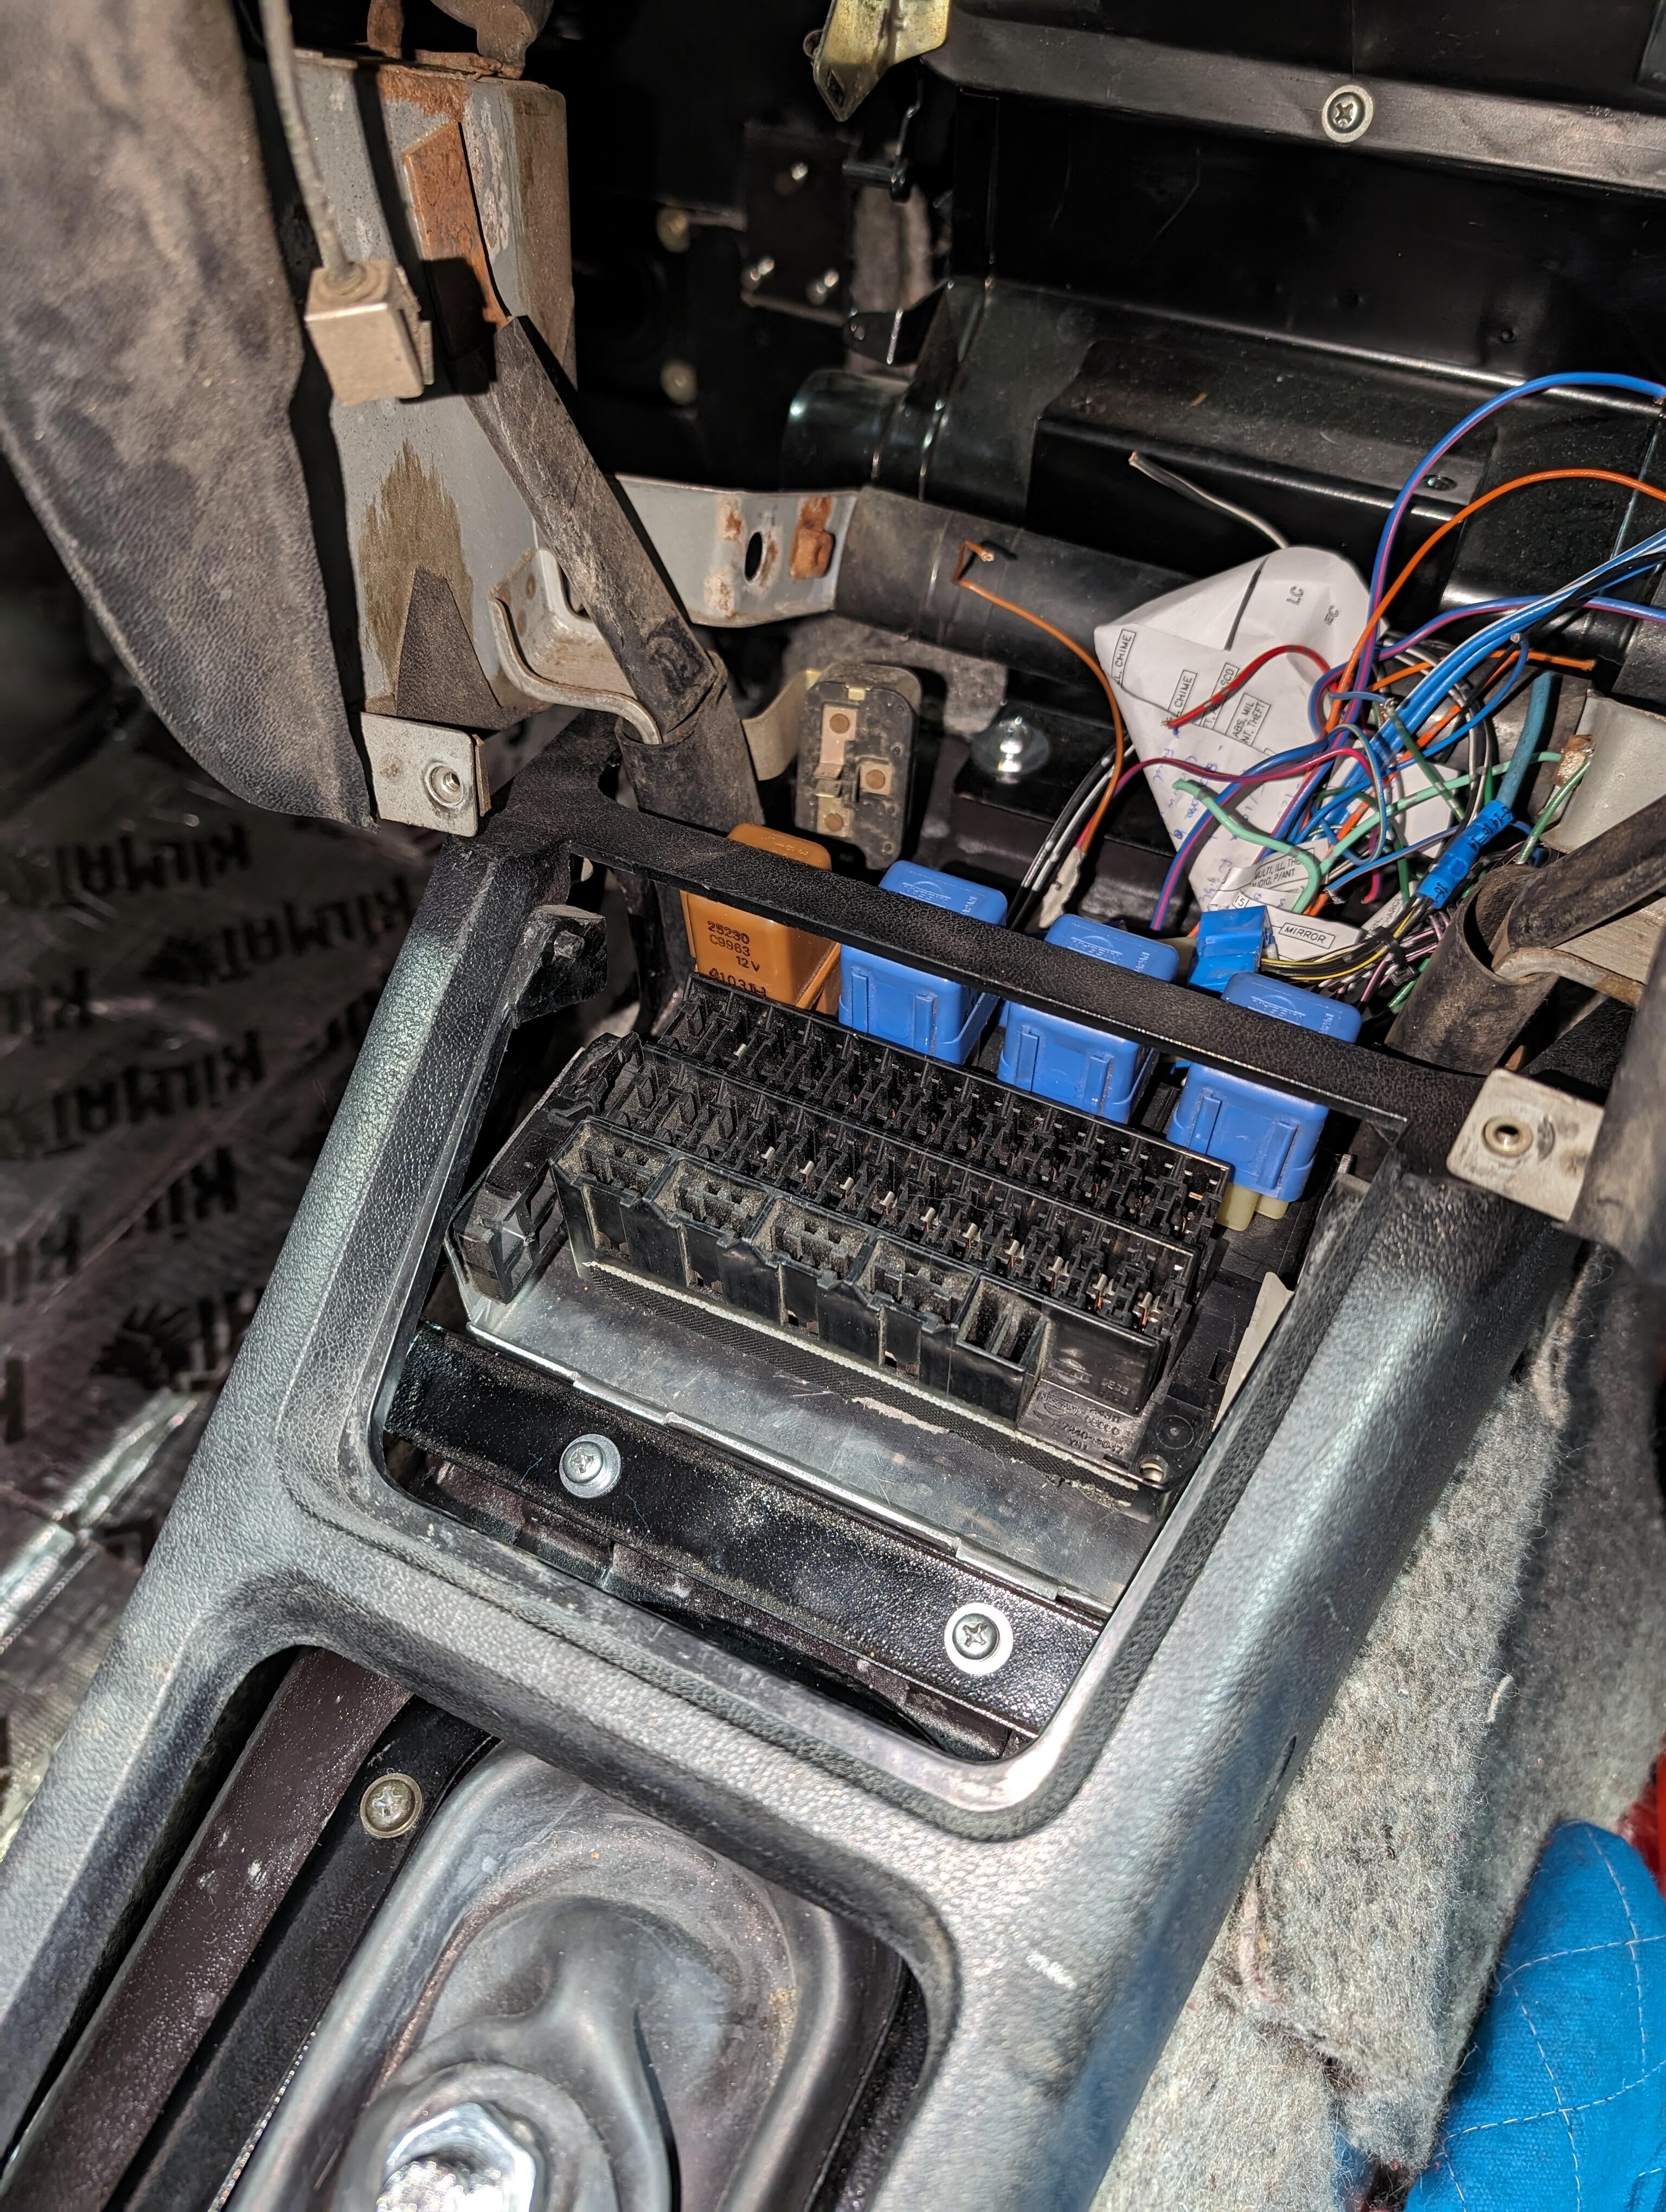
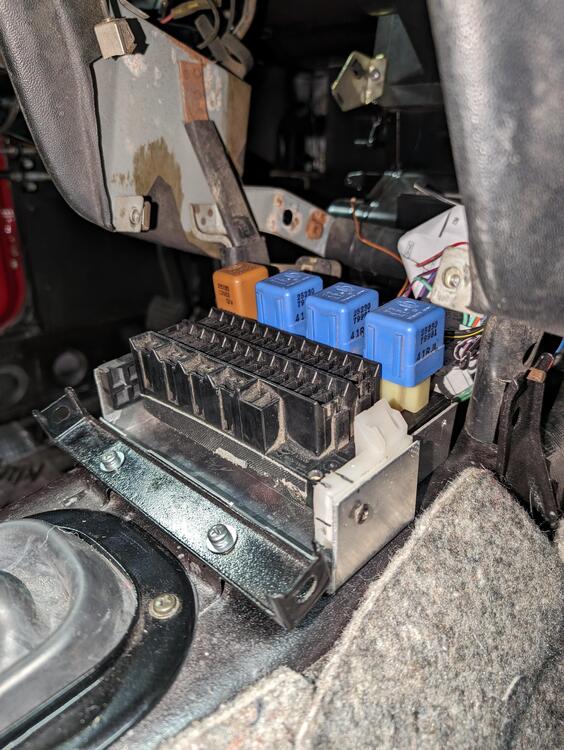
@Matthew Abate I too am going through my entire harness, but not to the same extent as you. I'm not replacing all the wire. Not that it's a bad idea, just not in my budget. I will be making repairs and modifications to support fuel Injection since I am going back with a RB instead of the L series. I am working with a fairly low mileage Z. I do plan to clean all terminals with Deoxit when it goes back together to ensure good connections. You mentioned adding an additional fuse in one of the previous post. I thought I might share my current project. I have a fuse box I pulled from a S14. I plan to install in the same location as the original fuse box. I want the dash harness to remain as close to stock, so I'll wire it up with the original connectors. Ideally it's basically plug in play with addition of relays and extra fuse circuits. There may be better aftermarket fuse box option, such as the Bussmann. This didn't cost me anything and has lead to me having a much better understanding of fuse box and wiring in the car. Your work here has also helped pave the way. Hopefully everything works out. This S14 fuse box should be an upgrade from the outdated stock fuse box and offer plenty of expansion for in fuel Injection setup.

 1 point
 -
1 pointGreat purchase. Now you see what octave your wife hits when she hears you spent $9,000.00 on that Stroker motor! 😱1 point
-
1 point
-
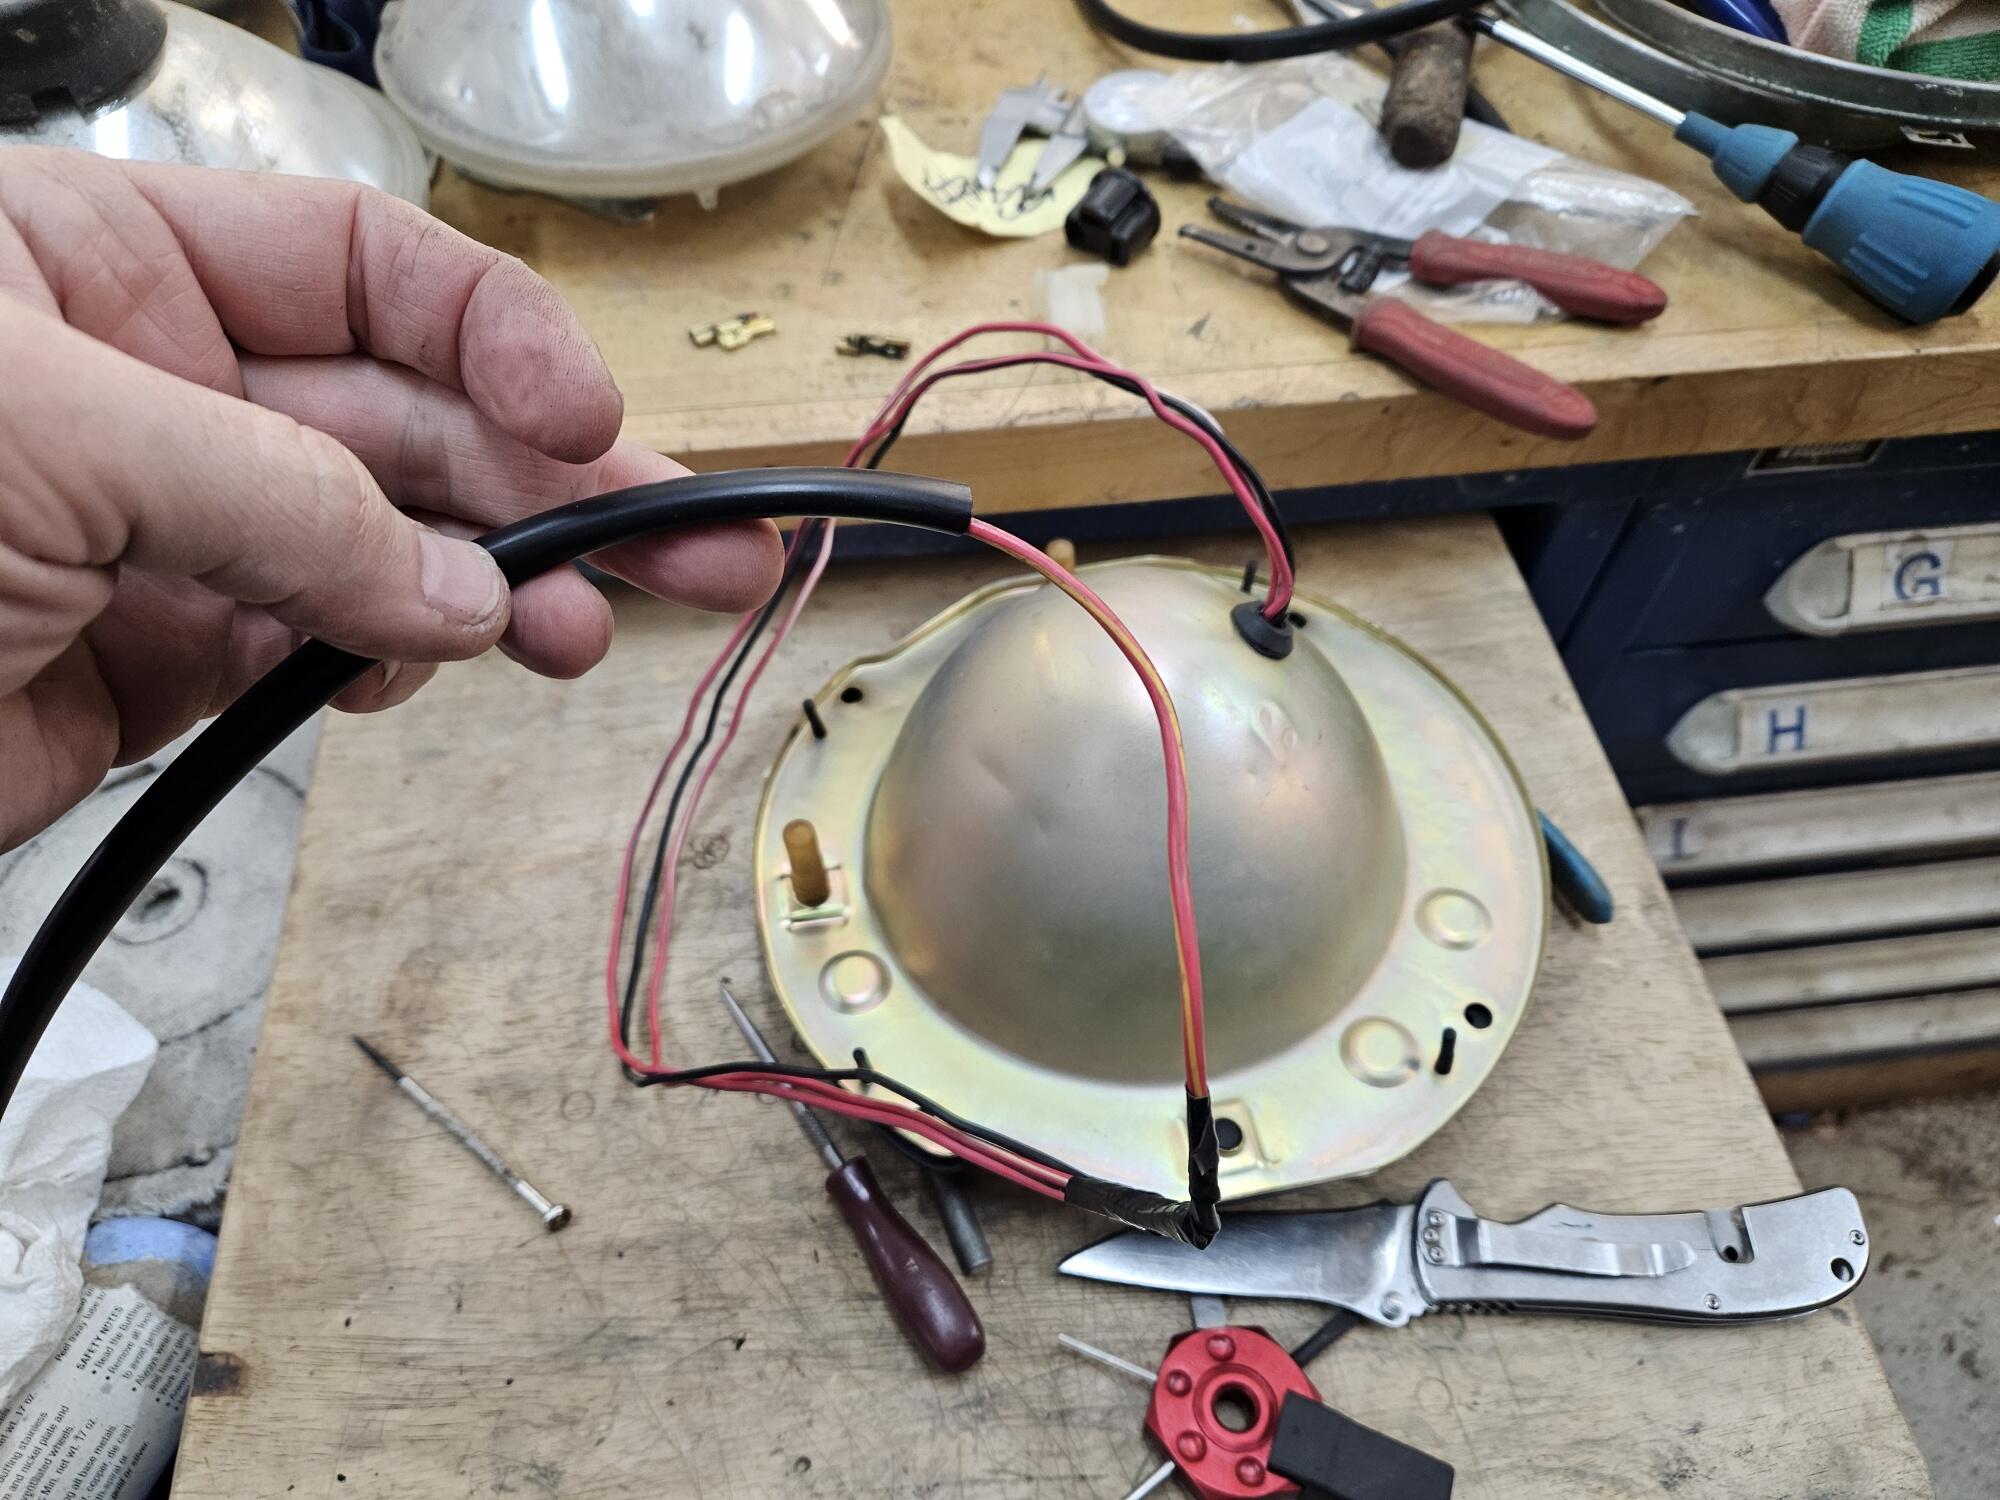
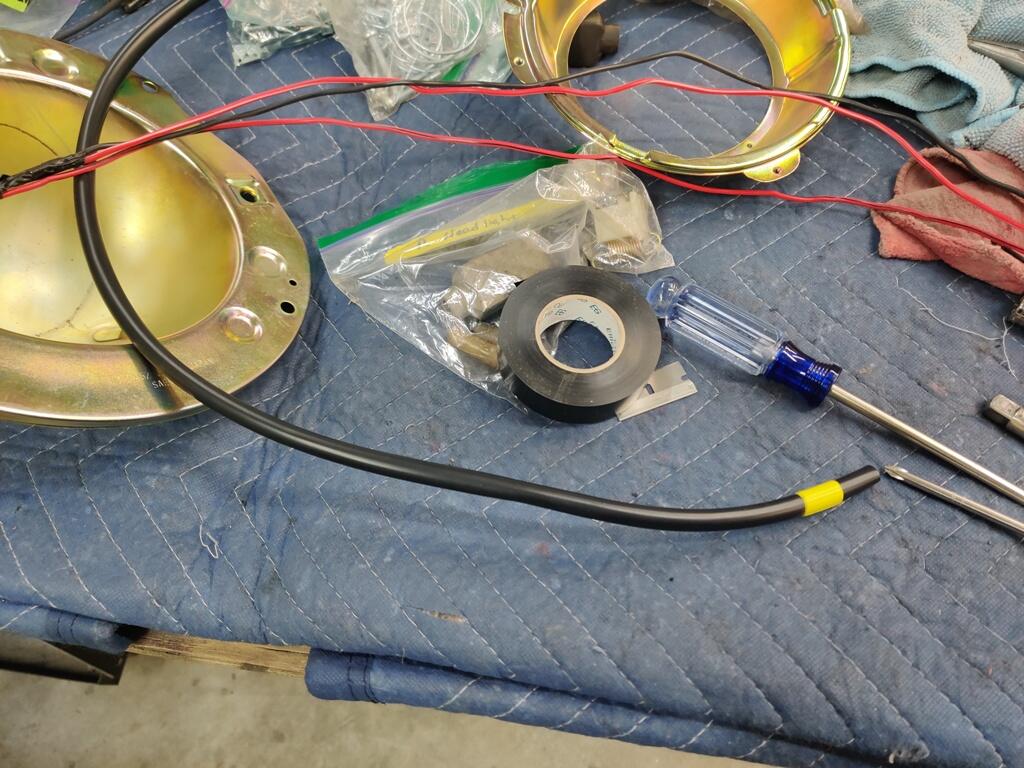
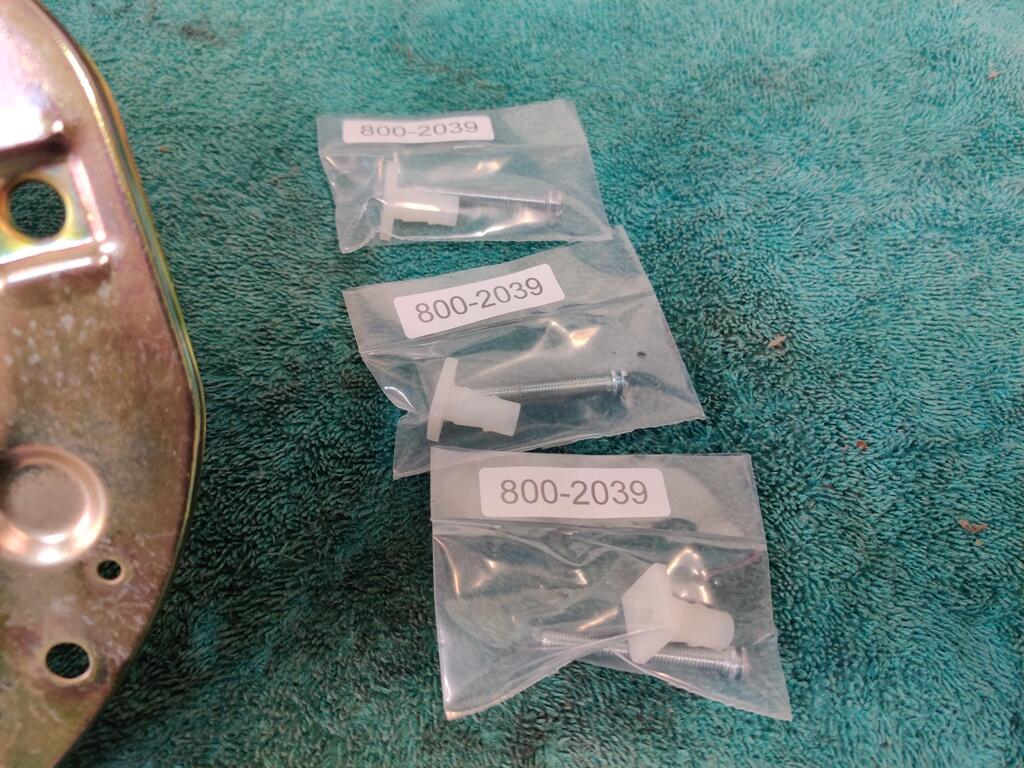
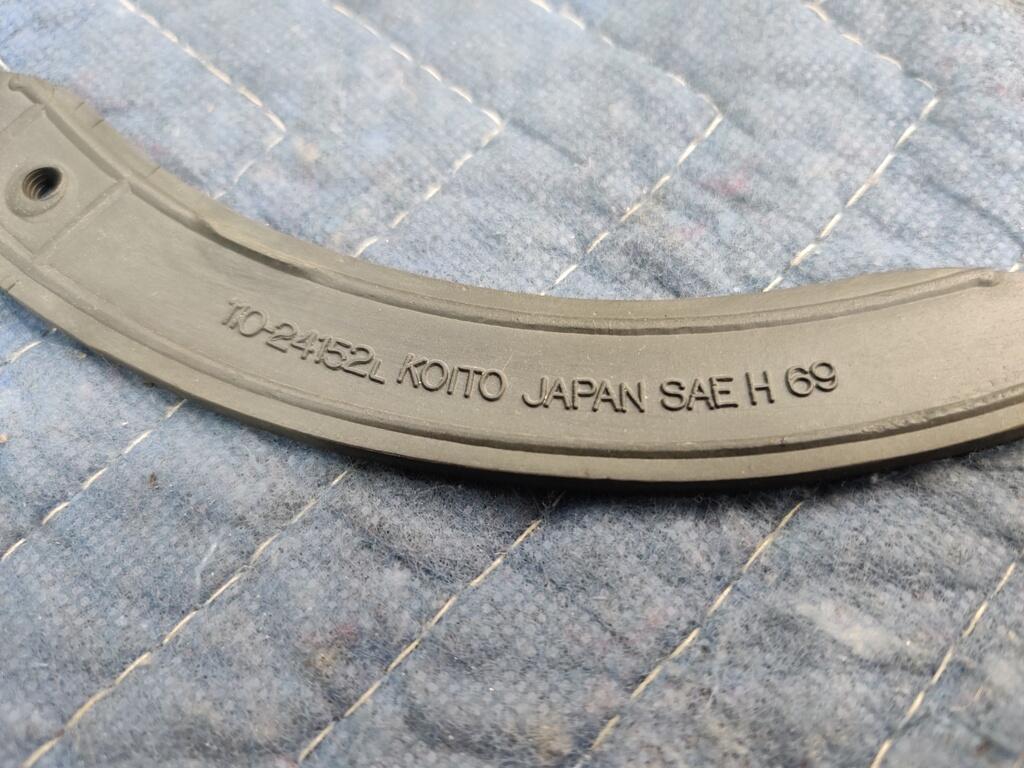
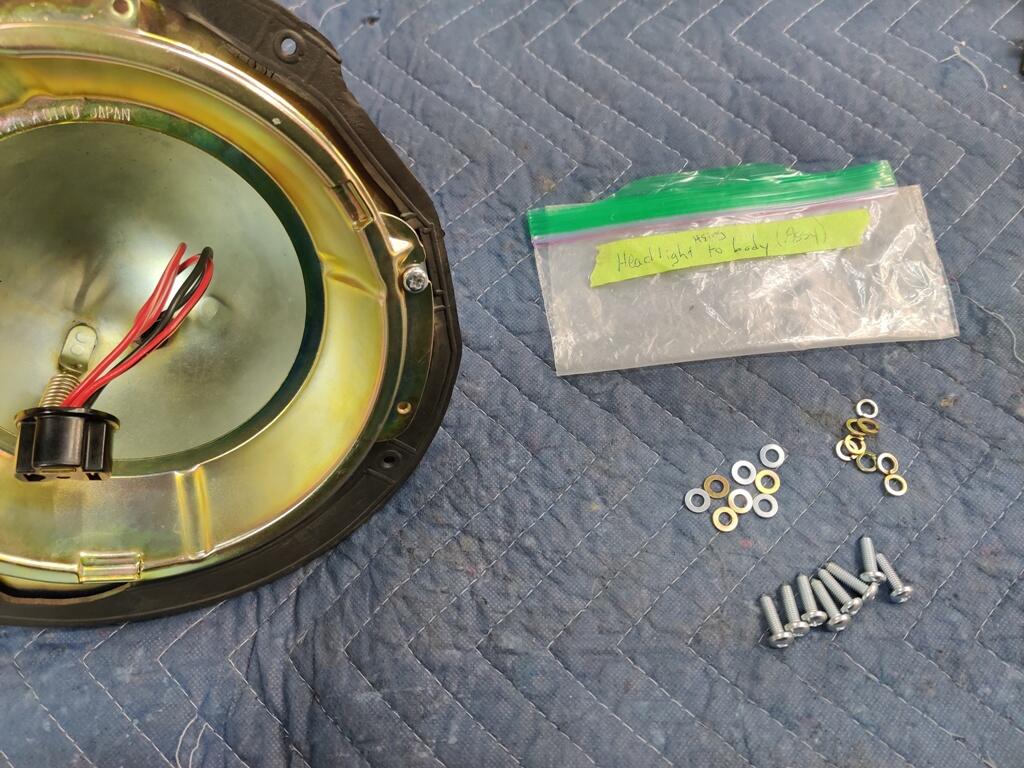
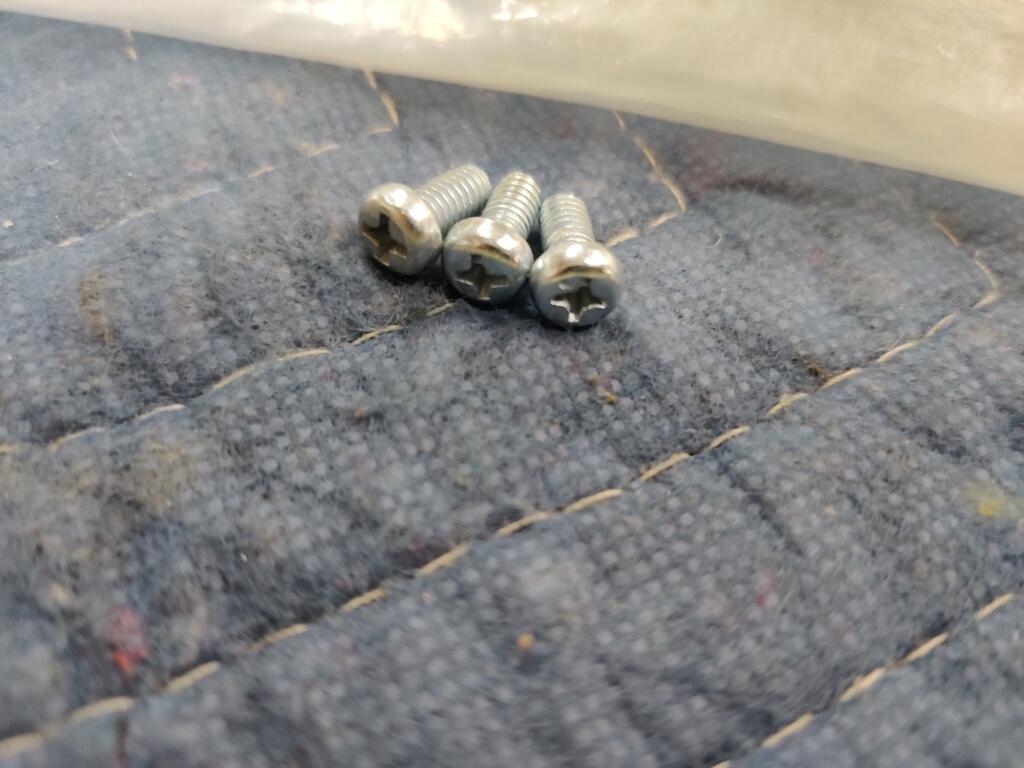
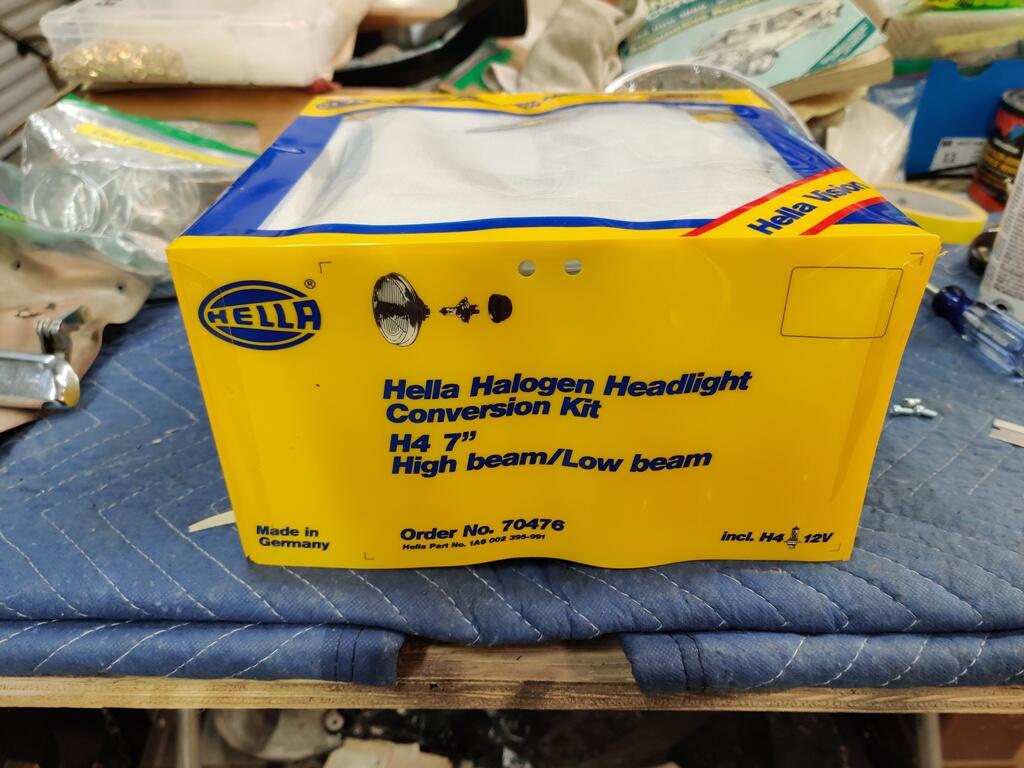
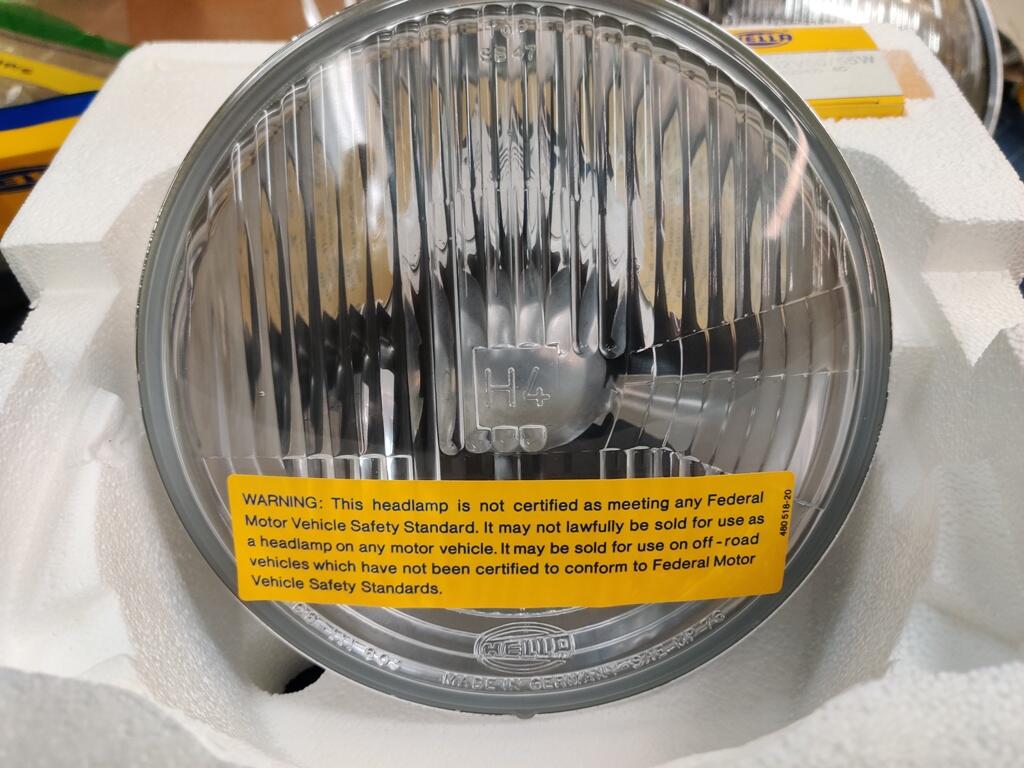
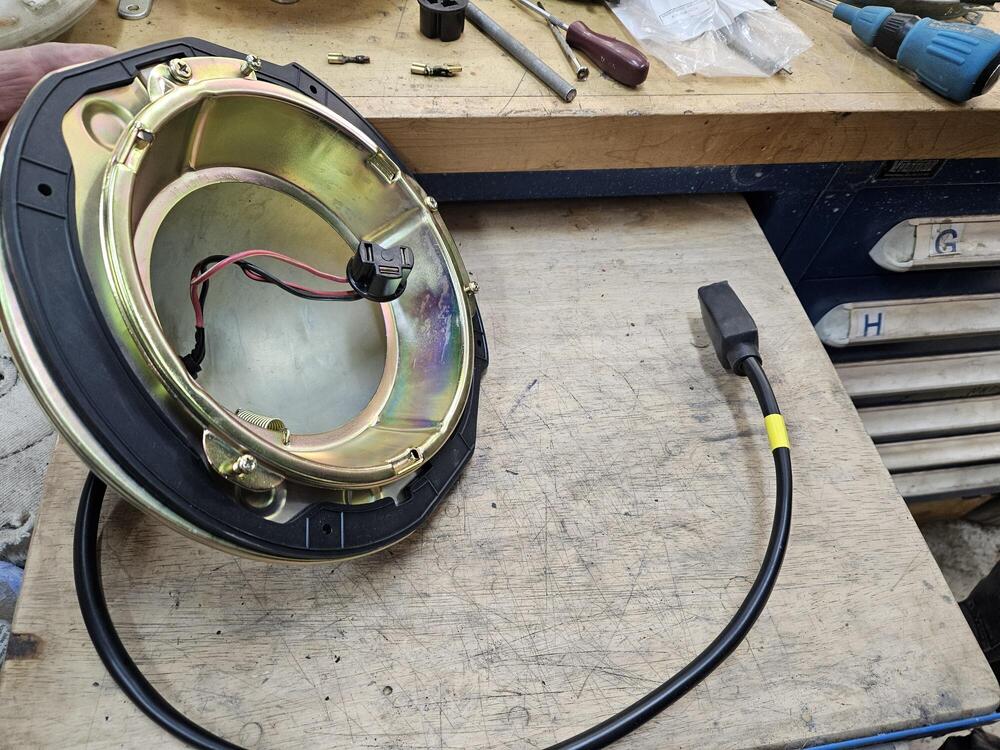
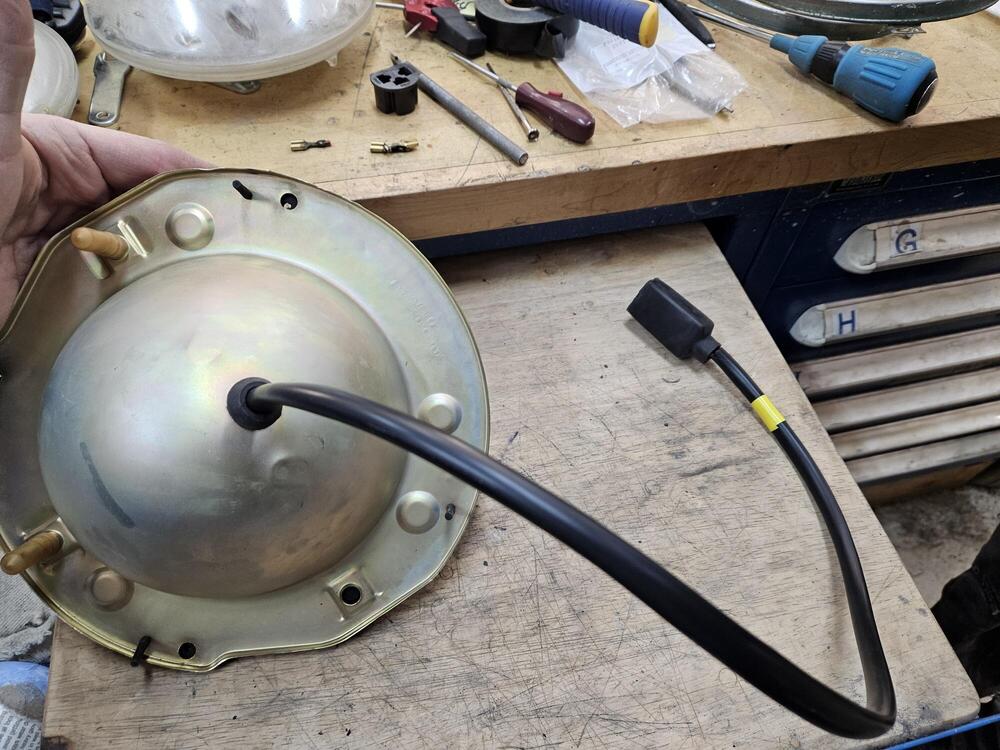
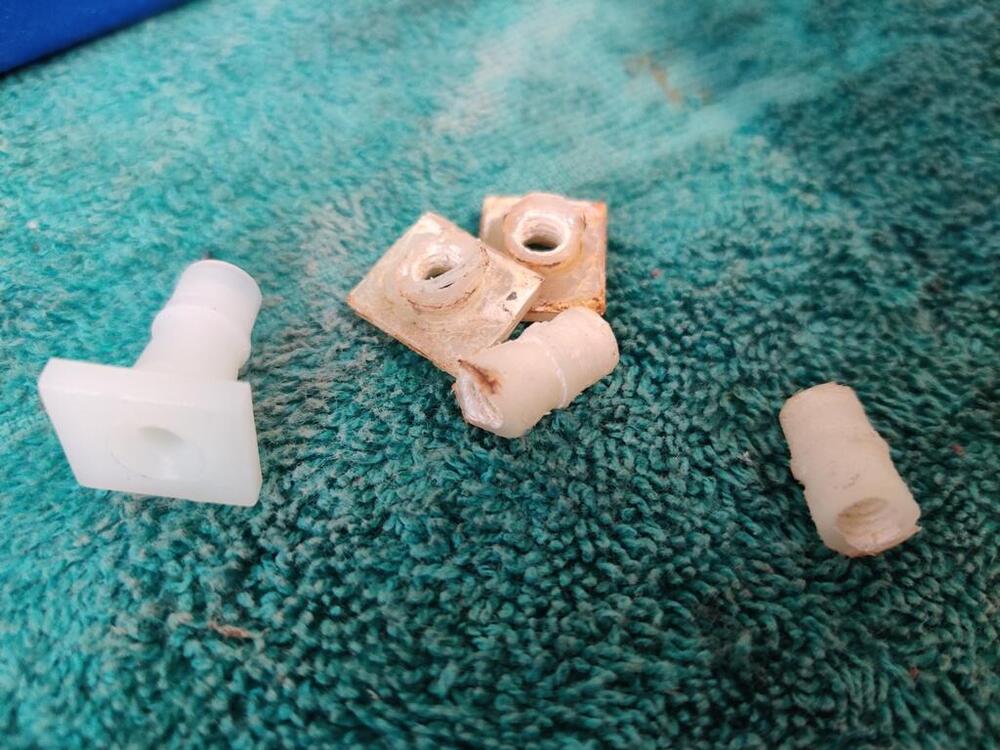
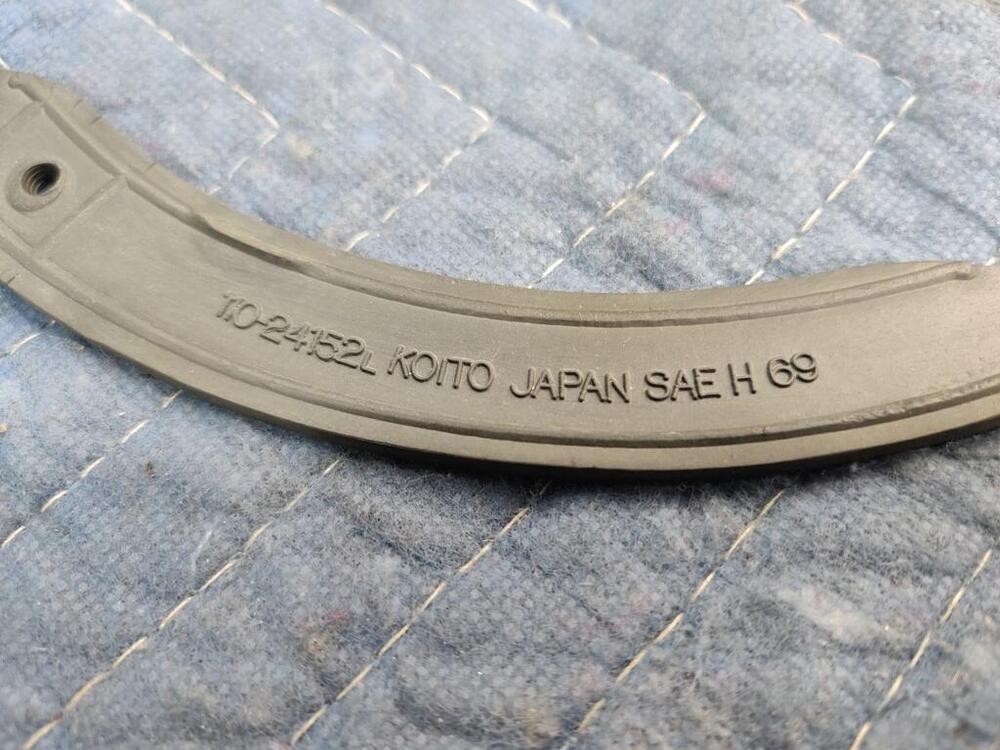
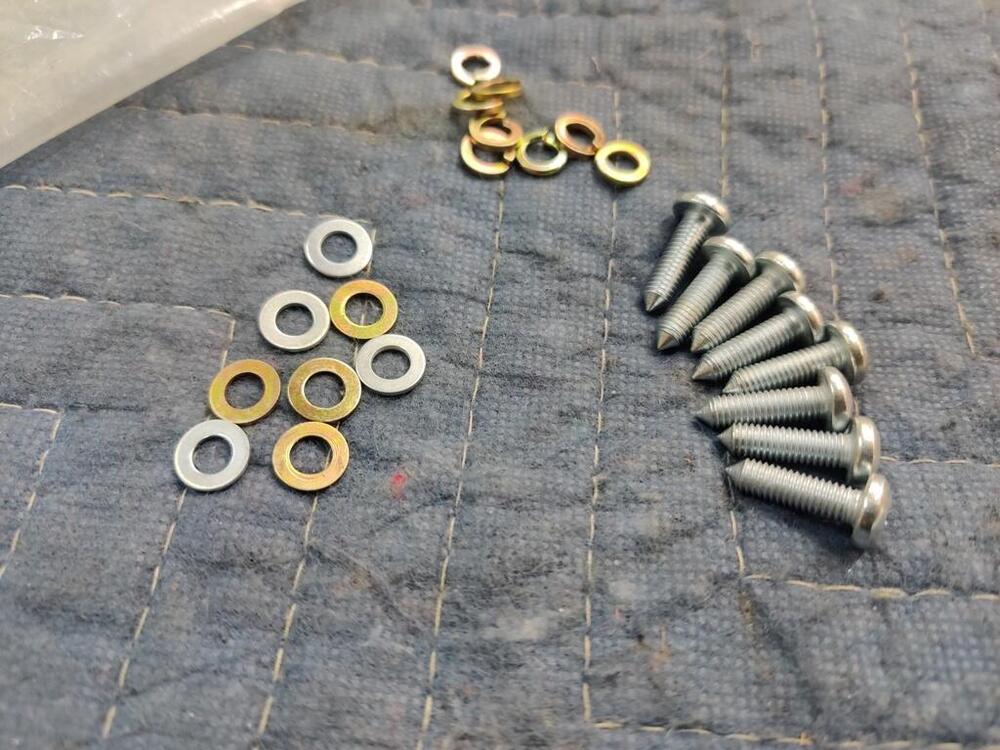
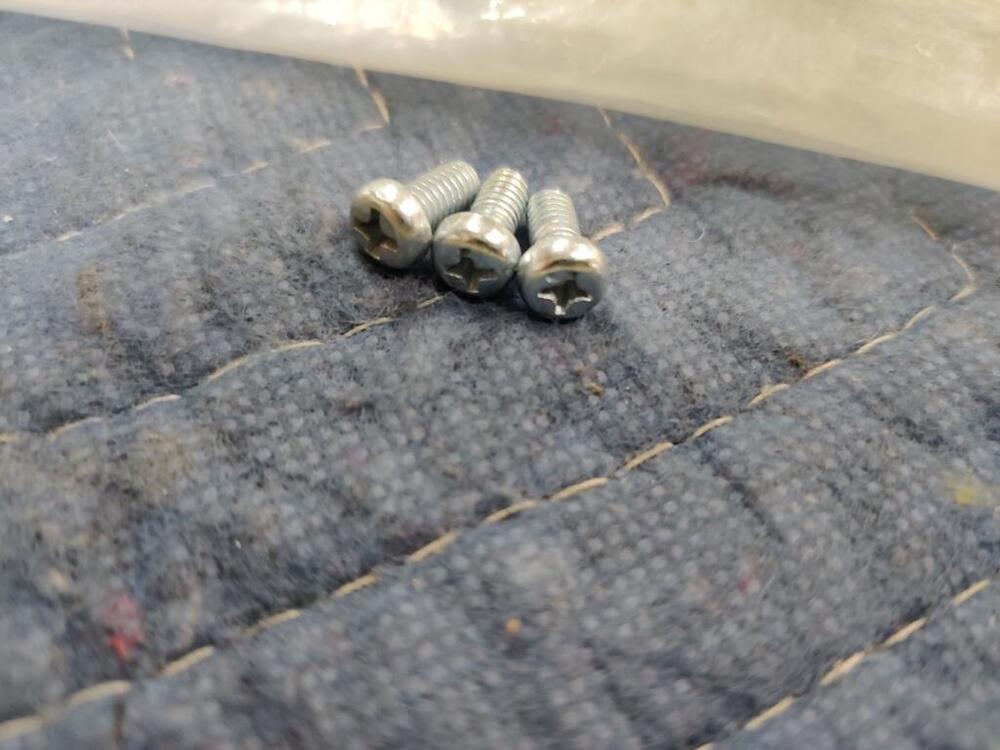
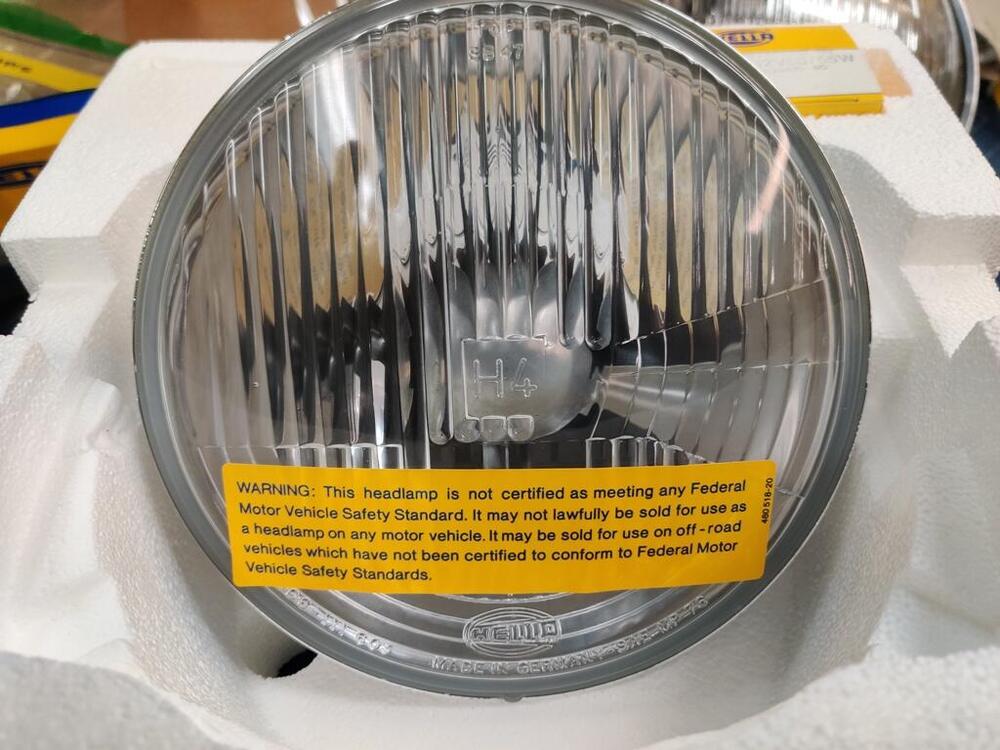
Today, I got the right side window regulator in and was successful in getting easy, and smooth operation of the widow. I also messed with the door hinges a bit to improve upon the door alignment. I still can't believe they removed the doors - I had the alignment nearly perfect! And, I assembled the other of the new headlight harnesses (it is a PITA to pull the wires through the new sleeves if you don't remove the electrical connectors from the wires, which I did not). I also replaced the plastic/nylon headlight screw receivers. When I had the buckets plated, I did not know that replacements existed. So, I had them plated with the receivers in place. They didn't "do well" with the plating process. To replace them, I heated up a single edged razor blade (in a holder) with a propane torch, and cut through them on the back side. Then I just used a hammer and punch and tapped the remainder out. Pressing the new receivers/inserts in place is easy with a 10 mm deep socket and a vise. The new ones come with smaller diameter screws. My original screws were re-plated and are in excellent condition. So I chose to use those instead. However, I had to open up the hole in the new nylon inserts to 13/64" and run a 6M X 1 mm tap through them in order to do so. Whether you use the original screws or the ones that come with the inserts, note that they do not have threads as received. Next, I ran the original, as they are in good condition, headlight gaskets through my glass bead cabinet to remove overspray for the prior repaint job on the car. I got ahead of myself and installed one of the headlight buckets with just a regular sealed beam headlight (not even halogen), before I remembered I bought some Hella H4 housings and bulbs a couple of years ago. I think these have some age on them, but that doesn't matter. So, I shouldn't bother with the H4 bulb - I should get some LED ones, yes? It is surprising how little I got done today given that I put about 8 hours in. Oh well. Things are going well... if slowly.


 1 point