Leaderboard
-
z3beemer
Free Member3Points169Posts -
jfa.series1
 Subscriber
 2Points2,733Posts
 -
.JPG.cfcada9cf1c1b502df3f5f2f2ca3ff36.JPG)
SteveJ
Free Member2Points9,646Posts -

siteunseen
Free Member2Points15,115Posts


Popular Content
Showing content with the highest reputation on 12/21/2023 in all areas
-
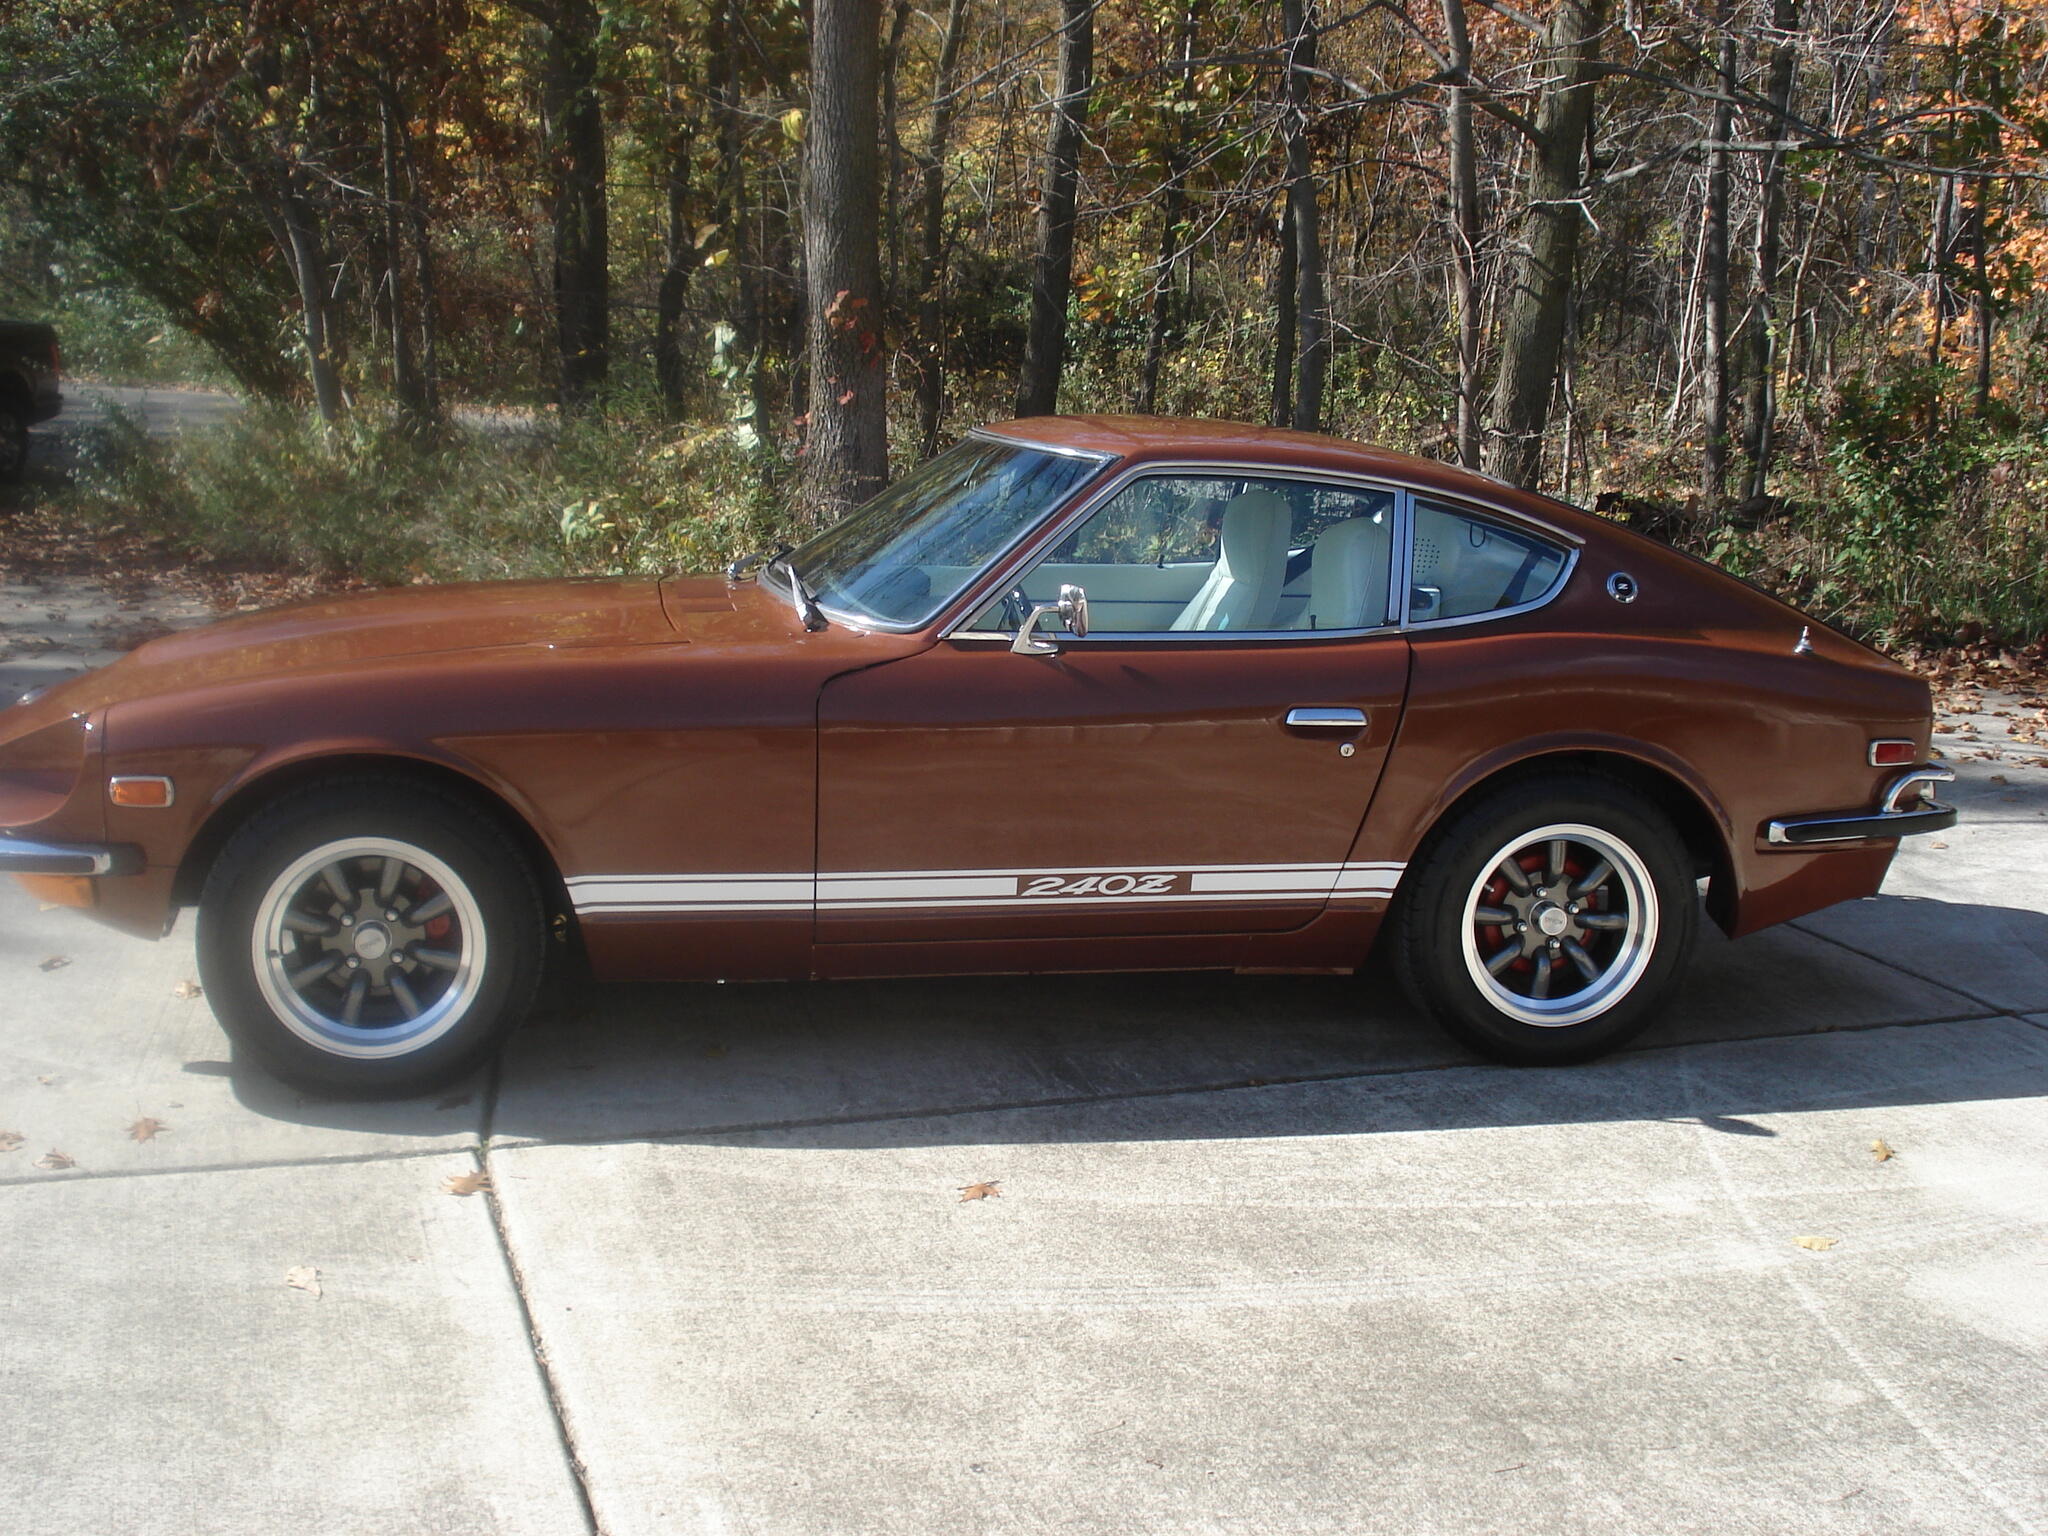
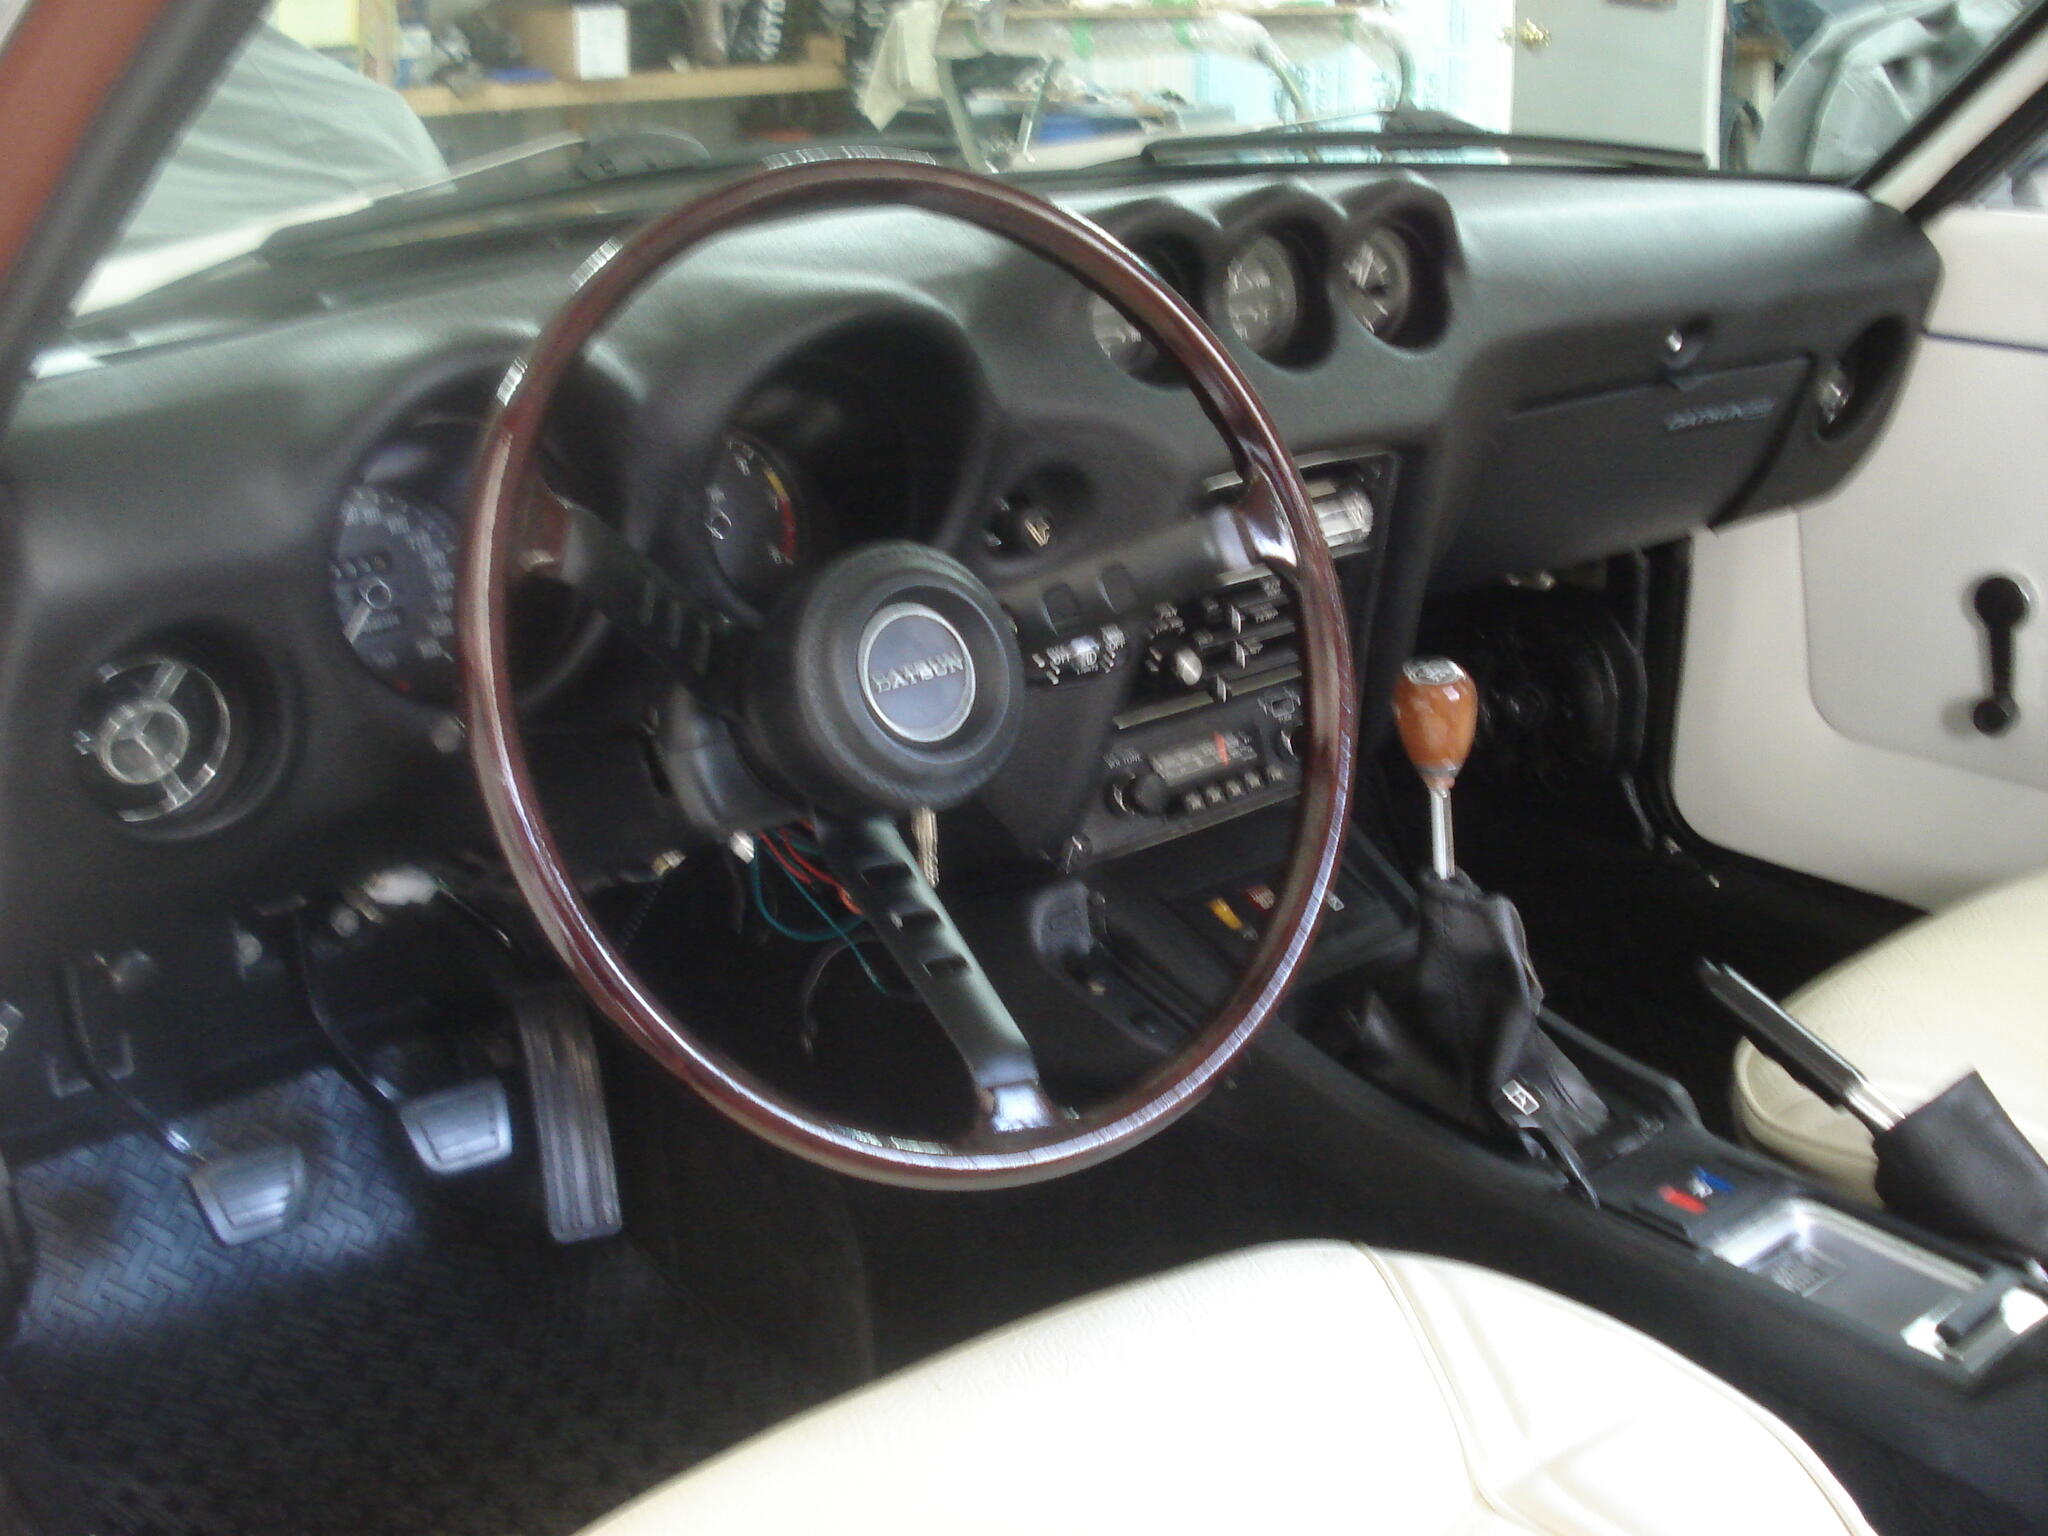
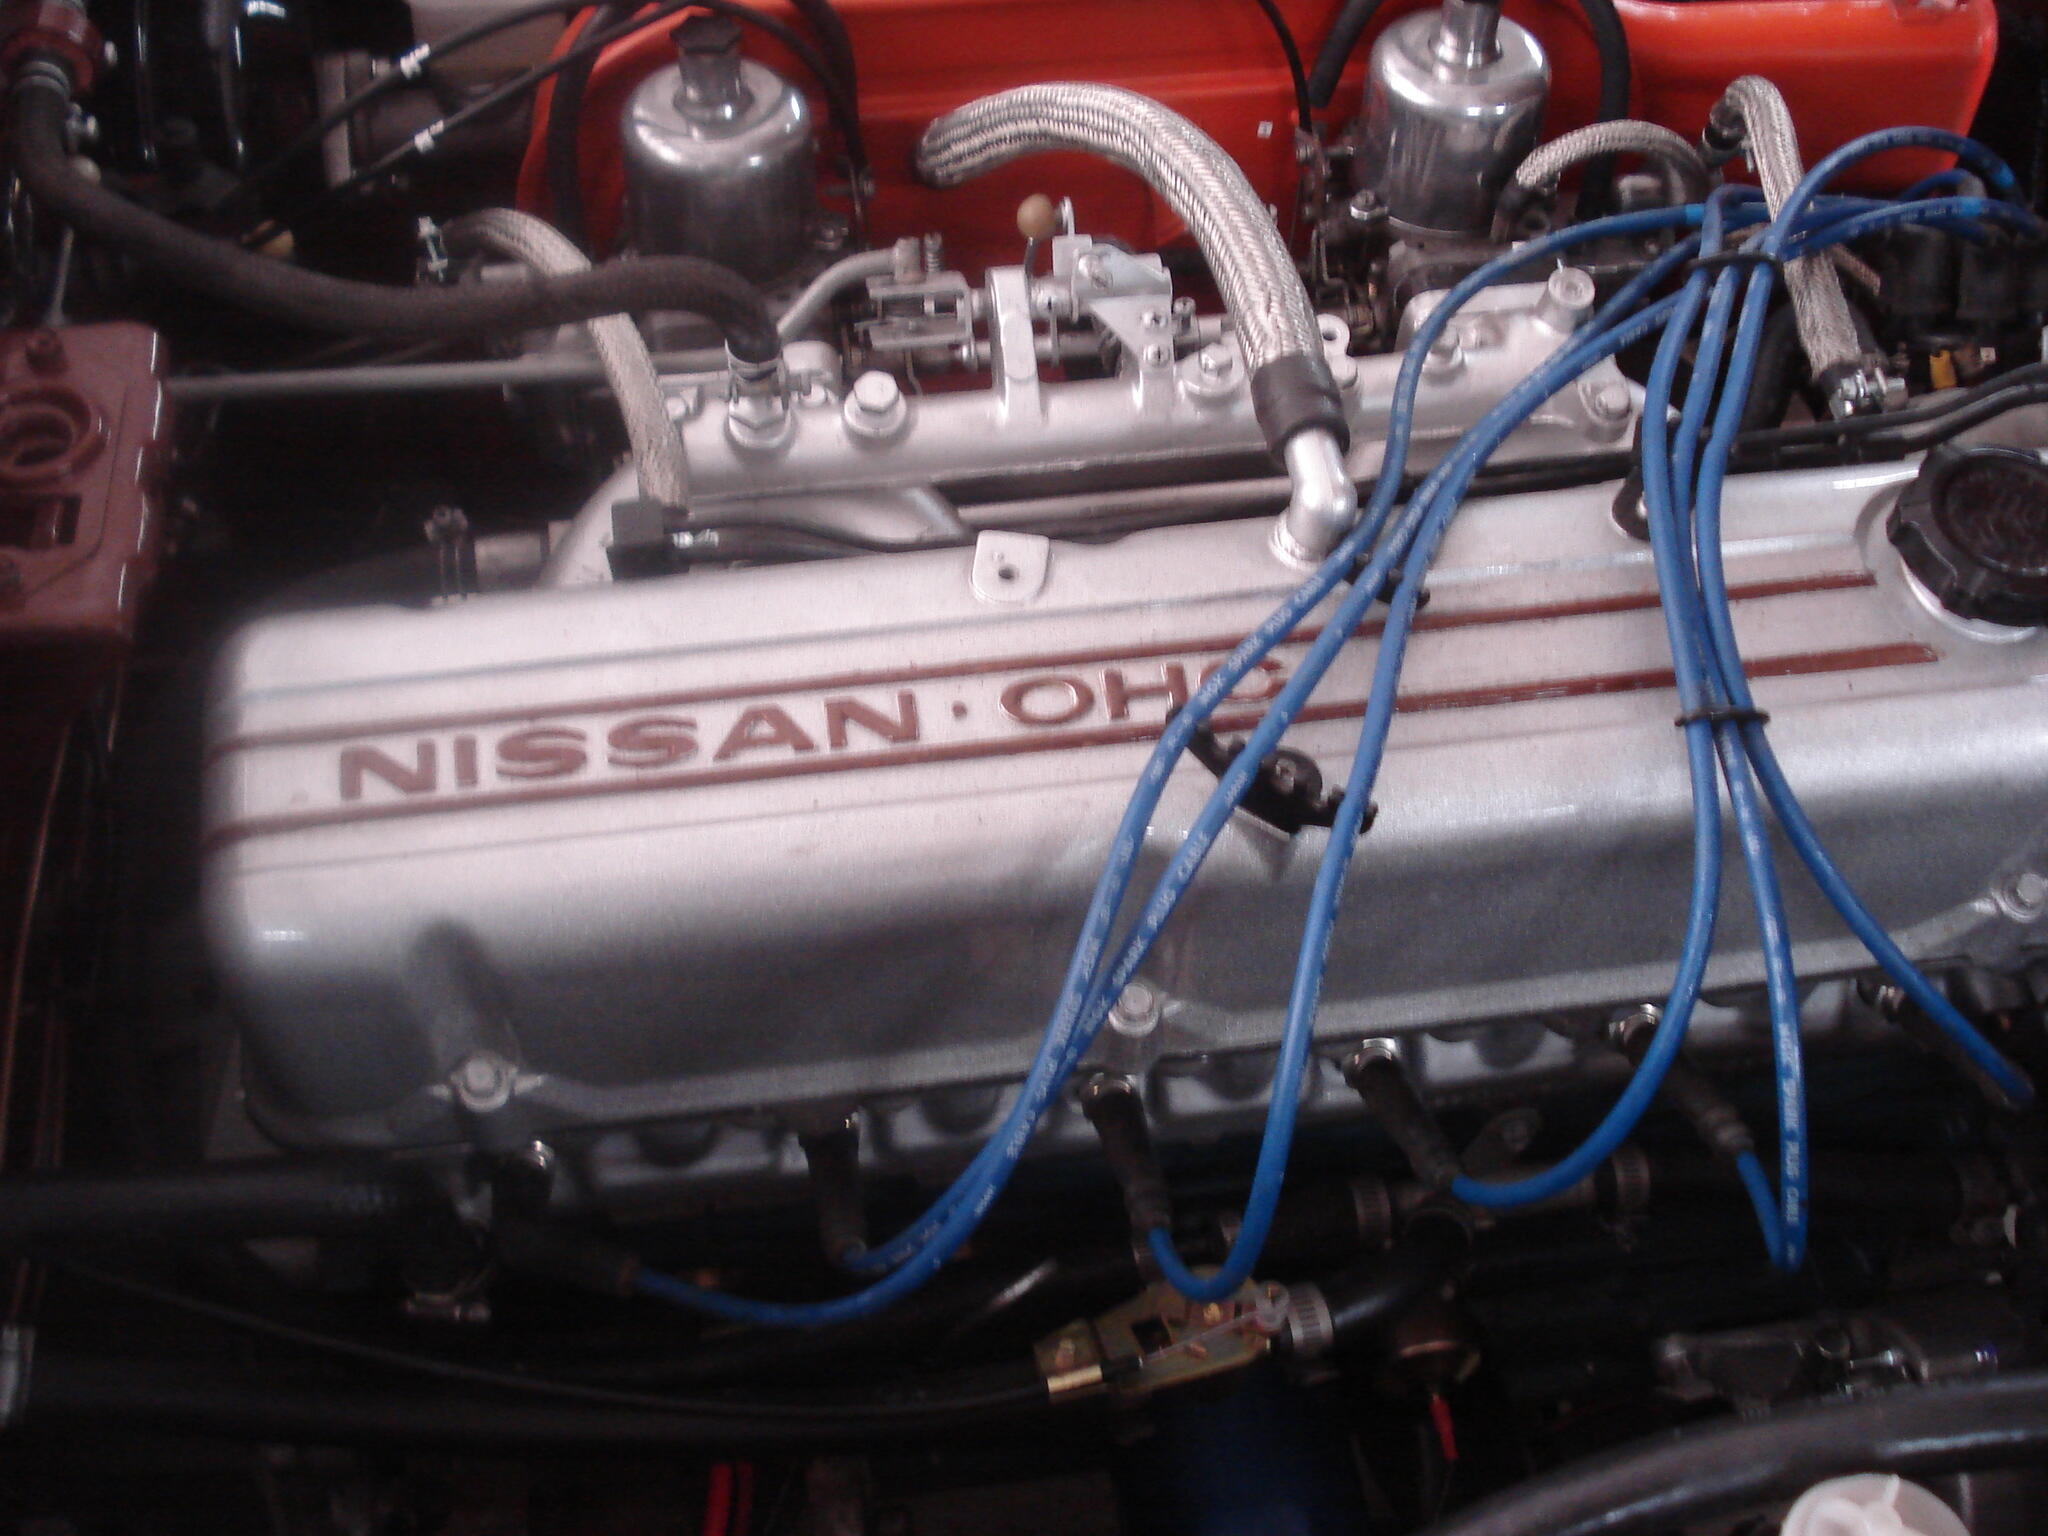
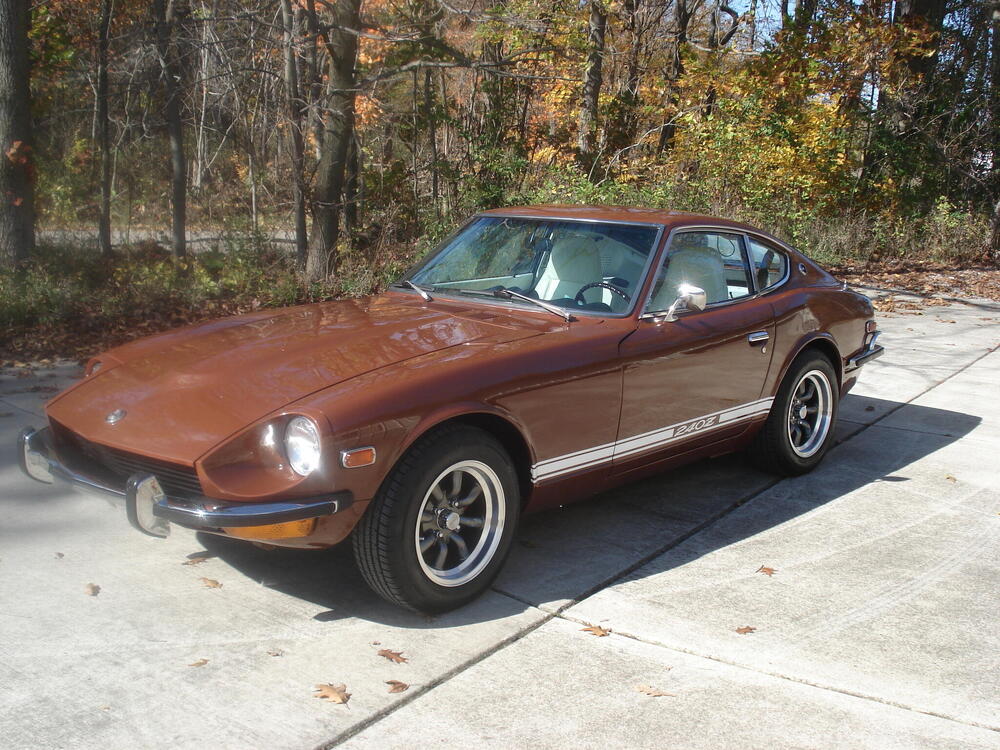
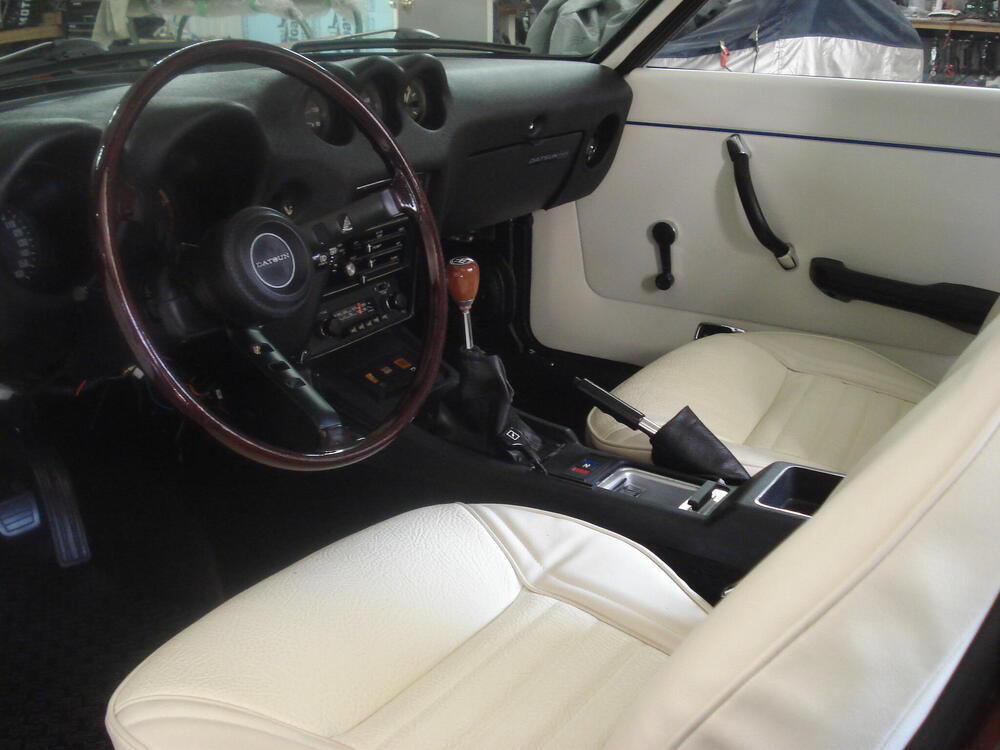
3 pointsAfter several years, a lot of $, work and help from many of you guys, I now have a 2023 1973 240Z. Here are a few pics. Thanks again to all of you. It's hard to tell from the photos but when I painted it, I incorporated gold micro sequence metal flake in an intercoat layer of paint. When it sits in the sun, it sort of twinkles.


 3 points
 -
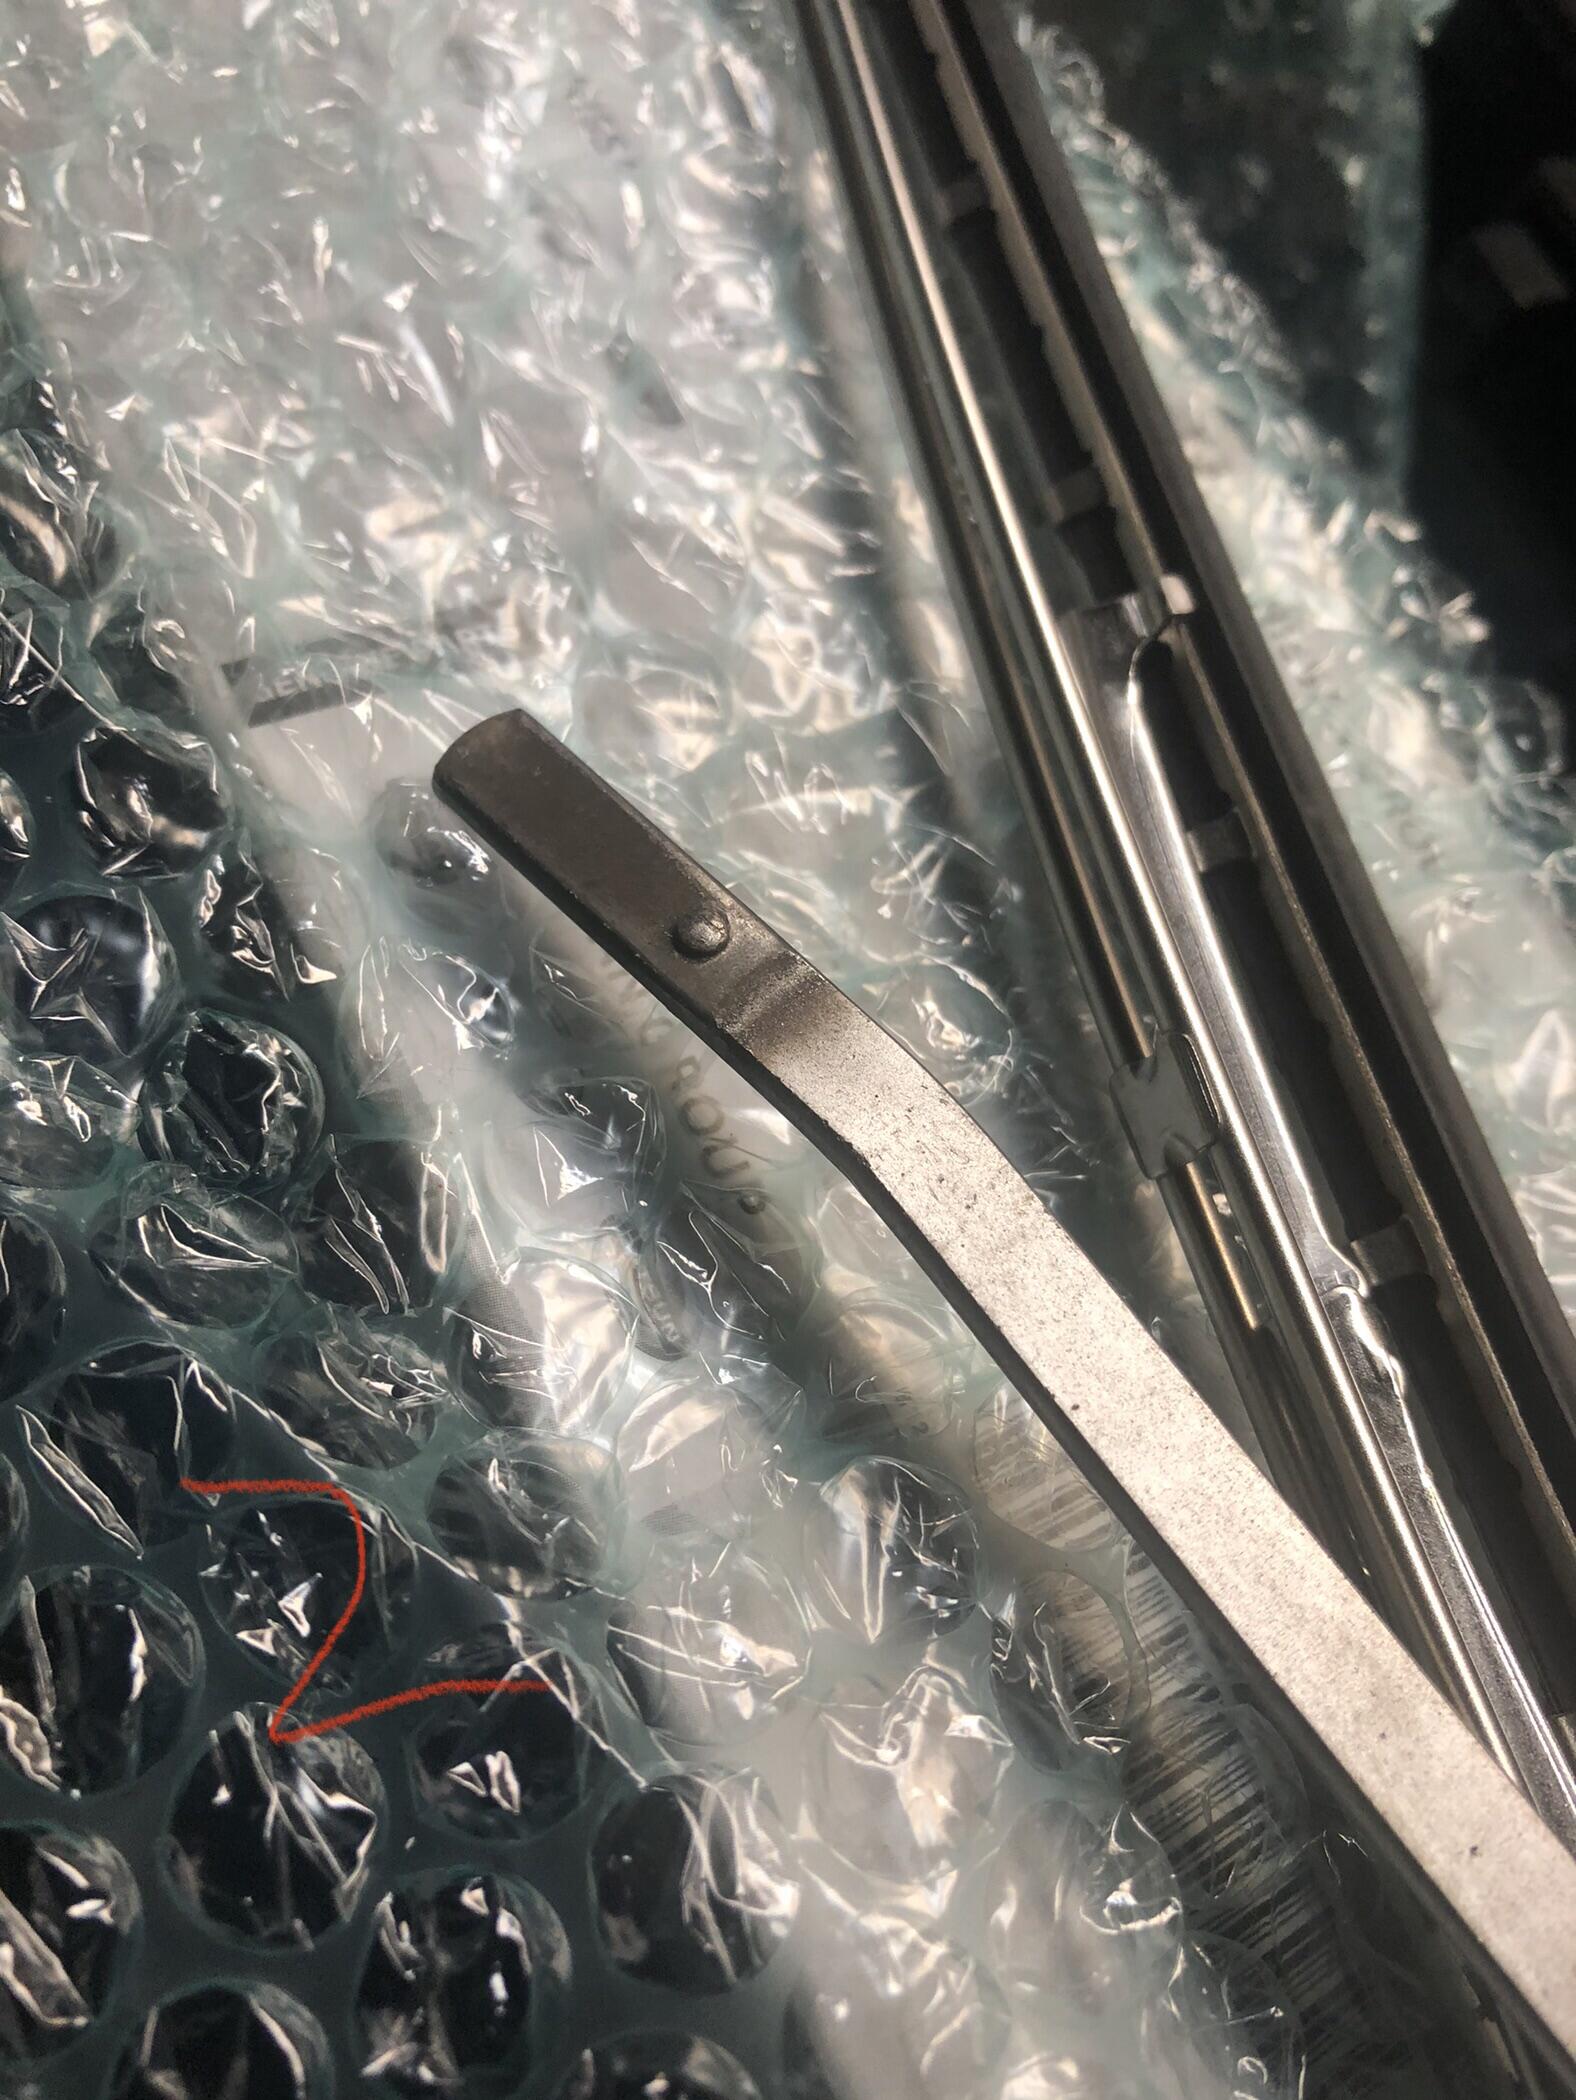
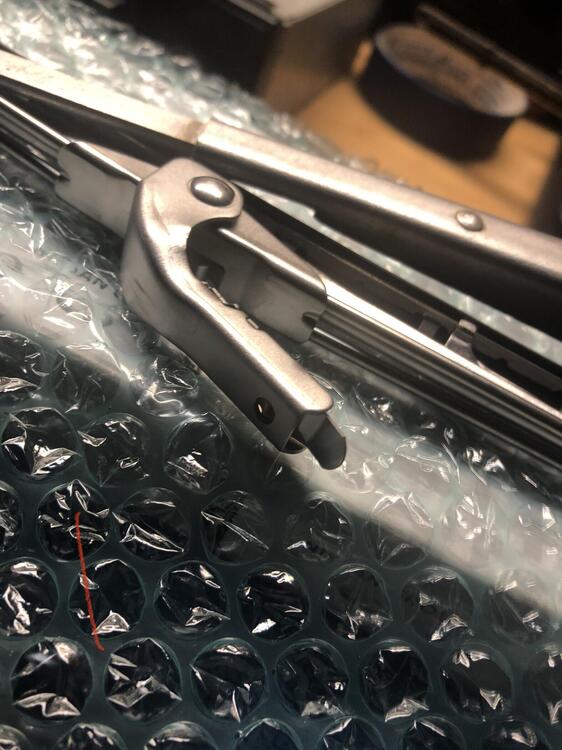
2 pointsI have the 240 two wire type on my '77 as well as the '72 240. I like the stainless look best, no faded black wipers on my cars.2 points
-
2 points
-
2 pointsOthers will chime in on this as well. It is my understanding that the silver ones are the 240 style in what was known as the banjo wipers. With the two round arcs looking like banjo strings. The black set I think is the later 280 style and things were evolving through the years. I guess it would depend on how accurate you want the car to look for the year it is. I might still have some later styles one if you're interested. I have a bunch of the 240 style. On my older 240 style I just buy refills for the rubber blade part. not the whole assembly like the modern cars use. FWIW2 points
-
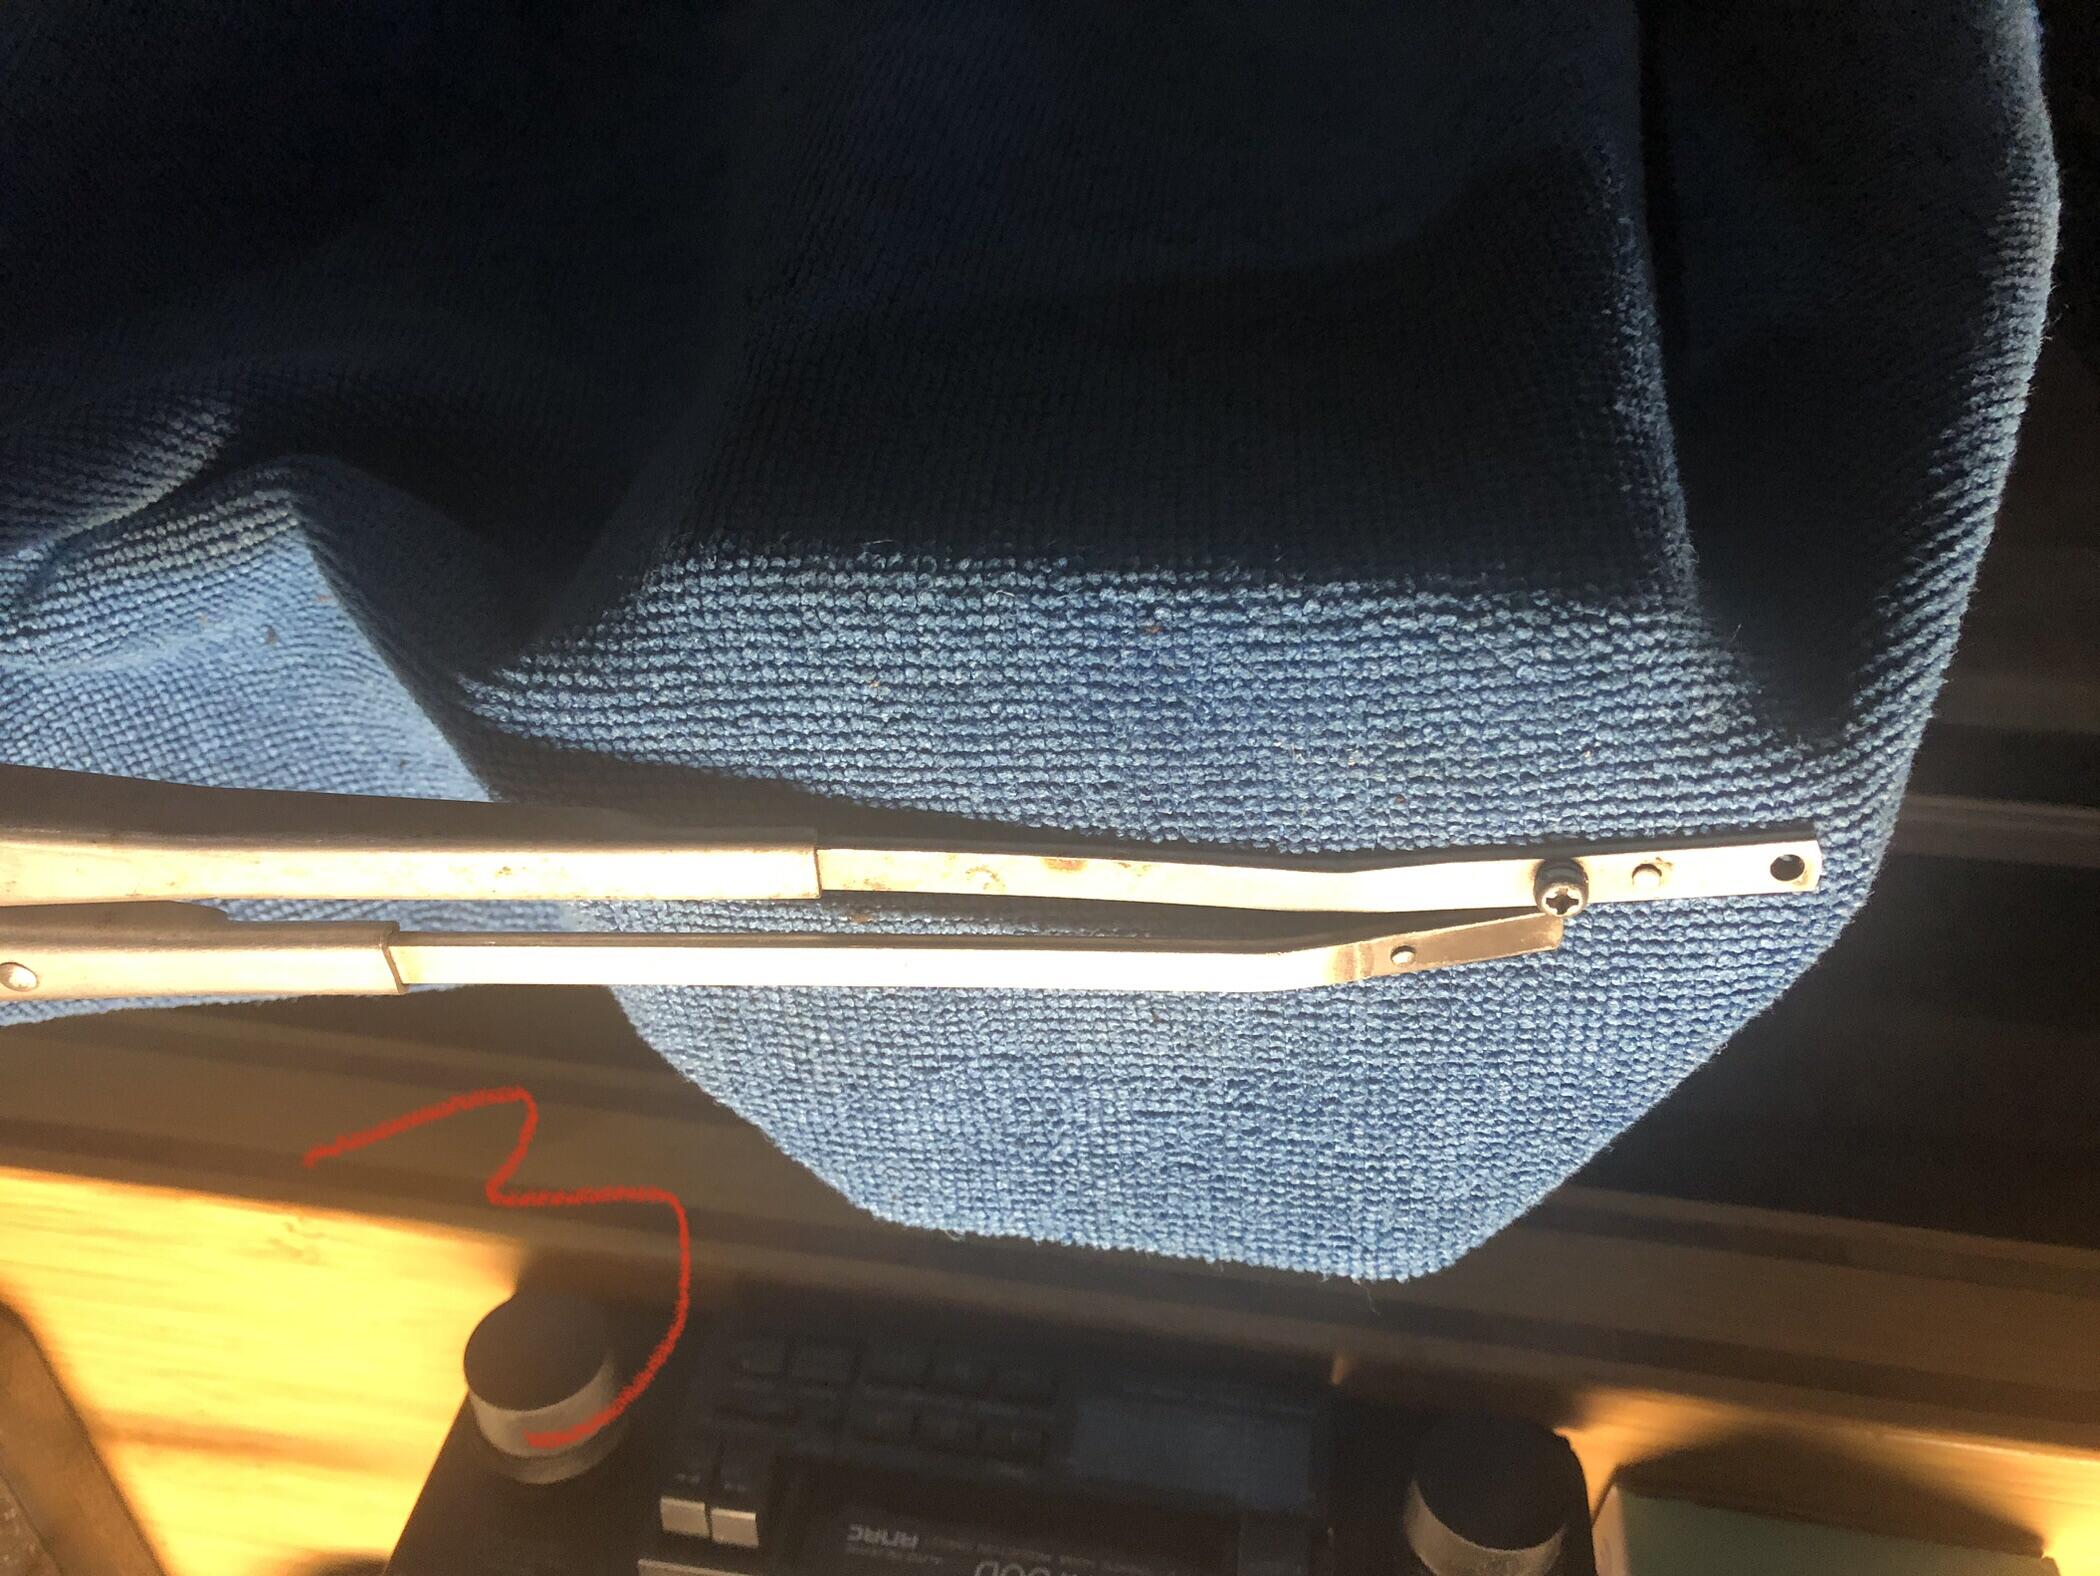
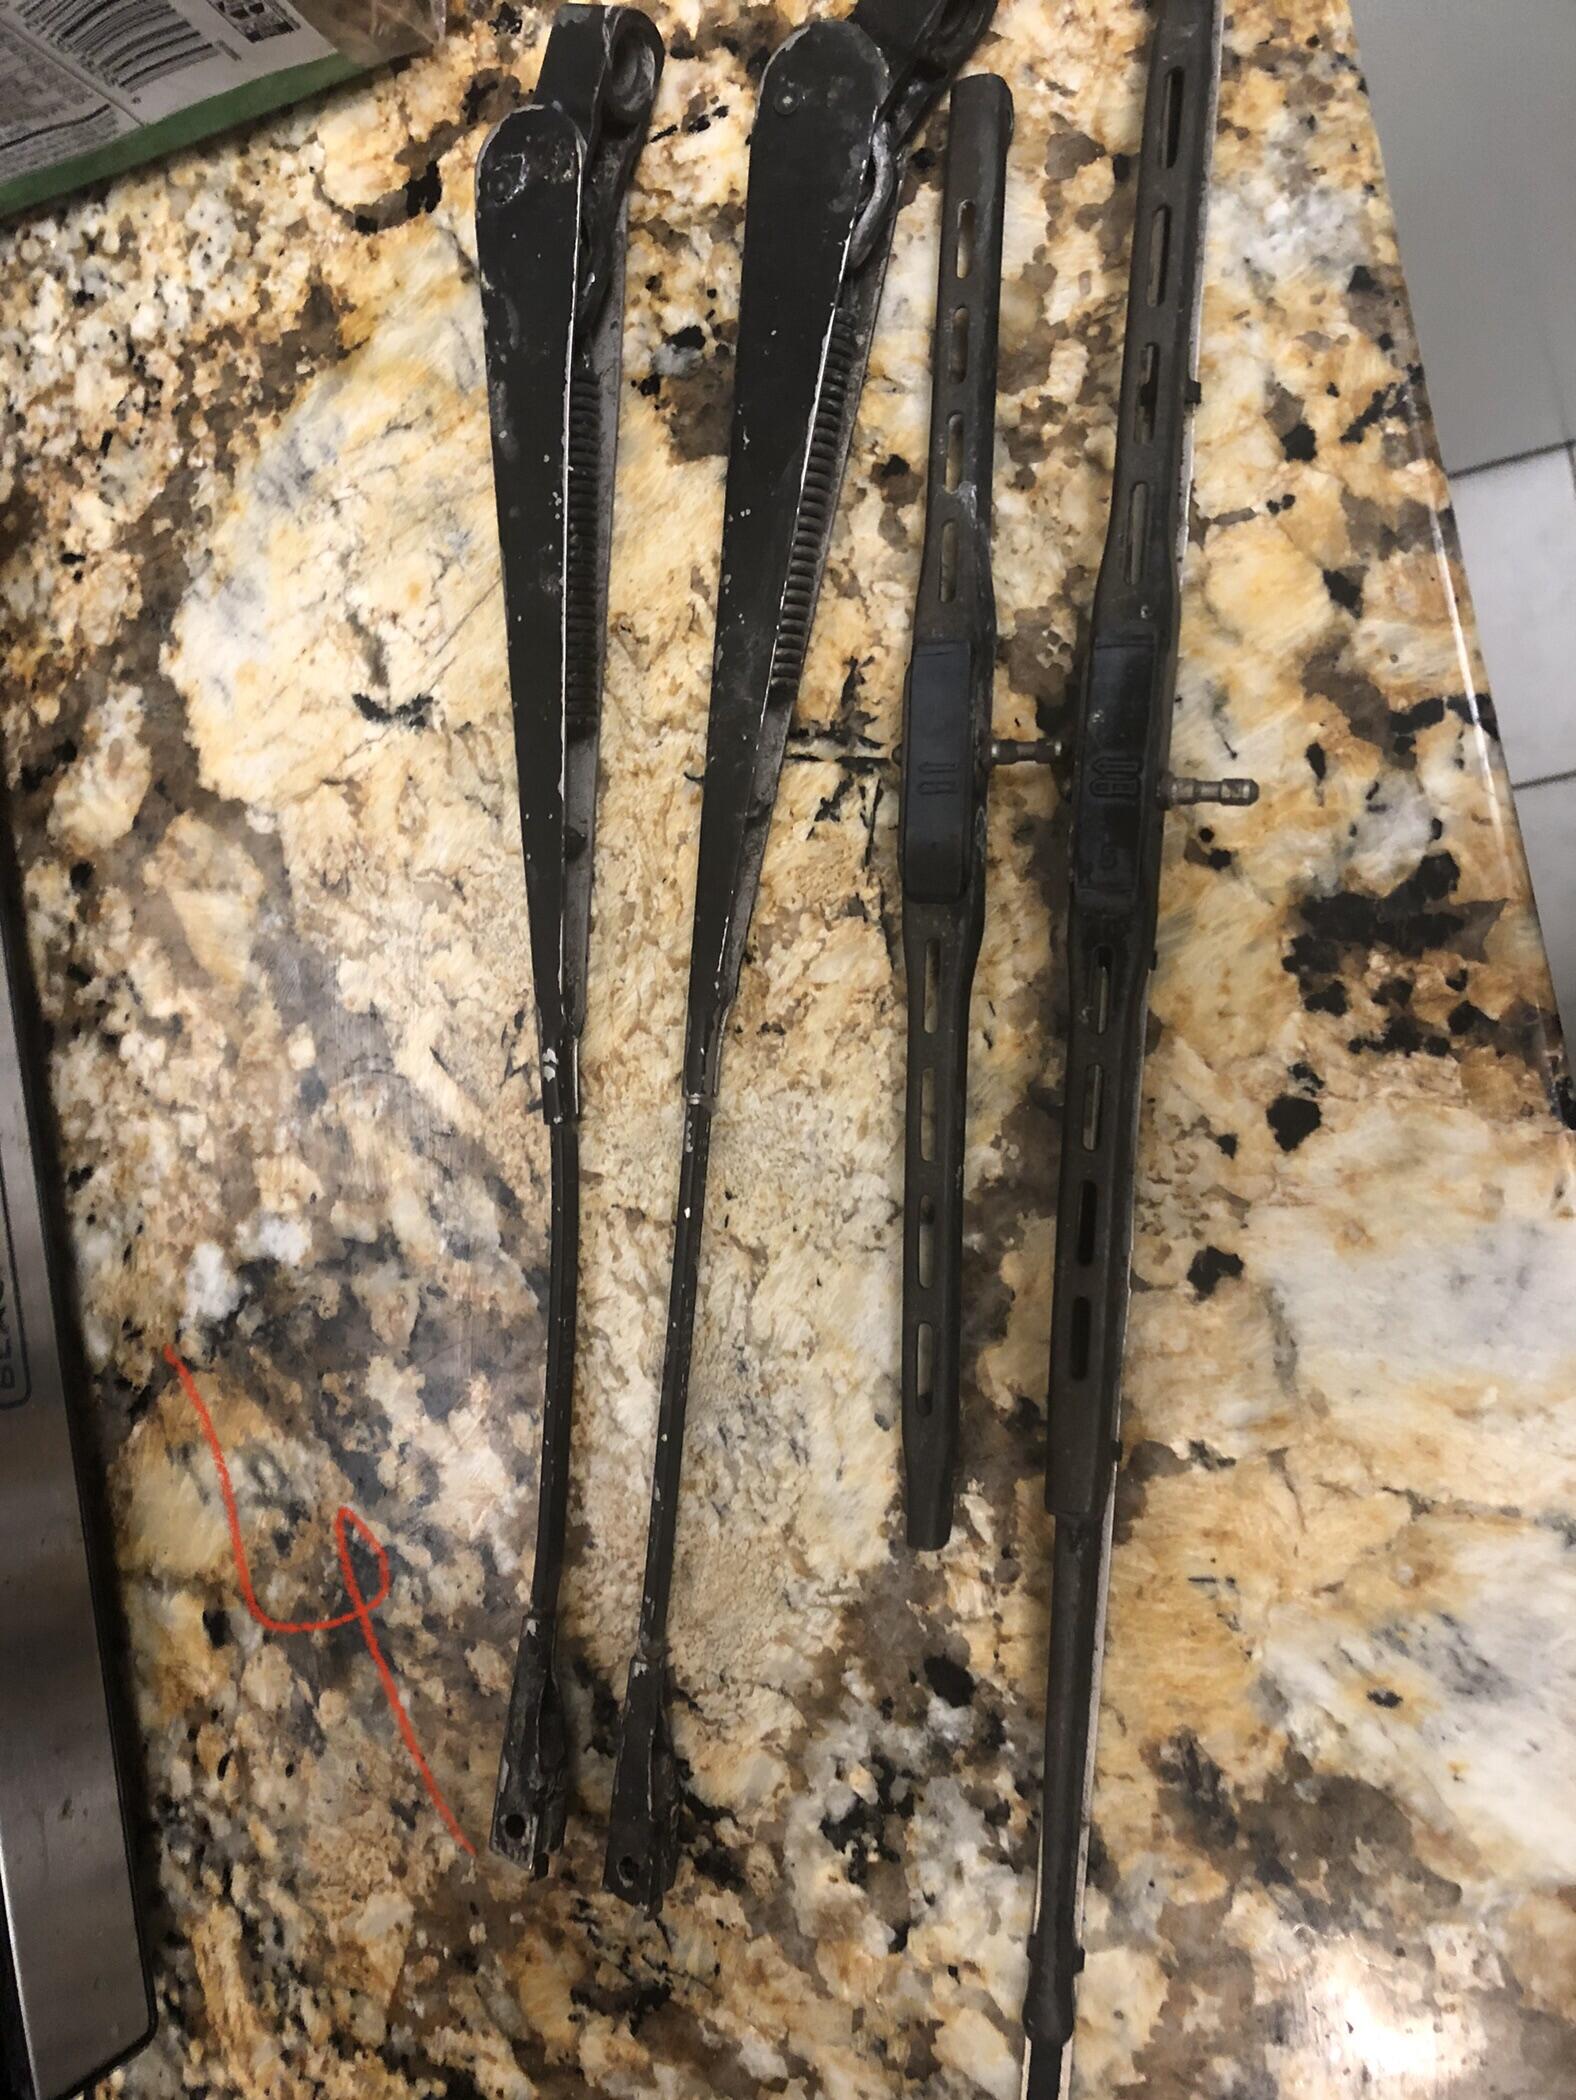
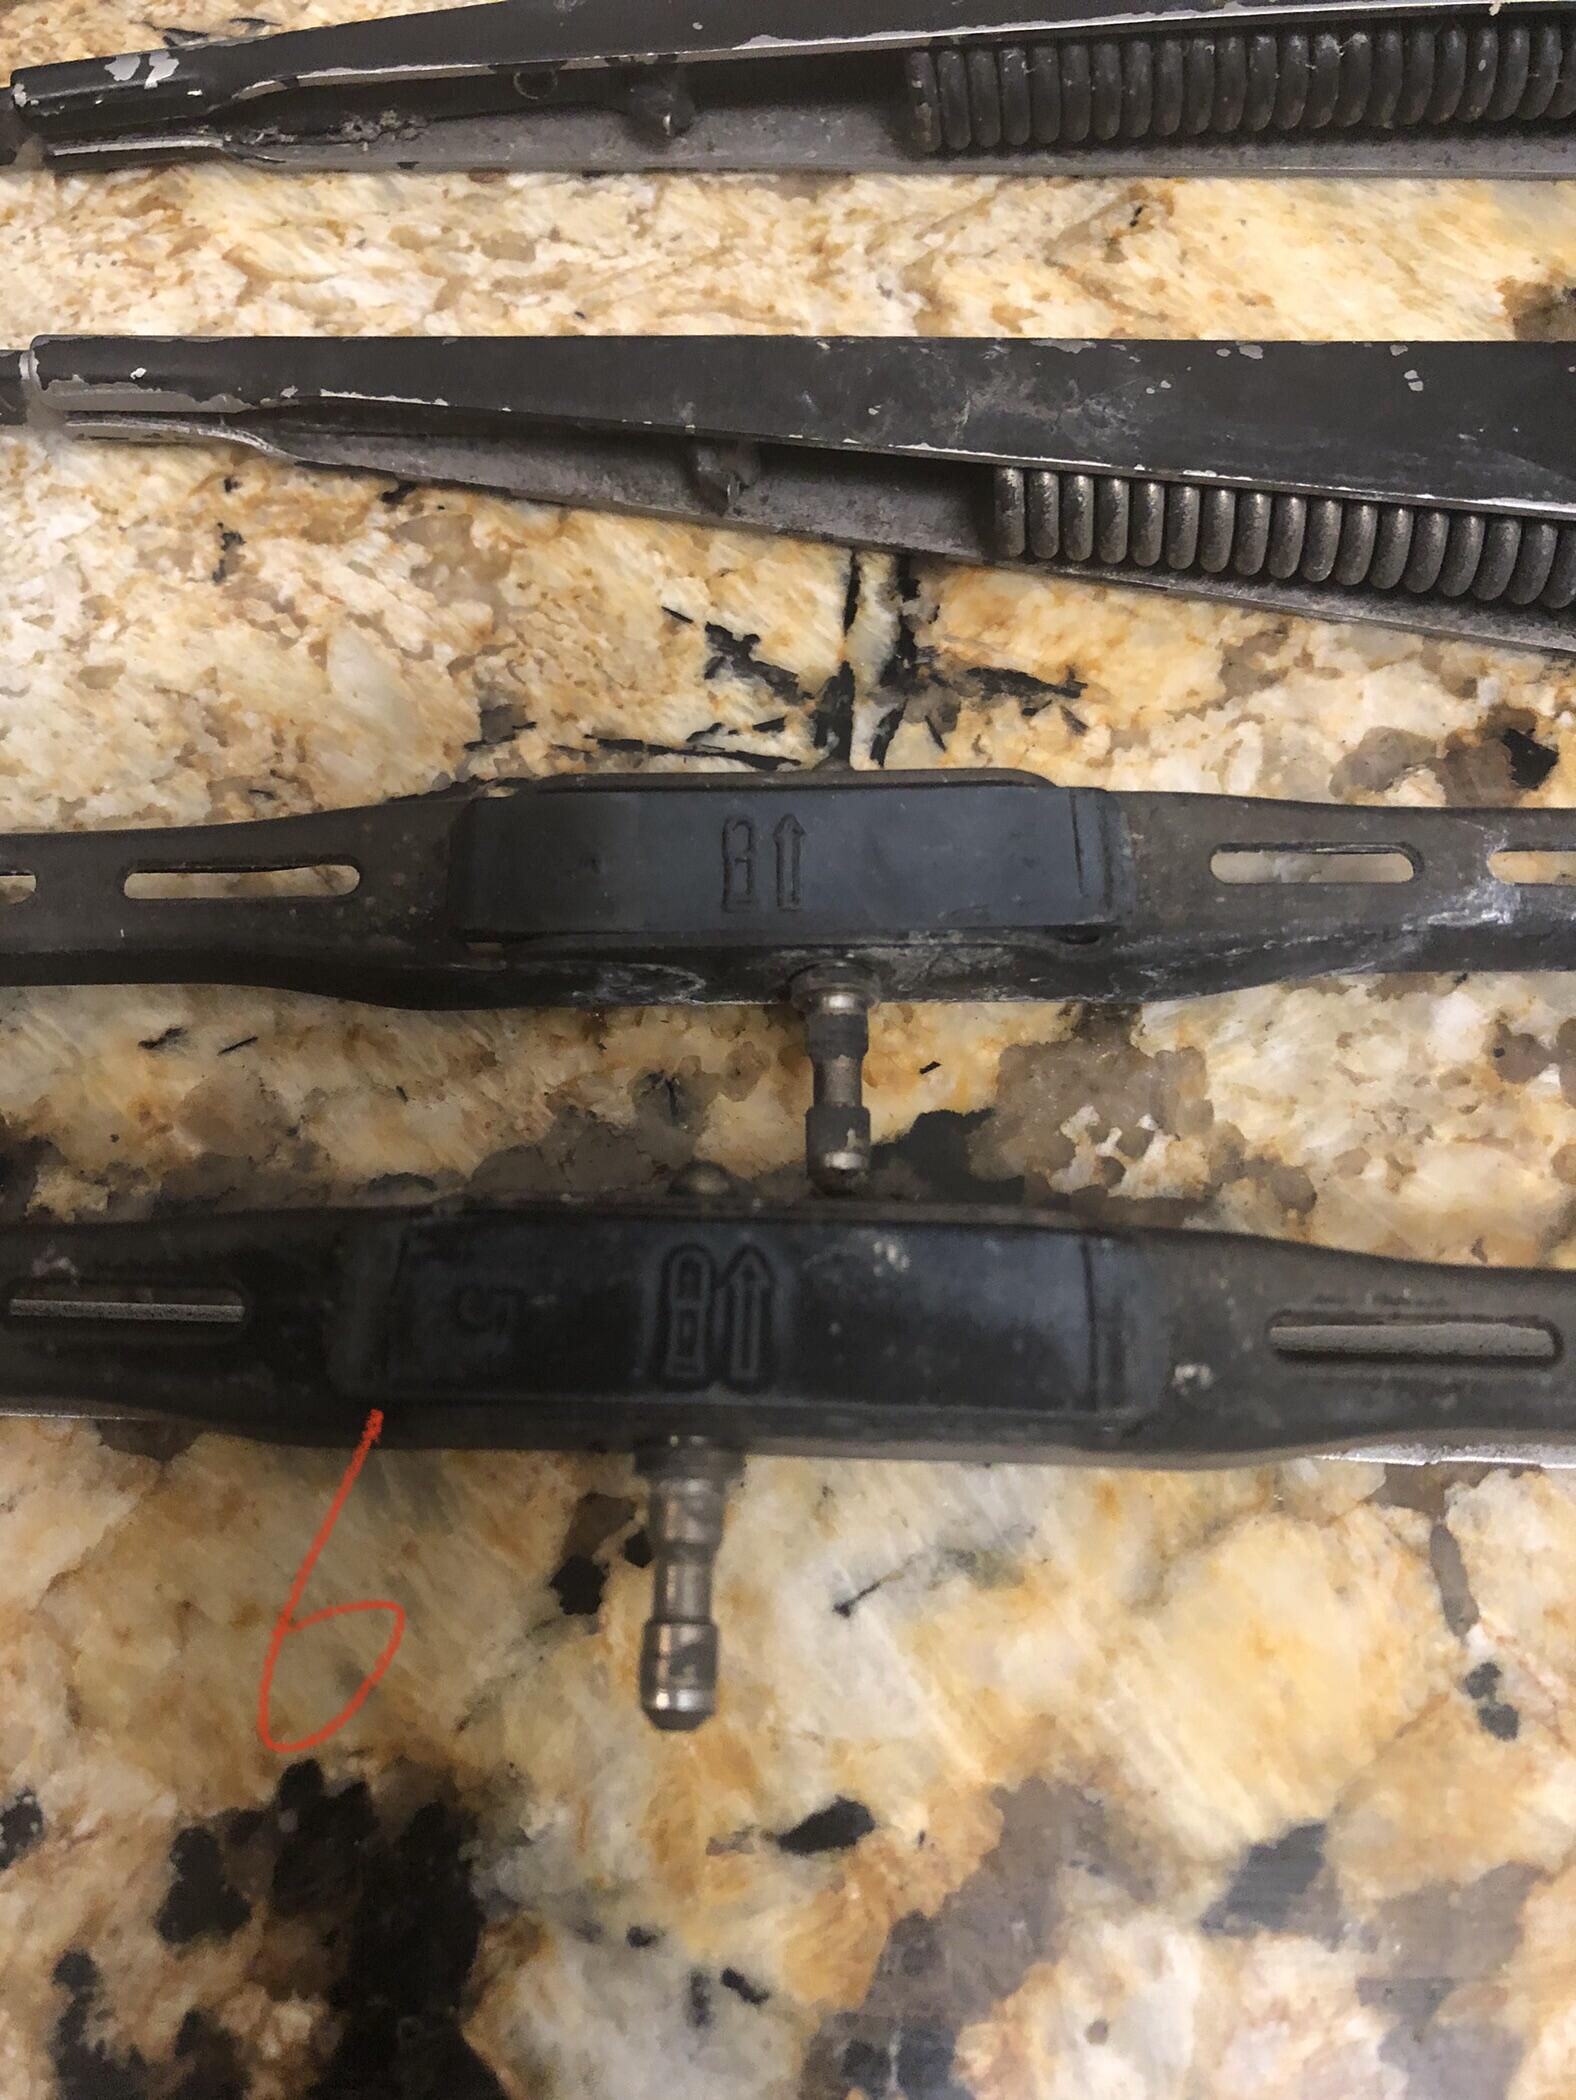
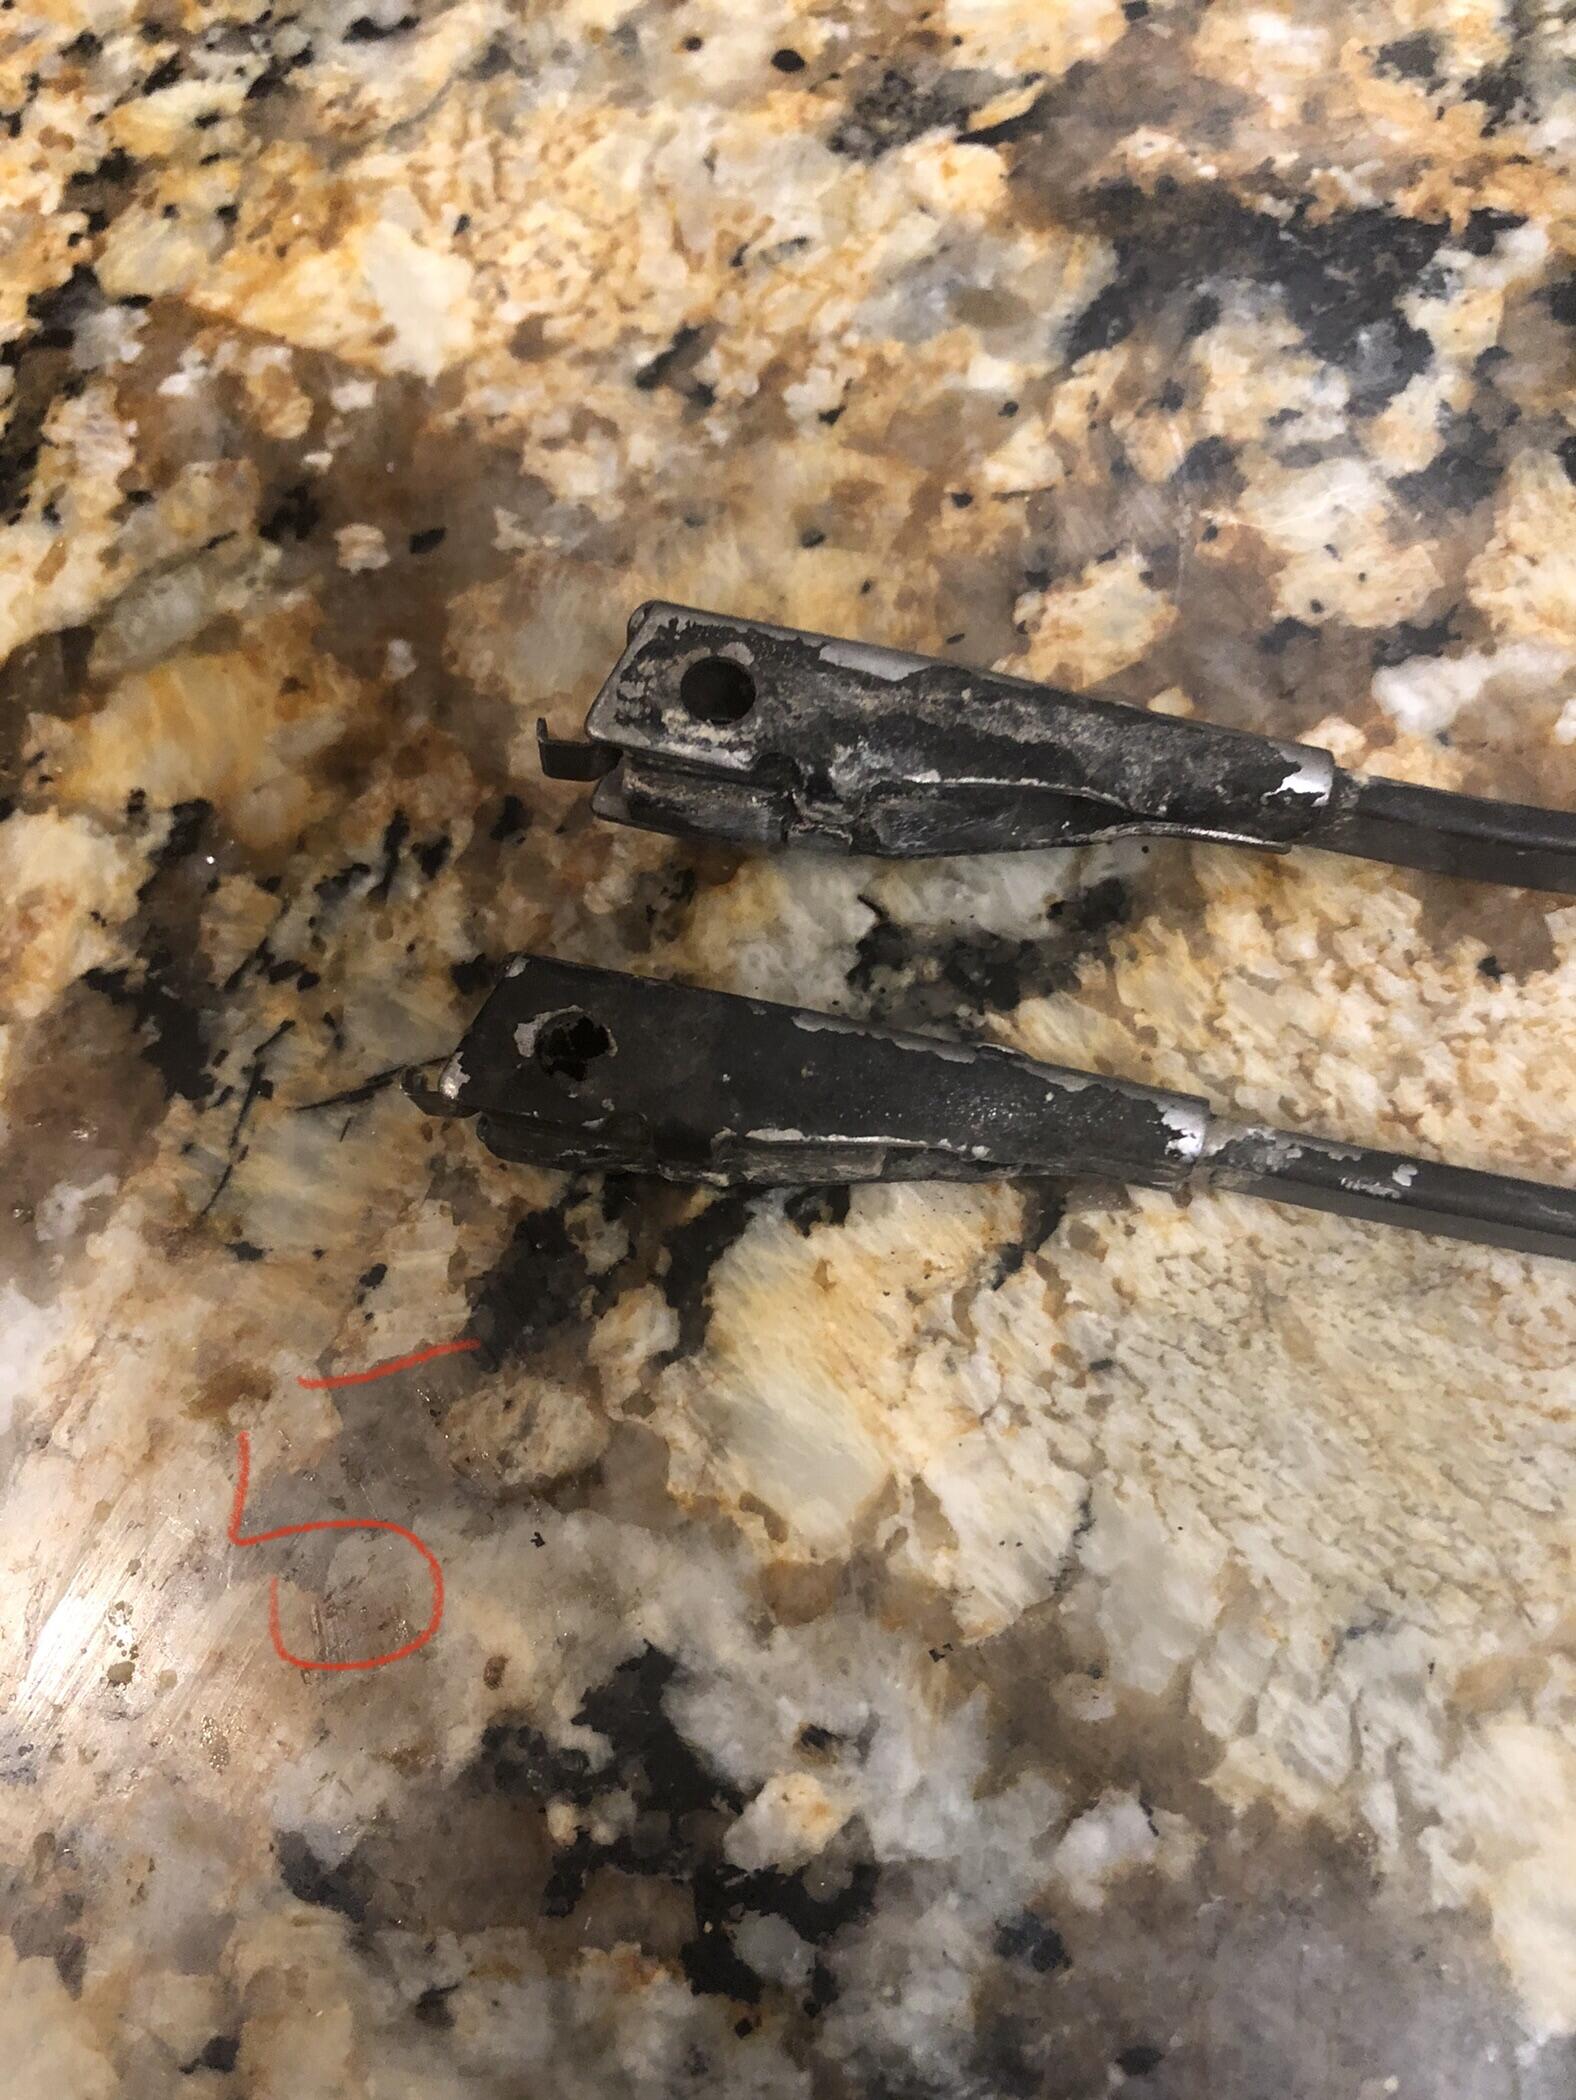
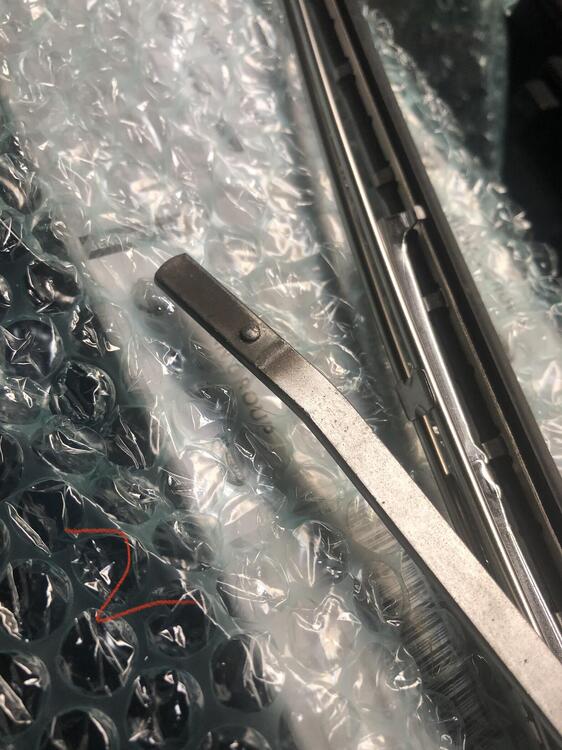
1 pointGuys, need help with the wiper arms. Mine is a 77 280z and wiper arms i took off from that were #4 (#5 and #6 are zoomed). As you see they use some sort of clip that lock those pins when inserted. I cannot find replacement pin type wiper blades online. Now #1 are these i bought on ebay did not realize i need the pin type. But luckily I had picked up #2/#3 from a 240z. So these ebay ones fit nicely on them. I am sure the #4 is an OEM wiper arm as it says MADE IN JAPAN and most of my car has been stock which I have been restoring. So where to get these pin type blades? or should i shelf them and just use the ones i bought from ebay?


 1 point
 -
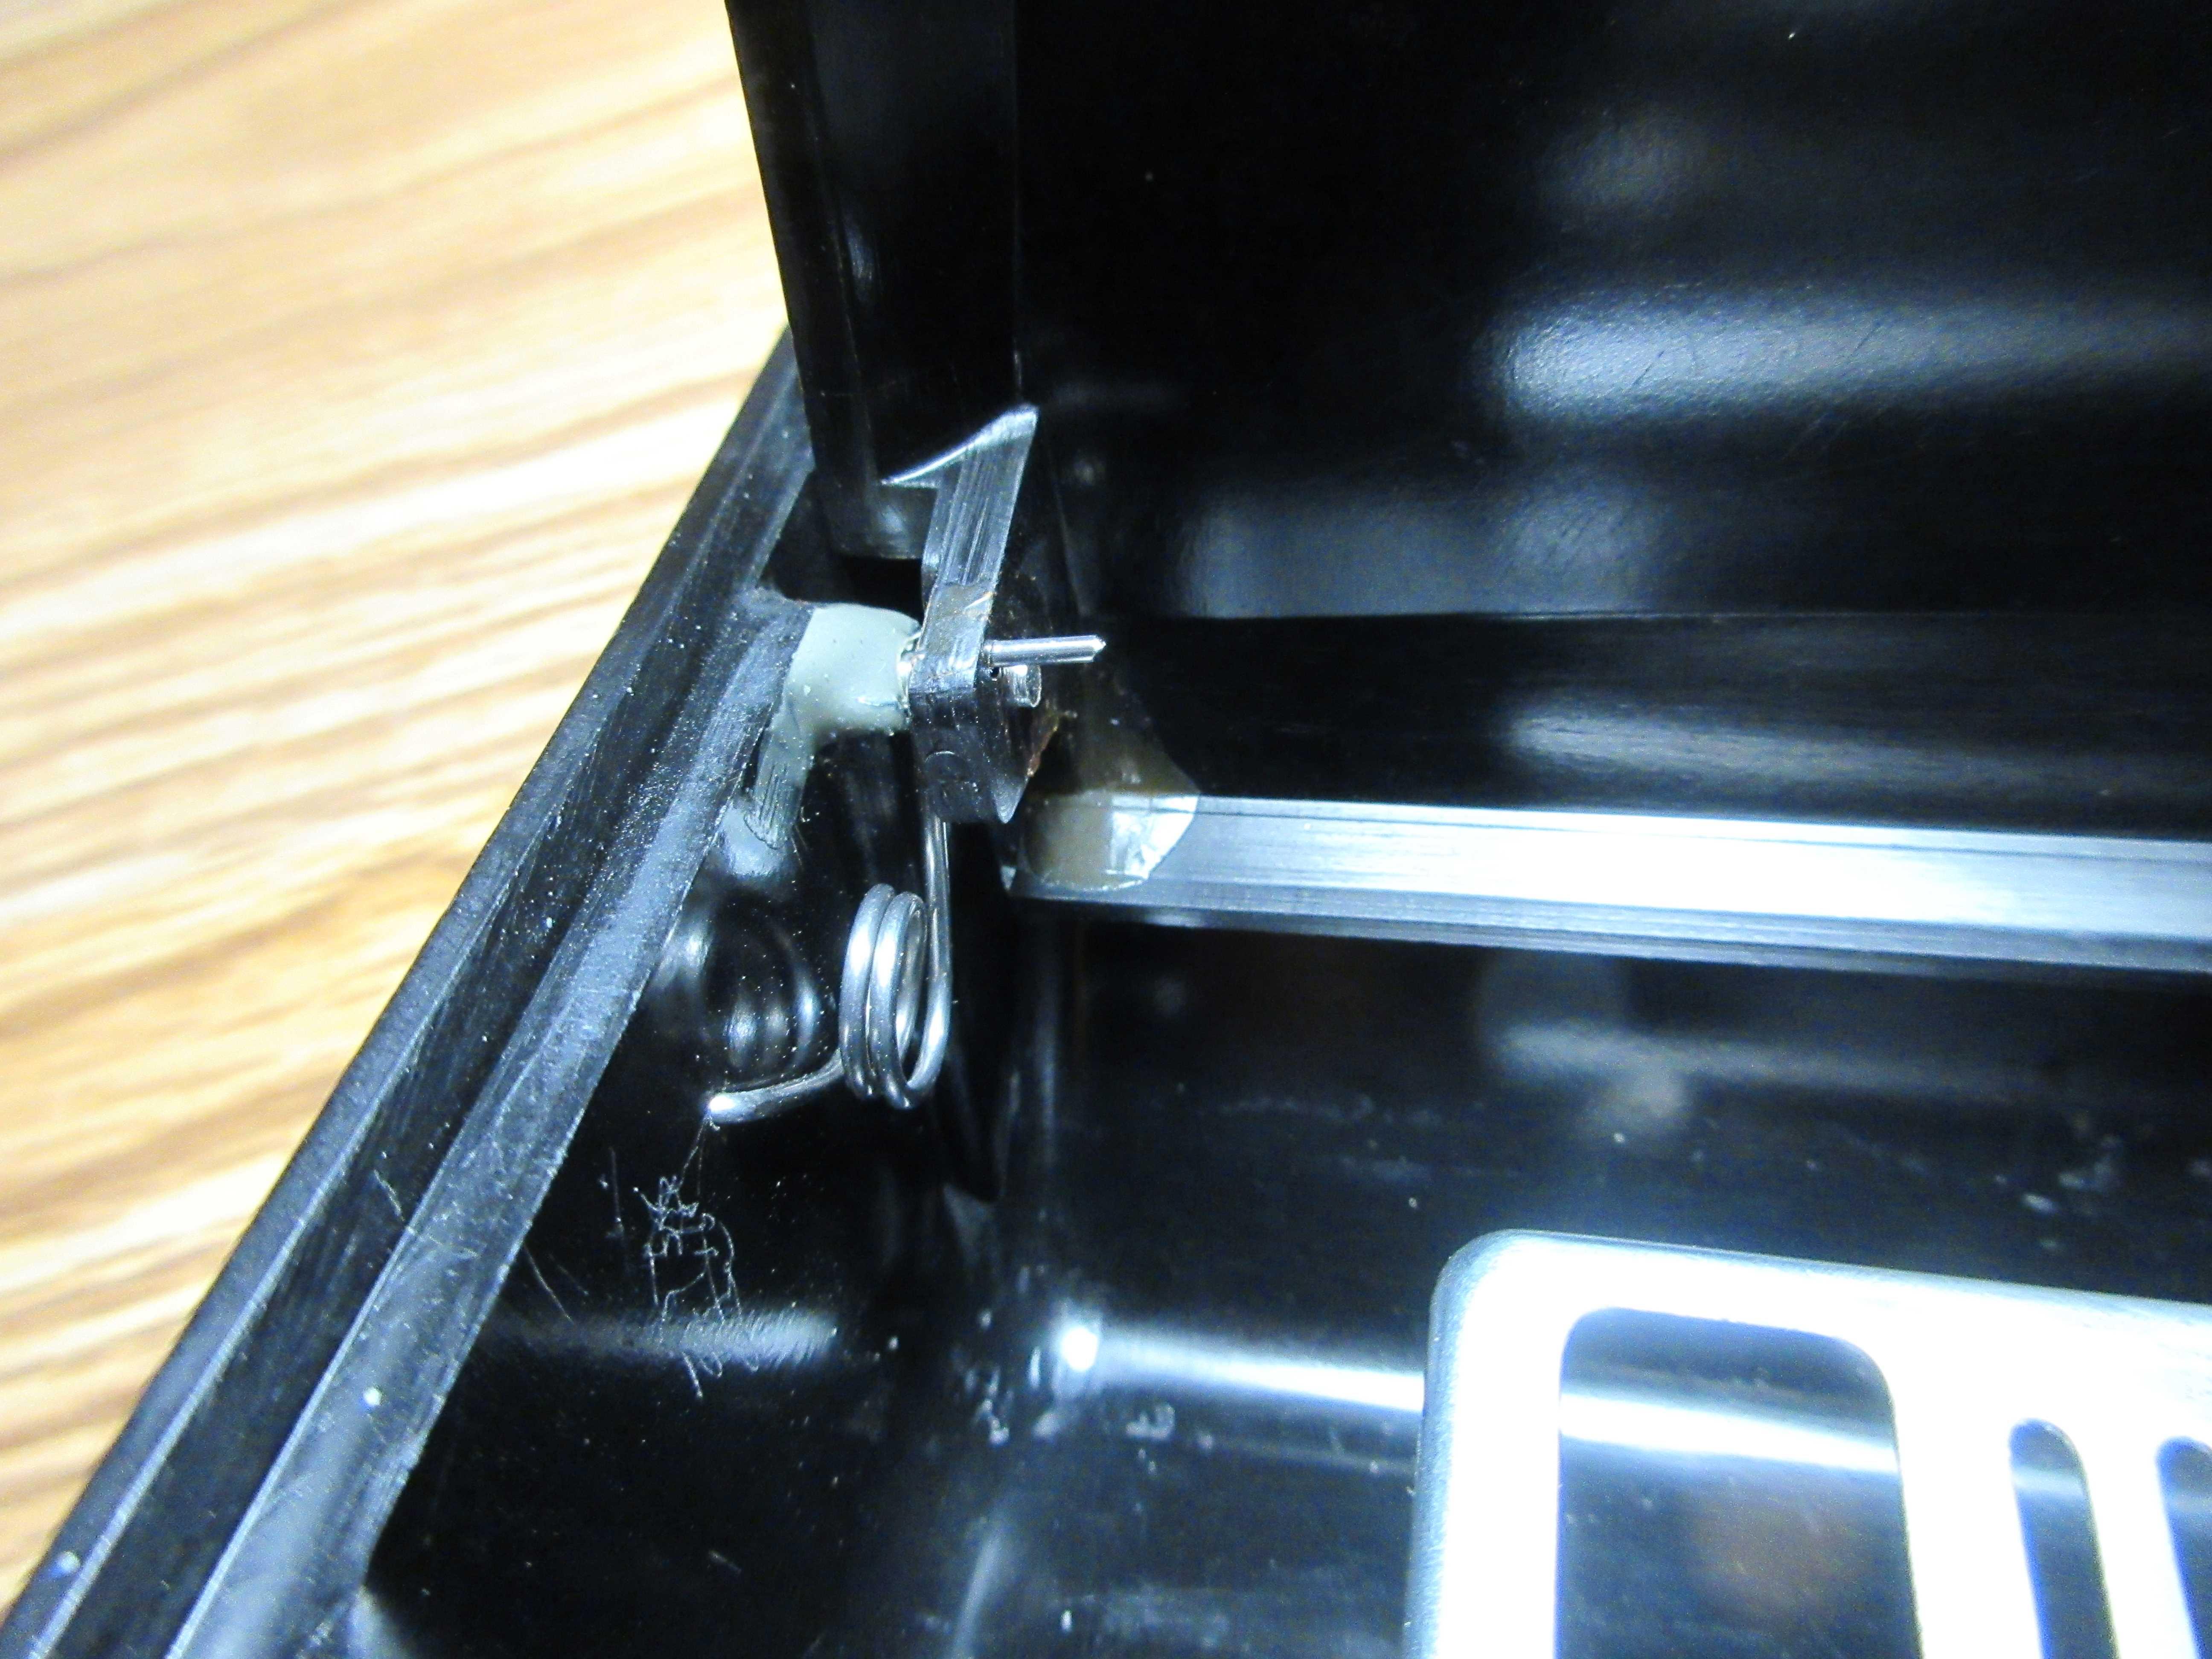
Here are a couple of photos of the spring that I made for the ashtray in my 70Z. It was made from plain hardware-store wire (16 gauge?). IIRC, I just clamped a Philips screwdriver in my bench vise and then wound the wire around the metal shaft. The 90-degree bends at the ends were formed afterwards over the jaws of the vise. The key, of course, is deciding how many winds you need in order to get the right tension in both open and closed positions. The spring needs to be lightly compressed when the lid is open. Also visible here is the epoxy repair that I did to restore the mounting boss for the lid's pivot pin (the original boss had cracked and splintered).

 1 point
 -
He is strapping the top of the 2x4s w 1x's so that will tie them all together. Hangers wont hurt anything. Im not totally sure they're necessary but they're fairly cheap in the overall scheme. The most susceptible location is actually the top of the rafters that have kickers. The portion of the rafter that hangs out past the kicker will want to pivot down when loaded. The kicker will act as a hinge point putting a lot of load on the top connection At the wall to roof transition, no j channel. Your flashing needs to preferably go under the siding and must turn out on top of the roofing. If not it will funnel water under the roof. They should offer a rubber weatherstripping for sealing the corrugation. You could use that under the counter flashing at the top if it needs closing up. If you cant get under the siding with the counter flashing You could seal it to the siding with some good sealant. Maybe a urethane with some 3d or 4d nails to hold it down1 point
-
Should plug into your harness. Do yourself a huge favor and download the FSM from this site.1 point
-
@Terrapin Z I'm pretty sure you are correct about which bracket belongs on which car. I'm positive the larger one is for the 74.1 point
-
Thanks for the effort, Terrapin Z. I'll take the smaller one. We can discuss details in PMs.1 point
-
1 pointIt's always a great thing to see one of these projects getting out into the light of day again. I hope you have a great time enjoying it.1 point
-
I love the cardboard to hold the dry ice against the trans tunnel.1 point
-
WOW!! I missed these videos.. The guy is a pro! I like the way he takes the time to get all the little dents out! I've done that also, but i need just a little more time as it is not my daily job haha! Also, he's a bit special.. when you look at the 26 minute 20 sec... THE GUY HAS 3 HANDS!! 🤨1 point
-
1 point