Leaderboard
-
Richie G
Free Member4Points254Posts -
conedodger
Free Member4Points12,513Posts -
mayolives
Free Member3Points135Posts -
Patcon
 Subscriber
 2Points11,142Posts


Popular Content
Showing content with the highest reputation on 12/14/2023 in all areas
-
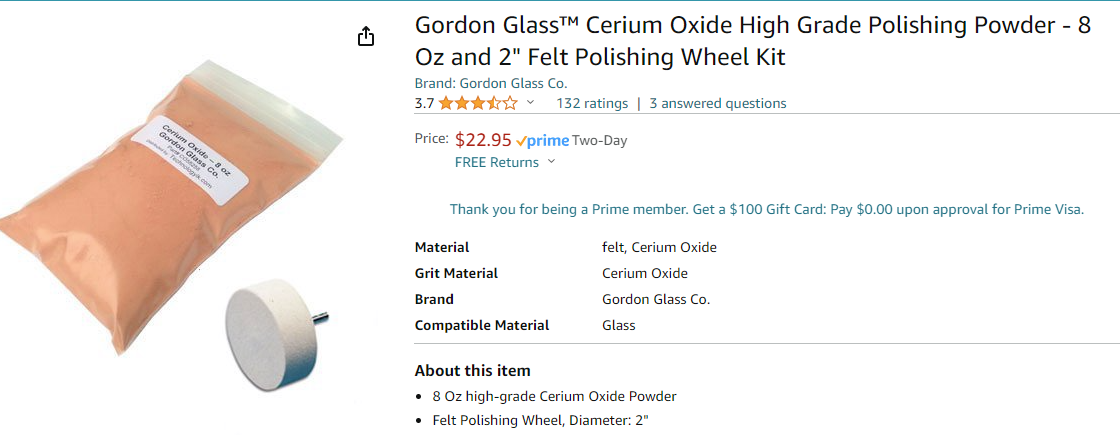
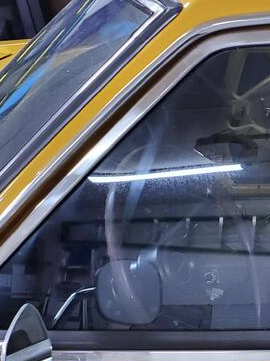
@emccallum Amazon has a bunch of different options for that brand with or without polishing tools different sizes etc. I grabbed this one just because I wanted a small polishing wheel so I can get in the corner near the mirror without too much effort I'm sure removing the glass would be the easiest and best way to do this but I have so much time invested in it how I've aligned it sealed it with all the weather strip Etc I'm trying to take a bit of a shortcut out of it3 points
-
3 pointsThis "two screw in the can lid" advice works really well! I used Por 15 products for the rust repair and had to go back to the paint can three times. I've wasted a lot of Por 15 paint in the past but not this time. Really a good idea.3 points
-
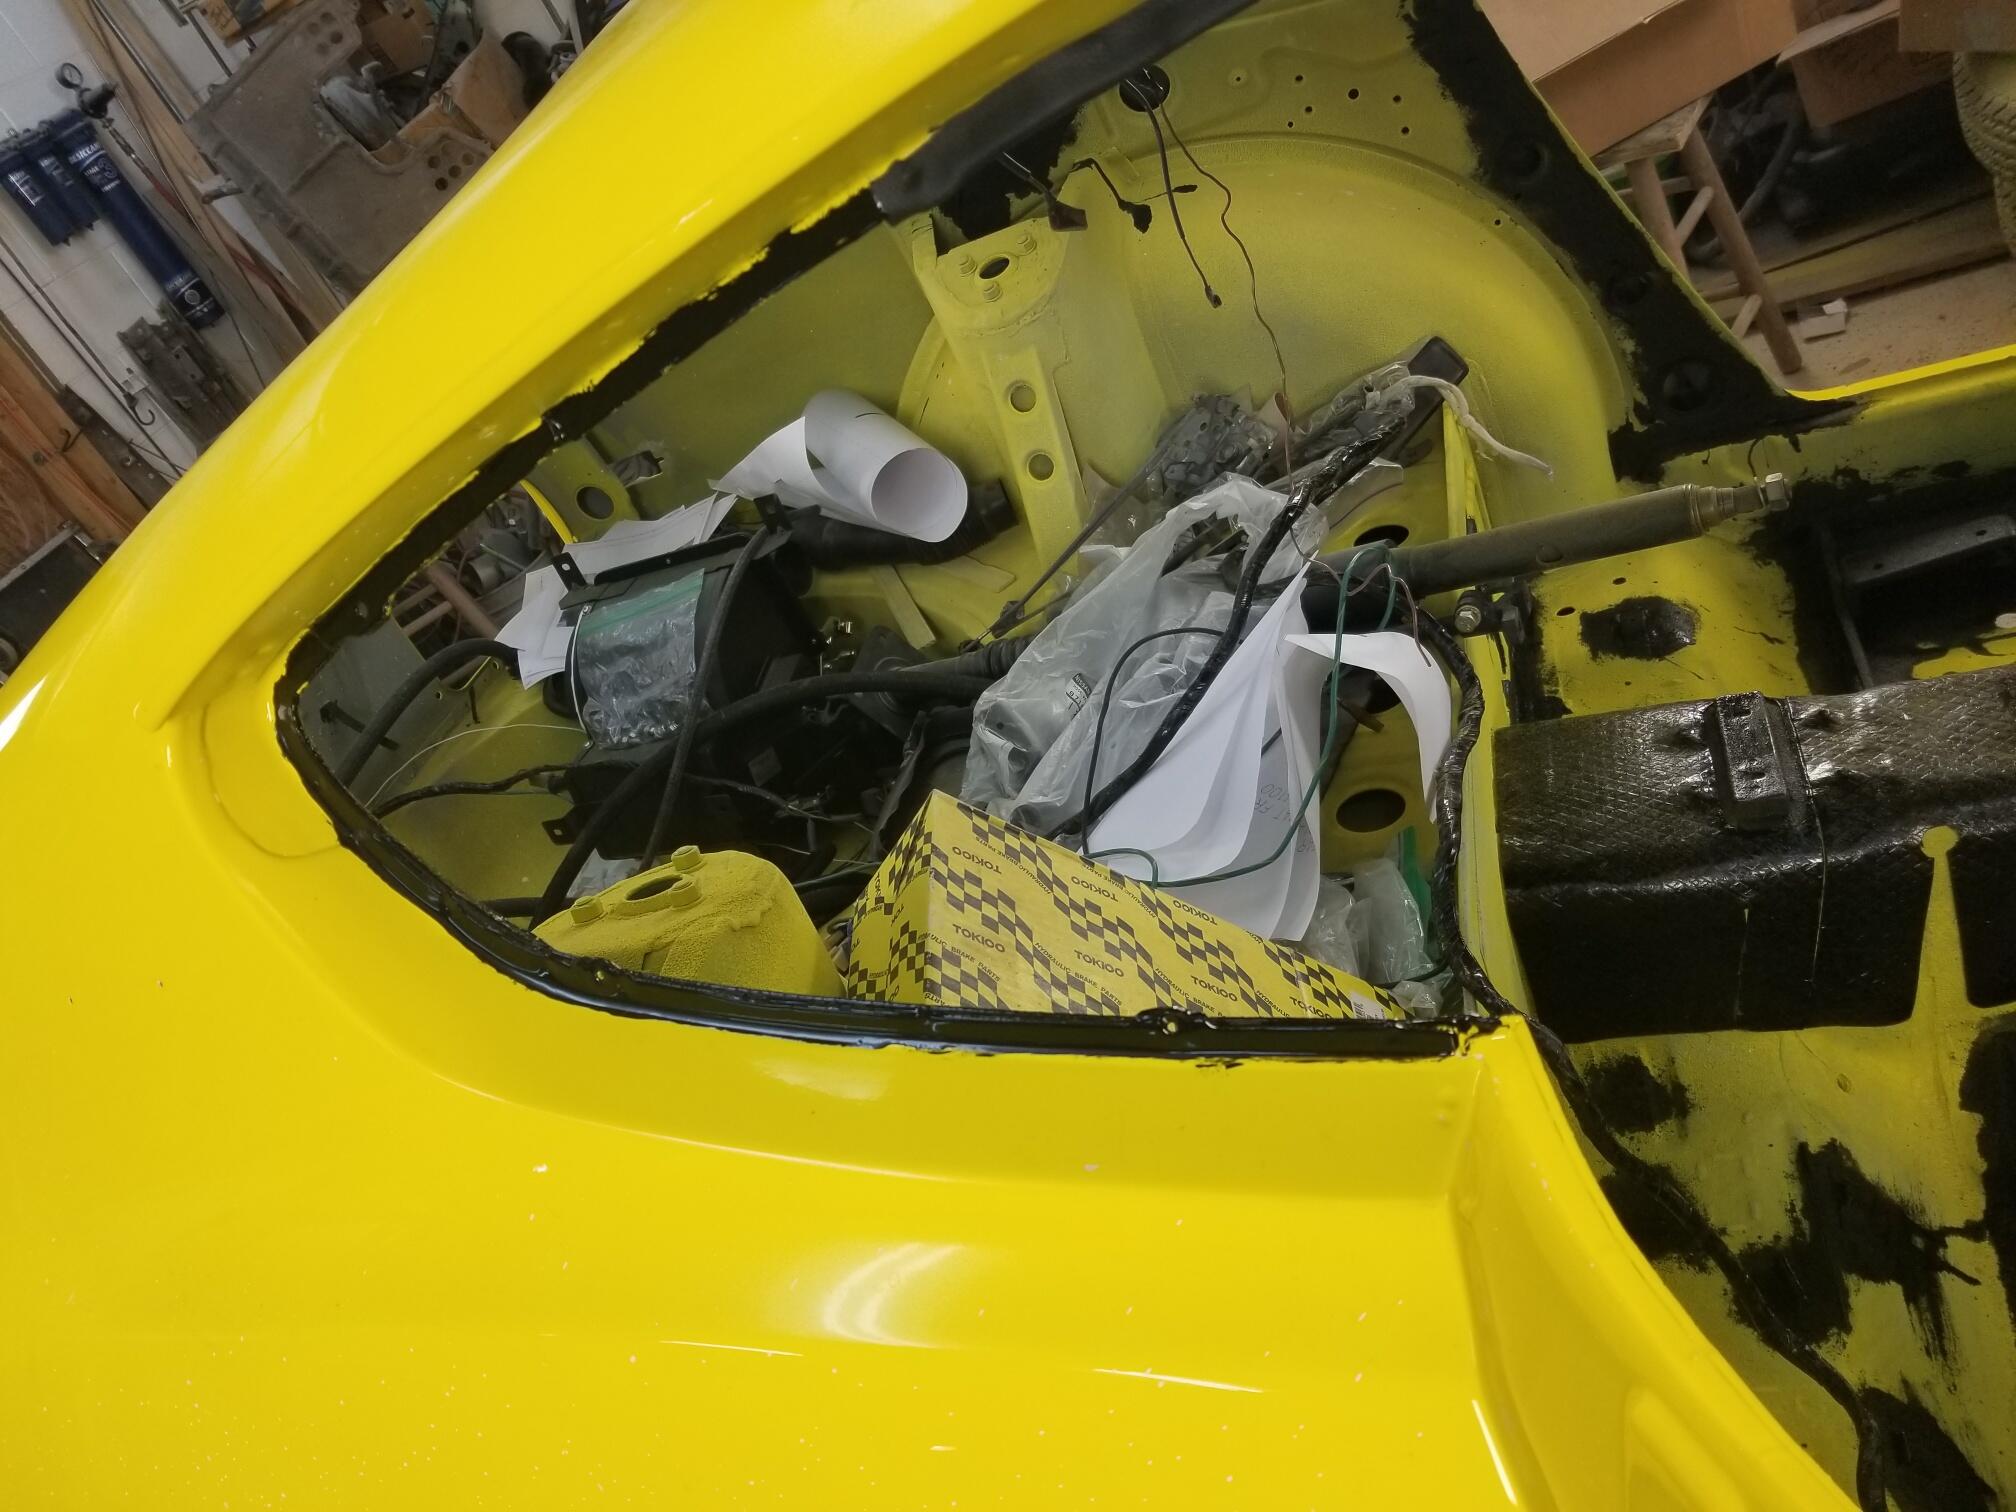
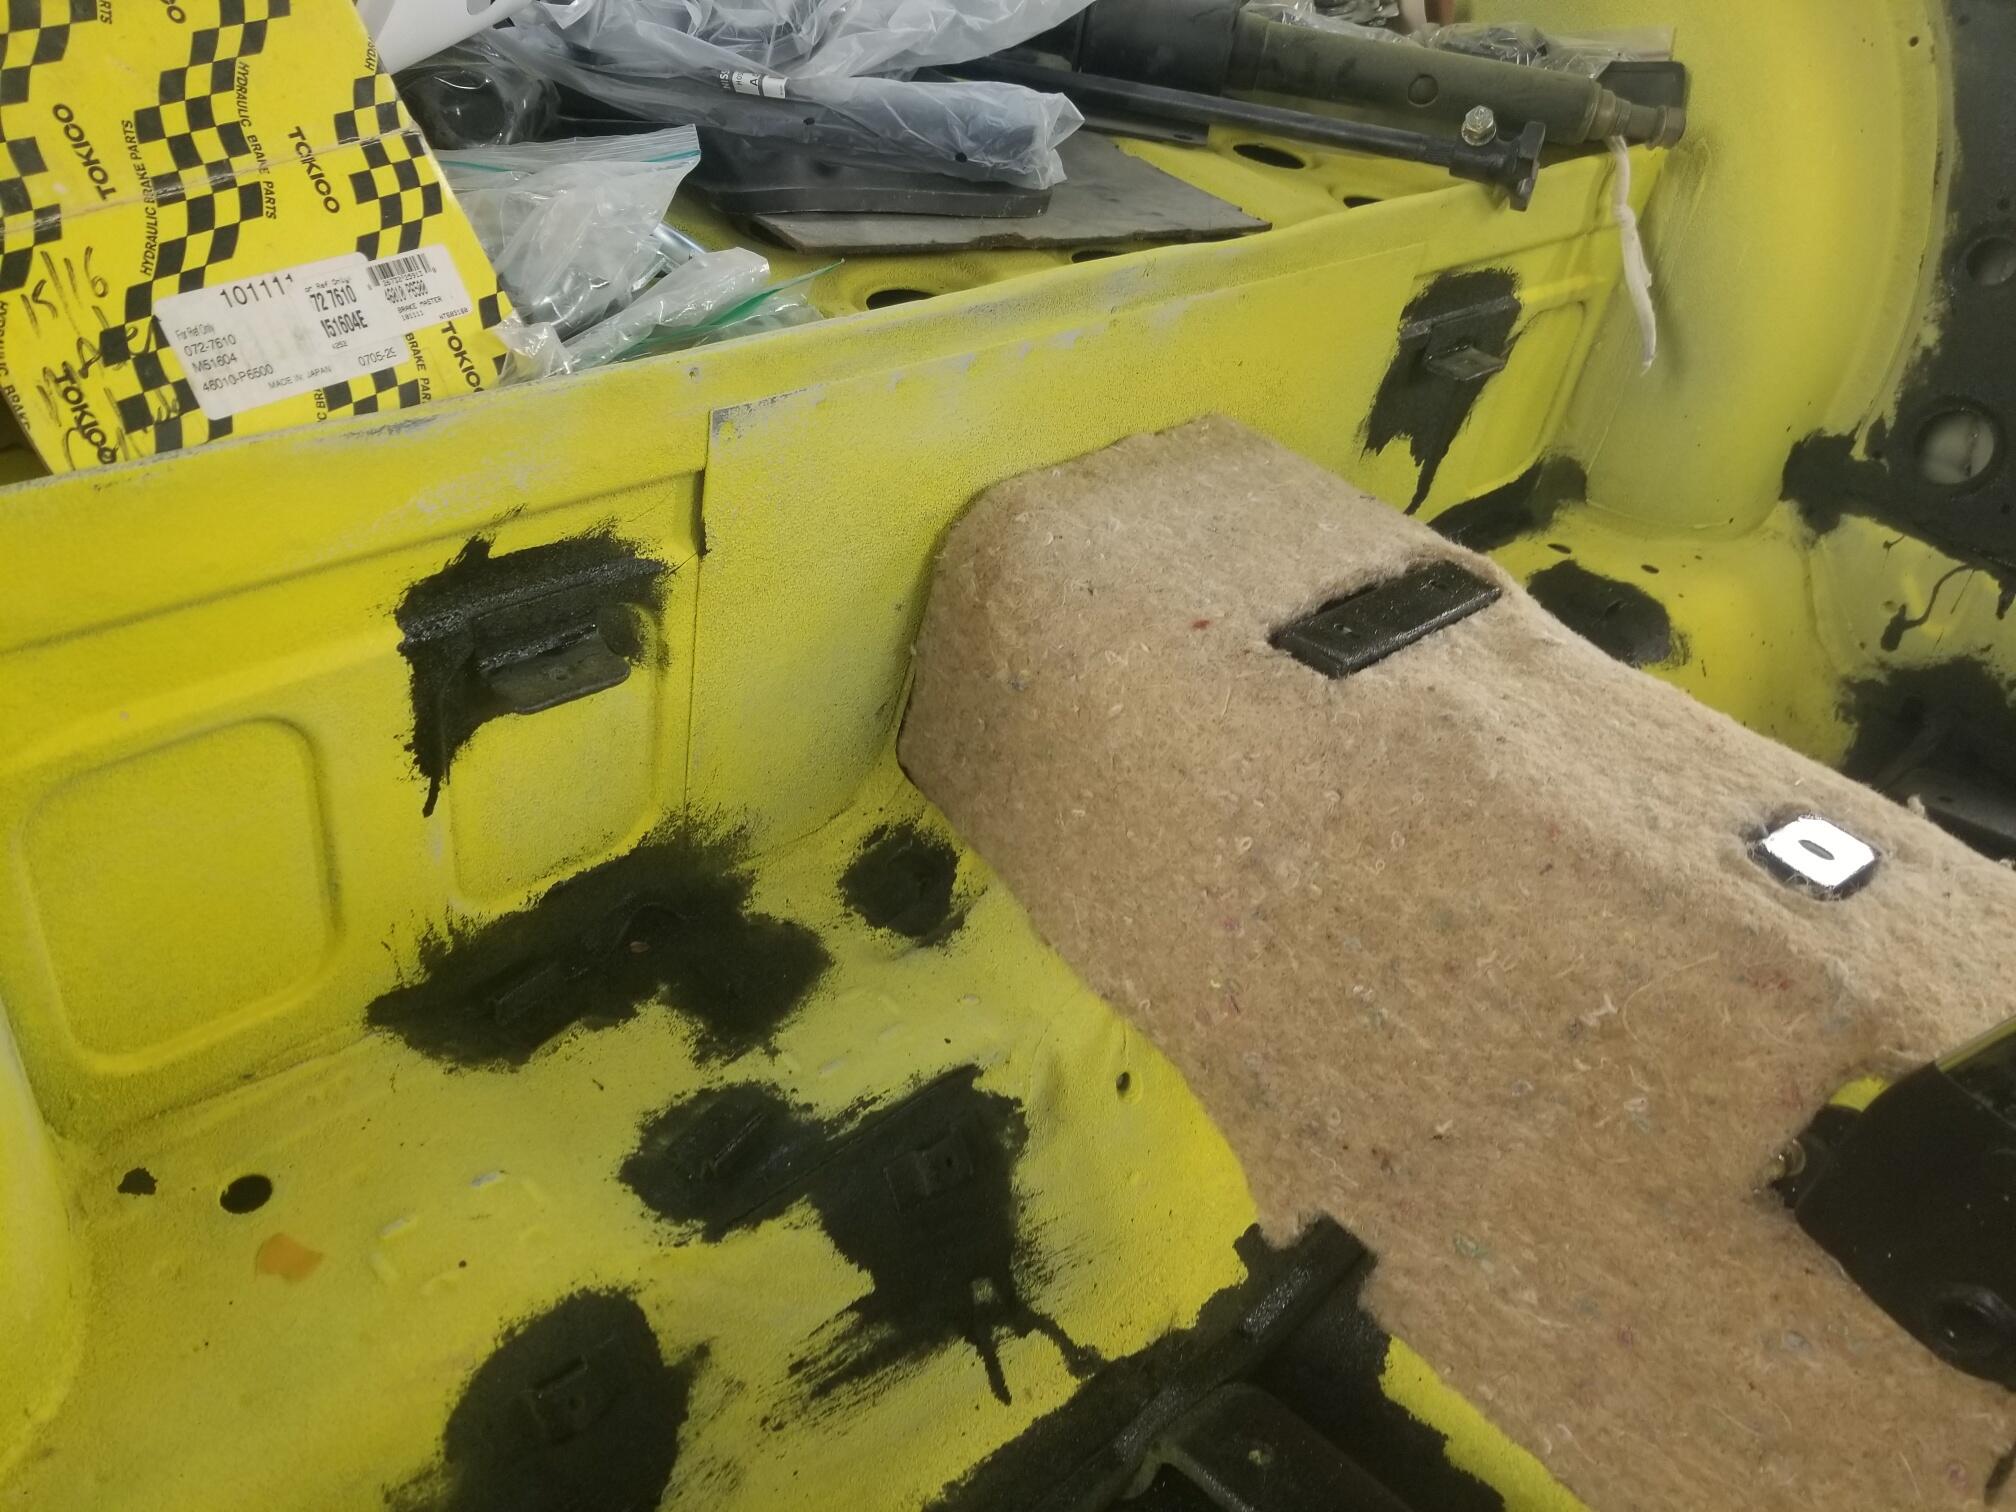
2 pointsPerhaps a couple… first is the order. I did shock tower, wheel wells, and lastly that back panel. Turned out well because each section covers the pervious. When I first test fit them I thought I was screwed but once you actually glue them down, they take shape. I used 3M spray on adhesive. That worked well. Spray both surfaces, let them tack up and install. For the shocks, start at the top and line up the lip that goes around the rounded section and then just pull the rest down and try to stretch the material as much as it will go without creating creases. I had to make some relief cuts at the bottom but they won’t be seen since they will be under the carpet. You may need relief cuts on the wheel wells too. I have some but they won’t be visible. Make sure to line everything up and you’re happy with the figment before making any cuts. I found it useful to have my seatbelts and seatbelt covers close by since they mount onto my shock tower. This gave me a good visual to compare from side to side as far as equal alignment on the shock tower. Lastly, the glue isn’t permanent so don’t be worried about pulling a panel off after it’s installed… I did my passenger shock tower about 3 times until I was happy with it. And I might redo my driver too. Hope that helps…2 points
-
@Richie G , I am going to have to give the Gordon Glass stuff a try. Thanks for posting it.1 point
-
1 point
-
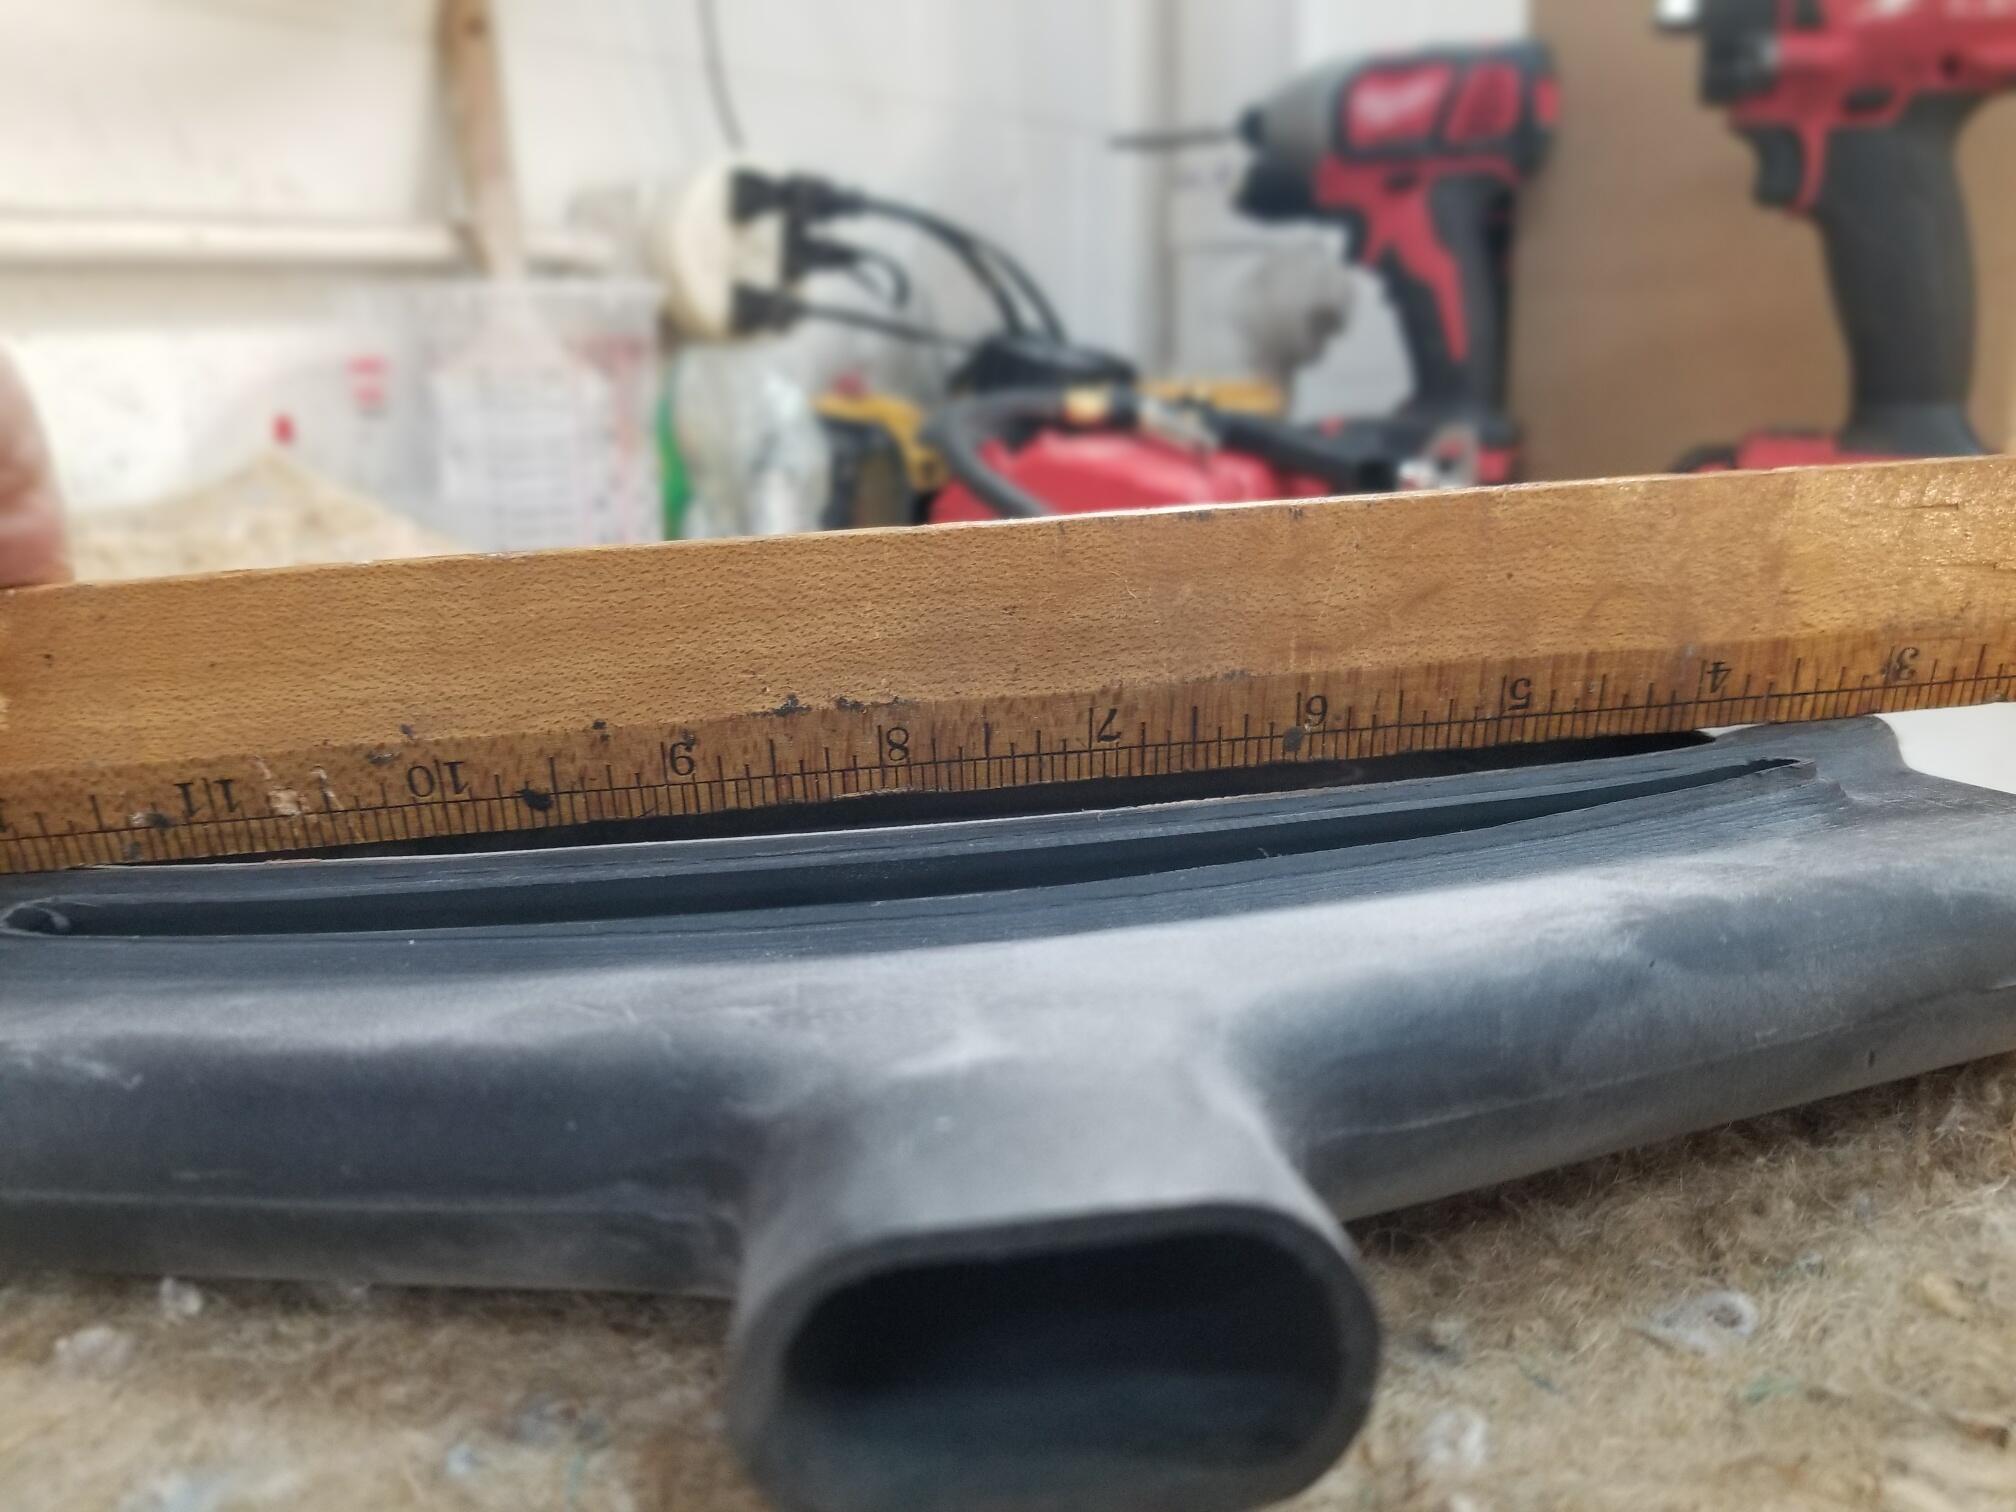
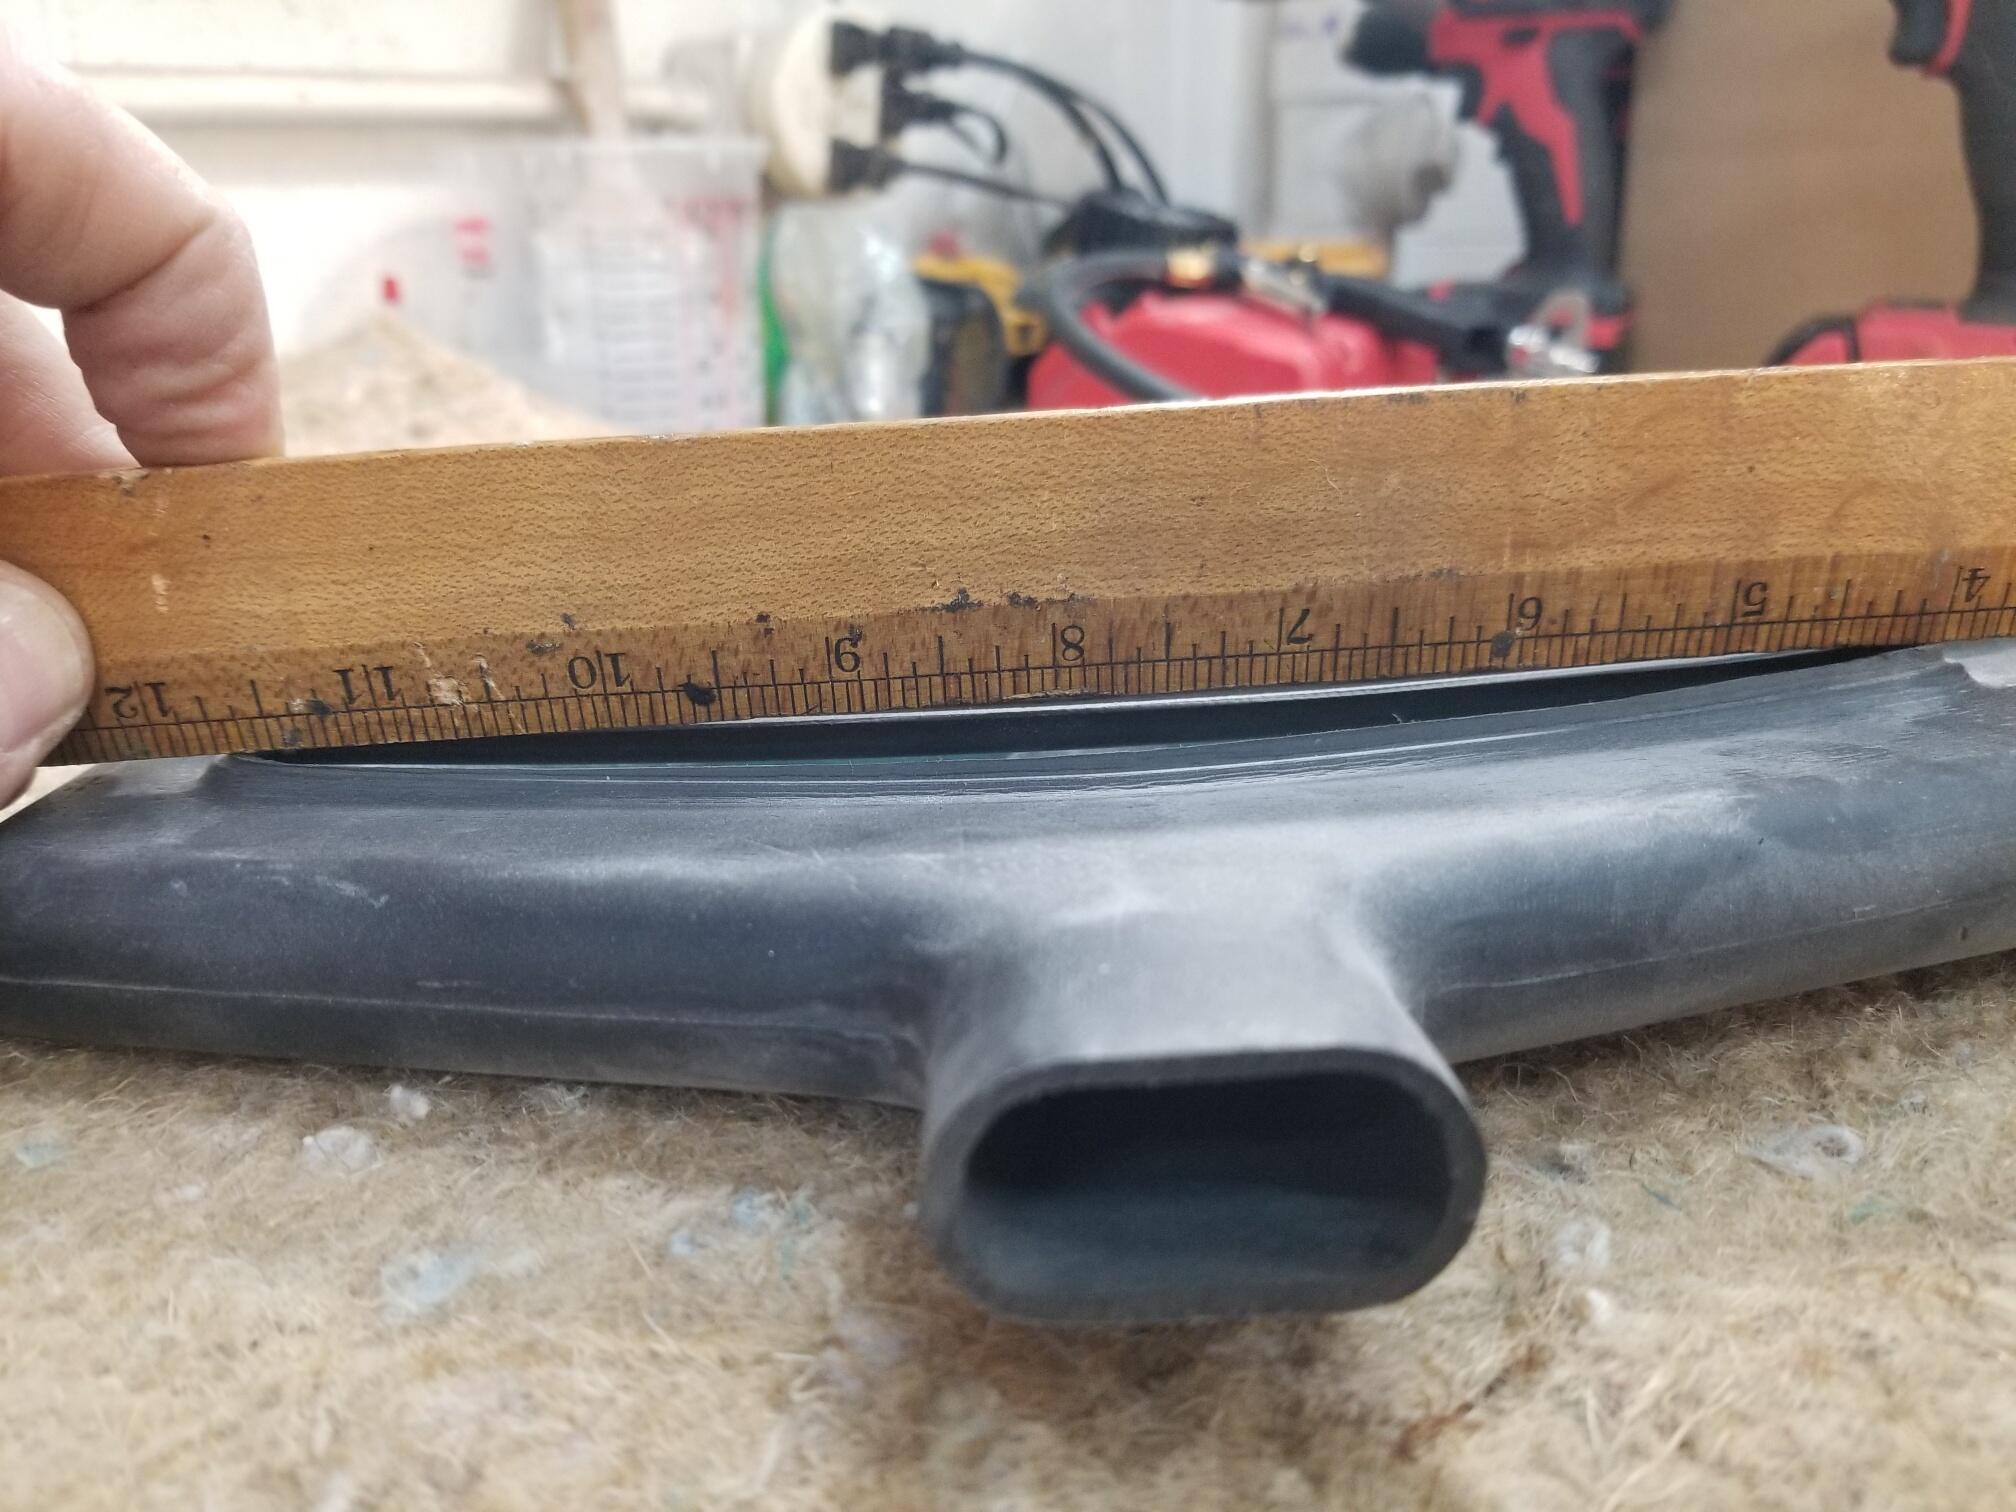
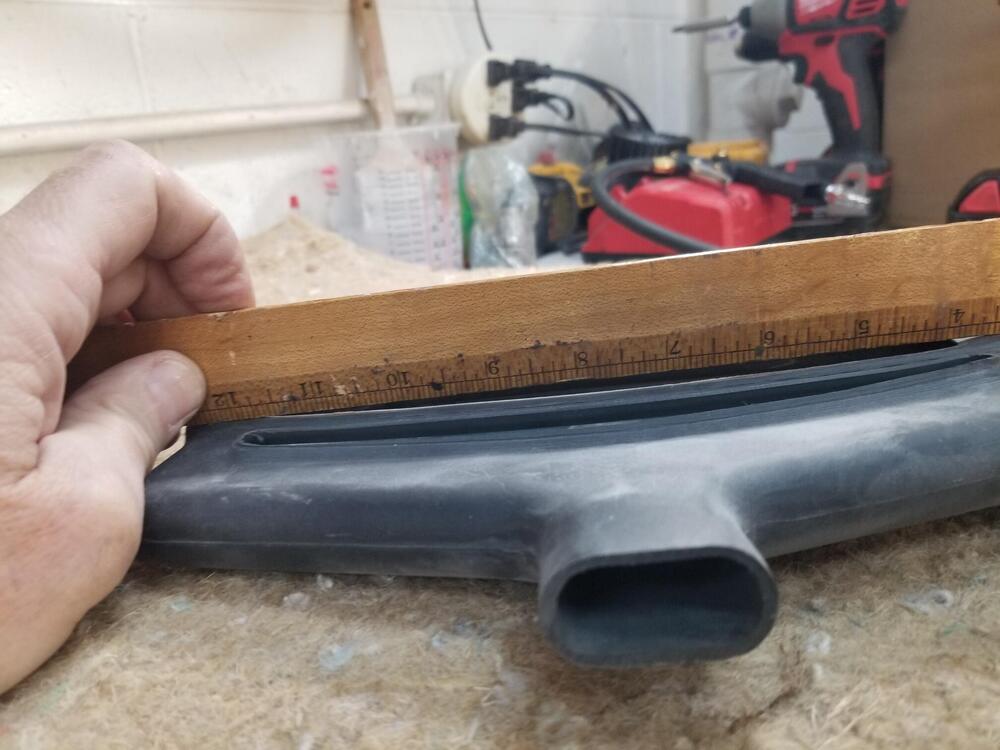
1 pointI wouldn't worry about warpage in the lower slot as it doesn't seal. On mine I am lucky that the sealed slot sealing face has virtually no warpage while the lower slot does.

 1 point
 -
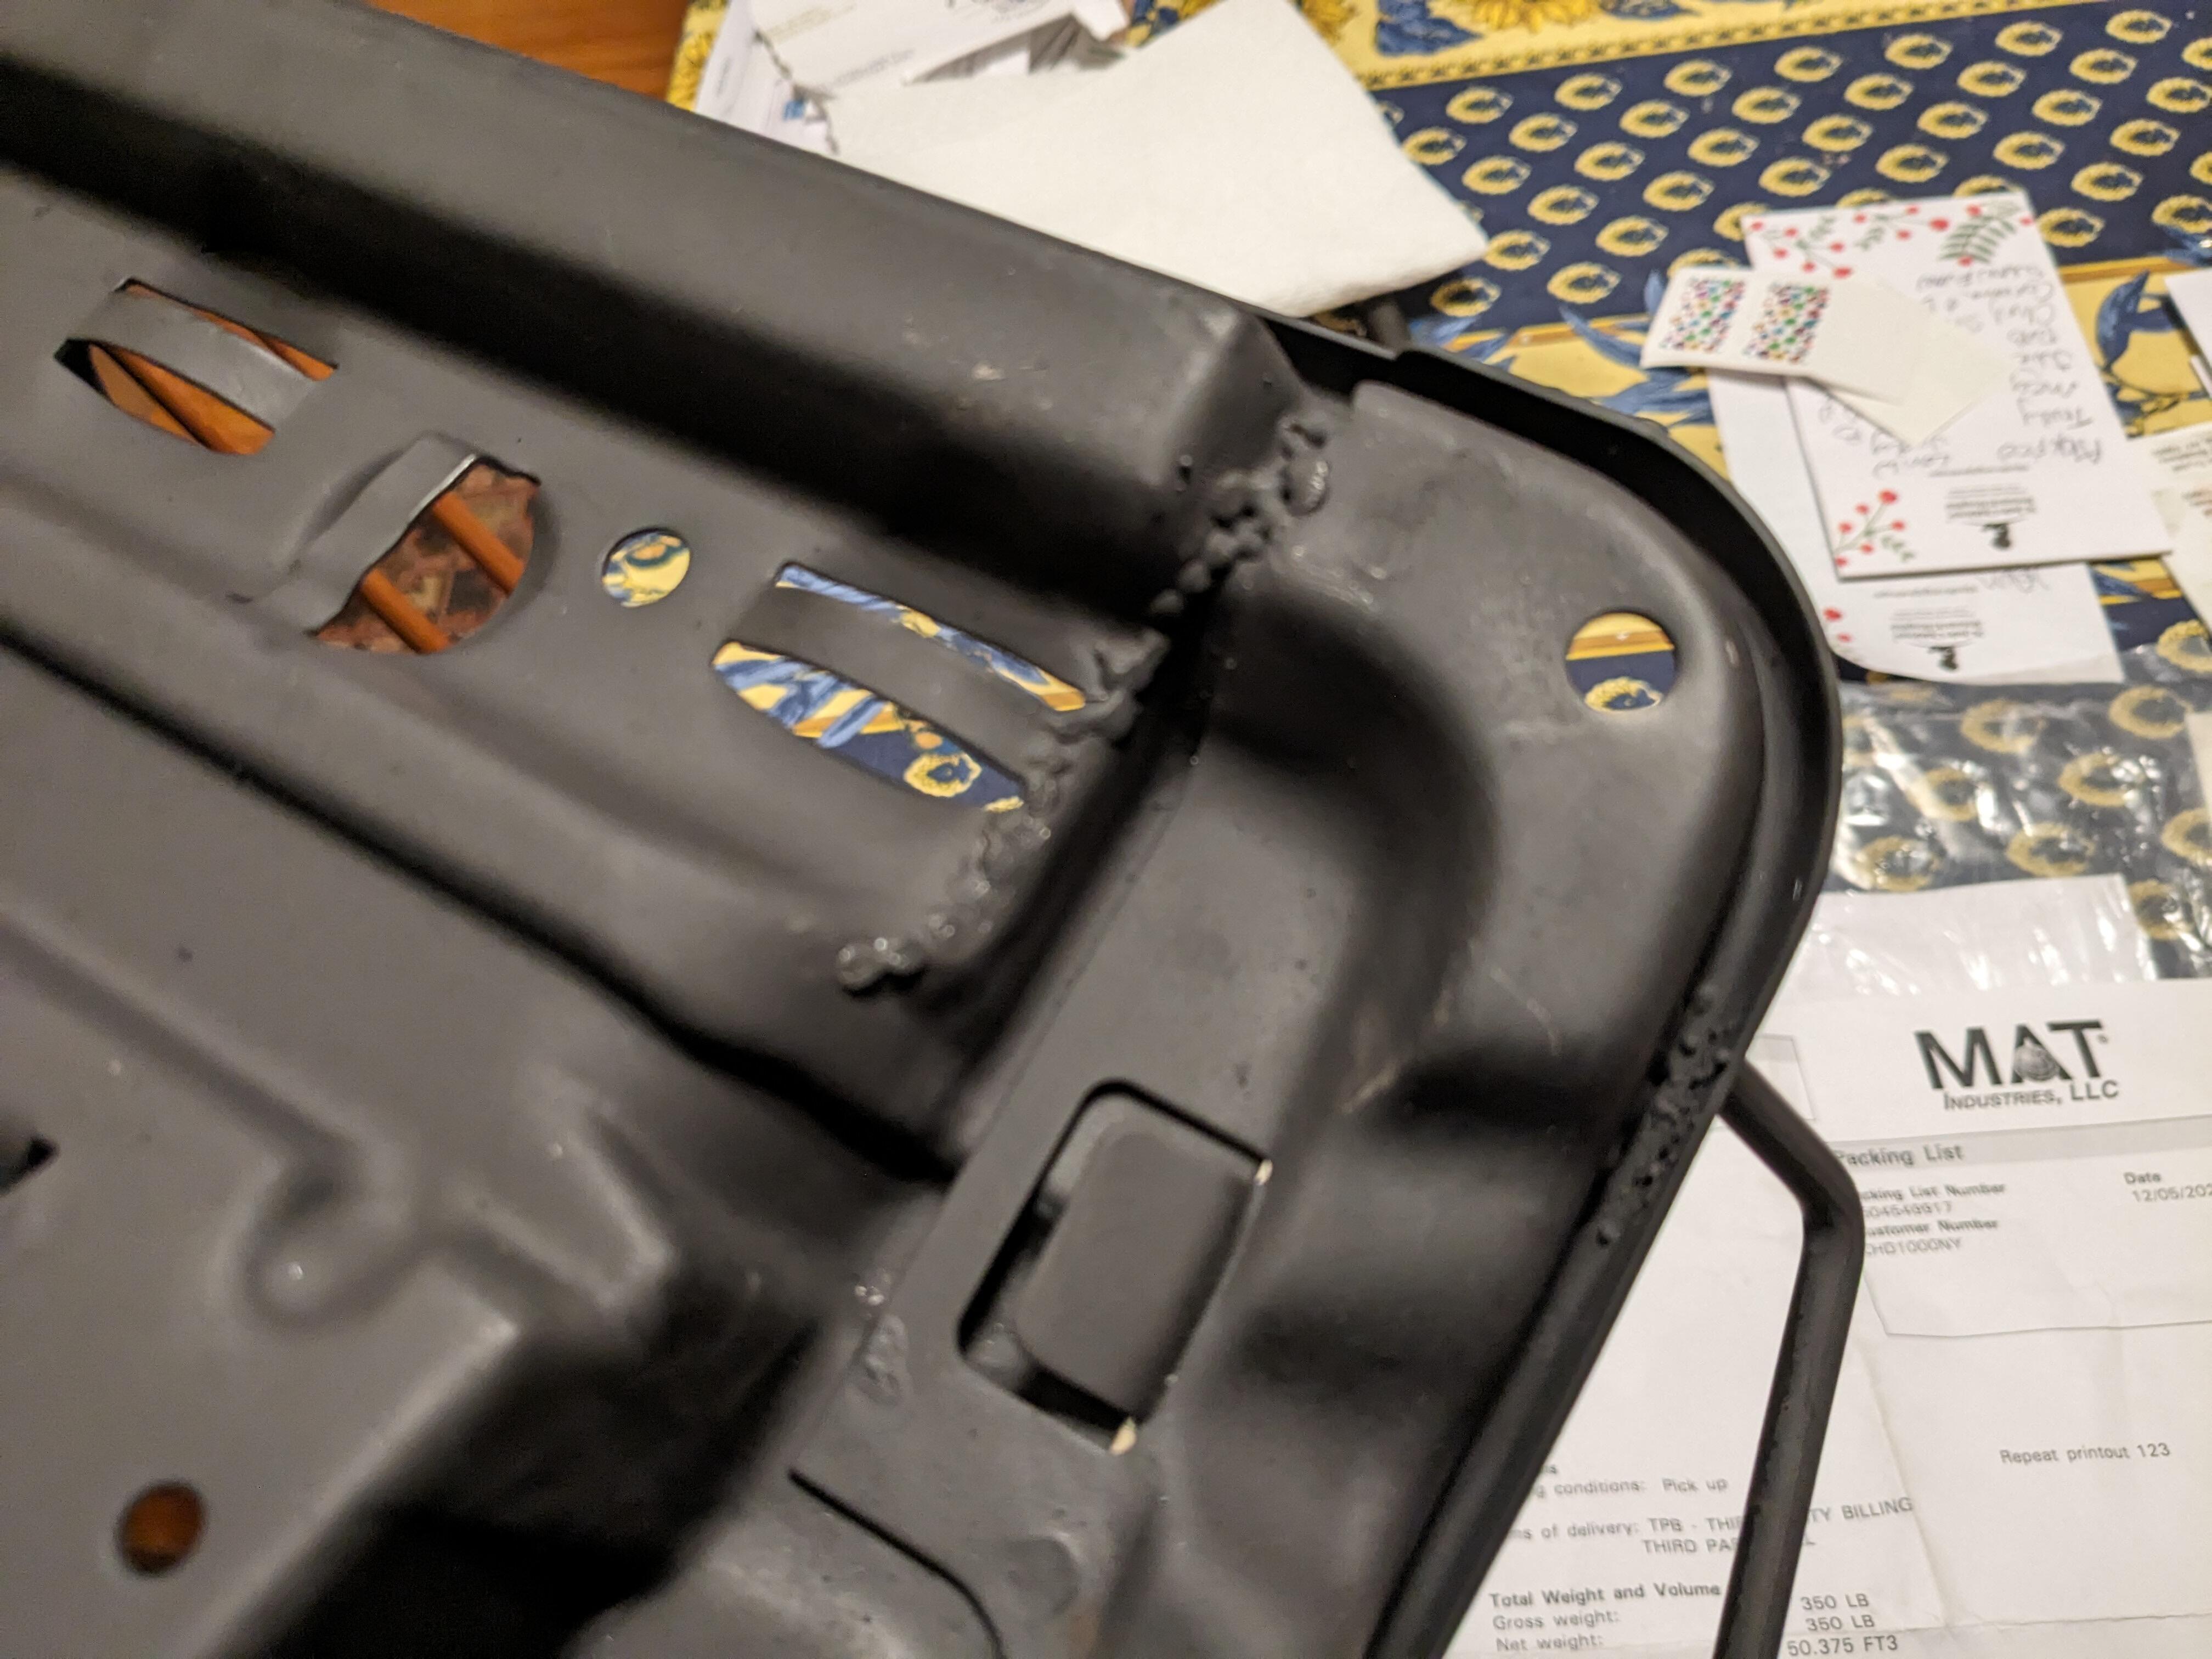
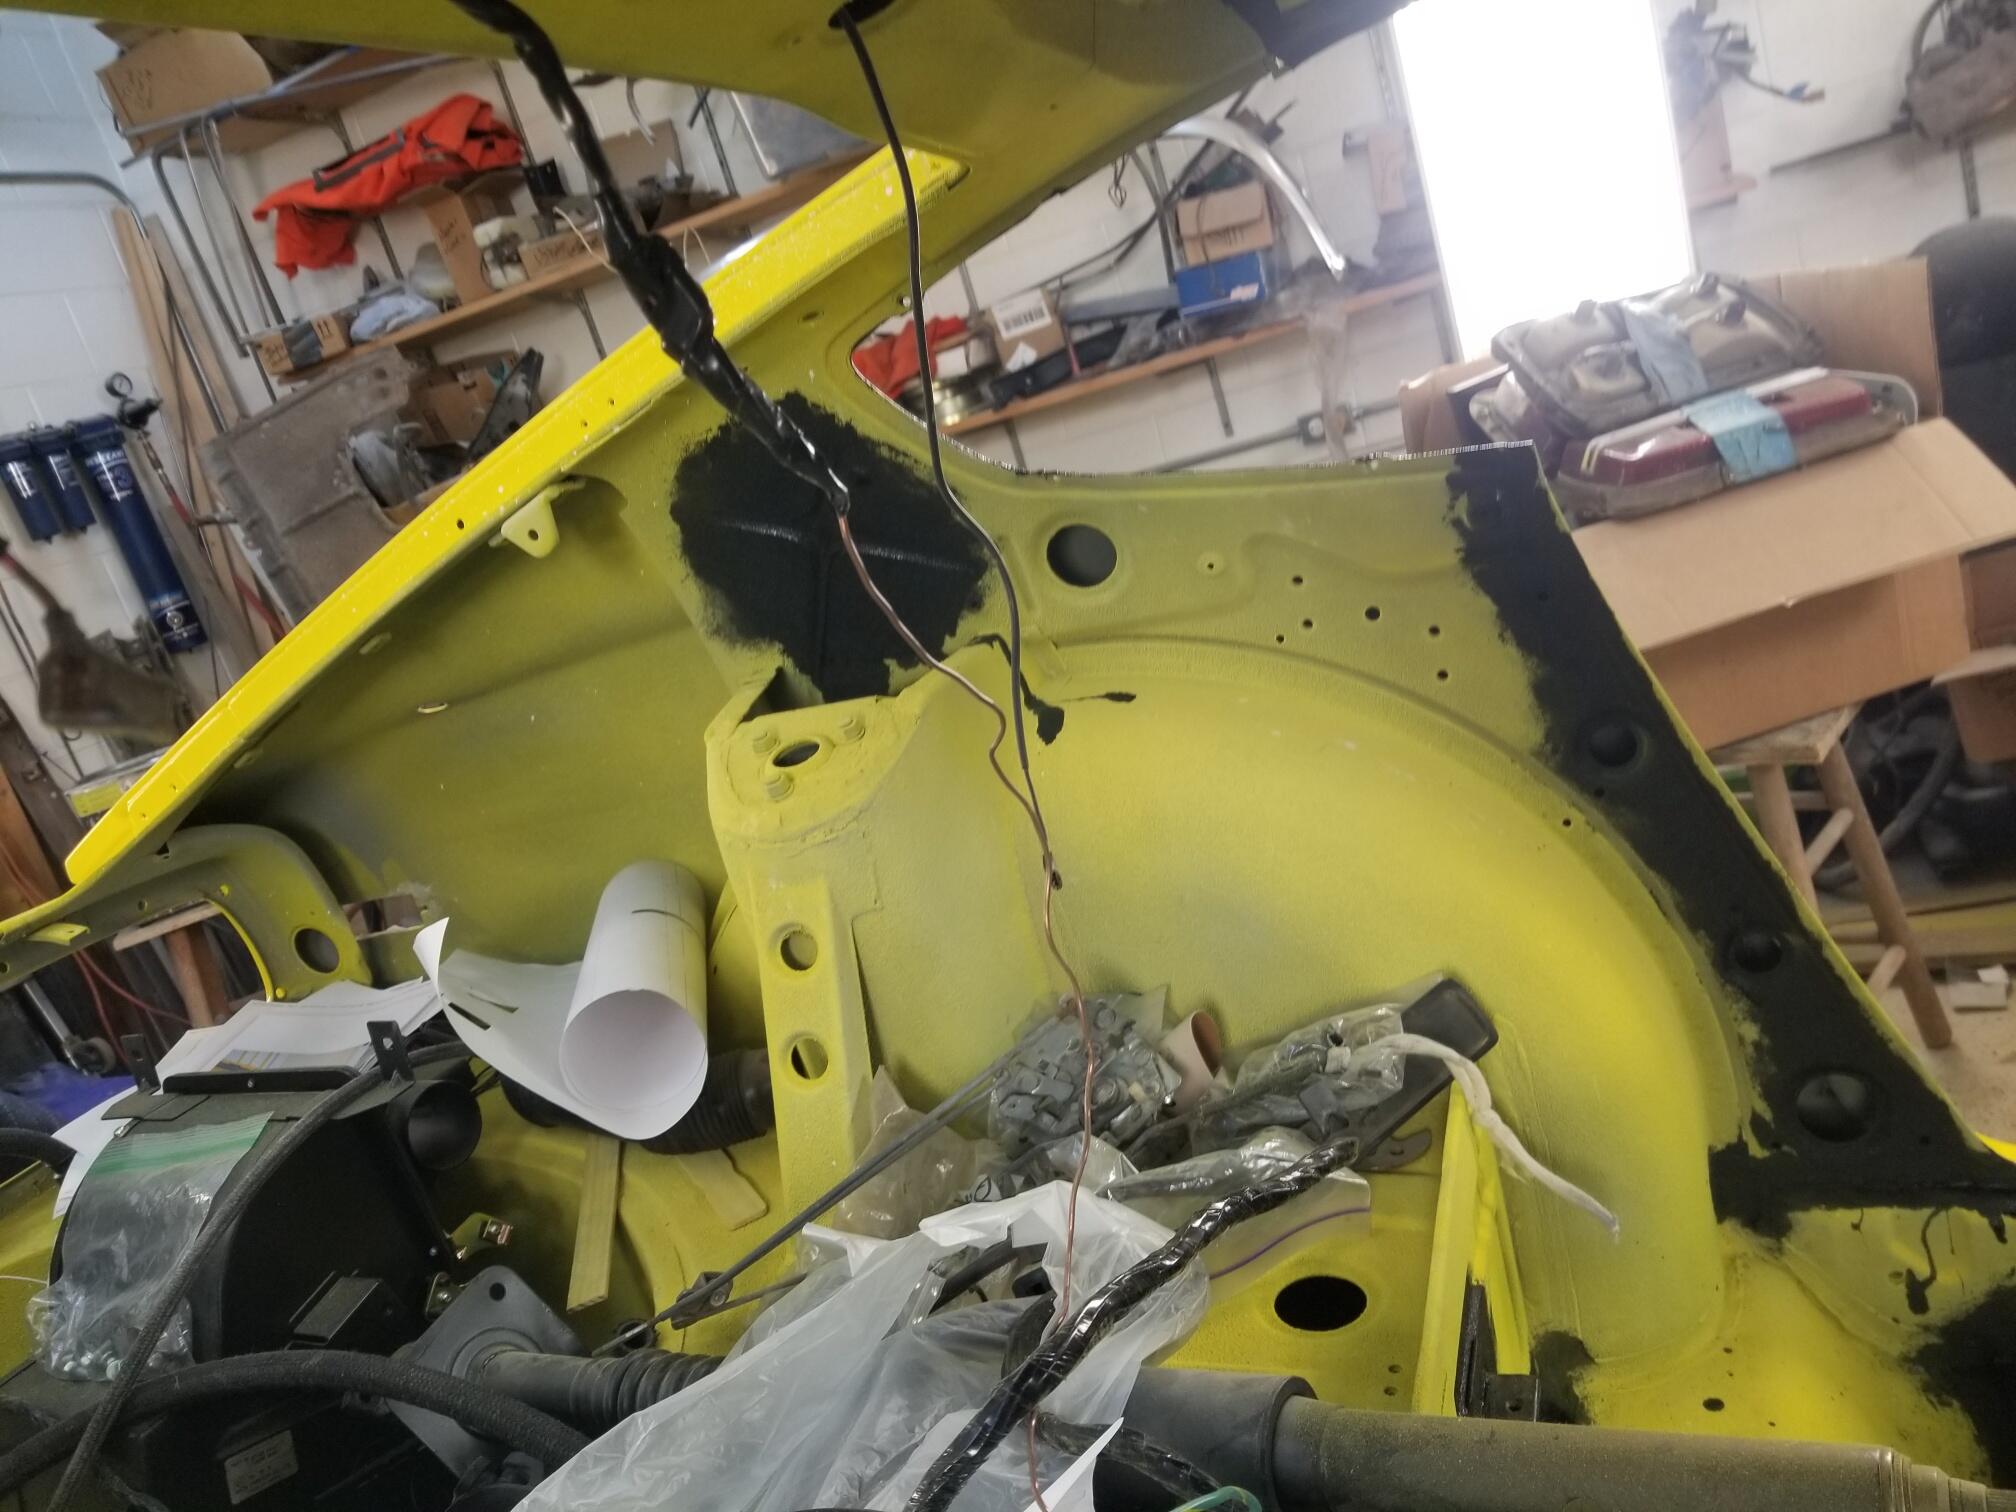
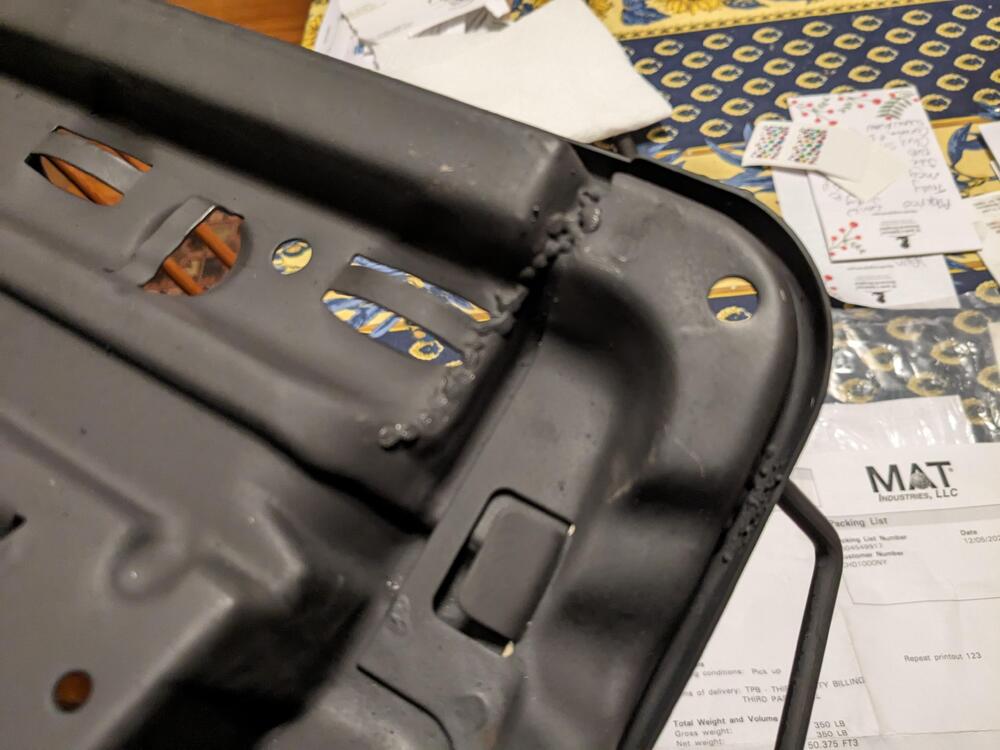
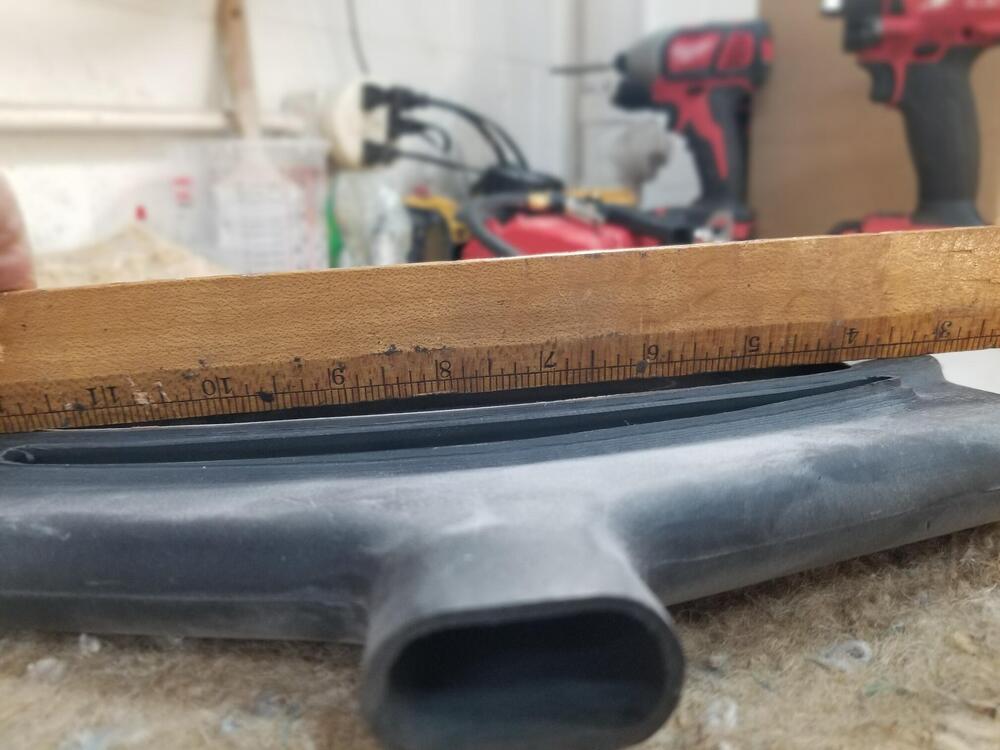
1 pointedit: I believe the slot you are pointing to is for cabin air to escape though the hatch. The slot above is sealed to the hatch to drain water. The flaps on the hatch interior panel stops exhaust fumes from entering the cabin while letting air exit. I hope I got that right. On my 7/70 there was no jute in this area. The vinyl was glued directly to the painted steel.1 point
-
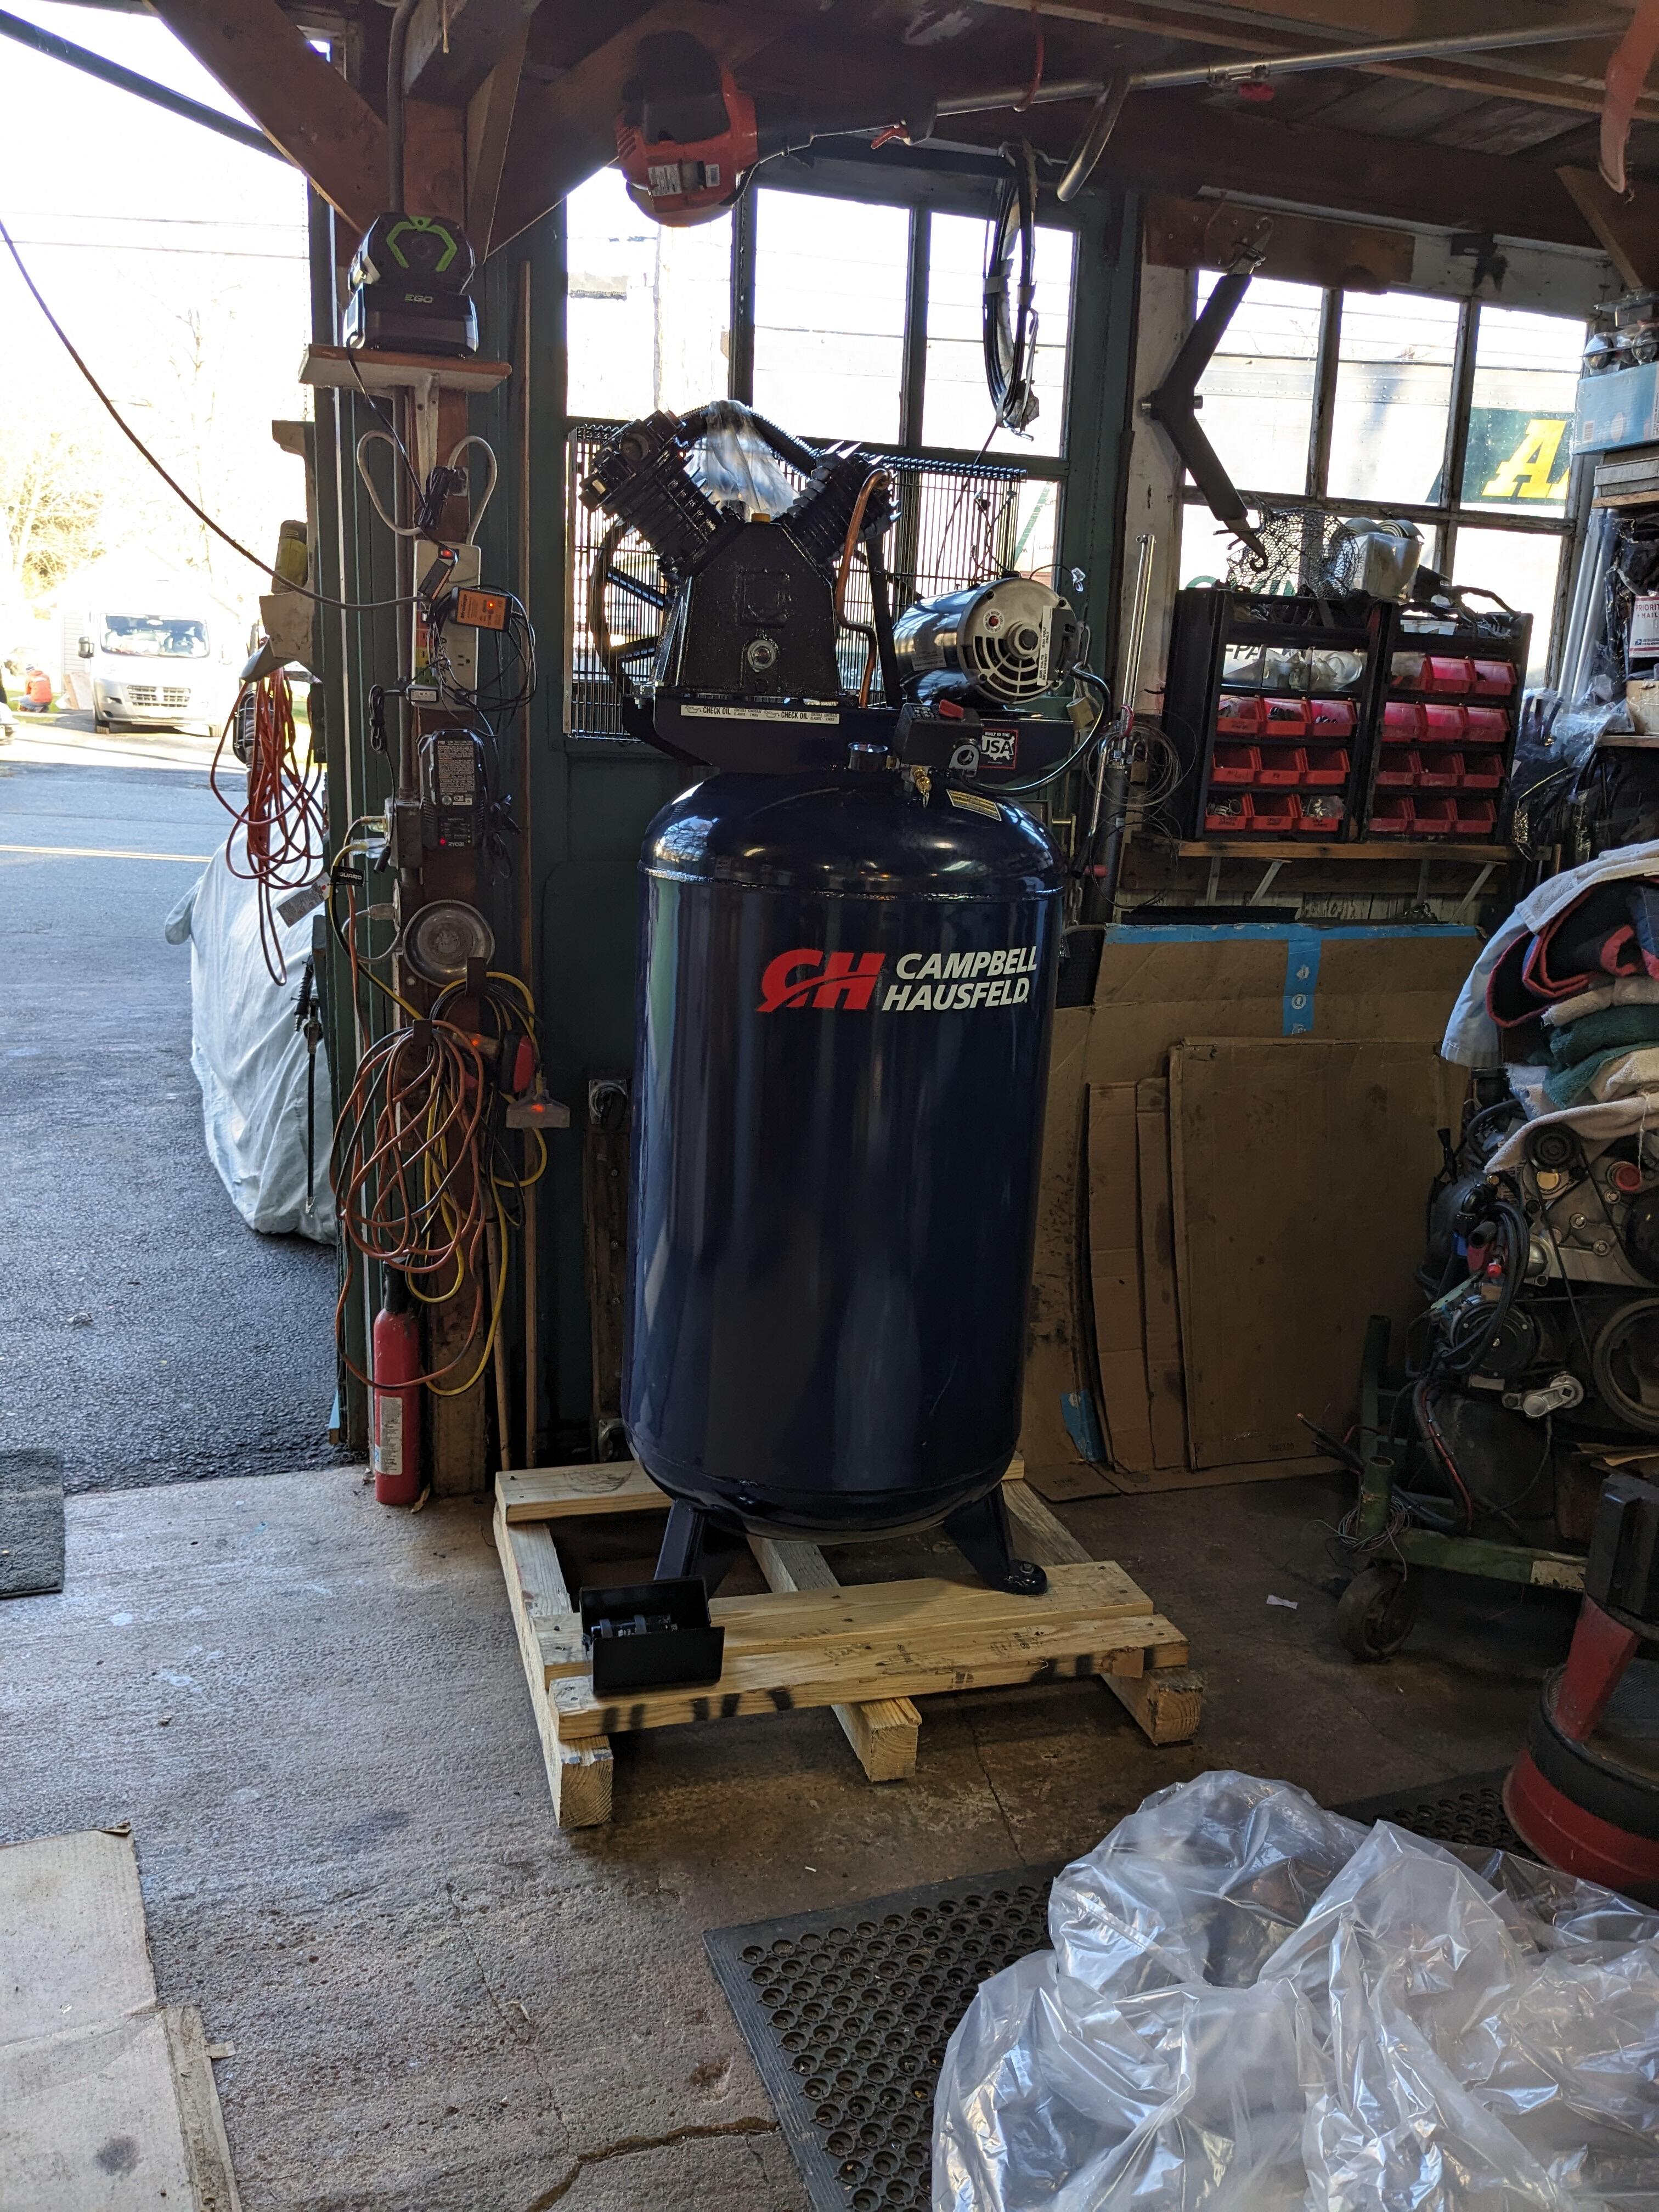
1 pointThat's a nice sized compressor! BTW I am so glad you're here posting. Otherwise I would run out of stuff to read and that would be bad!1 point
-
1 pointI found a barrel nut assortment pack on eBay a while back, had the perfect size for these.1 point
-
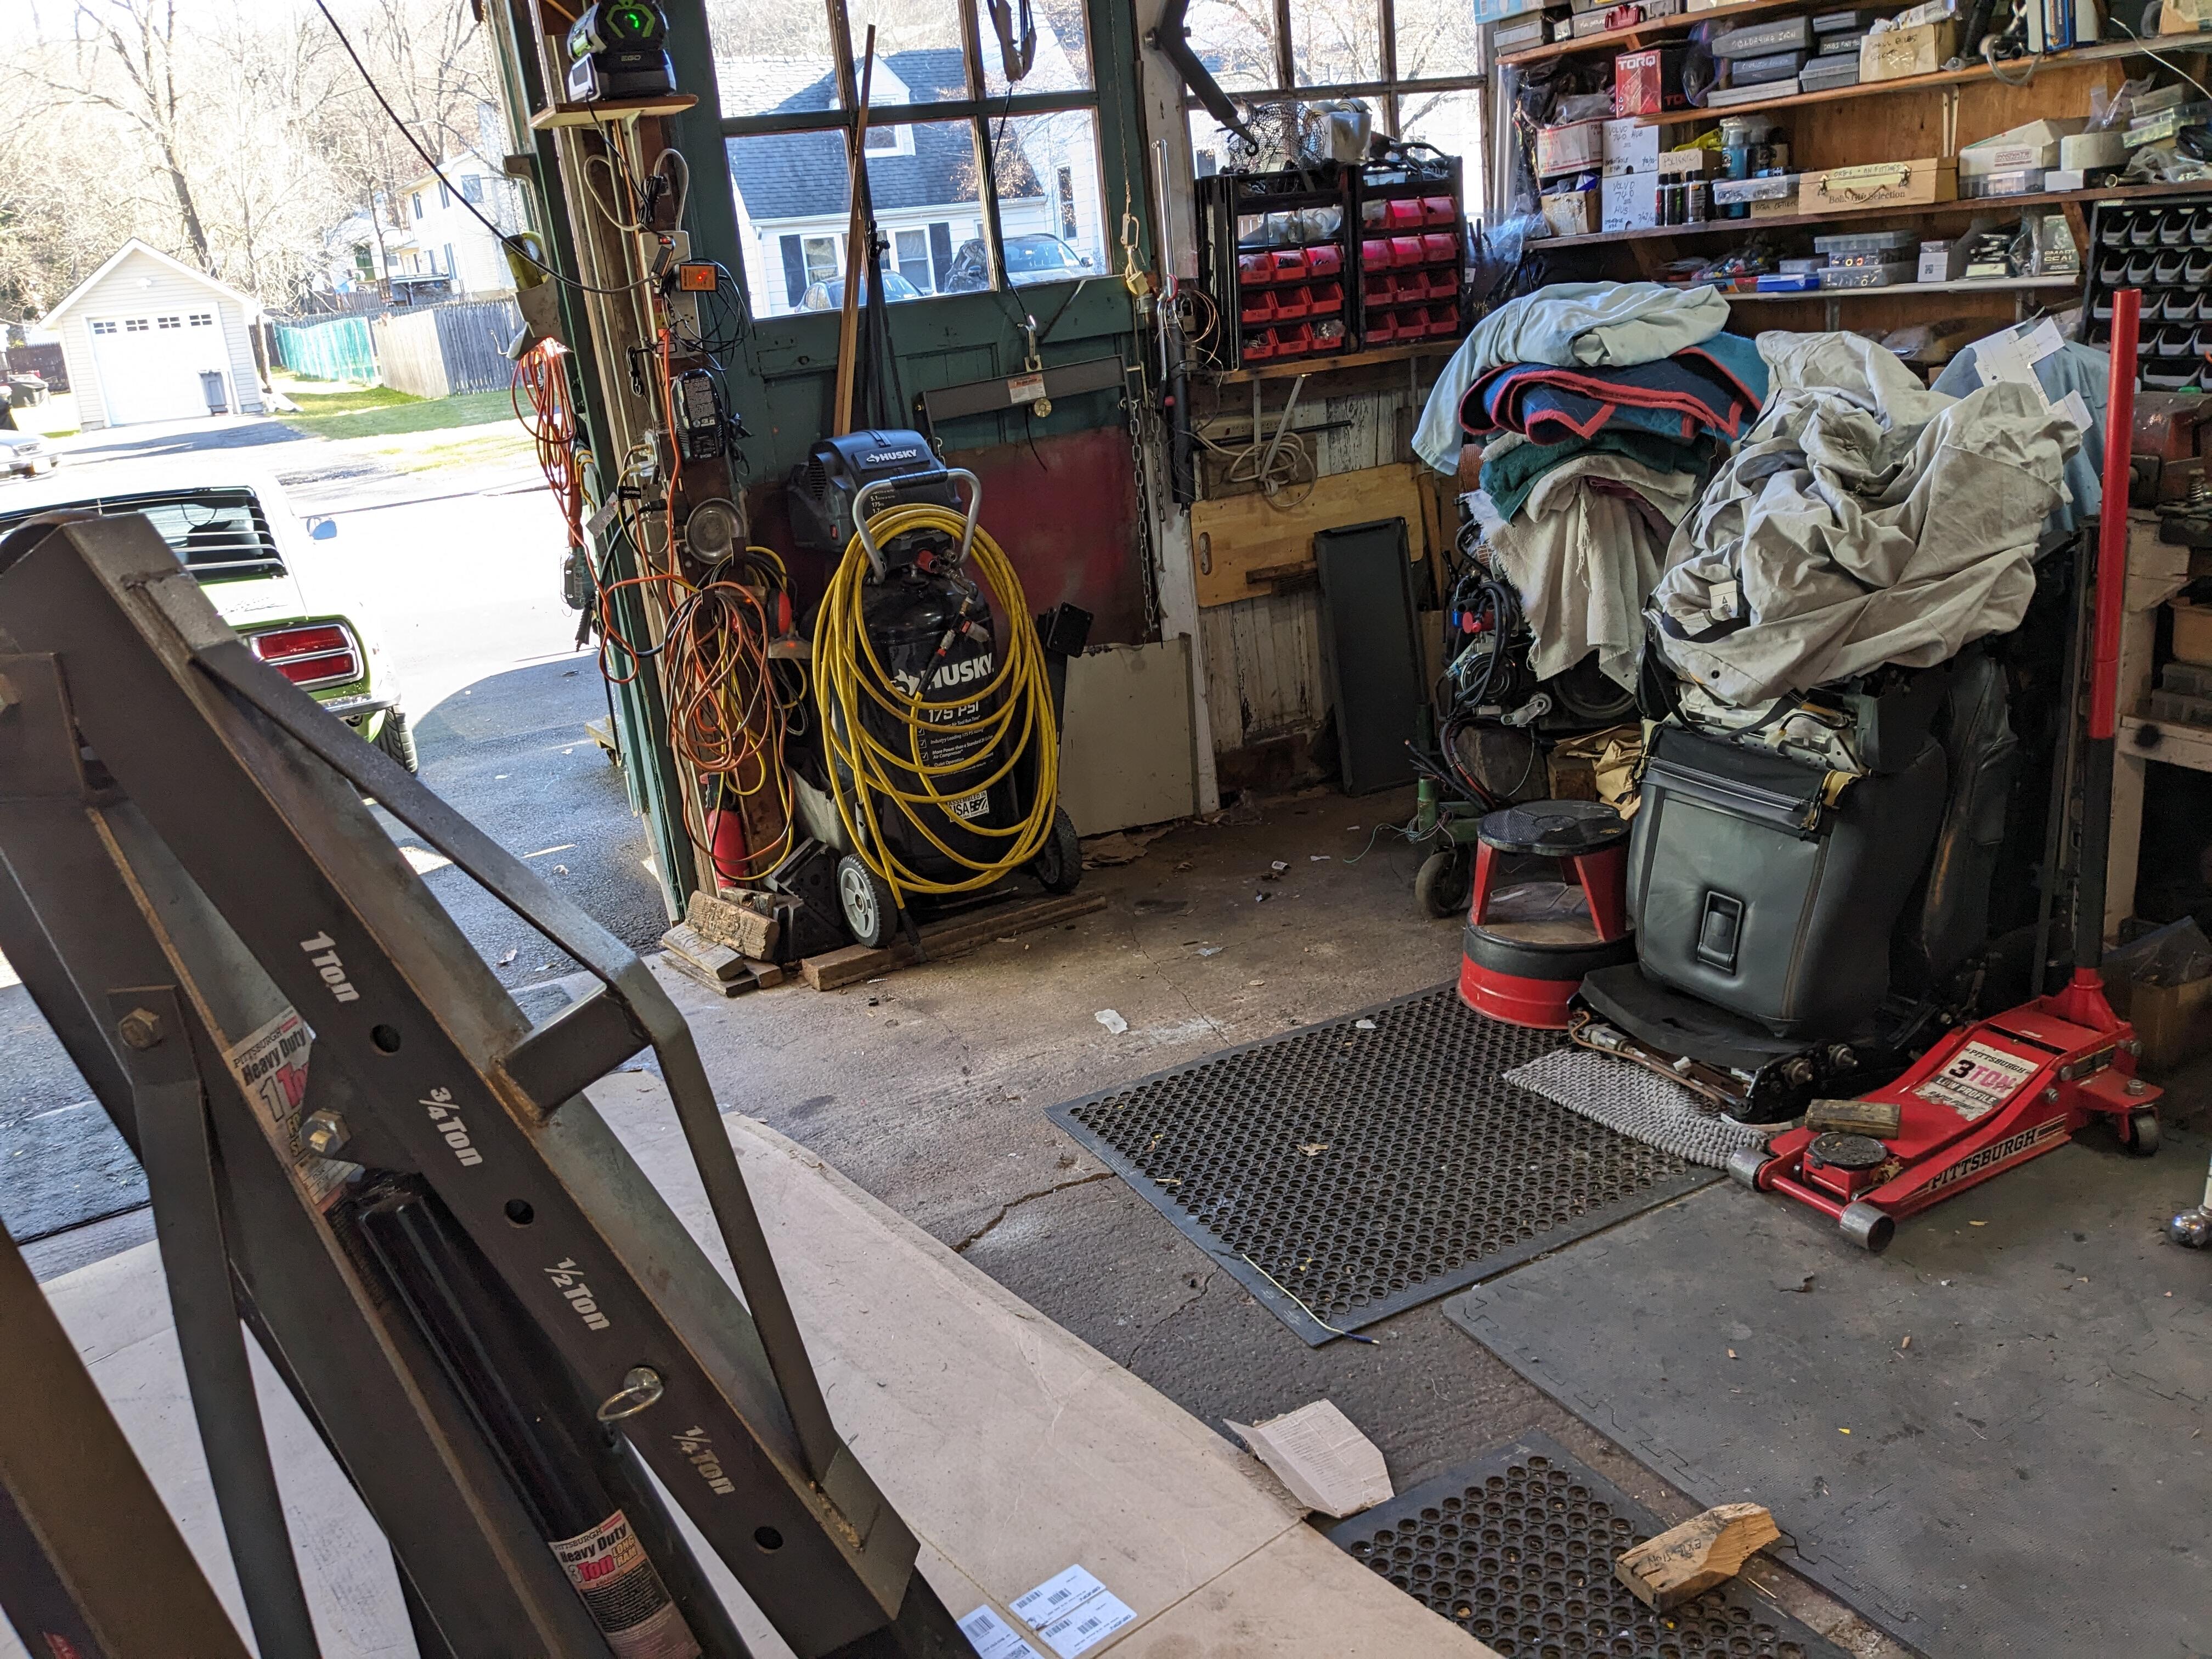
1 pointCrack went pretty far. Been sided tracked on other stuff - I ordered a better sized compressor for the garage, so I can do my own paint again if I choose. Problem is, there is just too much stuff in my small garage as it is, so I had to make a platform on the back of the garage to house my engine hoist, press & other stuff that I don't need on a daily basis should work out, eventually


 1 point
 -
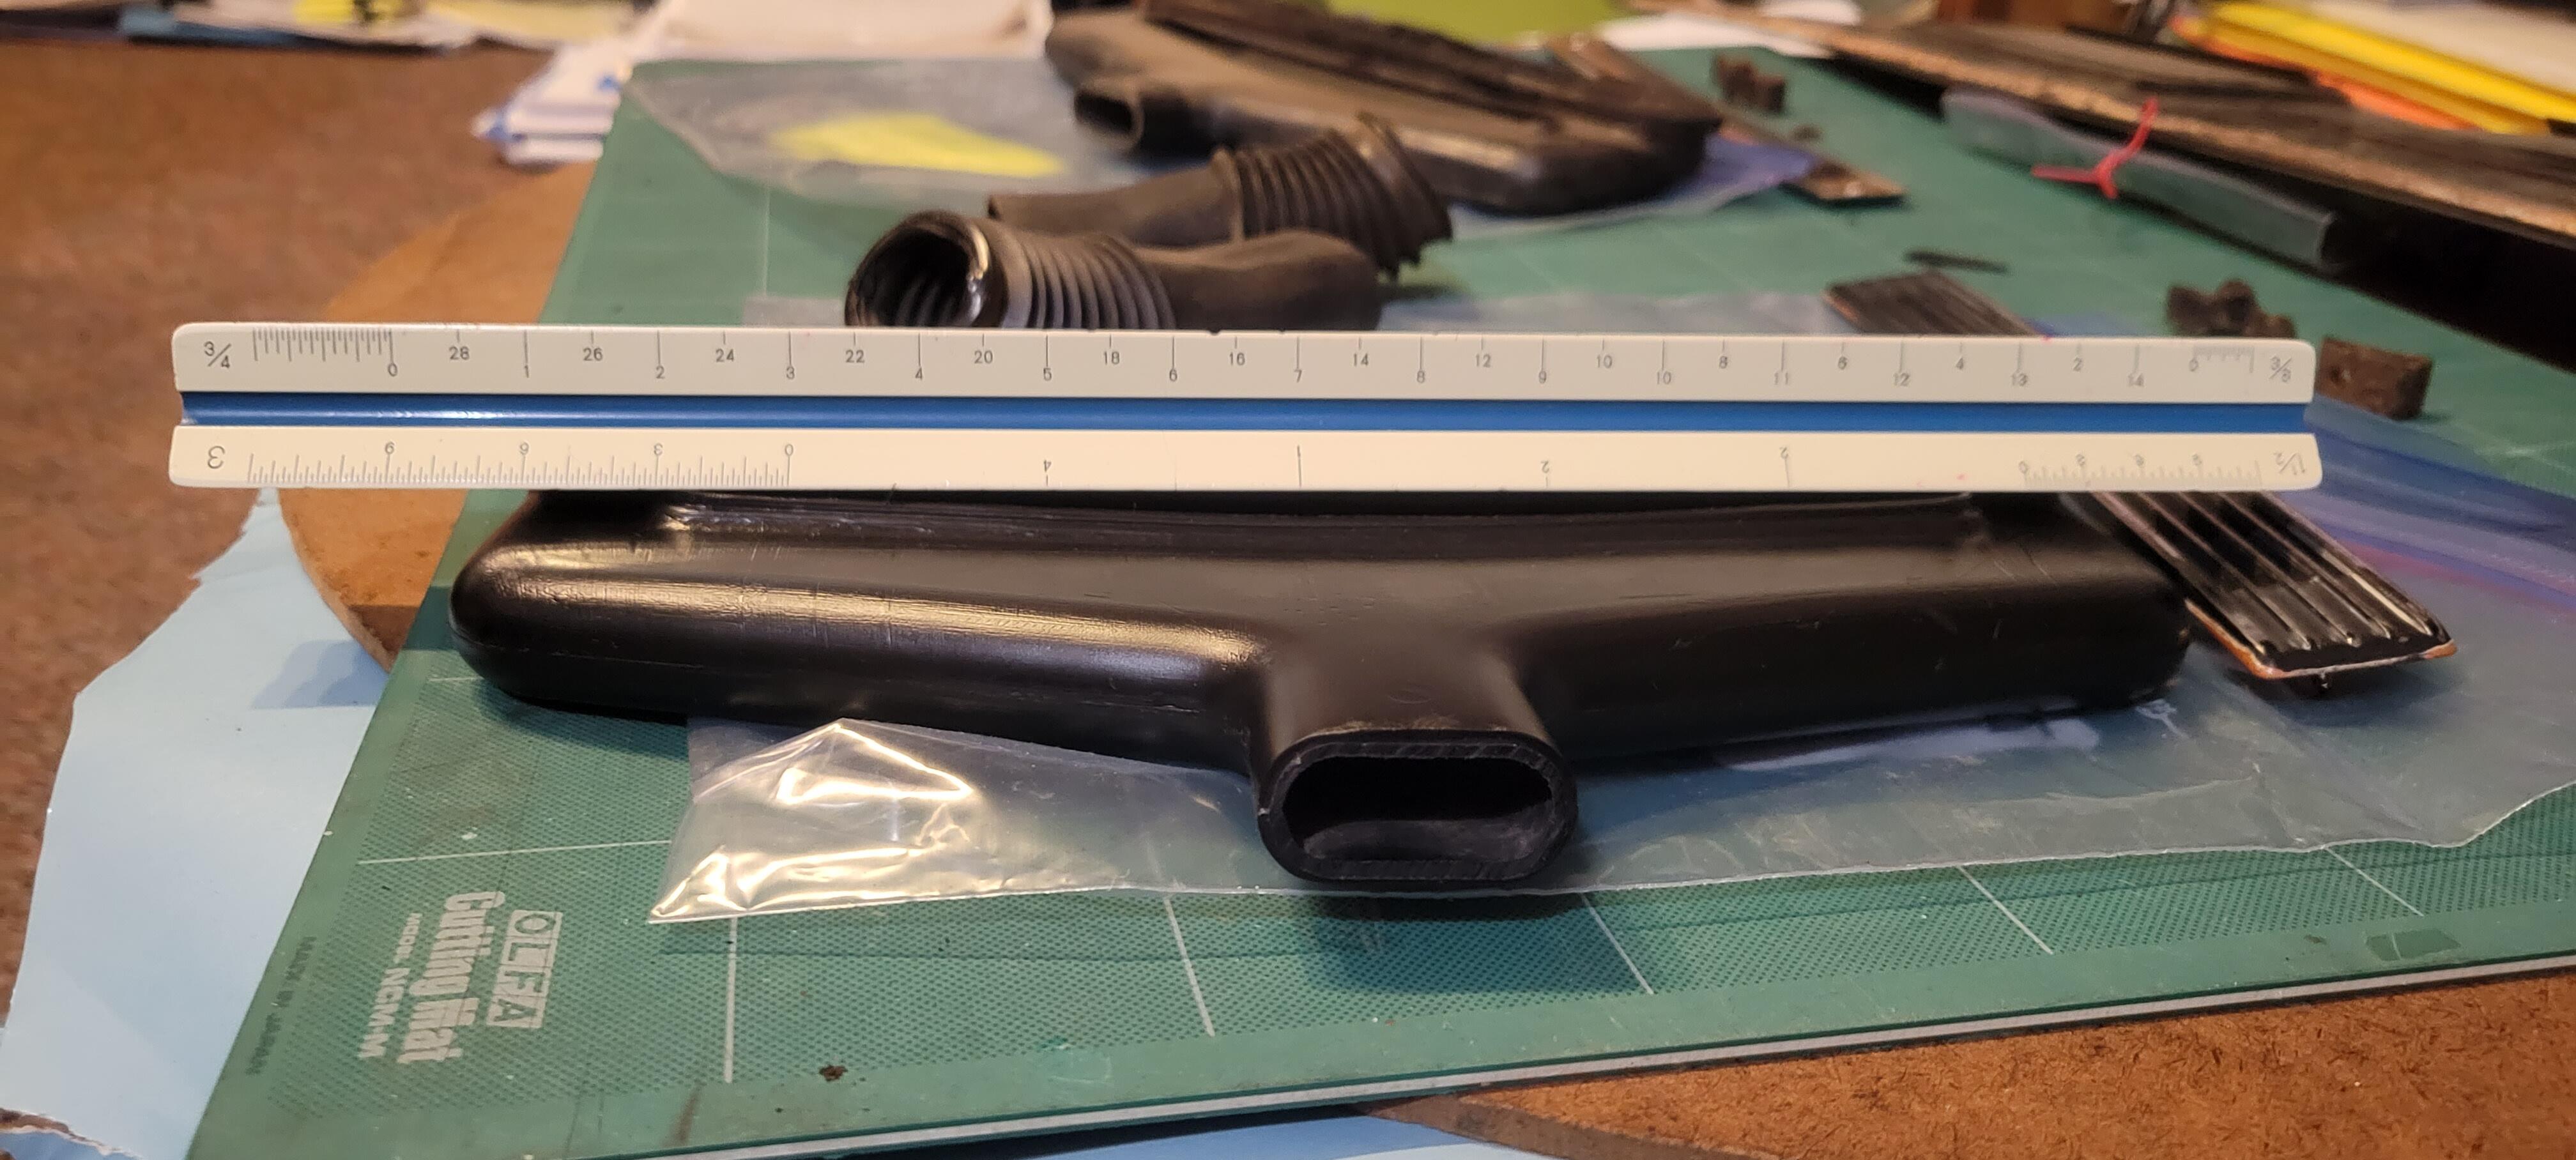
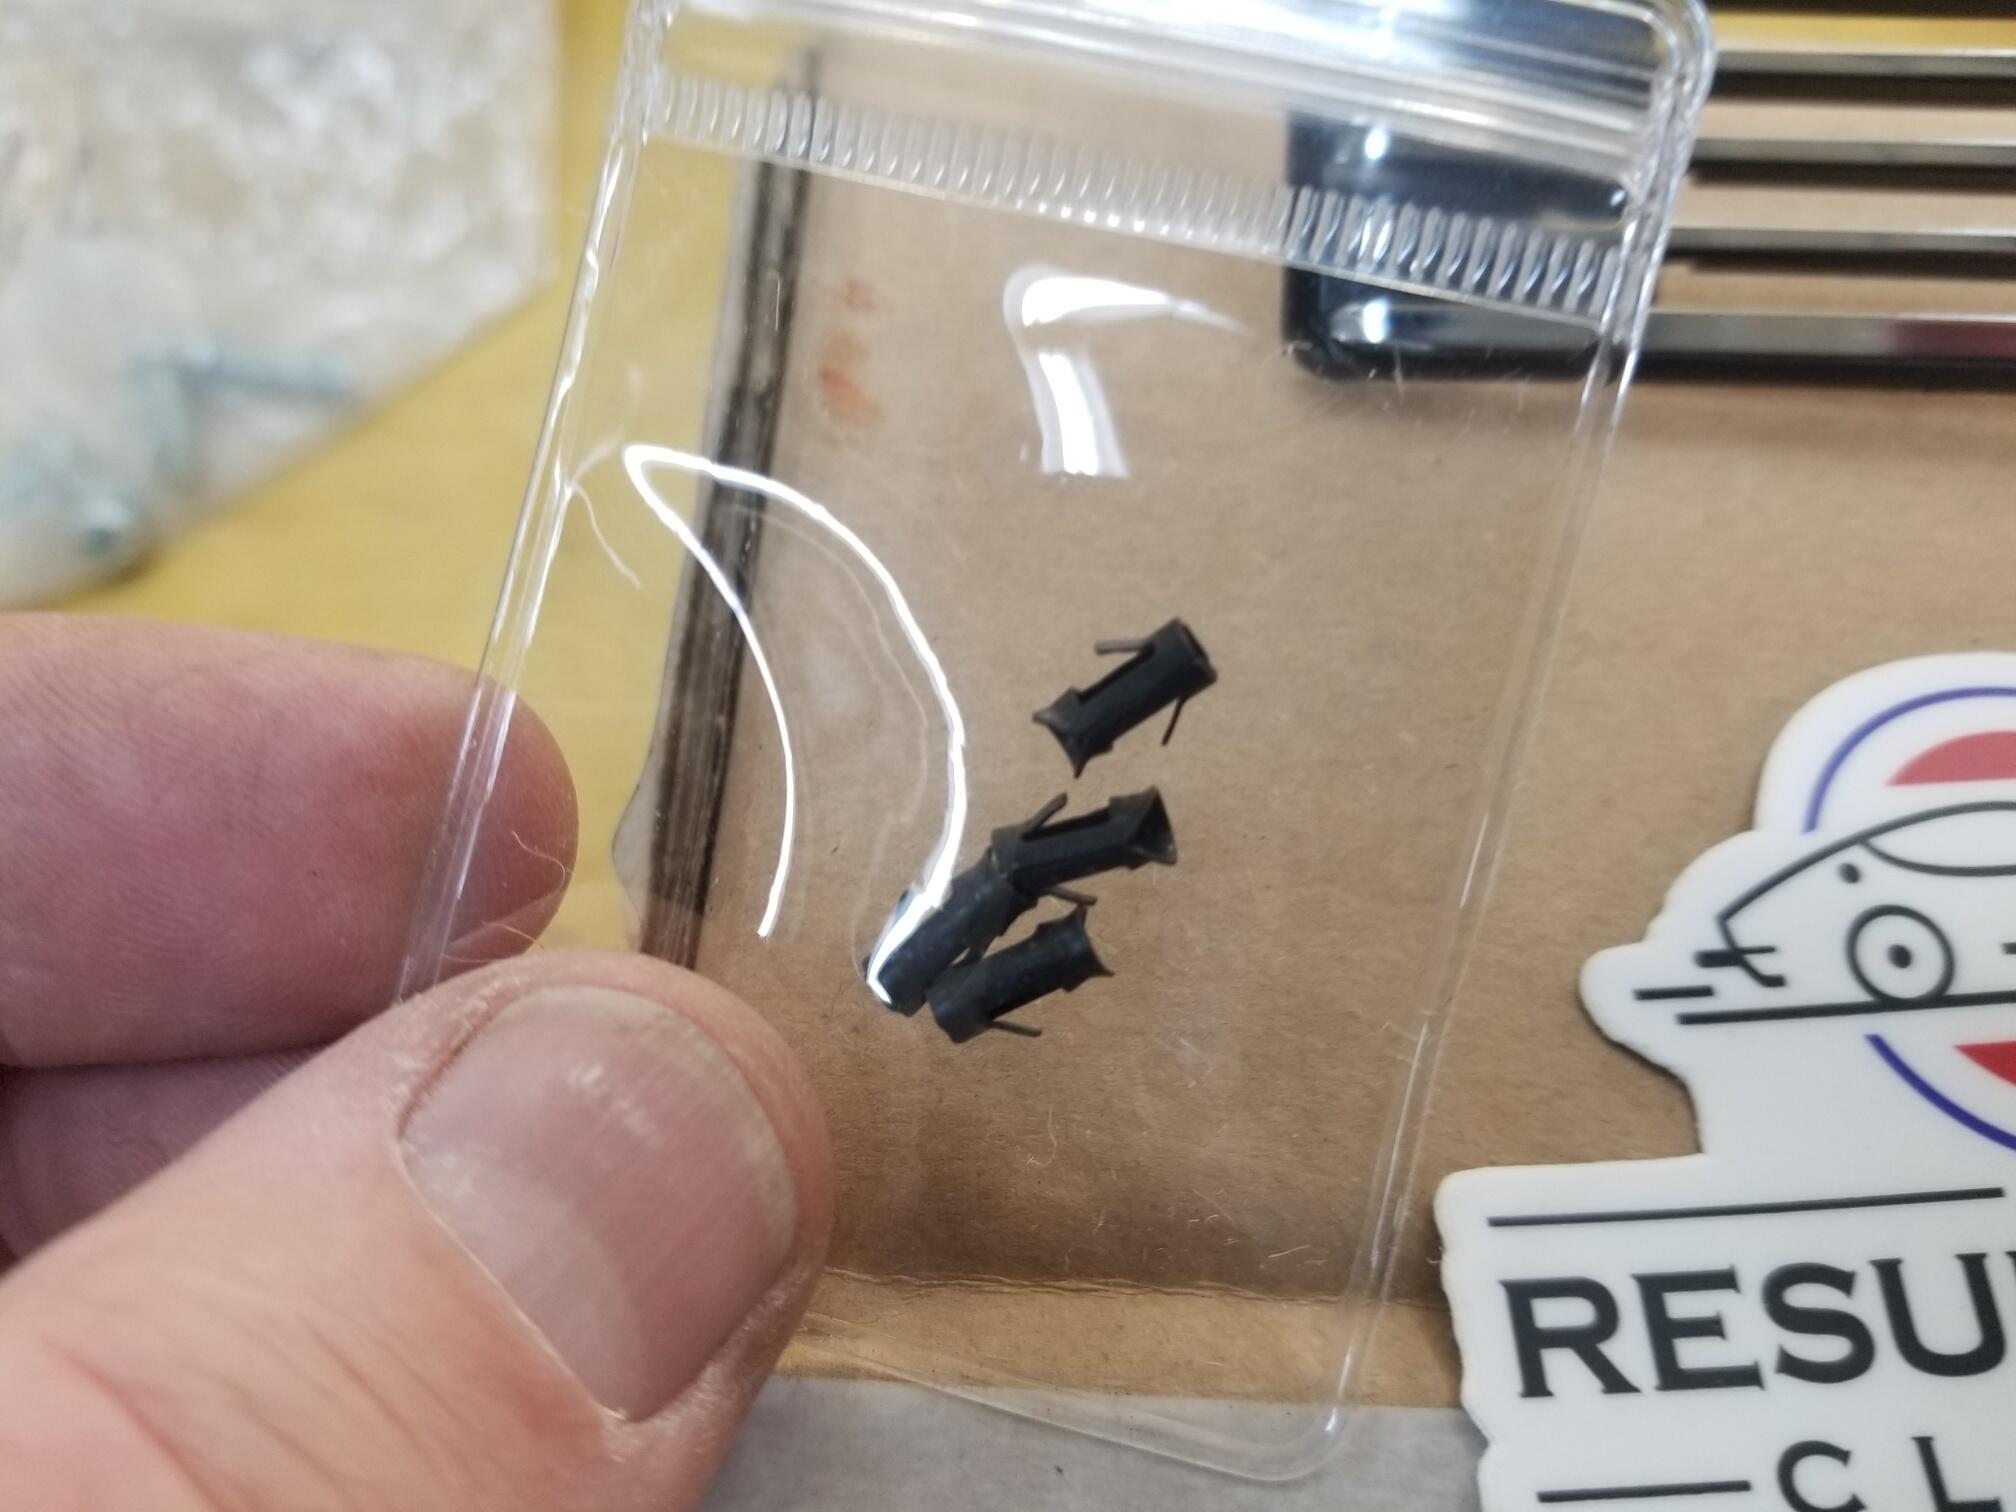
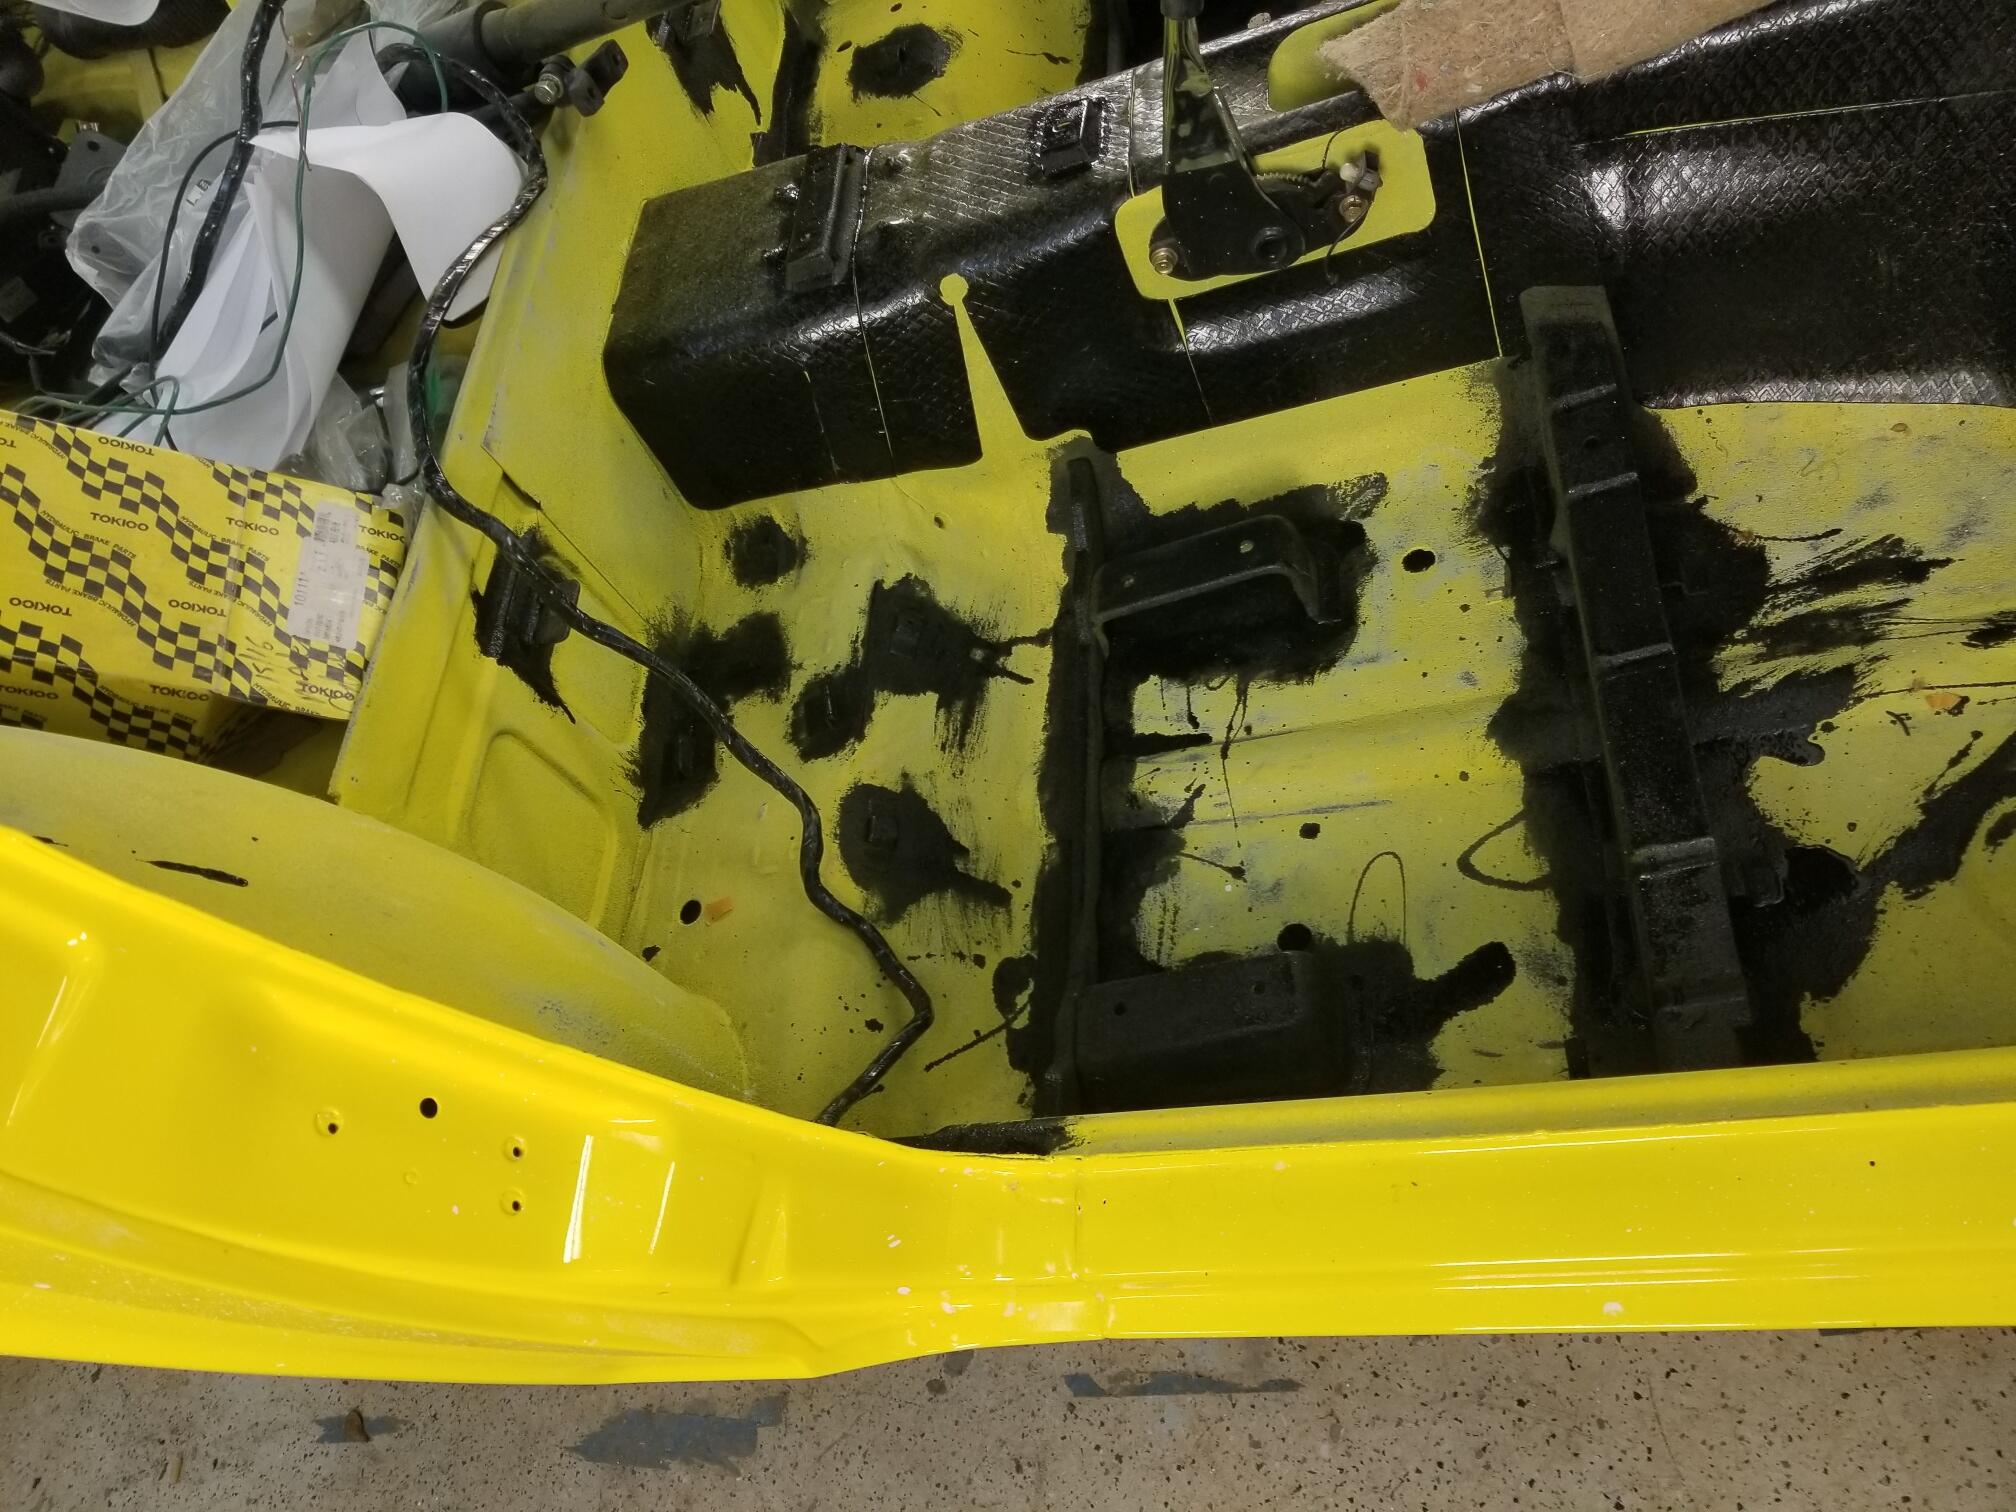
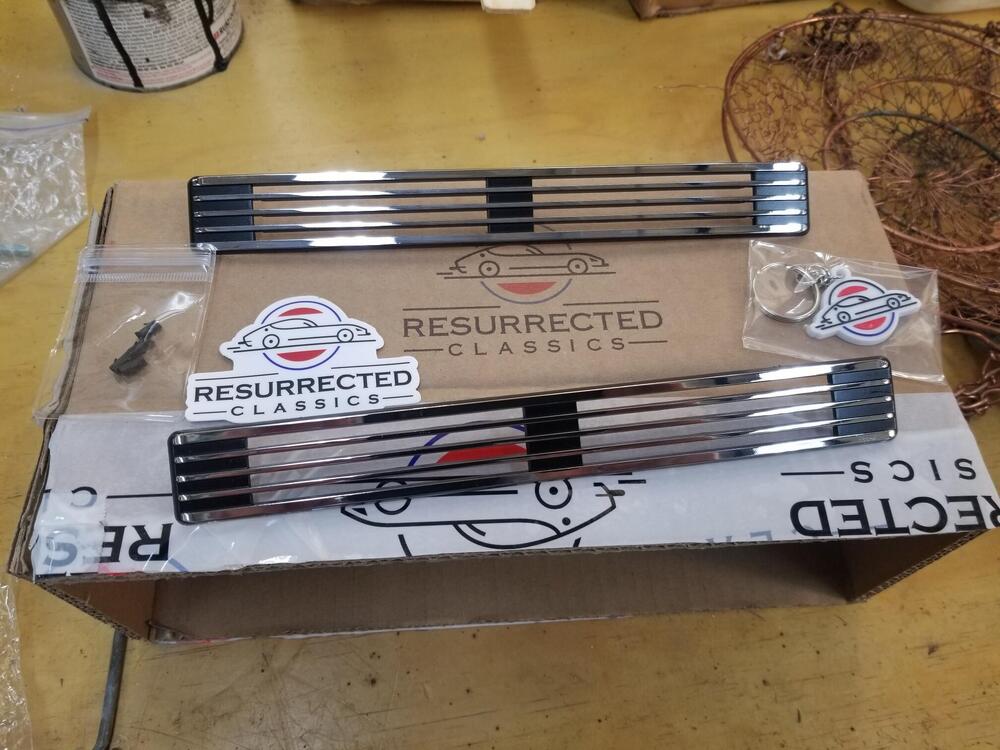
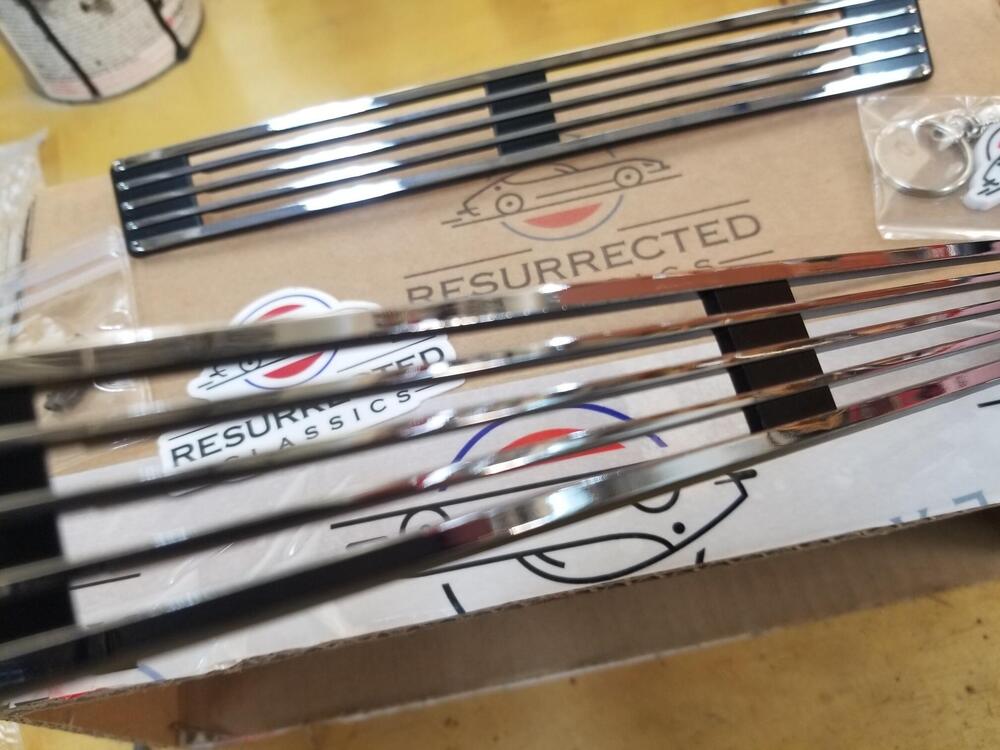
1 pointHere are the new grills They included barrel clips This would match what I found on disassembly. I believe this was the original method for mounting the vents. I think it was revised later to use a spring nut in the vent to hold the emblem stud I blacked out some areas. I didn't try to be neat and I blacked more than the factory did. The hatch vents definitely have some warpage. I gently heated them tonight and propped them up with paper. Haven't made any pictures yet What do you think this slot is for? Also do you just glue the interior trim to this vertical panel? Do you use jute here?


 1 point
 -
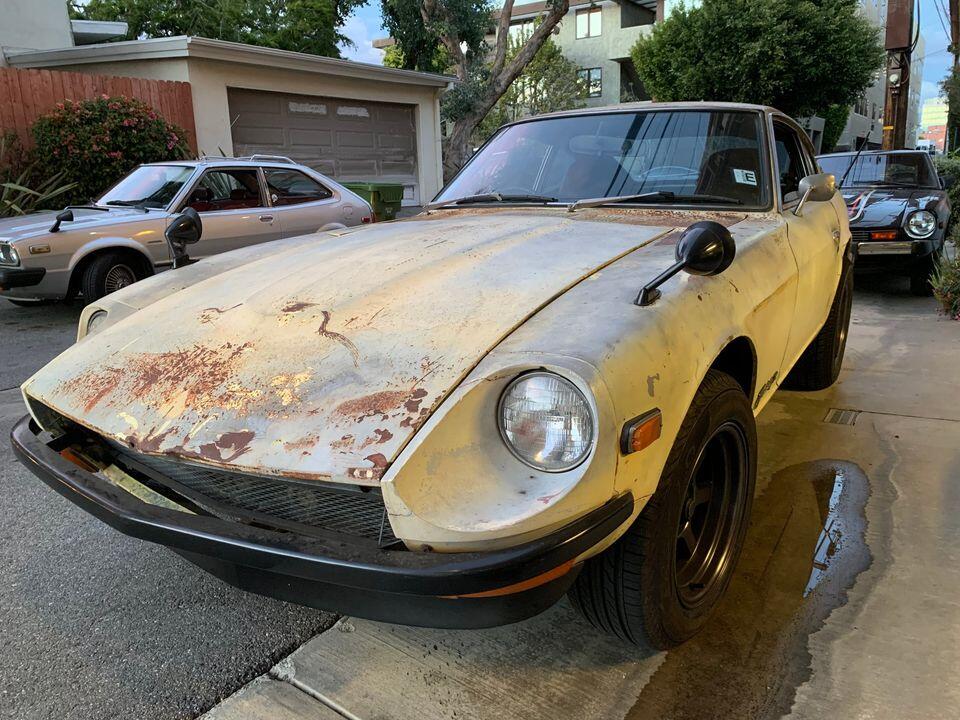
Interesting cars he has there. The rusty one is only $69,500.
 1 point
 -
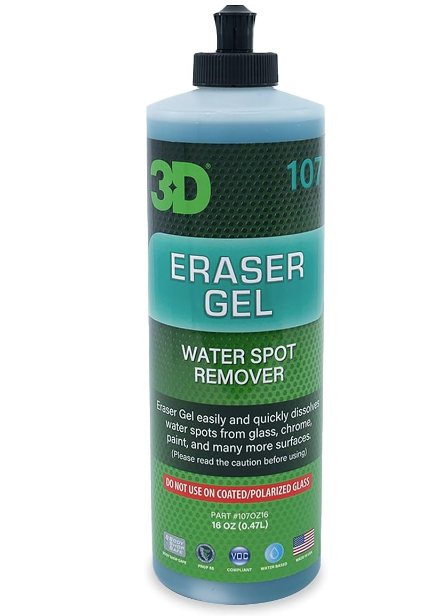
OK, finally found something that works really well. I tried everything suggested here plus I bought this crap I would not recommend for anything other than wasting your money: what did work really well on the water spots as well as all the hazy scratches was this glass polisher https://www.amazon.com/dp/B011A8ZPL4?psc=1&ref=ppx_yo2ov_dt_b_product_details its a labor of love for sure slowly working across the glass but i'm really happy how well it does on all but the deepest of scratches. My biggest issue was this really noticeable racing stripe scratch that was probably from a lost or broken window roller. You can also see the hazy water spots and those spots and this strip is completely gone after a few careful applications.

 1 point
 -
This one has potential to be a nice driver, you would have to strip off the 80s style bumpers and side skirts and try and match the paint. Has a dash cap rather than the replacement dash as the description says but otherwise it is nice shape. The seller says he purchased from Barrett Jackson so he probably paid more than he should have but I'm thinking BaT agreed to about a $15,000 reserve. https://bringatrailer.com/listing/1972-datsun-240z-300/1 point
-
Haha! Thanks. Note that there are some errors in those older spread sheets. Make sure you triple check everything as you go! I’ll post the latest info when I can. Dashboard wiring should start next month.1 point
-
1 pointSpeaking of POR15, I’m sure most folks here have bought a can no matter the size, Use it once and attempt to reseal it the best you can only to find out a while later that when you finally get the can open that expensive POR 15 is dried up!! Went to a fellow members shop in Al. No it was not @siteunseen!! Kenny showed me a trick that was passed on to him. When you buy a new can Don’t open it. Take a punch one hole on each side of the lid. Take two lag screws and put ‘em in. When you’re ready to pour remove both screws. Pour out what you need in a disposable cup, reinstall the screws flip it upside down to seal the screws and you’re ready for next time. He’s had this can for over a year and used it multiple times. Maybe it’s an old trick but a first for me. Hope that helps someone out there.1 point
-
0 pointsActually has to go back - they damaged it in shipping, looked fixable at first, then noticed the motor mount plate is bent, pump tube is bent, the drive belt doesn't align, and a fin is broken off one cylinder head.0 points