Leaderboard
-
Captain Obvious
Free Member9Points10,081Posts -
conedodger
Free Member5Points12,513Posts -
HusseinHolland
Free Member4Points1,031Posts -
HS30-H
Free Member3Points5,509Posts


Popular Content
Showing content with the highest reputation on 12/06/2023 in all areas
-
Most of the strut shafts I've messed with are chrome plated carbon steel, not stainless. But I don't know for sure what Koni uses. As for "Is it a mistake?".... I guess that kinda depends on who you ask. If you ask ME, the answer is "Yes, someone at Koni made a mistake." Why do I say that? Because this problem keeps happening over and over again with those parts. It's clear that something is wrong and it's not just you. But WHO at Koni made said mistake, or what KIND of mistake was made is up for debate. It's either a materials specification mistake or a documentation mistake. At bare minimum, there should be warnings in their documentation about this type of failure and how to handle the installation process to avoid the problem. Maybe specify (or even supply) some lube. Maybe switch to different hardware. Something. But the fact that it just keeps on happening to other new purchasers is an indication that something is wrong. I think you should take it up with Koni and see if there is any relief available. There was a Koni guy around here at one time. @KONI Lee3 points
-
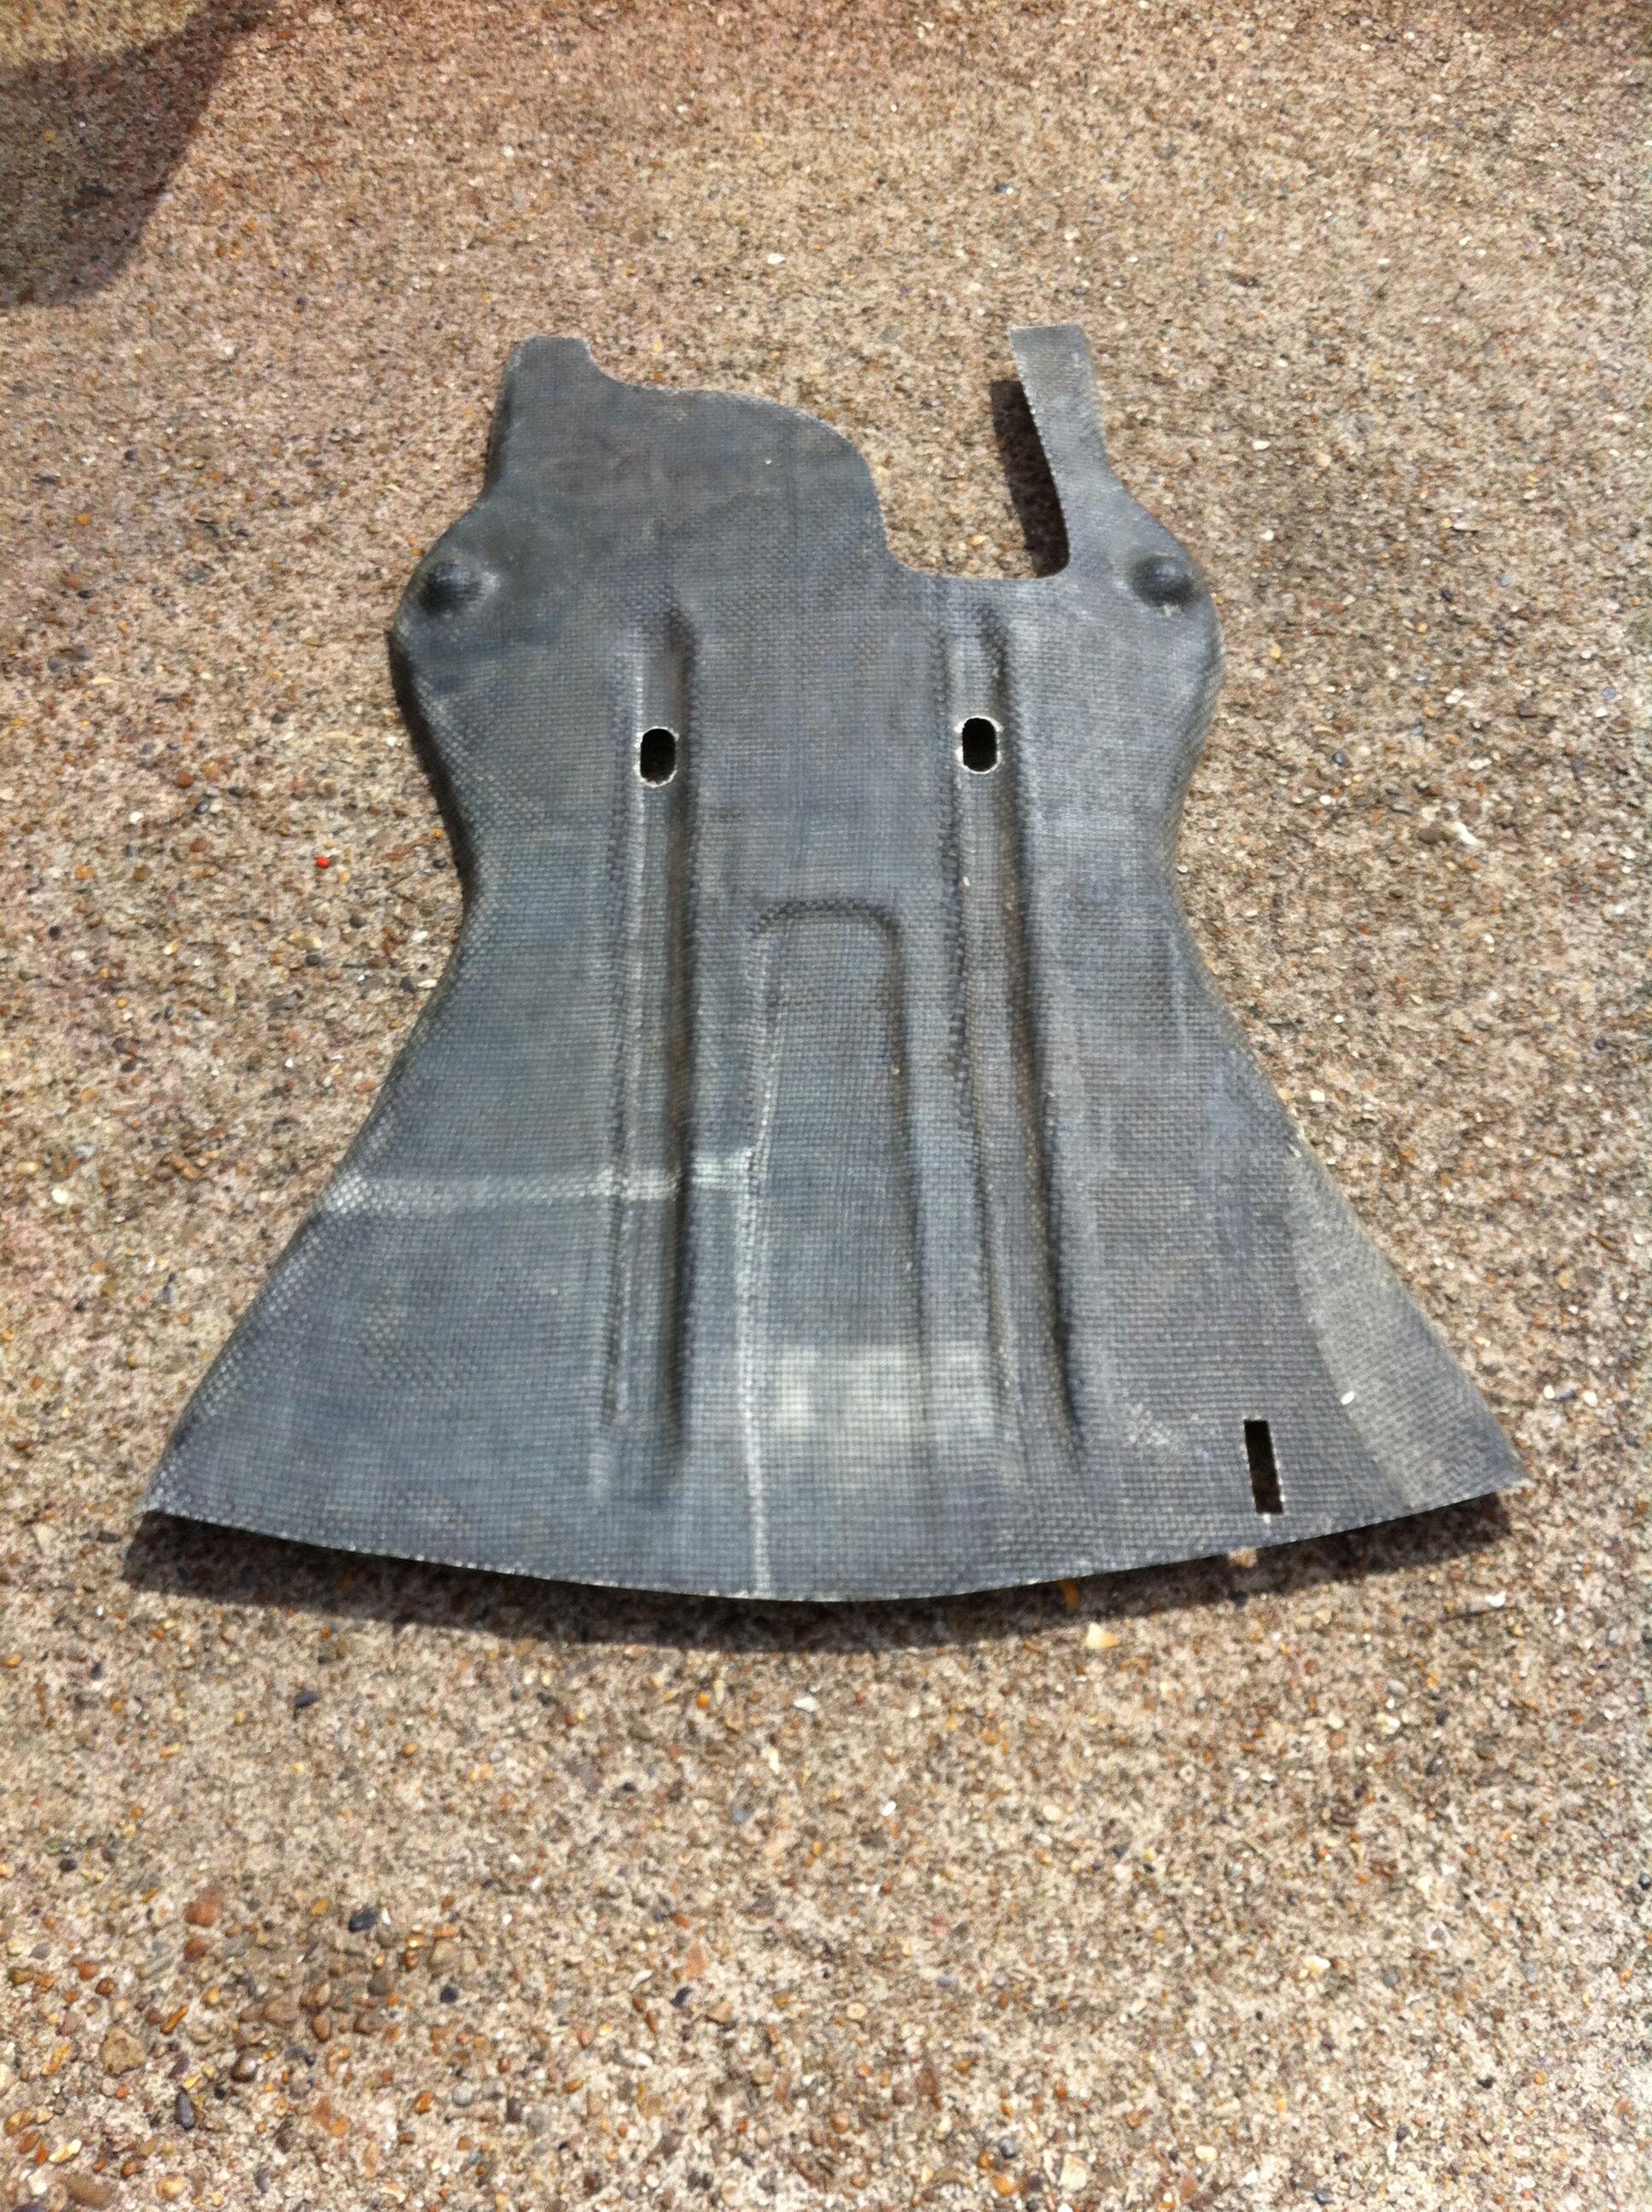
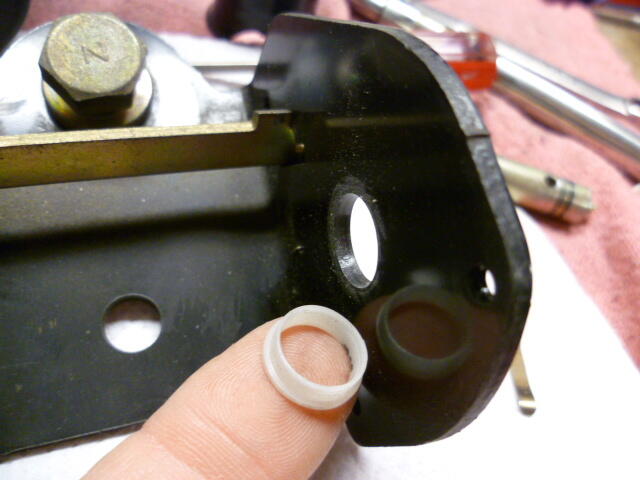
2 pointsIt looks to me like to aftermarket eBay pieces that you’ve bought have been incorrectly made. They appear to have been stamped out of some type of rubber or foam sheet material. That would make it easy to mistake them for gaskets. In fact, the real OE pieces (called ‘bumpers’) are molded from plastic. The plastic used has a bit of flexibility, but not much (probably made from PVC or Delrin, rather than from styrene). Each bumper's shapes consist of an internal lip and an external flange. The flange forms a shelf on which an actual gasket sits. That gasket can be cut from squishy, closed-cell foam tape. The purpose of the lip molded into the bumper is to make sure that all of the rain or wash water funnels down into the plenum chamber. Without the lip, some of the water could find its way into the hatch cavity as it drips down through the vent, leading to premature rusting around the periphery of the hatch and/or around the hatch window frame. The purpose of the gasket is to prevent rain/wash water from seeping into the seam between the top surface of the bumper flange and the unpainted underside of the outer hatch sheet metal. As for the retainer clips, I made mine from scratch (there were no replacement pieces available at the time). They may, then, look a bit different from the stainless clips that you bought. However, I sized the holes in them specifically to accept and grip on the plastic pins that are molded onto the bottom of the chromed-plastic vent trim pieces. There was/is no good way to use screws to hold the vent-gasket-bumper-plenum assembly together. Unfortunately, the pin-into-clip securement strategy means that it will probably prove impossible to remove the chrome vent trim piece after the fact without breaking off the pins. Here’s the correct assembly sequence: The plenum (#55) goes inside the hatch with the little accordion drains attached to the bottom of the hatch panel. Then the black plastic bumper piece sits on top of the plenum, with the lip pointed down into the plenum cavity. It looks like the factory used sealant in the join between the bumper flange and the plenum flange. Then the foam gasket (you’ll need to make this yourself) sits on the upper surface of the bumper’s flange, so that it will end up being sandwiched between the bumper and the underside of the hatch sheet metal. After all of the mounting holes are aligned, one of the stainless clips get snapped in place so that it sandwiches all four layers: hatch sheet metal, foam gasket, bumper flange, and plenum flange. Repeat at the other end of the vent cutout. The bent lower face of the clip fits inside the plenum. The flat upper face of the clip fits over the outside of the painted surface of the hatch. The compression of the spongey gasket provides some load within the layers, keeping things from rattling. The mounting pins molded into the back surface of decorative chrome-plastic vents are now pushed into place. No metal barrel clip is used. Instead, the edges of hole in the clip bite directly into the plastic pin. You may need to figure out a way to push on the internal tab of the clip so that it doesn't back away as the pin is pressed into place (i's been a while and I don't remember whether this was a problem or not). Note: I suppose that the lip around the inside of the bumper isn’t mandatory. However, I hope you can now see the logic in having it there. Making lips for your flat eBay bumpers won’t be too hard. You could even make them using an old inner tube (they don’t have to be stiff – they just need to form a funnel that's long enough to project into the top of the plenum). Once cut to shape, glue each lip into place and make sure the seam where the ends meet is positioned on the top (located at the front when the hatch is closed) of the opening, rather than the bottom. Note: I’m not sure how thick your eBay ‘bumpers’ are. If they’re too thick (relative to the OE plastic bumpers), you may not have enough room to fit a foam gasket. I suppose that you could use sealant, although assembly might get messy (and taking things apart at some later date would be a pain). Some 1/16”-thick closed-cell neoprene foam would probably work as a substitute (can be found a Michael’s craft centres). Not much give in compression. You may need to layer it to get the right thickness.2 points
-
Not trying to pile on, but my experiences with both Koni and Bilstein over many years has been mixed. Their directions suck, hardware is usually universal and may or may not be needed or fit (mostly speaking of boots), and my last z was just too stiff for my liking with Bilstein and poly bushings. I went with KYB and stock bushings on my current build. Its obvious from the work you have done on this build that you know how to thread on a nut!2 points
-
2 pointsGlad to help. Hope you get it all figured out. If I were energetic, I'd reload those pics into that old thread. Maybe next time I'm allowed out.2 points
-
2 points
-
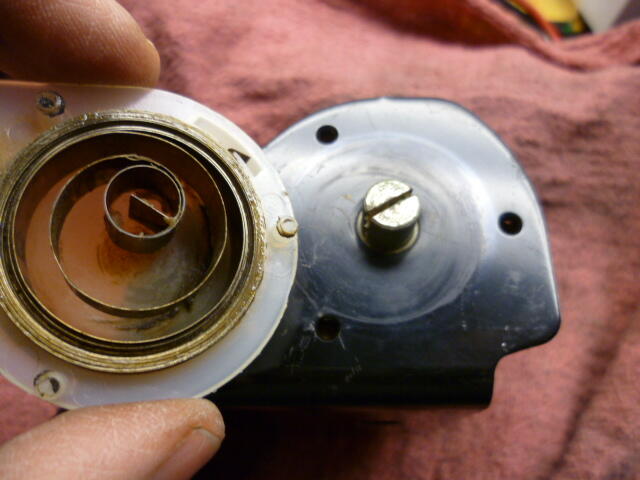
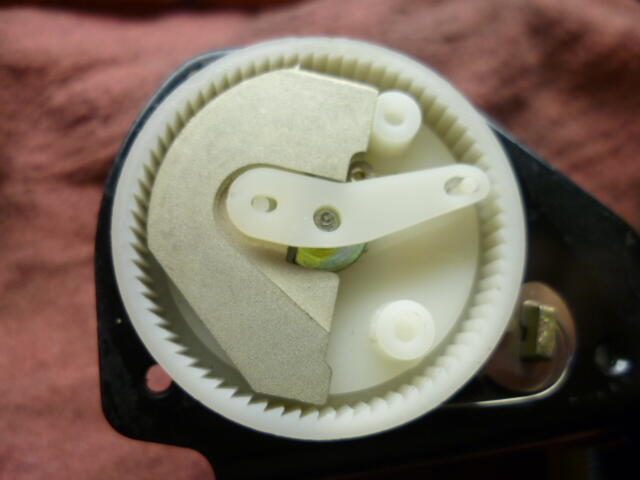
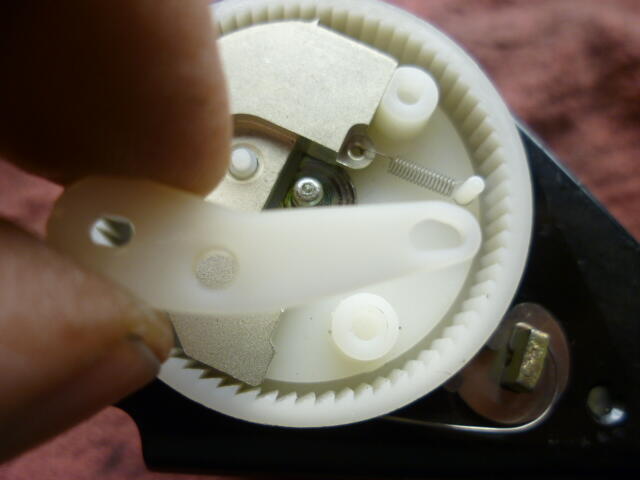
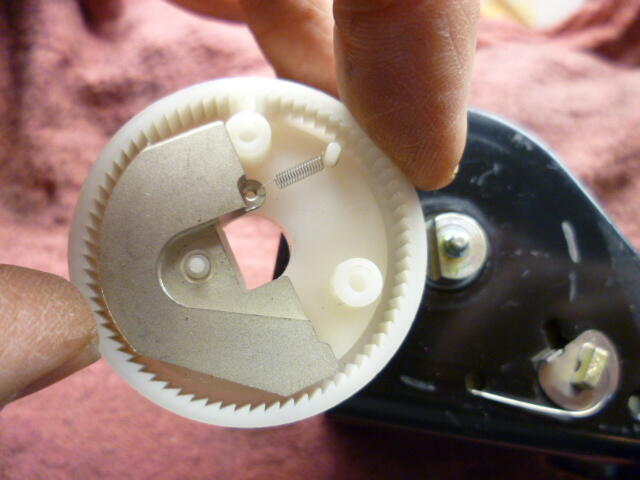
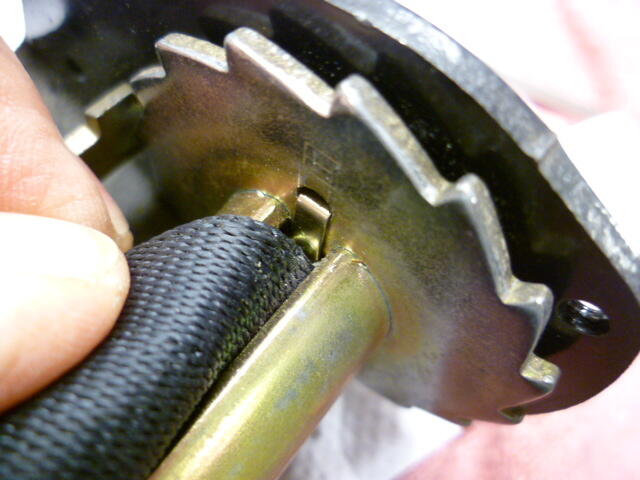
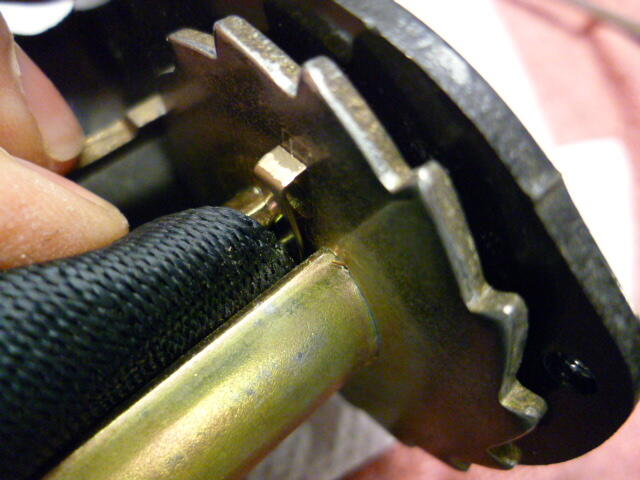
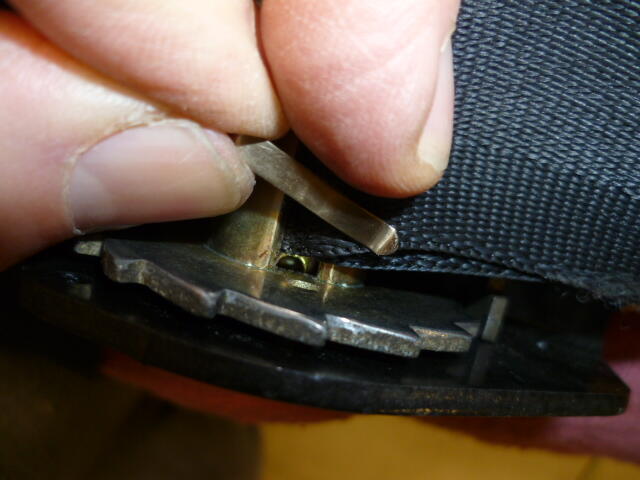
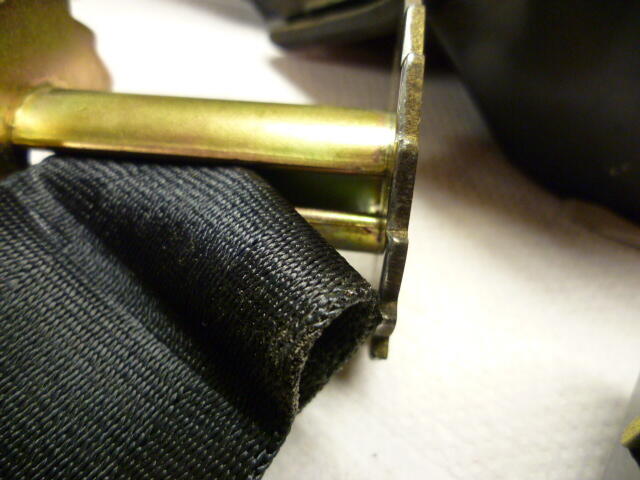
2 pointsHere's the pics I took of my seatbelt disassembly. First, a caveat... I didn't take these pics with the intention of using them for a how-to... I just had a dead belt with badly frayed webbing and thought I would take it apart to see how the whole thing worked. I figured I would take some pics along the way so I could refer to them again in the future if I ever needed to. Second, these pics are from a 77, and I have no idea if they are the same on other years, but hopefully they will add some value. I also have pics of the assy before I popped off the side covers, but I'm not including those since we all know what that looks like. Step1 - Wind the seatbelt as far as you can into the retractor assy to minimize the tension in the retractor clock spring. In other words, let the retractor spring pull in as much belt as it can before you loosen the side cover. Once you have the belt fully retracted, use a small screwdriver to pop off the side cover. Note that there will still be some spring tension so be careful. Do not let the side cover spin wildly after you pop it free. Hold the cover with your hand to make sure it does not spin and after you get the last retaining pin free, carefully rotate the side cover to release the spring tension. Count the number of turns it takes to release the tension so you know how many turns to wind it up when you put it back together. Interesting to note that the retractor spring function is completely separate from the rest of the assy. That means for those of you guys with retractor spring problems, all you need to do is pop off that one side and replace the spring. You don't have to mess with the latching mechanism at all. In fact, for the shoulder belt portion, you probably don't have to take the assy out of the car. You can probably do that with the assy still attached to the strut tower. Here's the retractor spring and cover after releasing the spring tension: Step2 - Pop the side cover off the other sire. Here's the latching mechanism side: Step3 - Pry off the little support arm: Step4 - Pry off the latching mechanism: Interesting to note that there isn't a whole lot that can go wrong with the latching mechanism. Probably the simplest thing that can go wrong is the tiny release spring can come off or break and then the latch will operate too easily or will not release at all. Step5 - Pull the retaining pin that holds the take up reel into the bracket. Look down into the belt reel and you will see a retaining pin. Here's the pin fully installed: Here's the pin pulled halfway out: Here's the pin pulled all the way out: Step6 - Pull out the center axle shaft and the take-up reel will come free. The belt is held into the reel by the center axle, so once the axle is removed, the belt webbing can be removed from the take-up reel: Reassembly is the reverse of disassembly.
 2 points
 -
2 pointsI received an email from Datsun Garage yesterday: "We are very sorry for this late reply. We've had a change in our sales employees and apologise for the inconvenience. Your order is almost complete. We're just waiting on the weatherstrip kit to arrive. Once that's in we'll gather your order and ship it over complete with tracking info." I'm not sure why they couldn't have replied to one of my earlier messages simply saying that they'd received my message, and would get back to me, but at least I have an initial response. I've asked them how long they expect the weatherstrip kit to take. I'd rather pay for two shipments than wait for everything. There are 32 items in the order.2 points
-
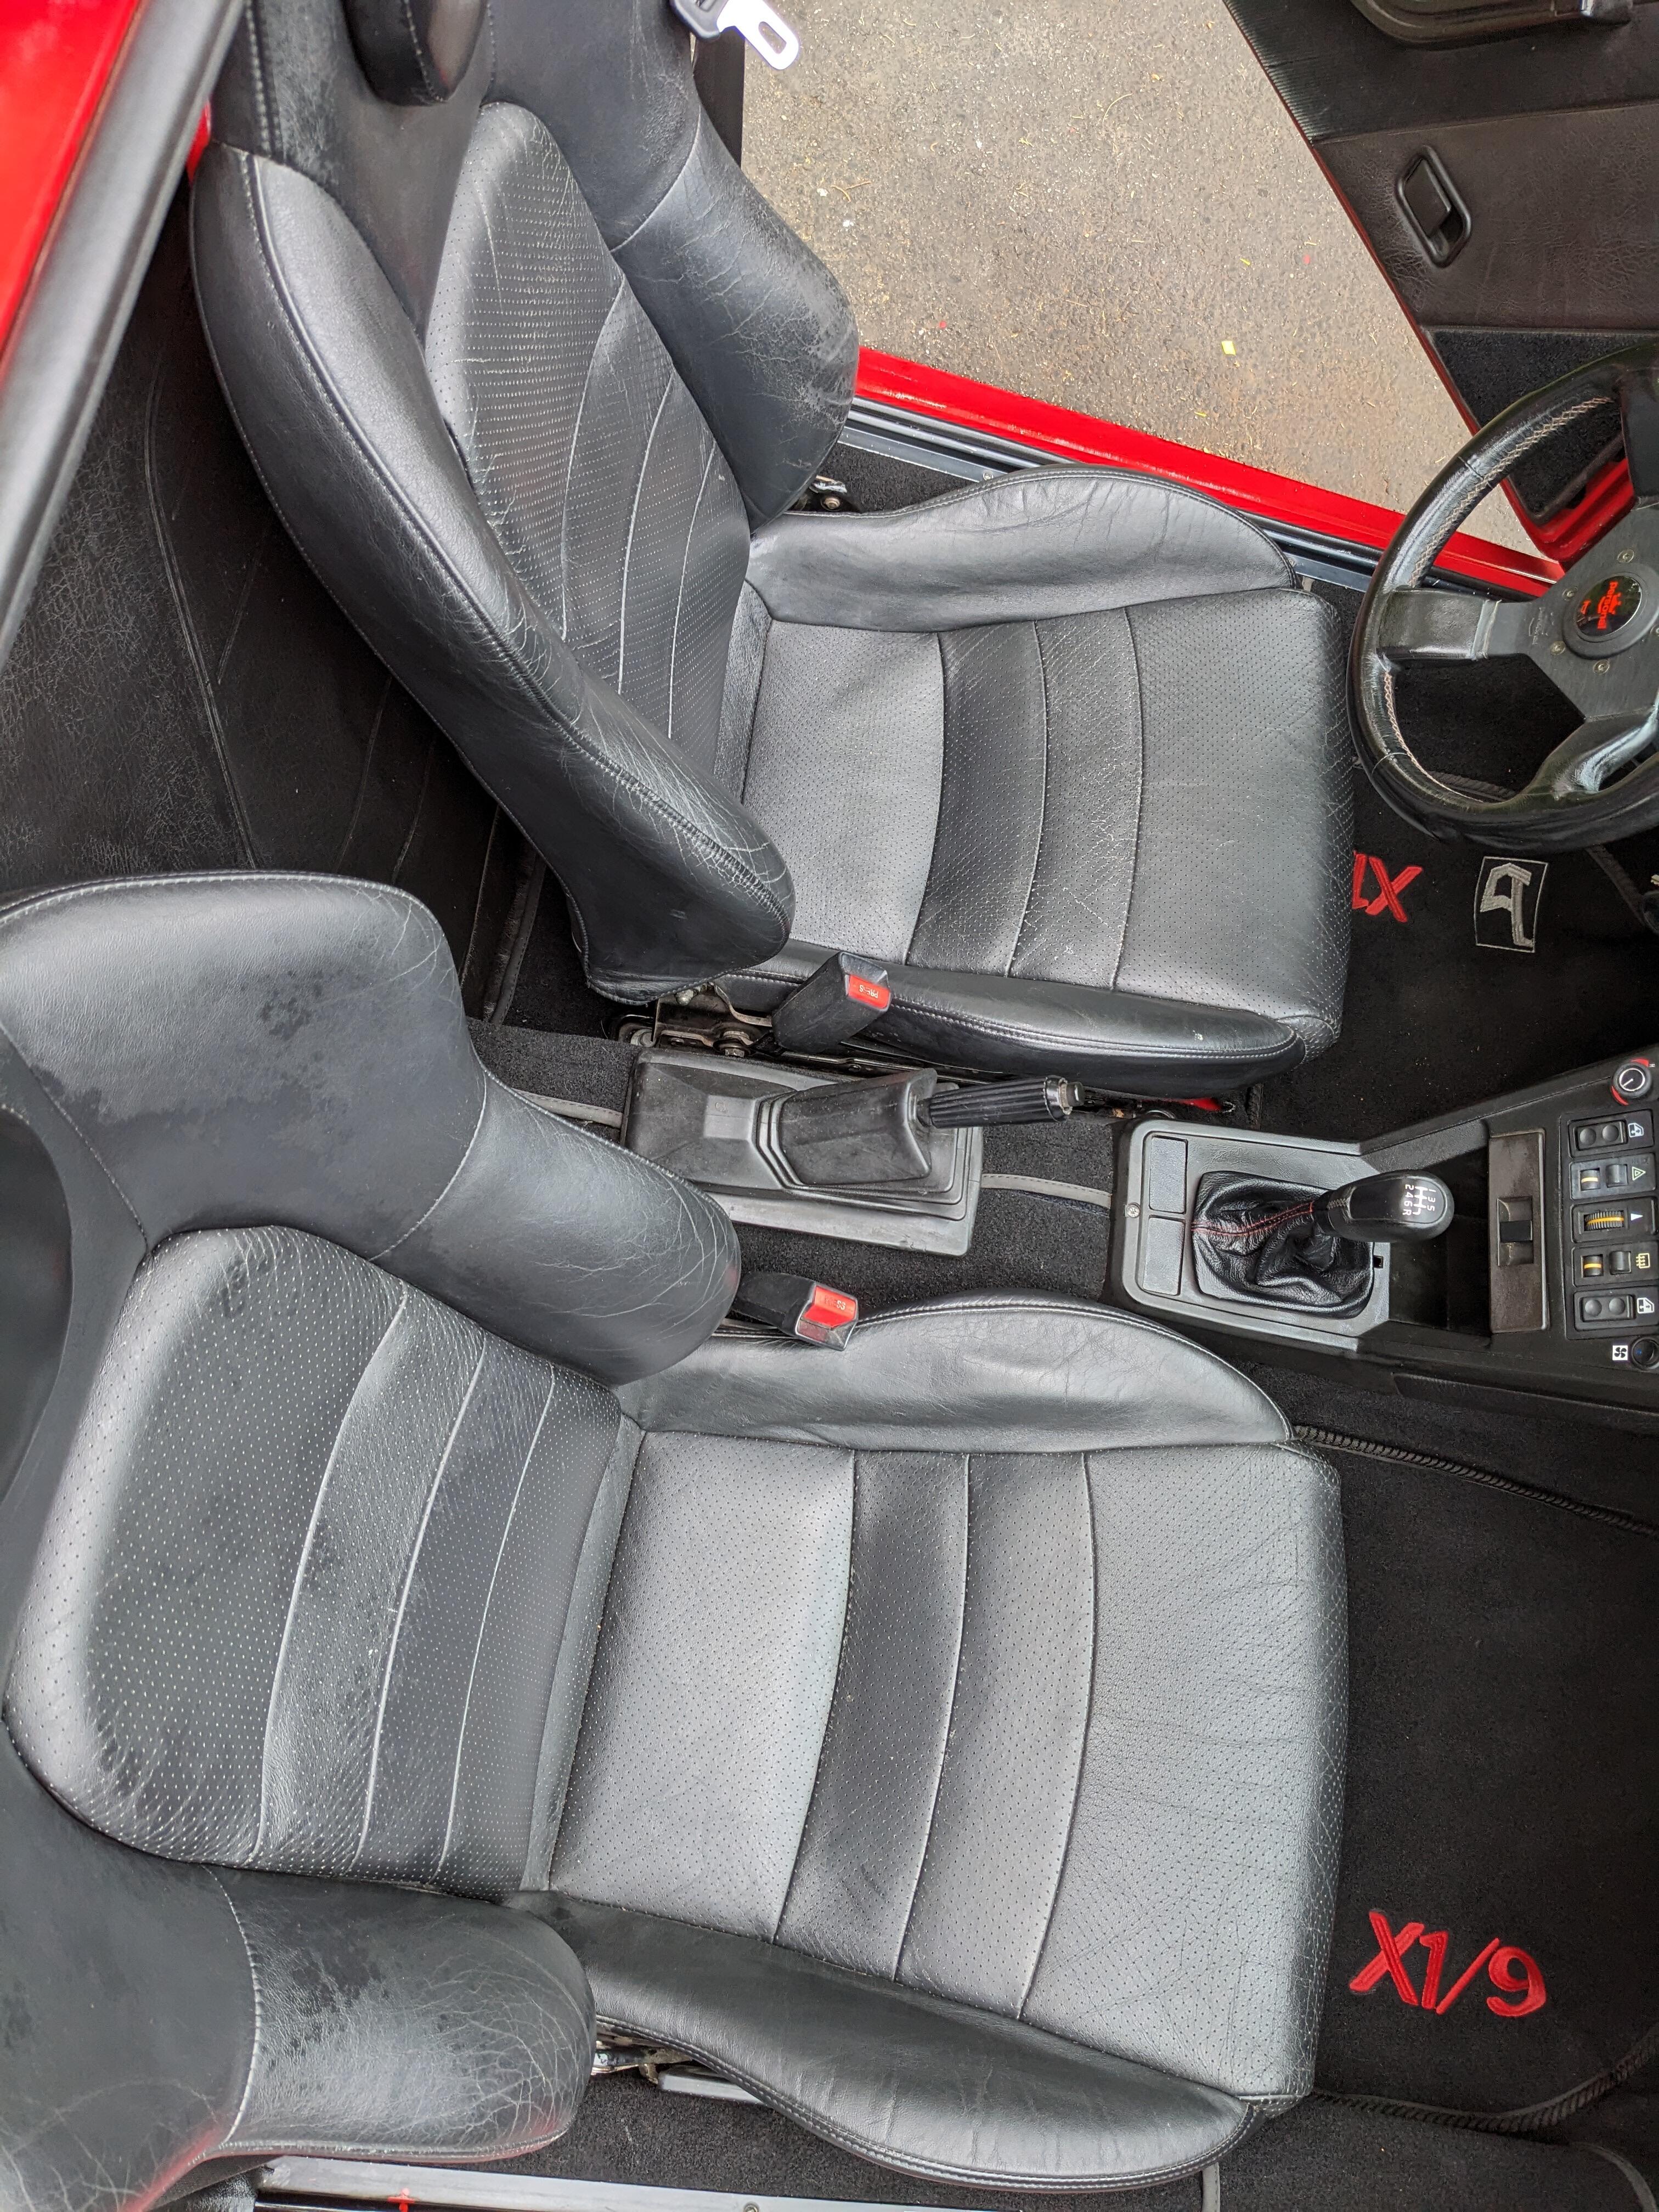
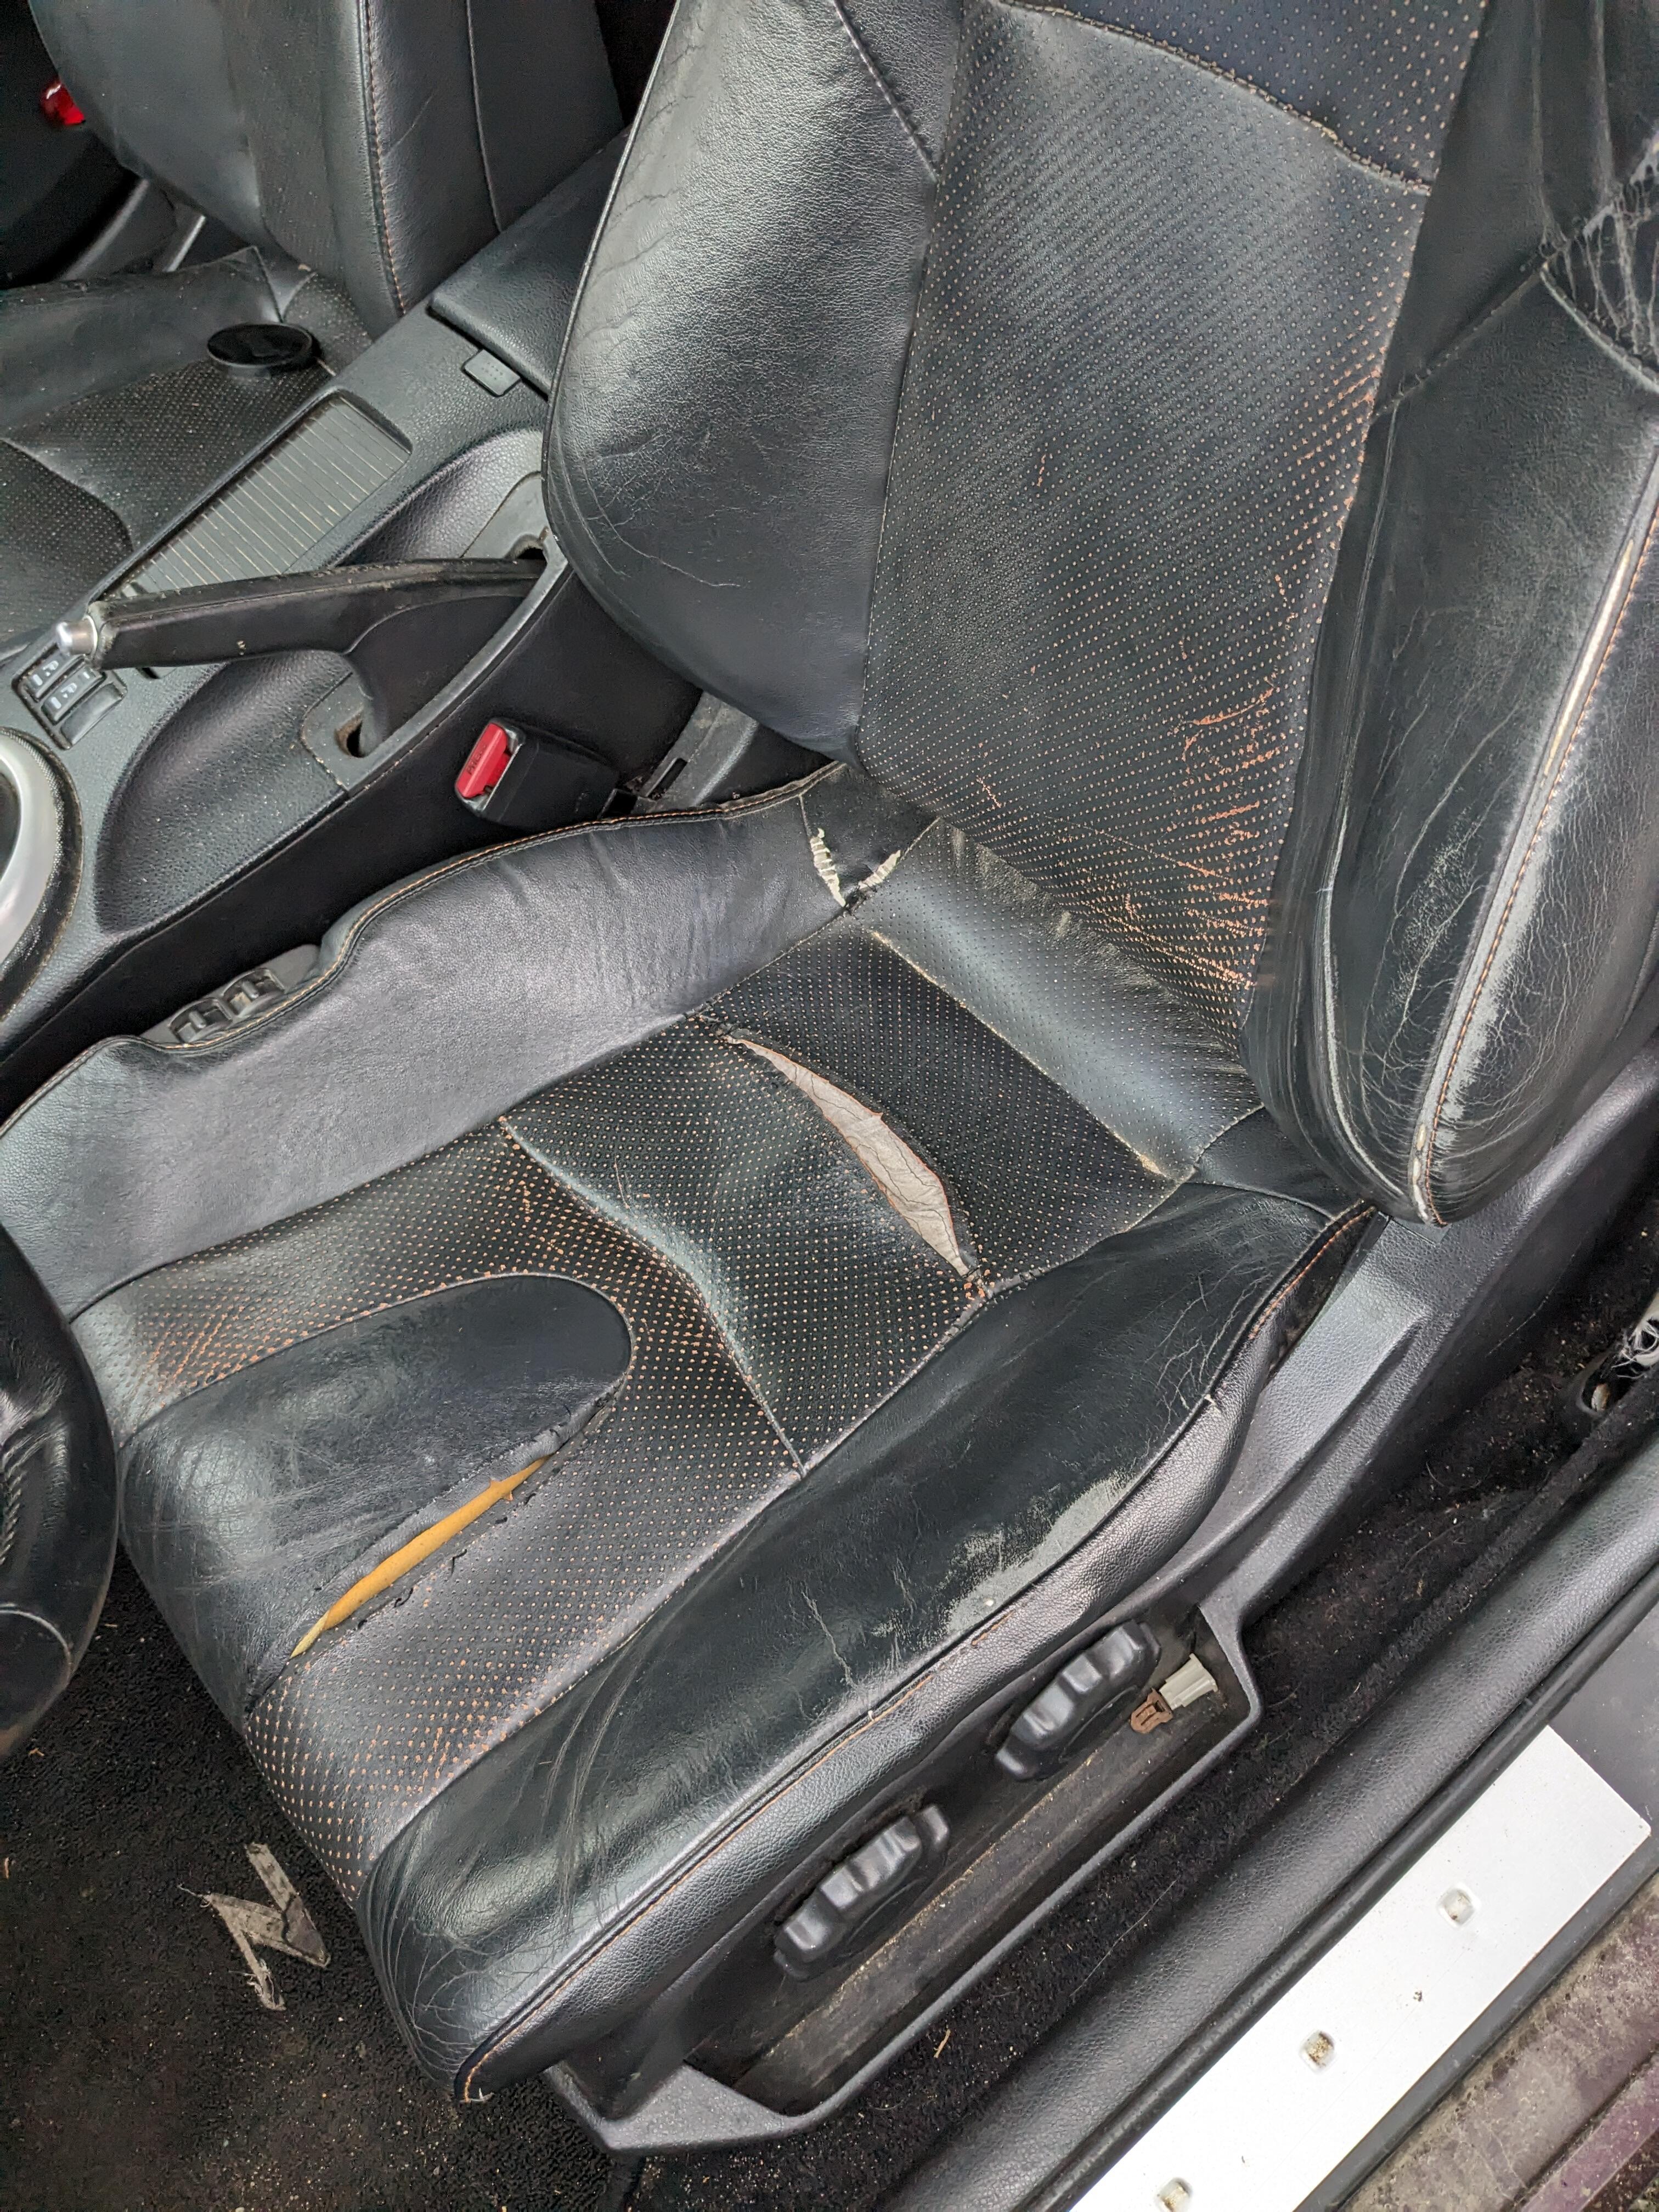
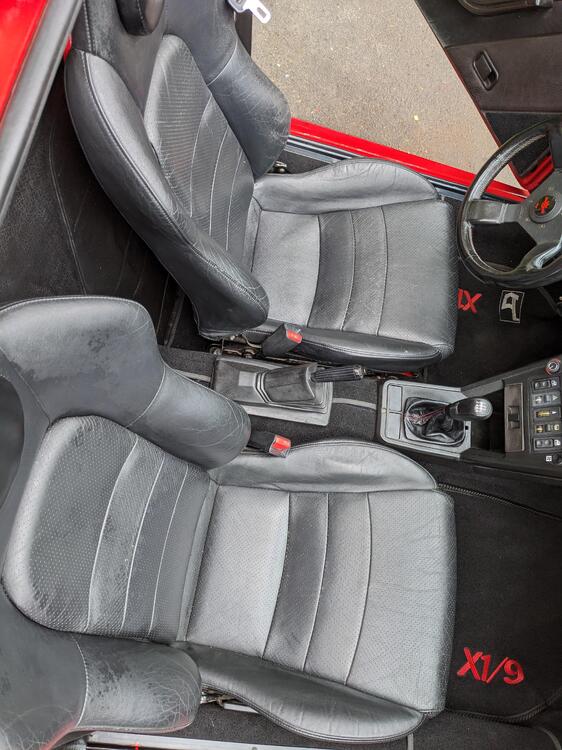
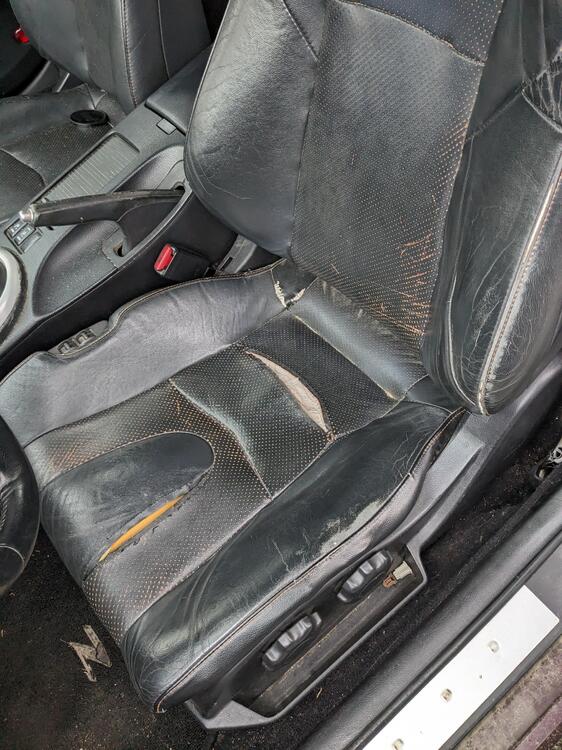
Found a helpful thread on 350Z seat fitment. Since I've been driving the X1/9 again this past week, with the Honda S2000 seats, I really find the Datsun seats uncomfortable for my lower back issues. My 350Z seats are rough, so while I work on fitting them, I've ordered new leather from Ridies.com. Much more price-friendly than the CanadaSeatSkins that I used for the Volvo seats, and full leather for all panels. Going for Black w/ dk grey perforated inserts, green stitching. All the examples on their site have more contrast, like this
 2 points
 -
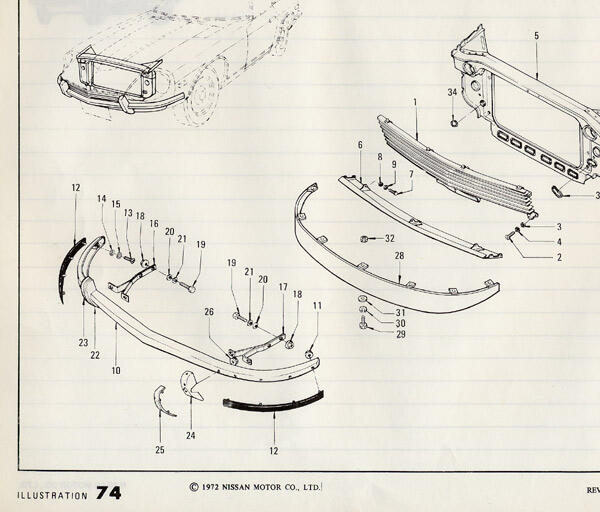
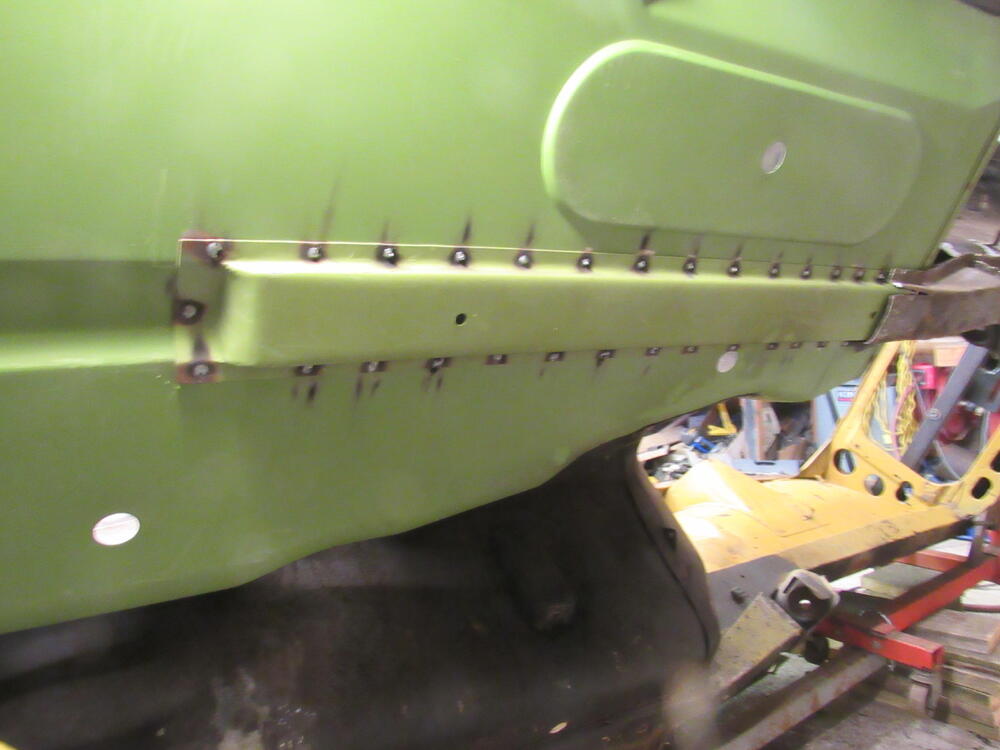
2 pointsThe captive nuts in the front apron were primarily intended to be used to attach the (urethane) factory spoiler, fitted as standard equipment to UK & European market models. The quarter valance pieces also had captive nuts. *28 = 98300-E8100 ASSY-FRONT AIR SPOILER *6 = 62600-E7201 ASSY-PANEL FRONT APRON Those same captive nuts allowed attachment of the full engine bay undercover, as fitted to the 432-R model and homologated in the JAF GT-011 papers: *14 = 98200-E7200 COVER-under (Omori Sports Corner)

 2 points
 -
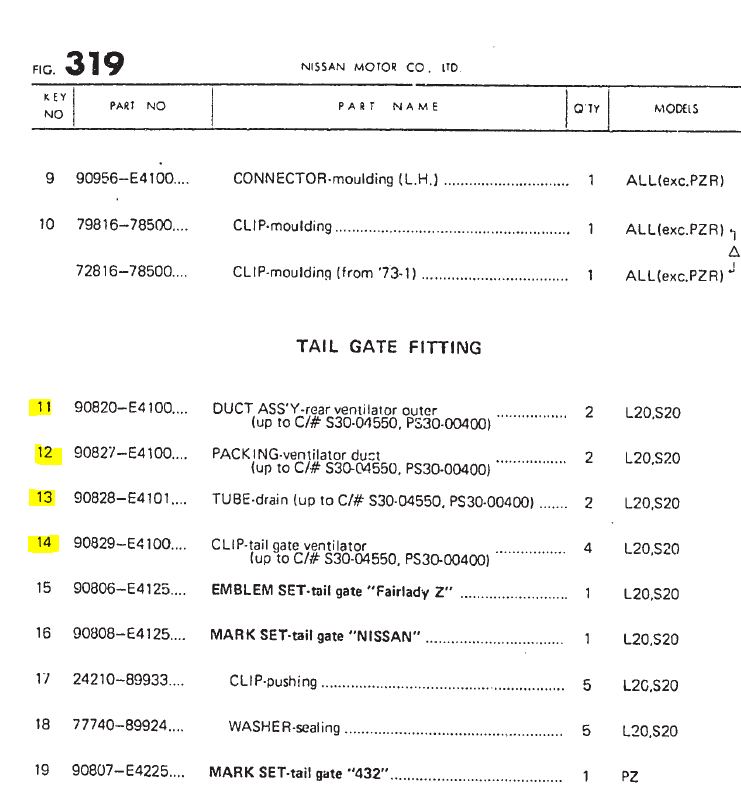
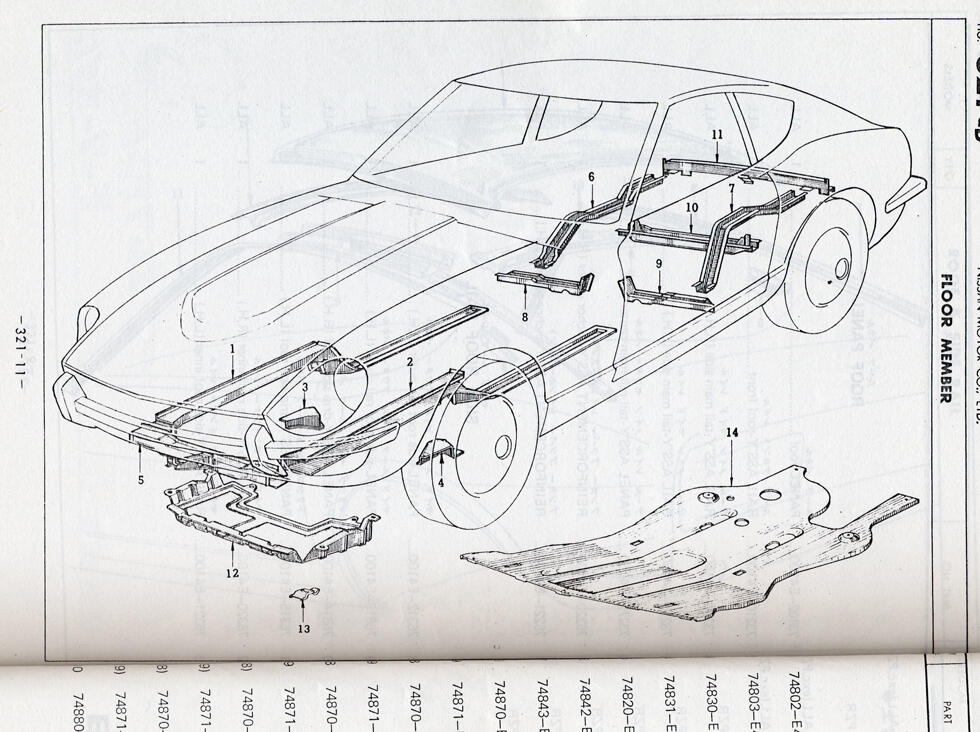
1 pointThanks for this excellent description/ procedure. The JDM parts book details this area much better than the North American parts book. Here is a snippet from the JDM book and partial parts list. The clips you made and show above in post #798, are item 14 p/n 90829-E4101, yours look great.
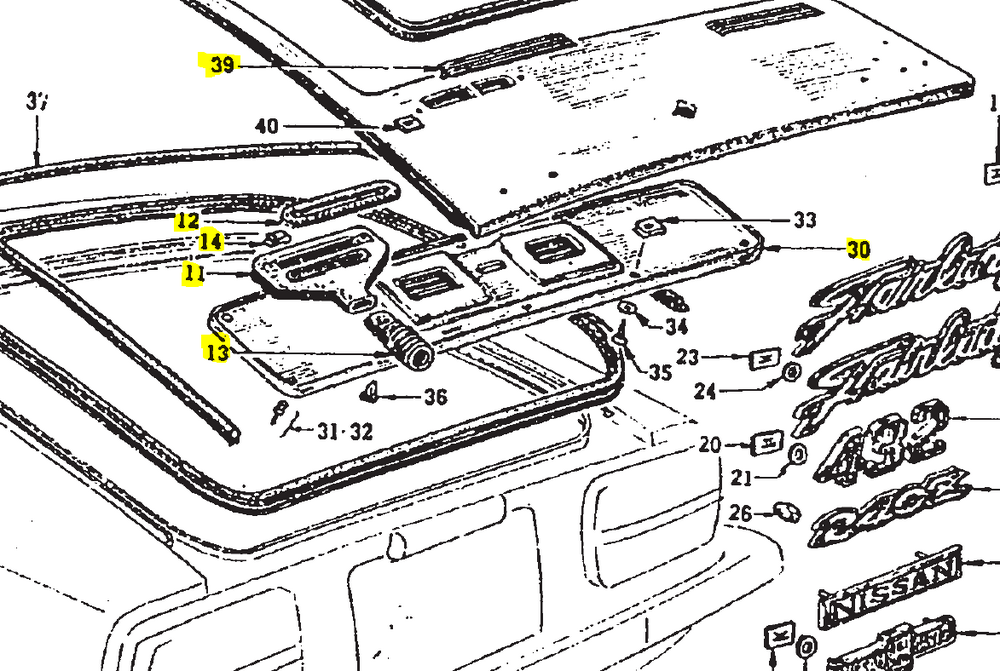
 1 point
 -
1 pointFrance, The Netherlands, Germany, Belgium, Portugal, Switzerland, Scandinavian countries are all LHD and all received cars with the factory front spoiler.1 point
-
 https://www.instagram.com/p/Czs3Cpqys-Q/?igshid=NTYzOWQzNmJjMA==1 point
 -
Heard. Die was supposed to be delivered yesterday. Tracking from USPS still just shows "in transit". Lame. Trying to accept my fate. With all the money I am spending on this car, another $190 isn't the end of the world, but the dollars aren't fully my issue either. I hate the waste of an otherwise new and perfect strut insert. 😞1 point
-
1 point
-
I agree ^^^^ In your position I would buy a strut and move on. Chalk it up to "tuition"; the cost of learning1 point
-
1 pointJust bought one……. I’ve liked the subtle appearance of those spoilers….. Found a euro spoiler earlier this evening, should have in a week or two. I think the full underbelly will be the tough one to find Now to find the proper left side front quarter. I Learn something everyday.😀1 point
-
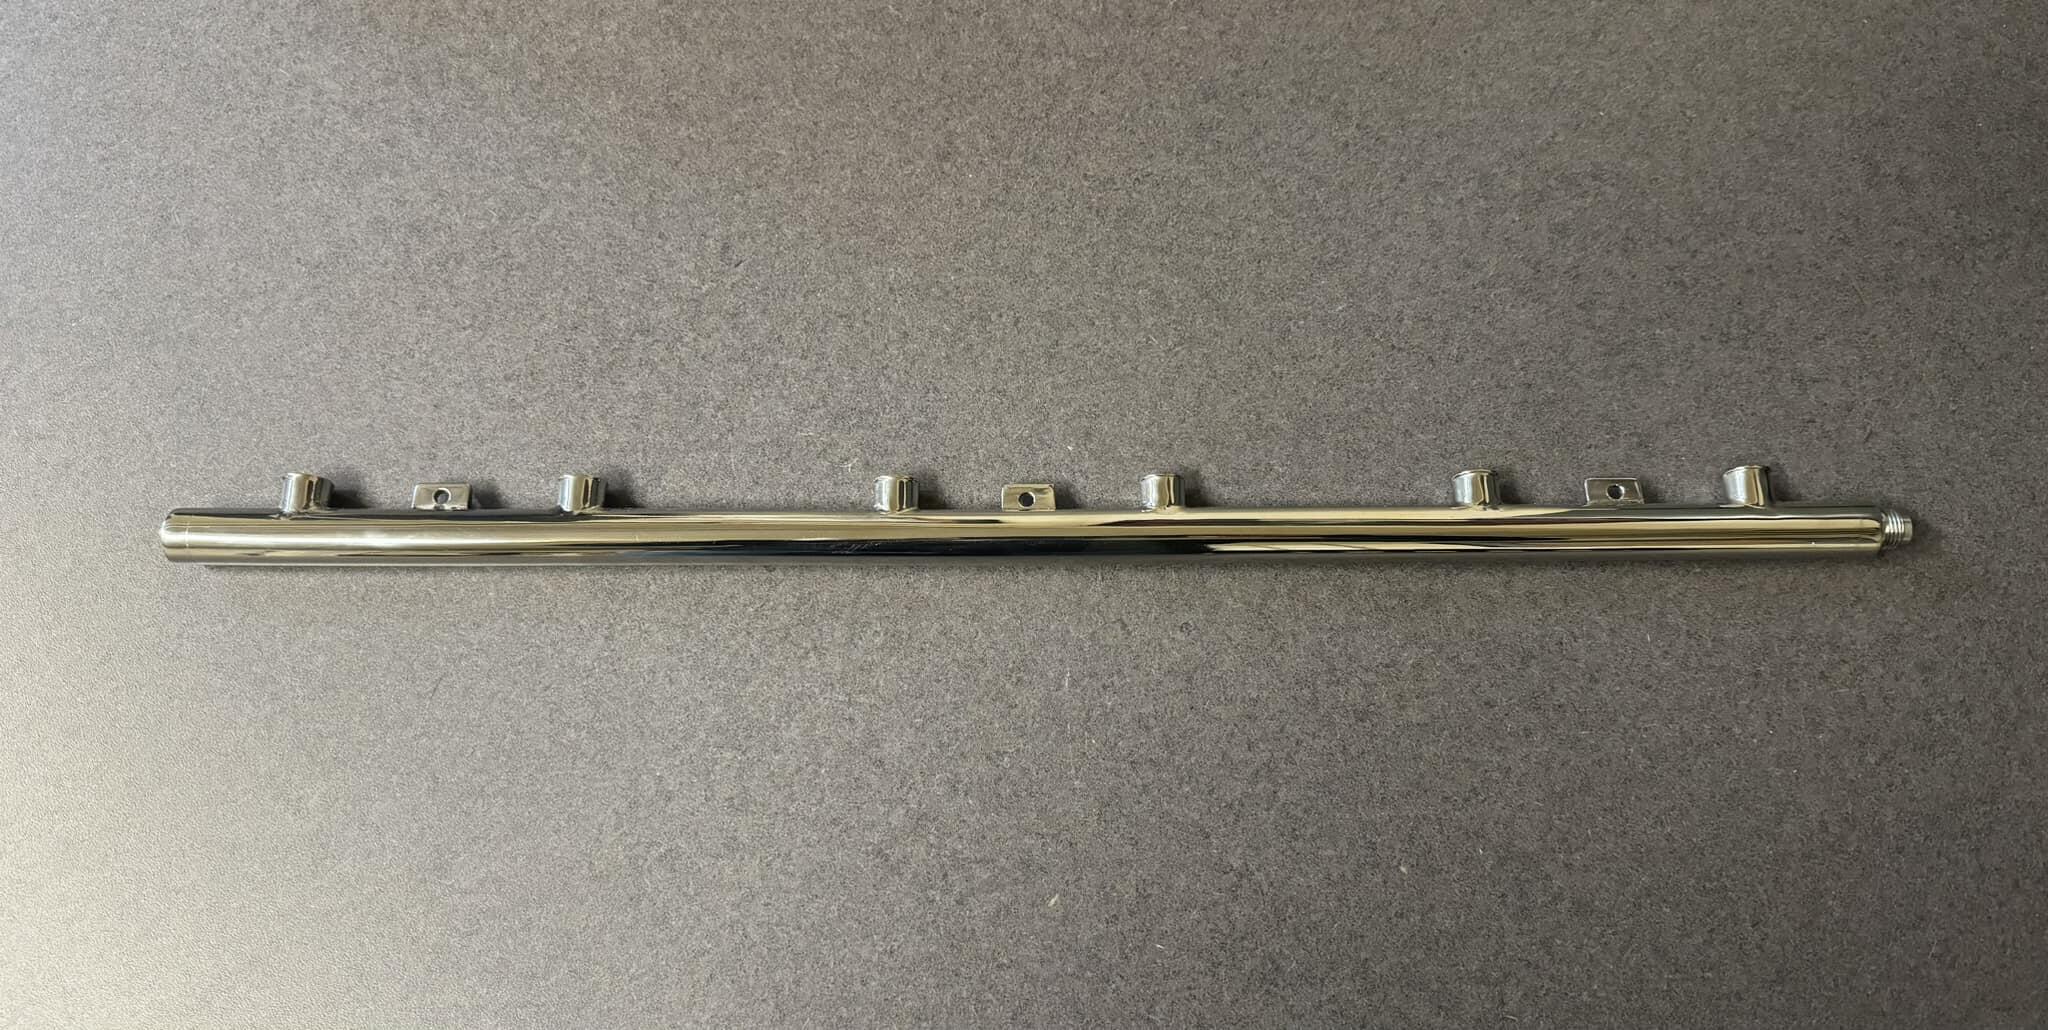
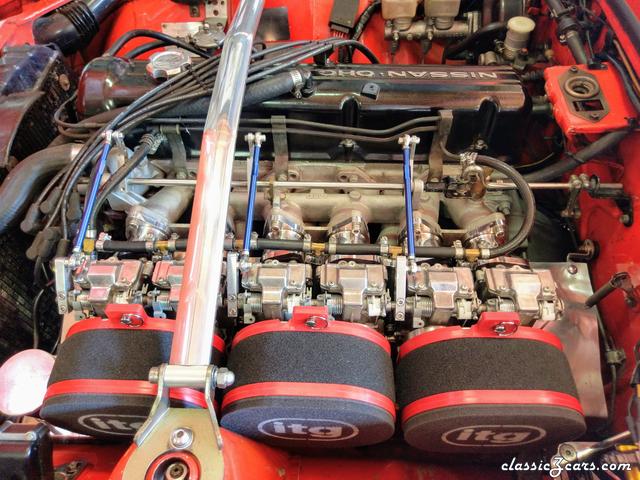
1 pointSomething sexy to start the week off with. This is a stainless fuel rail for my ITB setup. Expertly crafted by Michel Vienneau! It features injector safety clip stainless cups, built in AN fittings and polished. I’m hopeful it being smaller will allow me to clock my injectors and hide my wiring a bit. Now I can’t scratch it. Michel is a metal magician!
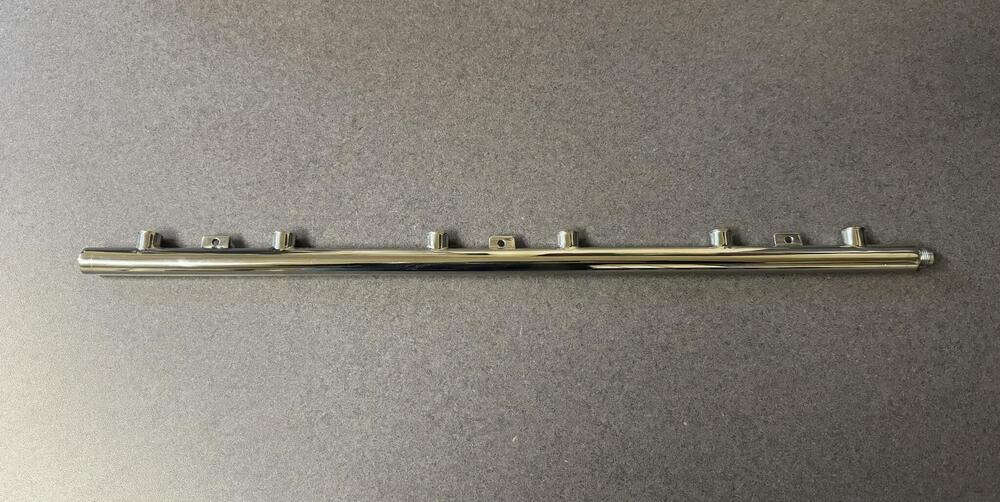 1 point
 -
Maybe call Koni and plead your case but I wouldn't expect much from them. Its done, replace and move on. Dont let it ruin the day, as the car looks amazing so far!1 point
-
1 pointI bought their seat foam + leather upholstery (via their Amazon listings). Took at least 2 months, if I recall correctly. Came from India. Quality is very nice. I will be removing the seats to install 350Z seats, so if you decide you want full leather & new foam, I will be selling the entire seats minus the rails. Note that I added Honda seat belt guides.1 point
-
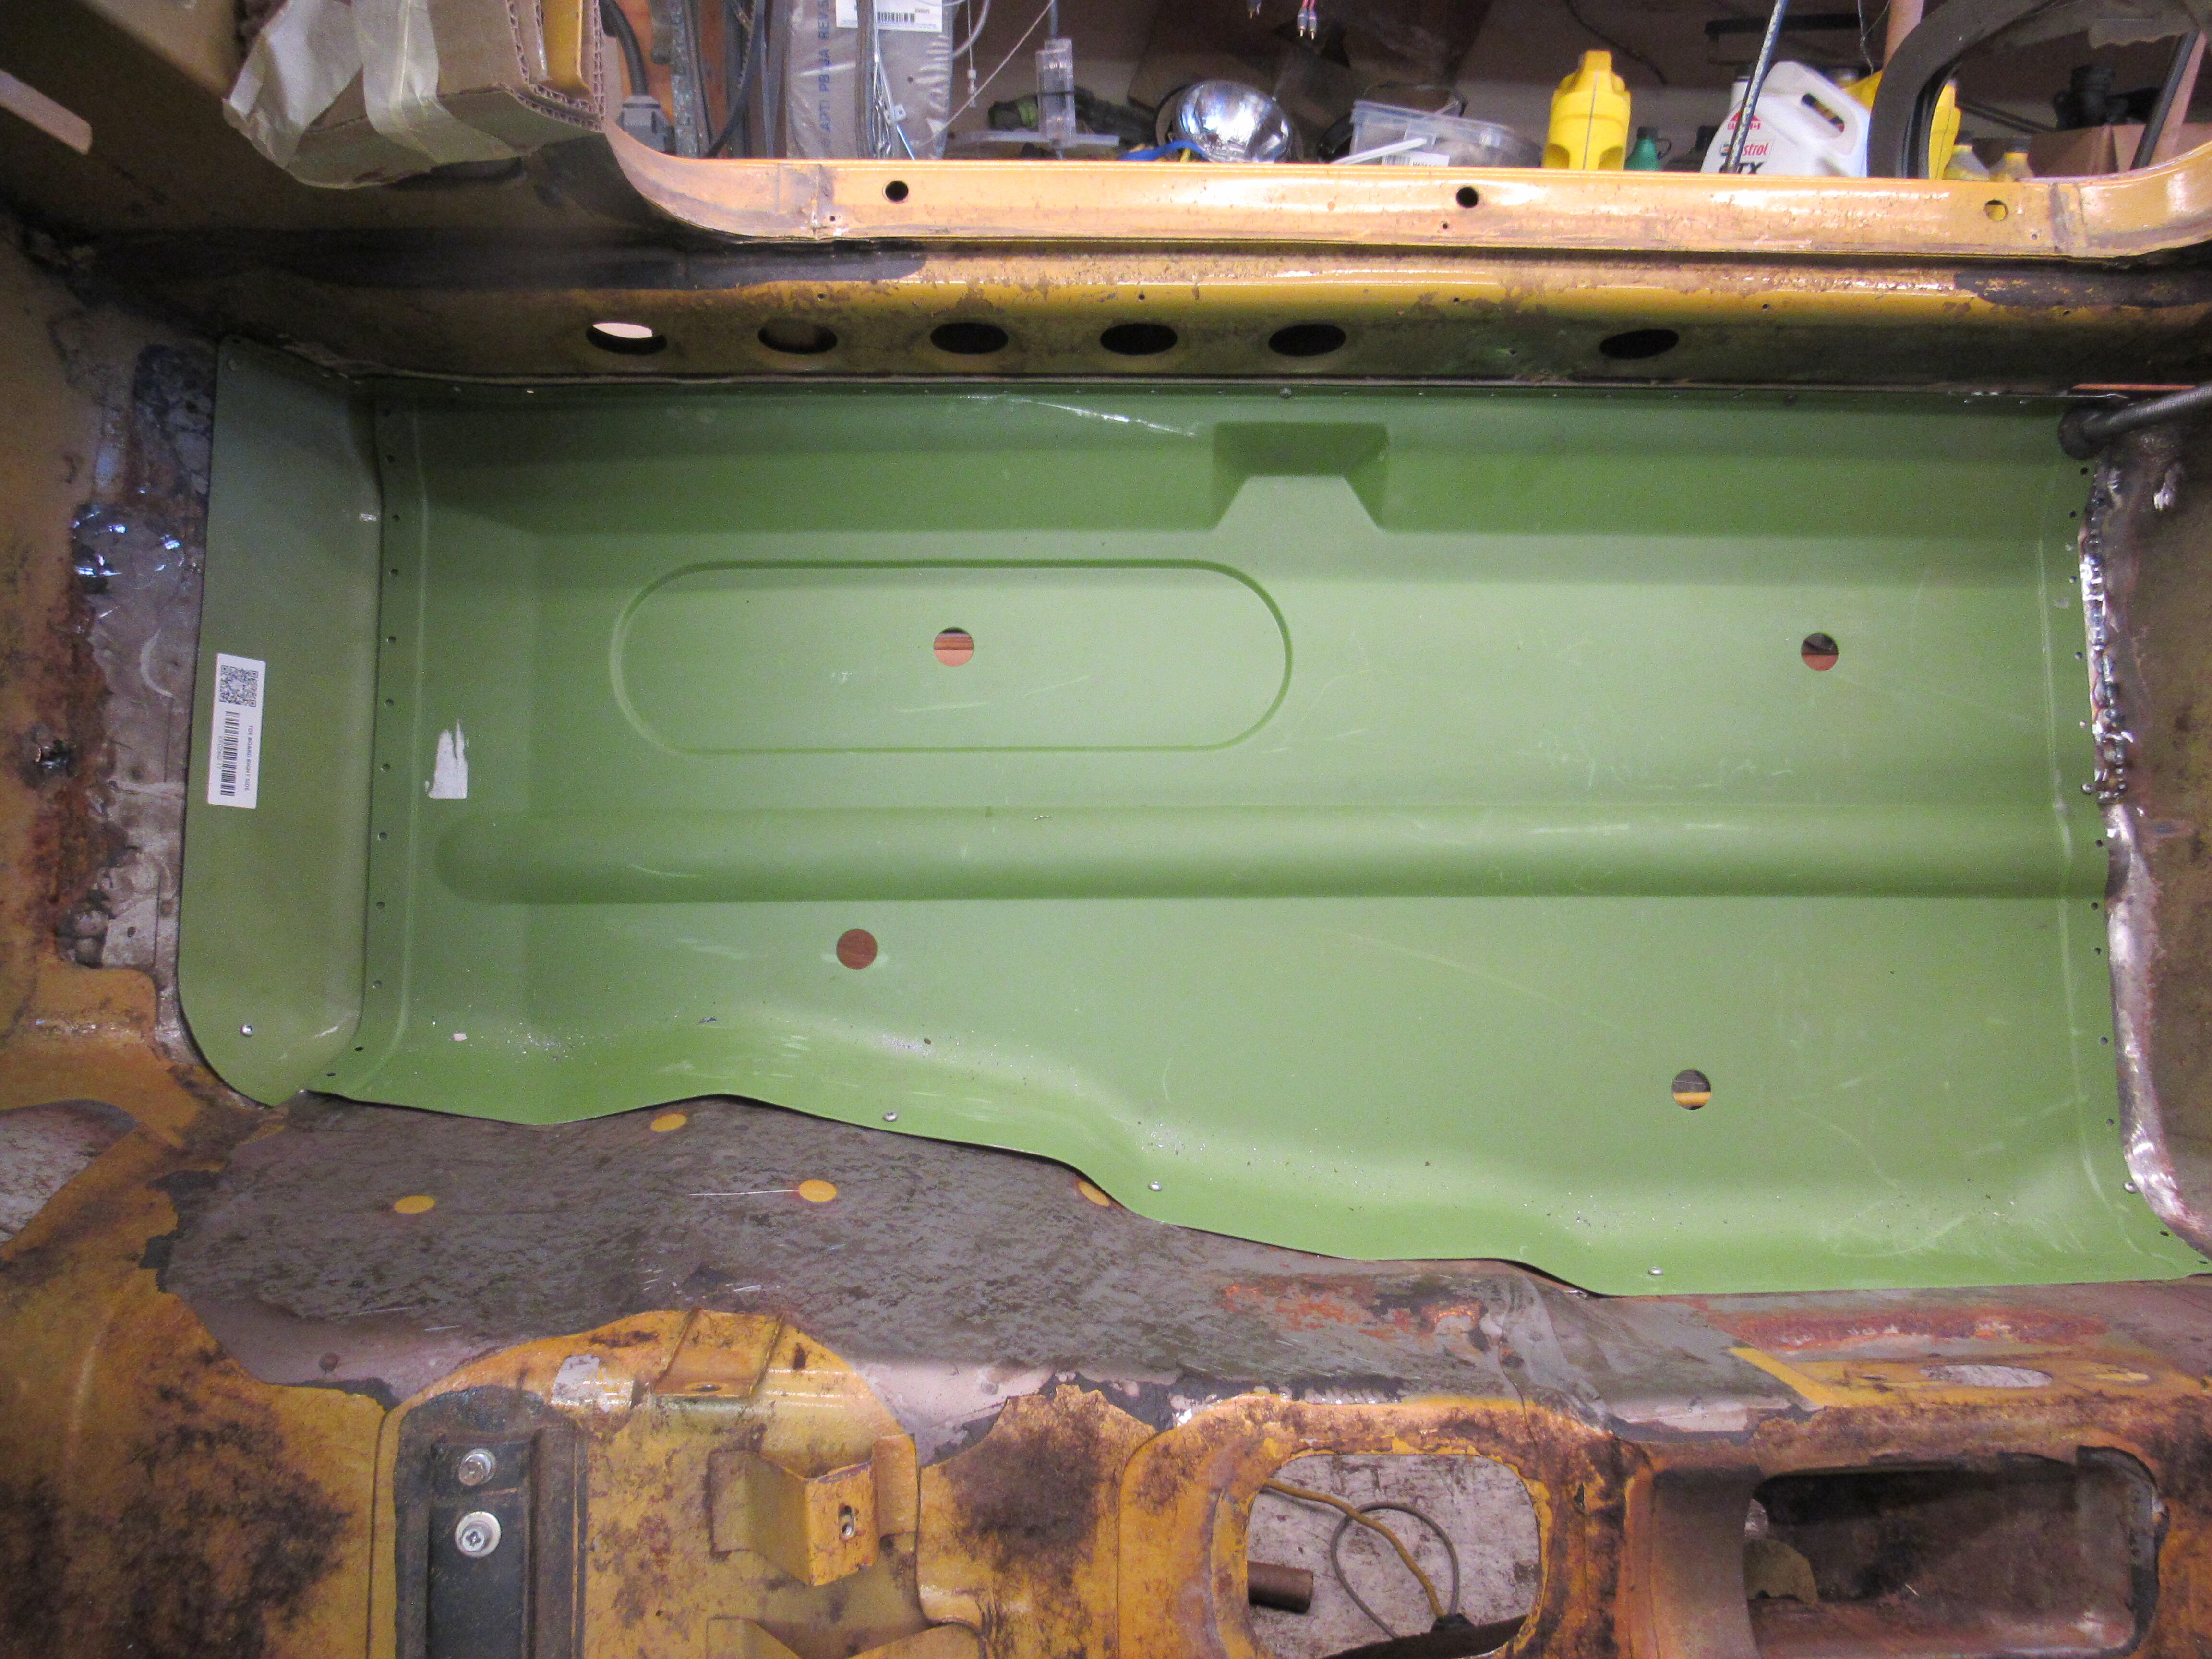
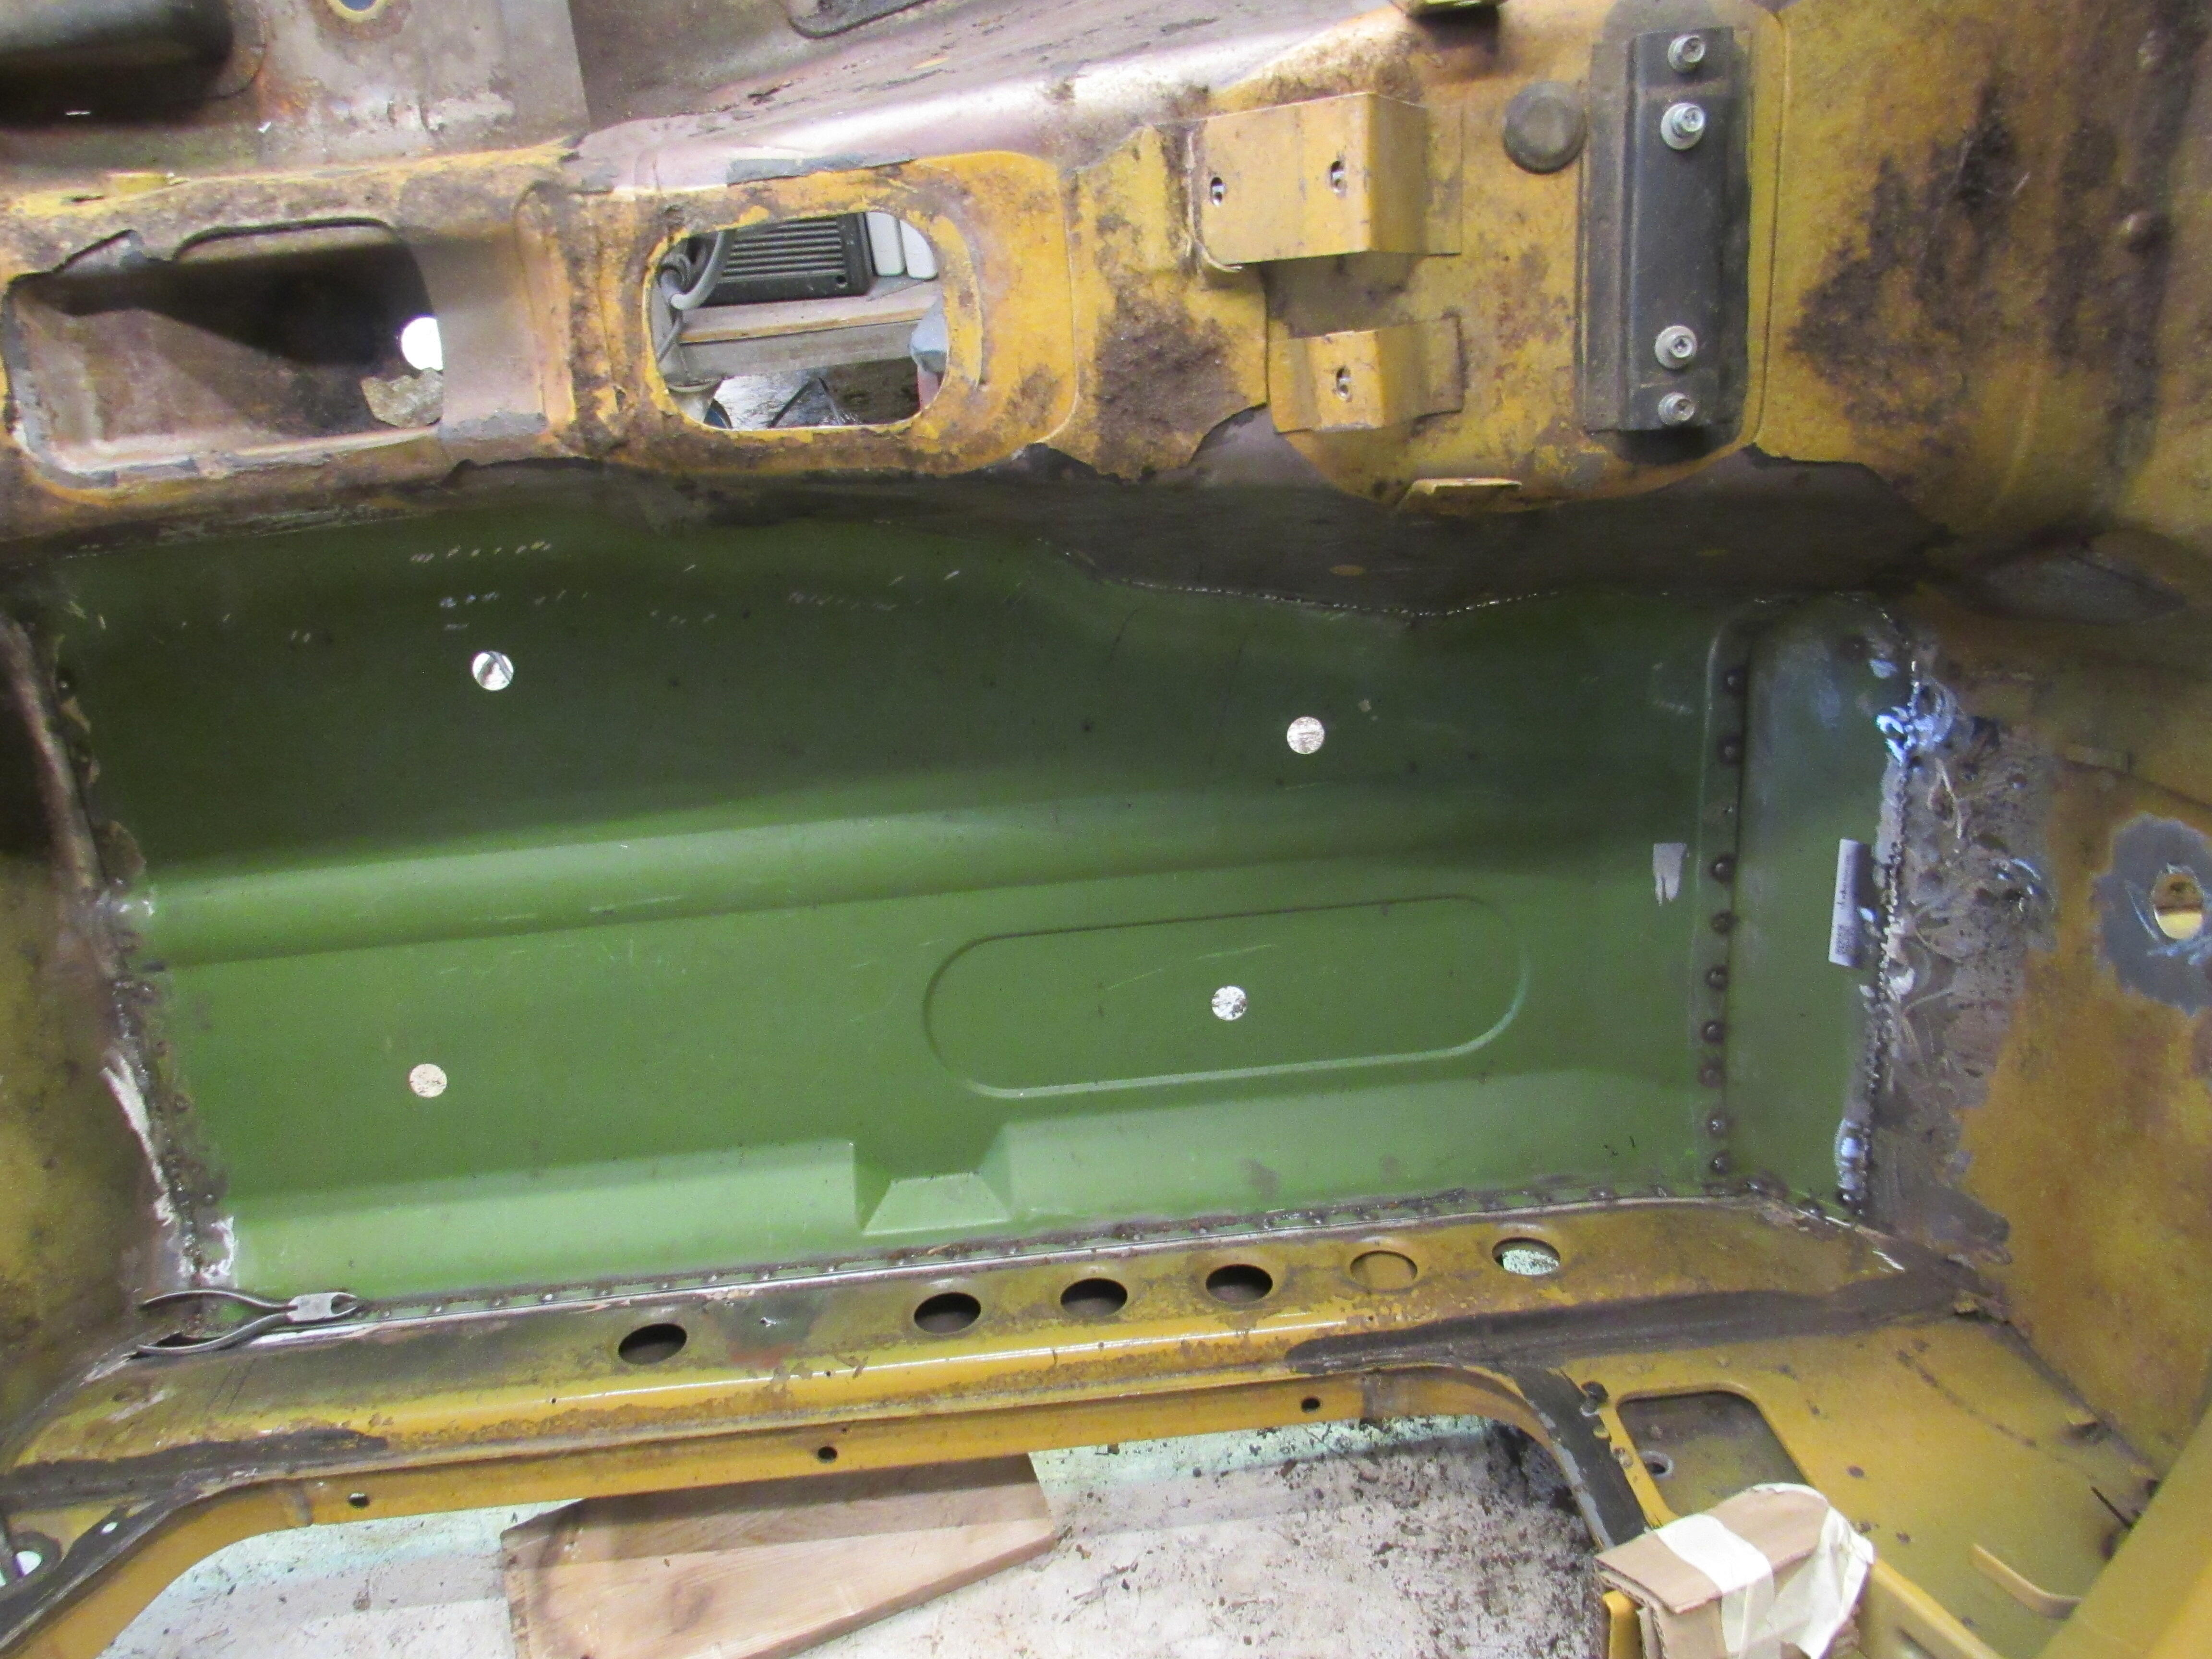
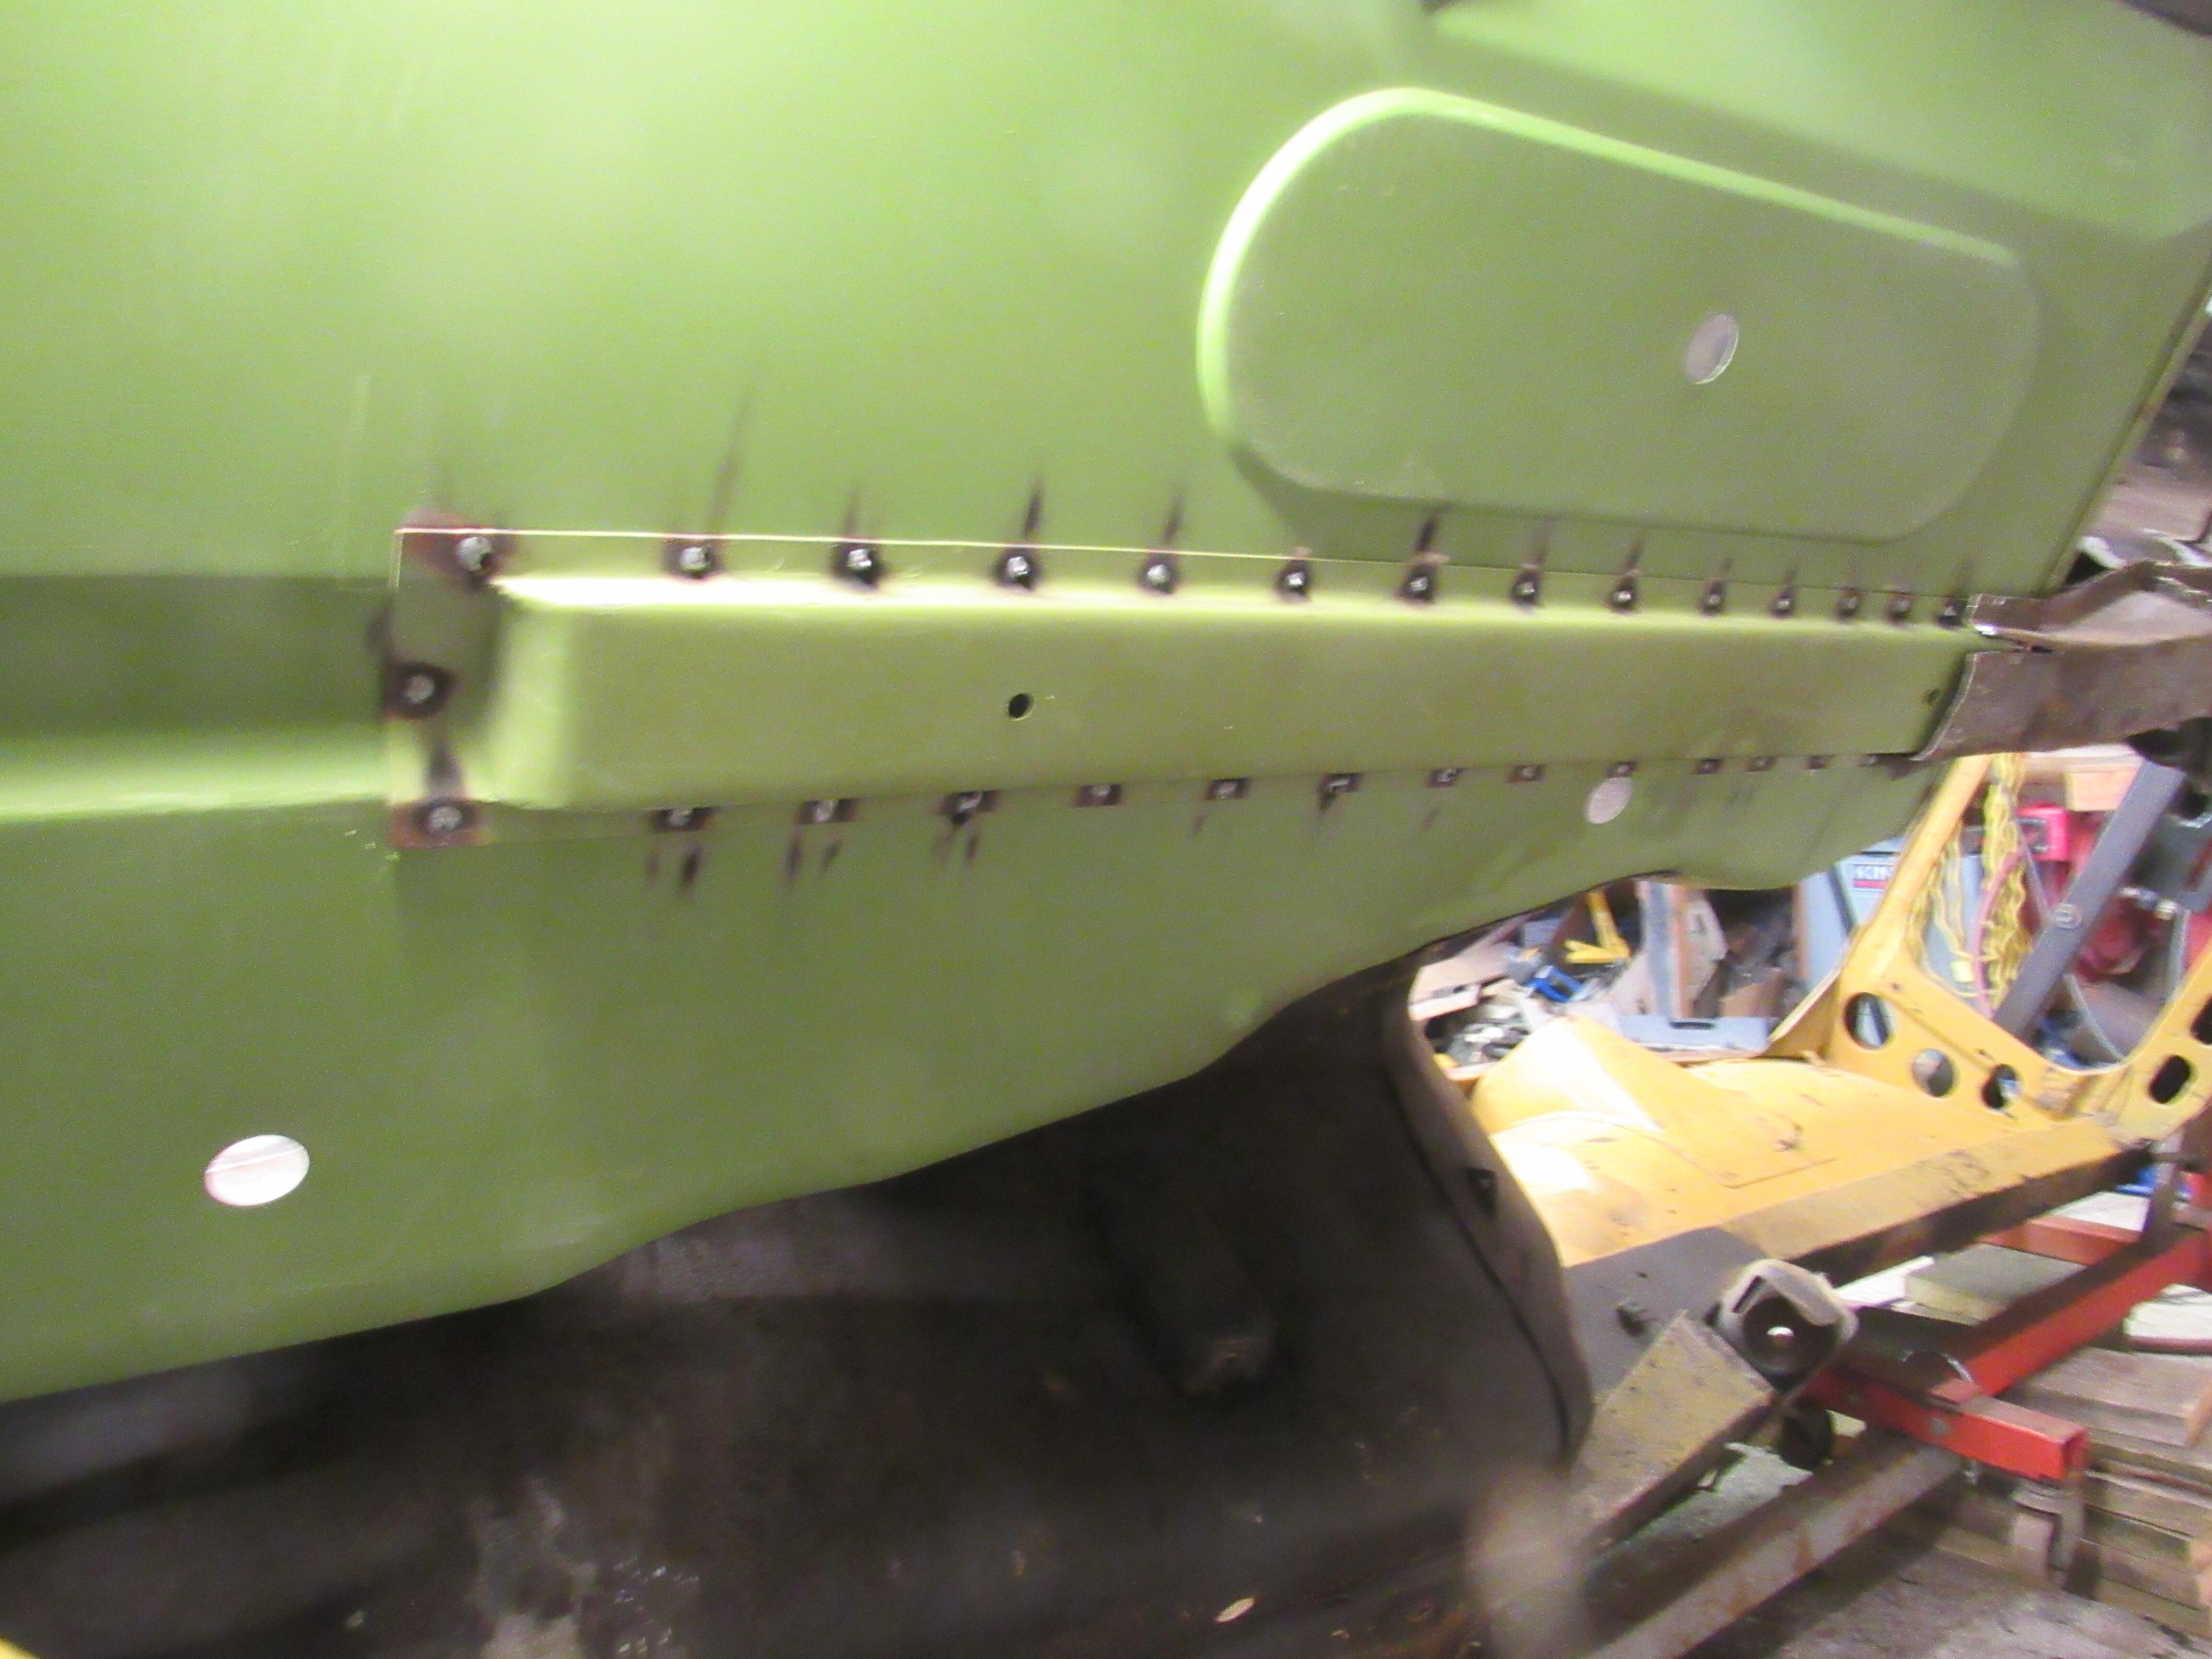
1 pointI test fitted the floor pan and toe board yesterday, then cut the transmission side and welded in today. I still have to fill in the welds and grind more but it's good enough for now. This is an air tool I don't get to use very often but sure saves lots of the labour of drilling holes, I paid $40 yrs ago at a pawn shop. A hole punch on one side and a flanger on the other.


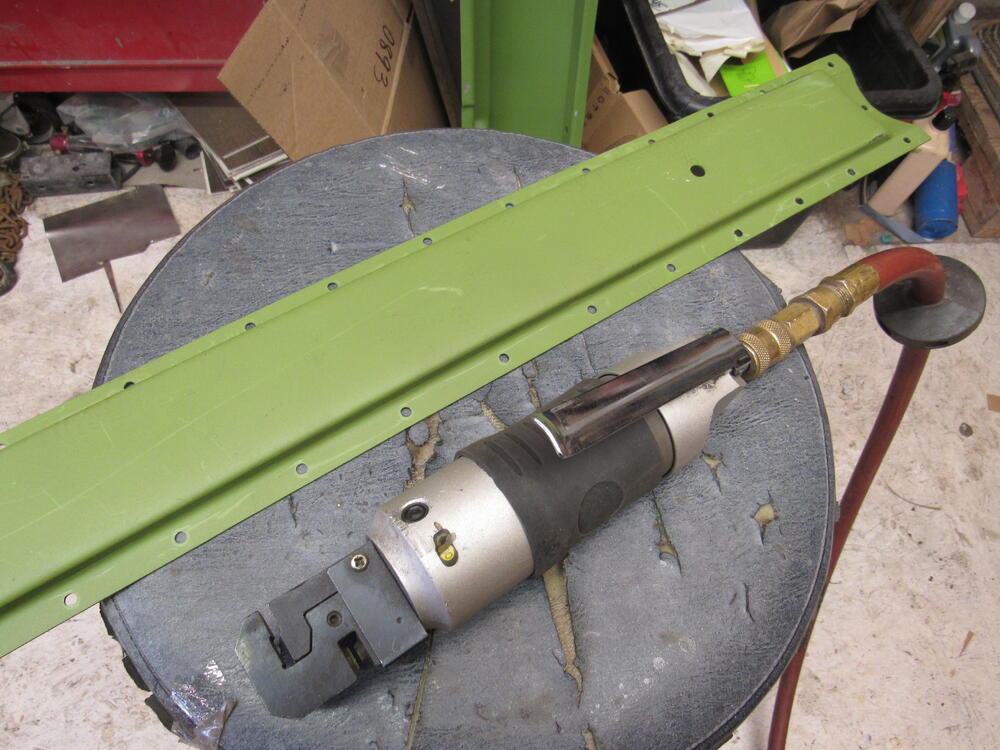
 1 point
 -
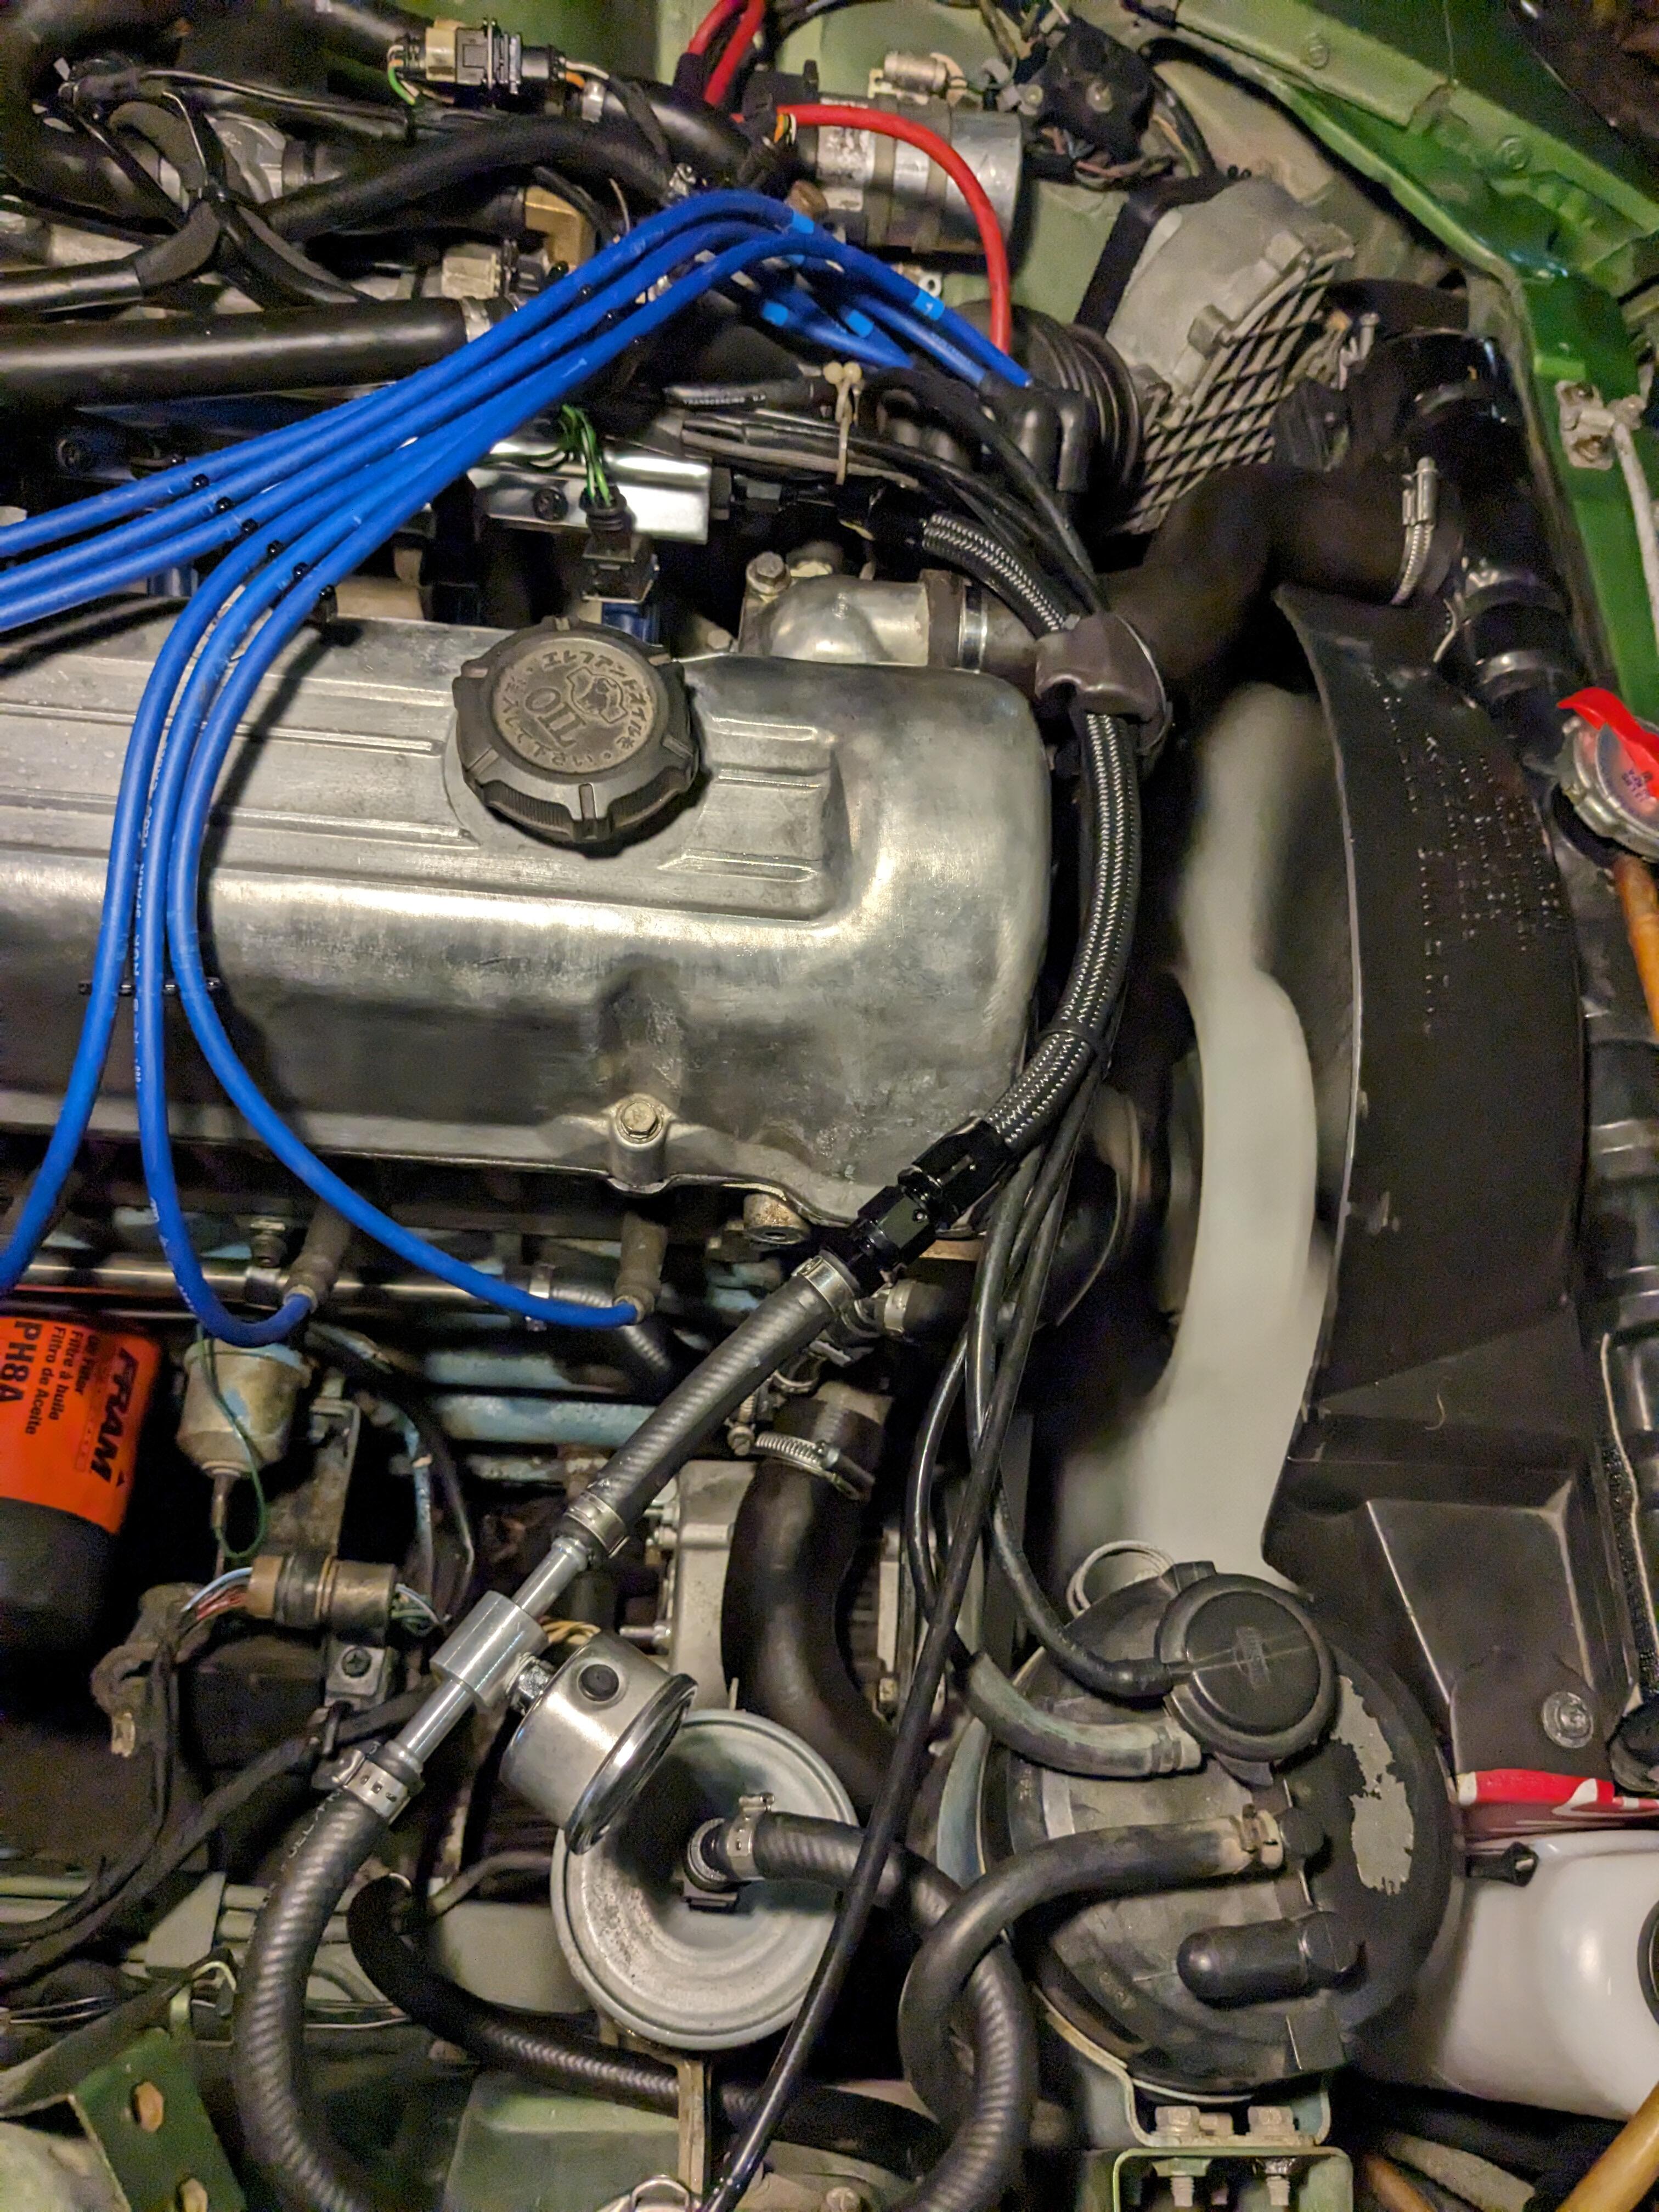
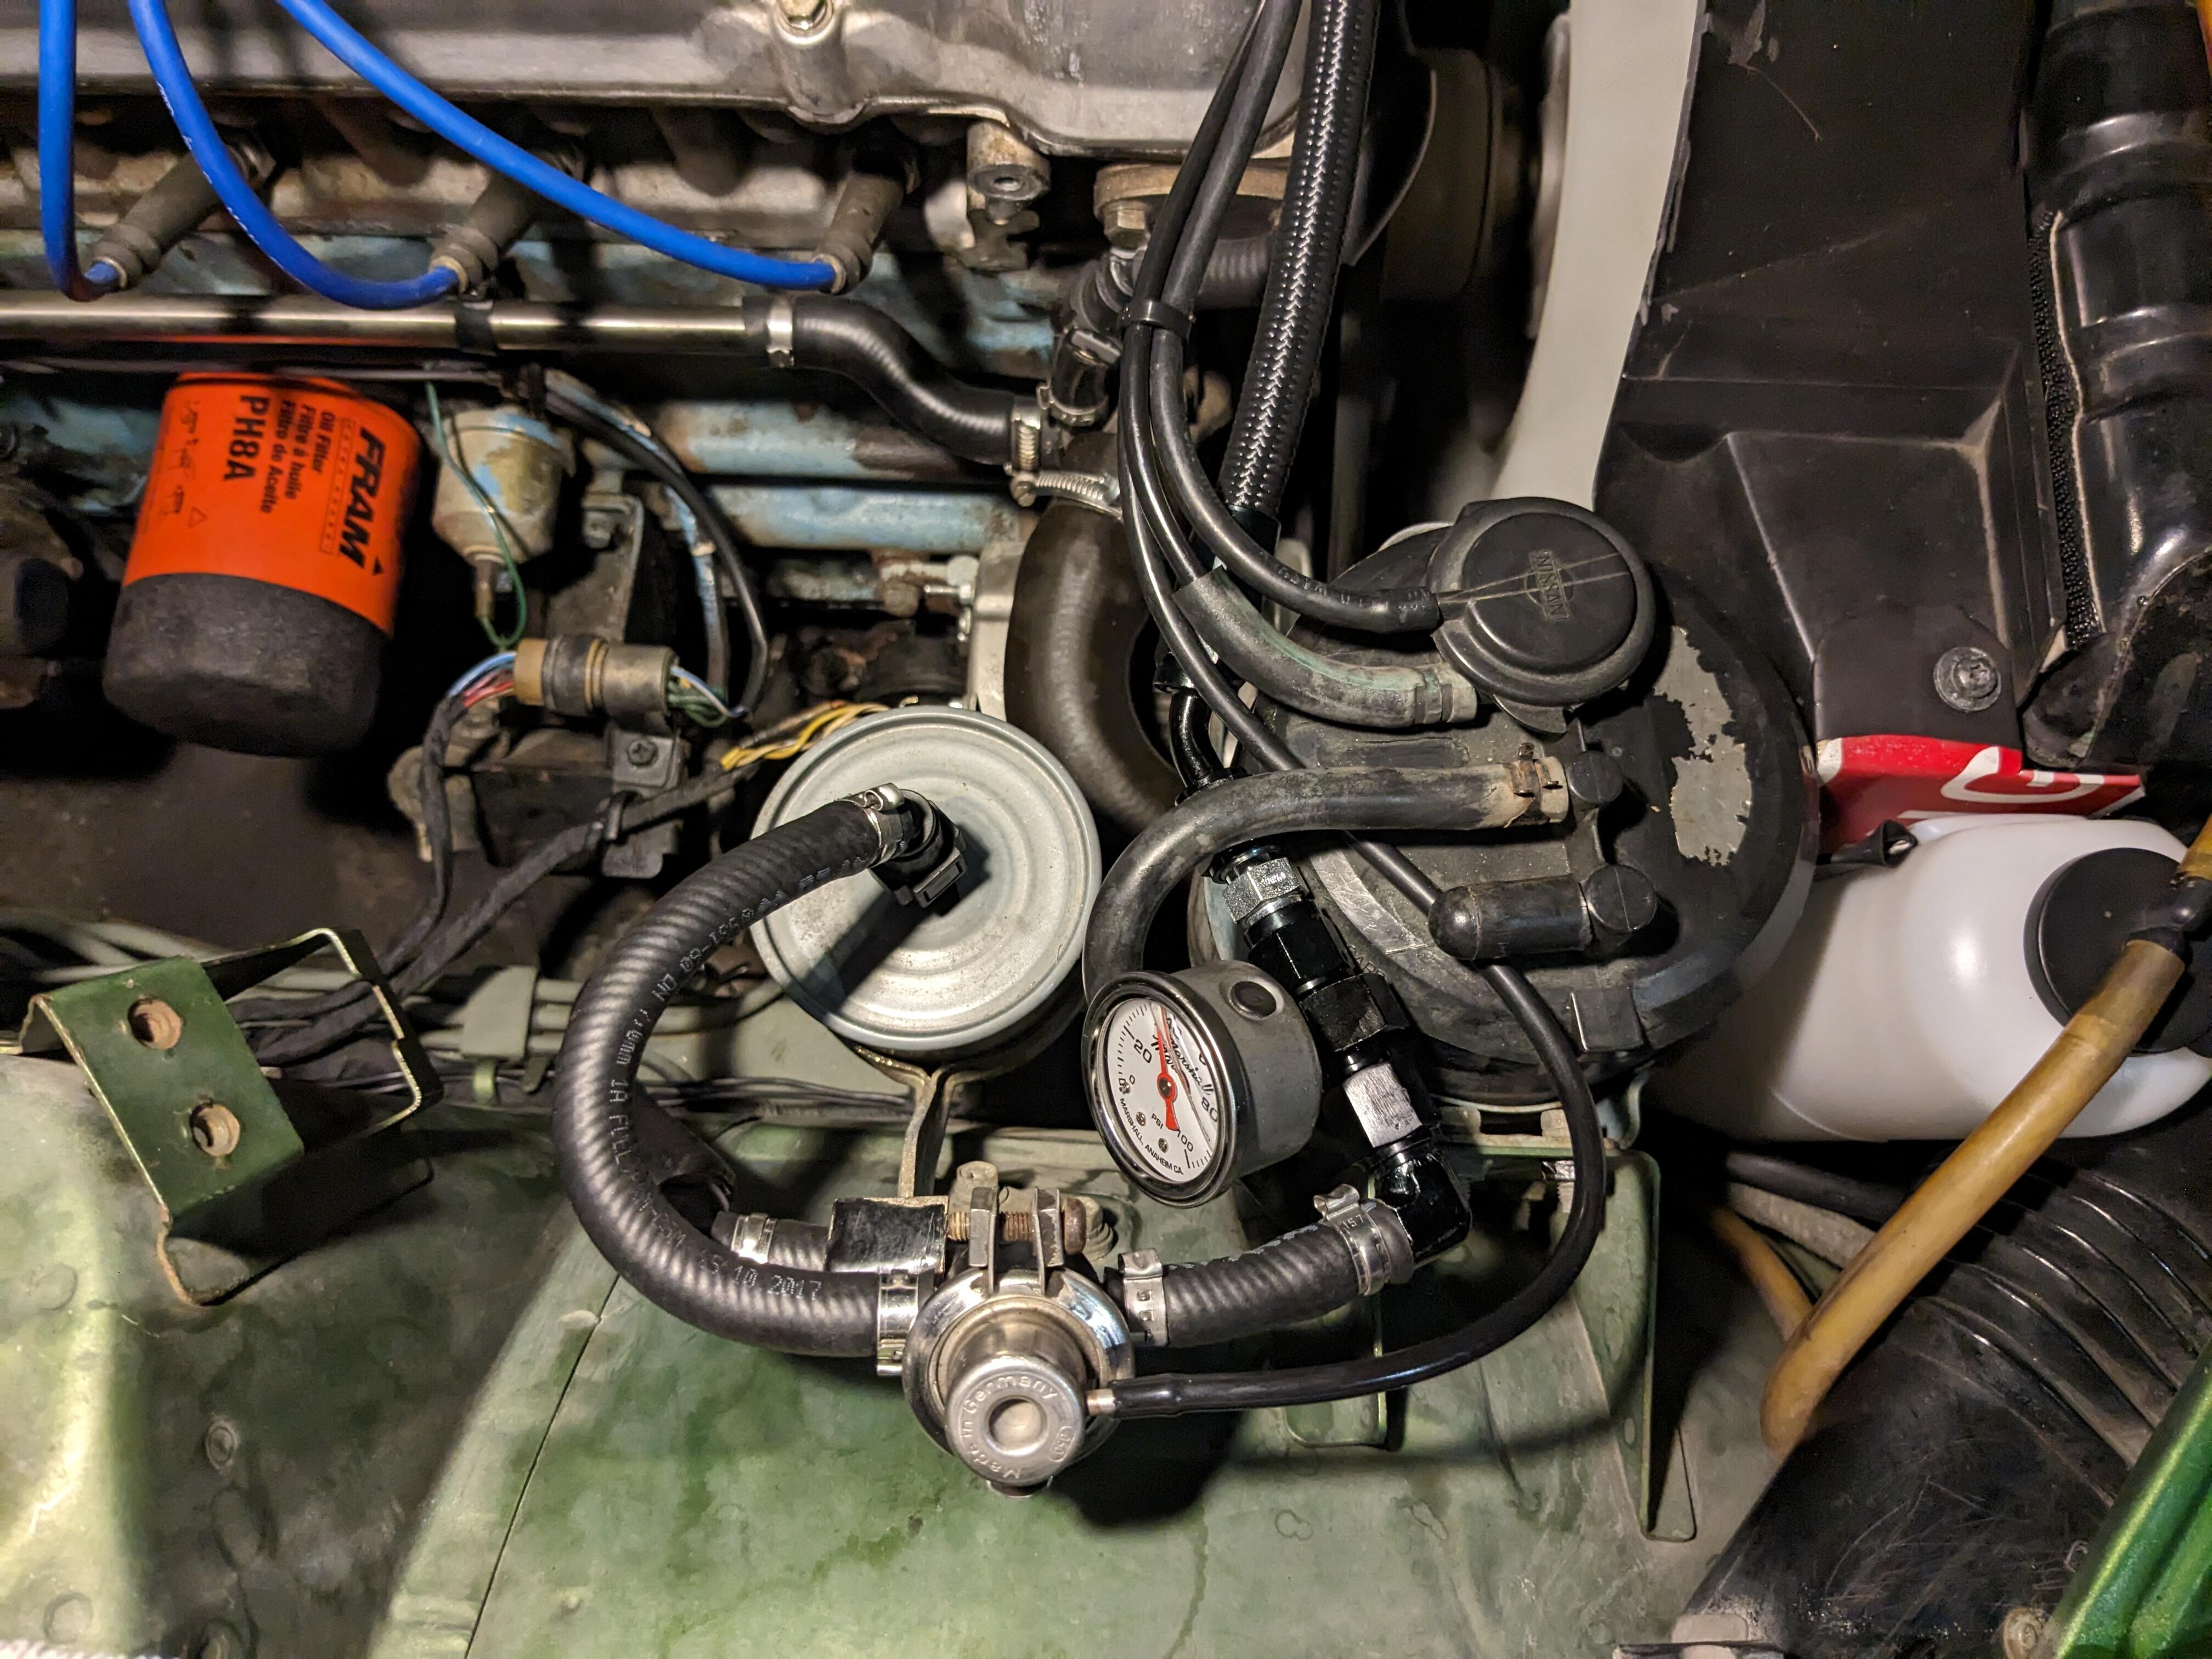
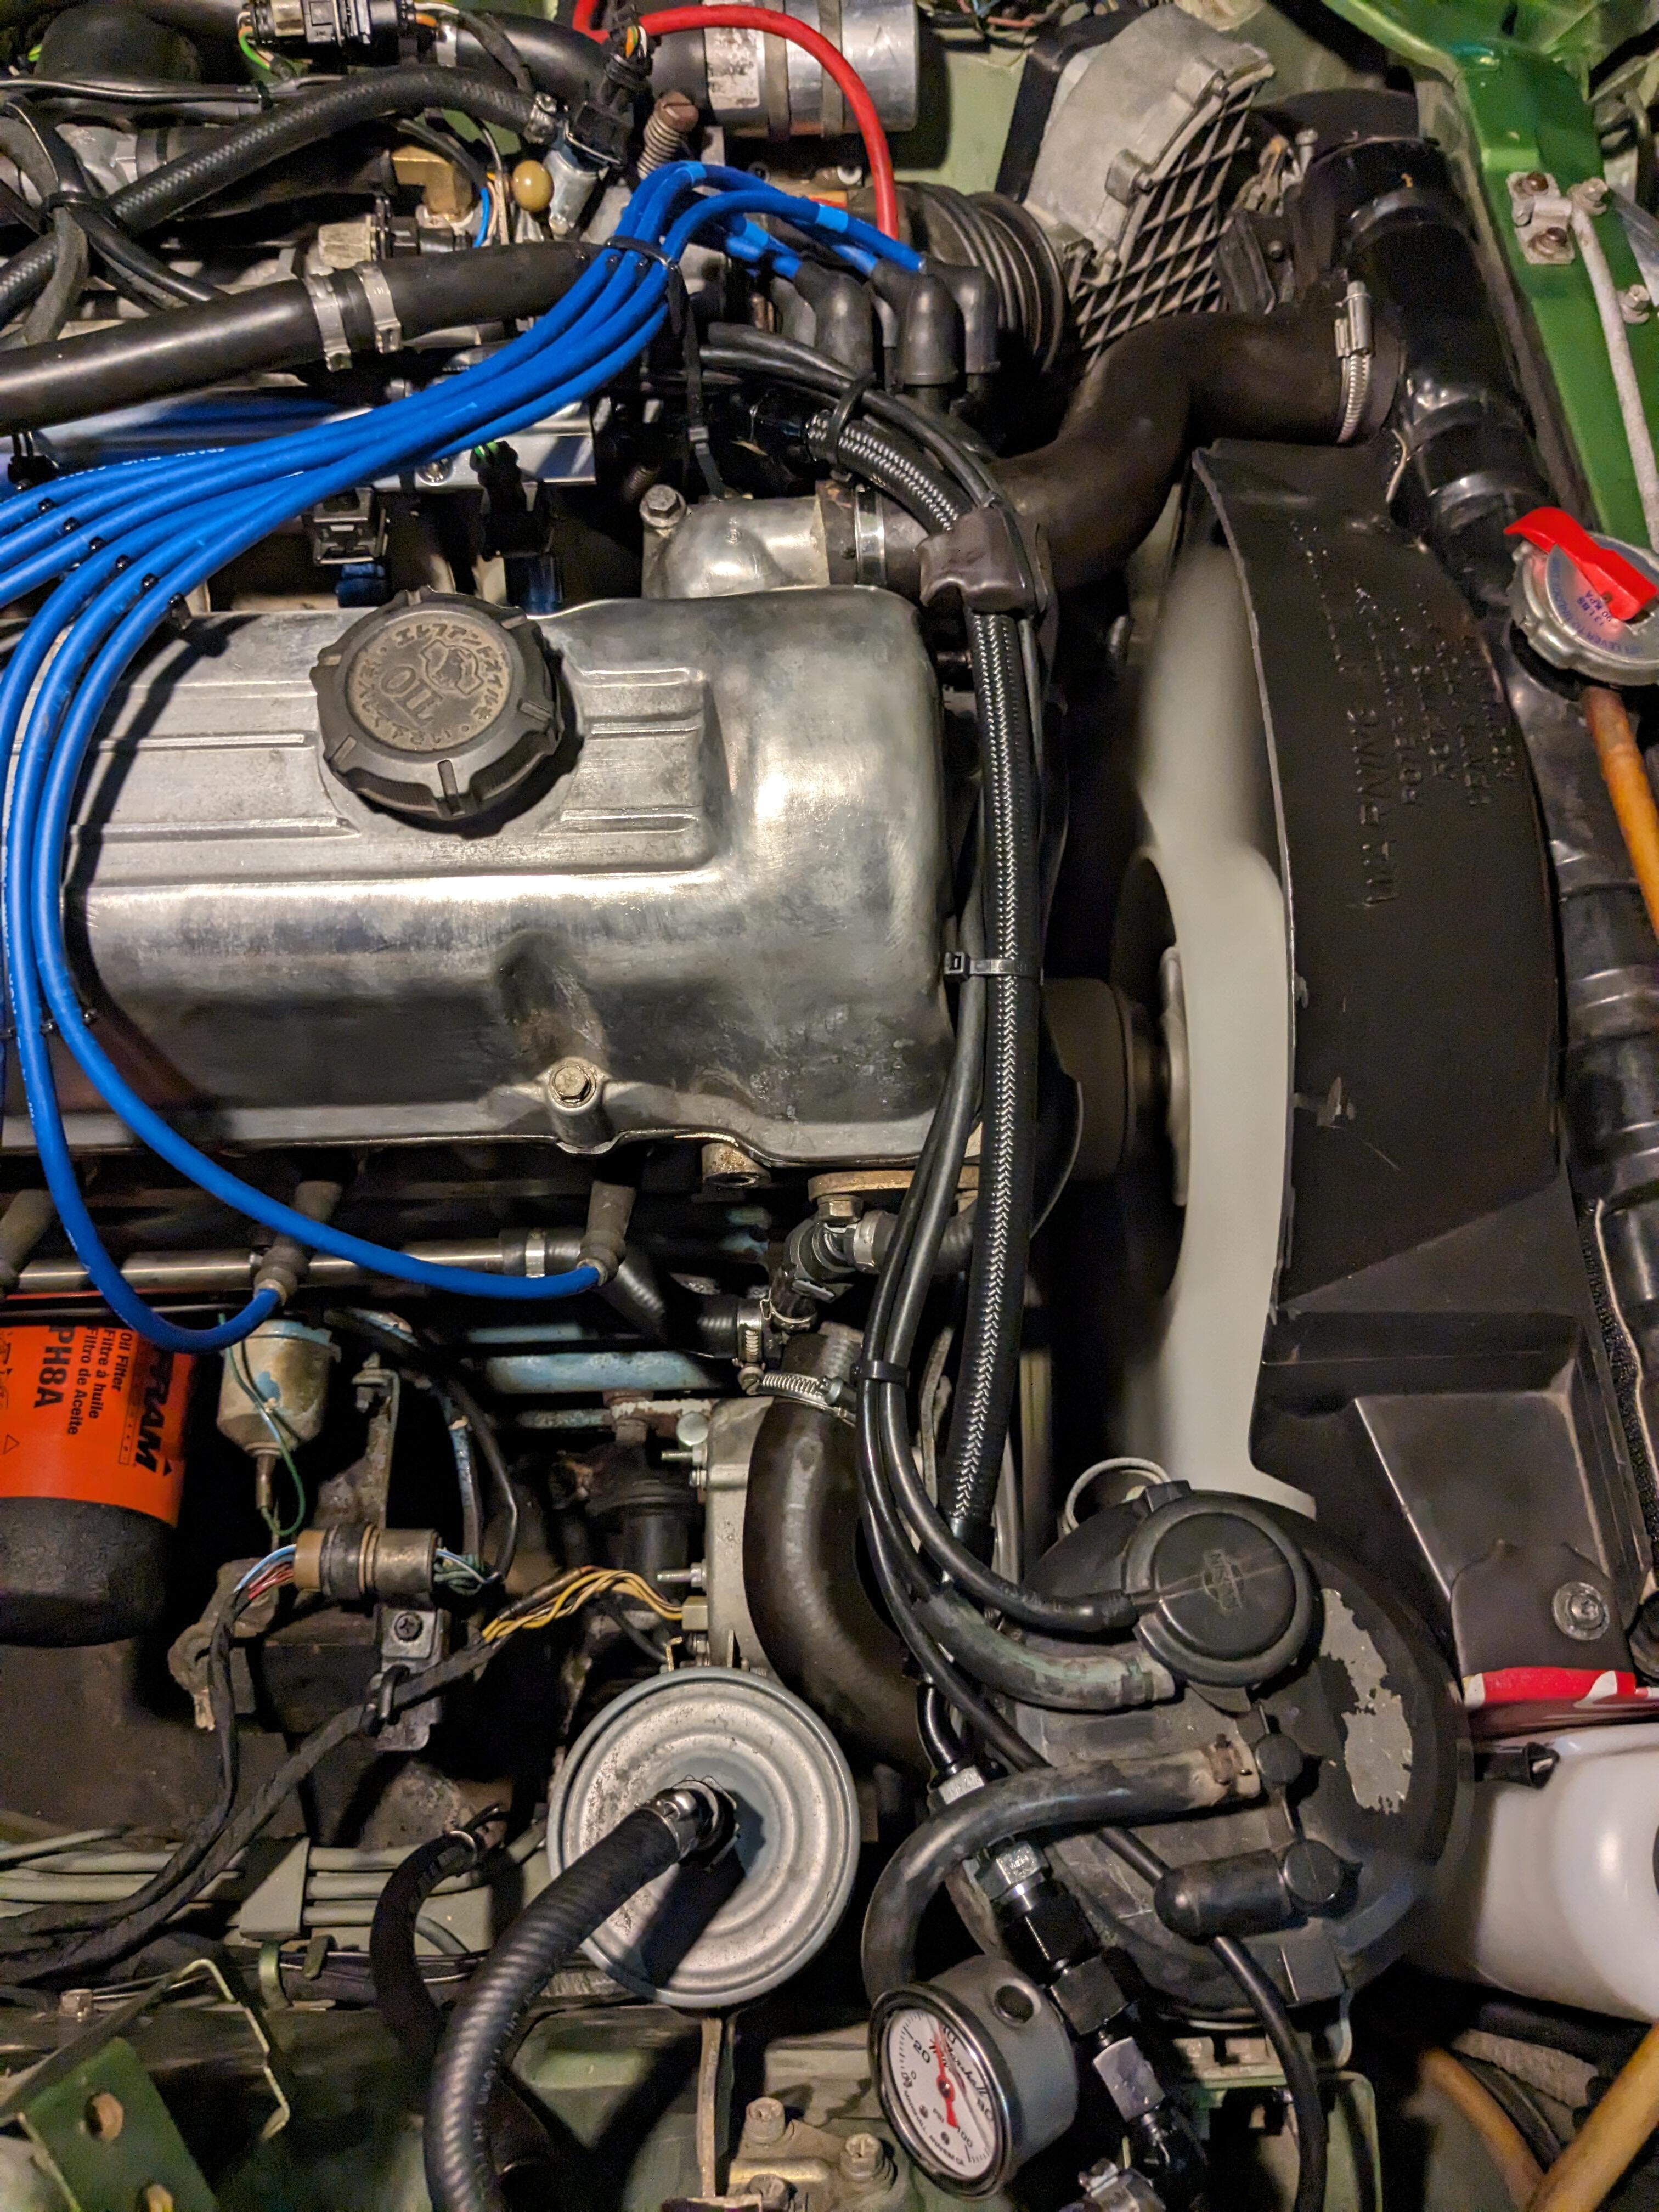
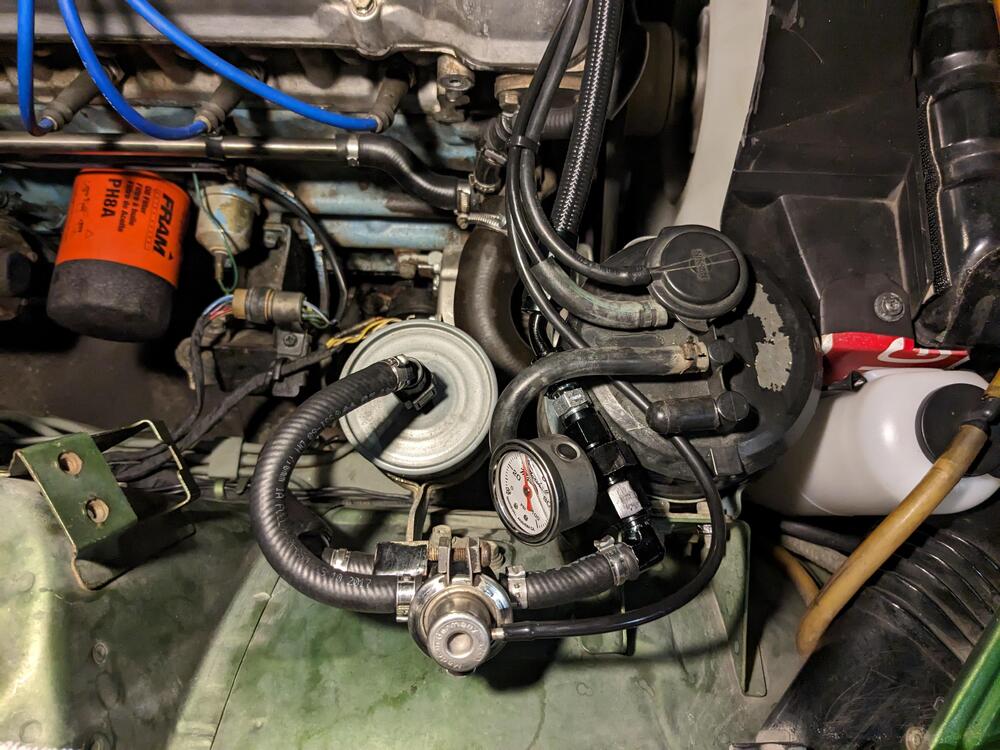
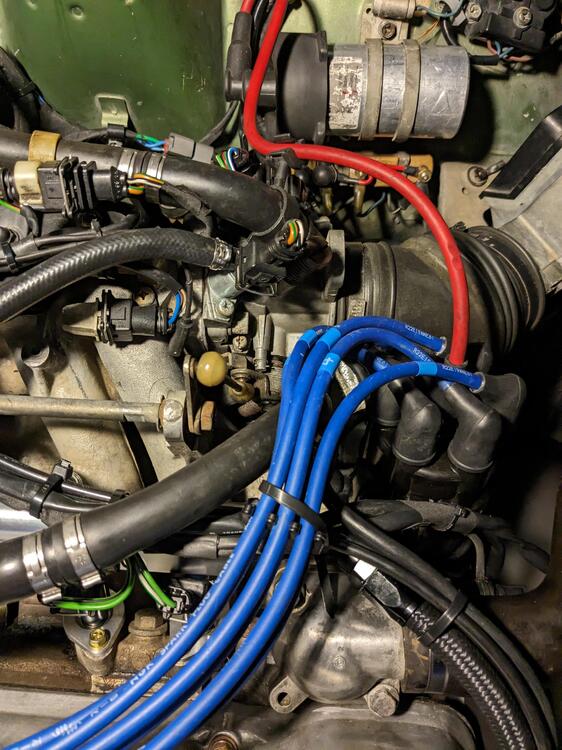
Forgot to add here - I had removed the Datsun FPR, and installed a Volvo FPR pod that incorporates the return, so no return on the motor I subsequently replaced the fuel rail & injectors, which meant modding the feed line I didn't care for the transition from the AN braided, and the barbed FPR port hanging out, so I reworked the feed side to tidy it up. Single 6AN braided hose from the rail to the fitting for the fuel gauge, then barbed 6AN 90º elbow into the FPR outlet hose. Not a huge fan of 90º fittings for the fuel supply, however it is all larger ID than the stock setup, and a smooth arc would have sent the line way to far forward Ignition wires need a new standoff, now the one on the stock rail is gone - I have a tie wrap holding them down so they don't rub on the underside of the hood


 1 point