Leaderboard
-
Captain Obvious
Free Member7Points10,081Posts -

CanTechZ
Free Member7Points1,311Posts -

siteunseen
Free Member5Points15,115Posts -
Patcon
 Subscriber
 4Points11,142Posts


Popular Content
Showing content with the highest reputation on 11/04/2023 in all areas
-
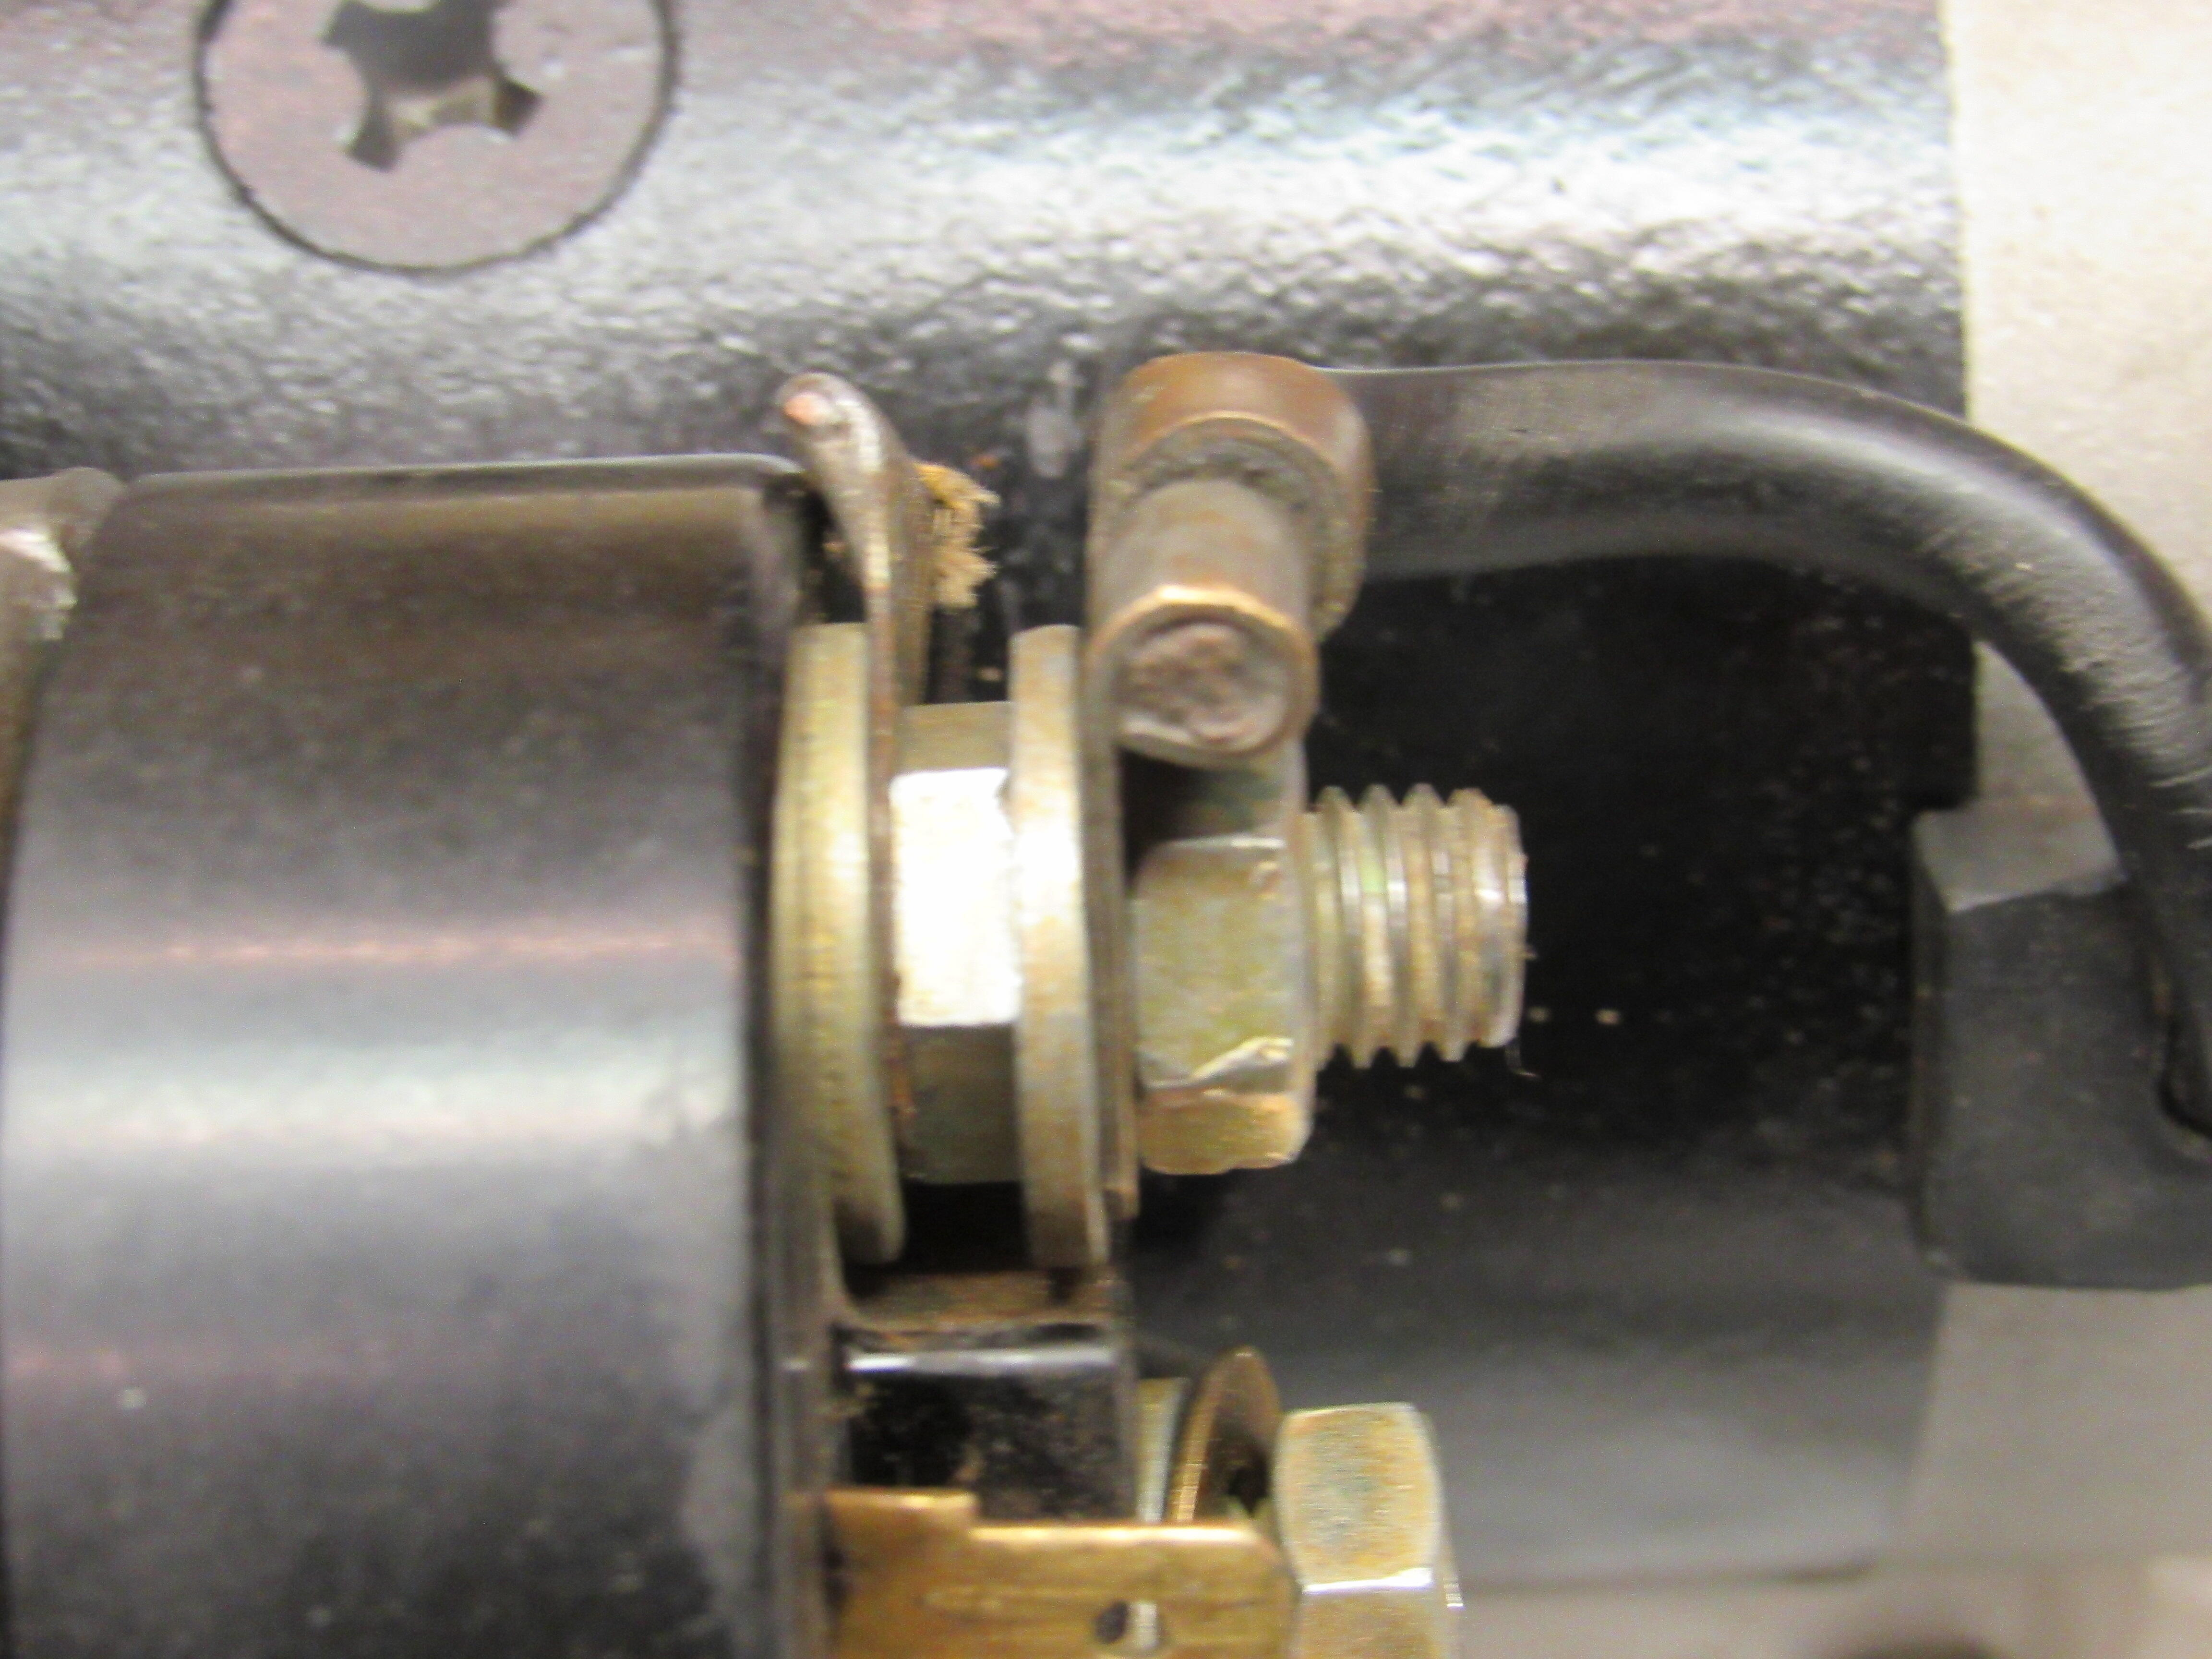
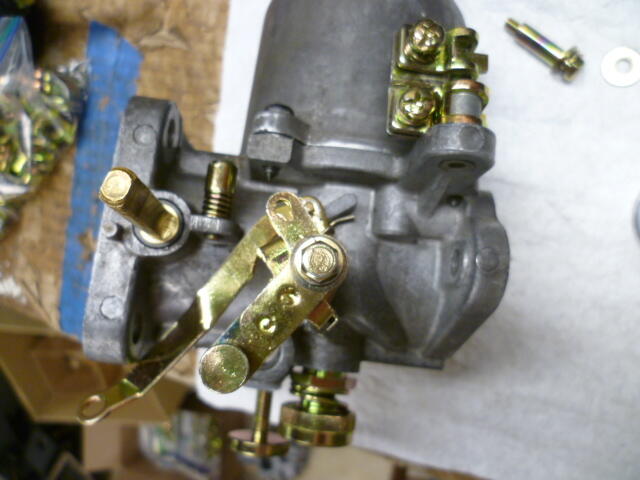
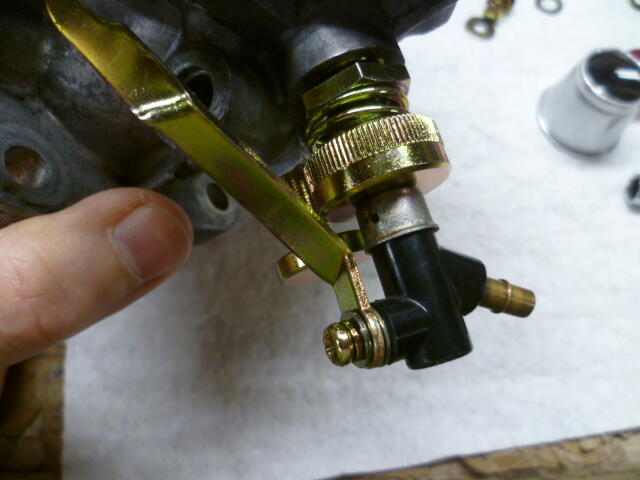
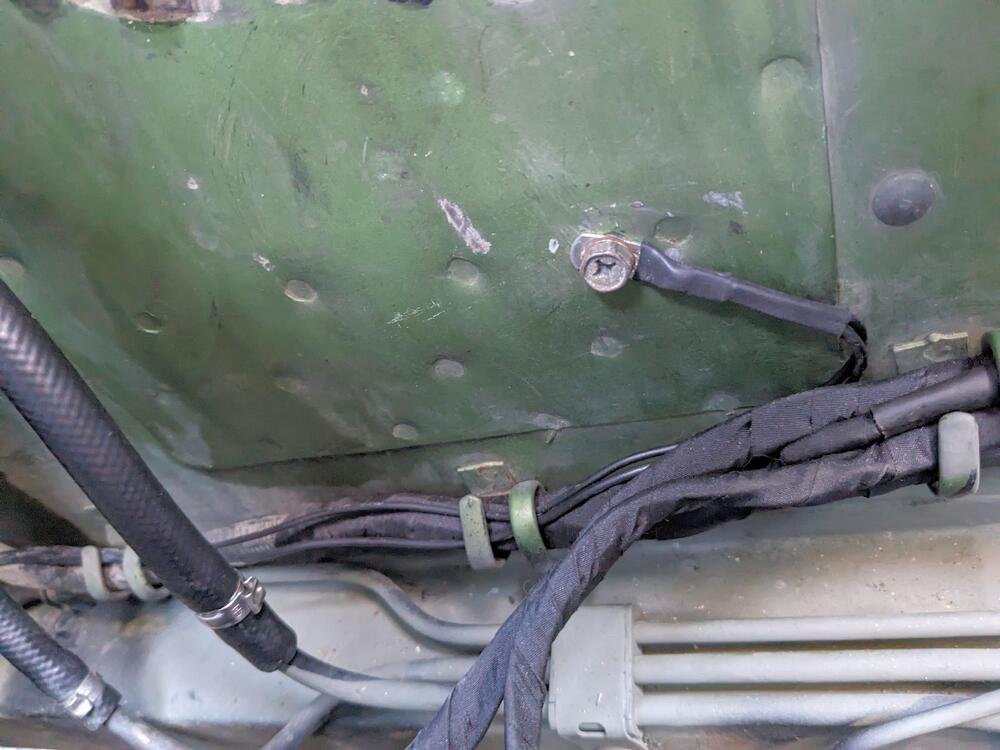
Haha! I did the same thing. I just took a look for pics and all the good pics of the undersides have that stopper removed already. Here's the best I have. Pic is intended to show side detail, but you can see the stopper underneath: And this one is intended to show detail of the nozzle, but you can see that limit stopper in the background:
 5 points
 -
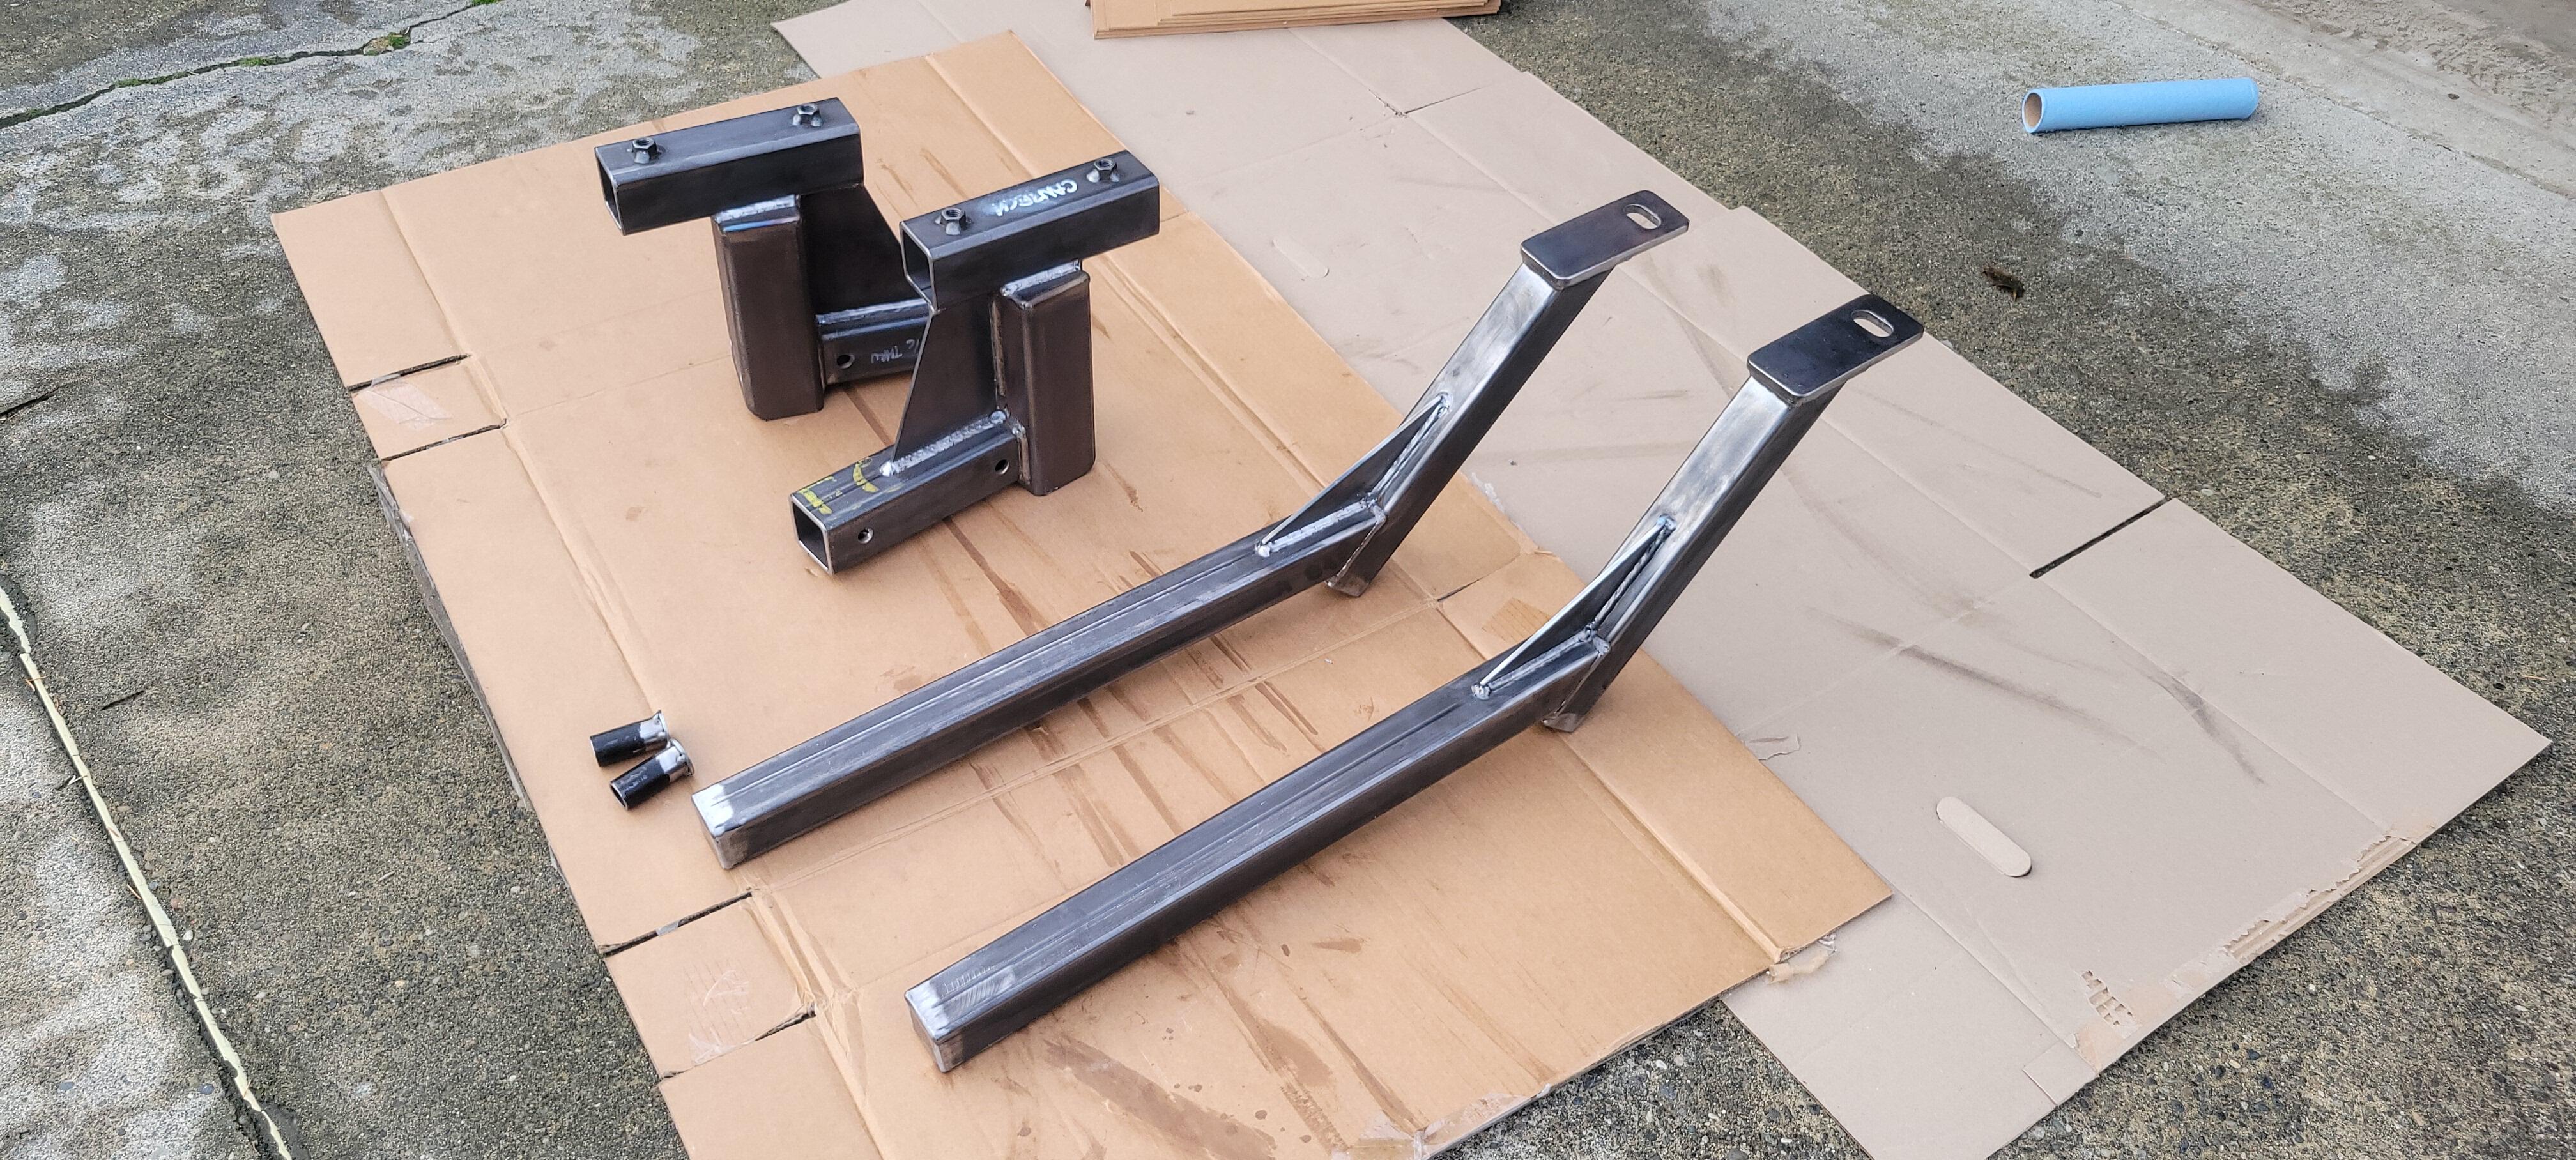
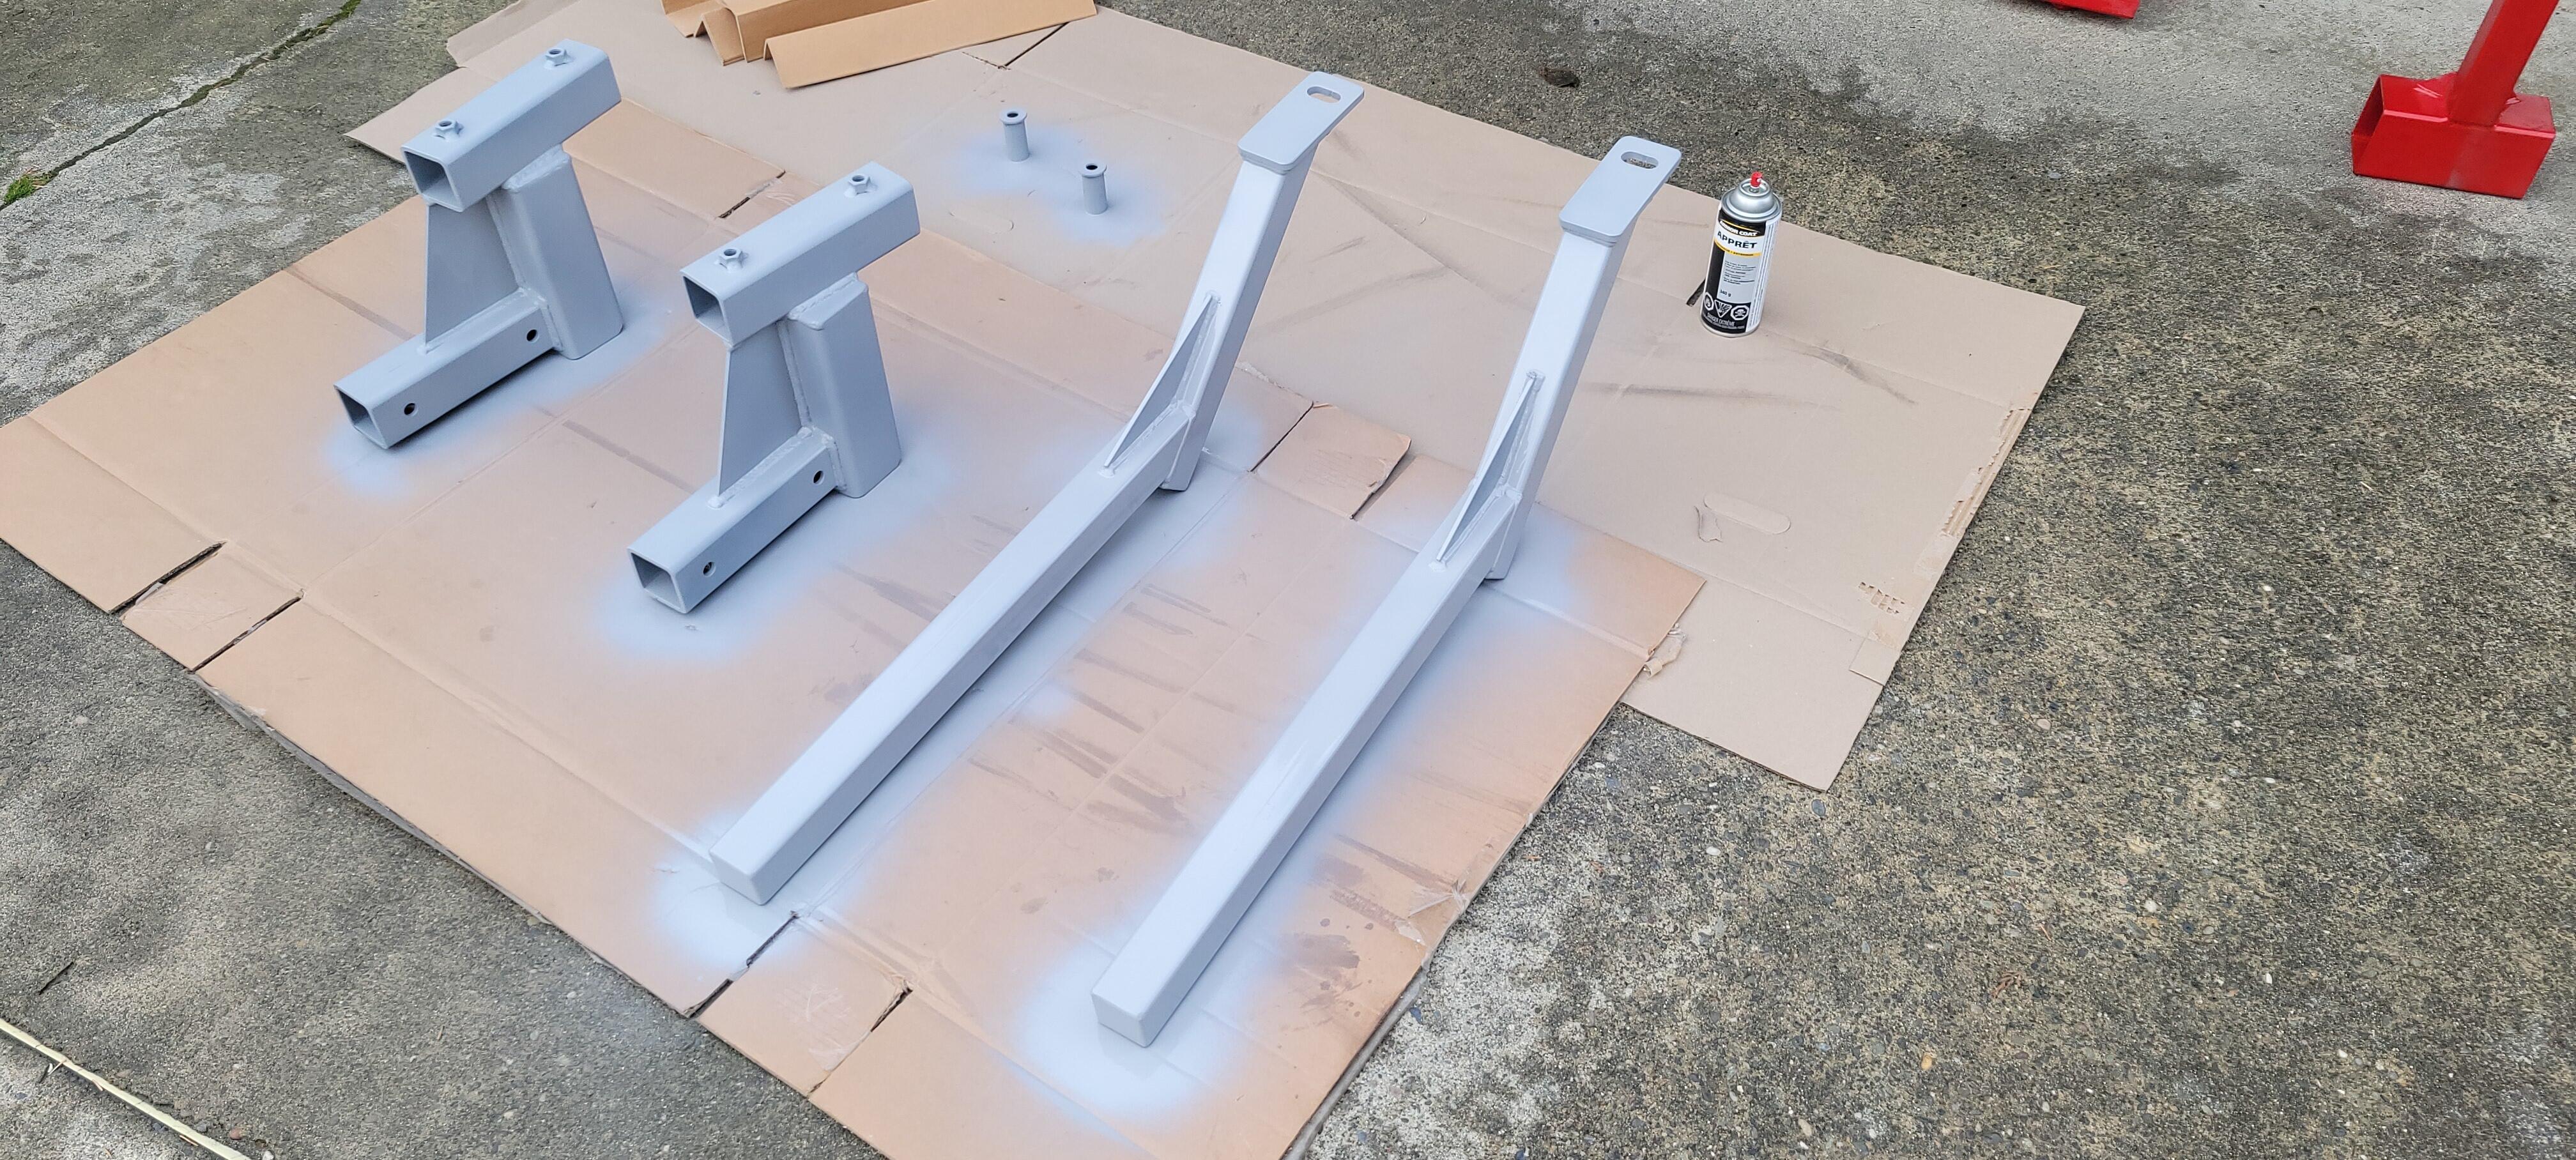
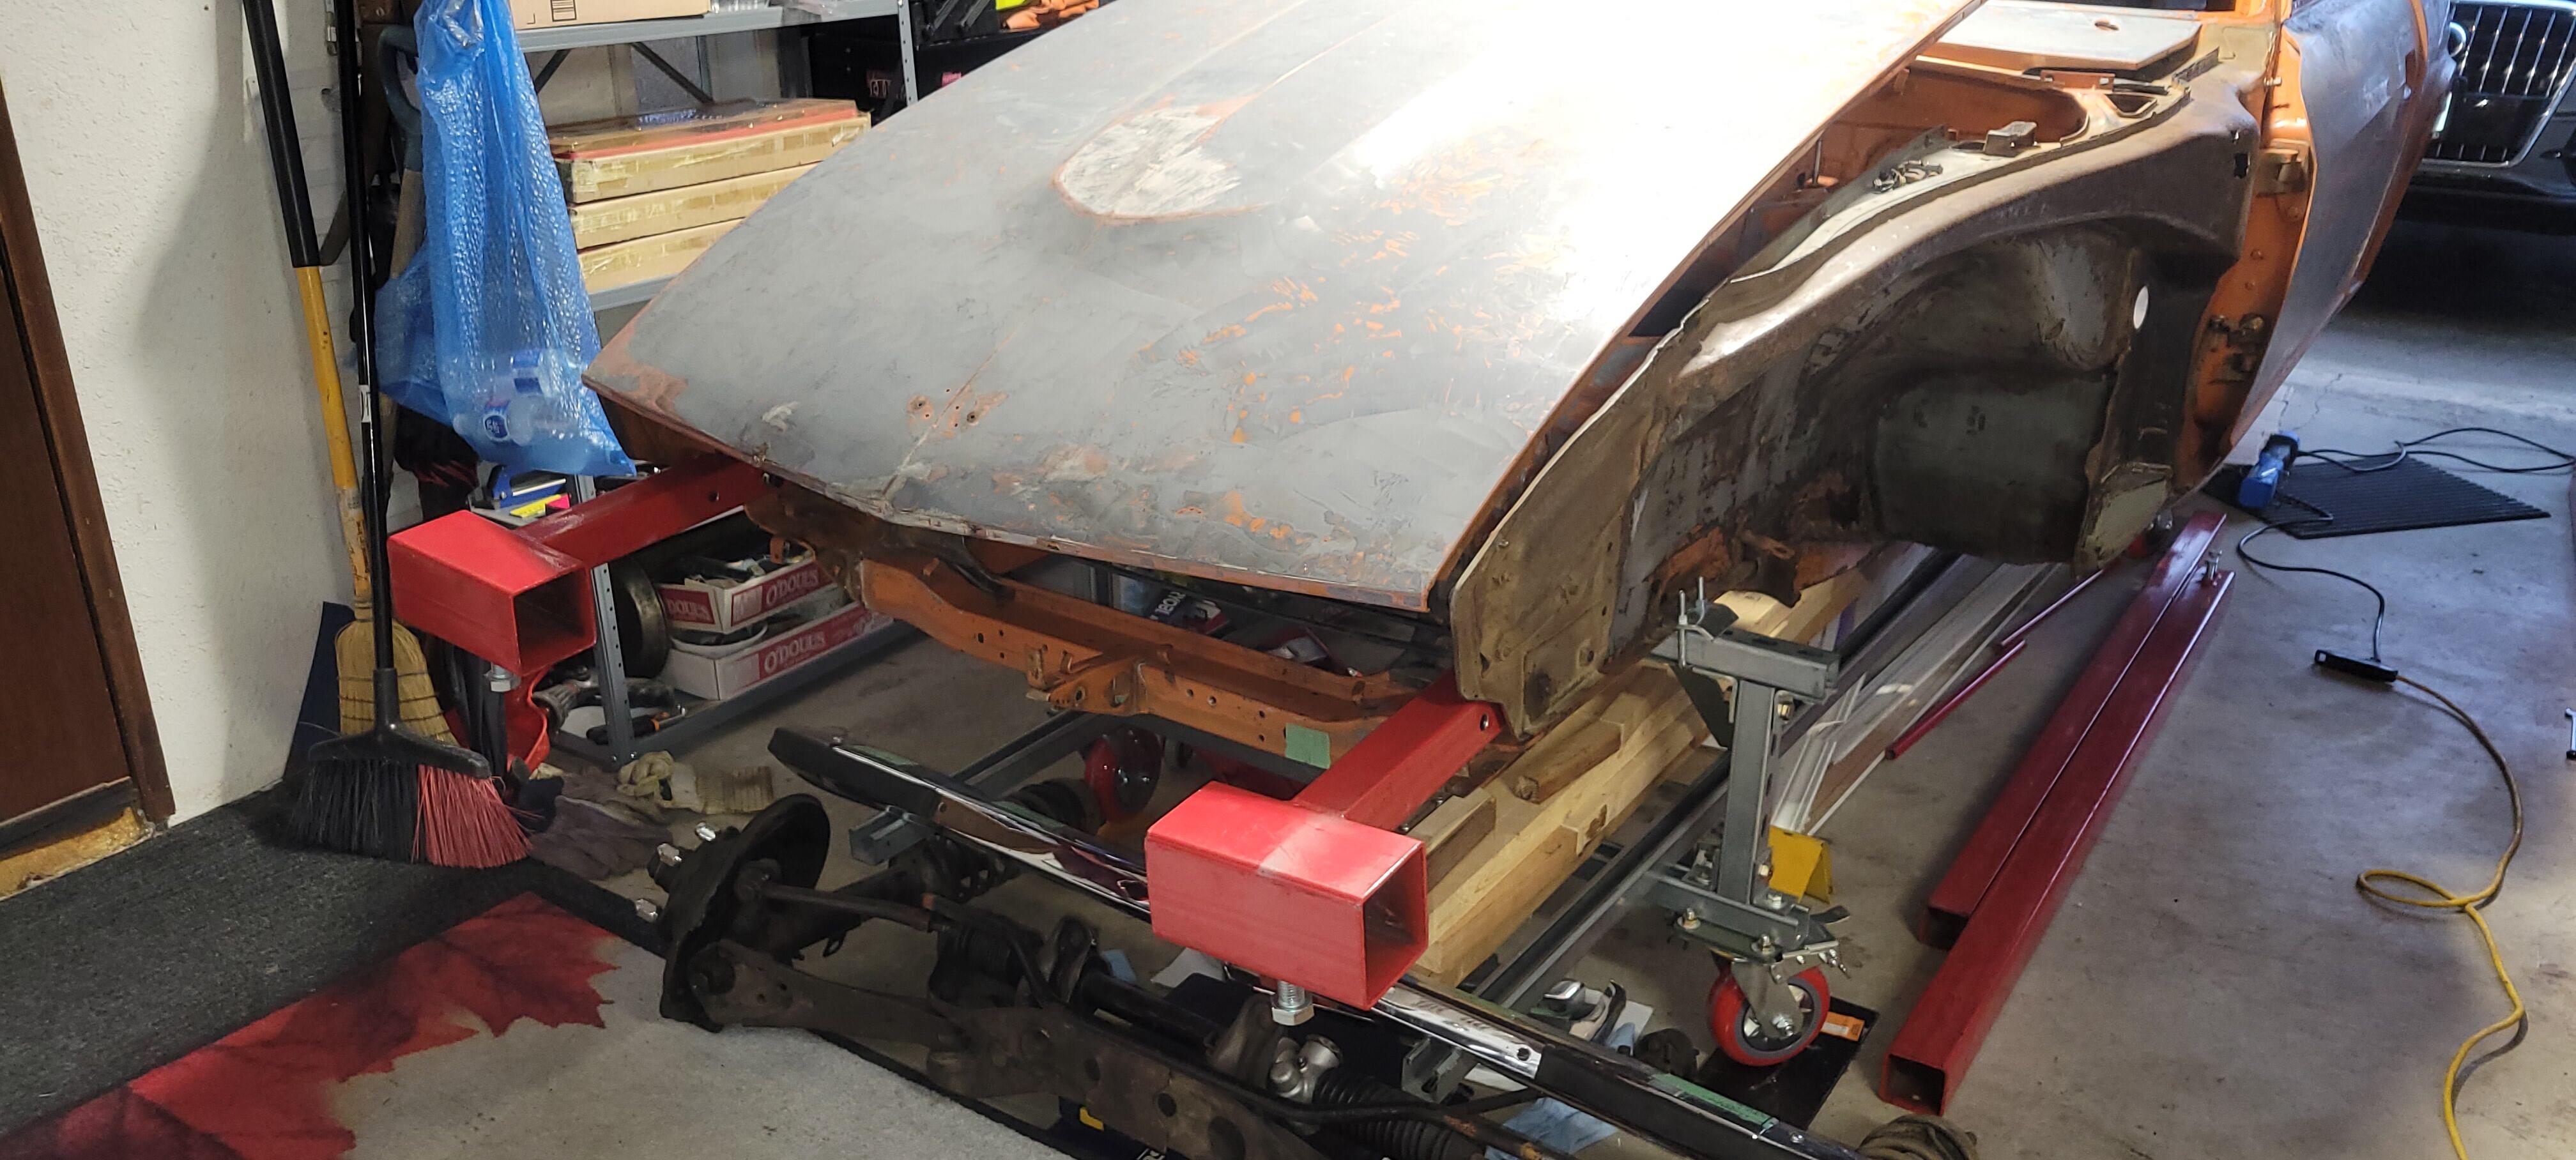
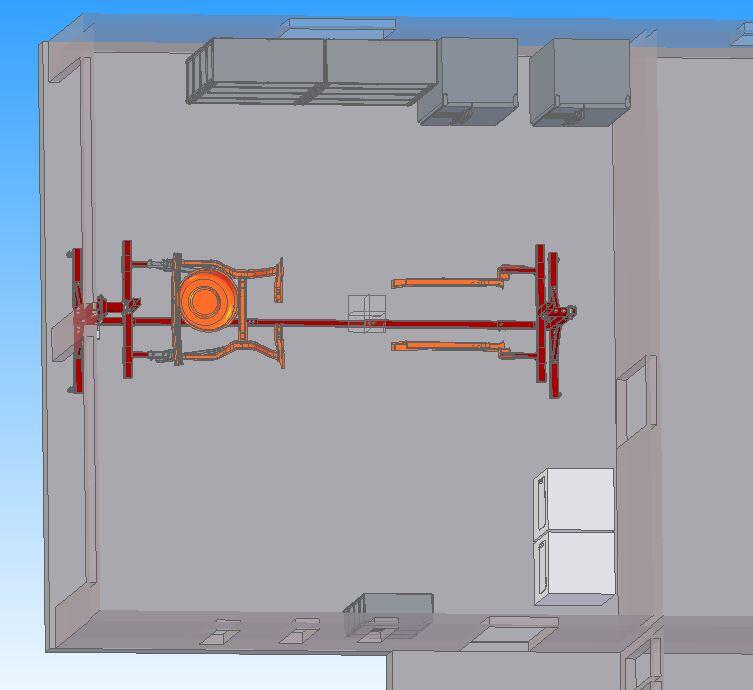
4 pointsYesterday I picked up the finished rear brackets I had made for mounting the shell on the rotisserie and gave them a quick shot of primer. I'm very happy with the result, my fabricator does great work. Over the weekend I will be working on getting it all put together. I was hoping to do this in my driveway but the weather is not cooperating. The predicted rain for all weekend has already started. My garage is only 21' wide x 20' long so it will be a bit crowed during assembly. When it is all done there is not much front to back walking room but I laid it out in cad and after moving my beer fridge and work bench it looks like it will work. It was handy that I had created a basic 3d model of our house to plan our recent kitchen re-model. Here's a couple of images,


 4 points
 -
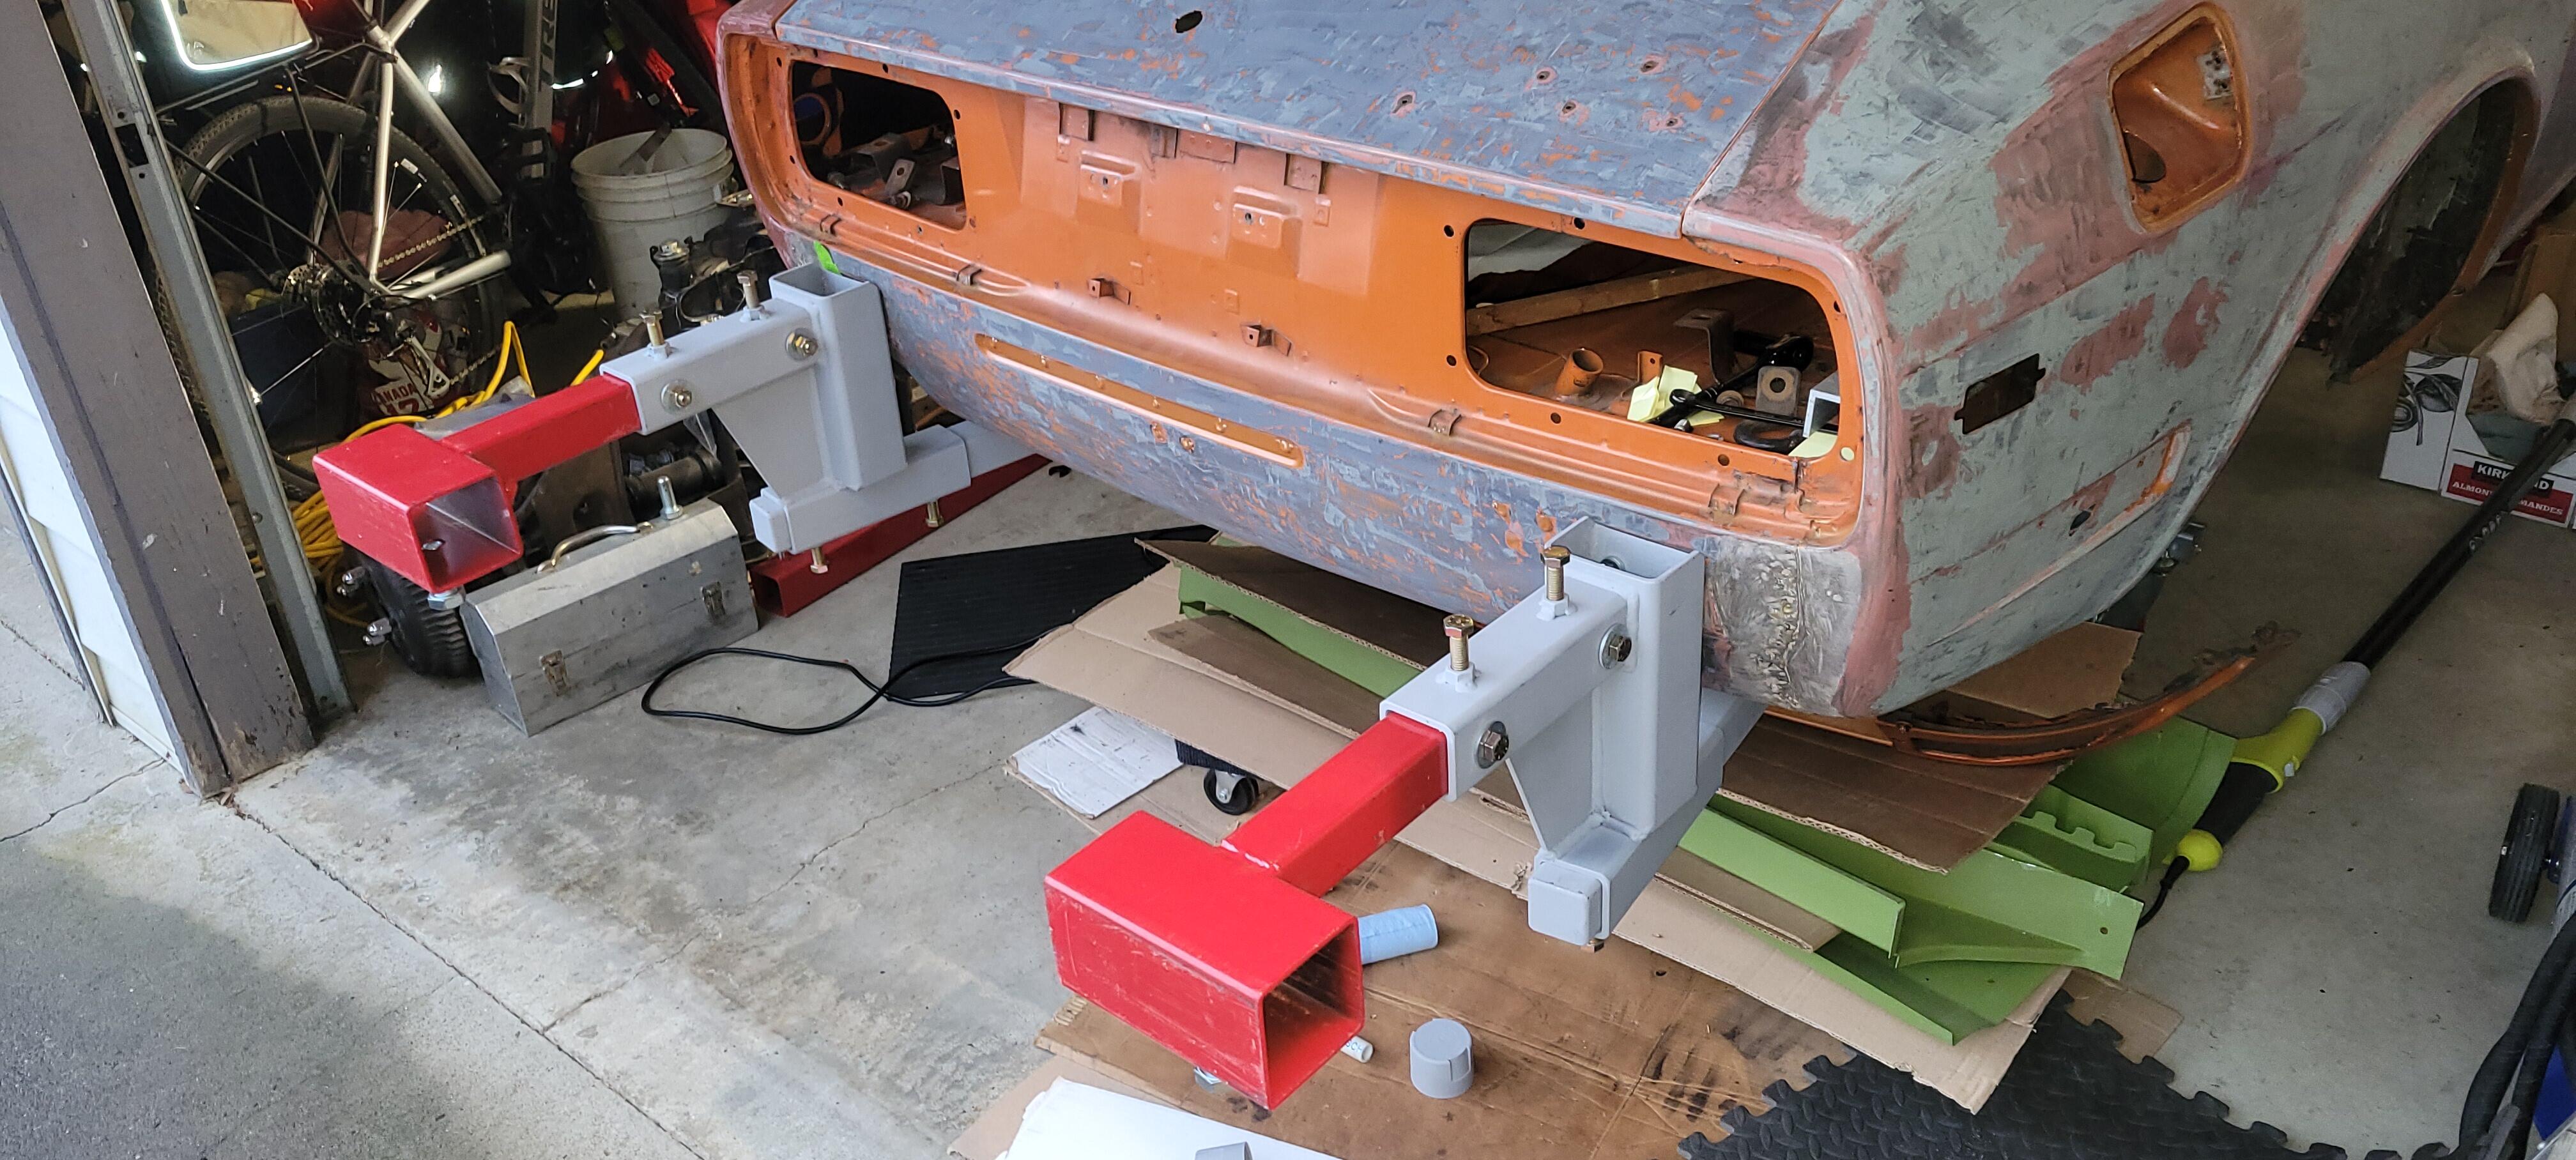
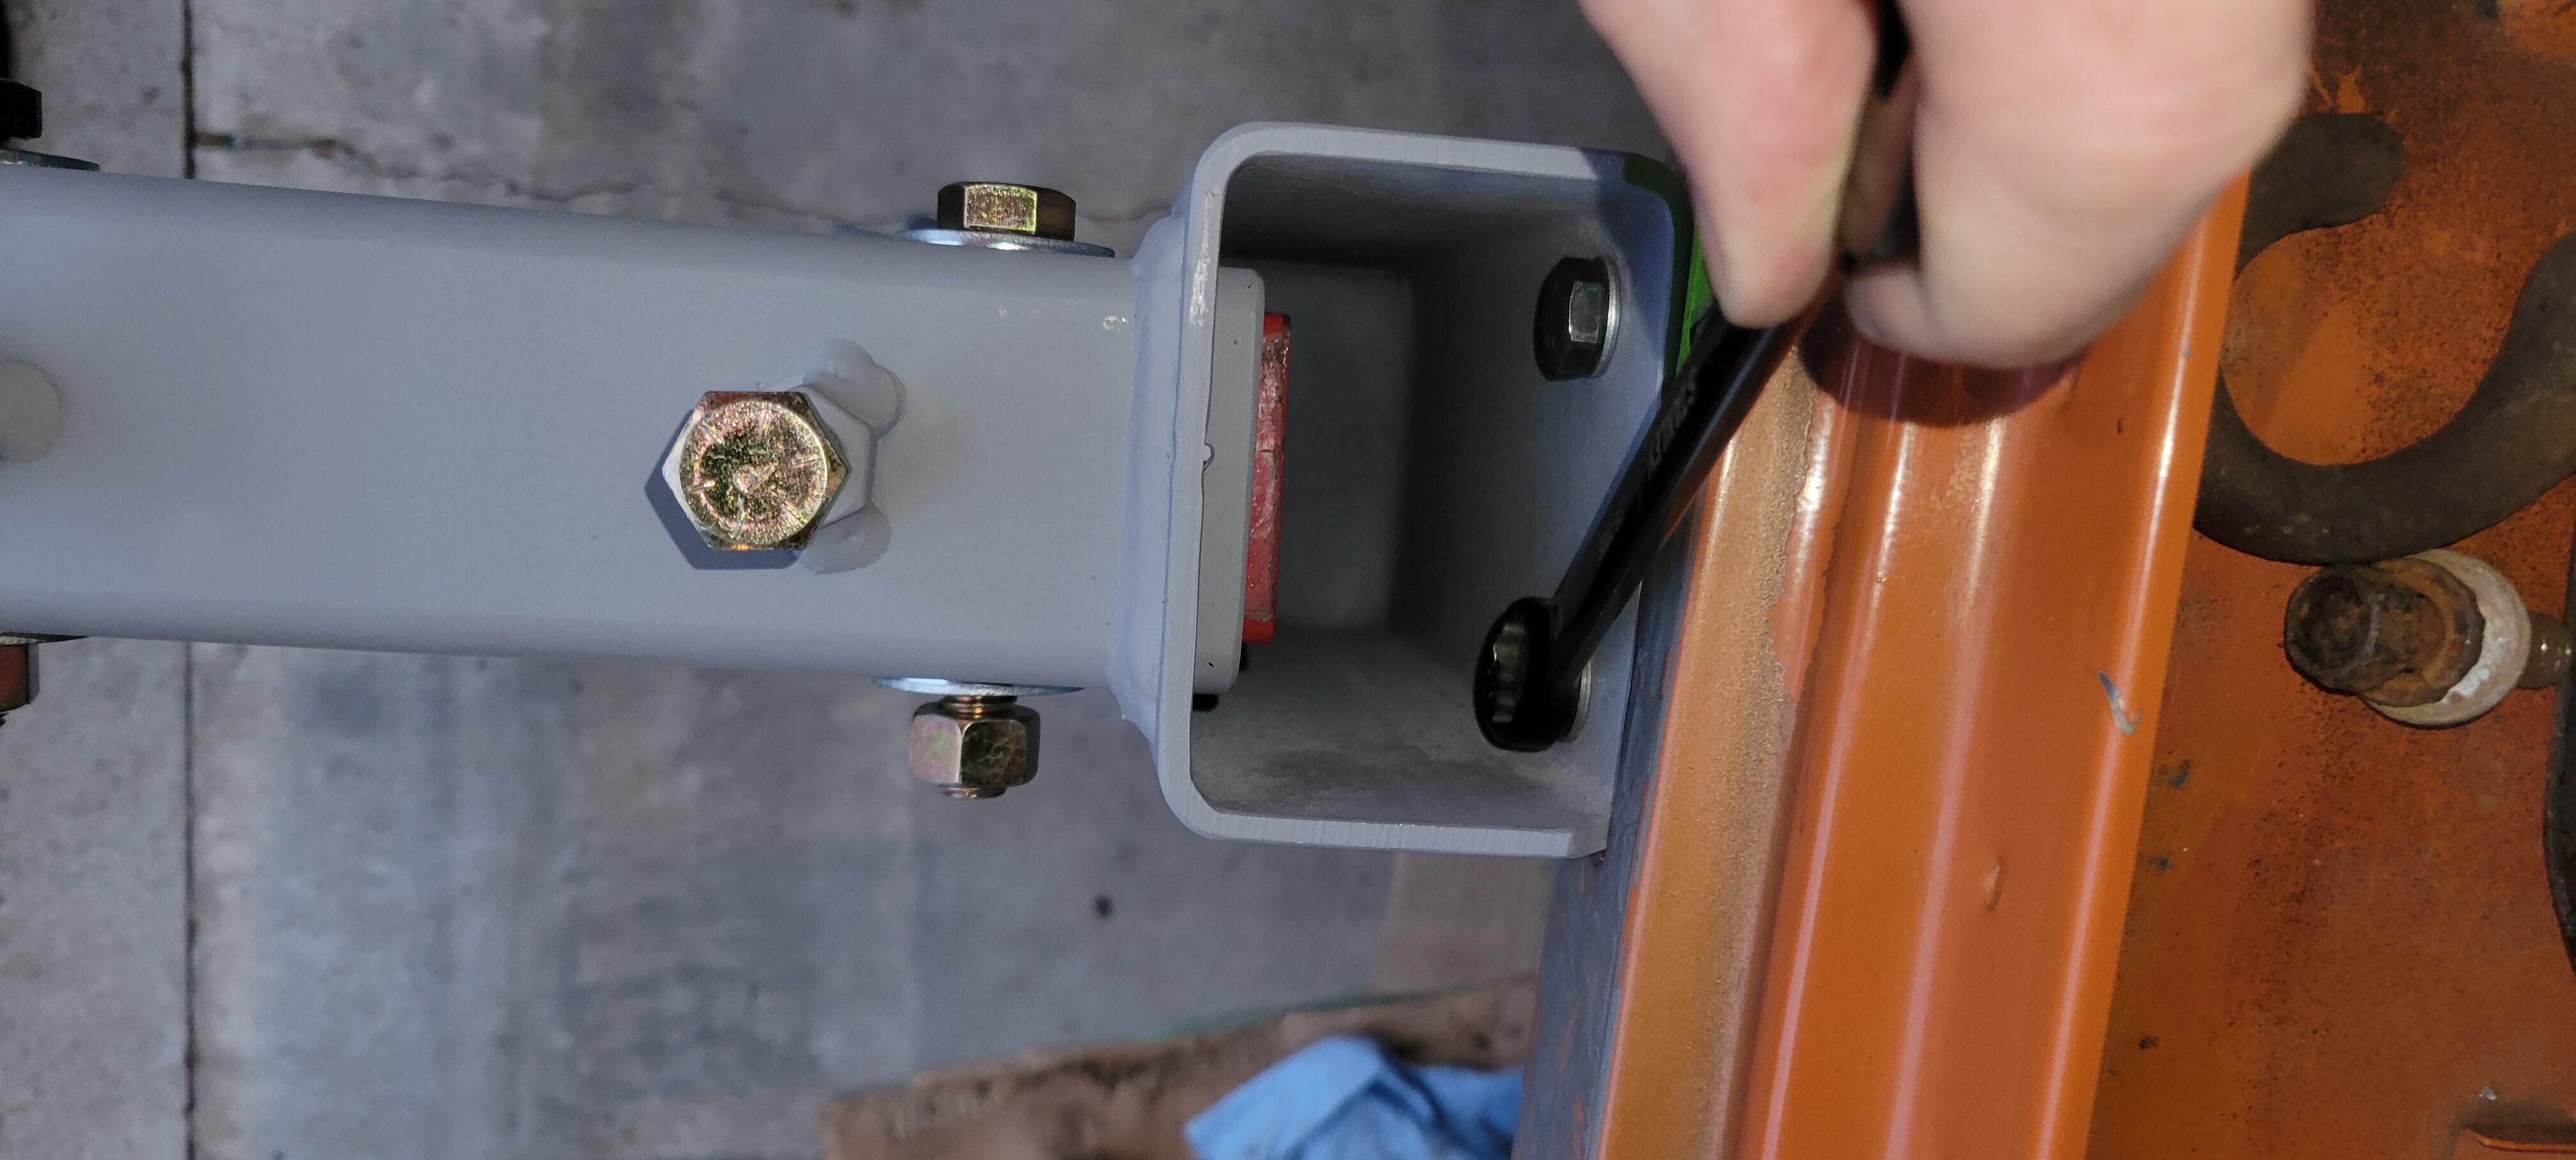
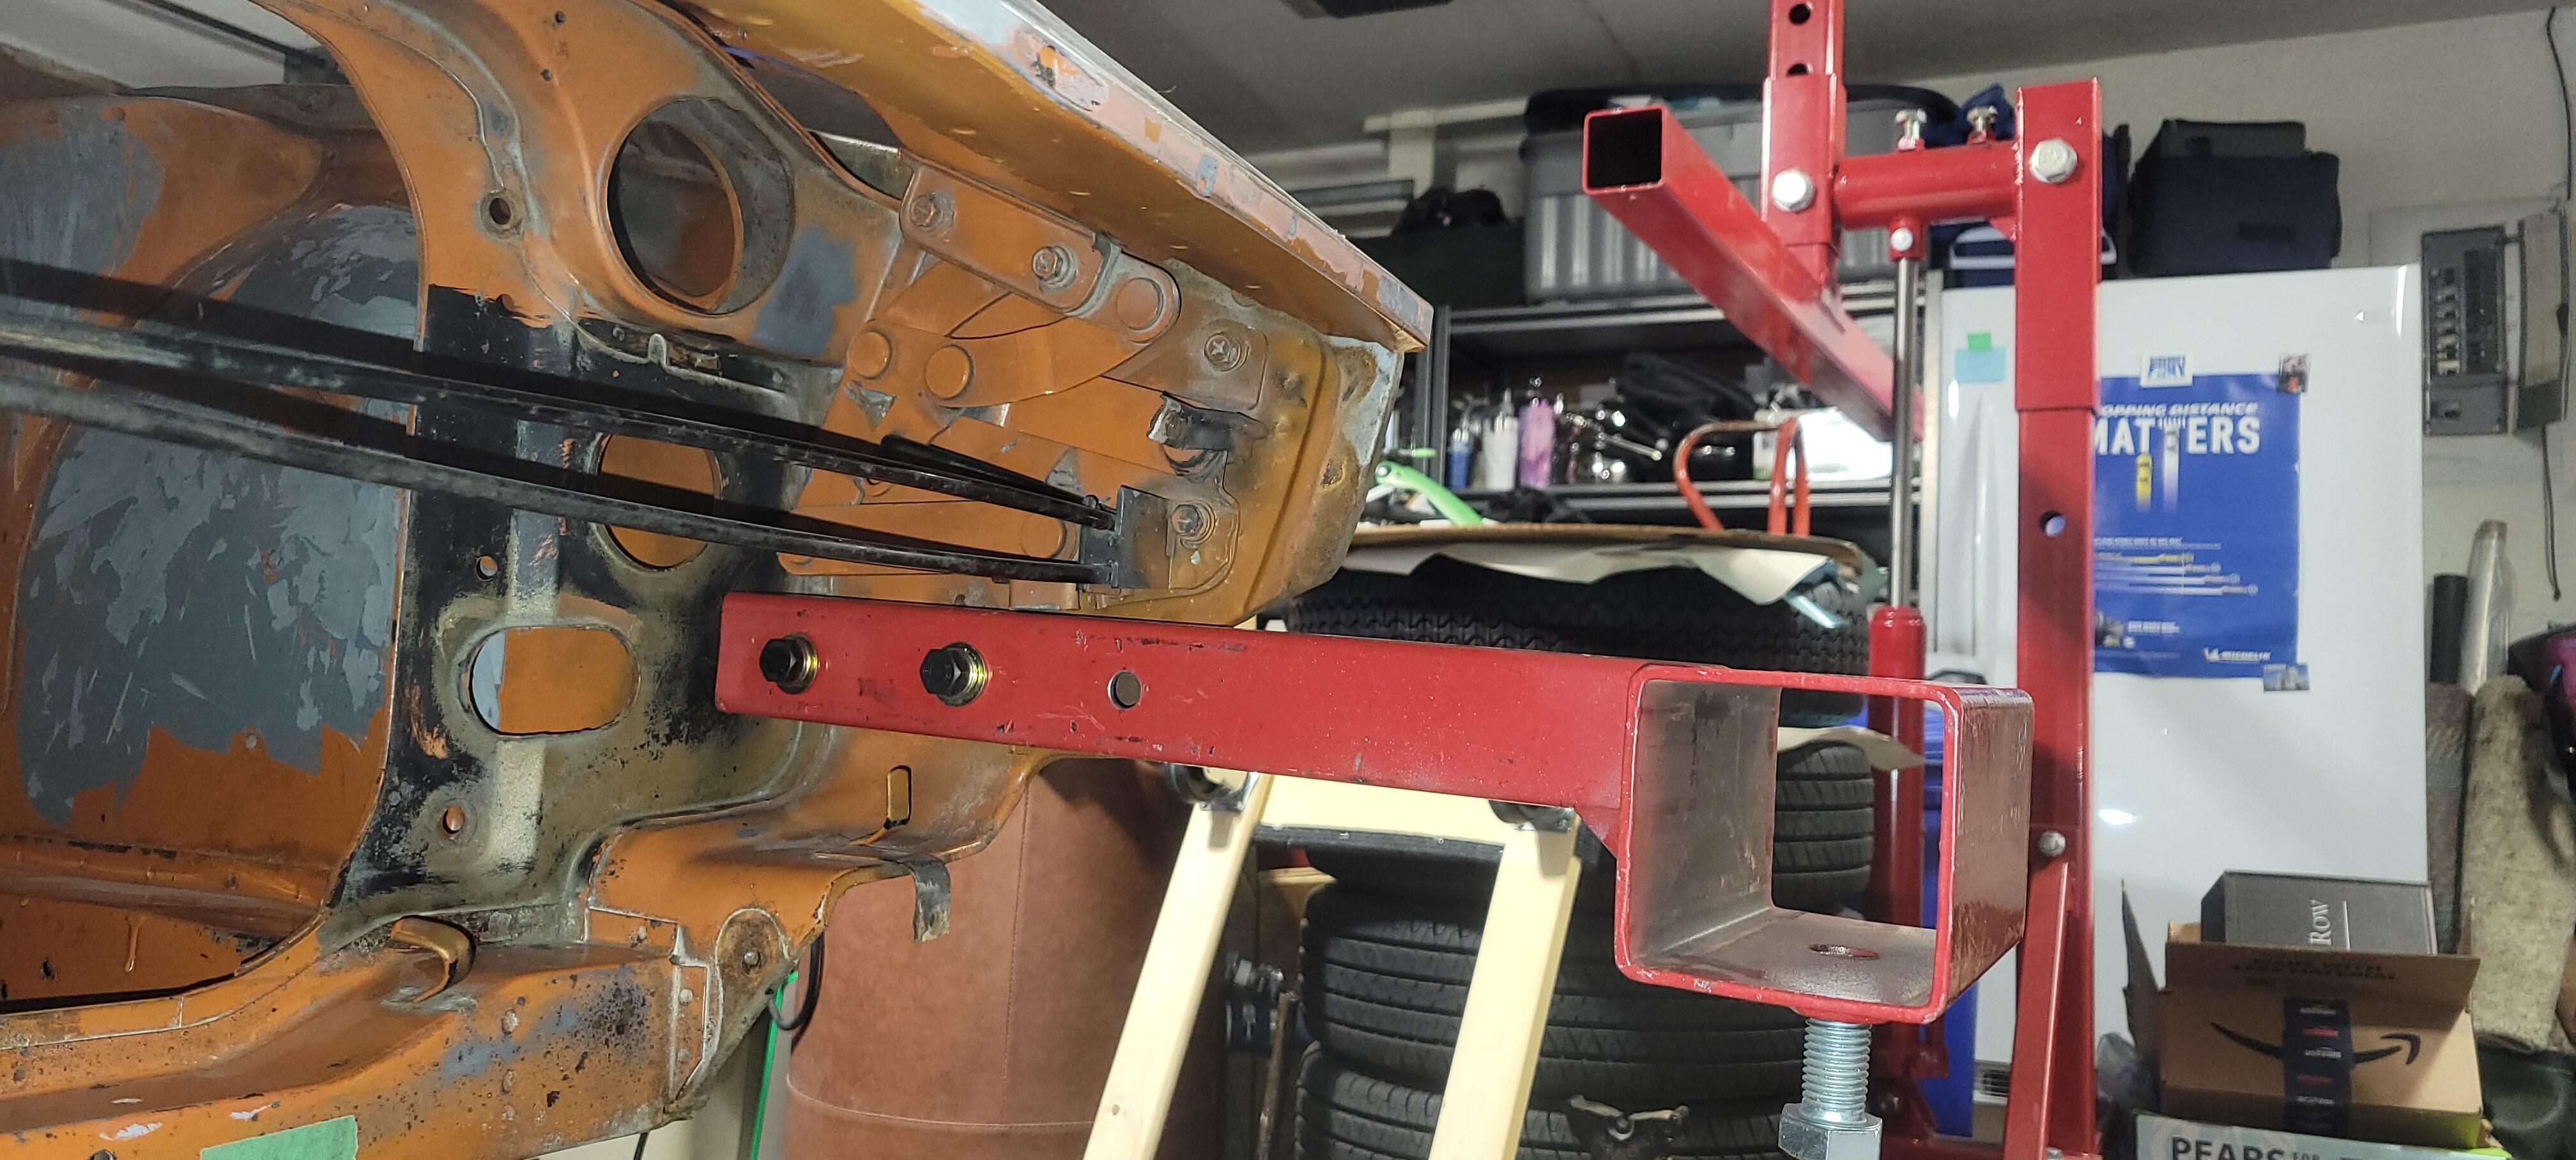
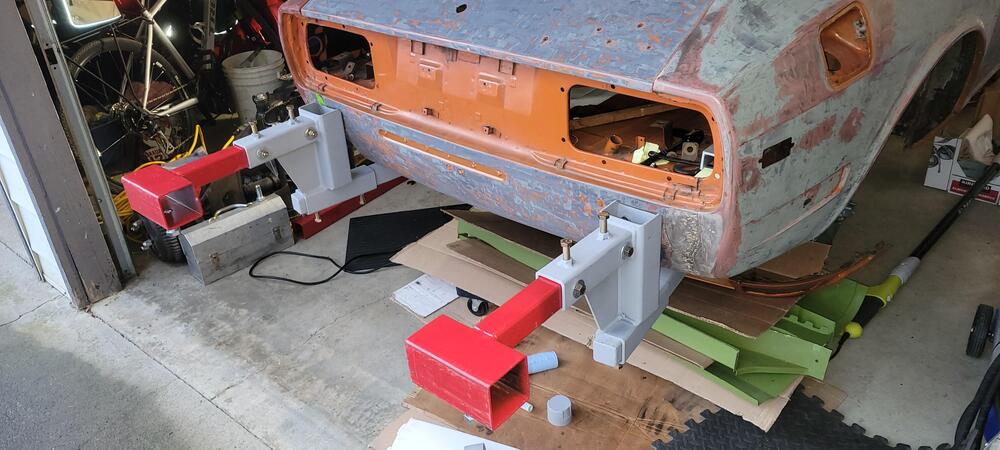
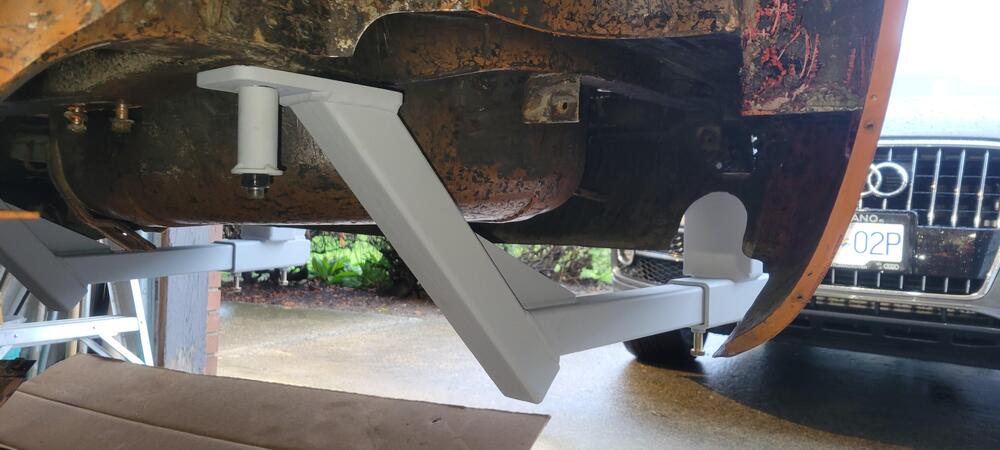
3 pointsInstalling the front and rear brackets went well, time for breakfast.🙂


 3 points
 -
You could try dropping the nozzle another round. Most people say that 2.5 is a base setting. That's where I started. Good luck. Added info you most likely know already. Setting Mixture 0. Warm up car 1. Screw both jets all the way up to the top 2. Screw the jets down 2.5 turns (default starting point) 3. Take the car for a run and listen closely for popping in the exhaust (rich), popping in the intake (lean) and note power 4. Screw both jets up or down 1/2 turn and take another run to see impact. 5. Repeat 3&4 and do 1/4 adjustments until you are happy 6. Take the car for a spirited 30min drive with plug wrench then while driving fast on a long stretch, hit clutch, kill motor then pull over to side of road, look at all plugs and compare colour. If there is a difference between the front 3 and rear 3 then the fuel jets need tweaking. Adjust the darker 3's carb by turning up the jet to lean the mixture a 1/4 turn If all plugs are too dark then turn both jets up 1/2 a turn. 7. Repeat 6 until you are happy. All plugs should be the same colour and very light brown. Listen for popping out the front to tell if you go too lean. Don't worry, you can take your time and do this leisurely over a couple of days to fine tune and colour match your plugs.3 points
-
3 points
-
We are starting to get there as far as plugs starting to look the same. Manual says 2-1/2 turns with 17 degrees advance. Lean them out just a little more and see how the car runs.1 point
-
1 pointAnother thing is that we don't know how many different H4 LED bulbs he looked at. I lucked out 3 years ago when I got the Auxito bulbs. I first purchased them in late 2020. It was about a year later when I found they were polarity independent because I already had relays in my car.1 point
-
1 pointWhere does the bottom of the A pillar open to? The hollow area where the door hinges bolt? The hollow area where the fresh air vents connect the is the upper support under the fenders?1 point
-
I think the 2 flat nuts are the first ones on the terminals of the starter. So just need to find a home for these 2 washers and the stubby M6x1 bolts.

 1 point
 -
1 pointThere are two rubber cups that surround the hatch hinges, quite often they have cracks in them from age and heat, it would be easy for insects to climb in there. It could also be a vibration but that would usually show up at the same RPM range.1 point
-
1 pointSeriously, It could be a mud dauber. In Florida they’re terrible and that’s what I sounds like. If that’s the case they don’t live that long. How long have you heard it?1 point
-
1 pointHaha! He needs to roll the windows up when he parks that thing!1 point
-
1 pointNo, he is knowledgeable about wiring and headlights, but that doesn't mean he's always correct in his assessments.1 point
-
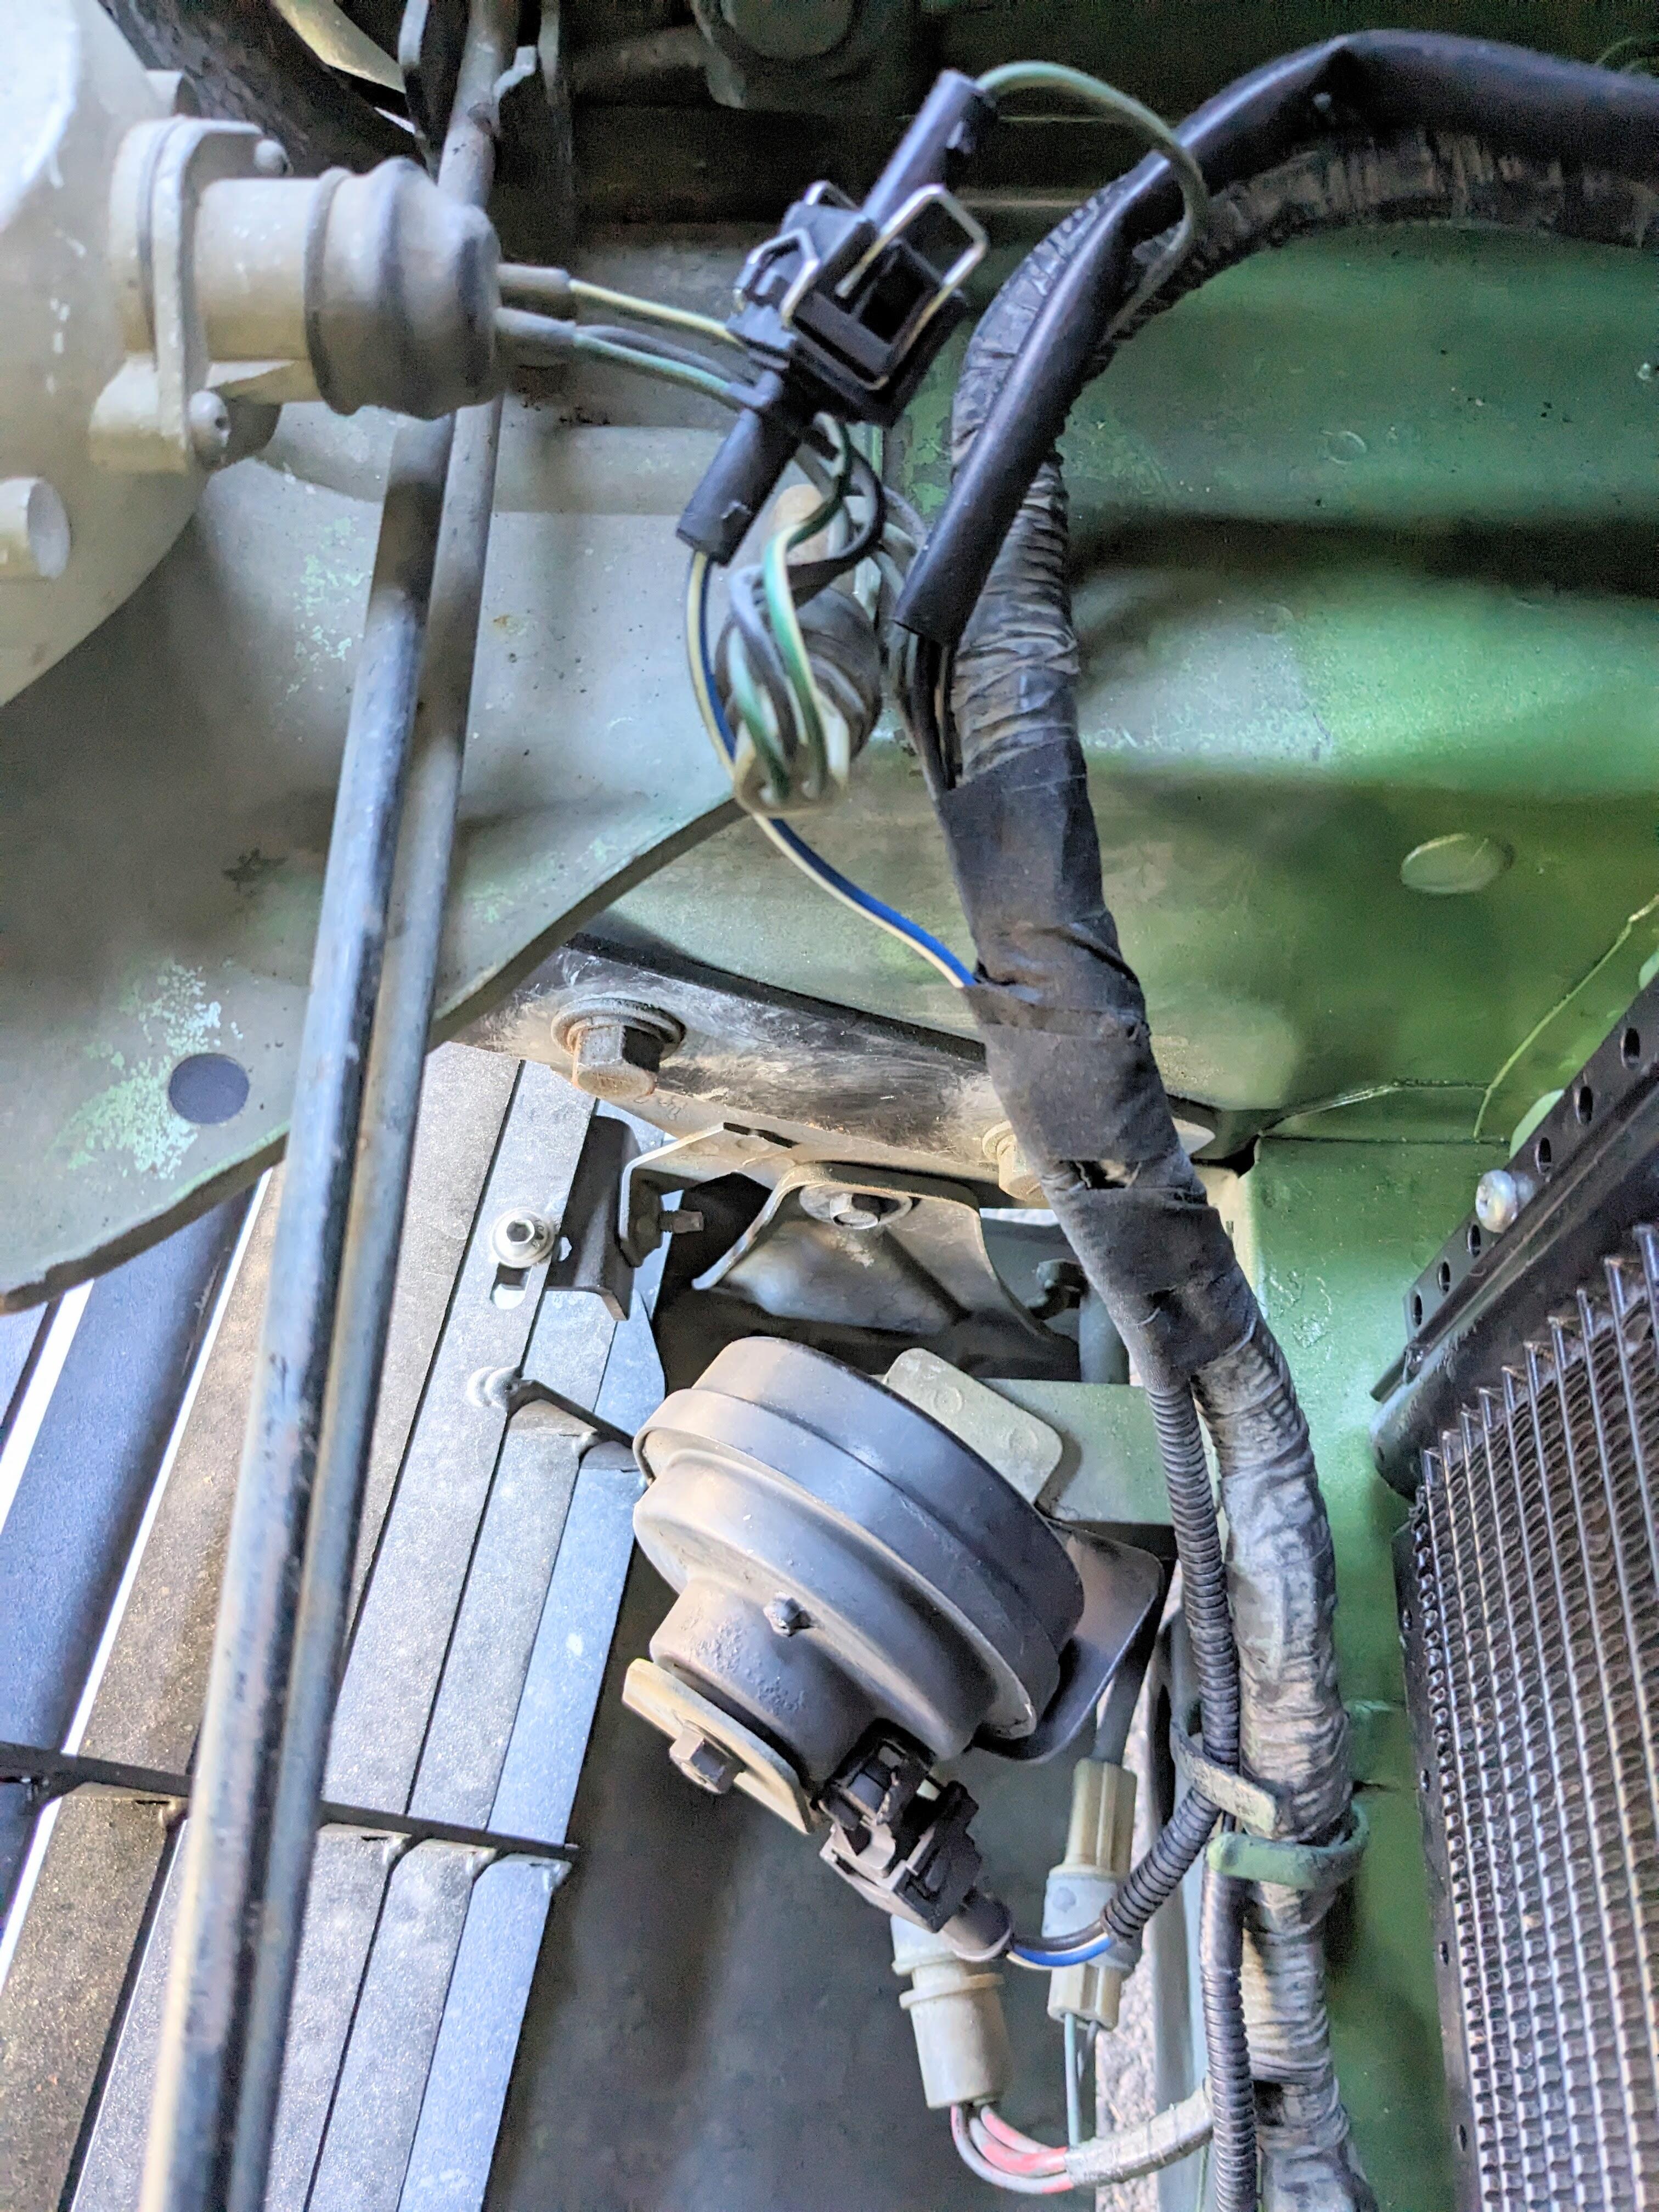
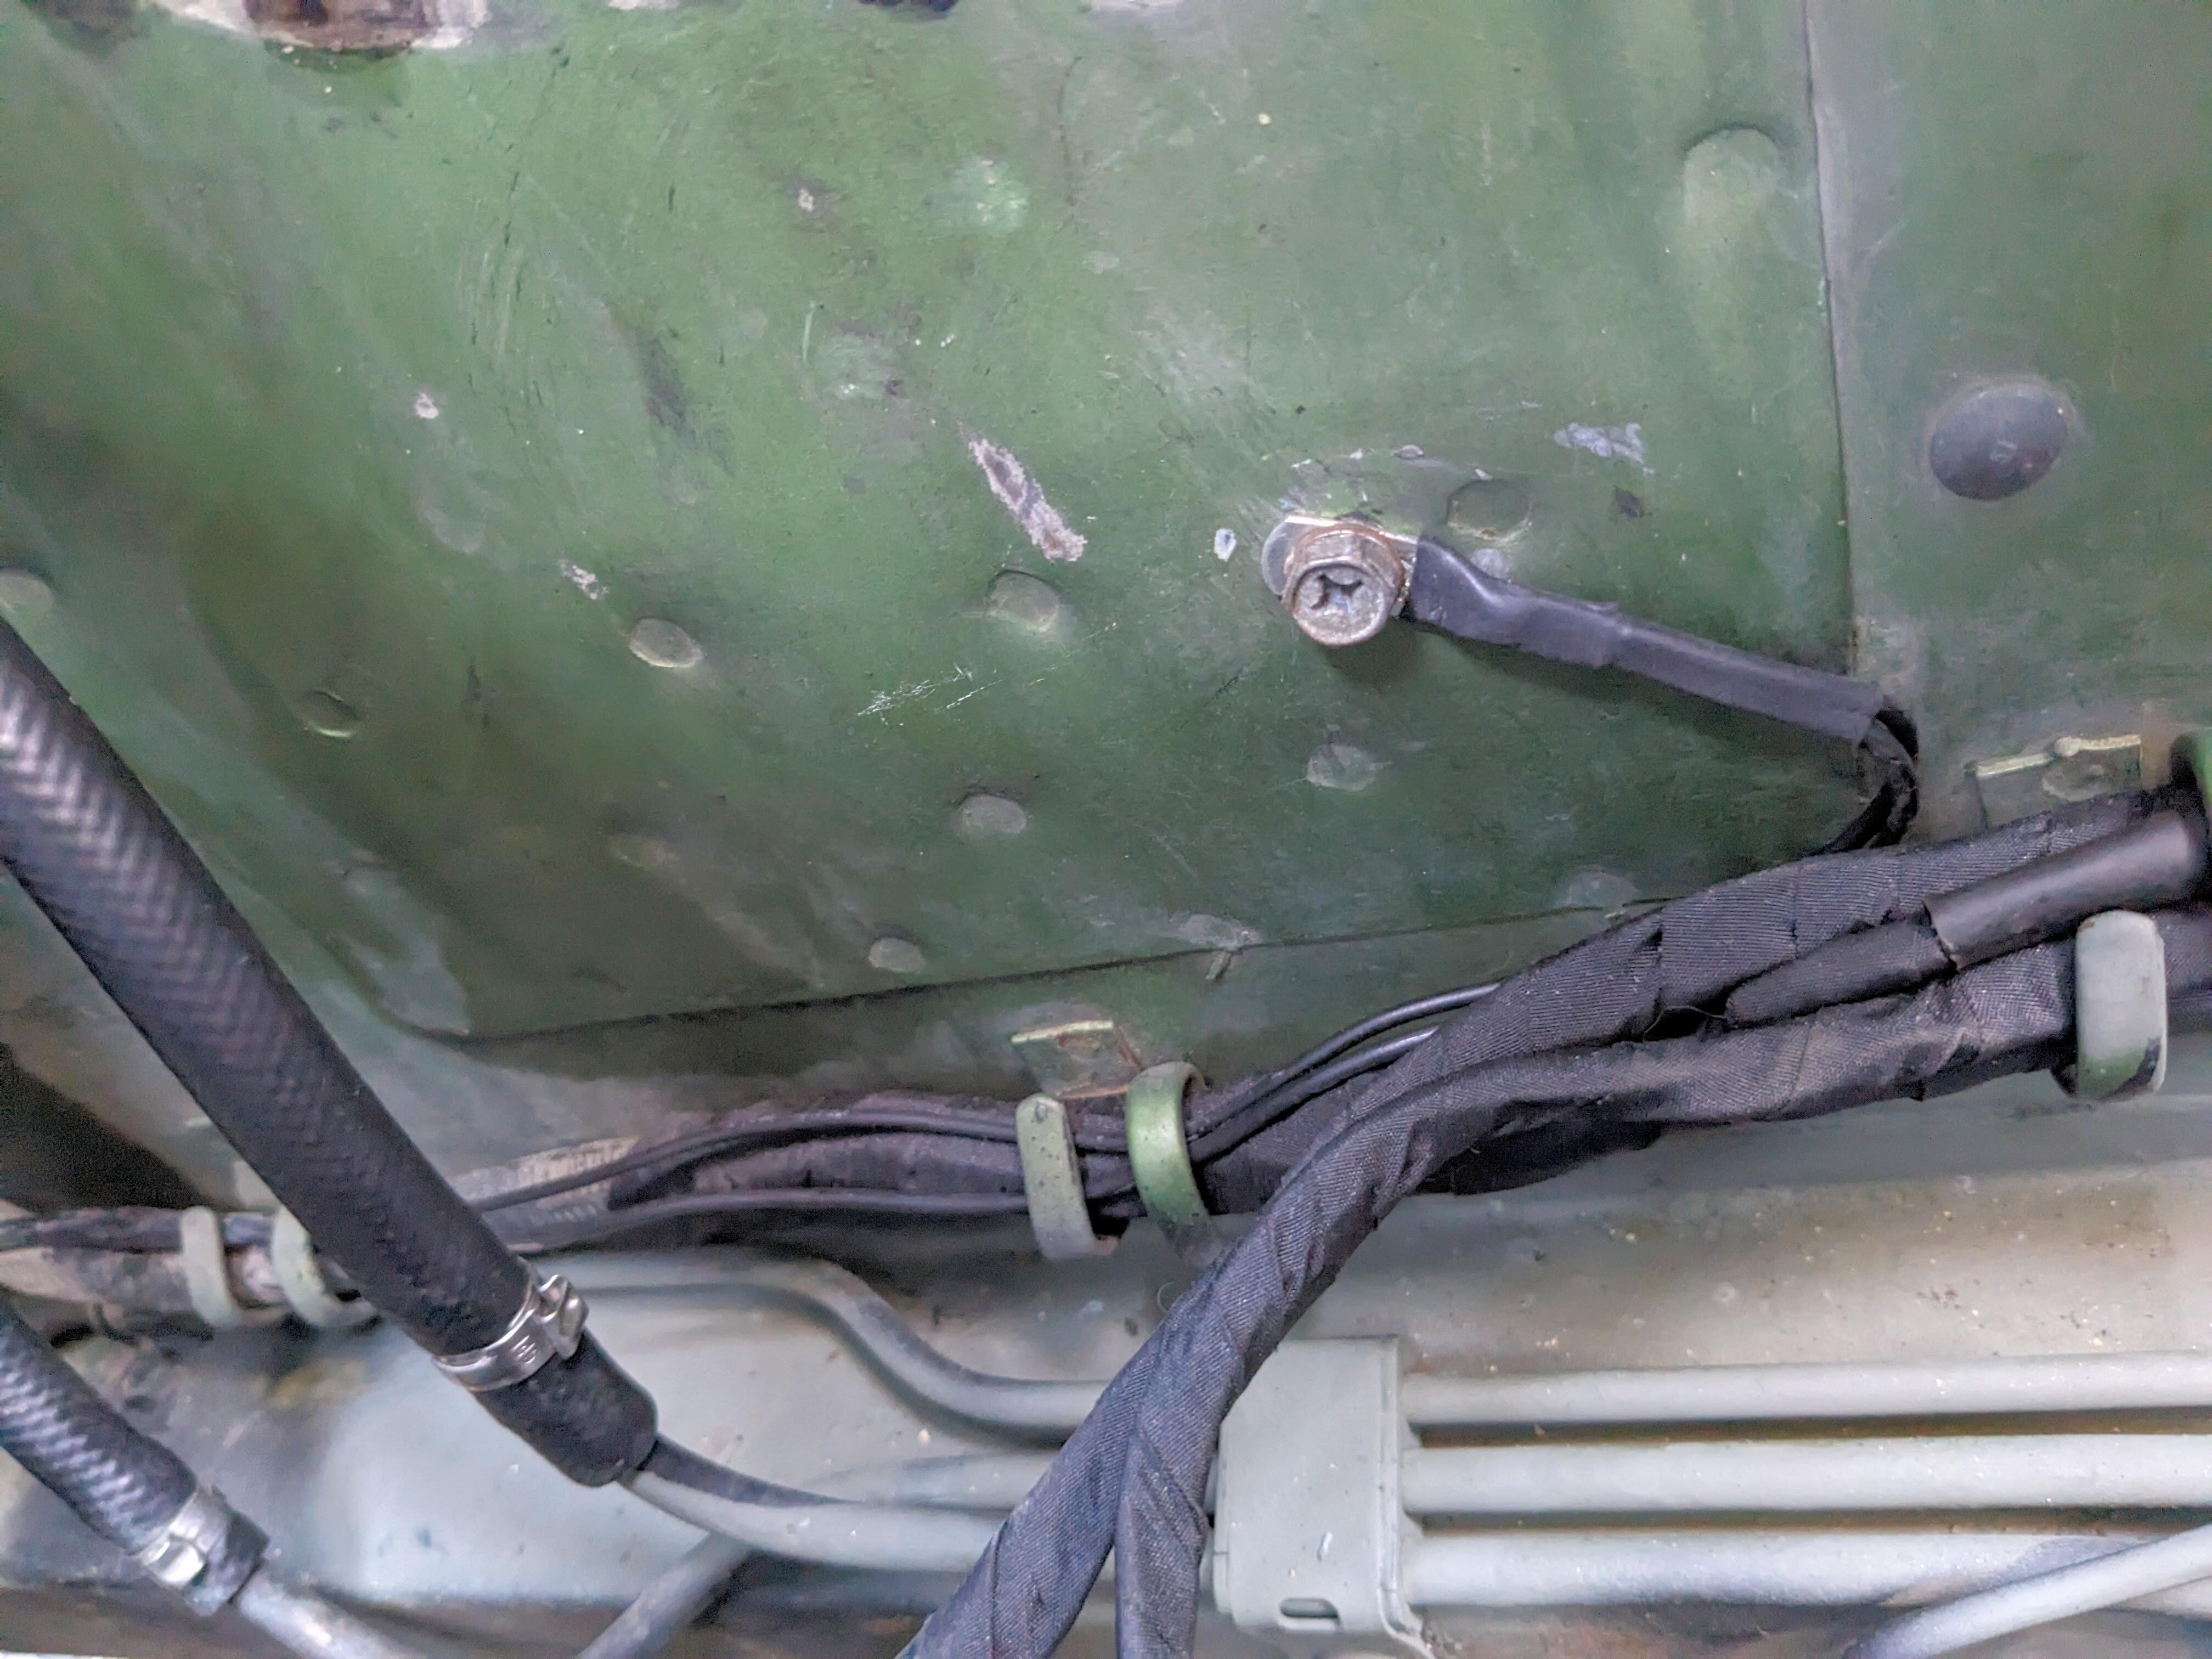
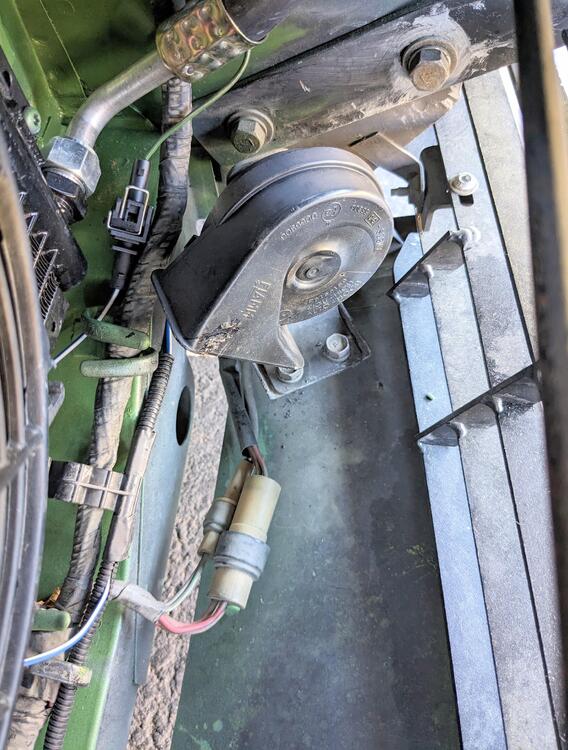
My factory horns were shagged - sounded like an anemic fart at best. I need good horns with all the SUV / flotilla drivers who don't look down before lane changing Added a sub harness with grounds and a single JPT connector replacement for the factory spade, then installed the Volvo/Fiamm horns on the factory brackets Left side Right side grounds on right inner fender

 1 point
 -
1 point
-
1 pointDaniel Stern has frequently downplayed LED lights for automotive applications. This includes replacing incandescent bulbs with LED bulbs in side markers, taillights, etc. While I'm not a "recognized expert" like him, my eyes don't necessarily agree with his opinions.1 point
-
1 pointSounds like a plan. I'll remove the valve cover and lightly oil, I'll take off the wire from the ignition coil, remove all spark plugs and crank it a few times before reassembling. I was able to rebuild the engine outside of the typical machine shop work because of detailed instructions all over the internet and manuals. I just had to be really sure on this process as well as no detail is too small. Thank you!1 point
-
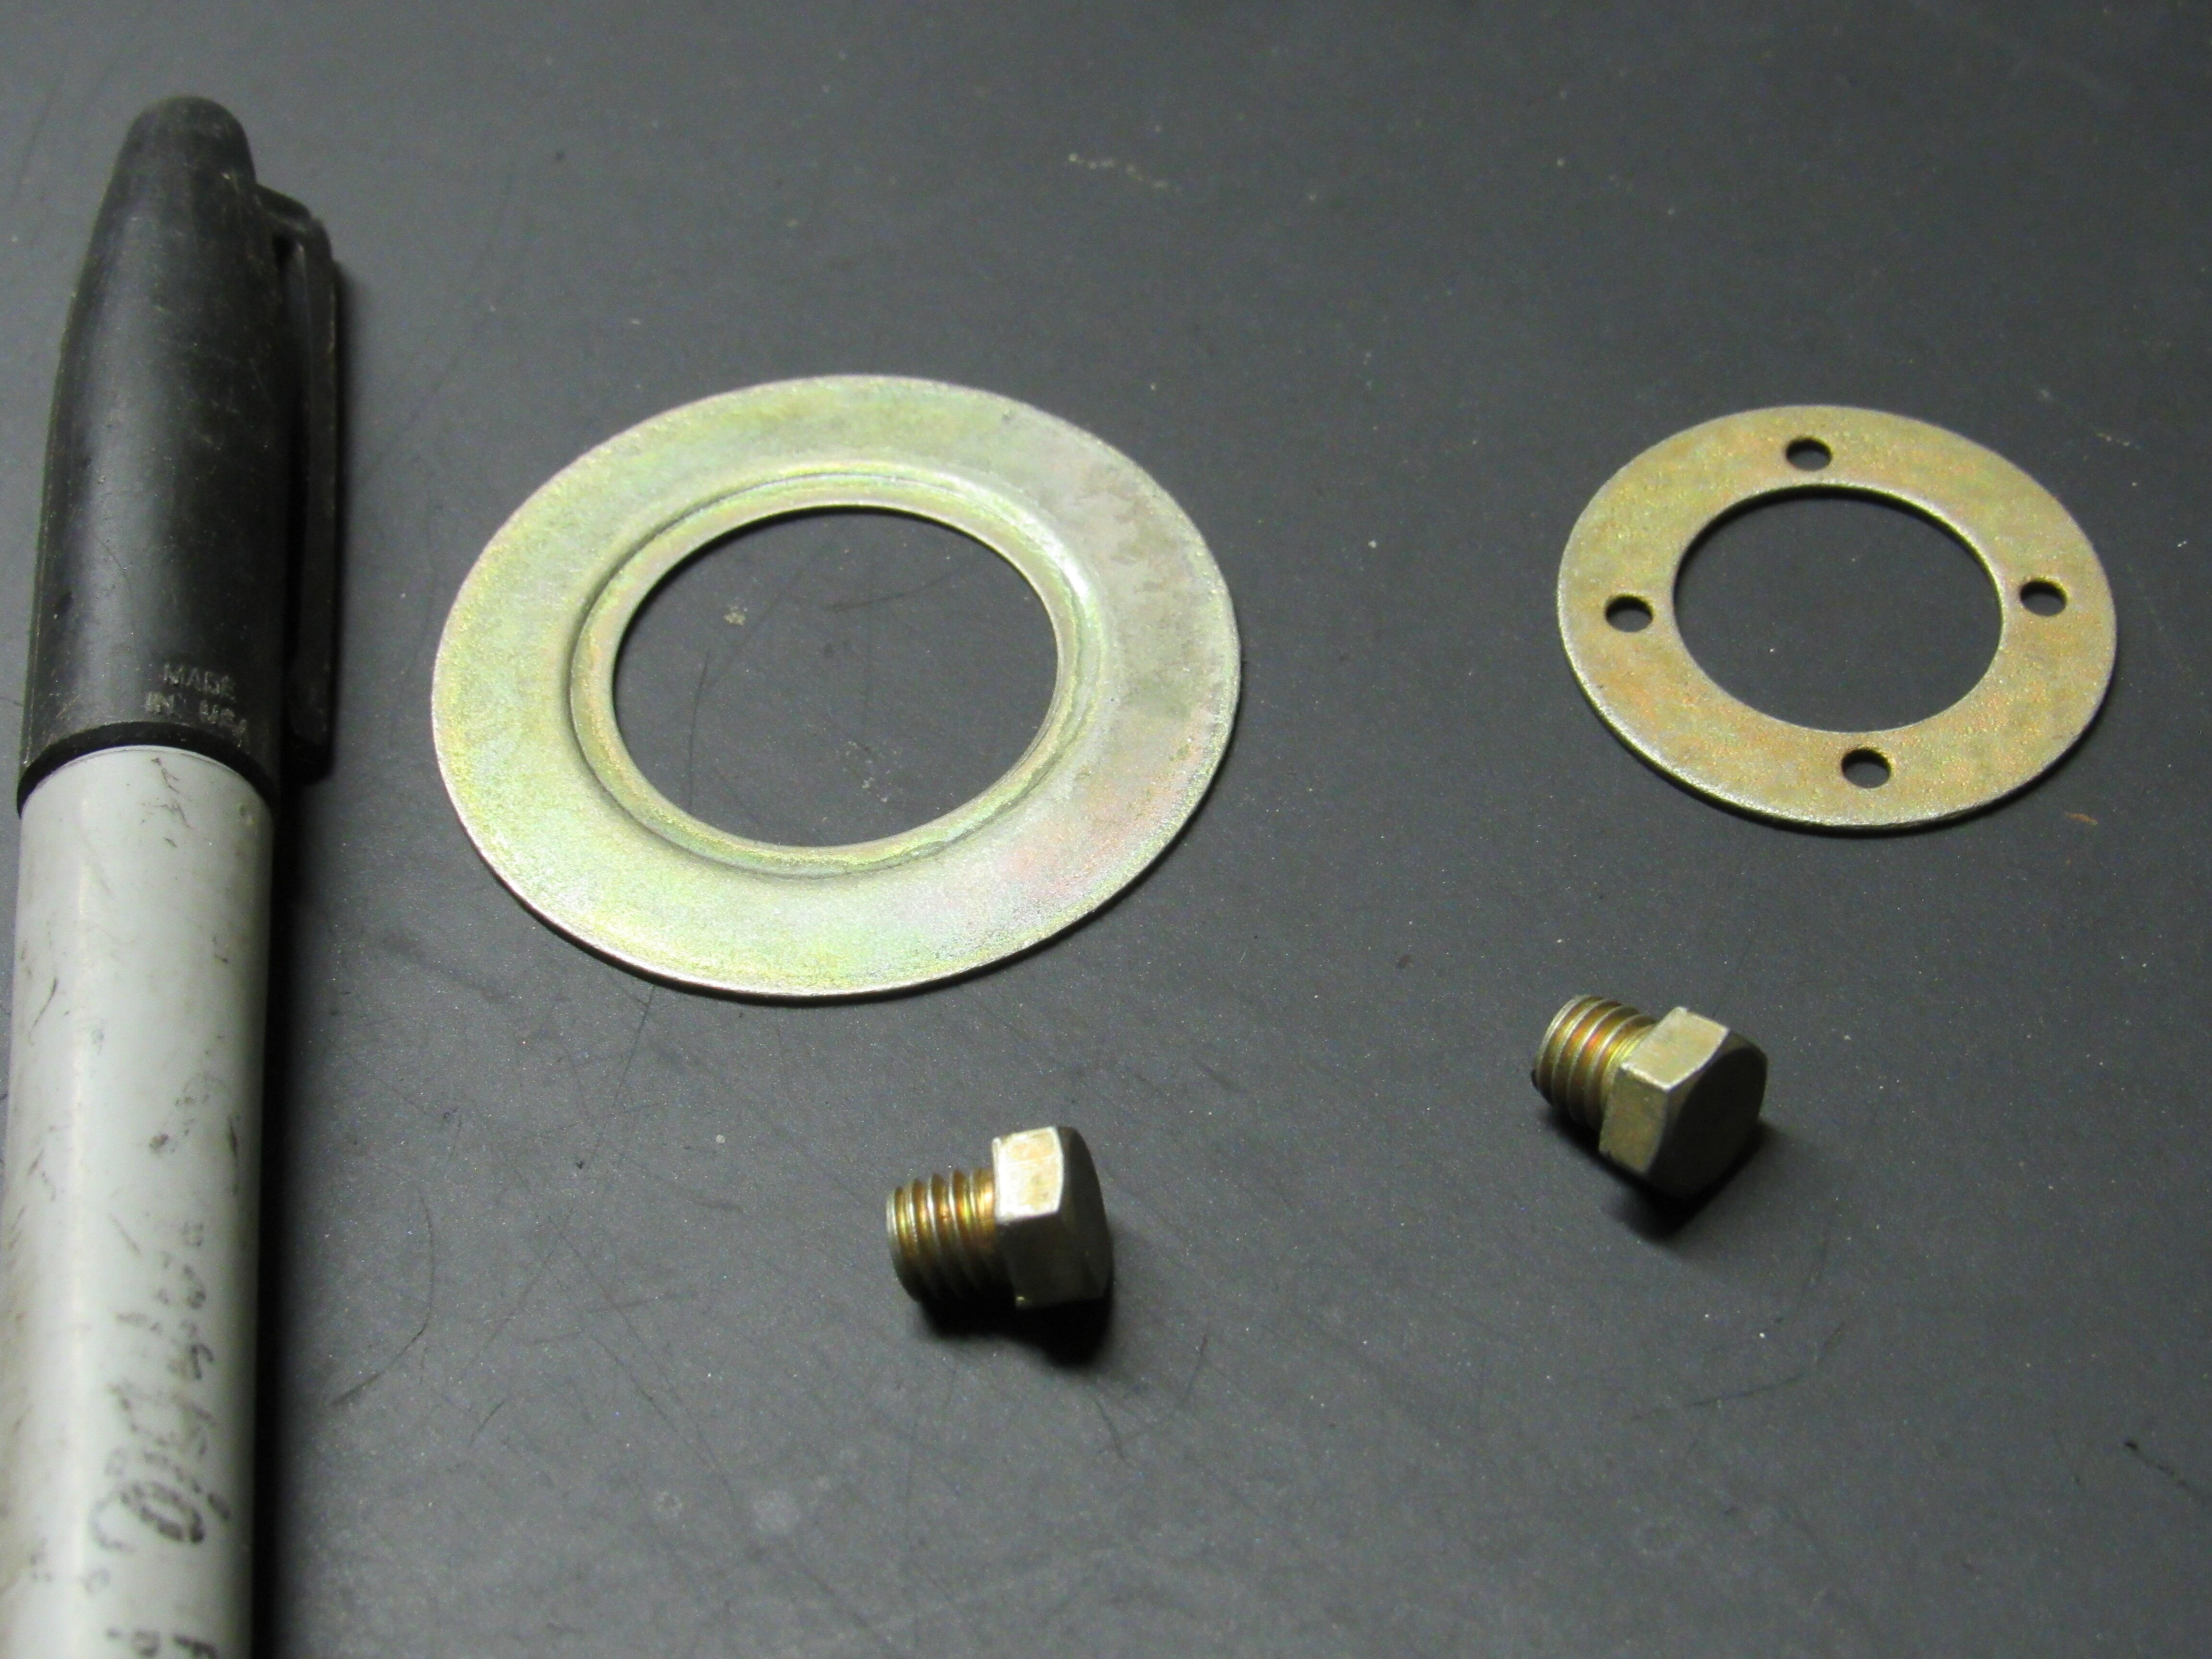
I believe those two disk parts are limit stops for the carb nozzle adjustment knob. Thread a nut onto them first and then thread that pair into the underside of the round tops after the nozzle has been installed? Prevents the accidental complete unscrewing of the adjustment knob. I think I have pics around here somewhere.1 point
-
1 pointYou could easily pull the valve cover and pour oil right on the cam and all the other stuff, rockers and valve stems. The valve seals and lash pads too. If you aren't in a hurry you should do a valve adjustment double check from the rebuild. A lot of times lash pads fall off after rebuild settings. Mine did and I was fully attentive, half drunk but paid attention.1 point
-
1 pointCan you pin down "periodically"? Maybe a smell, RPMs, road surfaces, speed, any accessories turned on, hot fuses, or insect access points?1 point
-
1 pointTake the wire off the coil and spin it with no plugs. It'll need the oil on the valve train after sitting so long. Follow atlanticz advice, I always have.1 point
-
The two at the top right are the hood corner stops that get a rubber cover, install behind the rear hood seal. The bracket at the bottom right is for the flow guide valve under the ballast resistor. The two in the middle right might be for the wiper arm.1 point
-
Nope. The next test will require the switch to be installed. We know it tests good, so now we will use it to test the wiring.1 point
-
I'd clean the plugs before the test. You're looking for high resistance in one or more plug wire circuits. Measure from inside the cap to the center electrode on the sparkplug. Please post the results. Although I used liberal amounts of silver anti-seize on sparkplug threads for over 50 years without a problem, I always had that nagging feeling that one could use too much and screw up the electrical continuity between the plug and head. I recently discovered that the nagging feeling was correct. I guess I never used too much. Gundee is correct. Use the copper-colored anti-seize on sparkplug threads and likely it's good for everything else too. I just bought my first can.1 point
-
Spraythem down with carburetor spray as well1 point
-
Do Not use anti seize on plugs. If you do get the copper impregnated type. You must have a good ground path on the threads for plugs.1 point
-
And I want to know if you're using anti-seize on the sparkplug threads.1 point