Leaderboard
-

Mike
Administrator9Points23,065Posts -
swflaz
Free Member6Points110Posts -
inline6
 Subscriber
 6Points1,282Posts
 -
JDMjunkies.ch
Free Member4Points637Posts


Popular Content
Showing content with the highest reputation on 10/03/2023 in all areas
-
Today i got a package from japan with something i've been searching for for quite a while: A complete Eaglemoss airlady 1/8 Scale magazine Model car kit: It is a set that was issued around 2014. It consisted of a weekly subscription magazine wich came with a box including some parts, so each week you would build your part of the Fairlady until you had a complete, huge 1:8 scale model: It is incredbly detailed too, with lots of electronics, mechanically working details And lots of small bits and pieces to assemble: Most parts are bolted and not glued, but of course there's also glue involved: The body parts and chassis are made of metal and the kit is quite heavy: Each magazine includes a lot of history about the Z-series cars and Japanese Car culture of the time in general, Assembly instructions, interviews with involved people and much, much more. This is the first complete kit i've seen for a reasonable price. The reason might be that some parts (very few) have already been assembled, and probably 2/3 of the boxes have already been opened. but since i plan to assemble it anyway and i was also quite interested in the magazines, i don't care. The set also comes with a display stand: And three folders, where you can store all the magazines. It also included a tool-set in a (sadly missing) nice pouch, a little cleaning towl, a Z hood ornament key chain and a CD with some nice movies of the real S30 fairlady development and testing and additional background information. I guess i know what to do in those winter days 🙂4 points
-
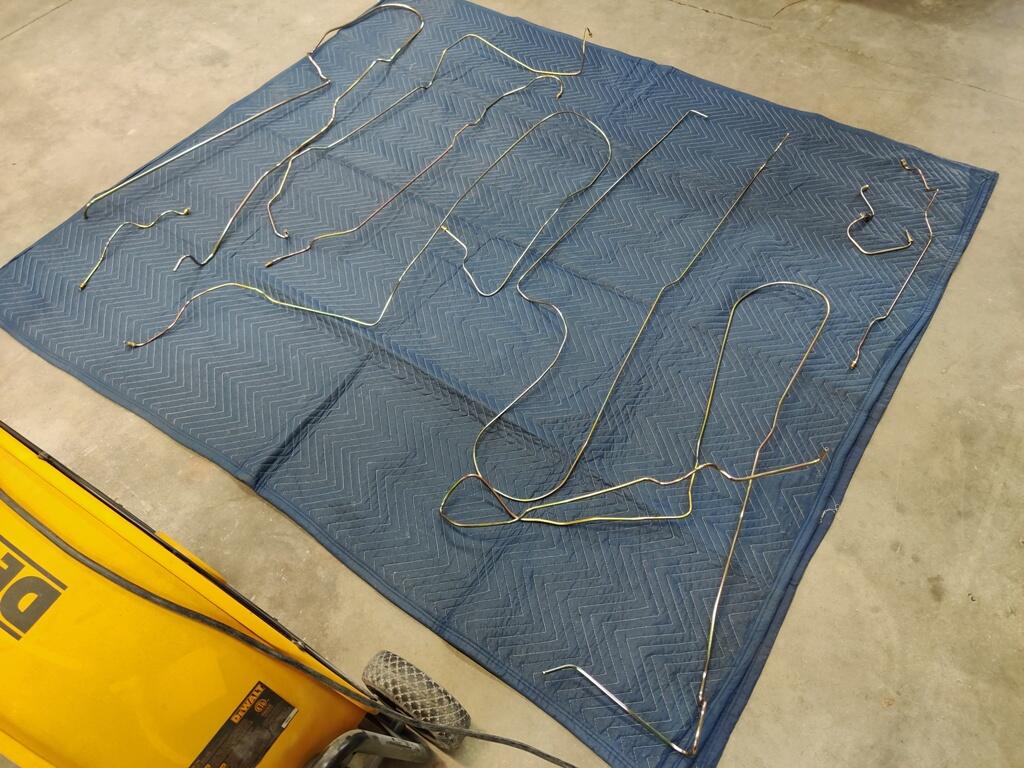
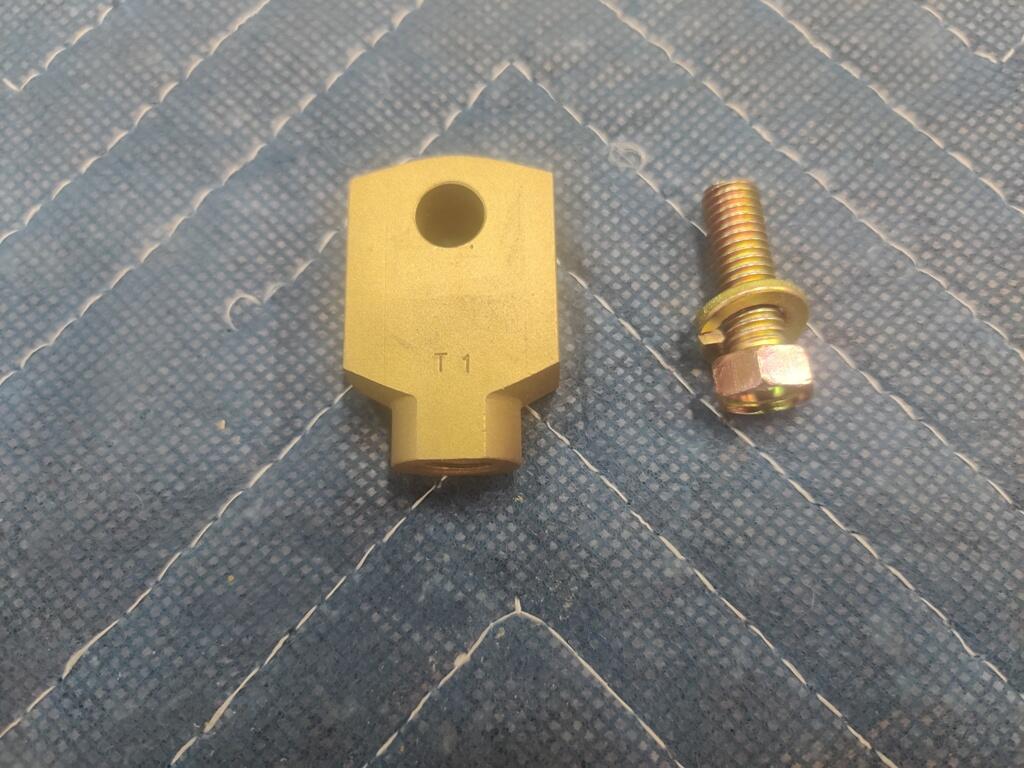
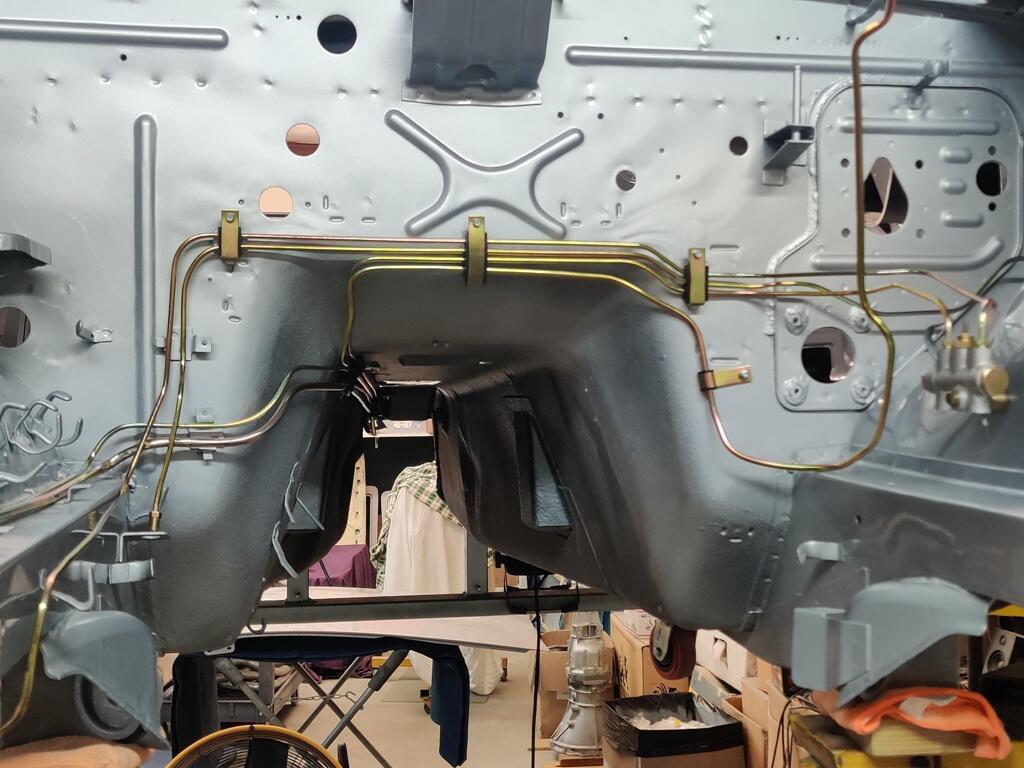
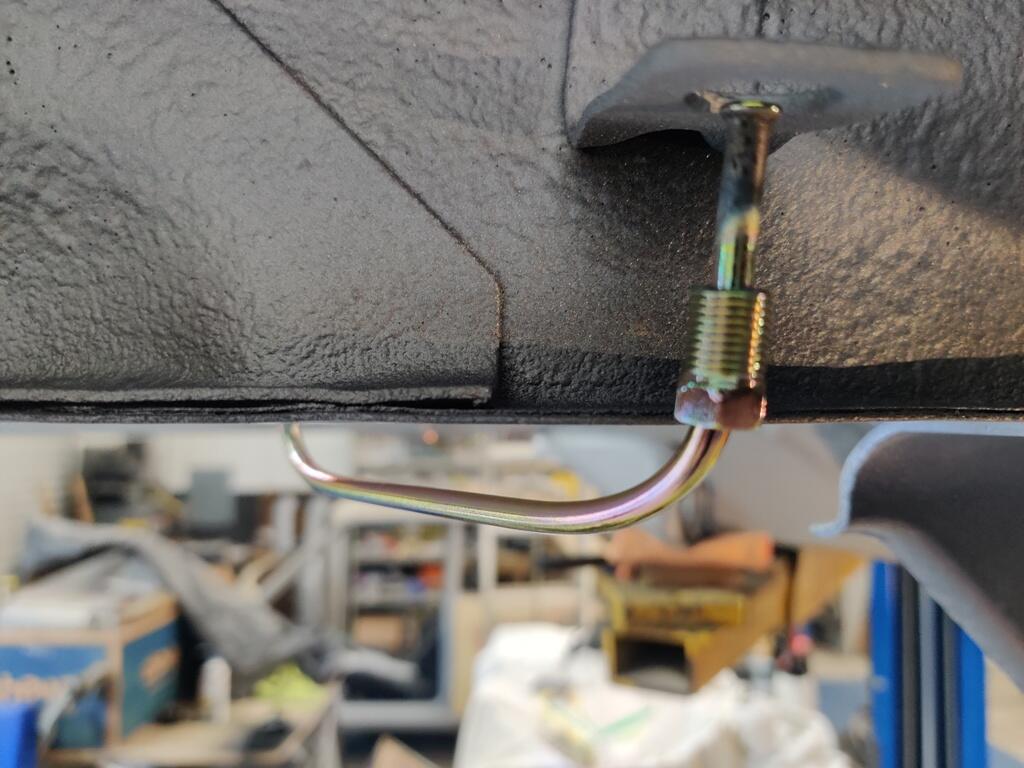
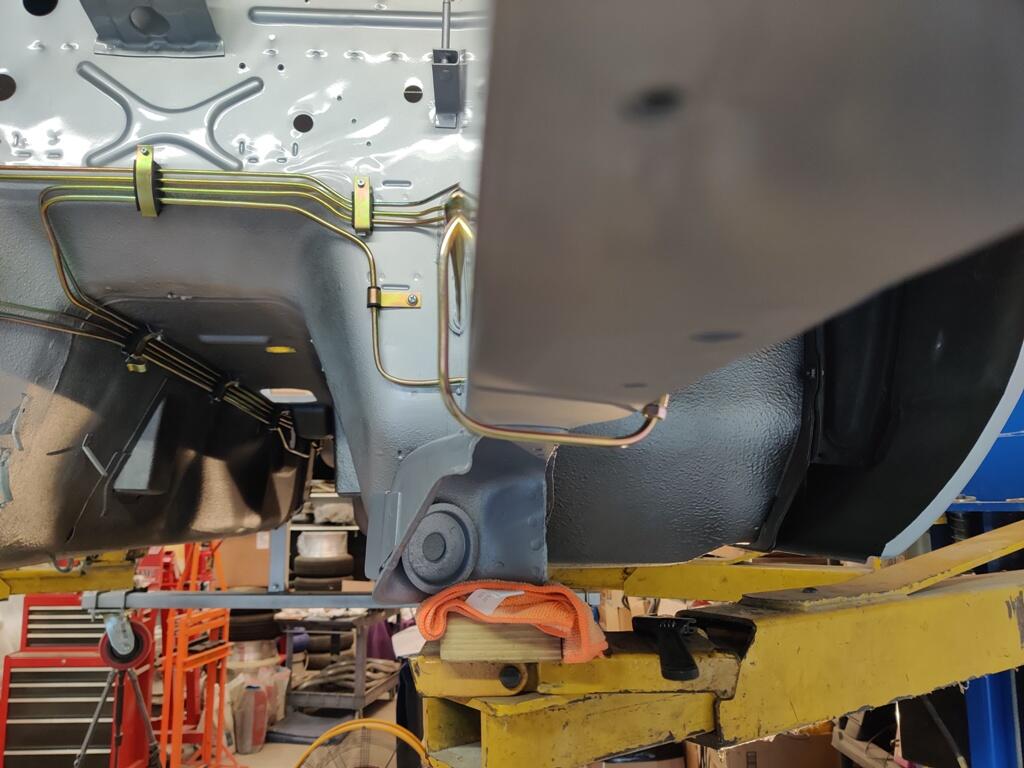
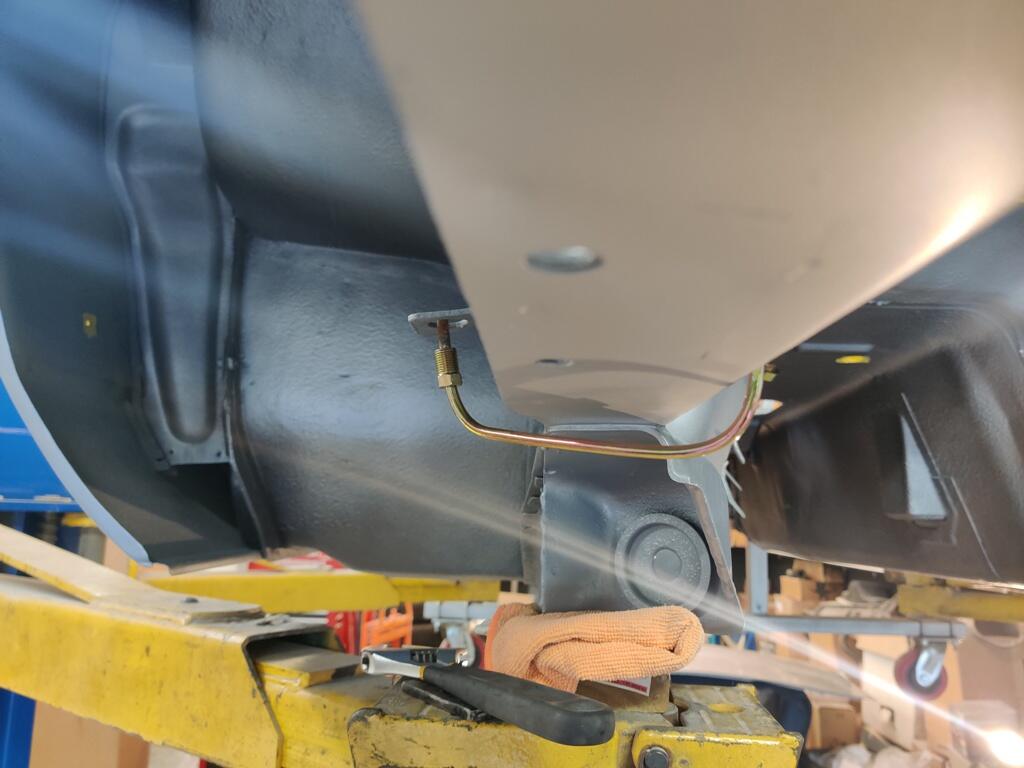
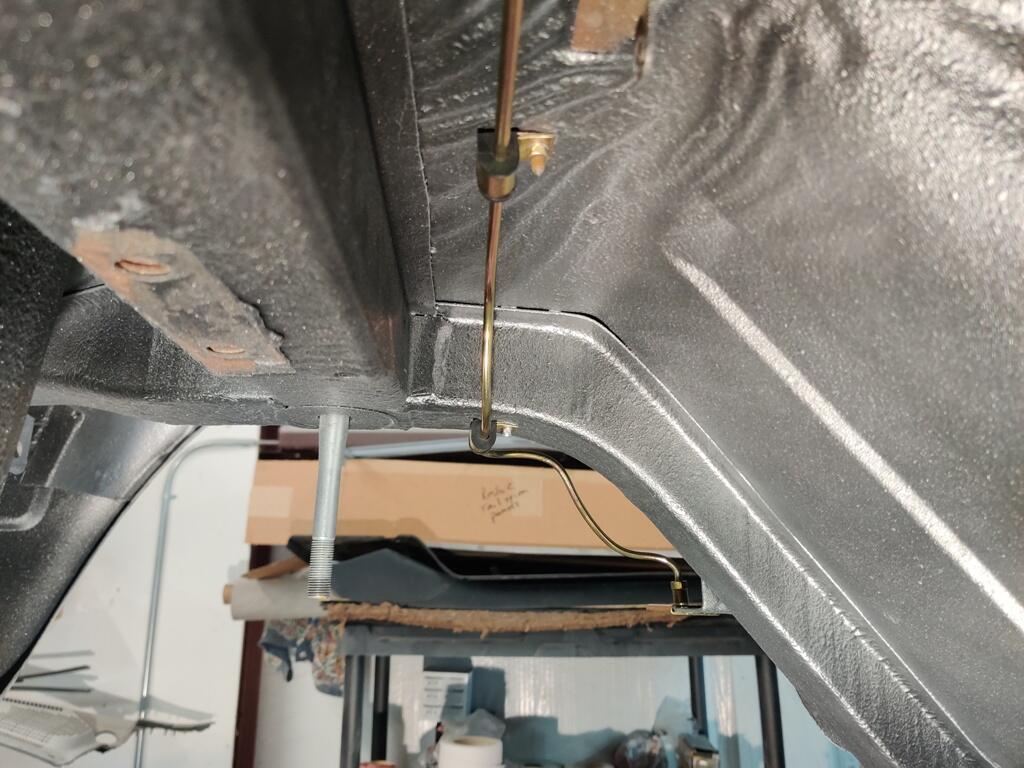
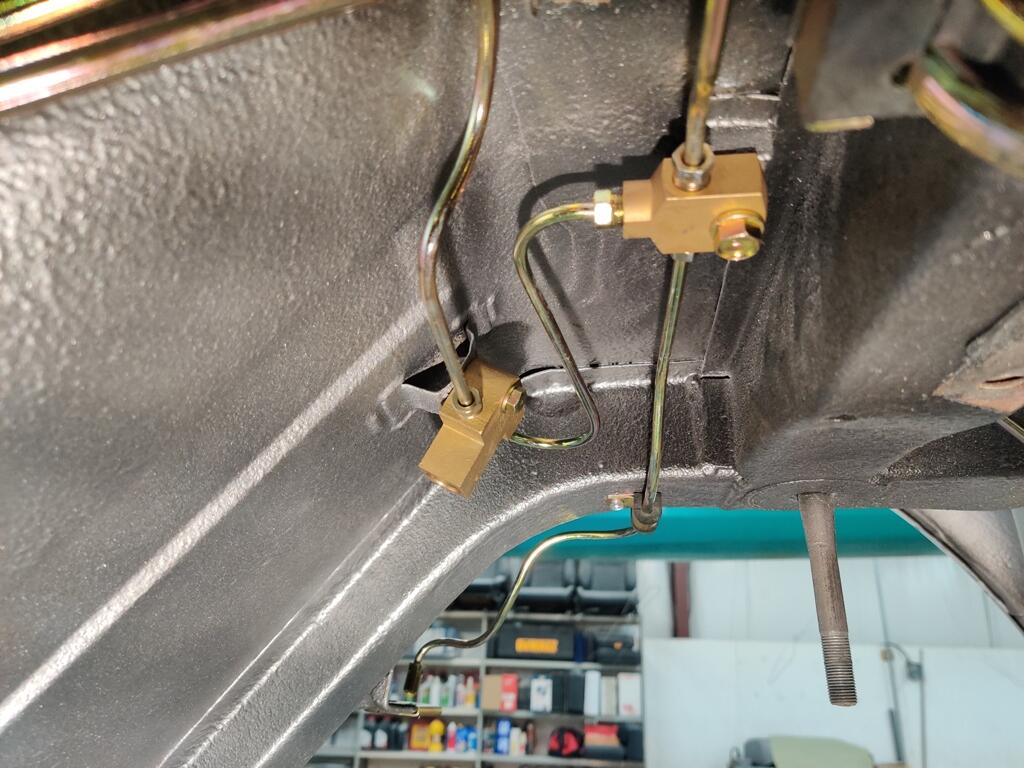
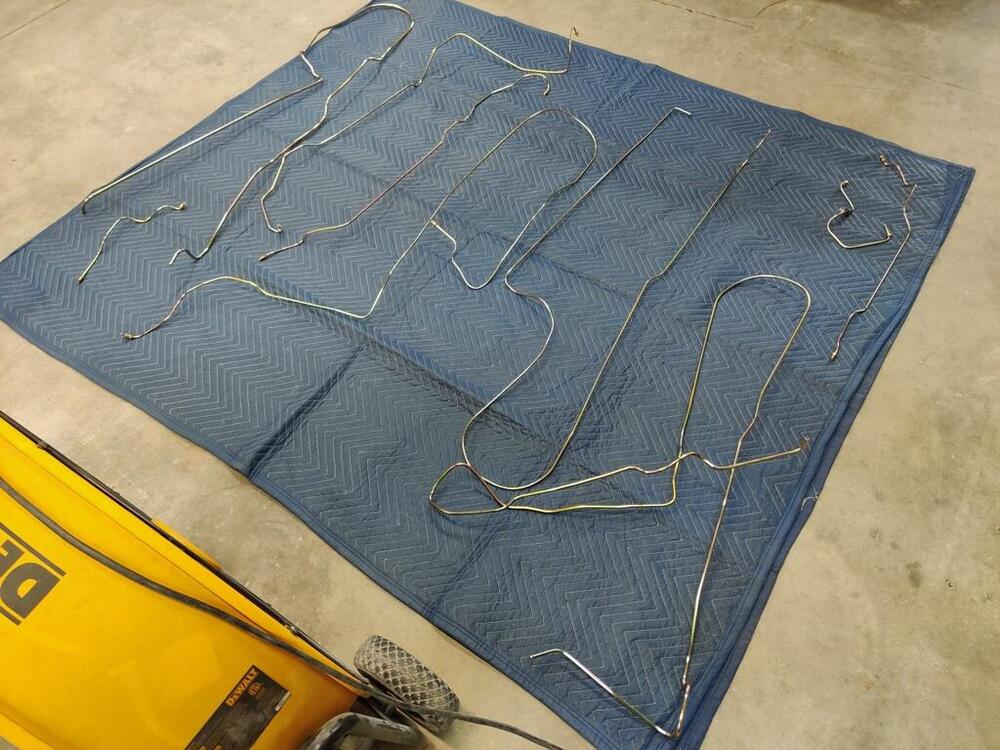
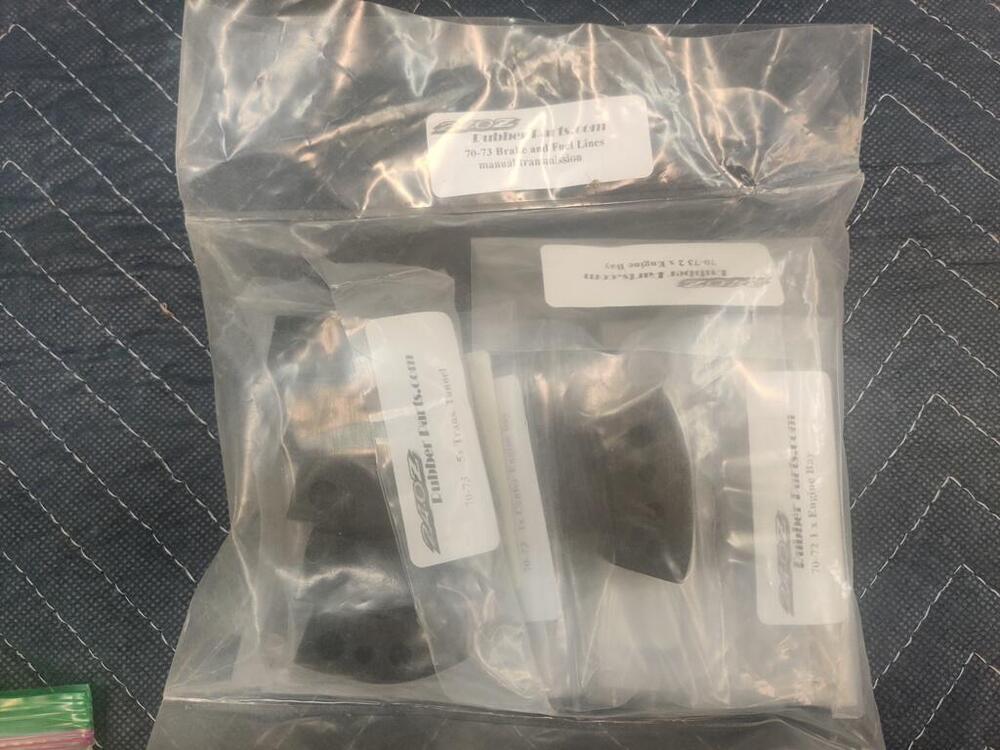
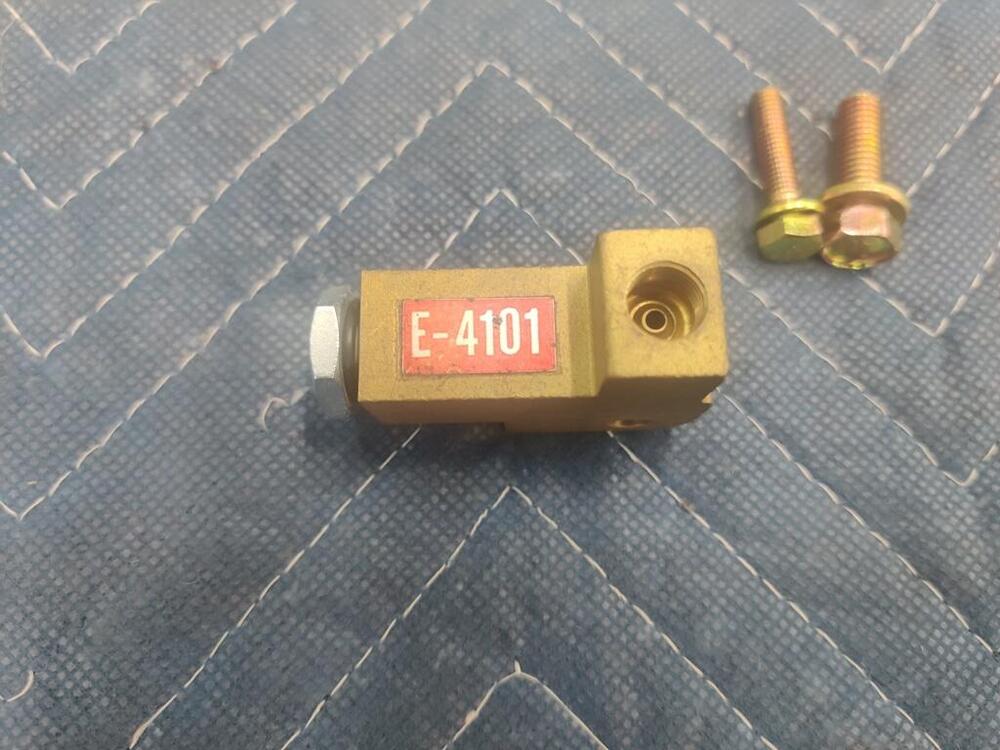
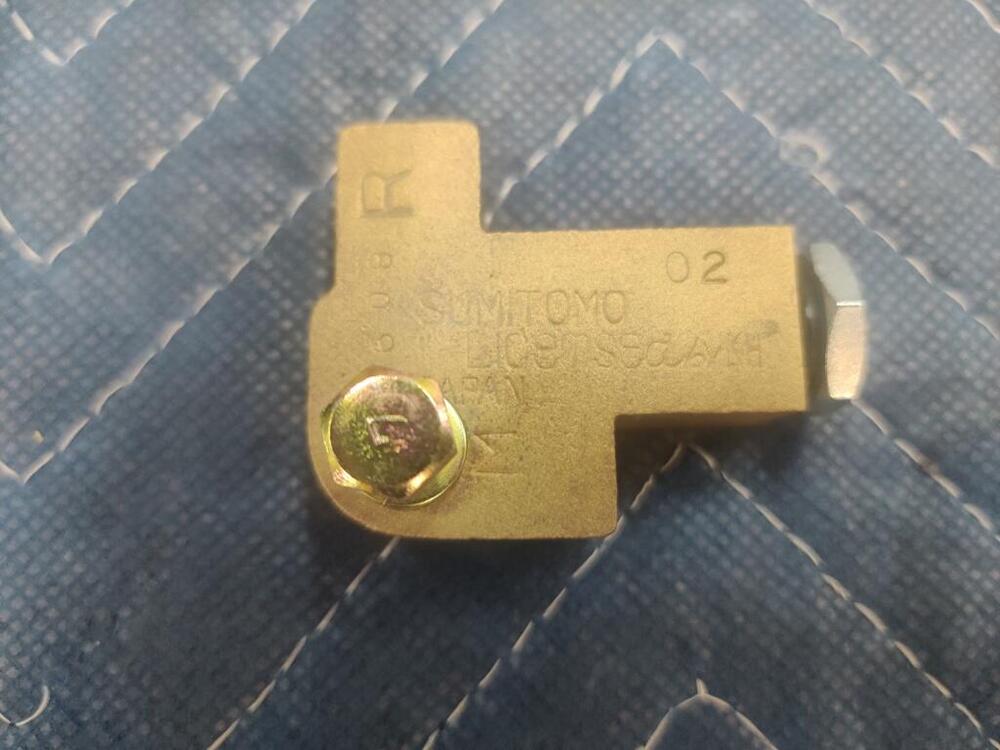
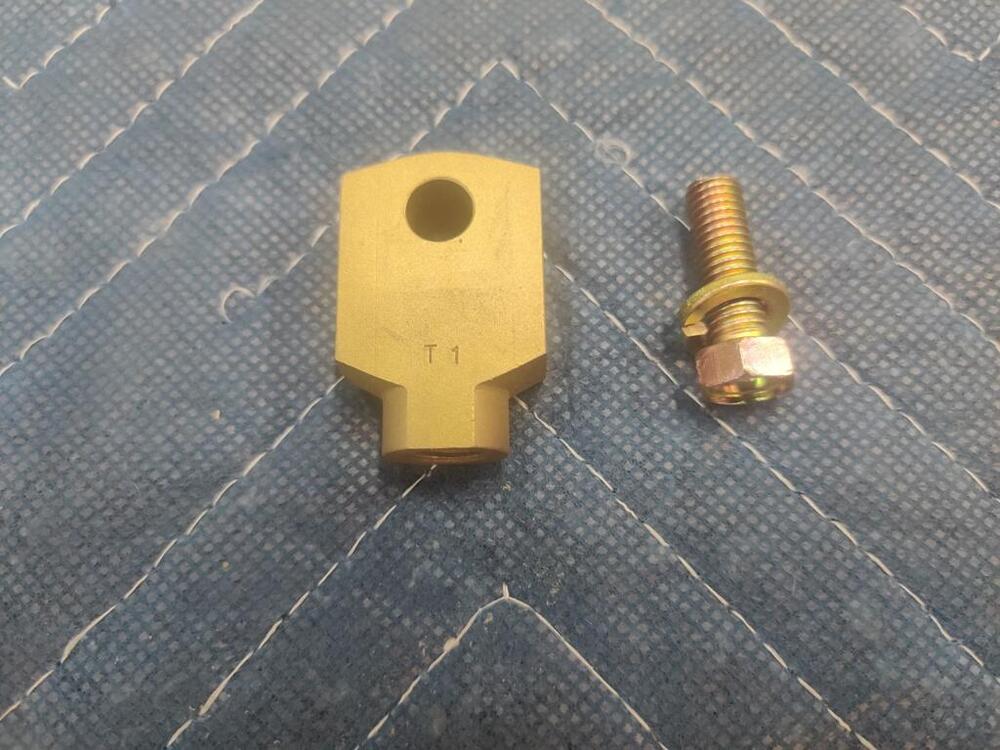
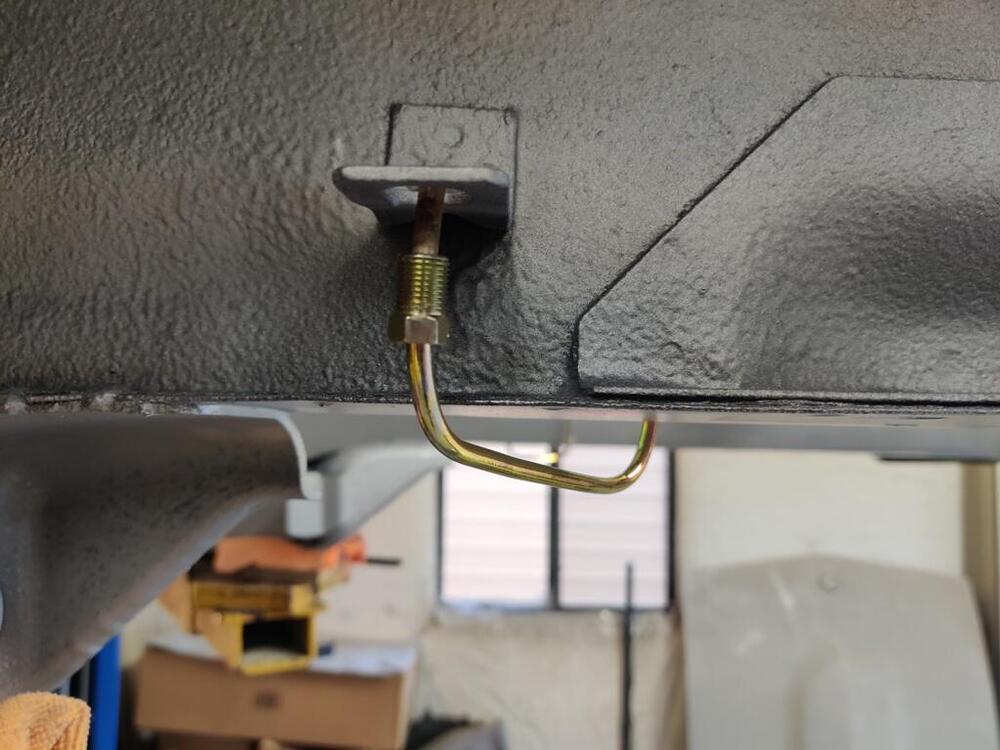
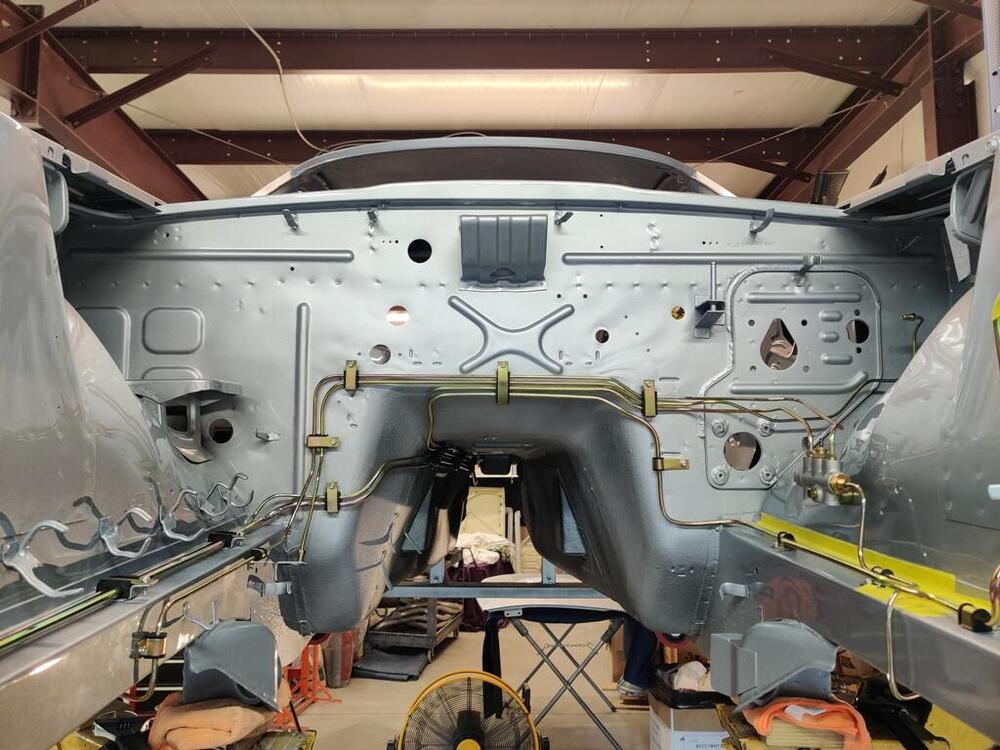
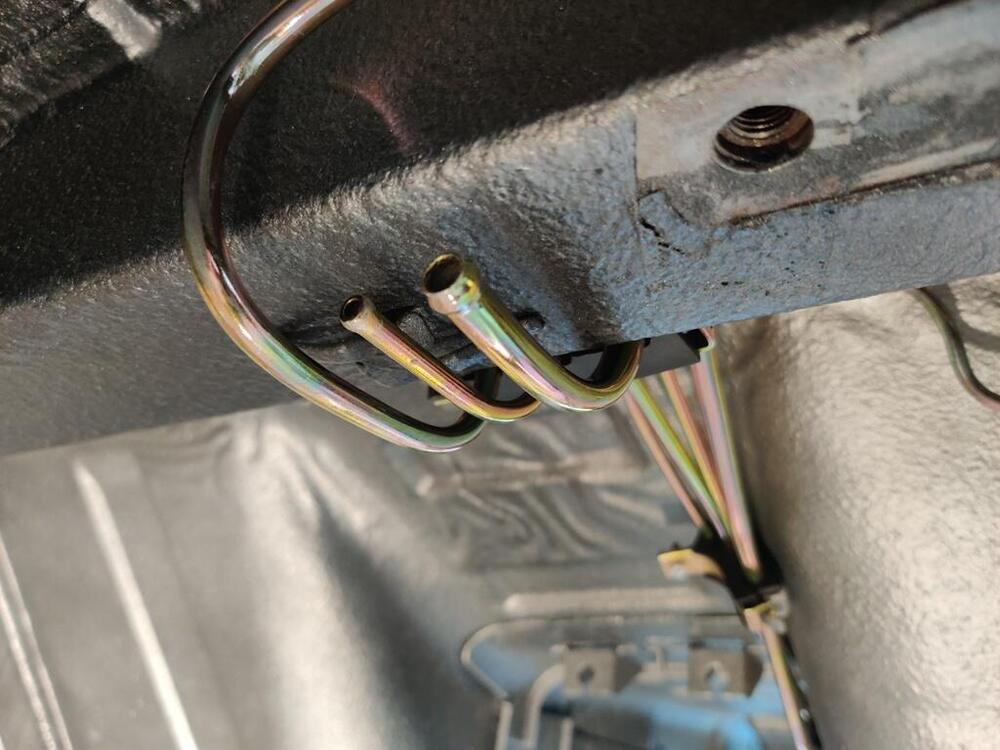
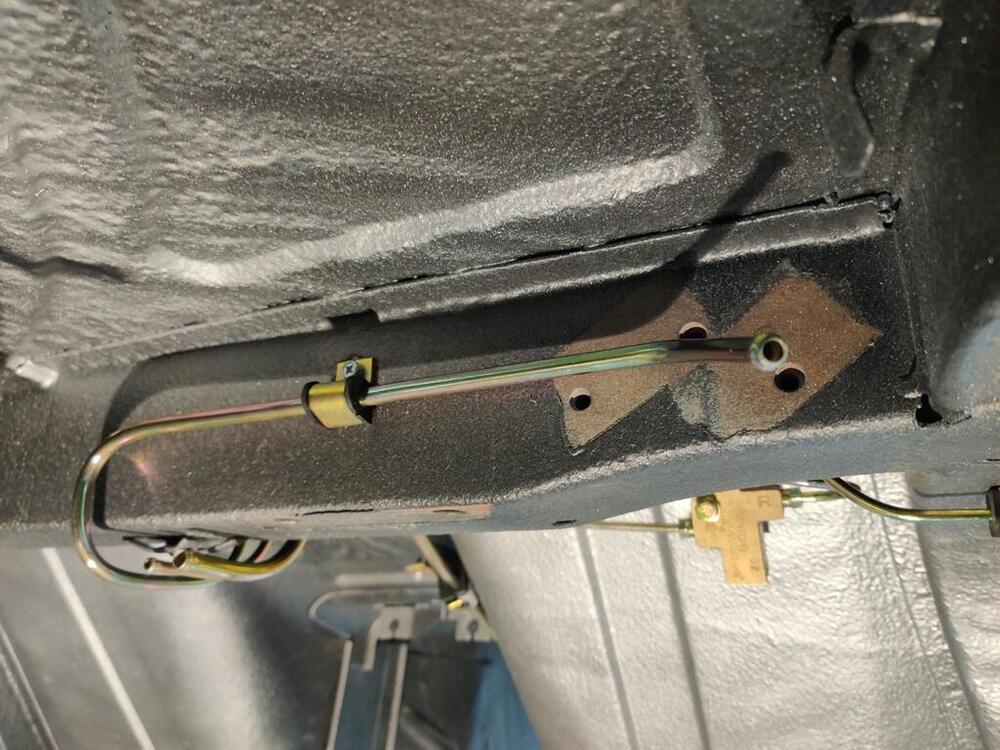
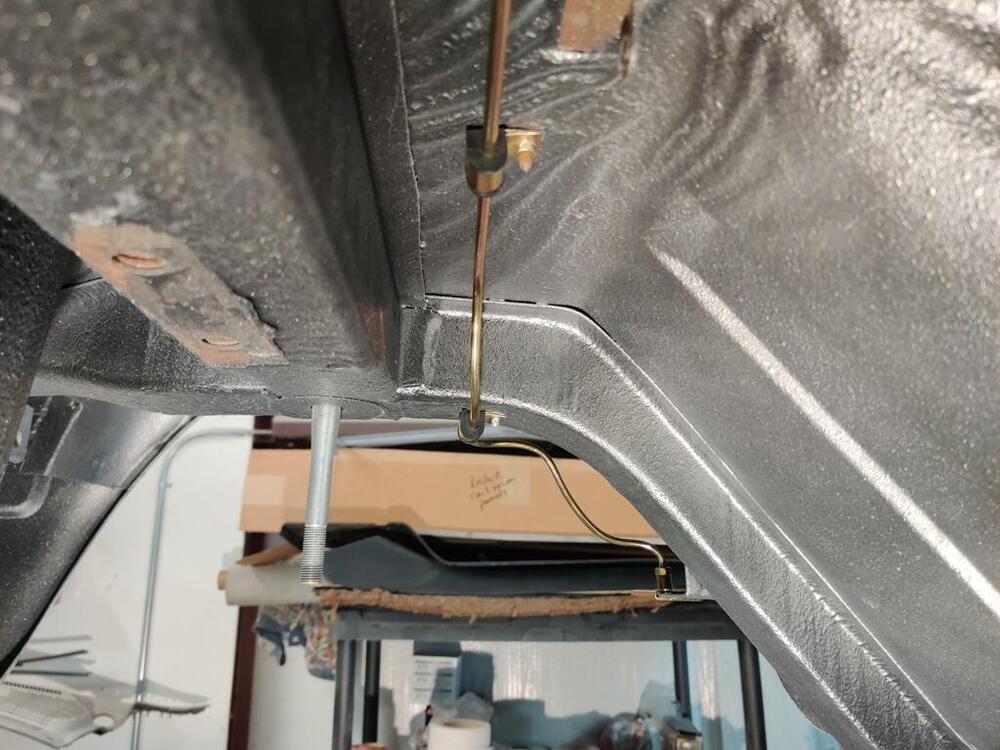
Thanks for the comments everyone. I have decided to use the new ones. I will think about how to check driveshaft alignment, and maybe I can report back what I find when I get to that part of assembly. Over the past two weekends, and for a few hours during the last week, I put my attention to the hard lines. I think it was @motorman7 that I got the tip from for bending the lines for shipping and plating. I used a welding gas cylinder as a "form" and bent the longest lines around it. The 180 degree (or so) bends in these are the result. Unfortunately, either during shipping back to me, or during the plating process, several of the lines got rather "jacked". The vapor tank vent line was especially messed up. I think I have about 10 hours in just straightening and getting the lines refitted, assembly of the brake proportioning valve, etc. I sourced all new rubber insulators for the hard lines from www.240zrubberparts.com. proportioning valve was disassembled, glass bead blasted, internal and external parts plated, etc. I am unsure if there is supposed to be a crush washer under the fitting with the electrical post. There is a rubber o-ring on the shaft of the plastic around the post, so I think that is the only thing that seals this "port". Crush washers are used with the front and rear yellow chromated fittings. As you can see, the vapor line is reaching for the sky at this point (above right). Left front brake line (first two pics) and right front brake line (third pic): Right front brake line from another angle, vapor line orientation corrected, and rear inlets of fuel lines (third pic): Beginning of vapor vent line, rear brake line, and "y block" and rear brake "delay" valve: I have several different things holding up parts of the assembly. I still have to resolve the differential carrier backlash issue. The flywheel needs to be resurfaced. I need to paint the steering rack case before I can assemble the steering rack. I have assembled a long list of reassembly items, specifically in the order I think is best. It is quite long. To share, I will put it into a Google sheet.


 4 points
 -
Followed up on Mark's comment and found another poster a while back using Weldwood Contact Cement by Dap for interior applications. The 3oz. can for 12 bucks has a brush applicator. Also saw a pint of the same product for about 20 dollars. Both have great reviews. can also be thinned with acetone if desired.4 points
-
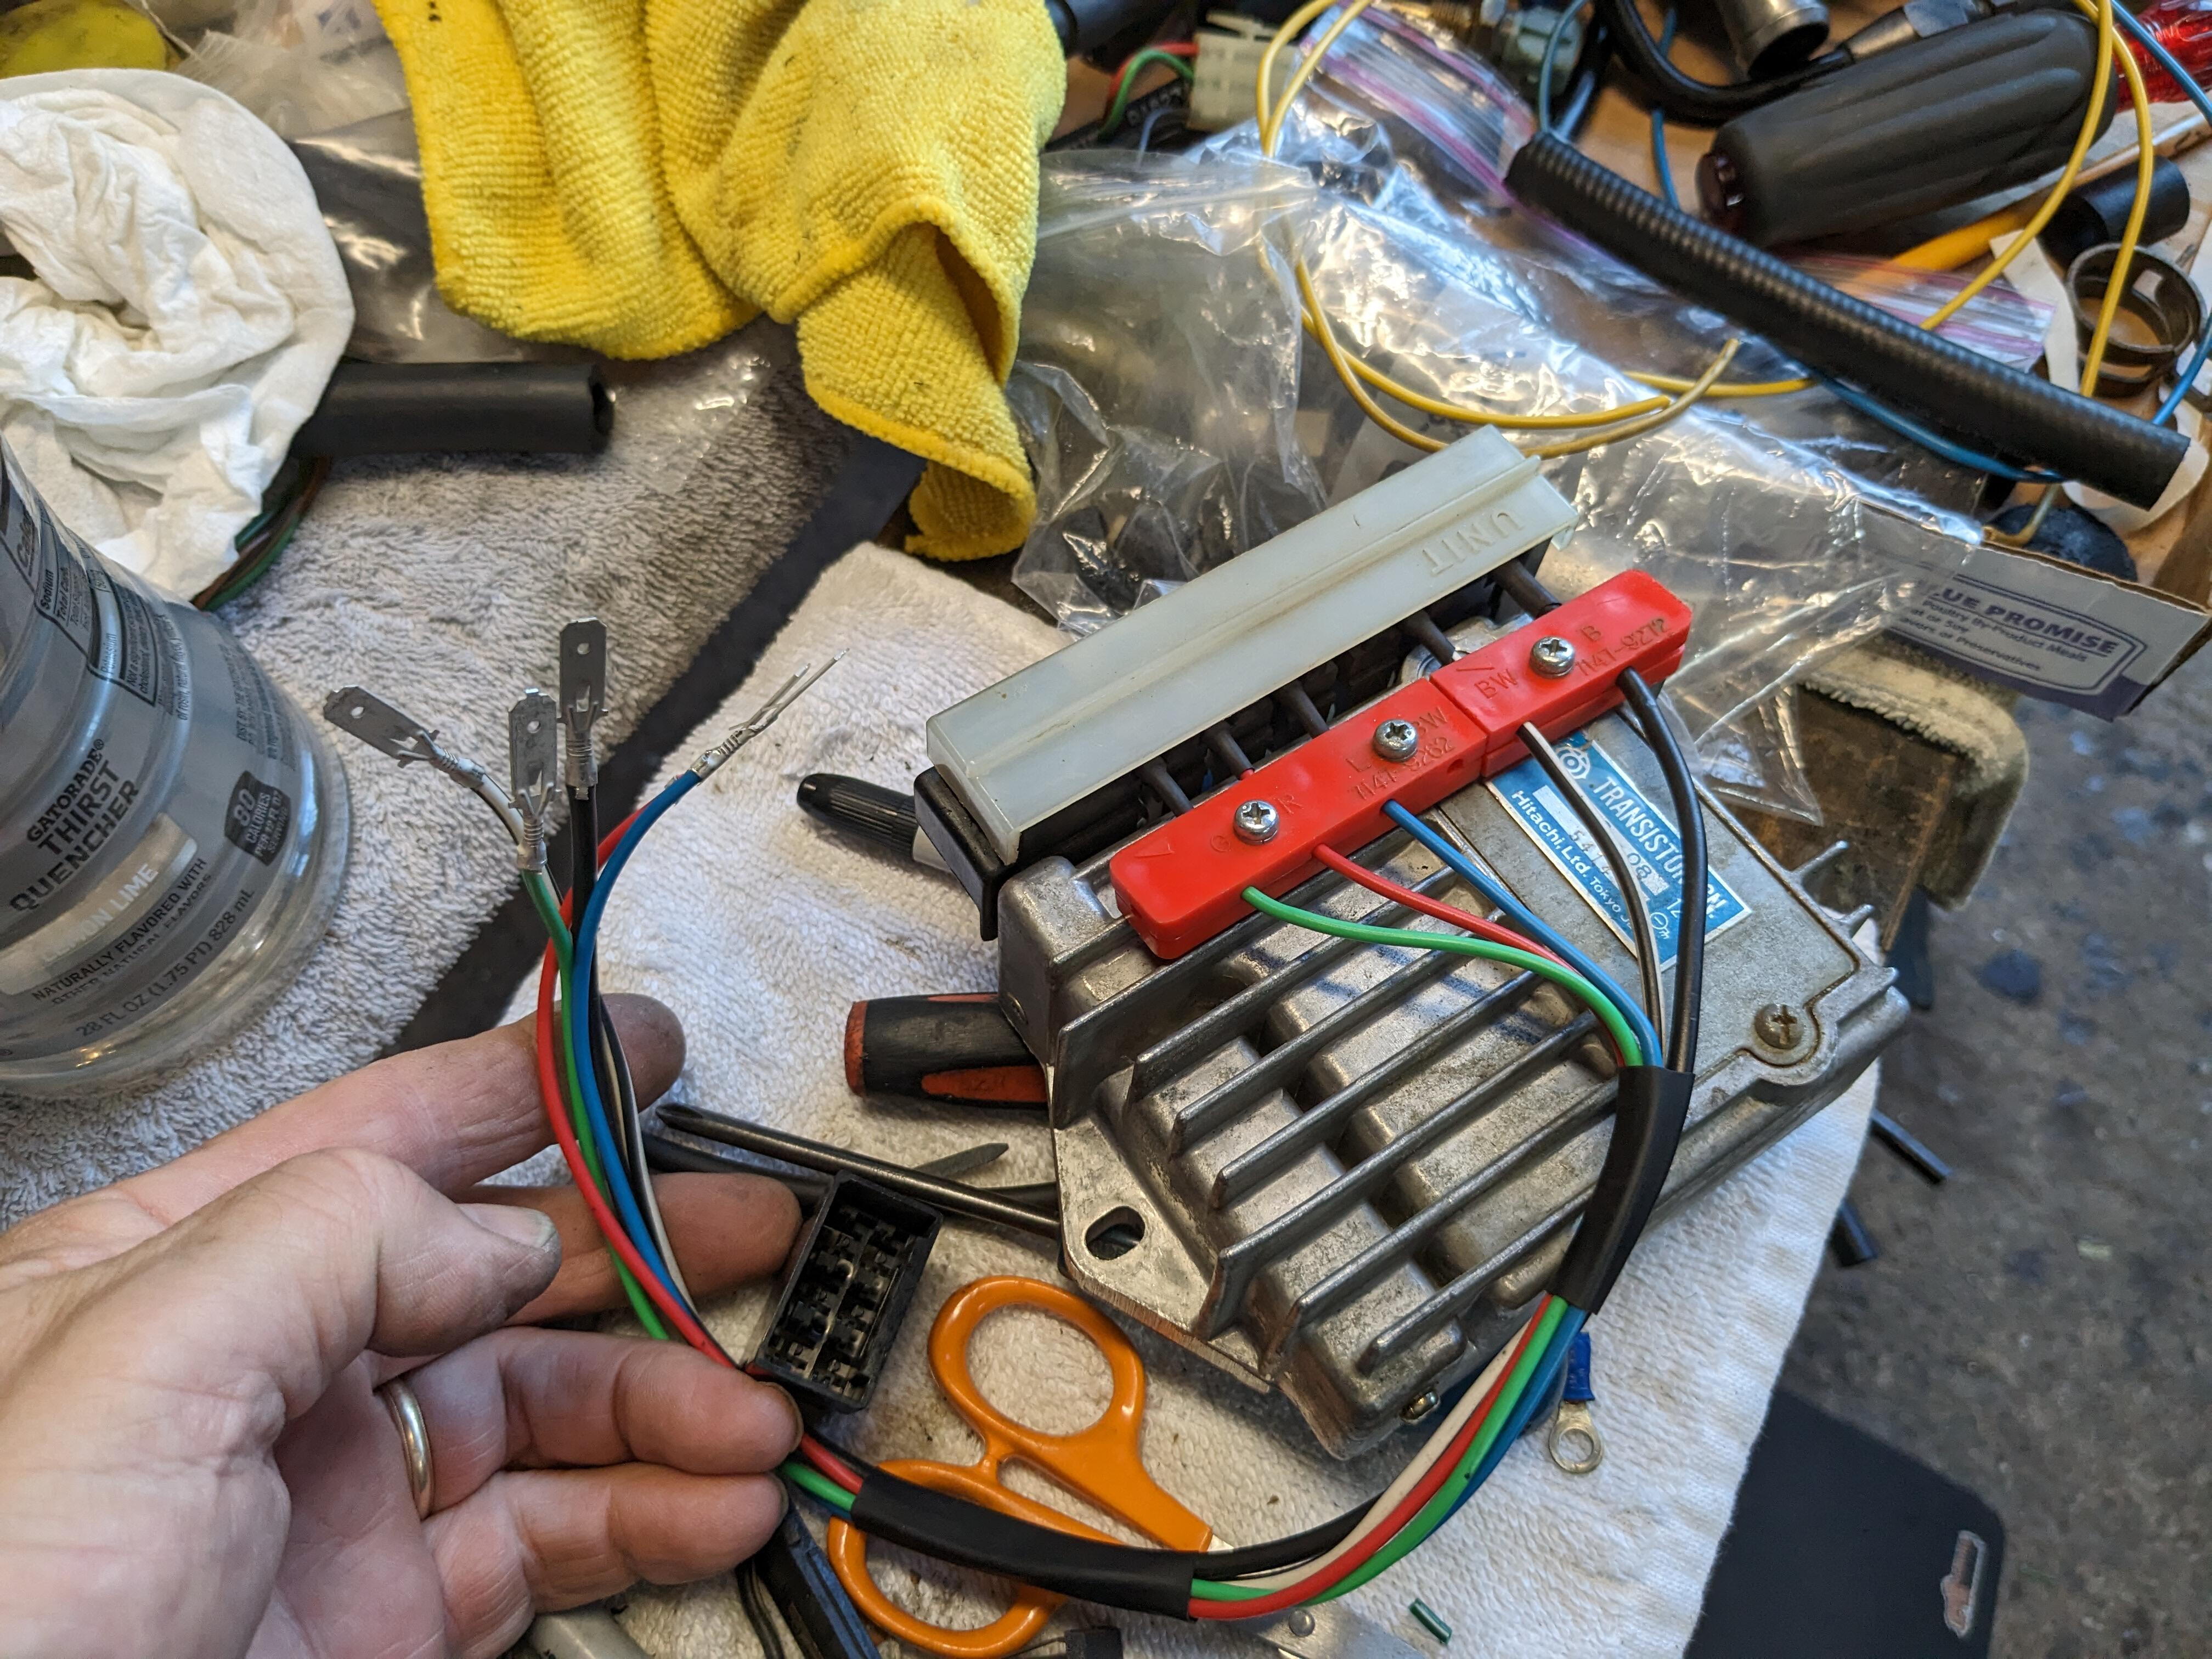
I ran the motor & used the timing light, leaned over & revved the motor. Timing advances as expected when revved, and sits at approx 8º BTDC at idle. The motor goes completely flat when revved & held at around 2500-3K. Fuel pressure does not falter, I have a line gauge after the filter. I tried reversing the wires from the reluctor, and that had very bad results. It cranked normally for a few revolutions, then turned over very slowly, then not at all. After that, it was completely dead. I thought the battery was drained - I found that cranking like that blew the 125 Amp fuse breaker on the starter cable from the battery. I replaced that, put the wires back & it started again normally. I don't understand why the ignition system is creating such an extreme current draw when the reluctor wires are switched. No one has previously mentioned any issues with reversing the reluctor wires. I tried another coil, in case that was an issue. I'm going to put the stock module and coil back in & confirm whether the issue is with the HEI conversion or not. re-wired to plug into the modded harness
 2 points
 -
2 points
-
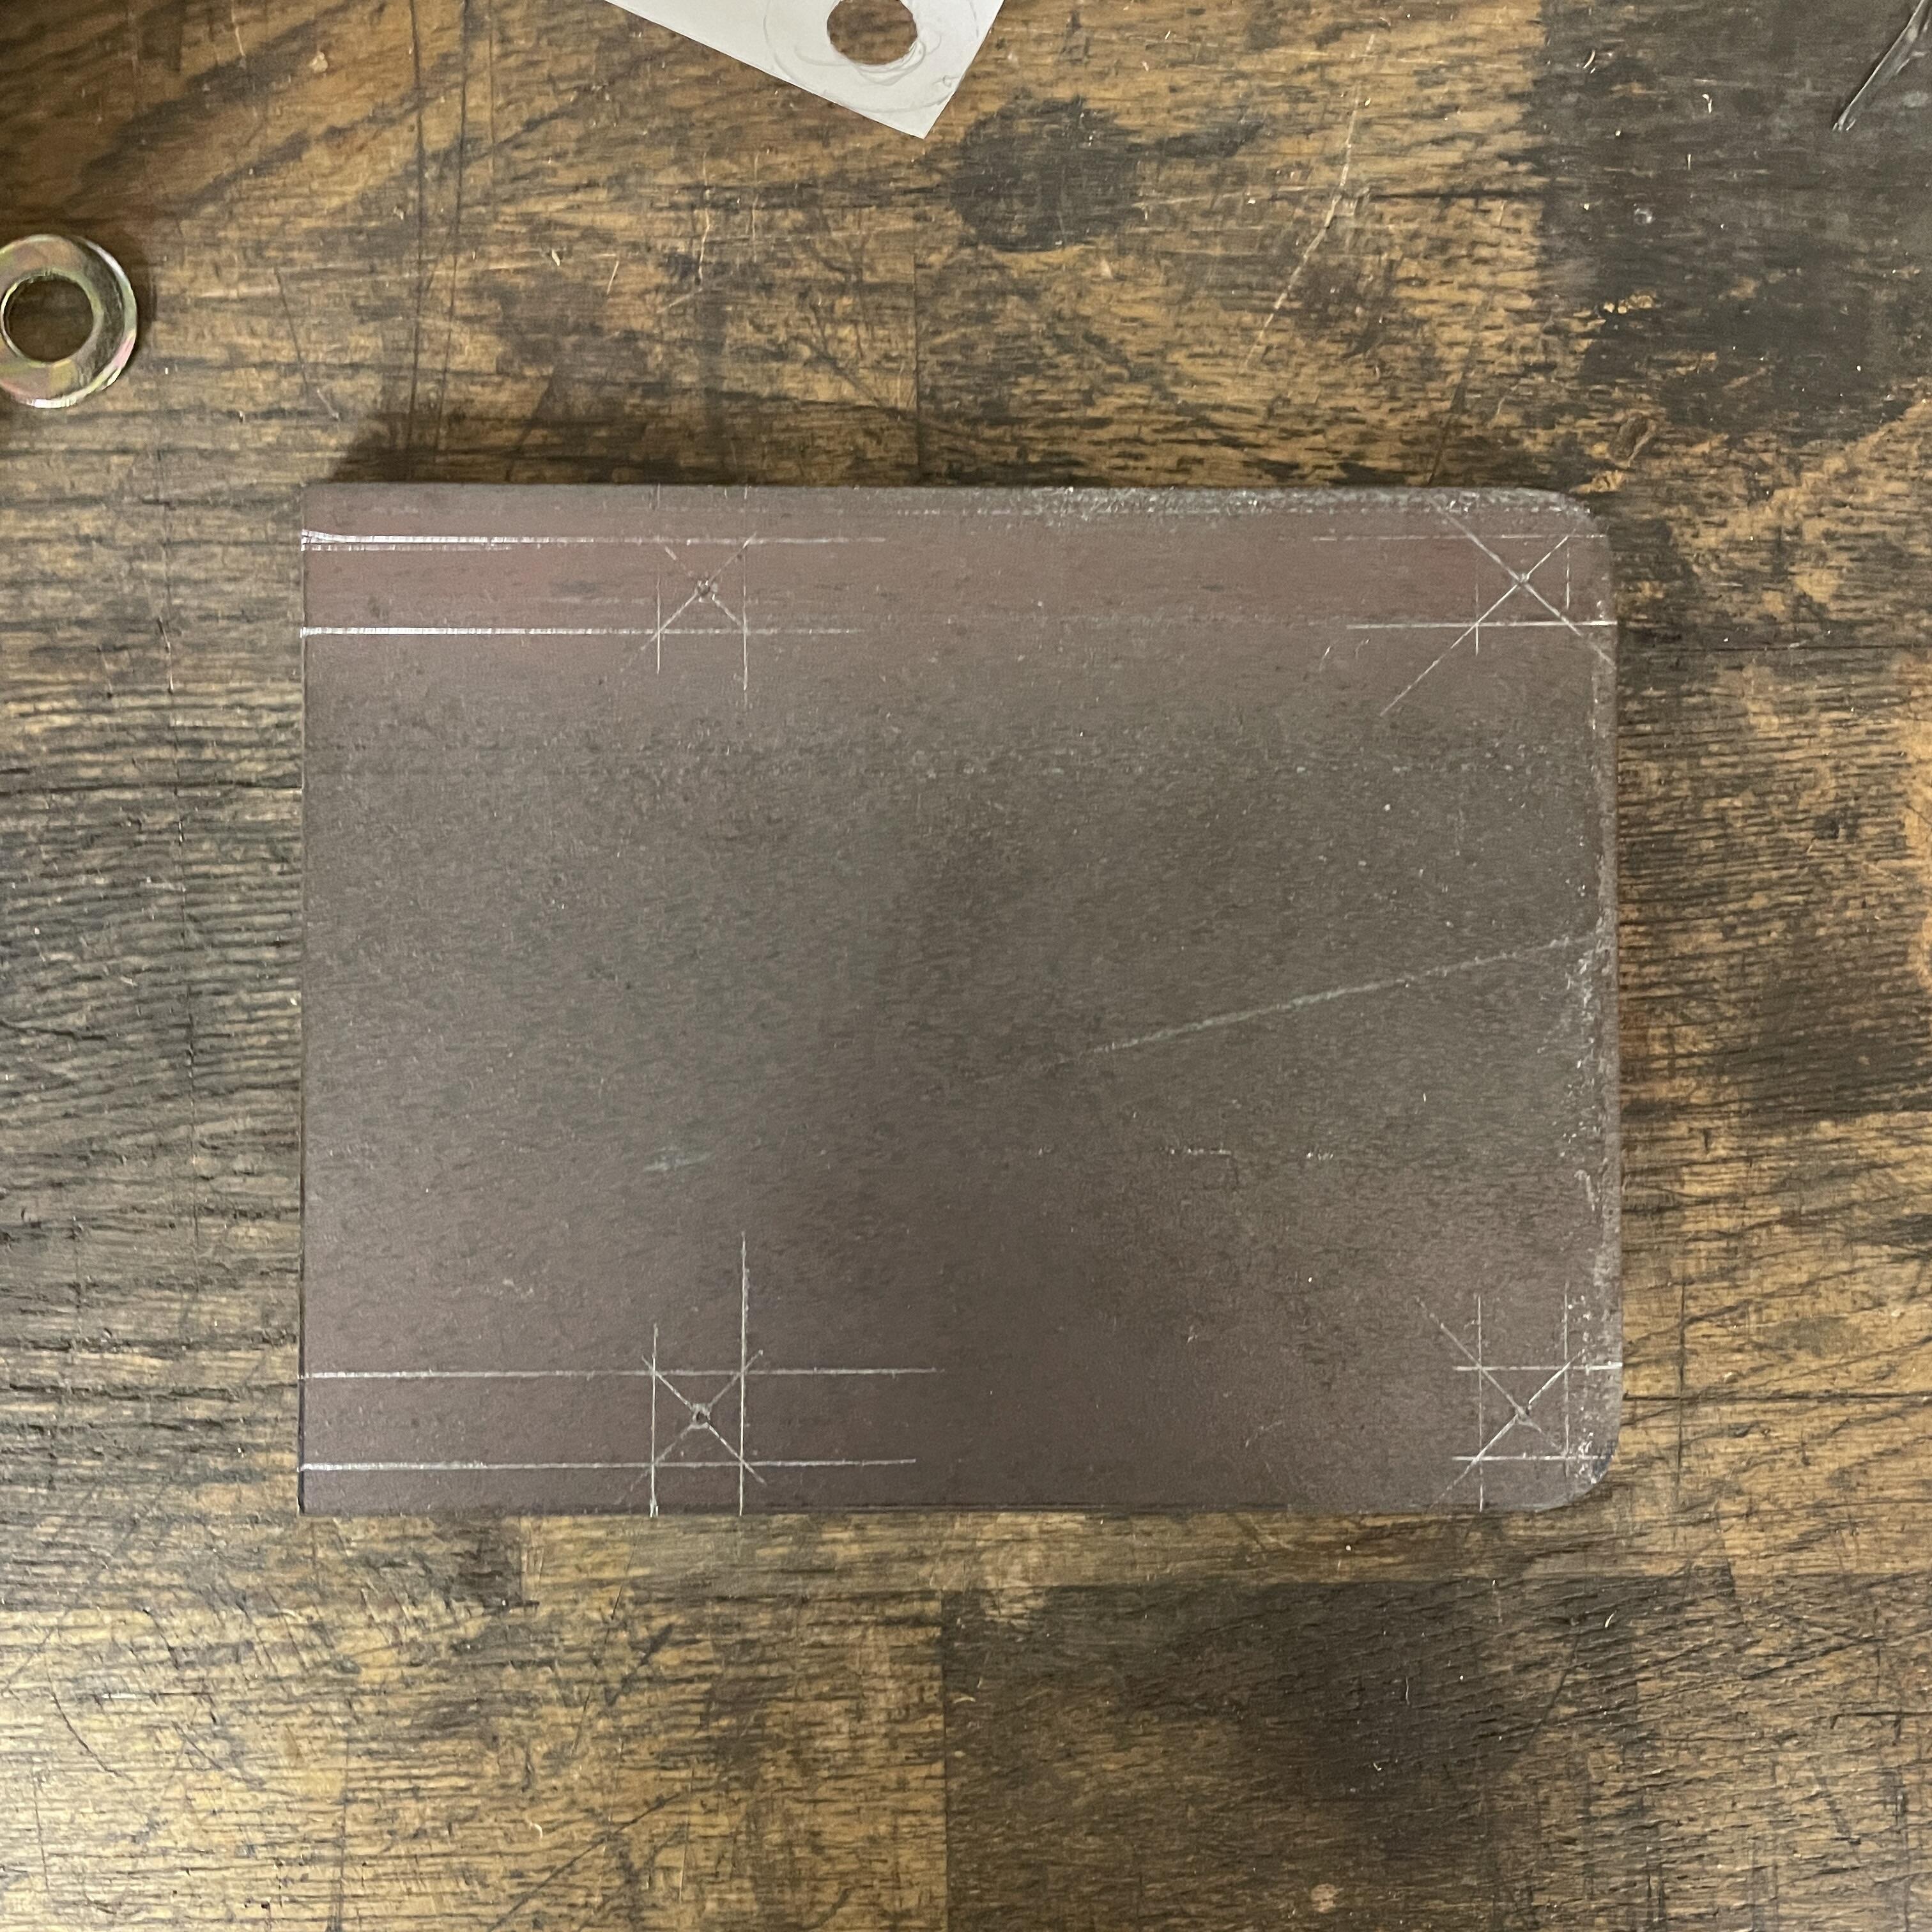
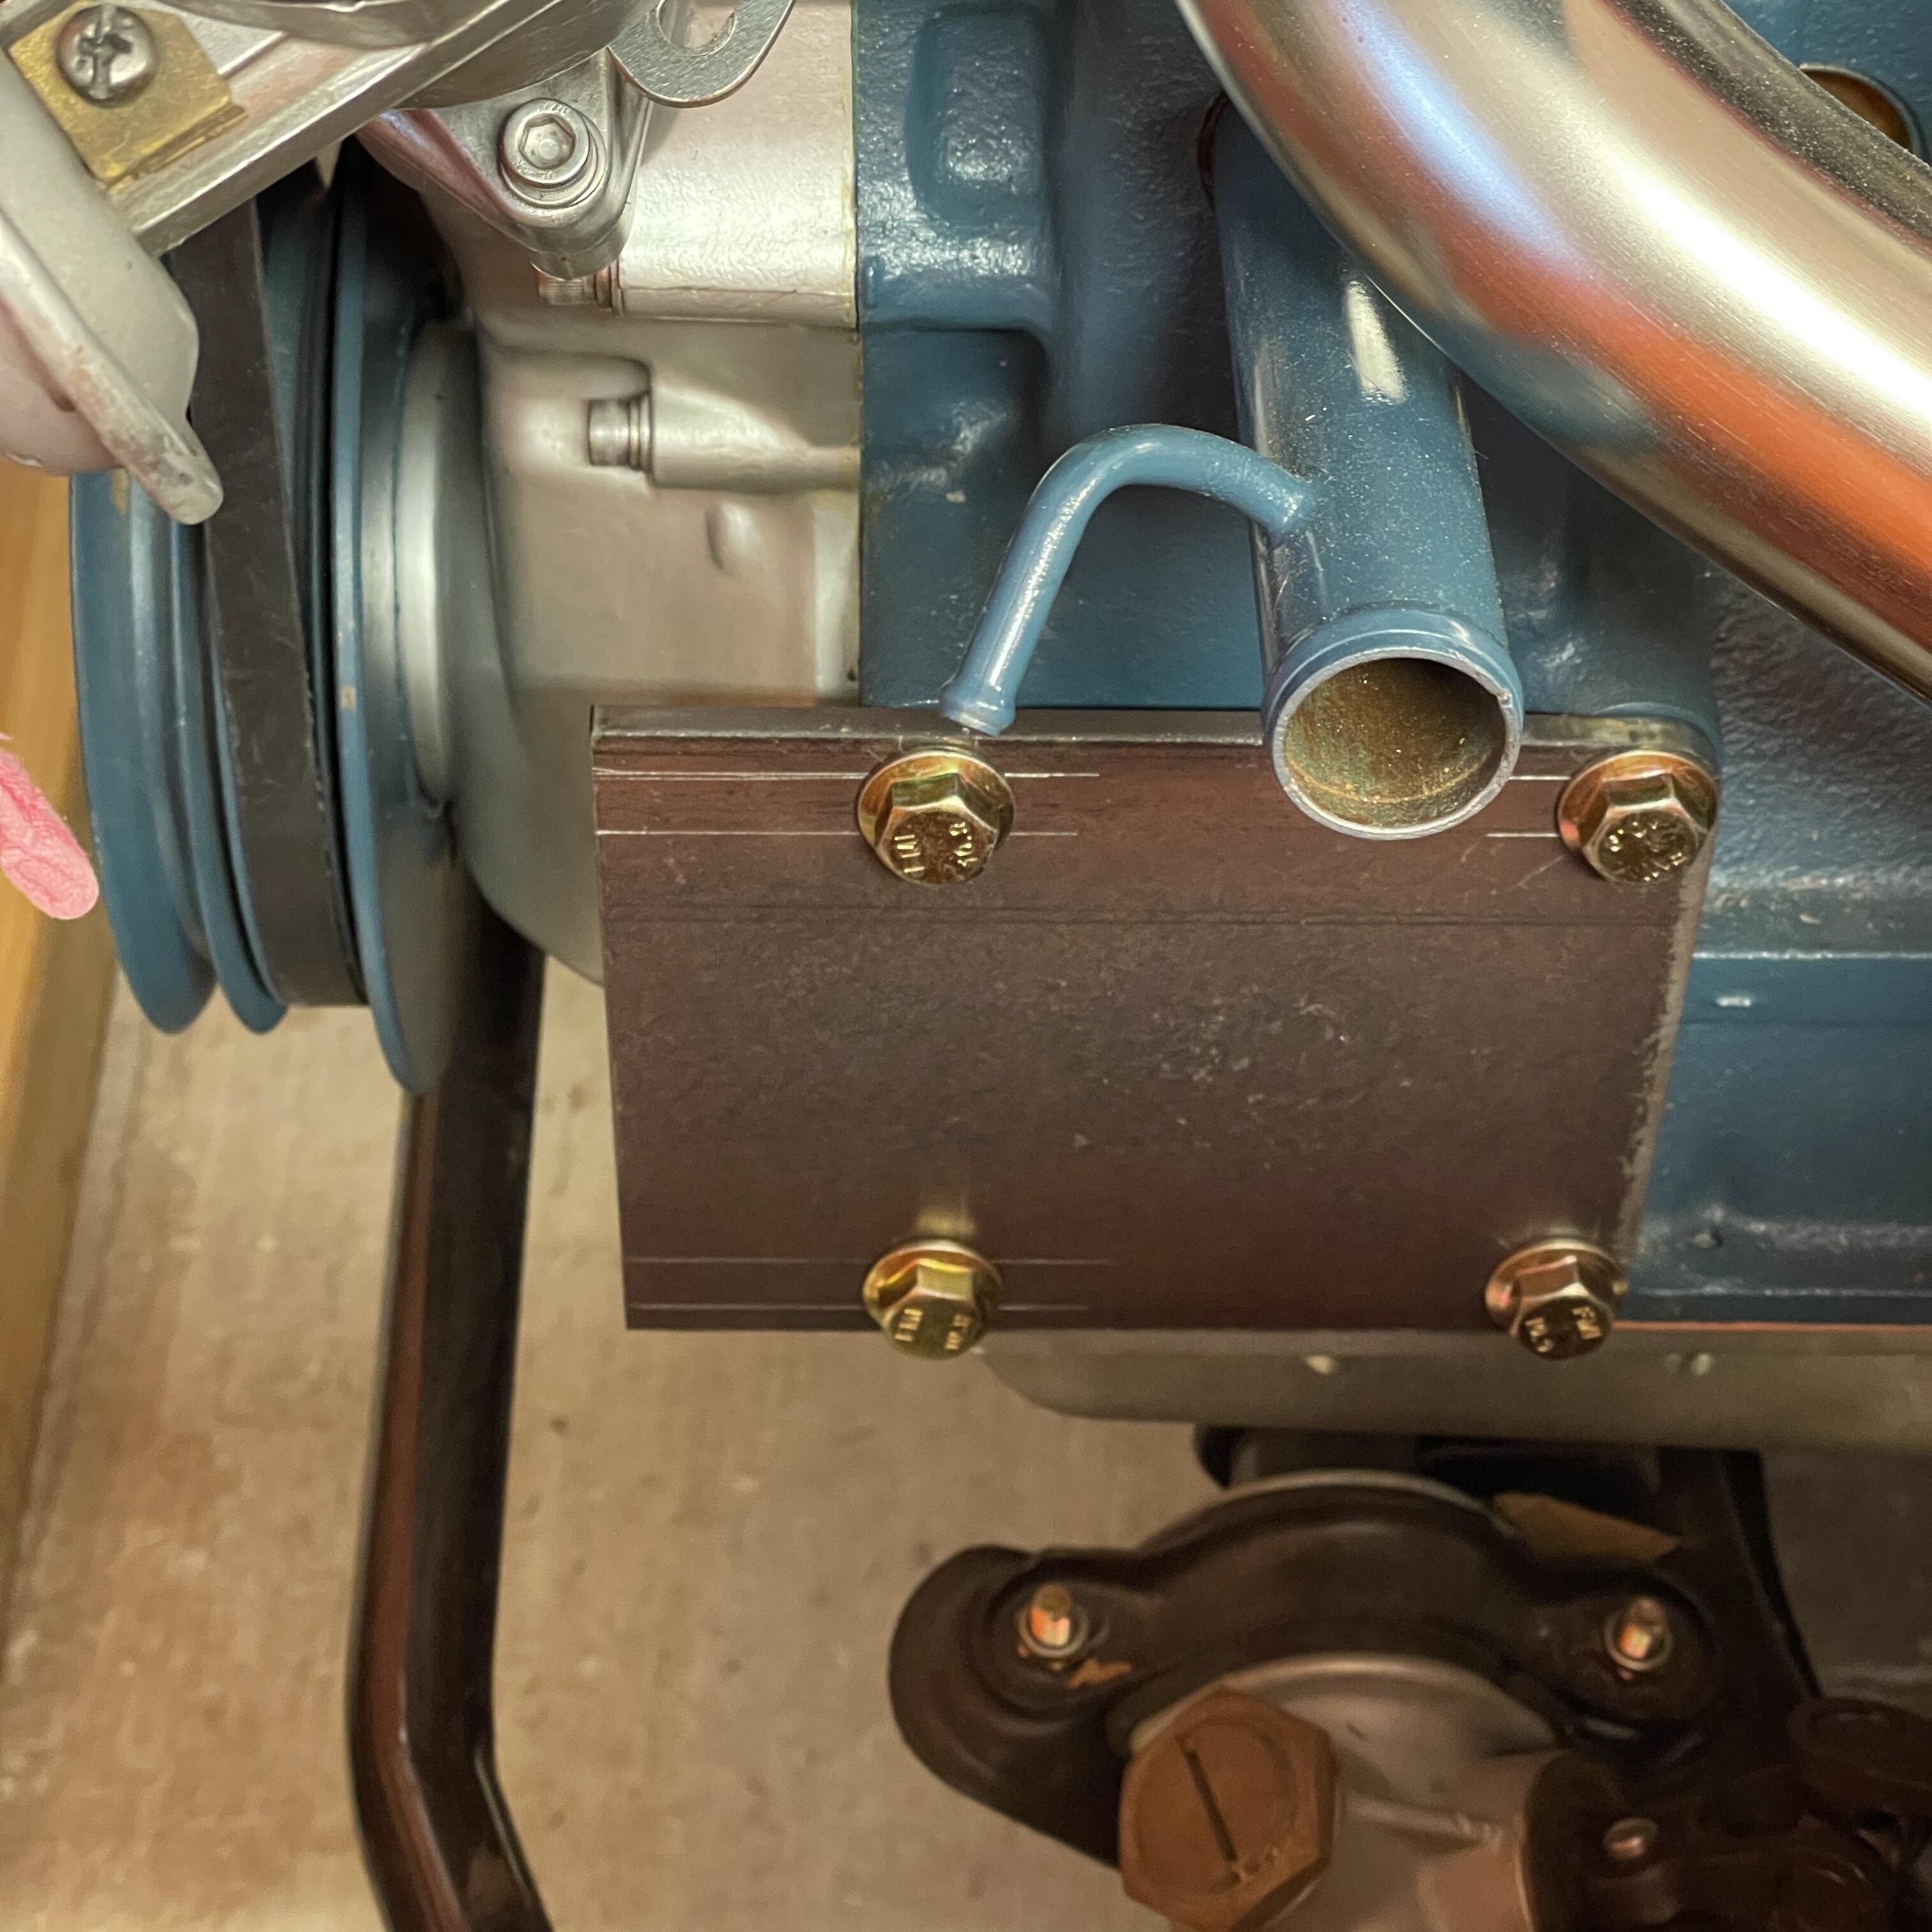
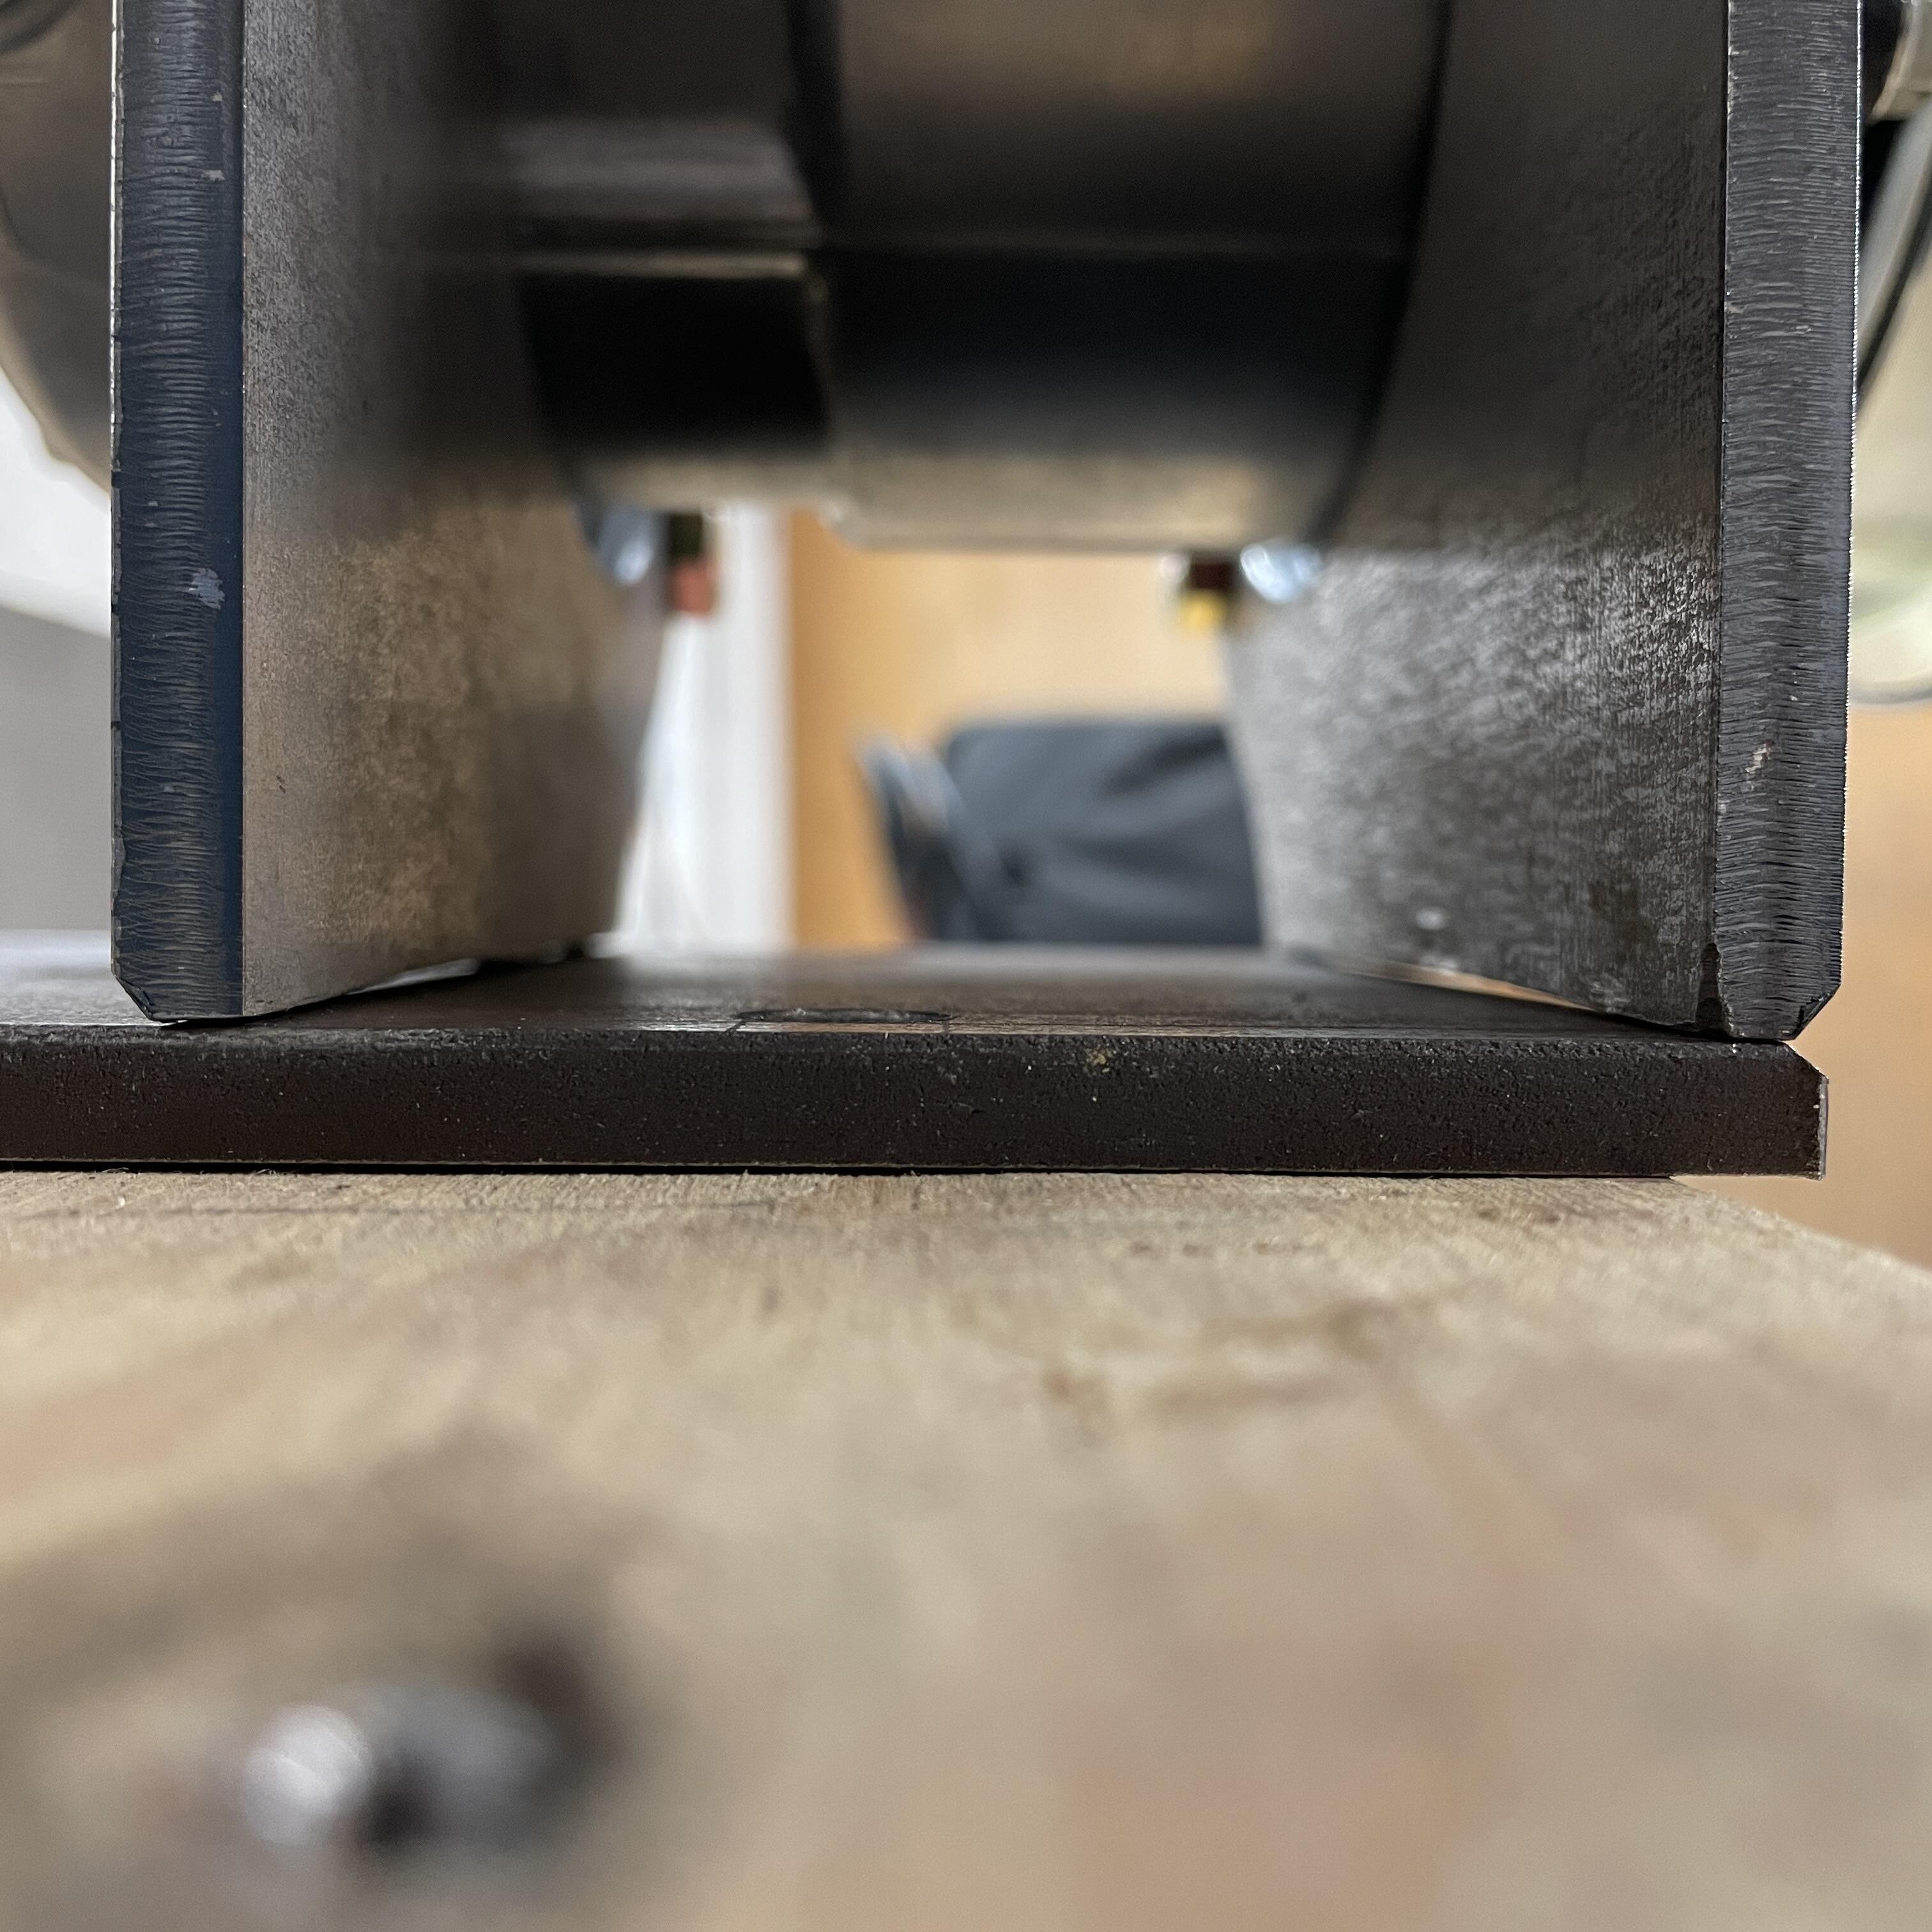
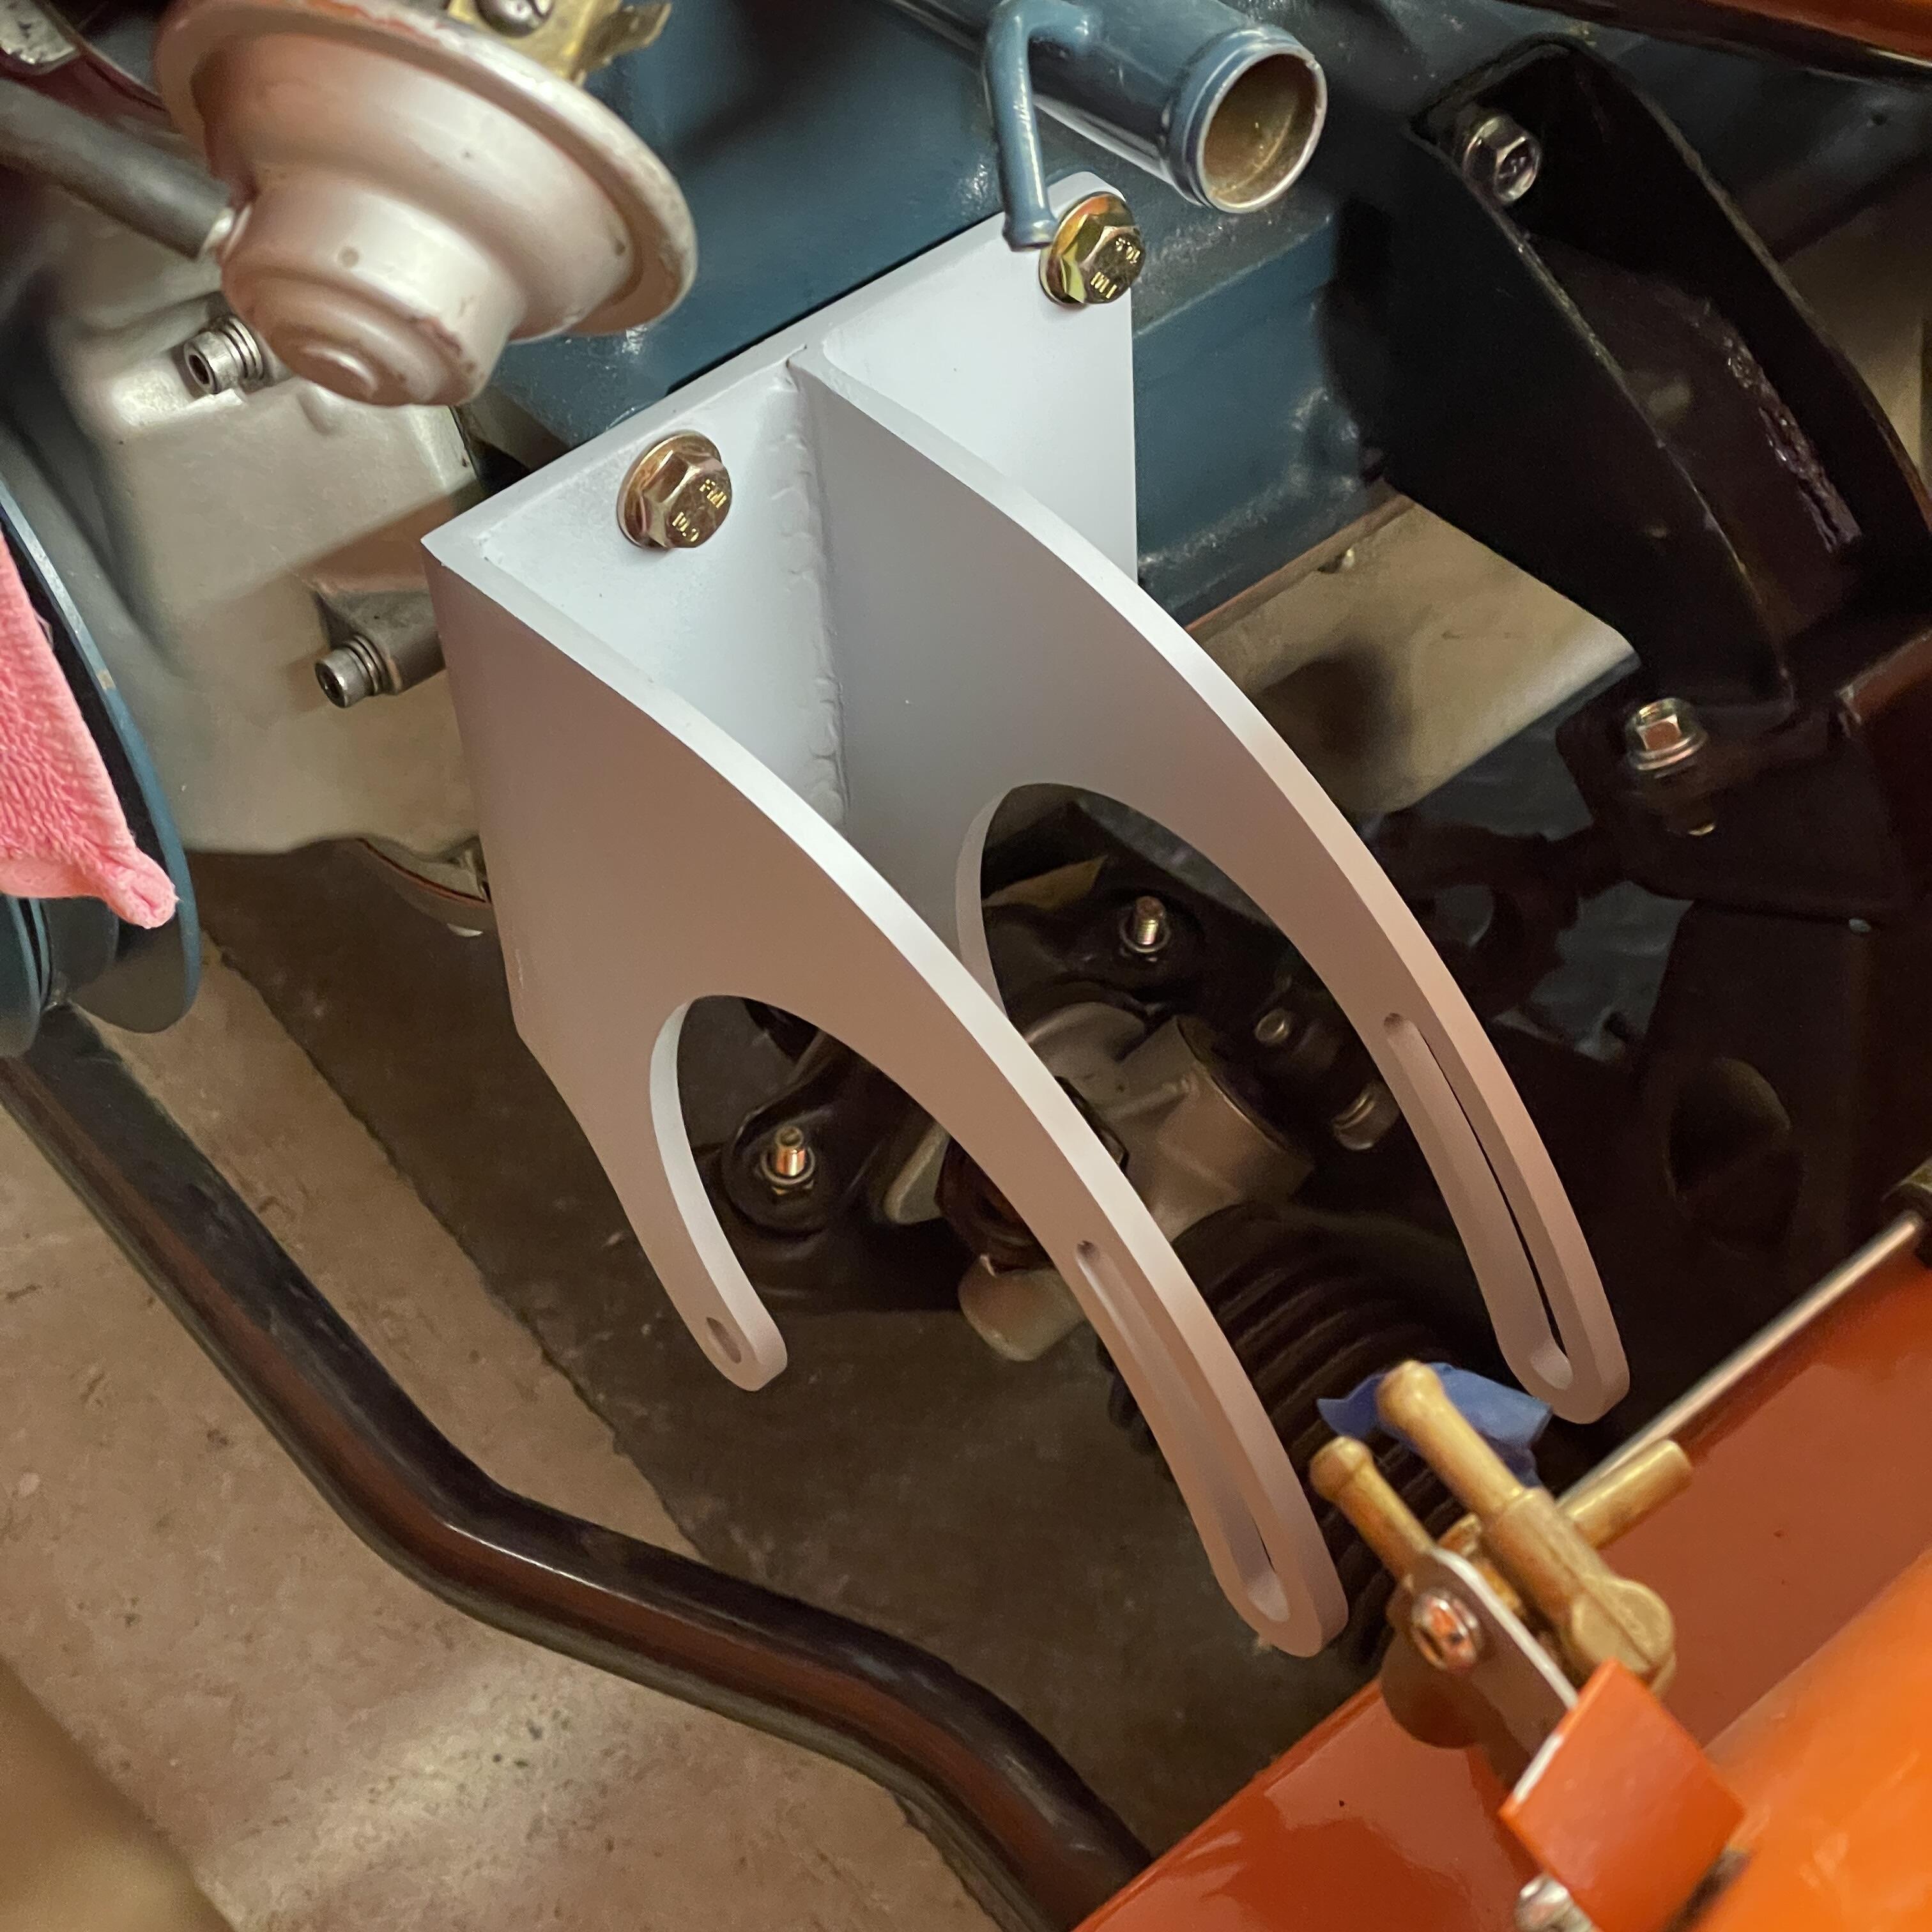
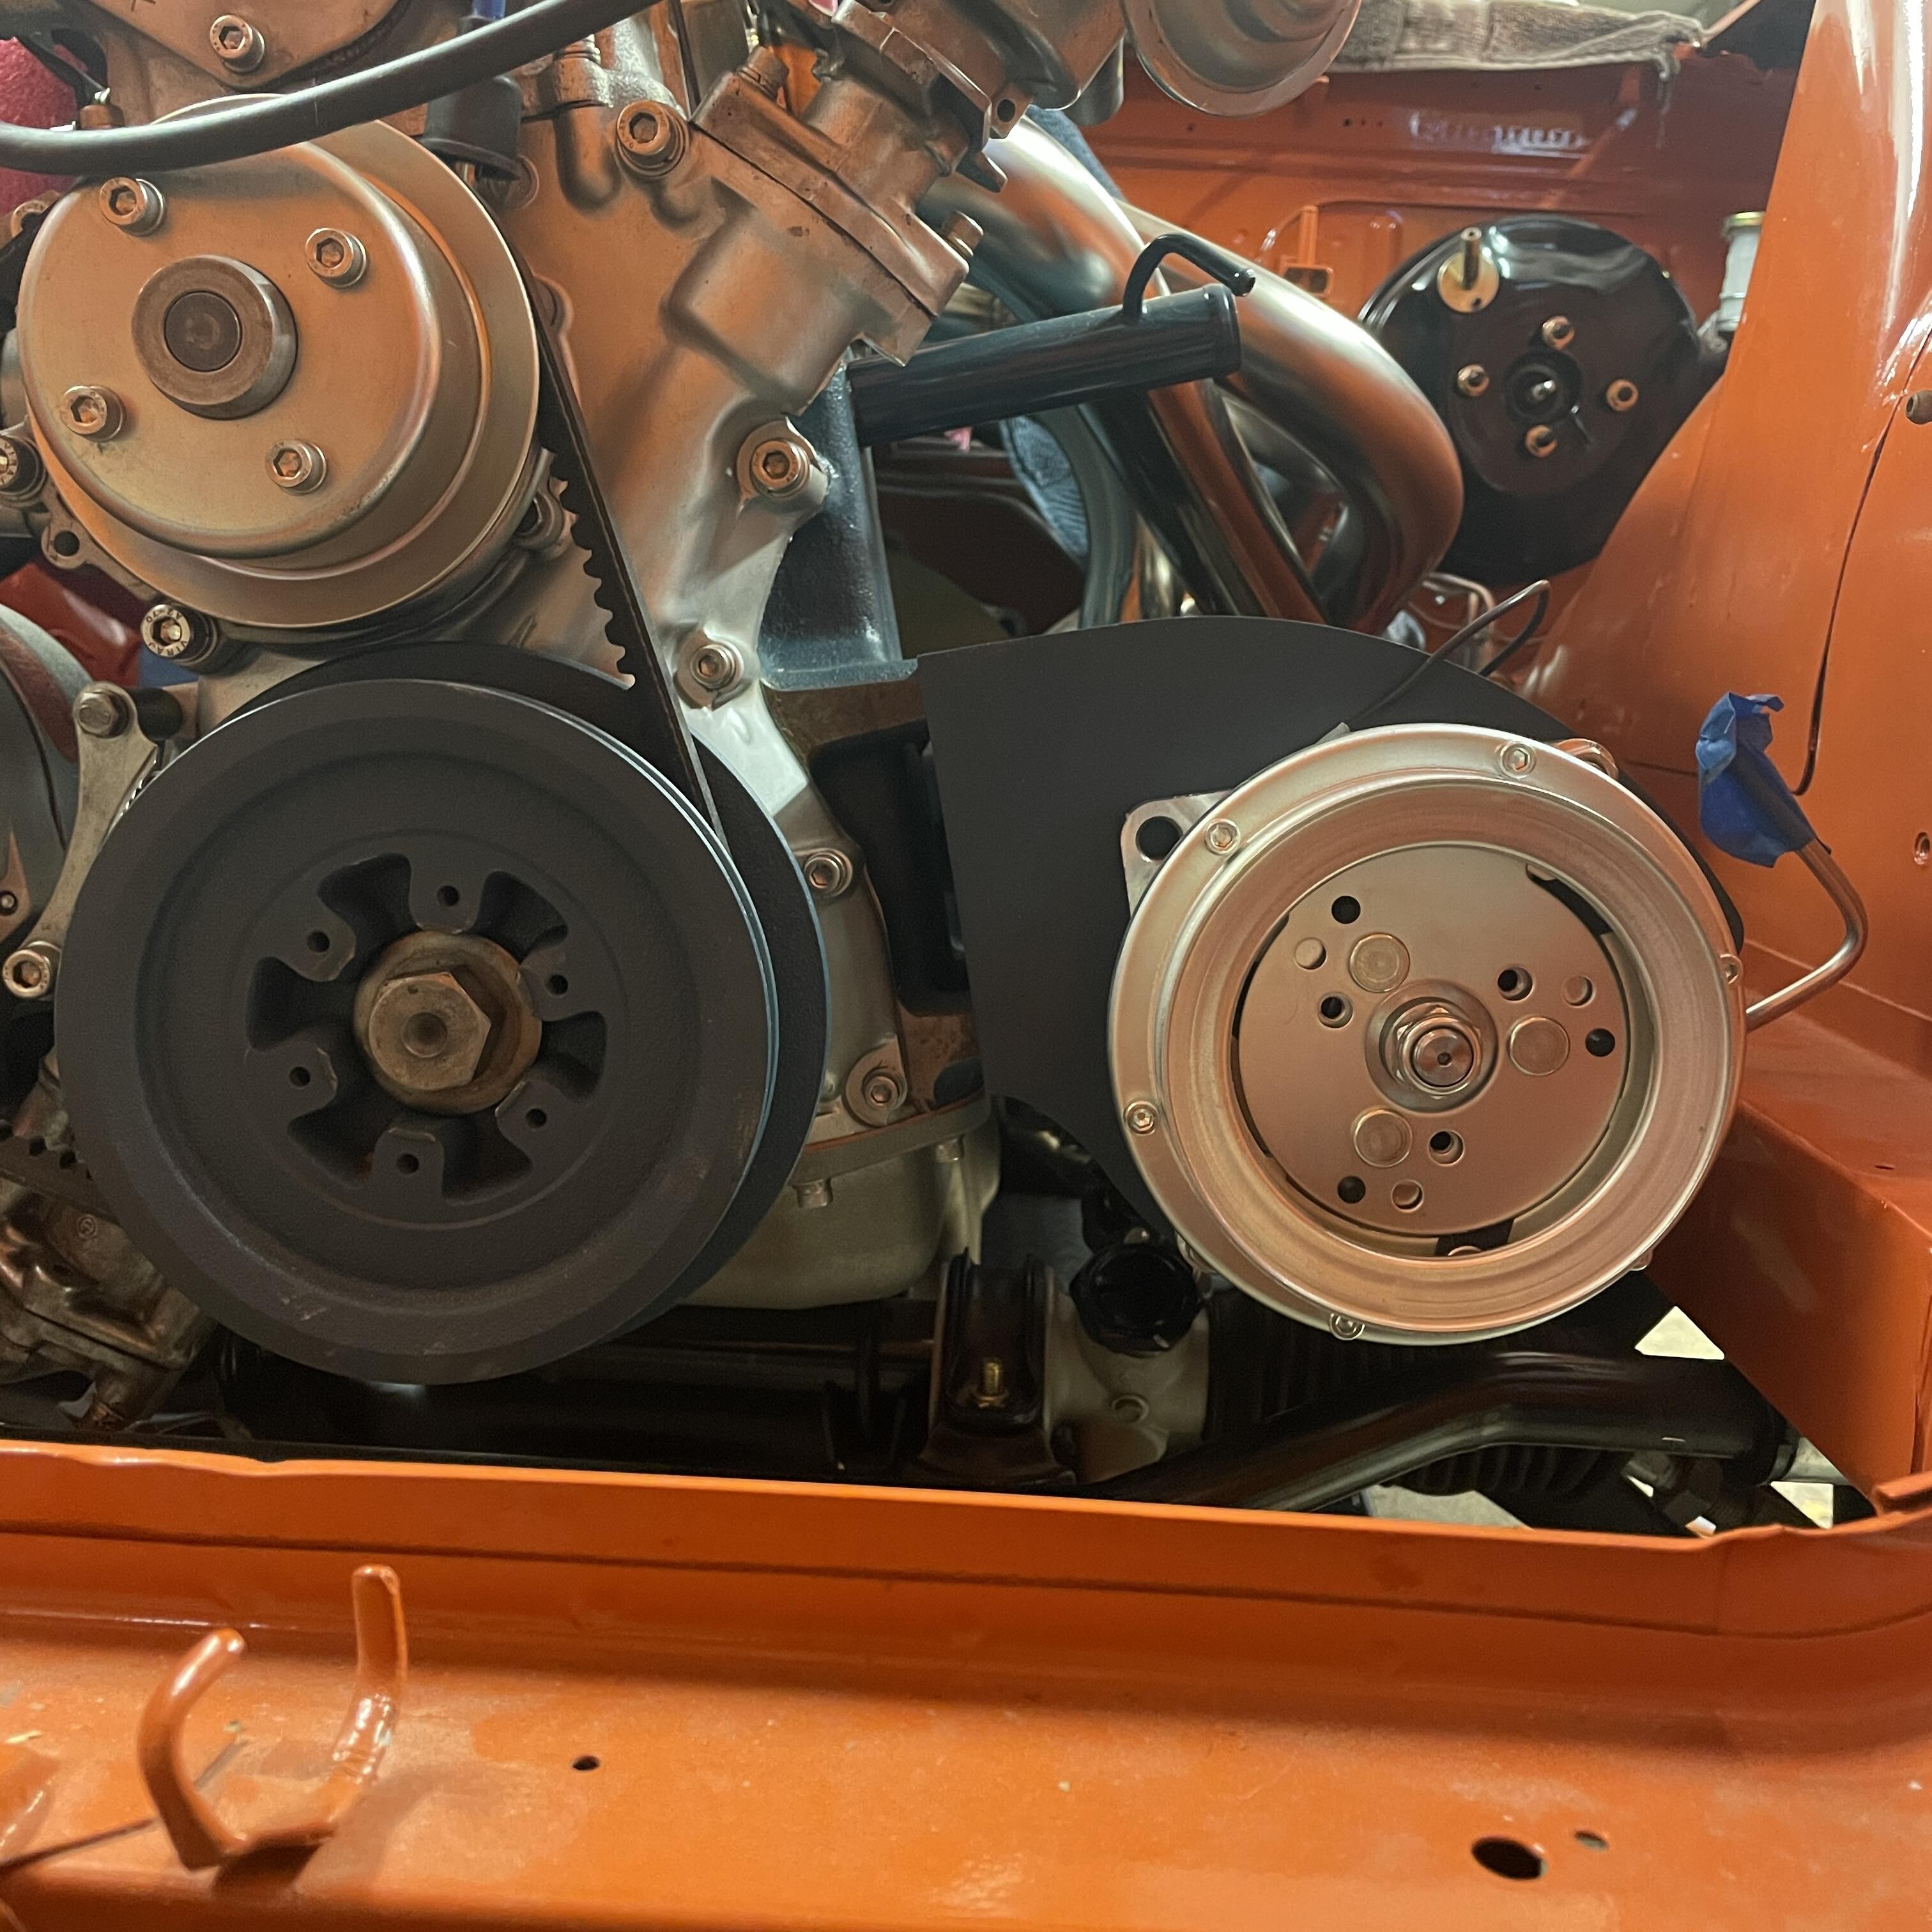
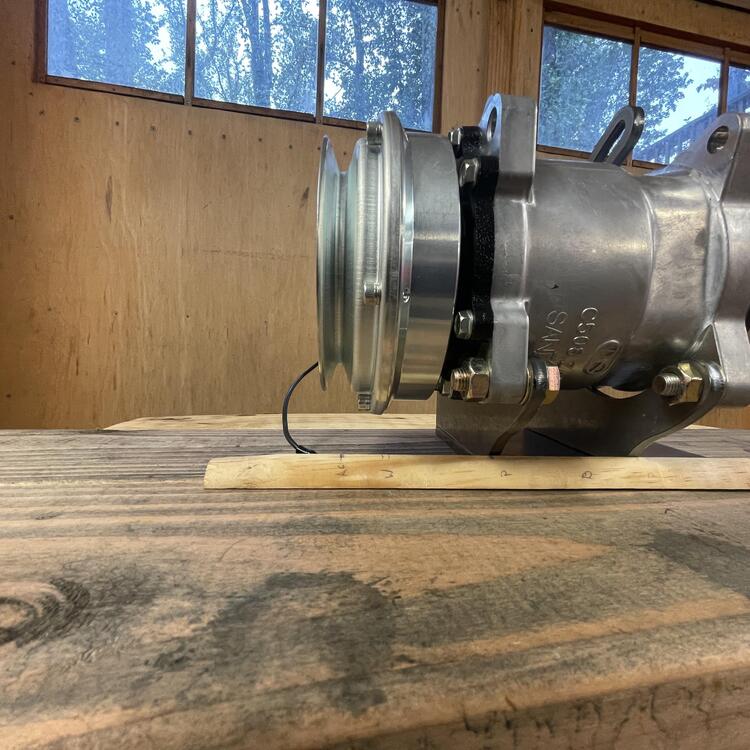
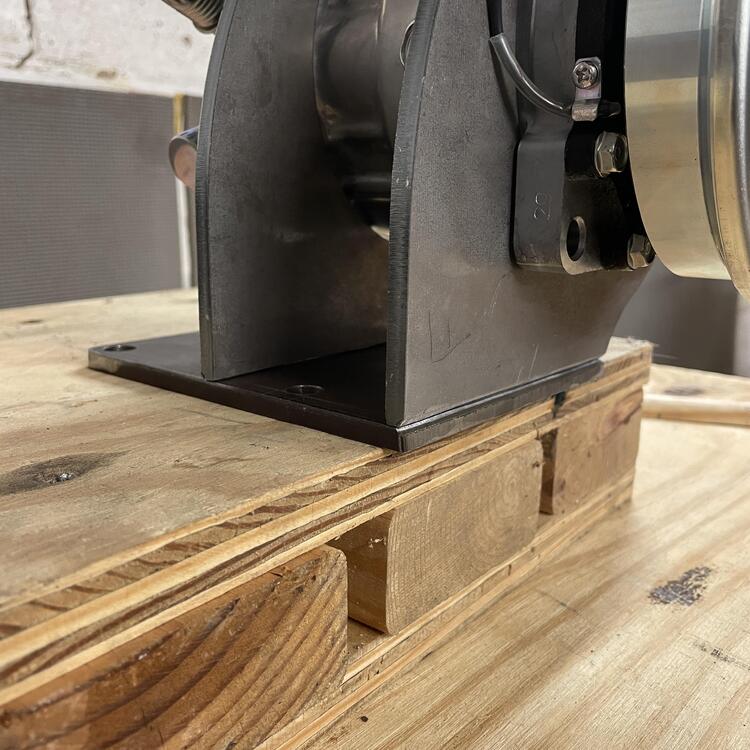
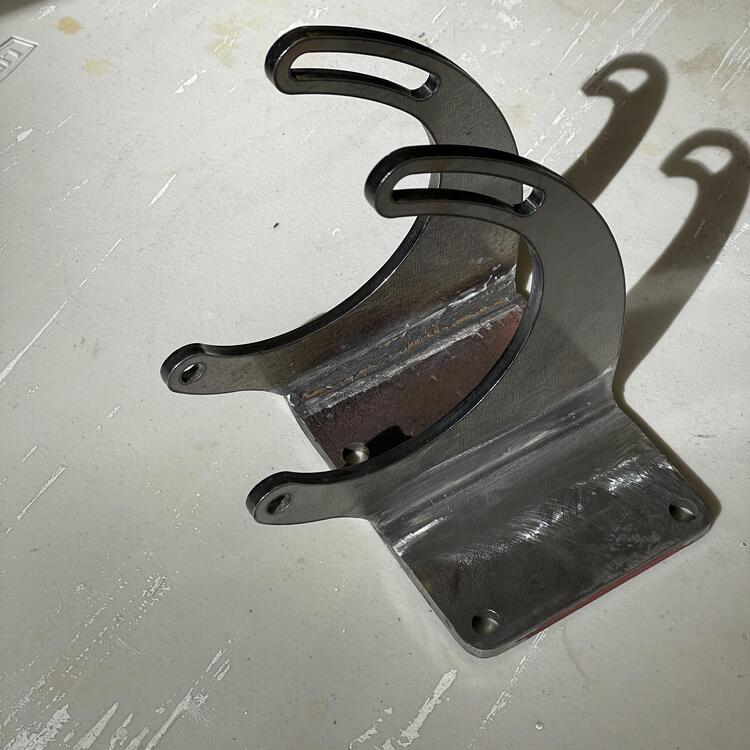
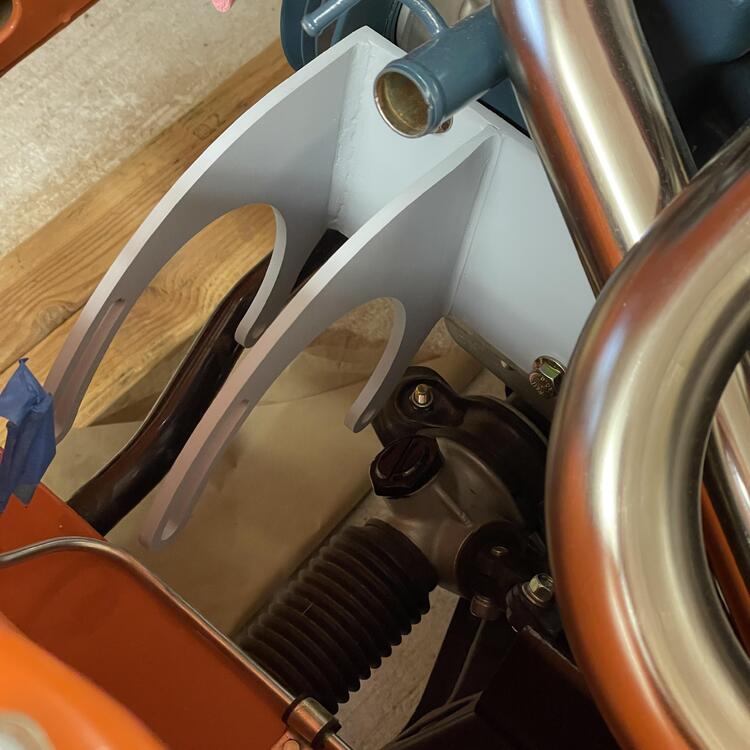
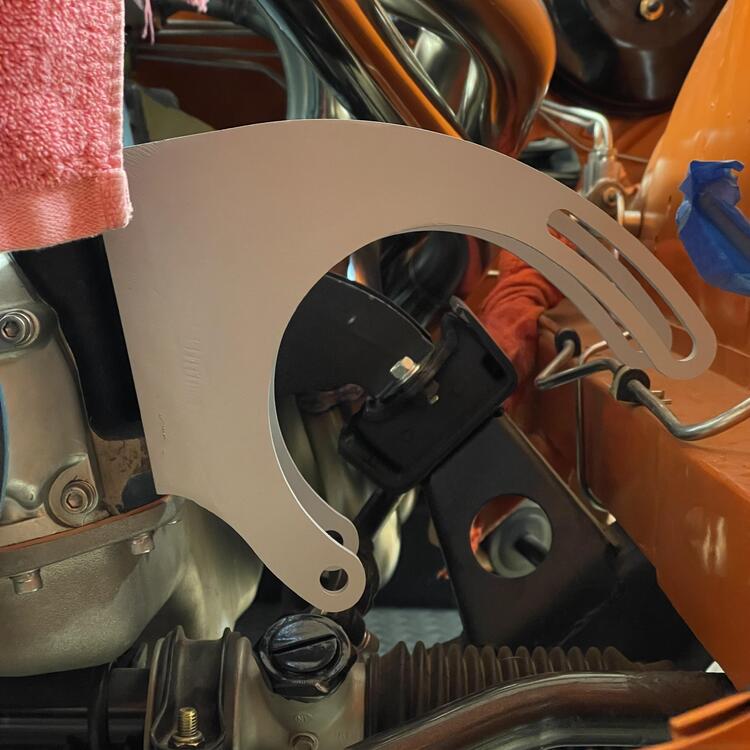
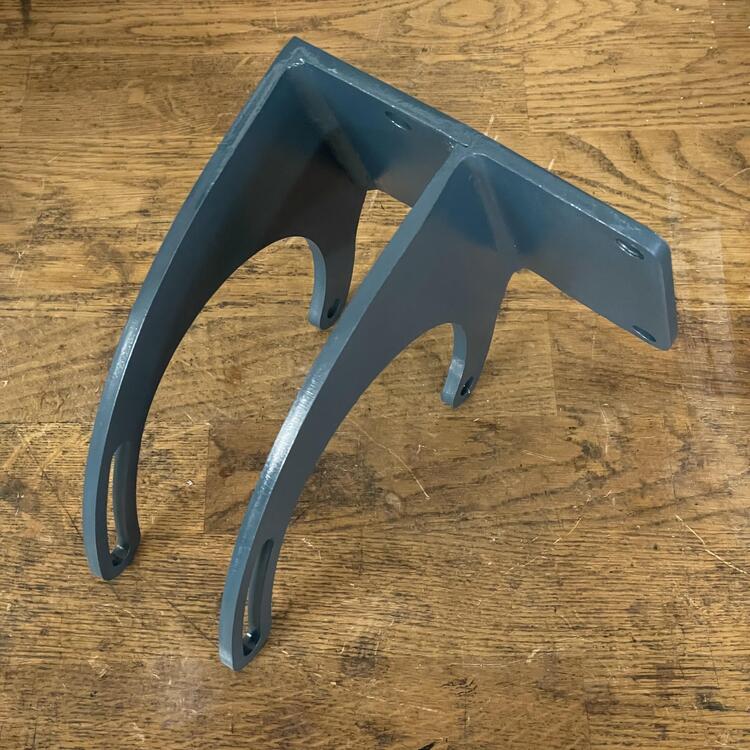
2 pointsMore progress… I fabbed up a bracket for my Sanden compressor because modifying the ZX bracket was turning out to be just too much. I used the Vintage Air universal bracket parts ($50 @ Summit) and a sheet of 1/4” steel from the hardware store, which I cut, drilled, and welded to the brackets. It came out okay. If I were going to do it over again (which I’m not) I would angle the bracket up more to 1. make more clearance for the compressor to slide in under the bracket, 2. move the compressor away from the frame when at the furthest point of adjustment, and 3. change the adjustment angle to be more perpendicular to the block, making the adjustment span more pronounce/longer. Otherwise I’m happy with it.


 2 points
 -
1 pointHey all! Quick update-- I passed the emissions test on the second try. Barely failed the first then leaned out the air flow meter and passed with flying colors on the second test. If you are having problems with your EFI system or emissions testing I HIGHLY encourage installing a wideband O2 sensor. You are just guessing without it. I found it incredibly useful all along this journey. Best $200 I've spent on the car yet. Thanks for all your help! Now onto the 5 speed swap . . .1 point
-
Thanks grannyknot, didn't realize that that was the case. Hate to lose the sound deadener but I suspect you are correct as to it being a source of current/future rust problems. Trying to look on the bright side, I'm not just losing sound deadener, I'm gaining another project!!! Comment is much appreciated. Working on bumpers right now but will try and post what I find in a bit.1 point
-
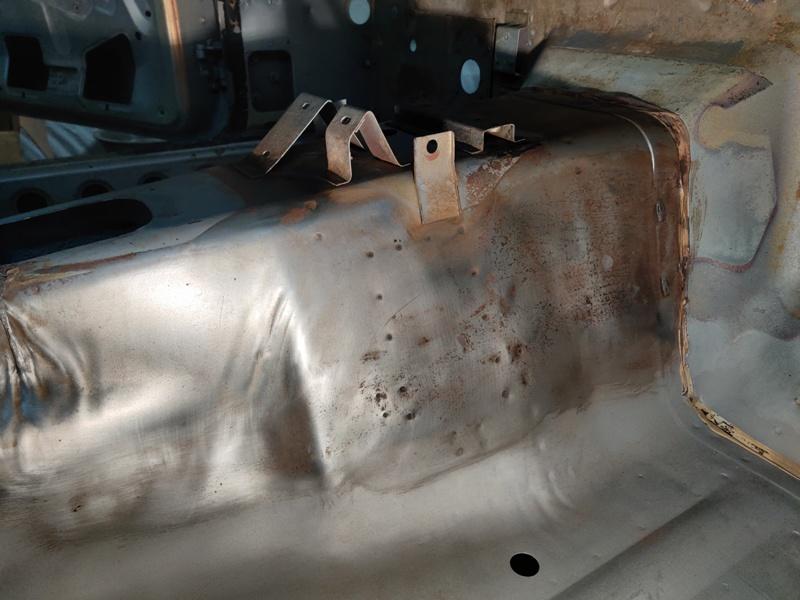
To be on the safe side you could/should chip up all of that original sound deadener, chance are you will find more than the couple you know about. That sound deadener was applied over top of bare metal.1 point
-
I know, I hear it too, "always use a new crush washer" but for the same reason as you mentioned, I have had to reuse crush washers so many times I can't count them all. I've never had a leak out of them, aluminum or copper.1 point
-
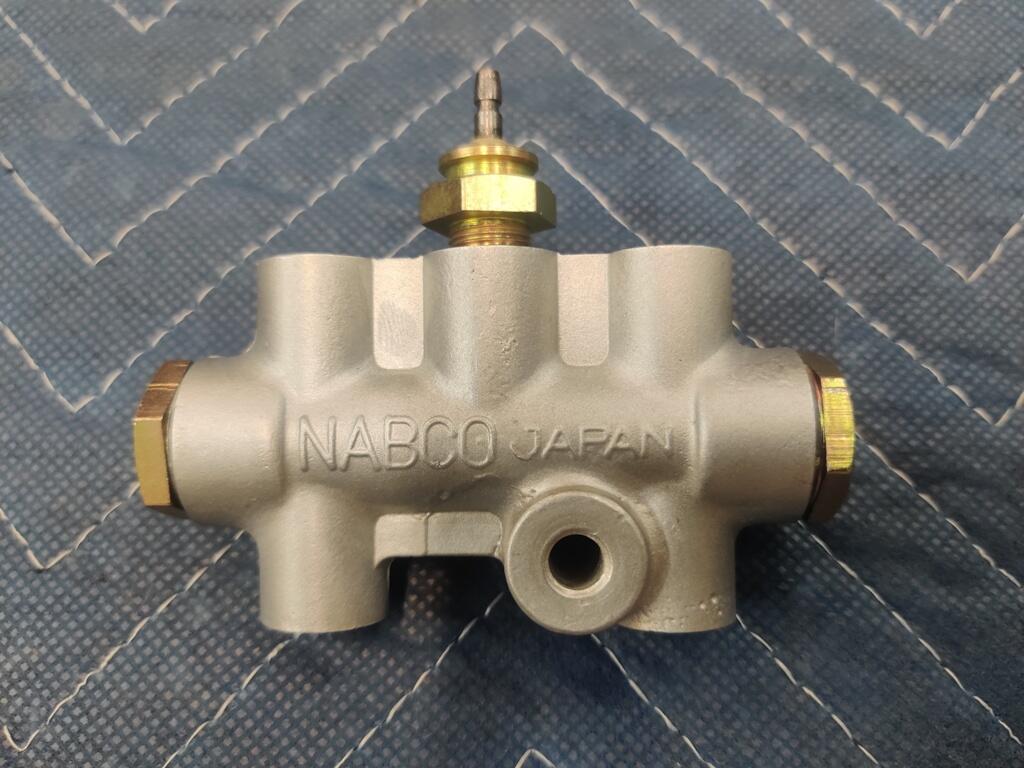
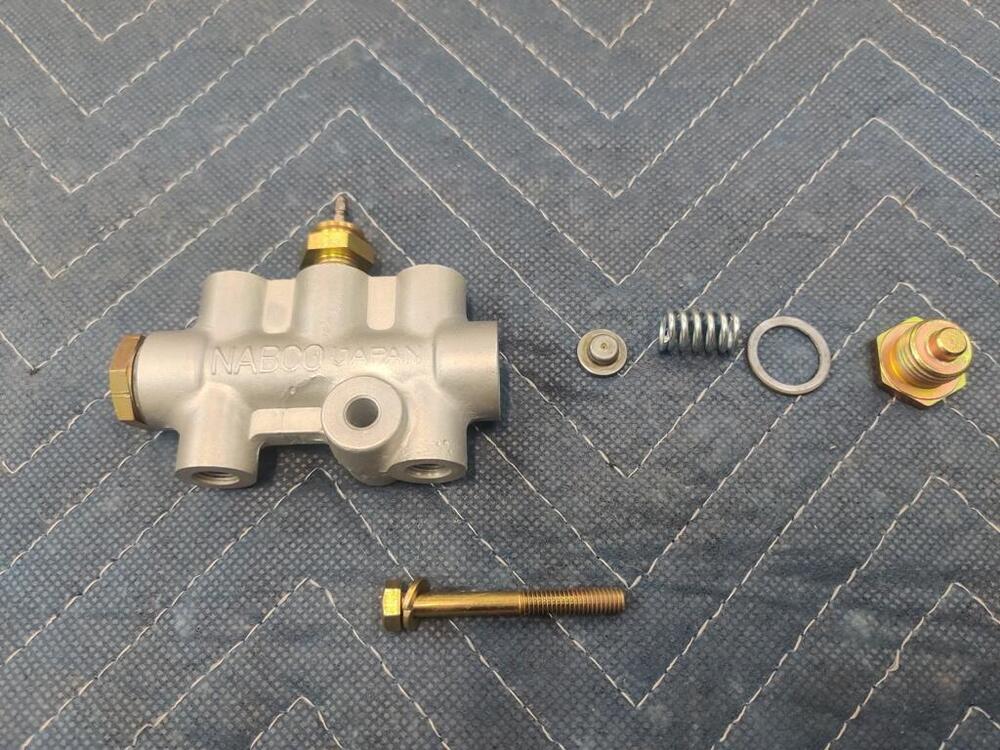
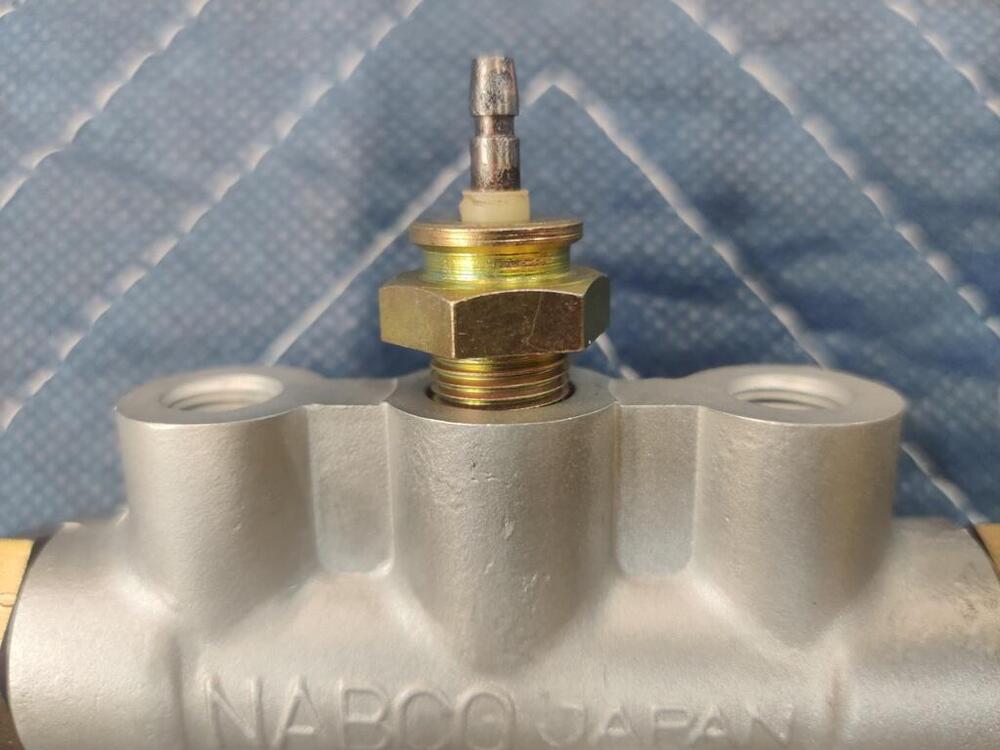
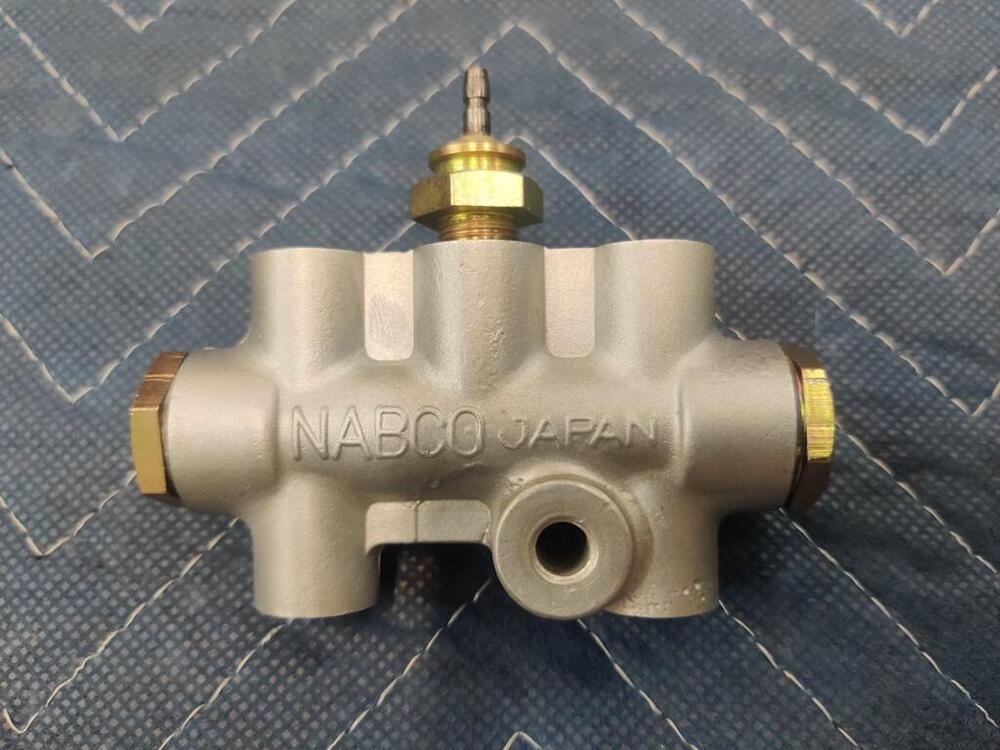
I think you are right - it is a brake light switch (not proportioning valve). That is the one that came with my car. I disassembled it, sent off a few internal and external parts to get them plated, and glass bead blasted the body. I glass beaded it at 90 psi to clean... and then another pass at about 50 psi to give it a smoother finish. Interesting. Maybe I will do the same for a measure of safety. Having brake fluid squirt all over the engine compartment and the damage that would cause... 🥶 I feel a little uneasy about reusing the original o-rings, but that is what I did. I don't know how to source suitable replacements that would meet the performance criteria?1 point
-
1 point
-
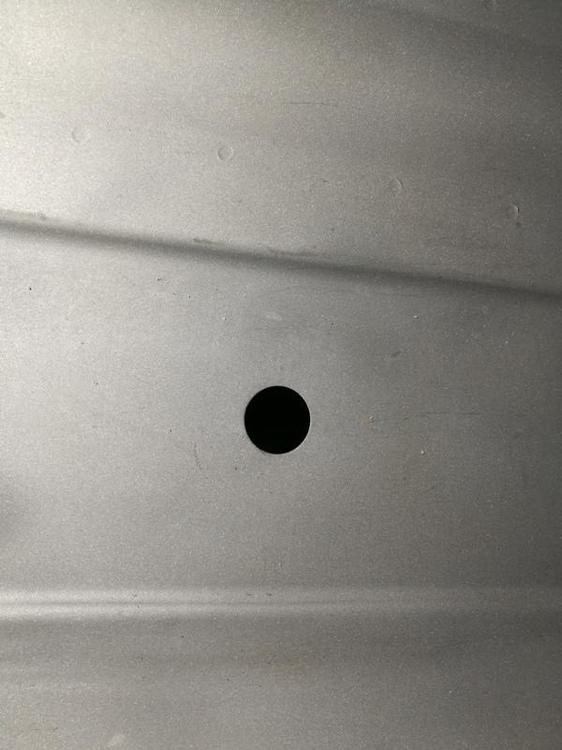
Thanks Patcon, I'll remove some more material around those 2 holes (and other rust spots) and see where i stand then. Appreciate the advice as always.1 point
-
1 pointA LOT of times people that constructed something, most times the first 3 or so times they make modifications in the design.. I know of people that said that.. It's normal.. I had it a few times ... you learn a lot during the creating proces.1 point
-
@inline6 nice work, she's looking good! Quick question, where'd you get that beautiful brake light switch (looks like a proportioning valve)? Mike1 point
-
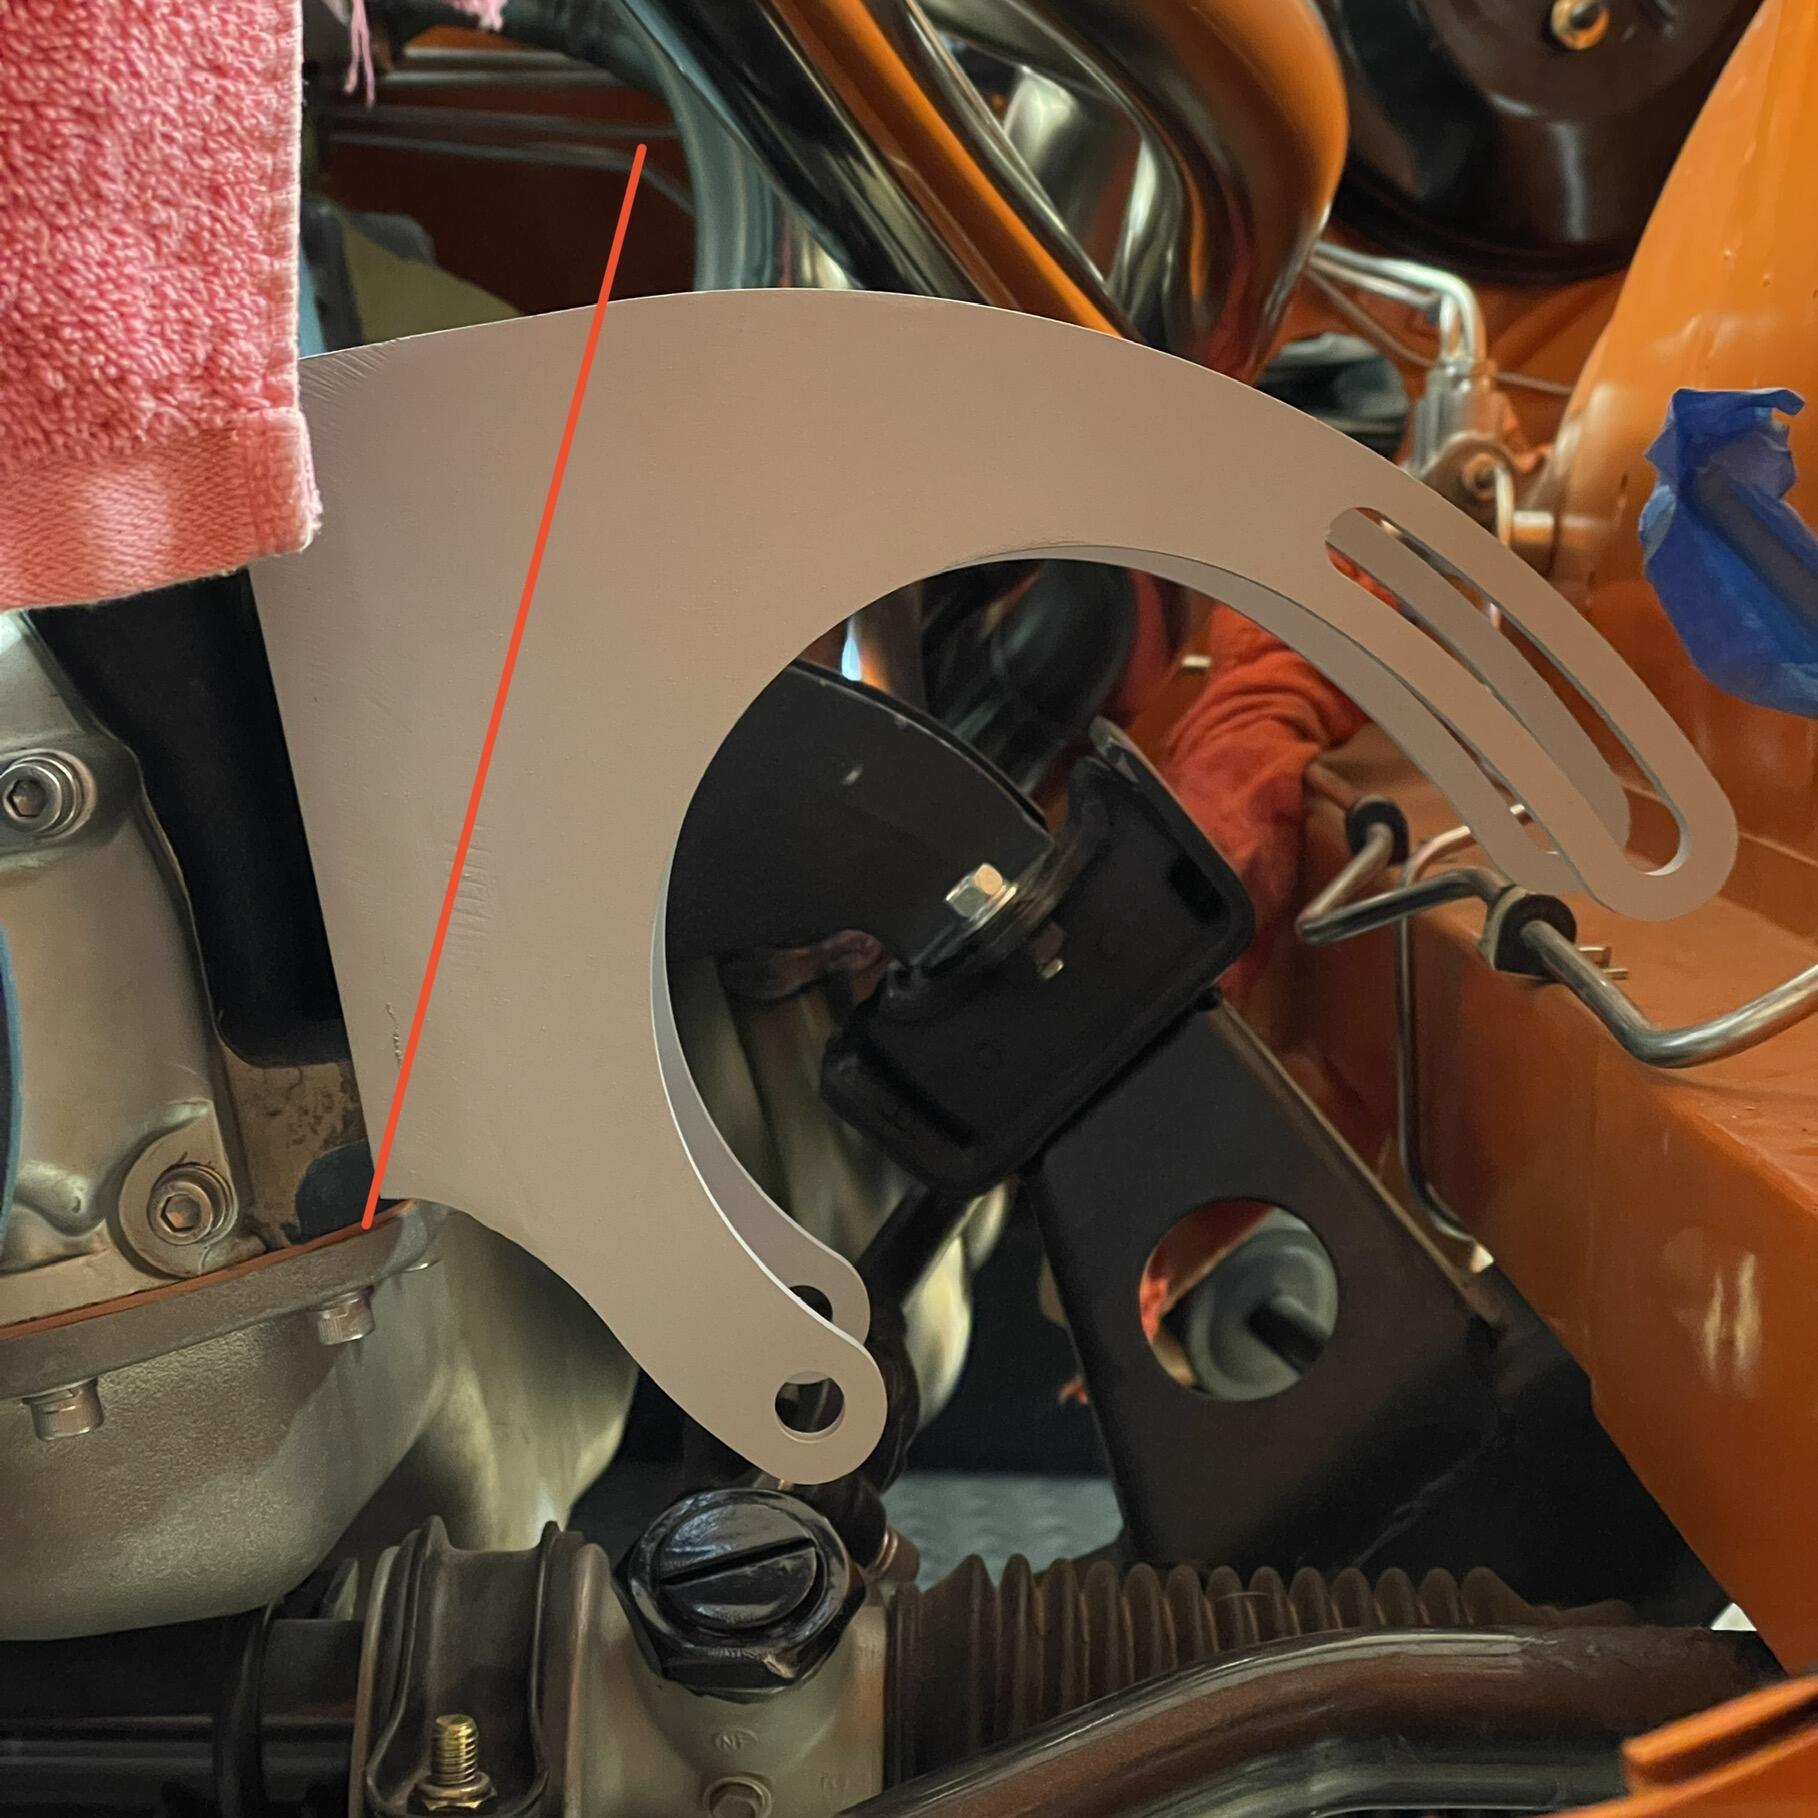
1 pointYep. I would cut the brackets somewhere between where I cut it and where the red line is in the photo above. I considered doing this at the beginning and second guessed myself, thinking I needed the clearance for the air box. I may take the bracket off and cut them like this at some point down the road, but only after I’m done with the car.
 1 point
 -
1 pointI spoken to Dave at dave@tuning4performance.com Dave helped me with what I needed for my Mikuni carbs He is a Mikuni dealer and very knowledgeable with many years of experience. He helped me with the tuning of my Mikuni 44 Phh after speaking with Dave he set me up with the correct jets I needed.1 point
-
1 point
-
1 point
-
As long as the front and rear angles are the same or darned close.1 point
-
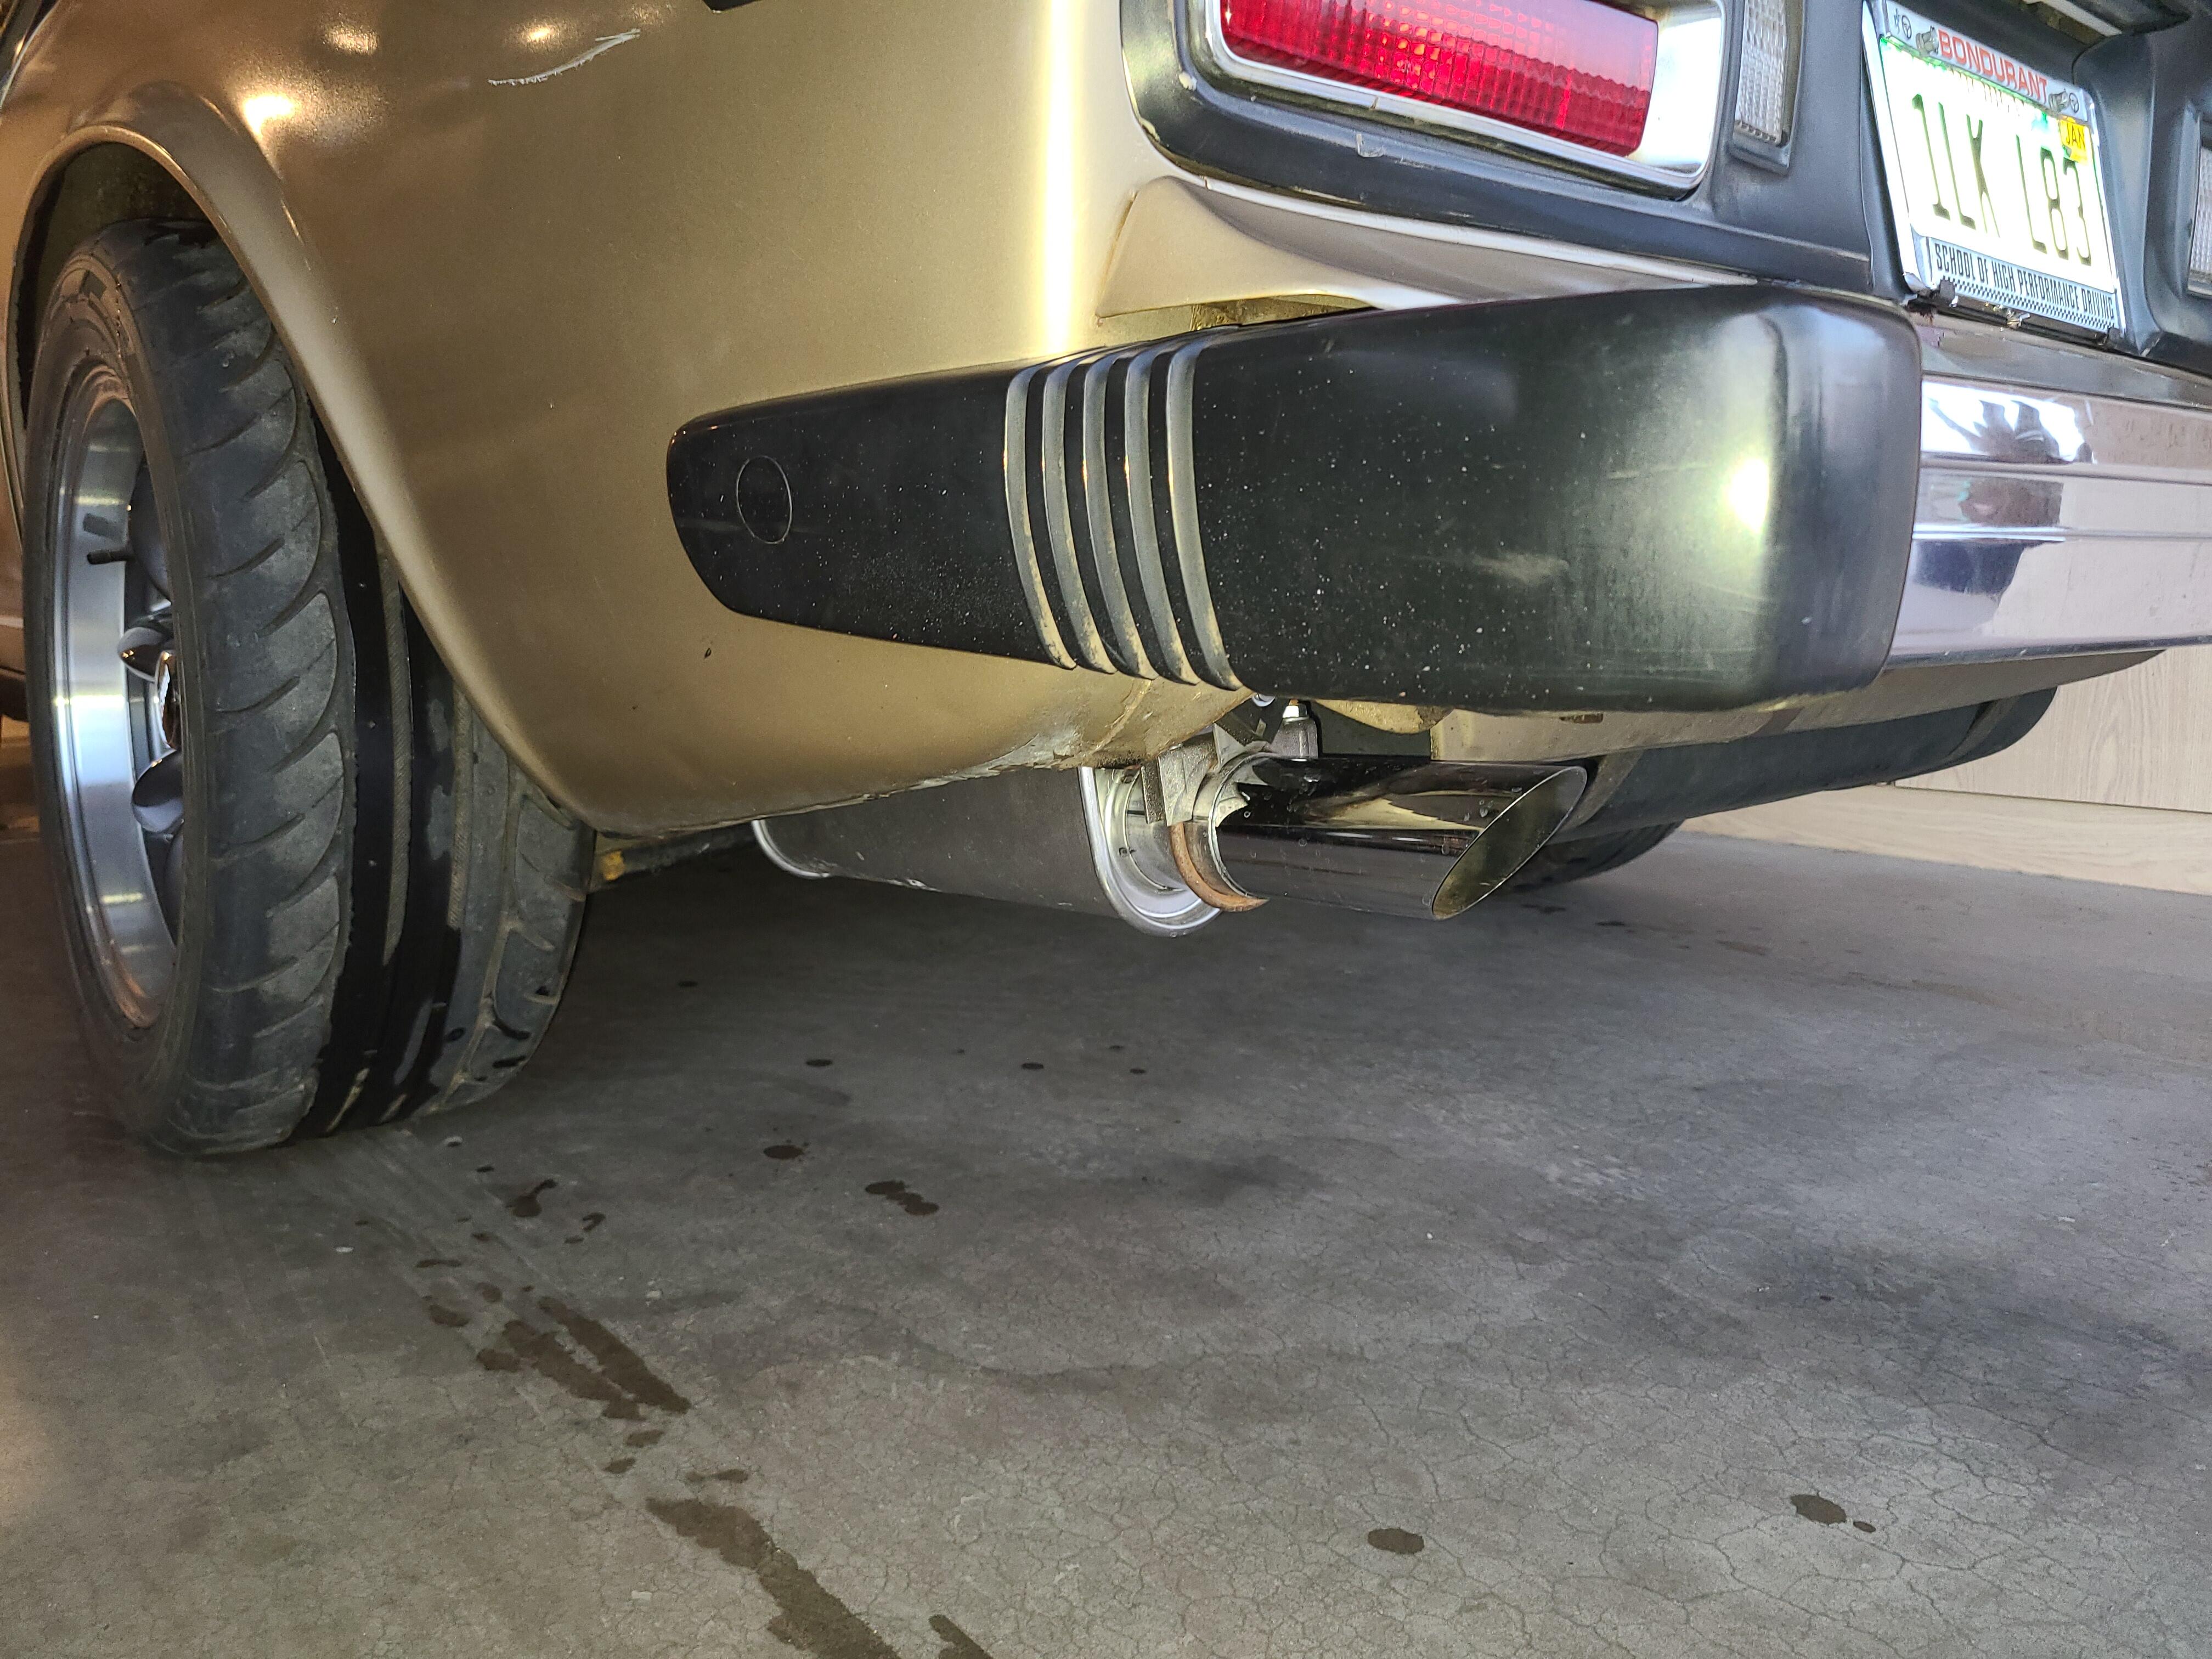
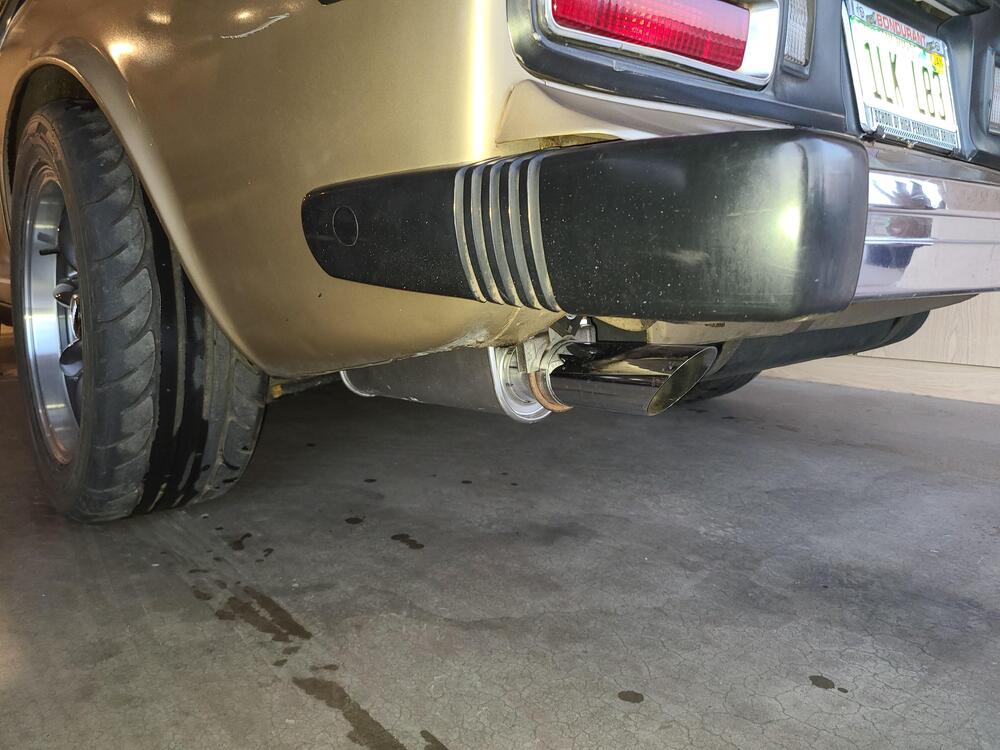
My Z is off the jackstands after I installed a new MSA exhaust and replaced the RMS, trans output seal and the speedo cable O ring. For anybody struggling to fit the MSA exhaust, after I cut 1" out of the Z bend pipe, and played with the rest for a while, I got it to fit very well. The front OE hanger that hangs the exhaust from the trans needs to be modified to fit the larger pipe and larger U bolt. 10 minutes with a die grinder and it fit great. I modified the bracket so that the top of the pipe was in the same spot so it didn't move up closer to the crossmember. The short straight pipe they give you goes behind the long pipe. If you try to put it behind the header, the angles are all wrong. Finally, the rear hanger is way too short for a 280Z. I had to add another strap. This week, I will put collector car insurance on it, change the title over from AZ to MI, and get collector car plates. In AZ, they are made of copper. I can actually start driving it again!

 1 point
 -
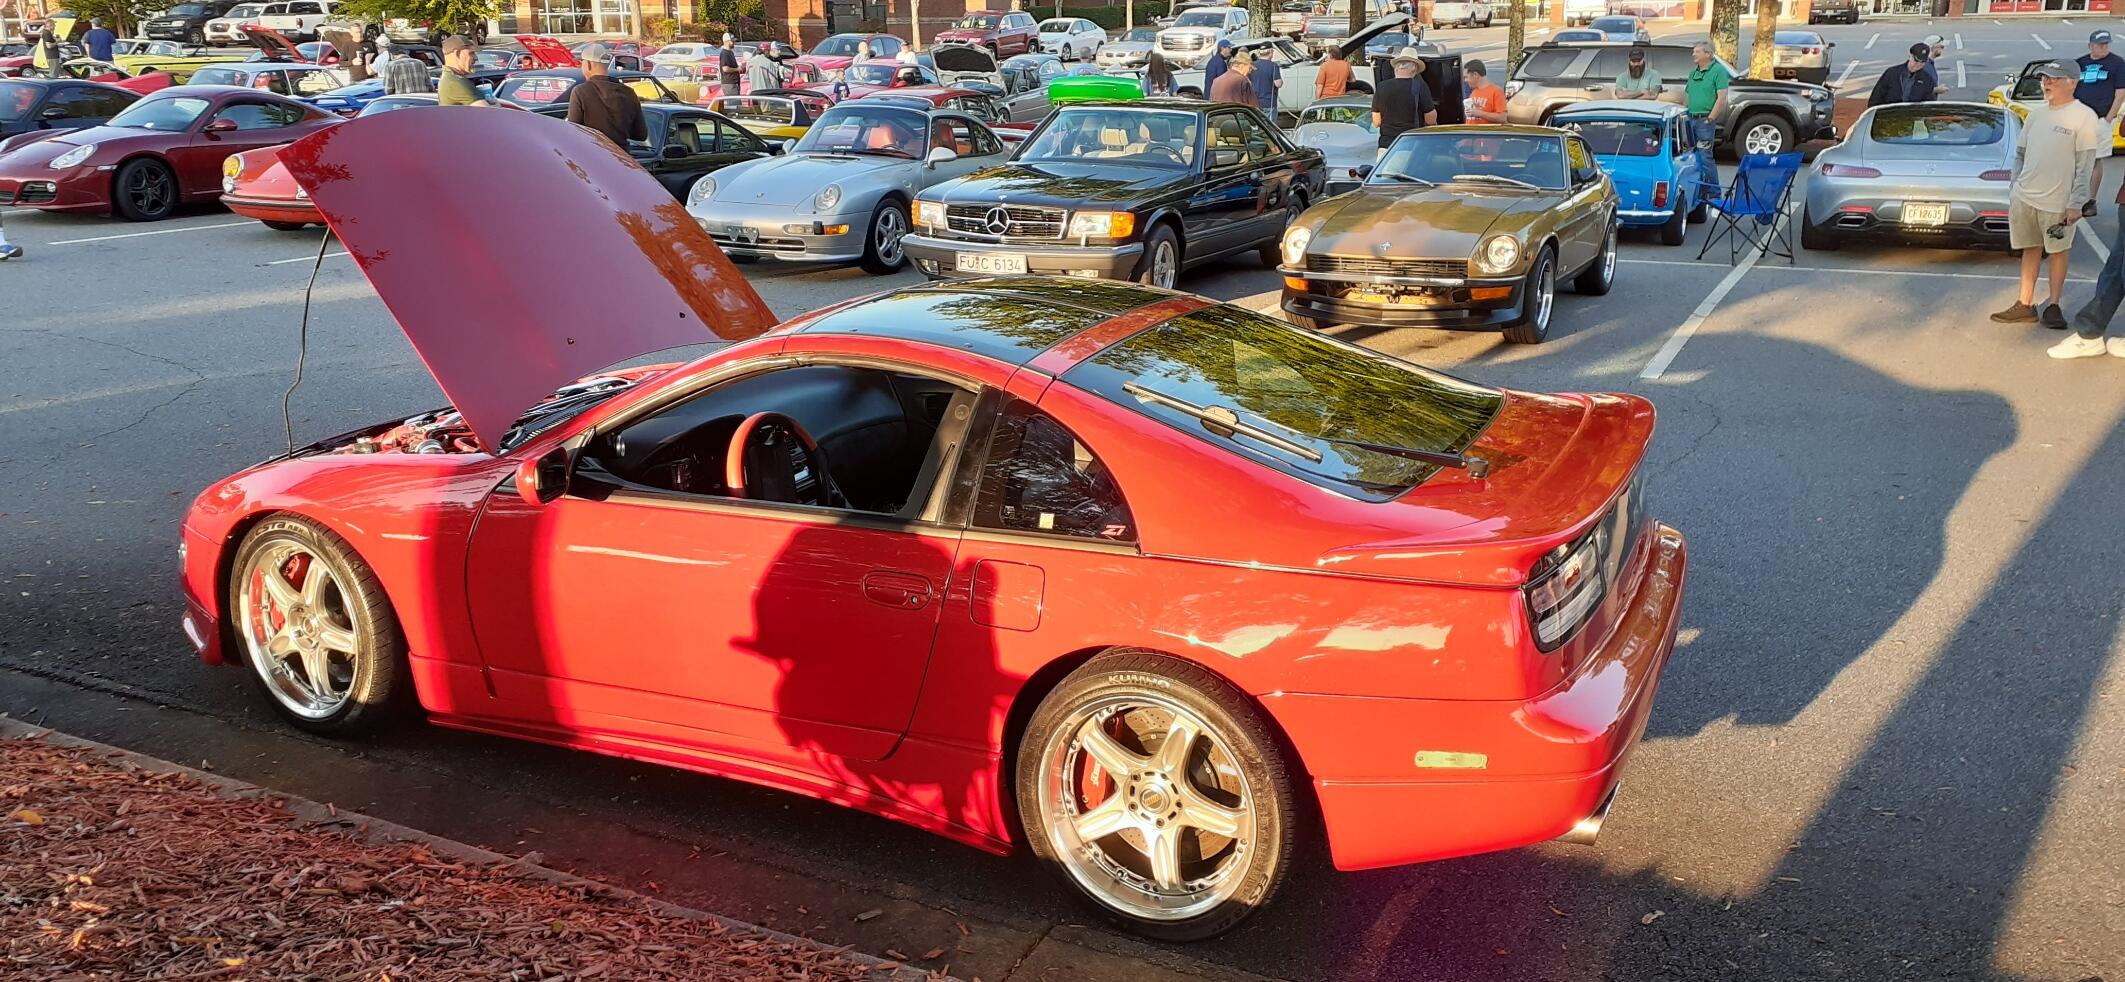
Third day in a row taking the car out. Only 4 Zs showed up, including mine. That could be from ZNationals happening yesterday. Then there was this unique vehicle. I'm not used to taking car photos in portrait mode.

 1 point
 -
1 pointYes, the threading is standard righty tighty but looking from the bottom. So from above, everything is backards. If you can't adjust it out with the mixture nuts then it's a float level issue1 point
-
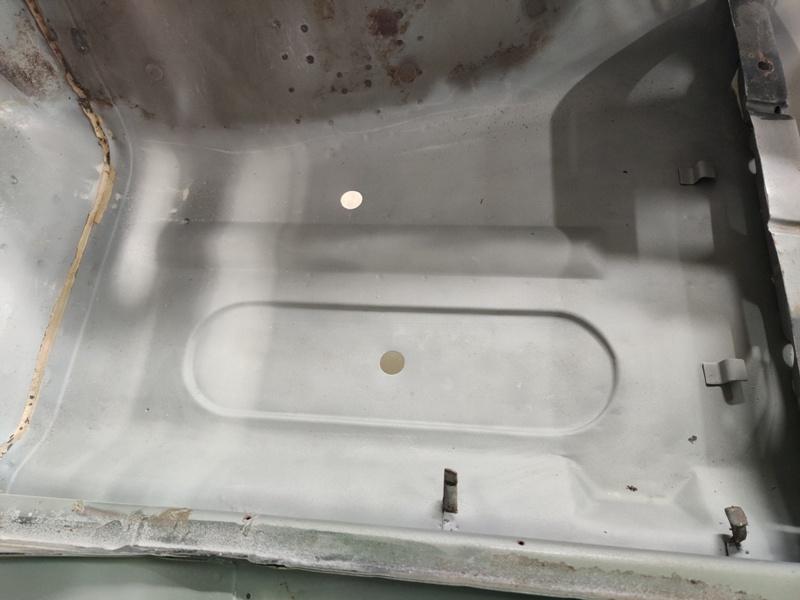
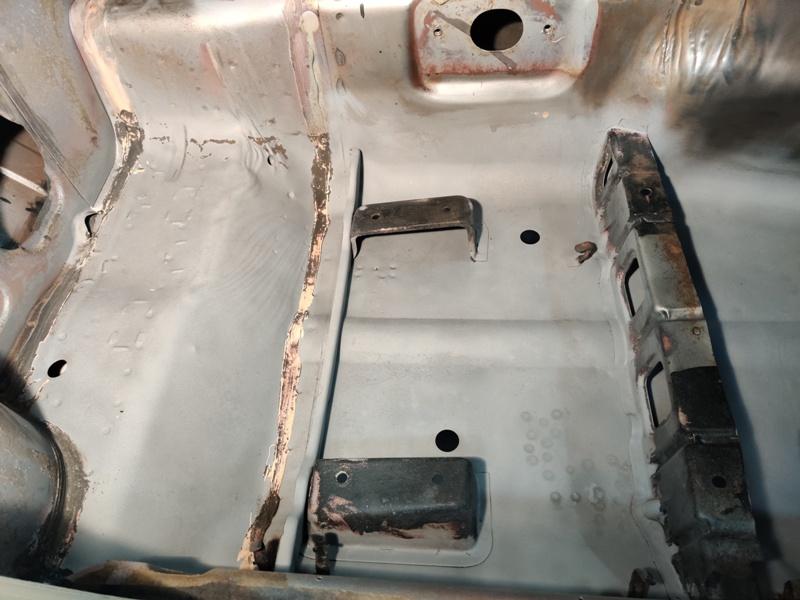
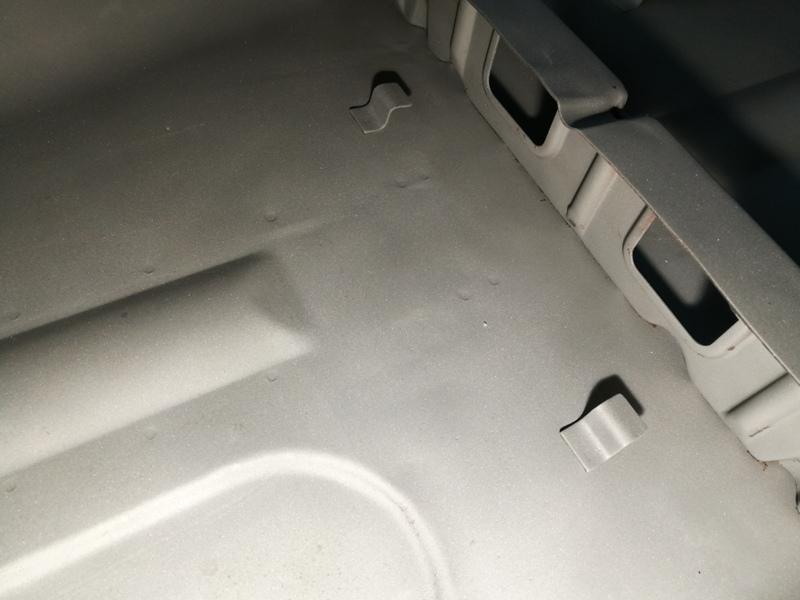
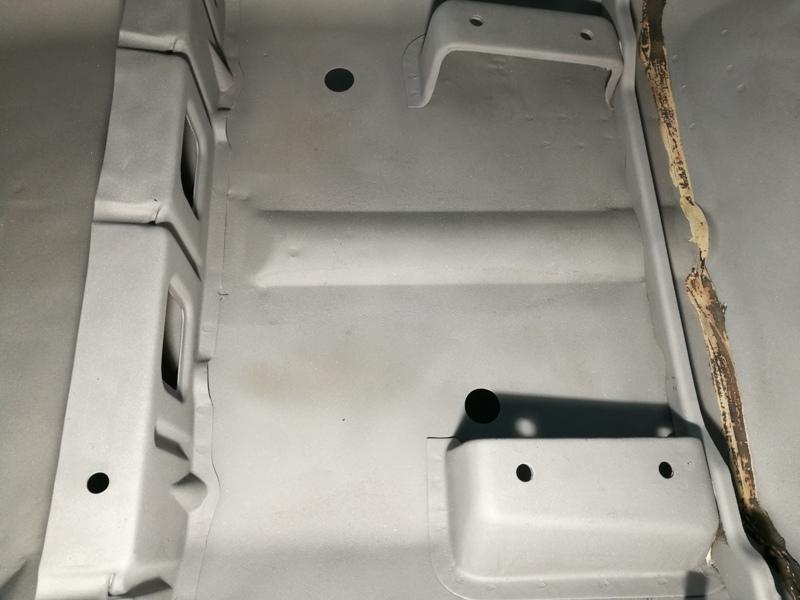
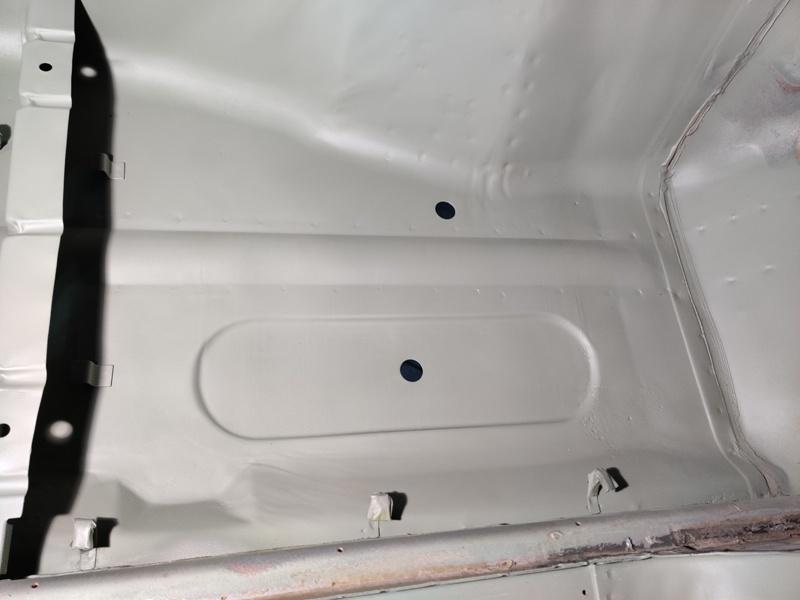
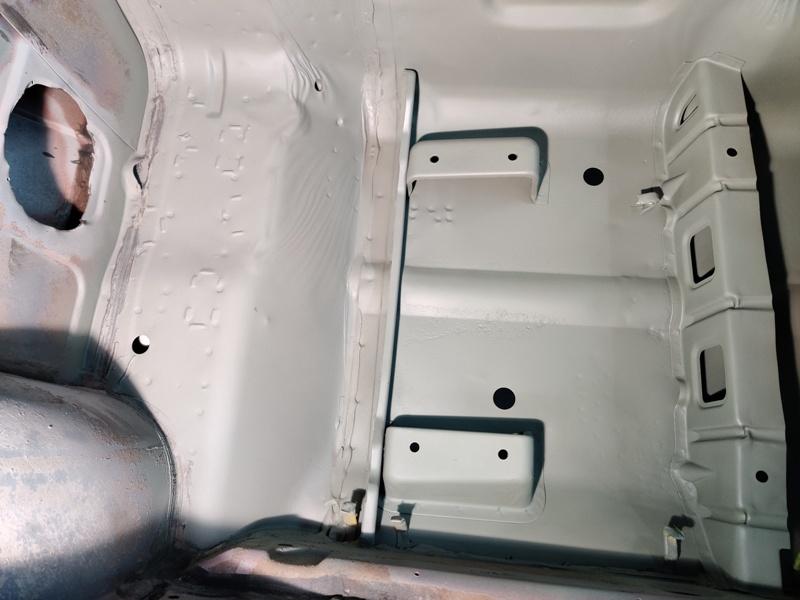
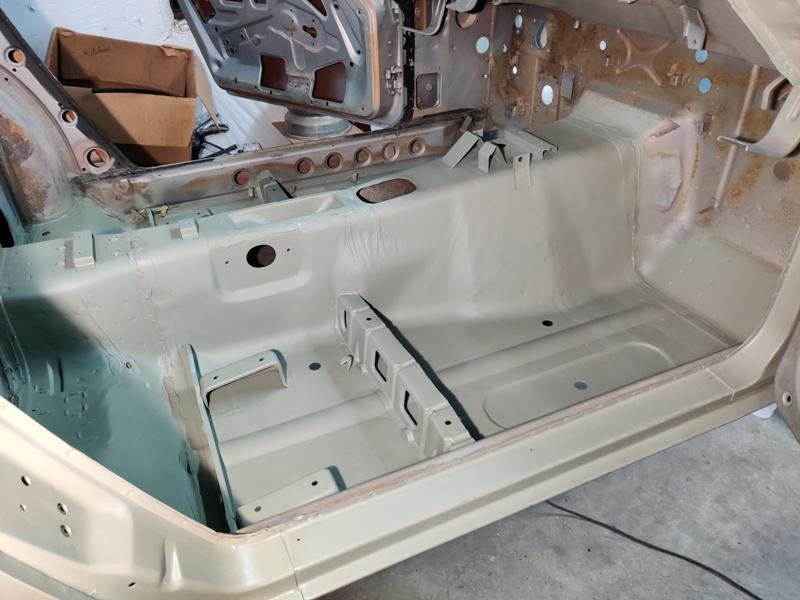
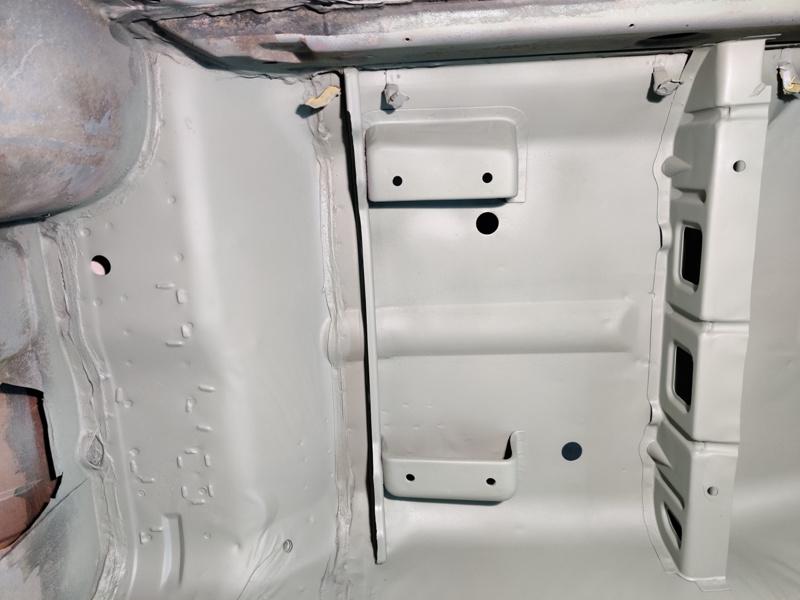
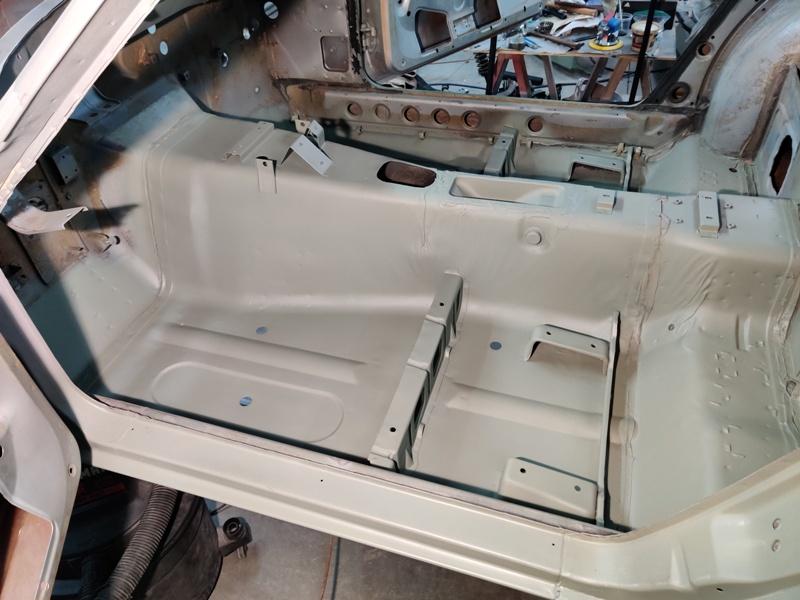
After finishing the work to straighten the floors, I sandblasted them, careful to avoid hitting the wiring clips. I followed that with a coat of epoxy primer the next day. If you don't prime quickly where I live in GA, rust will start developing again, typically in the pitted areas where rust was before. Epoxy primed:


 1 point