Leaderboard
-
Patcon
 Subscriber
 8Points11,142Posts
 -
grannyknot
Free Member5Points5,158Posts -
.JPG.cfcada9cf1c1b502df3f5f2f2ca3ff36.JPG)
SteveJ
Free Member5Points9,646Posts -
zclocks
Free Member5Points311Posts


Popular Content
Showing content with the highest reputation on 09/02/2023 in Posts
-
3 pointsOh Lord let it be that easy, 12:35 I just pulled from memory and I should know better. Looking at it again I think you guys are right, I'm one tooth over from where I should be, it will have to wait until the morning now, I'll have to drop the sway bar first.3 points
-
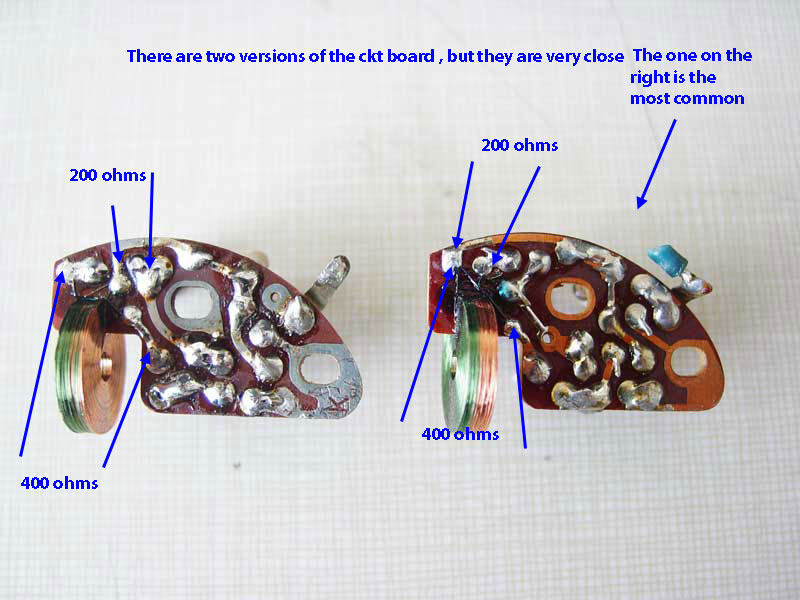
3 pointsOne more item. Check the coil resistance . You should have 200ohms on each coil.
 3 points
 -
2 pointsThat's a good point. I had a similar problem when the front calipers were on the wrong sides. The pedal went halfway down before any brake action. My problem was air in the system though, that could not get out. Easy mistake to make. Bleed valve on top.2 points
-
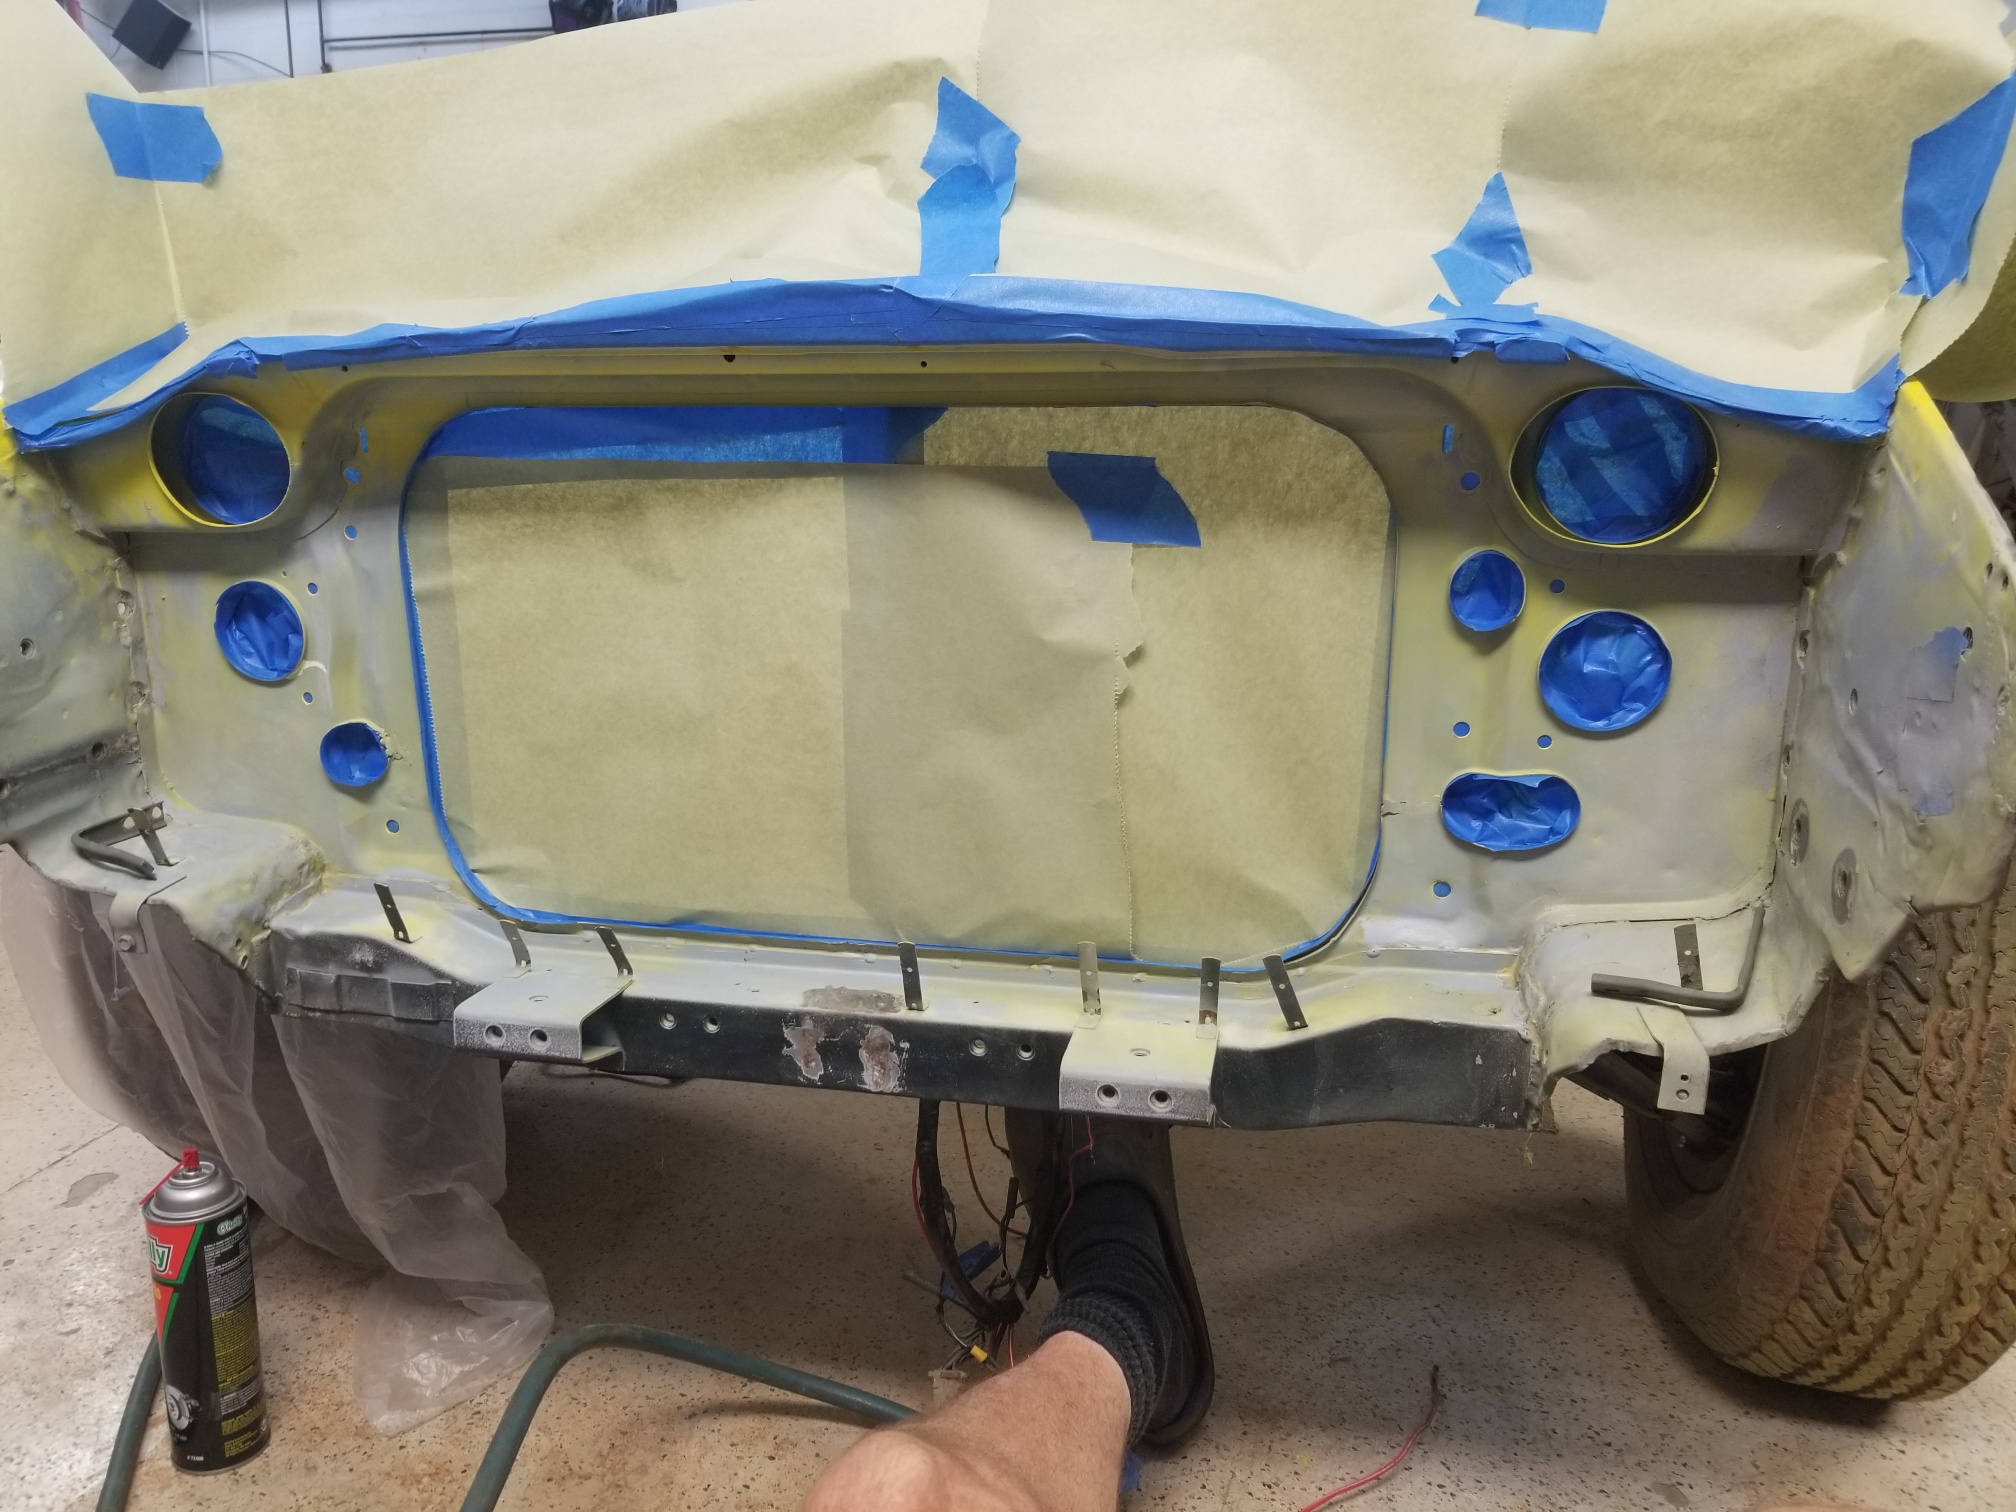
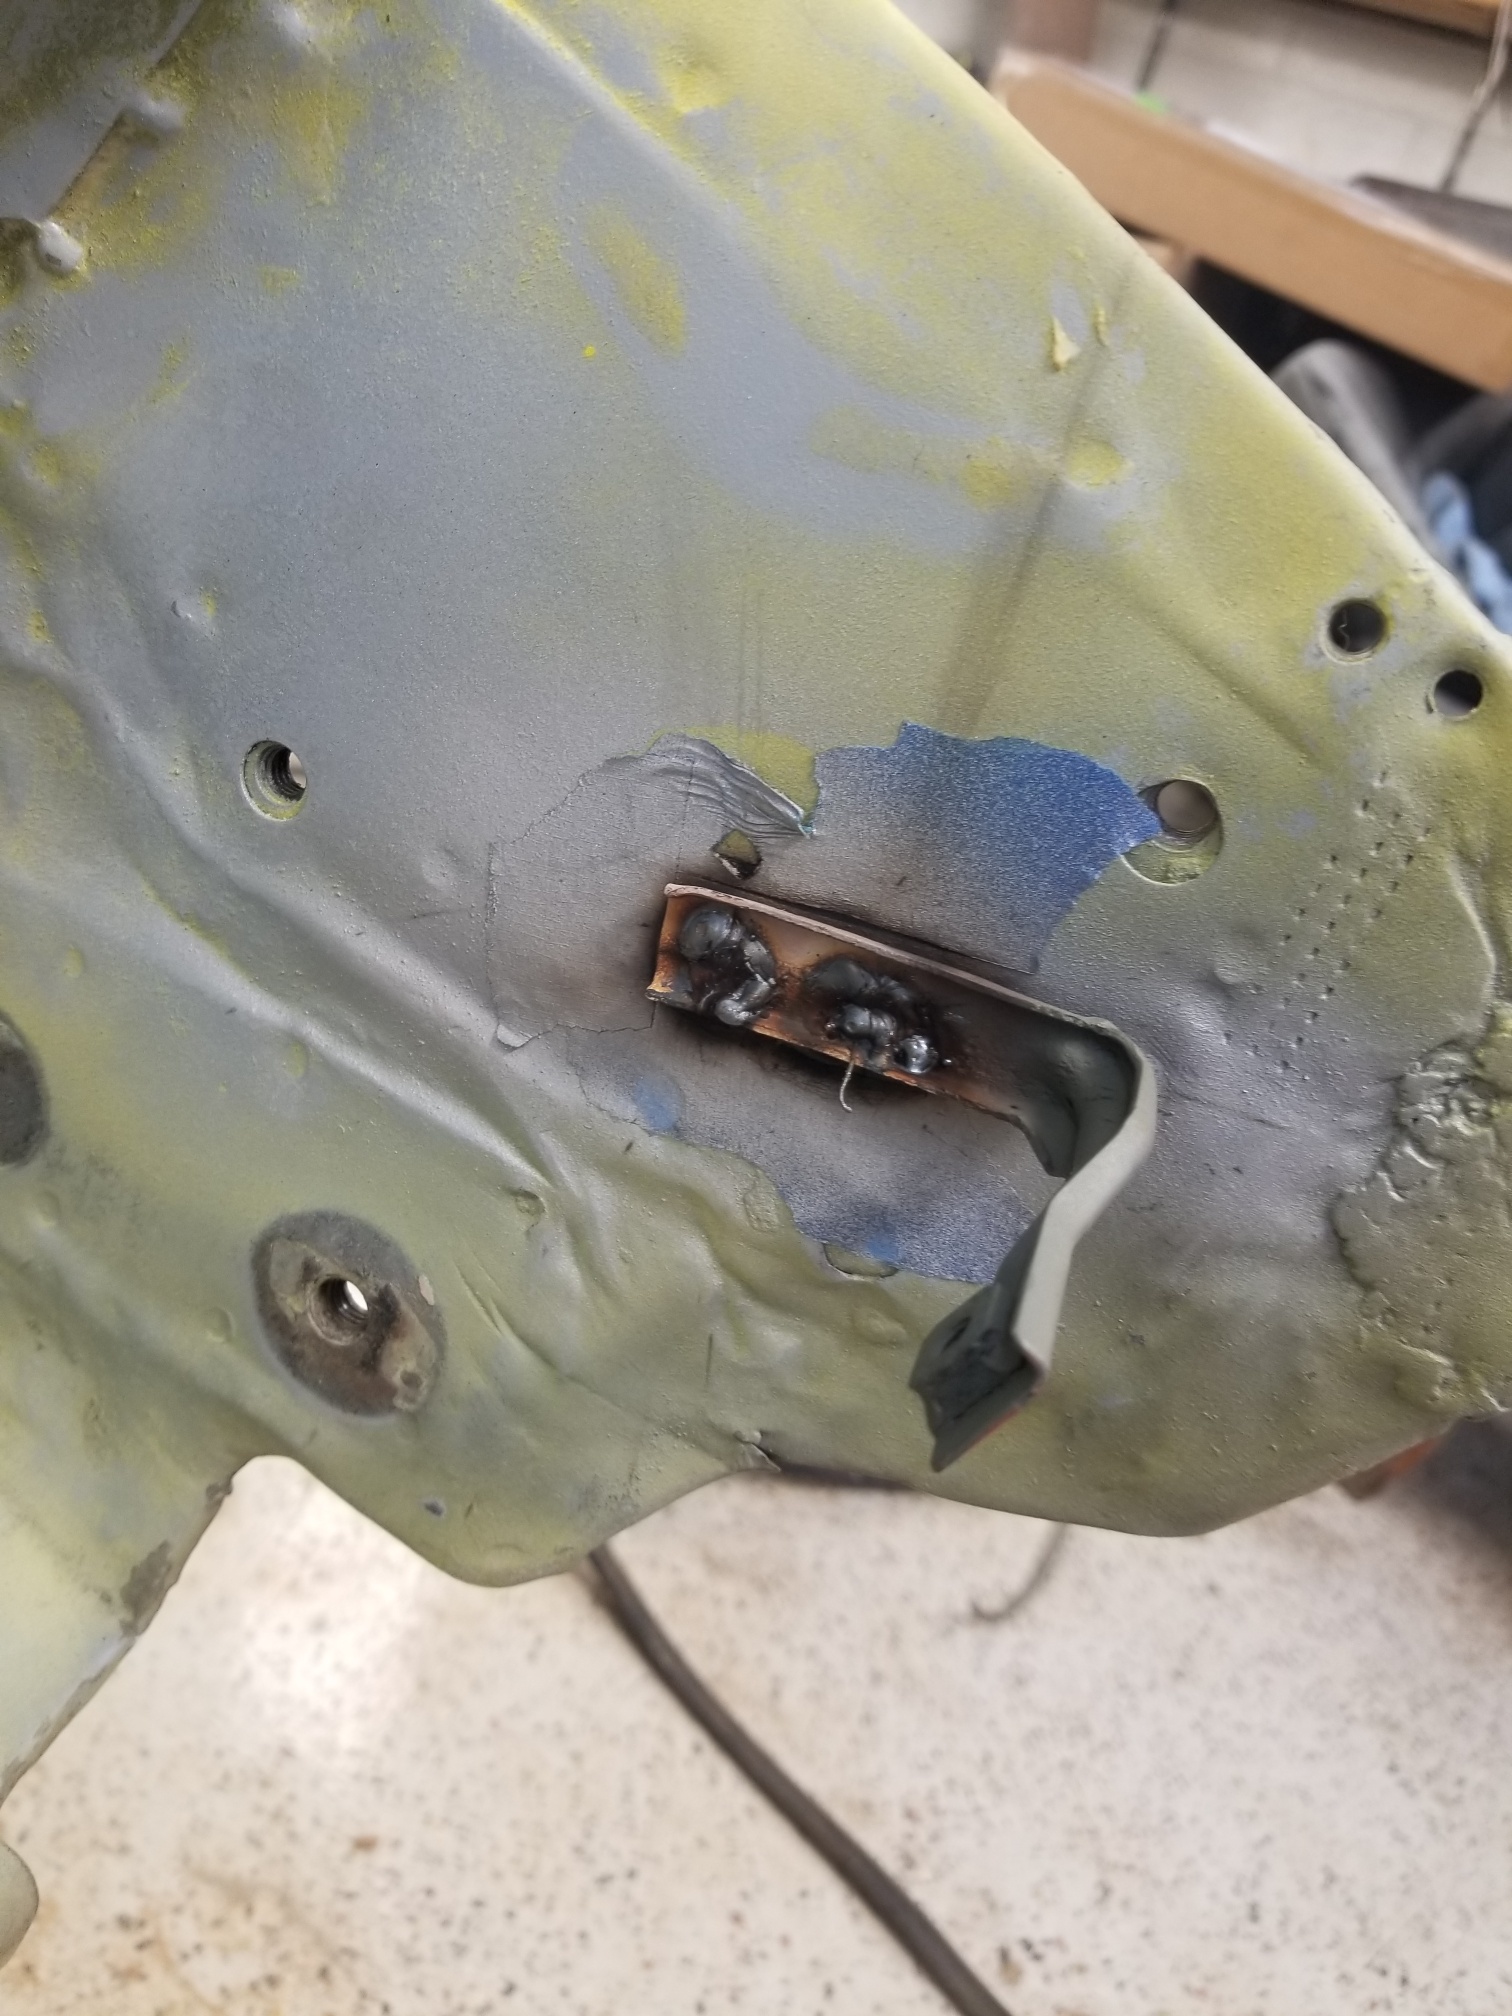
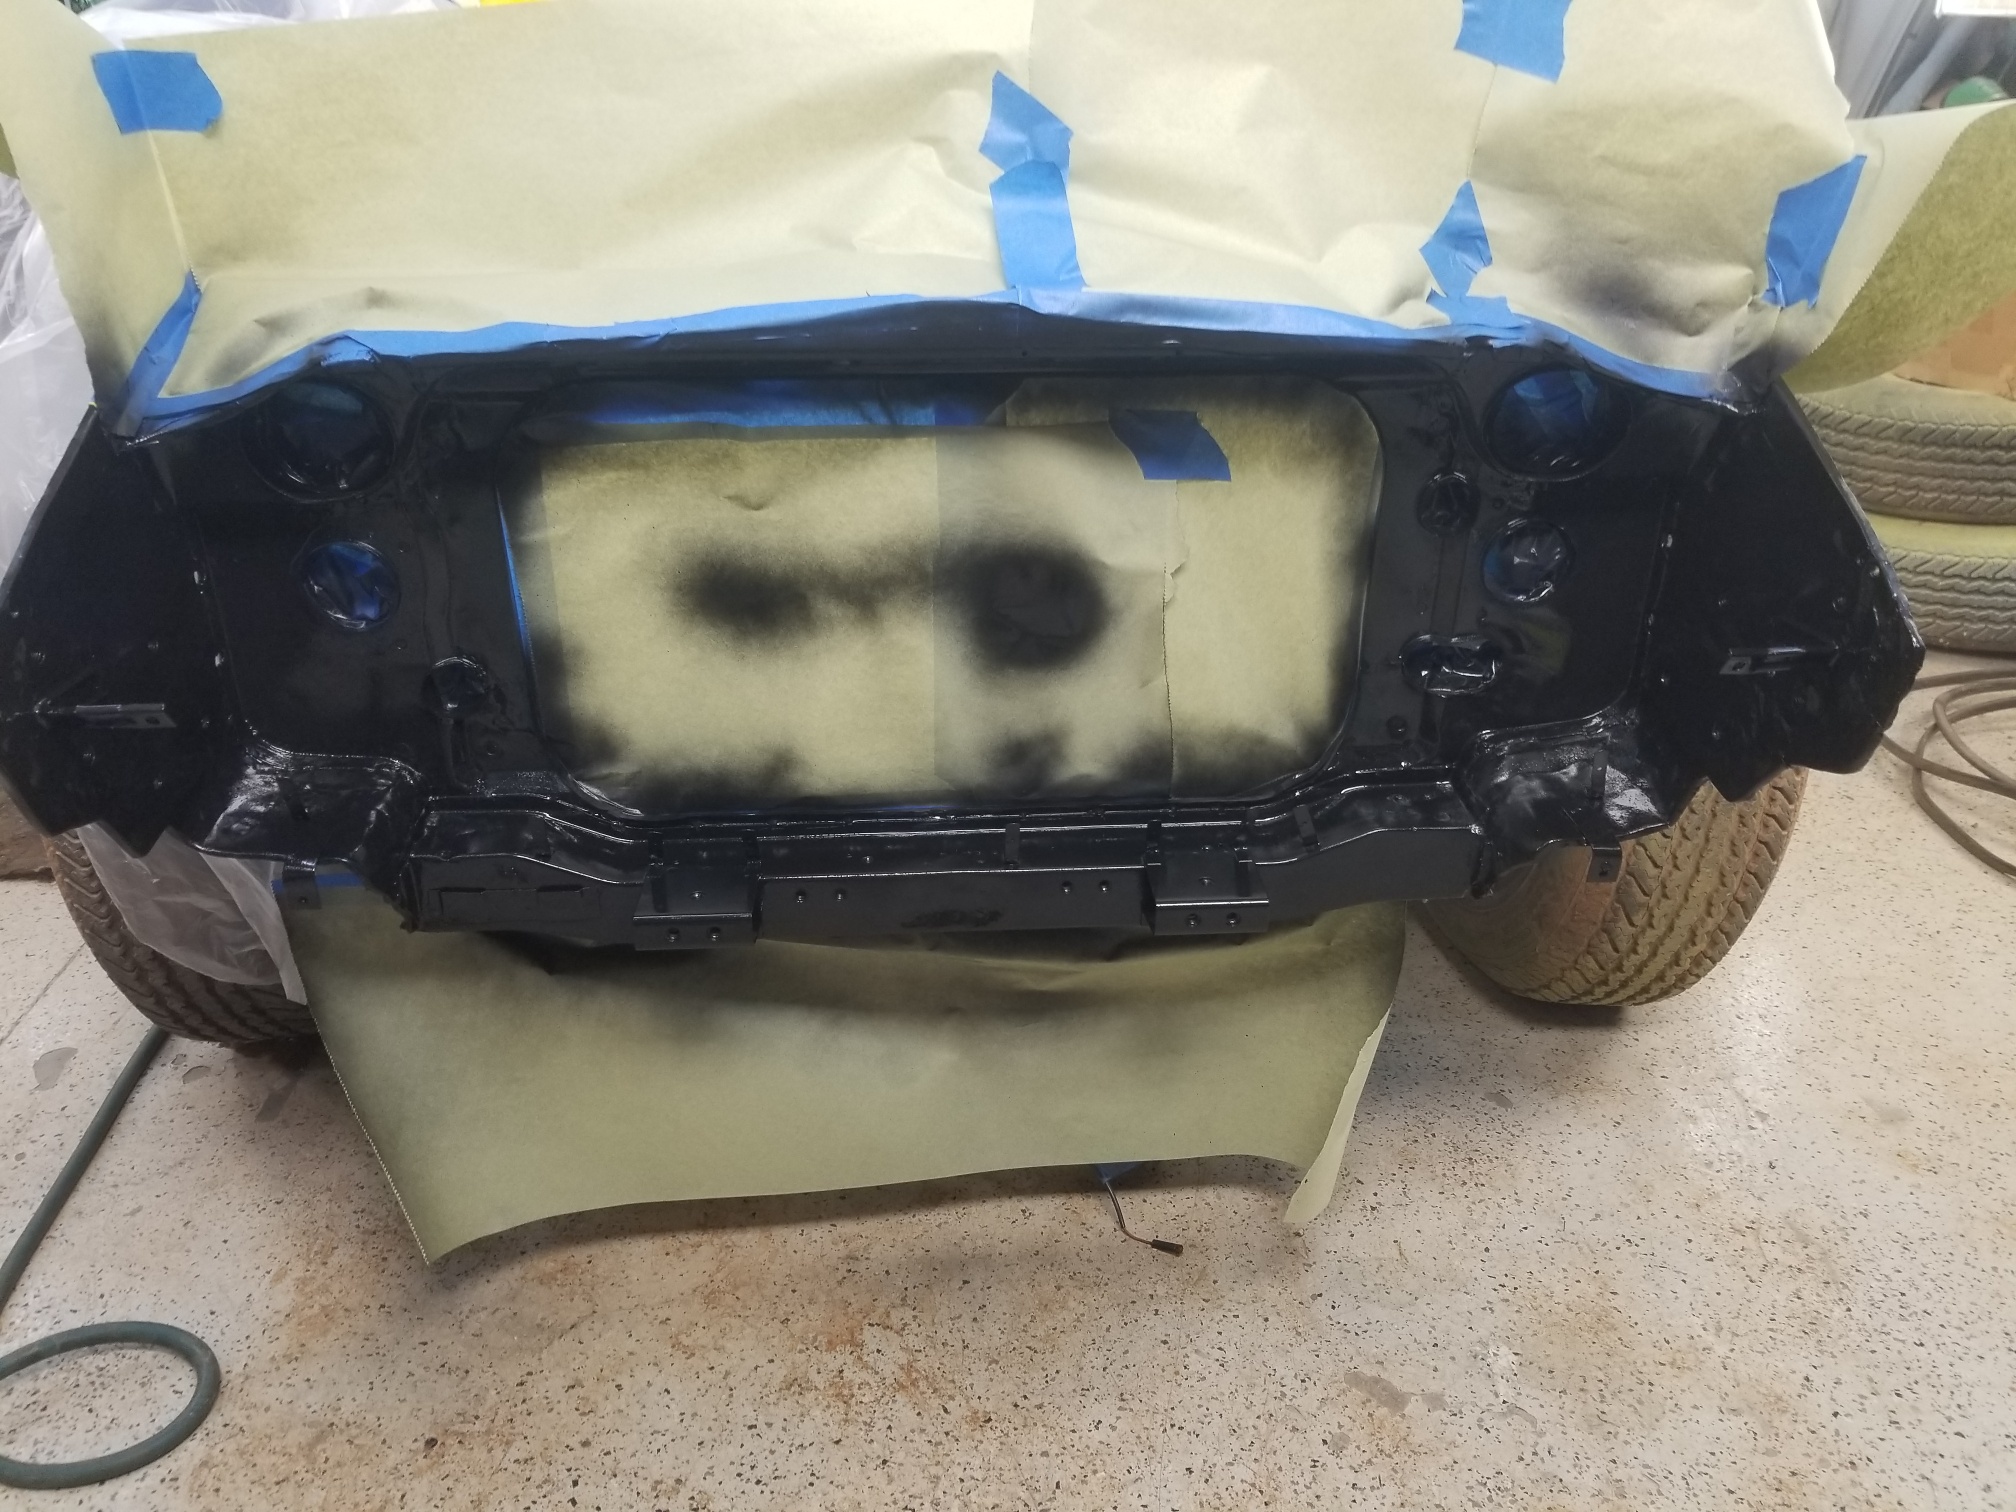
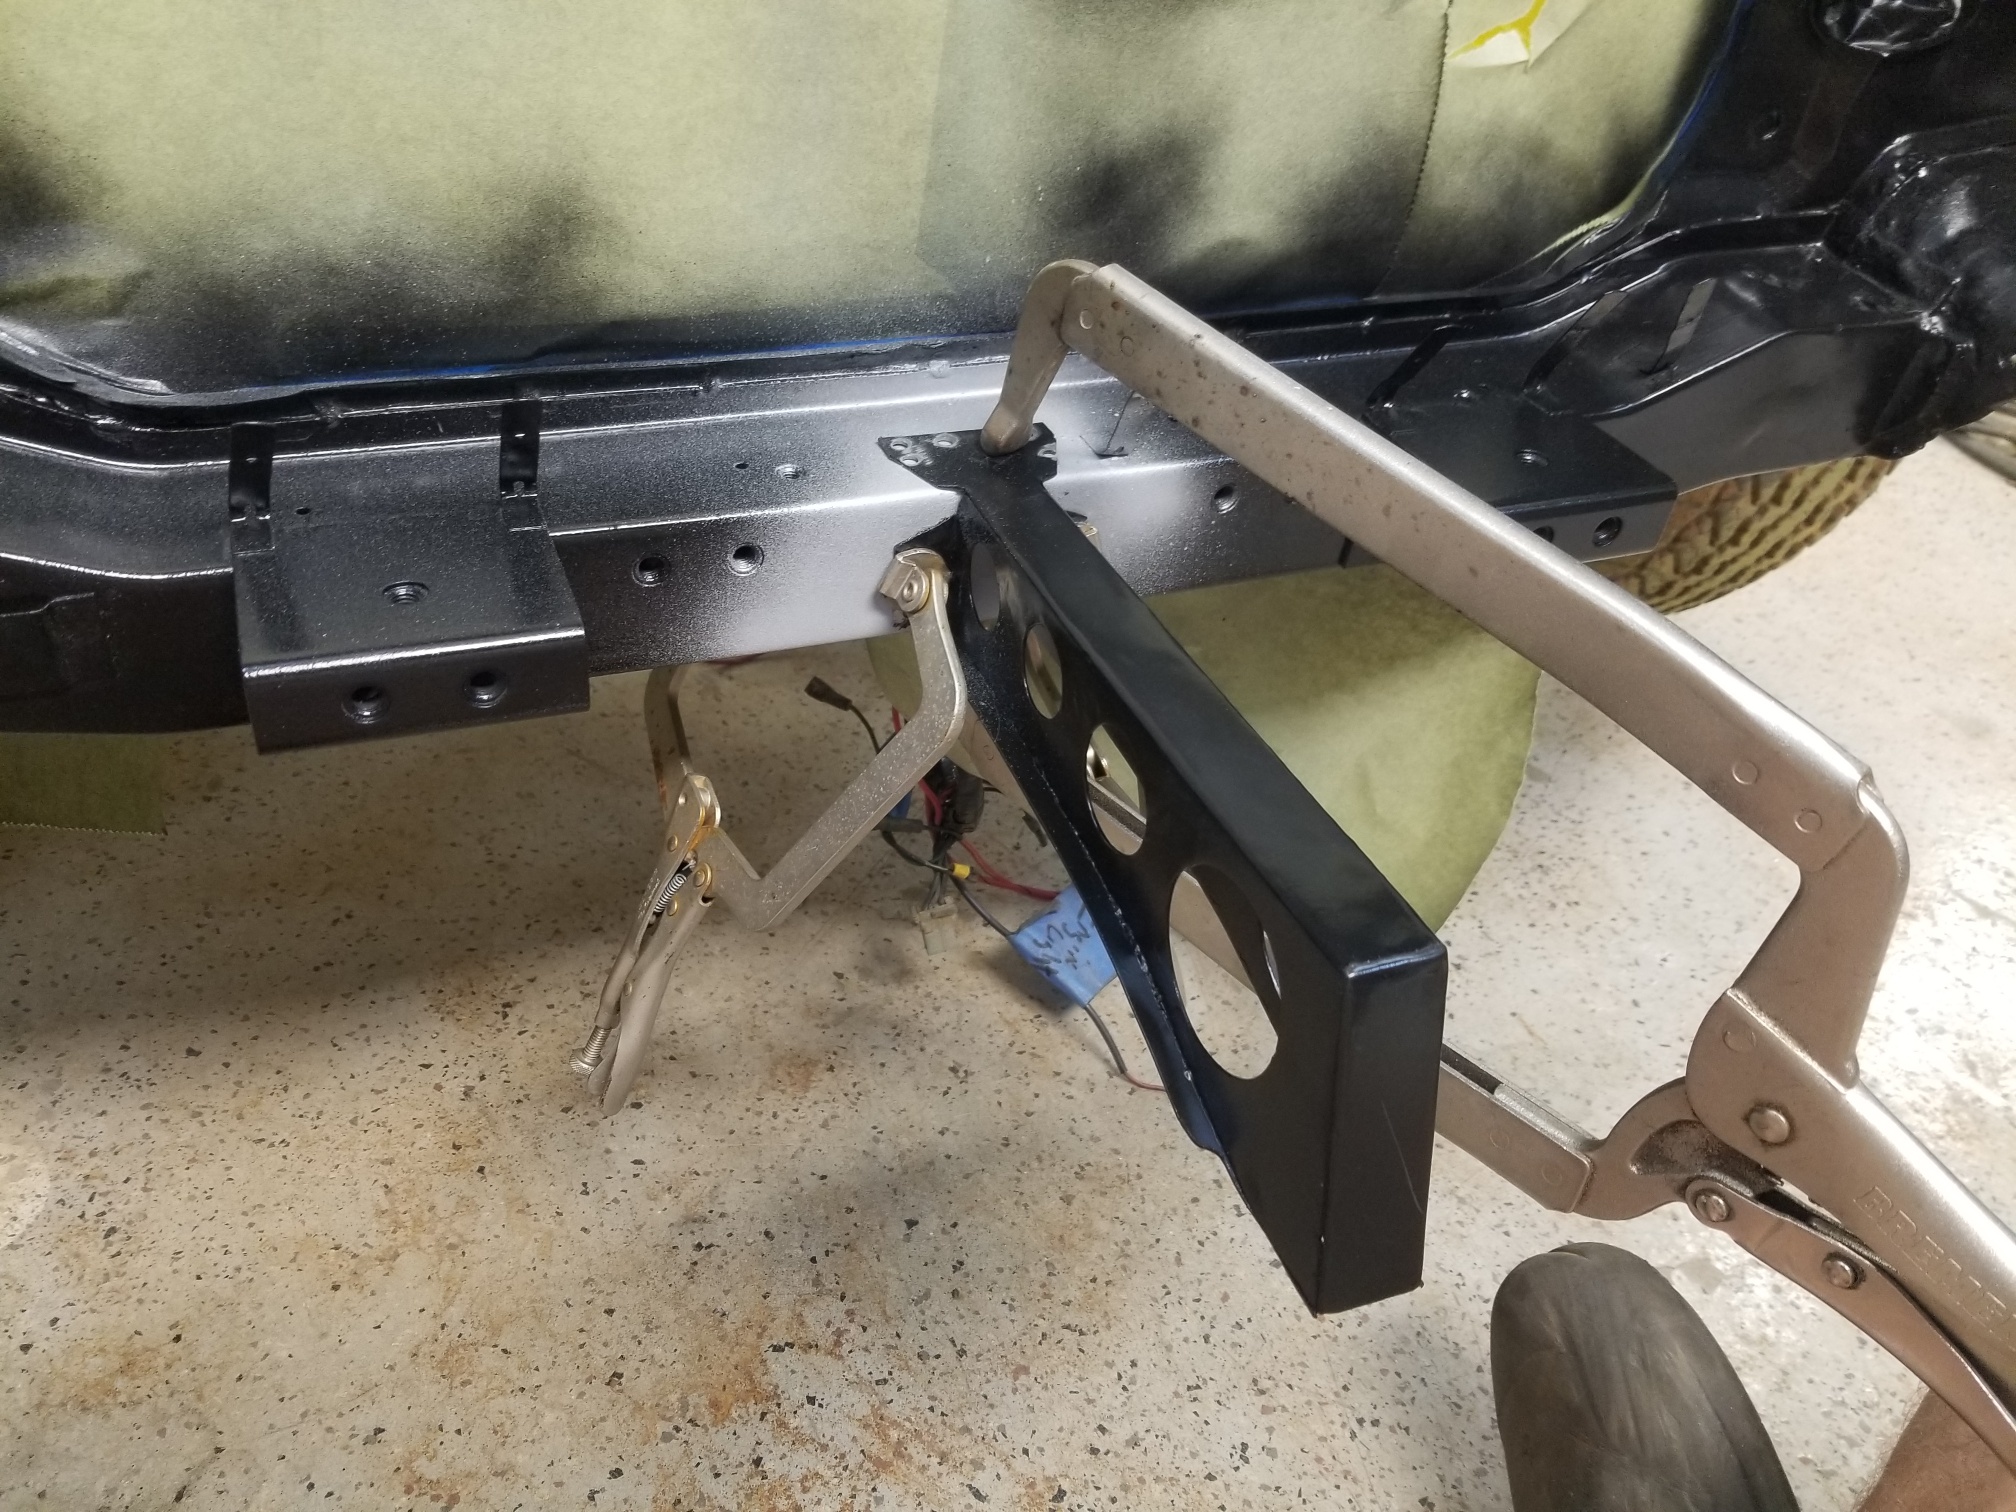
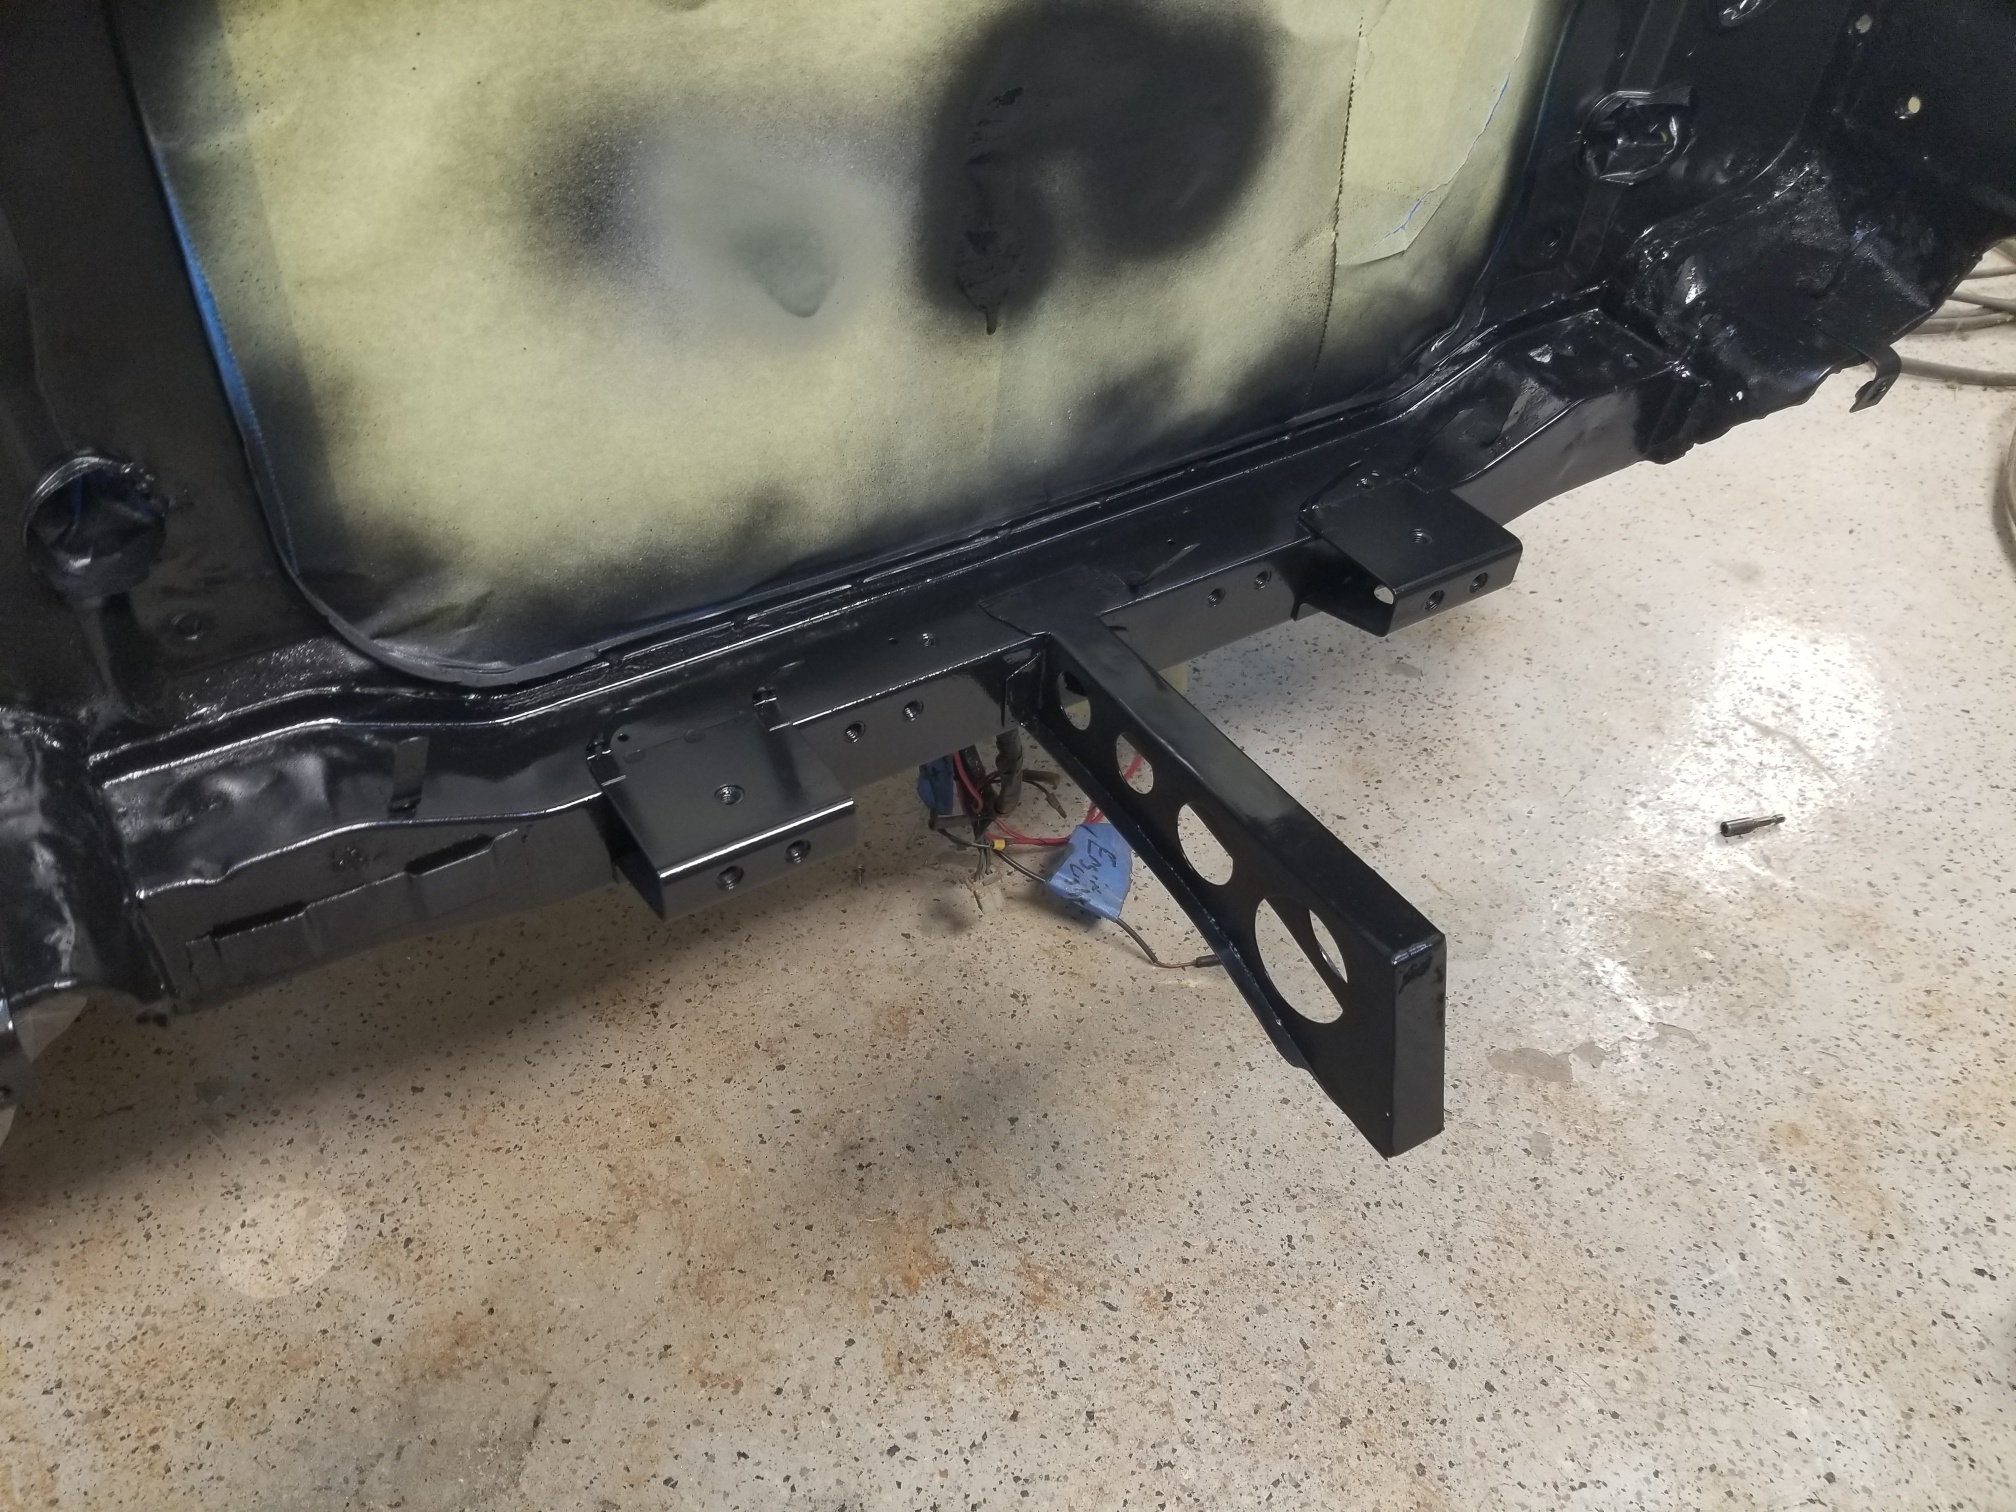
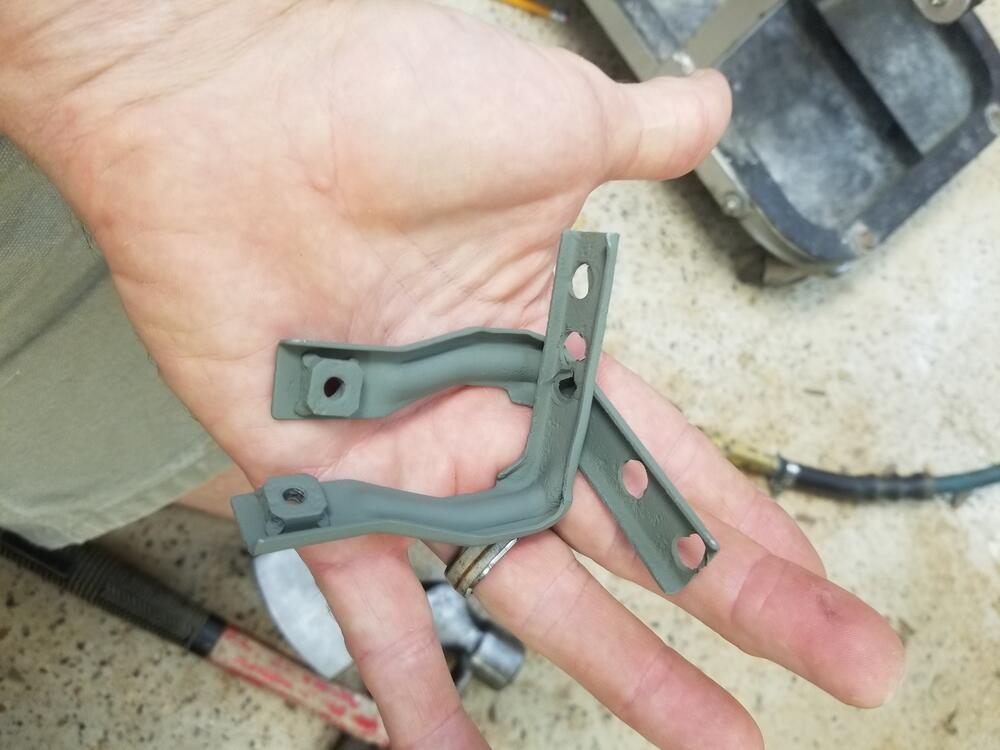
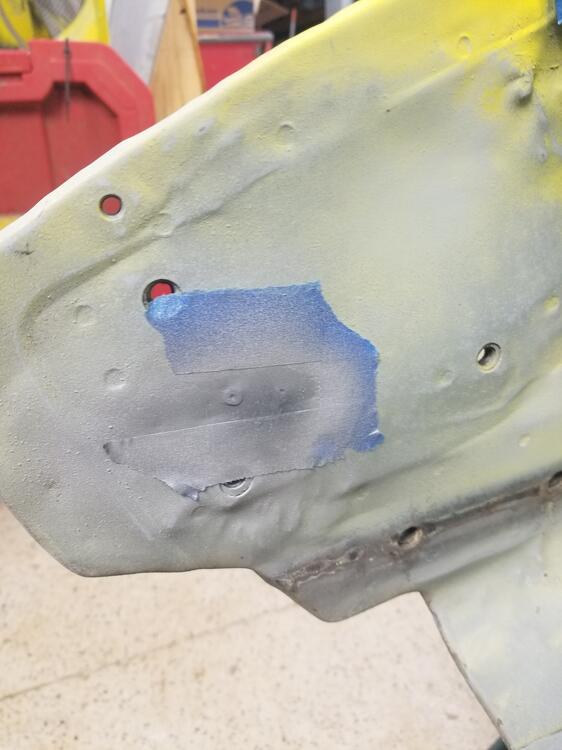
2 pointsSo I worked on the radiator support some this week My grill brackets were either bent or broken off. So I took some off a parts car a while back. Marked around them with tape because the spot welds are in different places between the parts and the weld through primer would erase the pencil layout. Then I seam sealed around them. Taped the car up and sprayed it black. Then I primed and blacked my air dam support and welded it on today


 2 points
 -
2 pointsA small thing. I wouldn't call that a sway bar. I would call that a strut tower brace. Sway bars are normally connected to the wheel swing arms2 points
-
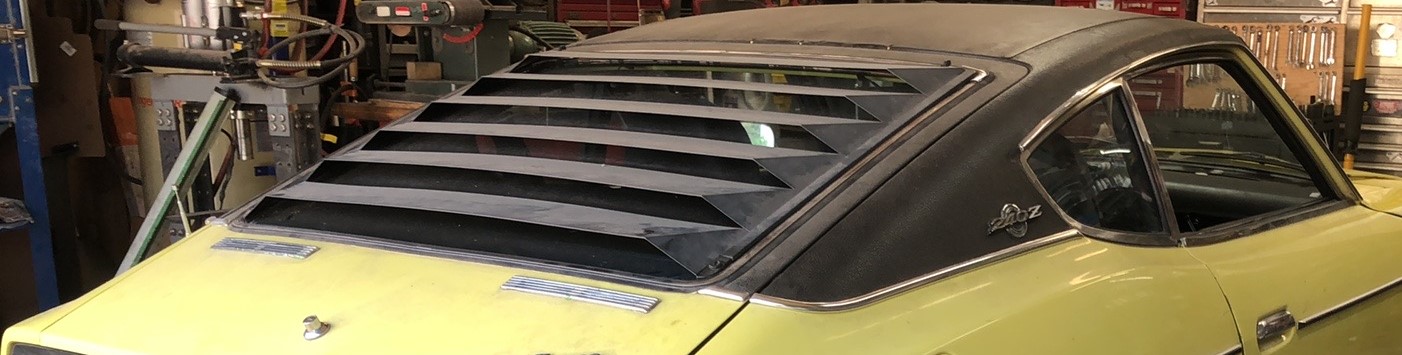
2 pointsLove to dredge up old topics, but I think I have one of these "factory leather tops" on a Z I'm restoring (maybe more like refreshing). 1/71 build date. it is most definitely not leather. Were they ever really leather? Factory or applied later after purchase? Love the fat chrome trim strip at the base on the 1/4 panel and hatch.
 2 points
 -
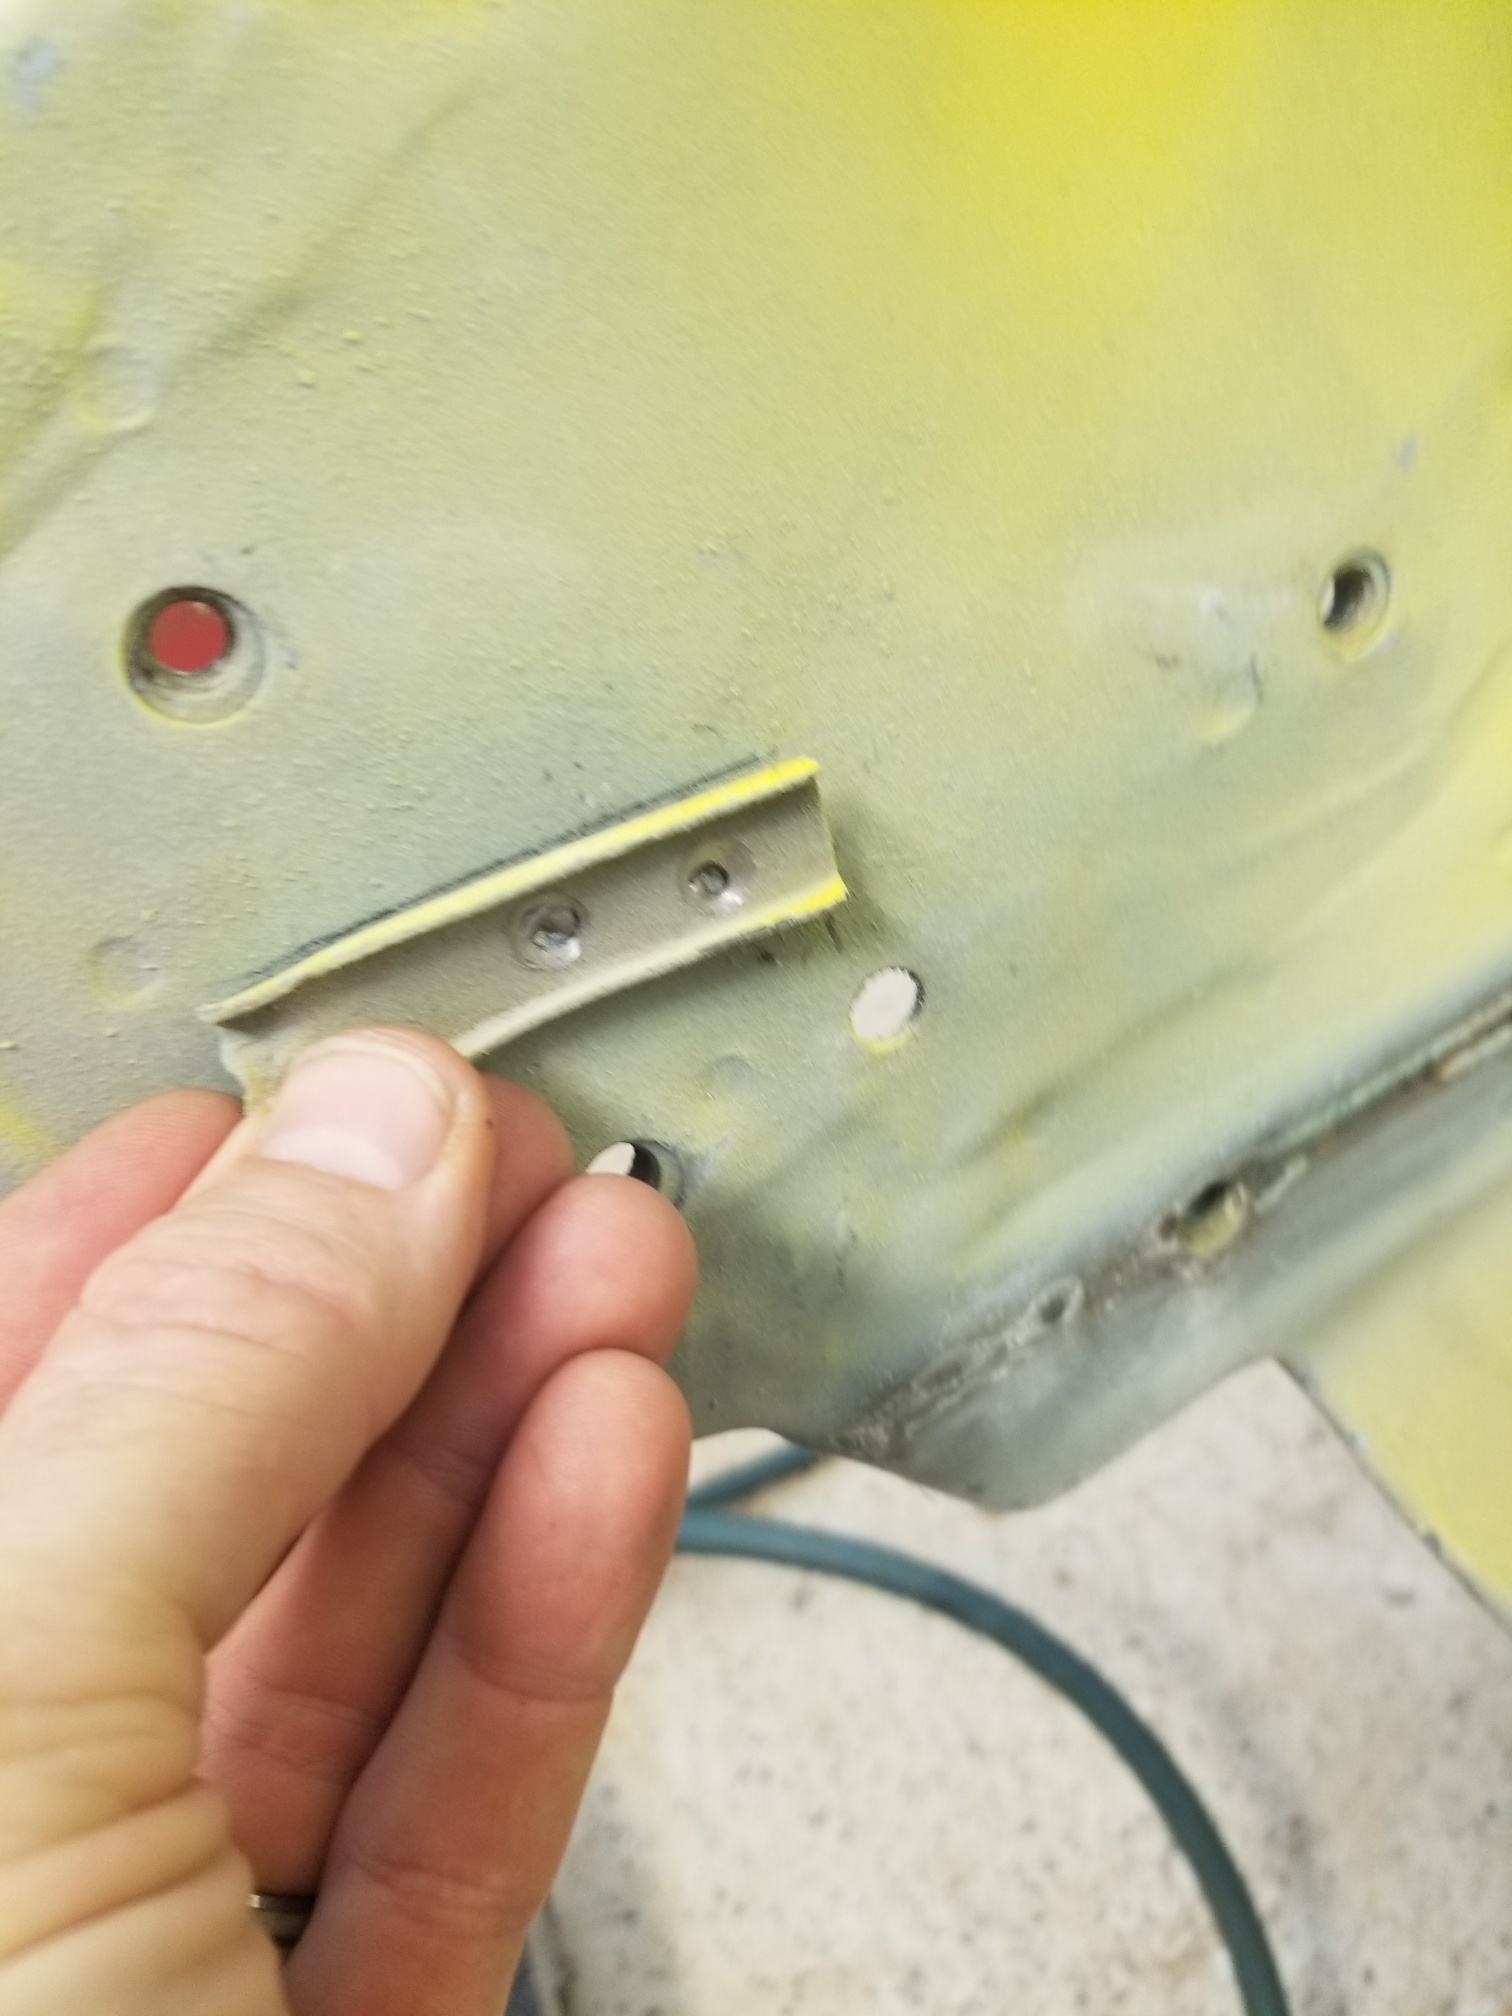
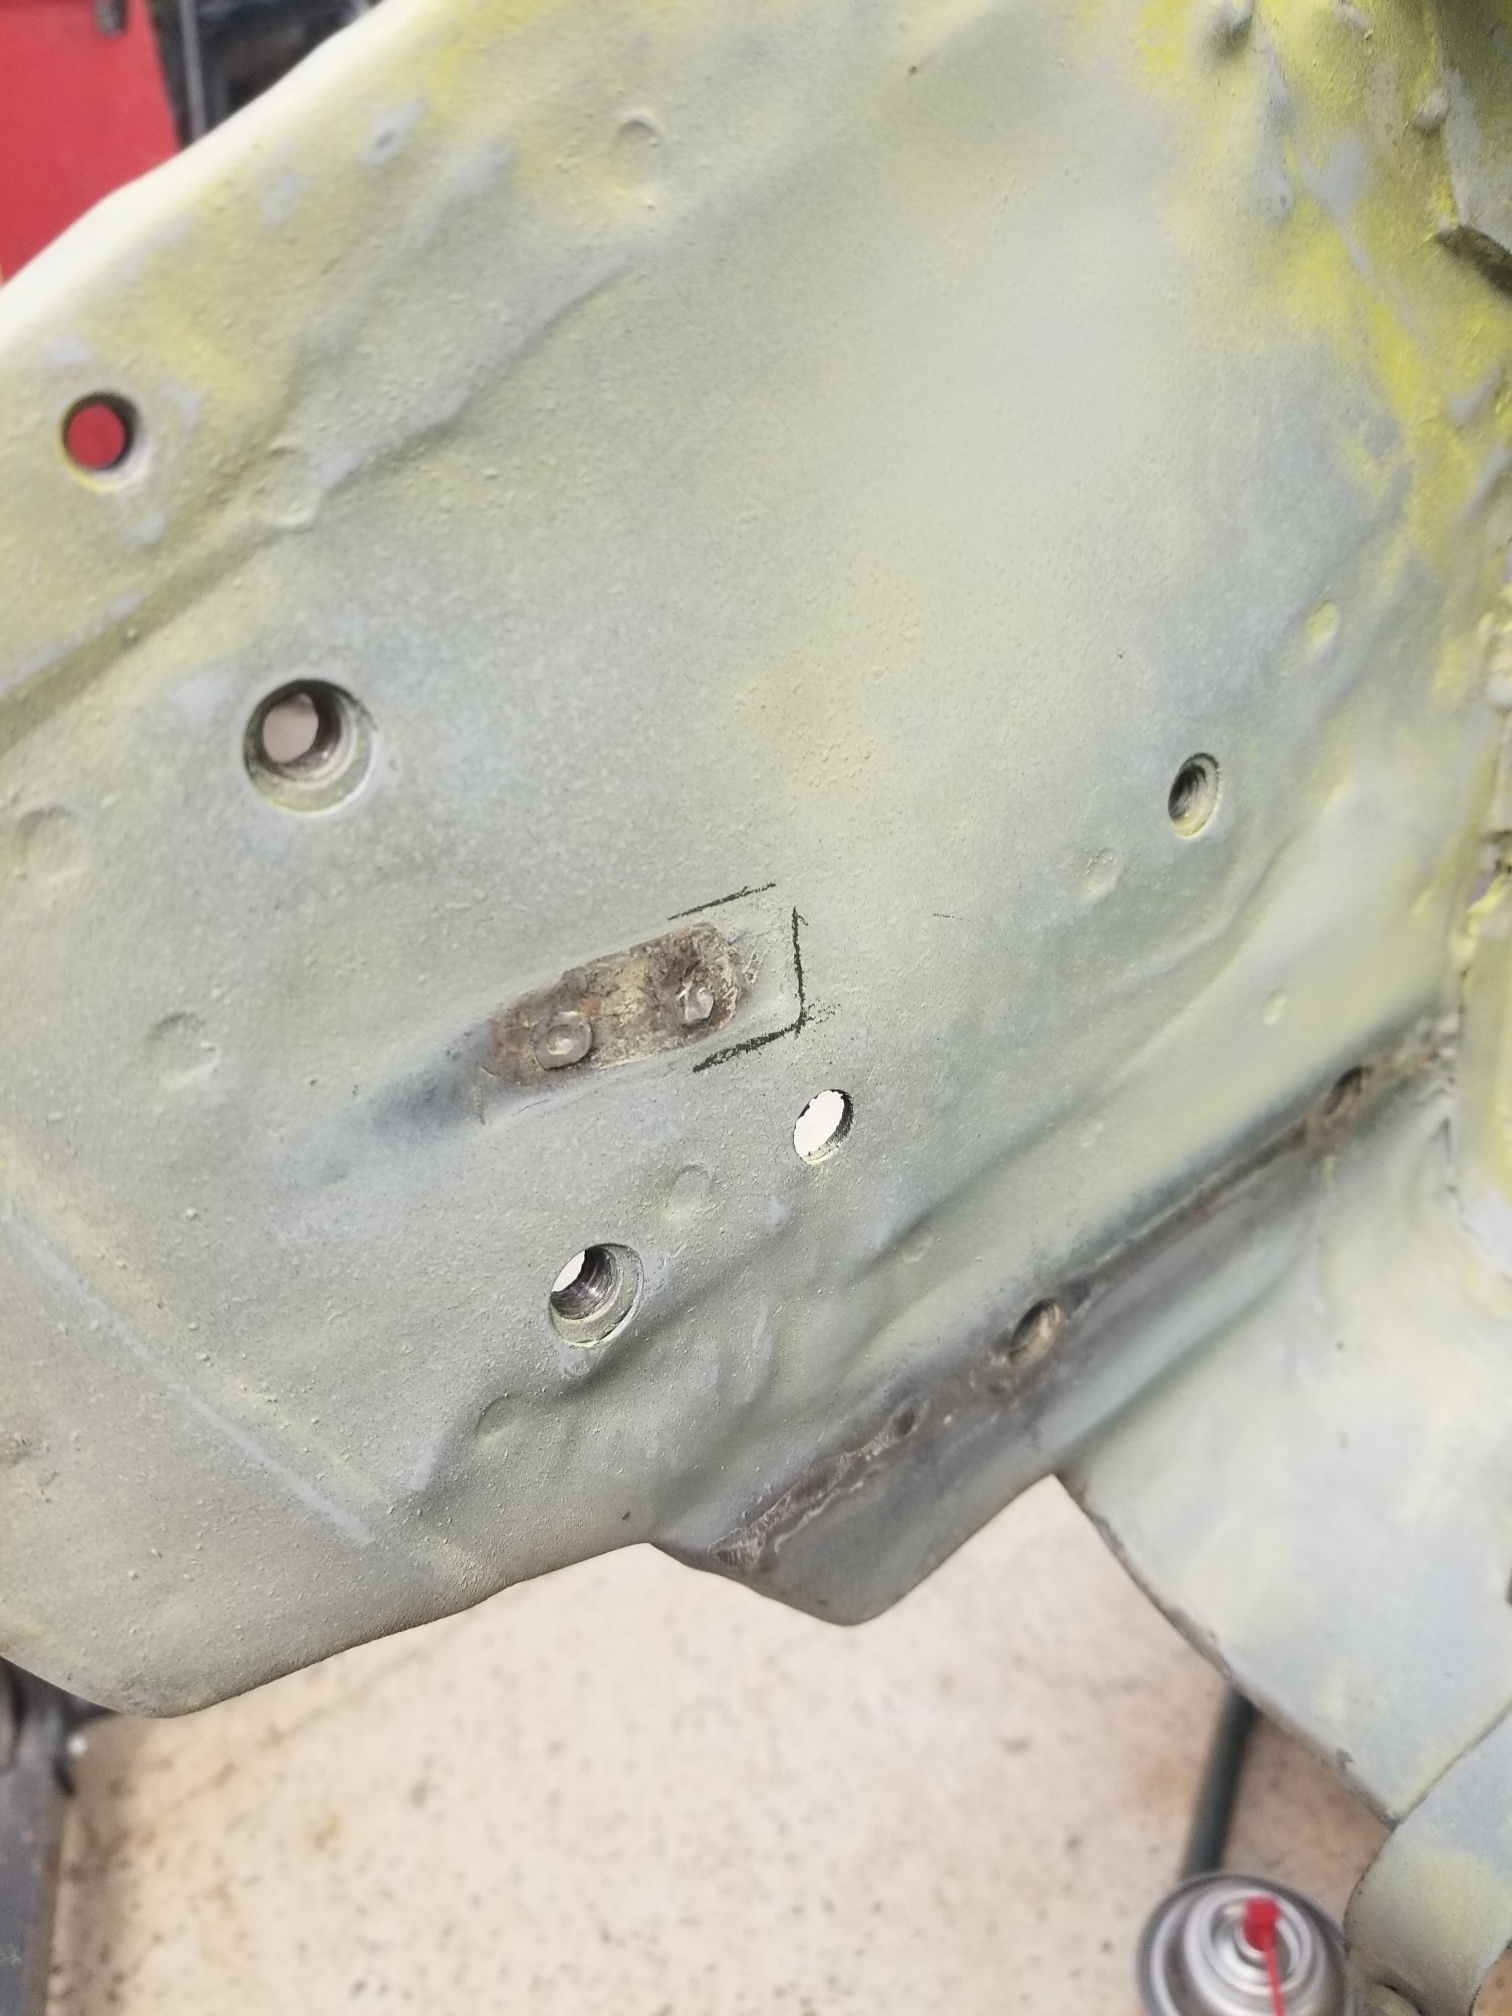
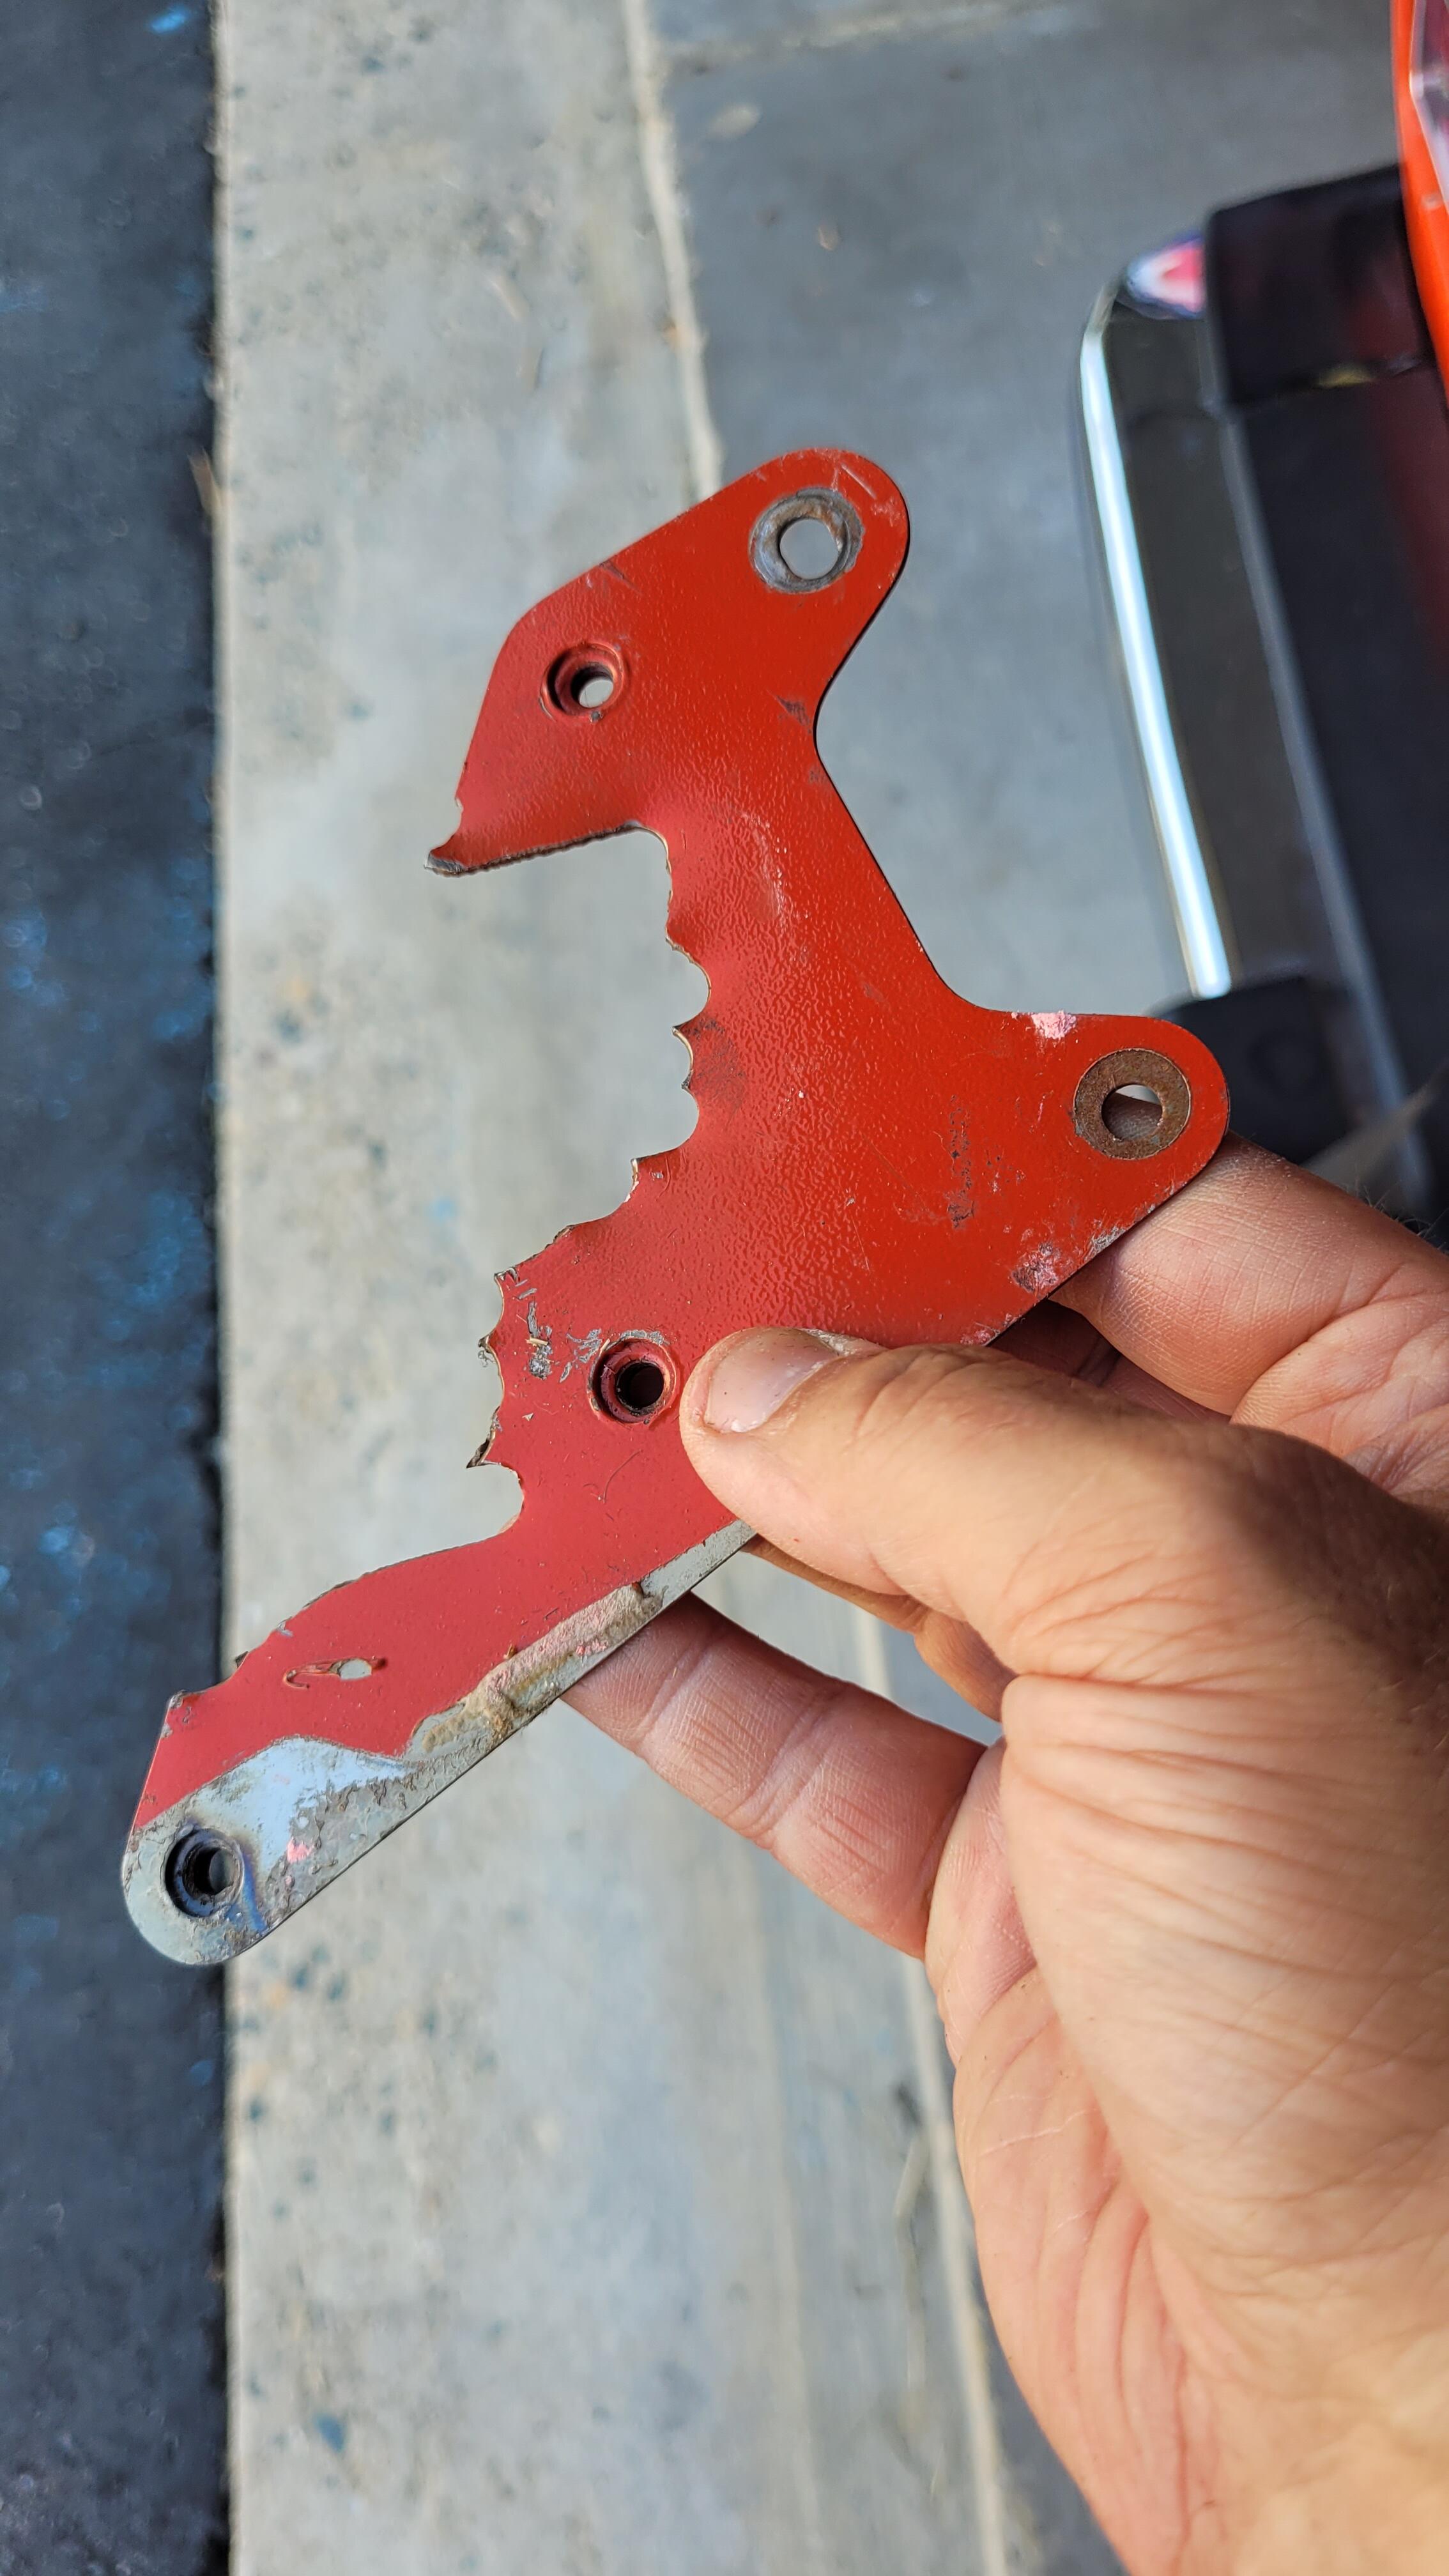
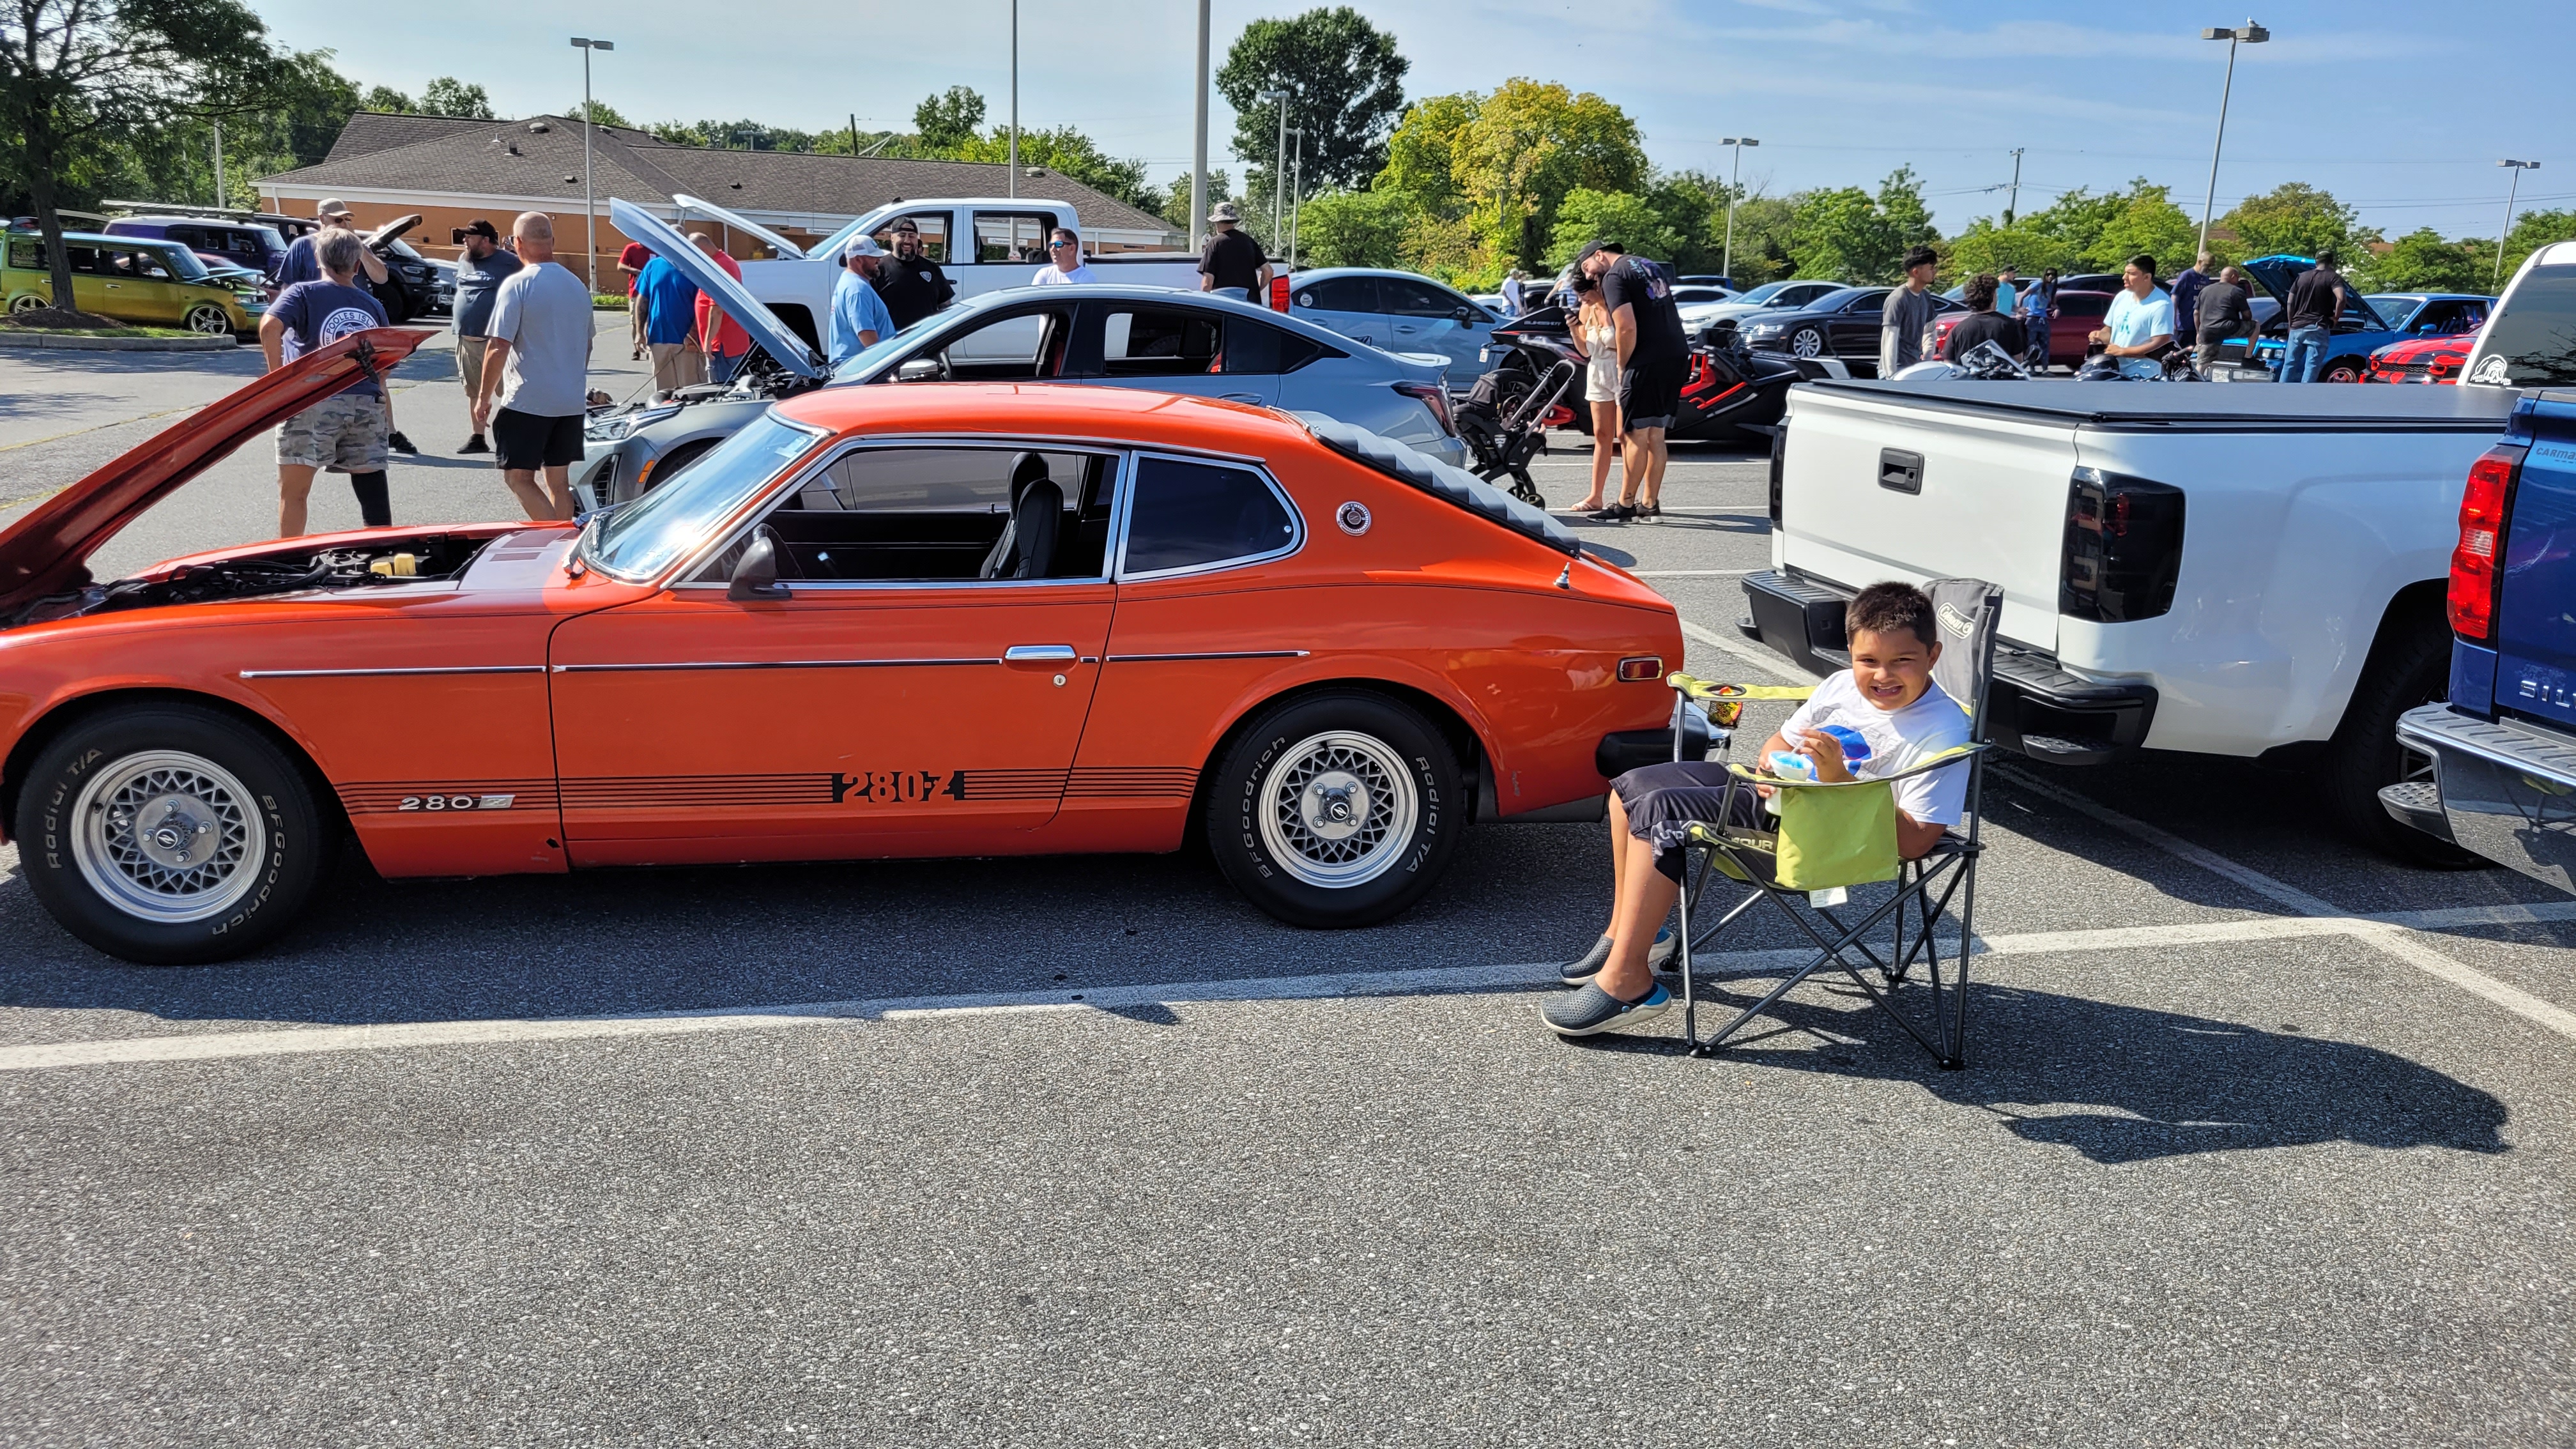
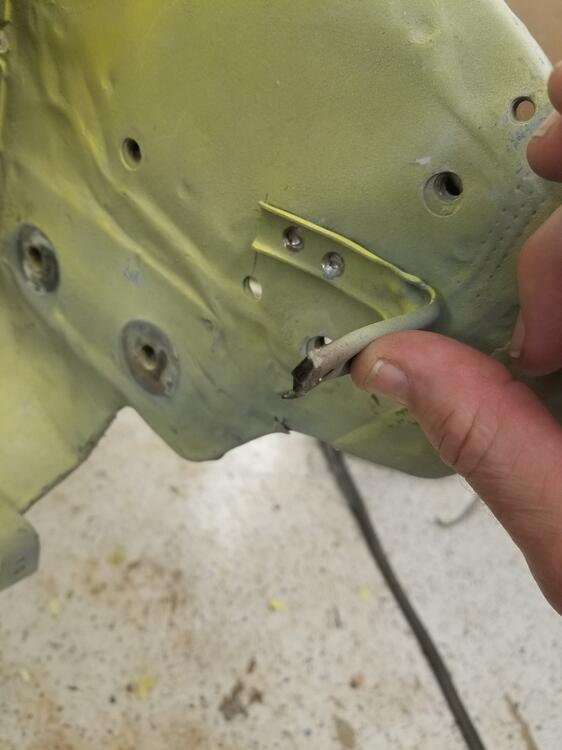
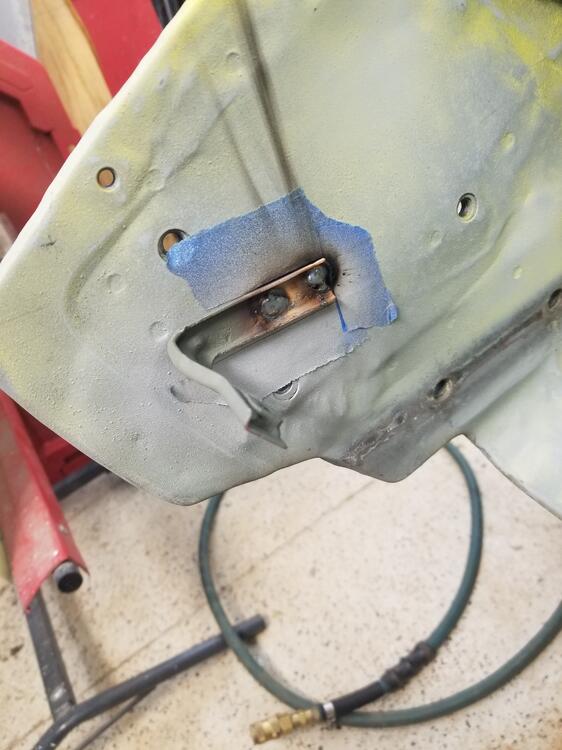
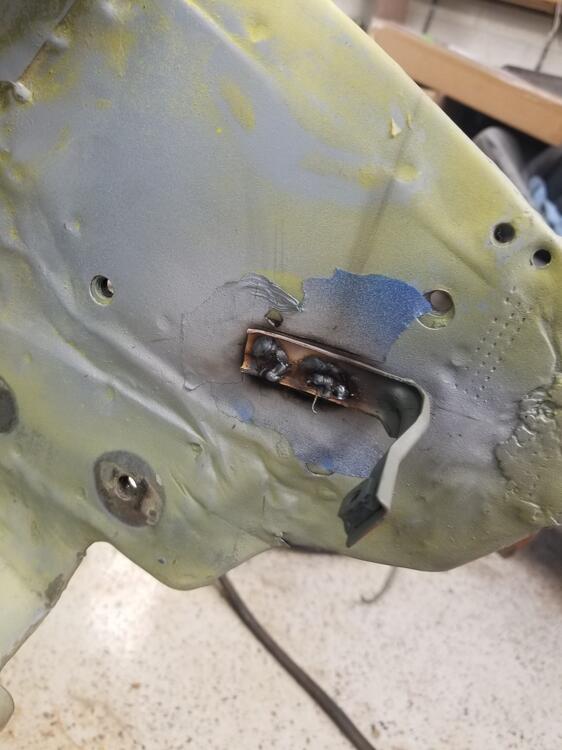
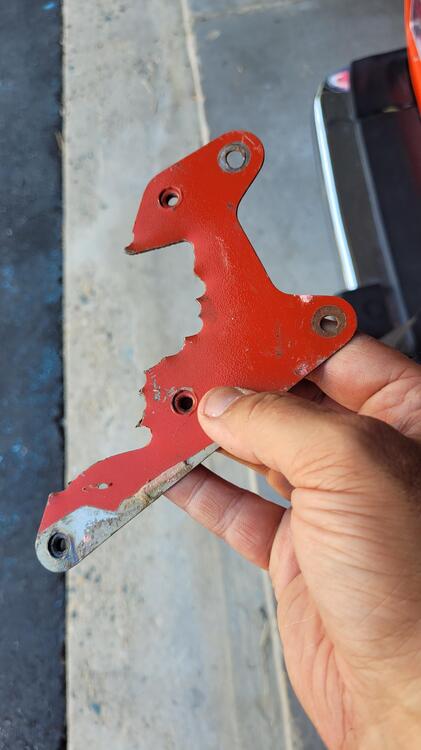
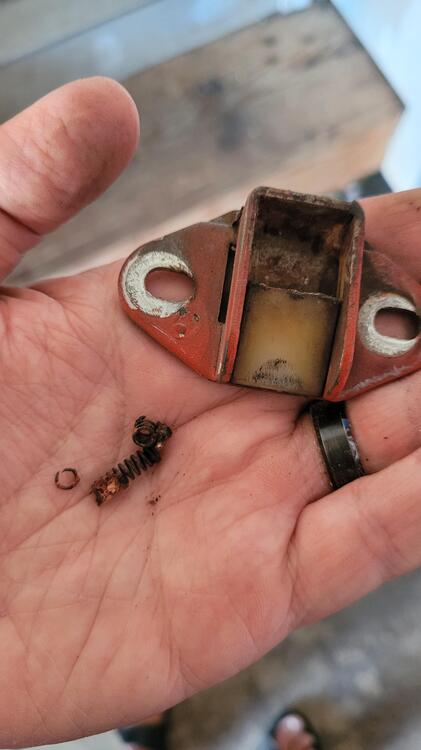
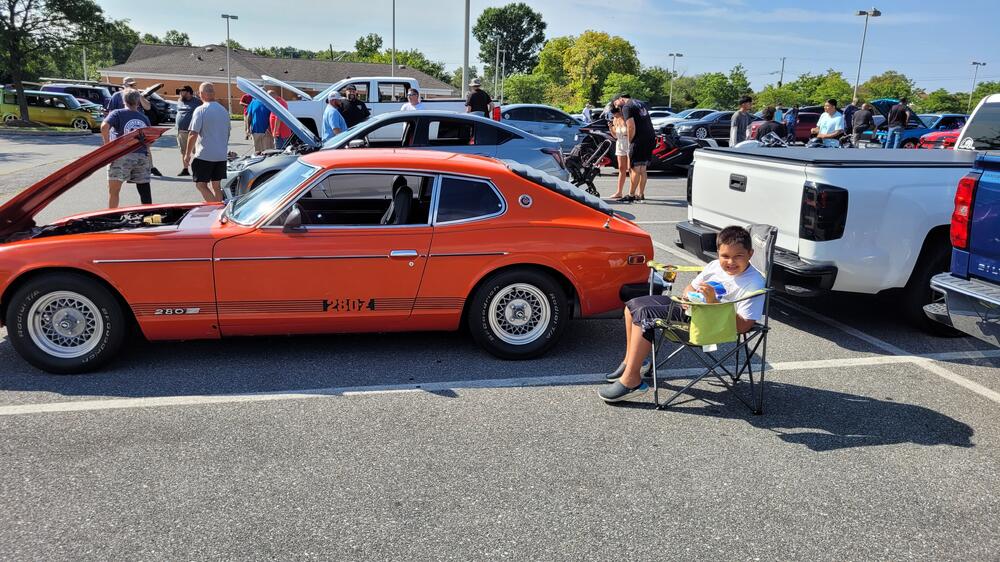
I have been in the process of putting my rear trim back together (from troubleshooting and cleaning out all the fuel vent lines and expansion tank) and I have come to the realization that when you get into the classic car game as a much later owner, you inherit ALL of the previous owners' sins. This is compounded by the fact that I like things to be very organized and just as they should be. I also don't like just doing something partially and calling it good enough - my completed work should be almost to the level of the manufacturer's original intent and quality, which I am sure is probably borderline OCD. I noticed several trim screws missing, found a rodent nest behind the rear light panel trim piece, and this pretty substantial customization of the speaker mount. Anyone know where I can find a replacement? These don't seem like an easy to find replacement part, so it may just be that I have to live with it as-is, as well as the age deteriorating vinyl underside the is separating from the rear carpet and gets worse every time I move it. I was also able to replace the aged and broken spring on my rear hatch closer. As it turns out, the springs from a standard retractable ball point pen fit or will at least work until I can find the real spring. We also went to a Cars & Coffee event at our local Detail Garage last Sunday and were again the only Datsun there. A good time but a little hot, luckily, they had flavored ice instead of steaming hot coffee. It's always cool to see what projects people put their heart and soul into, our favorite this time was an old Dodge Challenger set up for the drag strip. My son had a lot of fun trying to figure out where the parachute release was located (turns out it was adjacent to the rearview mirror). This weekend I think I may start getting a list together of things that I want to remedy over the winter and I am toying with removing the 280Z graphics on the sides - I don't think these were a factory option and they look more custom and vintage 1980's in my opinion. I'm just a little worried that if I do remove them that the paint underneath will be a different shade since it has not been exposed to the sunlight as much as the uncovered paint and the decals have probably been on there a long, long time. I did also notice a disturbing hum when I had the Z in gear and under load (first noticed in 3rd, but then seemed to be present in 2nd and 4th as well). It stops when I go into neutral or depress the clutch pedal. Reading up on here, I am concerned it may be a bearing going bad, so there's more research and diagnosis to come... Also, if I am going to be doing some significant work over the fall and/or winter months, looks like I am going to have to consider getting a much better jack or possibly a lift for the garage.
 2 points
 -
2 pointsOk, I couldn’t take it any longer without making a couple of comments. You can break out the test gear and spend most of the day looking for the bad part or just replace the caps and transistor. To start if you apply 12 vdc to the assembled clock and the balance wheel moves the coil is good. The wheel may move ever so slightly so look closely. If it doesn’t then the coil is bad and you need to find another board. De-soldering /soldering is the biggest problem because you can cook the insulation on the coil wire. Once that happens you destroy the coil. No joke you need to be uber careful soldering the 10uF cap next to the coil. Guess which cap usually goes bad? These are electrolytic caps and you need to replace all with the exact values. No subs. You can also have a bad transistor (C828) so why not replace it. Almost any general NPN low noise amplifier transistor will work. The zener diode rarely goes bad unless you’ve applied something like 24vdc to the board. I’ve seen it happen. These 4 parts cost around $5 and will last years longer that the originals. Last, but not least I don’t charge $351 to repair this board, that’s a completely refurbished clock converted to a Quartz unit. I do have this repaired 280z circuit board for $60. Good luck and let me know if you need help. Ron2 points
-
2 pointsI actually happened across some of your posts there when I was doing research on EDIS with Megajolt today.2 points
-
1 pointI actually printed that picture today to use as a guide in the shop! :)1 point
-
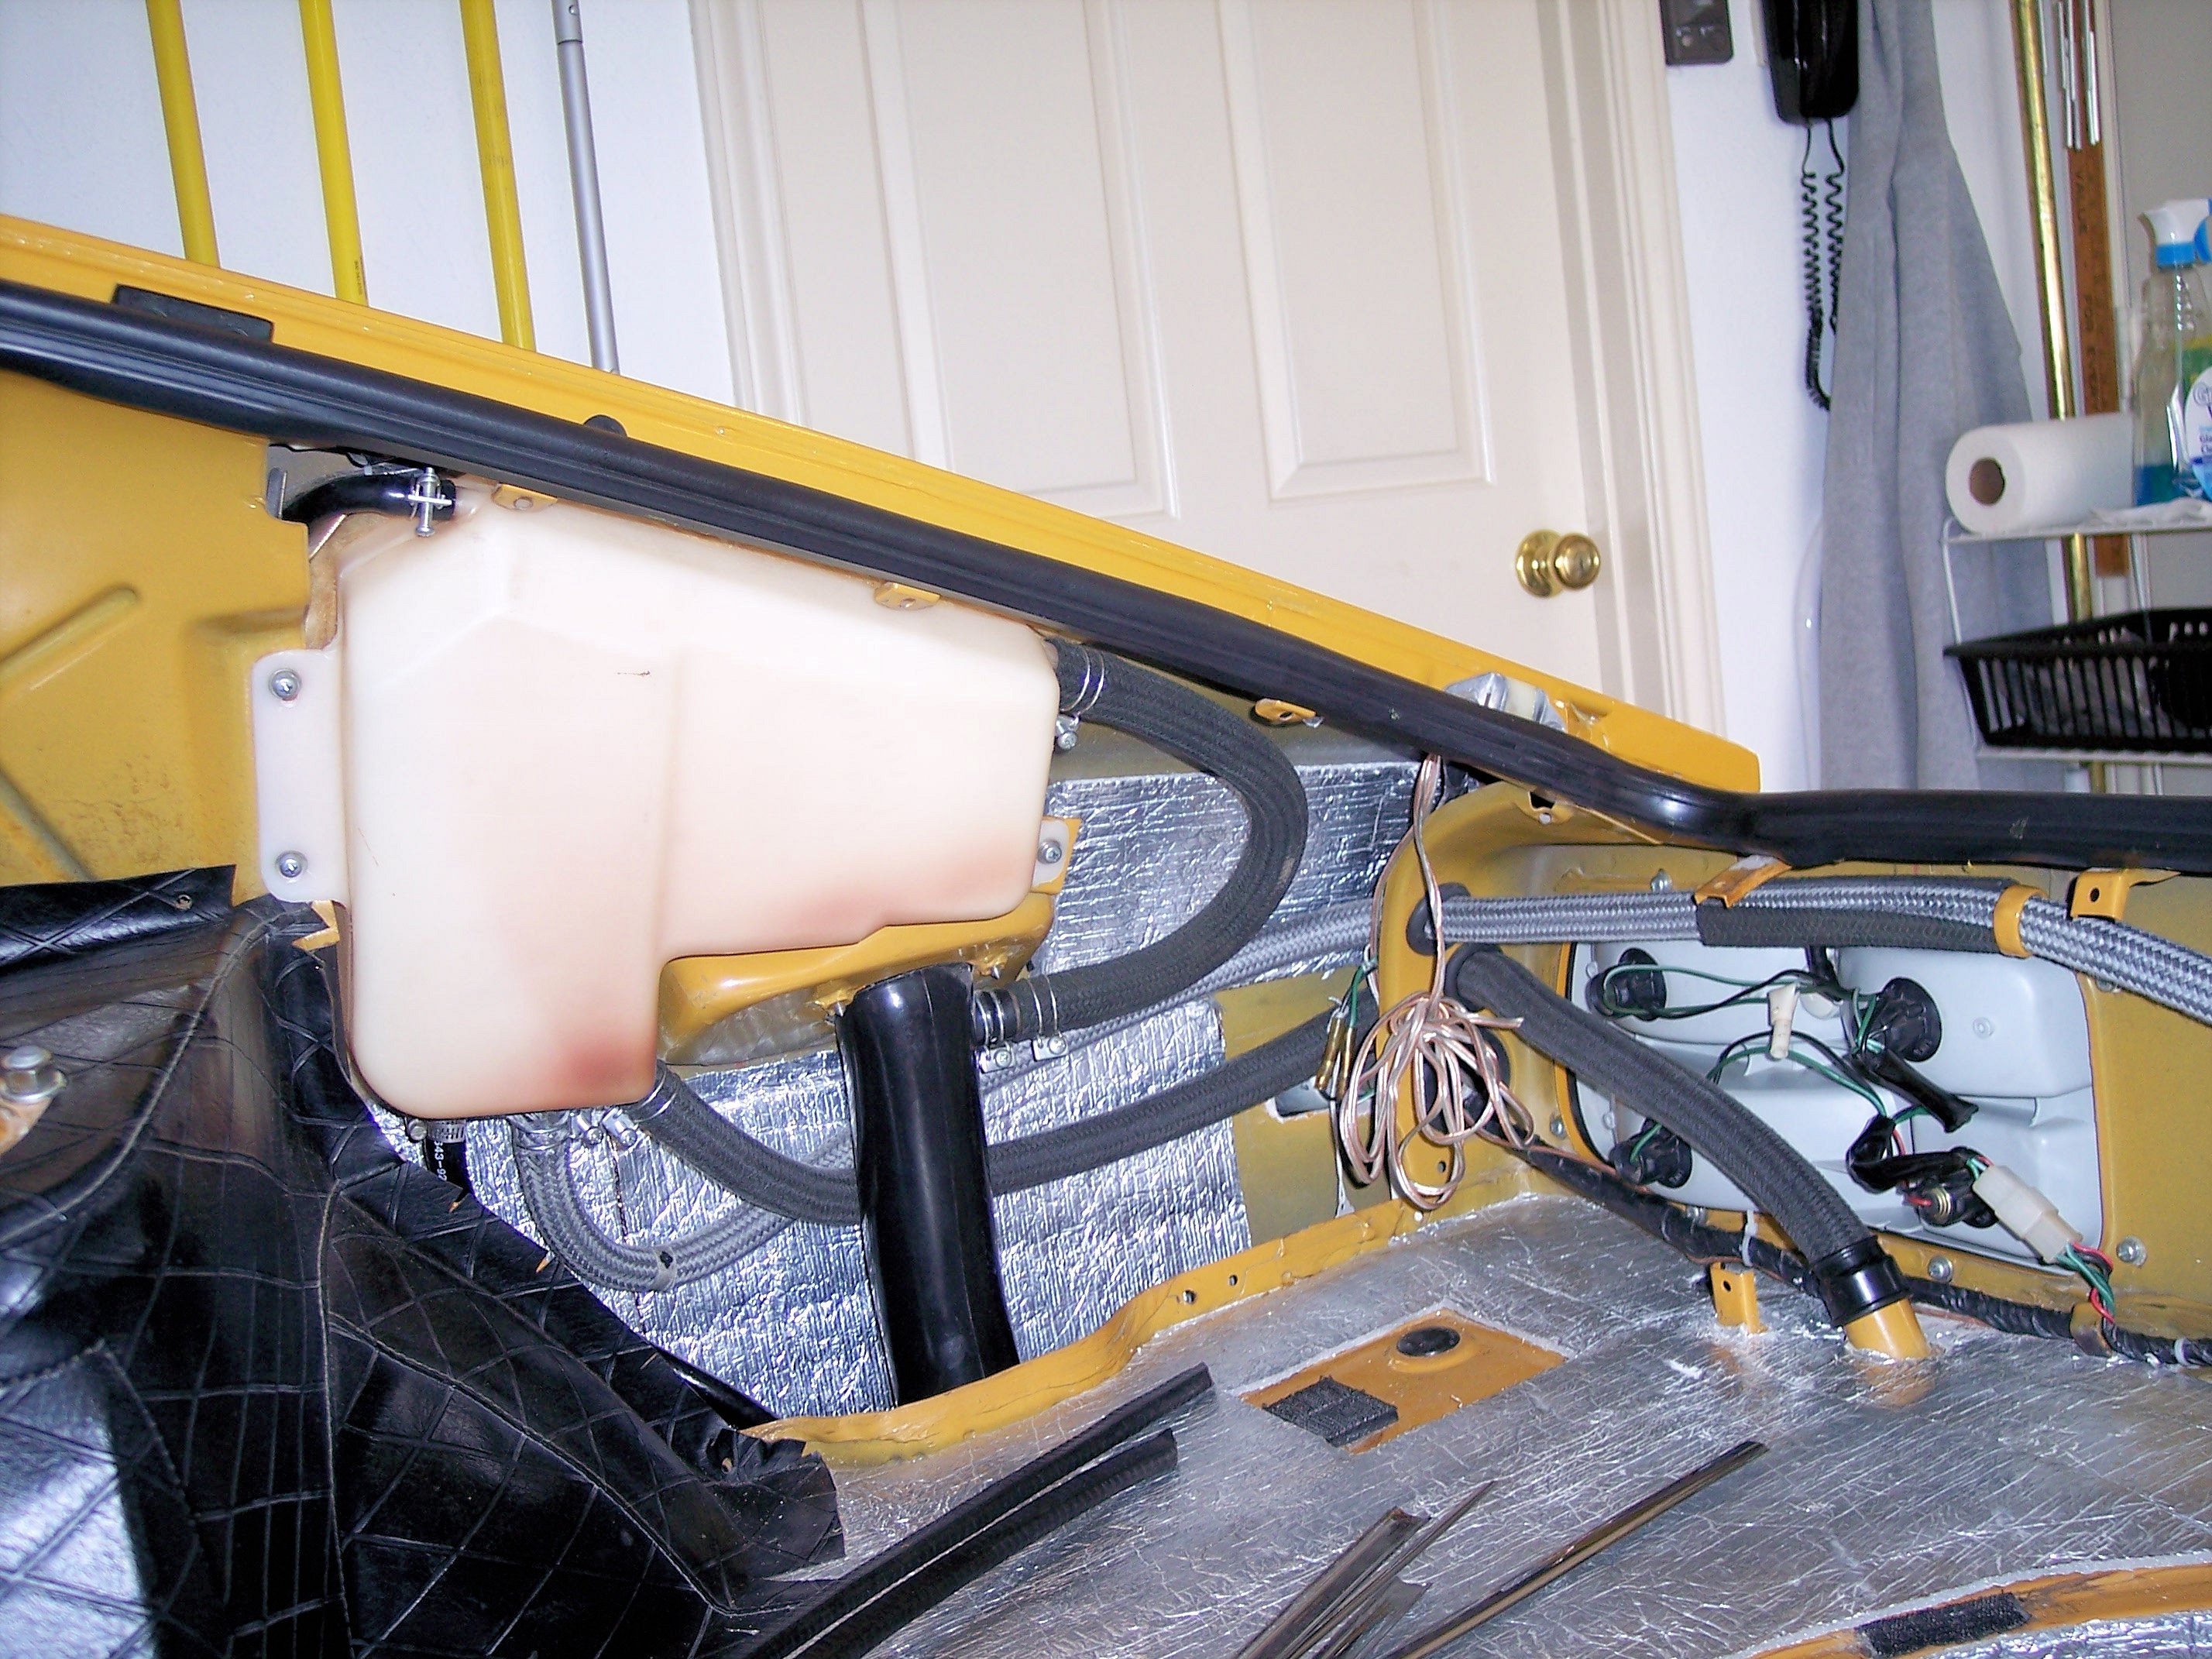
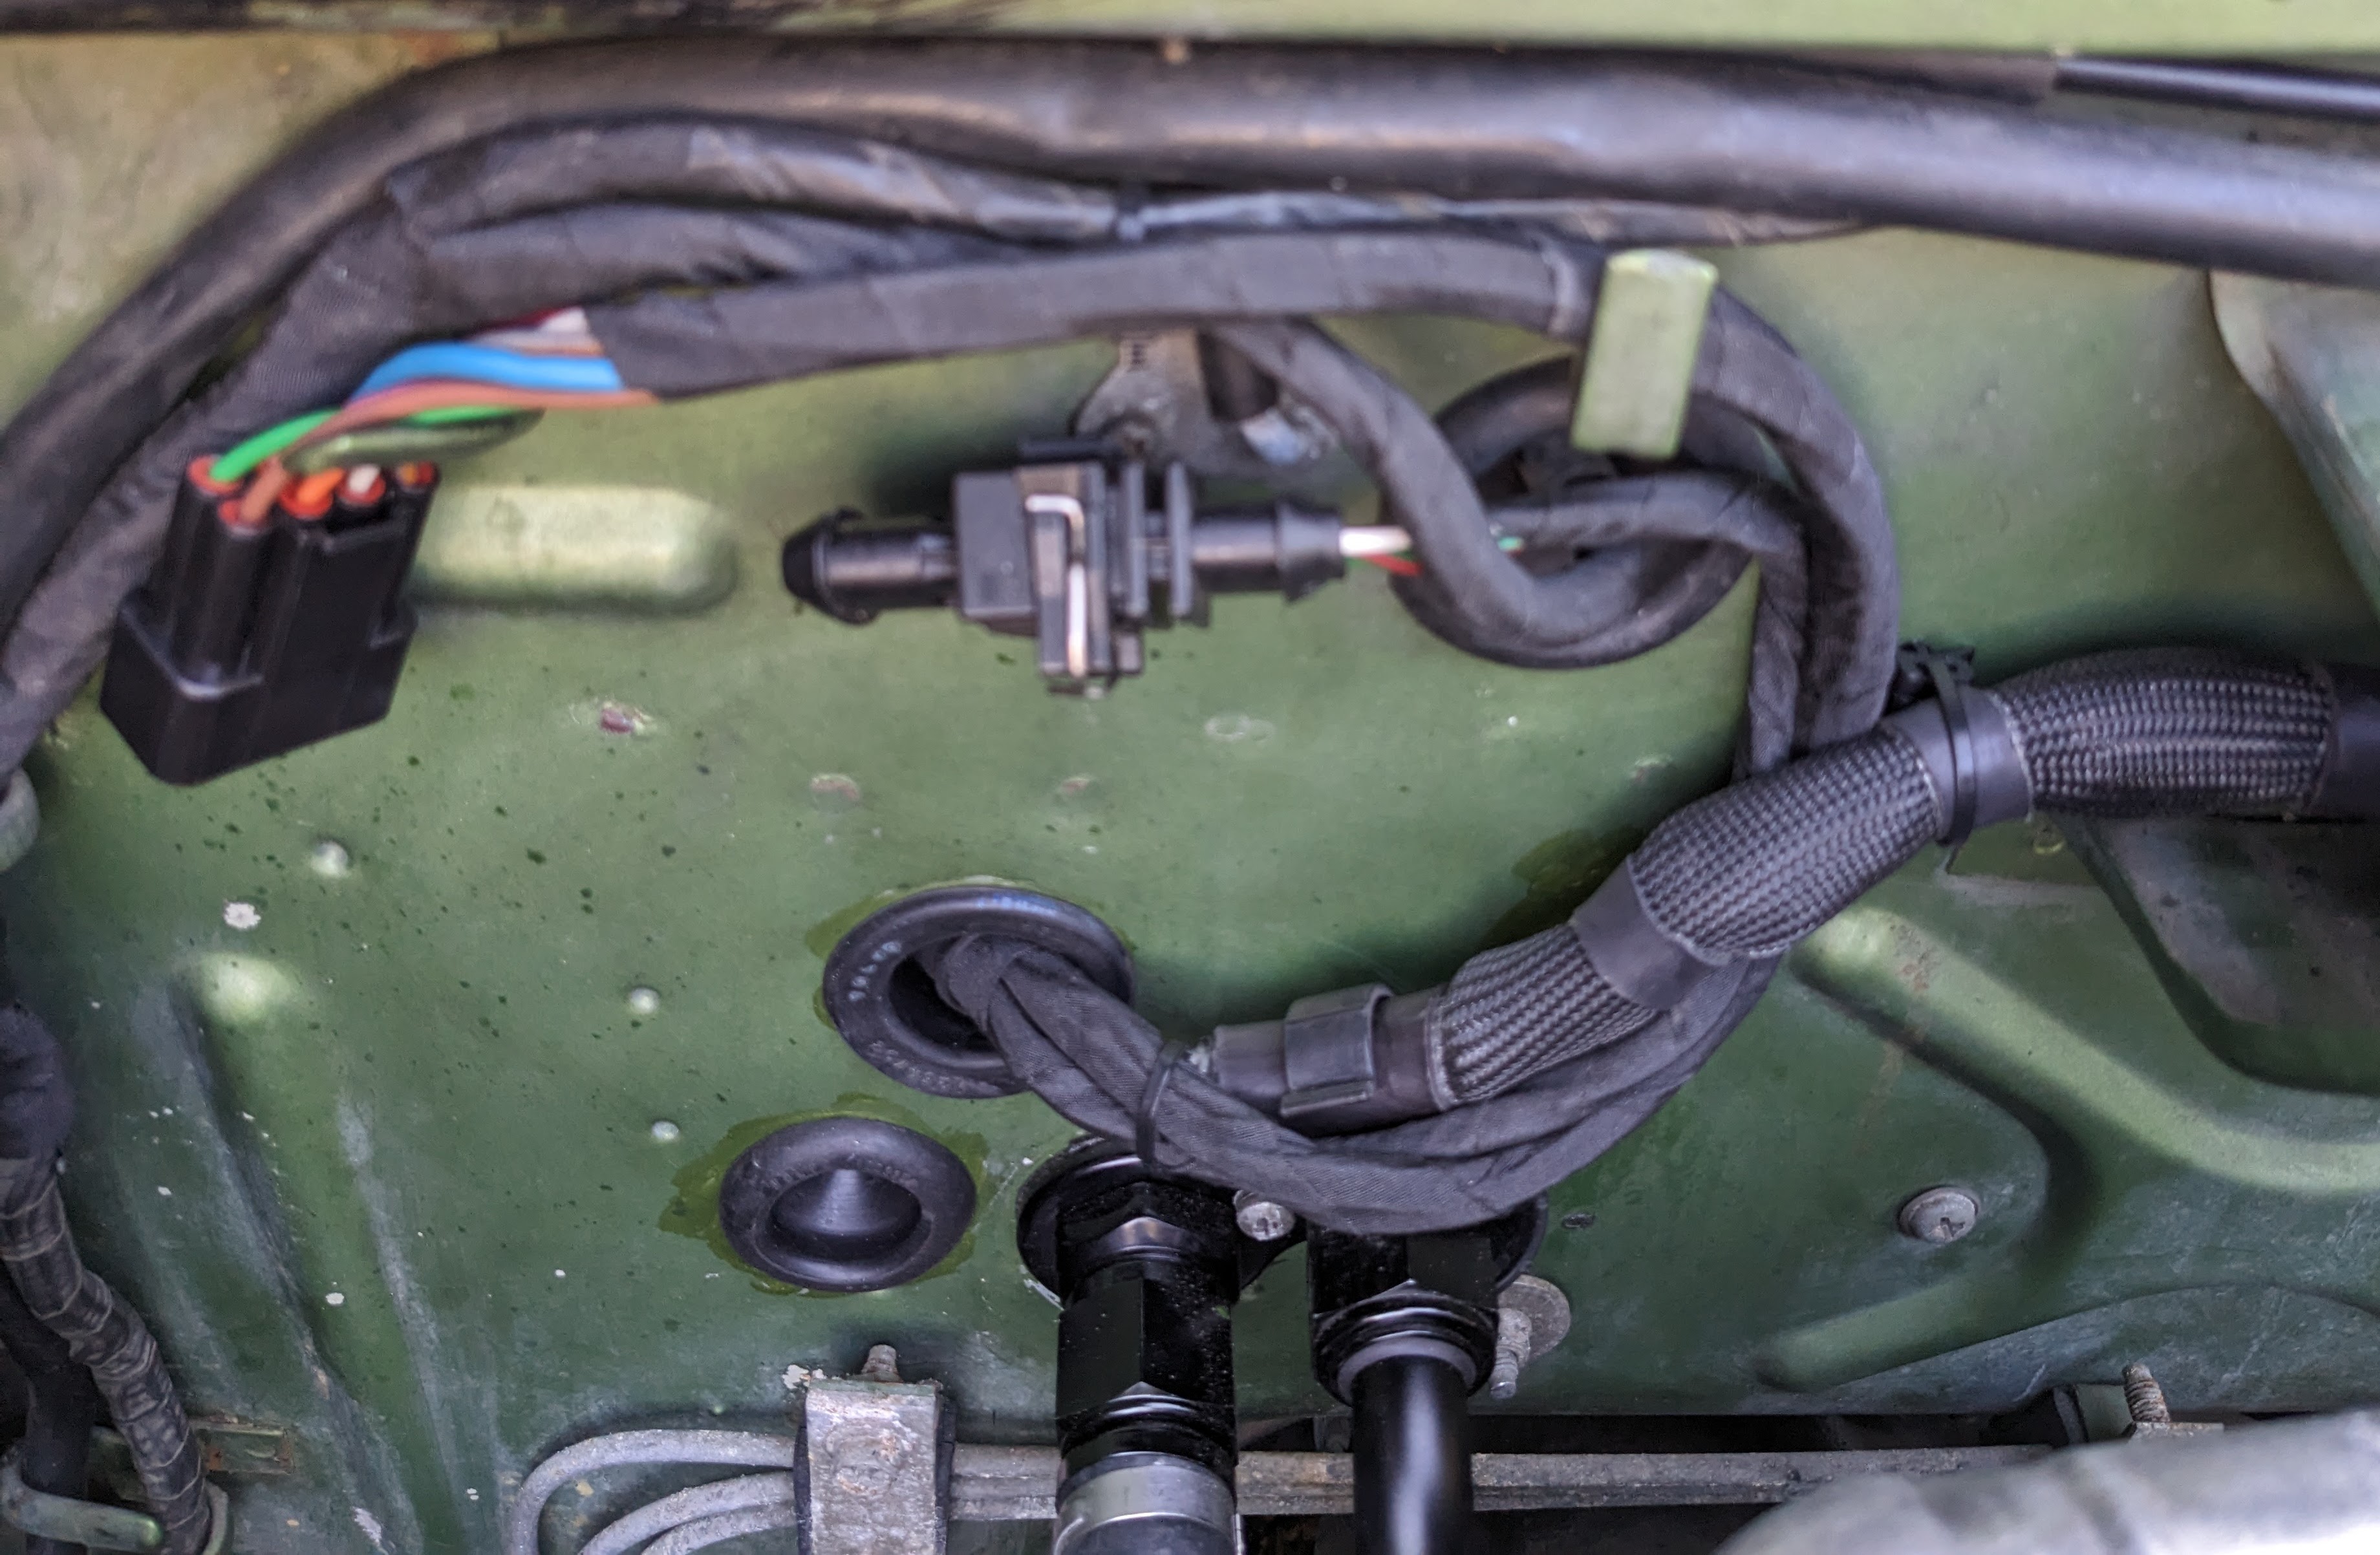
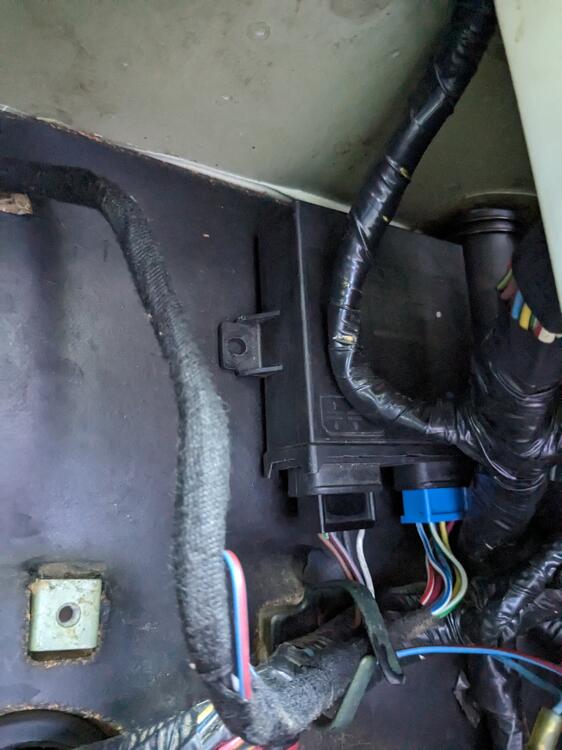
1 pointCharles, This may help in getting the lines routed. The small line at the top left does connect to the vapor line going to the engine bay.
 1 point
 -
If the bleed screws on the calipers are on the bottom, you will never get good brake pressure!1 point
-
That prediction of automatic trans cars starting to go up in price looks like it may be coming true.1 point
-
A 1972 sold for $25,500.00 on BAT - in better shape - although it is an A/T. This 71 is going to need a repaint and new Dash, seats etc. etc... In todays market I'd say this 71 should be closer to the $18K to $20K range. 18 months ago it would have been snapped up at $25K... not today... https://bringatrailer.com/listing/1972-datsun-240z-283/1 point
-
1 point
-
1 pointHere's some, but at a much higher price. https://www.authenticclassics.com/Mercedes-Cloth-Braided-type-Fuel-Hose-8mm-I-D-p/auth-008783.htm1 point
-
1 pointMany different sizes are available from Belmetric. https://belmetric.com/hose/gasoline/1 point
-
1 pointIf you use some starting fluid will it fire over? If it won't then it's spark or compression1 point
-
1 pointFrom what I see it’s off from the pics shown in the post you provided. Hopefully it could be that simple1 point
-
1 pointShould be 11:25 https://www.classiczcars.com/forums/topic/61123-240z-cranks-but-won’t-start/#comment-562117 Looks about right to me, did you give it 3 pumps of the throttle before cranking? Are the plugs wet or dry?1 point
-
1 pointIs it 11:35 on the distributor or 12:35 On the oil pump shaft? I need to go back and look.1 point
-
1 pointI hope it’s “real” as well. It’s in pretty good shape, bit of lifting at the front top where is meets the windshield weatherstrip, glued that back down. Couple of splits at the back edge at the hatch gap, will have to investigate vinyl repair techniques. No signs of delamination anywhere, that sucker is stuck down good. I especially love the contact glue overspray that was all over the side of the hatch on both sides. It came off pretty cleanly with some modern contact cement remover. Not what I would have expected from a factory installation though. Maybe a sloppy dealer installing a factory supplied kit? Who knows. Poor thing has had a repaint sometime in its past, there are little yellow strips at the edges of the vinyl where it comes down the A pillar where masking tape was not quite covering it. That will come off too.1 point
-
1 point
-
If you can’t find one used, you’ll need to fabricate something.1 point
-
We now have 'The 240Z Guild' calling the Grande Nose on this car a "Police Package" (LOL) and claiming that the aircon-related diverter ducts are "brake ducts" (they are nowhere near the brakes and they push air through the radiator and aircon condenser). Objective - and clearly correct - critique of the overfender mounting positions has been rejected as 'Non Constructive'. Clowns to the left, jokers to the right. None so blind as those who will not see. Reference point for the car in question:1 point
-
https://www.classiczcars.com/forums/topic/34633-kia-sportage-weatherstip-rocks/#comments1 point
-
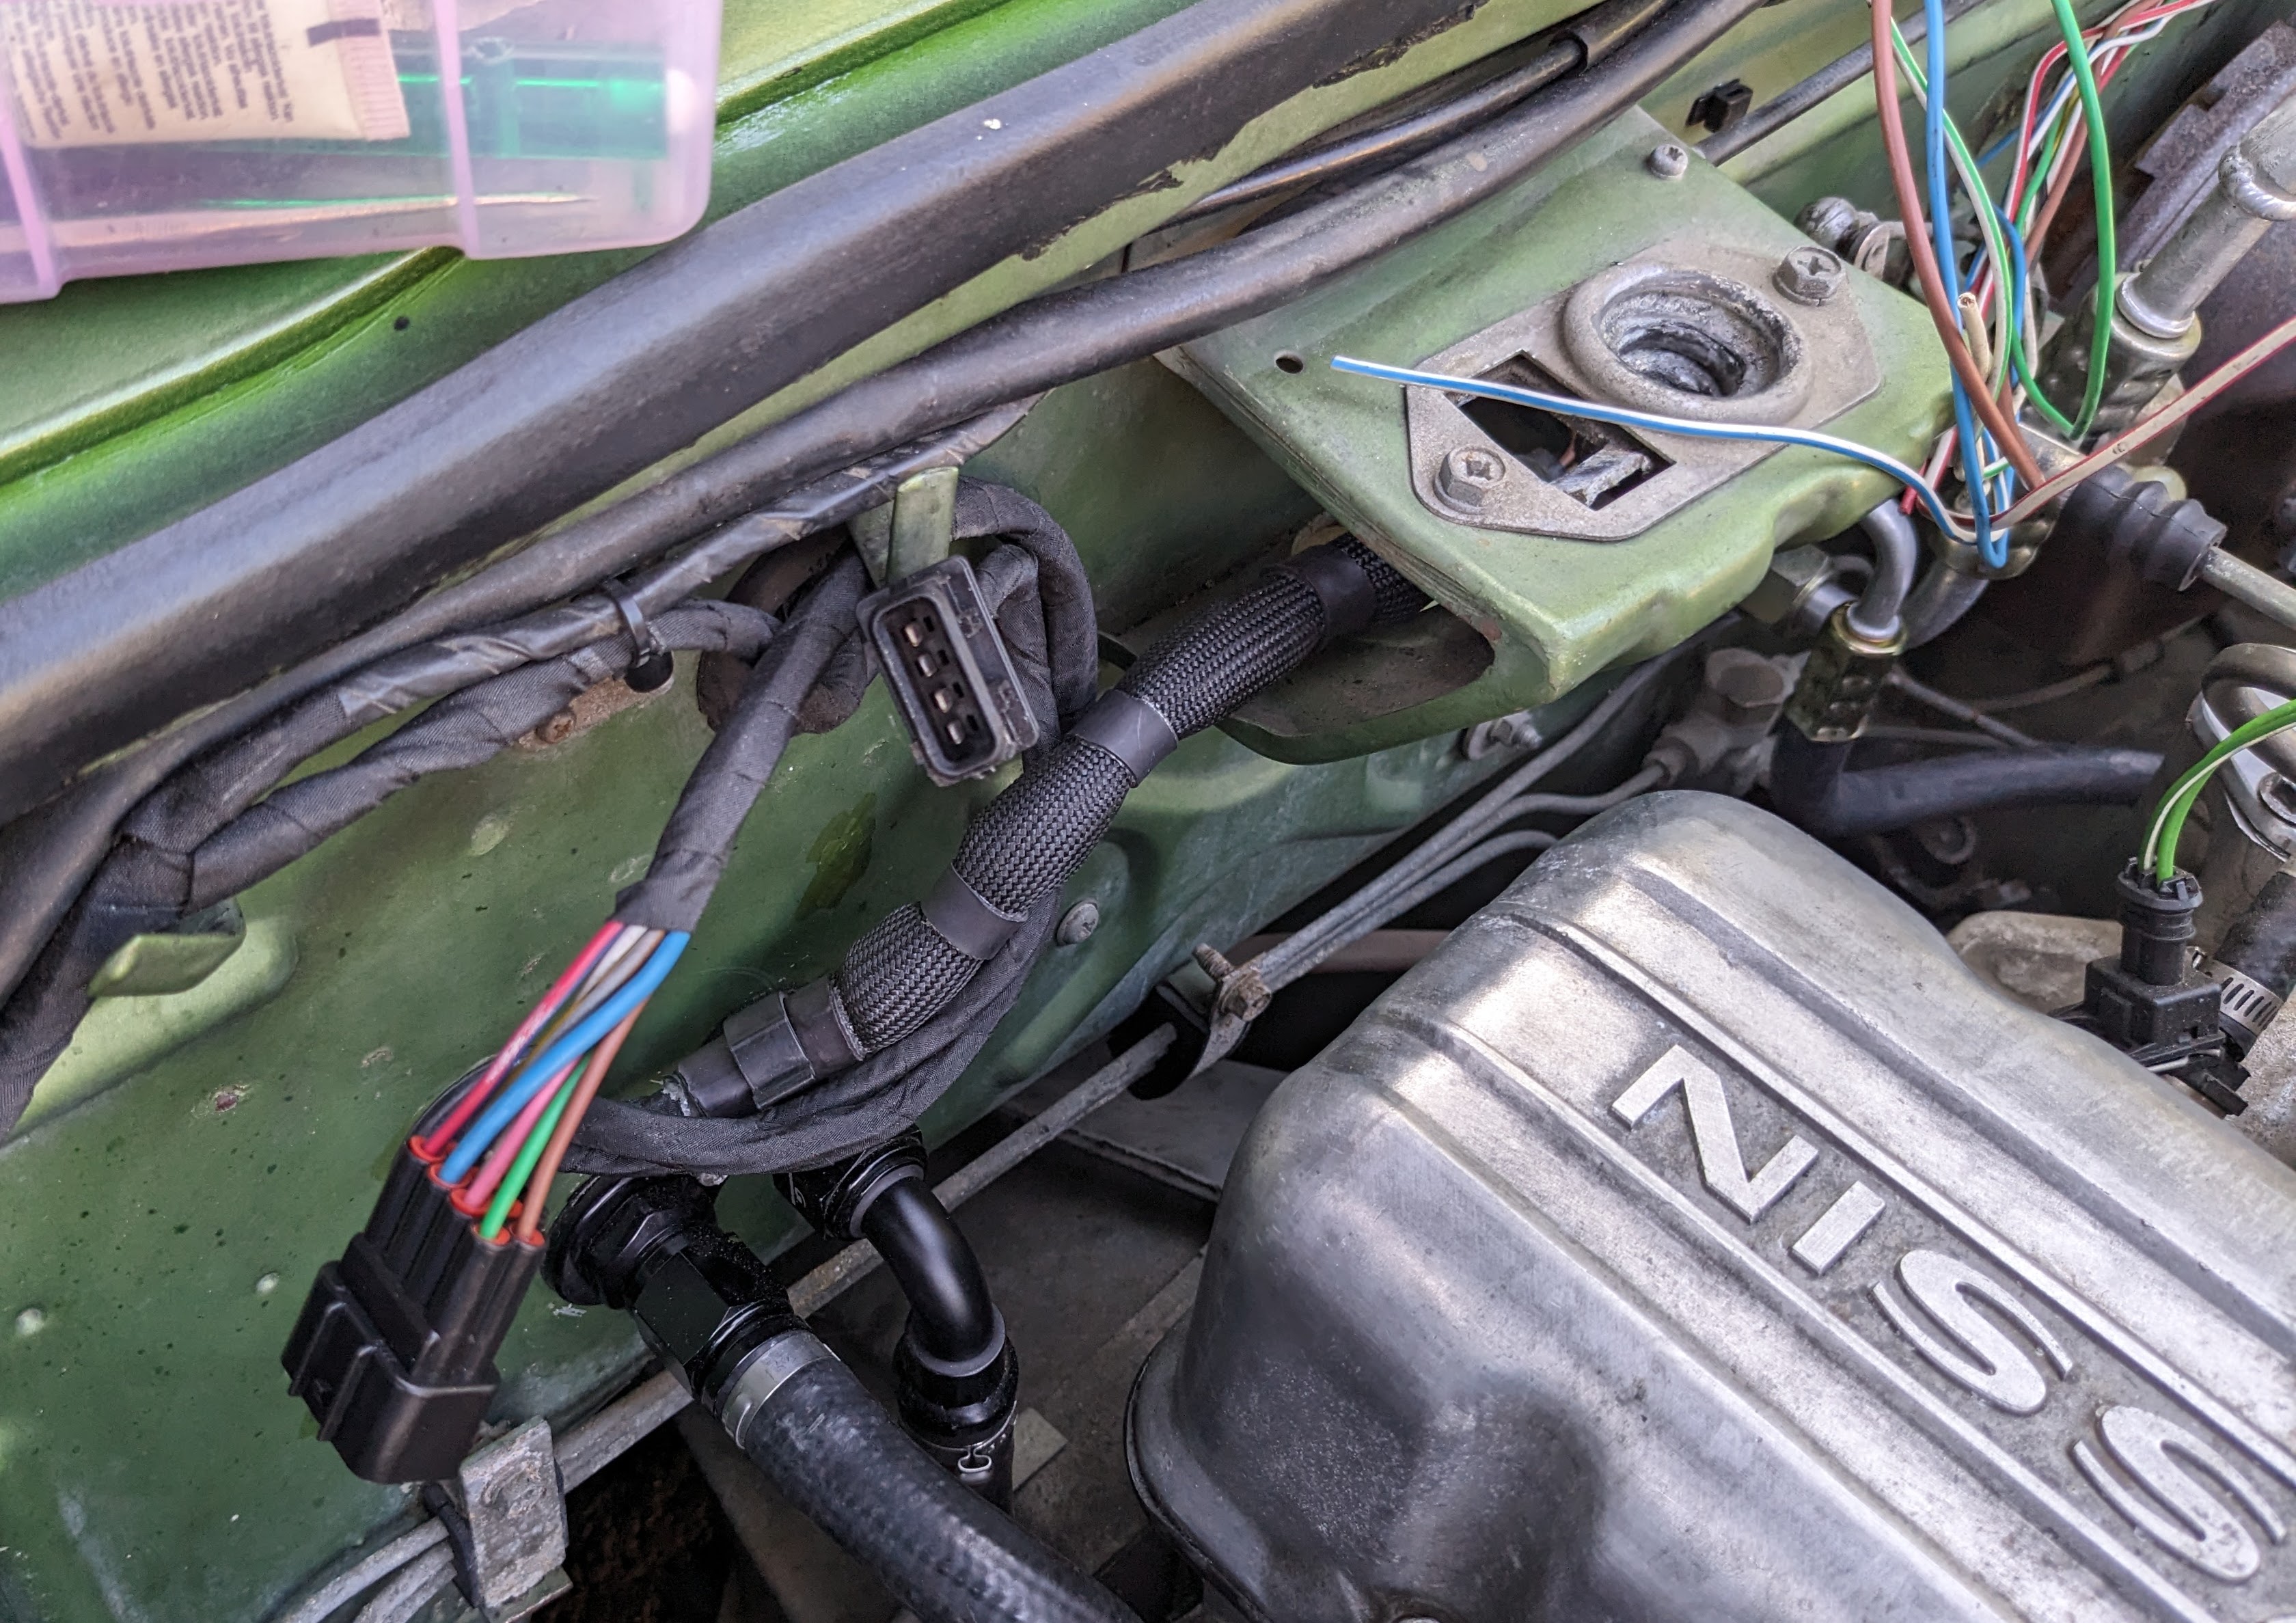
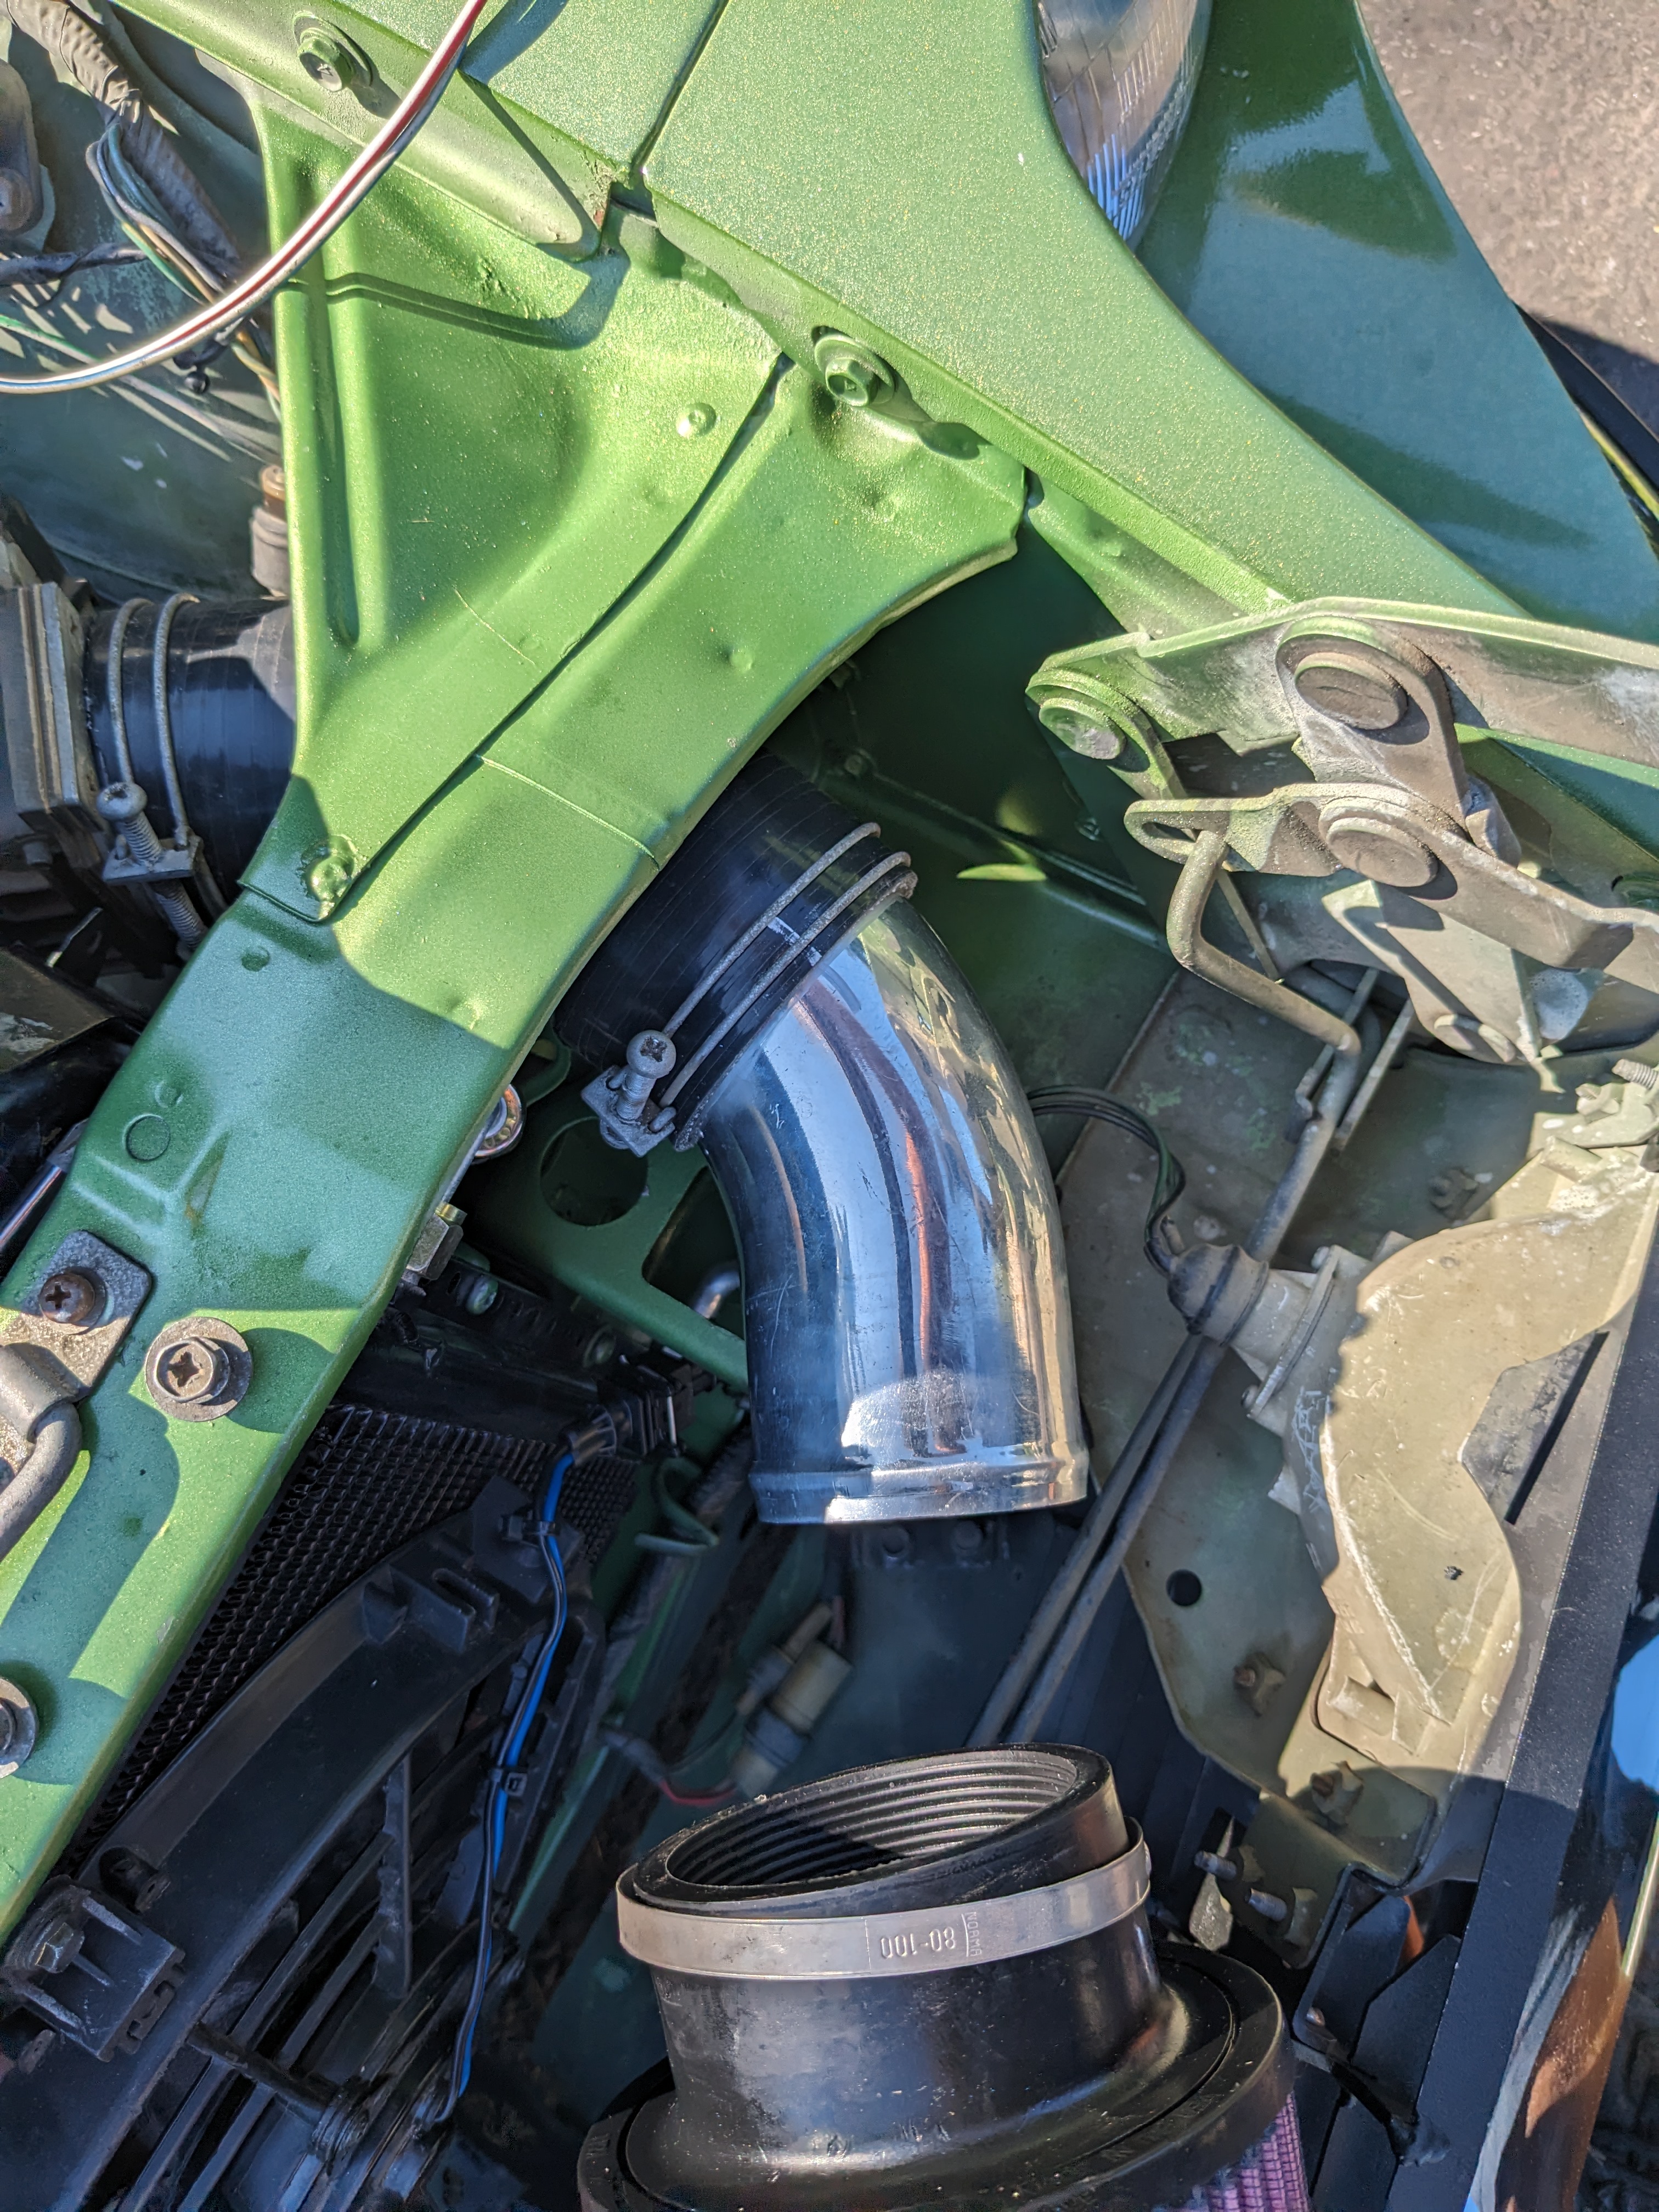
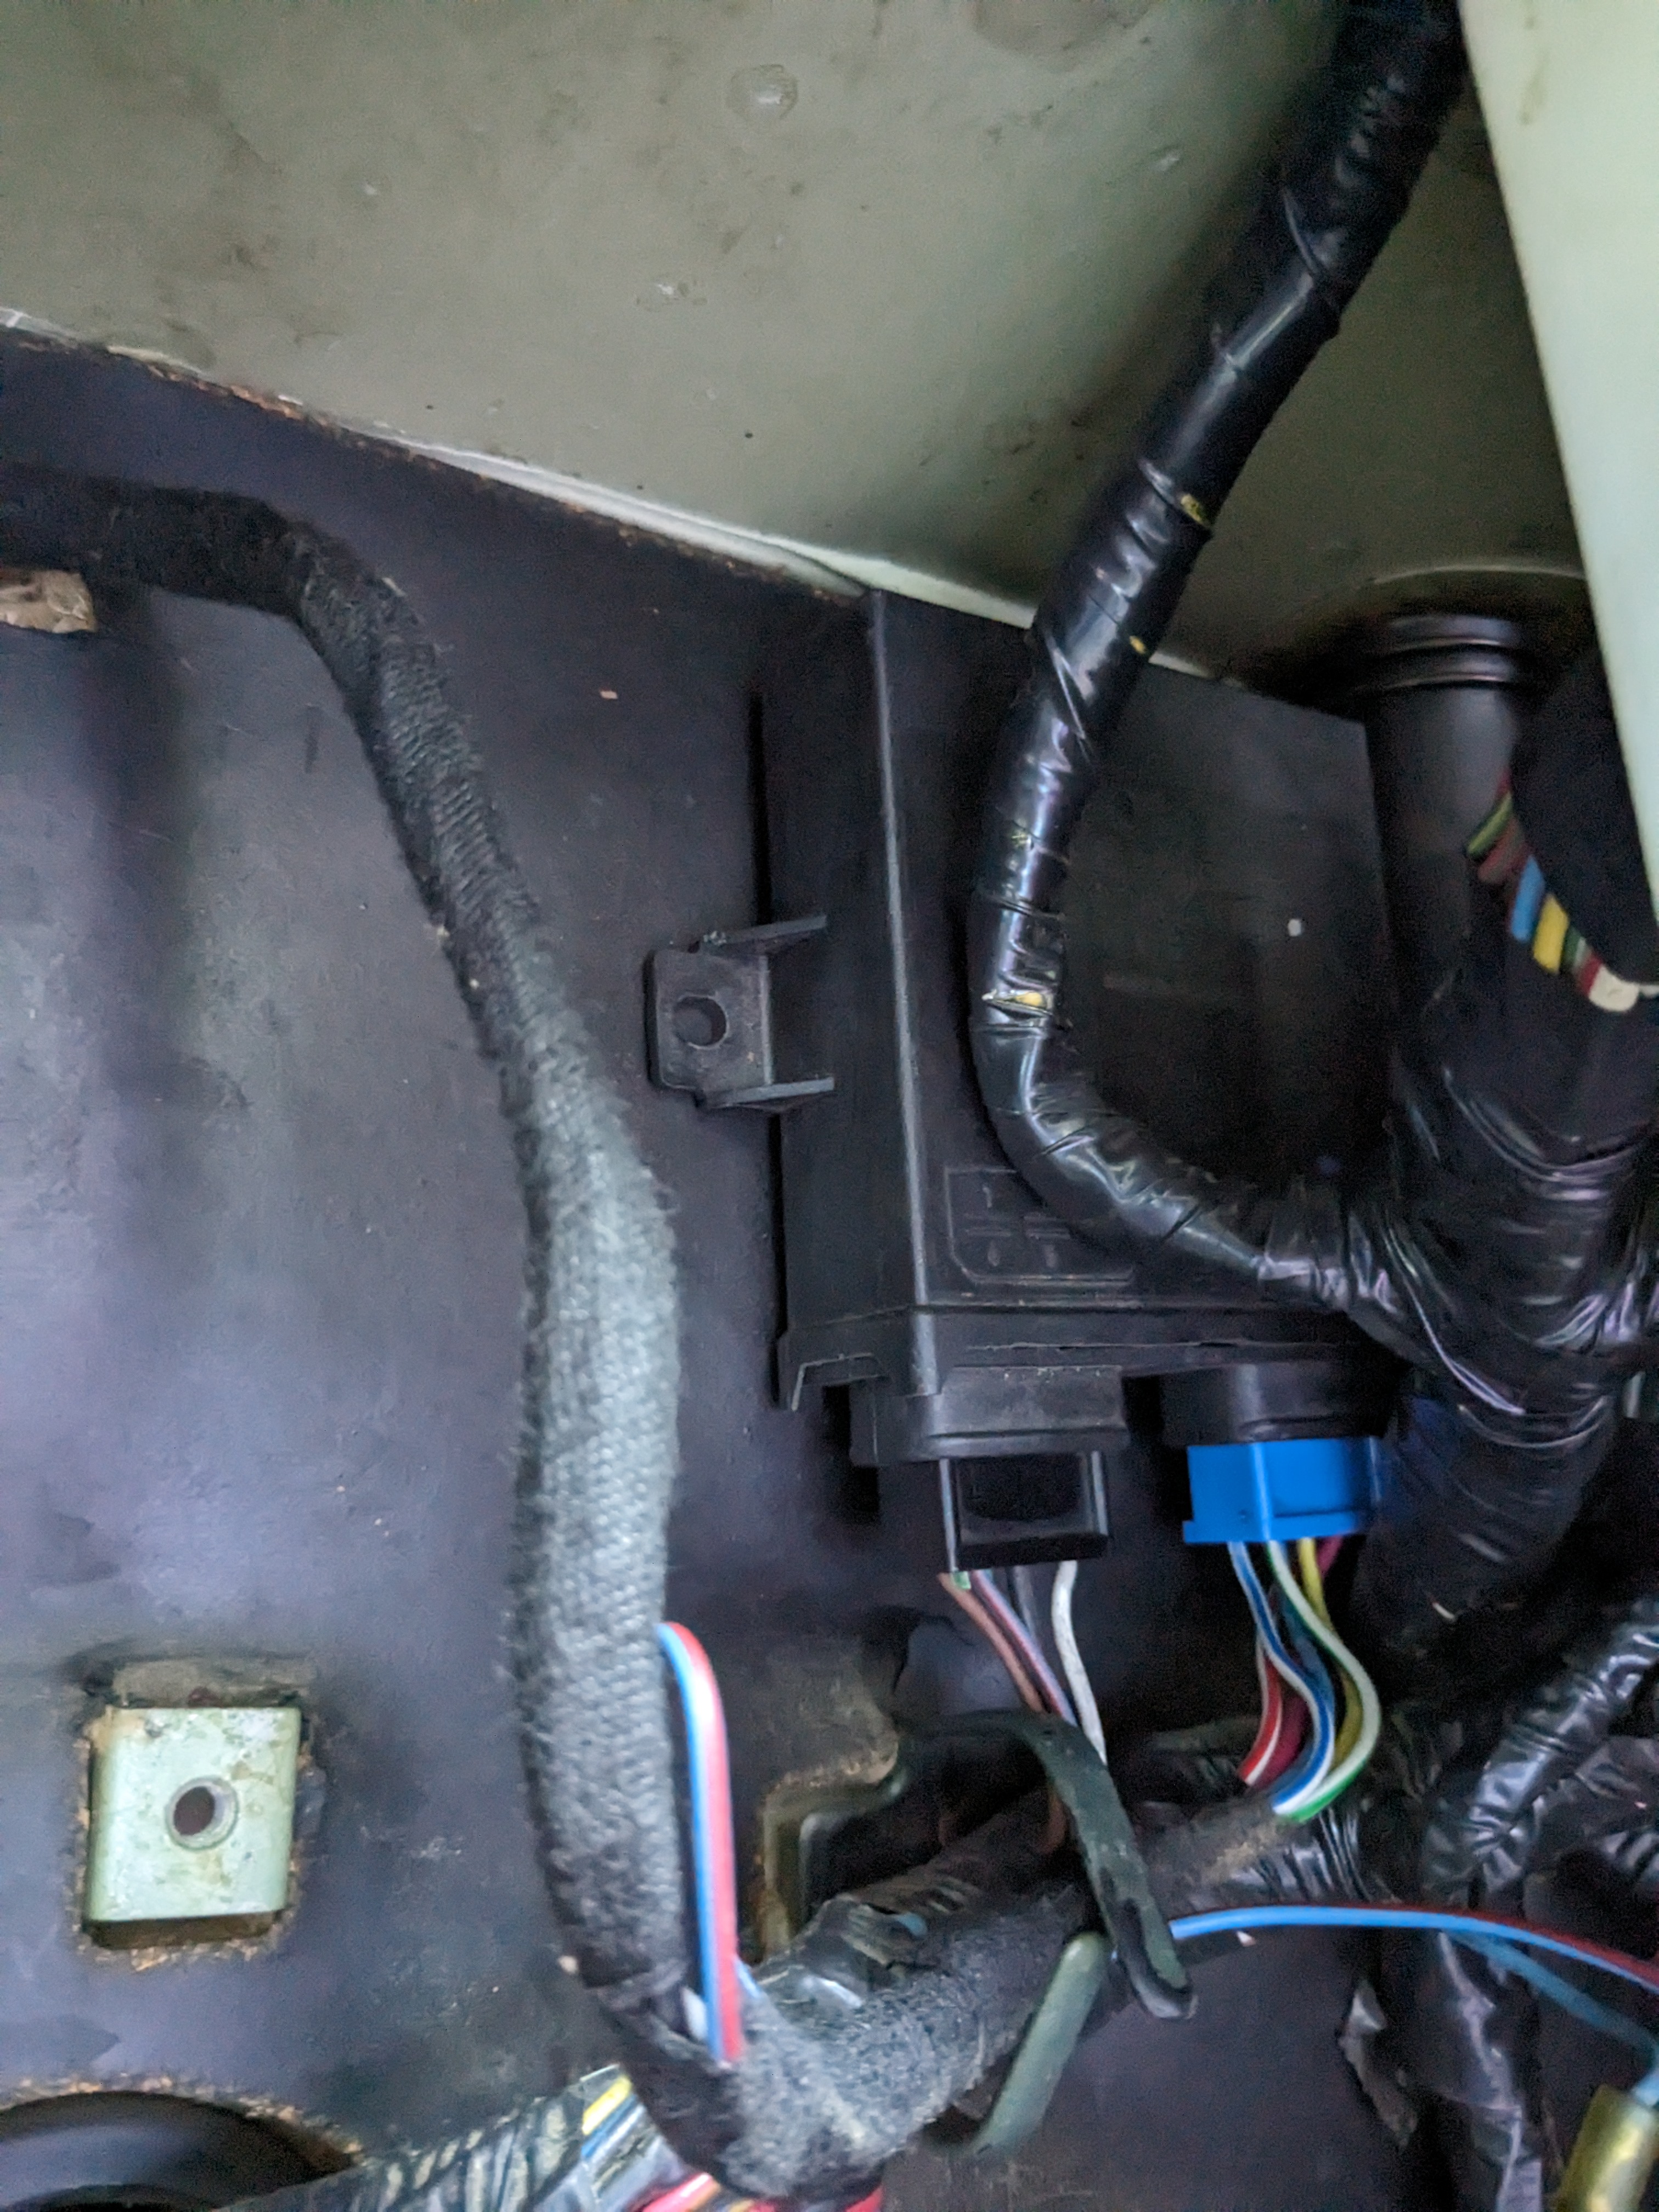
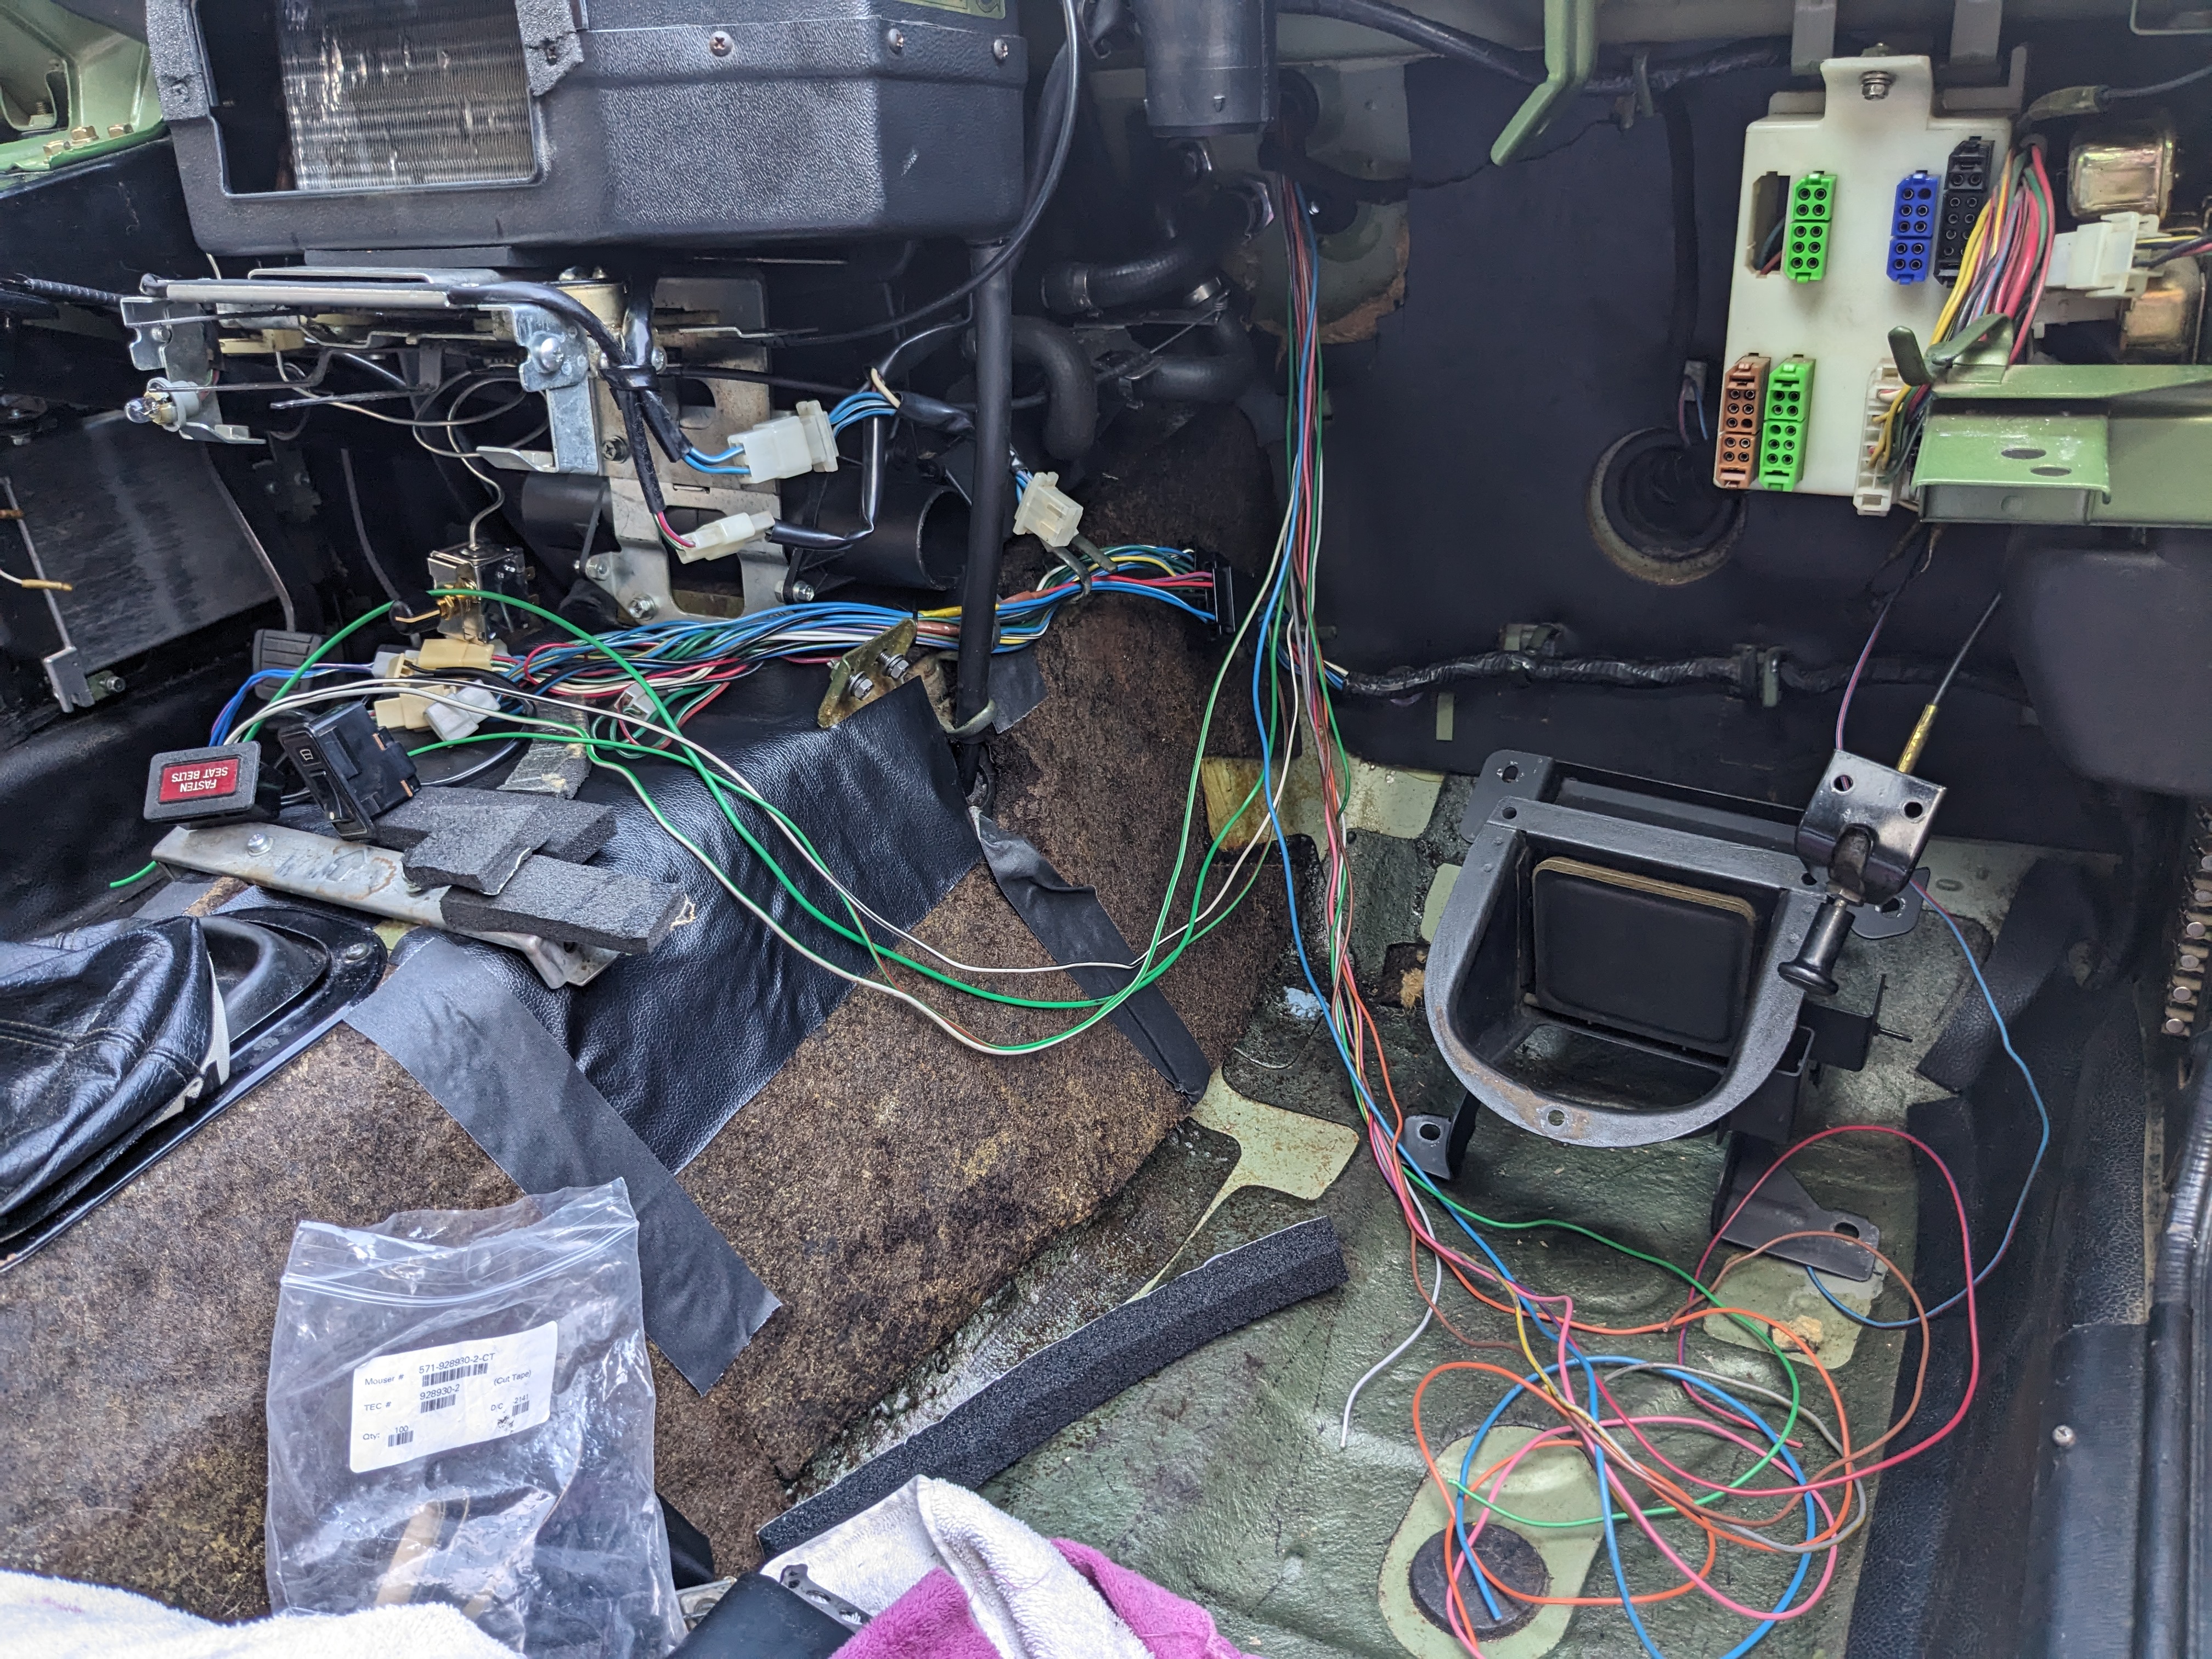
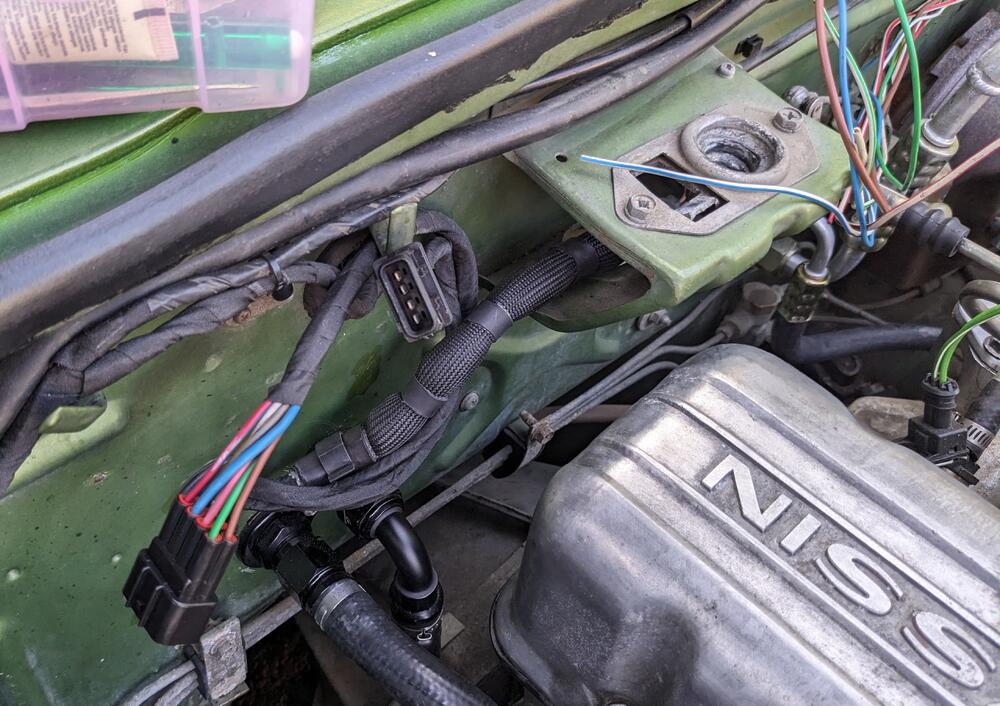
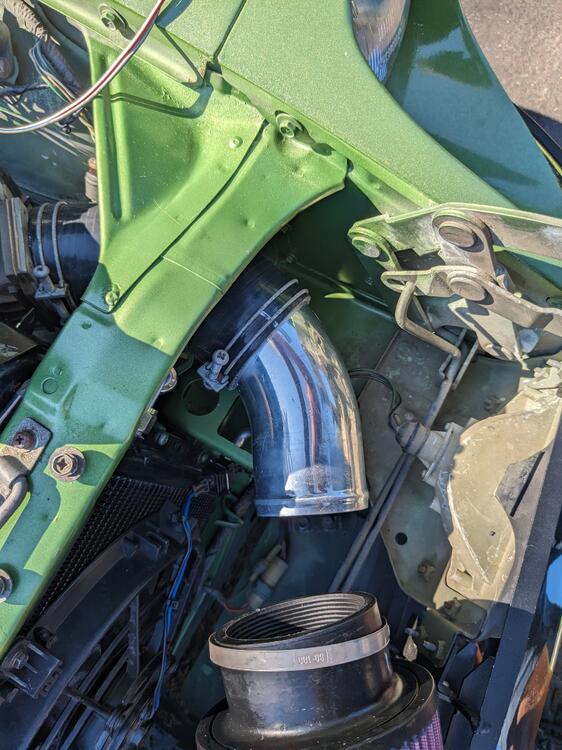
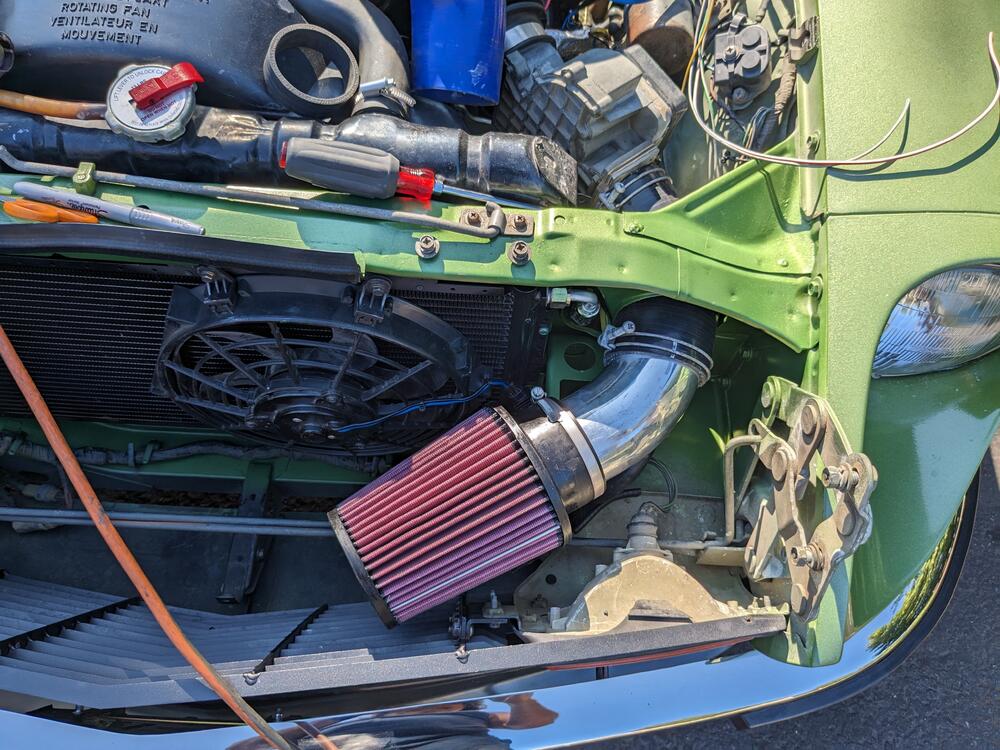
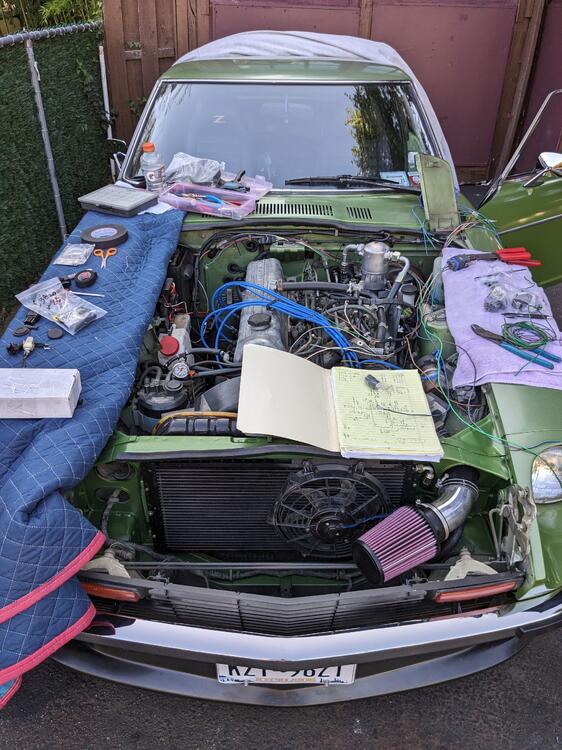
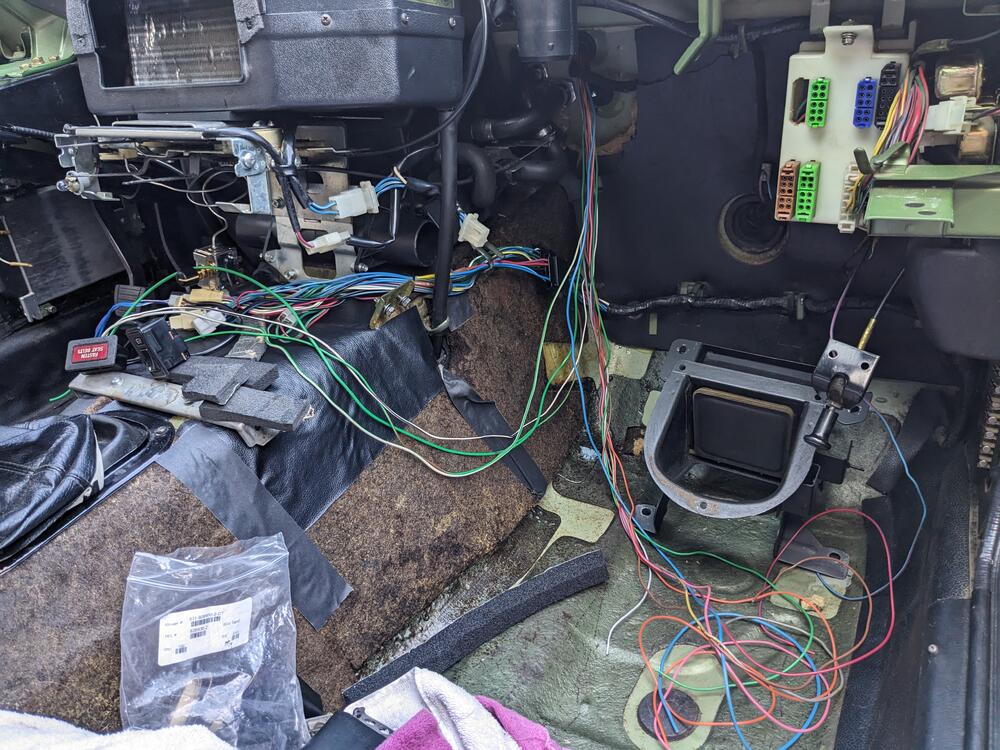
After I worked on the clock this morning, I worked on the AC wiring harness today, in conjunction with the harness needed for the Bosch Constant Idle Speed (CIS) system 2 10 pole connectors (one tucked under the hood catch, for CIS) & one 4 pole. The 4 pole covers the AC control signals. AC cutoff & AC cond. fan relays will go here. The details on the ID tag weren't legible anyway wiring inside. Made sure it doesn't interfere with the heater fan box CIS module will go up here K&N (RU-4650) filter arrived, so I put that in. Required since the AC condenser fan interferes with the stock airbox fitment. I have a plethora of 2.75" & 3" silicone couplers & aluminum pipes from various Volvo projects, so I used a 2.75" - 3" elbow coupler & 3" bend to fit the 3" inlet filter. Made sure the filter surface area far exceeds the demands of the engine displacement at redline (calculator for that) hopefully wrap up the bay side of the wiring tomorrow.


 1 point
 -
Agree, it's not a great seal, if you keep the hatch closed and let the car sit out in the sun it will start to relax over time. I used a Kia Sportage door seal on my the hatch for years and it worked well.1 point
-
1 pointYes - across the I/O board connections - when I connected a 9V battery to test it, I register 9V across the circuit with my multimeter. Another electronics guy said the caps dry out & fail. His suggestion is to first replace the 3 caps on the circuit board. What did you do? EDIT - when I saw your post, I only registered the 2nd half, after your quote. So, yes, I'll do the caps first & go from there.1 point
-
1 pointWell we could work into this in a couple of ways. First option would be to start by shotgun replacing the electrolytic caps (as DaveWM mentioned) and see what happens. Electrolytic caps are known to not last forever. They contain chemicals inside that eventually dry out, or leak out, or sometimes they fail short. In any event, they're a known source of long term issues and may or may not be what's causing the problem with your clock. So I'm certainly not poo-pooing the shotgun approach in this case, it's a valid approach. If that shotgun approach isn't doing it for you, we can get into some specific measurements you can take that might help narrow down the problem. And speaking of which....... When you say you have continuity across the circuit, where are you taking that measurement? If you're taking that measurement across the blue and black wires, then there's a problem. You should not be seeing significant "continuity" across those two wires. So talk some more about that.1 point
-
1 pointmost likely the 10uf or .22uf cap, Easy fix as long as you dont smoke the TINY wires of the coil when messing about with it. That was what it took to get mine going.1 point
-
1 point