Leaderboard


Popular Content
Showing content with the highest reputation on 06/29/2022 in all areas
-
3 pointsWhy not have the machine shop source pistons? They should have the specialized equipment for checking the connecting rods and mounting the pistons.3 points
-
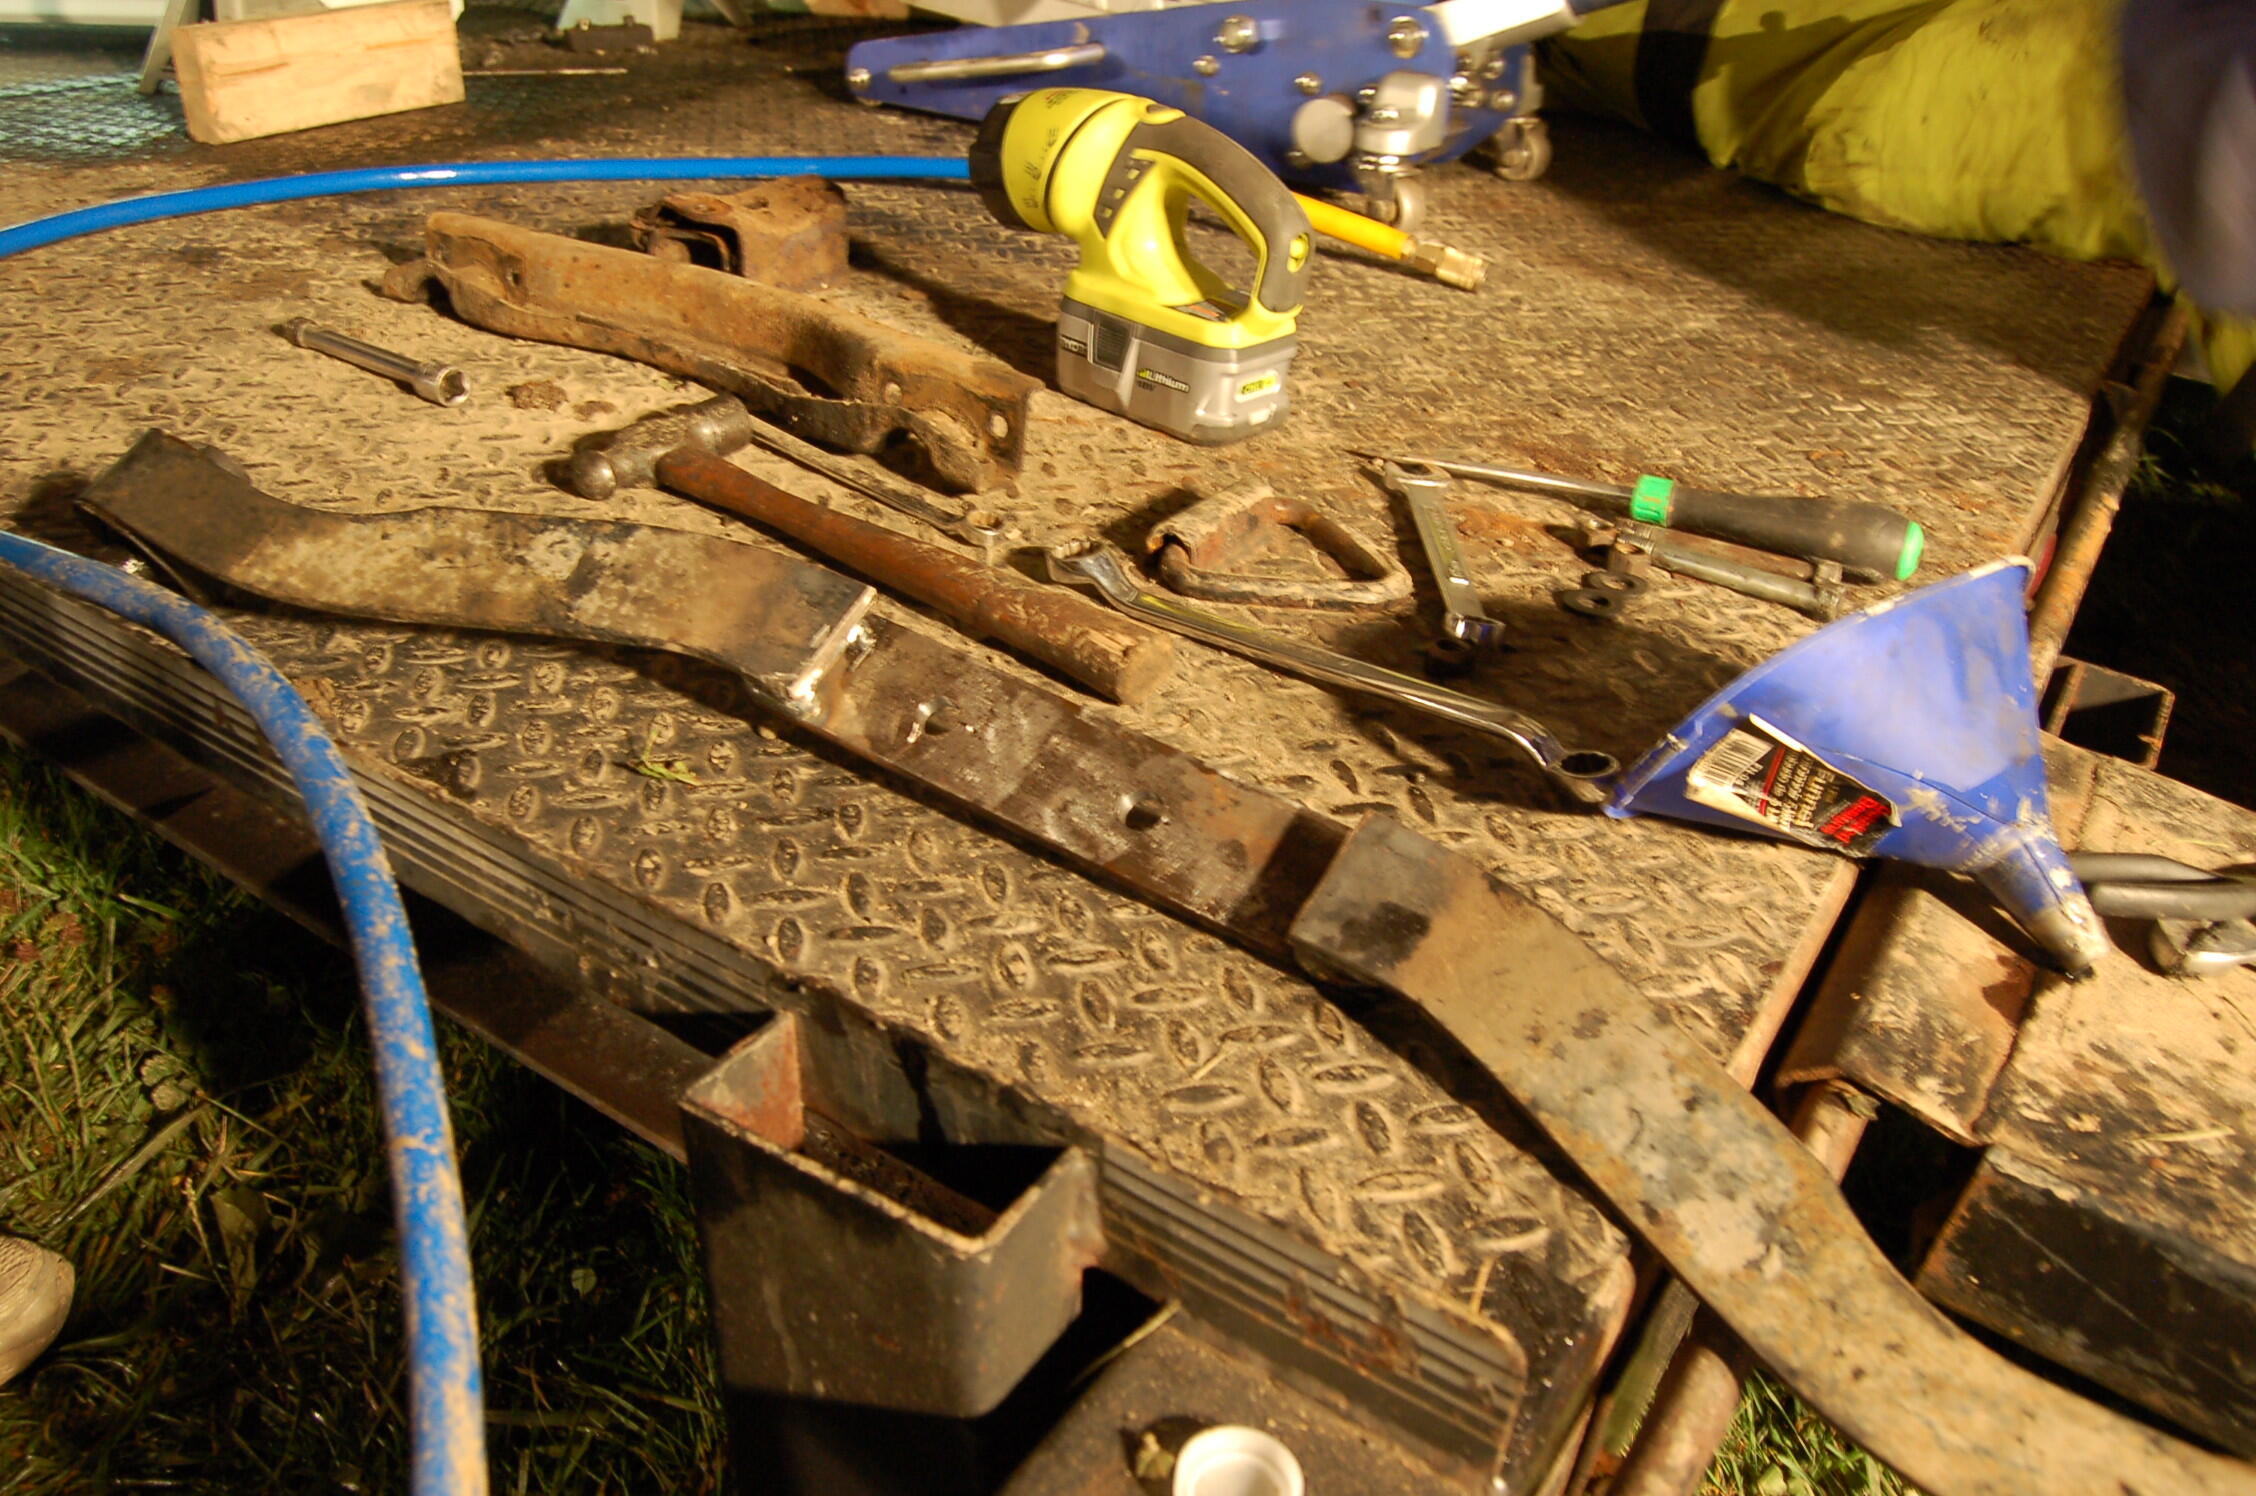
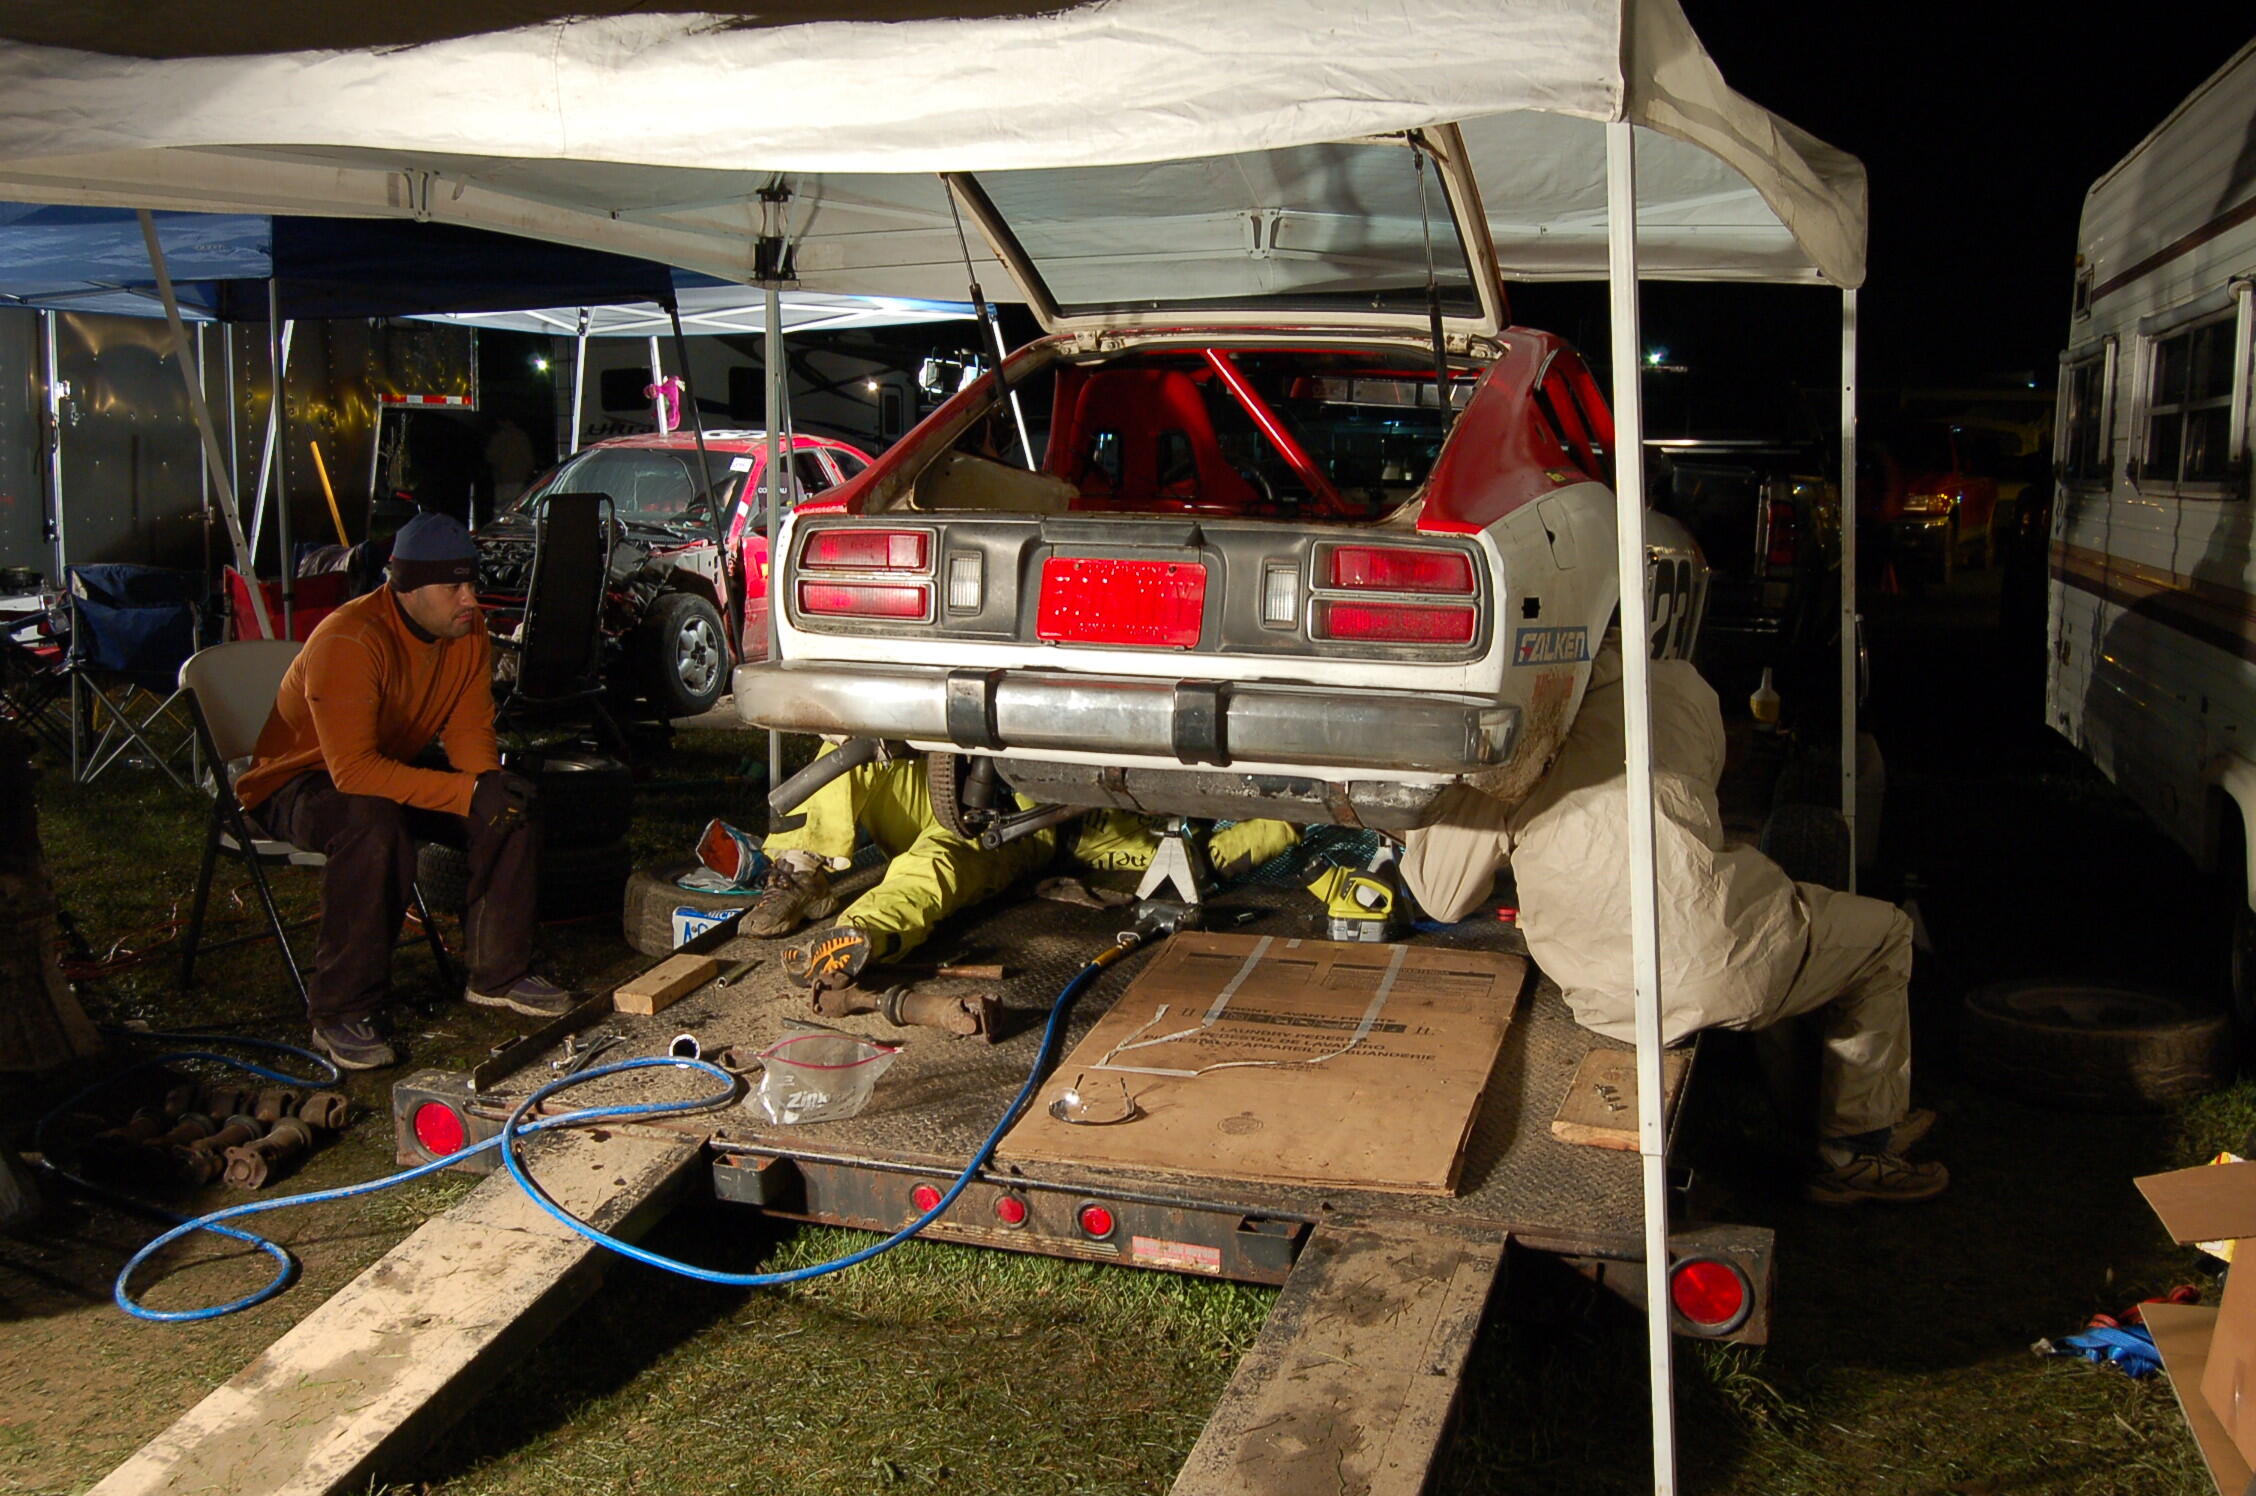
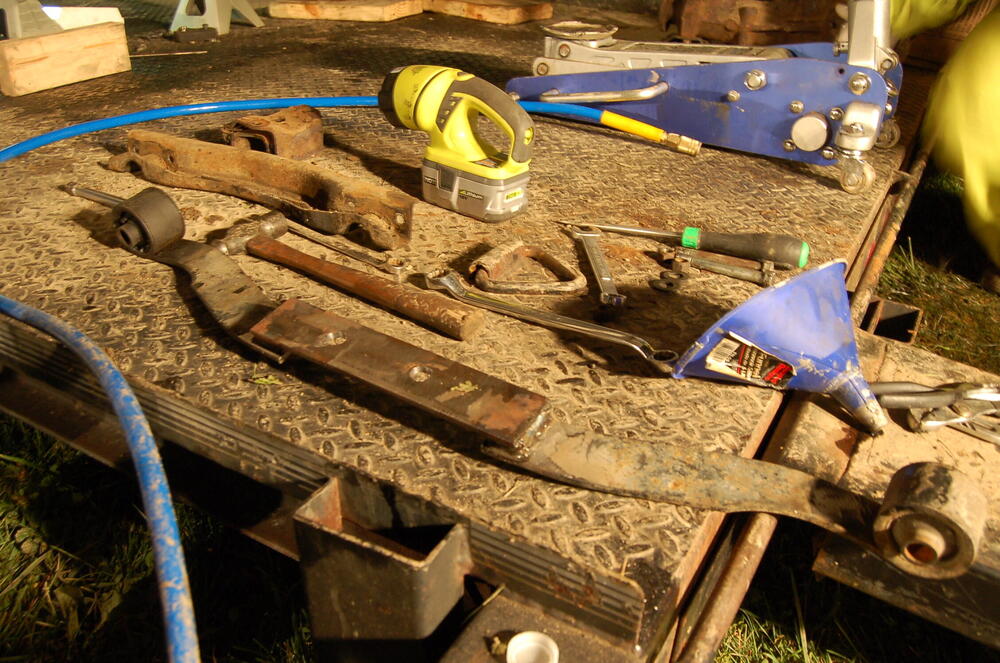
2 pointsI bought my 260Z out of a barn and turned it into an endurance racer over the course of 11 weeks. We had a list of a few hundred things to do before it was finished and we had very little time to get it all done. The night before we left for the race, we had everything crossed off the to-do list except for one item and it came back to bite us in the arse. The first time the car moved under its own power in 20 years was onto the trailer for a 24 hour road race. Six hours into the race, the R180 diff grenaded due to a lack of oil which was the one thing we never got to on the list. The race was over 200 miles away from my house where I had a spare R180, but I'd lose 8 hours just in travel time plus the repair time. My dad lived only one hour away and I still had a lot of Z parts stored there including a R200. The problem was that I had no R200 mustache bar at his place. Again, I did have one hanging on the wall at my house which did me no good at the time. I sent a teammate to my dad's house to retrieve the R200 diff and I got busy pulling the failed R180 from the car. It was 40°, raining and now getting dark. We had the car on an open trailer as the once grass paddock was now 4" deep mud after days and days of steady rain. Once the R200 was on site, we took measurements of the R180 and R200 and made a drawing on an old cardboard box of how we would have to modify the R180 mustache bar to fit an R200 diff. We then walked around the paddock looking for scrap steel and somebody with a welder. By now, it was 1am and a teammate managed to find a guy with a welding truck at the track. We had him weld spacer blocks on either side of the mustache bar to get the depth correct and then weld a plate across the spacers. Once we had that done, we transfer punched the original holes to the new plate. Once we had reference marks, we cut the original center section out of the mustache bar. Finally, we measured over from the punch marks to get the new hole positions since the R200 studs are not in the same left/right location as the R180 studs. Once Marked, we drilled the new holes. This was by far the worst part of the job. The R200 studs are M14, so the holes had to be 5/8" if I remember correctly. Drilling through the spring steel that the welder had proved all but impossible. He burned up drill bit after drill bit. No matter how small the pilot holes, the steel was destroying his bits. After about an hour of drilling, we had a really ugly, but perfectly fitting R200 mustache bar. We fitted the newly fabricated bar and differential and we got back on track at 8am after working all night. We finished the last four hours of the race. The fabricated bar worked perfectly and we actually left it in place for the next race before we swapped a real bar into the car.

 2 points
 -
wow, there is a LOT of discussion in there. Tony D states more holes open the better , think that was the gist of it. I maybe getting ahead of myself here, will post up some videos of what I have and have found out. later. Good news is the bores look great, and the head has less than .003 and that is only at the very end, not the middle. I still have to clean up the head surface, so that may even be false as I may have some residue left on that side. I did a diag check full length was about .002. Using gasket remover and plastic razors for the head, coming out well. other issues, the rust accumulation is horrific, I mean like mud like and a lot of it. the block also had one head bolt on the manifold side that fought me all the way out, the rest had nice break away feel. the one that was trouble as the rear dowel hole bolt. Lots of rust. I am pretty sure its a blind hole, so not sure how water could have gotten in there. There was evidence of a brown rust water stain on the side of the block right by this same bolt. Also the fire ring did not have the nice clean space between it and this same area. My guess is the exhaust gases were pushing past the ring and opening up a path from the water jacket, bolt hole, and side of head along the bottom of the gasket. that is what I think i was seeing. I bought a thread chaser to try and fix the bolt hole, have a super scraper on the way for the block. I am going to have to pull the engine of the test run stand and either get a shop to hot tank it, if they still do that, or I will pull the freeze plugs and see how much mud I can dig out.2 points
-
There was a whole big conversation on Hybridz years ago about head gaskets and holes. The end impression that I got was that not all of the holes were meant to be open. You'd probably have to see factory original gaskets to know for sure what the engineers intended. The head design in general has uneven cooling as I understand things. Cylinders 5 and 6 on the turbo engines are the ones that detonate most often. People took extensive measures to try to improve the cooling, drilling in to the passages and adding a manifold to control coolant flow. The funny thing was, as I recall, that the guys that got it evened out would just get detonation on all 6 cylinders at the same time.2 points
-
I'm tracking down sources of rear end noise in my early '74 260Z. So far I identified a loose stabilization bar link. I also noticed while the car is in motion that the threaded rod protruding out of the top of the right rear strut has some minor movement associated with it while the driver's side one does not move. The three bolts securing the top of the strut are properly tightened. As far as I can tell, the strut's upper end is held in place under spring tension. Is there anything I can (or should) do to keep it from moving around? Note that the struts and springs were replaced not too long ago but by the same monkey that was riding around in the trunk.
 1 point
 -
1 pointI believe we finished 102nd out of 120. We did not want a DNF so it was all worth it.1 point
-
sounds good to me CO. Well I decided to just remove the engine from the test stand, will drain the oil and water (with head off), move on to the freeze plugs, and then decide on hot tank or DIY block clean/de rust. There is still about 1" of rust mud (poke s stick down the back water hole in the top of the block). Seems pointless to pursue continued work on the test stand, even if it passed the coolant test I would just tear it down afterward due to the rust issue. I will get the factory gasket, have that ready to go.1 point
-
Yellow - connects to the temp sender Black - goes from the distributor to coil negative Green/white - from ballast resistor to tachometer Black/white - from key switch (ignition power) to ballast resistor Black/white with shroud - from tachometer to coil positive Black/yellow & black - washer motor Green - typically horn Red/black - reverse light switch on transmission Black/yellow - neutral safety switch for solenoid power The black was probably a ground - maybe the chassis ground? Black/yellow - solenoid power Yellow/green - not sure why this would be alone. It could be associated with the intermittent wiper relay. Page BE-2 does show the Y/G wire as a pin on a 3 wire connector. The mystery is that BE-2 shows 2 Y/G wires for the engine harness. One is on the blue connector, and the other is on the white connector. However, I only can find the destination of one Y/G wire at the 3 wire connector.1 point
-
So i think that you should test it in the middle and at the ends, if there is no movement on the ends there is no need to make it tighter, if you have slop also at the ends it means there is room for readjustment. (because there is always more slop in the middle due to use.) Never had to do this myself.. I always tell people NEVER EVER turn the wheels when they are not rolling!!! It distroys the steering rack, ALWAYS turn the steeringwheel when the car is rolling, i think that's very important! (This even is more important with wide tires!) ( I often see people that ... don't understand anything of friction ... drive of backwards of my driveway, turn the wheels while standing still AAARRGGHHH!!! and drive off.... grrr... 99% of those people don't understand anything of the way things work.. 🙈 )1 point
-
Here are a couple of threads on the topic just to fill it out. One talks about head gaskets for sure. https://forums.hybridz.org/topic/59029-head-cooling-on-cylinder-5-solutions/#comments https://forums.hybridz.org/topic/98875-90mm-gasket-coolant-holes/1 point
-
1 pointYes, getting past paint is a huge hurdle. It's taken me about 11 years to get here 😮1 point
-
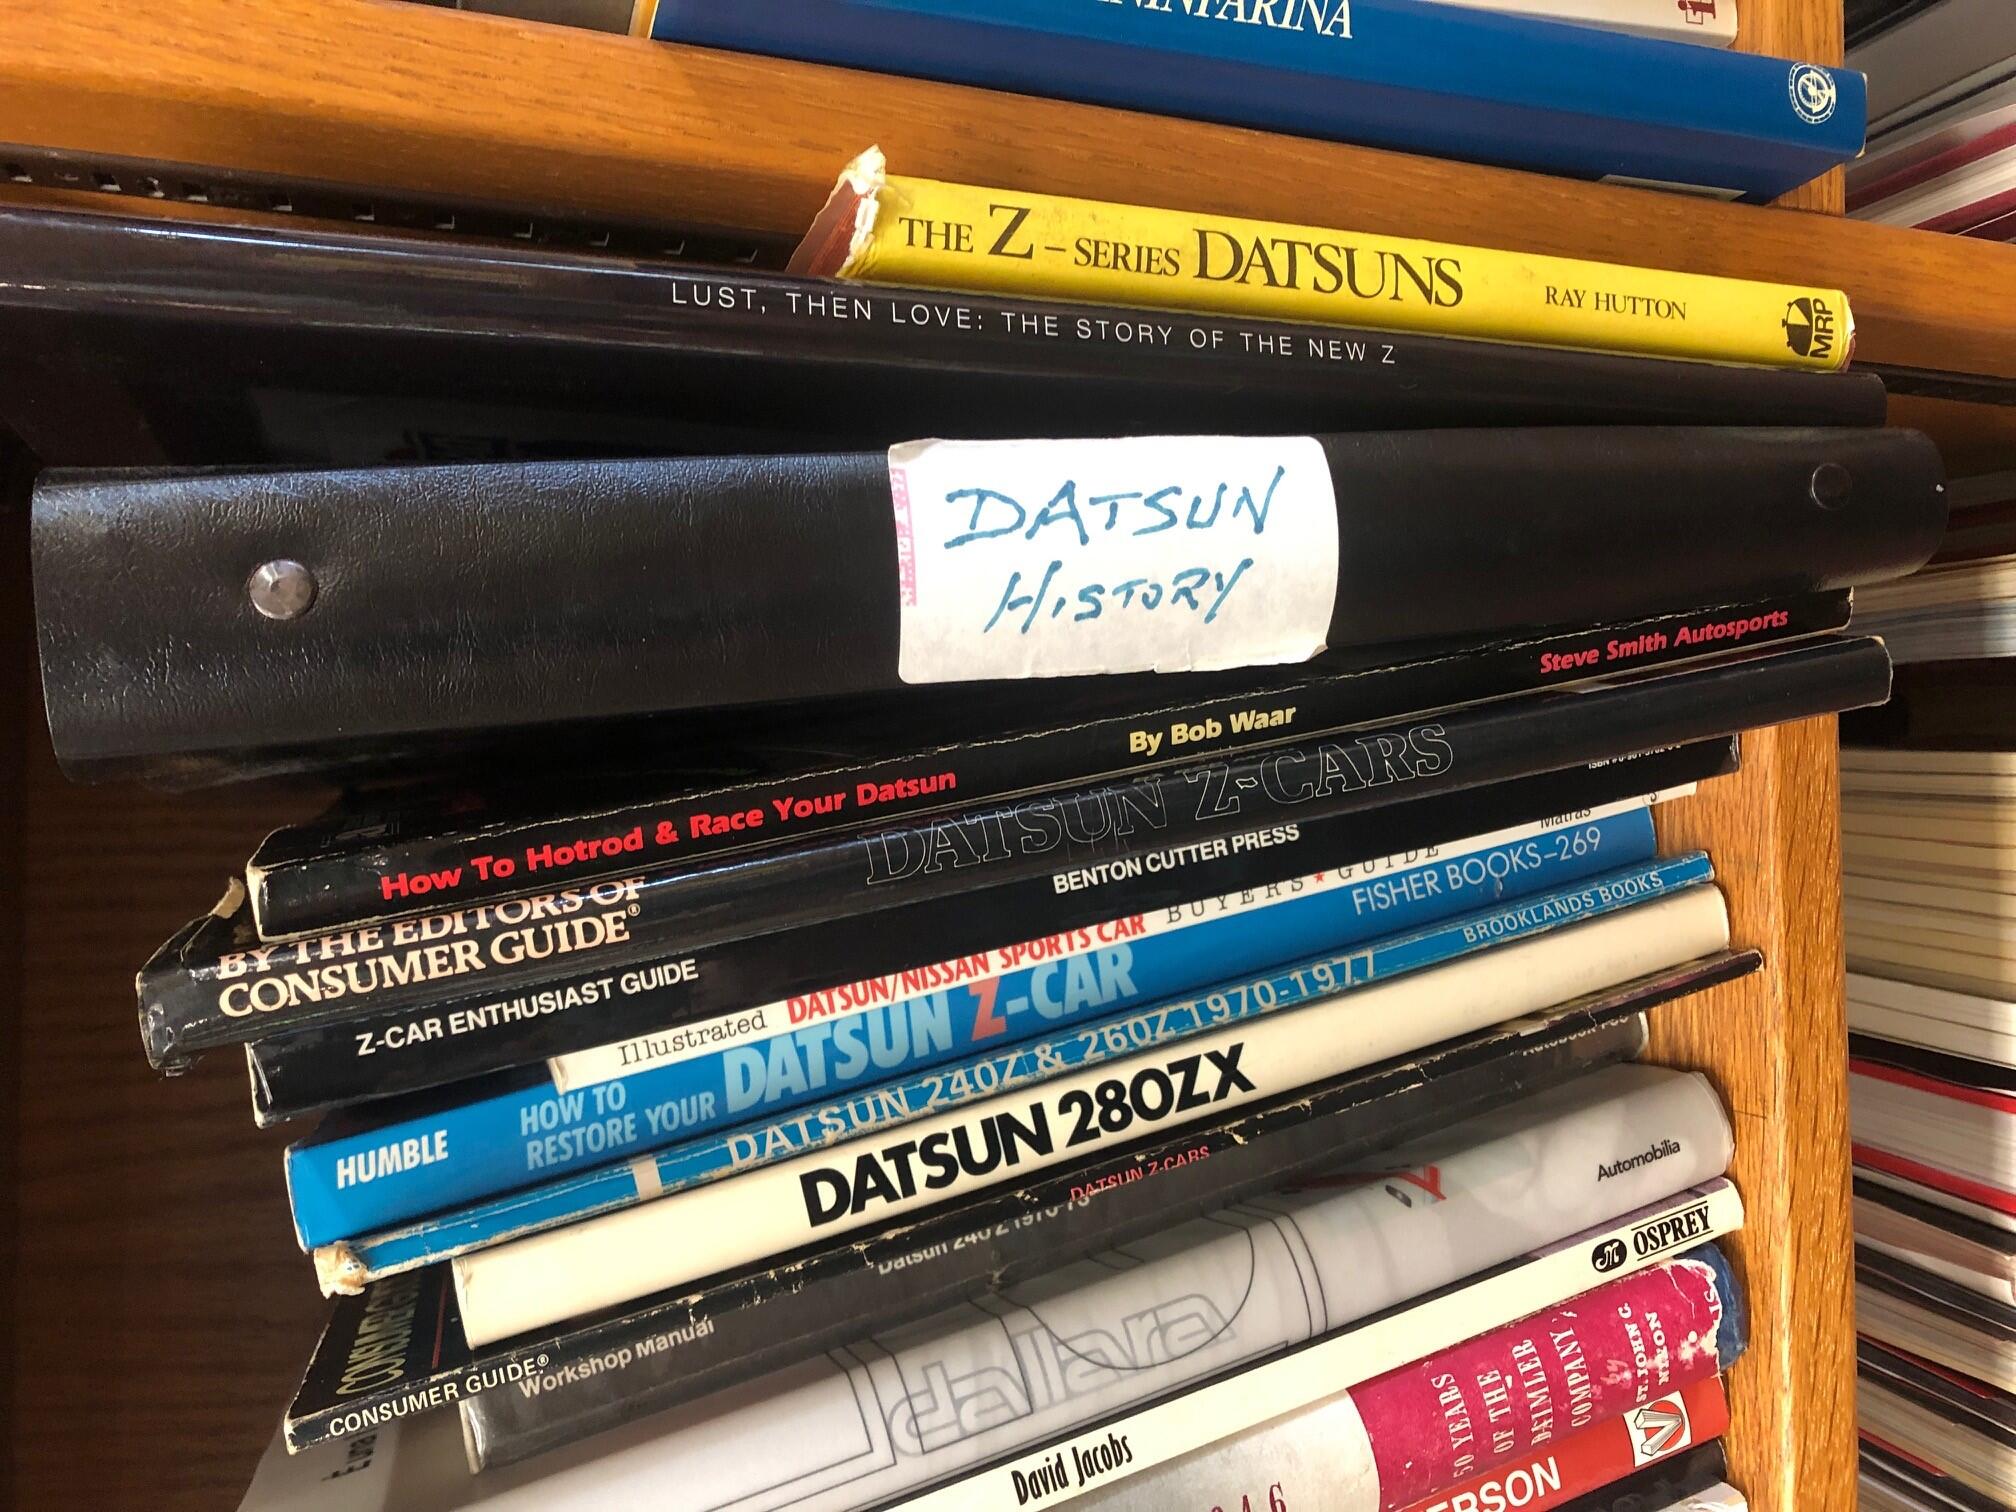
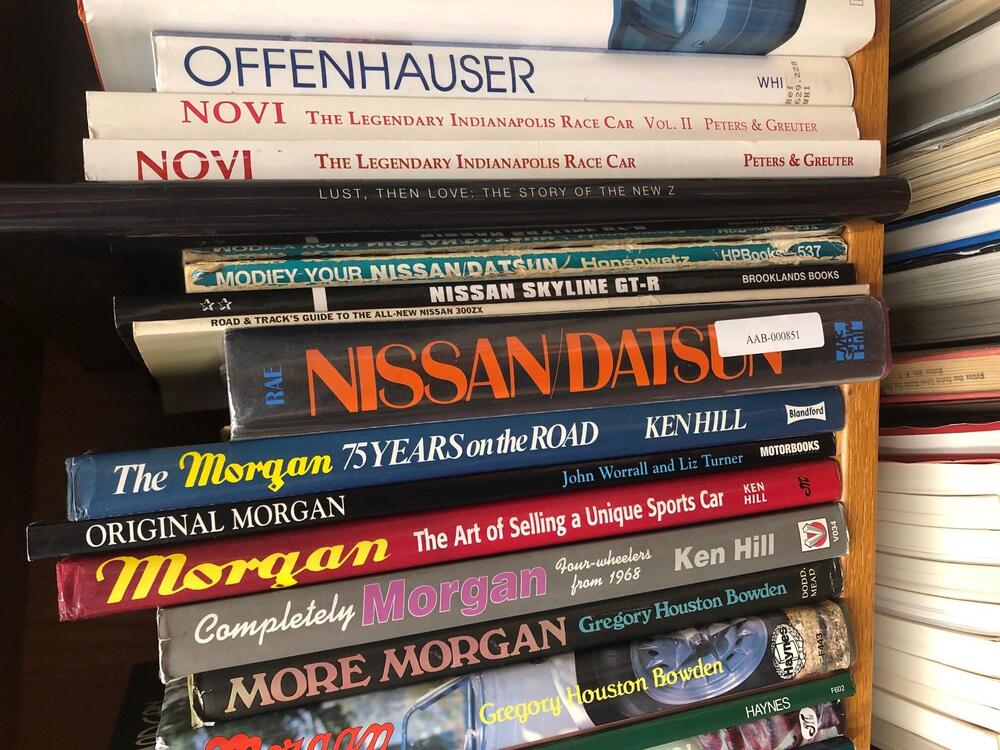
I recently visited the International Motor Racing Research Center (IMRRC) in Watkins Glen, NY (https://www.racingarchives.org/). Unfortunately, their collection of Datsun/Nissan information is quite limited. (I have attached photos of the titles currently in the archives.) Should you (or your family) decide to donate your Datsun/Nissan literature, please consider IMRRC a worthy caretaker of historical racing (or other) publications. Keith
 1 point
 -
1 point
-
1 pointYes I have done both Mart... It's not tape, it's vulancized rubber tape. It's pretty close to the metal battery hold down frame, I don't want anything exposed. Besides it helps with keeping the oxidation away. This lasted maybe 7 years or so, long enough till next time. lol why ? The battery clamp is still good, no need to replace it :P1 point
-
1 pointI'll try to start blocking this weekend. We'll see how it blocks out. If it blocks out ok, it could be yellow in 3 weeks or so probably1 point