Leaderboard
-
Patcon
 Subscriber
 2Points11,142Posts
 -

the_tool_man
Free Member2Points223Posts -
SJZ
Free Member1Points43Posts -

siteunseen
Free Member1Points15,115Posts


Popular Content
Showing content with the highest reputation on 06/23/2022 in all areas
-
Evaporust FTW. It does not remove material like acid would.2 points
-
2 pointsPistons normally come with wrist pins either press in or fully floating. If they're press in you should have the machine shop install the rods. They have a special oven to heat the rod so the pin presses on easily2 points
-
It's a coil (much like the filament of an incandescent light bulb in this case - the filament itself doesn't actually care which way the electricity flows) so it'll work as long as one side is battery voltage and the other side ground. You should be able to see it work when it gets voltage if the hoses are disconnected. You can look through the hose connections and see the shuttle. It should be mostly open when it's cold and has no voltage. Once it has voltage, the coil will heat the bi-metal strip and cause it to bend, which moves the shuttle slowly until it closes the port. It takes a couple of minutes.1 point
-
I've always had good results on aluminum and most other metal with lacquer thinner. 6 Z pistons fit perfect in the bottom of a five gallon bucket. Cover with the thinner and put a lid on, it evaporates pretty quick and stinks too, after a few days I blow them off with my air compressor. They look like new. A few years ago it was $9.99 a gallon at Lowe's, now it's $25.1 point
-
1 pointThe math is correct. That's about all that can be gleaned from your post. You'll want to match the pistons to the heads, not the block, to get the desired CR. The L28 was used for small and large combustion chamber heads, the pistons were changed to achieve the desired CR.1 point
-
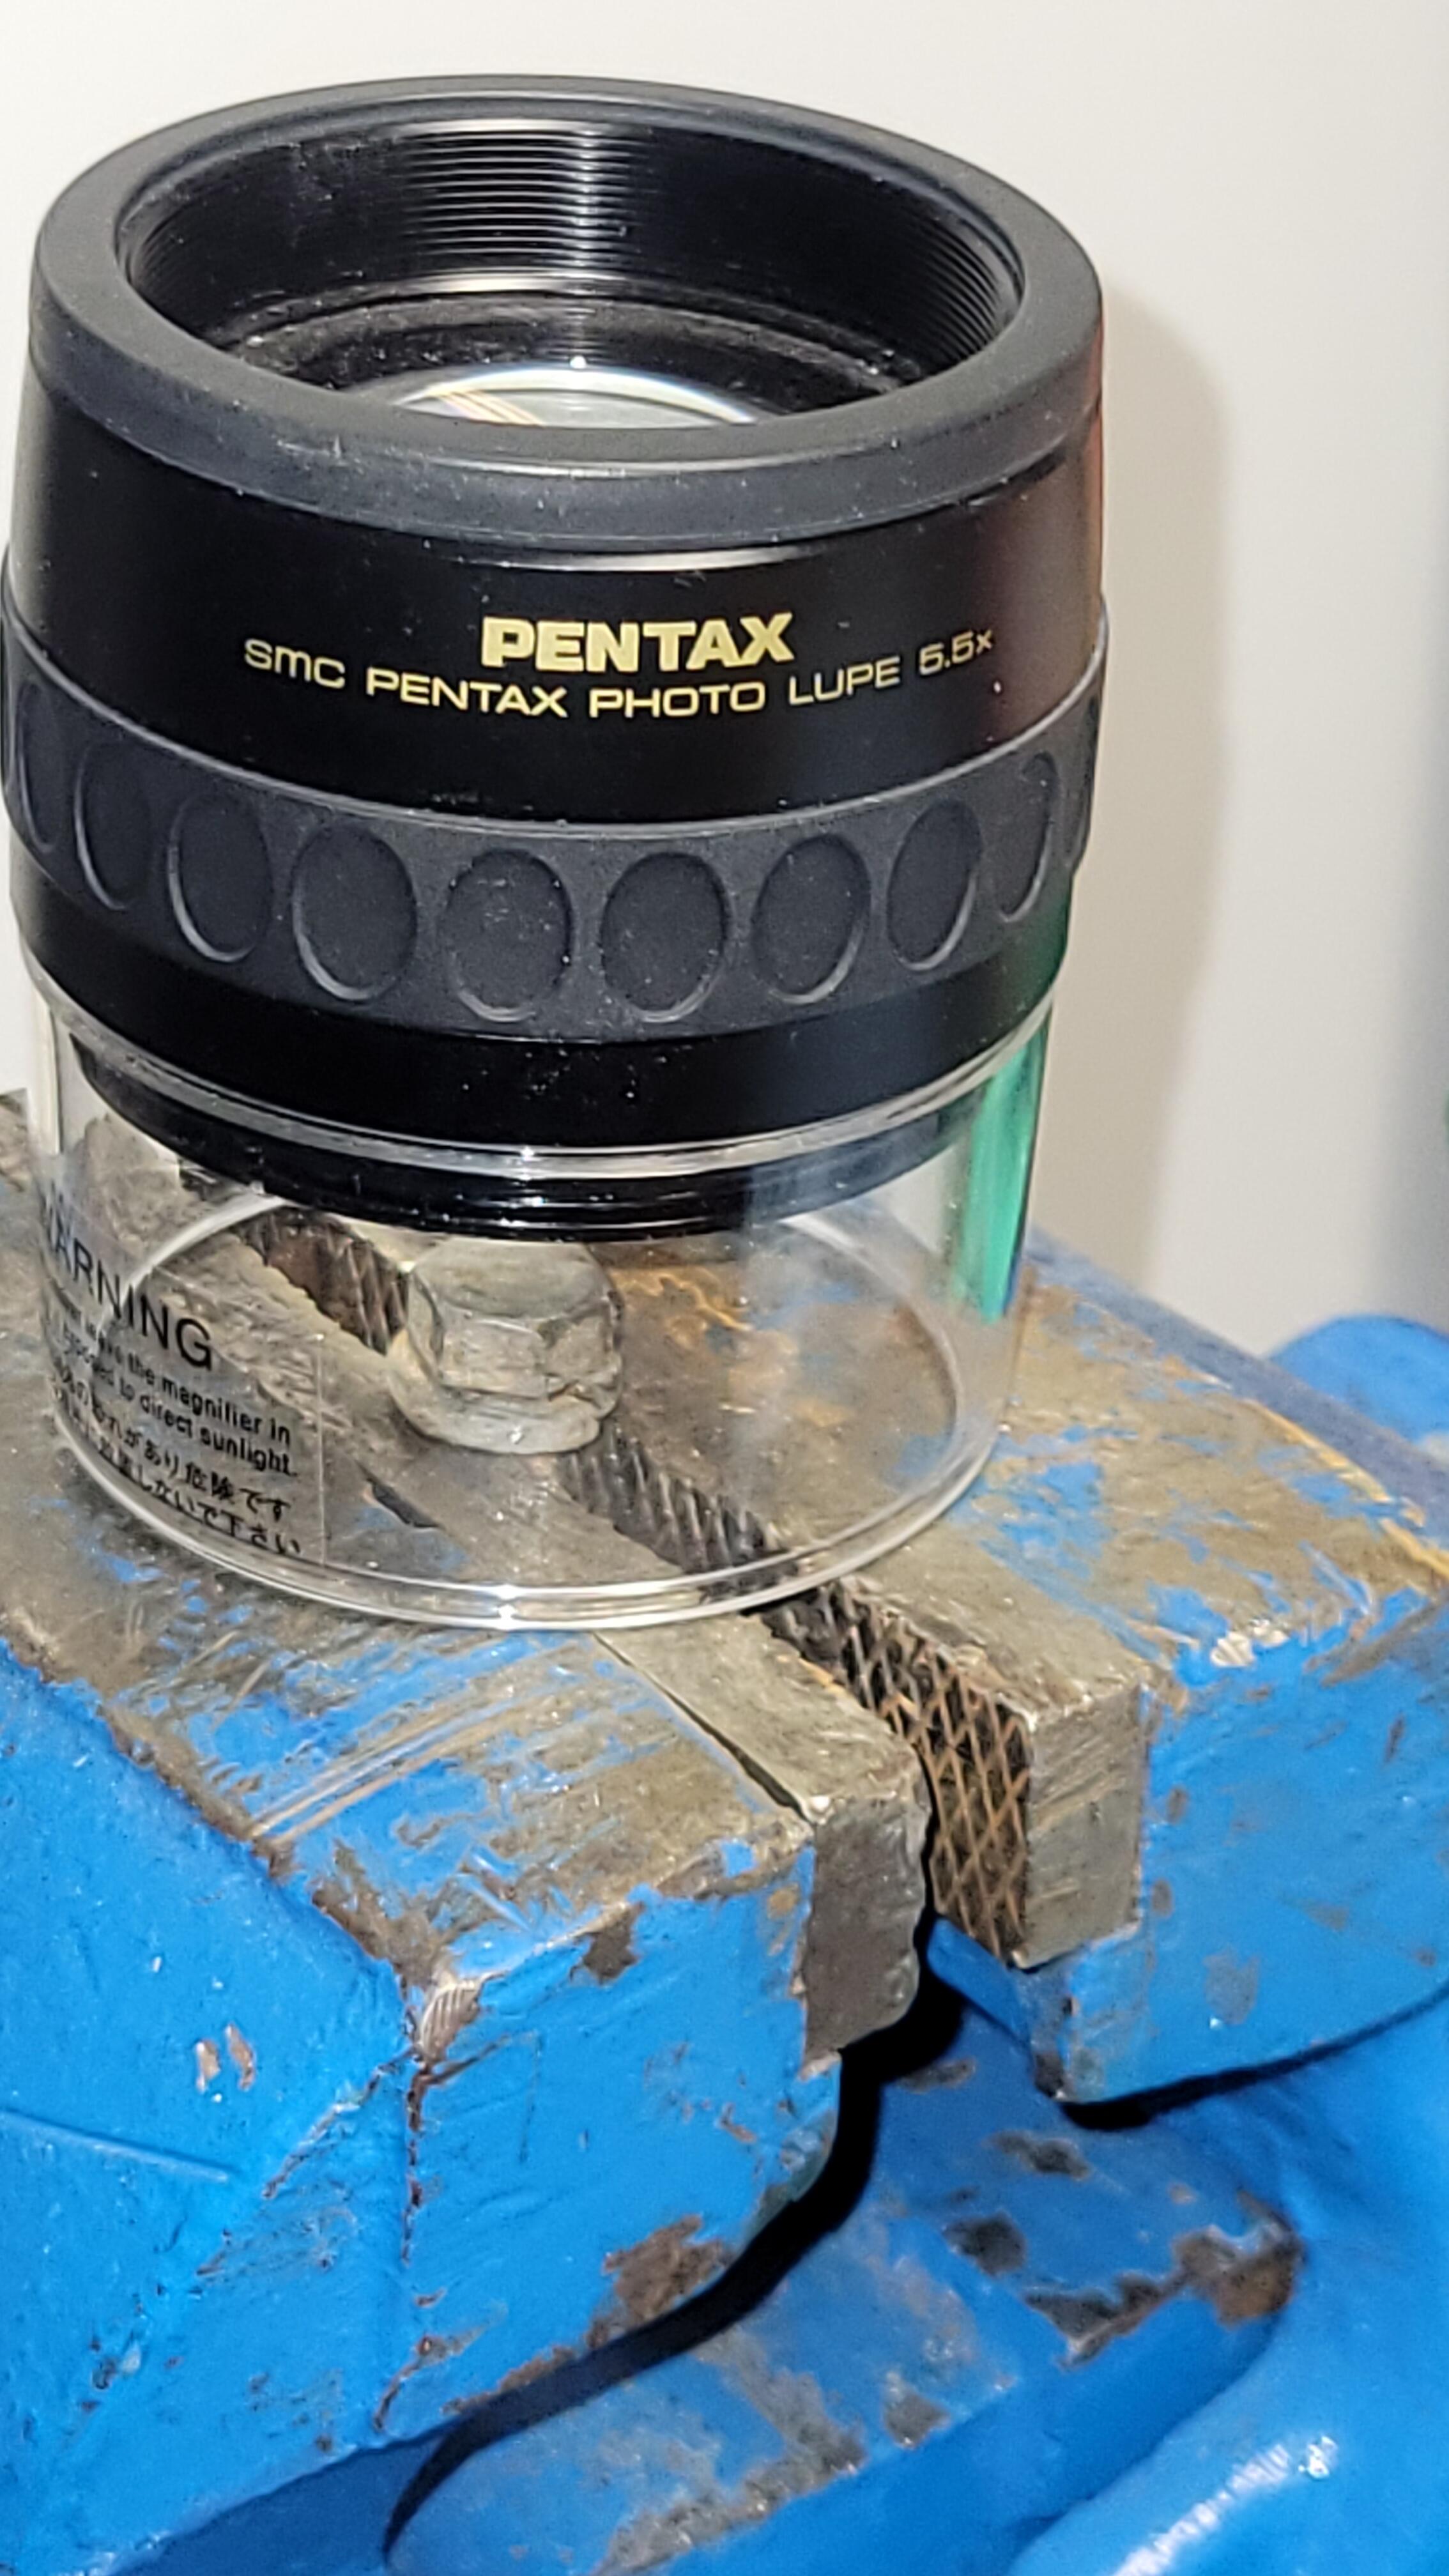
On mine I don't see any markings on the head of that bolt, even using a 5.5X loupe. The short bolt is a recessed hex head type with "4" on it.
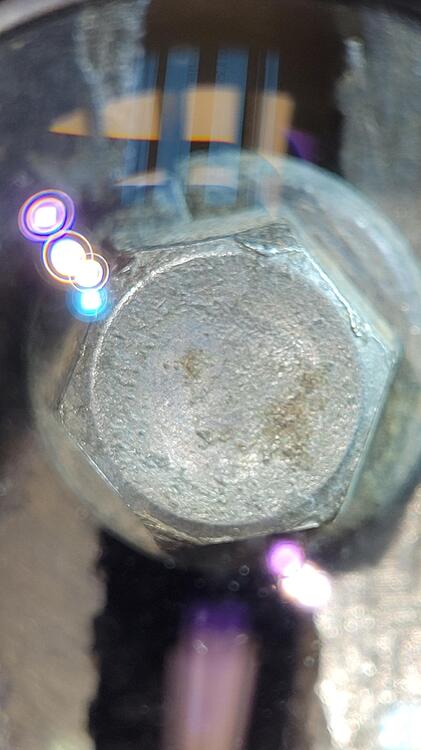
 1 point
 -
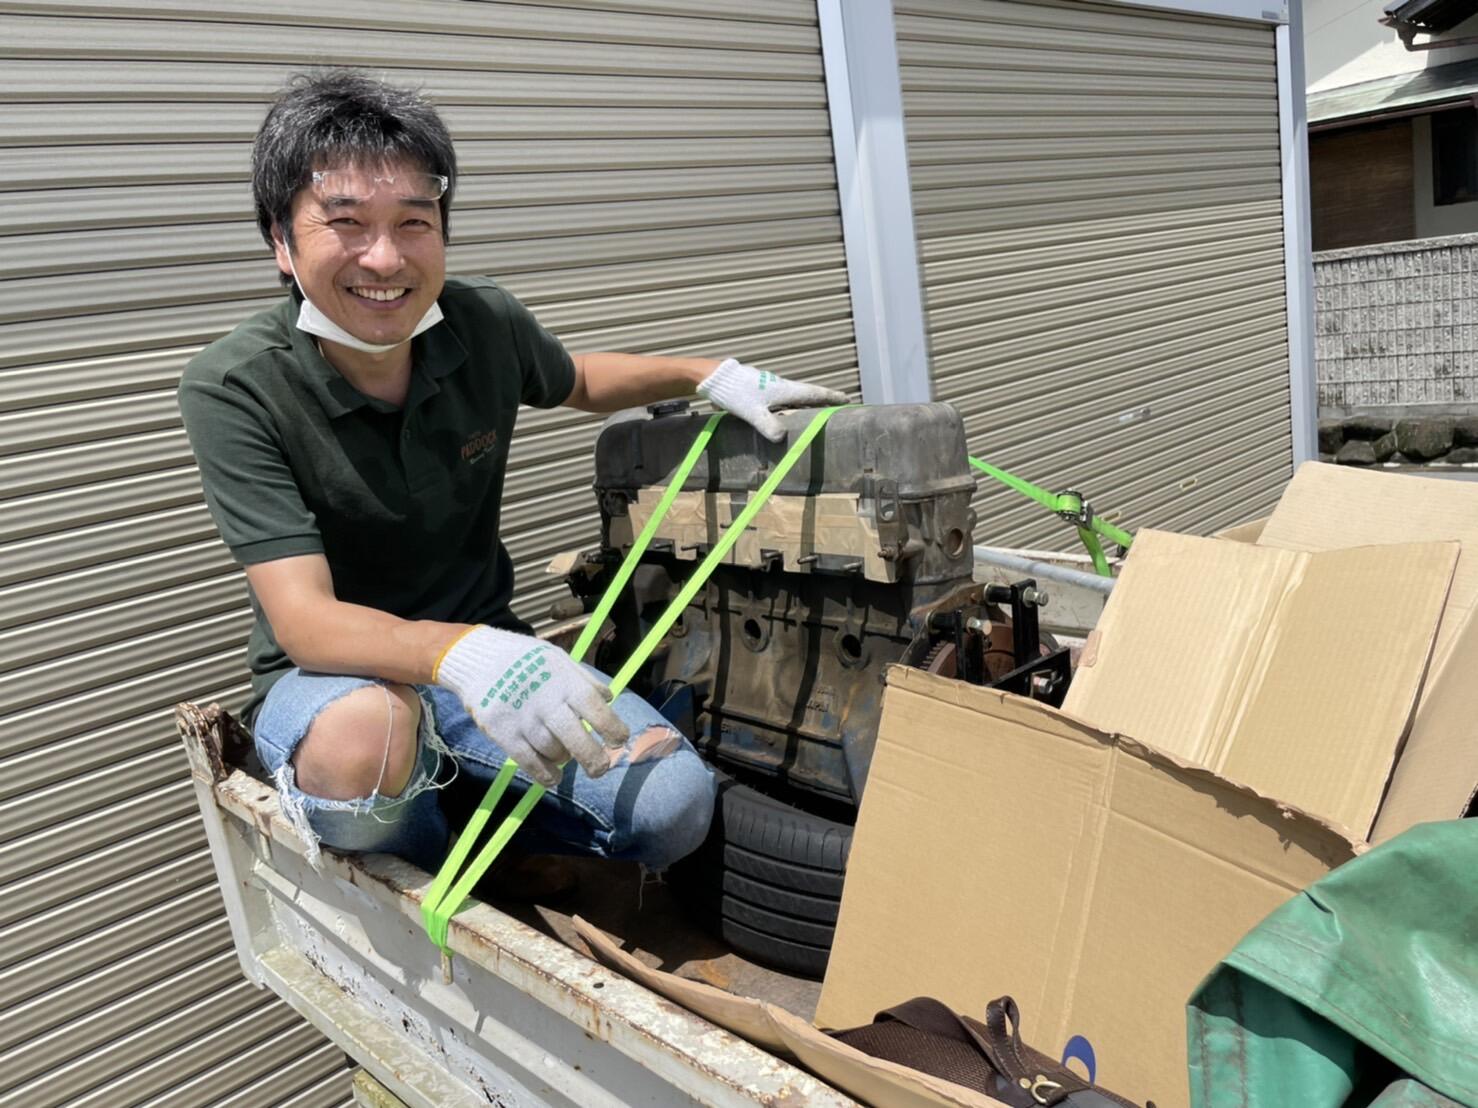
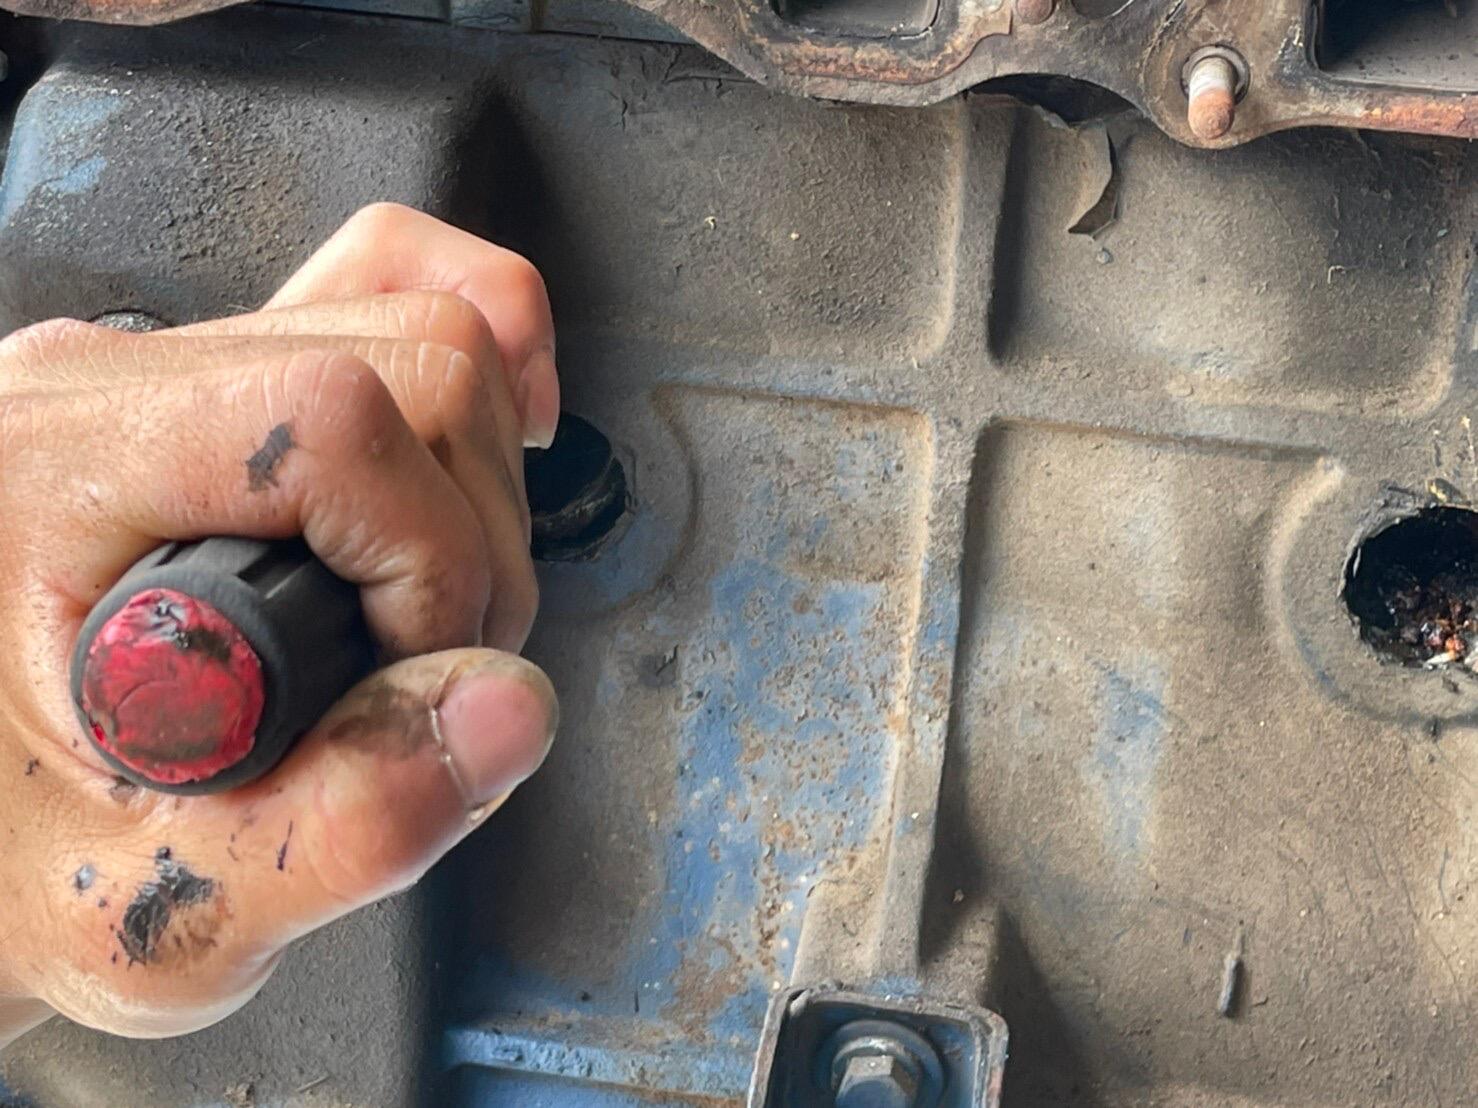
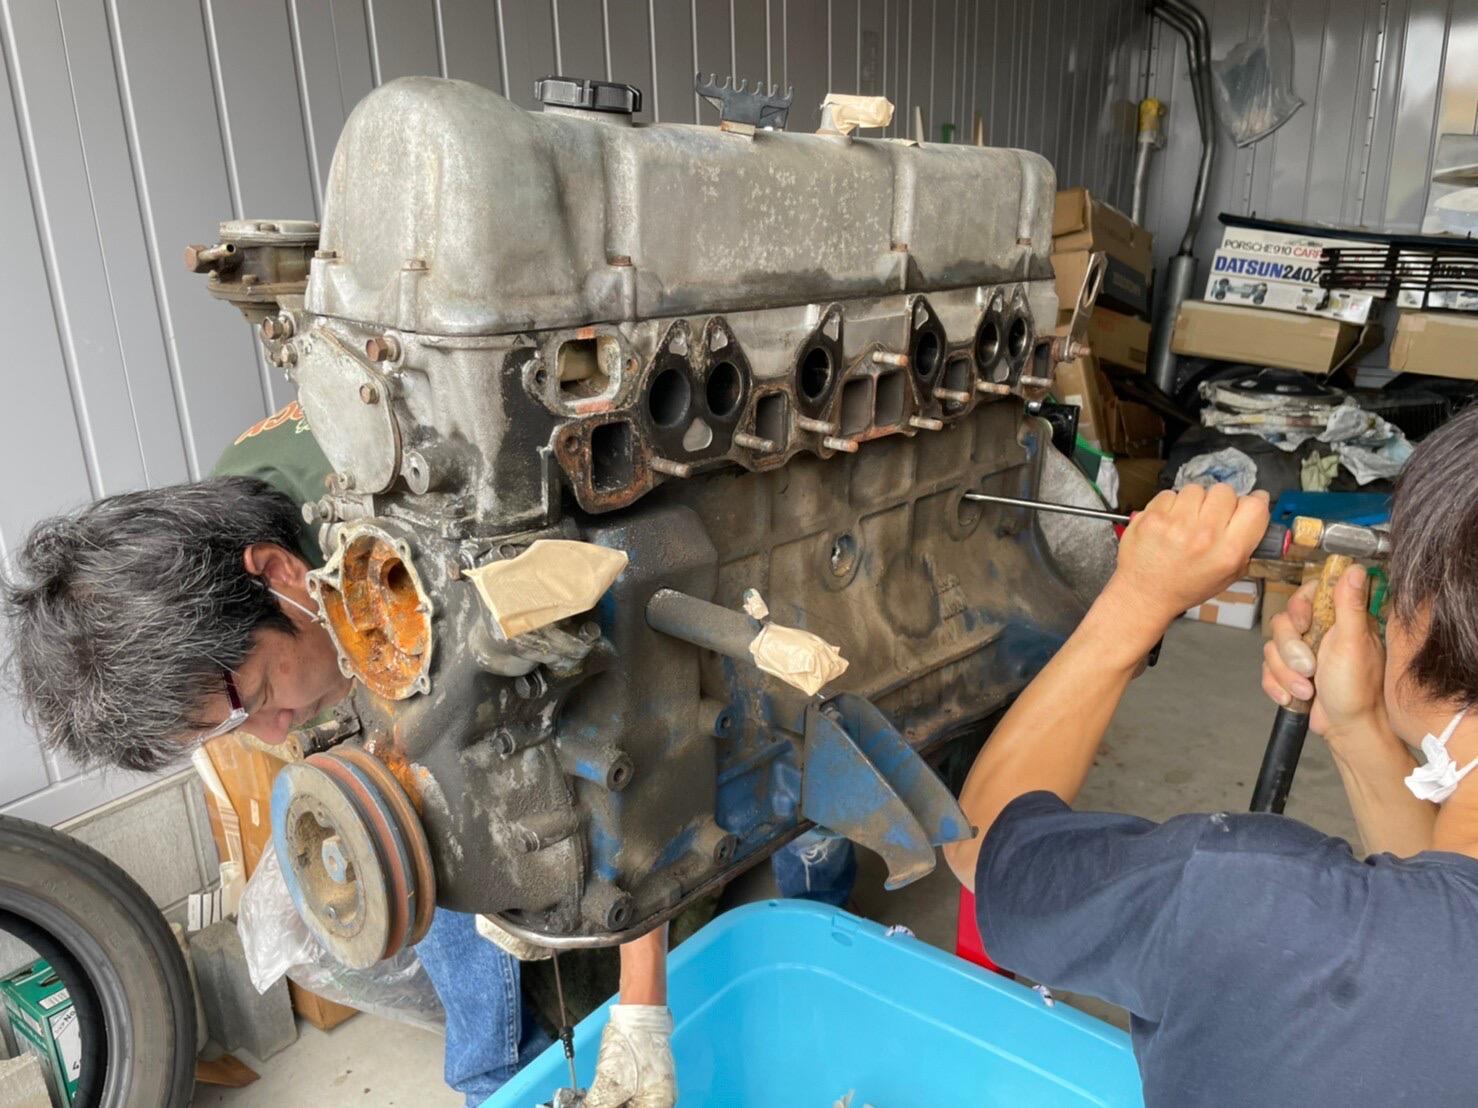
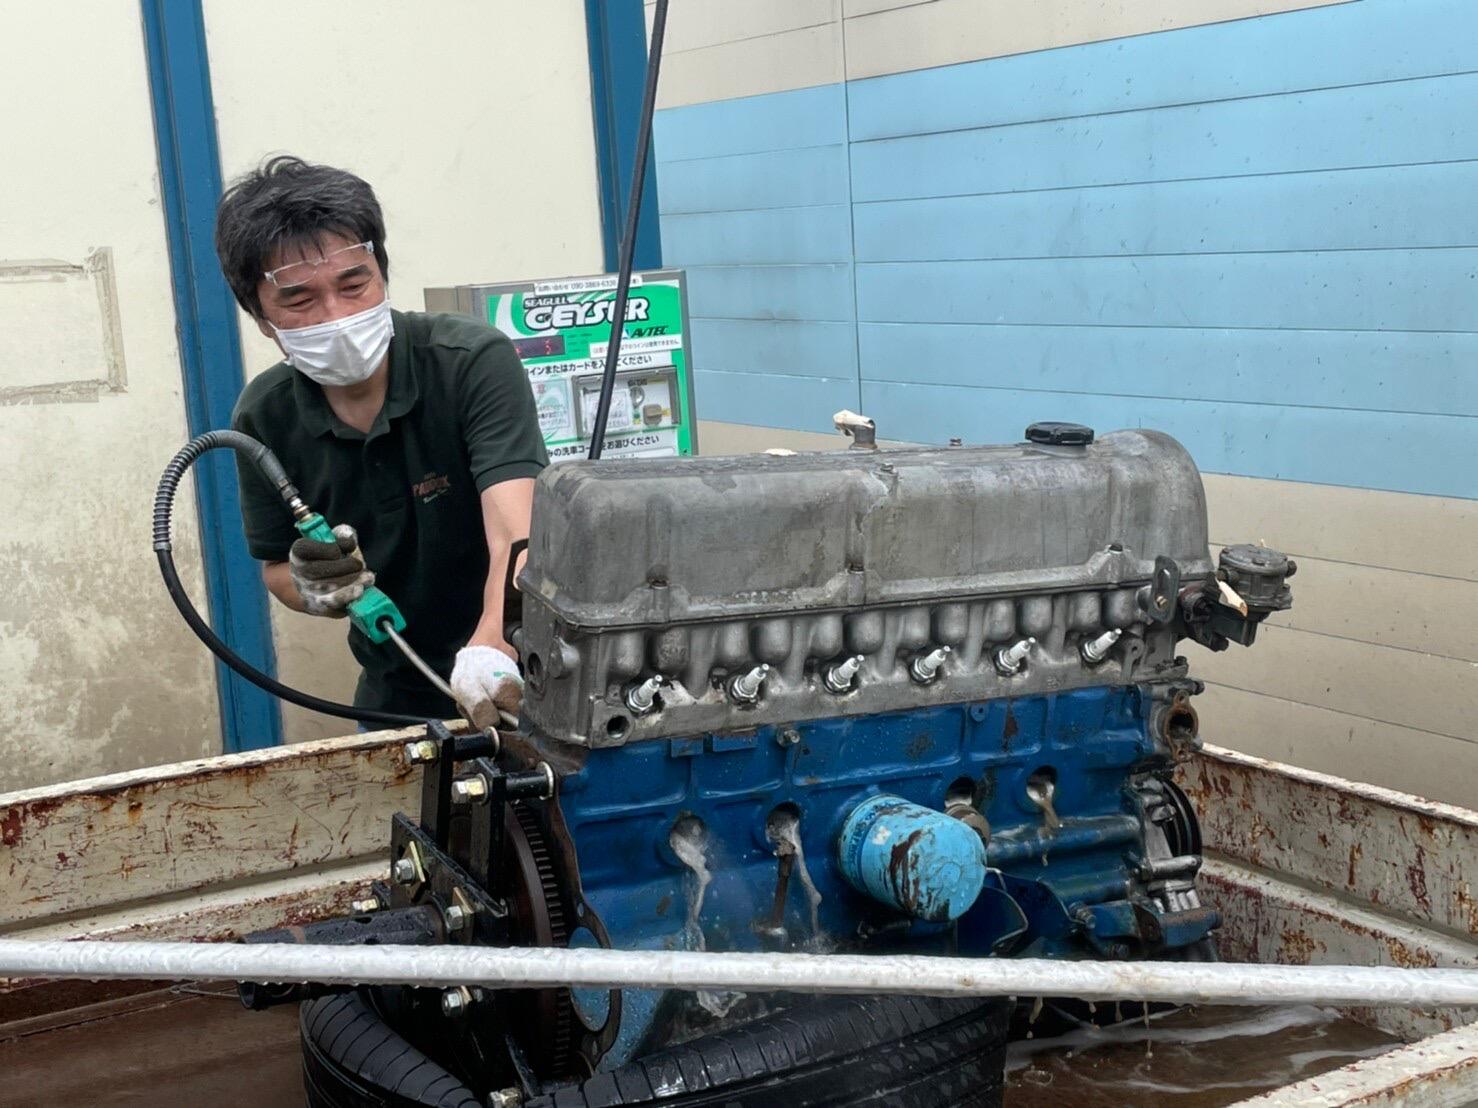
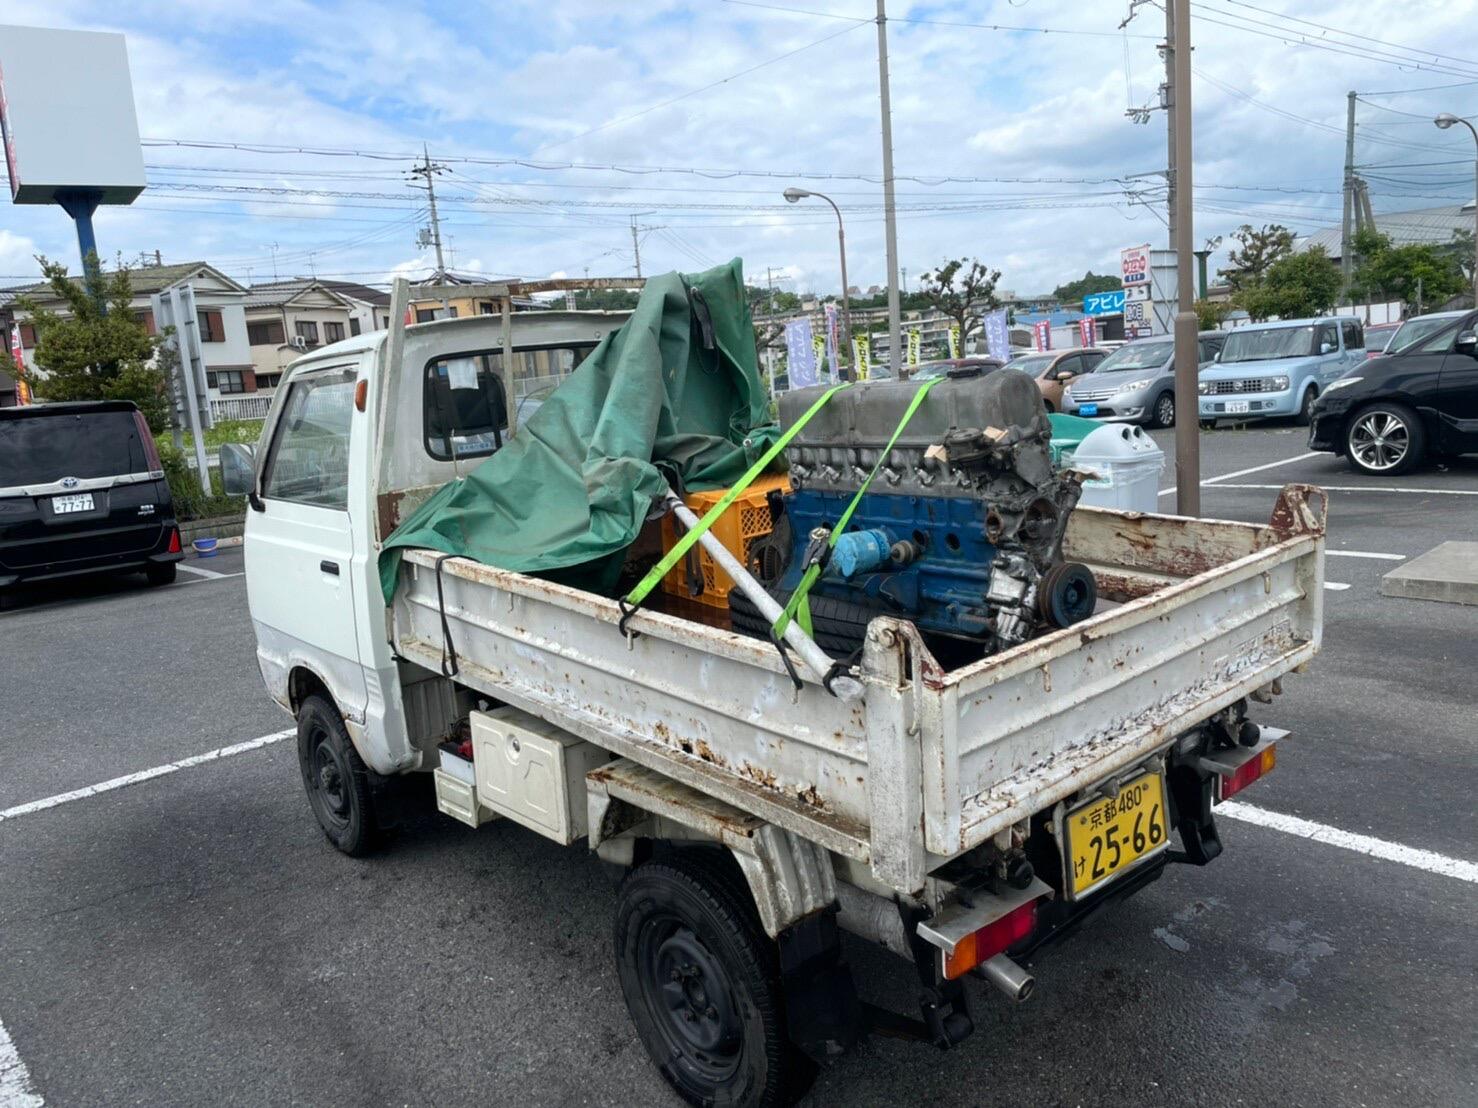
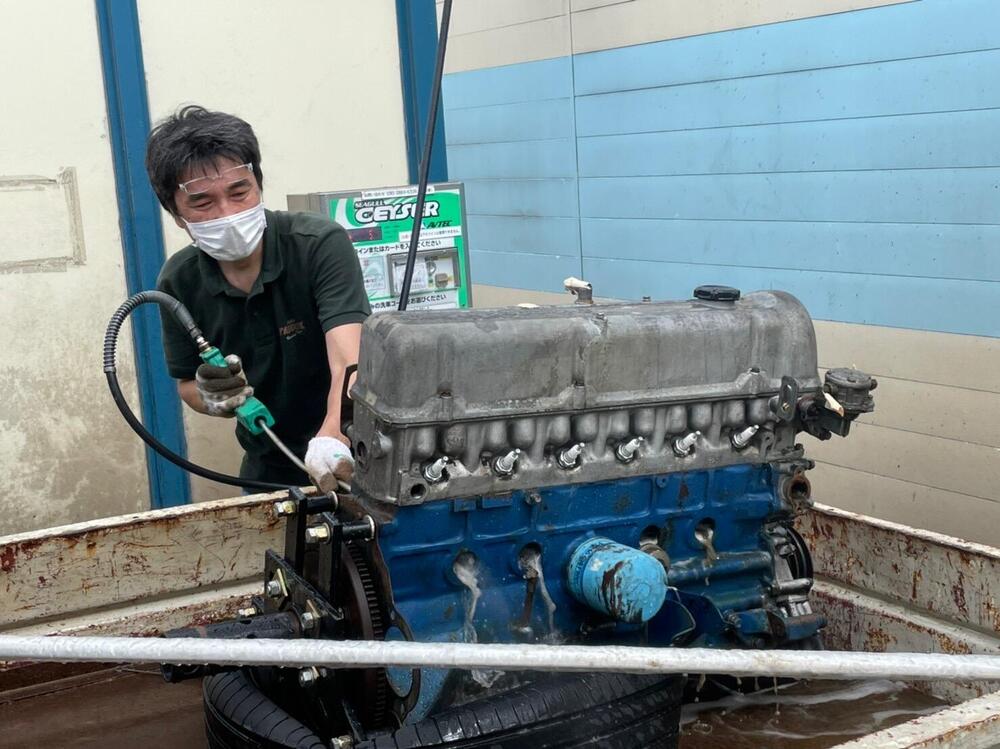
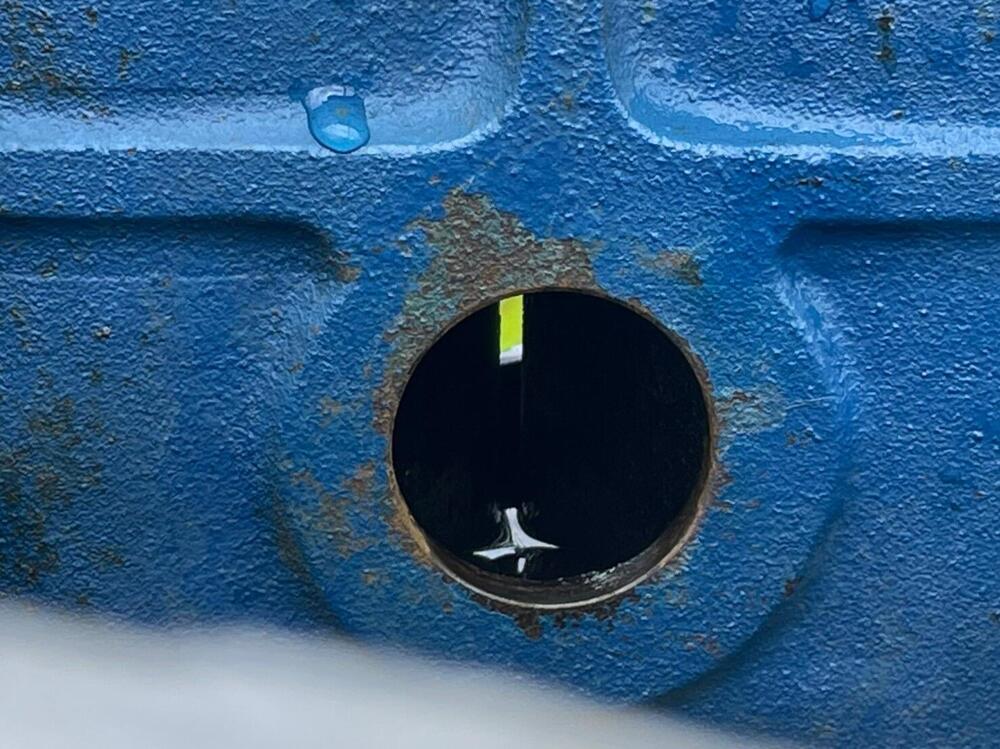
1 pointHi , now Japan is in a rainy season . But today we had sunshine , so I decided to clean up an engine at a car wash . My friends kindly helped me out for this mission, I am very happy it’s results. Not perfect because I didn’t take off a front cover , and a fly wheel . There are two plugs each side ( front and rear ) , I wanted to, but I had limited time to operate today . General cleaning was the first thing to do . This engine is on HLS30-02146 , L24- 005318 was probably sitting in a garage for last 30 years , I see very bad contaminations there . Rusty , gelled water in the block . We did our best , it was so fun ! Kats


 1 point
 -
1 pointView Advert 1970 fuel tank I had this extra tank that I decided to move along . I painted and sealed the inside of the tank . You can see by the pics that it was very clean inside even before I started . I used Por-15 tank sealer per their instructions. For some reason I had some bubbles pop up on the bottom of the tank . I contacted the reps for Por-15 and they acknowledged that this happens some time , but no worries on the integrity of the sealer . I painted the tank outside with SEM trim paint . It has newer Nissan sender and new drain plug . Asking 300$ Shipping will be thru FedEx and I will only charge actual shipping cost . Advertiser madkaw Date 06/22/2022 Price $300 Category Parts for Sale1 point
-
1 pointTook the plunge and bought a 3-D printer the other day. I am still learning, but I designed an printed a couple of fusible link covers for my '76. If anyone is interested, here is the .stl file so you can print your own (if you happen to have a printer). Fusible_Link_Cvr v5.stl
 1 point
 -
Car is going into ZCG on Thursday for a post-mortem. Images to follow.1 point
-
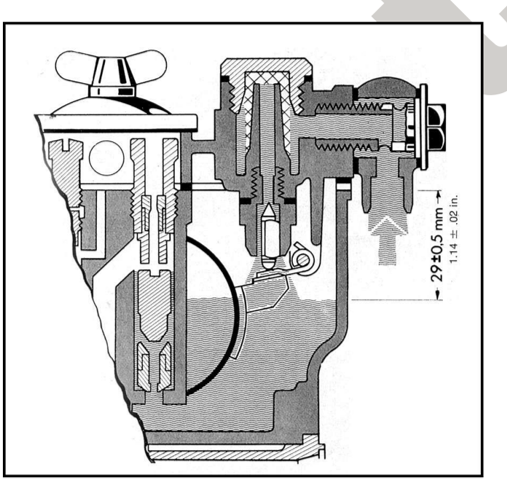
1 pointI am about to go through this process again. Reason. Well I have not had to mess with my triple set up in over 10 years. Car starts and ran fine. Well up until a couple of month ago. Seems starting the car up and letting fuel dry out in the fuel bowl about a dozen or so times gunked it up pretty good. I lost all 6 of my accelerator pump jets and quick throttle inputs were, how you say, met with extreme hesitation. three carb kits later and a new 3 gallon ultra sonic heated cleaner and all three carbs were completely disassembled and cleaned and then sprayed with enough carb cleaner to destroy the ozone layer above houston. Now having said that. I set the plastic floats to 12mm when allowed to hang straight down resting on the ball in the needle and seat for a first try. I had fuel pouring out of my carbs barrels like an open hose. Now I am trying to get a handle on this. I need to find out if maybe my floats are perhaps becoming a bit fuel saturated? Not sure what exactly is going on. But I had all of the fuel levels 22mm from the top using the clear little plastic tube method established by KF. This is not because that is where I wanted them, but it was as close as I could get that damn tab to 25mm. I was thinking of building a setup like the one done above, then recalled this post! I had forgotten about the fantastic level of nerdtasticness this forum generates. Gosh I love all of you! By the way, centerline says the float level should be 29.5mm from the top of the float bowl.
 1 point
 -
That looks like a small block mopar in the crashed Z. Wonder if it has an 833 behind it?1 point
-
1 pointI've attached a word doc you might get a kick out of if you've dealt with Lucas Electrics on British cars. A TREATISE ON THE IMPORTANCE OF SMOKE BY JOSEPH LUCAS.doc1 point