Leaderboard
-

wheee!
Free Member2Points4,607Posts -
motorman7
 Subscriber
 2Points2,228Posts
 -
Patcon
Subscriber1Points11,142Posts -
grannyknot
Free Member1Points5,158Posts


Popular Content
Showing content with the highest reputation on 05/26/2020 in all areas
-
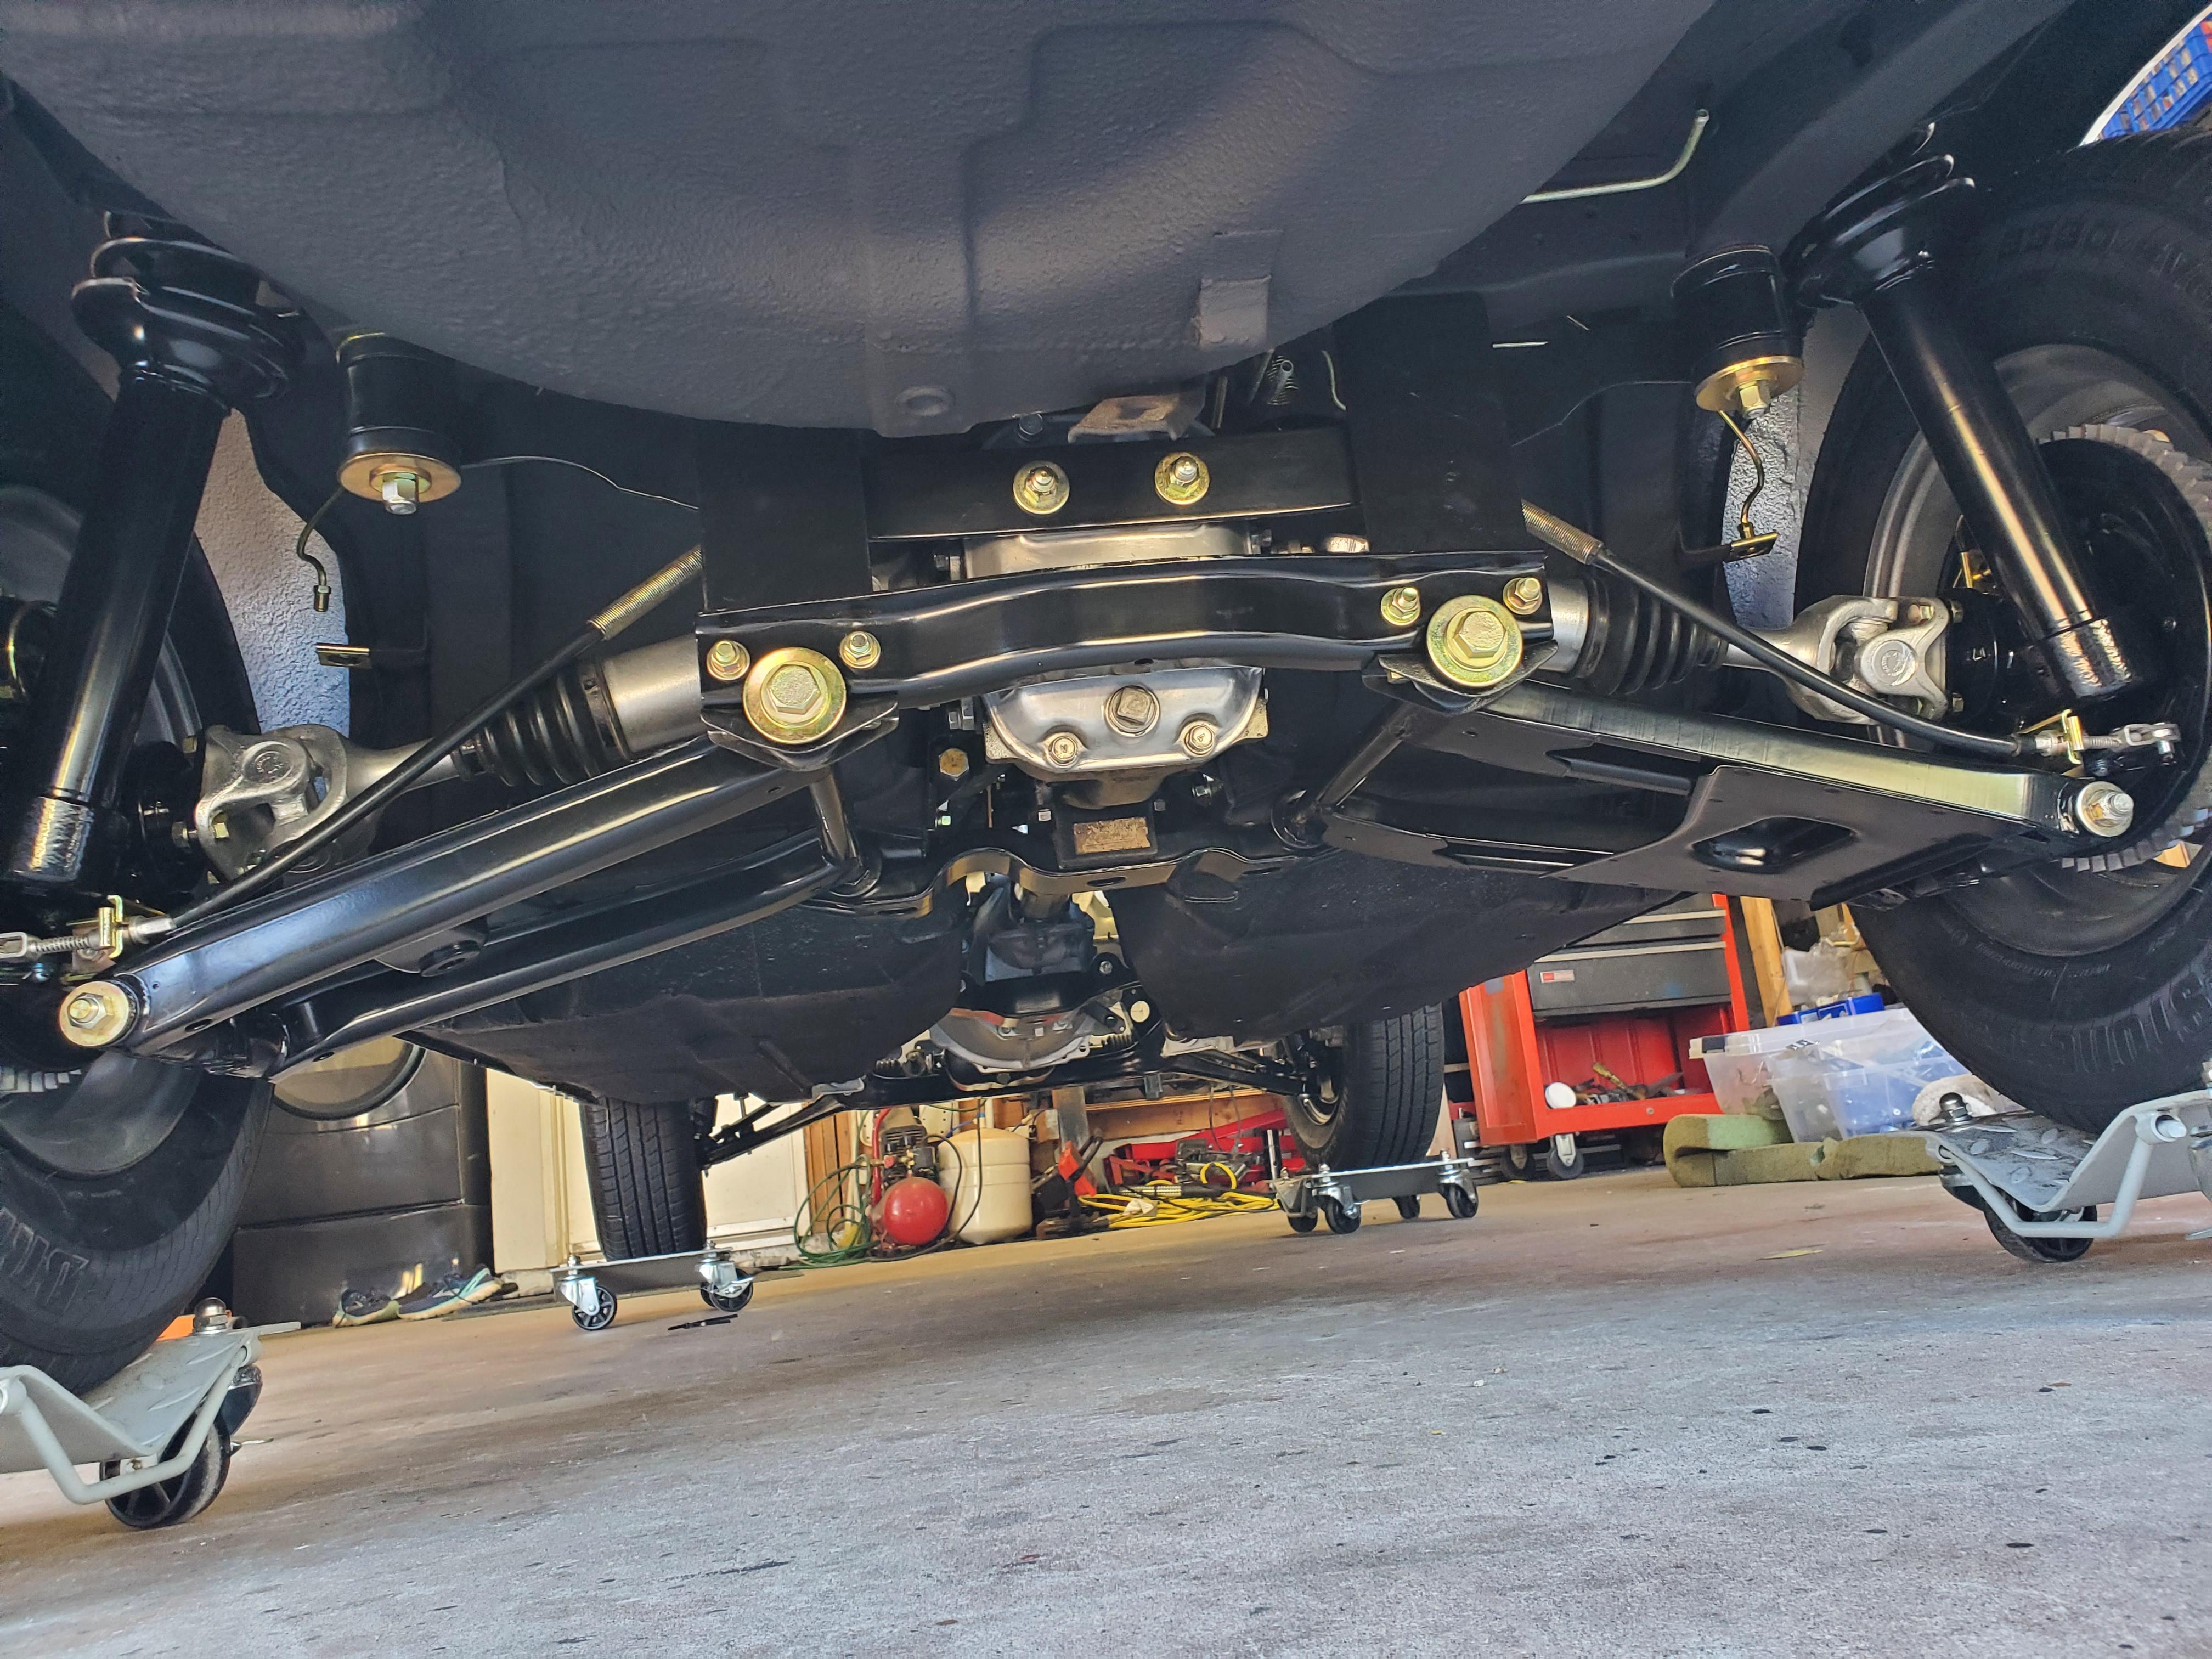
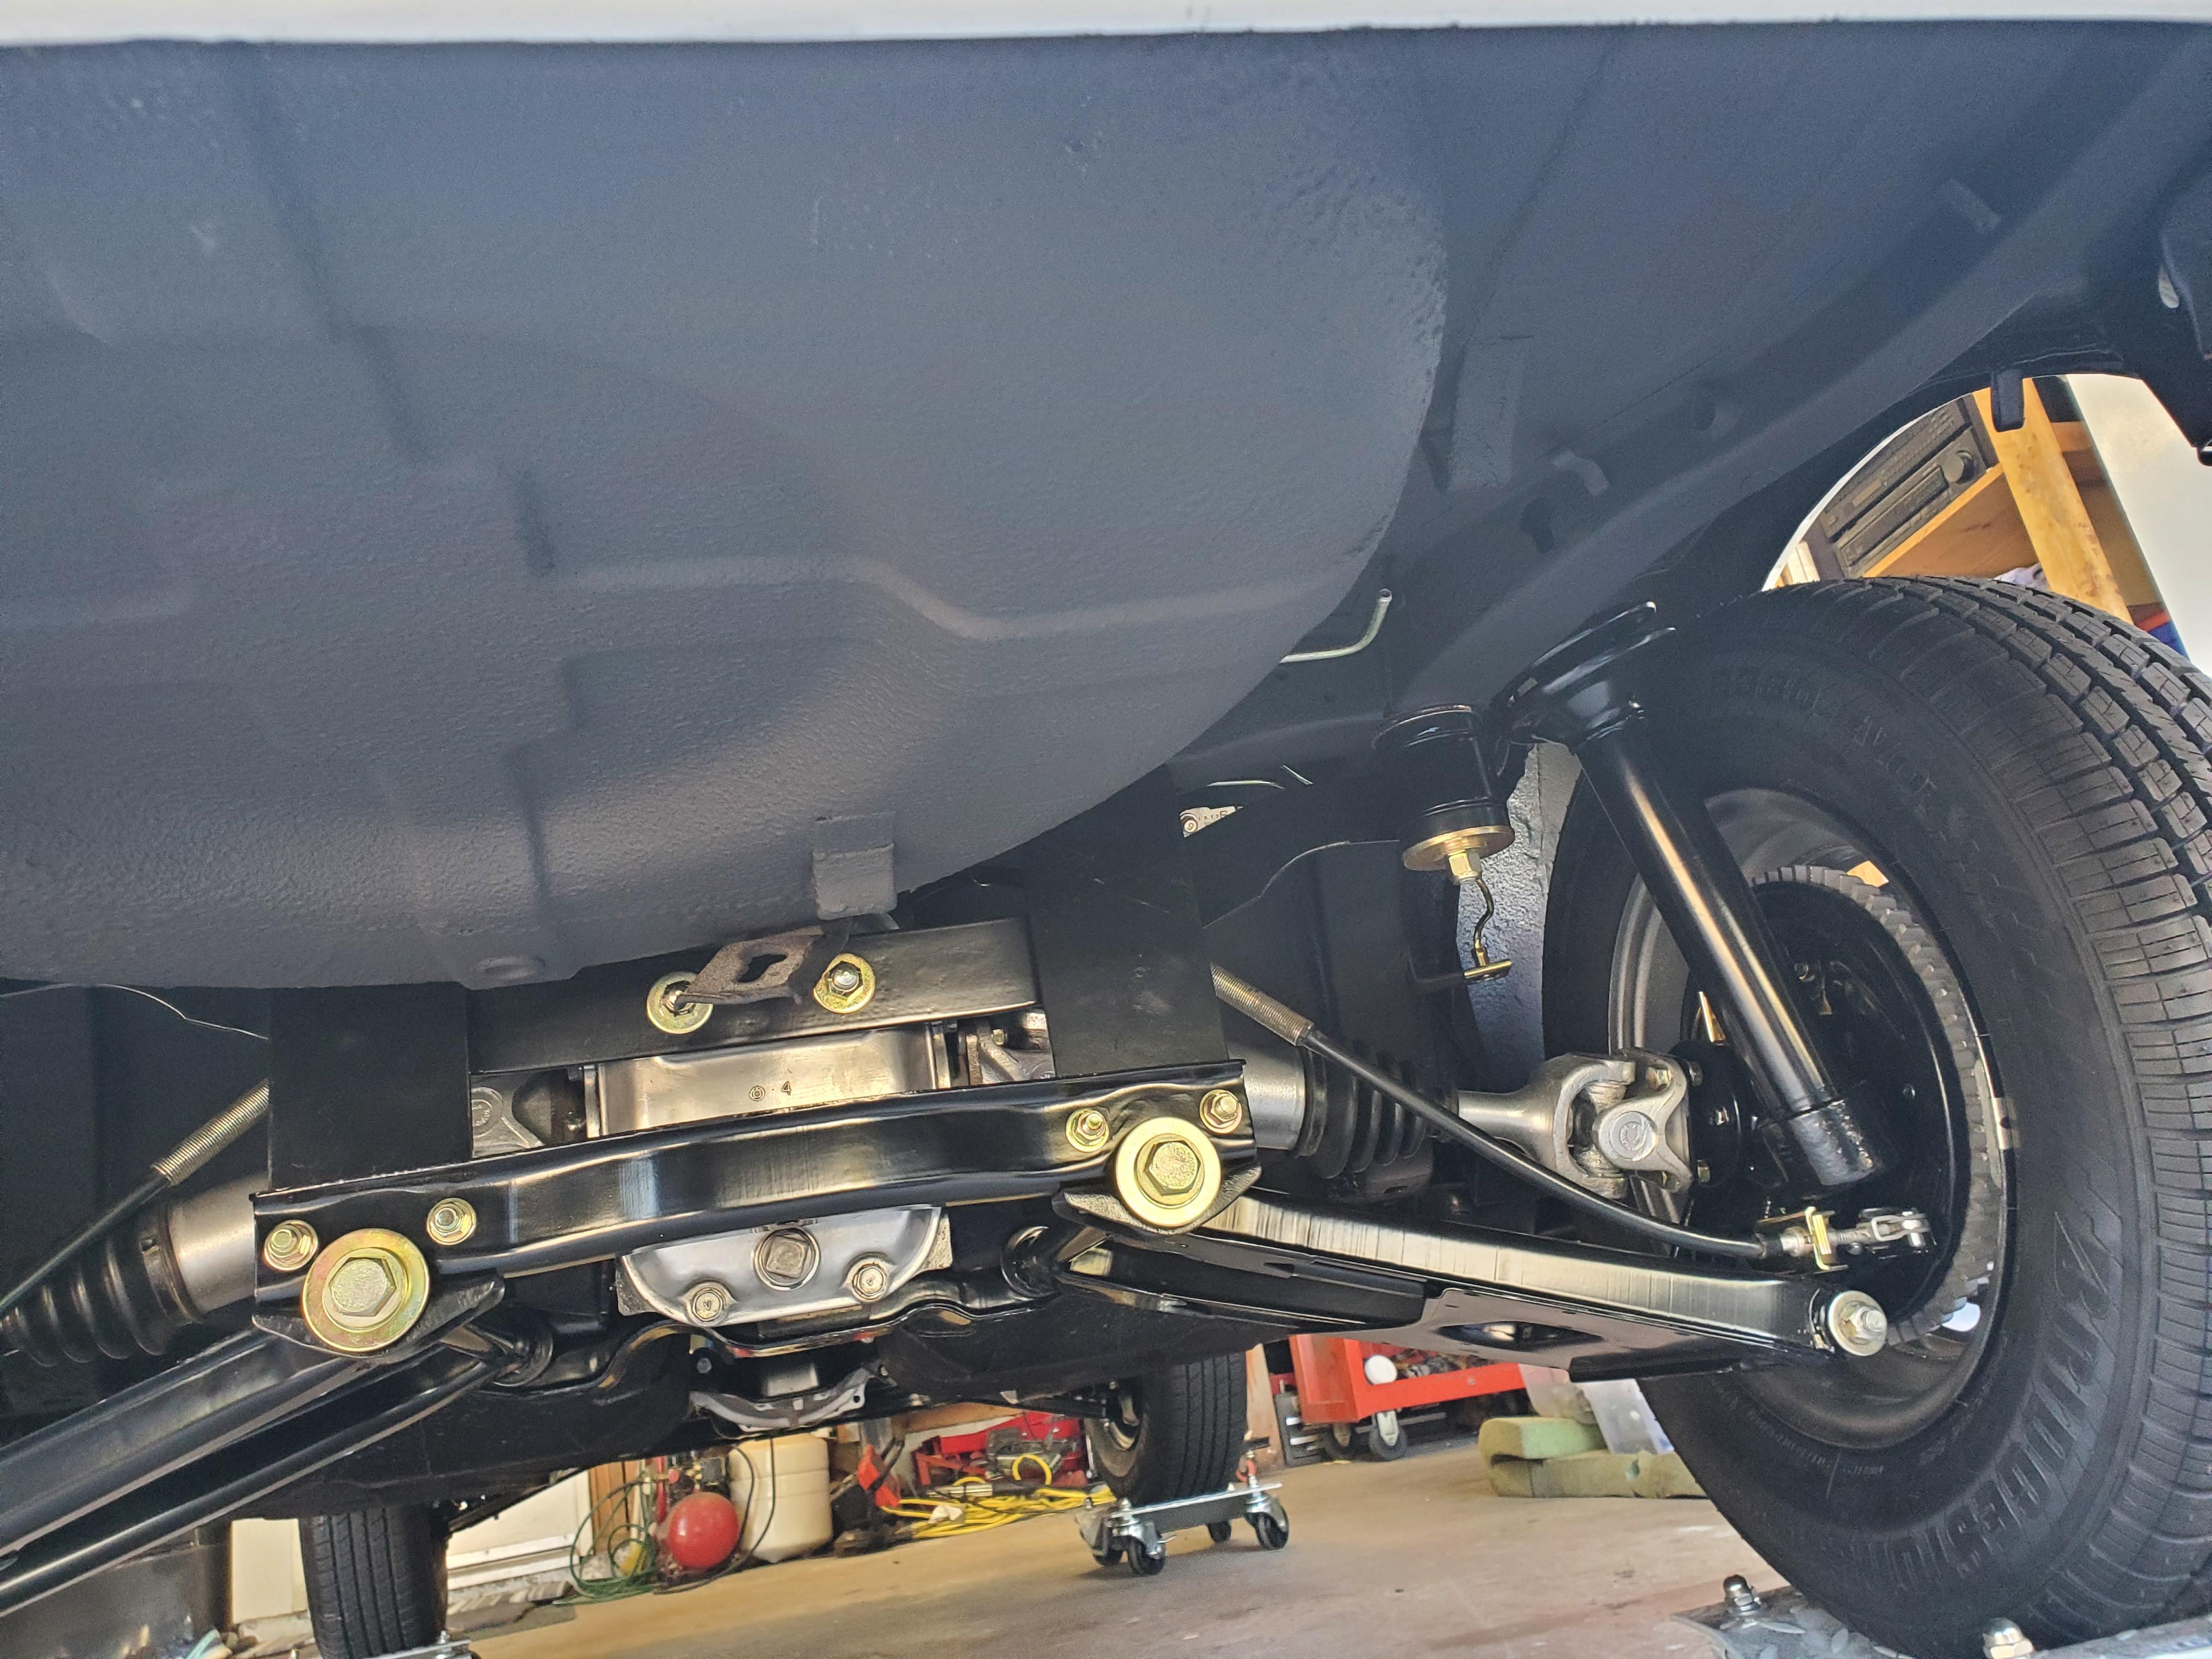
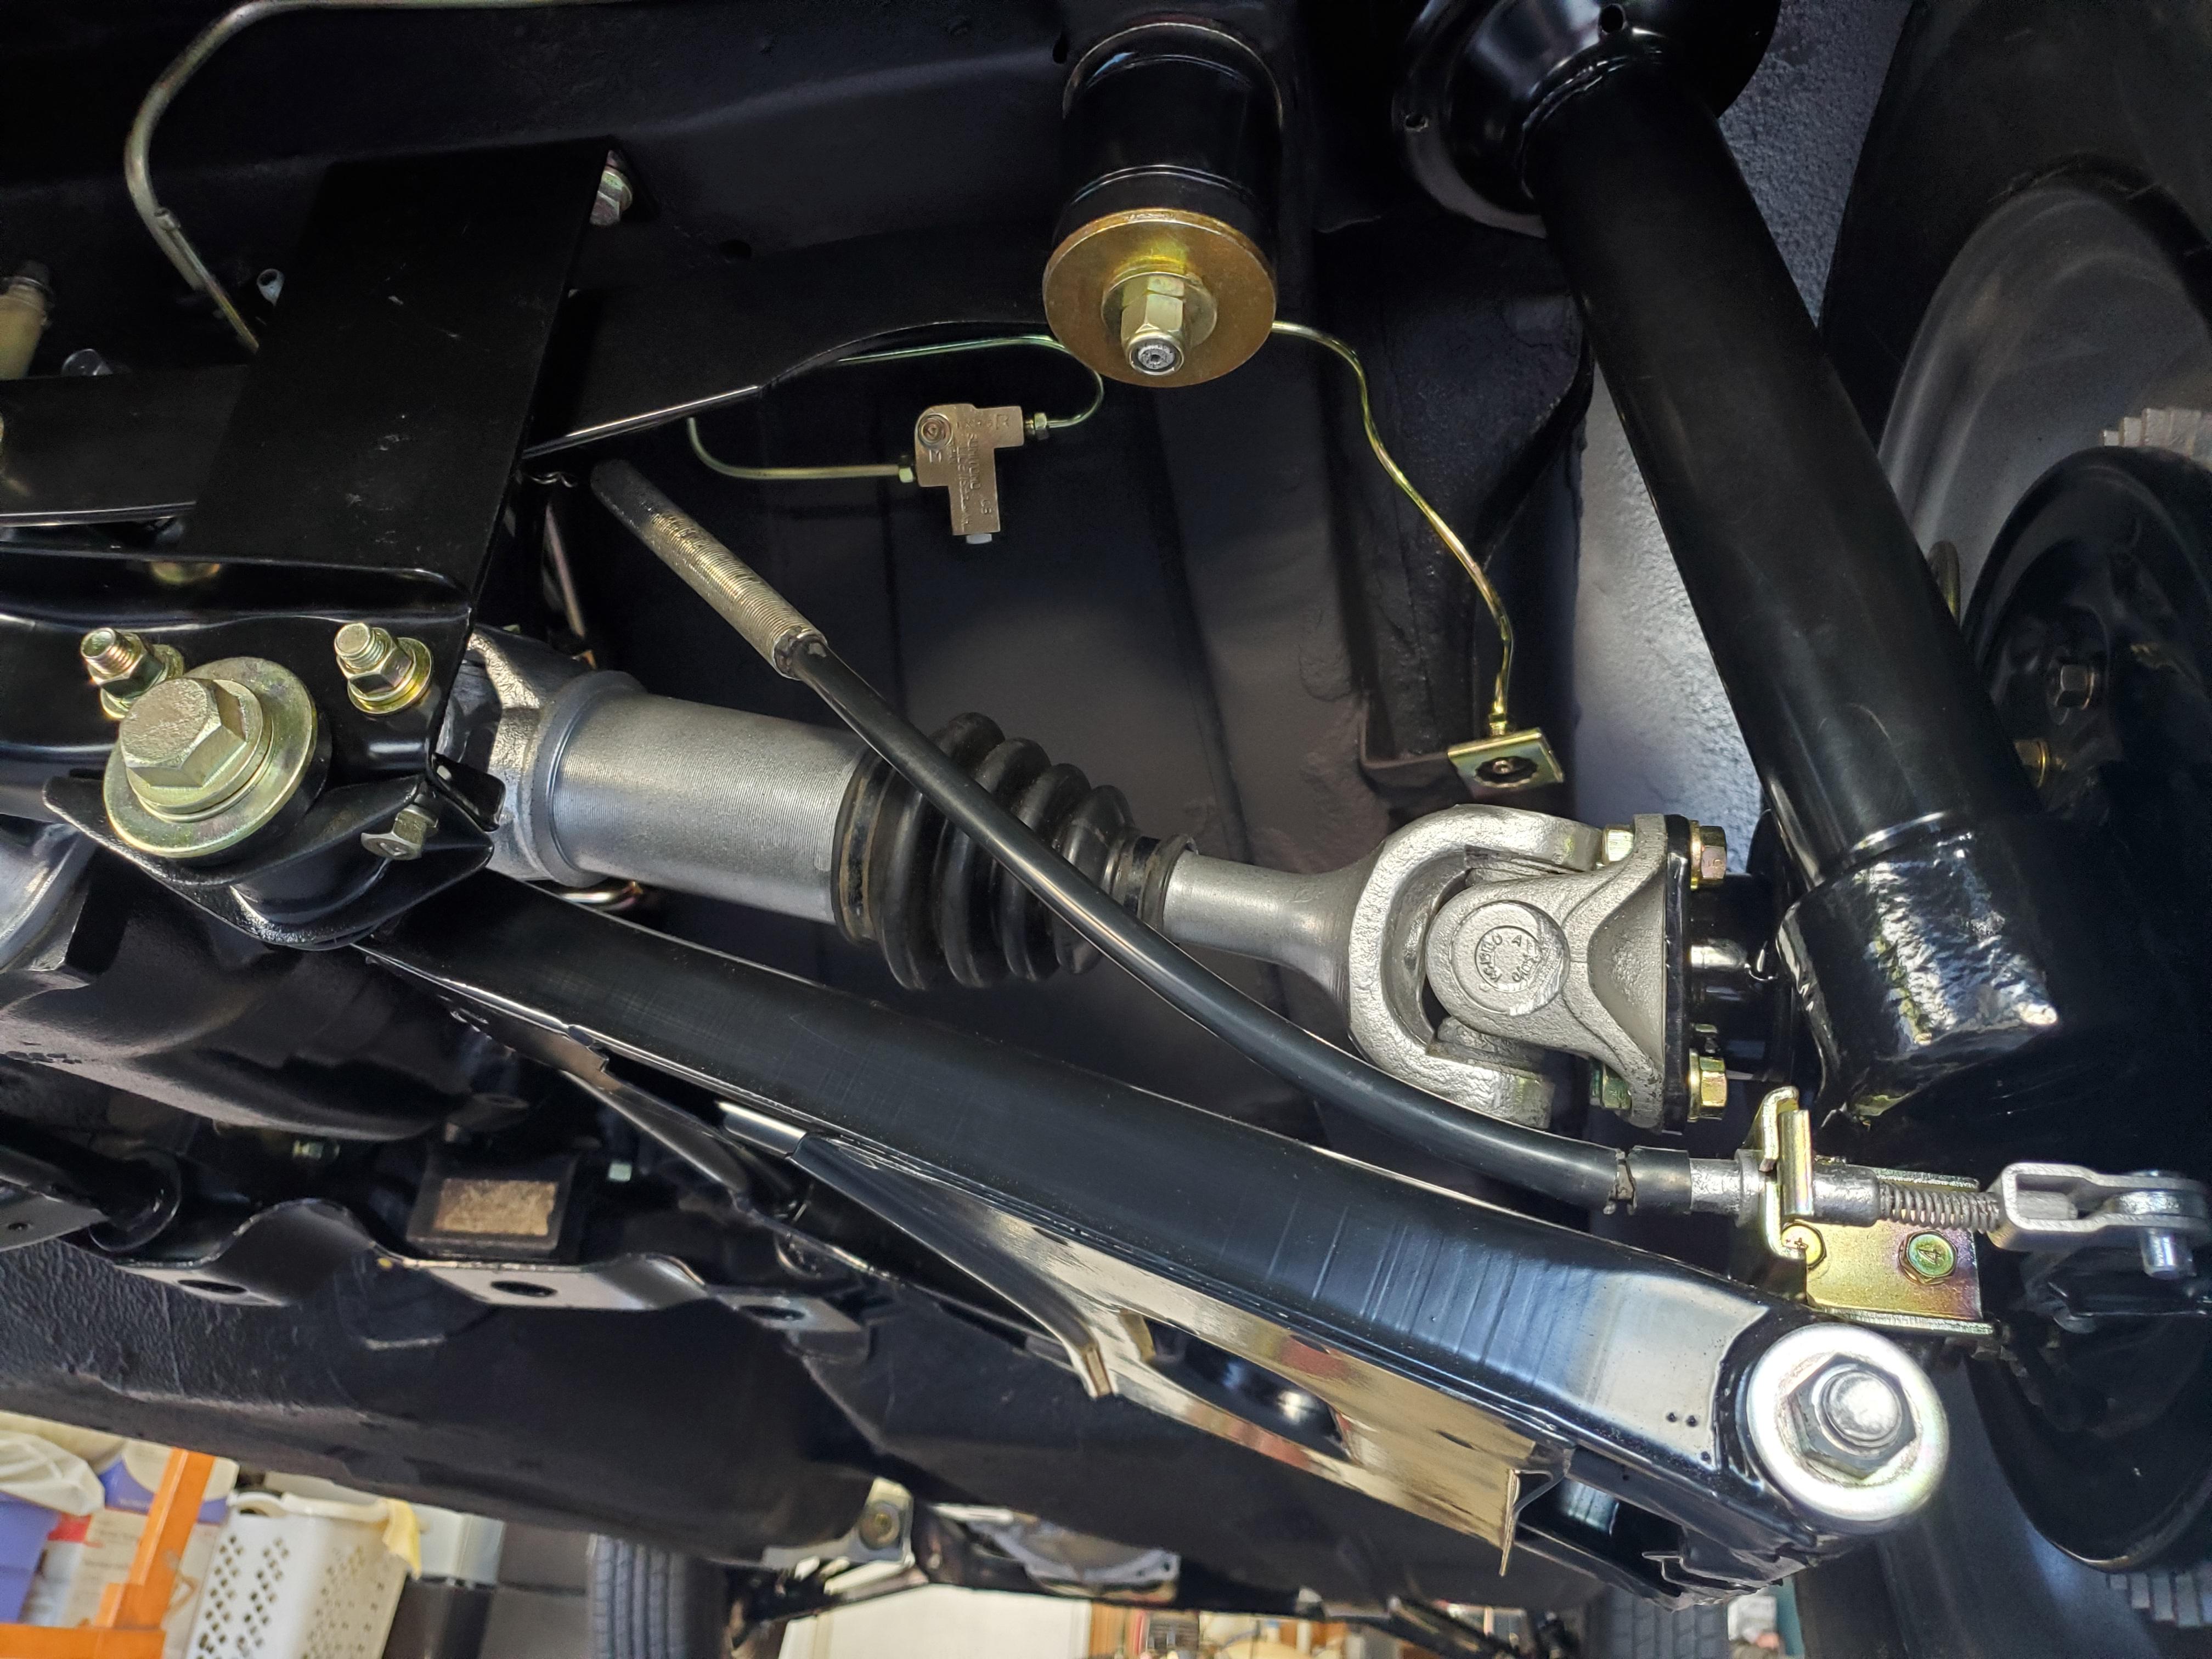
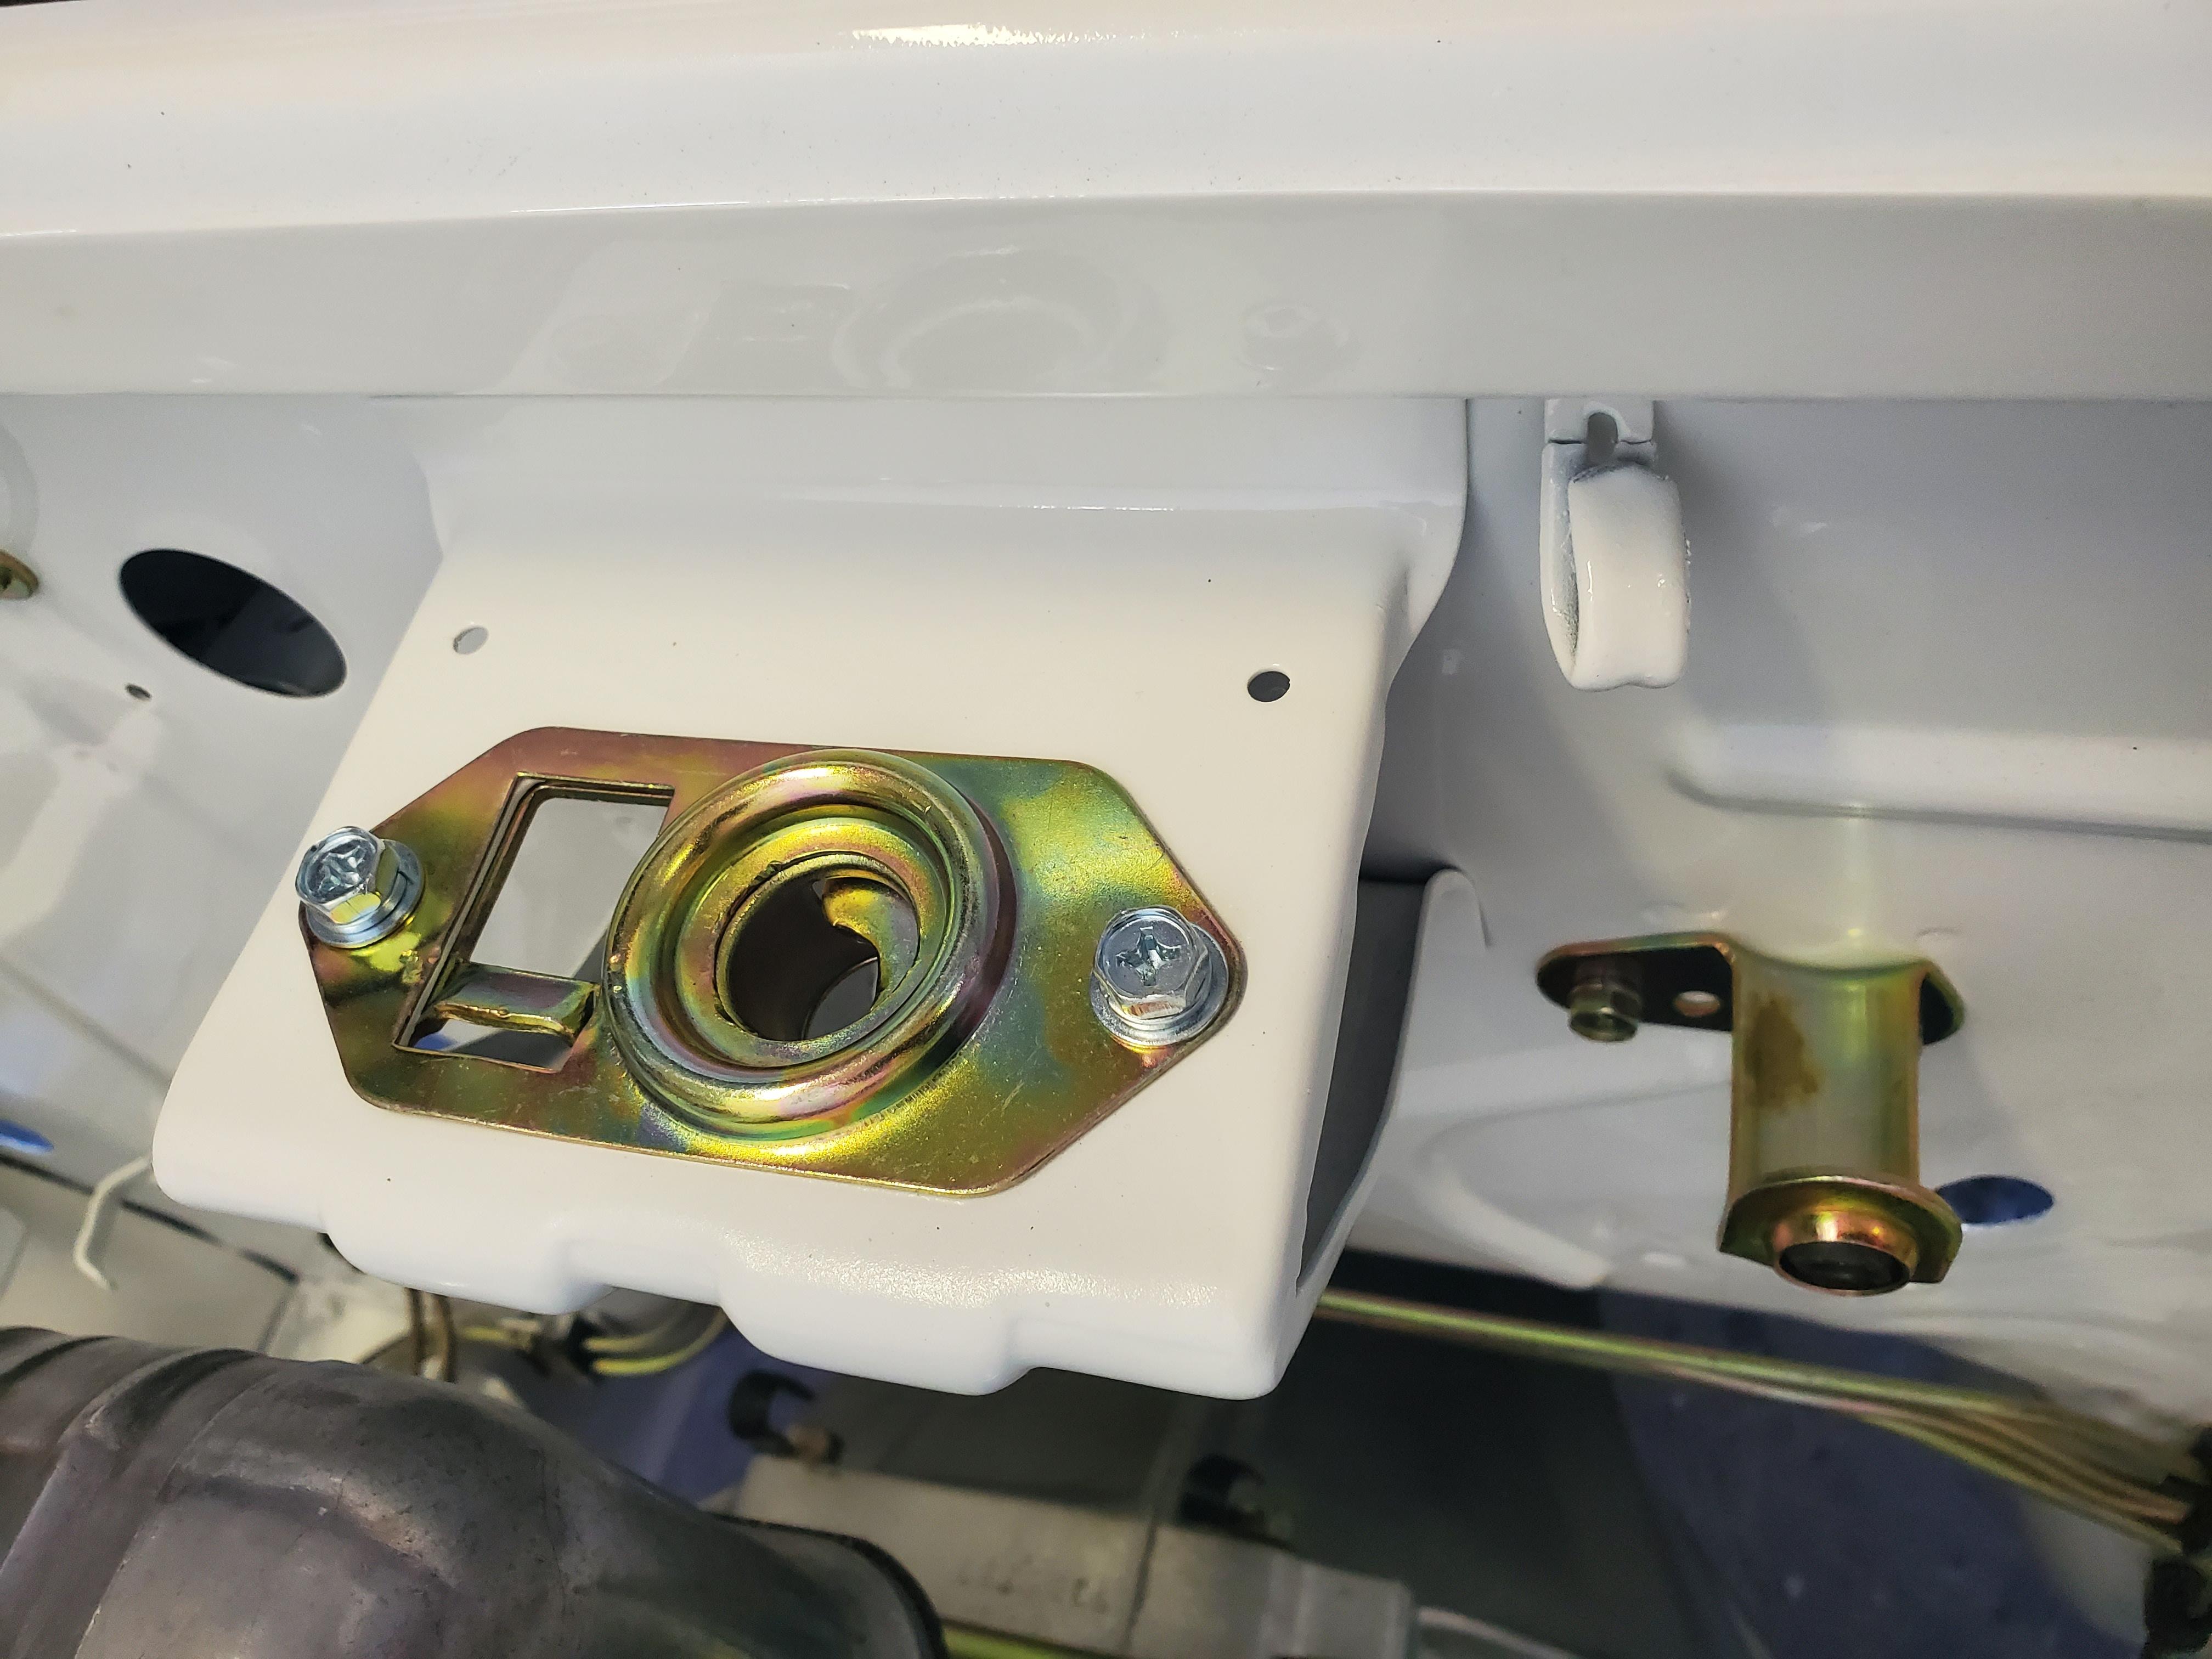
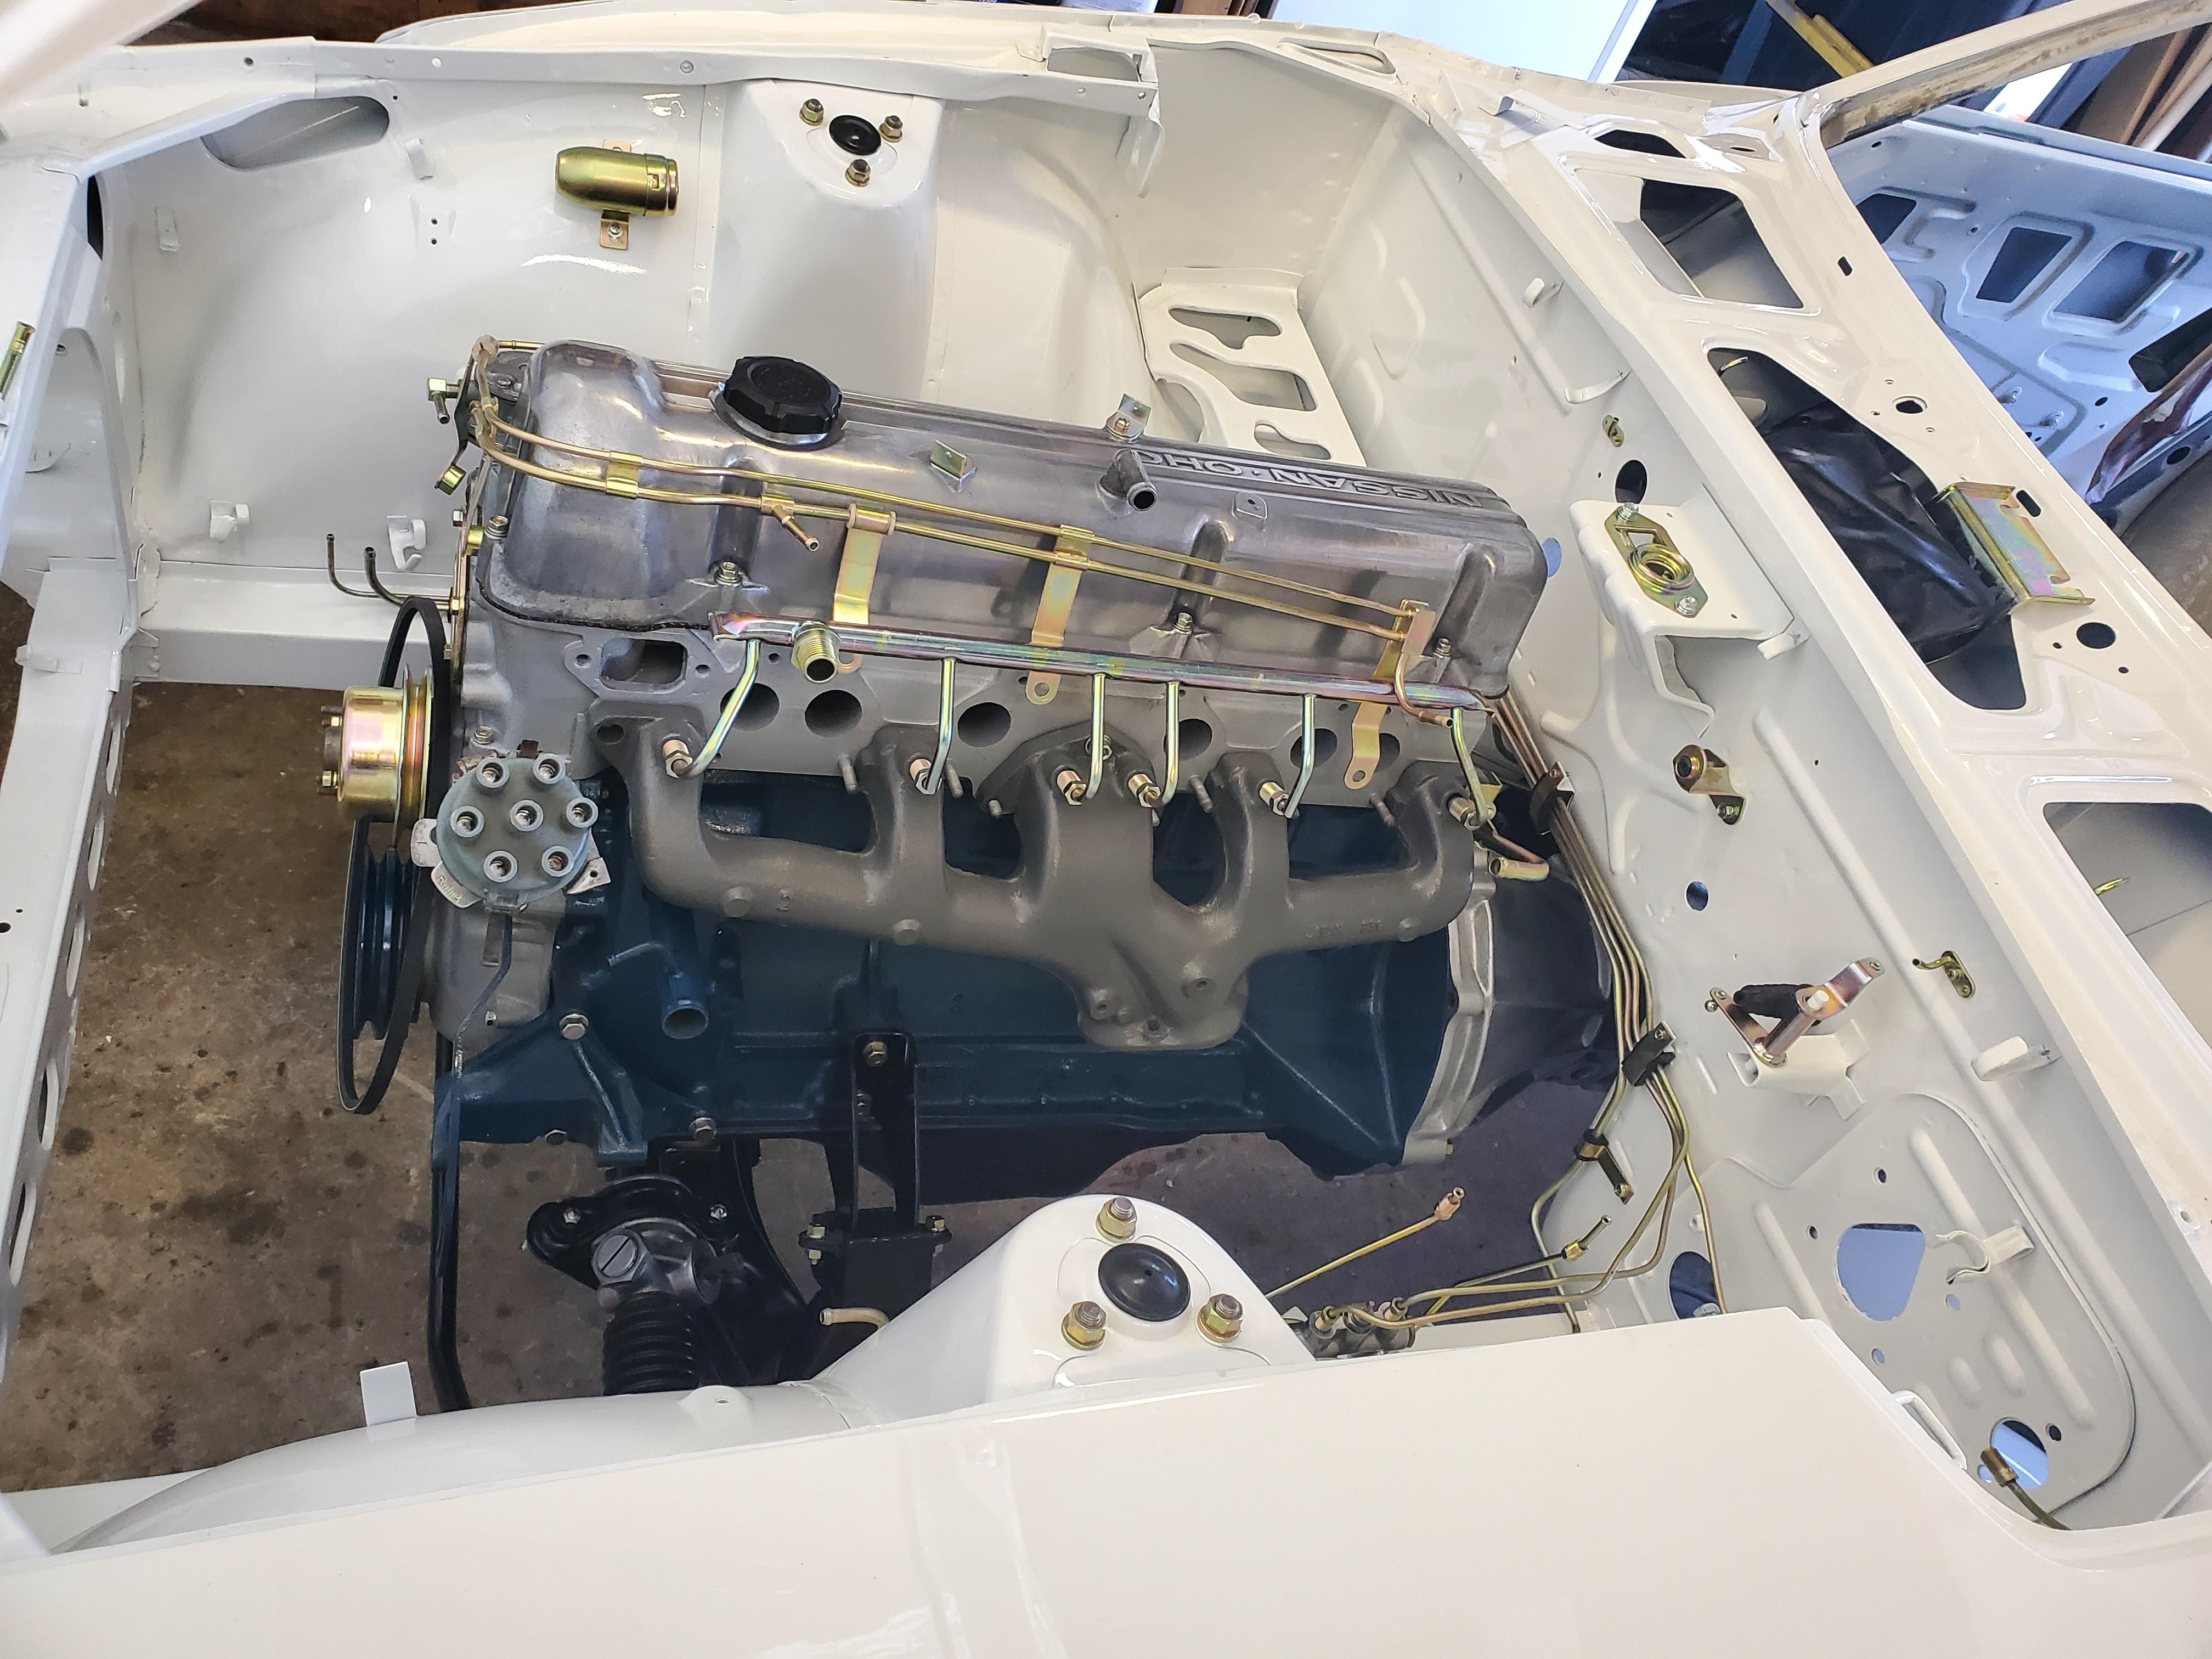
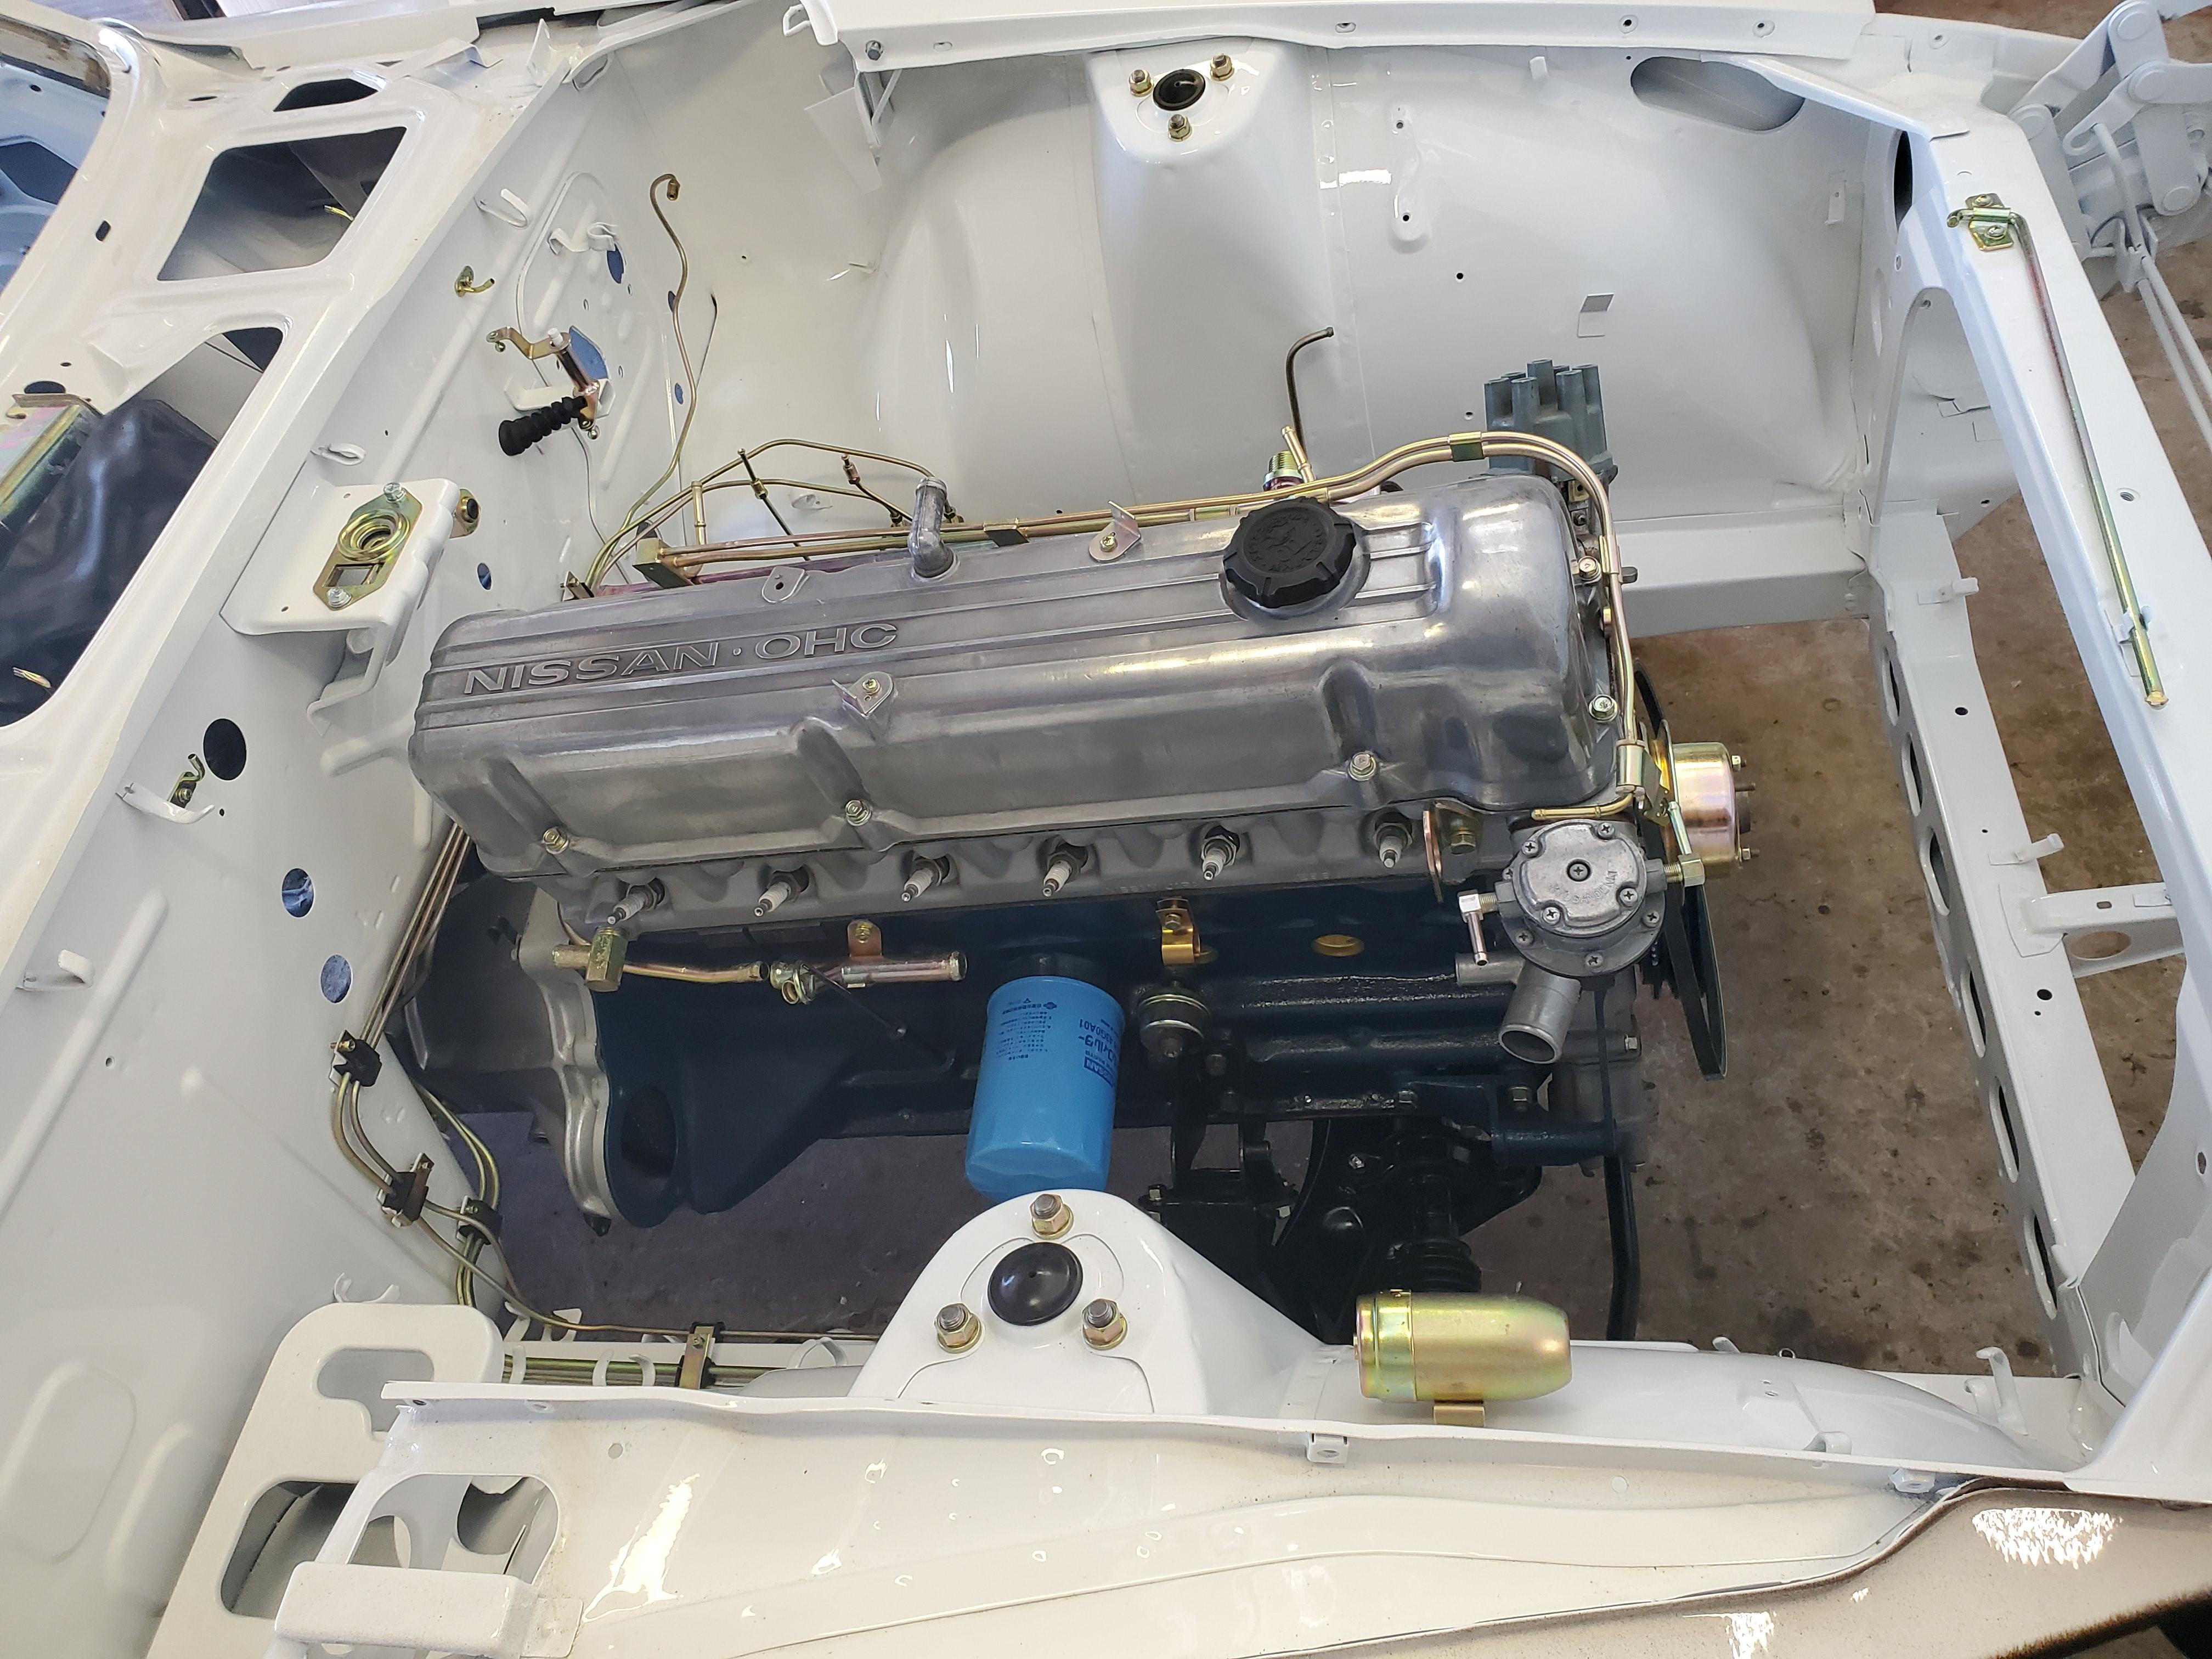
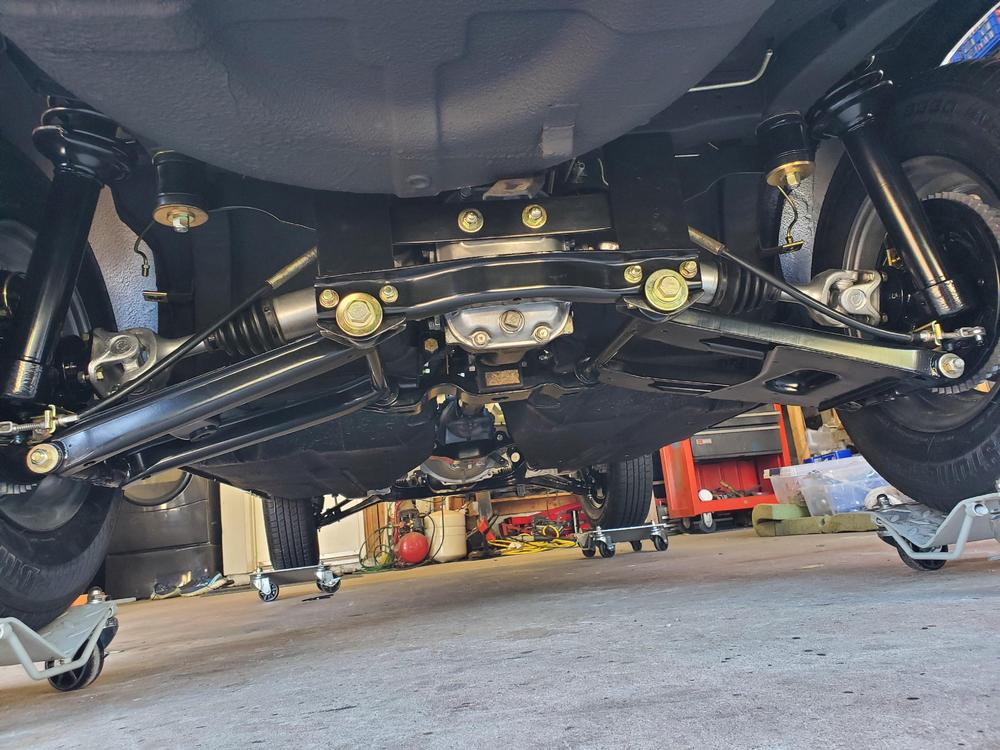
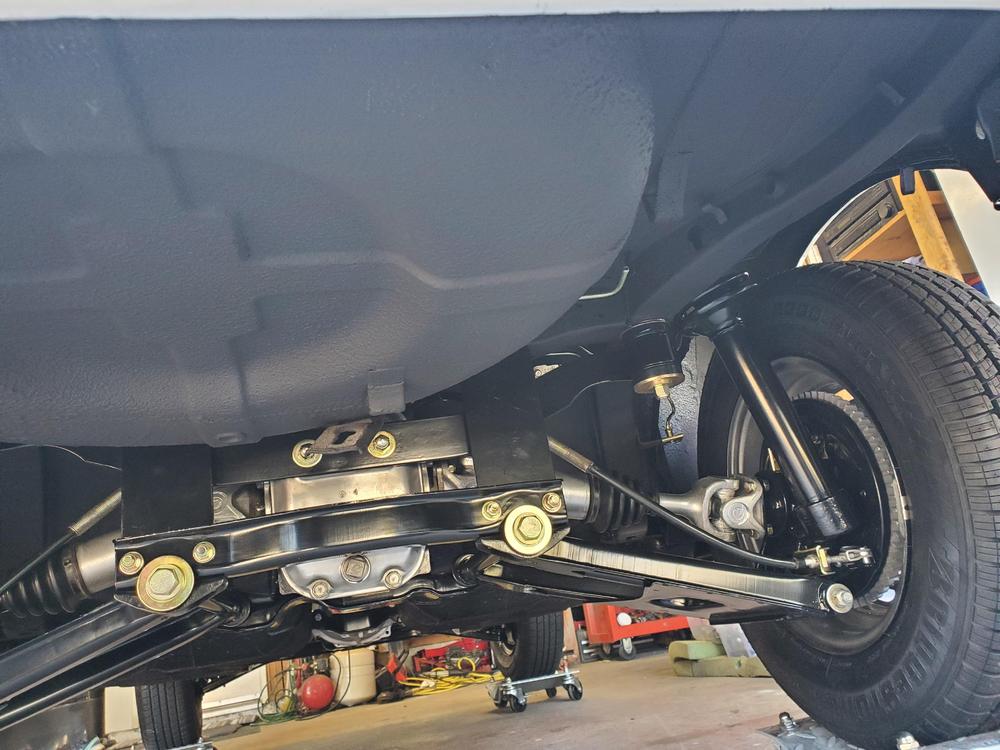
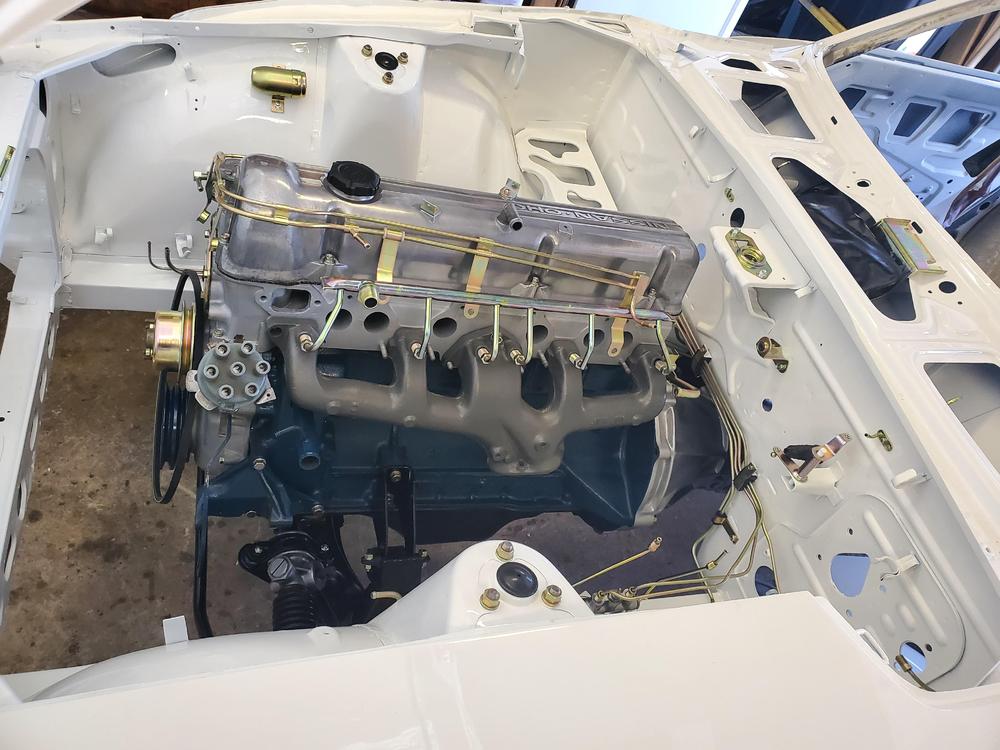
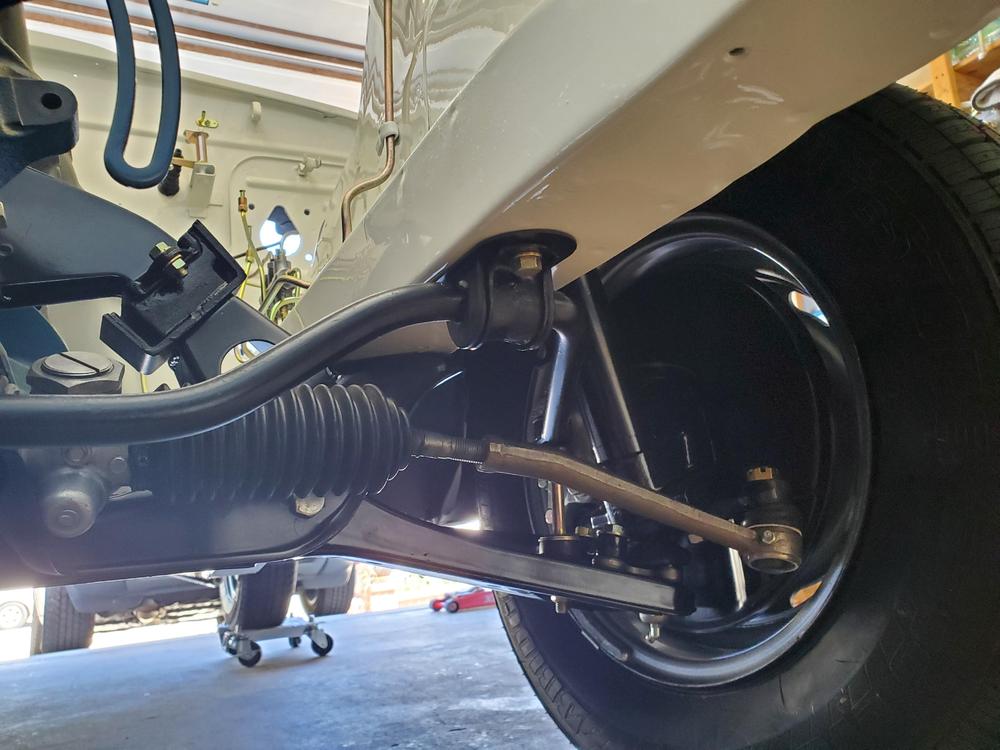
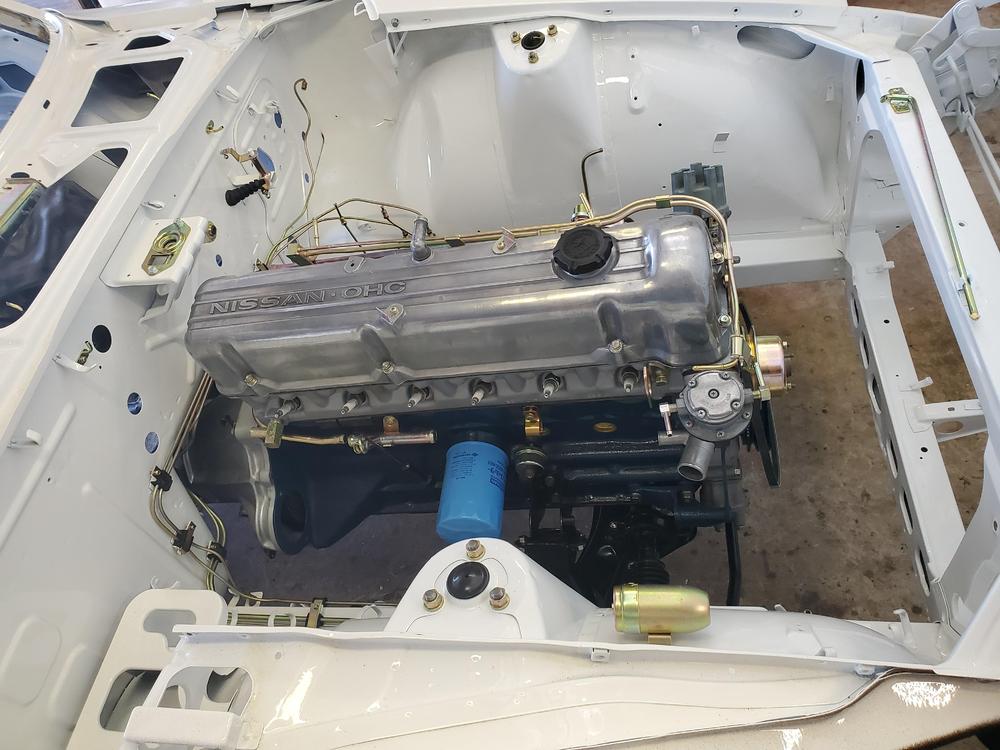
Moving along well here. Got the motor and complete drive-line installed. Added some more brake components and a few engine bay parts. Planning on putting in the exhaust and intake manifold assembly tonight. Might even get to install the carbs.


 2 points
 -
I got in a tranny fiasco on Bourbon Street a few years ago. I've never been in a fight but that was the closest so far. They are mean.1 point
-
1 pointUsing the lathe to make a thick wall funnel is cheating!! I have the band style spring compressor. You have to get them very tight and tap the piston through with the butt of a hammer handle. They also have to be kept tight to the deck. I normally don't struggle too much with them but I have done quite a few this way1 point
-
1 pointhttp://autoacsolutions.com/products/condensers/1974-1975-1976-1977-1978-datsun-nissan-240z-260z-280z-a-c-condenser/ I would stay away from used condensers. There are aftermarket generic fit types but they would require new hoses, figuring out mounting etc.. if you value your time I would go with a direct fit.1 point
-
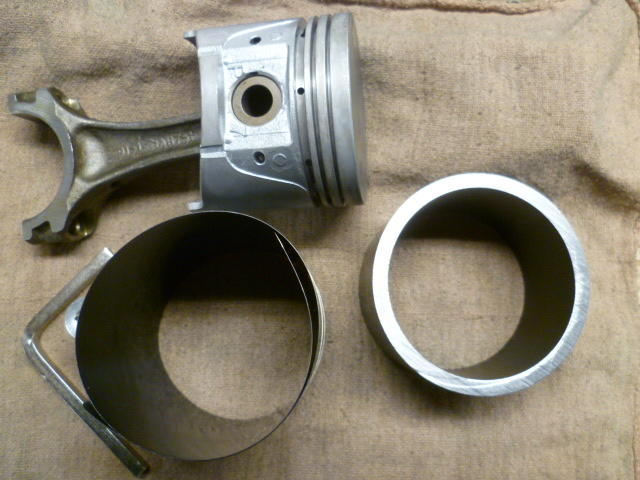
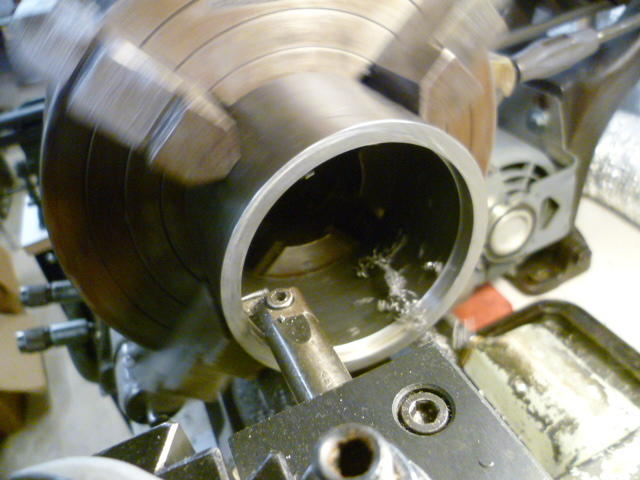
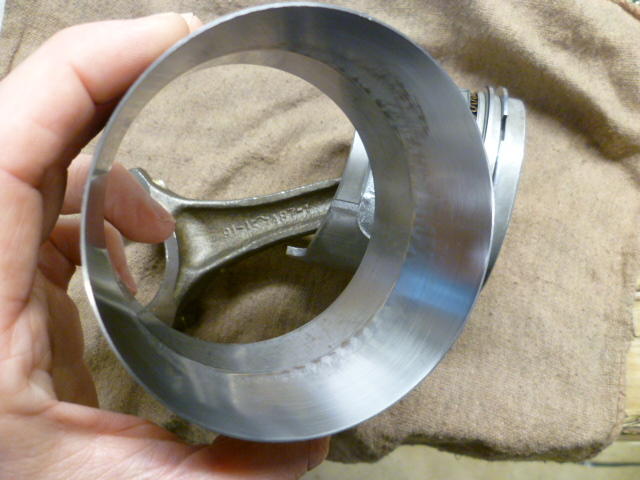
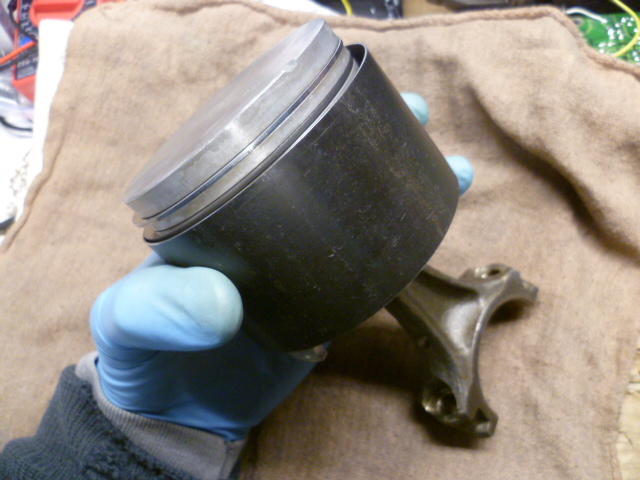
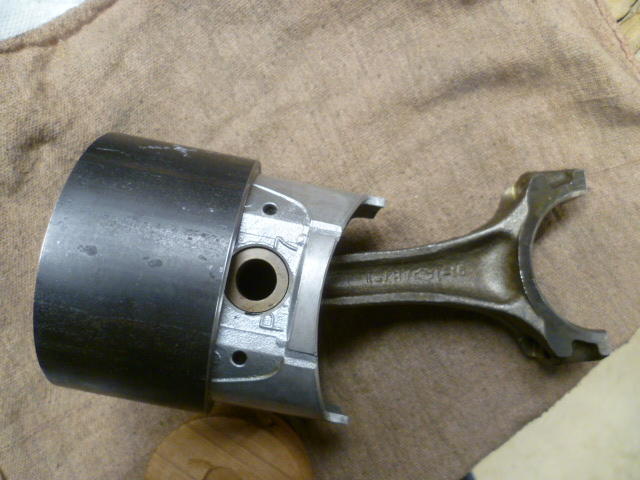
1 pointYeah, I remember our discussions about that and I wanted to let you know where I am at this point... I only put one piston back in the block, and it was a PITA. Like you, I found the band style compressor to be very finicky. I'm assuming it gets better with experience, but it took me three tries to get the first piston back in without catching one of the oil rings on the block deck. Third time it snicked into position, but I'm just not happy with the compressor. I've actually got two of them and I'm not completely enamored with either of them. So I decided to try something different and made myself a tapered installation ring tool. Bought some steel tubing of appropriate size. Here's what I started with, Band tool on left, and thick wall tubing on the right: I chucked the tubing up in the lathe and bored it out to be a precision fit over the piston: And then I tapered one end with a gradual taper and polished everything up so the rings slide easy: The concept is you can slip a fully ringed piston into it and the rings will compress as you push the piston down the tapered section: And once the rings are all compressed, the theory is that I can just slip the pistons into the bores from here: And why does this pertain to ring gaps? Because since you're pushing straight down, the gap positions don't migrate. They stay where you put them. So I'm jumping the gun here a little since I haven't actually used it to put a piston into the block yet, but it worked great on the bench. What could possibly go wrong? go wrong? go wrong?
 1 point
 -
This is name of the song most of us can sing....1 point
-
Looking forward to some pix of your results (we all profit from the success of others).1 point
-
Thanks chaps appreciate all of the food for thought and advice. And thanks Mr Patcon for the link. This looks like a more involved job than I had anticipated but one well worth doing. [emoji106]1 point
-
Describe the symptom that led you to believe the float valve was acting funny?1 point
-
Here is a list of the parts when I did the close ratio I had. The seals are what you want. The seals, springs and oil gutter are listed in their sections according to the parts manual cross section drawings. I think I will clean up that list and post it in the technical articles later. Tranny_Rebuild_FEB2012.pdf1 point
-
1 pointSame here, then I forget I already have them and buy them a second time.1 point
-
1 pointI have a habit of buying items well in advance of needing them. The seat heaters were bought off eBay about a year ago. No warranty or return was still possible. A risk you take, but overall I have saved money buying things this way. After 6 years of ownership and 5 years of restoration, I budgeted $500 Cdn a month for purchases, not including things like suspension and brakes etc that obviously went over budget. A good example of this is the seat covers I put in the car came from [mention]zKars [/mention] years ago and I just put them on this week! I have a shift knob I bought in 2014.... never been out of the package.1 point
-
1 pointHere’s a good comparison of the old paint code 240 and the new DeBeers water based E2335 BRG. I think I nailed it. Close to the original colour but a lot more metallic.
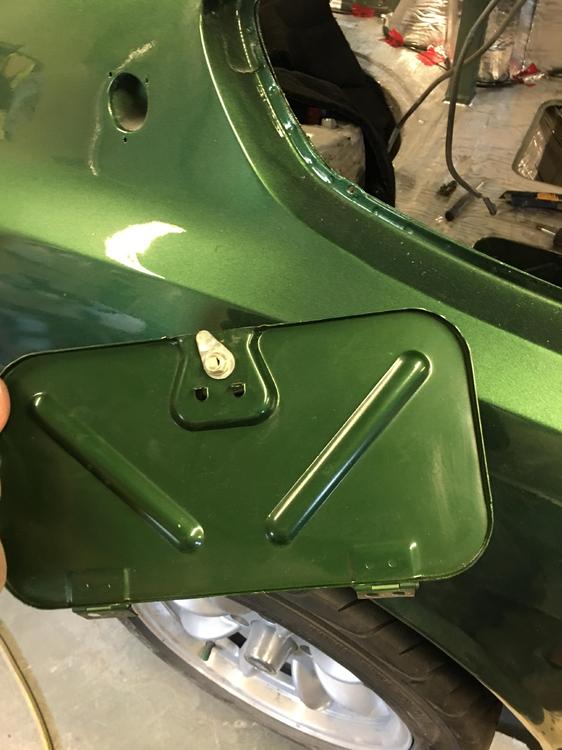 1 point