Leaderboard
-

siteunseen
Free Member4Points15,115Posts -

Zed Head
Free Member2Points19,238Posts -
zKars
 Subscriber
 2Points3,770Posts
 -
718Miata
Free Member2Points84Posts


Popular Content
Showing content with the highest reputation on 12/29/2019 in all areas
-
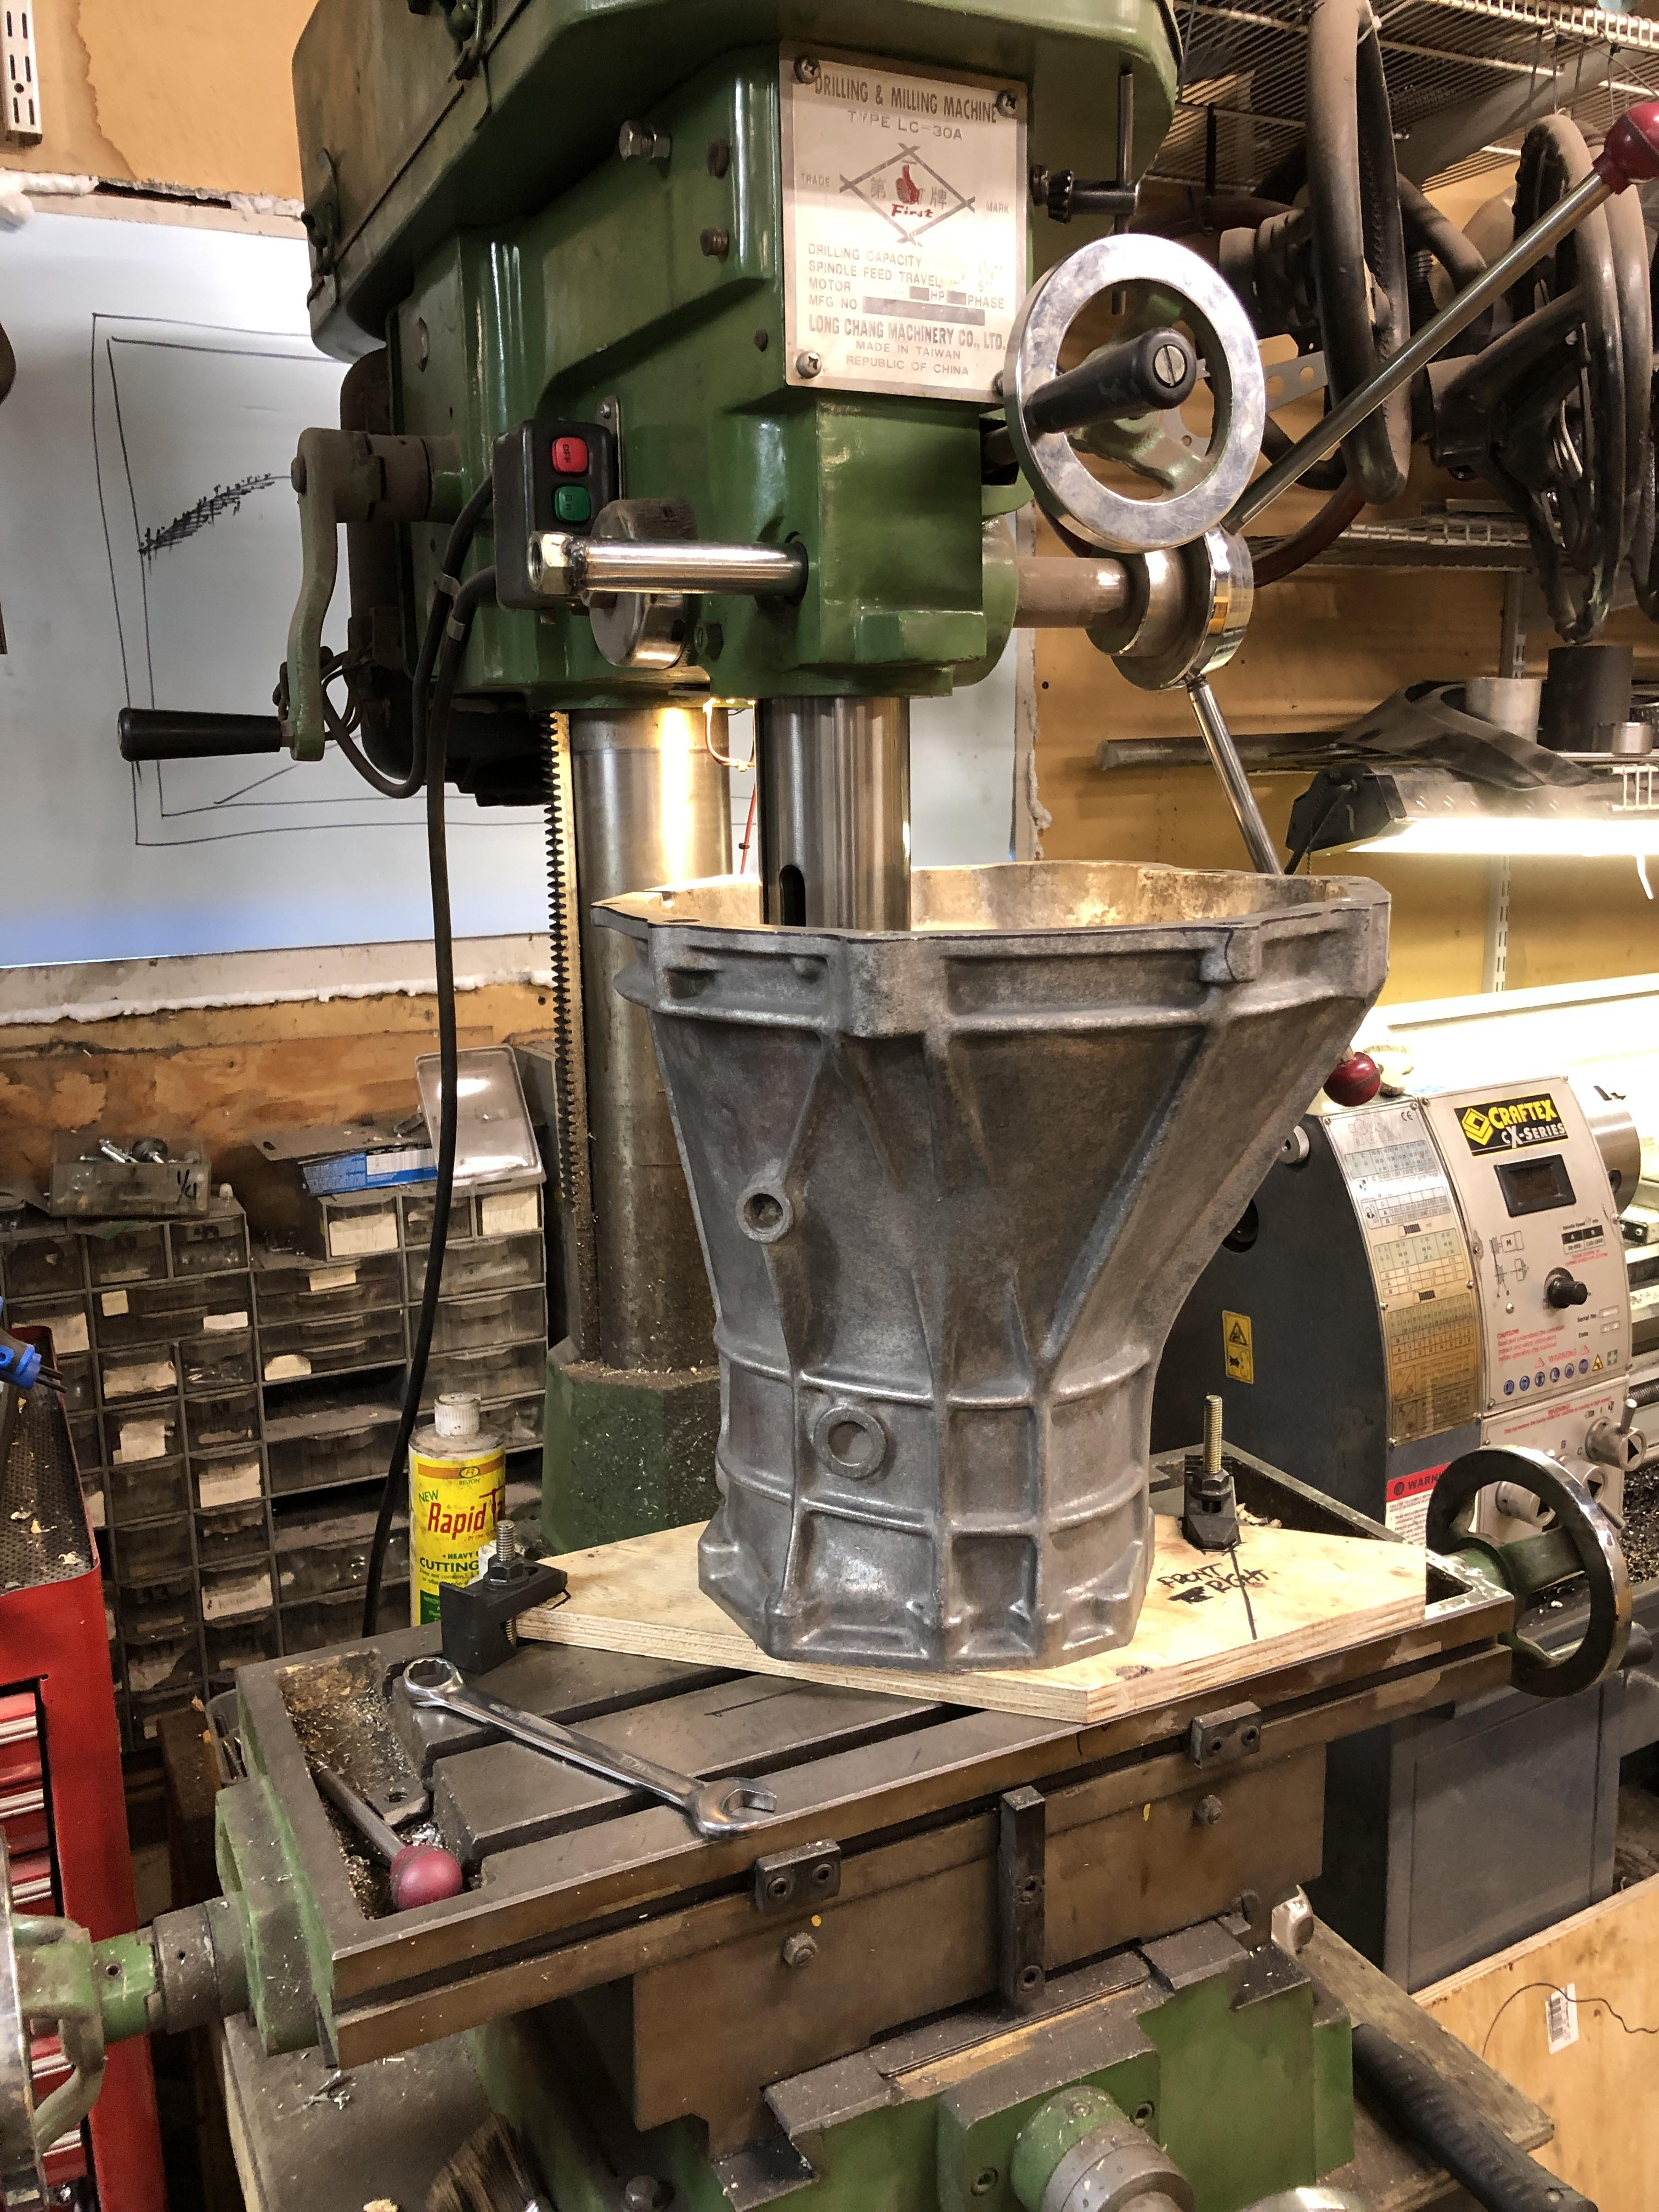
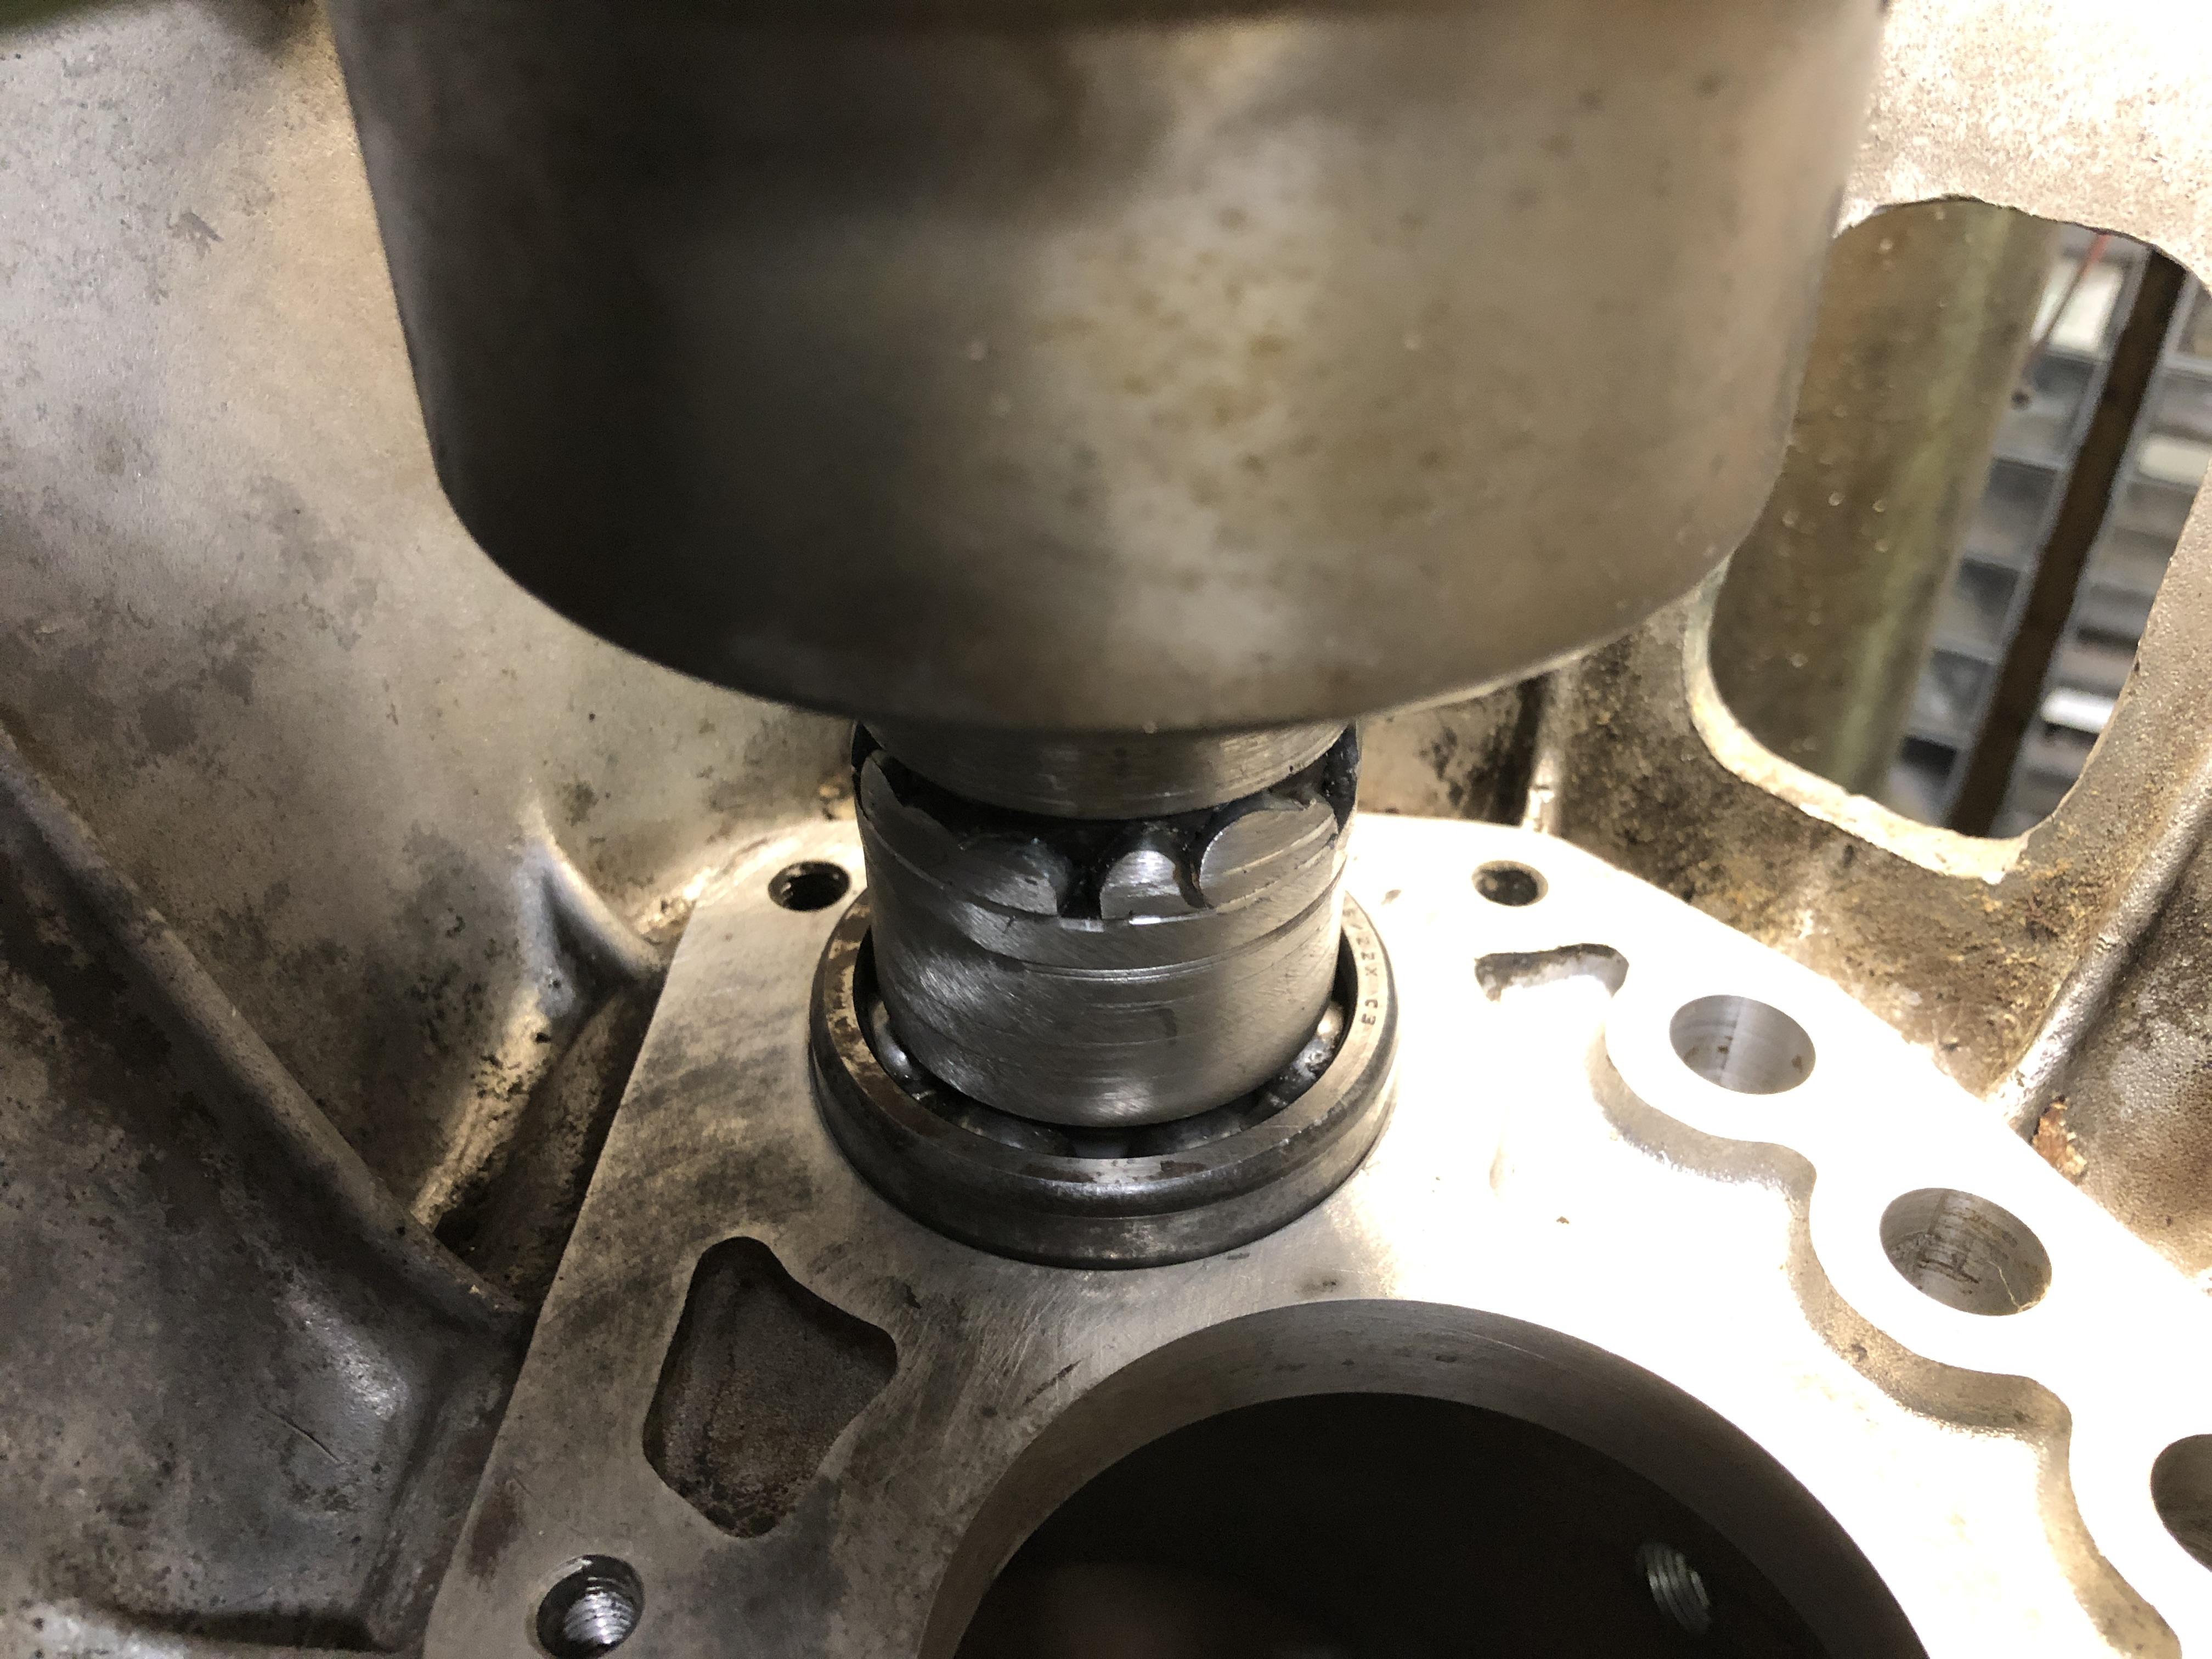
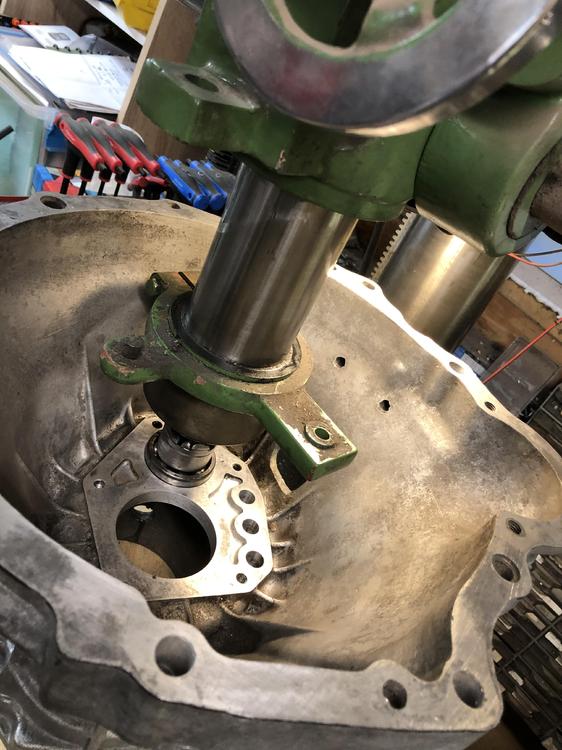
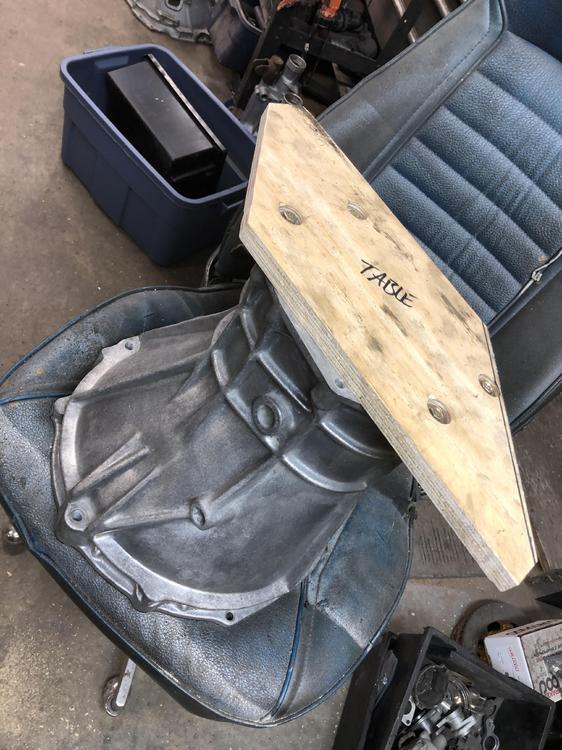
Also worked on the bell housing C conversion bearing 62 mm drilling / centering problem. Progress! It will be possible and likely easy. The idea of using an old 56mm bearing as a pilot is working perfectly. The mill can easily push it through and align the bell housing in 15 seconds. You get the most satisfying woosh/scrapping sound as it gets pushed through and back. Very smooth. I’ll be able to put a 62mm bearing on the bottom of this thing once it’s drilled to 62ish, to test the fit of the bearing. No measuring error, just “Does it press through with the right amount of effort and smoothness” Pretty slick I think. The bell housing is bolted to a piece of 3/4 plywood with four recessed 8mm bolts. The plywood is then anchored to the mill table once it’s centered over the hole. The custom milling head you see is my first attempt. This one is not quite concentric. Practice makes perfect. It is welded to a MT3 mandrel. Fun to align and center. Seems the trick is don’t bother getting it final OD until AFTER the welding is done. Duh... It lacks the horizontal 1/2” hole that will hold the cutter bar. It does have the 56mm bearing nicely sitting on a 22mm boss with am M14 bolt locking it in. The mill head itself has enough clearance to the bell housing sides and plenty of travel. Bit a question about whether it’s worth making one of these or just taking it to a machine shop. Guess it depends on how many I’m going to do. For me in the near future, it makes sense. There is still the issue of needing to machine off a few mm from the OTHER side and make the 1/2 shift rod 16mm. Access from the other side is much tighter obviously. How long a mandrel can I make with a surfacing cutter that won’t wobble....


 2 points
 -
He’s probably in his early 30s. I’ve gotten old, I guess, if I’m calling him a kid.2 points
-
EuroDat and Dave WM had a discussion going about the insert orientation and how the FSM was wrong, quite a while ago. For the record. It's out there somewhere. Found it -2 points
-
Turn the lids a quarter turn moving the overflow bungs away. On the rear it's counterclockwise. There's an indentation that gives you the extra wiggle room. Here's the way I do the hose.
 1 point
 -
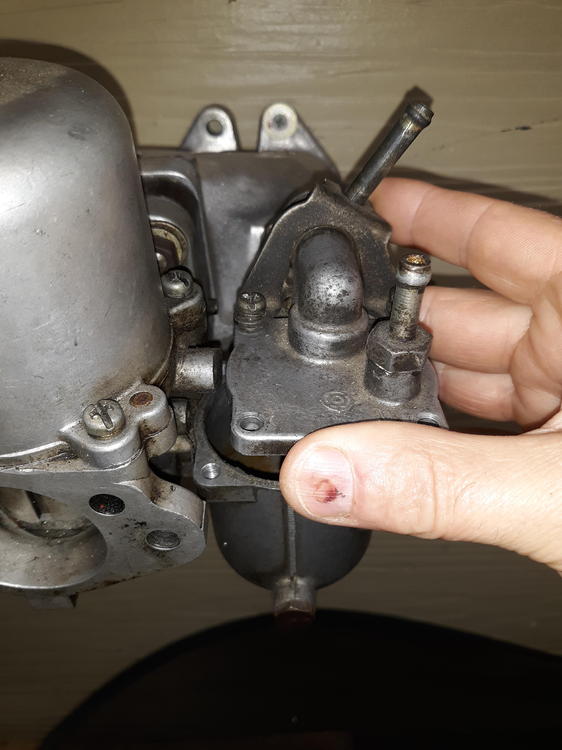
I got the head gasket - 11044-27LX1. I measured it in several places and it is mostly .057 to .058". I found one spot in the gasket only area that was .056". Across firing rings bridging 2 cylinders (measured between several sets of cylinders), I get about .059". 1.42 mm thickness was claimed in the eBay listing, and that is close to .056". So, if this gasket doesn't compress more than .009" upon installation... (.056" minus .025" (pop up) = .031", minus .022" (min. piston to head) = .009" allowable crush) then this should work.1 point
-
1 pointI'm sure the only way to damage the arms is to use too much force when rolling up the window. This was done to my car before I got it, so the windows never worked properly. I had no idea what the regulator arms were supposed to look like, until now!1 point
-
1 pointI can only guess that after the car has been sitting for 10-20 yrs the grease gets hard, crap accumulates in the runners and channels and when someone goes to roll the window up or down that it sticks or jams. Then they force it and those arms bend, any other theories?1 point
-
Get one of these from amazon.com, about $20 I think.
 1 point
 -
The gas can will eliminate any problems you think may be from the tank. It is almost certainly your floats need adjusting. Take the tops off and let us see a picture or two. I'd like to see what the tang looks like. Some are bent up like a ramp and that's wrong. Your's should look more like a speed bump. There's a way to turn the lids to get them off a lot easier. You'll need new cork gaskets too. Nissan still has them or they did a couple of years ago. I can look through my 240 file and find the P/N tomorrow.1 point
-
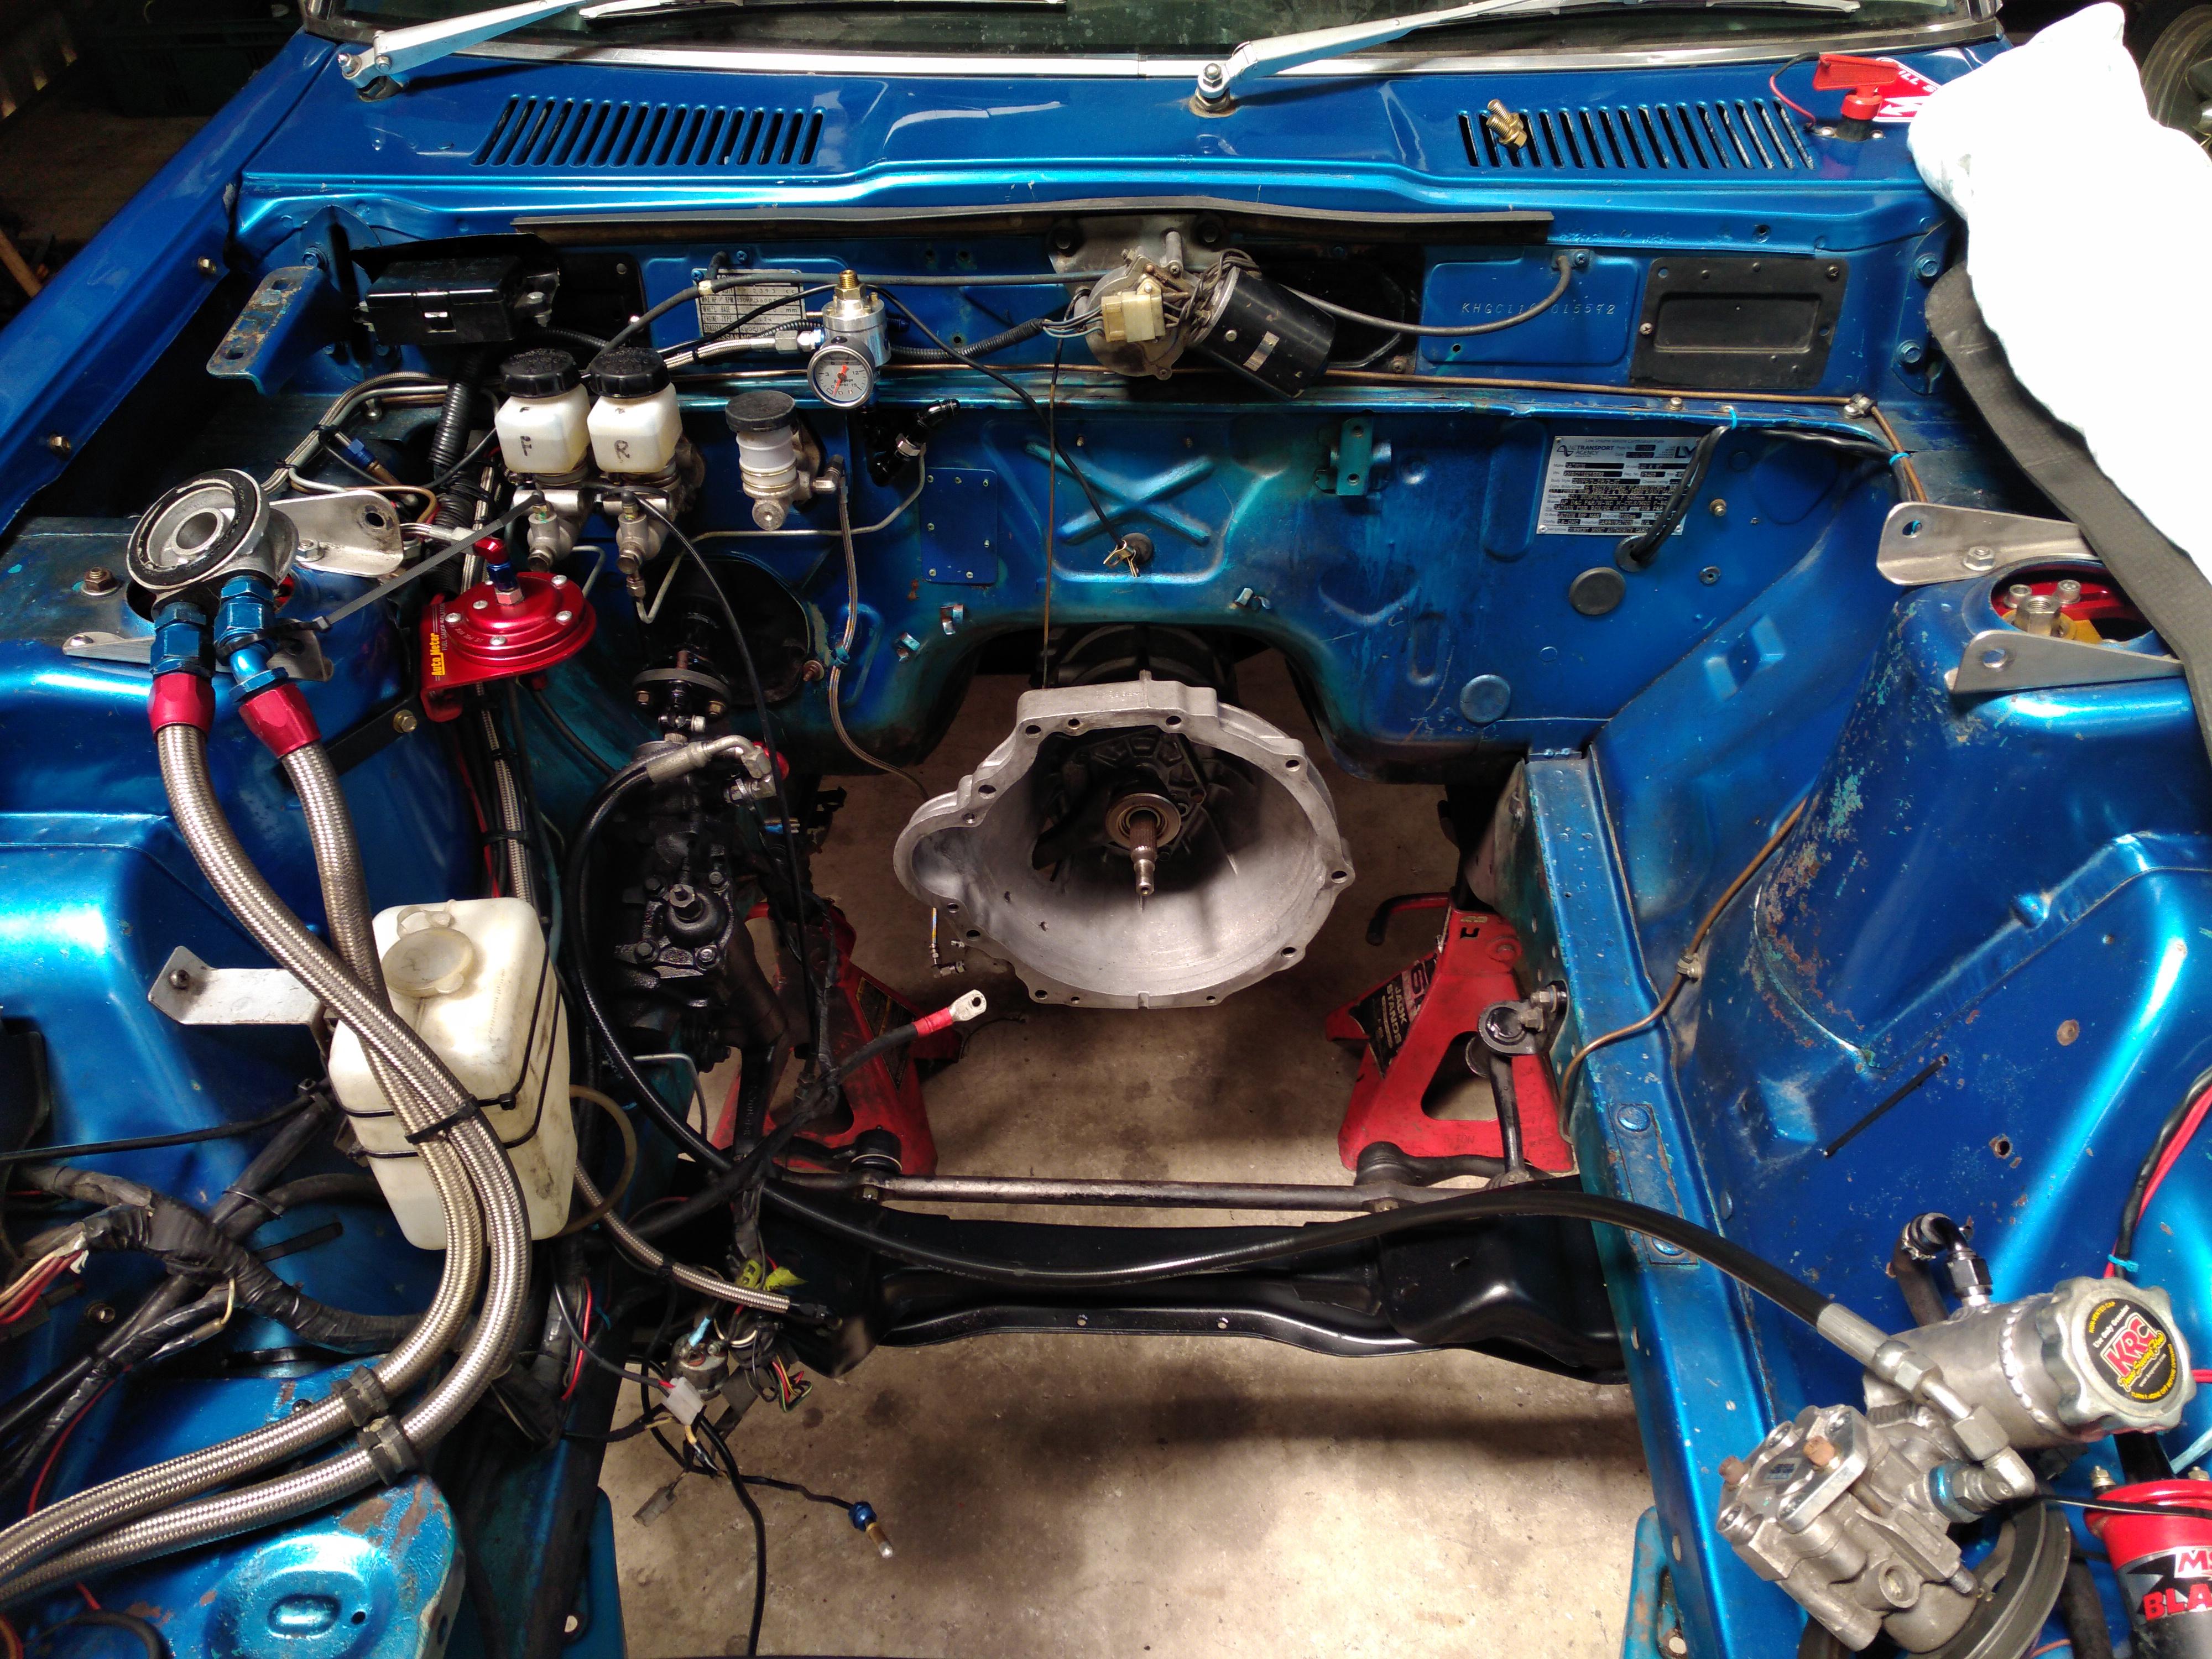
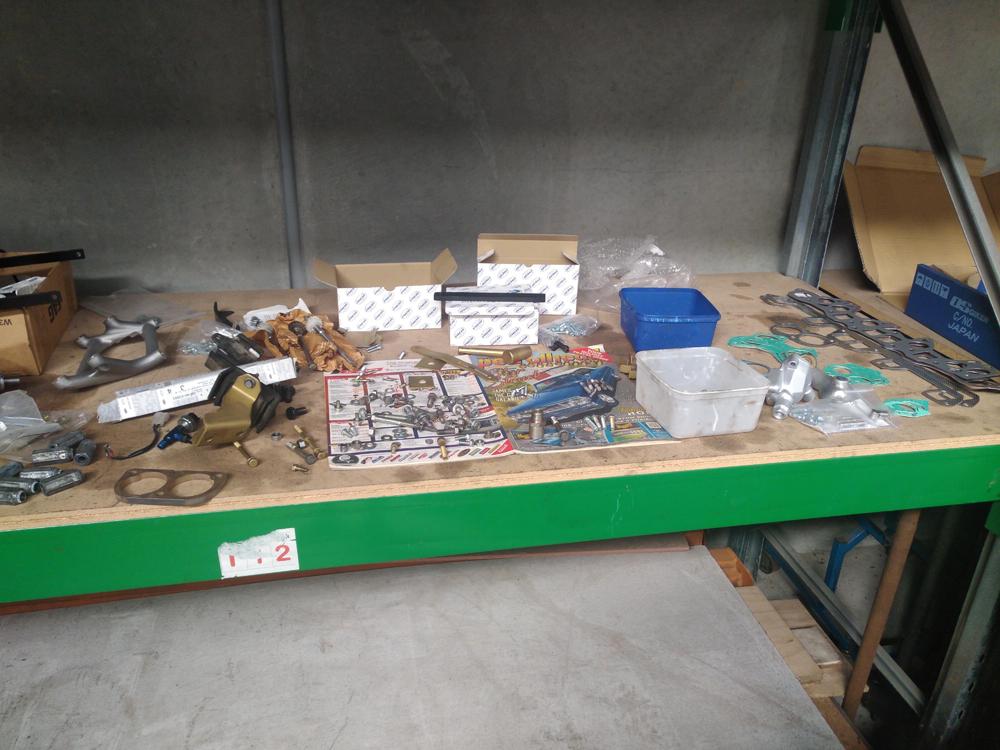
1 pointStill a few parts to fit, the new OS Giken twin plate clutch and we had to get the right oil pump spindle. Turns out the Kamarei one only works with their special oil pump. More pics soon.


 1 point
 -
1 pointok that looks like mine, only diff is the extra ground wire from the green wire on the term block that mine has. A guess here, the AFM is electrically isolated from the chassis due to the use of the rubber gromments used to mount the plate to the chassis (I presume to damp vibrations). So with all that air flowing thru the alum body of the AFM it could build up a static electrical charge with out the ground lead. So that lead makes since but my grounding of the diff green wire does not. My play is to get one of the HEI modules as ZH has mentioned just as a backup, will wire it up and just control the coil by choosing which module is hooked up. I read some comments by ZH in another thread where he just left the OE stuff in place and would just disconnect the signal at the OE module and then hook this one up under the hood. All this is really just so I don't get stranded on one of my long road trips, so a tested backup system would be nice to have. oh btw my test stand engine does NOT have the AFM grounded, something I will take care of since I don't want to smoke an ECU.1 point
-
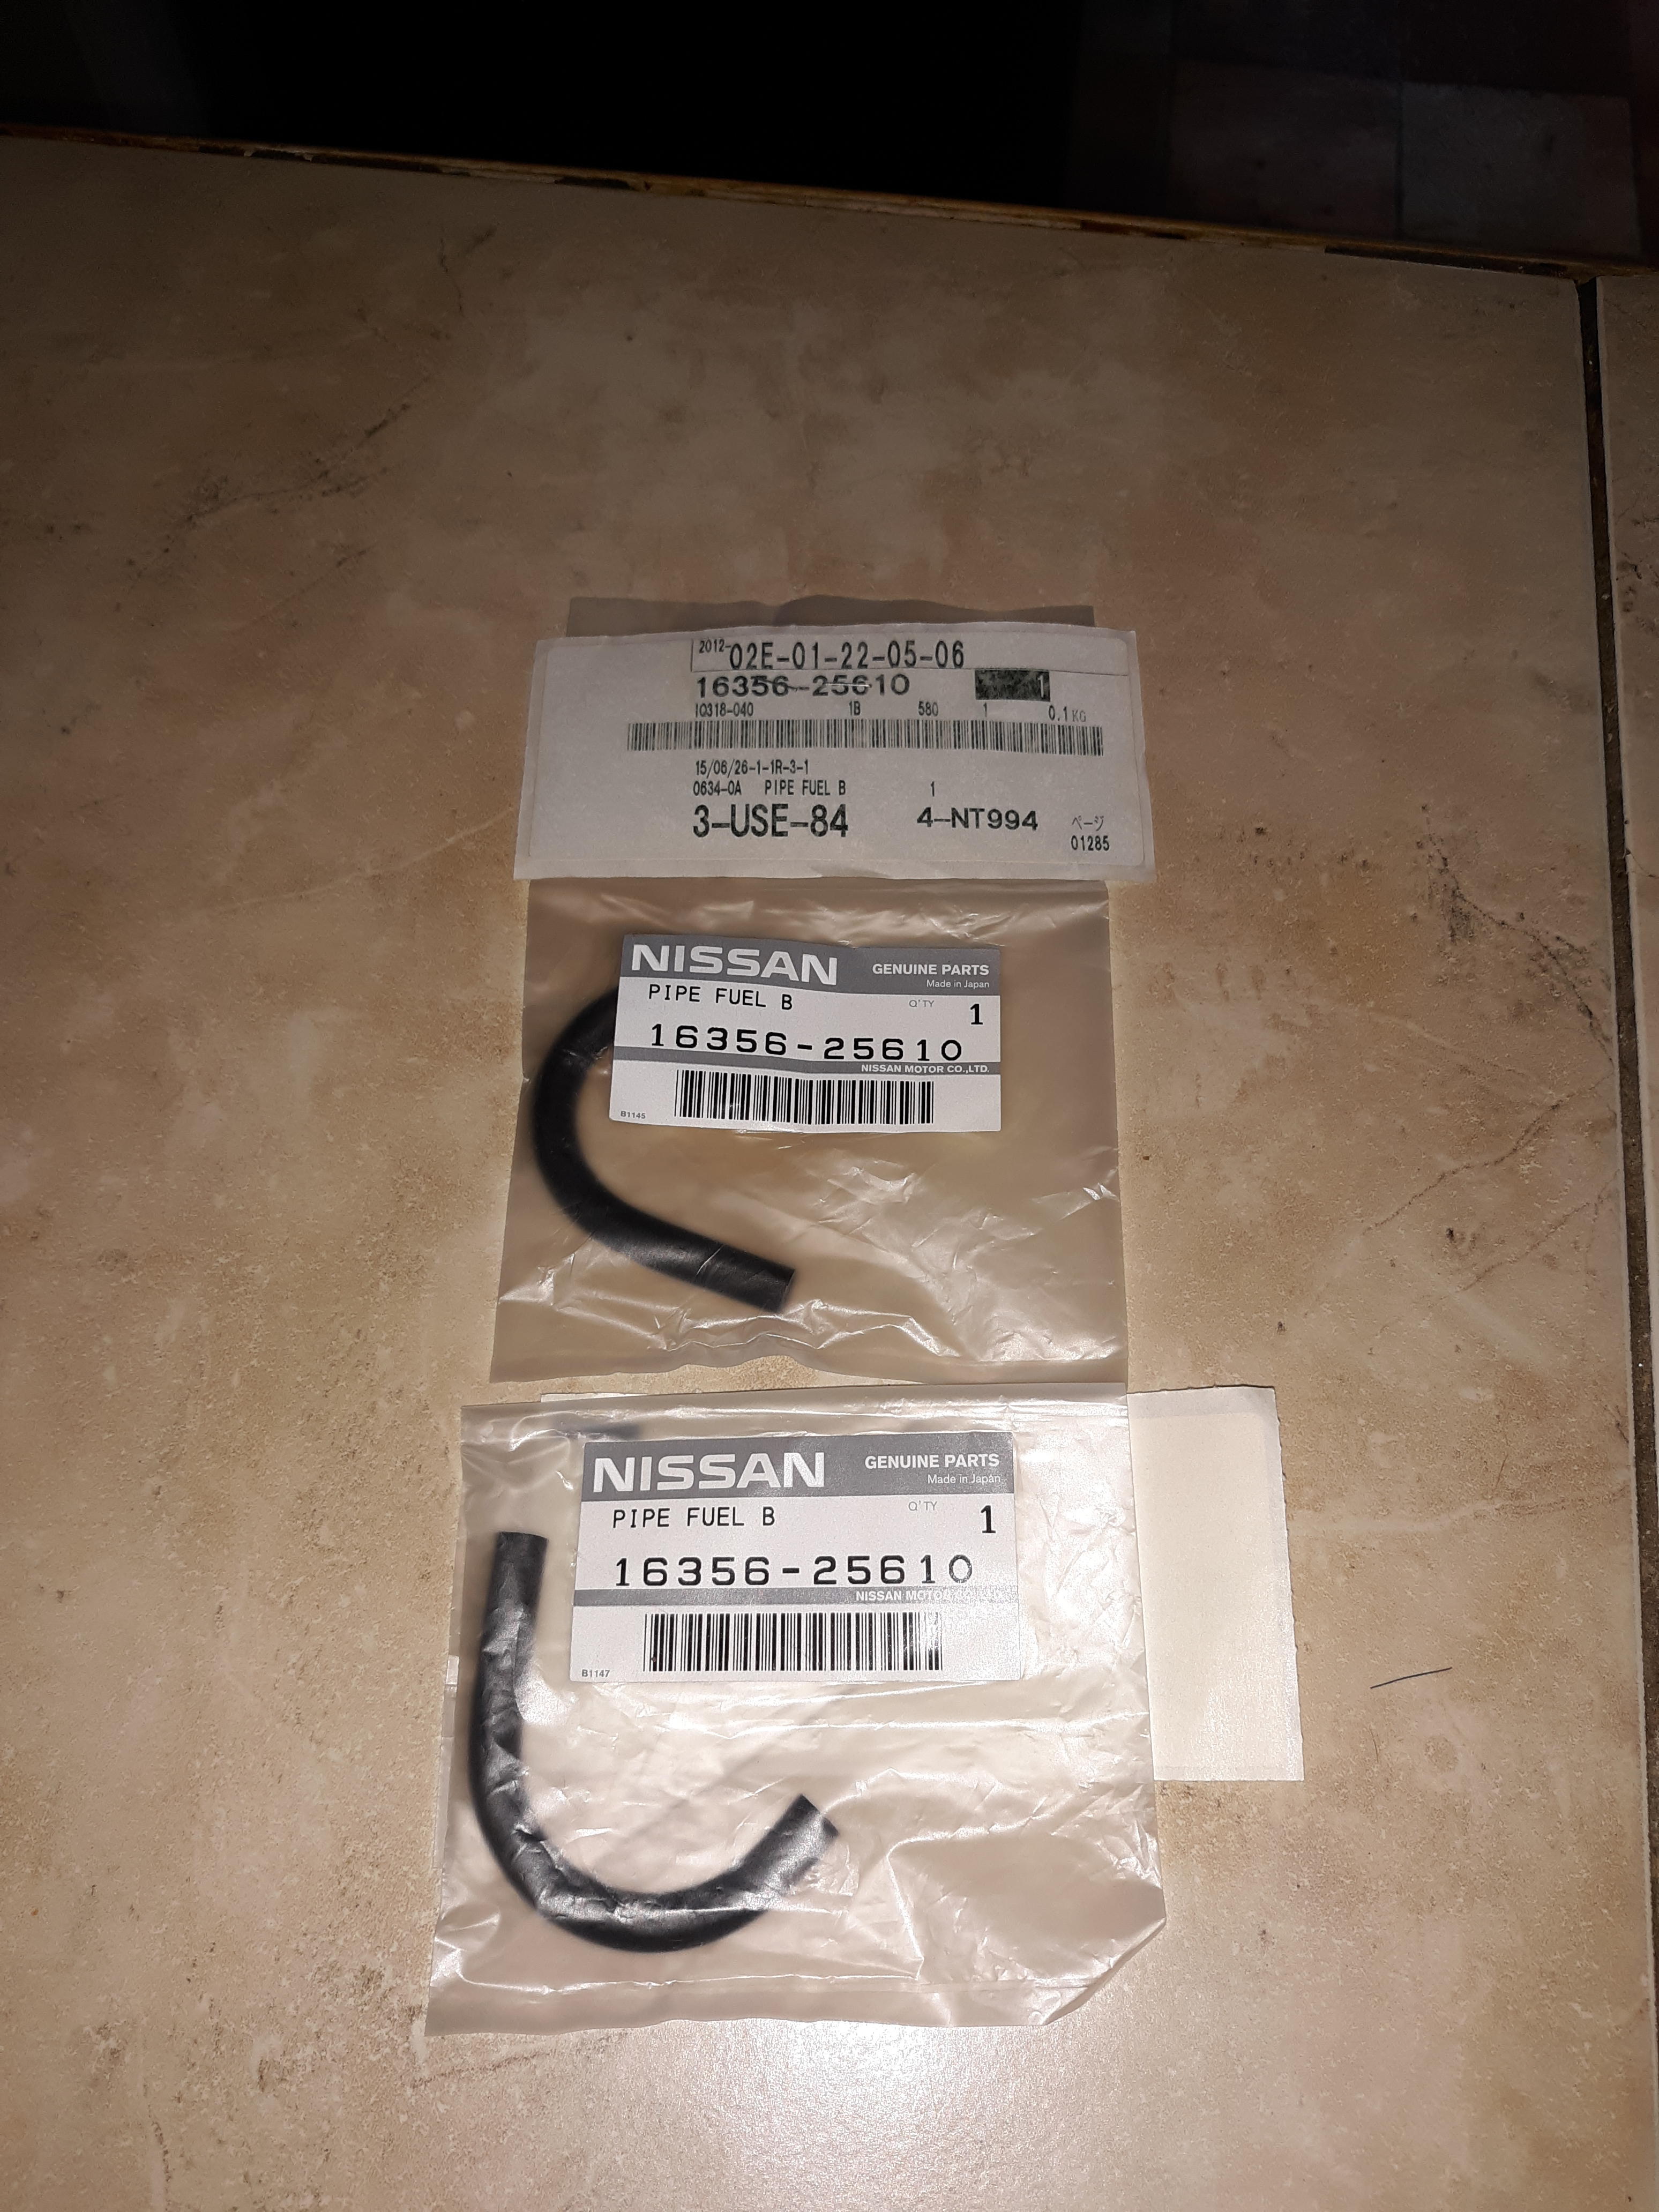
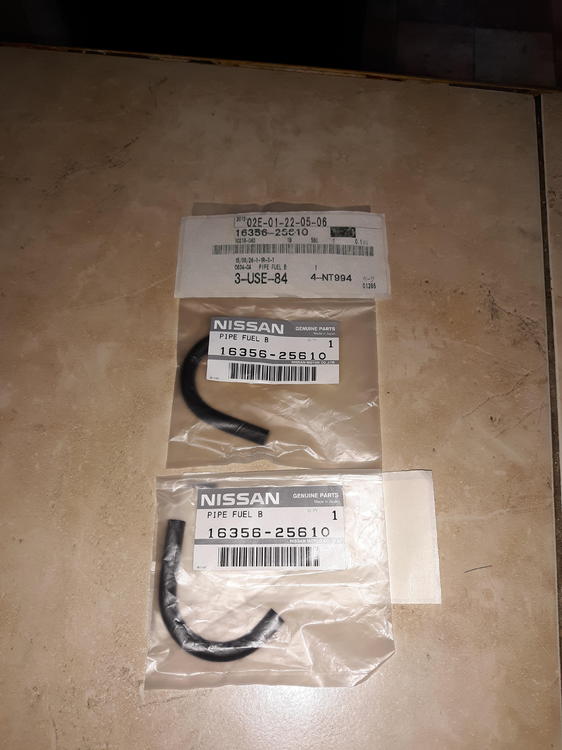
You are welcome and correct on those hoses. They're still available from your local dealership if you ask them to search by part number, not car.
 1 point
 -
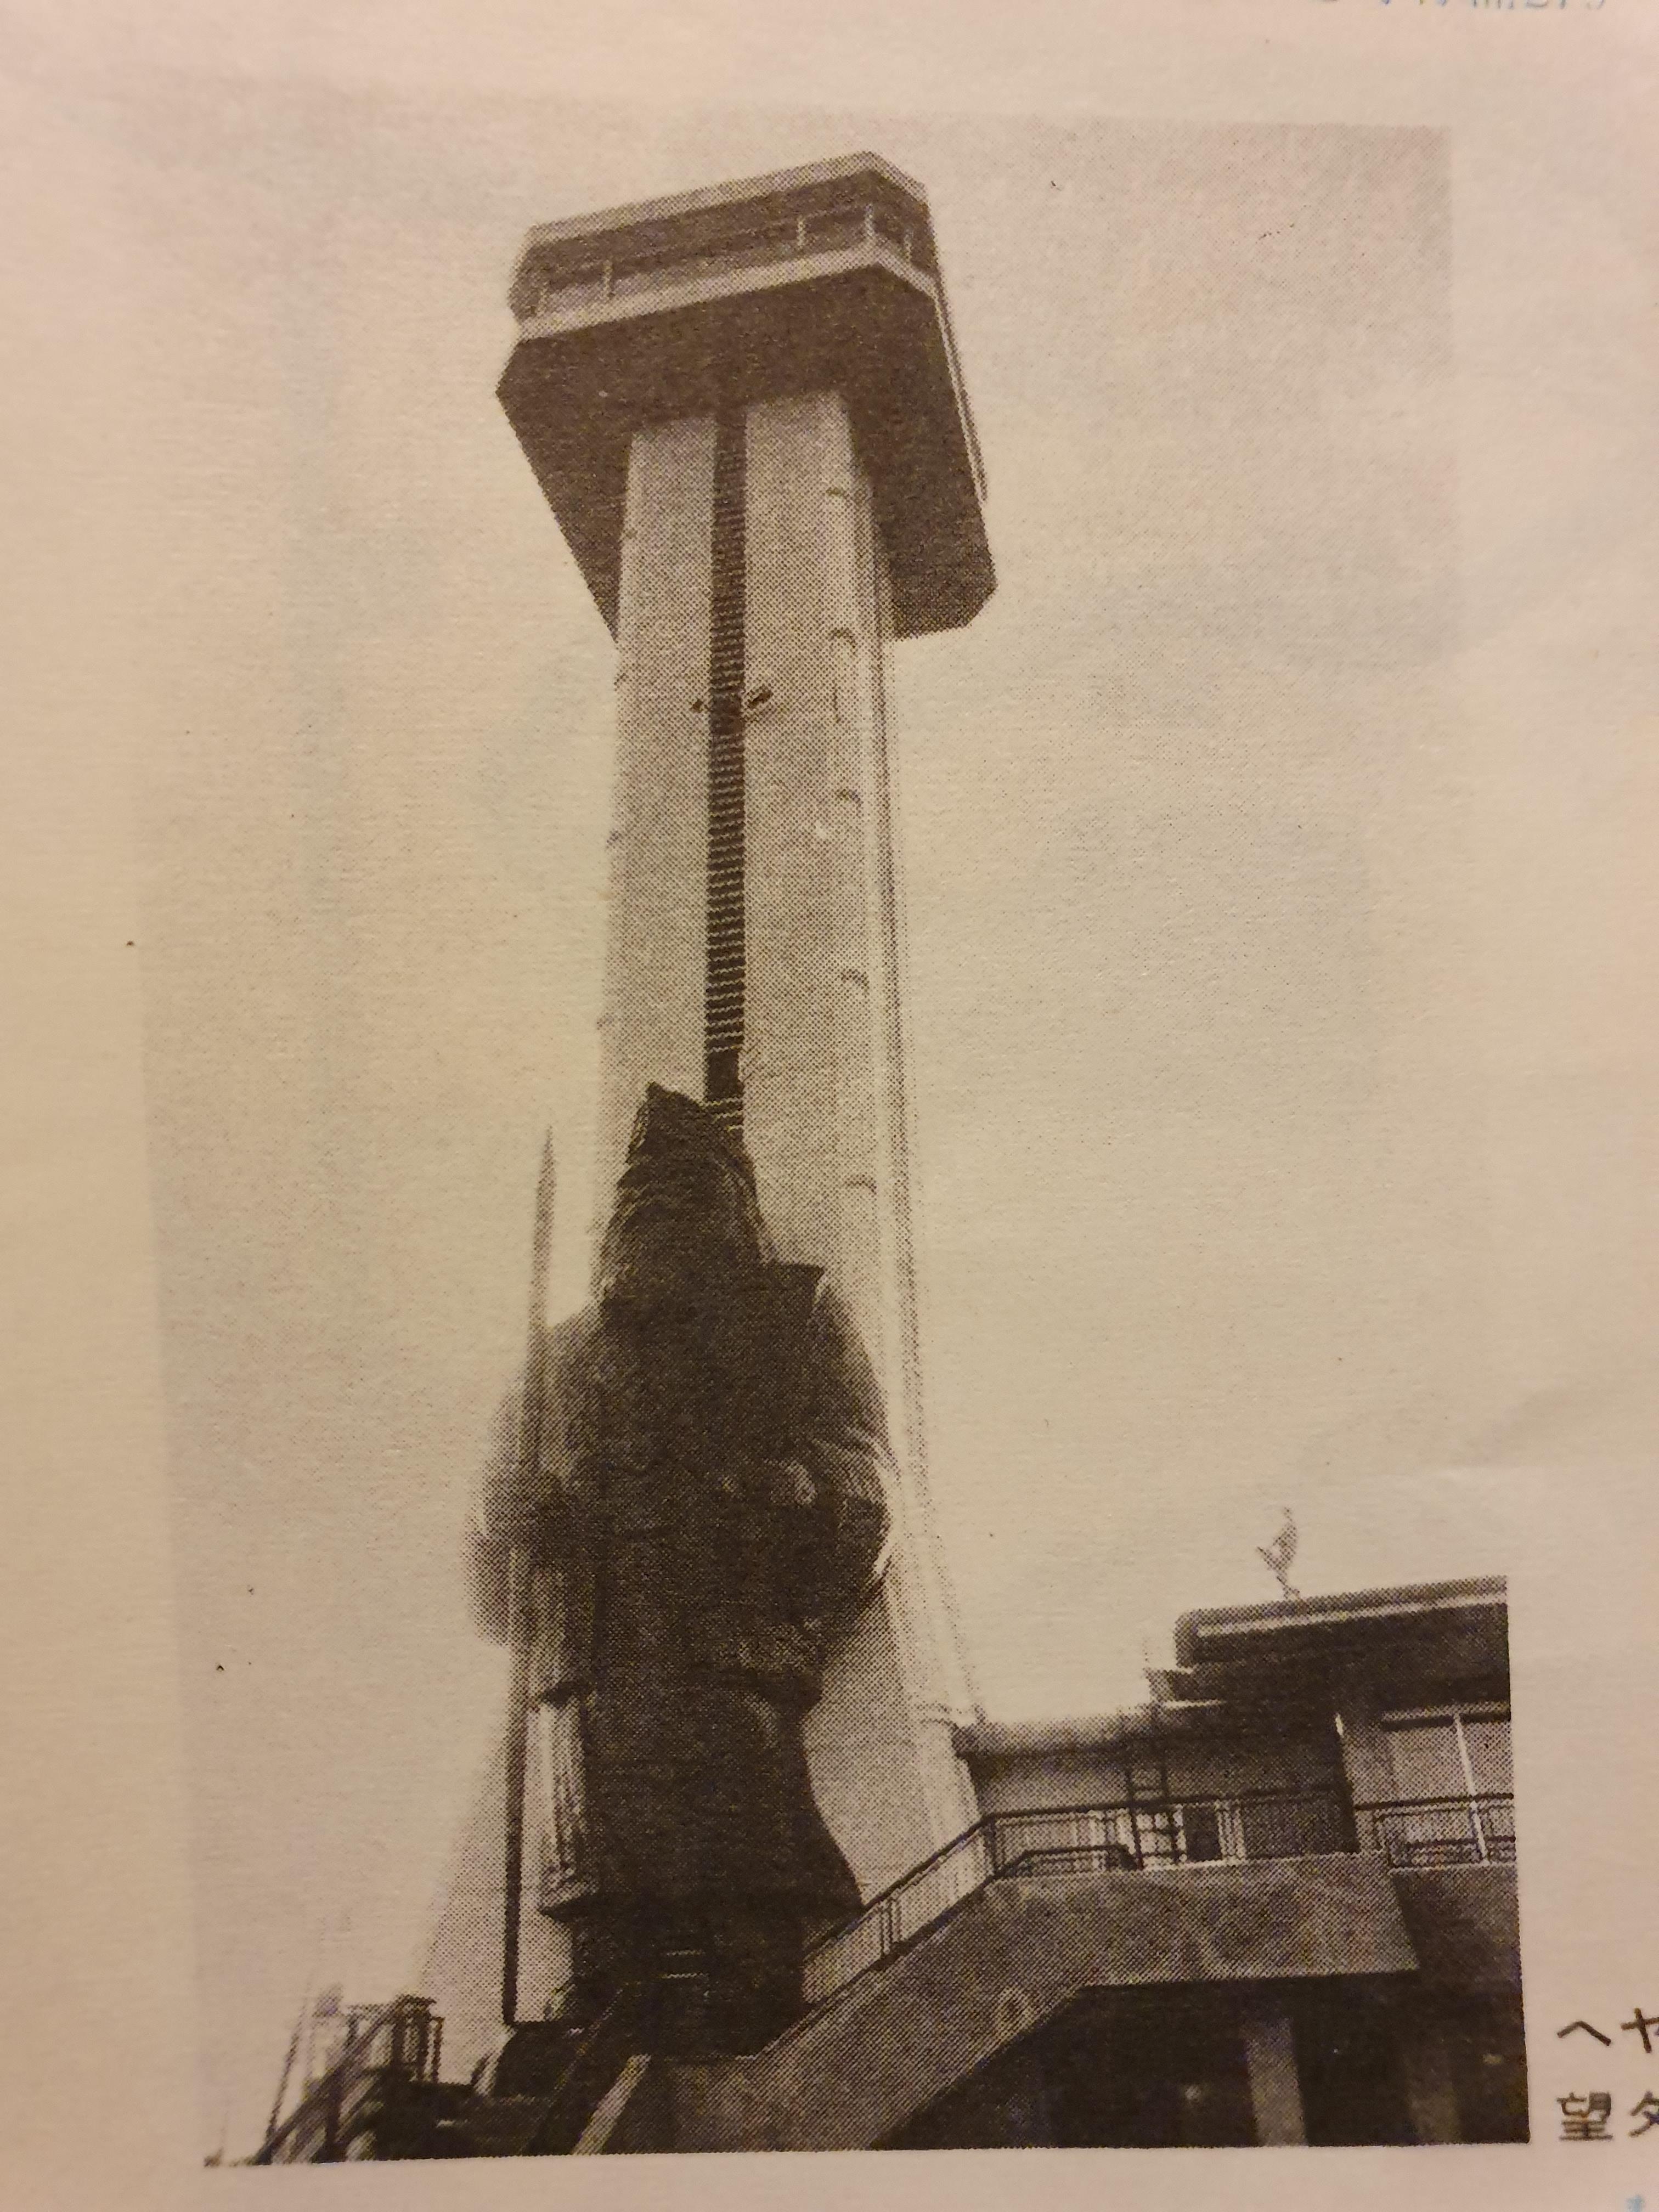
Apparently they designed it so that it could be run both ways. Fuji Speedway occasionally did that too. Check out the impressive Hokkaido Speedway ('HISCO') race control tower: 50m tall, according to the report:

 1 point
 -
1 pointI went thru the same problem after my resto. Barring worn hinges as a root cause, keep trying the push-down procedure as you have been doing. I do recommend you pull the grill (only five screws) to be able to get to all the mounting bolts easily from the front as you or a buddy apply pressure to the leading edge of the hood. I kept the torsion rods in place when doing mine.1 point
-
Small video of the first parts been sprayed with epoxy. 20191221_133026.mp41 point